✨🌷¡Hola amigos amantes de la creatividad! Espero que hayan pasado un muy buen comienzo de semana.🌷✨
🔸Sin más que añadir, a continuación los dejo con el paso a paso:
✨🌷¡Hello friends who love creativity! I hope you had a very good start to the week.🌷✨
¡Good afternoon friends! I hope you are having a nice week. I am very happy to share once again a beautiful idea. On this occasion I share with you the step by step to make a beautiful card for Friendship Day. That's right friends, I'm giving way to the creations for this beautiful month of love and friendship. Last year I didn't have time to organize myself very well to bring you various ideas, I simply focused on the day of love, but on this occasion I want to share with you a beautiful card for that beautiful friendship that accompanies us at all times.
For my part, I made it thinking of my beautiful friend @alizmarpaola, who for those who haven't seen my posts, Aliz and I became friends thanks to hive and since then we haven't stopped talking practically every day. How she means so much to me and has always been there supporting me, helping me and advising me, plus her birthday is very close, I wanted to have this nice detail with her, as a sign of how much I appreciate that she is my fantastic friend.
🔸Without more to add, then I leave you with the step by step:
♥️ESPERO QUE TE GUSTE,
¡Empecemos!
♥️I HOPE YOU LIKE IT,
Let's start!

✂️ MATERIALES | ✂️ MATERIALS
- Cartulina corrugada.
- Foami: beige, marrón,
rosado y amarillo. - Foami escarchado:
blanco y rojo. - Marcadores y colores.
- Pintura blanca.
- Hoja blanca.
- Pegamento.
- Lápiz.
- Regla.
- Corrugated cardboard.
- Foami: beige, brown,
pink and yellow. - Frosted foam:
white and red. - Markers and colors.
- White paint.
- White sheet.
- Glue.
- Pencil.
- Ruler.
🌷 PROCEDIMIENTO | 🌷 PROCESS
✨ PASO 1:
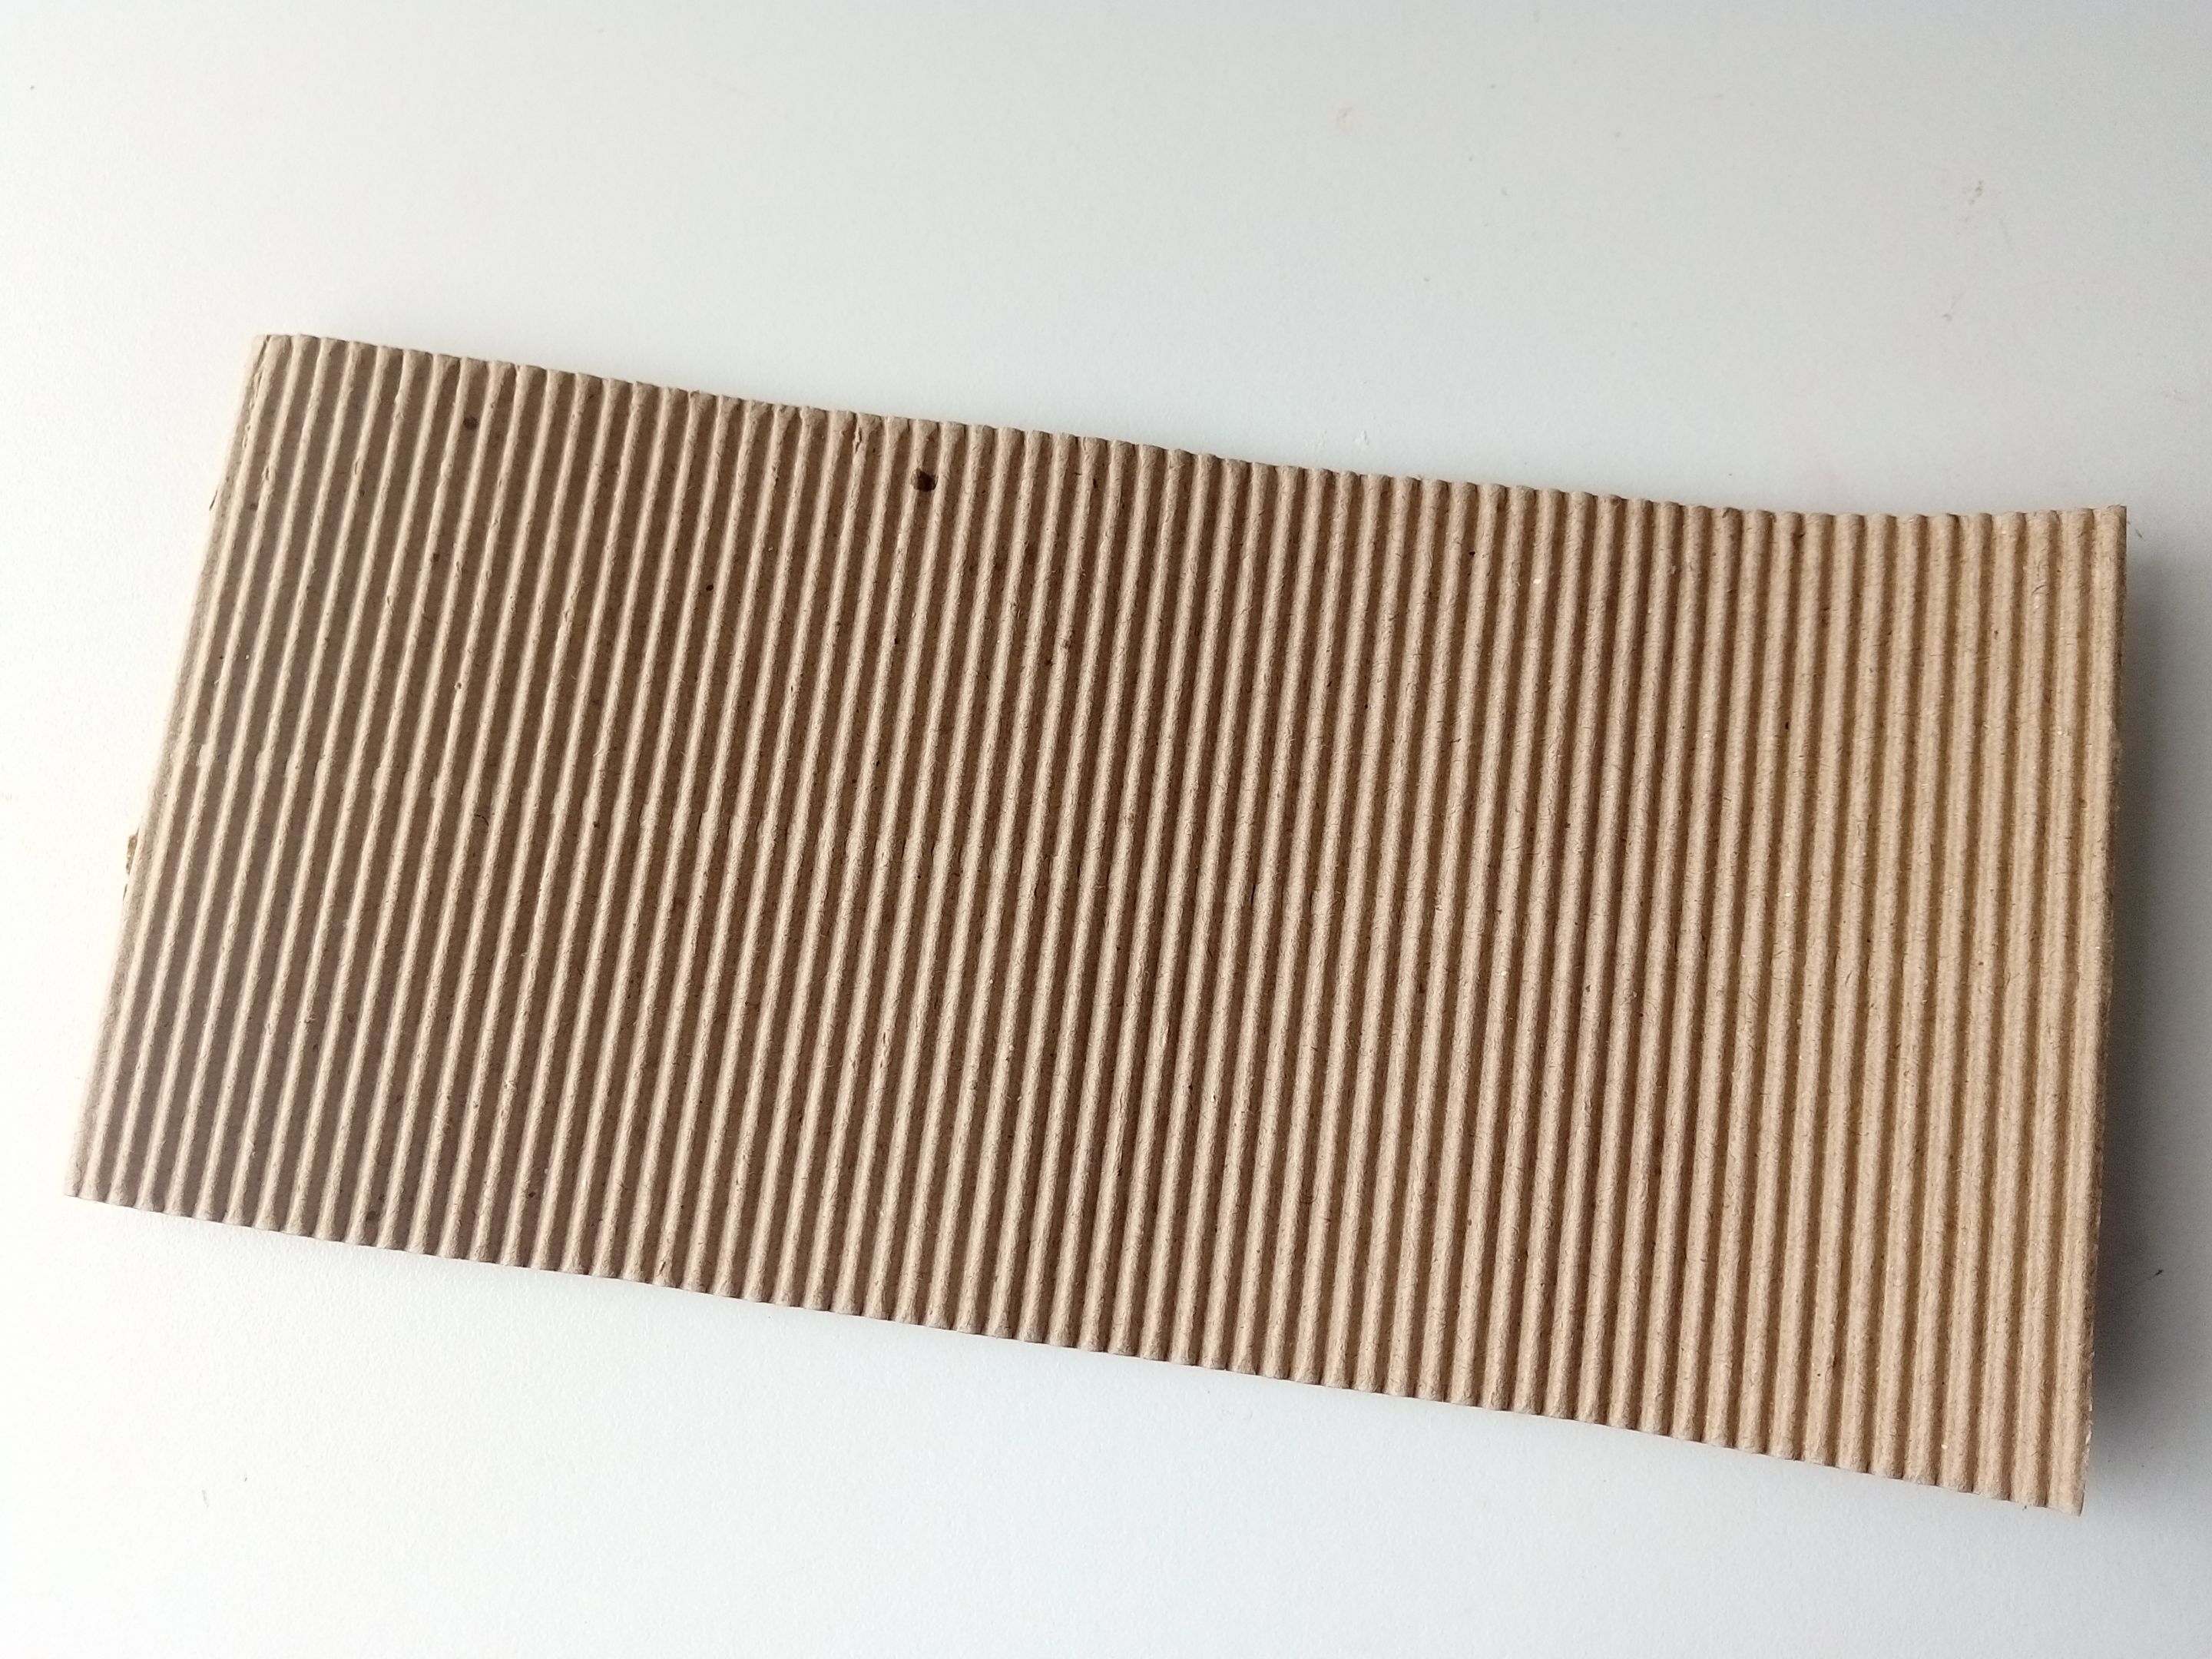
Comencé tomando las medidas de la tarjeta y recortando para proseguir y tener una idea de qué tamaño podía elaborar la decoración. En este caso quería elaborar una tarjeta diferente, así que la hice alargada y que se abriera desde abajo. Las medidas que tomé fueron las siguientes: 45 cm x 10.5 cm. Recorté y doblé a la mitad los 45 cm.
✨ STEP 1:
I started by taking the measurements of the card and cutting out to continue and get an idea of what size I could make the decoration. In this case I wanted to make a different card, so I made it elongated and opened from the bottom. The measurements I took were the following: 45 cm x 10.5 cm. I cut and folded the 45 cm in half.
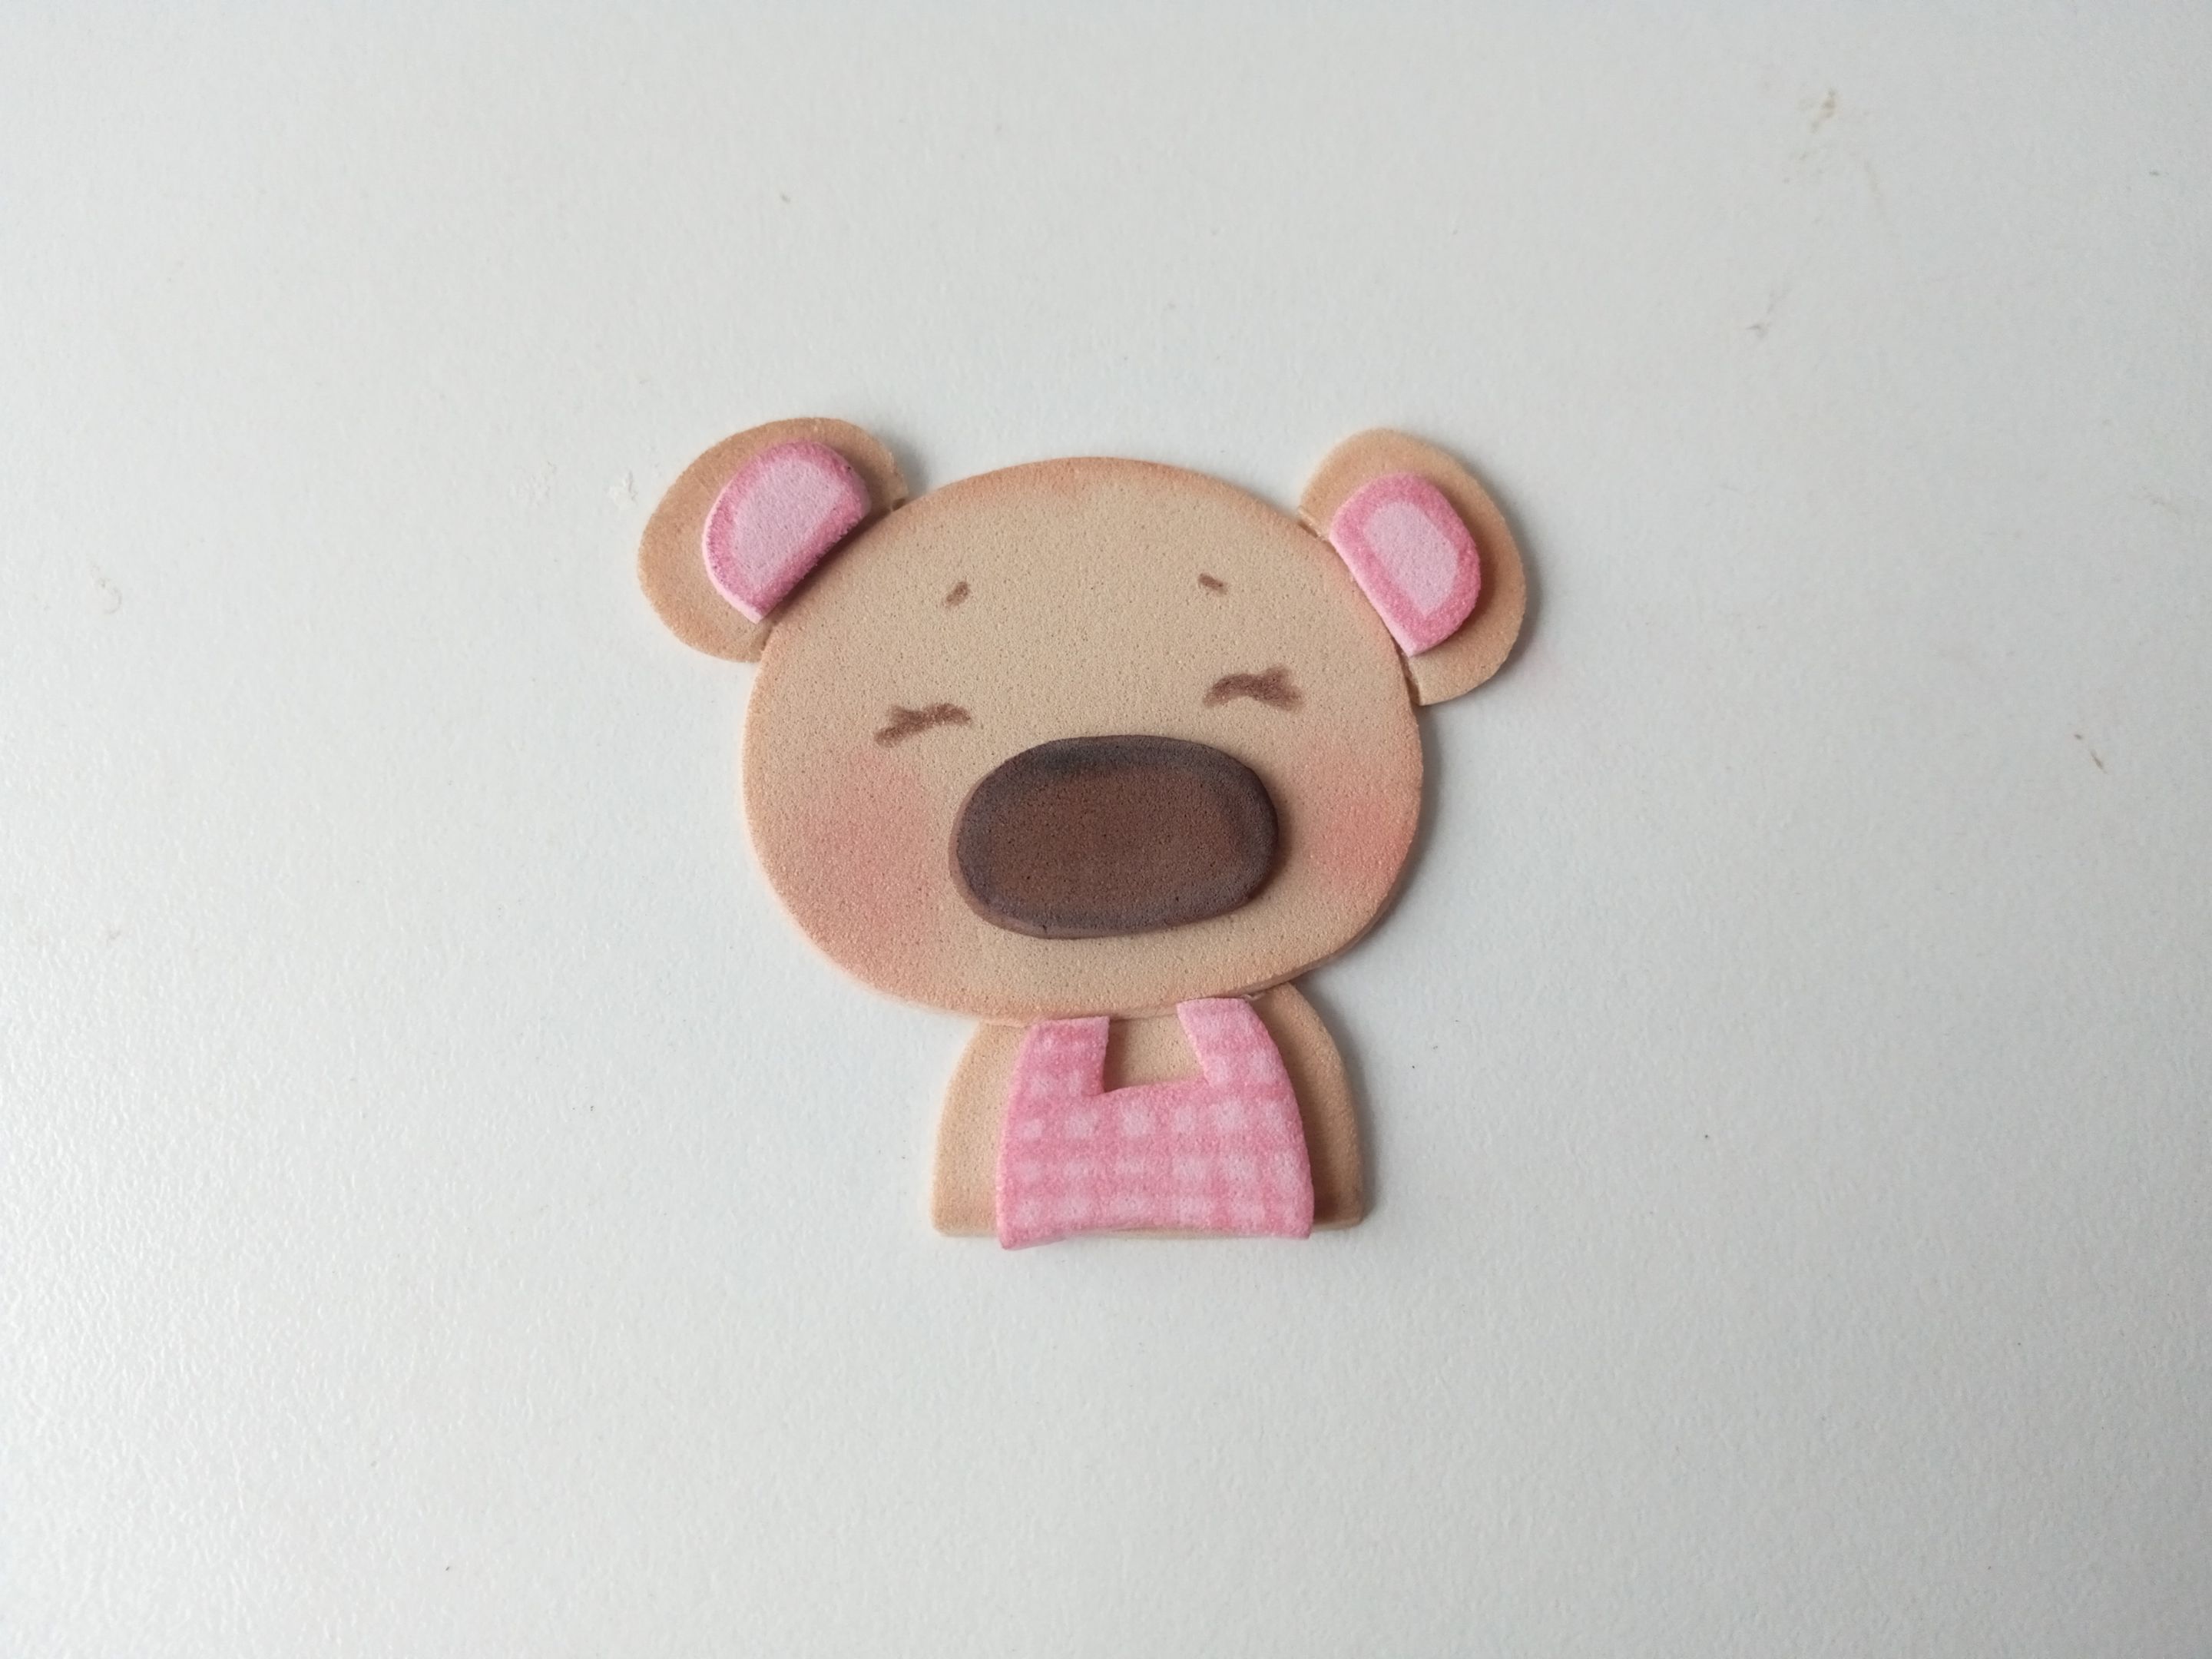
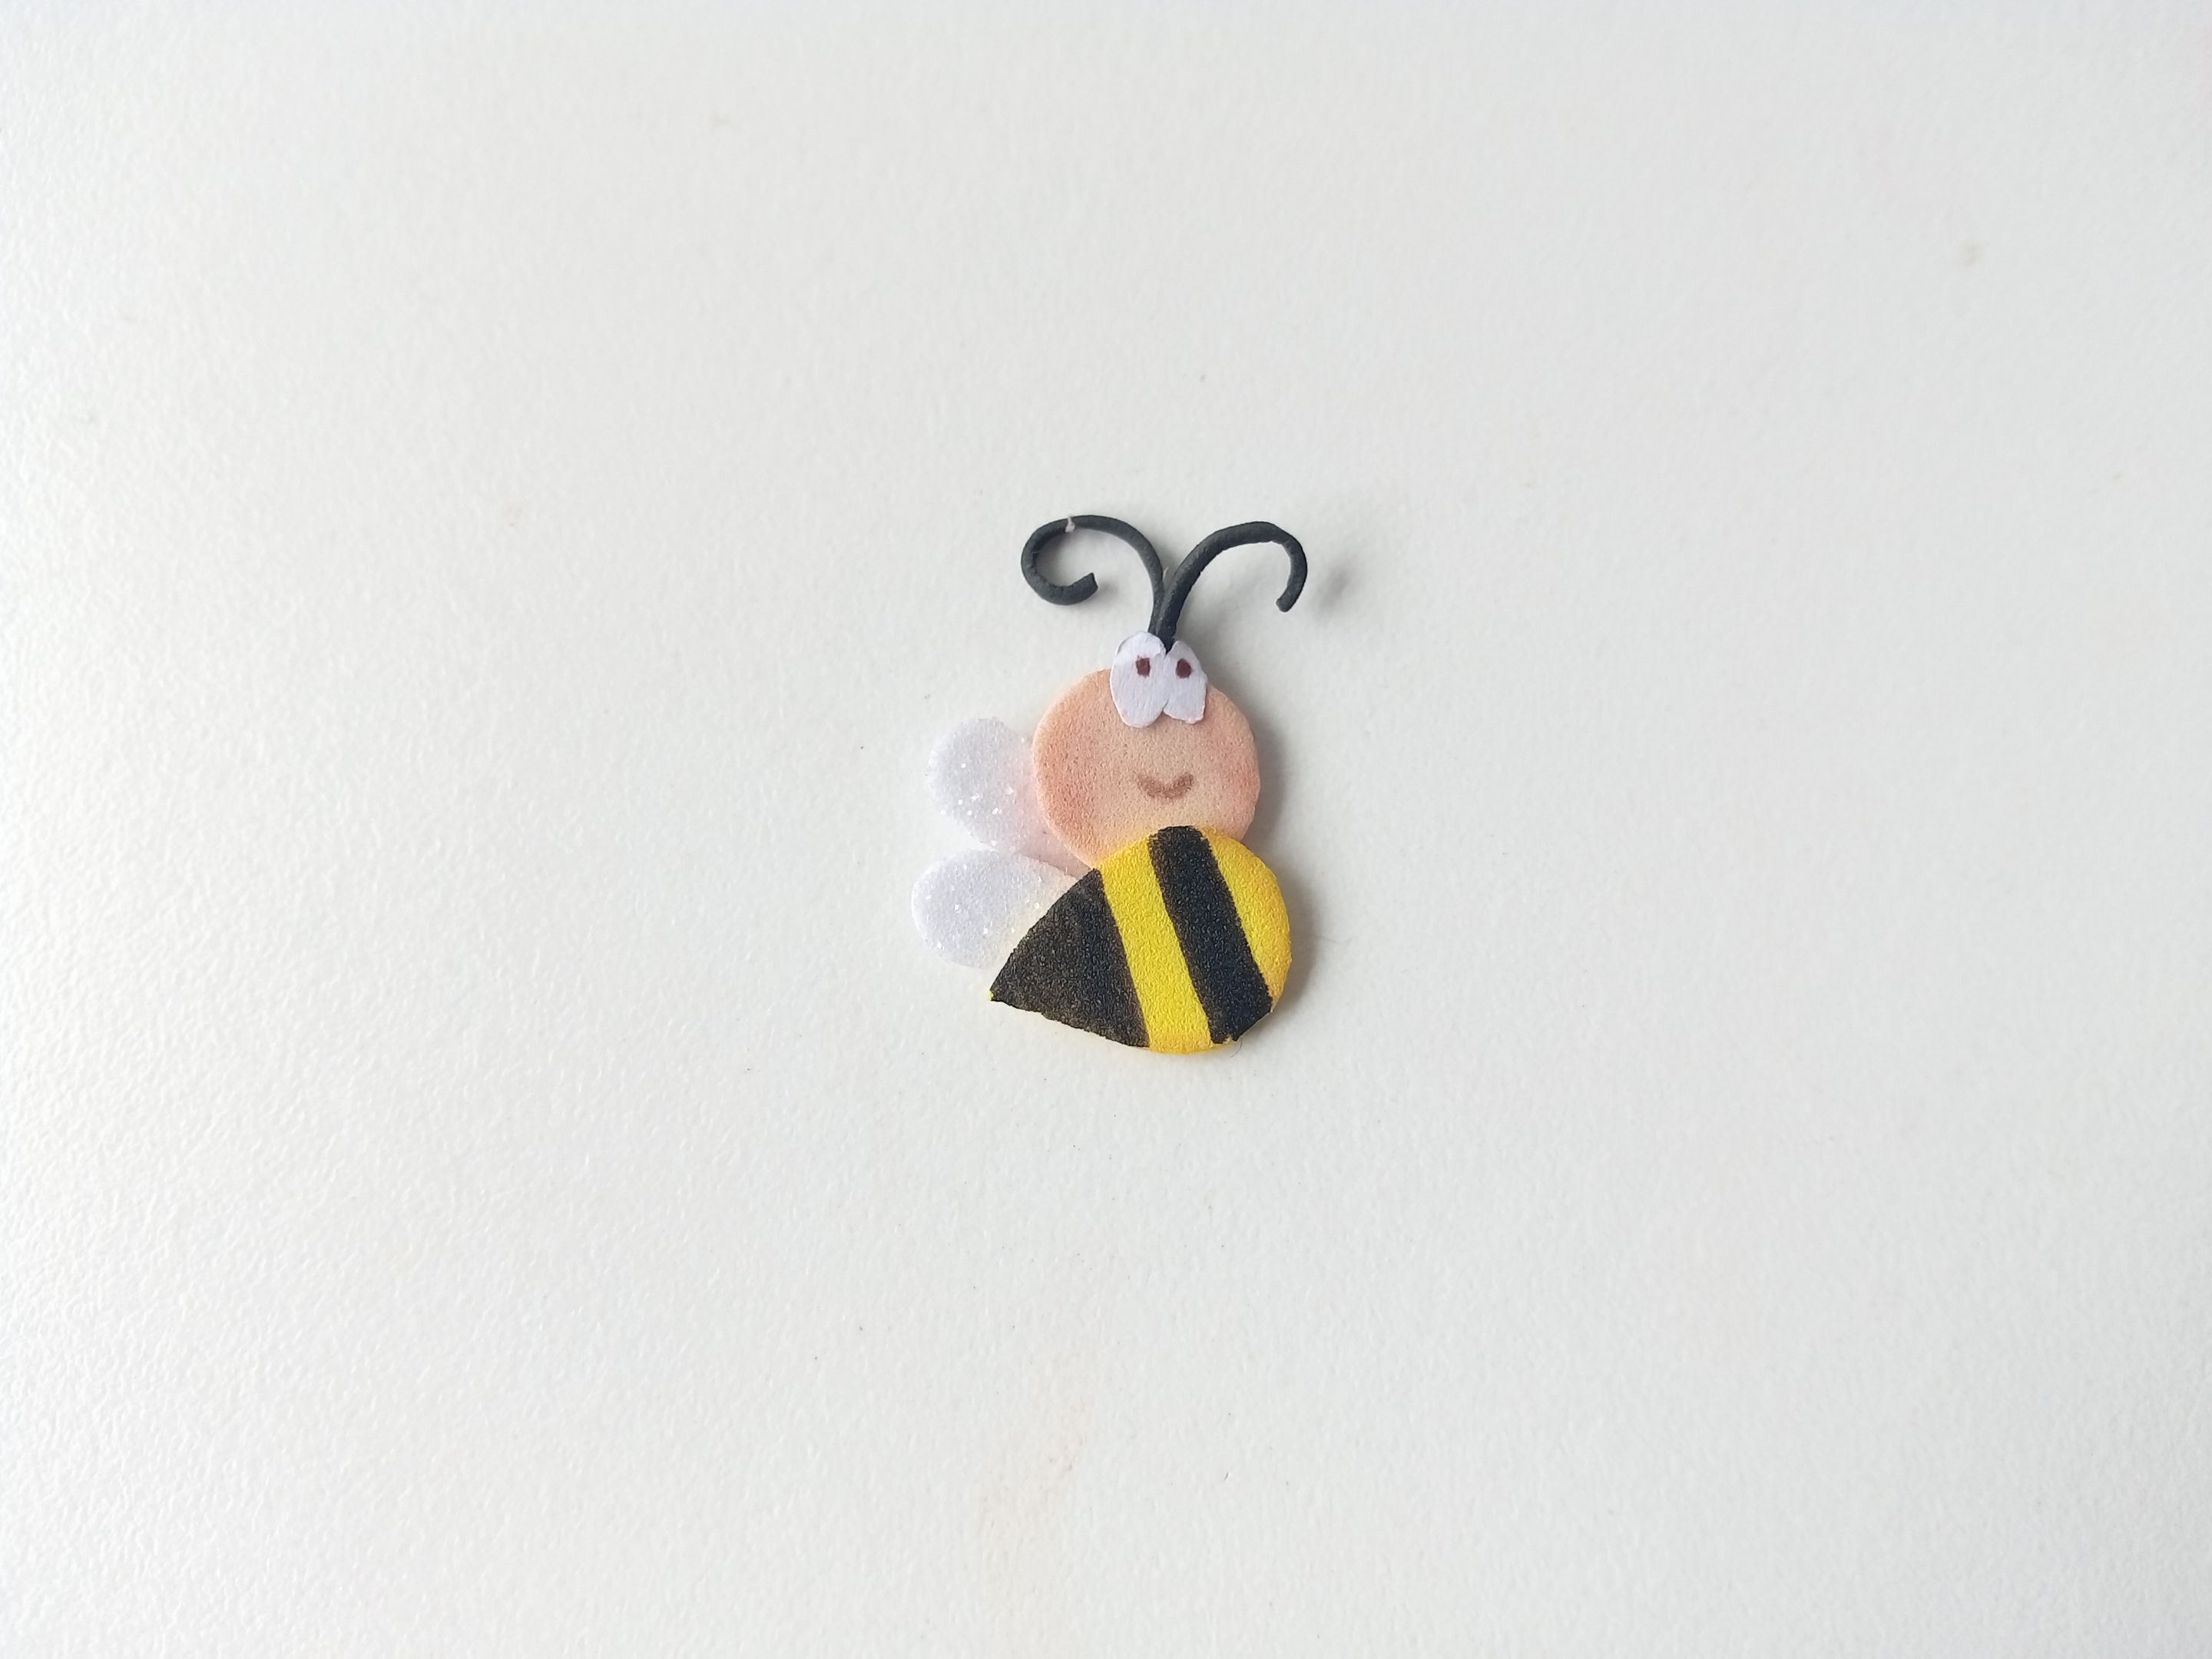
✨ PASO 2:
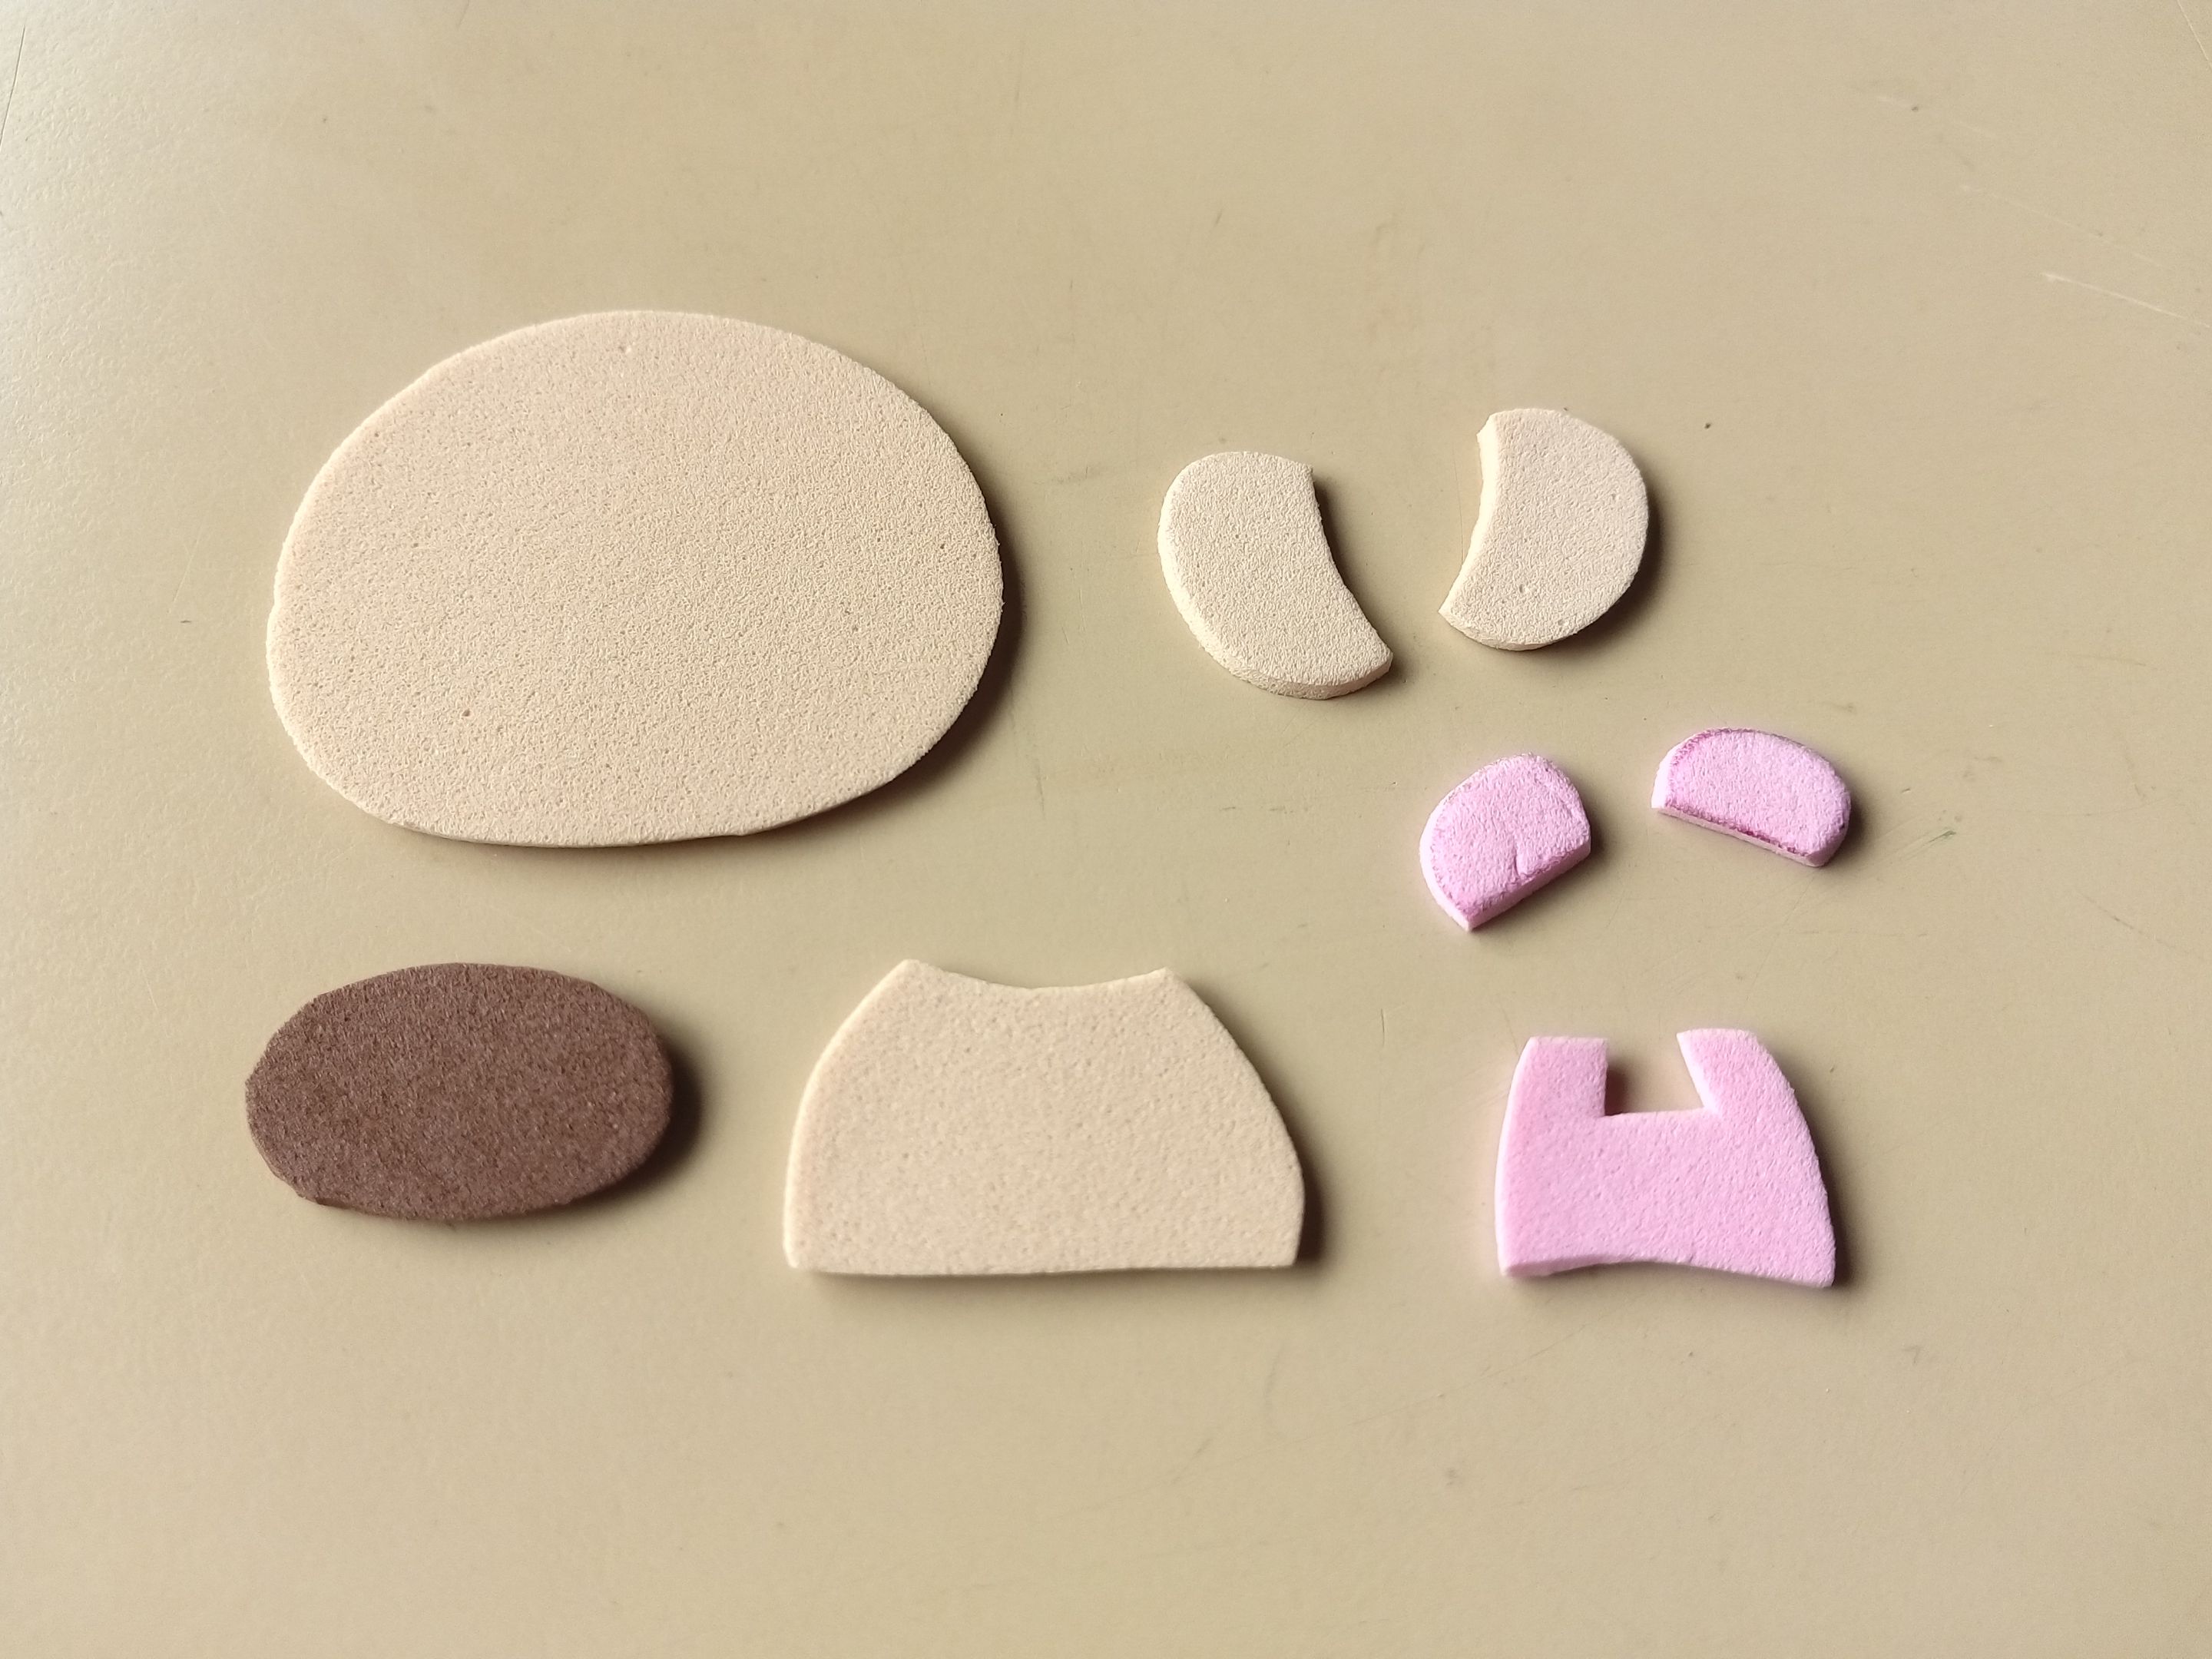
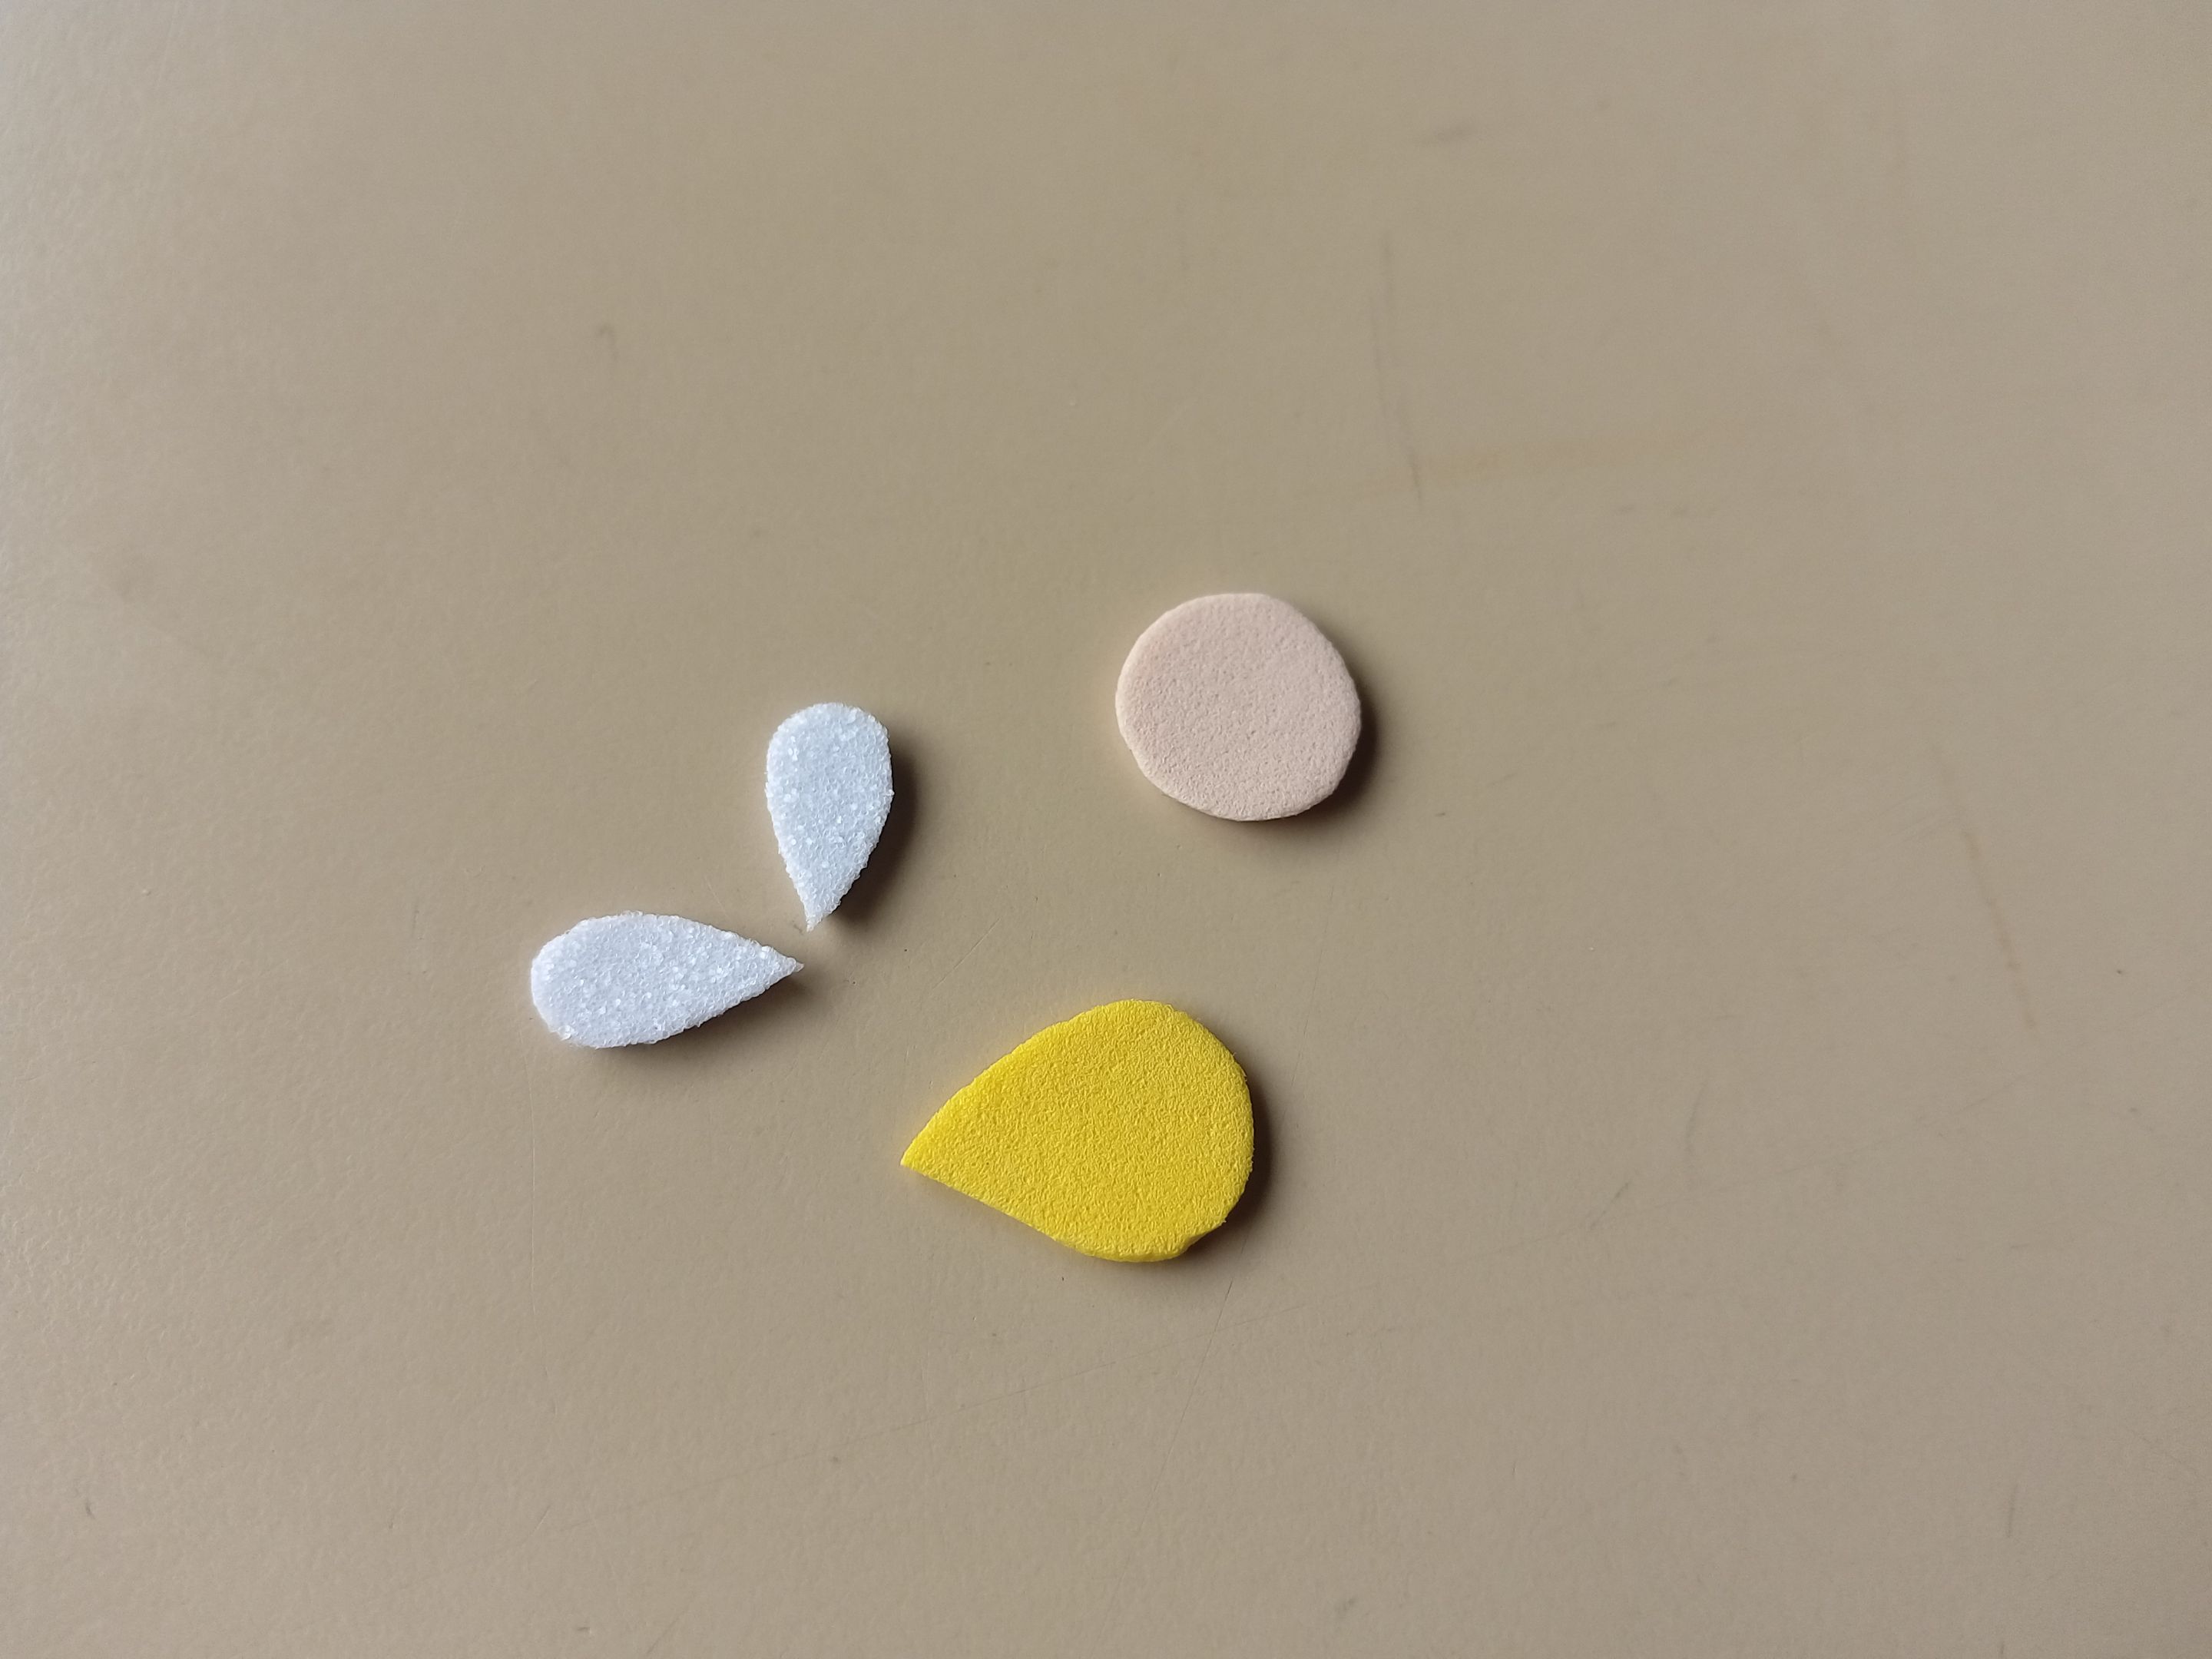
Una vez listo, comencé con la decoración. En una hoja blanca dibujé el patrón de los personajes que, en este caso, era un bonito oso con una abejita en la cabeza, haciendo referencia a hive. Luego, pase cada una de las partes al color correspondiente de foami que en este caso fueron los siguientes: el cuerpo del oso en beige, nariz en marrón, parte interna de las orejas y ropa en foami rosado; el cuerpo de la abeja en amarillo, cabeza en beige, alas en blanco escarchado, antenas en negro y ojos en hoja blanca.
✨ STEP 2:
Once ready, I started with the decoration. On a white sheet I drew the pattern of the characters which, in this case, was a cute bear with a little bee on its head, referring to hive. Then, transfer each of the parts to the corresponding color of foami, which in this case were the following: the bear's body in beige, nose in brown, inner part of the ears and clothes in pink foami; the body of the bee in yellow, head in beige, wings in frosty white, antennae in black and eyes in white sheet.
✨ PASO 3:
Recorté cada una de las piezas y pasé tizas o marcadores por todo el borde de cada pieza. Luego, comencé a pegar cada una de las figuras. En el caso del oso, le di más detalles a la ropa con marcador rosado y también, dibujé ojos y cejas. En cuanto a la abeja, pinté las rayas negras del cuerpo, pegué todas las piezas, dibujé ojos, boca y pegué las antenas doblando las puntas.
✨ STEP 3:
I cut out each of the pieces and ran chalk or markers around the edge of each piece. Then, I started gluing each of the figures. In the case of the bear, I gave more details to the clothes with pink marker and also drew eyes and eyebrows. As for the bee, I painted the black stripes on the body, glued all the pieces, drew eyes, mouth and glued the antennae by bending the tips.
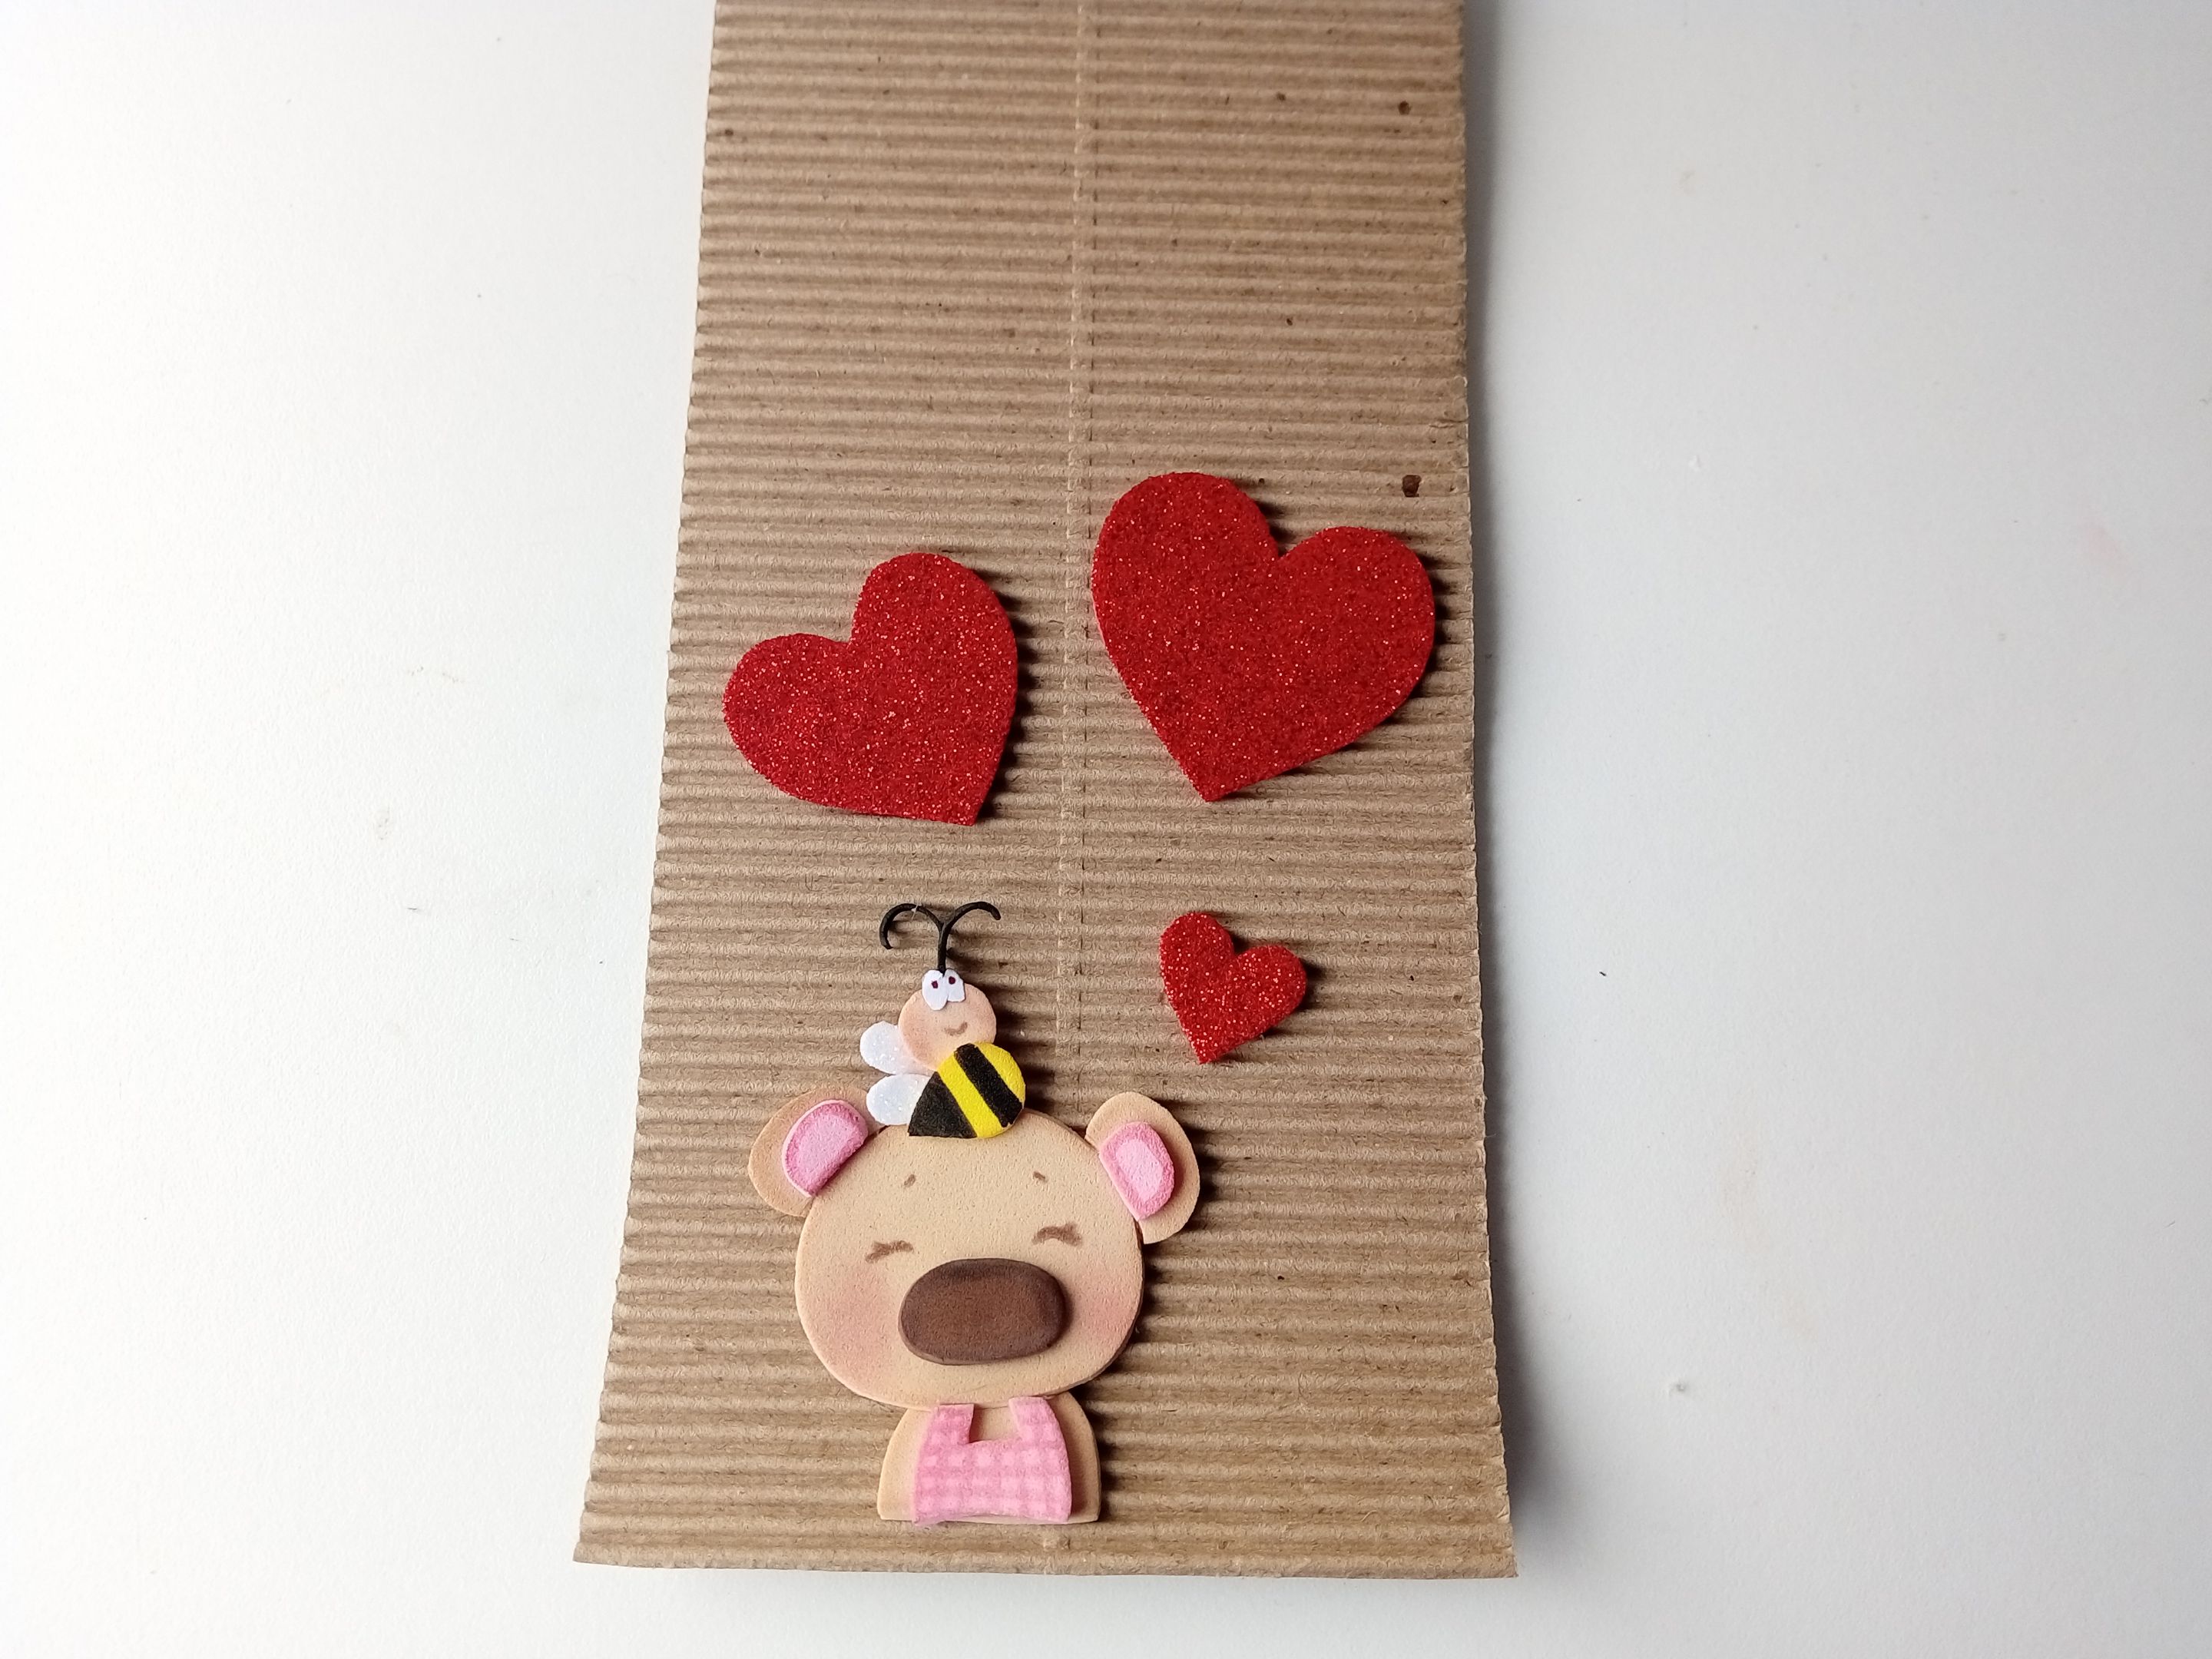
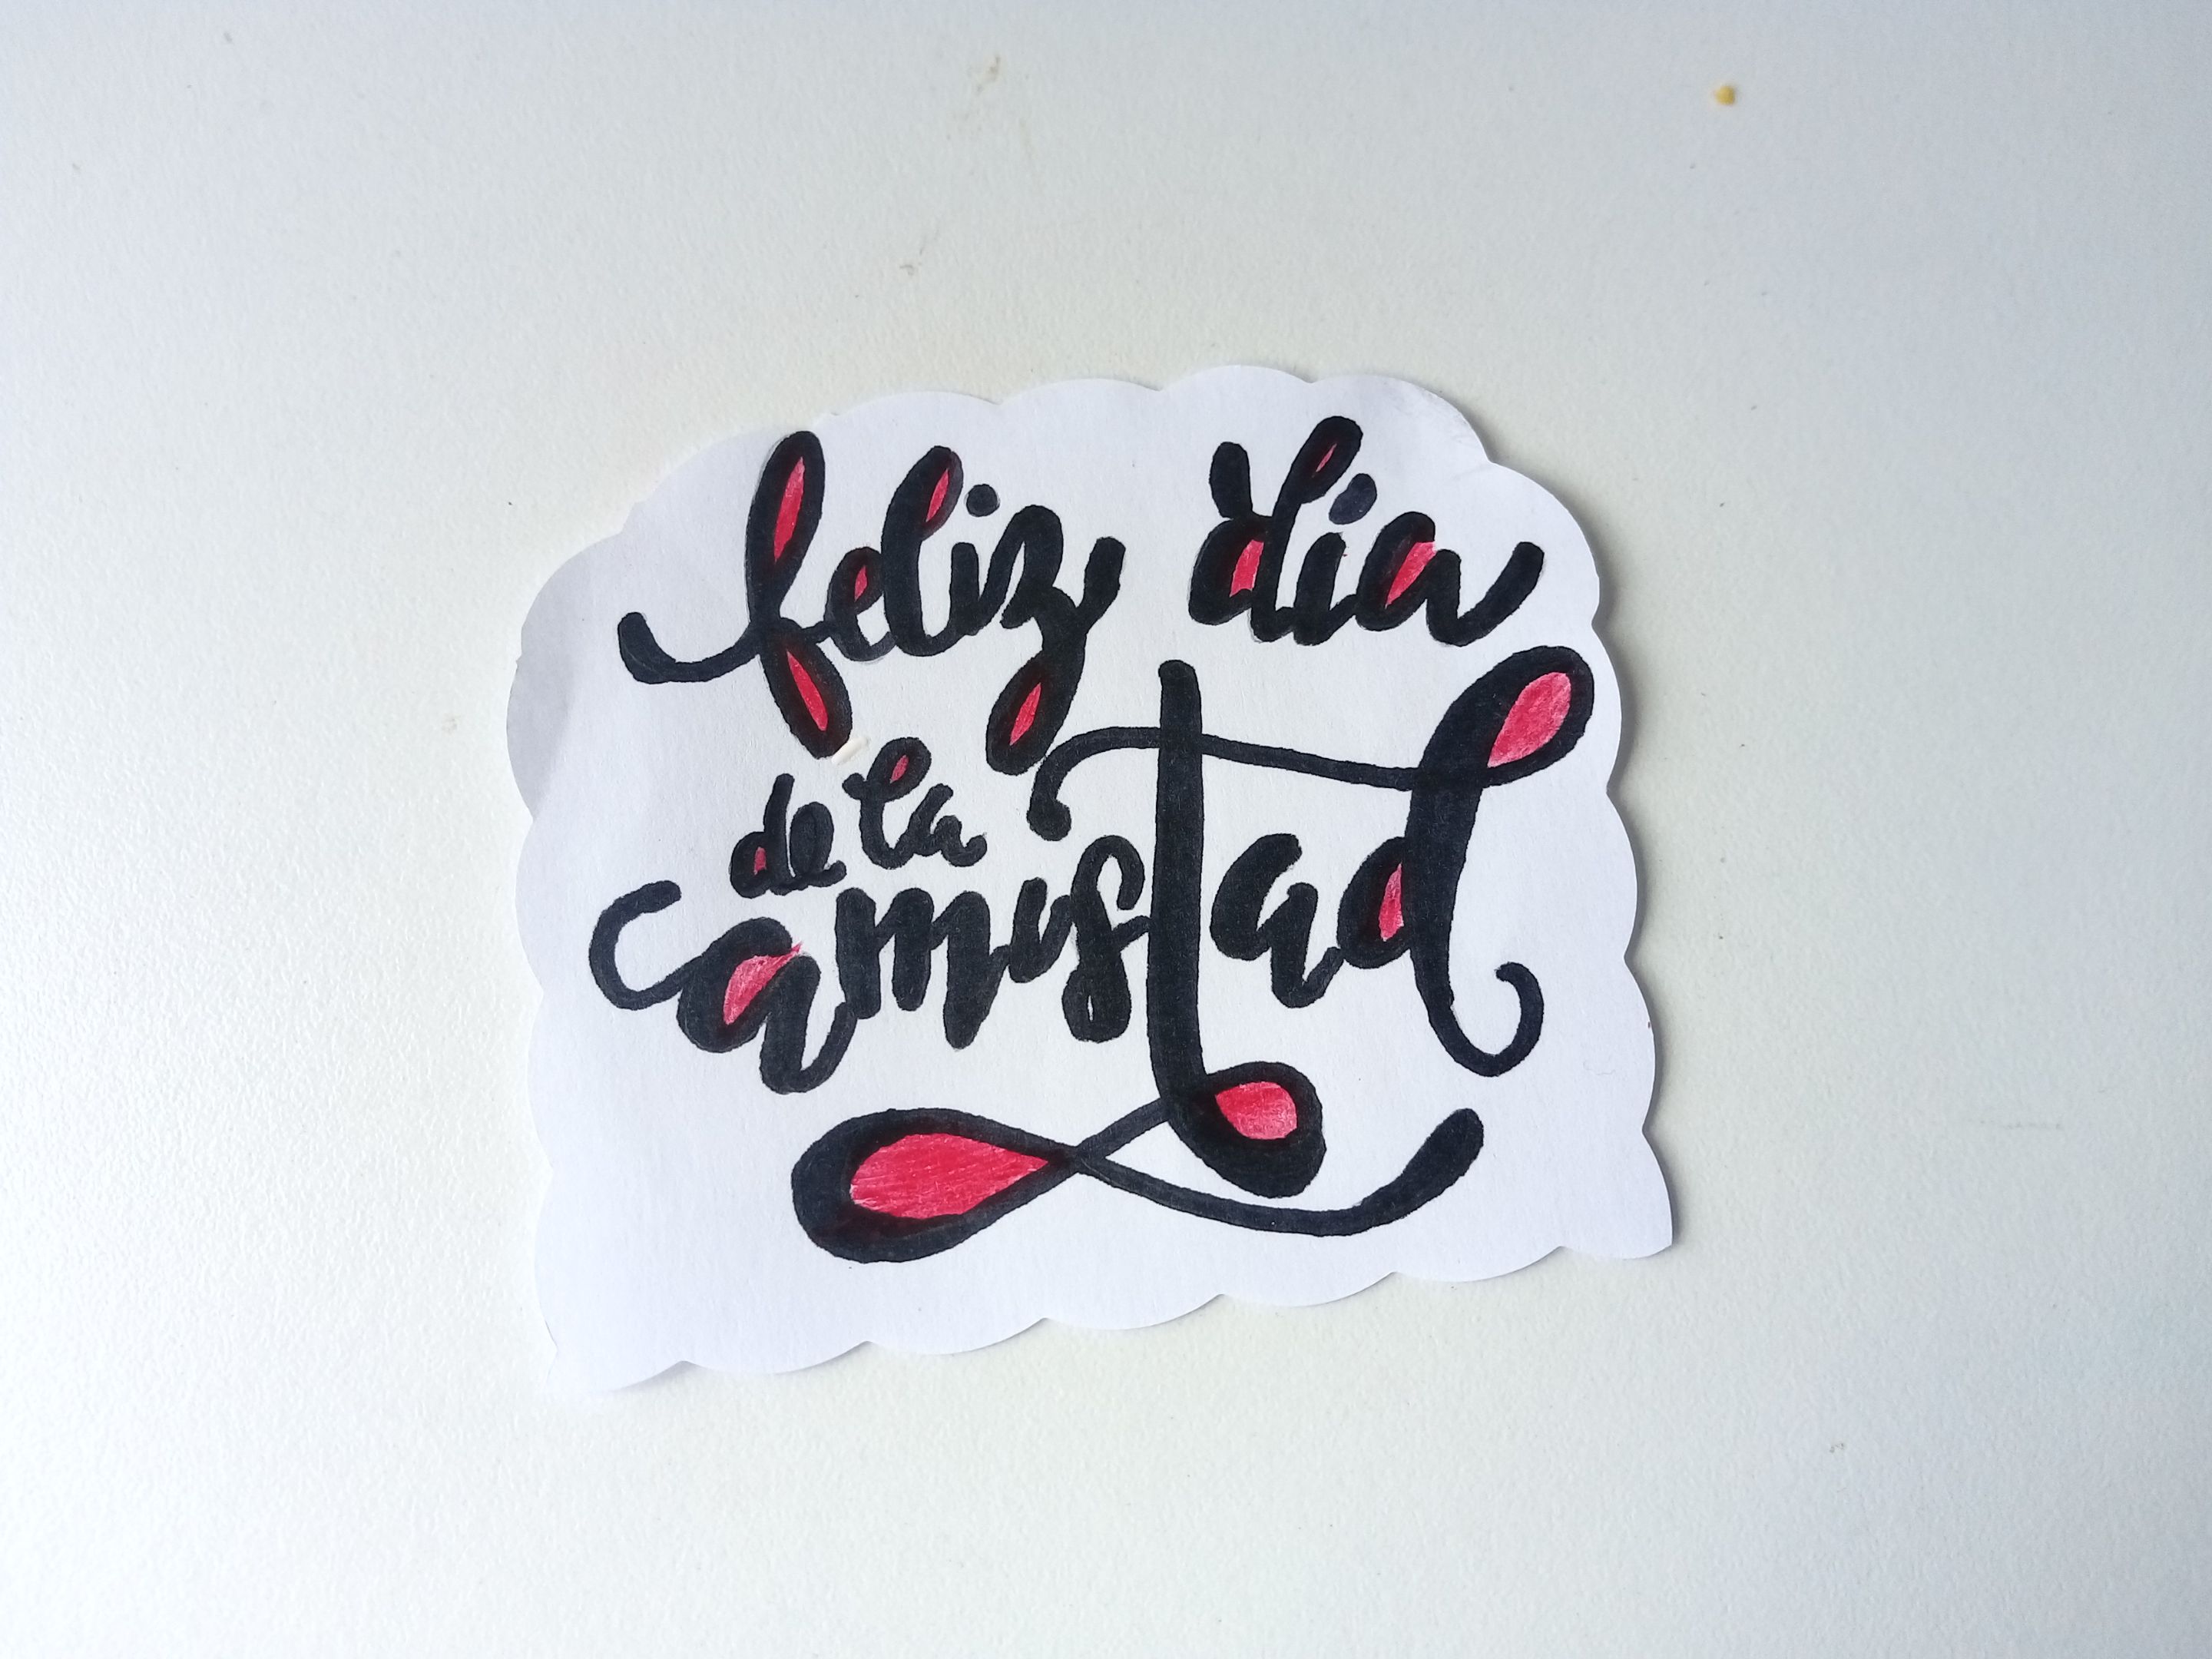
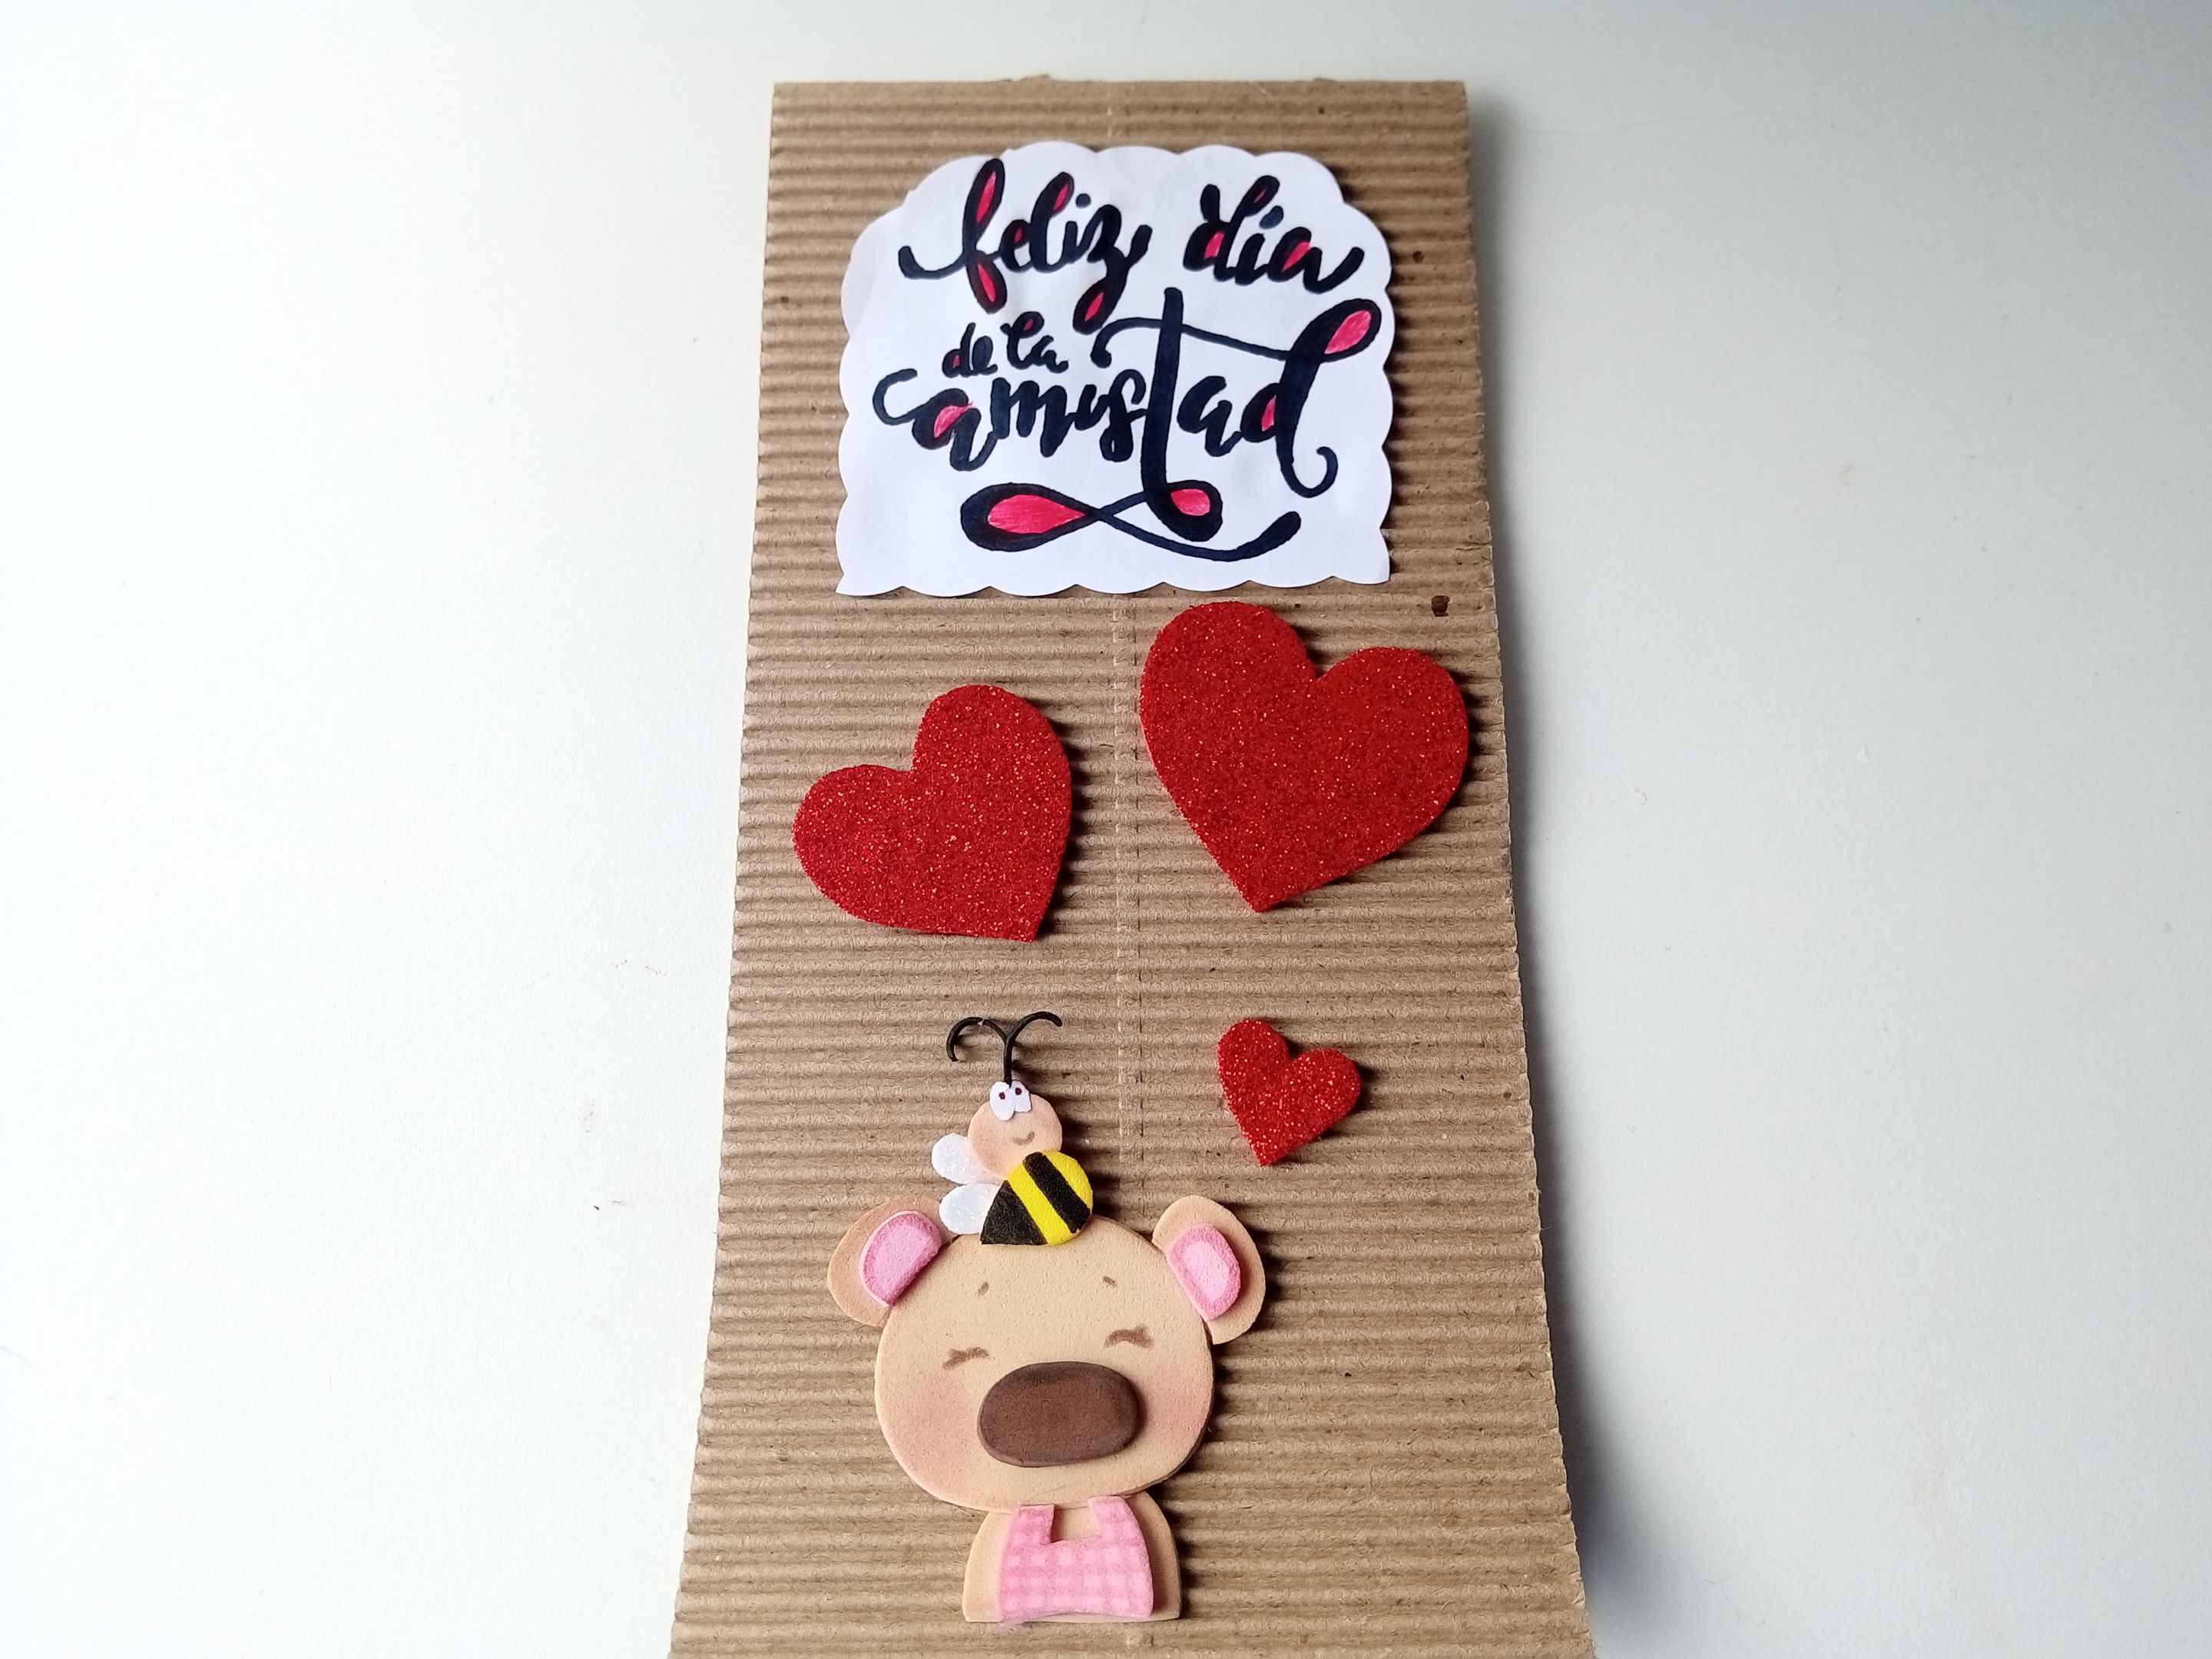
✨ PASO 4:
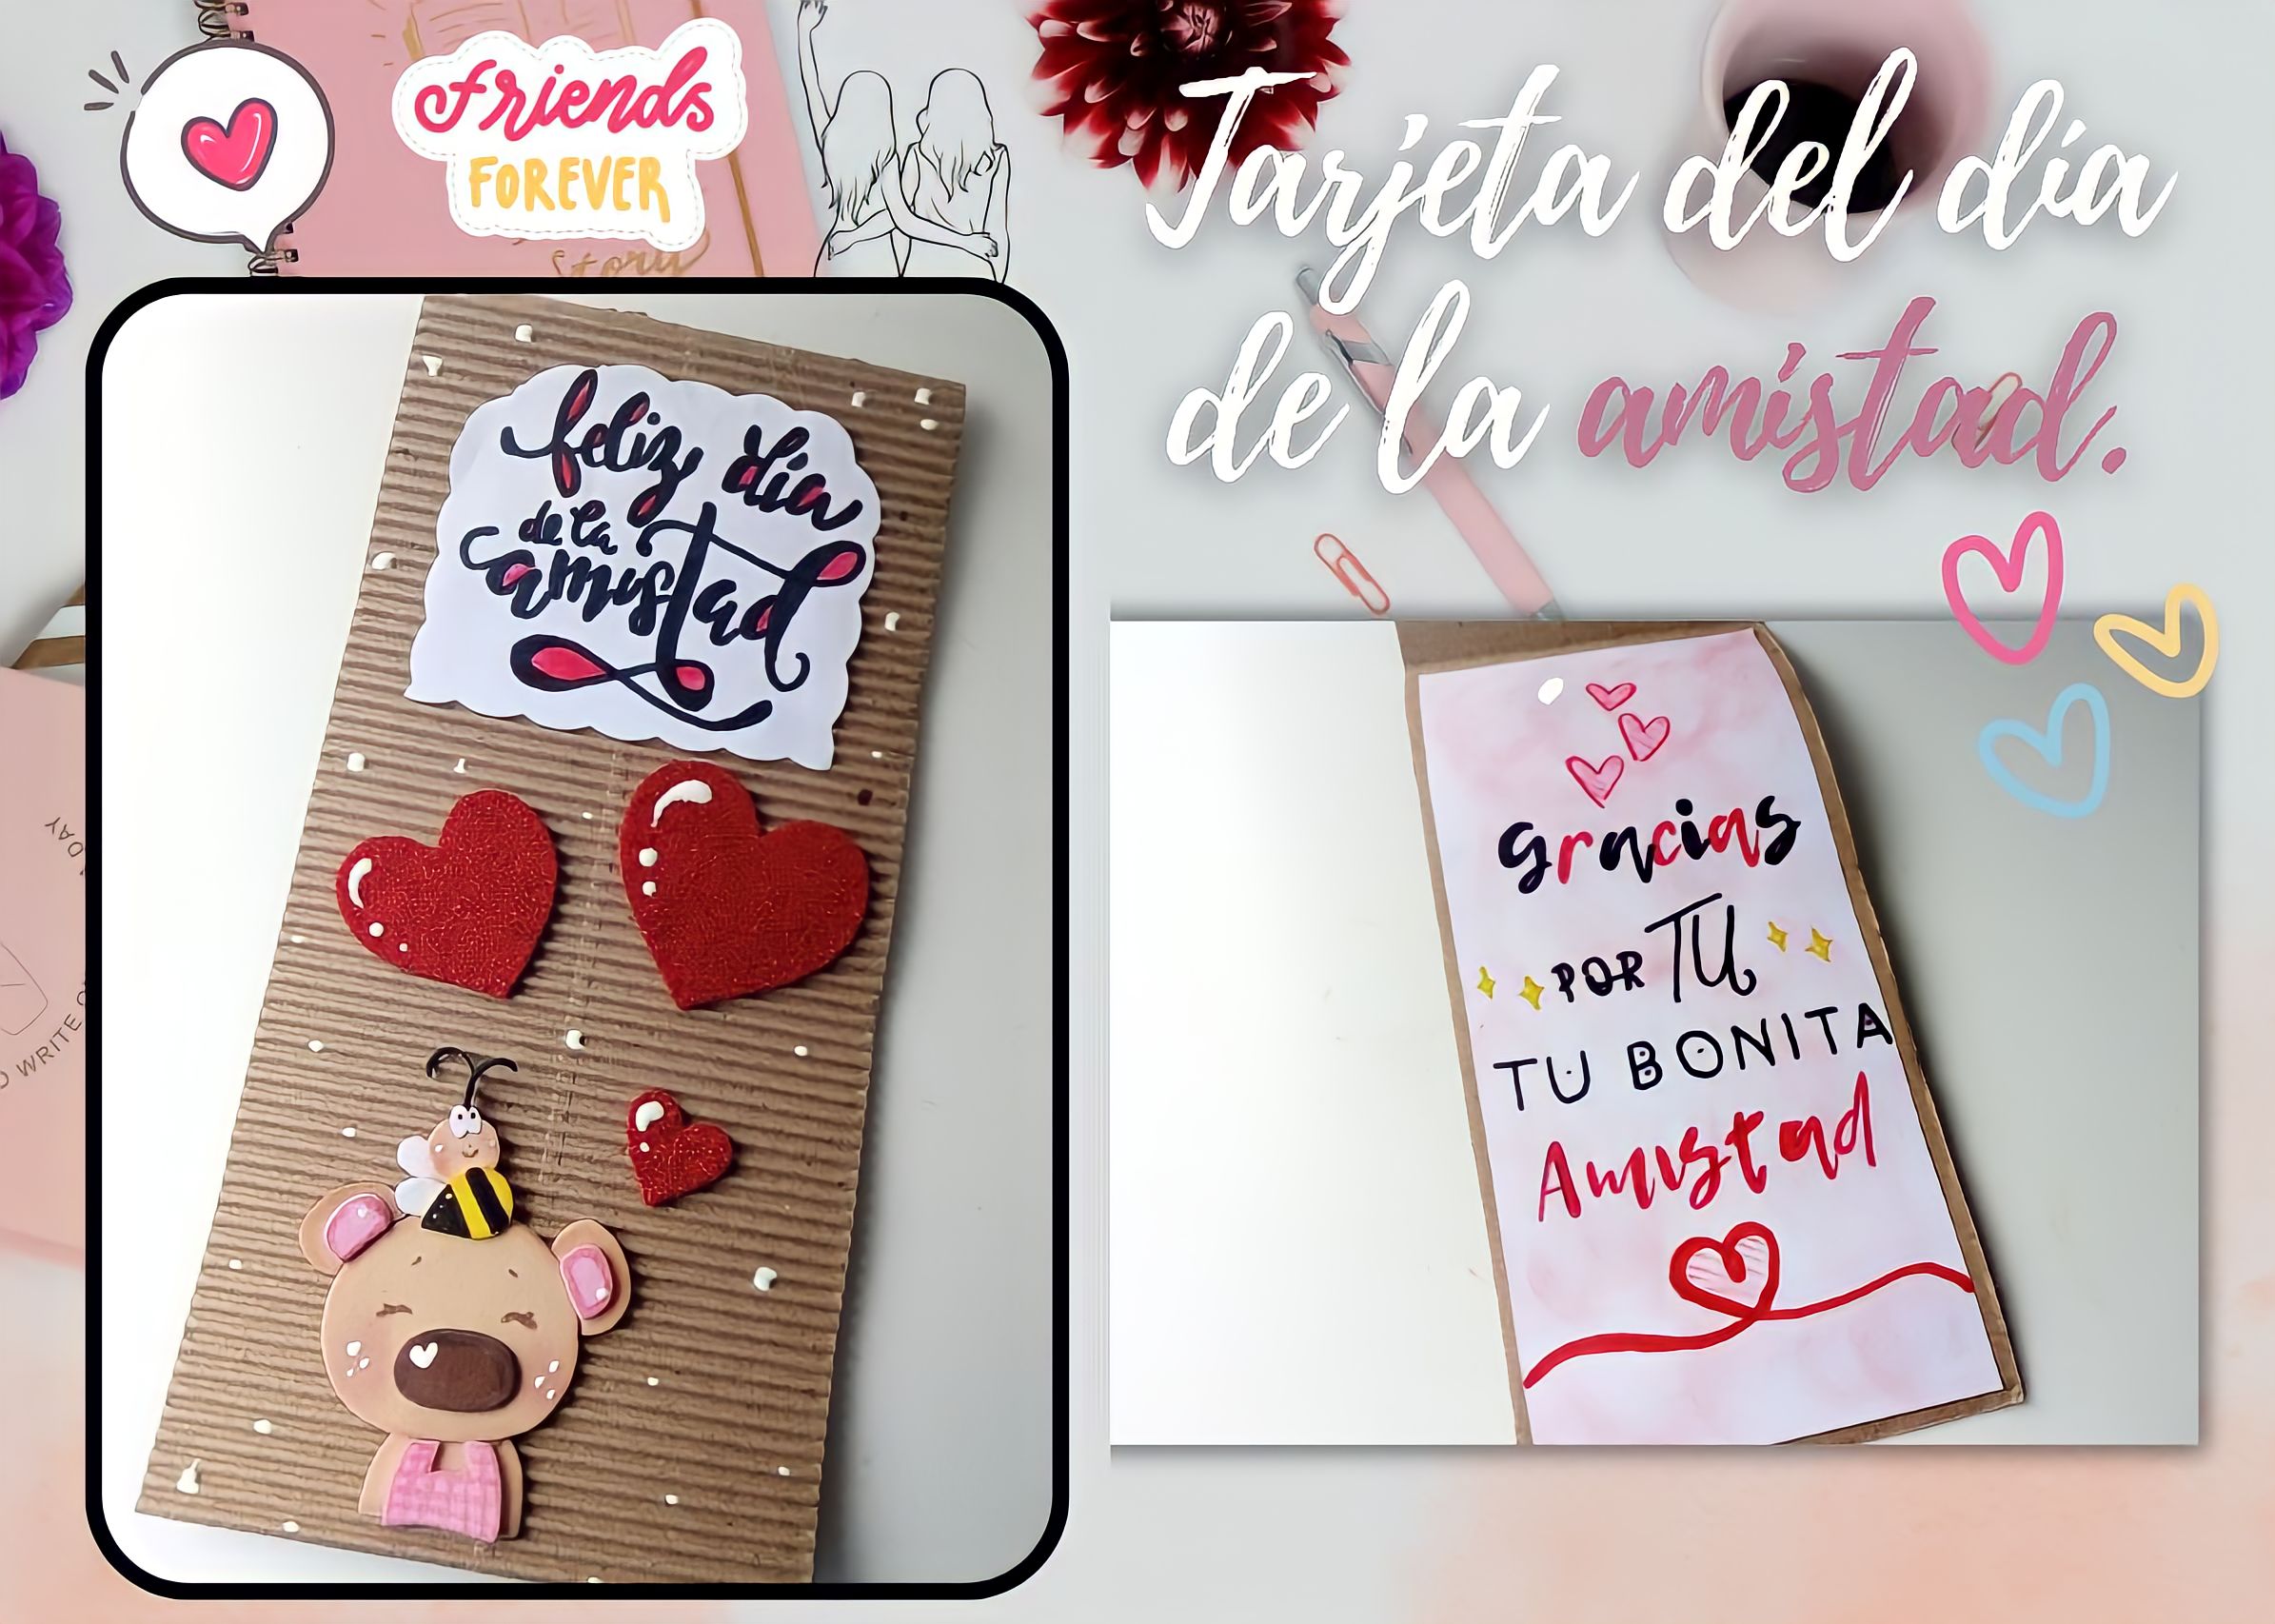
Una vez listo, pegué la abeja sobre la cabeza del oso y pegué en la parte inferior de la tarjeta. También, recorté 3 corazones de diferentes tamaños y los pegué a la tarjeta, por encima del oso, pero dejando un espacio en la parte superior. Para la parte superior, escribí en una hoja blanca ‘‘feliz día de la amistad’’, remarqué con marcador negro y di color. Recorté y pegué en ese espacio.
✨ STEP 4:
Once ready, I glued the bee onto the bear's head and glued to the bottom of the card. Also, I cut out 3 hearts of different sizes and glued them to the card, above the bear, but leaving a space at the top. For the top part, I wrote 'happy friendship day' on a white sheet of paper, highlighted with black marker and colored. I cut and pasted in that space.
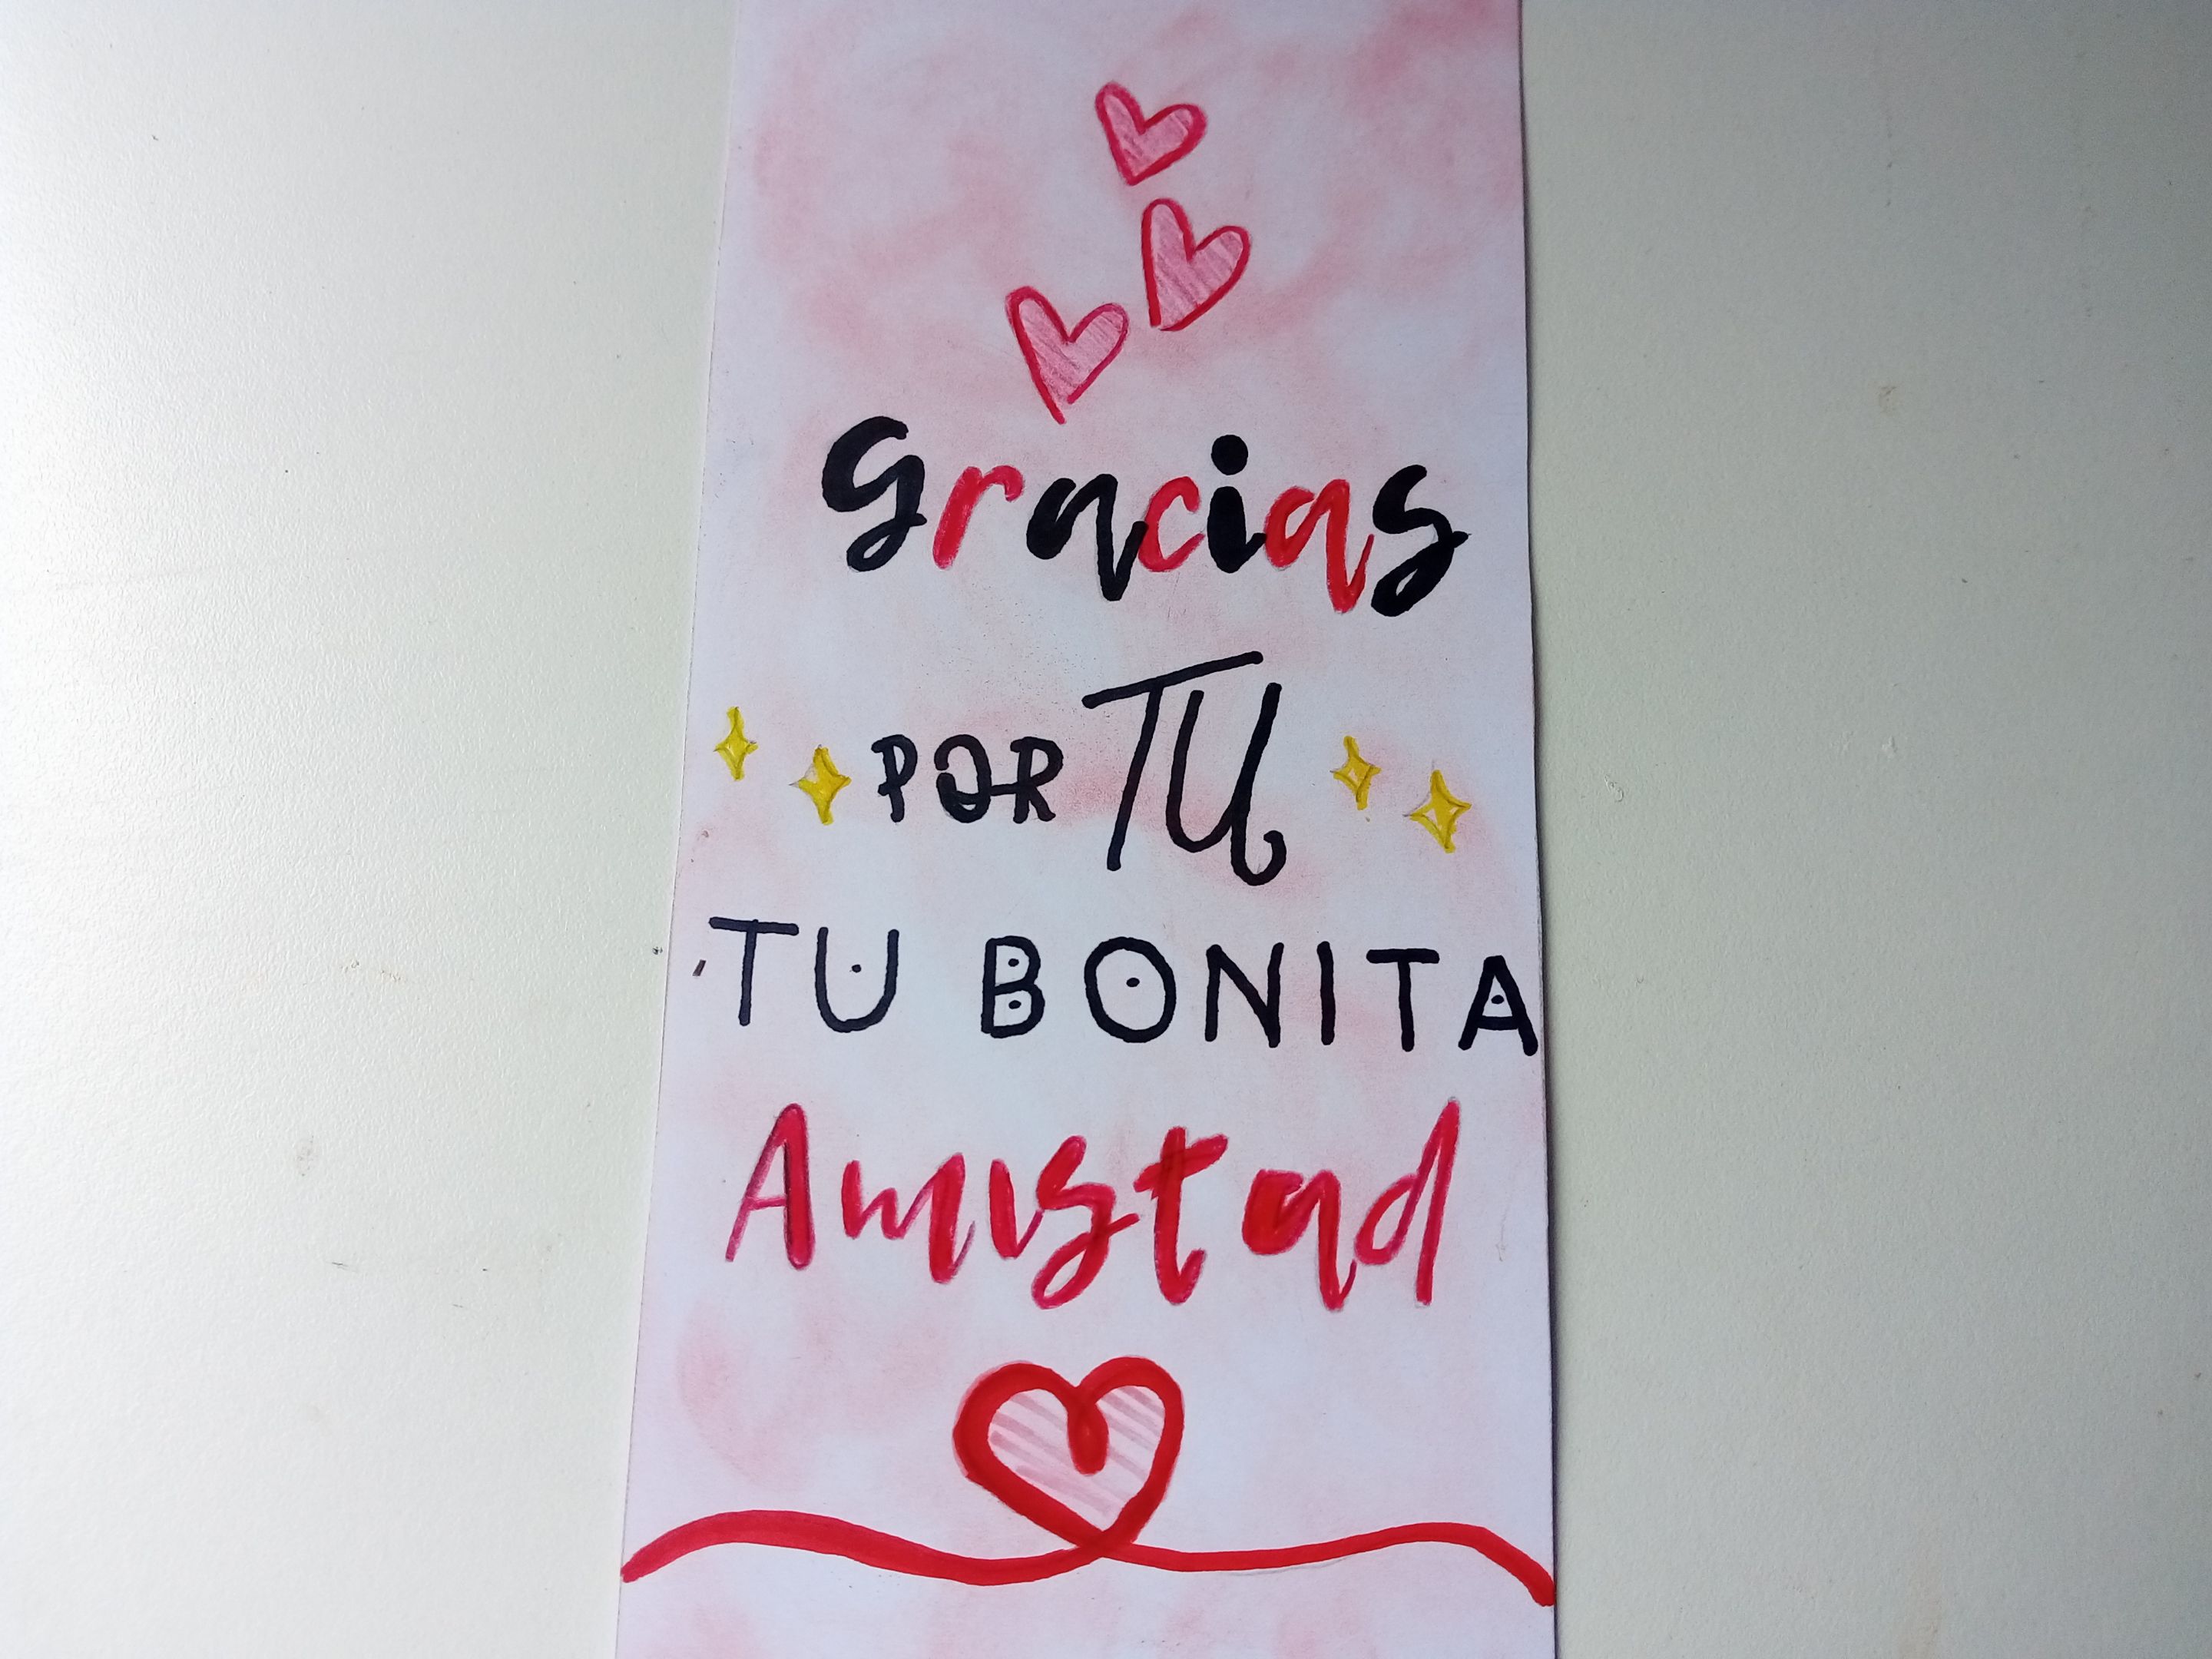
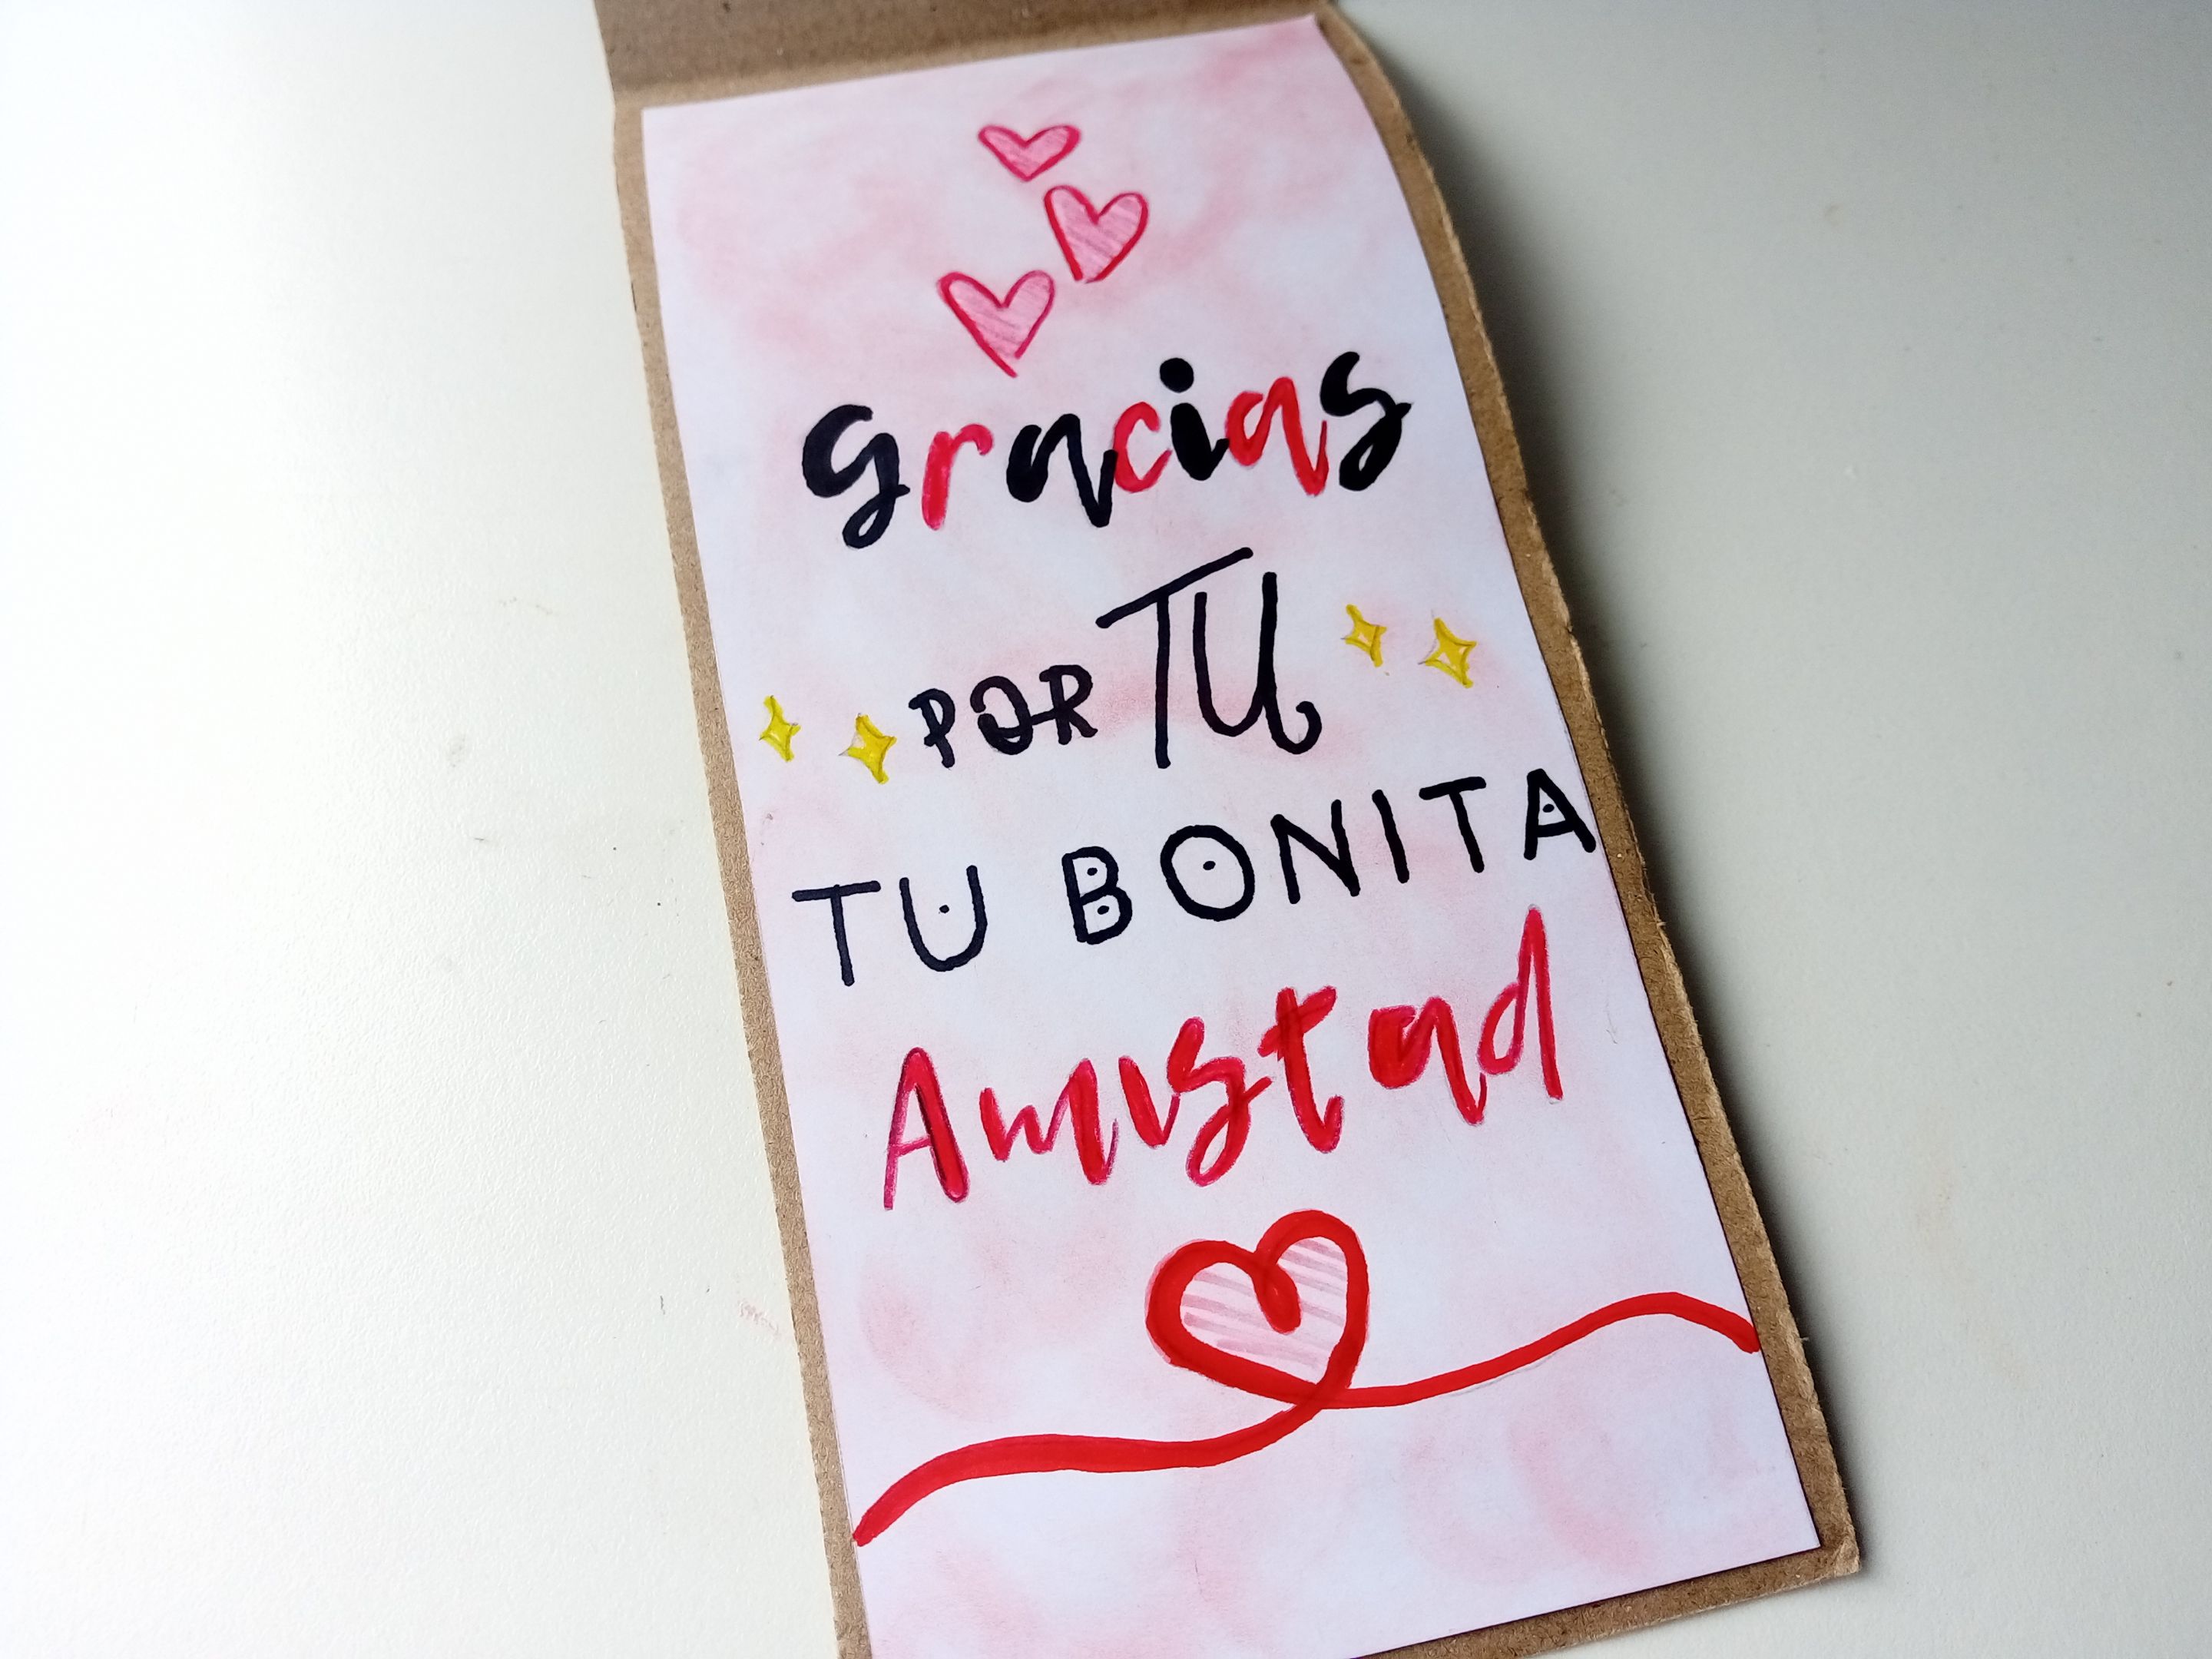
✨ PASO 5:
Para la parte interna, recorté una hoja de 22 cm x 10 cm y escribí un bonito mensaje de amistad. Luego remarqué con marcadores, hice un par de corazones y pasé tiza al fondo. Por último, pegué a la parte interna, volví a la portada a dar detalles de luz a la decoración y puntos al fondo de la cartulina corrugada.
✨ STEP 5:
For the inside, I cut out a 22 cm x 10 cm sheet and wrote a nice friendship message. Then I highlighted with markers, made a couple of hearts and chalked the background. Finally, I glued to the inside, went back to the cover to give light details to the decoration and dots to the background of the corrugated cardboard.
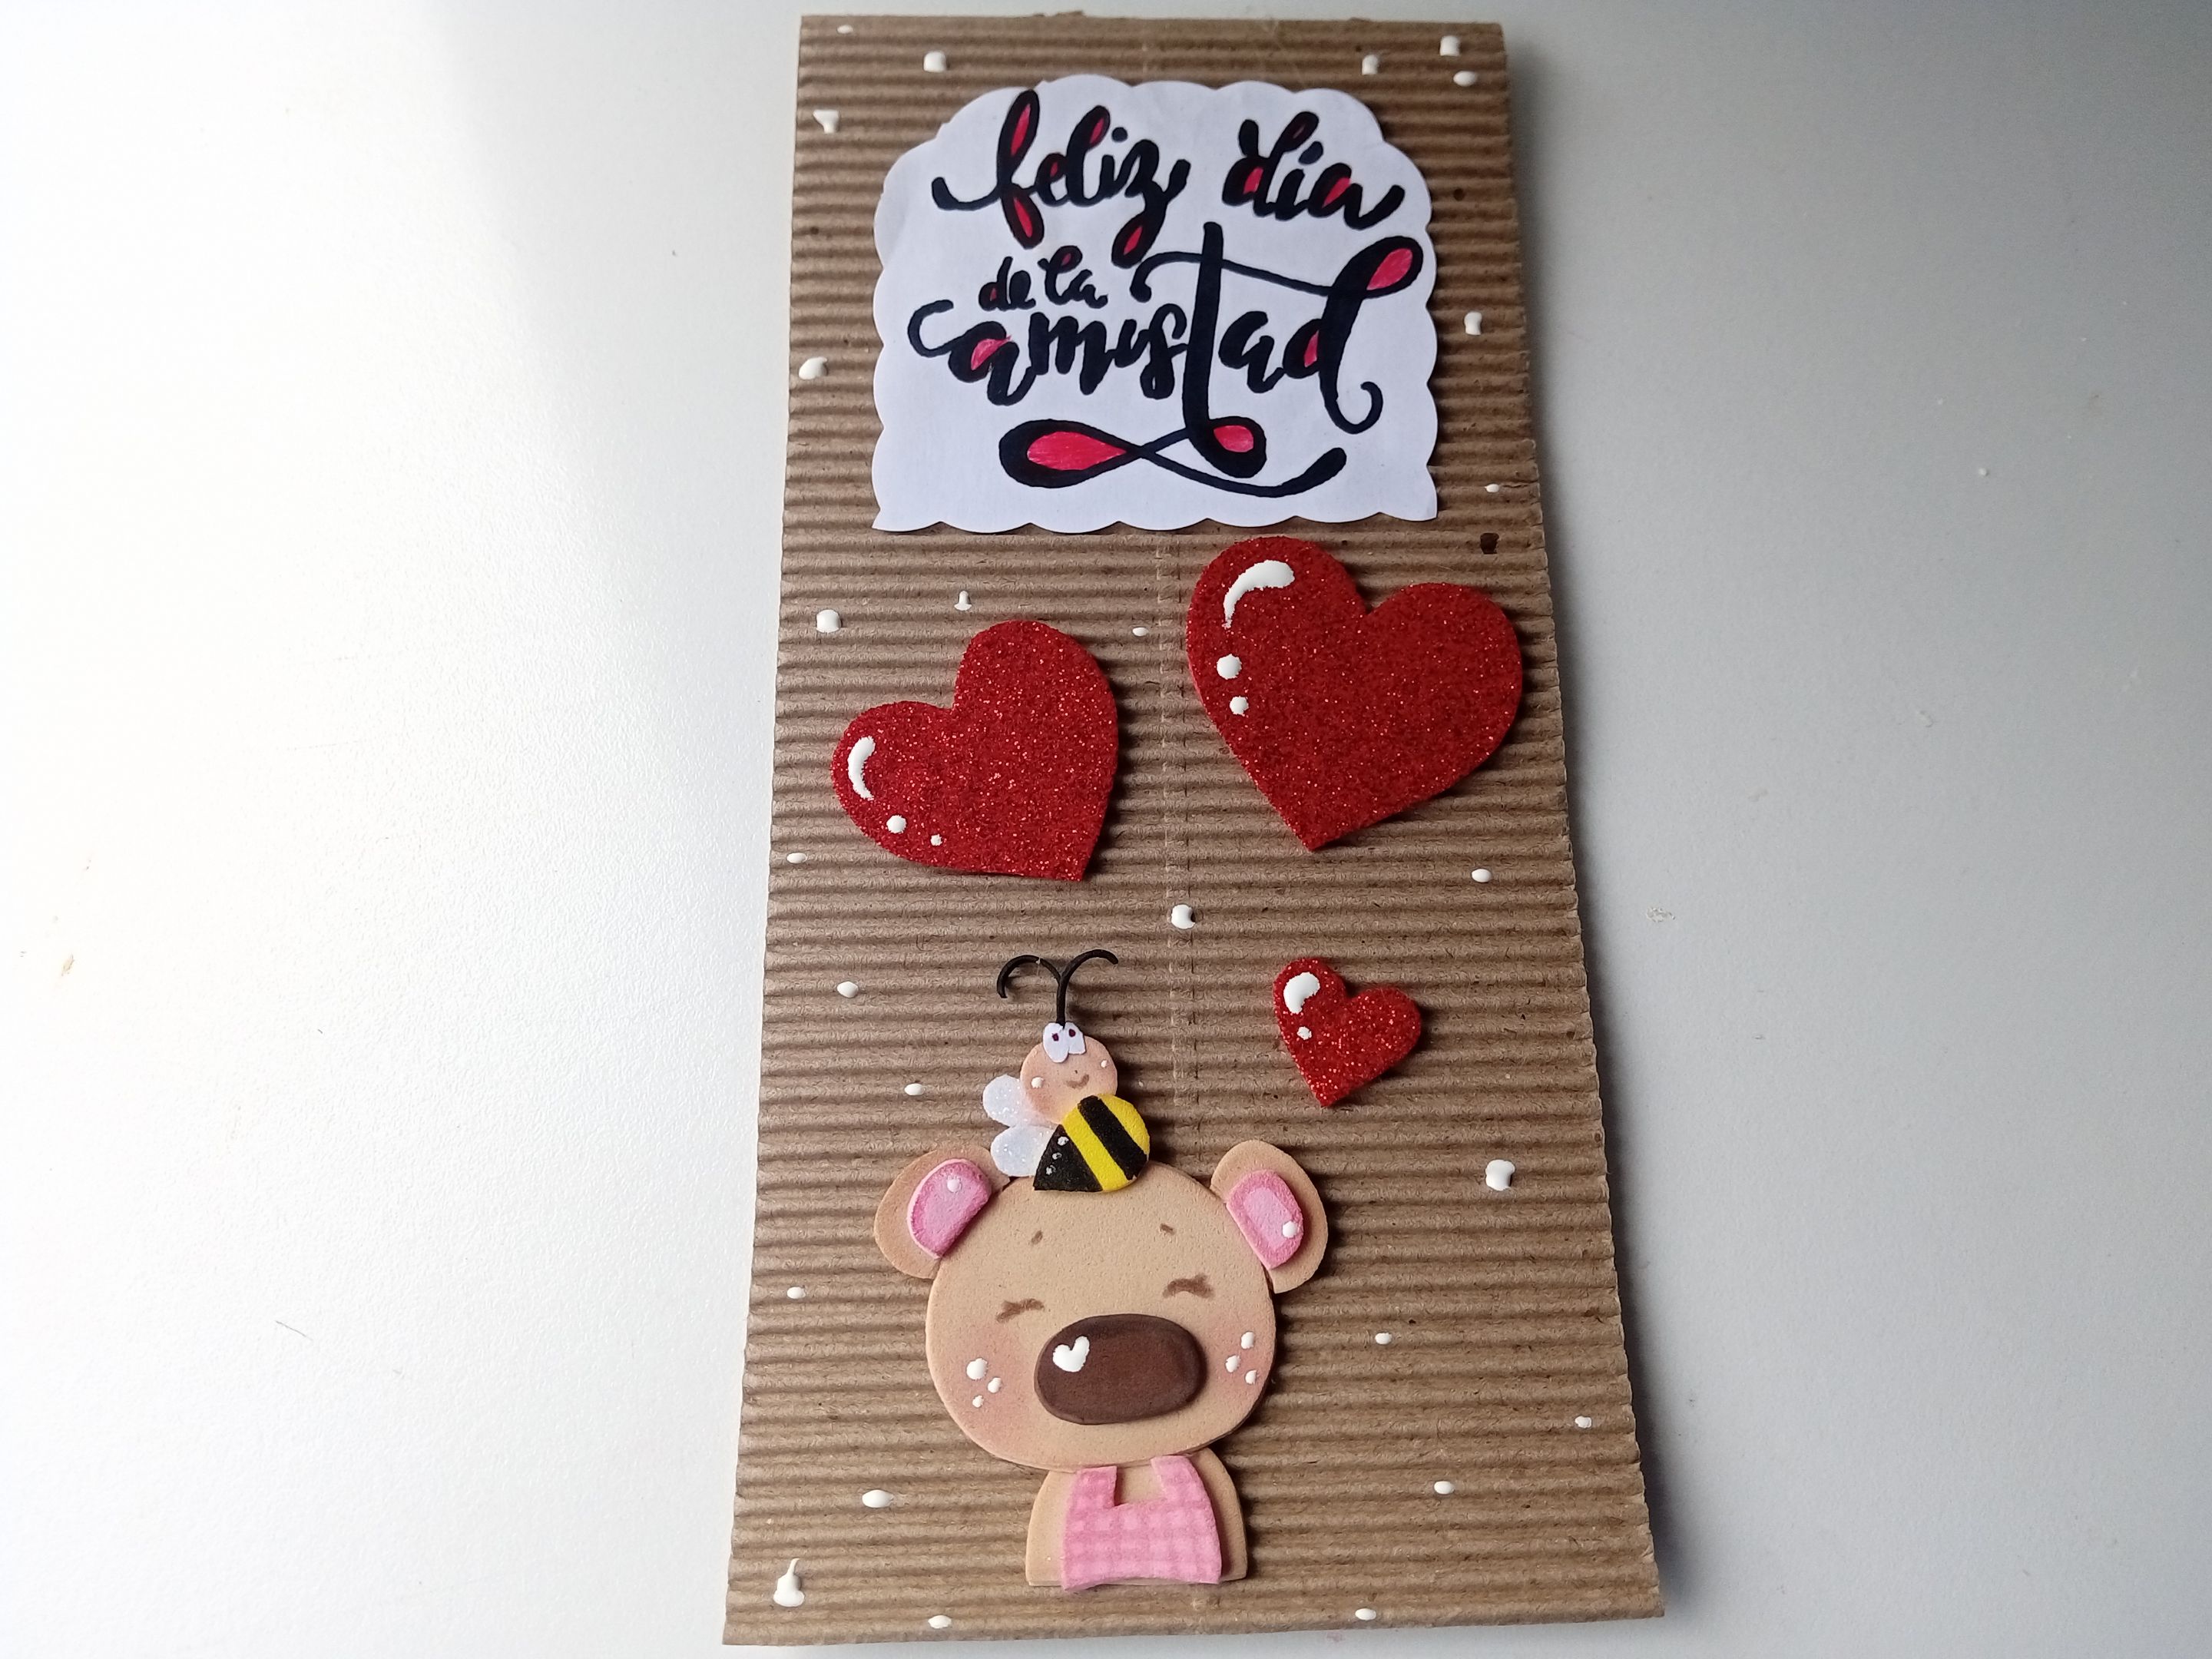
✨🌷¡And ready!🌷✨That way you can make a beautiful but simple card for Friendship Day or any occasion you want, with the characters or decoration of your choice. I hope you liked it and are encouraged to make it.
❤️Until the next post.
✨RESULTADO: | ✨RESULT:

Todas las fotografías son de mi propiedad.
Separador y Fotos editadas en Canva
All photographs are my property.
Photos edited in Canva