Hello everyone... 🐱
Hello to my dear Hivers and the dear community of Holozing, very pleased and excited to be here to show you a very simple work made with much love and especially for you.
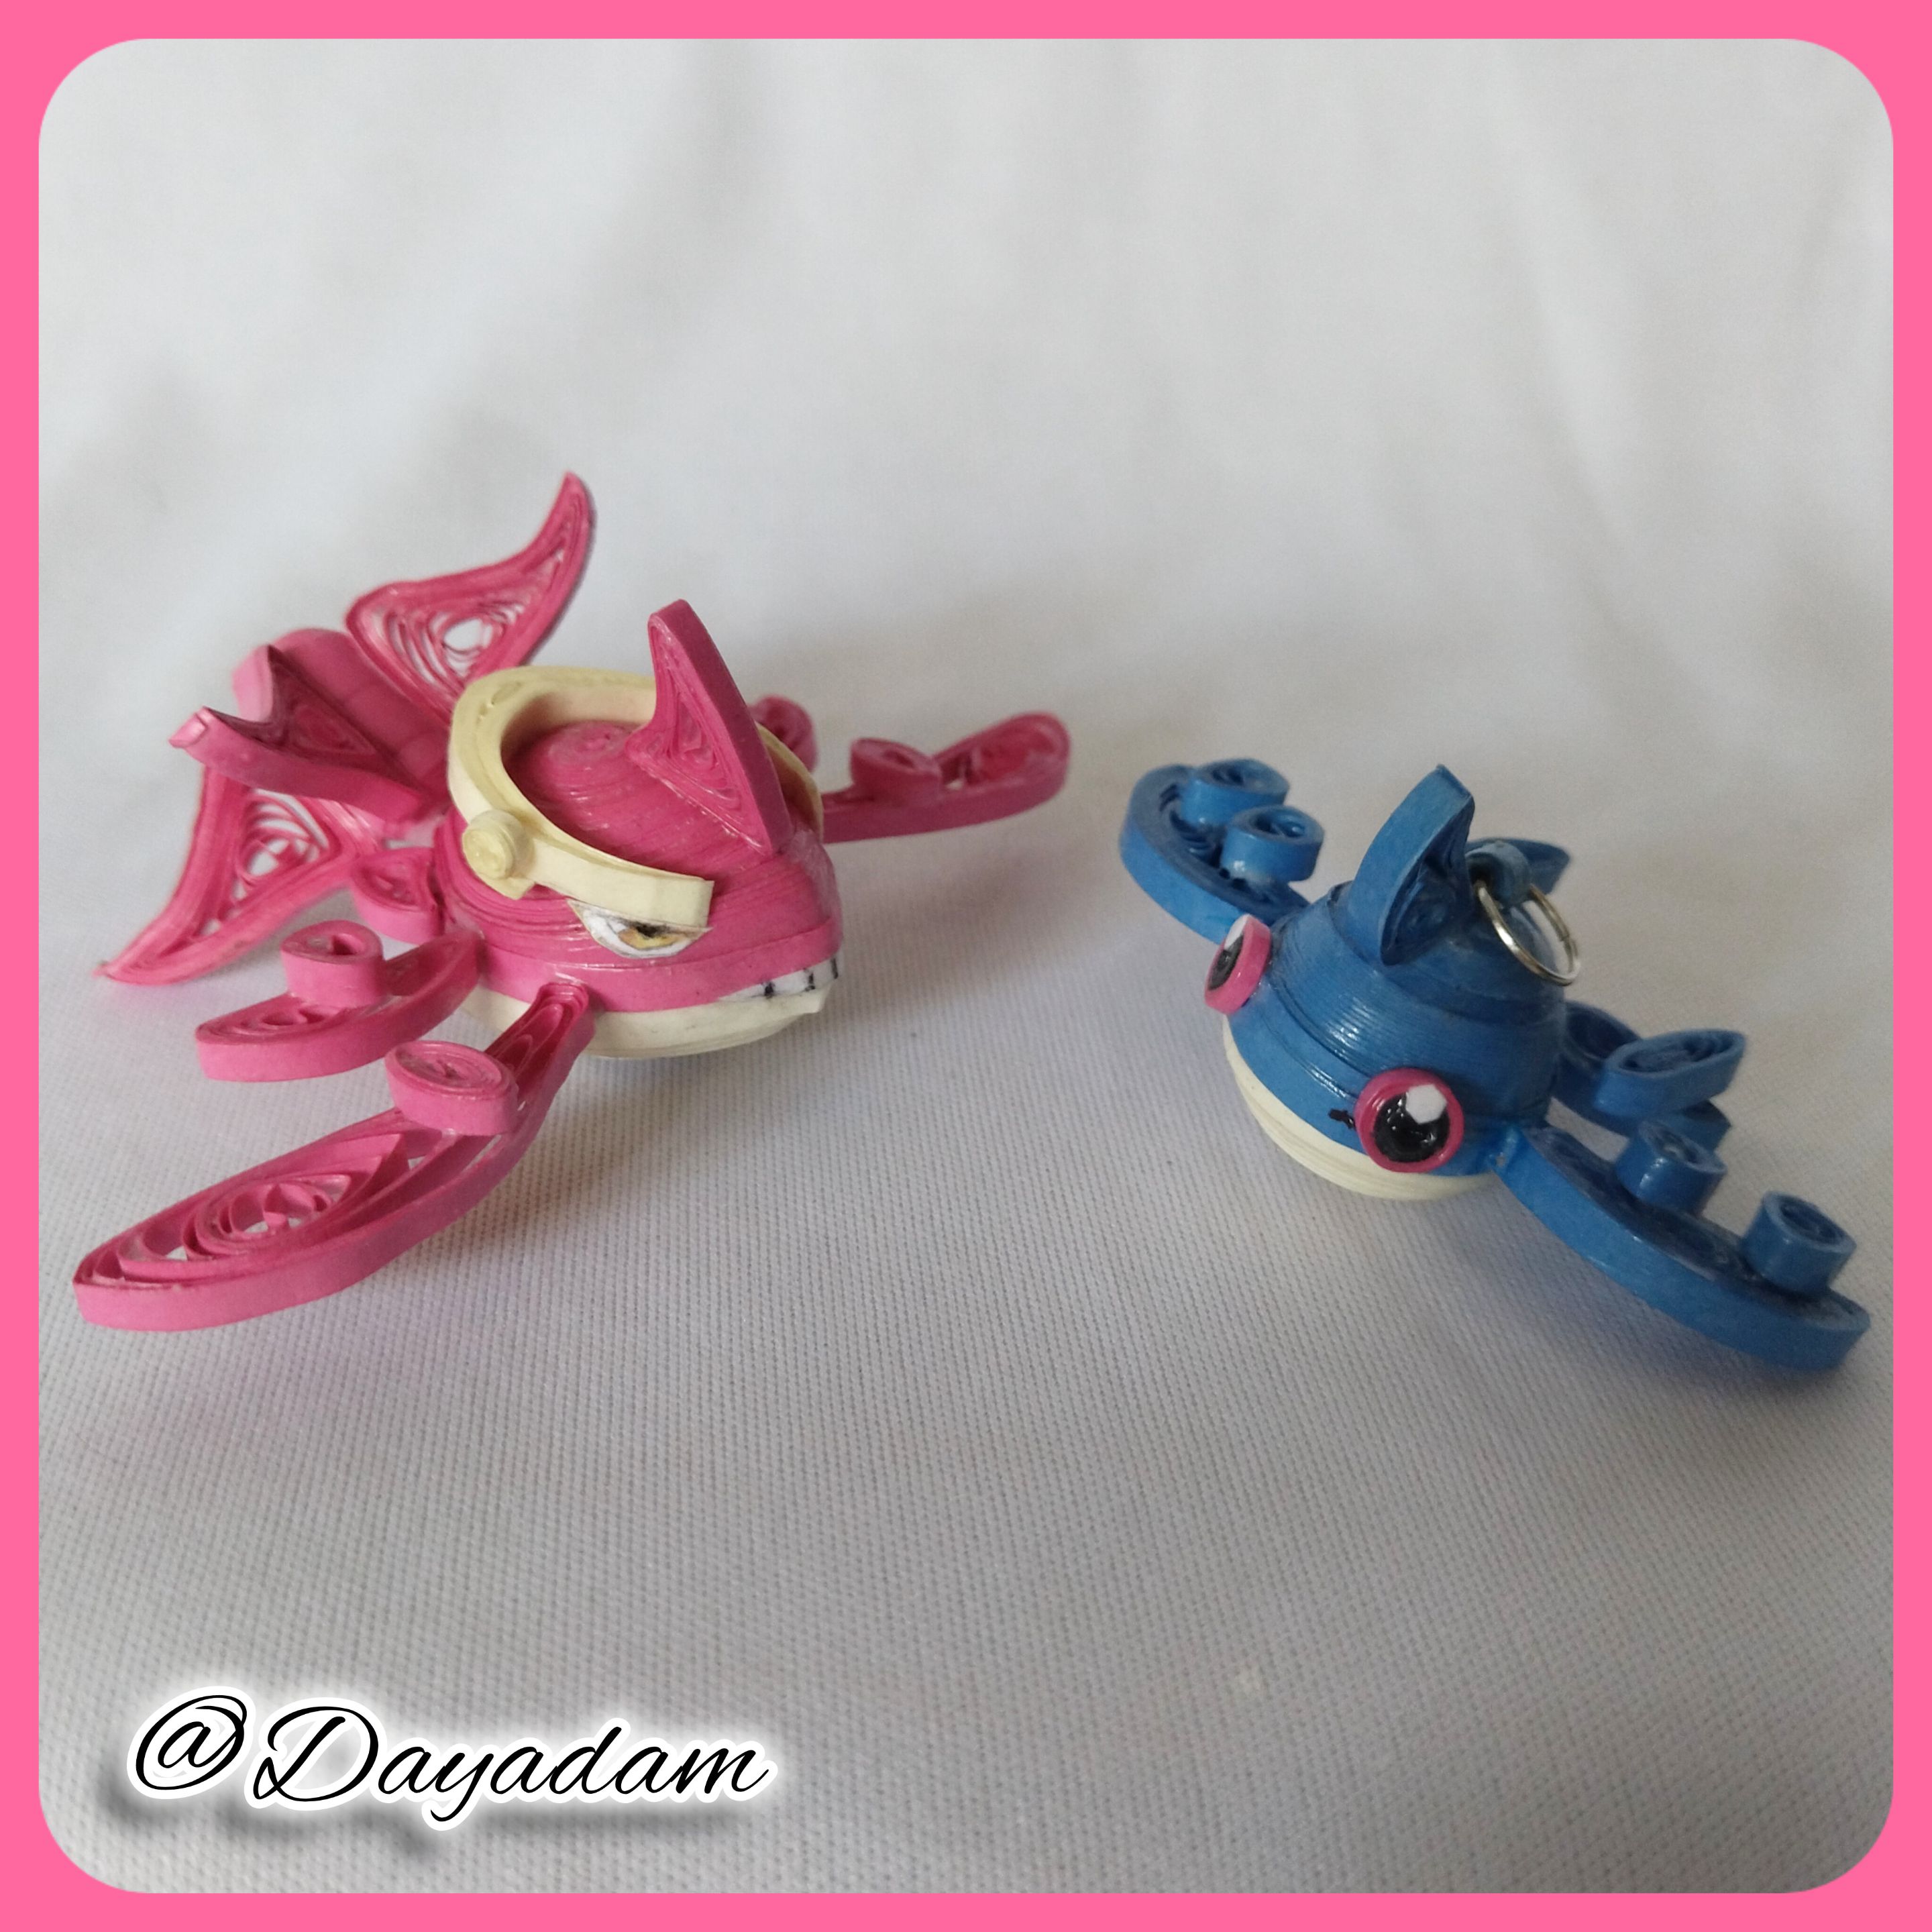
In this new update of rewards of which 10 days have passed since the last one I presented to you, I wanted to continue with another work in my art. The first sculpture or figure that I made in the quilling technique for the community and with which I made my first publication in this project, was of a cute Waller Regular in 3D.
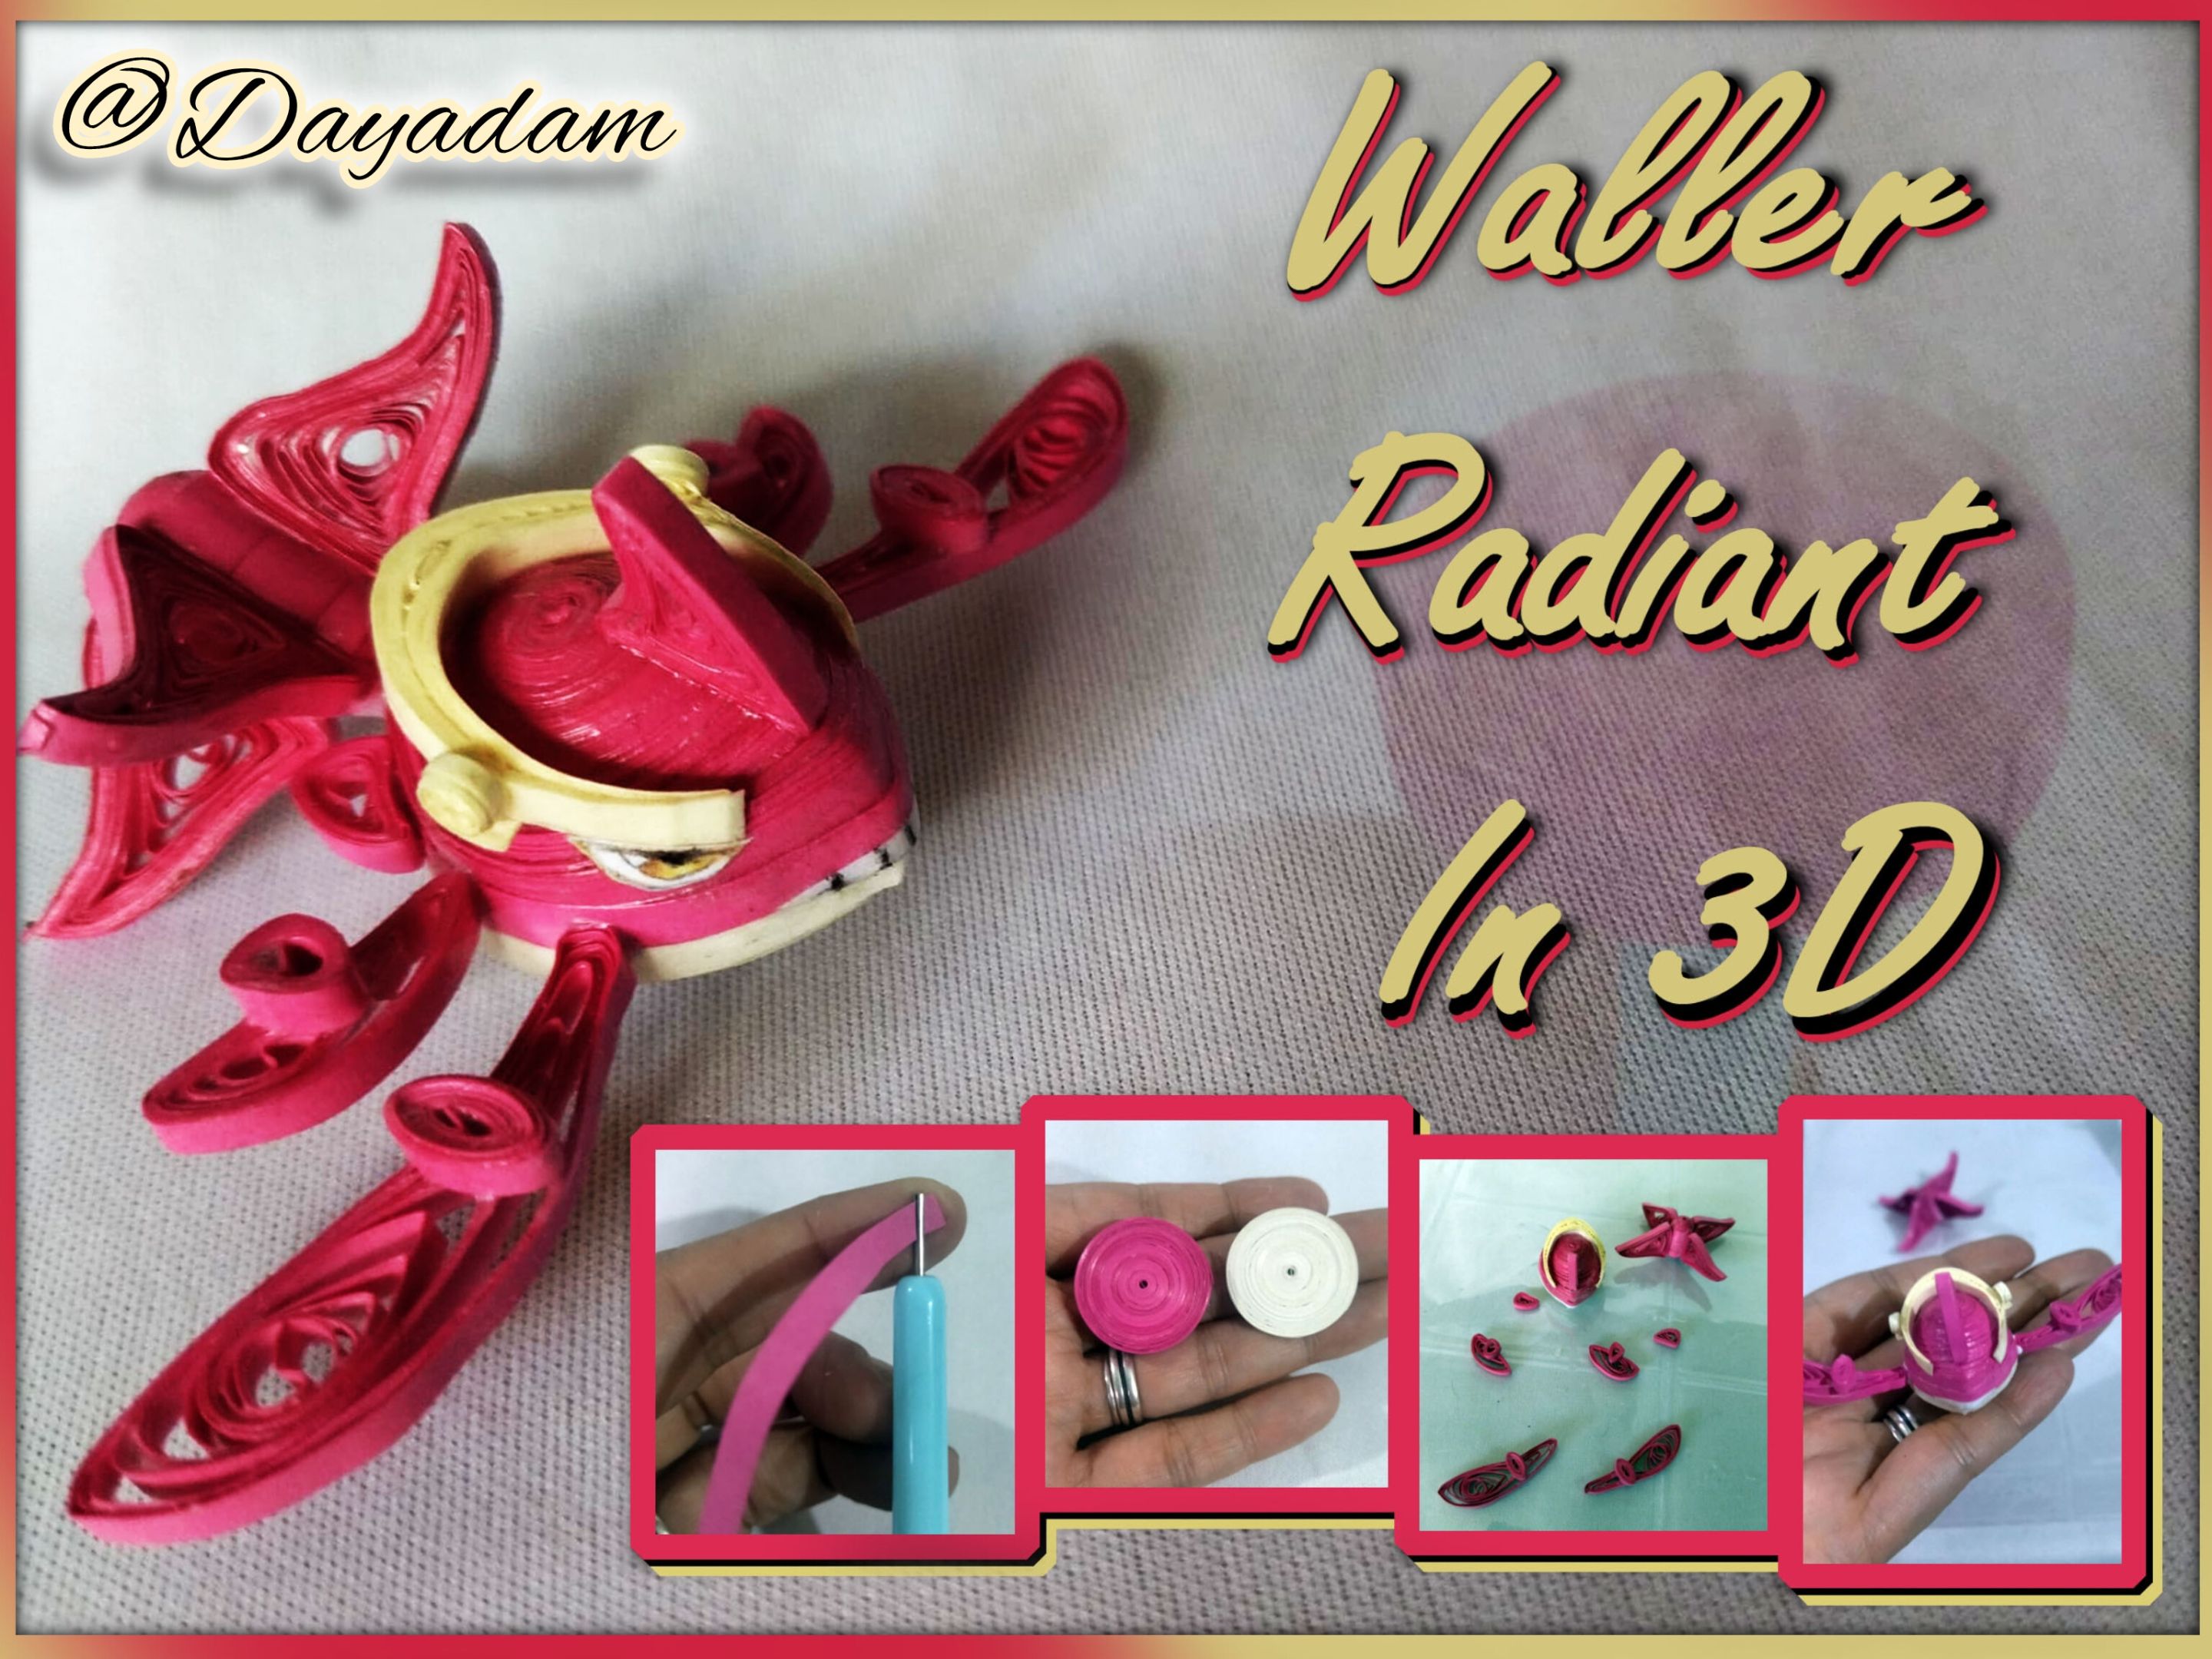
But this time, I wanted to make an evolution of the whale and I chose the "Waller Radiant in 3D " in the quilling technique.
If you want to see my previous work to enjoy the creation of both figures, here is the link, and if you want to leave your appreciation: Water Whale Regular in 3D
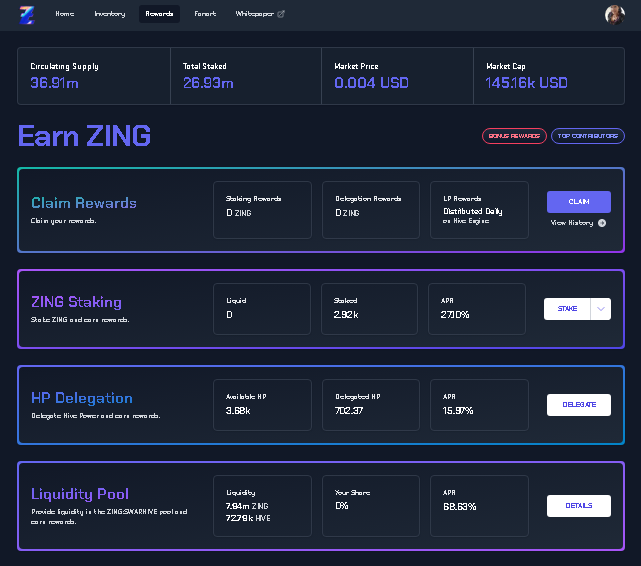
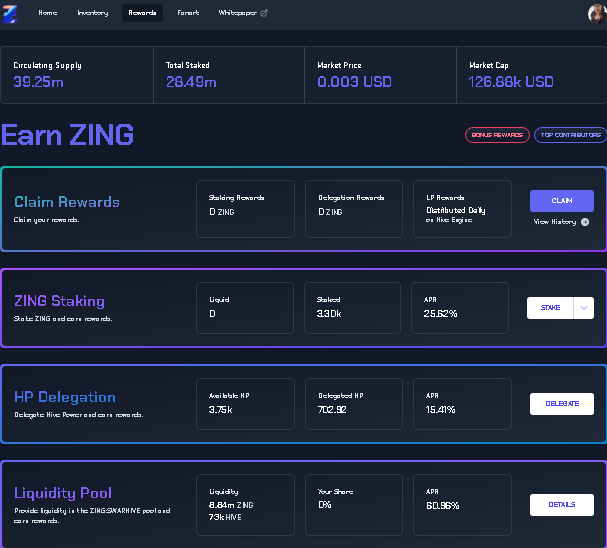
I am attaching images of my progress in claiming rewards for my delegation to Holozing which so far is 702.92HP, and I have an accumulated Stake of 3,302.391 tokens $ZING.
I hope you like my work, join me in this short creative process.
Let's begin:😃

Hola a Todos... 🐱
Hola a mis queridos Hivers y a la querida comunidad de Holozing, muy complacida y emocionada de encontrarme por acá para mostrarles un trabajo muy sencillo hecho con mucho amor y especialmente para ustedes.
Para hoy en esta nueva actualización de recompensas de la cual han pasado 10 días desde la ultima que les presente, quise seguir con otro trabajo en mi arte. La primera escultura o figura que realice en la técnica de quilling para la comunidad y con la cual hice mi primera publicación en este proyecto, fue de una linda Waller Regular en 3D.
Pero esta vez, quise realizar una evolución de la ballena y escogí al "Waller Radiant en 3D" en la técnica de quilling.
Si desean ver mi trabajo anterior para disfrutar de la creación de ambas figuras, por acá les dejo el link, y si lo desean dejen su apreciación: Water Whale Regular en 3D
Les adjunto imágenes de lo que ha sido mi progreso reclamando las recompensas por mi delegación a Holozing que hasta ahora son 702.92HP, y llevo un acumulado en Stake de 3,302.391 tokens $ZING.
Espero sea de su agrado mi trabajo, acompáñenme en este corto proceso creativo.
Comencemos:😃

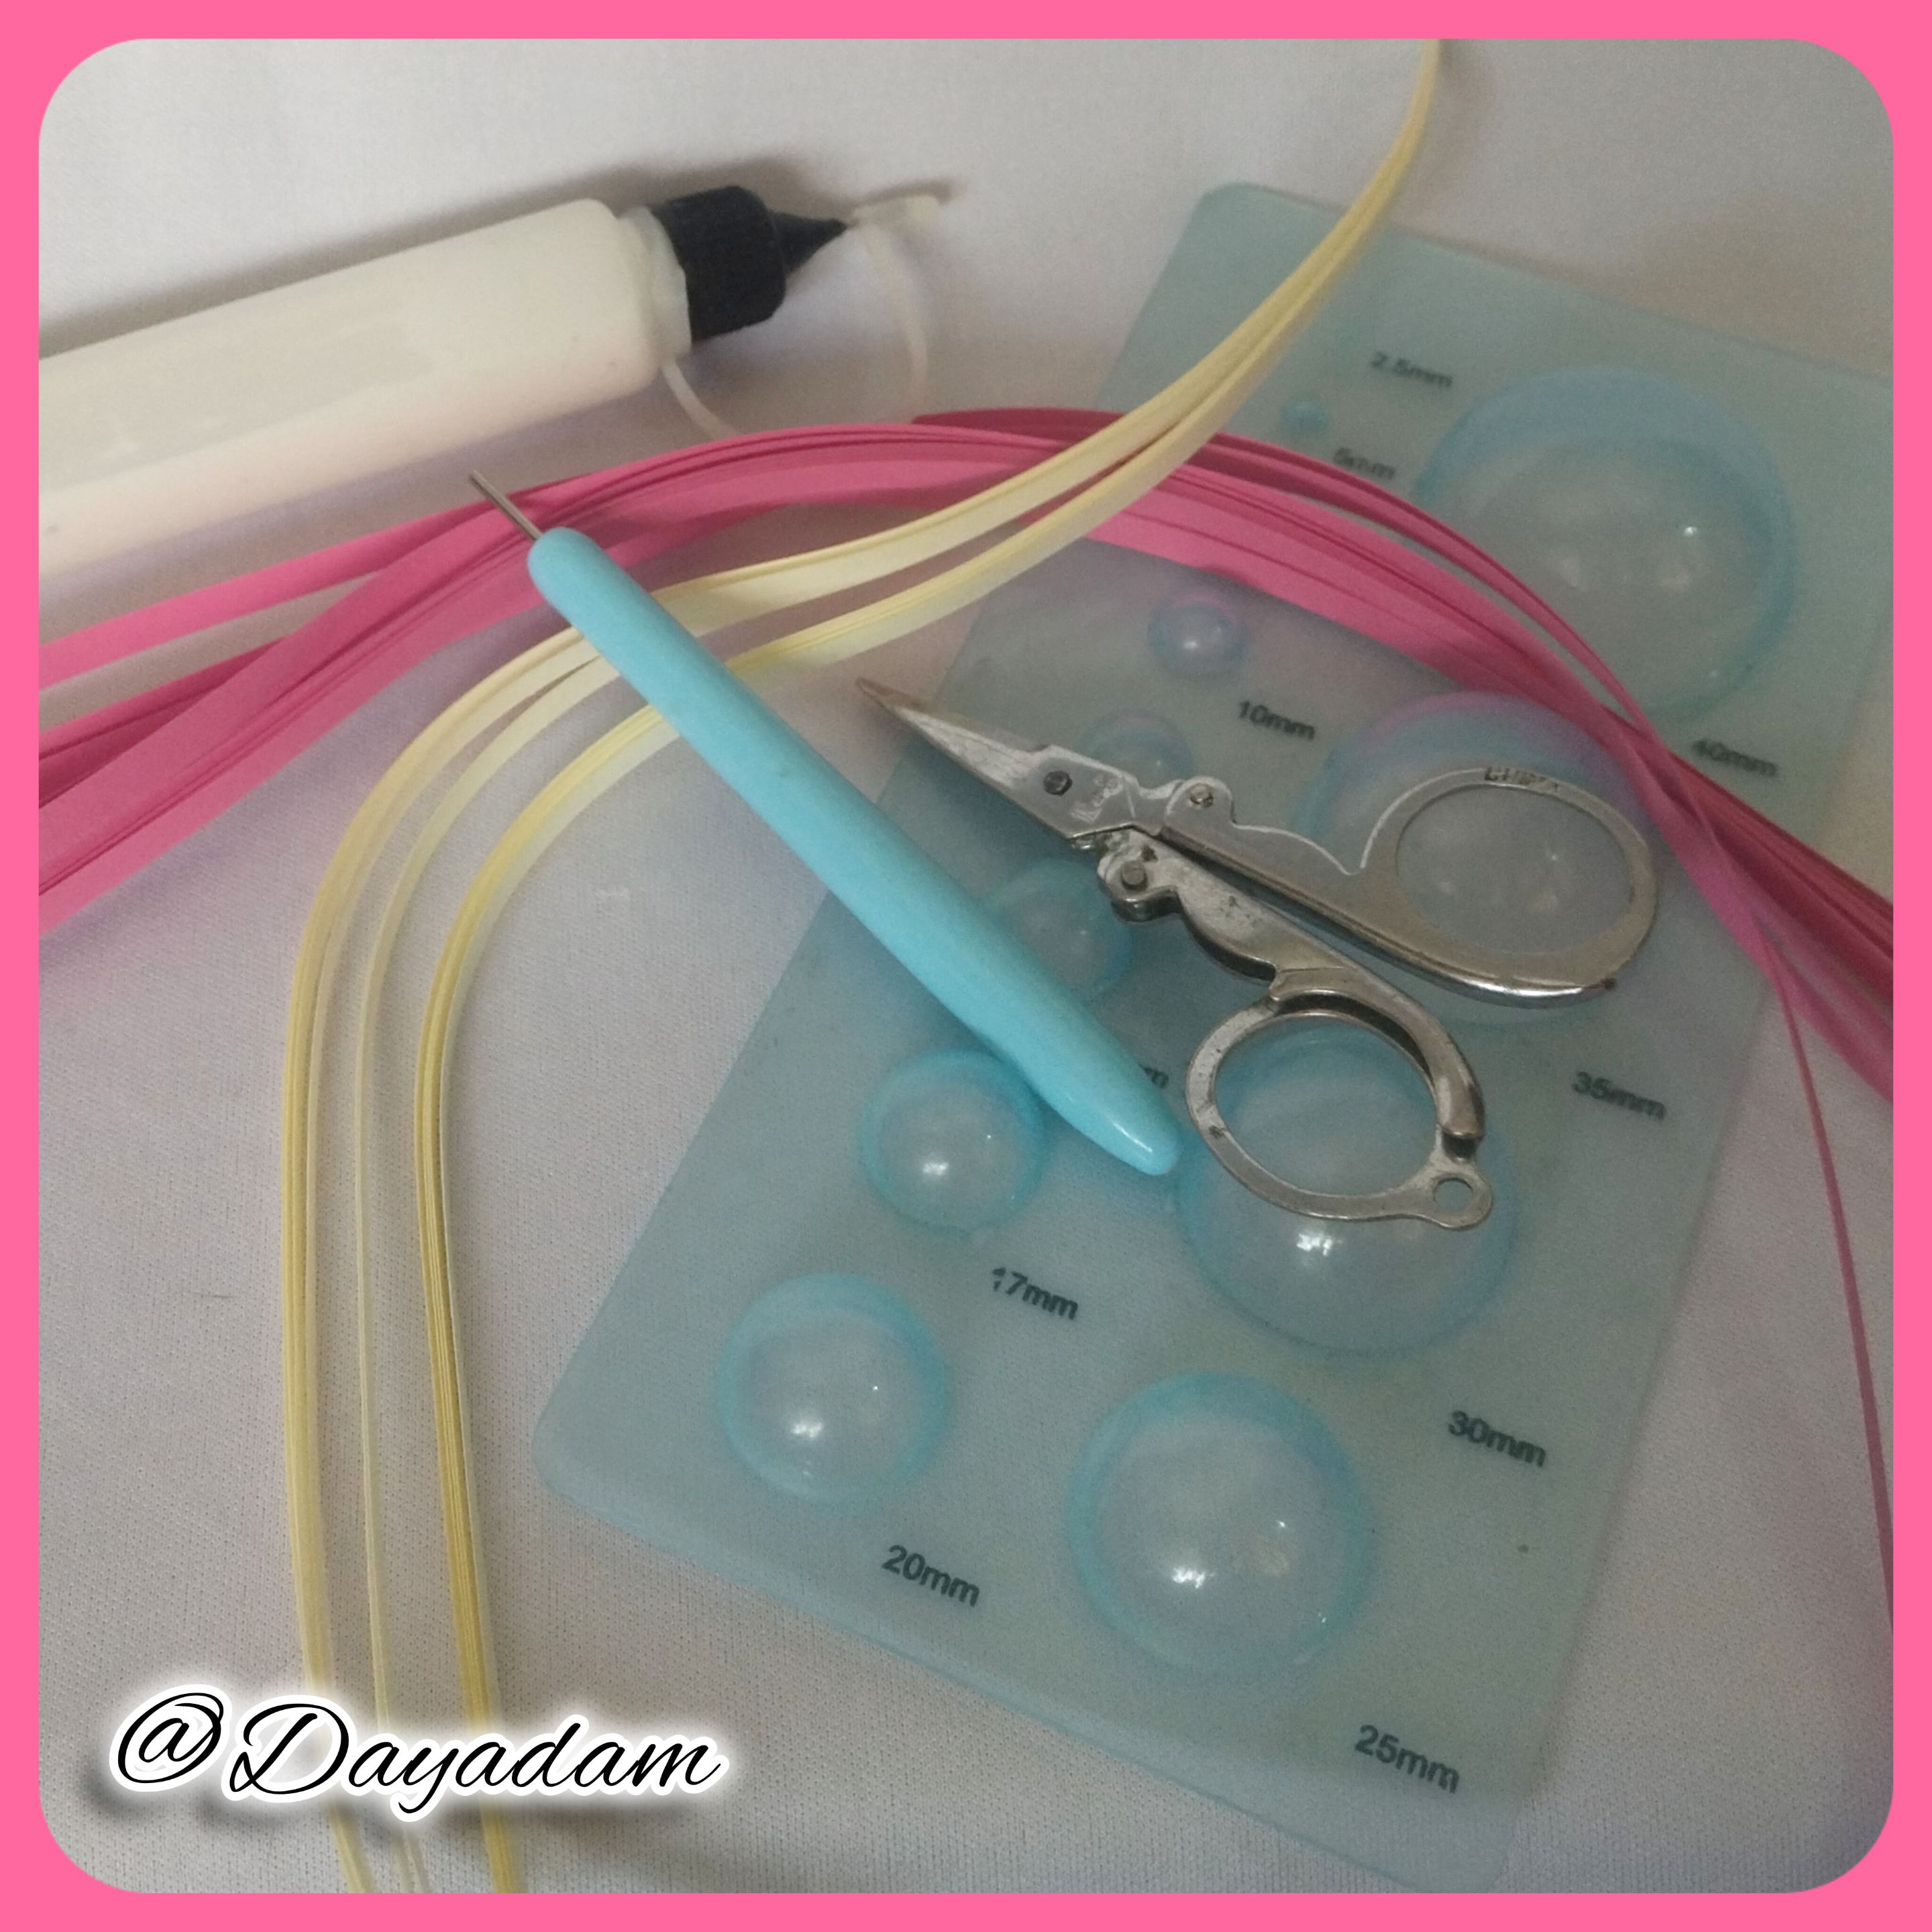
• Cintas de quilling de 3mm de ancho de diversos colores.
• Aguja para quilling.
• Molde para círculos.
• Colores, marcadores.
• Hoja blanca.
• Pega blanca extra fuerte (de carpintería).
• Tijera.
• Pincel.
- 3mm wide quilling ribbons in different colors.
- Quilling needle.
- Mold for circles.
- Colors, markers.
- White sheet.
- Extra strong white glue (carpentry glue).
- Scissors.
- Paintbrush.

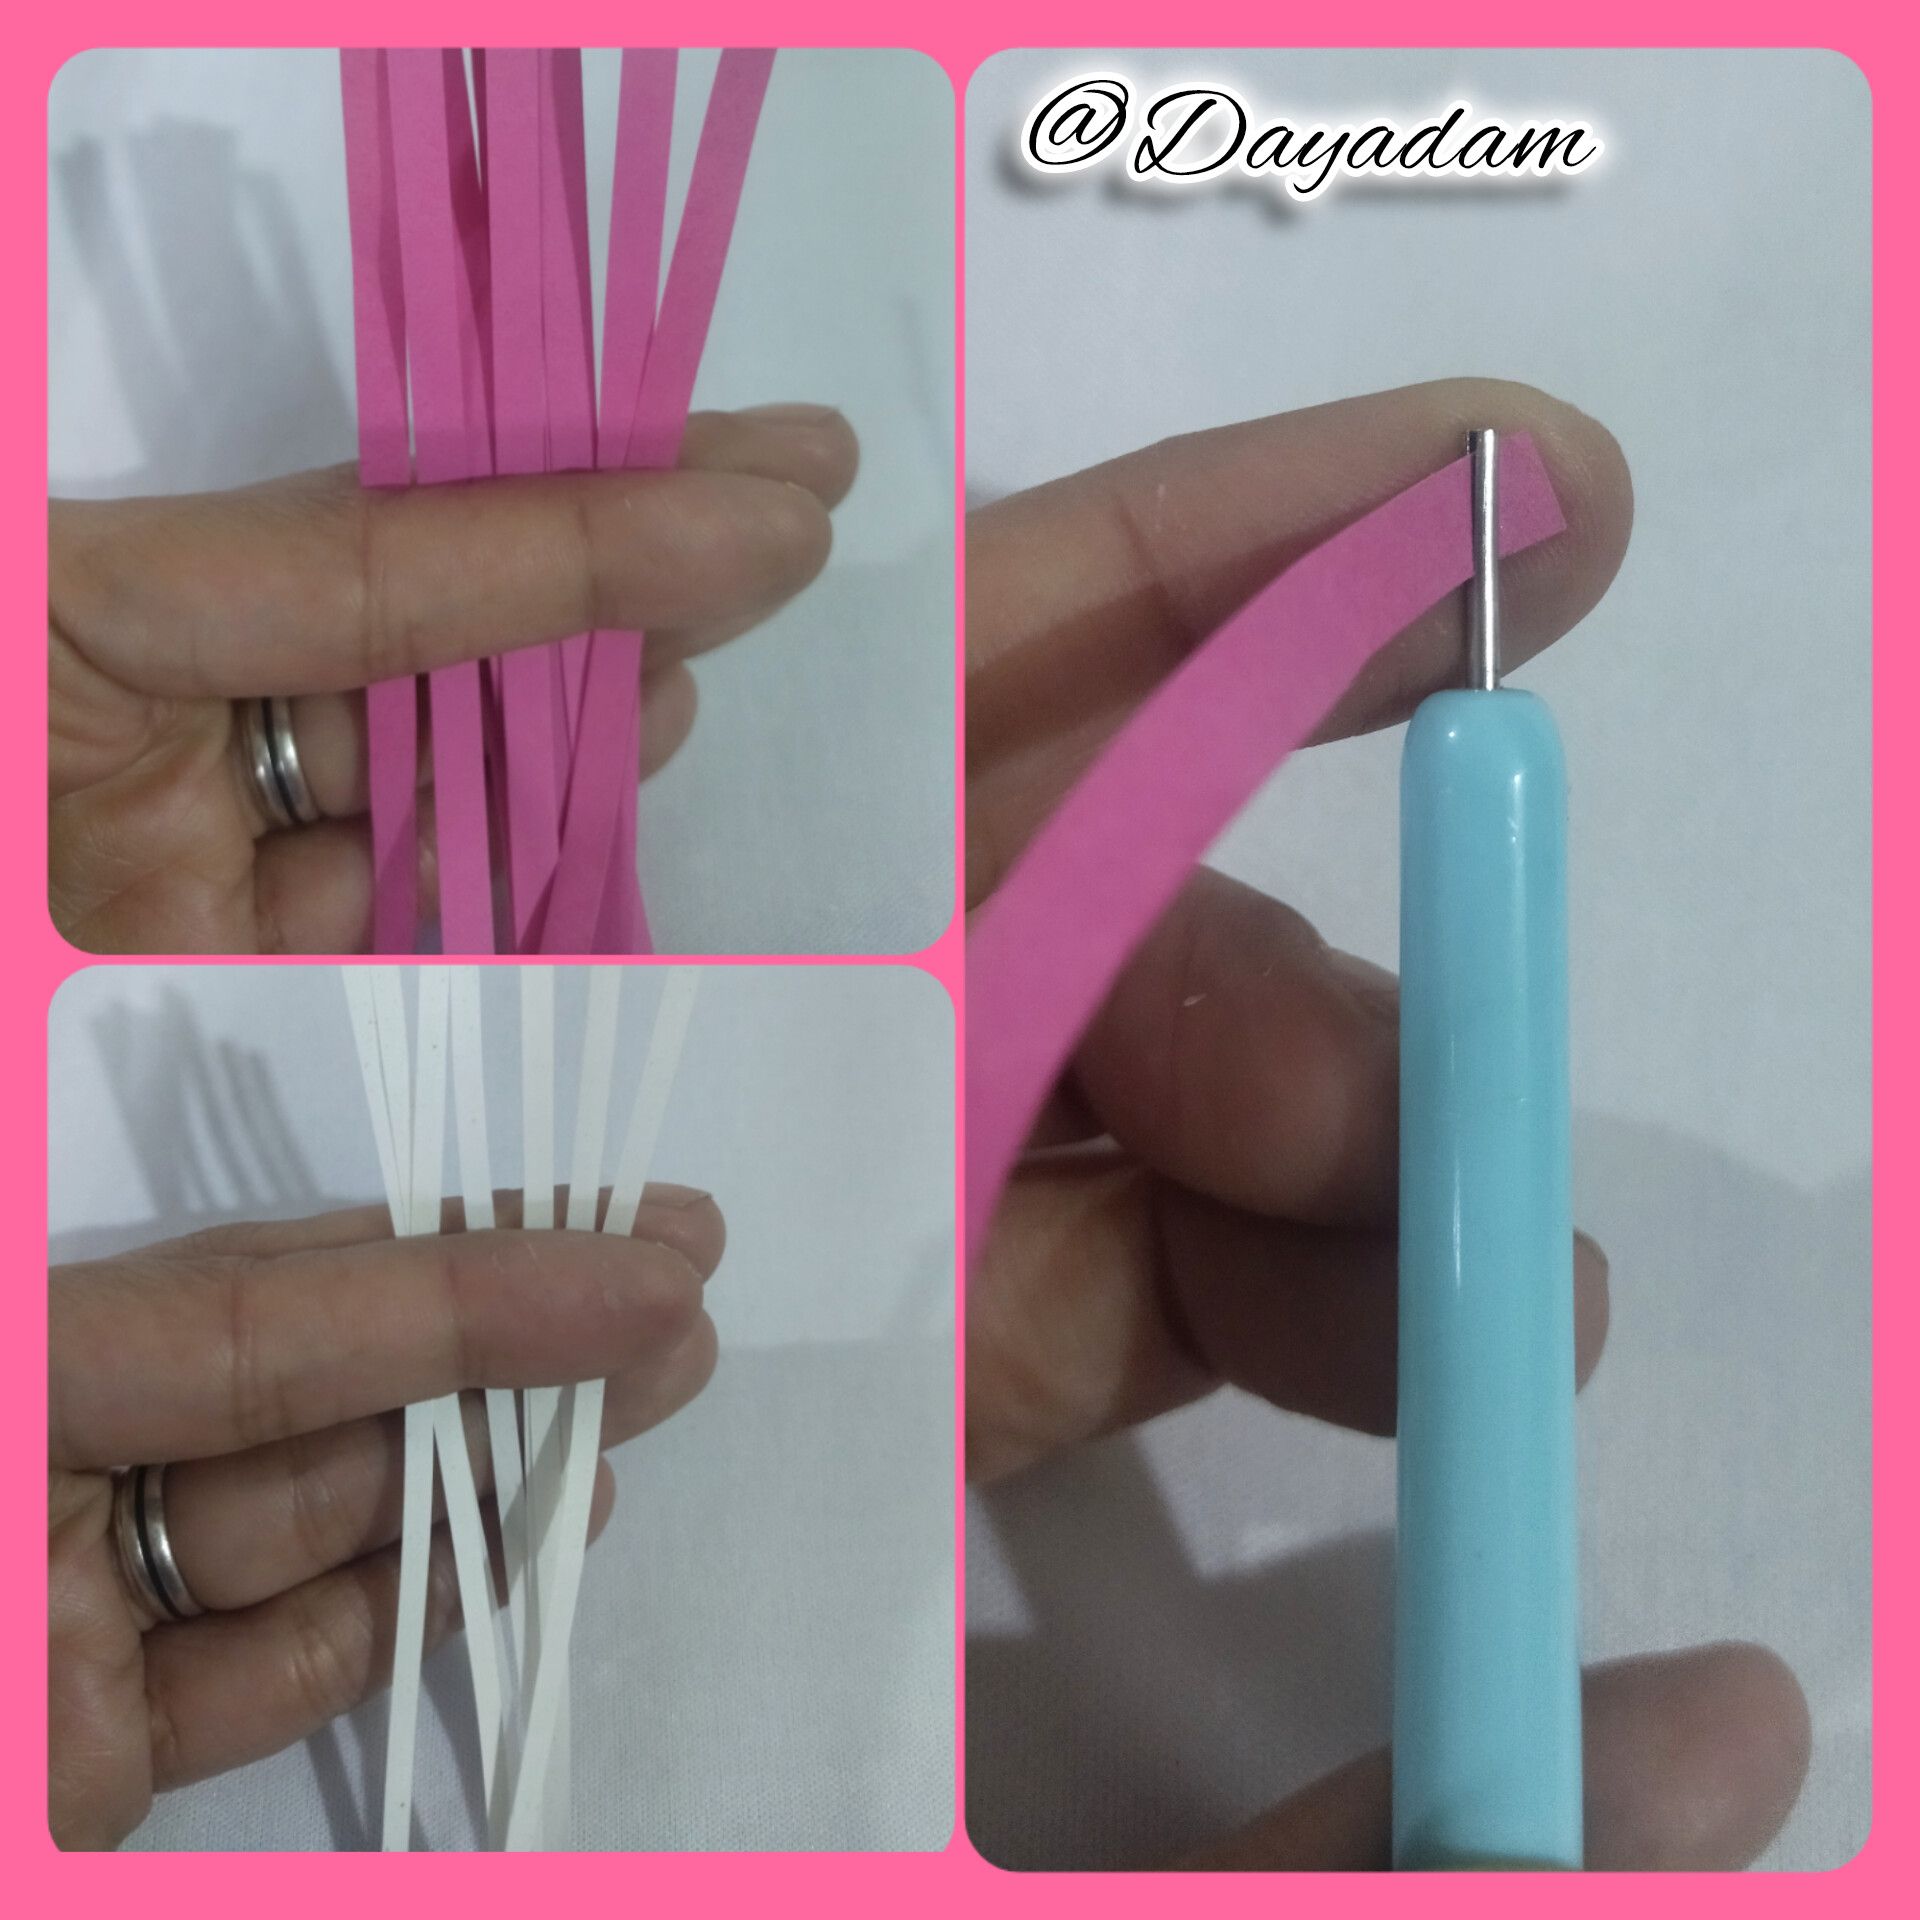
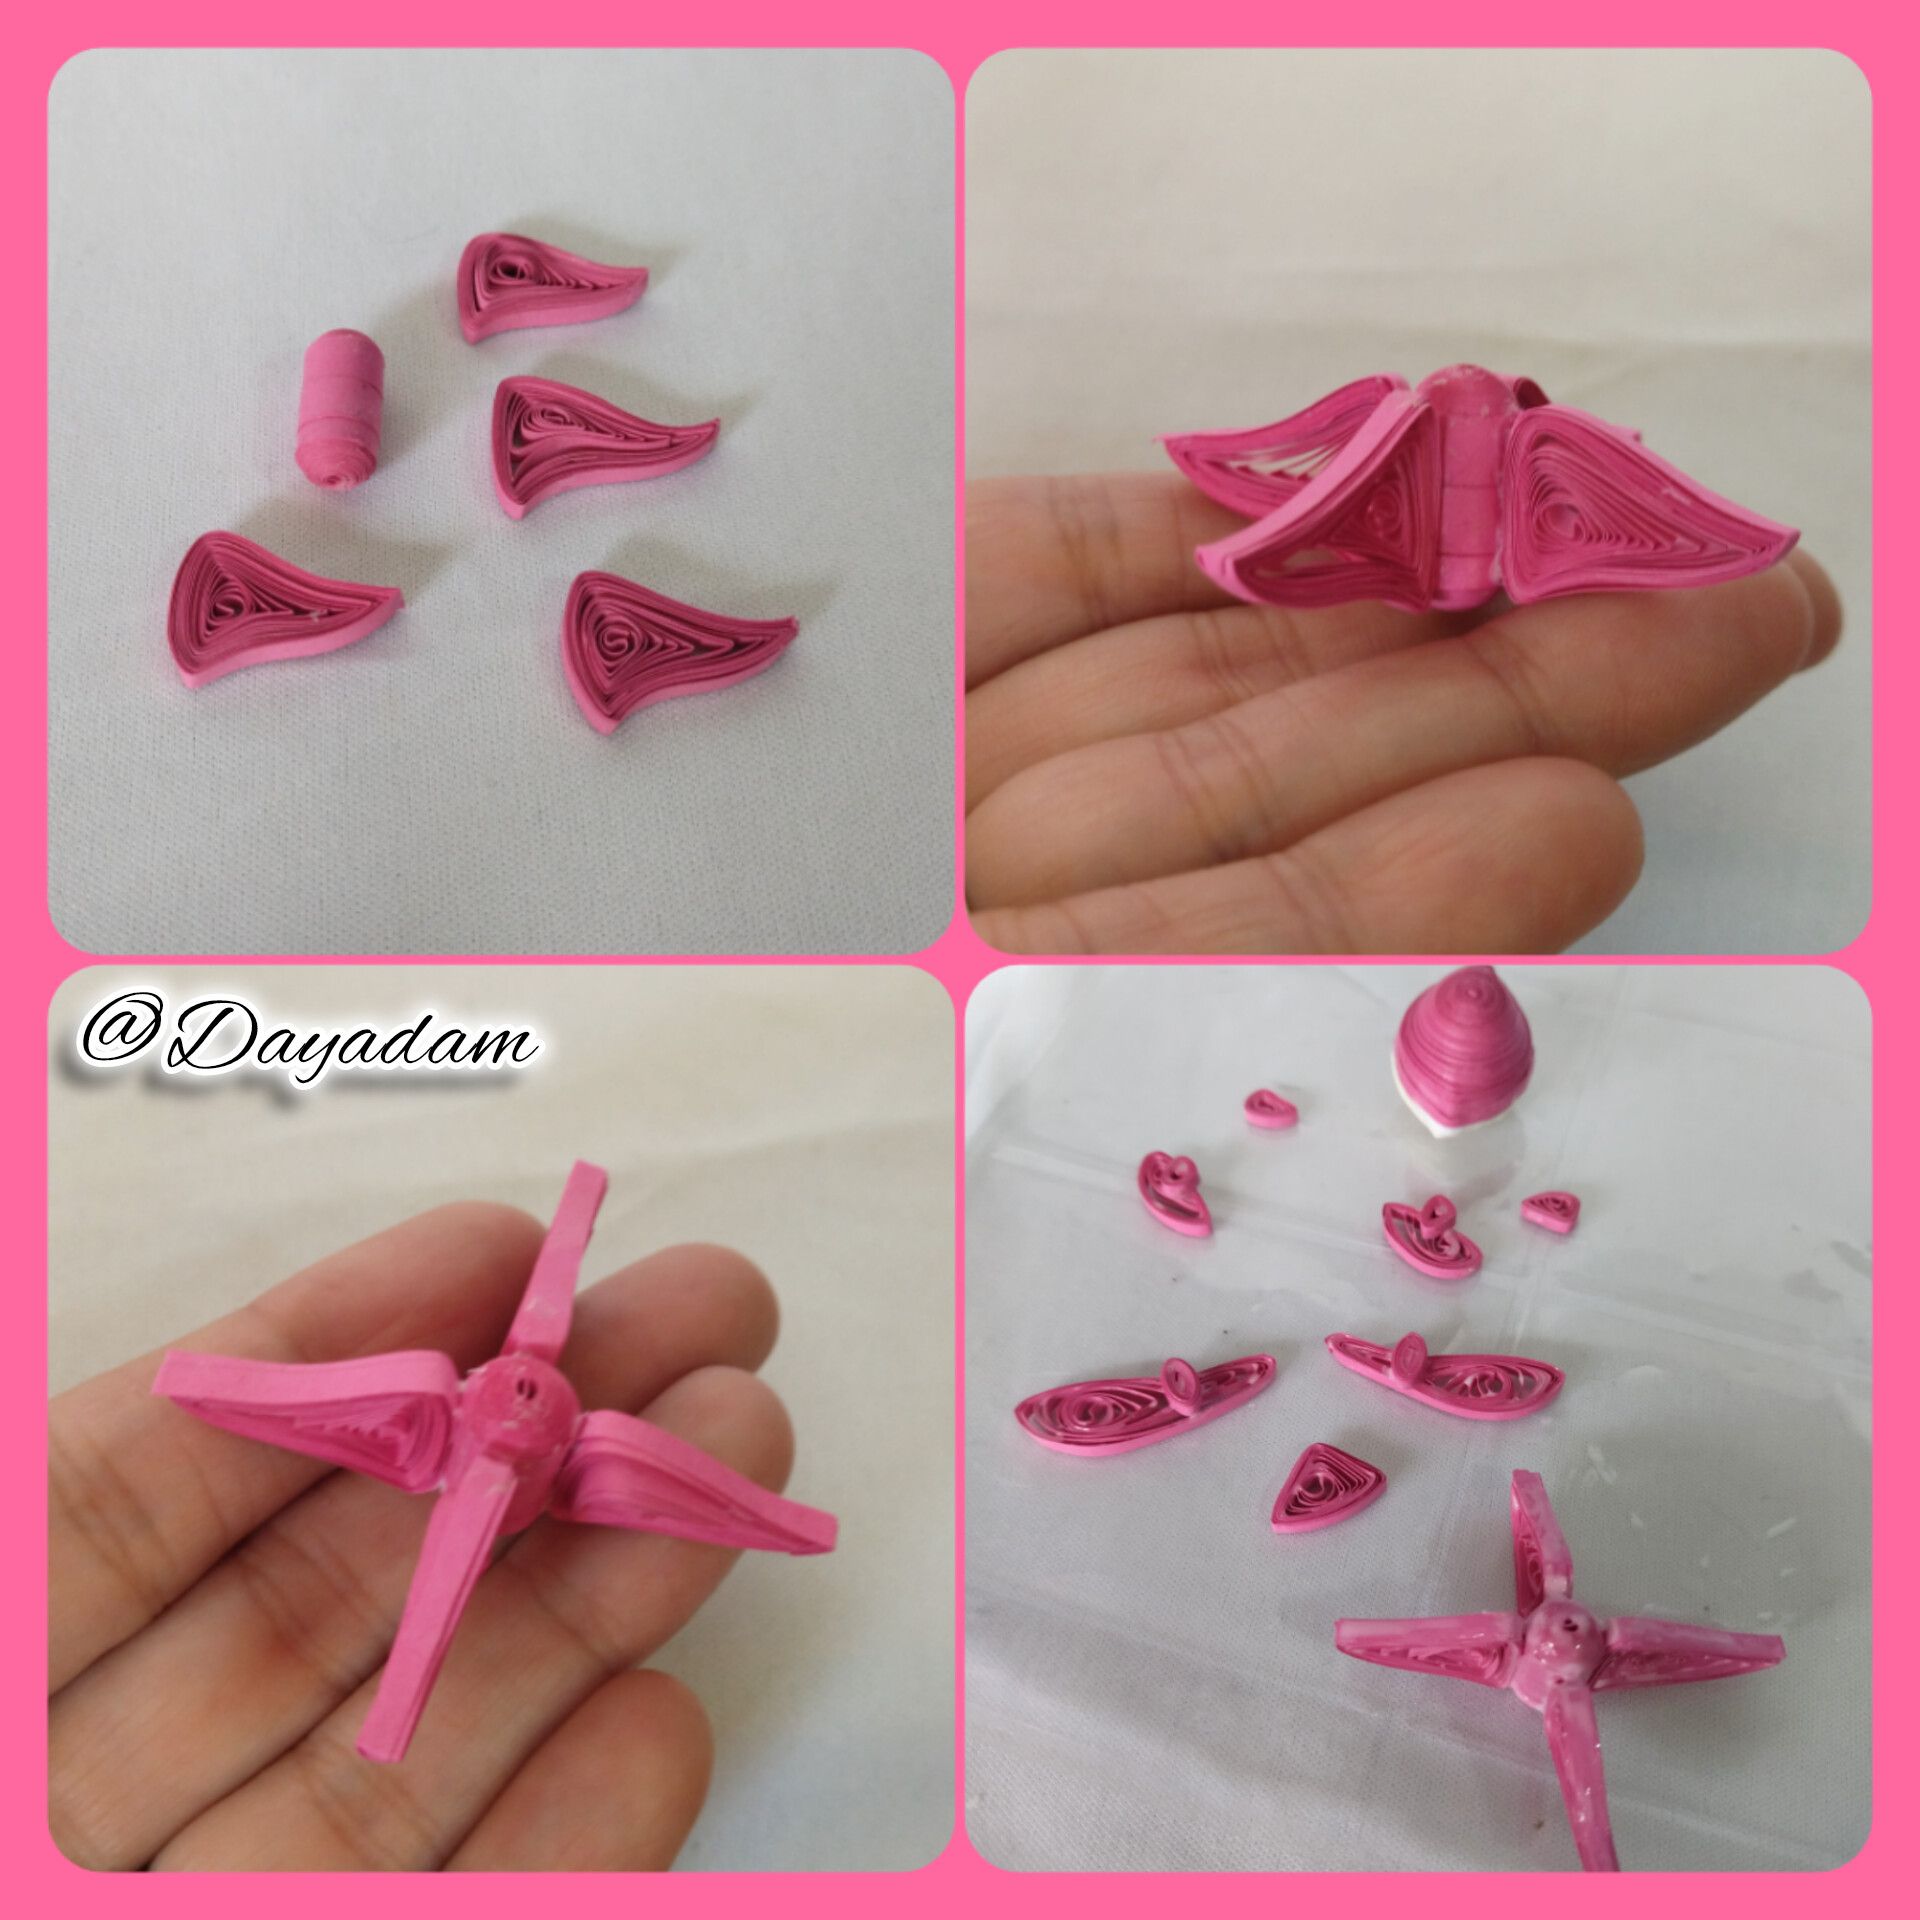
- We take a 5mm wide pink quilling tape and a 3mm wide x 300cms long beige quilling tape, we roll with the quilling needle until we reach the end of it, we seal it with extra strong white glue, we take it out of the needle, we will obtain a closed circle. For each whale we are going to make we will need a circle of each color.
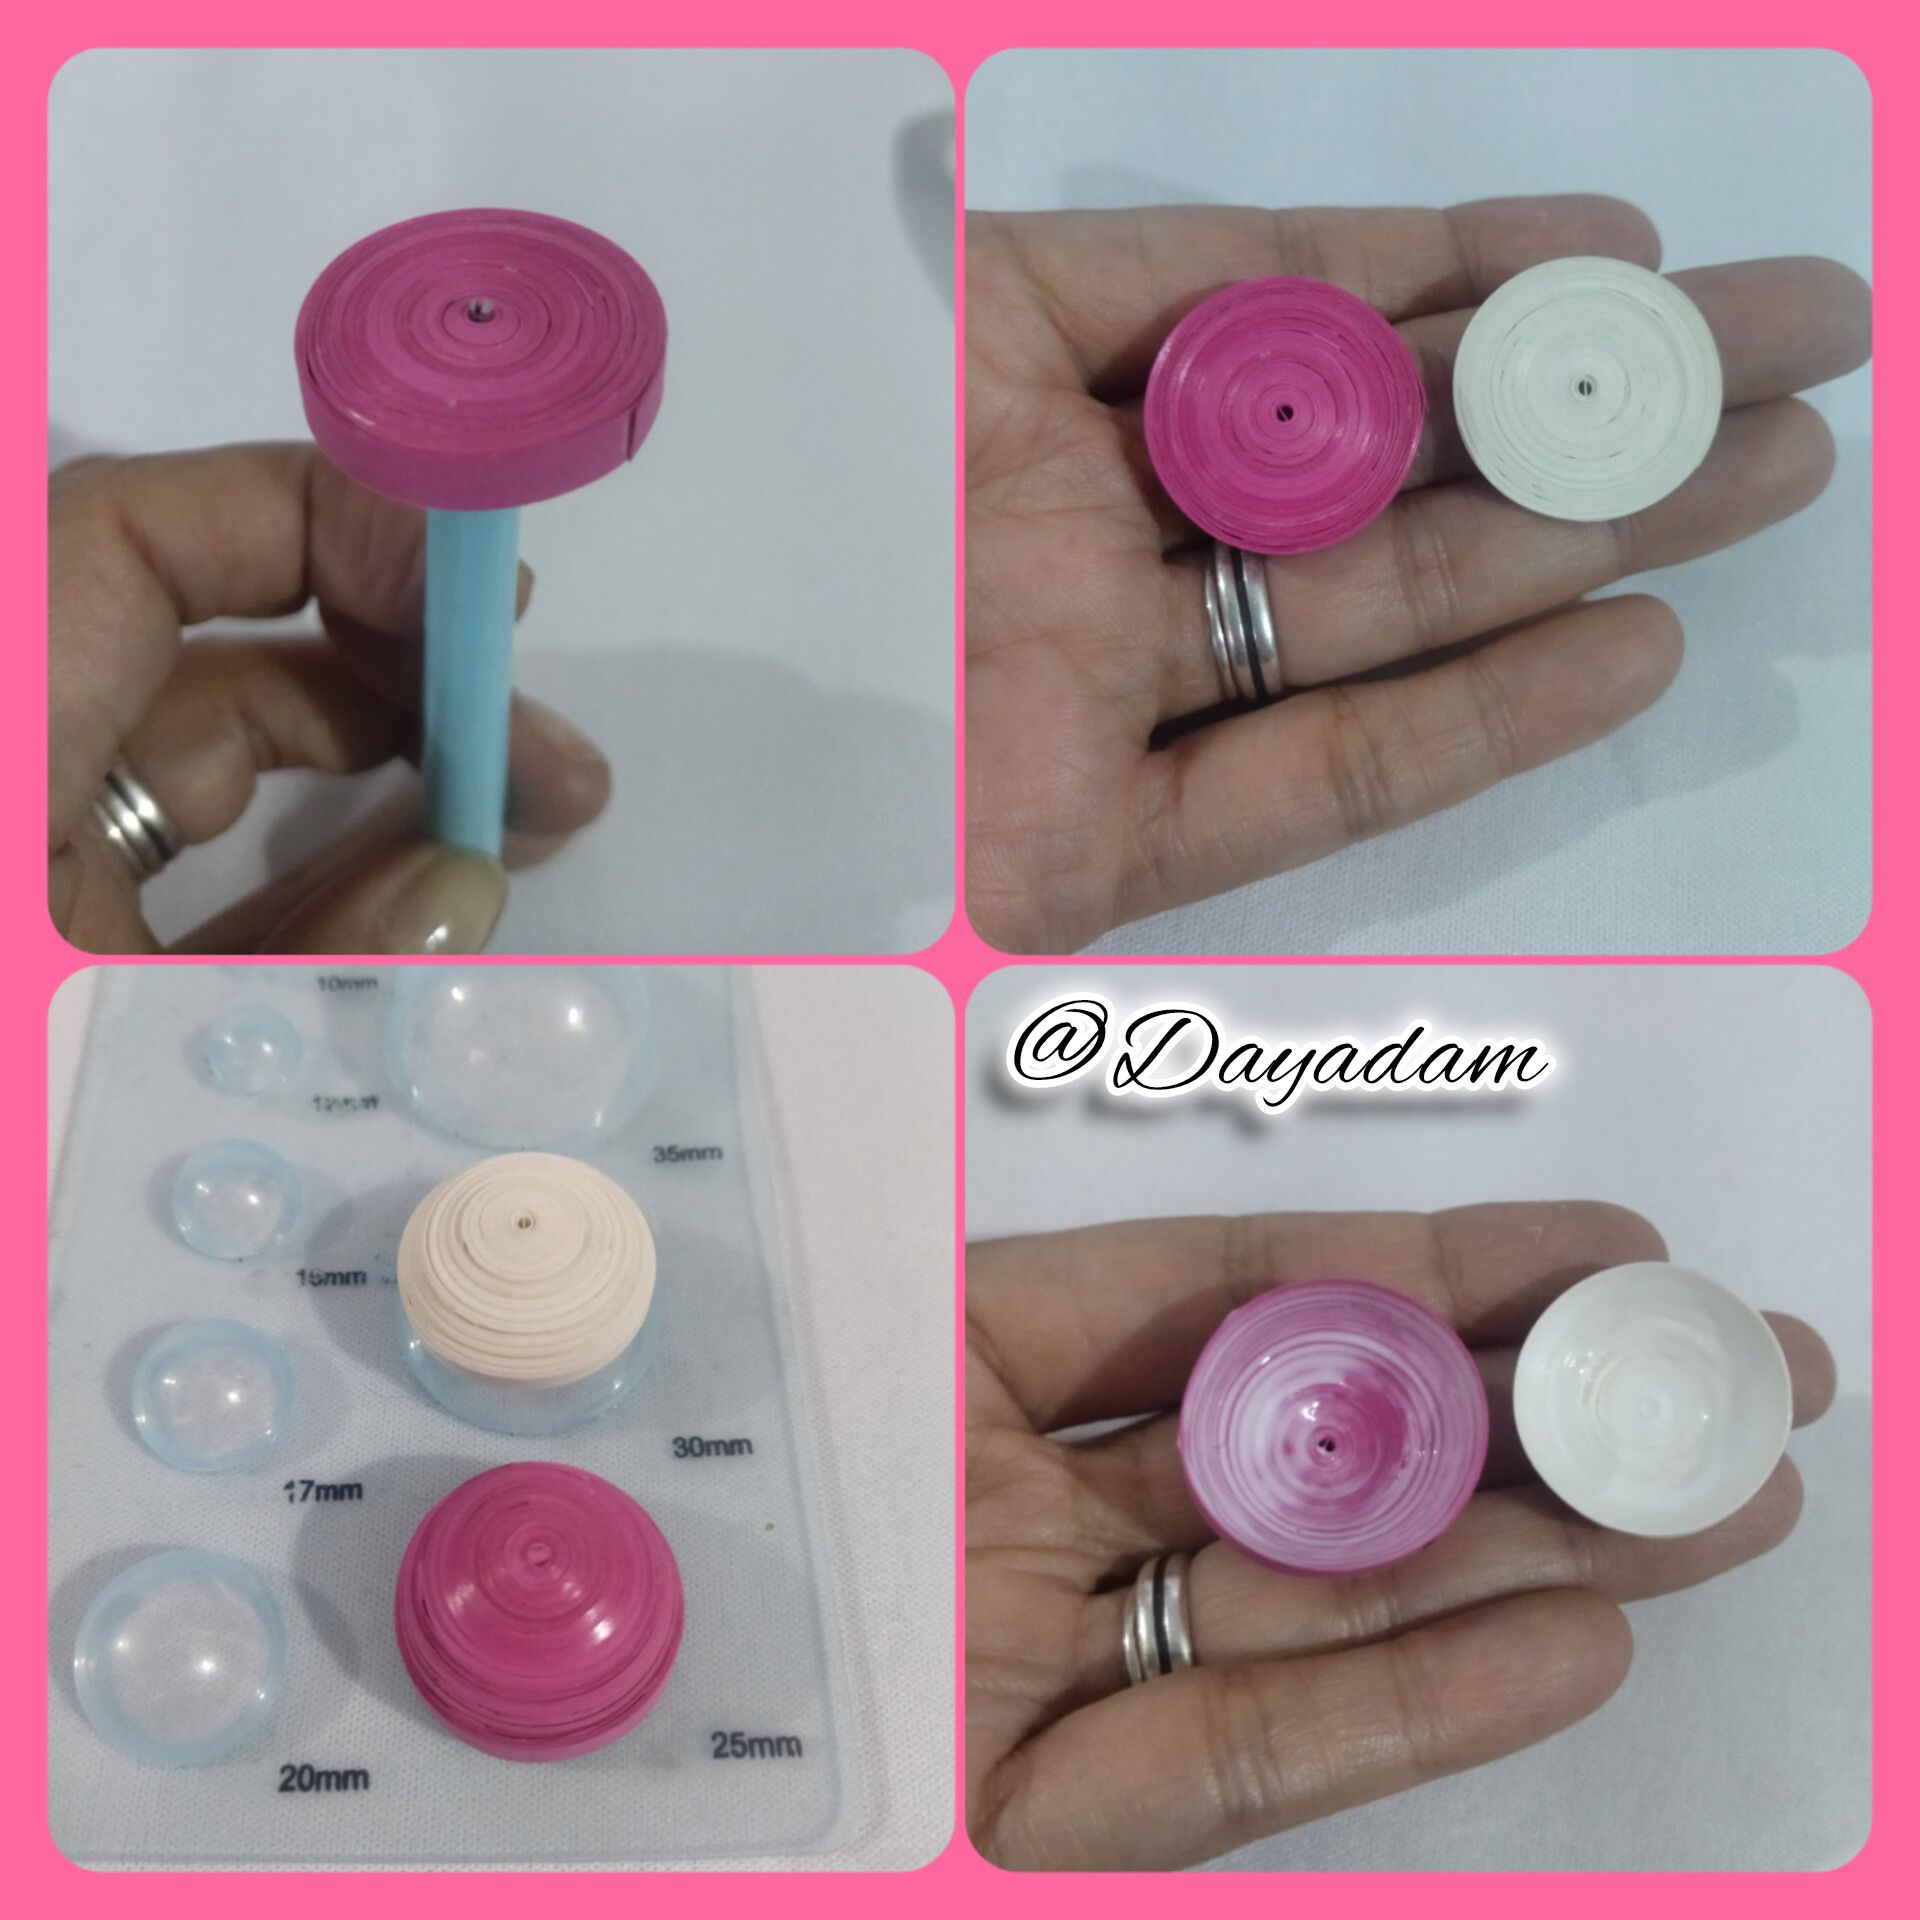
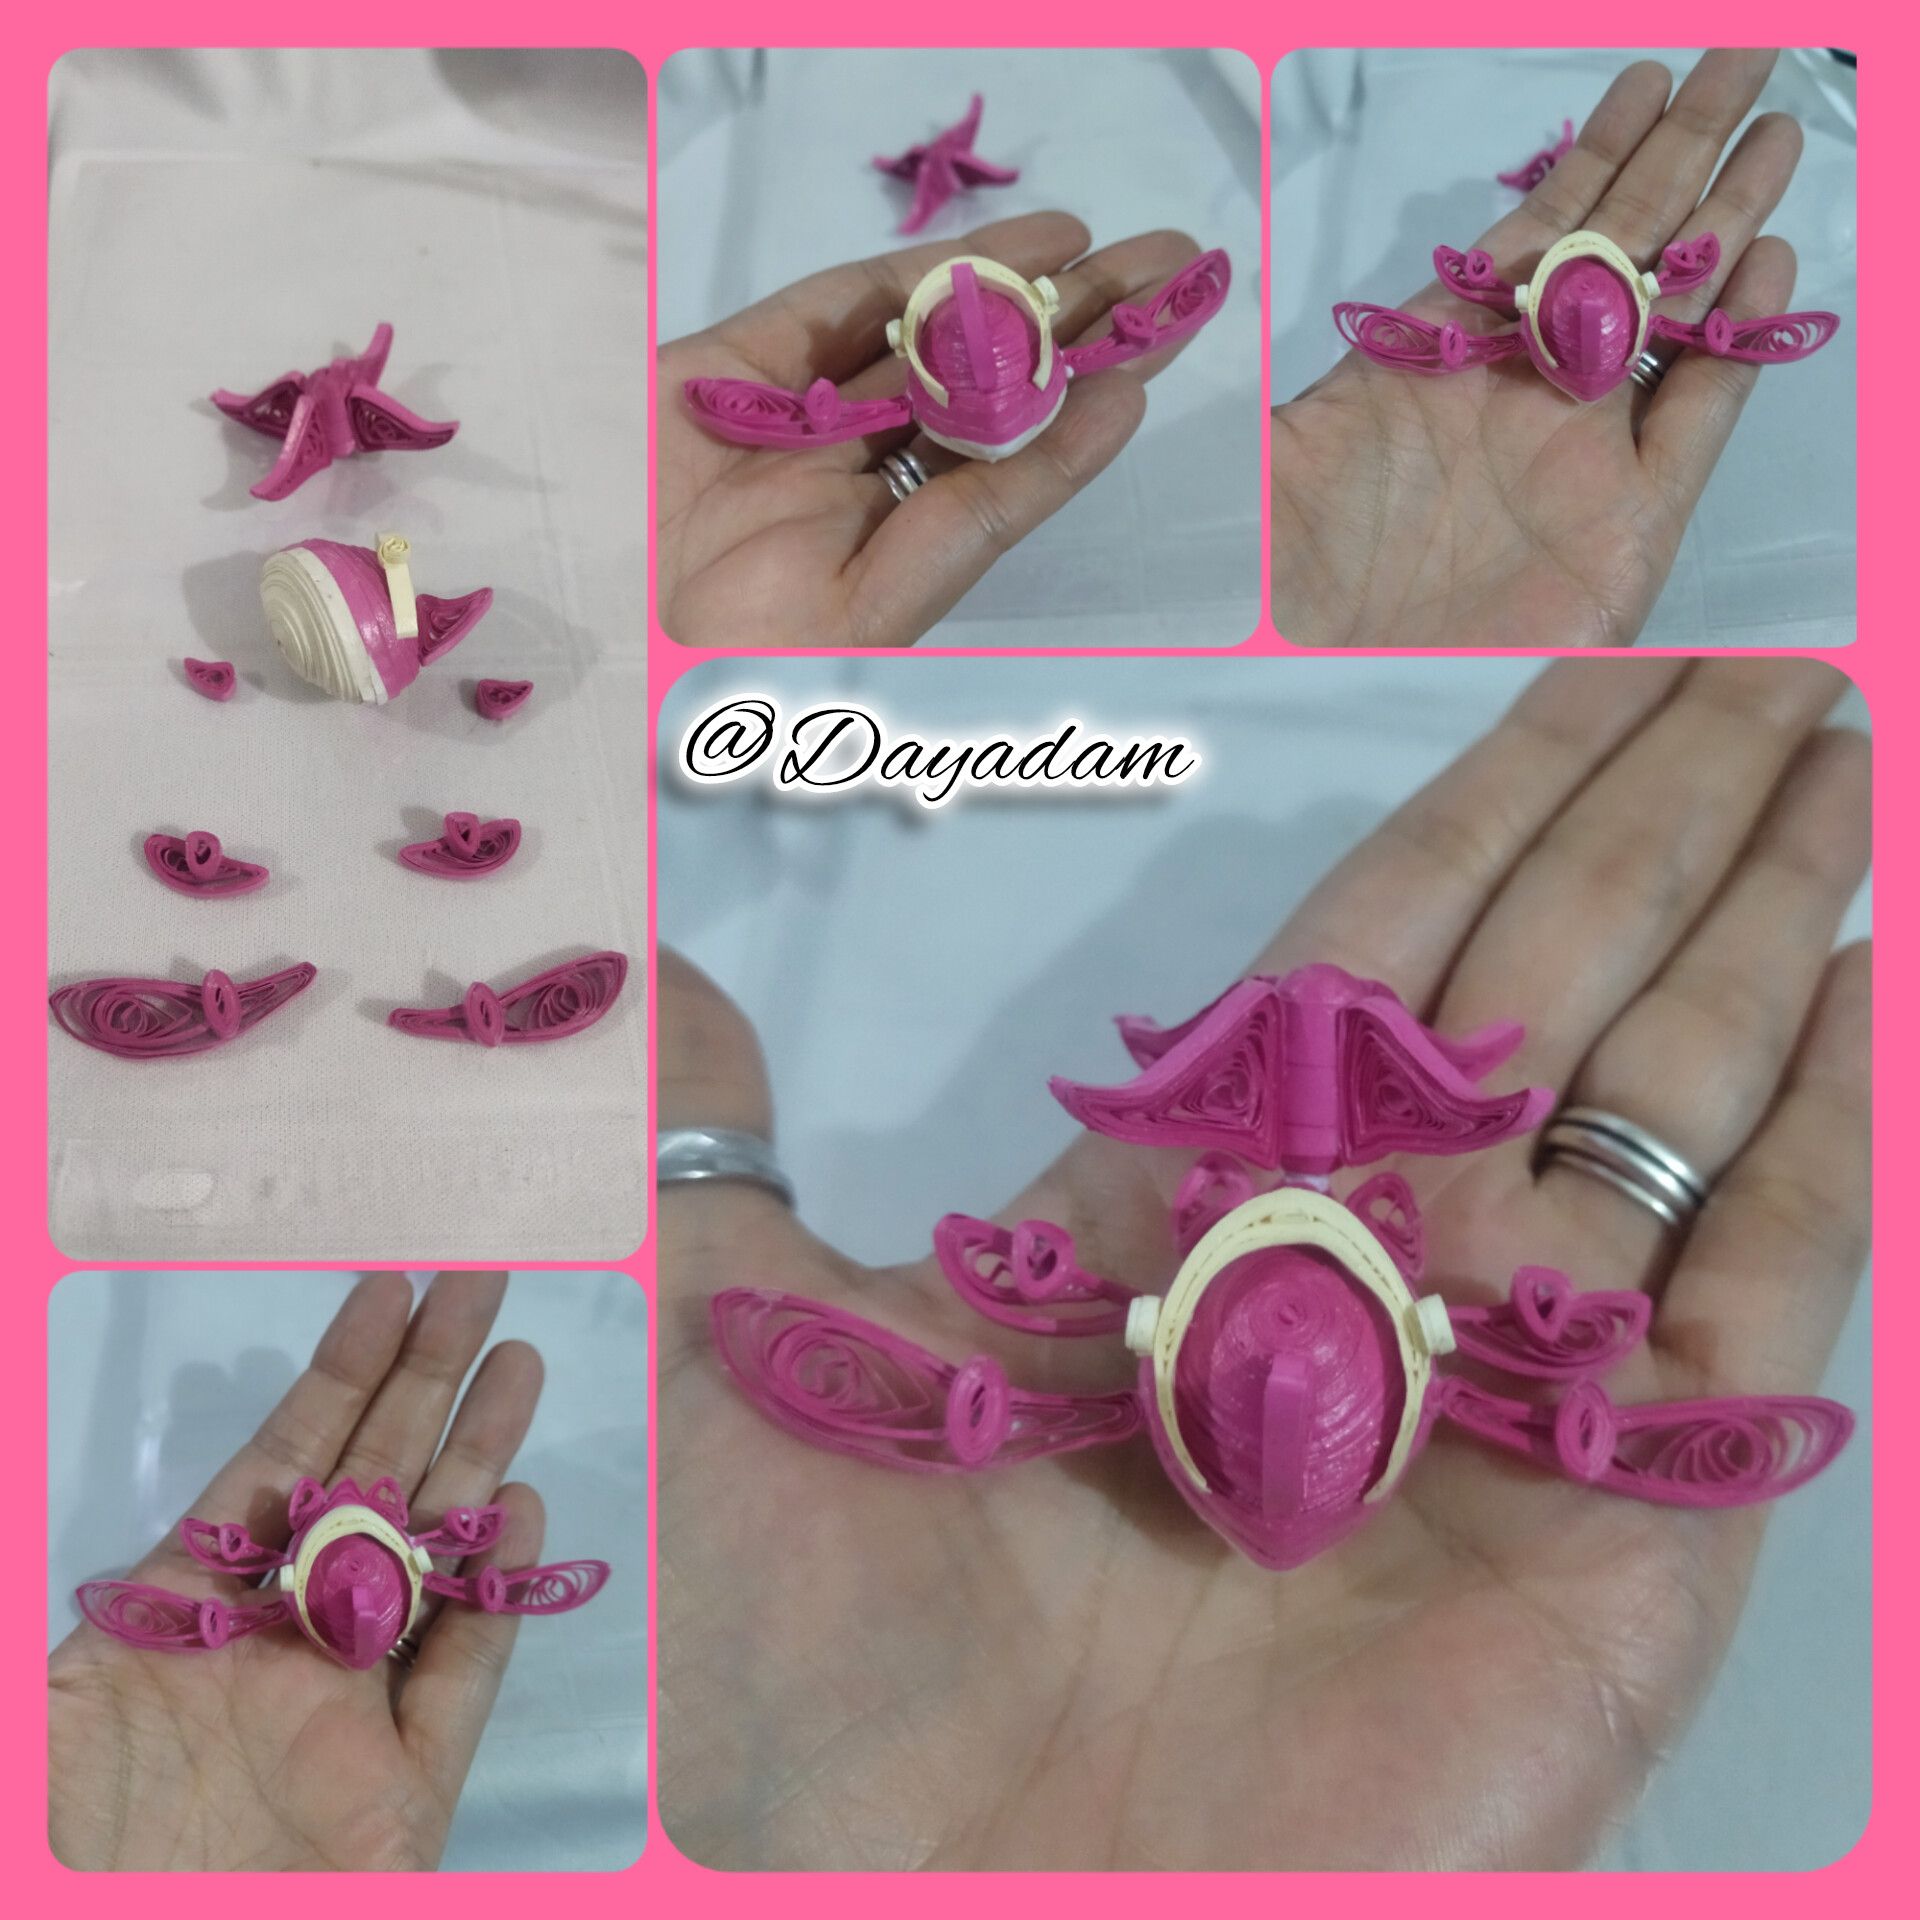
- We are going to mold the circles, placing the beige one in the 30mm circle template and the pink one in the 25mm one, once molded we take it out of the template and in the inner part we add glue to prevent them from moving or deforming, we let them dry.
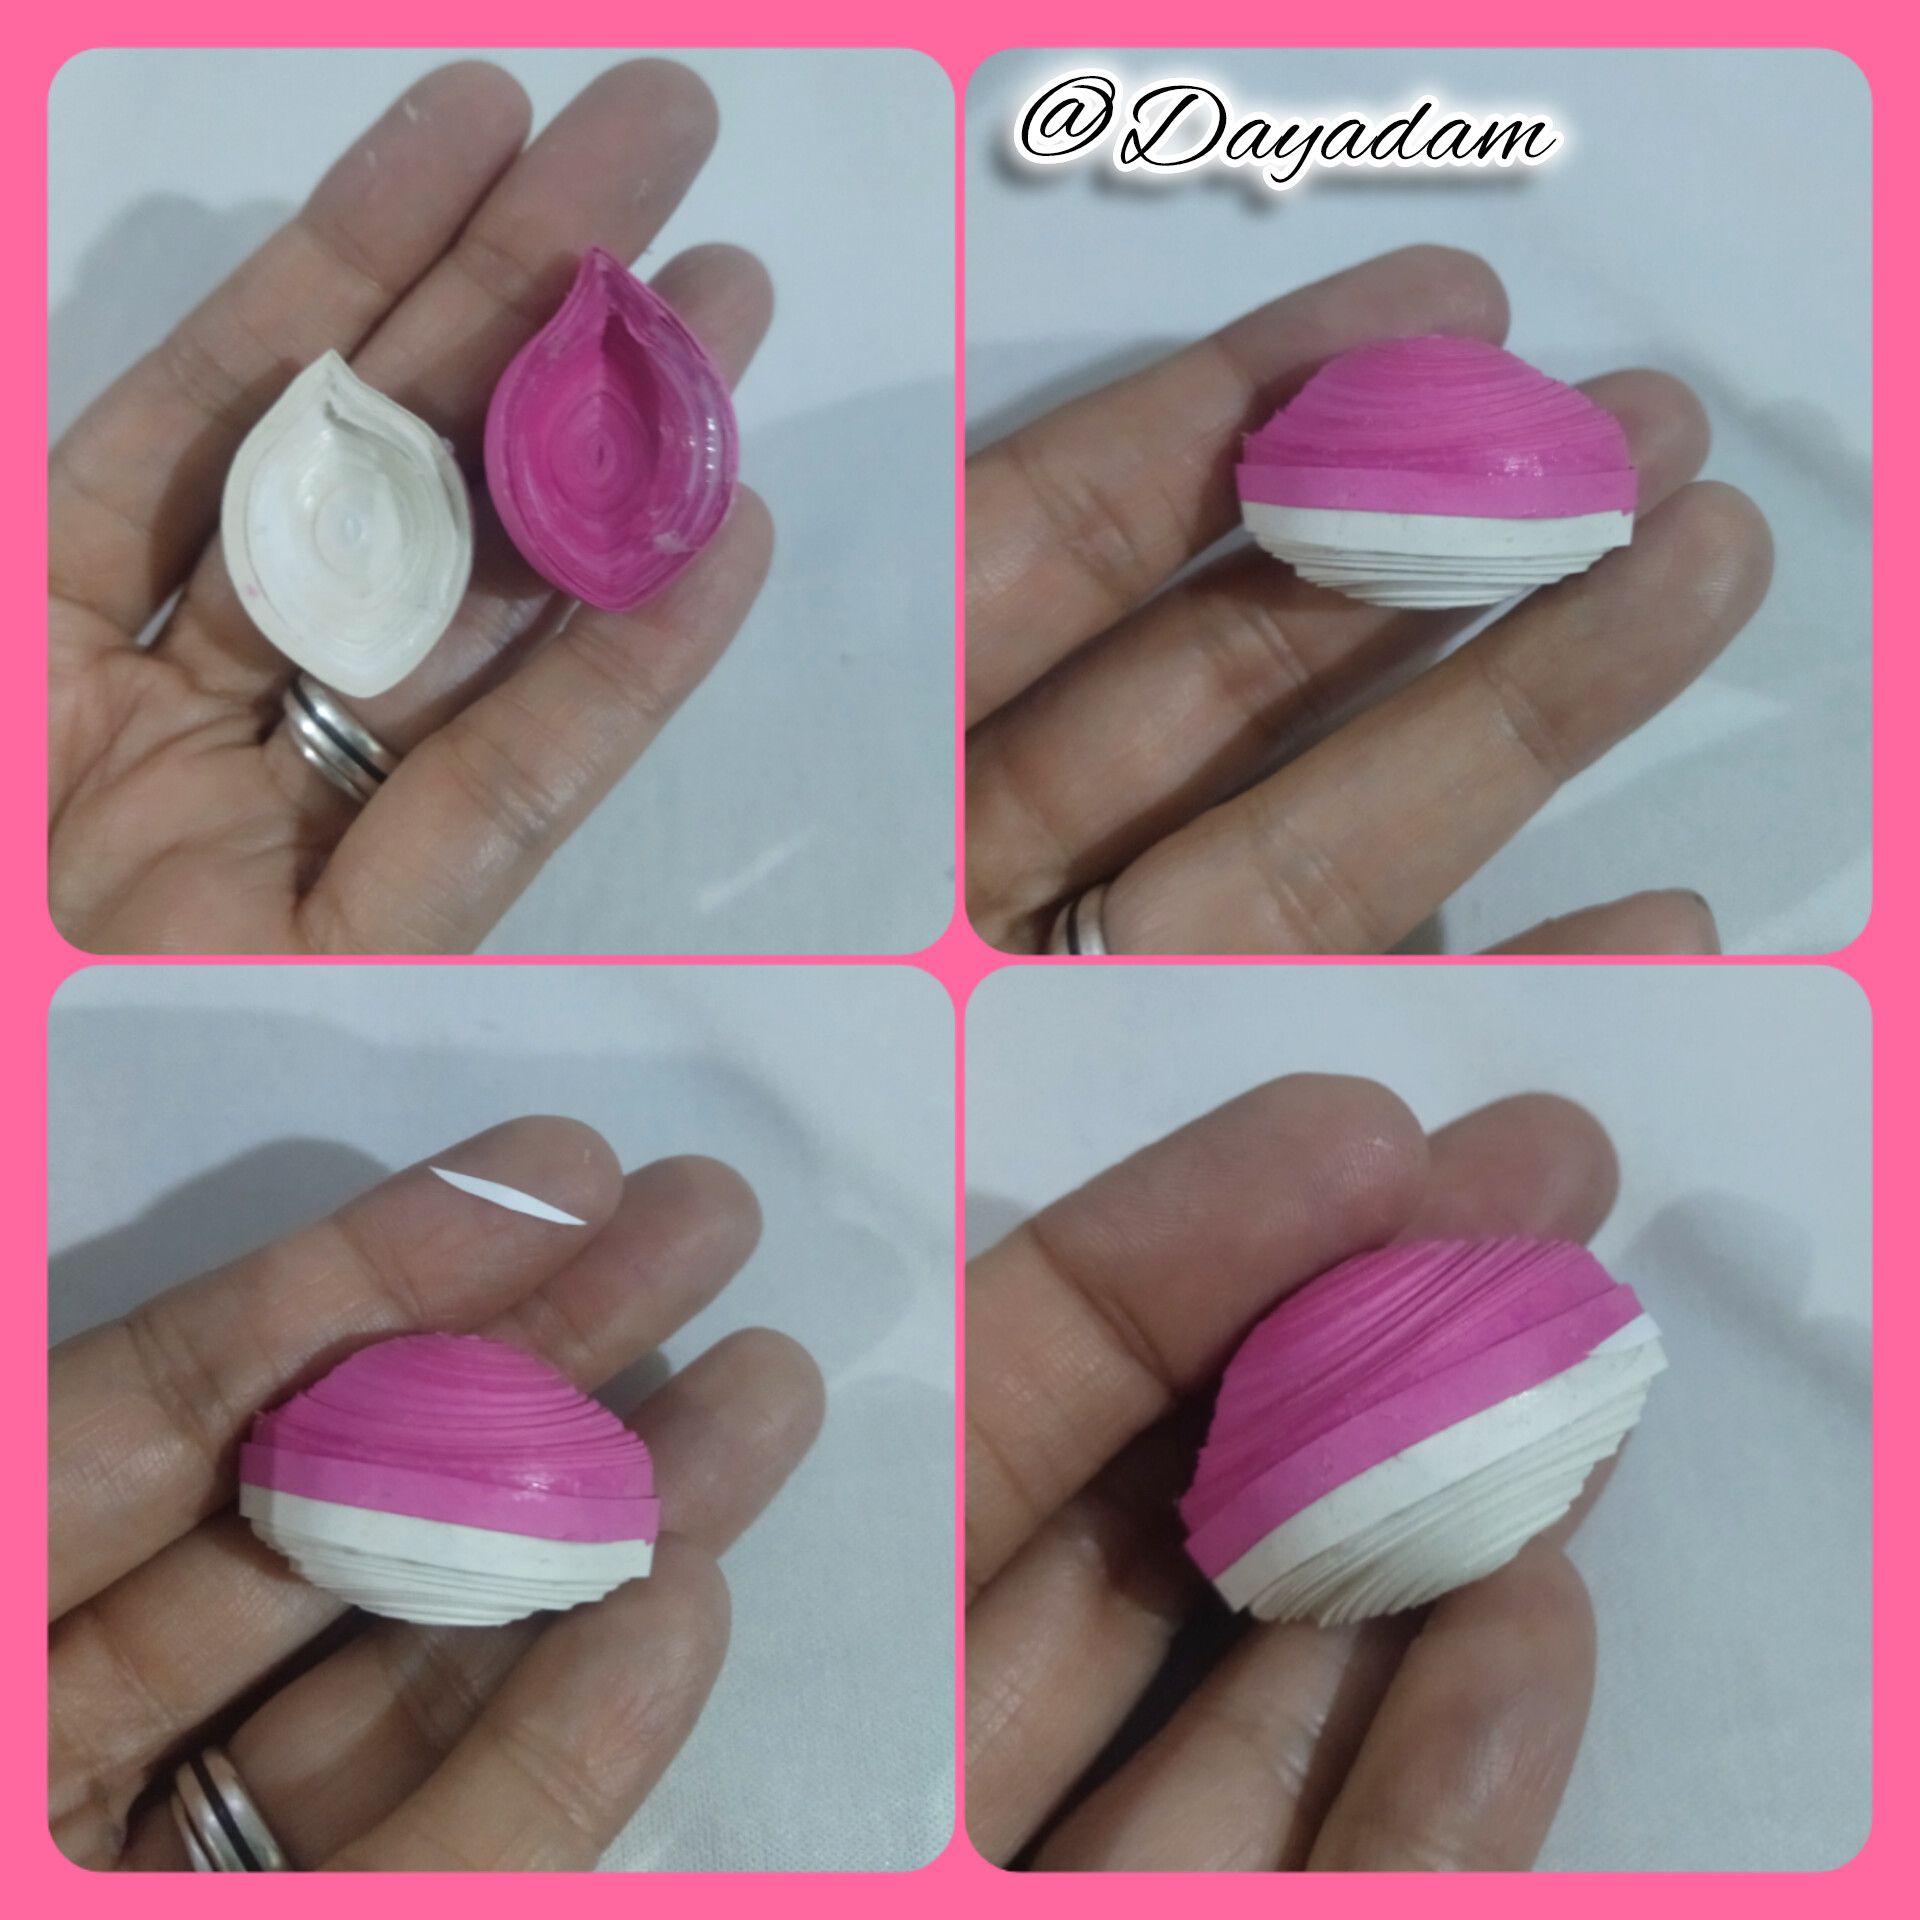
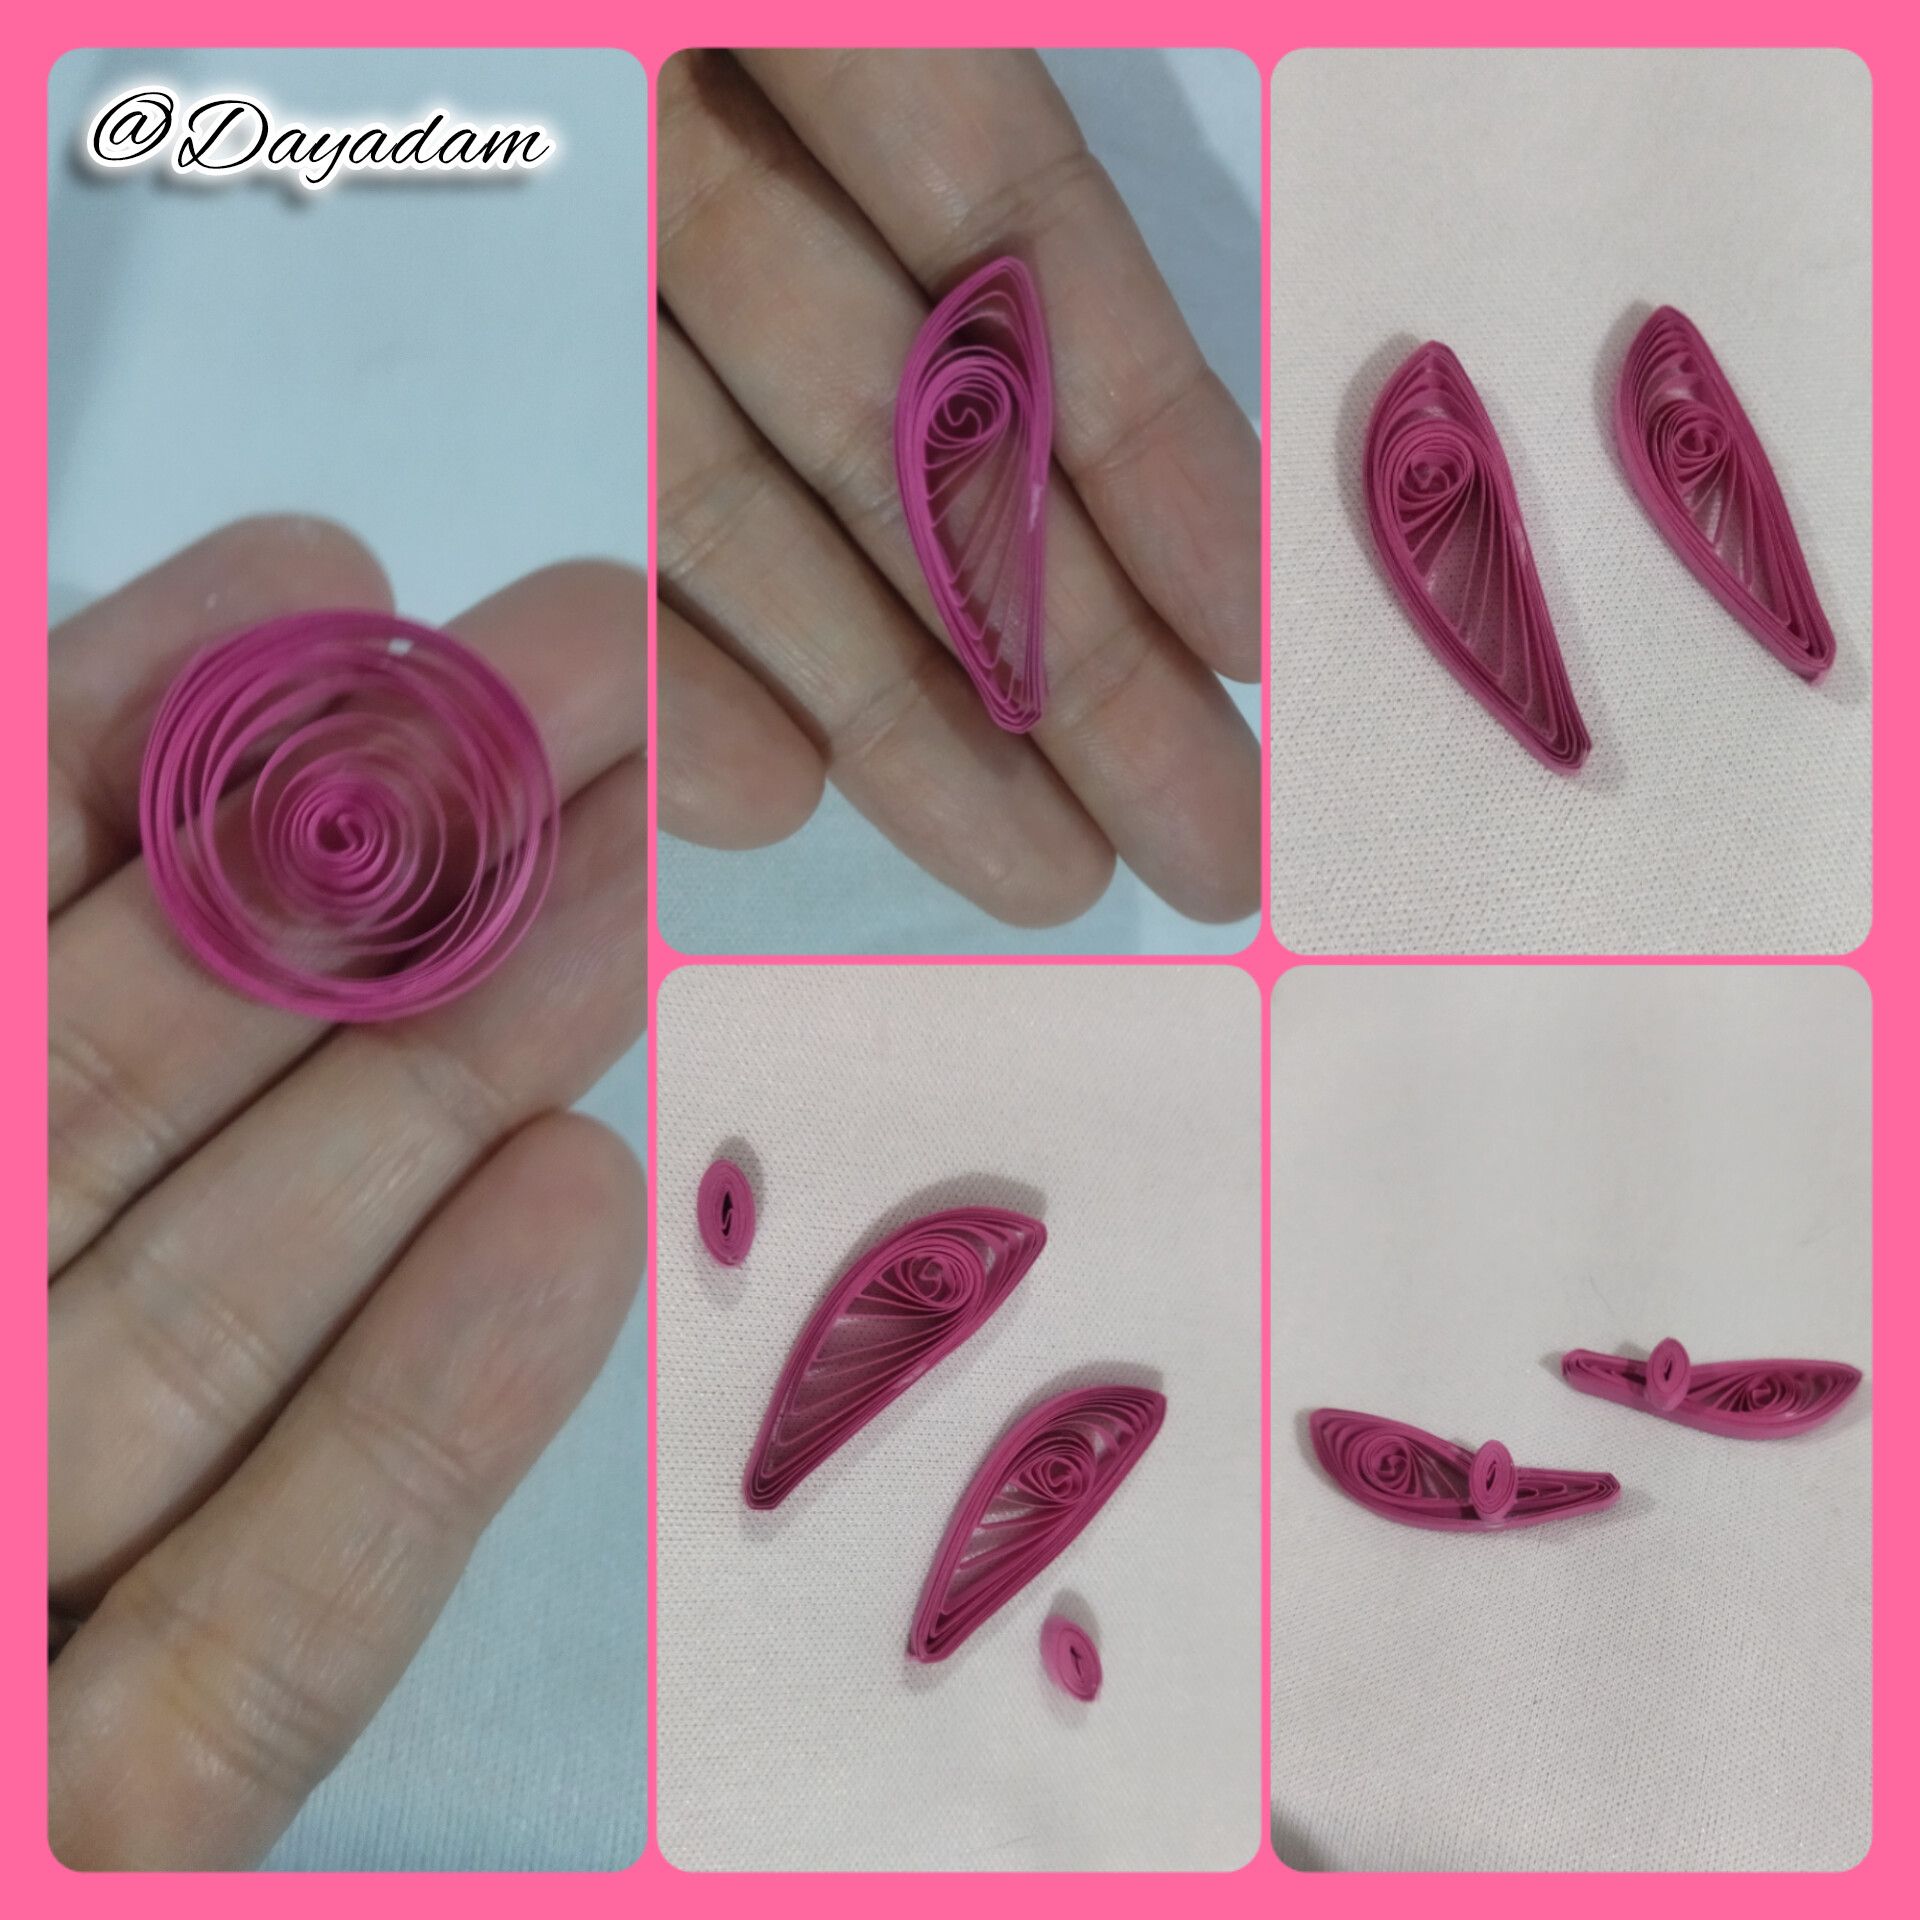
- We are going to take the pieces and mold them, then we will join them with glue, for the mouth we glue a piece of white ribbon that we previously cut out.

• Comenzamos tomando cinta para quilling de color rosada de 5mm de ancho y otra de color beige de 3mm de ancho x 300cms de largo cada una, enrollamos con la aguja para quilling hasta llegar al final de la misma, sellamos con pega blanca extra fuerte, sacamos de la aguja, obtendremos un círculo cerrado. Por cada ballena que vayamos a realizar necesitaremos un circulo de cada color.
• Vamos a moldear los círculos, colocando en la plantilla de círculos en la medida 30mm la de color beige y en la medida 25mm la color rosada, una vez moldeada sacamos de la plantilla y en la parte interna agregamos pega para evitar que se muevan o deformen, dejamos secar.
• Vamos a tomar las piezas y moldearemos, luego uniremos con pega, para la boca pegue un trozo de cinta blanca que recorte previamente.
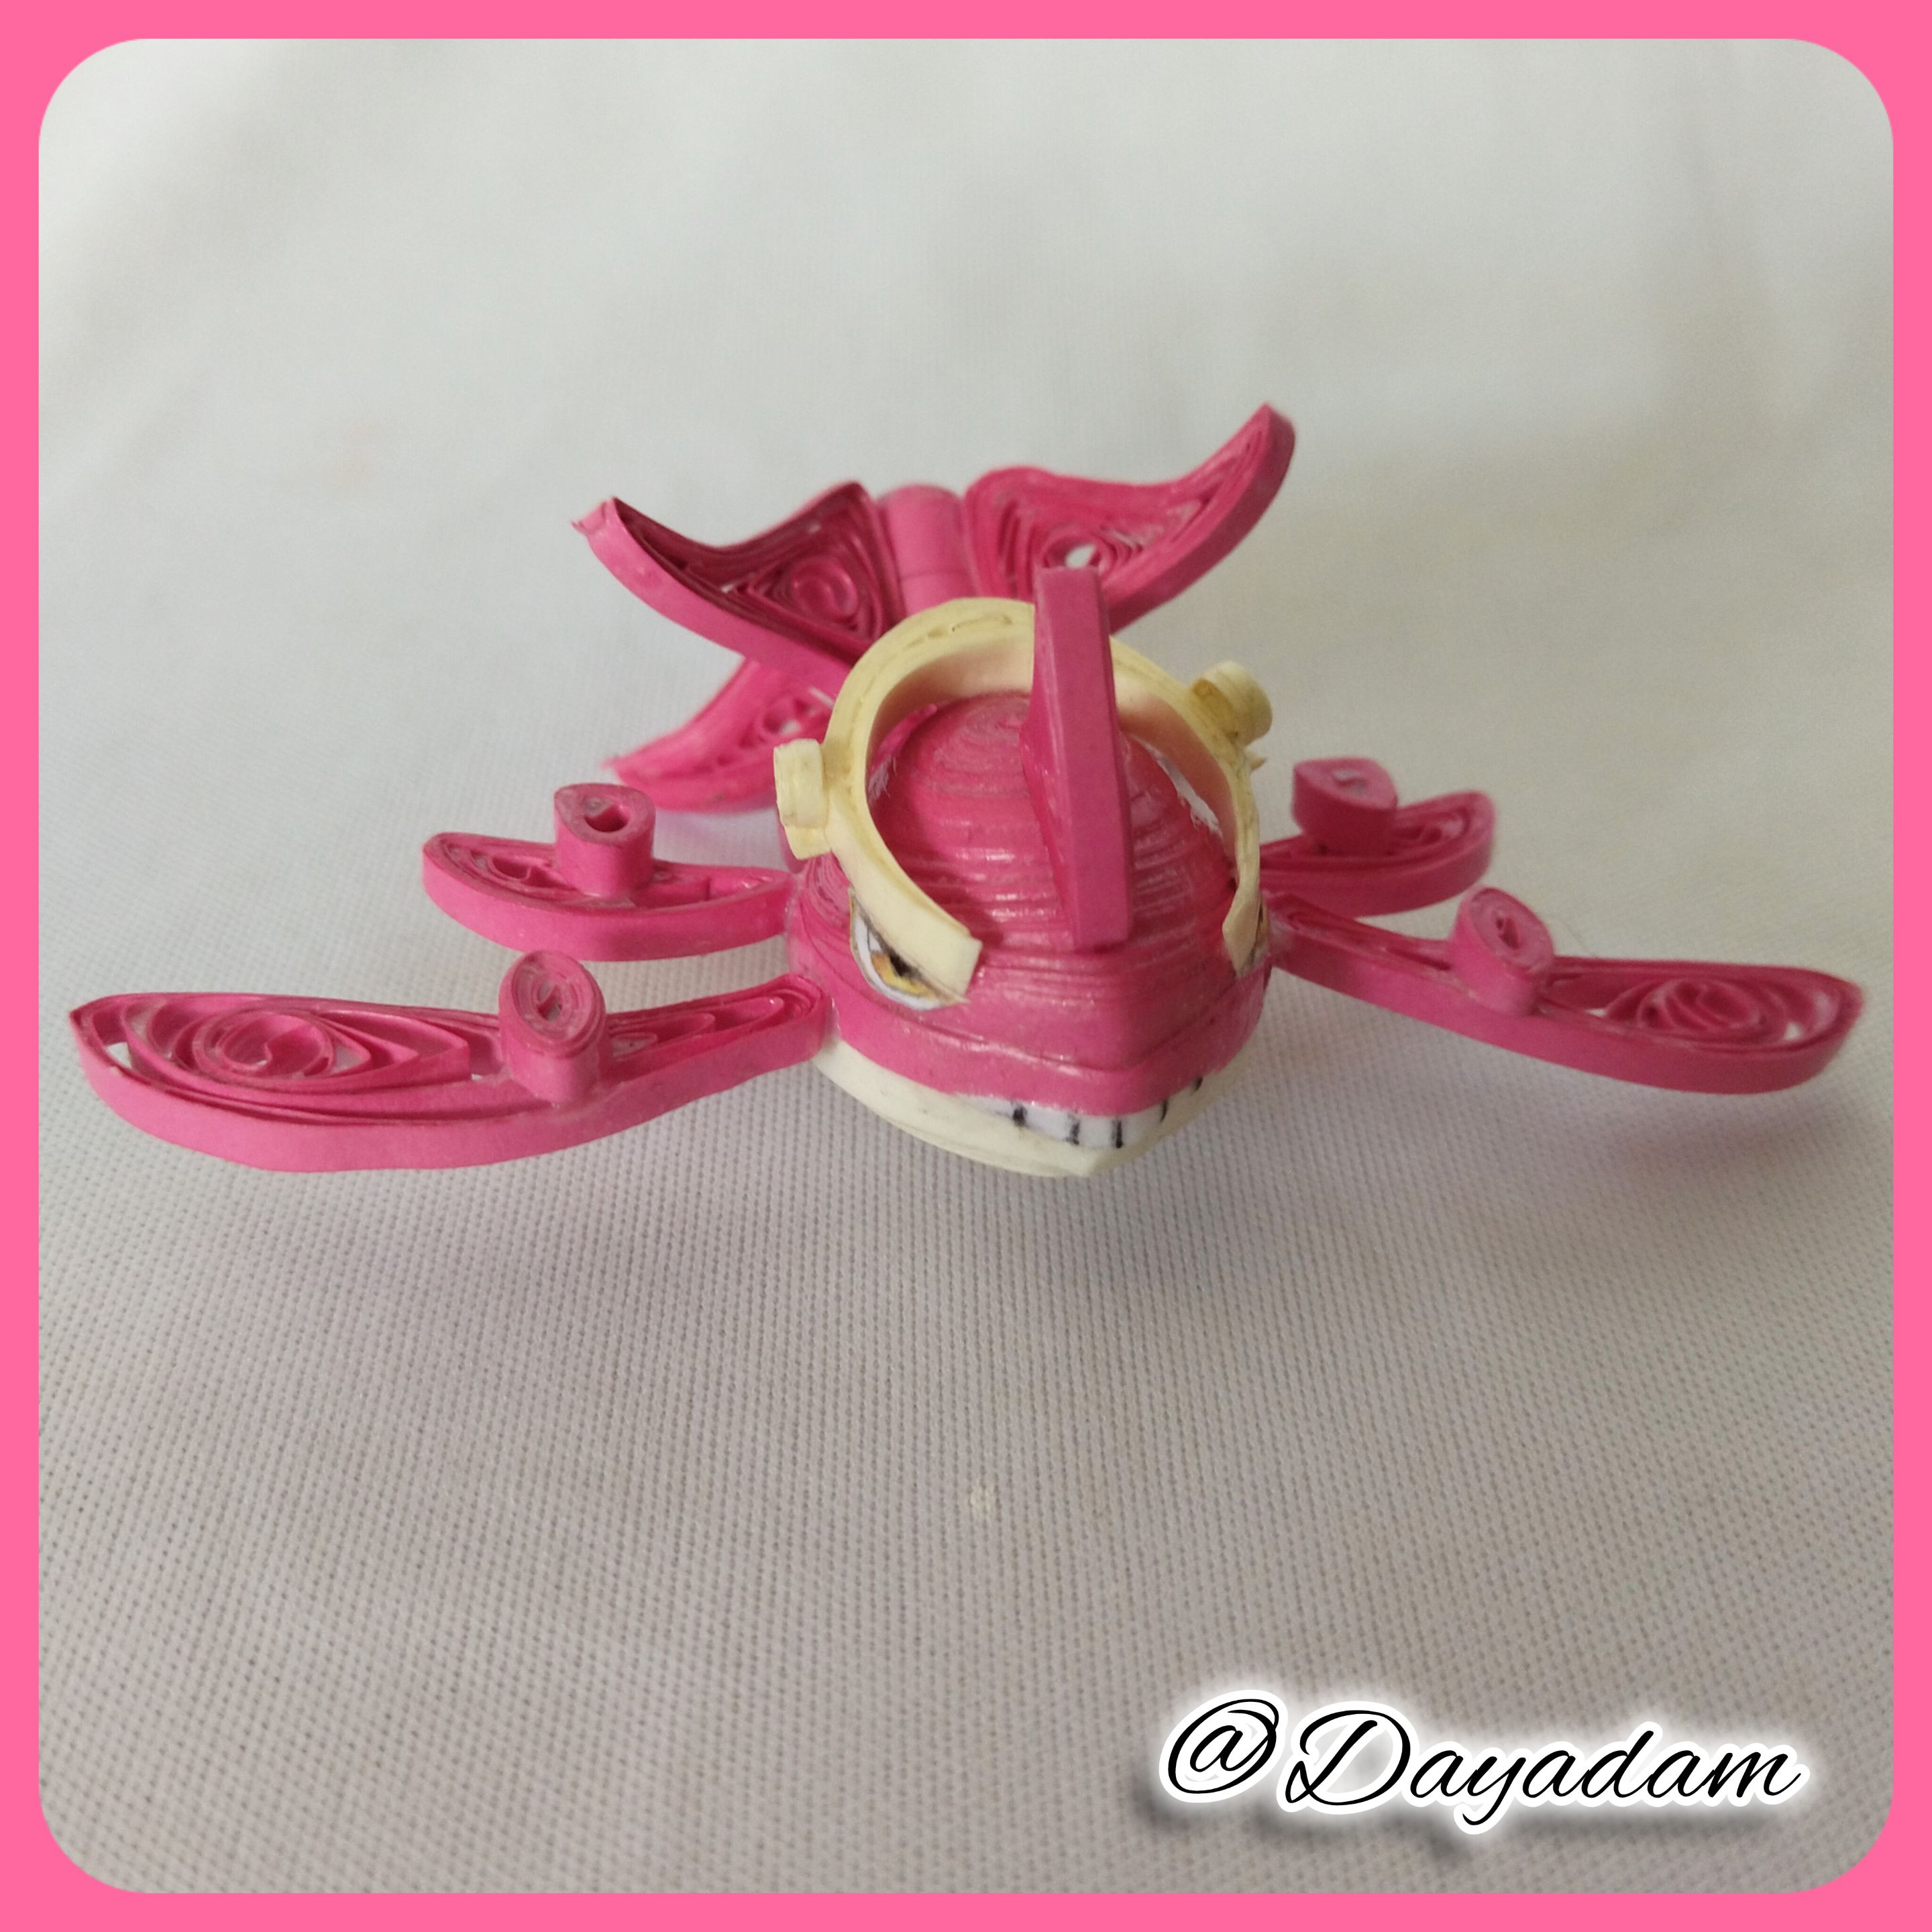
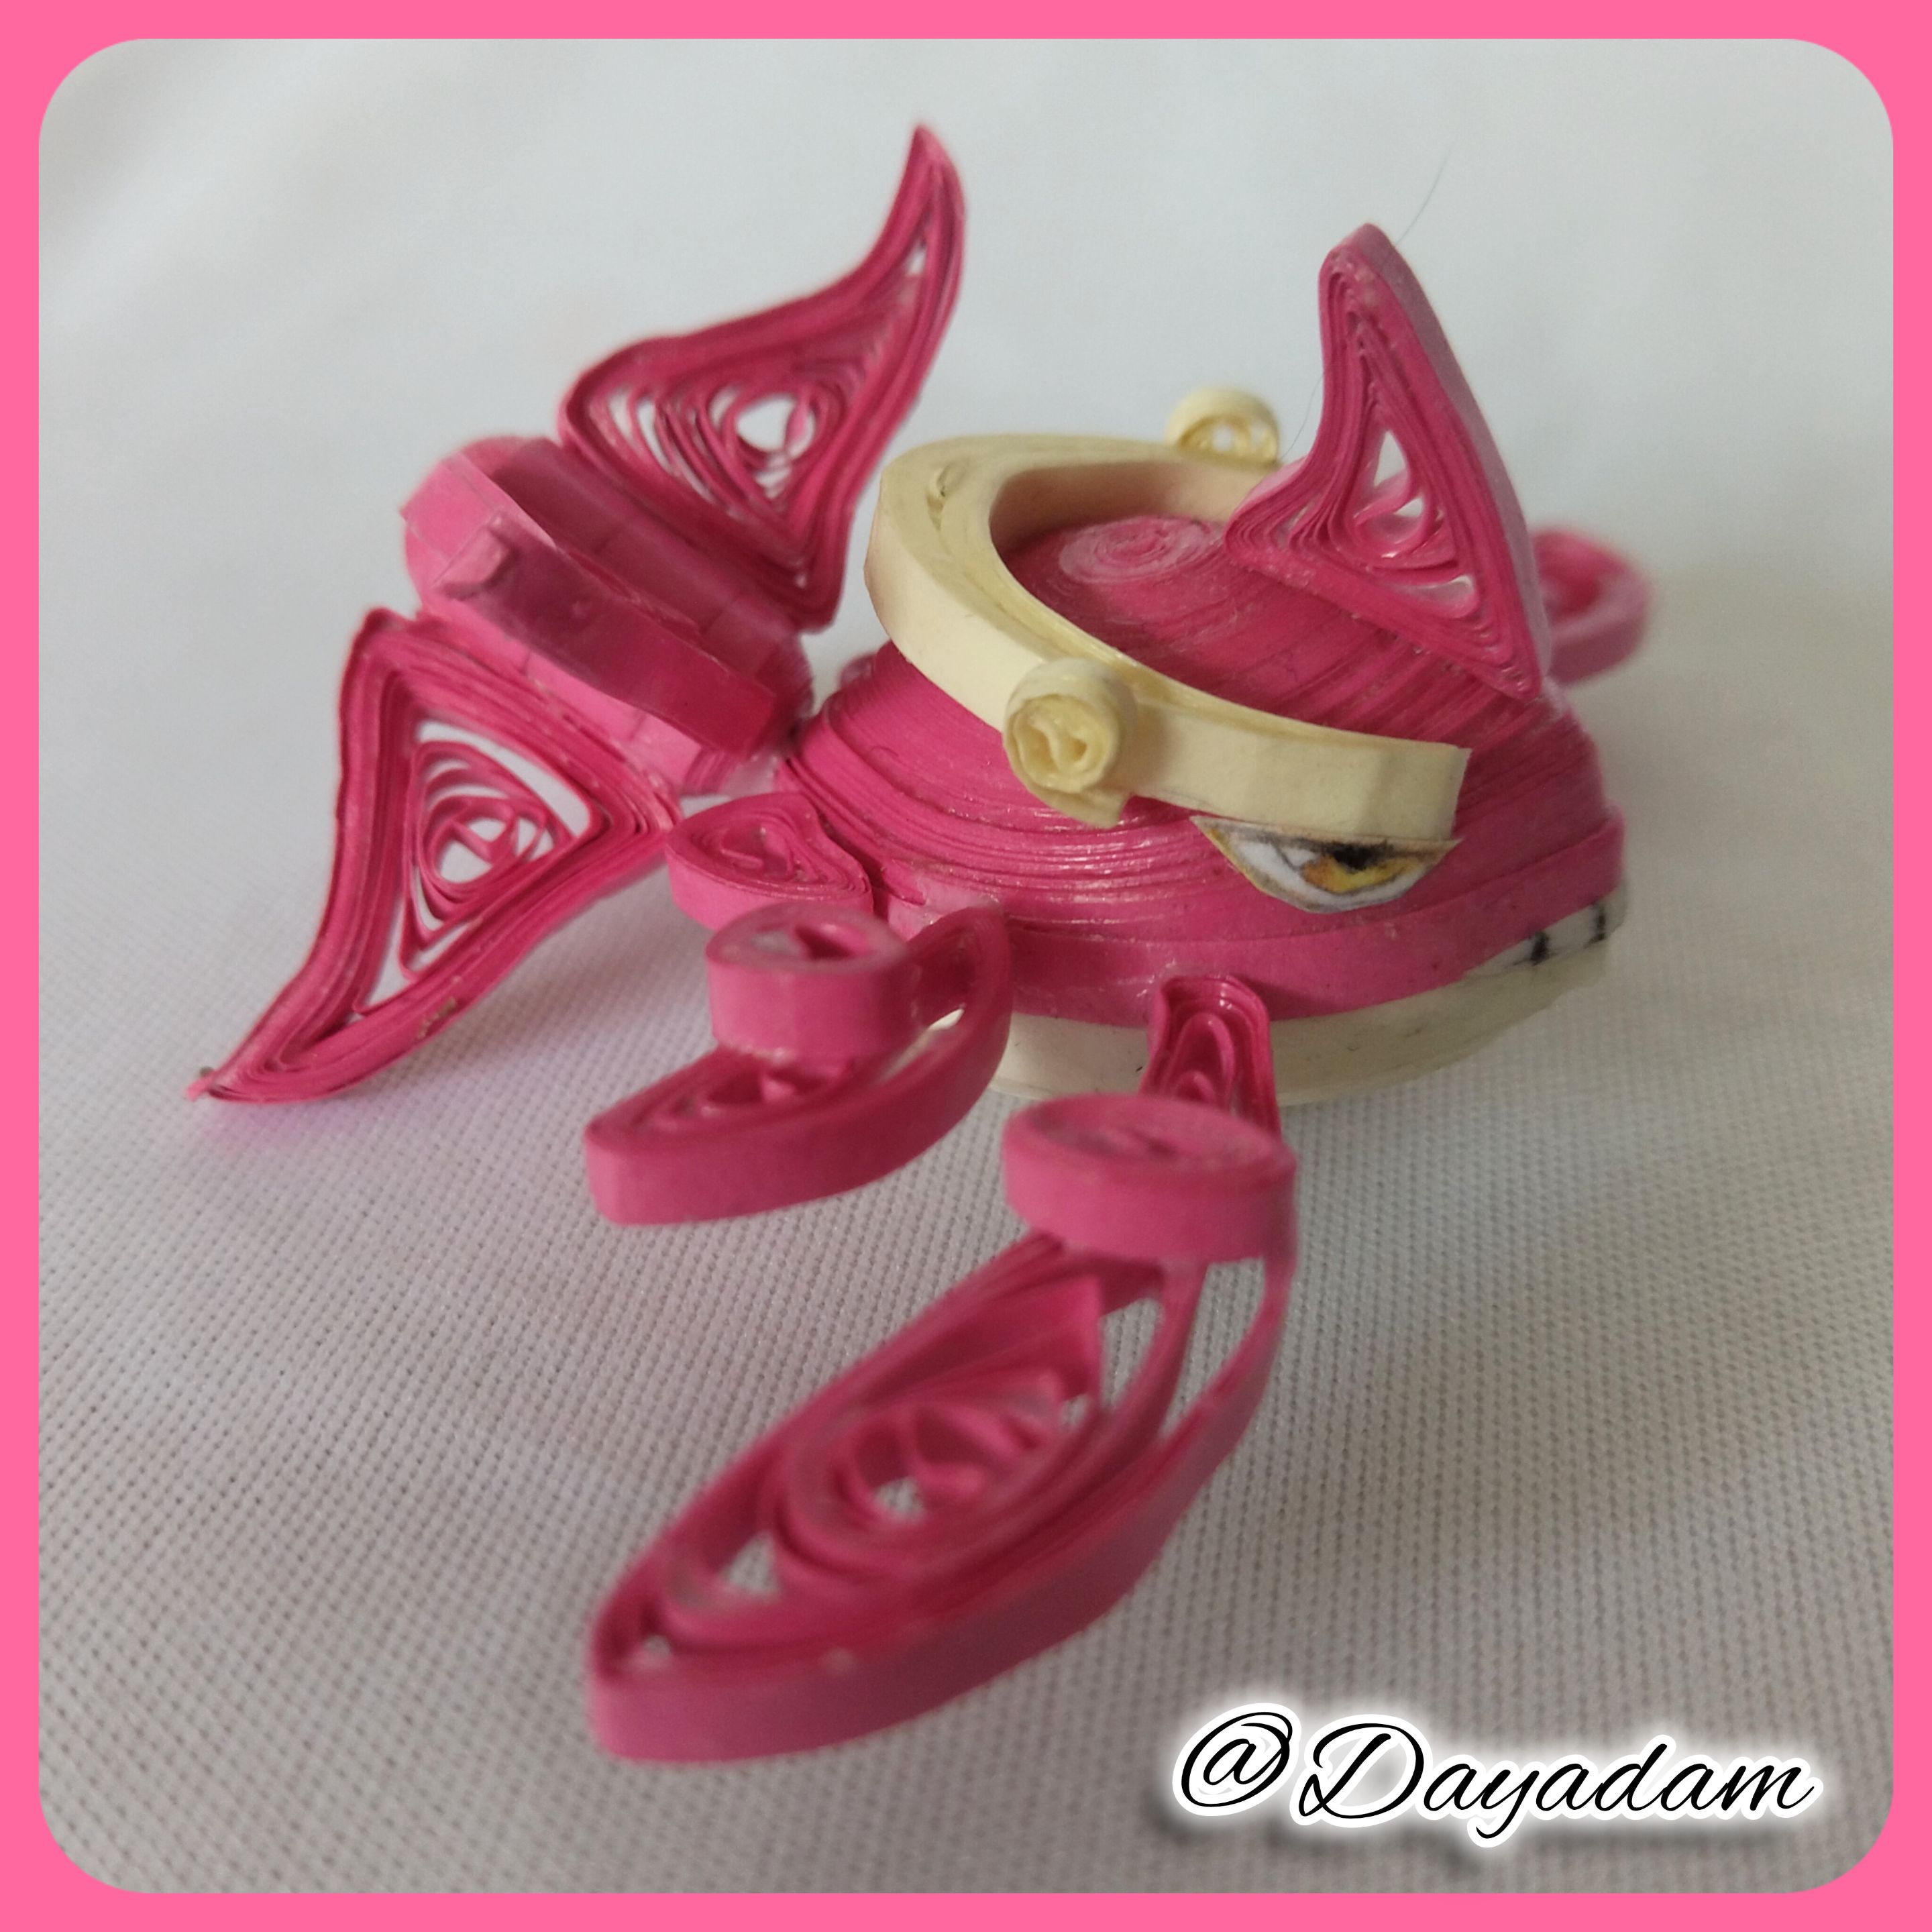
- We are going to take pieces of quilling tape of different sizes in pink color, with them we are going to make open circles of different sizes, with them we are going to form all the fins of the Waller together with all its details, as shown in each of the images that I attach.
- Ready and joined the fins I decided to apply a layer of glue to laminate and protect them, let them dry very well.
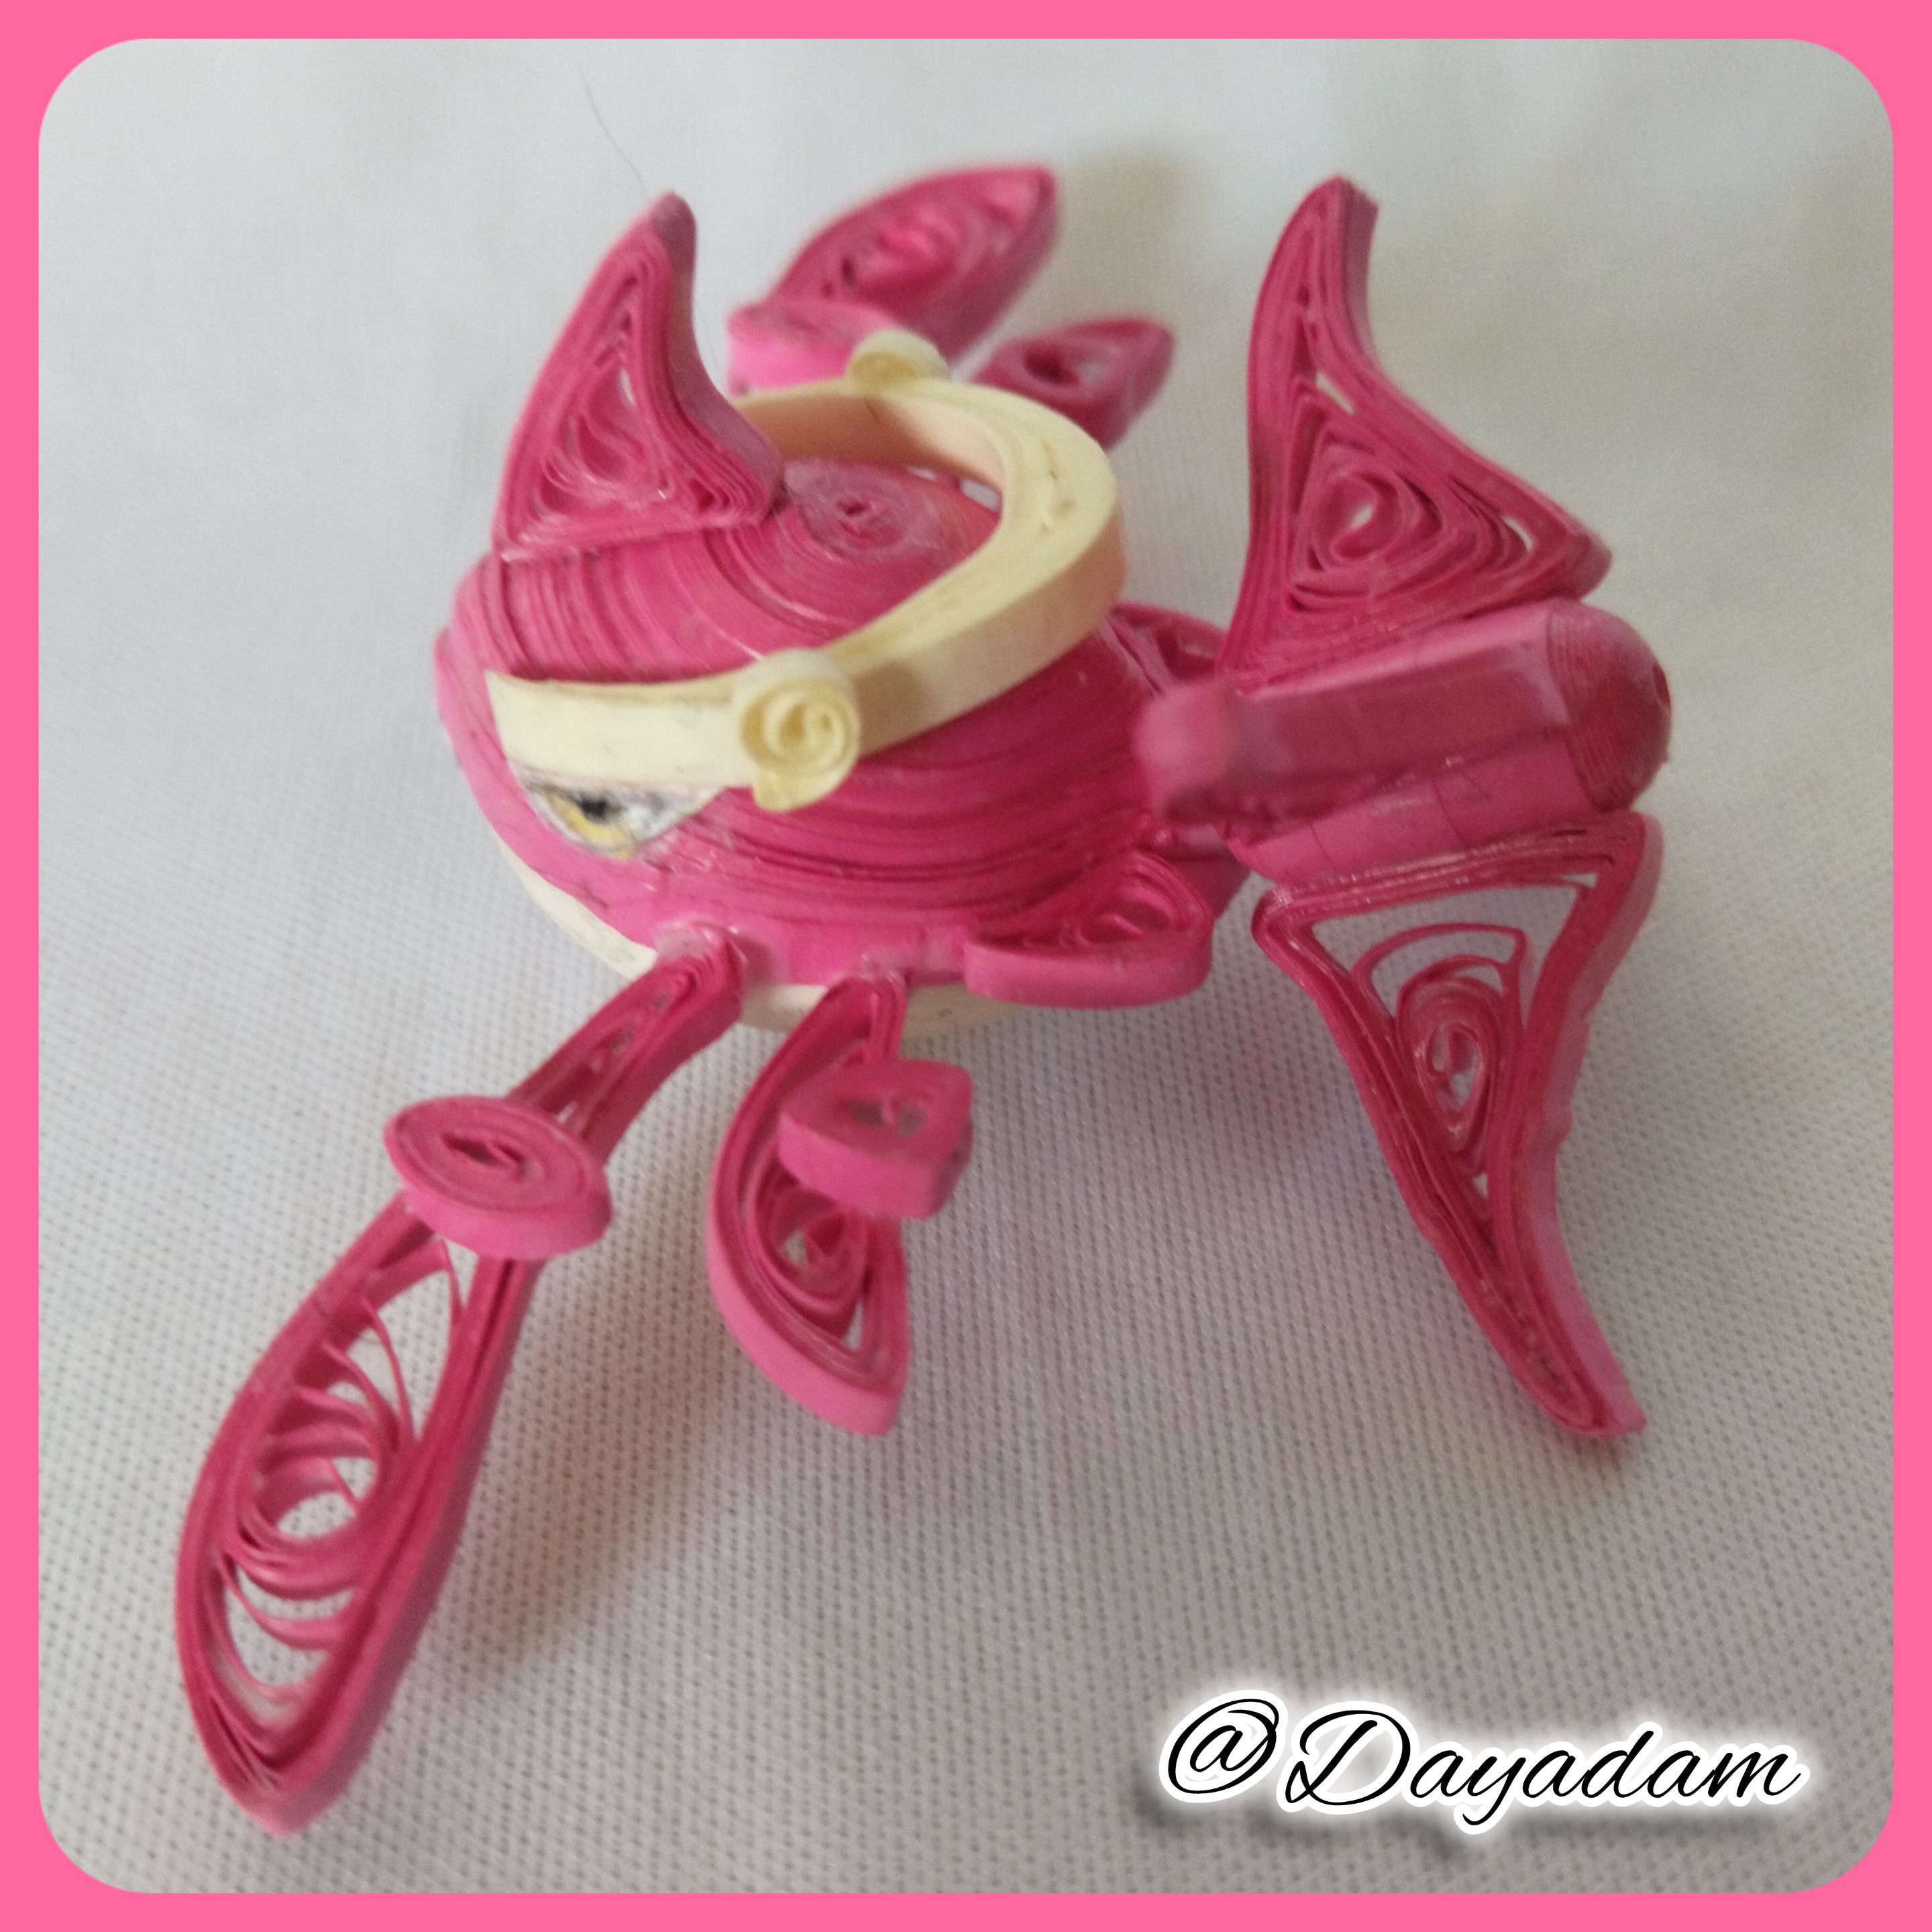
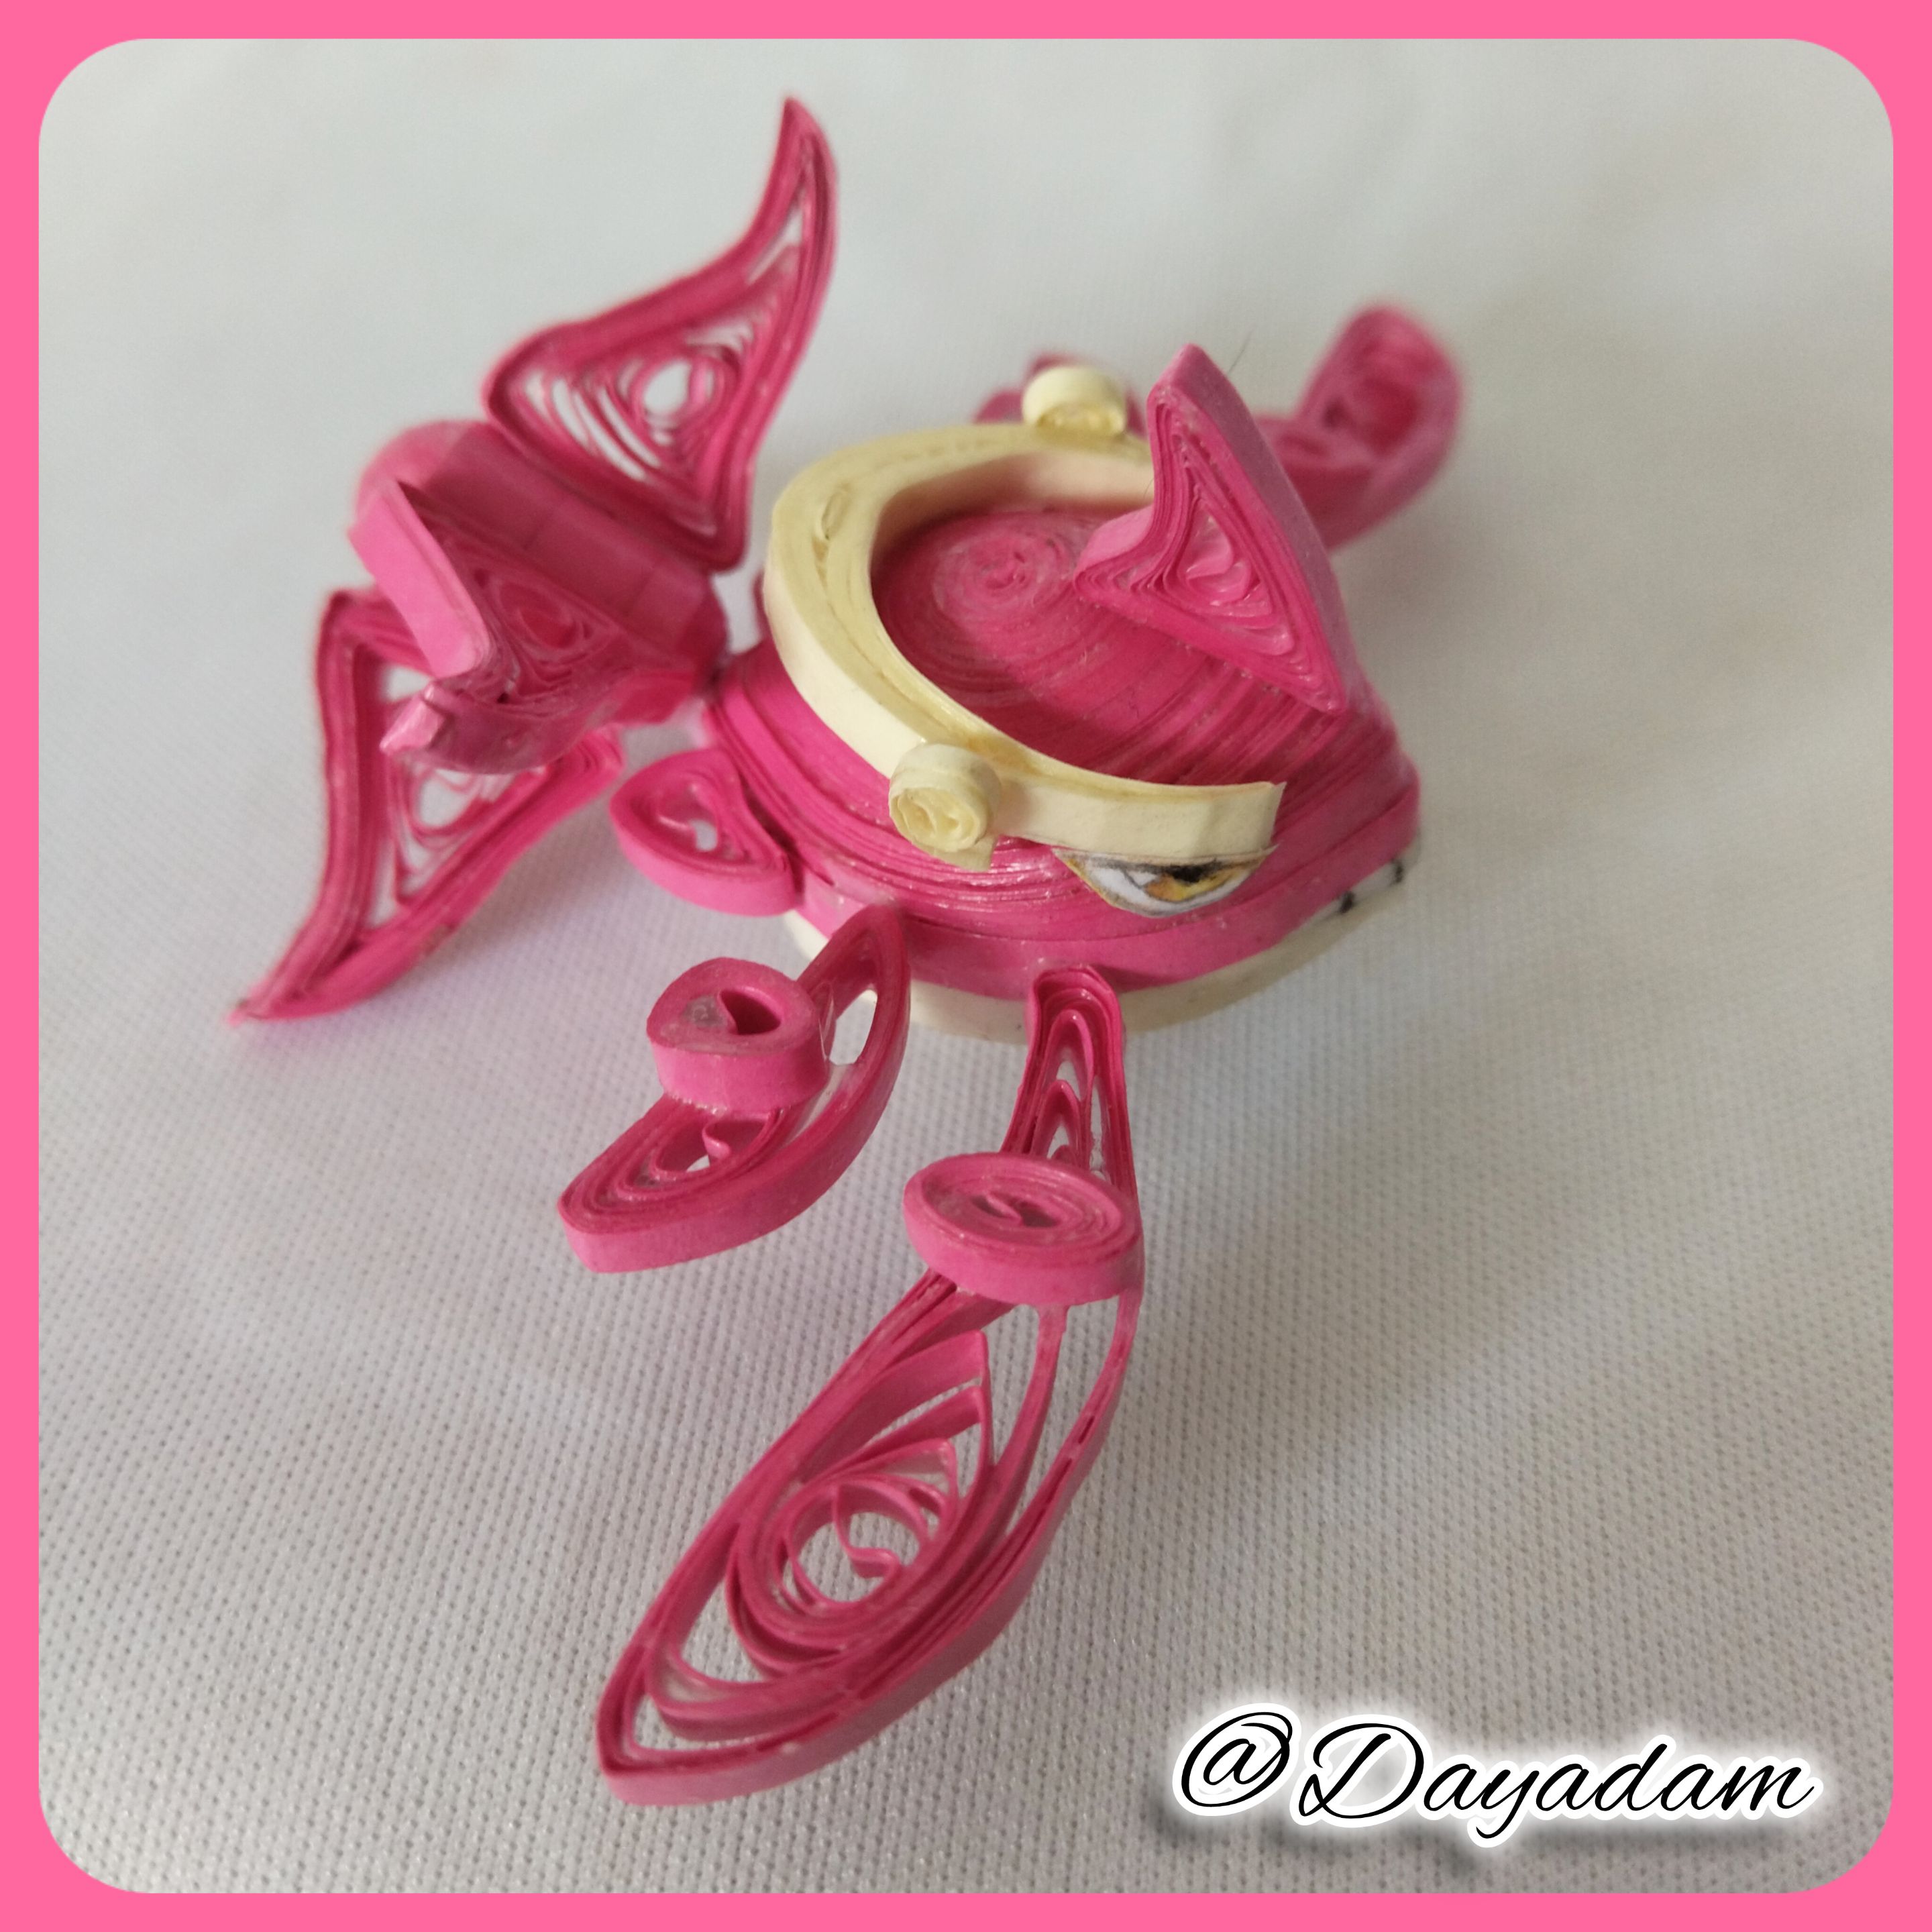
- At this point I took beige quilling tape and made the details that go on the back of the whale, I proceeded to glue one of the fins to be able to square the height to place the piece on the back, and glued it.
- We proceed to glue all the remaining pieces of the body in a harmonic way, apply another layer of extra strong white glue to protect.
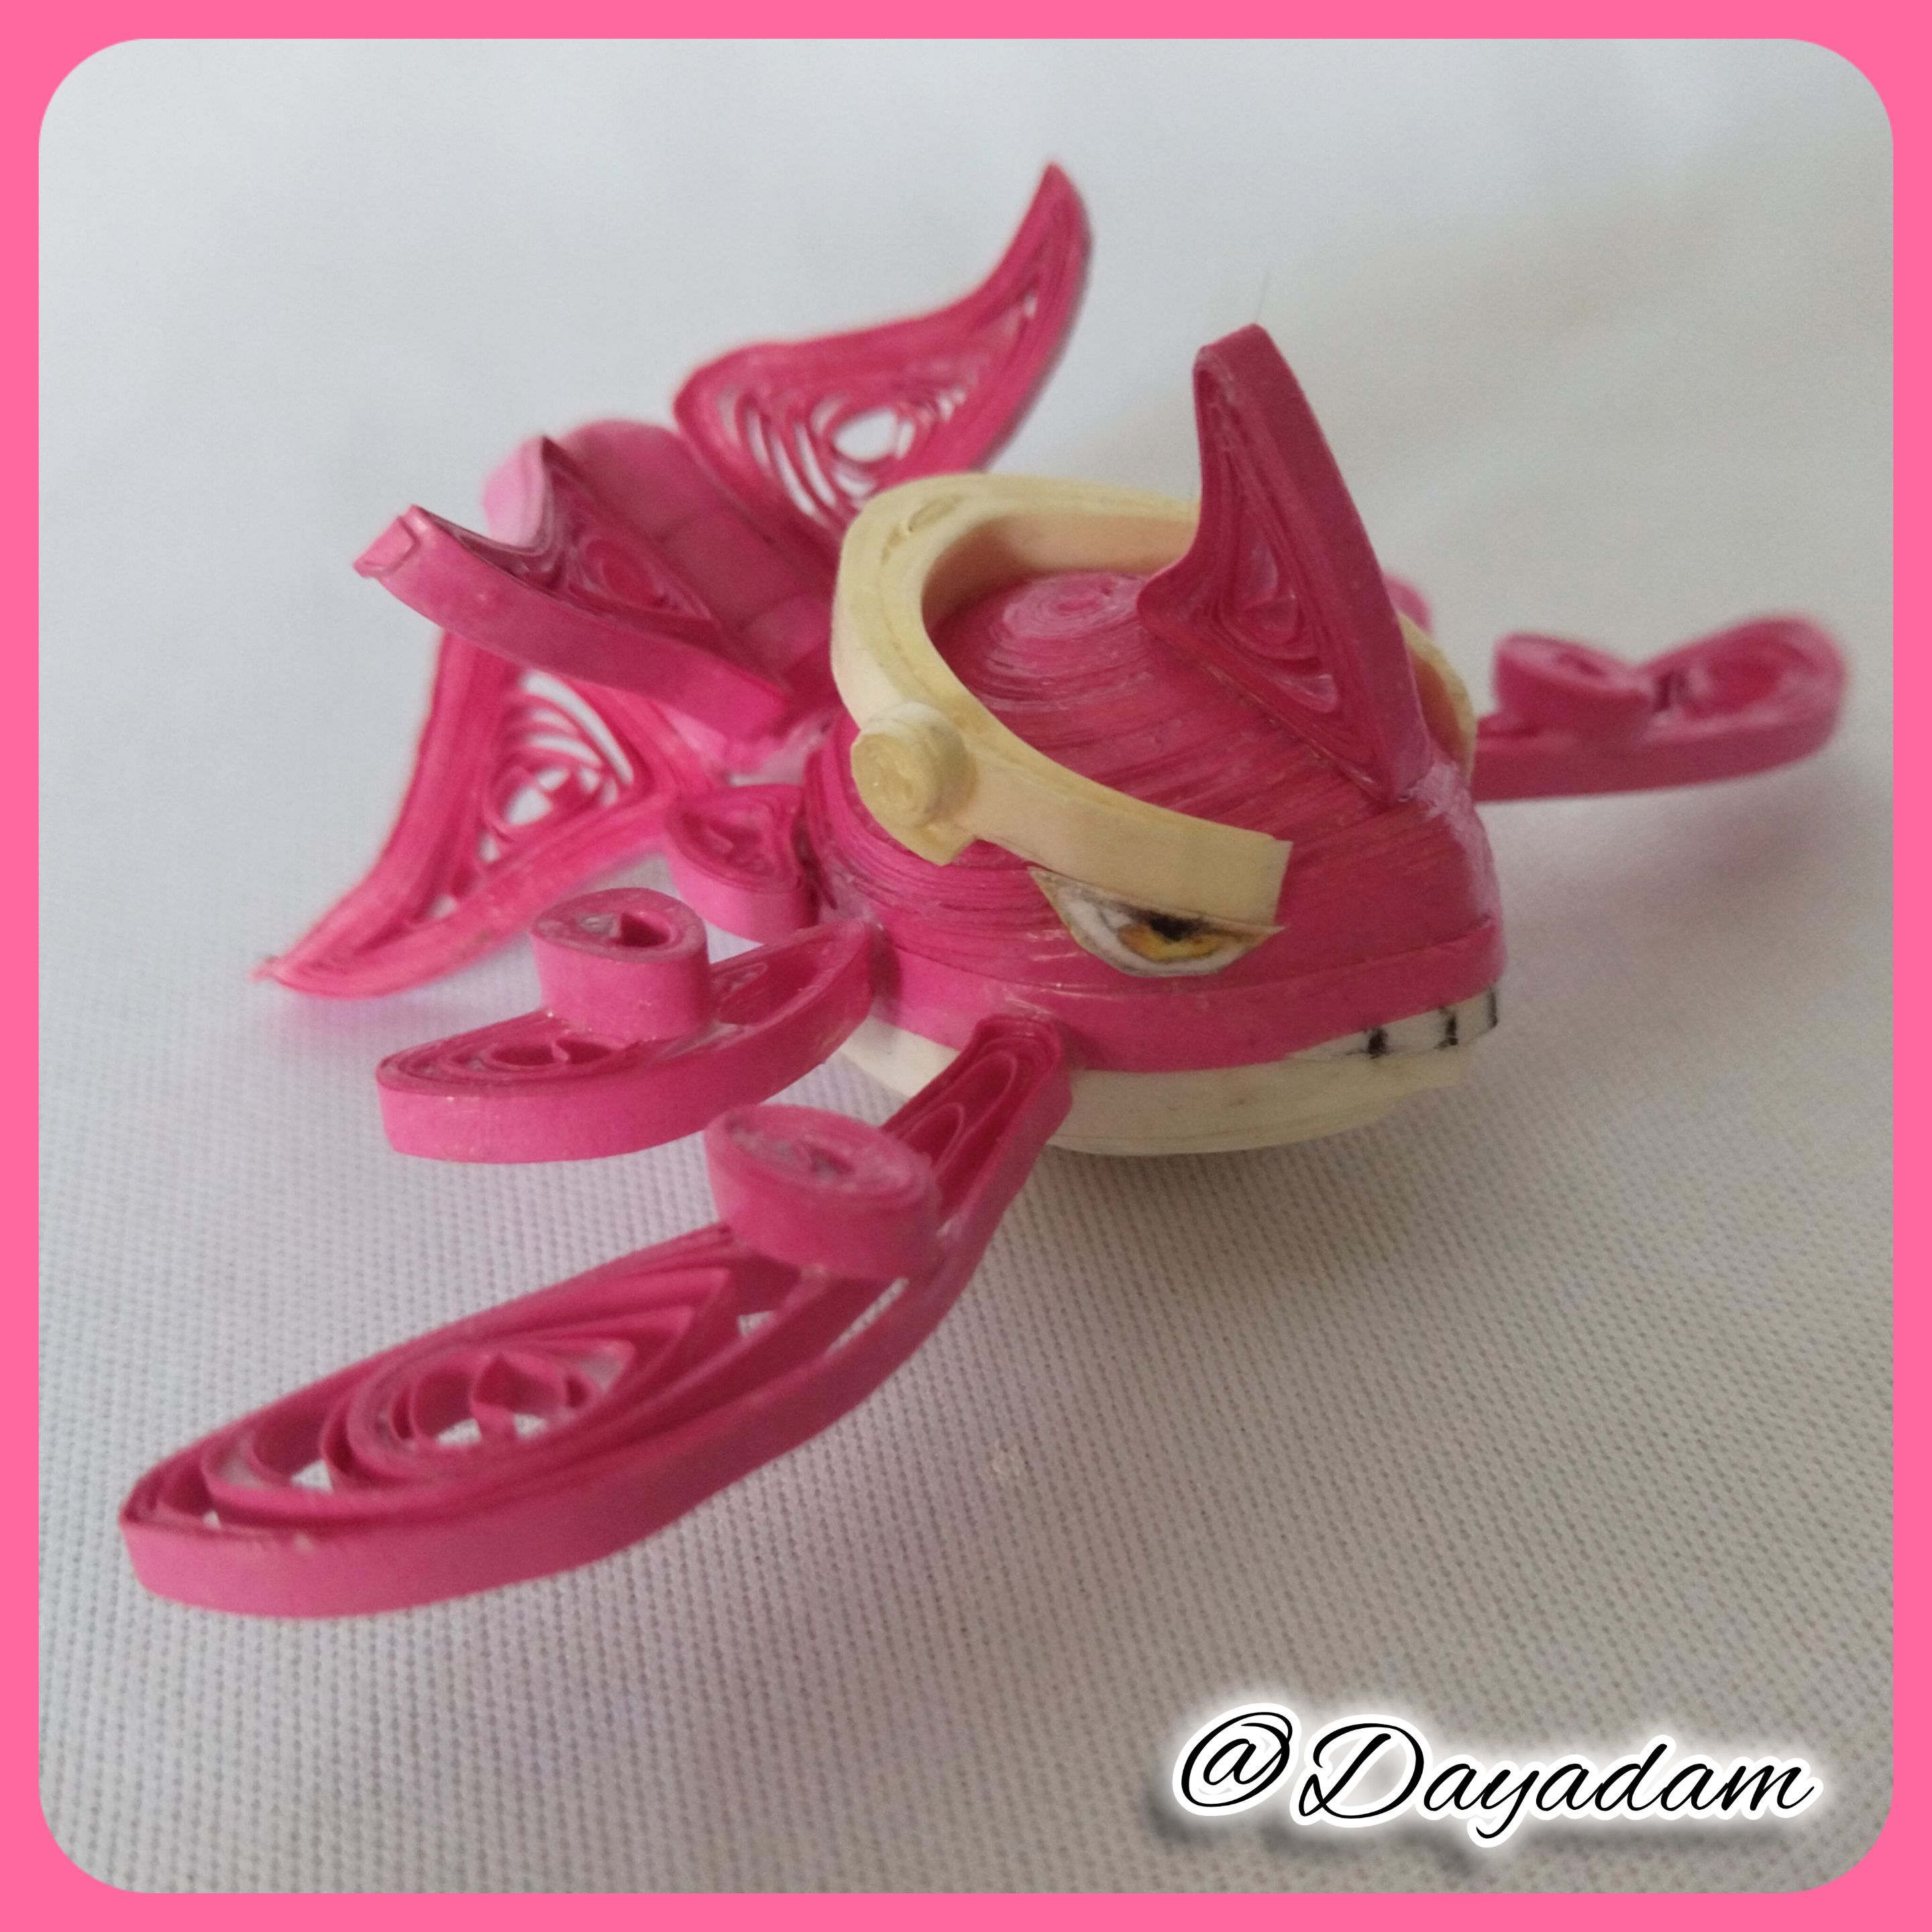
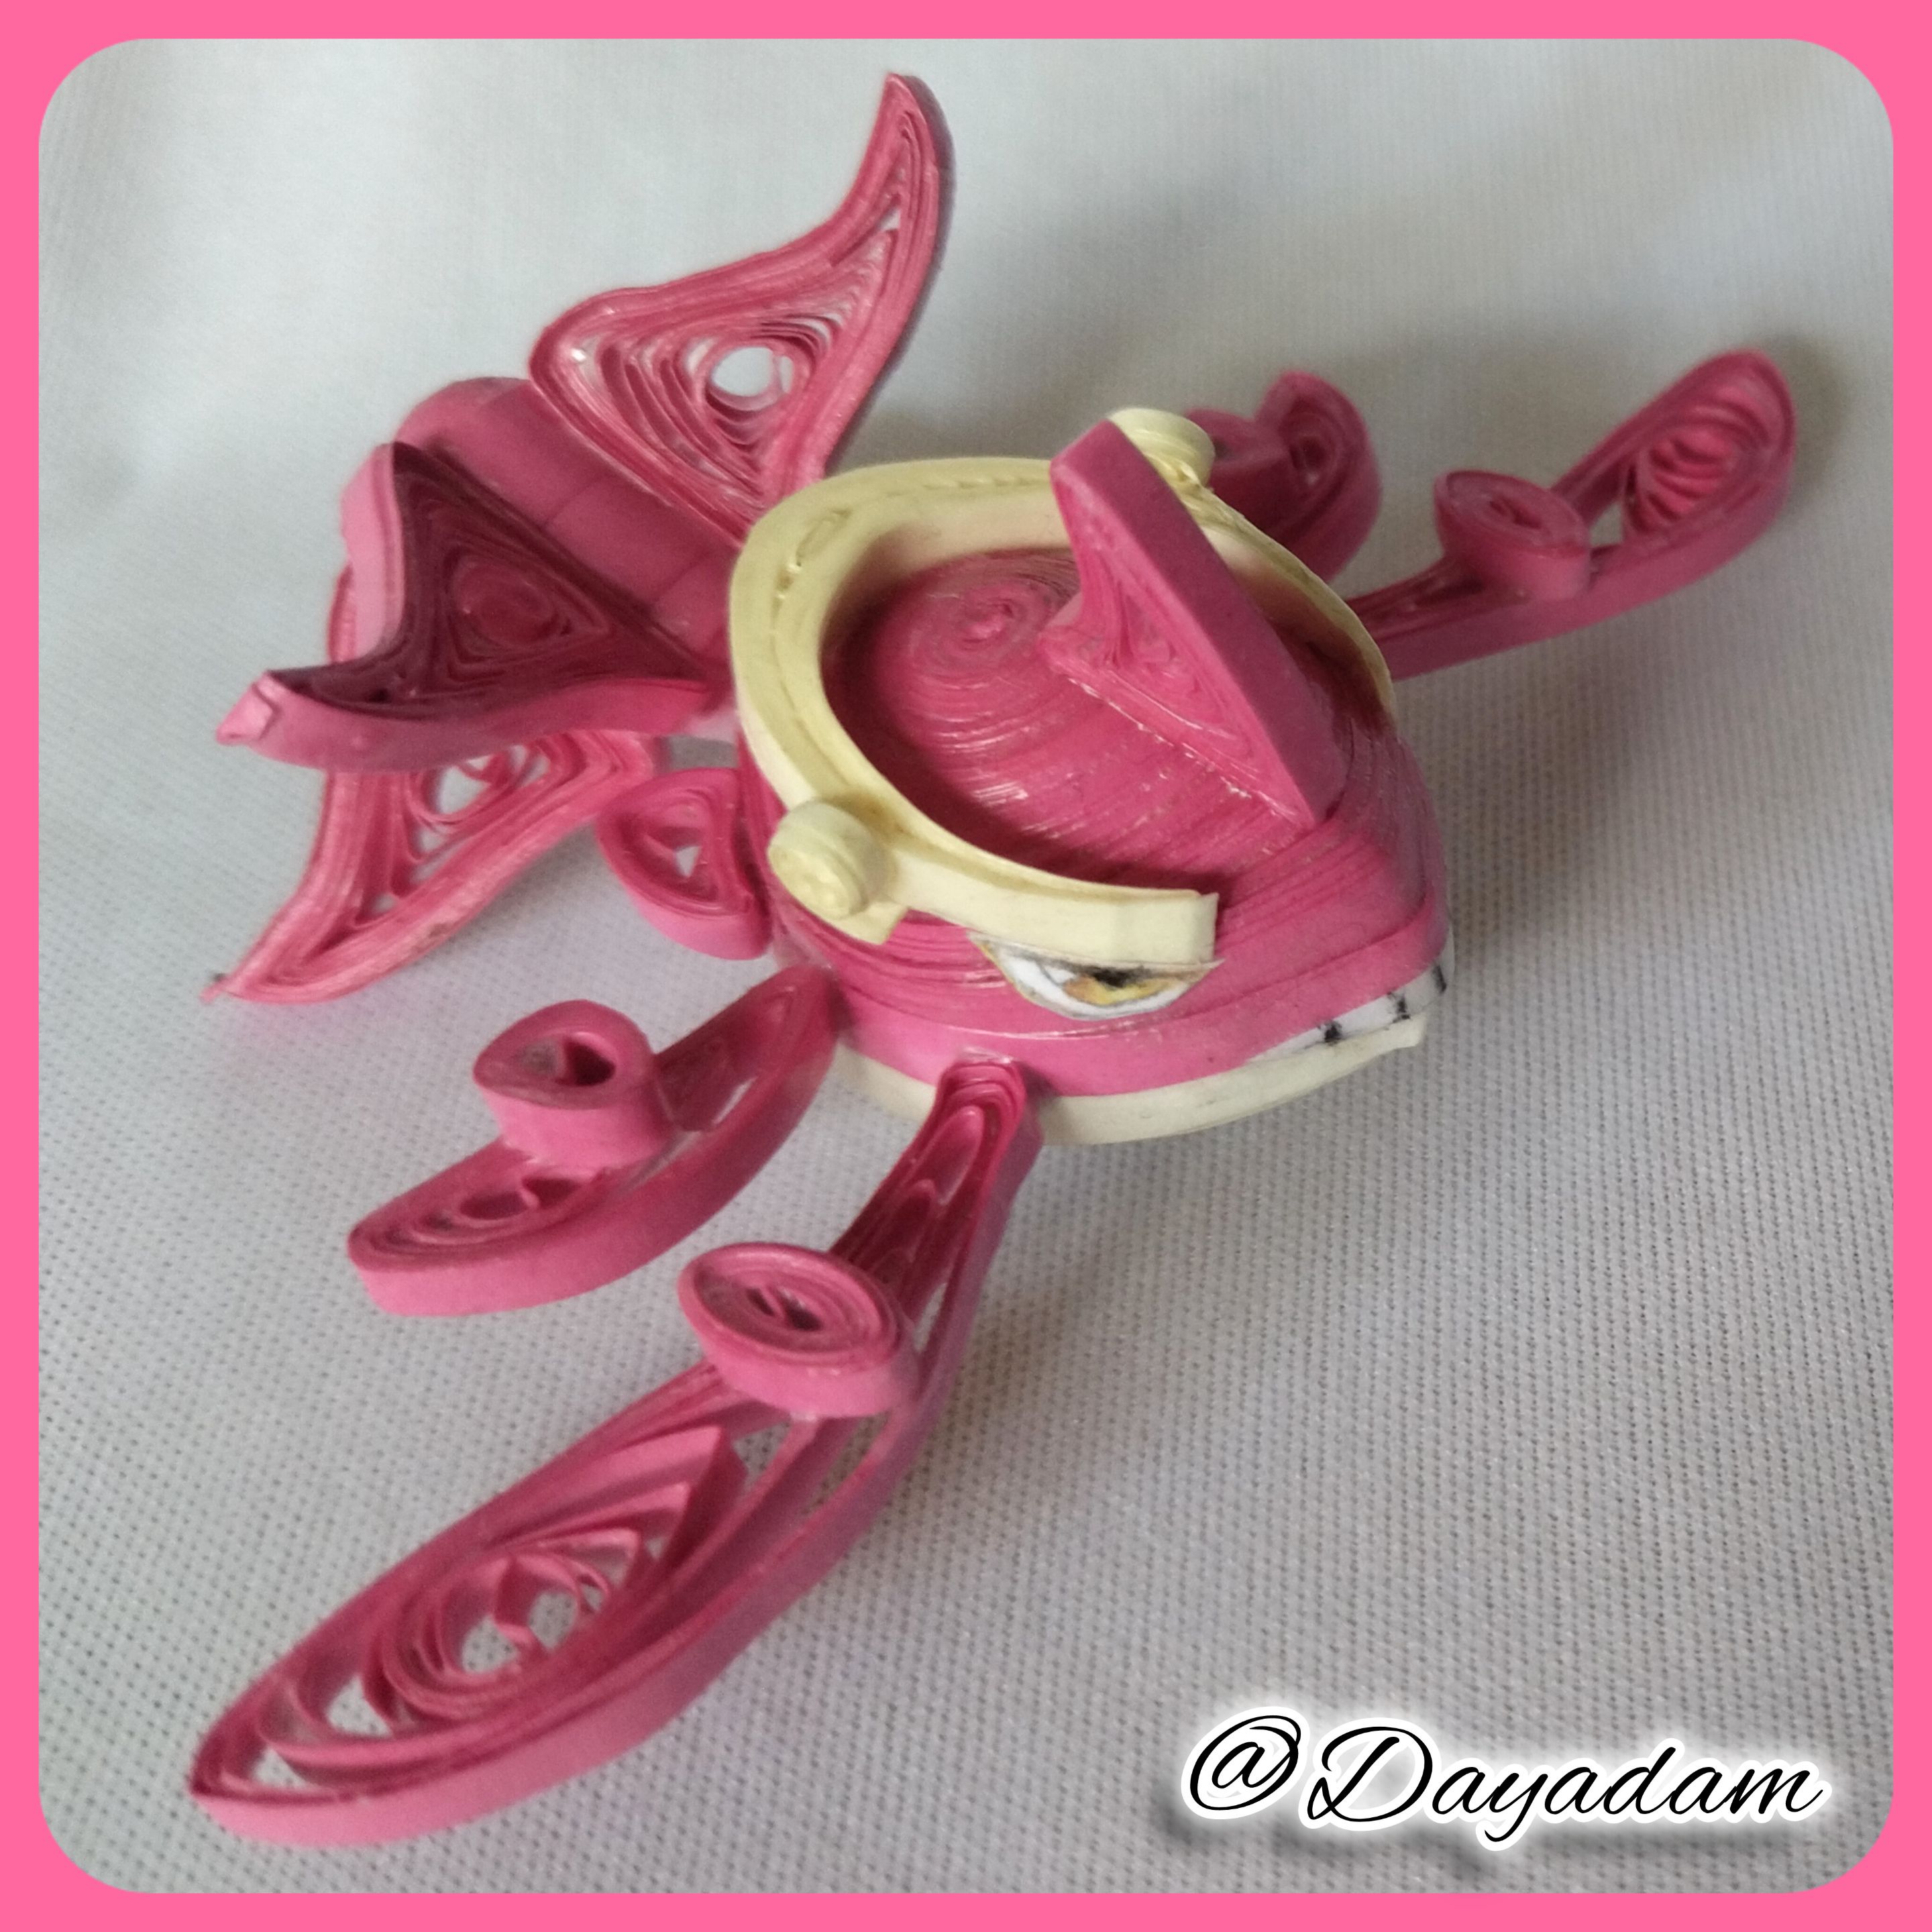
- Finally we place the eyes, make the stripes of the teeth, and apply a little glue to protect.
In this way we have ready this small sculpture of the beautiful creature in its evolution "Waller Radient " decorative, in 3D in the quilling technique.
• Vamos a tomar trozos de cinta para quilling de diversas medidas colo rosado, con ellas vamos a realizar círculos abiertos, de diferentes tamaños, con ellos vamos a ir formando todas las aletas del Waller junto a todos sus detalles, tal como lo muestran cada una de las imágenes que le anexo.
• Listas y unidas las aletas decidí aplicar una capa de pega para plastificarlas y protegerlas, dejamos secar muy bien.
• En este punto tome cinta para quilling color beige y realice los detalles que van en el lomo de la ballena, procedí a pegar una de las aletas para poder cuadrar las altura para colocar la pieza en el lomo, y la pegue.
• Procedemos a pegar del cuerpo todas las piezas restantes de manera armónica, aplique otra capa de pega blanca extra fuerte para proteger.
• Para finalizar colocamos los ojos, realizamos las rayitas de la dentadura, y aplicamos un poco de pega para proteger.
De esta manera tenemos listo esta pequeña escultura de la bella criatura en su evolución "Waller Radient" decorativo, en 3D en la técnica de quilling.


What did you think, did you like it?
I hope you did, I hope you liked my explanation, procedure and photos, I made them with love for you.
"Let out that muse that inspires you, and let your imagination fly".
Thank you all, see you next time.🐱

¿Qué les pareció, les gustó?
Espero que sí, que les haya gustado mi explicación, procedimiento y fotos, los hice con mucho cariño por y para ustedes.
"Deja salir esa musa que te inspira, y deja volar tu imaginación".
Gracias a todos, nos vemos en la próxima.🐱