English
Hey and Hello Guys
Deutsch
Hey und Hallo Leute
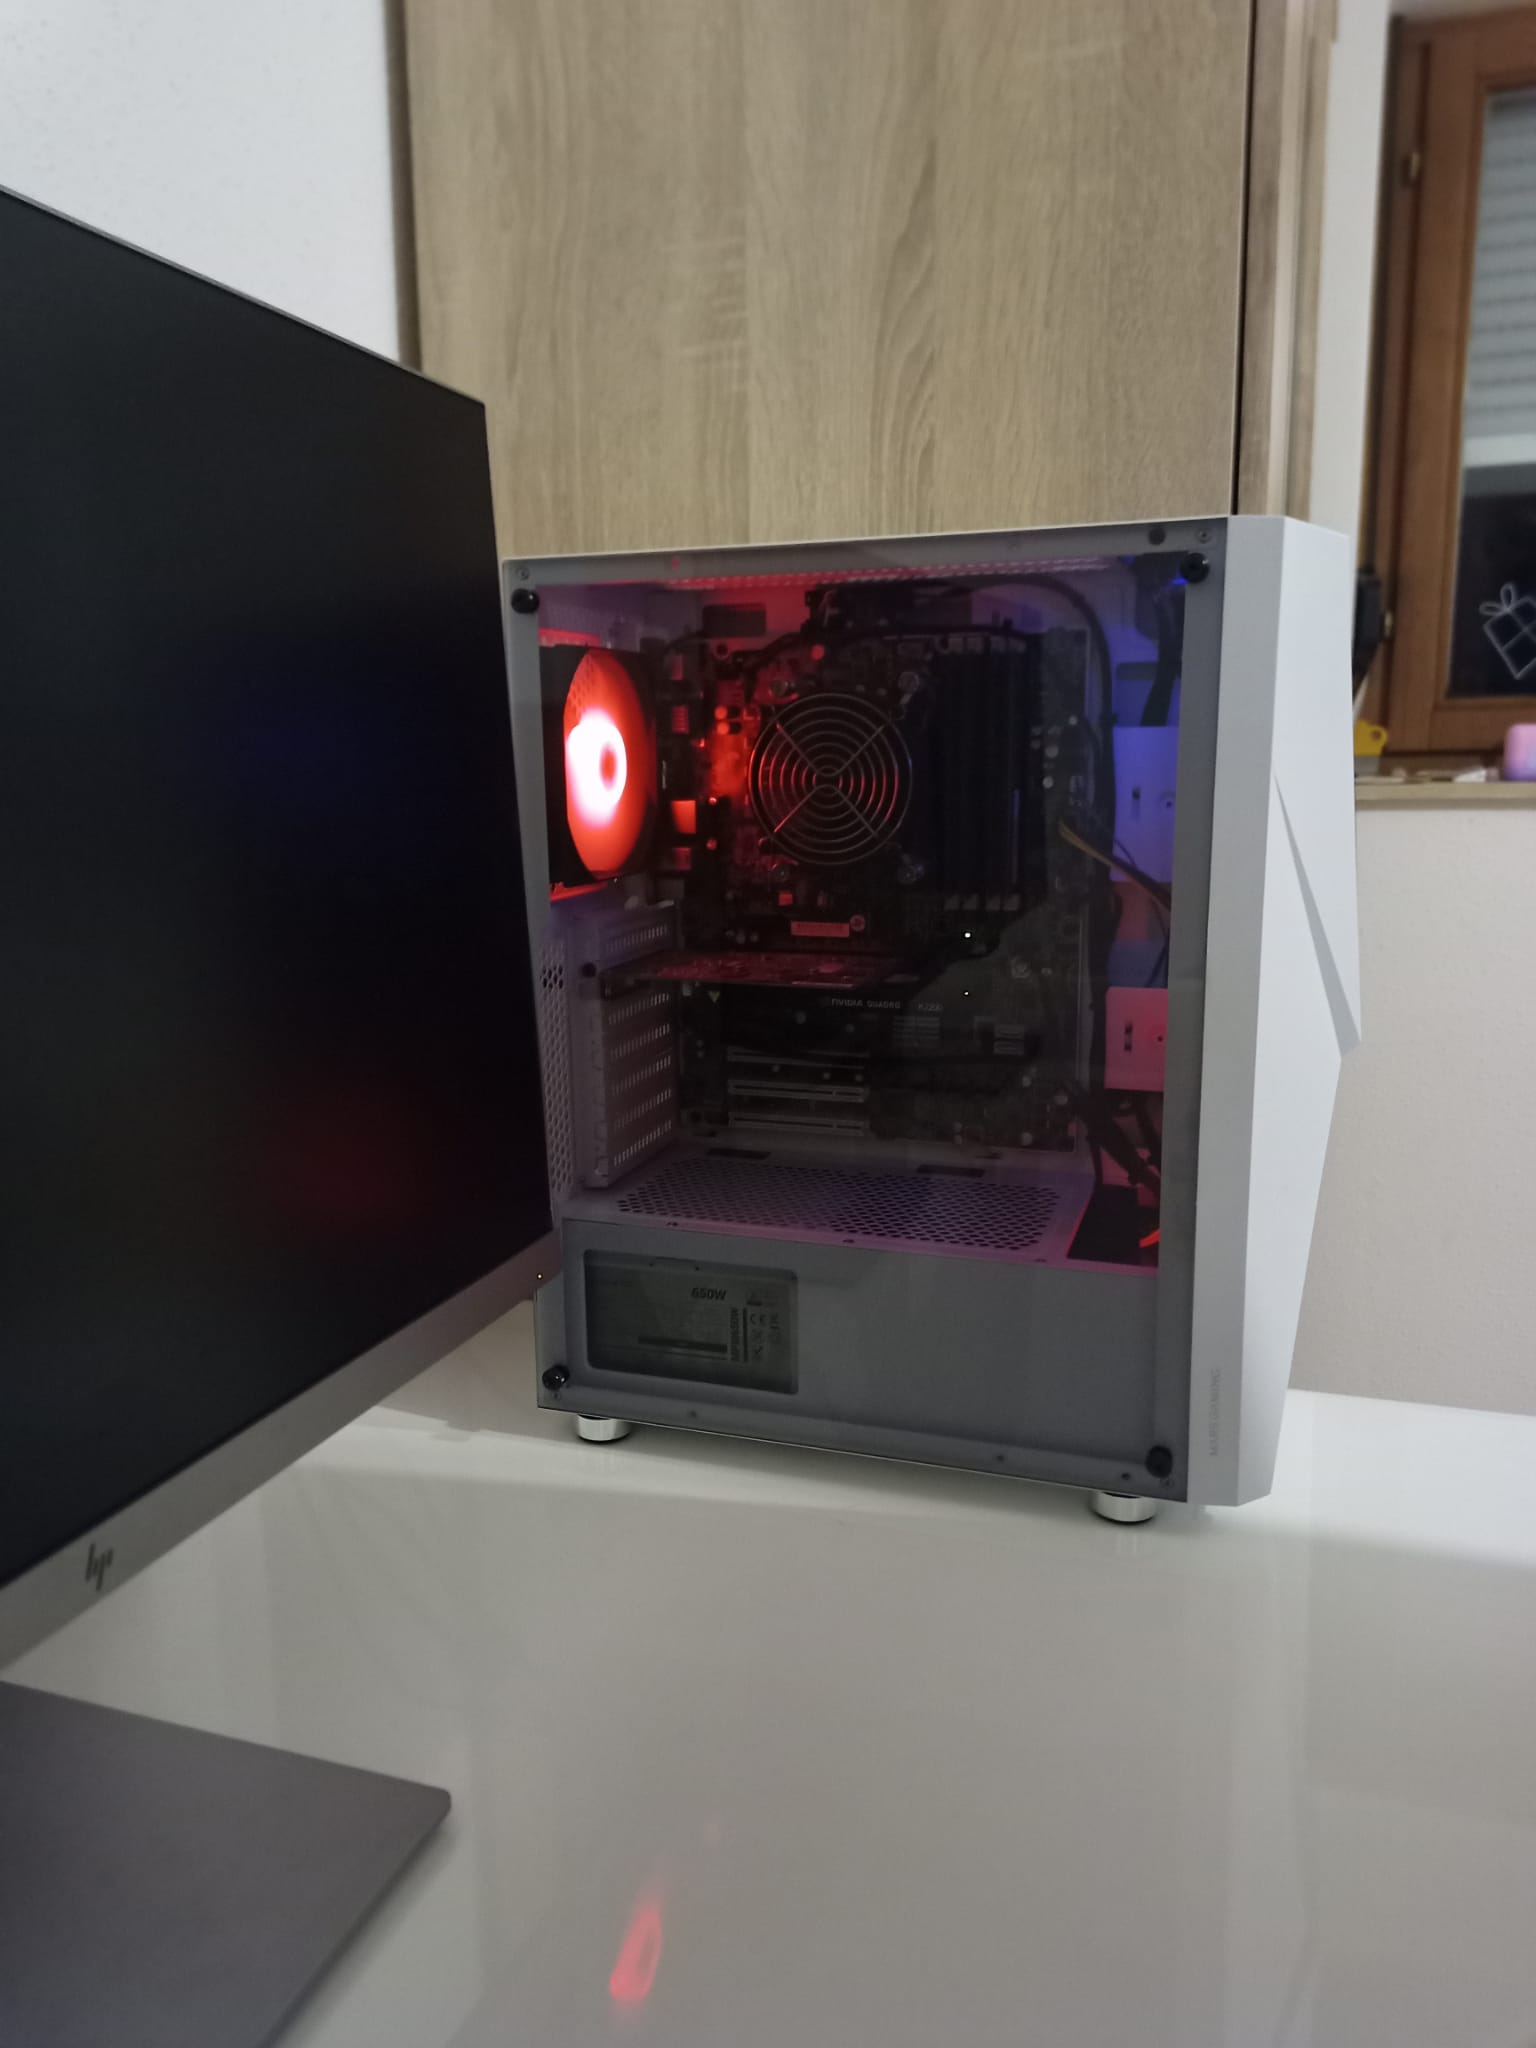
After a long time I'm back with a new project... for Christmas the little one asked for a gaming corner, just like the cool Youtubers have... and since she really plays games and has been behaving well lately, we thought we would fulfill her wish...
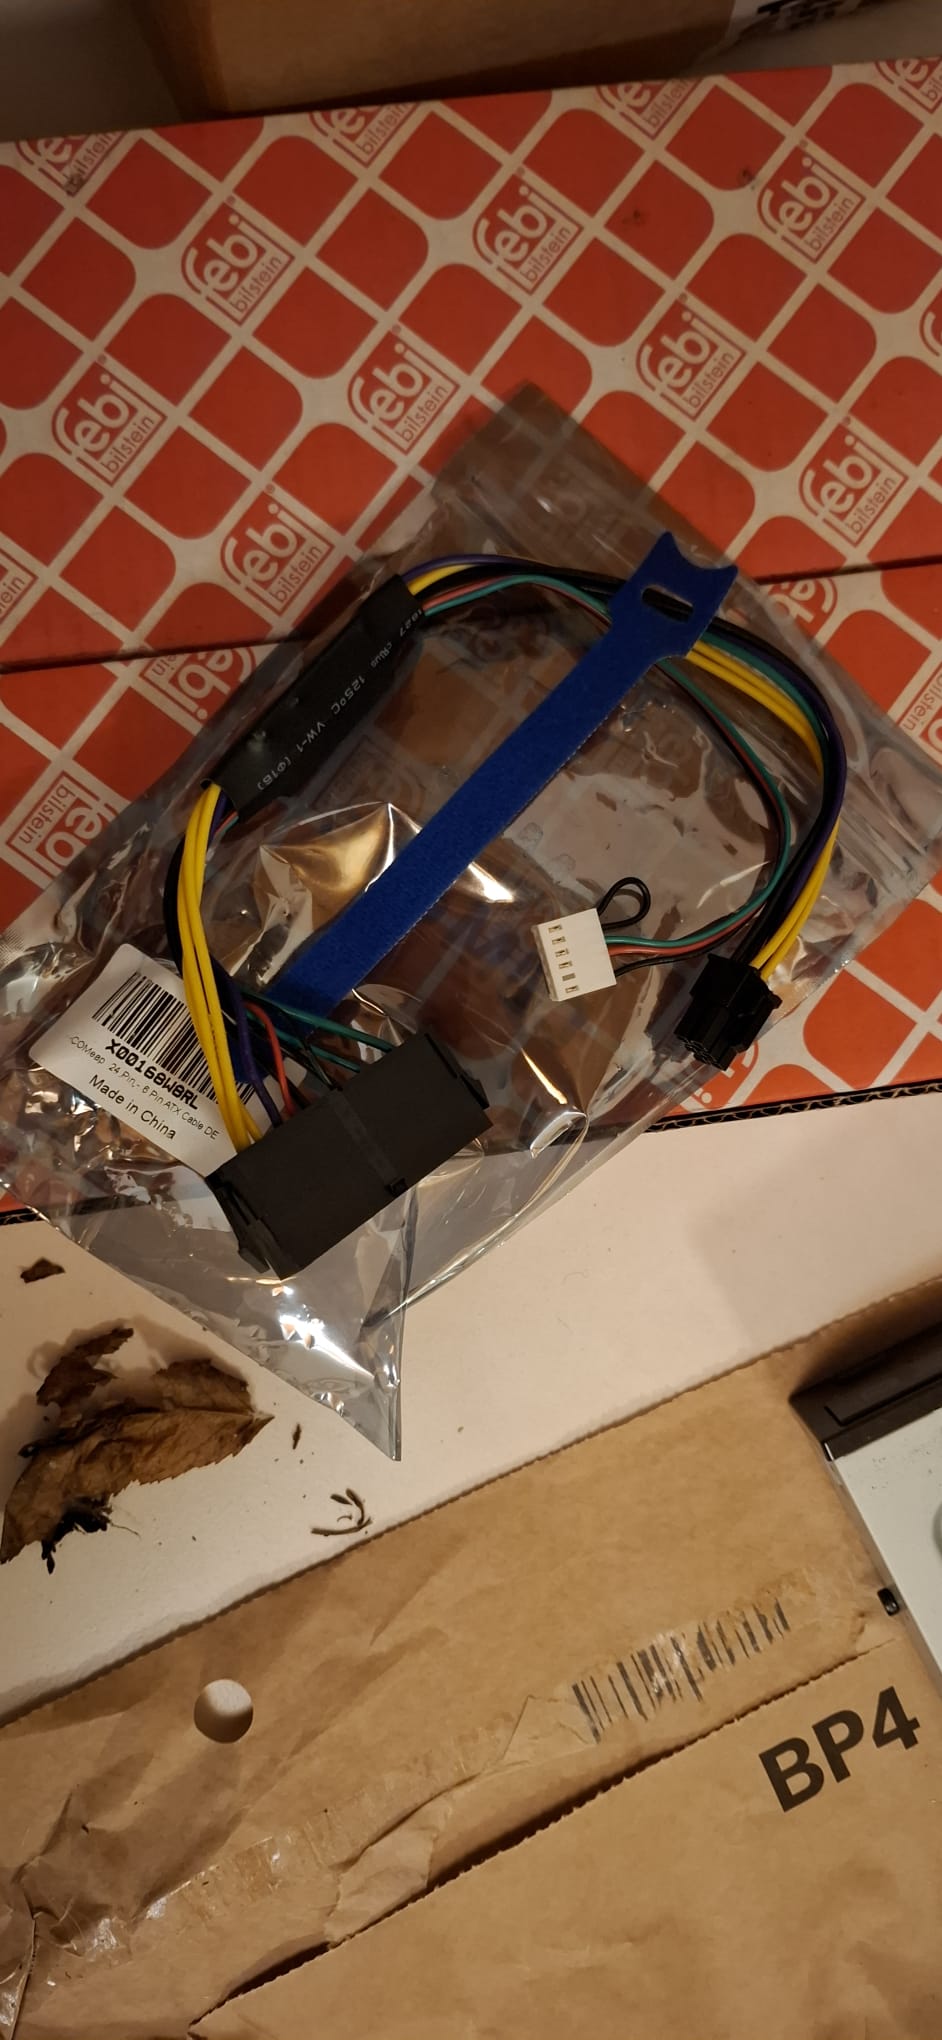
I bought a housing on the internet that you can light up with ARGB... that turned out to be more difficult than I thought. You first had to change the pin assignment of the connection so that the ARGB bars are also controllable and buy some adapters, which I also installed hidden.
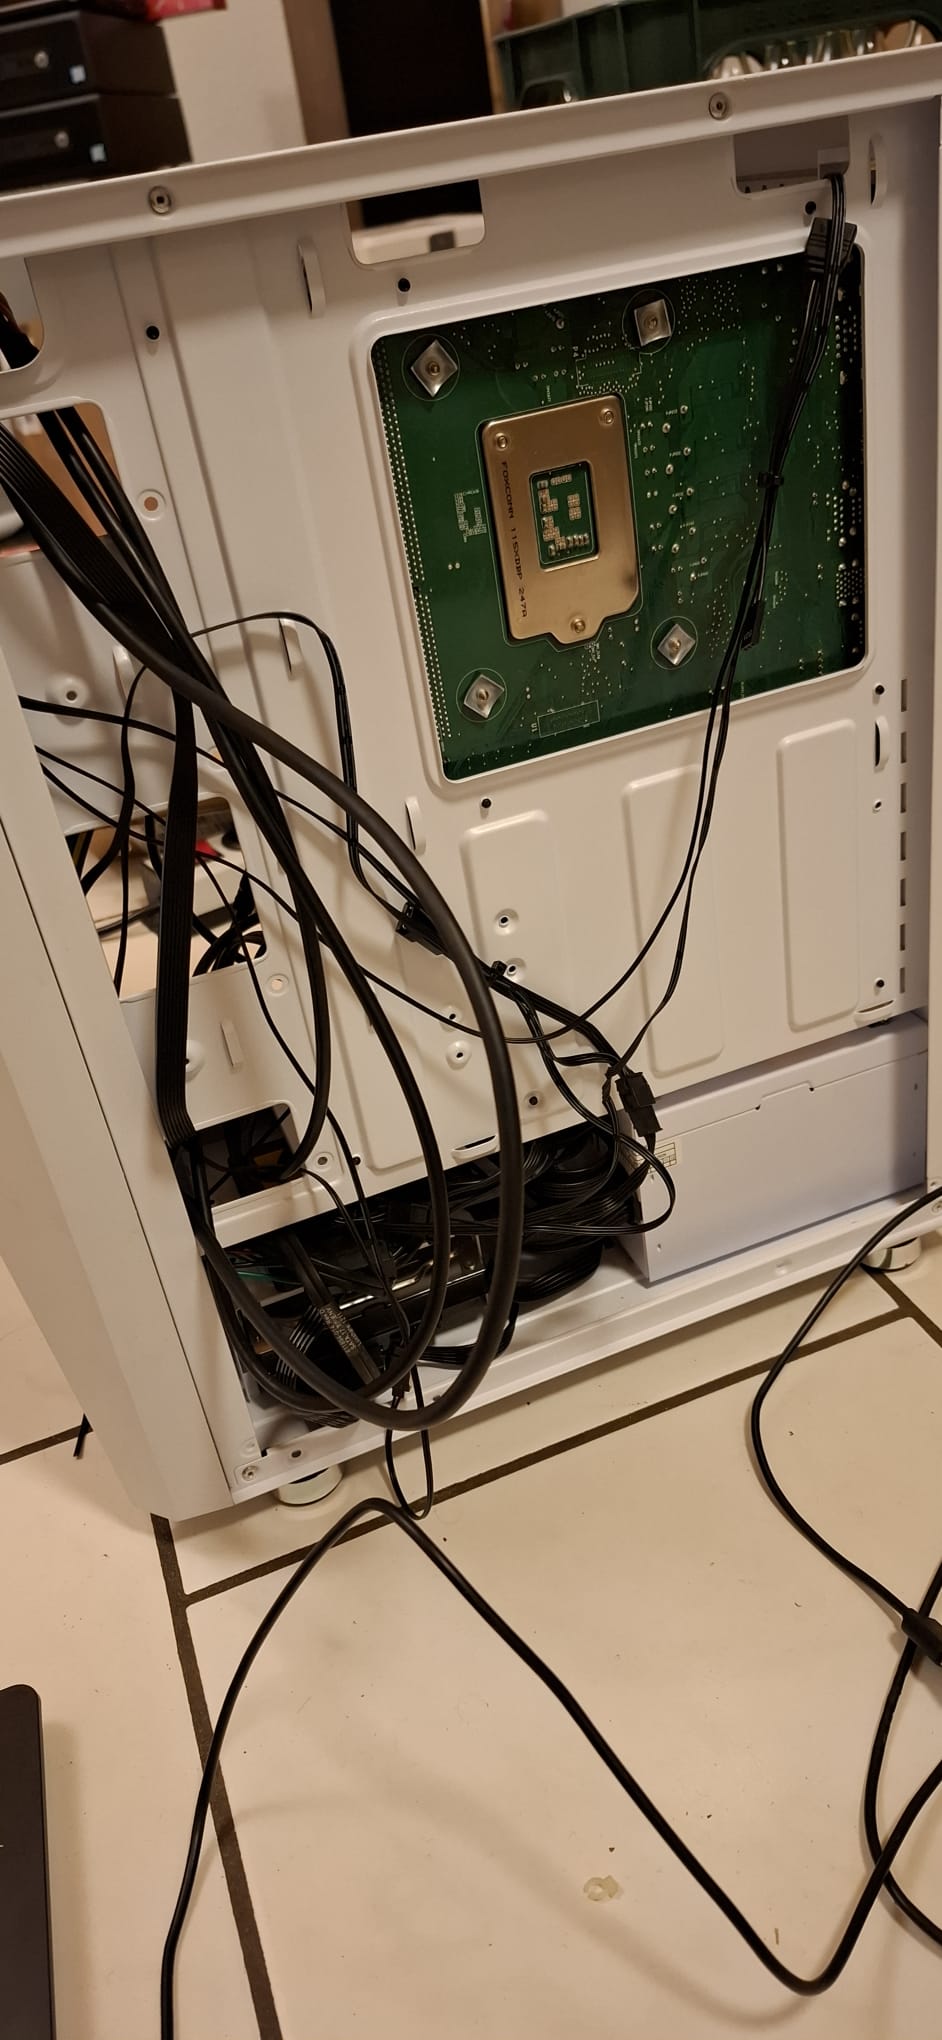
It was also a masterpiece of cable pulling as I didn't buy any luminous cable sleeves... I wanted to build everything as cheaply and yet as well as possible...
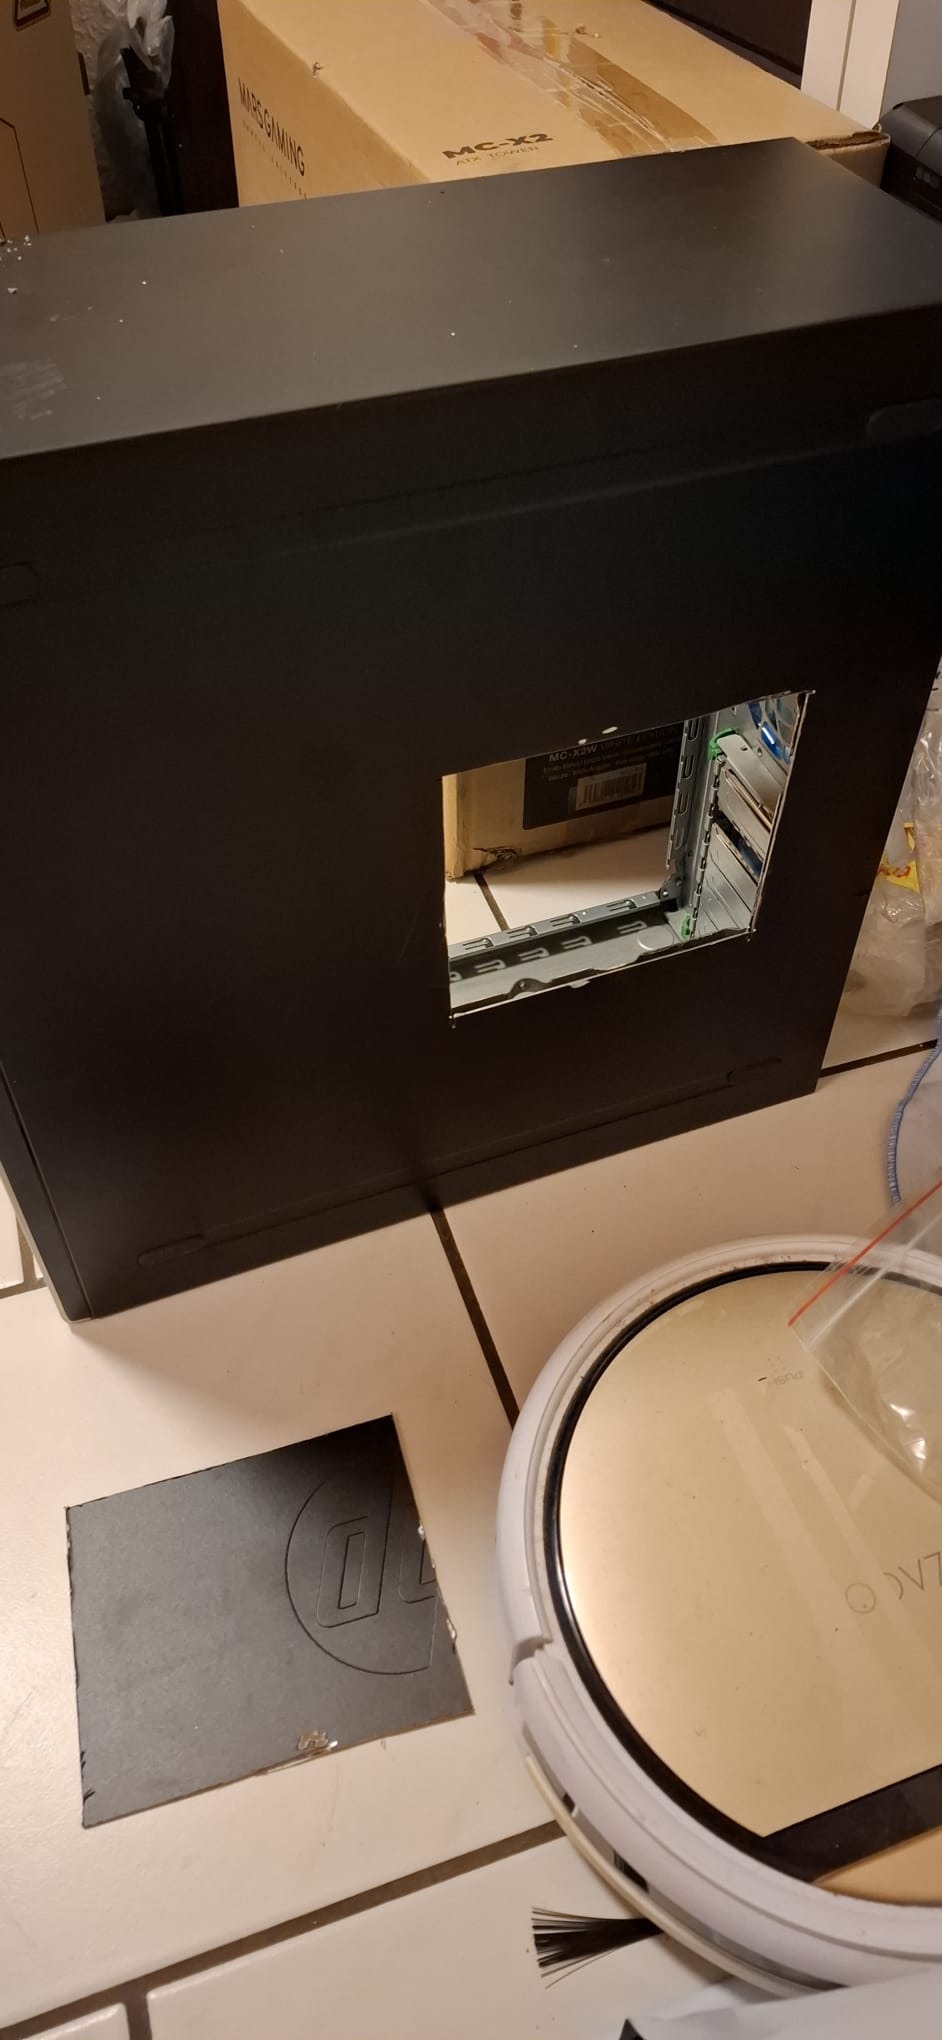
I also had to cut some things out of my other gaming PC and integrate them into the new case, such as the connector strip for all the cables
Ich kaufte ein Gehäuse im internet das man mit ARGB zum leuchten bringen kann... das gestaltete sich als schwieriger als ich dachte. Man musste erst die Pin belegung des Anschlusses umlegen, sodass die ARGB Riegel auch steuerbar sind und noch einige Adapter dazu kaufen, die ich ebenfalls versteckt eingebaut habe..
Es war auch vom Kabelziehen eine Meisterleistung da ich keine leuchtenden Kabelhüllen gekauft habe... Ich wollte alles so günstig und dennoch so gut wie möglich bauen...
Zudem musste ich aus meinem anderen Gaming PC so einige Dinge aus dem Gehäuse rausschneiden und in dem neuen Gehäuse Intergrieren wie zb. die Anschlussleiste für die ganzen Kabel
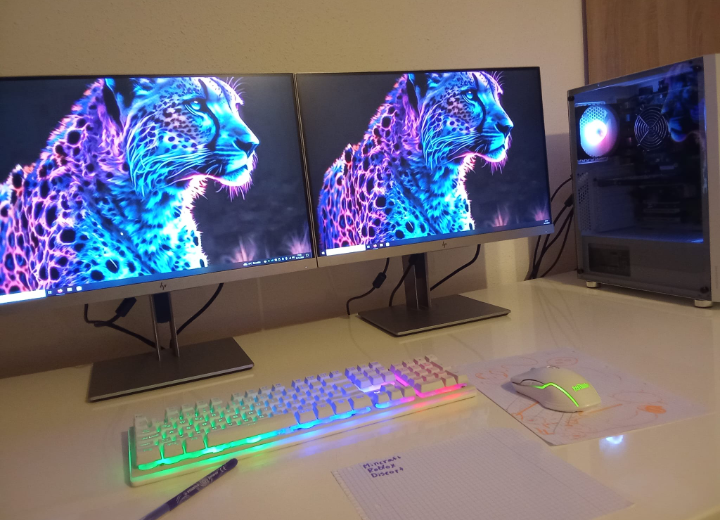
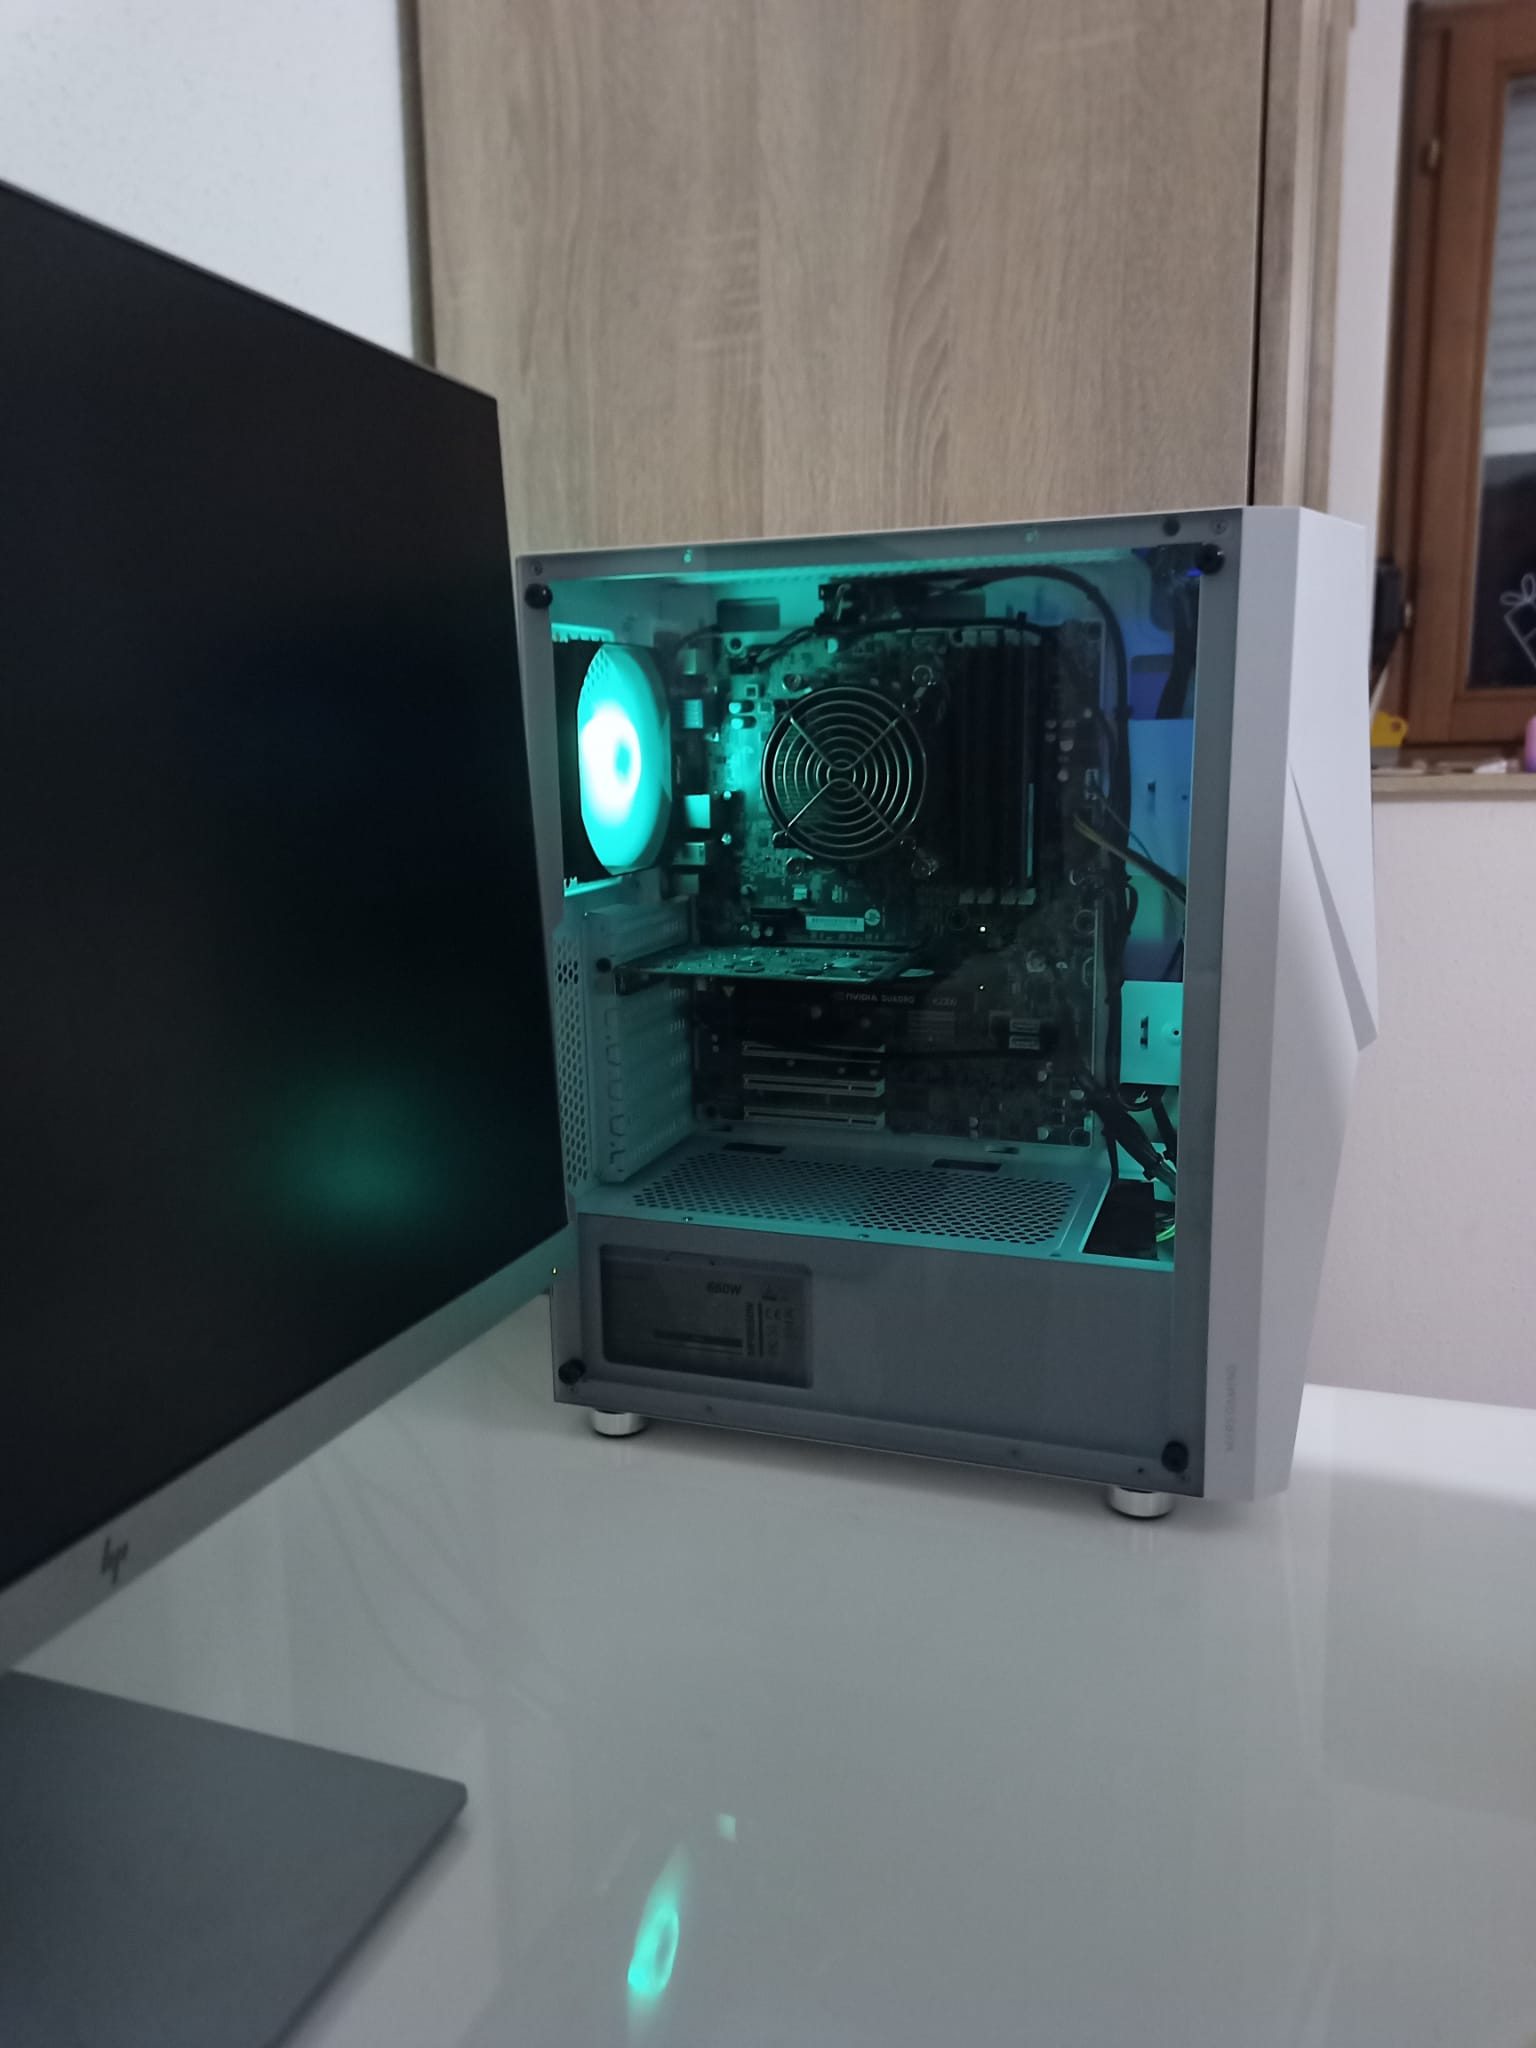
The case came with 3 lighted fans, everything else had to be purchased and installed... there are of course a few things that can be added, but for a start it should do the job :D
There were also 2 screens, an illuminated keyboard and mouse in the same design and some extension cables...
Bei dem Gehäuse waren 3 leuchtende Lüfter enthalten, alles andere musste dazugekauft und eingebaut werden... es gibt natürlich noch einiges was man erweitern kann aber für den Anfang sollte es seinen Dienst tun :D
Dazu gab es noch 2 Bildschirme, eine leuchtende Tastatur und Maus im selben Design und einiges an Verlängerungskabeln..
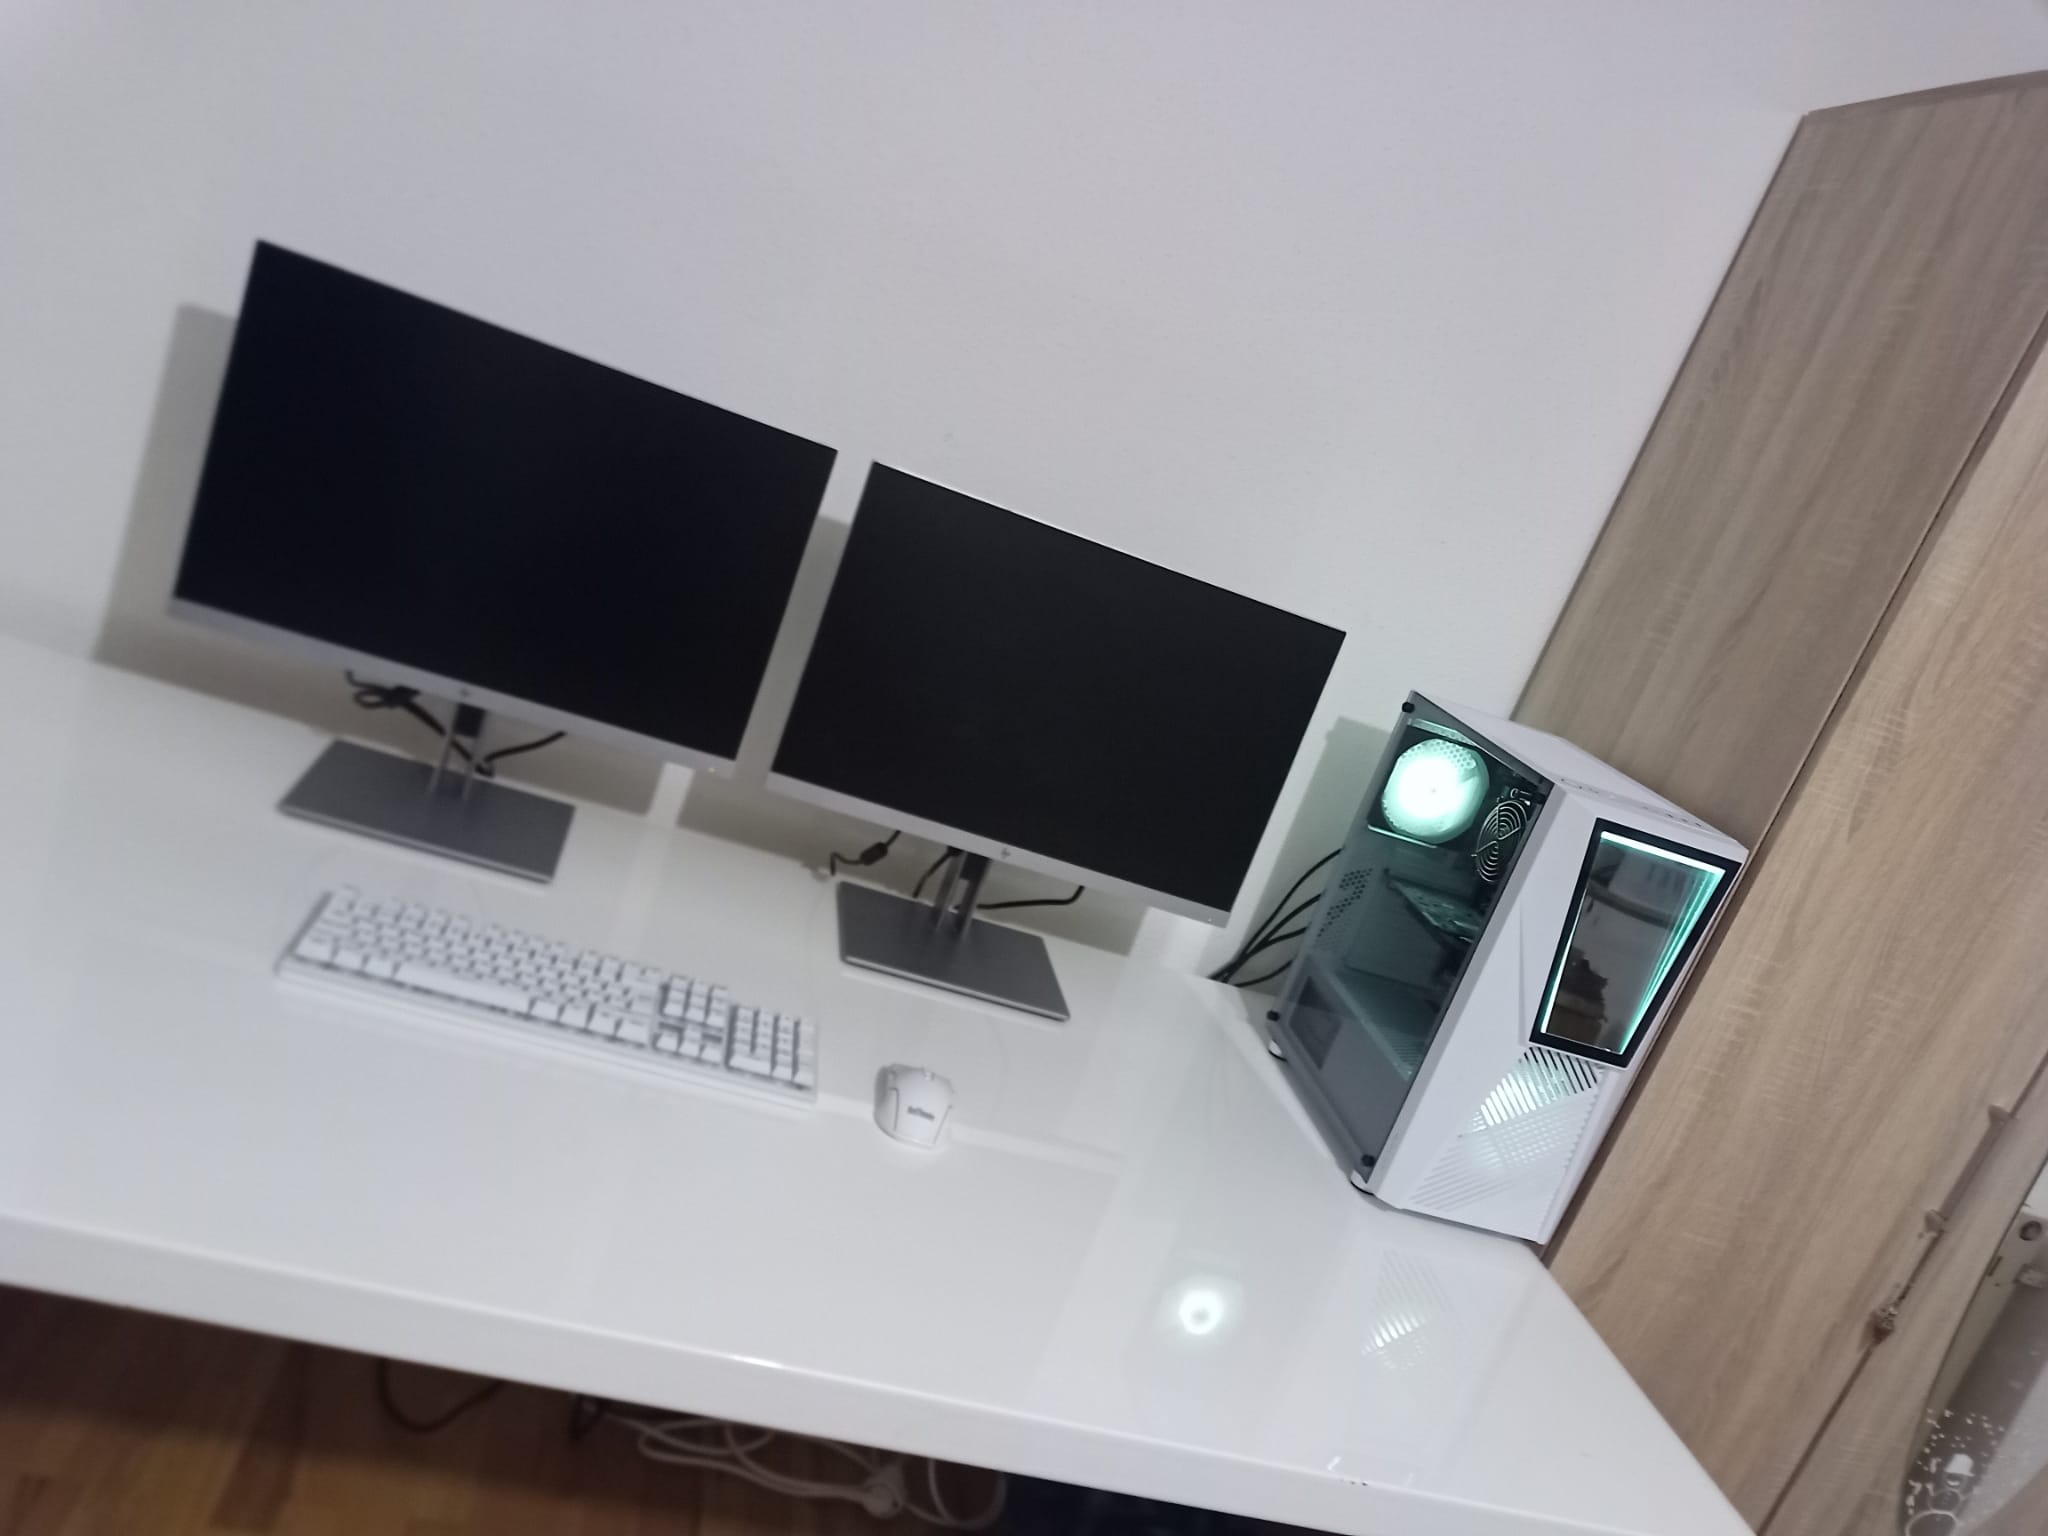
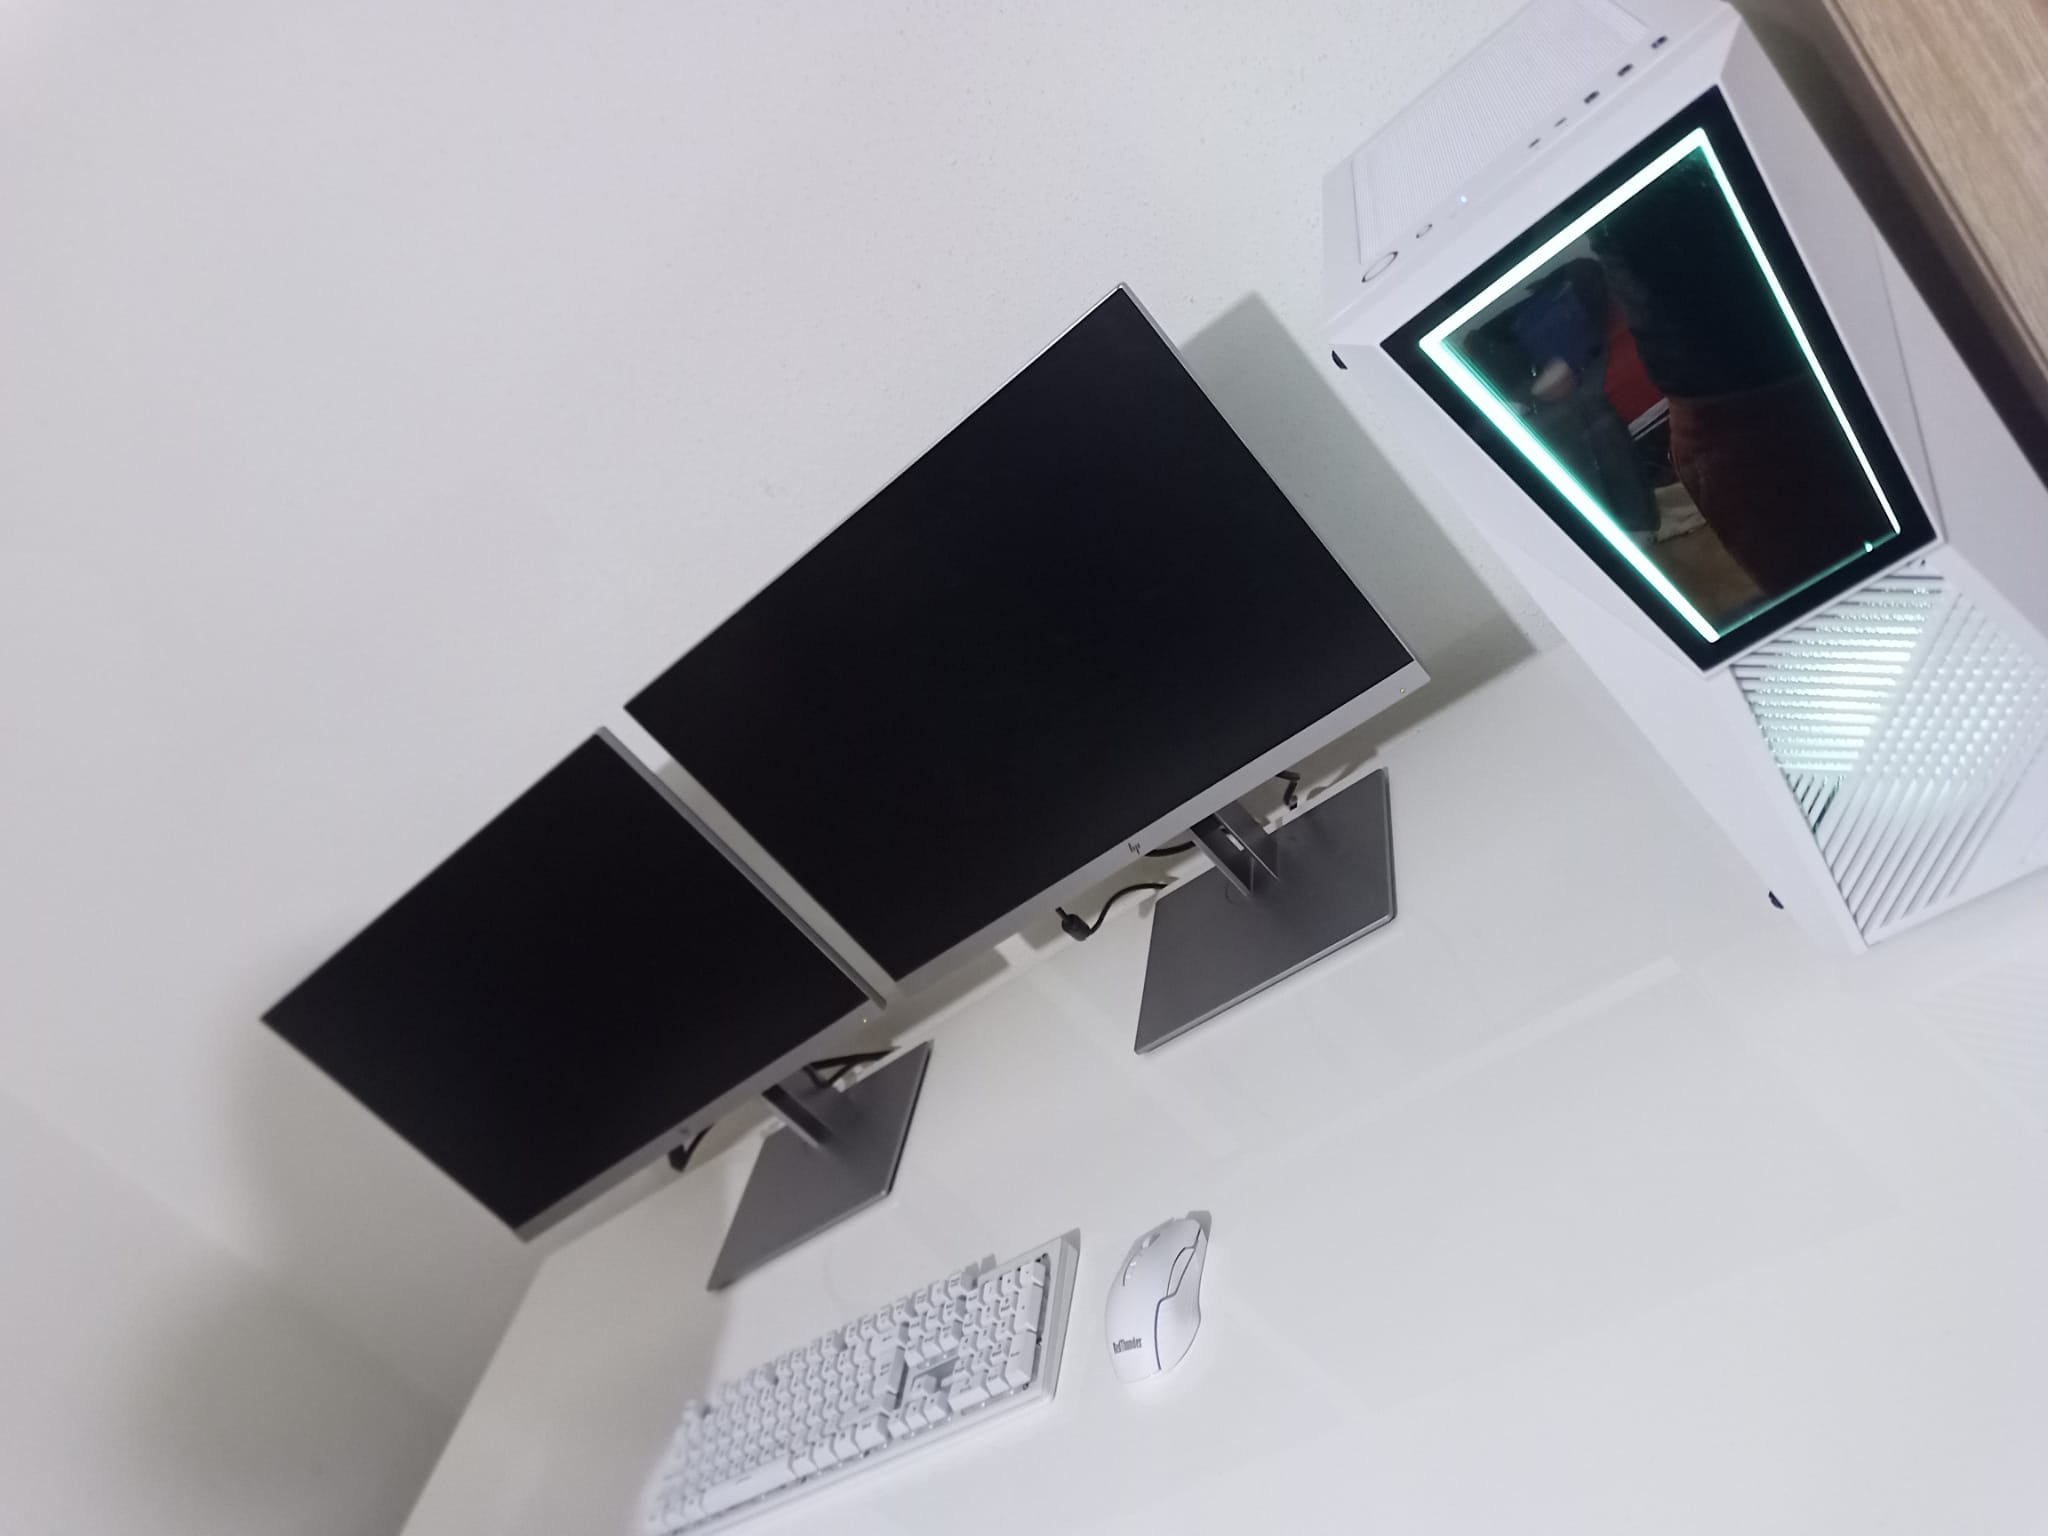
In the end, all that remained was to install the operating system and all the drivers... Now you could install your games and start adjusting the lights...
It was a lot of work... especially to change the pin assignment so that the ARGB bars can be controlled correctly, but it was worth it, the end result speaks for itself :)
Am Ende musste nurnoch das Betriebssystem aufgespielt und alle Treiber installiert werden... Jetzt konnte man schon ihre Spiele installieren und die Einstellung der Lichter in Angriff nehmen...
Es war ein ganzschönes Stück Arbeit.. vorallem die Pinbelegung zu ändern damit die ARGB Riegel richtig angesteuert werden können aber es hat sich gelohnt, das Endergebnis spricht für sich :)
