Heeeyho Readers! A small bicycle bottom-bracket maintenance
Real mechanical engineers gotta get their hands greasy. Unfortunately, I discovered way too deep into the university that they were training me to sit in front of the computer. Got the papers eventually, worked desk jobs, and concluded the inevitable: I should've built a workshop since the beginning. Getting greasy doesn't require papers. And it's fun as heck. Anyways.
There's this annoying creak in my bottom crack bottom-bracket (that part of a bicycle where the crankset spins on bearings). Bottom-brackets, especially in mountain-bikes, are known to be problematic as miles count. It's a mix of poorly engineered parts and cheap solutions to cut on production costs. Then, there's the alternated load applied to those parts as we pedal thousands of times over the years. Bearings are generally the first to blow. Lastly, the shaft (spindle) can also wear out.
So, after almost 20.000 kilometers, my bottom-bracket is long due. I keep it running by replacing the bearings — despite highly discouraged by big brands (read Shimano/Sram) —, but the last time we resorted to an horrendous emergency adaptation that is driving me nuts. Time to fix.
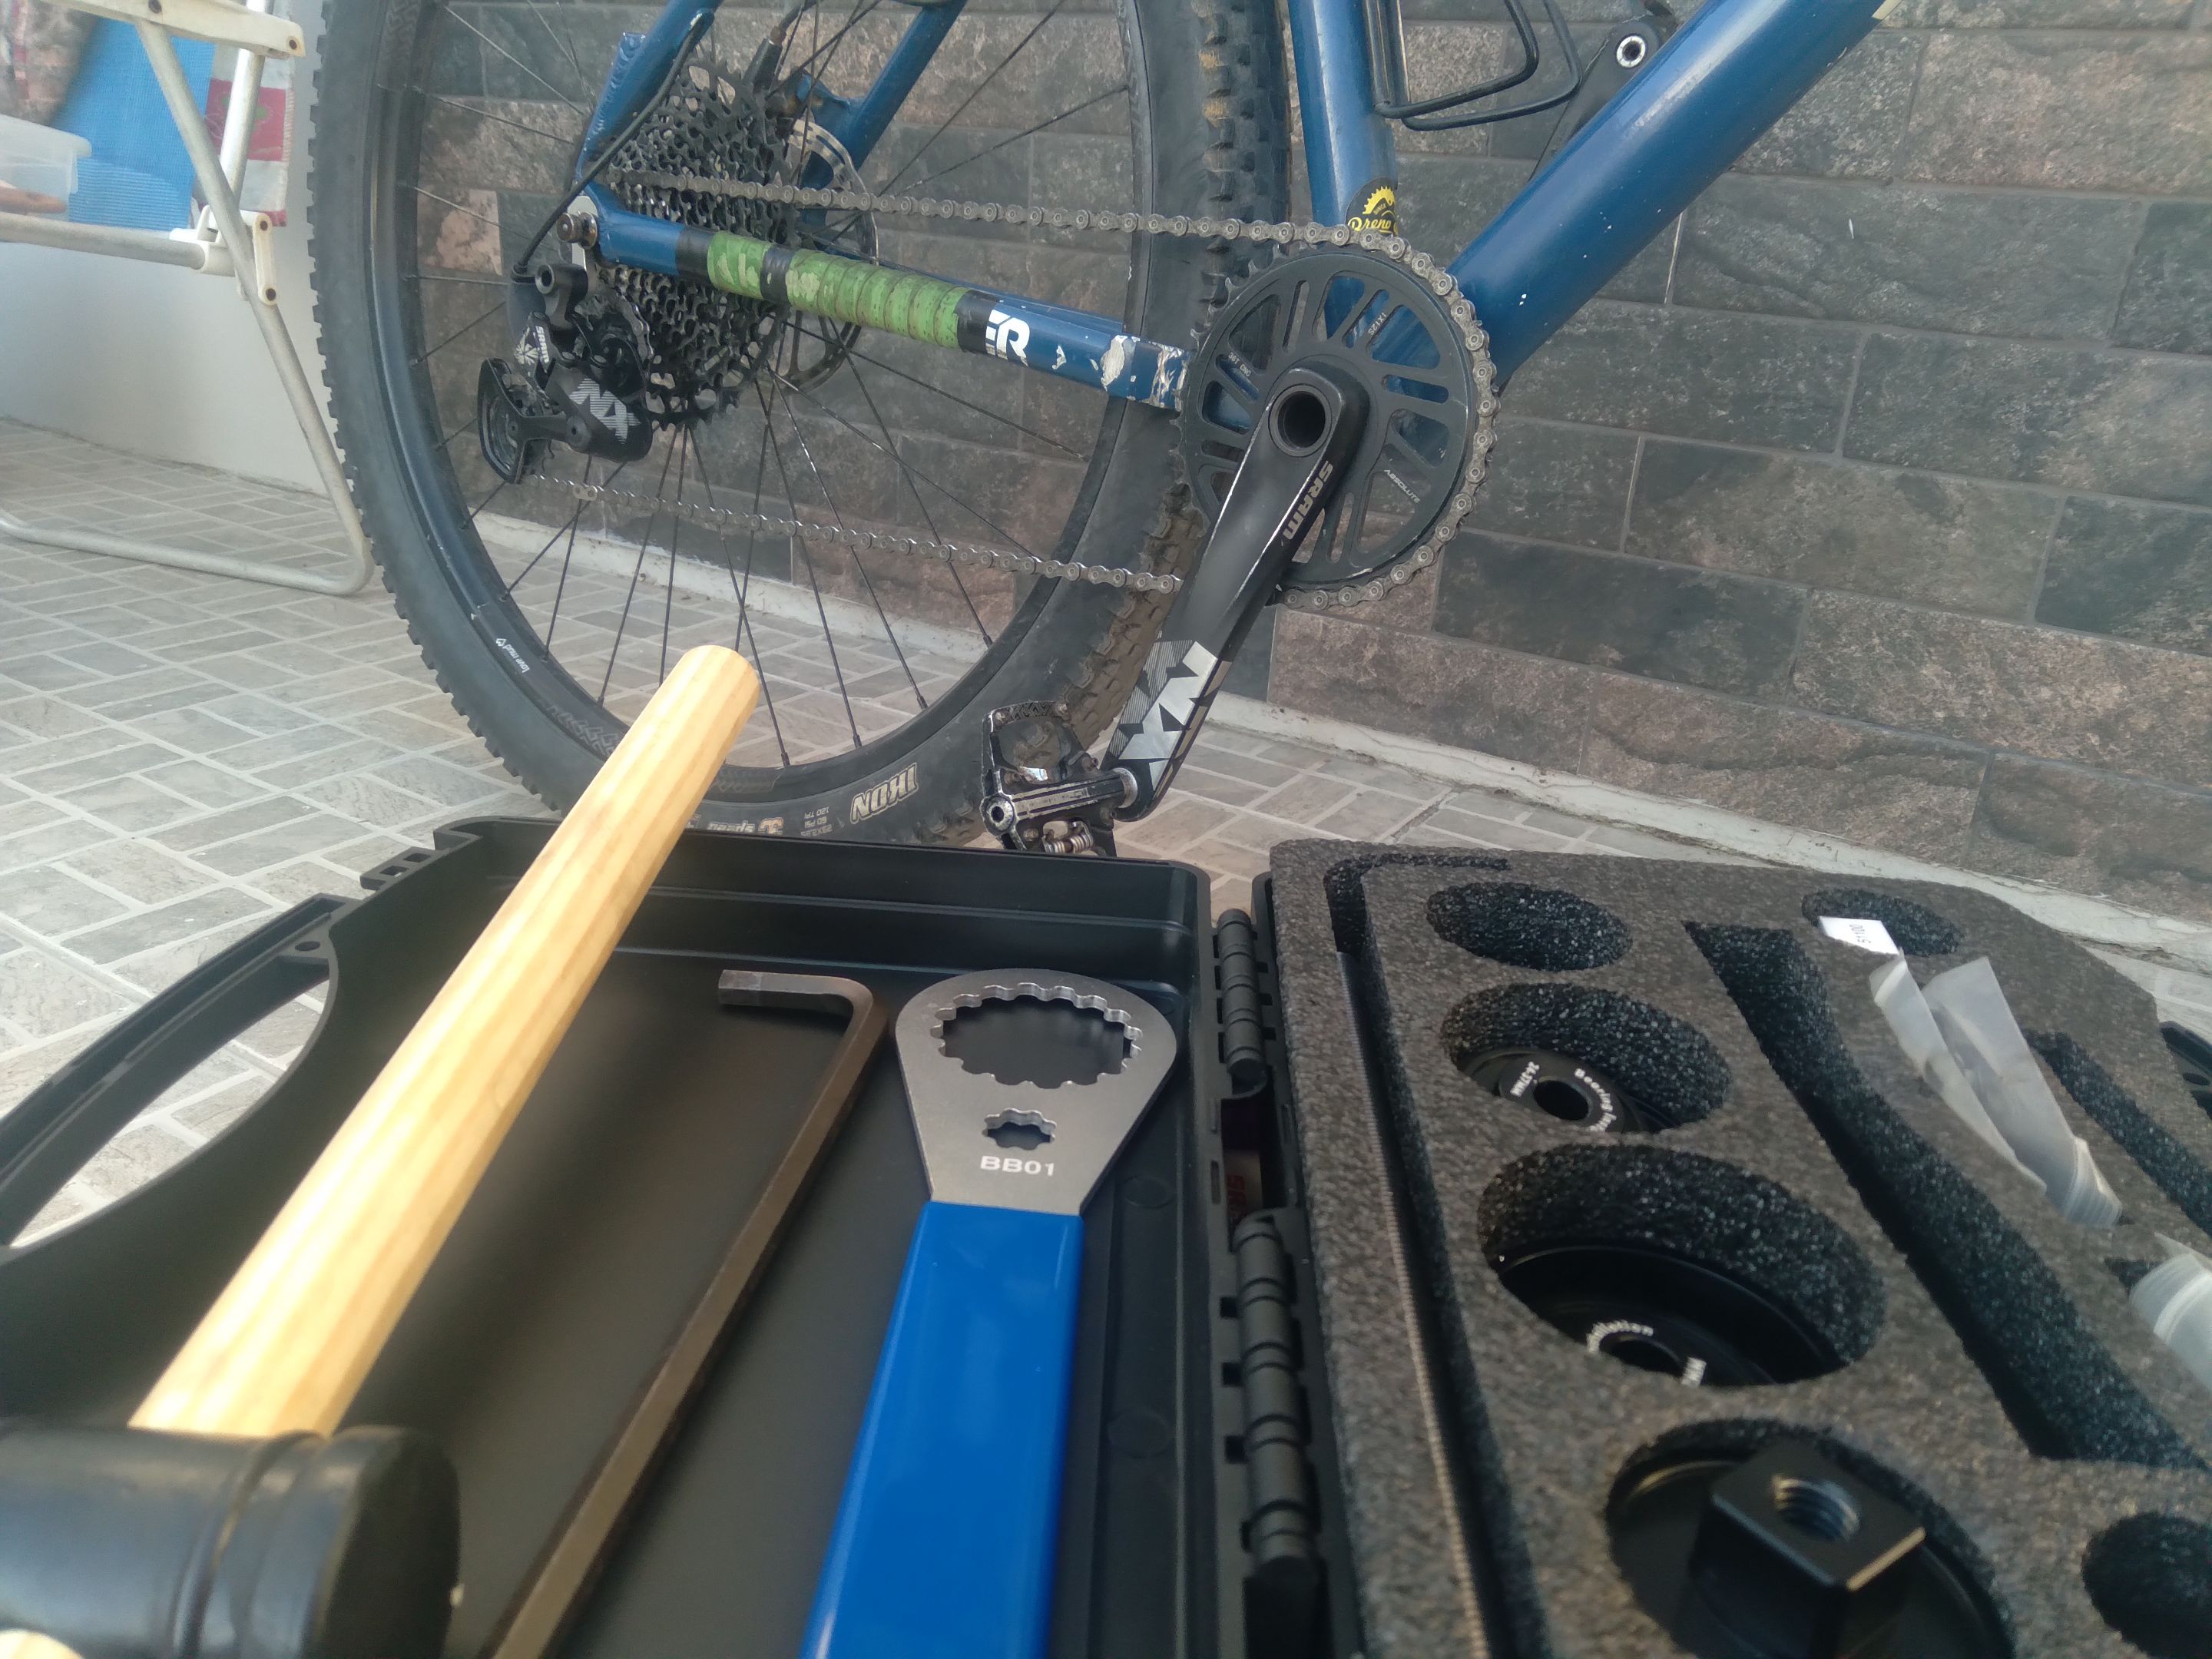
Servicing a bottom-bracket is generally quite simple. You will need the right tools for the job, though they aren't super expensive. The Sram GXP crank arm only requires an 8mm hex key to be removed. Other brands might vary slightly.
The plan is to remove the crankset, remove the bottom-bracket cups, remove the bearings from the cups, fix the issue, clean and re-grease everything. Here are the tools:
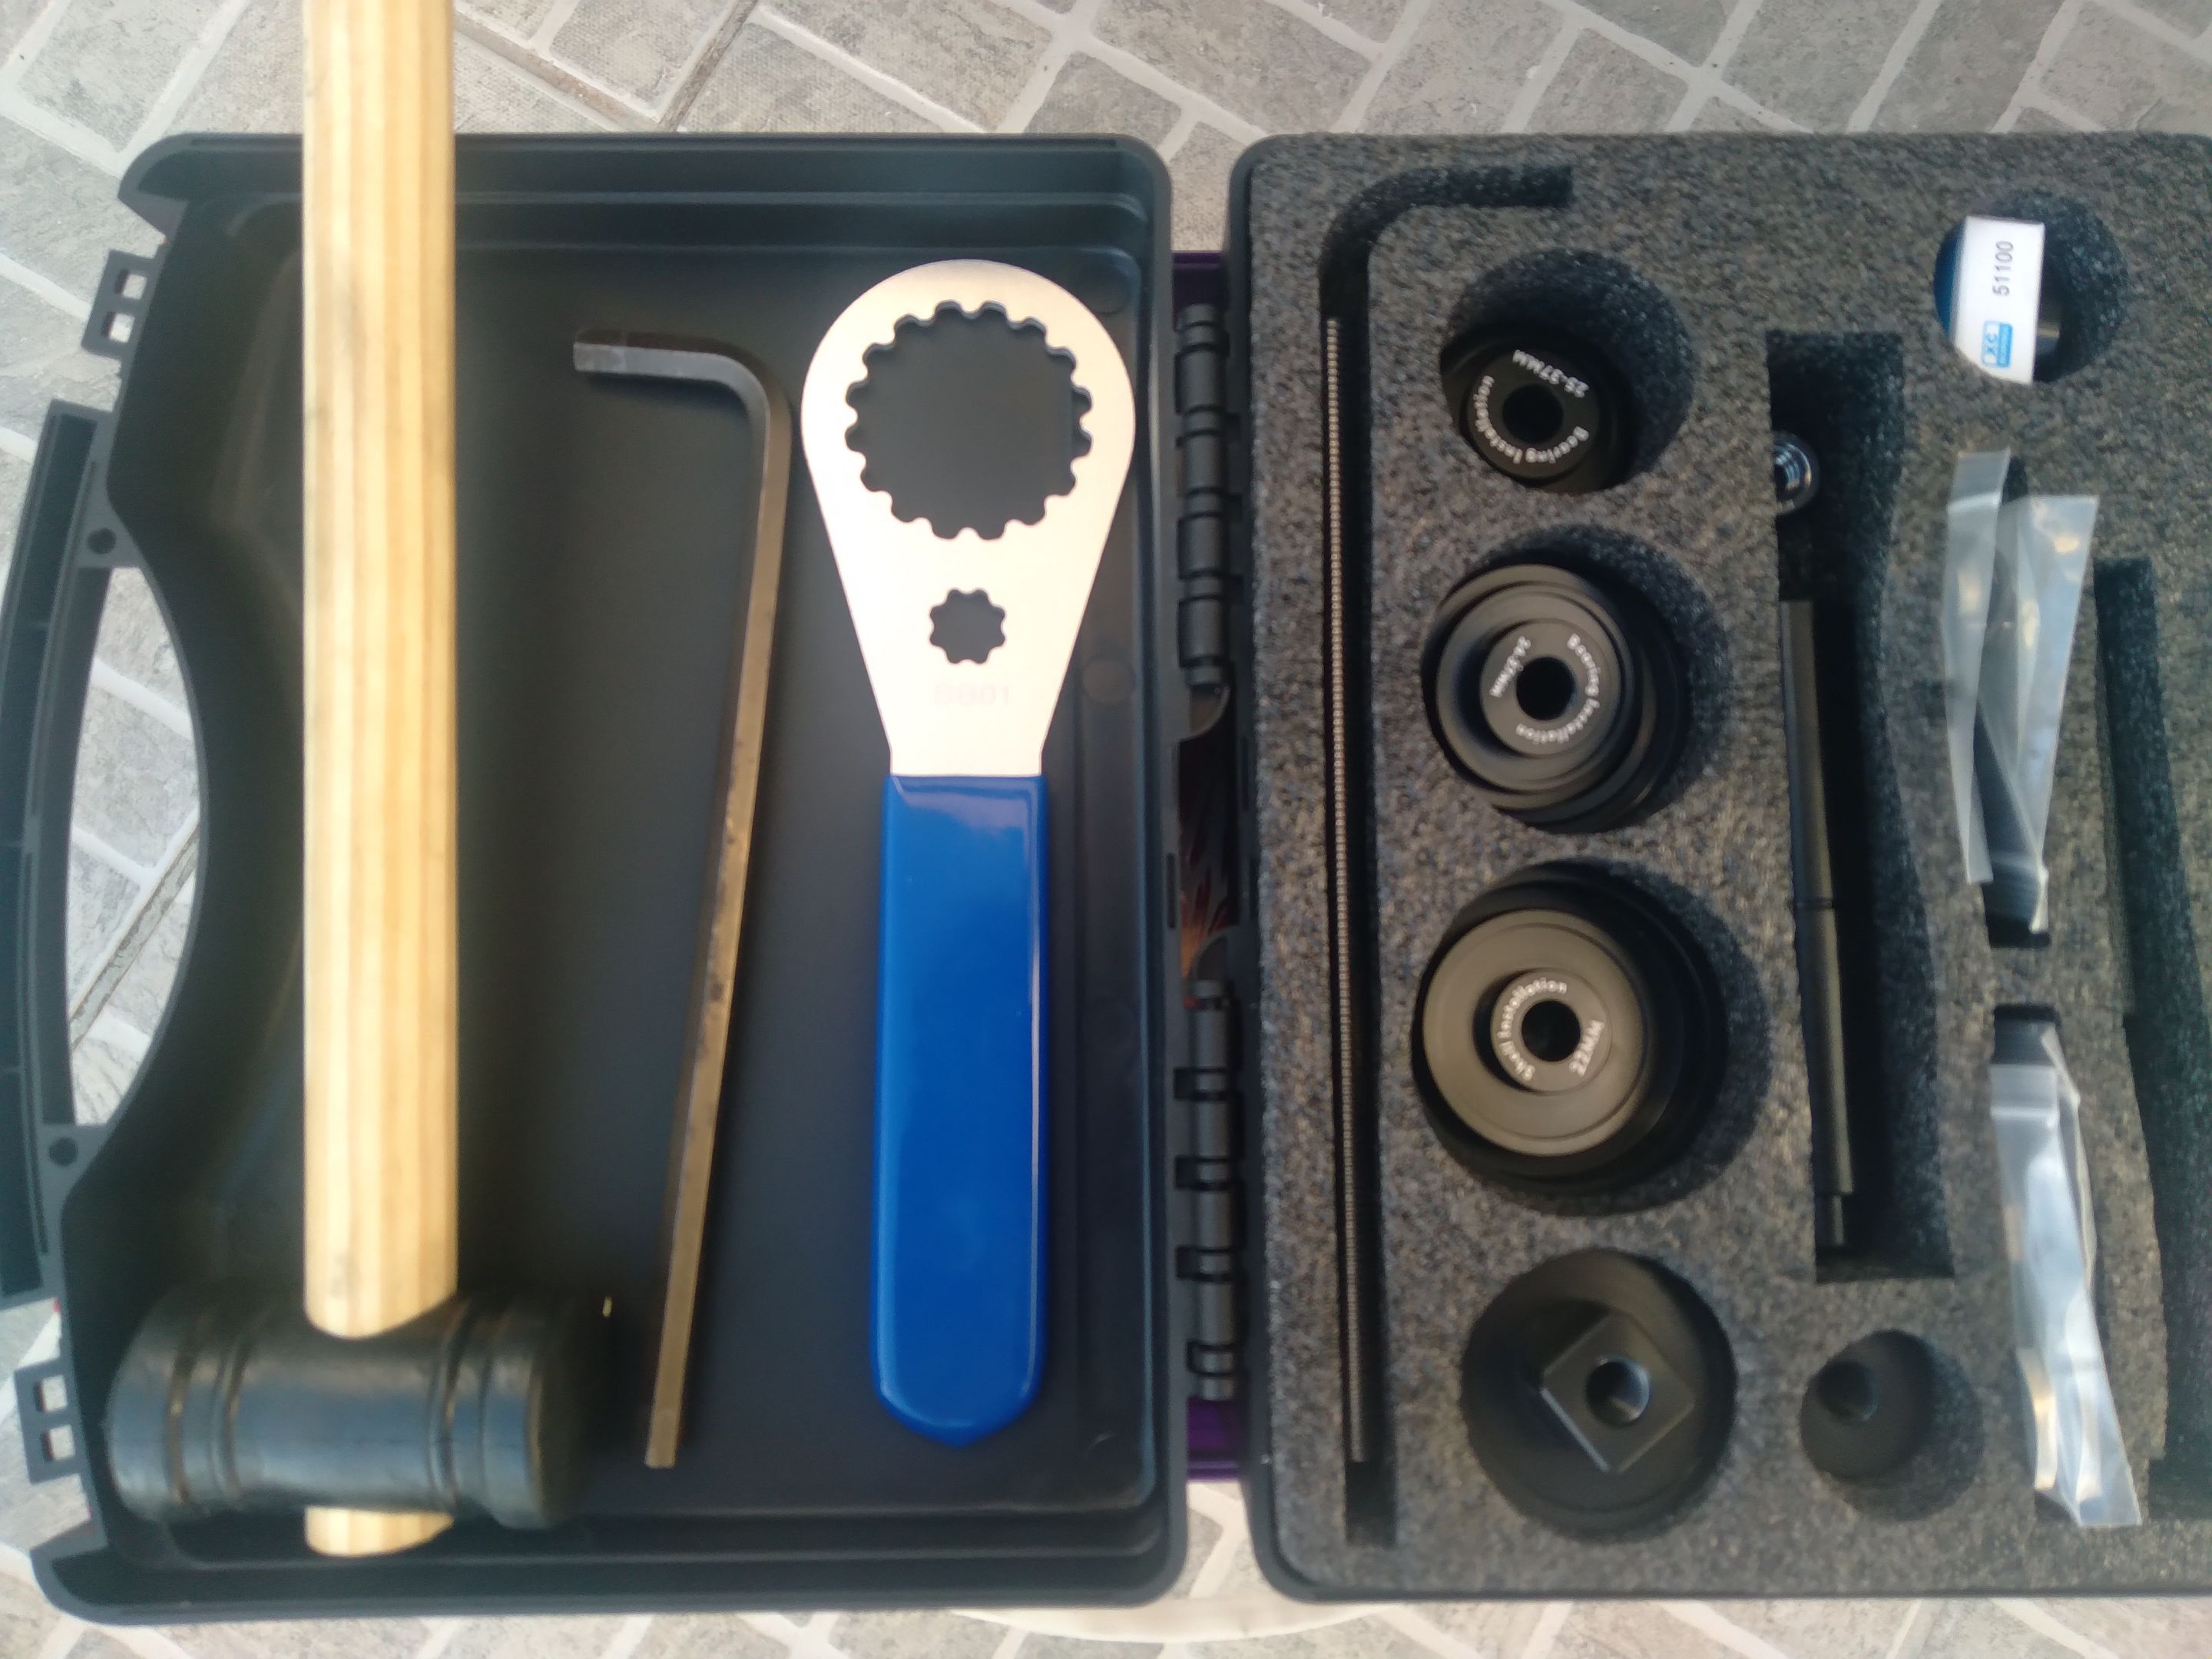
- Rubber mallet
- 8mm hex key
- BB wrench
- Bearing extractor/press
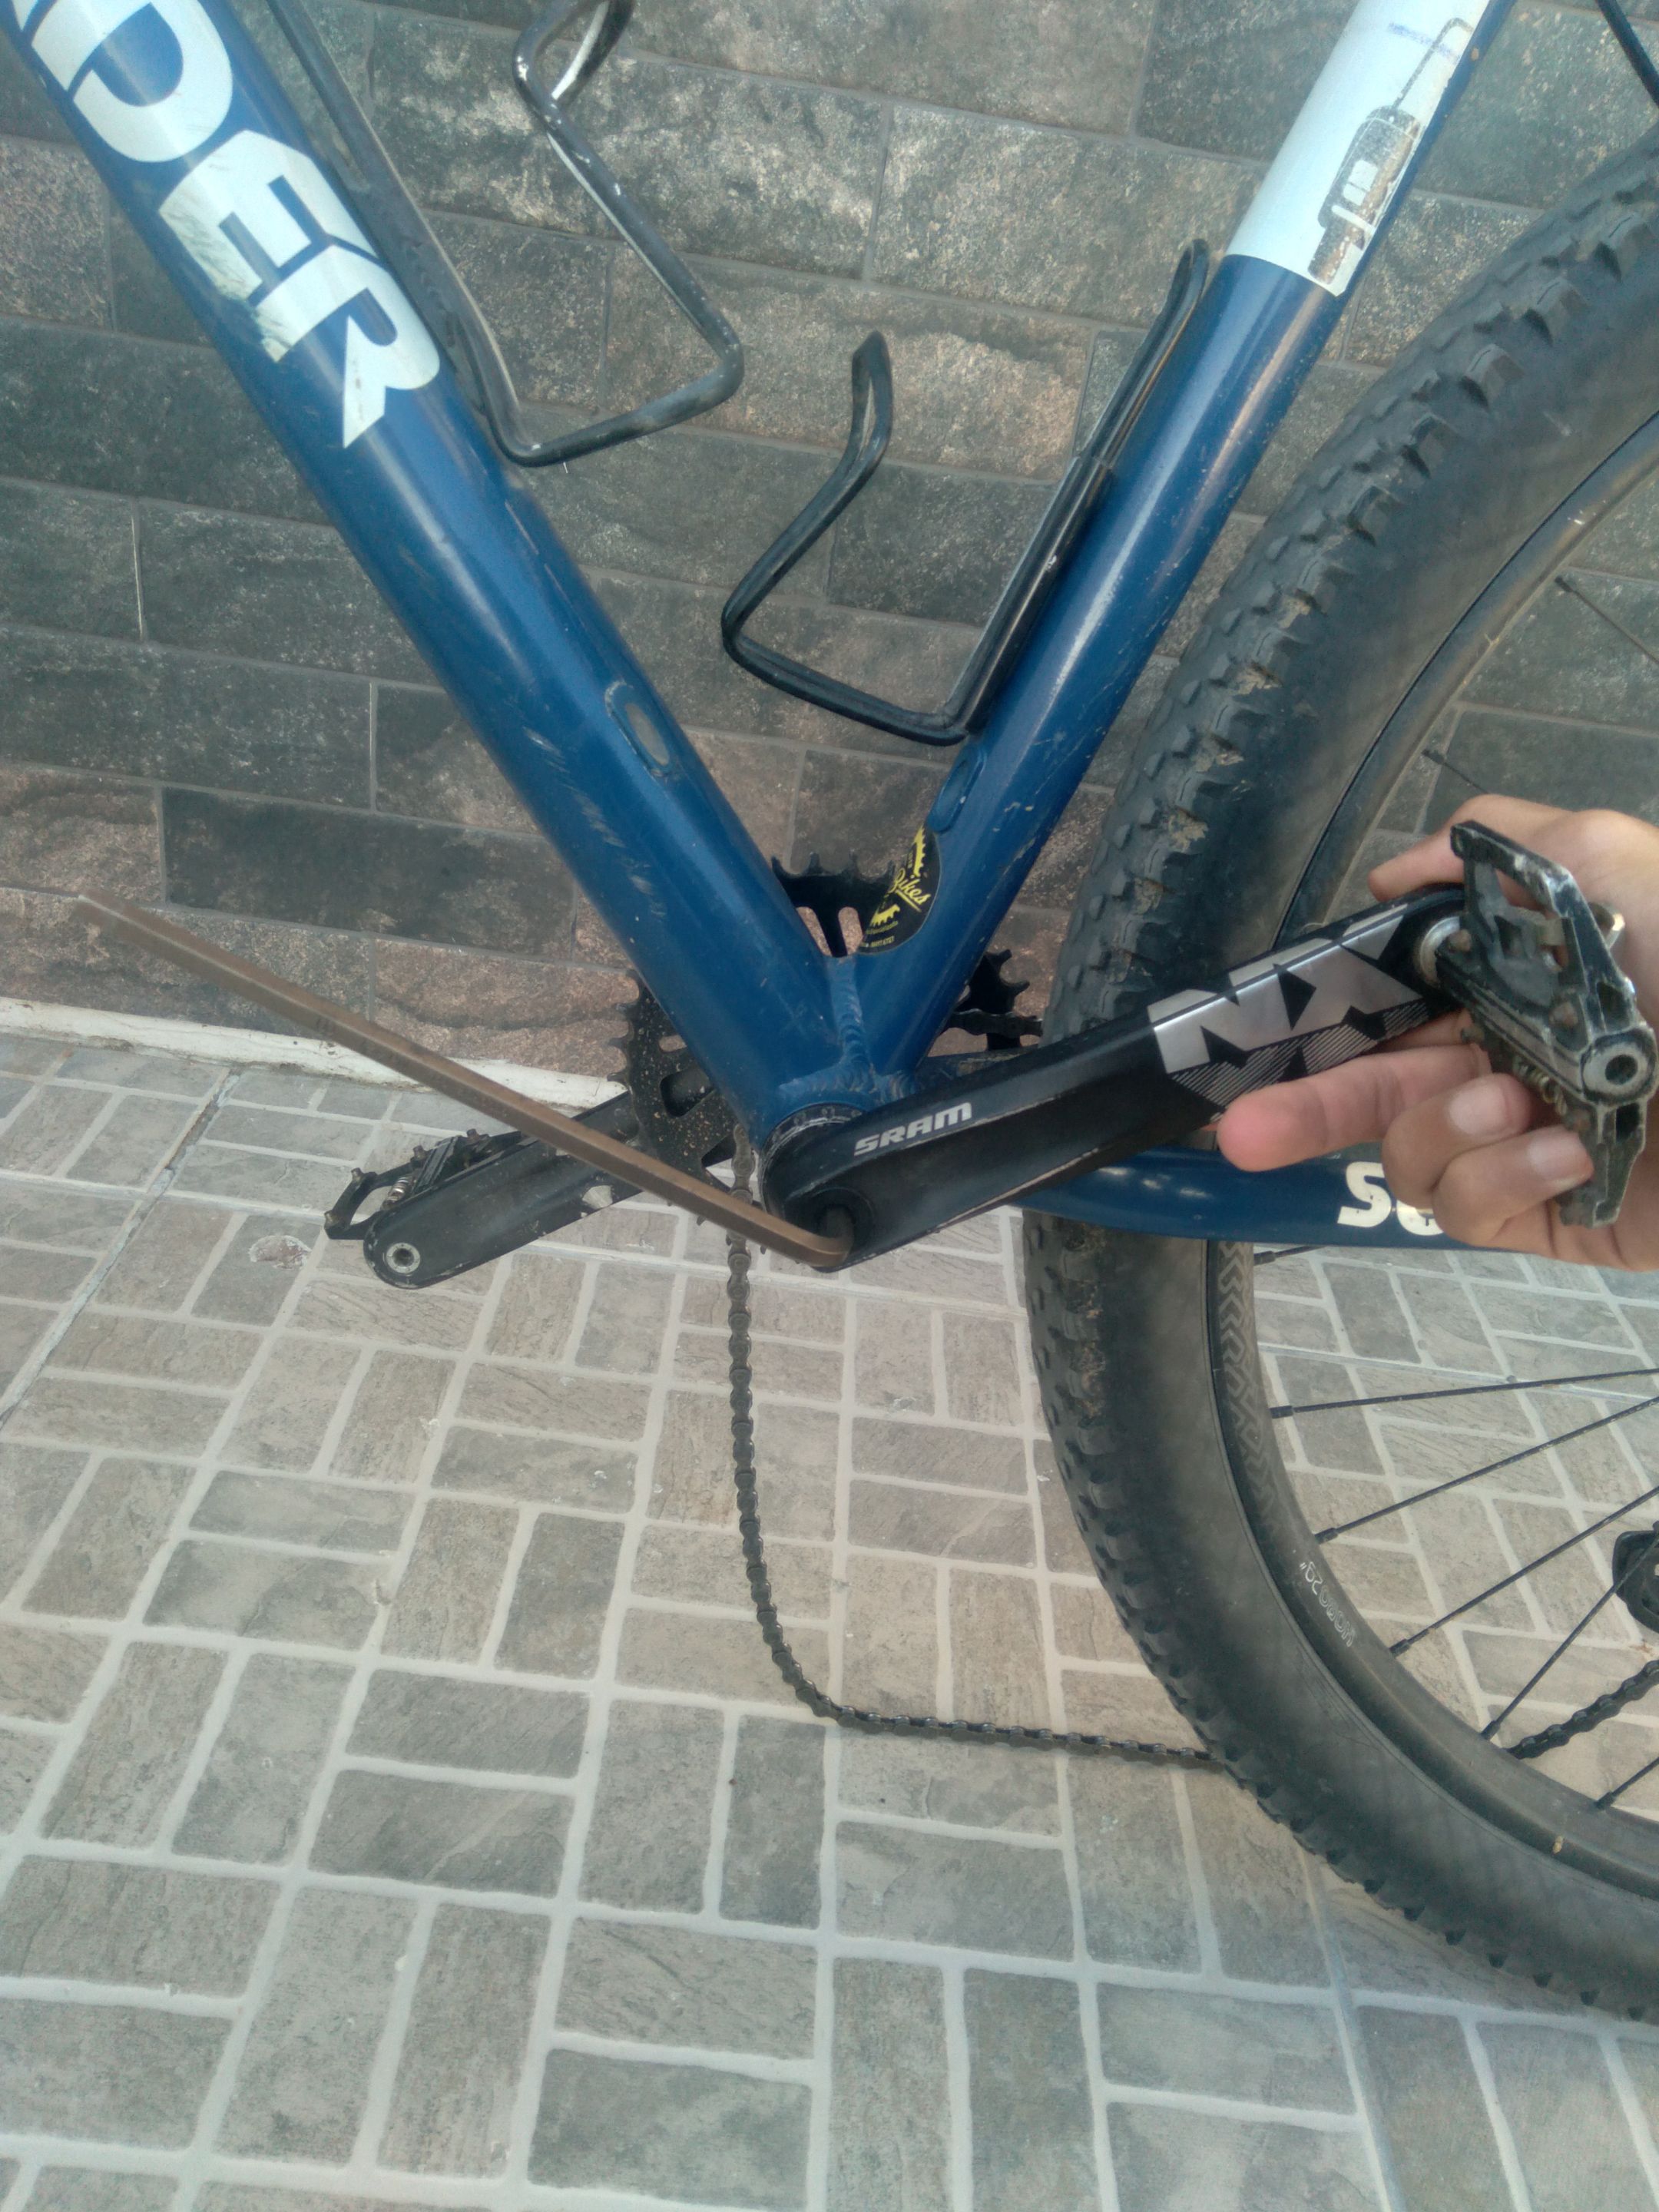
The non-drive side crank arm comes out first. GXP is self-extracting, so turning the screw anti-clockwise does the job. The drive-side arm comes out with the axle; at times it needs a gentle tap with a rubber mallet.
Tip: I understand most readers won't service their bikes, so it's worth an advice: If you see your mechanic using any type of steel hammer/mallet on your bicycle, consider changing the mechanic.
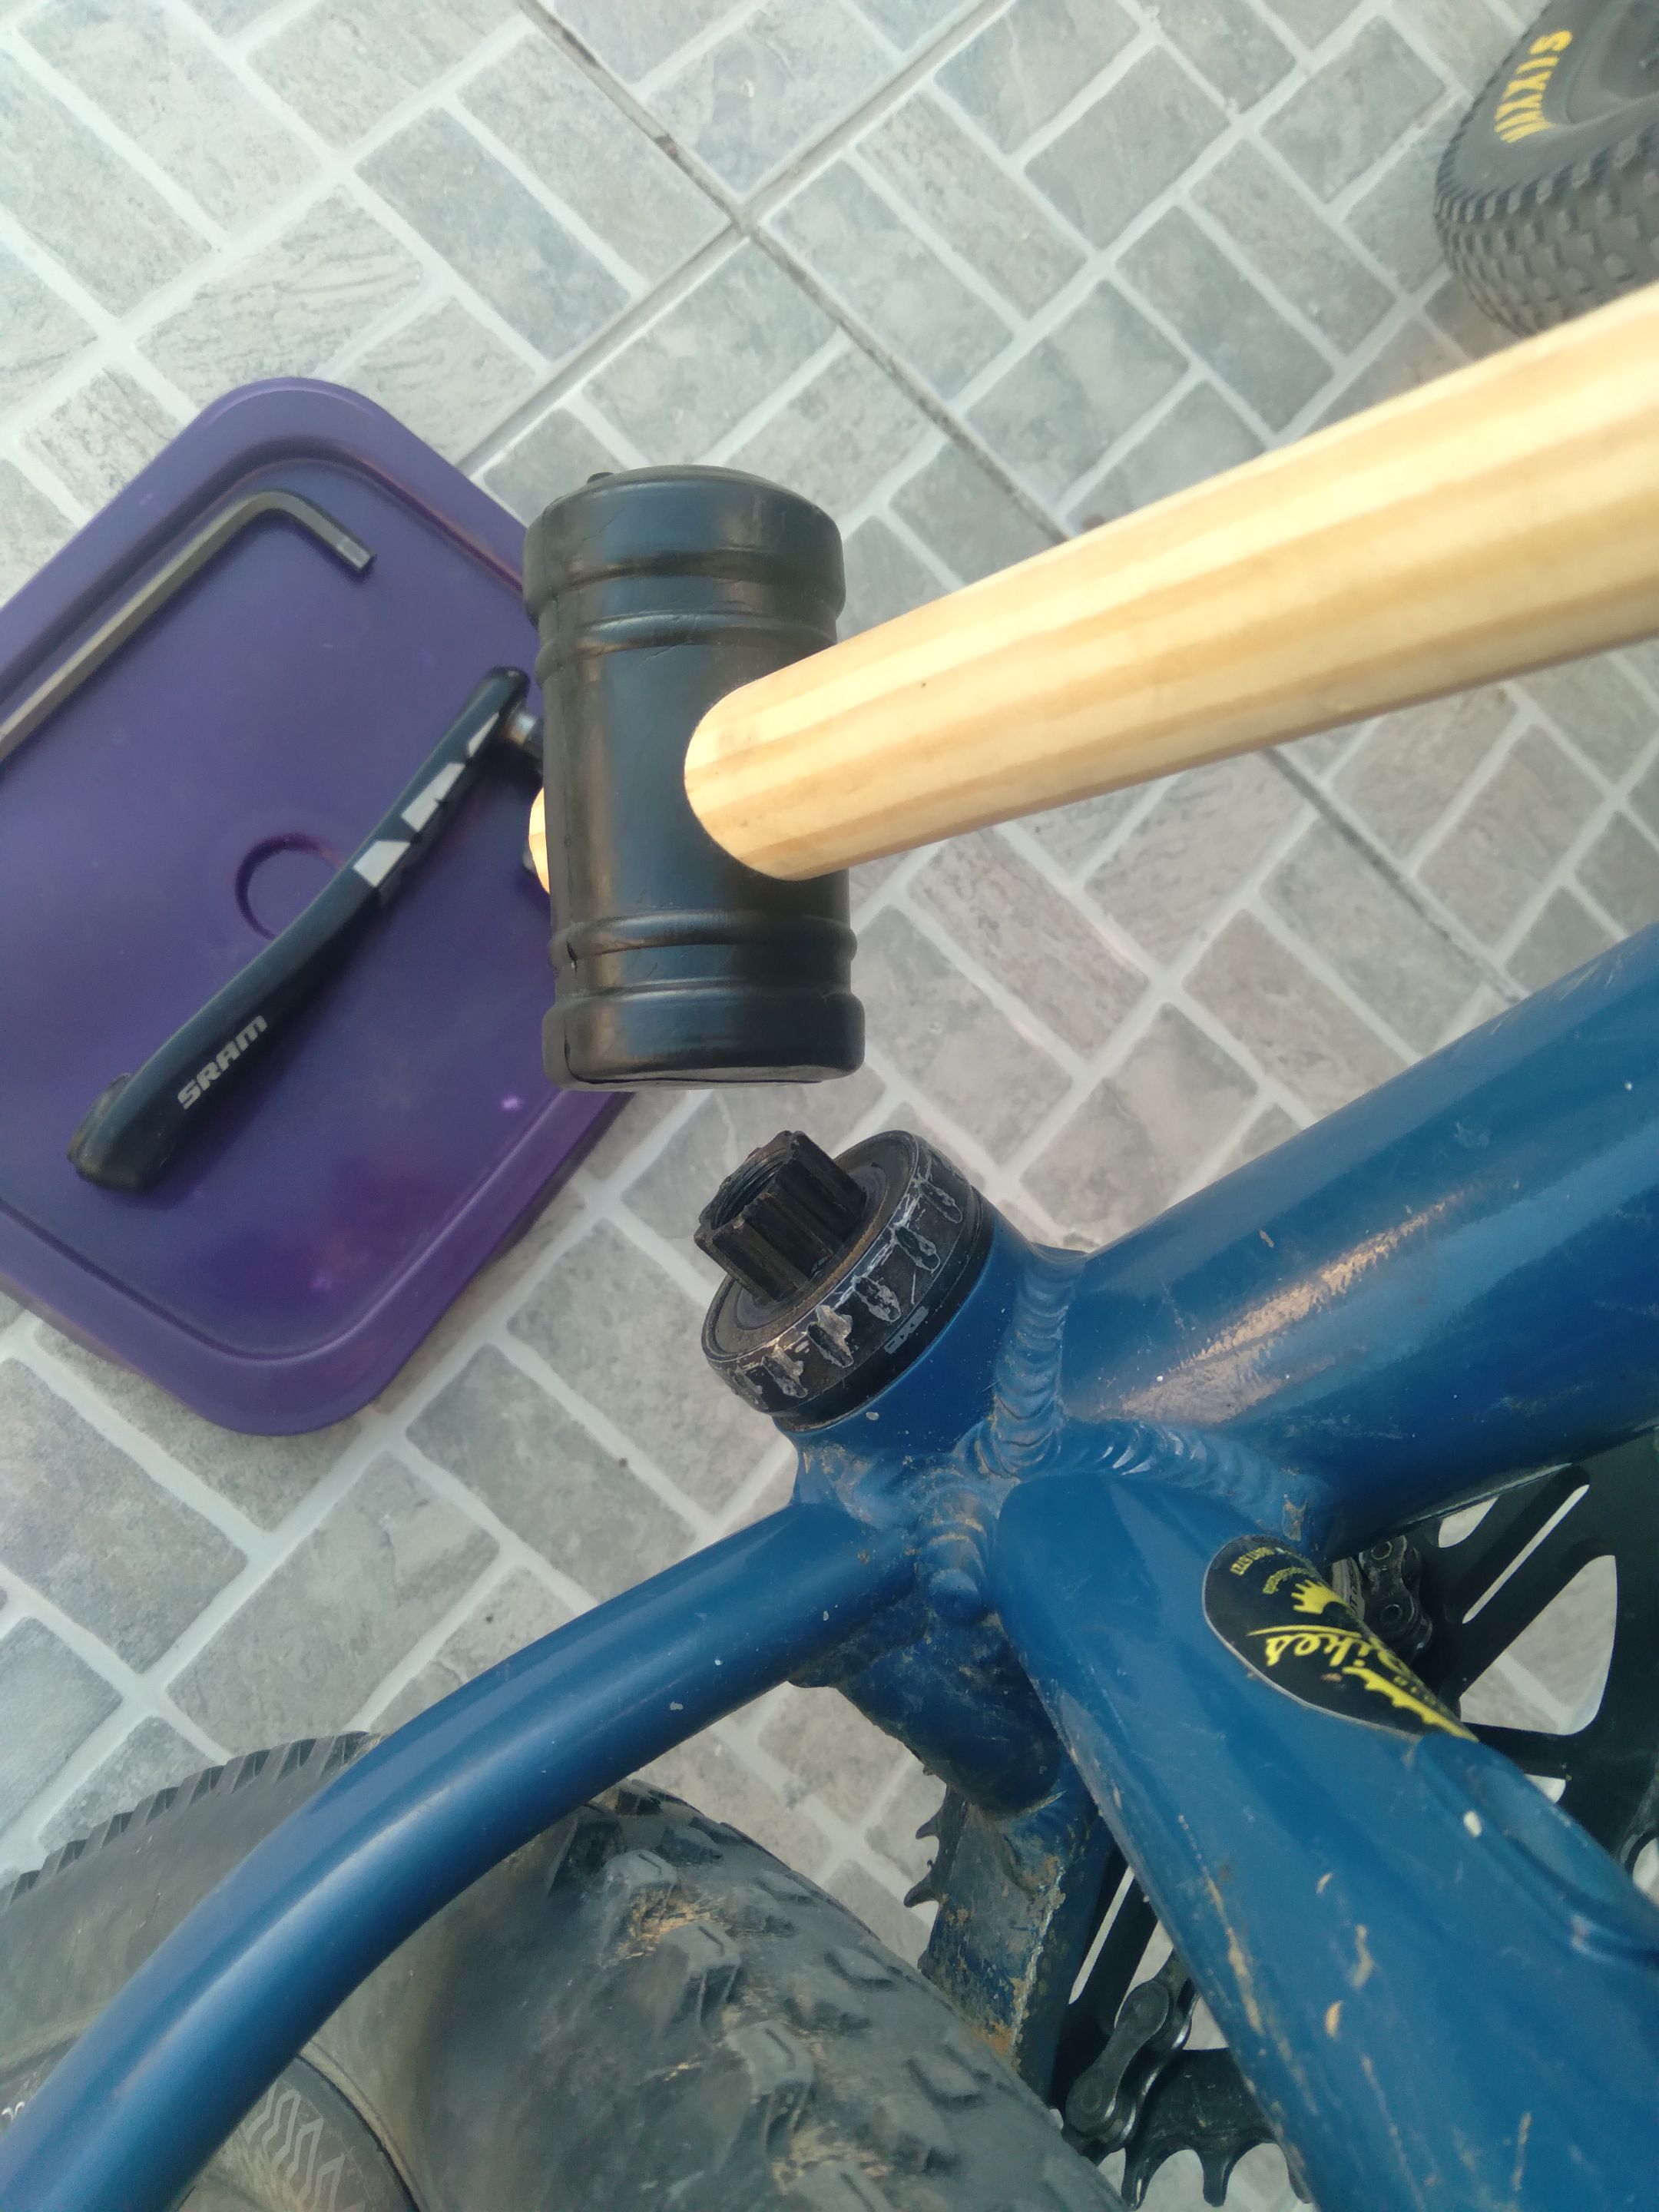
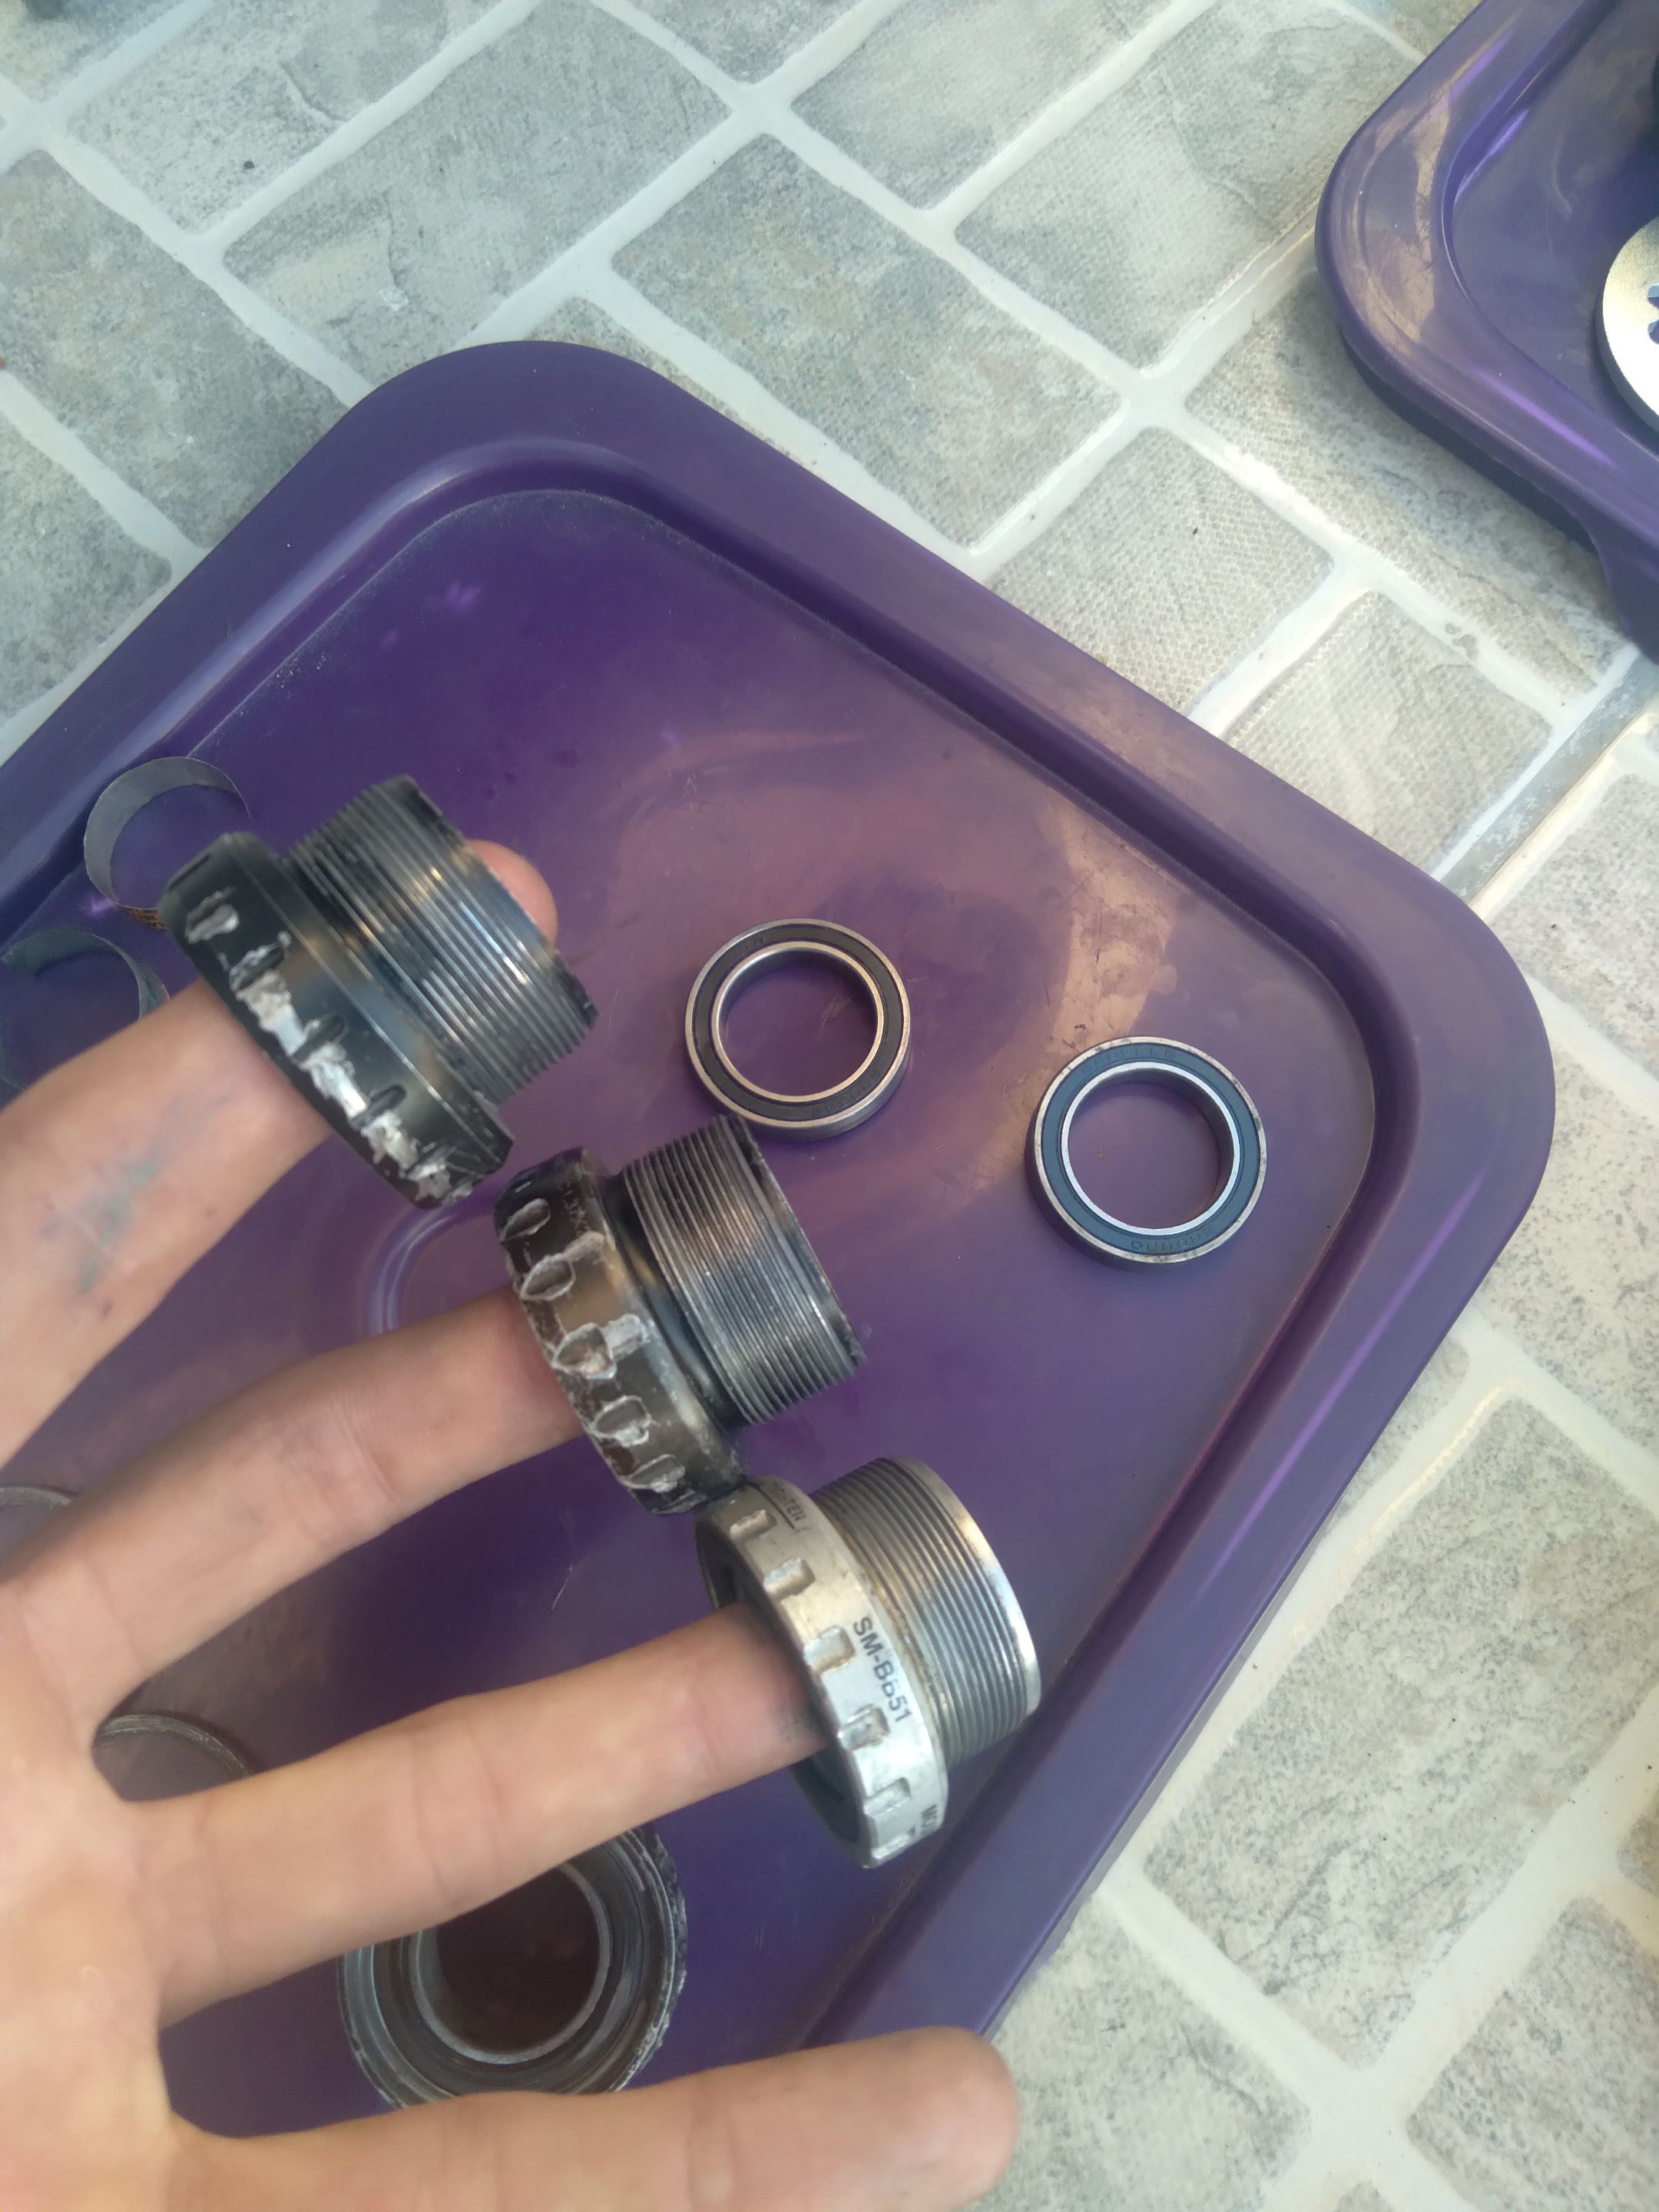
Quick and Easy. Next comes out the actual bottom-bracket (the cups with the bearings). There are various types: BSA, press-fit, cartridge, etc. Mine is a threaded BSA, which only requires a BB wrench to unscrew the cups.
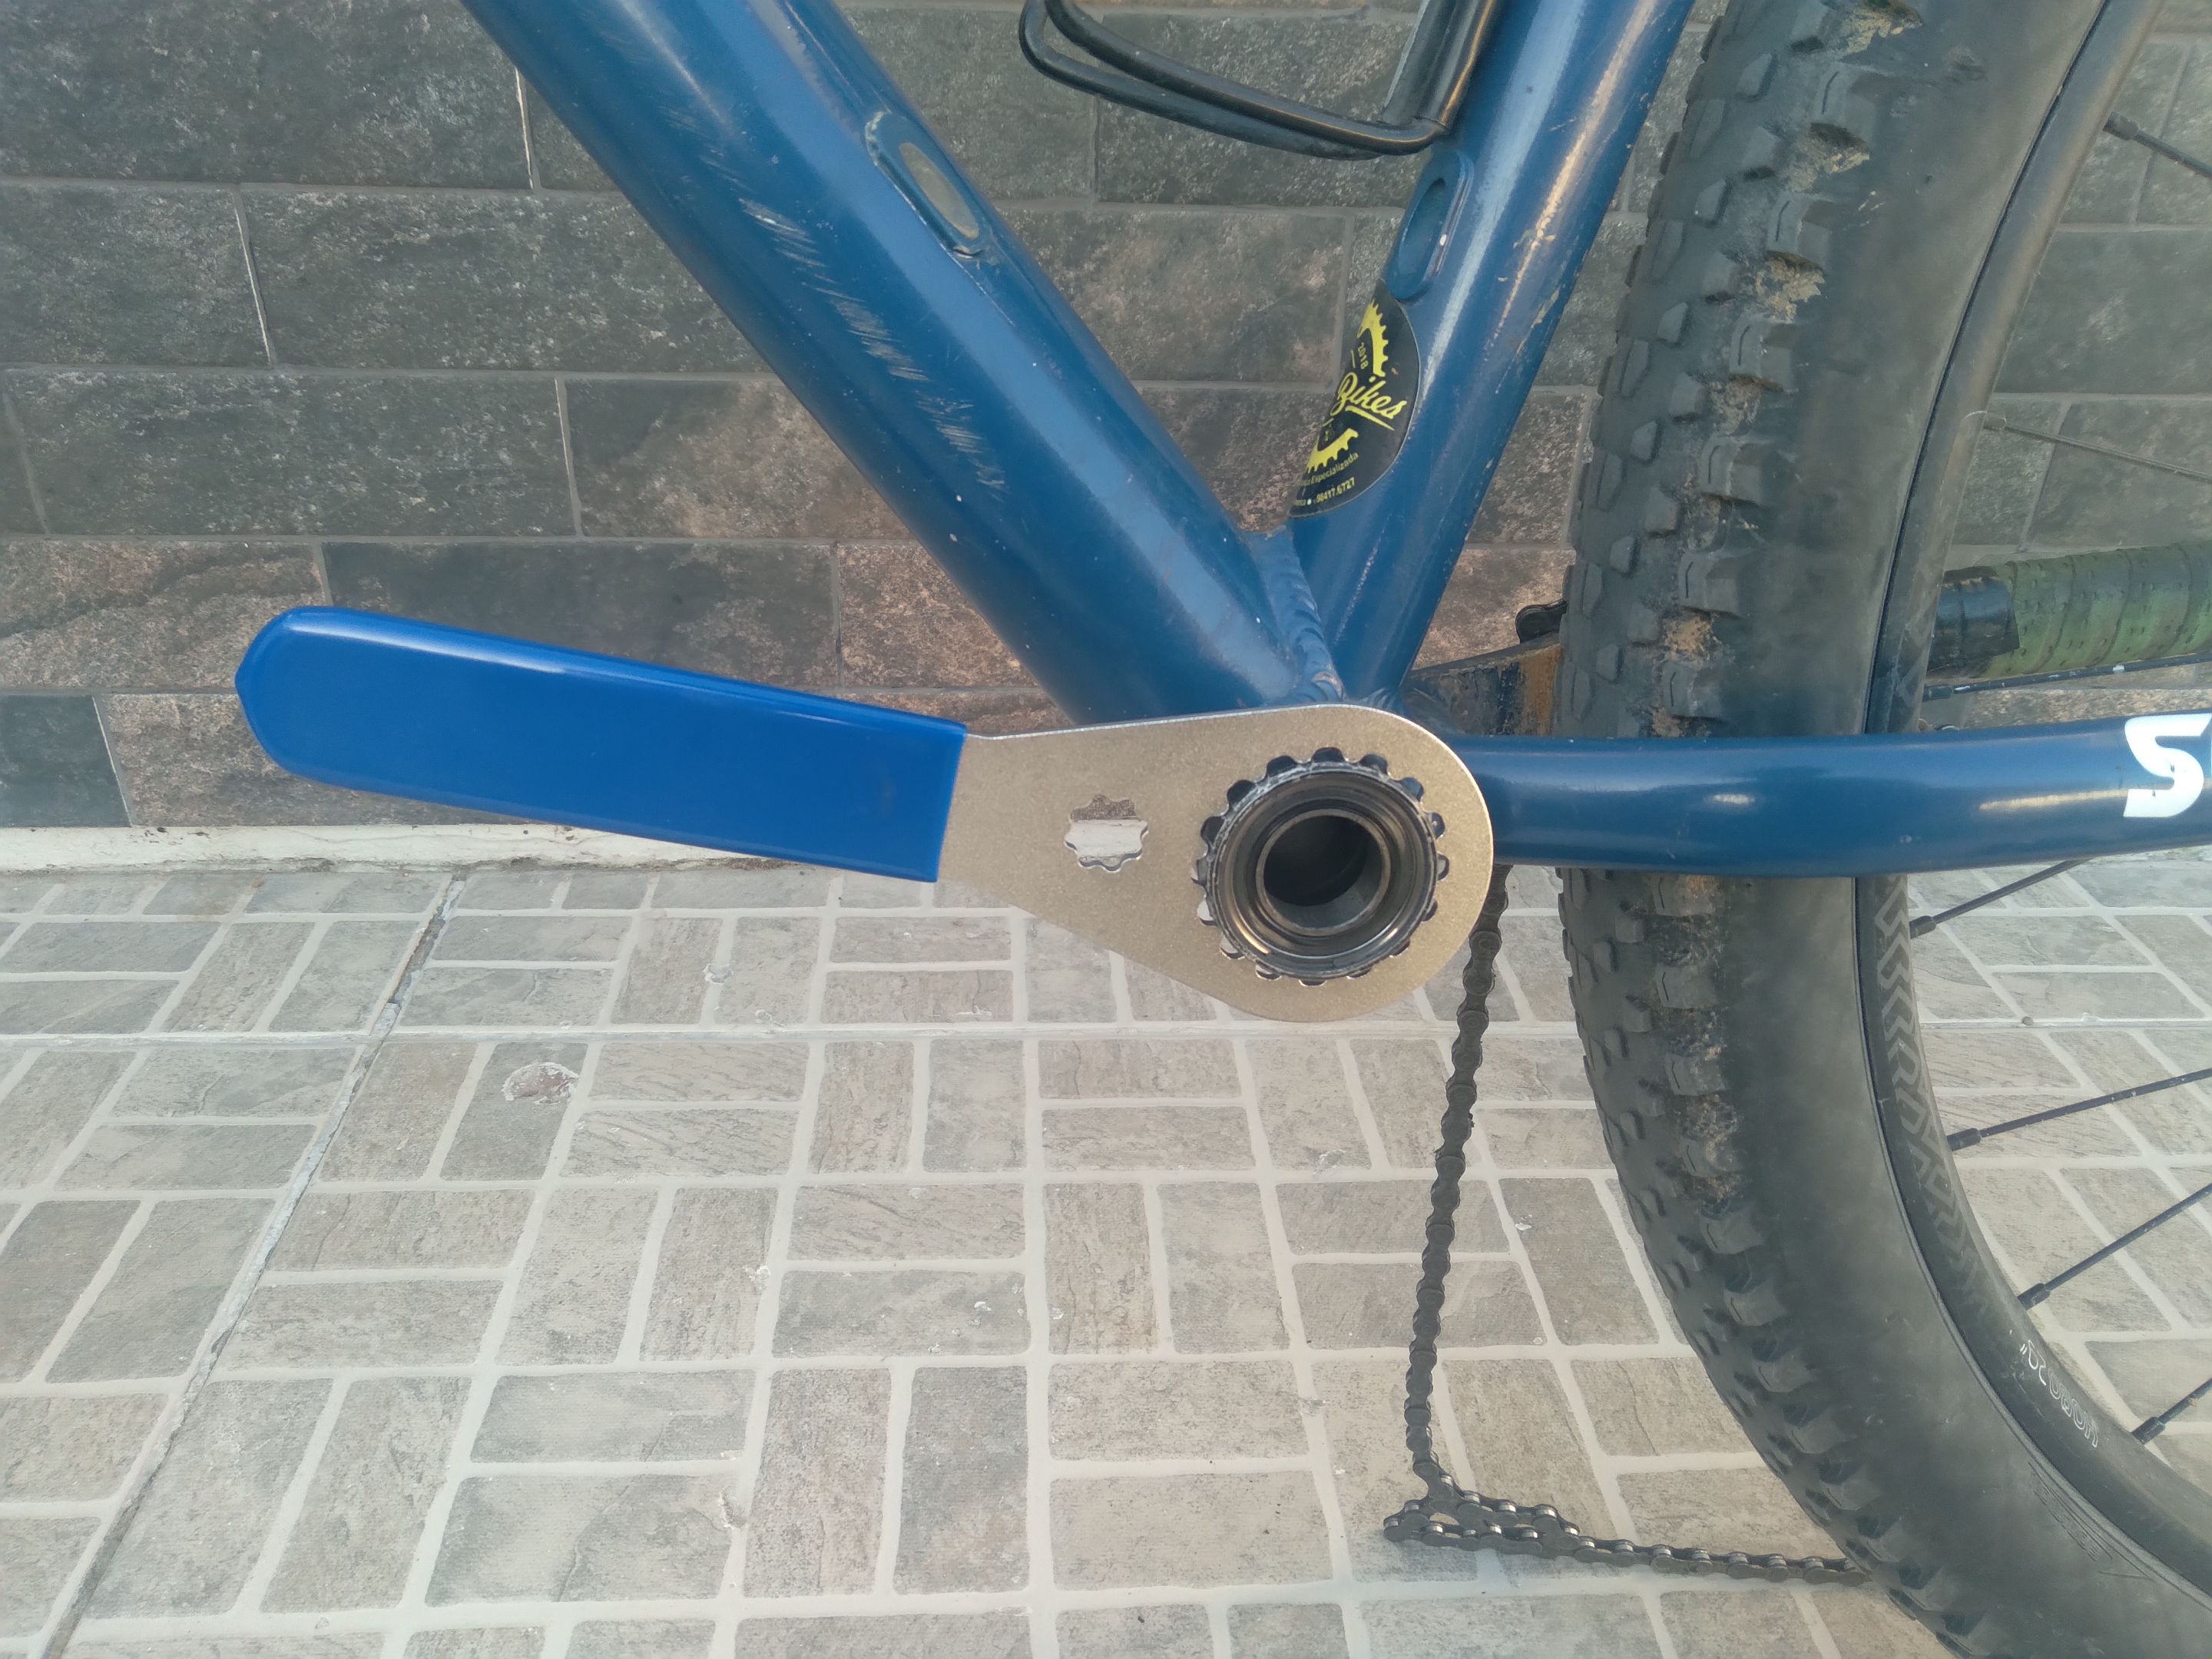
BB on the right side has inverted thread (clockwise to loosen). BBs shouldn't be tightened as hell, hence should come out easily. Also, they are mounted using anti-seize grease to help with the disassembly.
The issue
Let's not get technical here, since it could become quite long and complicated to explain the intricacies of a bicycle's bottom {hmmm xD}. In summary, we installed another BB (different brand/spec) to keep the bicycle running, which resulted in excessive play at the shaft.
The solution
Simple as changing underwear! The correct bearing and the correct cup will solve the play and, hopefully, end the creaking. Fortunately, I have a bunch of cups and bearings and its a matter of marrying the best of both from the parts bin.
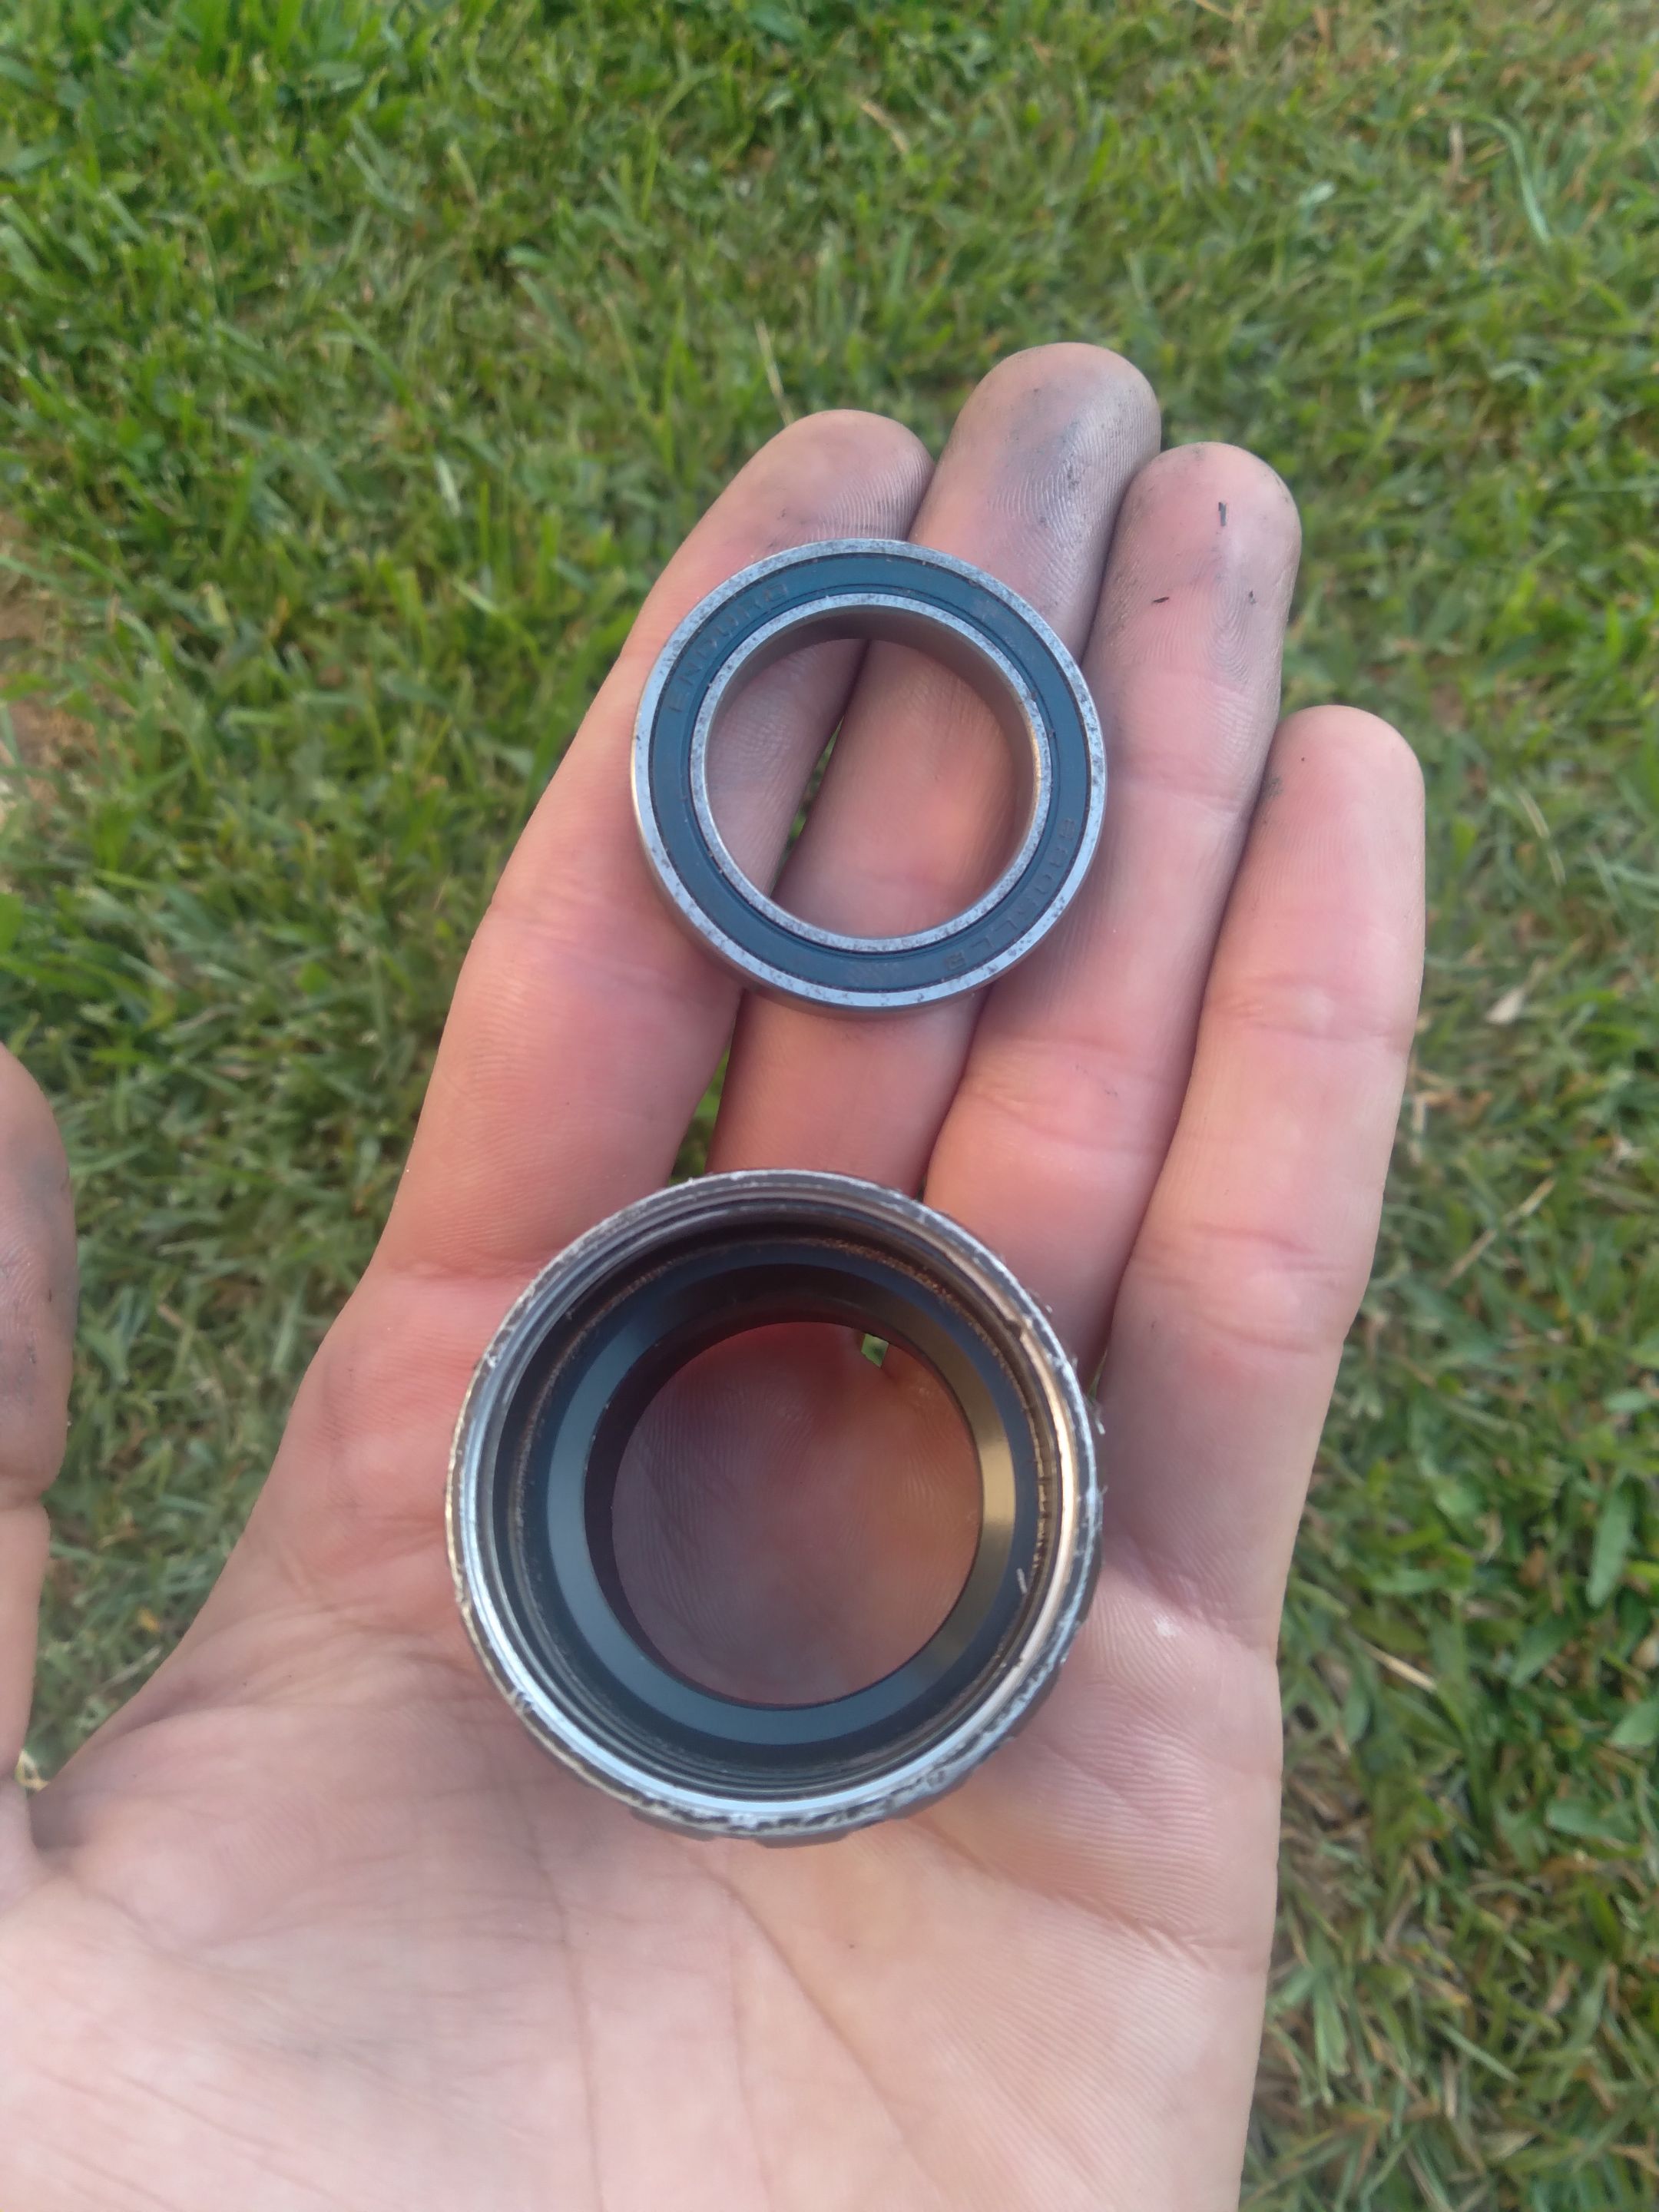
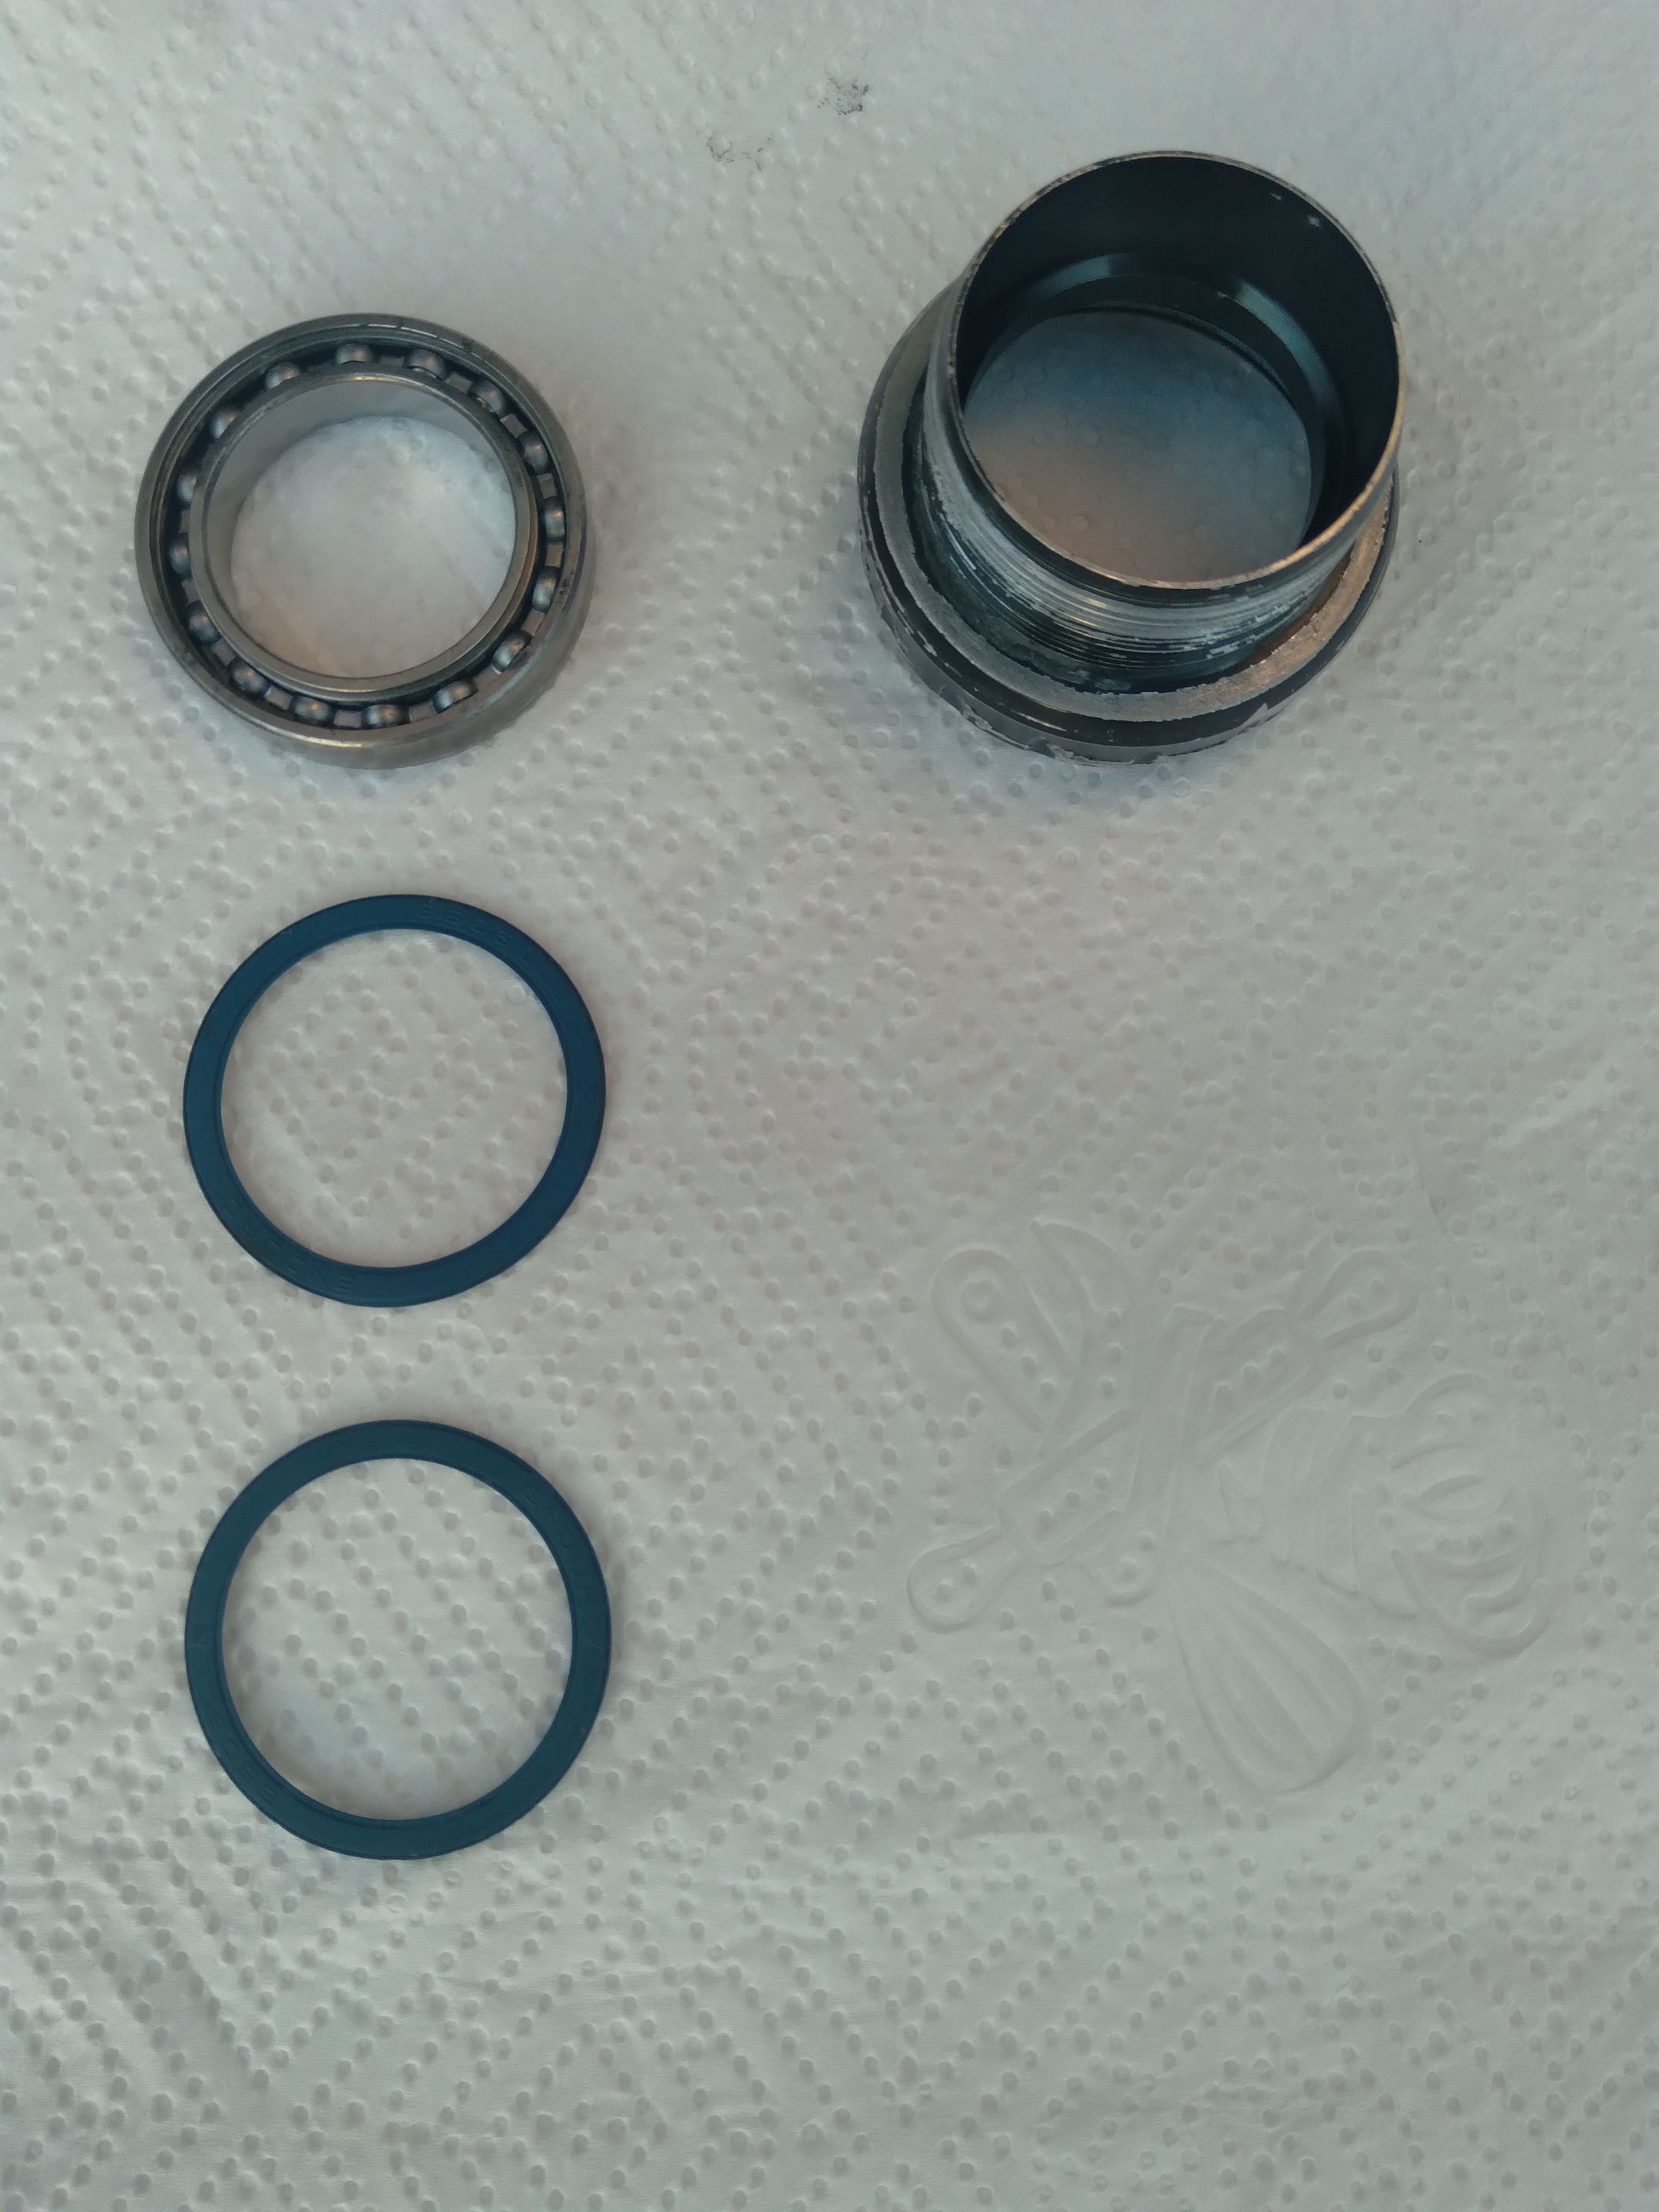
It's best to work on fresh and clean parts. I generally use kitchen degreaser to wipe out old oil/grease from bicycle parts because it's less aggressive than other commonly used solutions (diesel, kerosene, etc). For such low demand, a proper parts washer is unjustified.
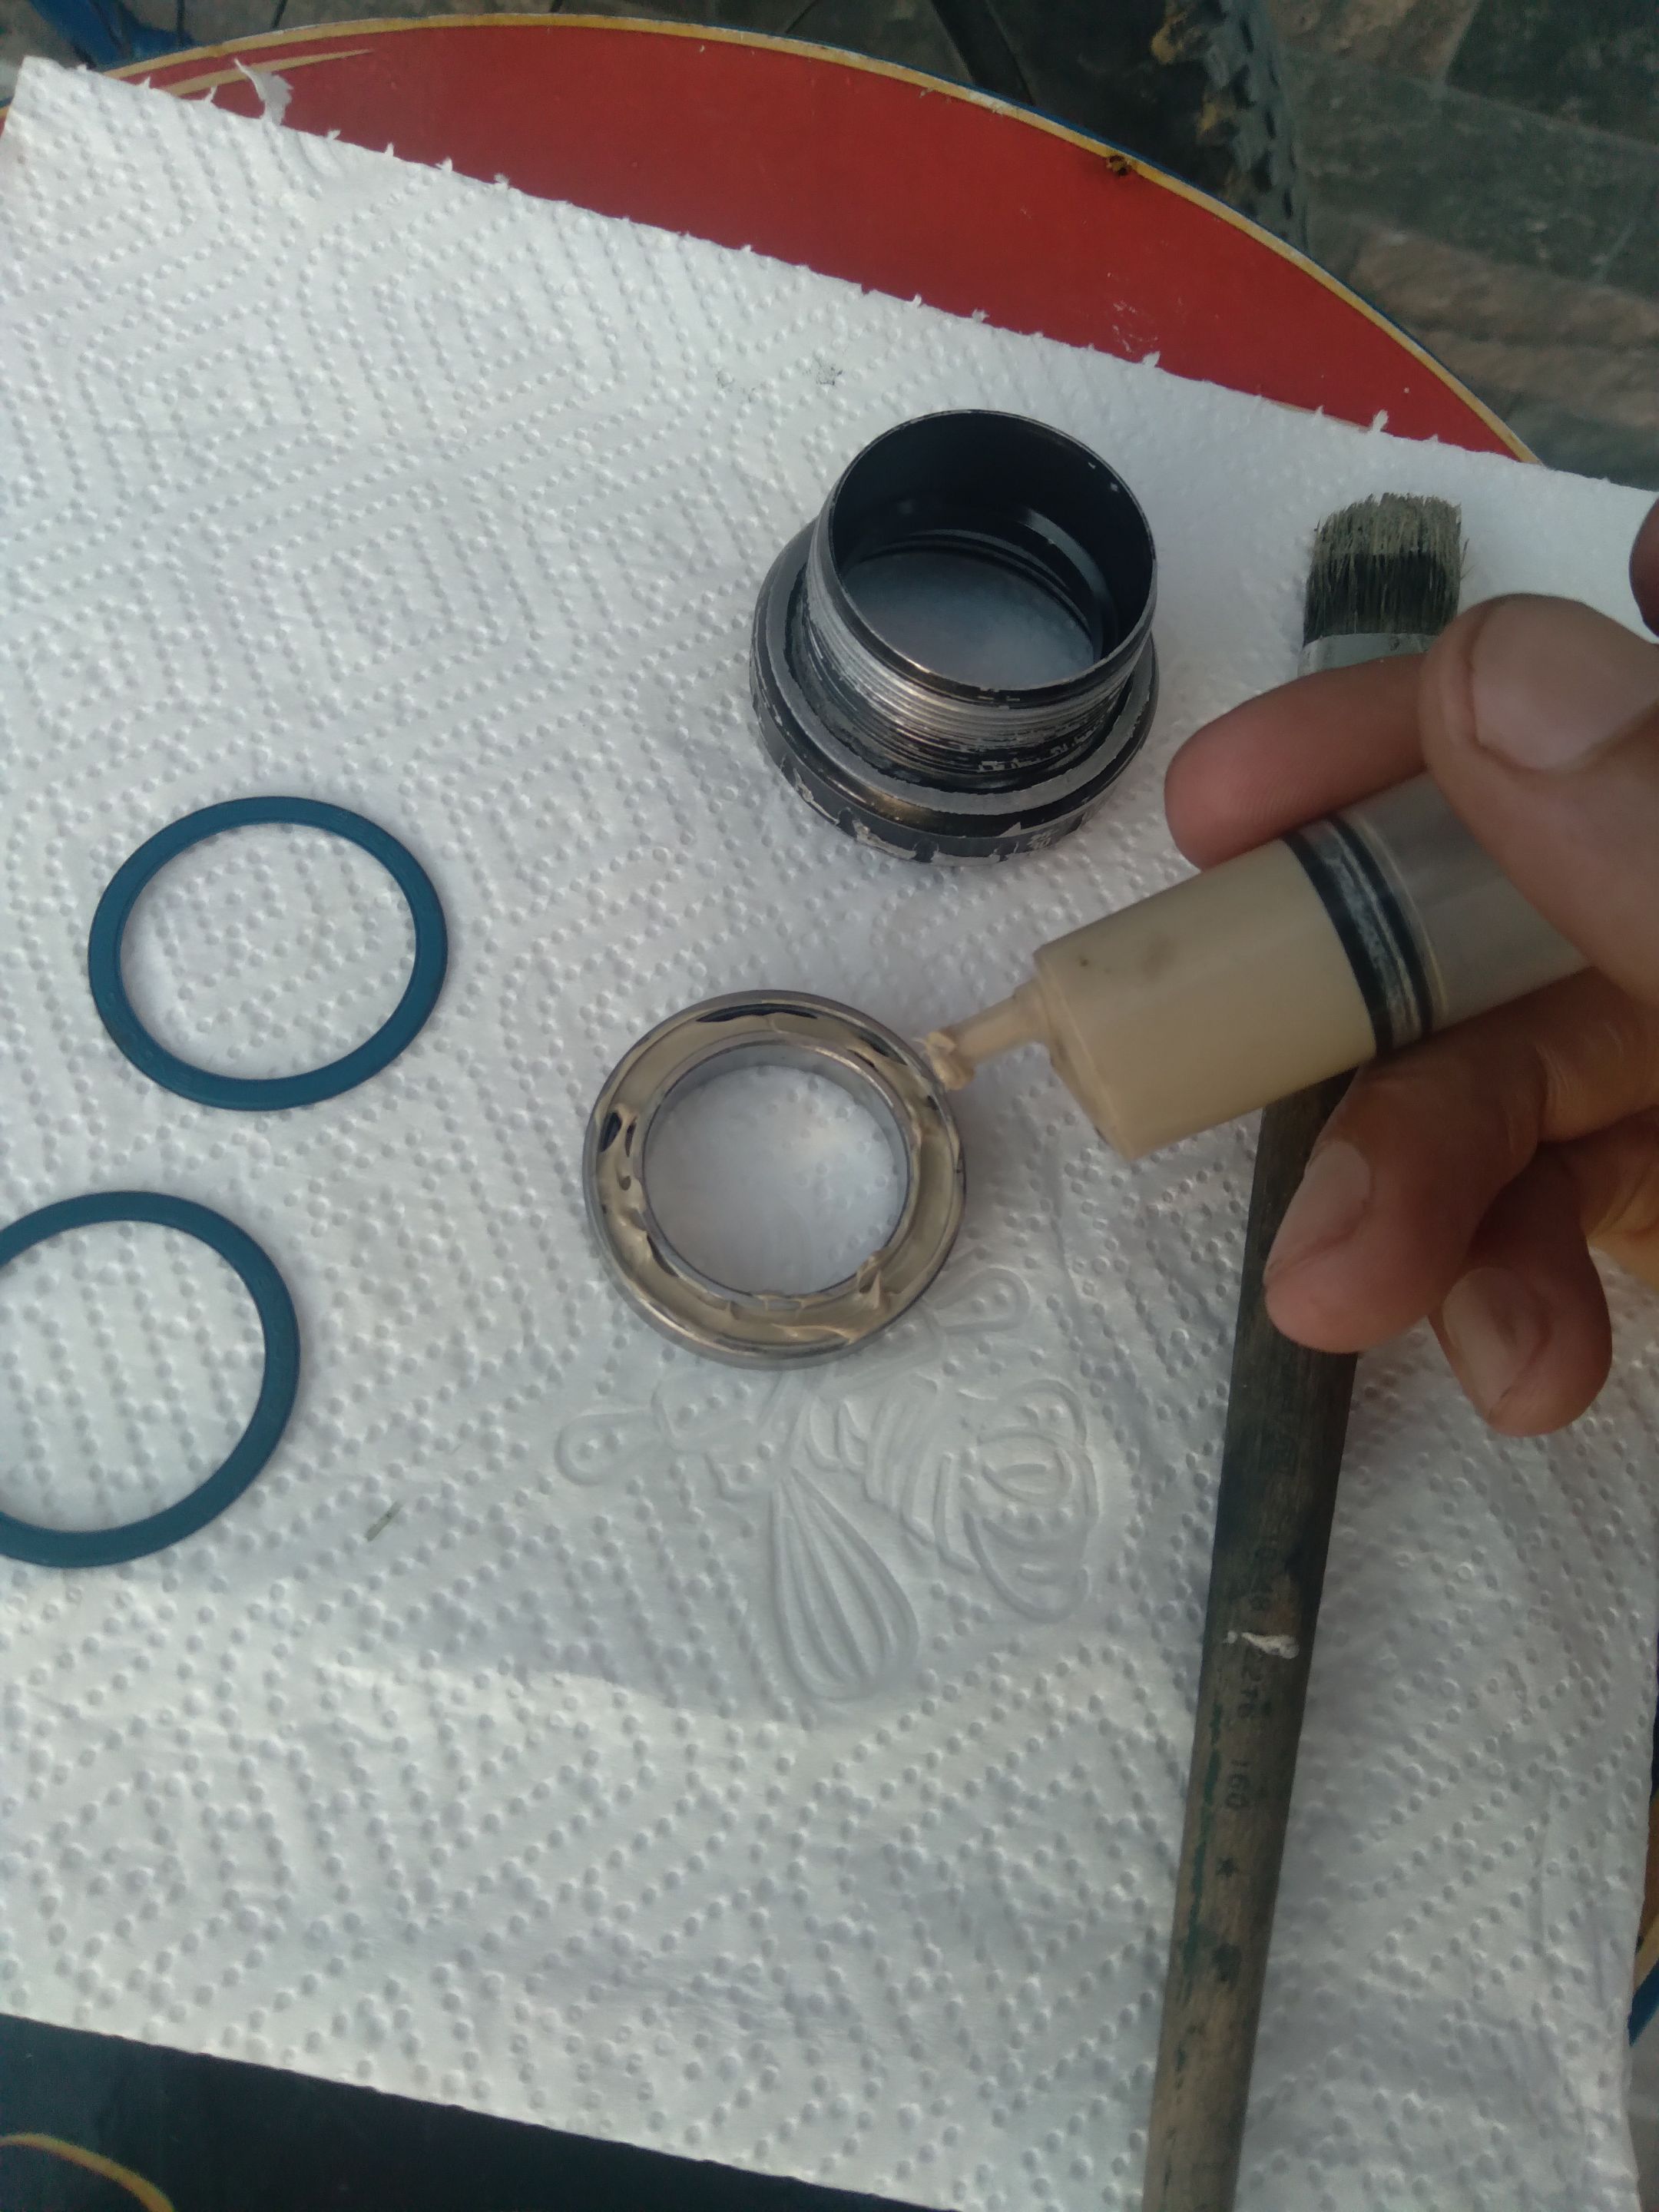
A huge discussion among the cycling community revolves around grease types. Today we're flooded with premium bicycle greases that cost a fortune; they smell nice and come in beautiful colors. Not saying that they aren't any good or won't perform well. However, technically speaking, premium greases have the same specs as other less expensive industrial-grade greases. In fact, most brands offering premium bicycle grease re-package industrial grease.
Without getting too deep into the nitty-gritty of lubrication, let me add two considerations regarding cheap greases vs. premium ones 1. miss-use of any lubricant can harm parts (in excess and vice-verse) 2. using the wrong lubricant may result in shorter parts lifespan. That said, as long as you get the grease with the right specs, everything should be fine.
I'm using a simple nautical NLGI-2 calcium-based grease (high anti-rust capacity and high water resistance). A common rule in engineering establishes the following for the correct amount of grease:
- 1/2 to 2/3 of the free space in the bearing — when operating speed is less than 50% of the limiting speed of the bearing (bicycles are here).
- 1/3 to 1/2 of the free space — when the speed is more than 50% of the limiting speed of the bearing.
A gentle amount of grease on one side of the bearing does the trick; grease will spread to the other side once the bearing rolls. Tip: Applying grease with a syringe makes life easier (see above photo).
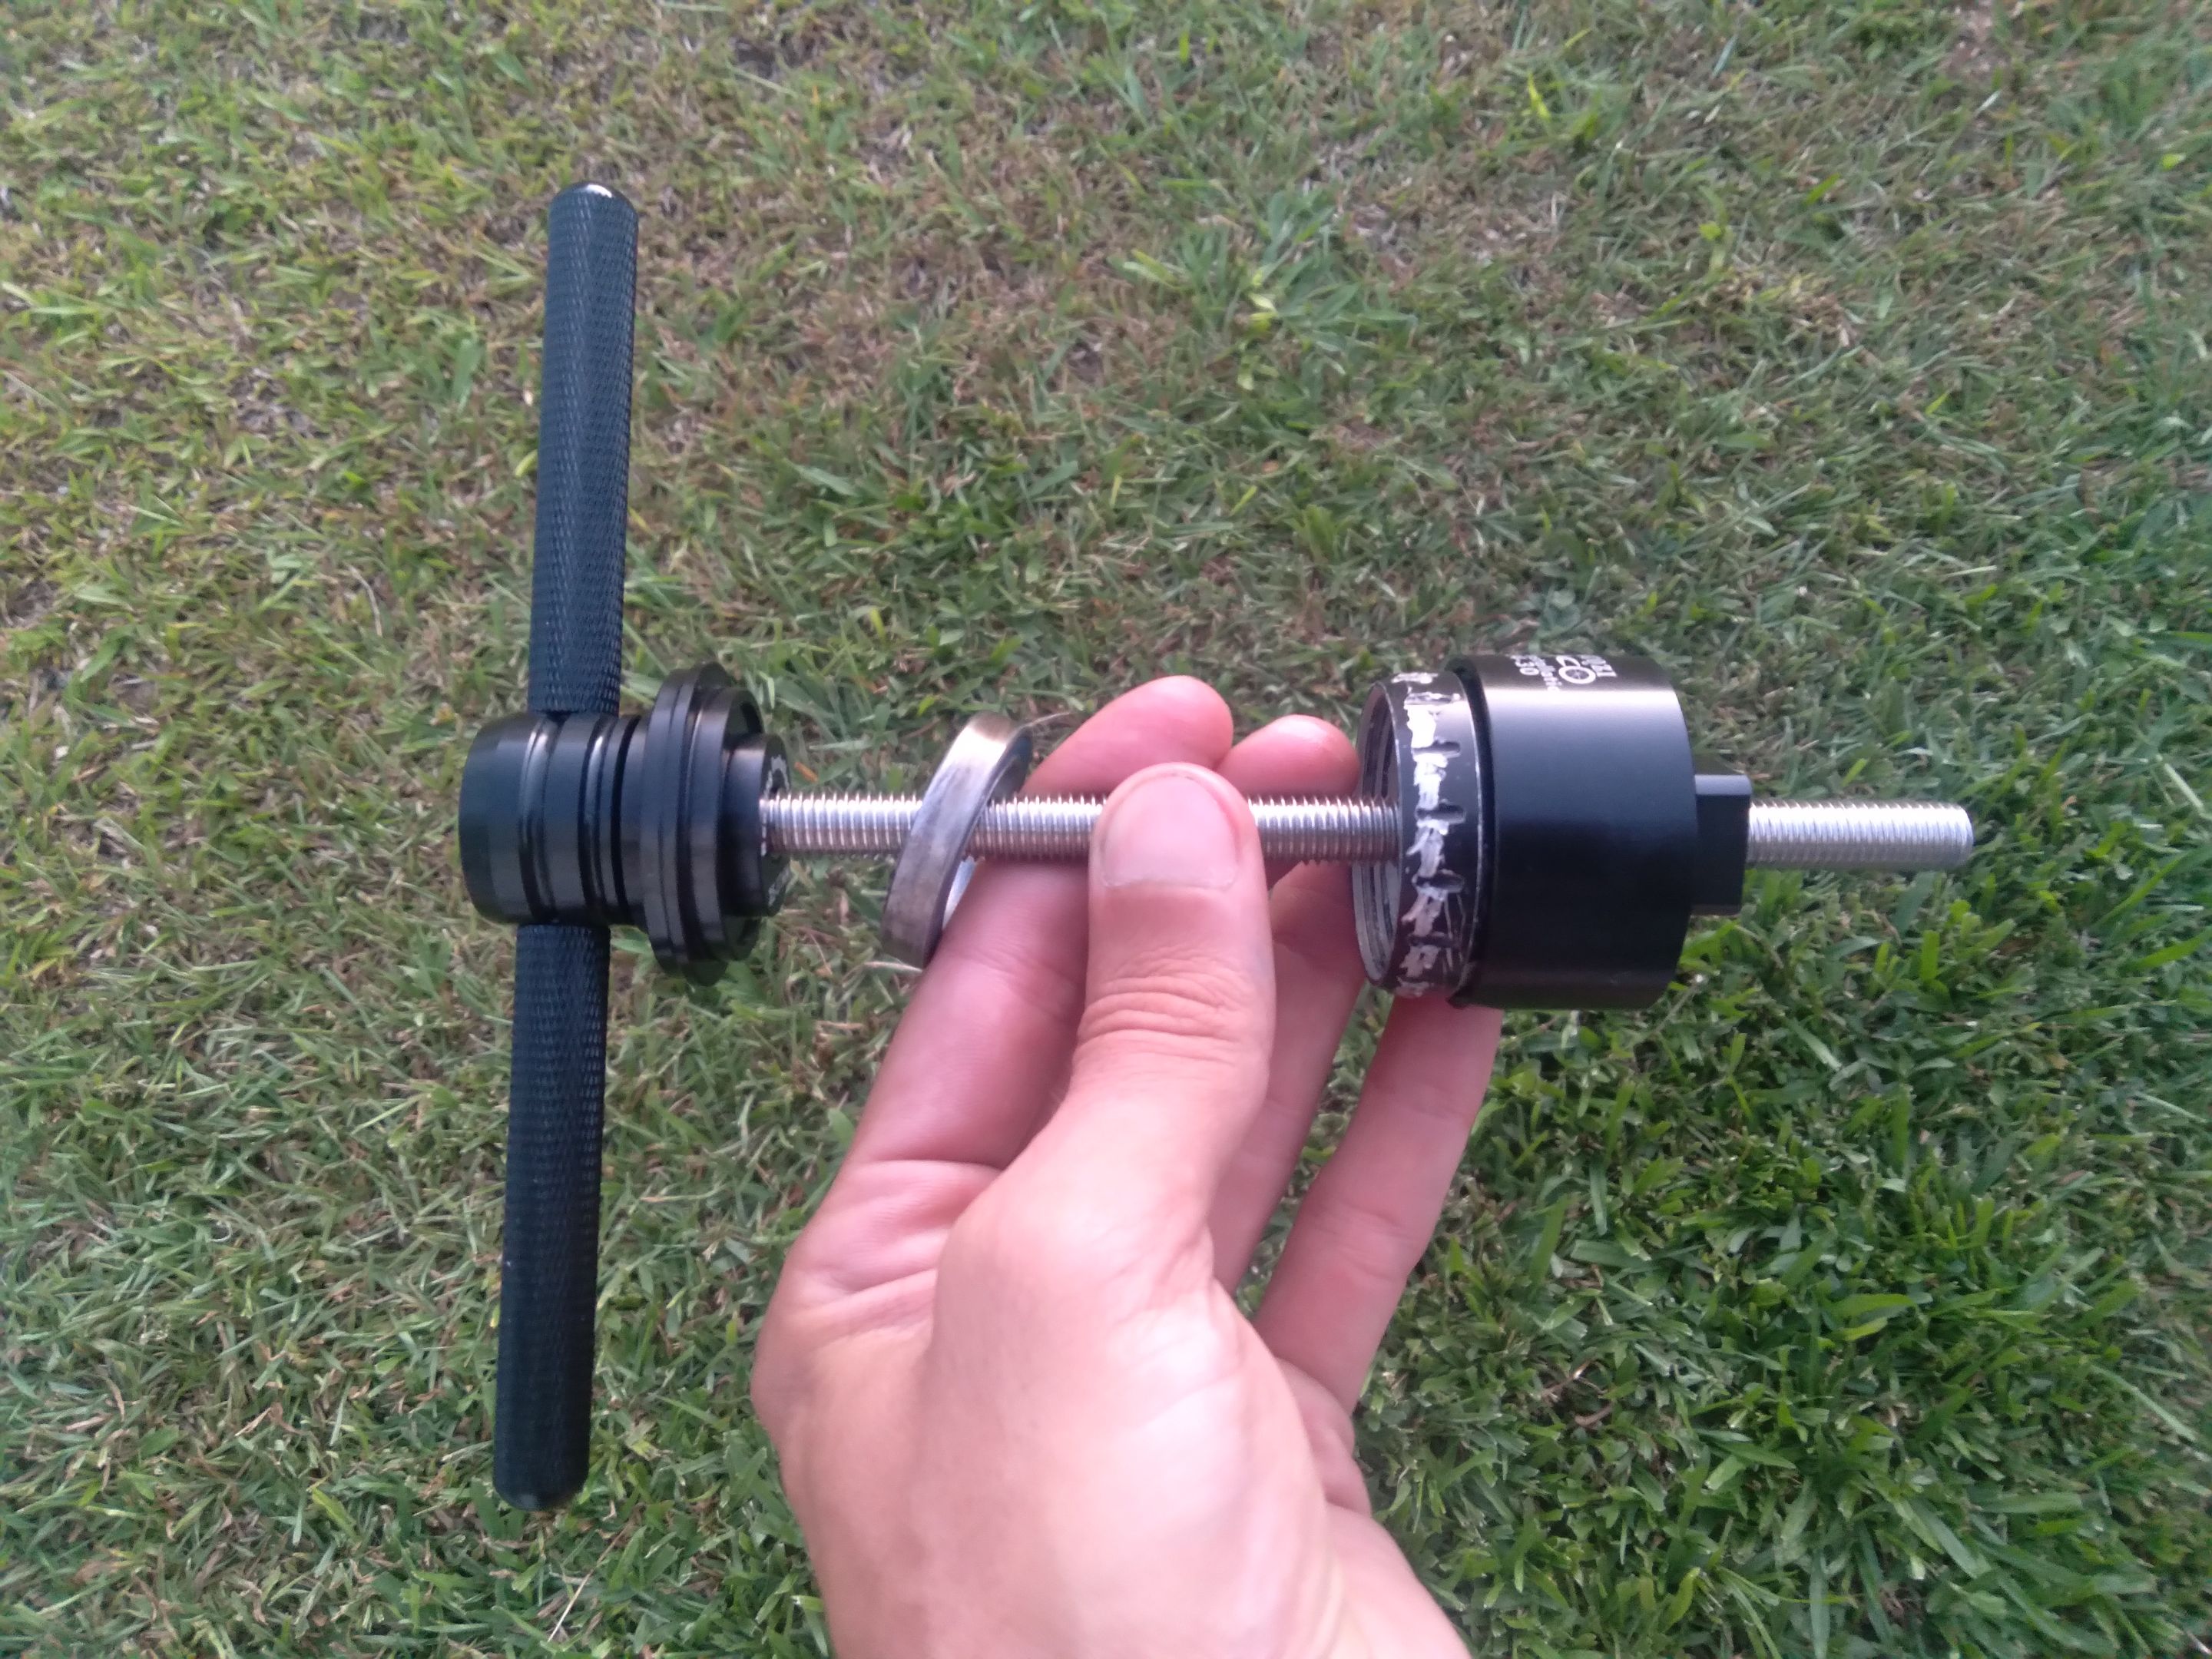
Now that we know everything about grease and what not, it's time to press the bearing back into the cup. Having a proper bearing press is the correct way to do the job. Know that you can press the bearing using other methods; just don't hammer it in by any means.
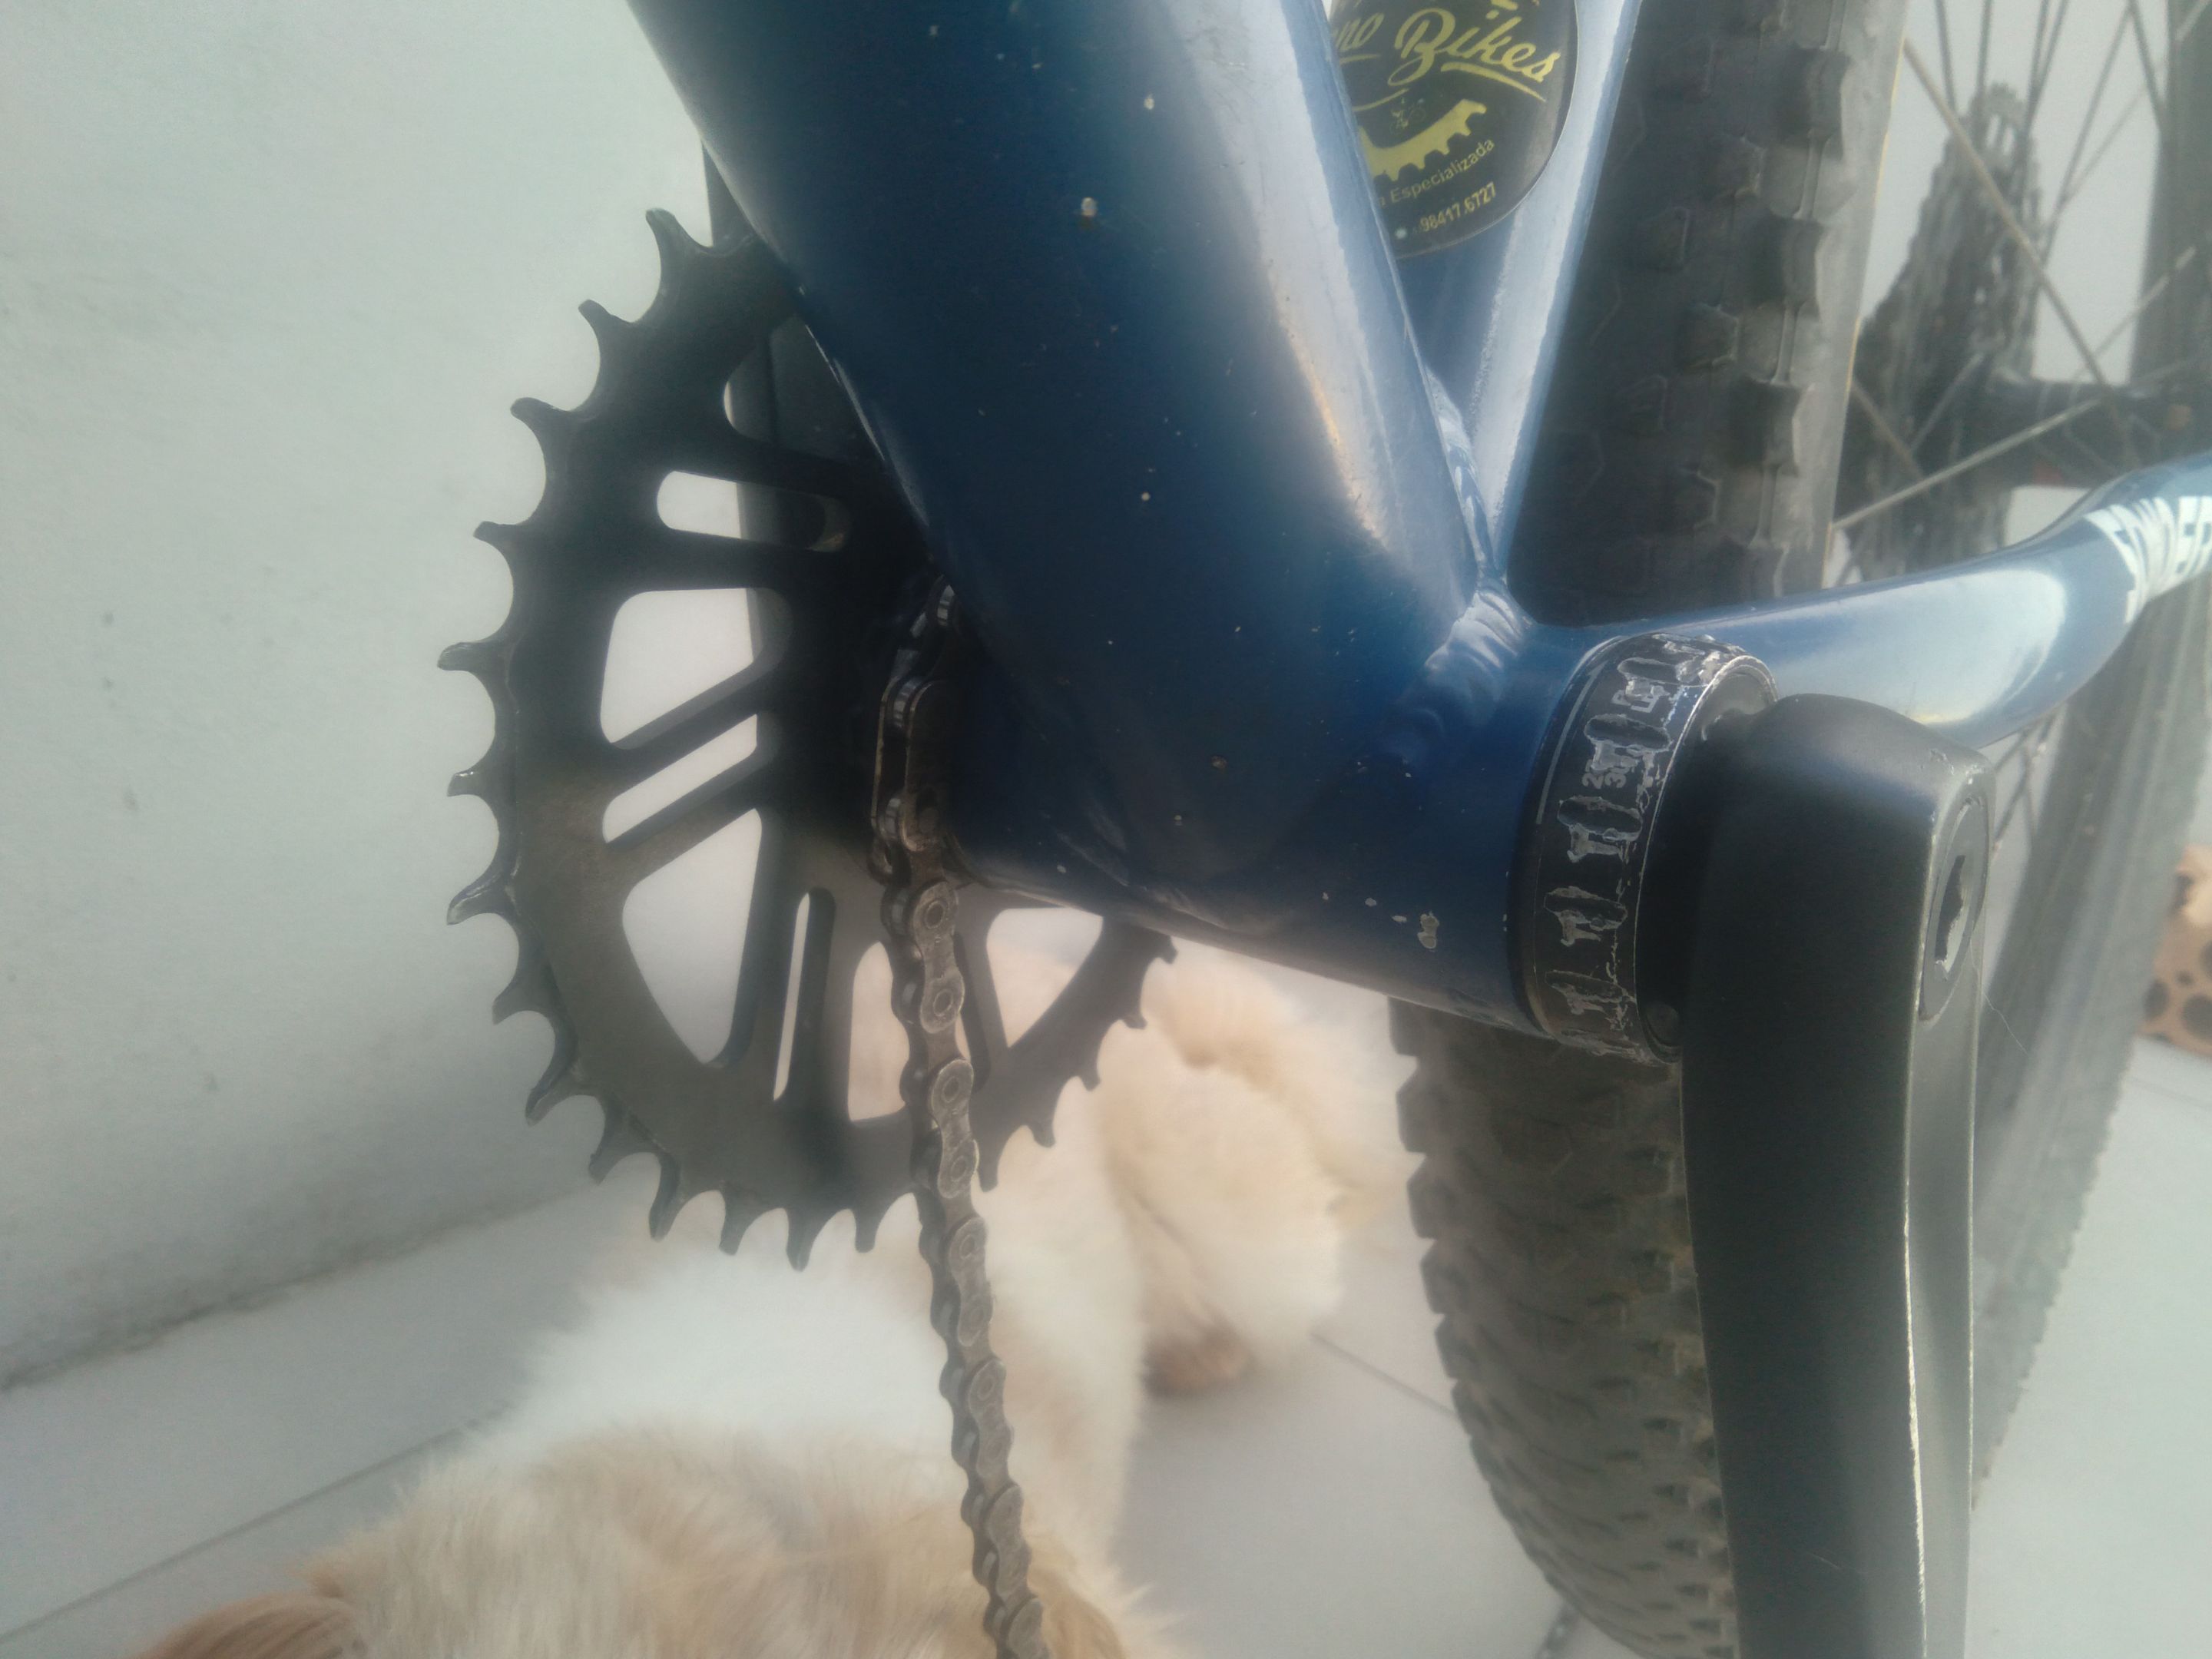
With the bottom-bracket in hand, the service ends by assembling the parts all back to the bicycle. Just Uno reverse the beginning of this post and voila.
Conclusion
Providing a highly detailed tutorial isn't the goal of this post. Different bicycles have all sorts of bottom-brackets, which means servicing may vary. The idea is to show that the job isn't overly complex if one is curious enough to try. For every doubt the internet has the answer. Let's use the web in our favor!
I hope that this post also reaches the objective of passing along bits useful information for those willing to explore the world of bicycle maintenance. Never be afraid to try.
Peace.
If you enjoyed this post consider leaving your upvote for a hot coffee.
Find me on Twitter: https://twitter.com/mrprofessor_
~Love ya all,
Disclaimer: The author of this post is a convict broke backpacker, who has travelled more than 10.000 km hitchhiking and more than 5.000 km cycling. Following him may cause severe problems of wanderlust and inquietud. You've been warned.