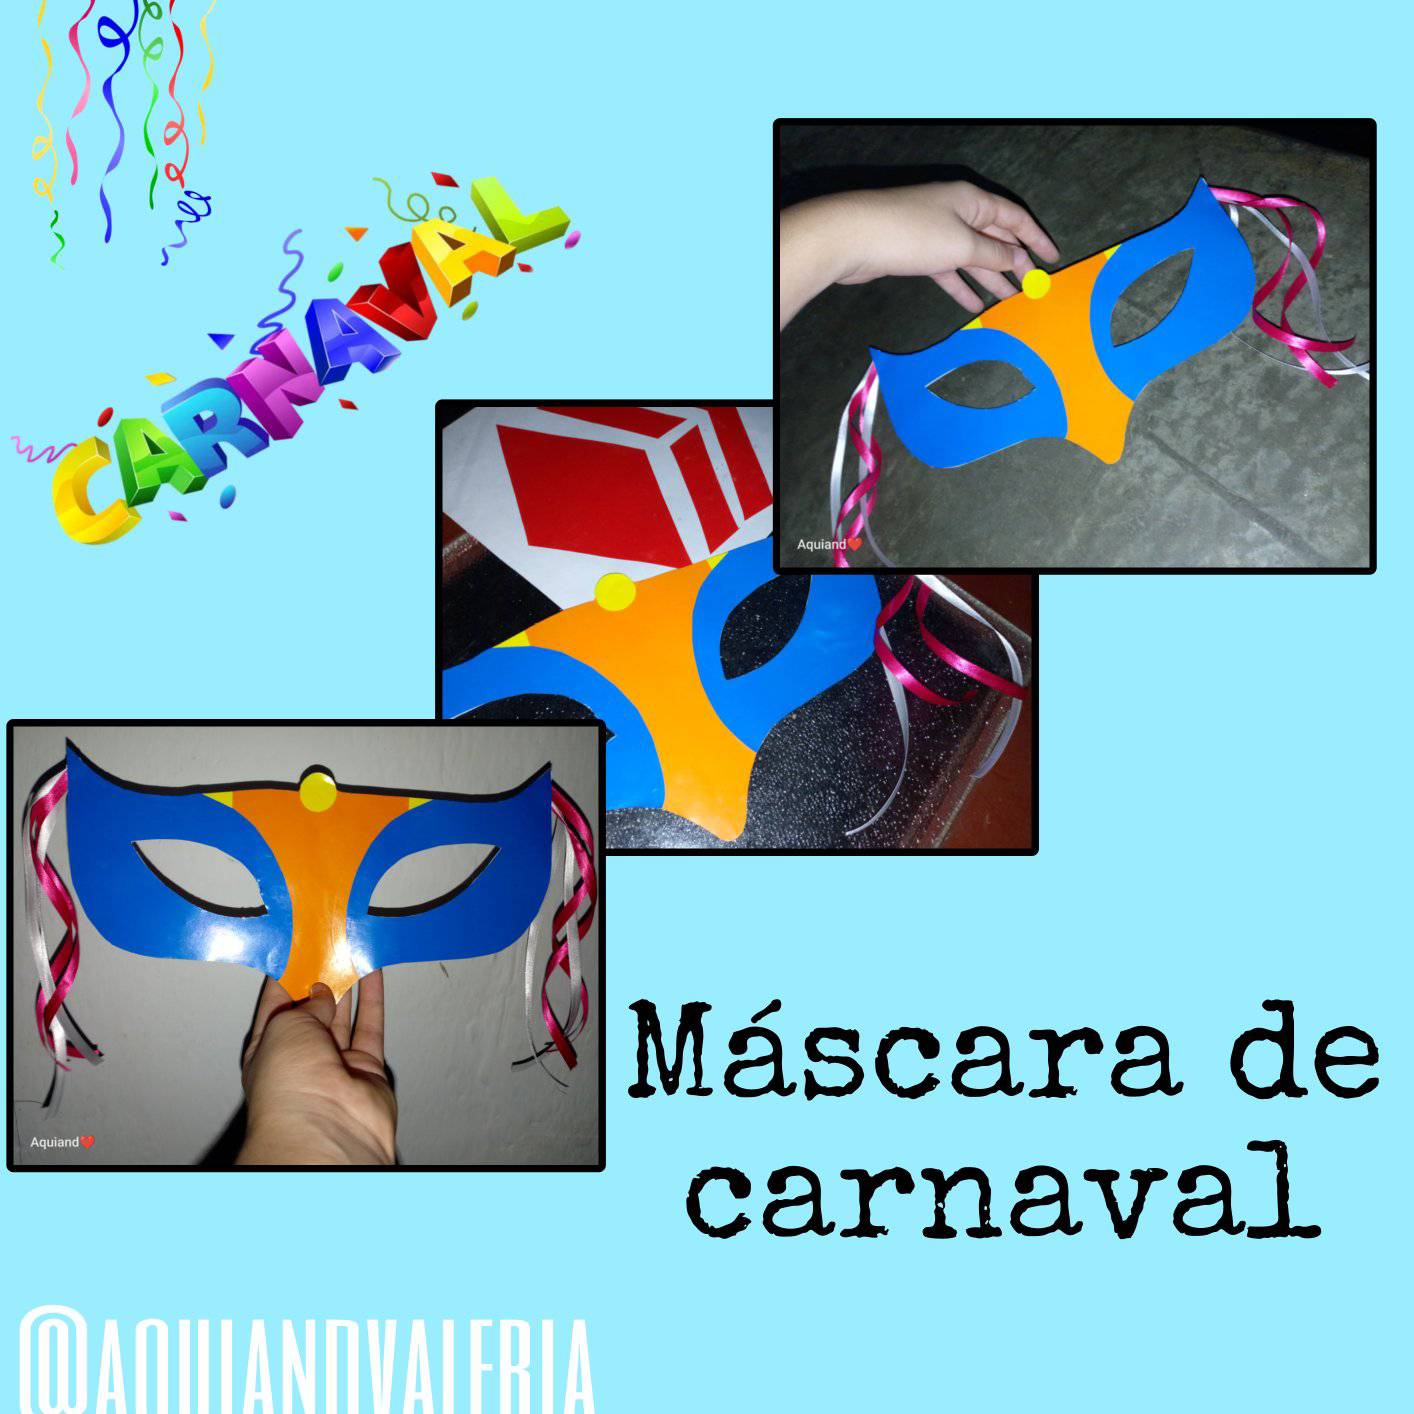
Hola amigos de DiyHub, el día de hoy me encuentro por acá para mostrarles el tutorial de como realizar una máscara de carnaval con materiales reciclados, es súper facil y rapido de hacer, ésta la pueden utilizar para decorar en estos días de carnavales. Sin mas que decir, vamos a comenzar.
Hello friends of HiveDiy, today I am here to show you the tutorial on how to make a carnival mask with recycled materials, it is super easy and quick to make, you can use it to decorate these days of carnival. Without further ado, let's get started.
- Cartulina o cartón.
- Pega o silicón.
- Tijeras.
- Cintas de colores.
- Papel lustrillo.
- Cardboard or cardboard.
- Glue or silicone.
- Scissors.
- Colored ribbons.
- Shine paper.
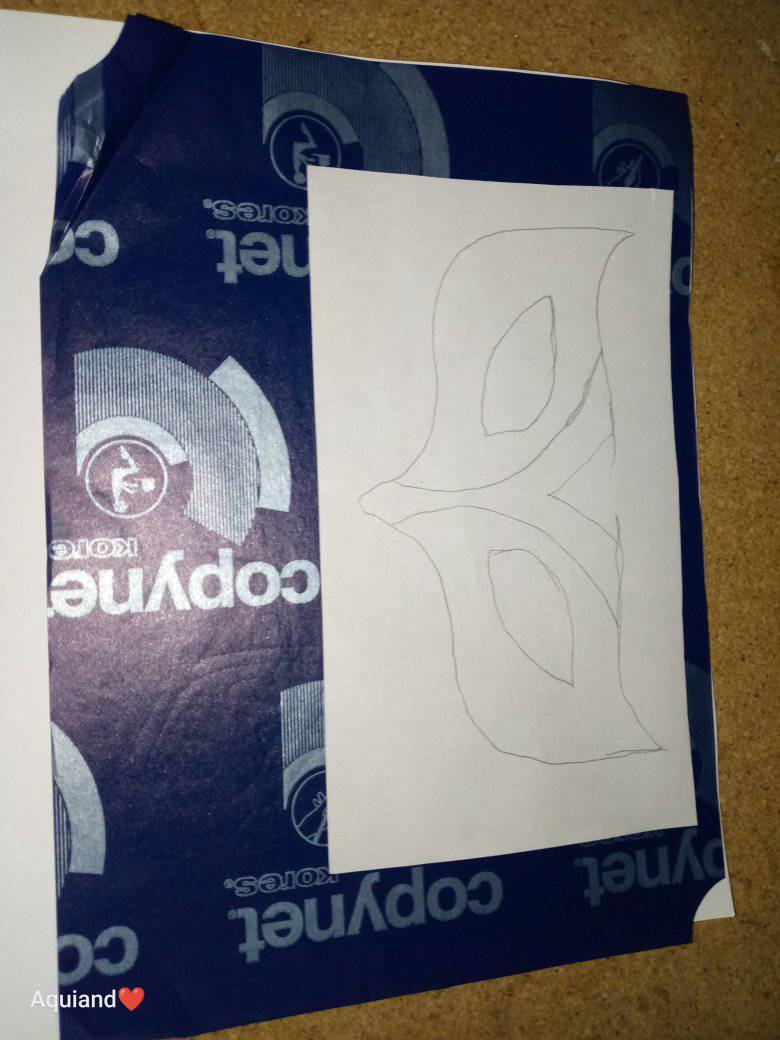
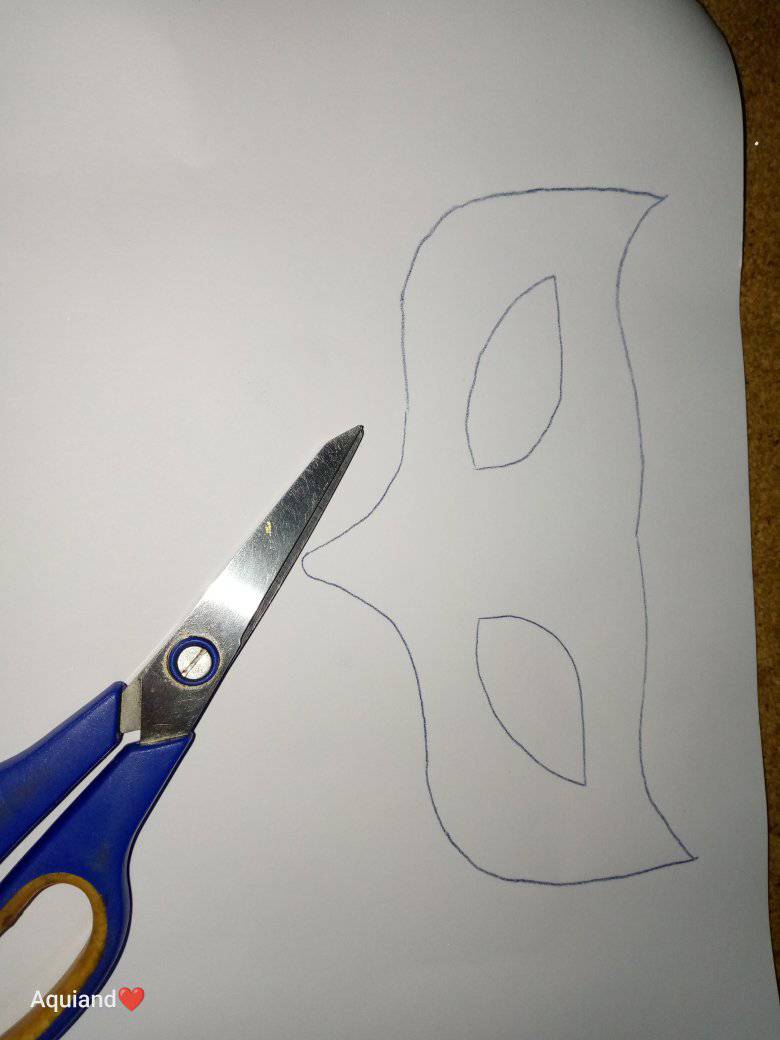
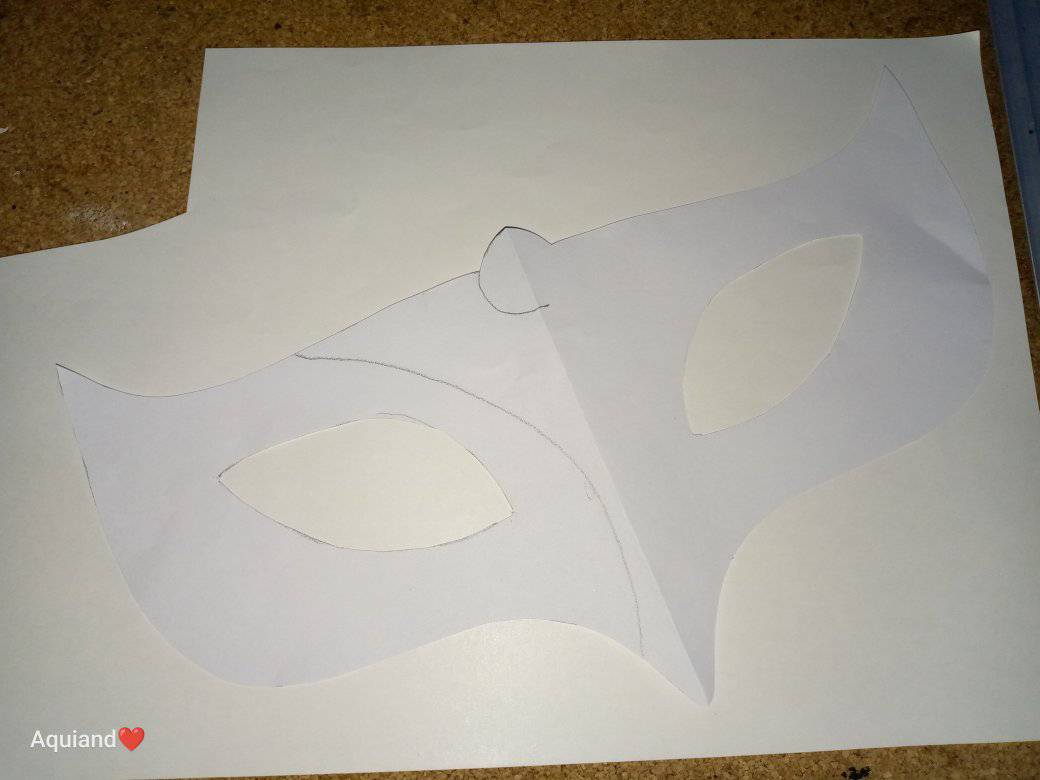
1- Marcamos la forma de una máscara en la cartulina.
1- We mark the shape of a mask on the cardboard.
2- Recortamos.
2- We cut out.
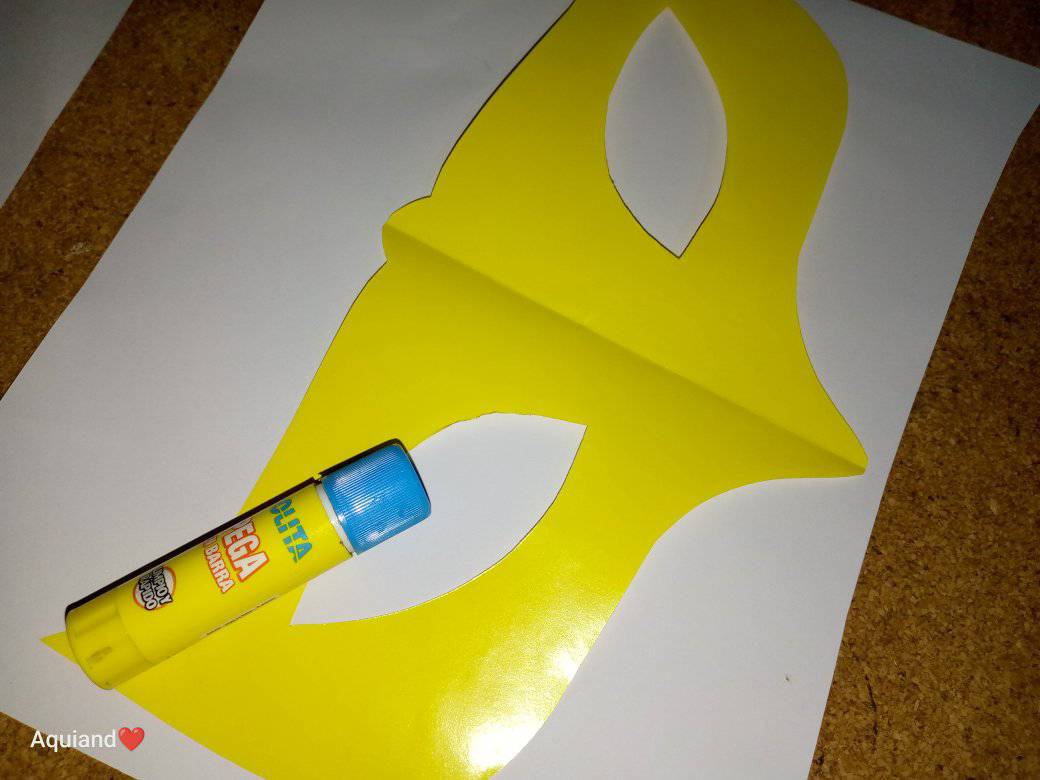
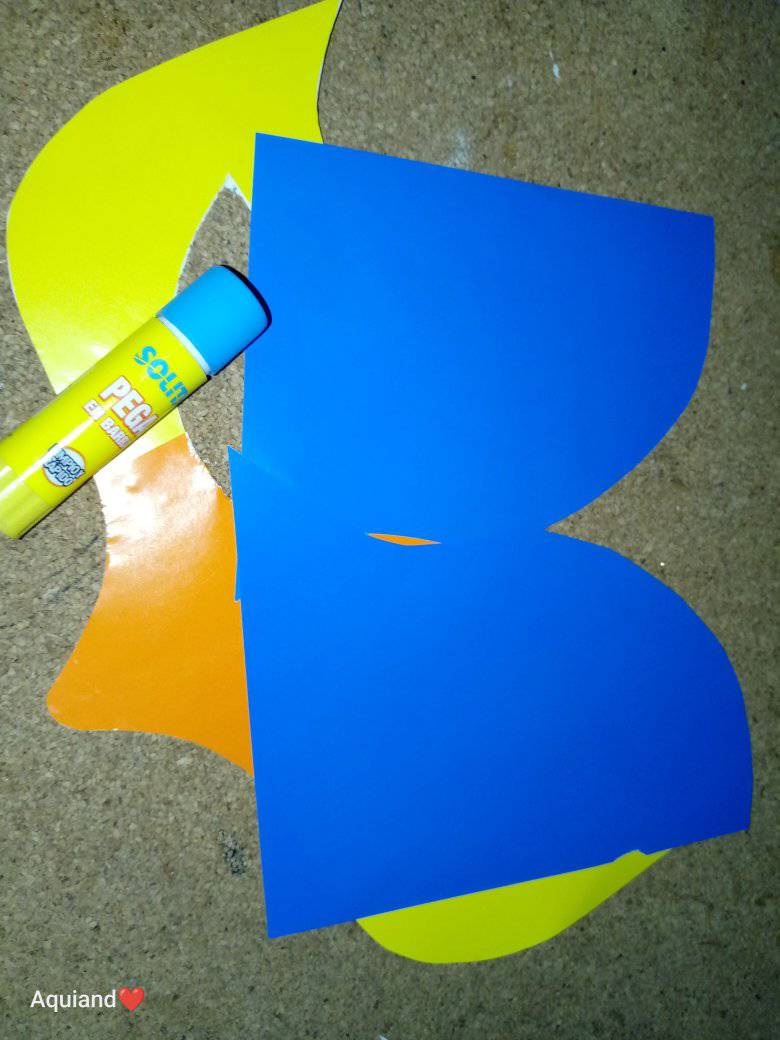
3- Marcamos la forma de la máscara en el papel lustrillo.
3- Mark the shape of the mask on the luster paper.
4- Y pegamos.
4- And paste.
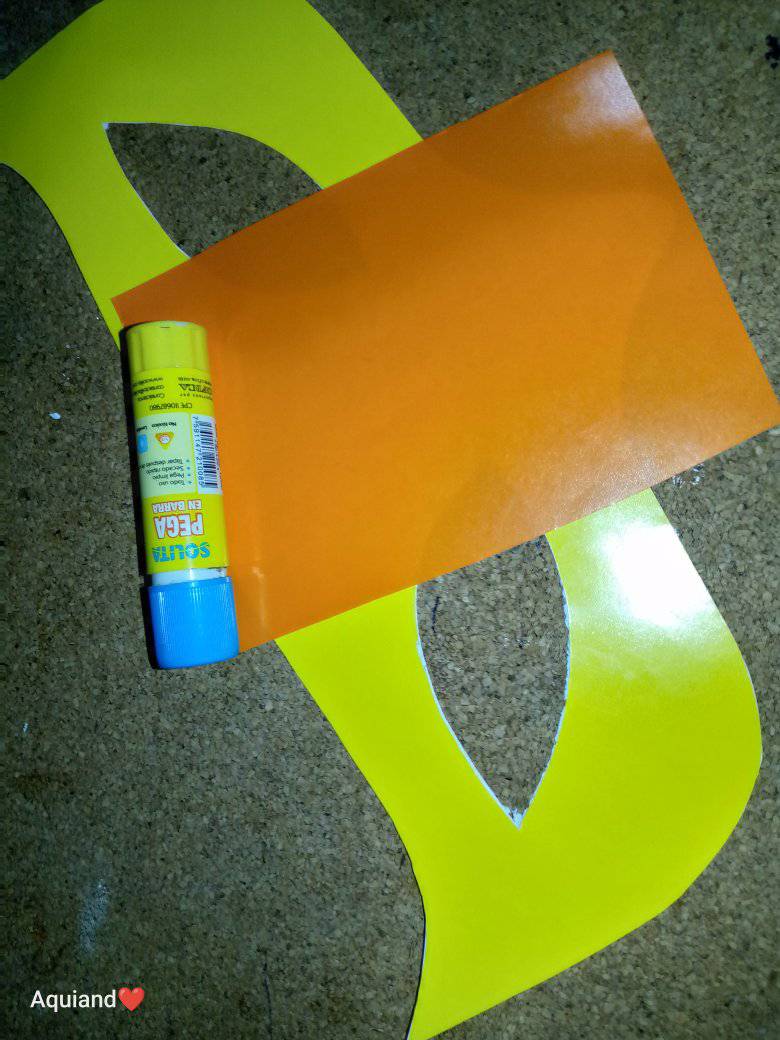
5- Le pegamos un cuadro de papel lustrillo naranja a la parte de adelante de la máscara.
5- We glue a square of orange luster paper to the front of the mask.
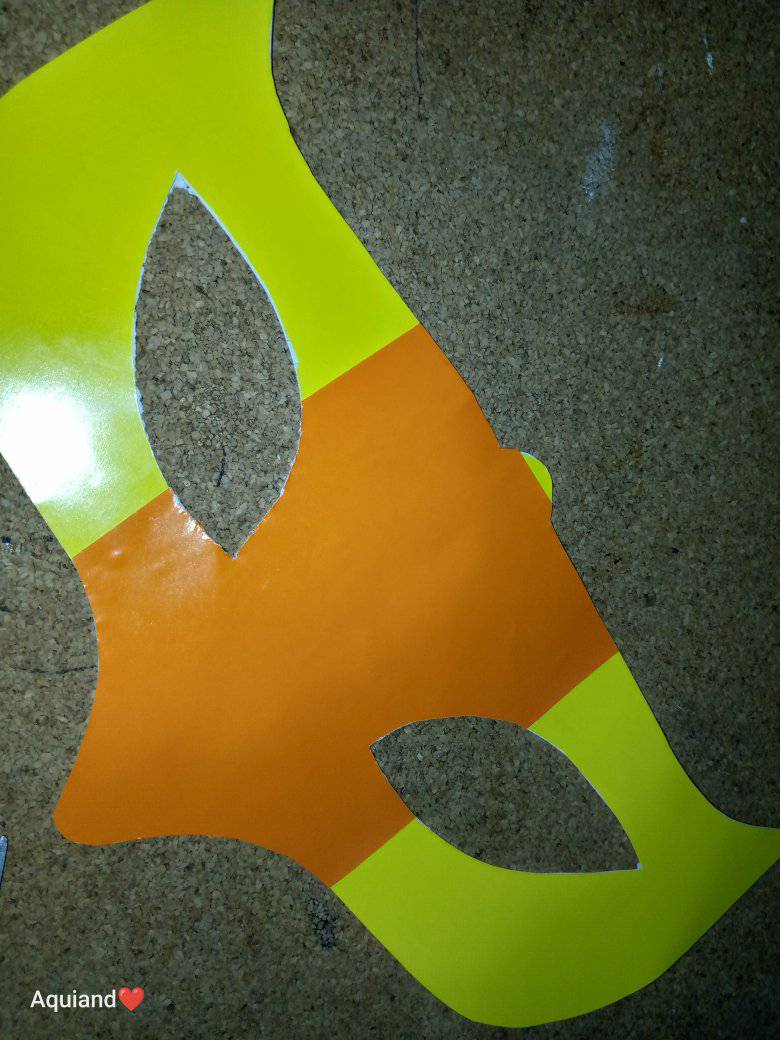
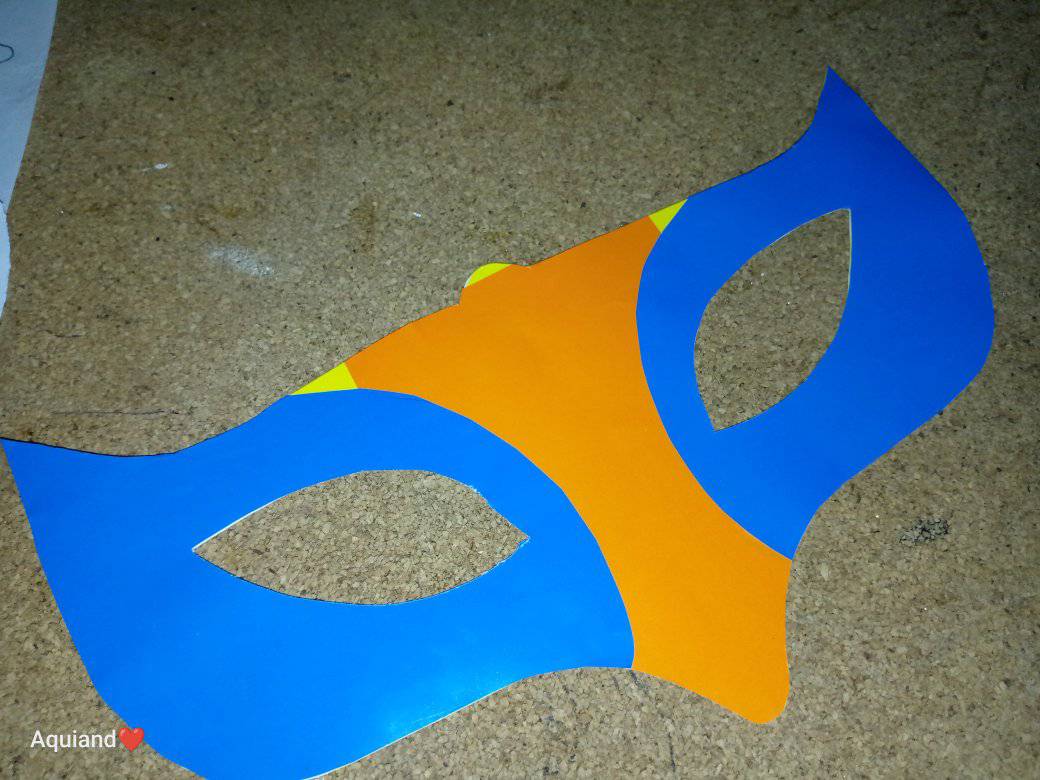
6- Recortamos los bordes hasta que nos quede algo así.
6- Trim the edges until you have something like this.
7- Cortamos dos piezas con esta forma.
7- We cut two pieces with this shape.
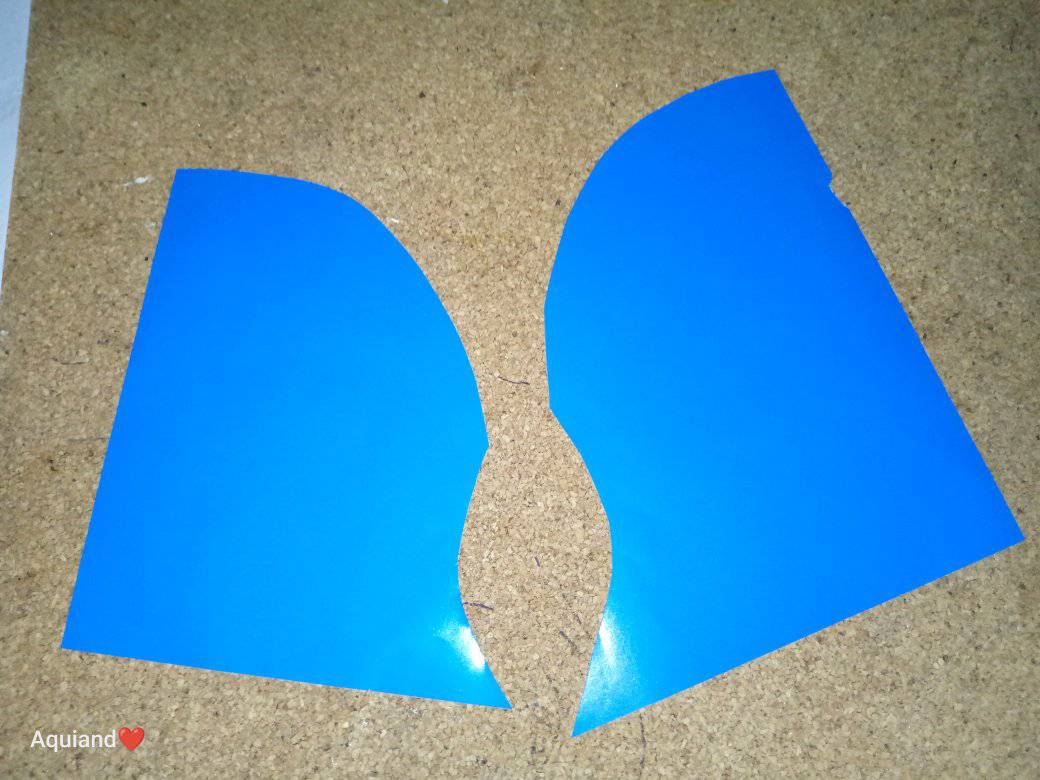
8- Y pegamos.
8- And paste
Se tiene que ver así.
It has to look like this.
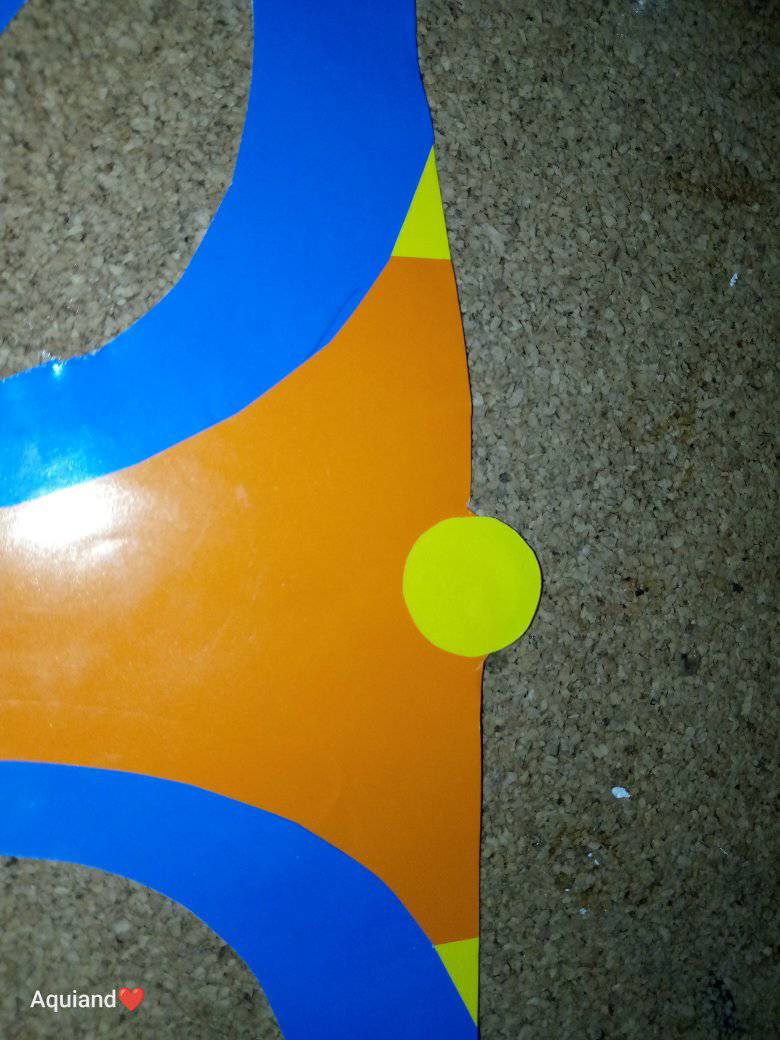
9- Le pegamos un circulito amarillo en la parte de arriba.
9- Glue a little yellow circle on the top.
10- Por último pegamos las cintas de colores, los colores son de tu preferencia.
10- Finally we glue the colored ribbons, the colors are of your preference.

Y listo, ya tenemos nuestra decoración para los carnavales. Espero les haya gustado el resultado de esta hermosa máscara, no olviden dejar sus opiniones en los comentarios, me despido, nos vemos en el próximo post. Gracias por ver y leer.
And that's it, we have our decoration for carnivals. I hope you liked the result of this beautiful mask, do not forget to leave your opinions in the comments, I say goodbye, see you in the next post. Thanks for watching and reading.
- El texto es completamente de mi autoría
- The text is entirely by me
- Traducción realizada con DeepL Traslate
- Translation using DeepL Traslate
- Cámara: Tecno Spark GO 2023
- Camera: Tecno Spark GO 2023
- El texto es completamente de mi autoría
- The text is entirely by me
- Traducción realizada con DeepL Traslate
- Translation using DeepL Traslate
- Cámara: Tecno Spark GO 2023
- Camera: Tecno Spark GO 2023
- Traducción realizada con DeepL Traslate
- Translation using DeepL Traslate
- Cámara: Tecno Spark GO 2023
- Camera: Tecno Spark GO 2023
- Cámara: Tecno Spark GO 2023
- Camera: Tecno Spark GO 2023