🌸Español🌸
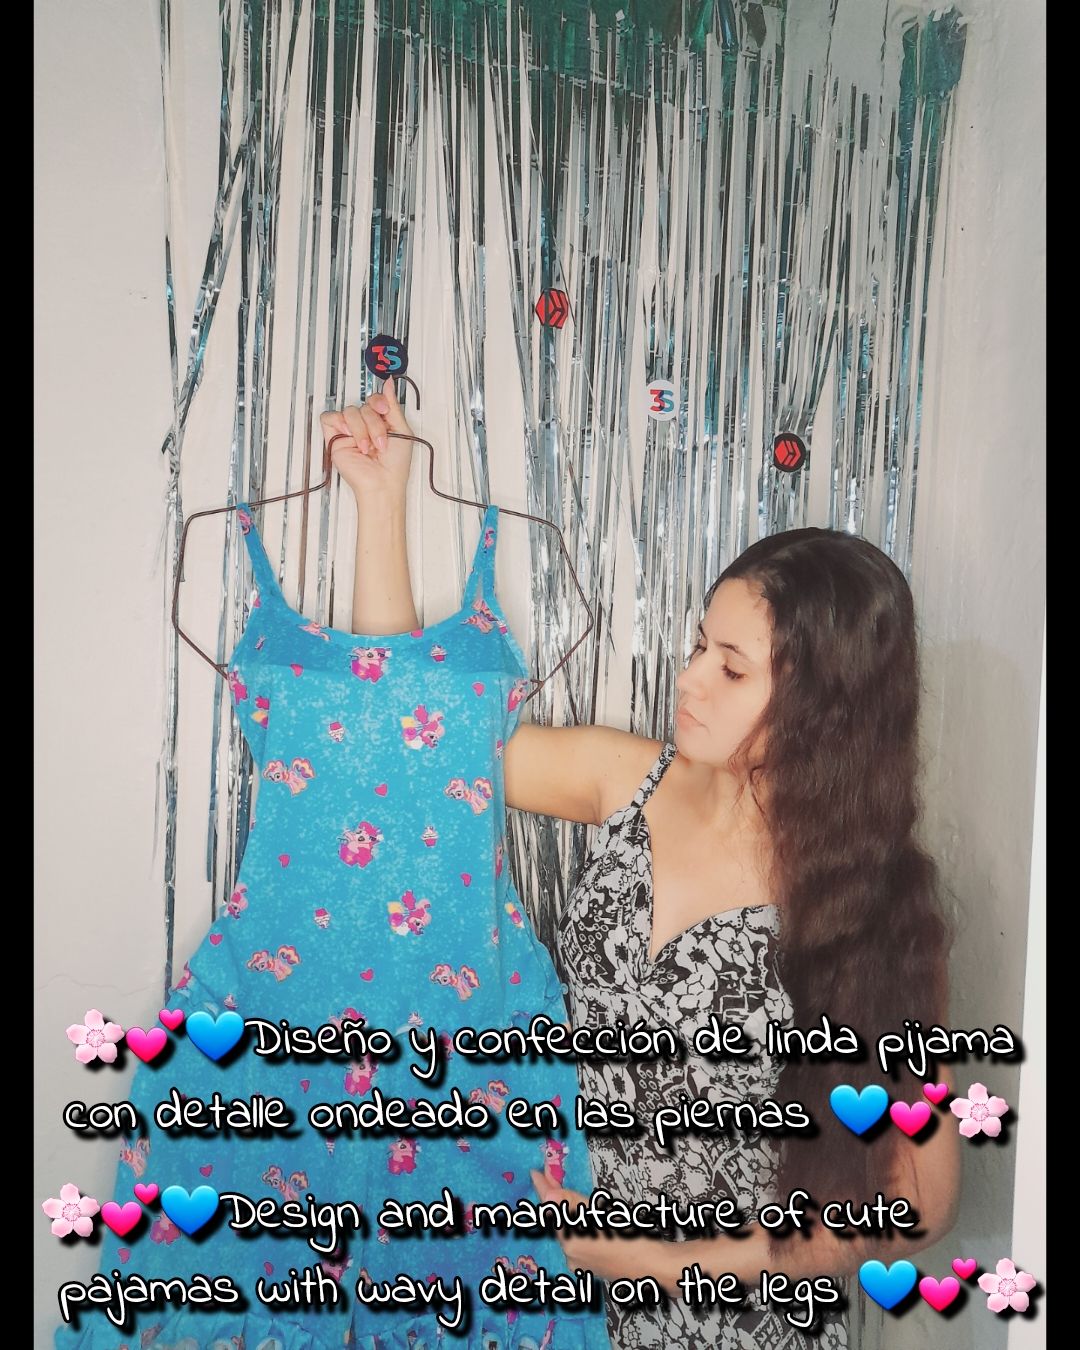
Muy buenas noches para todos queridos amigos de Hive 🤗 un saludo muy especial para todos en esta creativa comunidad de artistas innovadores #Diy ✨️estoy muy alegre de poder compartir con ustedes este creativo post donde les enseñaré como hacer una pijama con detalles ondeados en las piernas para que tu también te animes a hacerlo tu mismo 🤗 ven y acompáñame 😉.
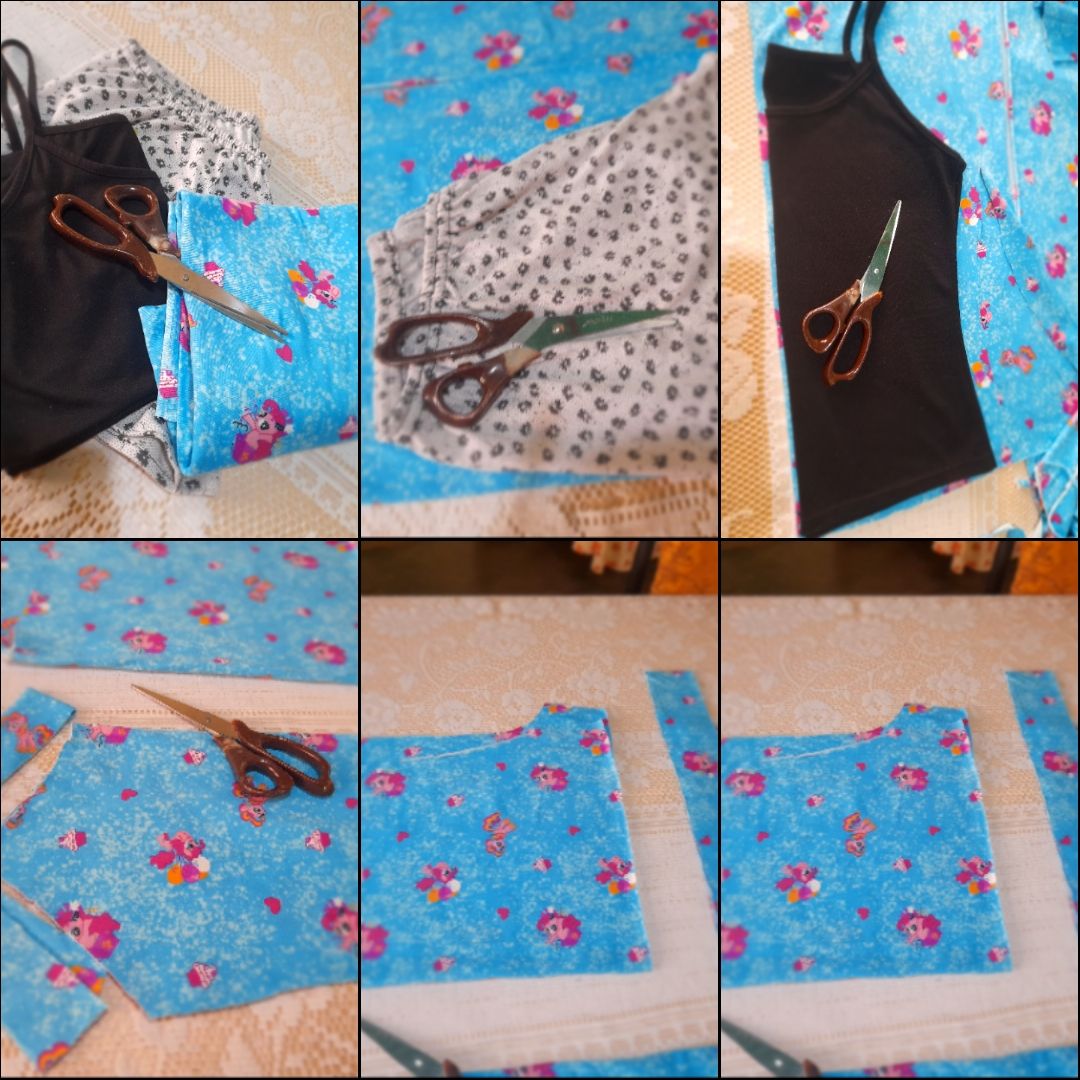
Estos fueron los materiales que use
• Máquina de coser
• Tijera
• Hilo de coser
• Tela
• Prenda de medida
• Elástica
✨️Pasos✨️
•✨️Voy a usar prendas de medida como método de referencia para cortar dos piezas laterales y dos orillas para el short y para la parte superior voy a cortar dos piezas una trasera y otra delantera con sus respectivas orillas superiores y dos tiros.
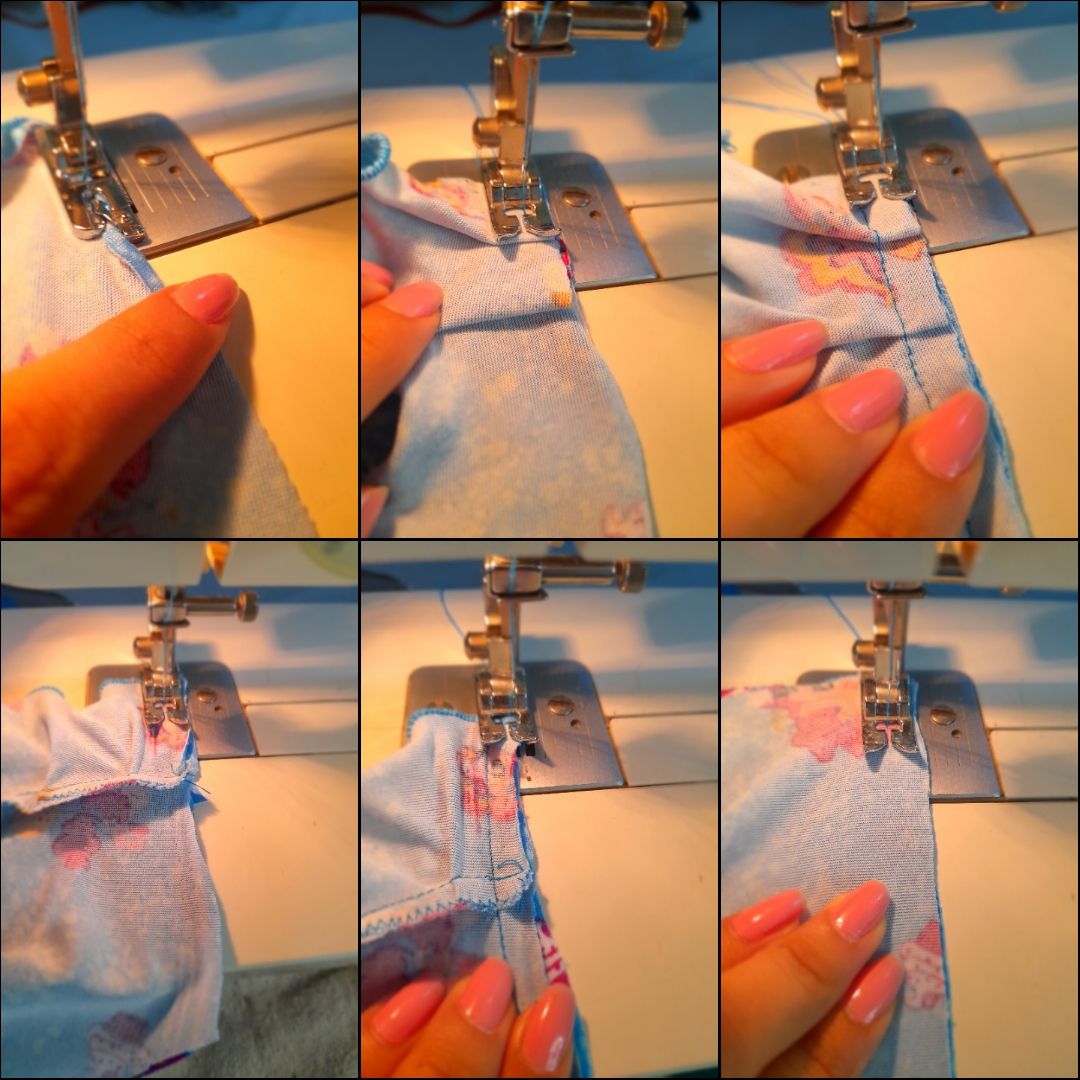
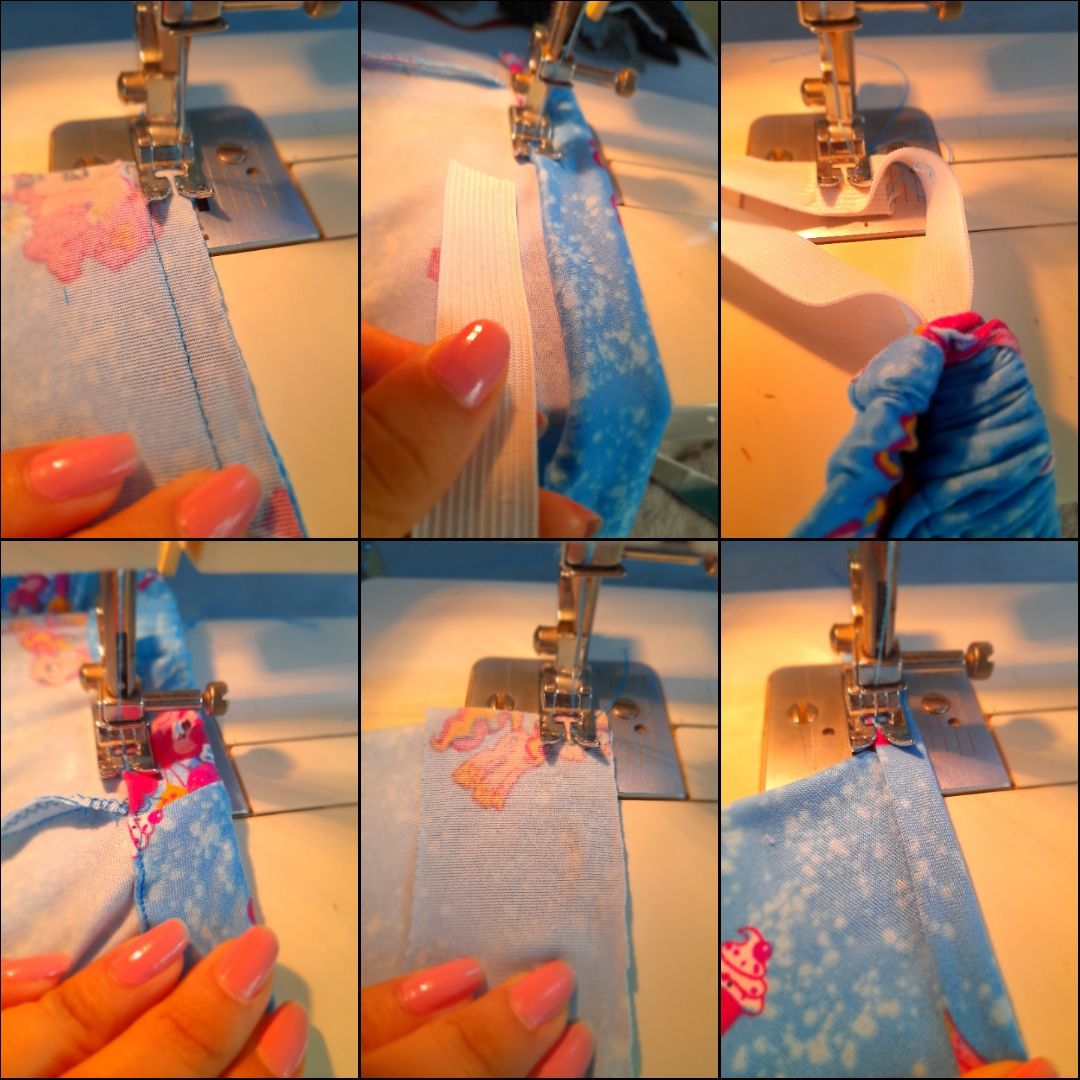
•✨️Iniciare cosiendo el ruedo de mi pantalón usando un prensa tela para orillas y voy a ir cosiendo con costura de zigzag y tensión en 1 para luego coser dichas orillas al cuerpo del lateral haciendo pequeños pliegues y cosiendo con costura recta y zigzag para asegurar.
Continúo cosiendo la parte interna de cada lateral con costura recta y zigzag para luego unir ambas partes laterales con costura recta.
•✨️Voy a coser con costura de zigzag para asegurar para luego coser el contorno de cintura tomando en cuenta el espesor de la elástica esto lo haré con costura recta y doblando la tela y dejando un pequeño espacio para introducir la elástica y así asegurar ambos extremos con costura y cerrar el espacio que había dejado y luego coser por encima hasta formar más pliegues.
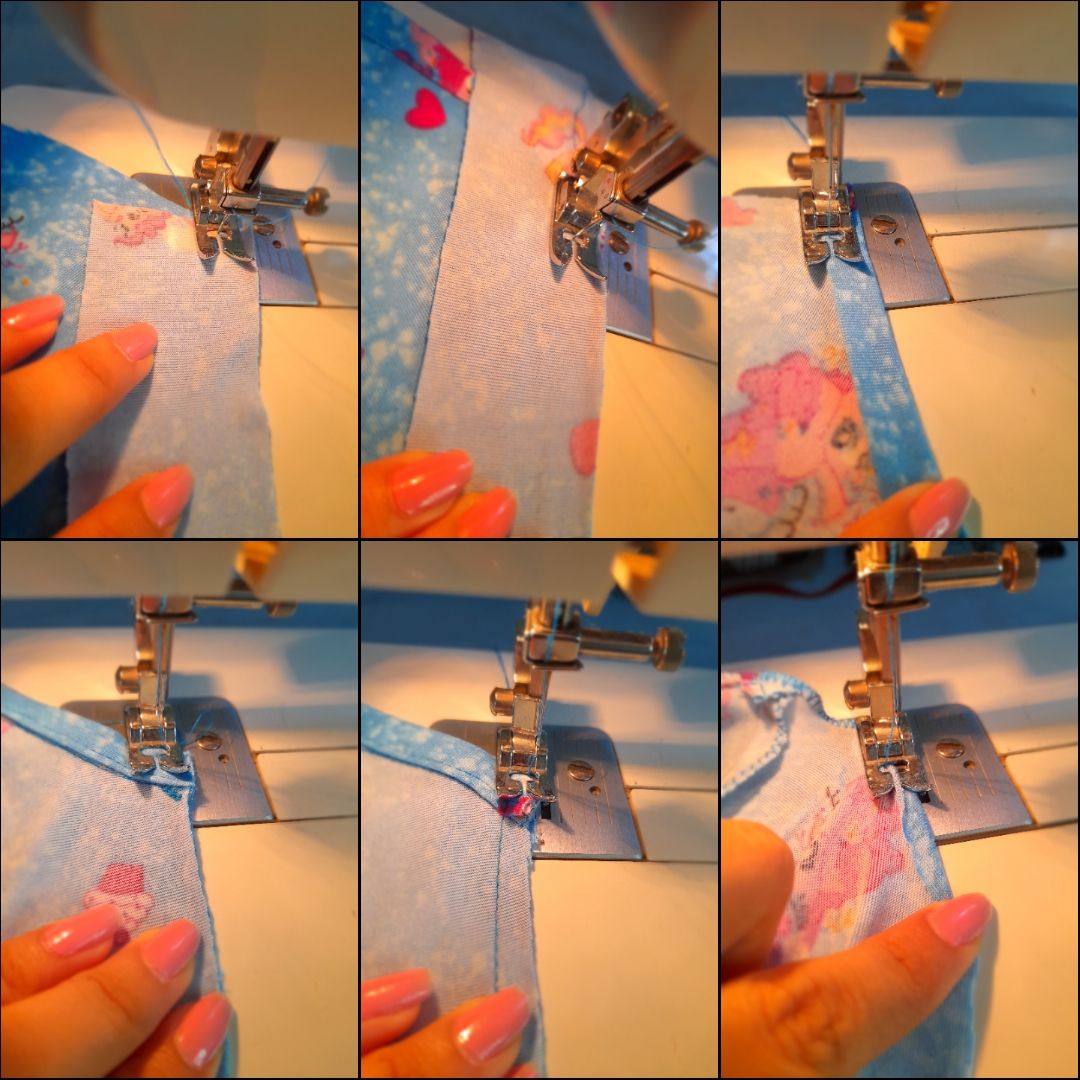
Voy a coser las orillas superiores colocandolas en el lado reverso de la tela y cosiendo con costura recta para luego voltear y coser con costura recta nuevamente.
•✨️Luego voy a coser los tiros colocandolos por el lado derecho de la tela y cosiendo con costura recta luego volteare para coser con costura recta nuevamente. Cerraré ambos extremos con costura recta y zigzag y finalmente voy a culminar cosiendo el ruedo doblando la tela y cosiendo con costura de zigzag y tensión en 1.
💕Resultados💕
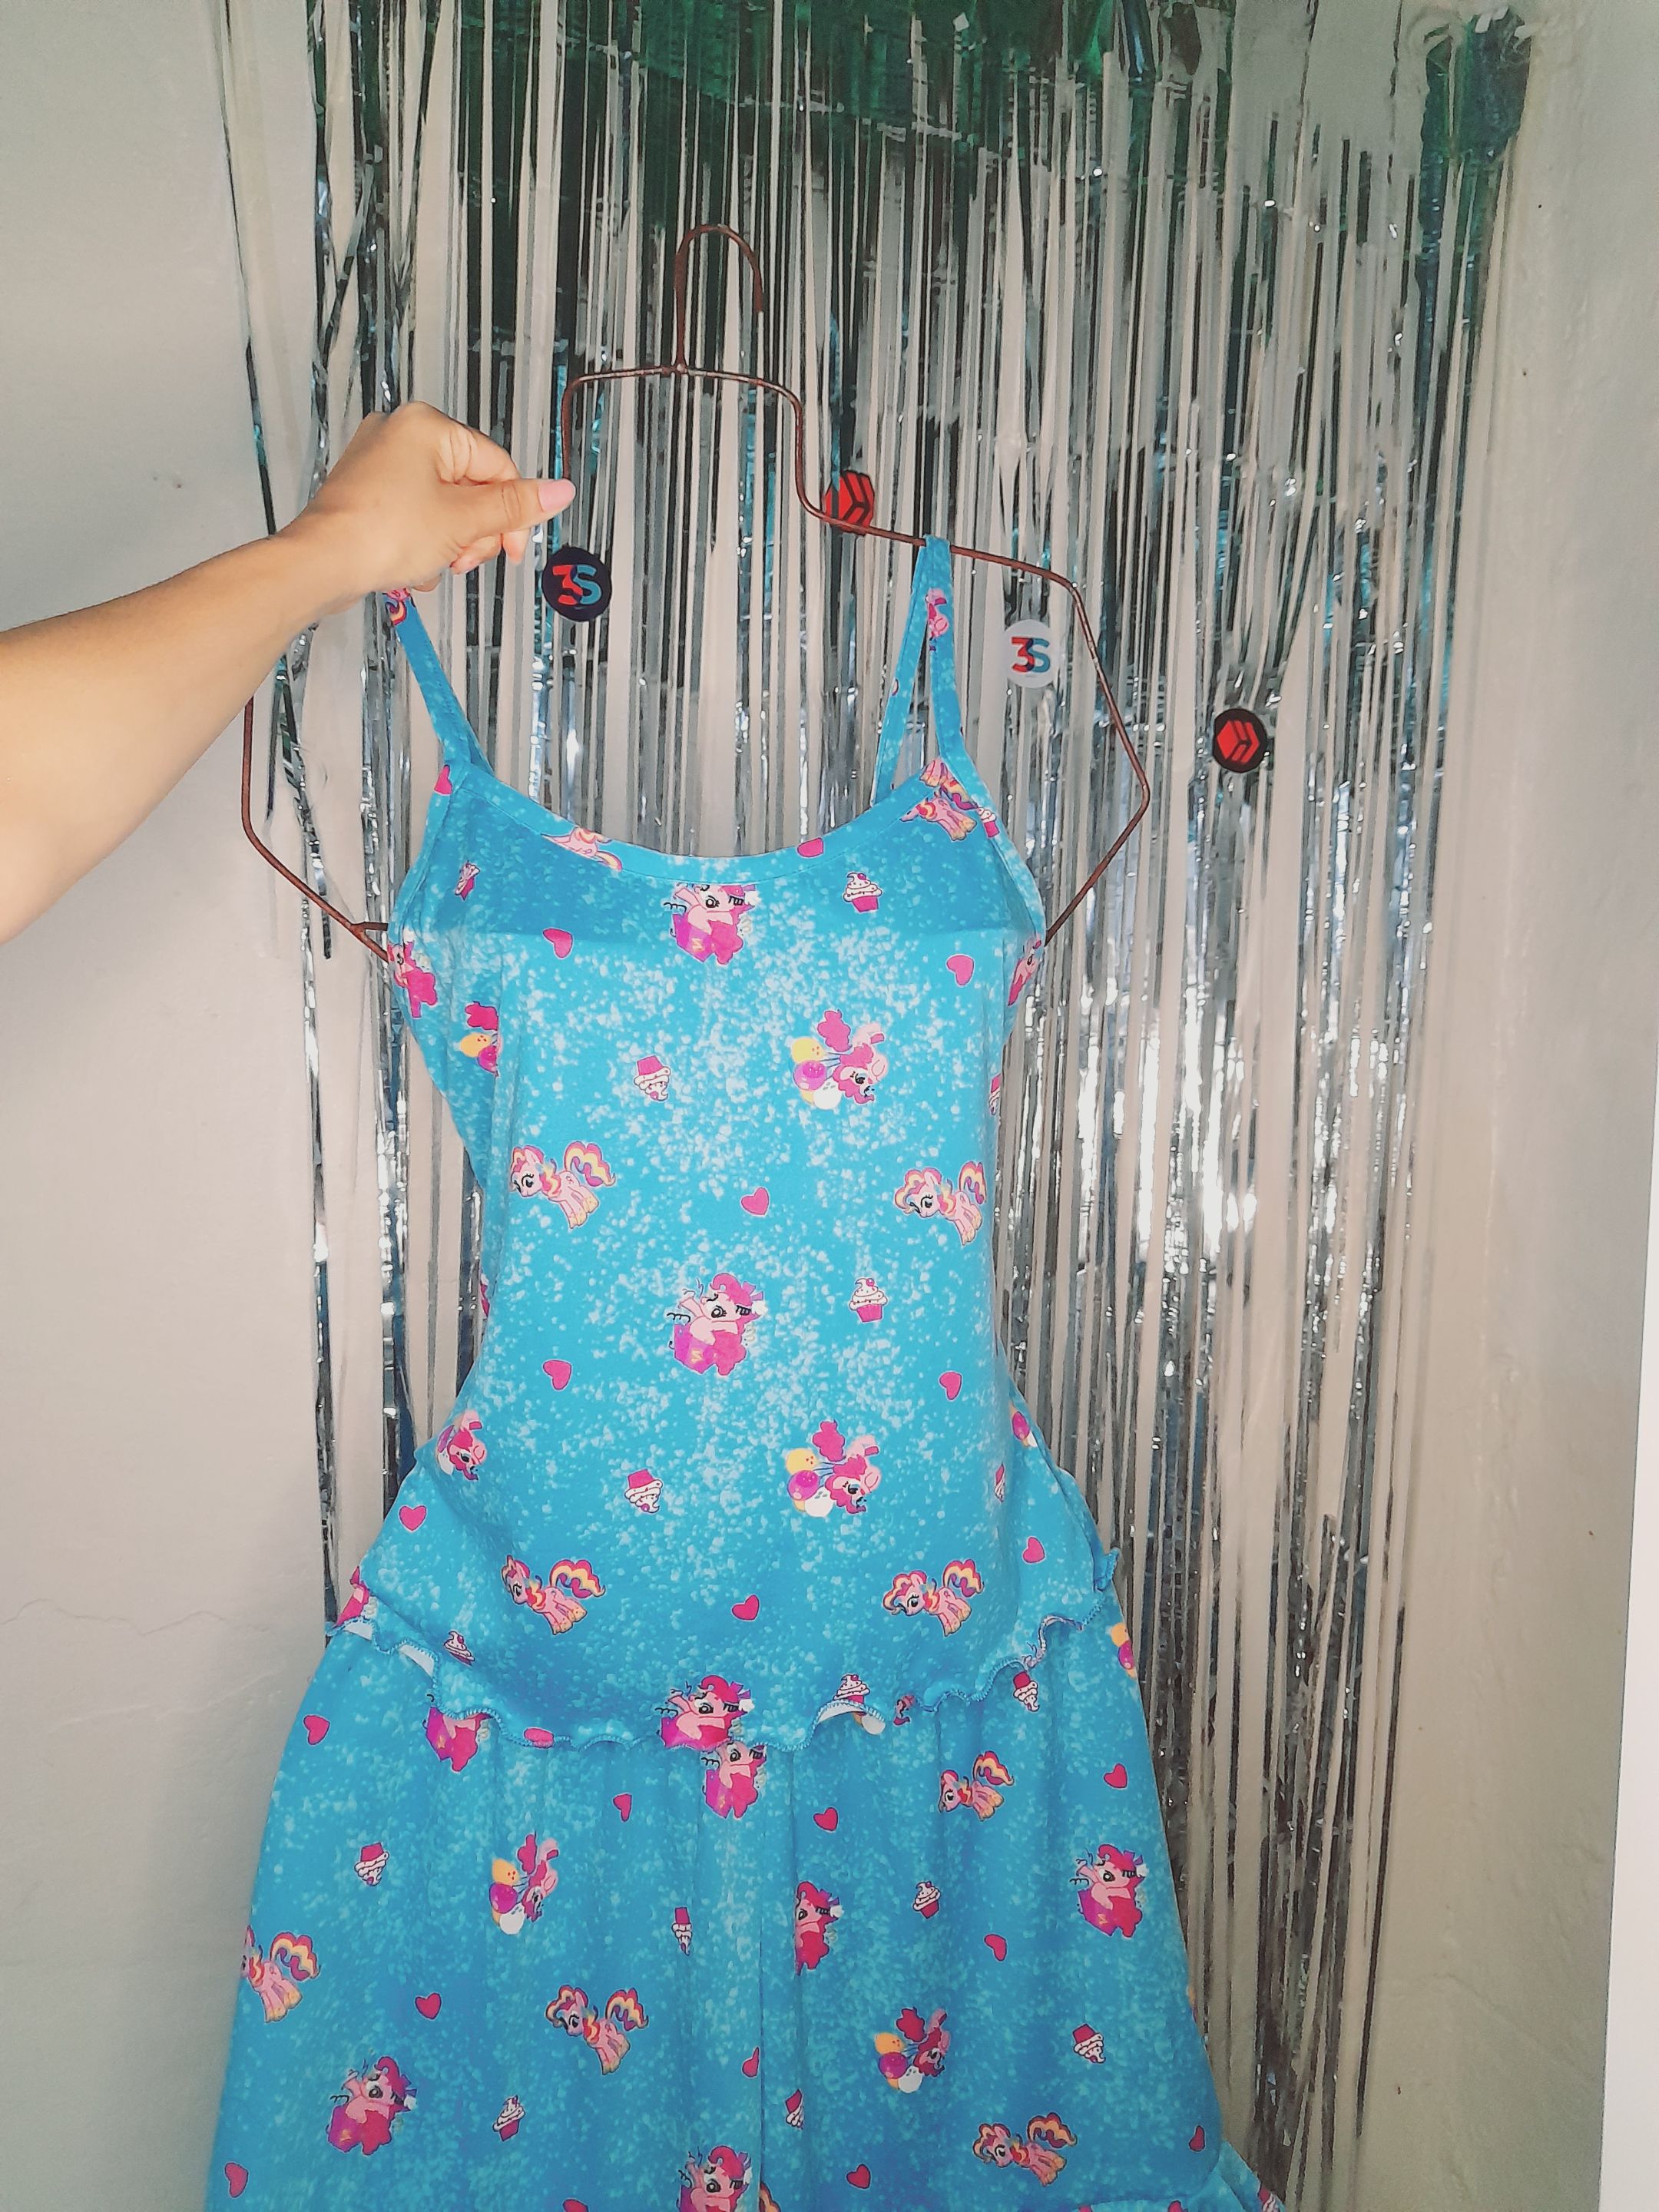
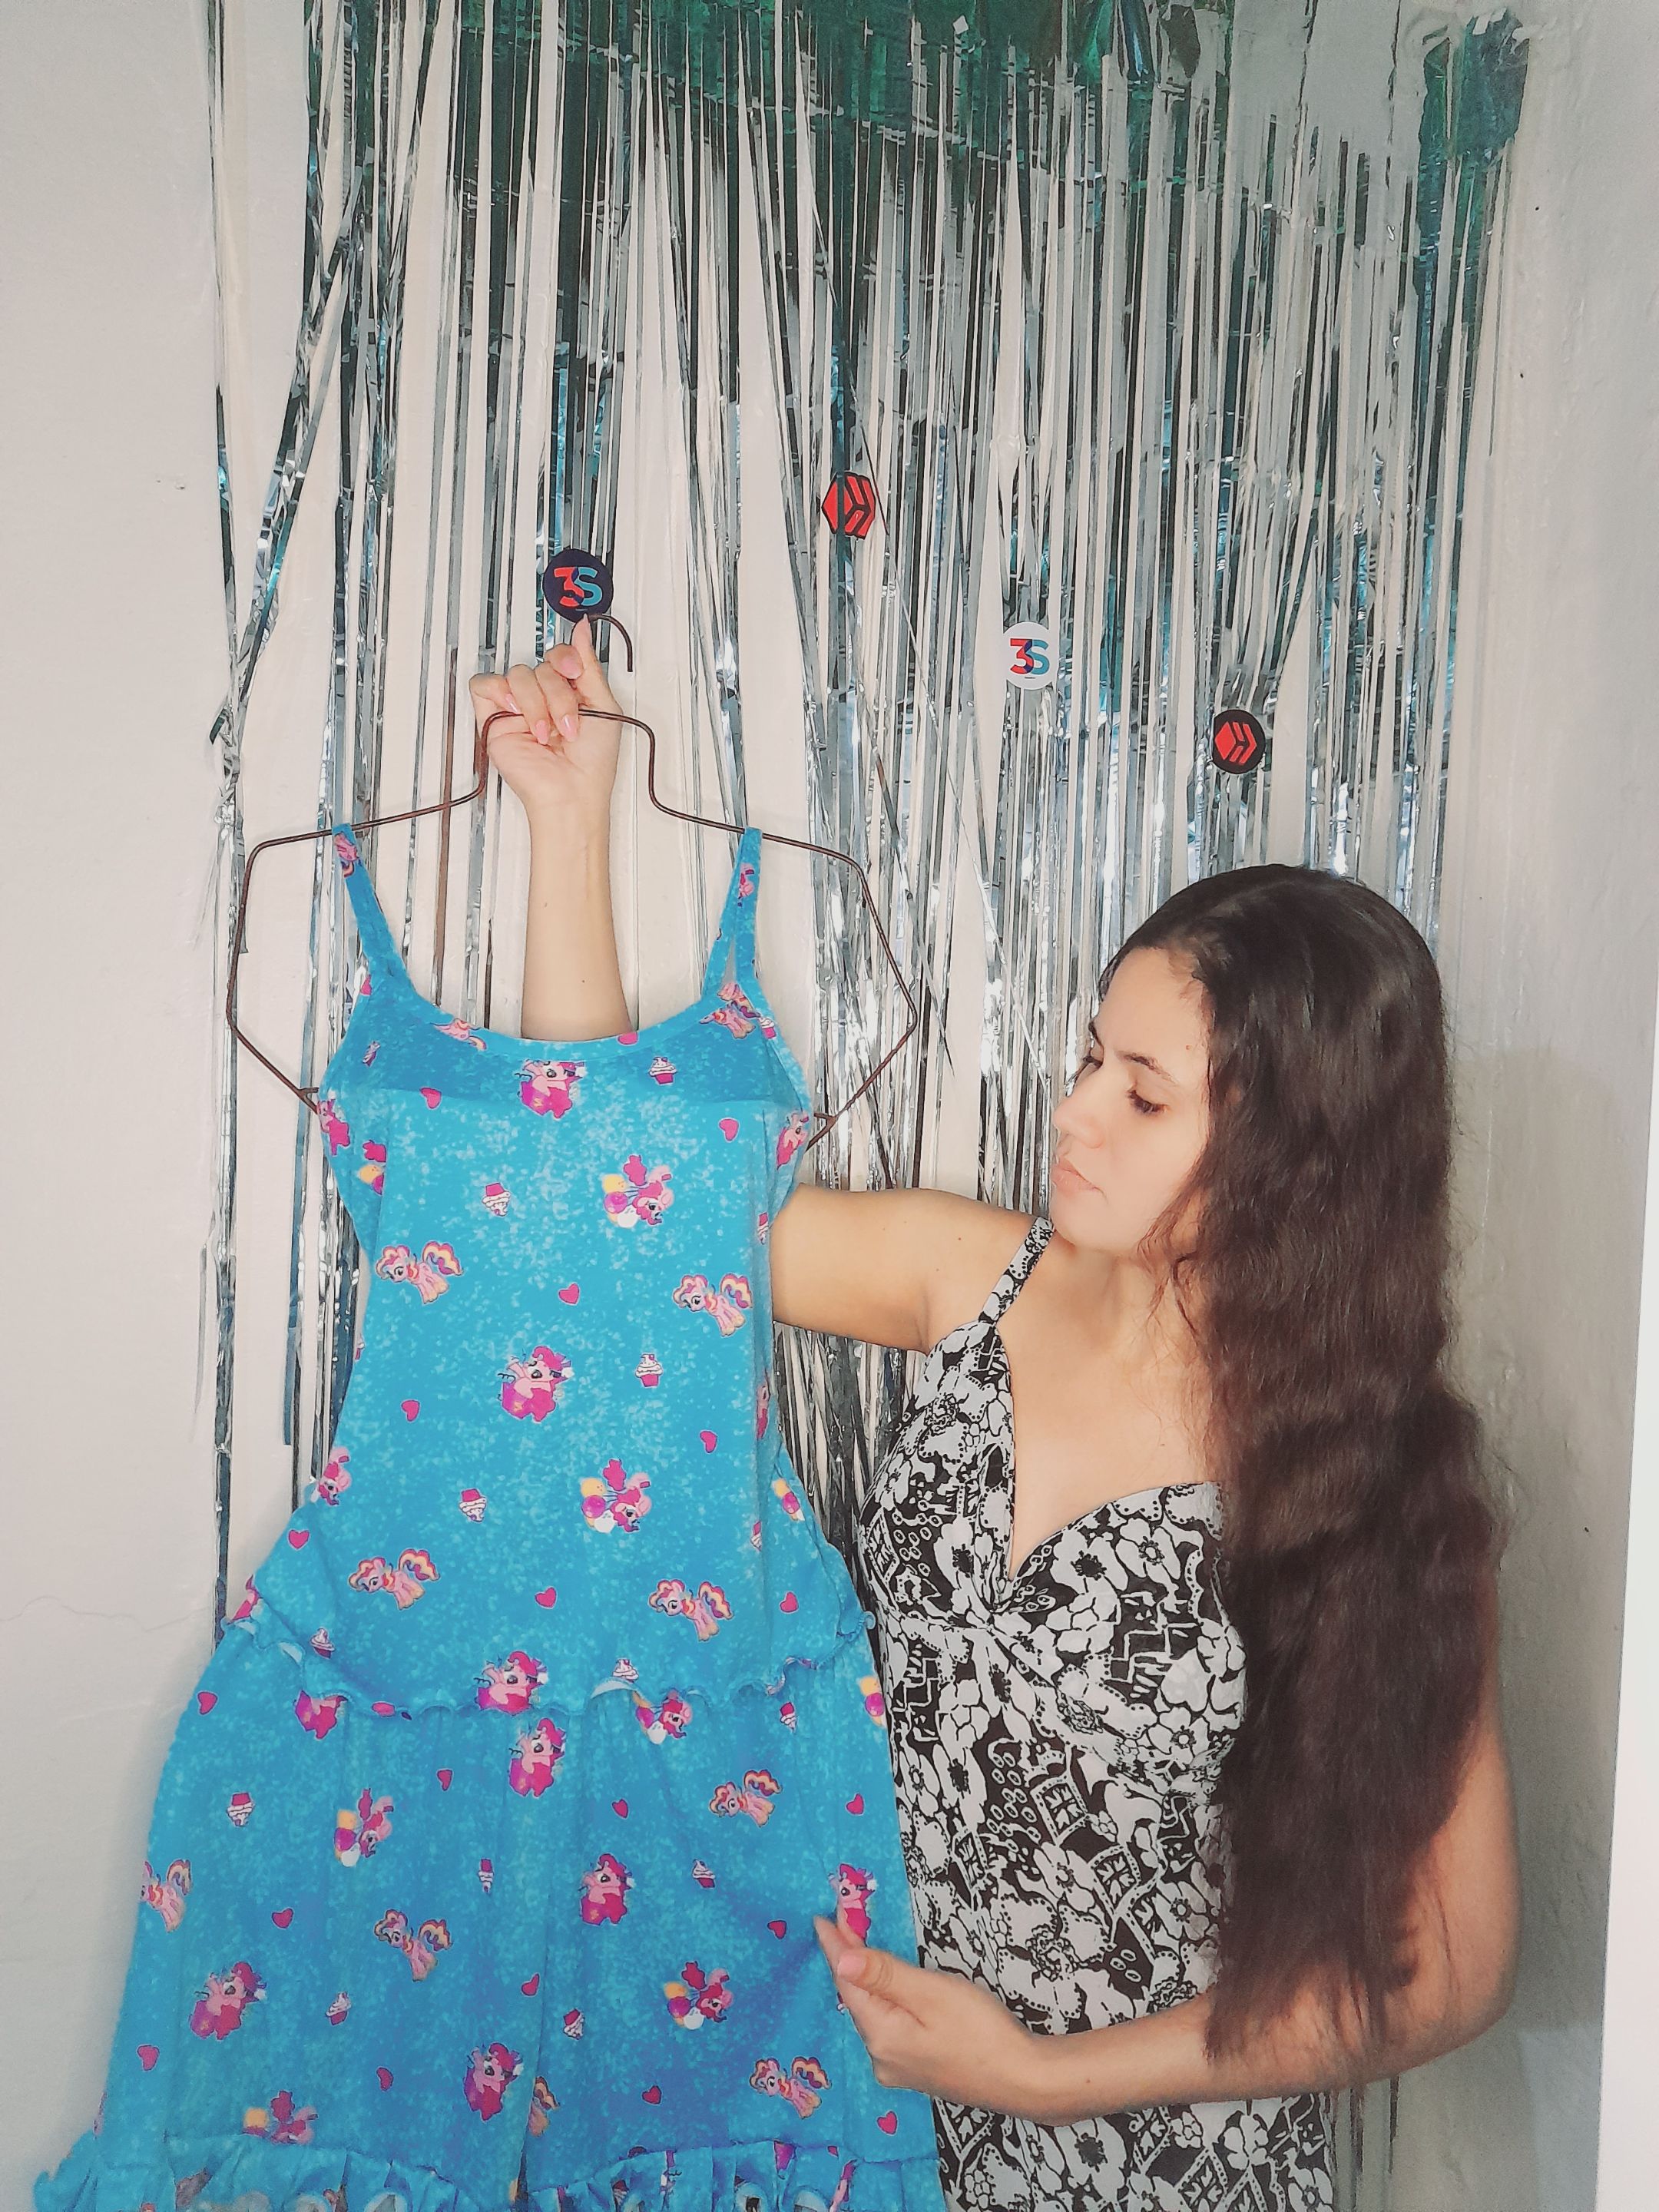
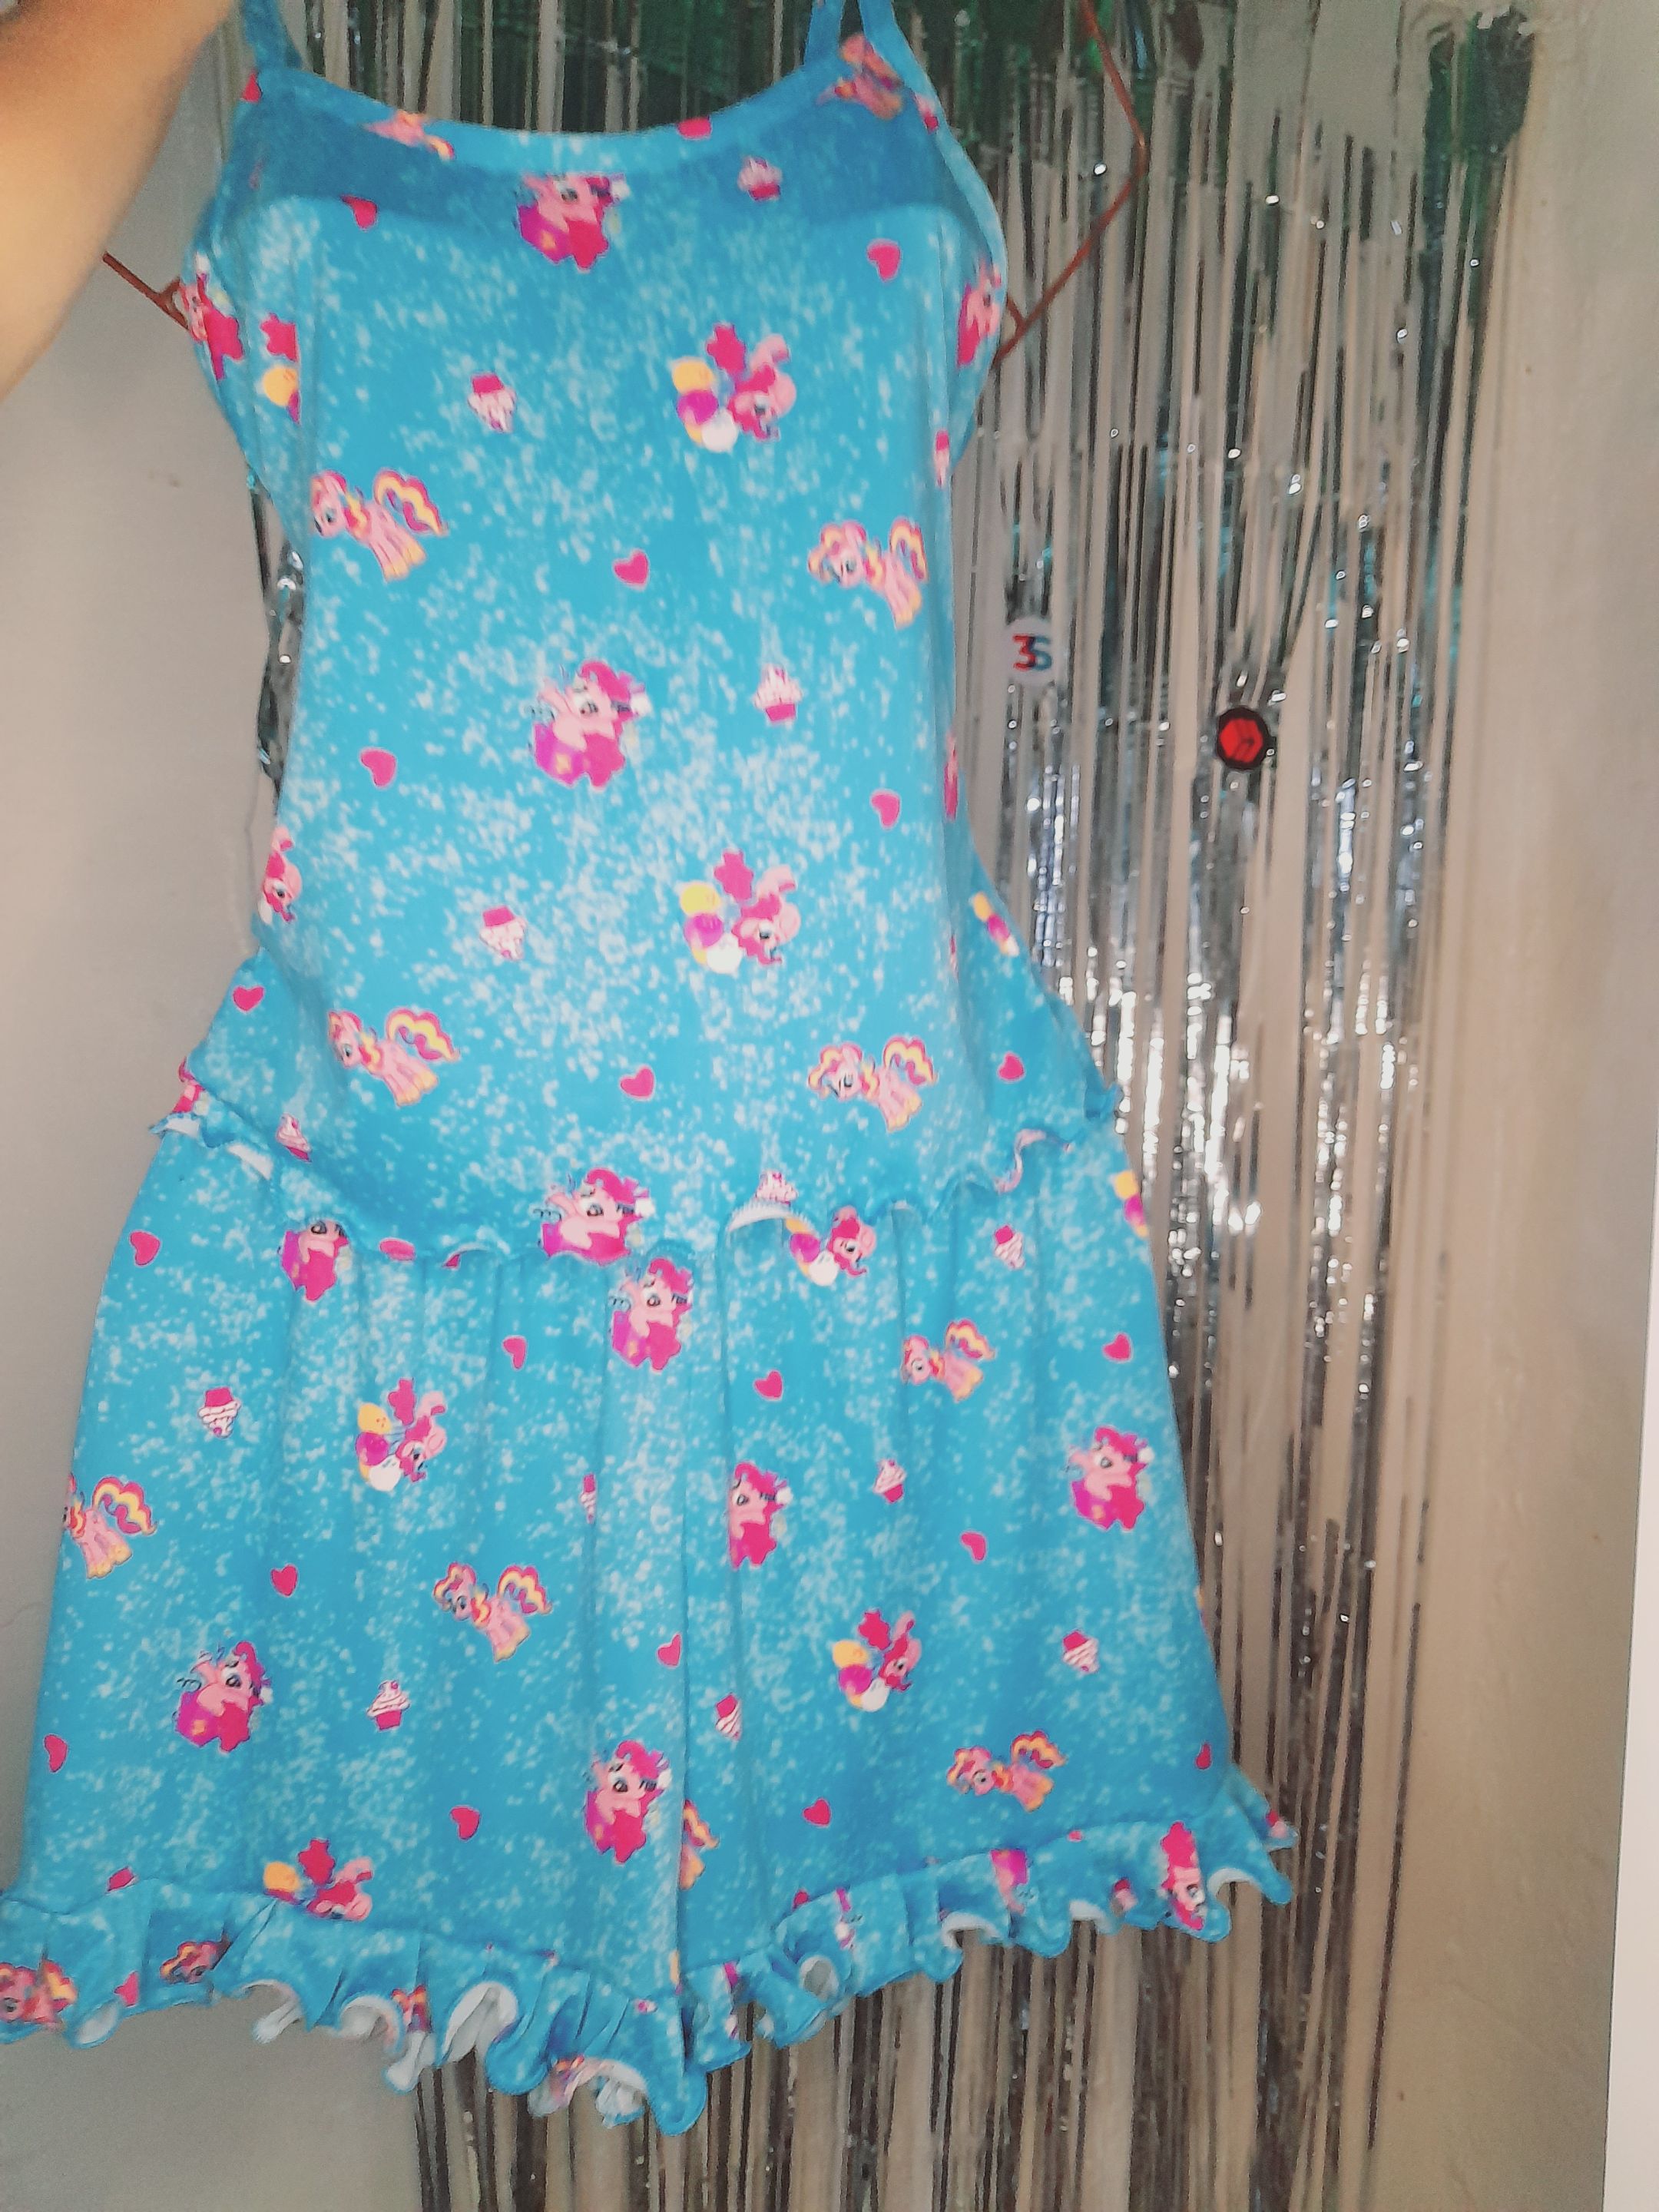
Es un diseño muy sencillo y lindo que puedes recrear tu mismo en casa 🤗 no hay límites para la creatividad. Muchas por haber tomado un minuto para leer mi post espero les guste mis amores 💕 saludos para todos en muy buenas noches.
🌸English🌸
Very good evening to all dear friends of Hive 🤗 a very special greeting to everyone in this creative community of innovative #Diy artists ✨️ I am very happy to be able to share with you this creative post where I will teach you how to make pajamas with wavy details on the legs so that you also encourage yourself to do it yourself 🤗 come and join me 😉.
These were the materials I used
• Sewing machine
• Scissors
• Sewing thread
• Fabric
• Measurement garment
• Elastic
✨️Steps✨️
•✨️I am going to use measurement garments as a reference method to cut two side pieces and two edges for the shorts and for the top part I am going to cut two pieces, one at the back and one at the front with their respective upper edges and two inseams.
•✨️I will start by sewing the hem of my pants using a fabric presser for edges and I will sew with a zigzag seam and tension in 1 and then sew said edges to the body of the side making small folds and sewing with a straight and zigzag seam to secure. I continue sewing the inside of each side with a straight and zigzag seam and then join both side parts with a straight seam.
•✨️I am going to sew with a zigzag seam to secure and then sew the waist contour taking into account the thickness of the elastic. I will do this with a straight seam and folding the fabric and leaving a small space to insert the elastic and thus secure both ends. with sewing and close the space I had left and then sew over it until more folds are formed. I am going to sew the top edges by placing them on the wrong side of the fabric and sewing with a straight seam and then turn it over and sew with a straight seam again.
•✨️Then I'm going to sew the shots, placing them on the right side of the fabric and sewing with a straight seam, then I'll turn it around to sew with a straight seam again. I will close both ends with a straight and zigzag seam and finally I will finish sewing the hem by folding the fabric and sewing with a zigzag seam and tension at 1.
💕Results💕
It is a very simple and cute design that you can recreate yourself at home 🤗 there are no limits to creativity. Many for having taken a minute to read my post, I hope you like it my loves 💕 greetings to all, a very good night.
💁♀️Todas las fotografías son de mi autoría capturadas con mi Samsung Galaxy A12 y editadas en GridArt.
El texto y resumen es totalmente de mi autoría.
Texto traducido en el traductor Google.💁♀️
💁♀️All the photographs are my own, captured with my Samsung Galaxy A12 and edited in GridArt.
The text and summary is entirely my own.
Translated text in Google translator.💁♀️