
✨🌹✨🌹✨🌹✨🌹✨🌹✨🌹✨🌹✨🌹
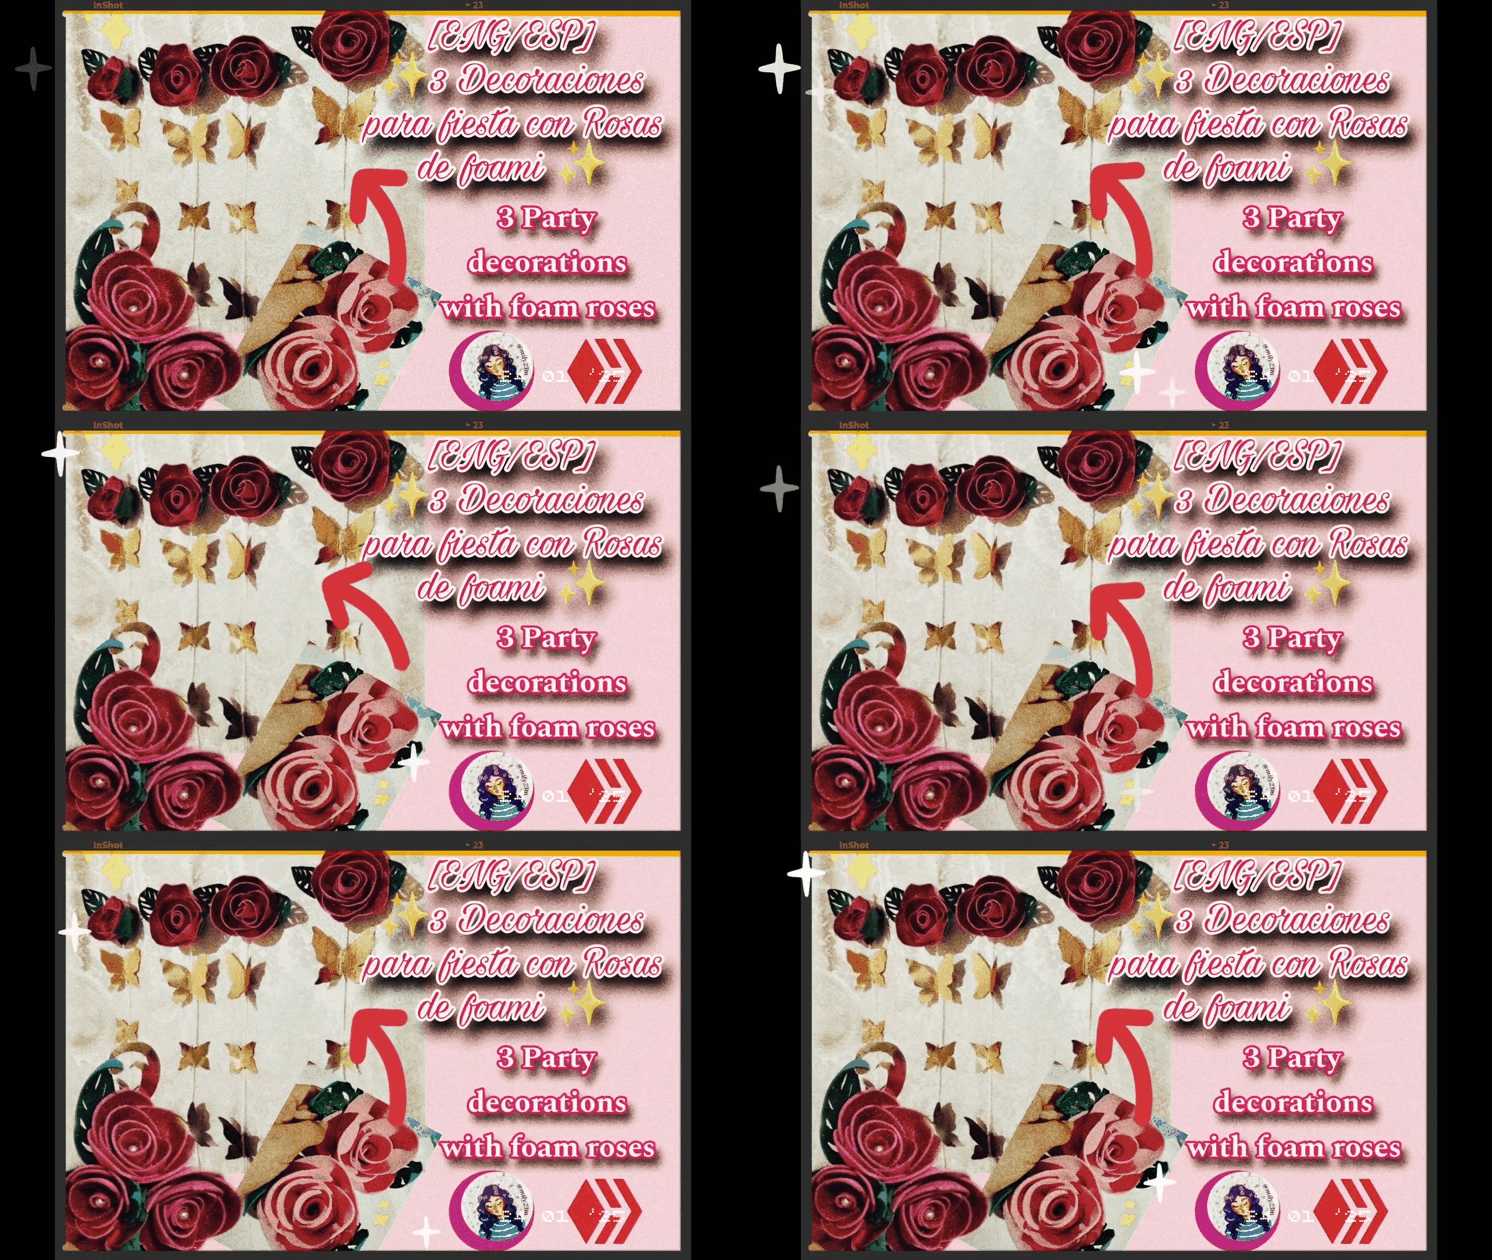
Hola hermosa comunidad como están ? Como la pasan estos últimos días de enero ✨ ? Yo he seguido con mi proyectos para decorar una fiestecita con temática de rosas fucsias ✨ , así que seguí buscando otras ideas que sirvieran aunque sea algo sencillo para ambientar y decorar , entre esas ideas estaban la de hacer unas rosas medianas de foami ,para pegarlas en las pared con los globos , pero como en años anteriores había hecho orquídeas y girasoles en Foami para decorar , está vez quería darle un giro ,y hacer las rosas de foami para decorar ,pero además darle un toqué diferente, haciendo unas tipo cortinas con maripositas doradas, también agregando otras flores de Foami, para y para la torta/pastel pero de un tamaño más pequeño ,y dejar la cortina como el centro de la decoración, Aquí les dejo las imágenes paso a paso.

🥀 Foami escarchado fucsia ,verde,rosado.
🥀 Retazos de Foami negro
🥀 Barras de silicona transparente y pistola.
🥀 Cartulina dorada reciclada
🥀 Palitos de altura
🥀 Perlas decorativos
🥀 Tijeras
🥀 Cordon blanco para tejidos de macramé
Manos a la obra
English Version
Hello beautiful community, how are you? How are you spending these last days of January ✨? I have continued with my projects to decorate a little party with a fuchsia rose theme ✨, so I continued looking for other ideas that would serve even something simple to set the mood and decorate, among those ideas were to make some medium-sized foam roses, to stick them on the wall with the balloons, but as in previous years I had made orchids and sunflowers in Foami to decorate, this time I wanted to give it a twist, and make the foam roses to decorate, but also give it a different touch, making some type of curtains with golden butterflies, also adding other Foami flowers, to decorate and for the cake / pie but of a smaller size, and leaving the curtain as the center of the decoration, Here are the images step by step.

🥀 Glittering foam in fuchsia, green, pink.
🥀 Scraps of black foam
🥀 Transparent silicone bars and gun.
🥀 Recycled gold cardboard
🥀 Tall sticks
🥀 Decorative pearls
🥀 Scissors
🥀 White cord for macramé weaving
Let's get to work
Let's get to work

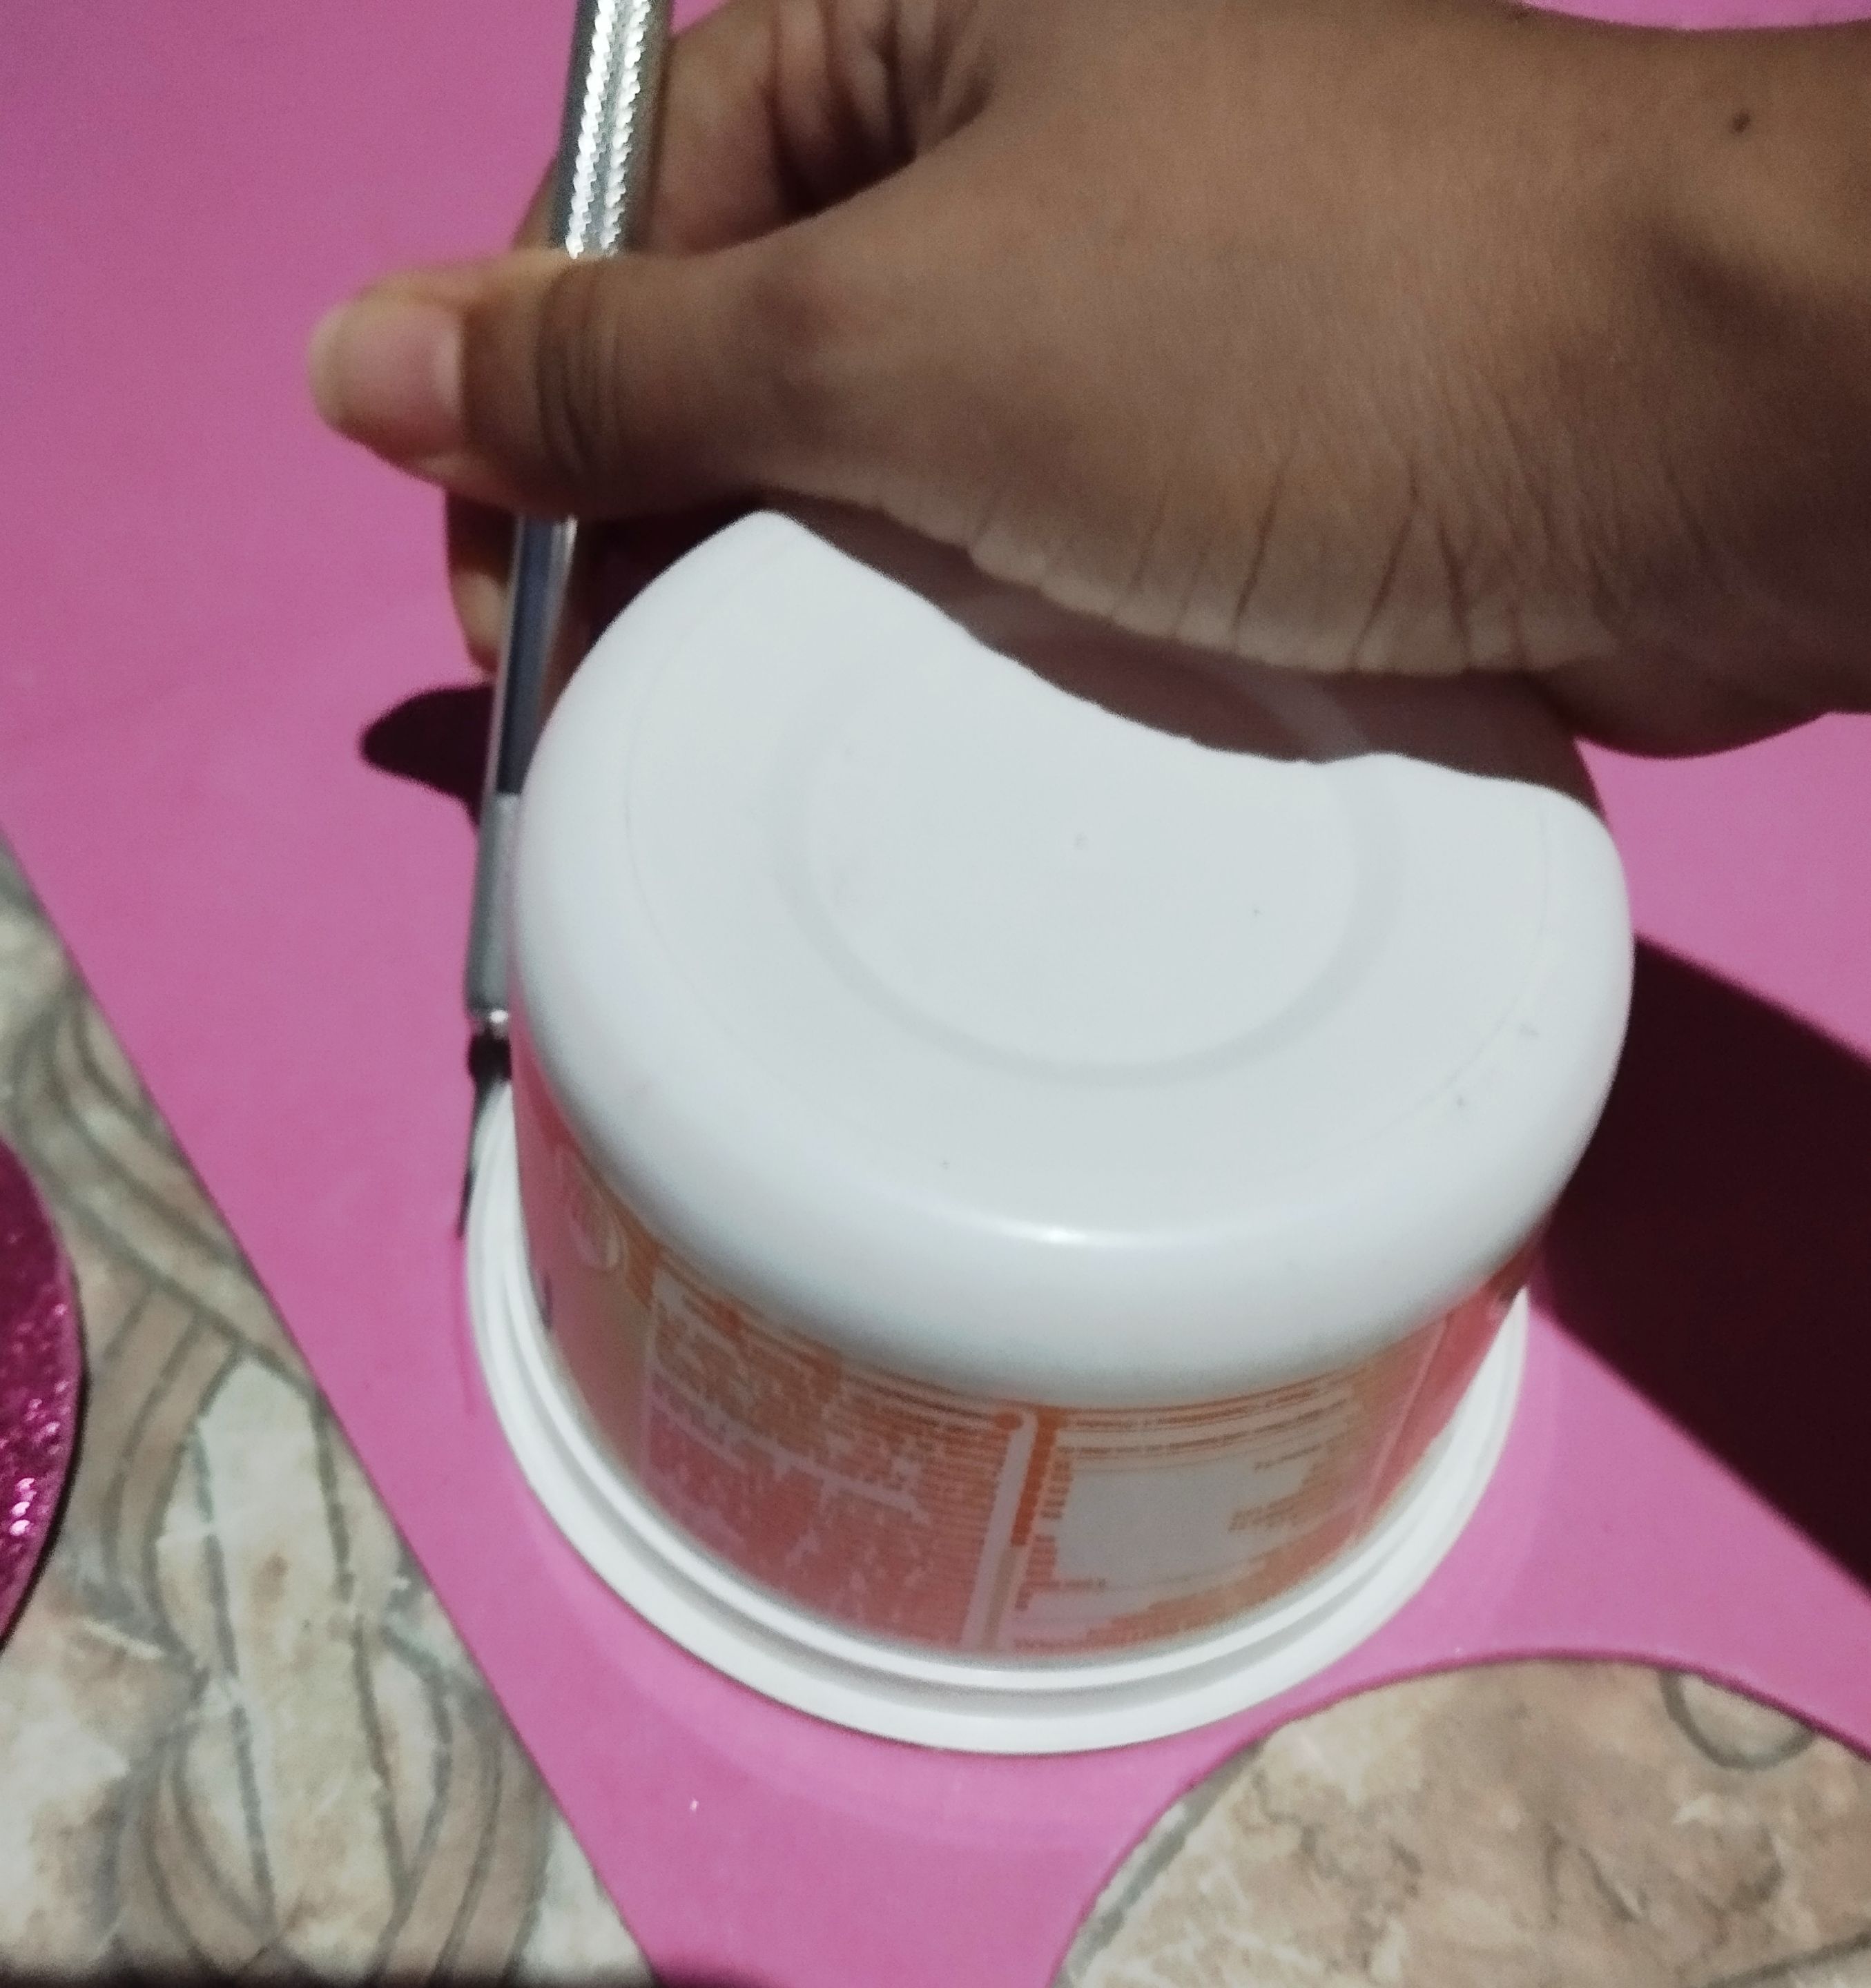 | 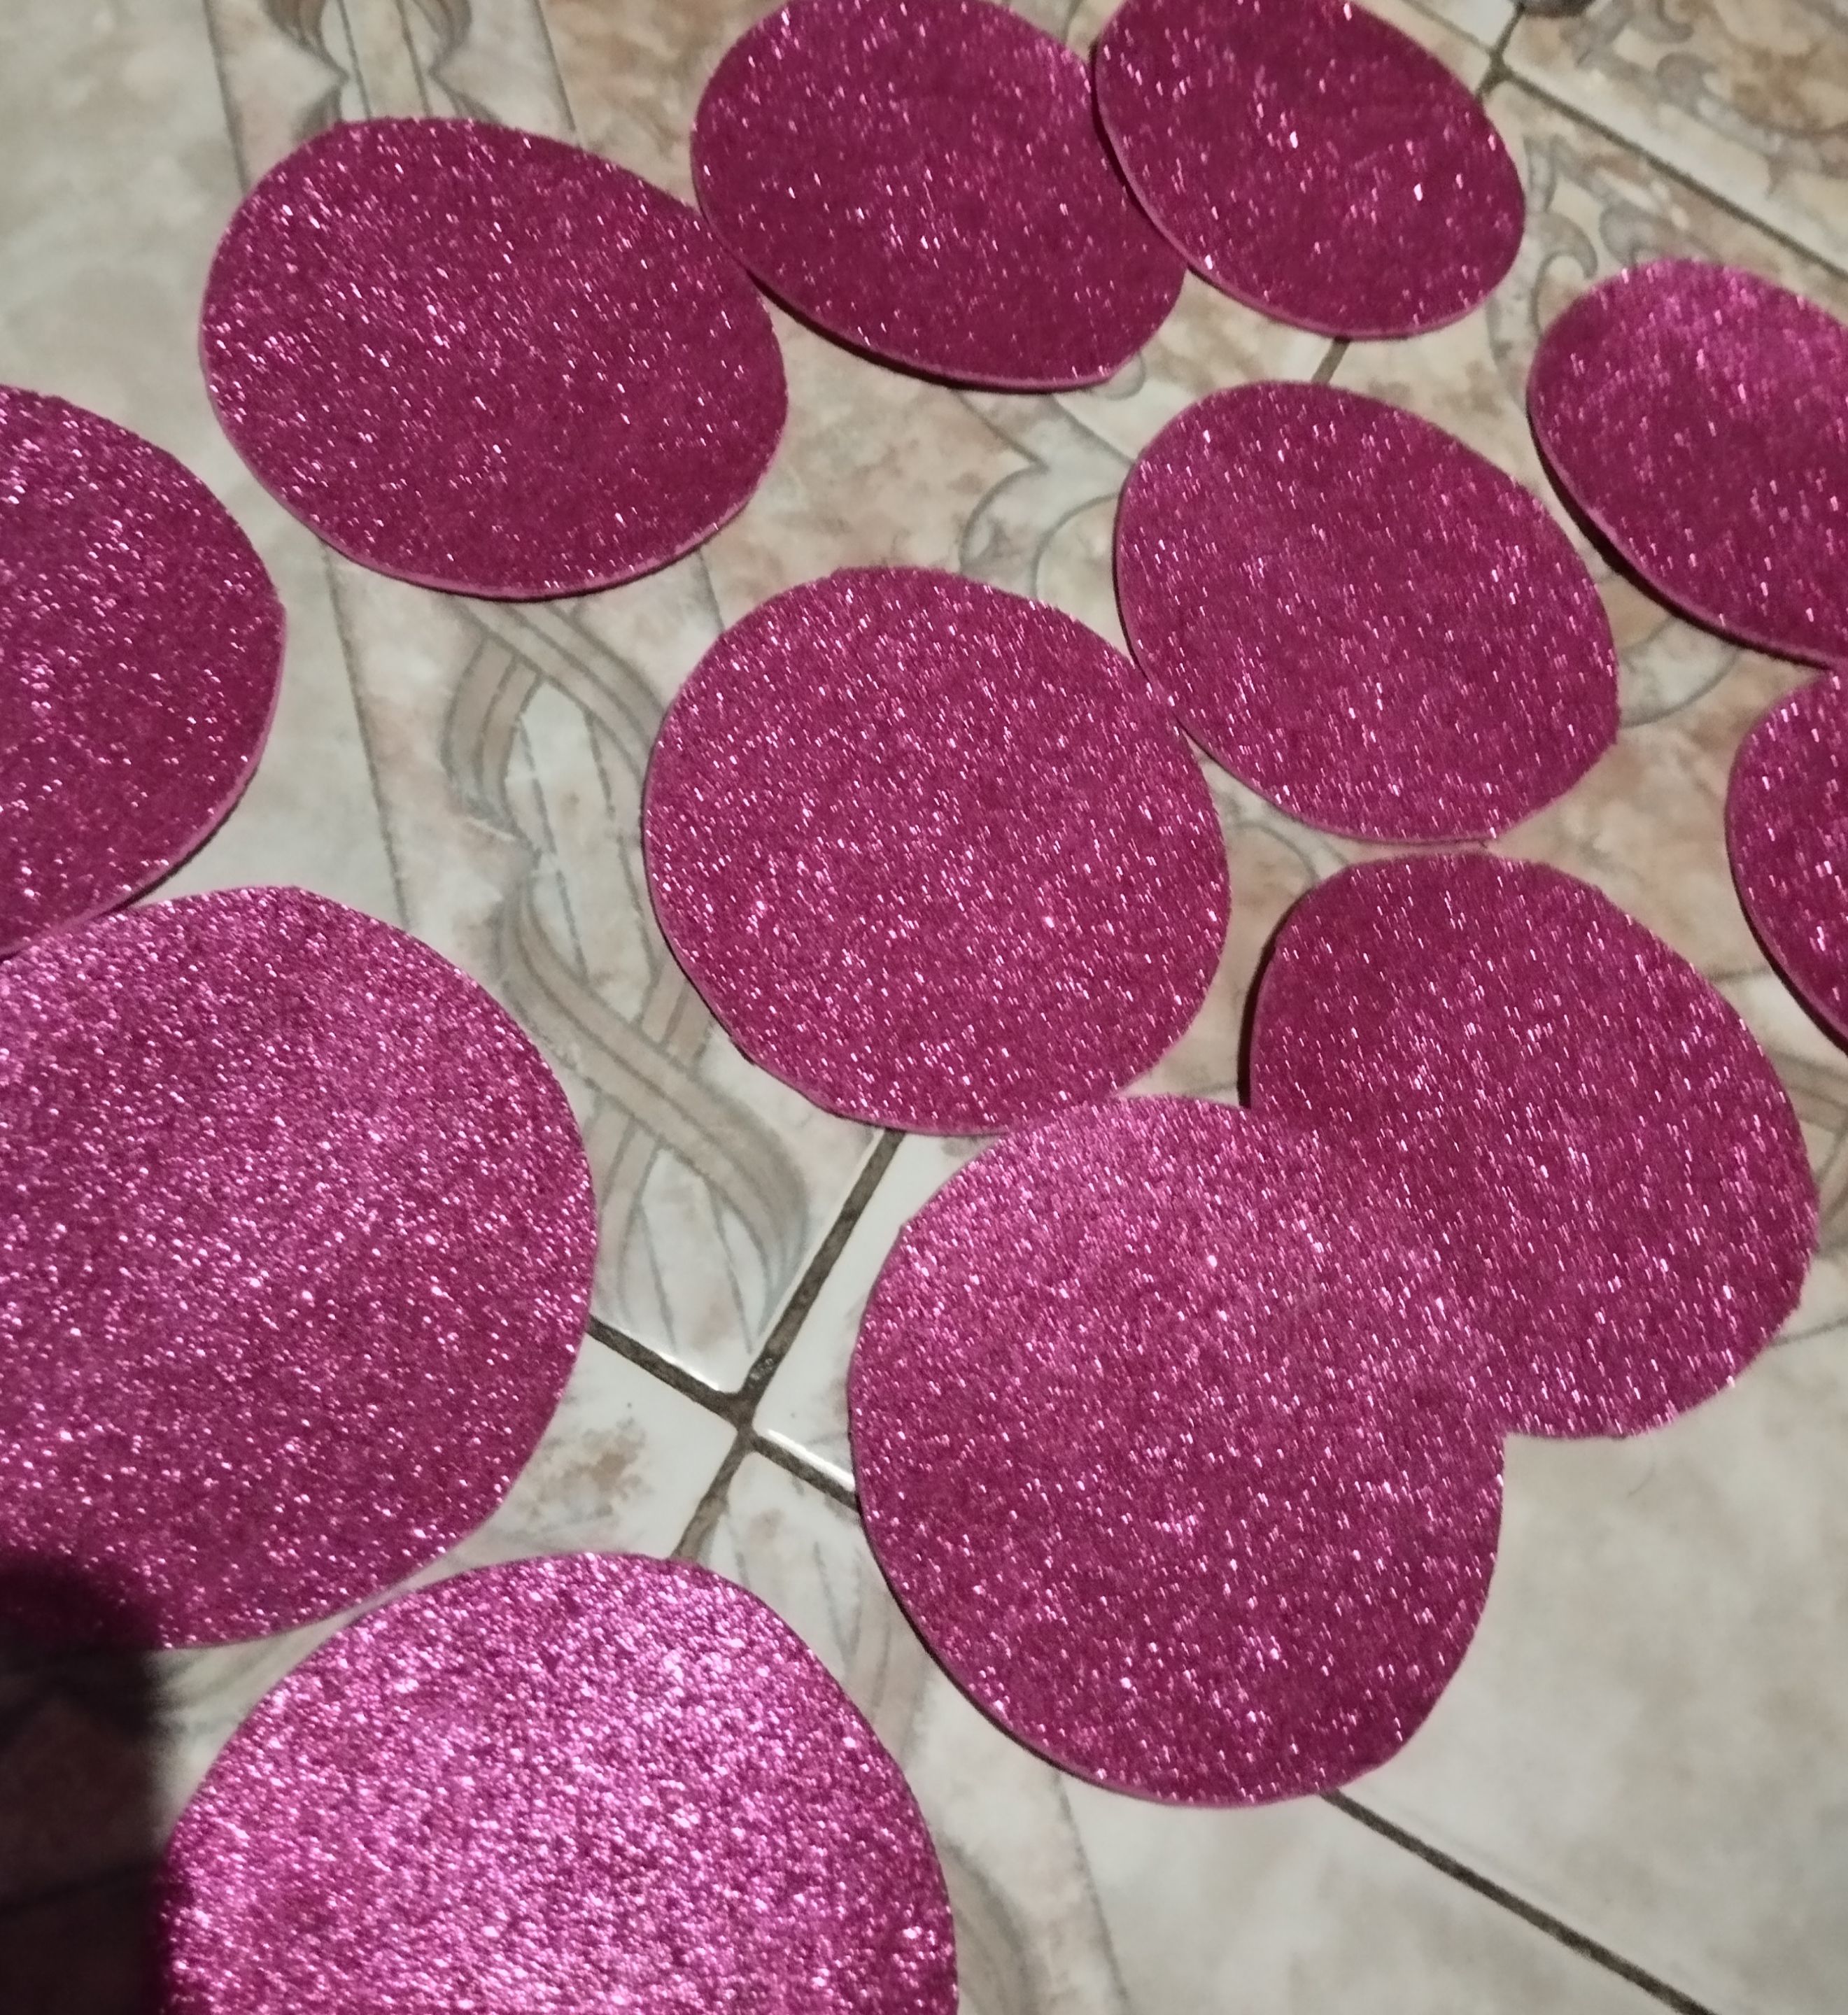 | 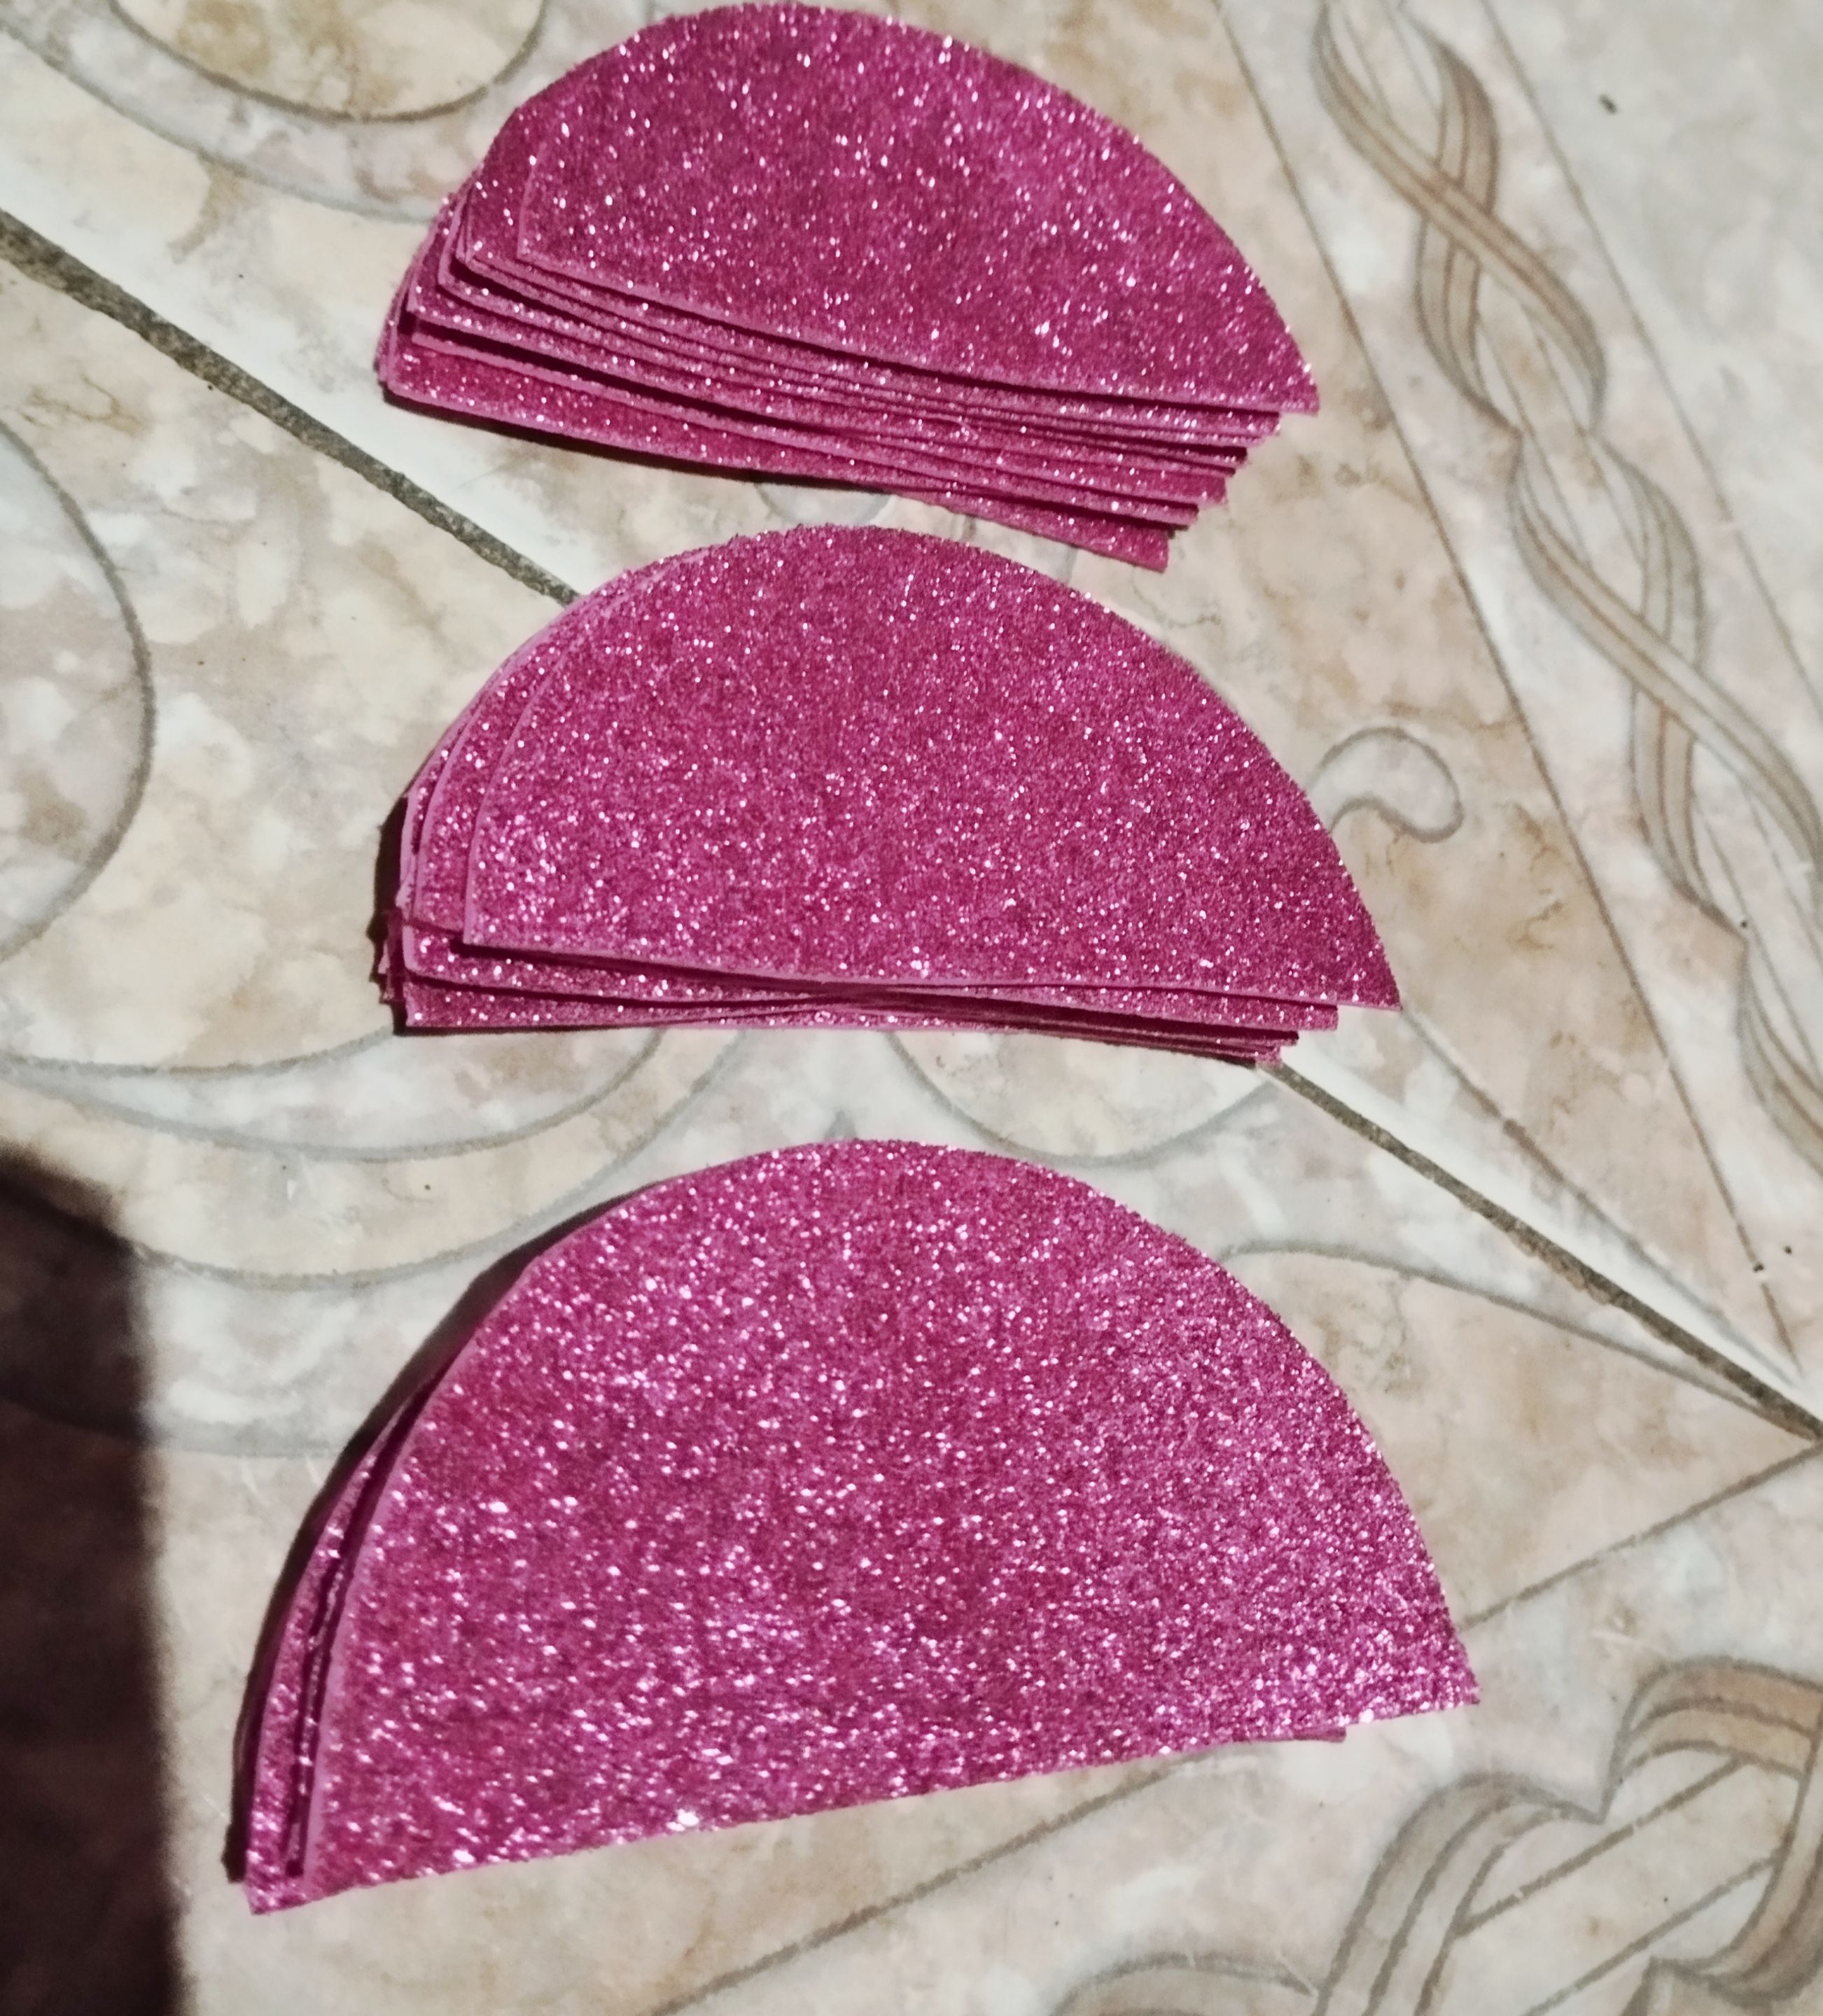 | 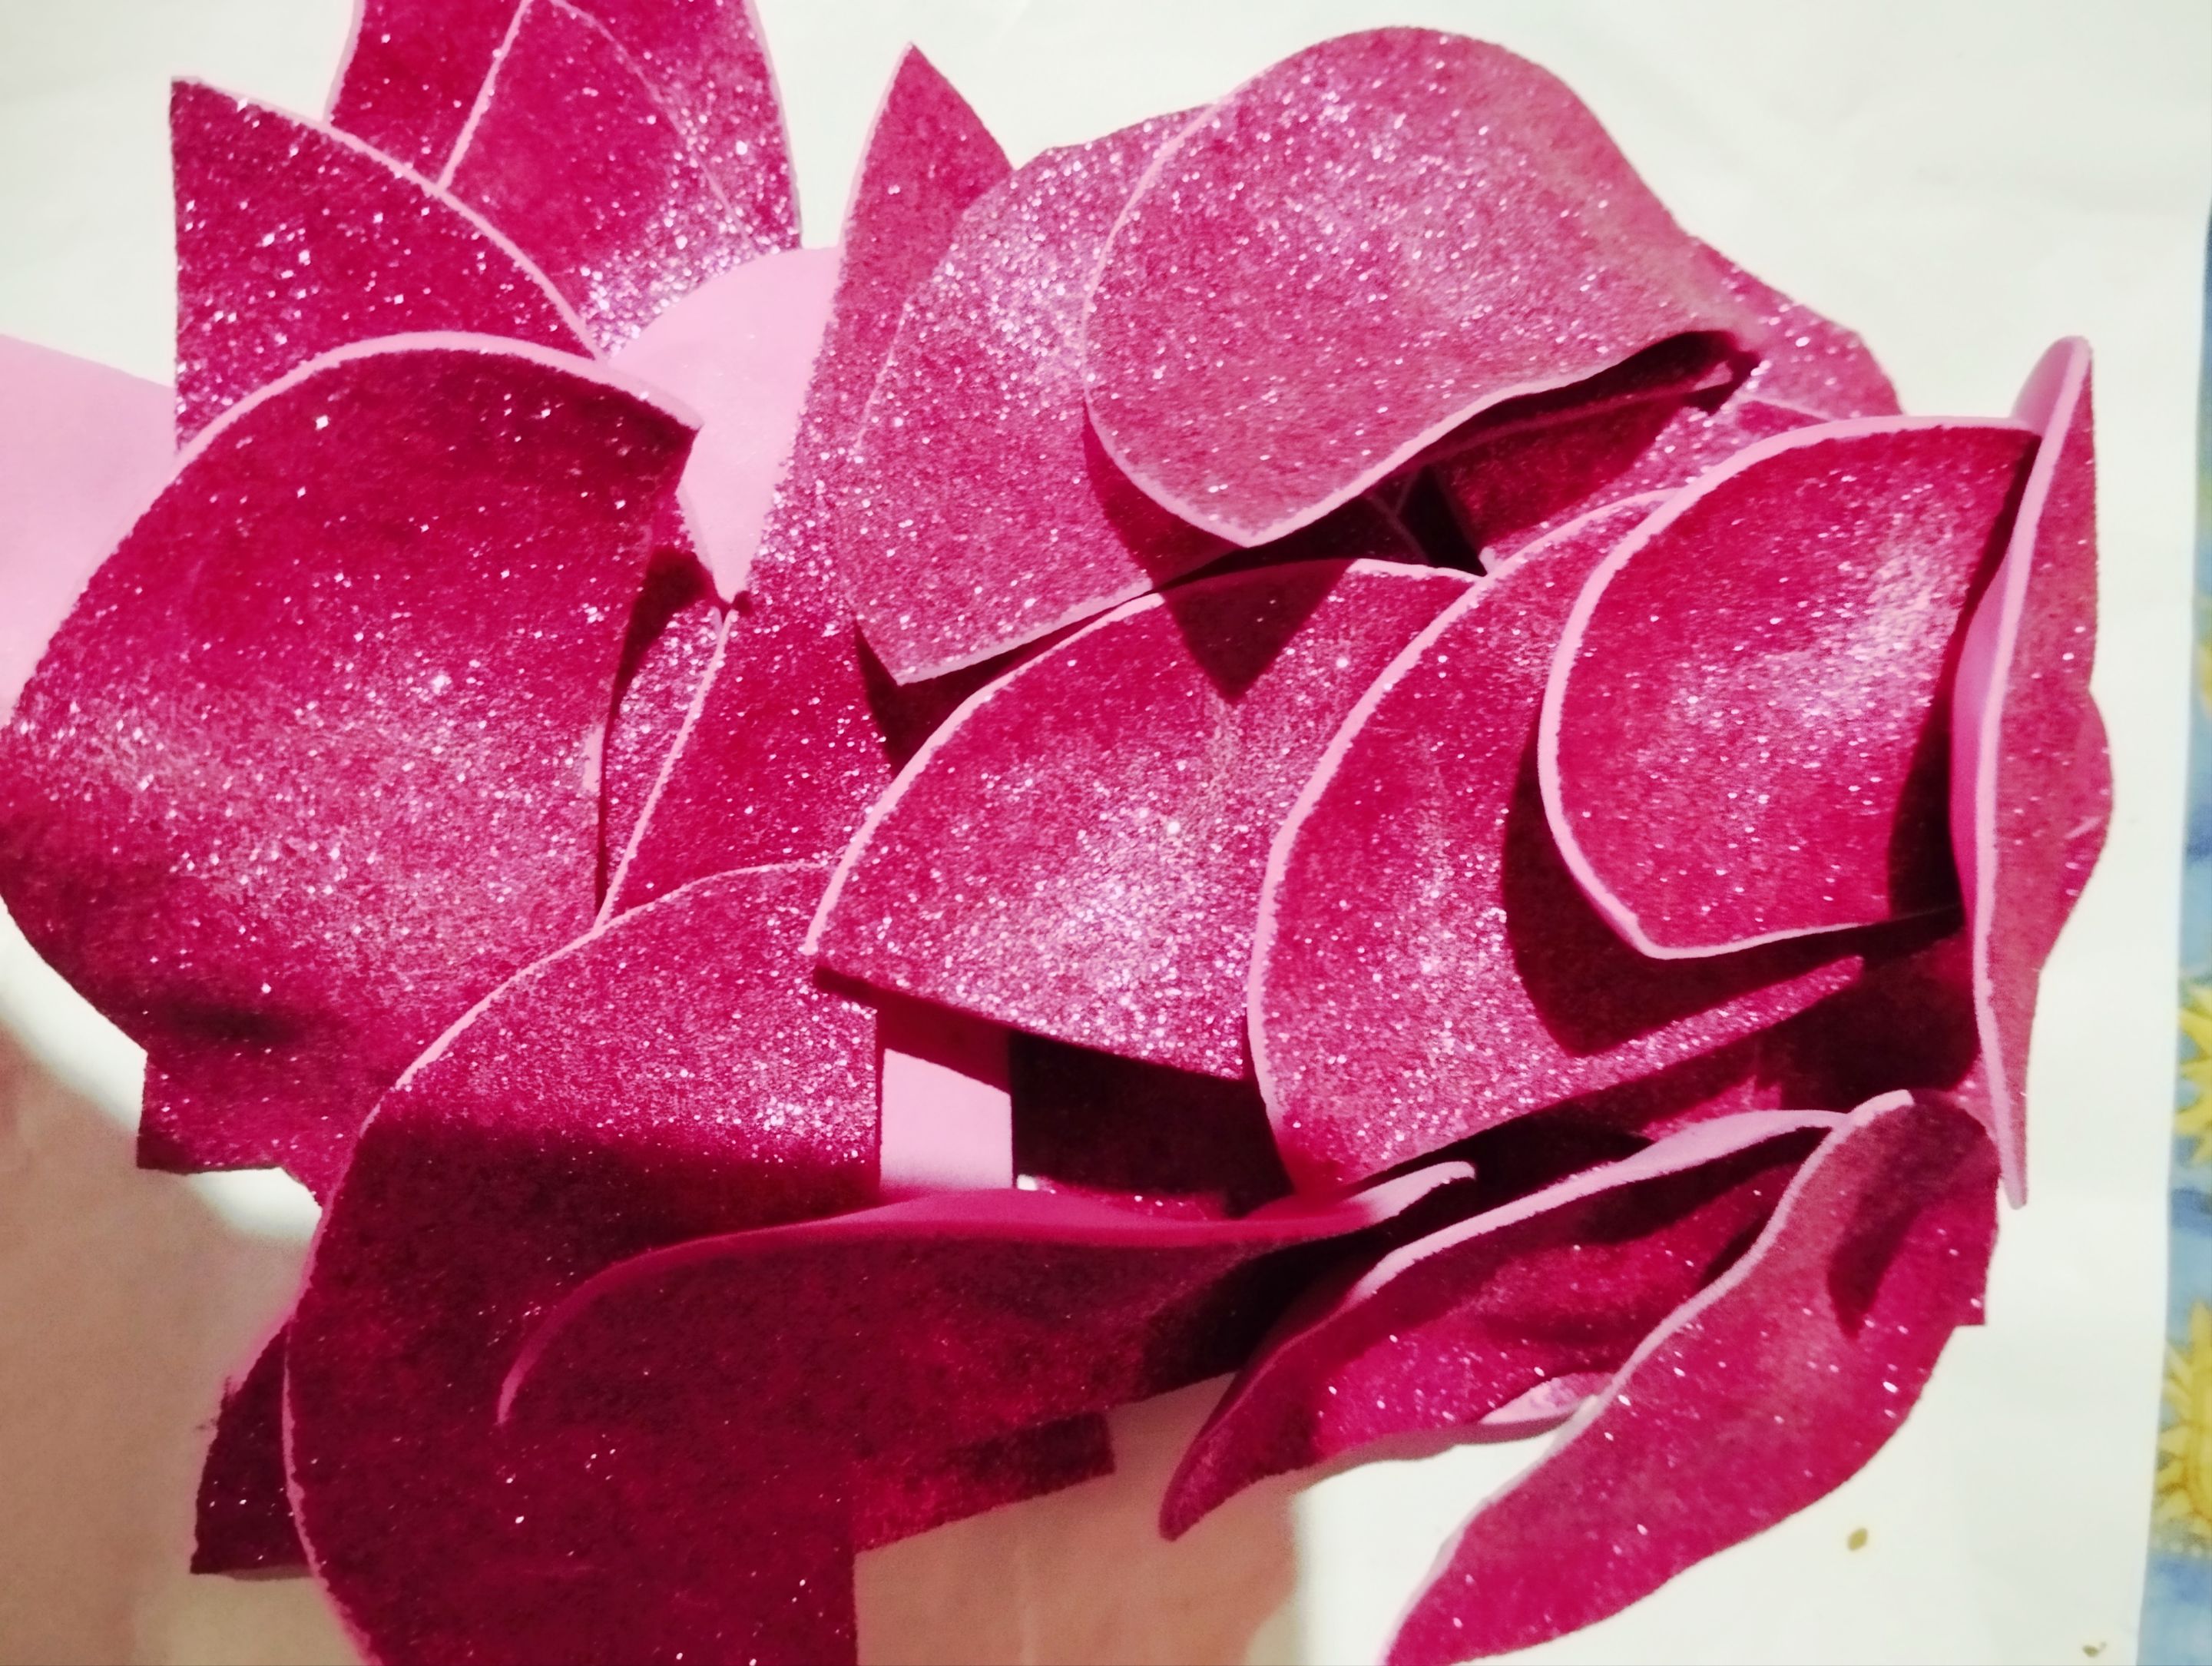 |
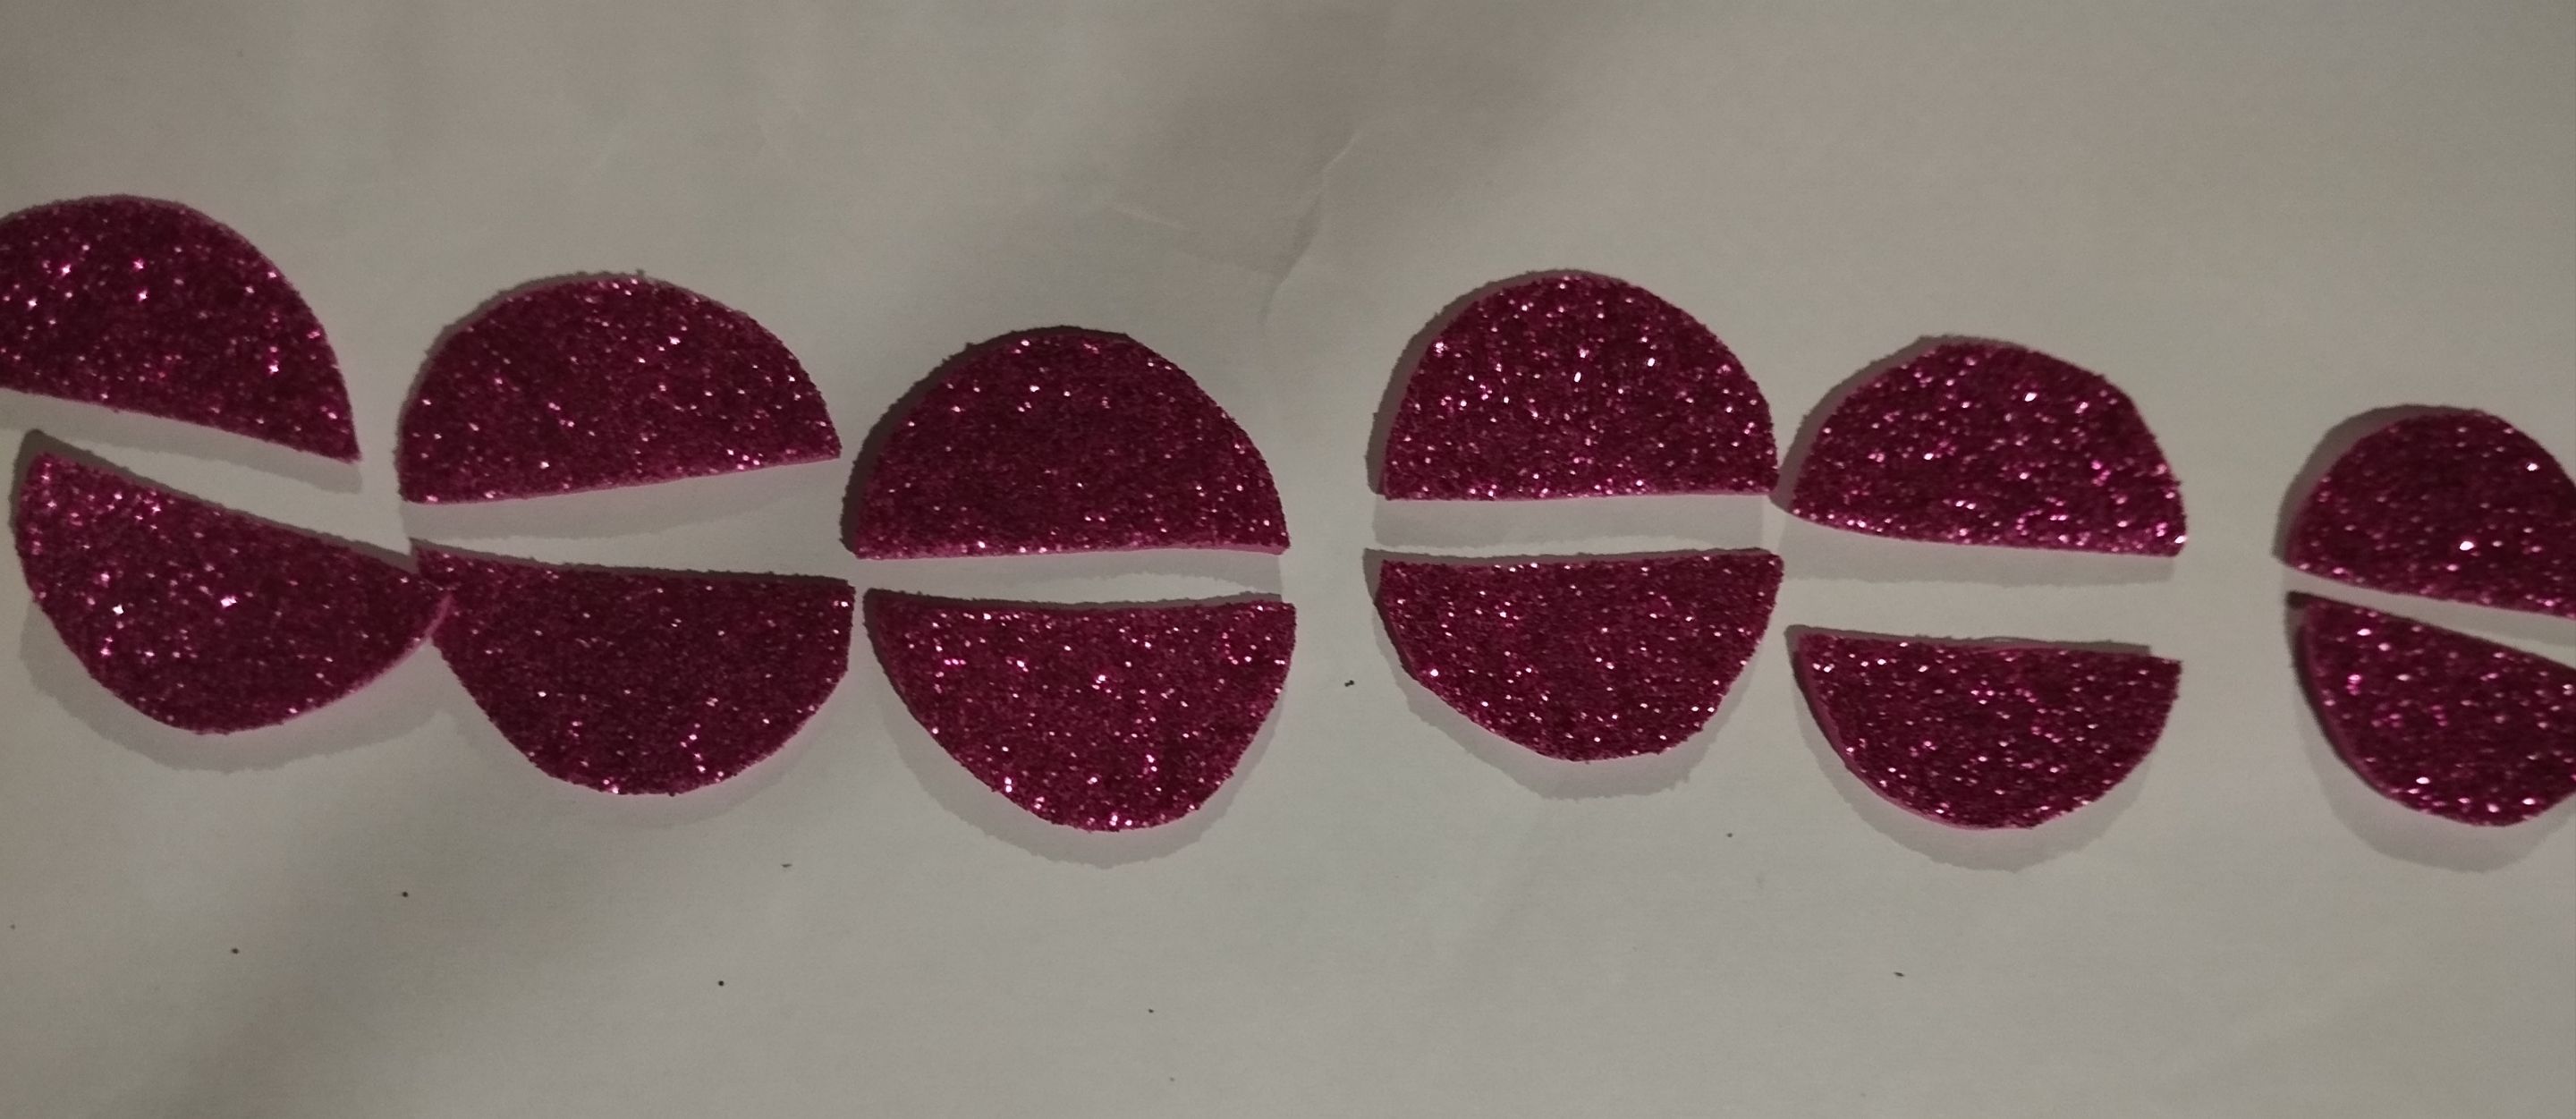
#1 La idea es hacer unas flores medianas para decorar, no tan grandes por la cantidad de materiales que se usarían ,por lo que con una lamina de foami del tamaño más grande (extra grande ,tipo papel Bond) bastaría para hacer todas las flores que queremos,y para el tamaño, usé de modelo un envase de mantequilla/margarina pequeño ( 10cm aproximadamente), con el que pudiera guiarme, luego voltee el foami con la parte escarchado hacia abajo, para afincar el envase circular en la parte lisa, y con un exacto de precisión empecé a cortar toda la circunferencia del envase ,lo corté con un exacto para que fuera mucho más rápido, que con las tijeras (no importa si no te quedan los bordes limpios). Para hacer los pétalos se usan medios círculos ,por lo que un círculo me daría dos pétalos , y estos los cortaremos de acuerdo a la cantidad de flores que haremos ,yo hice cuatro flores , cada una con 9 semi círculos para los pétalos y con una plancha termoforme los pétalos, dándole movimiento sobre todo en la parte del borde del pétalo.
English Version
#1 The idea is to make some medium-sized flowers to decorate, not so big because of the amount of materials that would be used, so a sheet of foam of the largest size (extra large too, like Bond paper) would be enough to make all the flowers we want, and for the size, I used a small butter/margarine container (approximately 10cm) as a model, with which I could guide myself, then I turned the foam over with the frosted part facing down, to fit the circular container on the smooth part, and with a precision ruler I began to cut the entire circumference of the container, I cut it with an exact ruler so that it would be much faster than with scissors (it doesn't matter if the edges aren't clean). To make the petals, half circles are used, so one circle would give me two petals, and we will cut these according to the number of flowers we will make. I made four flowers, each with 9 half circles for the petals and with a thermoforming iron the petals, giving it movement especially on the edge of the petal.
 |  |  |
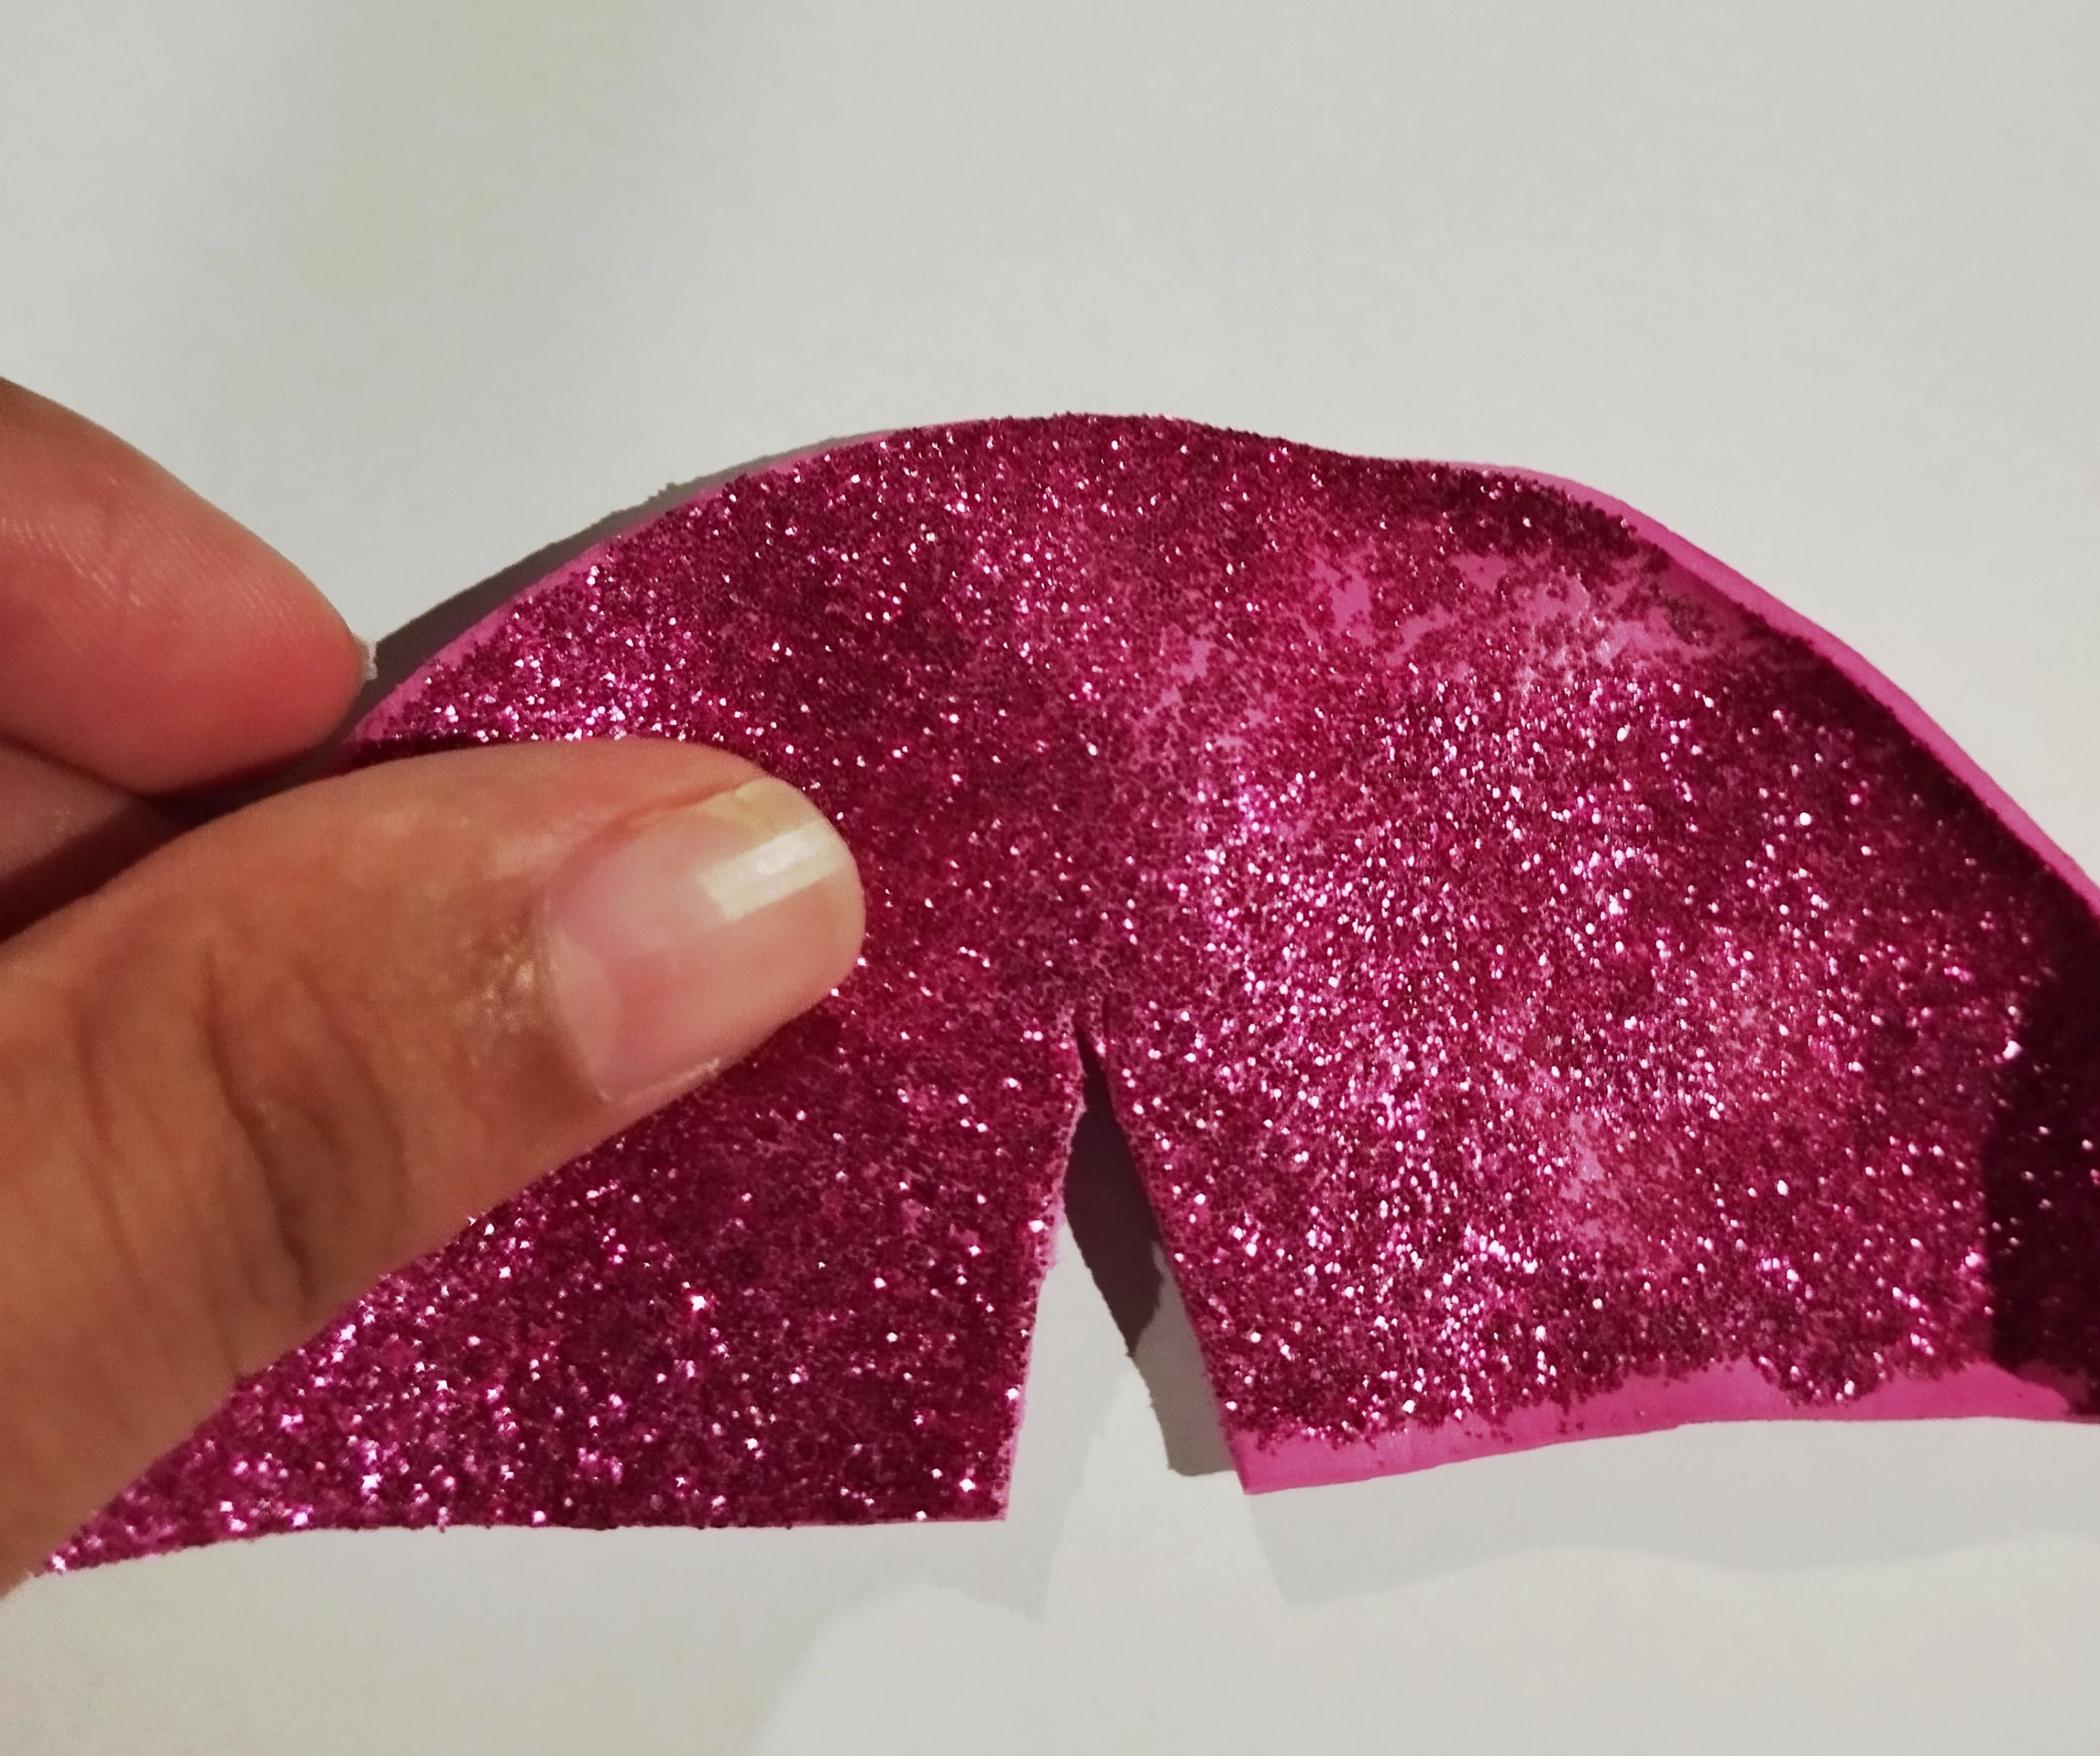 | 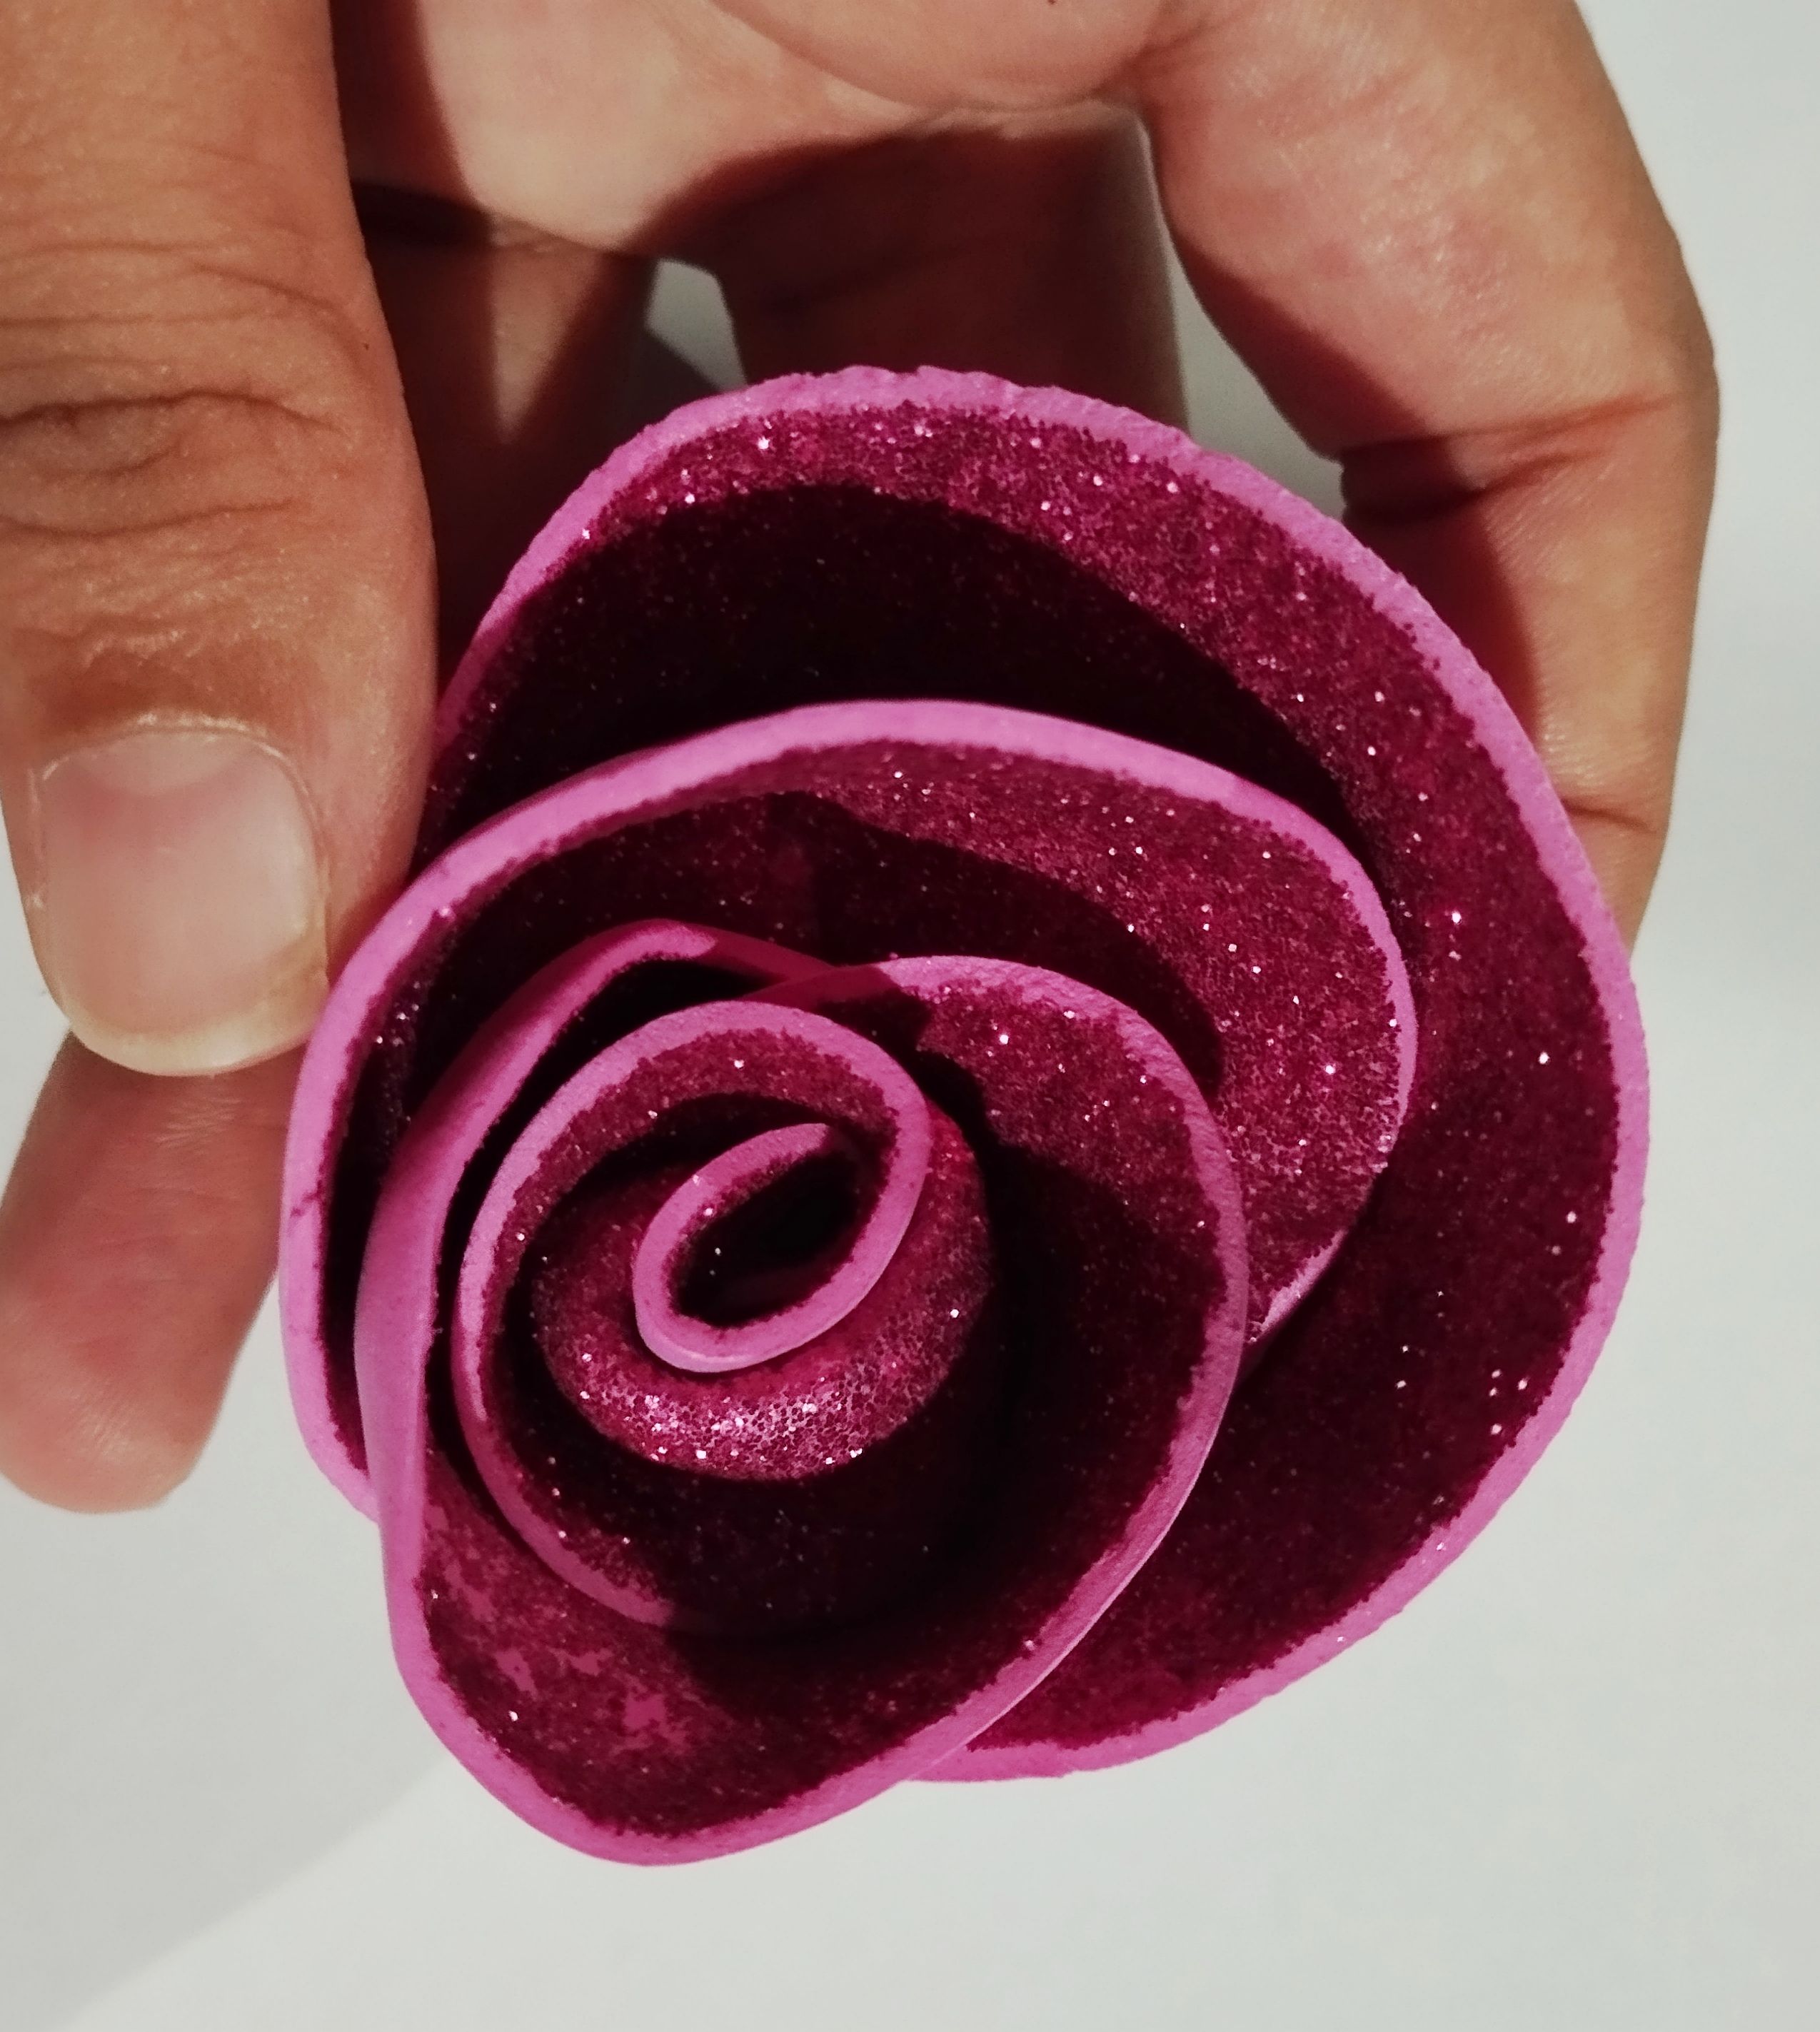 | 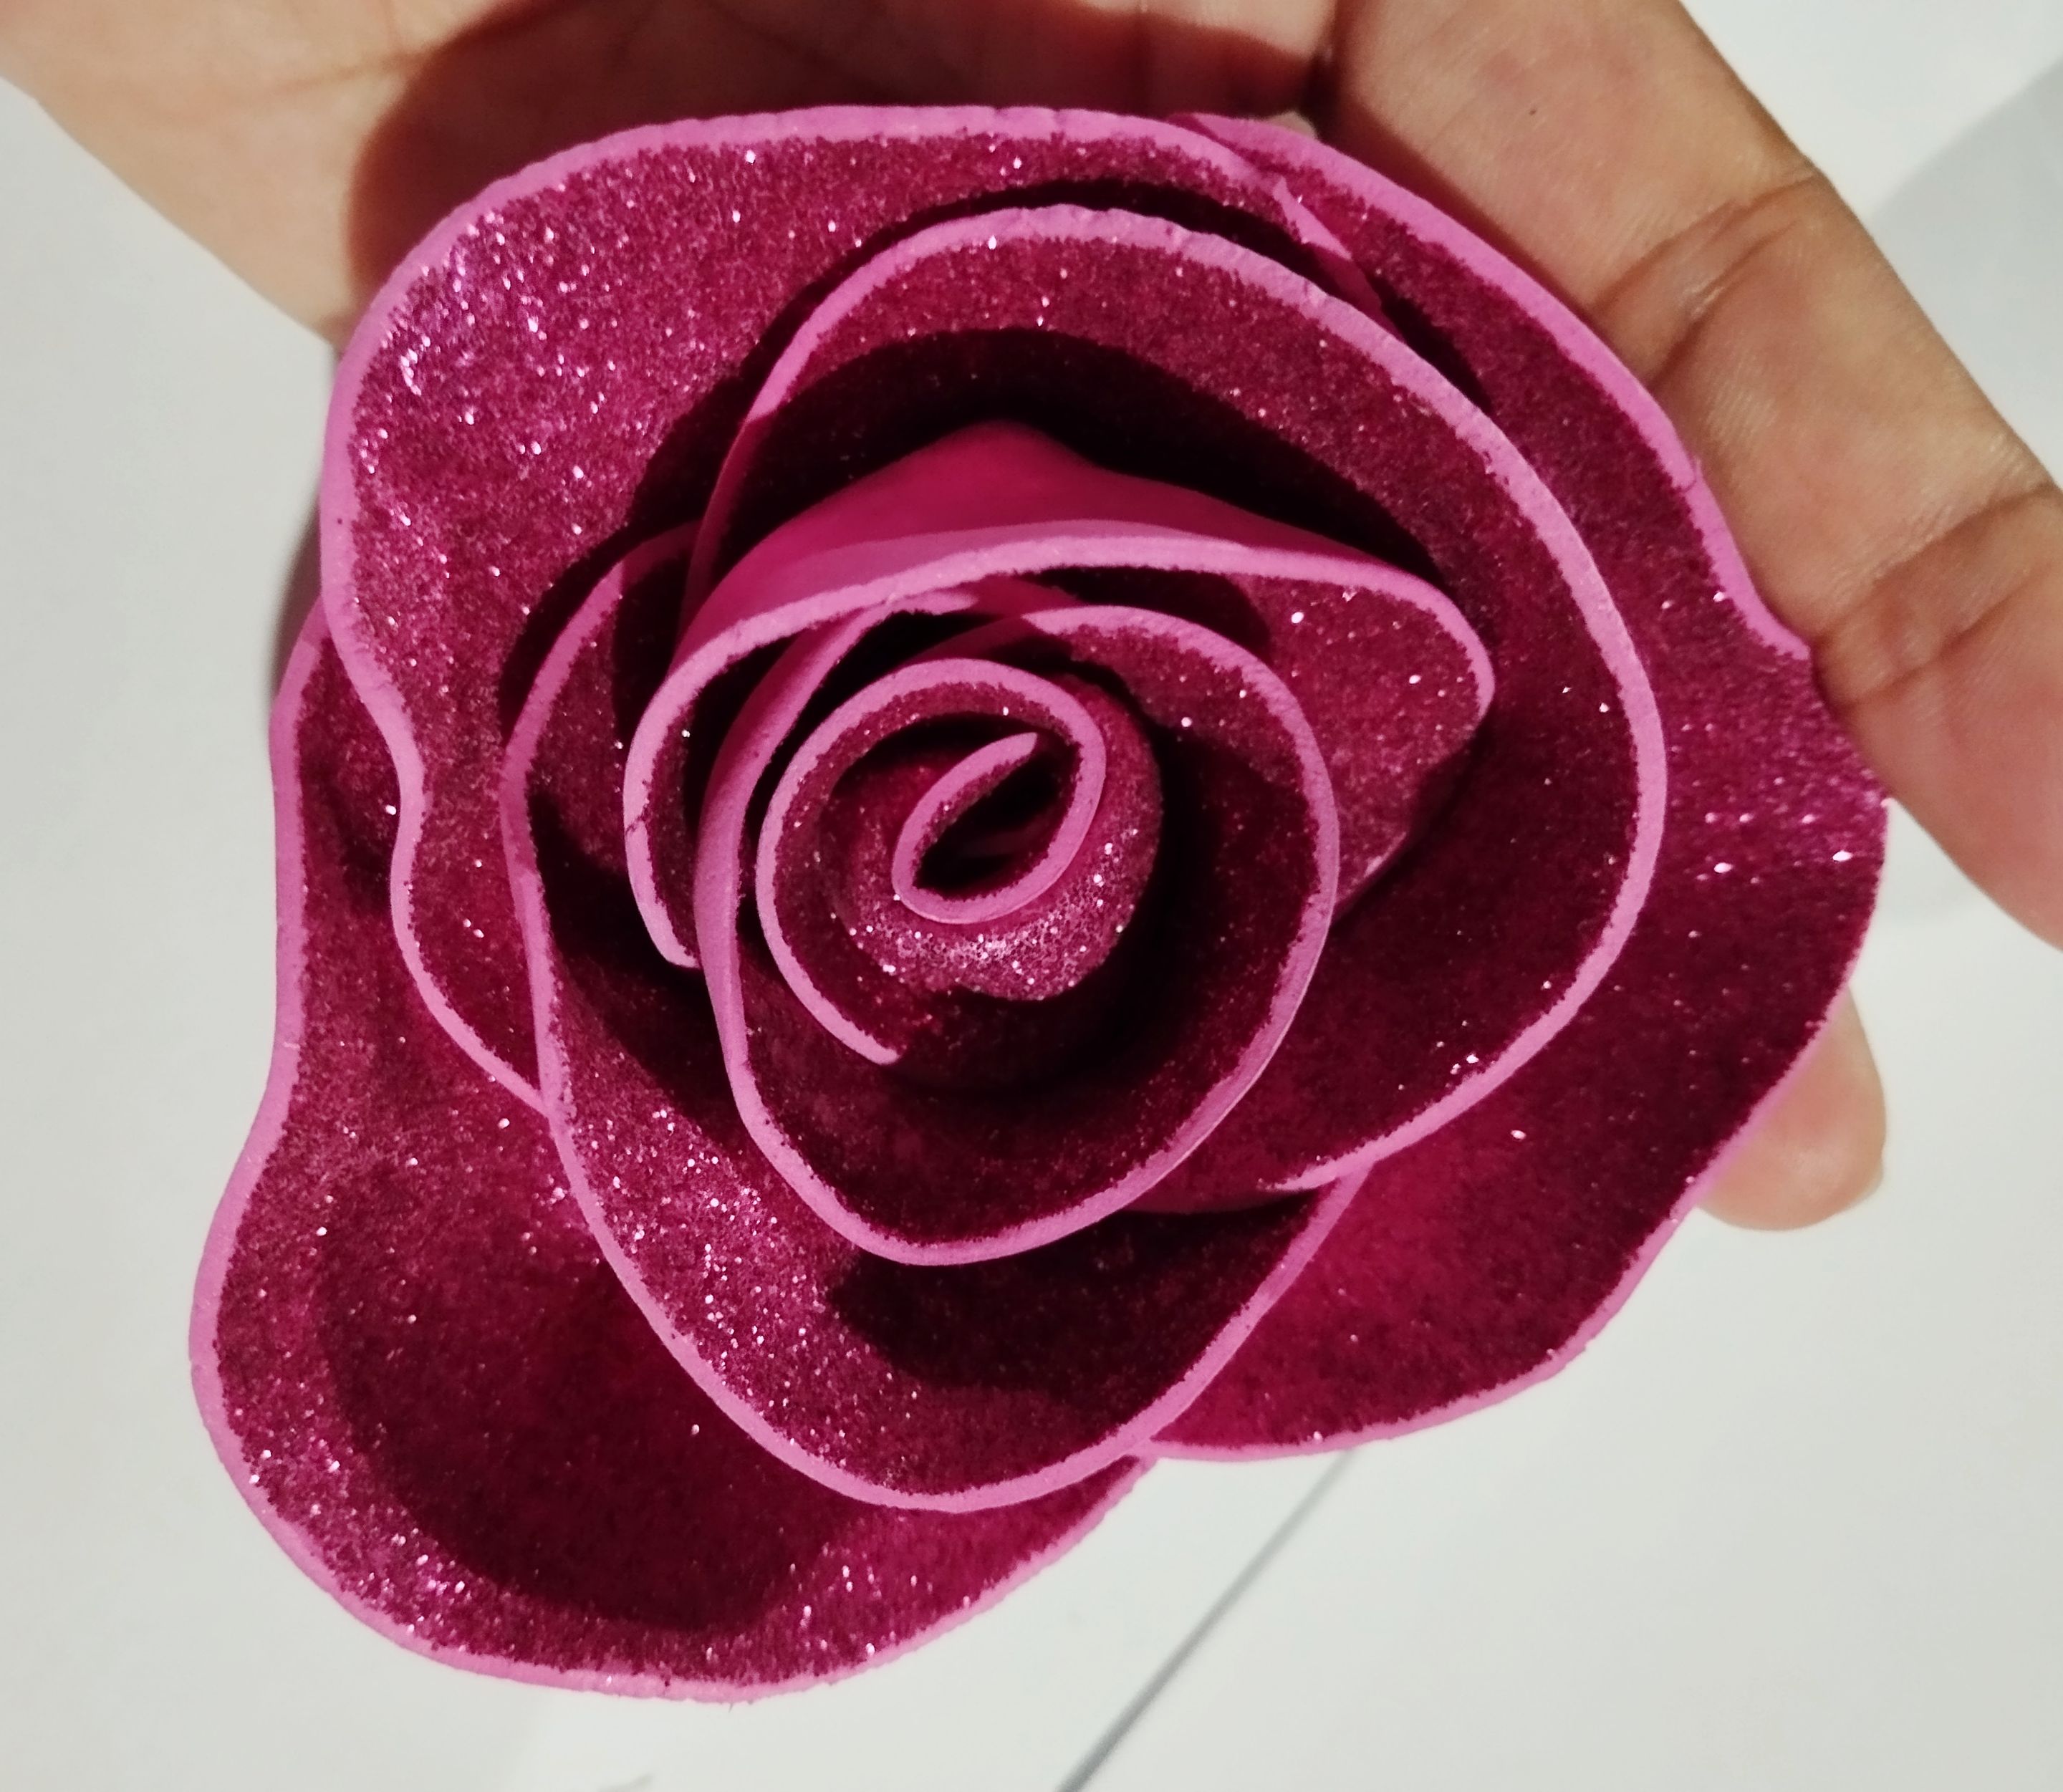 |
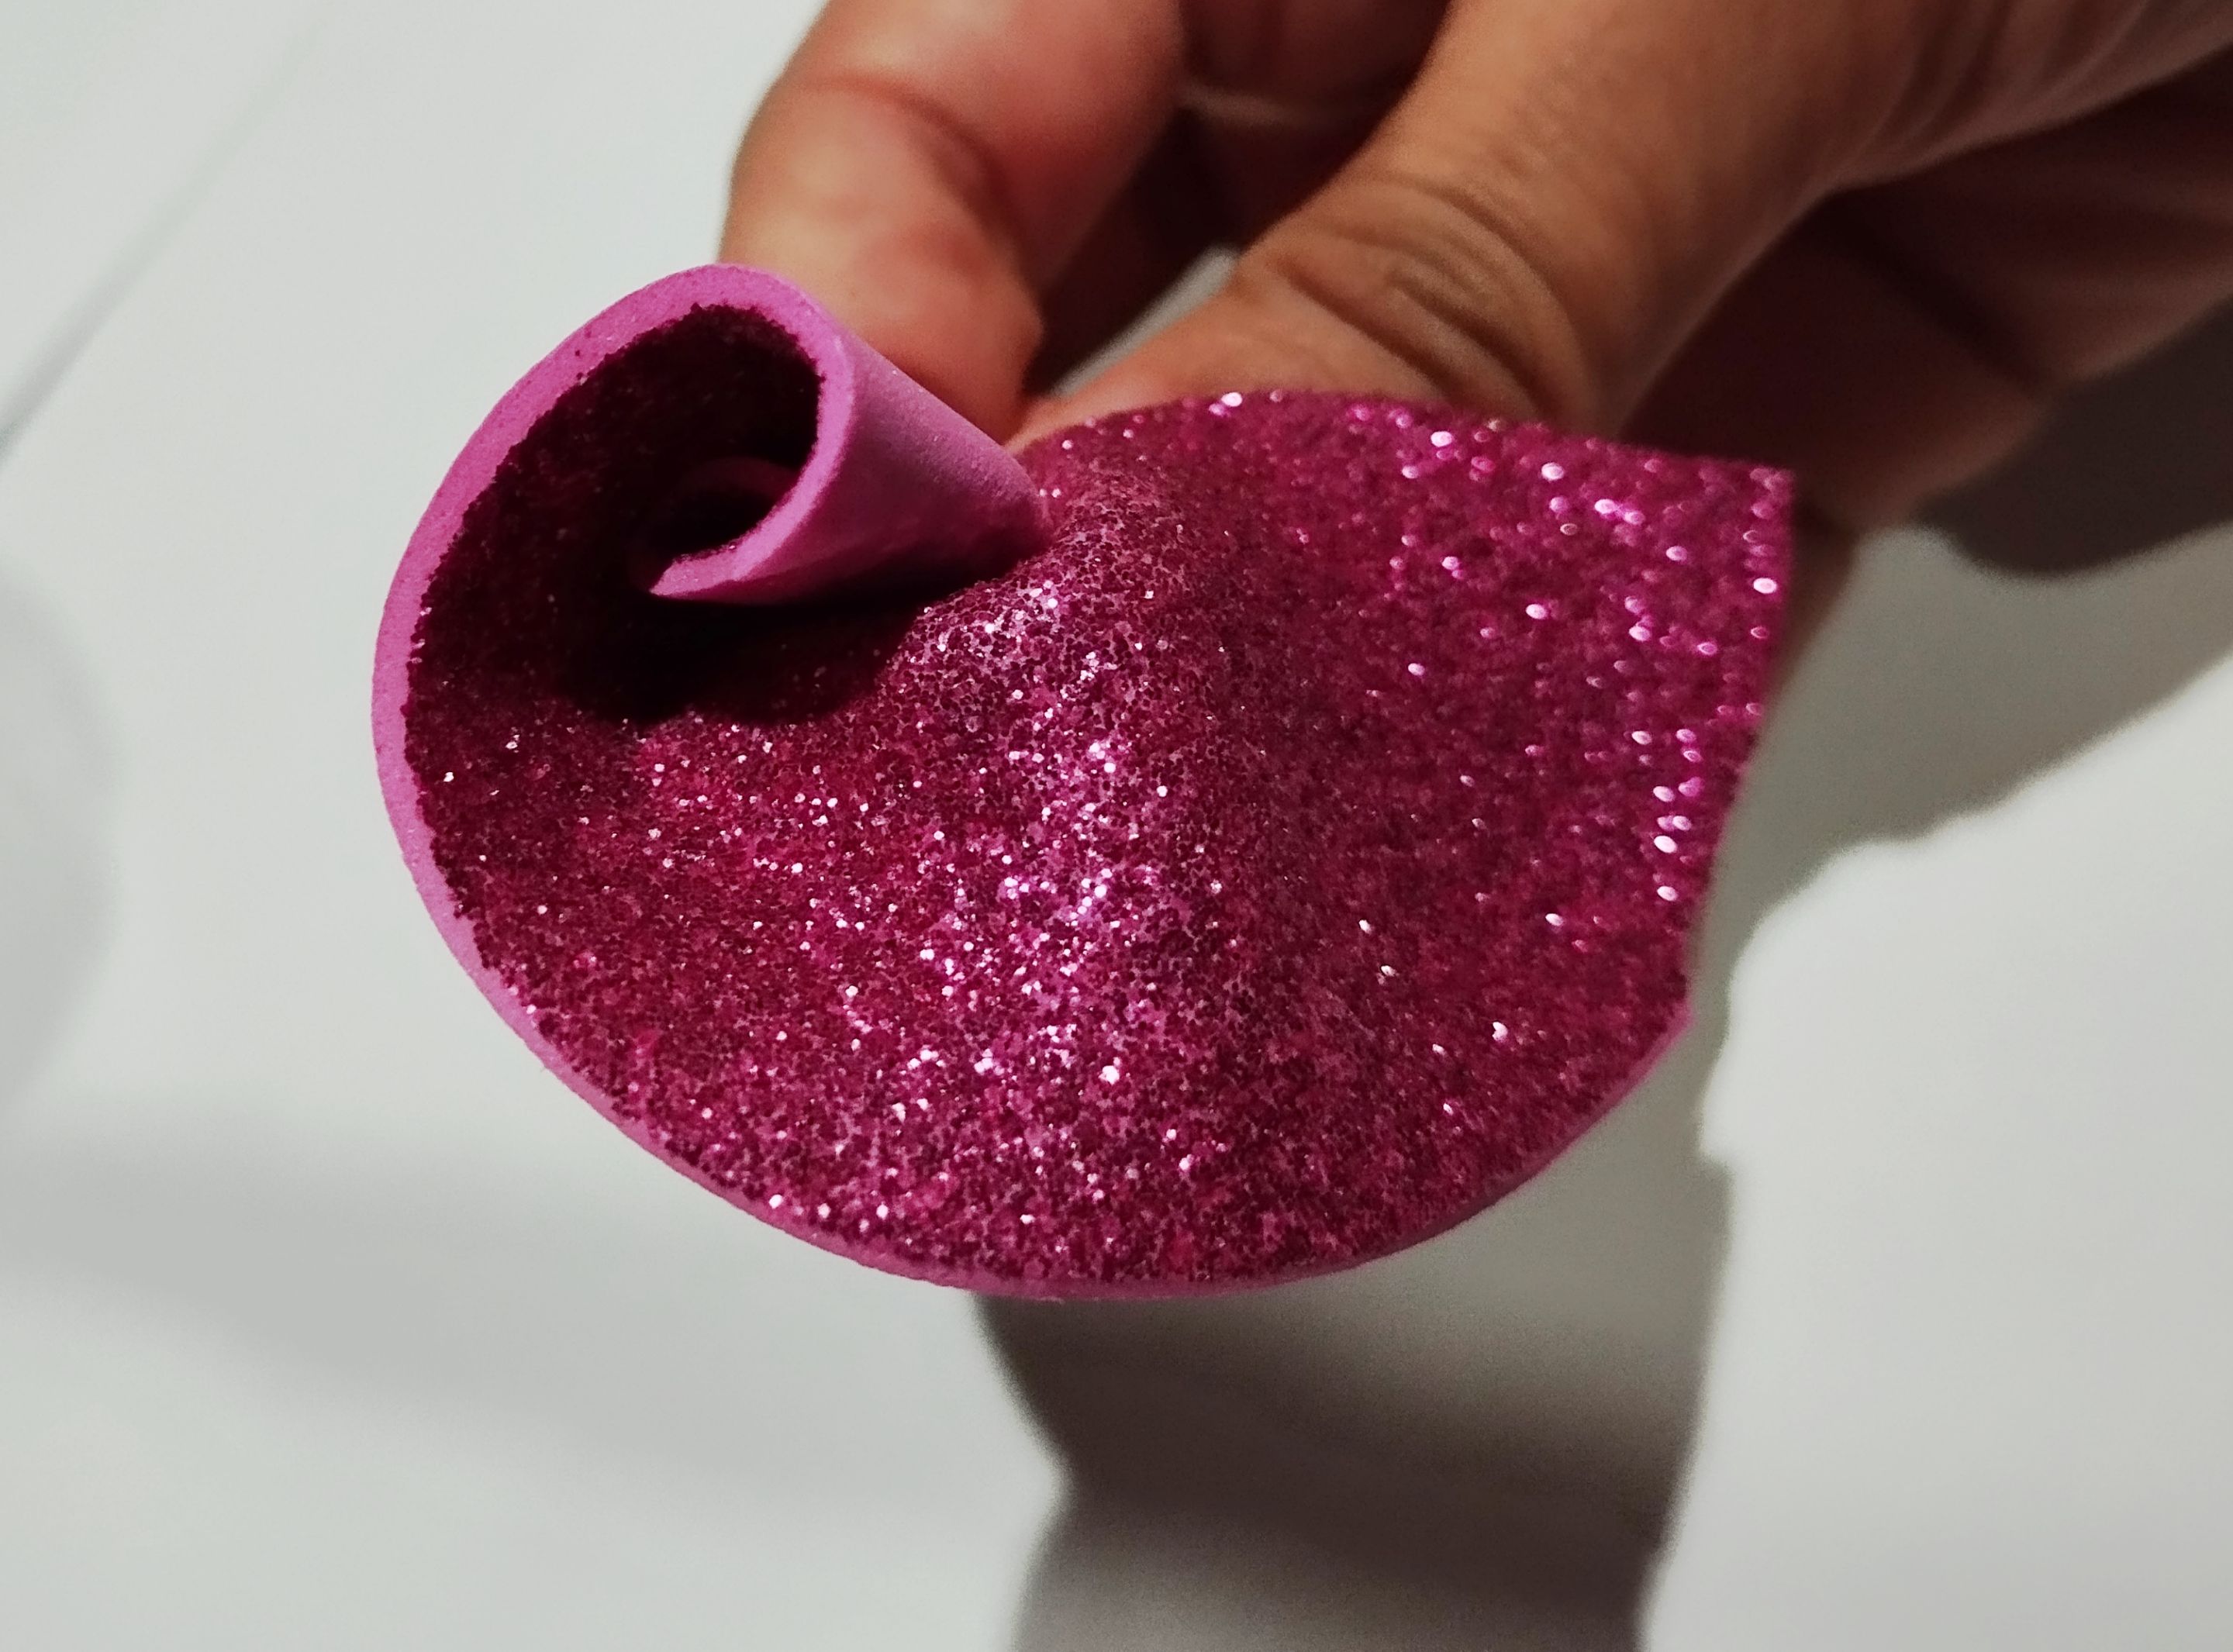
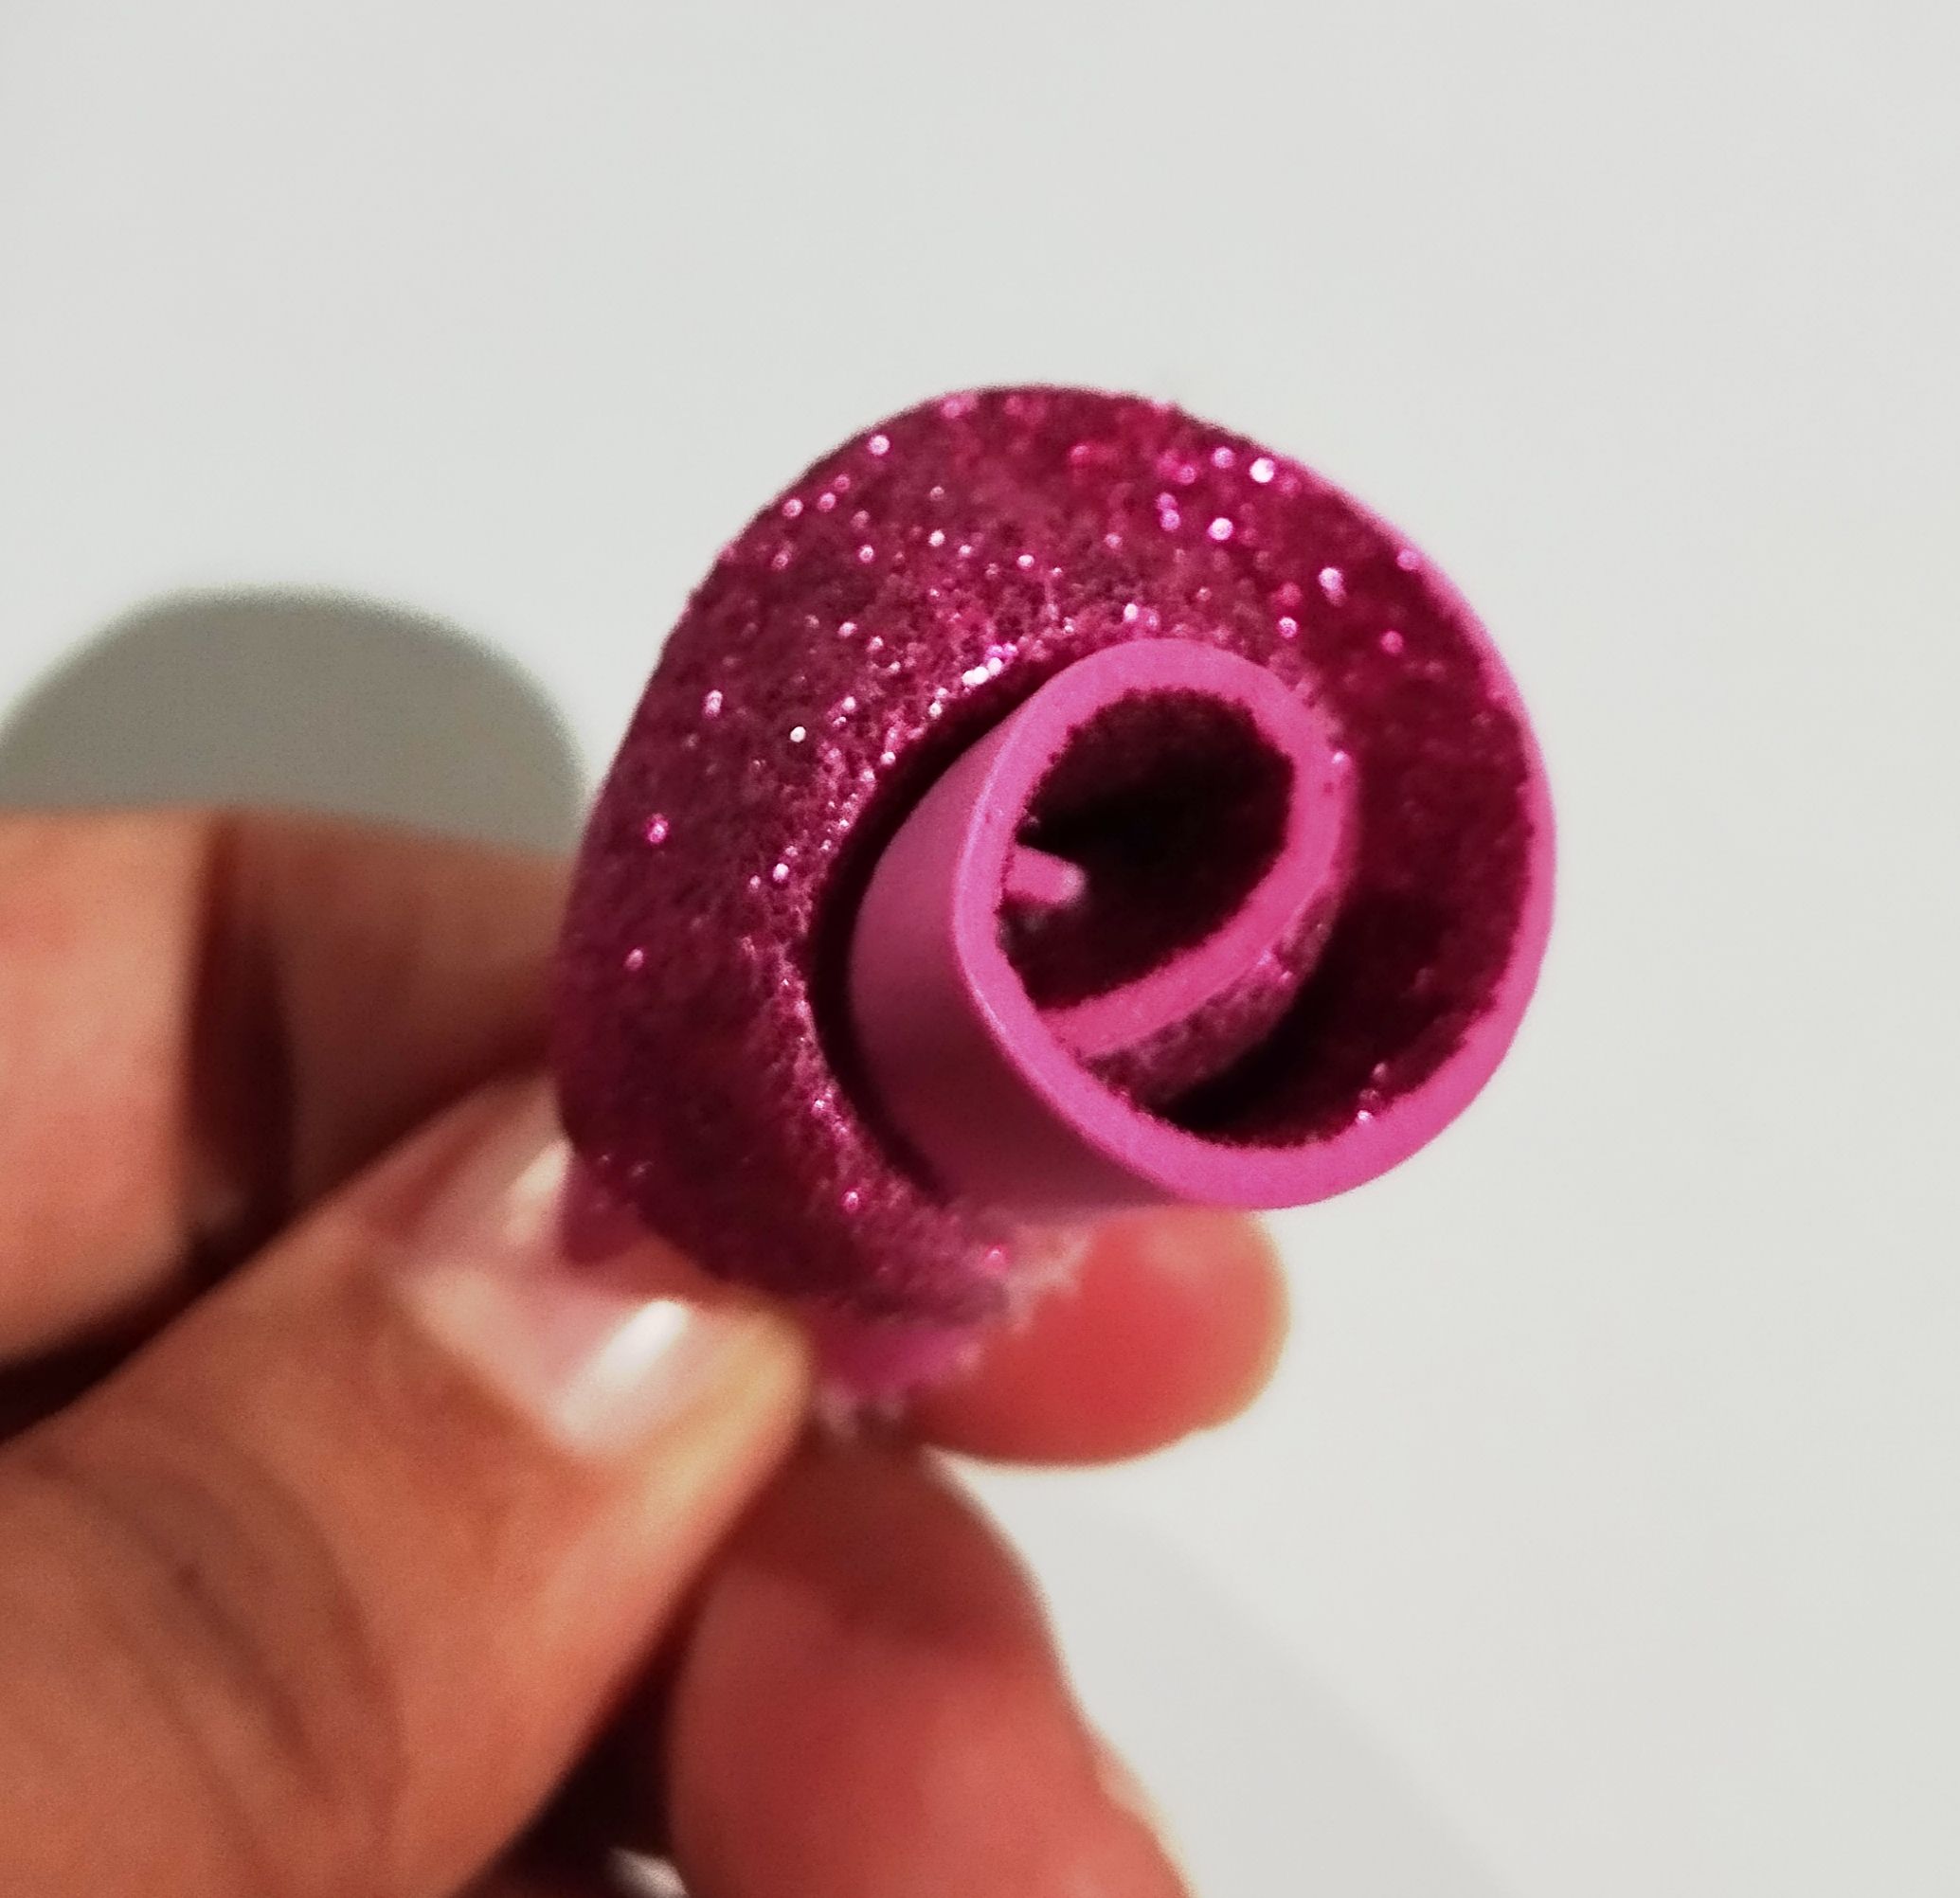
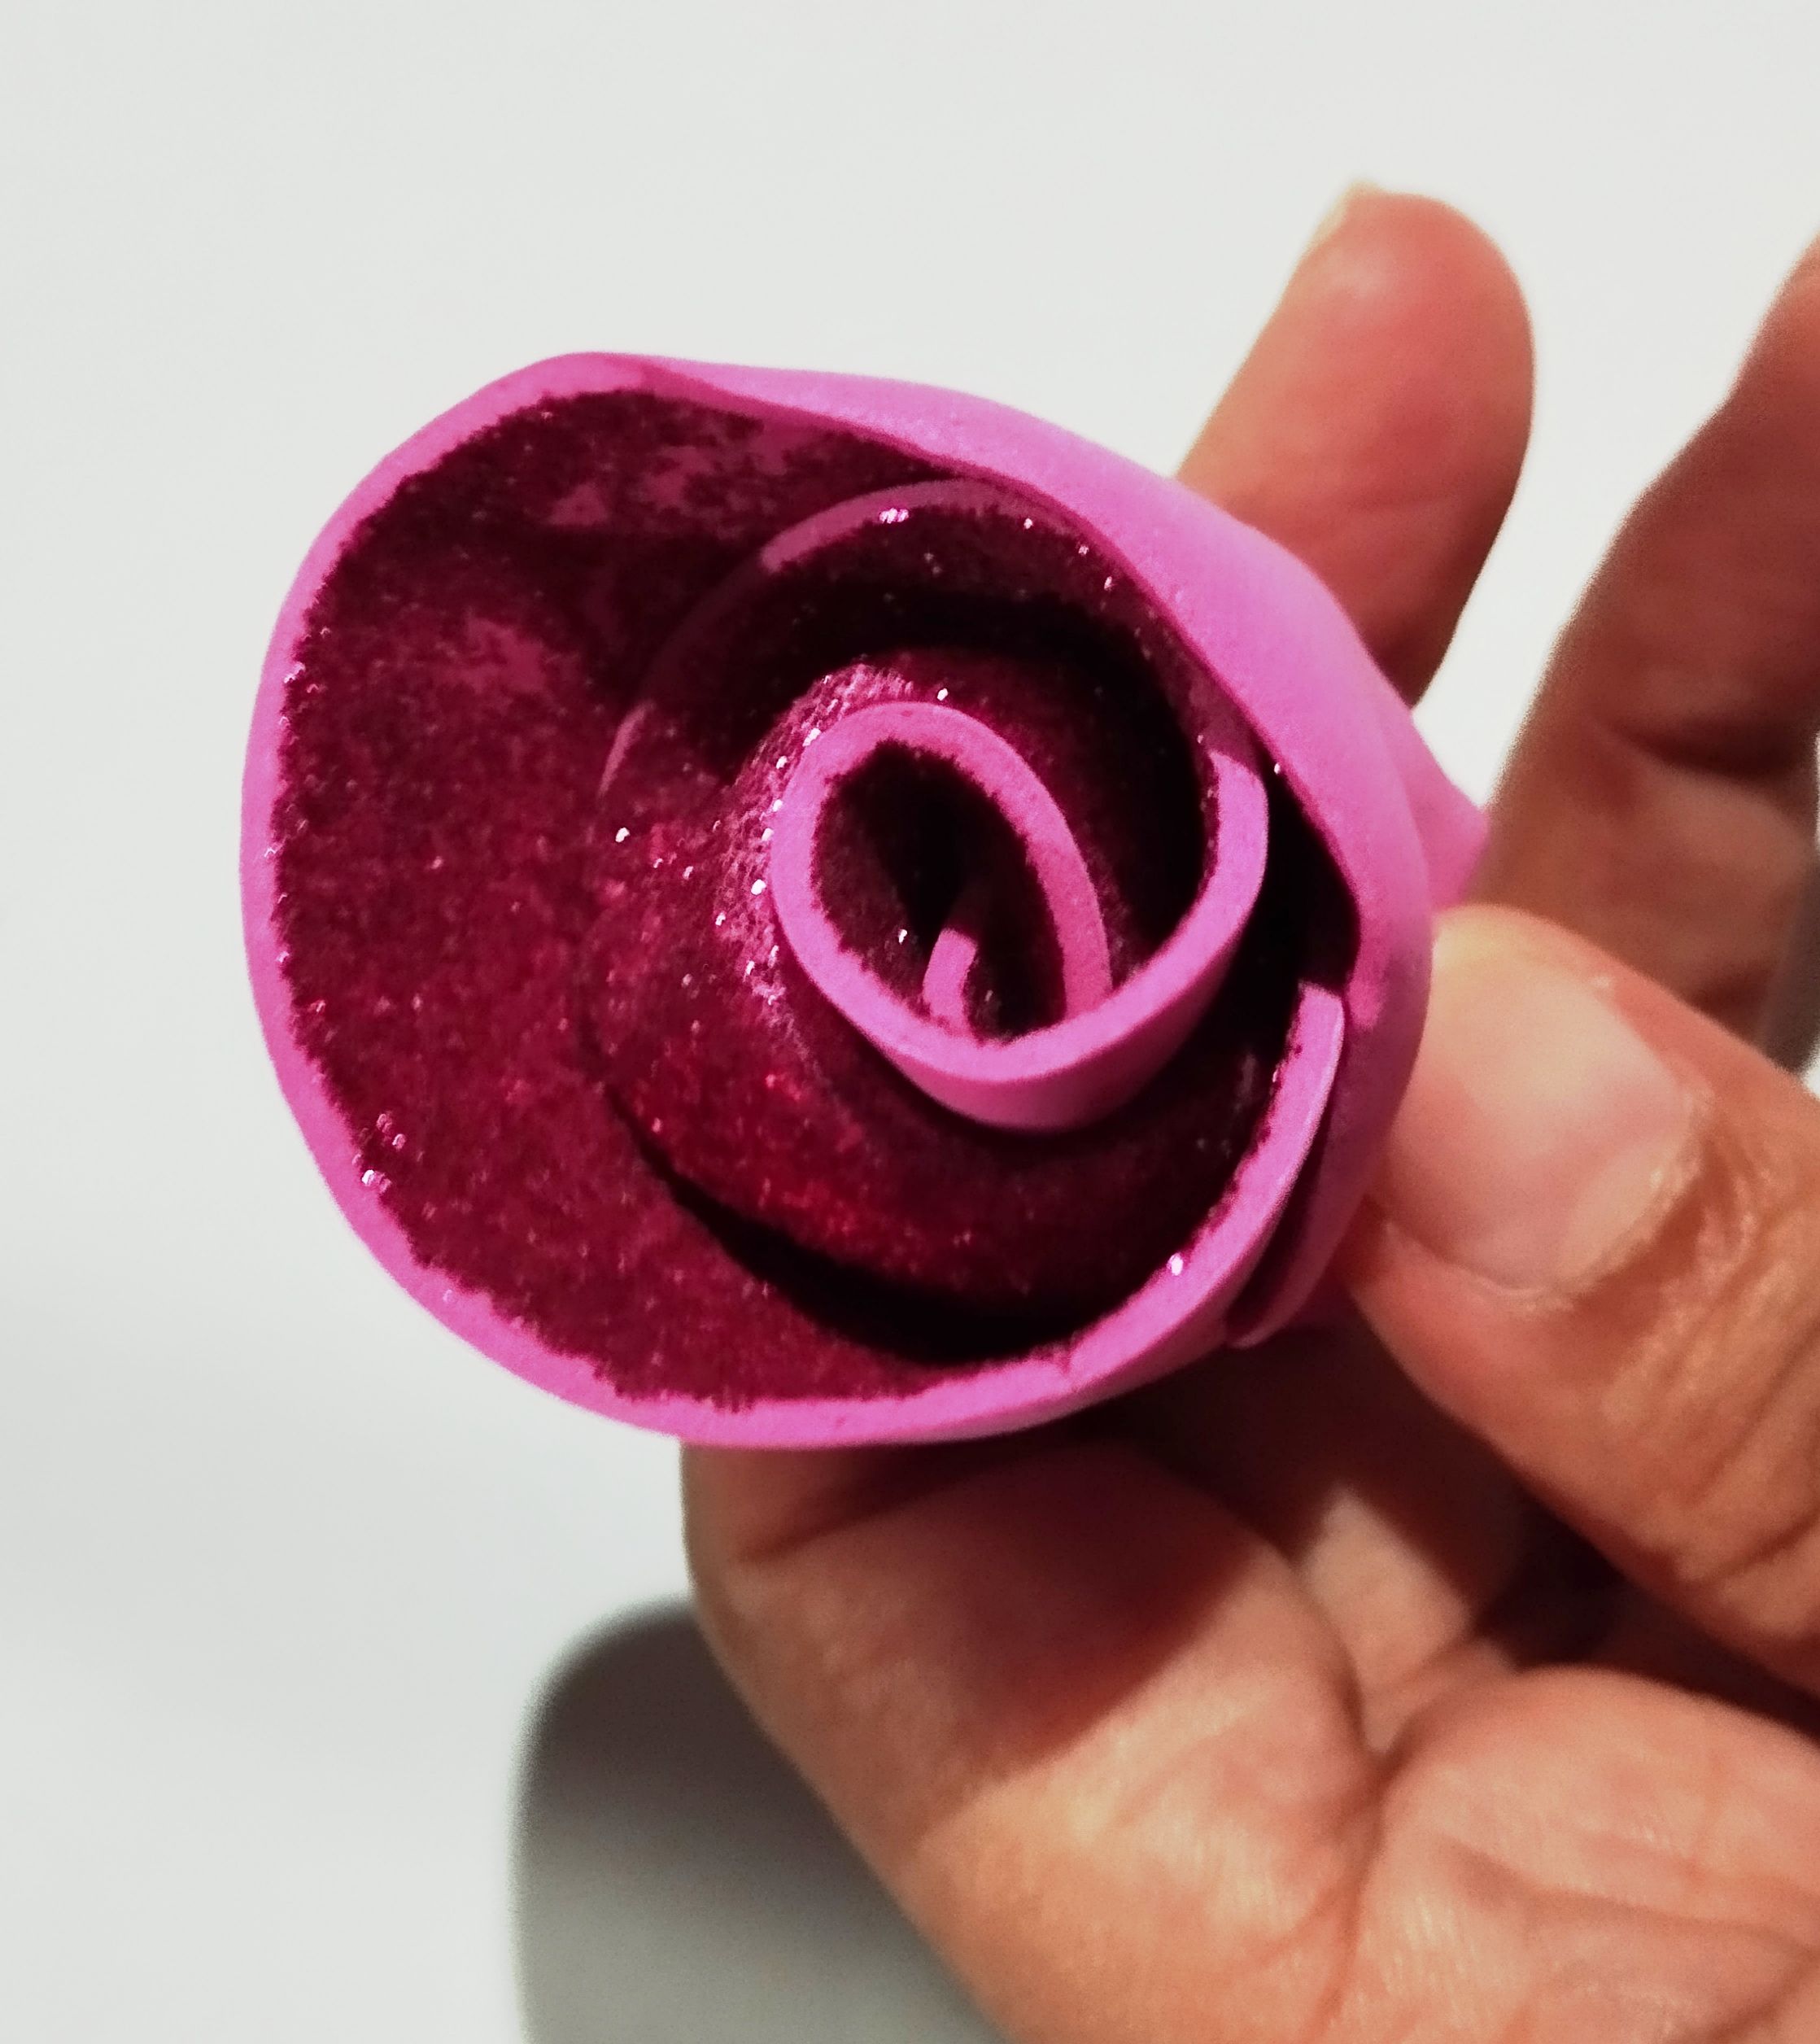
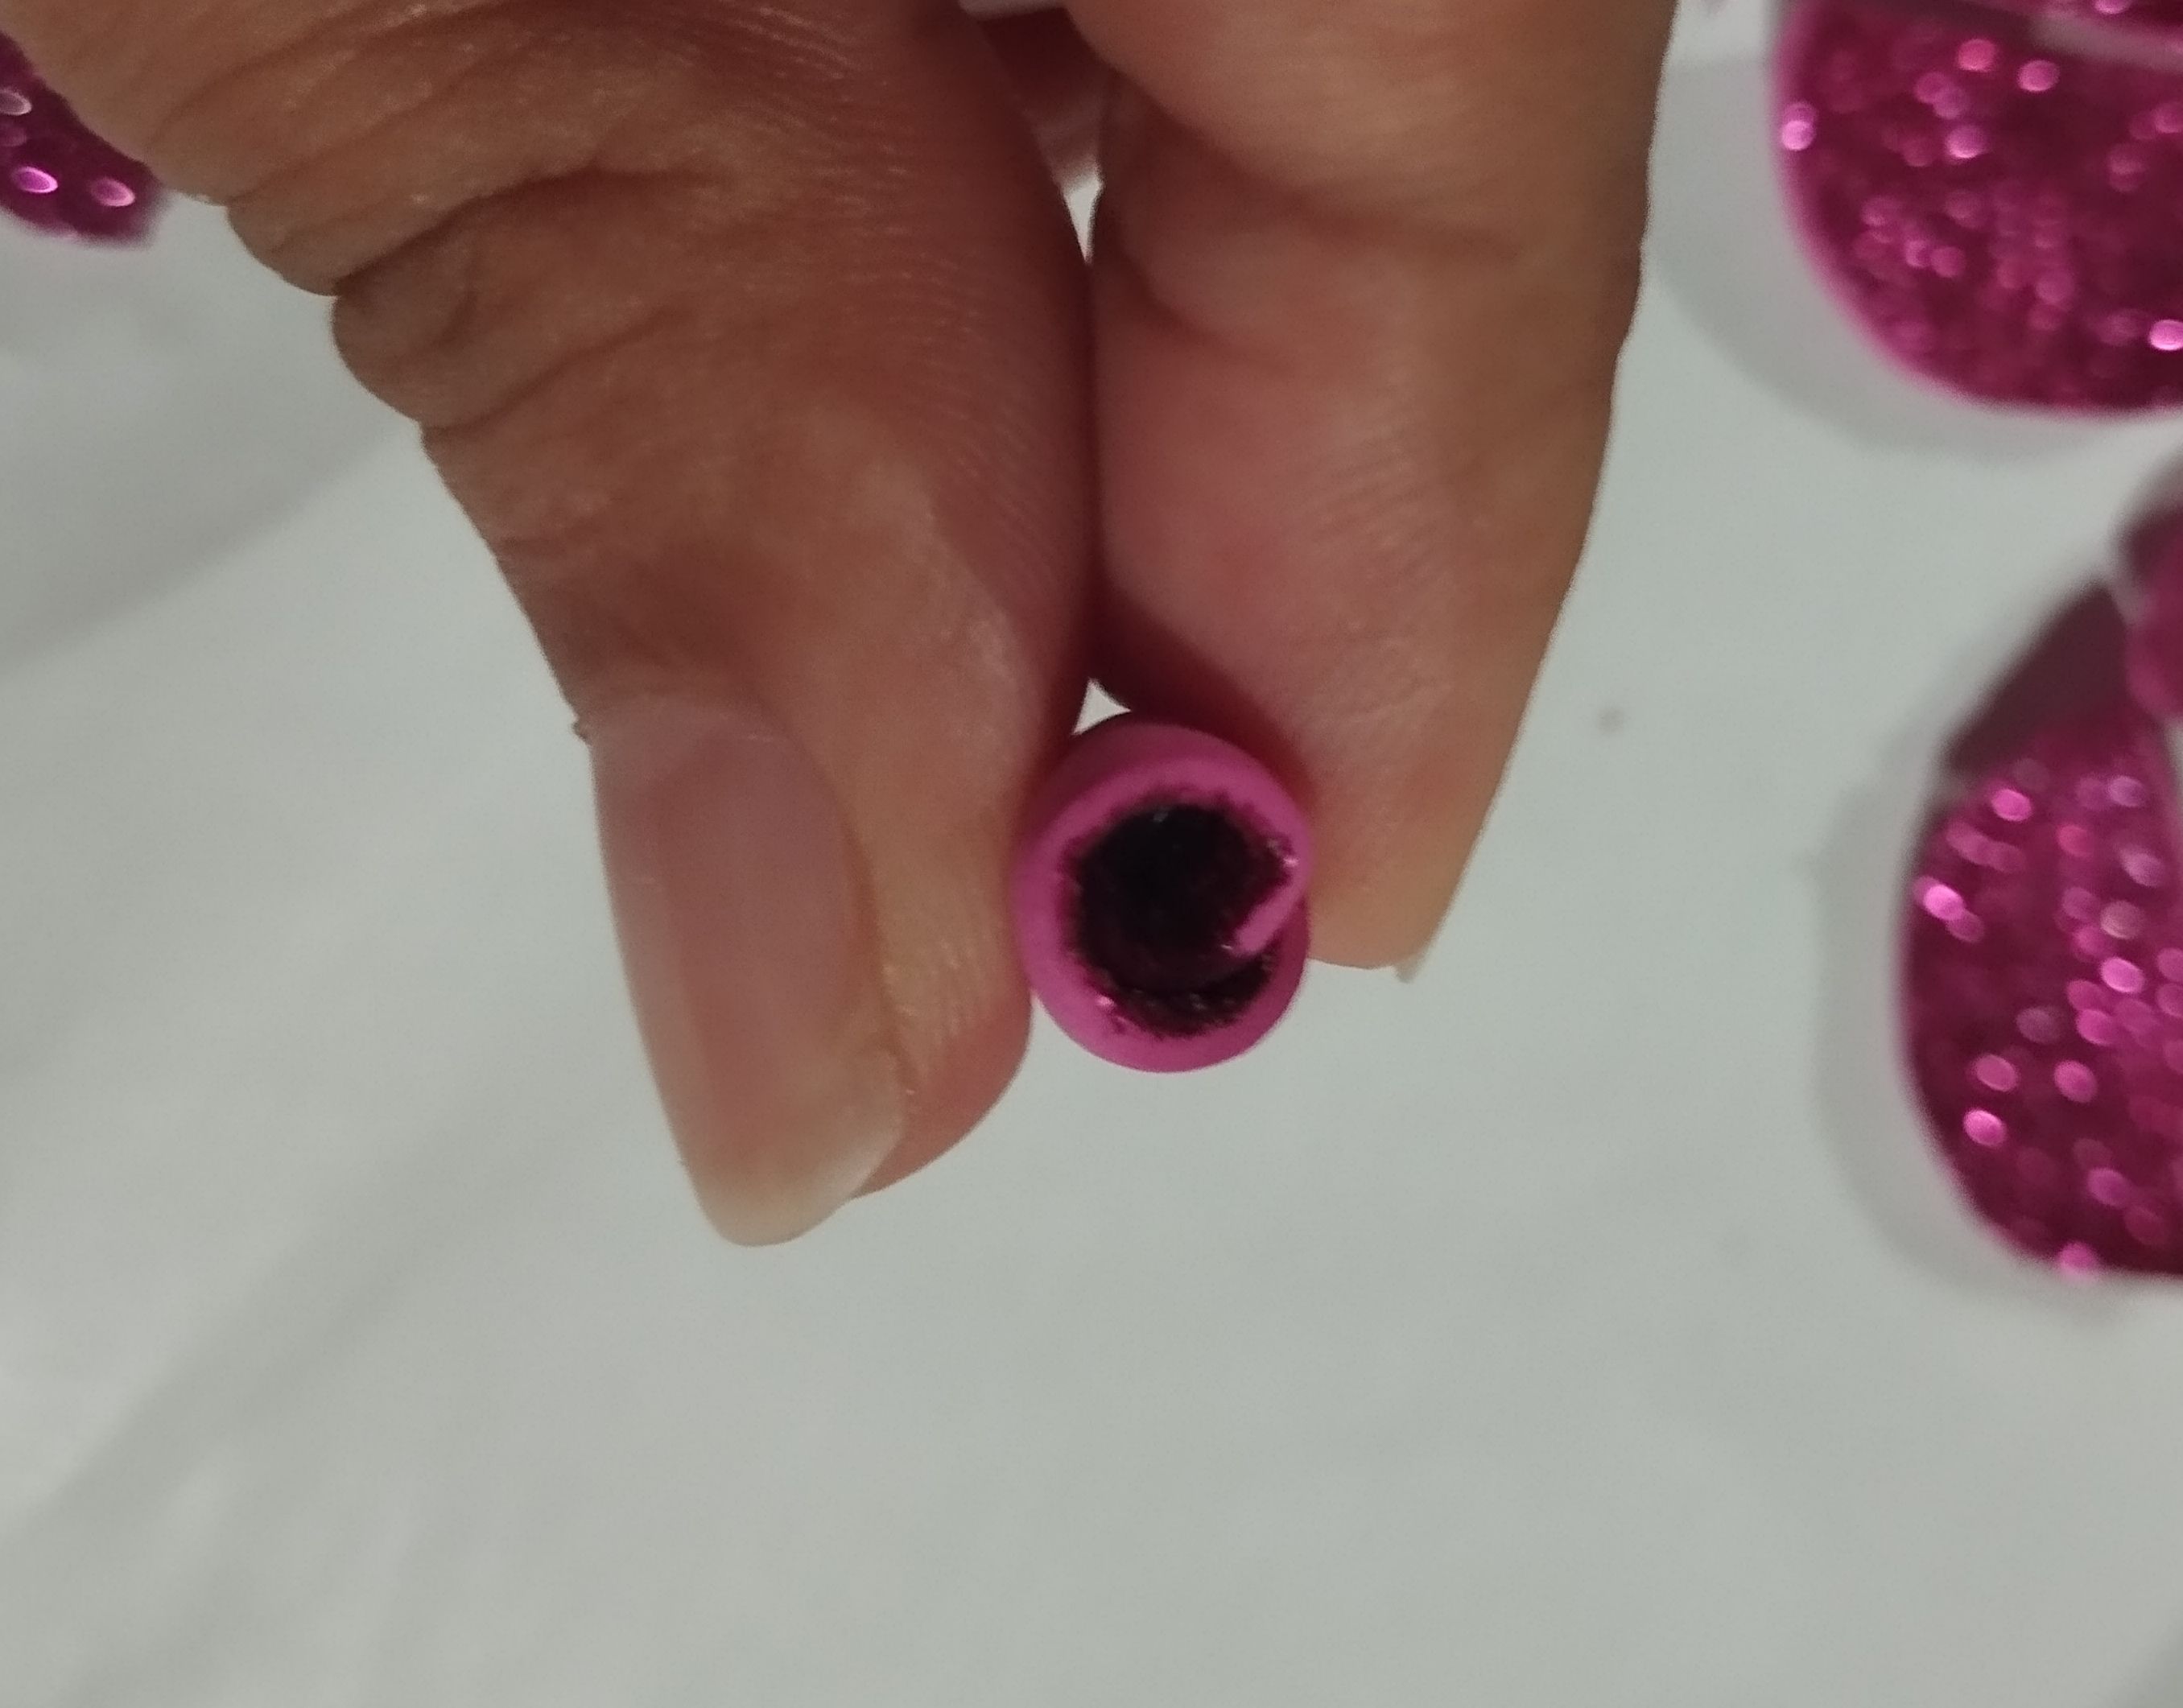
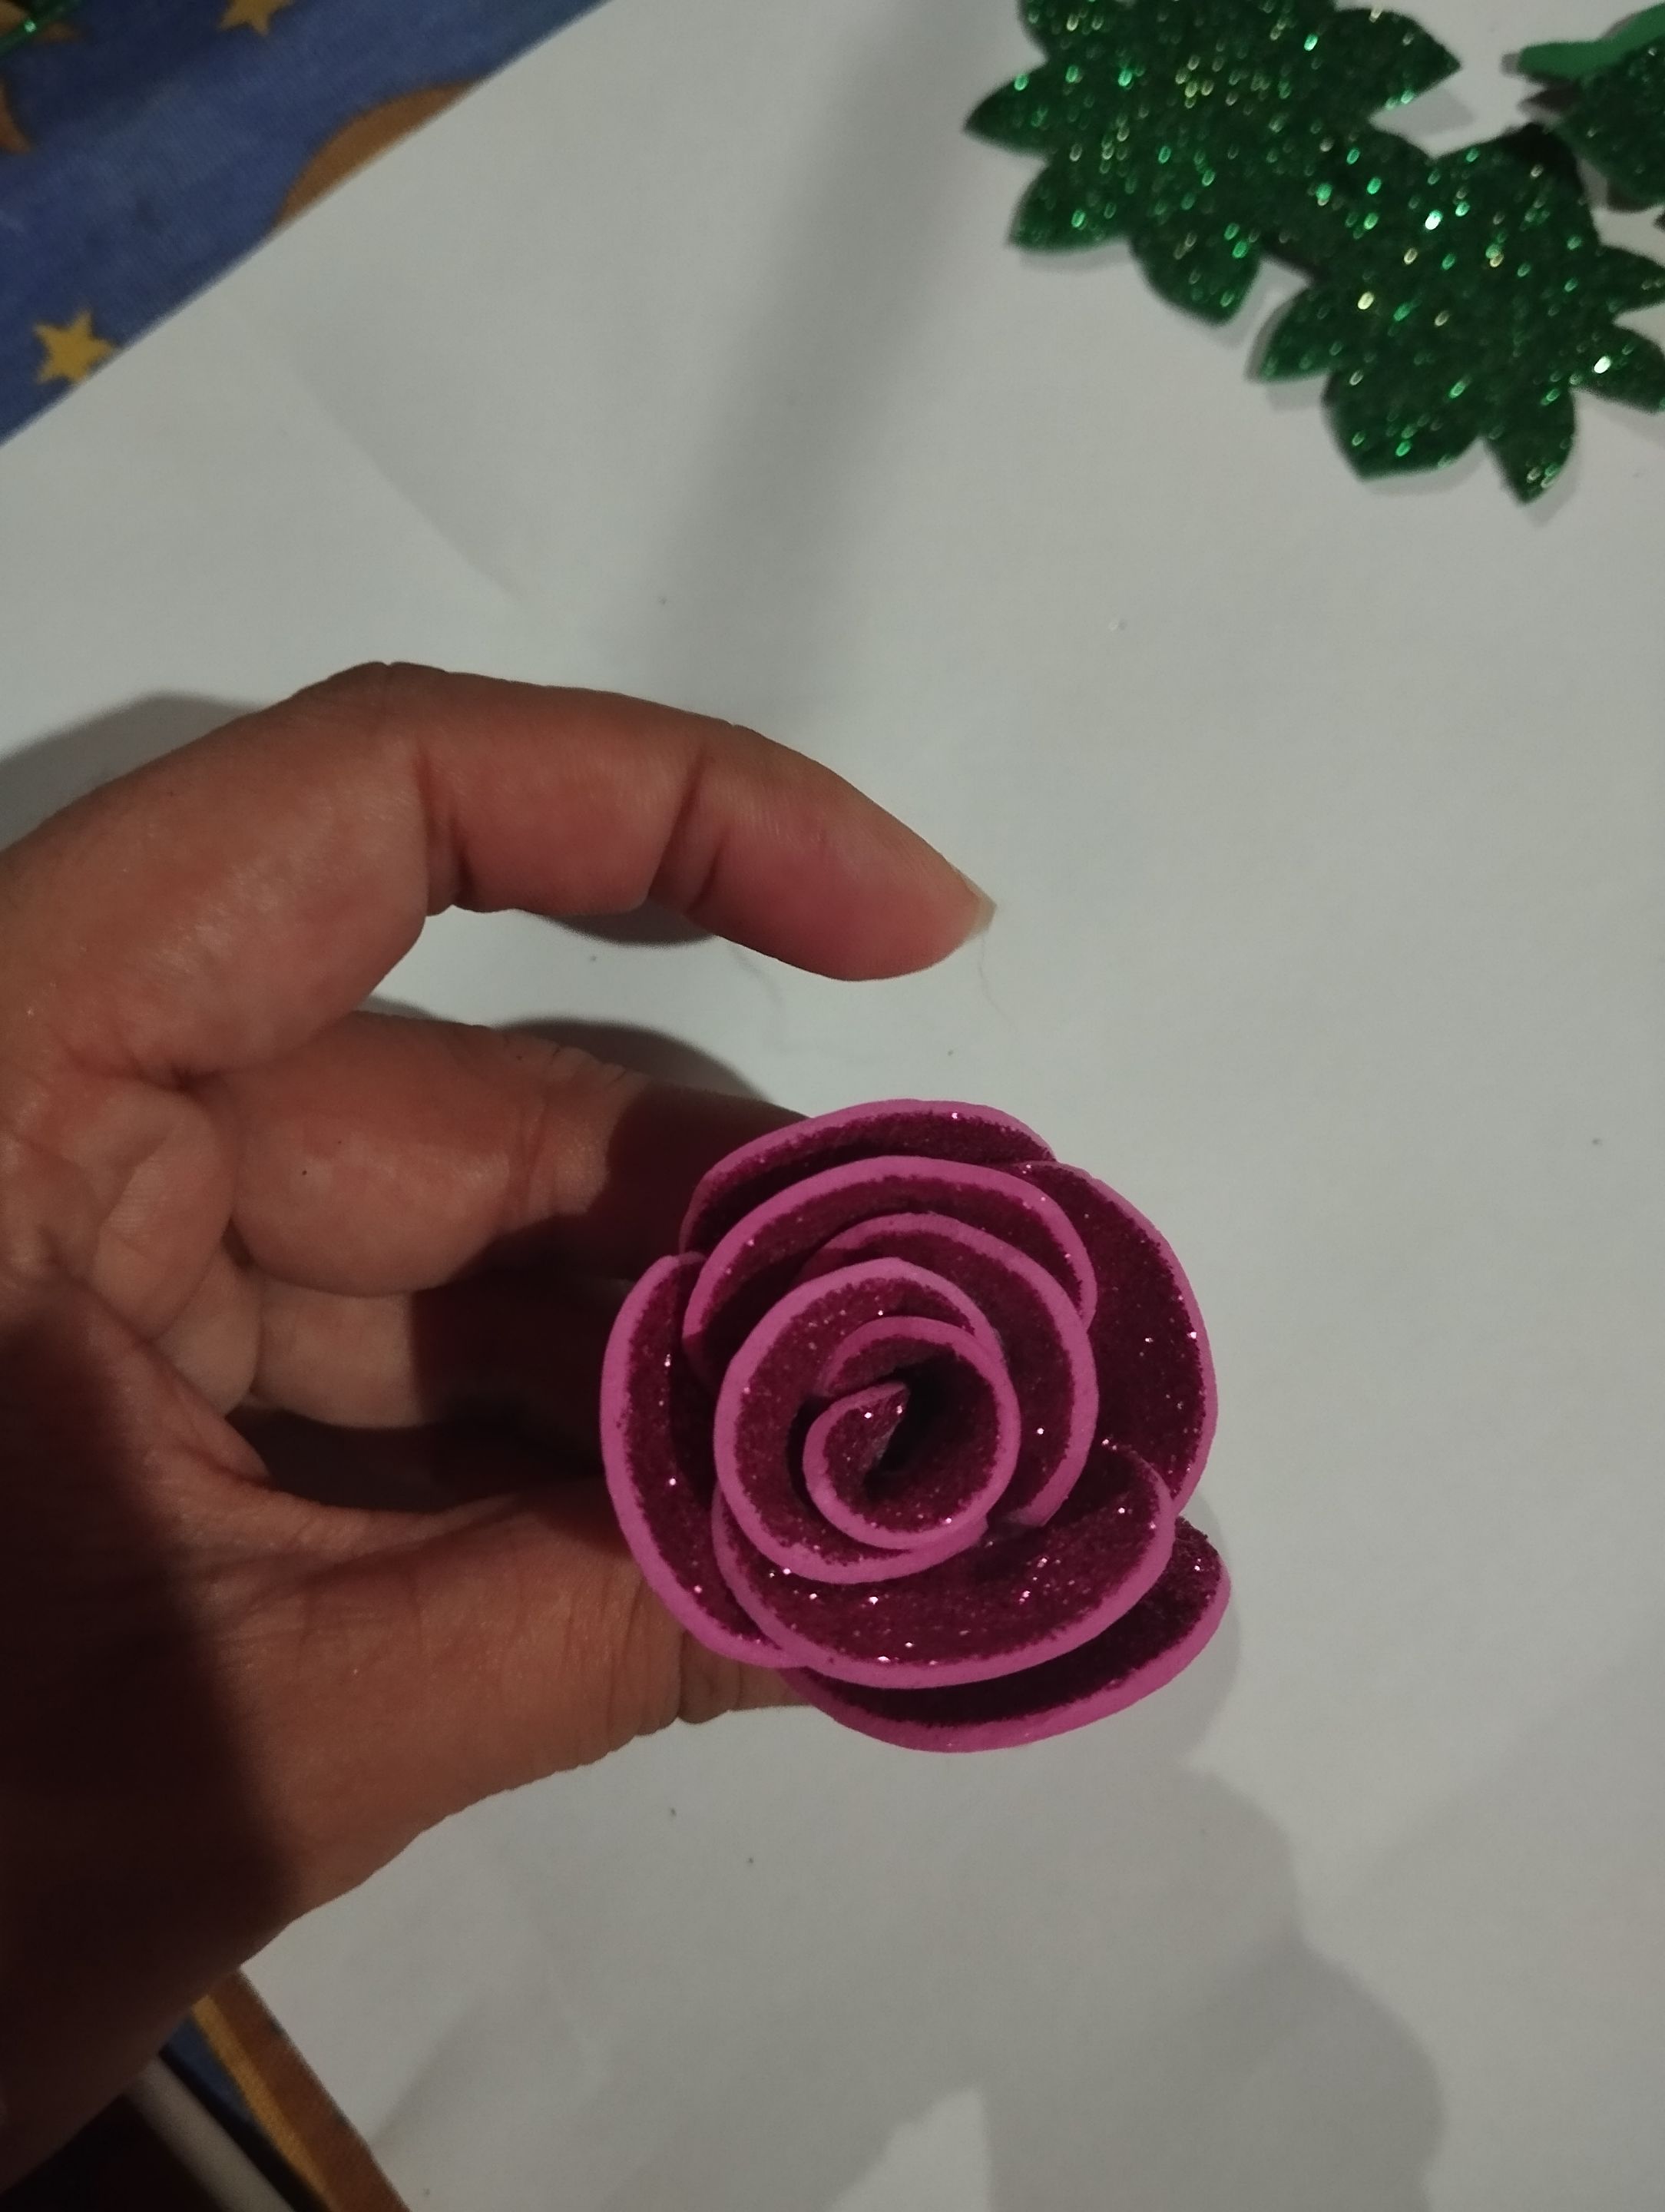
#2 Para la construcción de las flores , tomé una de los semicírculos ya termoformados , hay que hacer el centro enrrollando el semicírculo hacia adentro 🌹, como es un pétalo mucho más grande ,hay que ir enrrollando y dandole movimiento para que se viera lo más parecida a una flor real , además mientras más giros tenga este "pétalo" se aprecia mucho más la superficie escarchado del foami .Para ir agregando los pétalos , iremos como envolviendo el centro de la flor ,pegando el pétalo por la parte recta del semicírculo , para darle más profundidad a los pétalos y que la rosa no quede muy cerrada, haremos un corte en forma de triángulo invertido en la parte recta del semicírculo, y luego junté los extremos de esos cortes para darle ese aspecto cóncavo, e ir agregando petalos haciendo para crecer el tamaño de la flor, y así
fui pegando los pétalos siguientes para los últimos dos pétalos no les hice el piquete en forma de triángulo ,si no que los dejé iguales para que el pétalo se vea más amplio y la flor más grande. De igual forma hice las otras cuatro rosas fucsias , en promedio me dió unas flores de unos 9x9 cm aproximadamente.
English Version
#2 To build the flowers, I took one of the semicircles already thermoformed, you have to make the center by rolling the semicircle inwards 🌹, as it is a much larger petal, you have to roll it up and move it so that it looks as similar as possible to a real flower, also the more turns this "petal" has, the more the Glittering surface of the foam can be seen. To add the petals, we will wrap the center of the flower, gluing the petal along the straight part of the semicircle, to give more depth to the petals and so that the rose is not too closed, we will make a cut in the shape of an inverted triangle in the straight part of the semicircle, and then join the ends of those cuts to give it that concave appearance, and add petals to make the size of the flower grow, and so on
I glued the following petals for the last two petals I did not make the stake in the shape of triangle, but I left them the same so that the petal looks wider and the flower bigger.In the same way I made the other four fuchsia roses, on average I got flowers measuring approximately 9x9 cm.
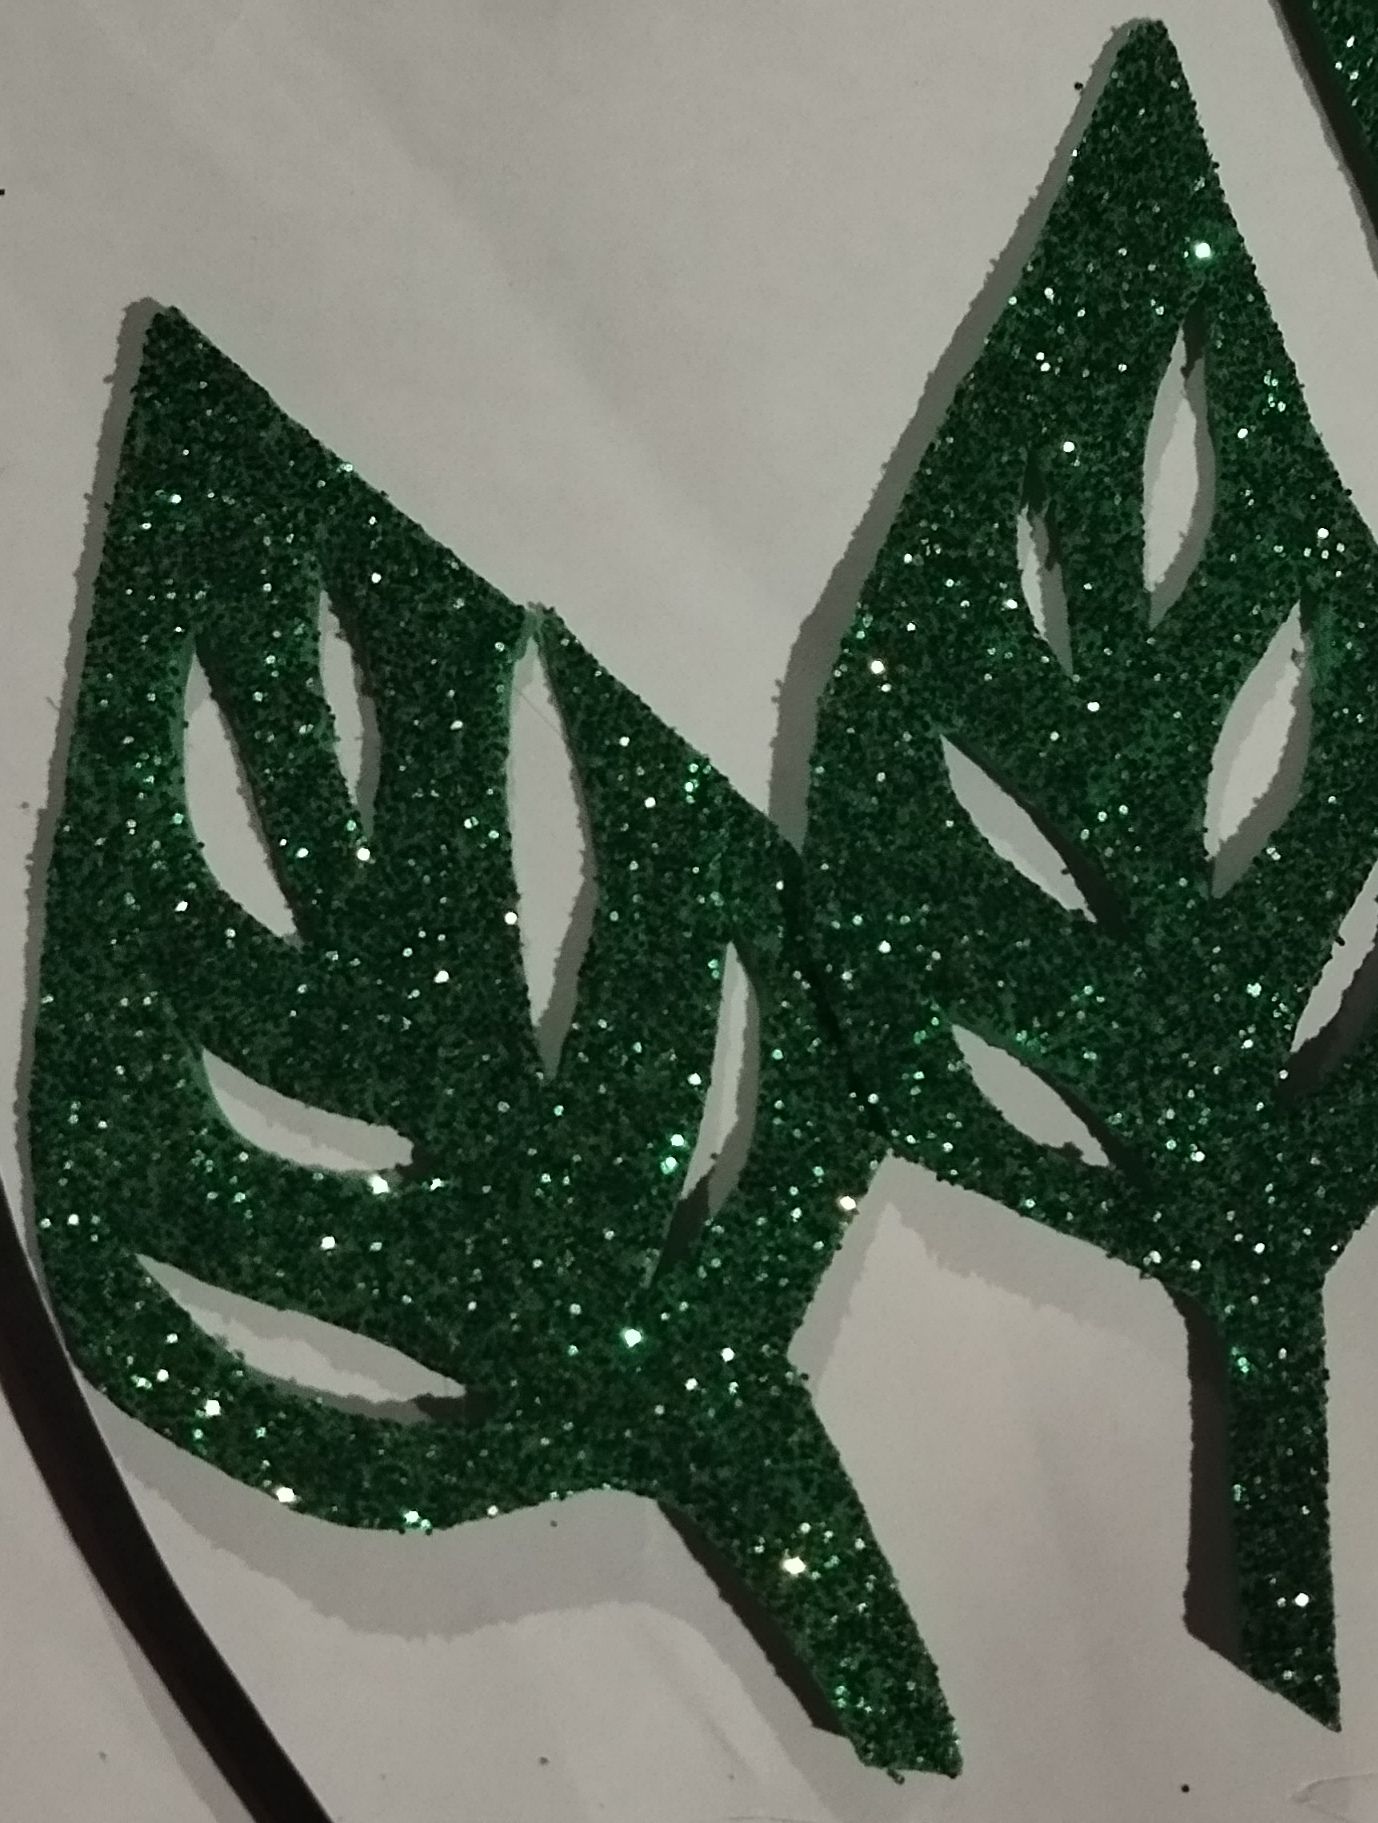 | 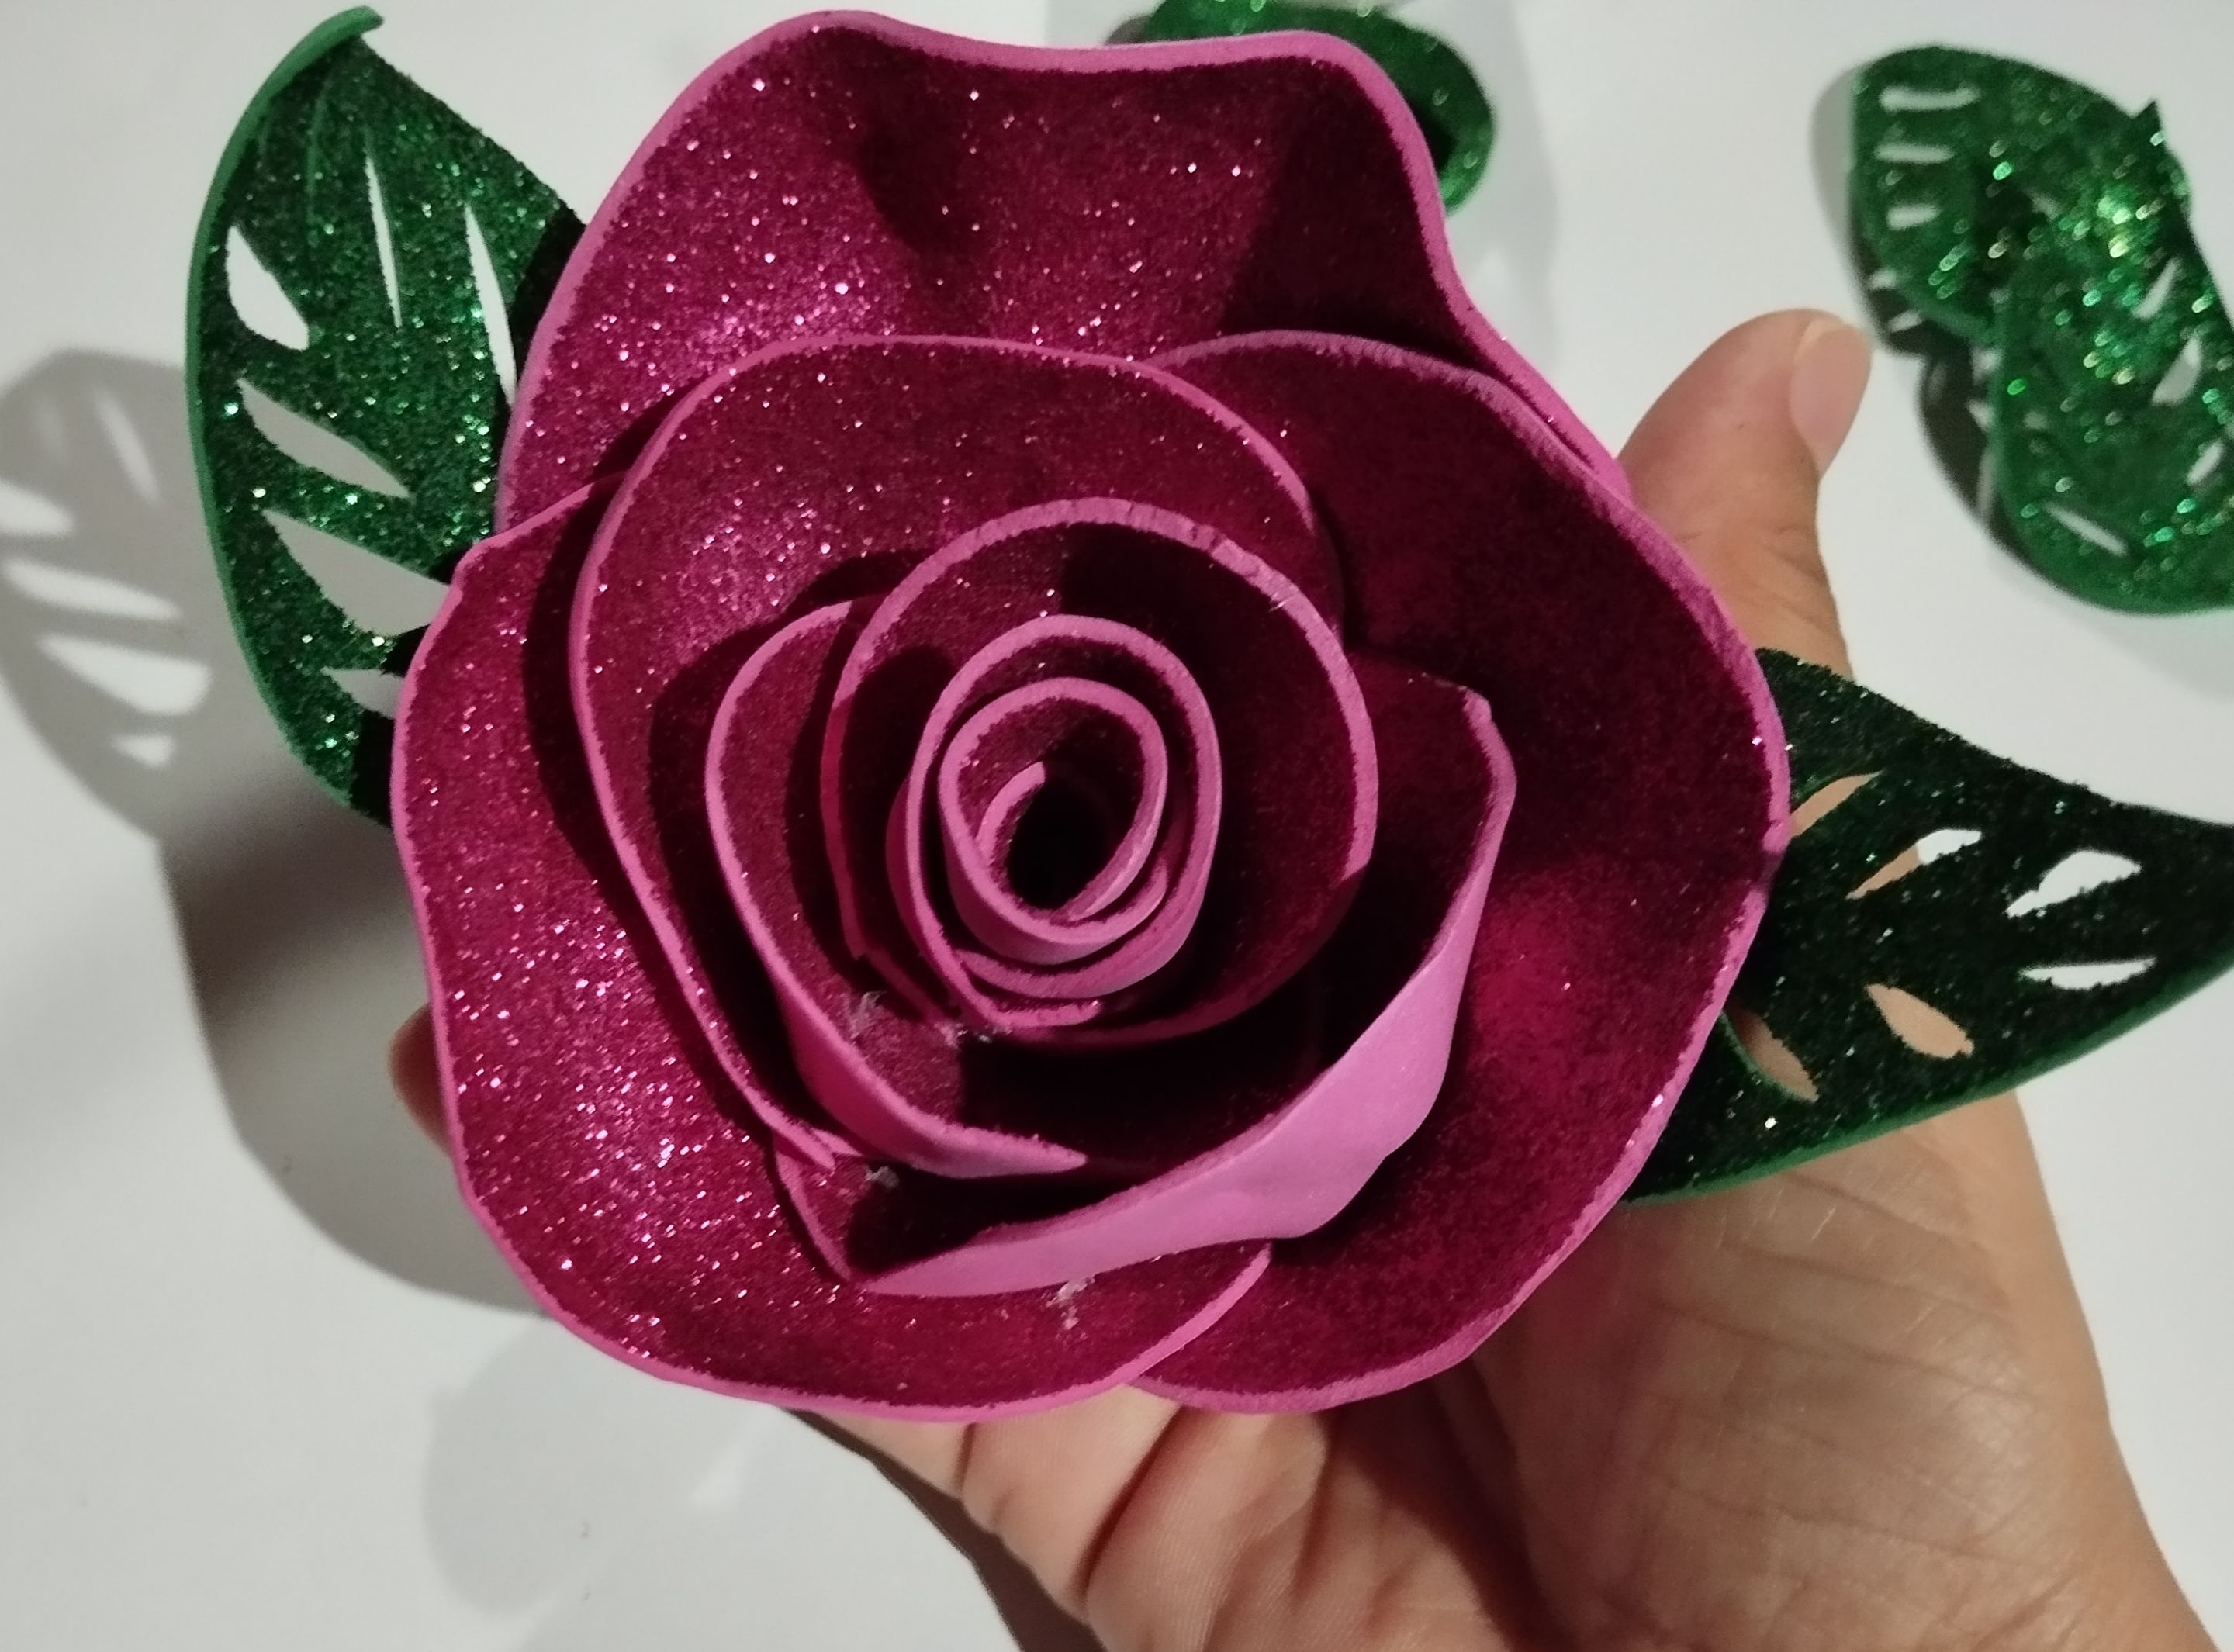 | 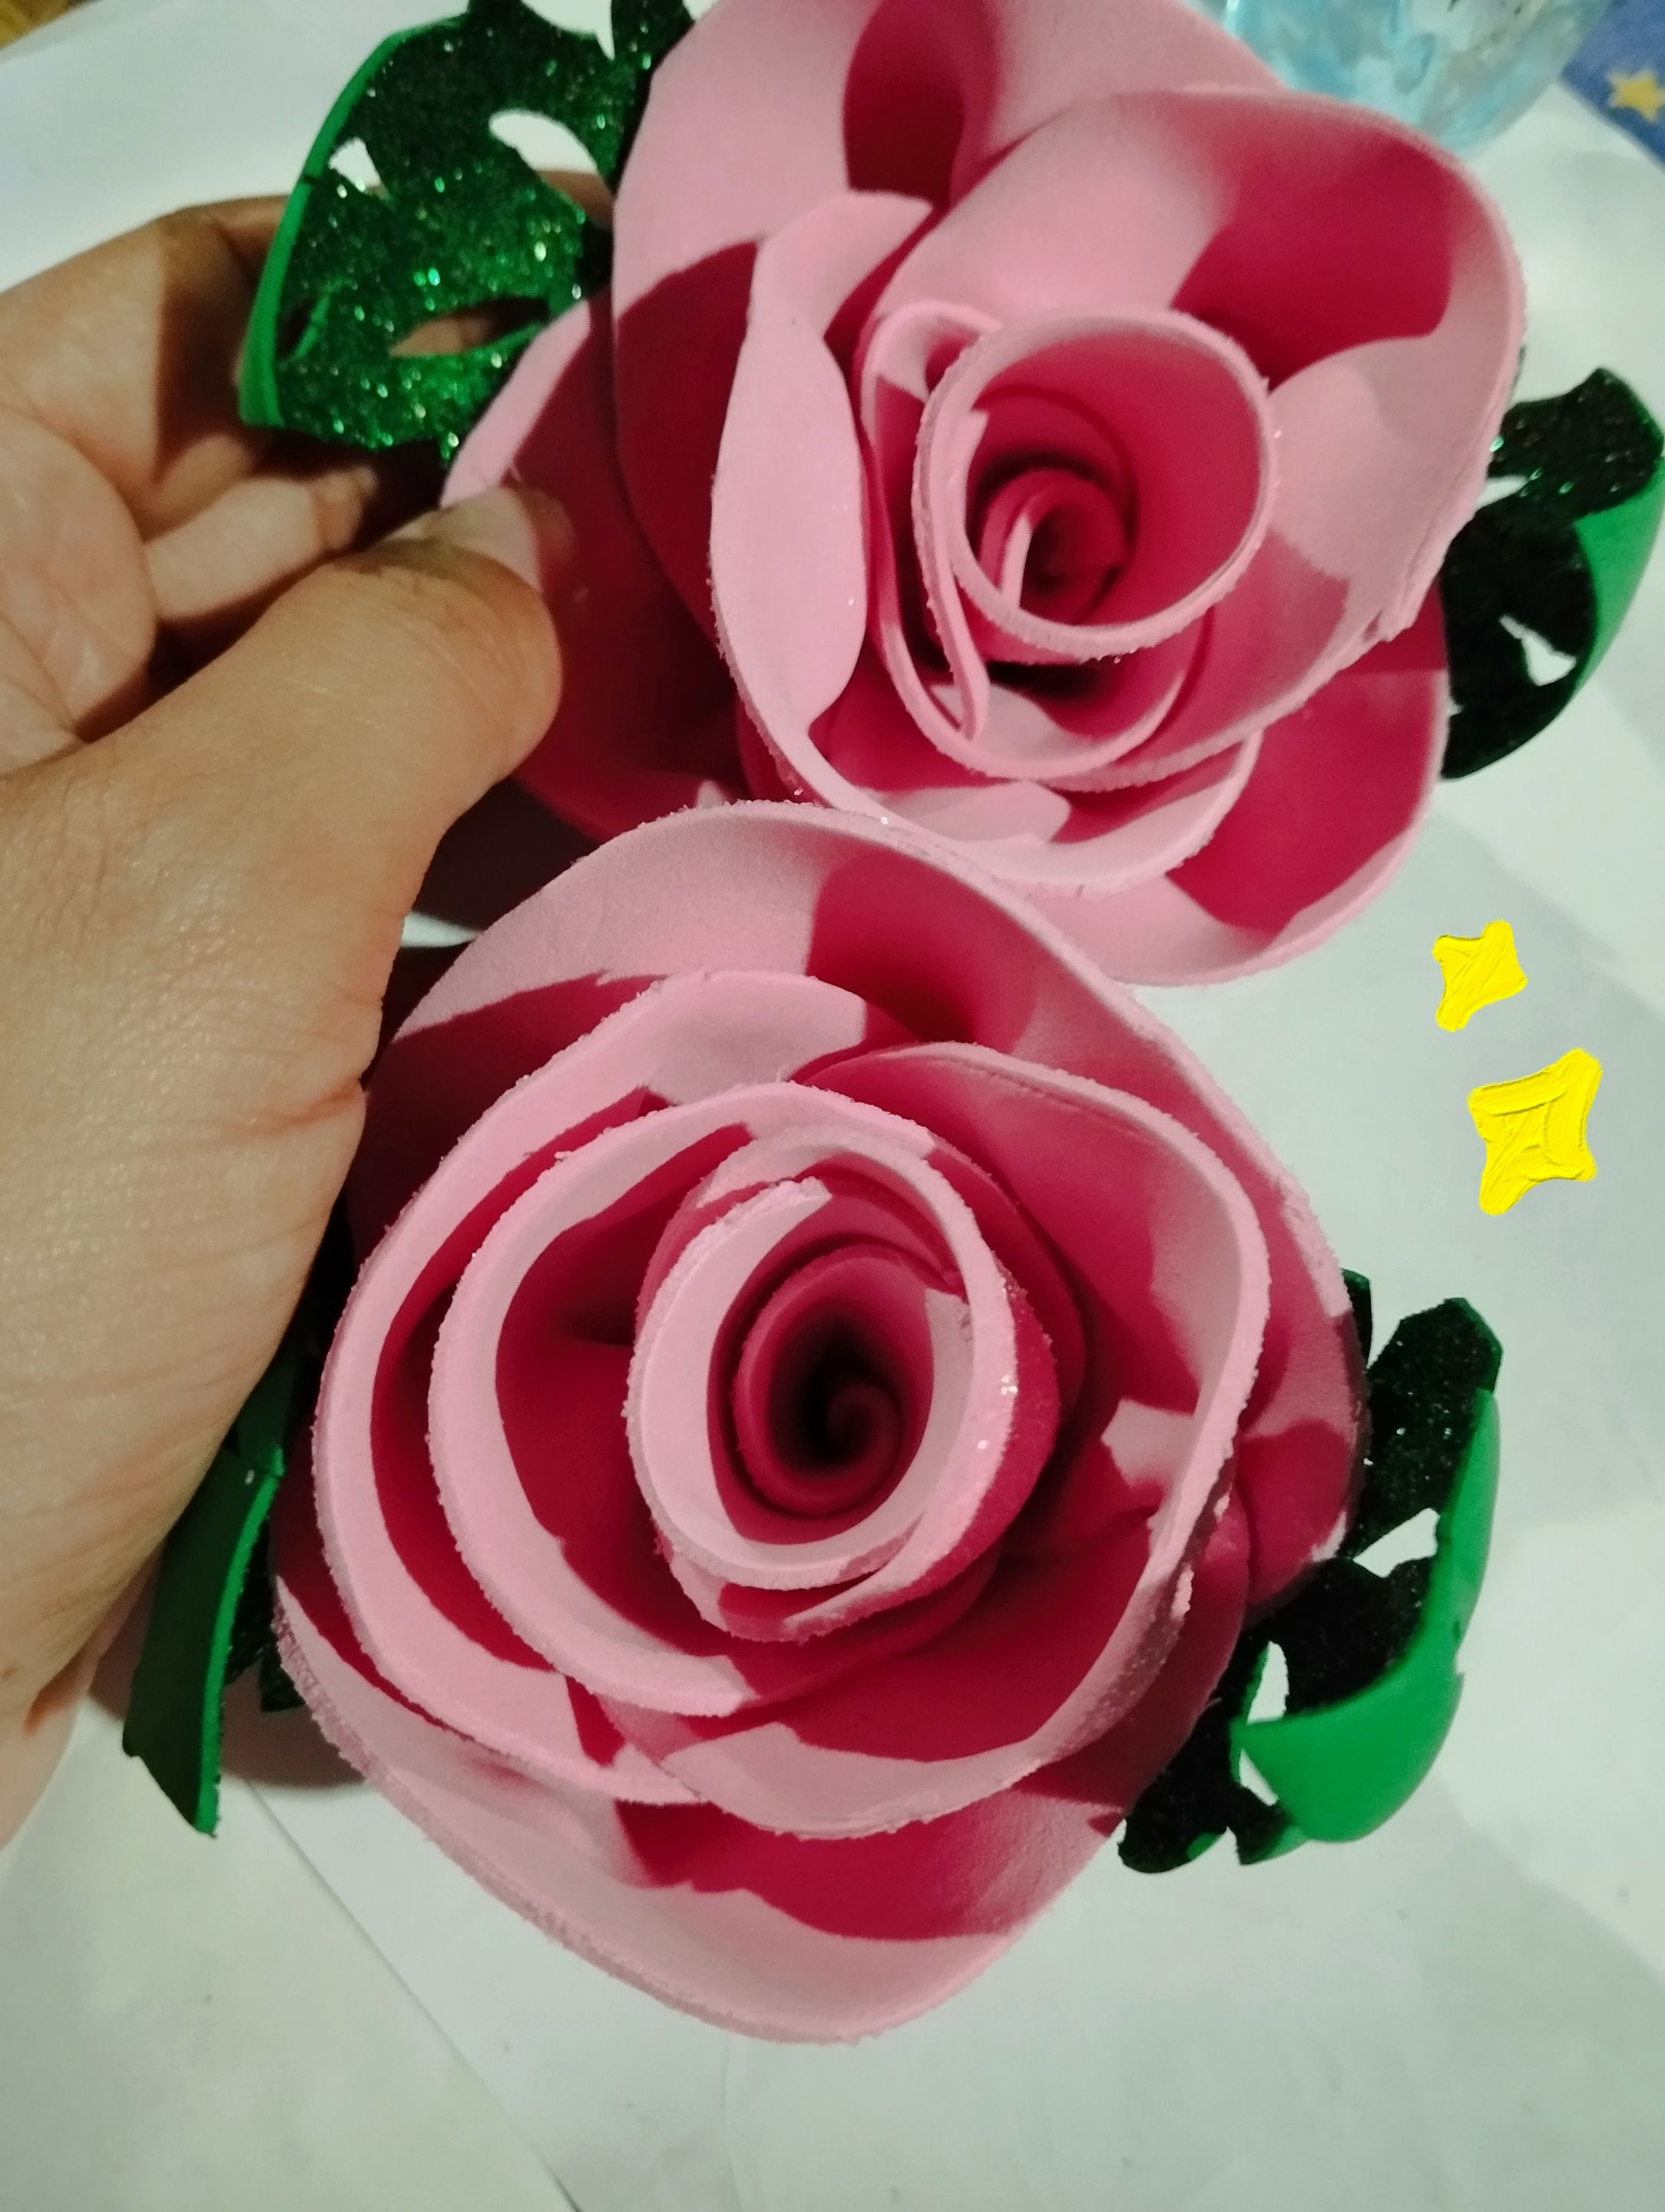 | 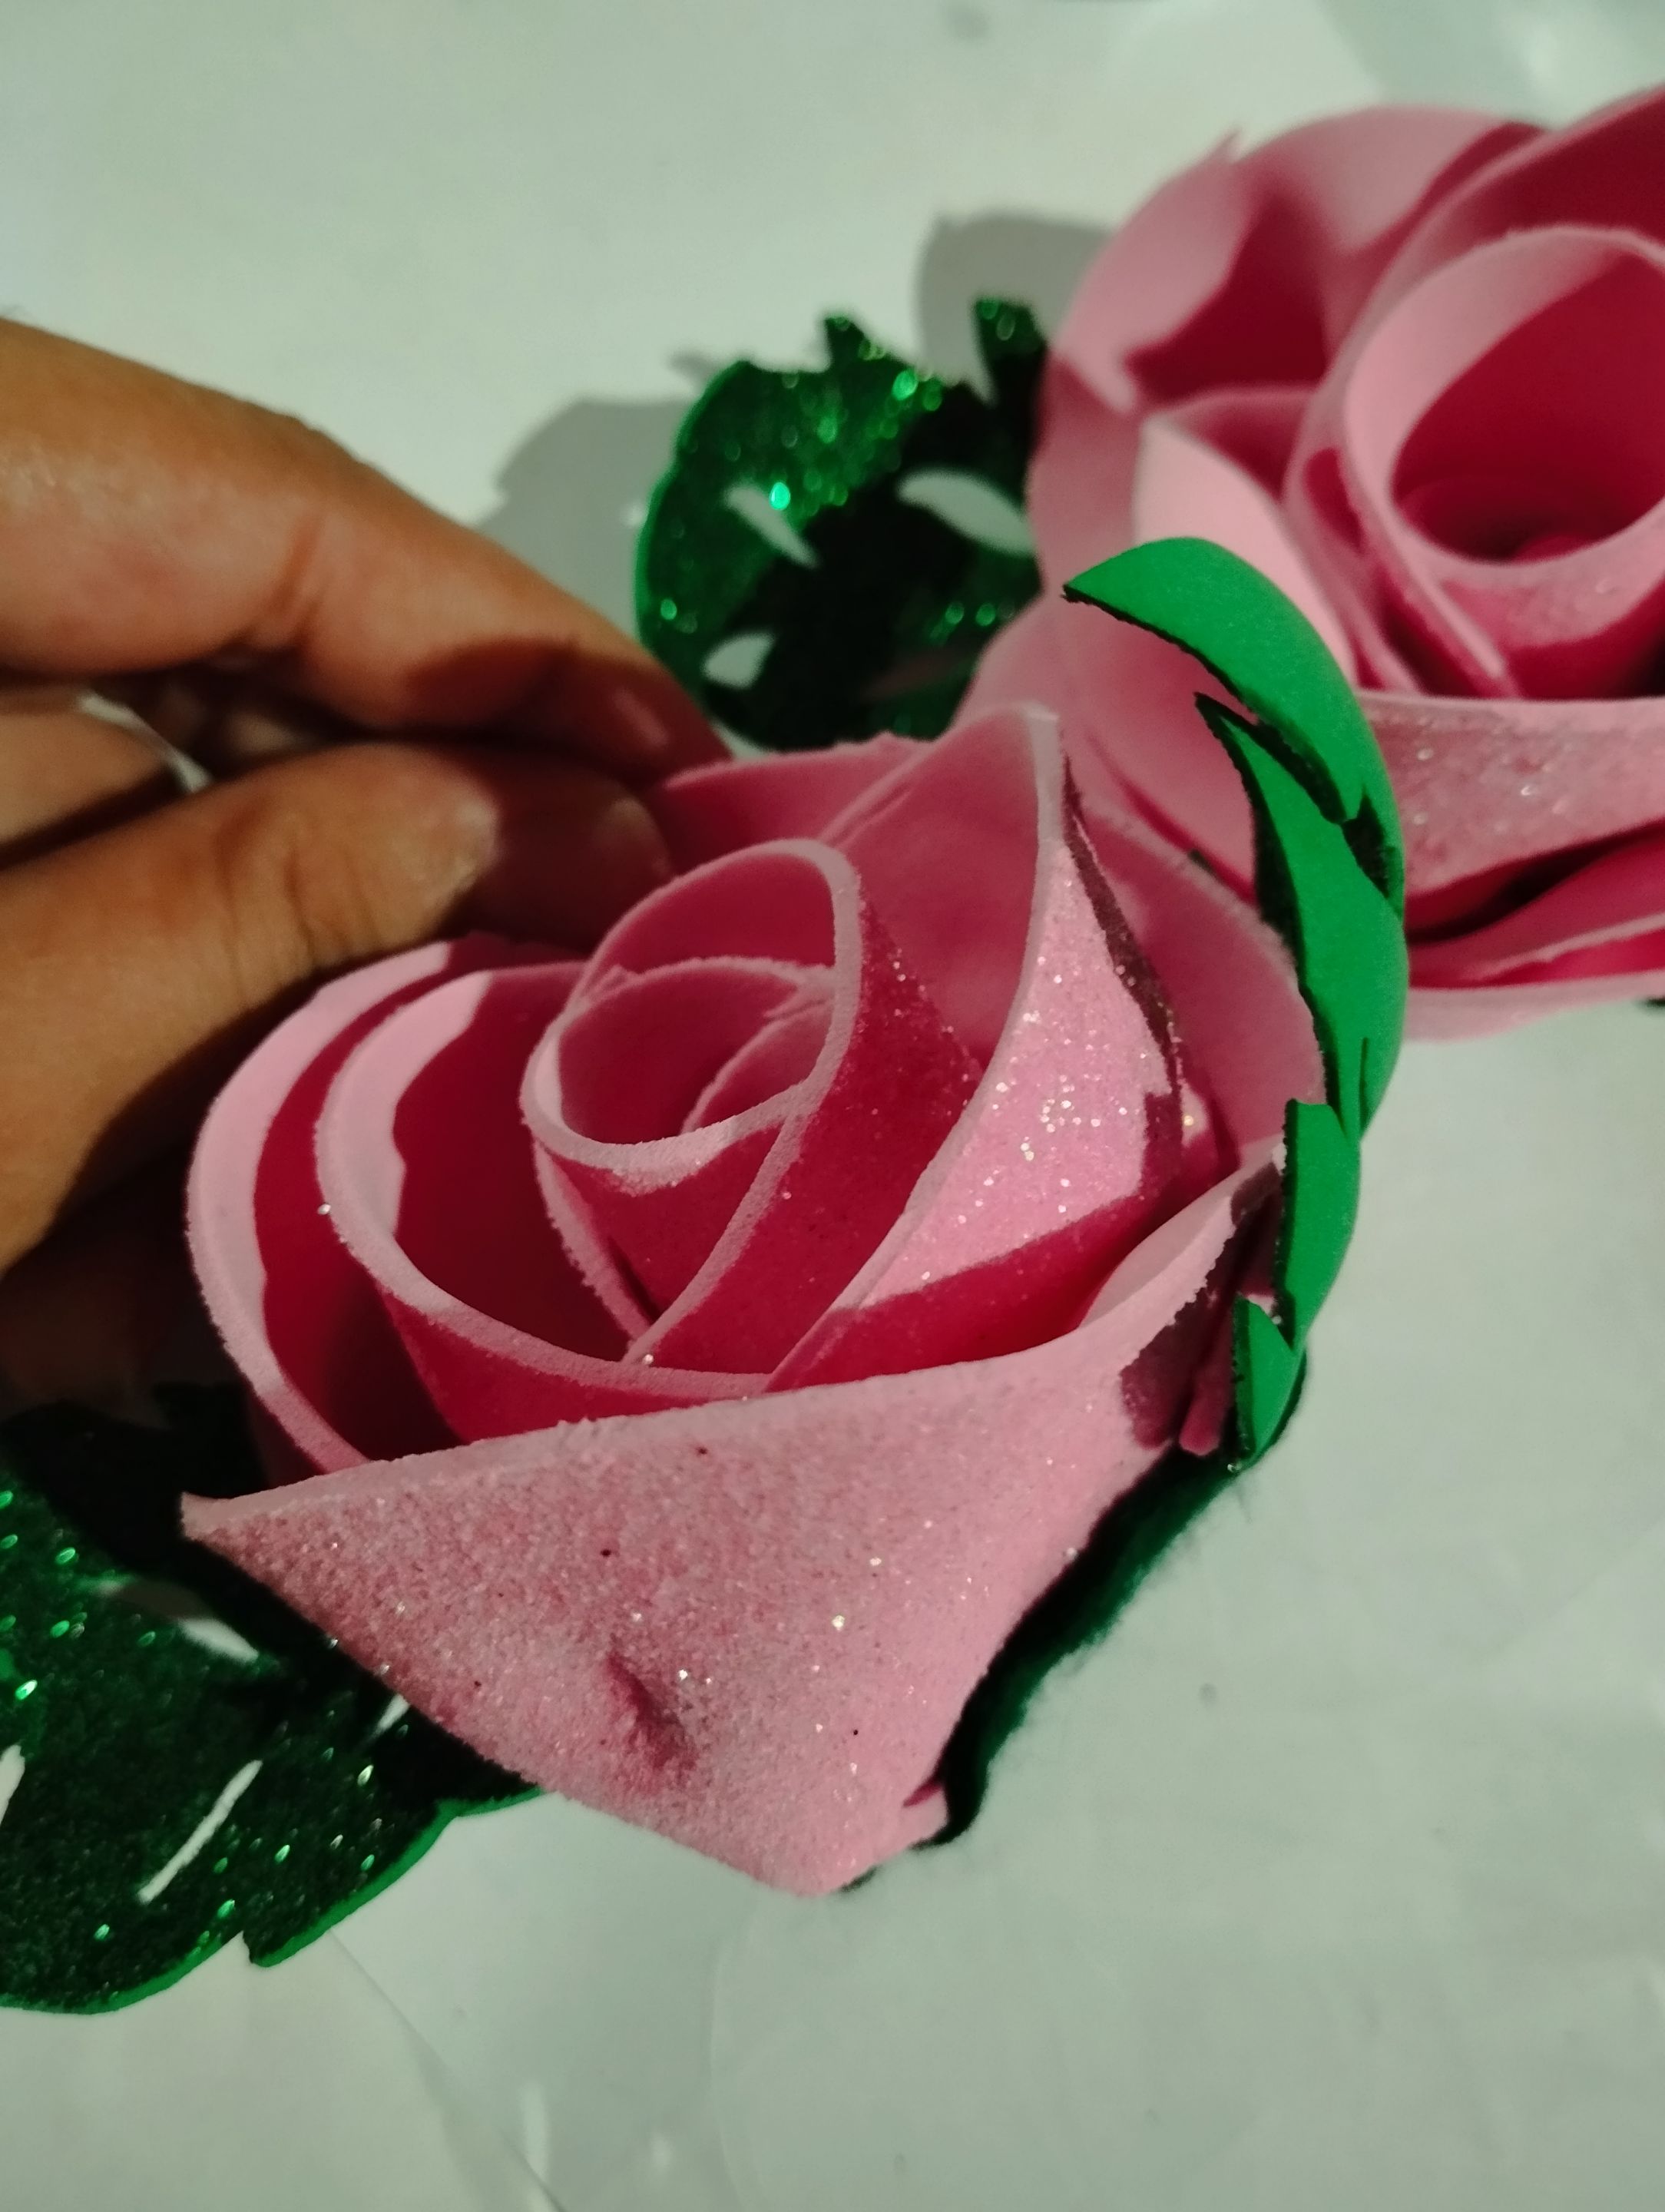 |
#3 Con el foami verde escarchado y con el exacto tipo bisturí, corté unas hojitas de unos 8,5cm de largo,con ranuras para hacer el diseño de las hojitas , luego con la plancha también lo termoforme para darle más movimiento, y las pegué a la parte de atrás de la rosas fucsias, como ven el resultado está en las fotos y es muy bella.También hice otras rosas pero con foami escarchado para decorar la mesa, o otra parte y que fuera más pequeño que las fucsias, aquí usé dos laminas de foami rosado escarchado de tamaño oficio, y usé 7 círculos de foami de 10 cm de longitud, y que al cortarlos use 7 semicírculos para cada rosa , seguí los mismos pasos los termoforme , pero aquí quise intentar usar la superficie lisa sin escarcha hacia adentro y la escarchada hacia afuera para que fueran diferentes a la rosas fucsias, hice mi centro enrrollando los pétalos ,y corté mis semicírculos con el triángulo invertido para hacerle el pliegue , y seguí envolviendo los petalitos ,para armar la rosa, también deje los dos últimos pétalos sin hacerles los pliegues ,para que se vieran los dos últimos más grandes, el resultado es una rosa de unos 6x6 cm aproximadamente, que sería la diferencia de tamaño de las fucsias de 9cm ,más grandes, aquí la verdad no me encantó el resultado usando el foami escarchado por fuera ,considero que luce más cuando la superficie escarchada queda interna ya que se detalla mucho mejor para mí.
English Version
**#3 With the frosted green foam and with the exact type of scalpel, I cut some leaves about 8.5cm long, with slots to make the design of the leaves, then with the iron I also thermoformed it to give it more movement, and I glued them to the back of the fuchsia roses, as you can see the result is in the photos and it is very beautiful. I also made other roses but with frosted foam to decorate the table, or another part and that was smaller than the fuchsias, here I used two sheets of Glittering pink foam of legal size, and I used 7 circles of foam of 10 cm in length, and when cutting them I used 7 semicircles for each rose, I followed the same steps as the thermoform, but here I wanted to try to use the smooth surface without frost inwards and the frosted one outwards so that they were different from the fuchsia rose, I made my center by rolling the petals, and I cut my semicircles with the inverted triangle to make the fold, and I continued wrapping the petals, to assemble the rose, I also left the last two petals without making the folds, so that the last two would look larger, the result is a rose of approximately 6x6 cm, which would be the size difference of the 9cm fuchsias. ,bigger, here the truth is I did not love the result using the frosted foam on the outside, I consider that it looks better when the glitter surface is internal since it is much better detailed for me. **

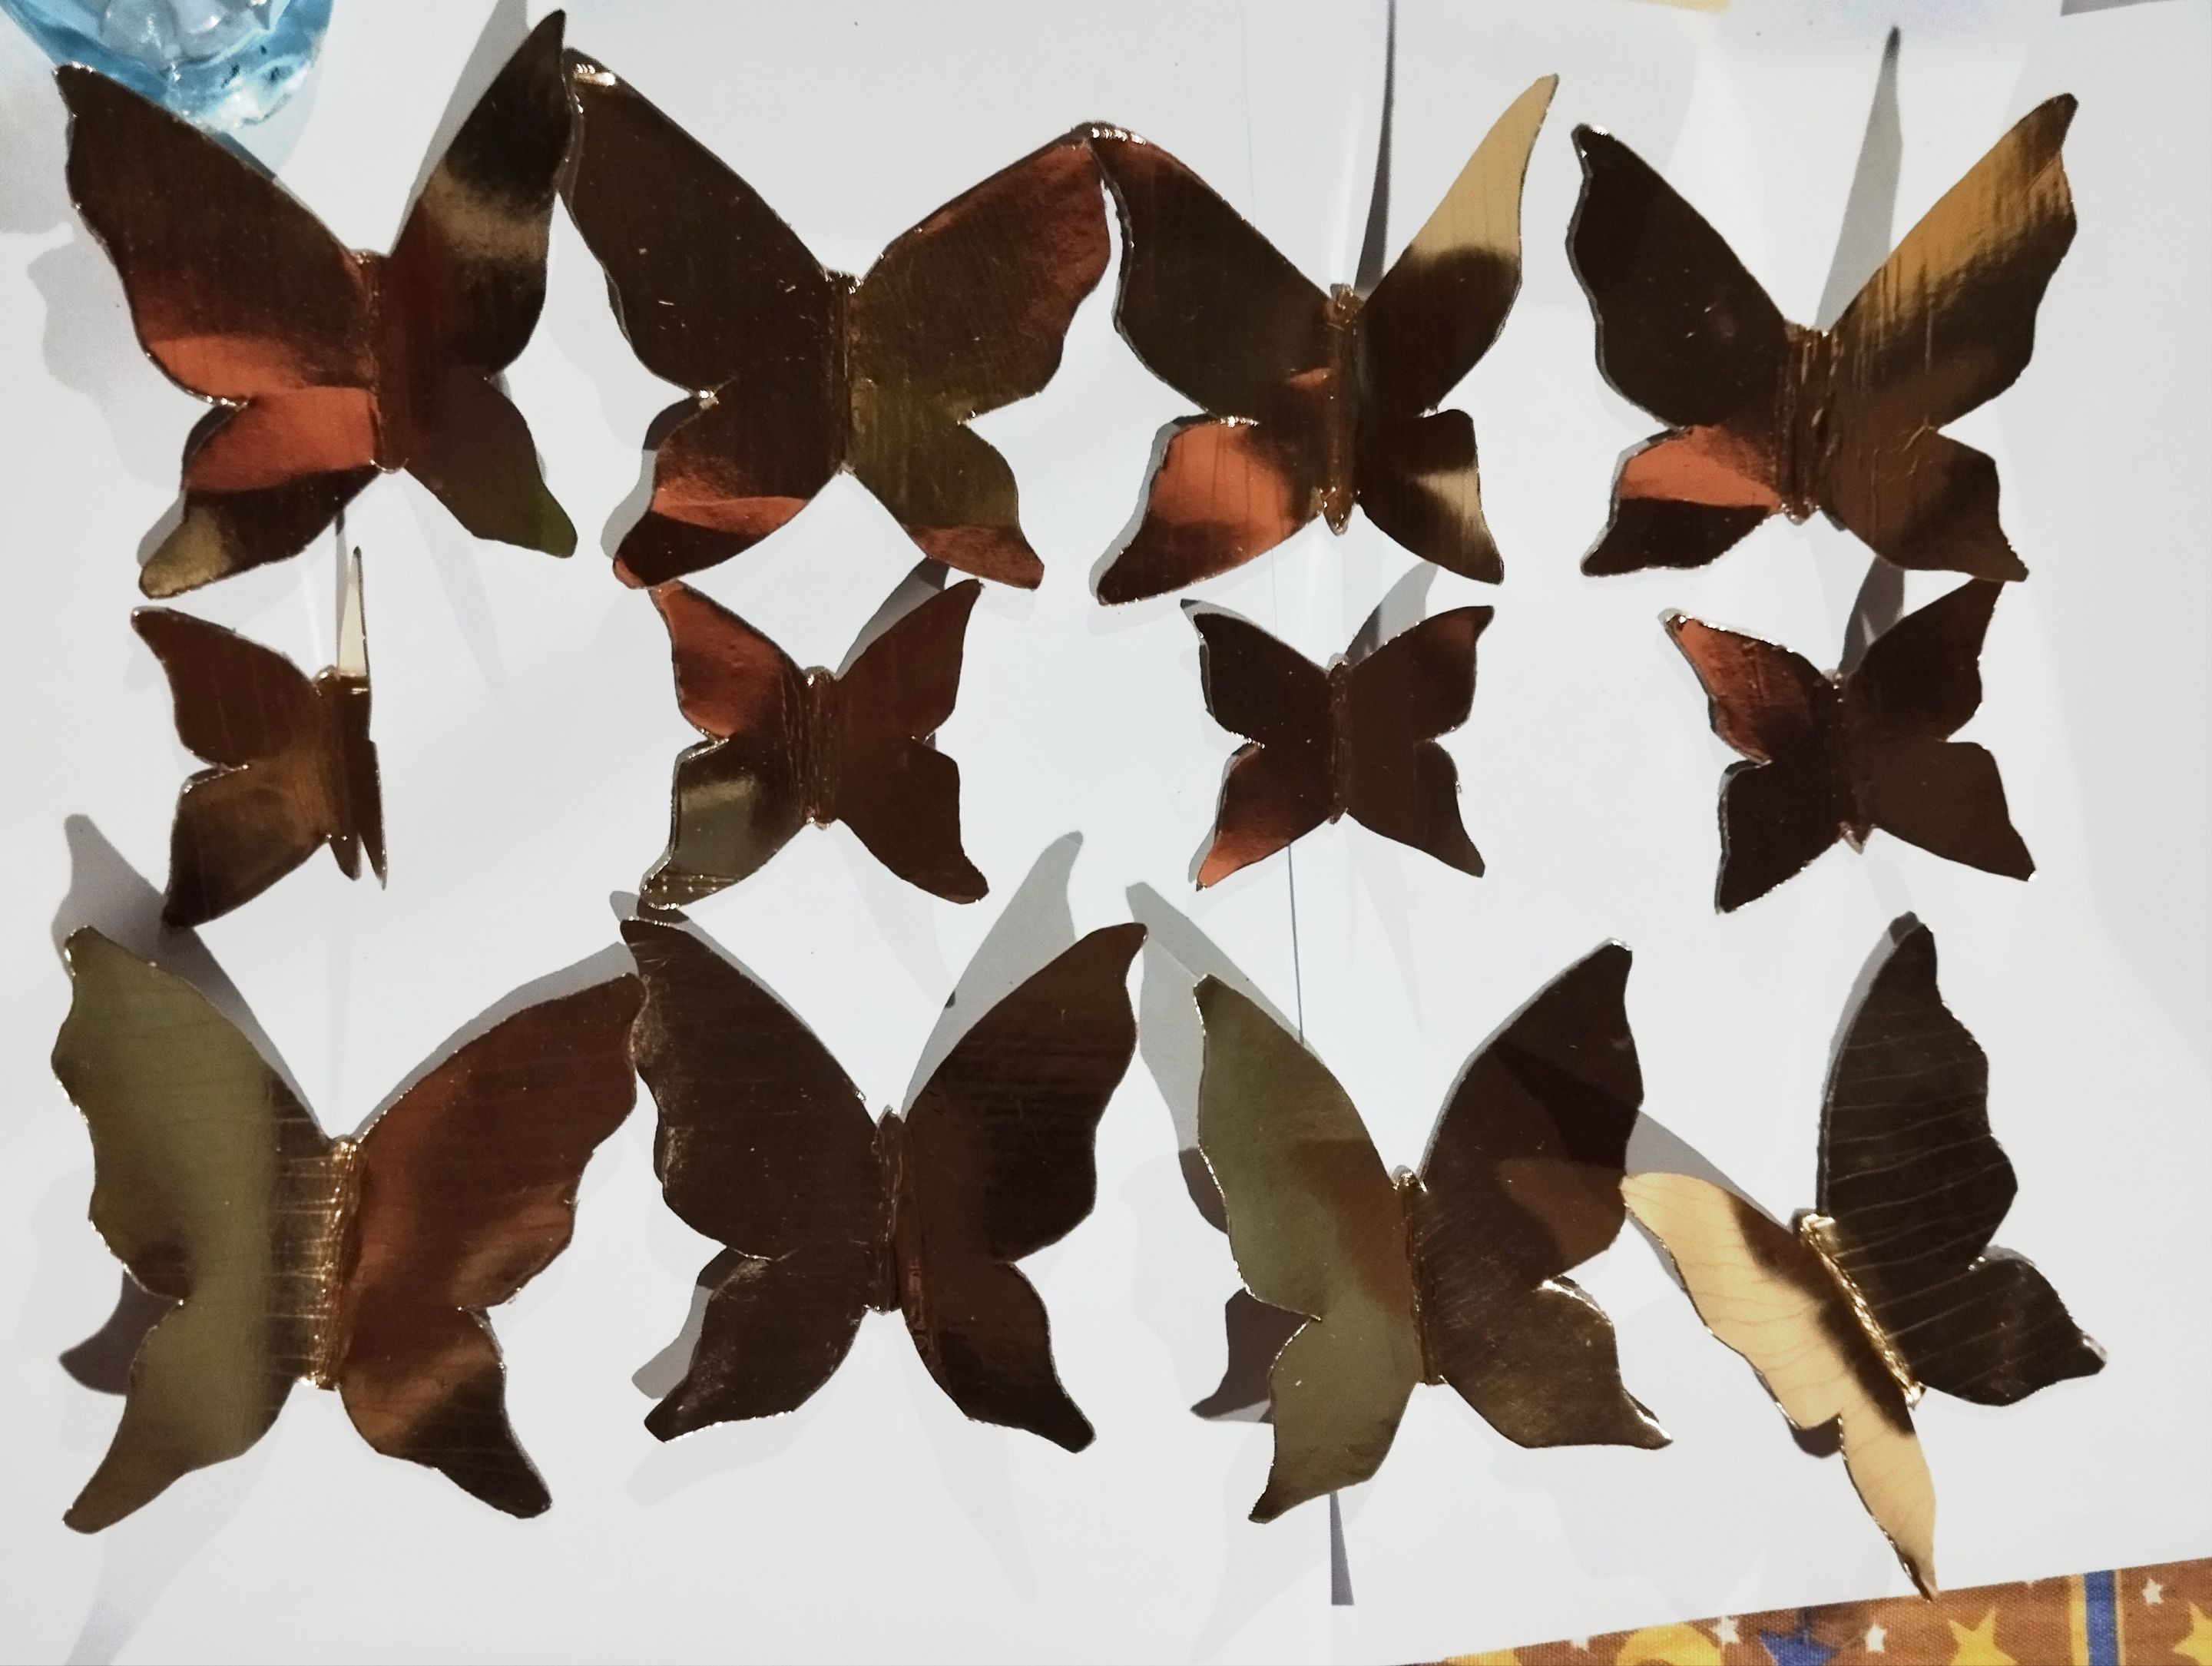 | 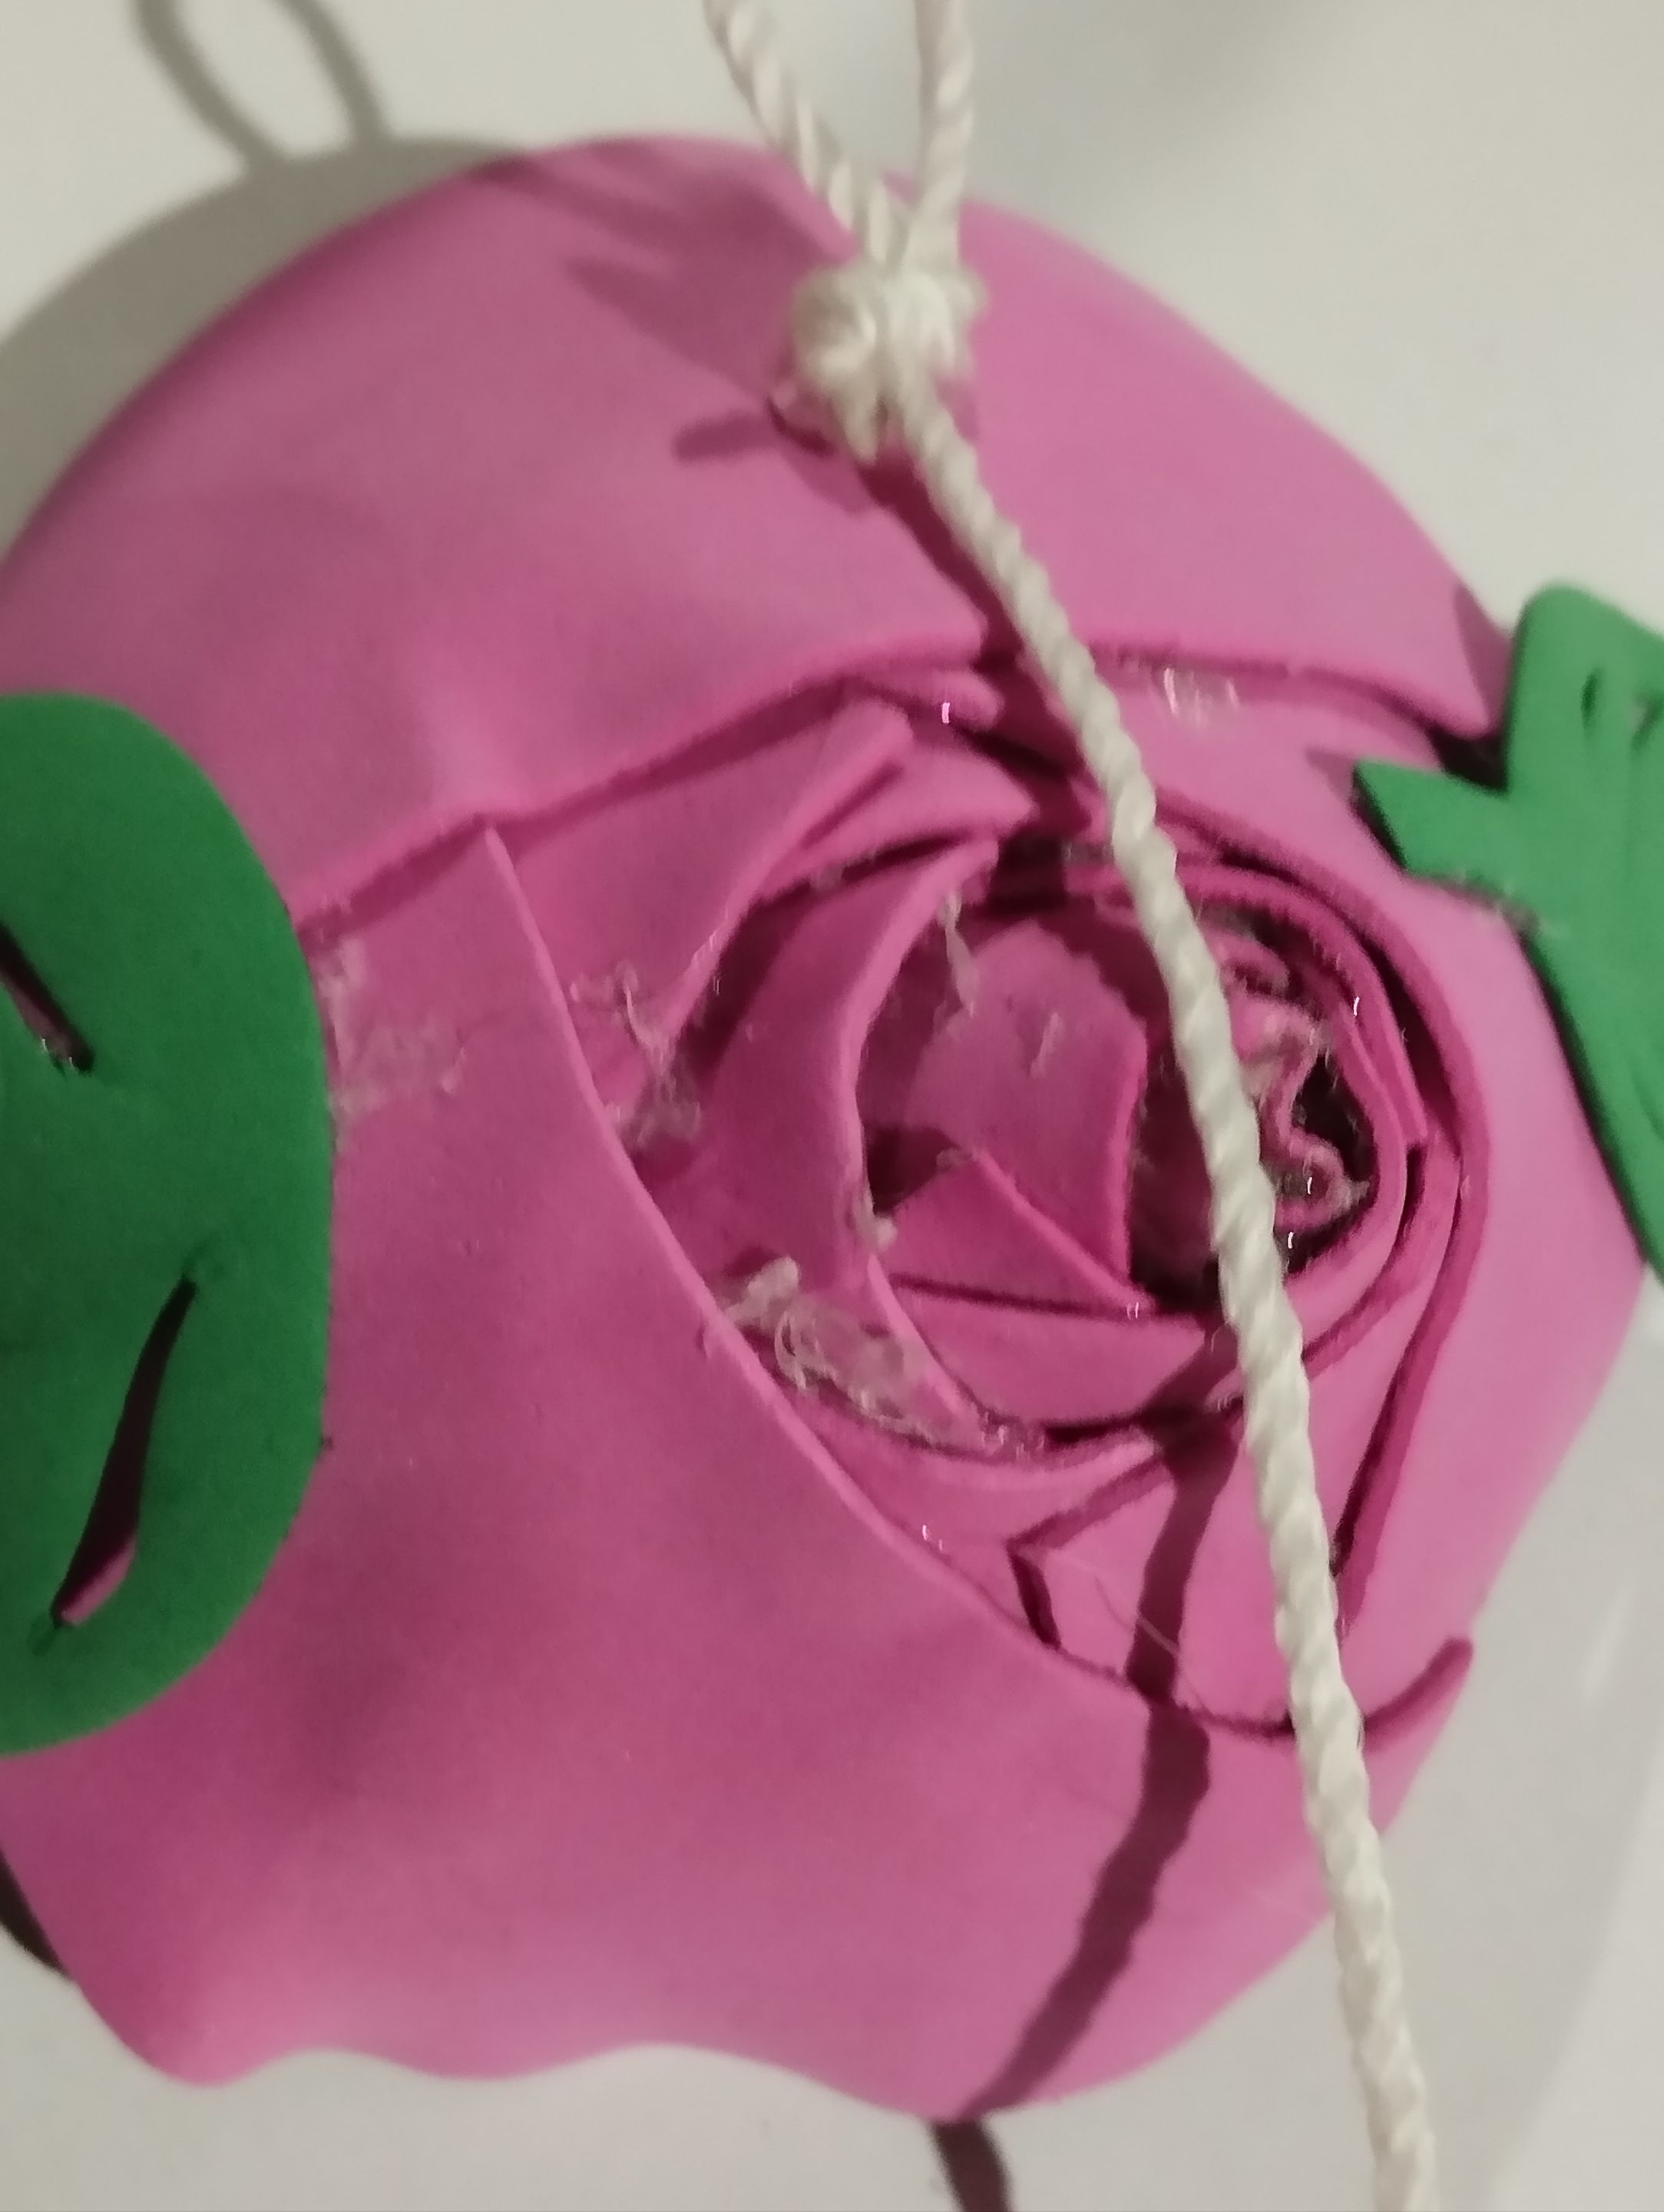 | 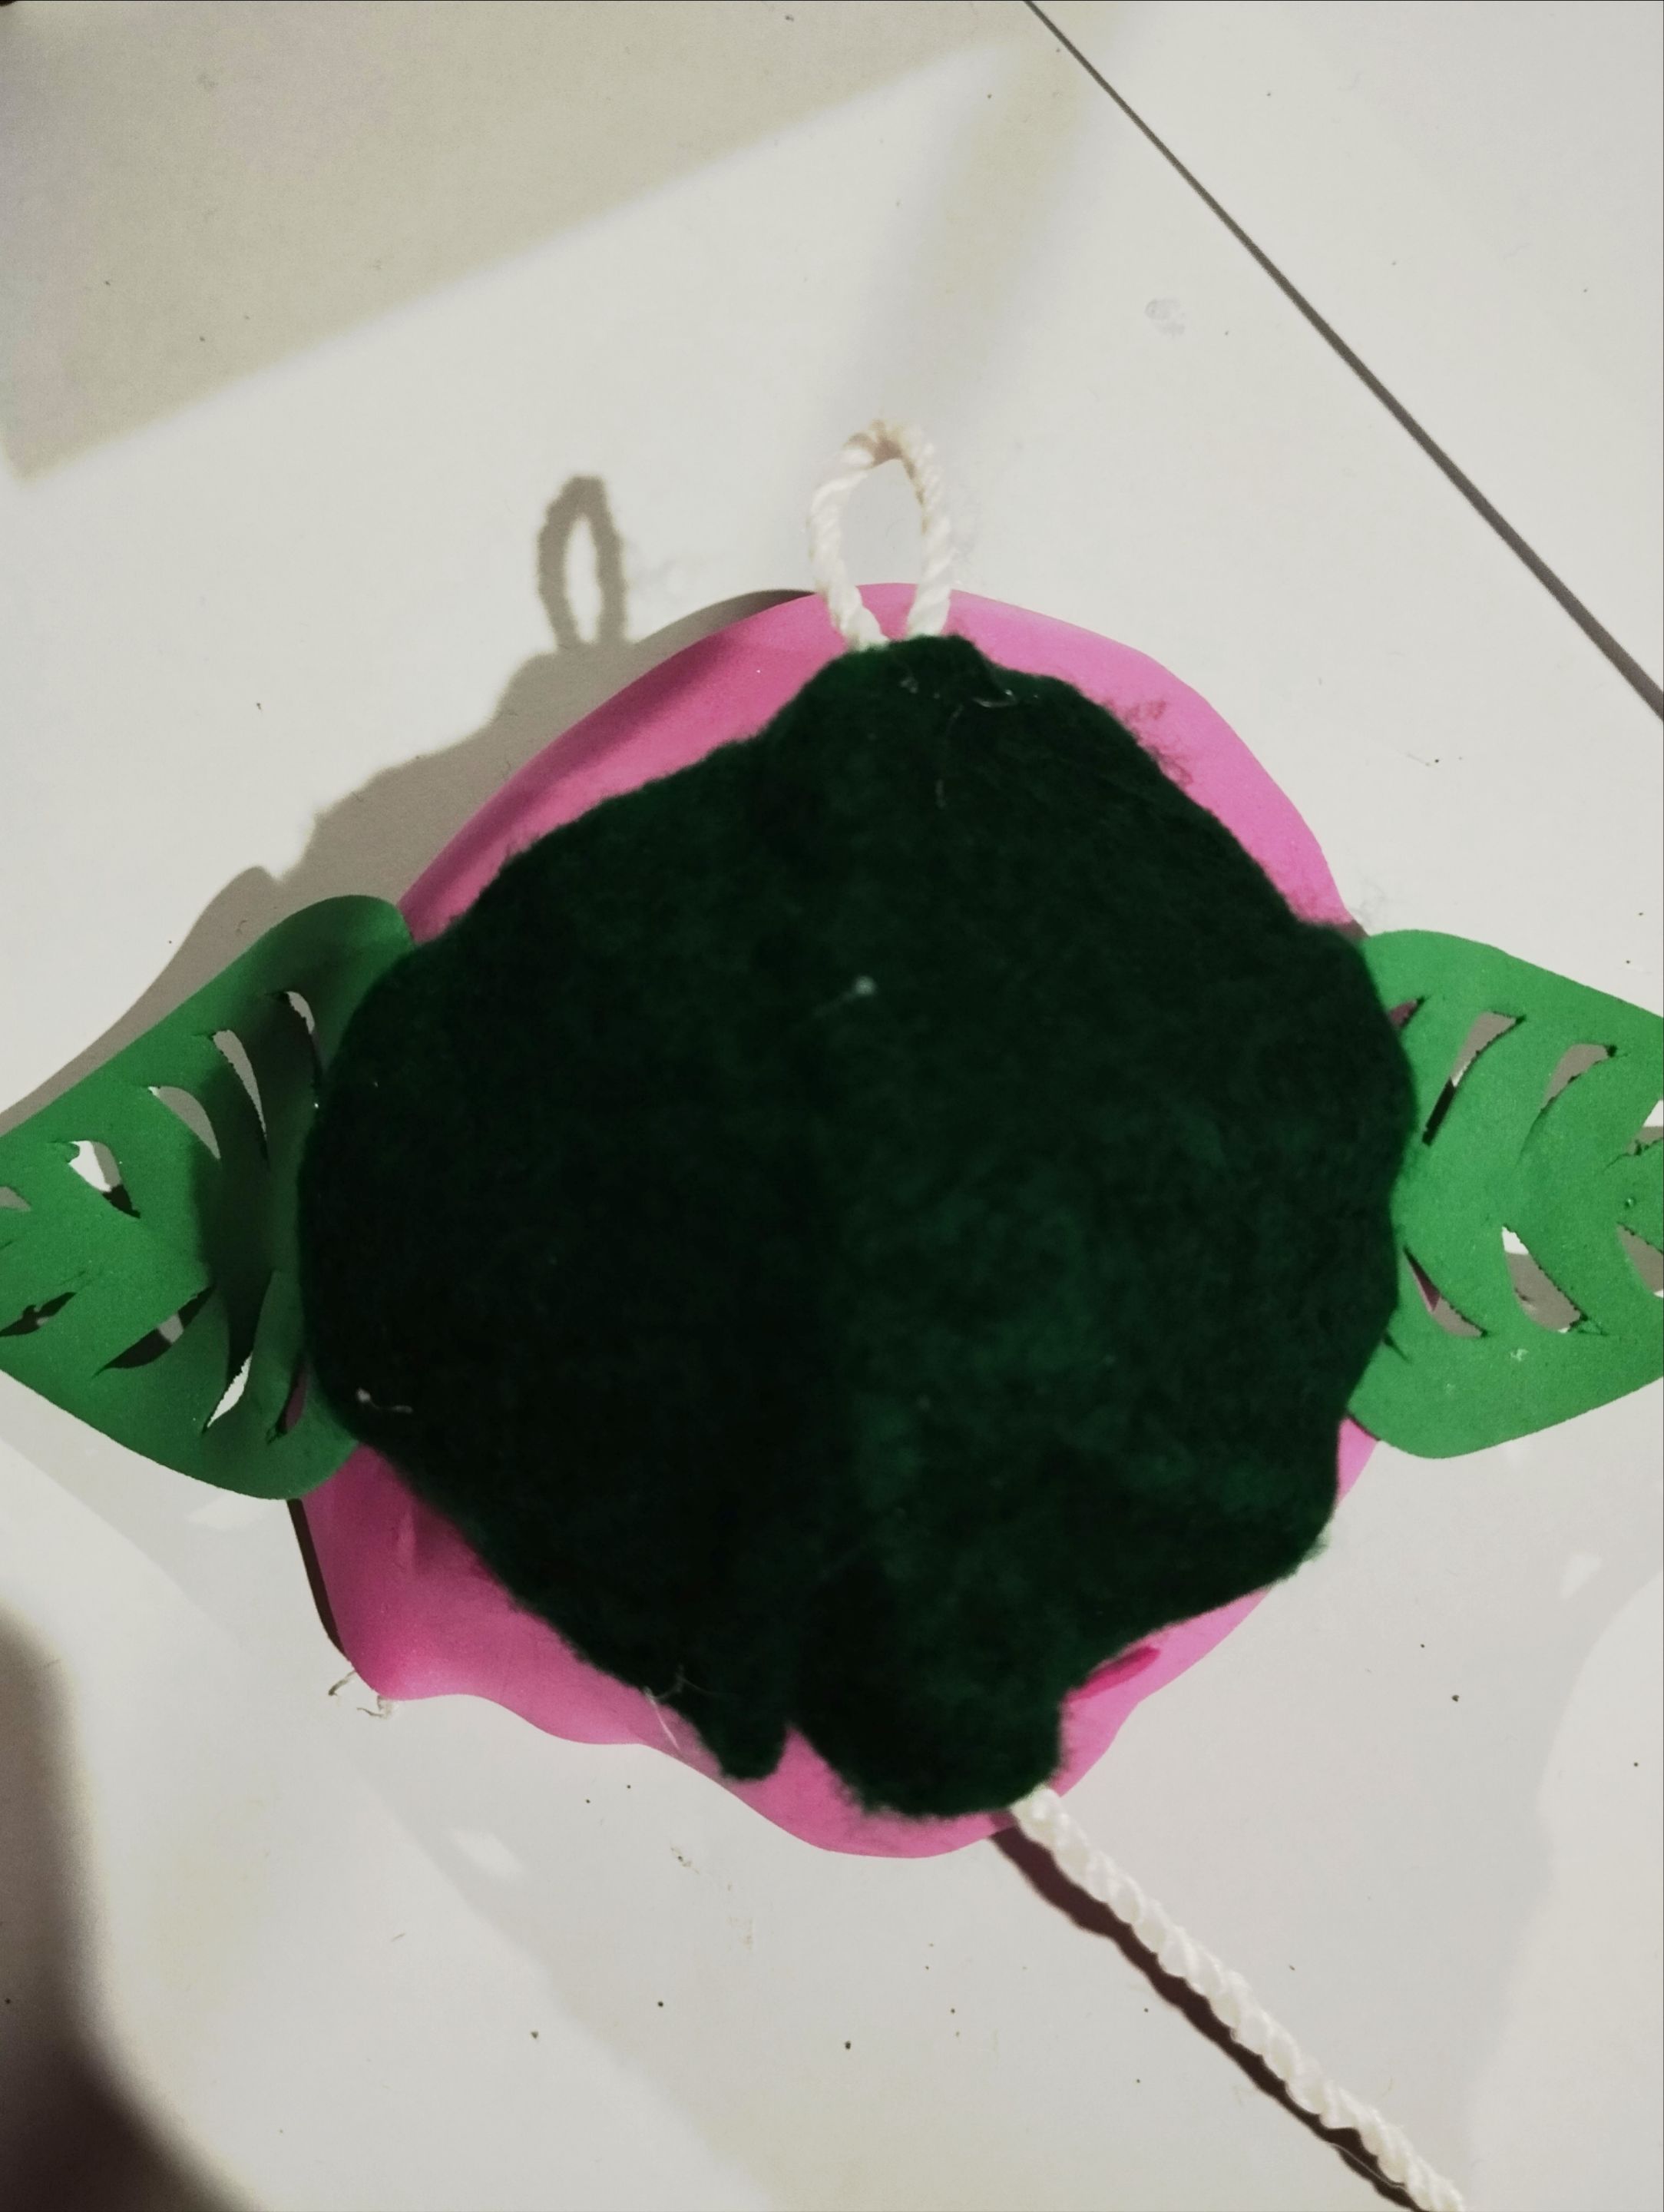 |
#4 Para hacer la cortina decorativa , quería agregar unas maripositas, el material que usé fue el empaque de una caja de Pan de jamón jajaj , era una cajita en dónde venían un pan de jamón que es una comida navideña venezolana, y tuve la suerte que justo venía con cartulina dorada ,y estaba limpio por qué el pan venía dentro en una bolsa , así que yo dije esto me sirve para una manualidad 😃👍 marqué unas mariposas, la hice de unos 7 cm de largo, estás serían 8 mariposas, y 4 mariposas más pequeñas de 5cm aproximadamente.Con un cordón de macrame que la verdad no se su grosor ,pero corté 4 tiras de 65 cm de largo ,para cada tira de cortina, a un extremo lo doblé para hacer un lazo de una orejitas para poder sujetar las cortinas de allí, pegué está tira a la parte de atrás de la flor con silicón, para tapar está unión y que no se viera la parte de atrás de la rosa , corté un círculo de fieltro verde ,y lo pegué para tapar esas uniones.
English Version
#4 To make the decorative curtain, I wanted to add some butterflies, the material I used was the packaging of a box of Ham Bread hahaha, it was a little box where a Ham Bread came which is a Venezuelan Christmas food, and I was lucky that it came with gold cardboard, and it was clean because the bread came inside in a bag, so I said this is useful for a craft 😃👍 I marked some butterflies, I made it about 7 cm long, these would be 8 butterflies, and 4 smaller butterflies of approximately 5cm. With a macrame cord that I really don't know its thickness, but I cut 4 strips of 65 cm long, for each curtain strip, at one end I folded it to make a bow with some ears to be able to hold the curtains there, I glued this strip to the back of the flower with silicone, to cover this joint and so that the back of the rose, I cut a circle of green felt, and glued it to cover those joints.
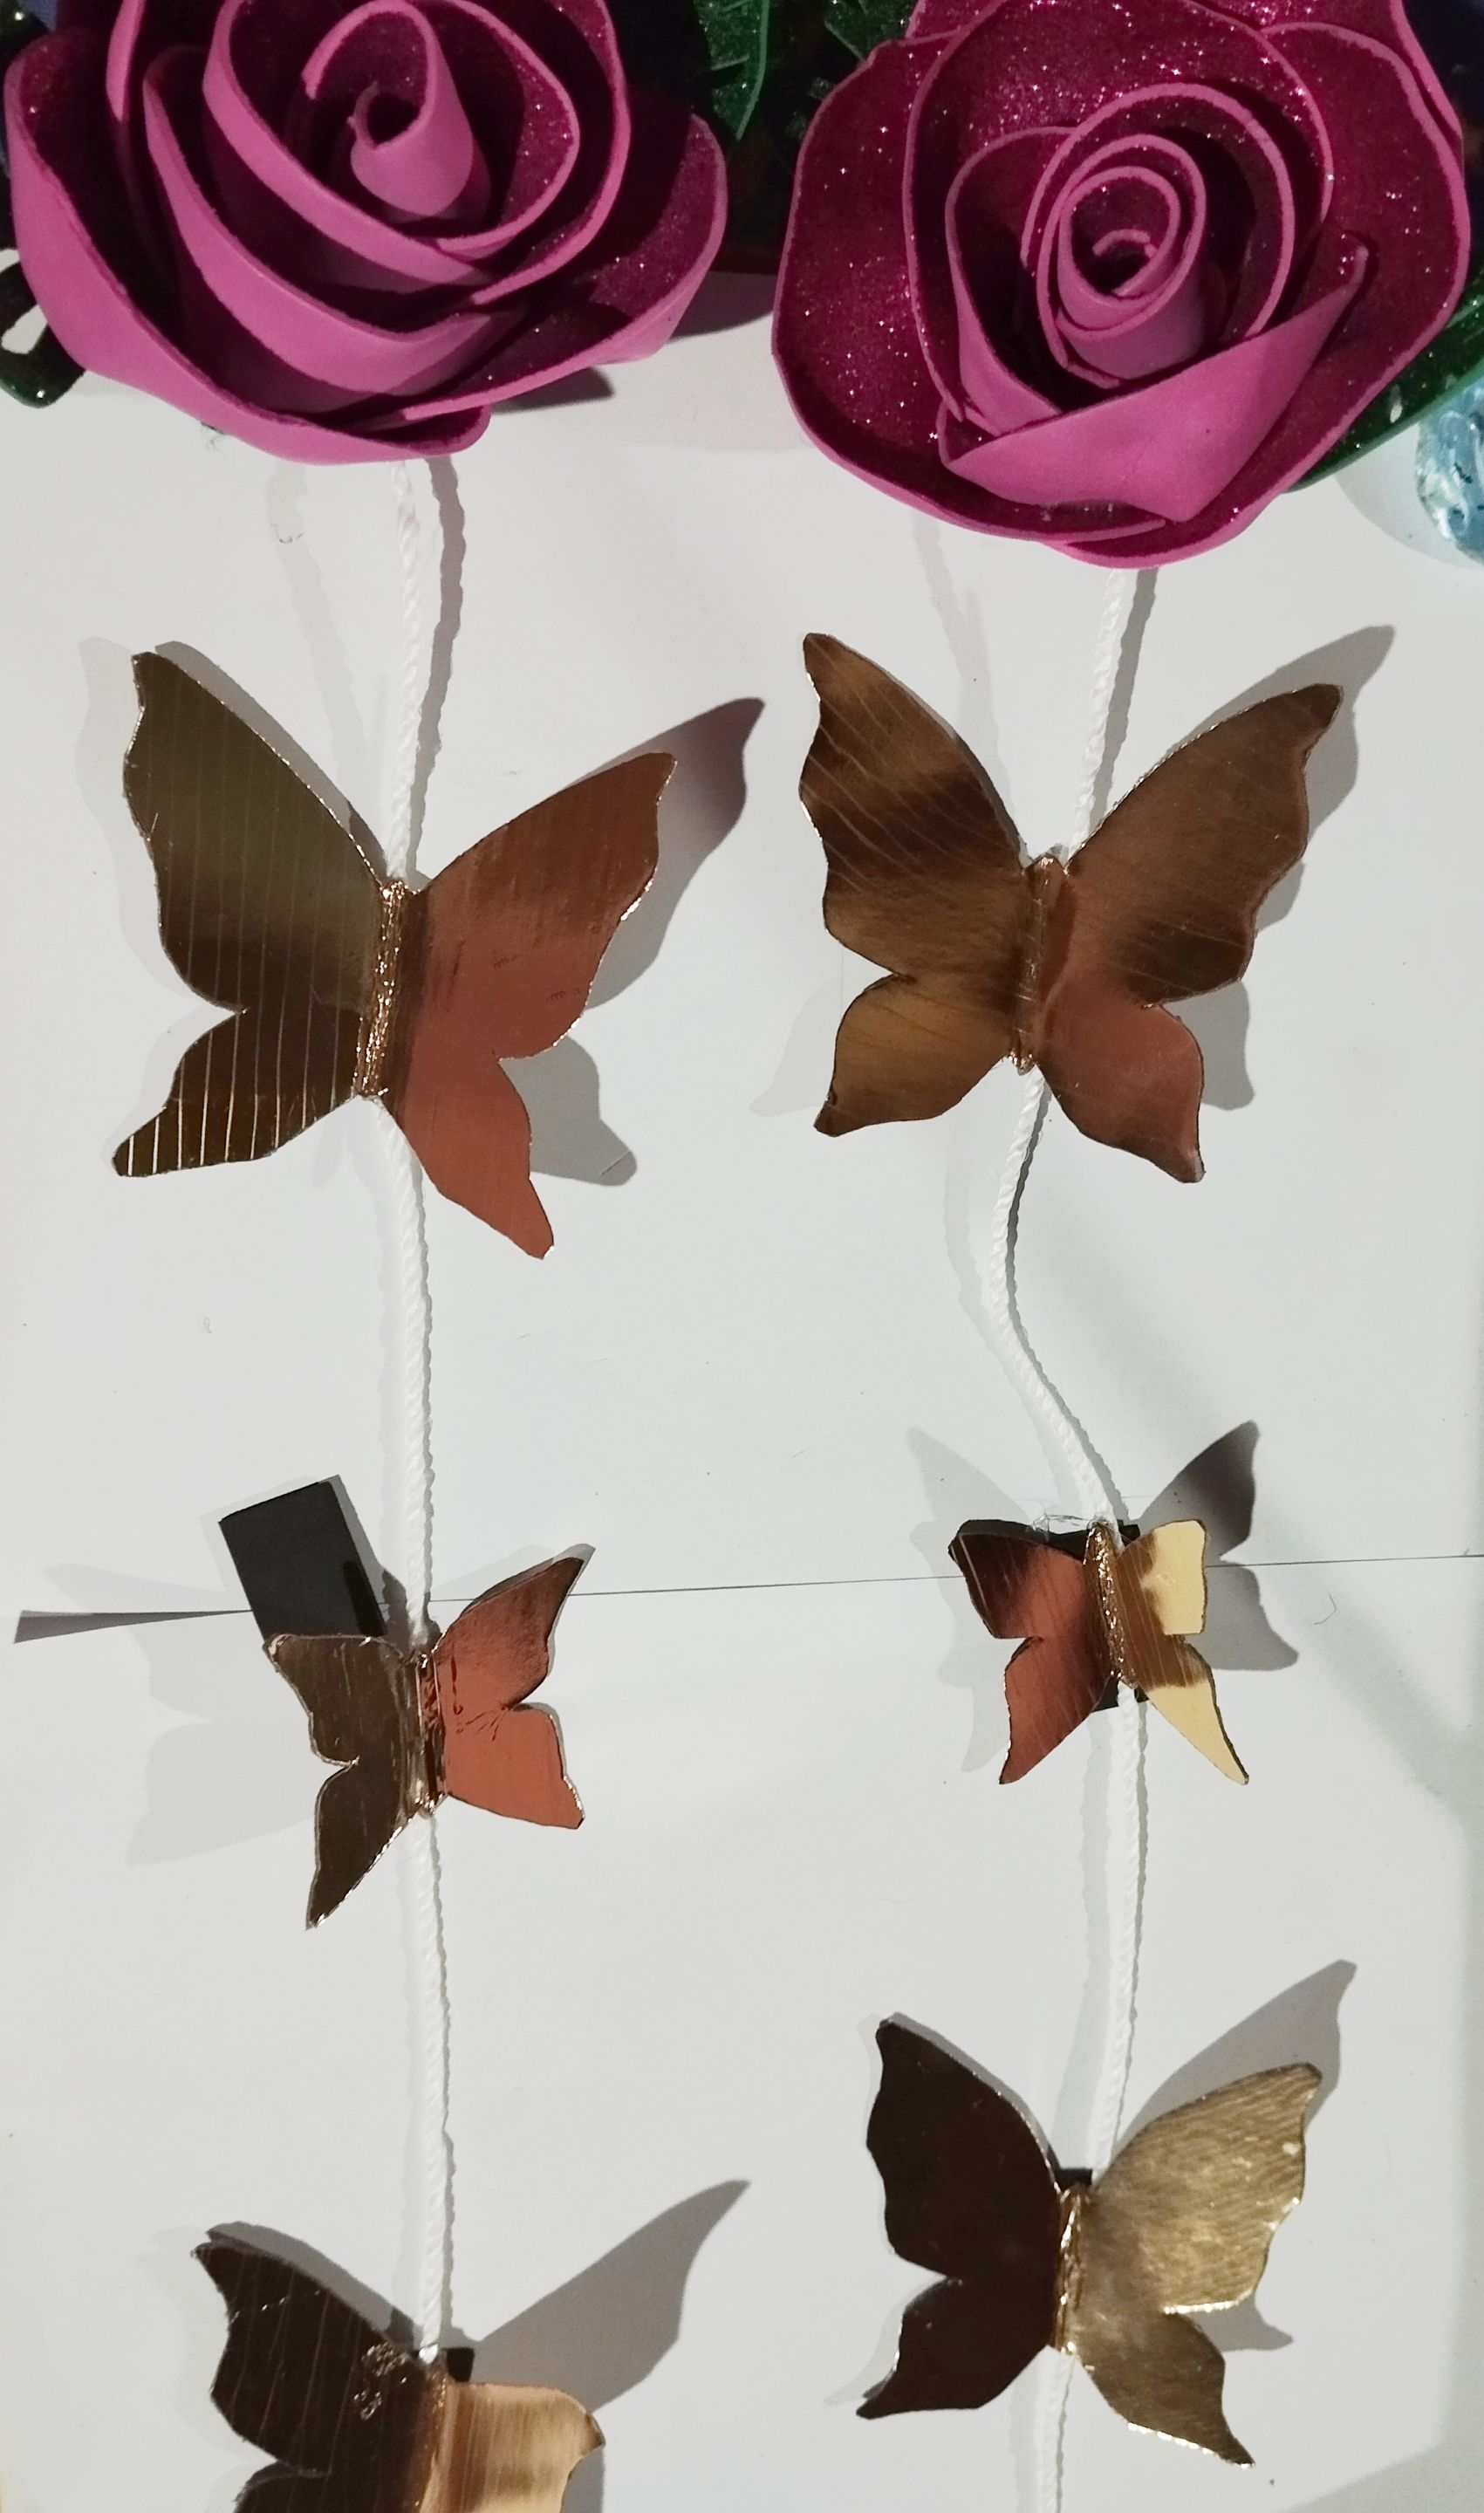 | 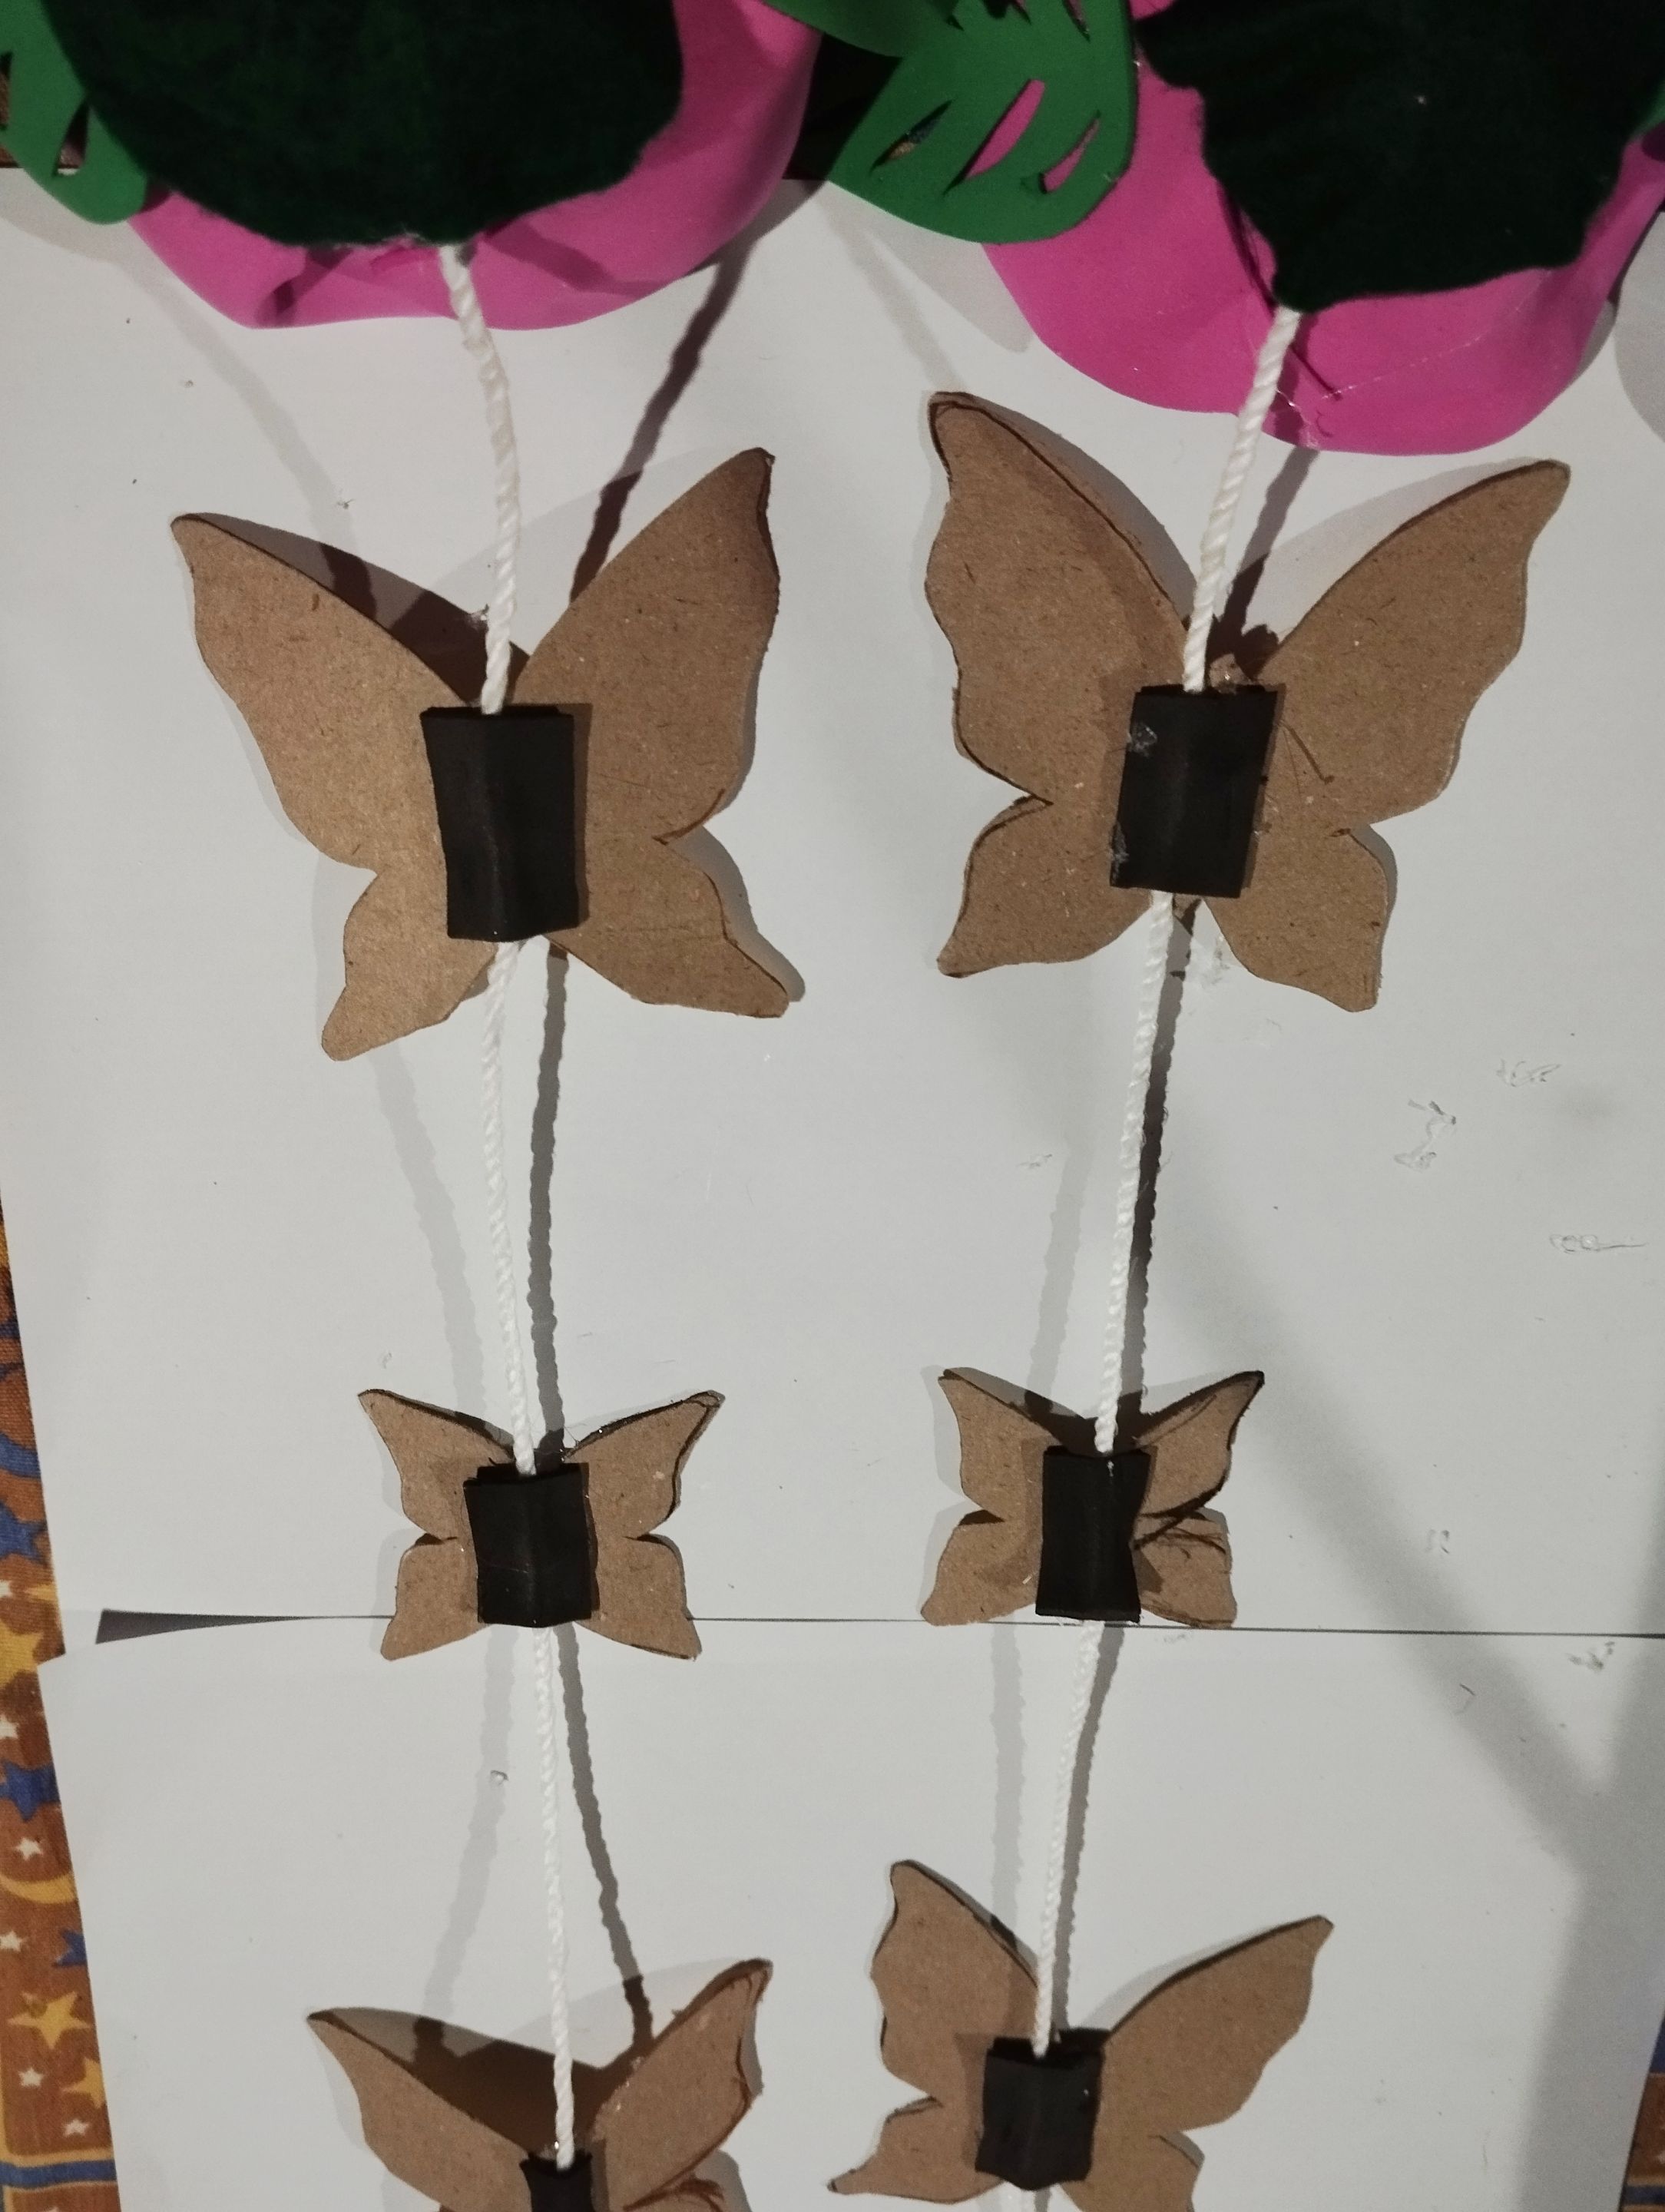 | 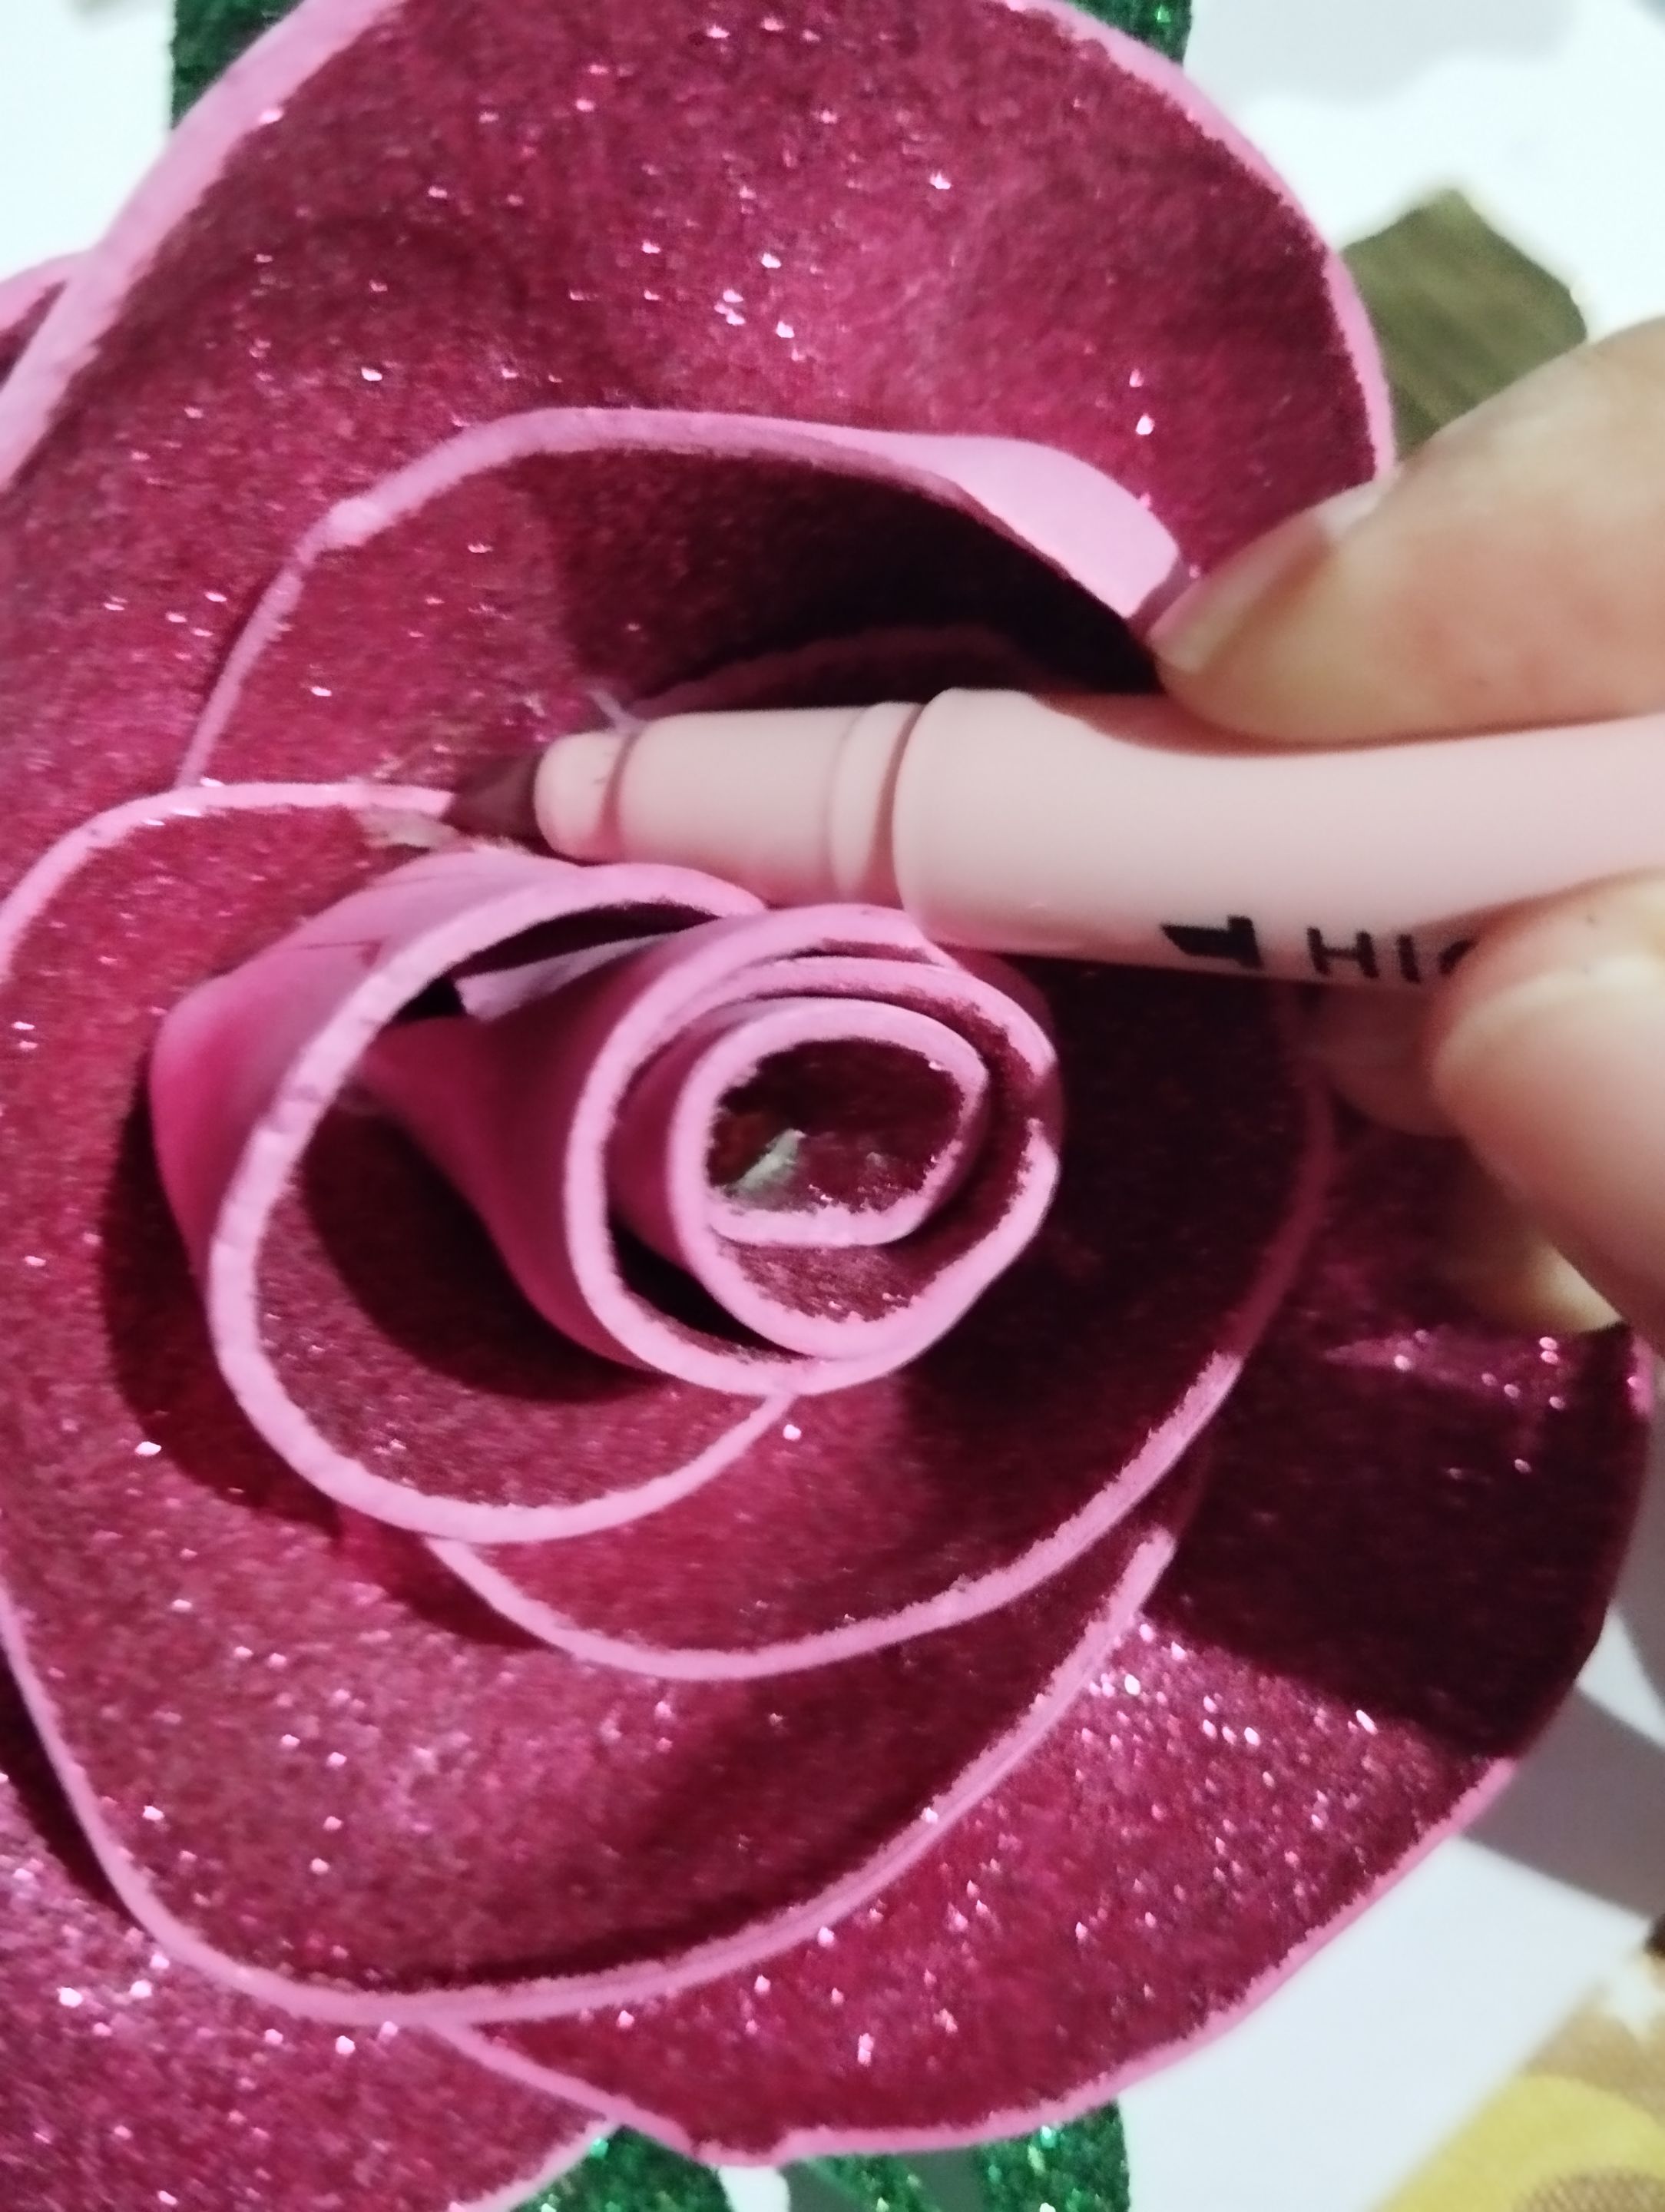 |
#5 Ubiqué las mariposas a lo largo de la tira , dejando el mismo espacio aproximadamente , para cada cortina quise ubicarlas una grande ,una pequeña ,y otra más grande. Por la parte de atrás para que quedara bien sujeto , corté pequeños cuadritos de foami negro para pegarlas por la parte de atrás y que quedará muy bien sujetas las mariposas. En algunas partes de la rosas fucsias ,se ven algunos pedazos de silicón, así que con un resaltador rosado pastel le pinte los manchones y quedaron de un color parecido,por lo que se disimularon un poco y le dieron mejor aspecto.
English Version
#5 I placed the butterflies along the strip, leaving approximately the same space. For each curtain I wanted to place a large one, a small one, and a larger one. On the back, so that it would be well secured, I cut small squares of black foam to stick them on the back and that the butterflies would be very well secured. In some parts of the fuchsia roses, some pieces of silicone can be seen, so with a pastel pink highlighter I painted the spots and they were a similar color, so they were hidden a little and gave it a better appearance.
 |  |  |
 |  |  |
#6 por último otra forma de decoración
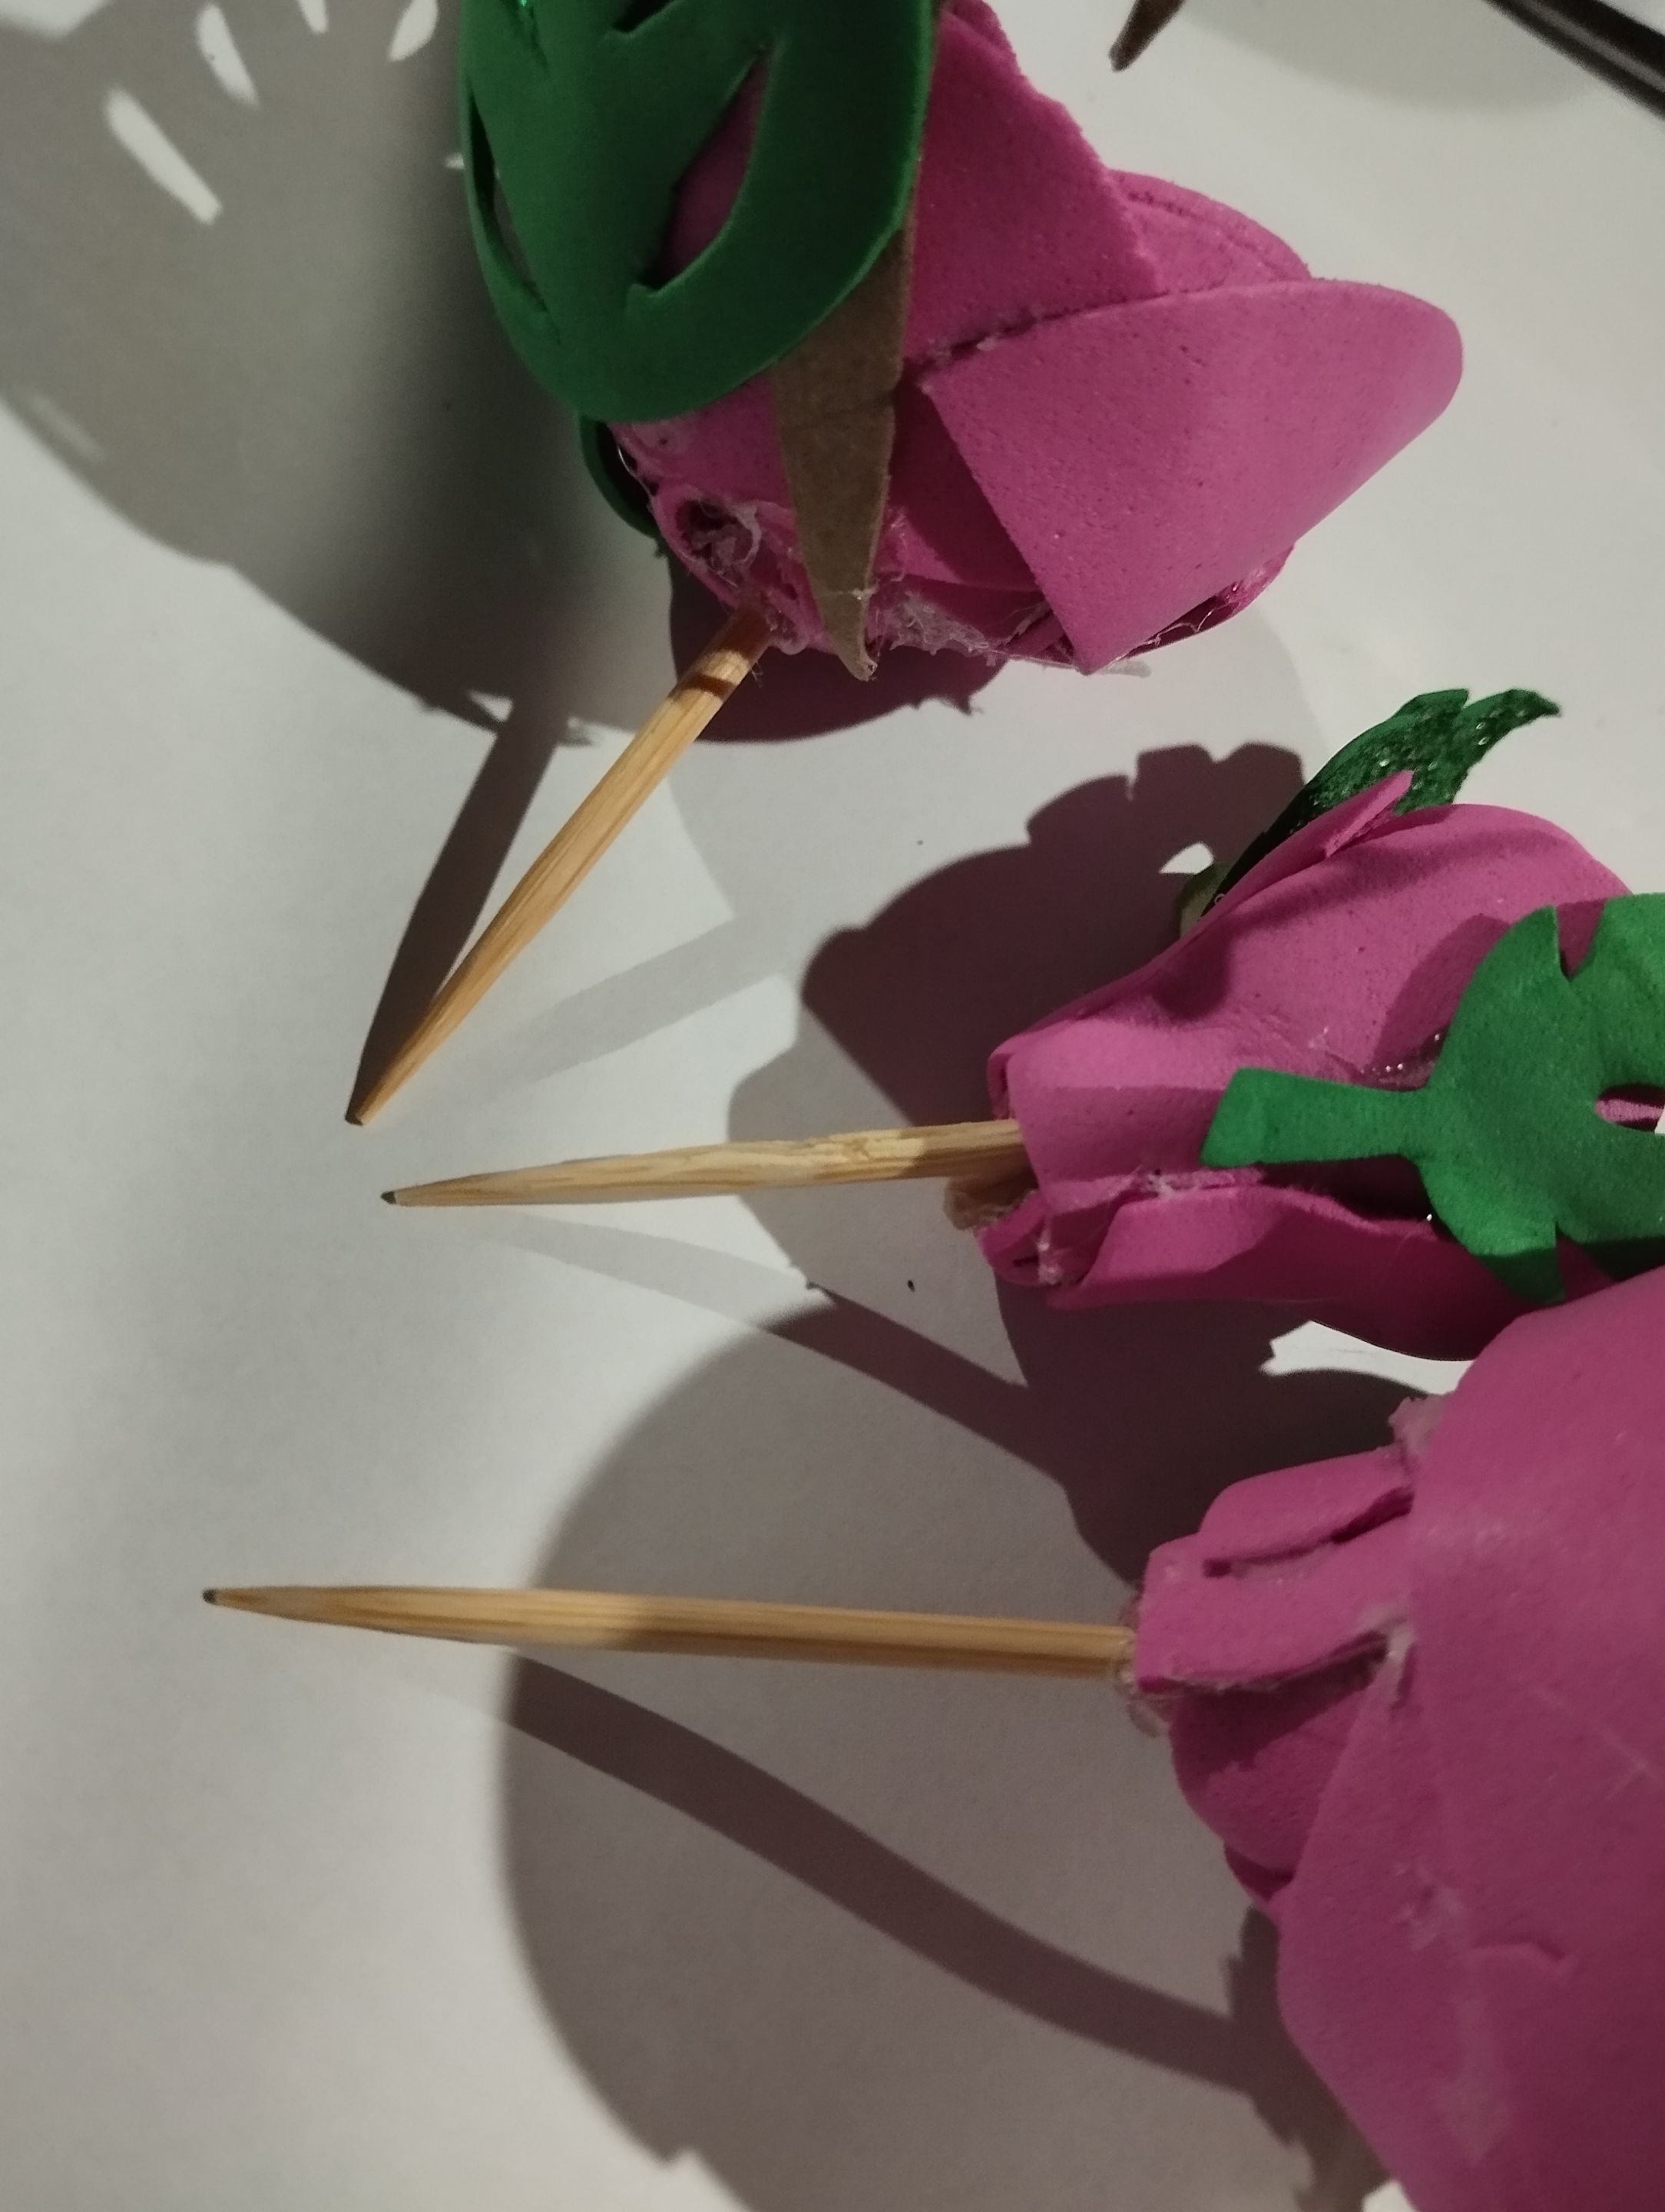
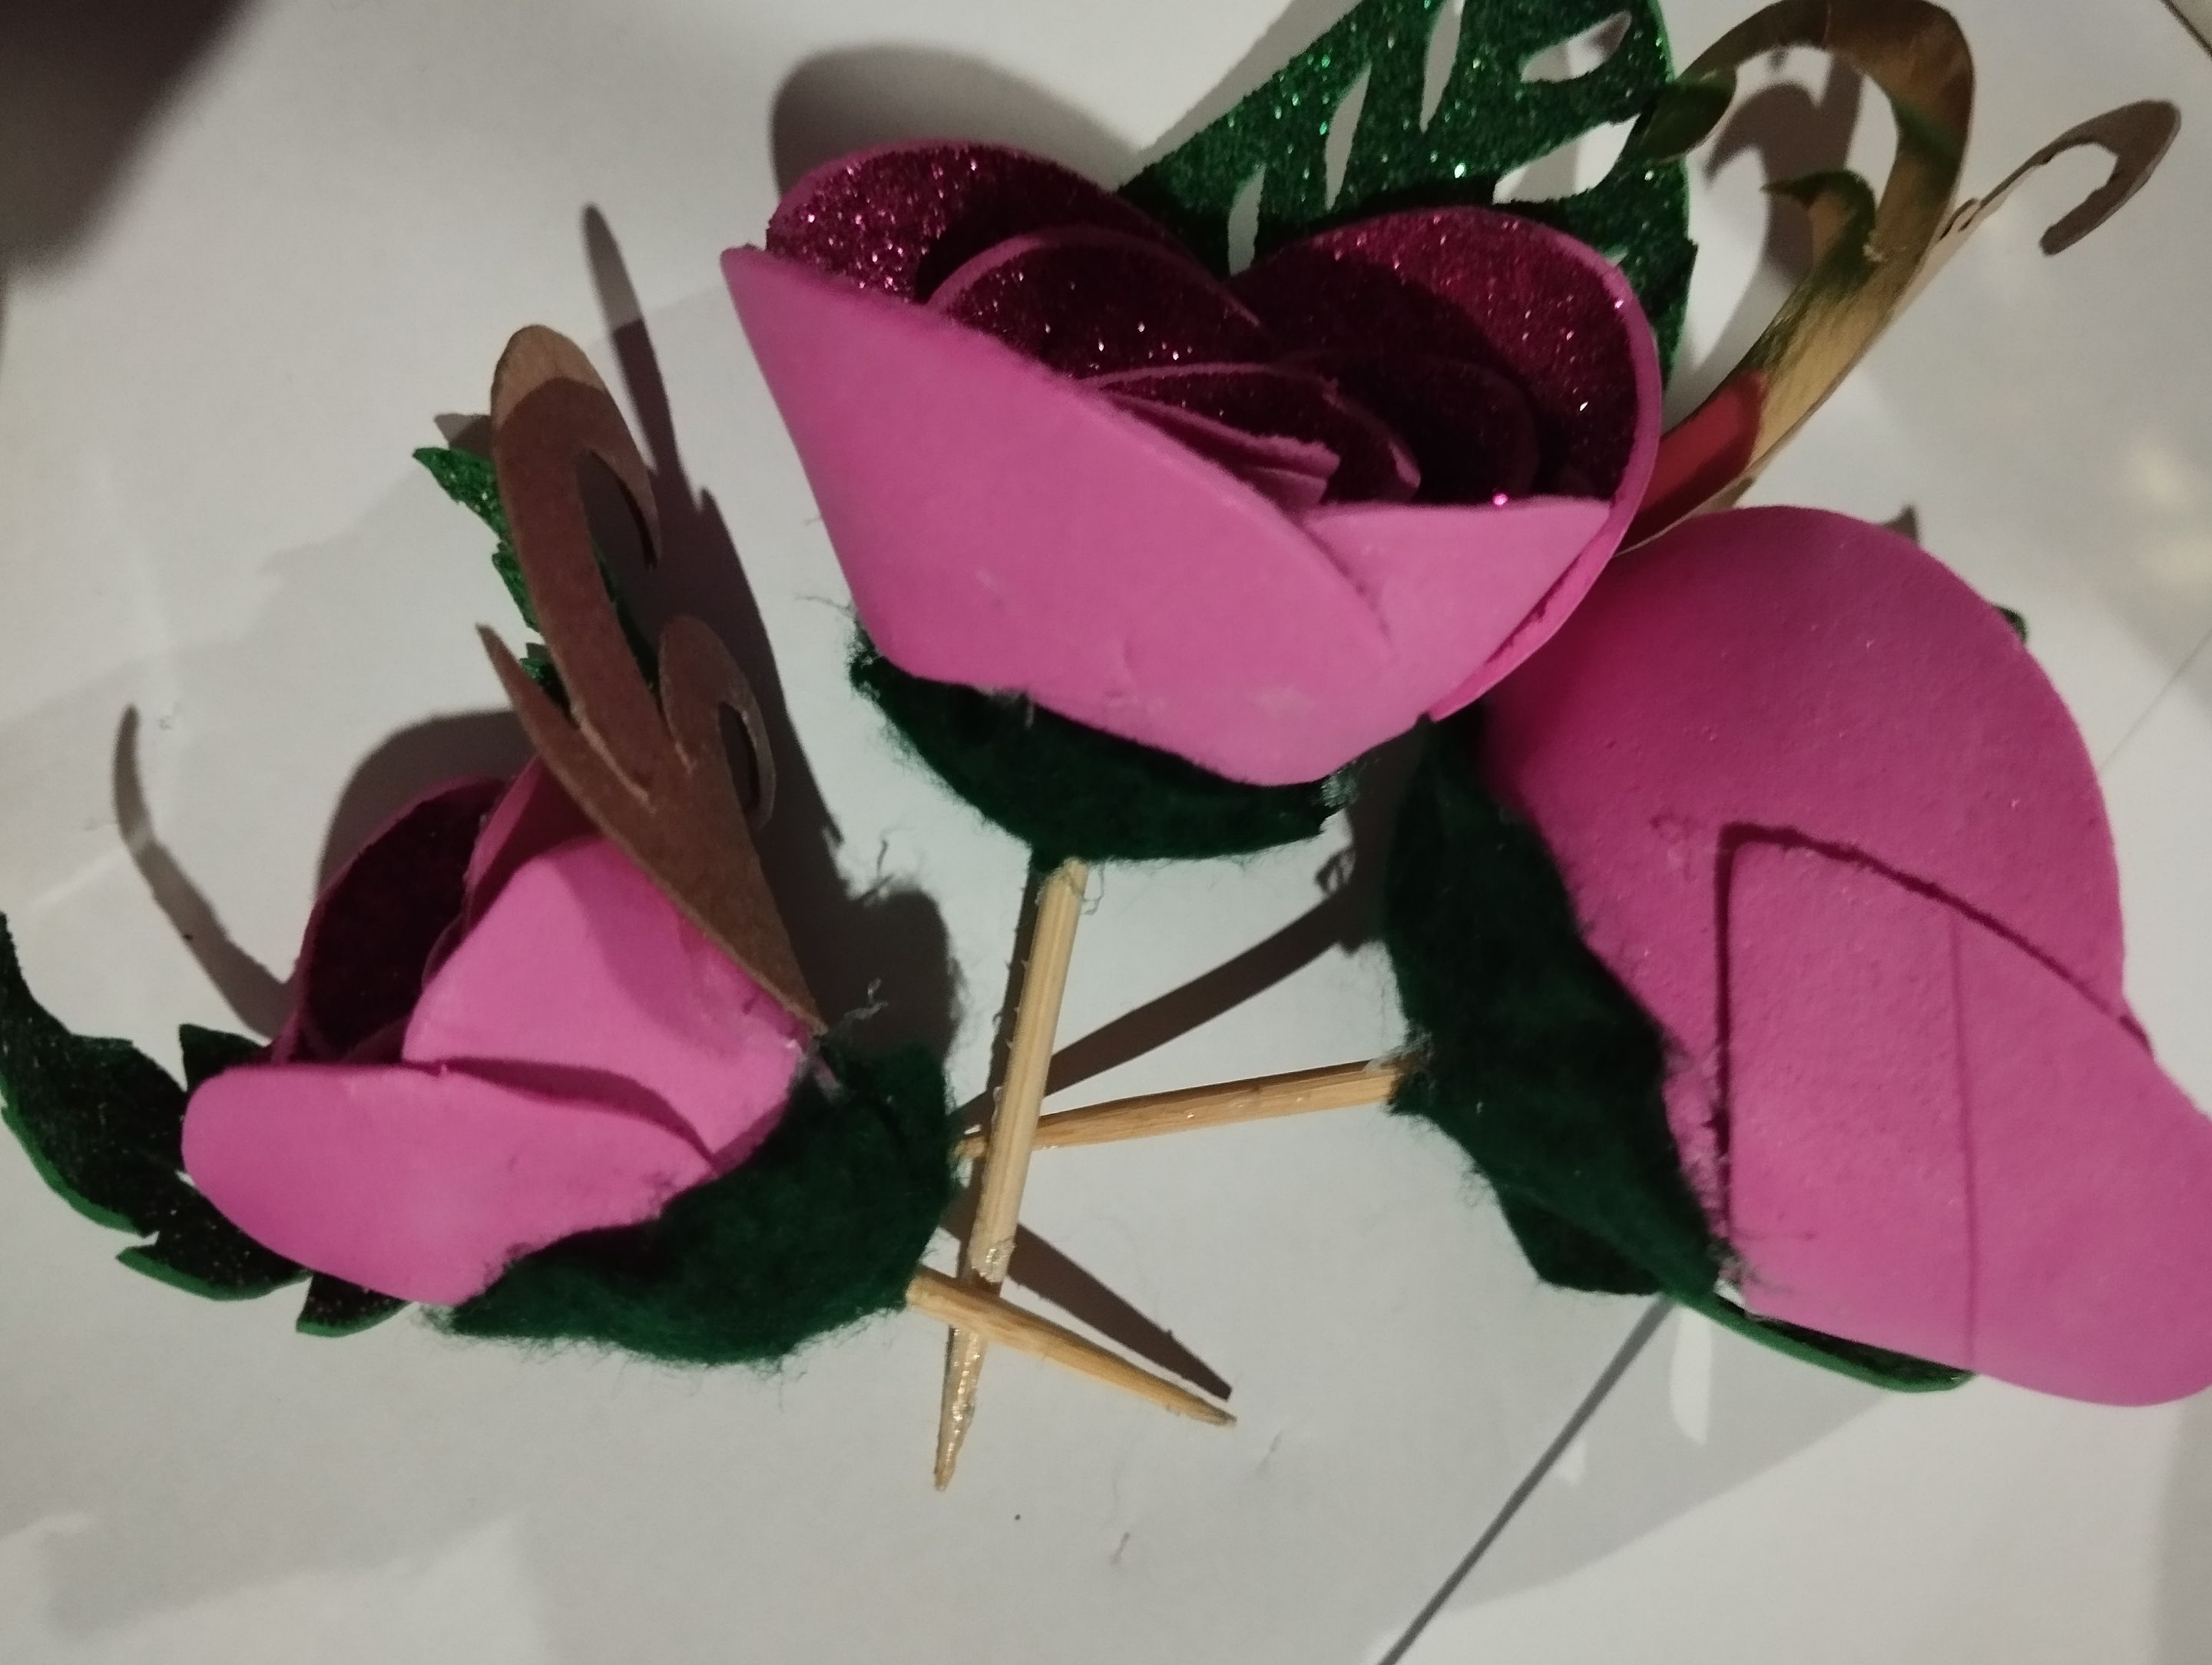
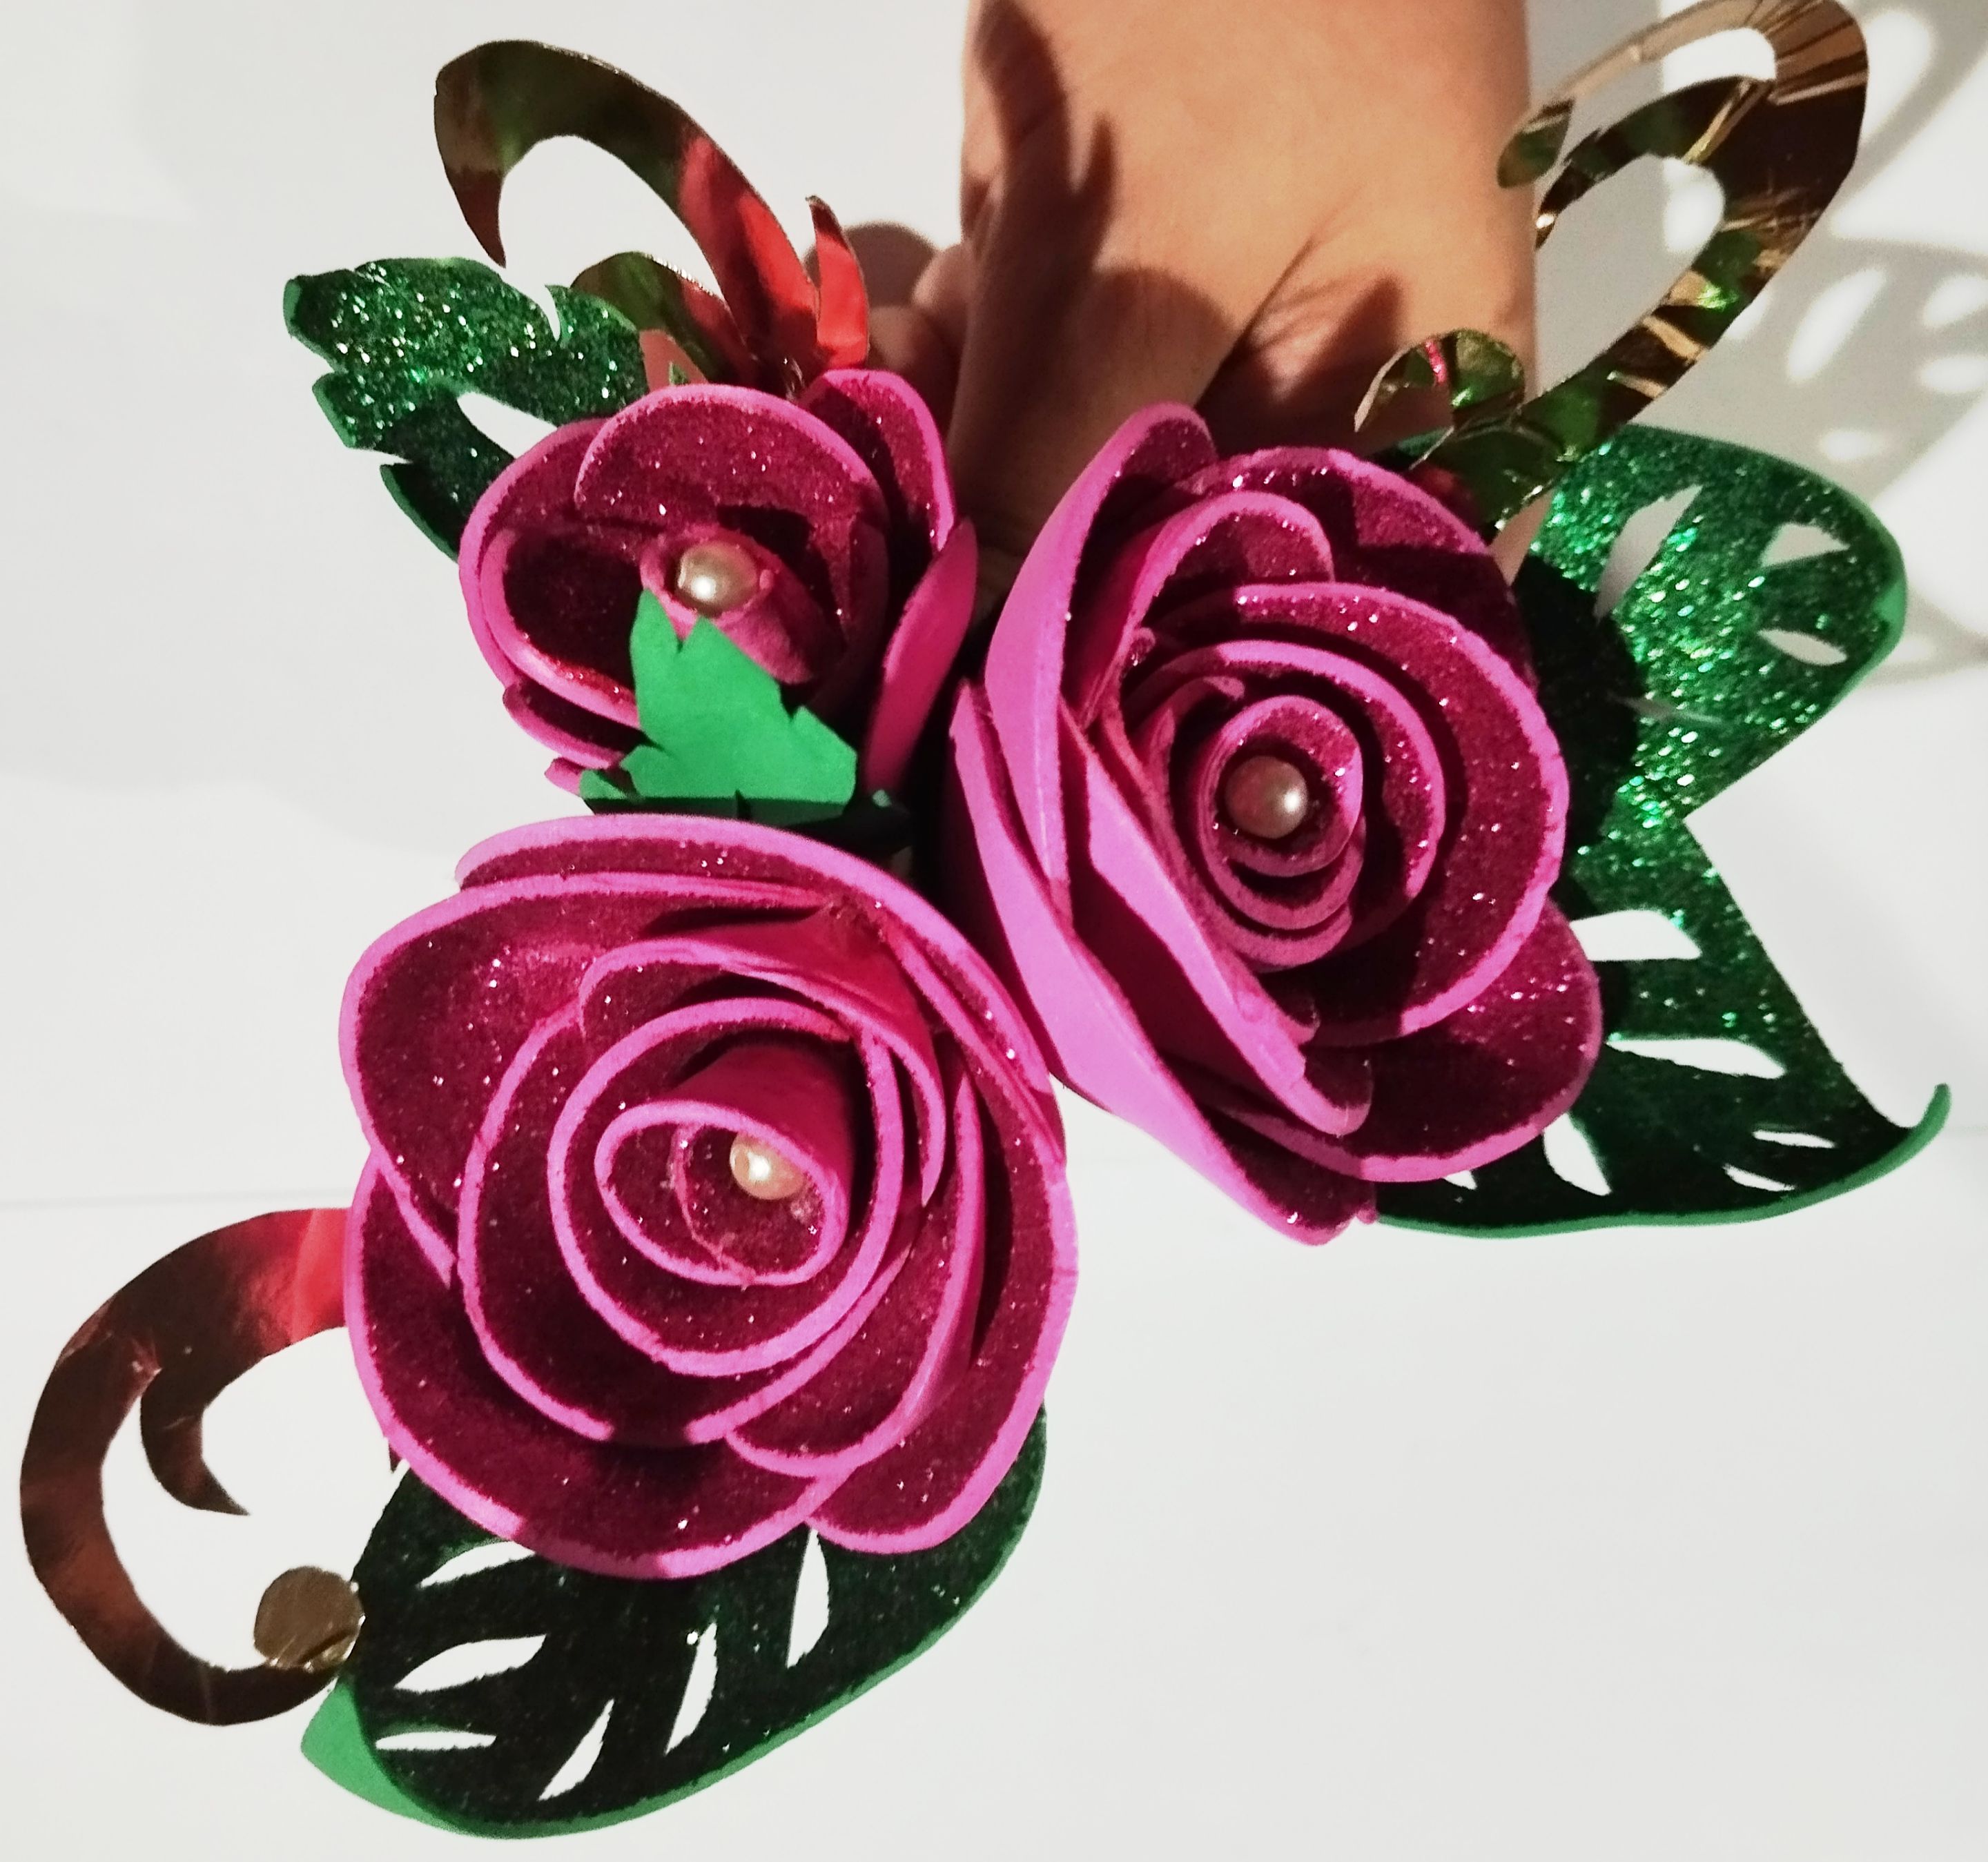
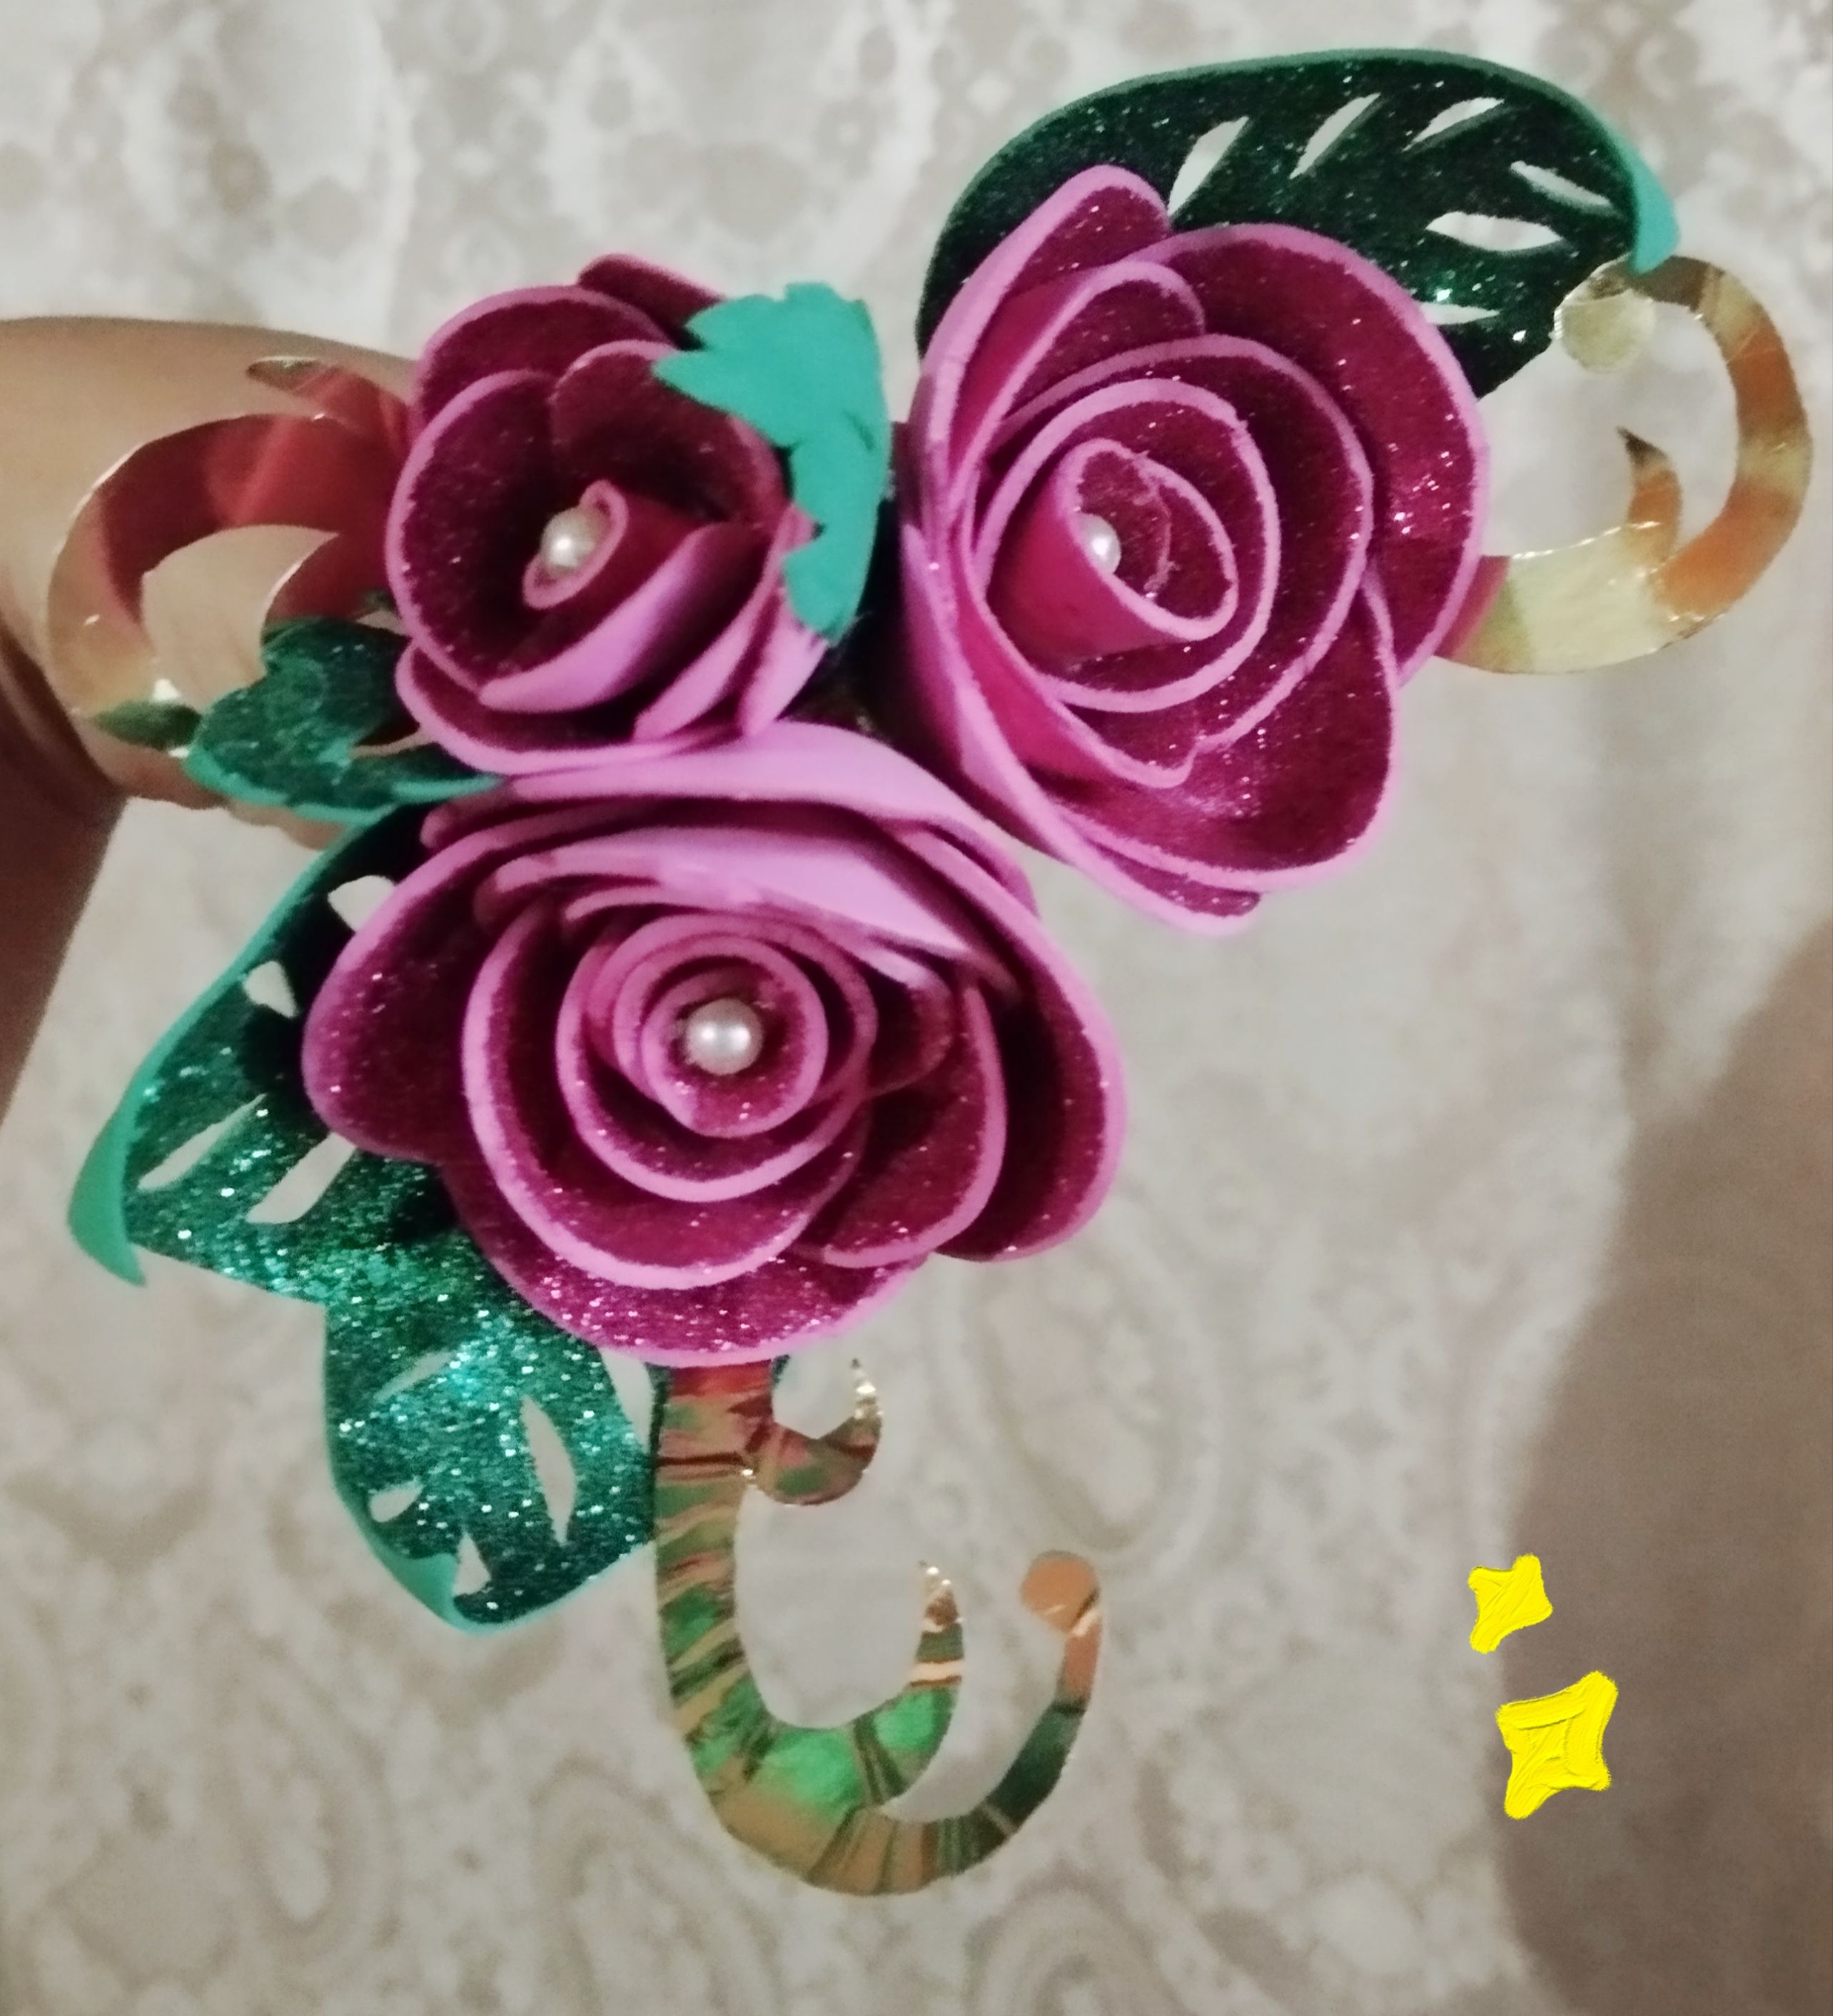
era unas rositas más pequeñas para poner en la torta/ pastel o alguna mesa de postres, así que hice tres rositas más, siguiendo los mismos pasos, hice una flor pequeña con 4 círculos 2cm de longitud, corté los semicírculos, y usé 7 semicírculos para la rosa más pequeñita, para las dos rosas más grandes usé 9 círculos de 4cm de longitud, y usé 9 semicírculos para cada rosita. Para hacerlas seguí el mismo procedimiento, hacer el centro envolviendo el semicírculo e ir pegando los demás semicírculos de forma envolvente, aquí con es una rosa pequeña no es necesario crear el corté para hacer el pliegue sí no ir pegando los pétalos de forma normal. Aquí yo hice las rosas sin el palito de altura para pinchar la superficie, este lo introducí con pega después que tenía las rositas listas, porqué no estába segura de como ponerlo, pero lo mejor sería usar el palito de altura y a este mismo irle pegando los pétalos para que quede más directo.Para tapar la parte trasera de la flor iba a usar foami escarchado ,pero decidí usar un círculo de fieltro verde para tapar esa unión y que se viera mejor ,ya que al ser una tela se adapta mejor.Para darle un detalle más elegante corté de la cartulina dorada reciclada unos arabescos, y los peque por detrás de las rosas ,y le pegué una perla al centro de la flor.
English Version
#6 Lastly, another way to decorate
was some smaller roses to put on cakes or dessert tables, so I made three more roses, following the same steps, I made a small flower with 4 circles 2cm long, I cut the semicircles, and I used 7 semicircles for the smallest rose, for the two biggest roses I used 9 circles 4cm long, and I used 9 semicircles for each rose. To make them I followed the same procedure, making the center by wrapping the semicircle and gluing the other semicircles in an enveloping way, here with a small rose it is not necessary to create the cut to make the fold but to glue the petals in the normal way. Here I made the roses without the tall stick to prick the surface, I inserted it with glue after I had the roses ready, because I wasn't sure how to put it in, but the best thing would be to use the tall stick and glue the petals to it so it would be more direct. To cover the back of the flower I was going to use frosted foam, but I decided to use a green felt circle to cover that joint and make it look better, since being a fabric it adapts better. To give it a more elegant detail, I cut some arabesques from the recycled gold cardboard and glued them behind the roses, and glued a pearl to the center of the flower.
 |  |  |
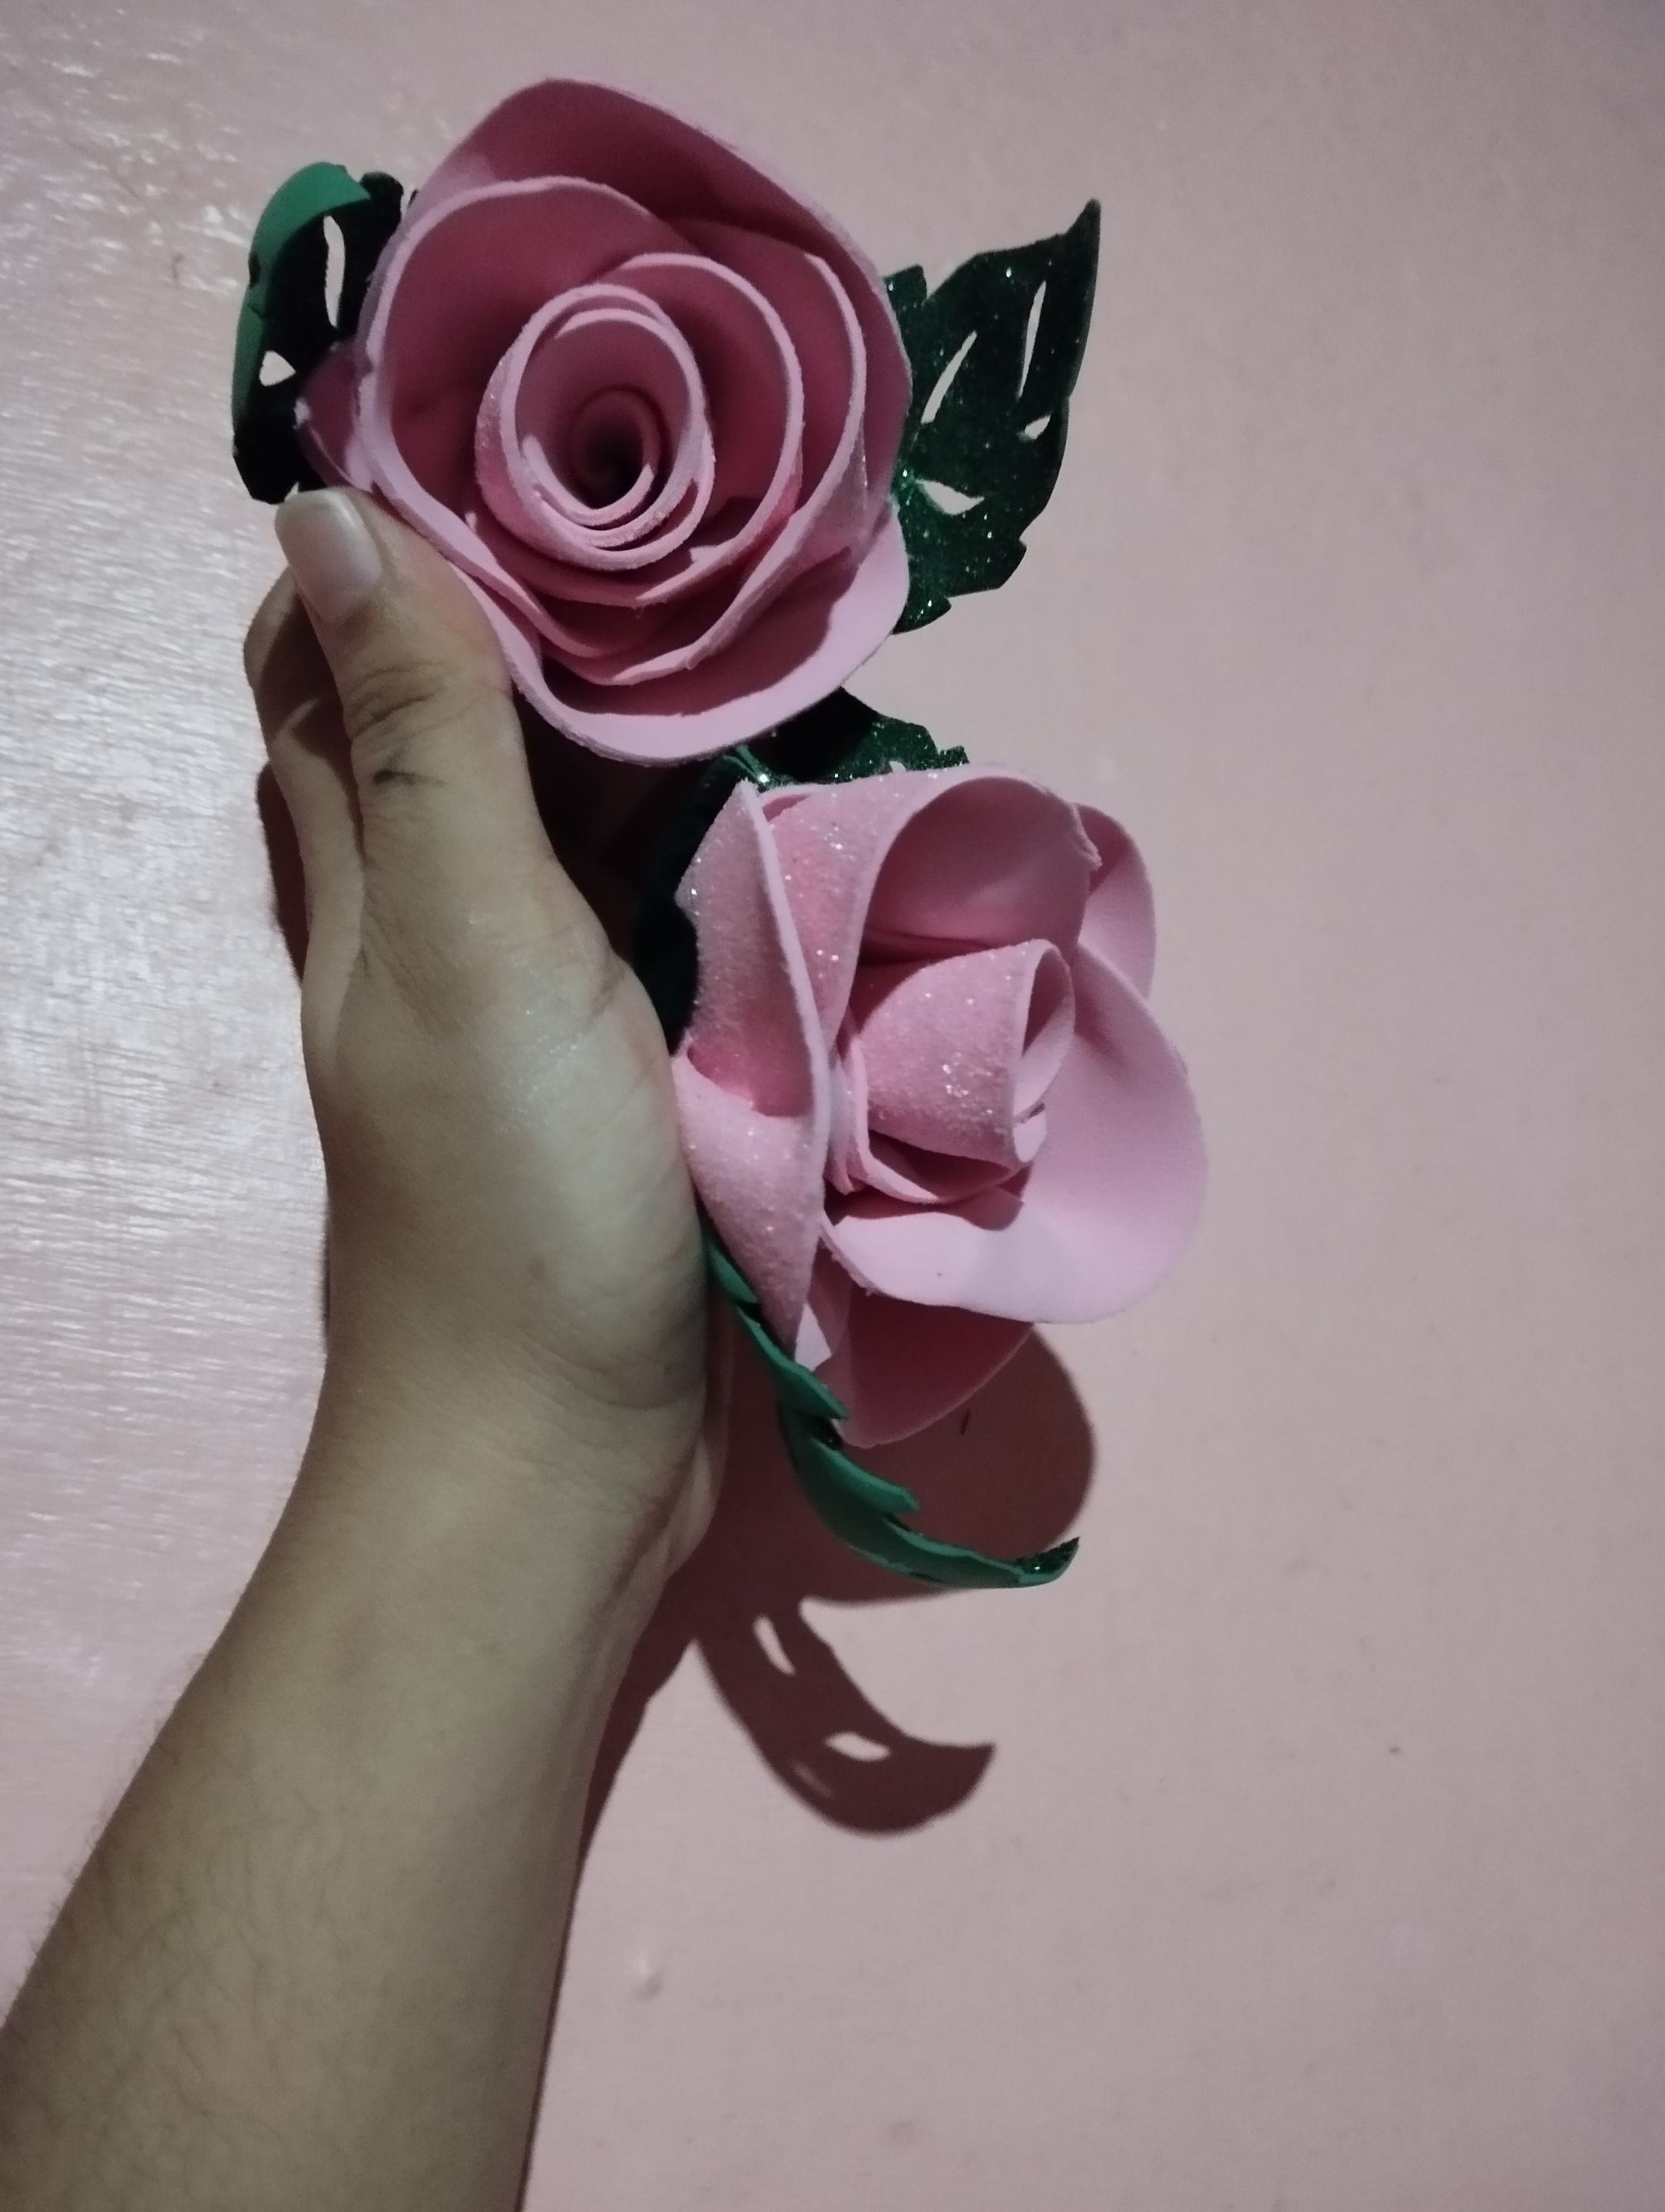 |  |
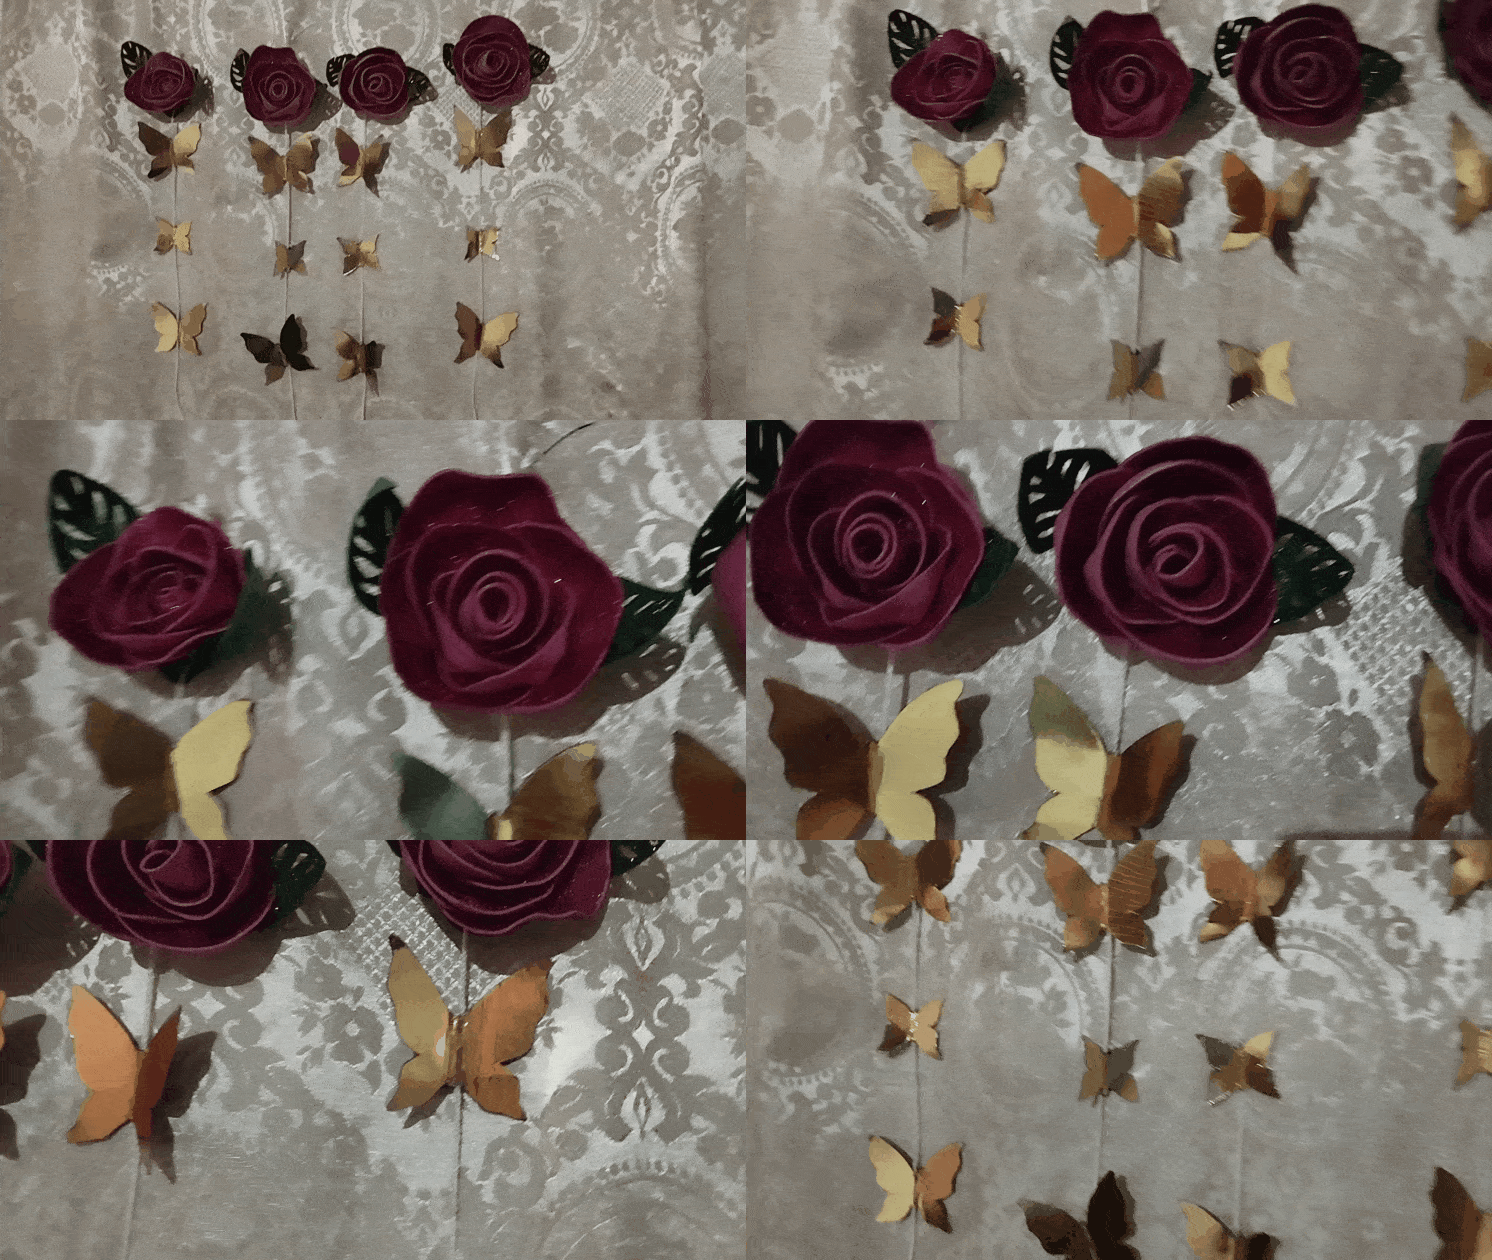
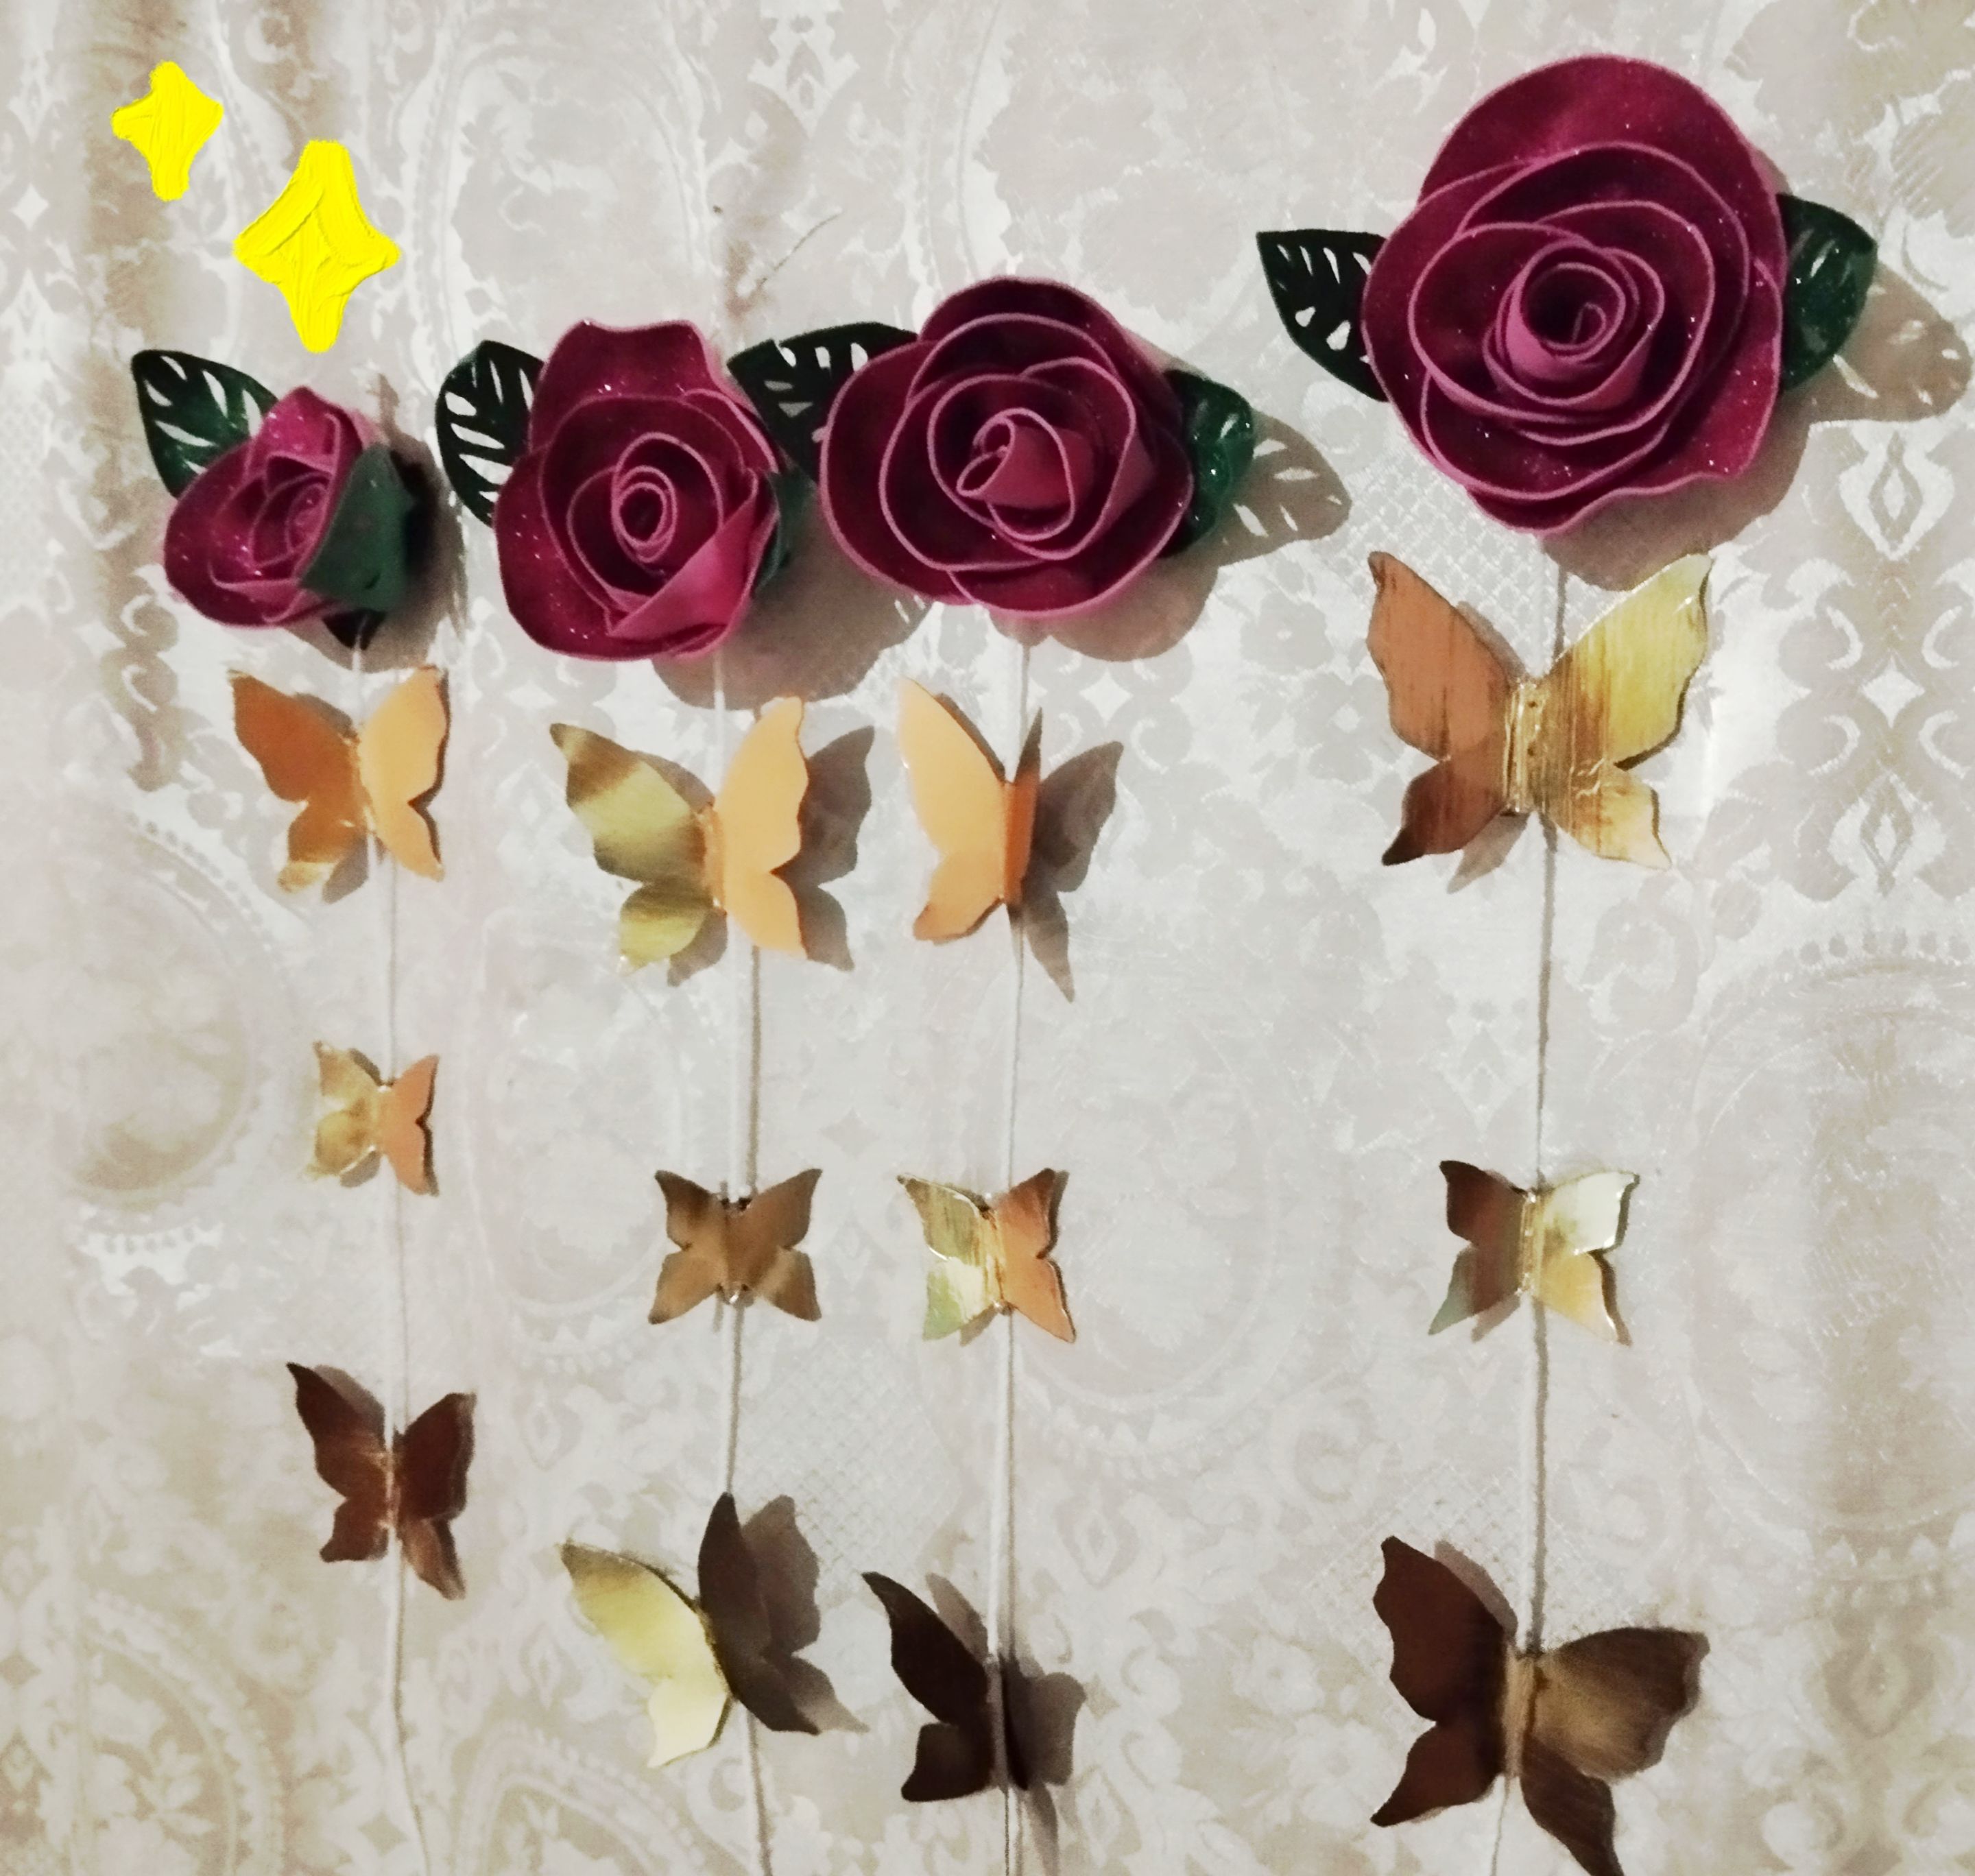
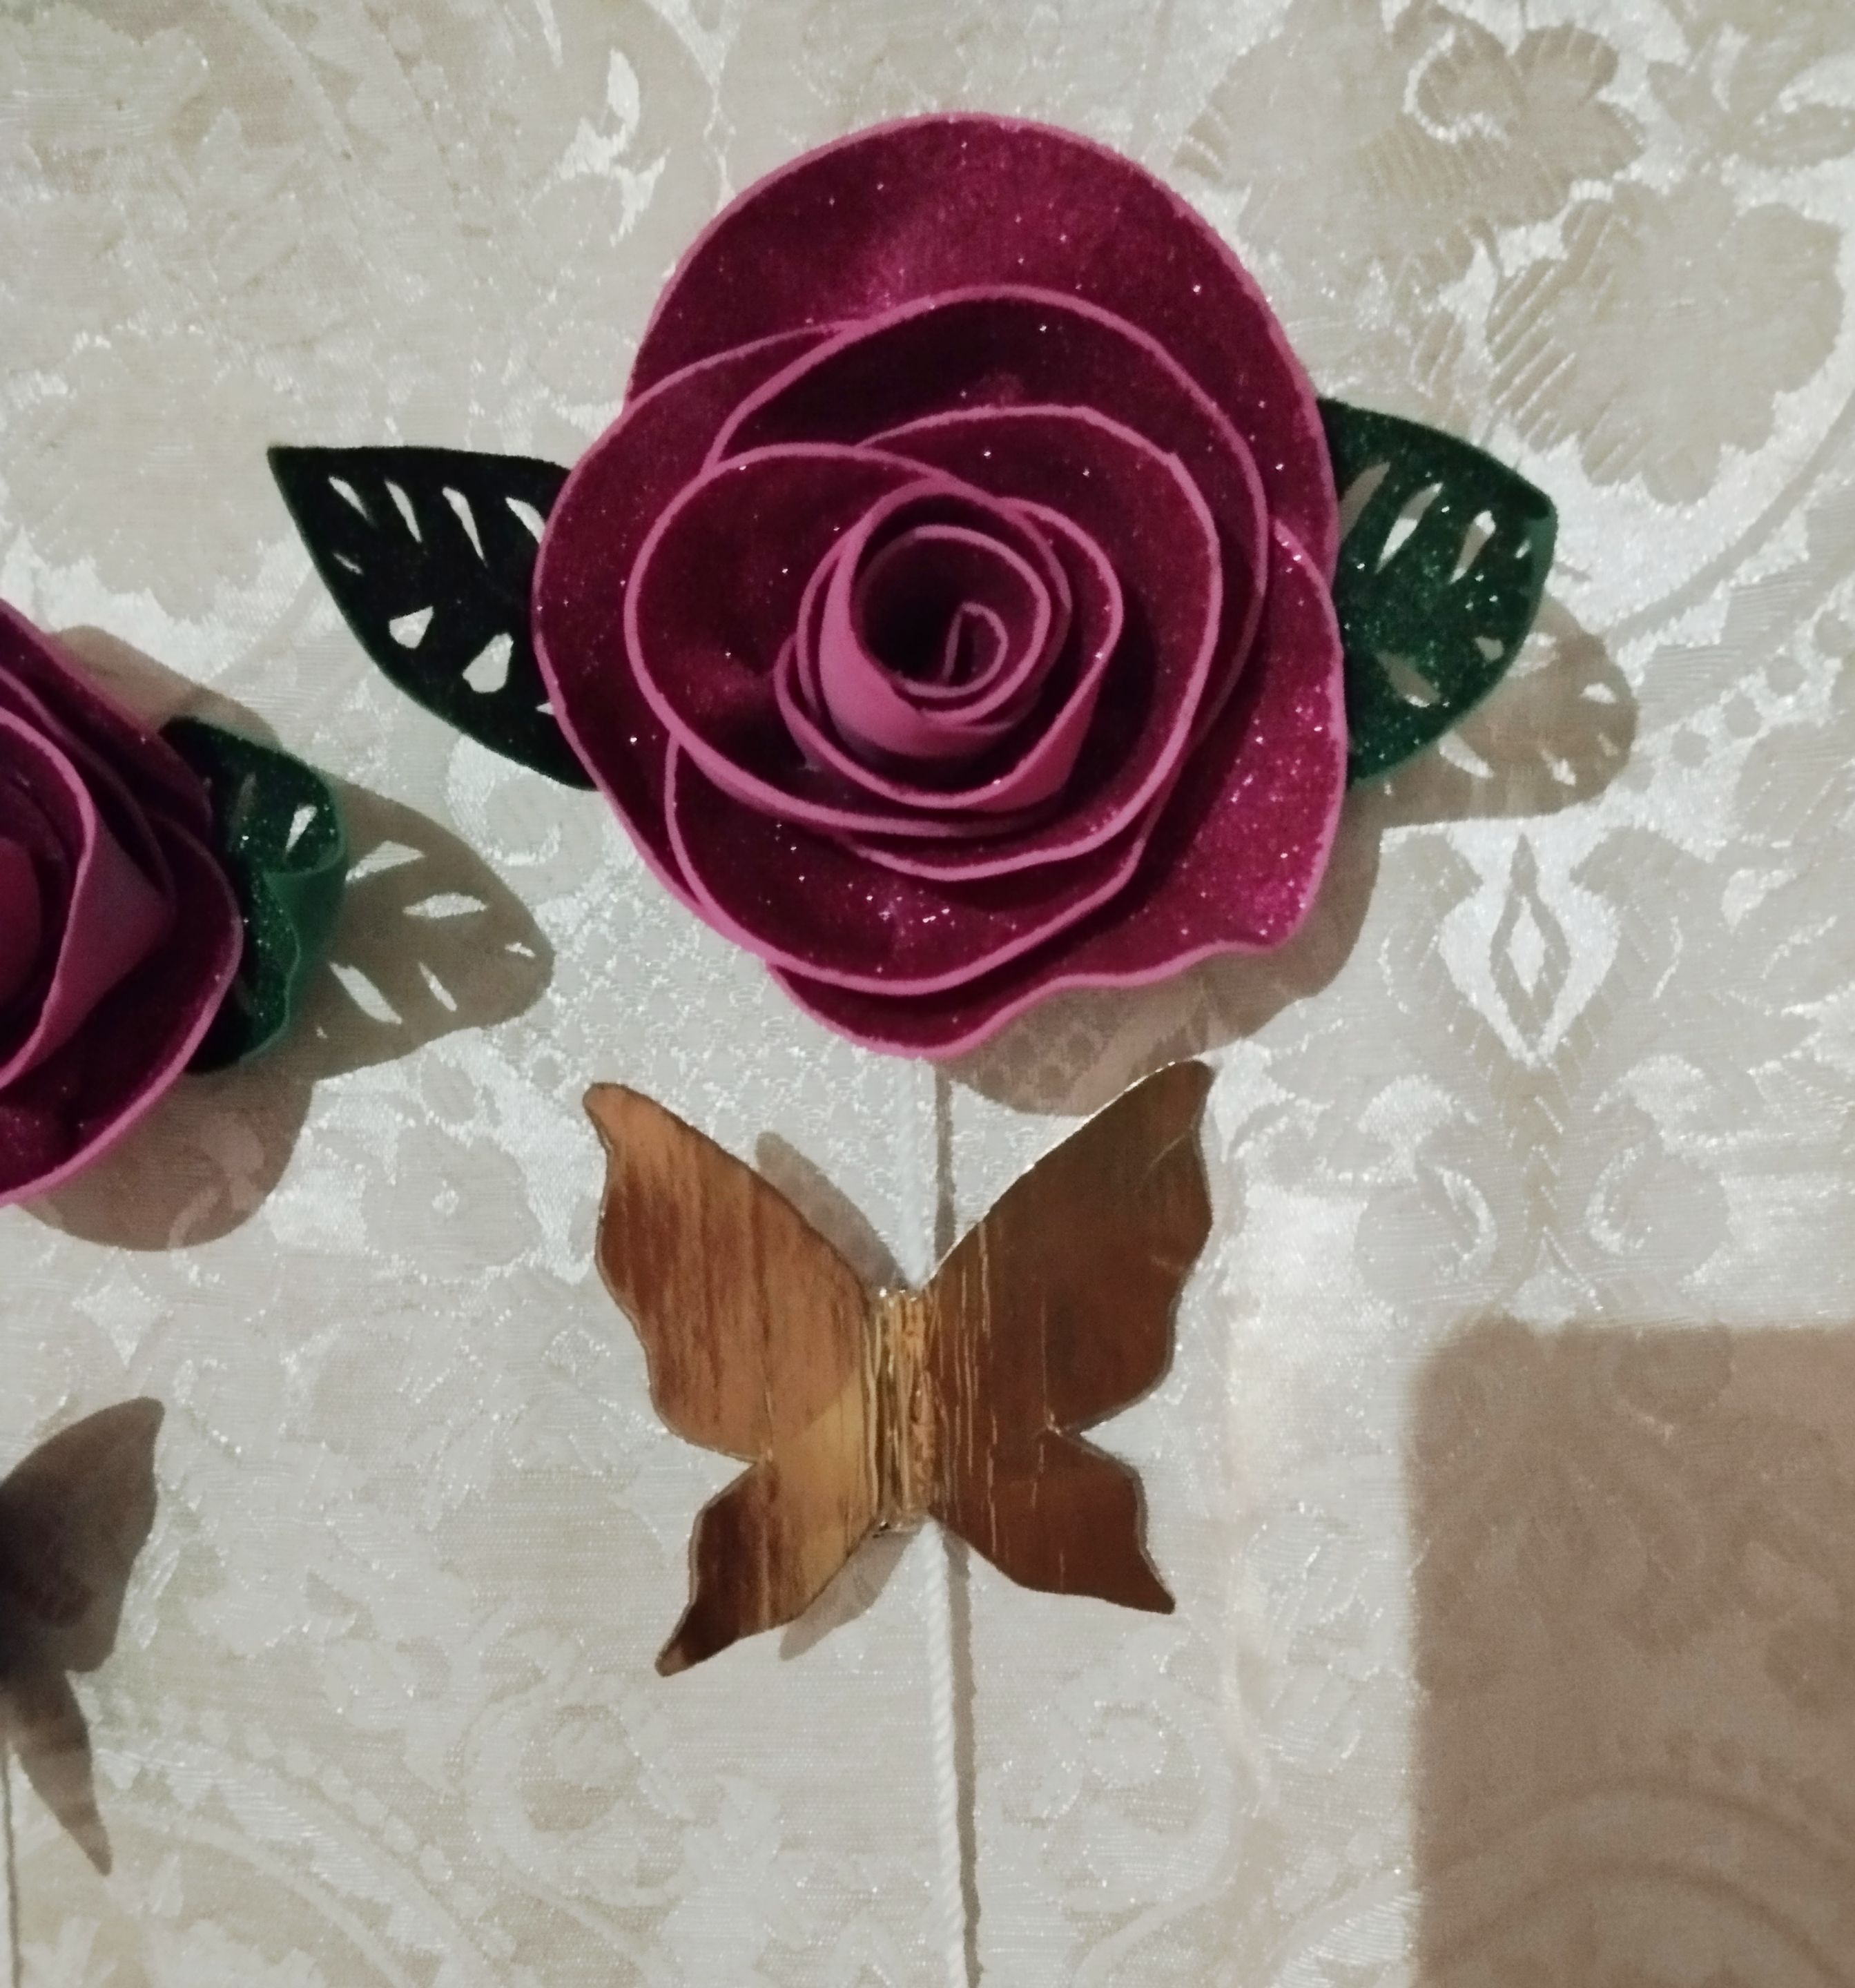
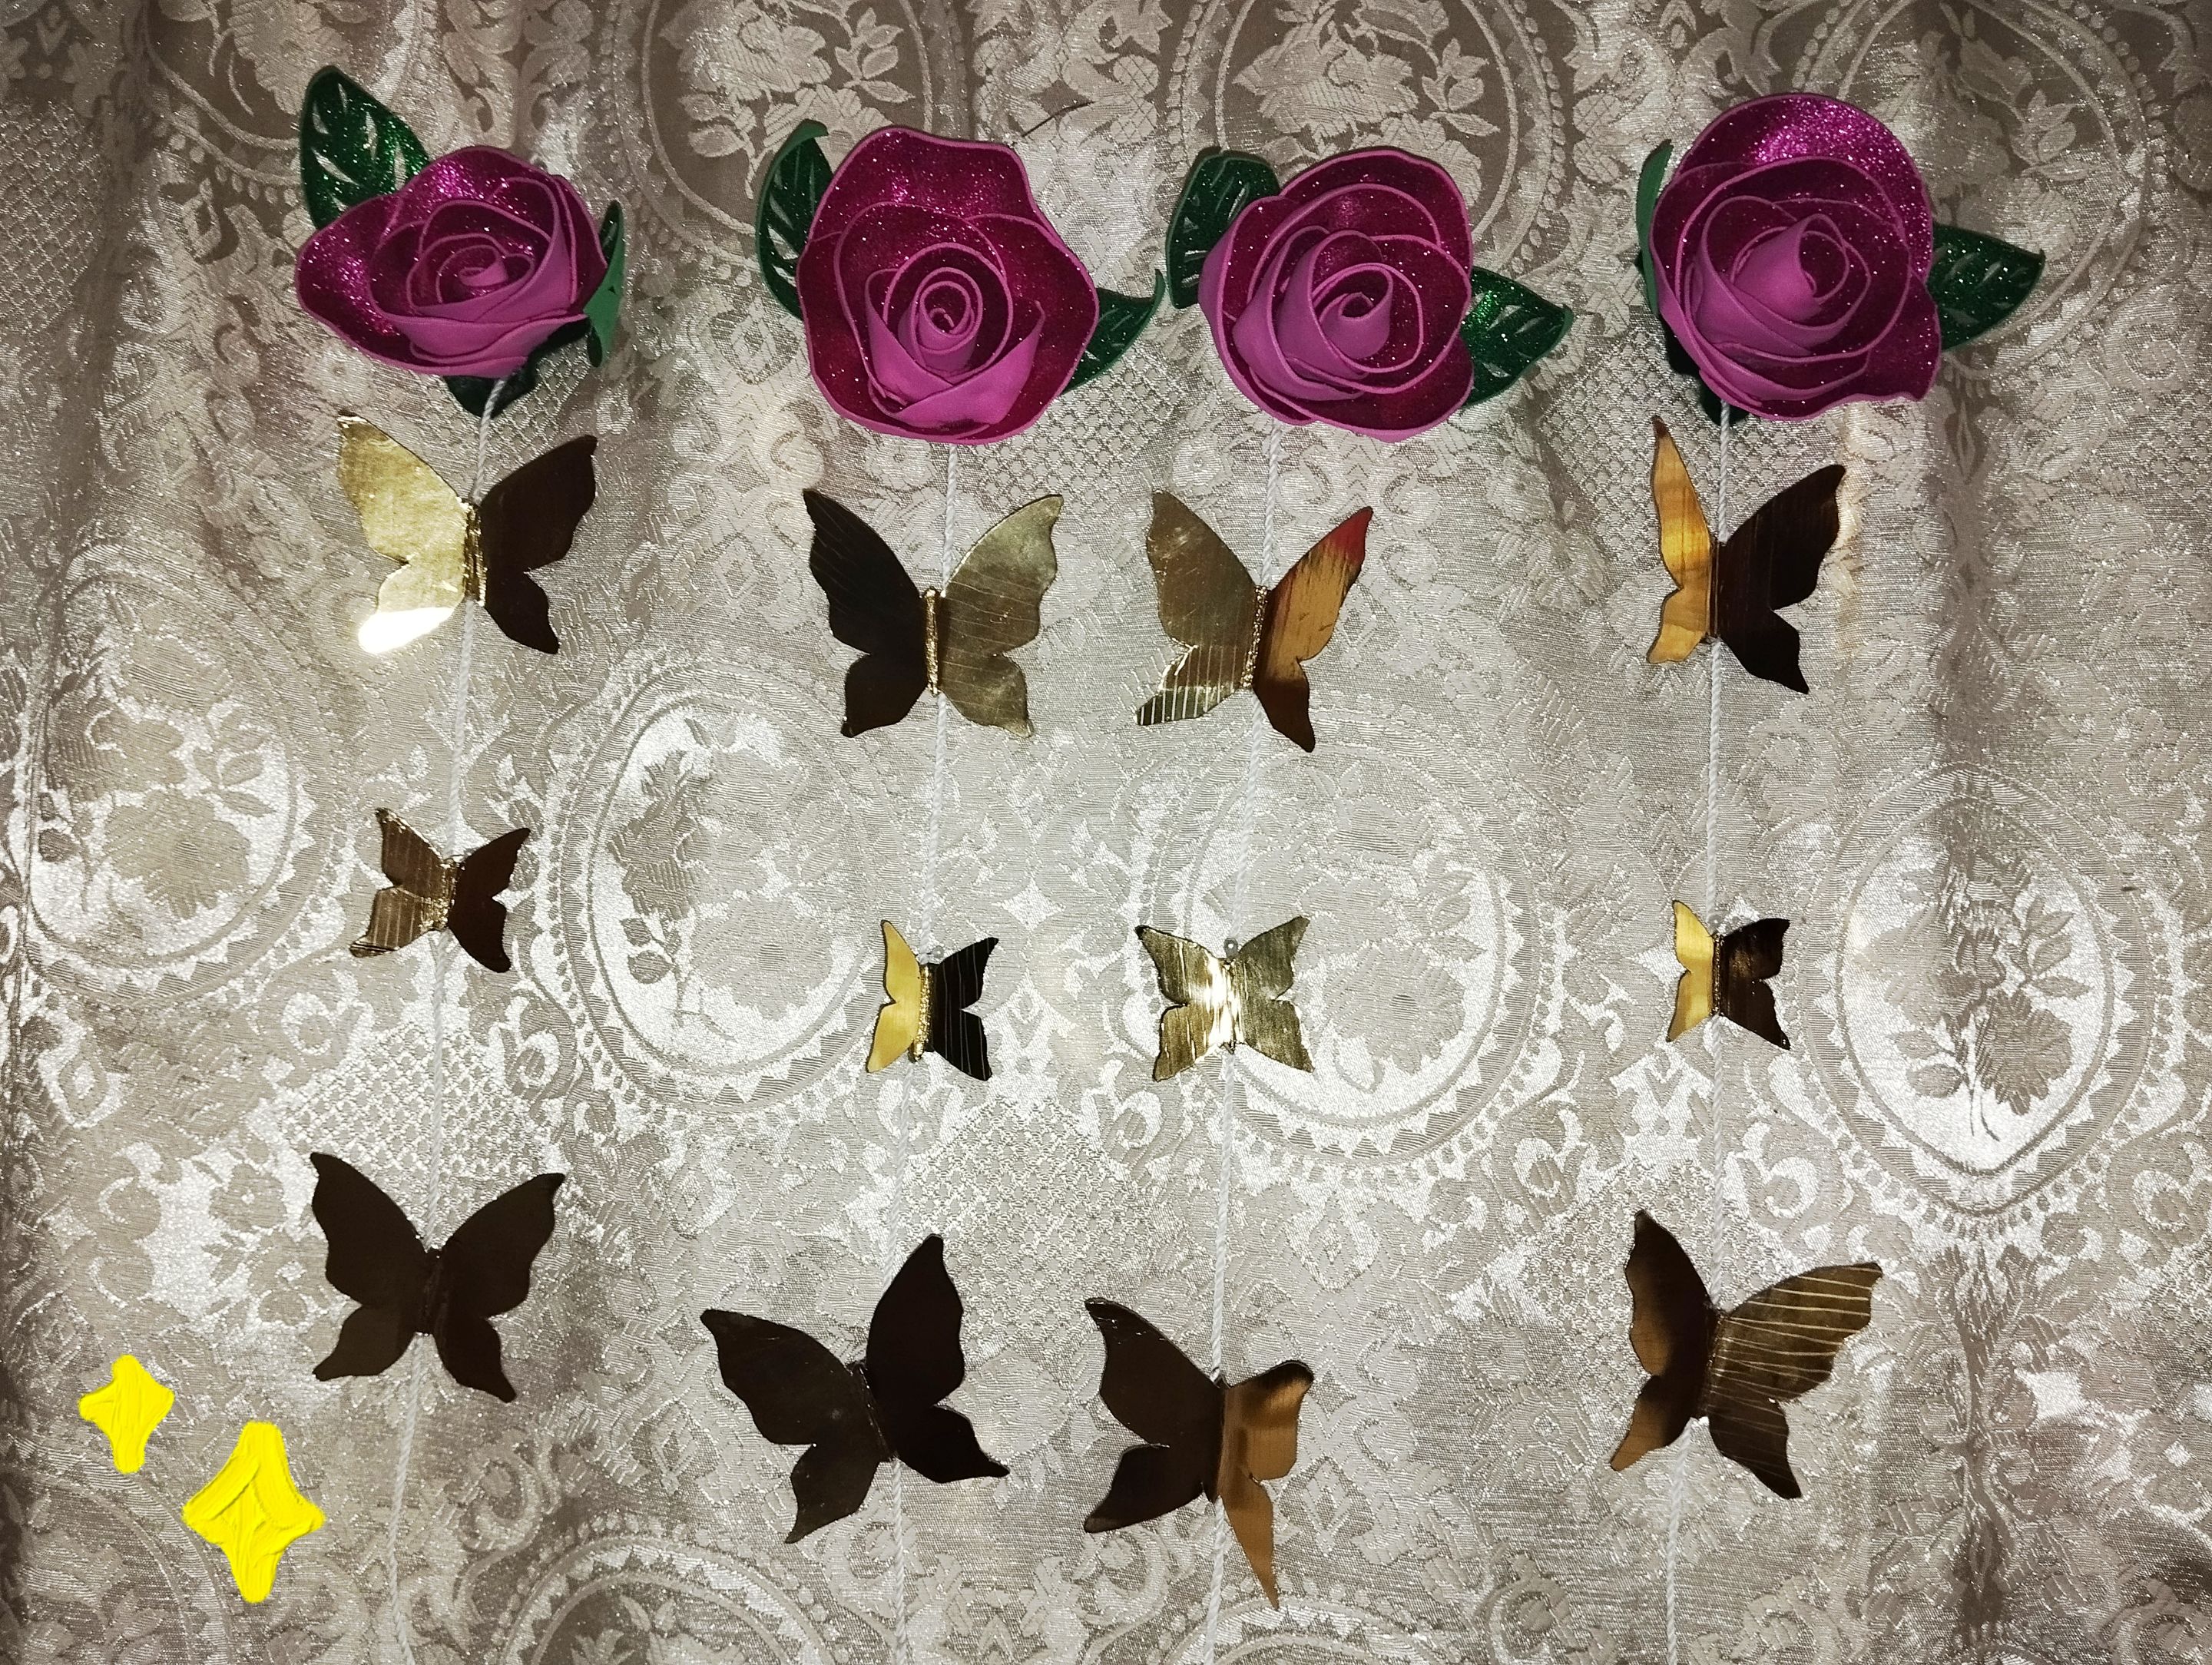
** Y listo este sería el resultado ,usando 1 misma forma de hacer rosas pueden hacer tres formas diferentes de decoraciones , #1 la cortina de rosas fucsias ,con maripositas ,para decorar tus espacios o puntos de fotos, #2 rosas rosadas con la superficie escarchado por fuera , para decorar la mesa o algunos detalles en la pared , #3 Las rosas más pequeñas para decorar la torta/pastel ,o mesa de postres. Los pequeños detallitos son los que cuentan para darle un aspecto diferente a tus reuniones o eventos, mira desde un cumpleaños o hasta un día de la madre ,es una forma bonita de ambientar el lugar y darle un aspecto más lindo, delicado o hasta romántico.**
✨Me ha gustado mucho el resultado 😊, y ya quiero verlo puesto en la reunión, si duda mi favorito fue la cortina con las mariposas ,con más tiempo y más materiales podrías aumentar las tiras de 4 a 6 y 8 ,y abarcaría mucho más espacio ustedes que opinan hivers artesanos les gustó la idea?✨.
Muchas gracias por leerme ! 🤭💜✨ Espero que les haya gustado el post!
Fotos tomadas por mí en mi equipo Redmi note 12 editadas en Pics art y gif realizado en app creador de GIFs texto traducido en Google traductor.
English Version
** And that's it, this would be the result, using the same way of making roses you can make three different ways of decorating, #1 the curtain of fuchsia roses, with butterflies, to decorate your spaces or photo spots, #2 pink roses with the surface frosted on the outside, to decorate the table or some details on the wall, #3 The smaller roses to decorate the cake or dessert table. The little details are what count to give a different look to your meetings or events, look from a birthday or even Mother's Day, it's a nice way to set the mood and give it a prettier, more delicate or even romantic look.**
✨I really liked the result 😊, and I already want to see it put up at the meeting, without a doubt my favorite was the curtain with the butterflies, with more time and more materials you could increase the strips from 4 to 6 and 8, and it would cover much more space. What do you think, hivers manualidades, did you like the idea? ✨.
Thank you very much for reading me! 🤭💜✨ I hope you liked the post!
Photos taken by me on my Redmi note 12 device edited in Pics art and gif made in the GIF creator app, text translated in Google translator.

