Hola Hola mis amores un saludito a cada uno de ustedes y espero estén pasando un feliz viernes,me alegra volver a compartirles un nuevo trabajo el dia de hoy como se dieron cuenta en la foto del principio ,he realizado este práctico y bonito cosmetiquero de tela suave ,como saben he estado adentrandome un poco mas en este mundo de la costura ,es por eso que me agradeceria muchisimo aceptar de parte de ustedes sus buenos consejos para aprender mucho más este arte que es el de diseñar todo tipo de cosas en ls comodidad de nuestra casa.
Me he dedicado a hacer este trabajo con telas que tenía de trabajos anteriores,se que a ustedes también les encanta reciclar igual que a mi ,así que acá les dejo el paso a paso de como lo hice algo muy sencillo para que ustedes también lo realicen.
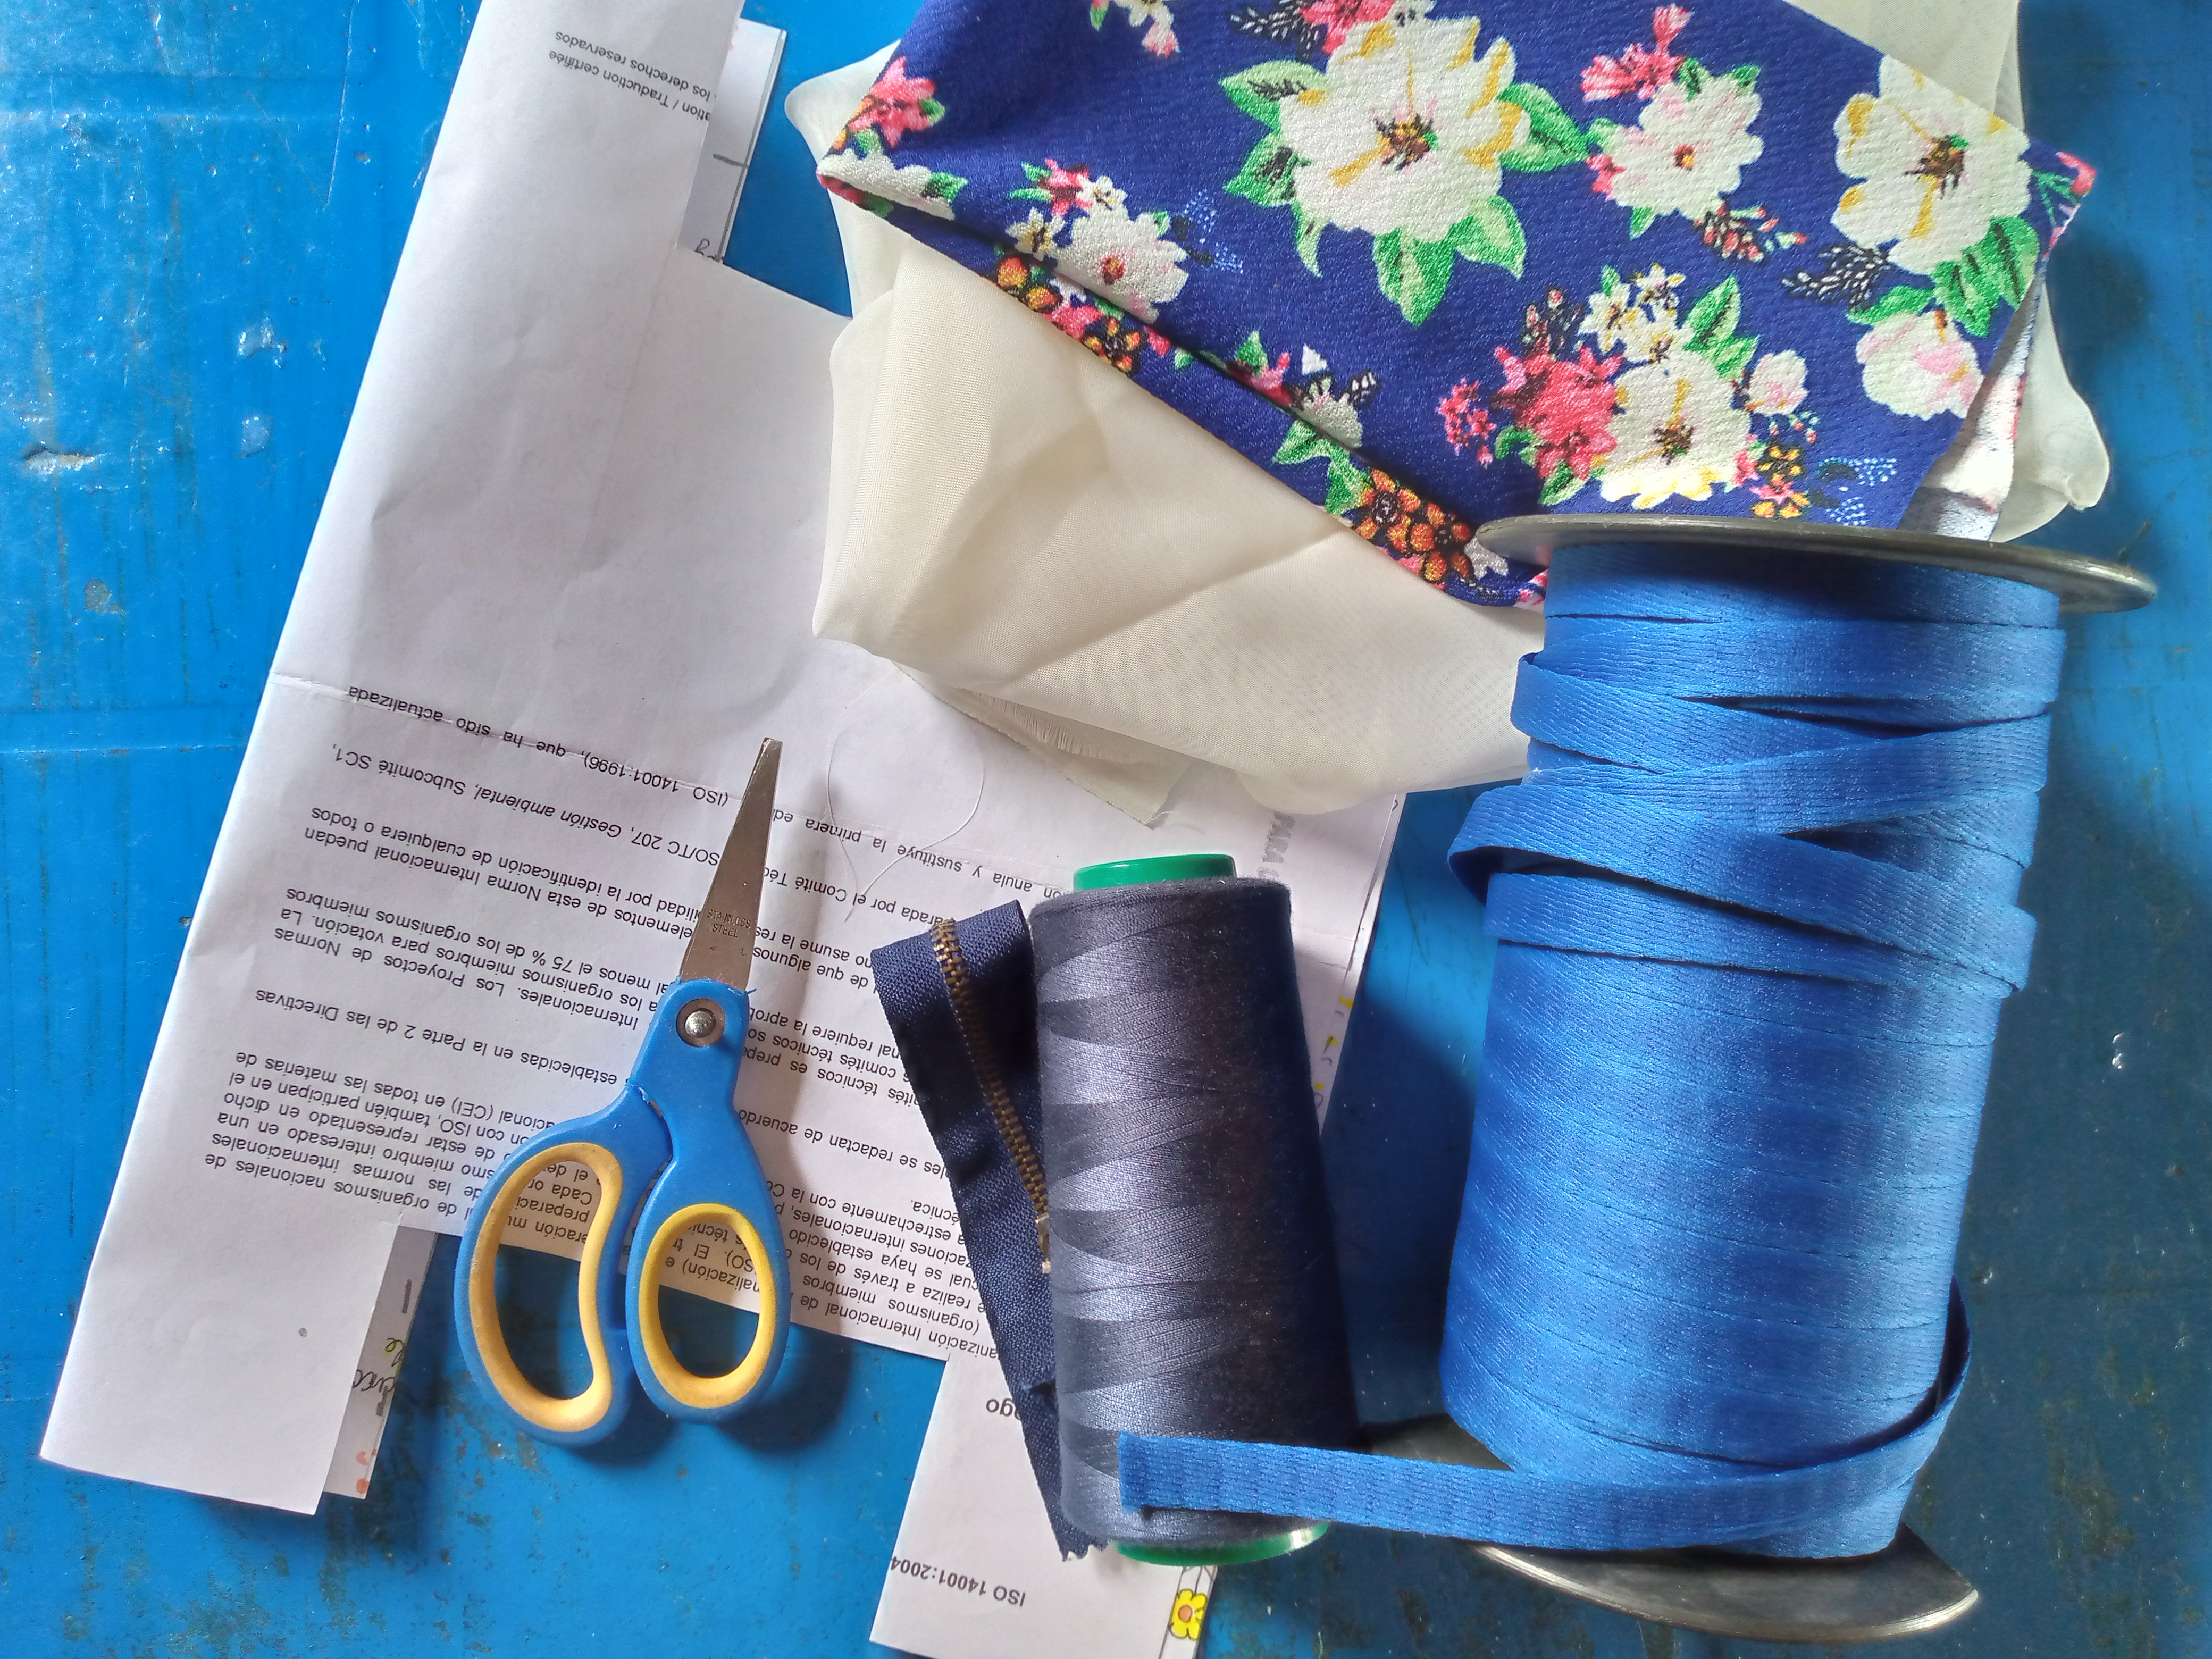
Materiales que necesitas:
- Telas
- Cinta para las asas
- Tijera
- Hilo
- Máquina de coser
- Patrón
- Cierre
(PROCEDIMIENTO)
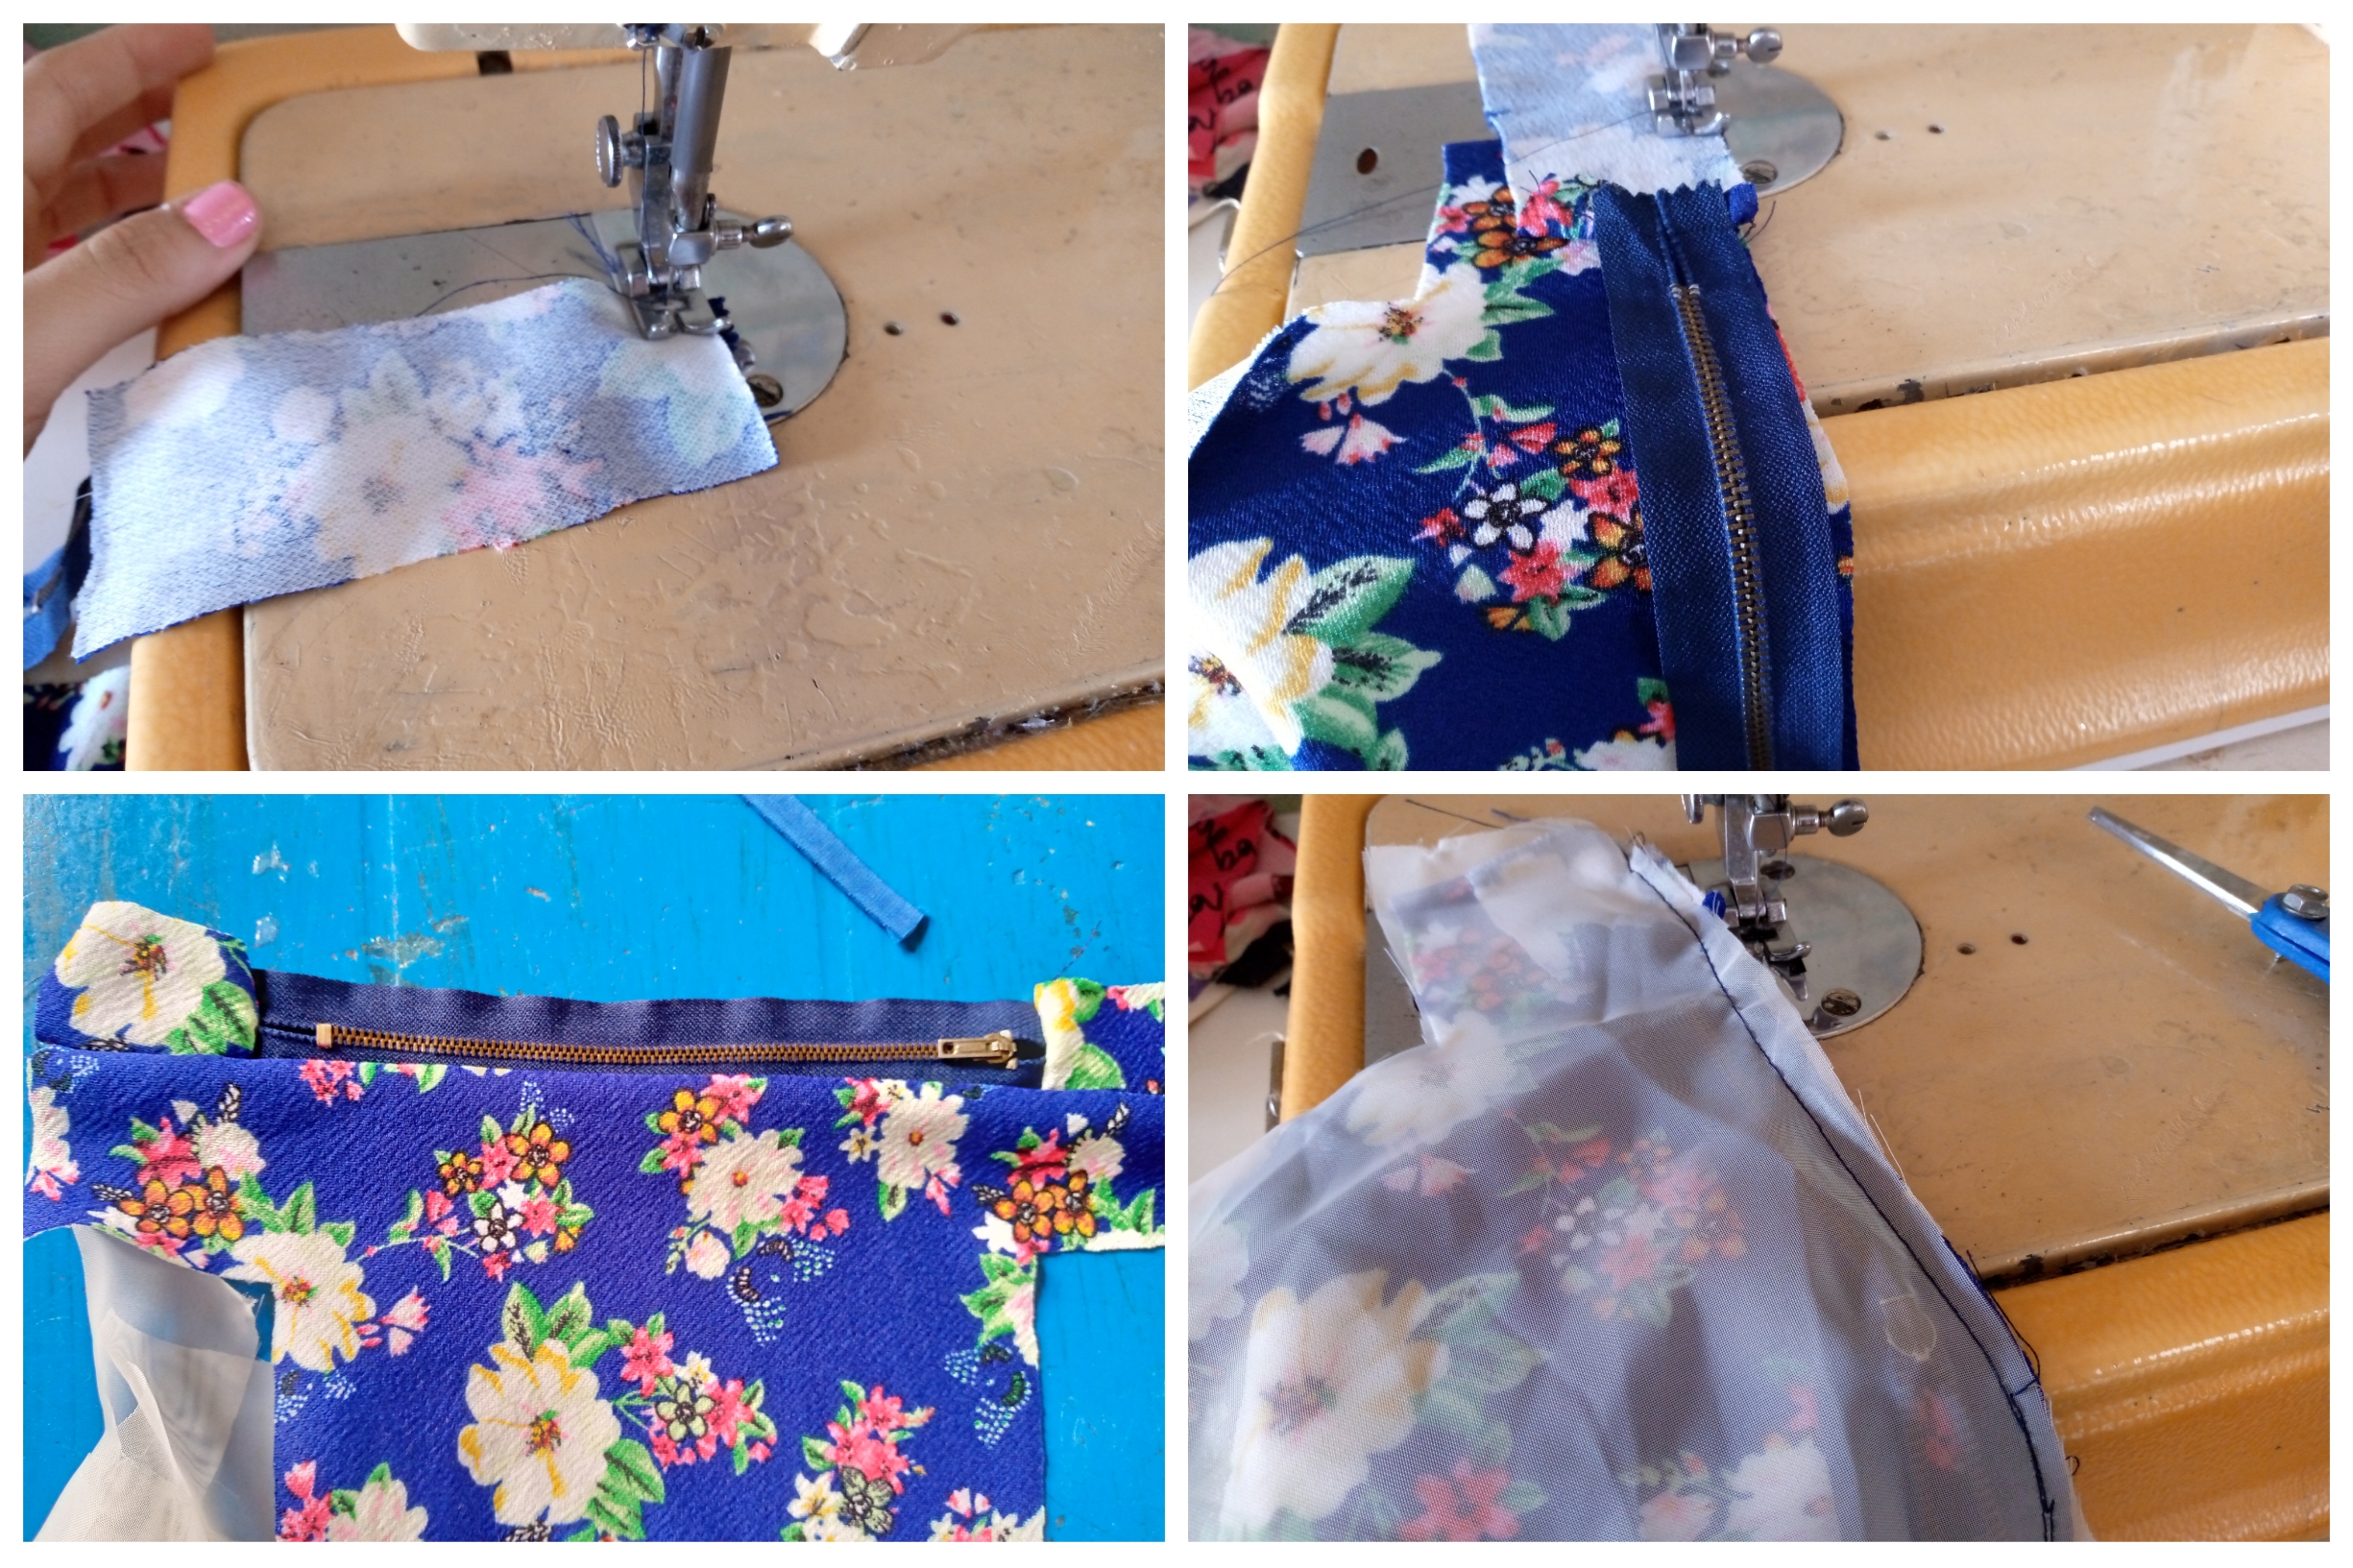
Paso 01
Para empezar vamos a cortar en nuestra tela nuestro patrón para hacer nuestra pieza que formará la cosmetiquera lo vamos a marcar del lado inferior de nuestra tela y procedemos a cortarlo ,los patrones los pueden conseguir en Pinterest .
.jpg)
Paso 02
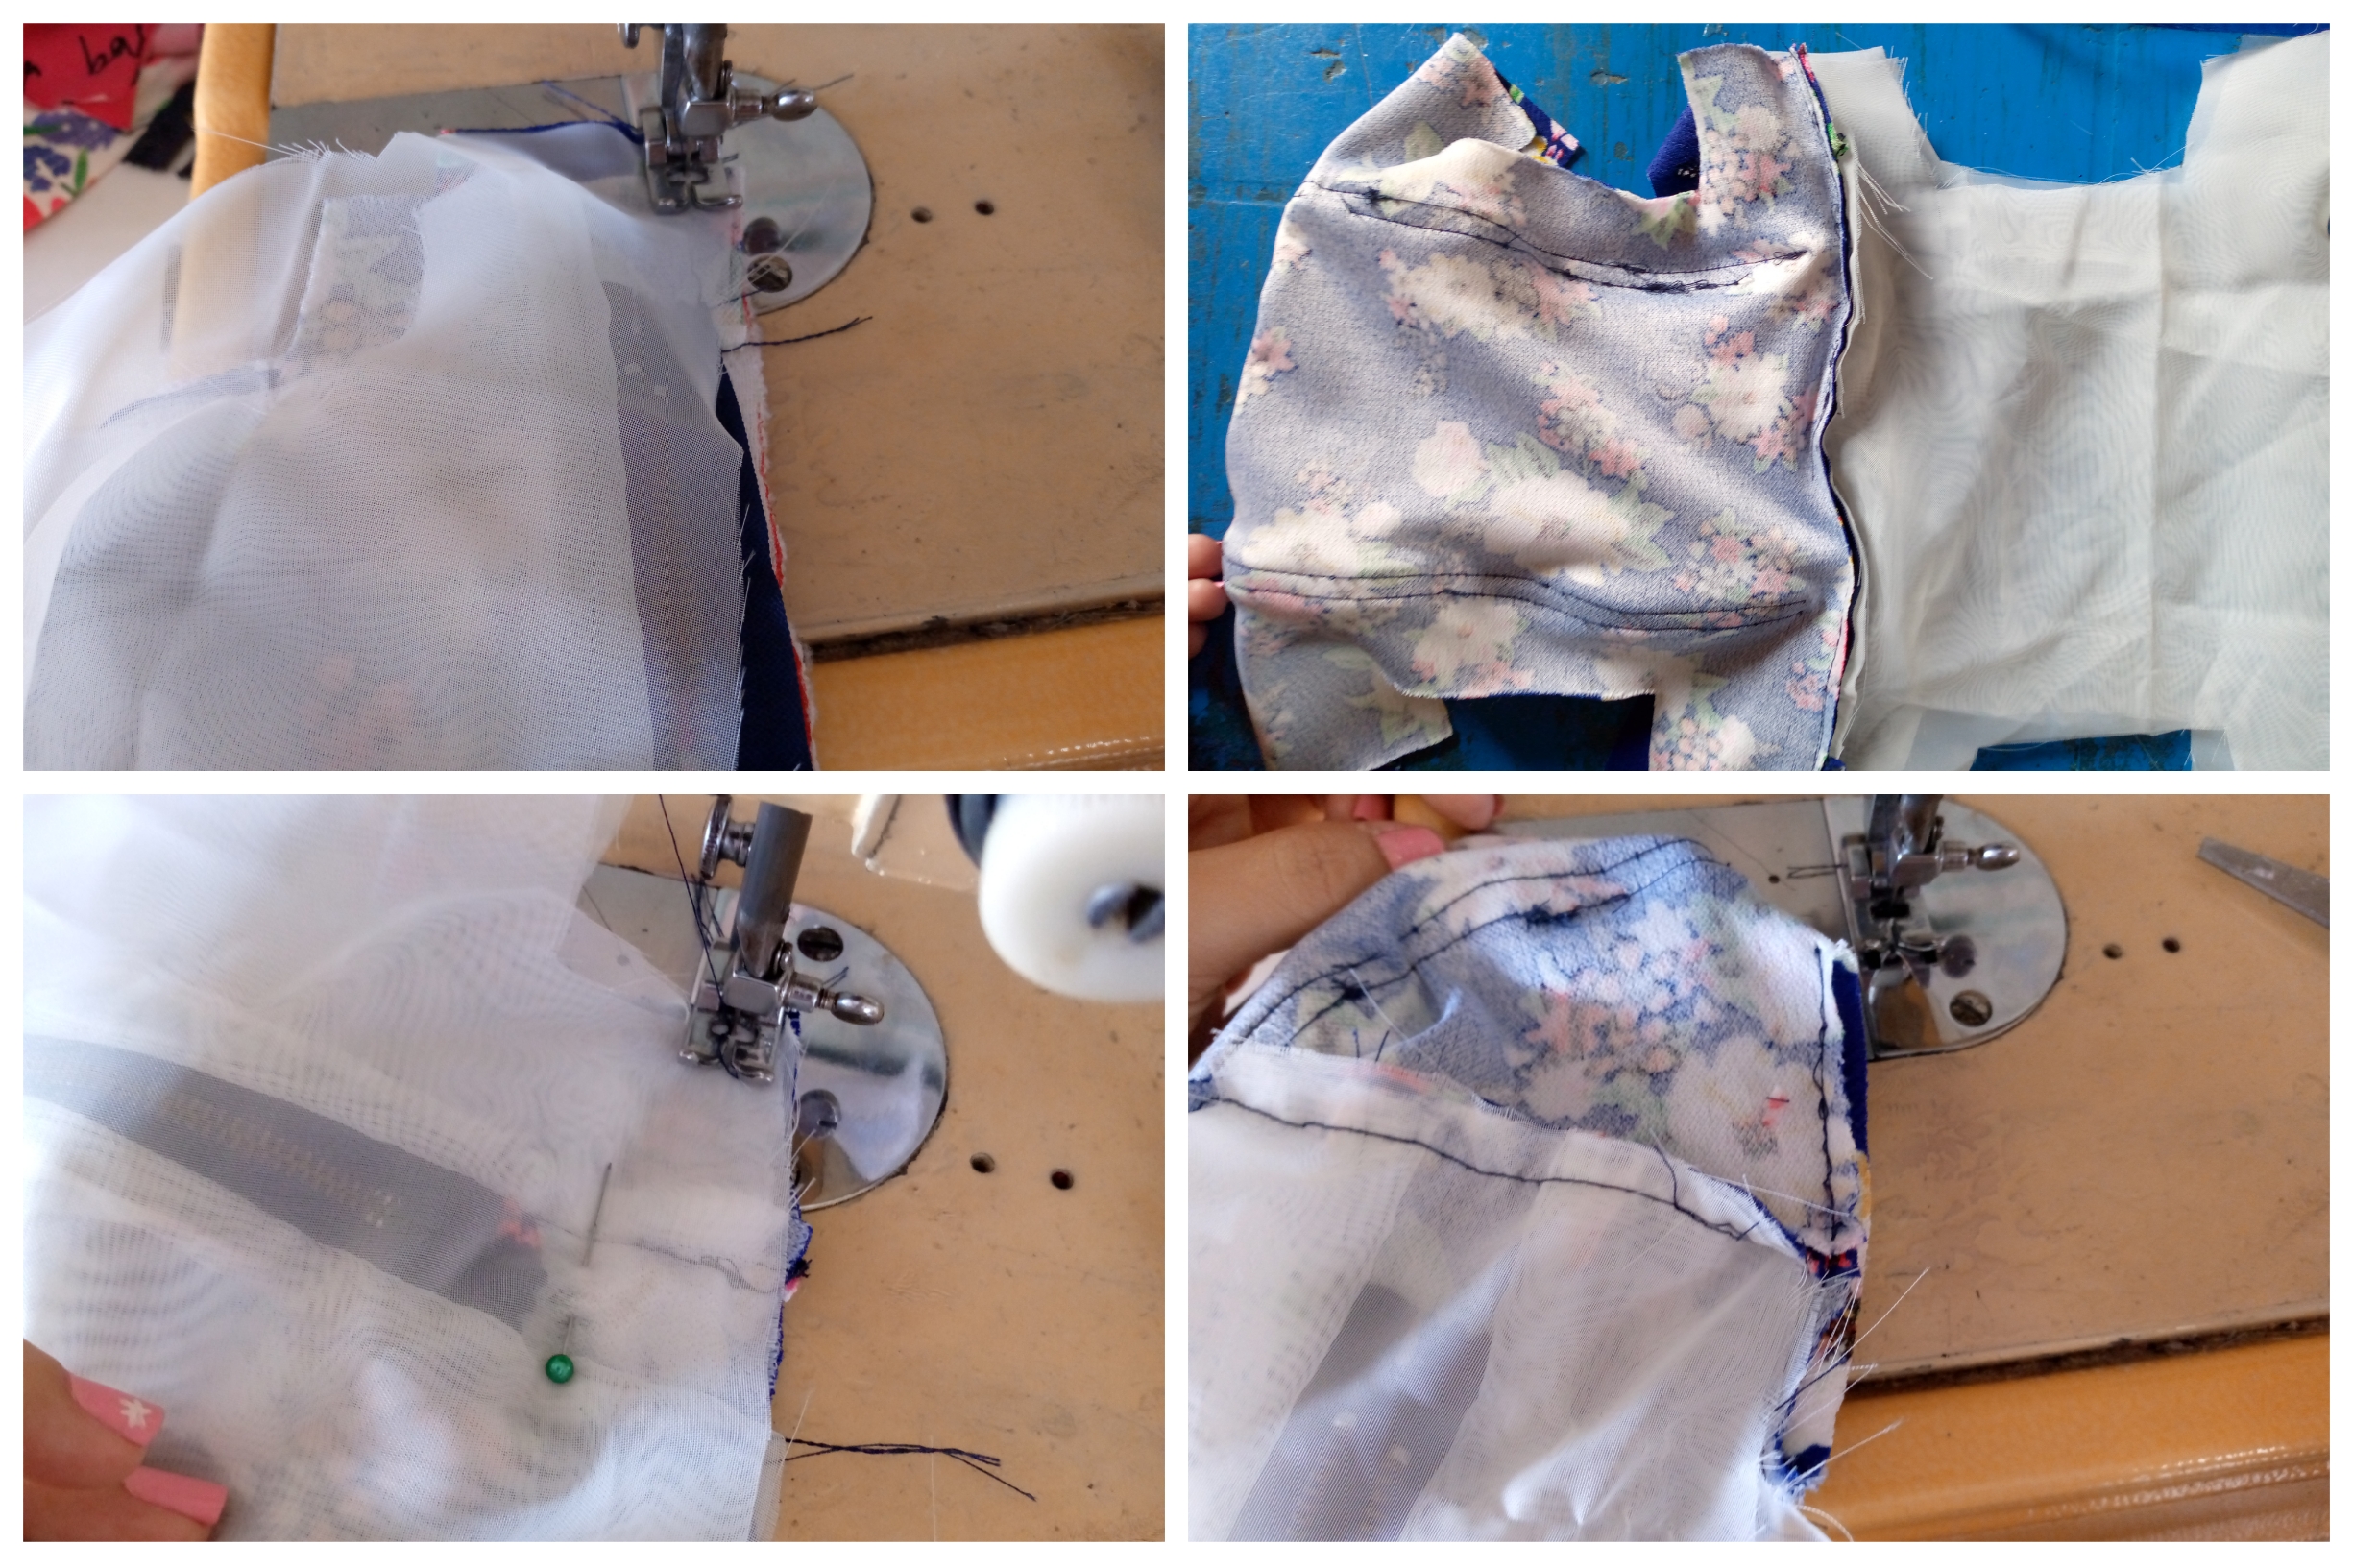
Una vez tengamos la pieza lista como base ,vamos a empezar a coser nuestro cierre por la parte rectangular de la esquina ,si ustedes ven que el cierre es un tanto corto pueden tomar un trozo de tela y empatarlo a como gusten ,así tal cual se muestra en las imágenes.
Paso 03
Despues de coser nuestro cierre vamos ahora a coser en nuestra tela nuestra cinta que usaremos para las asas está tiene una medida de 135 cm ,y vamos cosiendolo tal cual se muestra en las imágenes paso a paso amigos ,yo les he colocado unos alfileres para sujetarlo y no se me vaya a soltar.
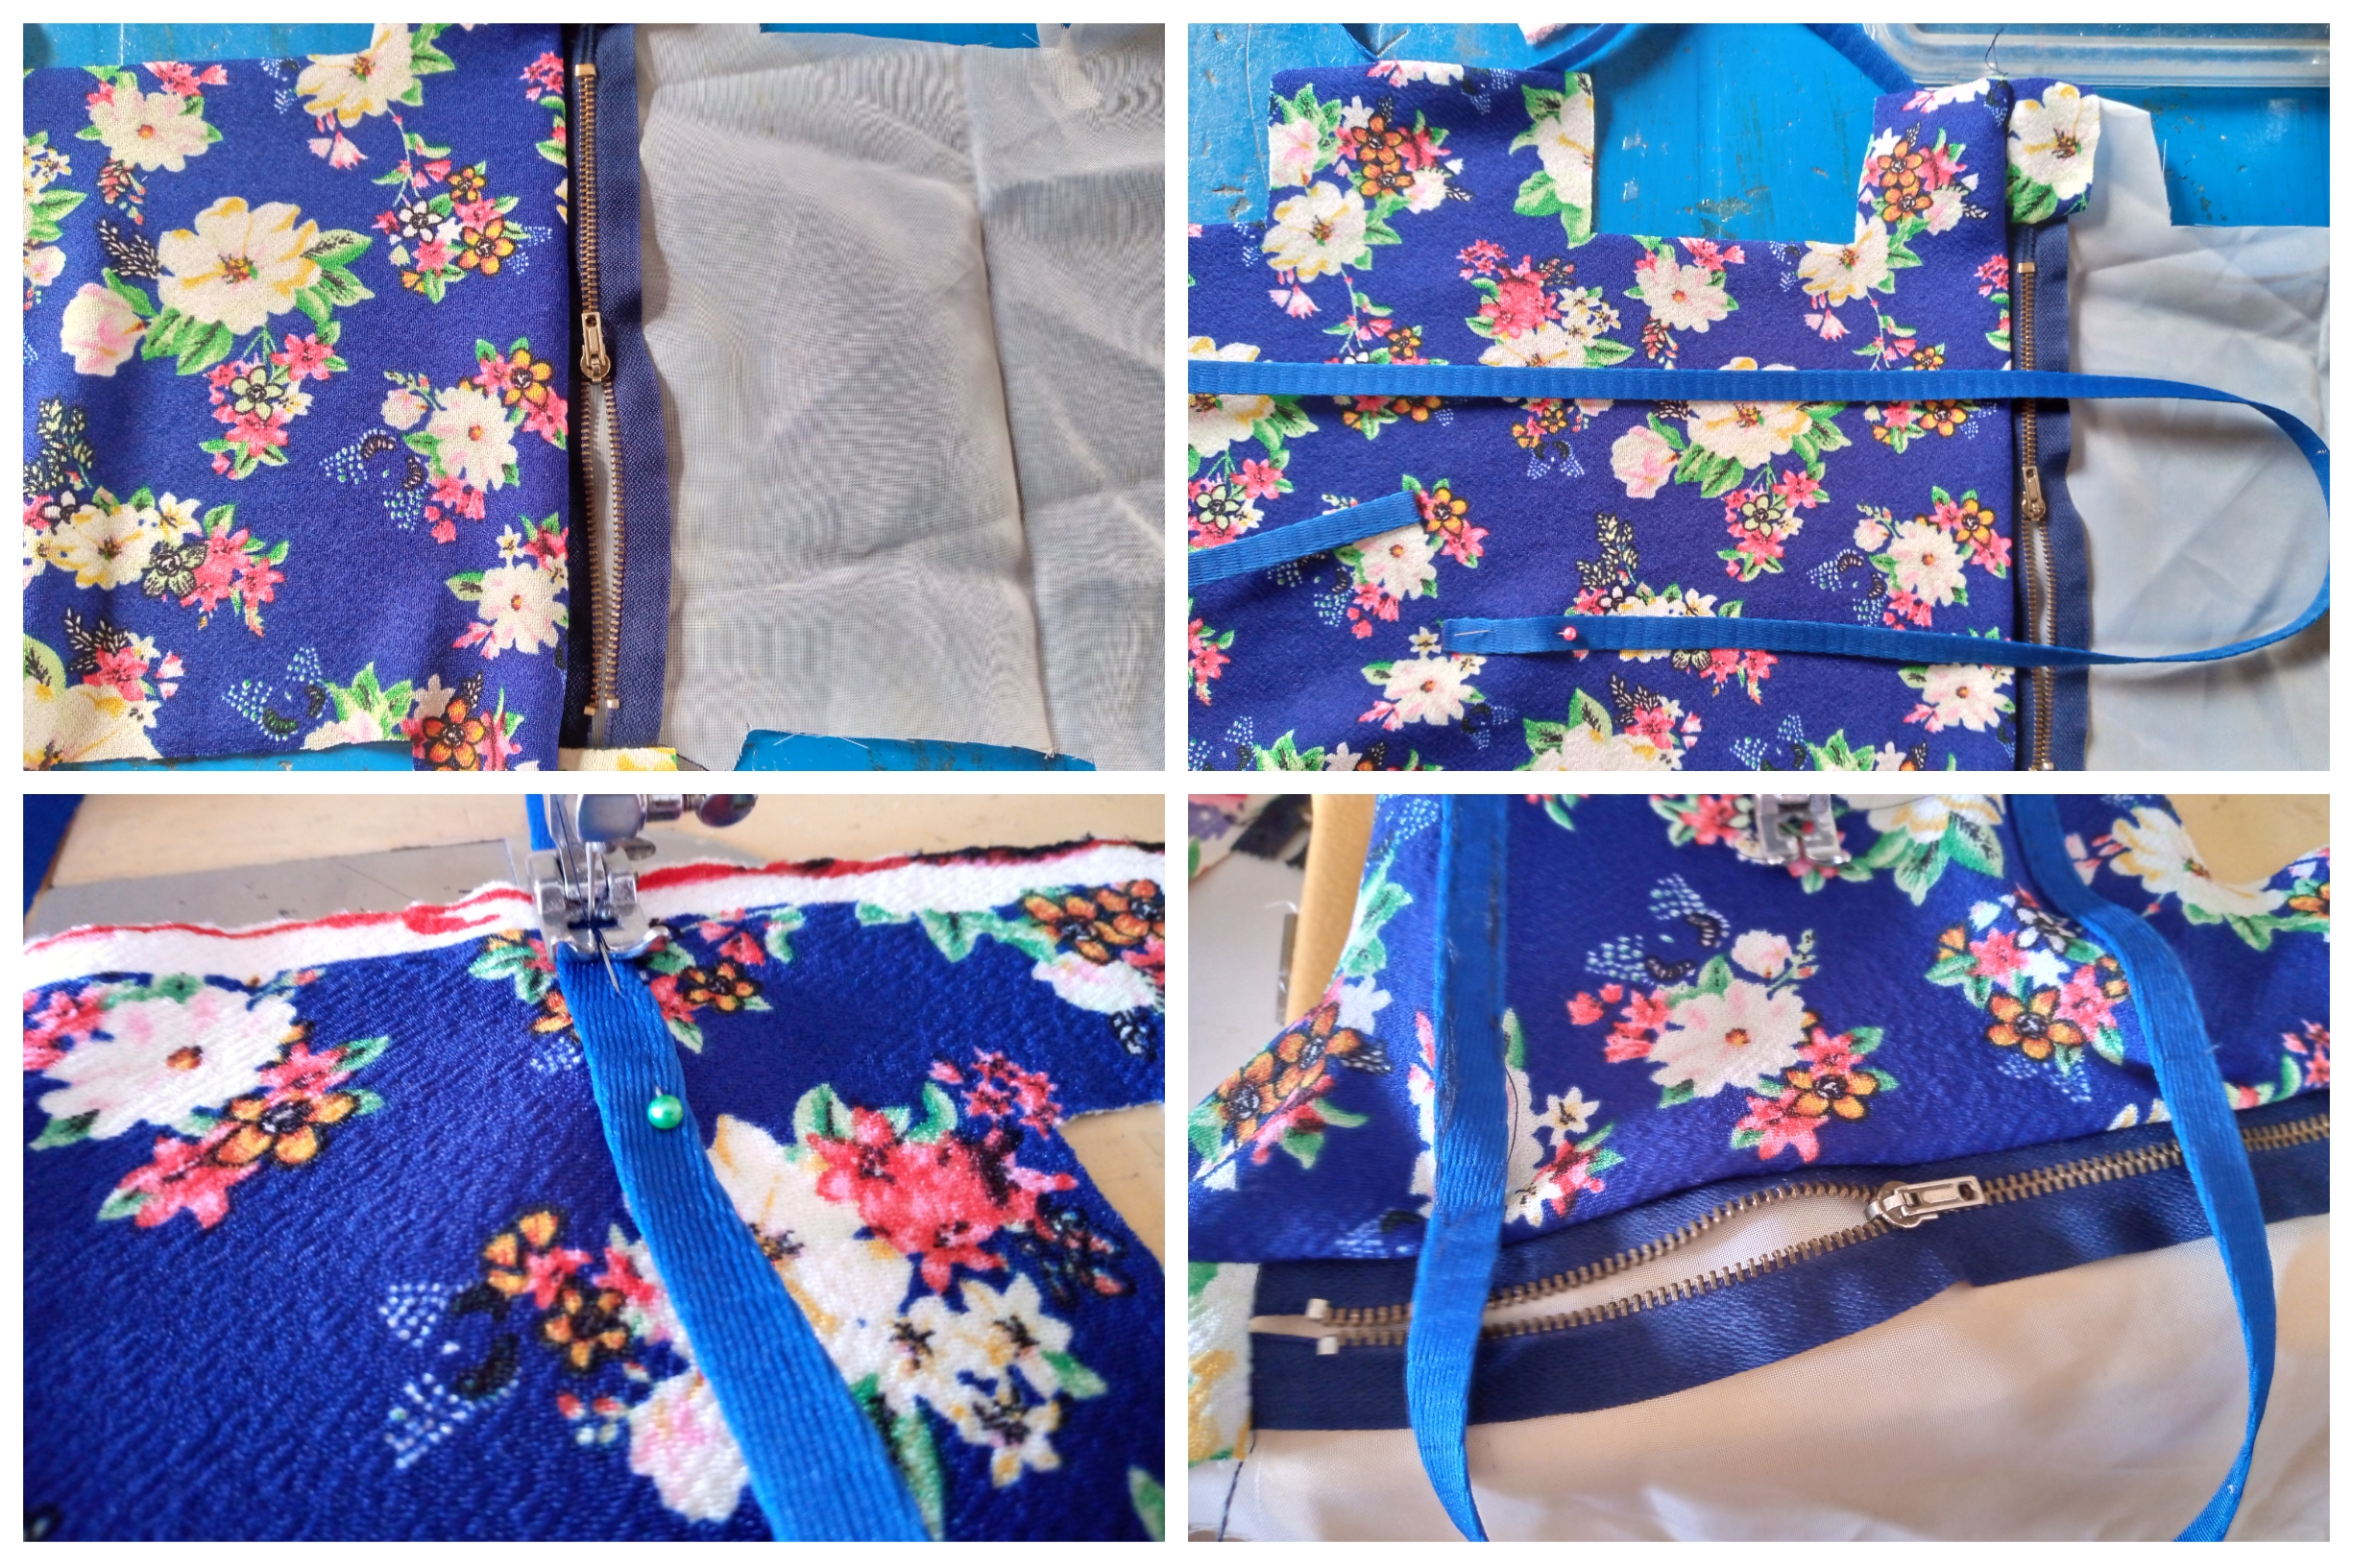
Paso 04
Procedemos después a sellar nuestras piezas por los costados tanto como la tela de afuera como la del forro vamos sellando con costura los ocho lados las cuatro del forro y las cuatro de la tela de afuera de nuestra cosmetiquera y terminamos volteando y sellamos con costura escondida de un costado de nuestra pieza y listo terminamos nuestro lindo porta cosméticos.
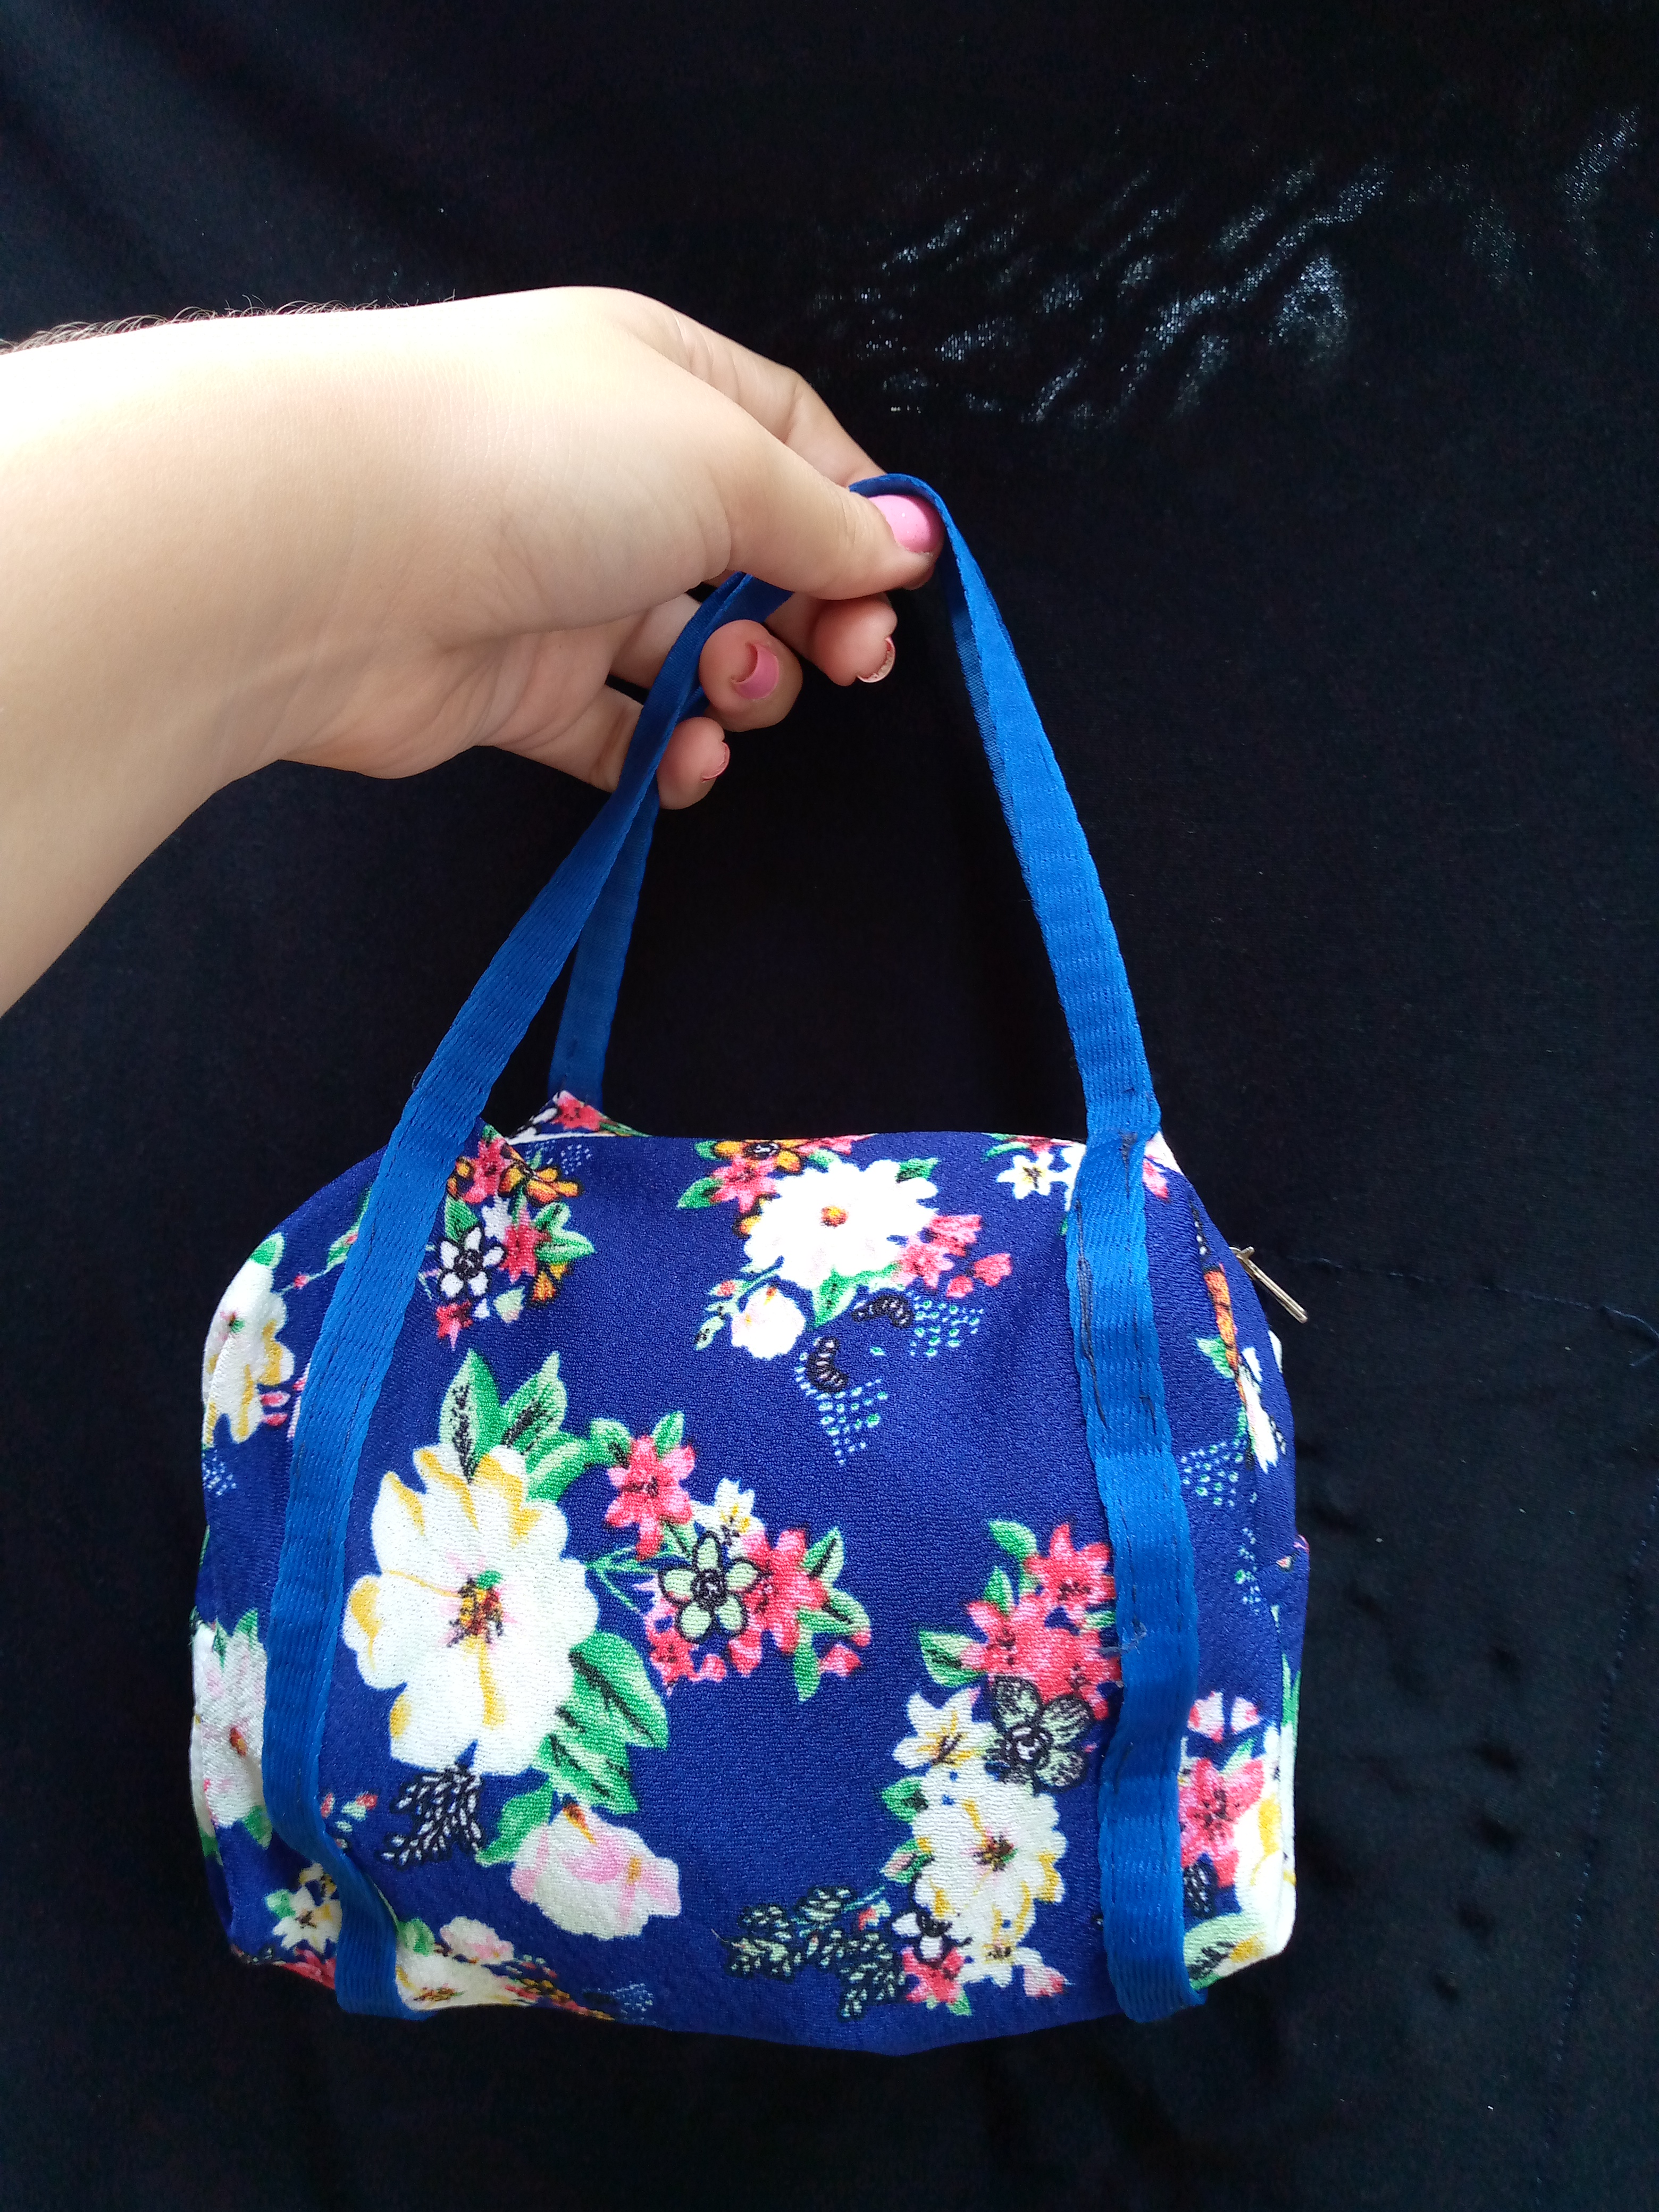
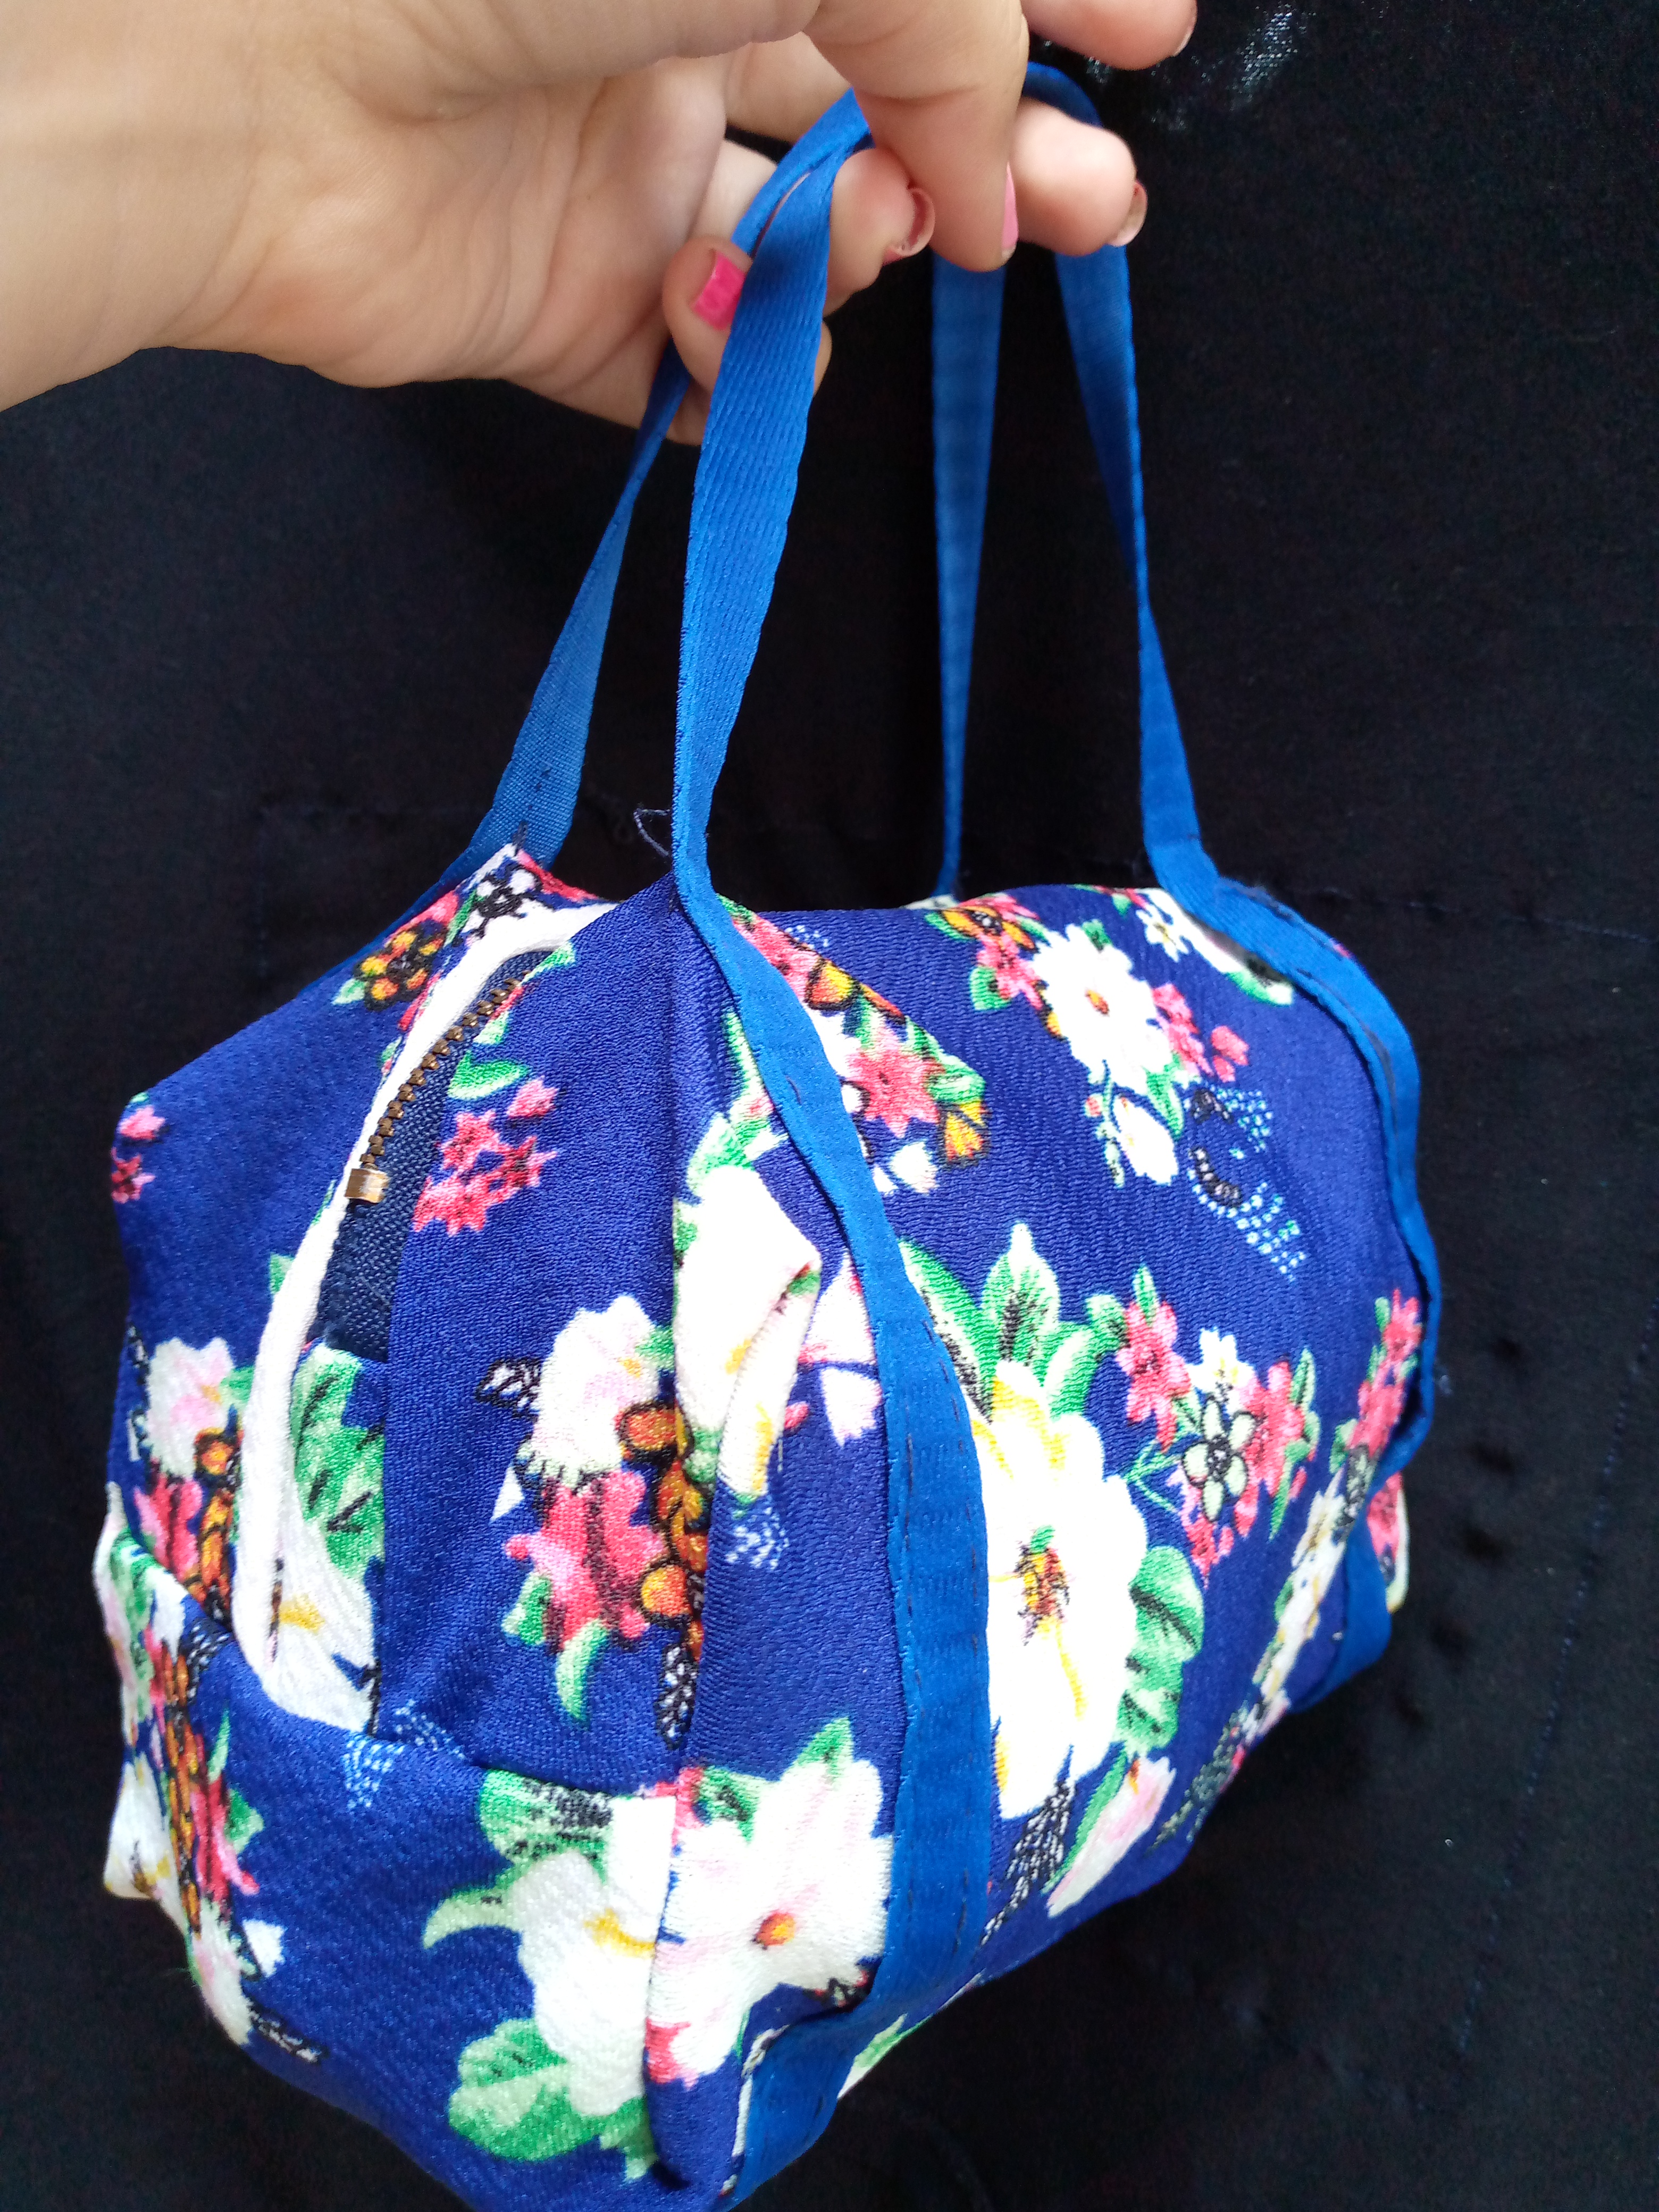
¡Resultado!
Que tal les ha parecido mis amores ,yo usaré este cosmetiquero para hacer un bonito regalo ustedes pueden usarlo para lo que mas gusten también sirve para cuando van de viaje es muy cómodo y pequeño ,justo lo necesario para esas ocasiones en las que necesitamos algo que no ocupe tanto espacio,ustedes dejen volar su imaginación,espero les haya gustado mis amigos de está linda colmena ,nos vemos en otro próximo blog , gracias por leer este blog hecho con cariño para ti ,saludos bella comunidad.

Hello Hello my loves, greetings to each of you and I hope you are having a happy Friday, I am happy to share a new job with you today as you noticed in the photo at the beginning, I have made this practical and beautiful fabric cosmetic bag soft, as you know I have been delving a little deeper into this world of sewing, that is why I would be very grateful to accept your good advice from you to learn much more about this art of designing all kinds of things in comfort. of our house.
I have dedicated myself to doing this work with fabrics that I had from previous jobs, I know that you also love to recycle just like I do, so here I leave you step by step of how I did it, something very simple so that you can also do it .
Materials:
- Fabrics
- Tape for the handles
- Scissors
- Thread
- Sewing machine
- Pattern
- Closure
(PROCEDURE)
Step 01
To begin, we are going to cut our pattern into our fabric to make our piece that will form the cosmetic bag. We are going to mark it on the underside of our fabric and proceed to cut it. You can find the patterns on Pinterest.
Step 02
Once we have the piece ready as a base, we are going to start sewing our closure through the rectangular part of the corner. If you see that the closure is a bit short, you can take a piece of fabric and tie it as you like, just as you like. shown in the images.
Step 03
After sewing our closure, we are now going to sew on our fabric our ribbon that we will use for the handles. It has a measurement of 135 cm, and we are sewing it as shown in the images step by step, friends, I have placed some pins to hold it in place. and it won't let go.
Step 04
We then proceed to seal our pieces on the sides, both the outside fabric and the lining. We sew the eight sides, the four of the lining and the four of the outside fabric of our cosmetic bag, and we finish by turning and sealing with a hidden seam. one side of our piece and that's it we finished our cute cosmetic holder.
¡Result!
How did you like it, my loves? I will use this cosmetic bag to make a nice gift. You can use it for whatever you like. It also works for when you go on a trip. It is very comfortable and small, just what is necessary for those occasions when we need something that It doesn't take up so much space, you let your imagination fly, I hope you liked it my friends from this beautiful hive, see you in another next blog, thank you for reading this blog made with love for you, greetings beautiful community.