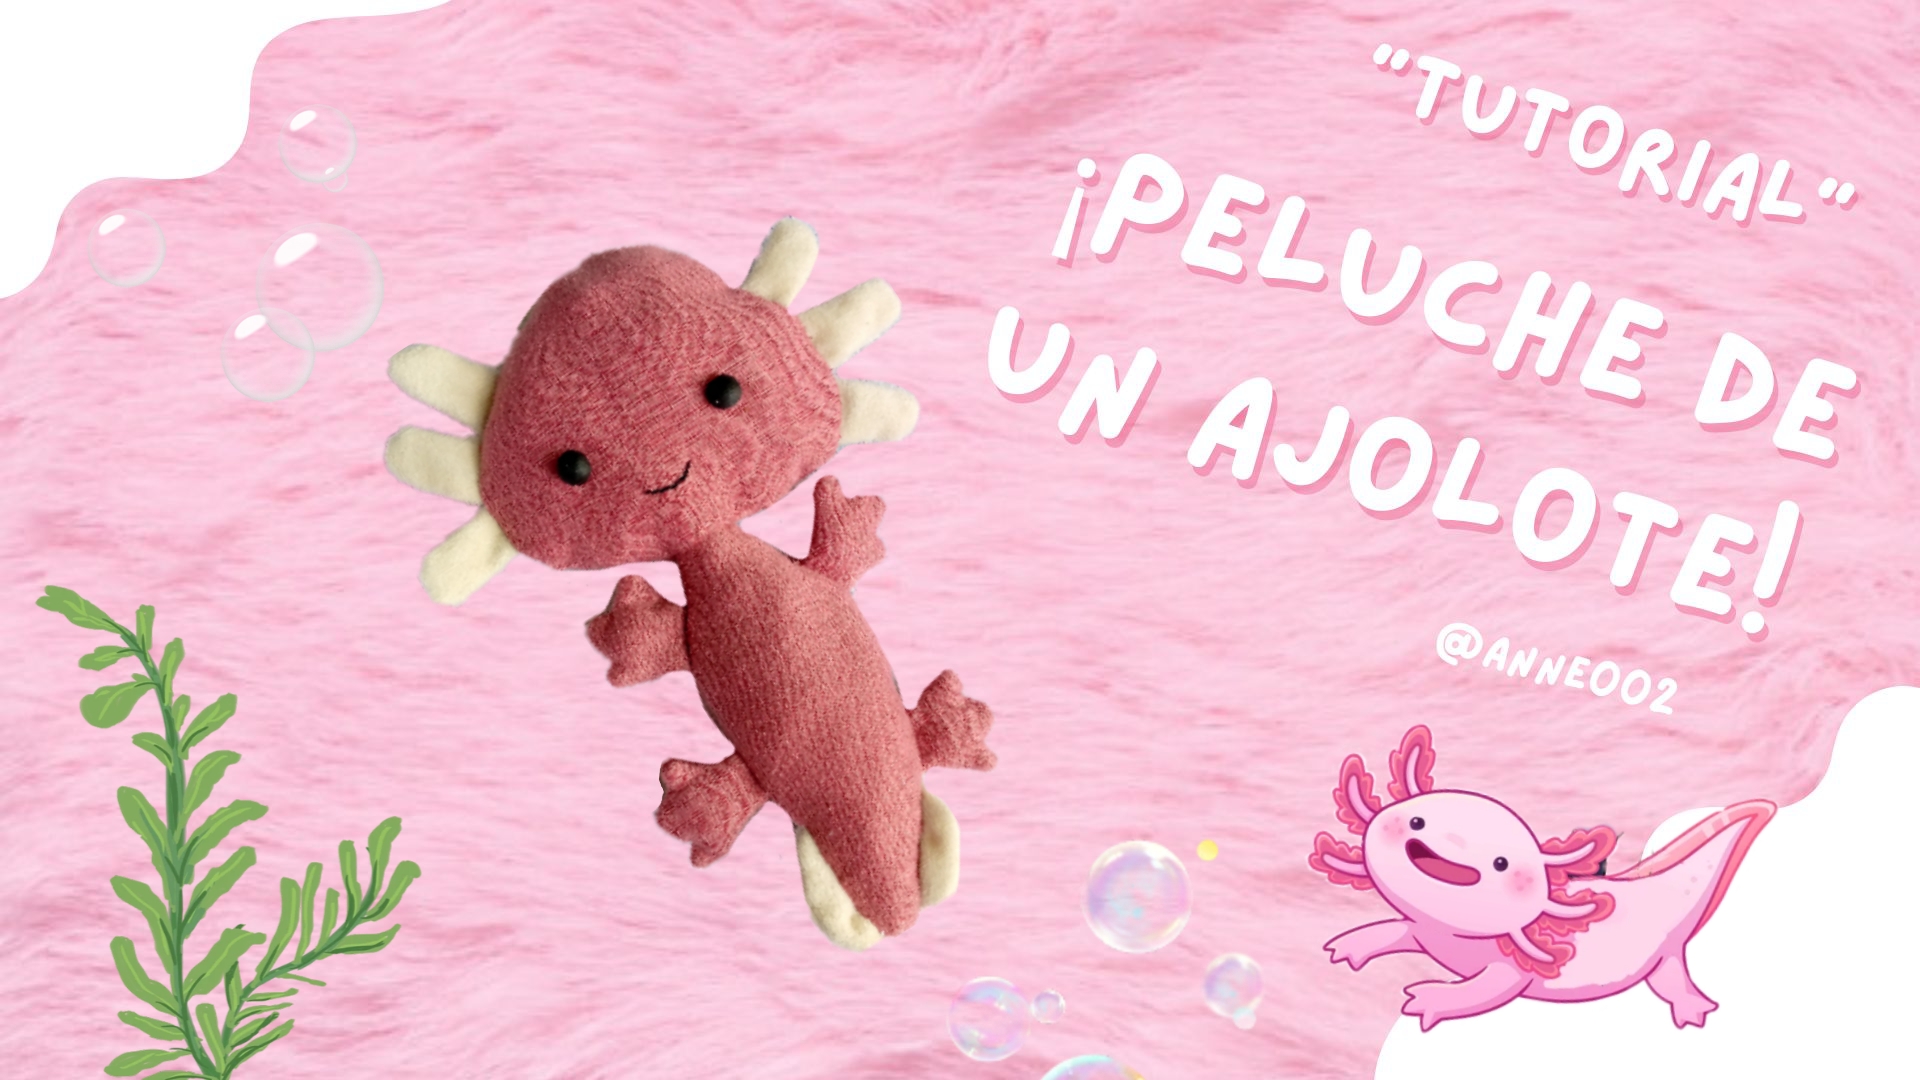
Hagamos un lindo ajolote de peluche con retazos de tela💕✨//Let's make a cute stuffed axolotl with fabric scraps💕✨[Esp~Eng]

in voilk •  last month

    Picsart_24-10-06_15-26-47-698.jpg

    Picsart_24-10-06_15-39-46-315 (1).jpg

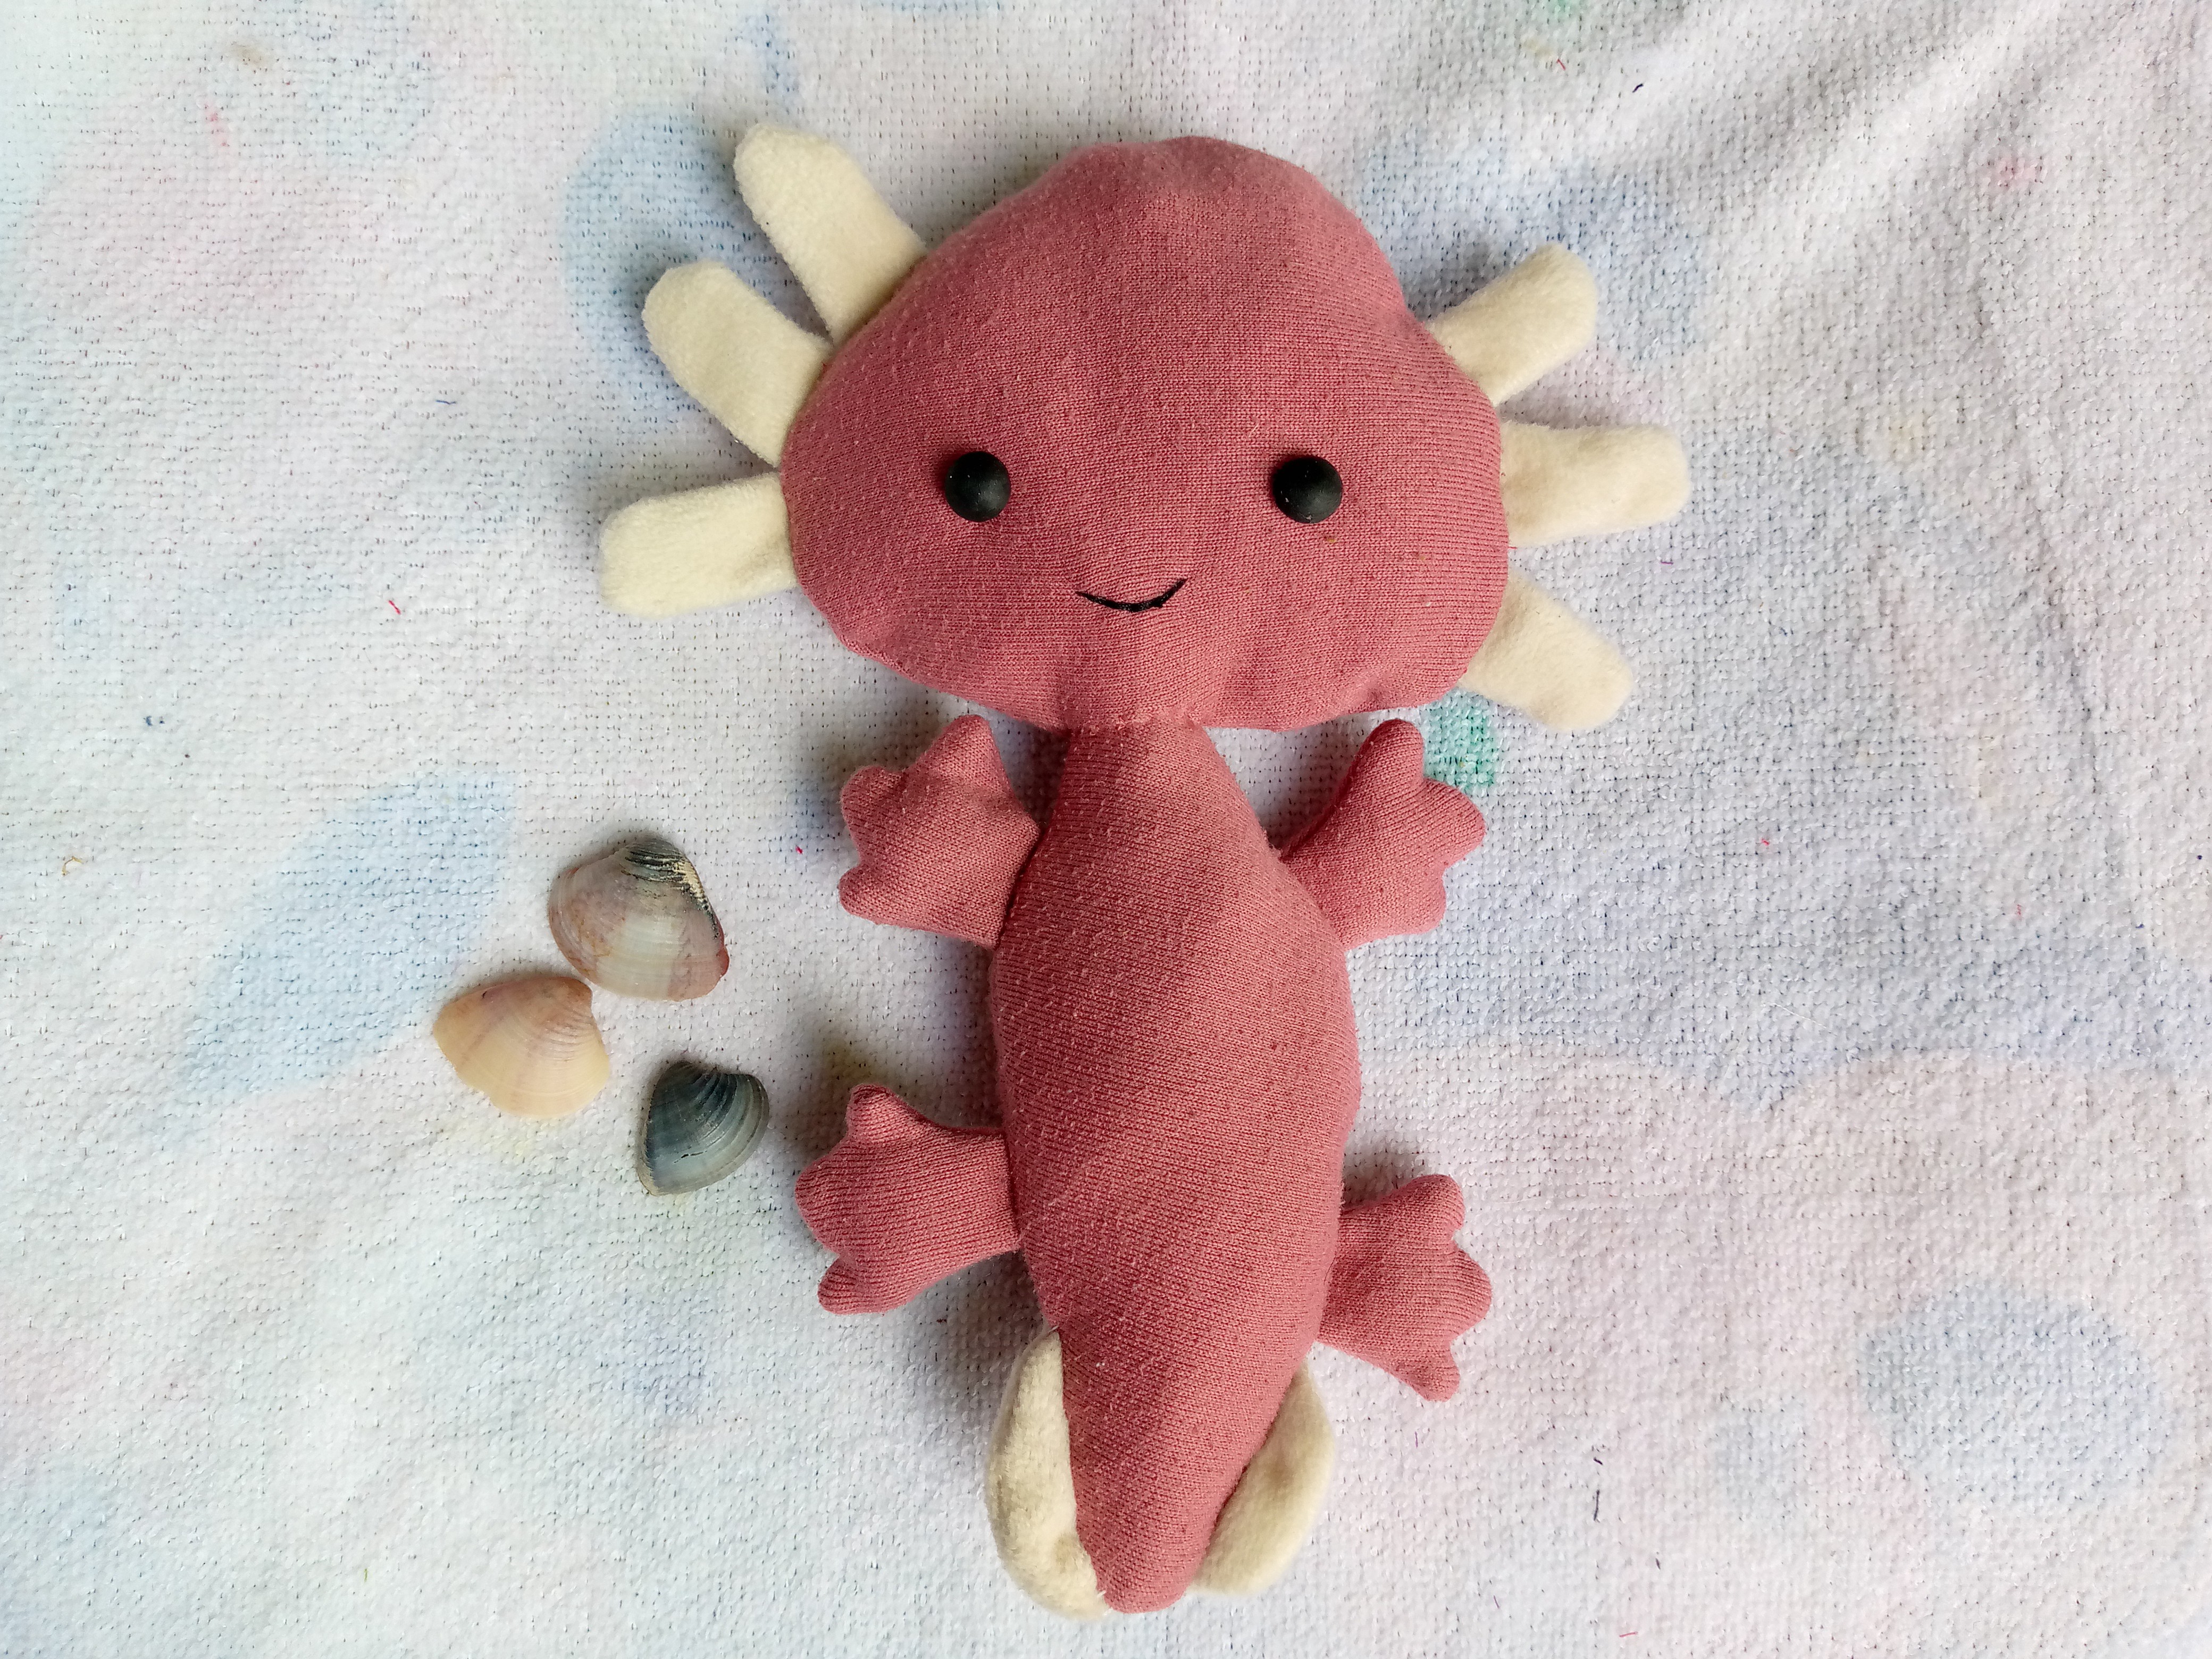
    ¡Que tal mis abejitas les mando un fuerte abrazo 💕🐝!un gusto saludarles y espero hoy se encuentren genial este domingo ,gracias a Dios yo estoy muy bien mas feliz que una lombriz 😍 porque por fin he hecho mi ajolote en peluche que desde tiempo he querido hacer🥺pero no encontraba las telas necesarias para hacerlo,la verdad pues siento que la tela con la que lo he hecho no se acercaba a la piel rosita de nuestros ajolotes pero yo queria tenerlo asi que me atreví a hacerlo con esta tela en tono rosita algo oscuro con las aletitas de sus mejillas en blanco y las de la cola.

    How are you my little bees, I send you a big hug 💕🐝! It's a pleasure to greet you and I hope you are great today this Sunday, thank God I am very well, happier than a worm 😍 because I have finally made my axolotl into a stuffed animal that I have wanted to do for a long time🥺 but I could not find the necessary fabrics to do it, the truth is I feel that the fabric with which I made it did not come close to the pink skin of our axolotls but I wanted to have it so I dared to do it with this fabric in a somewhat dark pink tone with the little fins on its cheeks in white and those on its tail.
    2d593a17-befd-4cdd-b9ed-5b2fb67a5a69_axolotlhianimated.gif

    Estos animalitos tan peculiares y en peligro de extinción a causa de la destrucción paulatina que ha sufrido su hábitat natural 😞, tristemente es una especie que posiblemente en algunos años deje de existir,así que para recordar a este lindo animalito en peligro hoy vamos a estar haciendo este lindo peluchito y asi valorar a estos animalitos que son muy especiales en nuestro ecosistema,a continuación te muestro el paso a paso de como fácilmente podemos hacerlo con solo pocos materiales y telas recicladas.

    These little animals are so peculiar and in danger of extinction due to the gradual destruction of their natural habitat 😞, sadly it is a species that may cease to exist in a few years, so to remember this cute little animal in danger today we are going to be making this cute stuffed animal and thus value these little animals that are very special in our ecosystem, below I show you step by step how we can easily do it with only a few materials and recycled fabrics.


    IMG_20241005_163134_678 (1).jpg

    Picsart_24-10-06_15-39-46-315 (1).jpg

    Materiales que usé:

    Materials i used:

    • Trozos te tela
    • Hilo
    • Aguja
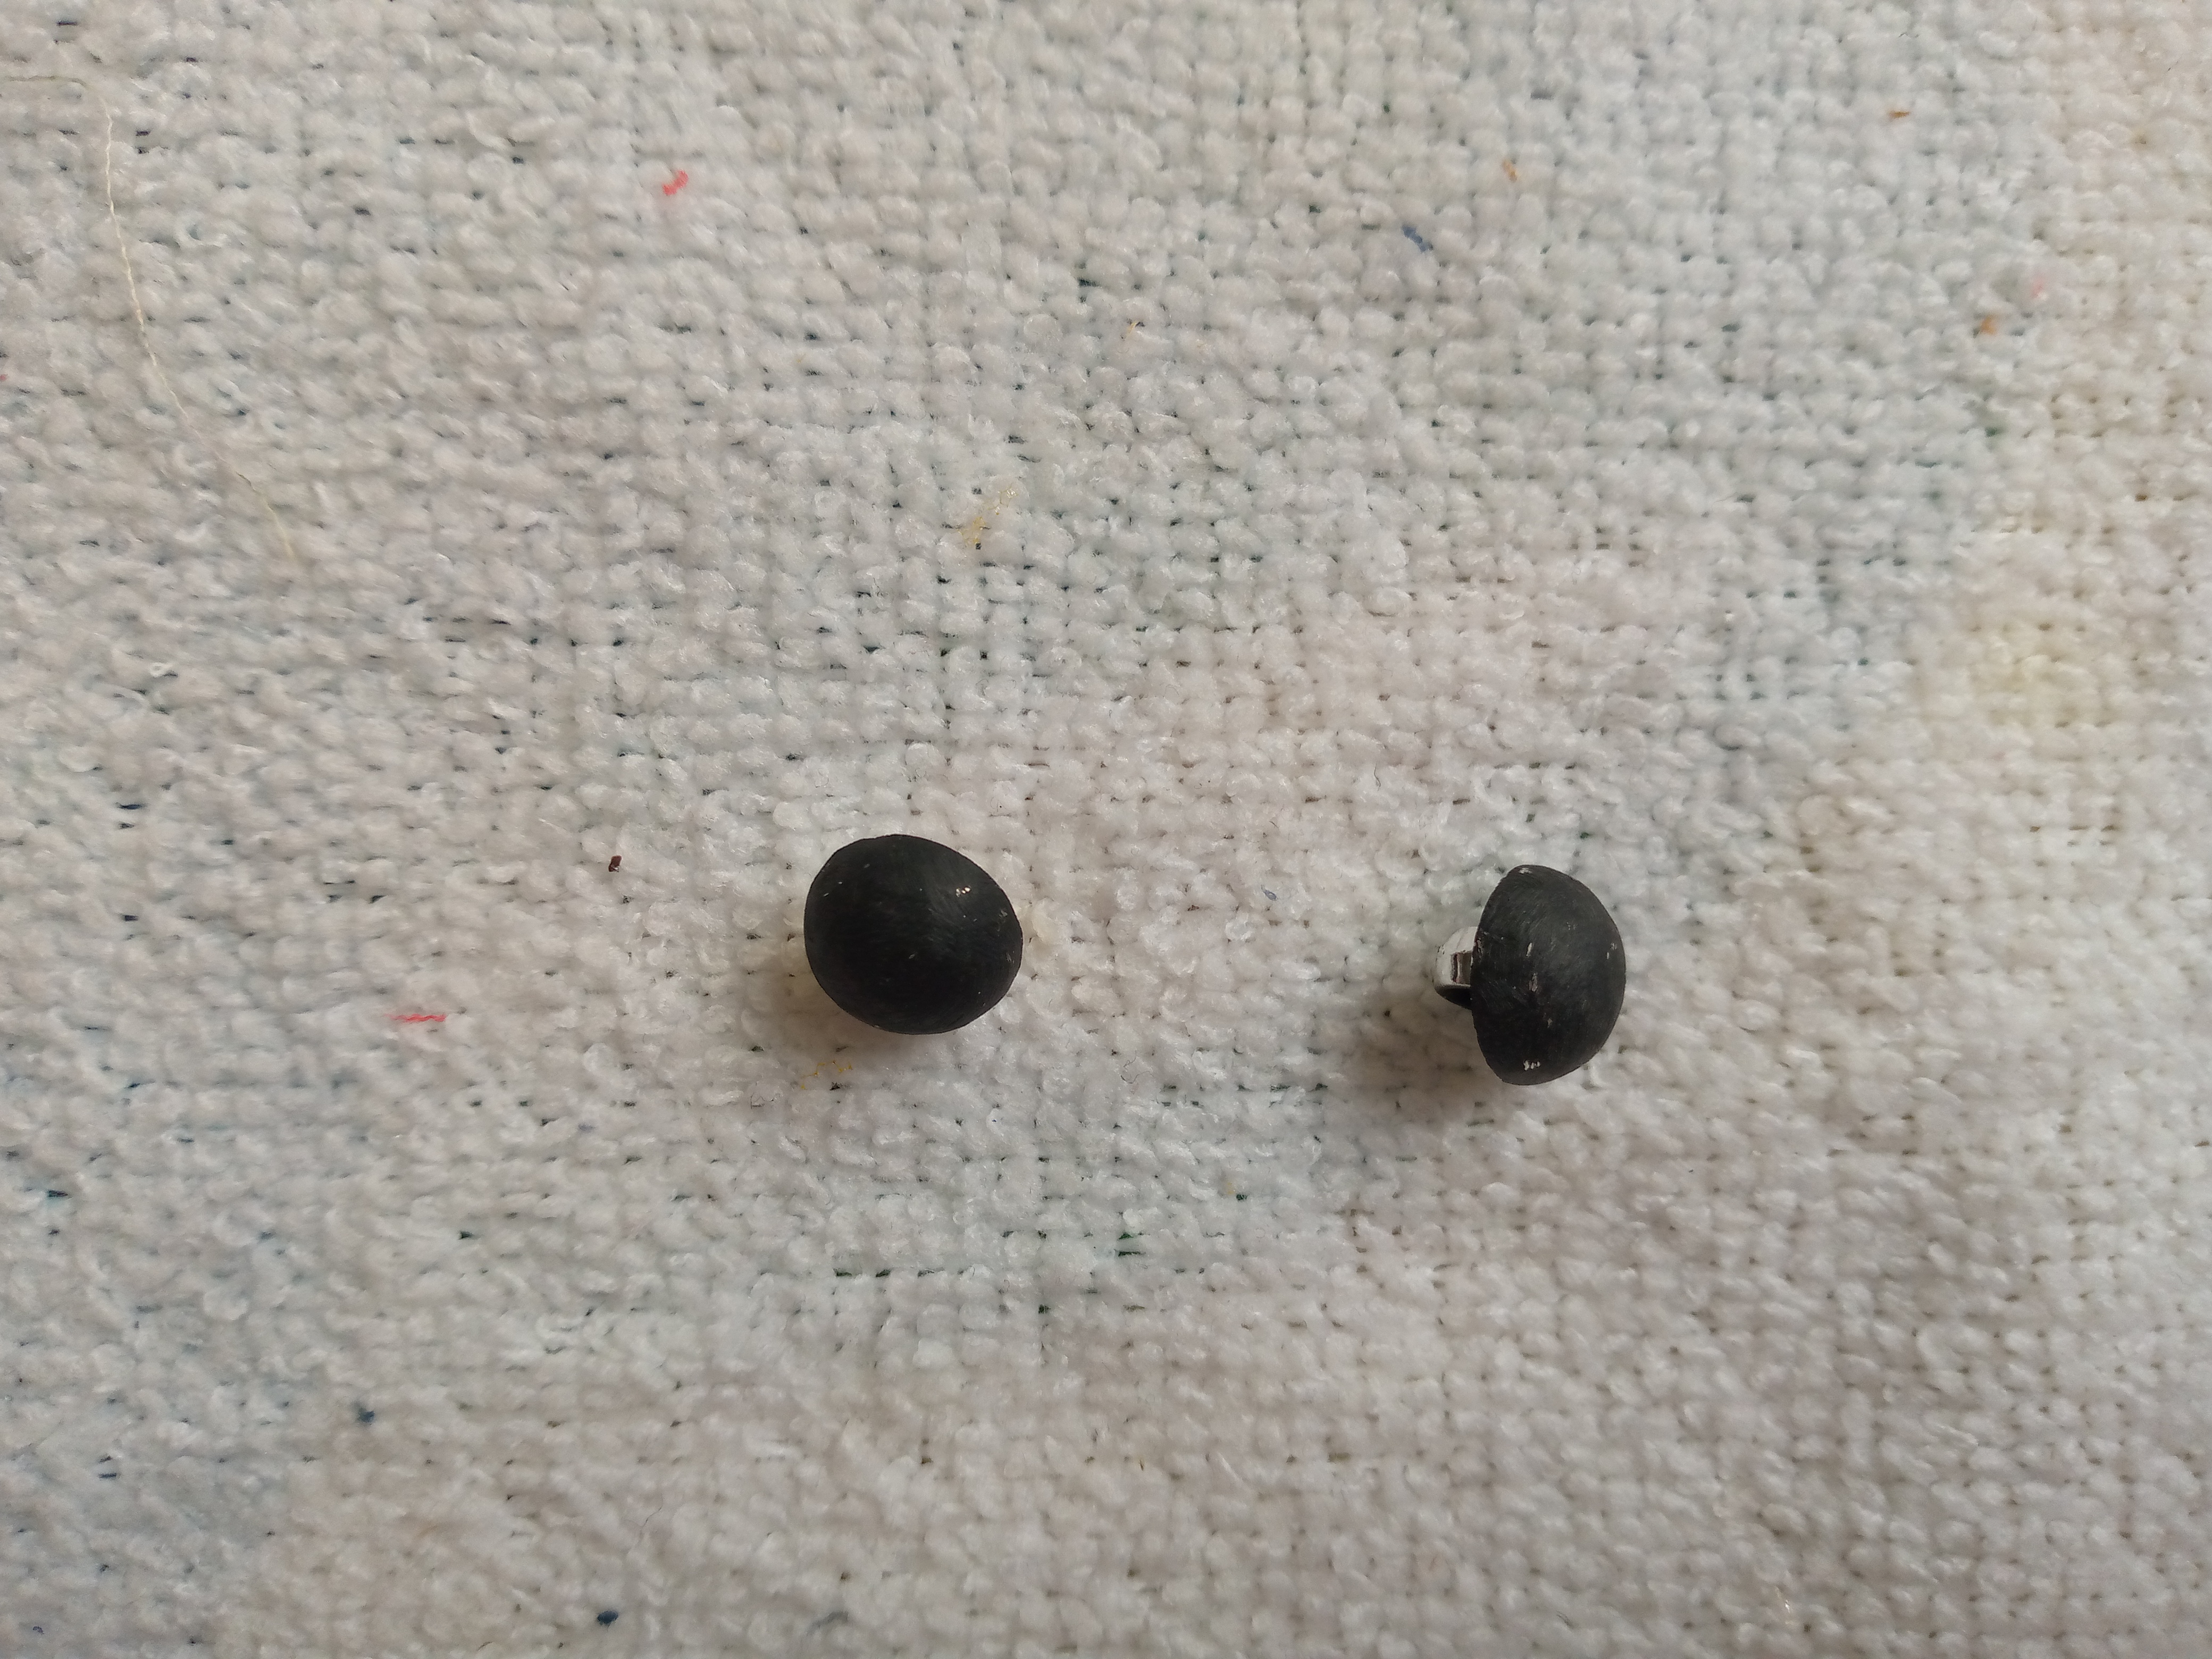
    • 2 botones negros para los ojos
    • Alfileres
    • Relleno para muñecos
    • Patrones

    • Scraps of fabric
    • Thread
    • Needle
    • 2 black buttons for eyes
    • Pins
    • Stuffing for dolls
    • Patterns

    Picsart_24-10-06_15-39-46-315 (1).jpg

    Pasos a seguir:

    Steps to follow:

    Paso 01

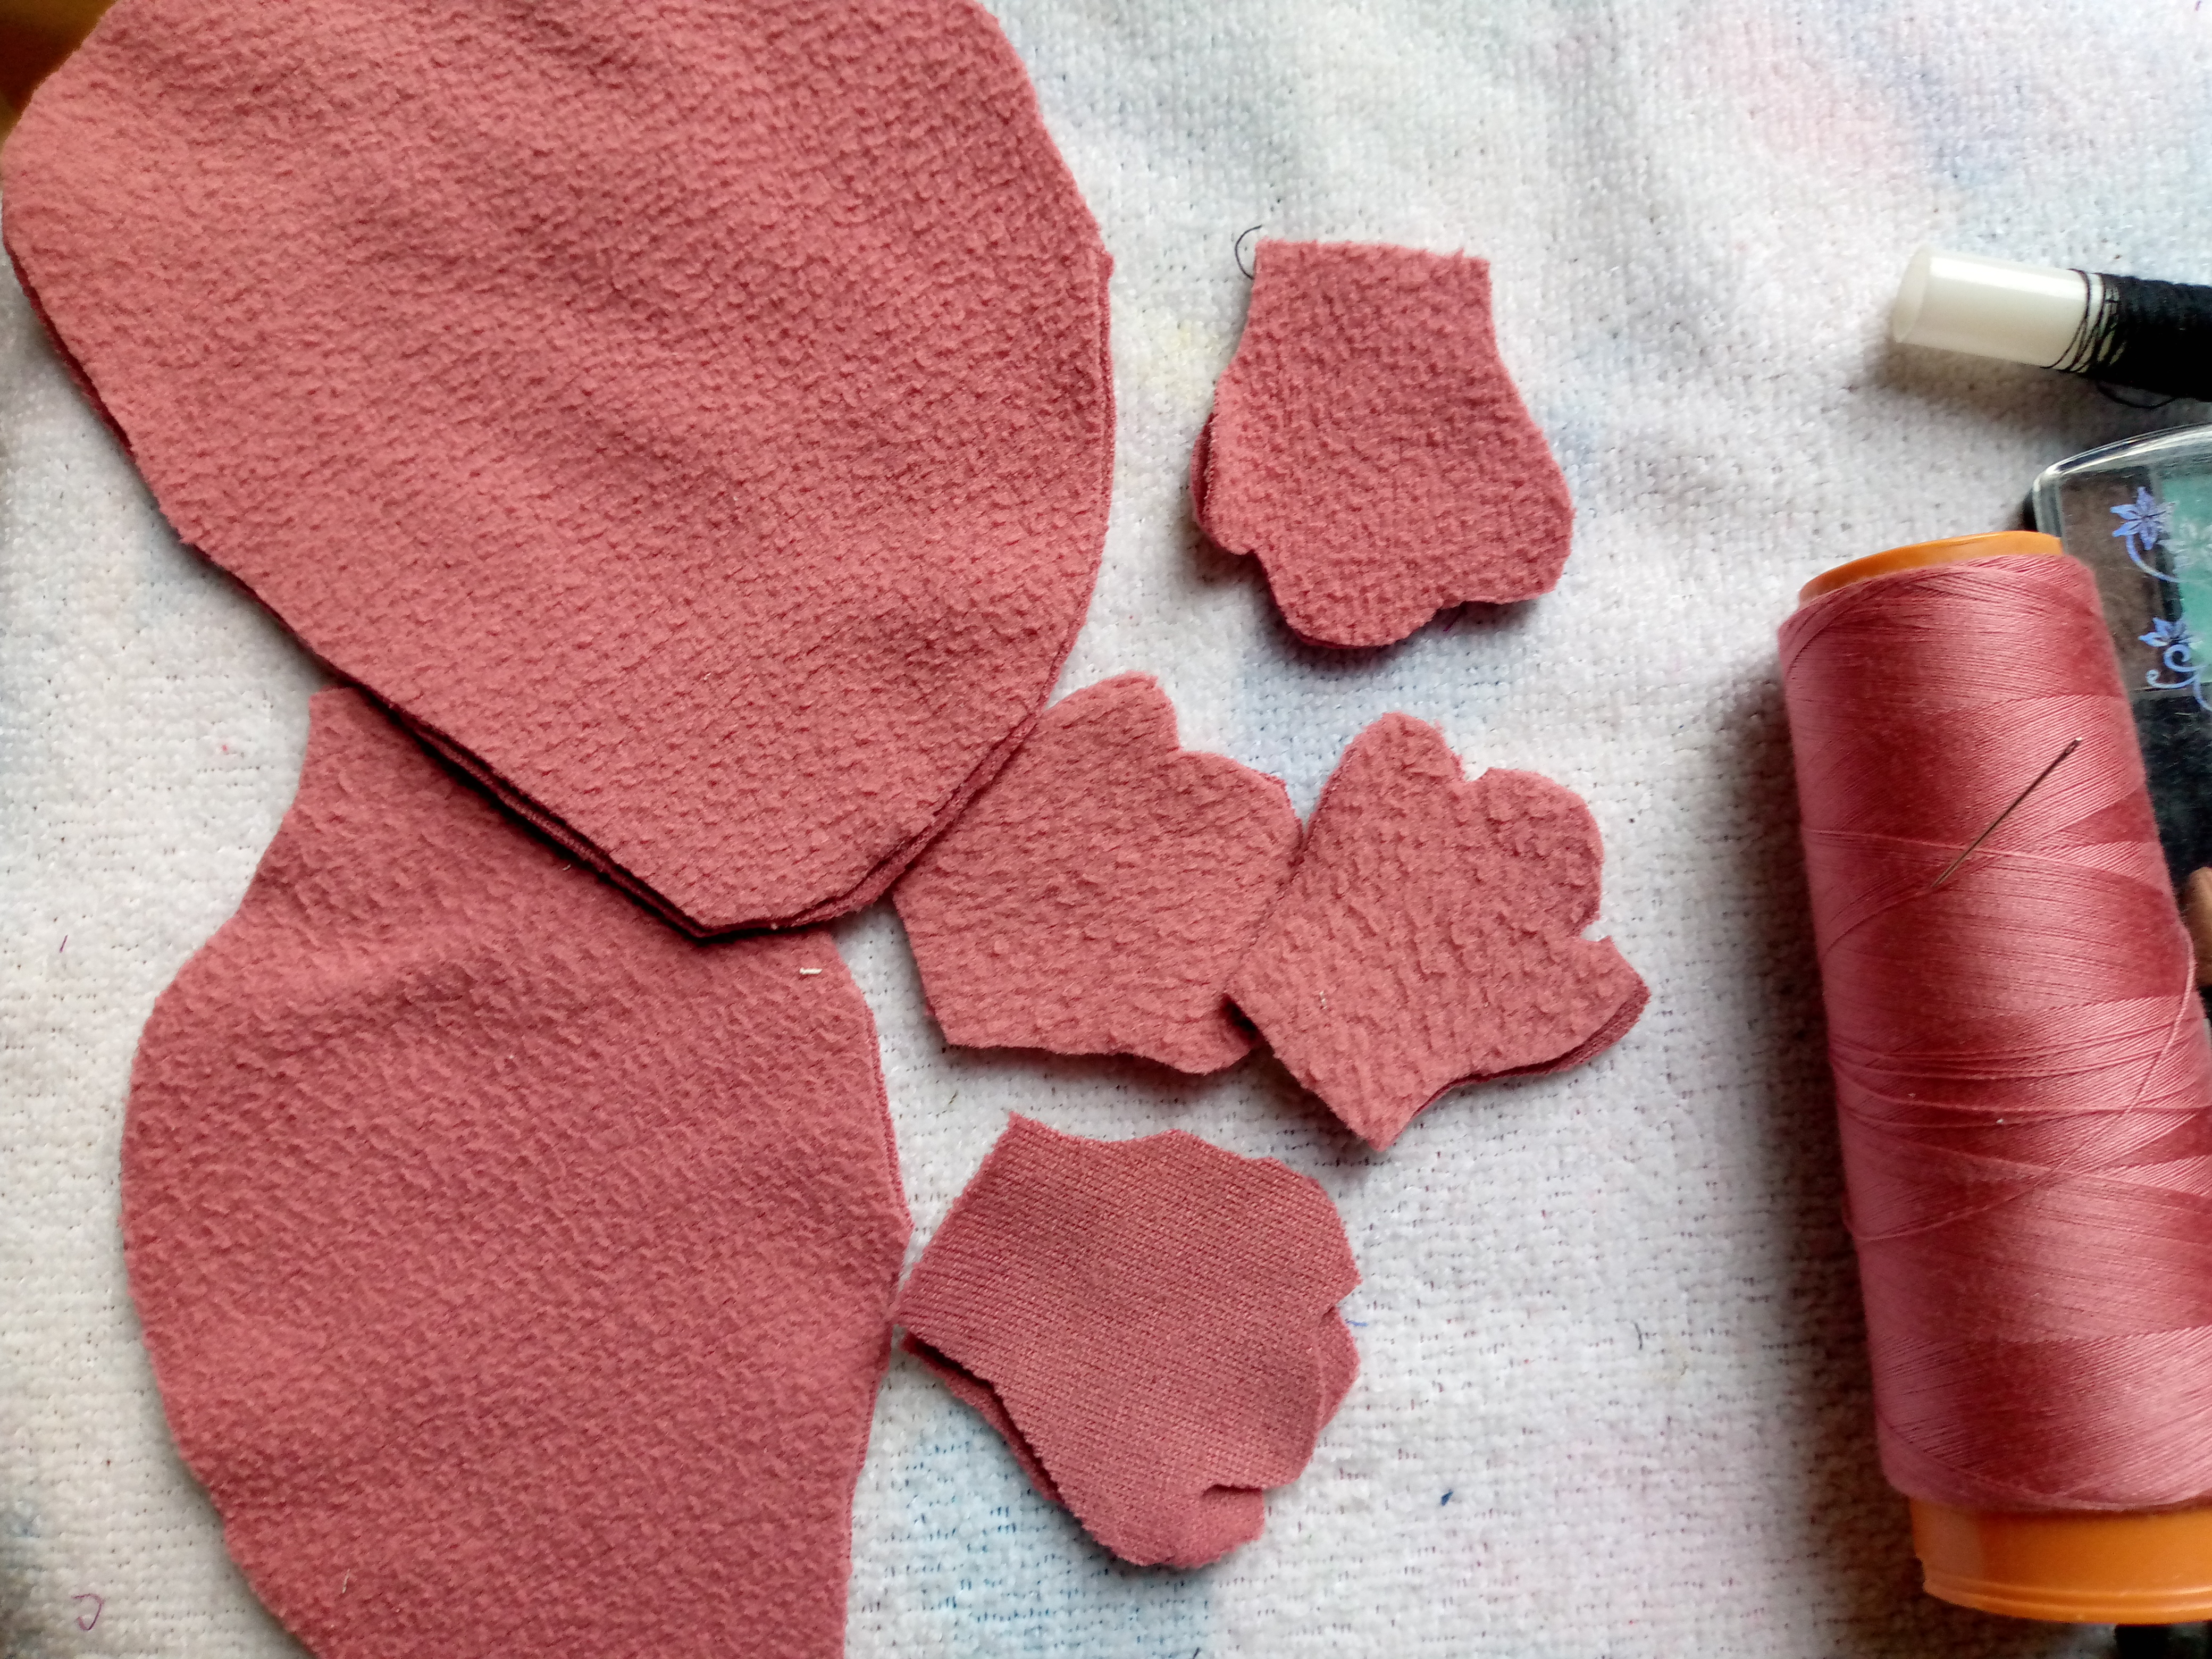
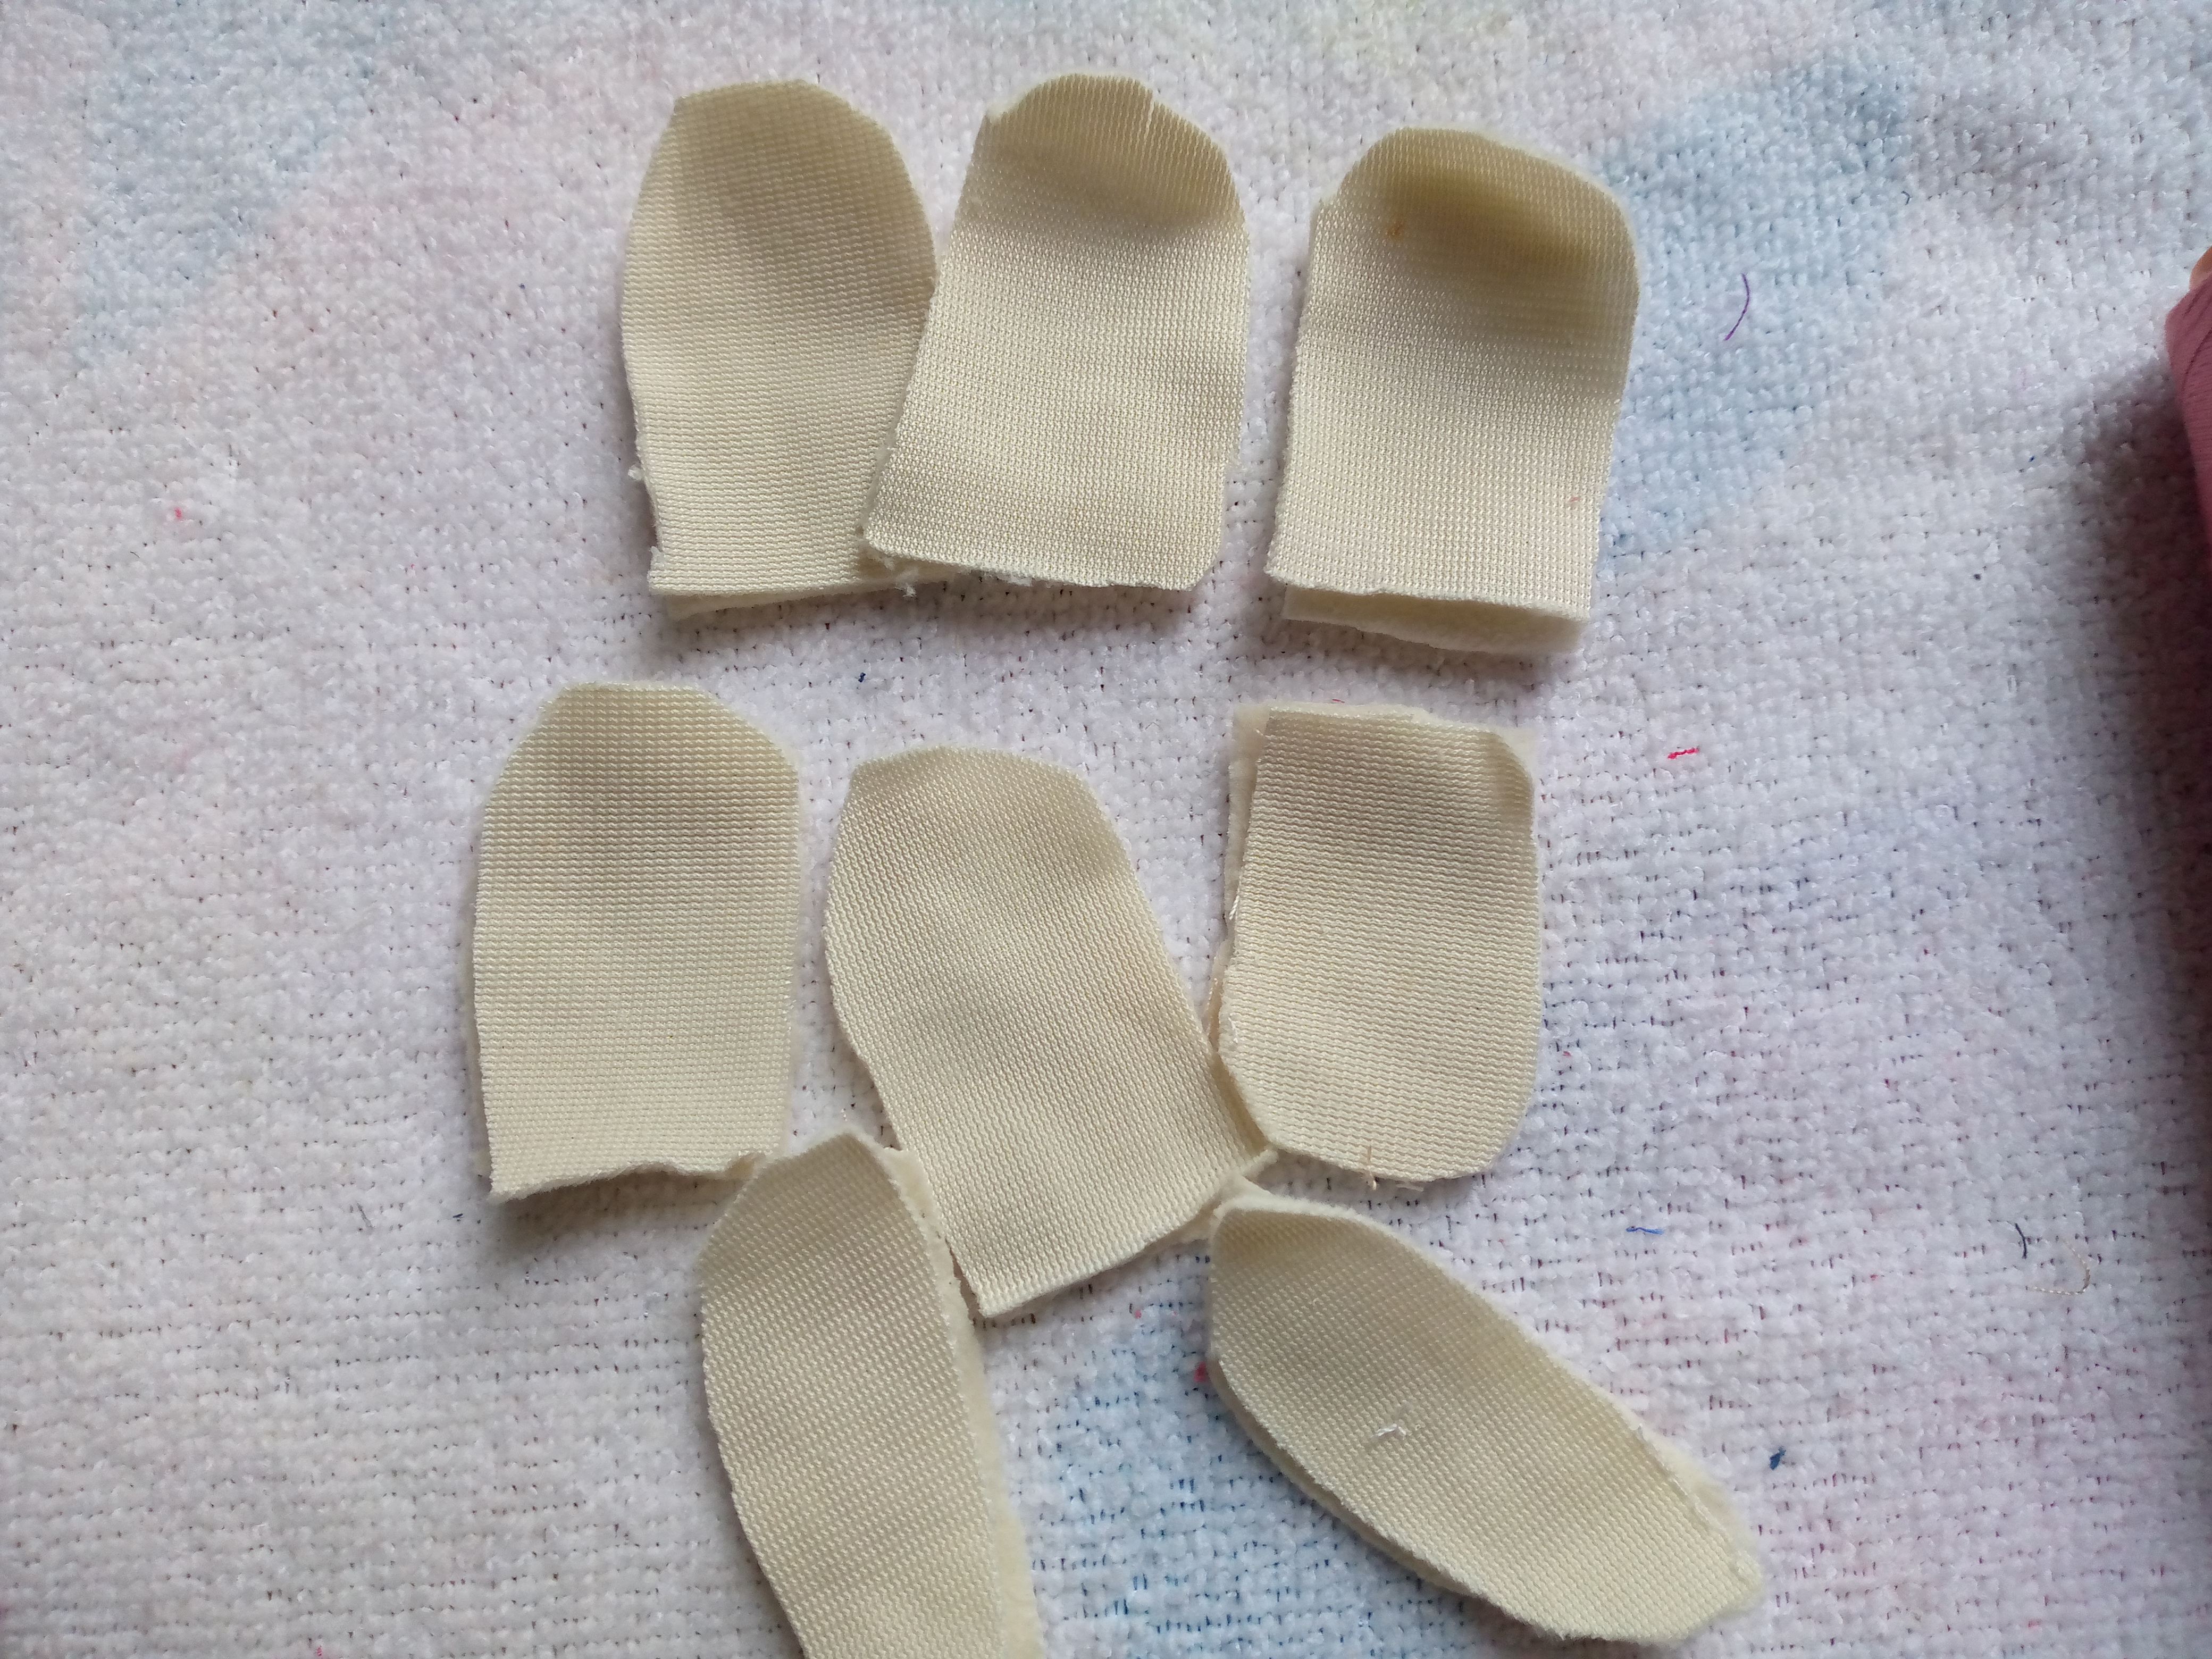
    Vamos a estar comenzando amigos primeramente cortando las piezas que usaremos para hacer nuestro peluche ,yo lo he hecho con ayuda de unos patrones que anteriormente he sacado , corté la cabeza el cuerpo en forma de lagartija,las patitas en esta ocasión usaremos cuatro patitas ,las aletas de la cola y de las mejillas fueron 6 que corté también con ayuda de los patrones,estás piezas son las que usaremos para hacer el ajolote.

    Step 01

    We are going to start friends by first cutting the pieces that we will use to make our stuffed animal. I have done it with the help of some patterns that I have previously taken out, I cut the head and the body in the shape of a lizard, the legs on this occasion we will use four legs, the fins of the tail and the cheeks were 6 that I also cut with the help of the patterns, these pieces are the ones that we will use to make the axolotl.
    IMG_20241005_165541_832.jpg

    IMG_20241005_165605_745.jpg


    Paso 02

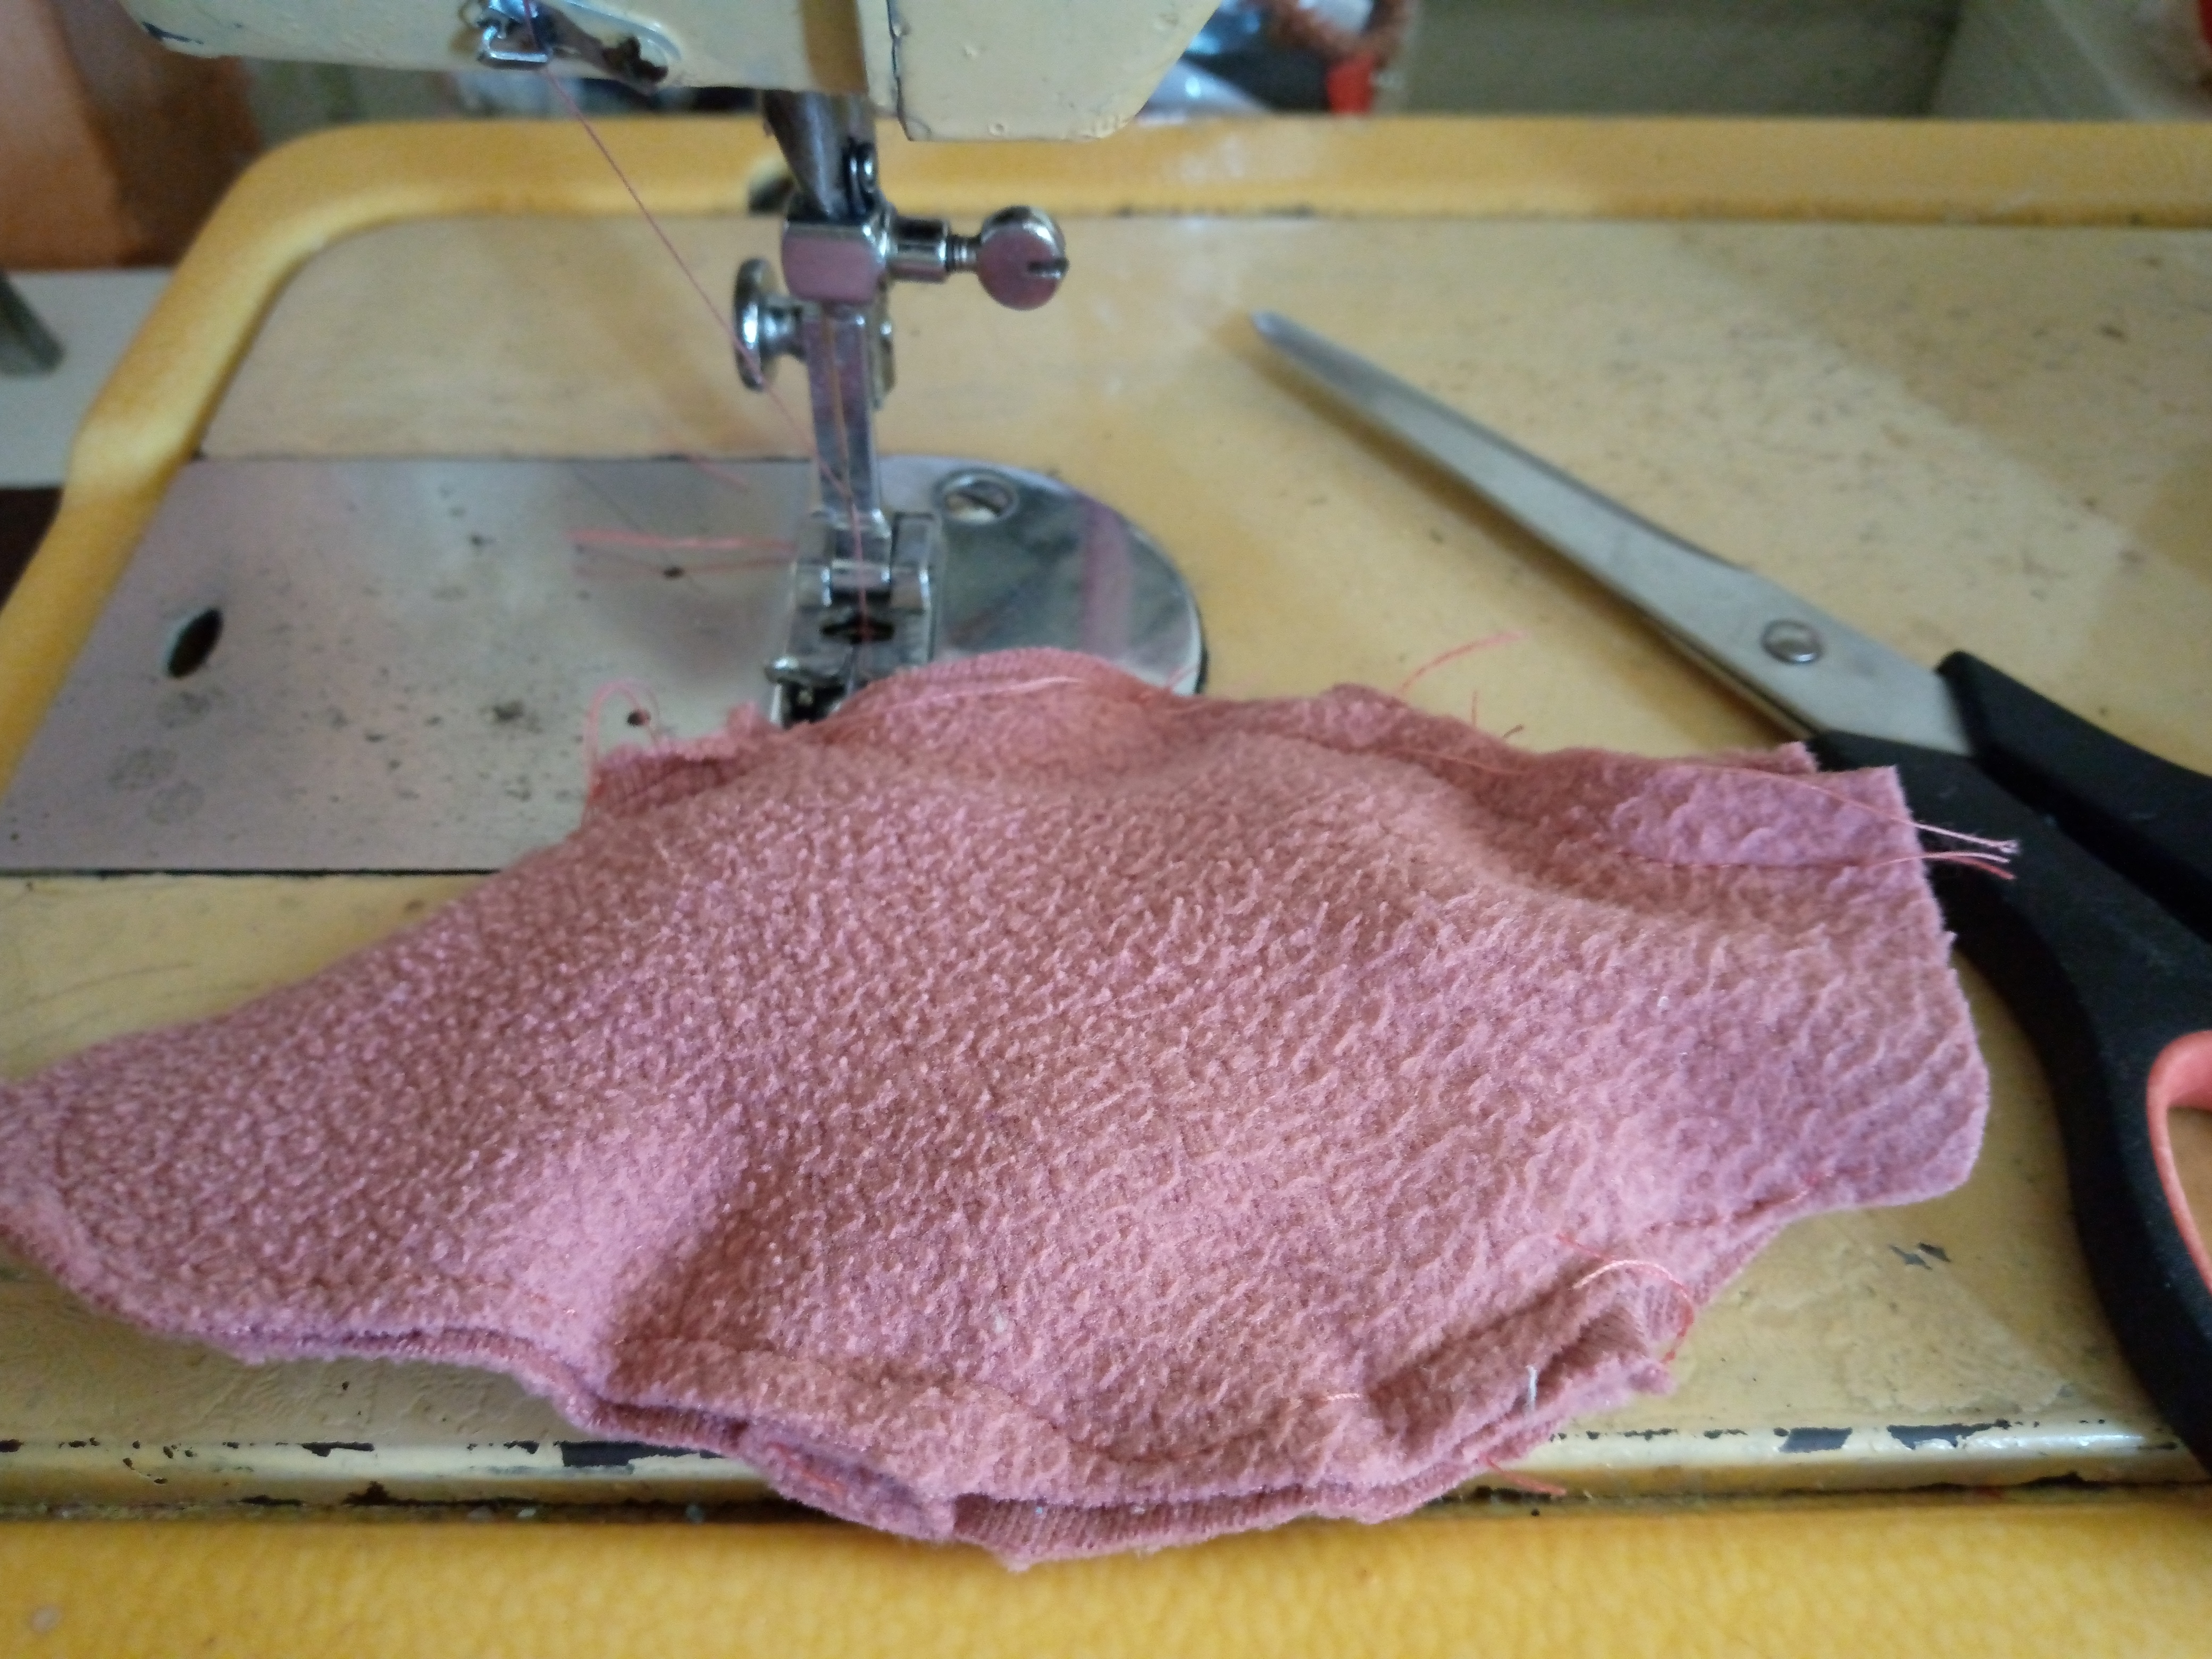
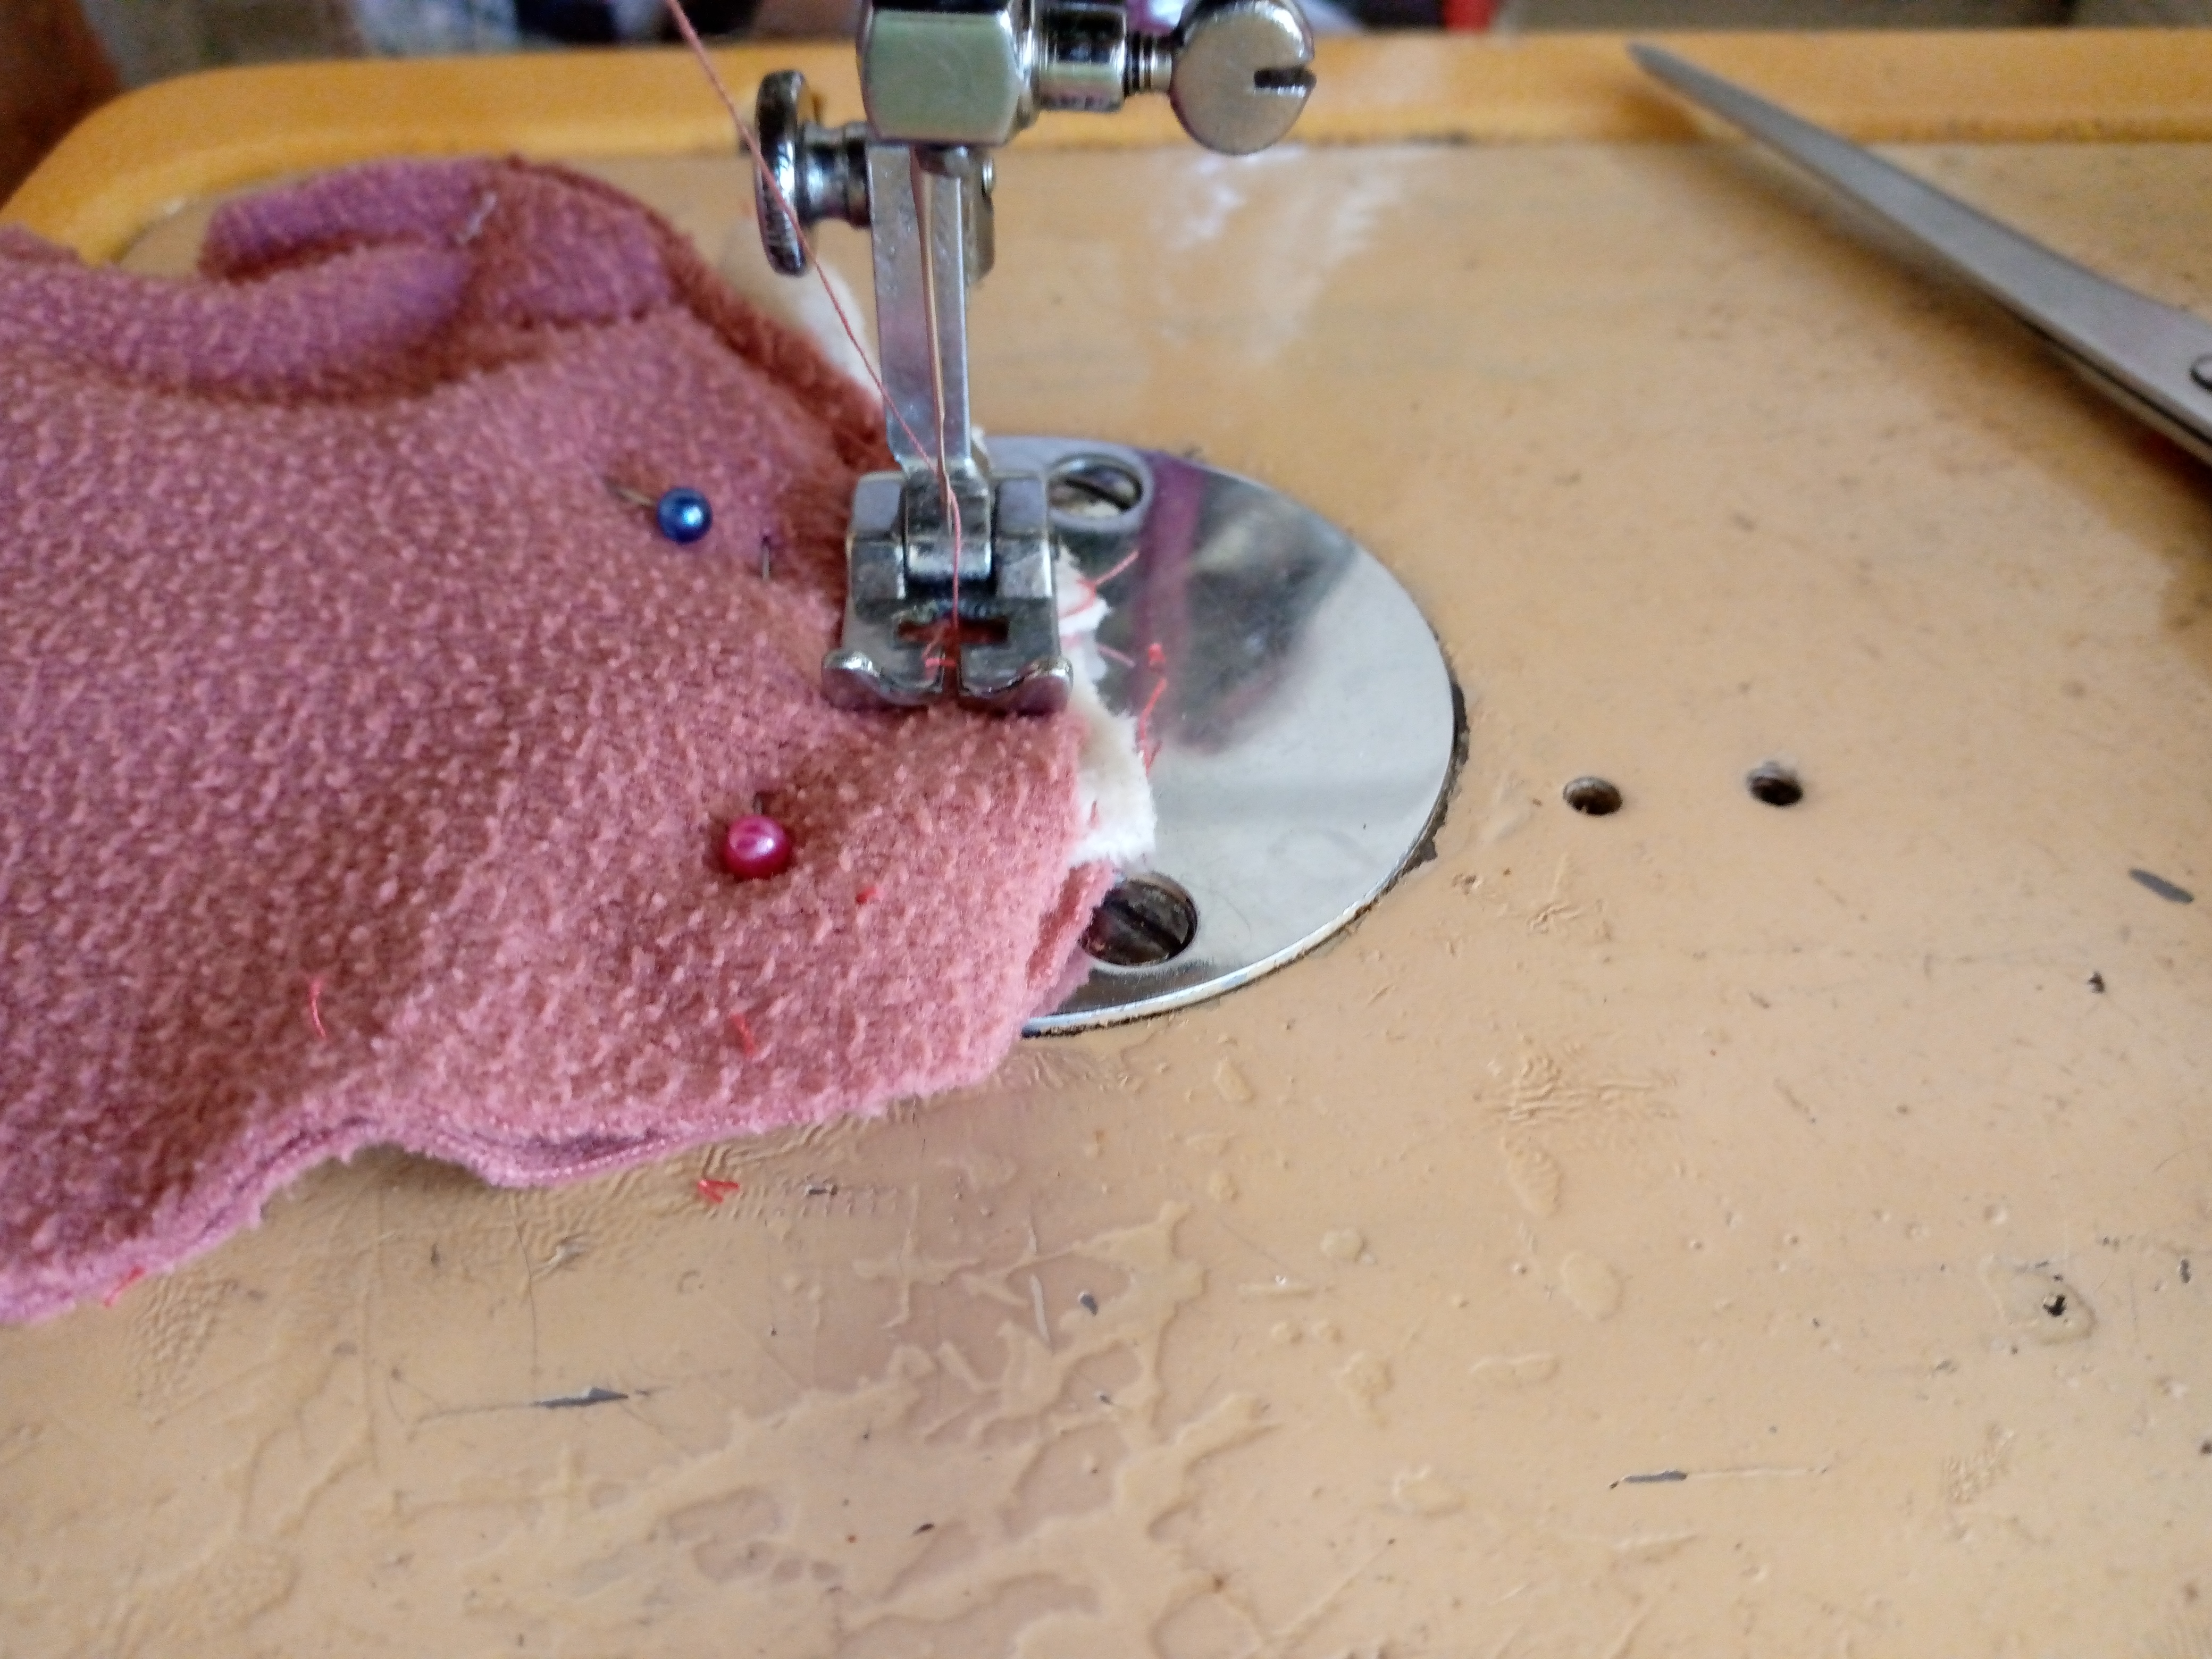
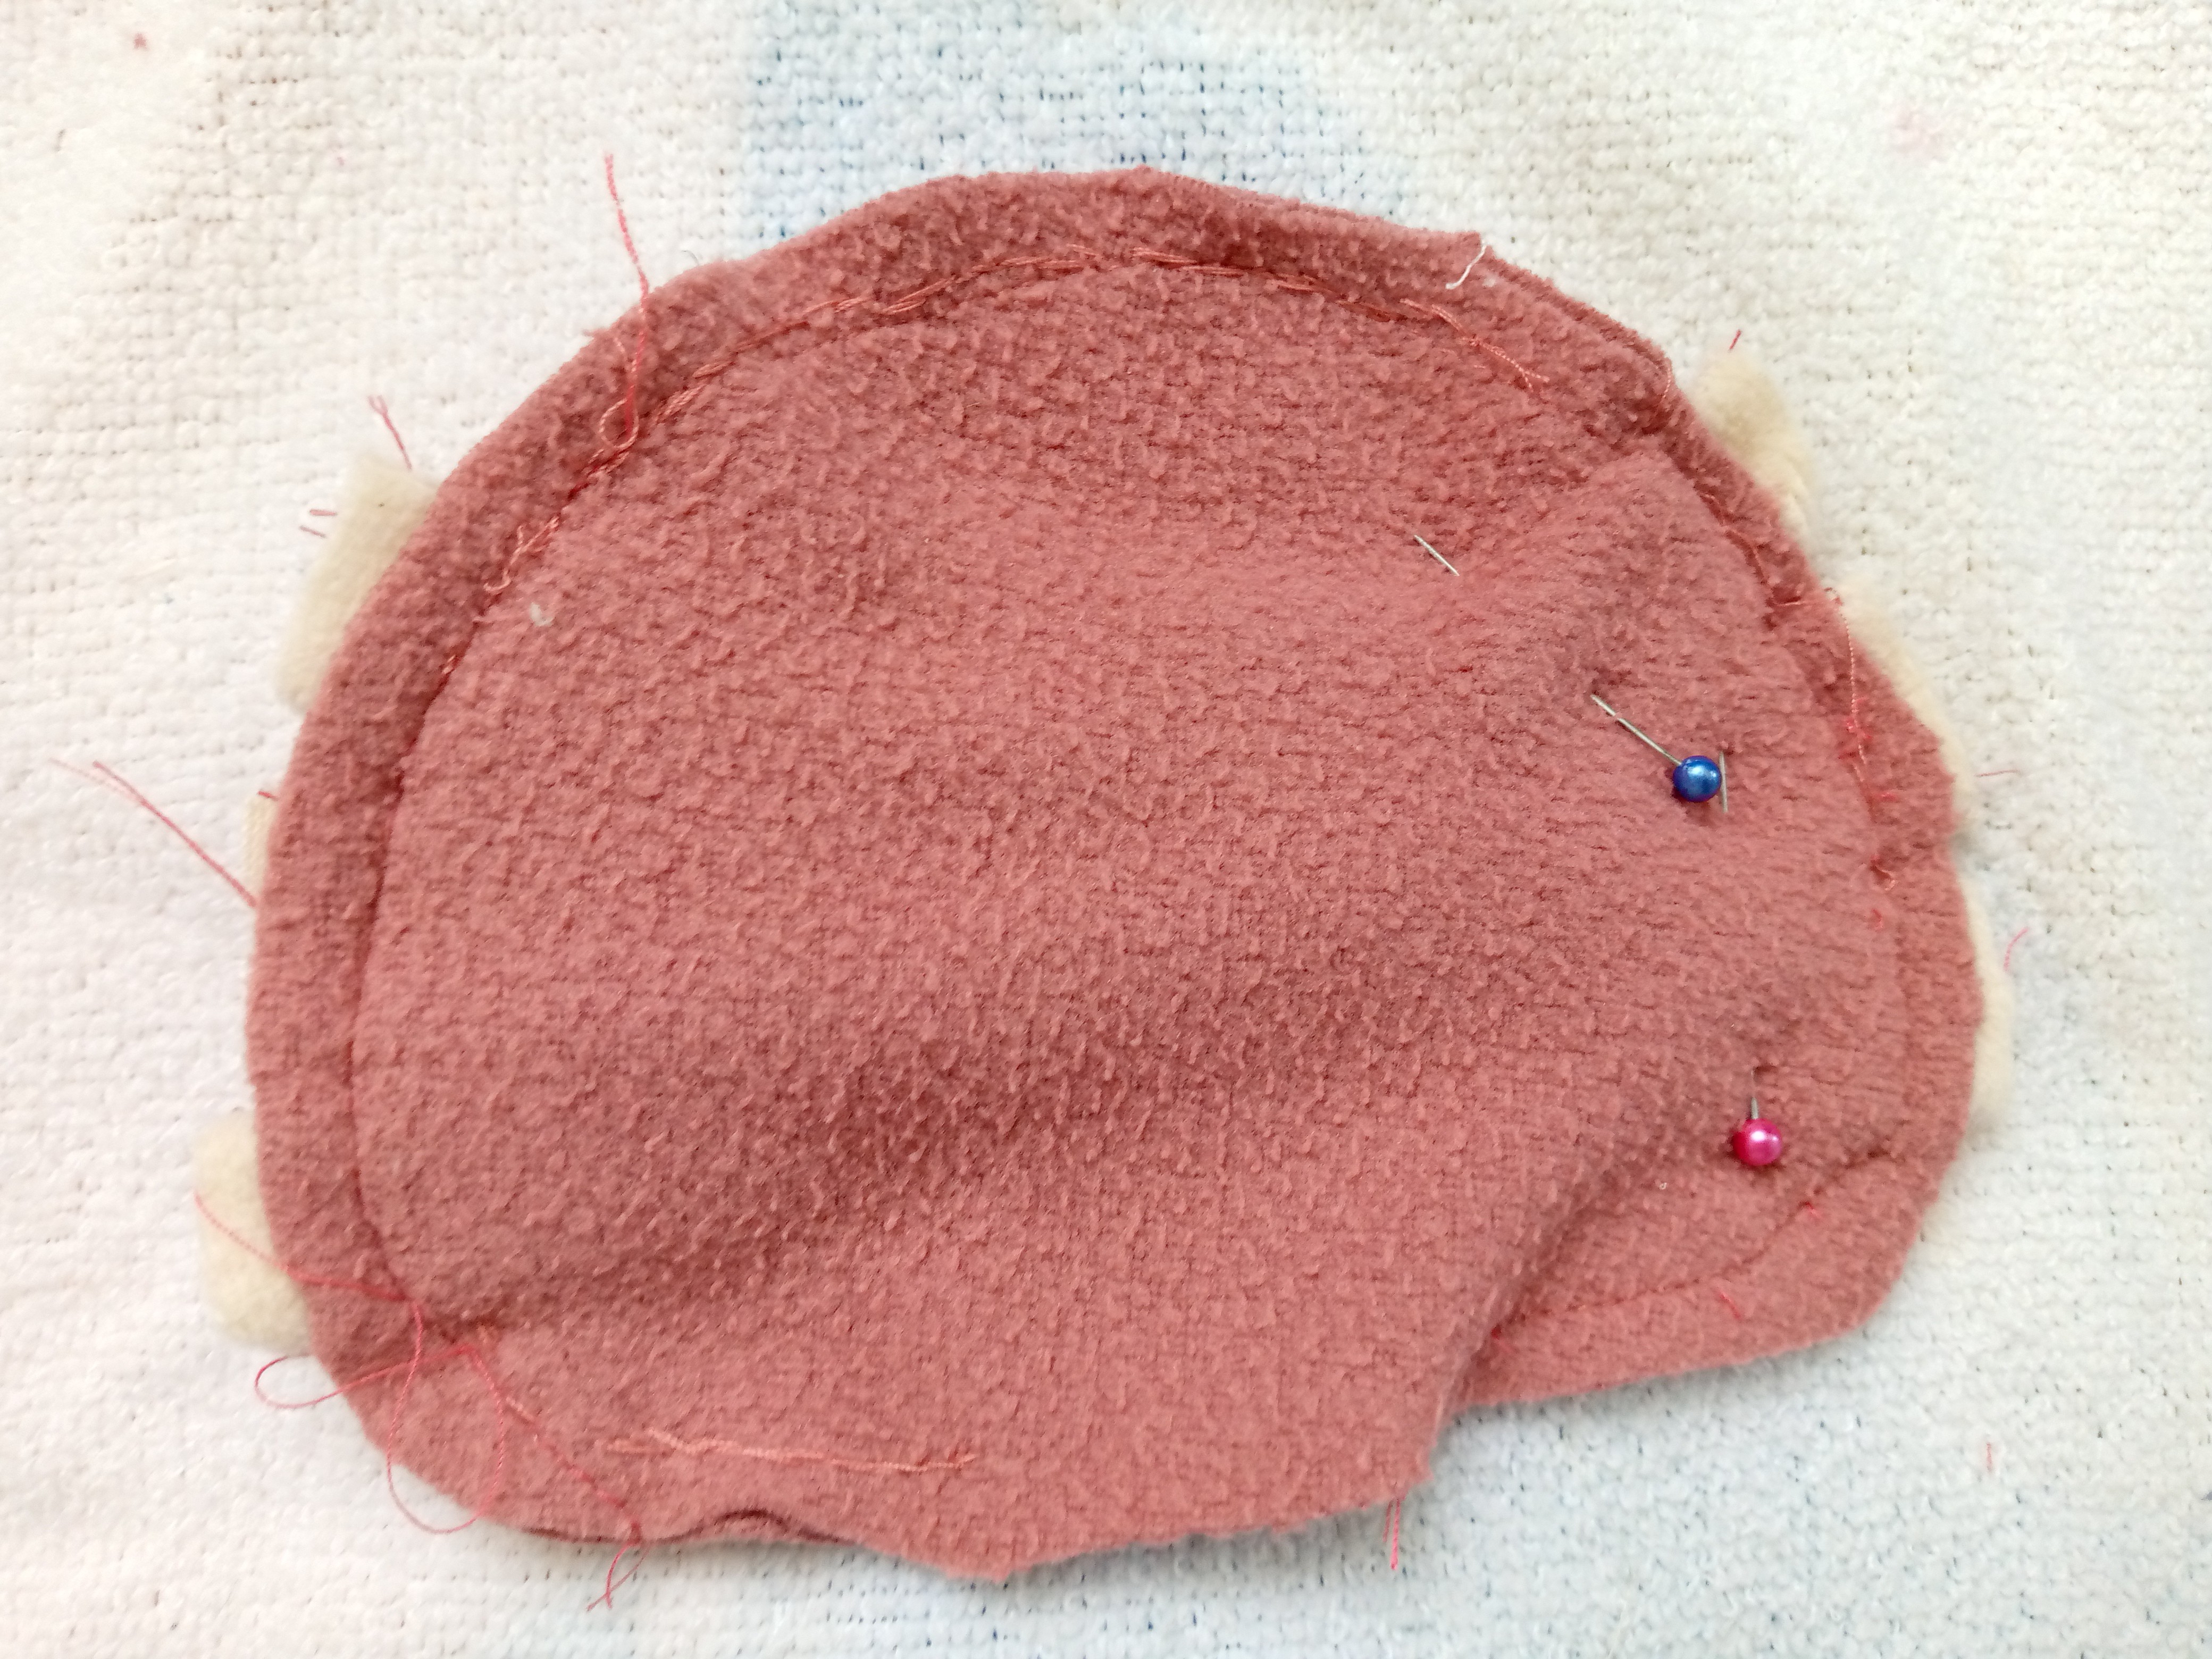
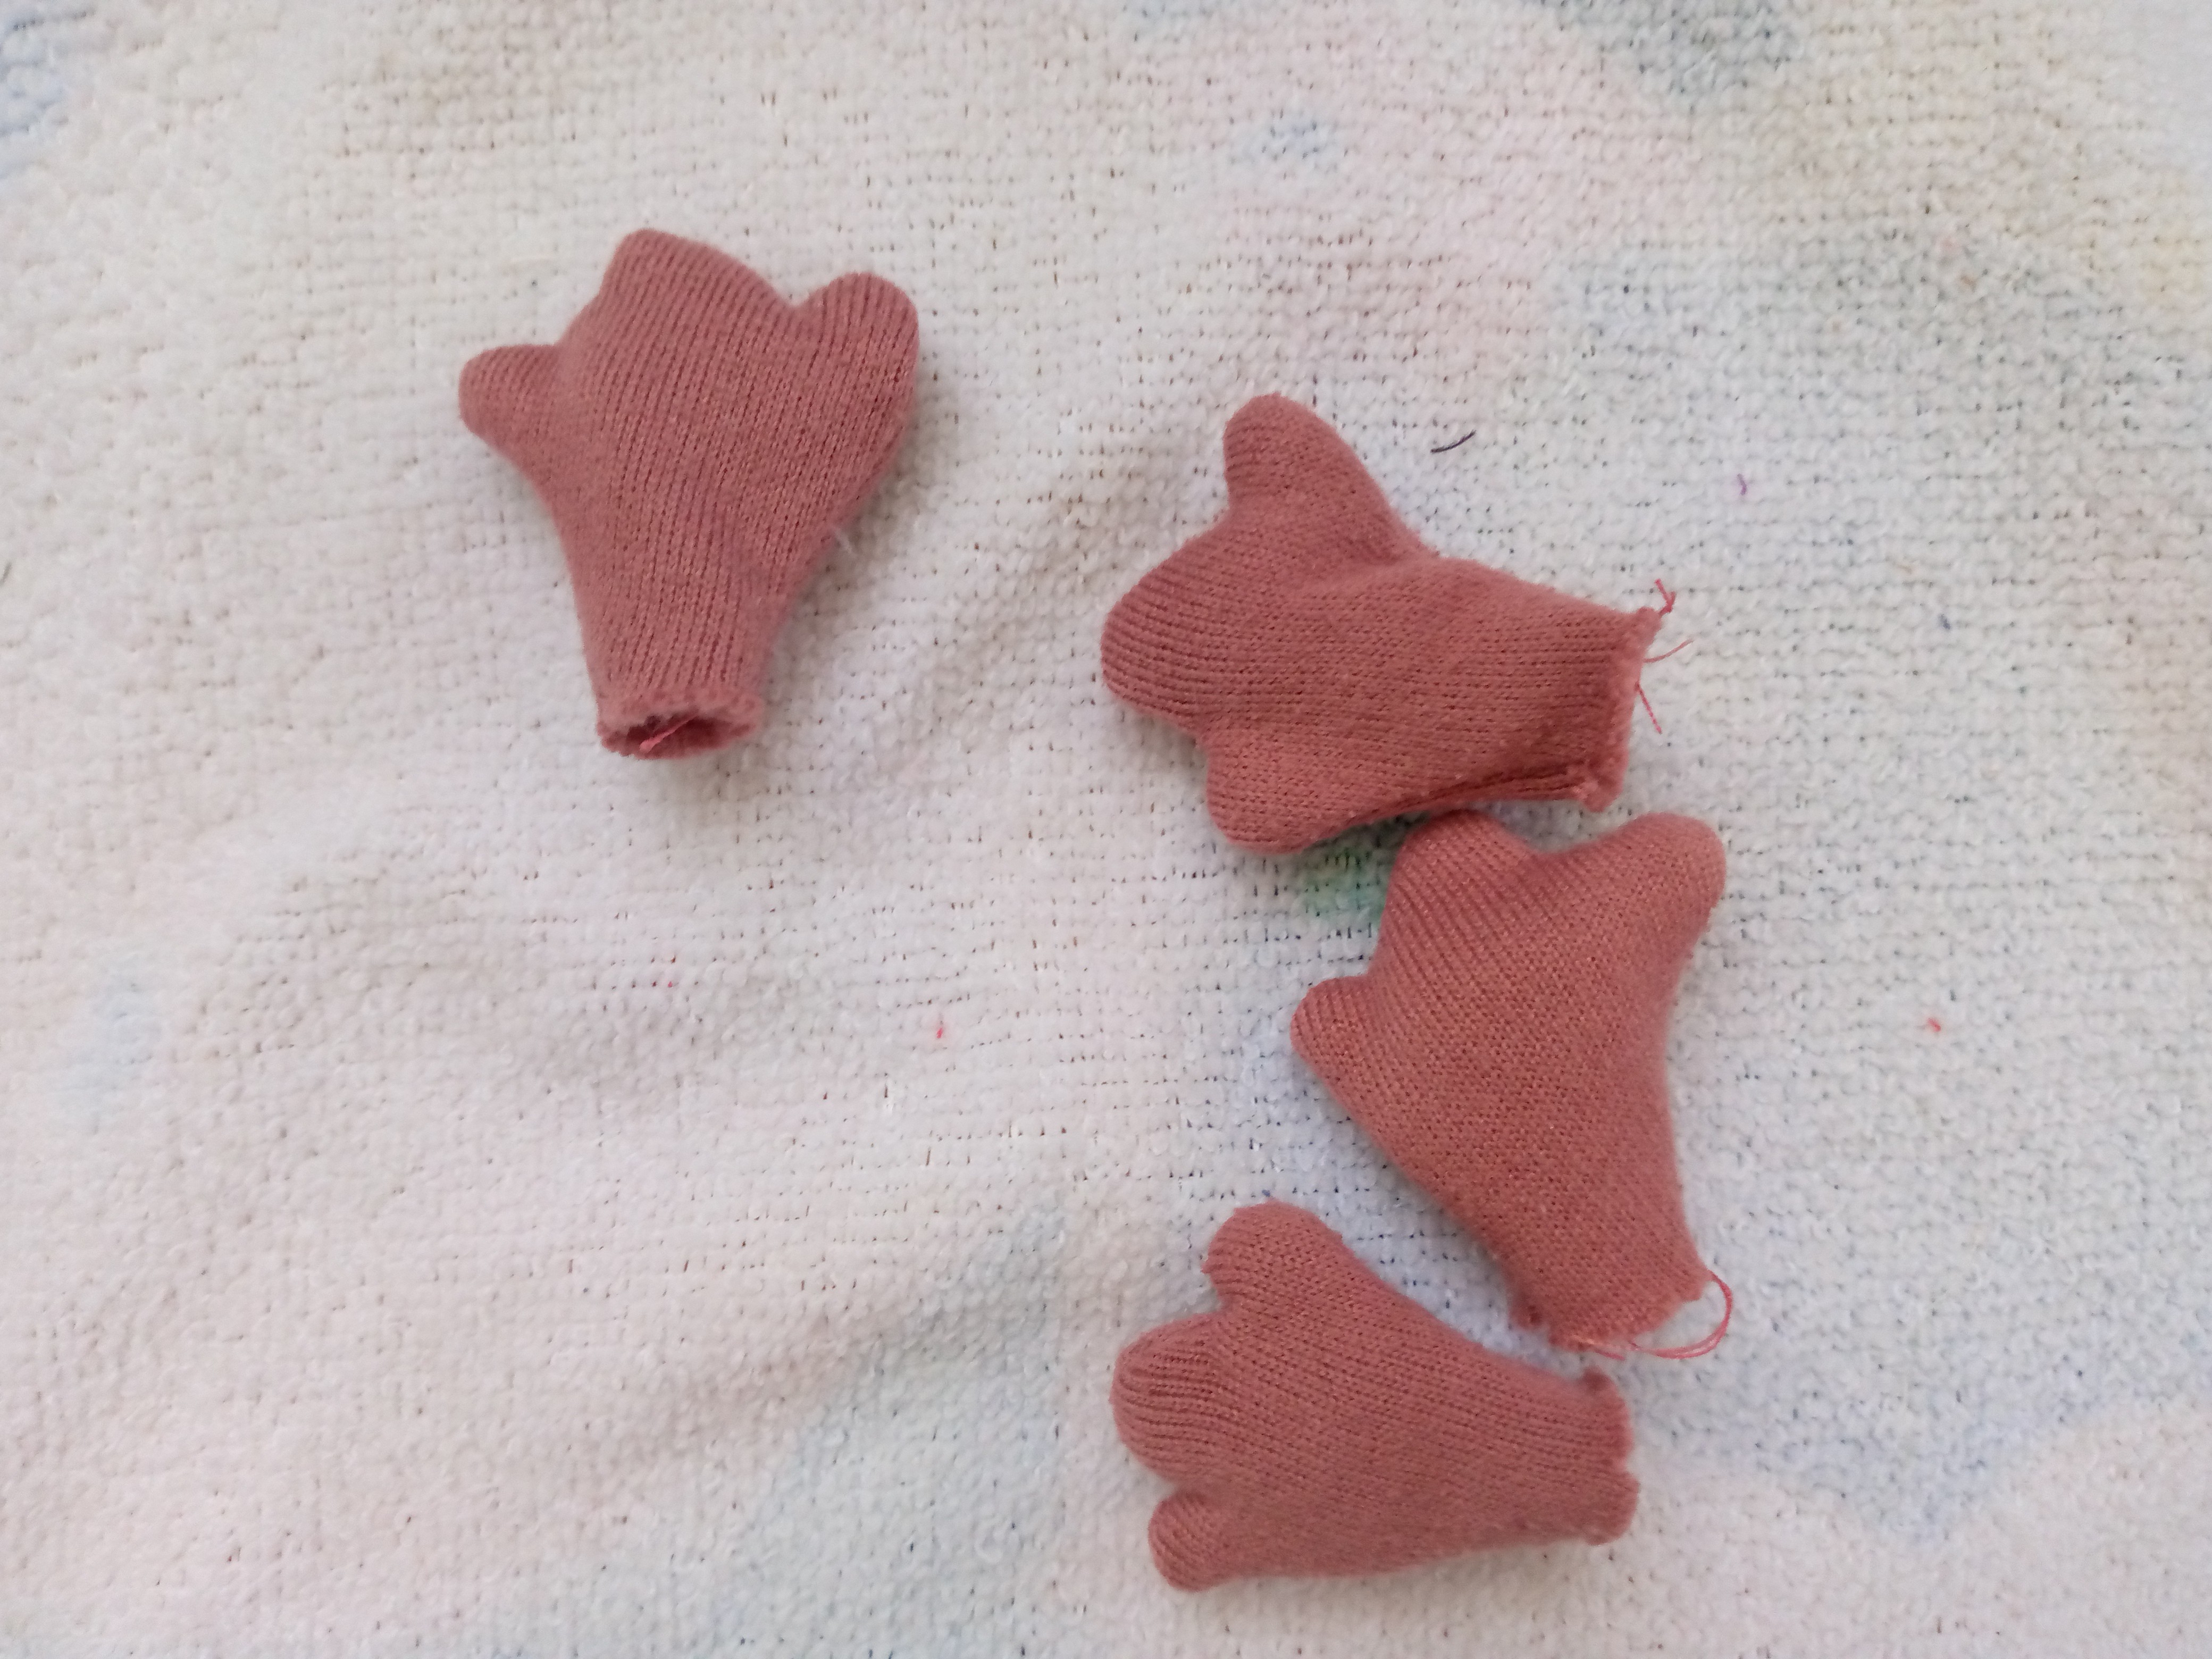
    Pasamos a coser las patitas y de una vez el cuerpo mientras lo cosemos vamos a ir colocando en su lugar las patitas haci adentro del cuerpo las cuatro y cosemos el borde,hacemos este mismo paso para coser las aletas a las mejillas claro anteriormente ya las habia cosido y volteado lo cosemos por el borde tambien siempre dejandoles a estas piezas un pequeño orificio para insertar nuestro relleno.

    Step 02

    We move on to sewing the legs and at the same time the body while we sew it we are going to place the legs in their place inside the body all four and sew the edge, we do this same step to sew the fins to the cheeks of course previously I had already sewn them and turning it over we sew along the edge as well always leaving a small hole in these pieces to insert our stuffing.

    IMG_20241006_123222_394.jpg

    IMG_20241006_123609_619.jpg

    IMG_20241006_123829_940.jpg

    IMG_20241006_133421_950.jpg

    IMG_20241006_133450_057.jpg


    Paso 03

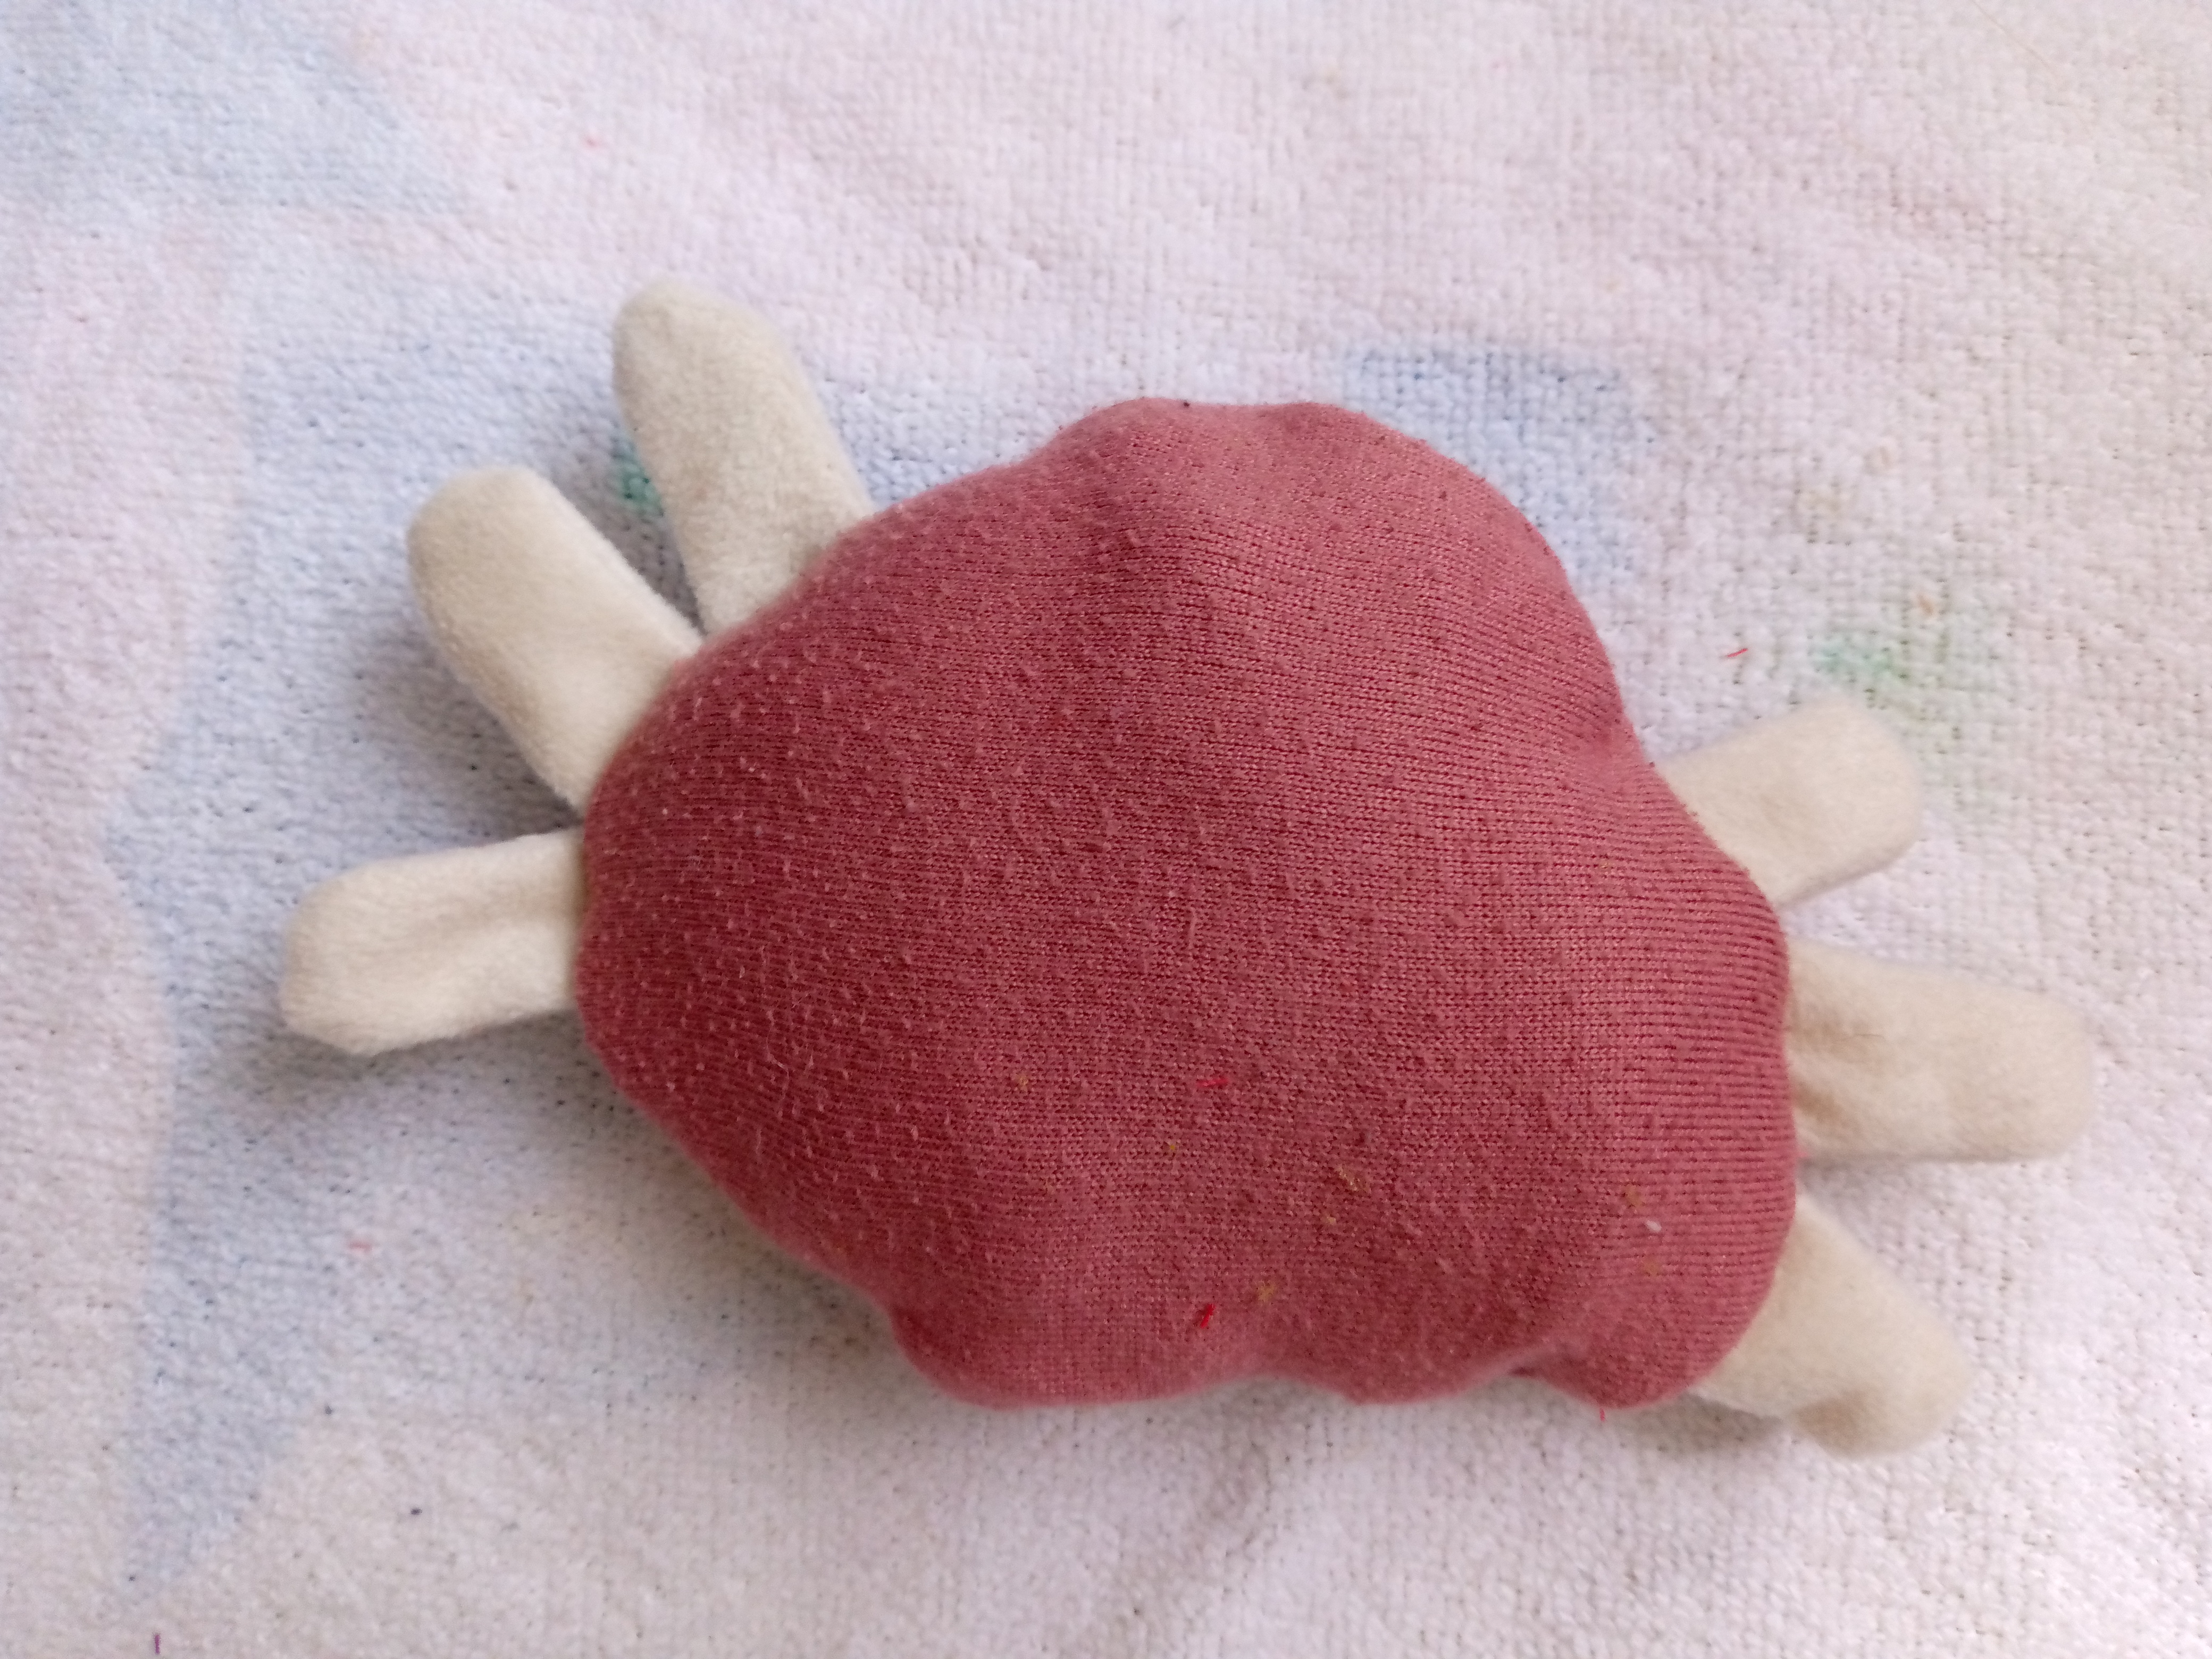
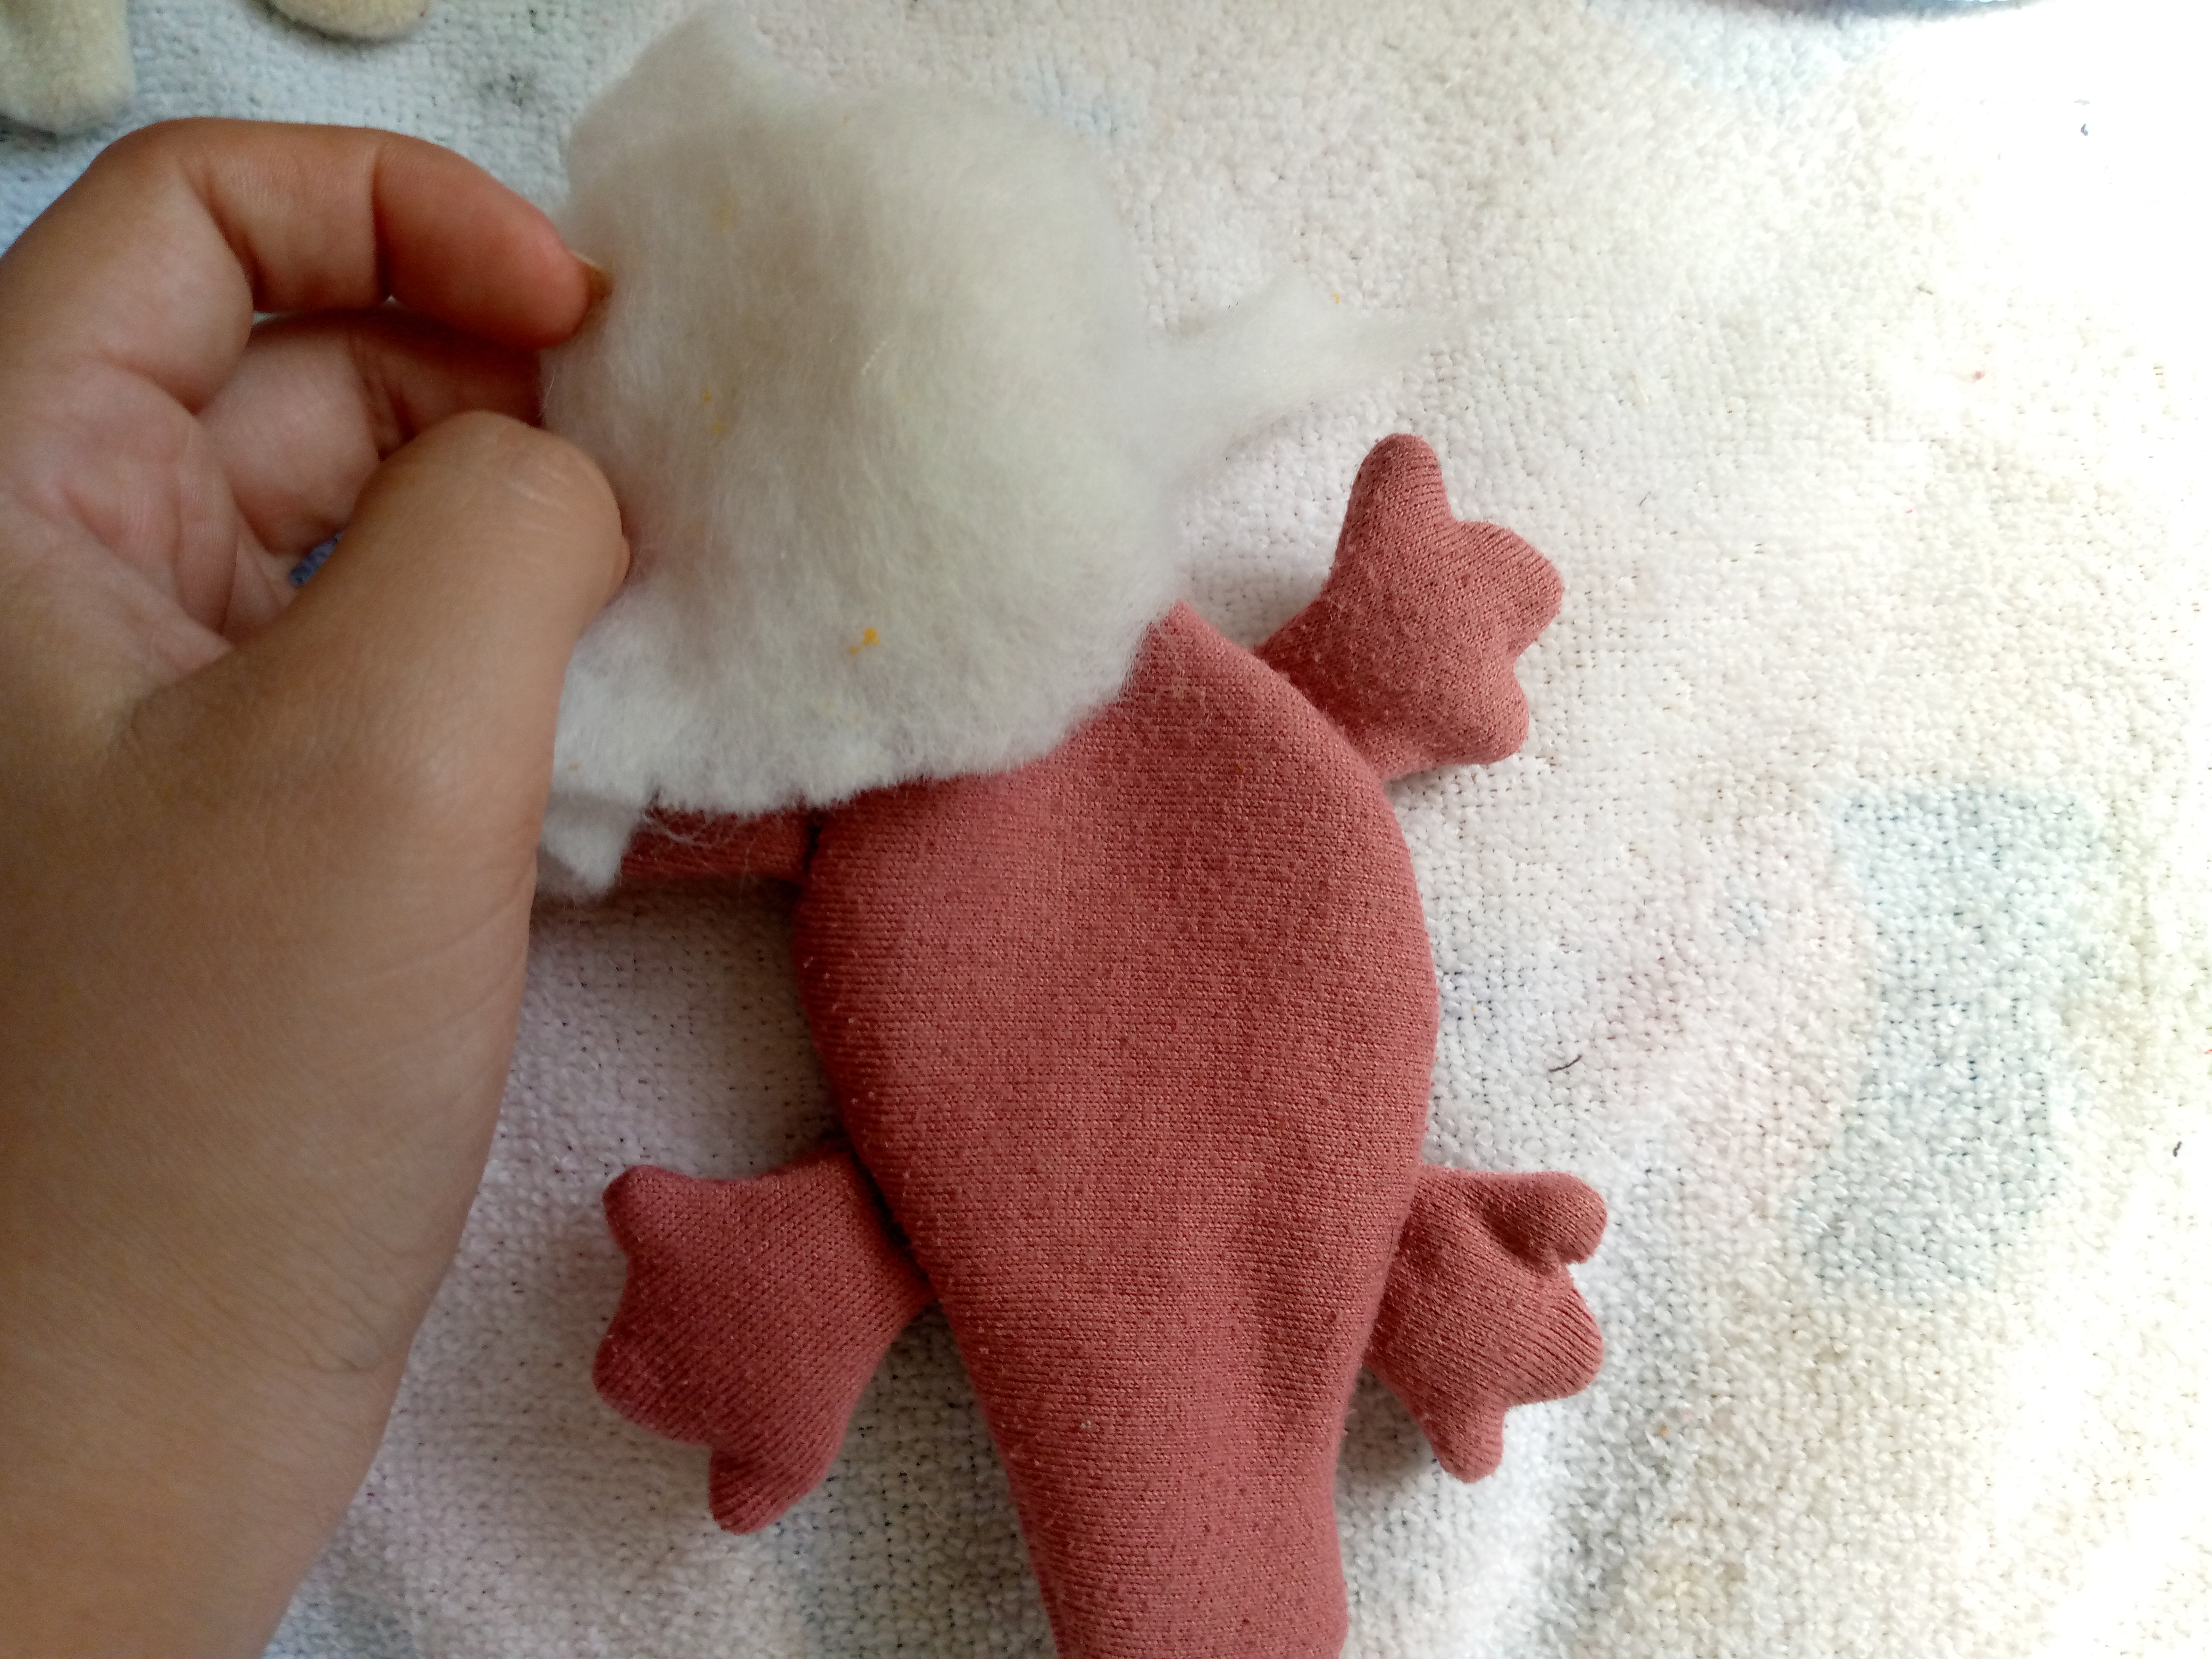
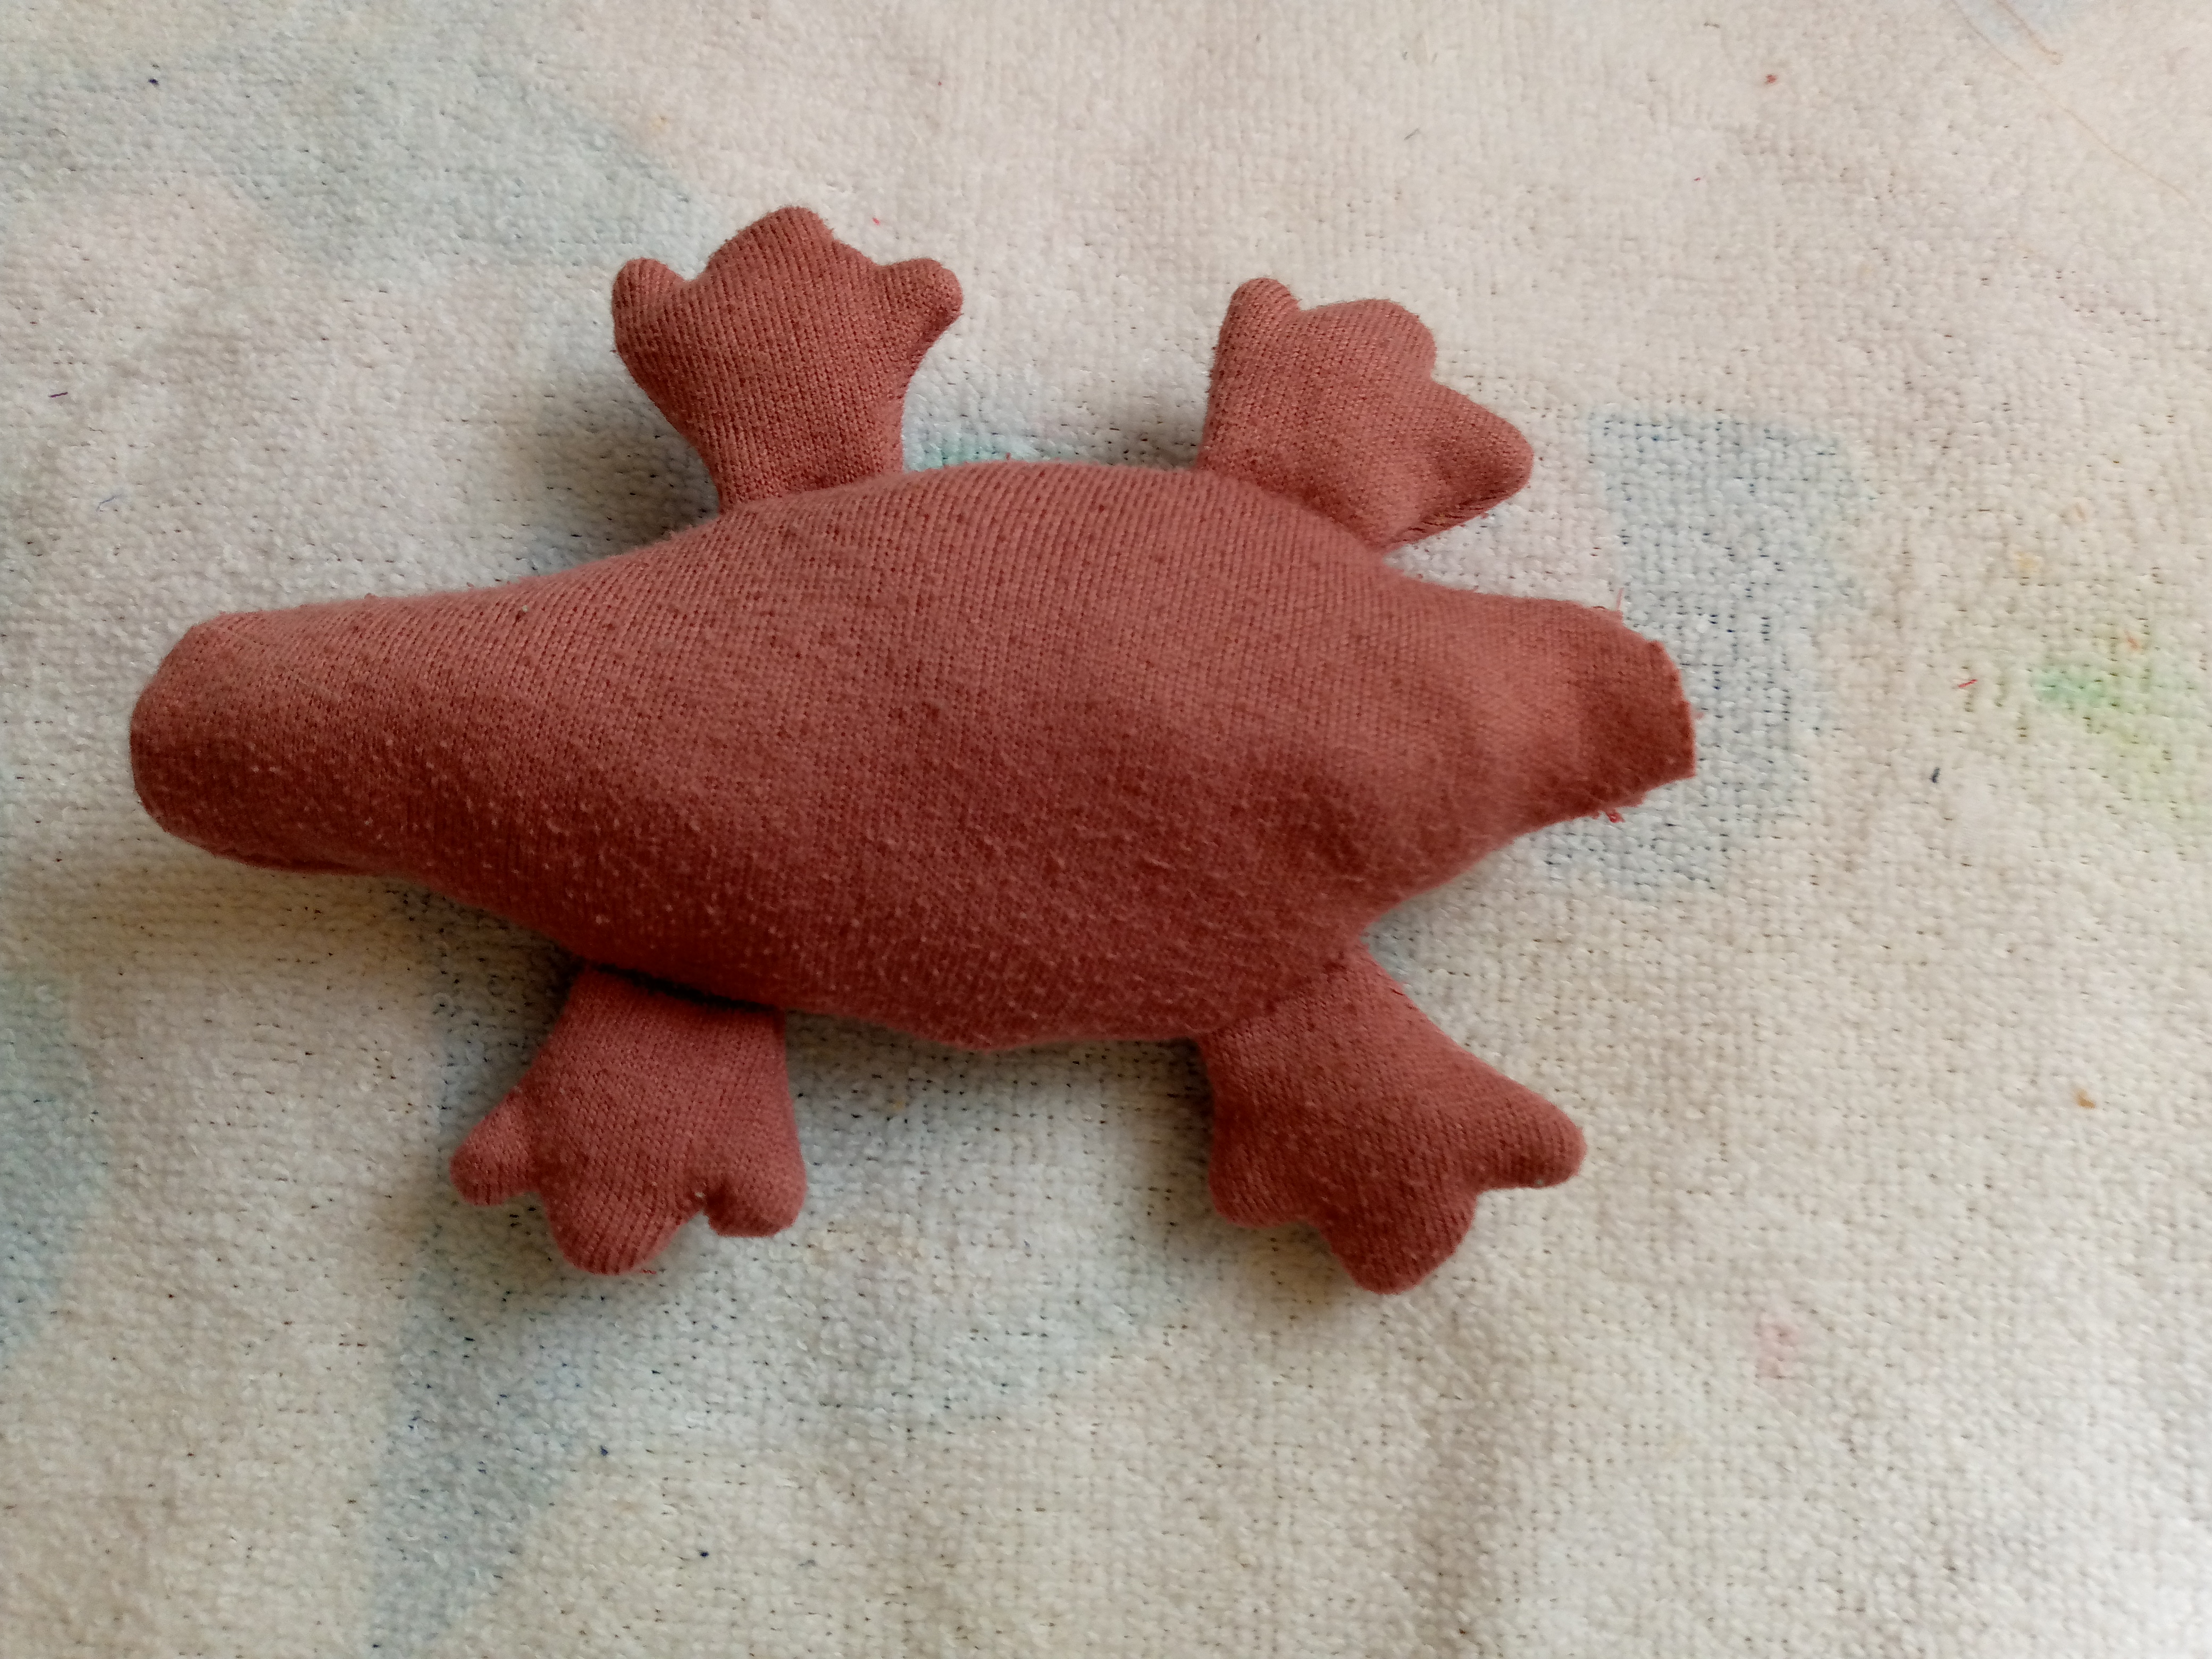
    He pasado a voltear las piezas como se muestra en las imágenes y empezamos a insertar el relleno por el hoyito que hemos dejado a las piezas ,vamos a ir rellenando sin meterle tanto relleno para que no nos quede tan abultado nos debe quedar algo aplastado así como las salamandras que son algo planas ,he rellenado el cuerpo y la cabeza también.

    Step 03

    I have turned the pieces over as shown in the images and we began to insert the filling through the little hole that we have left in the pieces. We are going to fill them without putting in too much filling so that it does not become so bulging. It should remain somewhat flattened, like the salamanders, which are somewhat flat. I have filled the body and the head as well.
    IMG_20241006_133702_900.jpg

    IMG_20241006_134245_092.jpg

    IMG_20241006_134623_107.jpg


    Paso 04

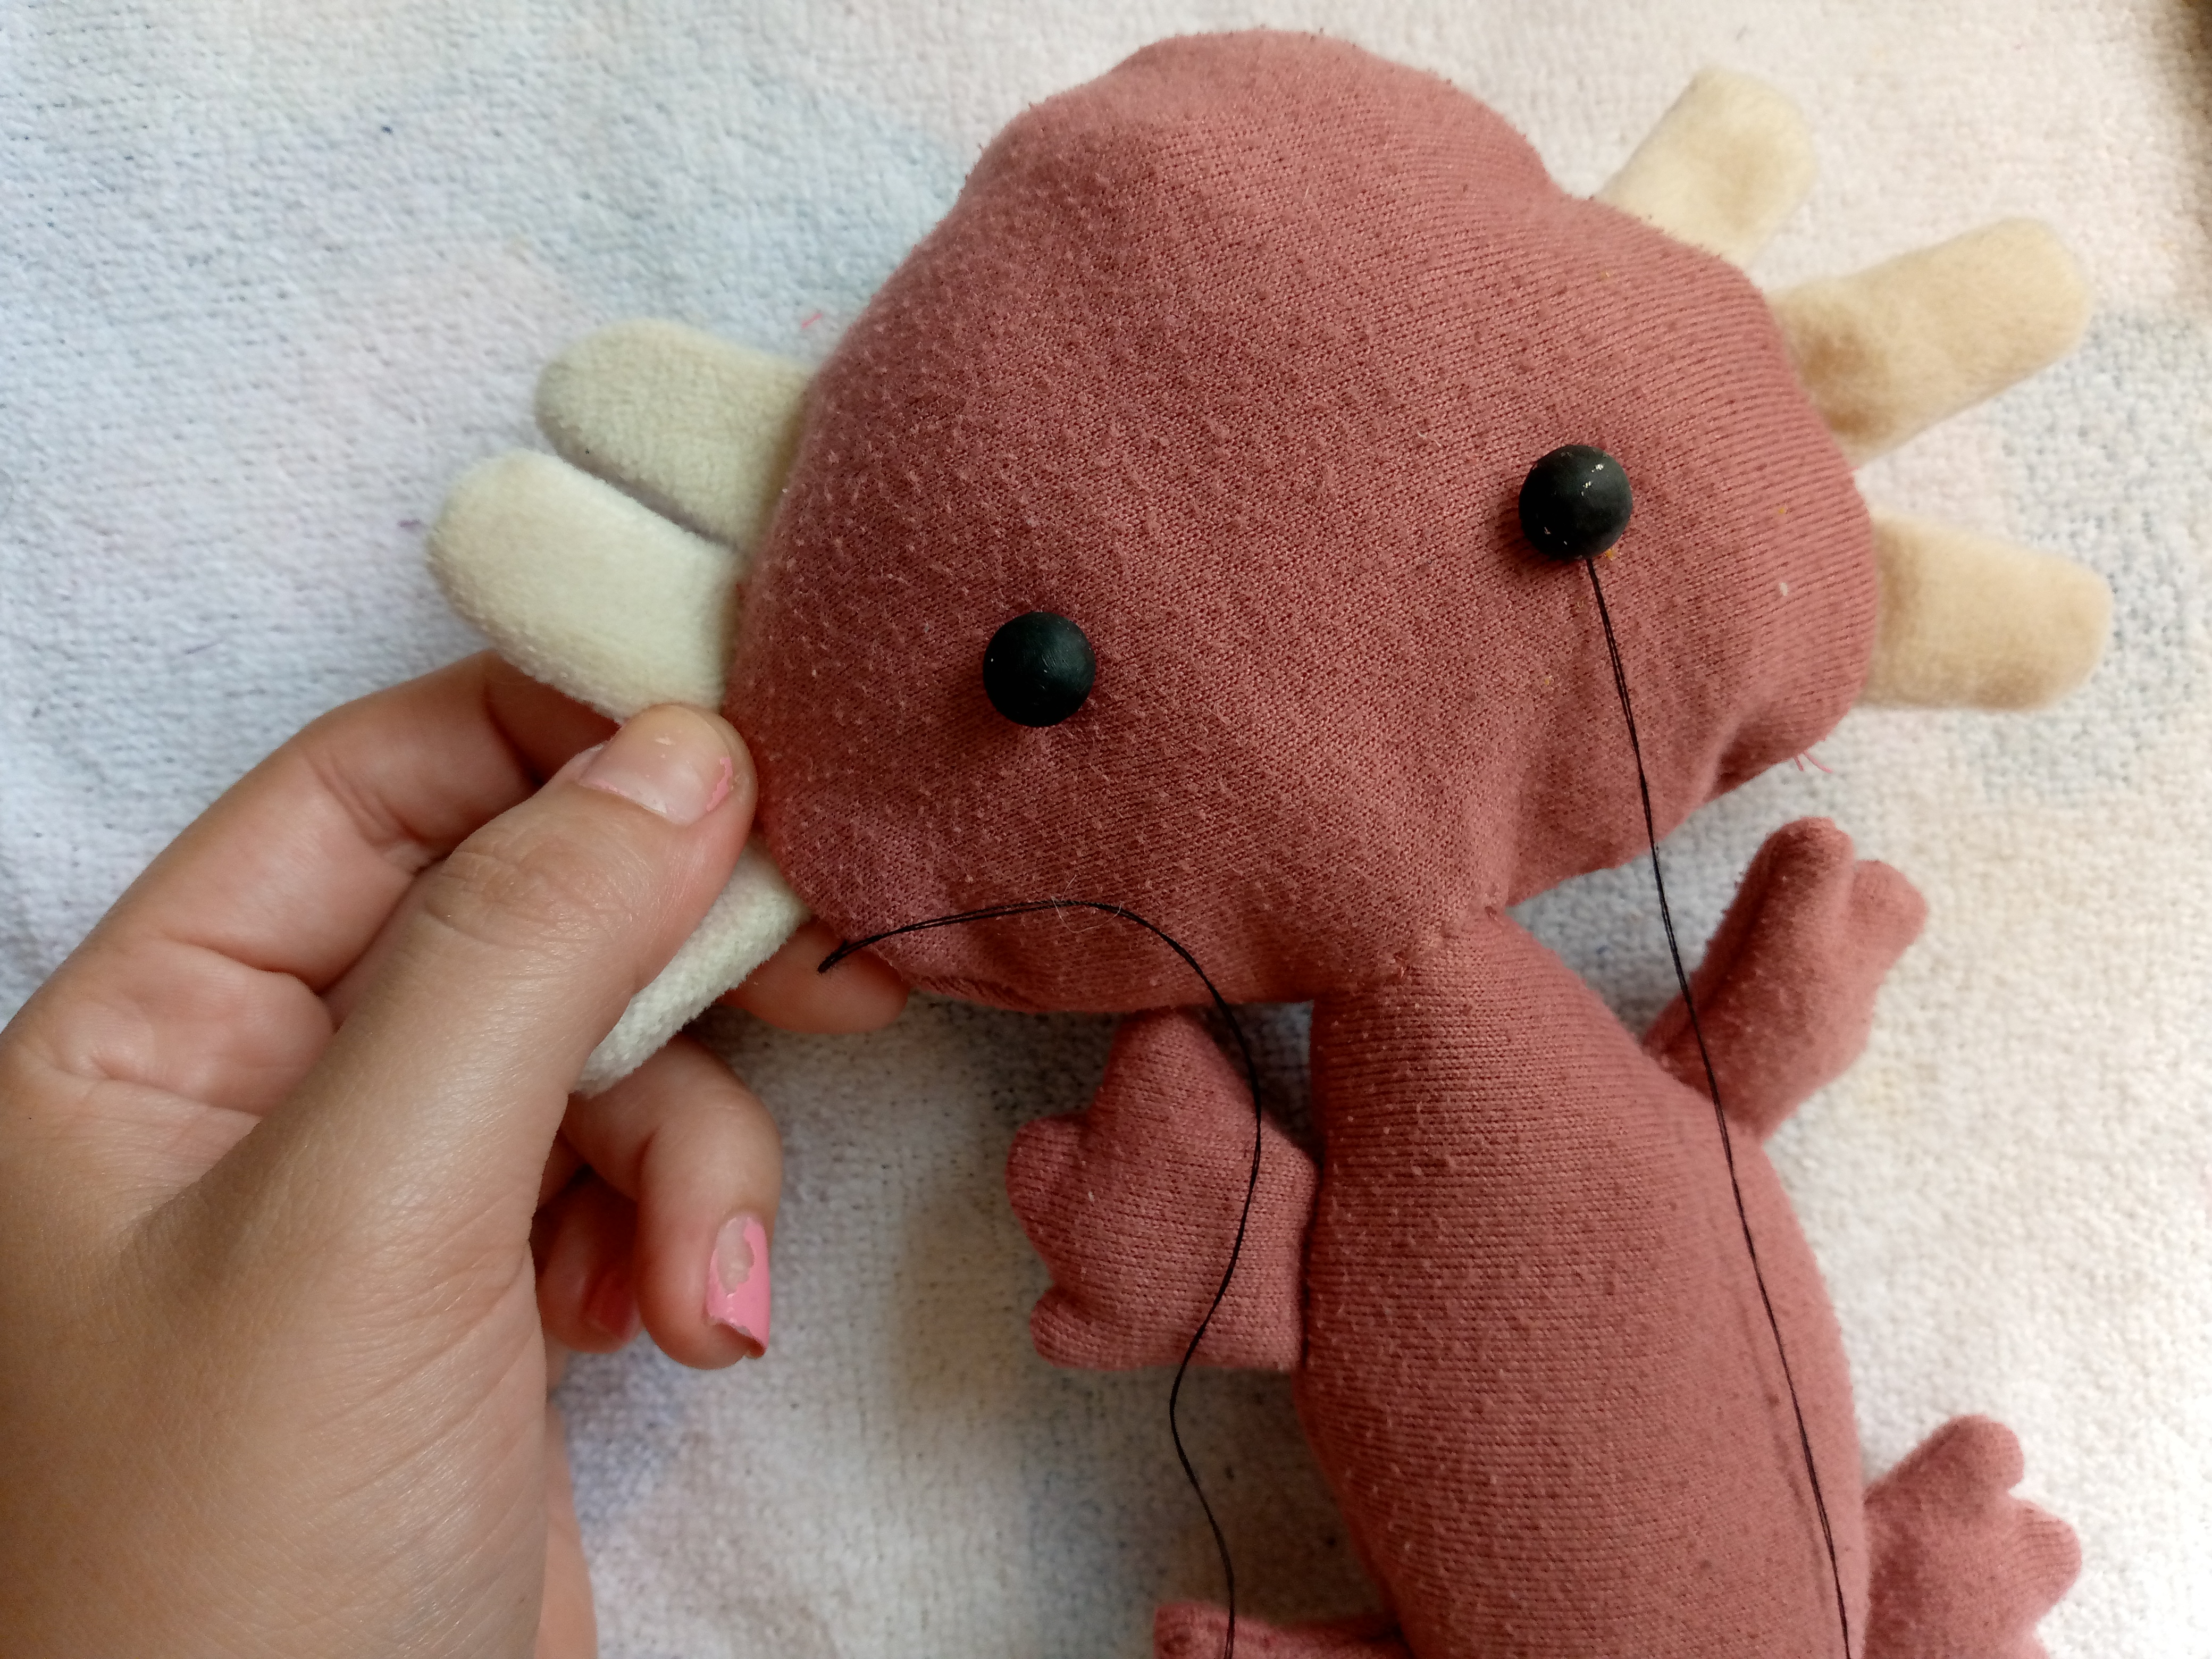
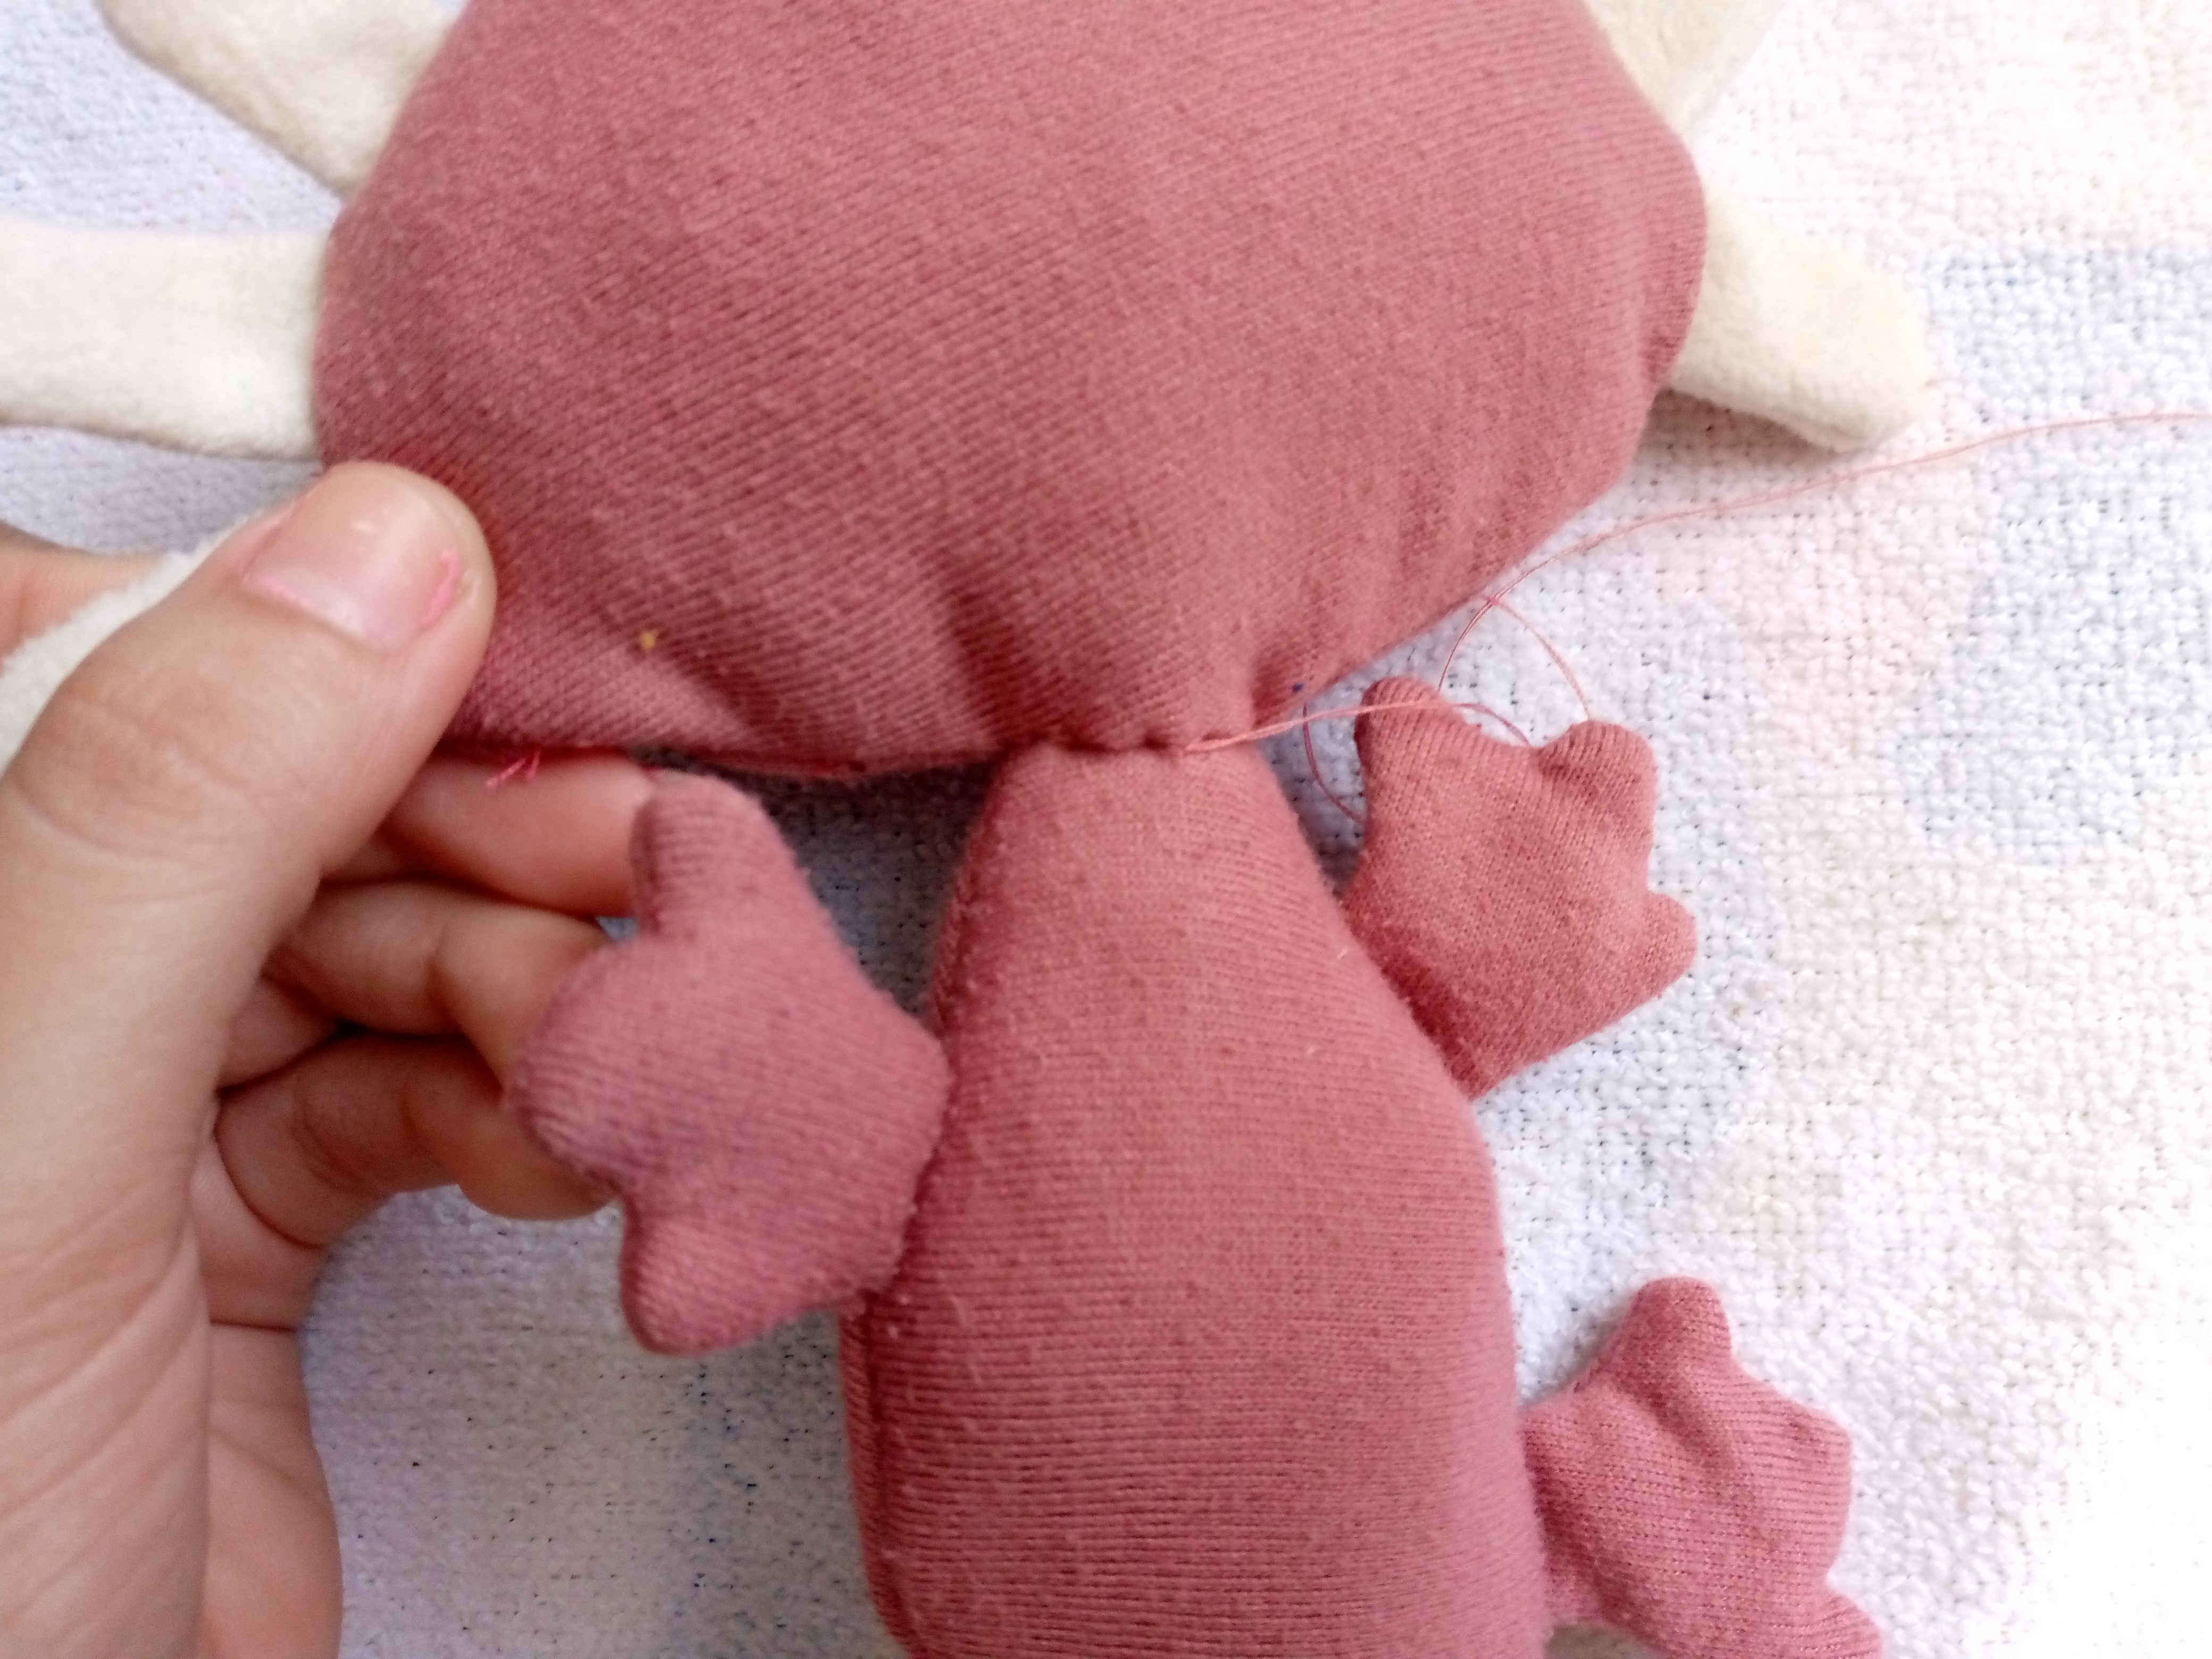
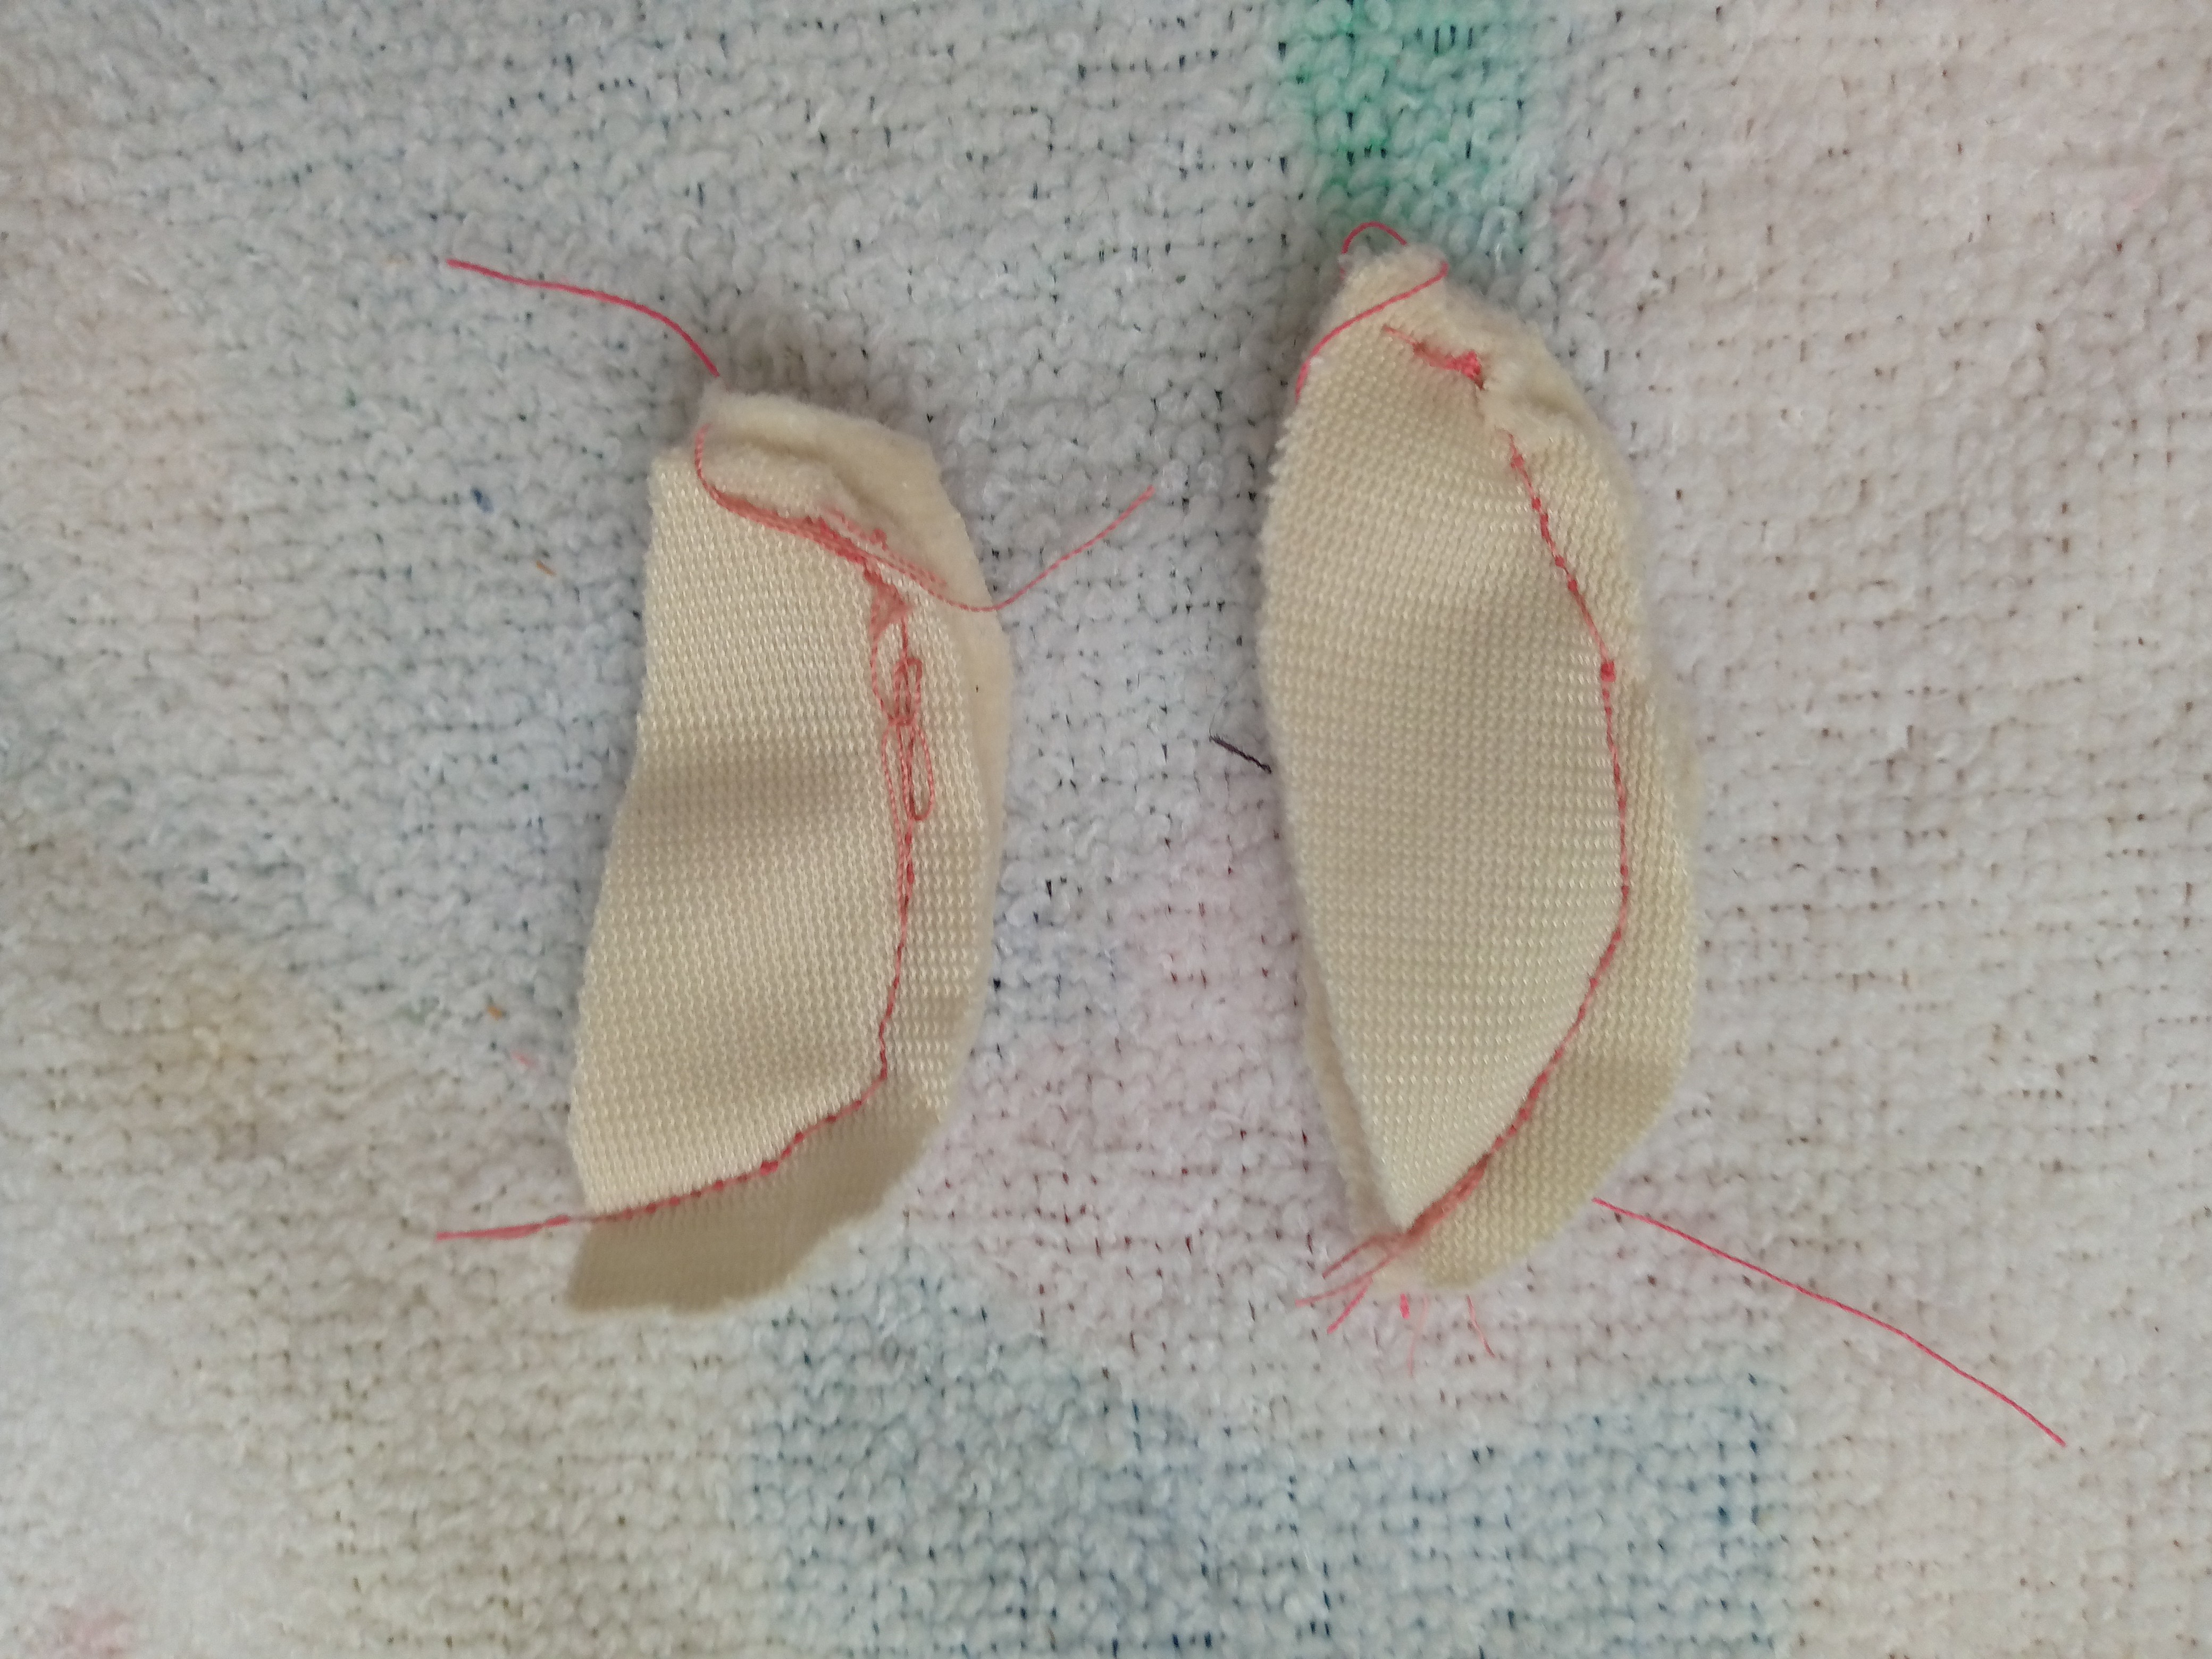
    Procedo a pasar a coser la cabeza al cuerpo con nuestro hilo y aguja a costura invisible que no se vea la costura amigos ,después de hacerlo he cosido el borde de las piezas de la aletitas que usaría para ponerse las a la colita, entonces las he cosido a mano una de cada lado con una costura invisible también,los botones los estaré cosiendo con hilo negro uno de lado a lado algo separados para darle un toque de ternura al ajolote.

    Step 04

    I proceed to sew the head to the body with our thread and needle with invisible stitching so that the seam cannot be seen, friends. After doing this, I sewed the edge of the pieces of the fins that I would use to put on the tail, then I sewed them by hand, one on each side with an invisible seam as well. I will be sewing the buttons with black thread, one from side to side, slightly separated to give the axolotl a touch of tenderness.
    IMG_20241006_134831_954.jpg

    IMG_20241006_133444_766.jpg

    IMG_20241006_135109_338.jpg

    IMG_20241006_140300_720.jpg

    IMG_20241006_140548_010.jpg


    Paso 05

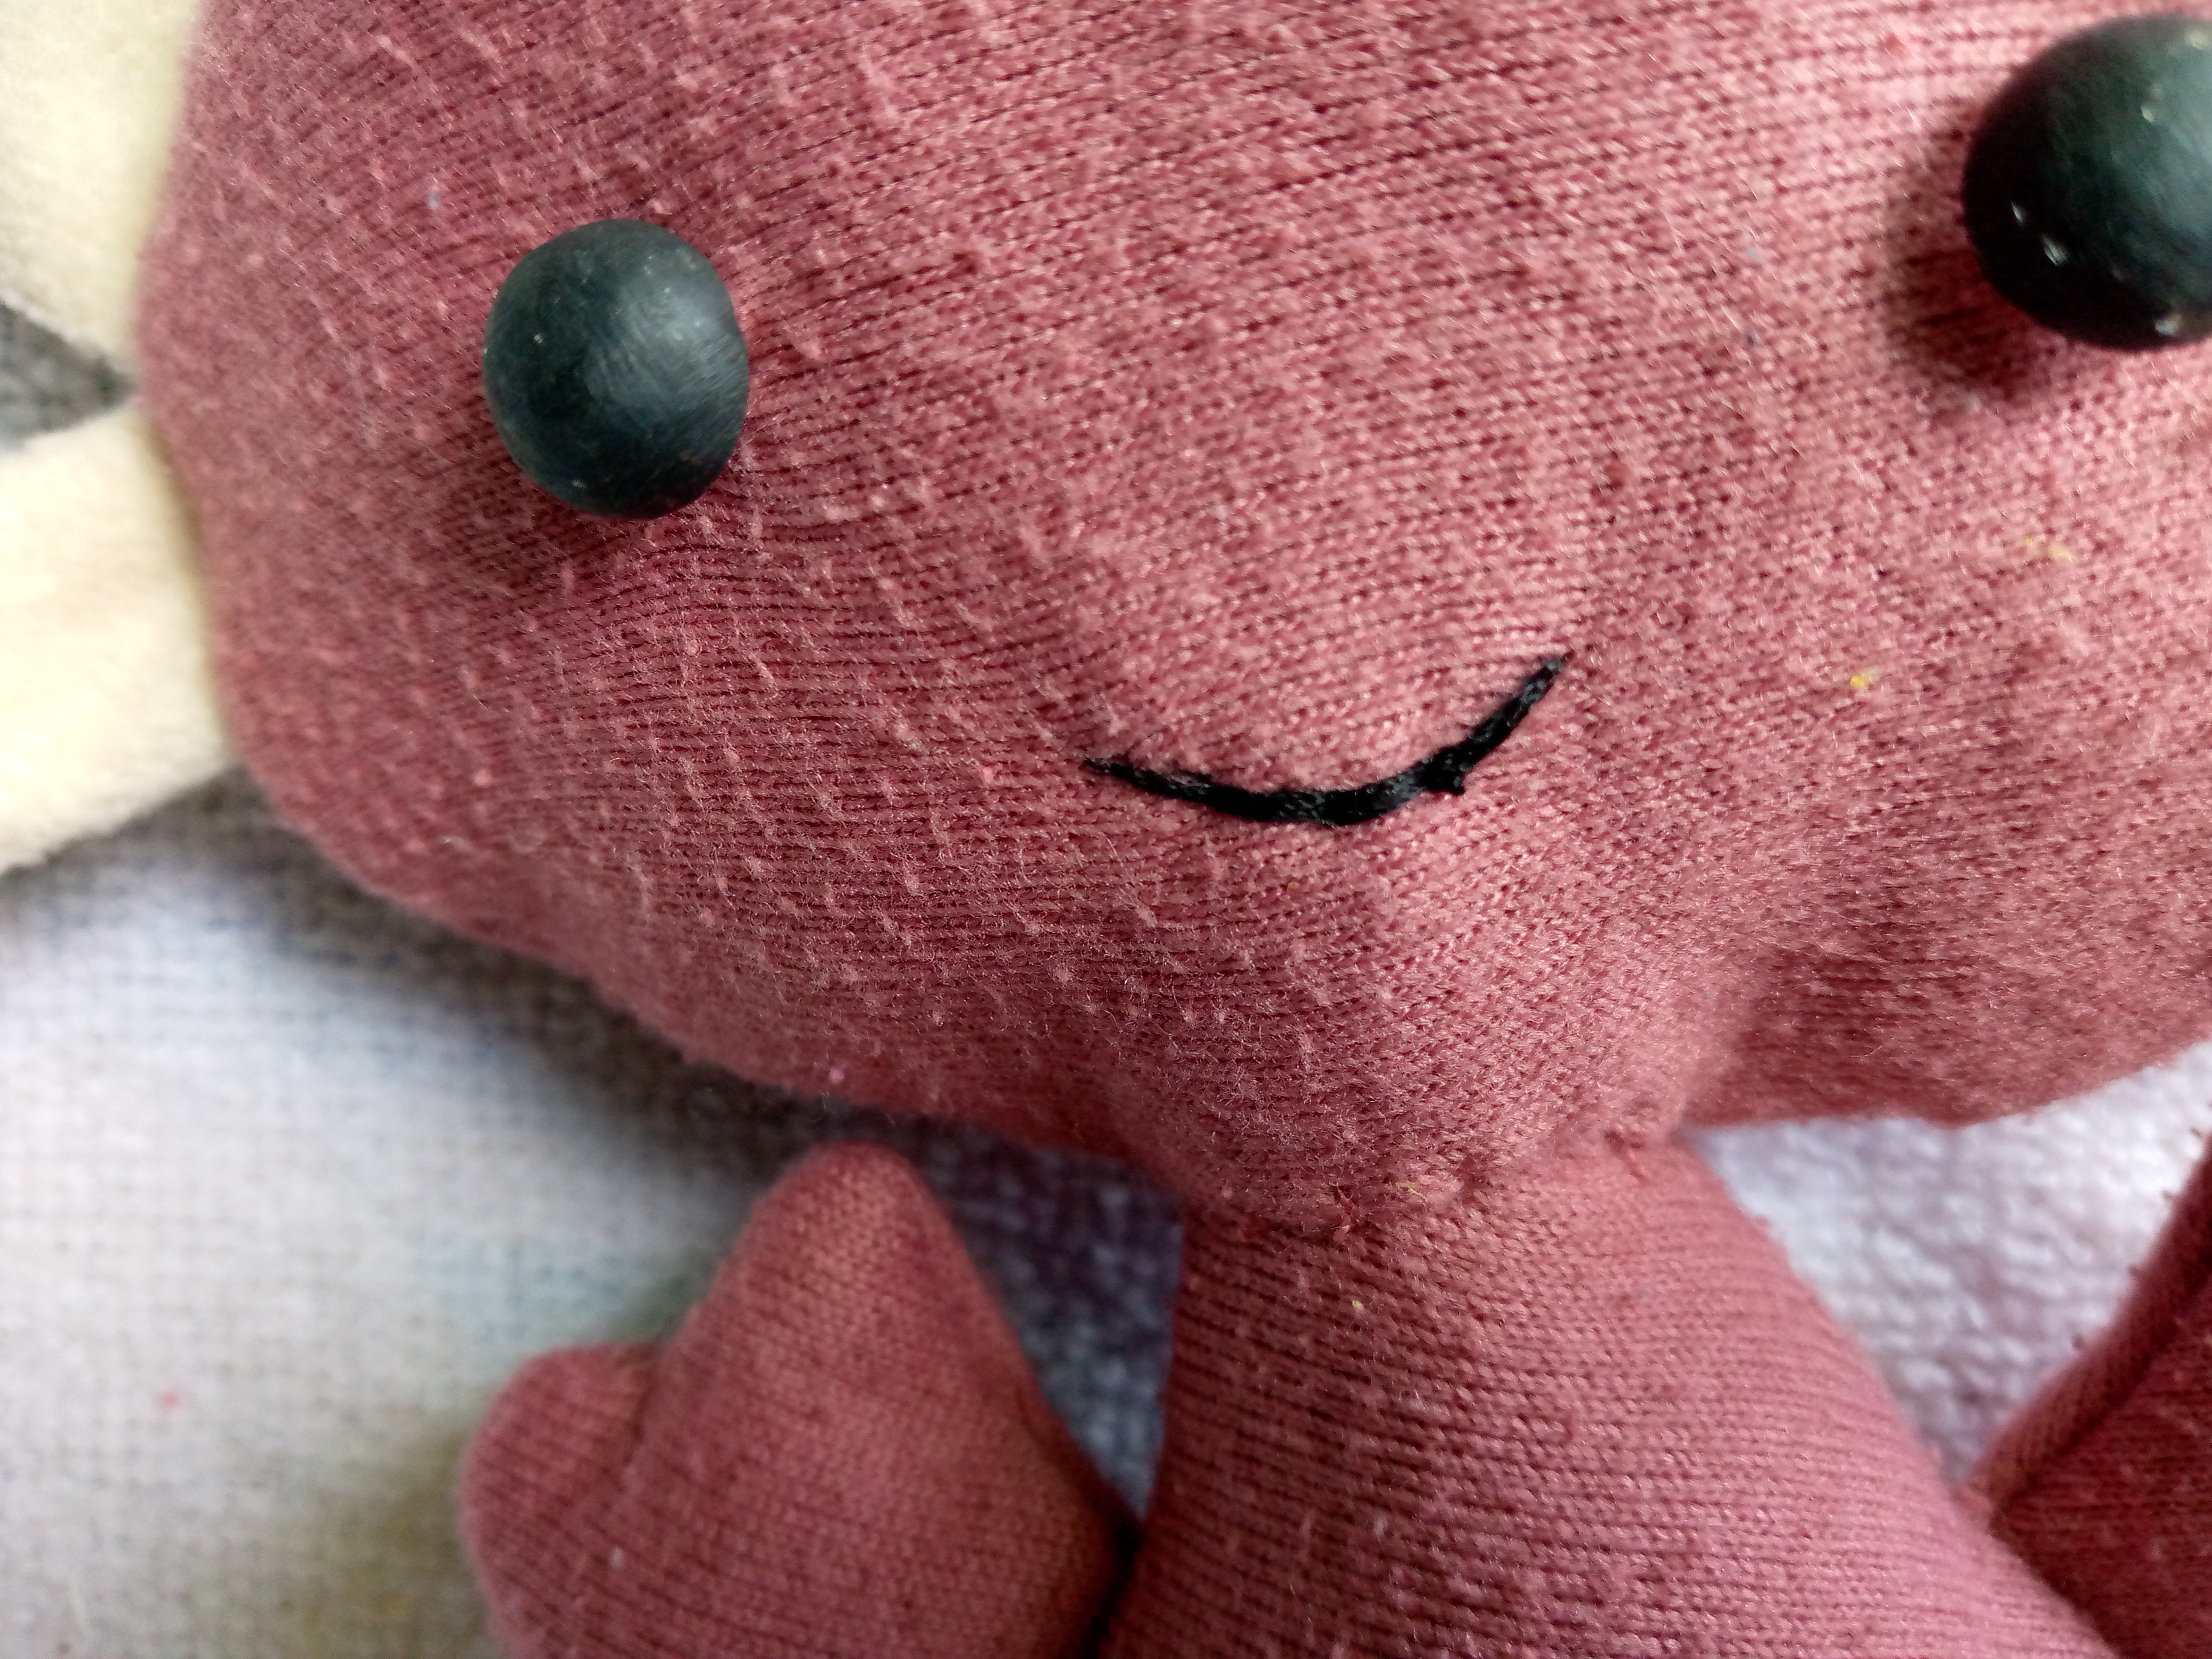
    Finalizamos entonces cosiendo una pequeña boca ,para ello coseré la forma y la cosí varias veces para ponerla más gruesa con el mismo hilo que no se vea tanto pero que si se pueda apreciar que nuestra boca está bordada y los hilos no se nos suelten,sellamos el hilo al final cortamos y listo así lo hemos terminado,si desean pueden pintar sus mejillas con sombra rosita ,yo lo iba a pintar pero la verdad este color de tela no quedaba bien asi que no se iba a apreciar el tono de sus mejillas pintadas asi que he decidido dejarlo asi 😊🥺.

    Step 05

    We then finish by sewing a small mouth, for this I will sew the shape and sew it several times to make it thicker with the same thread so that it is not visible as much but so that you can appreciate that our mouth is embroidered and the threads do not come loose, we seal the thread at the end we cut and that's it, so we have finished, if you want you can paint your cheeks with pink shadow, I was going to paint it but the truth is that this color of fabric did not look good so the tone of your painted cheeks was not going to be appreciated so I decided to leave it like that 😊🥺.
    IMG_20241006_141058_364.jpg


    Picsart_24-10-06_15-39-46-315 (1).jpg

    Resultado:

    Result:

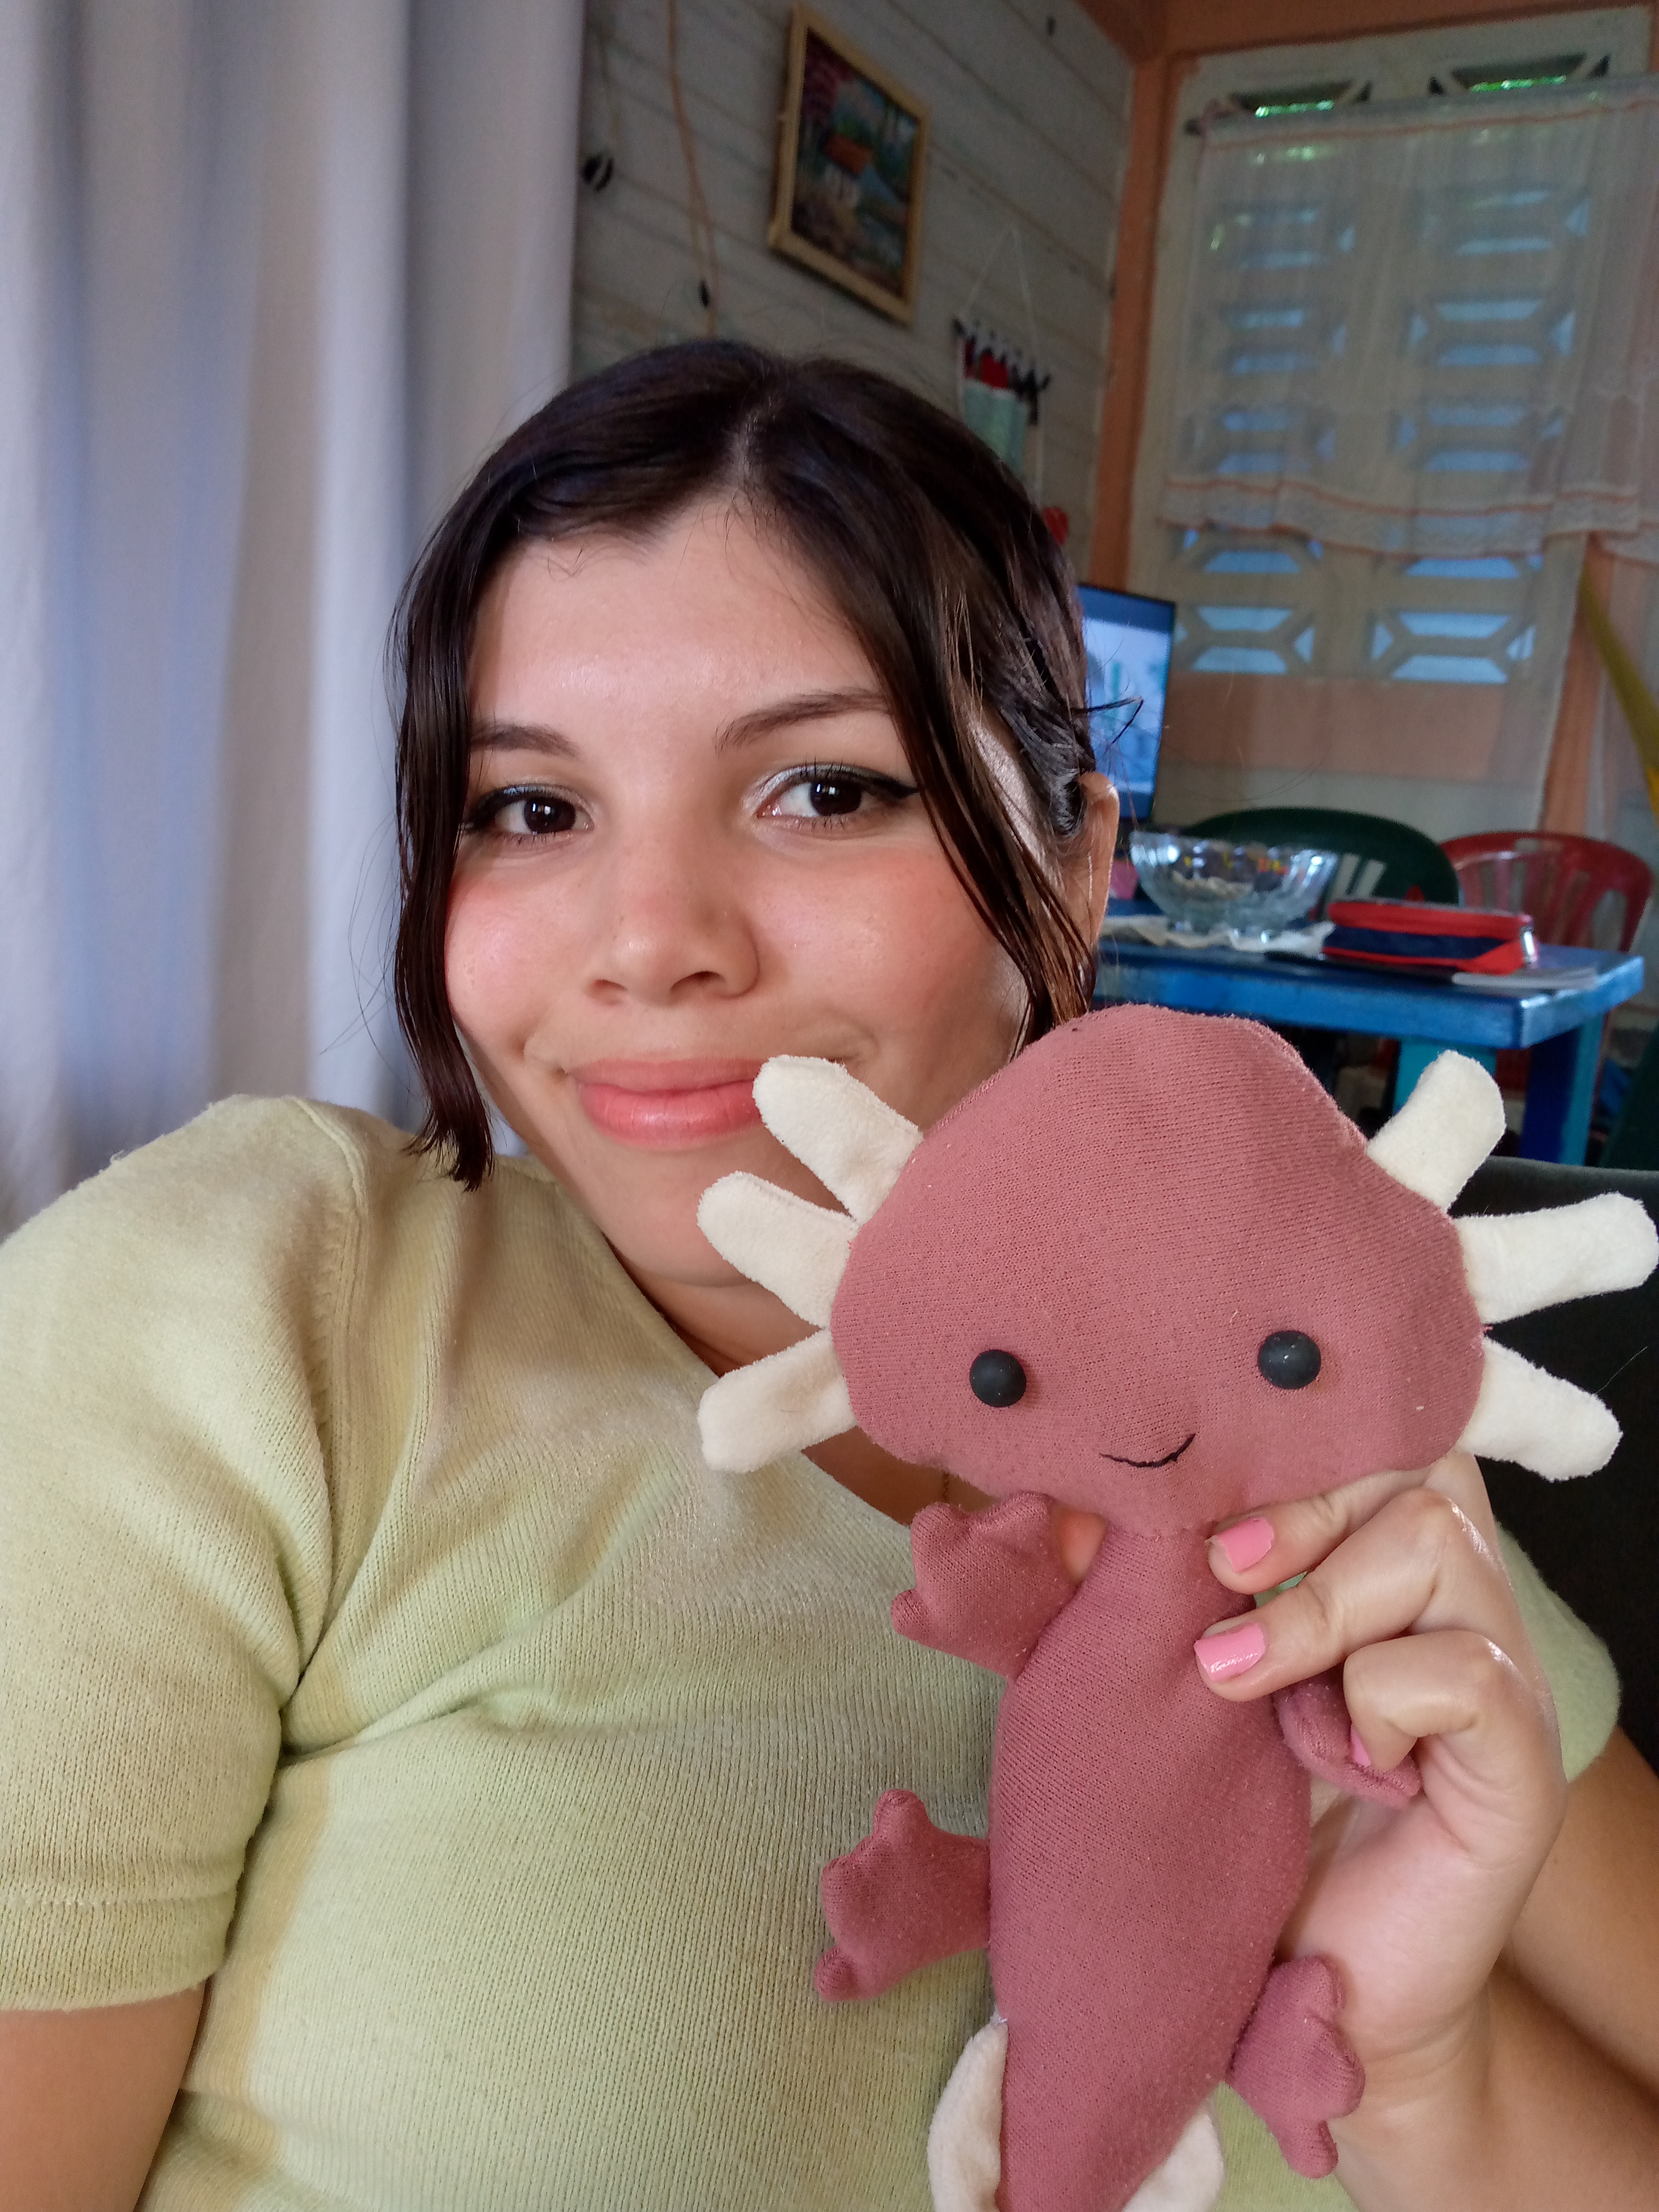
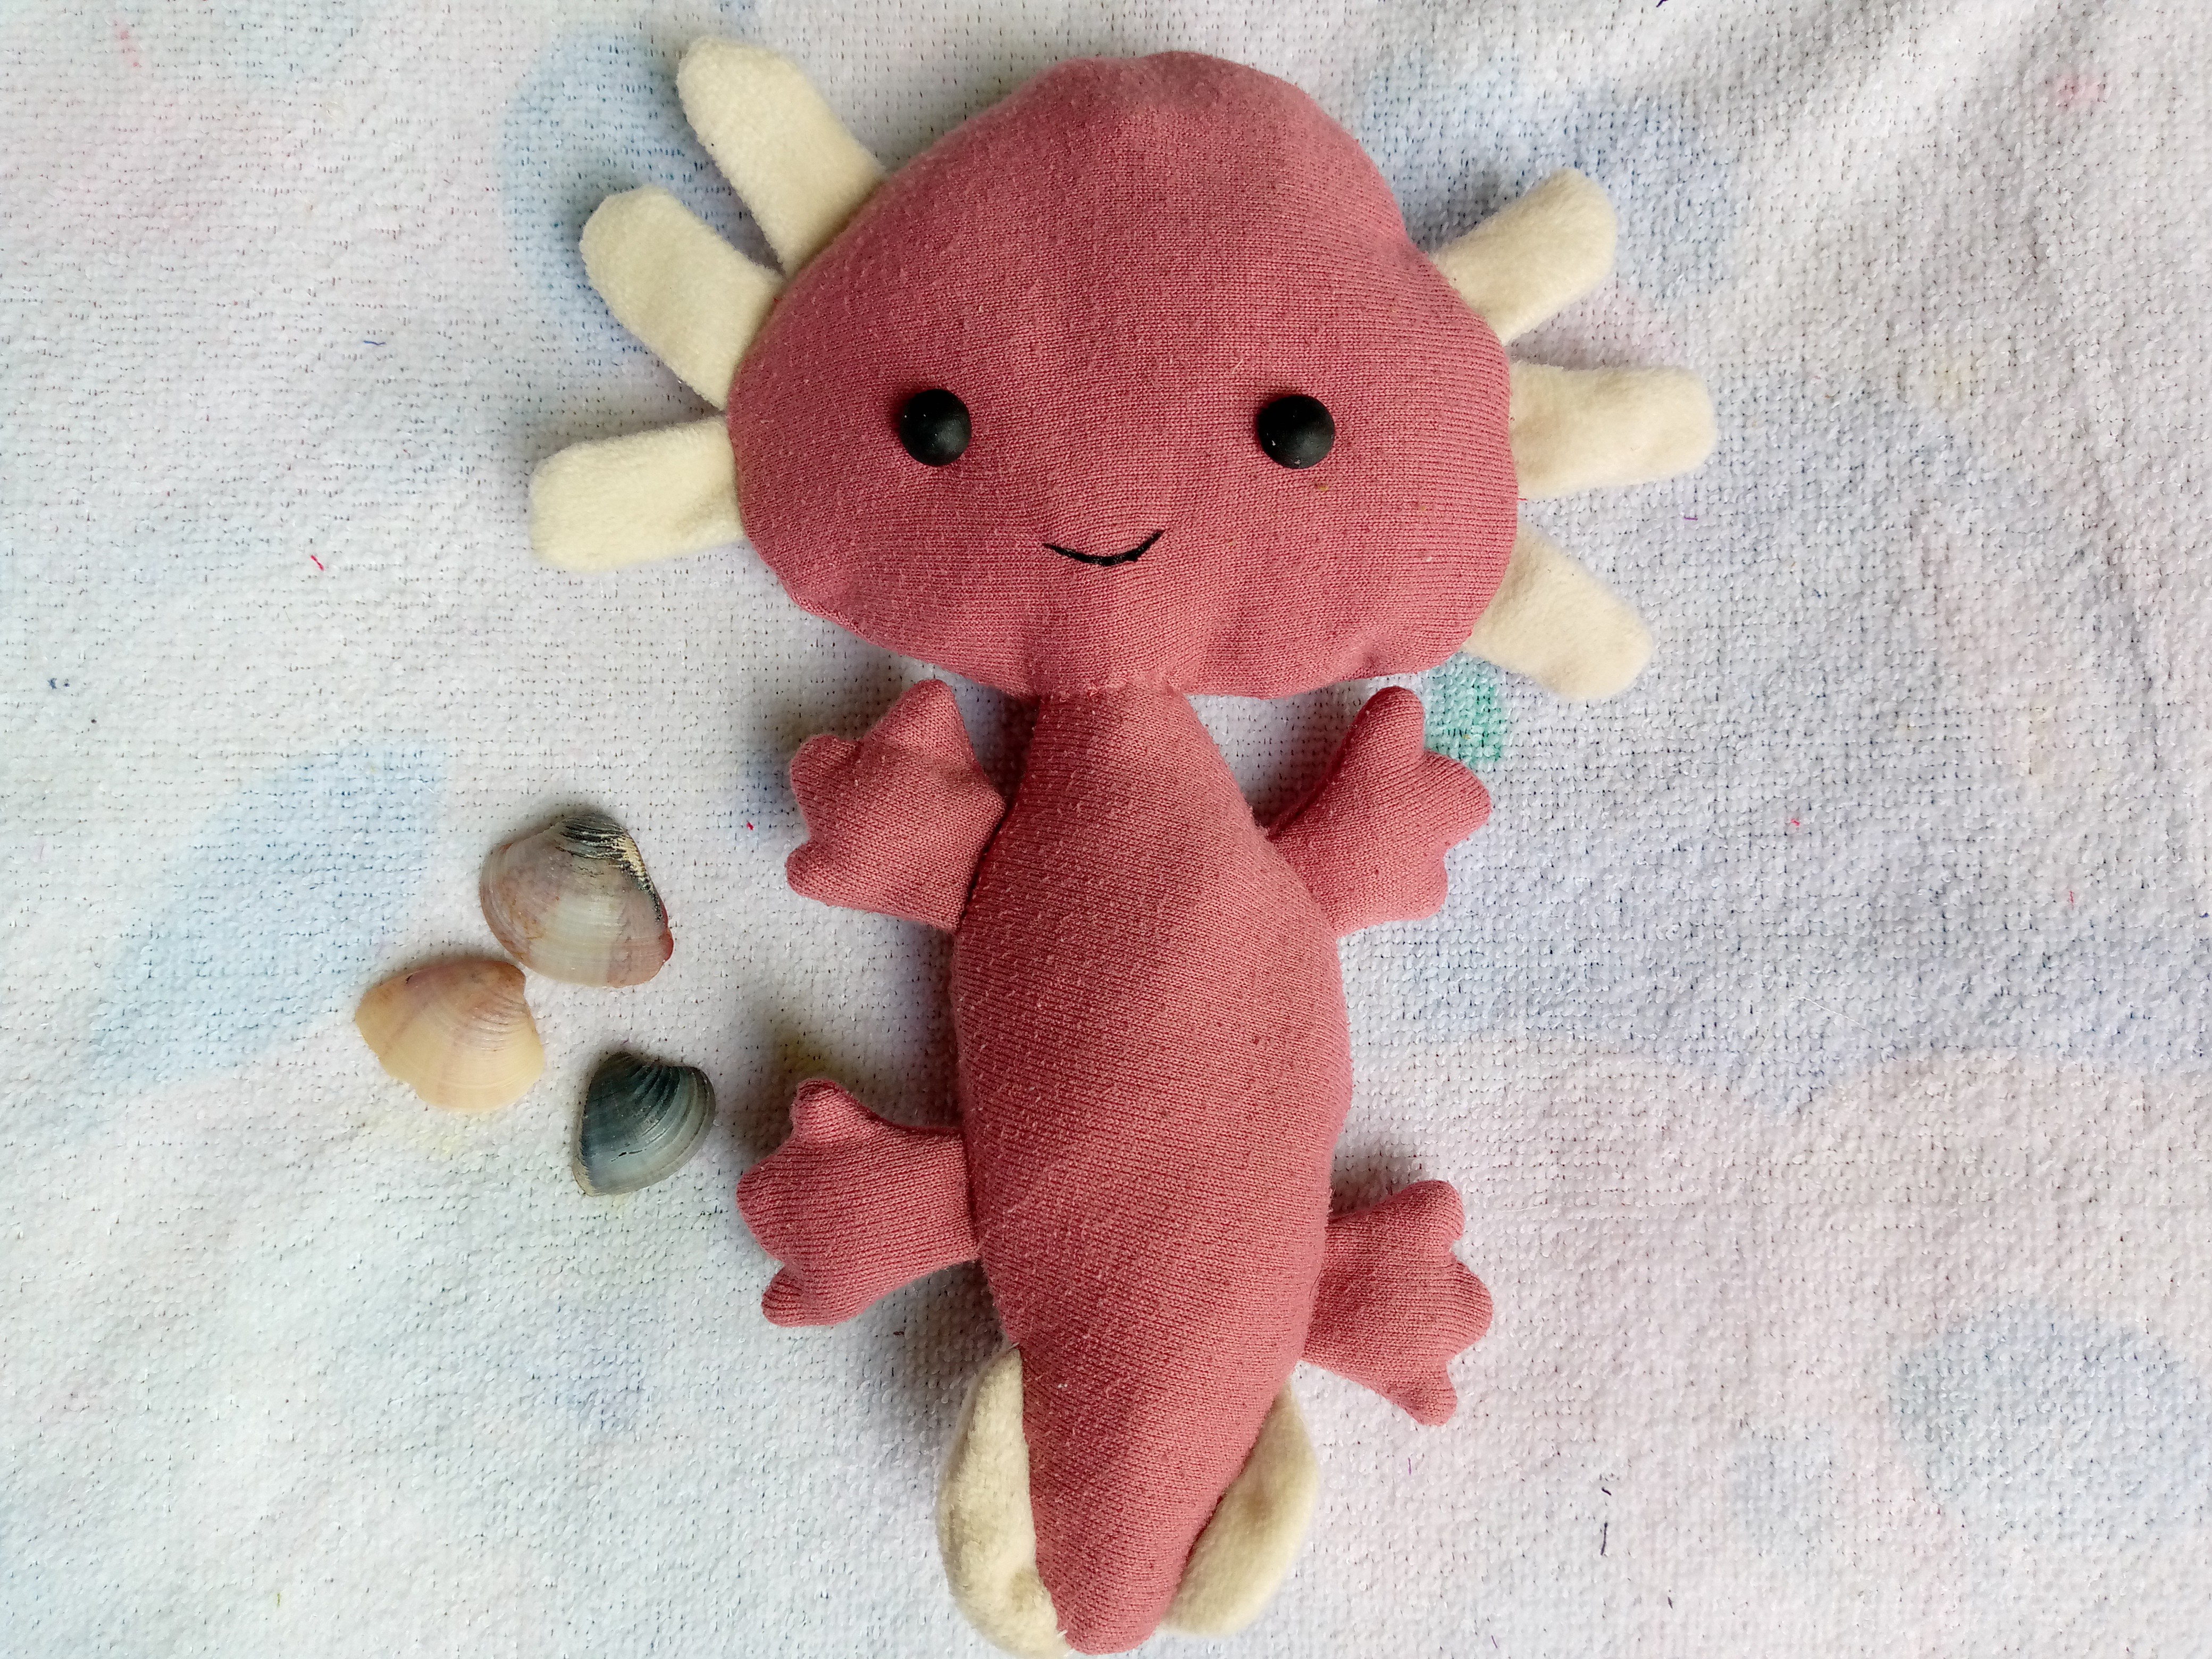
    De esta linda forma nos ha quedado listo nuestro ajolote,se ve tan lindo que no soporté no tomarme una foto con el,me encanta creo lo pondré al lado de mi almohada 🤭🥰espero te haya gustado esta forma de hacer este peluchito de ajolote súper sencillo reciclando esas telas que no encontramos que hacer con ellas,si te gustó dimelo en los comentarios y me despido de ustedes dejandoles acá fotitos del resultado final,que lo disfruten,nos vemos amigos 💕✨.

    In this nice way our axolotl is ready, it looks so cute that I couldn't bear not to take a photo with it, I love it, I think I'll put it next to my pillow 🤭🥰 I hope you liked this way of making this super simple axolotl stuffed animal by recycling those fabrics that we can't find what to do with, if you liked it tell me in the comments and I'll say goodbye to you by leaving you here with photos of the final result, enjoy it, see you friends 💕✨.
    IMG_20241006_141418_963.jpg

    IMG_20241006_141416_899.jpg

    IMG_20241006_152738_829.jpg

    Picsart_24-10-06_15-39-46-315 (1).jpg

    200w.gif

    🦋✨Todas las imágenes de esta publicación son de mi autoria ,📱tomadas con mi celular TecnoSpark8C |📸Fotos editadas en PicsArt y Canva. Texto traducido en el traductor de Google.

    🦋✨ All the images in this publication are my author ,📱taken with my TecnoSpark8C cell phone |📸Photos edited in PicsArt and Canva. Text translated in Google Translate.


    Picsart_24-08-15_13-46-37-839.jpg


      Authors get paid when people like you upvote their post.
      If you enjoyed what you read here, create your account today and start earning FREE VOILK!