Hello, I hope everyone is well, again we have a date with crochet, this time it is a scarf which is made up of several squares of various colors, which is very pretty and here I explain how to make it so welcome to this tutorial.
Hola, espero que todos estén bien, nuevamente tenemos una cita con el crochet, en esta oportunidad se trata de una pañoleta la cual está formada por varios cuadrados de varios colores, la cual es muy linda y aquí te explico cómo elaborarla asi que bienvenidos a este tutorial.
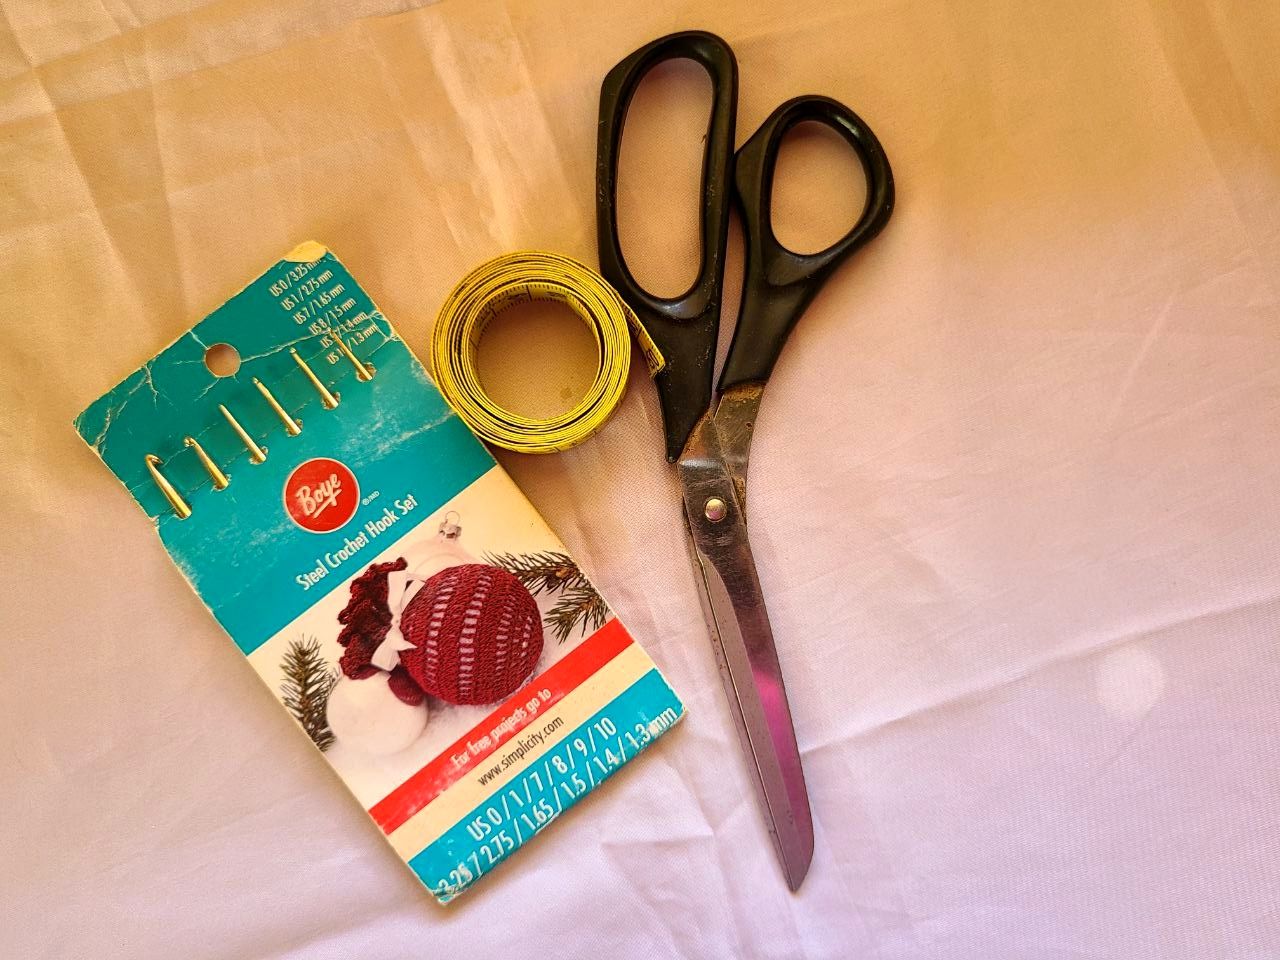
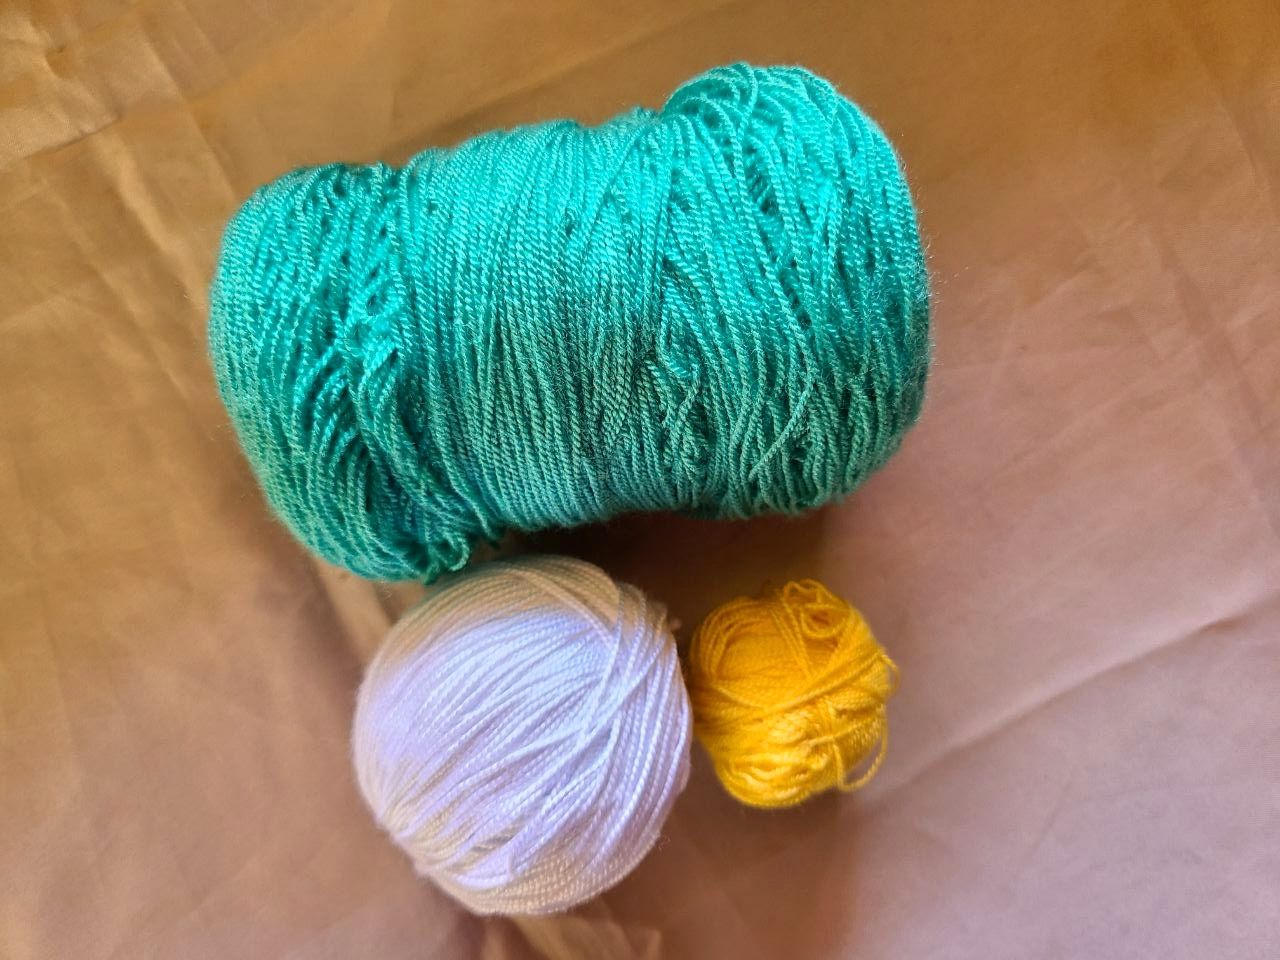
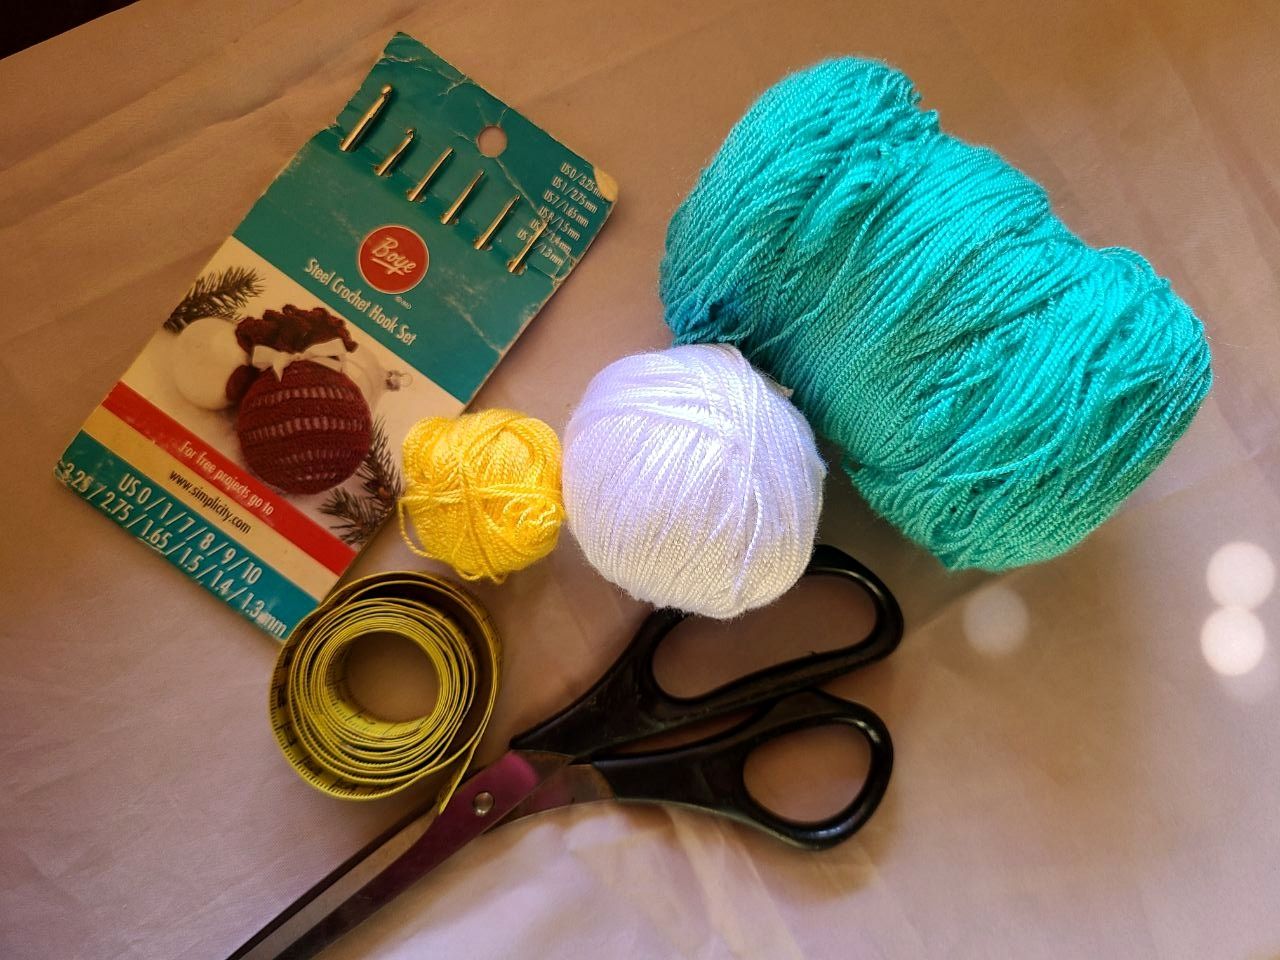
The materials to use:
✓Light blue, turquoise, white, yellow crochet thread.
✓Crochet needle.
✓tape measure.
✓Scissors.
Materiales a utilizar:
✓Hilo crochet celeste, turquesa, blanco, amarillo.
✓Aguja para crochet.
✓cinta métrica.
✓Tijeras.
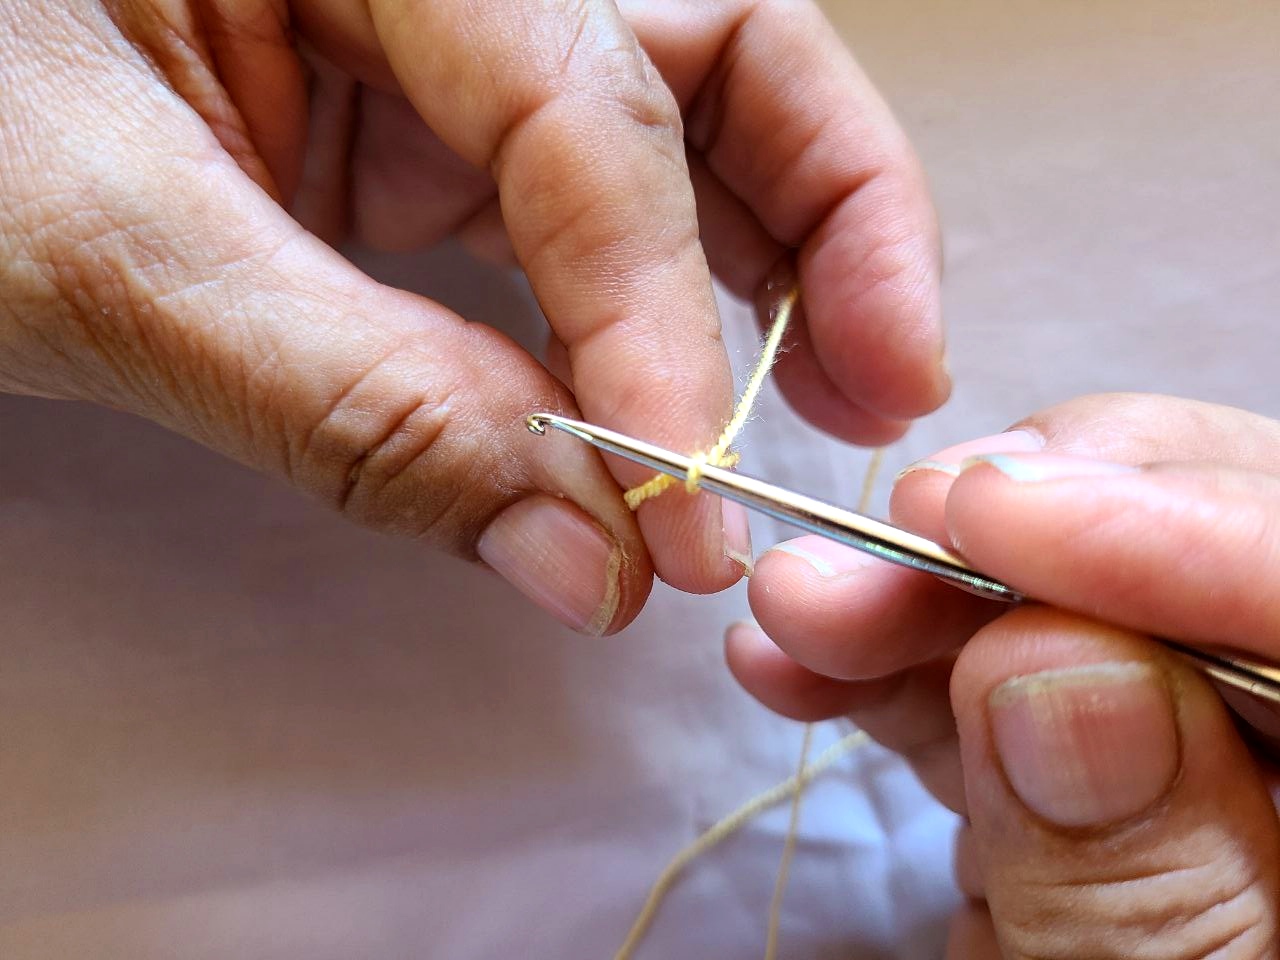
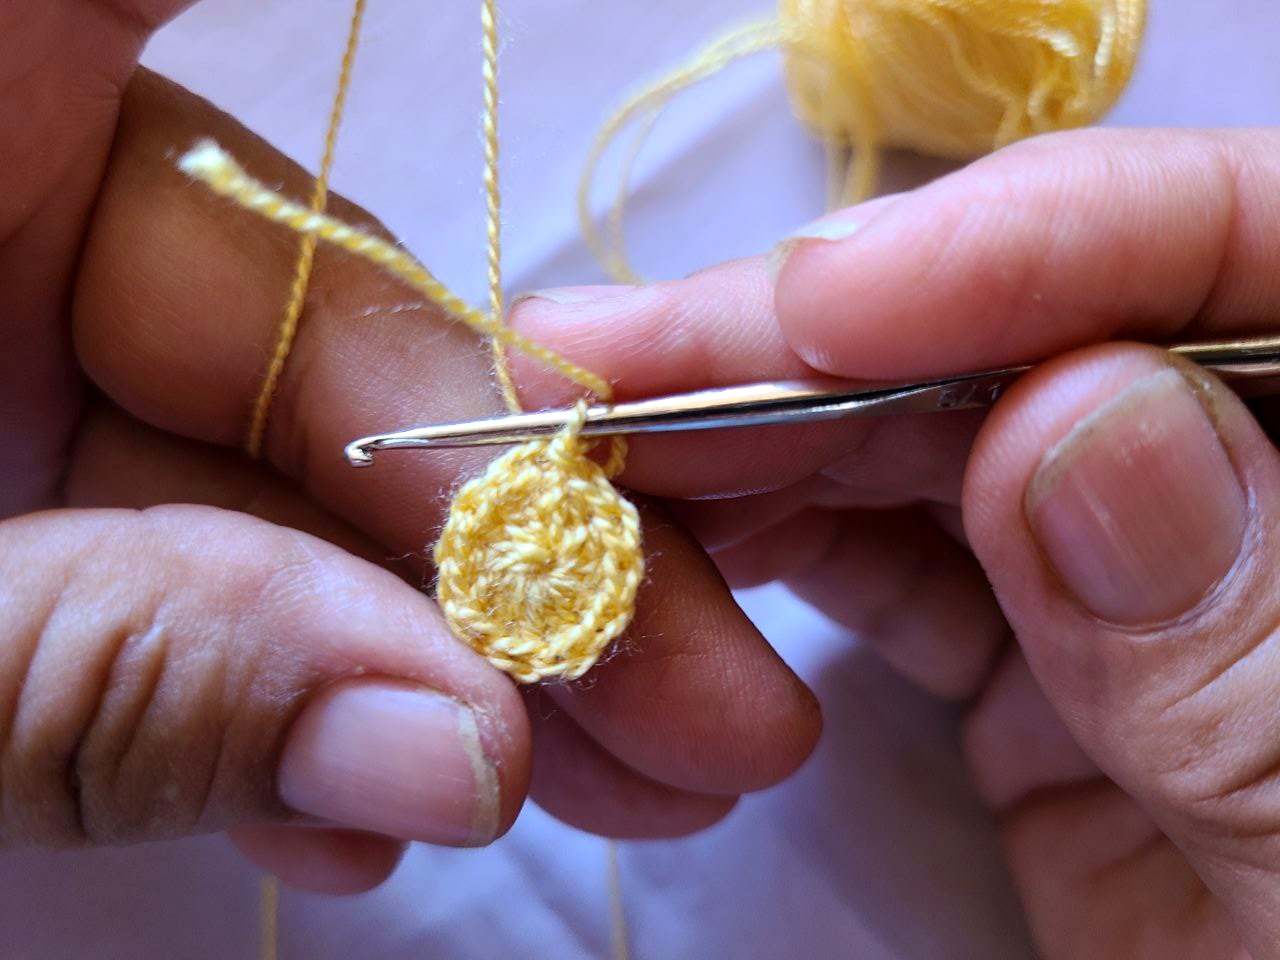
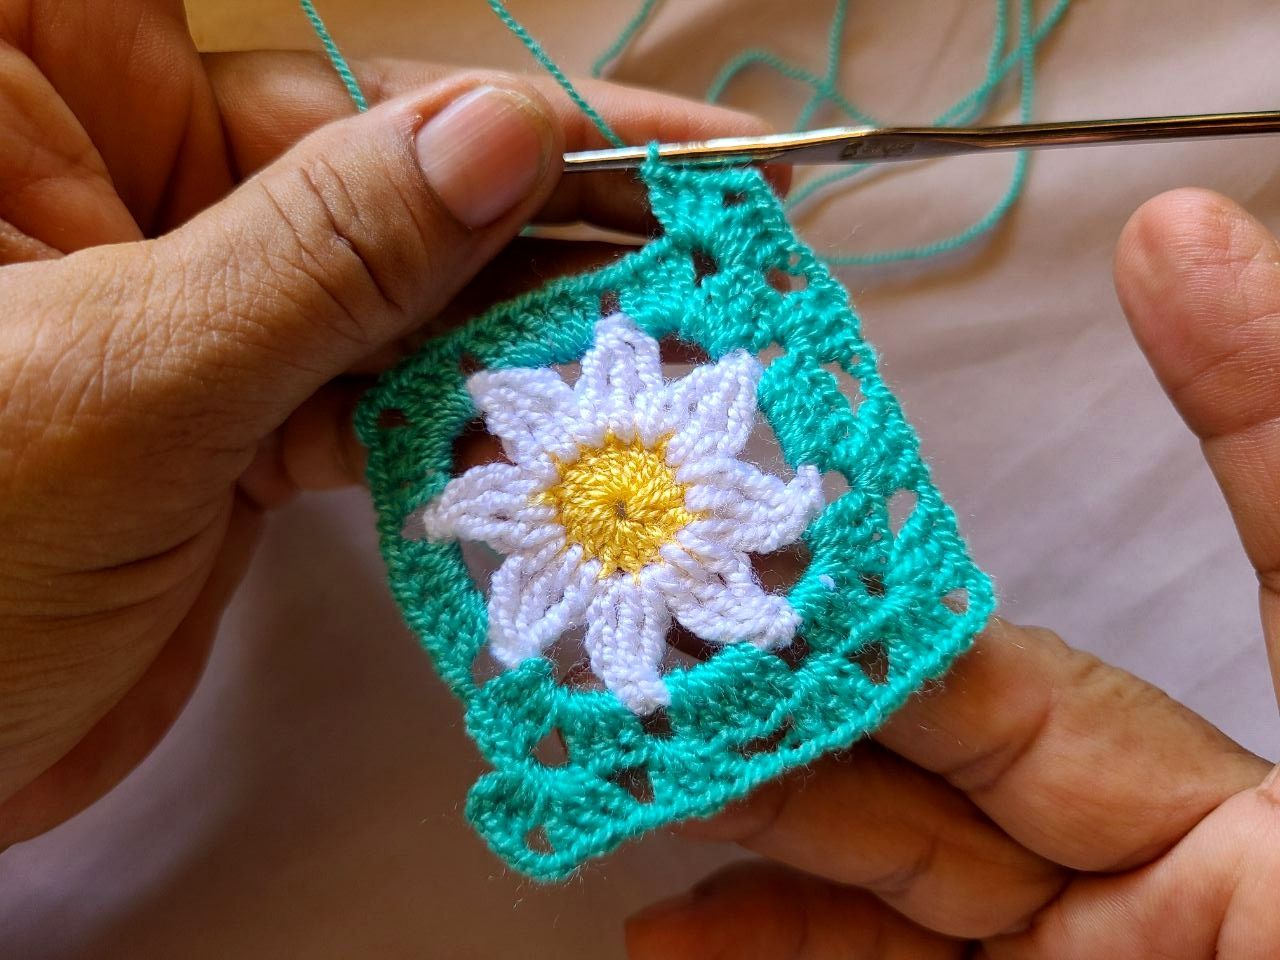
🧶Step 1: With the yellow thread, we make a magic knot and within it we make 16 double stitches and close the knot.
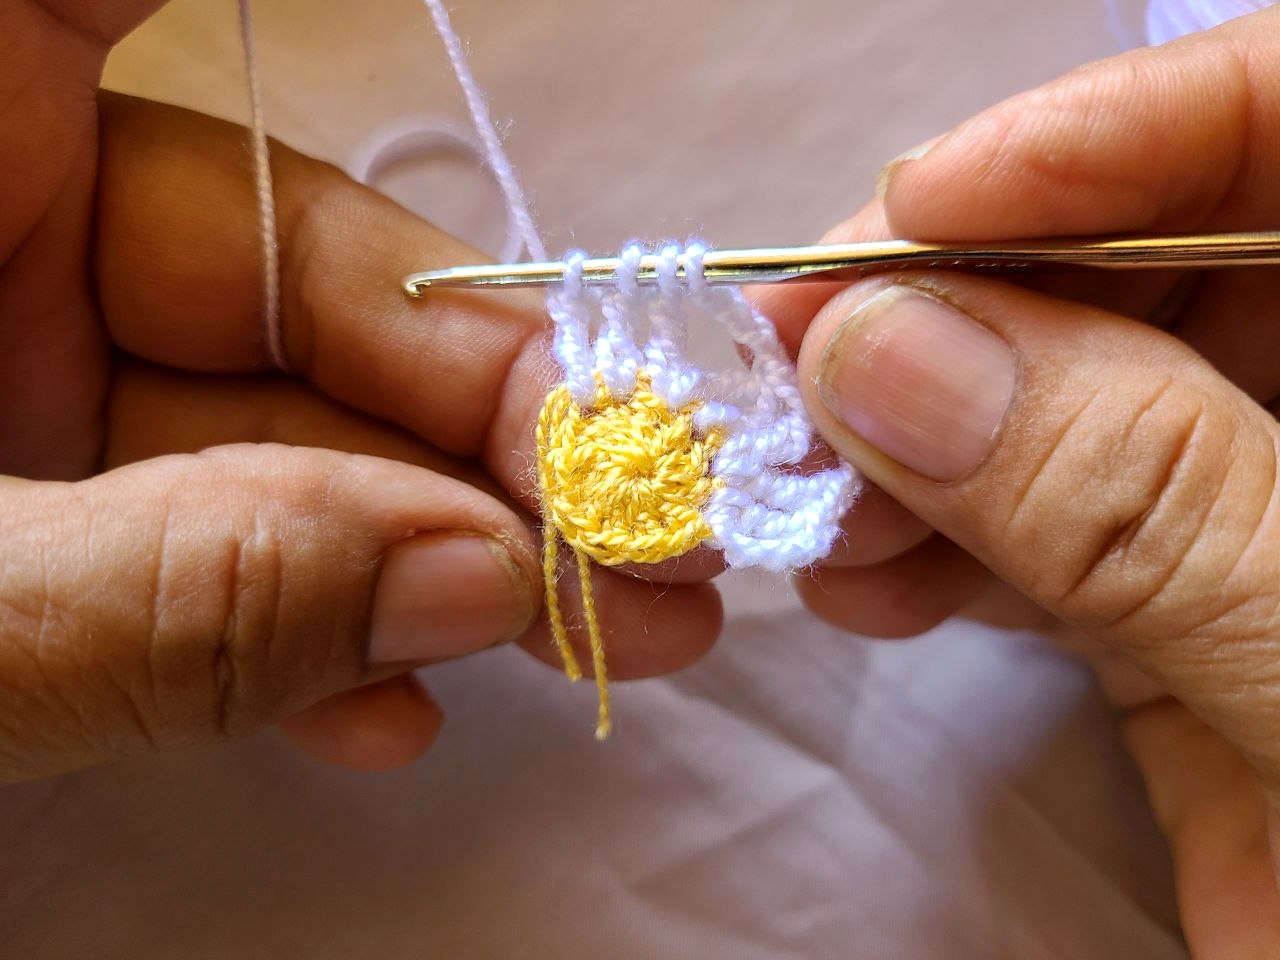
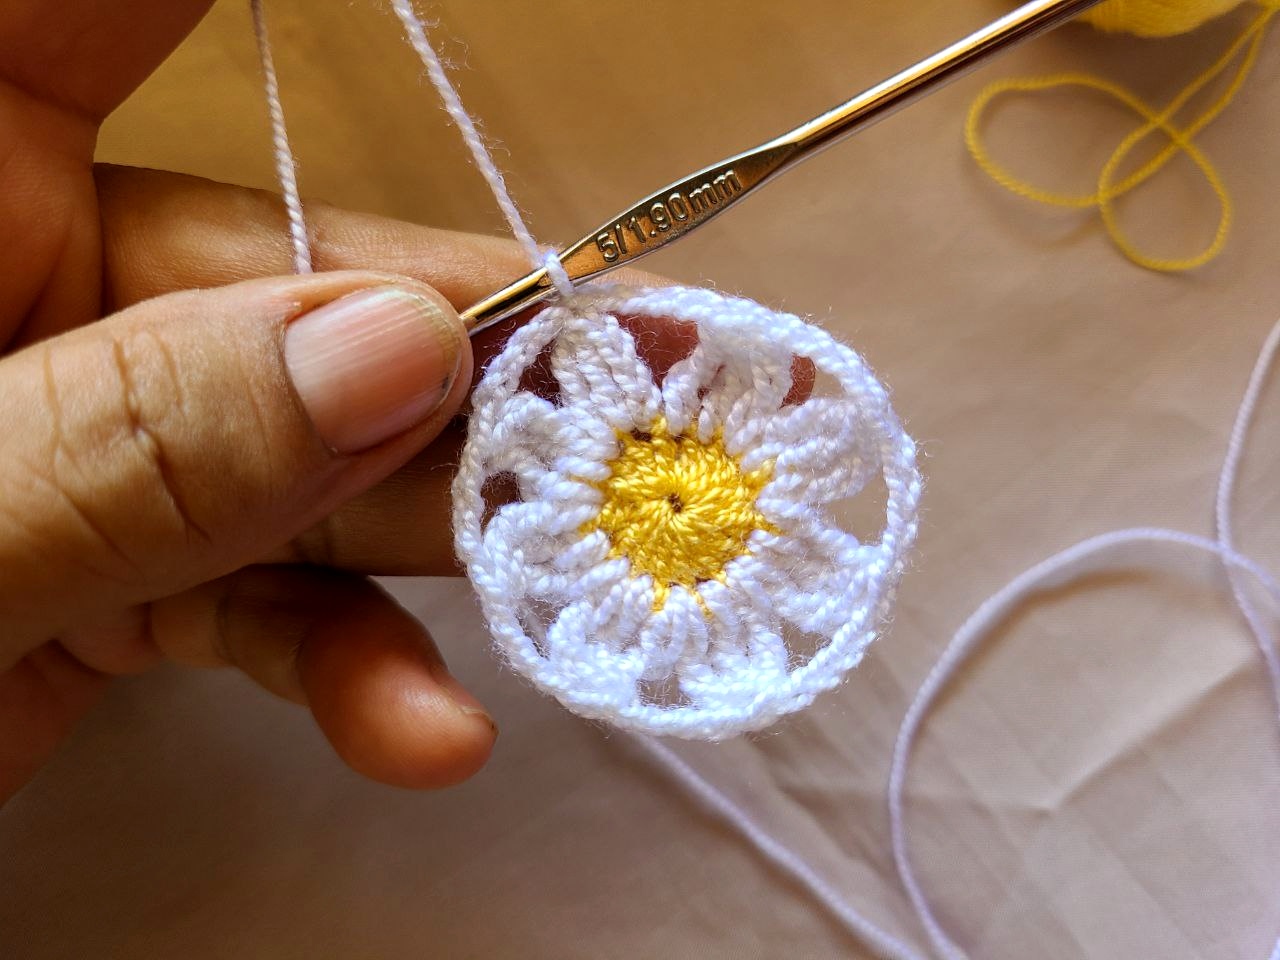
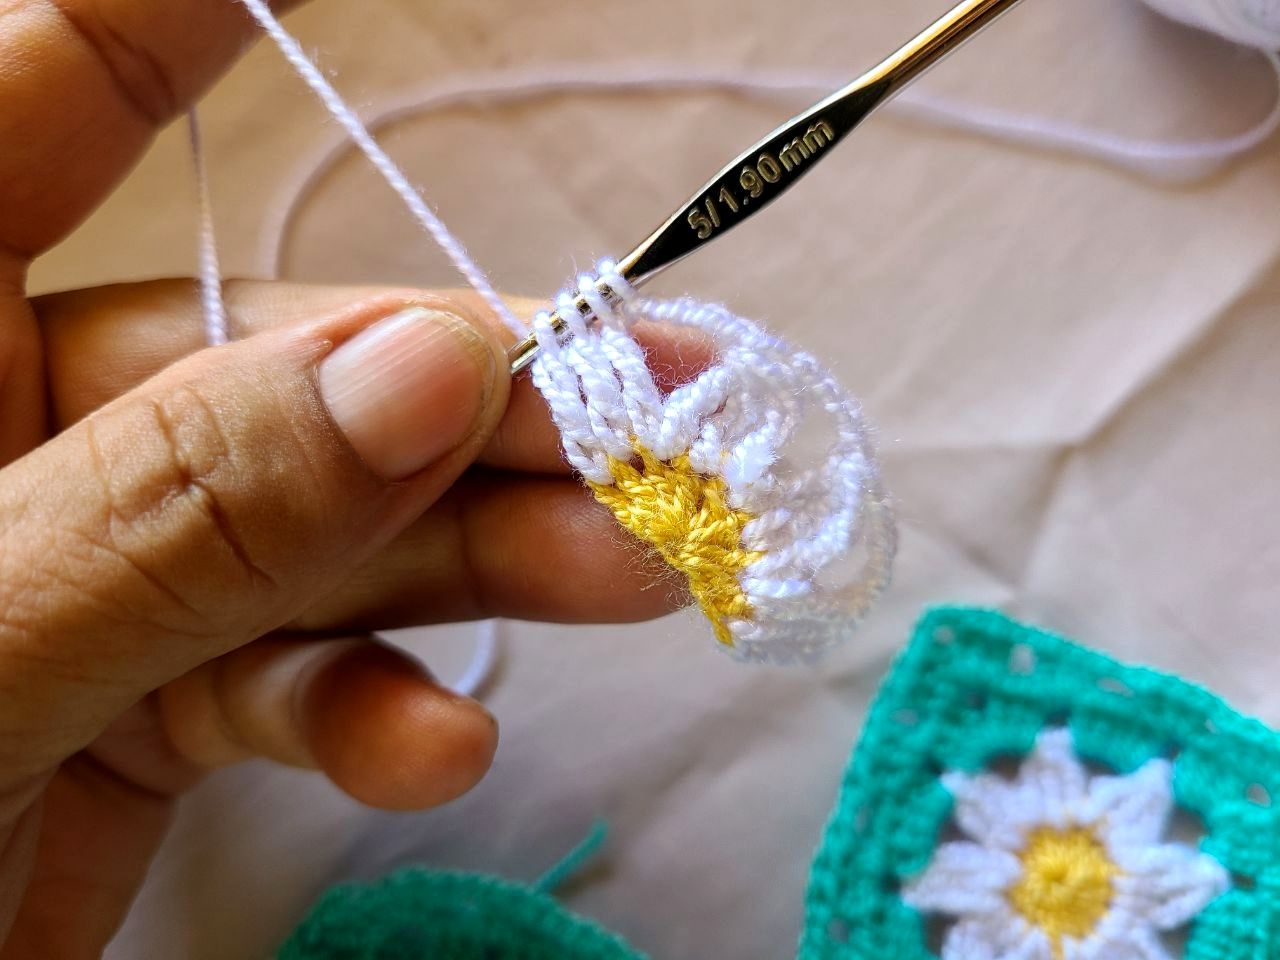
🧶Step 2: With the white thread, we are going to make 8 petals on the 16 points of the yellow thread in the following way: We lift 4 chains, we take two loops on the needle and right there where the 4 chains are we make a double treble crochet, we take two yarn overs again and make another double treble crochet in the next stitch, all of these are closed together, then 4 chains of separation and we repeat the 3 double treble crochets until we have 8 petals.
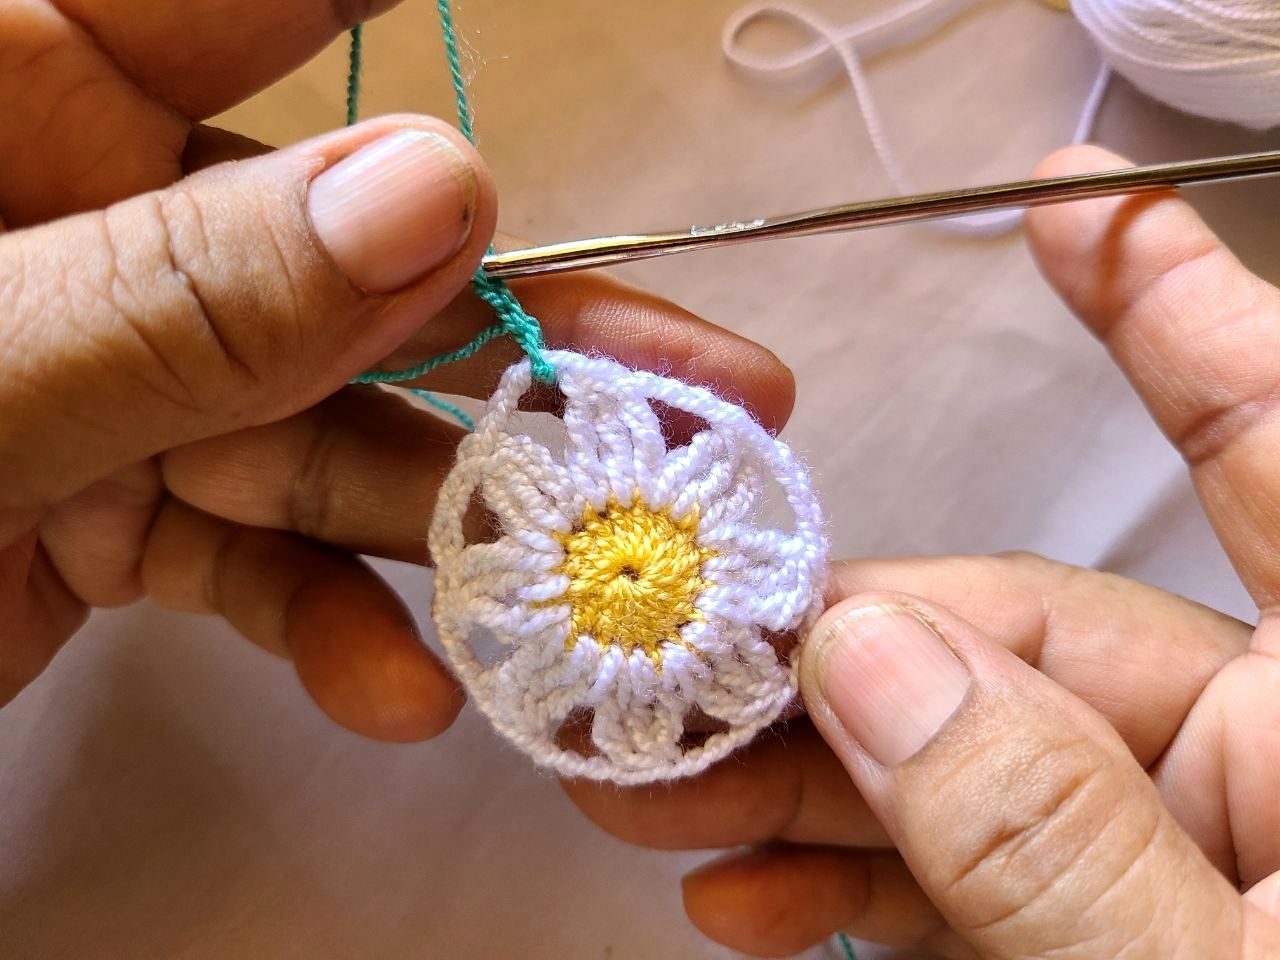
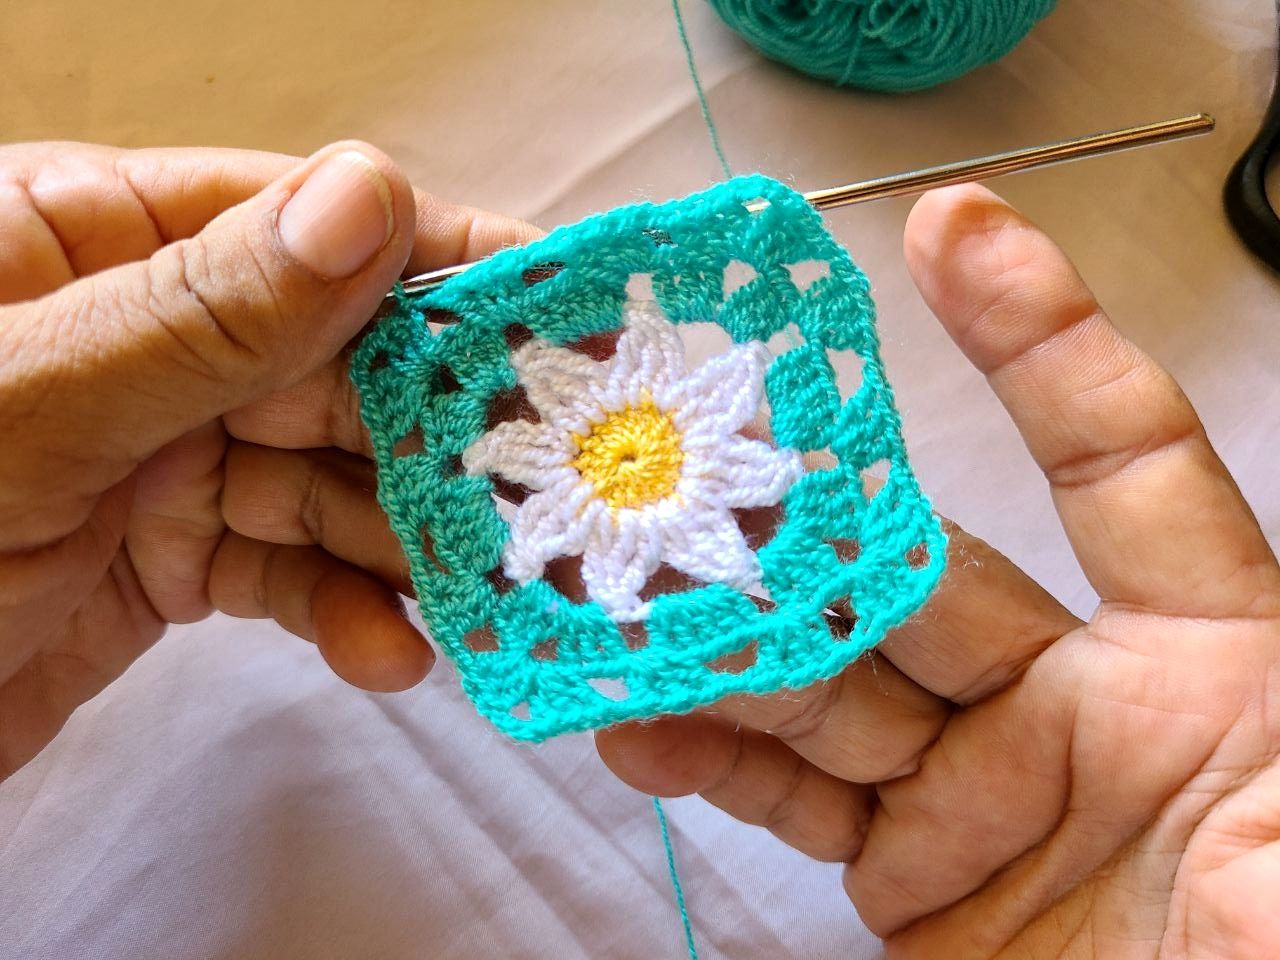
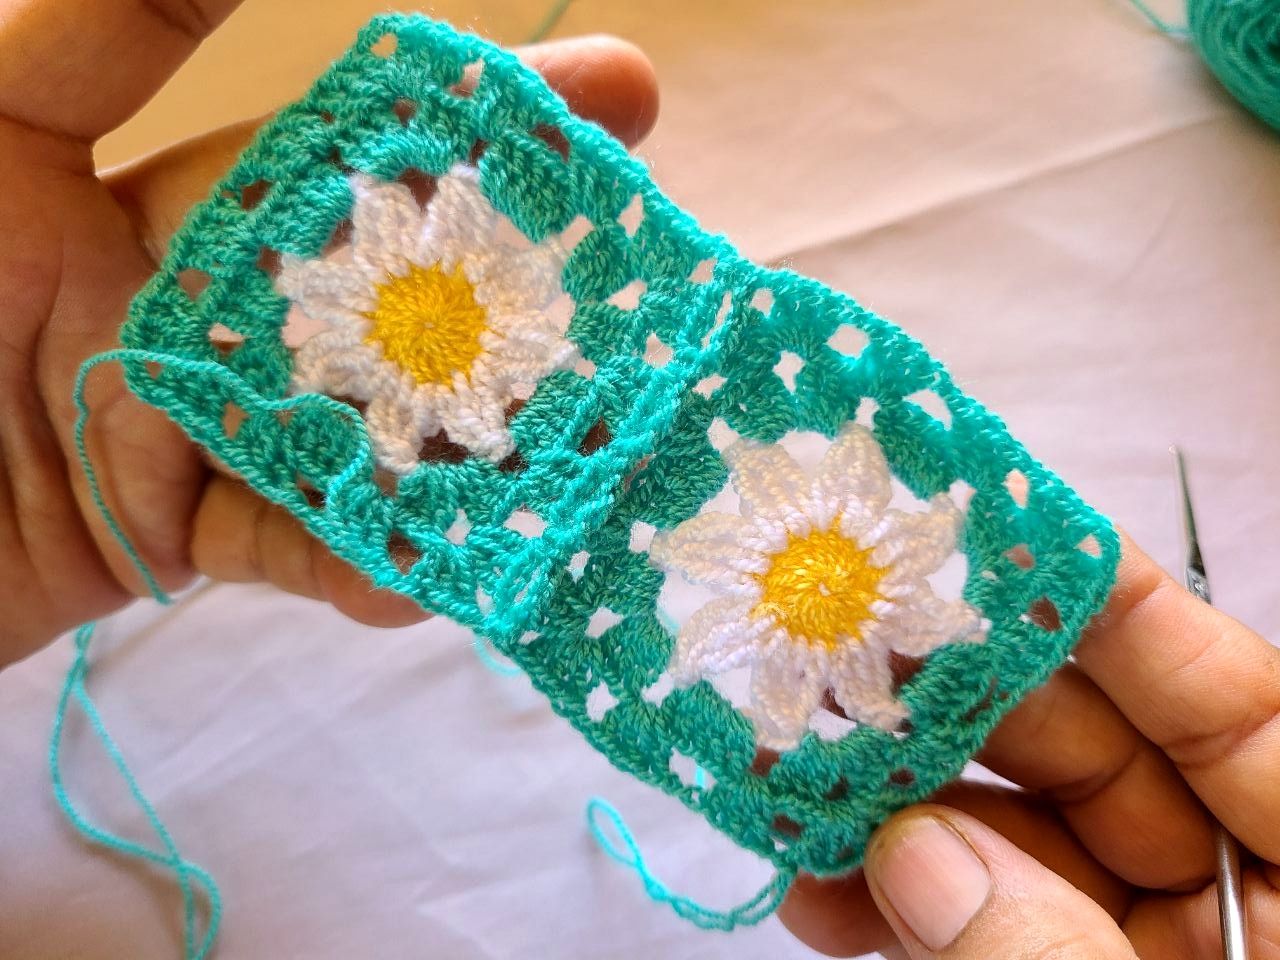
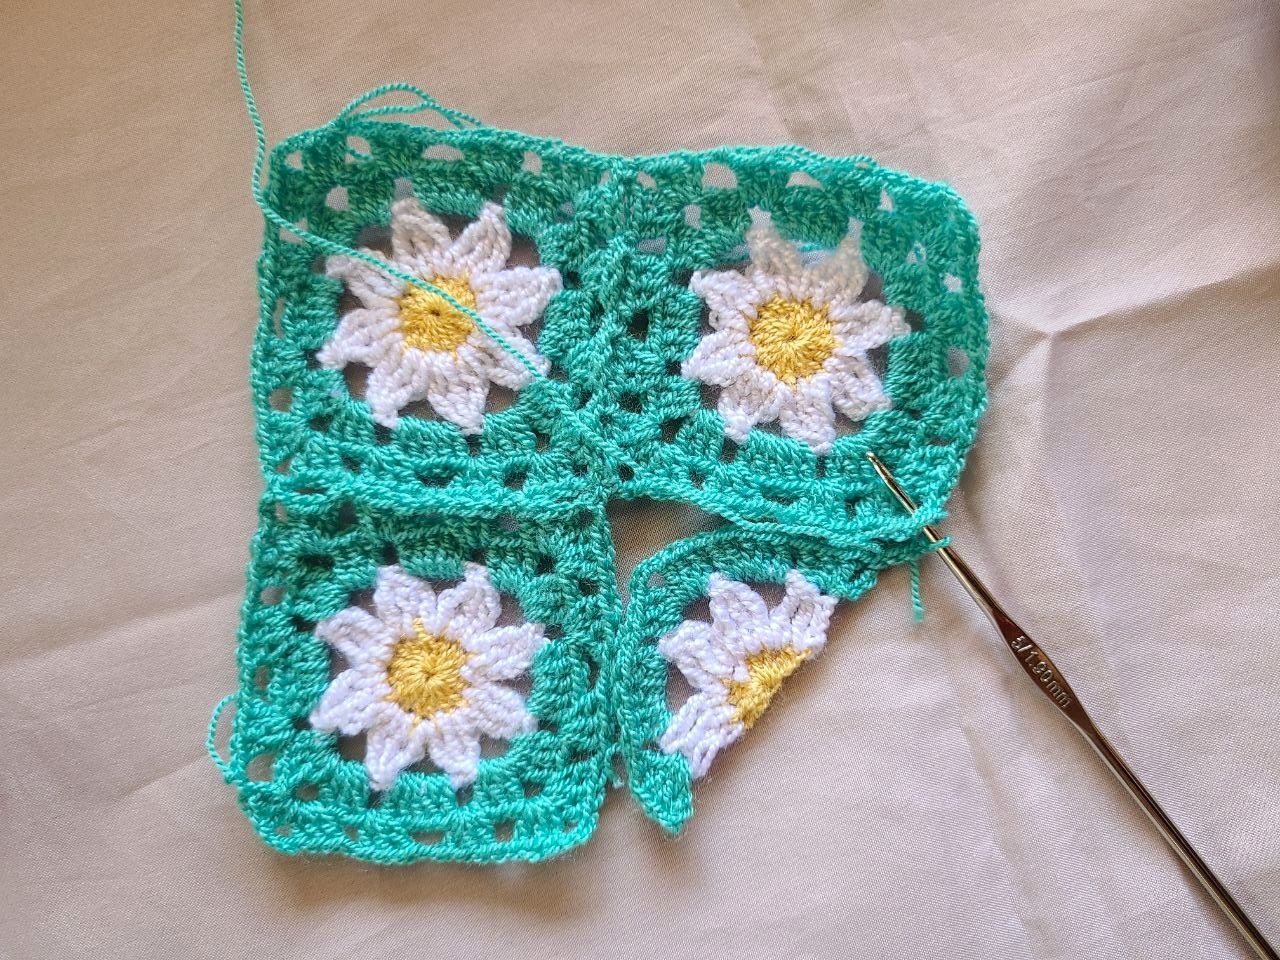
🧶Step 3: Now with the light blue turquoise thread, in the first arch of chains we are going to make 3 double crochets, followed by 3 chains and 3 more double crochets within the same arch, we make a separating chain, and in the next arc we make 5 double crochets, a separation chain and we repeat from the beginning at the end we will have a square to go up to the next row with slipped stitches we position ourselves within the 3 chains: we make the fan again with 3 double crochets, 3 chains and 3 double crochets, 1 chain and over the previous chain 3 double crochets separated by a chain, 3 more double crochets, another chain and then another fan, so we repeat until the end of the row.
🧶 Paso 1: Con el hilo amarillo, hacemos un nudo mágico y dentro del mismo elaboramos 16 puntos altos y cerramos el nudo.
🧶 Paso 2: Con el hilo blanco, vamos hacer 8 pétalos sobre los 16 puntos del hilo amarillo de la siguiente forma: Levantamos 4 cadenas, tomamos dos lazadas en la aguja y allí mismo donde están las 4 cadenas hacemos un punto alto doble , volvemos a tomar dos lazadas y hacemos otro punto alto doble en el siguiente punto todos estos se cierran juntos, luego 4 cadenas de separacion y repetimos los 3 puntos altos dobles hasta tener 8 pétalos.
🧶 Paso 3: Ahora con el hilo celeste turquesa, en el primer arco de cadenas vamos a realizar 3 puntos altos, seguido 3 cadenas y 3 puntos altos más dentro del mismo arco, hacemos una cadena de separación, y en el siguiente arco elaboramos 5 puntos altos, una cadena de separación y volvemos a repetir desde el comienzo al finalizar tendremos un cuadrado para subir a la siguiente fila con punto deslizados nos posicionamos dentro de las 3 cadenas: volvemos hacer el abanico de 3 puntos altos, 3 cadenas y 3 puntos altos, 1 cadena y sobre la cadena anterior 3 puntos altos separados por una cadena, 3 puntos altos más, otra cadena y seguidamente otro abanico así repetimos hasta finalizar la fila.

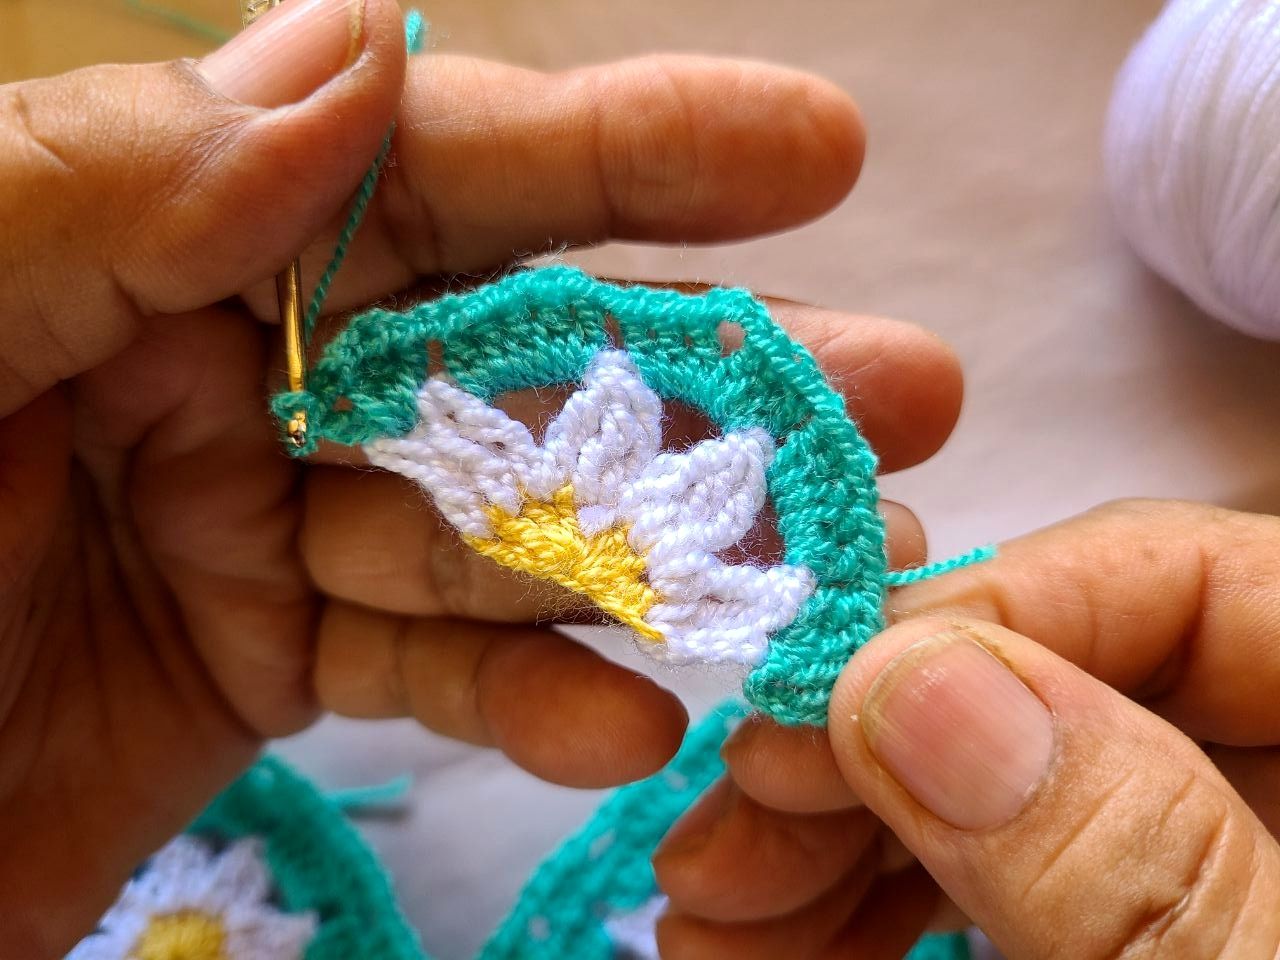
🧶 Step 4: In this case 15 square motifs were used, in order to complete the asymmetry of the piece at the top it was completed with half motifs, the elaboration of the half motifs would be: yellow color, again the knot magical but in this case only 9 double crochets are placed and unlike the previous one it does not close in the round but rather simulates half of it. White color, only 4 petals are made with 3 high stitches with double lacing, closed together and separated by 4 chains like the previous motifs, the light blue turquoise thread, this starts with 3 chains which would be the 3 chain high stitch, more 3 double crochets in that same point, this would be the half fan to be able to join the other motifs. The other points are equal to the square motifs.
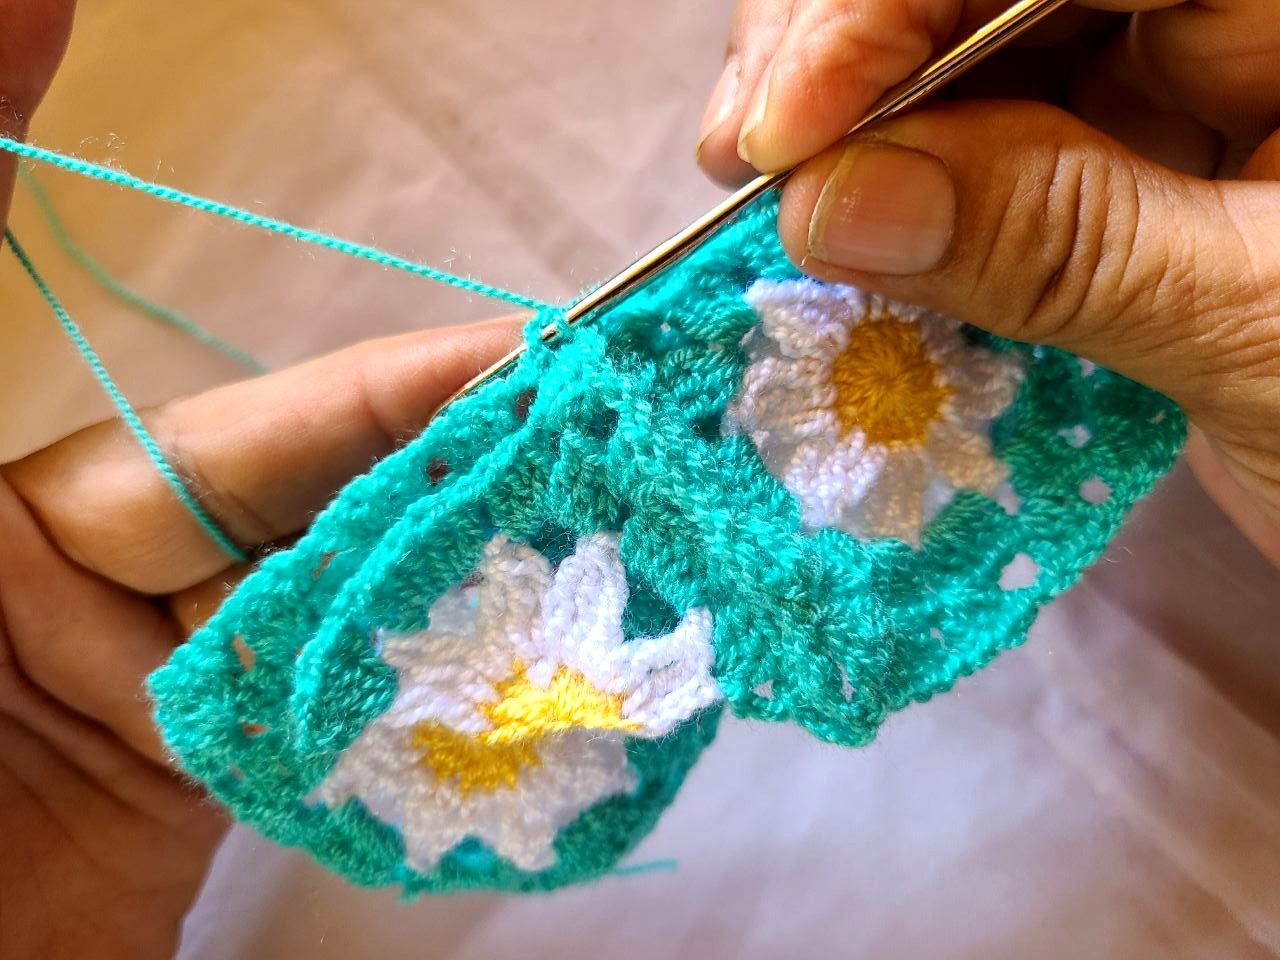
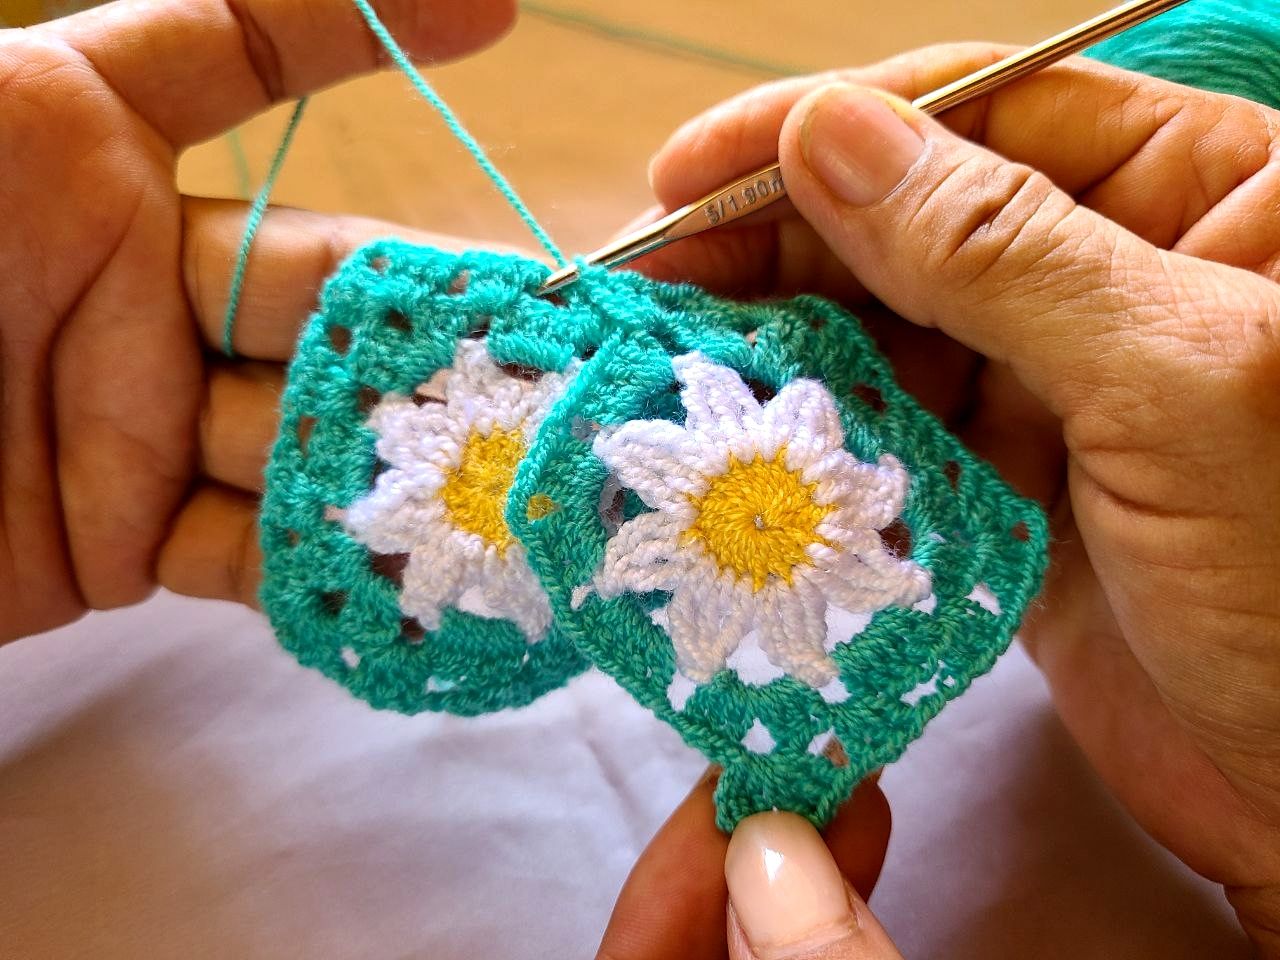
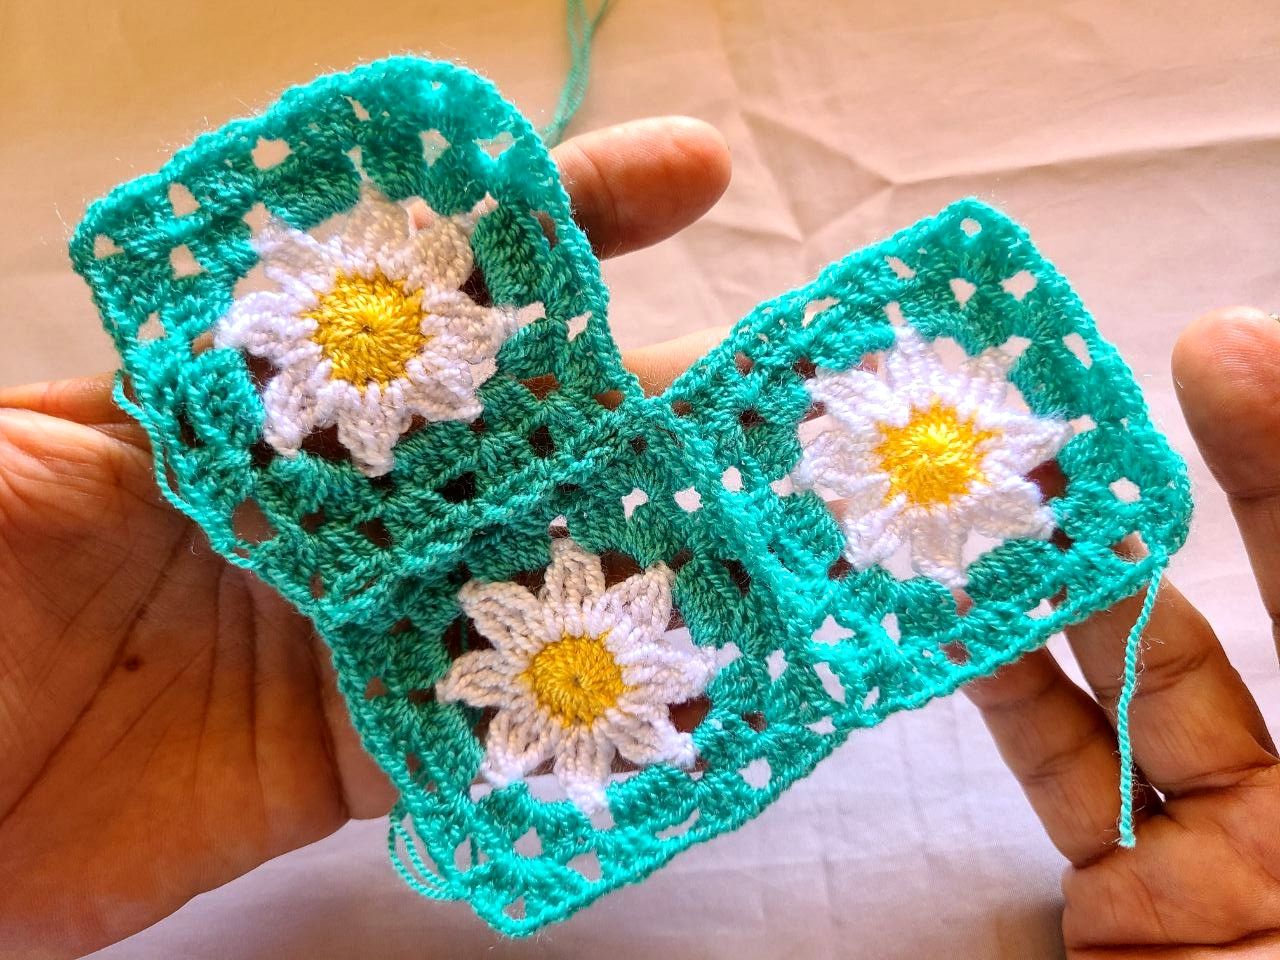
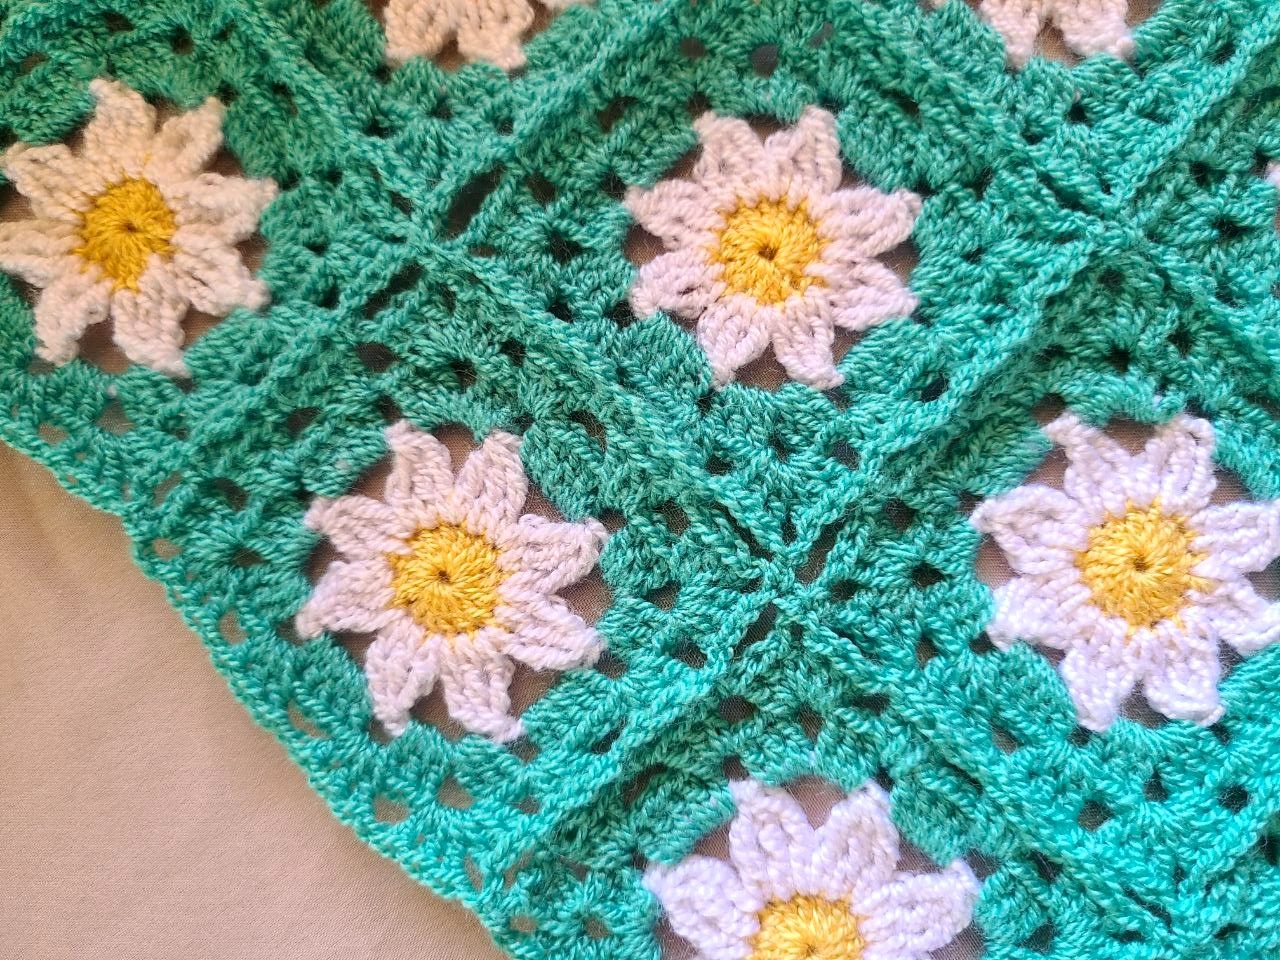
🧶 Step 5: We need 6 of these half motifs to fill in the empty spaces when finishing gluing the other motifs, before finishing the motifs we locate the placement positions of each one, and with a low point in the points of separation chain we join each motif until the triangle is filled, we do the same with the half motifs.
🧶 Paso 4: En este caso se usaron 15 motivos cuadrados,para poder completar la asimetría de la pieza en la parte de arriba se completó con medios motivos, la elaboración de los medios motivos sería: color amarillo, nuevamente el nudo mágico pero en este caso solo se colocan 9 puntos altos y diferencia del anterior no ce cierra en redondo sino que simula la mitad del mismo. Color blanco, solo se hacen 4 pétalos de 3 puntos altos con doble lazada, cerrados juntos y separados por 4 cadenas al igual que los anteriores motivos, el hilo celeste turquesa, este se comienza con 3 cadenas que sería el punto alto 3 cadenas , más 3 puntos altos en ese mismo punto, esto sería el medio abanico para poder unirse a los otros motivos los otros puntos son igual a los motivos cuadrados.
🧶 Paso 5: Estos medios motivos necesitamos 6 para rellenar los espacios vacíos al terminar de pegar los otros motivos, antes de finalizar los motivos vamos ubicando las posiciones de colocación de cada uno, y con un punto bajo en los puntos de cadena de separación vamos uniendo cada motivo hasta llenar el triangulo, igualmente hacemos con los medios motivos.
🧶 Step 6: To complete the project of making single crochet stitches around the entire finished piece, for the ties at each end of the scarf, make around 55 chains. At the end of the chain, we make a detail, in this case it is made a group of 6 double crochets all together and closed at the same time, and we continued with slipped stitch throughout the row of chains to reach the low crochets of the piece again, to continue with the last row we are going to make fans of 6 high stitches, two stitches are left blank and then the single stitch and so on until the garment is finished.
🧶 Paso 6: Para completar el proyecto de hacen puntos bajos alrededor de toda la pieza terminada, Para los amarres en cada extremo de la pañoleta se hacen alrededor de 55 cadenas el la punta de cadena hacemos un detalle en este caso se elaboró un grupo 6 puntos altos todos juntos y cerrados al mismo tiempo, y proseguimos con punto deslizado por toda la hilera de cadenas has llegar nuevamente a los puntos bajos de la pieza, para continuar con la ultima fila vamos hacer abanicos de 6 puntos altos, se dejan dos puntos en blanco y luego el punto bajo y así sigue hasta terminar la prenda.

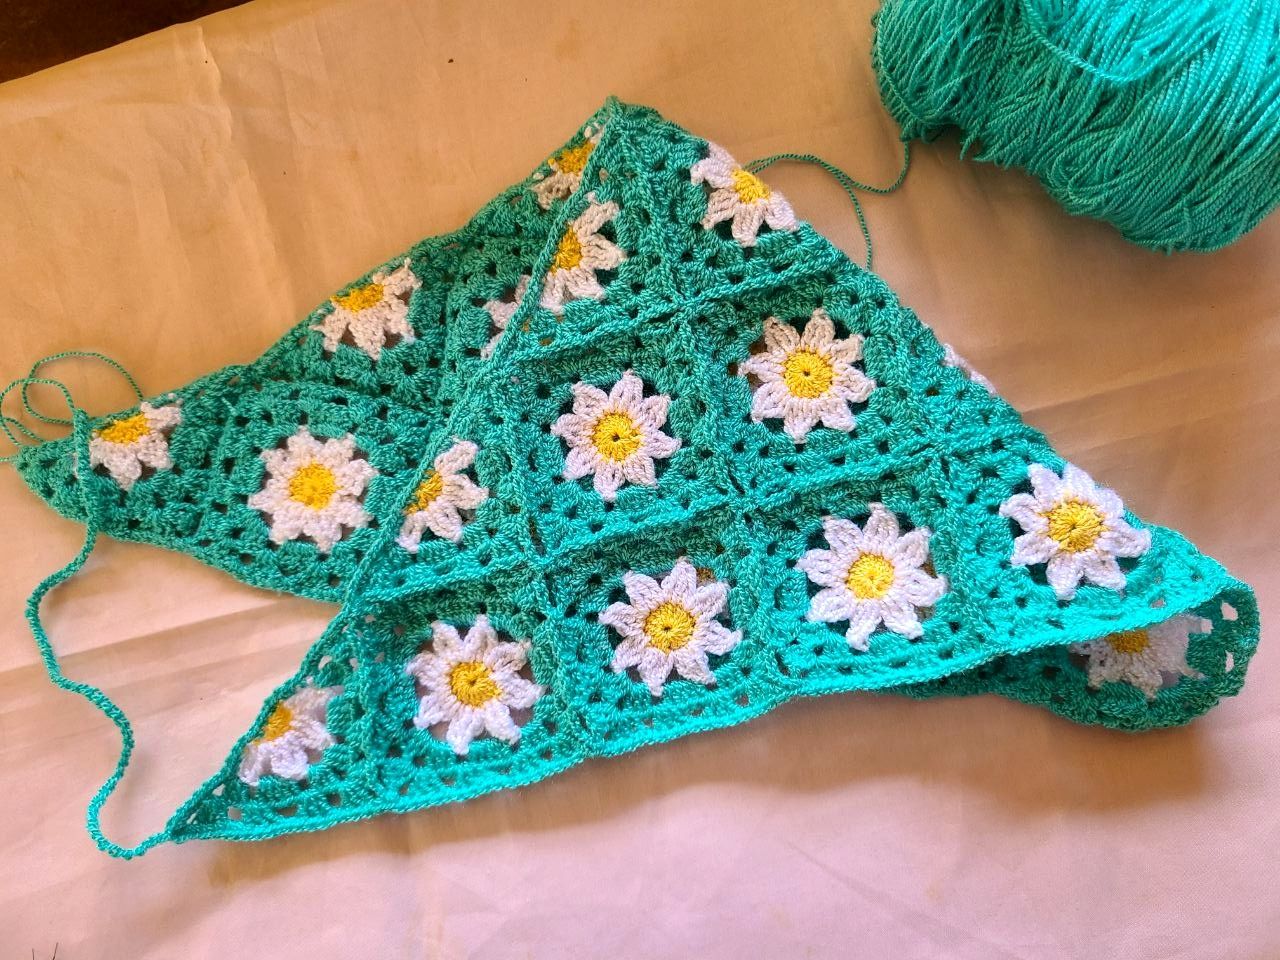
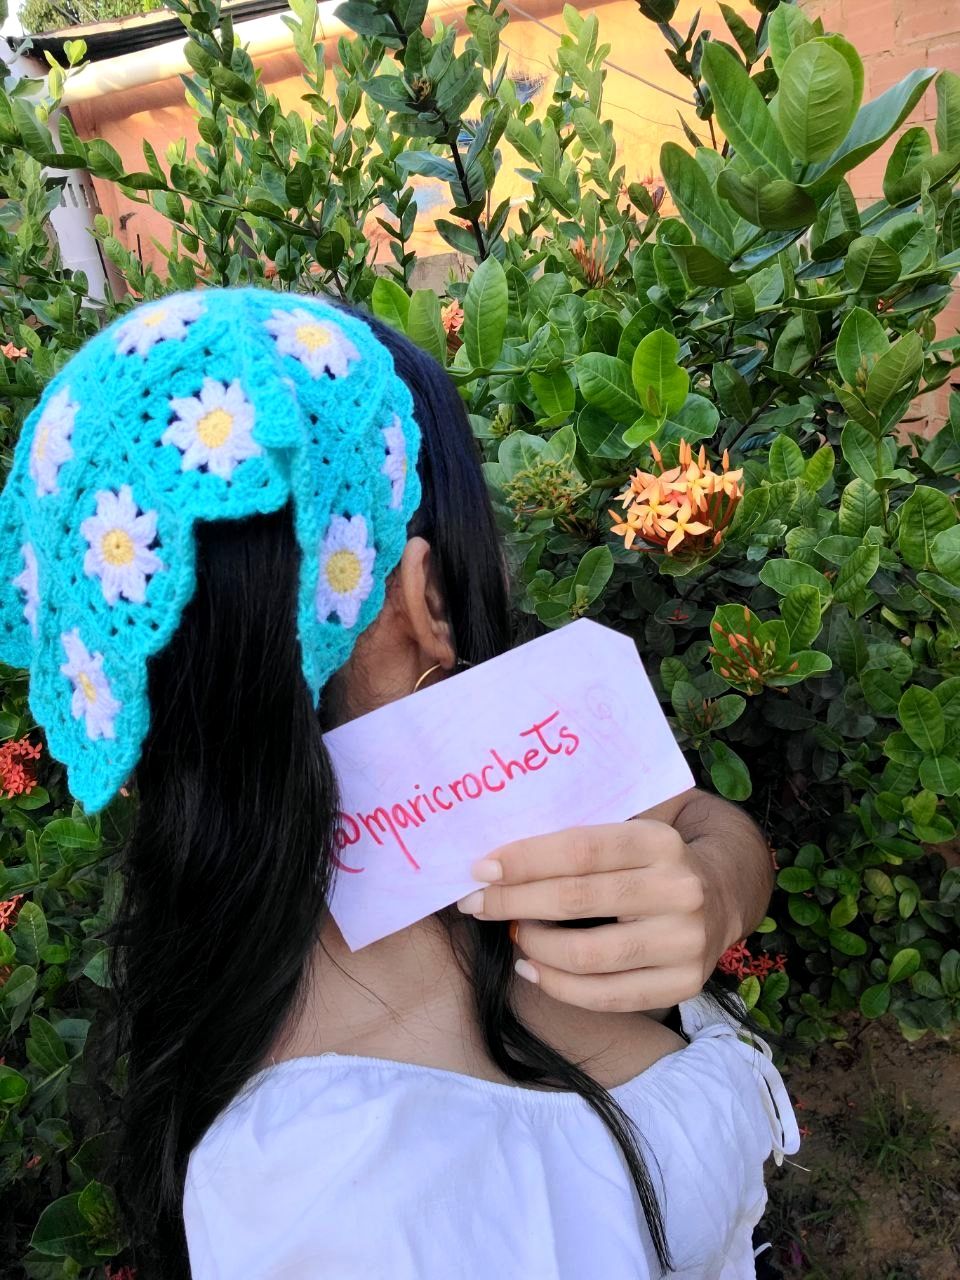
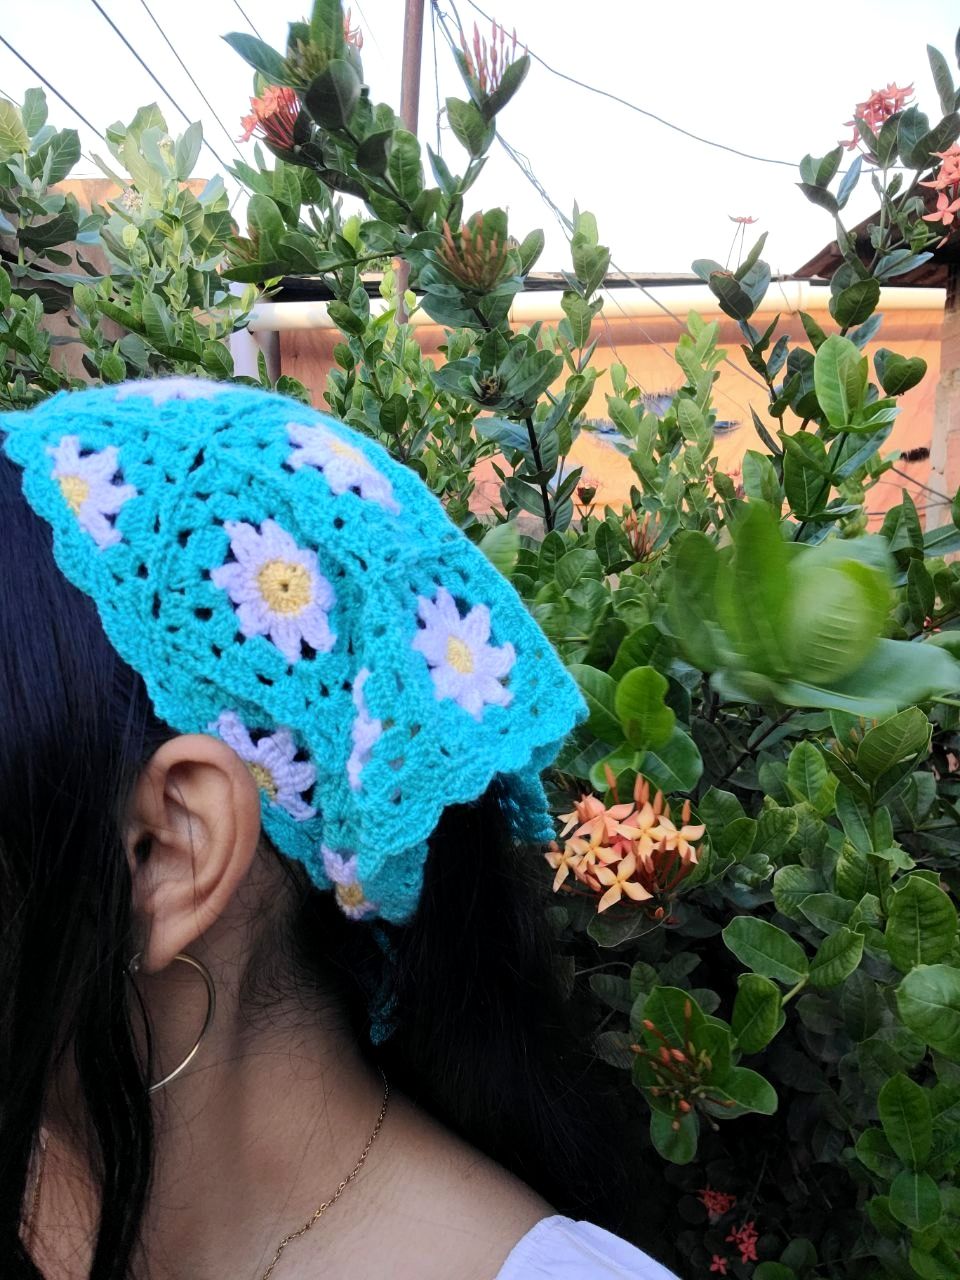
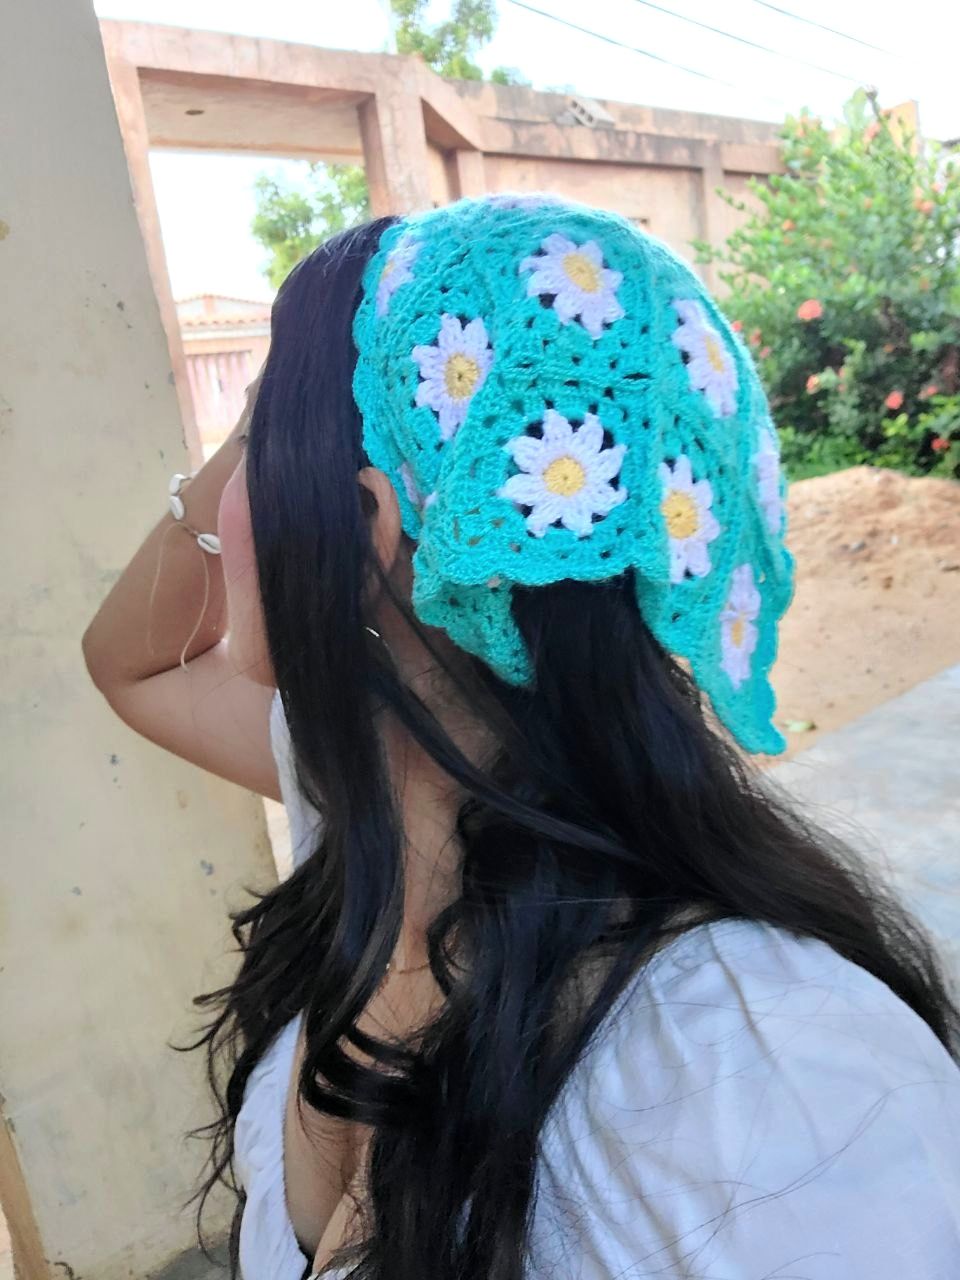
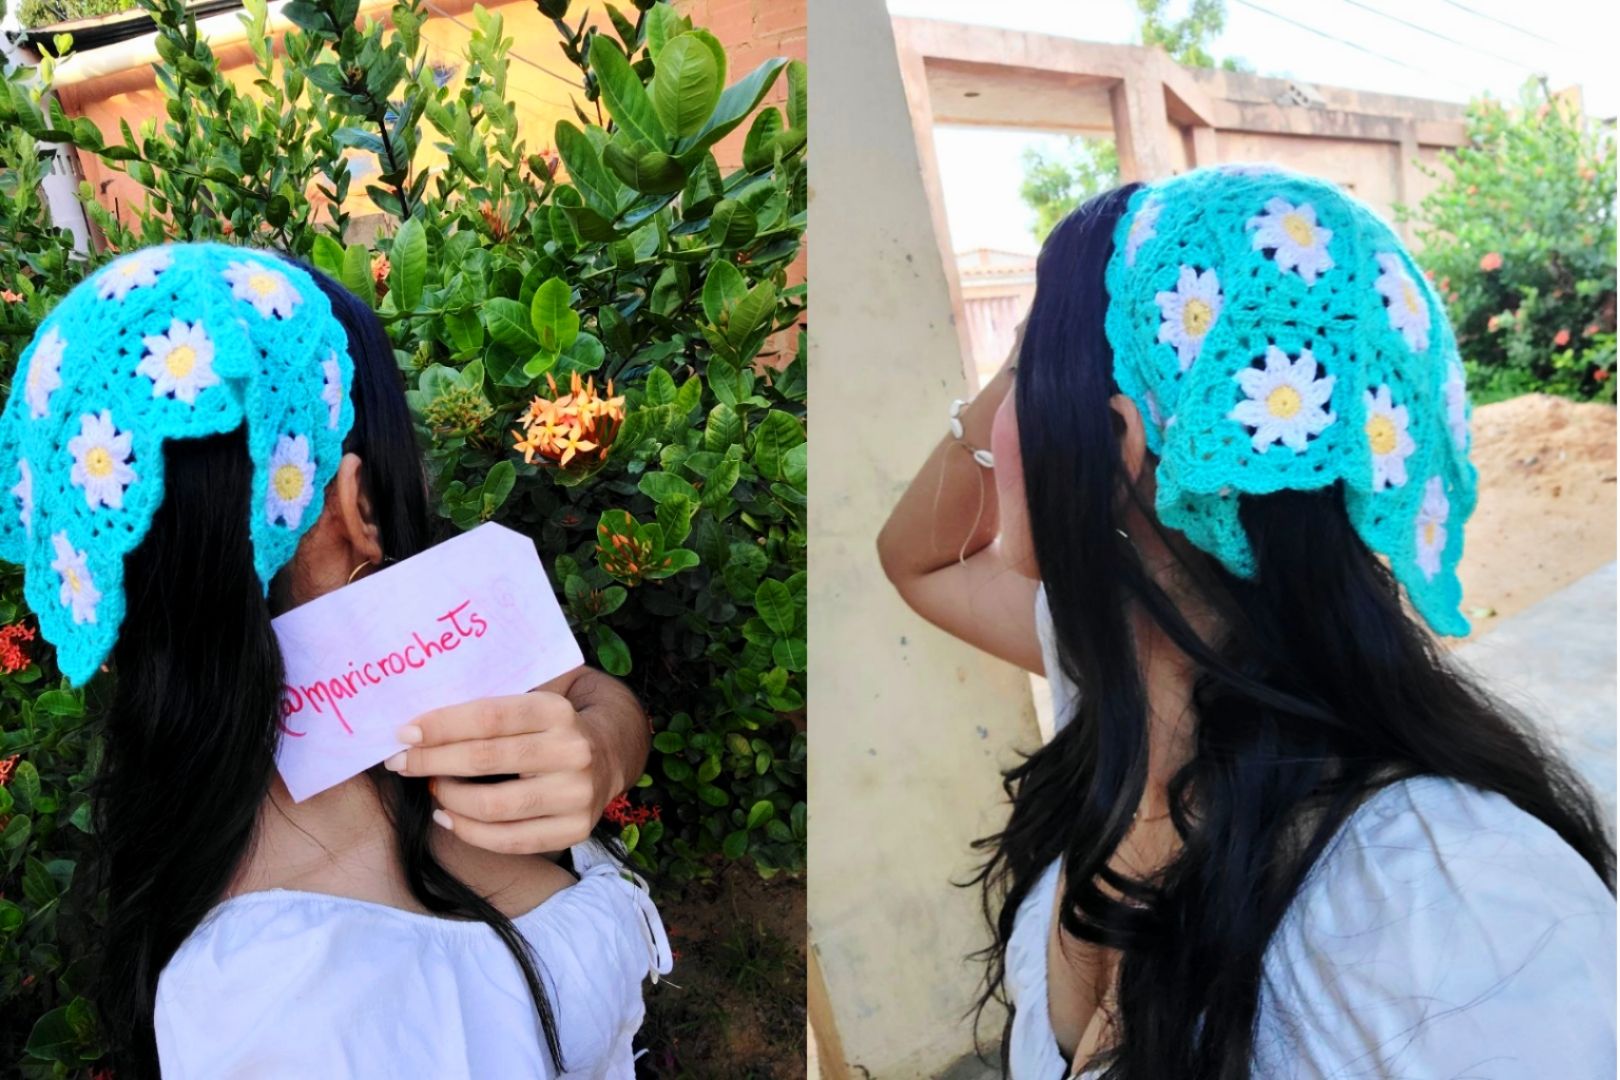
Finally obtaining the colorful scarf 🌈 simple, practical and beautiful. My daughter Daniela helped me with the photographs to better appreciate the quadrant scarf, it is also a gift for her 🎁 I hope she likes it a lot! I also hope it is useful for you, greetings crocheters.
Obteniendo al final la pañoleta de colores 🌈 sencilla, práctica y hermosa. Con las fotografías me ayudó mi hija Daniela para poder apreciar mejor la pañoleta sus cuadrantes, también es un obsequio para ella 🎁 espero que le guste mucho! También espero que sea de utilidad para ustedes, saludos crocheteros.