✨¡Hola amigos amantes de la creatividad! Espero que estén todos bien.✨
🔸Sin más que añadir, a continuación los dejo con el paso a paso:
✨¡Hello friends who love creativity! I hope you are all well.✨
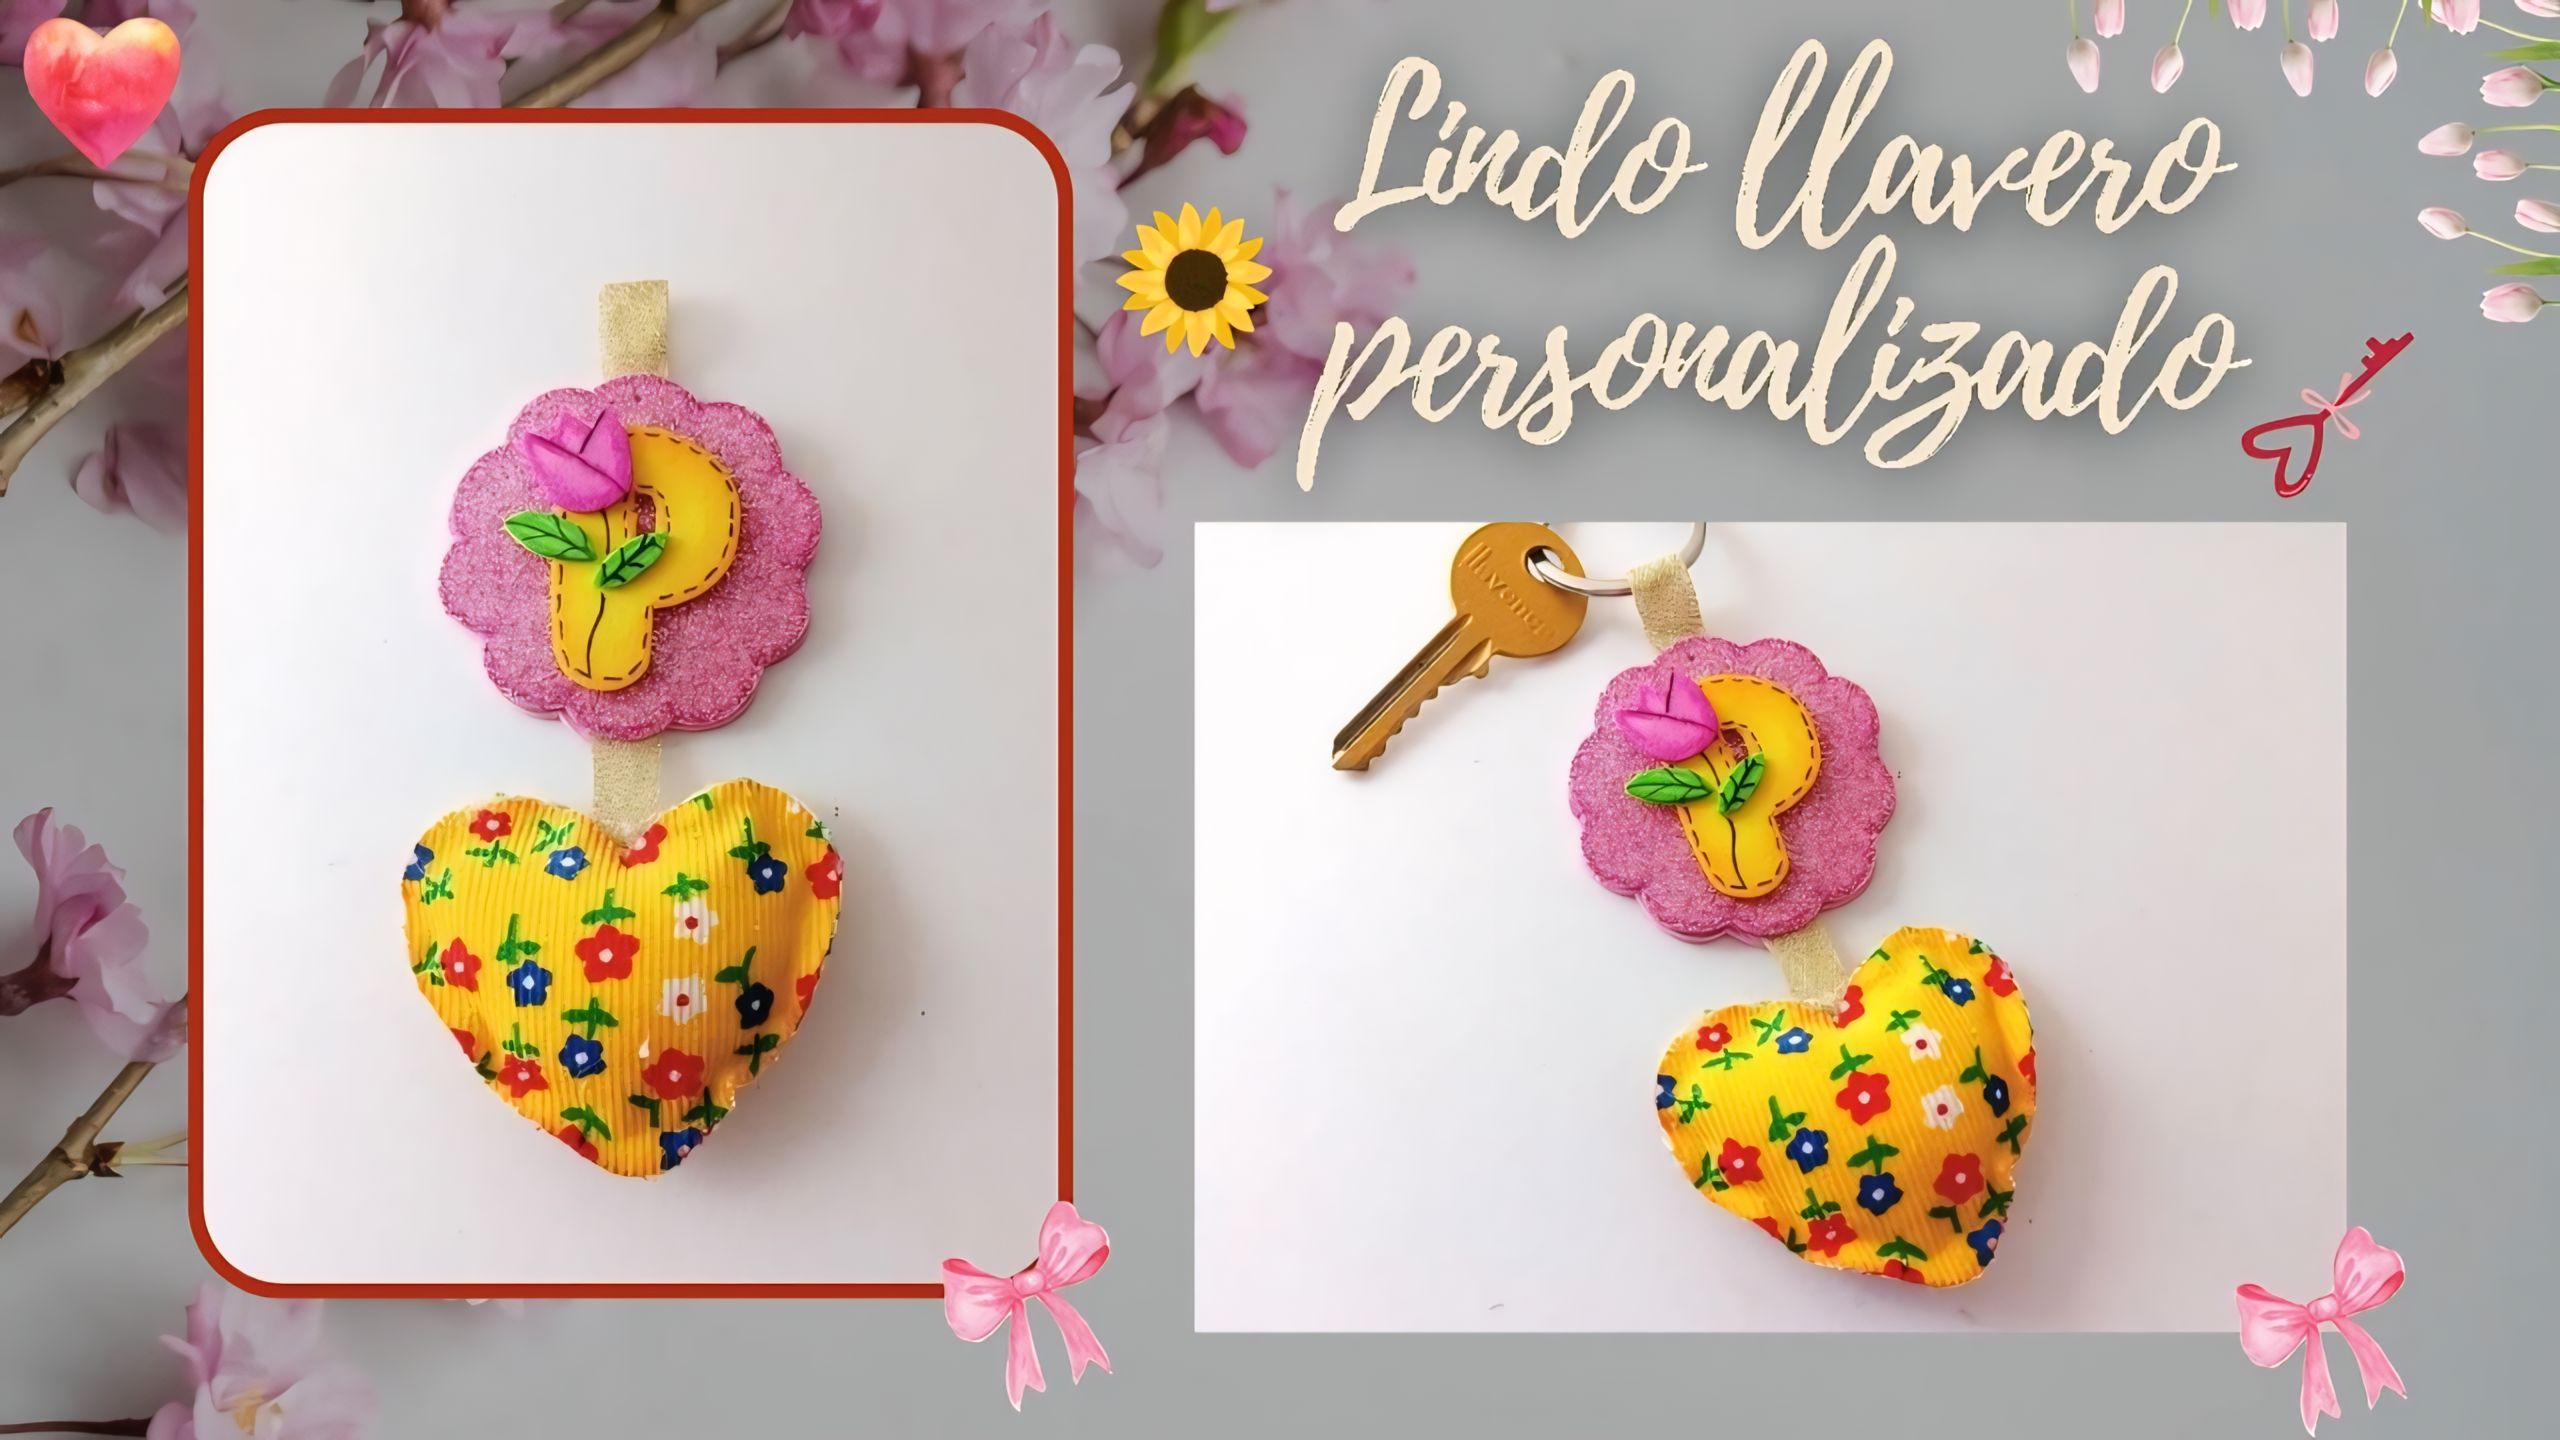
Good afternoon, friends! I hope you had a happy holiday season. I am happy to stop by here to share a new creation with you. This time I am sharing with you the step-by-step instructions for making a cute personalized keychain. It was time to change my keychain, because the birdhouse I made a few months ago as a keychain came to an end and I decided I wanted a new keychain.
🔸Without more to add, then I leave you with the step by step:
♥️ESPERO QUE TE GUSTE,
¡Empecemos!
♥️I HOPE YOU LIKE IT,
Let's start!
✂️ MATERIALES | ✂️ MATERIALS
- Foami escarchado rosado.
- Foami amarillo.
- Foami rosado.
- Foami verde.
- Retazo de tela.
- Cinta delgada.
- Pinturas y marcadores.
- Aro metálico.
- Pegamento.
- Algodón o relleno para almohadas.
- Hoja blanca.
- Tijeras.
- Lápiz.
- Pink frosted foam.
- Yellow foam.
- Pink foam.
- Green foam.
- Fabric scrap.
- Thin ribbon.
- Paints and markers.
- Metal ring.
- Glue.
- Cotton or pillow stuffing.
- White sheet.
- Scissors.
- Pencil.
🌟 PROCEDIMIENTO | 🌟 PROCESS
✨PASO 1:
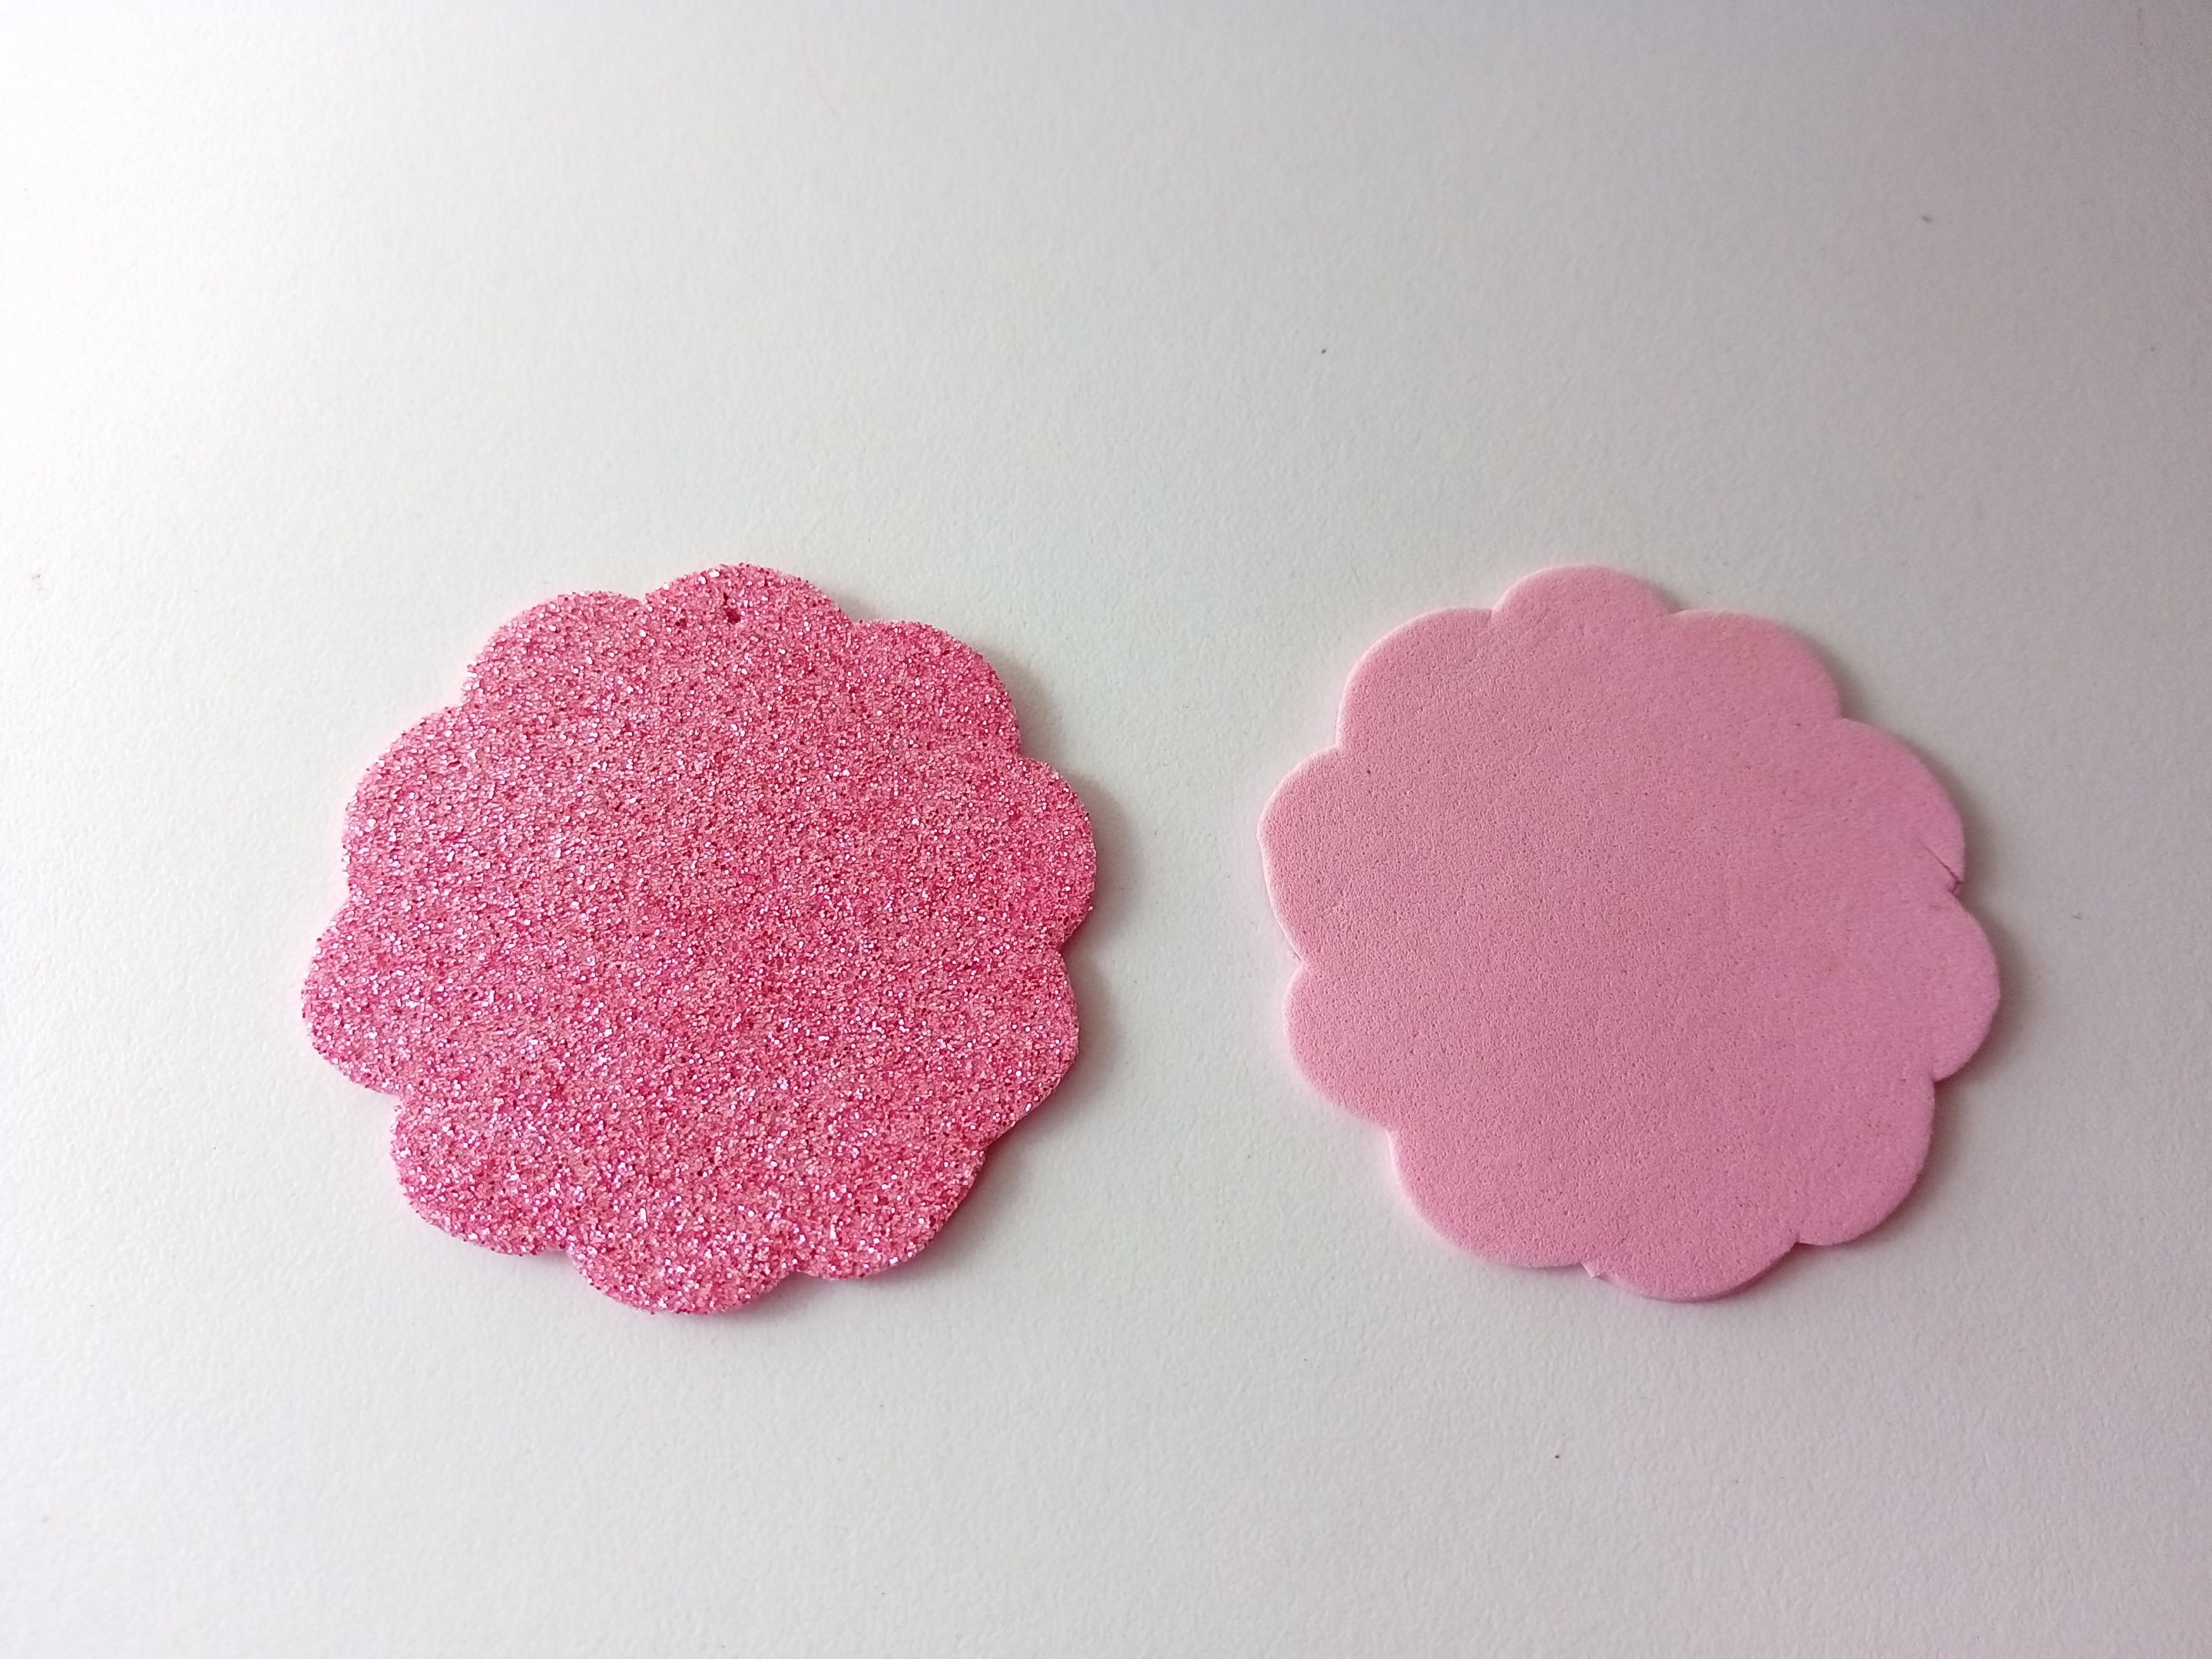
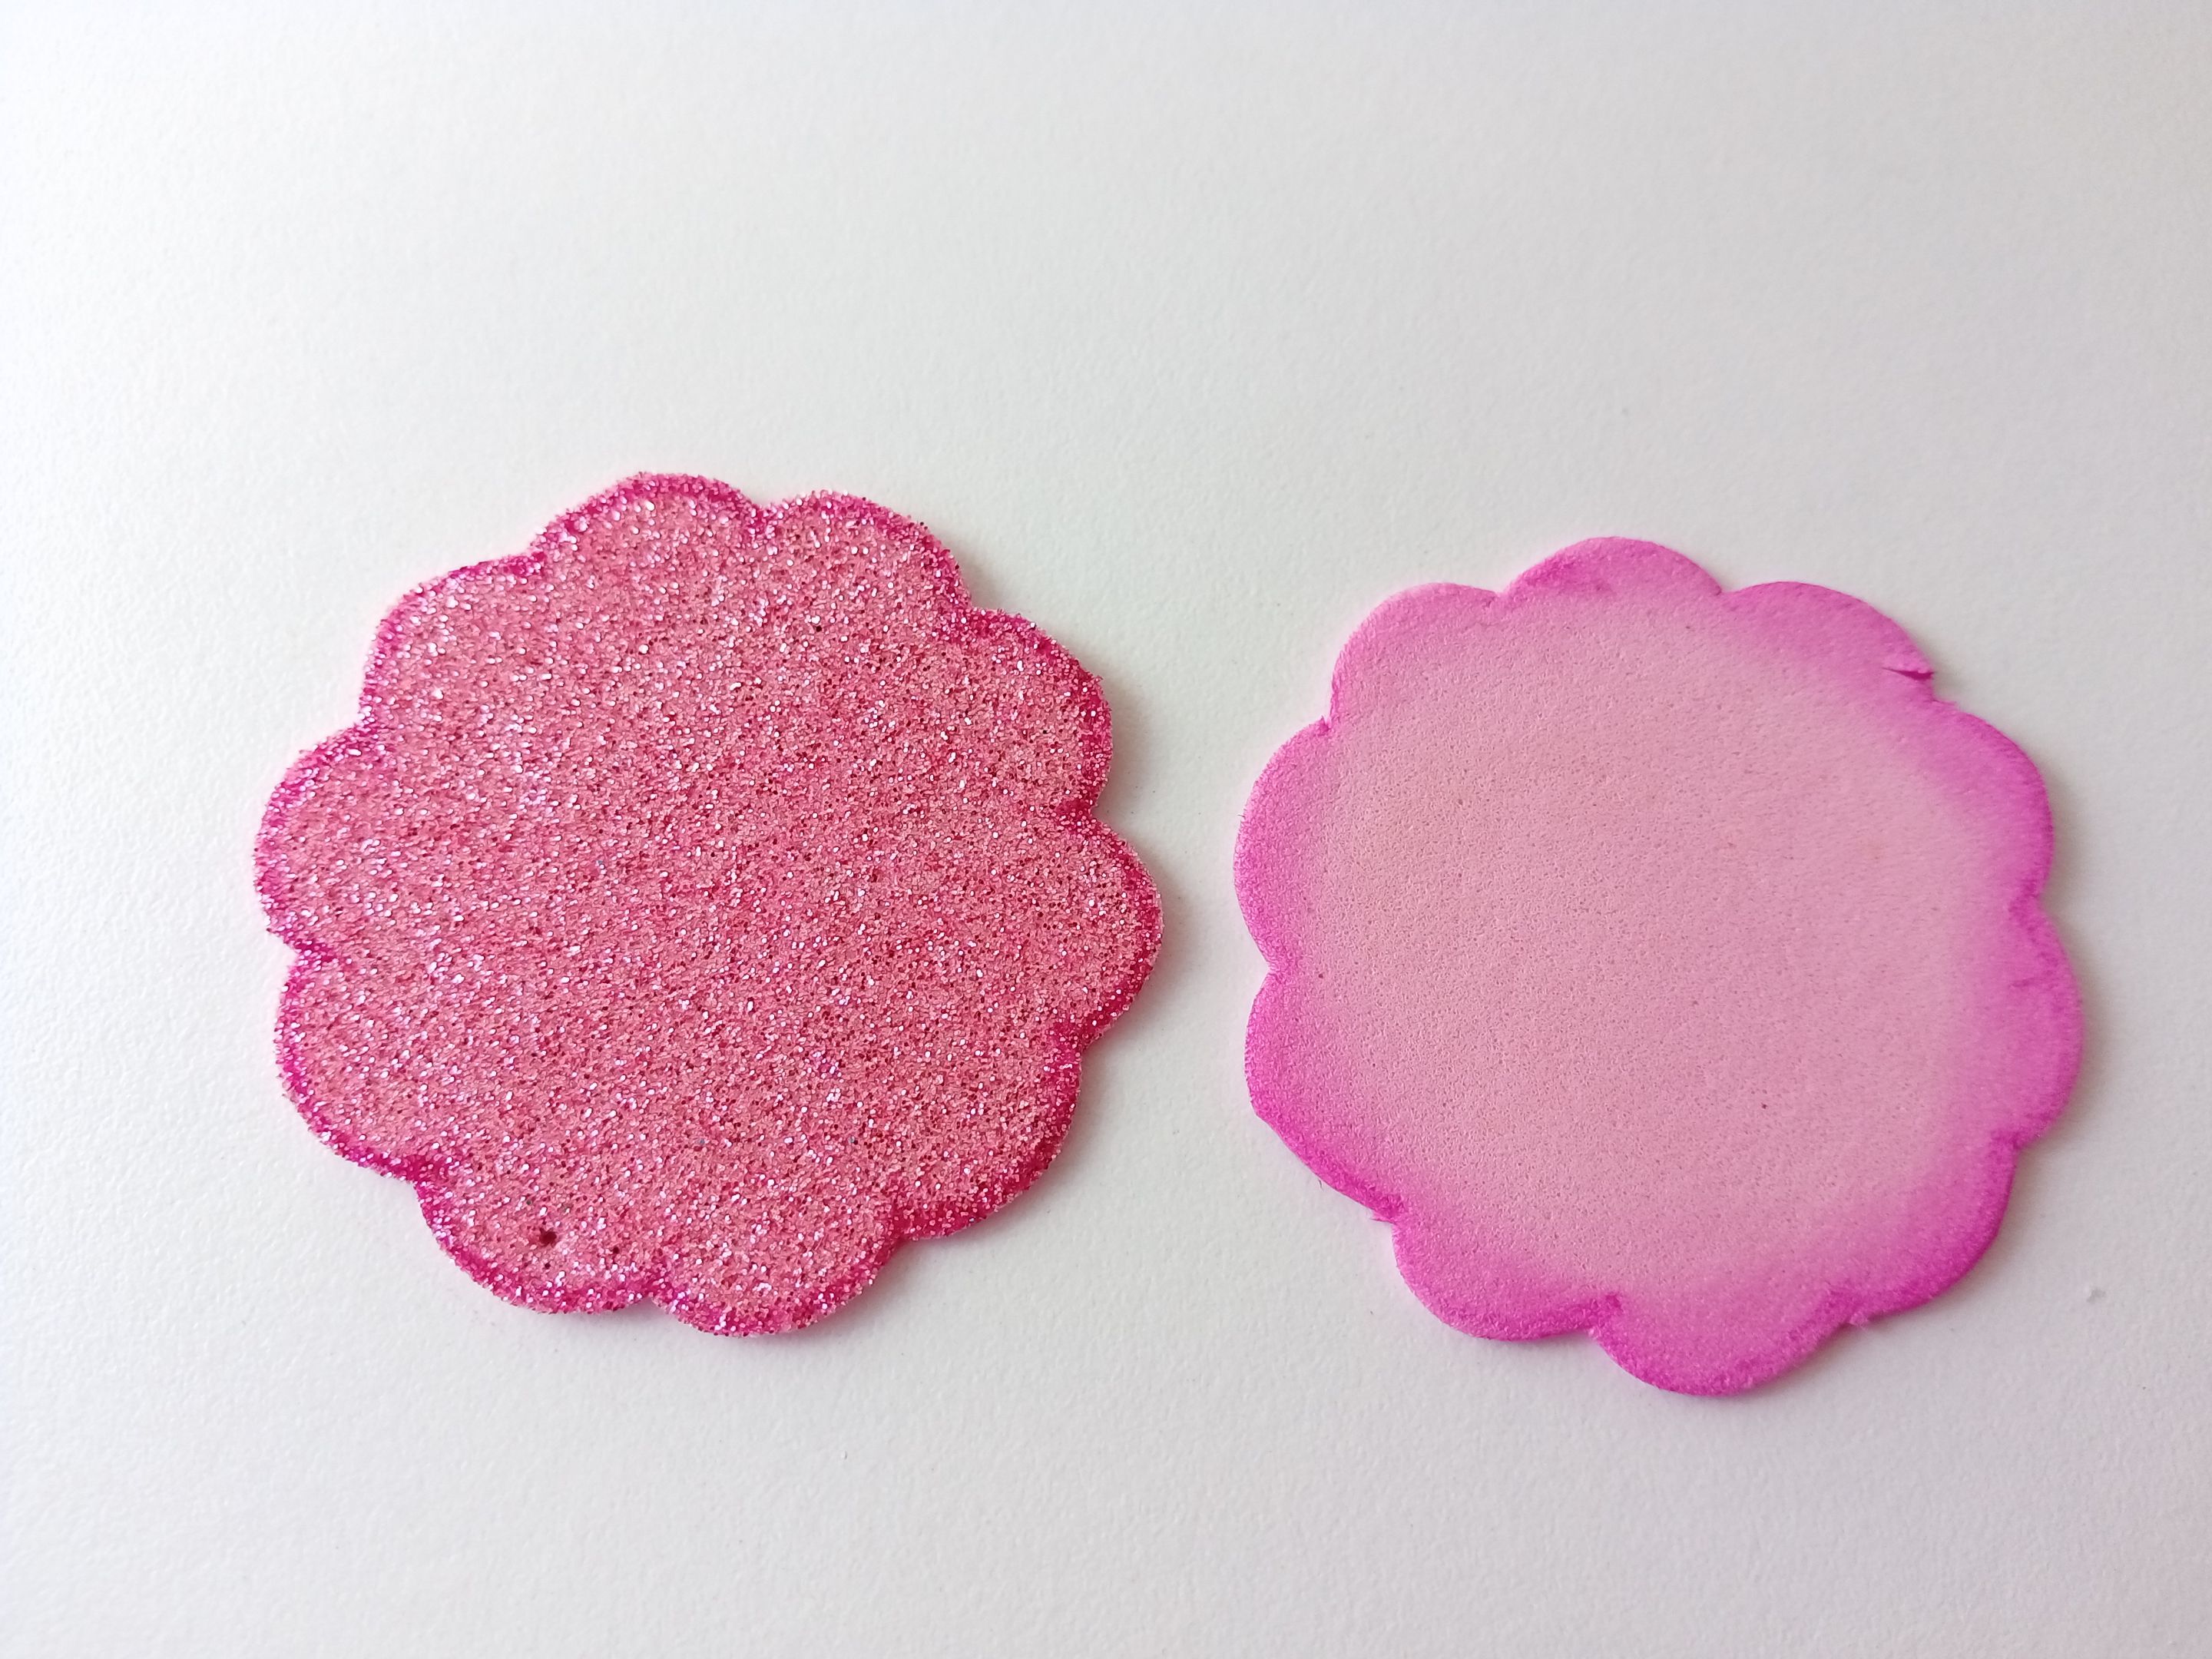
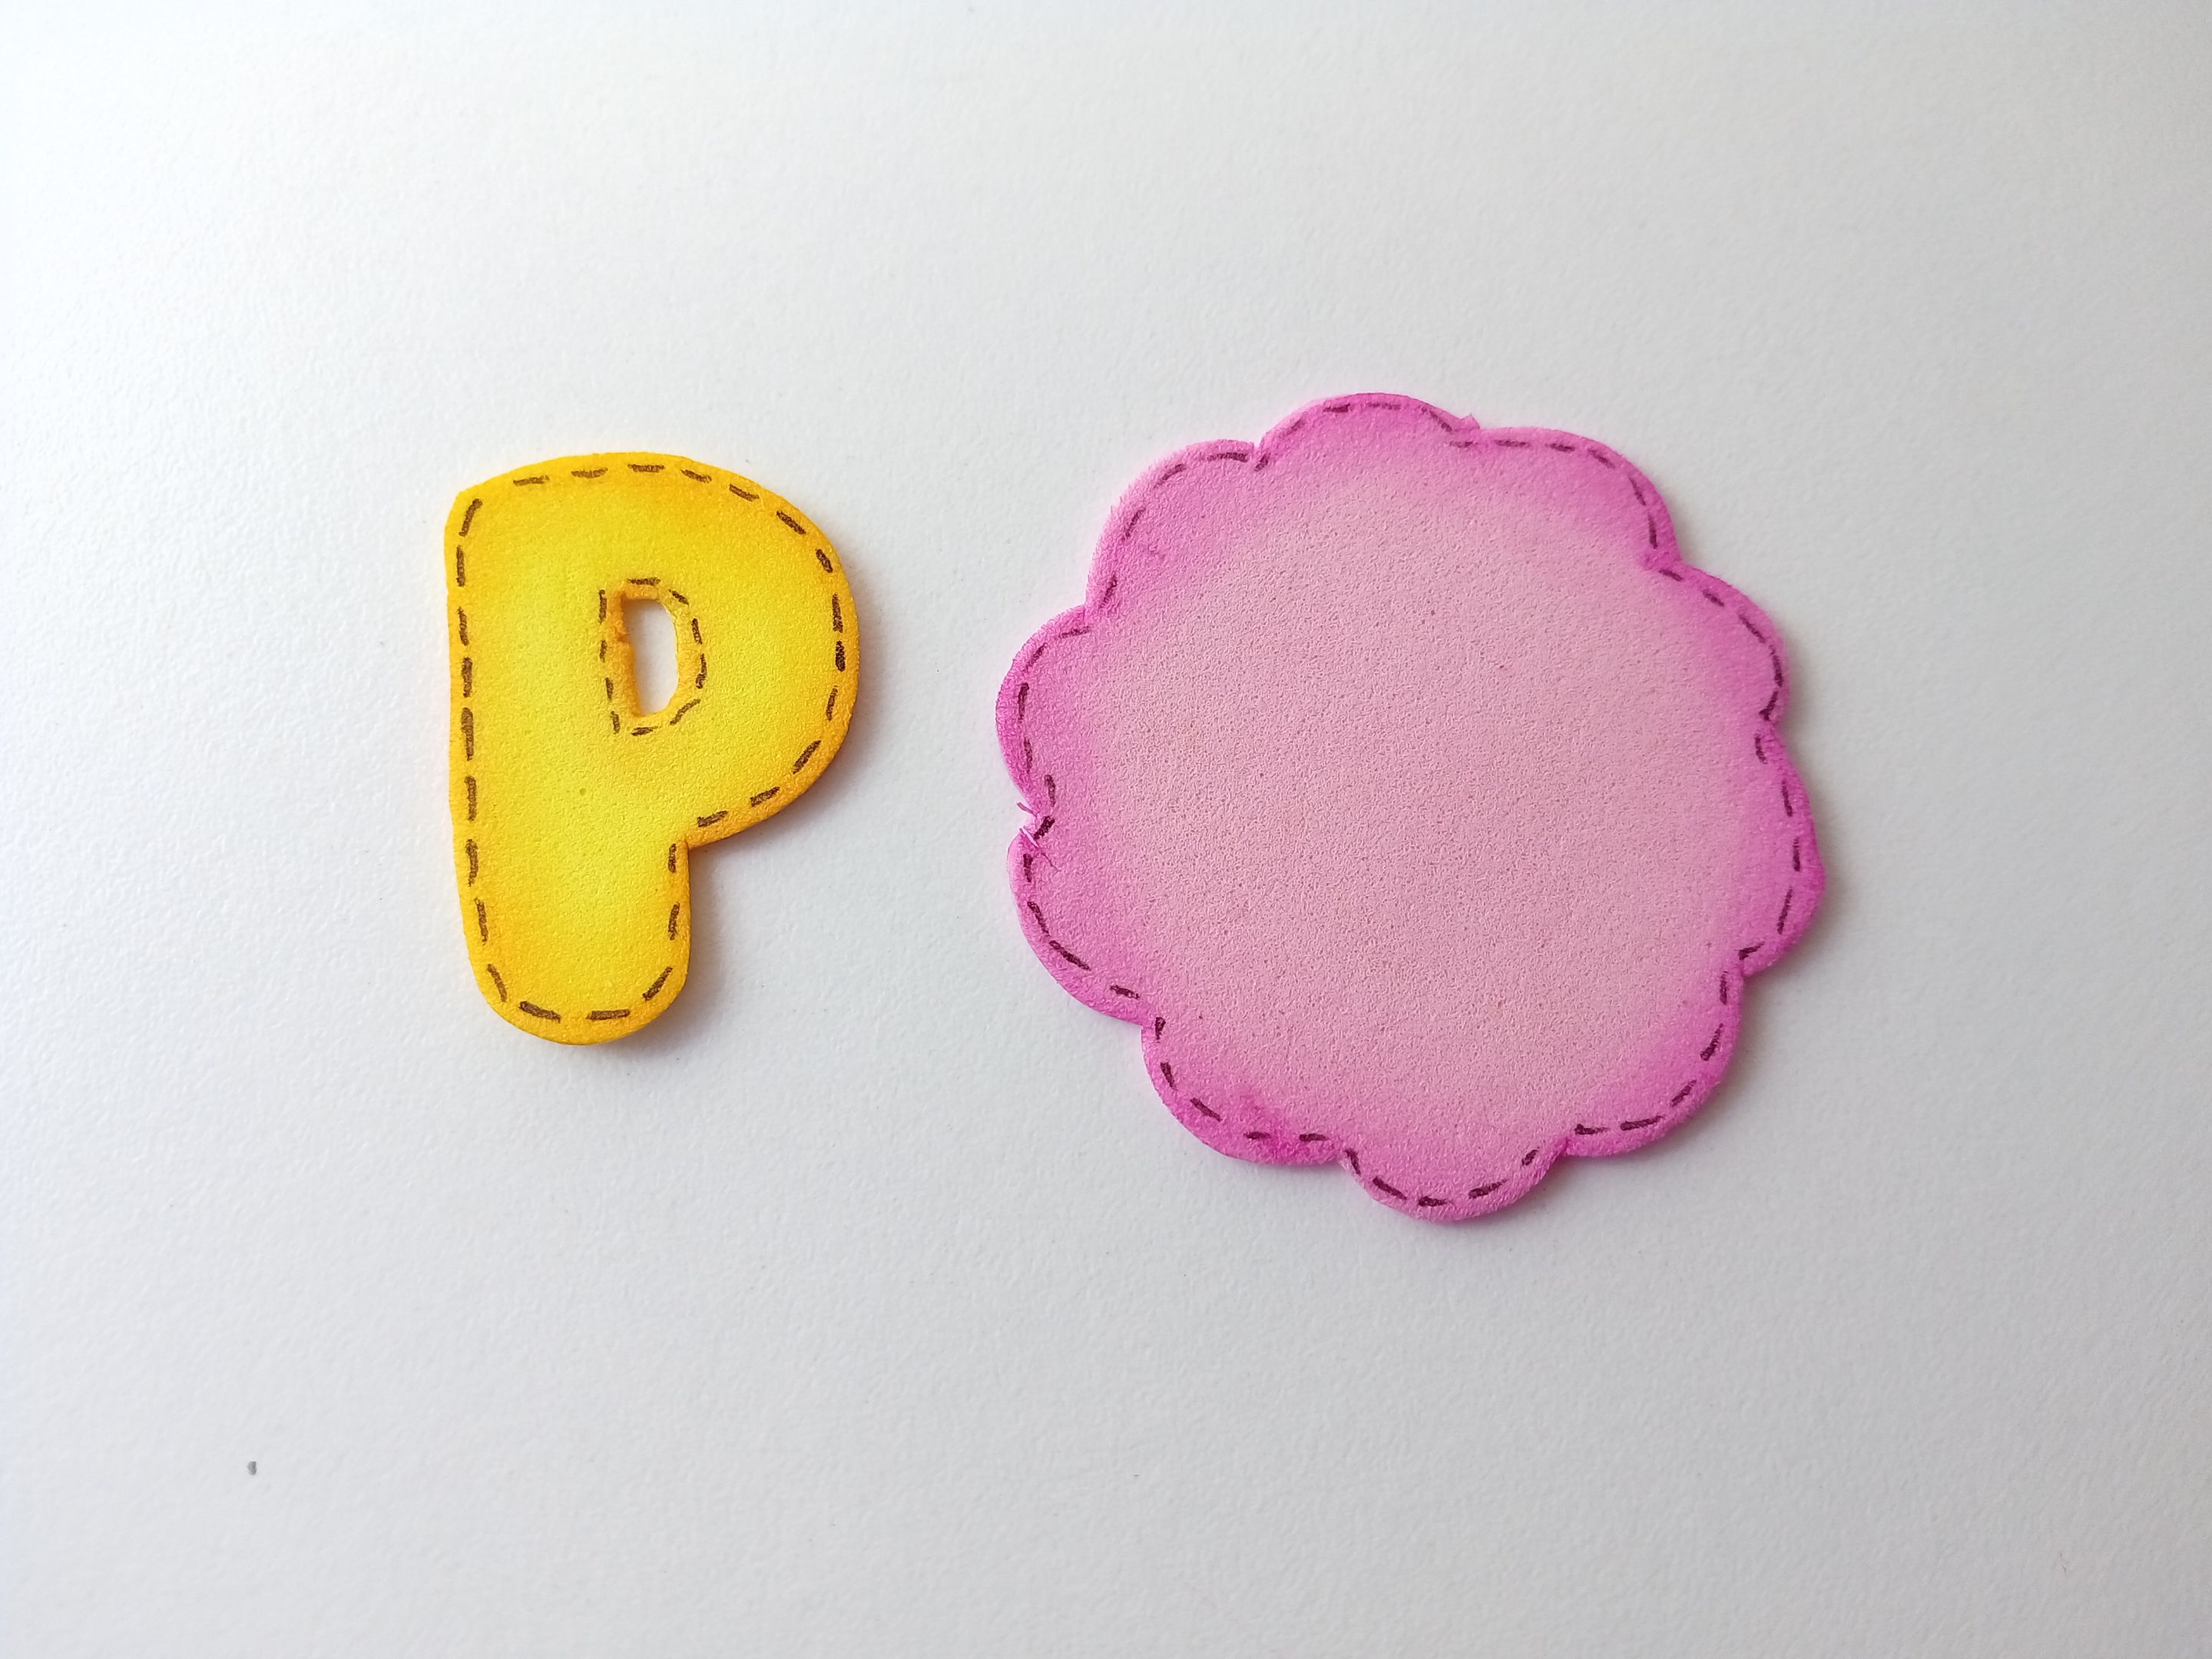
Lo primero que hice fue dibujar en foami rosa y rosa escarchado, unos círculos 5.5 cm cada uno, con borde ovalado, para que sea como una flor y recorté. Seguidamente, a ambas piezas les di color a los bordes con marcador rosa, pero en el caso del foami liso, lo difuminé un poco con ayuda de un pañito.
✨STEP 1:
The first thing I did was draw on pink and frosted pink foam, some circles of 5.5 cm each, with an oval edge, so that it looks like a flower and I cut them out. Next, I colored the edges of both pieces with a pink marker, but in the case of the plain foam, I blurred it a little with the help of a cloth.
 |  |
|---|
✨PASO 2:
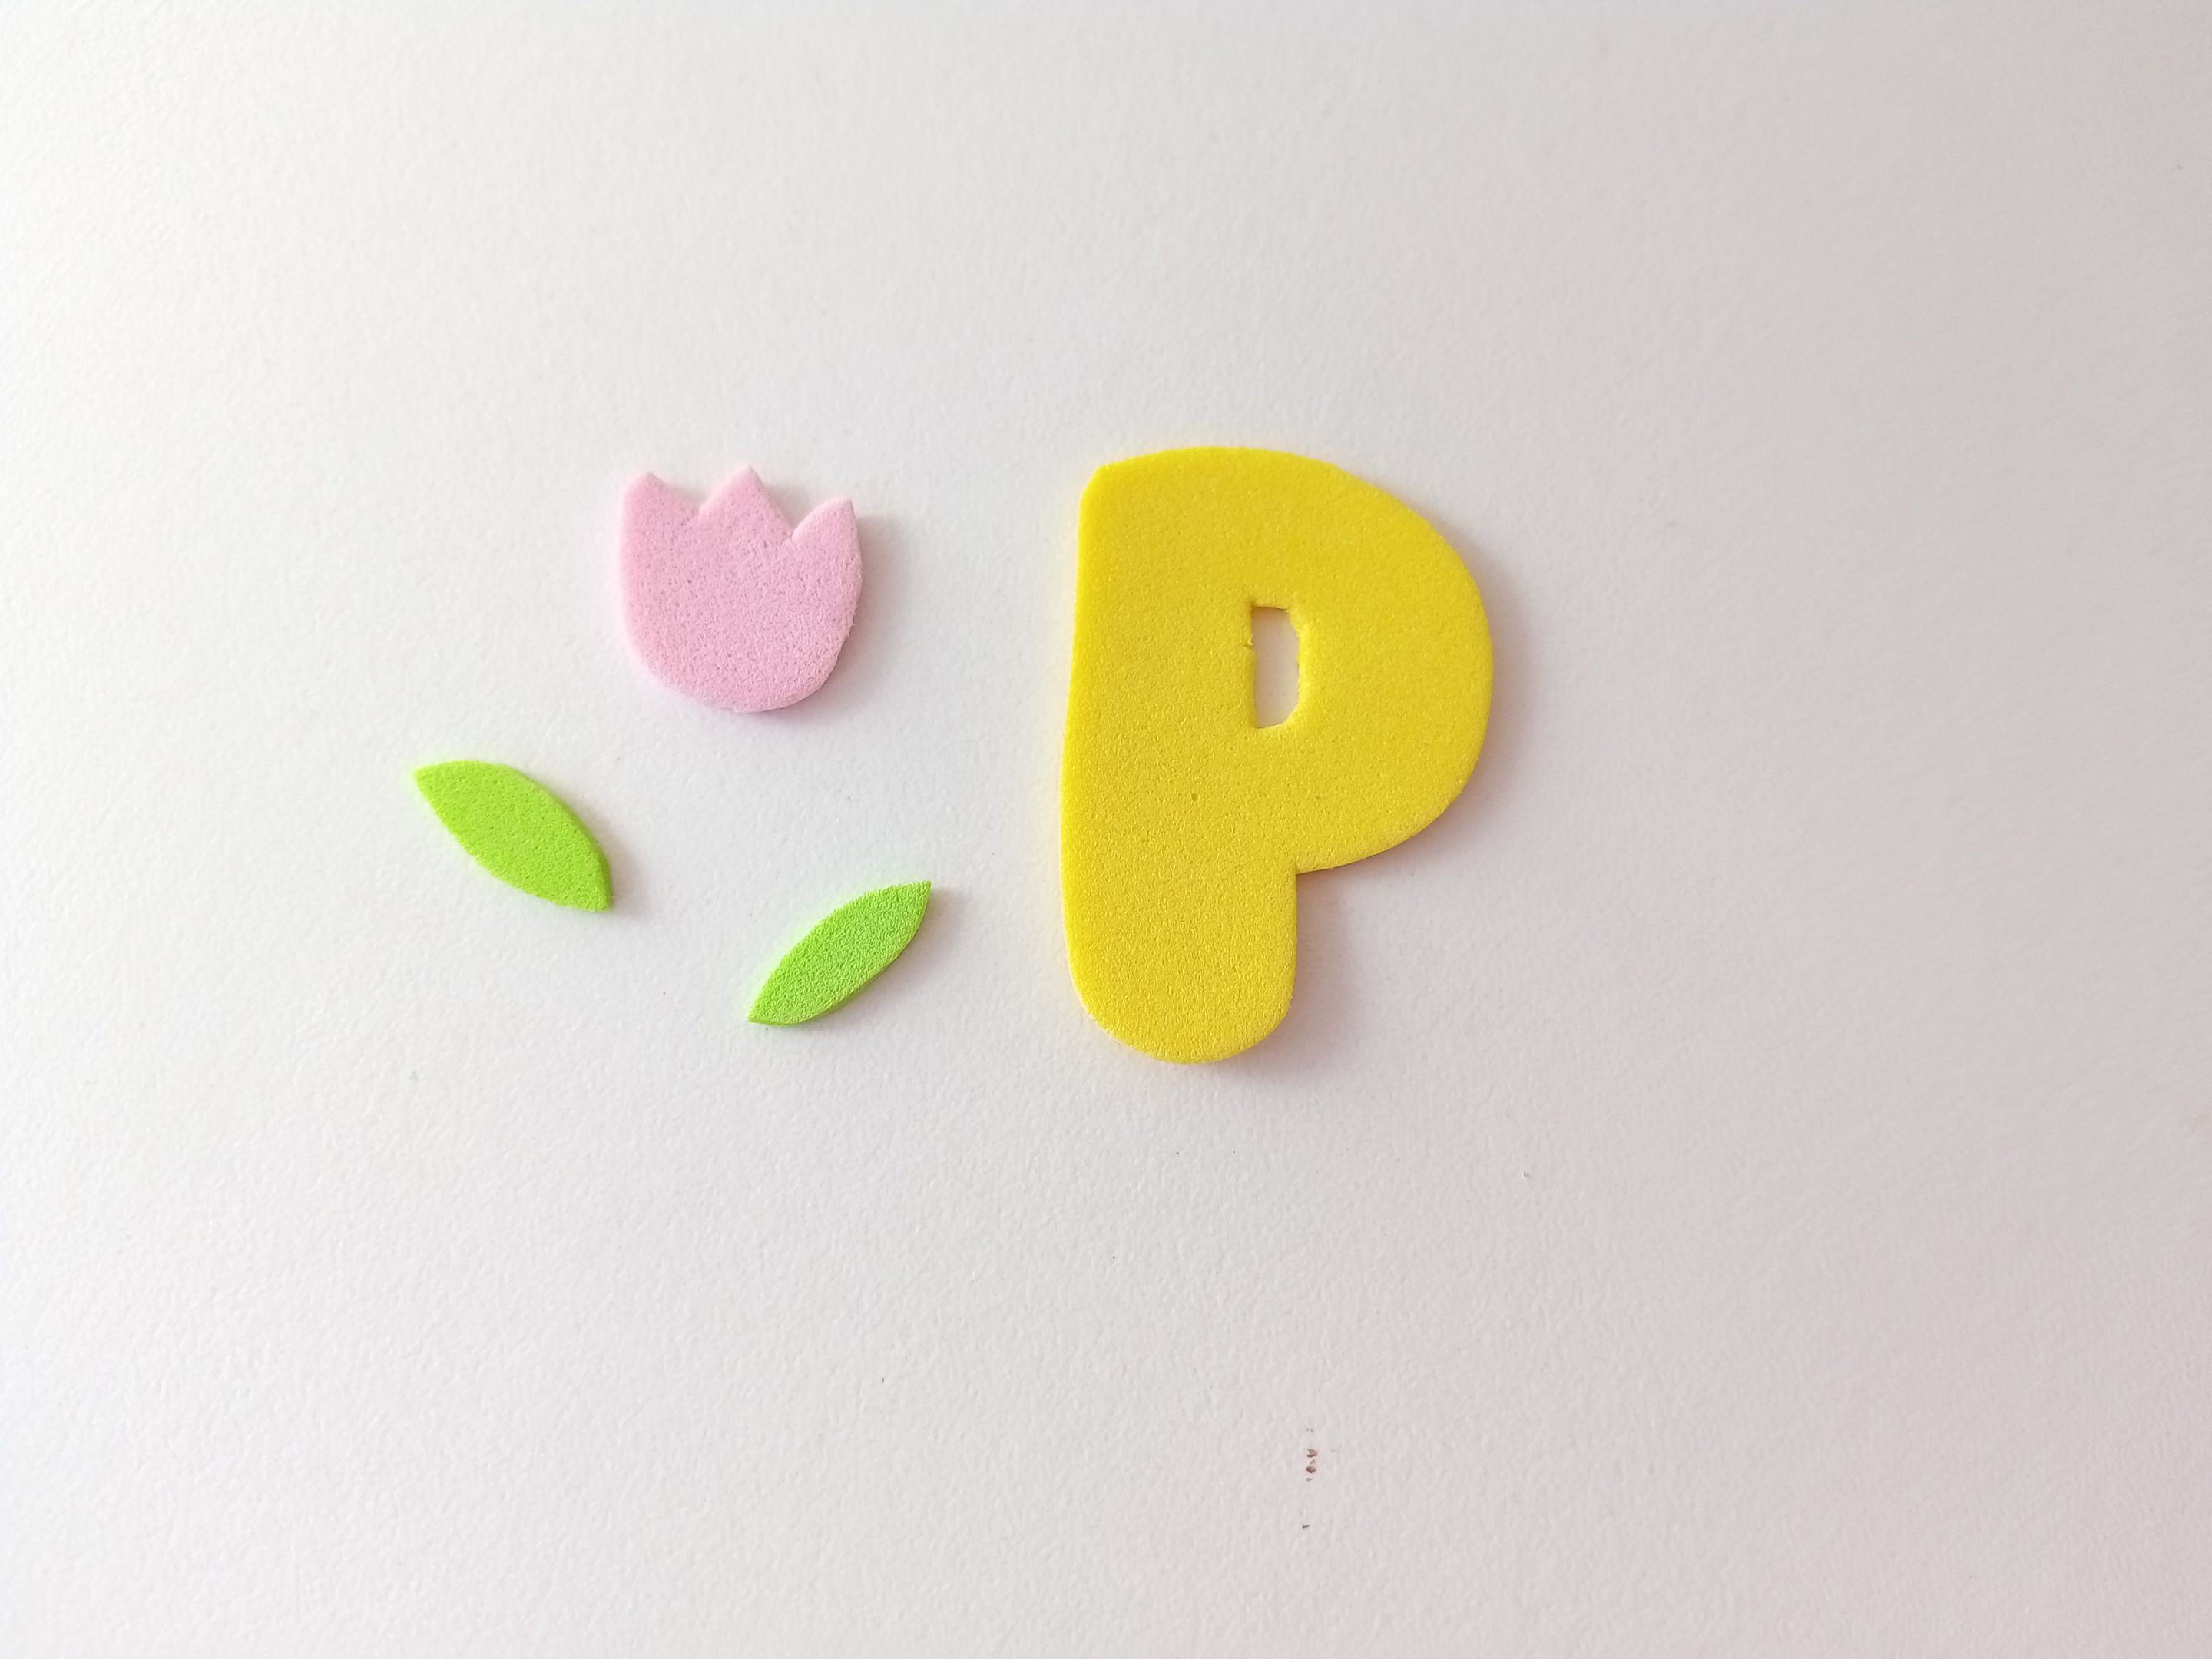
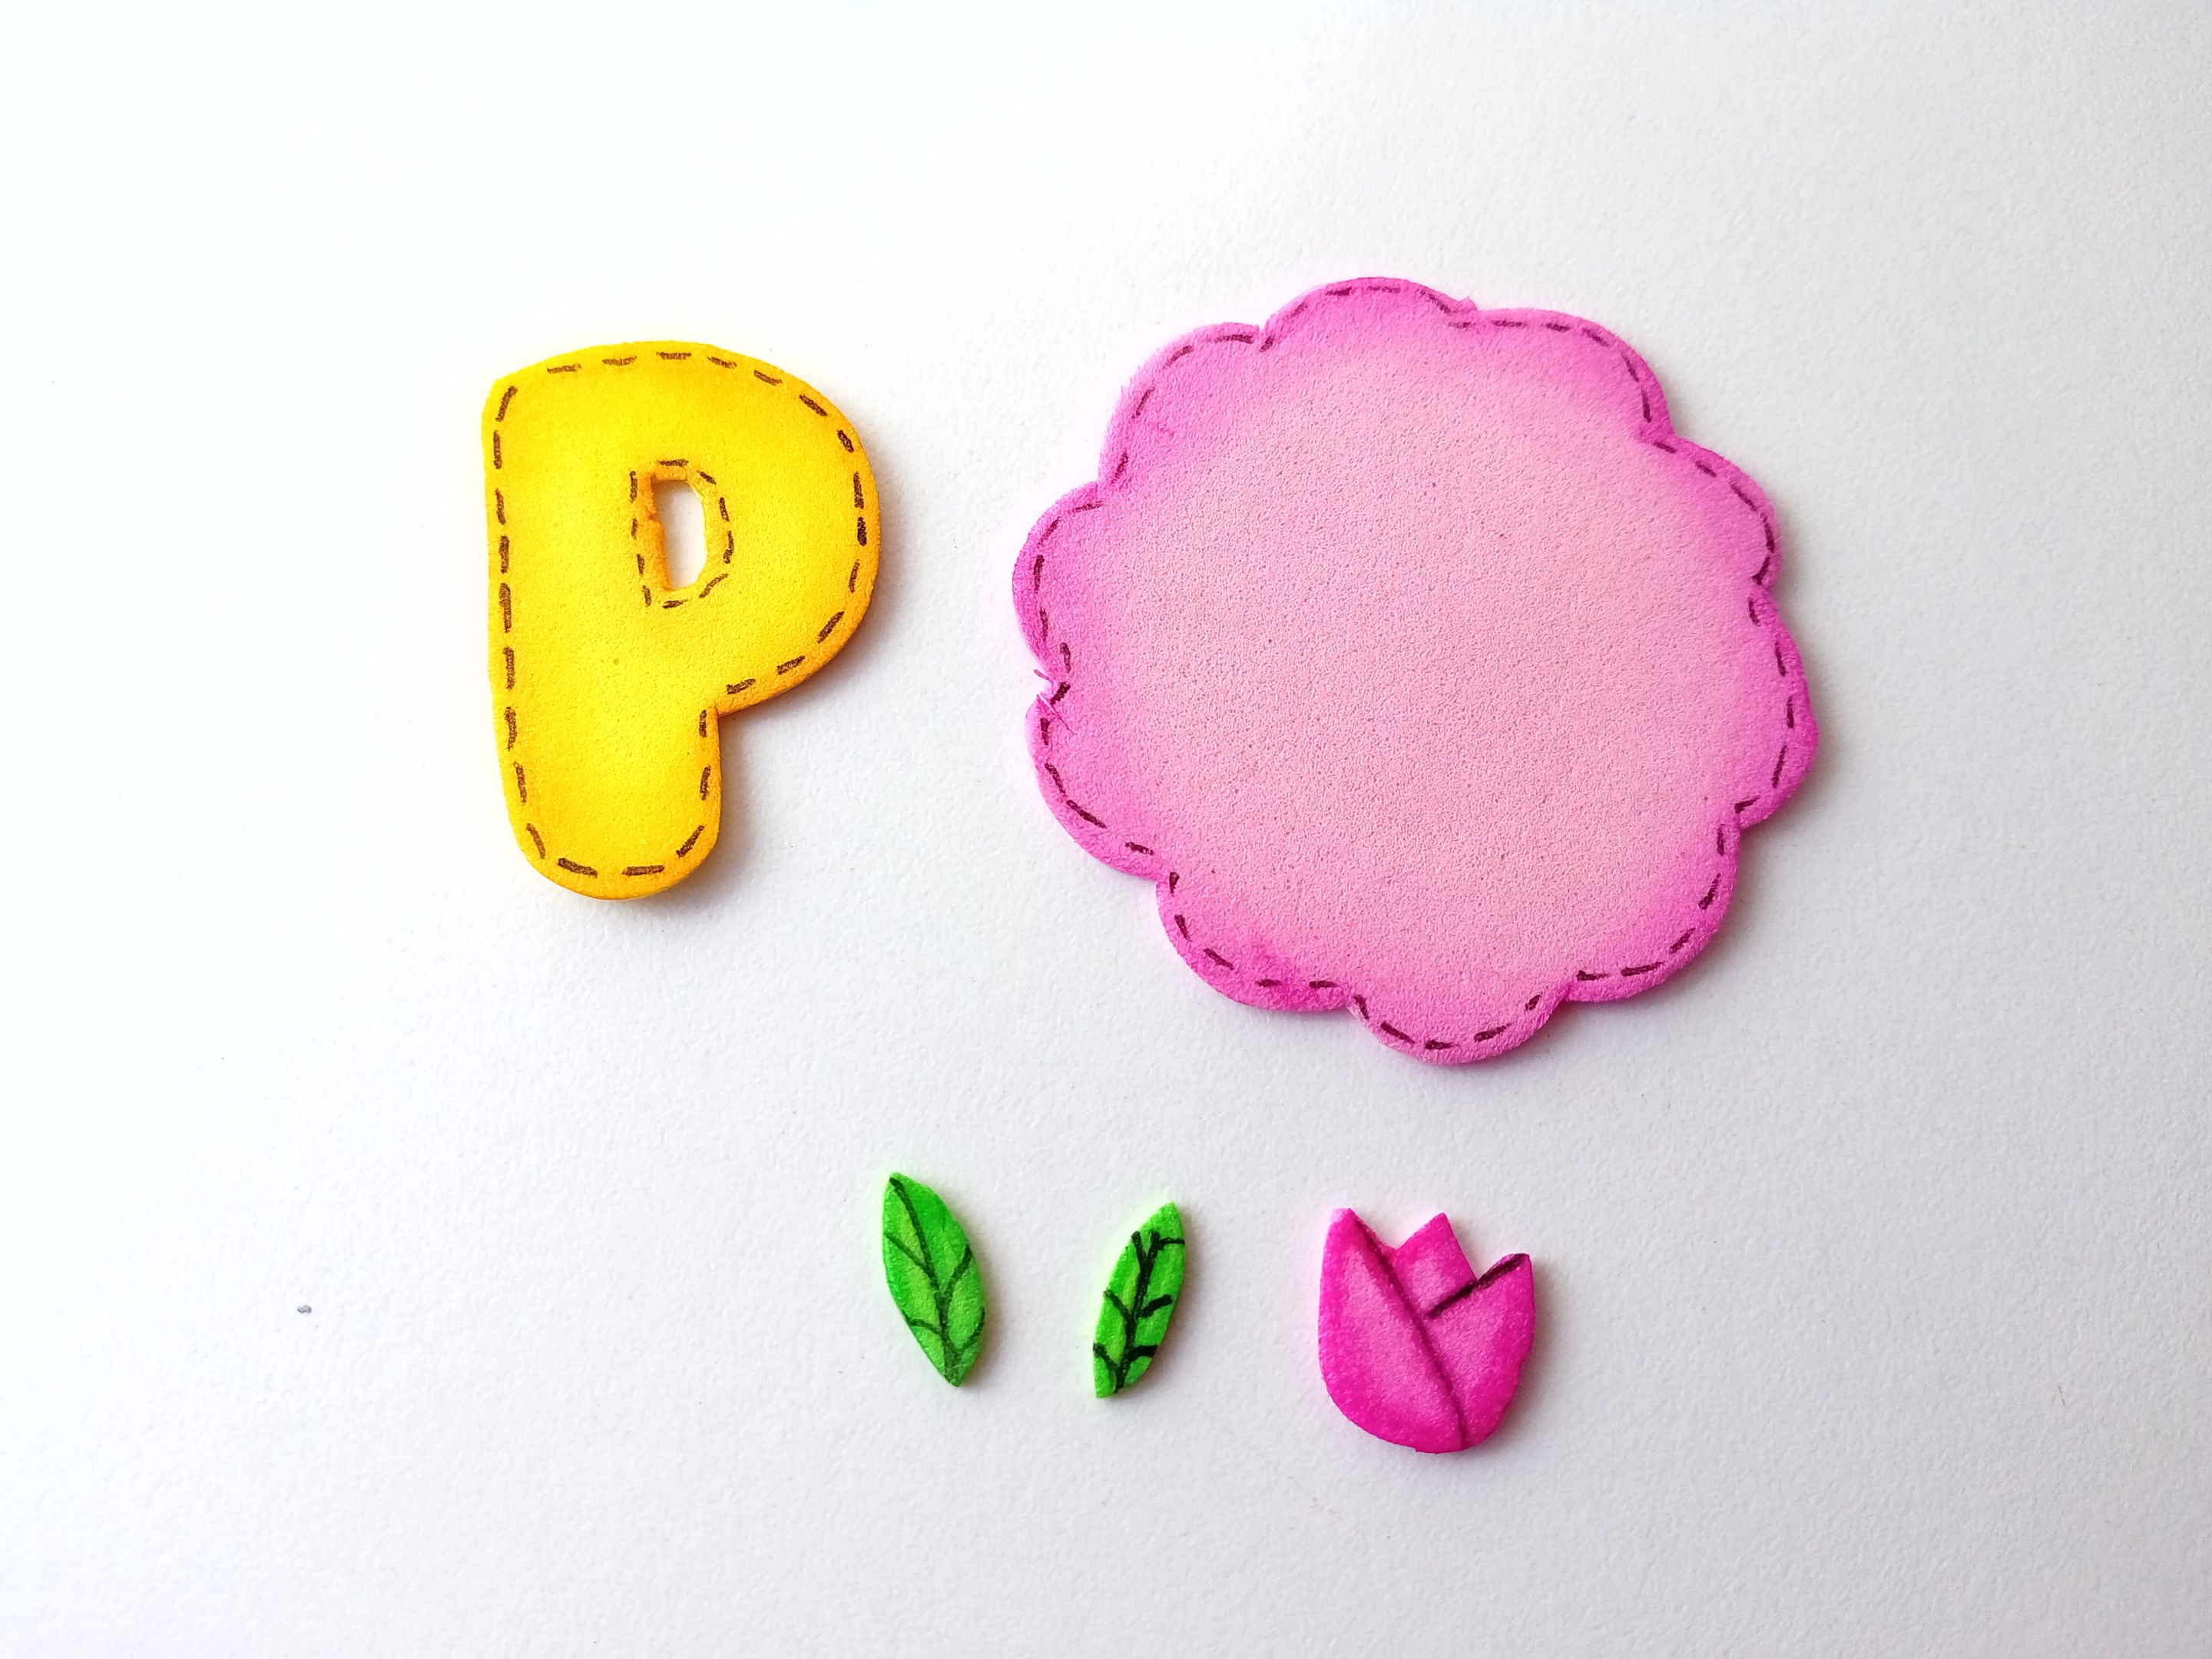
Luego, recorté la inicial de 4 cm x 2.5 en foami color amarillo, el tulipán de 1 cm x 1 cm en foami rosa y un par de hojas en foami verde, pero ustedes pueden dibujar primero estas piezas en una hoja blanca y luego transferir los patrones al foami o como yo que directamente lo dibujé en el foami. Seguidamente, repetí el mismo proceso de dar color a los bordes con pinturas o marcadores y definí un poco más el tulipán y las hojas con el mismo marcador. Con marcador negro, tracé pequeñas líneas como de costura, por los bordes del círculo con bordes ovalados de foami rosado liso y por la inicial. Además, definí un poco más los pequeños detalles de las hojas y el tulipán con el mismo marcador negro y dejé secar.
✨STEP 2:
Then, I cut out the initial of 4 cm x 2.5 in yellow foam, the tulip of 1 cm x 1 cm in pink foam and a couple of leaves in green foam, but you can draw these pieces first on a white sheet and then transfer the patterns to the foam or like me, I drew it directly on the foam. Next, I repeated the same process of coloring the edges with paints or markers and defined the tulip and the leaves a little more with the same marker. With a black marker, I drew small sewing lines along the edges of the oval-edged circle made of plain pink foam and along the initial. I also defined the small details of the leaves and the tulip a little more with the same black marker and let it dry.
 |  |  |
|---|
✨PASO 3:
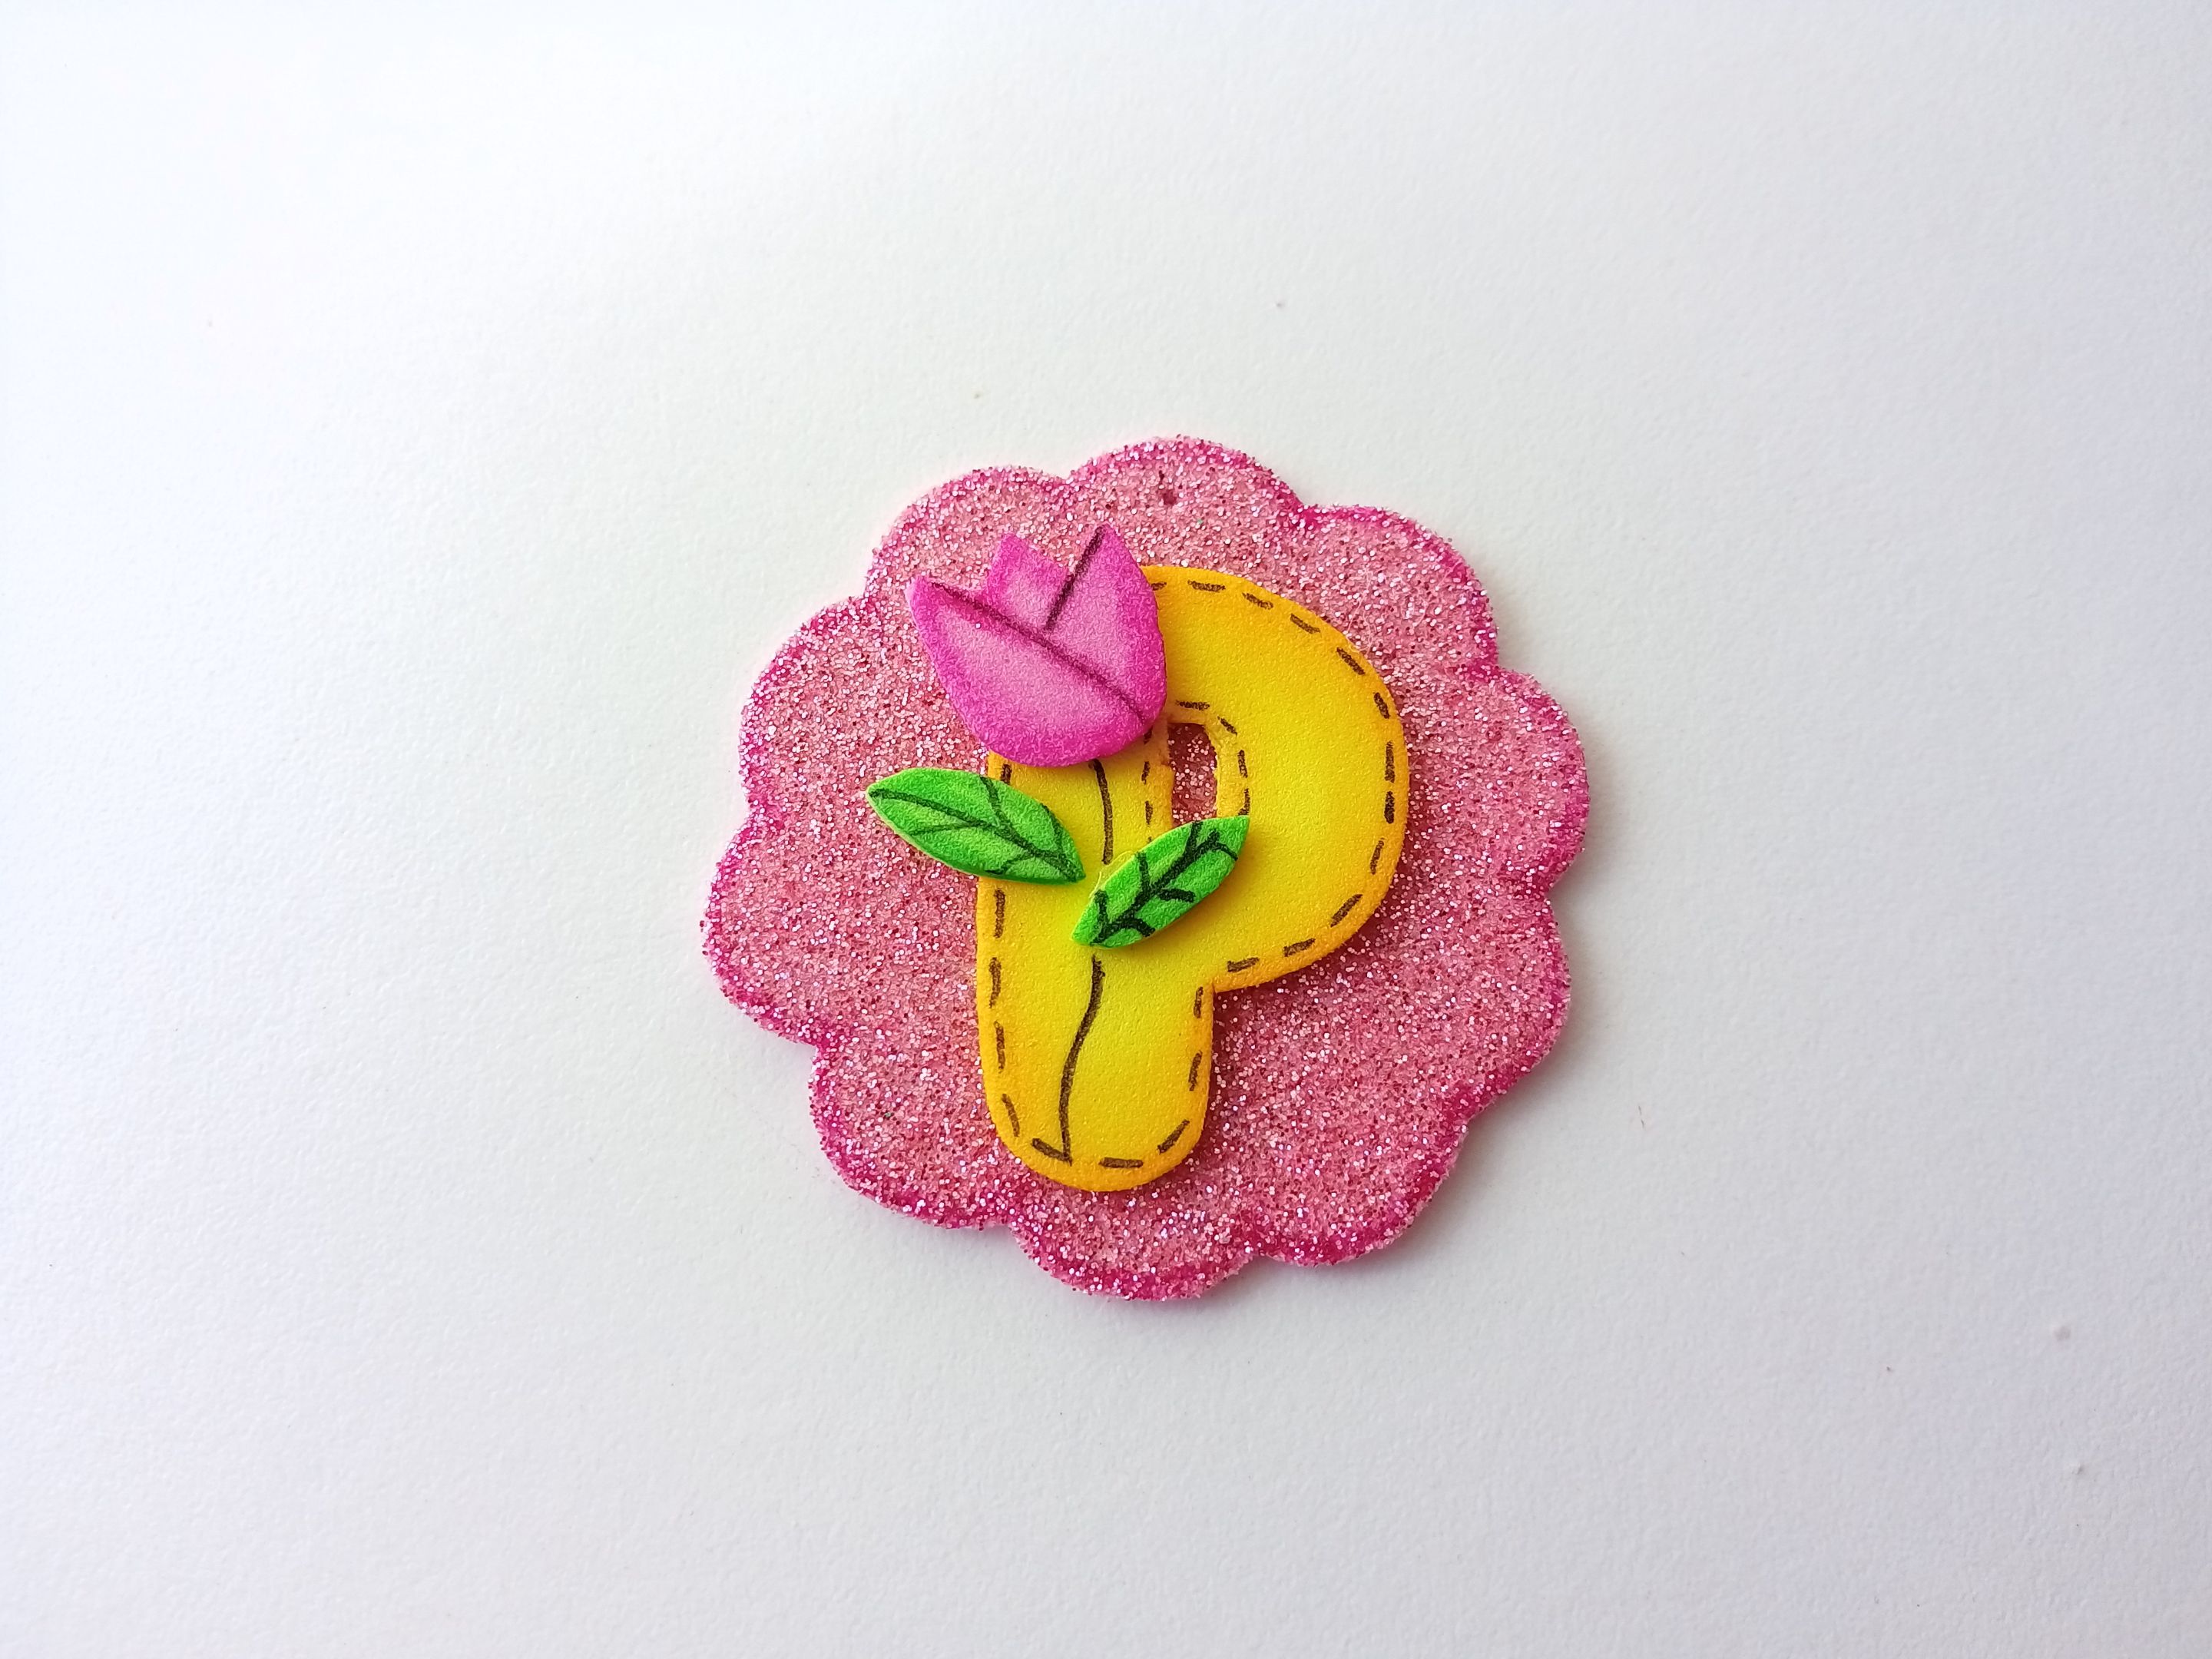
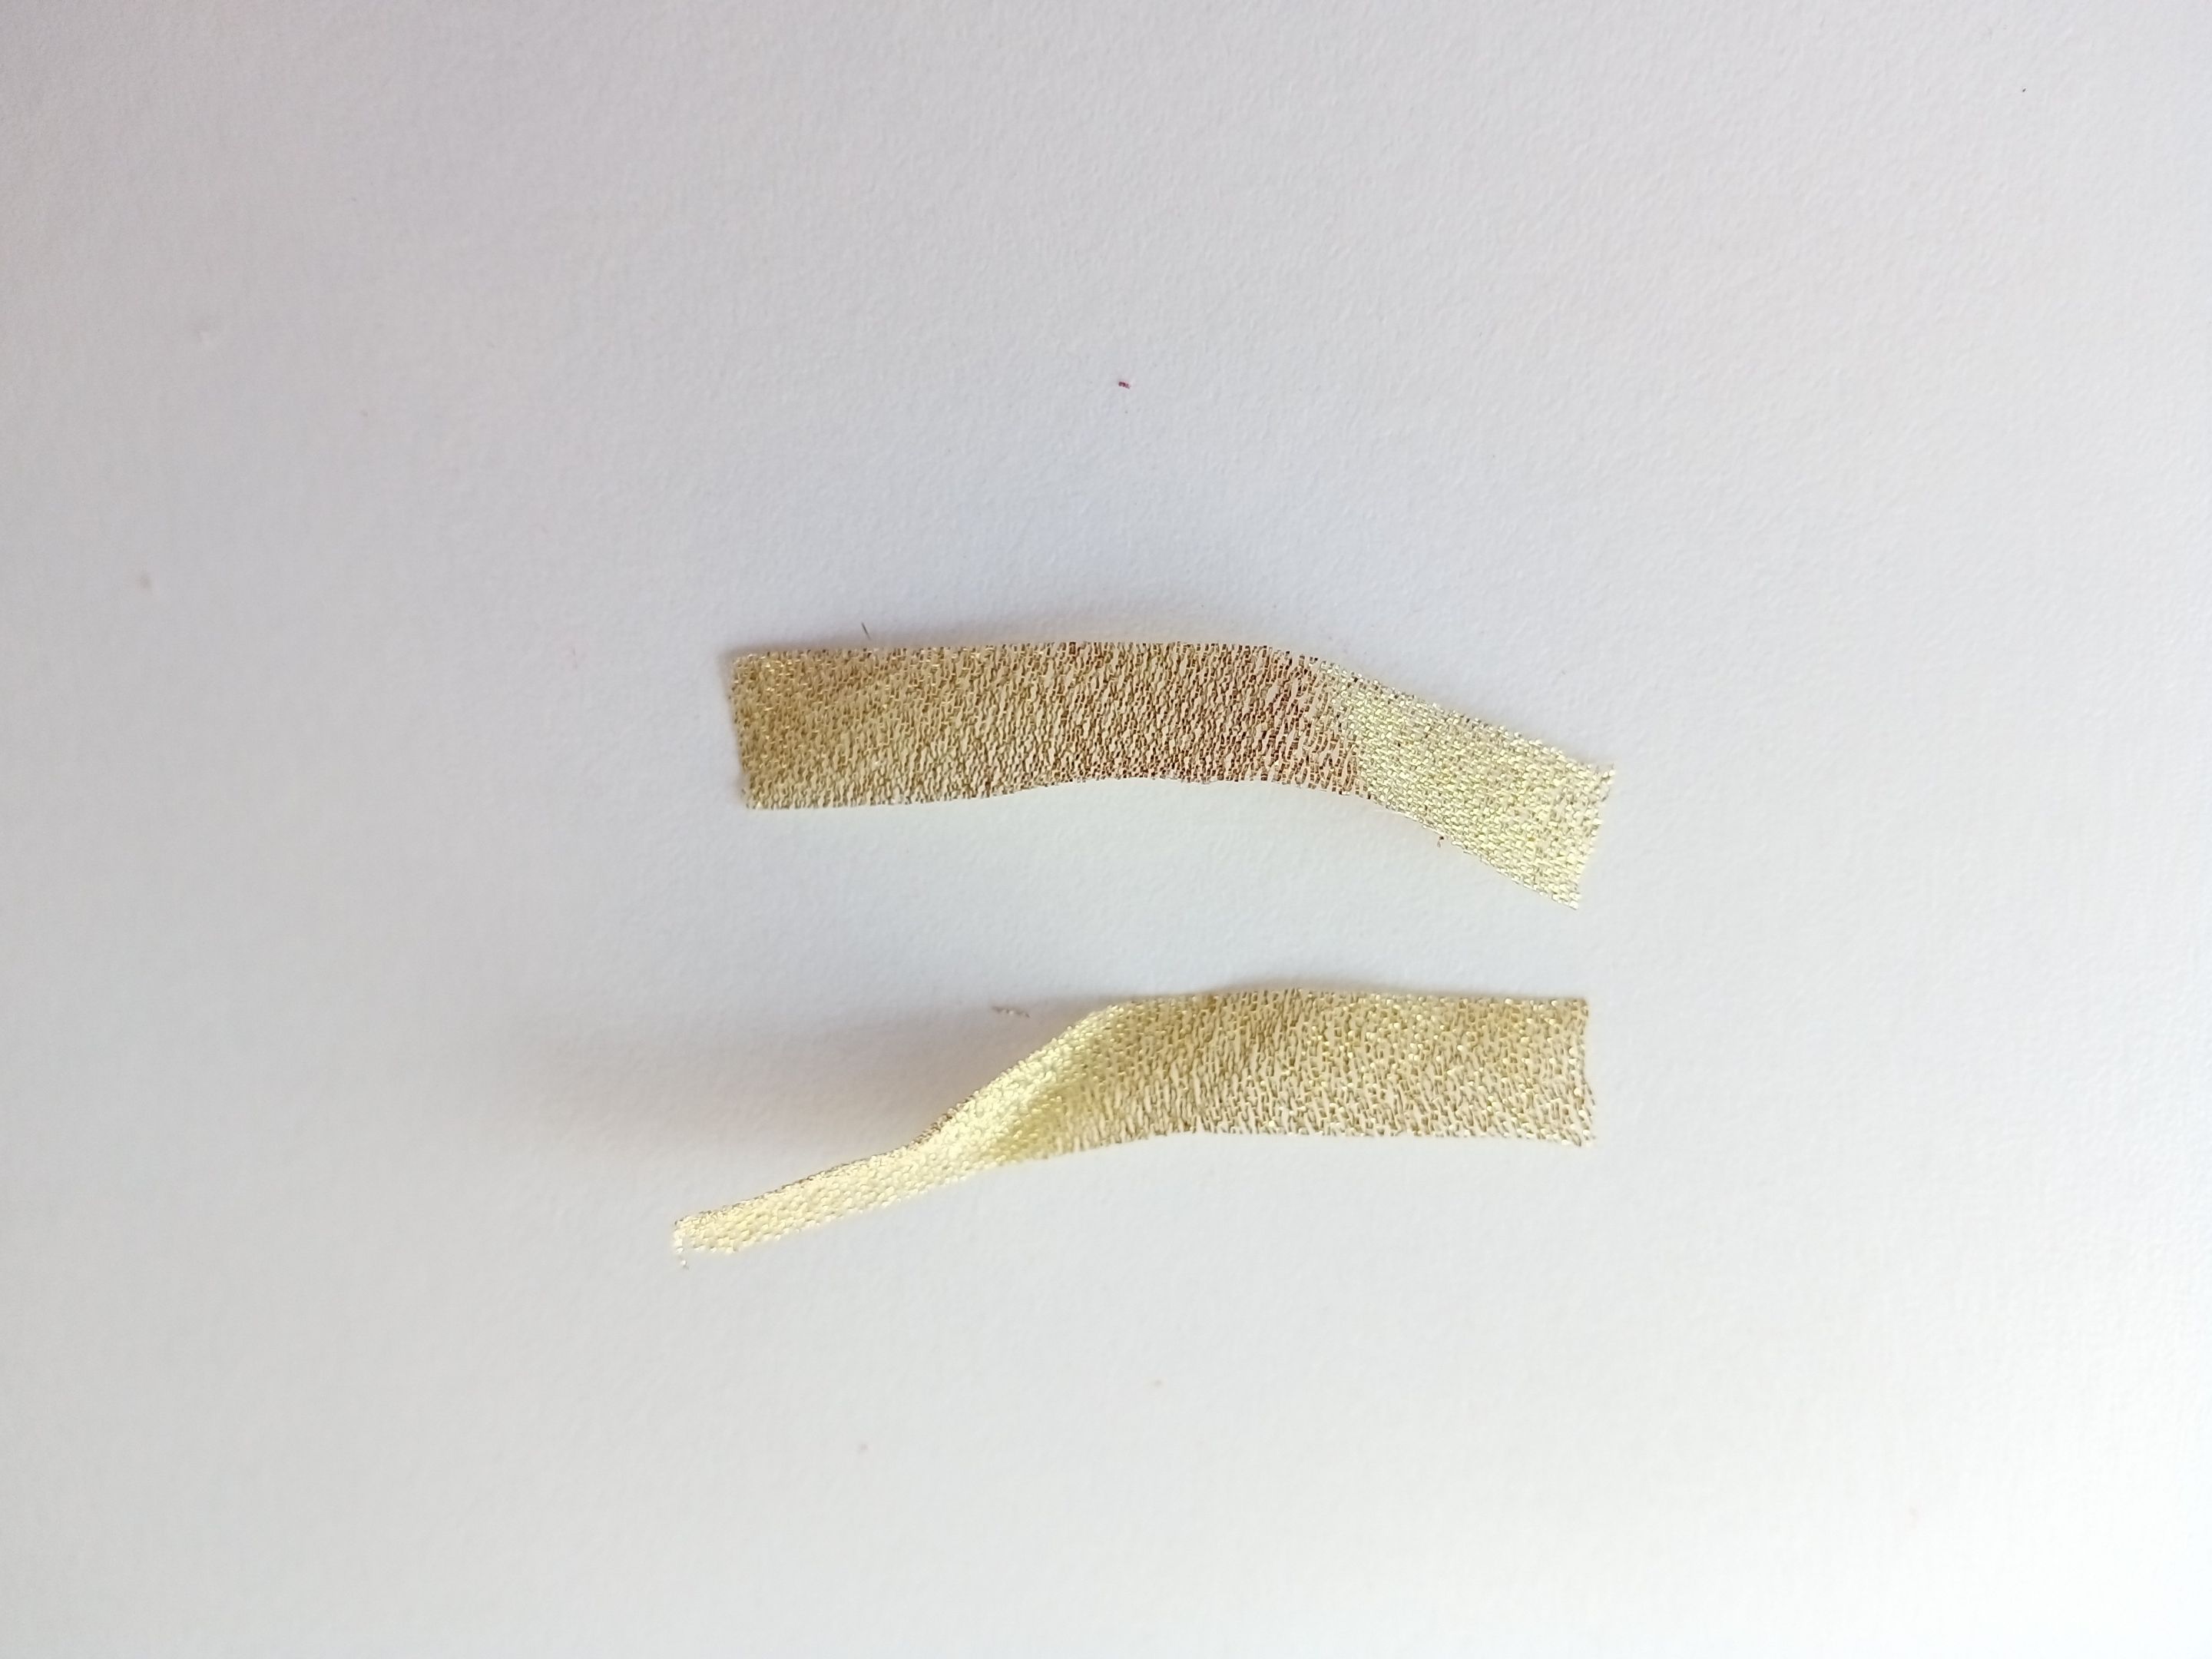
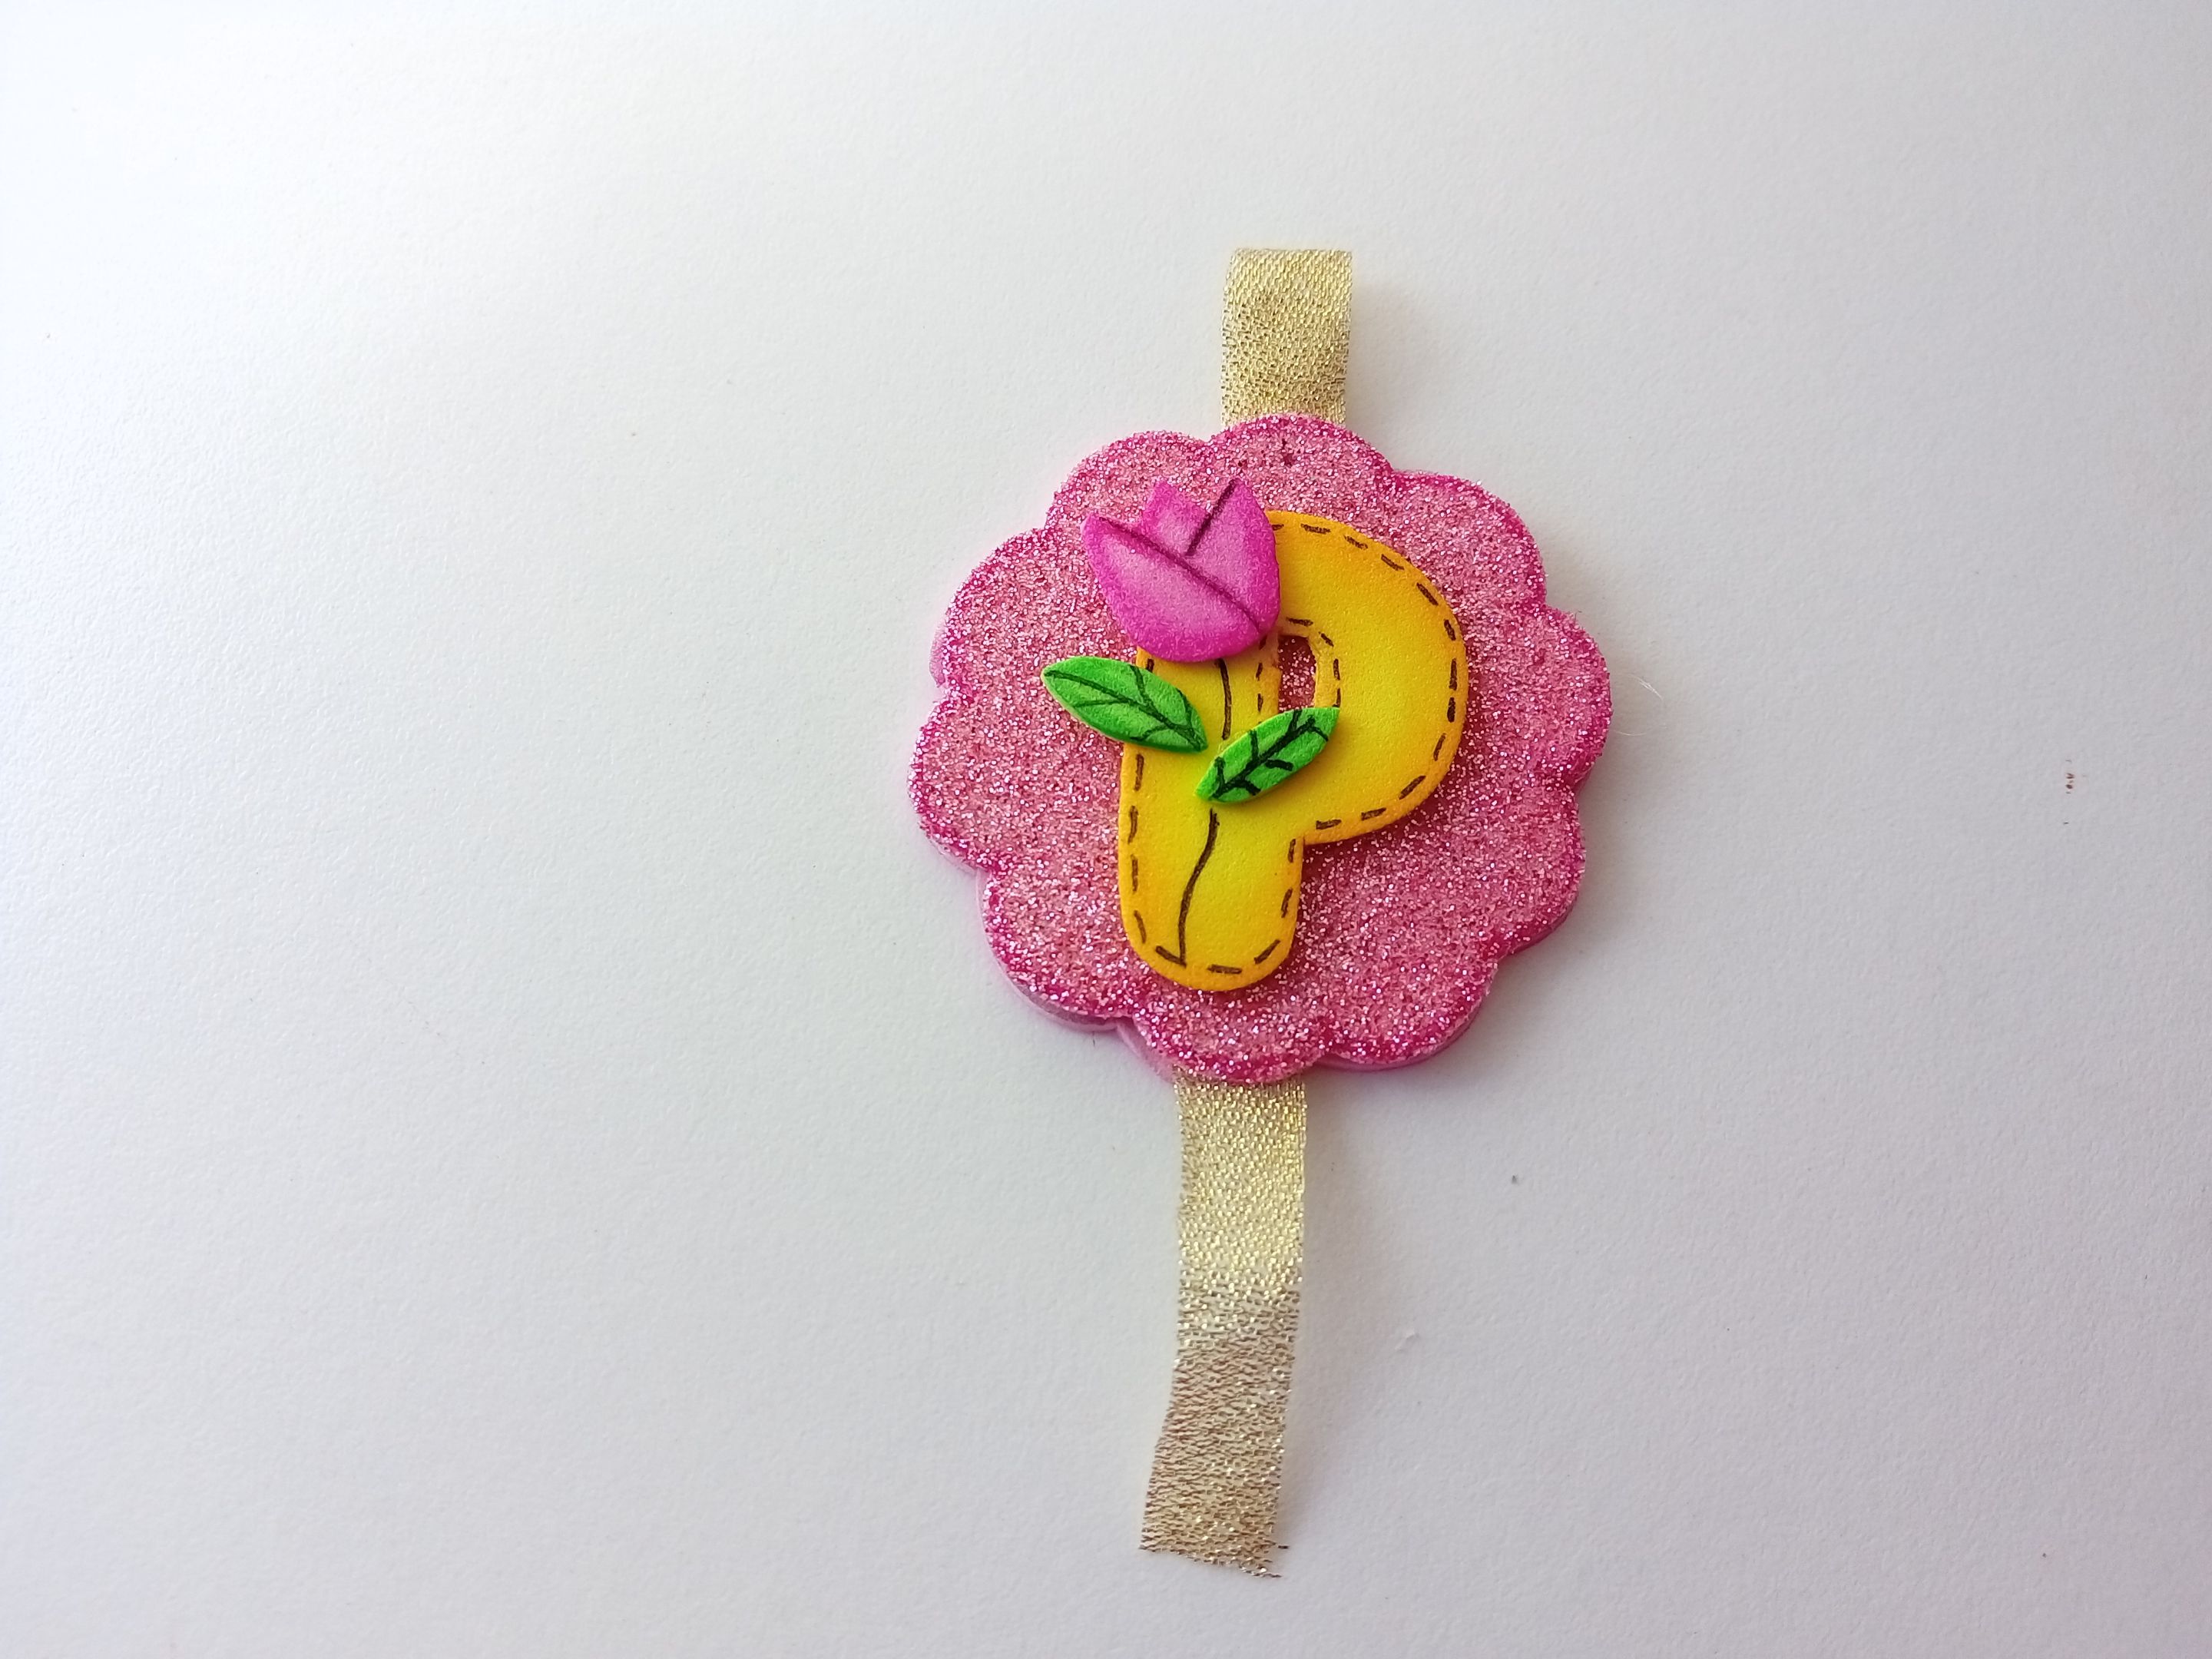
Ahora llego el momento de pegar las piezas, así que comencé pegando en medio del círculo con borde ovalado la inicial, junto con el tulipán en la esquina superior de la misma, las hojitas más abajo y dibujé el tallo con marcador negro. En la parte de atrás pegué la cinta delgada doblada para poder insertar el aro metálico y en la parte inferior pegué otra cinta, pero sin doblez. Para tapar la parte trasera, pegué el otro círculo con borde ovalado con el diseño hacia afuera.
✨STEP 3:
Now it's time to glue the pieces, so I started by gluing the initial in the middle of the oval-edged circle, along with the tulip in the upper corner of it, the leaves below it, and I drew the stem with a black marker. On the back I glued the thin ribbon folded so I could insert the metal ring and on the bottom I glued another ribbon, but without folding it. To cover the back, I glued the other circle with an oval edge with the design facing outwards.
 |  |  |
|---|
✨PASO 4:
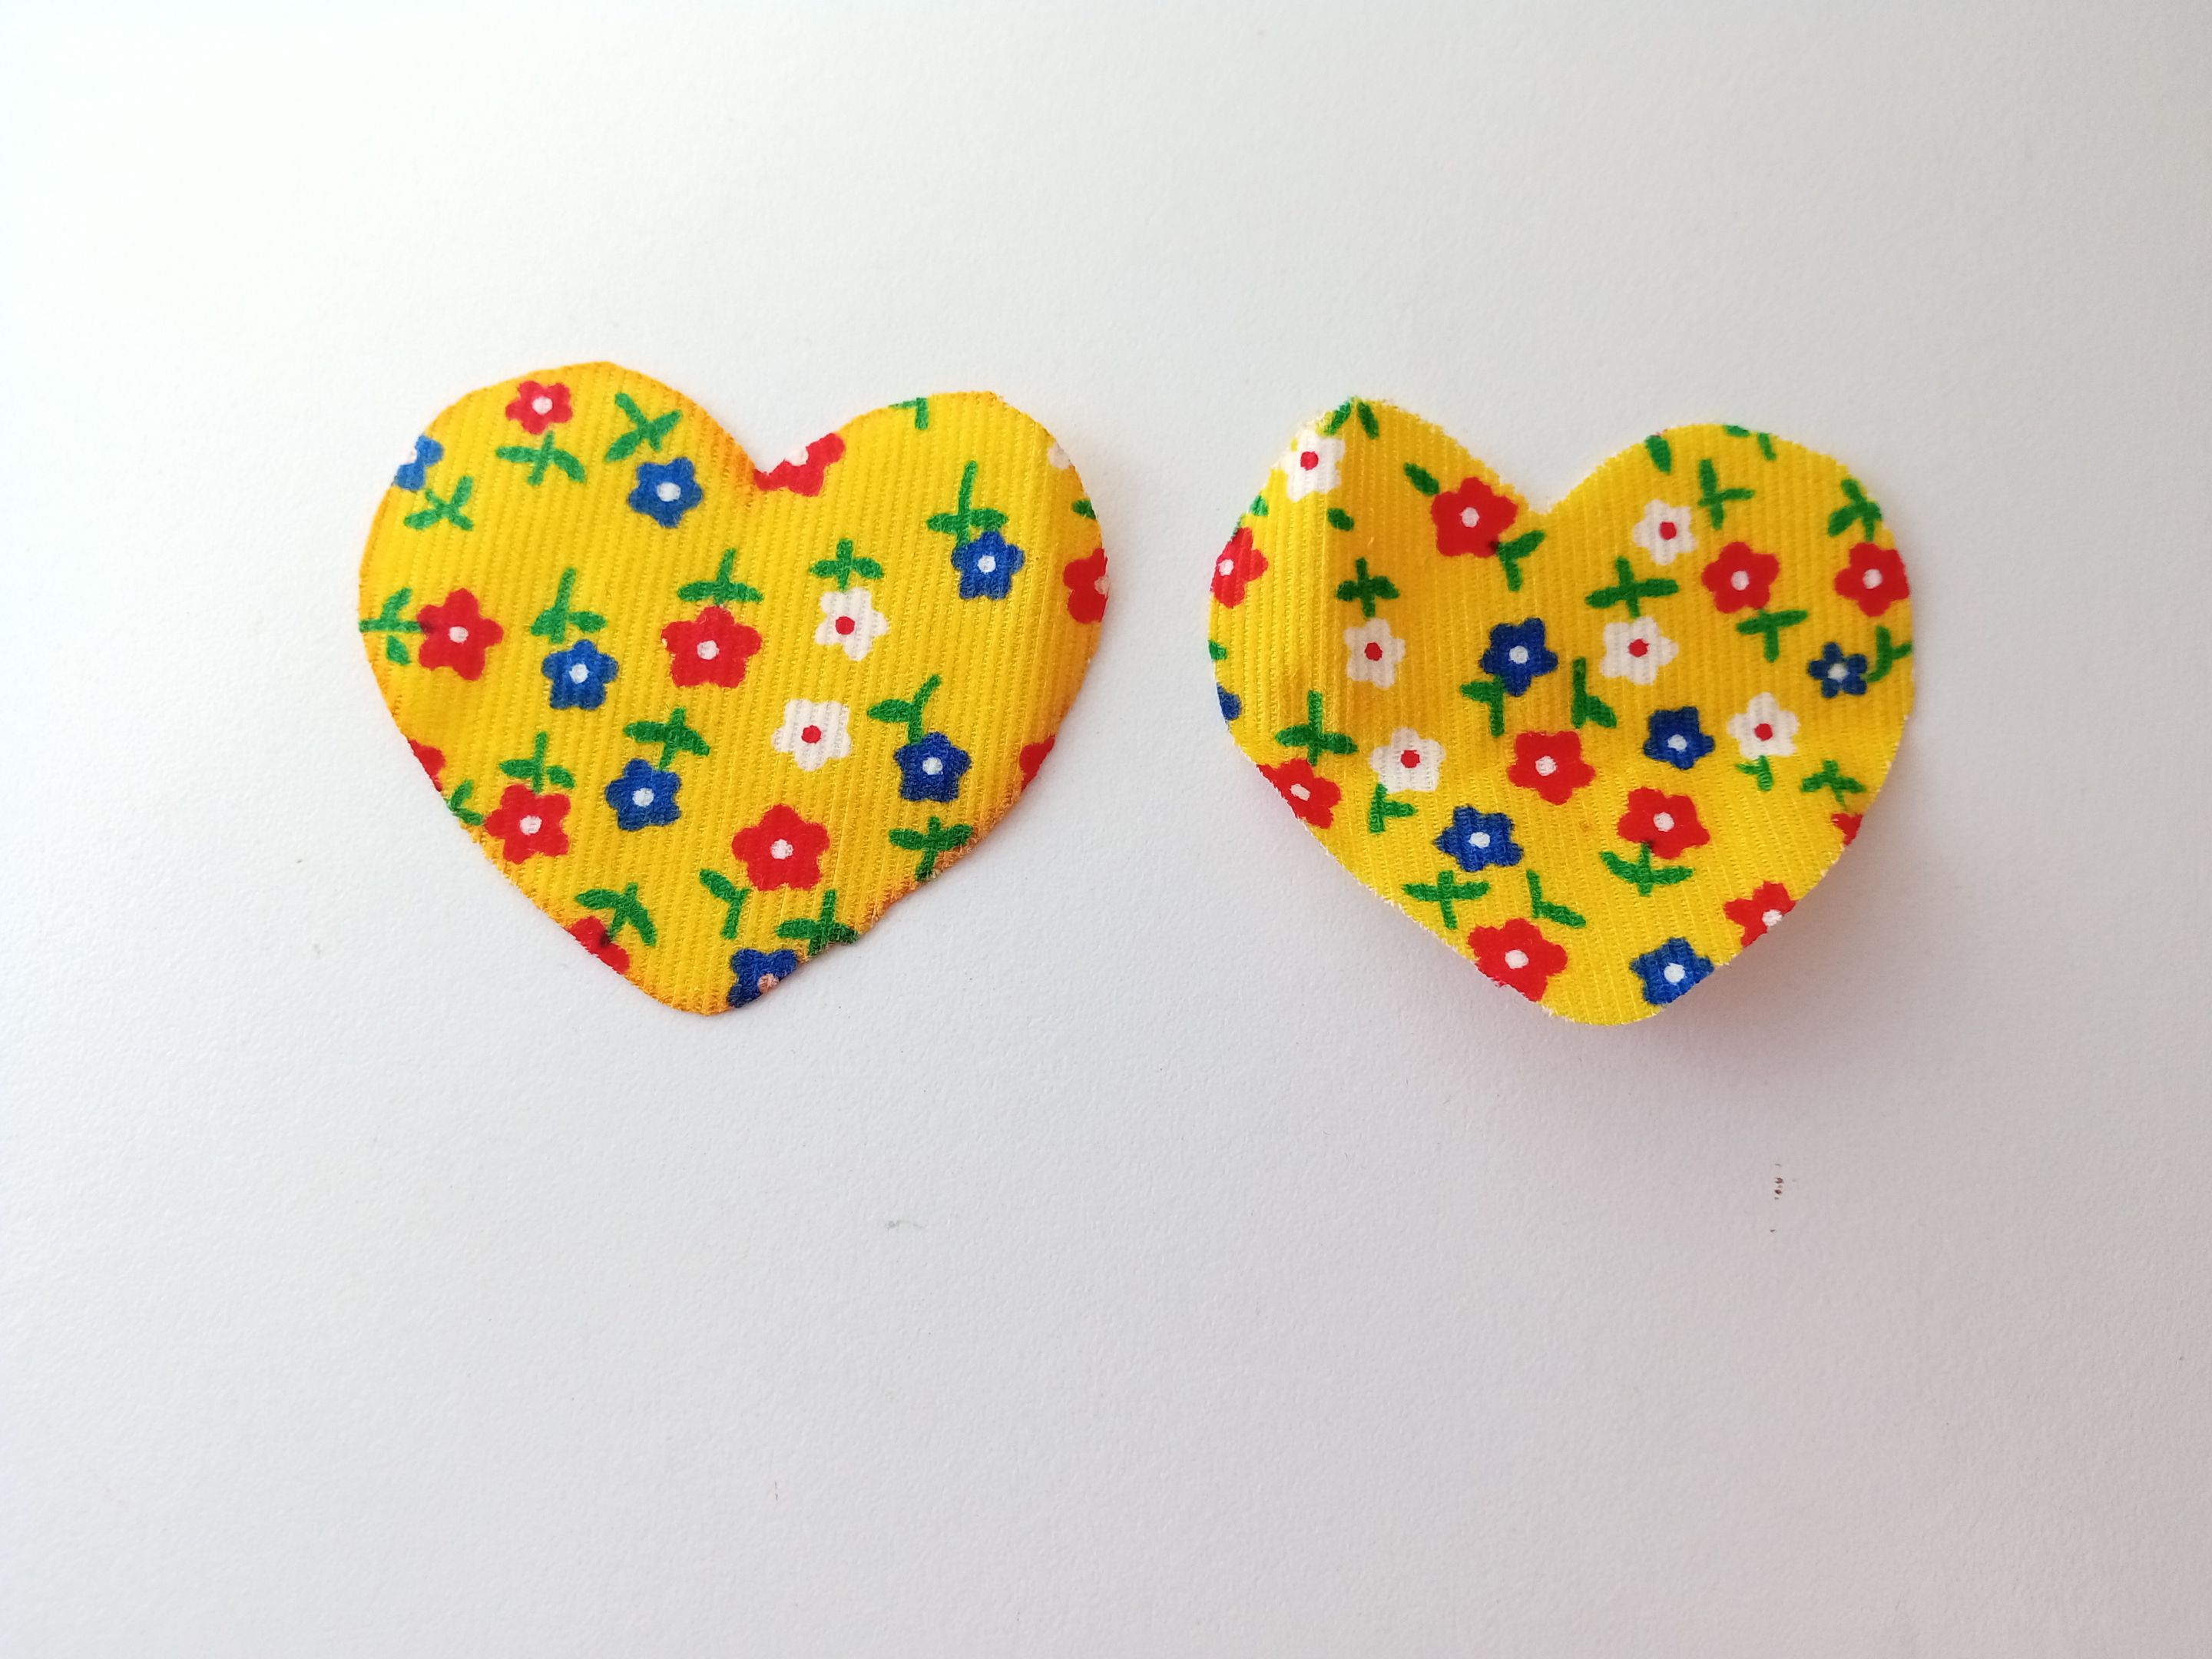
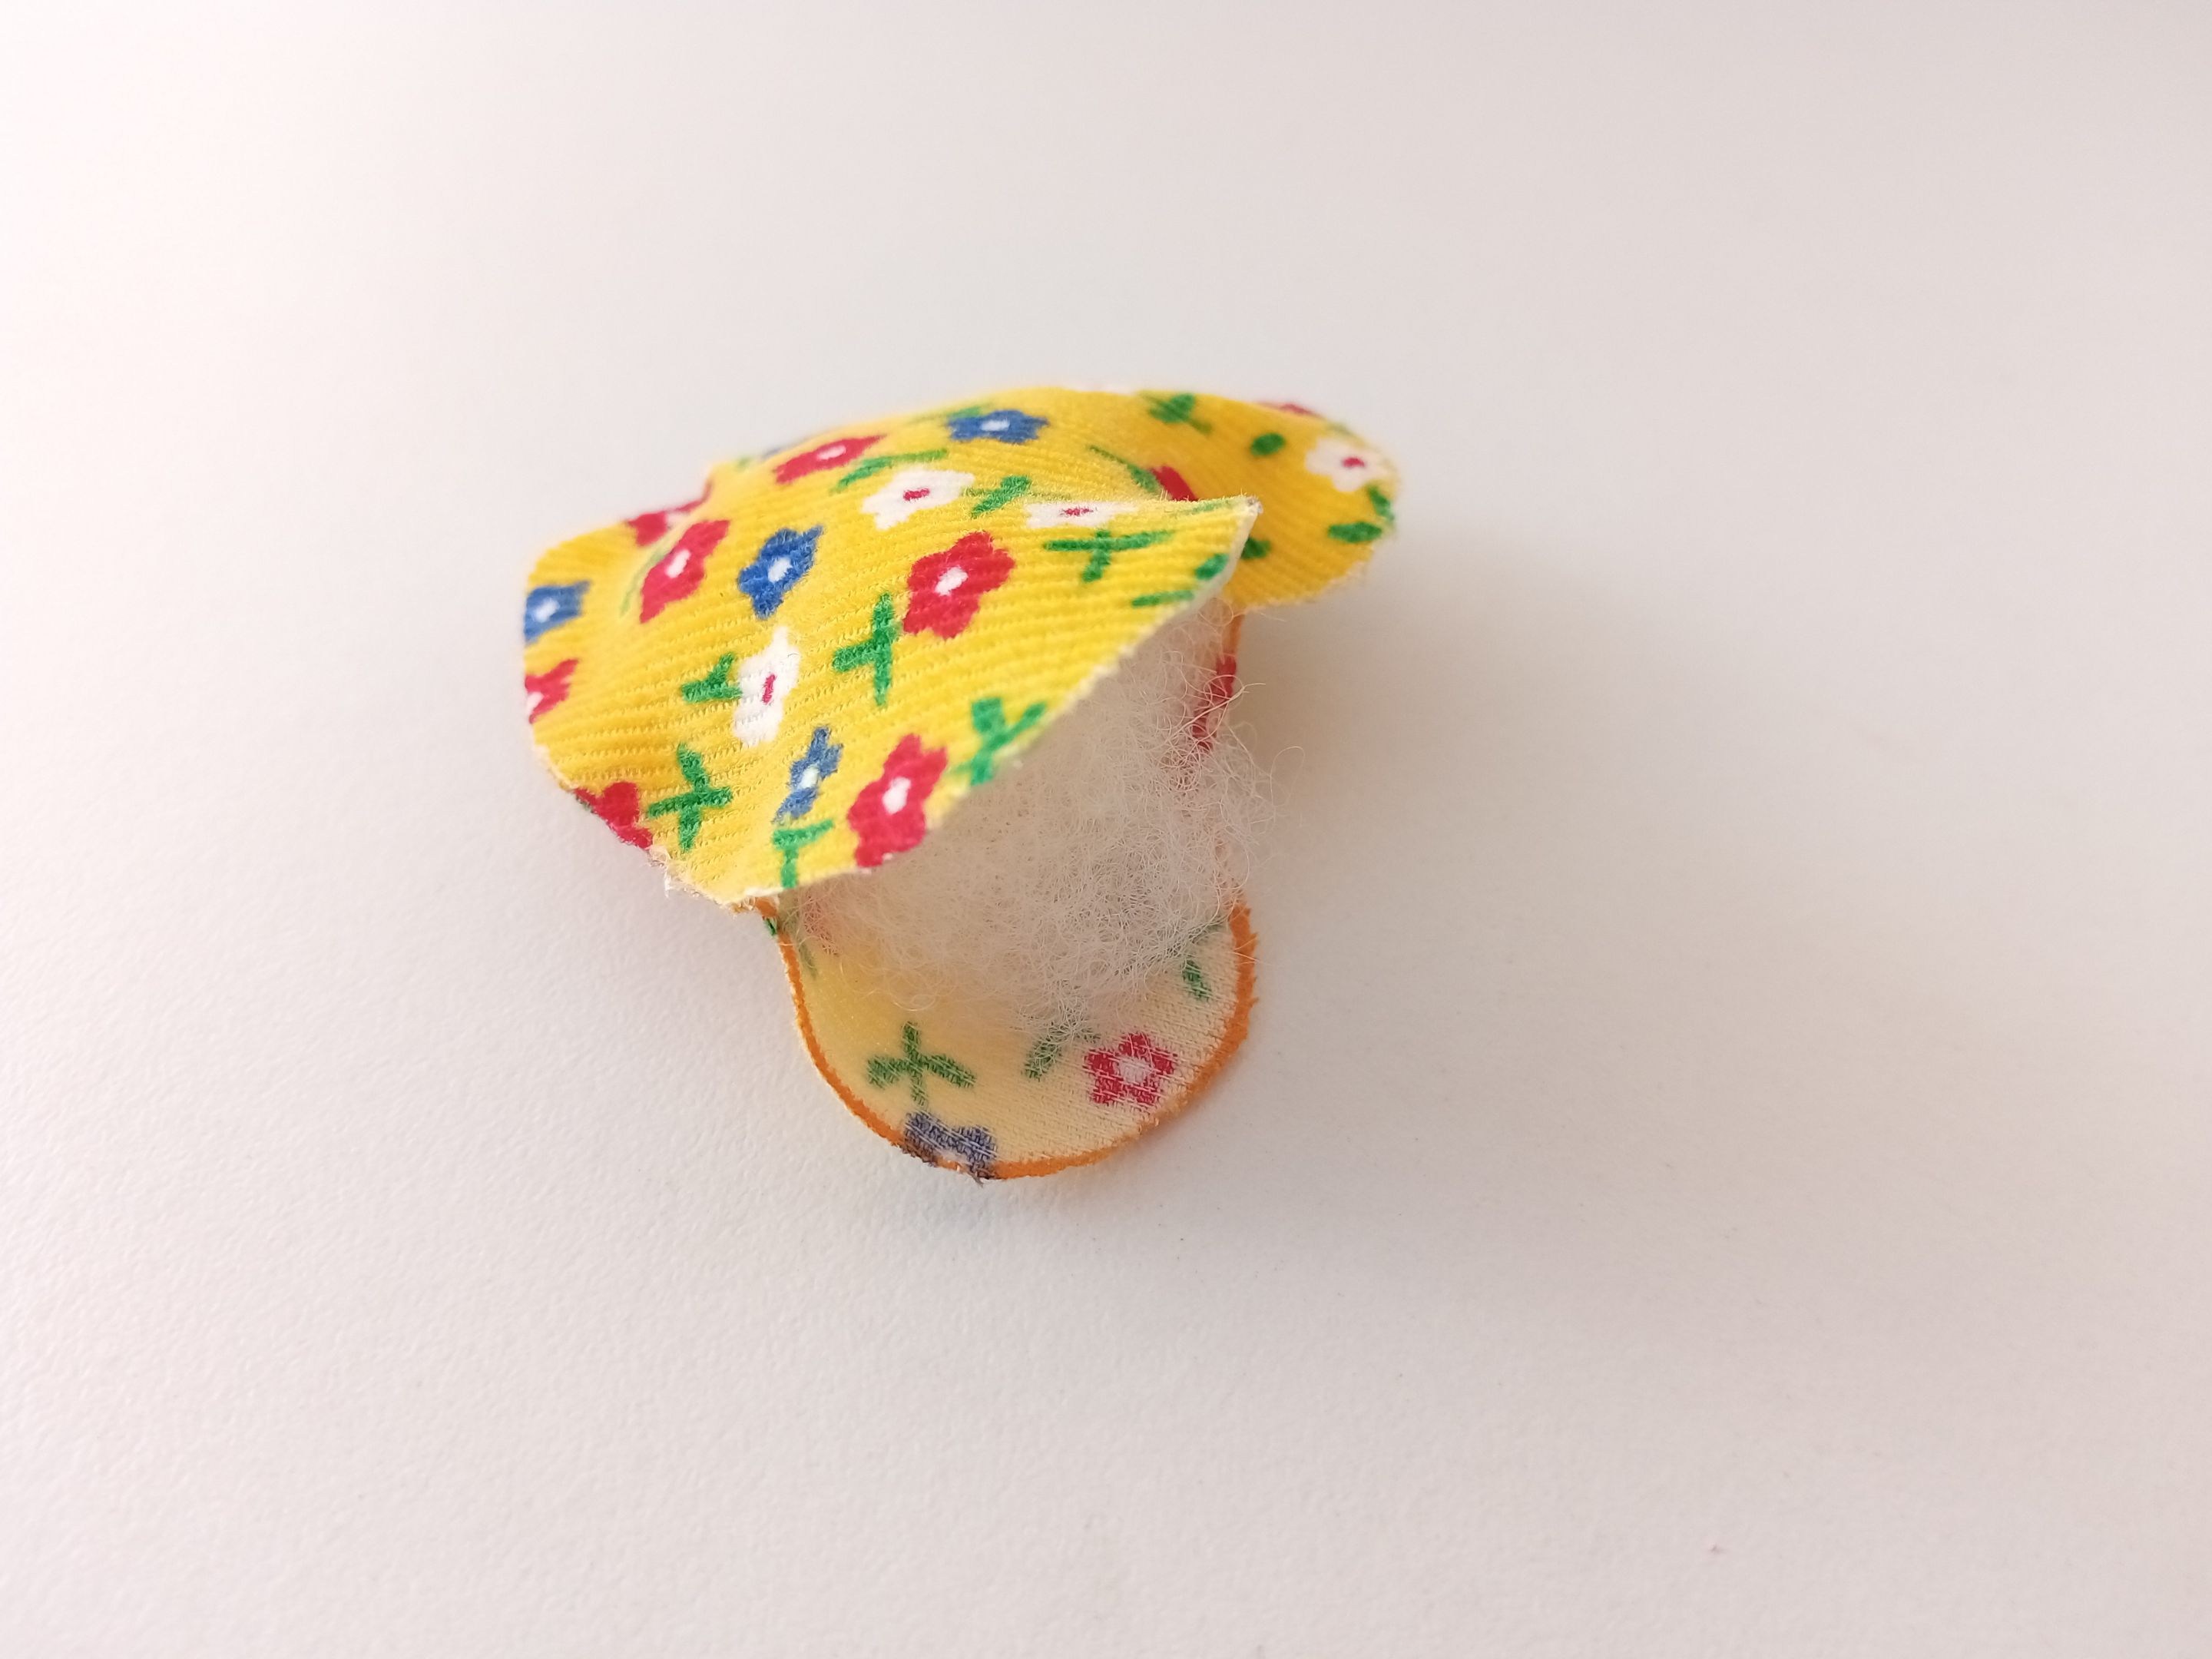
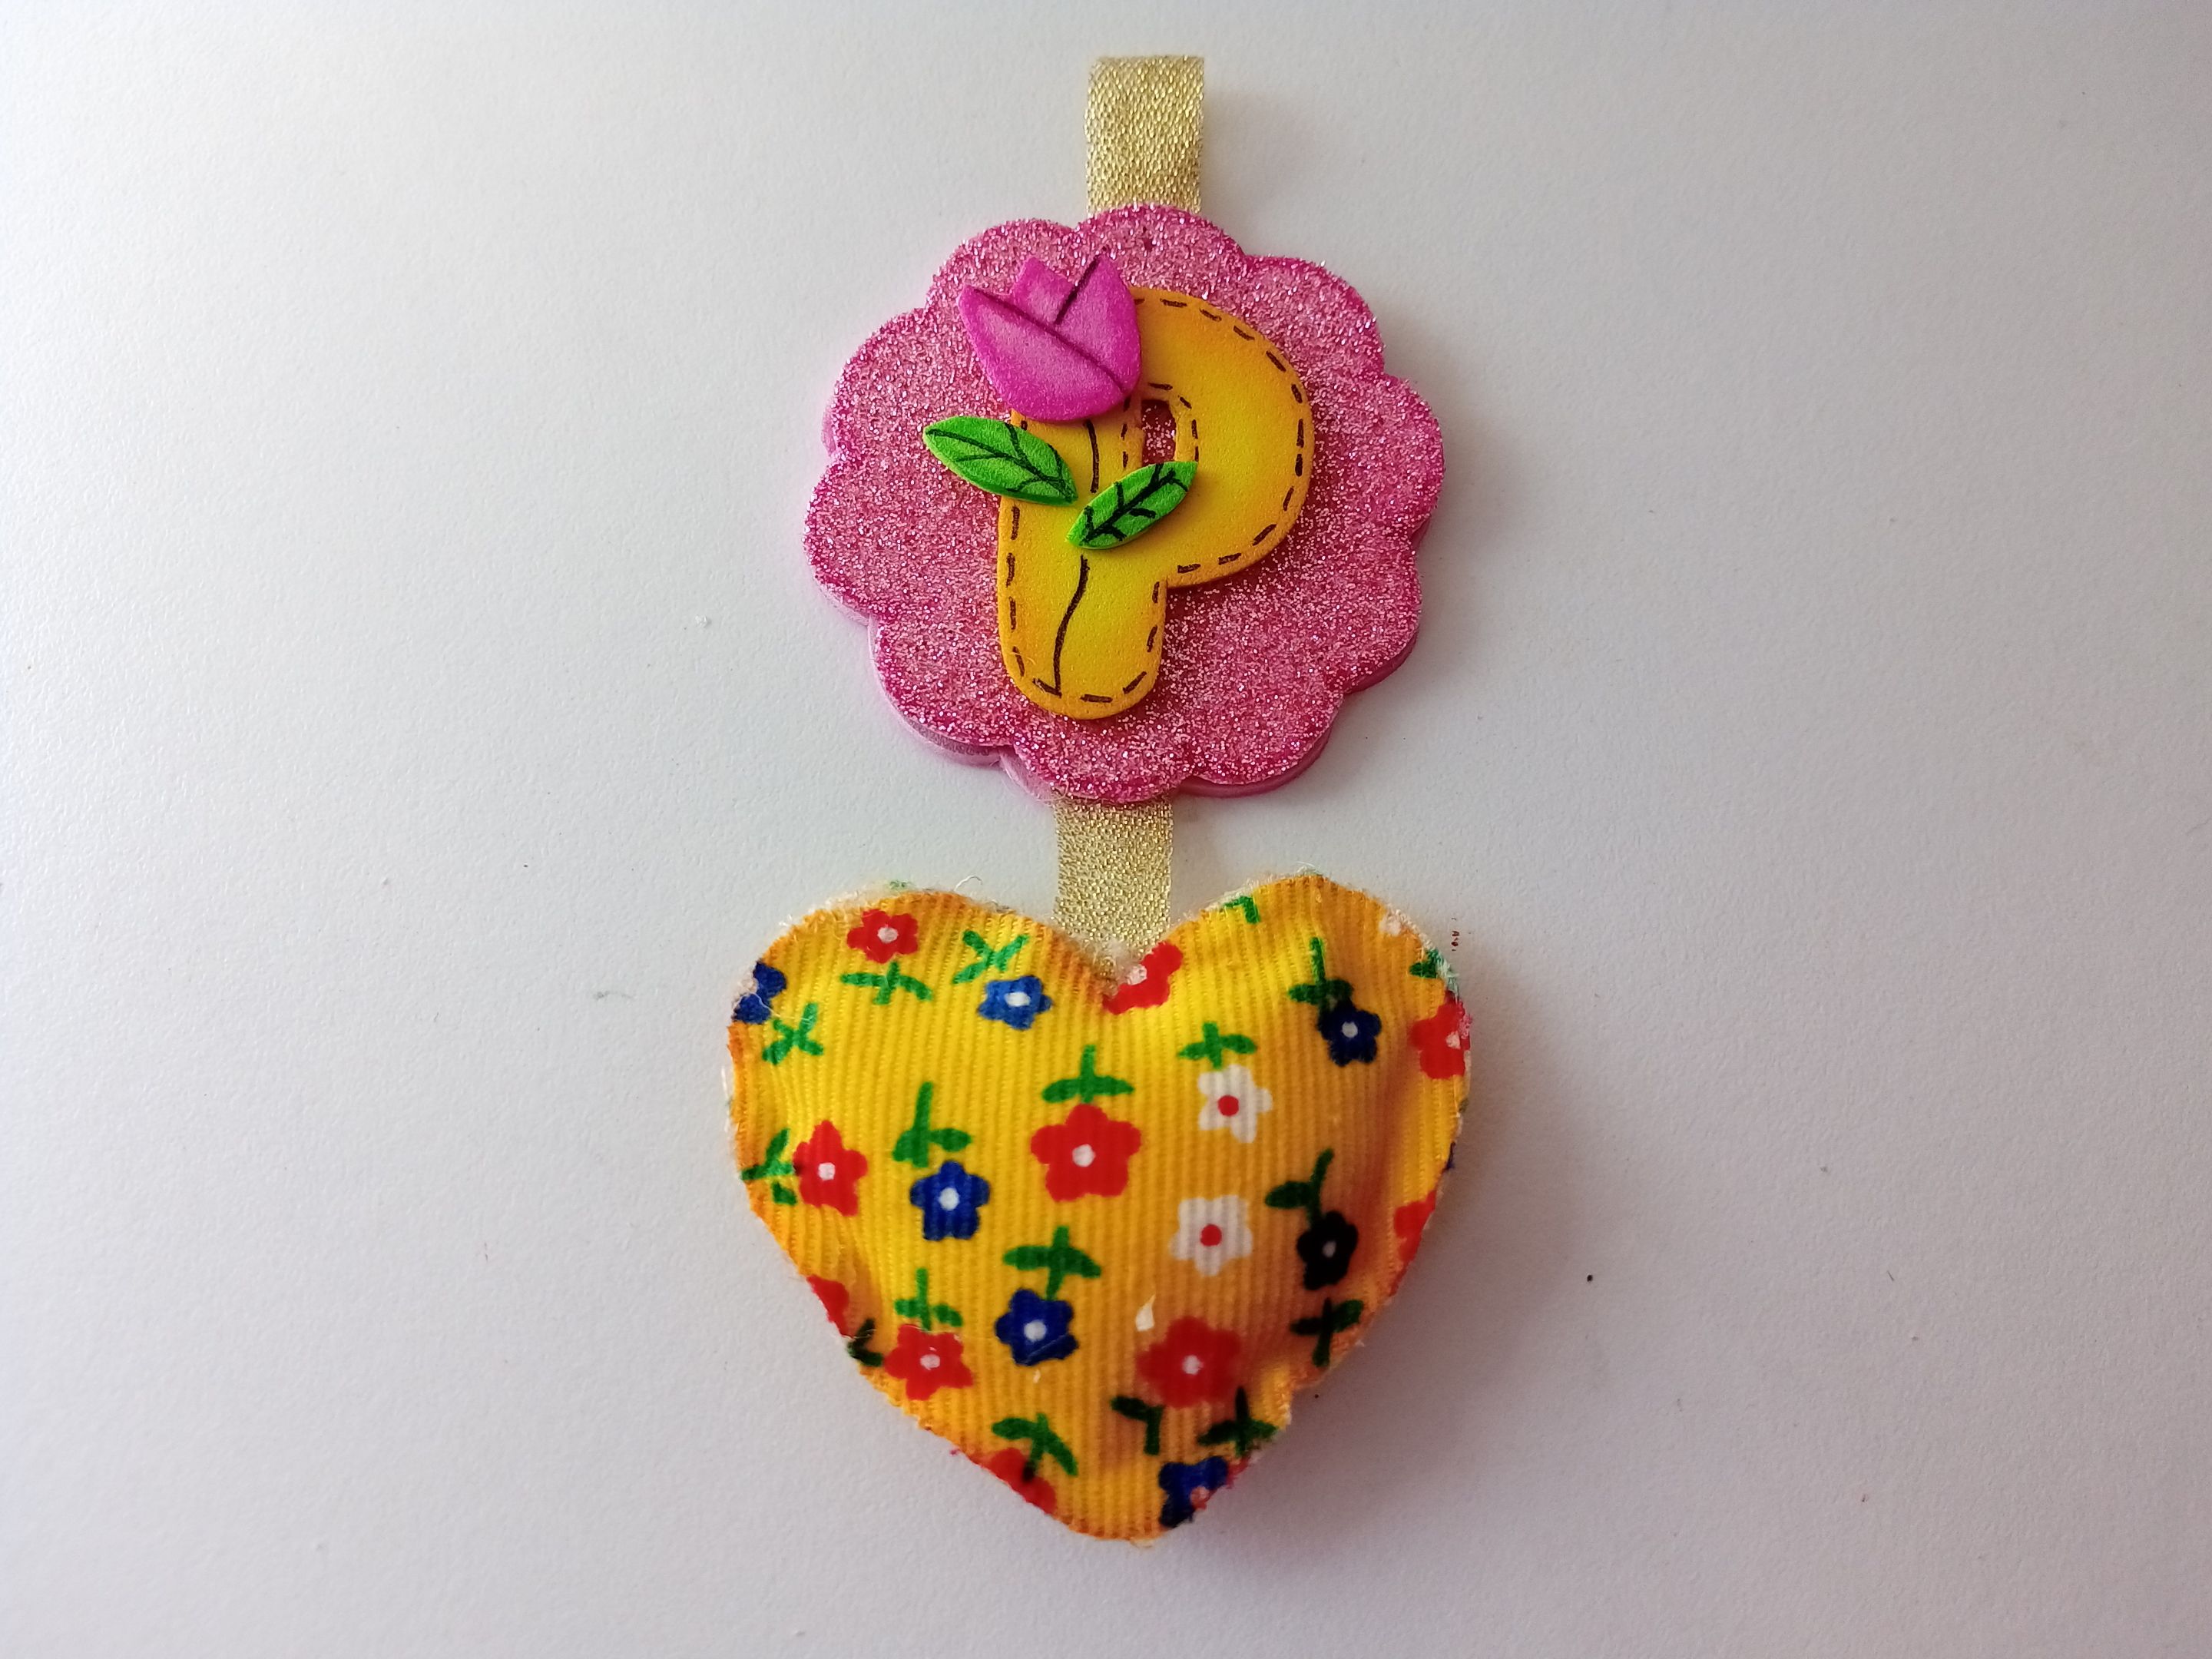
Por otra parte, recorté dos piezas de tela con forma de corazón de 6 cm x 5.5 cm y pegué el borde con silicona caliente y dejé solo la mitad de la parte superior sin pegar para así rellenar con un poco de algodón o relleno para almohadas y pegué, pero junto con un trozo de la cinta que cuelga en la parte superior del llavero. Finalmente, coloque el aro metálico en la cinta superior.
✨STEP 4:
On the other hand, I cut out two heart-shaped pieces of fabric measuring 6 cm x 5.5 cm and glued the edge with hot silicone and left only half of the top unglued so I could fill it with a bit of cotton or pillow stuffing and glue it, but together with a piece of the ribbon that hangs at the top of the keychain. Finally, you can insert the metal ring into the top ribbon.
 |  |  |
|---|
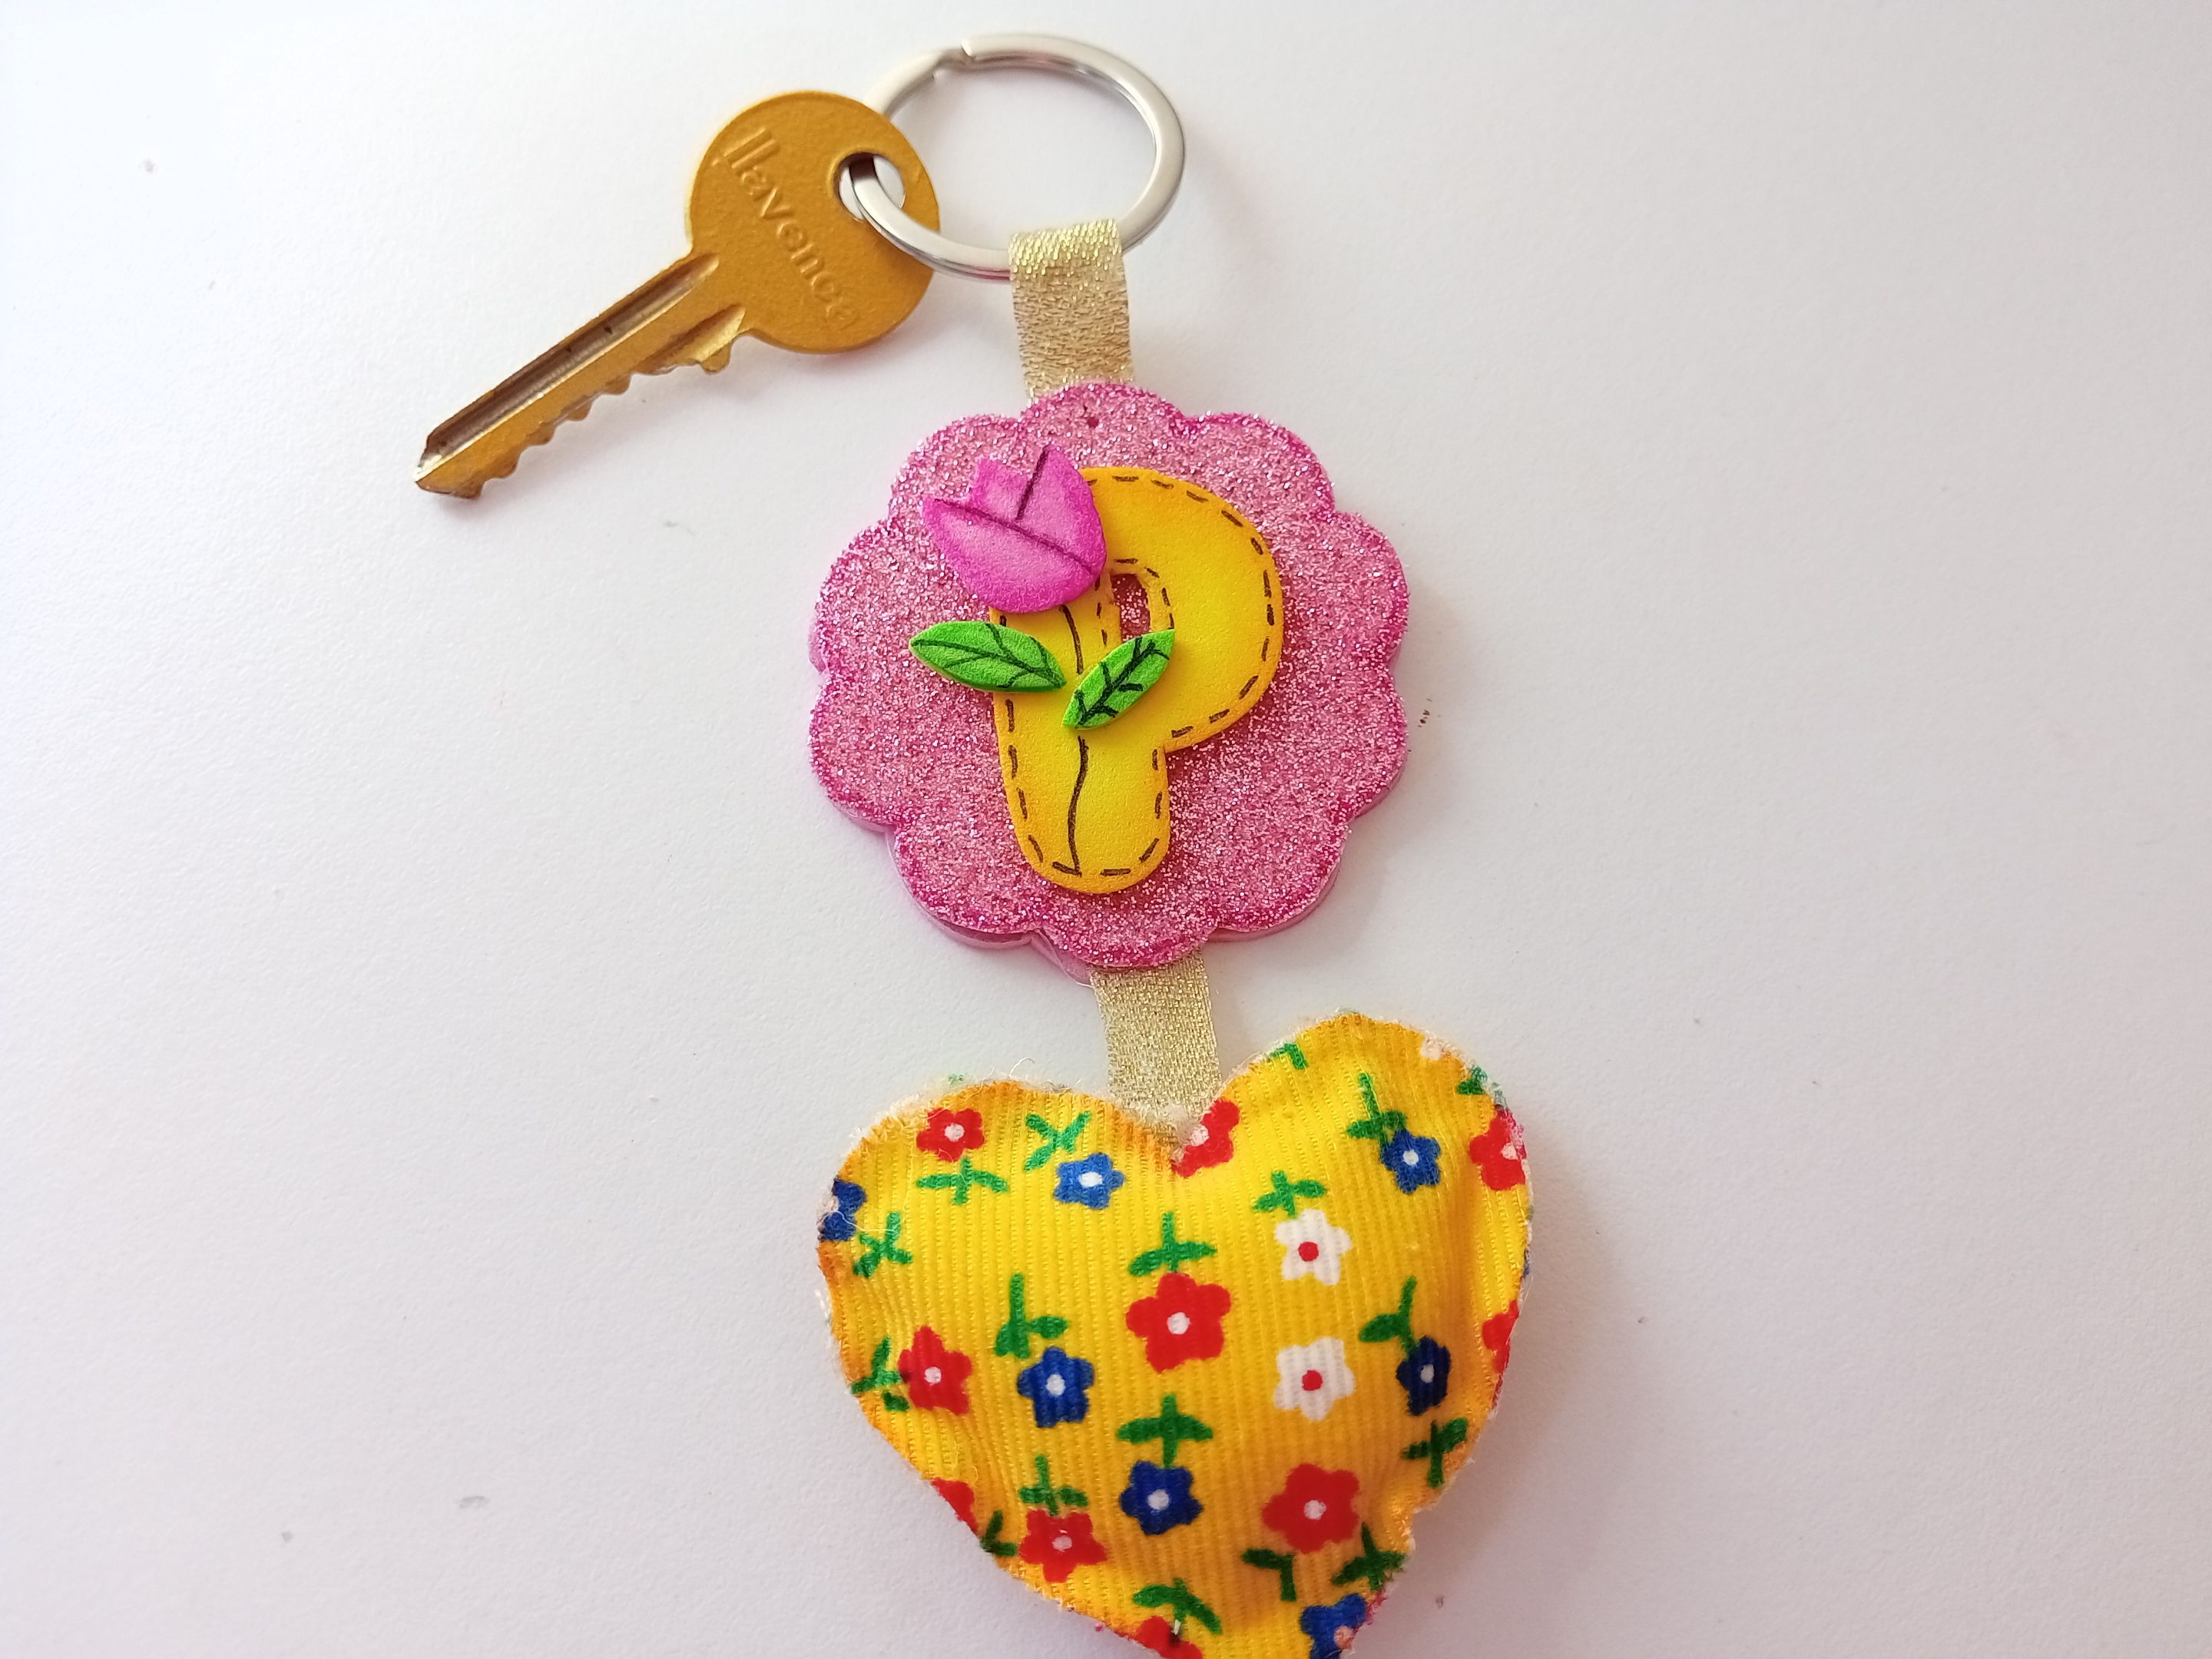
✨This is how I made my cute personalized keychain and you can make your own with pieces and figures that are important to you. At the moment it is my favorite keychain, I am very happy, and in addition, the stuffed heart relieves stress, because it is like a little pillow. I hope you liked the step by step and are encouraged to make it.
❤️Until the next post.
✨RESULTADO: | ✨RESULT:


Todas las fotografías son de mi propiedad.
Separador y Fotos editadas en Canva
All photographs are my property.
Photos edited in Canva
Posted Using InLeo Alpha