Hello, hello my creative people who read us from all over the world, I wish you an excellent weekend, I hope you enjoy it and have a great time.
Hola, hola mi gente creativa que nos leemos desde cualquier parte del mundo, les deseo un excelente fin de semana, espero lo disfruten y lo pasen genial.
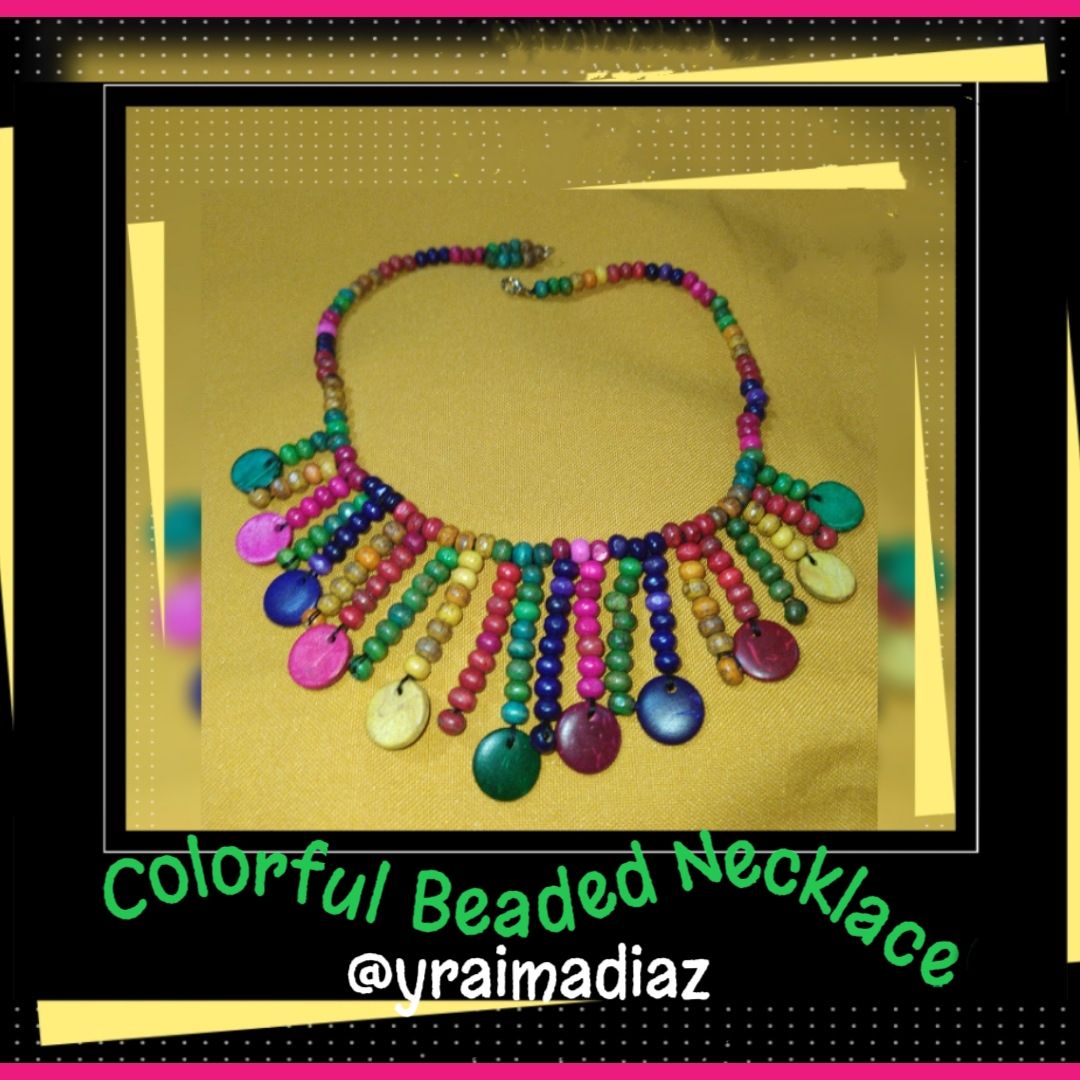
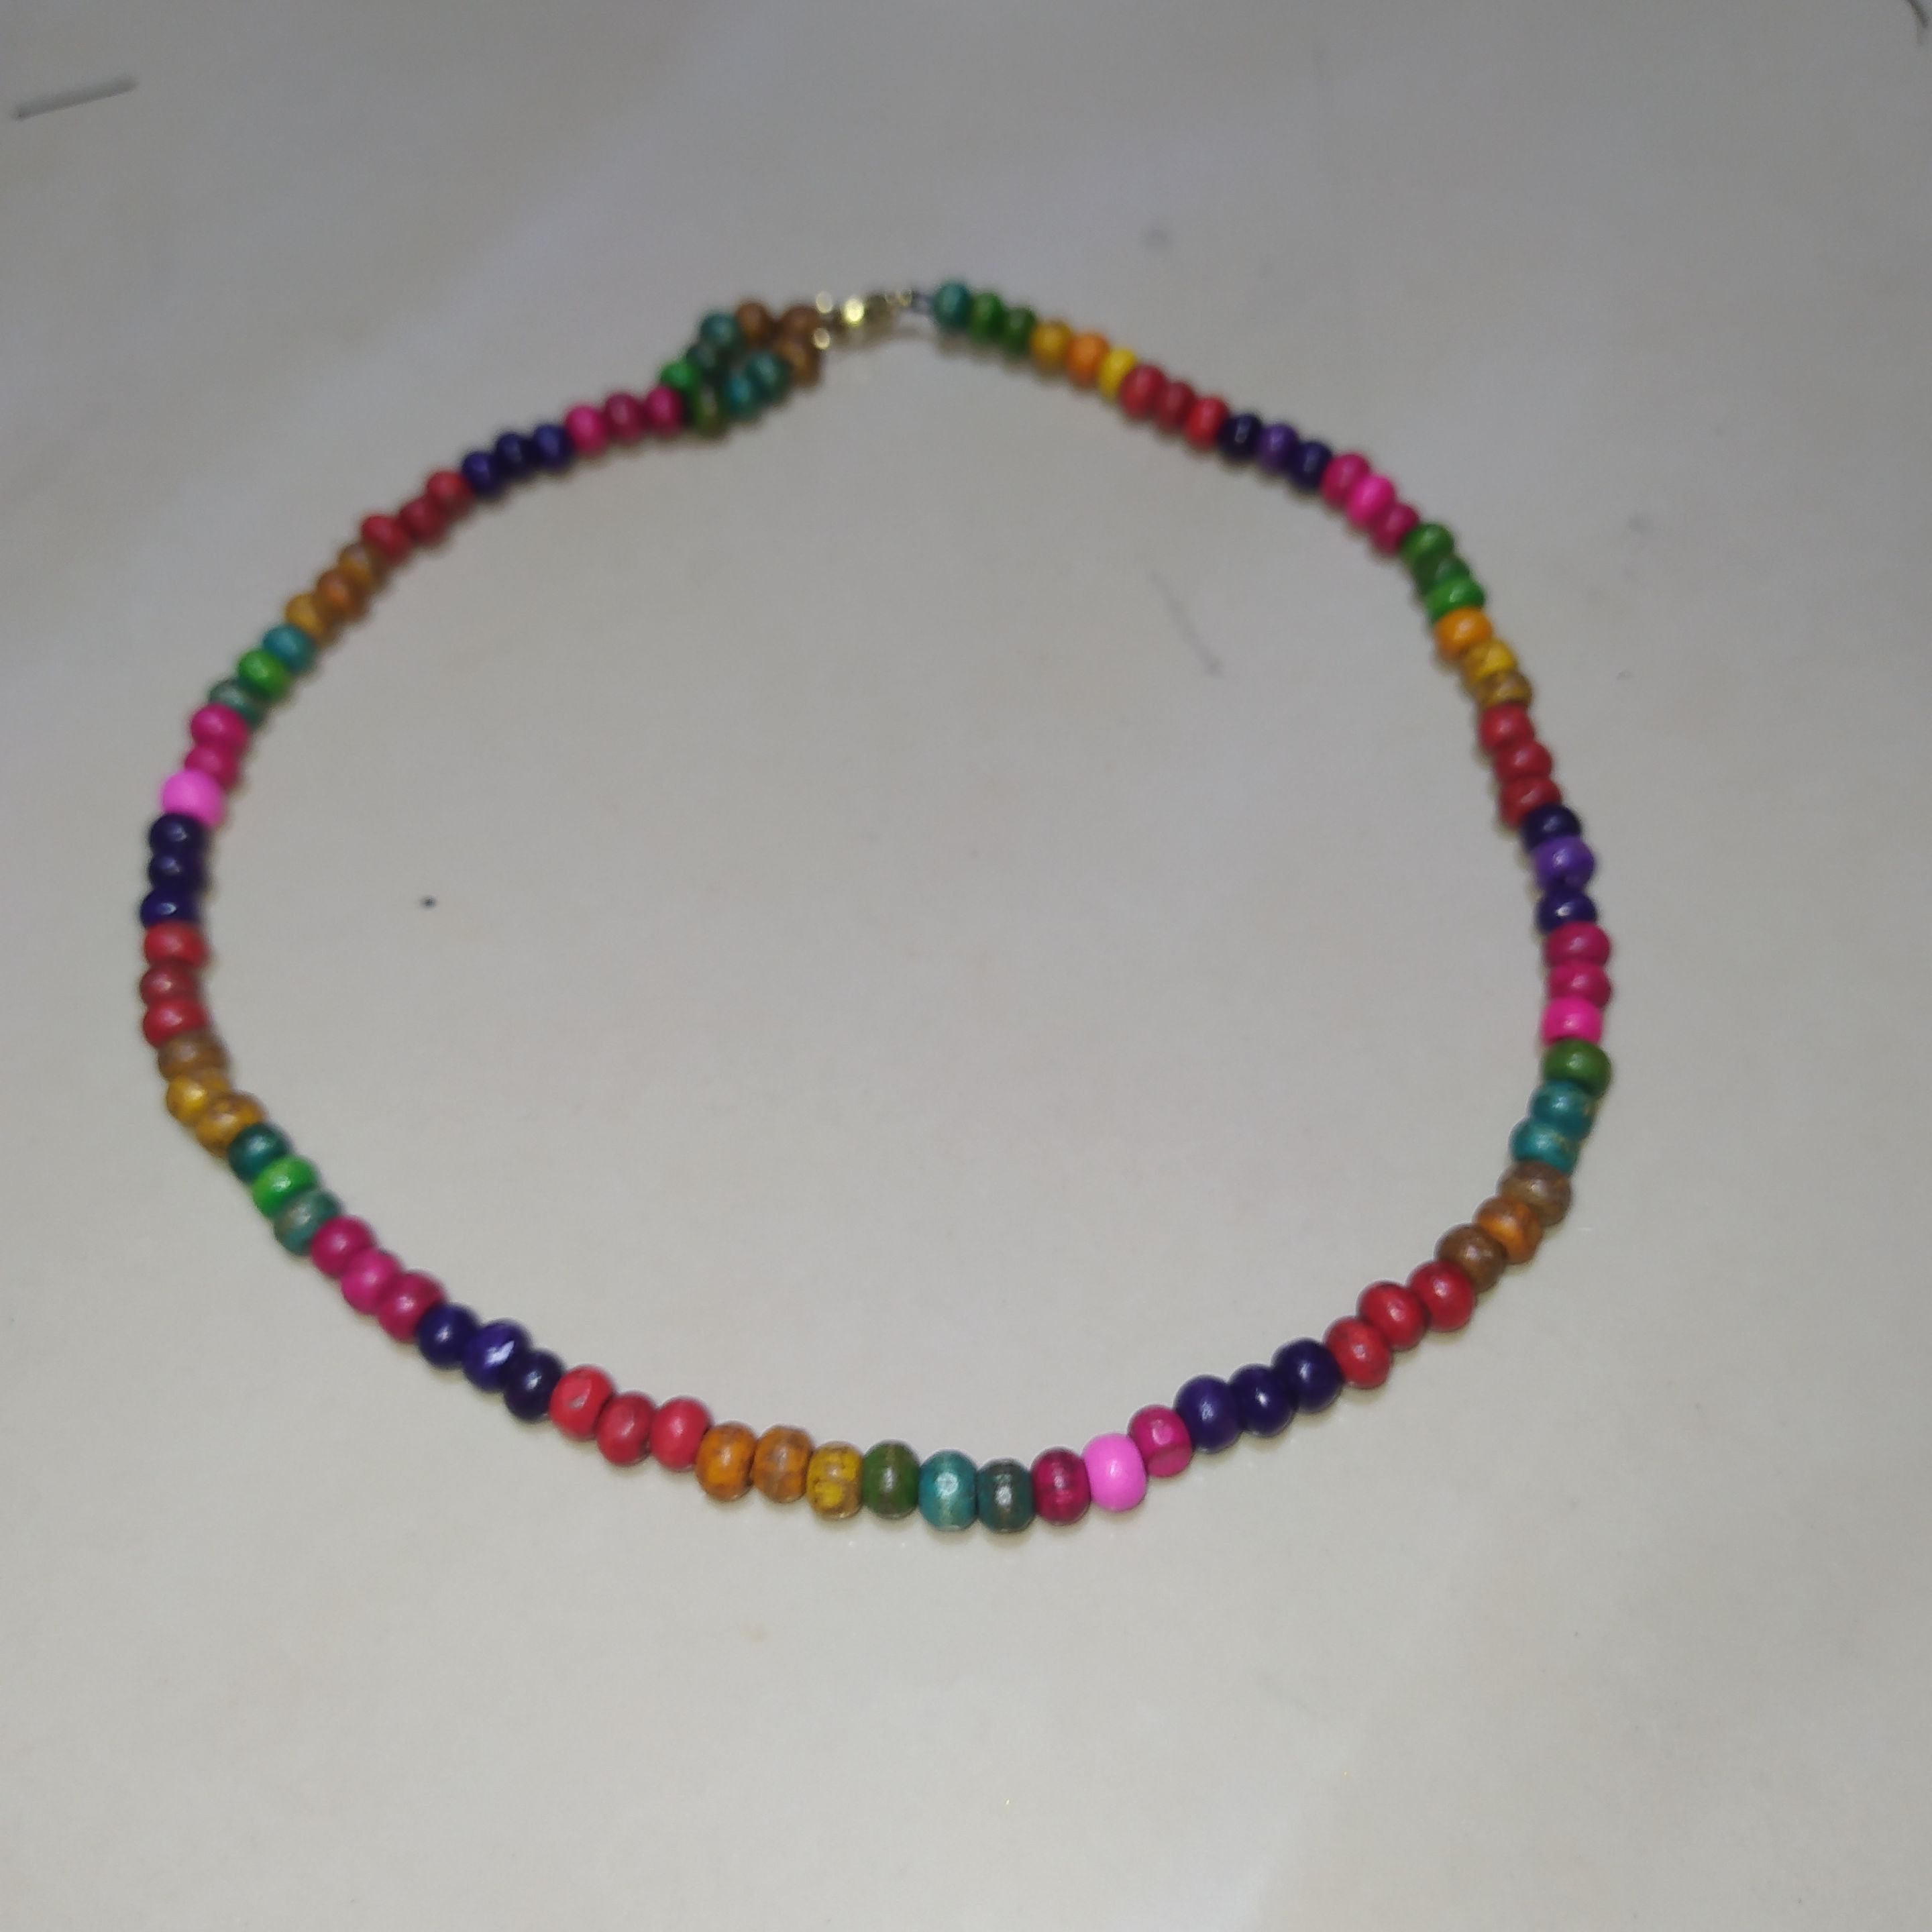
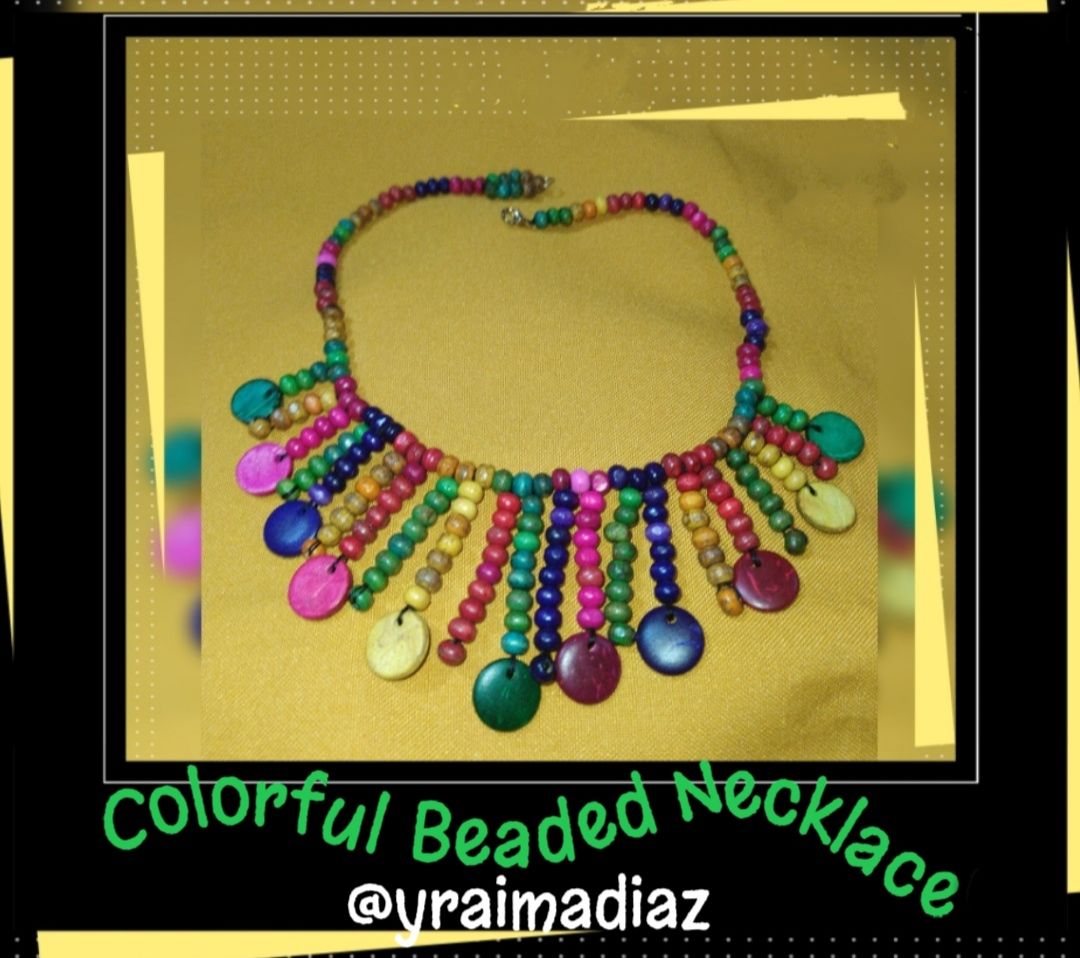
Today I have brought you a Fantastic Colorful Beaded Necklace which I made using some beads I had from other necklaces.
This necklace will undoubtedly highlight my outfit.
I invite you to join me as usual to its elaboration which is very simple.
Here is the list of materials.
Hoy les he traído un Fantástico Collar de Cuentas Colorido el cual realice utilizando unas cuentas que tenía de otros collares.
Este collar sin duda alguna resaltará mi outfit.
Te invito me acompañes como de costumbre a su elaboración la cual es muy sencilla.
Por acá te dejo la lista de los materiales.
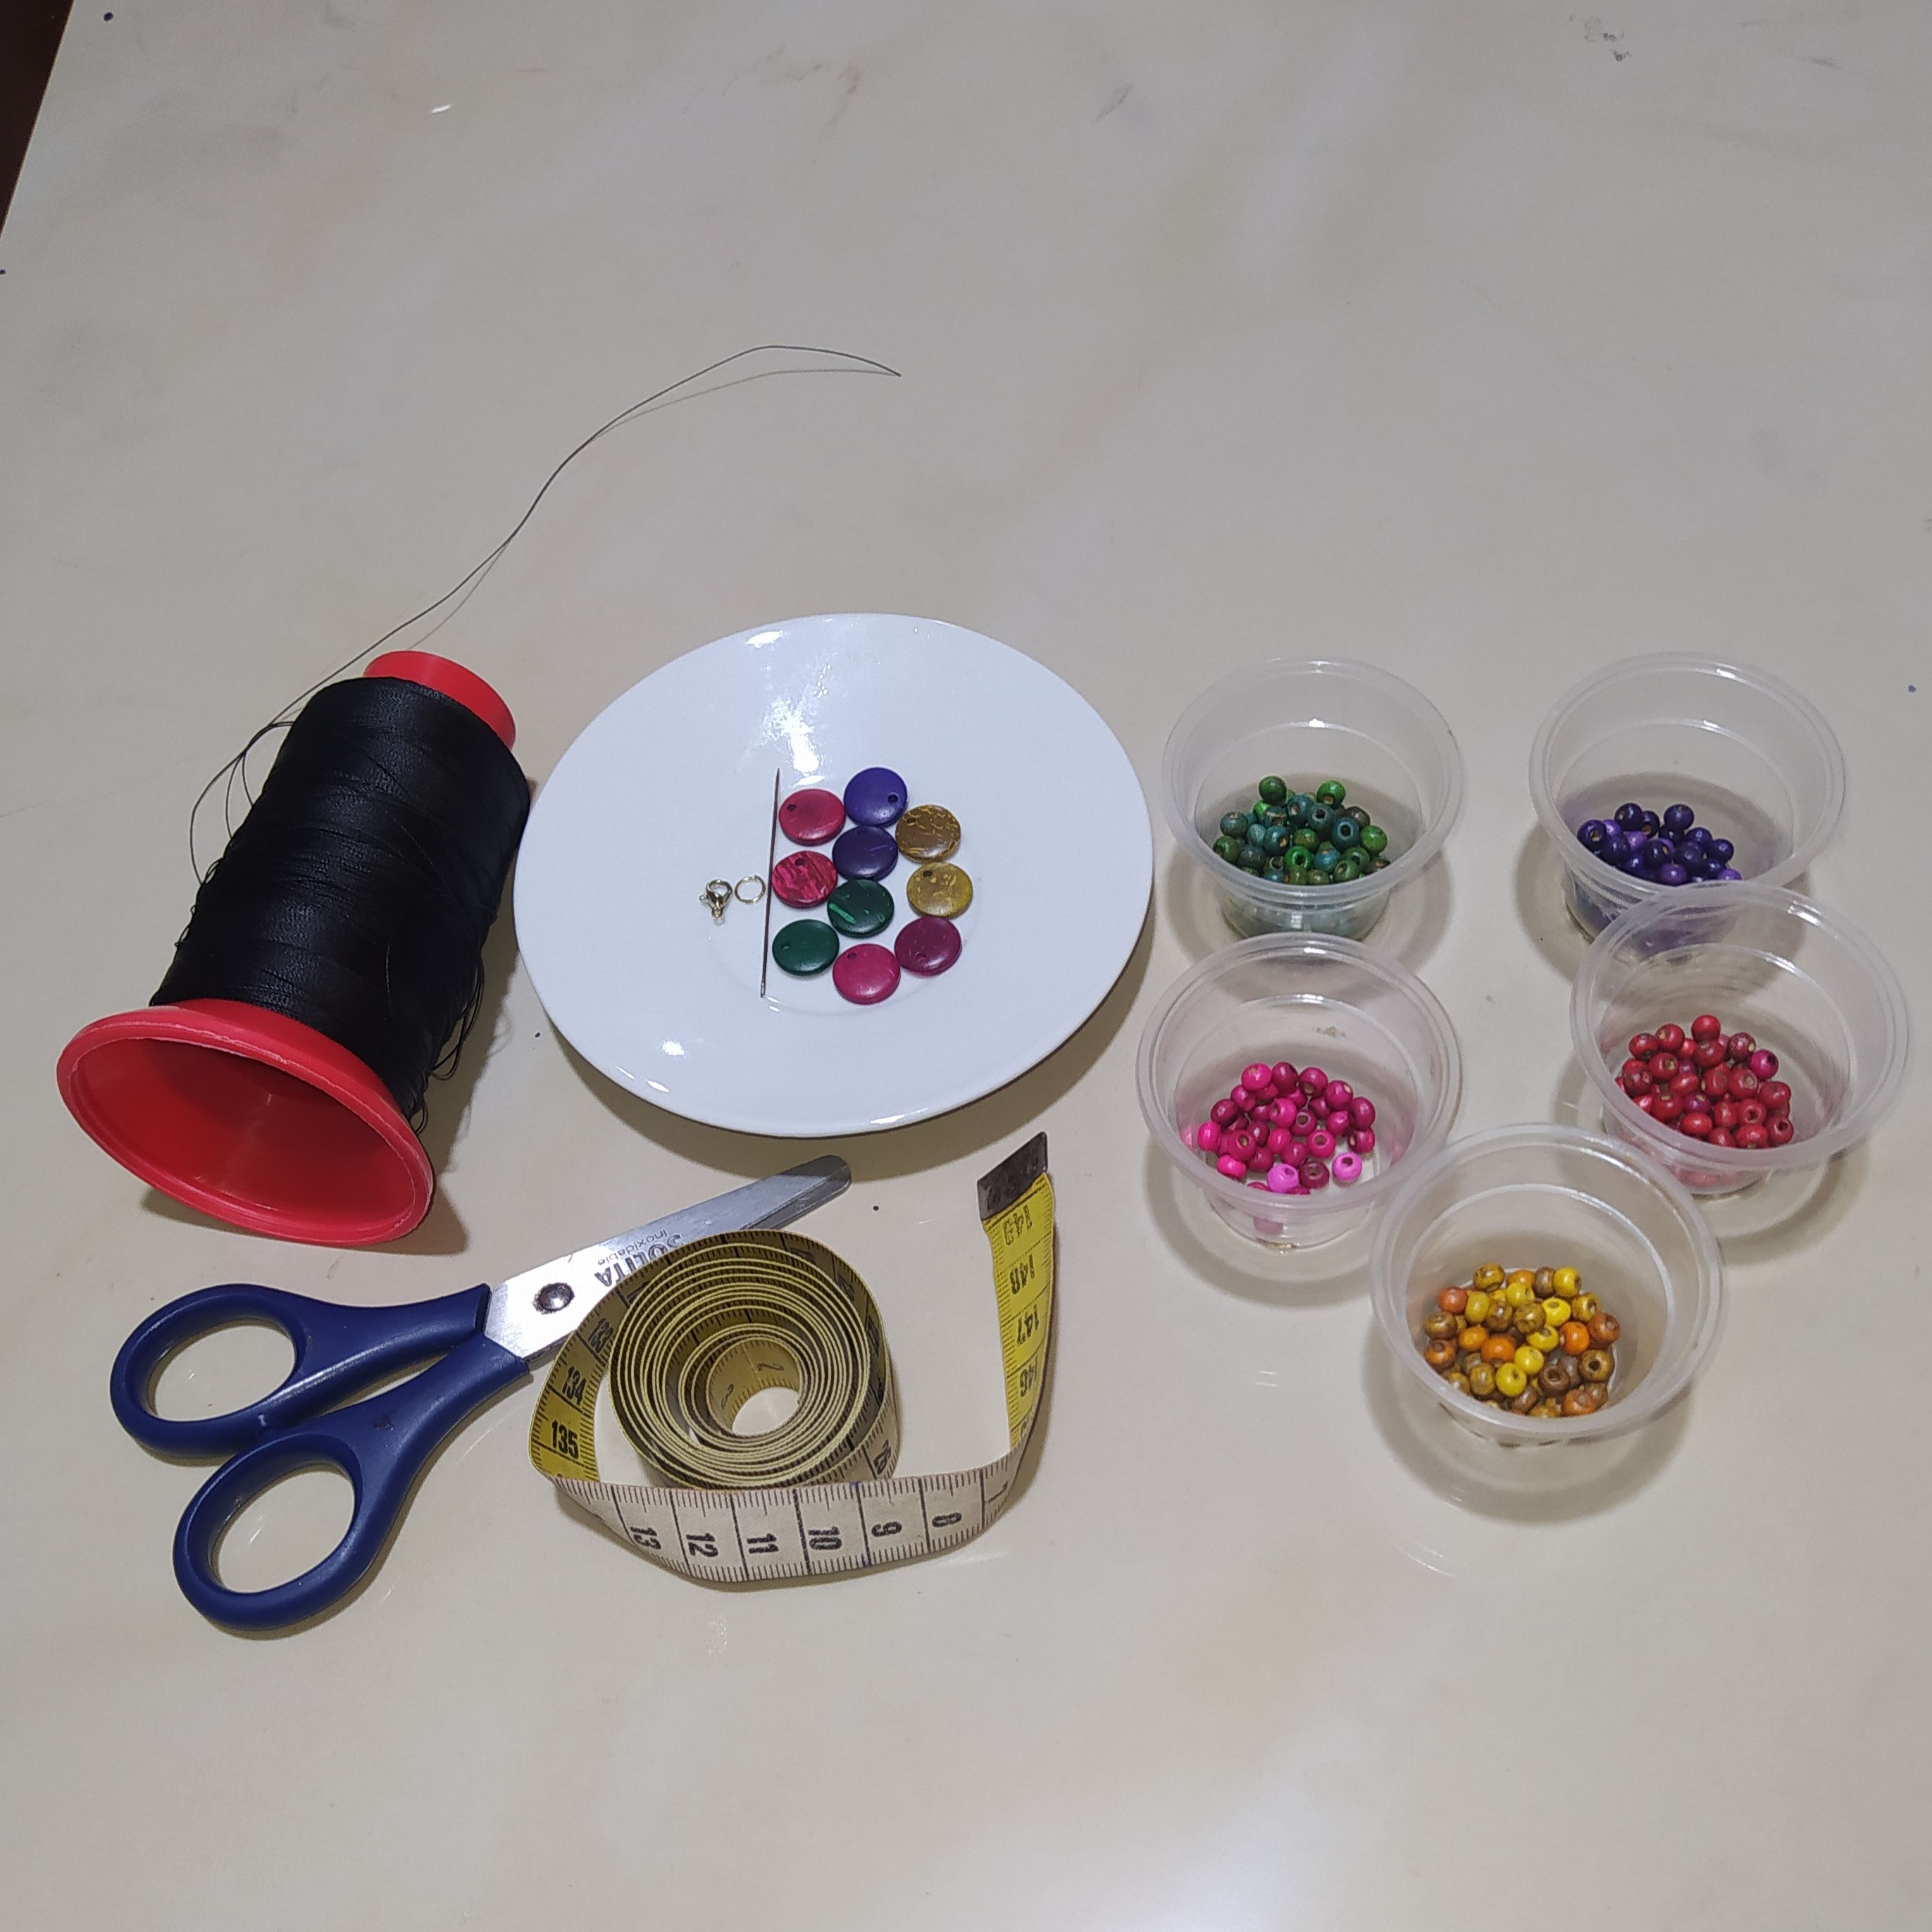
Materiales
- Cuentas de madera de colores verde, amarillo, rojo, morado, fucsia.
- Cuentas planas de madera en los mismos colores.
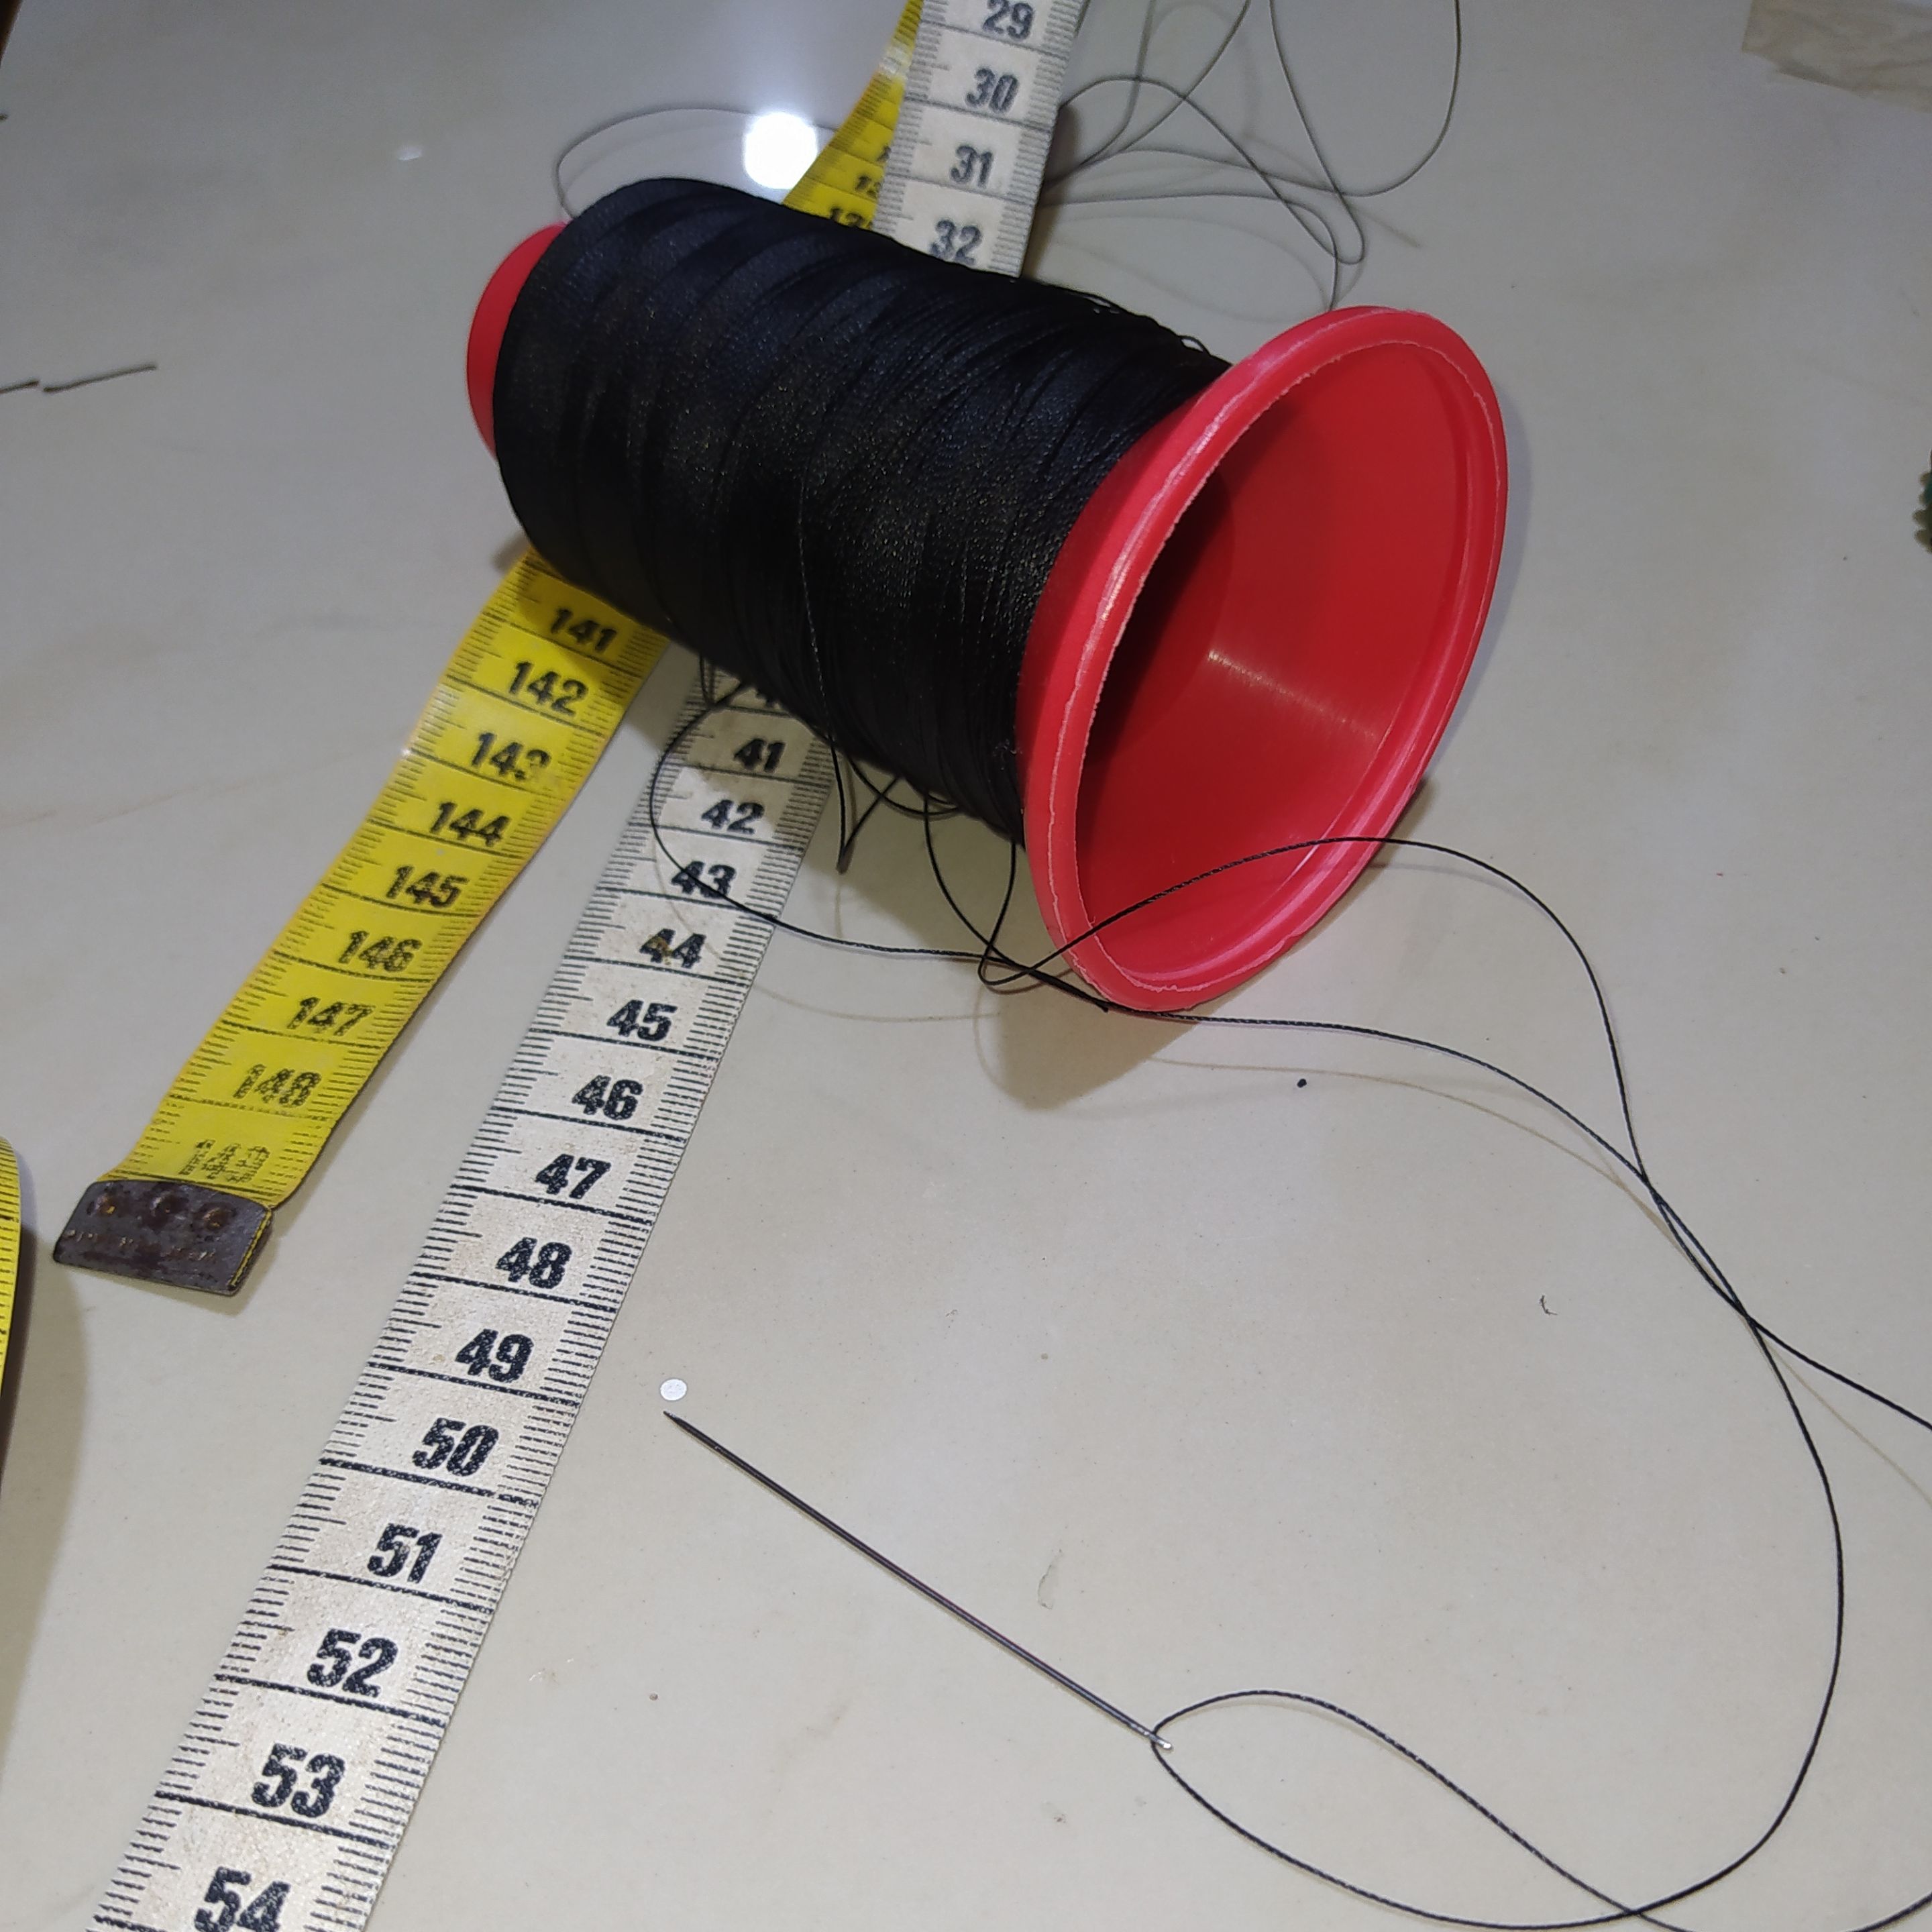
- Hilo de nylon negro.
- Aguja.
- Abridor pico de loro.
- Argolla pequeña.
- Cinta métrica.
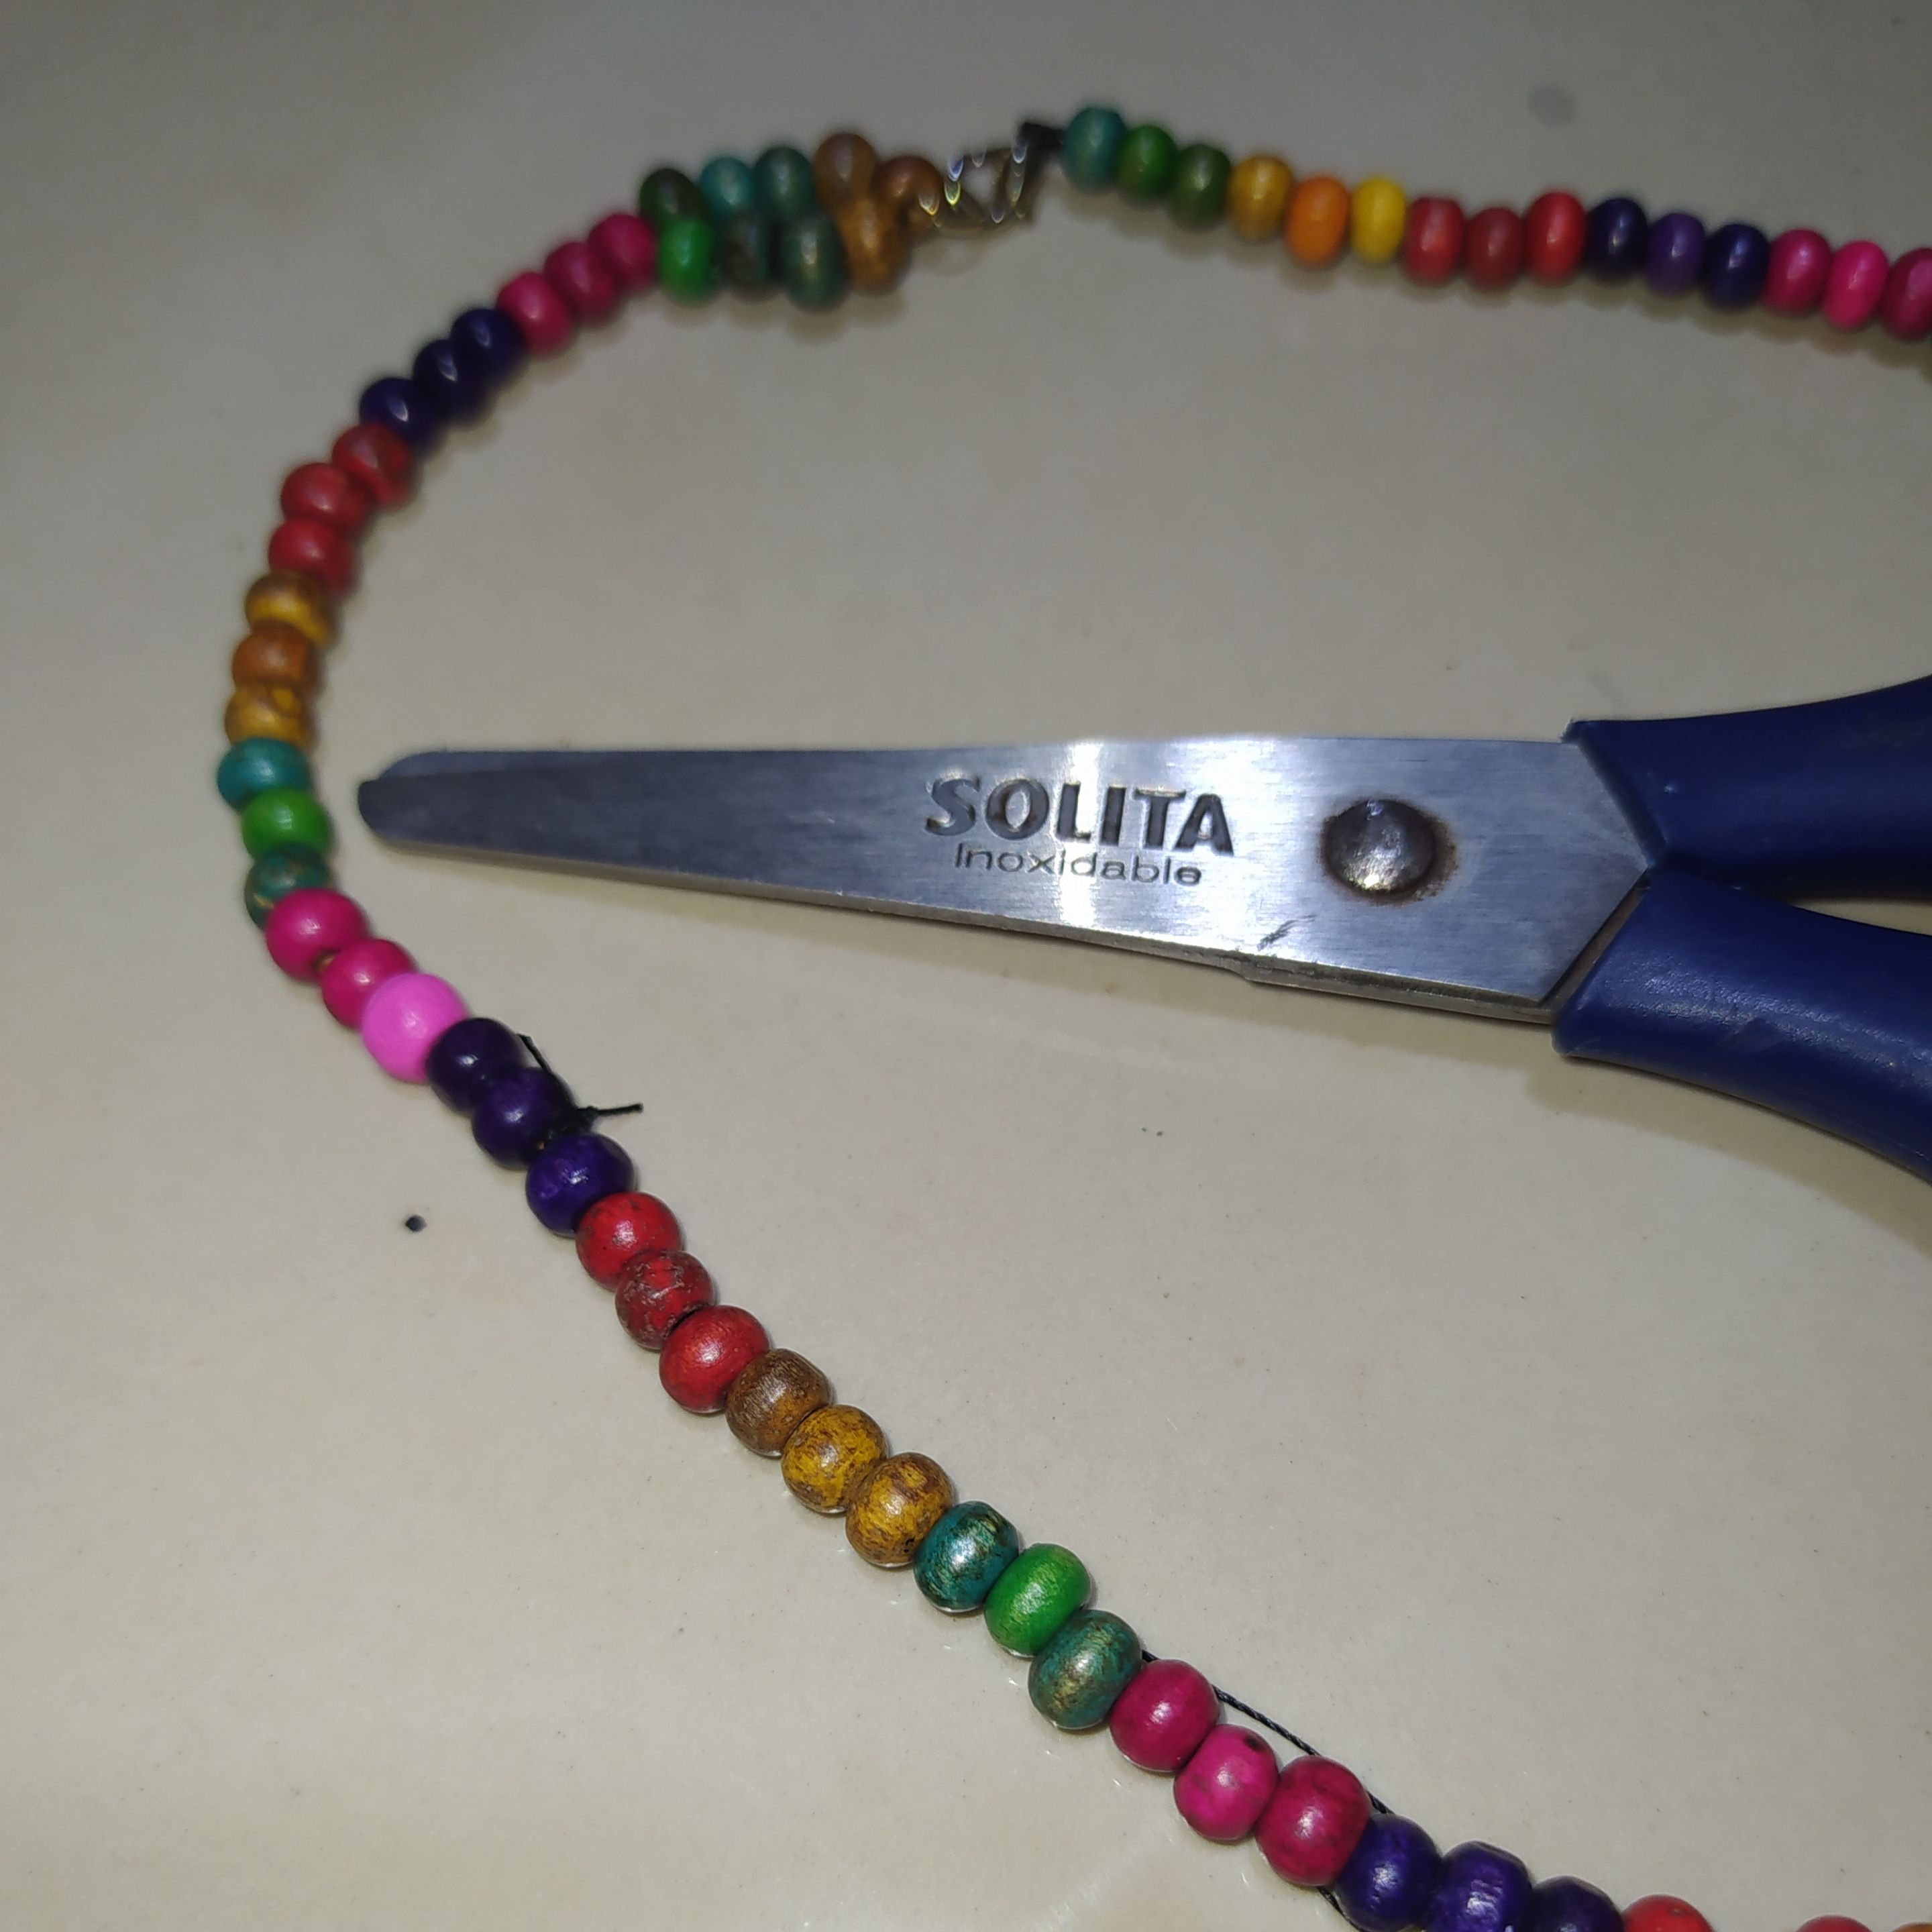
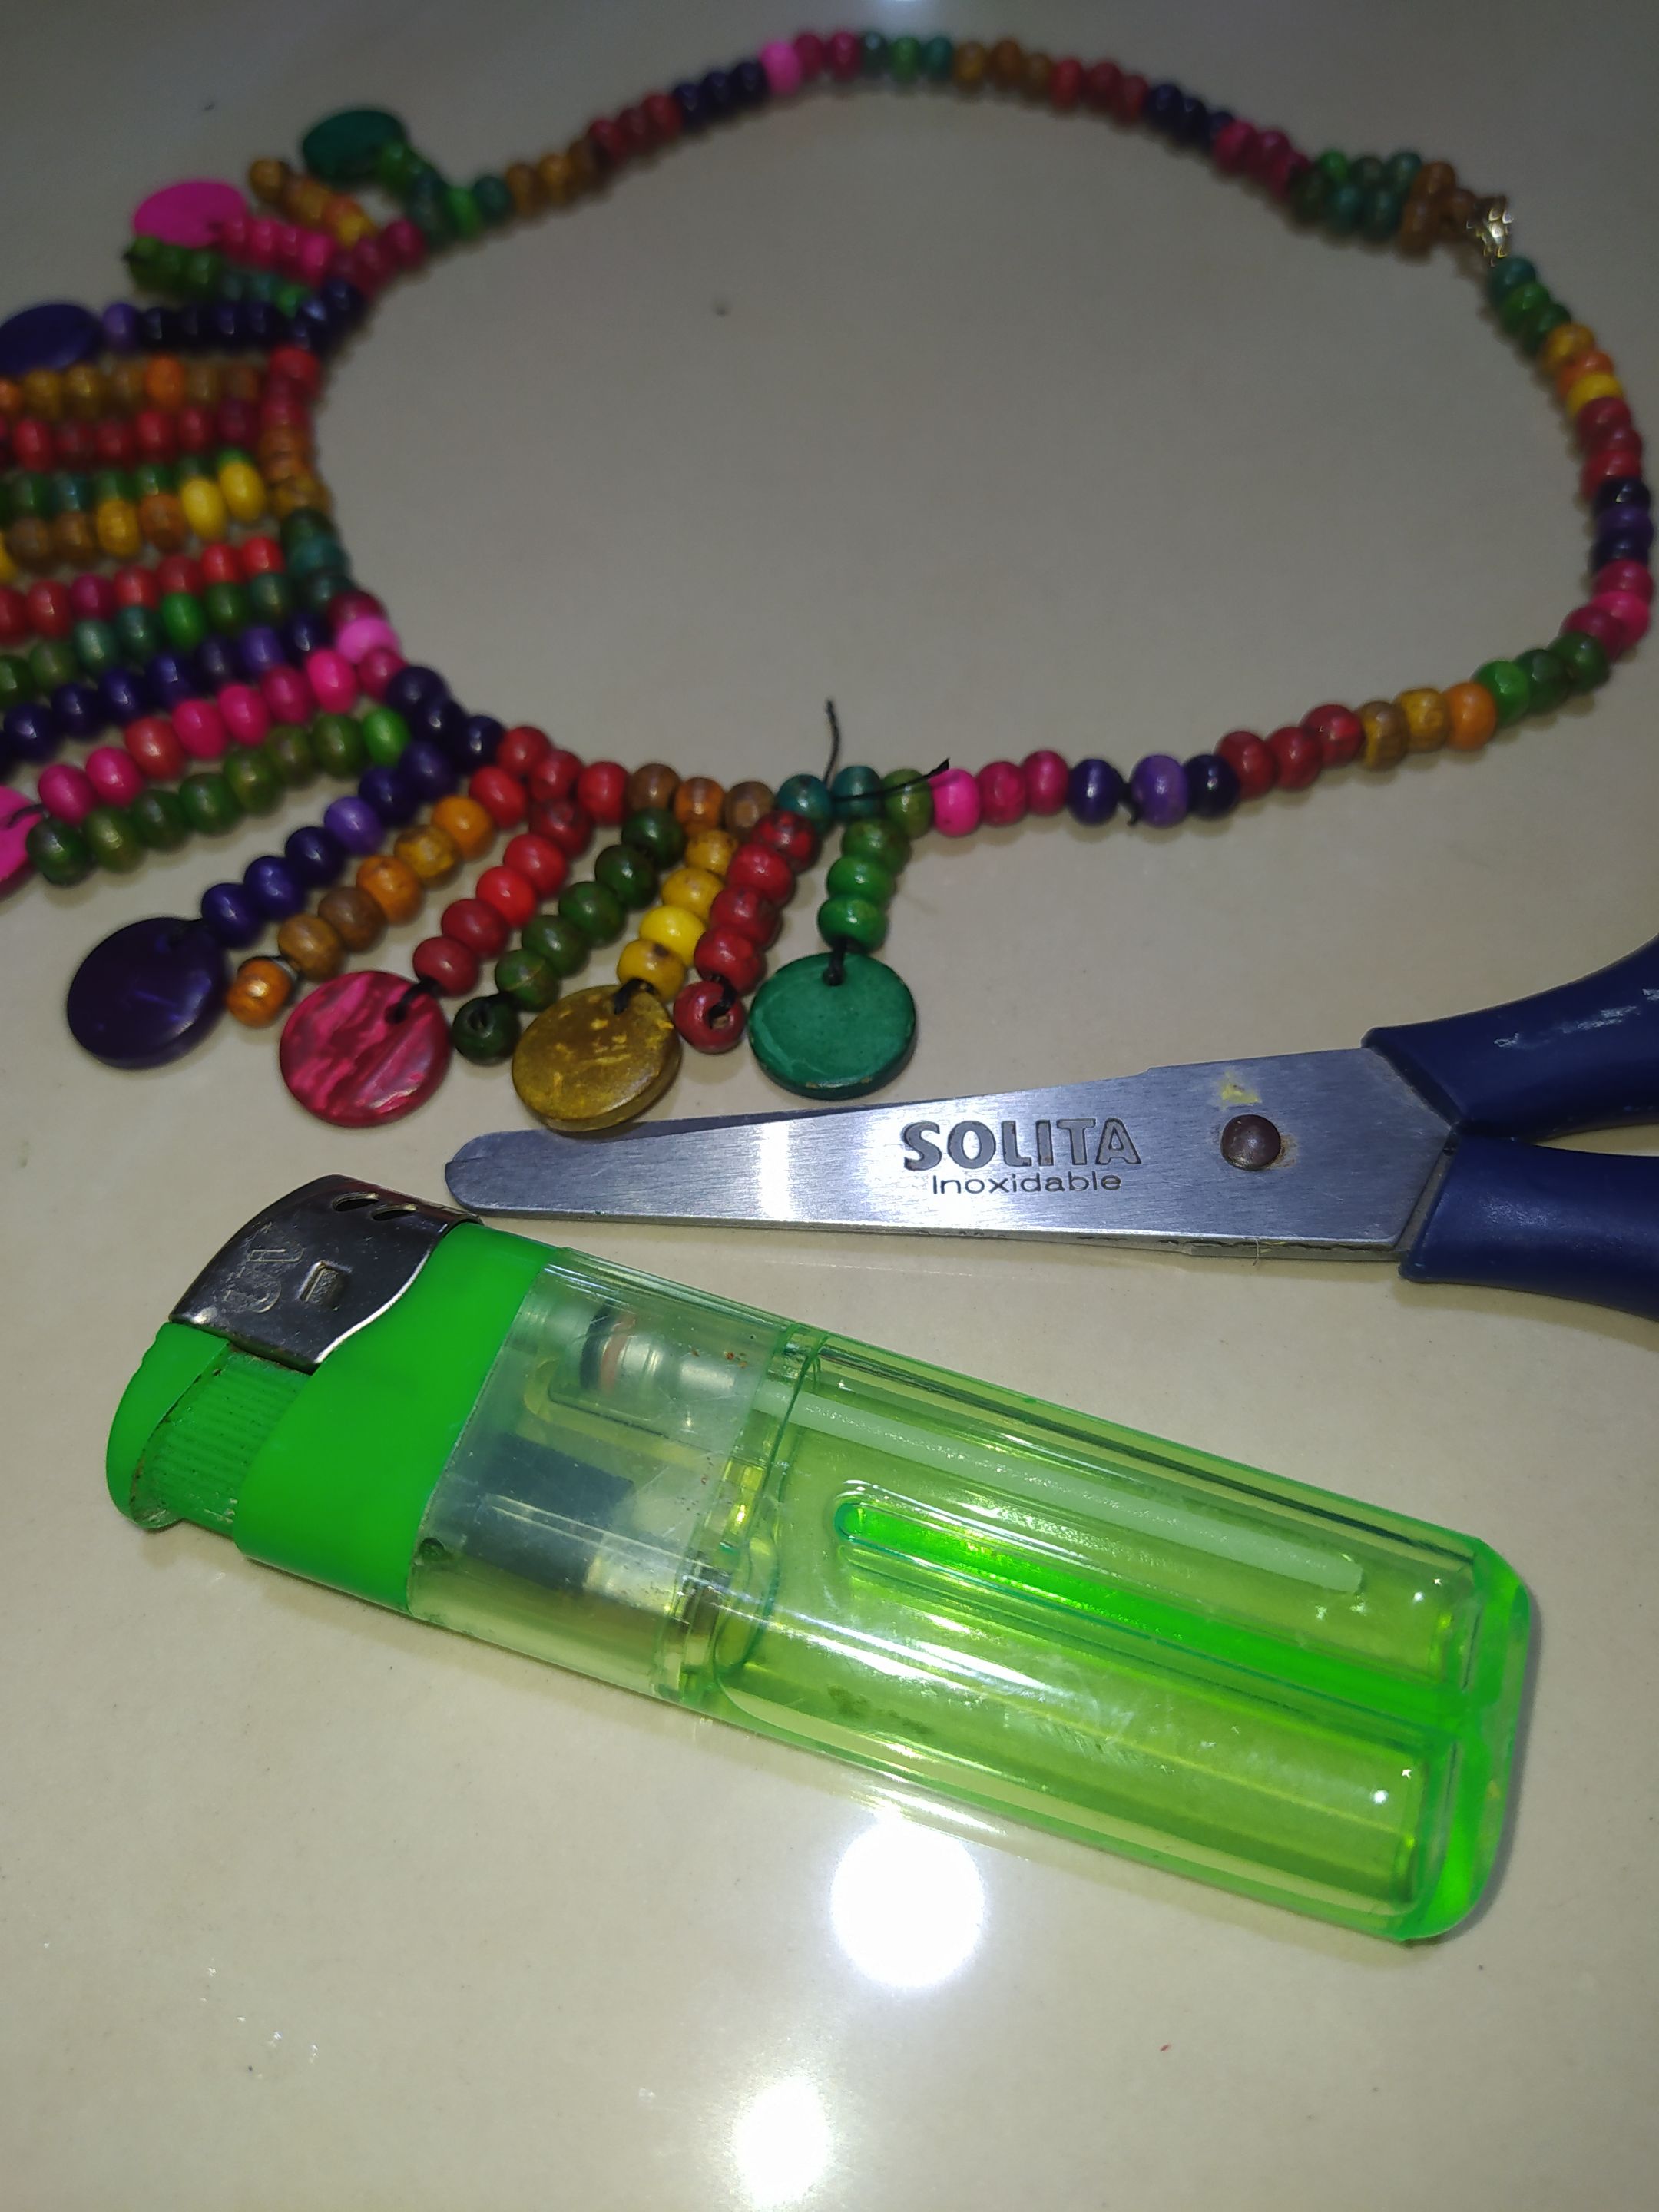
- Tijera.
Materials
- Wooden beads in green, yellow, red, purple, fuchsia.
- Wooden separators in the same colors.
- Black nylon thread.
- Needle.
- Parrot beak opener.
- Small ring.
- Tape measure.
- Scissors.
Step by step.
Paso a paso.

- We take the tape measure and measure one meter of thread and cut it.
- Tomamos la cinta métrica y medimos un metro de hilo y recortamos.
 |  |
|---|
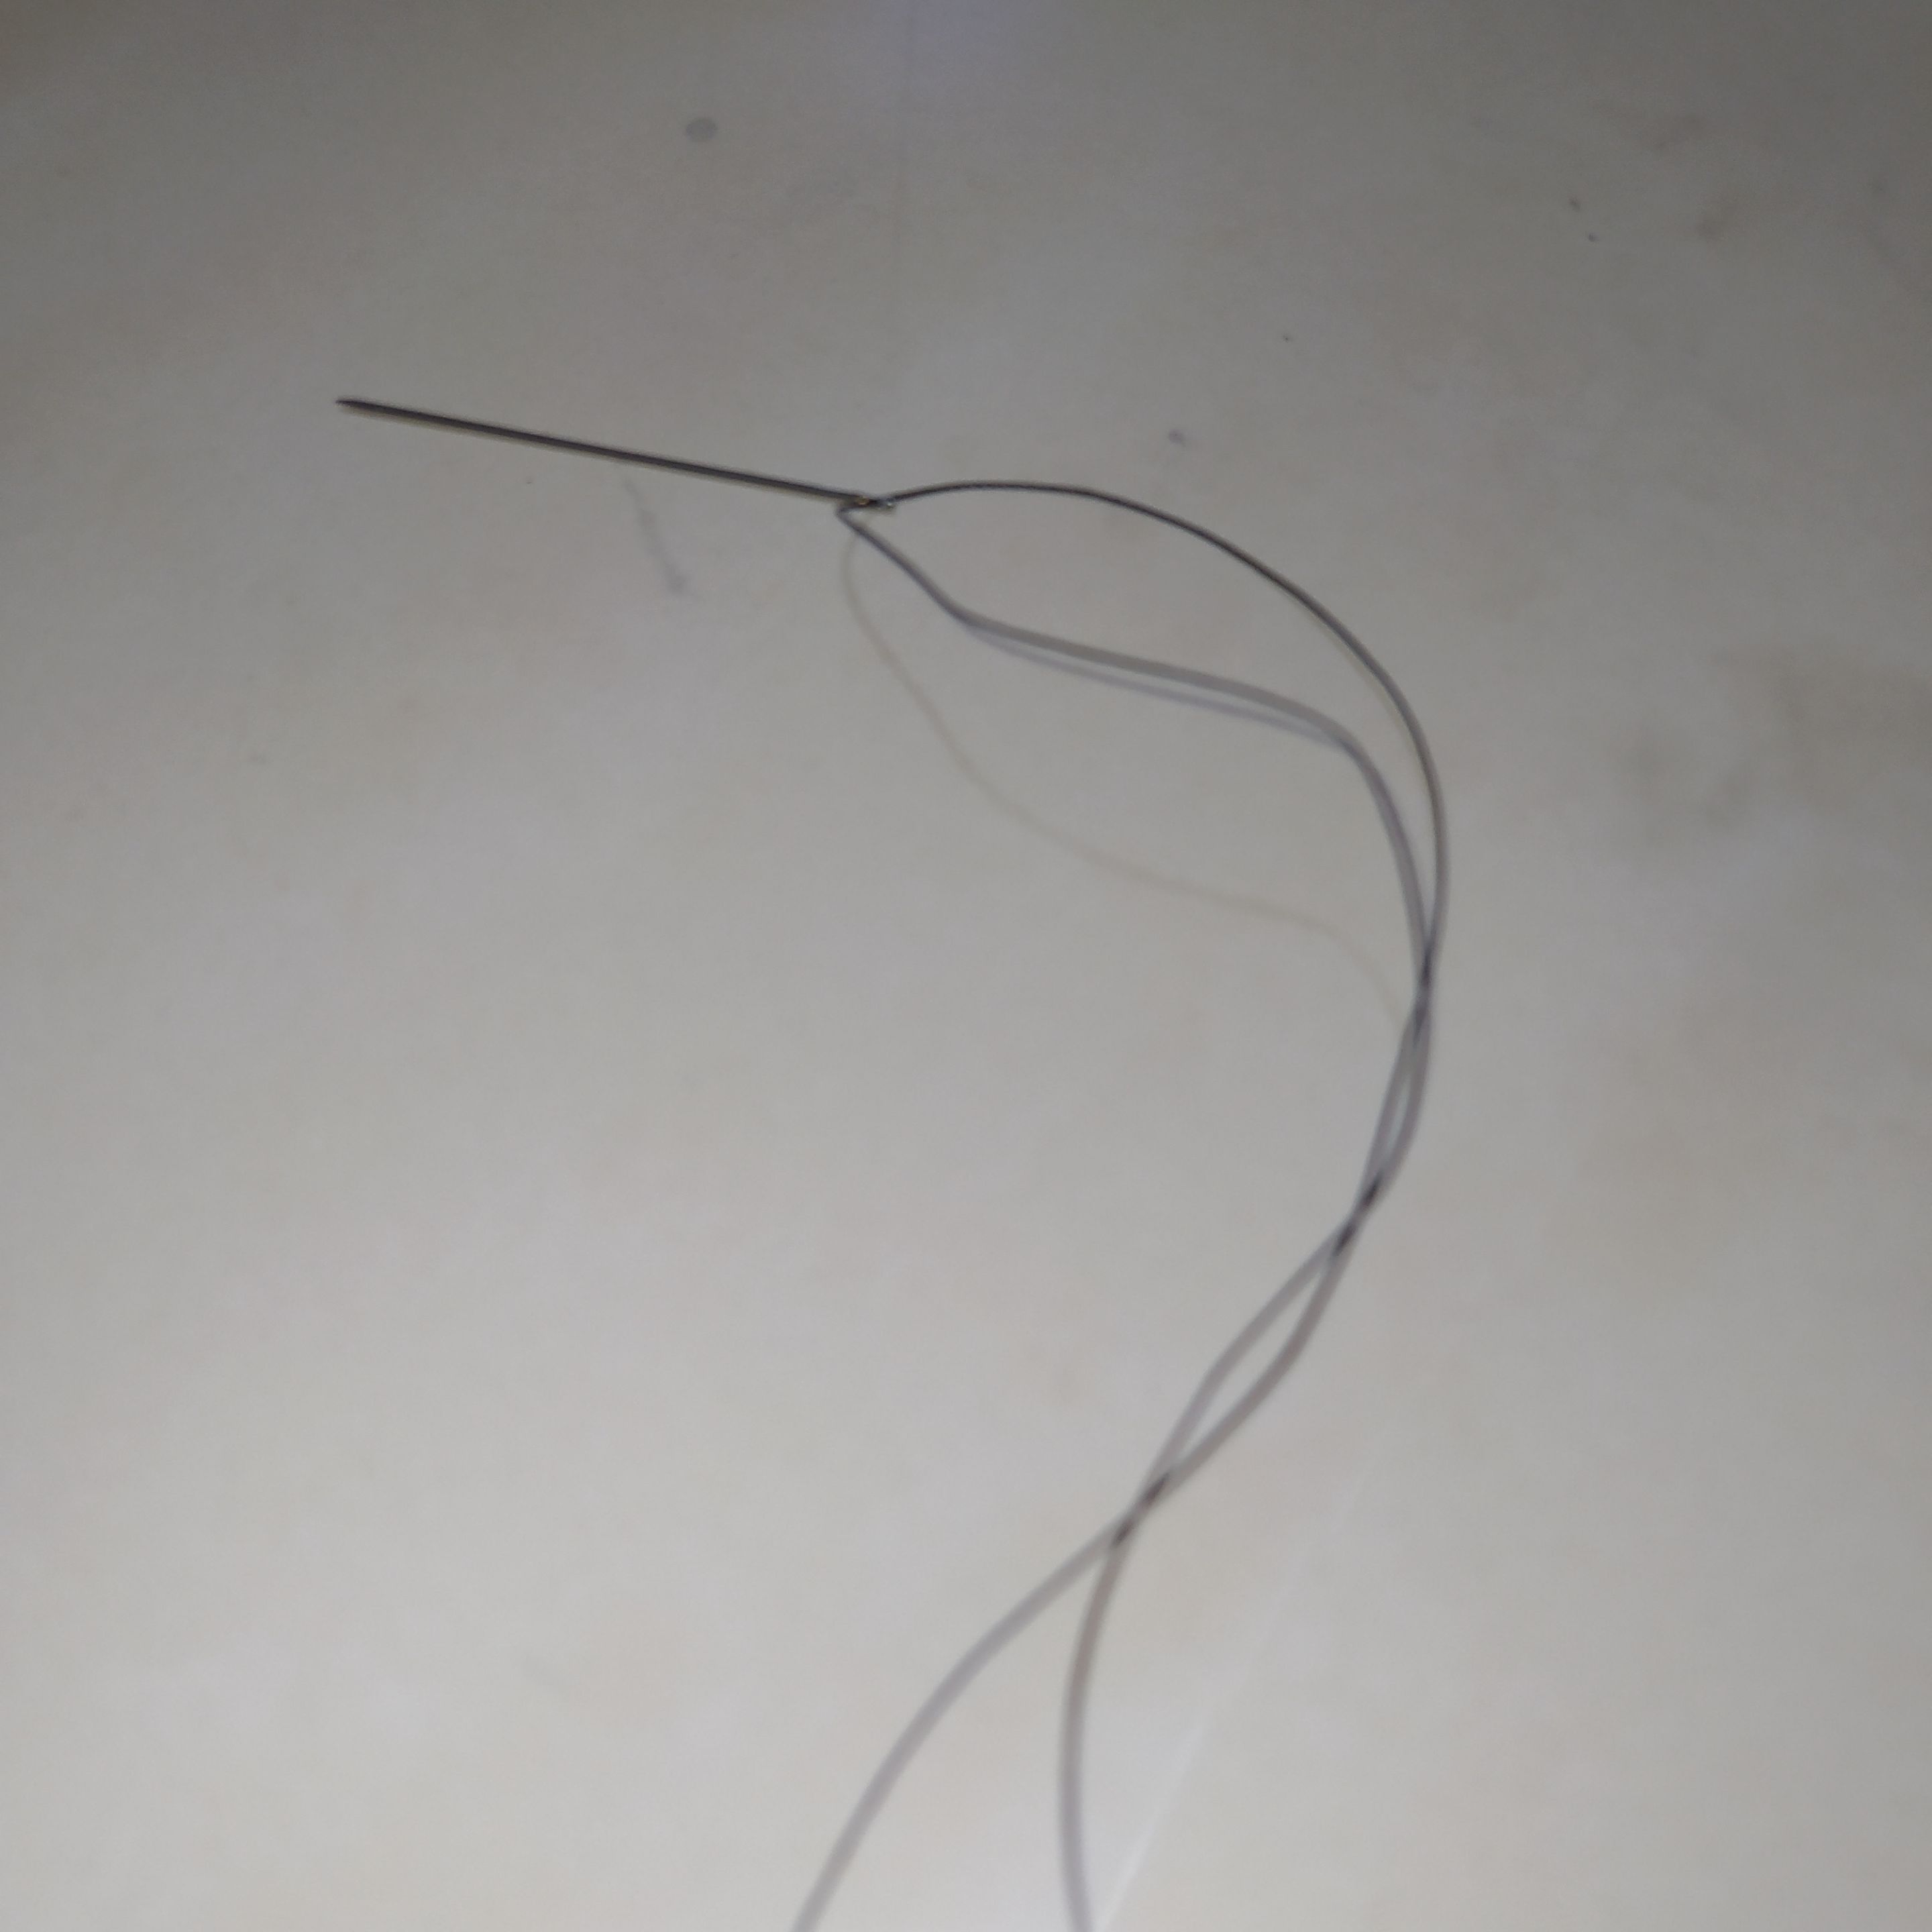
- Then we thread the needle and take it to the middle.
- We take the two threads from the other end and secure them on the table with teipe.
- Luego ensartamos la aguja y la llevamos hasta la mitad.
- Tomamos los dos hilos del otro extremo y aseguramos en la mesa con teipe
 |  |
|---|
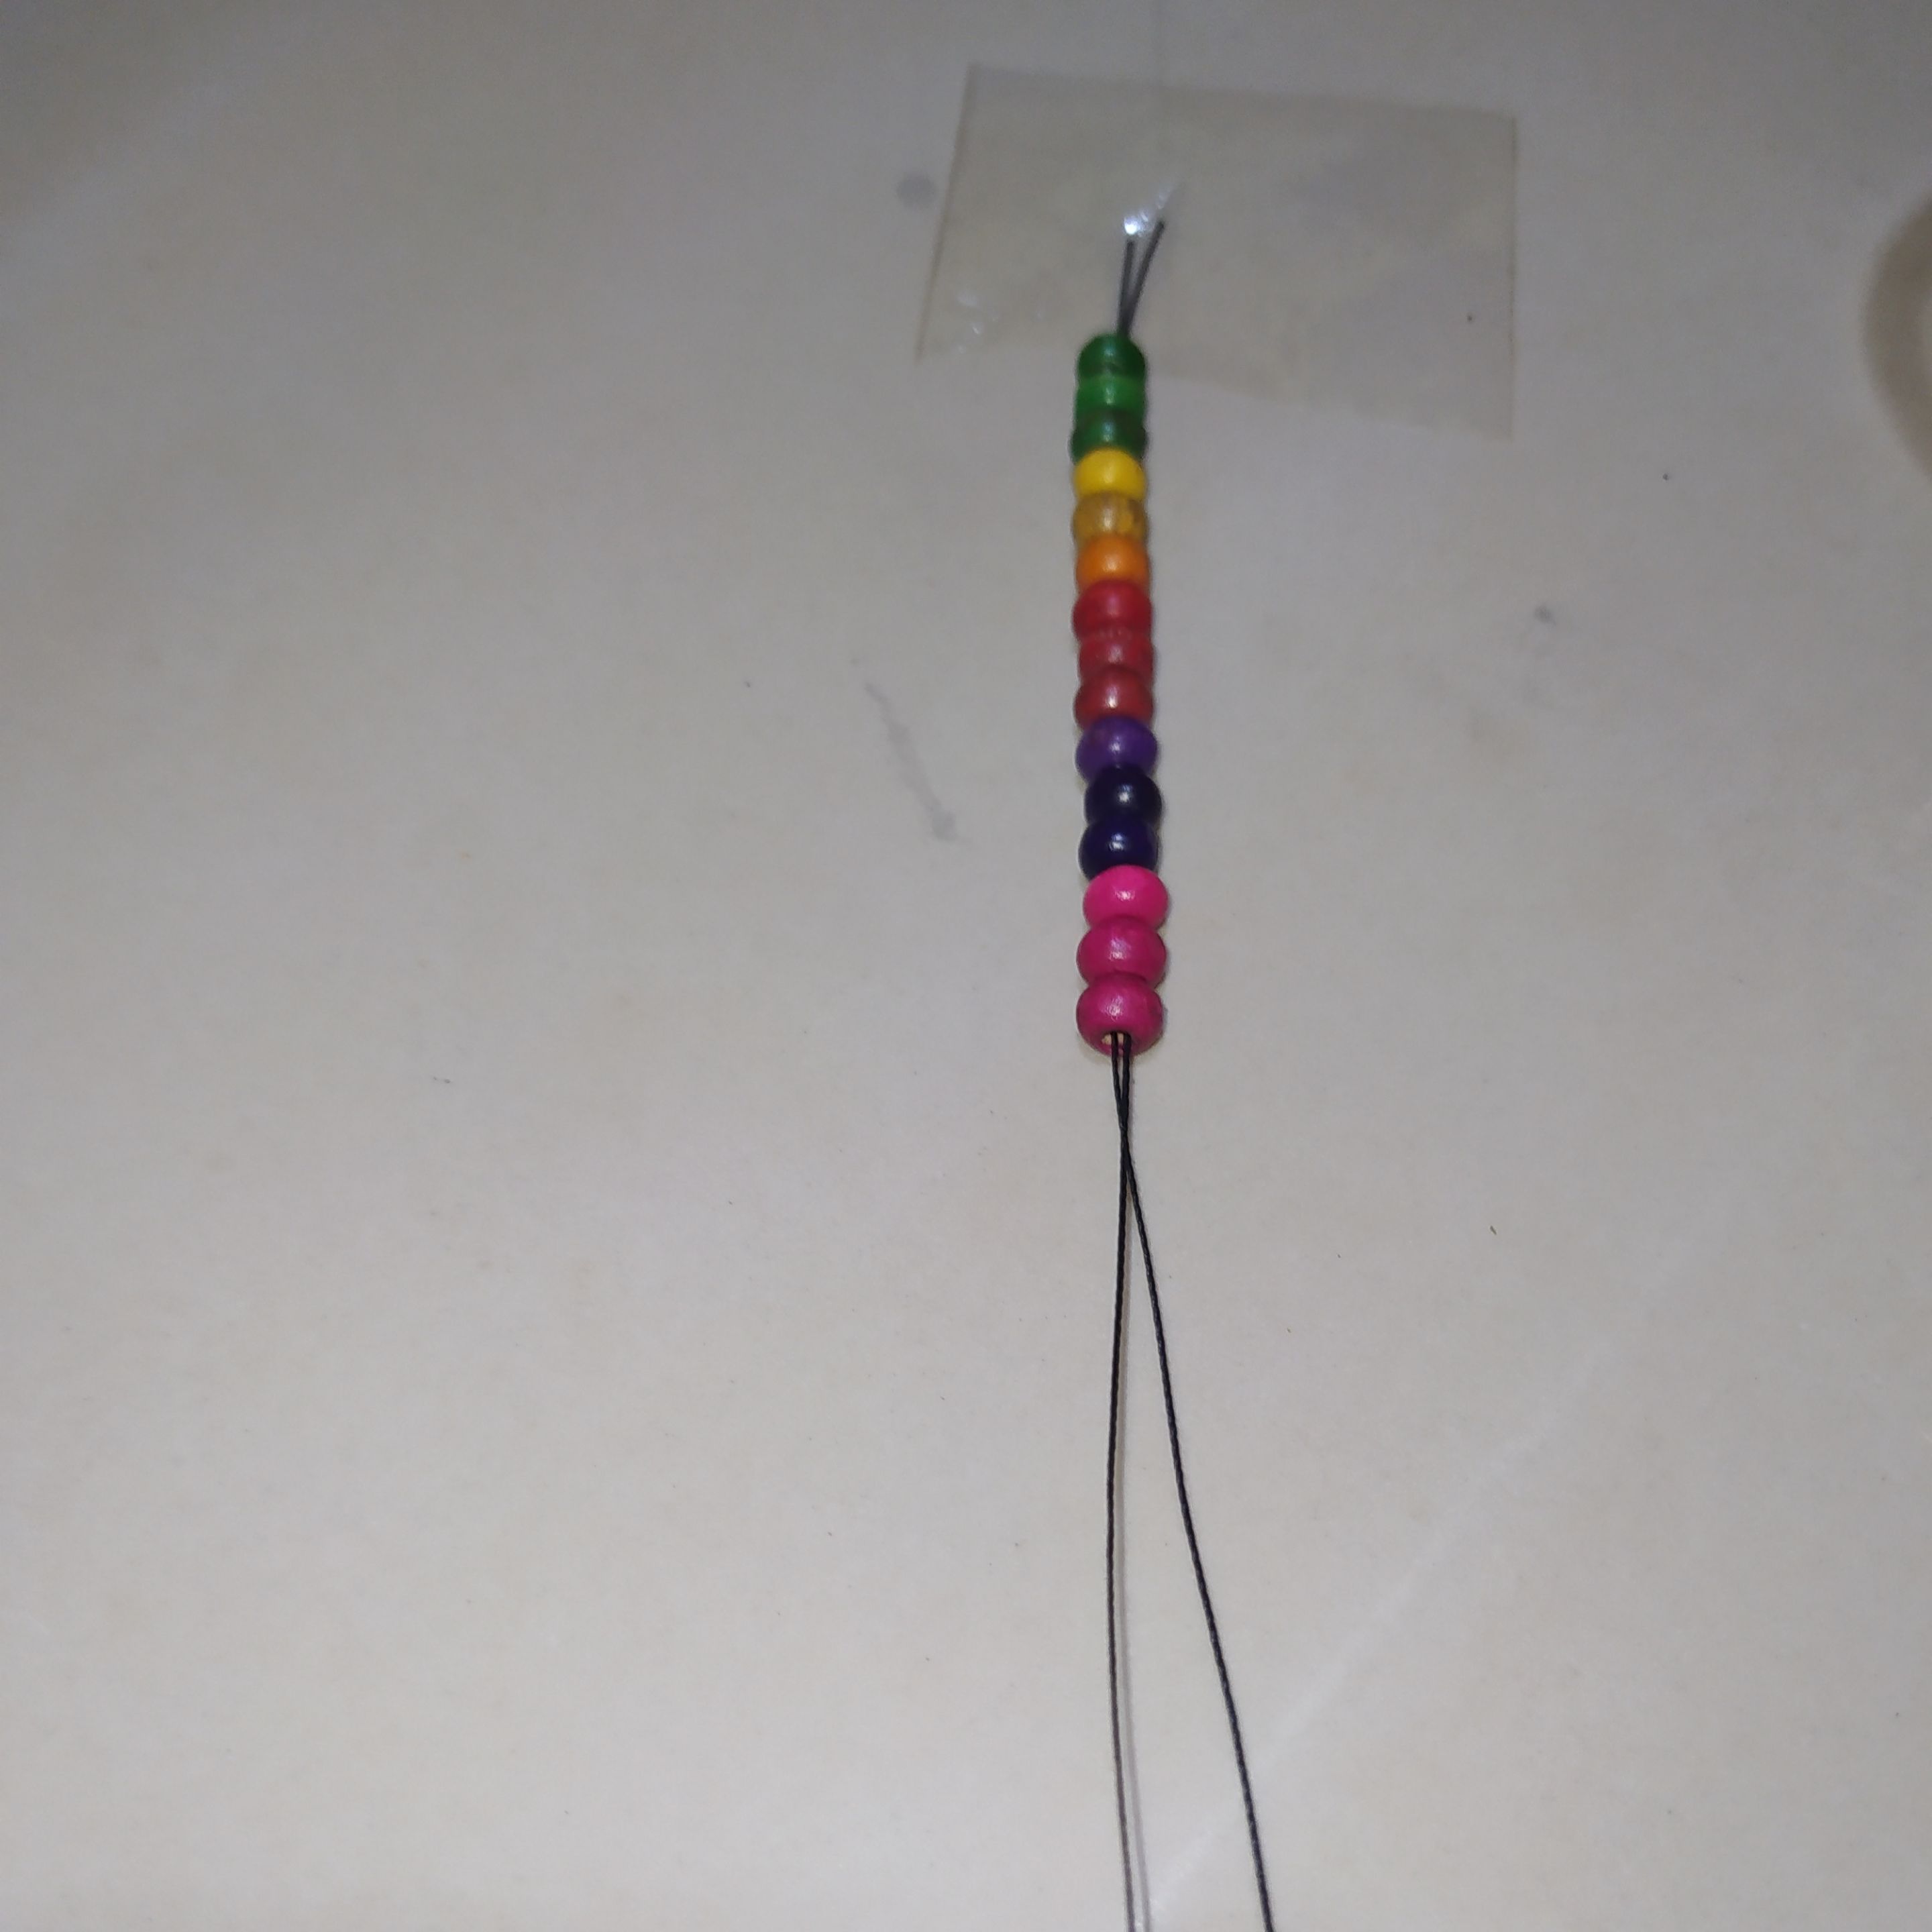
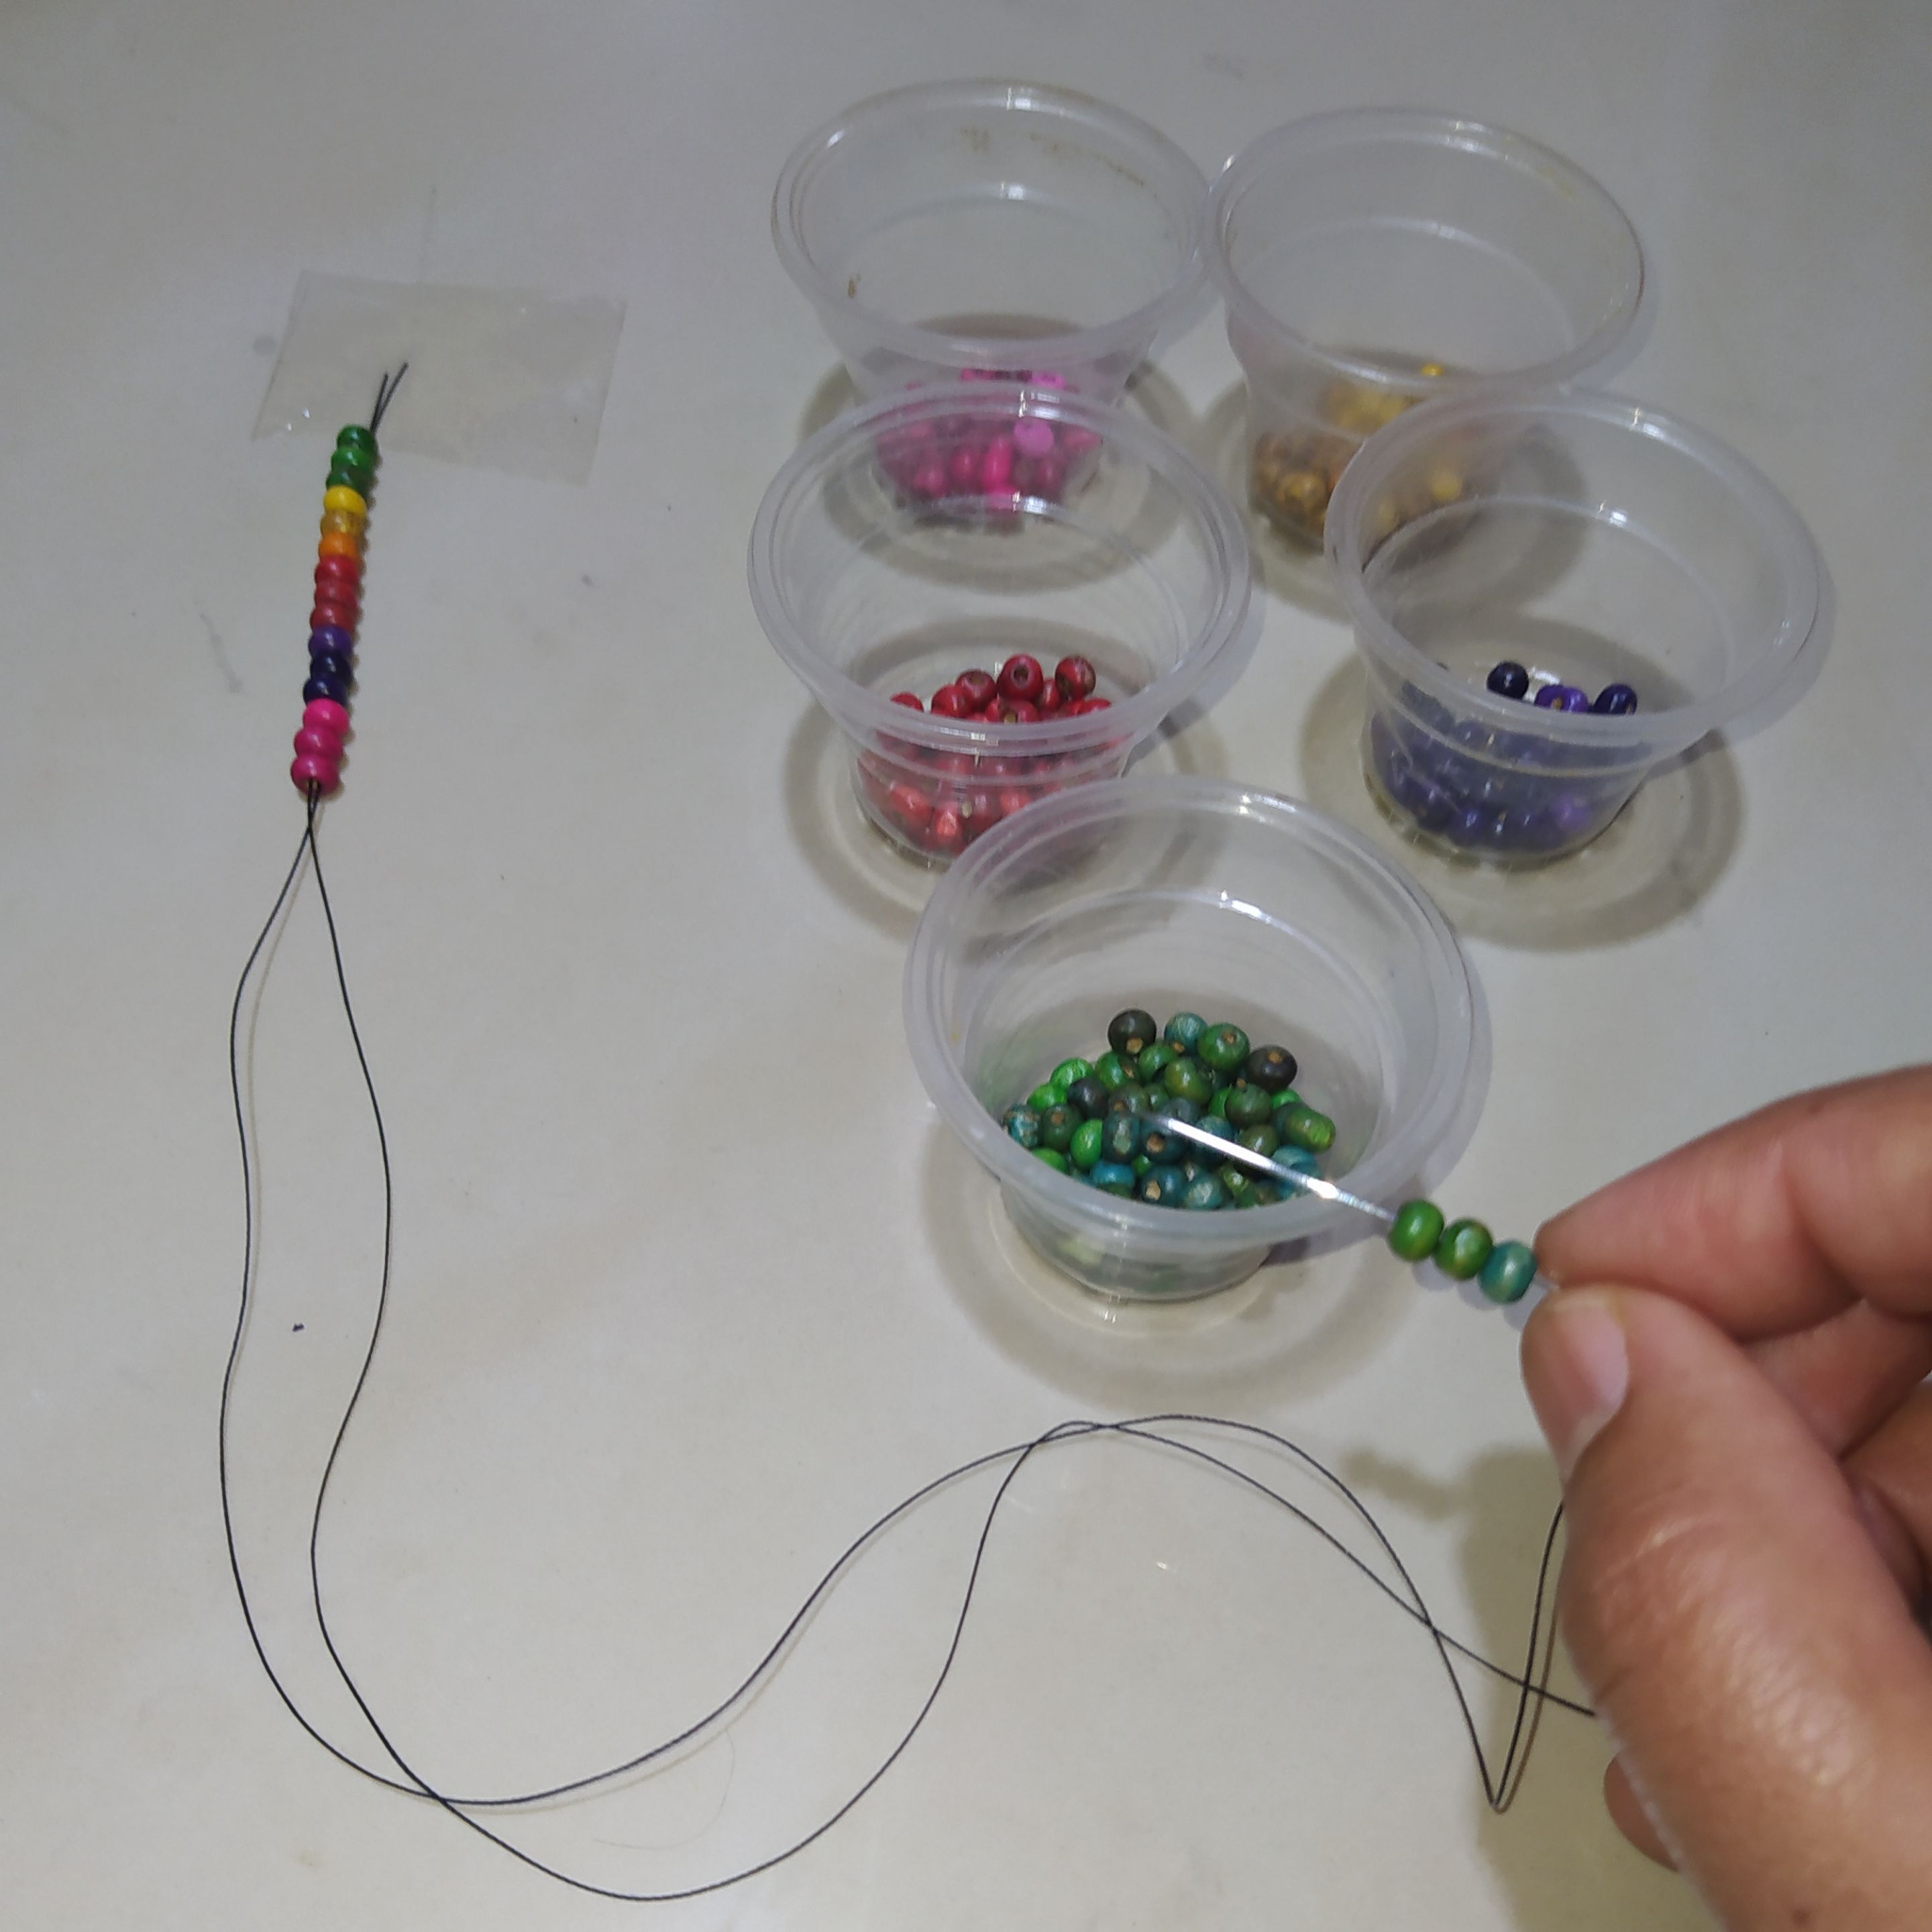
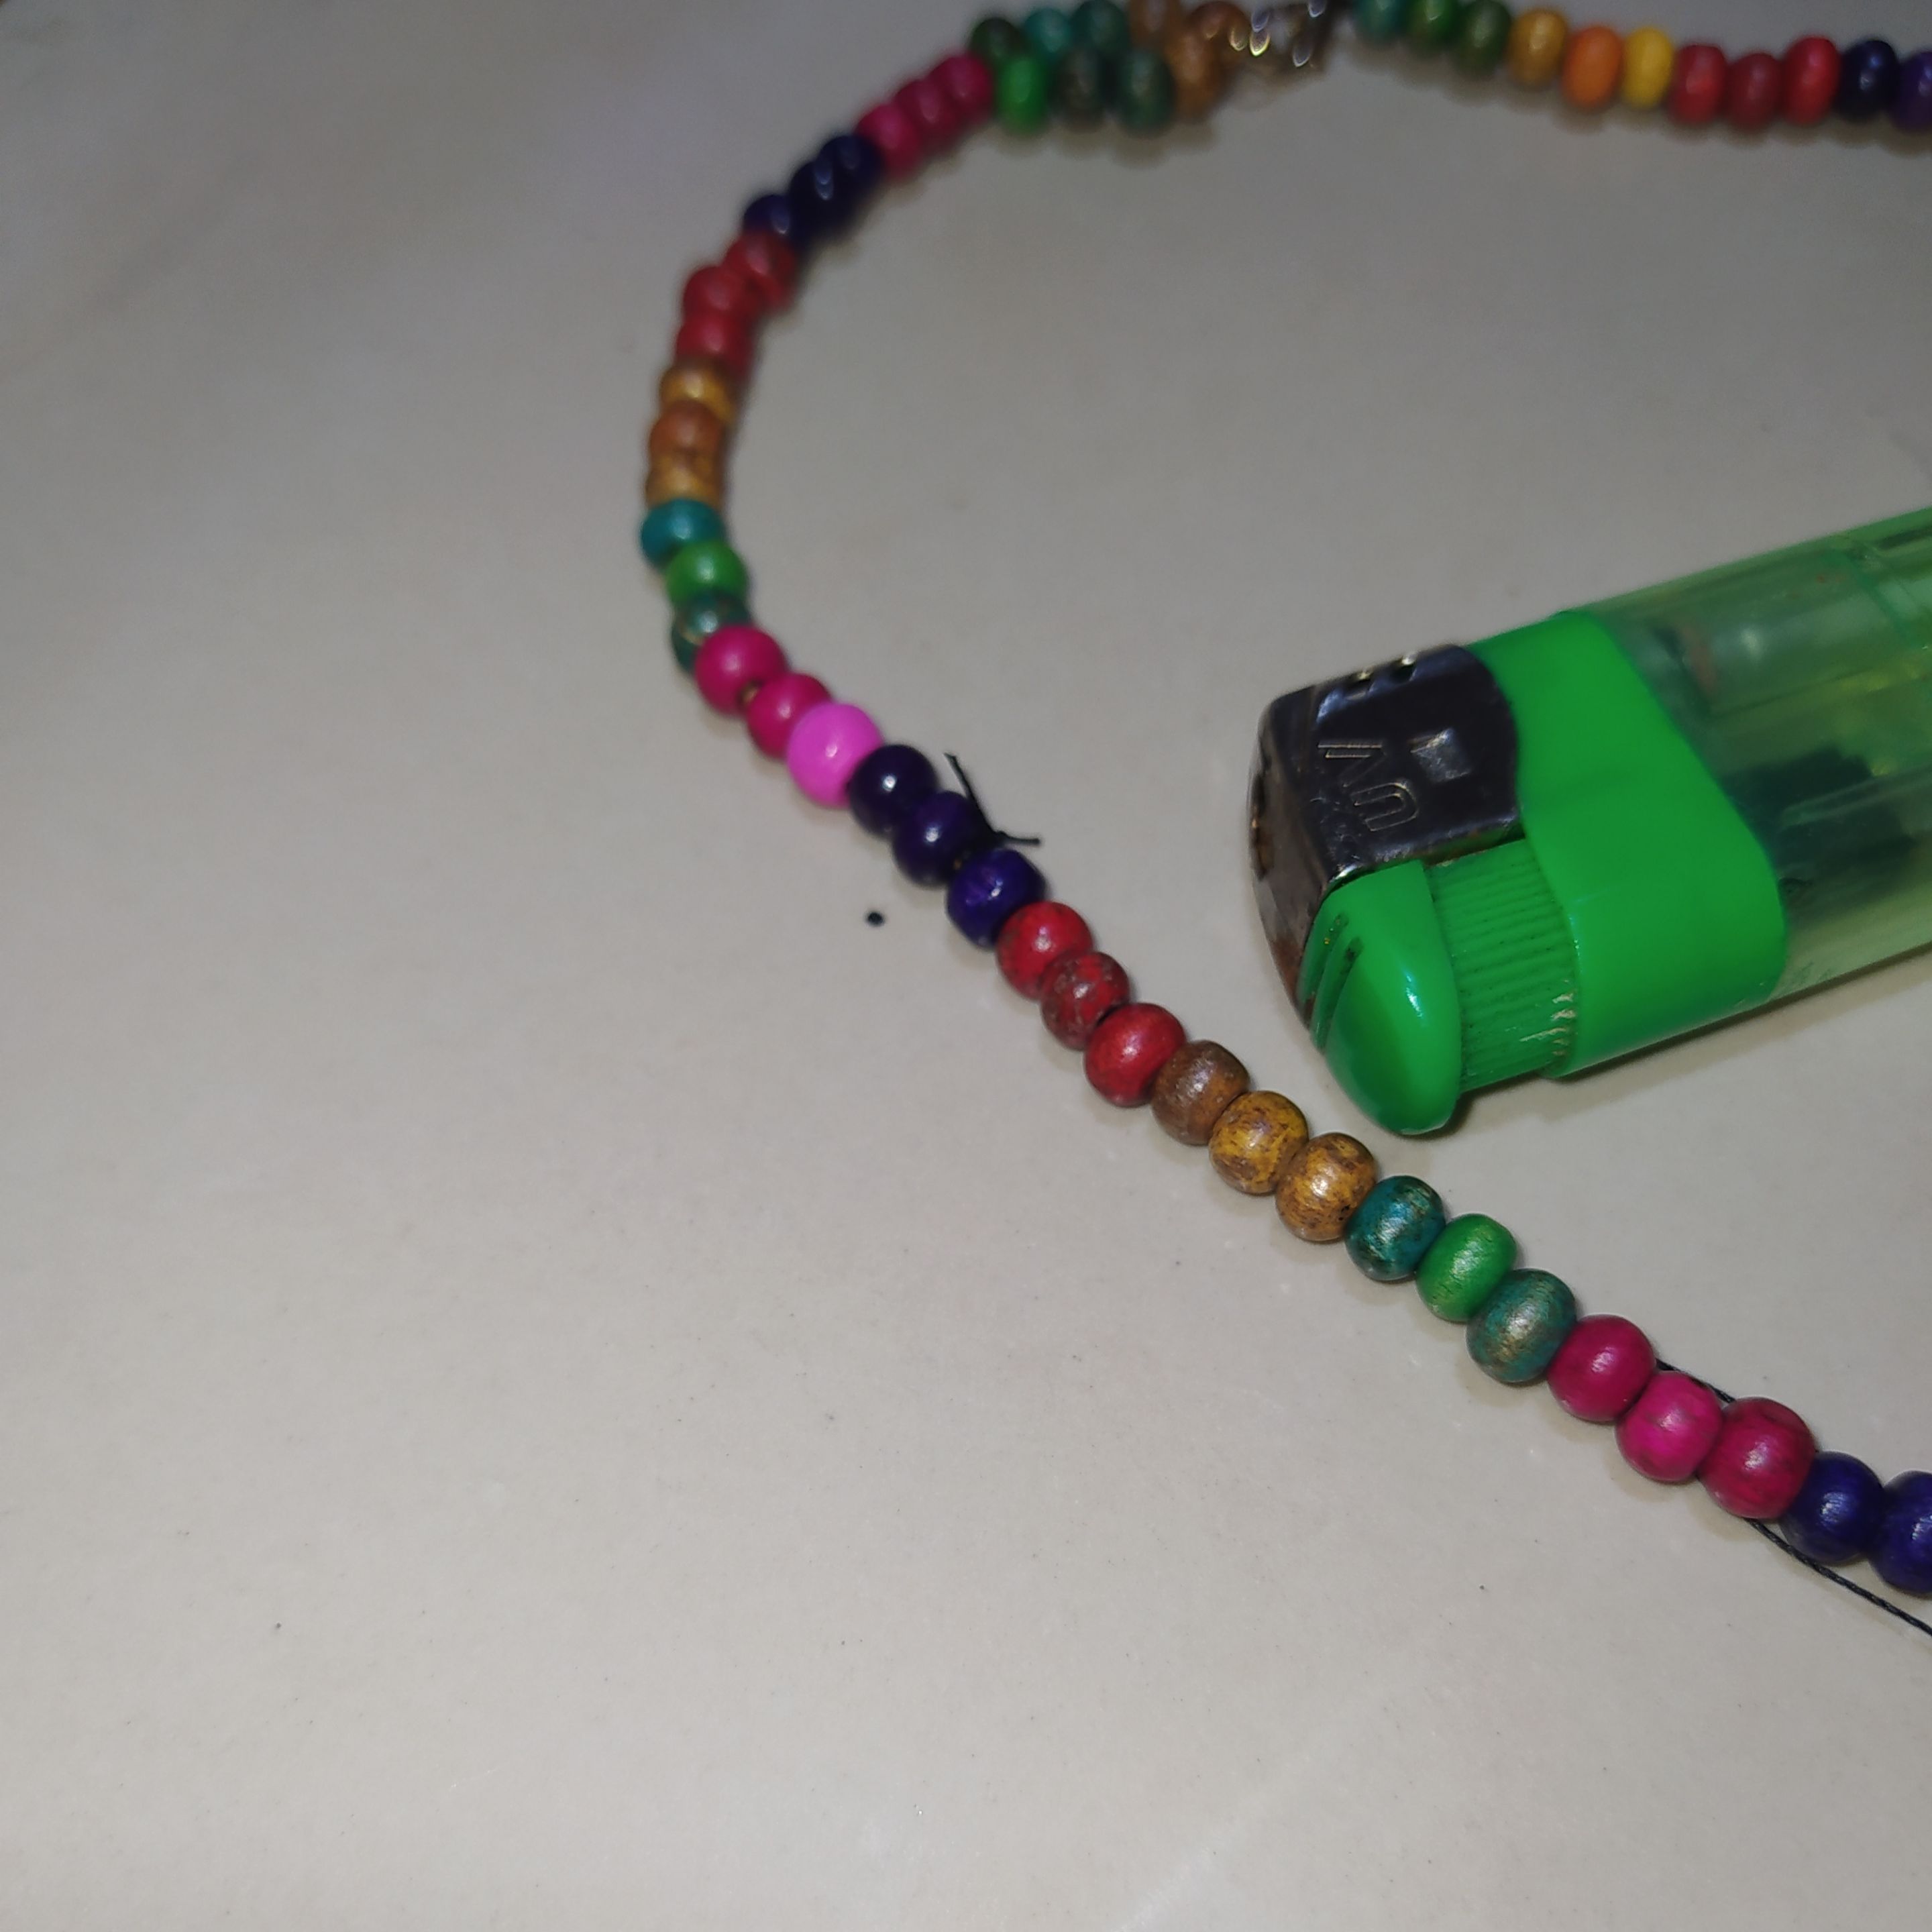
- We begin to introduce through the needle three beads of each color.
- Empezamos a introducir por la aguja tres cuentas de cada color.
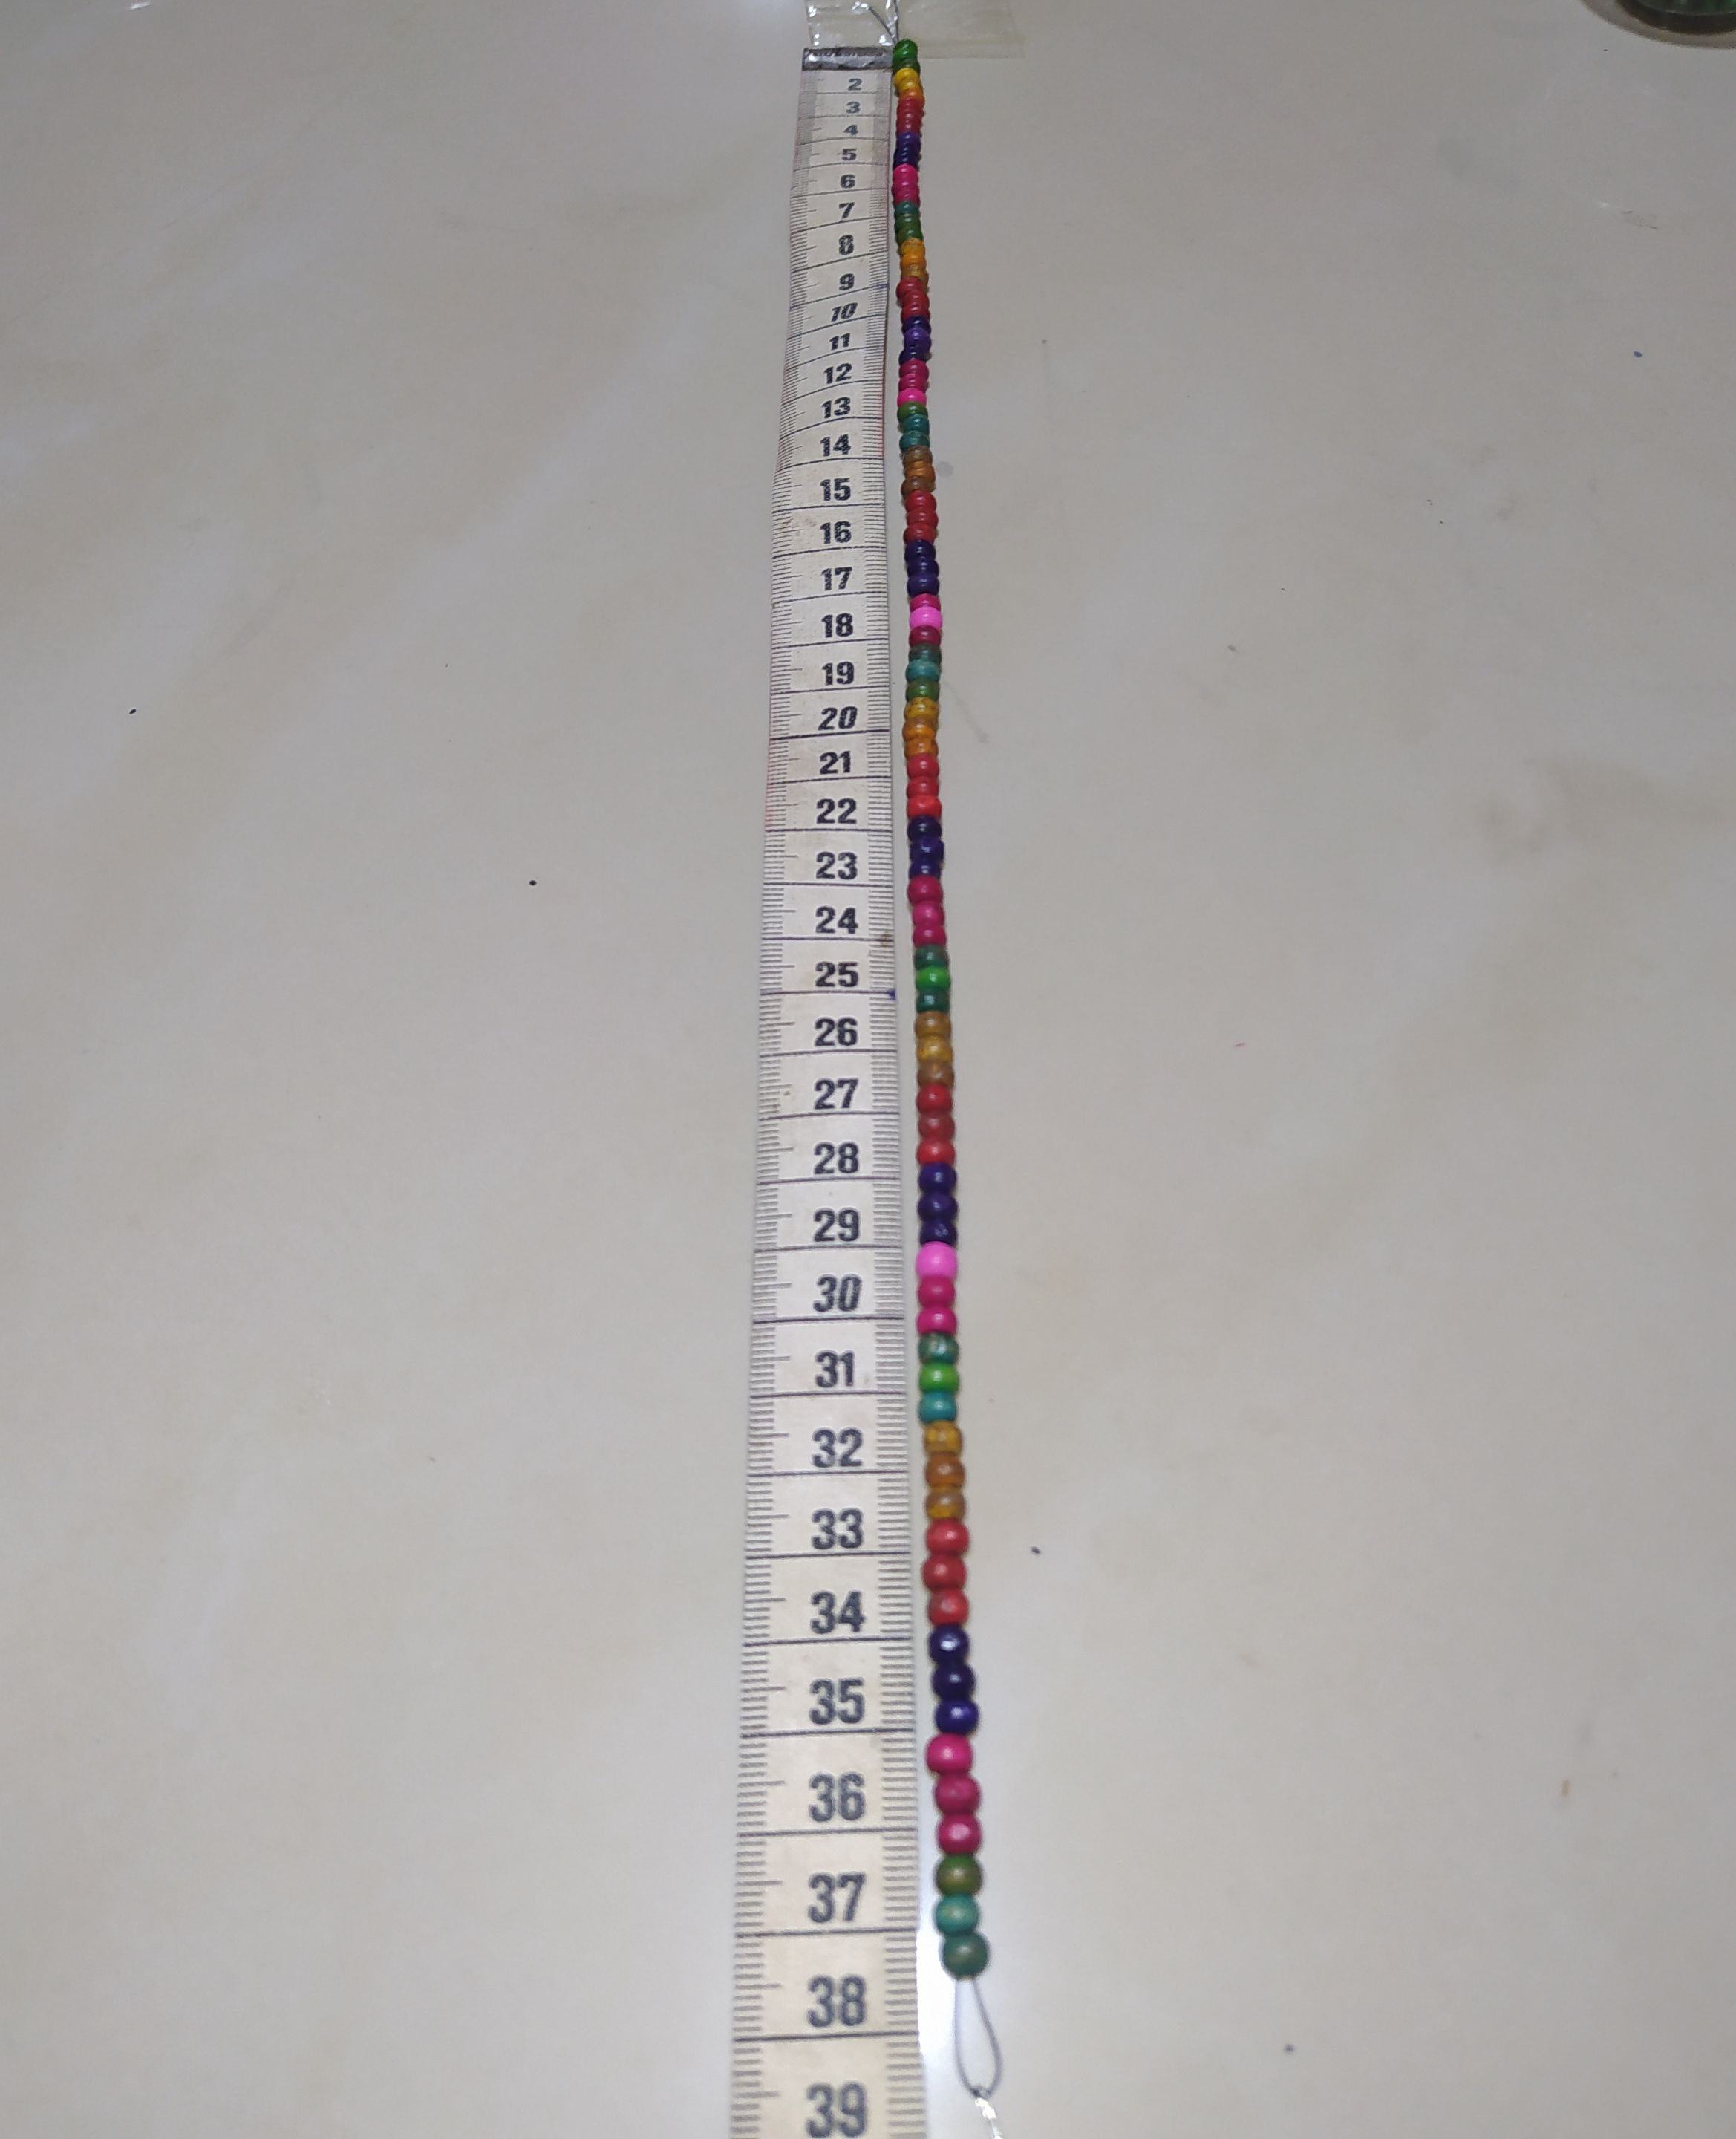
- Until we reach the size we want the necklace.
- In this case 37 cm.
- Hasta alcanzar el tamaño que deseamos el collar.
- En este caso 37 cm.
 |  |
|---|
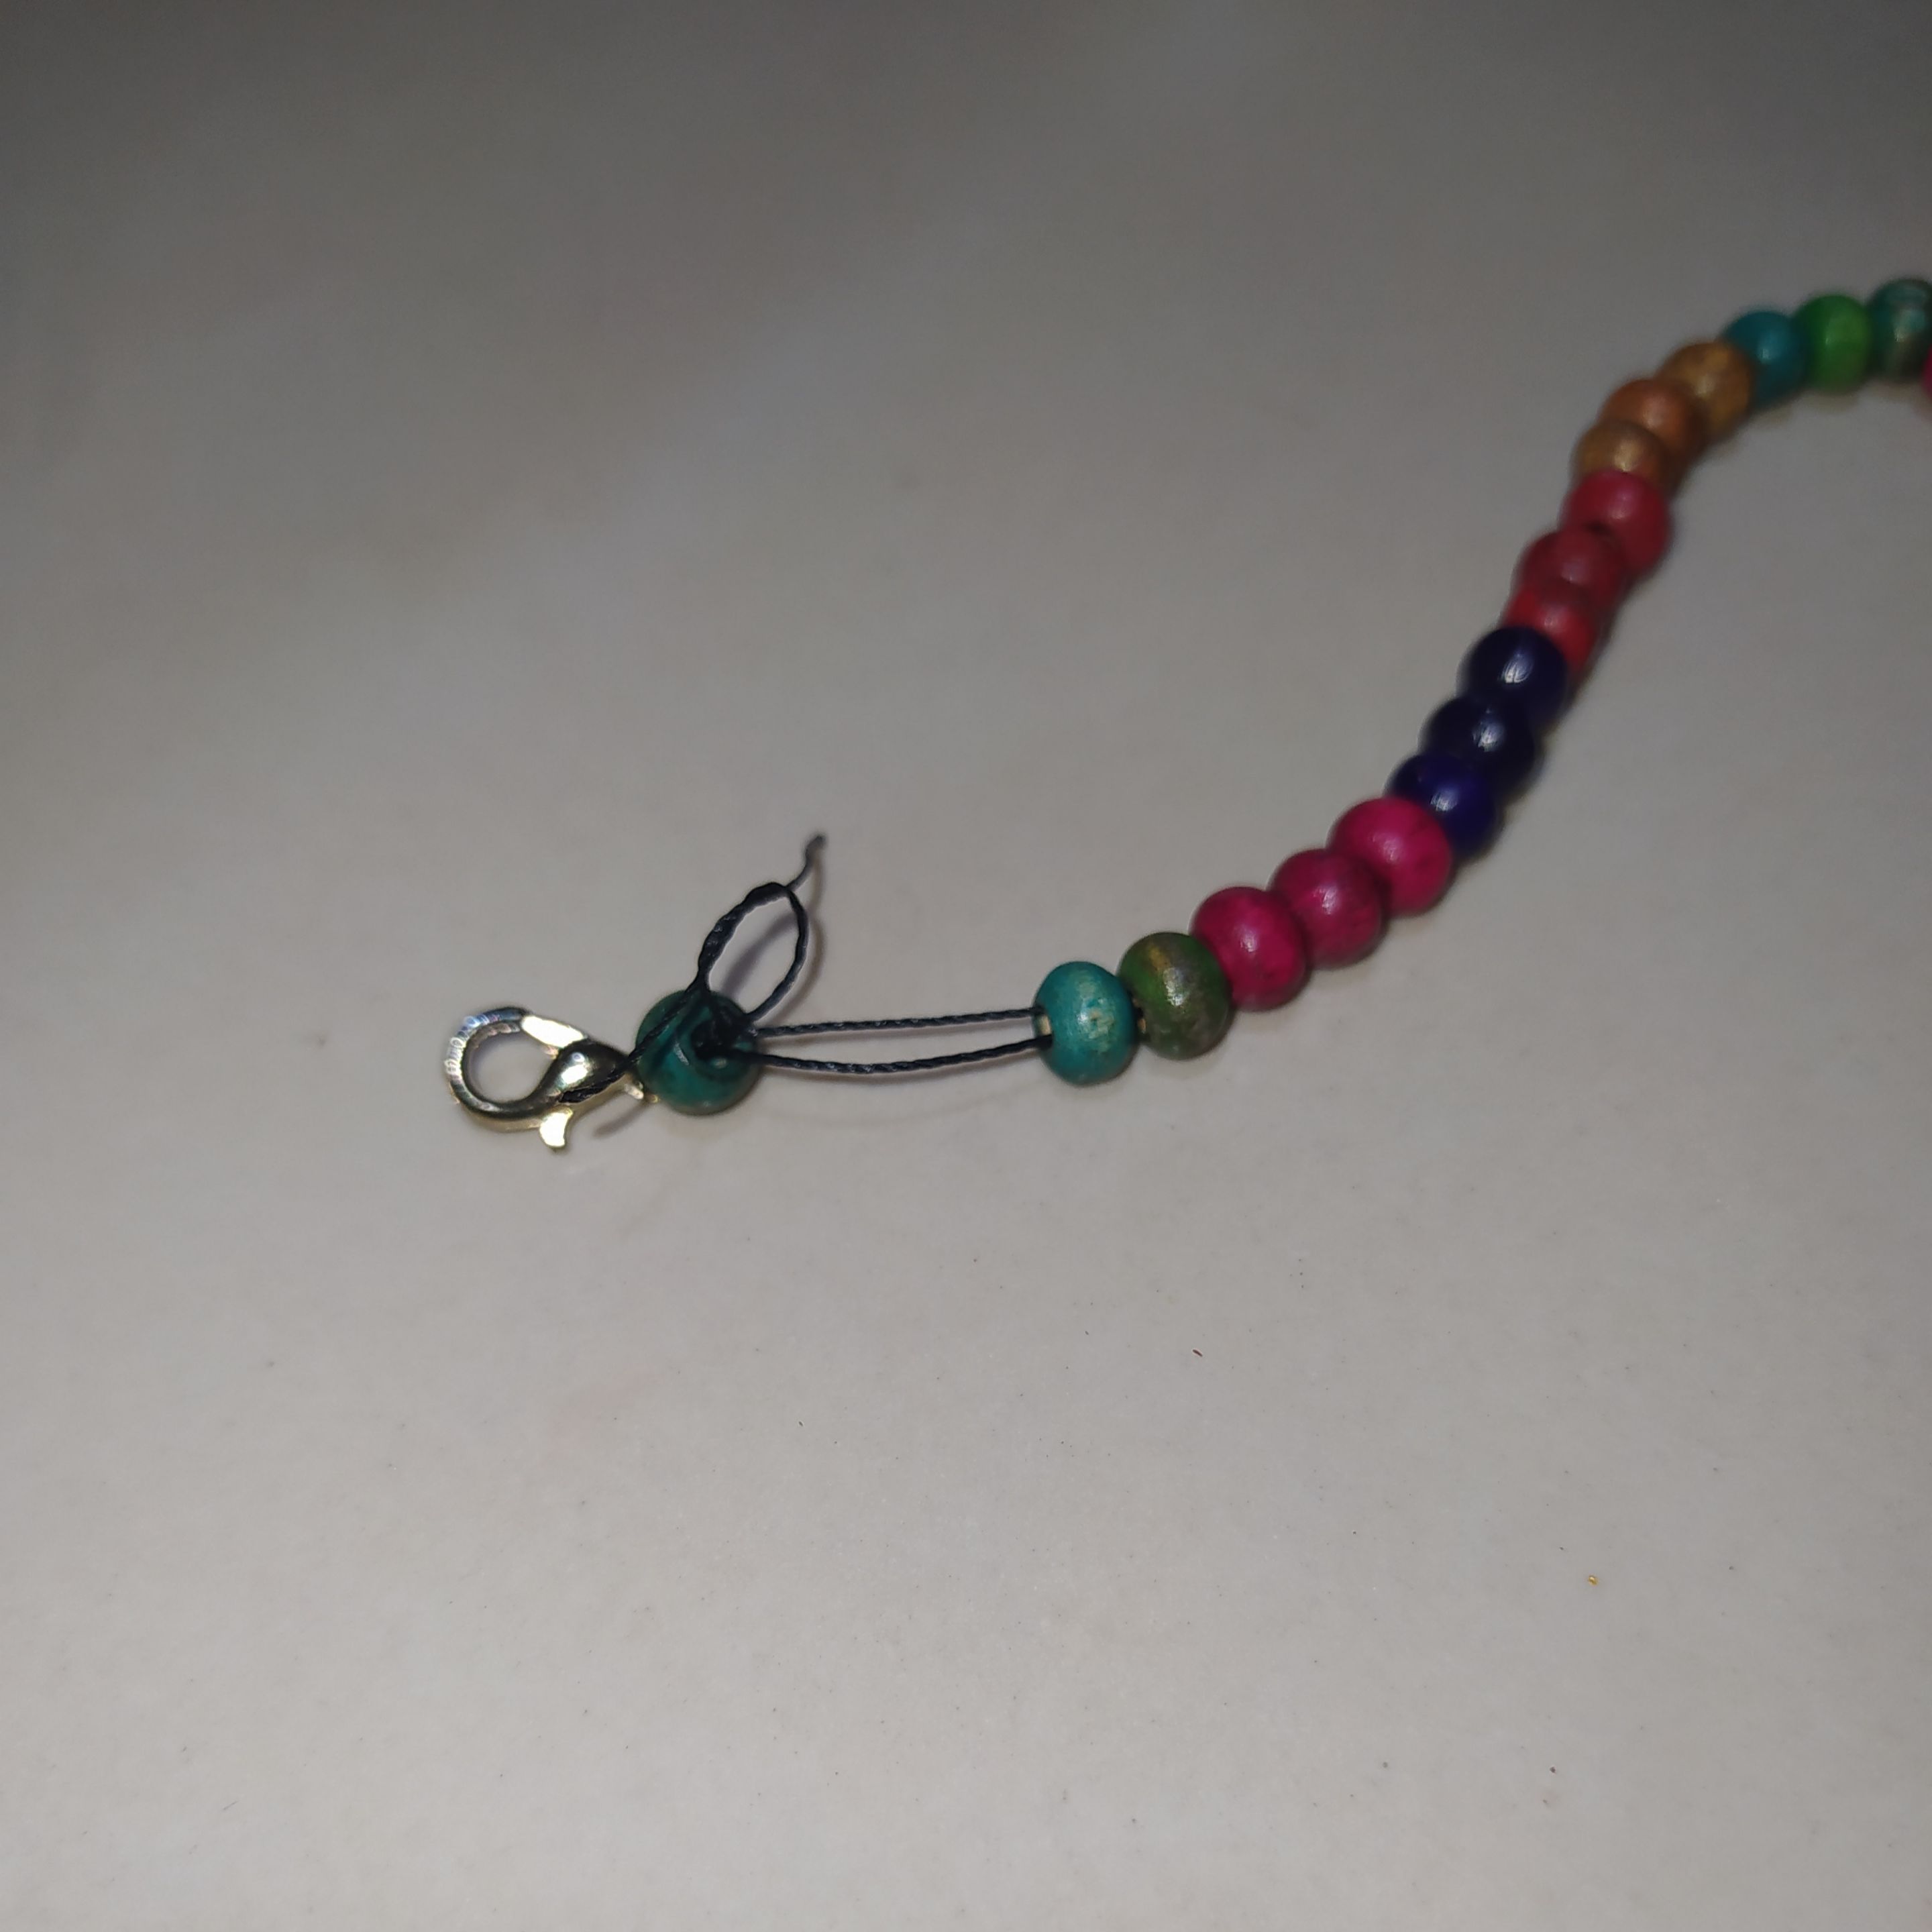
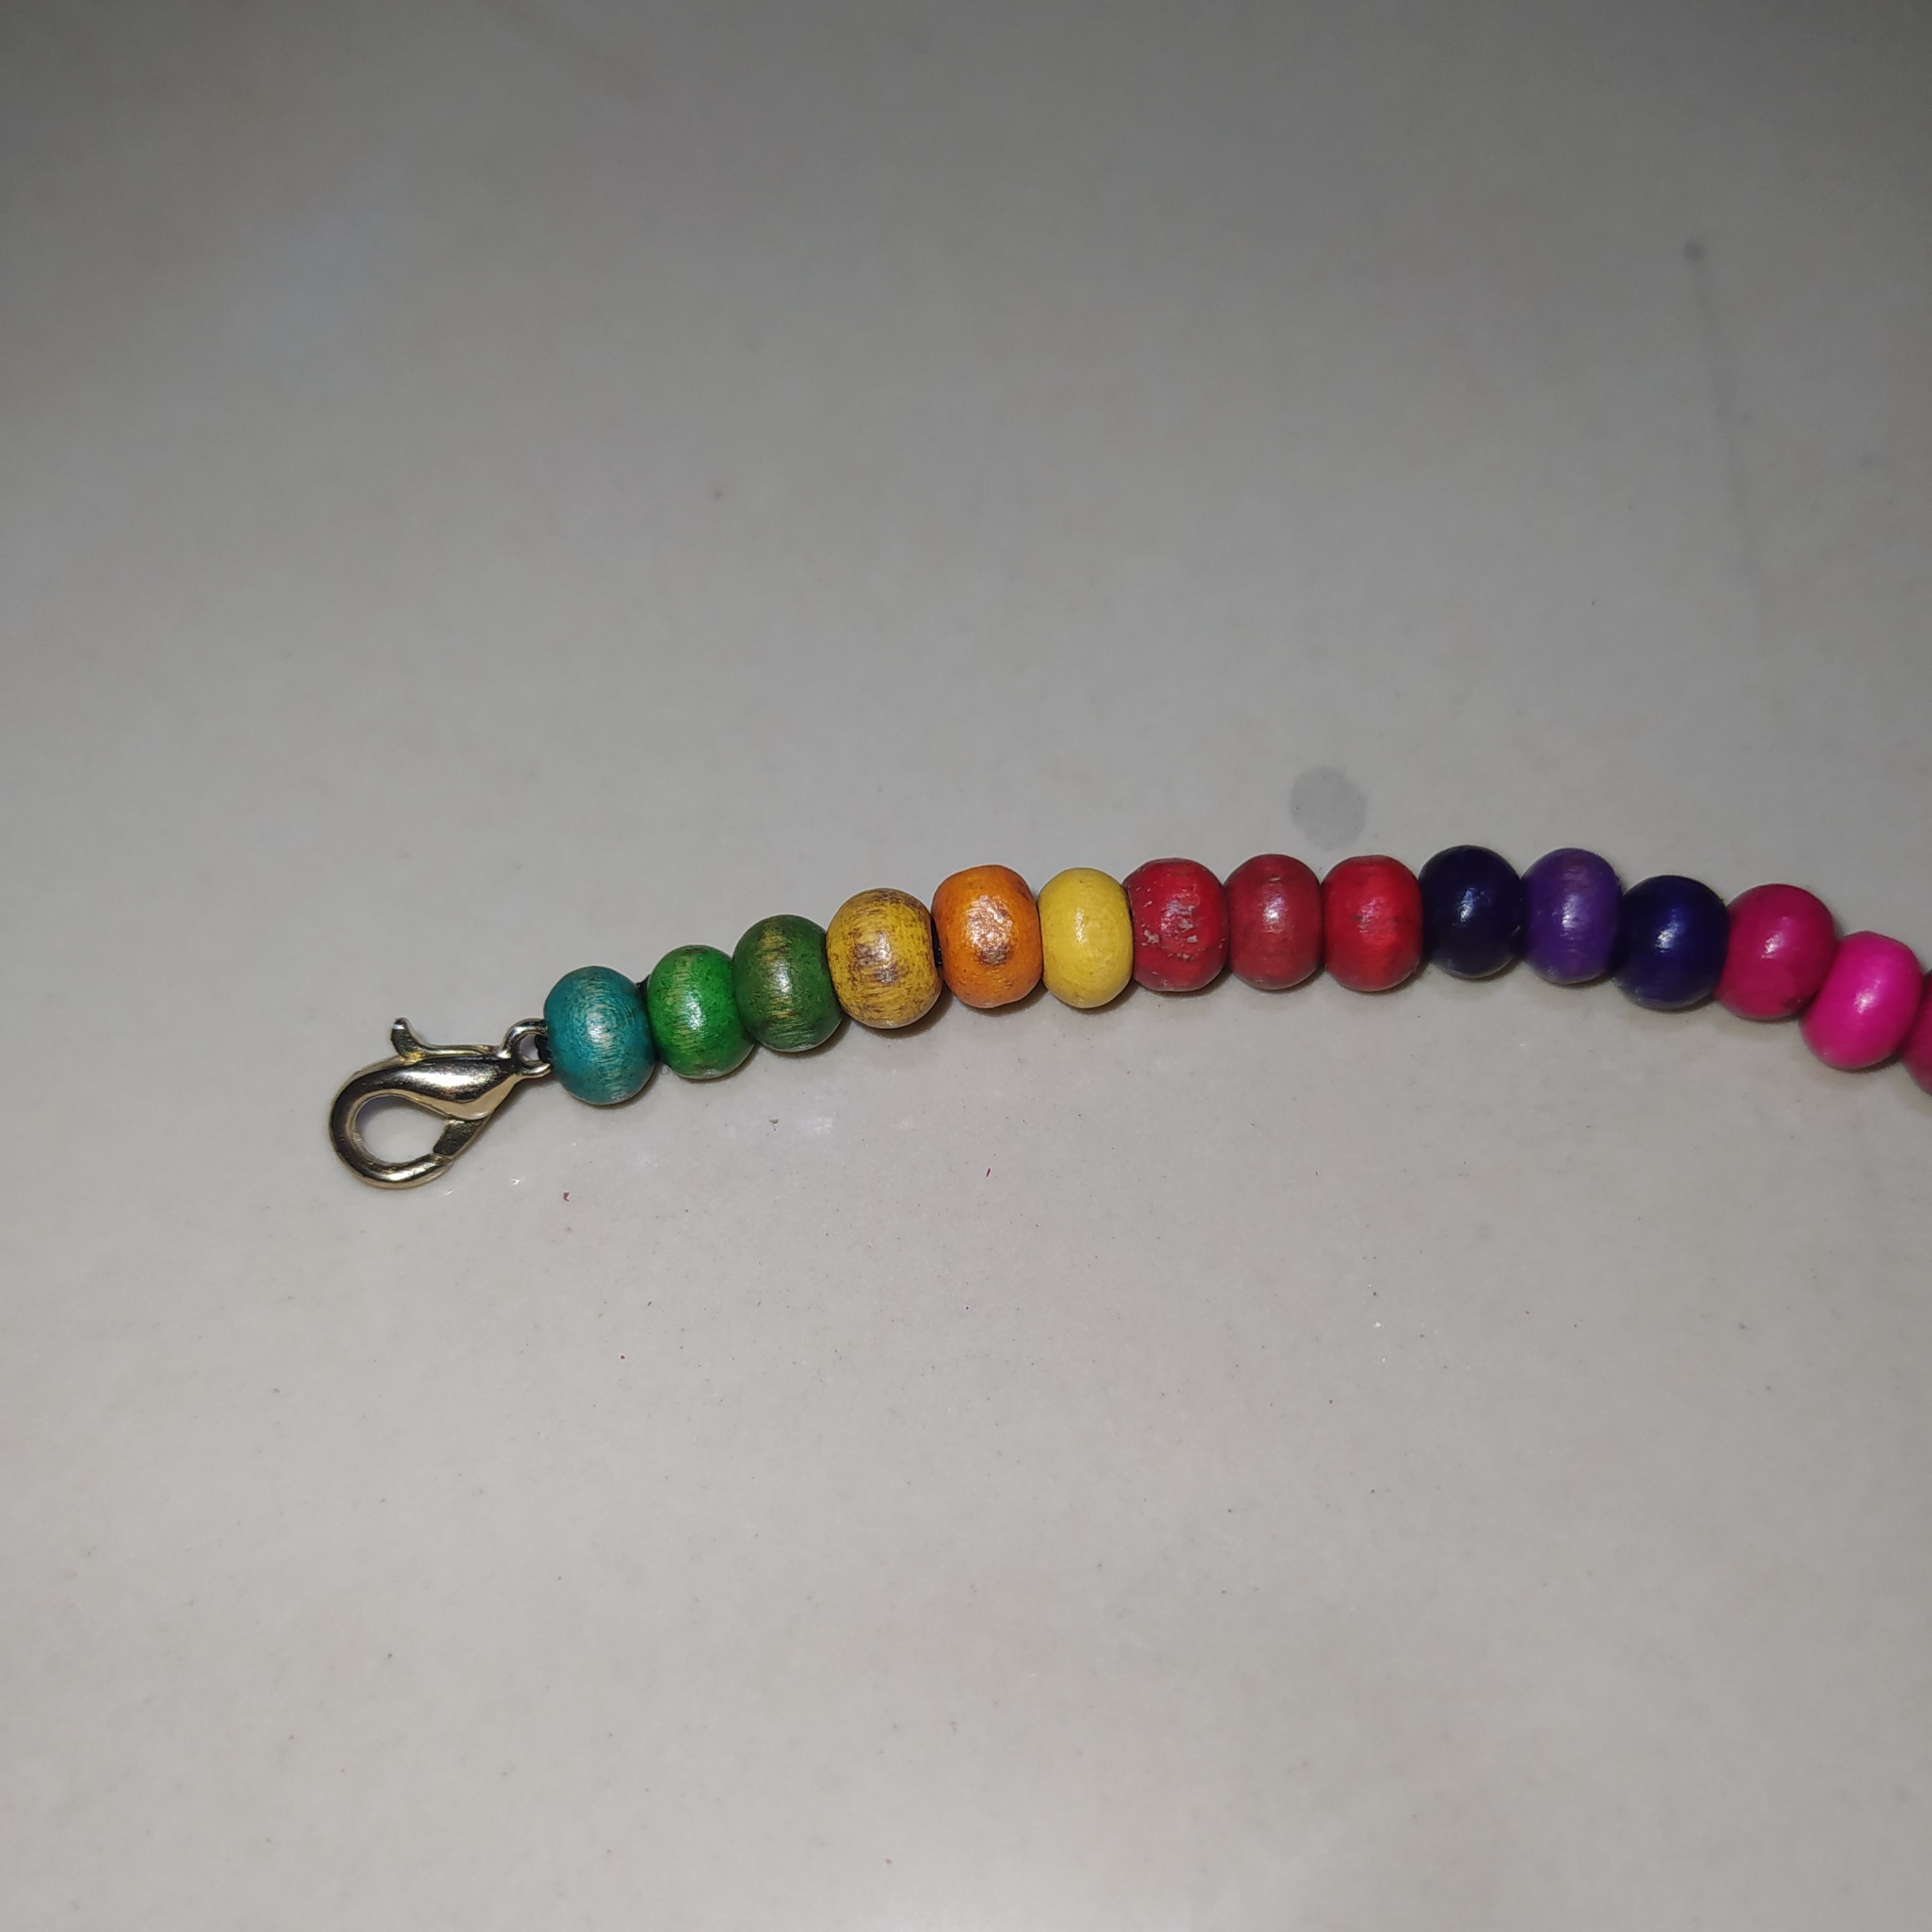
- Place the parrot beak hook by inserting through the needle.
- Colocamos el gancho pico de loro introduciendo por la aguja.
 |  |
|---|
- We put the needle through the first bead and make a simple knot by giving the thread two turns before knotting.
- Metemos la aguja por la primera cuenta y hacemos un nudo sencillo dándole dos vueltas al hilo antes de anudar.
 |  |
|---|
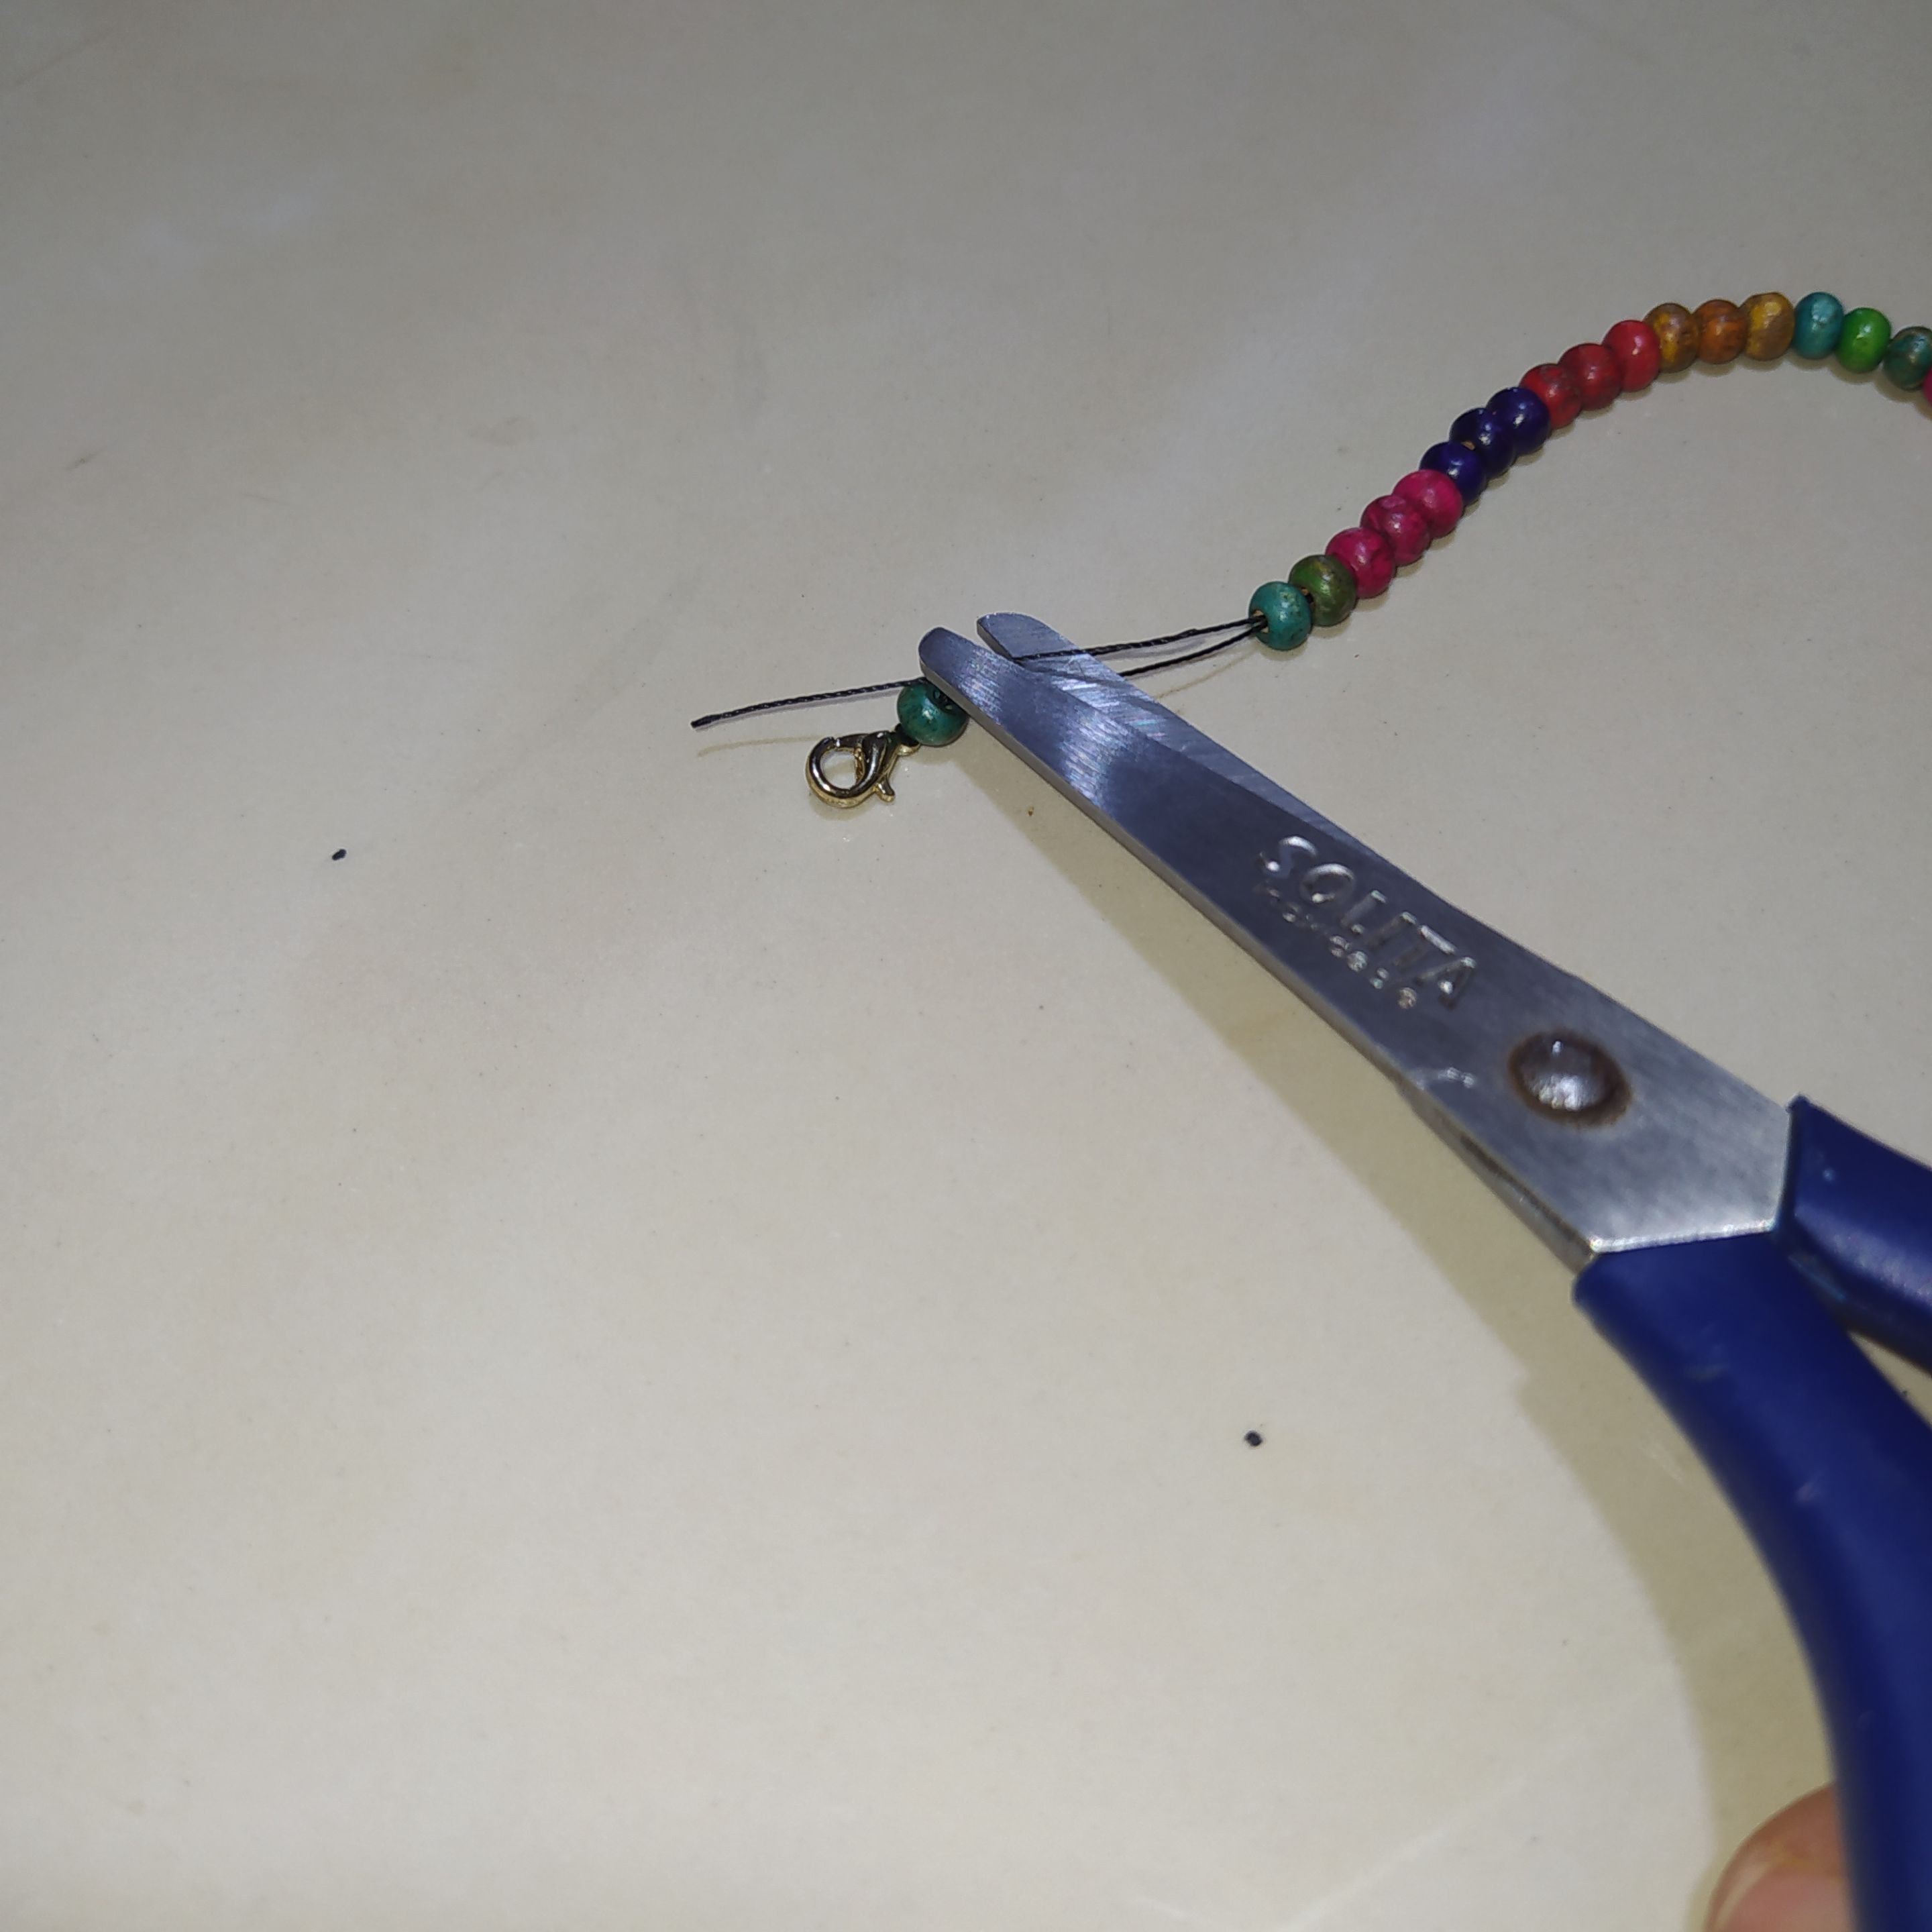
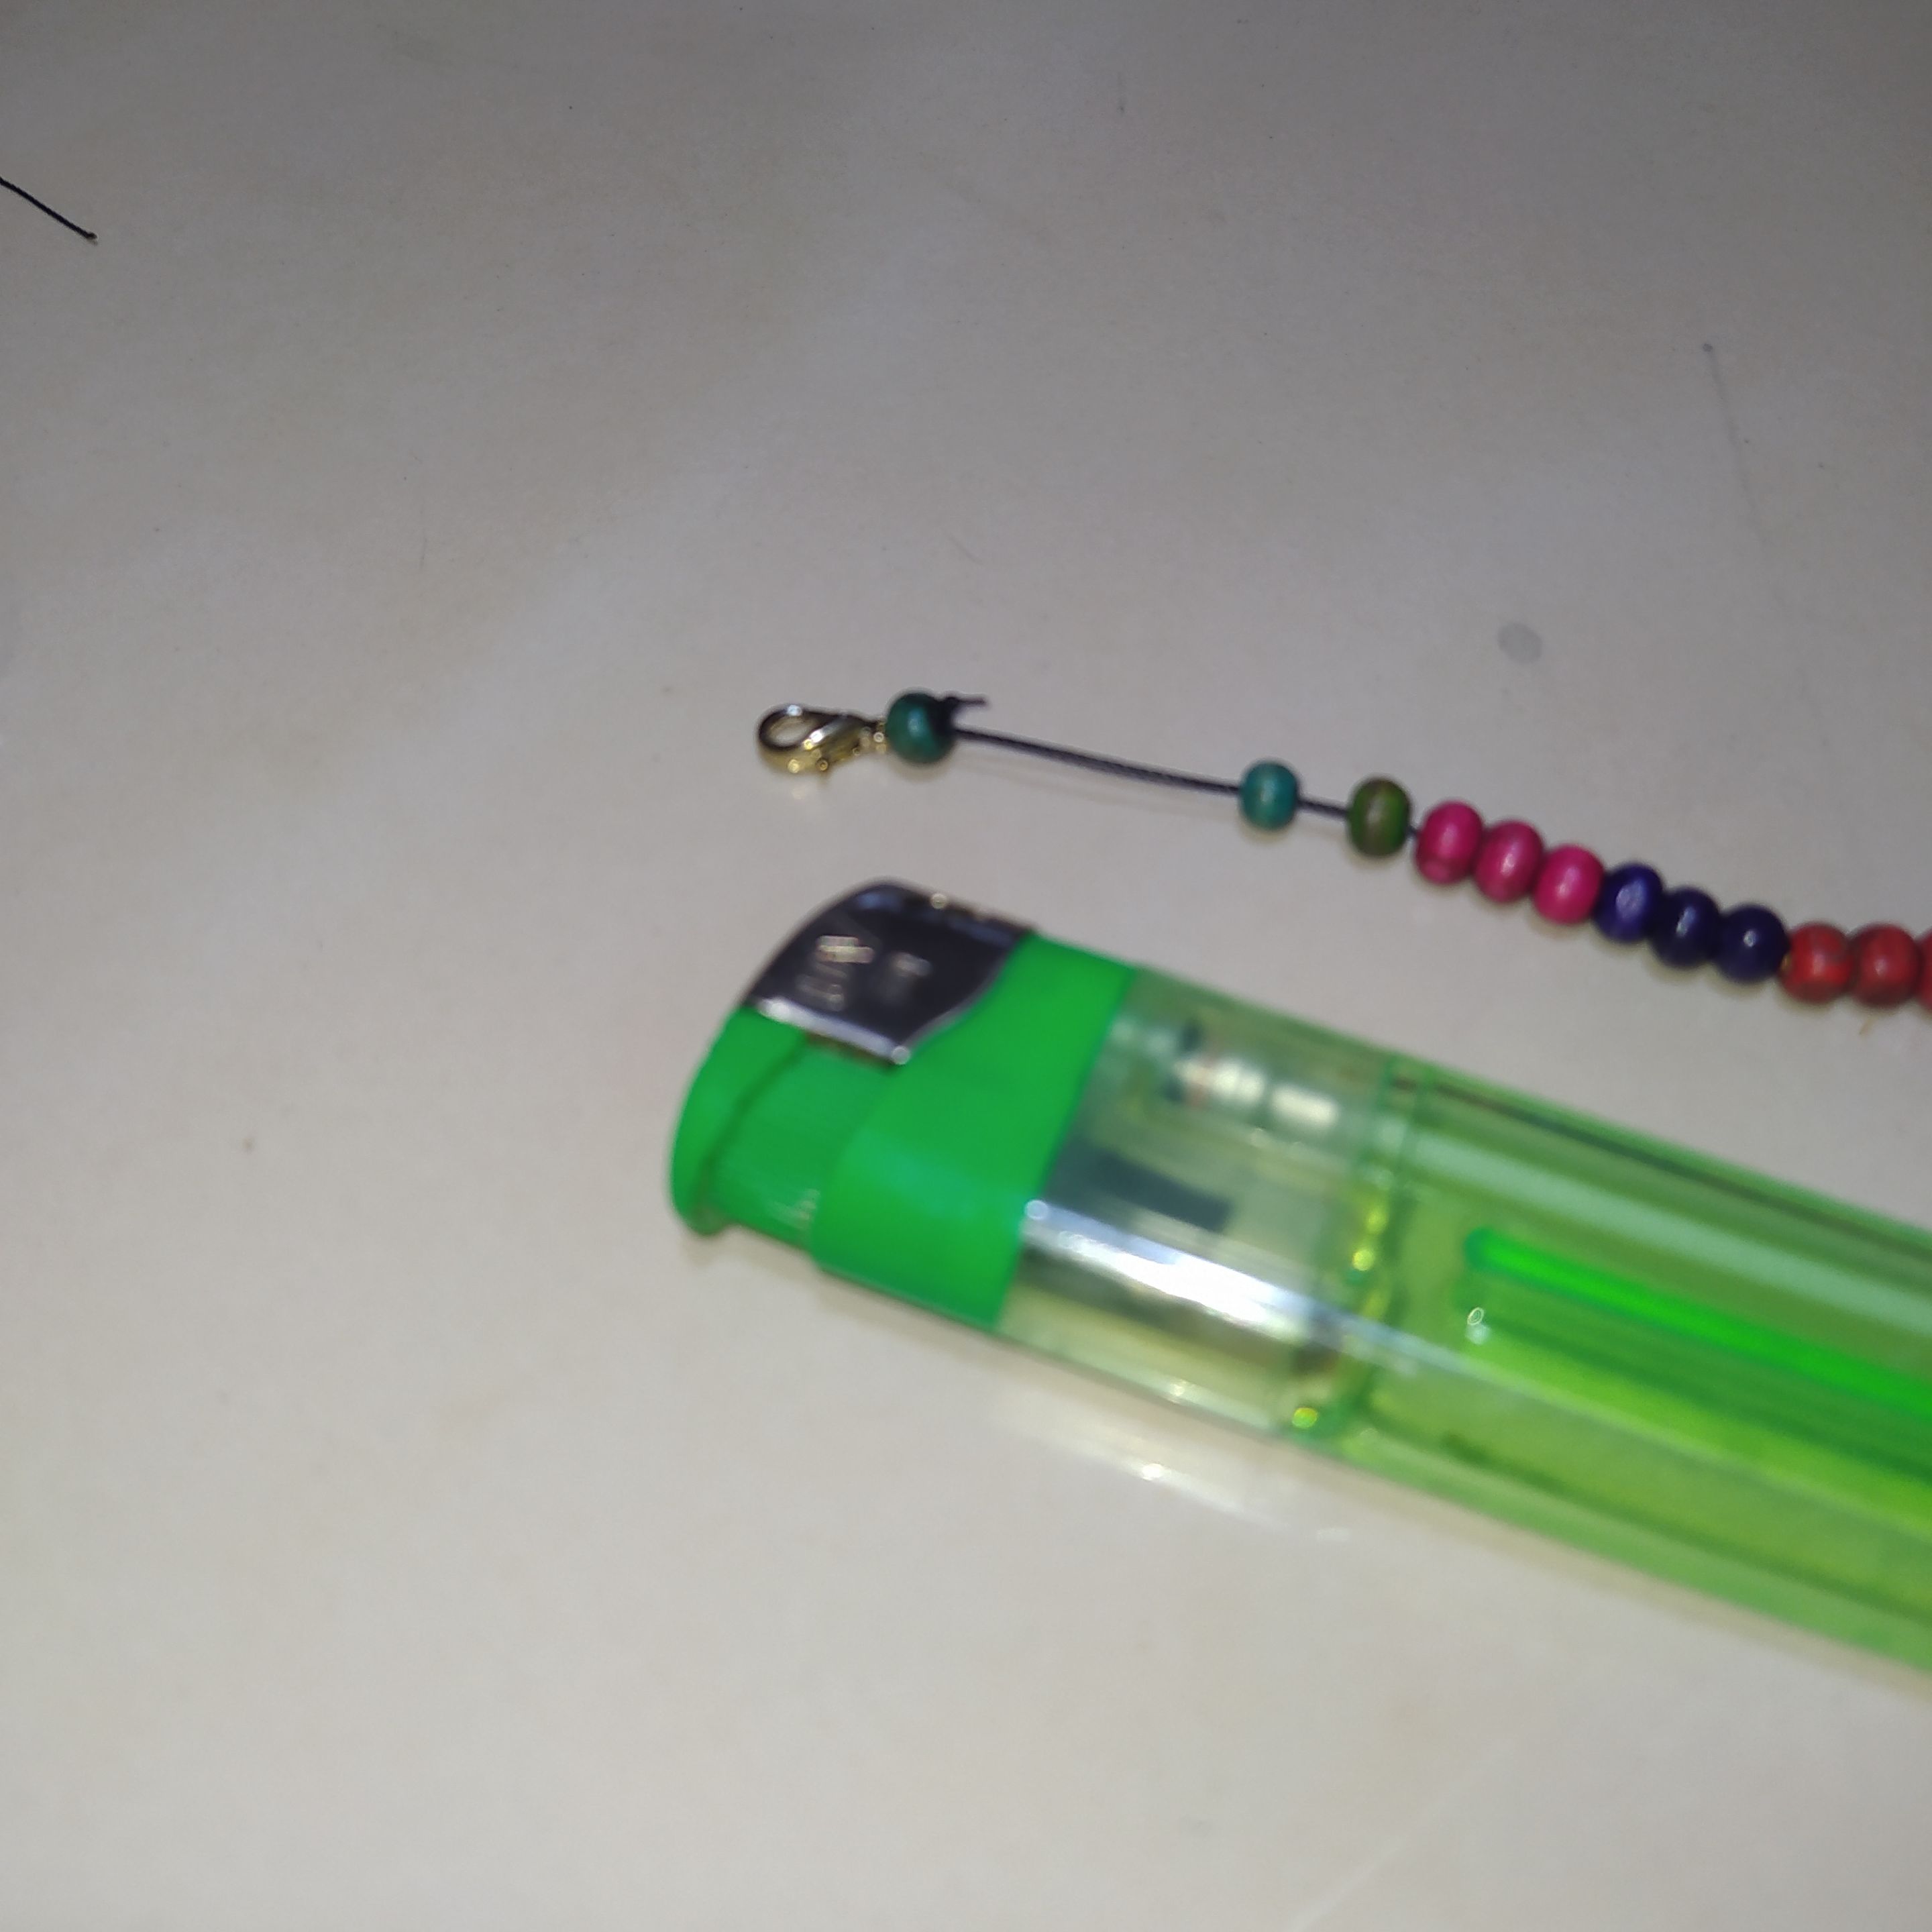
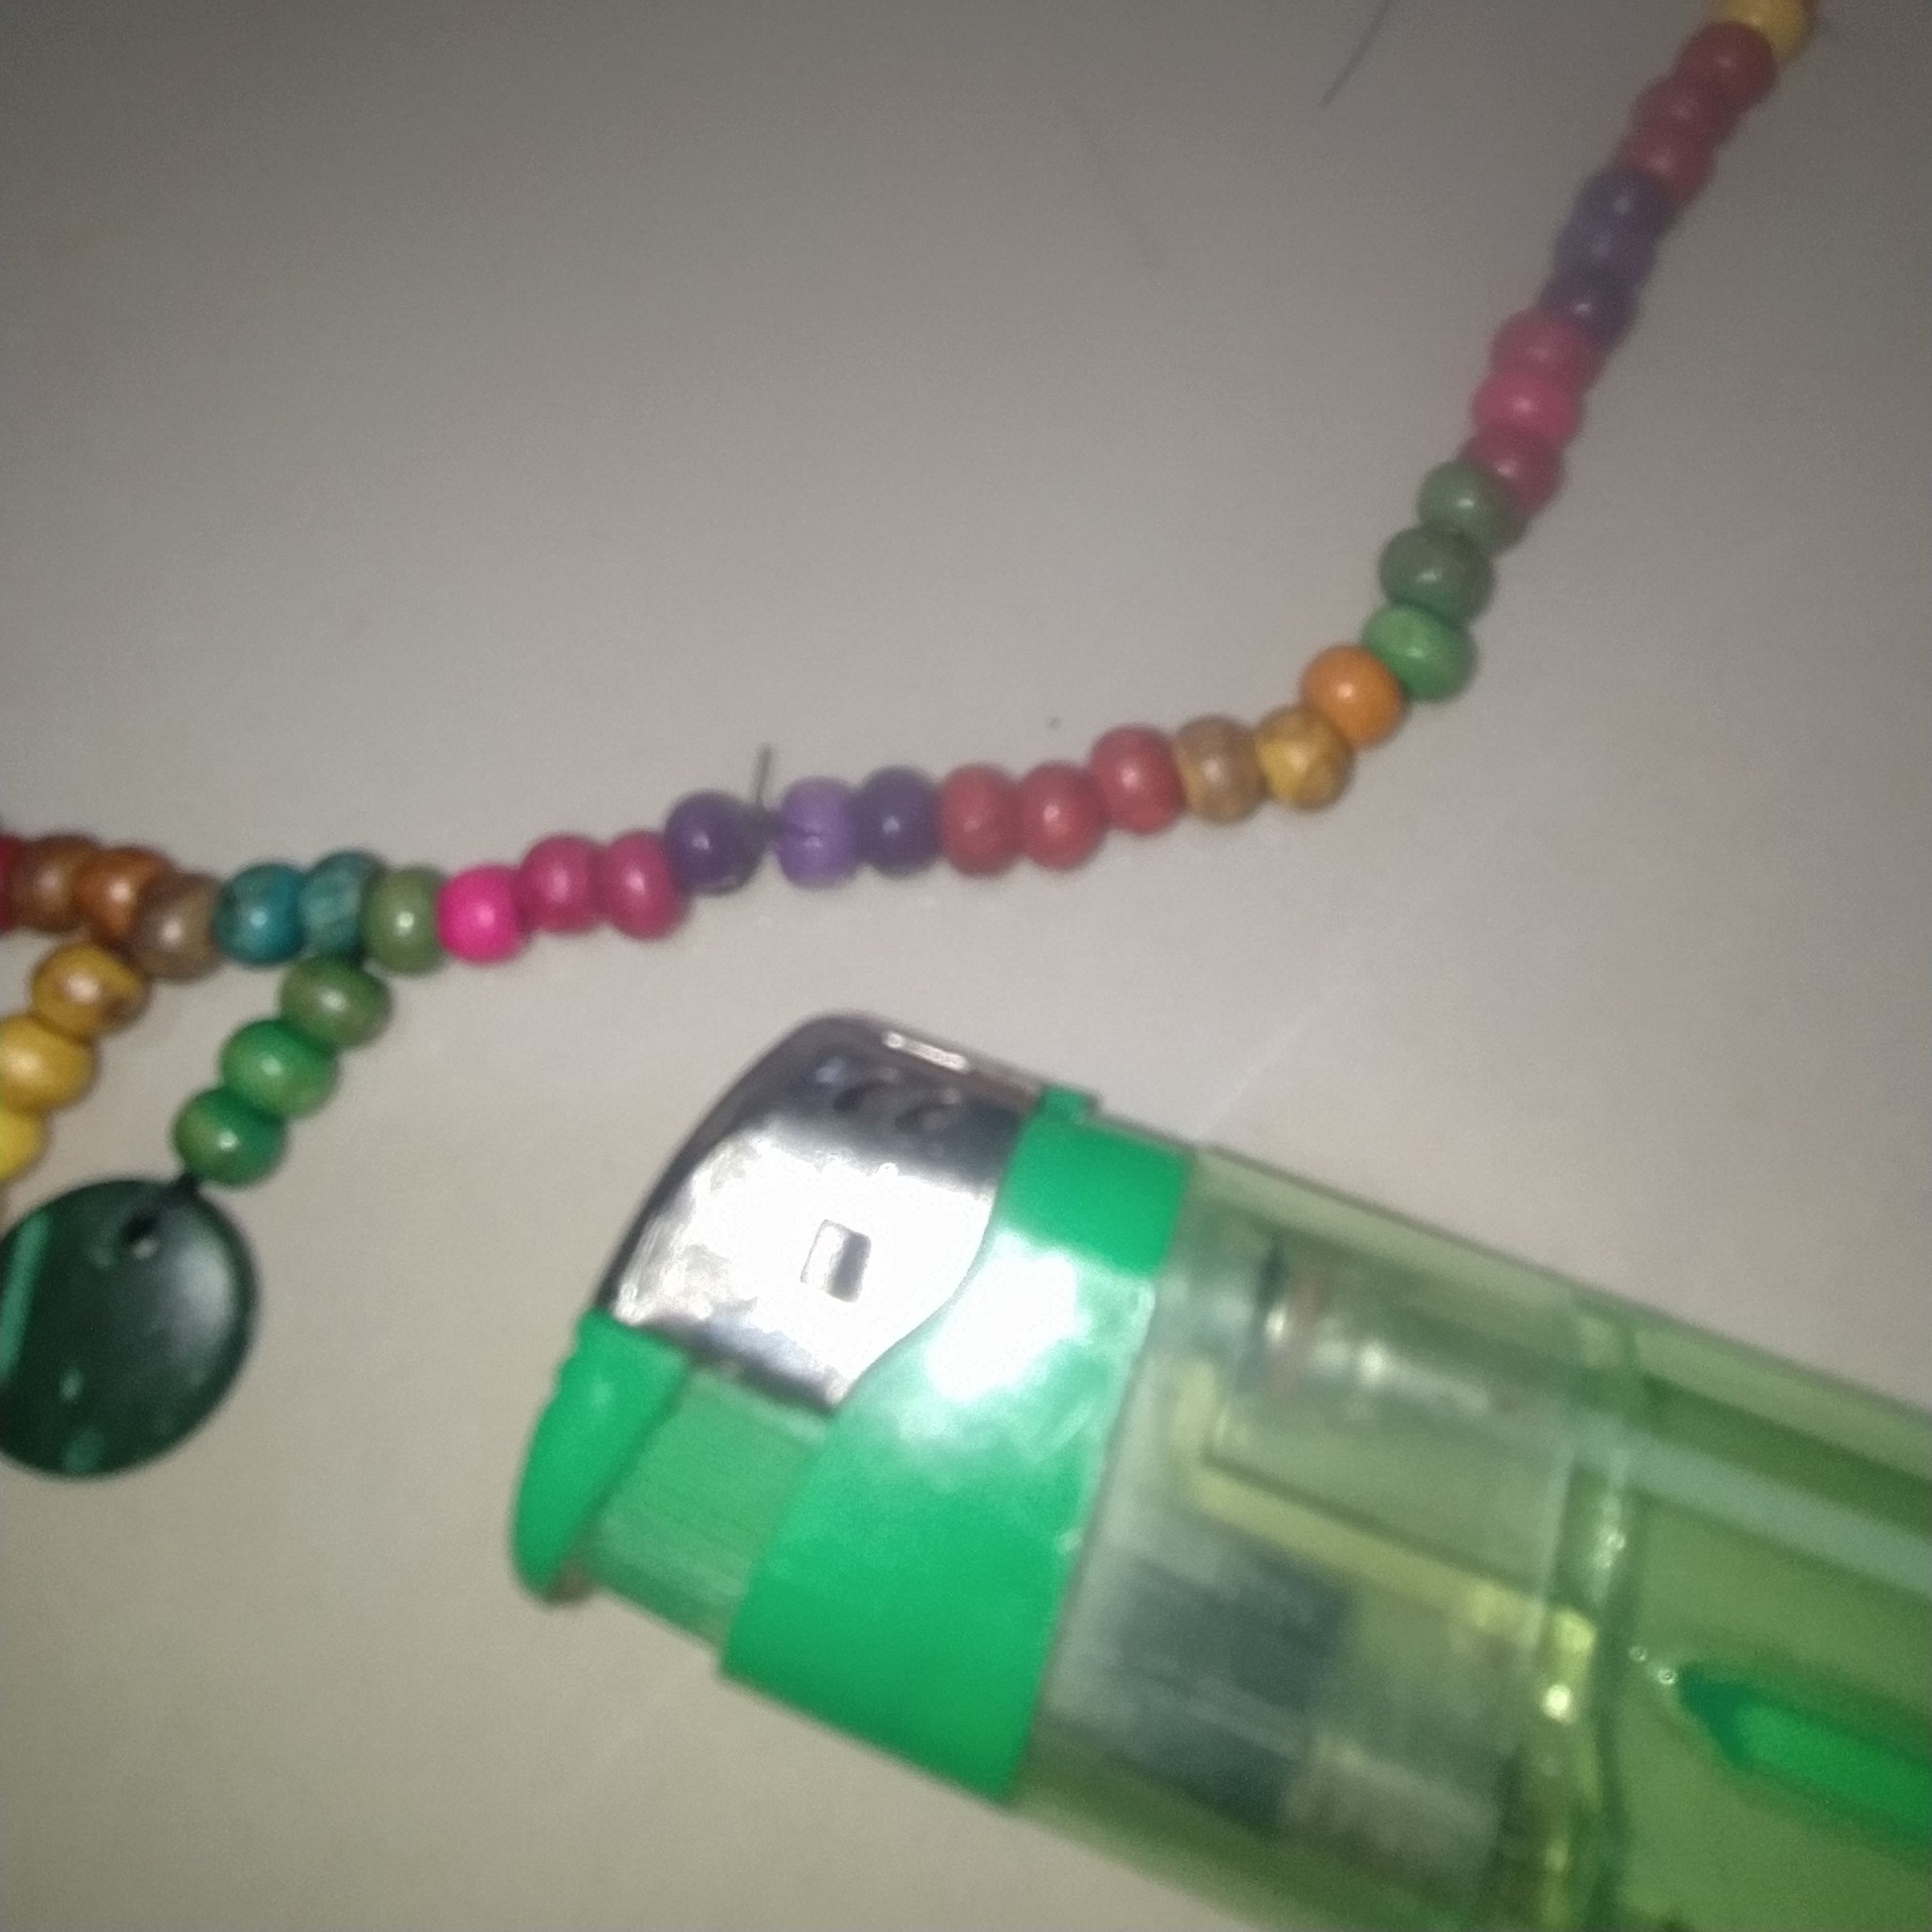
- We cut off the excess and burn the ends to secure.
- Cortamos el excedente y quemamos las puntas para asegurar.
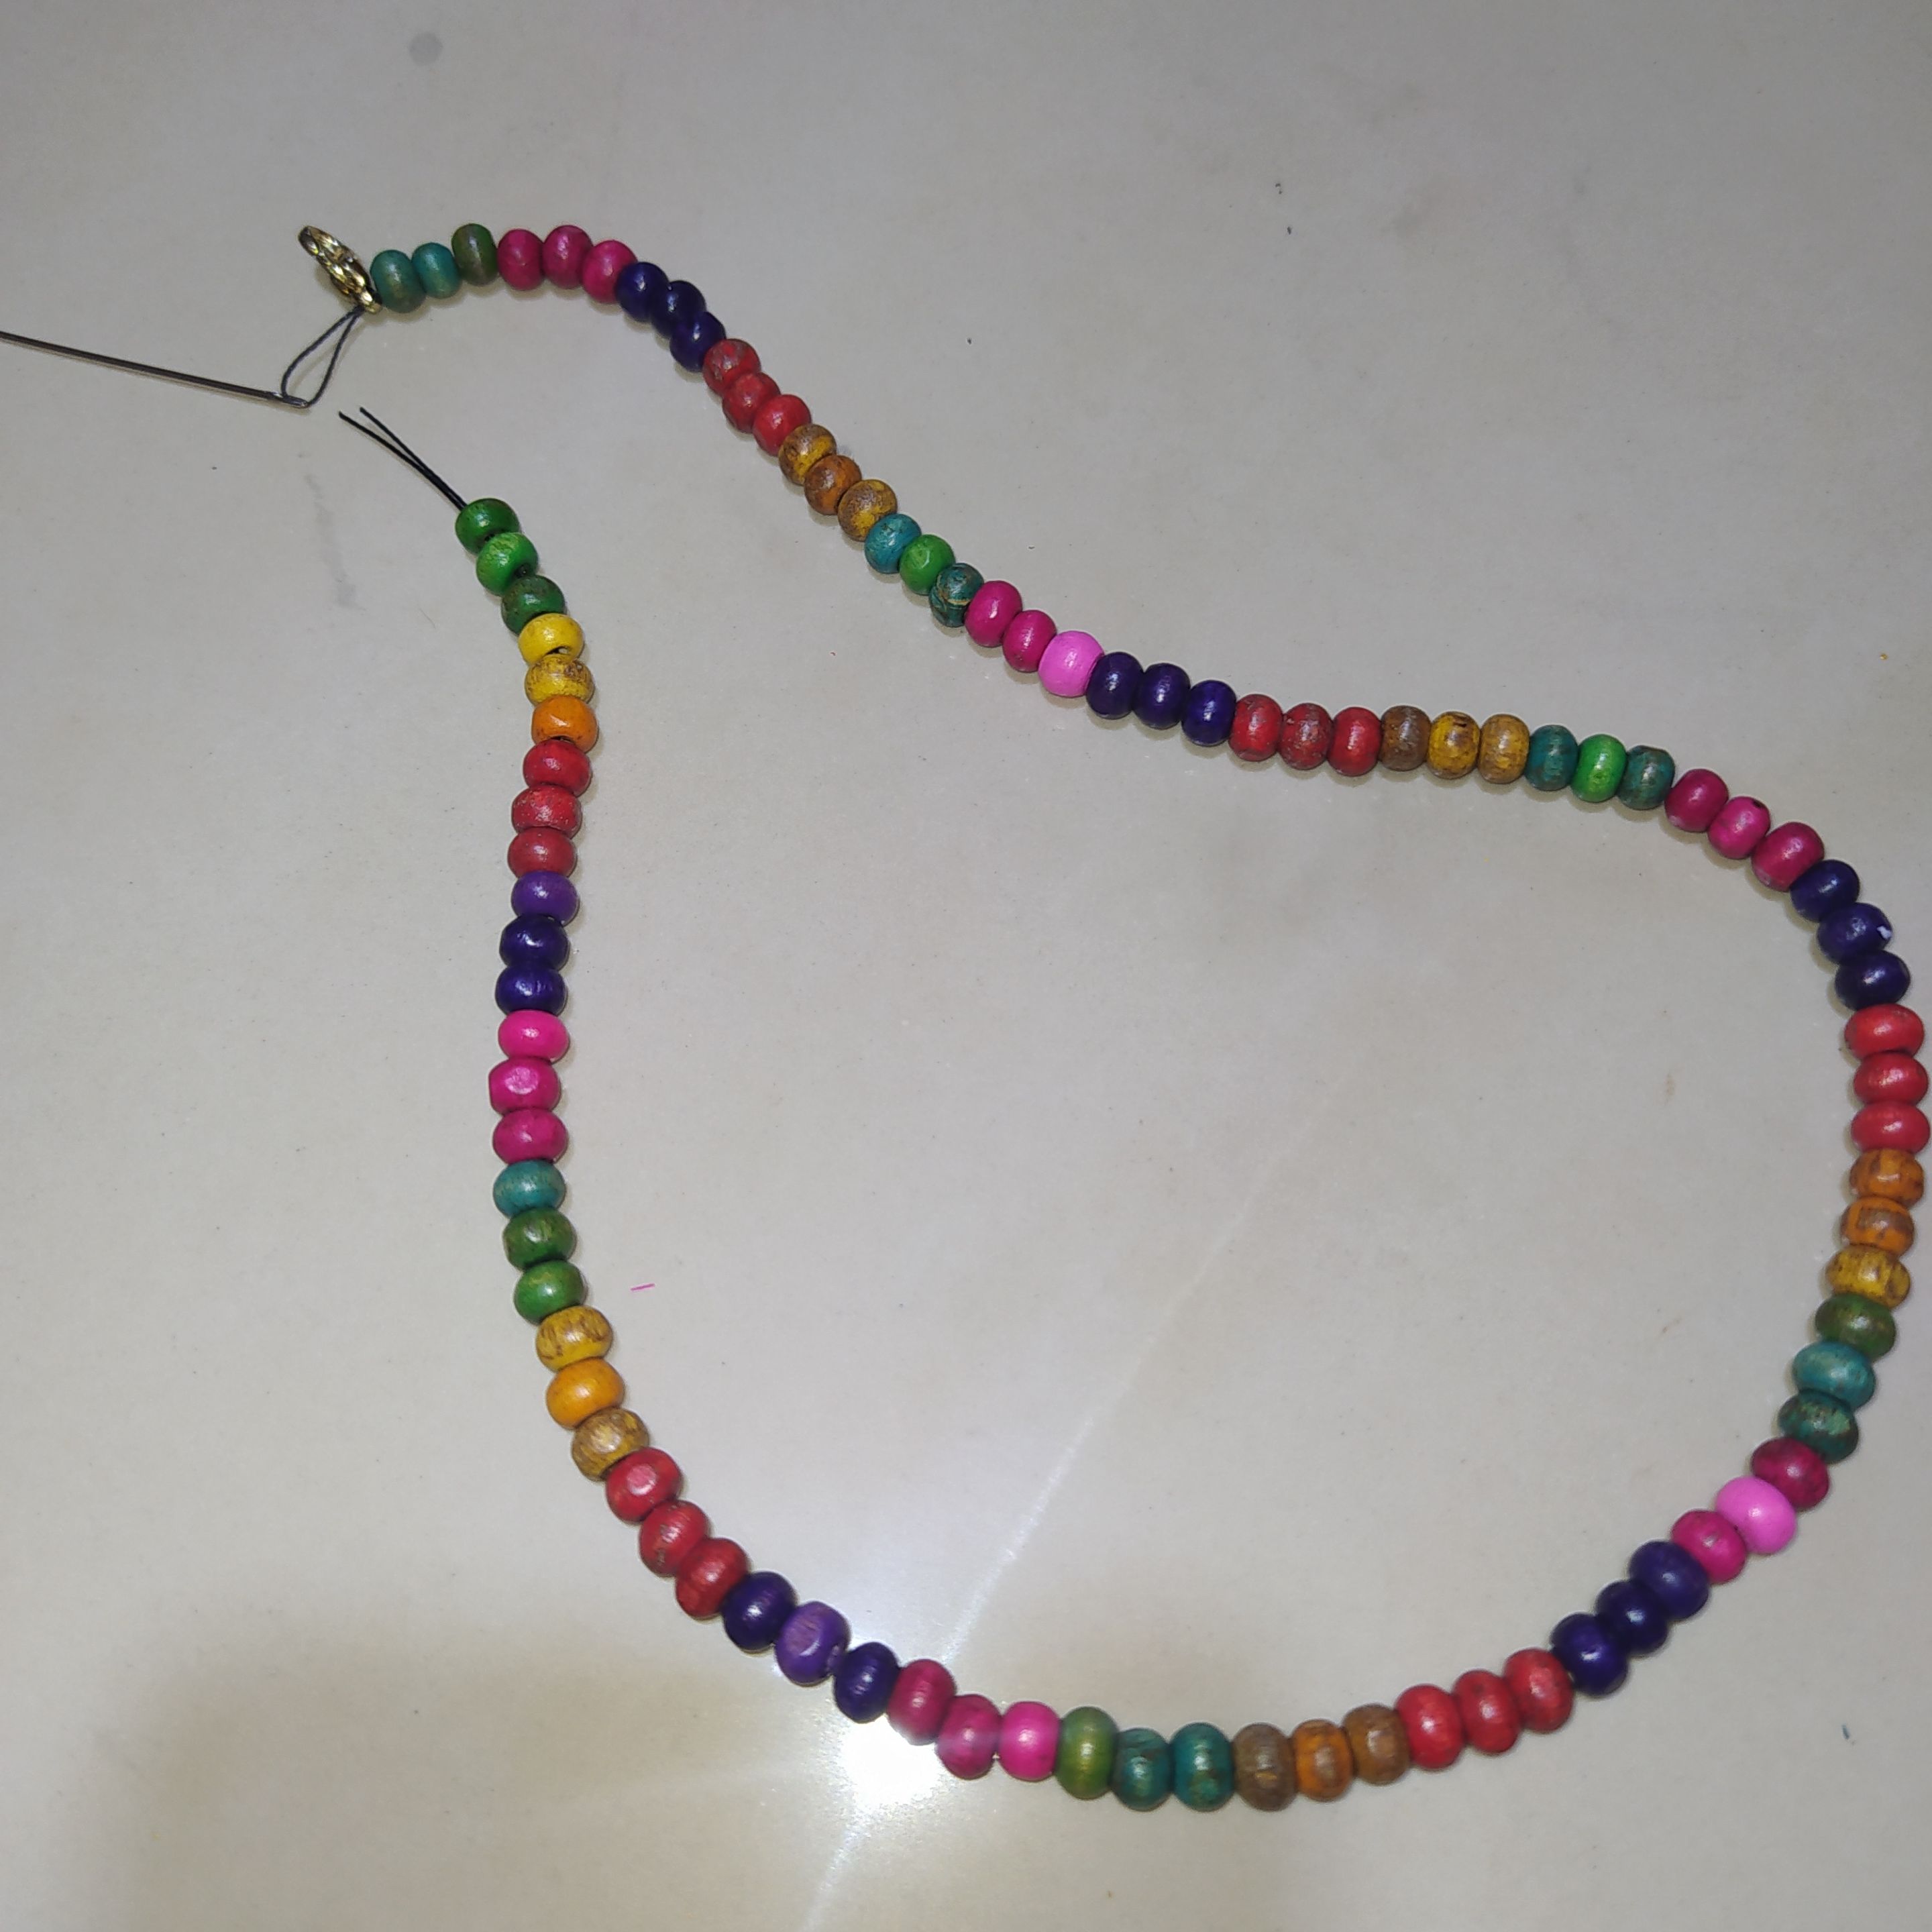
- And so we are left with.
- Y así nos queda.
 |  |  |
|---|
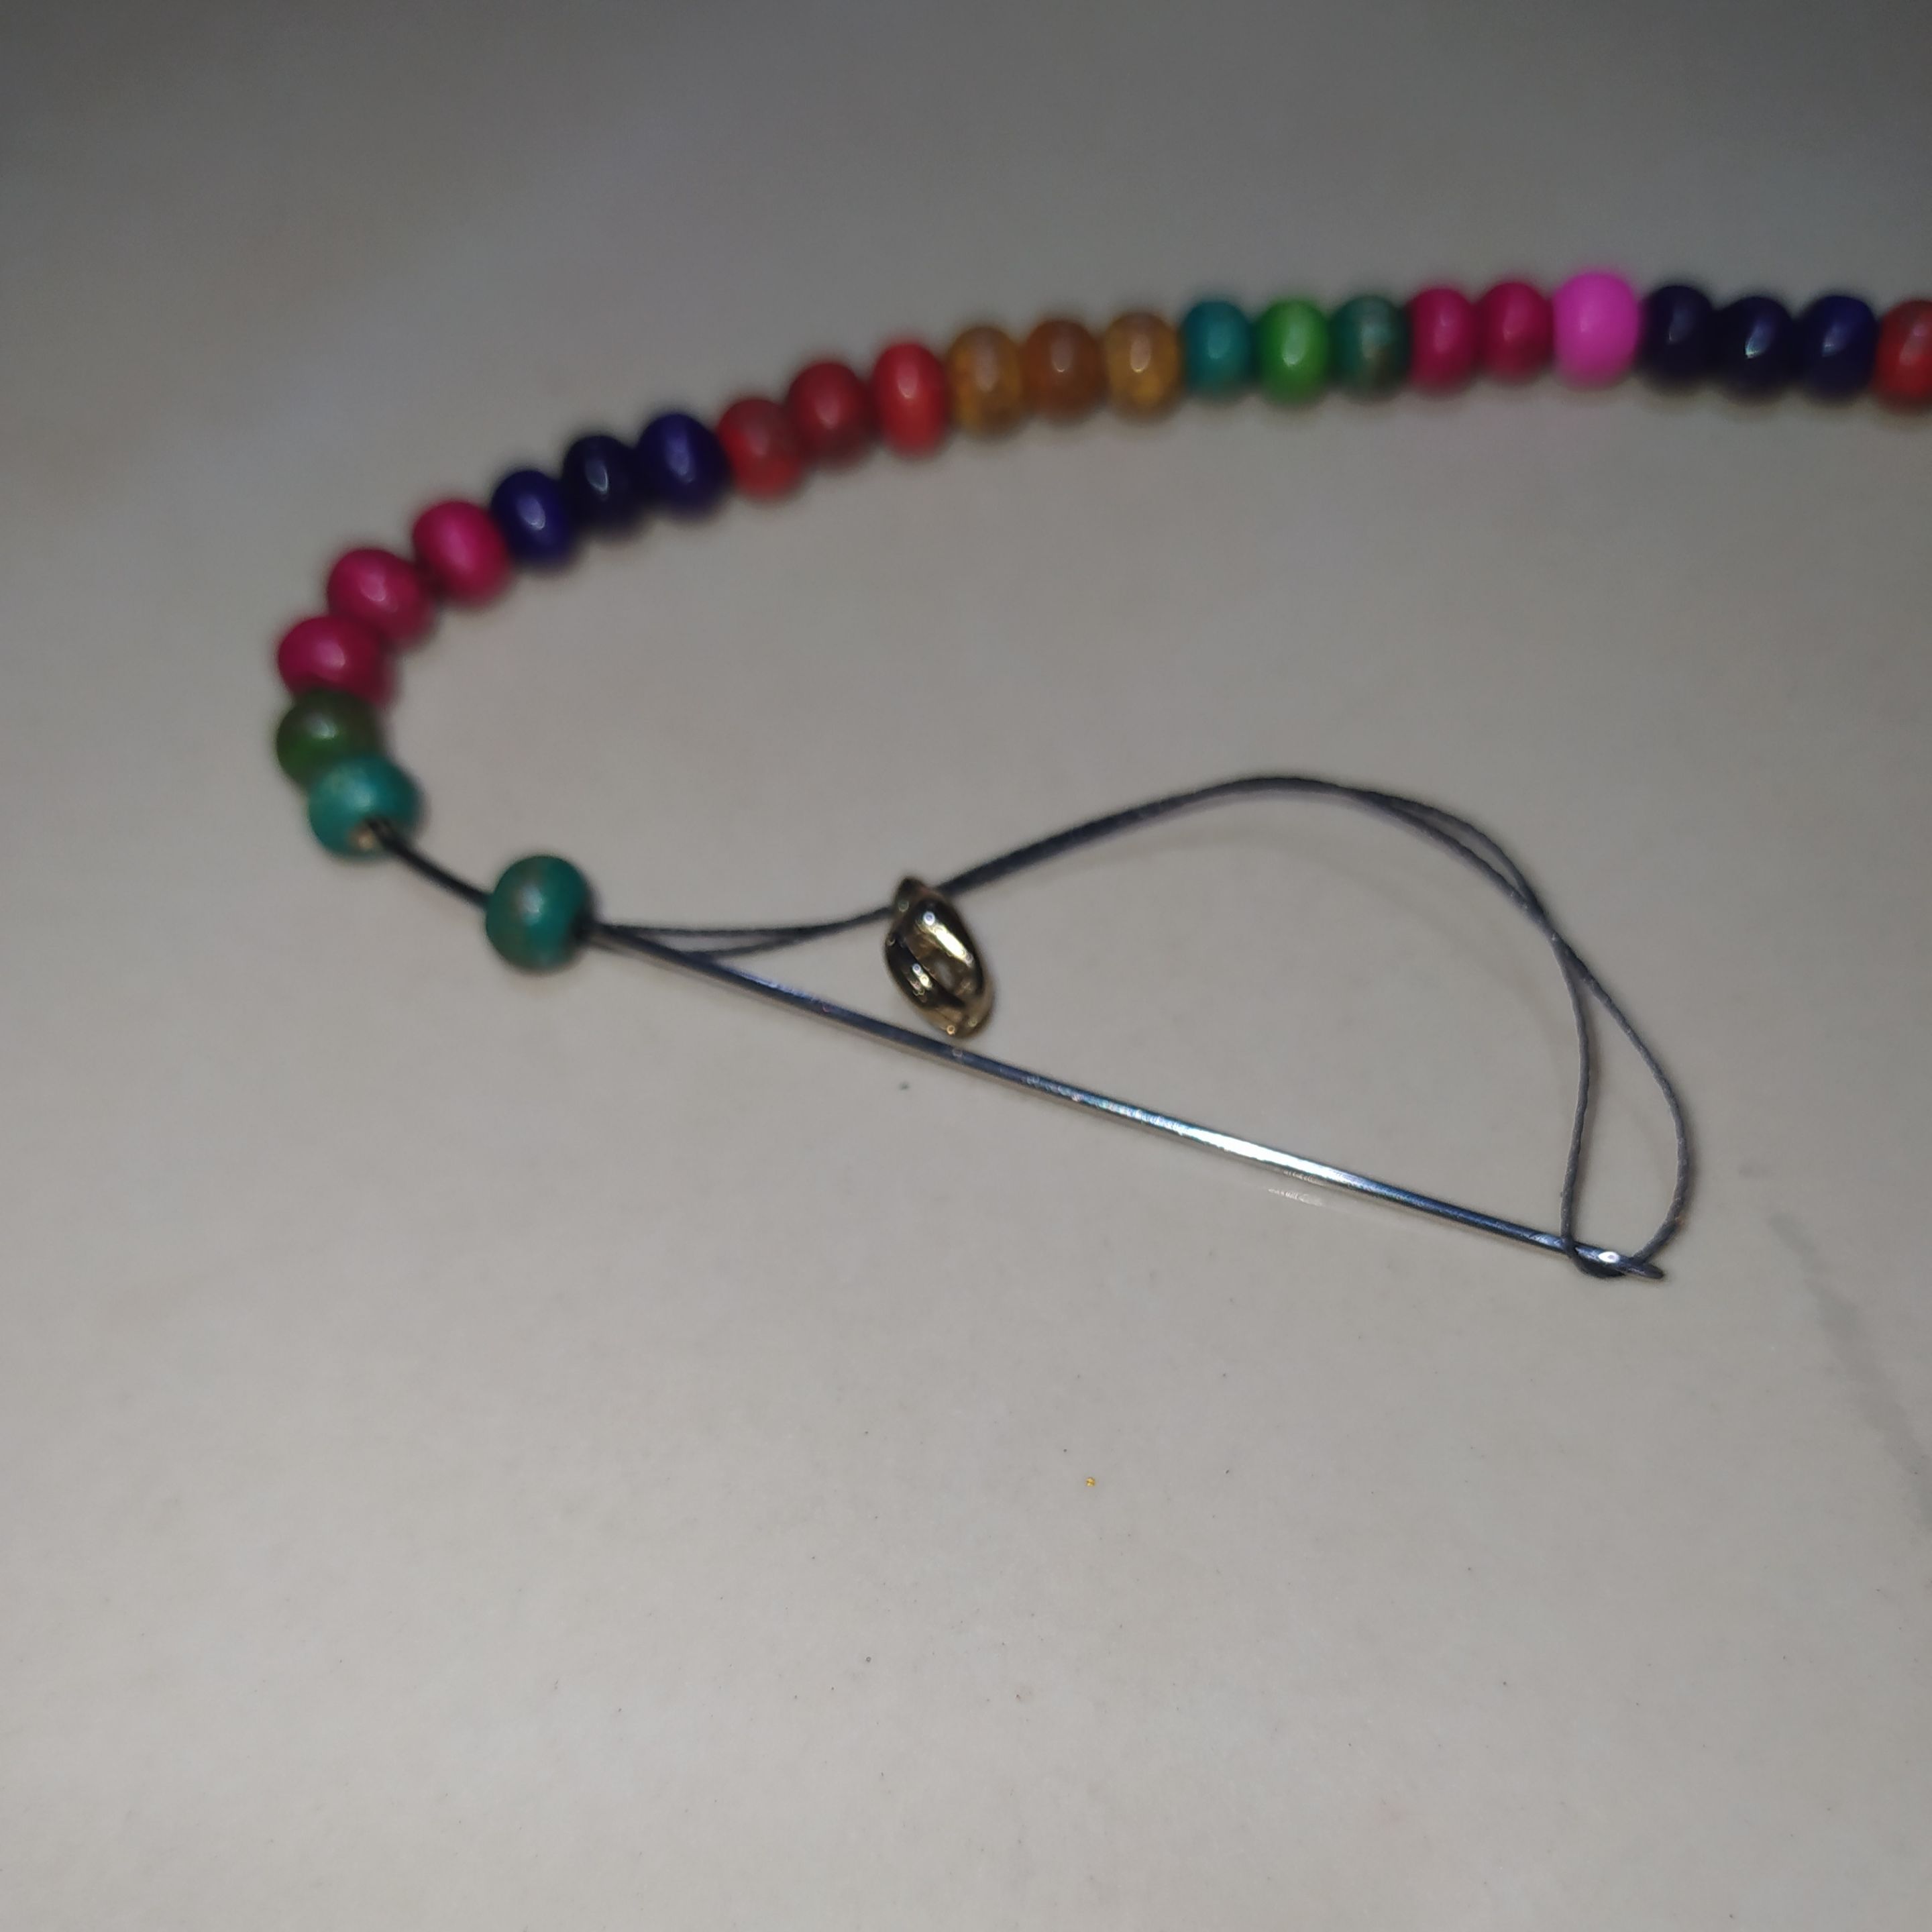
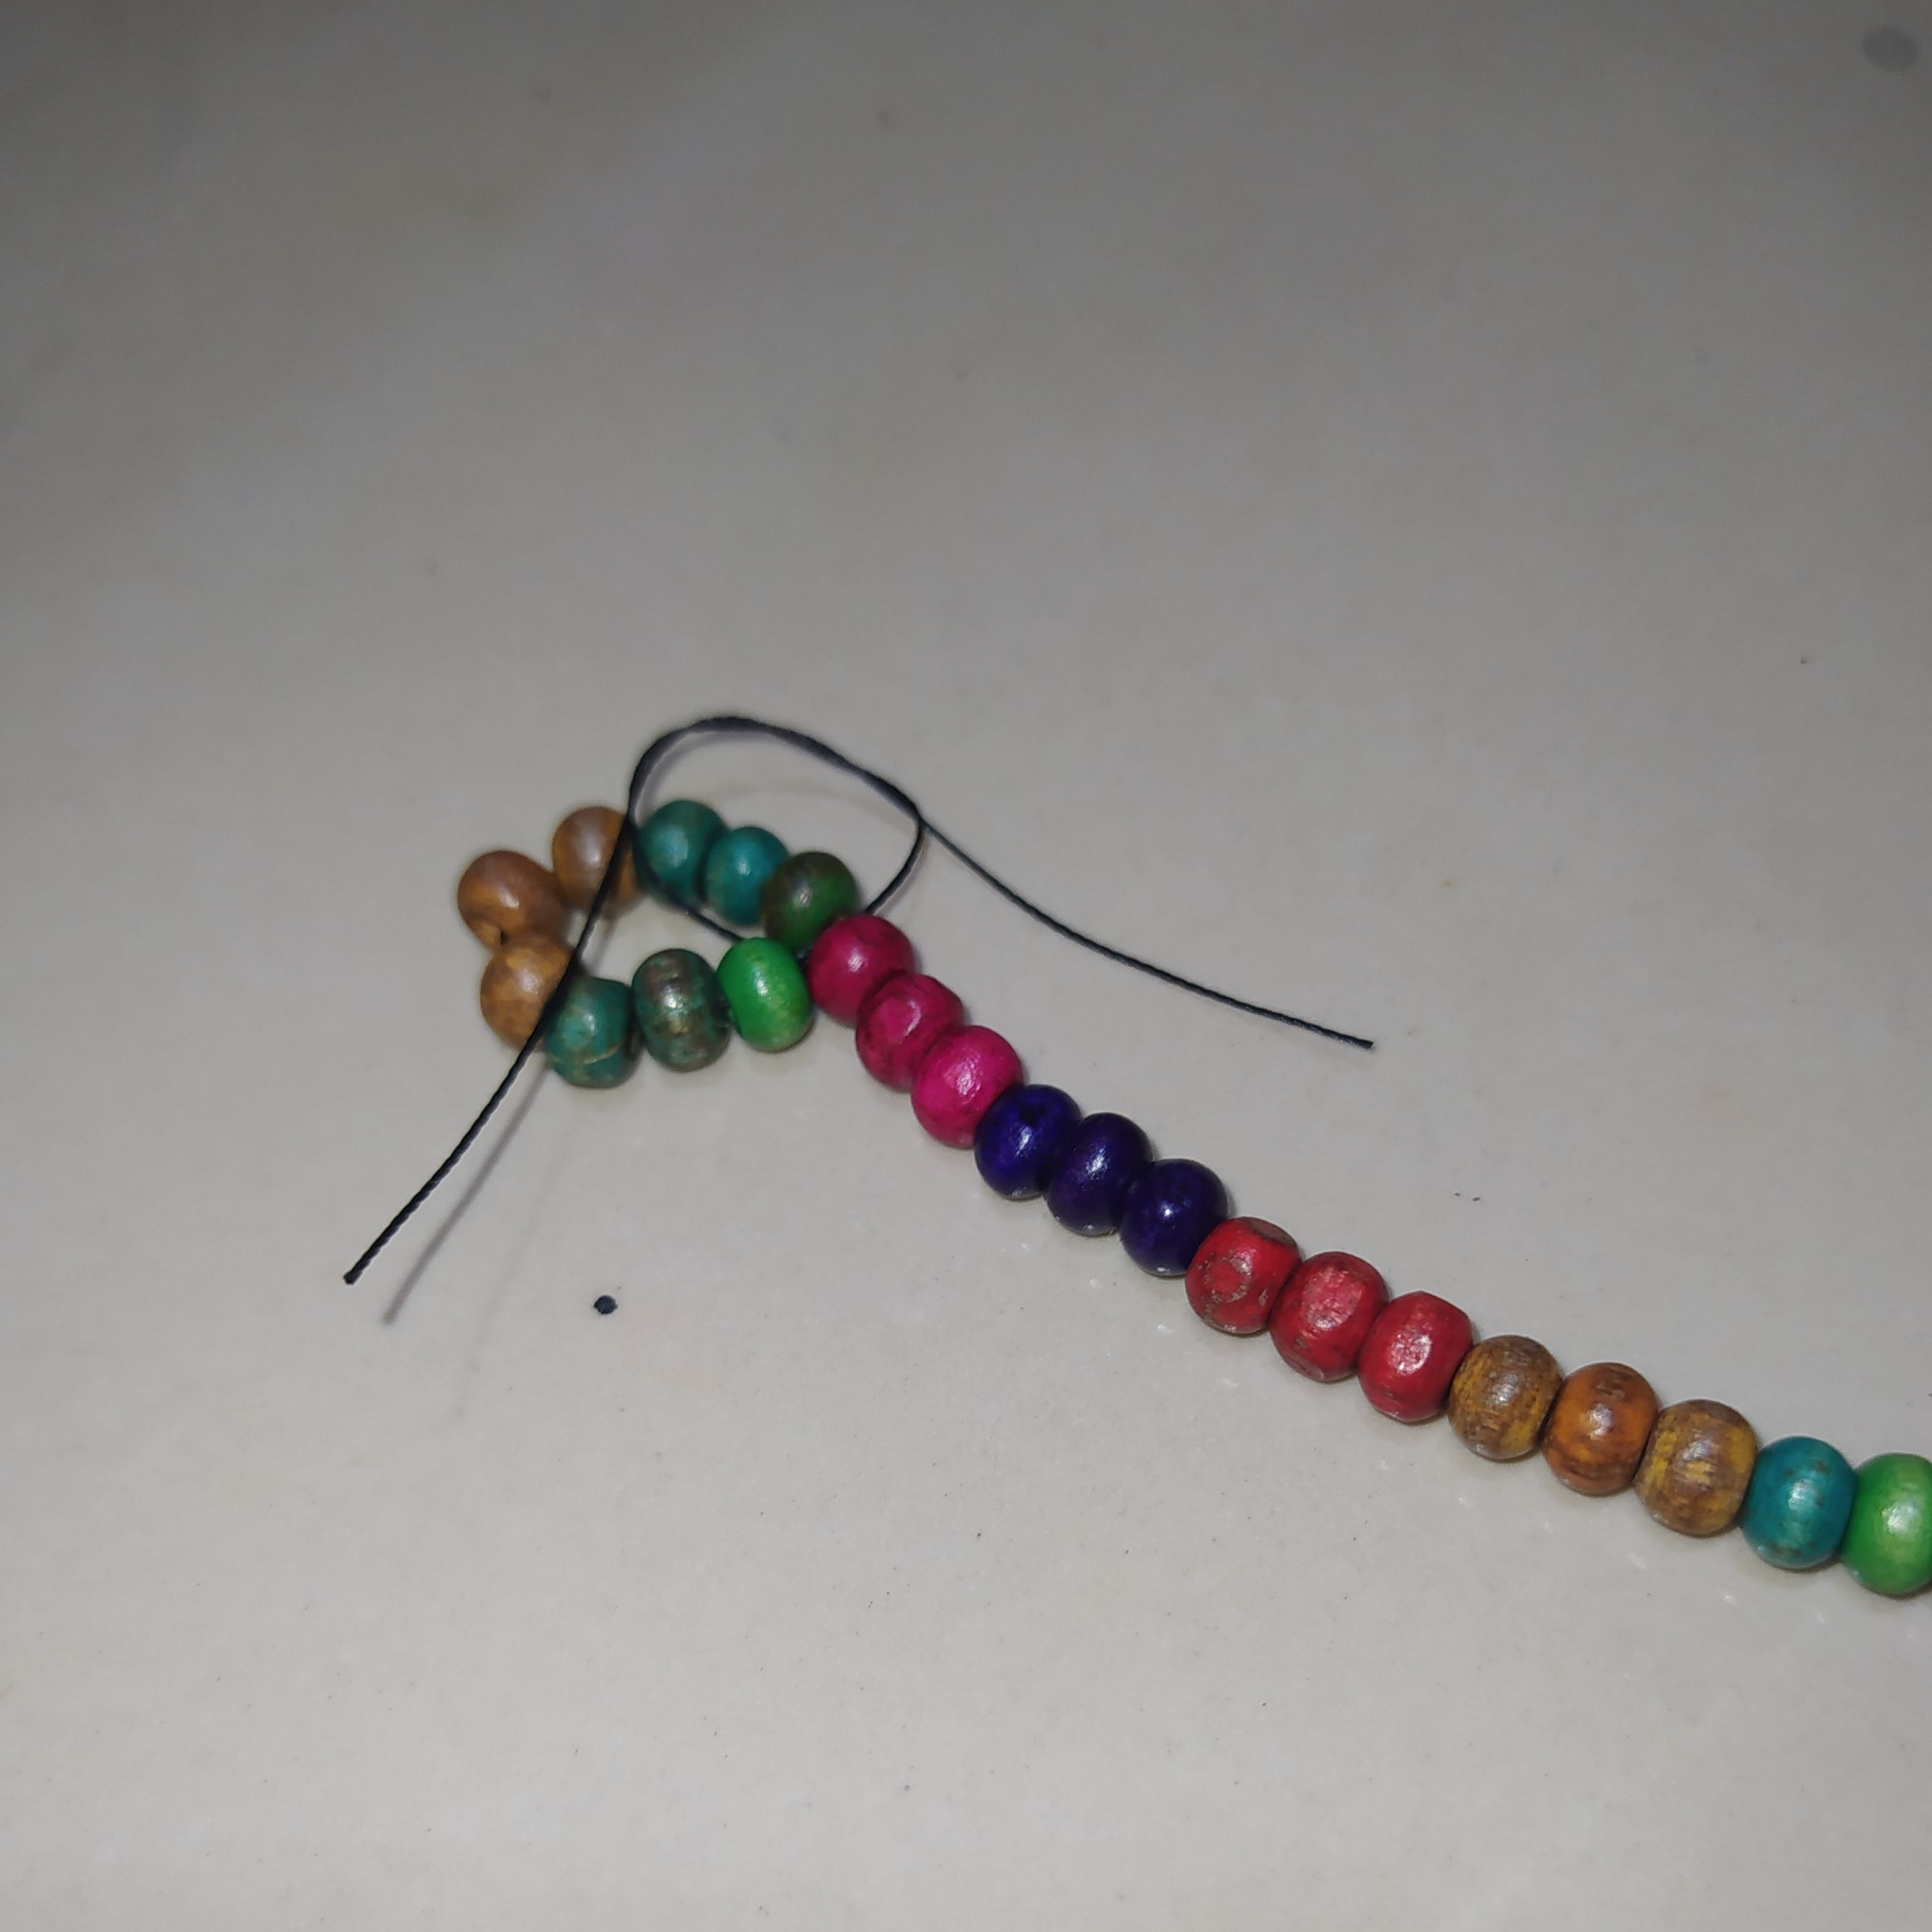
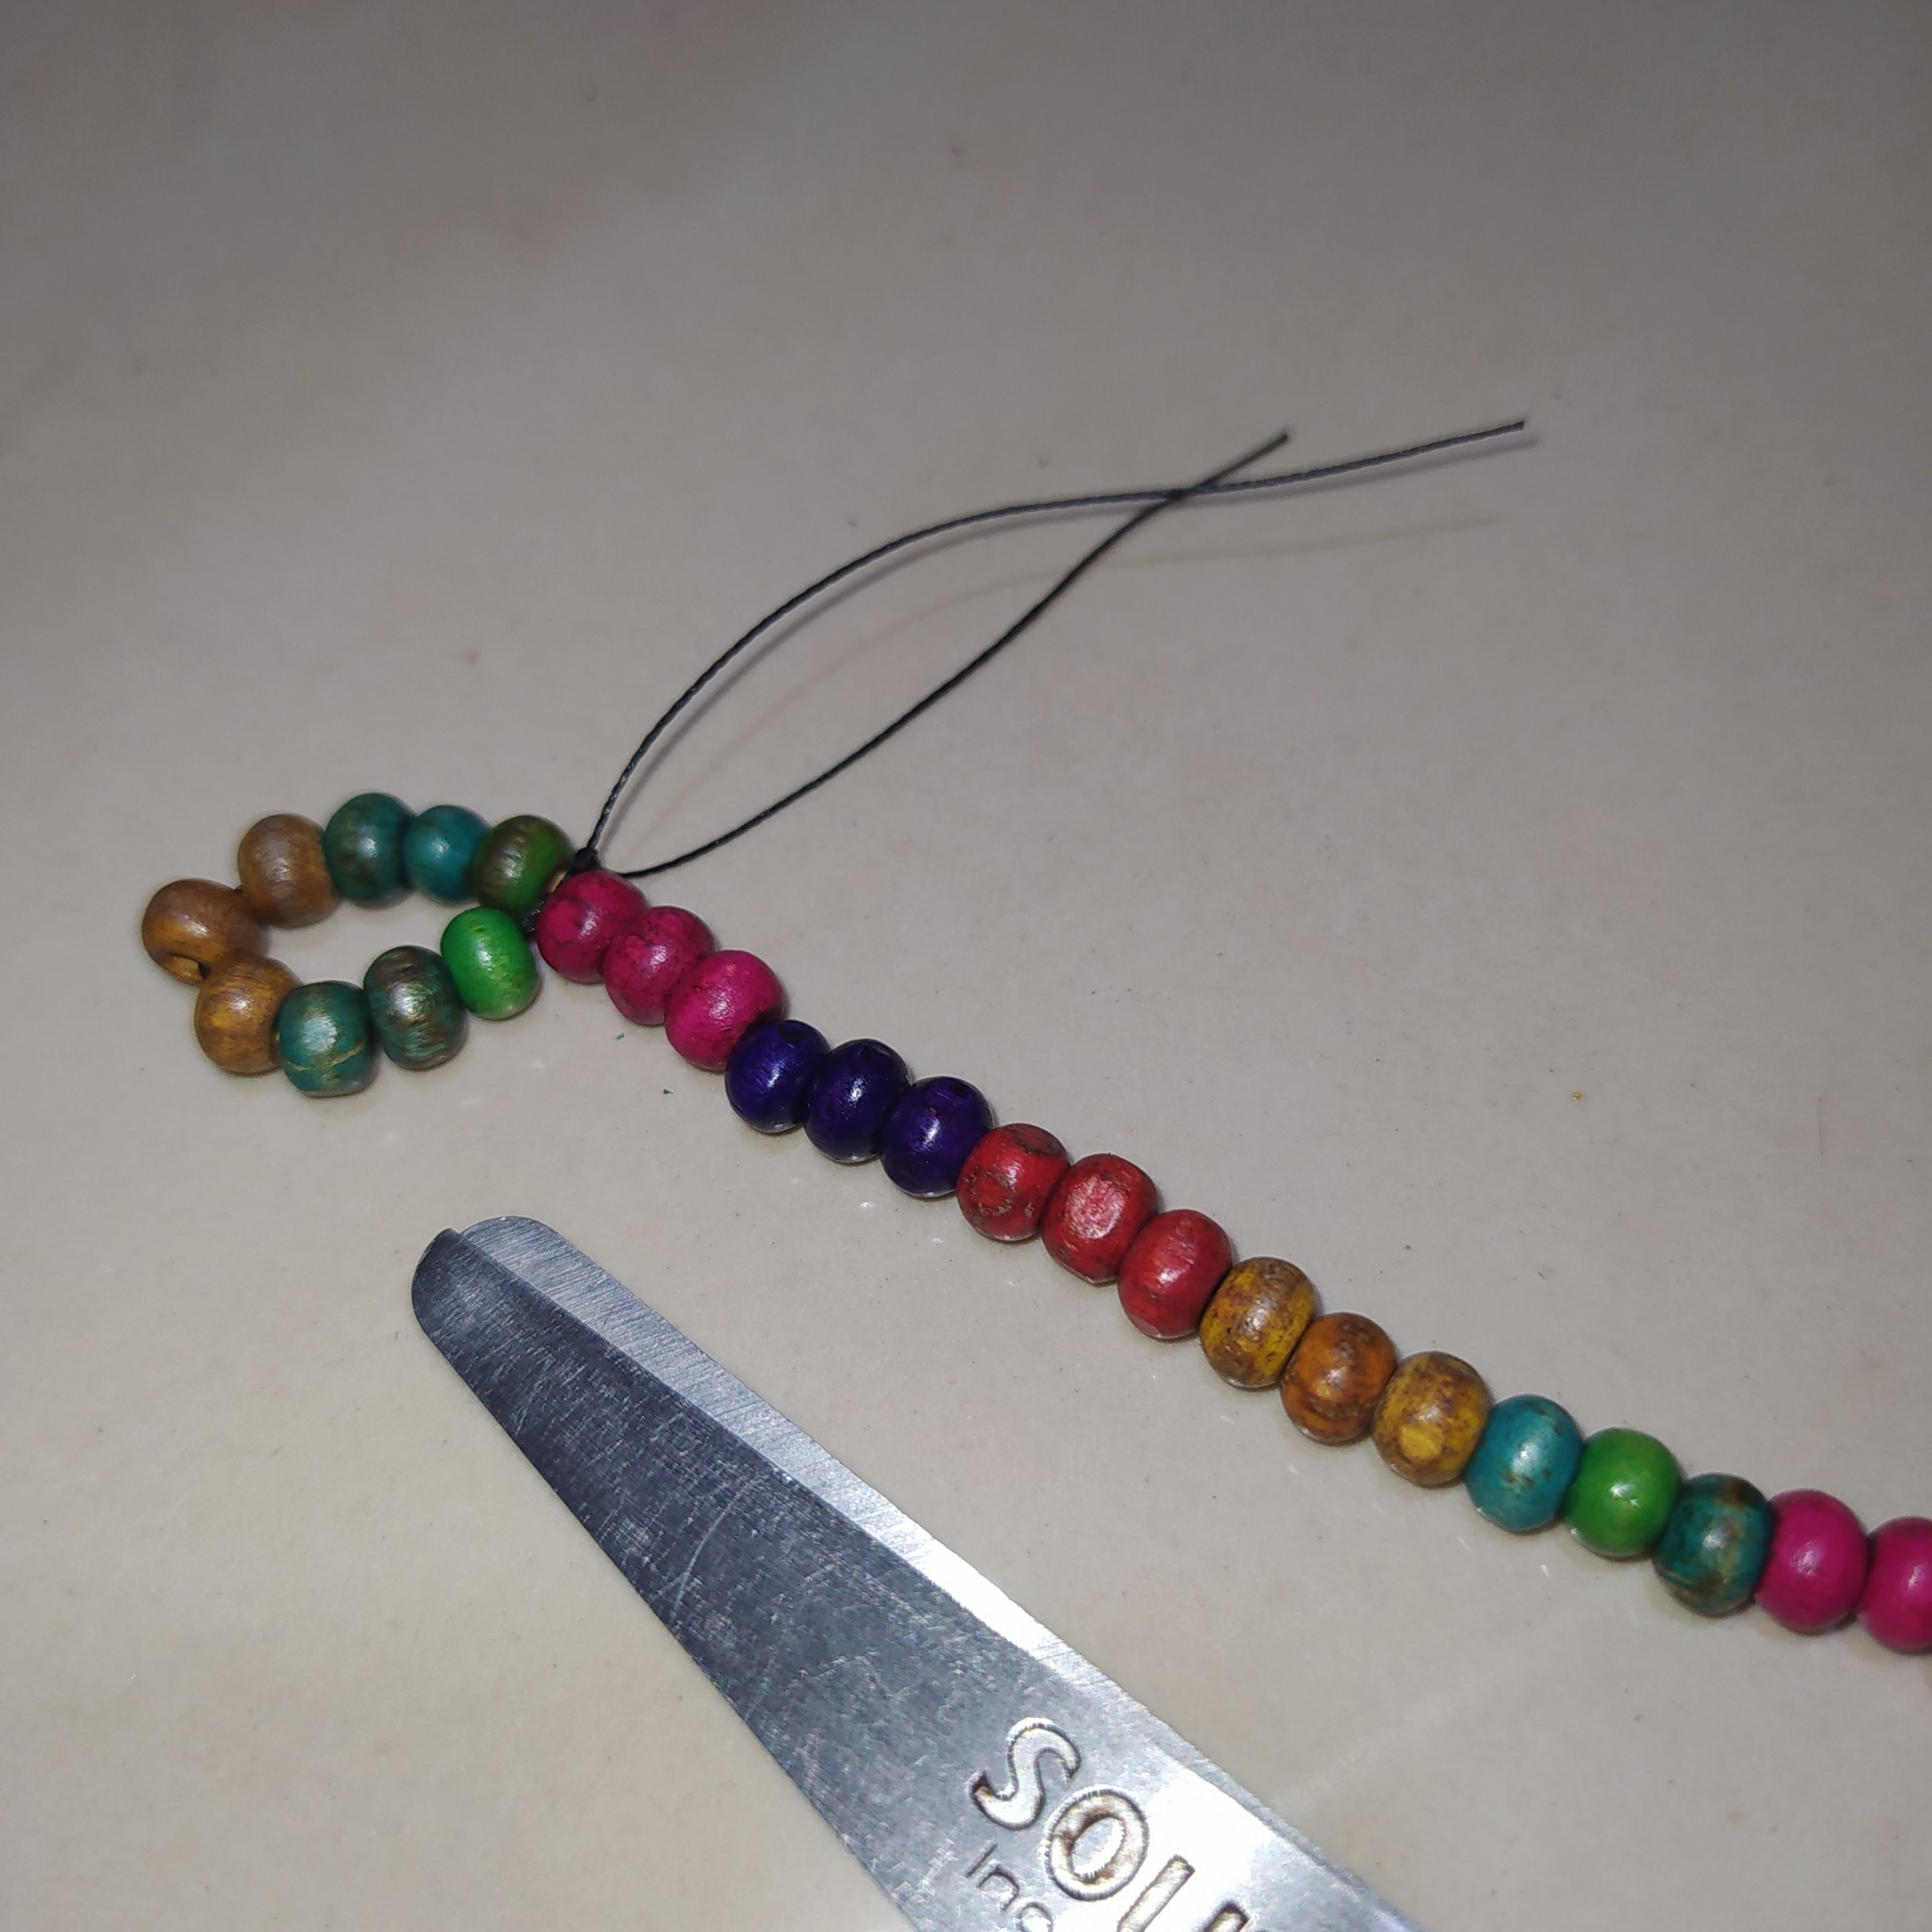
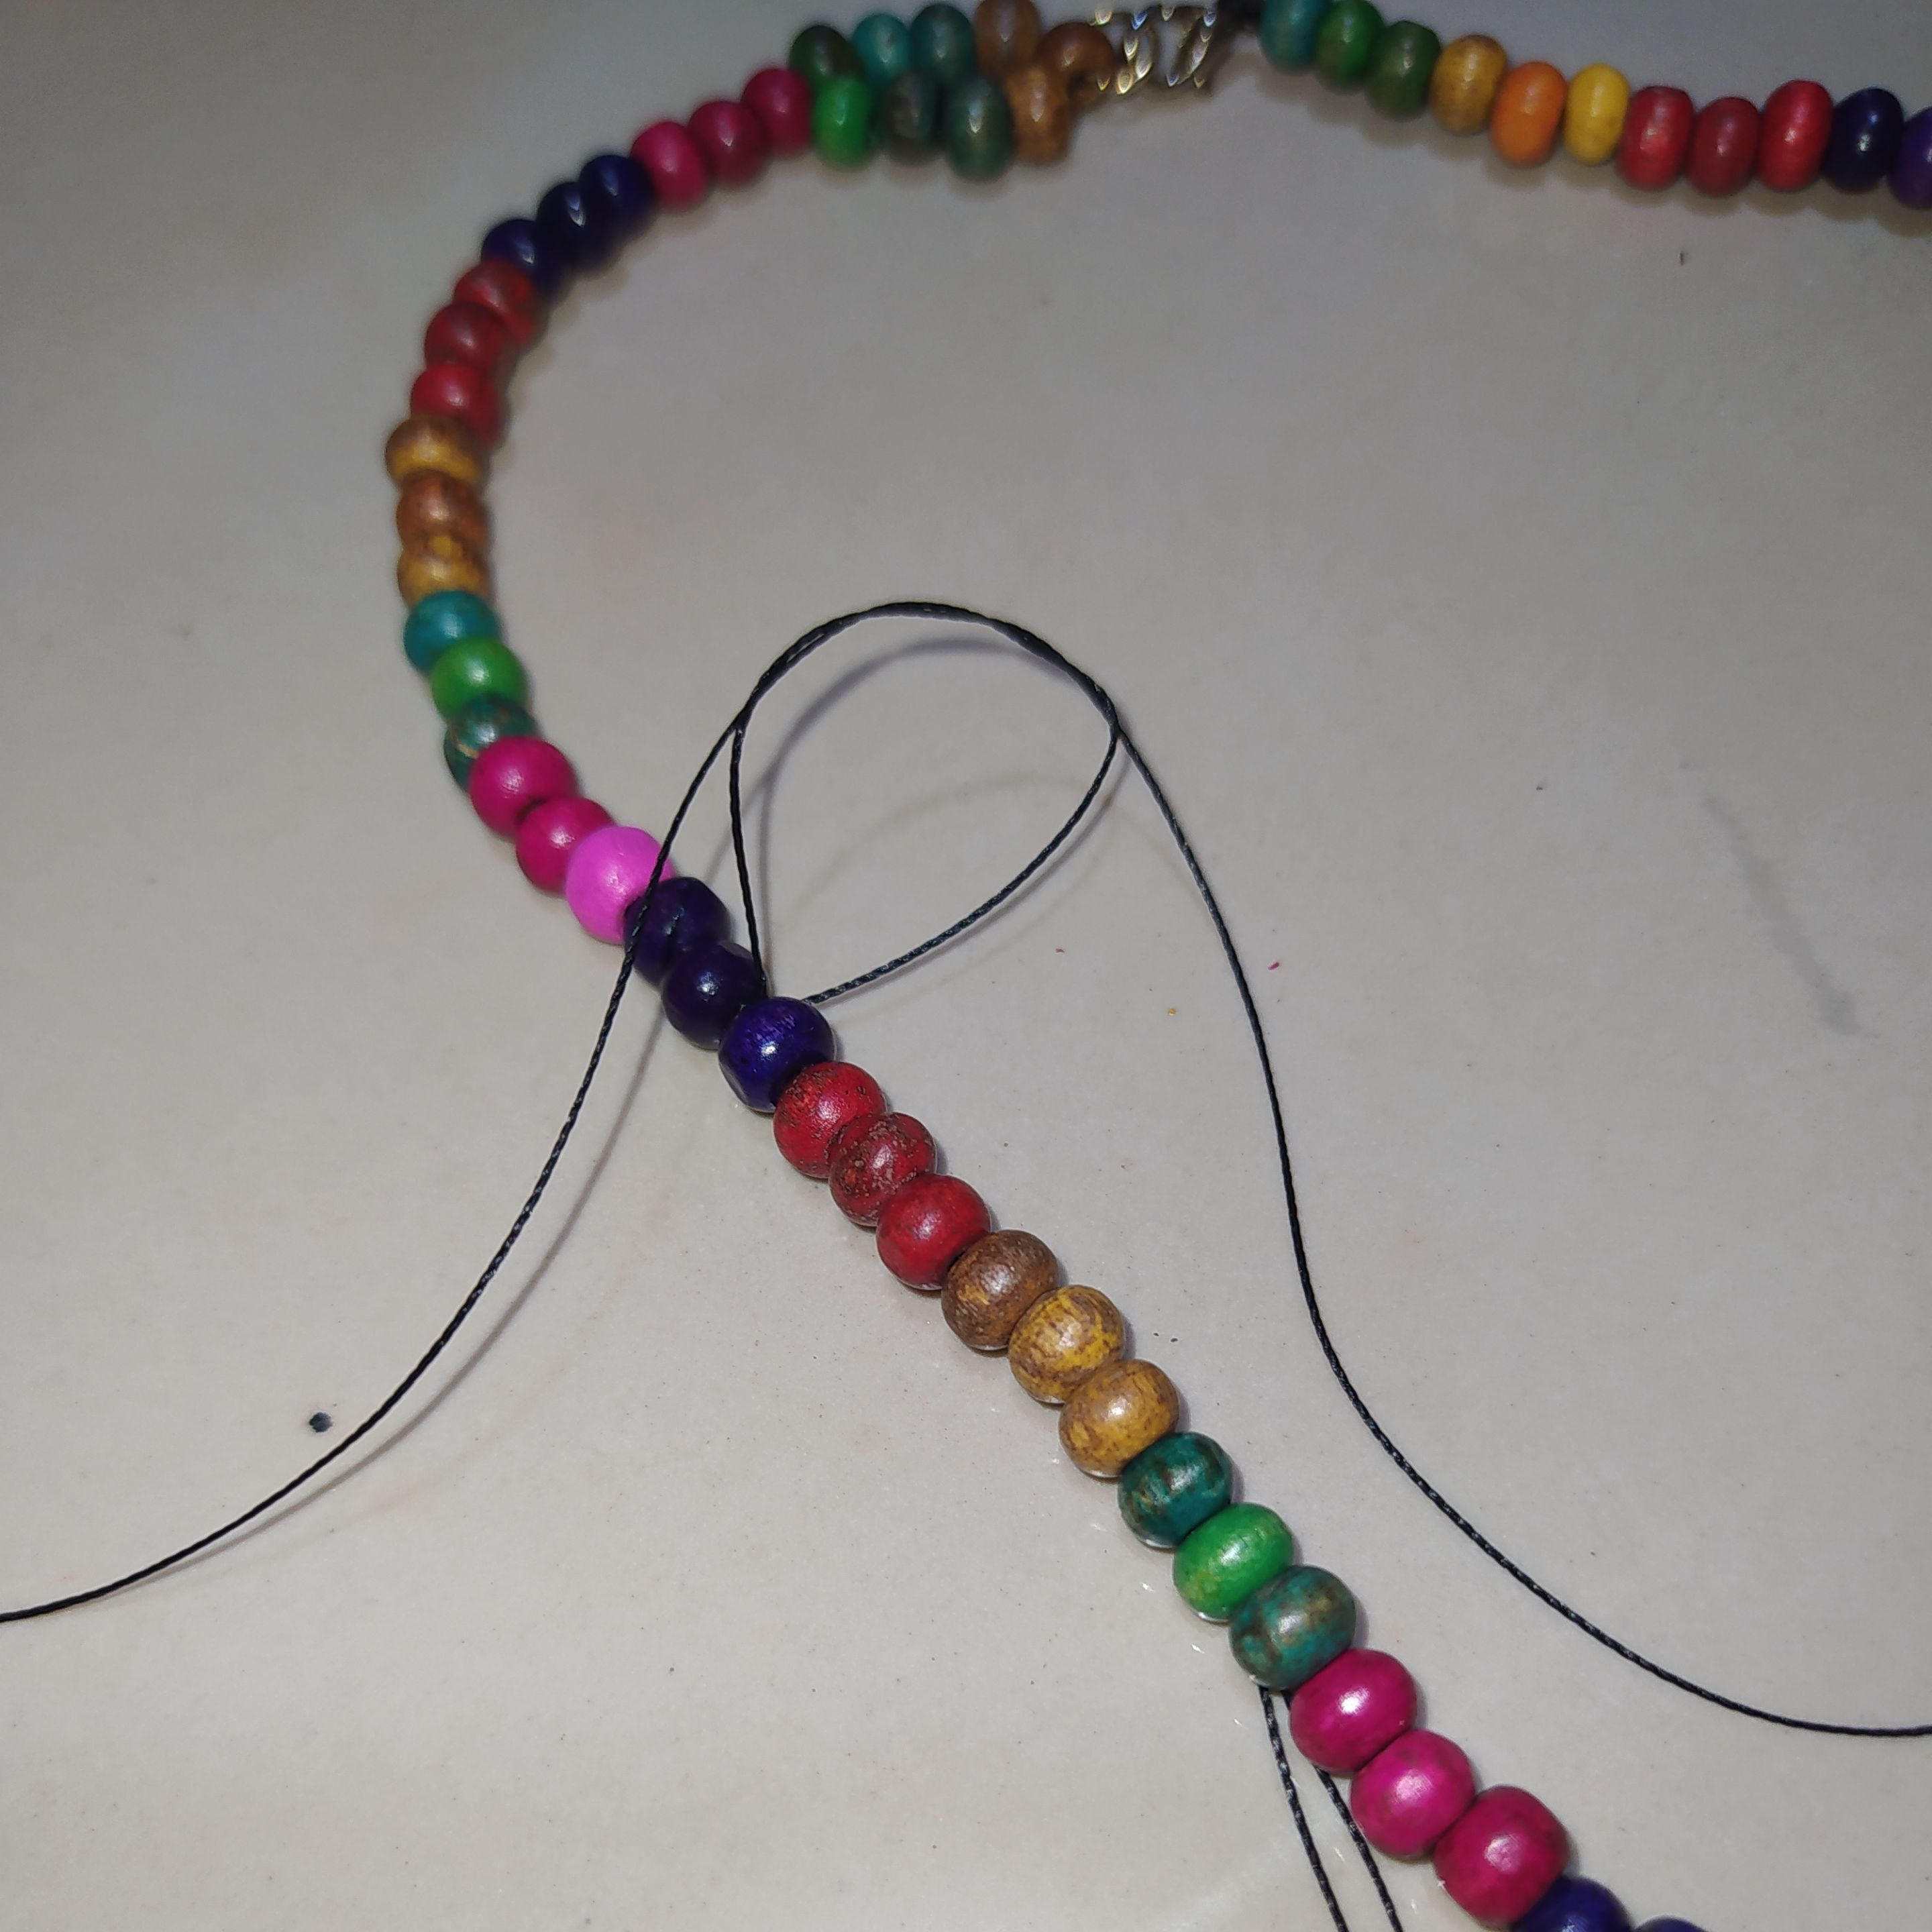
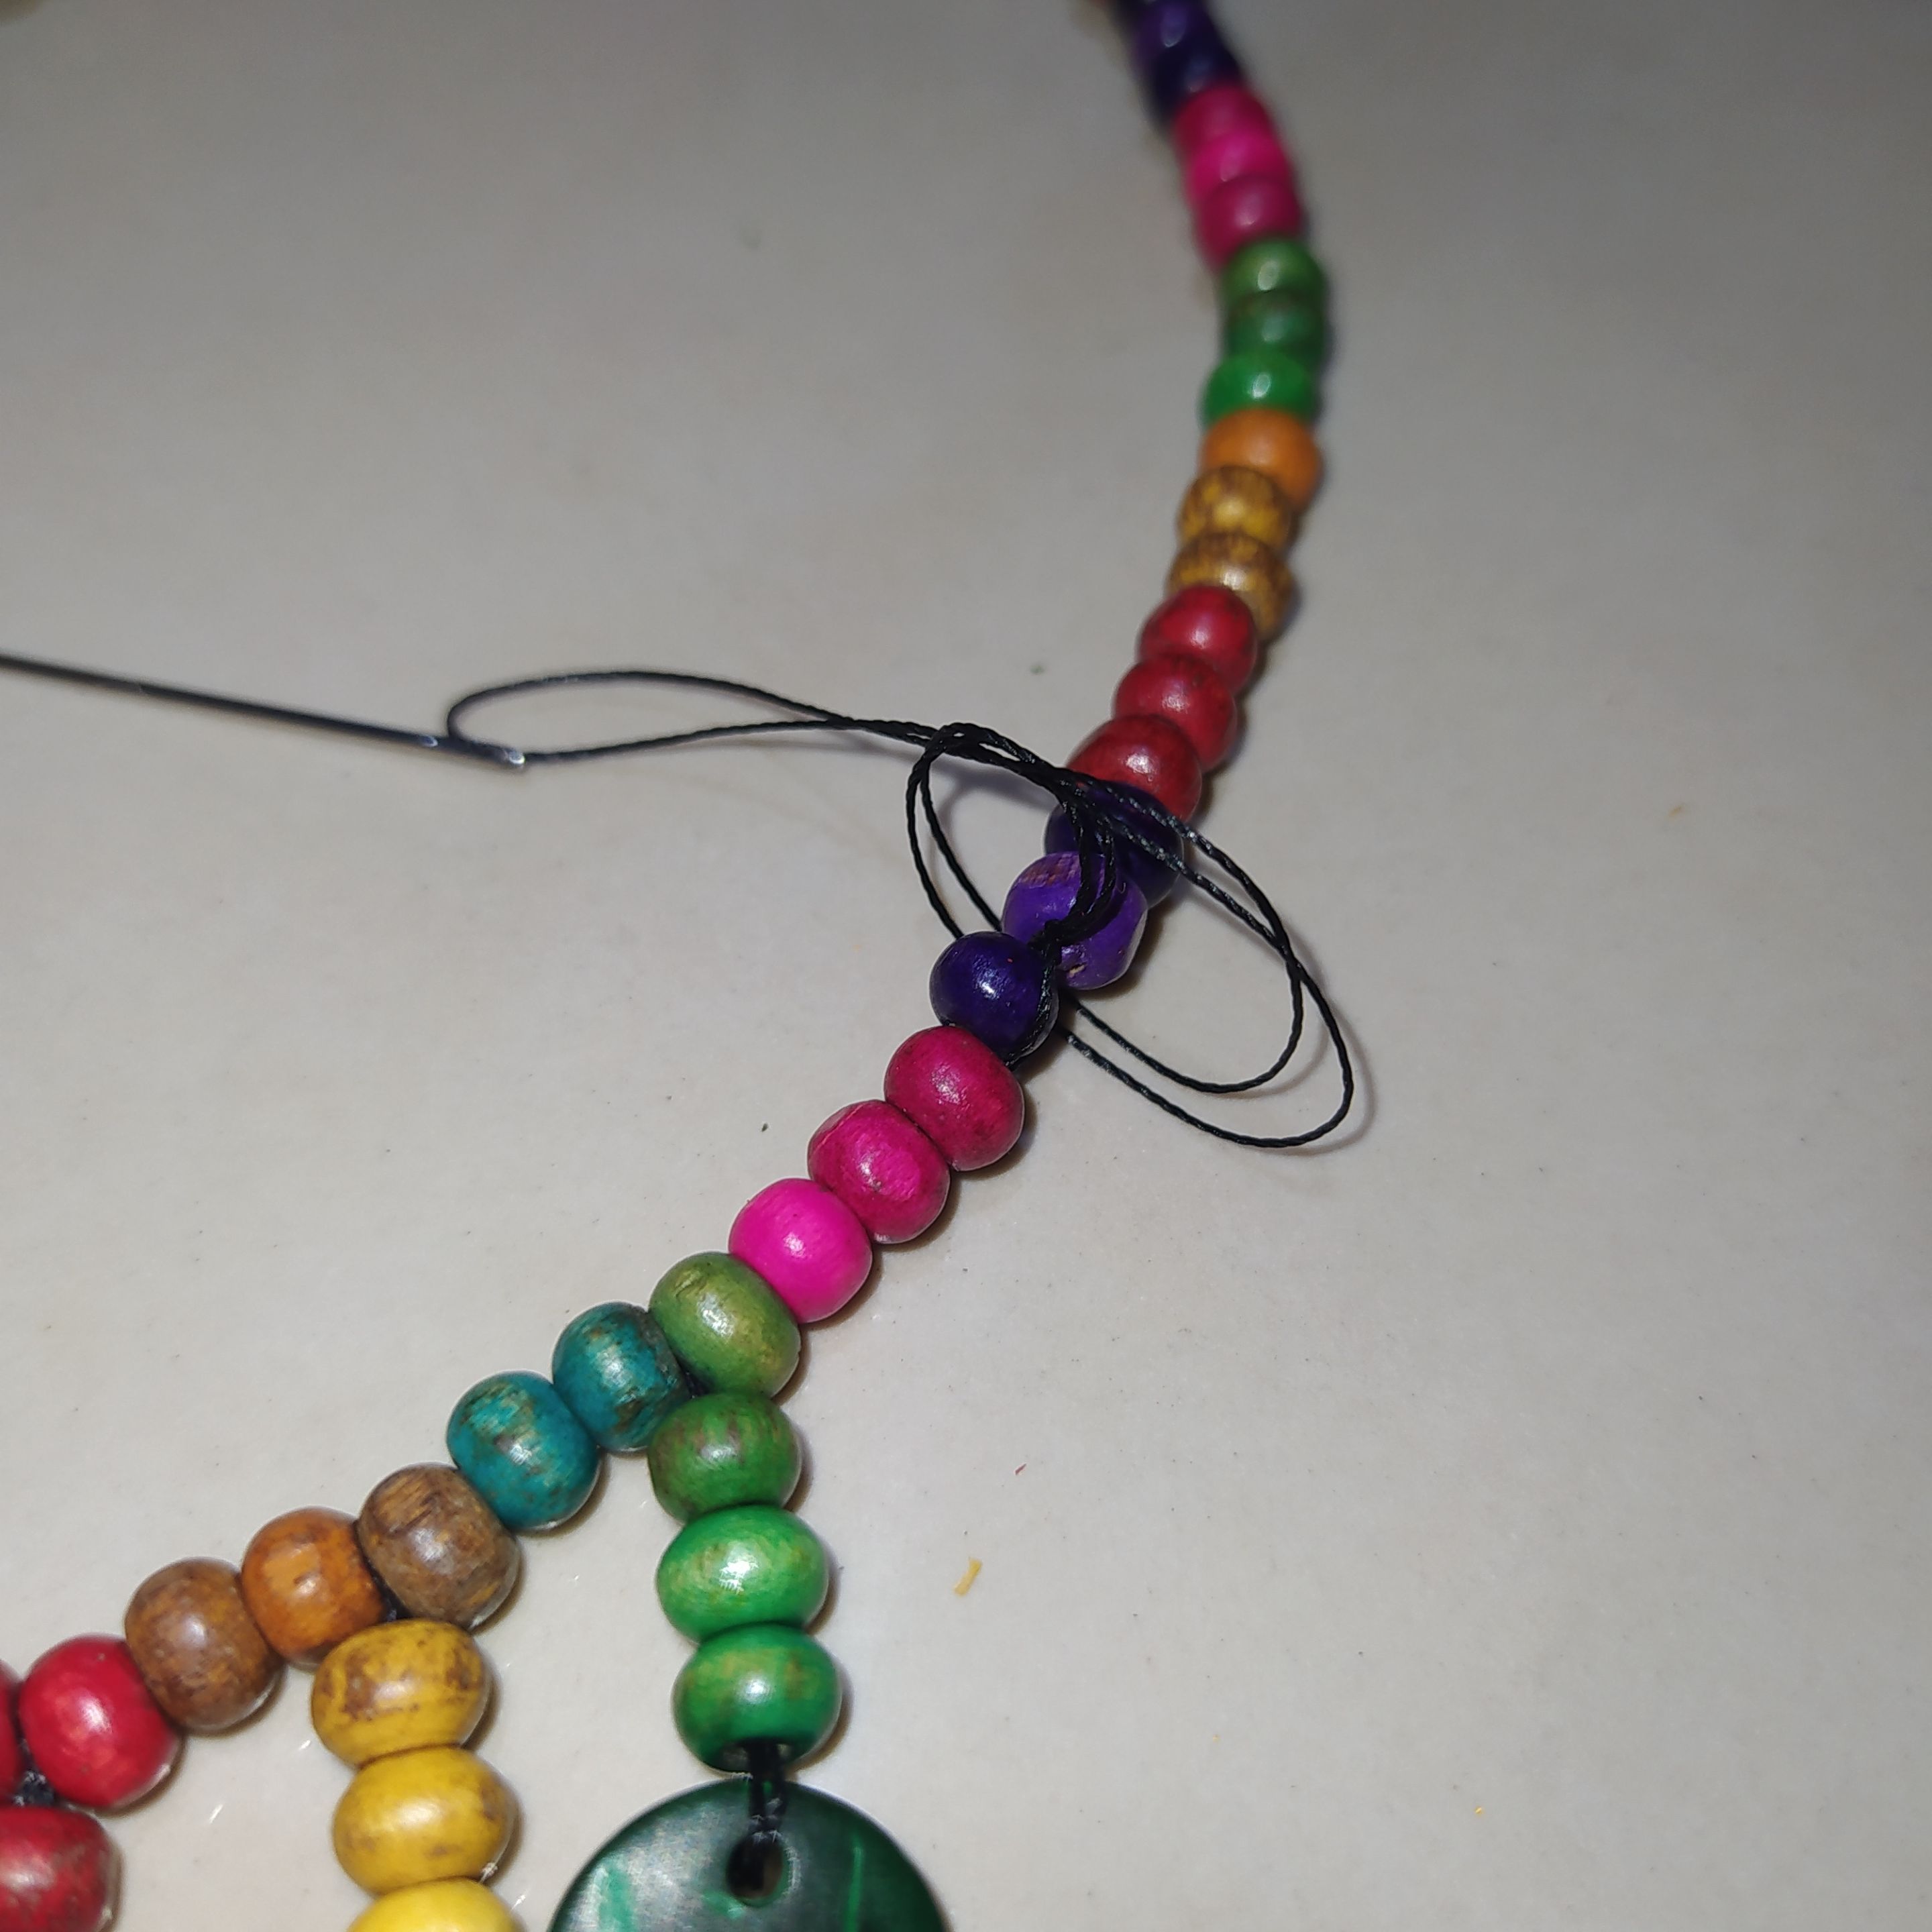
- We take the other end of the necklace and make a circle.
- Introduce the thread through one of its beads and knot it giving two turns to the thread.
- We cut and burn the ends.
- Tomamos el otro extremo del collar y hacemos un círculo.
- Introducimos el hilo por una de sus cuentas y anudamos dando dos vueltas al hilo.
- Recortamos y quemamos las puntas.
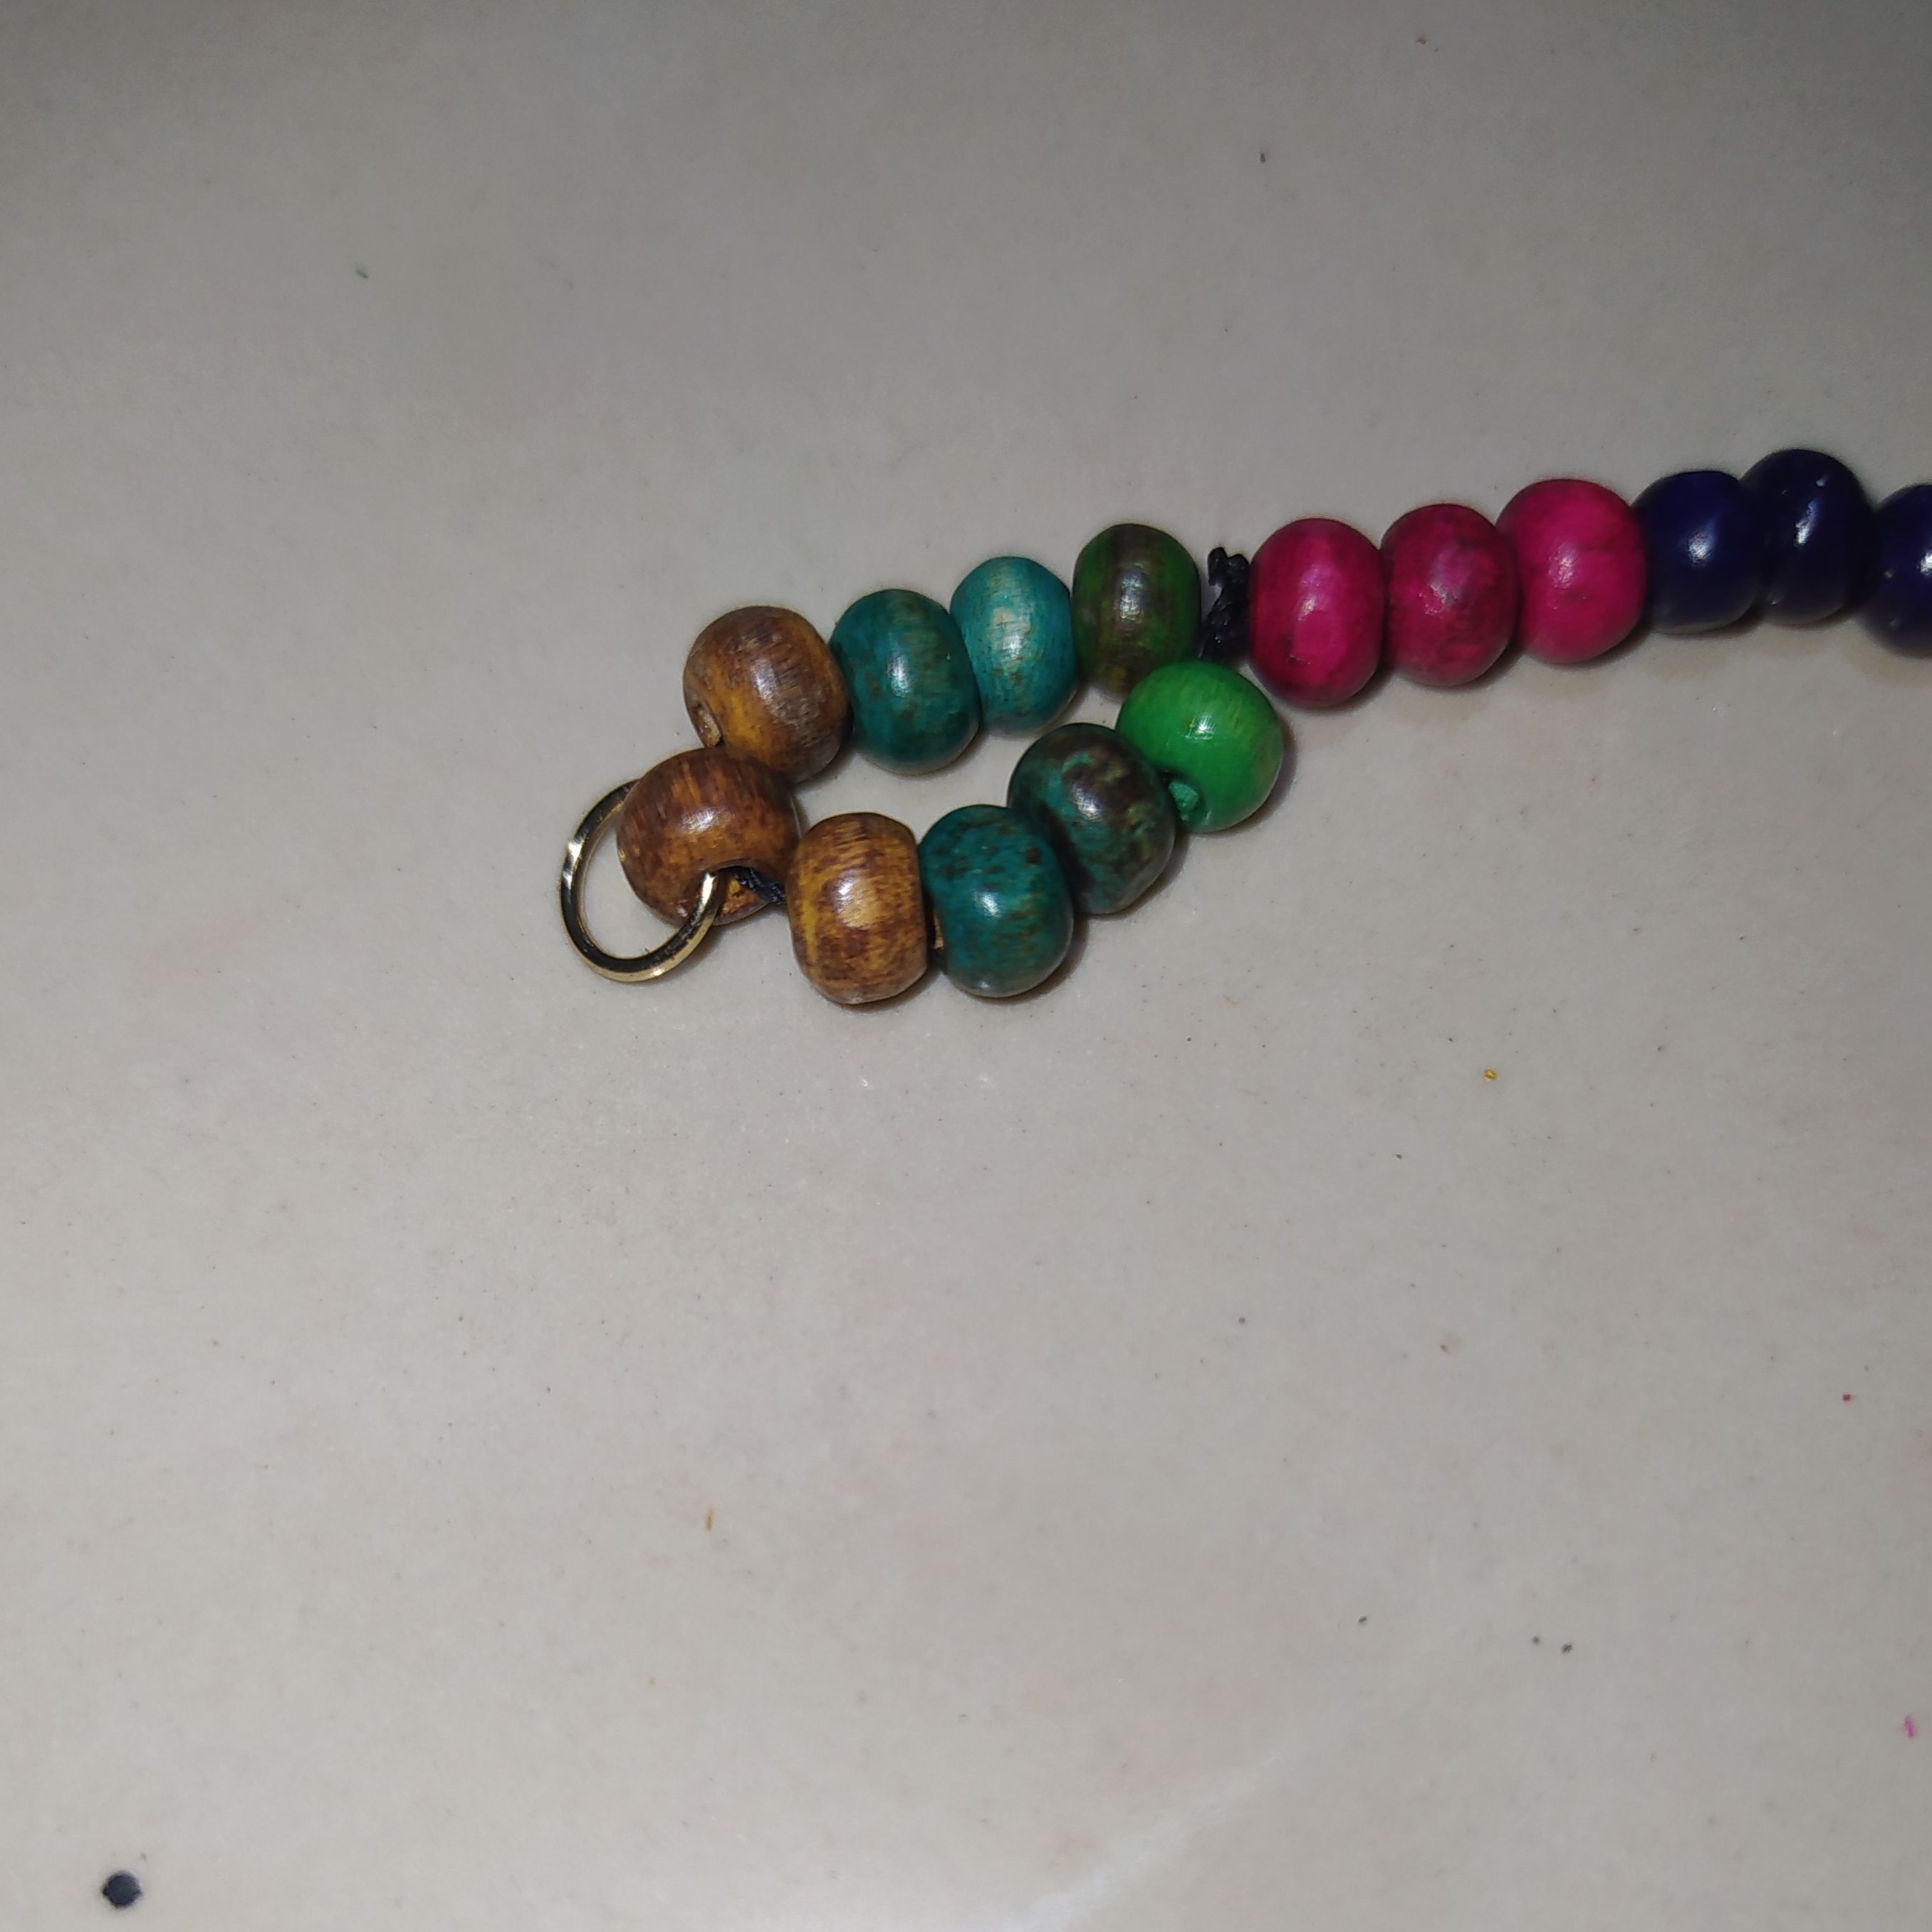
- We place the ring on one of the wooden beads.
- Colocamos la argolla en una de las cuentas de madera.
- Result.
- Resultado.

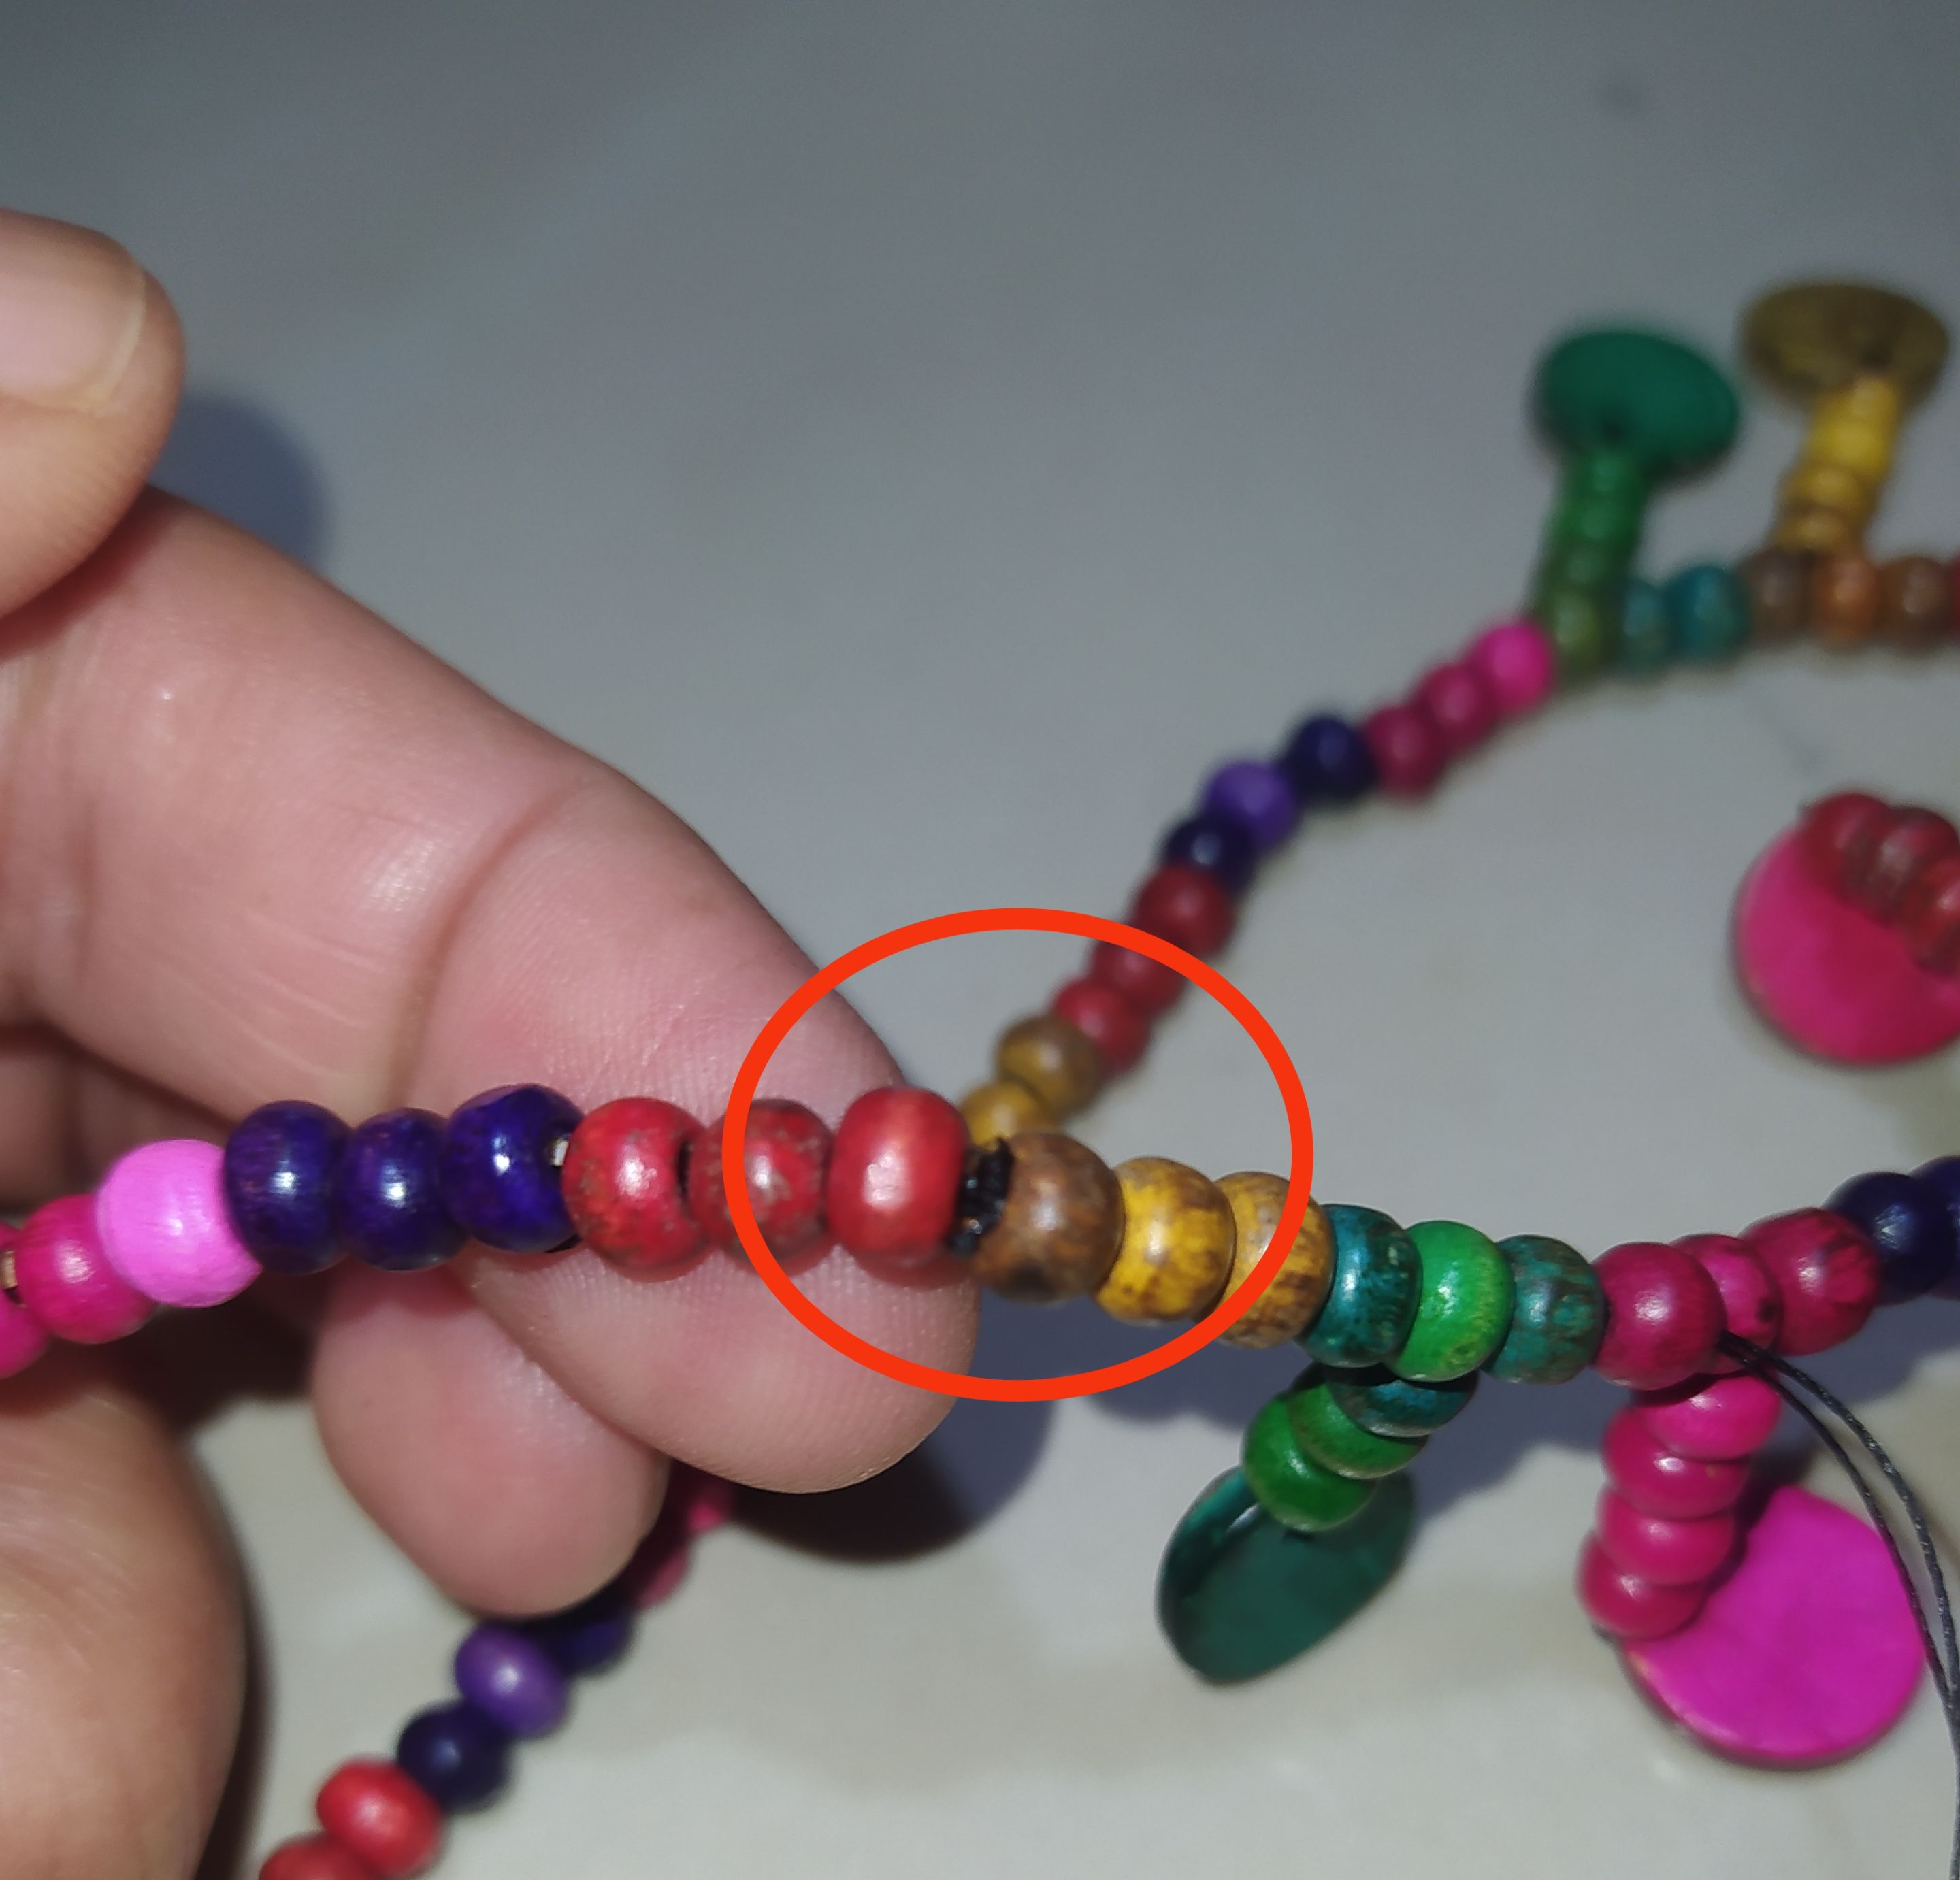
- We present how we are going to place our accounts.
- Presentamos como vamos a colocar nuestras cuentas.
- We measure a one meter thread.
- We cut and thread a needle.
- Medimos un hilo de un metro.
- Recortamos y enhebramos una aguja.
- We pass the thread through the part we have already marked, we give it two turns and knot it.
- Pasamos el hilo por la parte que ya marcamos le damos dos vueltas y anudamos.
 |  |
|---|
- We trim and burn to secure.
- Recortamos y quemamos para asegurar.
 |  |
|---|
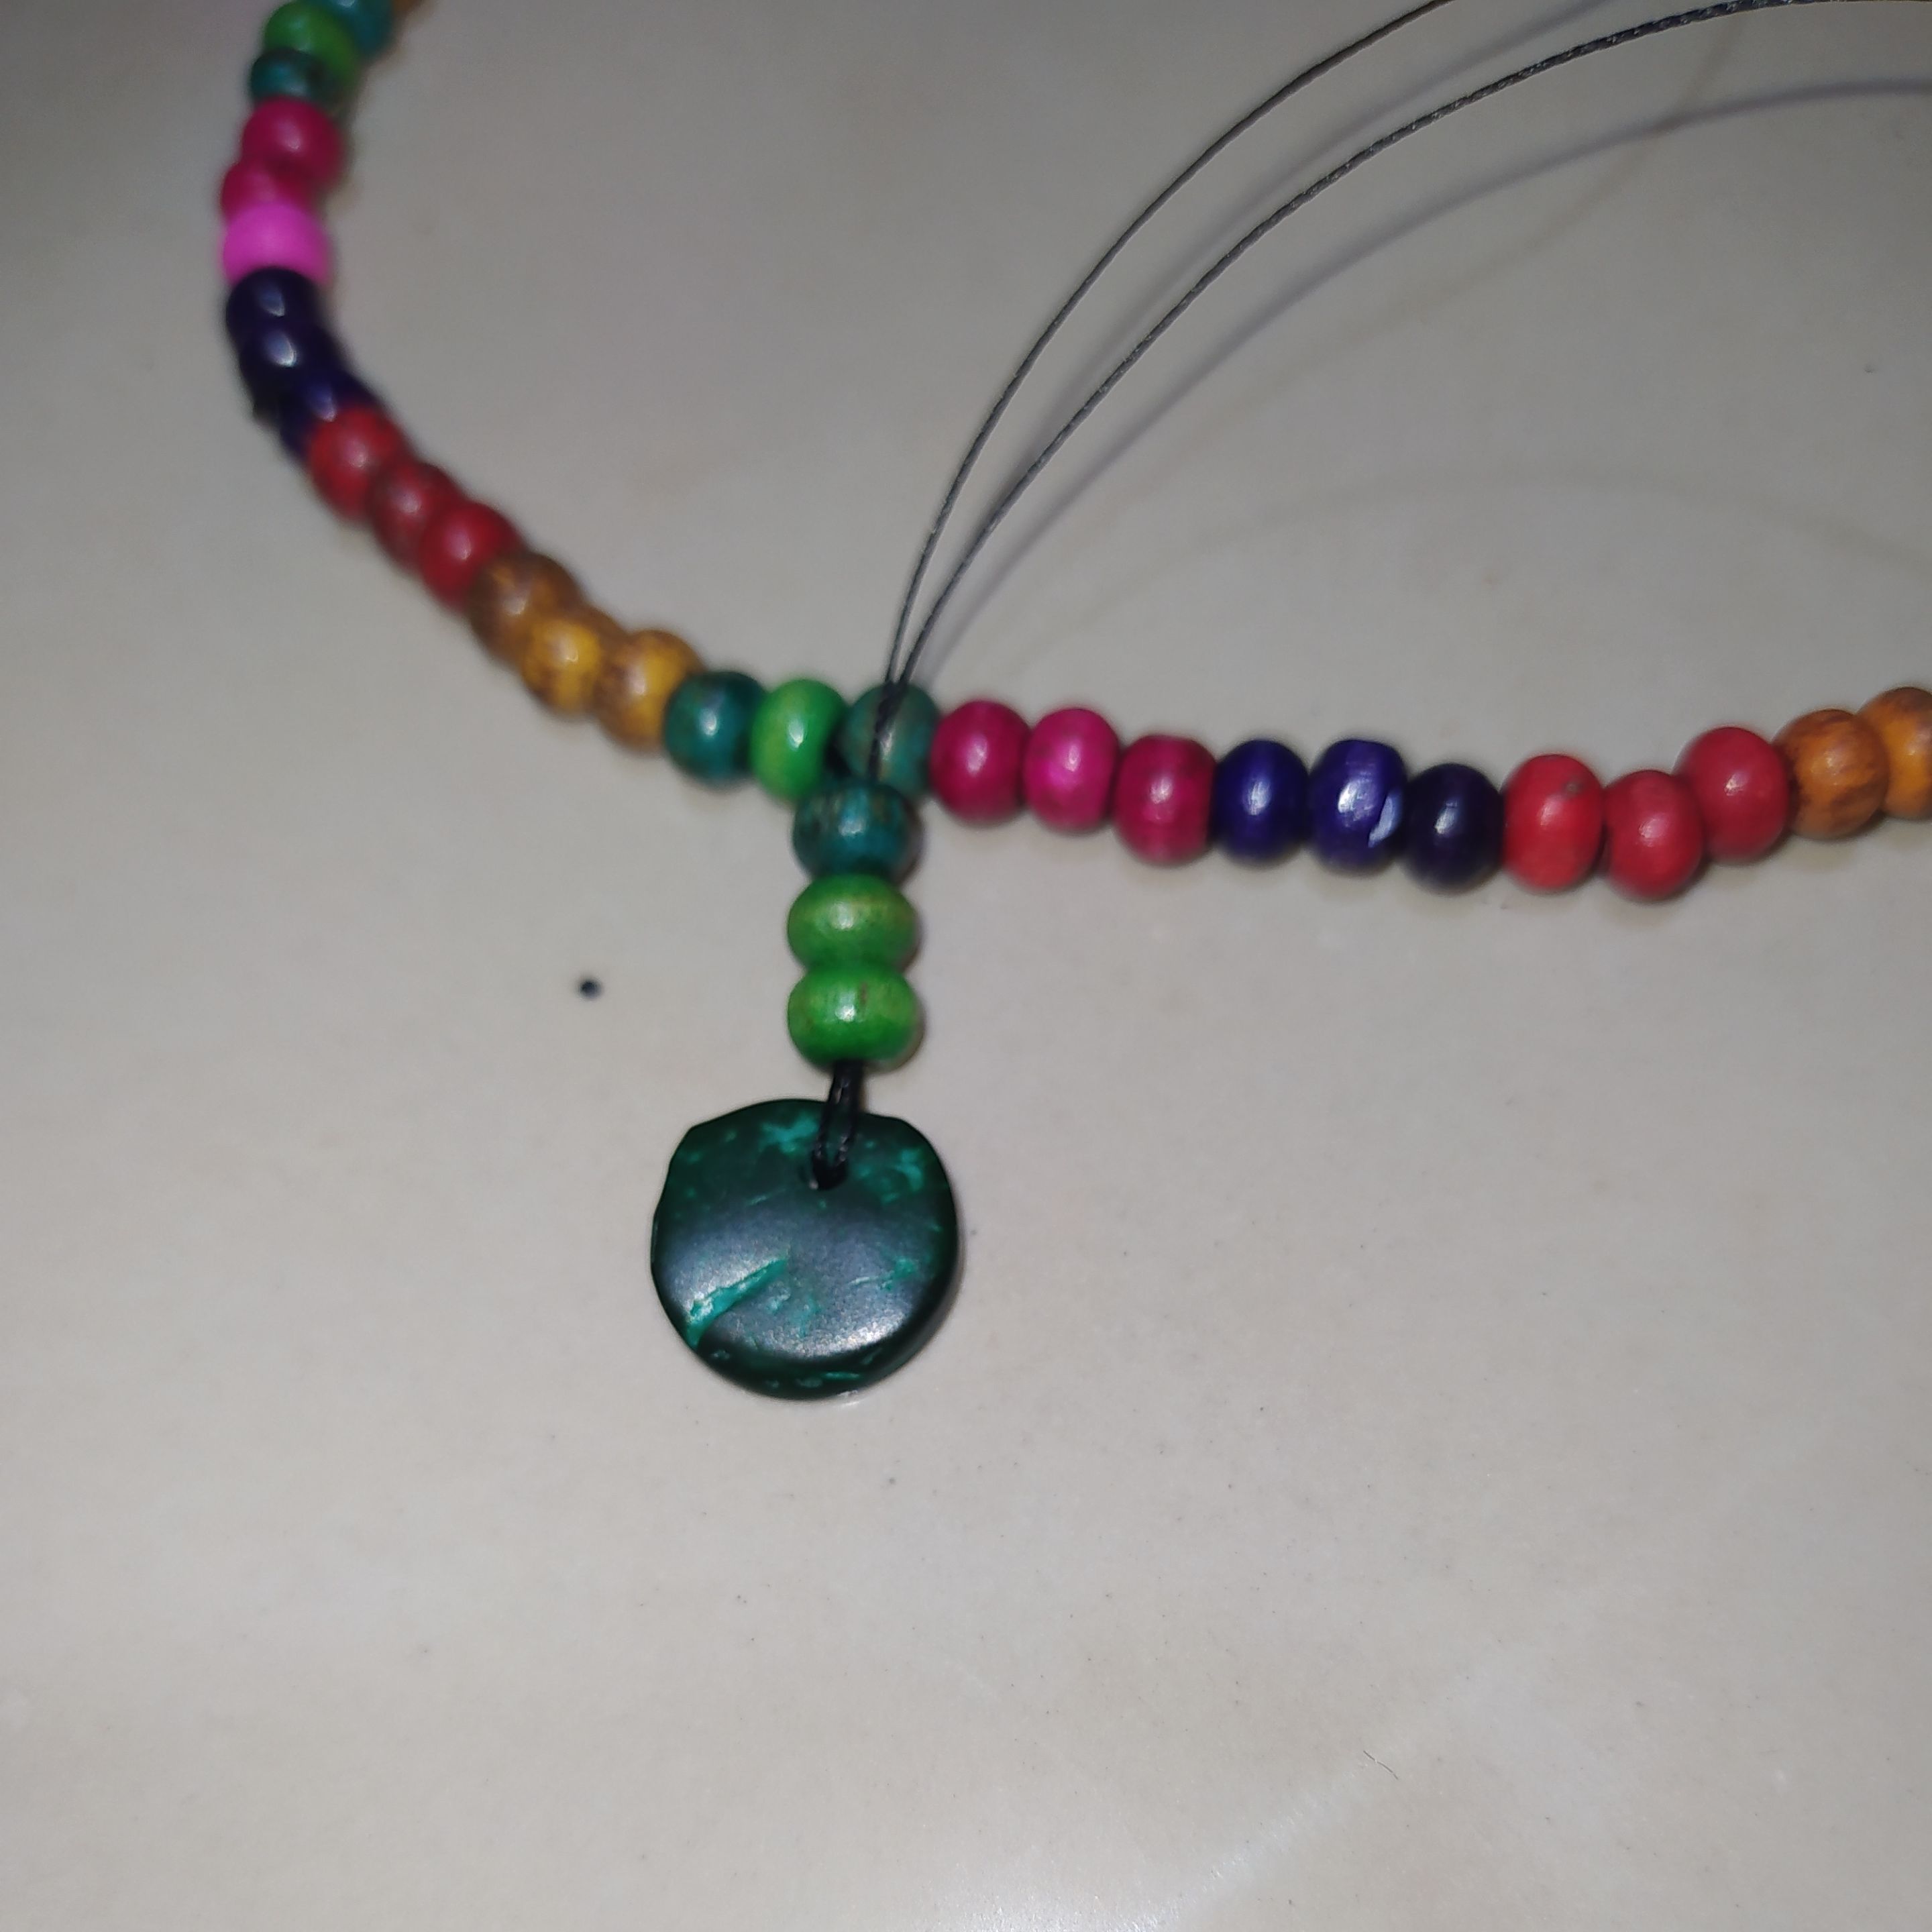
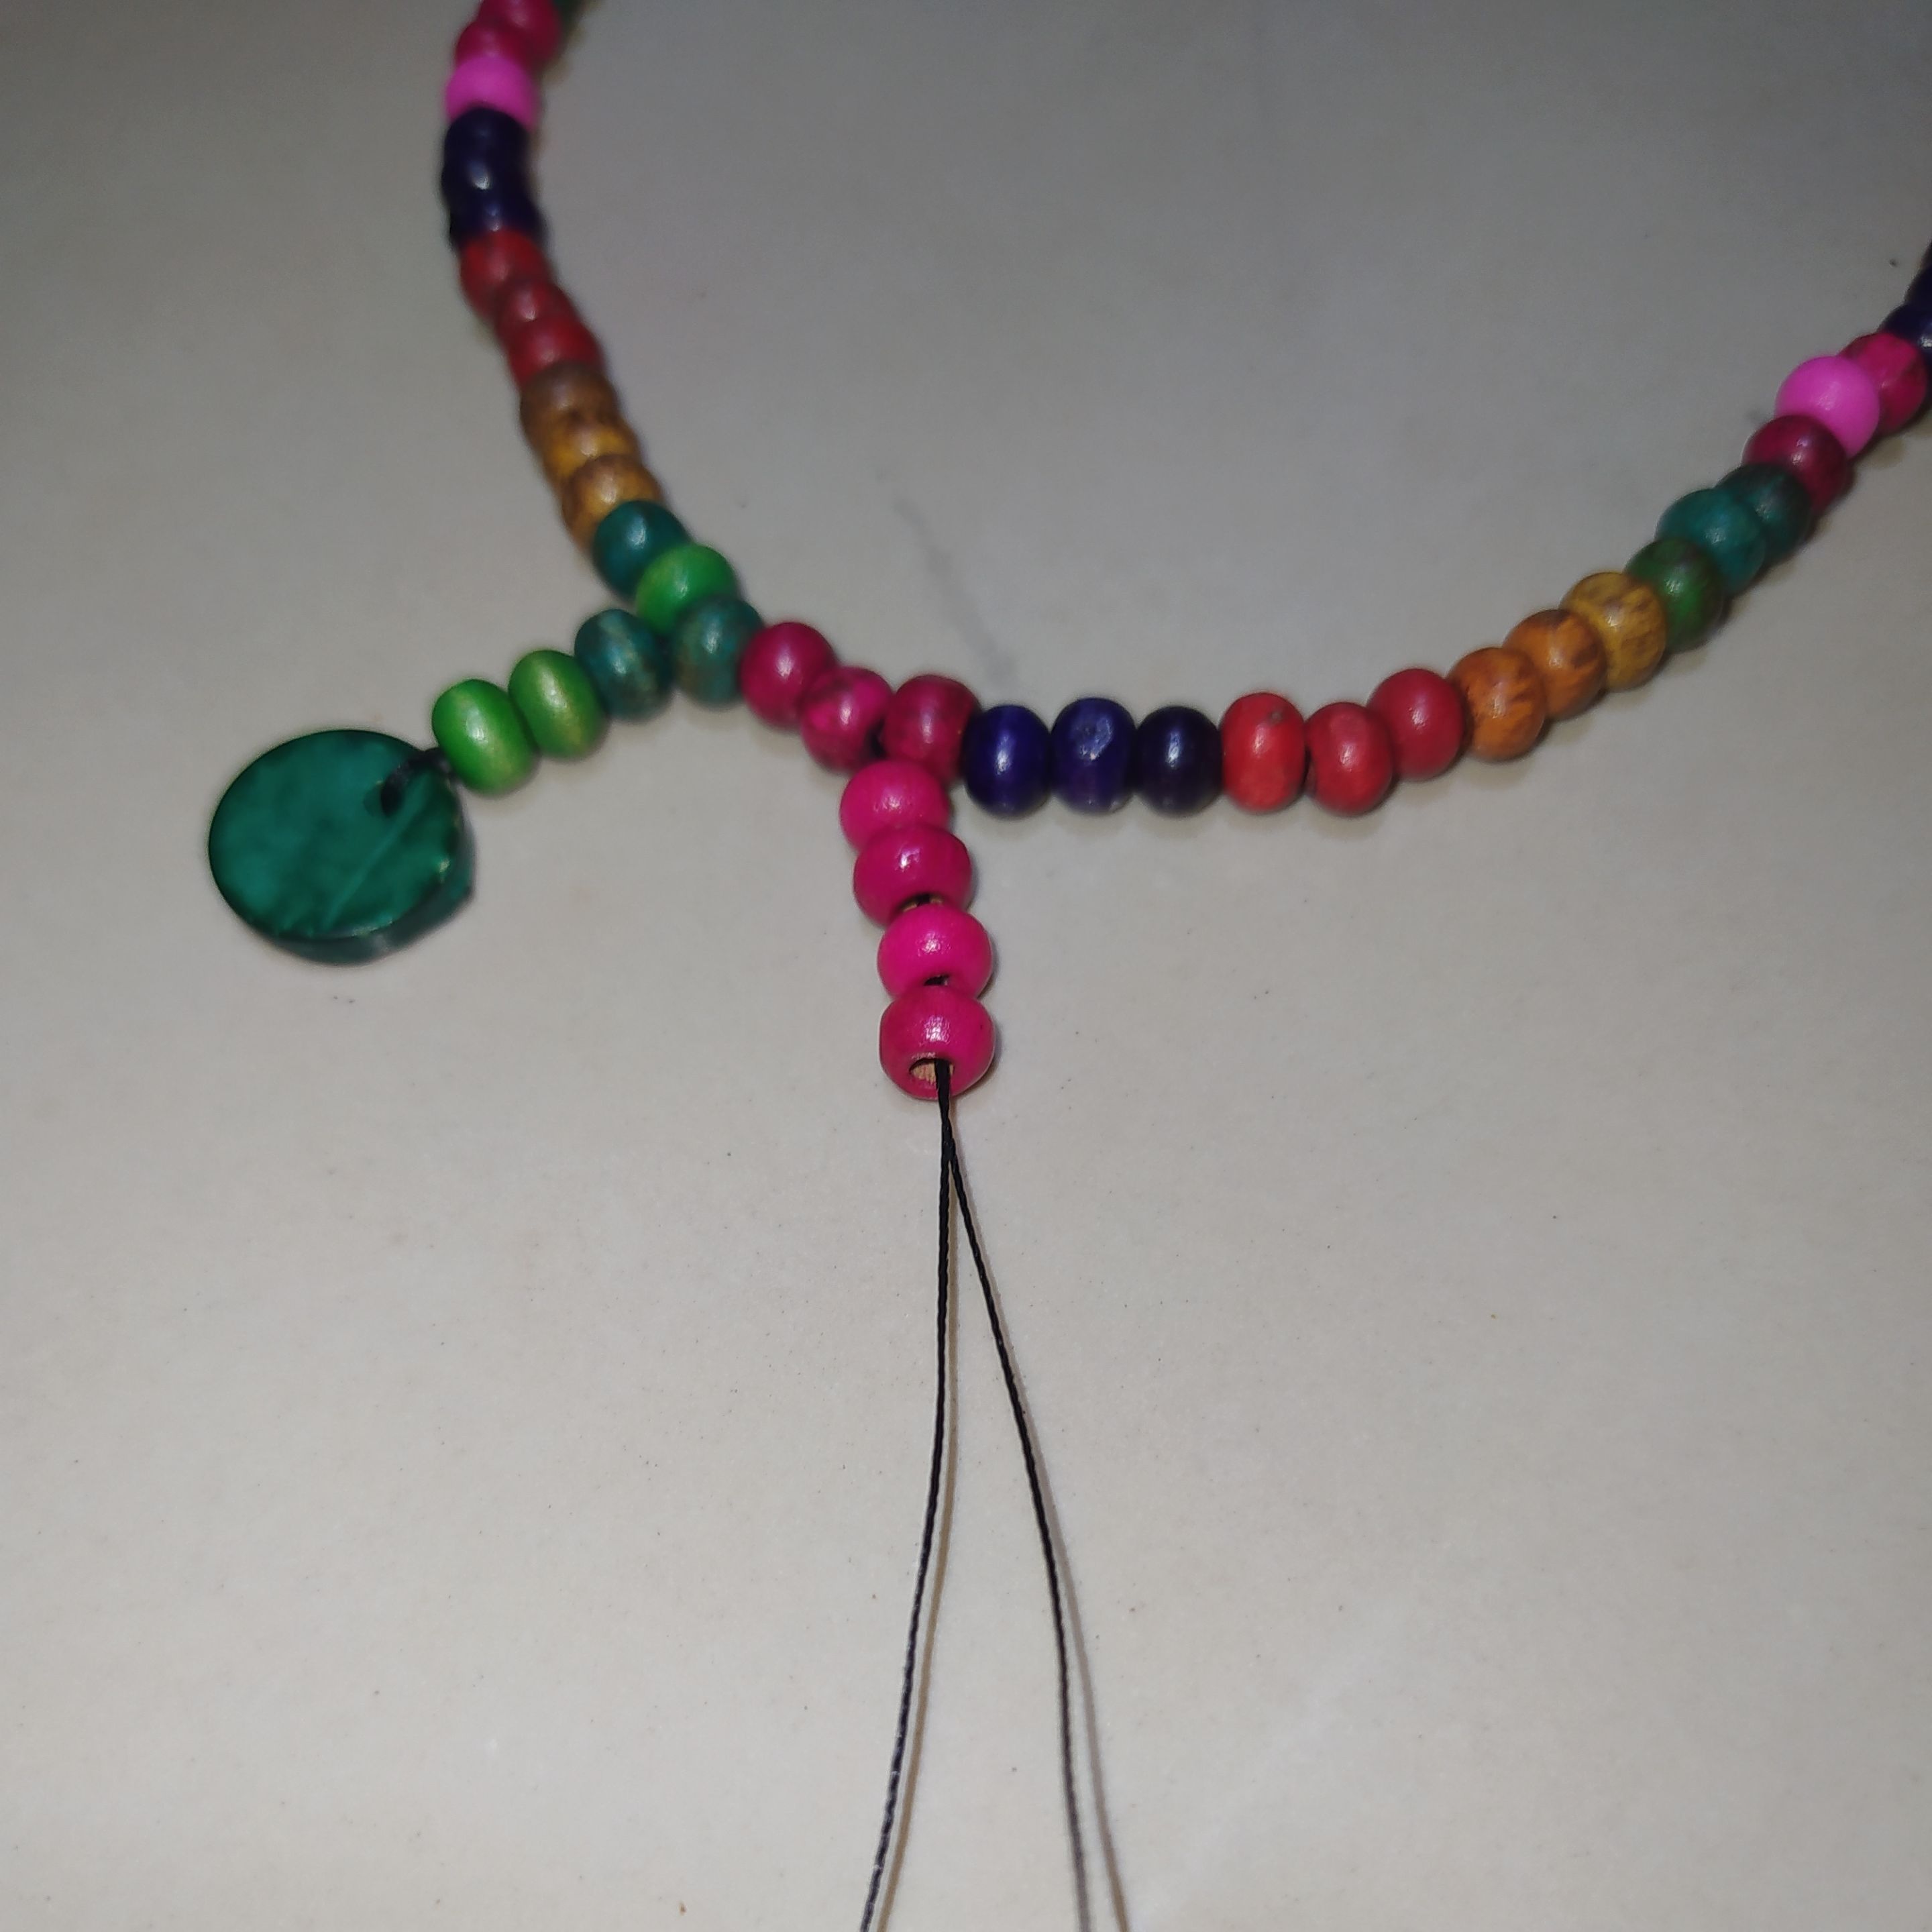
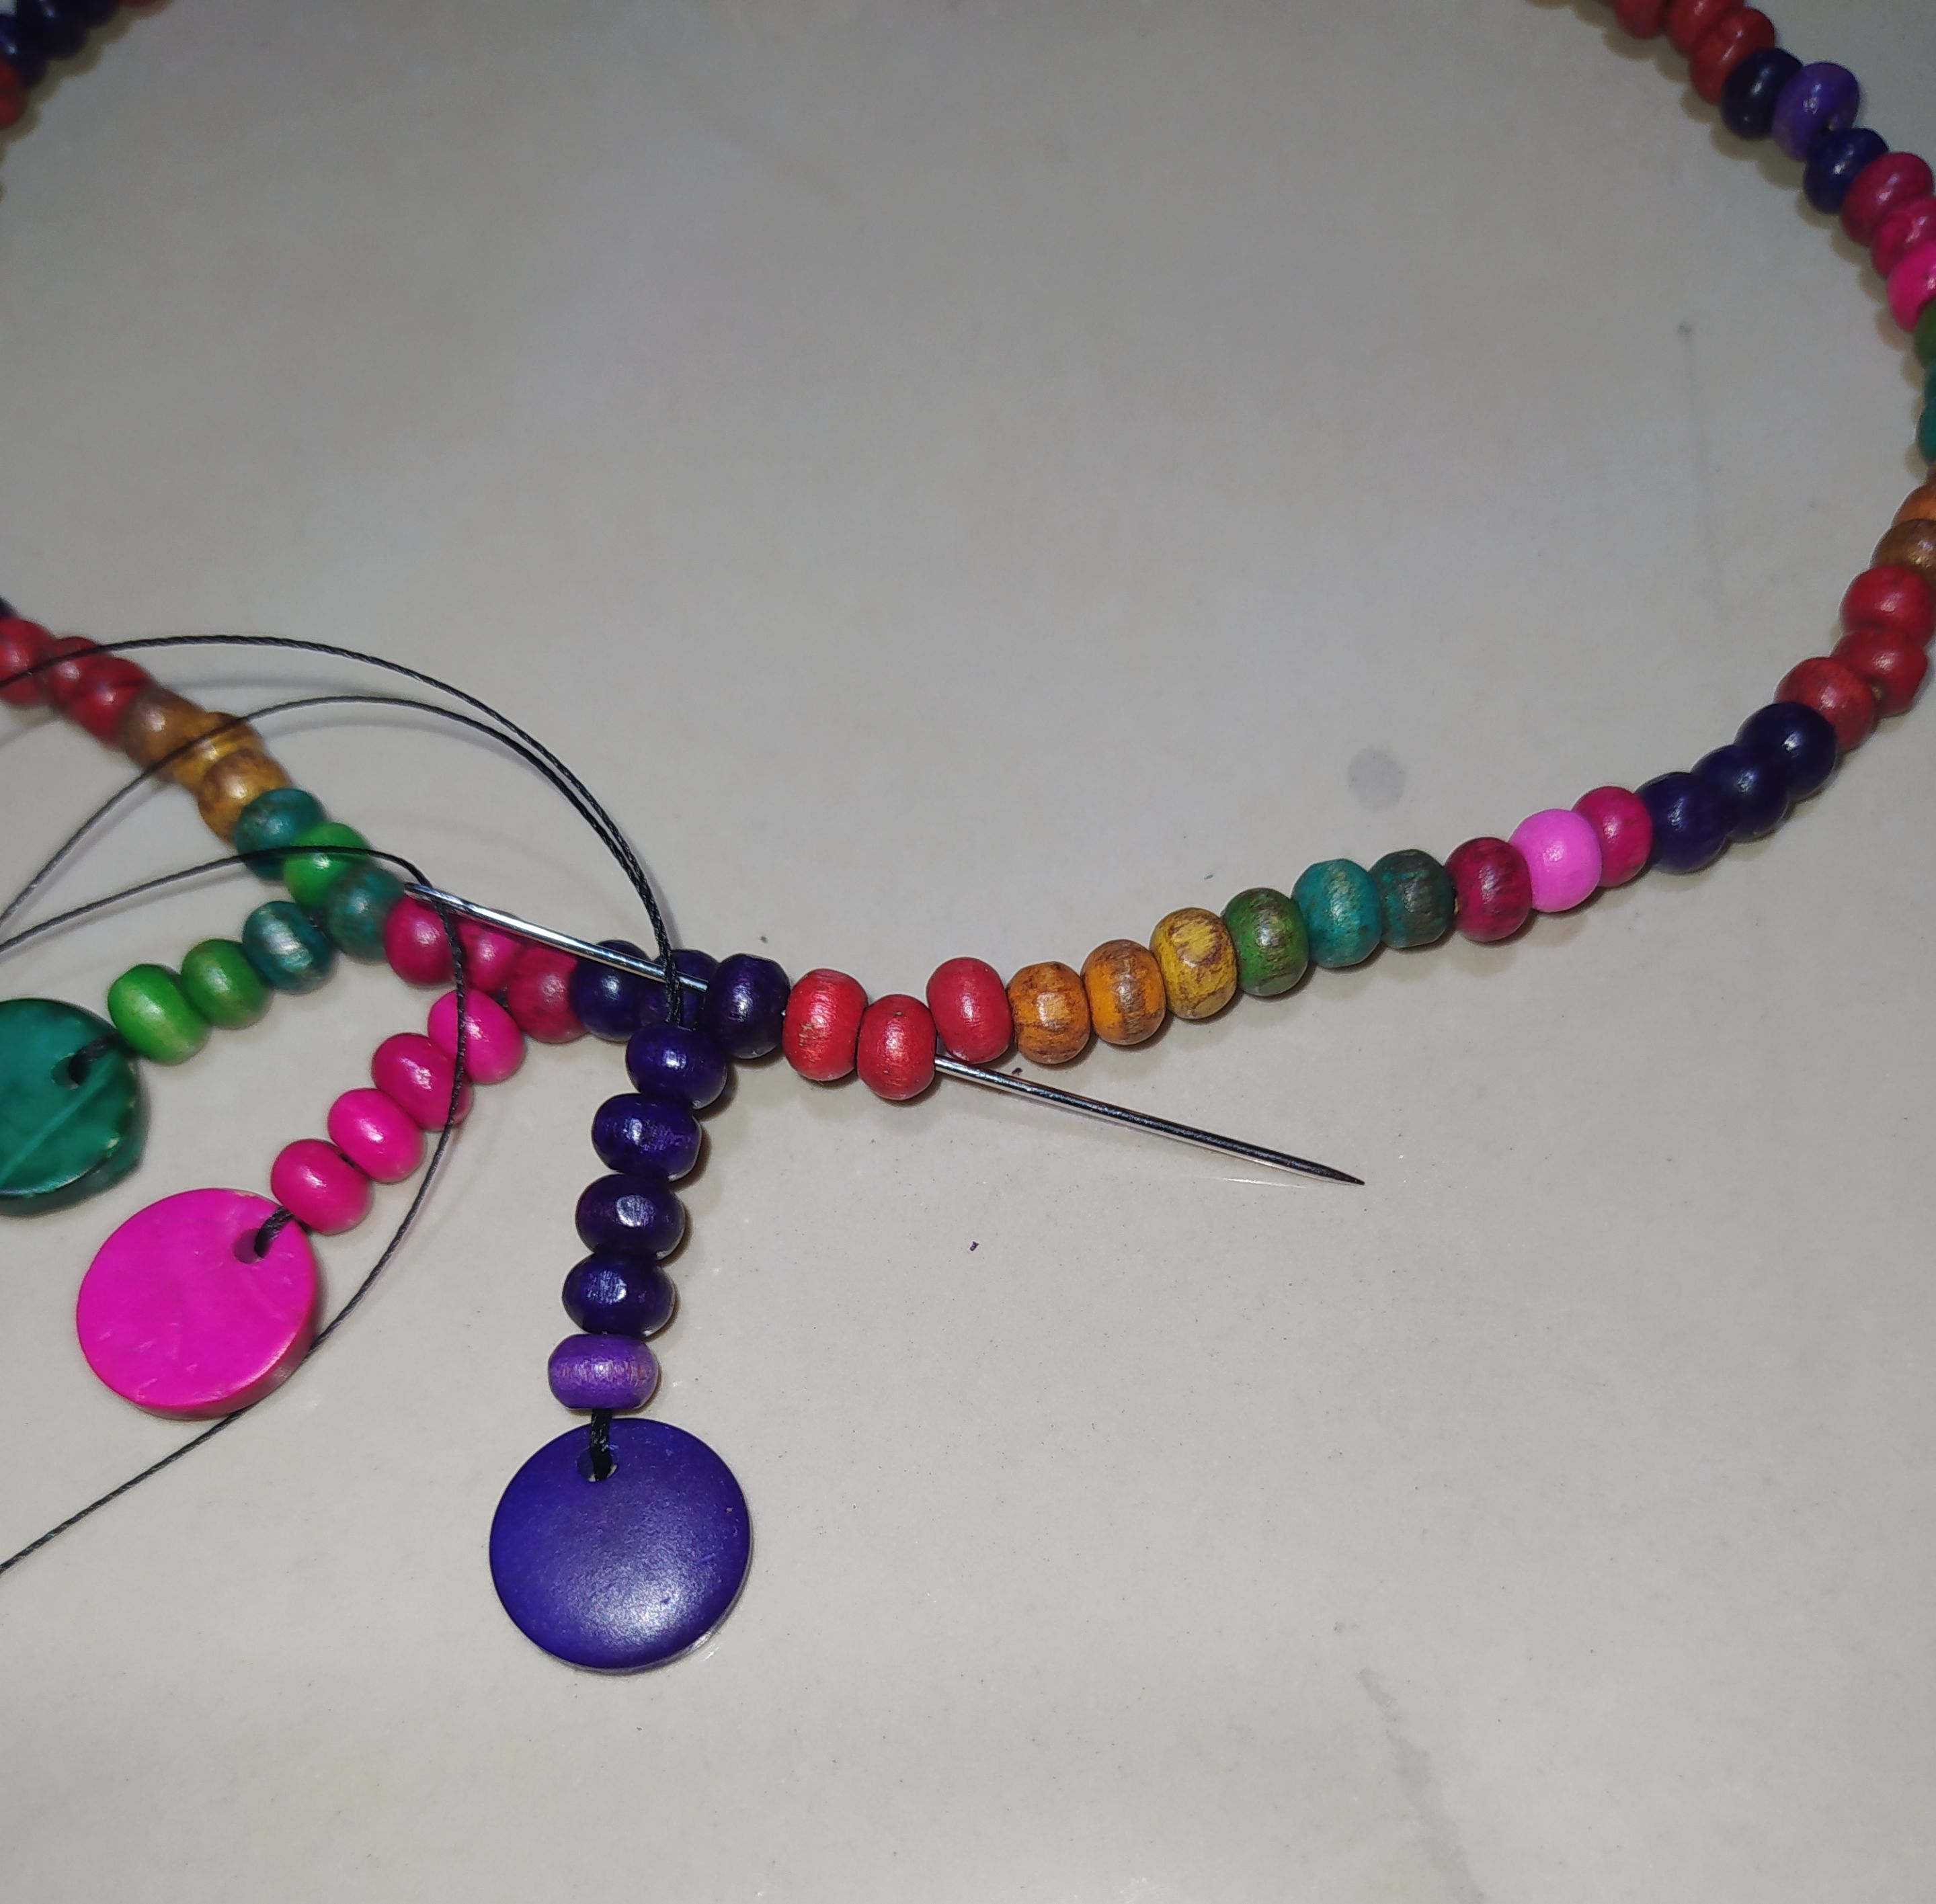
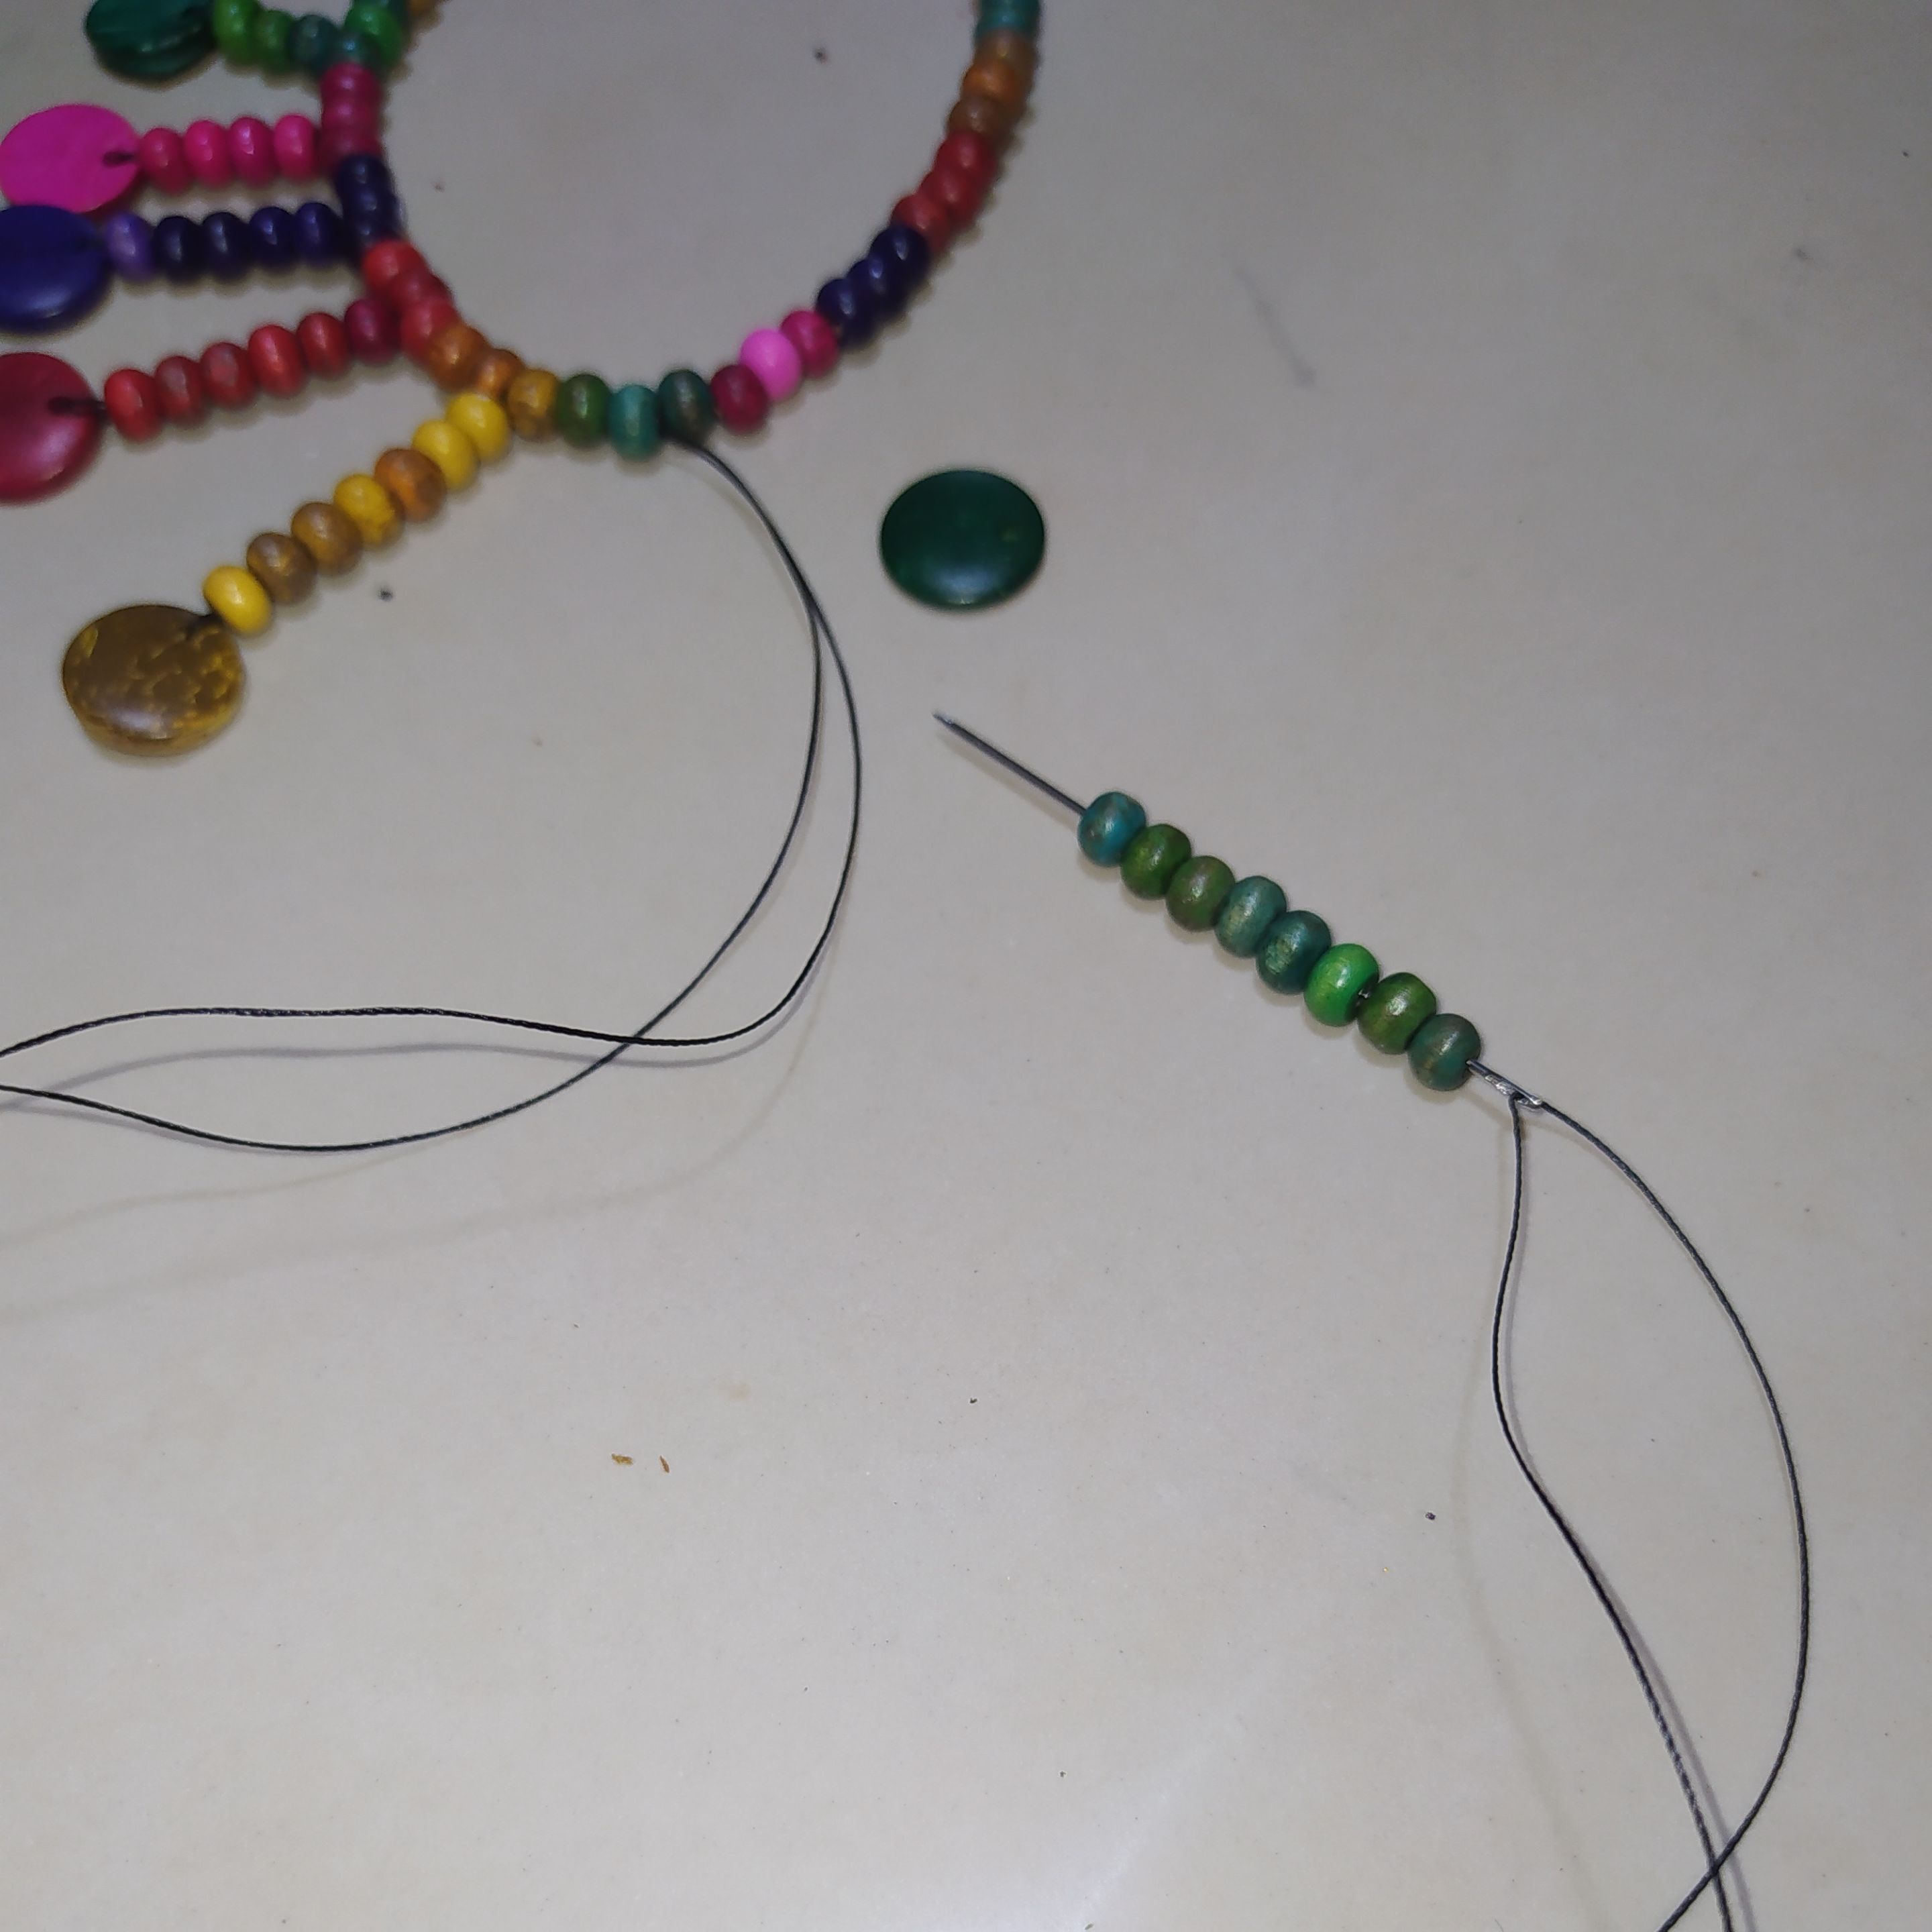
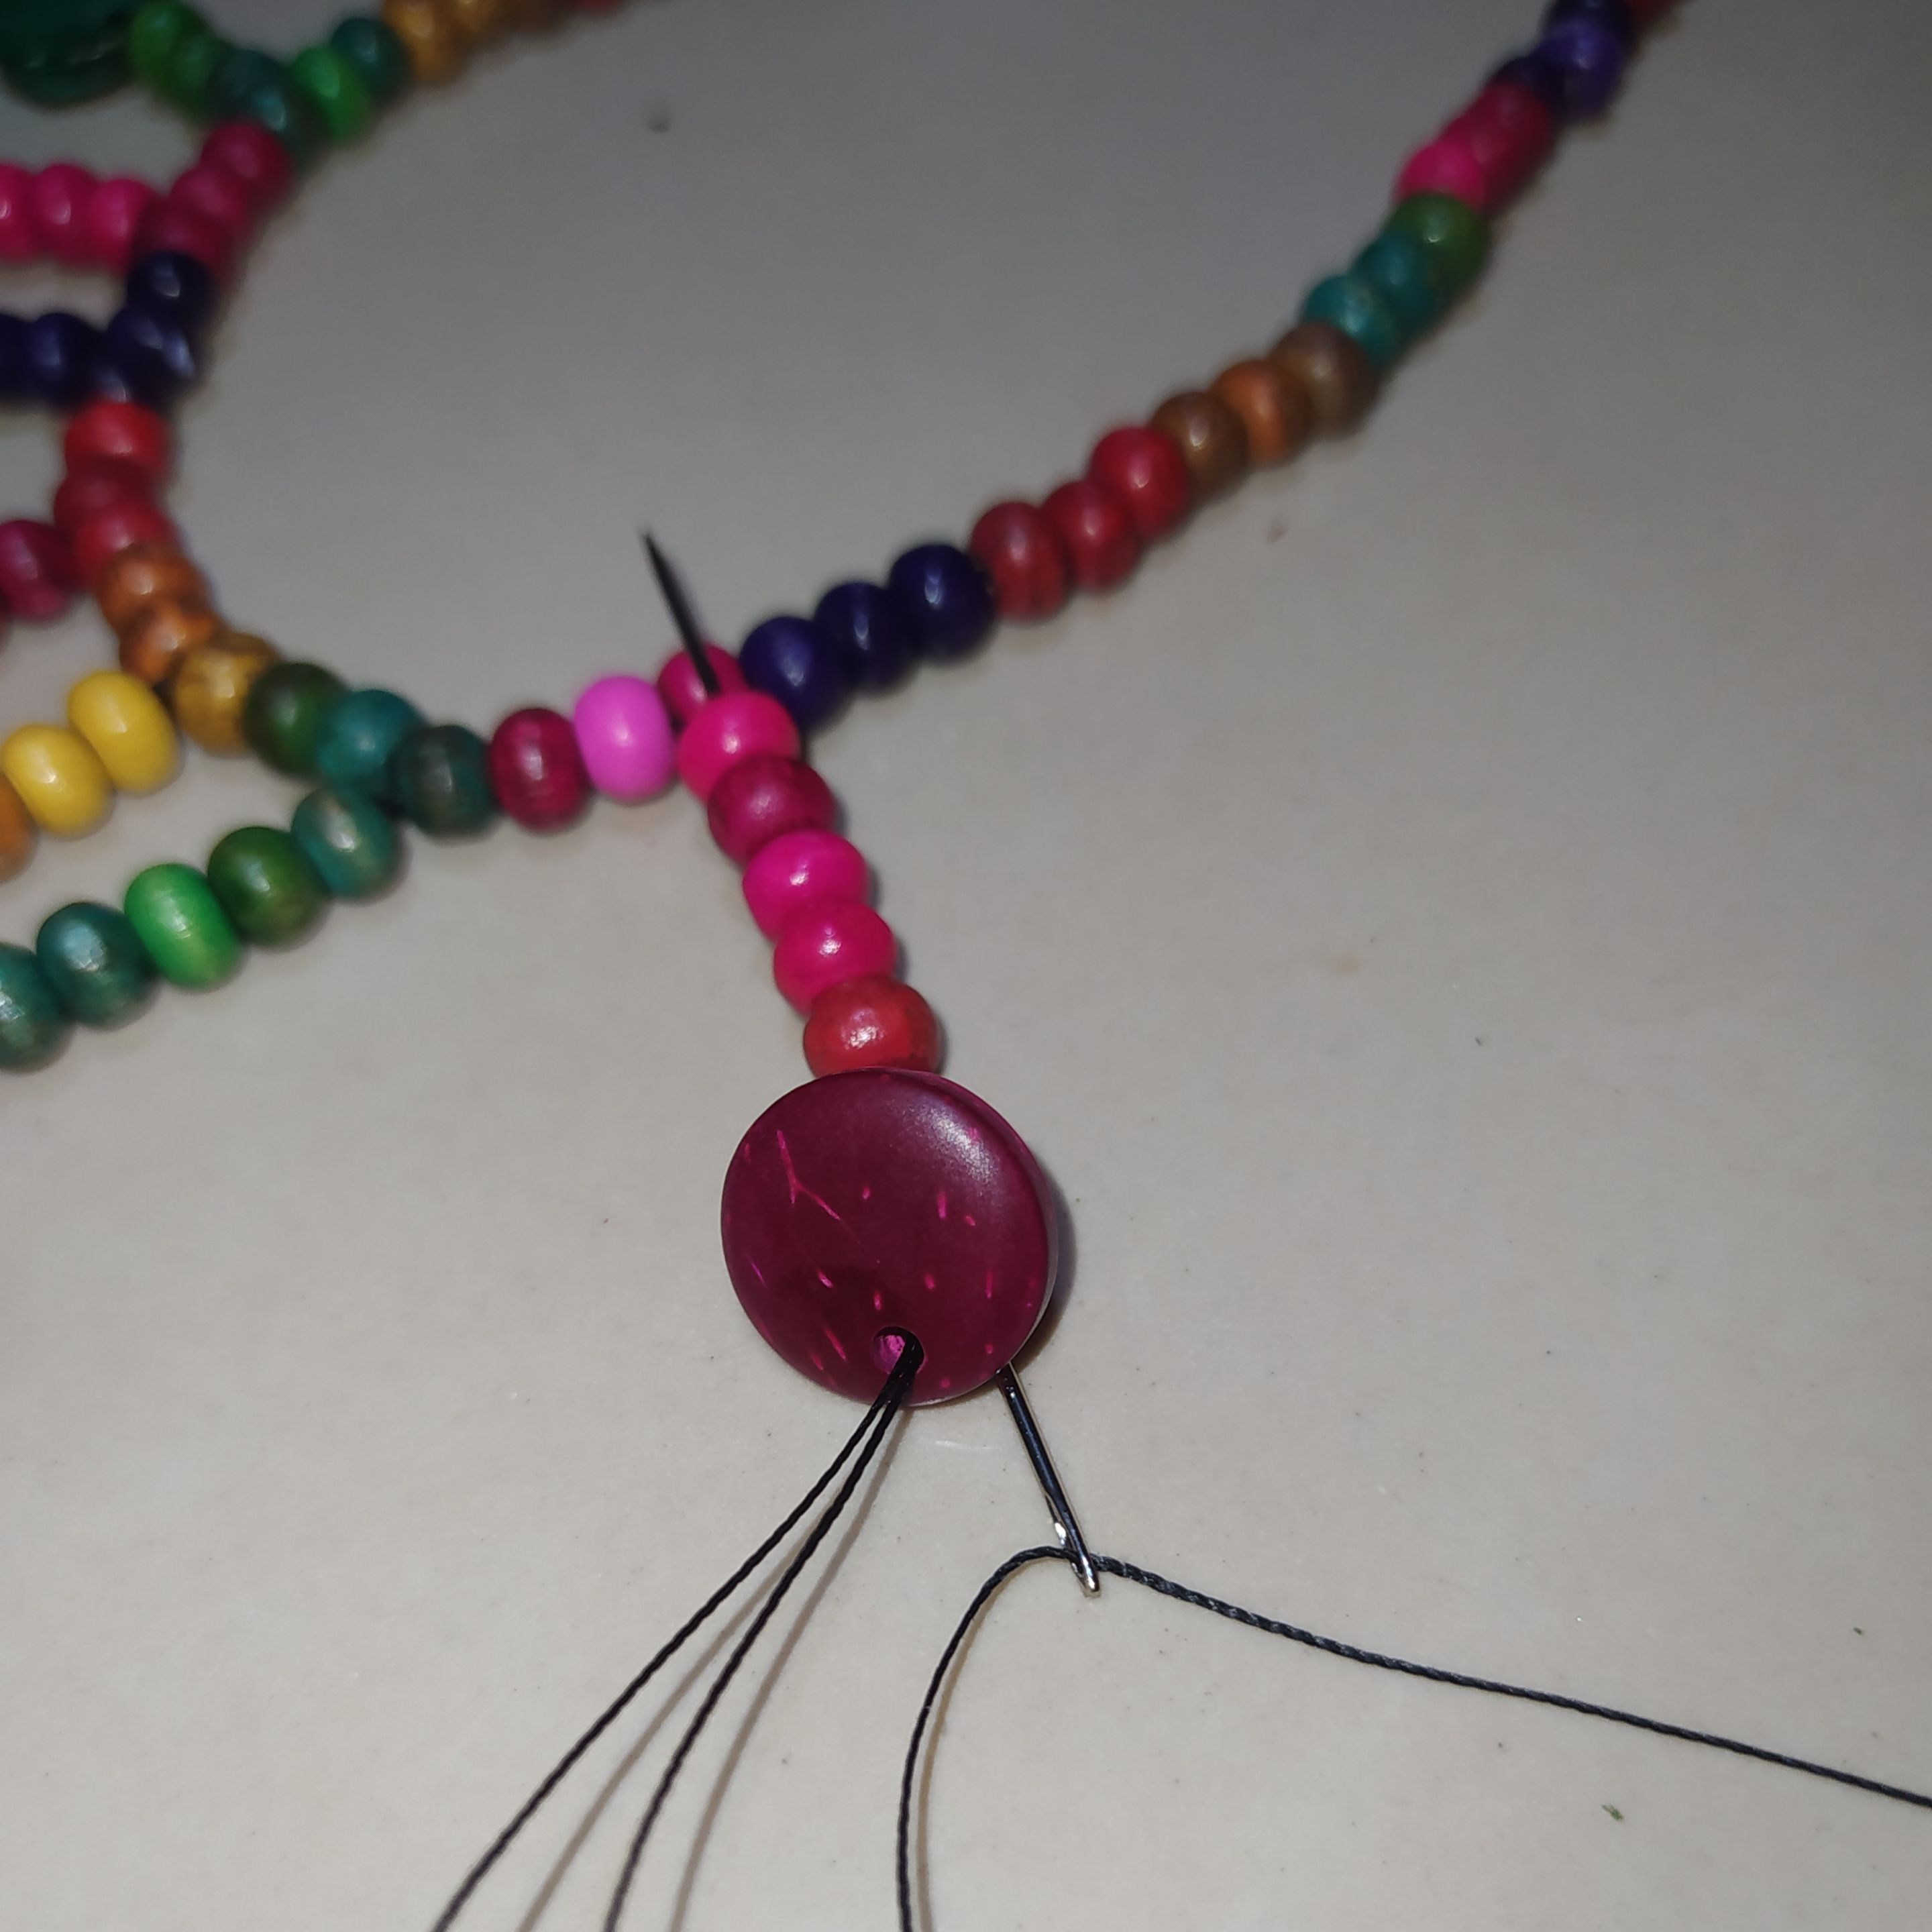
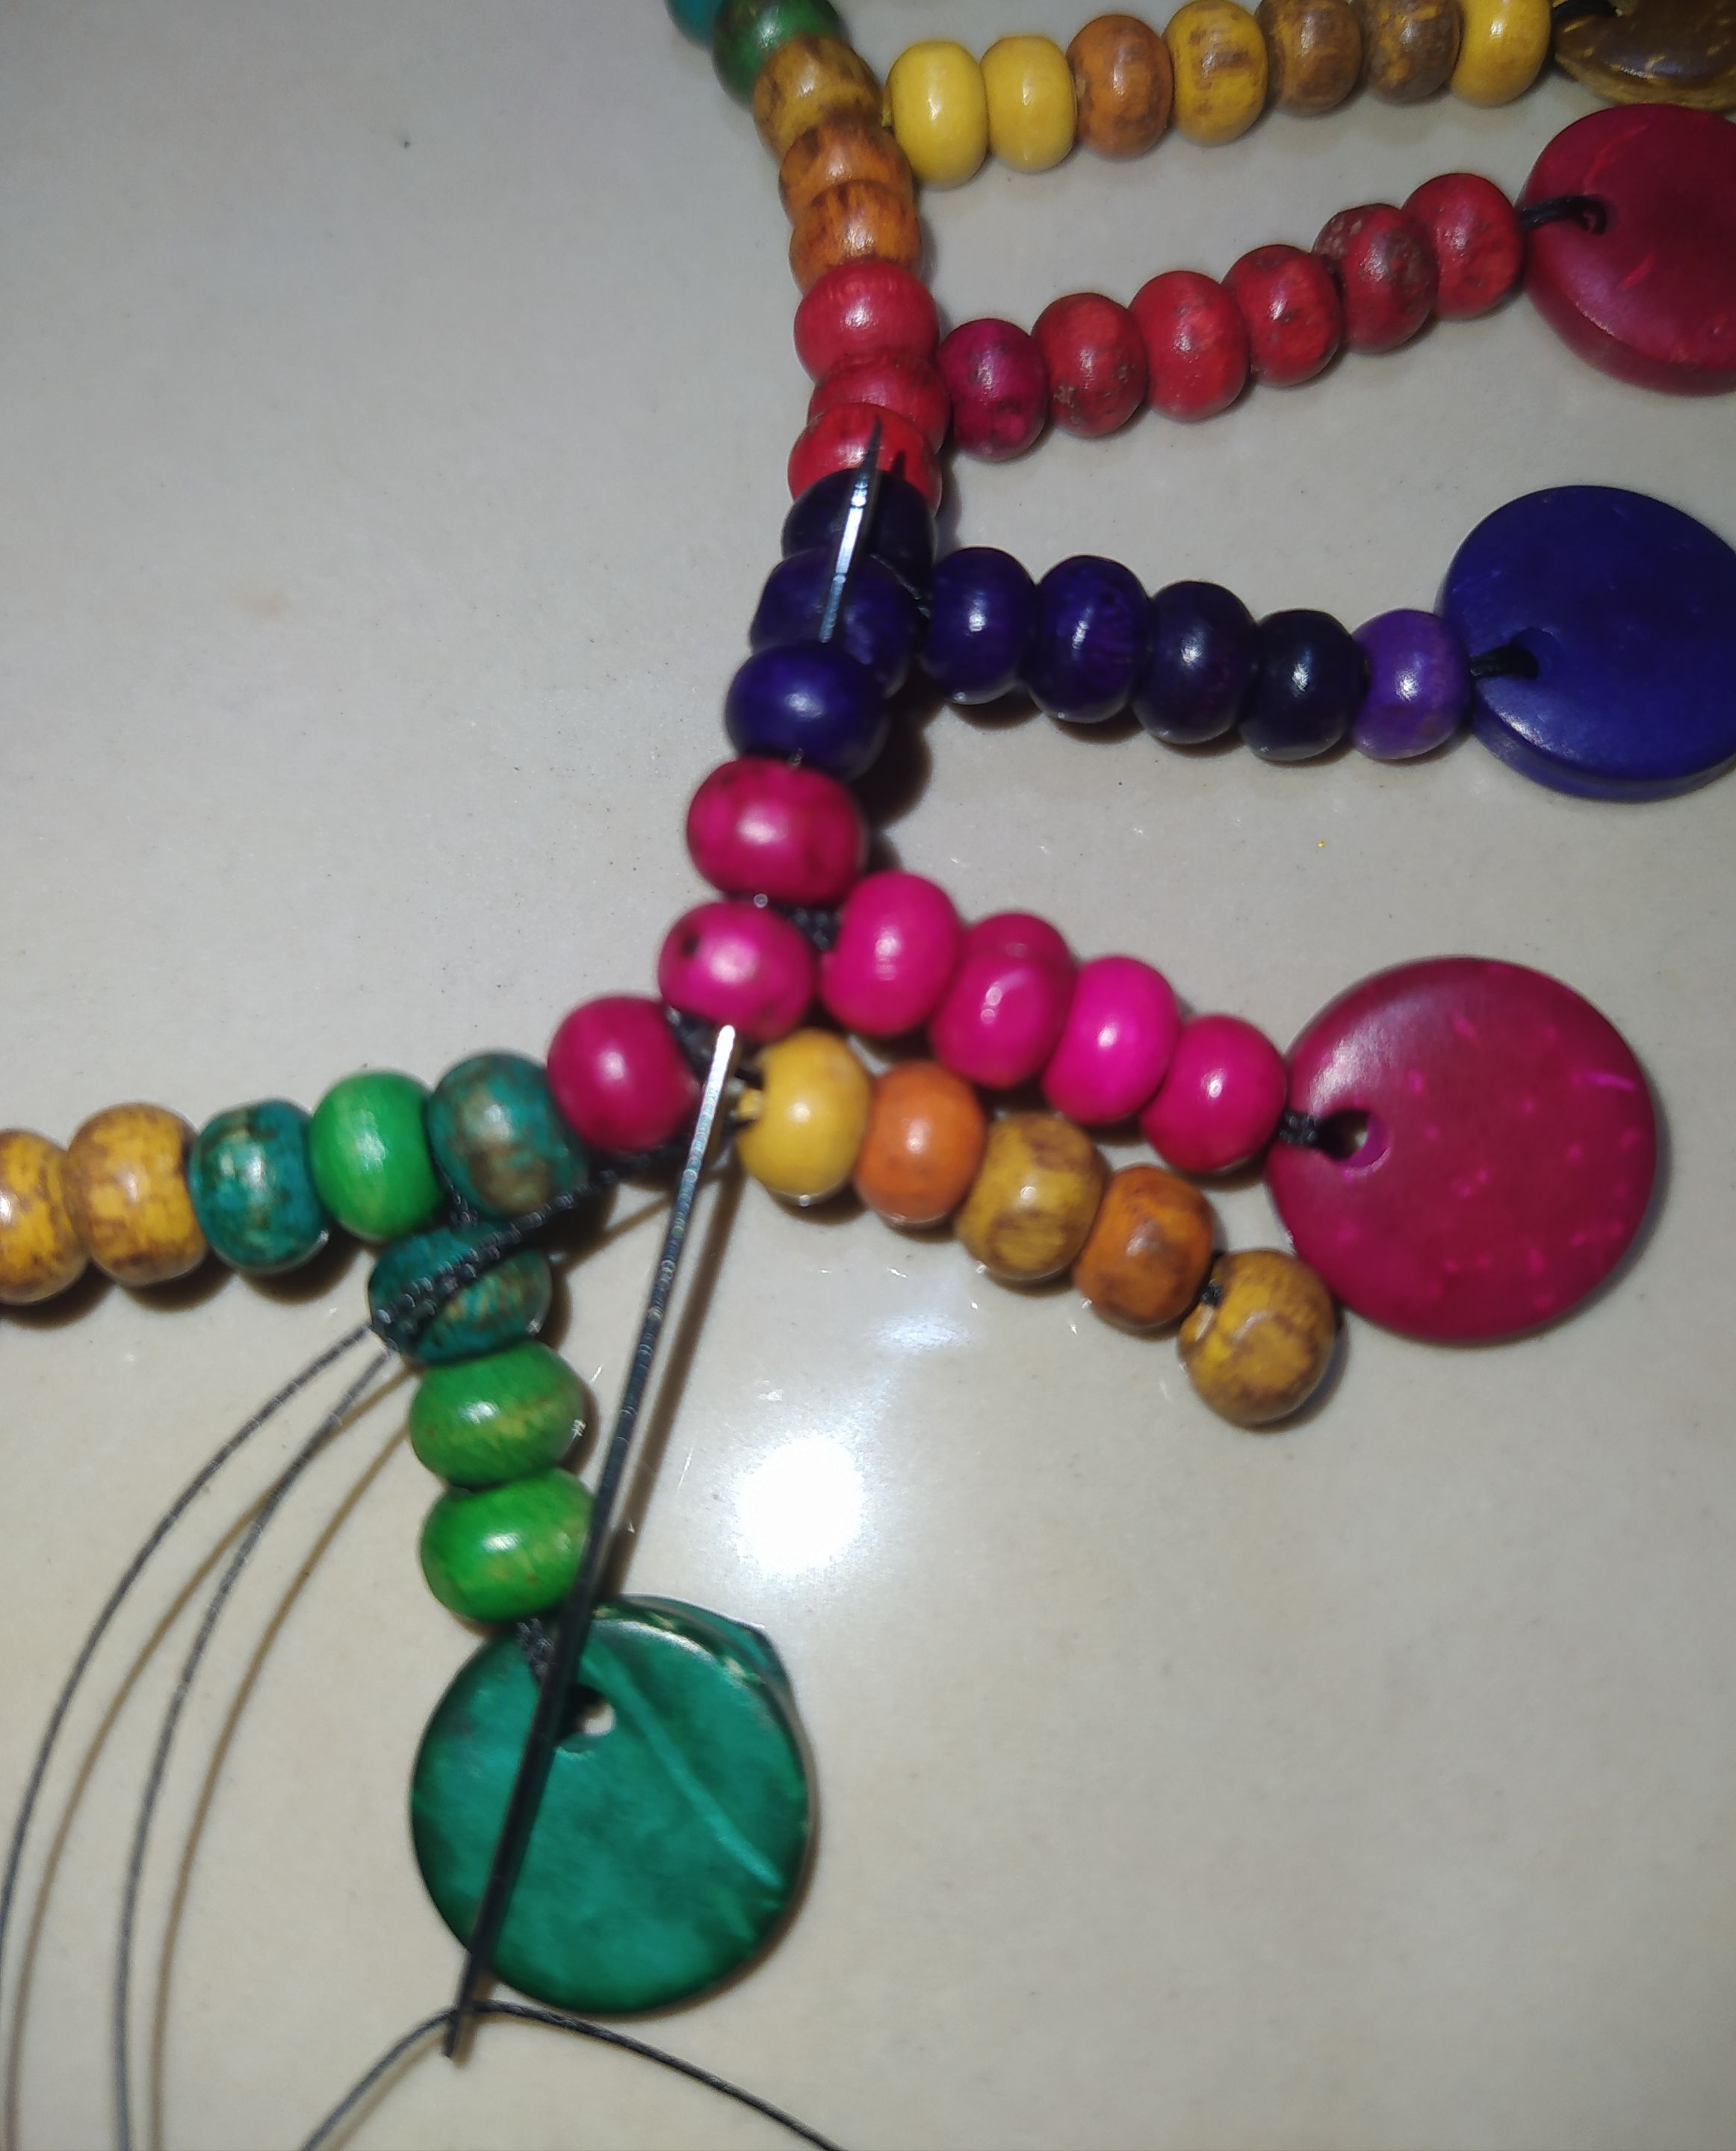
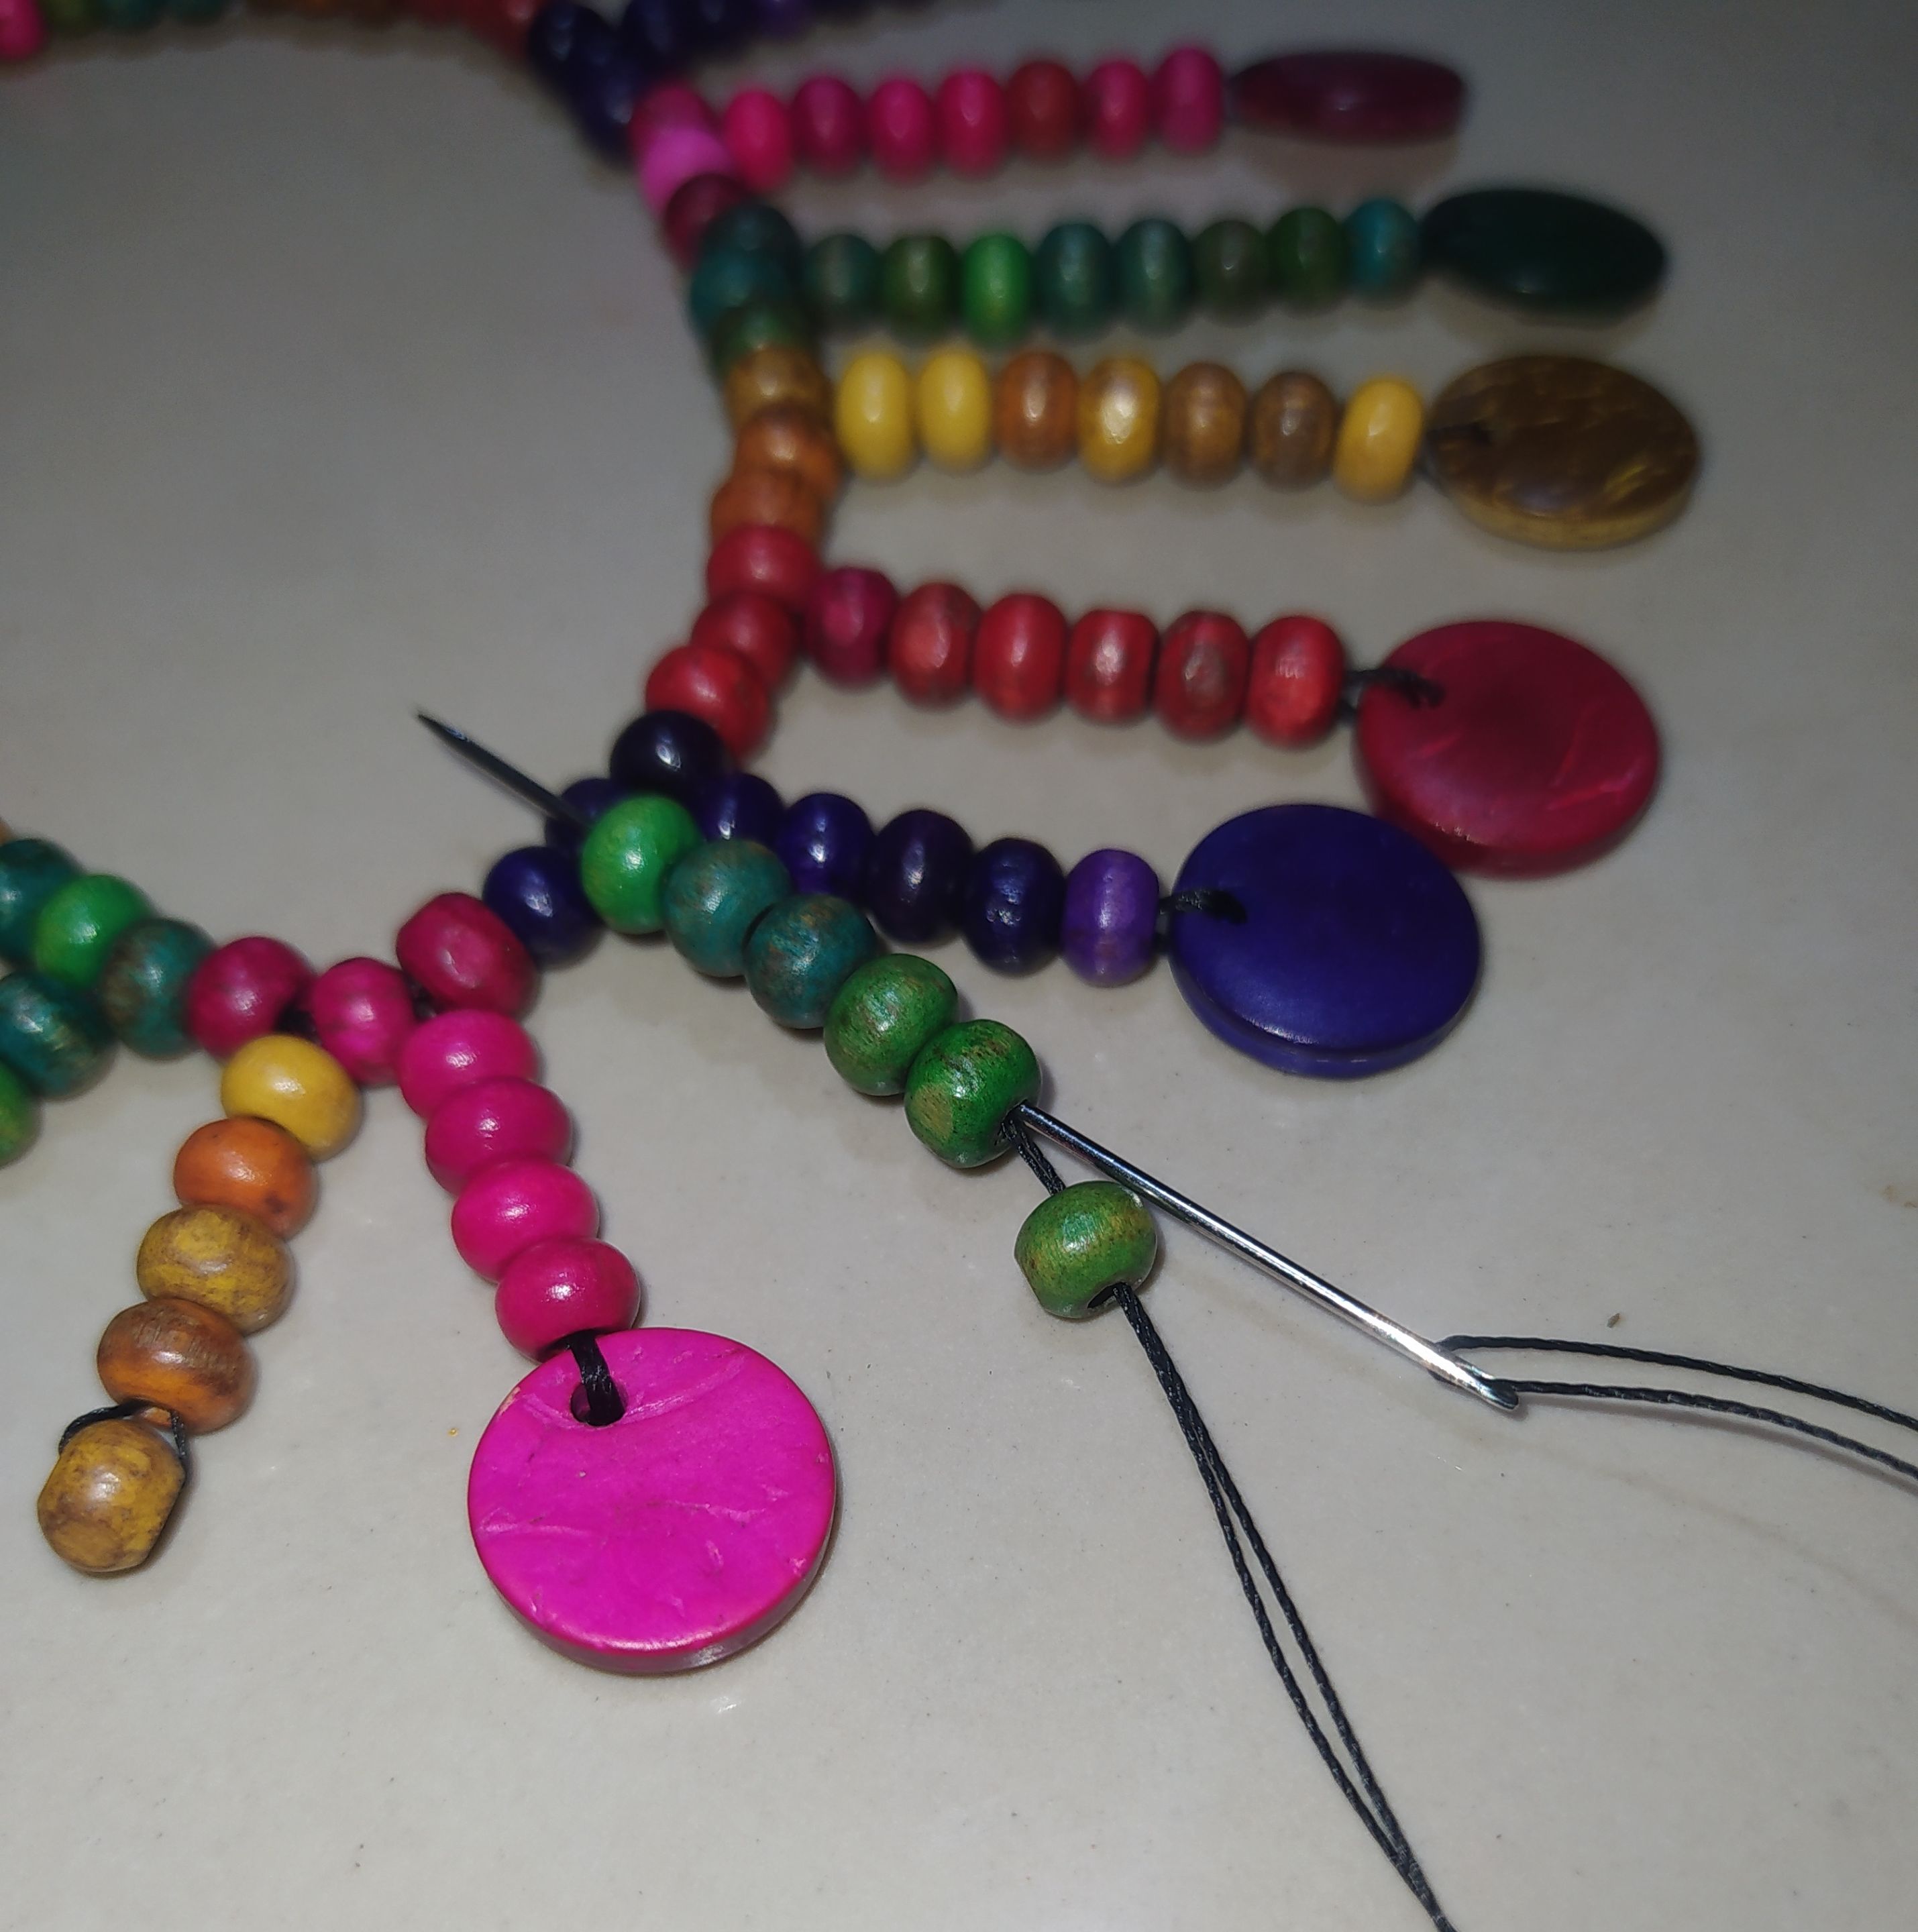
- Then we introduce three green beads and we place a flat bead of the same color on the bottom.
- We pass the needle through the beads from the bottom to the top.
- Luego introducimos tres cuentas verdes y le colocamos en la parte de abajo una cuenta plana del mismo color.
- Pasamos la aguja por las cuentas de abajo hacia arriba.
 |  |
|---|
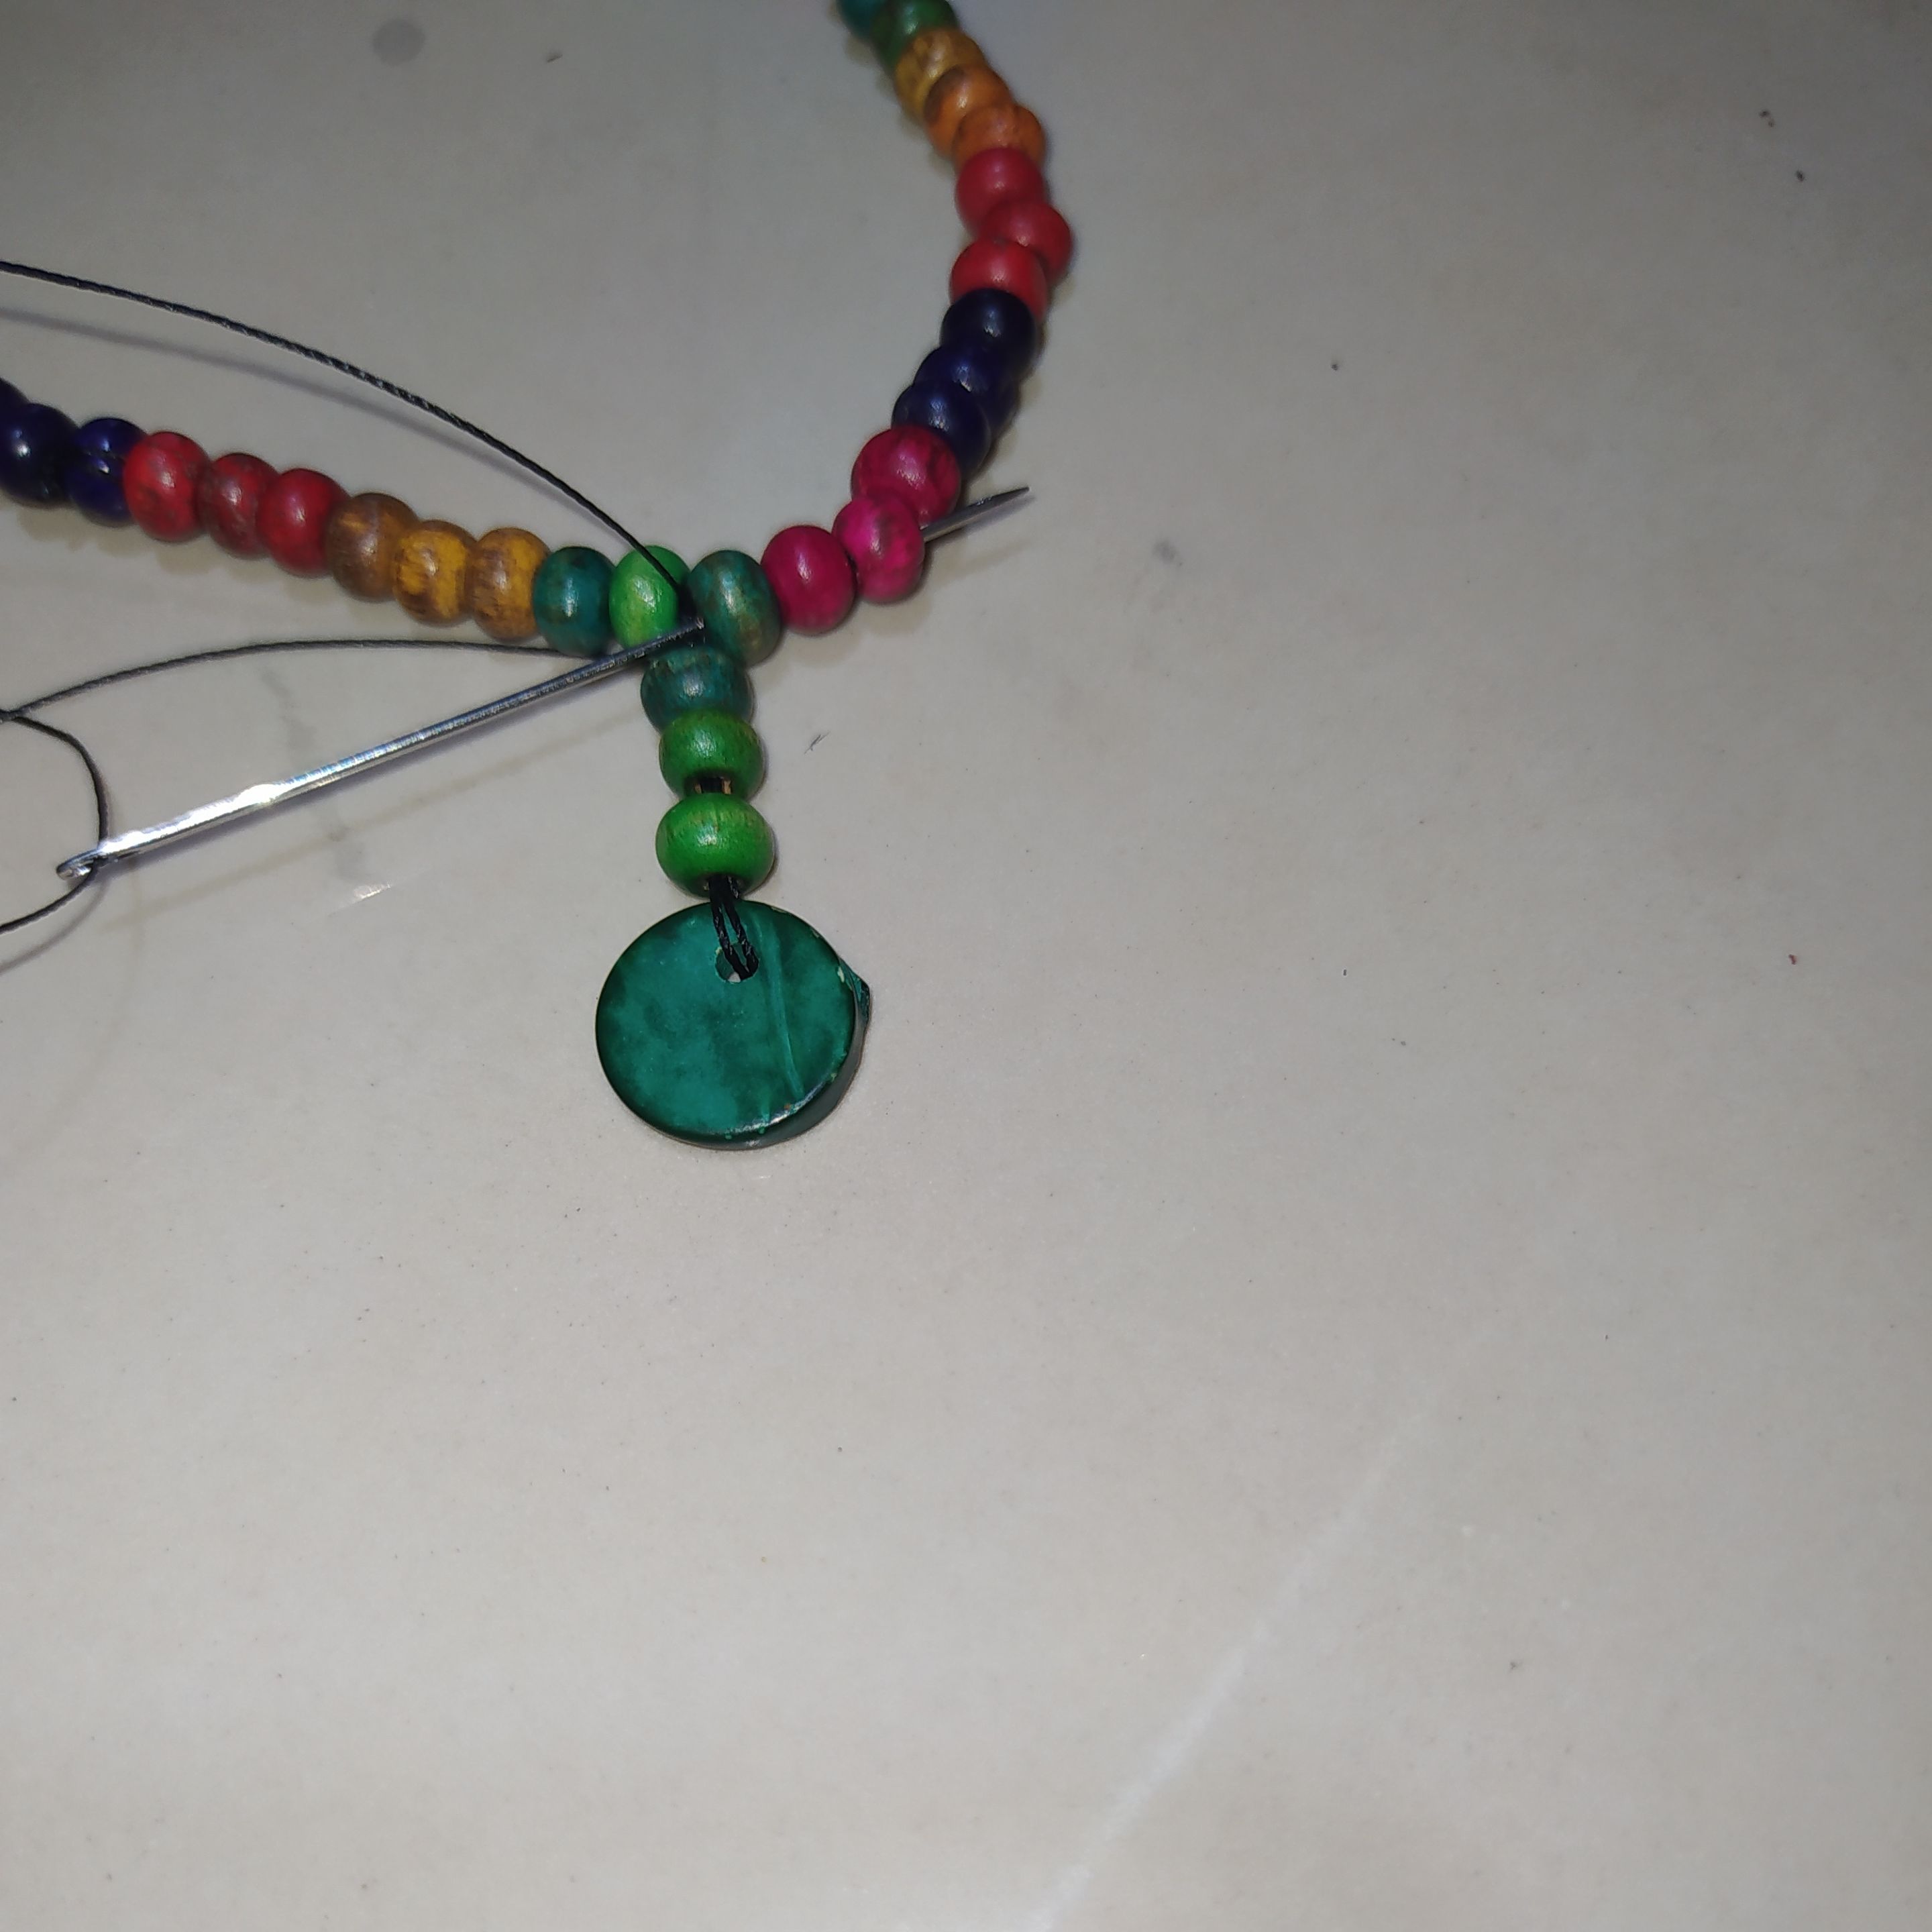
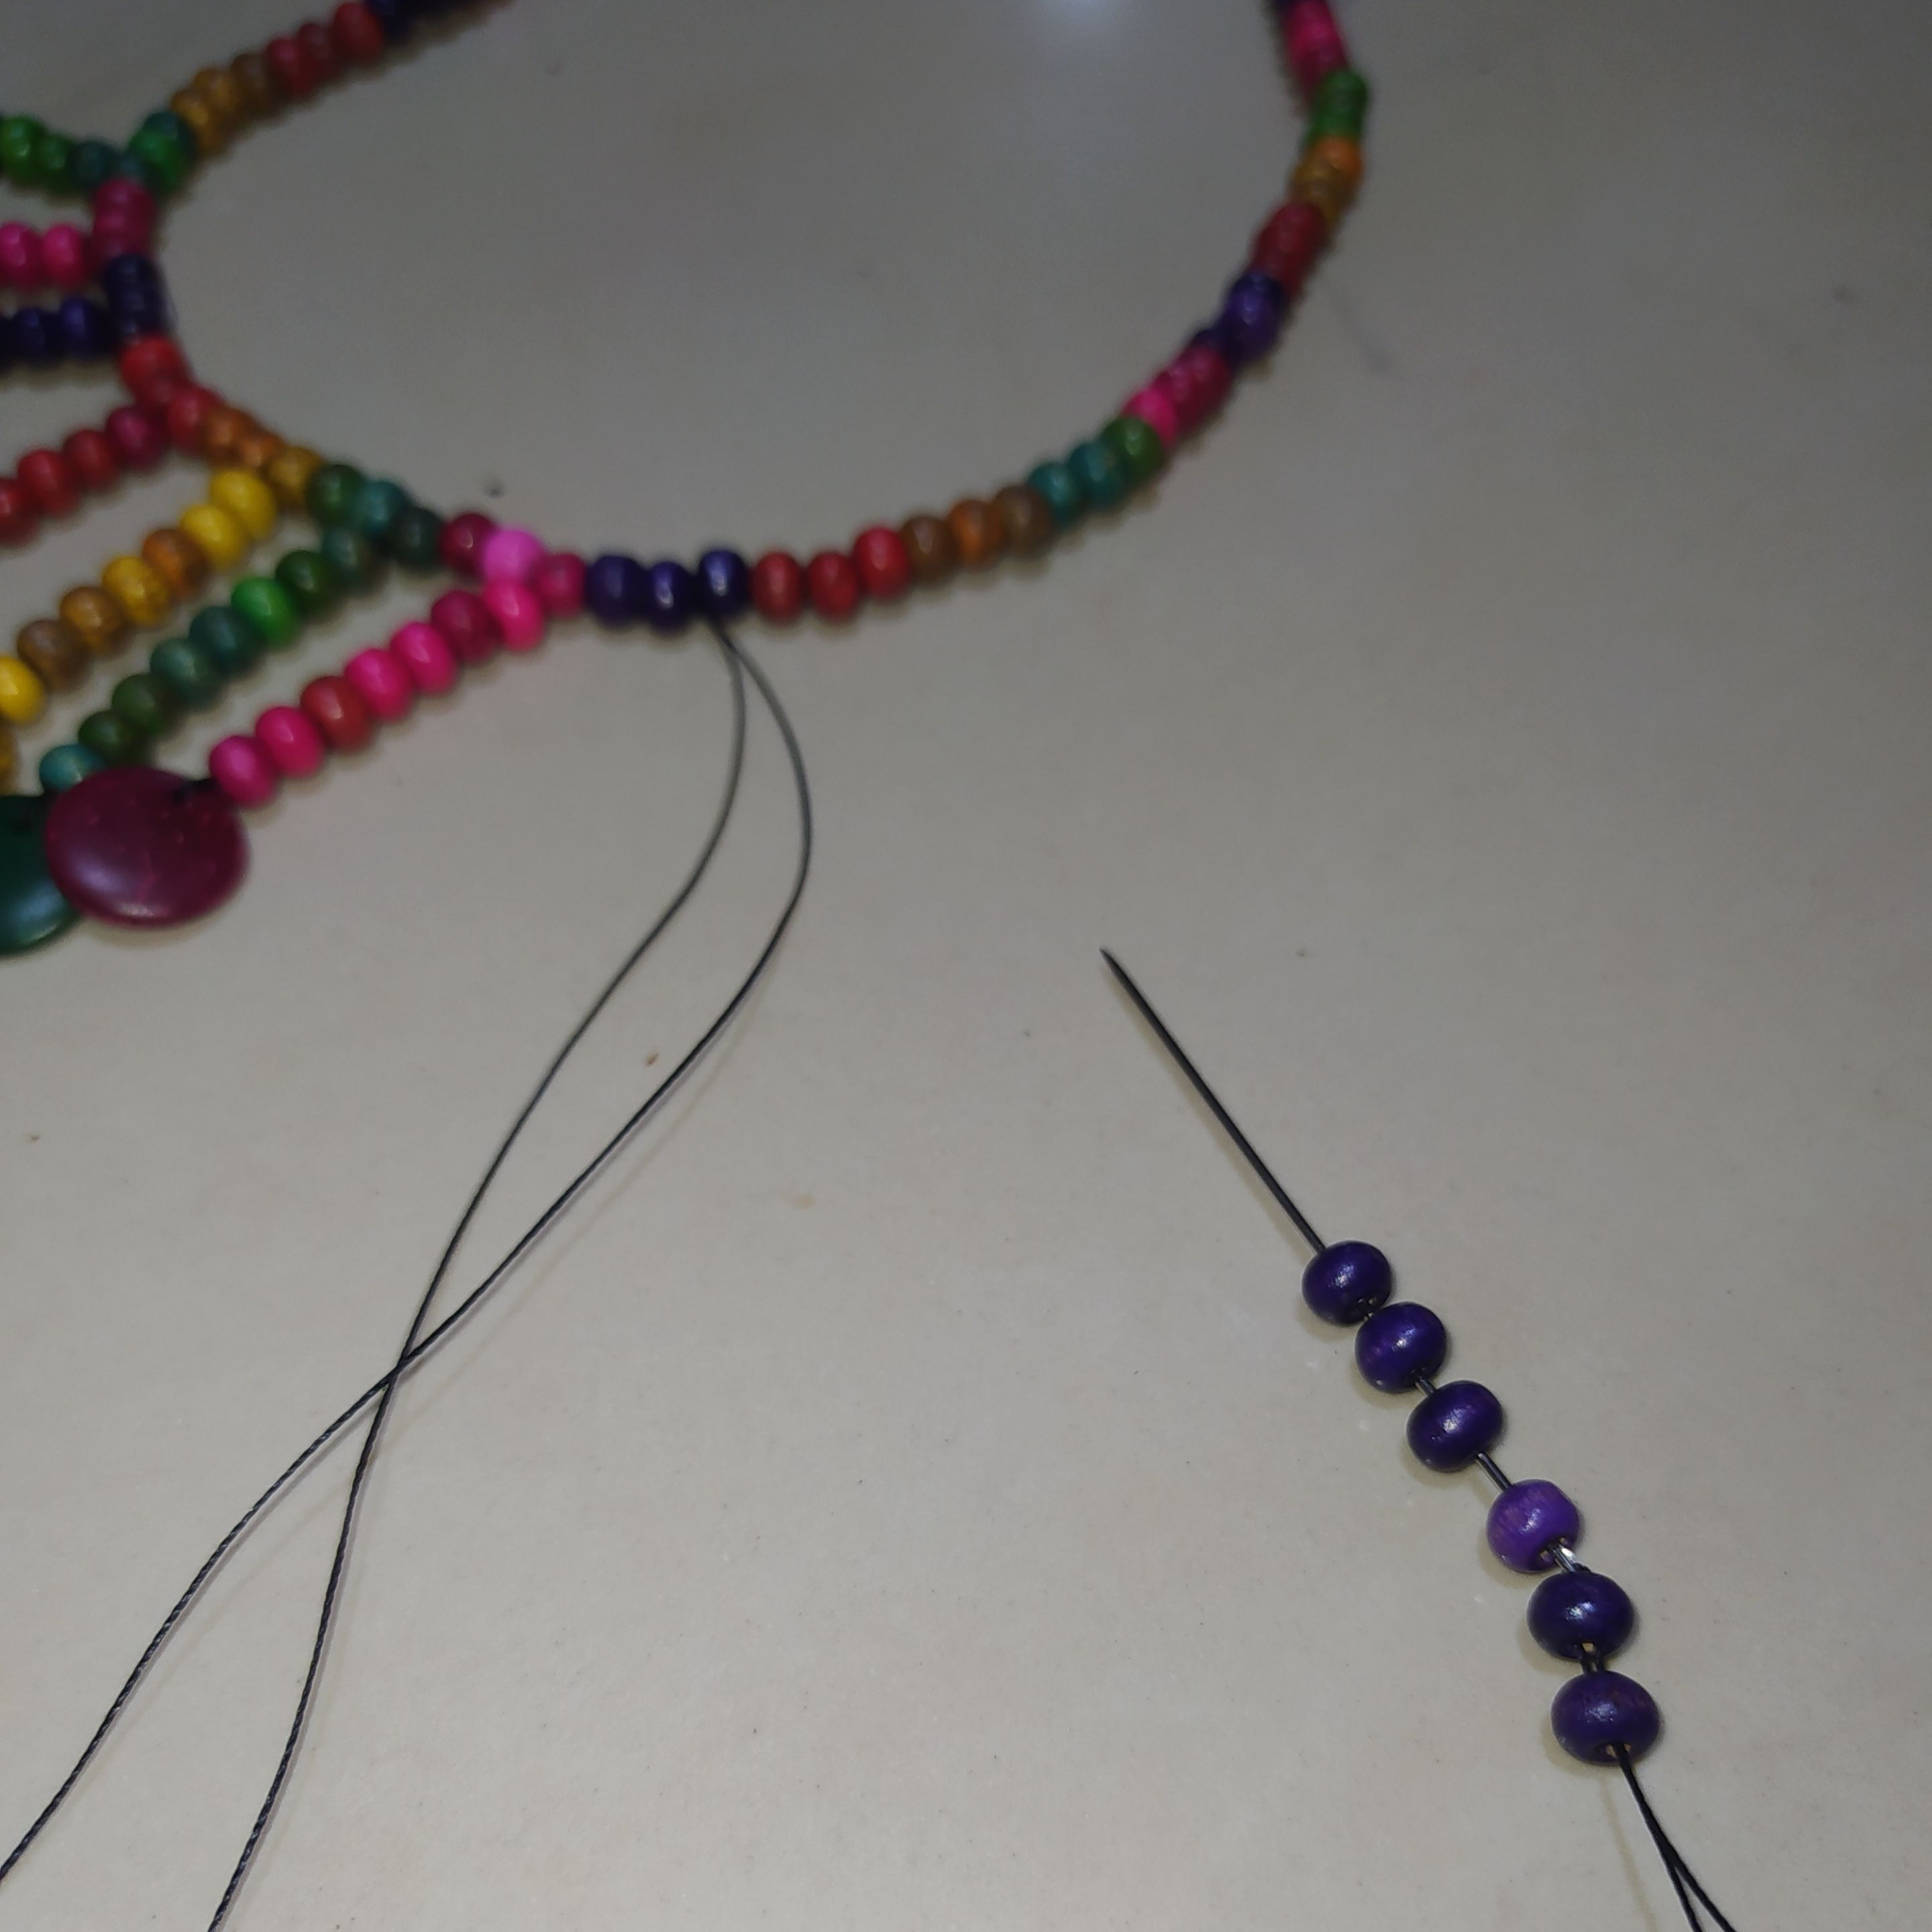
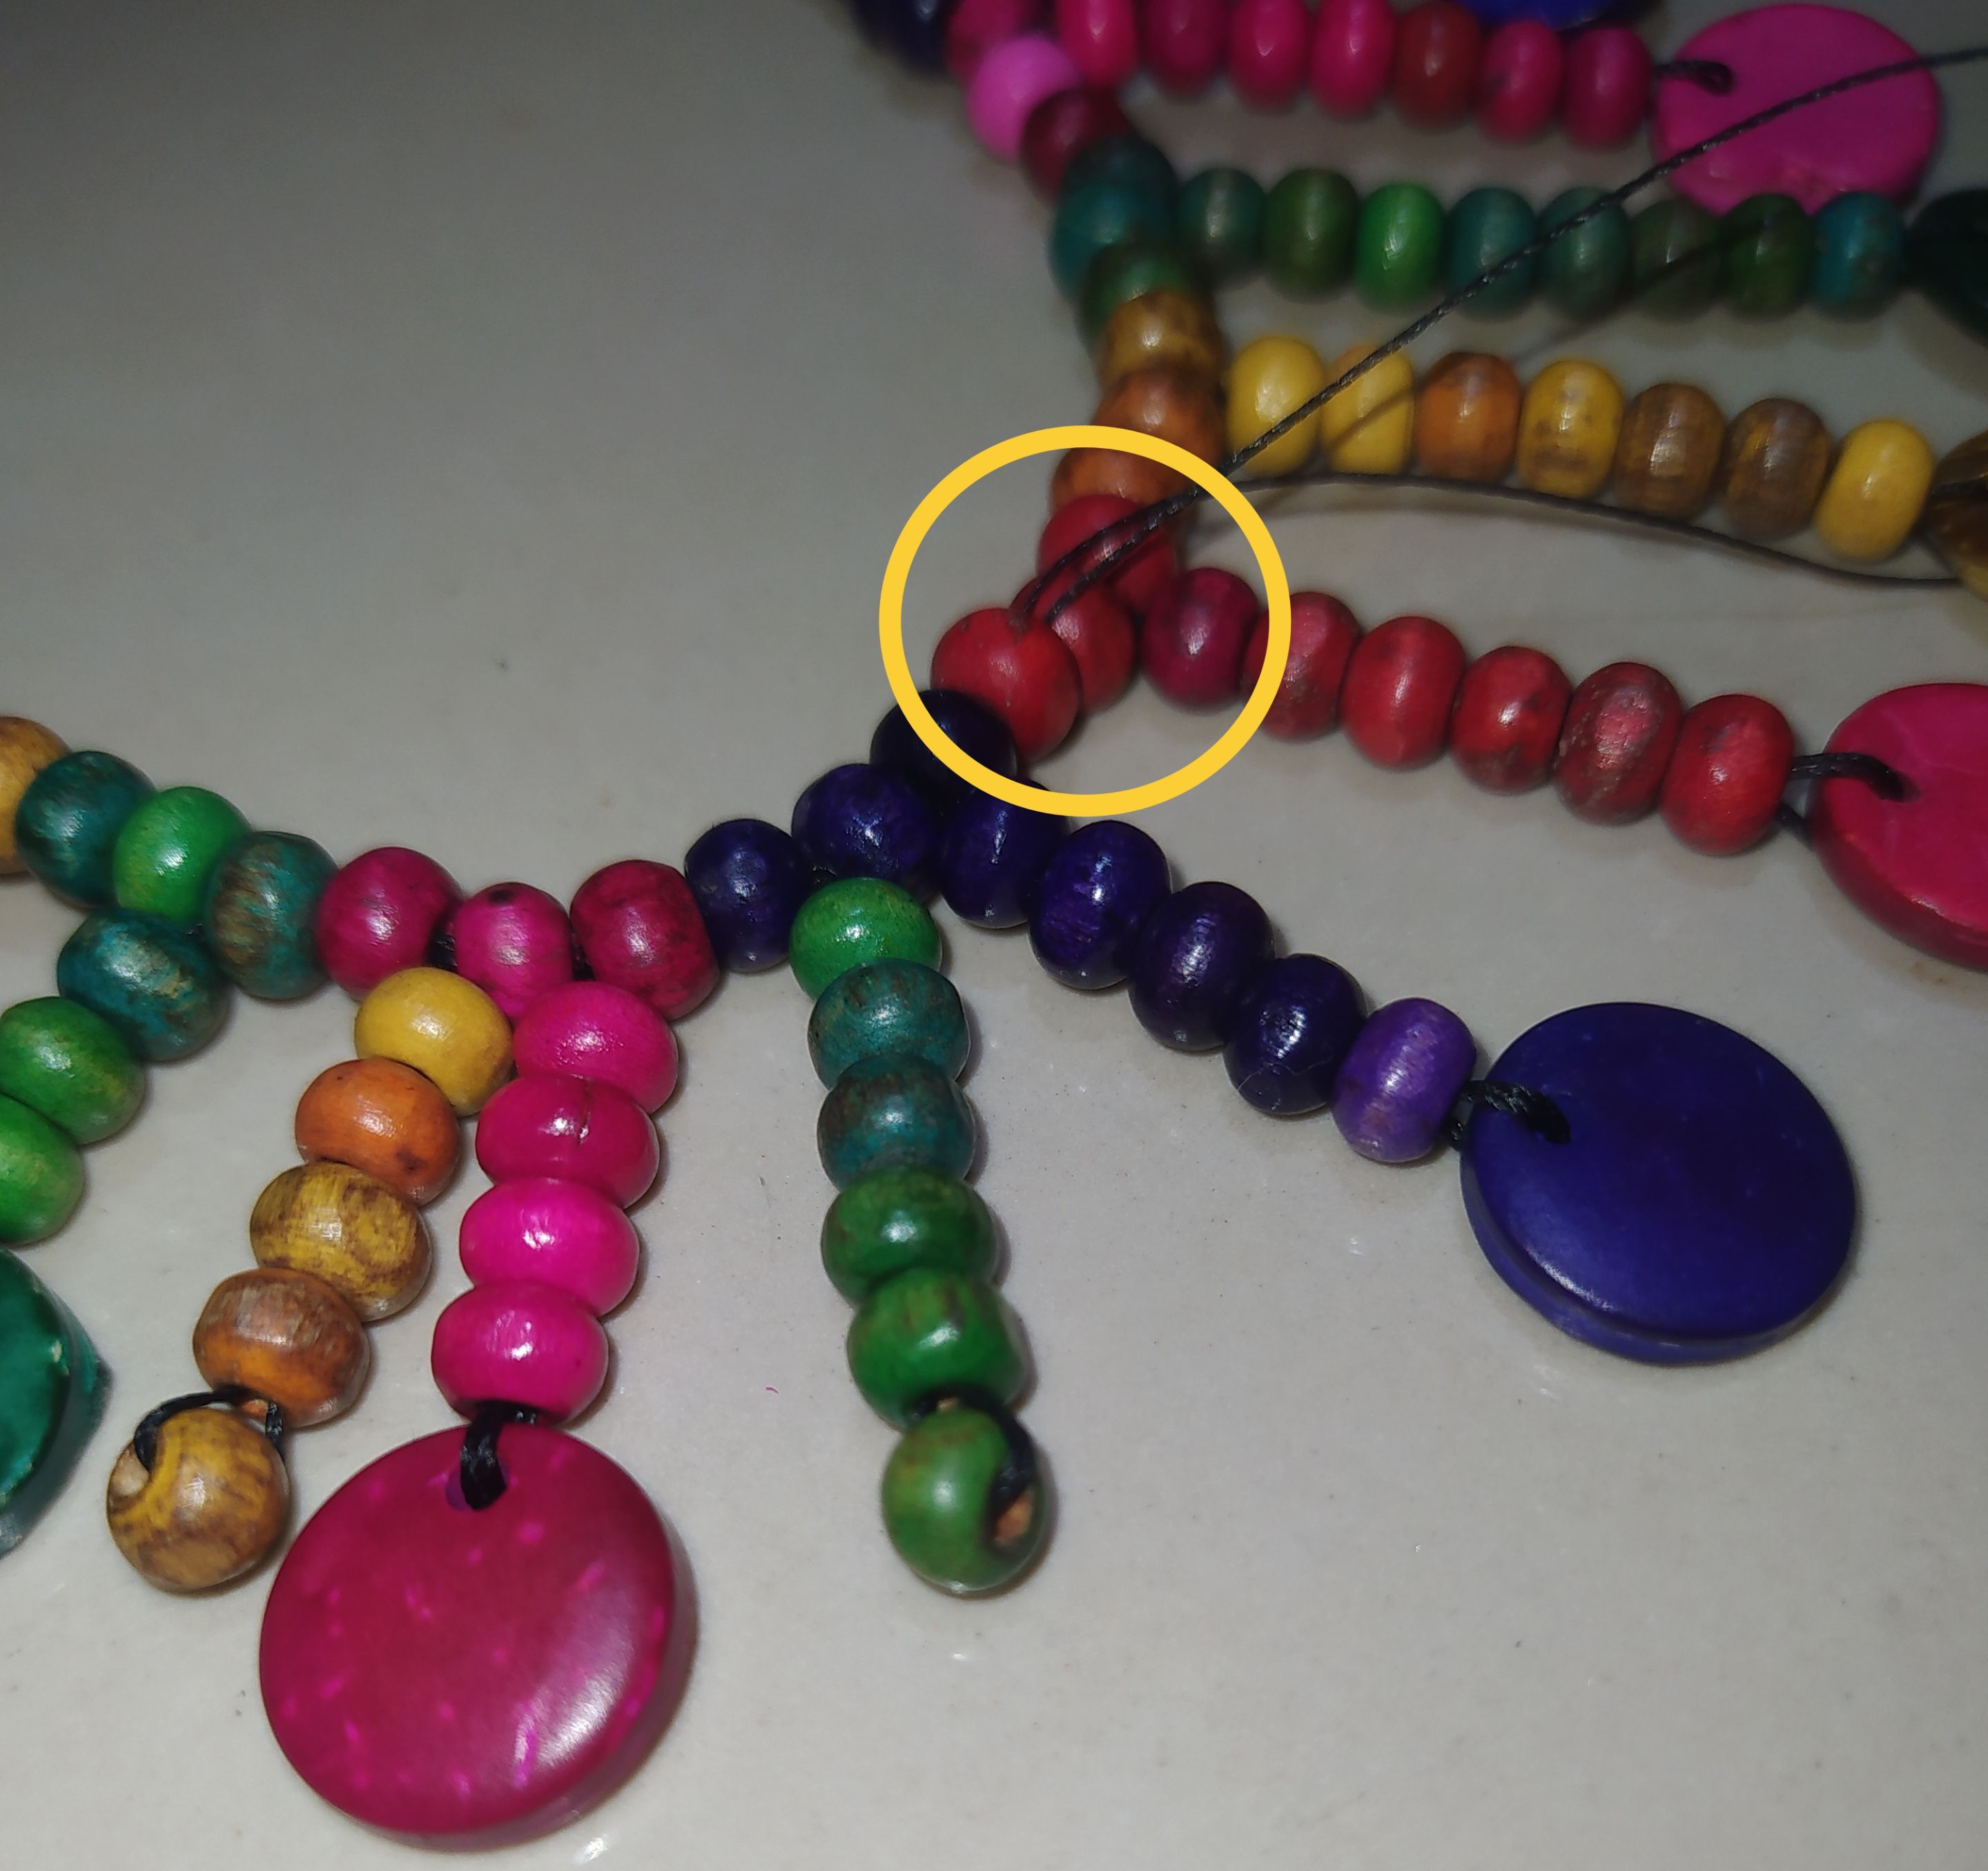
- We take out the thread through the first bead we placed.
- We introduce again the needle with the thread through the bead that is on the necklace.
- We take out the third bead.
- Sacamos el hilo por la primera cuenta que colocamos.
- Introducimos nuevamente la aguja con el hilo por la cuenta que está en el collar.
- Sacamos a la tercera cuenta.
 |  |
|---|
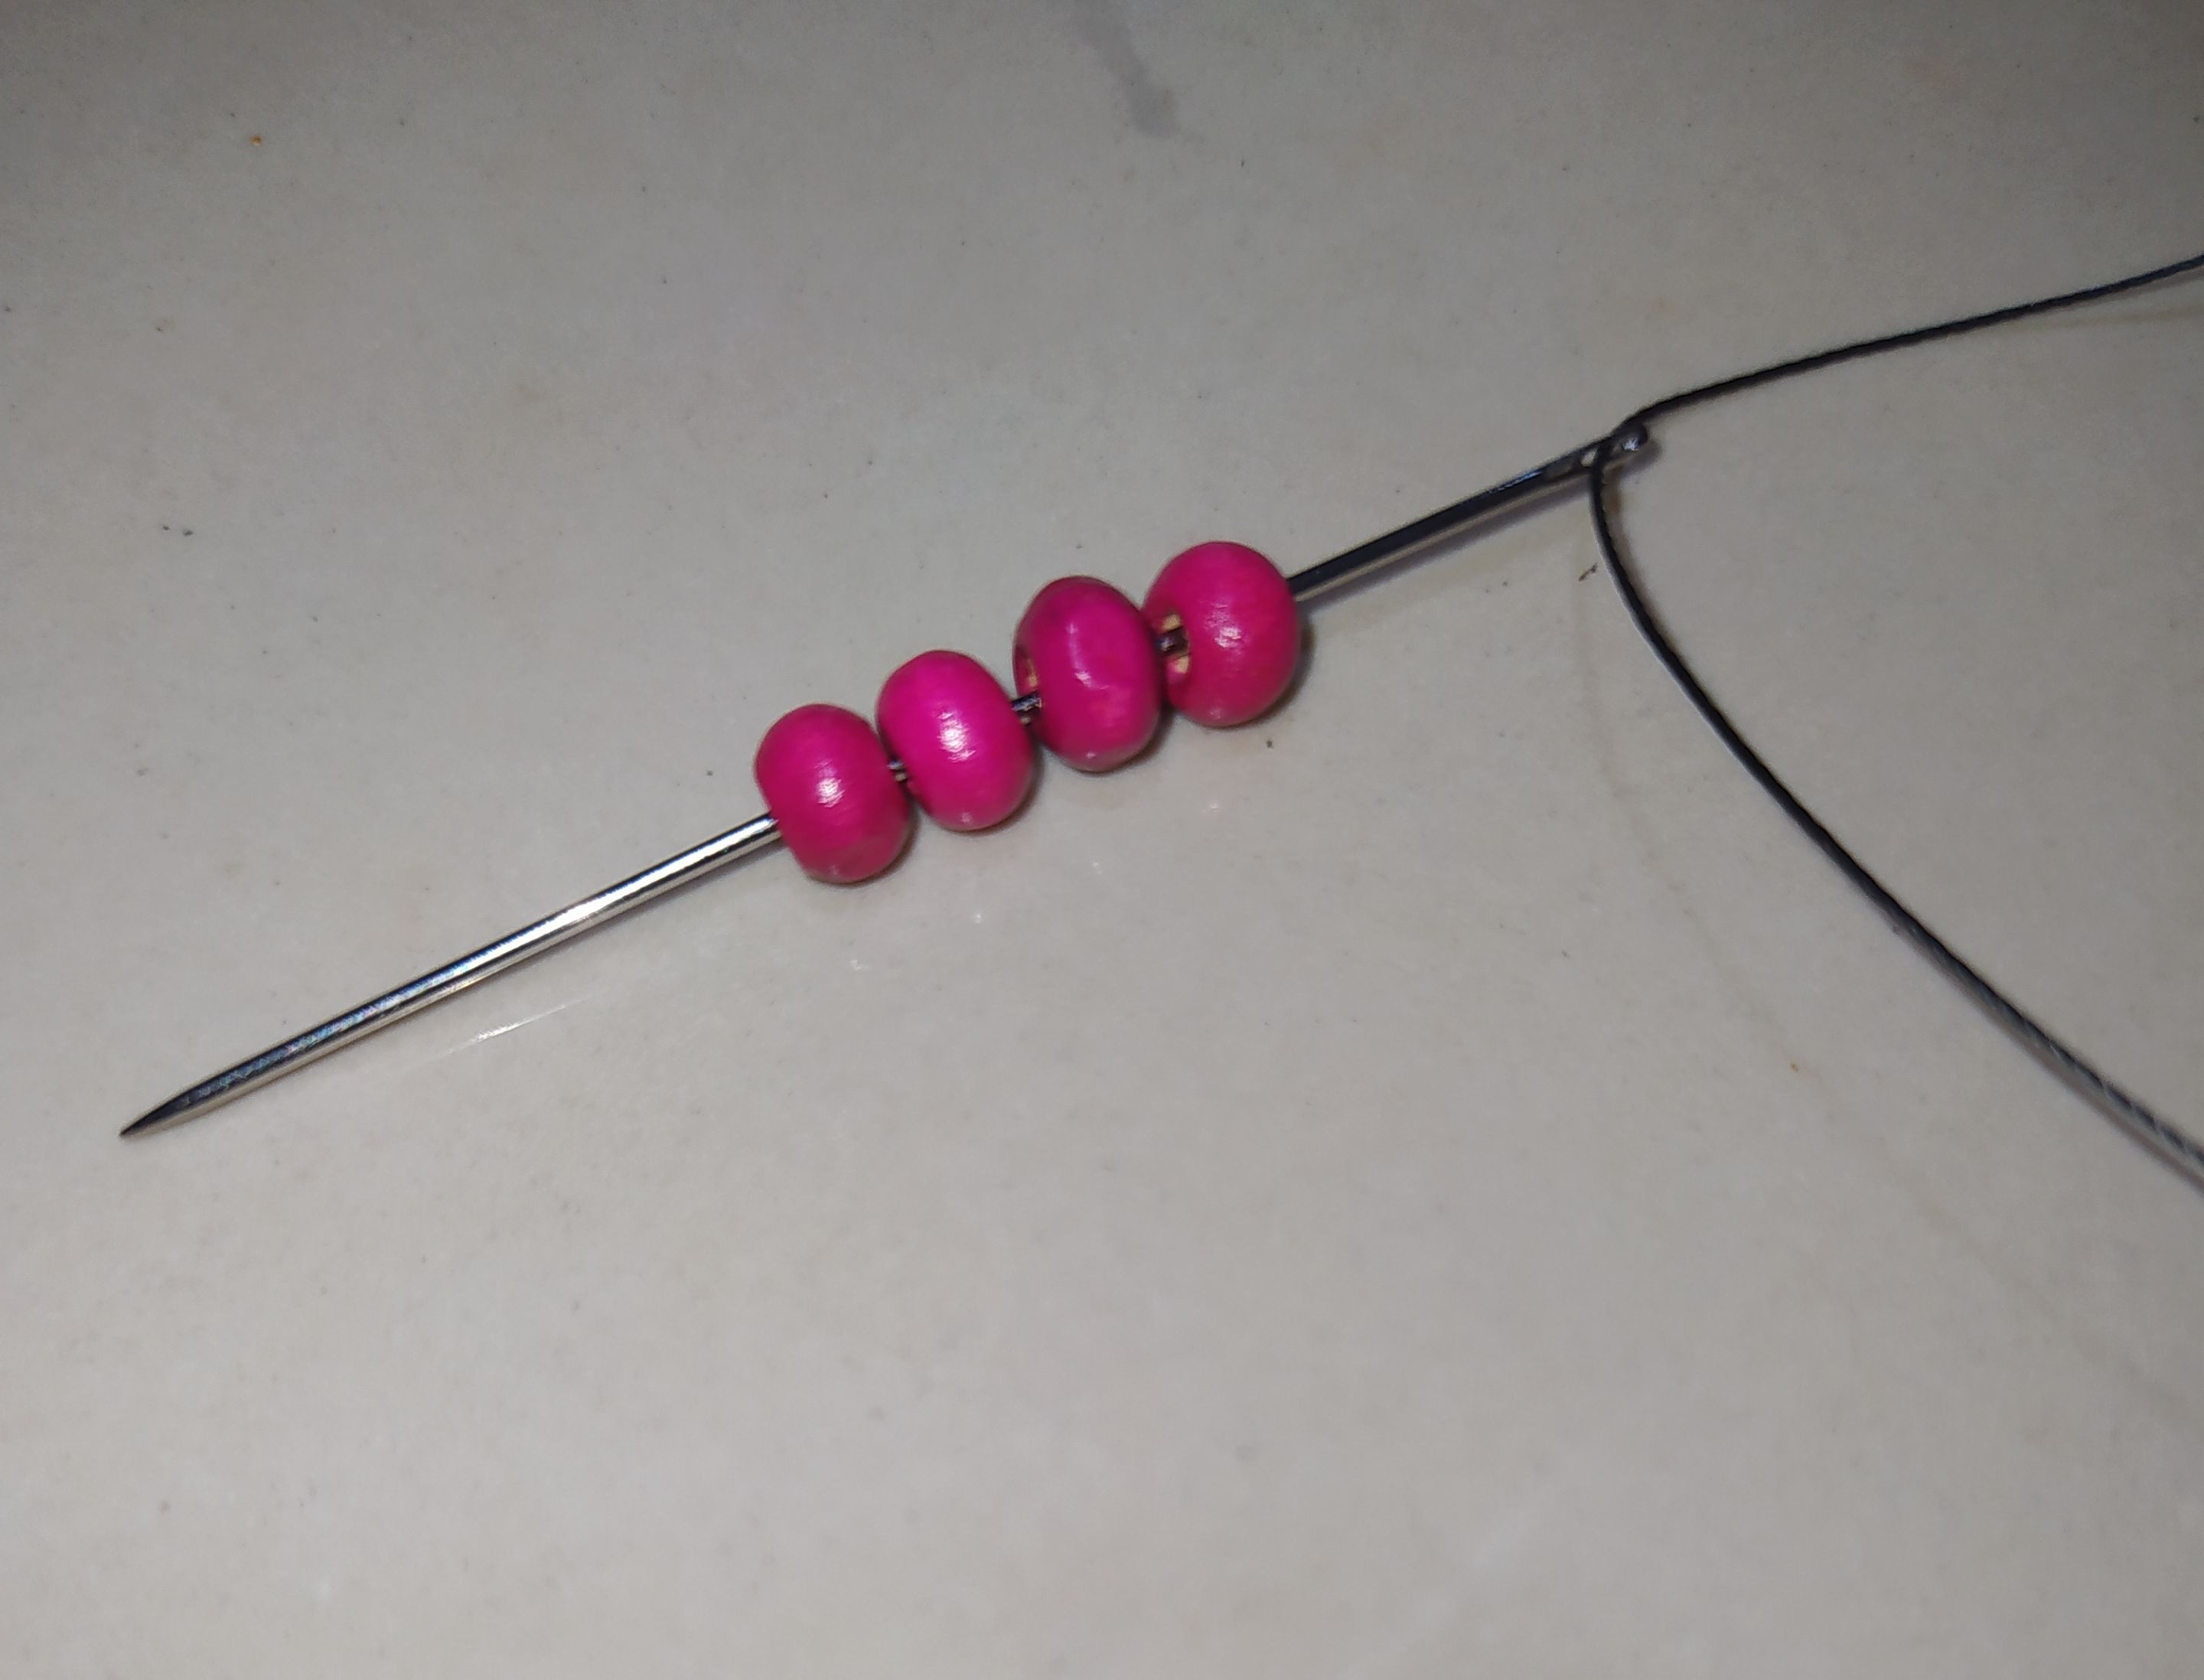
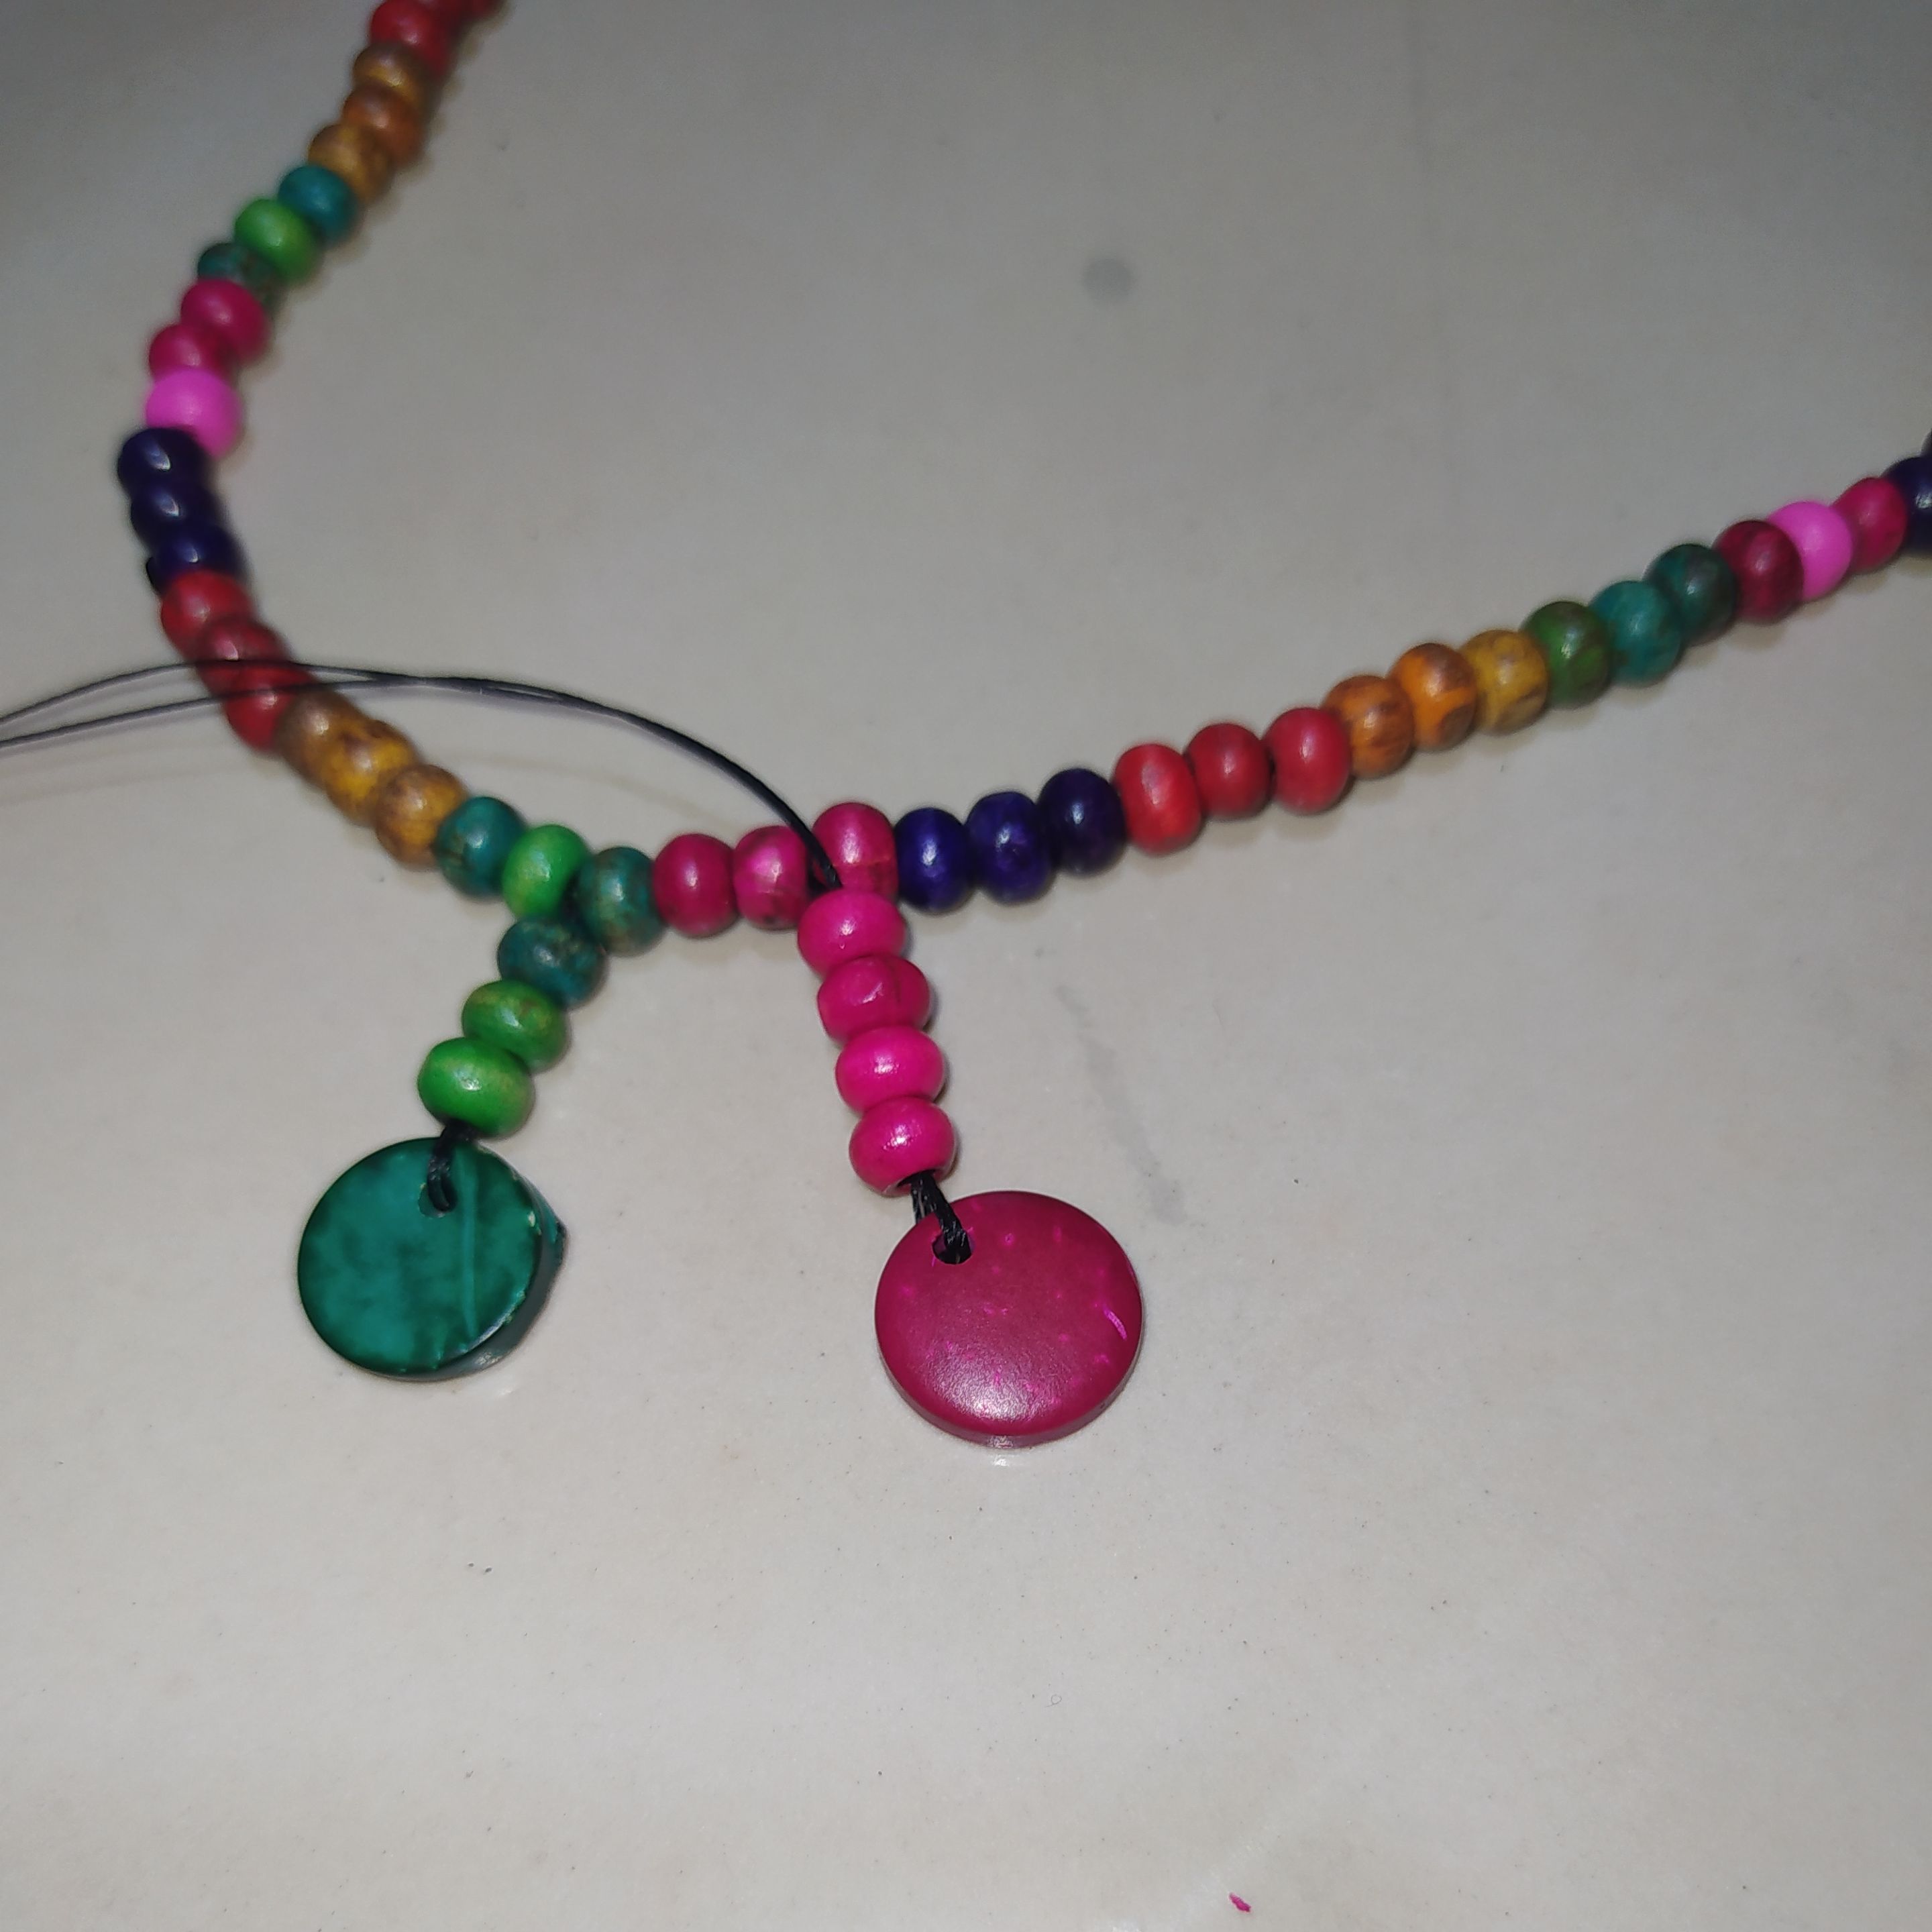
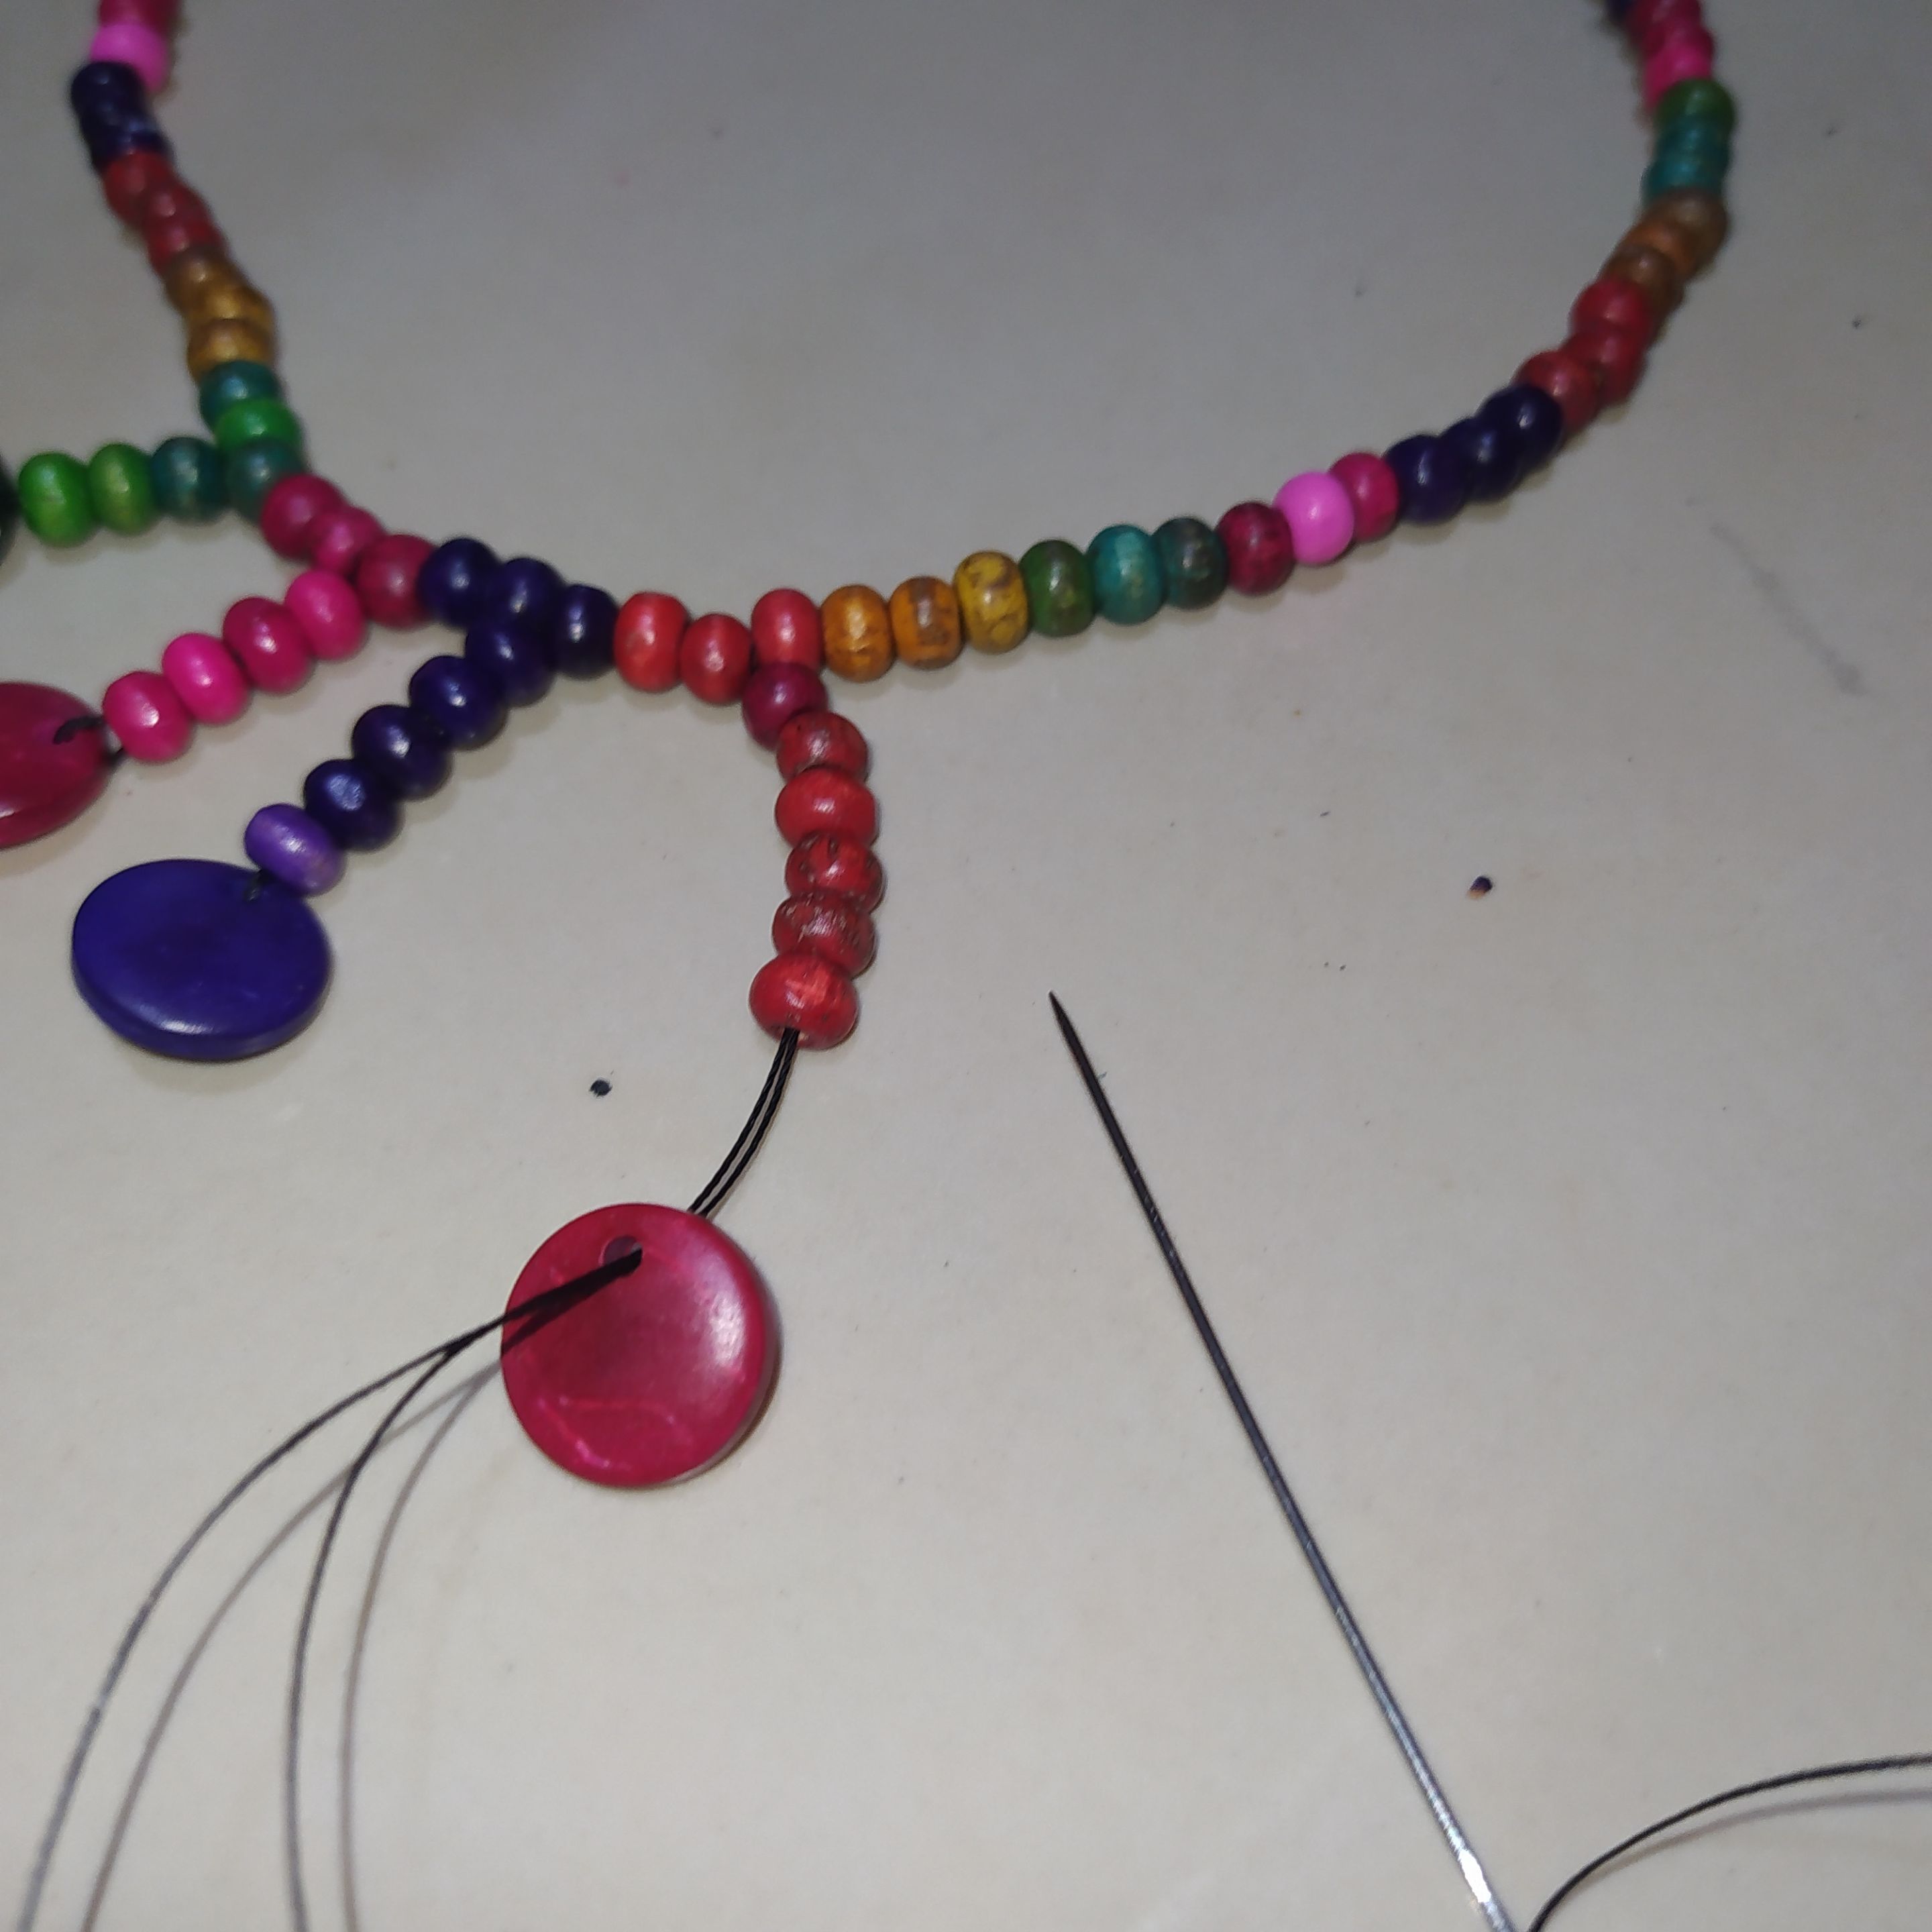
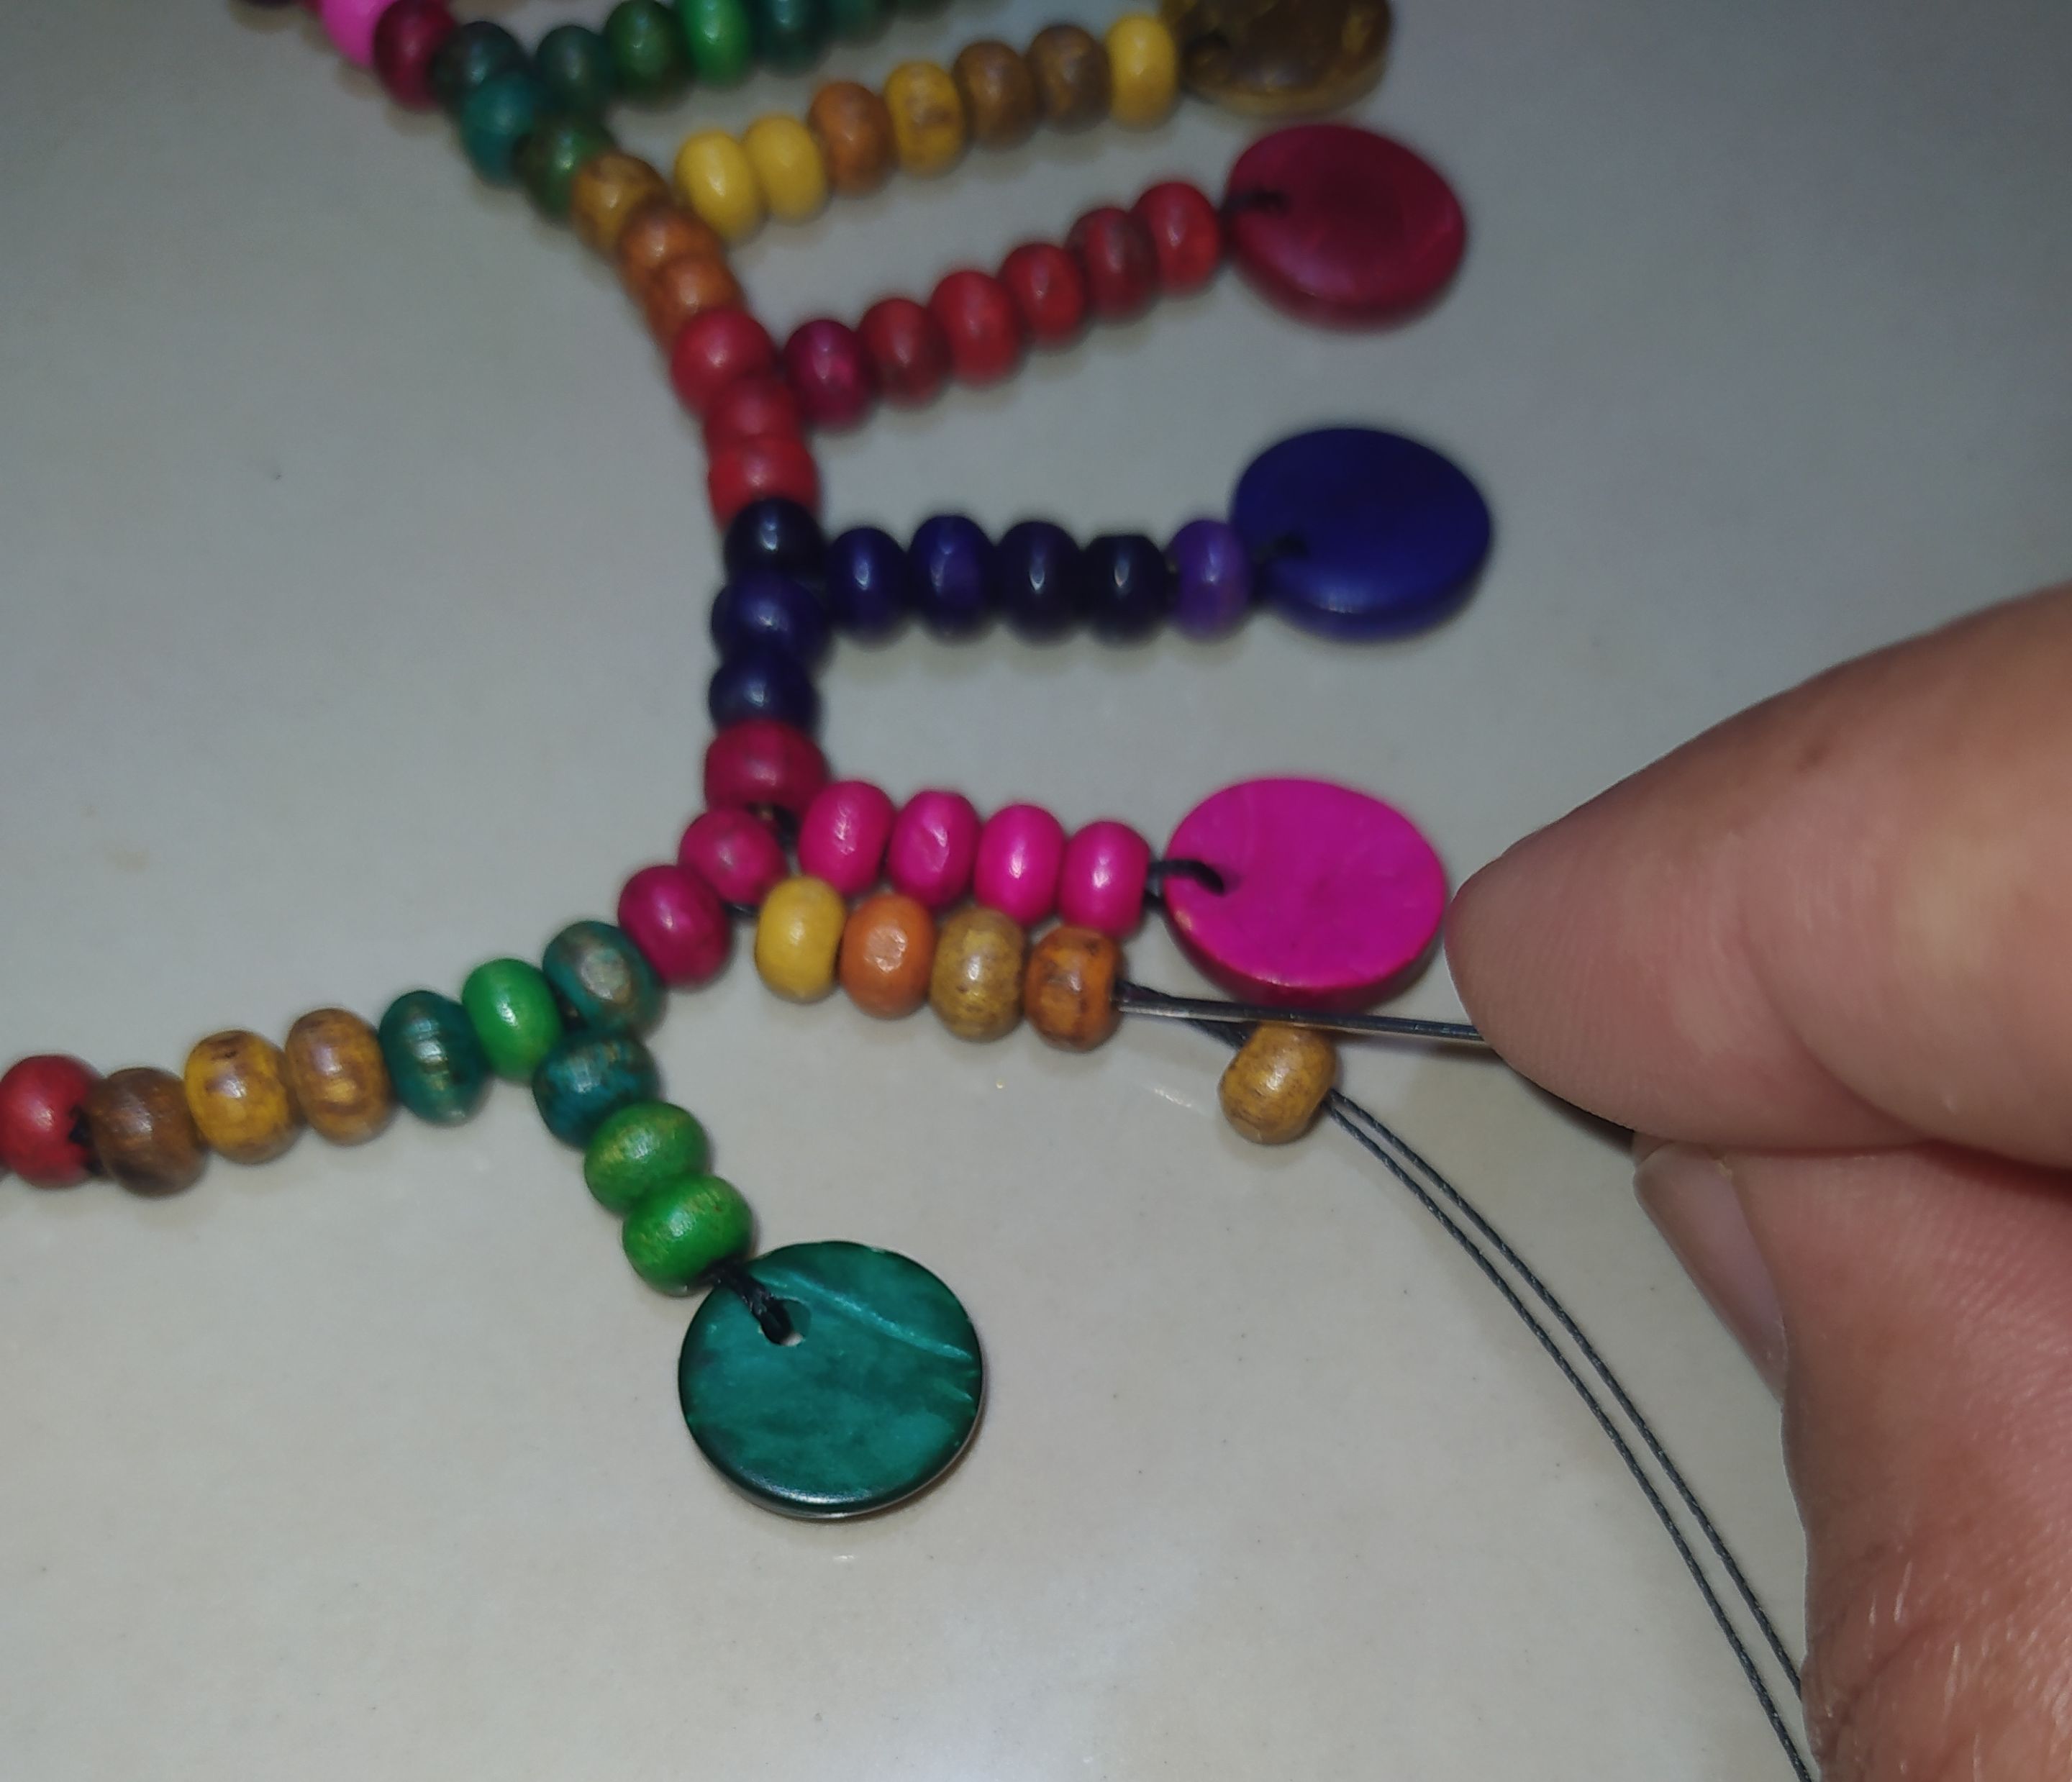
- We place four fuchsia beads on the needle.
- Colocamos cuatro cuentas fucsia en la aguja.
 |  |
|---|
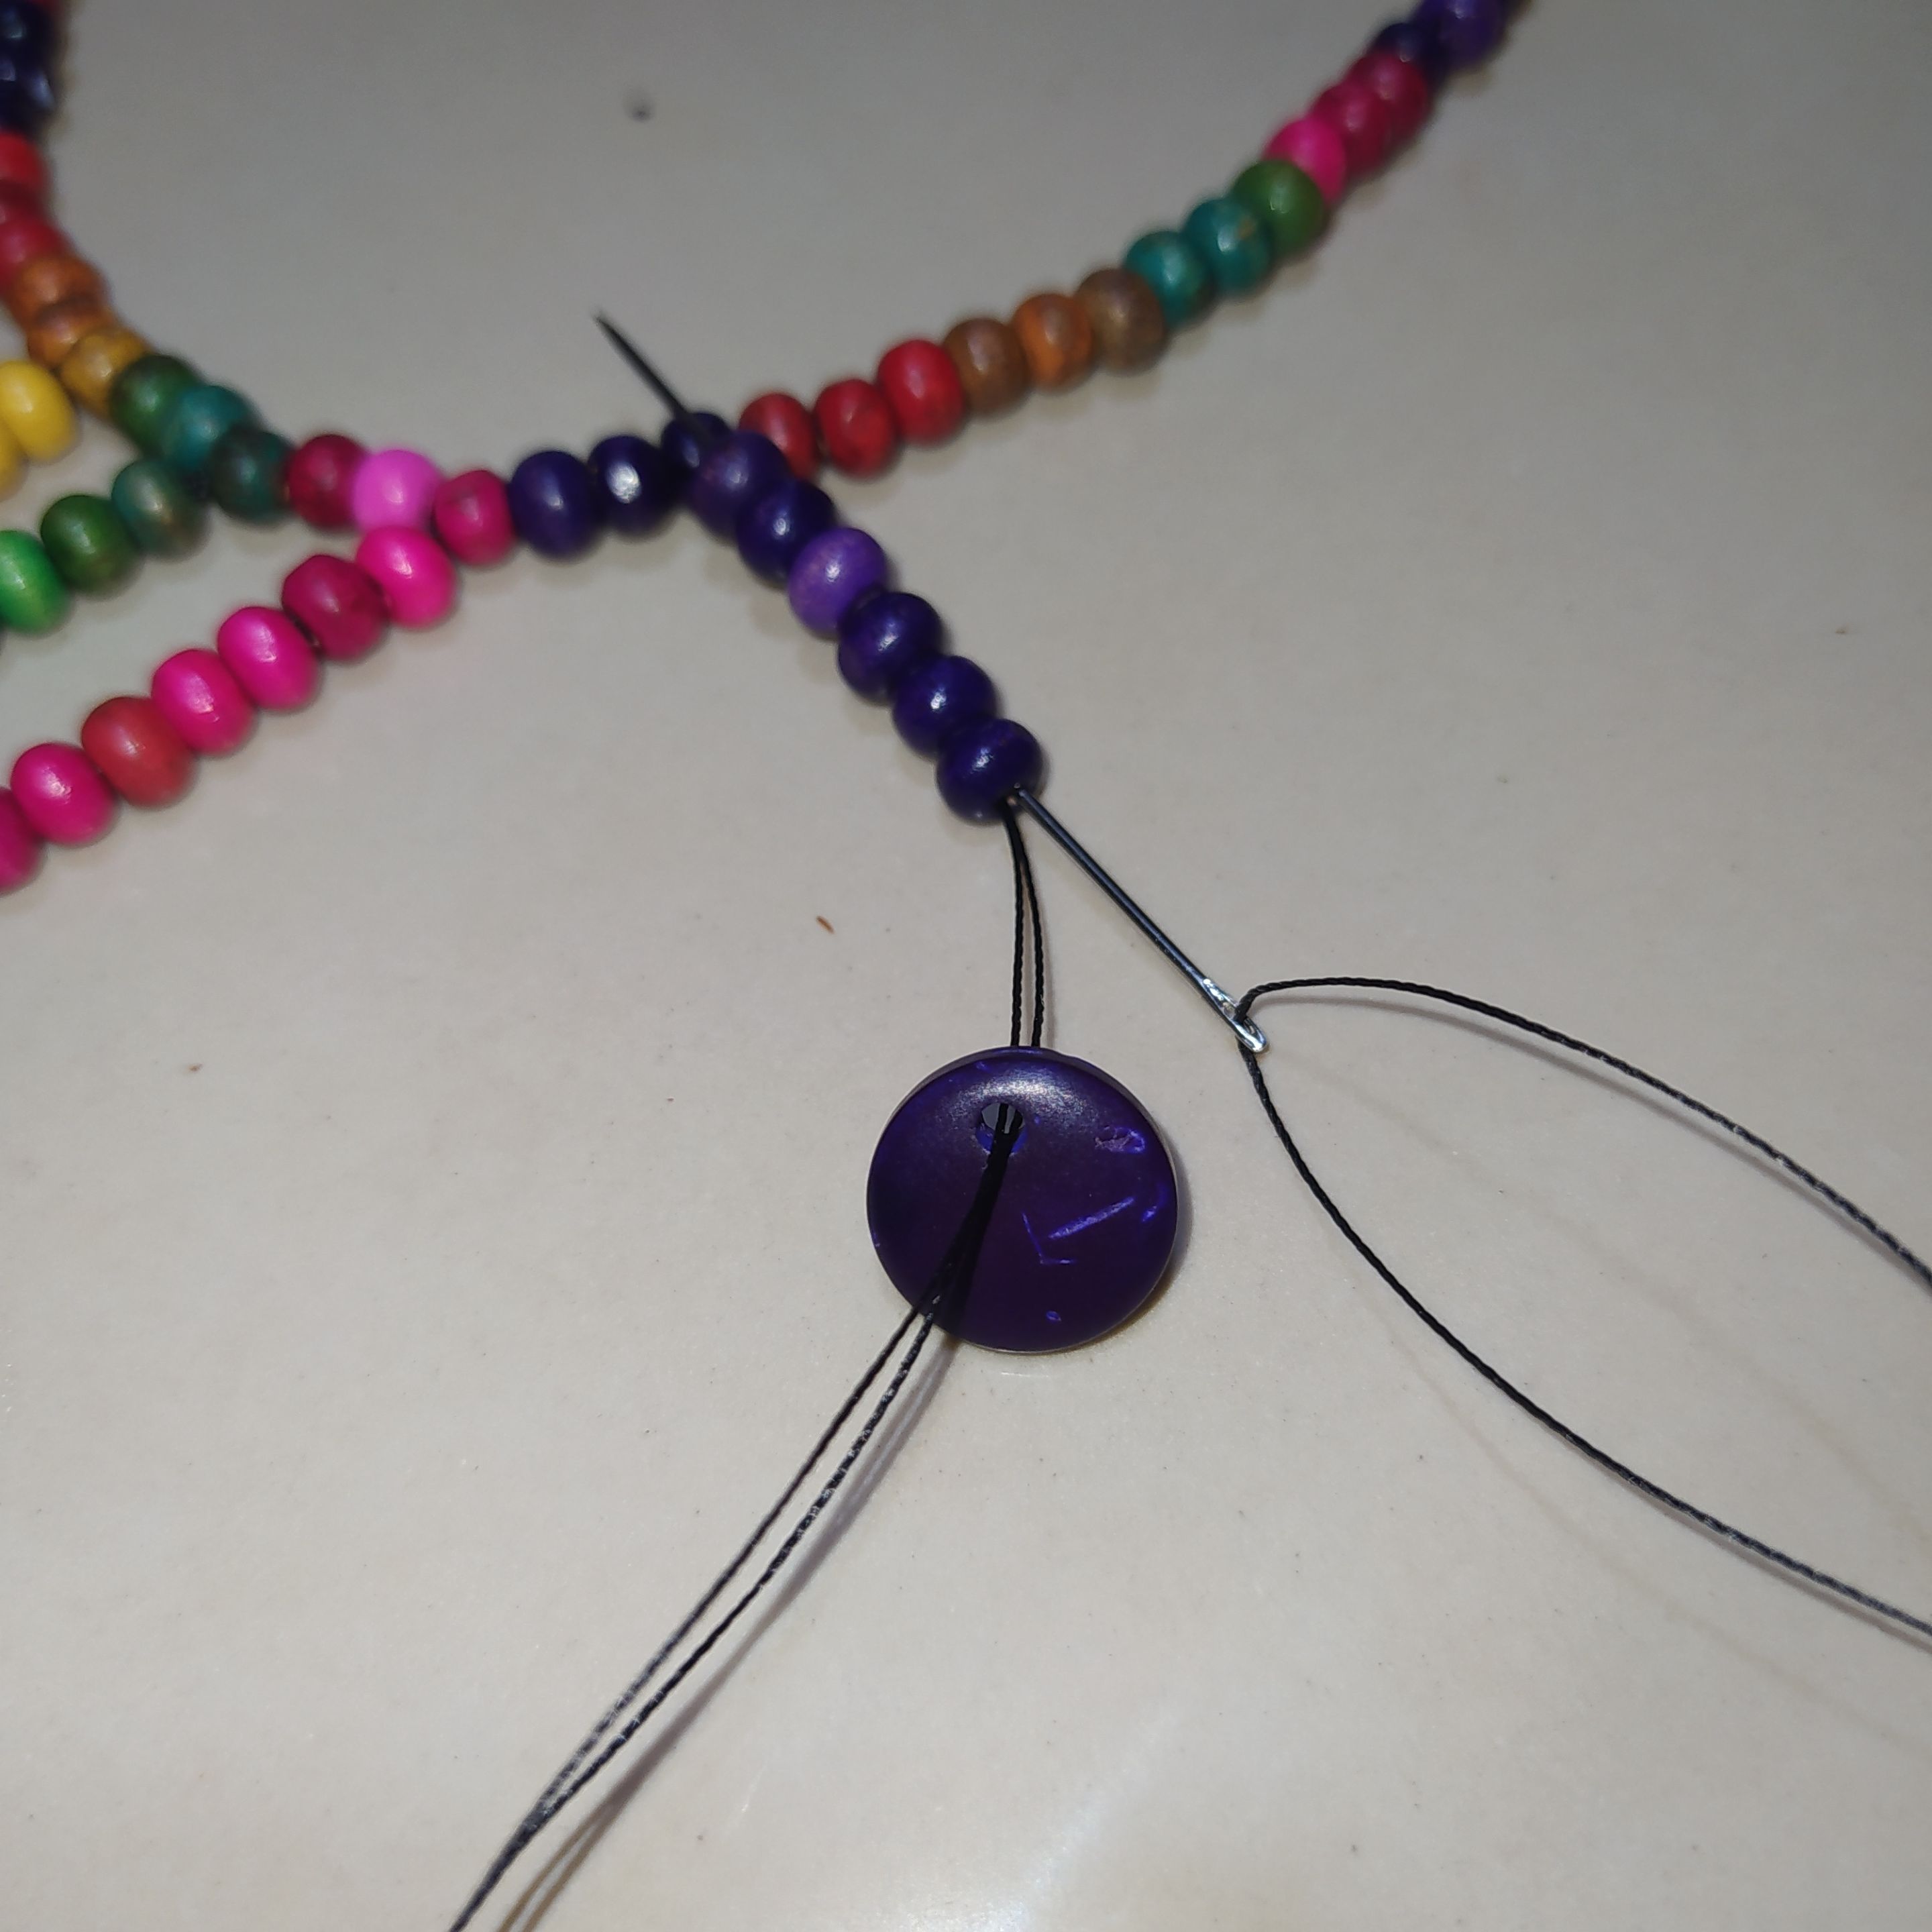
- Then the flat bead of the same color.
- Return the needle through the beads and pull out on the third bead.
- Always making sure to pull the thread so that it is well attached.
- Luego la cuenta plana del mismo color.
- Devolvemos la aguja por las cuenta y sacamos en la tercera cuenta.
- Siempre asegurándonos de halar el hilo para que vaya quedando bien pegadas.
 |  |
|---|
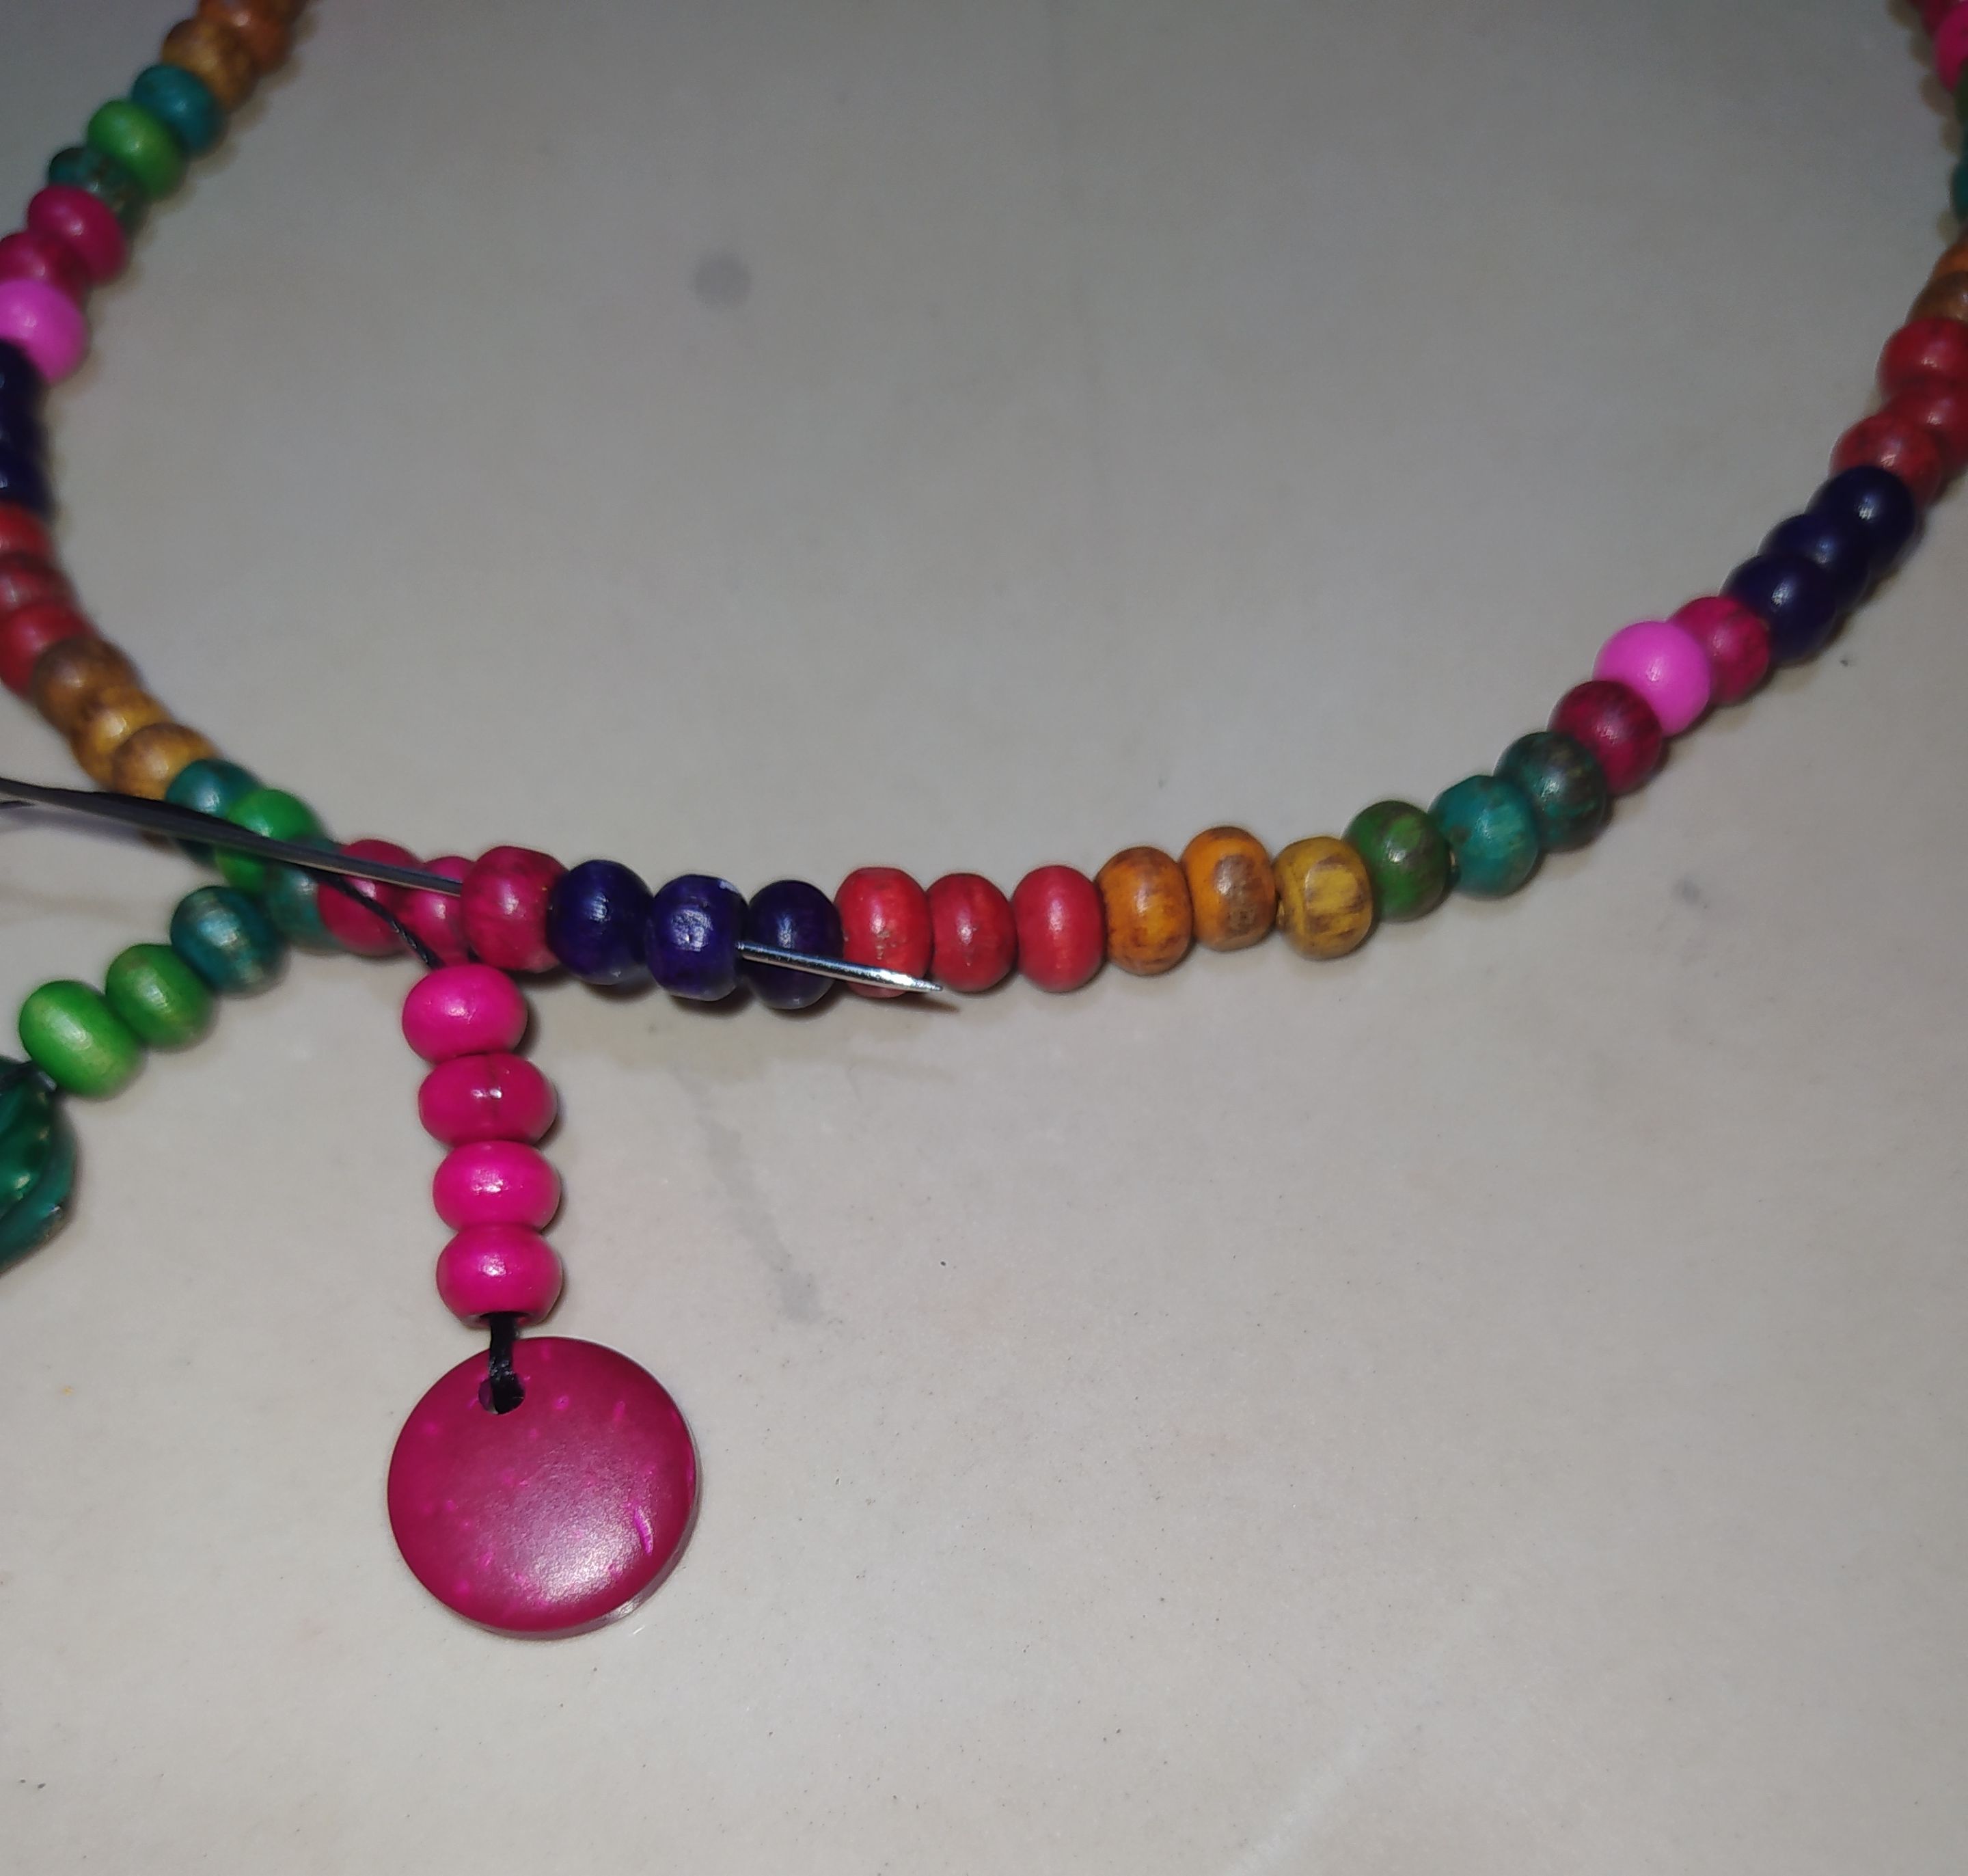
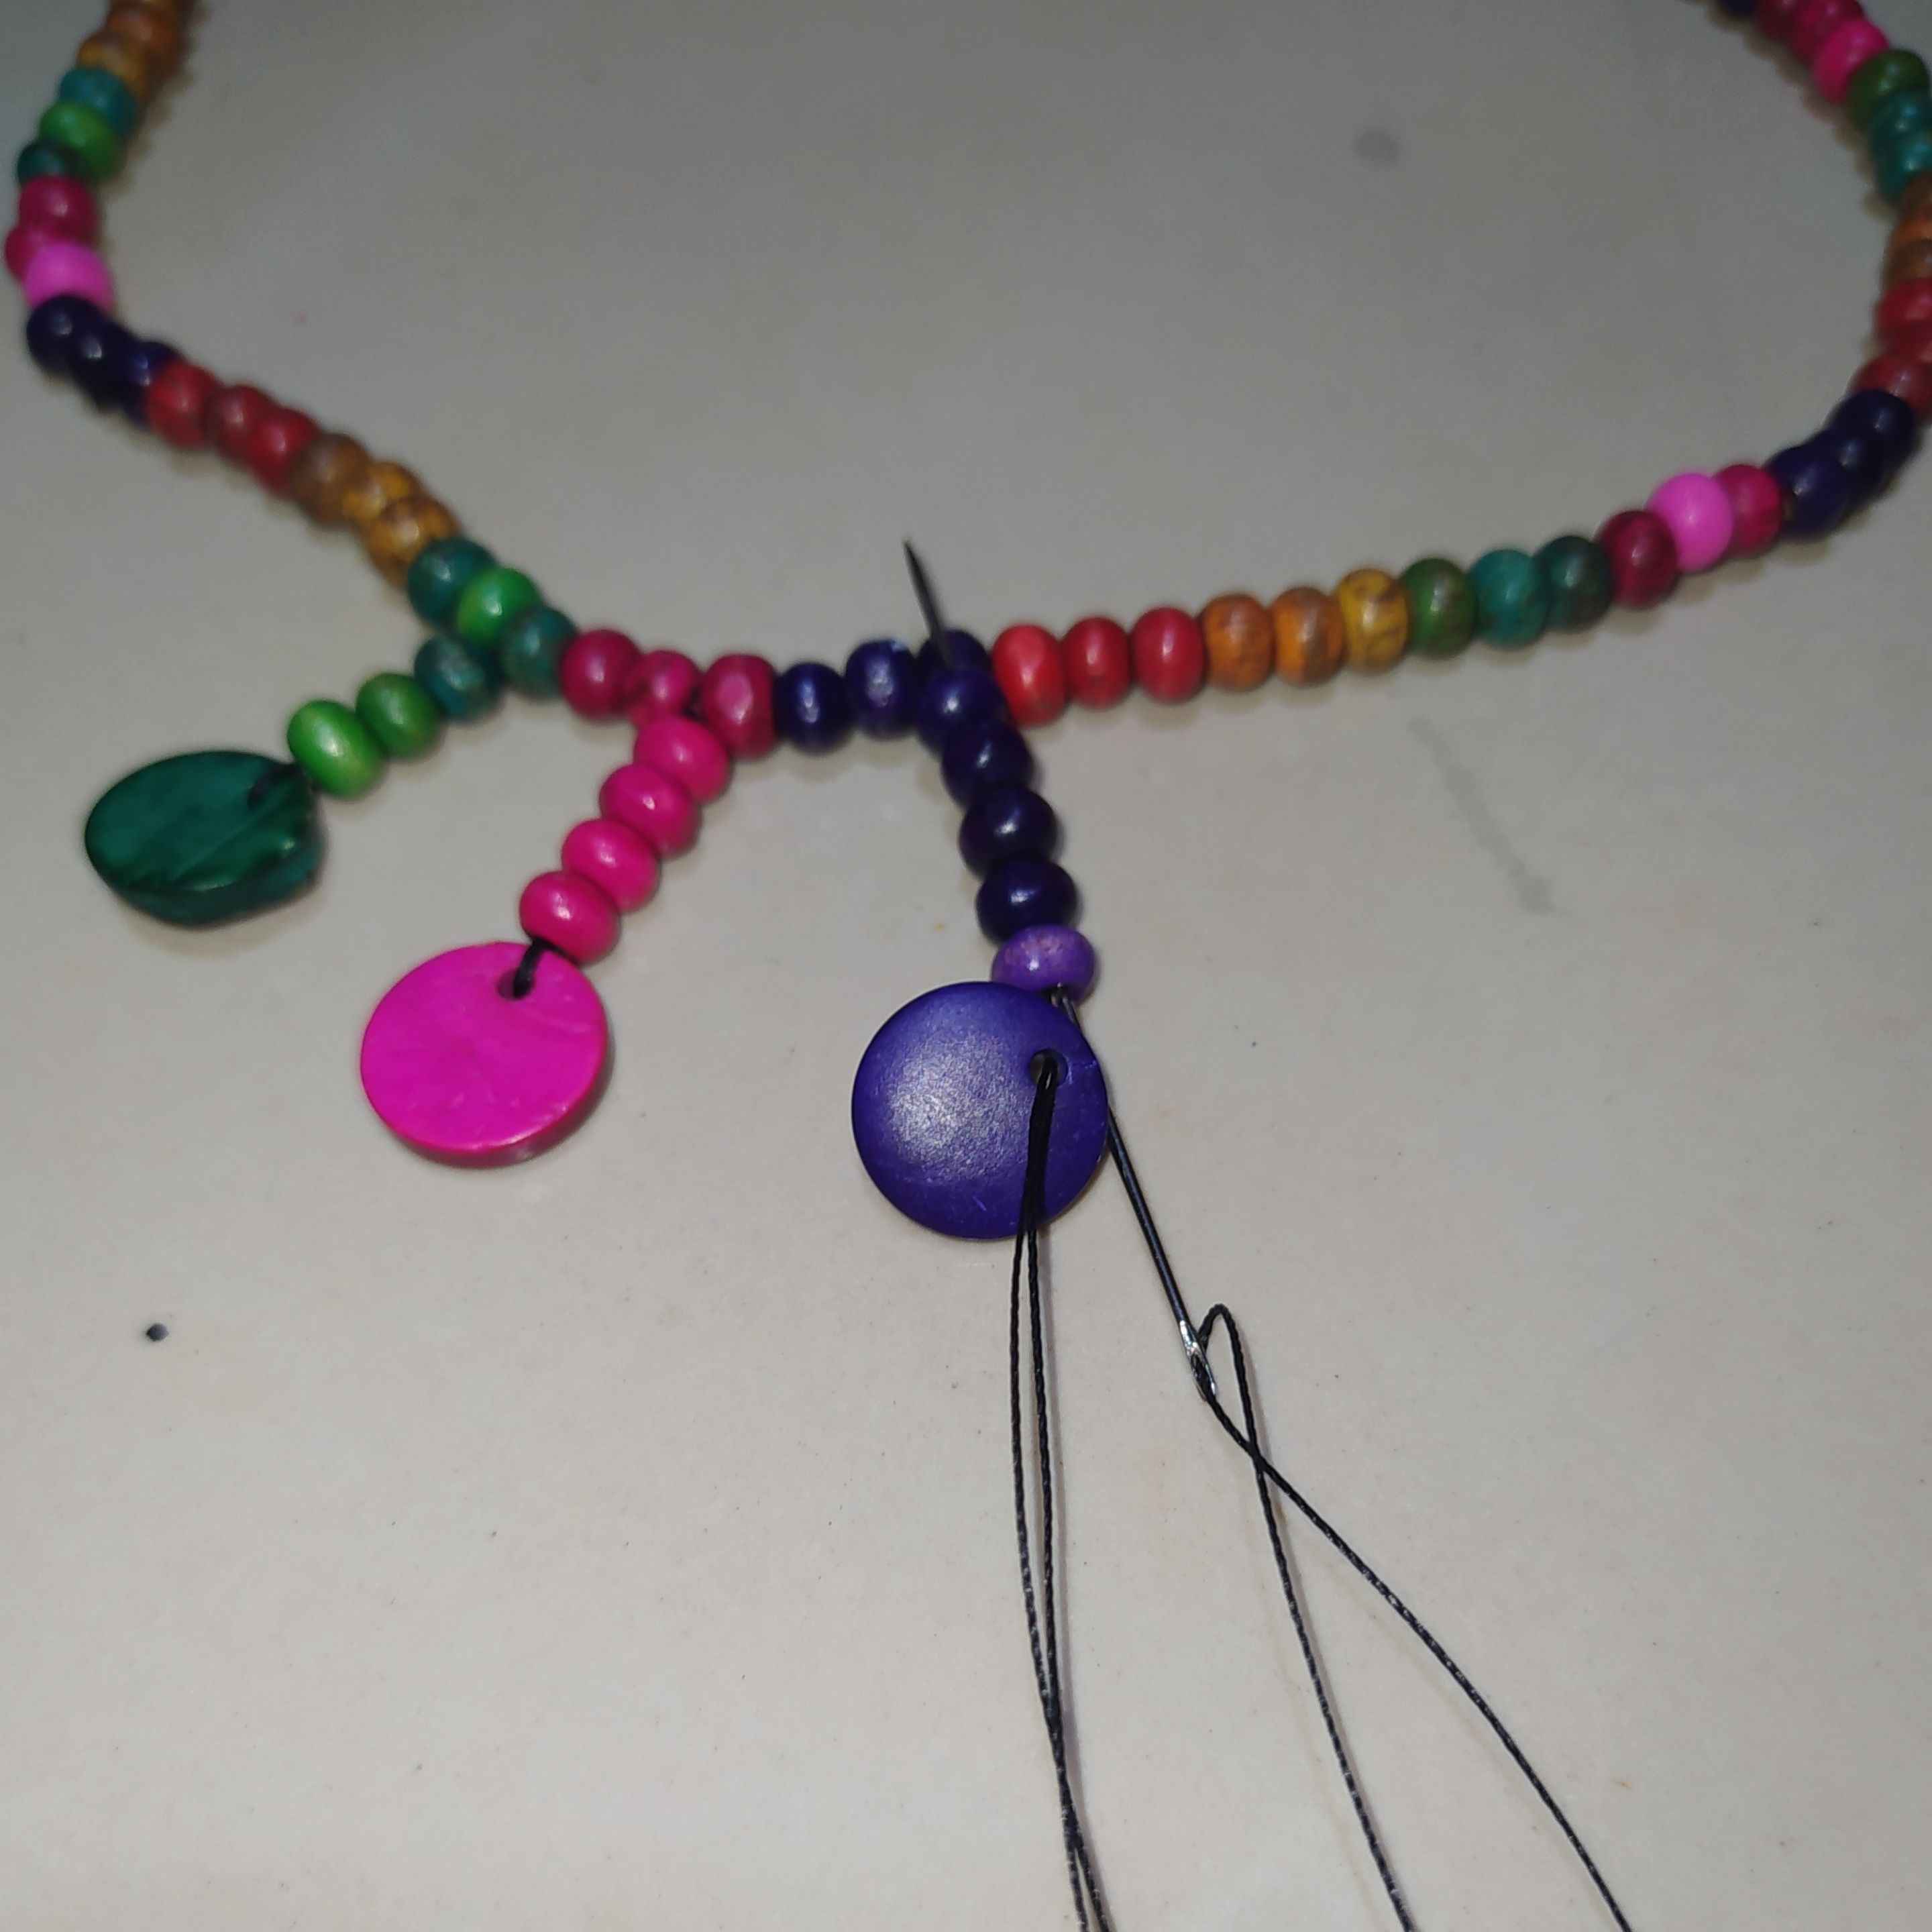
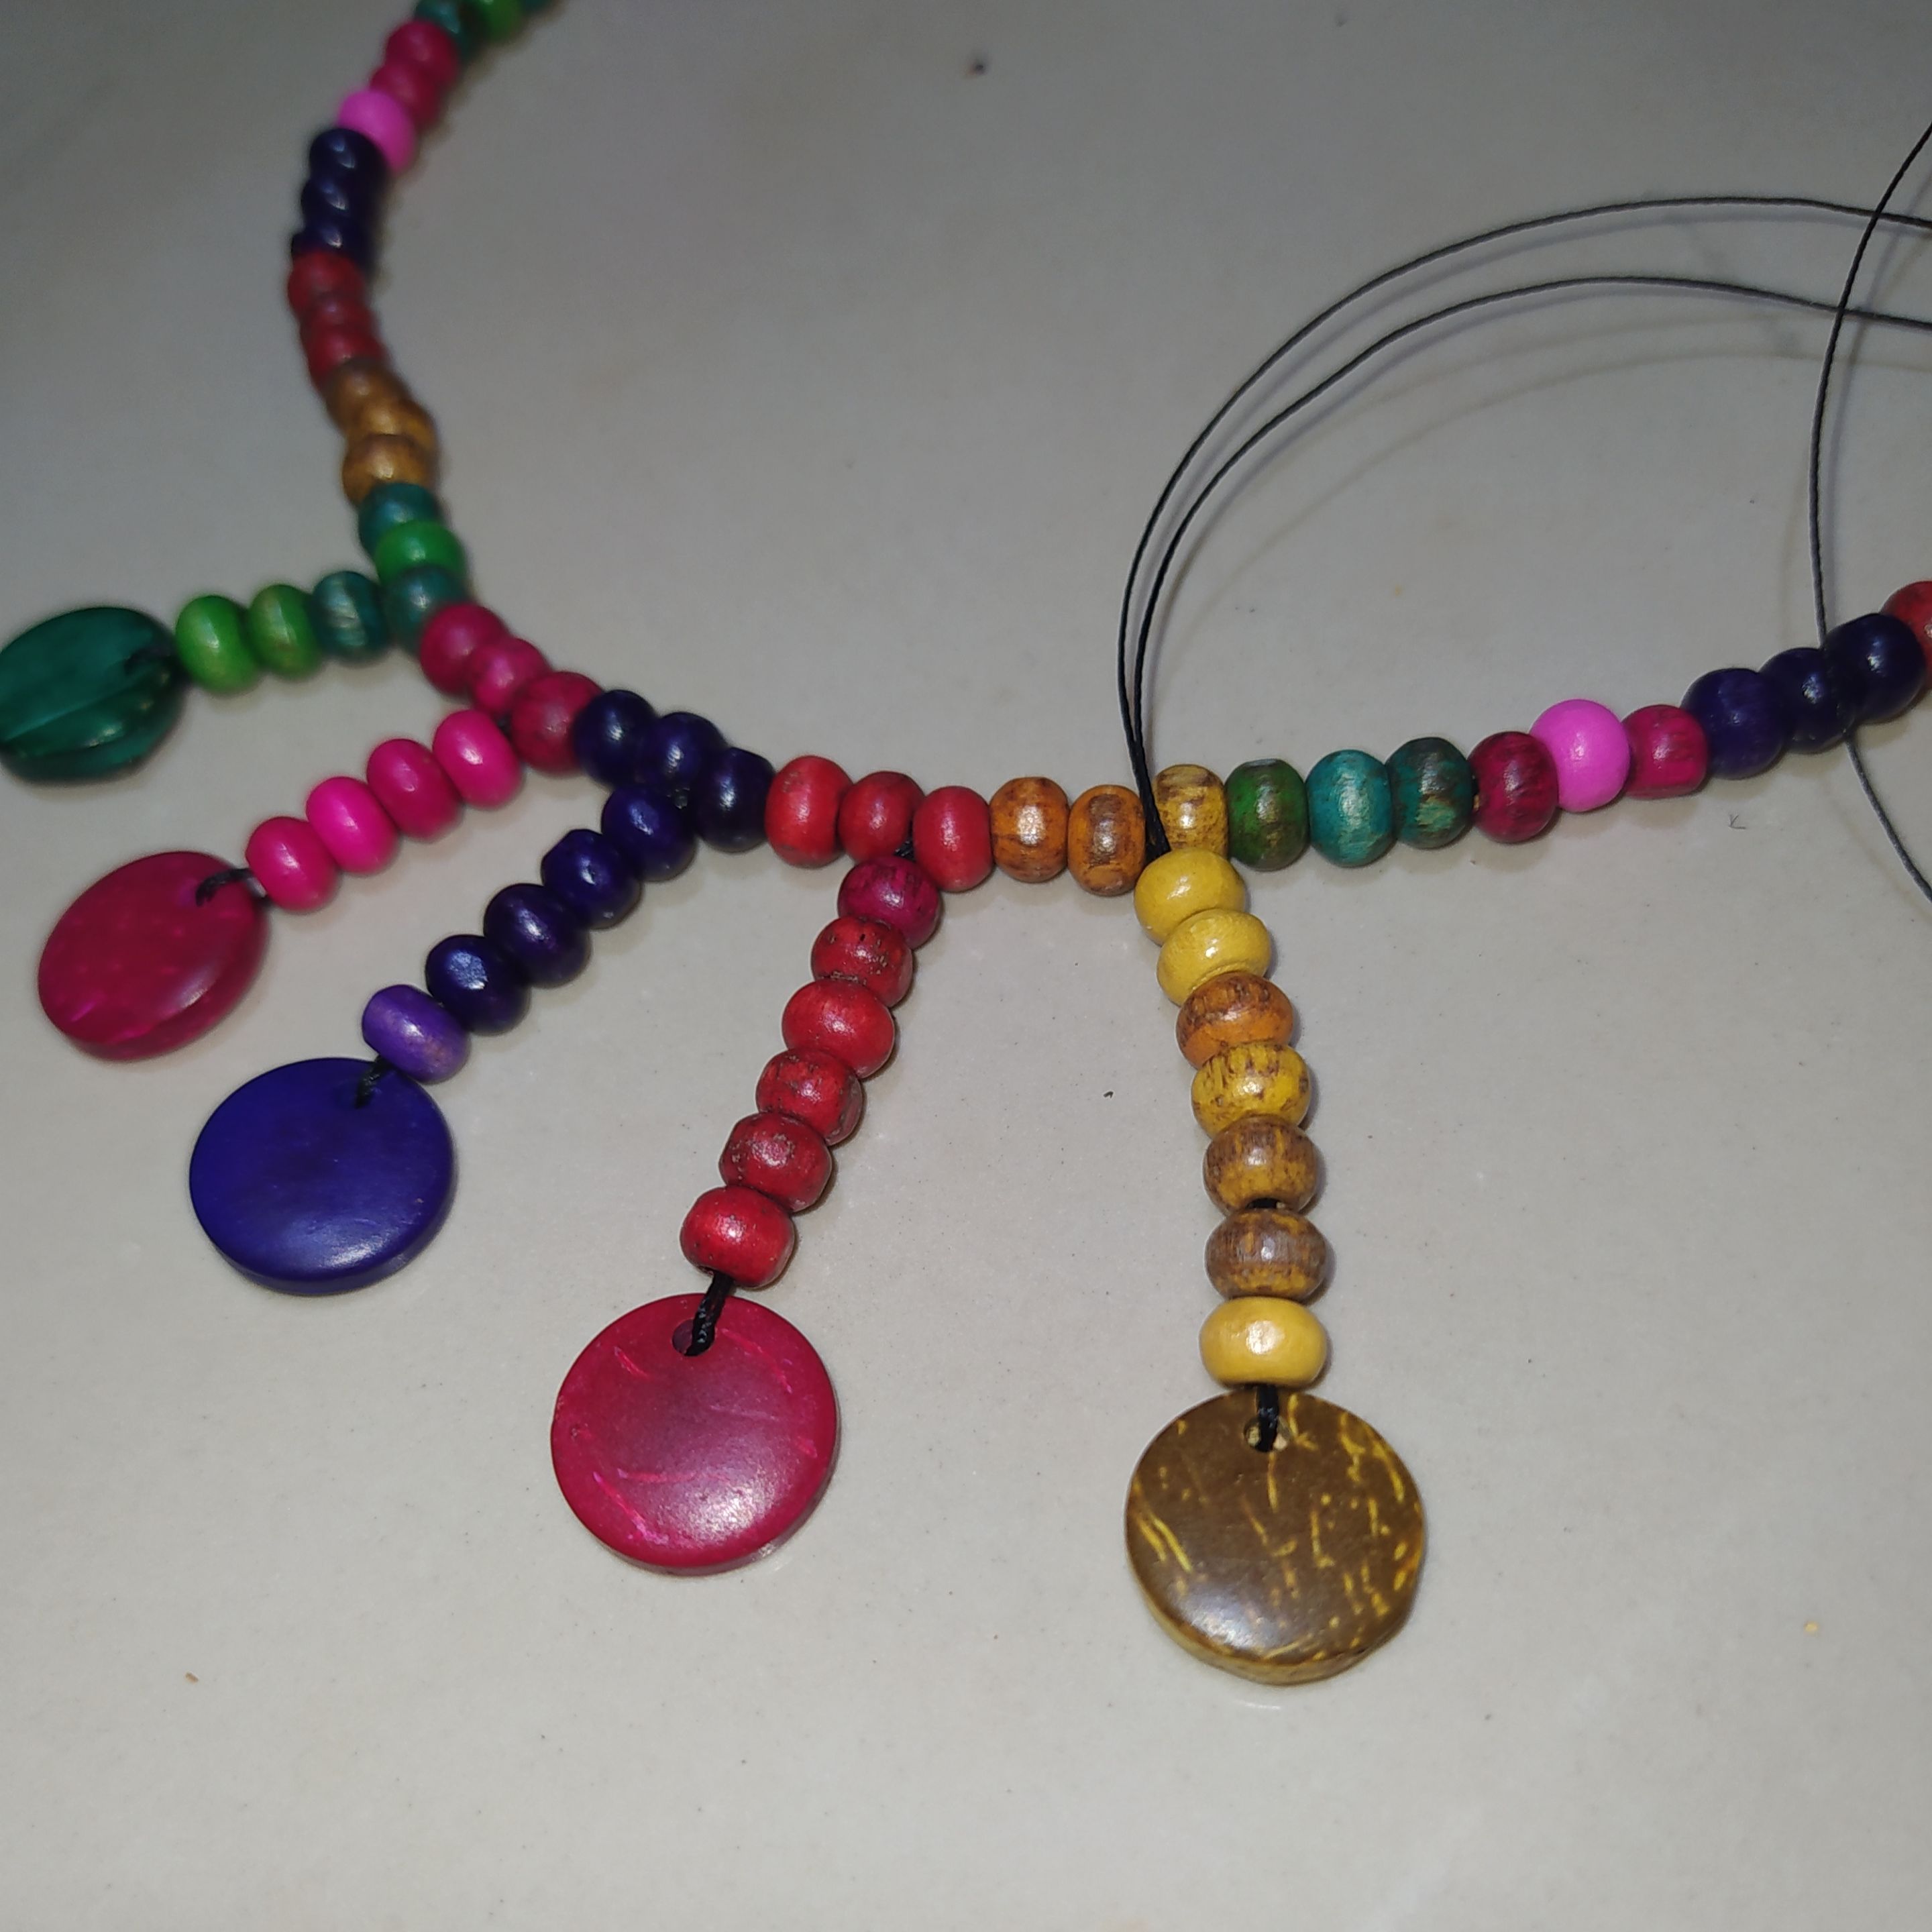
- Repeat the same process with the colored beads.
- Vamos repitiendo el mismo proceso con las cuentas de colores.
 |  |
|---|
 |  |
|---|
- We must increase by one bead in each color.
- Debemos ir aumentando una cuenta en cada color.
 |  |
|---|
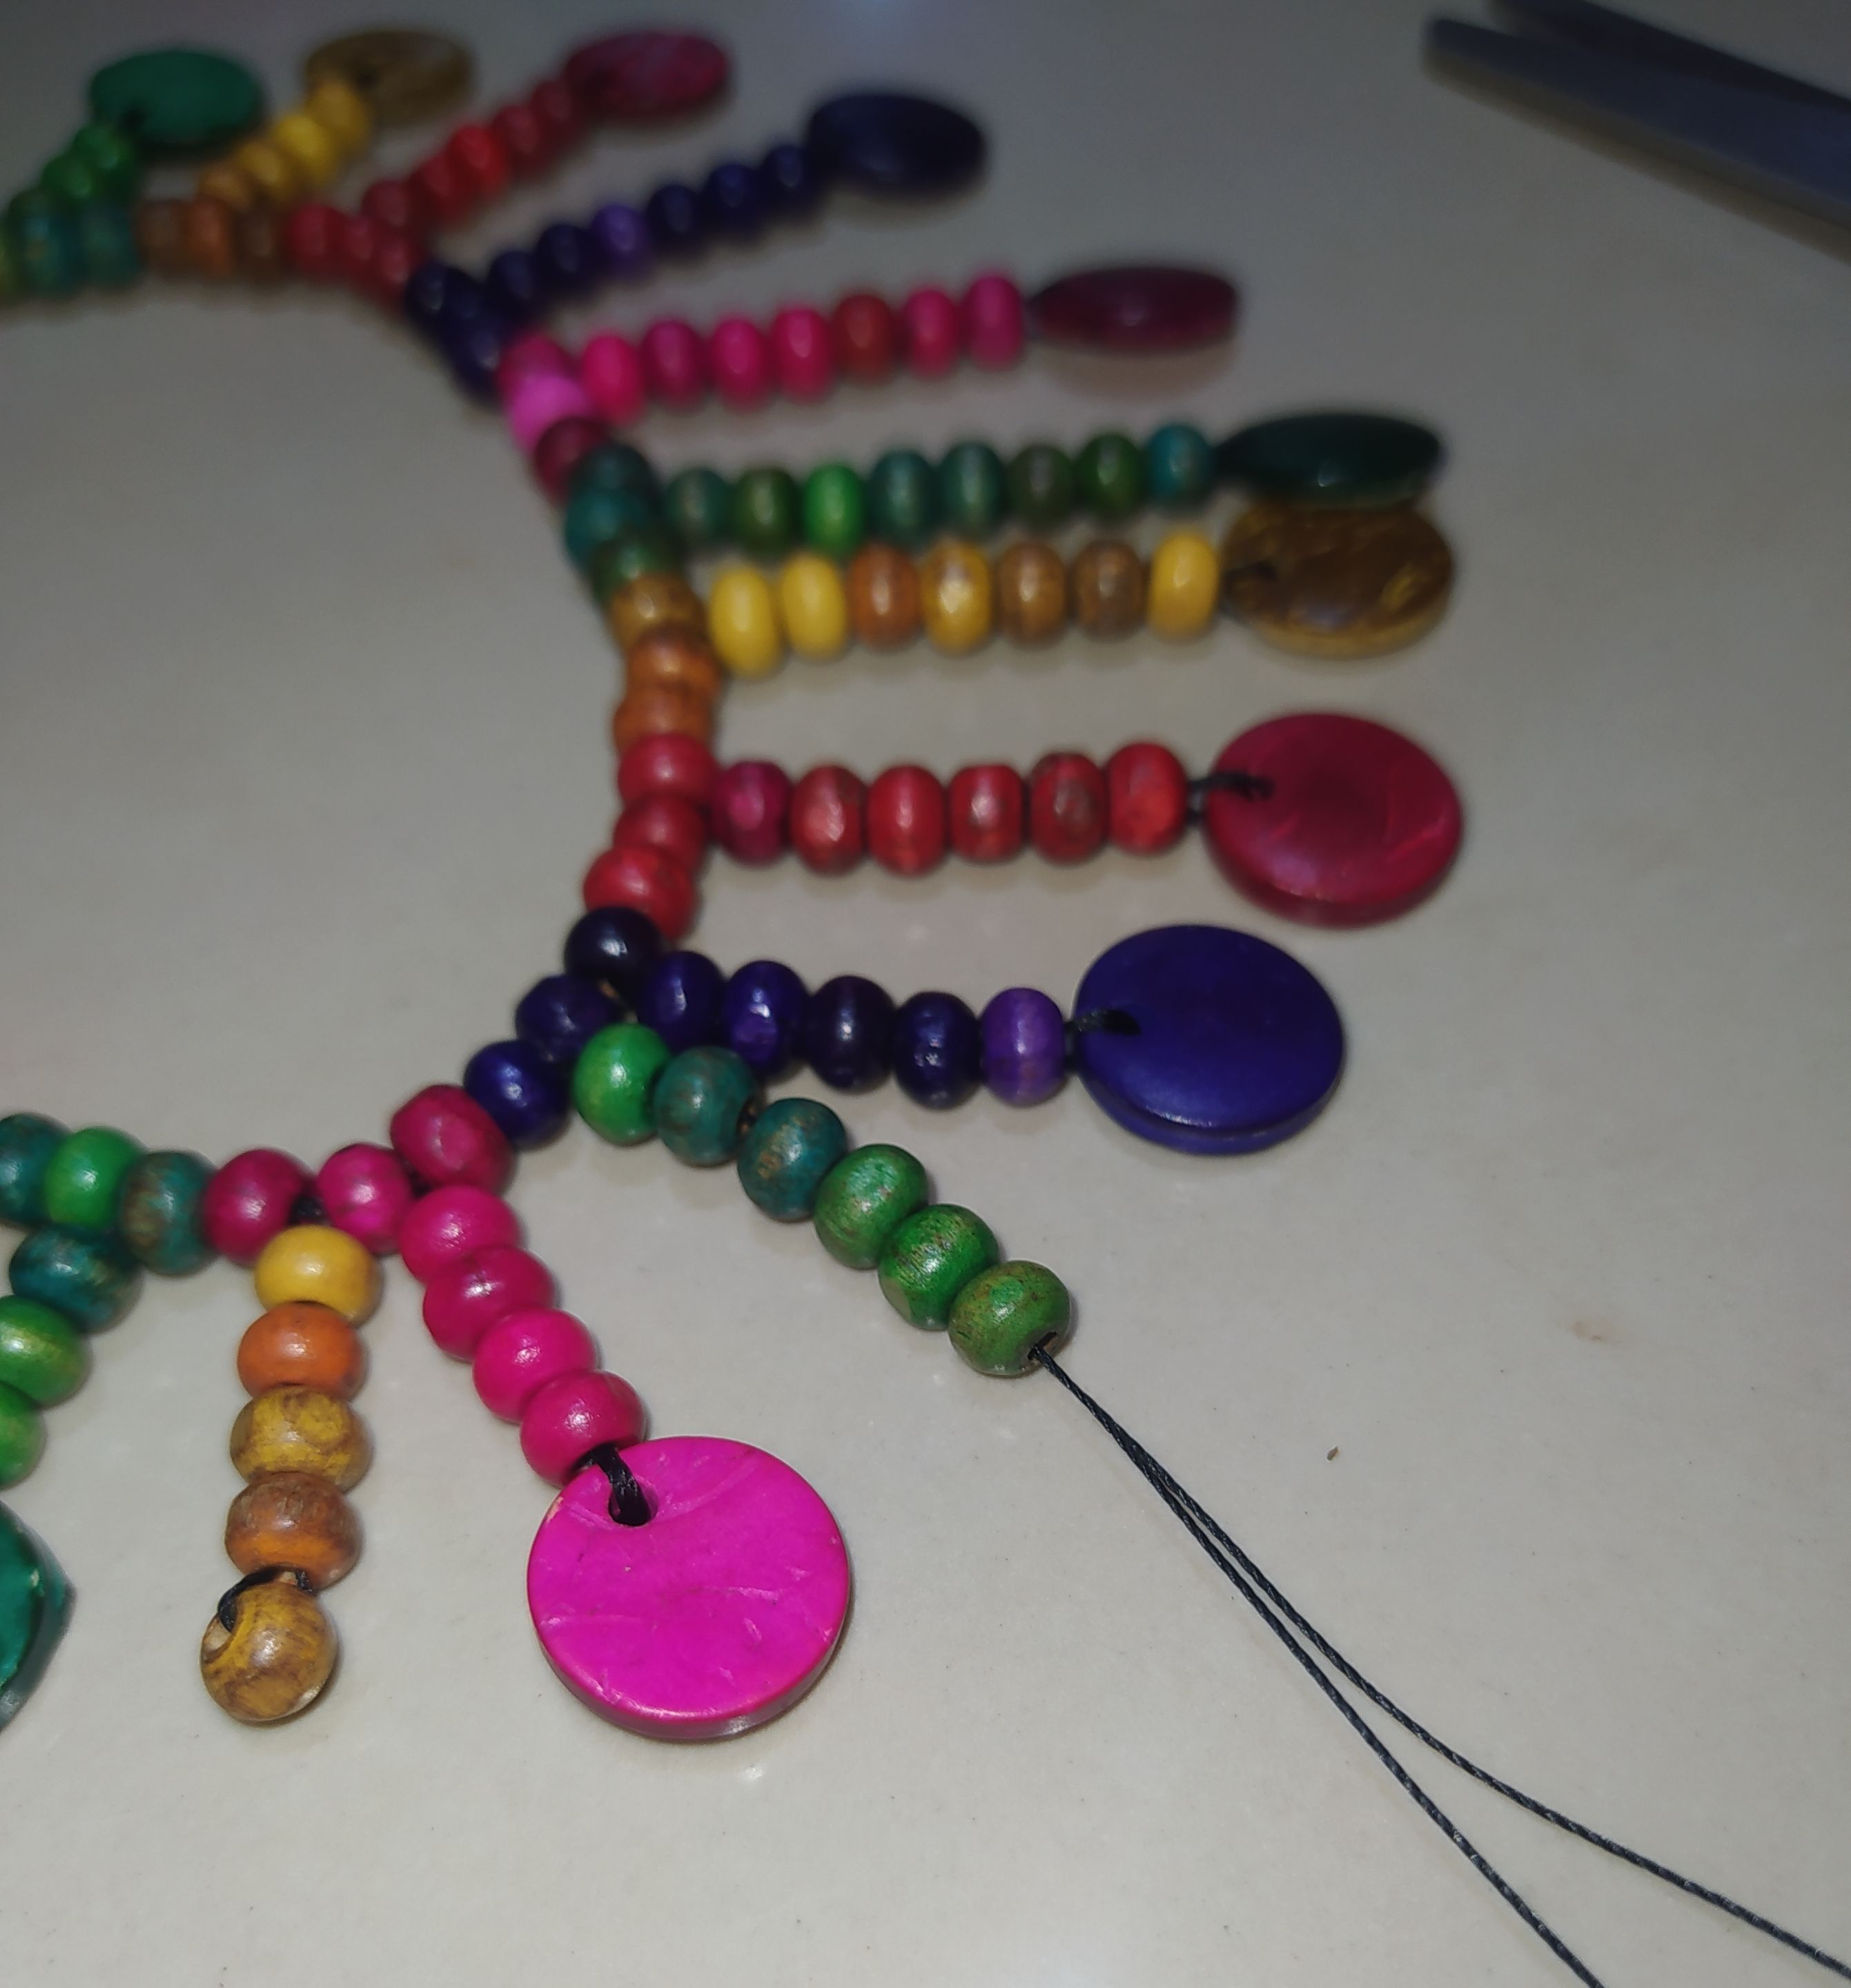
- Until we reach the middle of the necklace.
- From here we will have to remove one bead in each color.
*We must return the thread equally through the beads from the bottom to the top. - Take out the needle through the third bead.
- Hasta llegar a la mitad de collar.
- Ya desde aquí deberemos ir quitando una cuenta en cada color.
*Debemos devolver el hilo igual por las cuentas de abajo hacia arriba.- Sacar la aguja por la tercera cuenta.
 |  |
|---|
 |  |
|---|
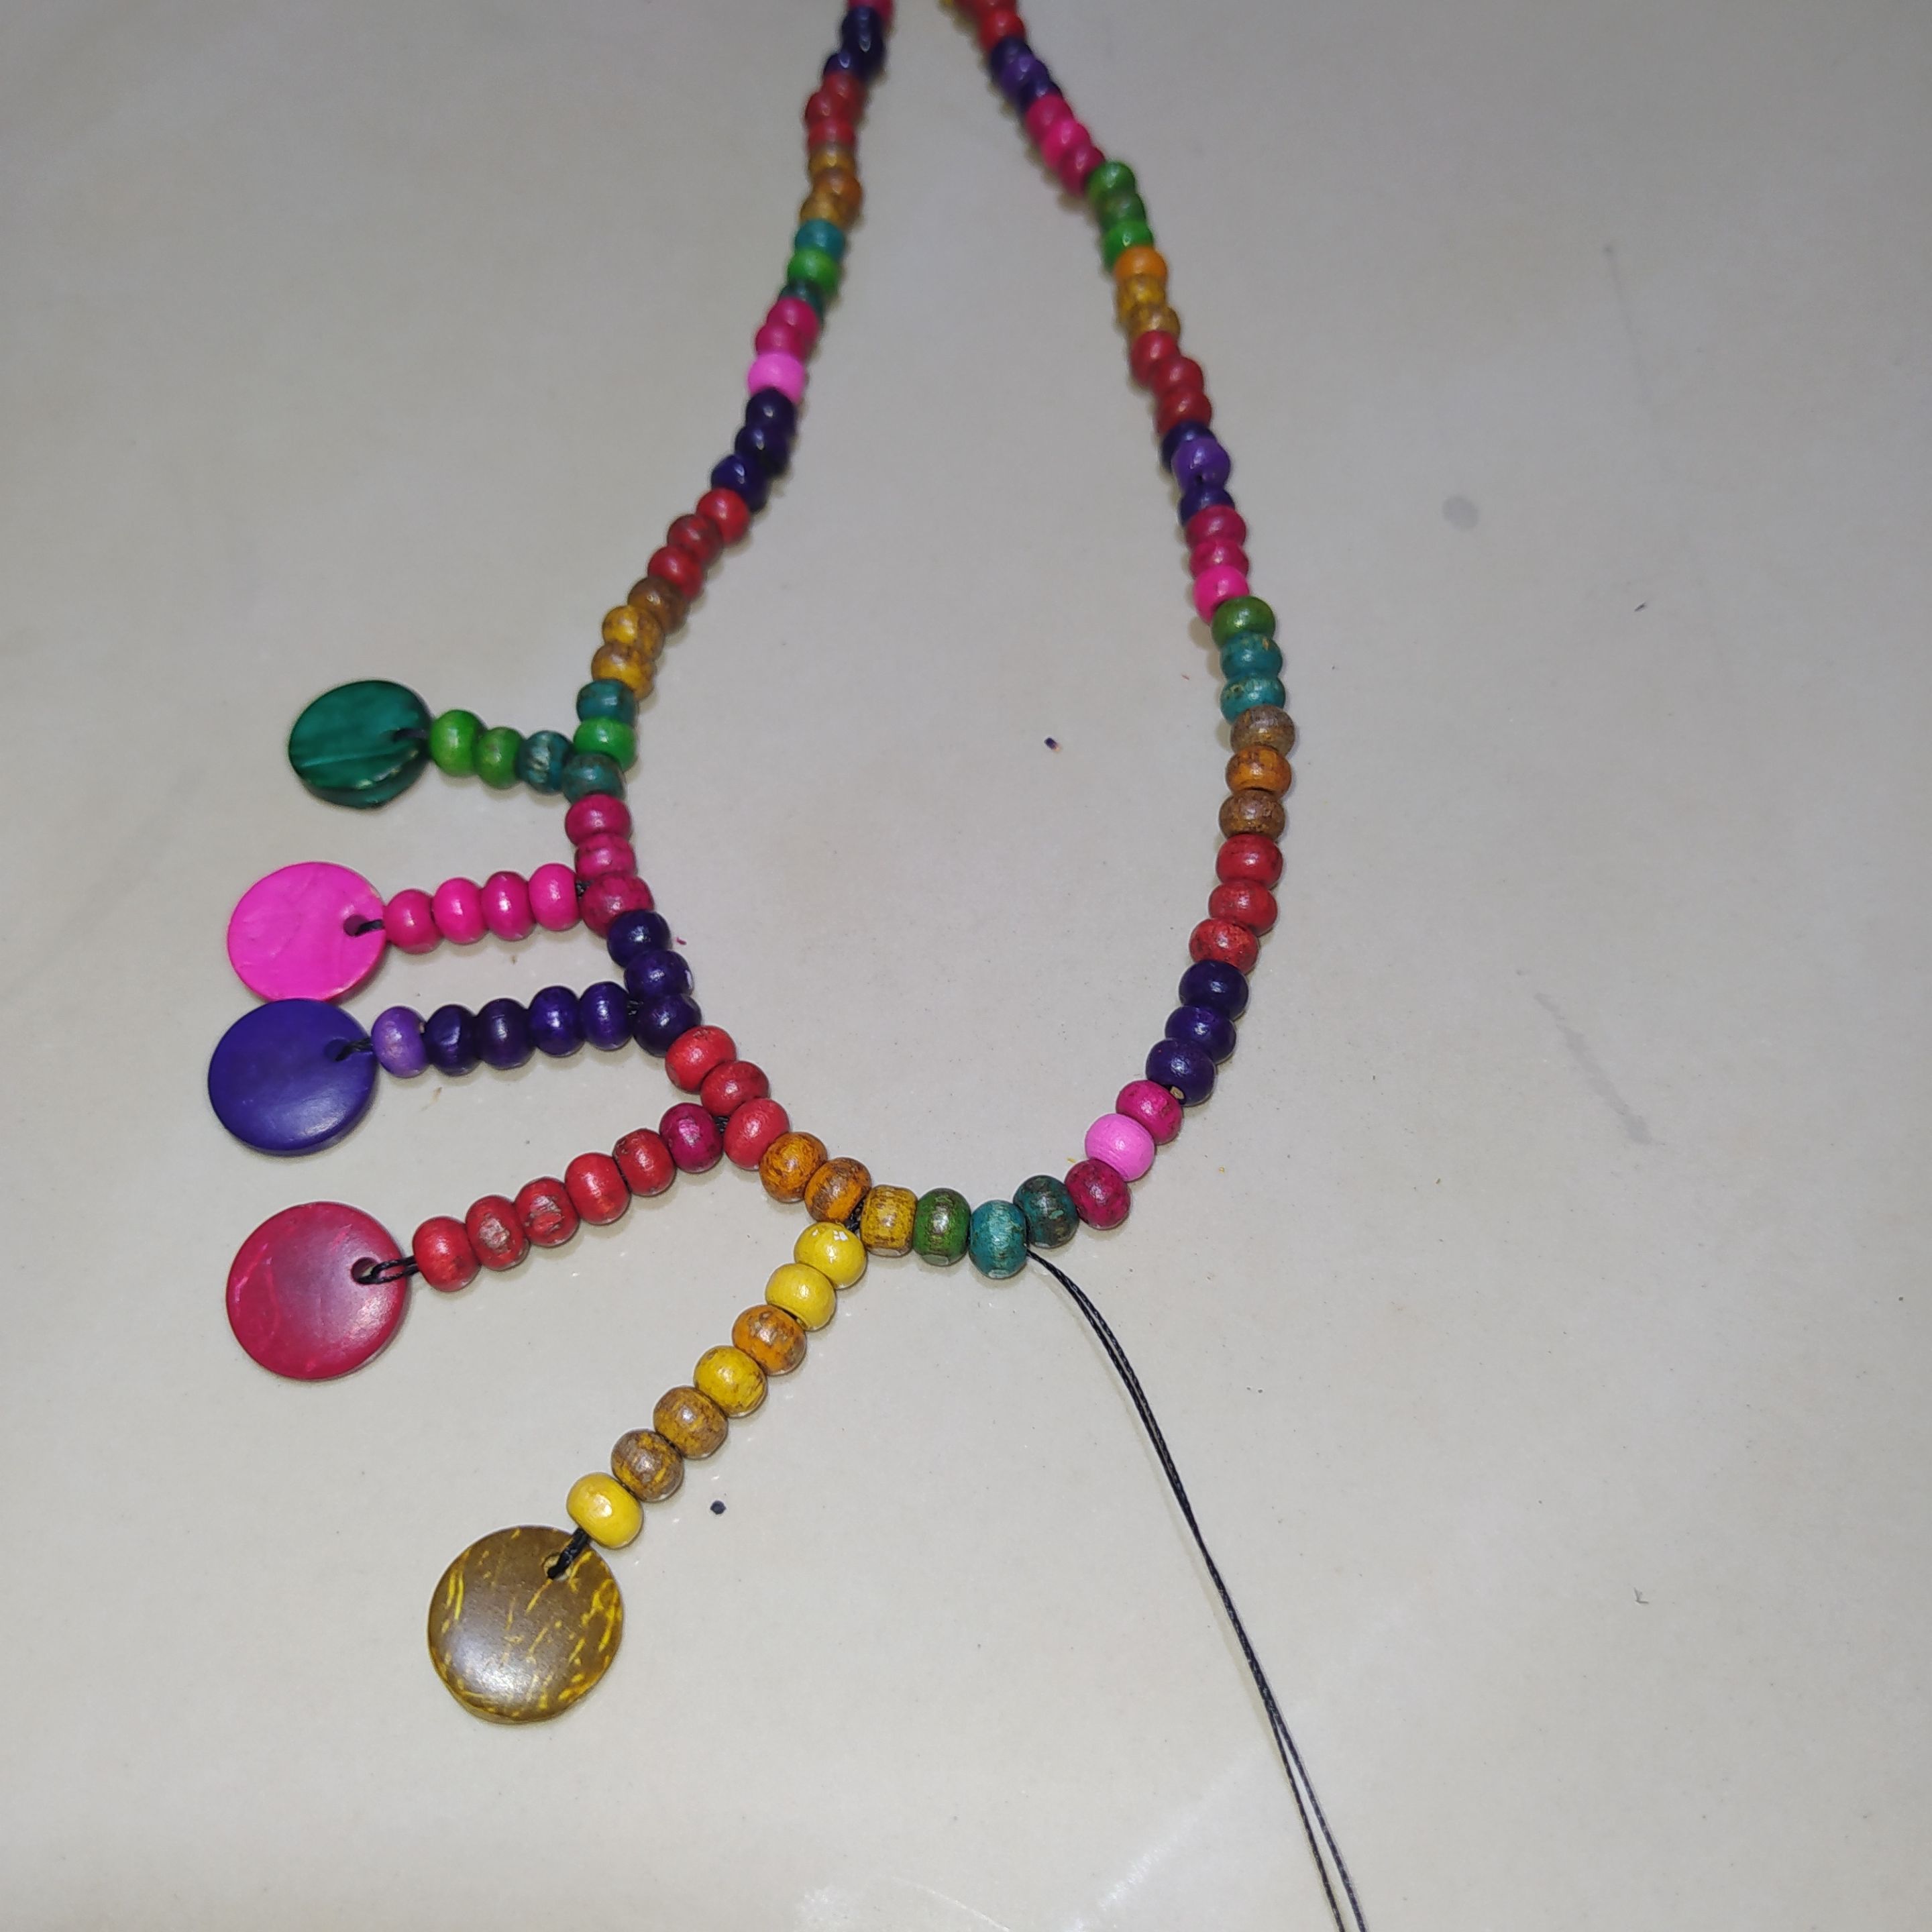
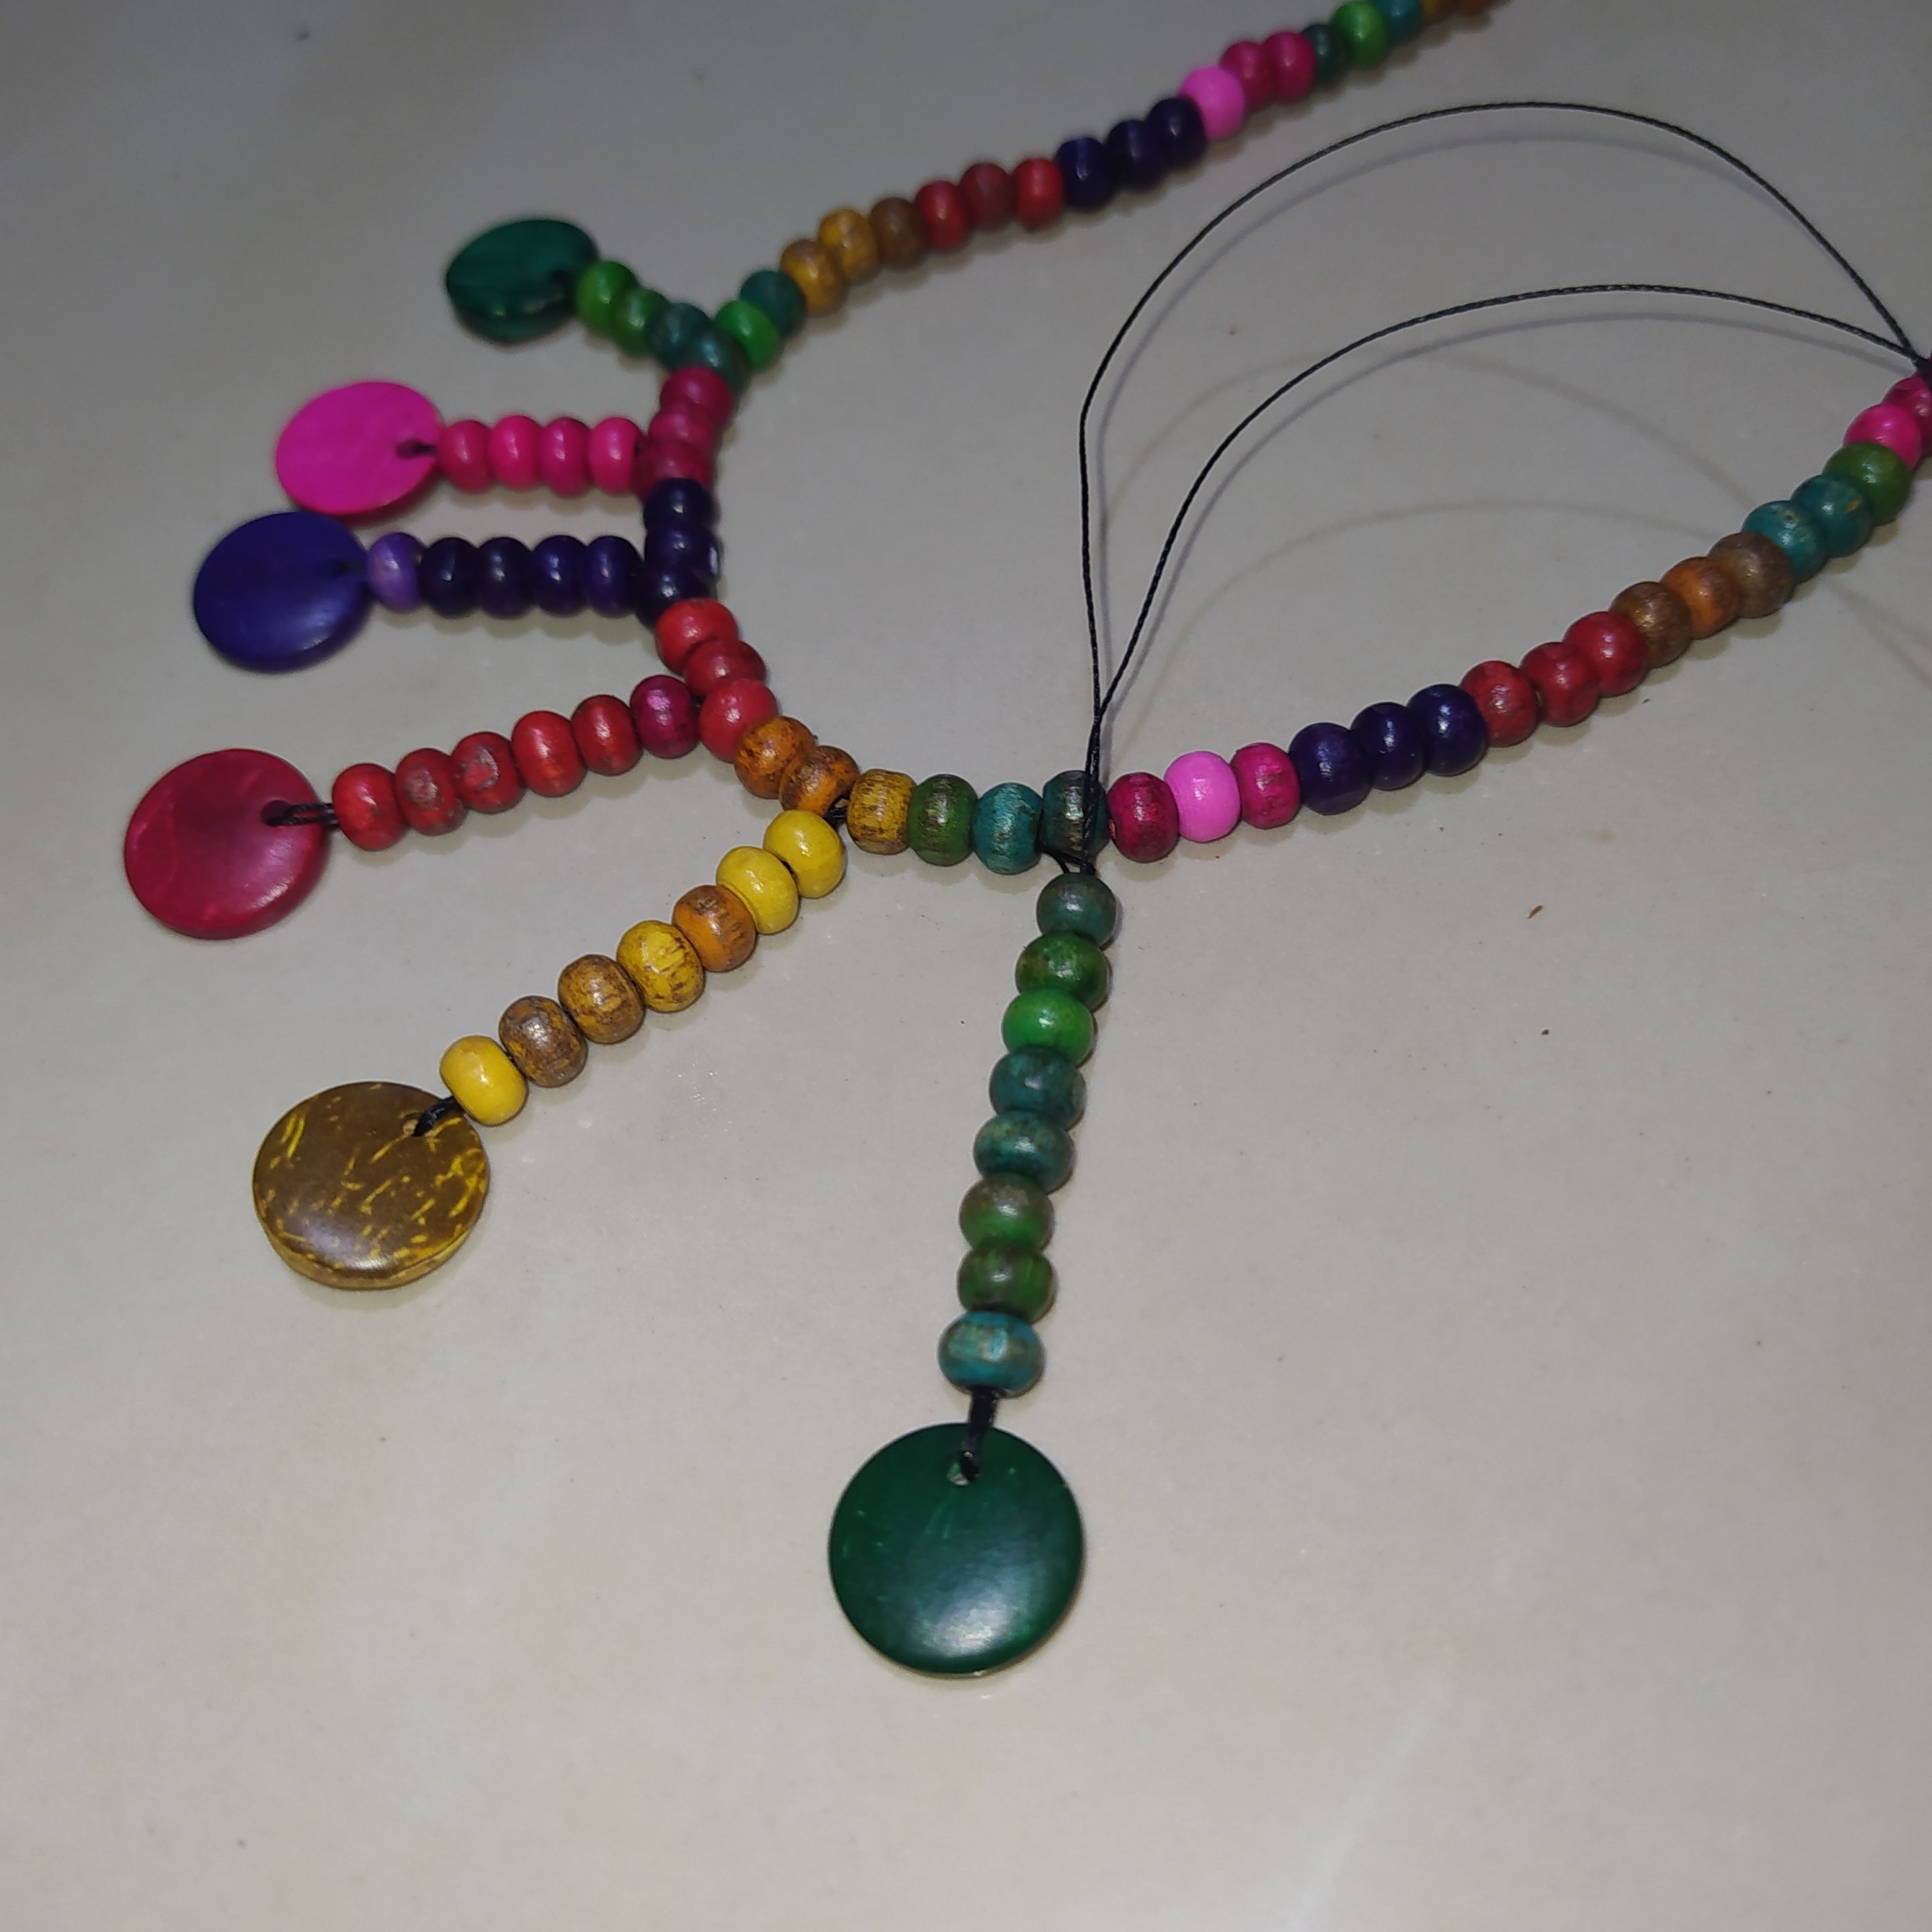
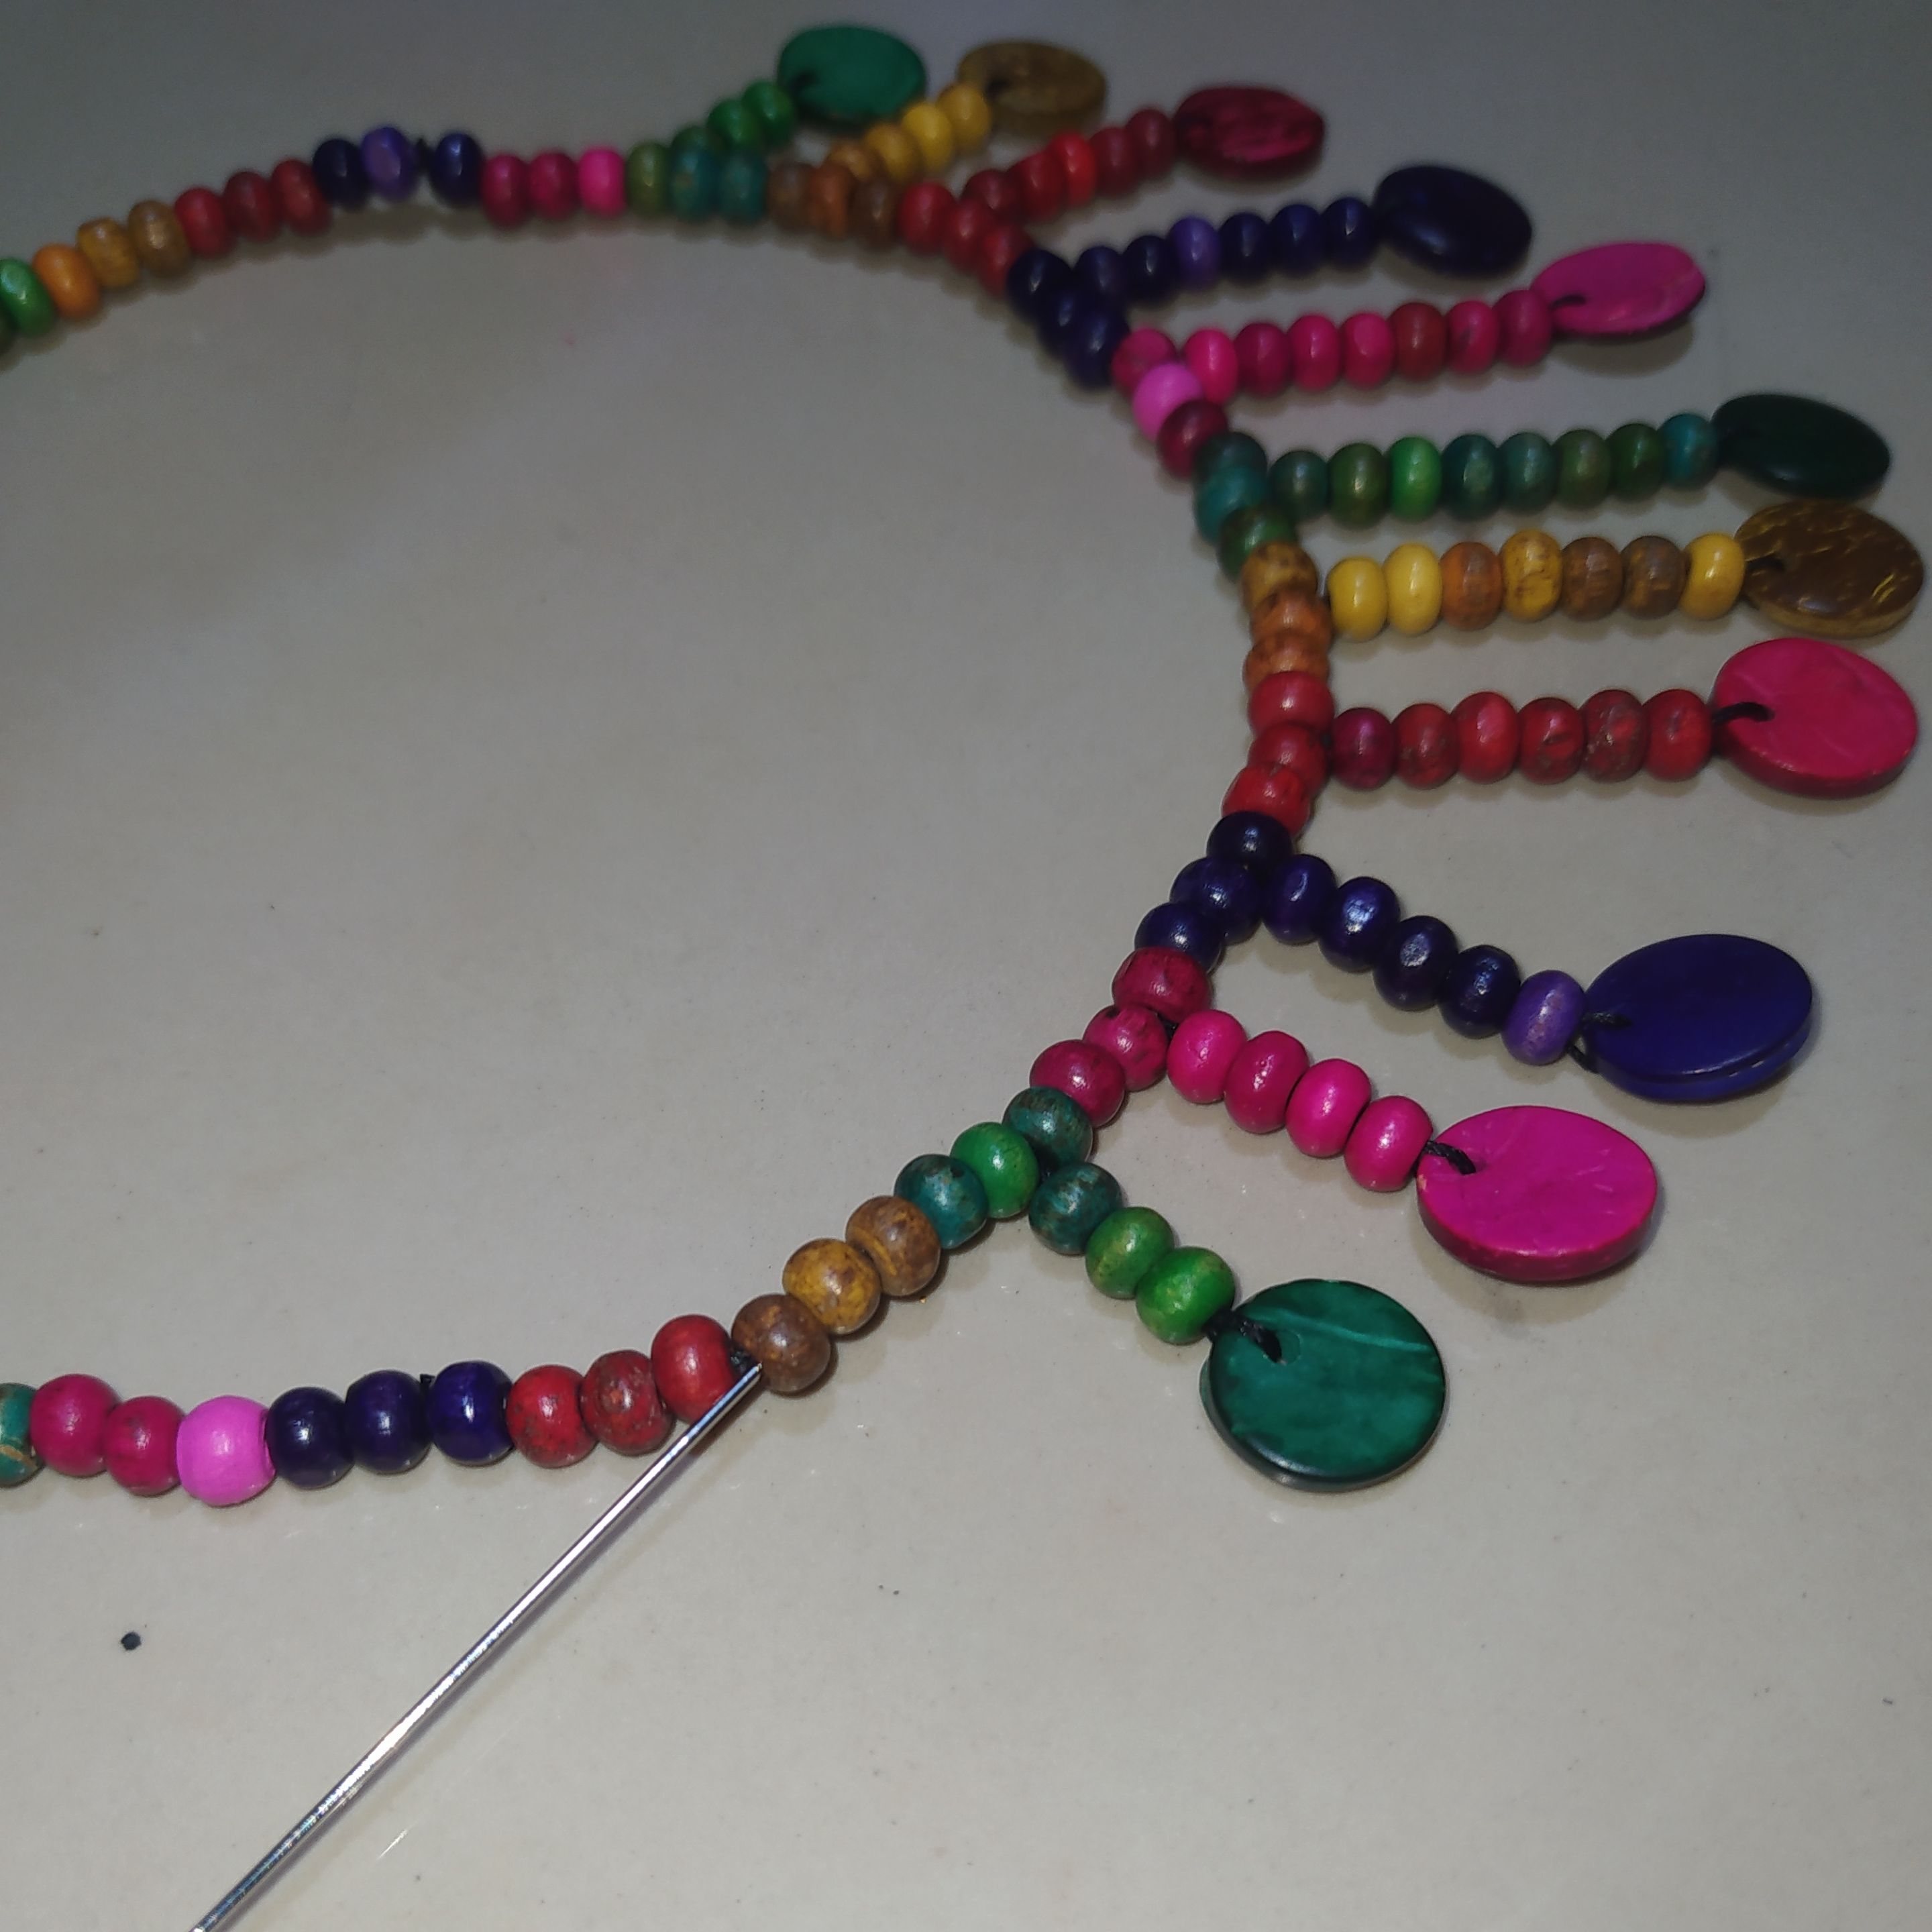
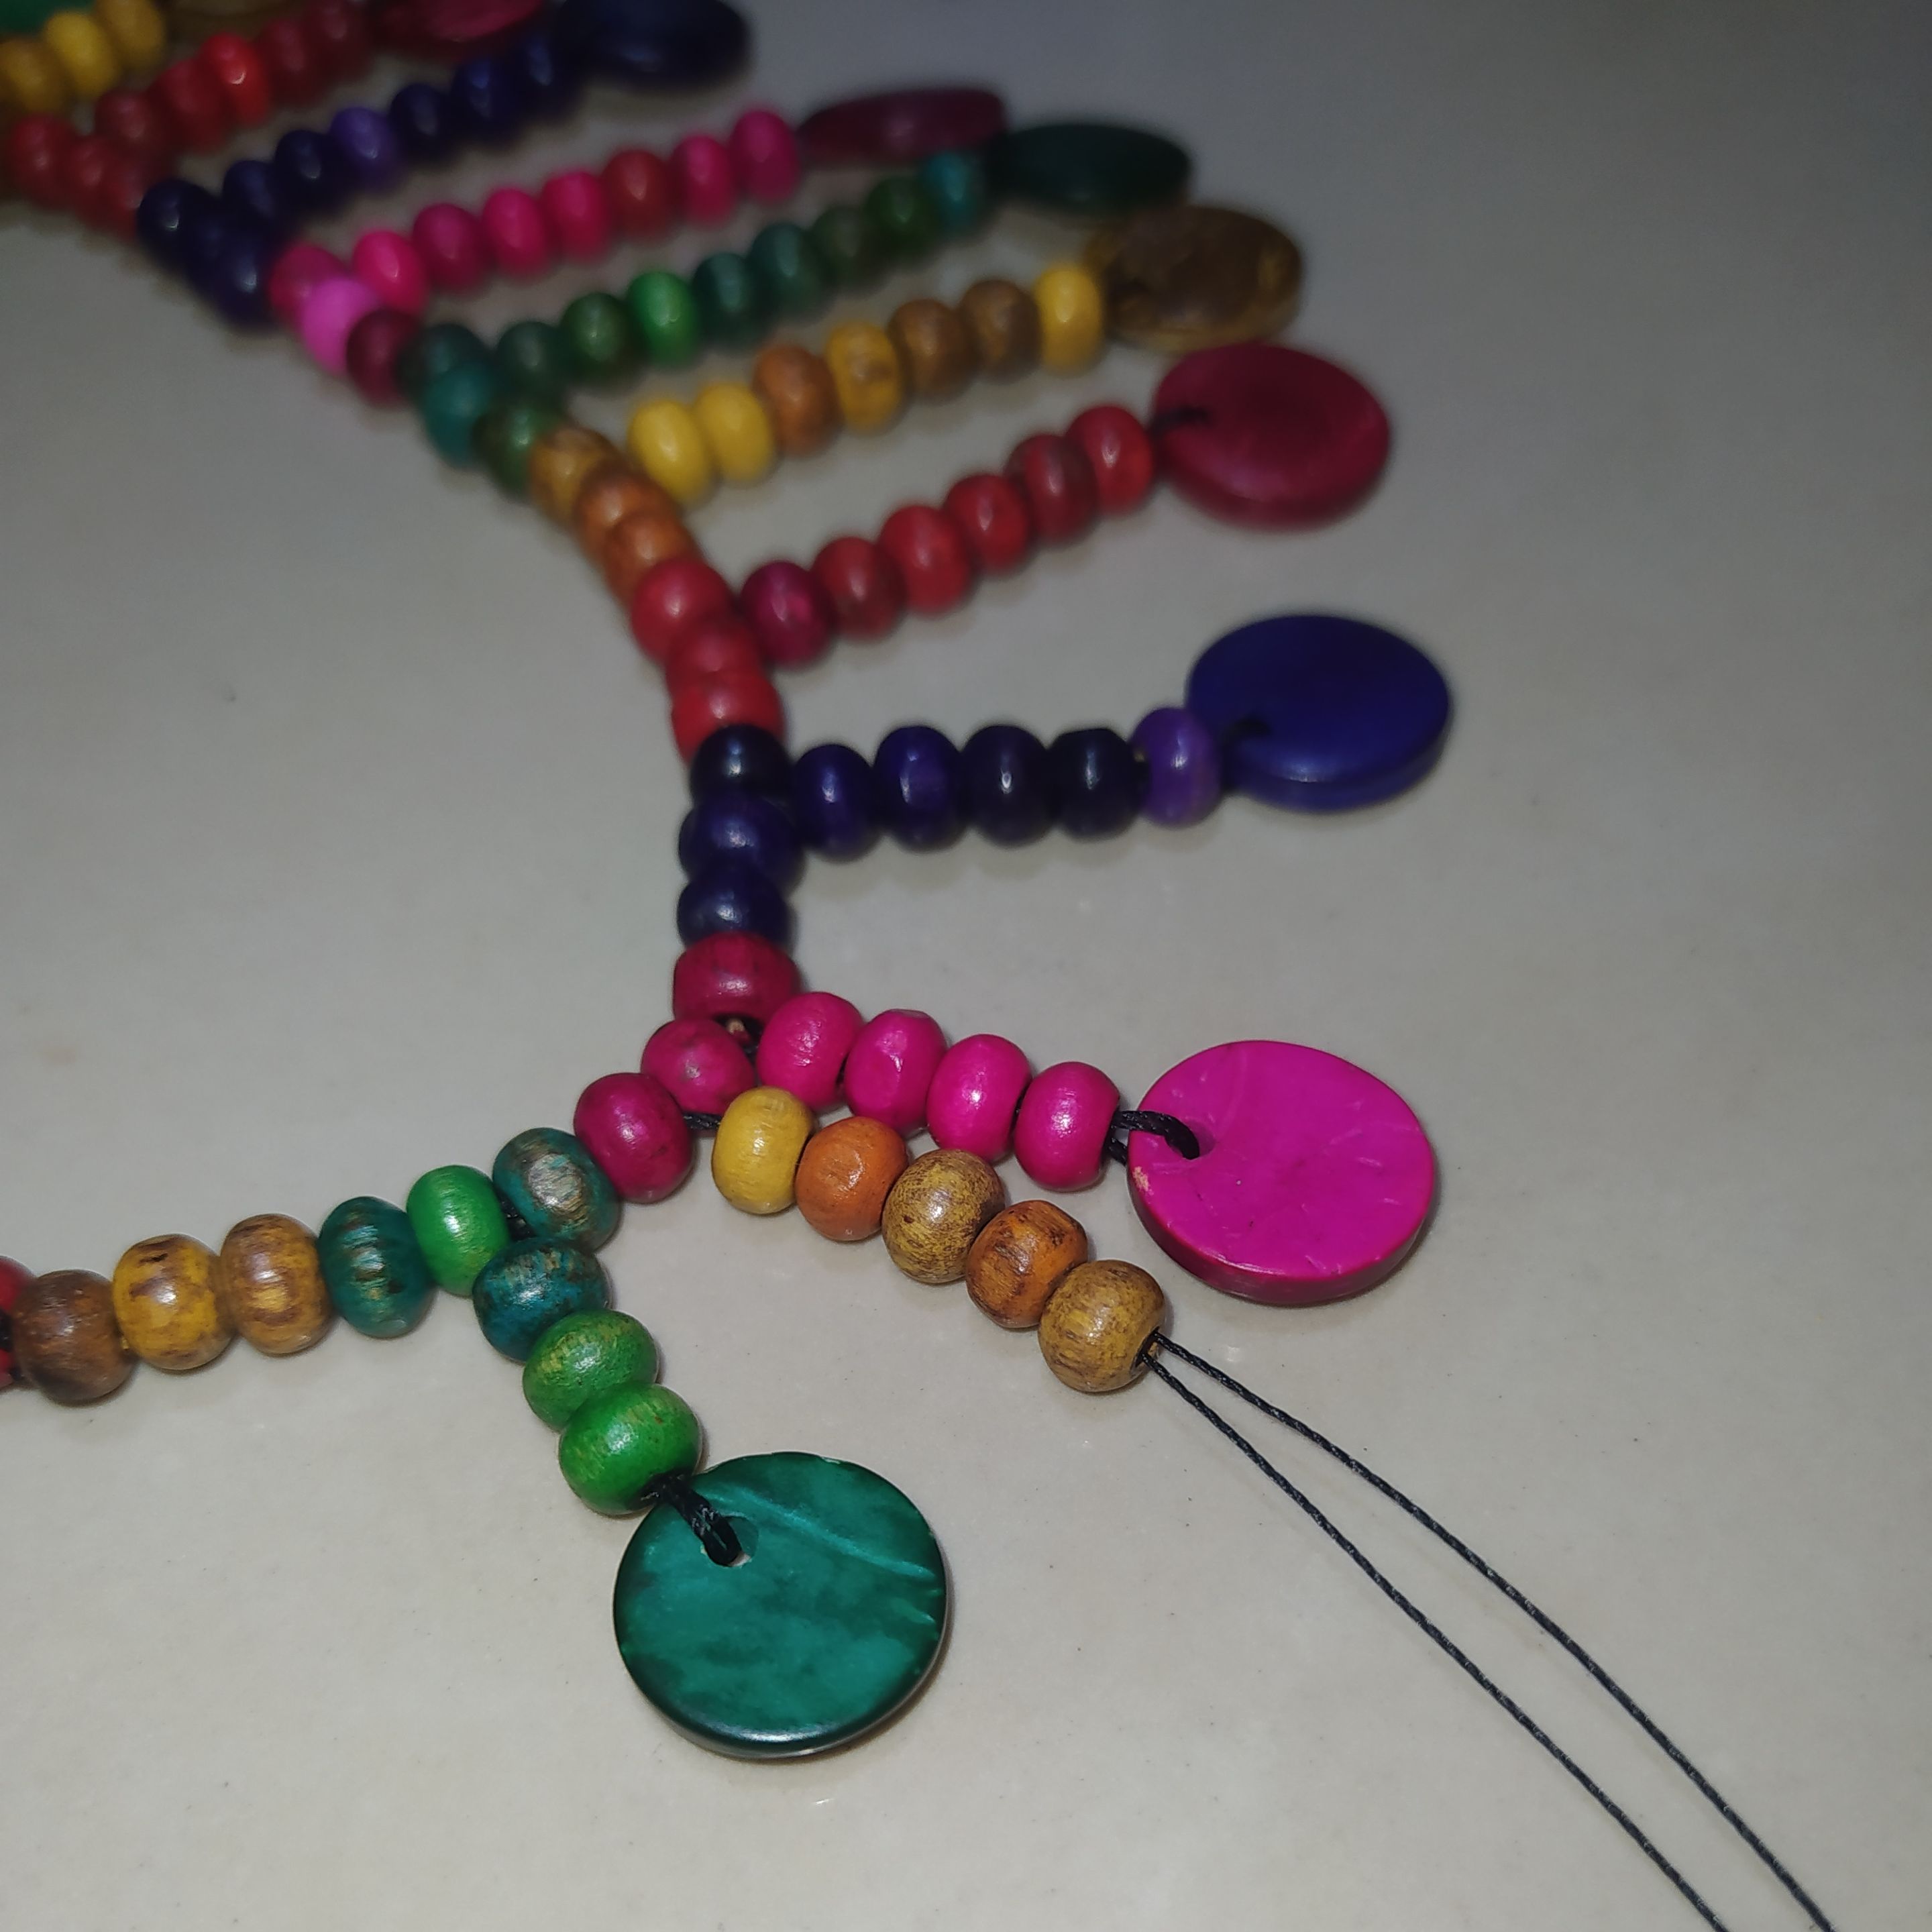
- Result of the necklace with the first cascade of colored beads.
- Resultado del collar con la primera cascada de cuenta de colores.
 |  |
|---|
- At the end we make the knot giving two turns to the thread.
- We trim and burn to secure.
- Al finalizar hacemos el nudo dando dos vueltas al hilo.
- Recortamos y quemamos para asegurar.
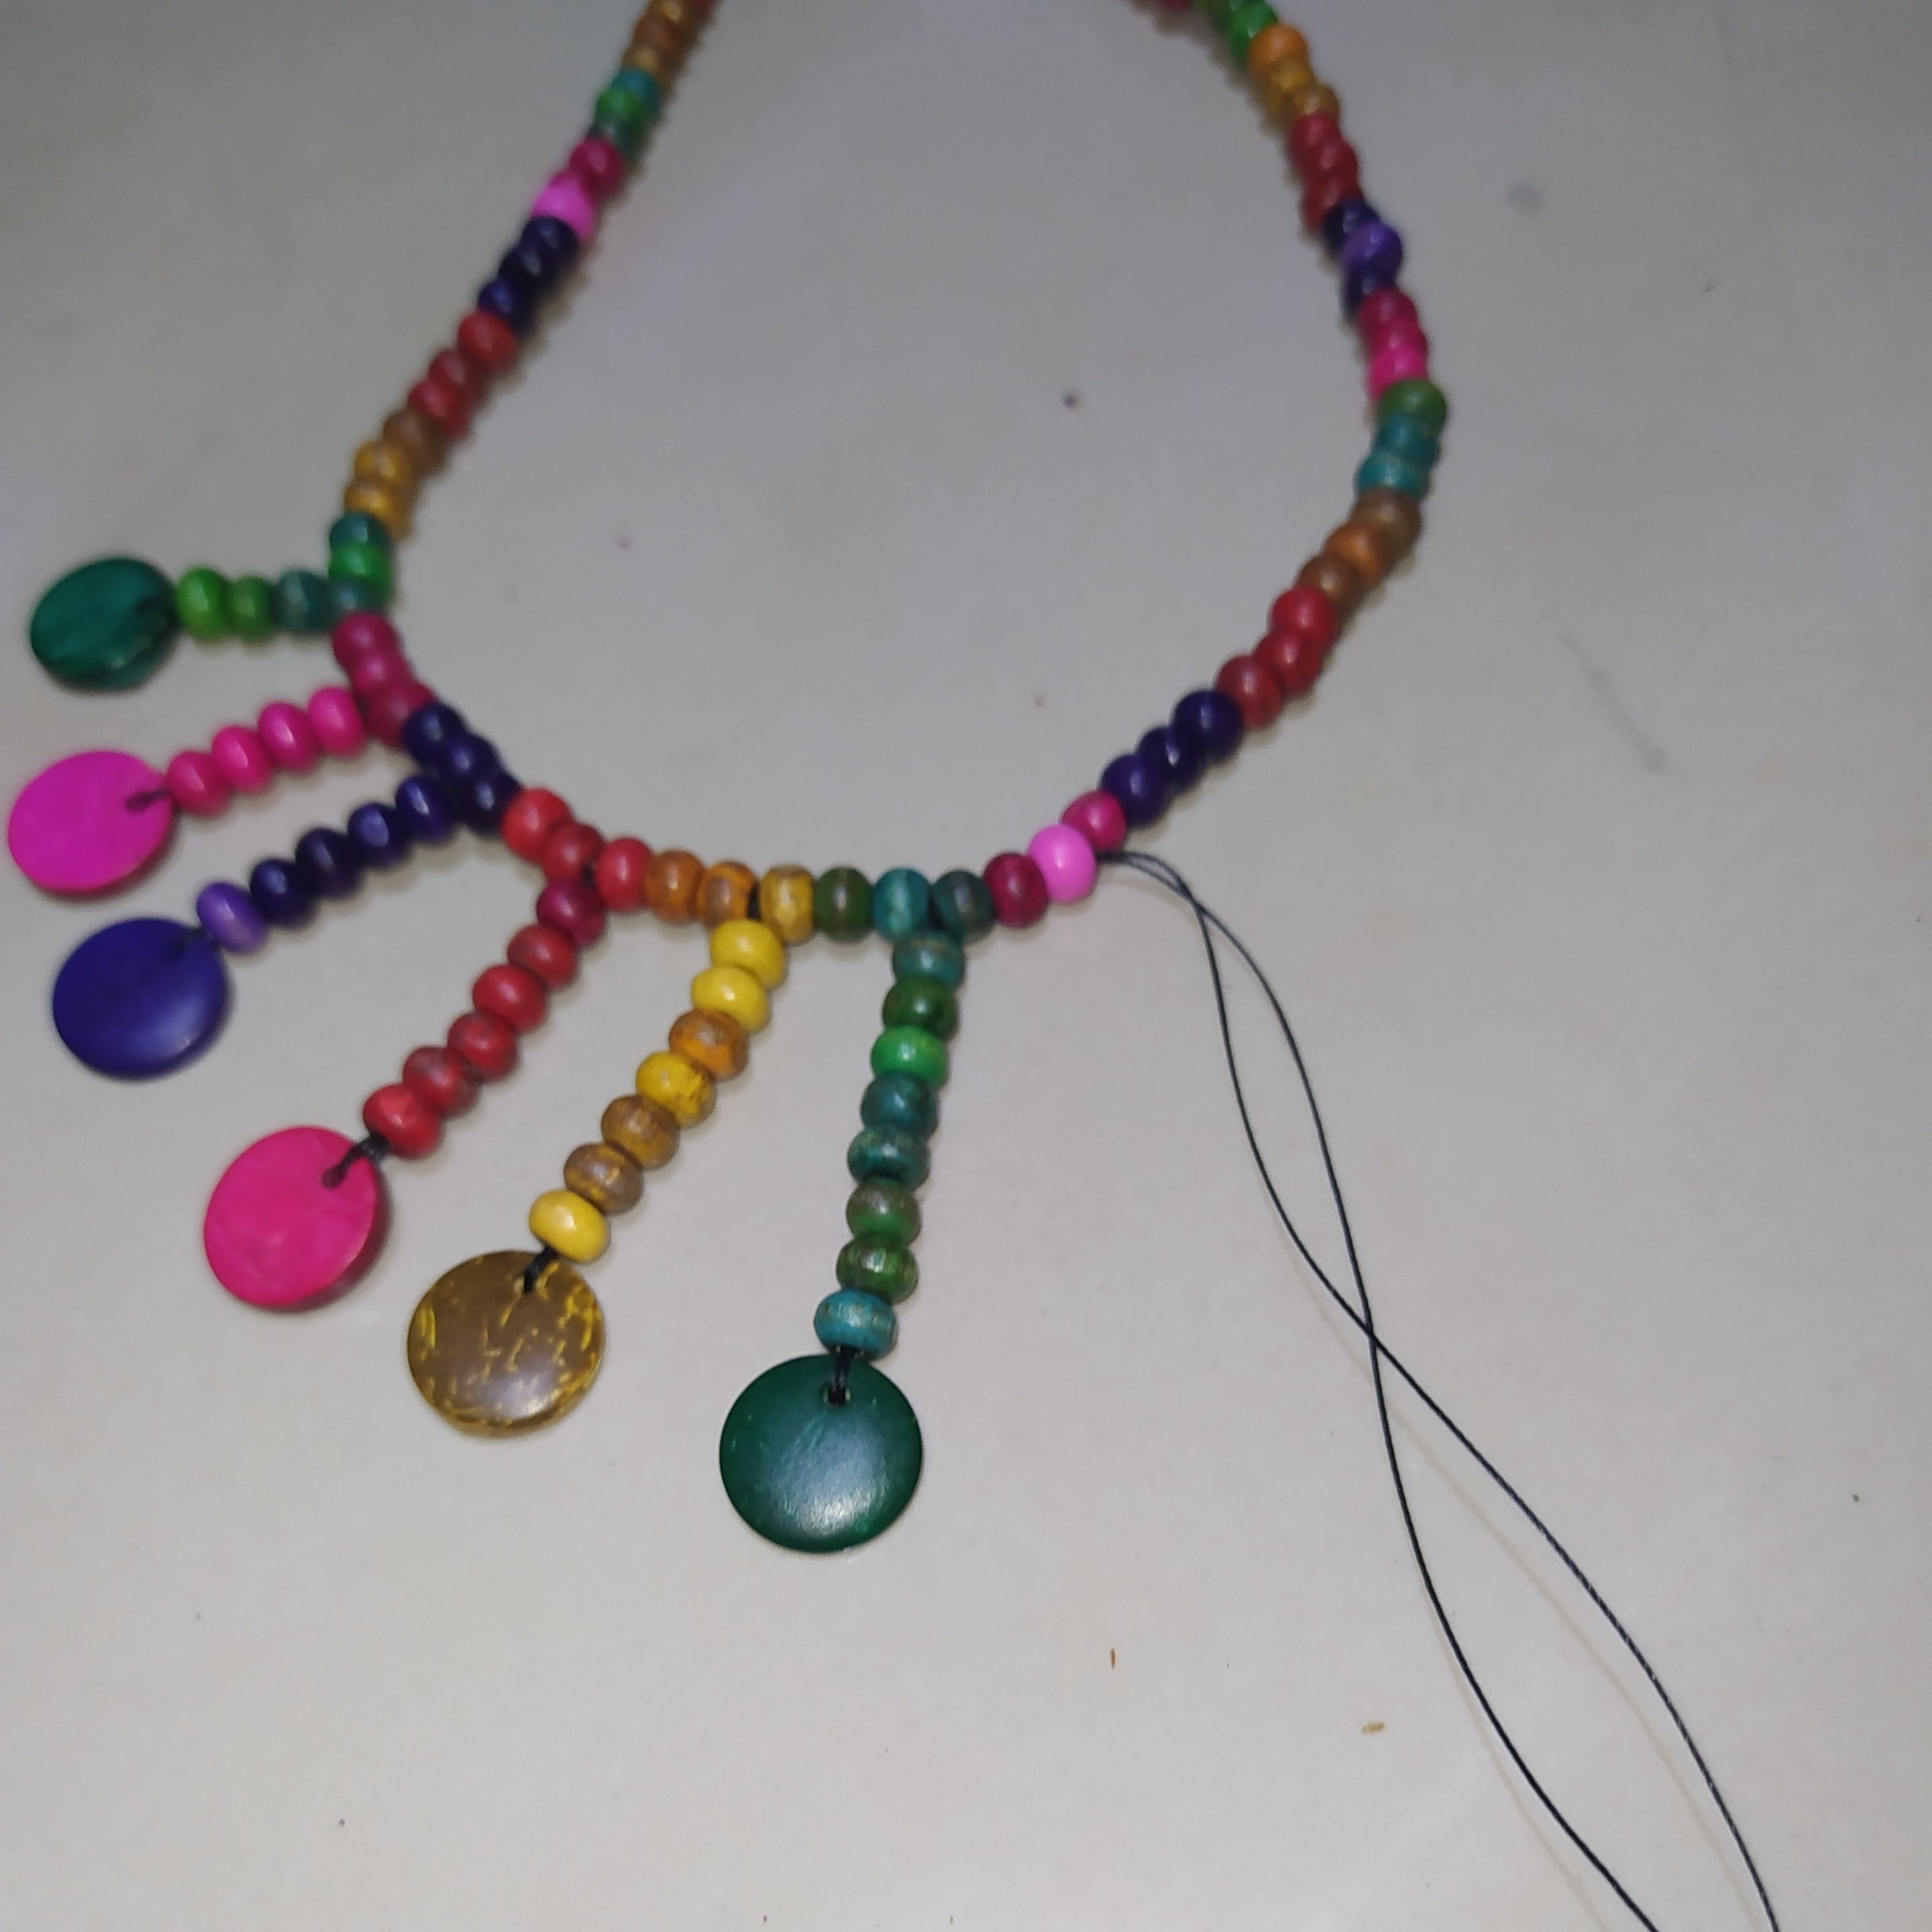
We place a second round of colored beads without the flat bead at the bottom.
Le colocamos una segunda vuelta de cuentas de colores sin la cuenta plana en la parte de abajo.
 |  |
|---|
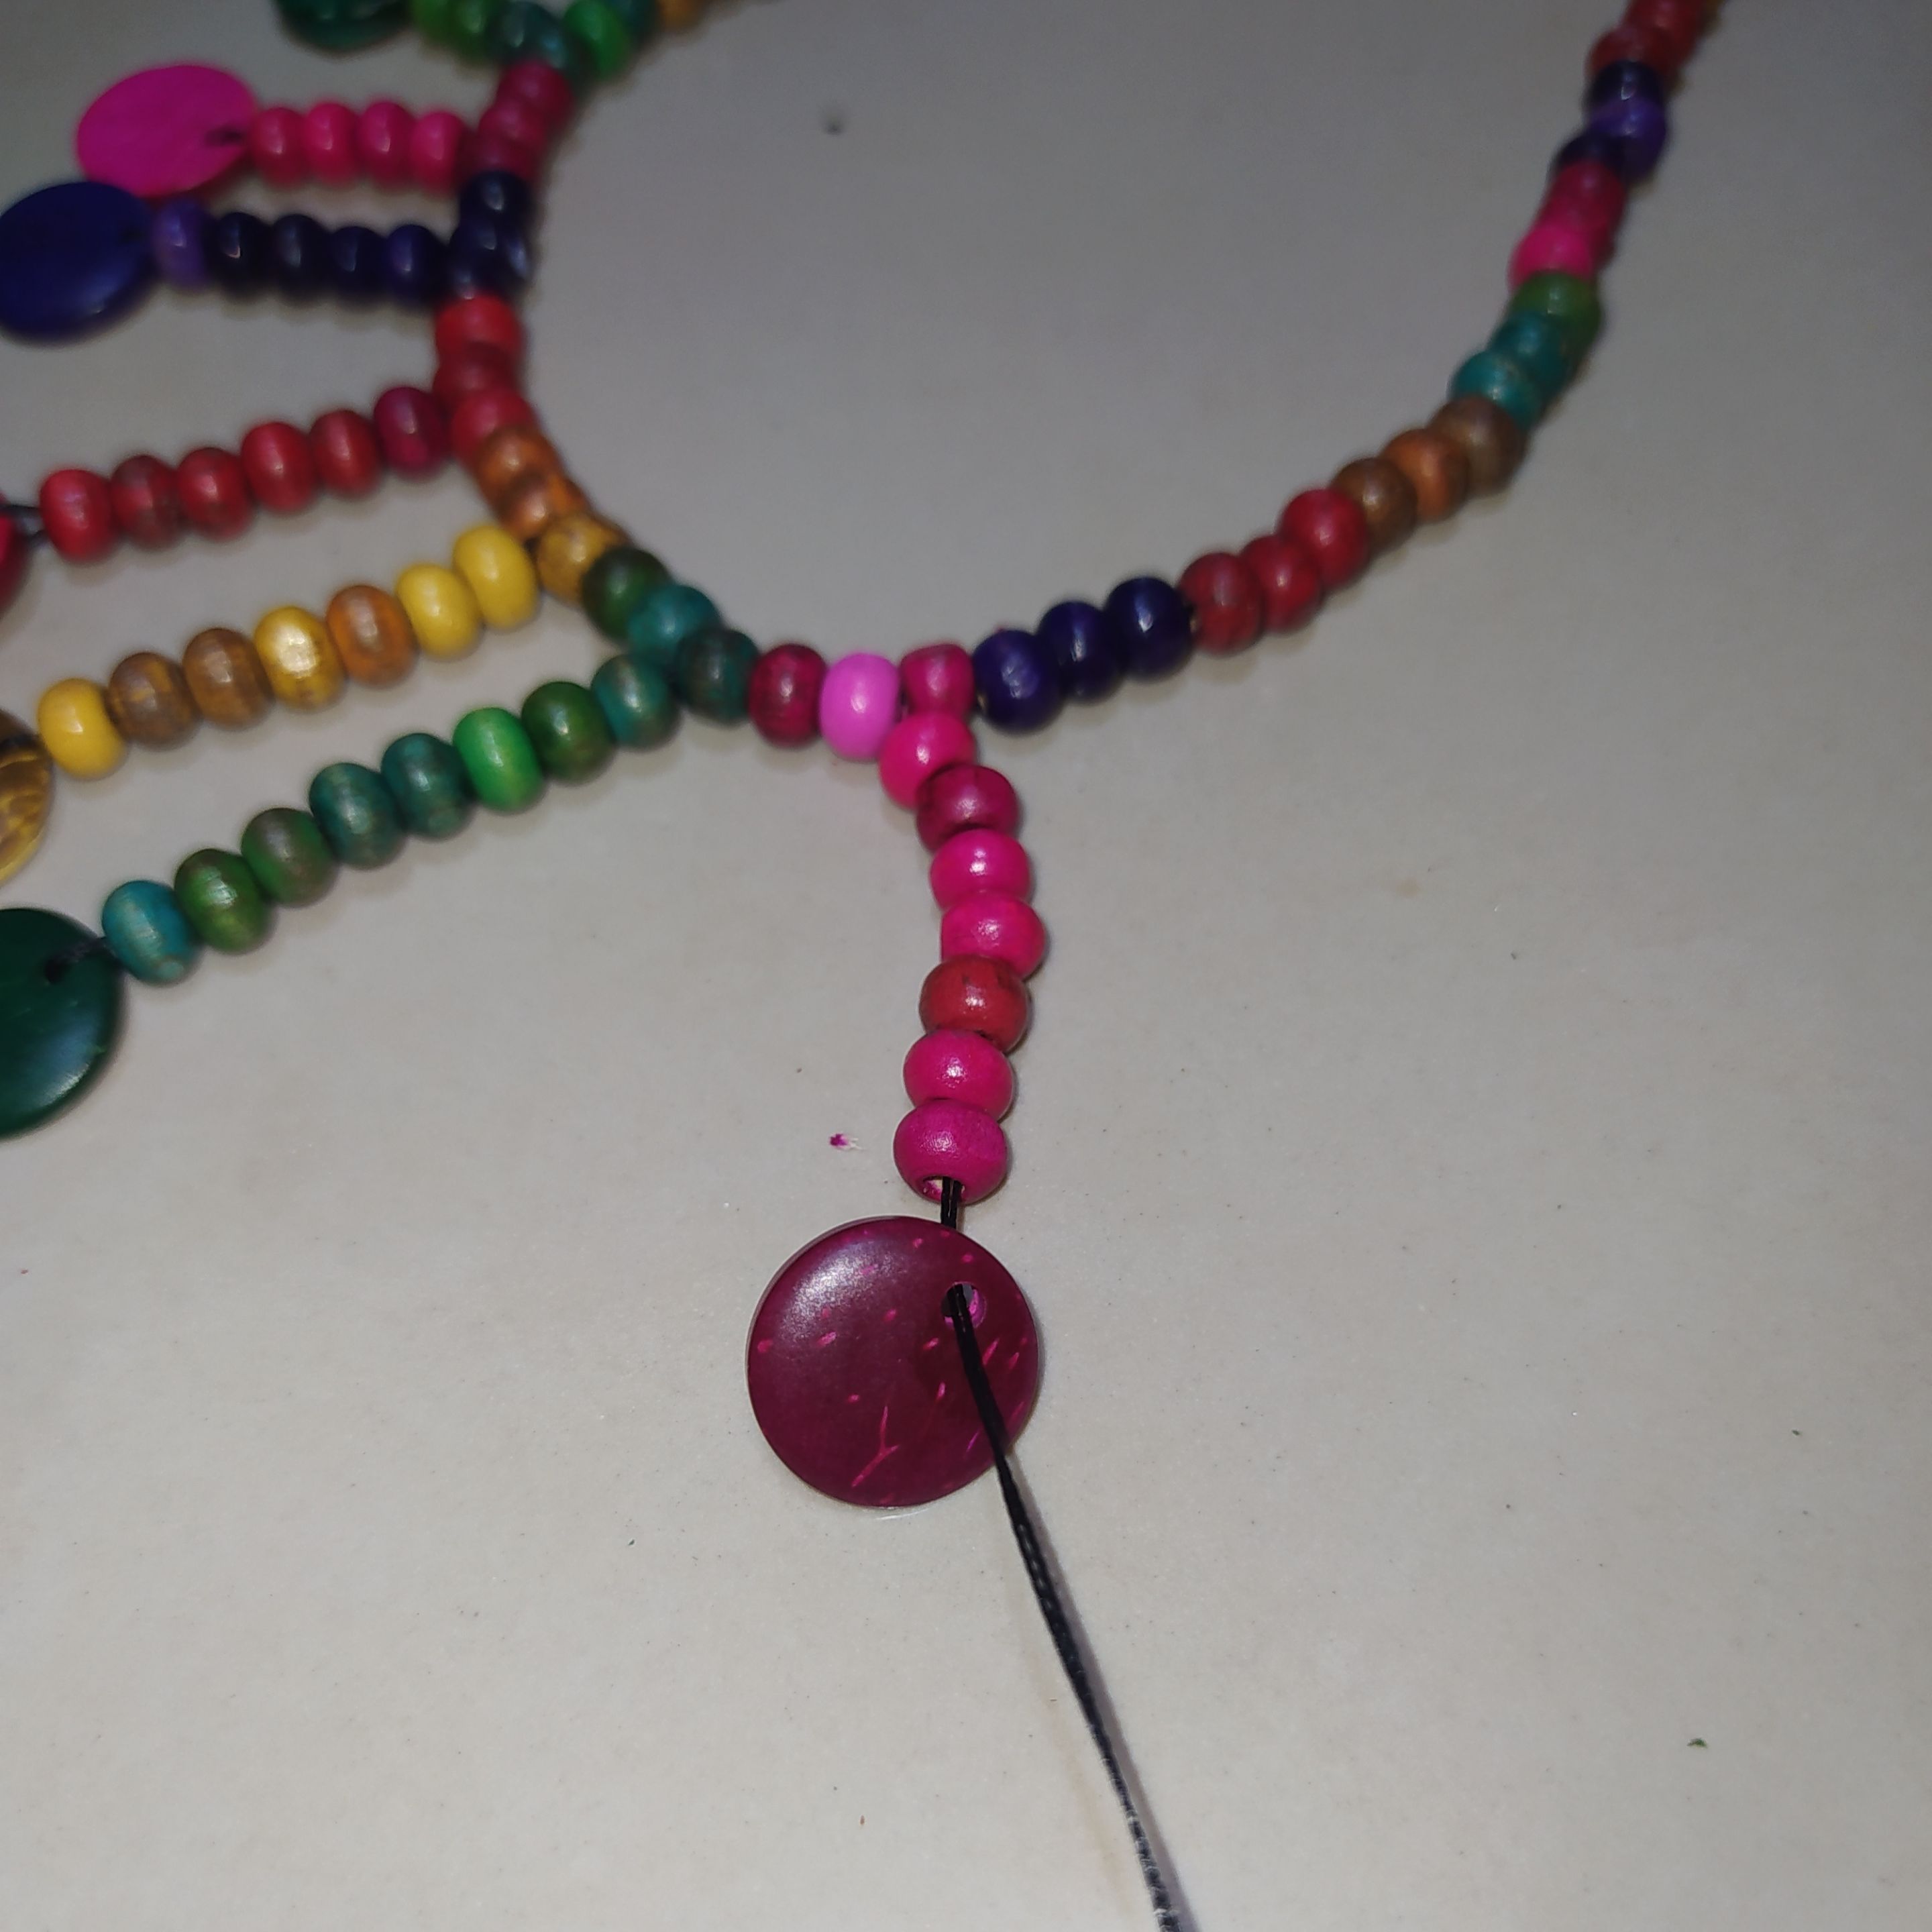
- We introduce the needle with the thread through the bead then we make the knot.
- We go around the excess and burn, we will repeat the same process that we have done in the necklace but without the flat bead down.
- Introducimos la aguja con el hilo por la cuenta luego hacemos el nudo.
- Recorramos e la excedente y quemamos, vamos a repetir el mismo proceso que hemos hecho en el collar pero sin la cuenta plana abajo.
 |  |
|---|
- We start with the yellow color and we repeat with each one until we reach the end, as I show below.
- At the end I cut and burned to finish.
- Empezamos con el color amarillo y vamos repitiendo con cada uno hasta llegar al final, como muestro a continuación.
- Al terminar corto y quemó para rematar.
 |  |
|---|
 |  |
|---|
 |  |
|---|
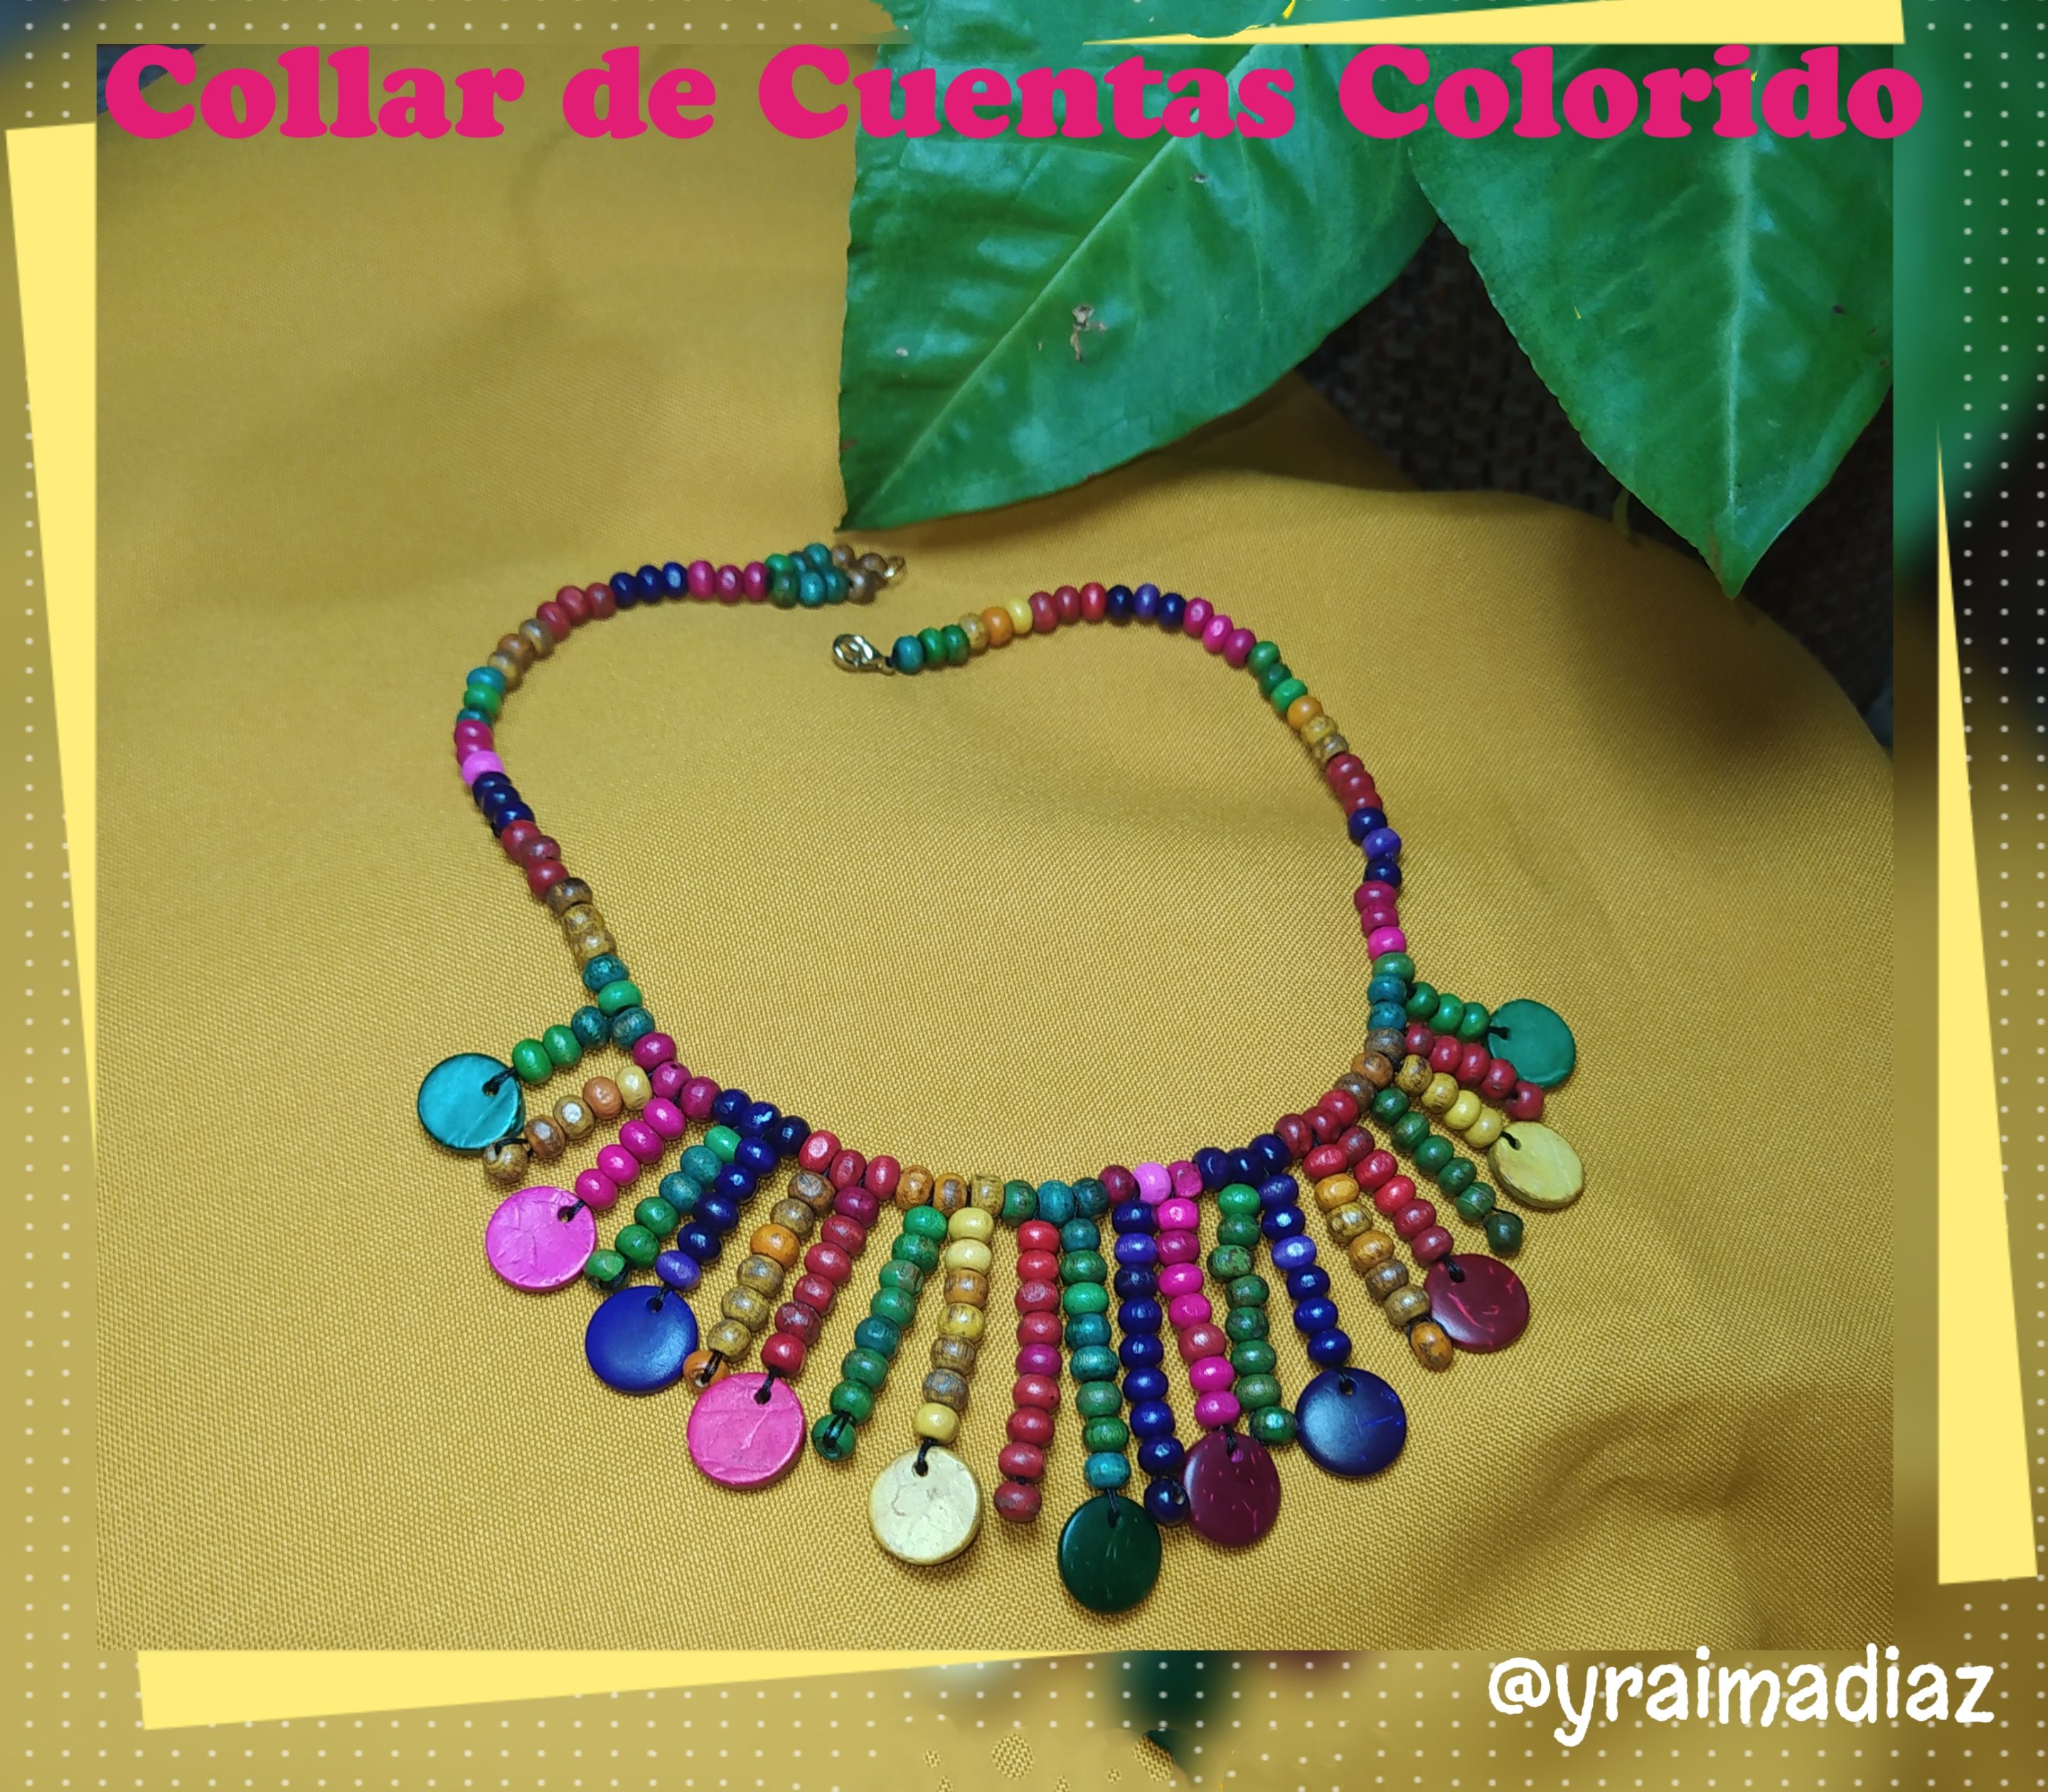
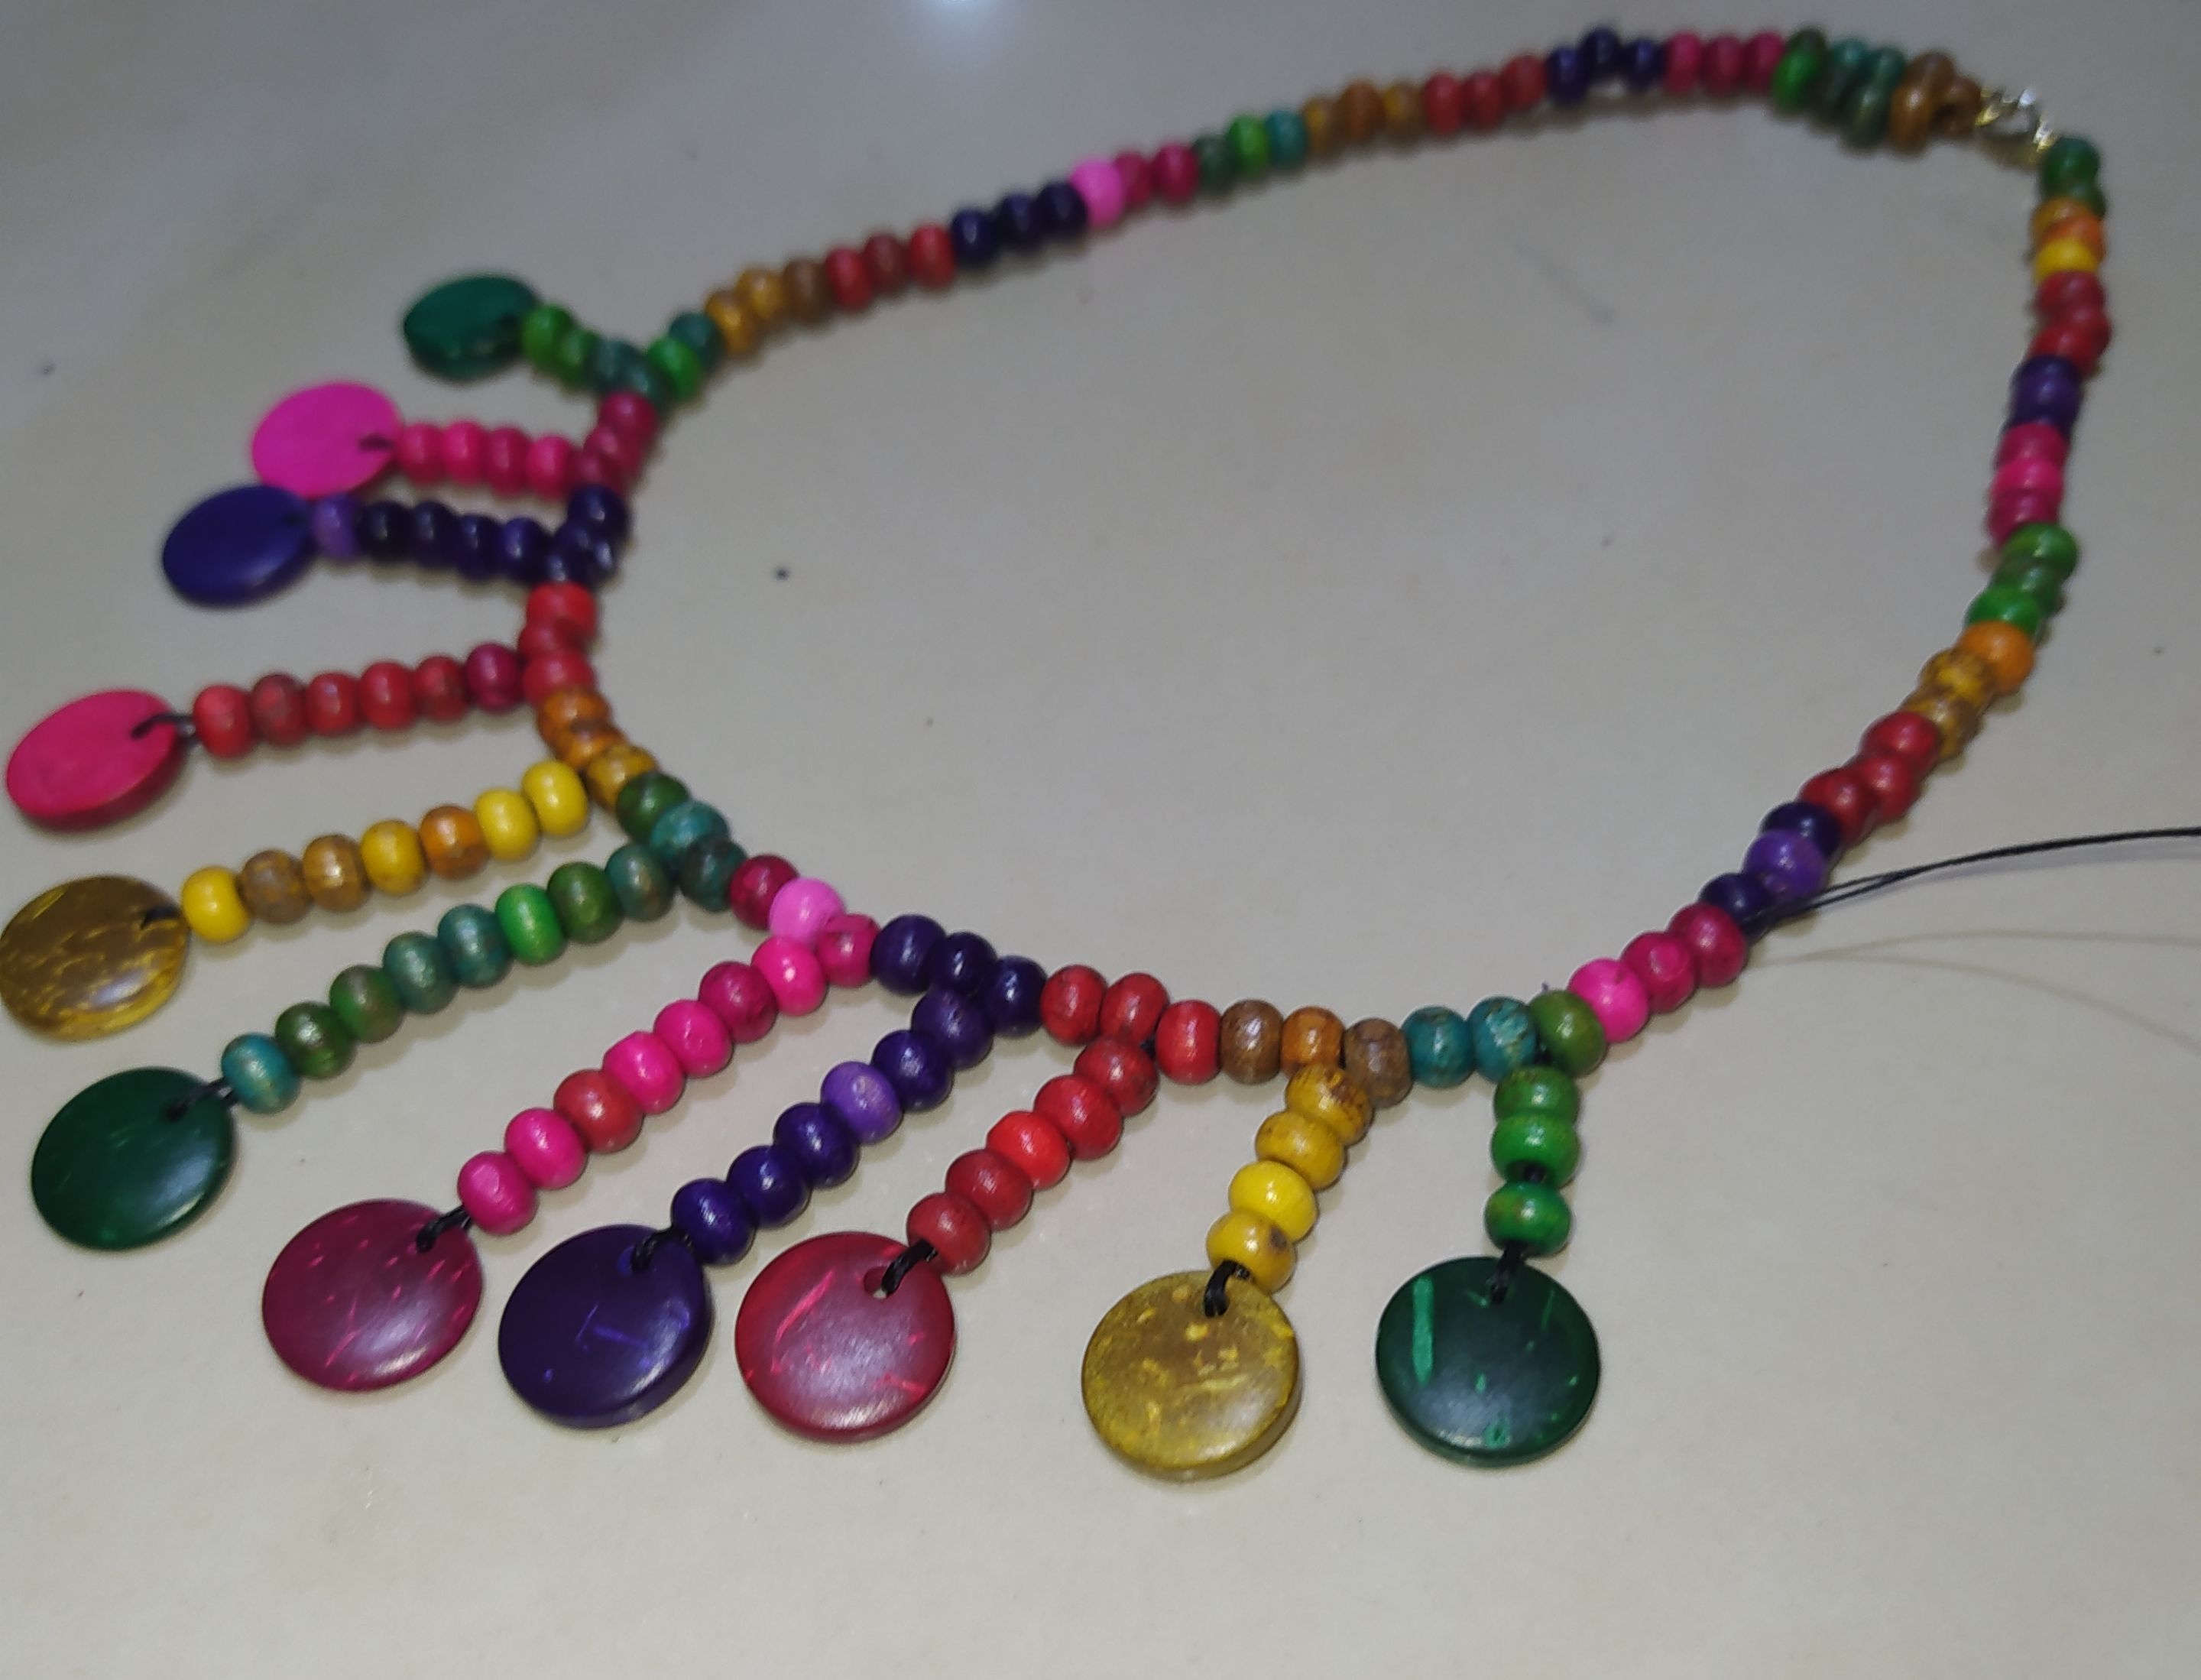
This is how beautiful and colorful my necklace turned out and I loved the final result.
Así de hermoso y colorido quedó mi collar el cual ame su resultado final.
Thanks for joining me once again is my blog, do not forget to leave your mark with a comment, hugs we read each other.
Gracias por acompañarme una vez más es mi blog, no olvides dejar tu huella con un comentario, abrazos nos leemos.
Banner realizado en Meitu
Traductor Deepl.
Photos of my property taken with Xiaomi redmi note 8 phone.
Banner made in Meitu
Translator Deepl.
8 phone.
Banner made in Meitu
Translator Deepl.