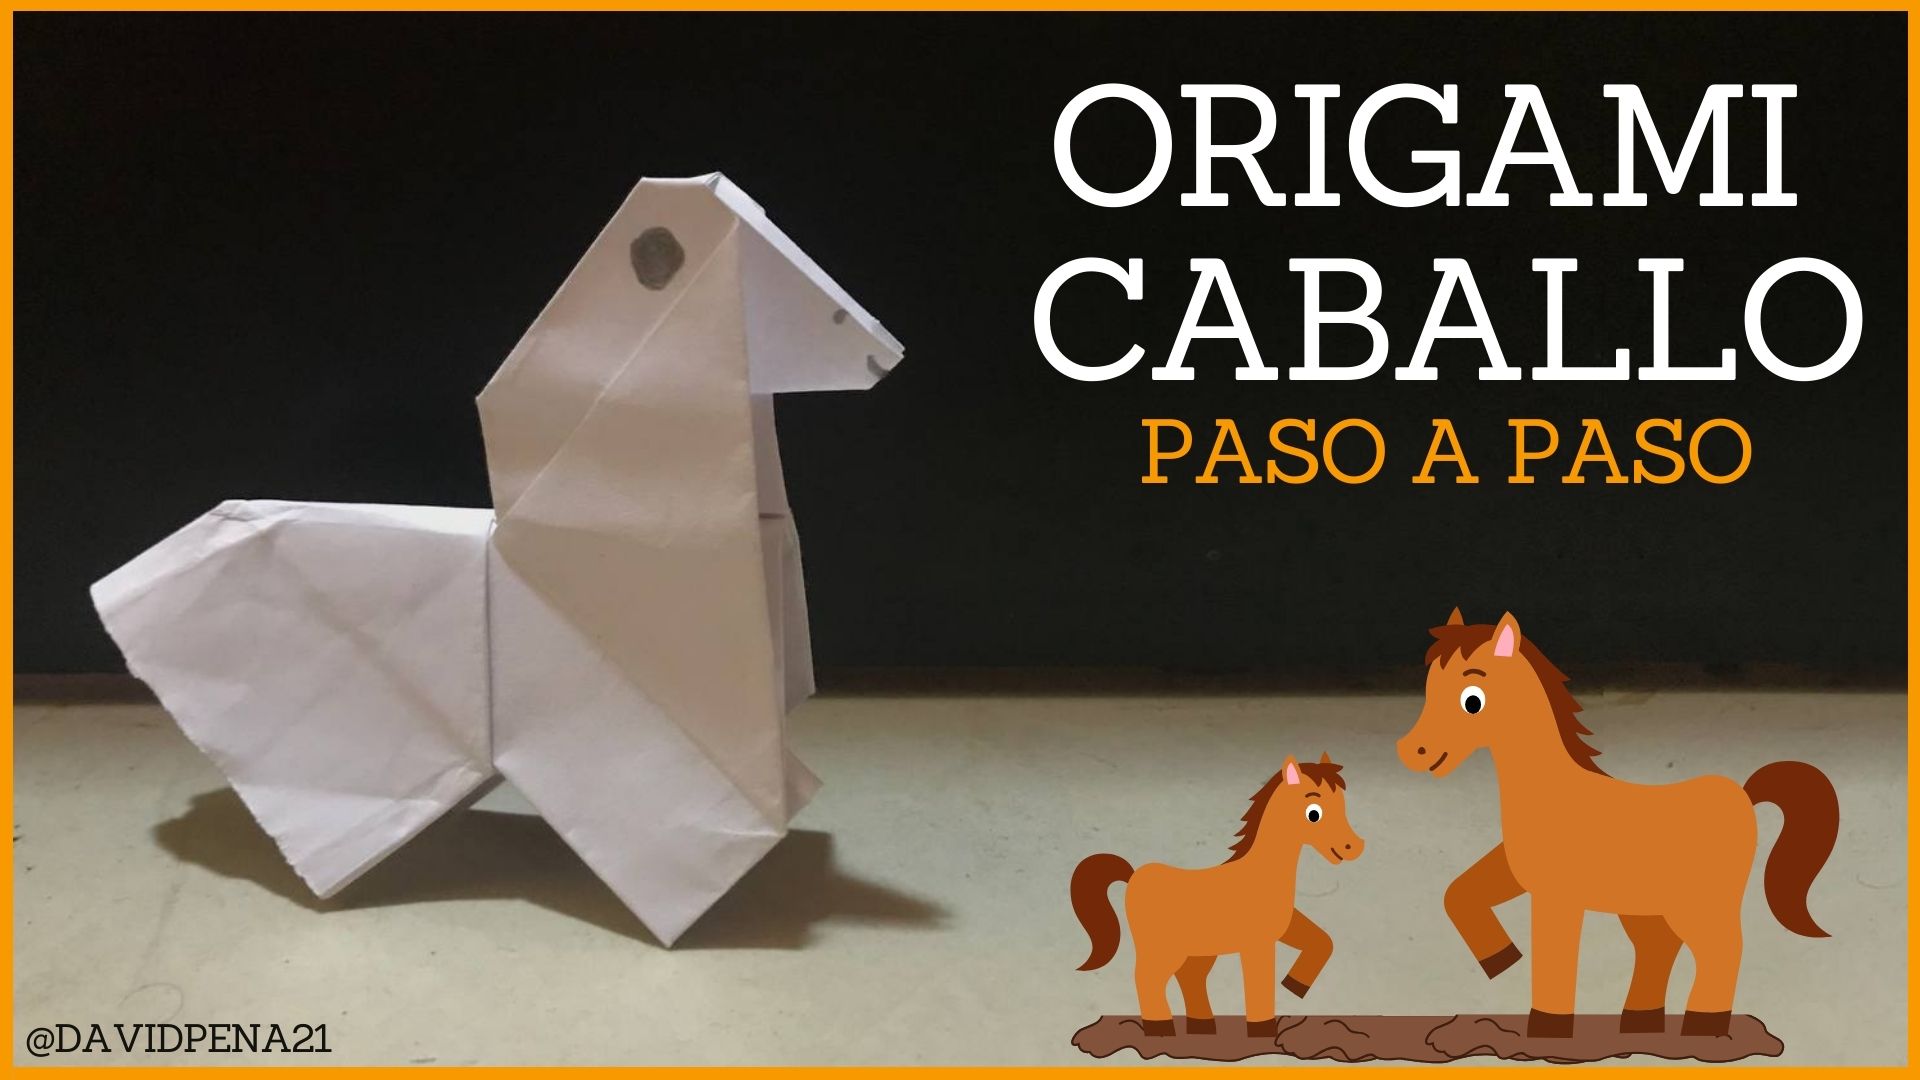
Greetings friend, once again here sharing another paper figure using the origami technique and it is fascinating that there are still many things to recreate and of course increasing what would be the difficulty. This time it will be a very special origami, since in the previous publication I receive a comment from the friend @avdesing, with the challenge of making a horse and after searching and ruining several sheets, I managed to assemble the horse by origami and I really liked to take that challenge, since it is the first time I do it and that horse has some folds and details that put us to work. I hope you like this little horse and don't miss the procedure.
Saludos amigo, una vez más por aquí compartiendo otra figura de papel mediante la técnica del origami y es fascinante que aún quedan muchas cosas por recrear y por supuesto ir aumentando lo que sería la dificultad. Esta vez será un origami muy especial, ya que en la publicación anterior recibo un comentario de la amiga @avdesing, con el reto de hacer un caballo y luego de buscar y arruinar varias hojas, logre armar dicho caballo mediante el origami y me gustó mucho tomar ese desafío, ya que es la primera vez que lo hago y ese caballo cuenta con cierto doblez y detalles que nos ponen a trabajar. Espero que le guste este pequeño caballo y no te pierdas el procedimiento.
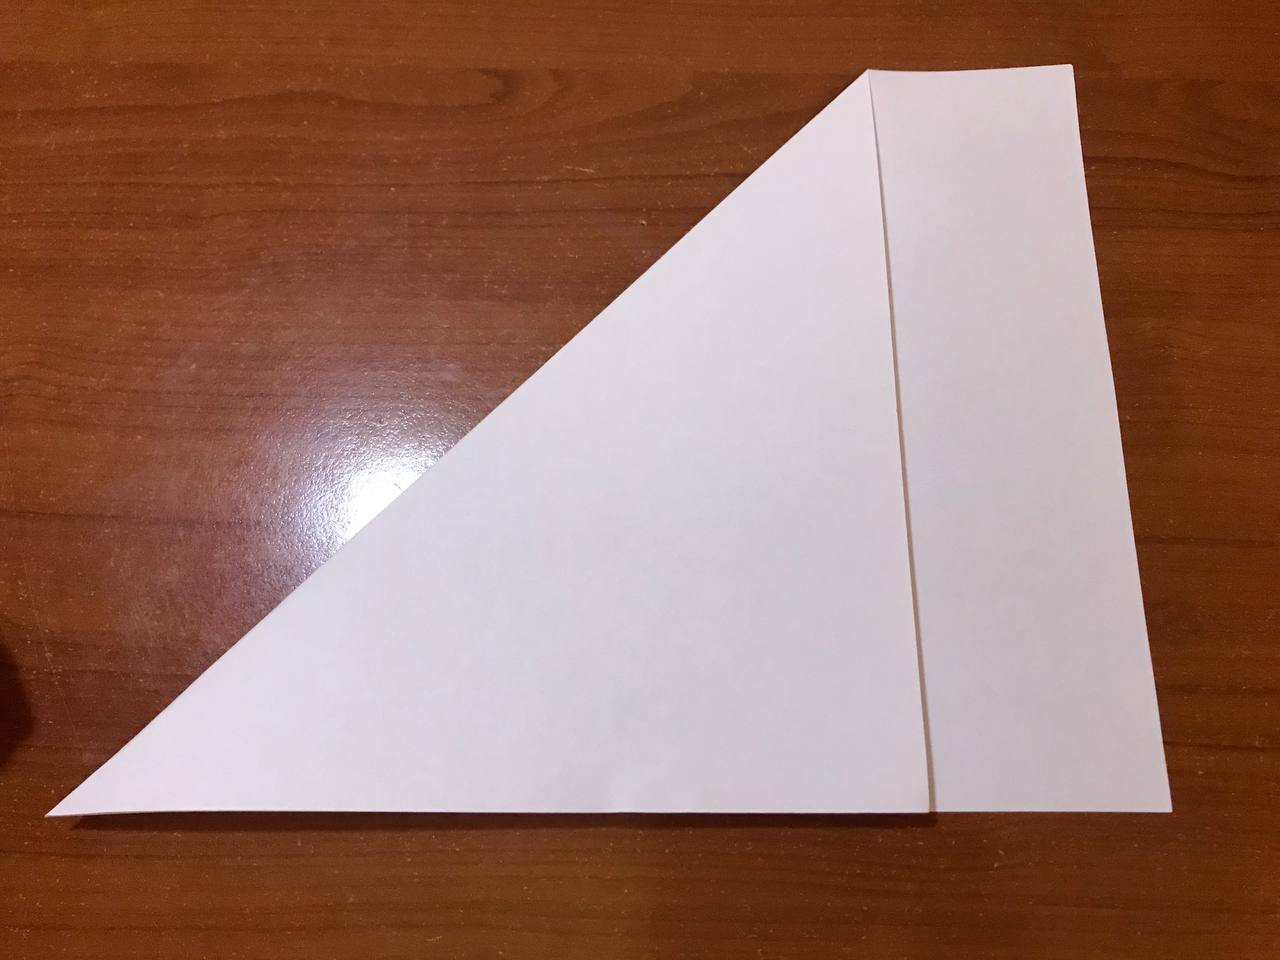
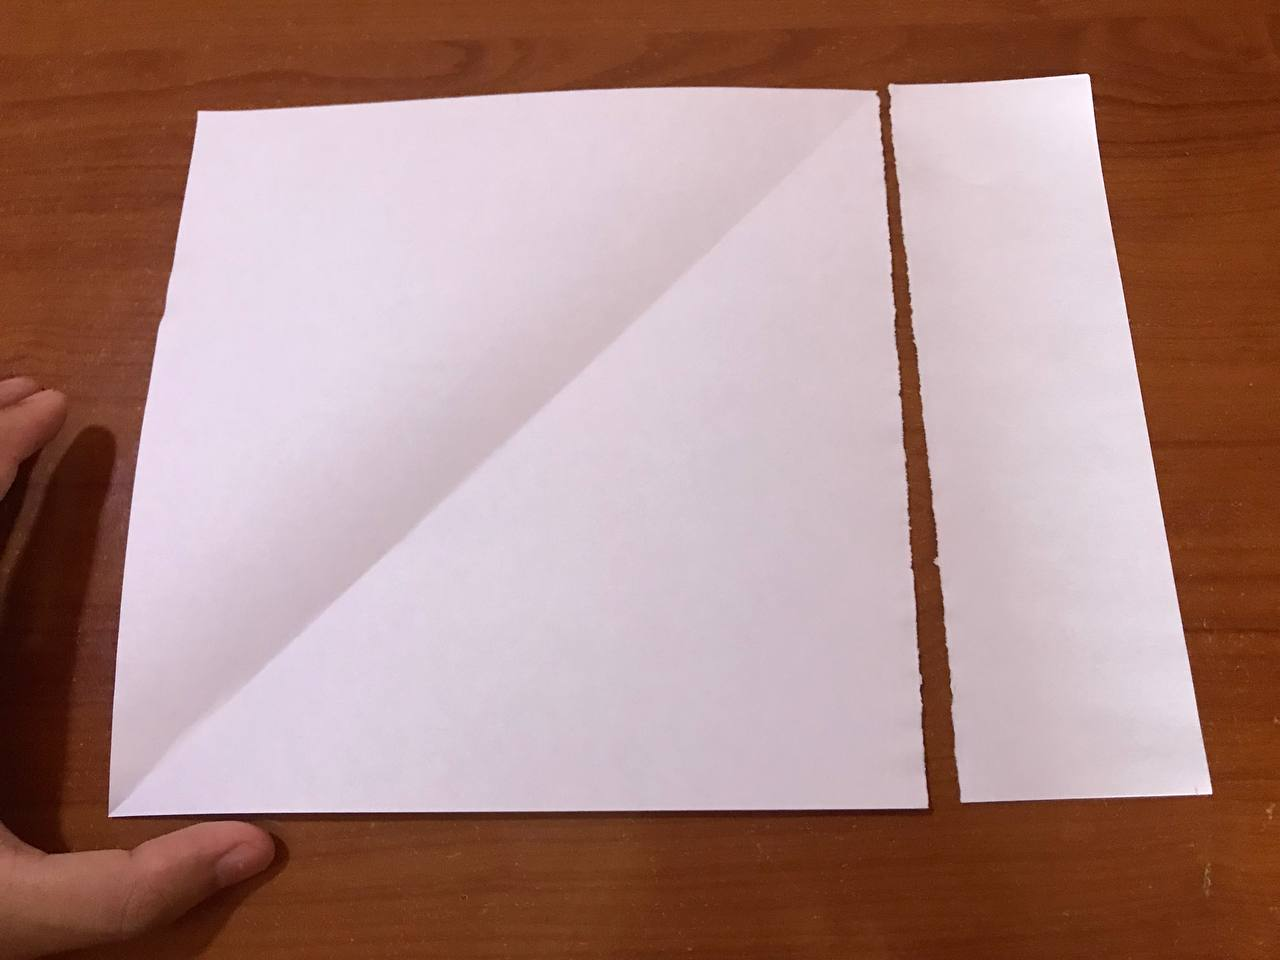
The first thing we will do is to take a white sheet or any color of your choice to begin to make our origami, where we will fold one of the ends and take it to the edge of the sheet and with the help of the scissors we will cut what is left over and in this way we will obtain a square.
Lo primero que haremos es tomar una hoja blanca o de cualquier color de tu preferencia para así comenzar a realizar nuestro origami, donde vamos a doblar uno de los extremos y lo llevamos hasta el borde de la hoja y con la ayuda de la tijera vamos a cortar lo que nos sobra y de esa manera vamos a obtener un cuadrado.
|
 |
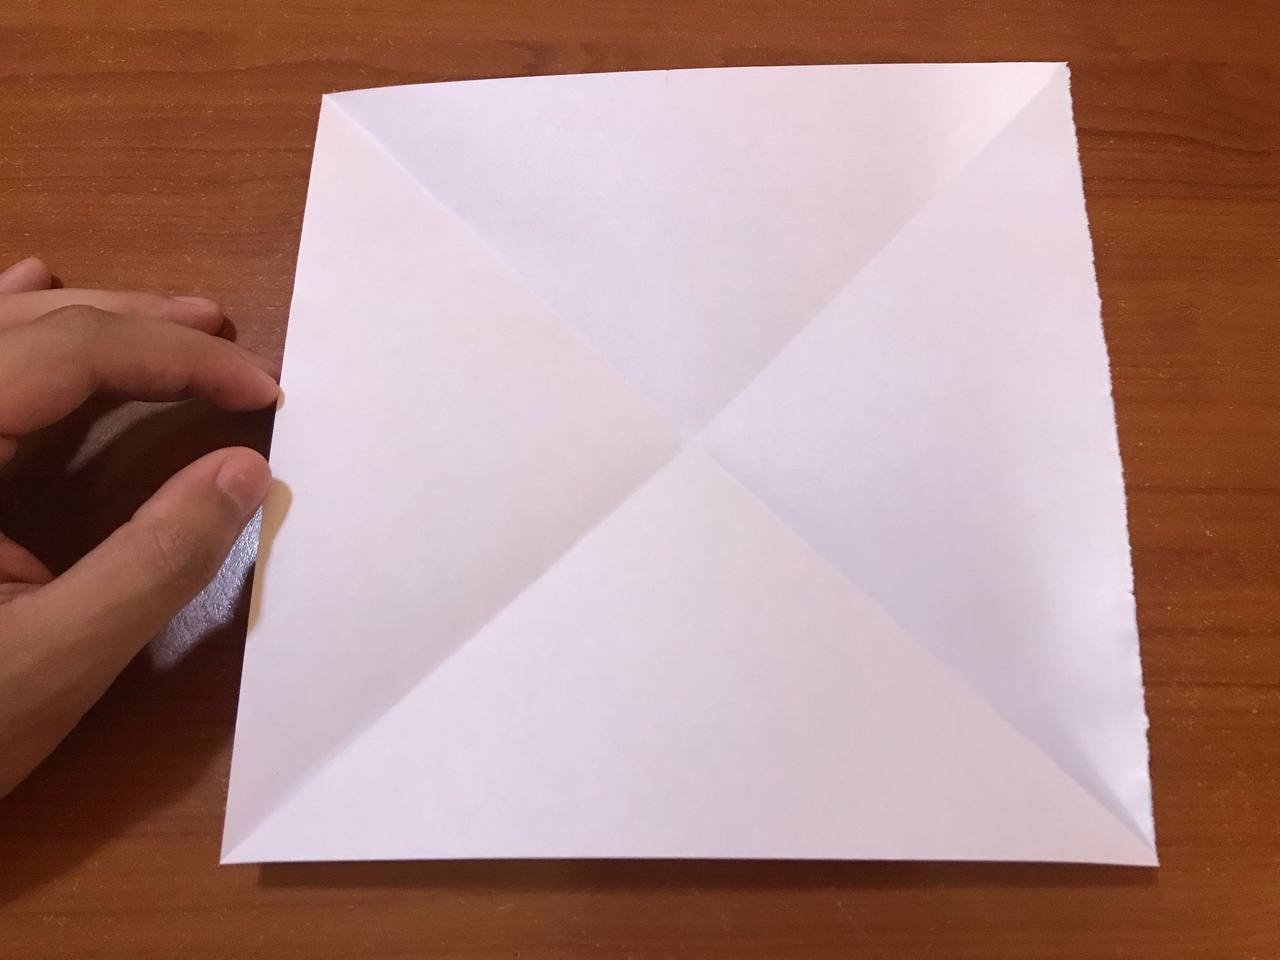
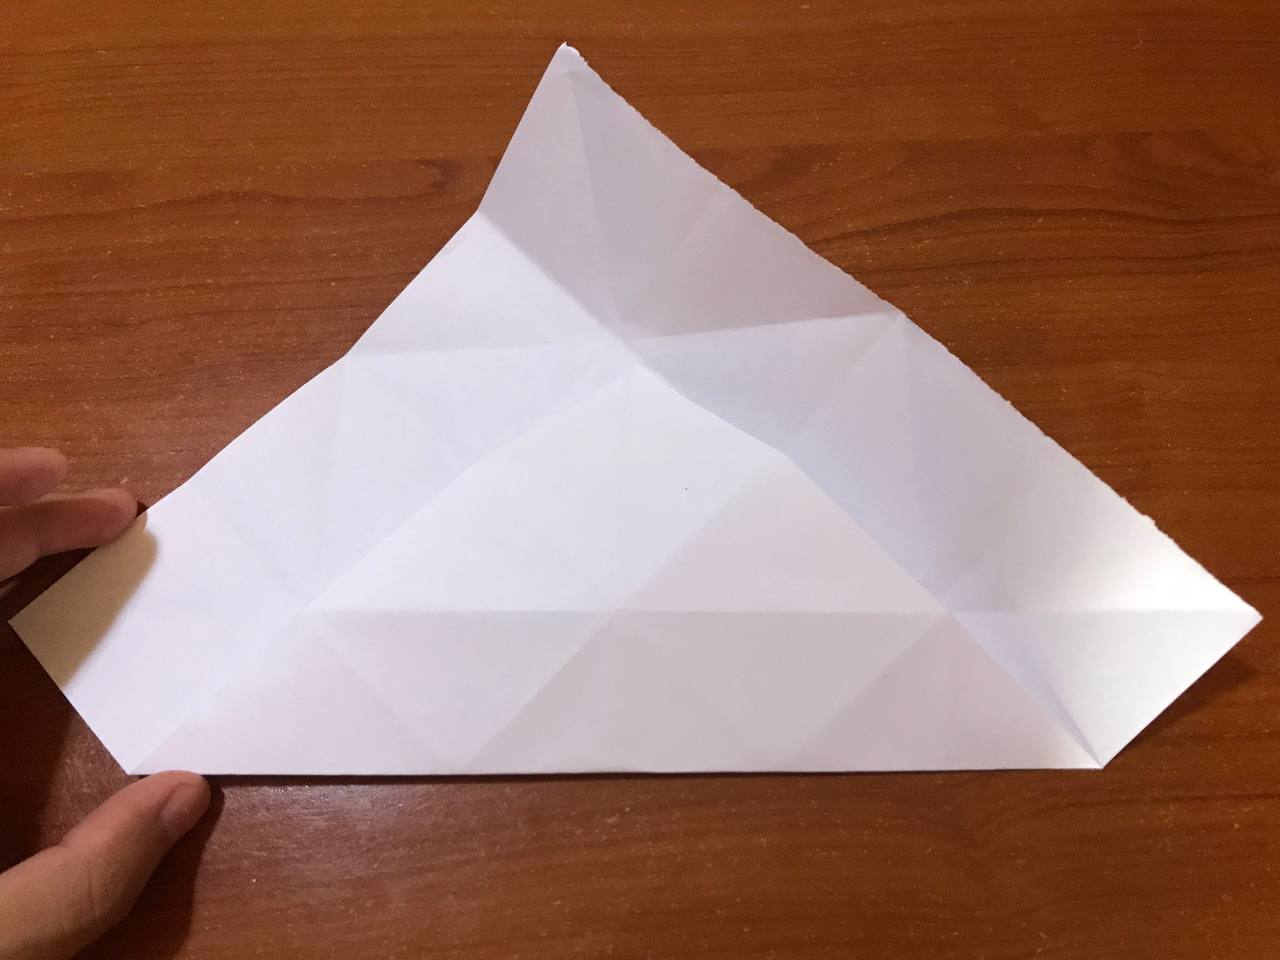
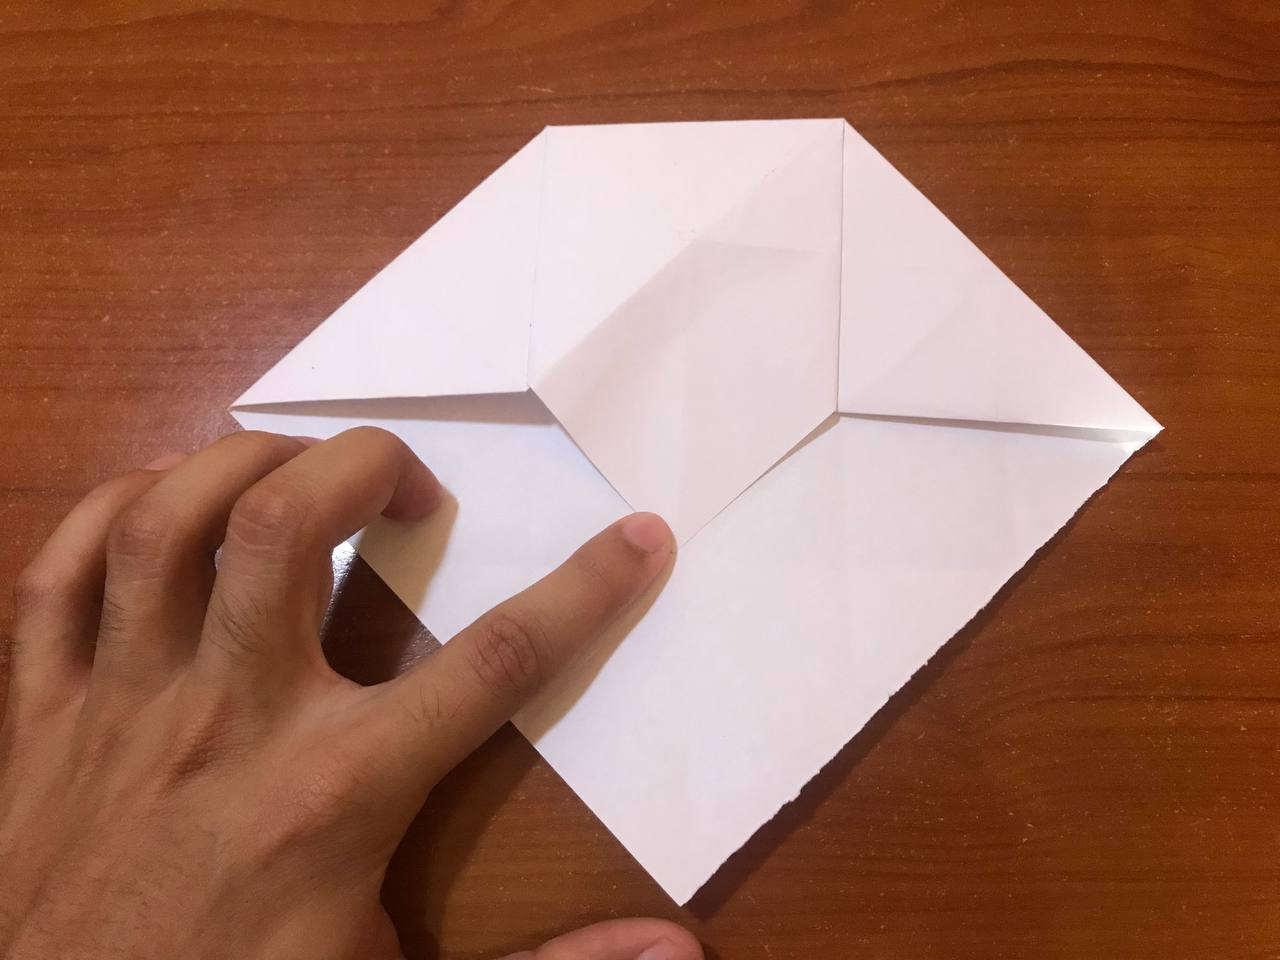
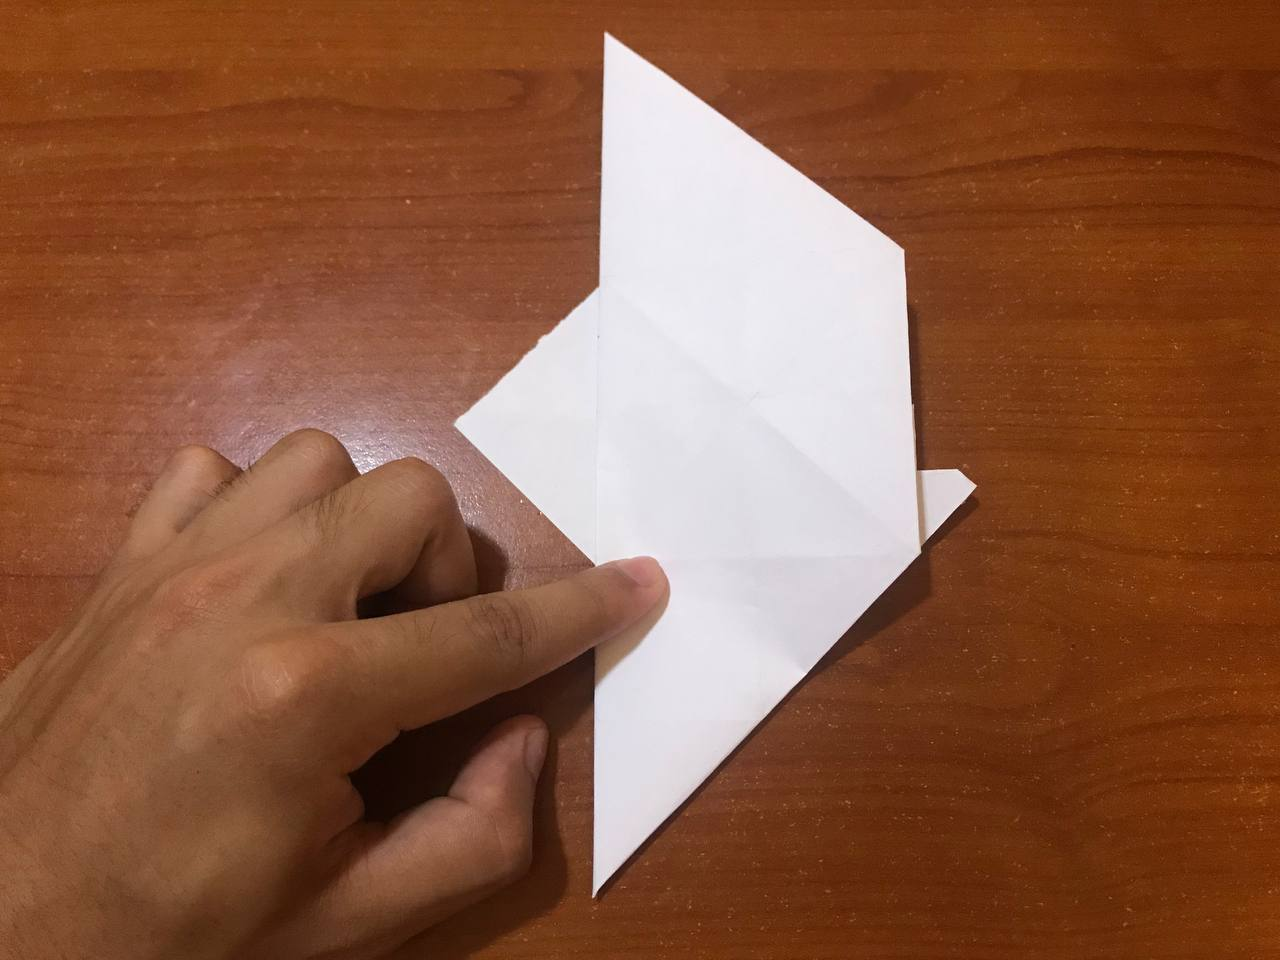
Next, we are going to fold along the diagonal of the sheet, with the idea of being able to mark our line and make it easier to fold. Right there we are going to bring each of the ends of the sheet towards the center, folding it very well. We open and fold our sheet in half again. Once that is done, the sheet will have many lines to start working.
Seguidamente, vamos a doblar por la diagonal de la hoja, con la idea de poder marcar nuestra línea y que sea más fácil poder doblar. Allí mismo vamos a llevar cada una de las puntas de la hoja hacia el centro, doblando muy bien. Abrimos y volvemos a doblar por la mitad nuestra hoja. Una vez listo eso, la hoja nos quedará con muchas líneas para así comenzar a trabajar.
|
|
|
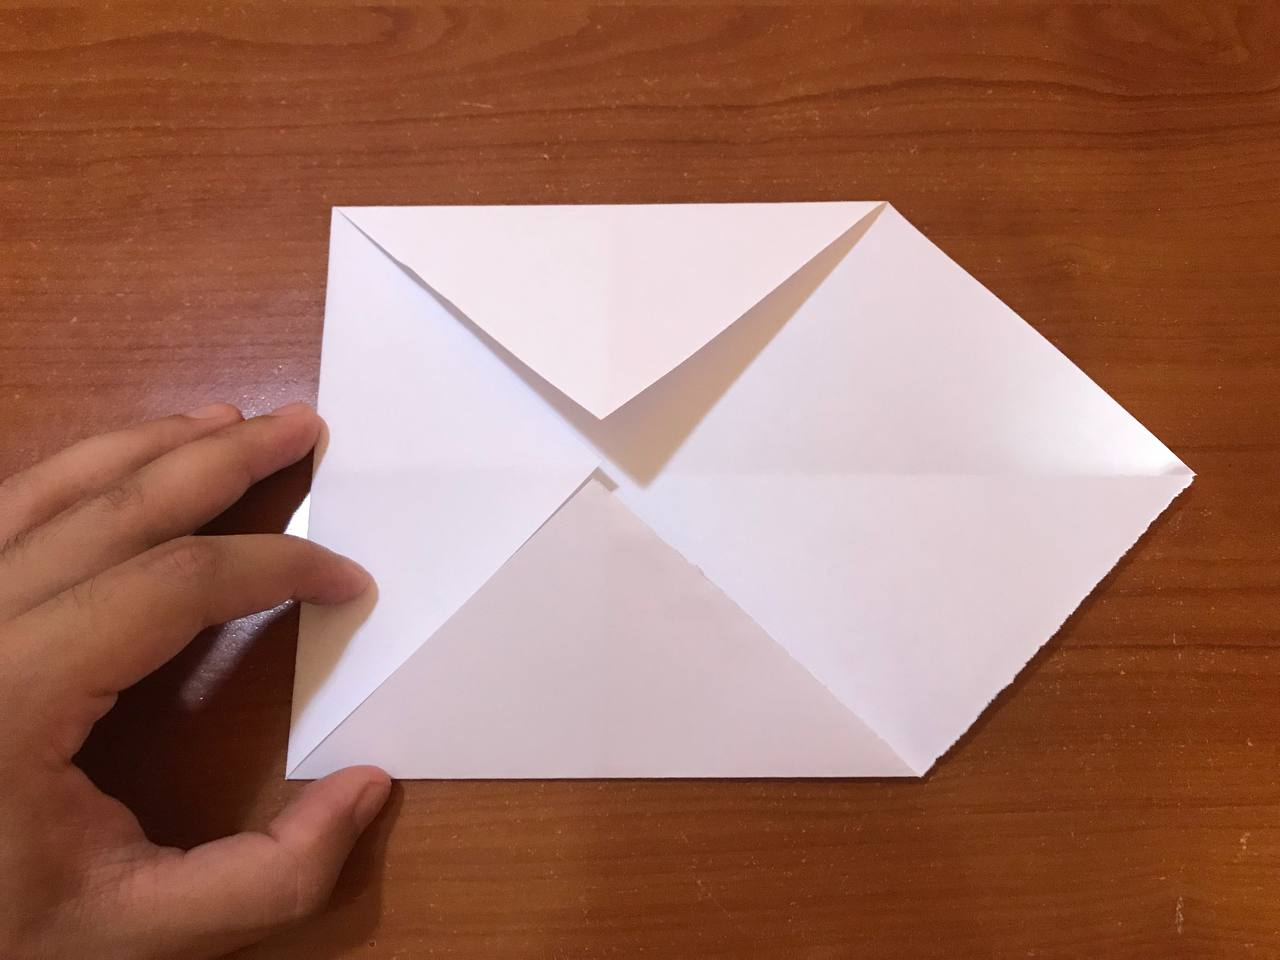
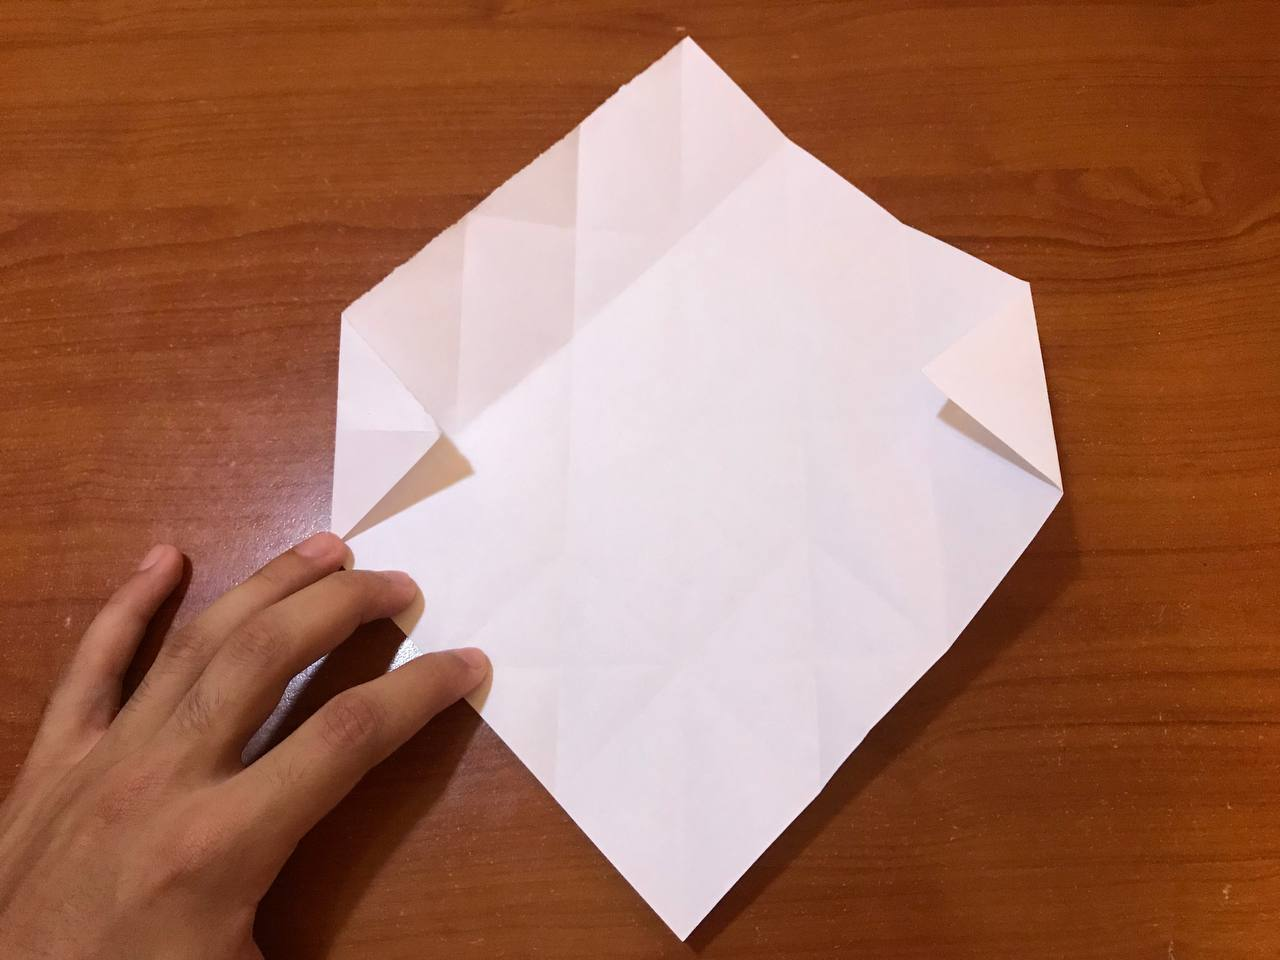
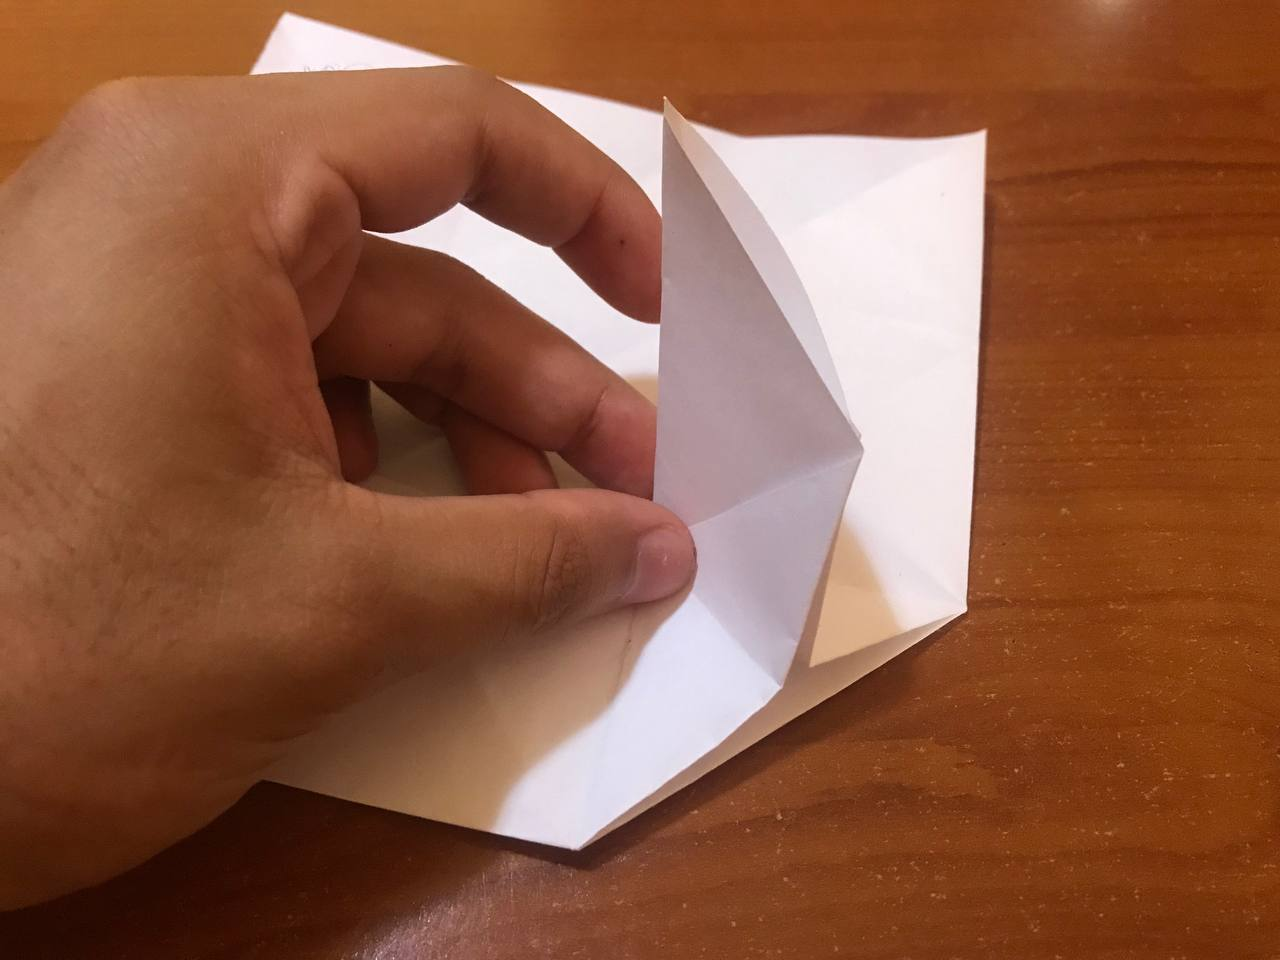
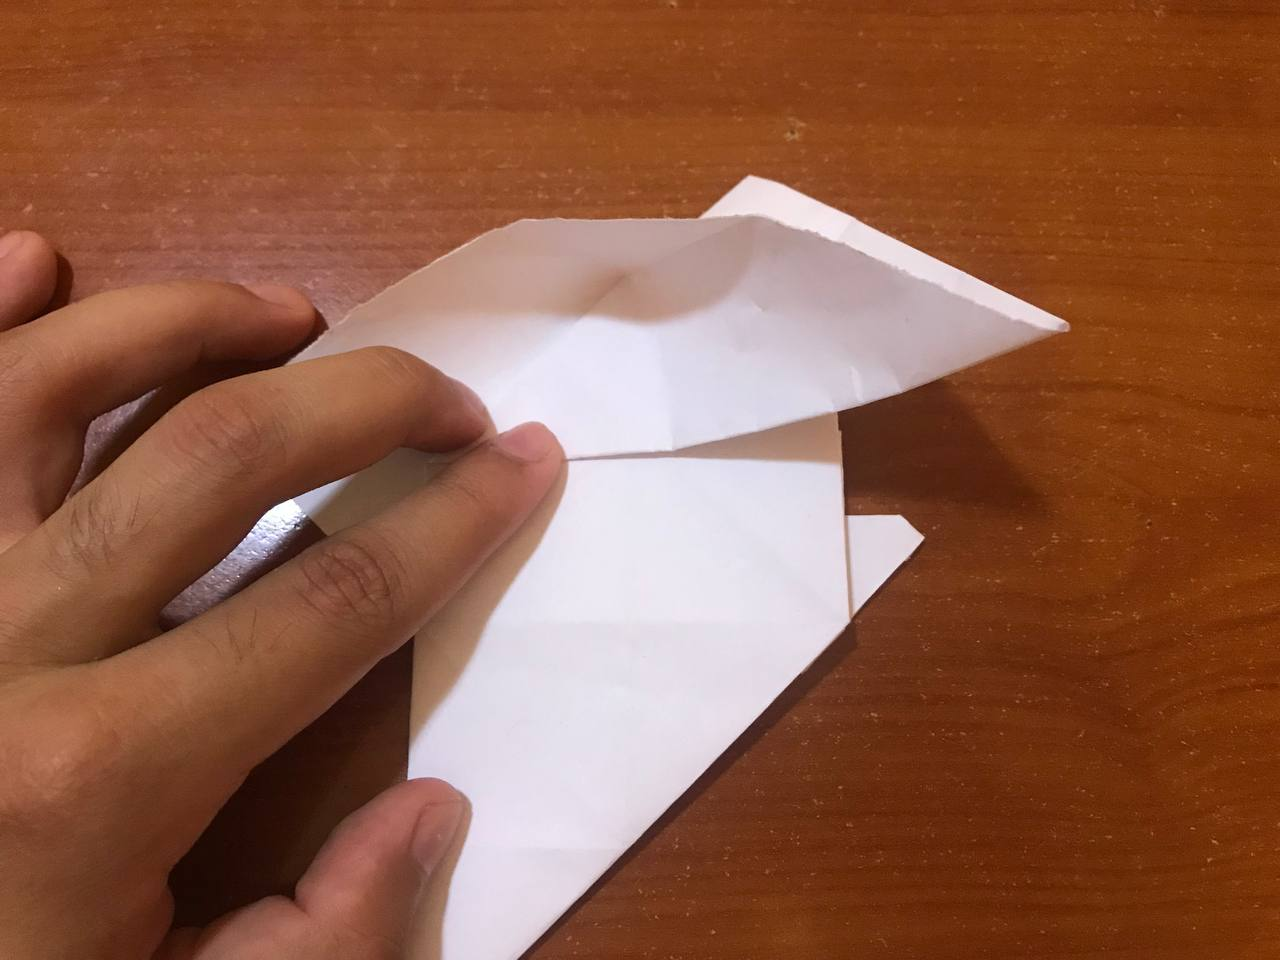
Then we are going to fold one of the tips of the leaf upwards very carefully so we can mark that line, we open and we are going to take that tip a little higher without disassembling the triangle that is noticeable and we flatten it again, with the idea of marking that part very well. We do the same on the other side of the leaf.
Luego vamos a doblar una de las puntas de la hoja, hacia arriba con mucho cuidado para así poder marcar dicha línea, abrimos y vamos a llevar esa punta un poco más arriba sin que se desarme el triángulo que se nota y volvemos a aplastar, con la idea de marcar muy bien esa parte. Eso mismo lo hacemos en el otro lado de la hoja.
|
 |
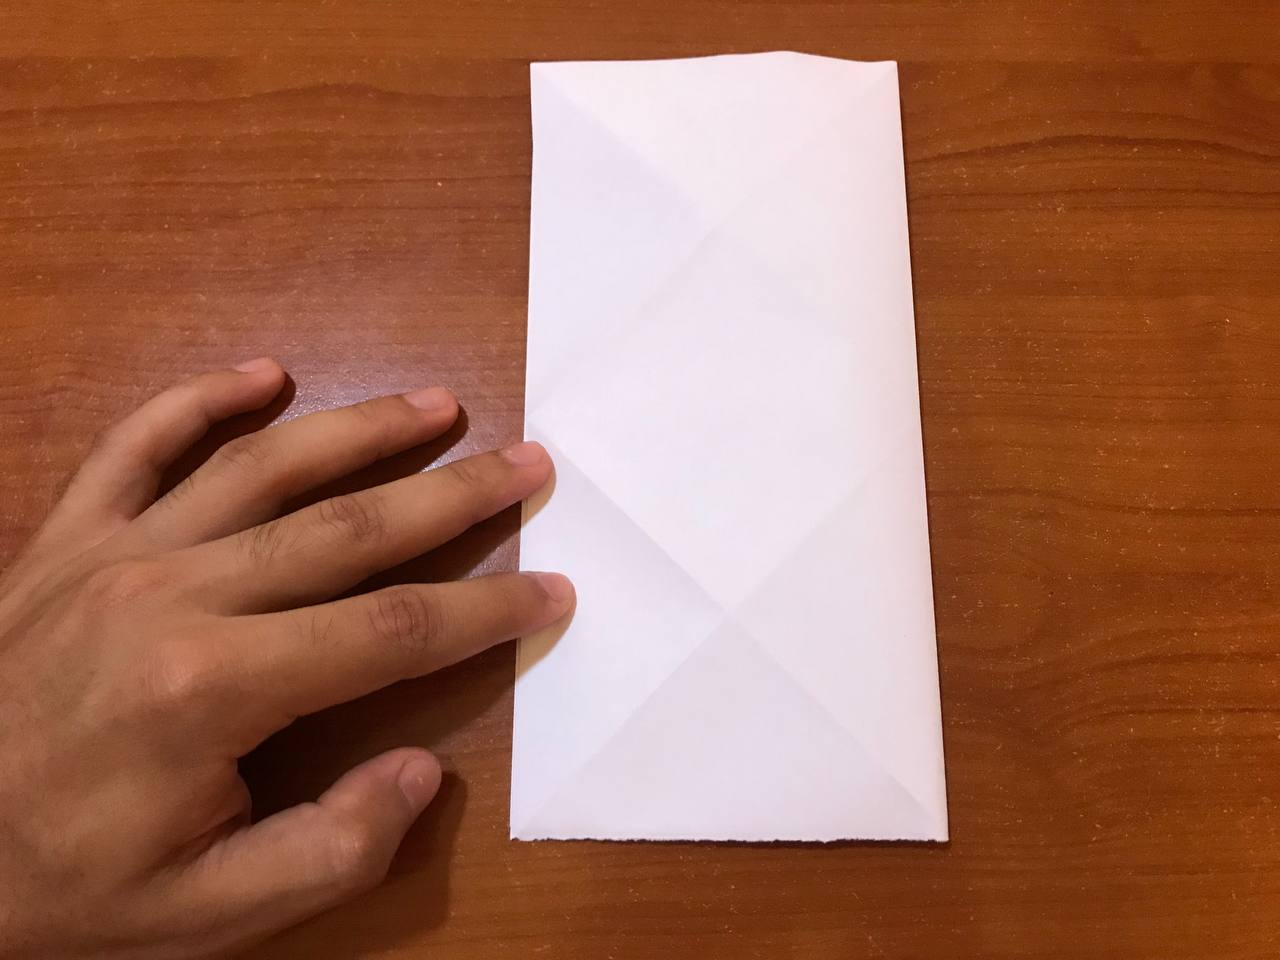
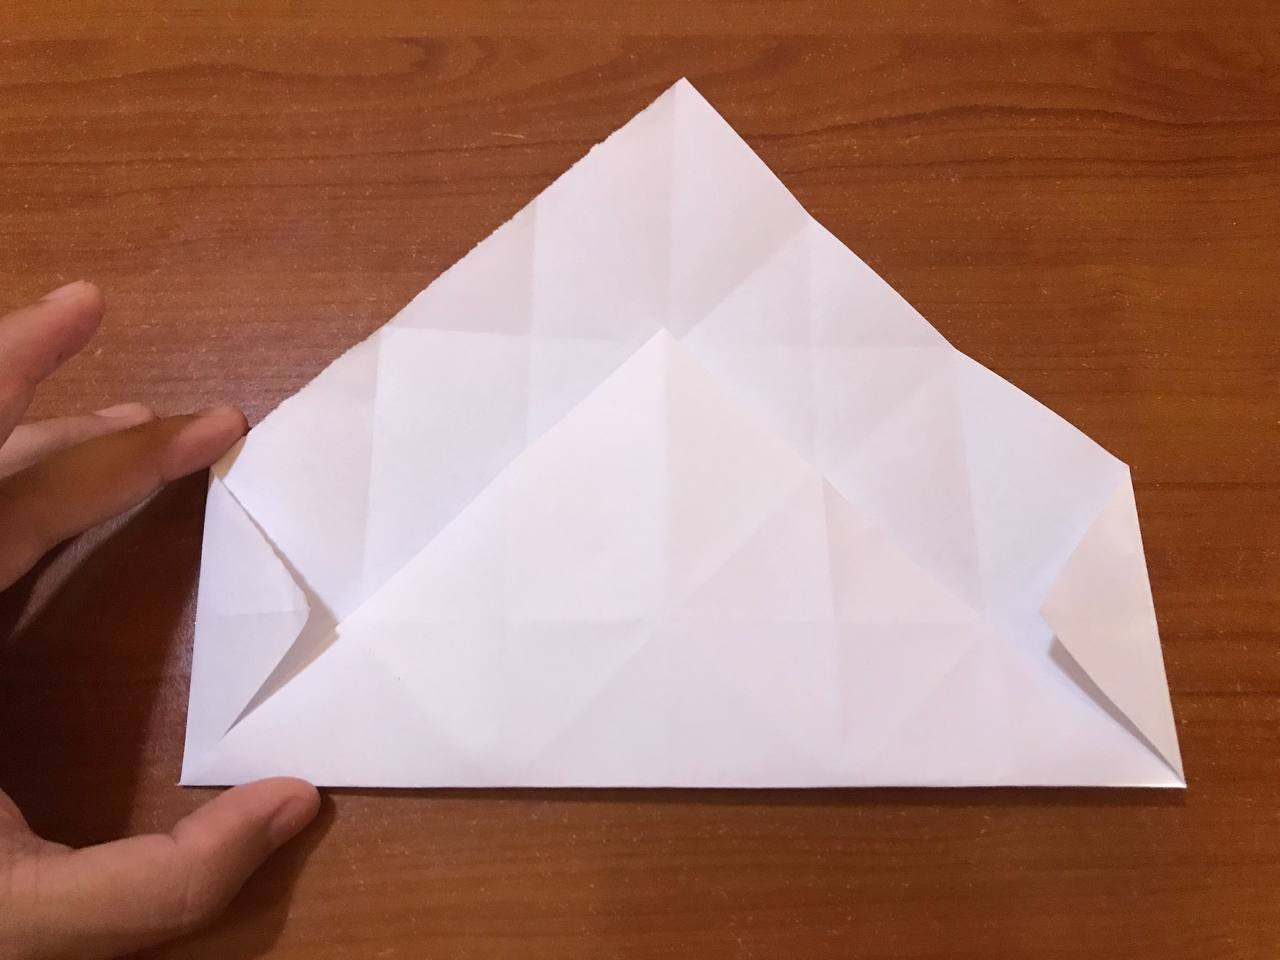
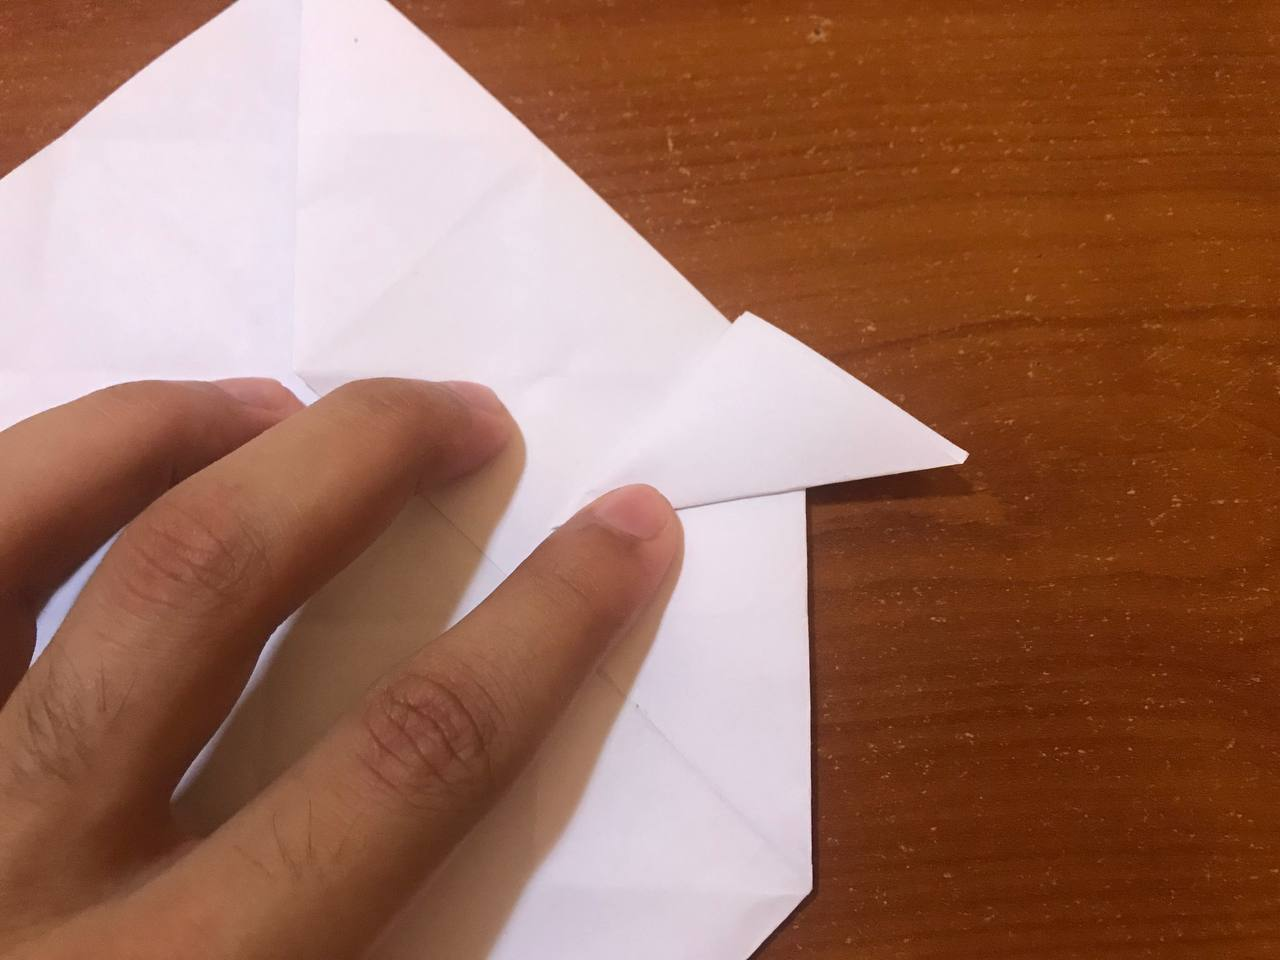
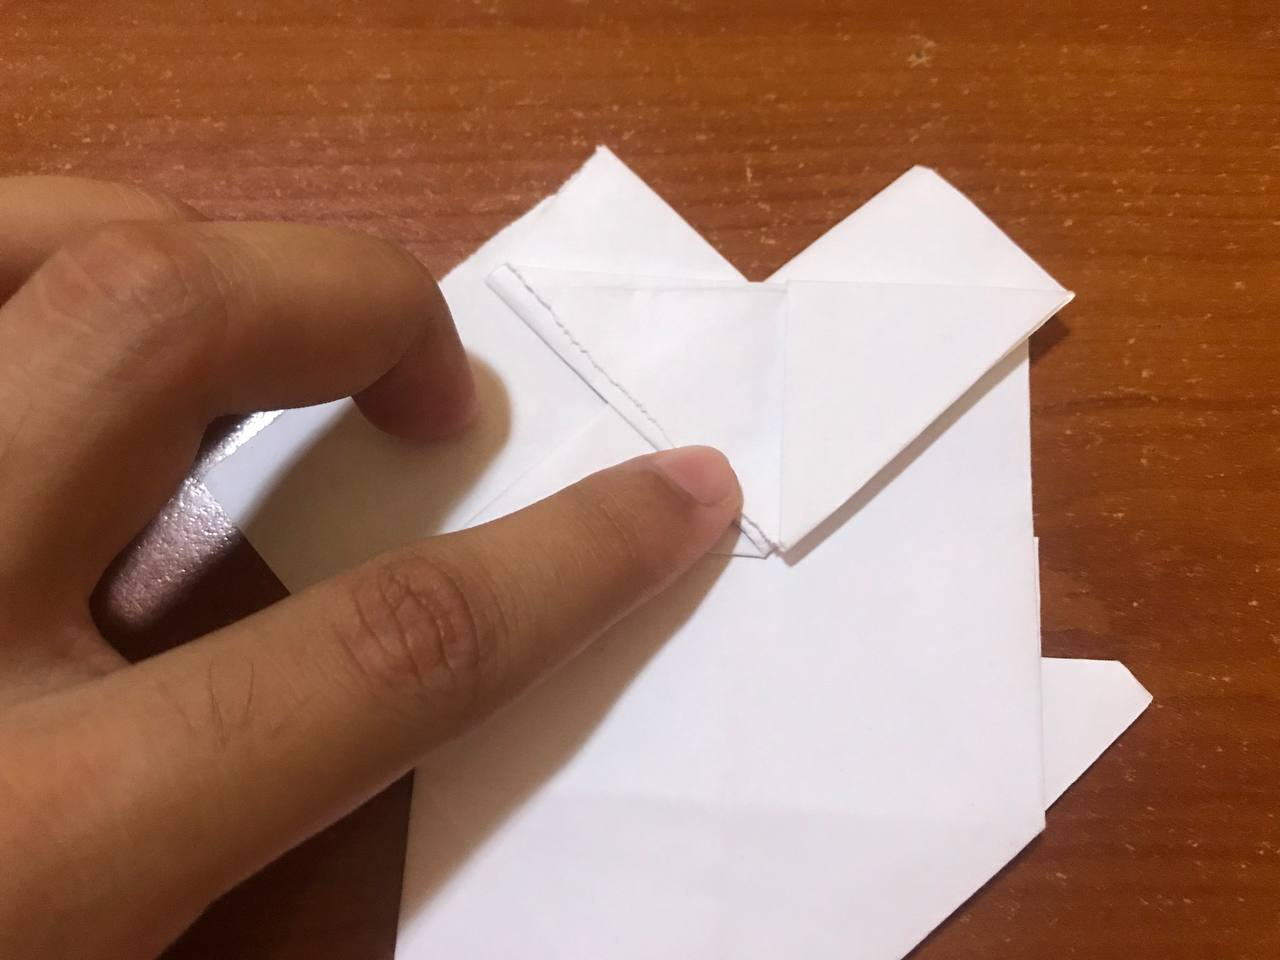
So far, what we have done in the previous steps is to fold each part of the paper in its minimum expression and thus can be marked lines on the sheet, something that will help us in the following steps in order to assemble our paper horse. Now we are going to take the two ends that we folded in the previous step and fold it again, with the idea of bringing the bottom part up to the line of the triangle as shown in the photos, we will do the same on the part of the sheet.
Hasta el momento, lo que hemos realizado en los pasos anteriores es ir doblando cada parte del papel en su mínima expresión y de esa manera puedan quedar marcadas las líneas sobre la hoja, algo que nos ayudará en los siguientes pasos para así poder armar nuestro caballo de papel. Ahora vamos a tomar las dos puntas que doblamos del paso anterior y la volvemos a doblar, con la idea de llevar la parte de abajo hacia arriba hasta la línea del triángulo como se nota en las fotos, eso mismo lo haremos en la parte de la hoja.
|
 |
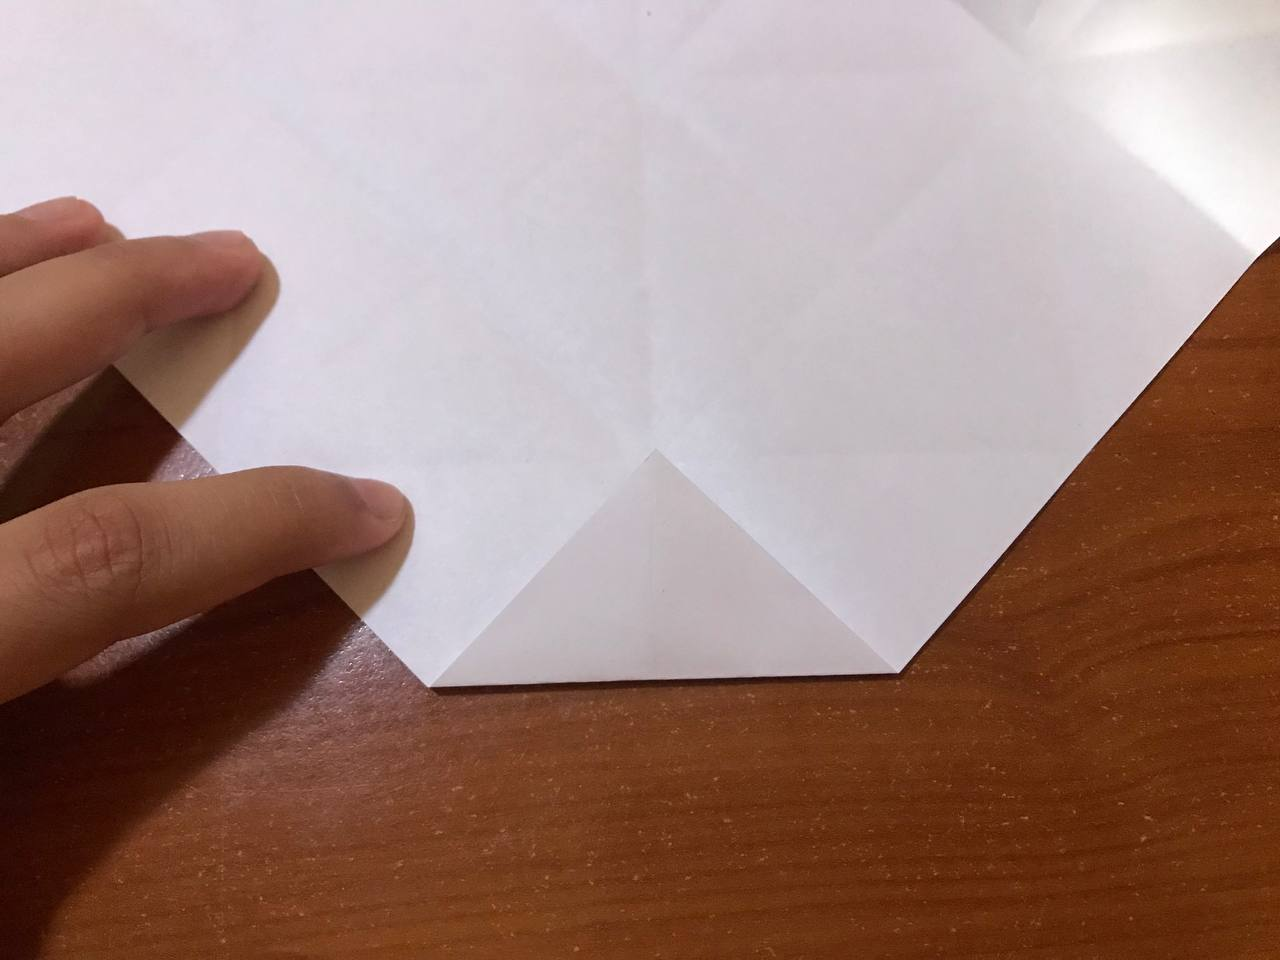
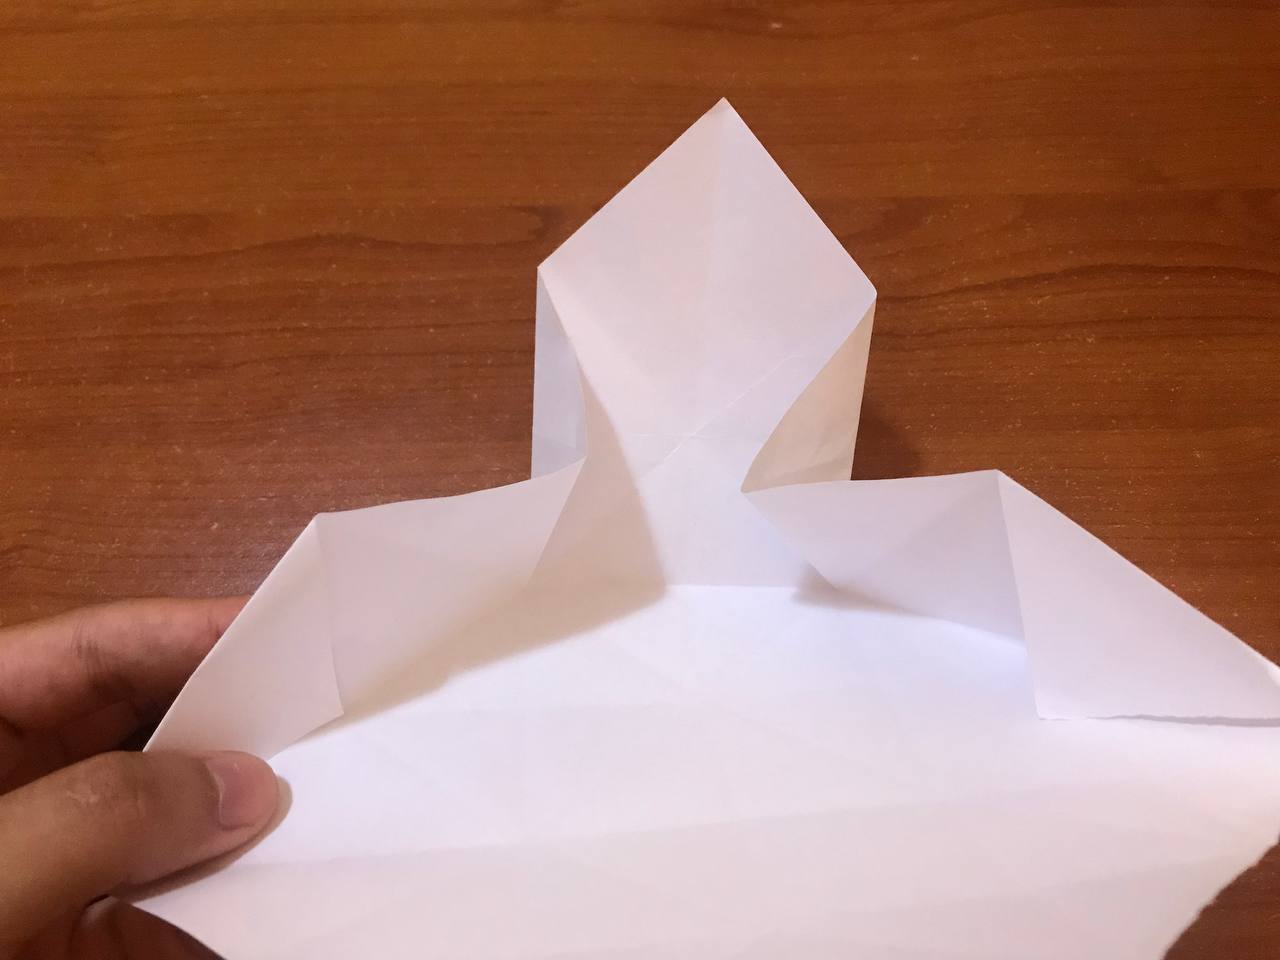
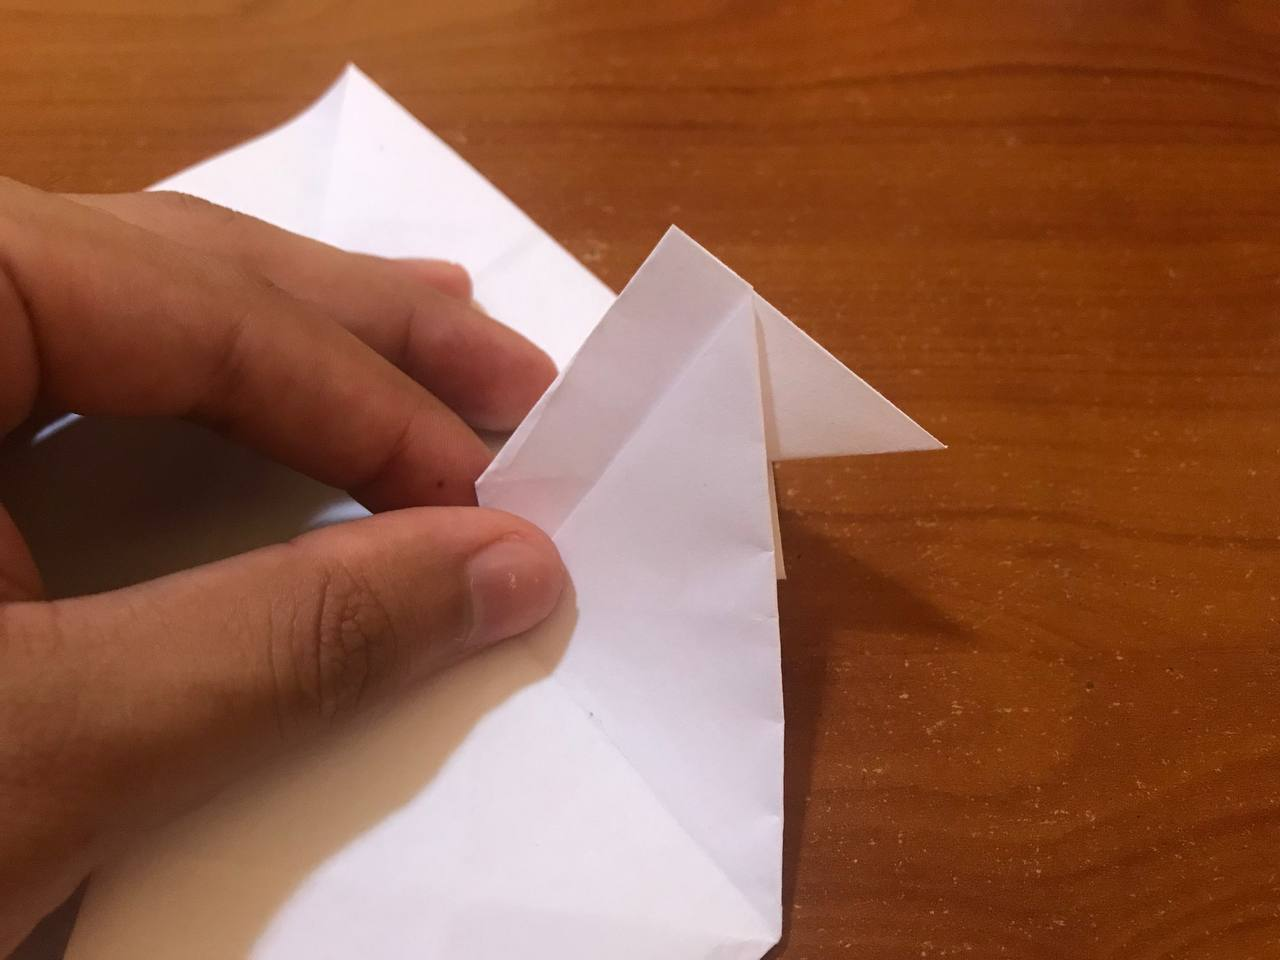
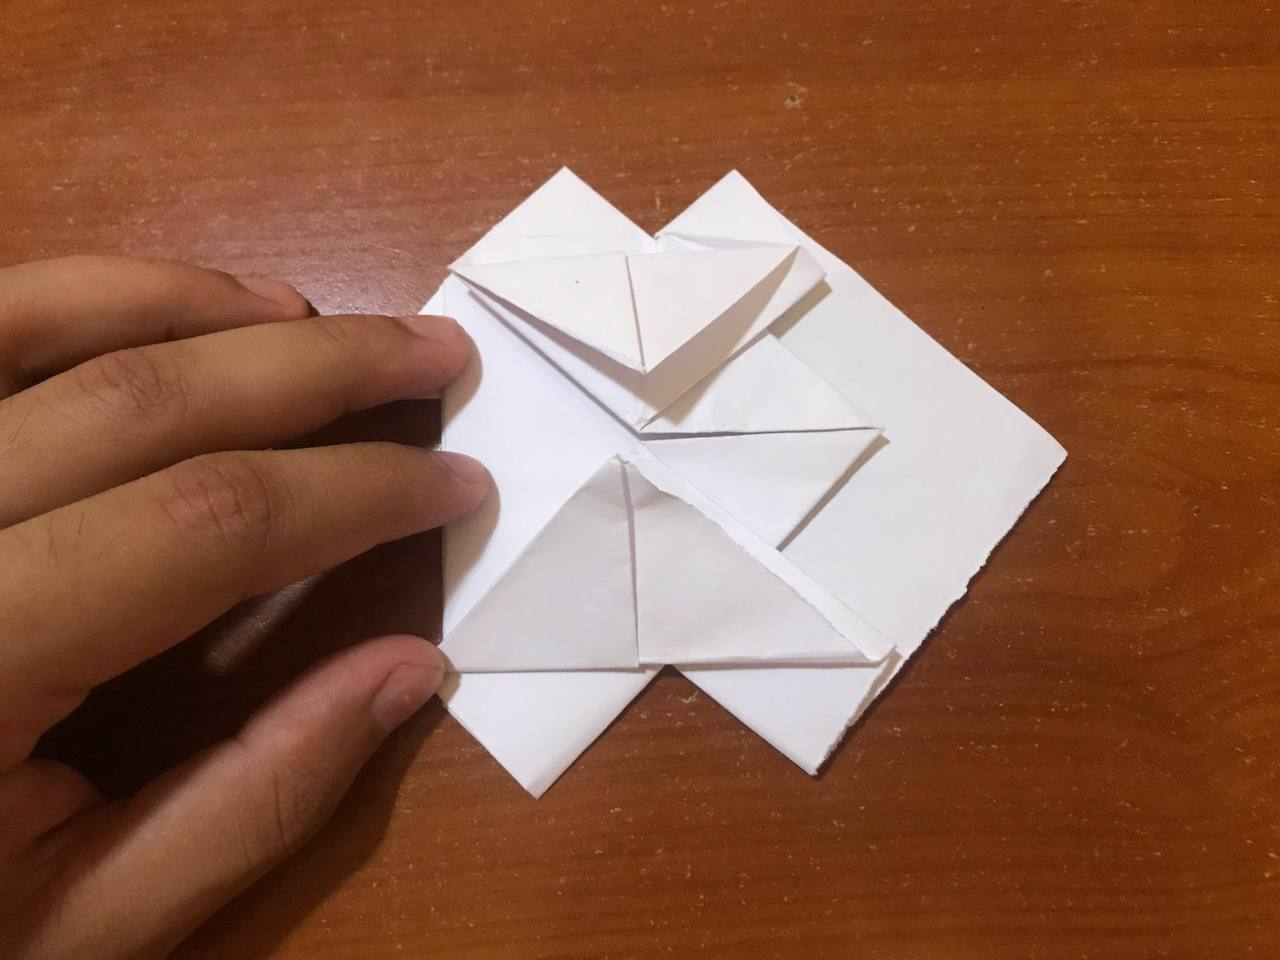
Now we are going to take the sides of our sheet to be able to fold, however, at the top they will collide and there we will have to make a small fold on both sides to make it easier to fold and get our origami. To then bring it down and all that very well folded, it will look like this.
Ahora vamos a tomar los laterales de nuestra hoja para así poder doblar, sin embargo, en la parte de arriba van a chocar y allí tendremos que hacer un pequeño pliegue en ambas partes para que sea más fácil doblar y conseguir ir armando nuestro origami. Para luego llevar hacia abajo y todo que muy bien doblado, nos quedará de la siguiente manera.

|
|
|
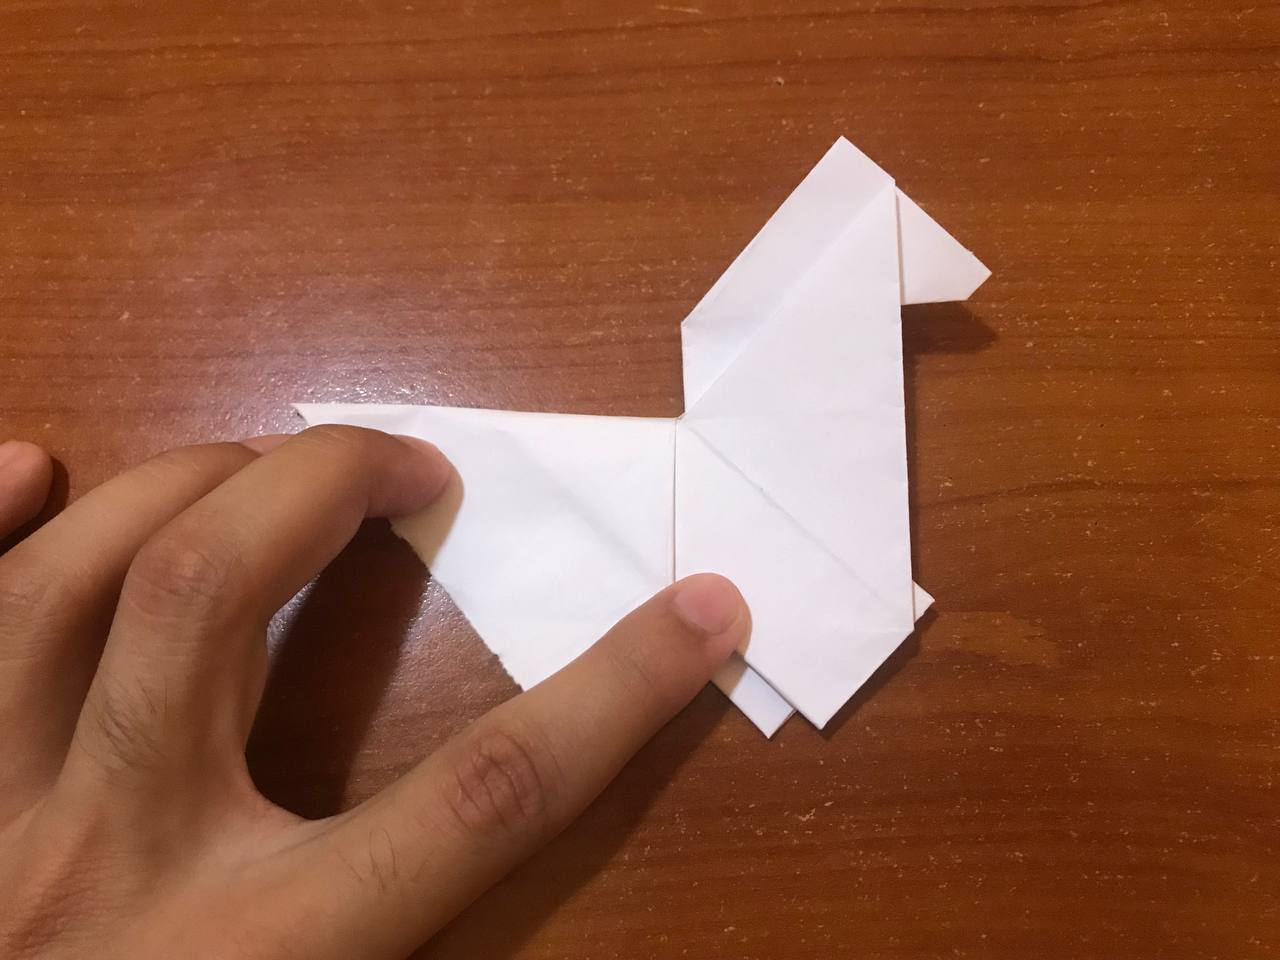
To make the head what we have to do is to take the part that we folded in the previous step and very carefully we will lift it a little so that it joins, once that is ready, we will fold to one side to mark a line and now we open to make a fold inward and flatten. With that the horse's head will be completely ready.
Para hacer la cabeza lo que tenemos que hacer es tomar la parte que doblamos en el paso anterior y con mucho cuidado vamos a levantarla un poco para que así se una, una vez listo eso, vamos a doblar hacia un lado para marcar una línea y ahora abrimos para hacer un pliegue hacia adentro y aplastamos. Con eso la cabeza del caballo estará totalmente lista.
|
|
|
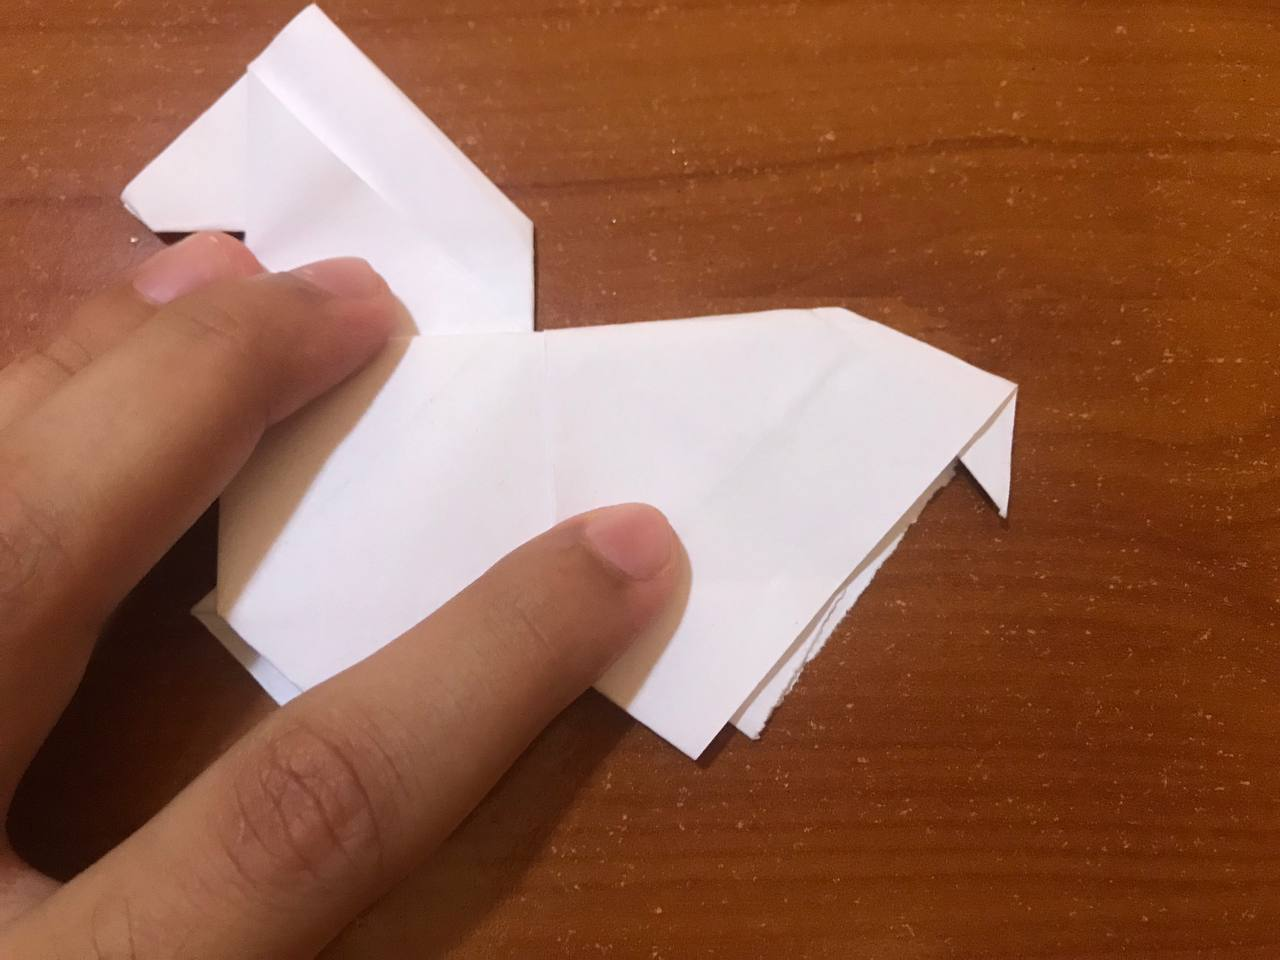
To make the legs of this origami, you need a lot of concentration and make the fold very well so that it comes out very well. Where we are going to turn our sheet and at each of the ends we are going to make a small fold out of the sheet, so we can mark a line on the sheet, we proceed to flatten and the piece of sheet that will remain protruding we fold it inward and there will be the two legs of this our horse. Repeat on the part below the leaf.
Para hacer las patas de este origami, se necesita de mucha concentración y hacer el doblez muy bien para que salga muy bien. Donde vamos a voltear nuestra hoja y en cada uno de los extremos vamos a realizar un pequeño dobles hacia fuera de la hoja, para así poder marcar una línea en la hoja, procedemos a aplastar y el pedazo de hoja que nos quedara sobresaliente lo doblamos hacia dentro y estarán allí las dos patas de este nuestro caballo. Repetir en la parte debajo de la hoja.
|
 |
|
 |
Once that is ready we are going to fold the sheet in half and in this way we will be able to obtain what would be the hair, without a doubt we are going to make some small doubles in the tail and the top part so that it is more striking.
Una vez listo eso vamos a doblar la hoja por la mitad y de esa manera poder obtener lo que sería el cabello, sin duda vamos a realizar unos pequeños dobles en la cola y la parte de arriba para que así quede más llamativo.
|
 |
Finally, with the help of a pencil, we place what is part of the nose and eyes and in this way we finish what would be this horse origami.
Por último, con la ayuda de un lápiz, le colocamos lo que es parte de la nariz y los ojos y de esa manera damos por terminado lo que sería este origami de caballo.


Resultado // Result
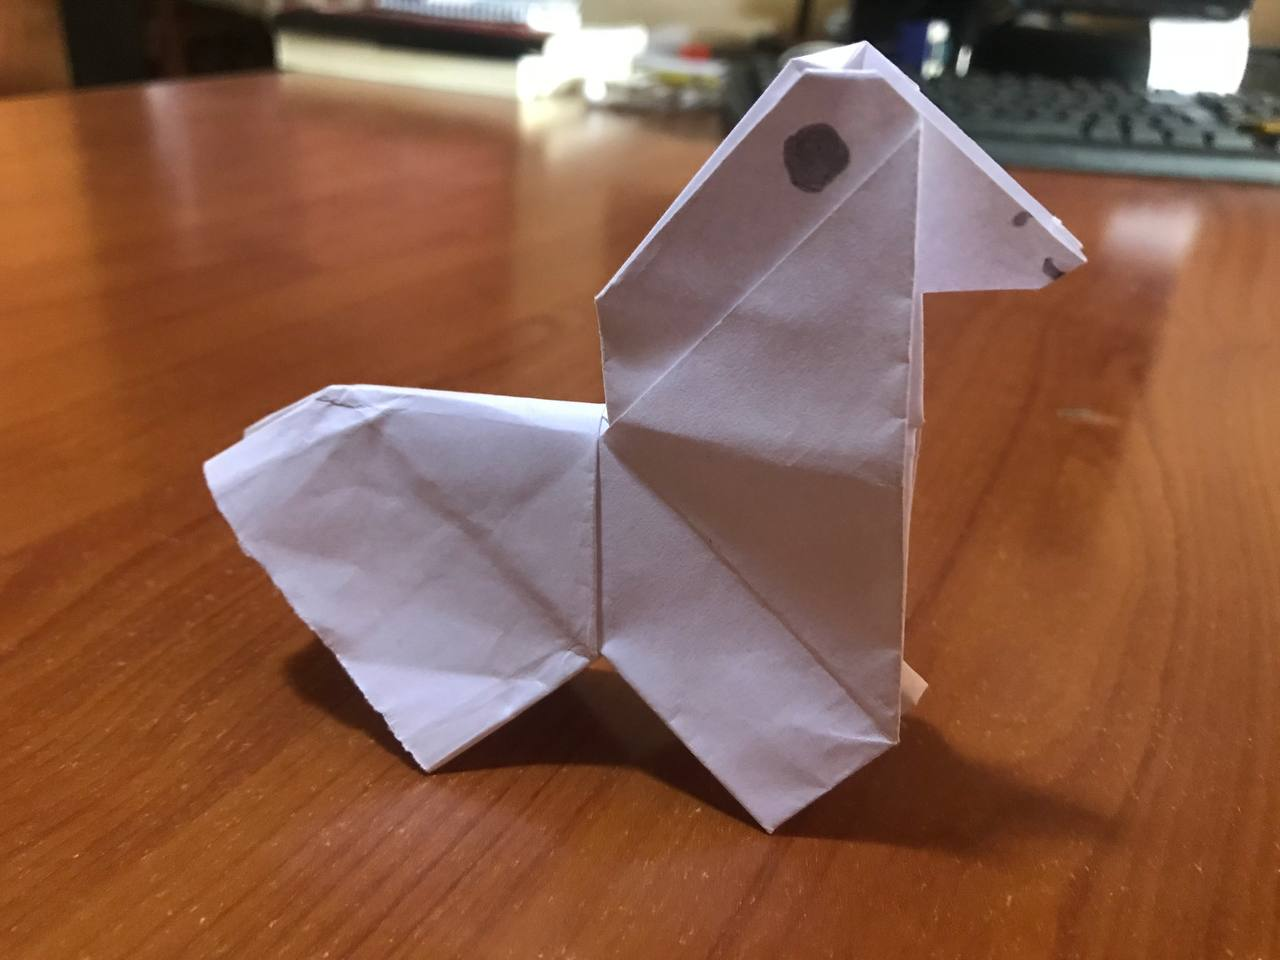
A very practical origami and the interesting thing is the amount of folds that have to be done in order to obtain a lot of lines that will help us to get this very attractive result of this hair. So this paper origami will be useful for many things. You can vary the size with a smaller square and thus achieve a large collection, where it is perfect to play, give it as a gift and many other things. So see you next time with another origami.
Un origami muy práctico y lo interesante es la cantidad de doblez que se tienen que hacer para así poder obtener una gran cantidad de líneas que nos servirán para así conseguir este resultado muy atractivo de dicho cabello. Así que este origami de papel te servirá para muchas cosas. Puedes variar el tamaño con un cuadrado más pequeño y de esa manera lograr una gran colección, donde es perfecto para jugar, regalarlo y muchas otras cosas. Así que nos vemos en la próxima con otro origami.
Fotos tomadas con un Iphone 7 // Photos prises avec un iPhone 7.