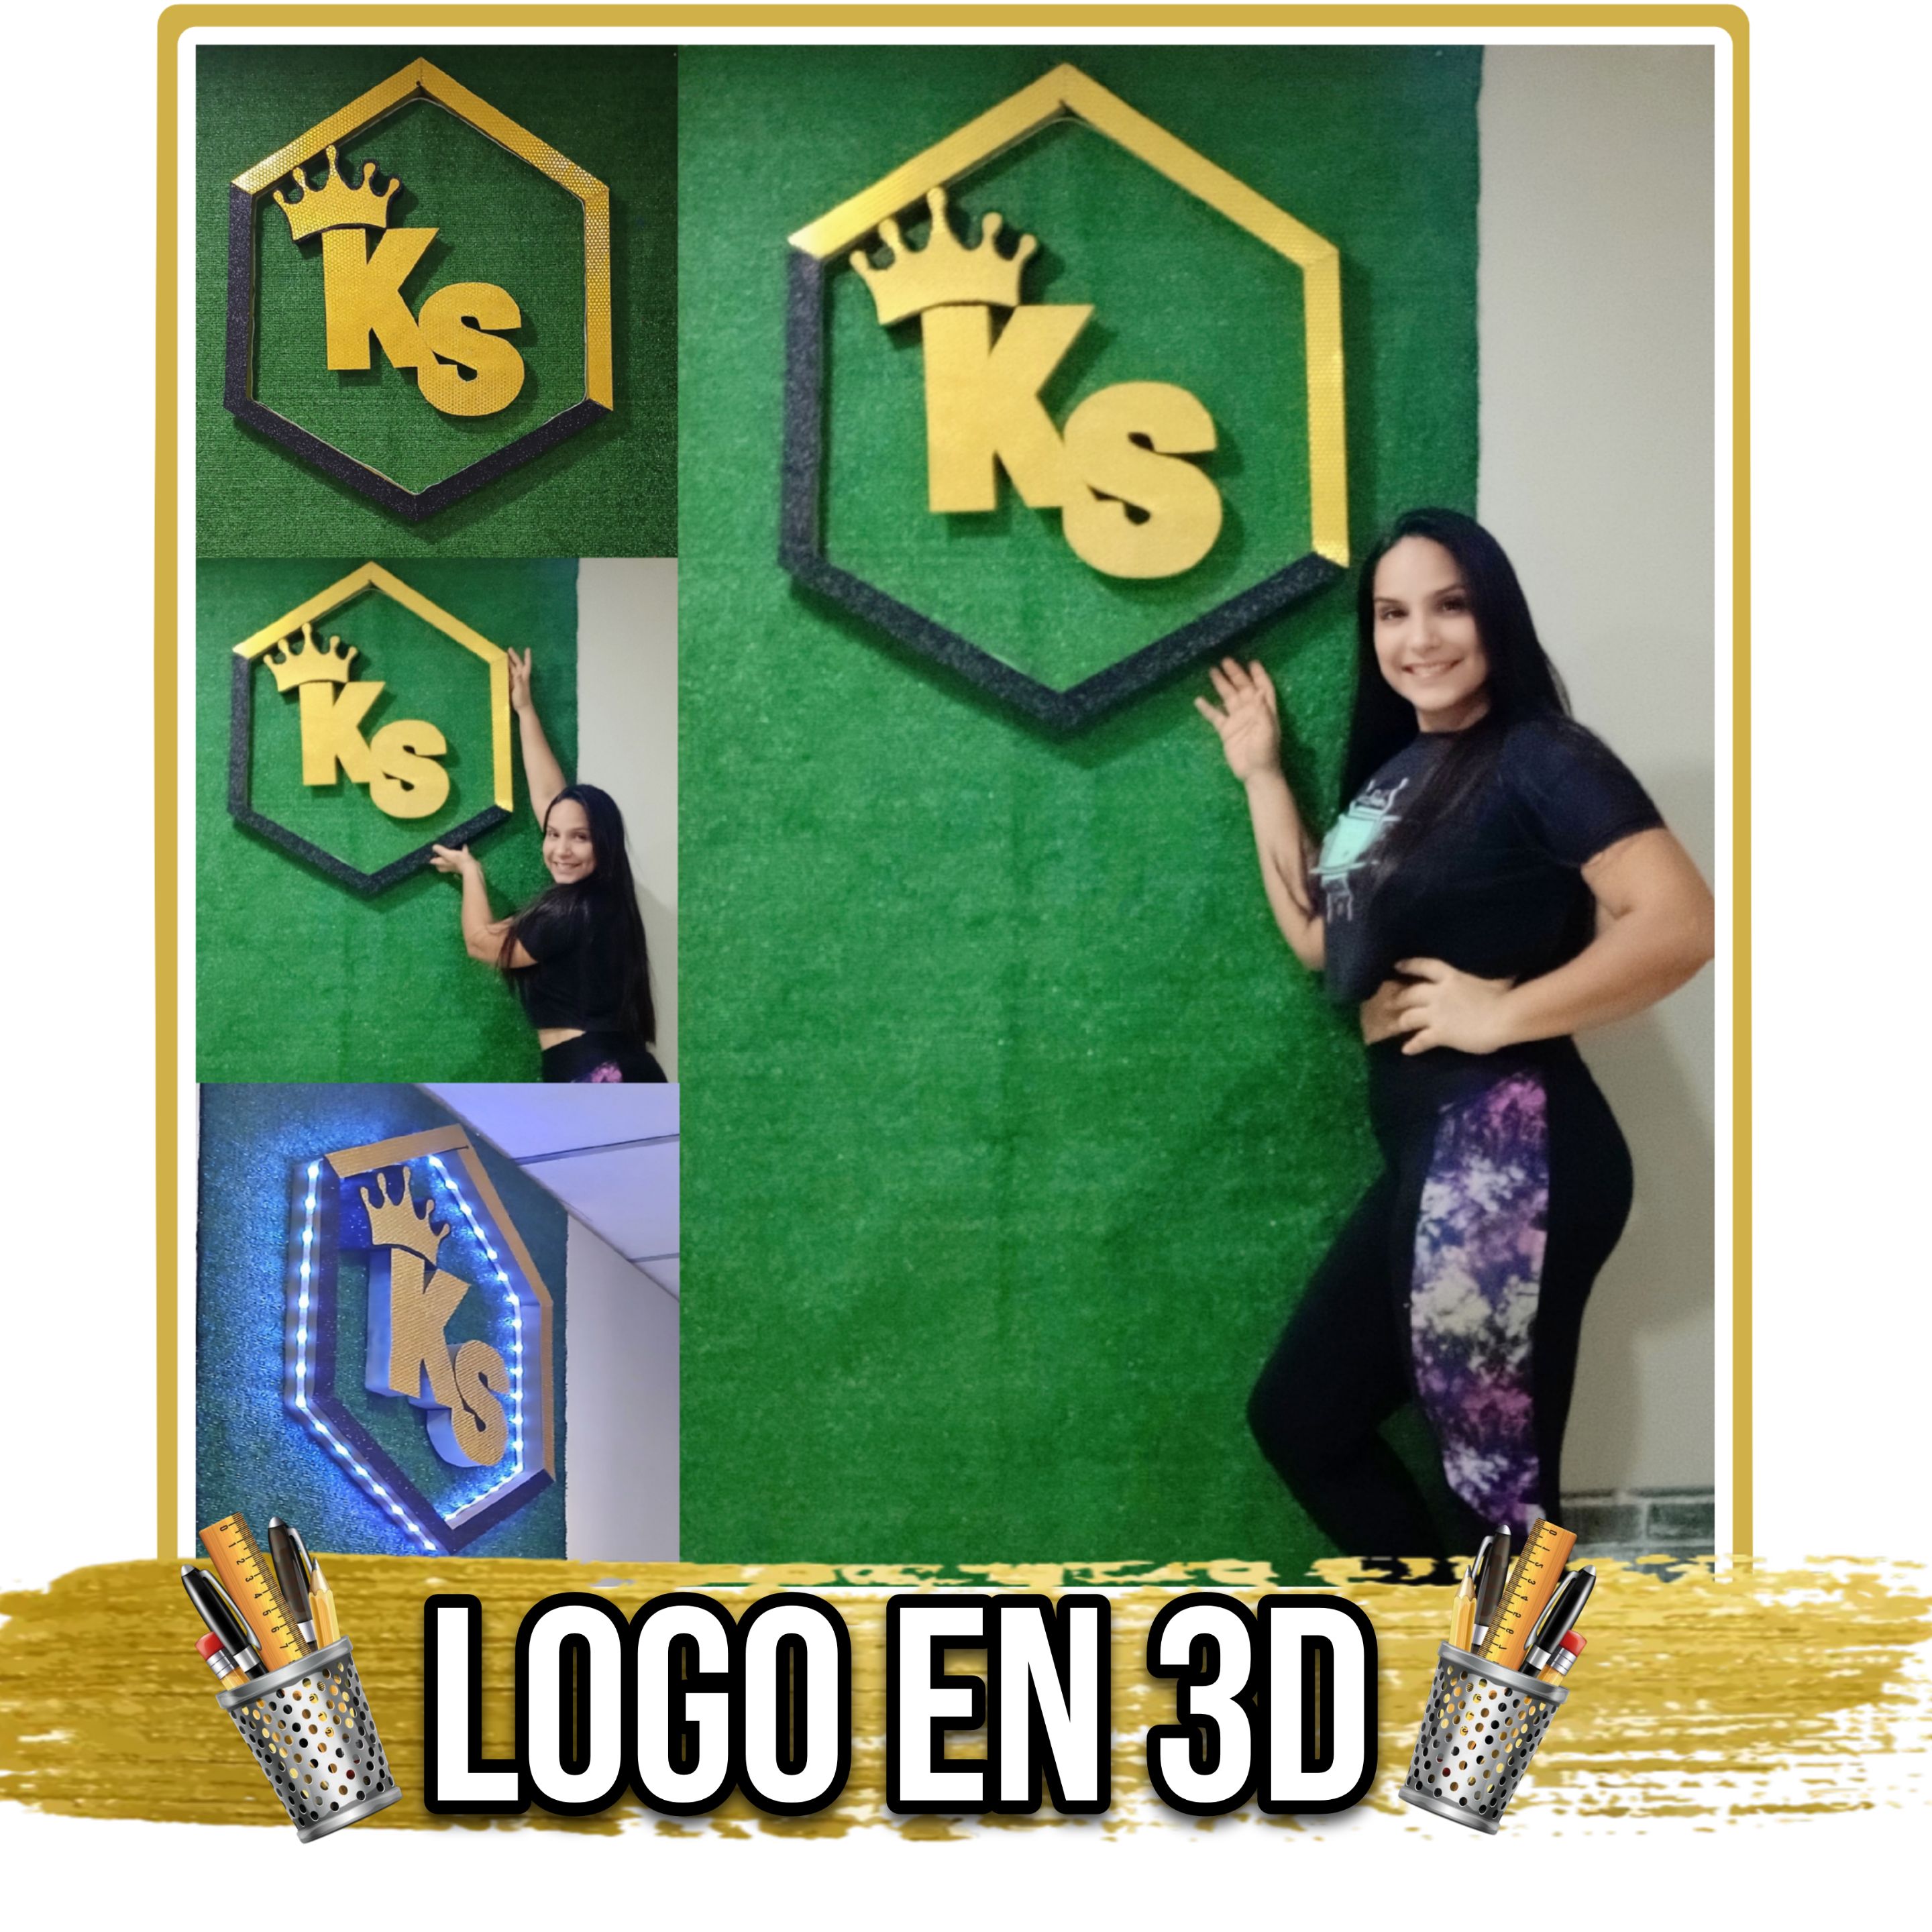
Hola, hola mis apreciados amigos artesanos, manualitas y artistas de ésta creativa comunidad #Hive-Diy, les saluda una vez más sua amiga @kathelopez77, deseándoles un excelente resto del día y éxitos. Estoy en desarrollo de un pequeño emprendimiento en mi casa, una Barbería studio, y necesitaba identificarla con un logo, pero mandarlo a hacer era muy costoso,por consiguiente obte por tomar la decisión de hacerlo yo misma, con materiales económicos, pero que me brindara un acabado profesional y elegante, en éste caso elegí materiales ligeros pero con volumen como el tecnopor, flexible y moldeable como el foami y rígido pero elegante como la cartulina decorativa o con textura, estos materiales me permitieron conseguir un buen resultado, así que aquí te muestro cómo lo hice.
Hello, hello my dear friends craftsmen, craftswomen and artists of this creative community #Hive-Diy, greetings once again from my friend @kathelopez77, wishing you an excellent rest of the day and success. I am developing a small business at home, a Barber shop studio, and I needed to identify it with a logo, but sending it to do it was very expensive, therefore I decided to do it myself, with cheap materials, but that would give me a professional and elegant finish, in this case I chose light materials but with volume as the technopor, flexible and moldable as the foami and rigid but elegant as the decorative or textured cardboard, these materials allowed me to get a good result, so here I show you how I did it.

- Tecnopor de 1.8 de espesor.
- Letras Moldes K y S.
- Molde de corona.
- Foami escarchado negro.
- Cartulina dorada y con textura de puntos doradas.
- Exacto.
- Cuchillo pequeño filo liso.
- Reglas.
- Pistola de silicón
- Tijeras.
- Lápiz.
- Tecnopor of 1.8 thickness.
- Molded letters K and S.
- Wreath mold.
- Black frosted Foami.
- Gold and gold dotted textured cardboard.
- Exact.
- Small smooth-edged knife.
- Rulers.
- Silicone gun
- Scissors.
- Pencil.

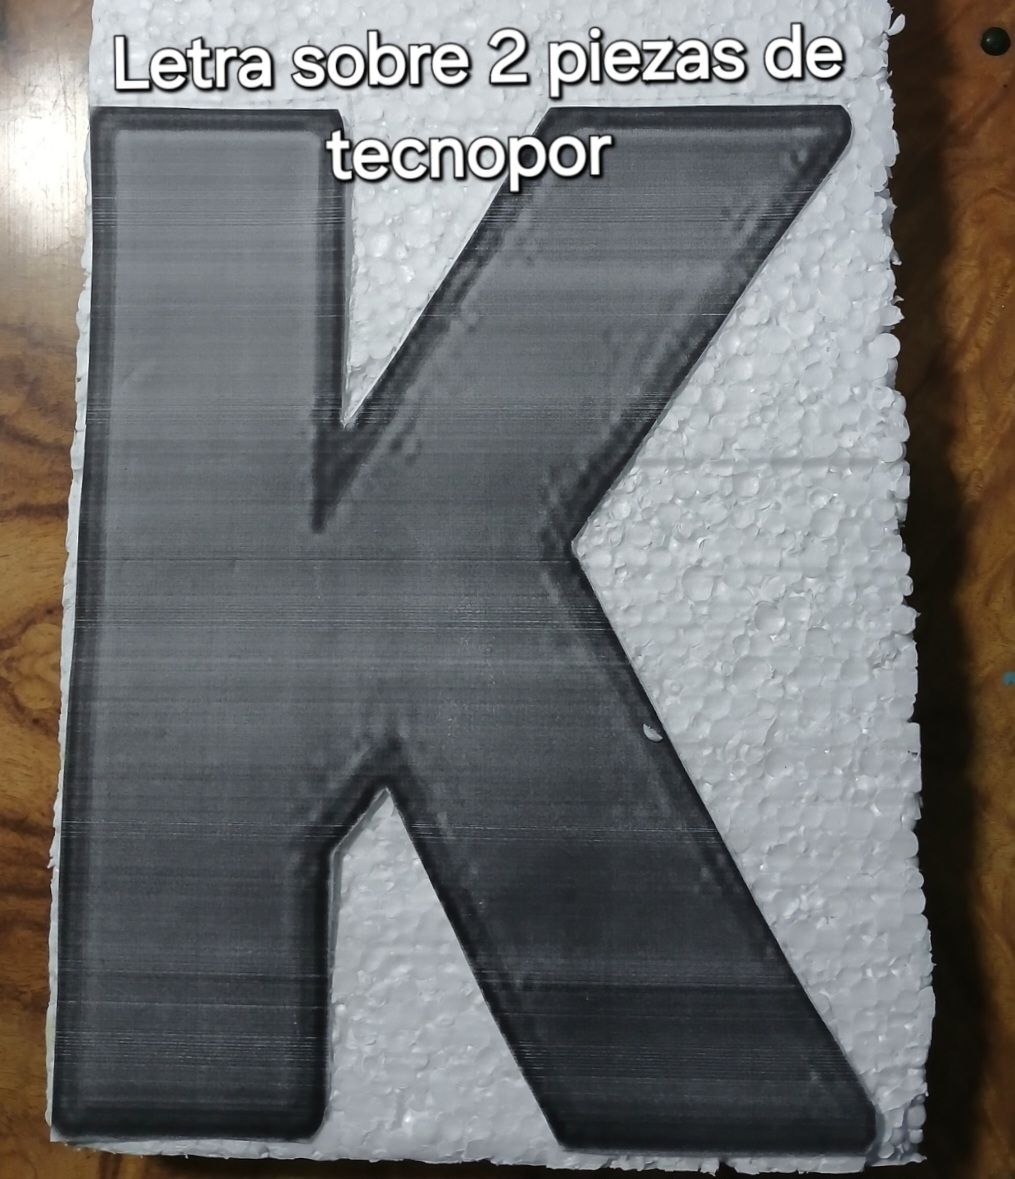
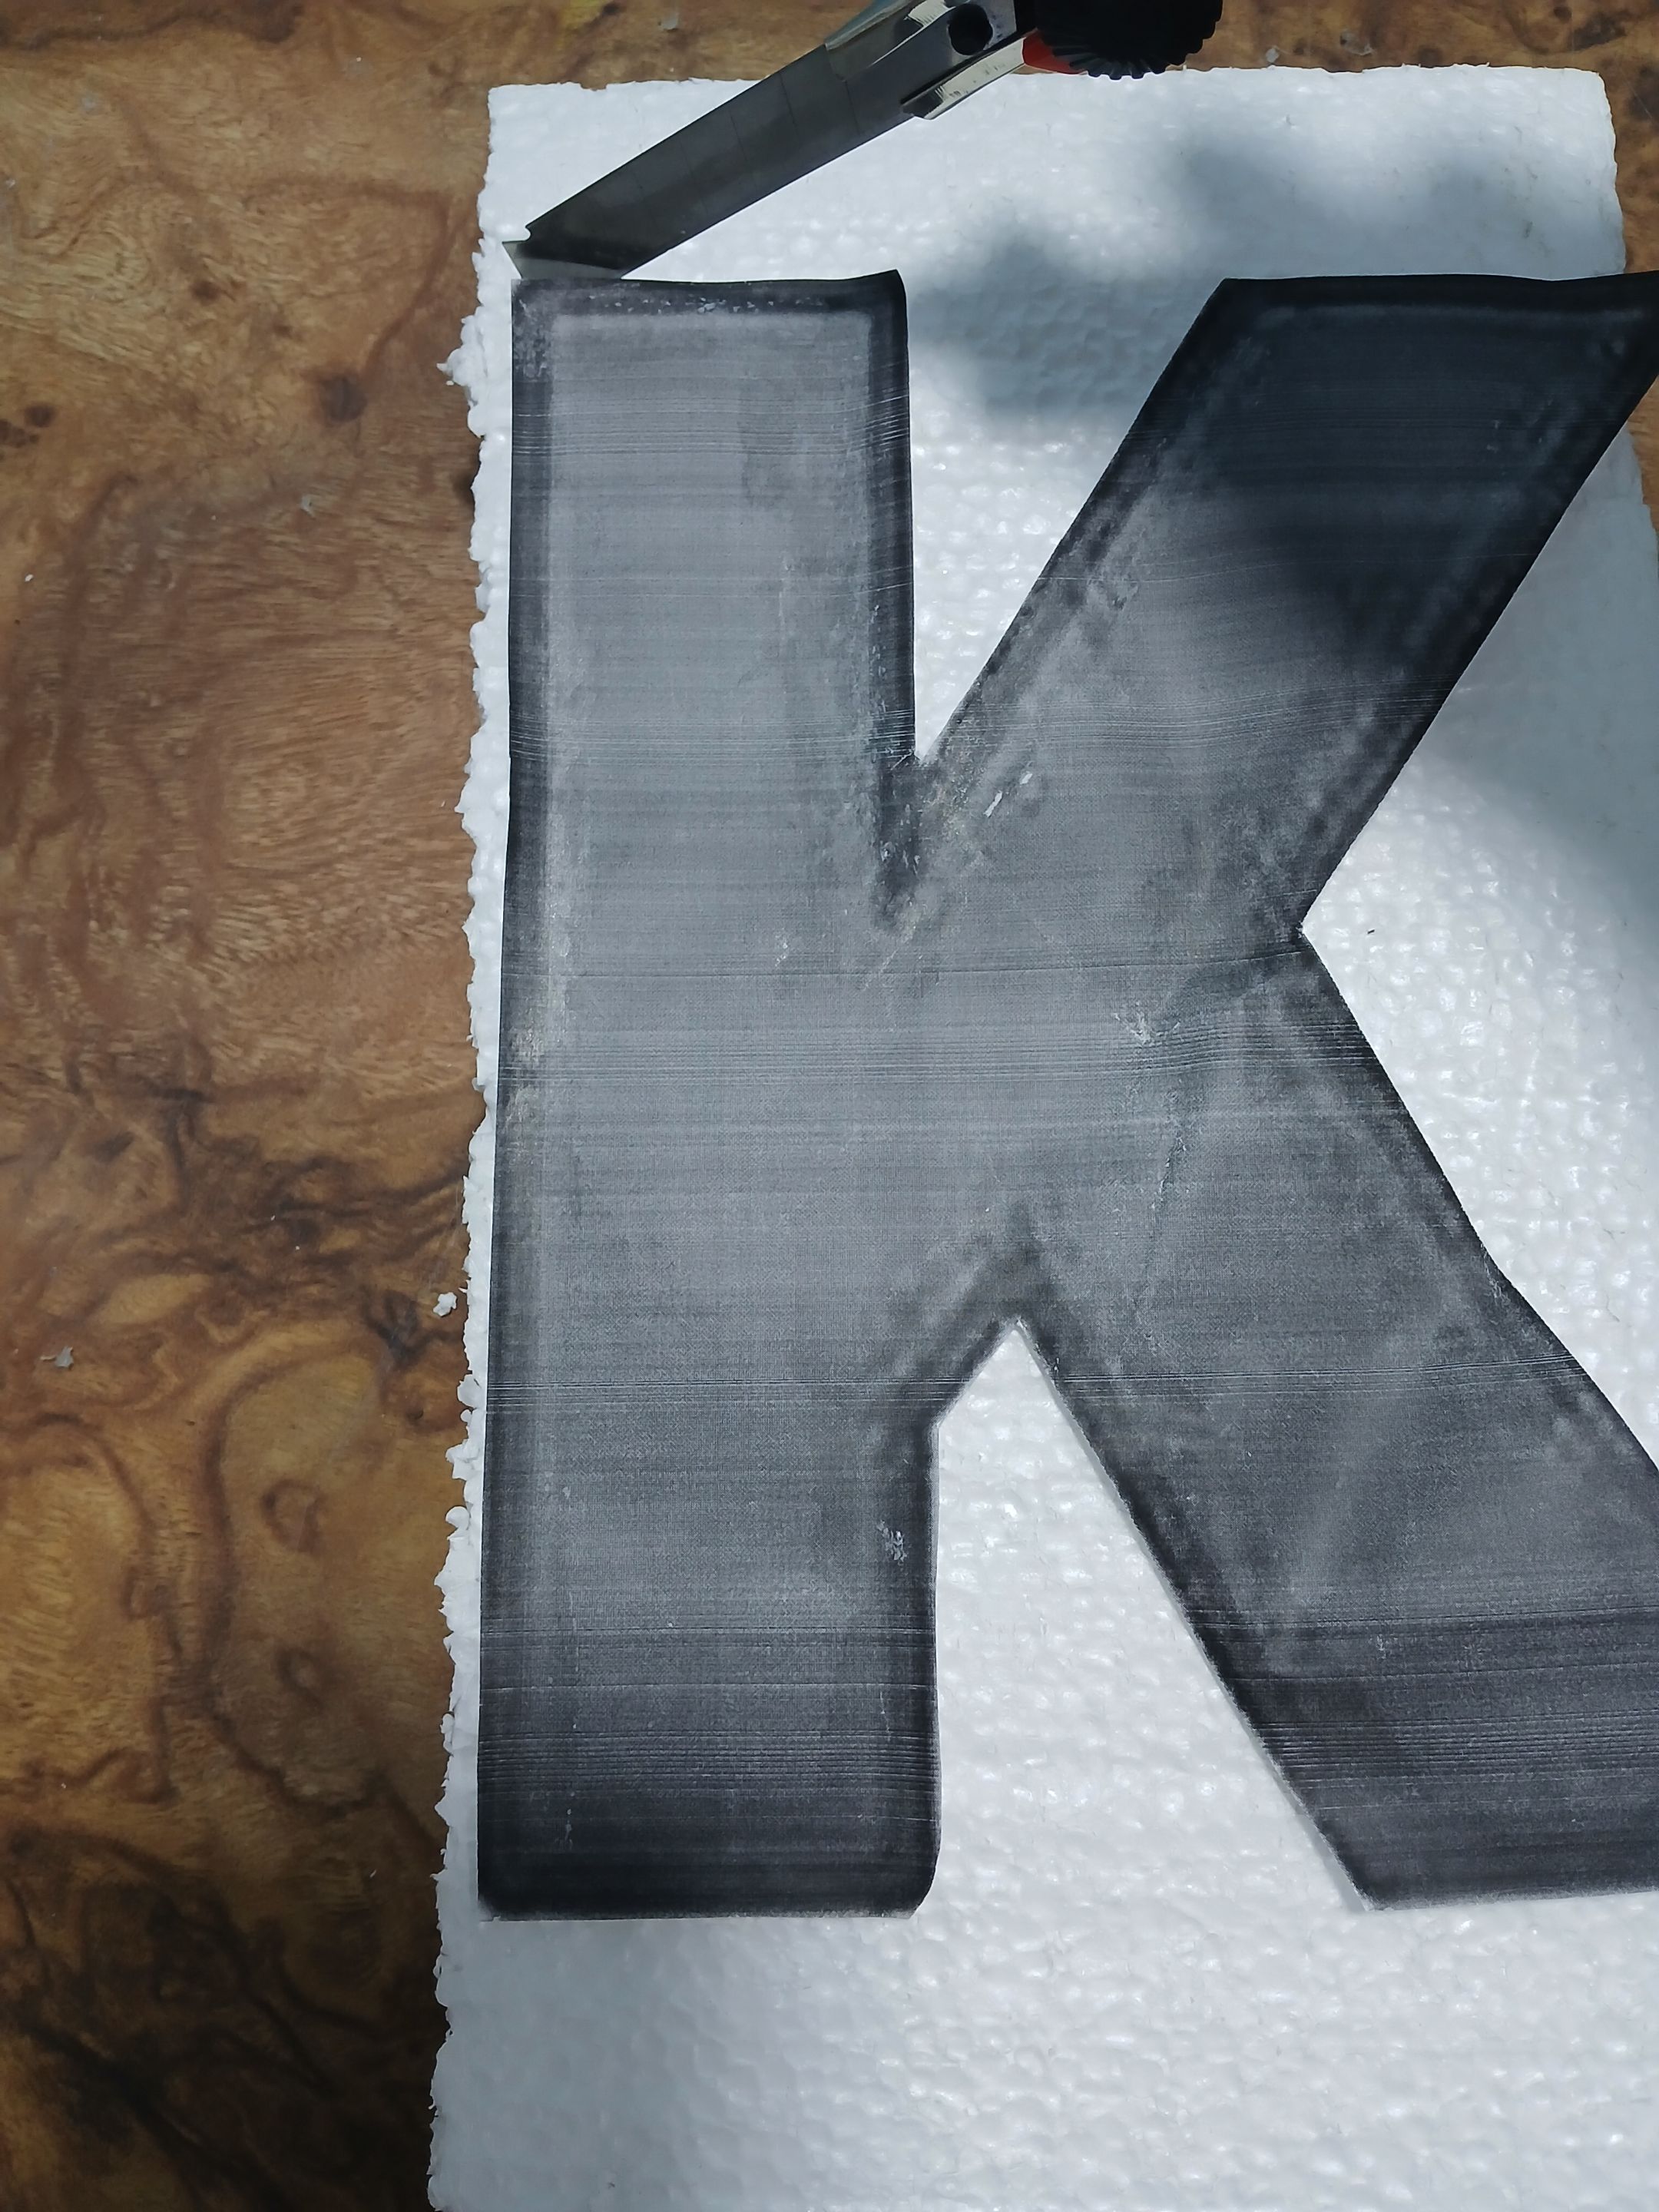
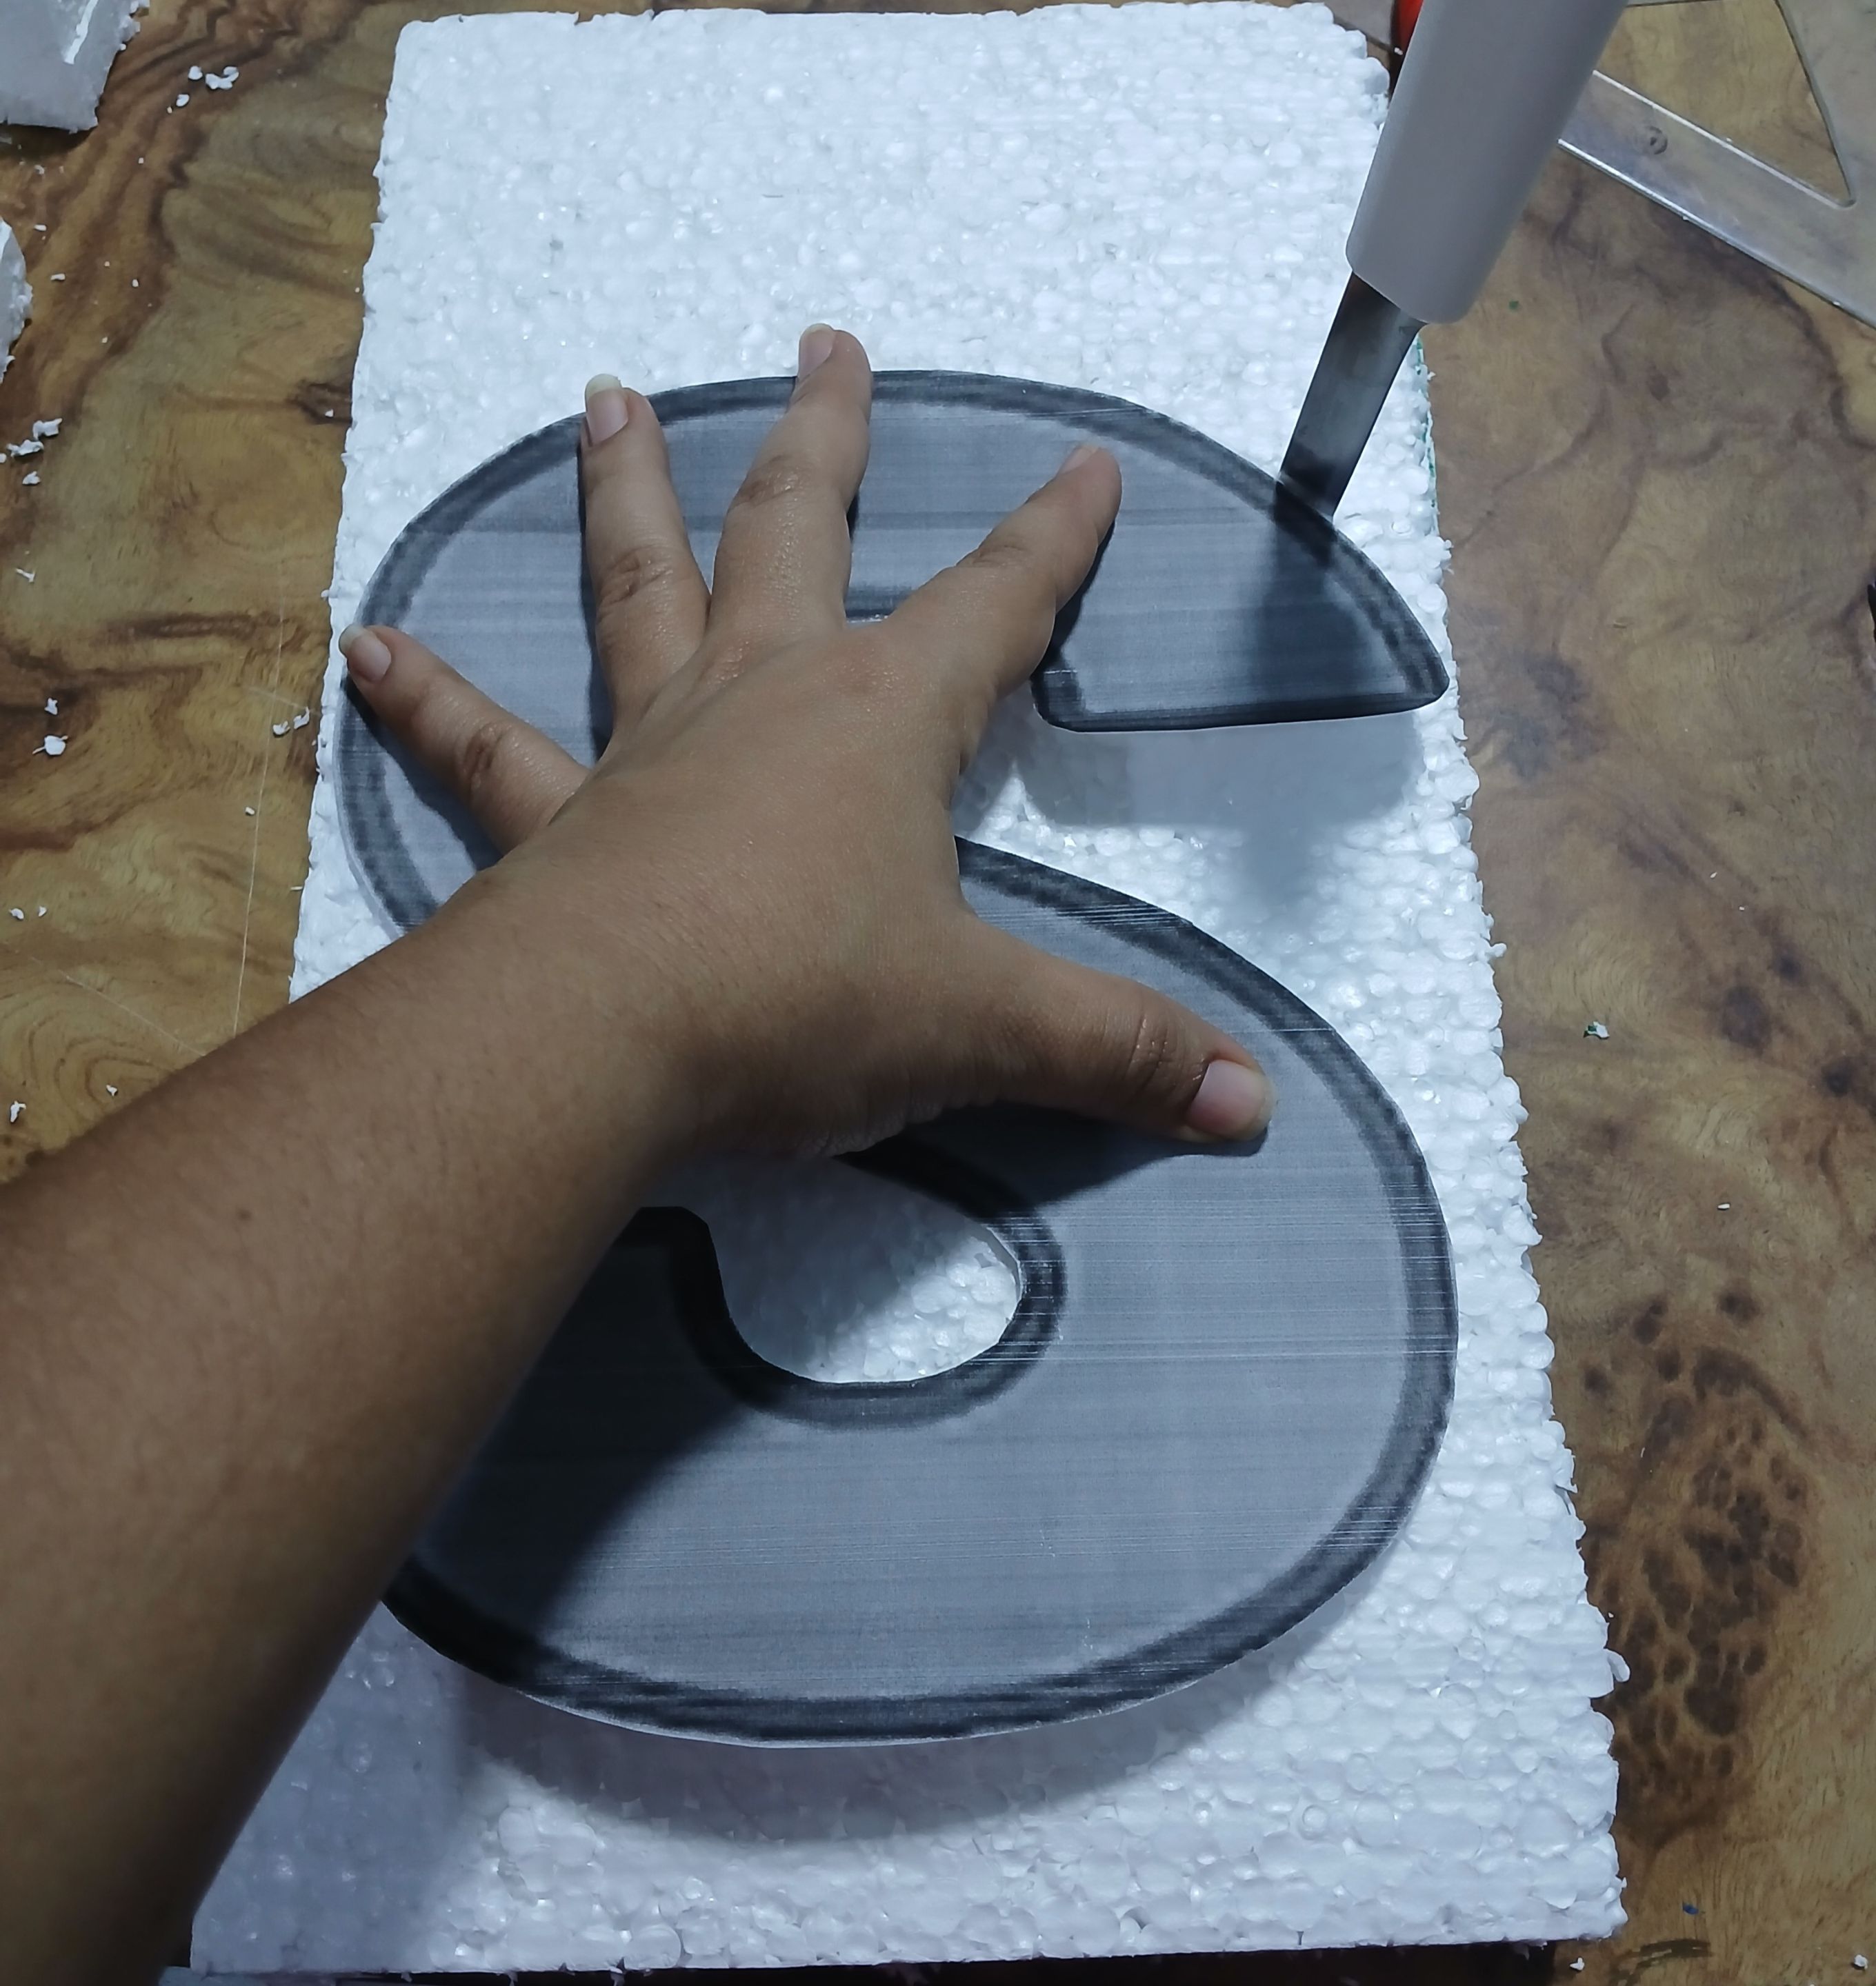
Para comenzar con la fabricación de estas letras en 3D, lo primero que hice fue tomar 2 piezas de tecnopor, unos cuantos centímetros másalto y másancho que las letras y las coloqué una encima de la otra y sobre estas 2 piezas de tecnopor, coloqué la letra "K" primero y luego este mismo procedimiento lo hice con la letra "S". Corté con el exacto y el cuchillo liso siguiendo la gorda de la figura.
To begin with the manufacture of these 3D letters, the first thing I did was to take 2 pieces of technopor, a few centimeters taller and wider than the letters and placed them one on top of the other and on these 2 pieces of technopor, I placed the letter “K ” first and then this same procedure I did with the letter “S ”. I cut with the exacto and the smooth knife following the fat of the figure.
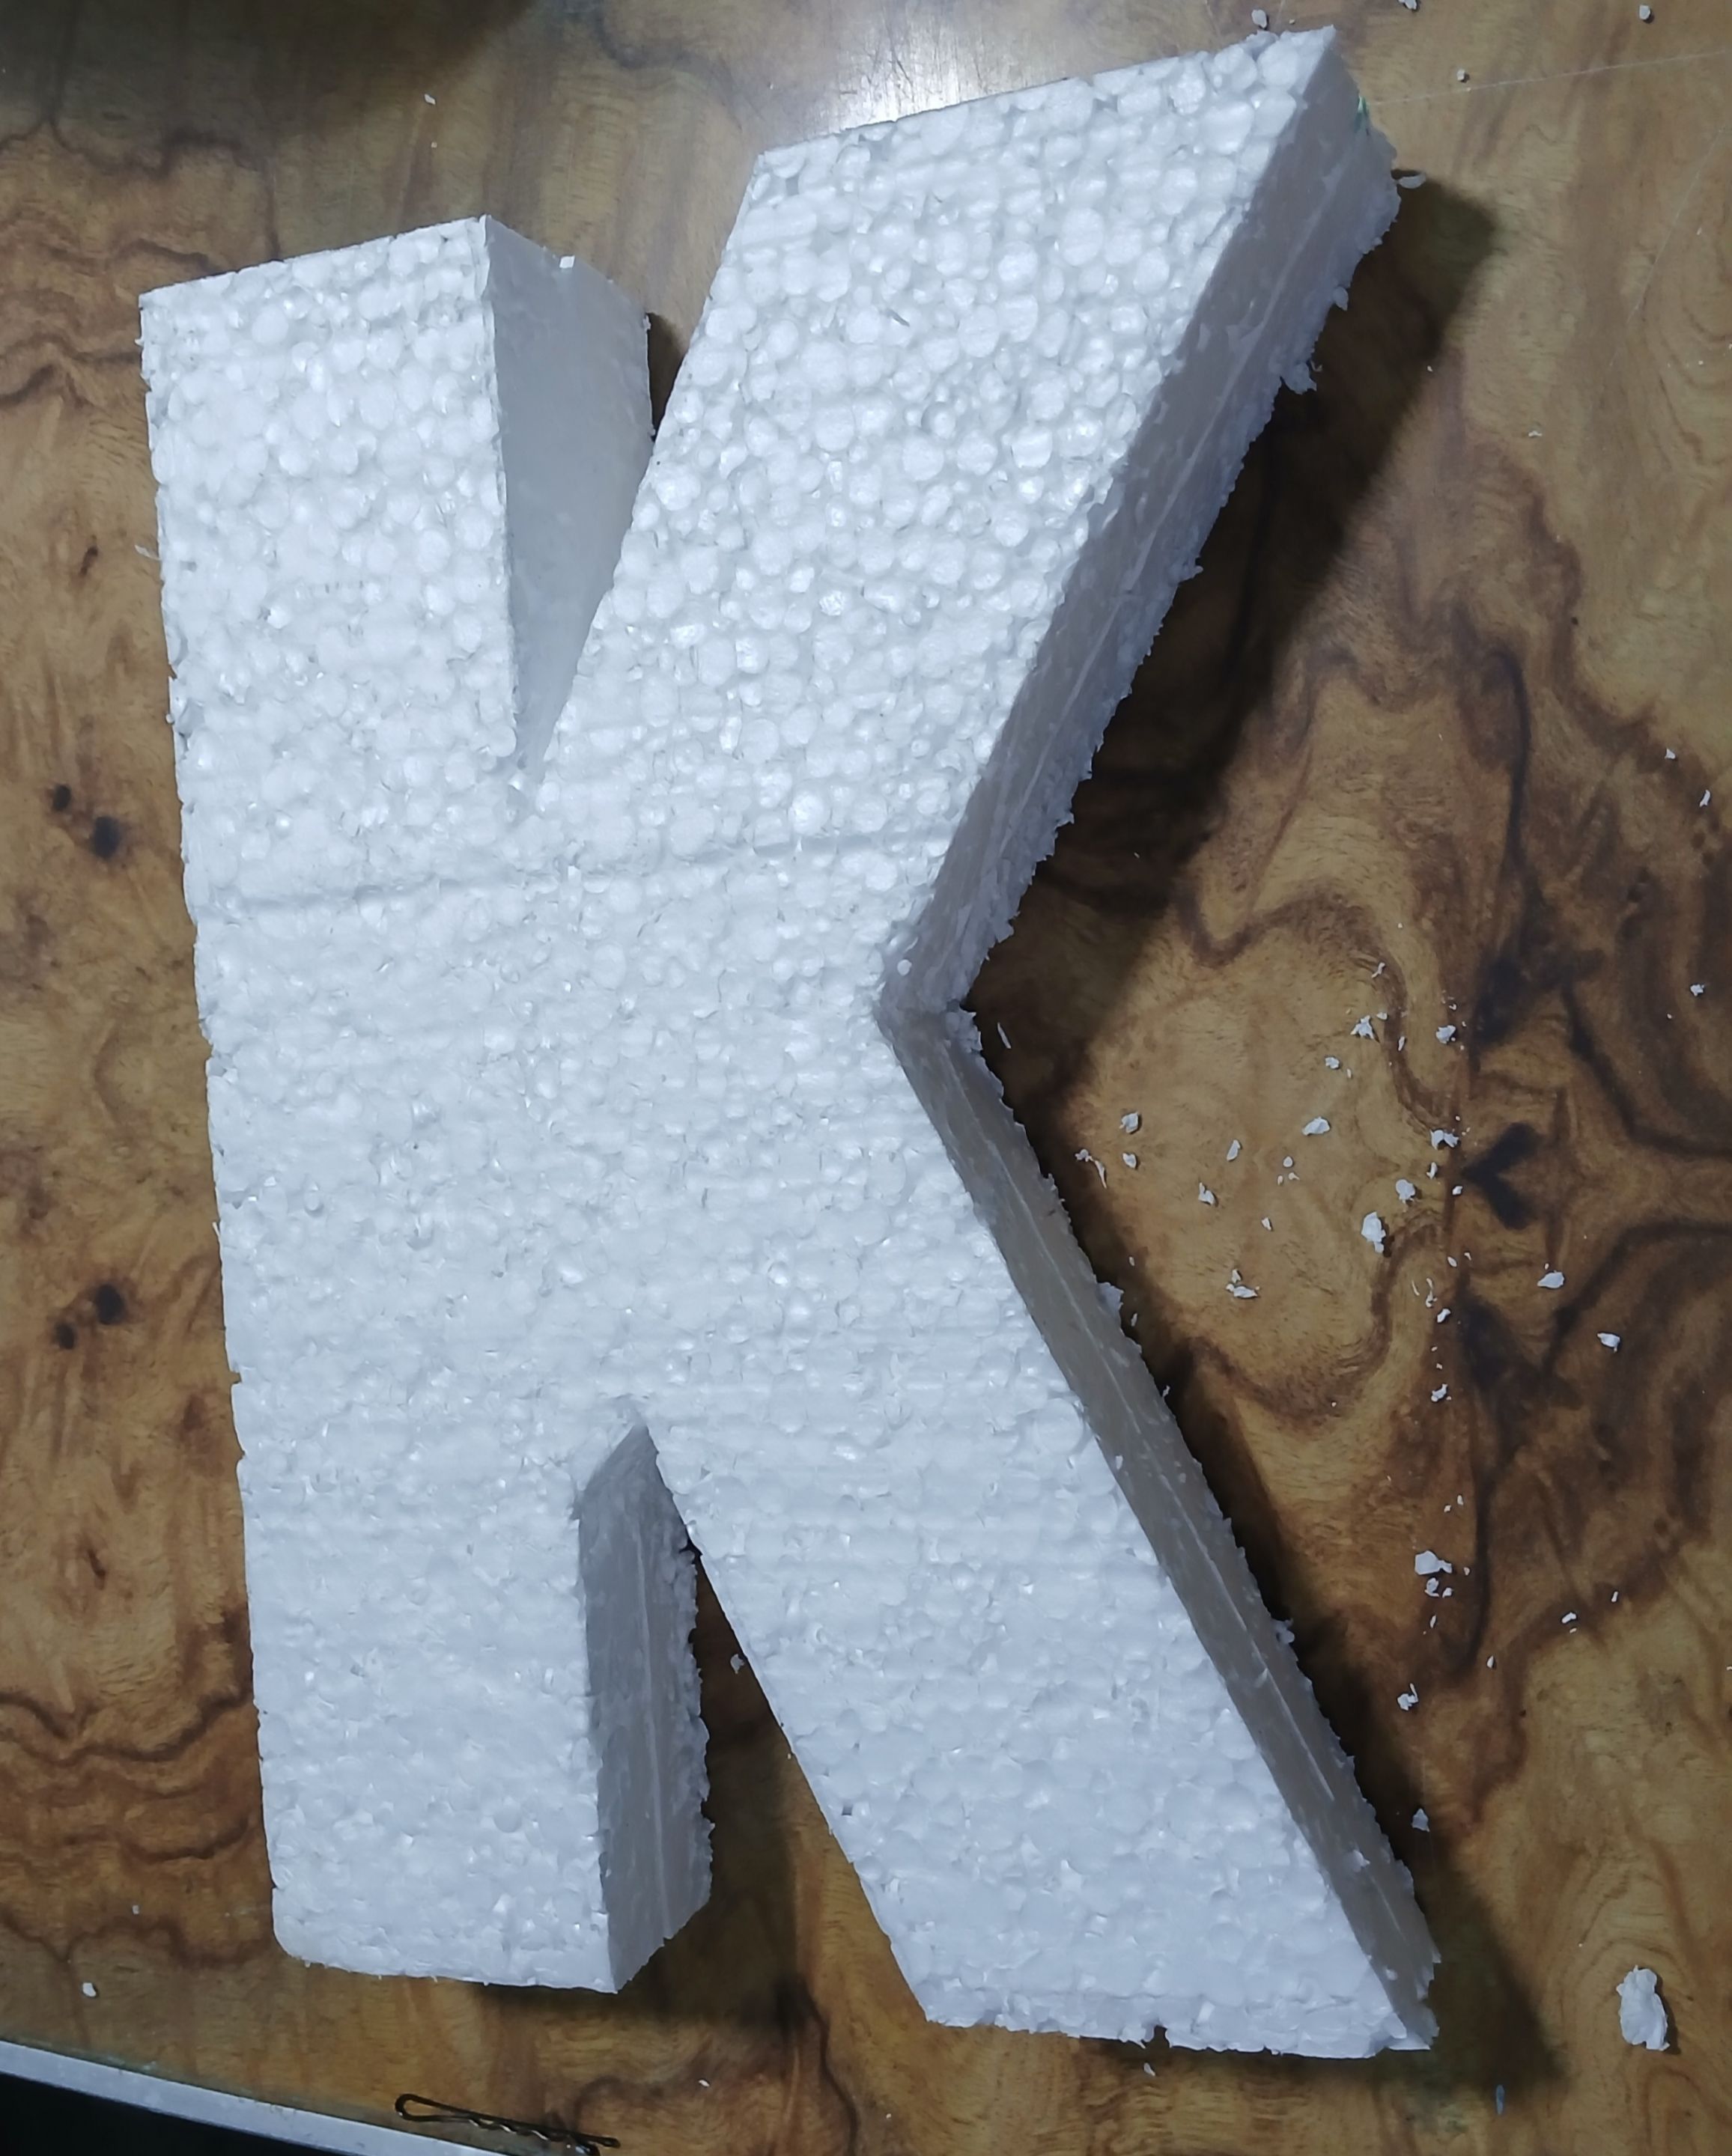
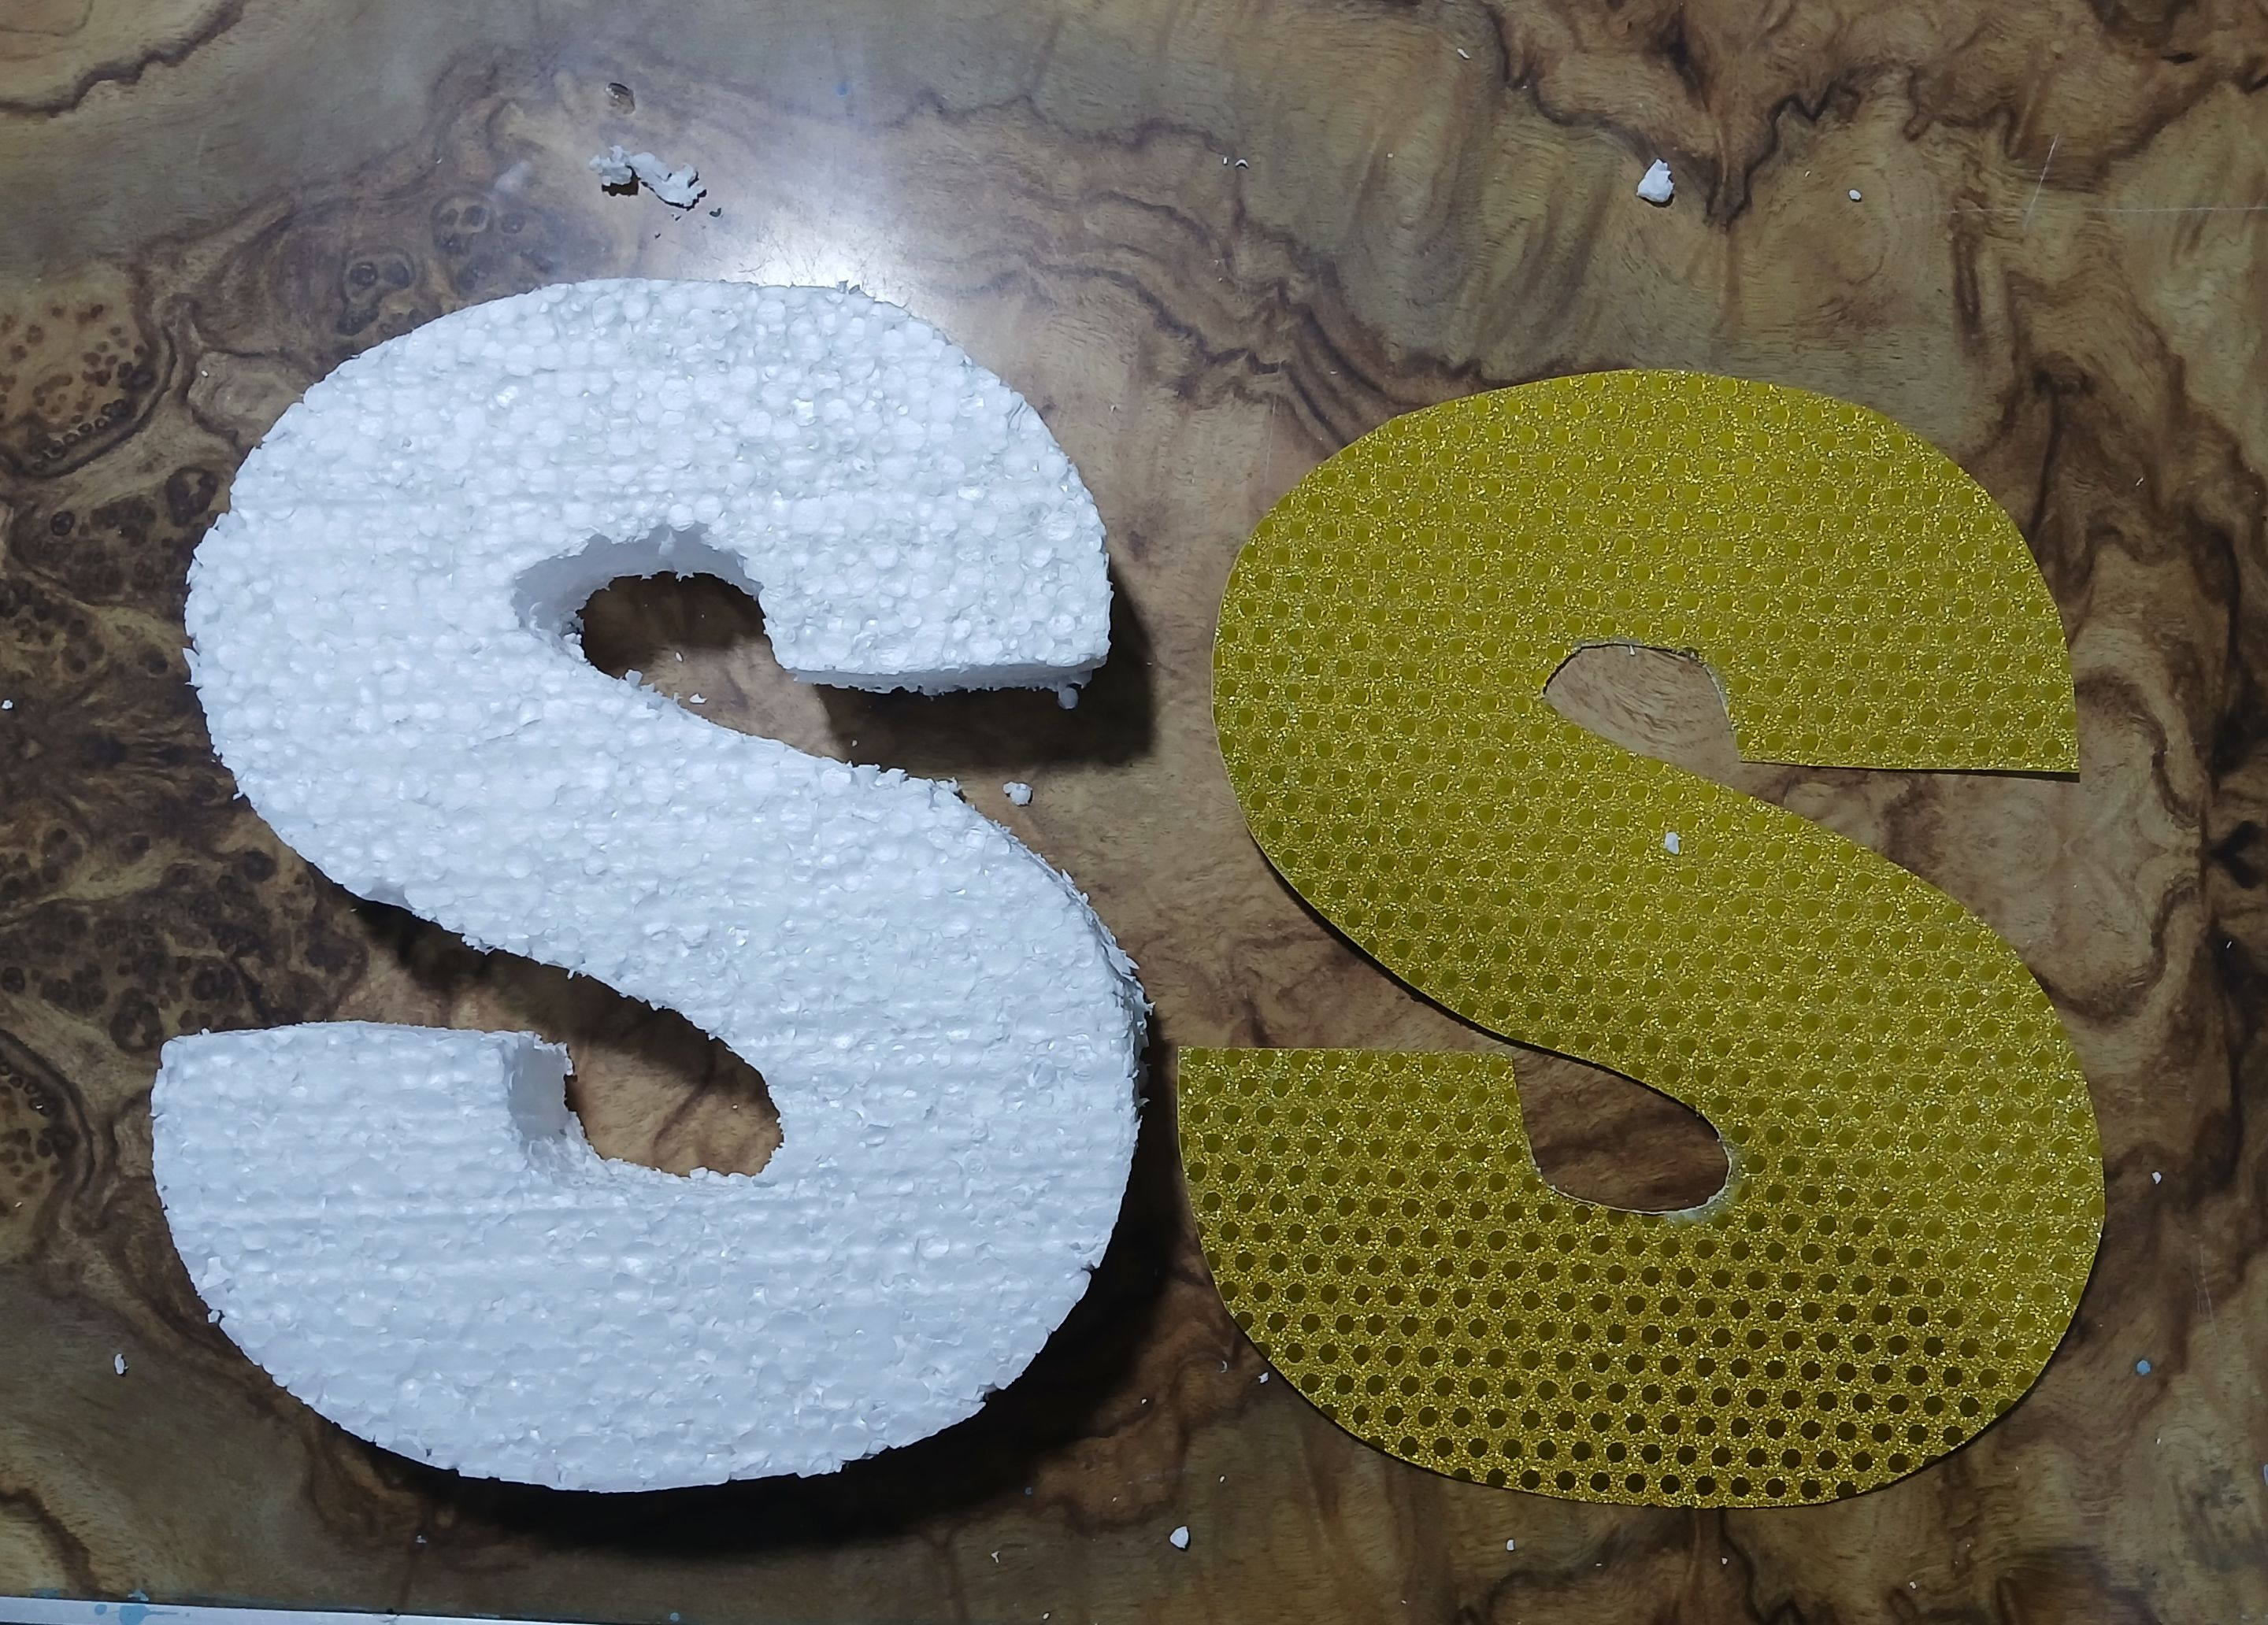
Luego corté la letra "S" con la ayuda del cuchillo liso pequeño, para poder hacer las curvas que ésta tiene. Uní ambas letras con silicón.
Then I cut the letter “S ” with the help of the small smooth knife, in order to make the curves it has. I joined both letters with silicone.
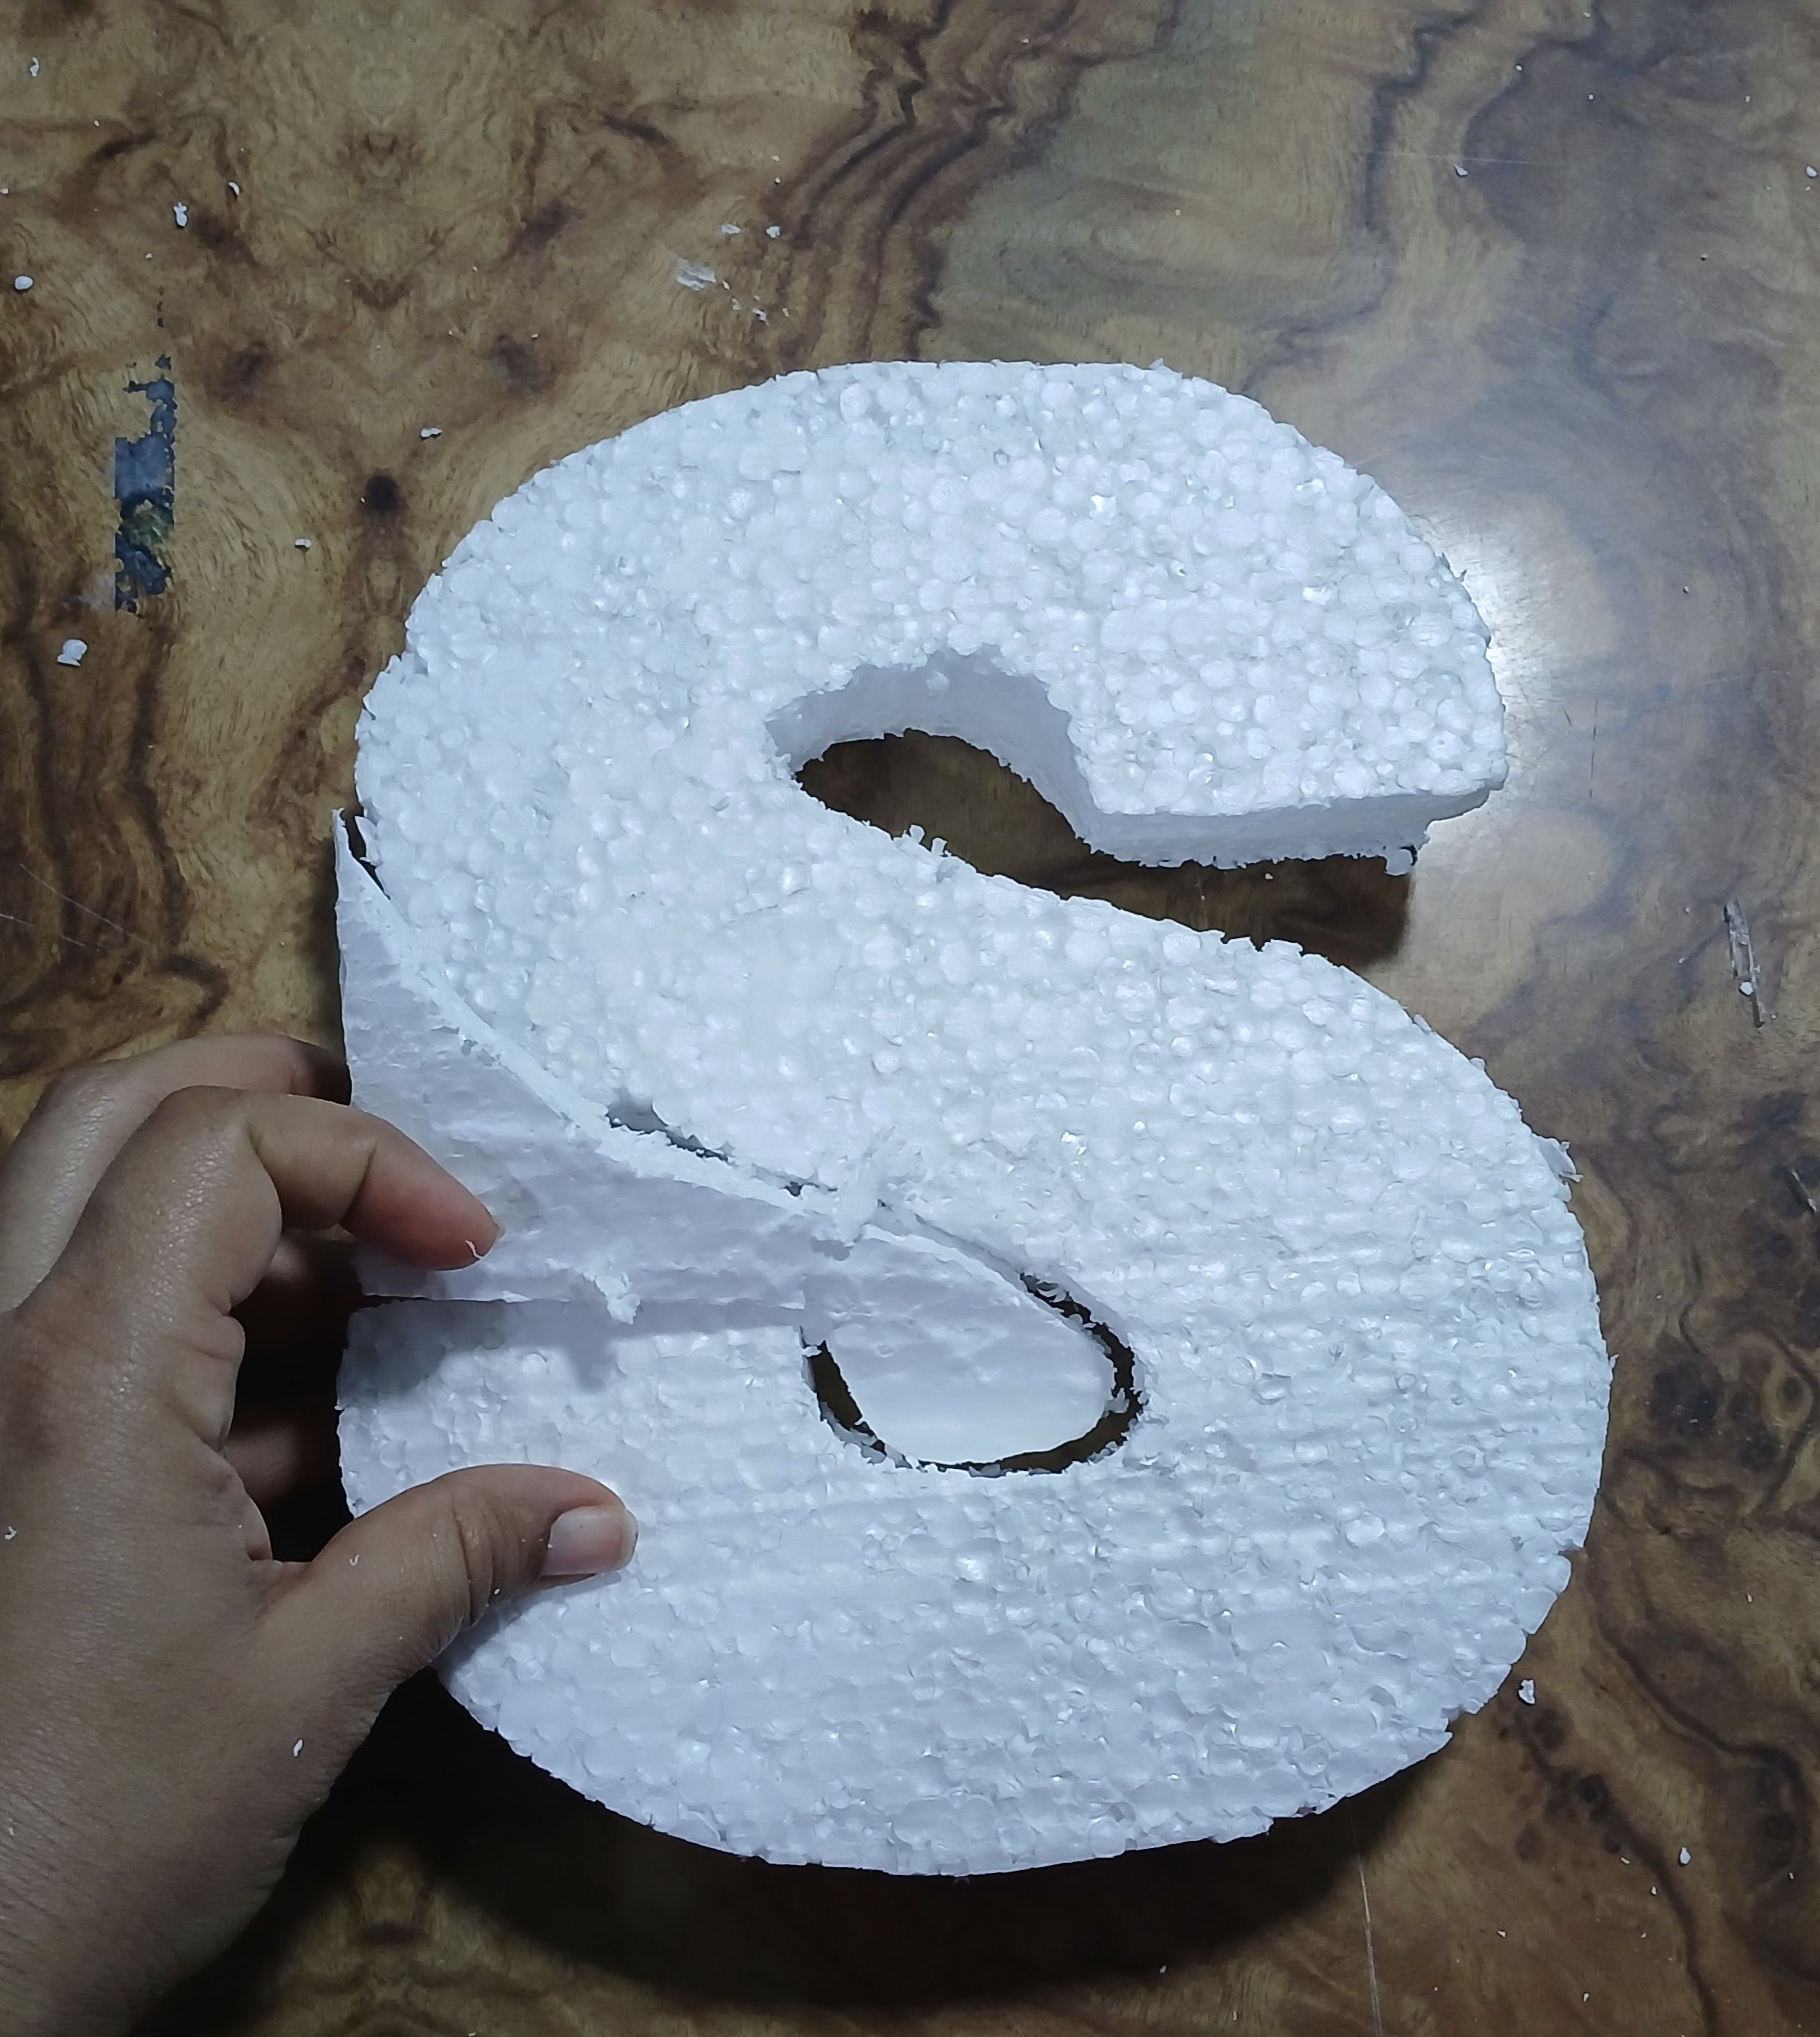
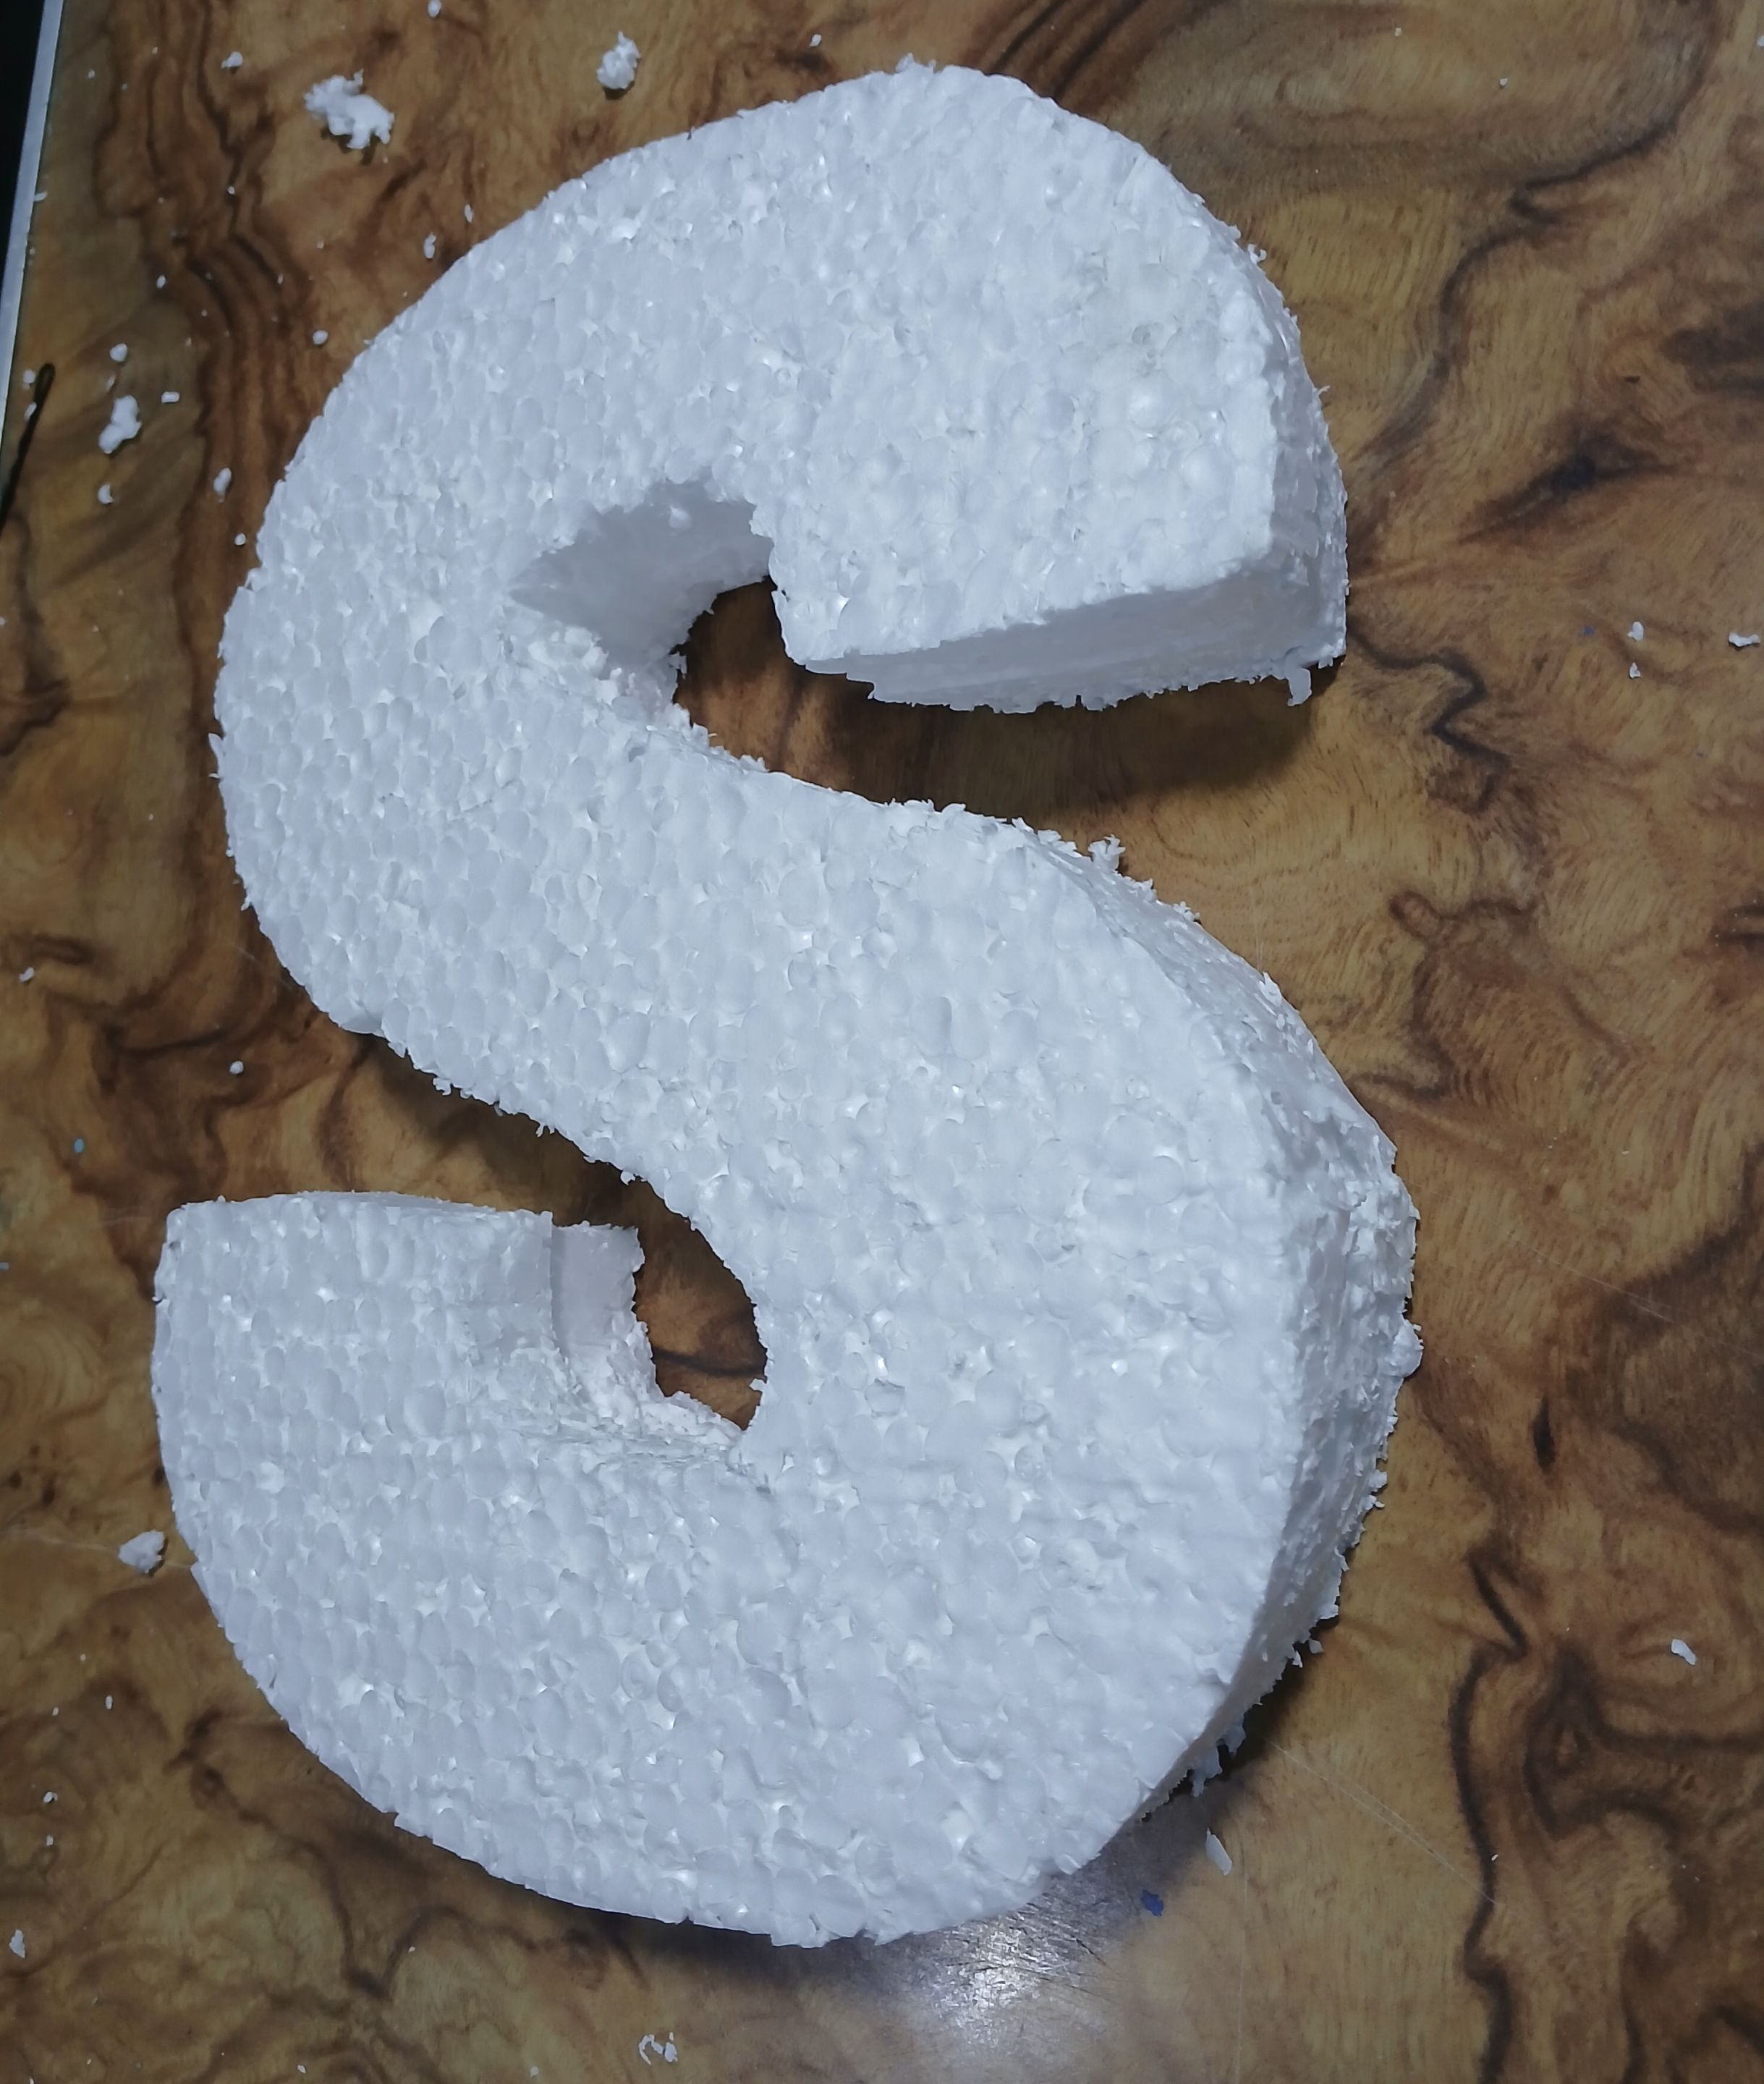
Una vez listas las dos letras procedí a cortar la K y la S en cartulina dorada con textura de puntos y pegué cada una de éstas sobre el tecnopor correspondiente, dejando un pequeño sobrante de cartulina por los bordes.
Once the two letters were ready, I proceeded to cut the K and the S in gold cardboard with a dotted texture and glued each of them on the corresponding technopor, leaving a small amount of cardboard leftover around the edges.
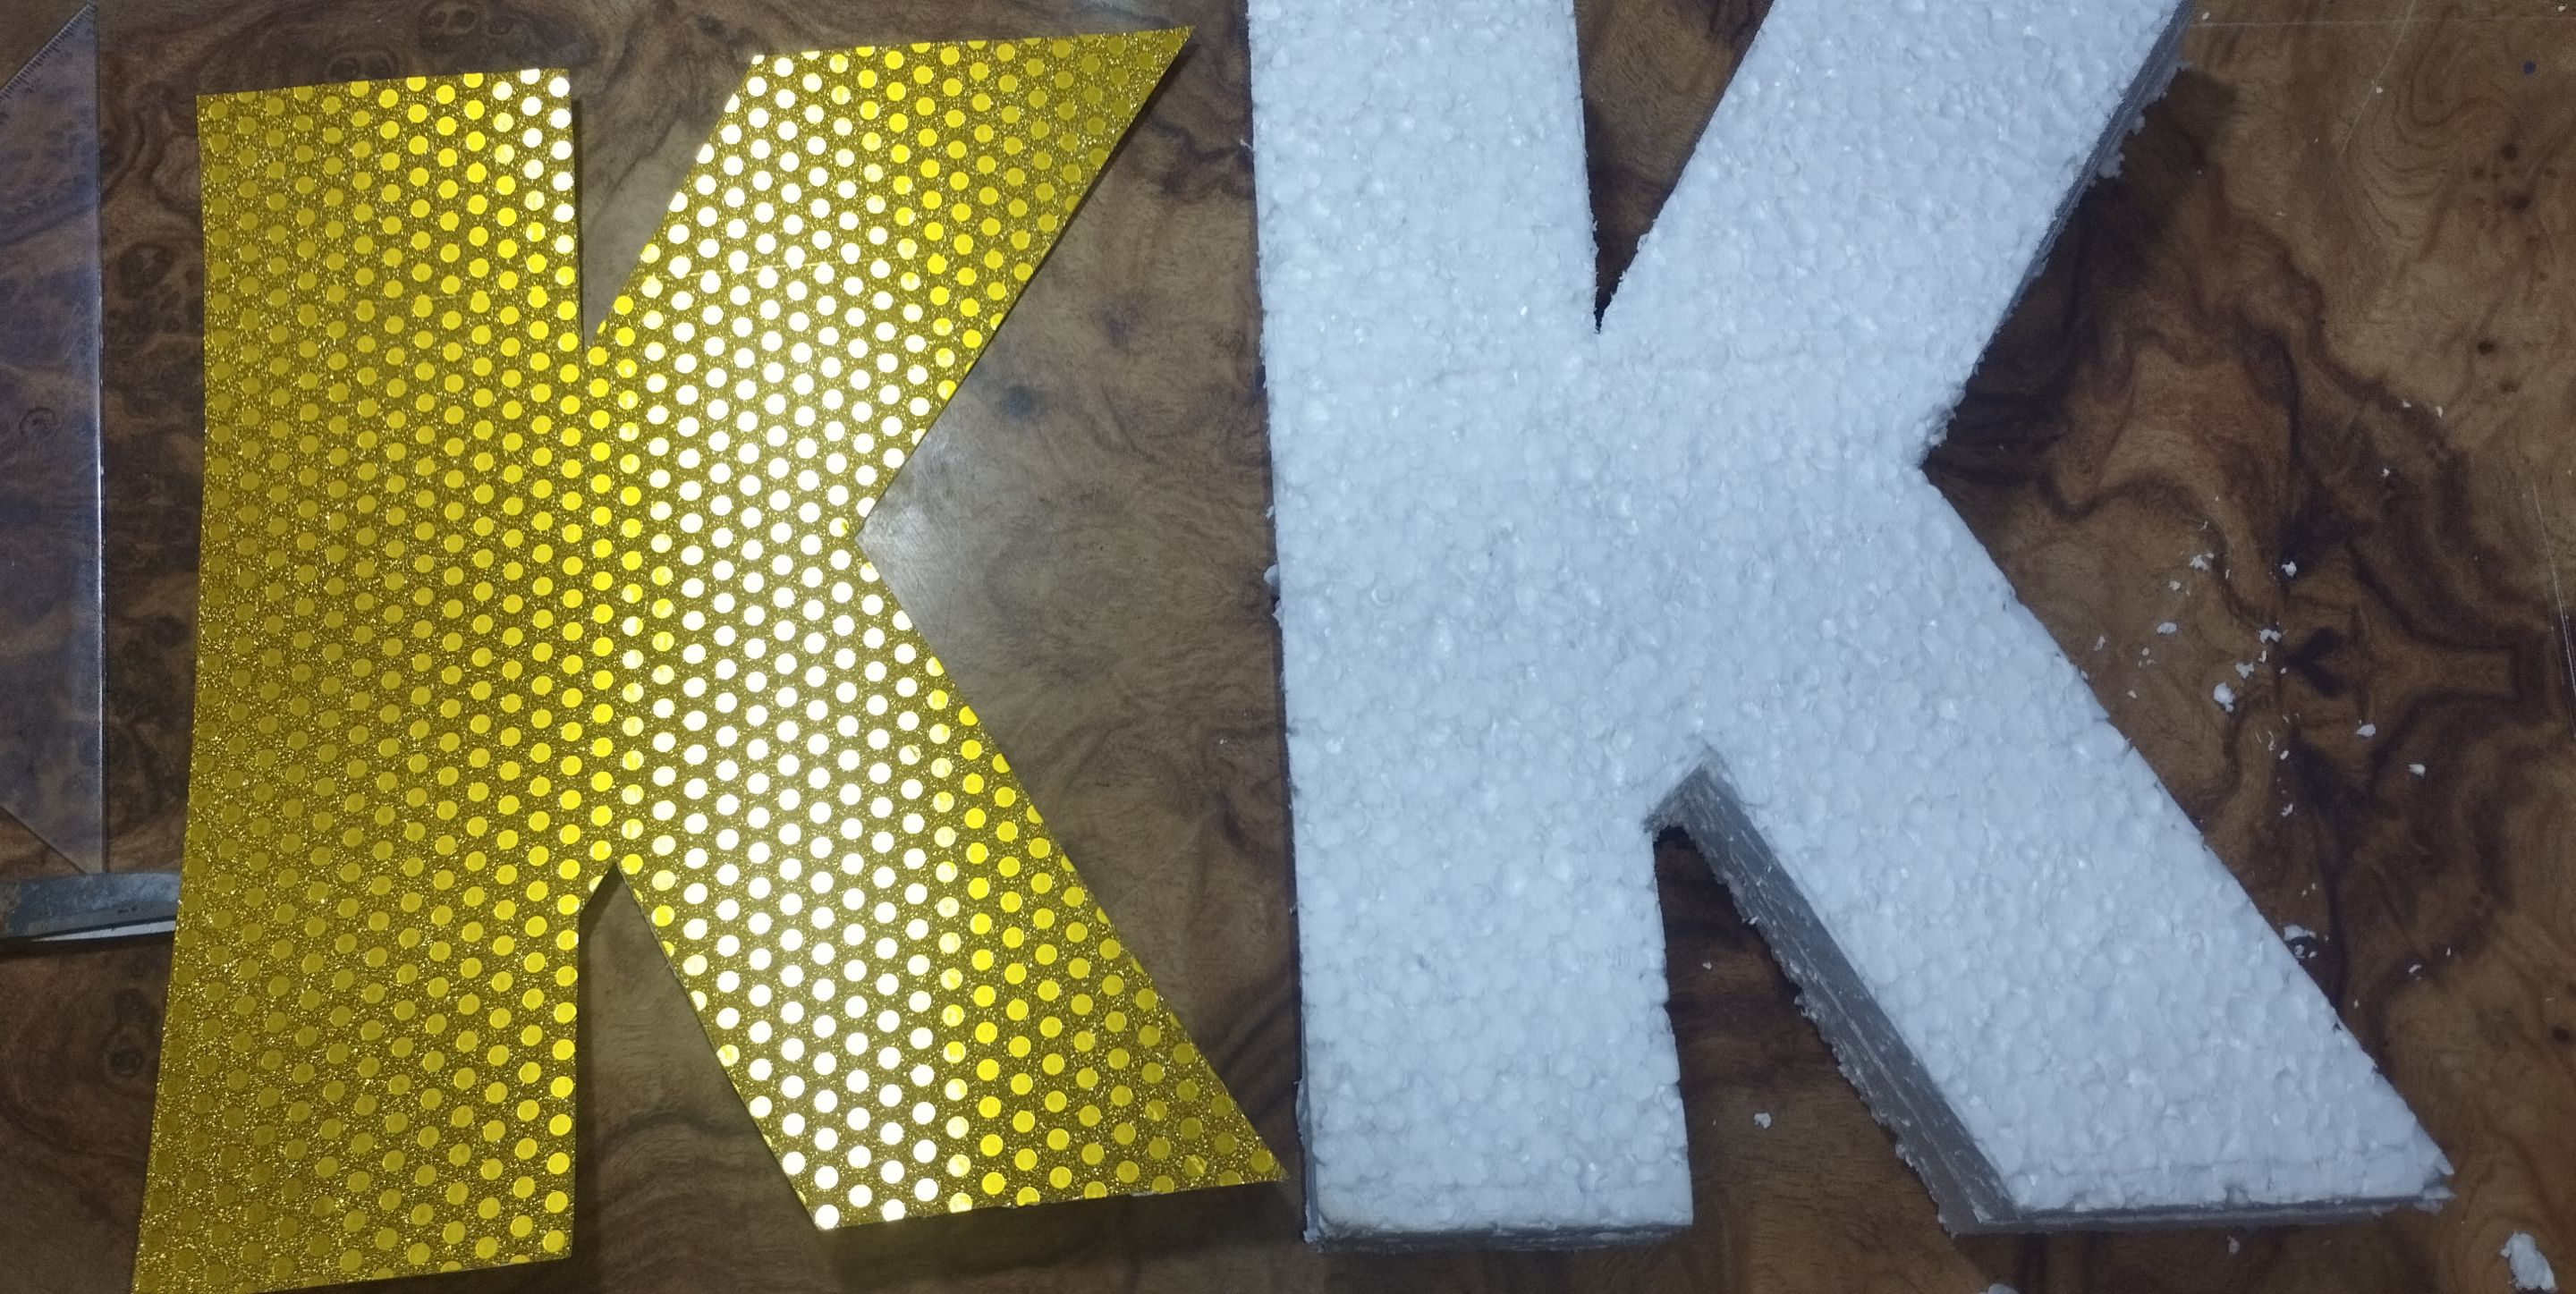
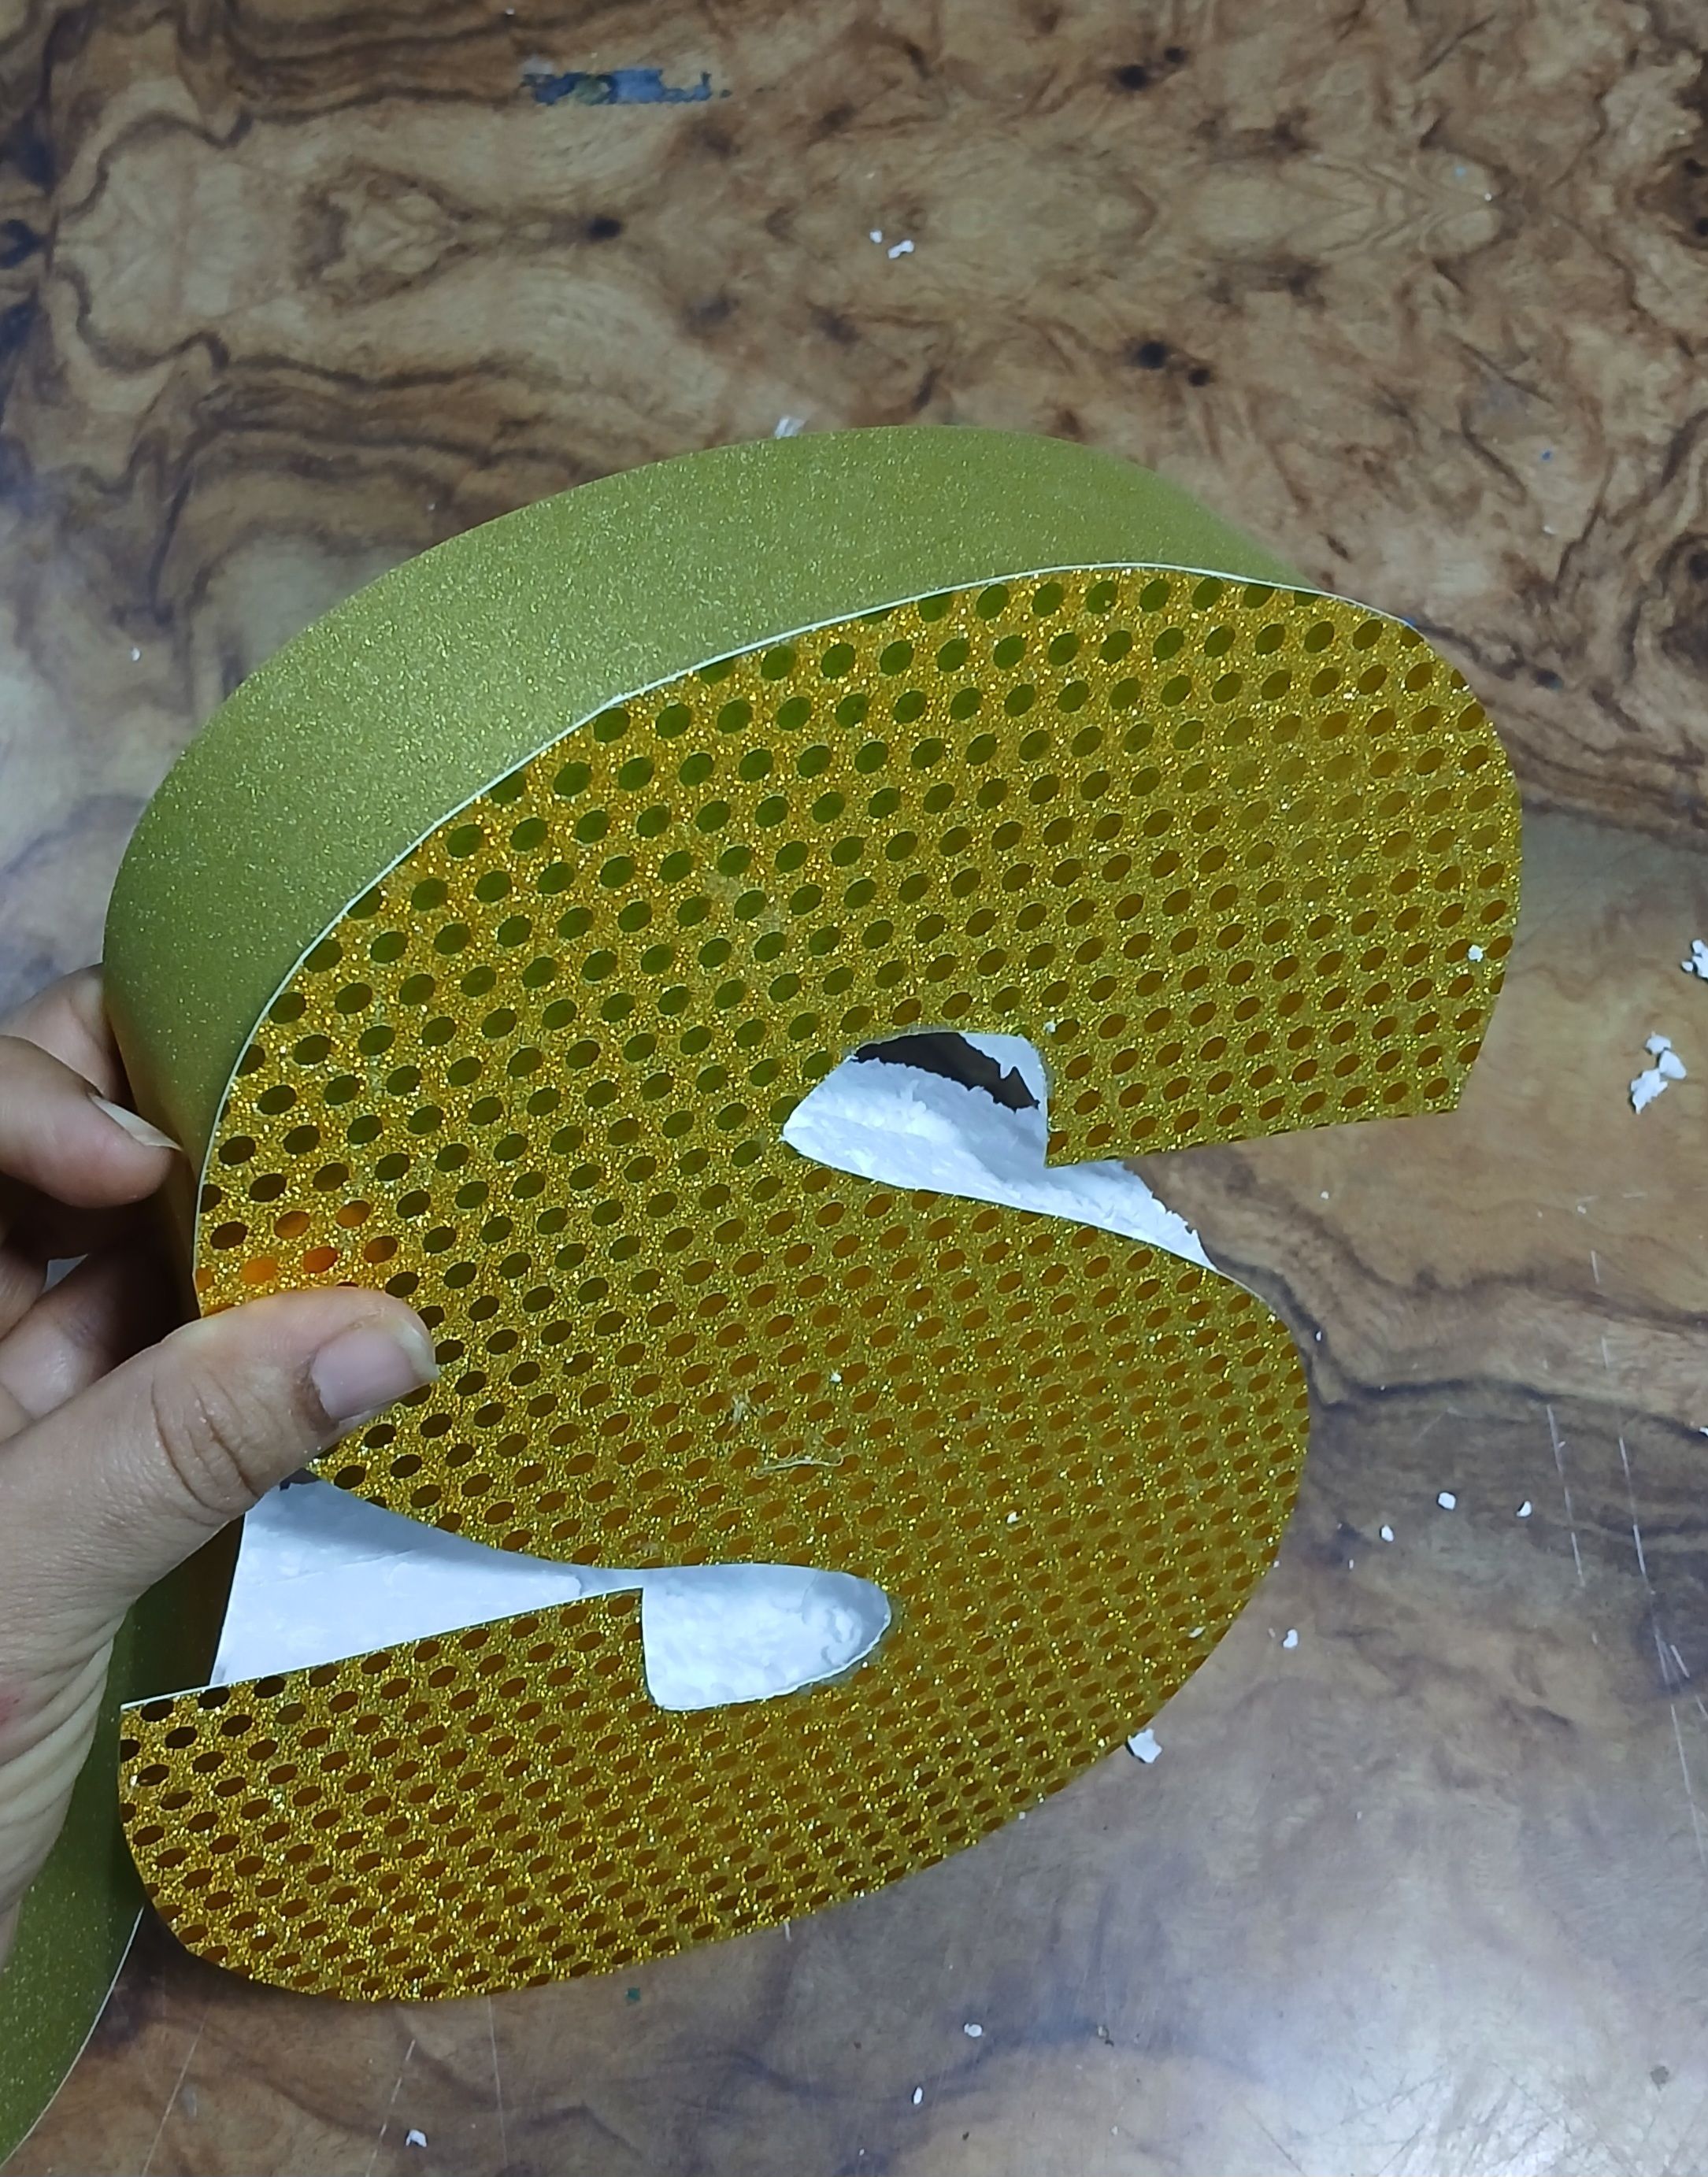
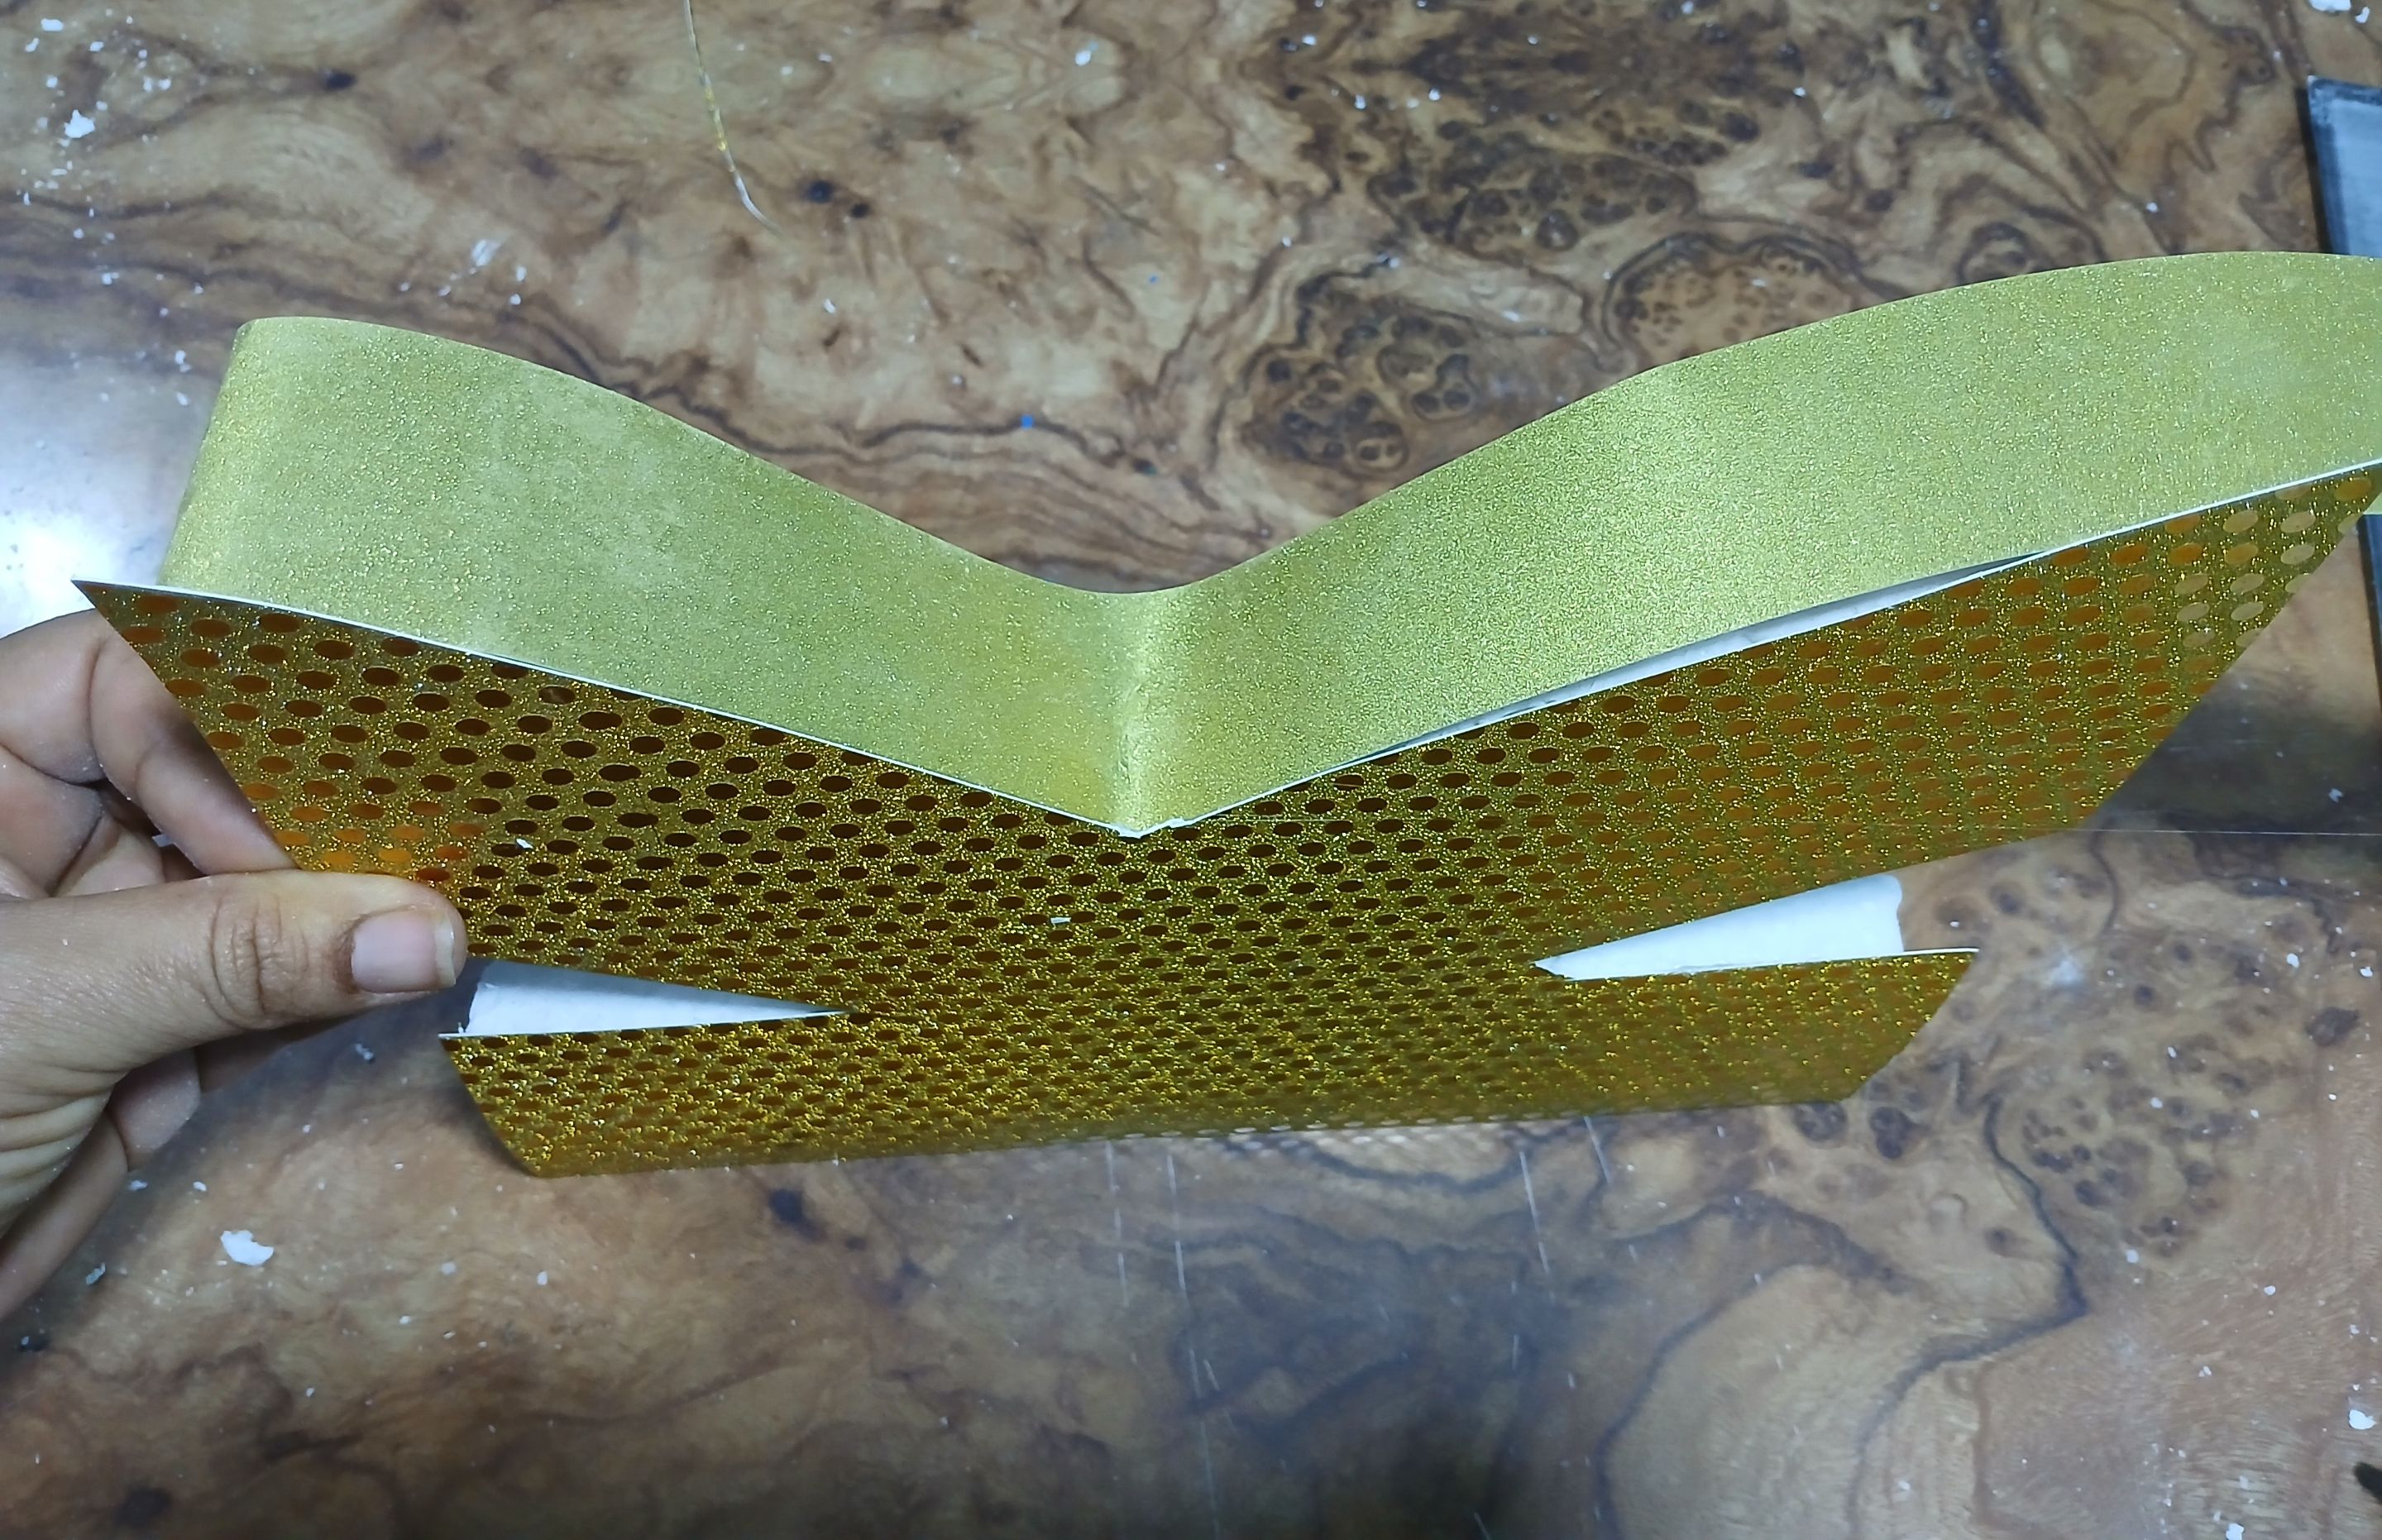
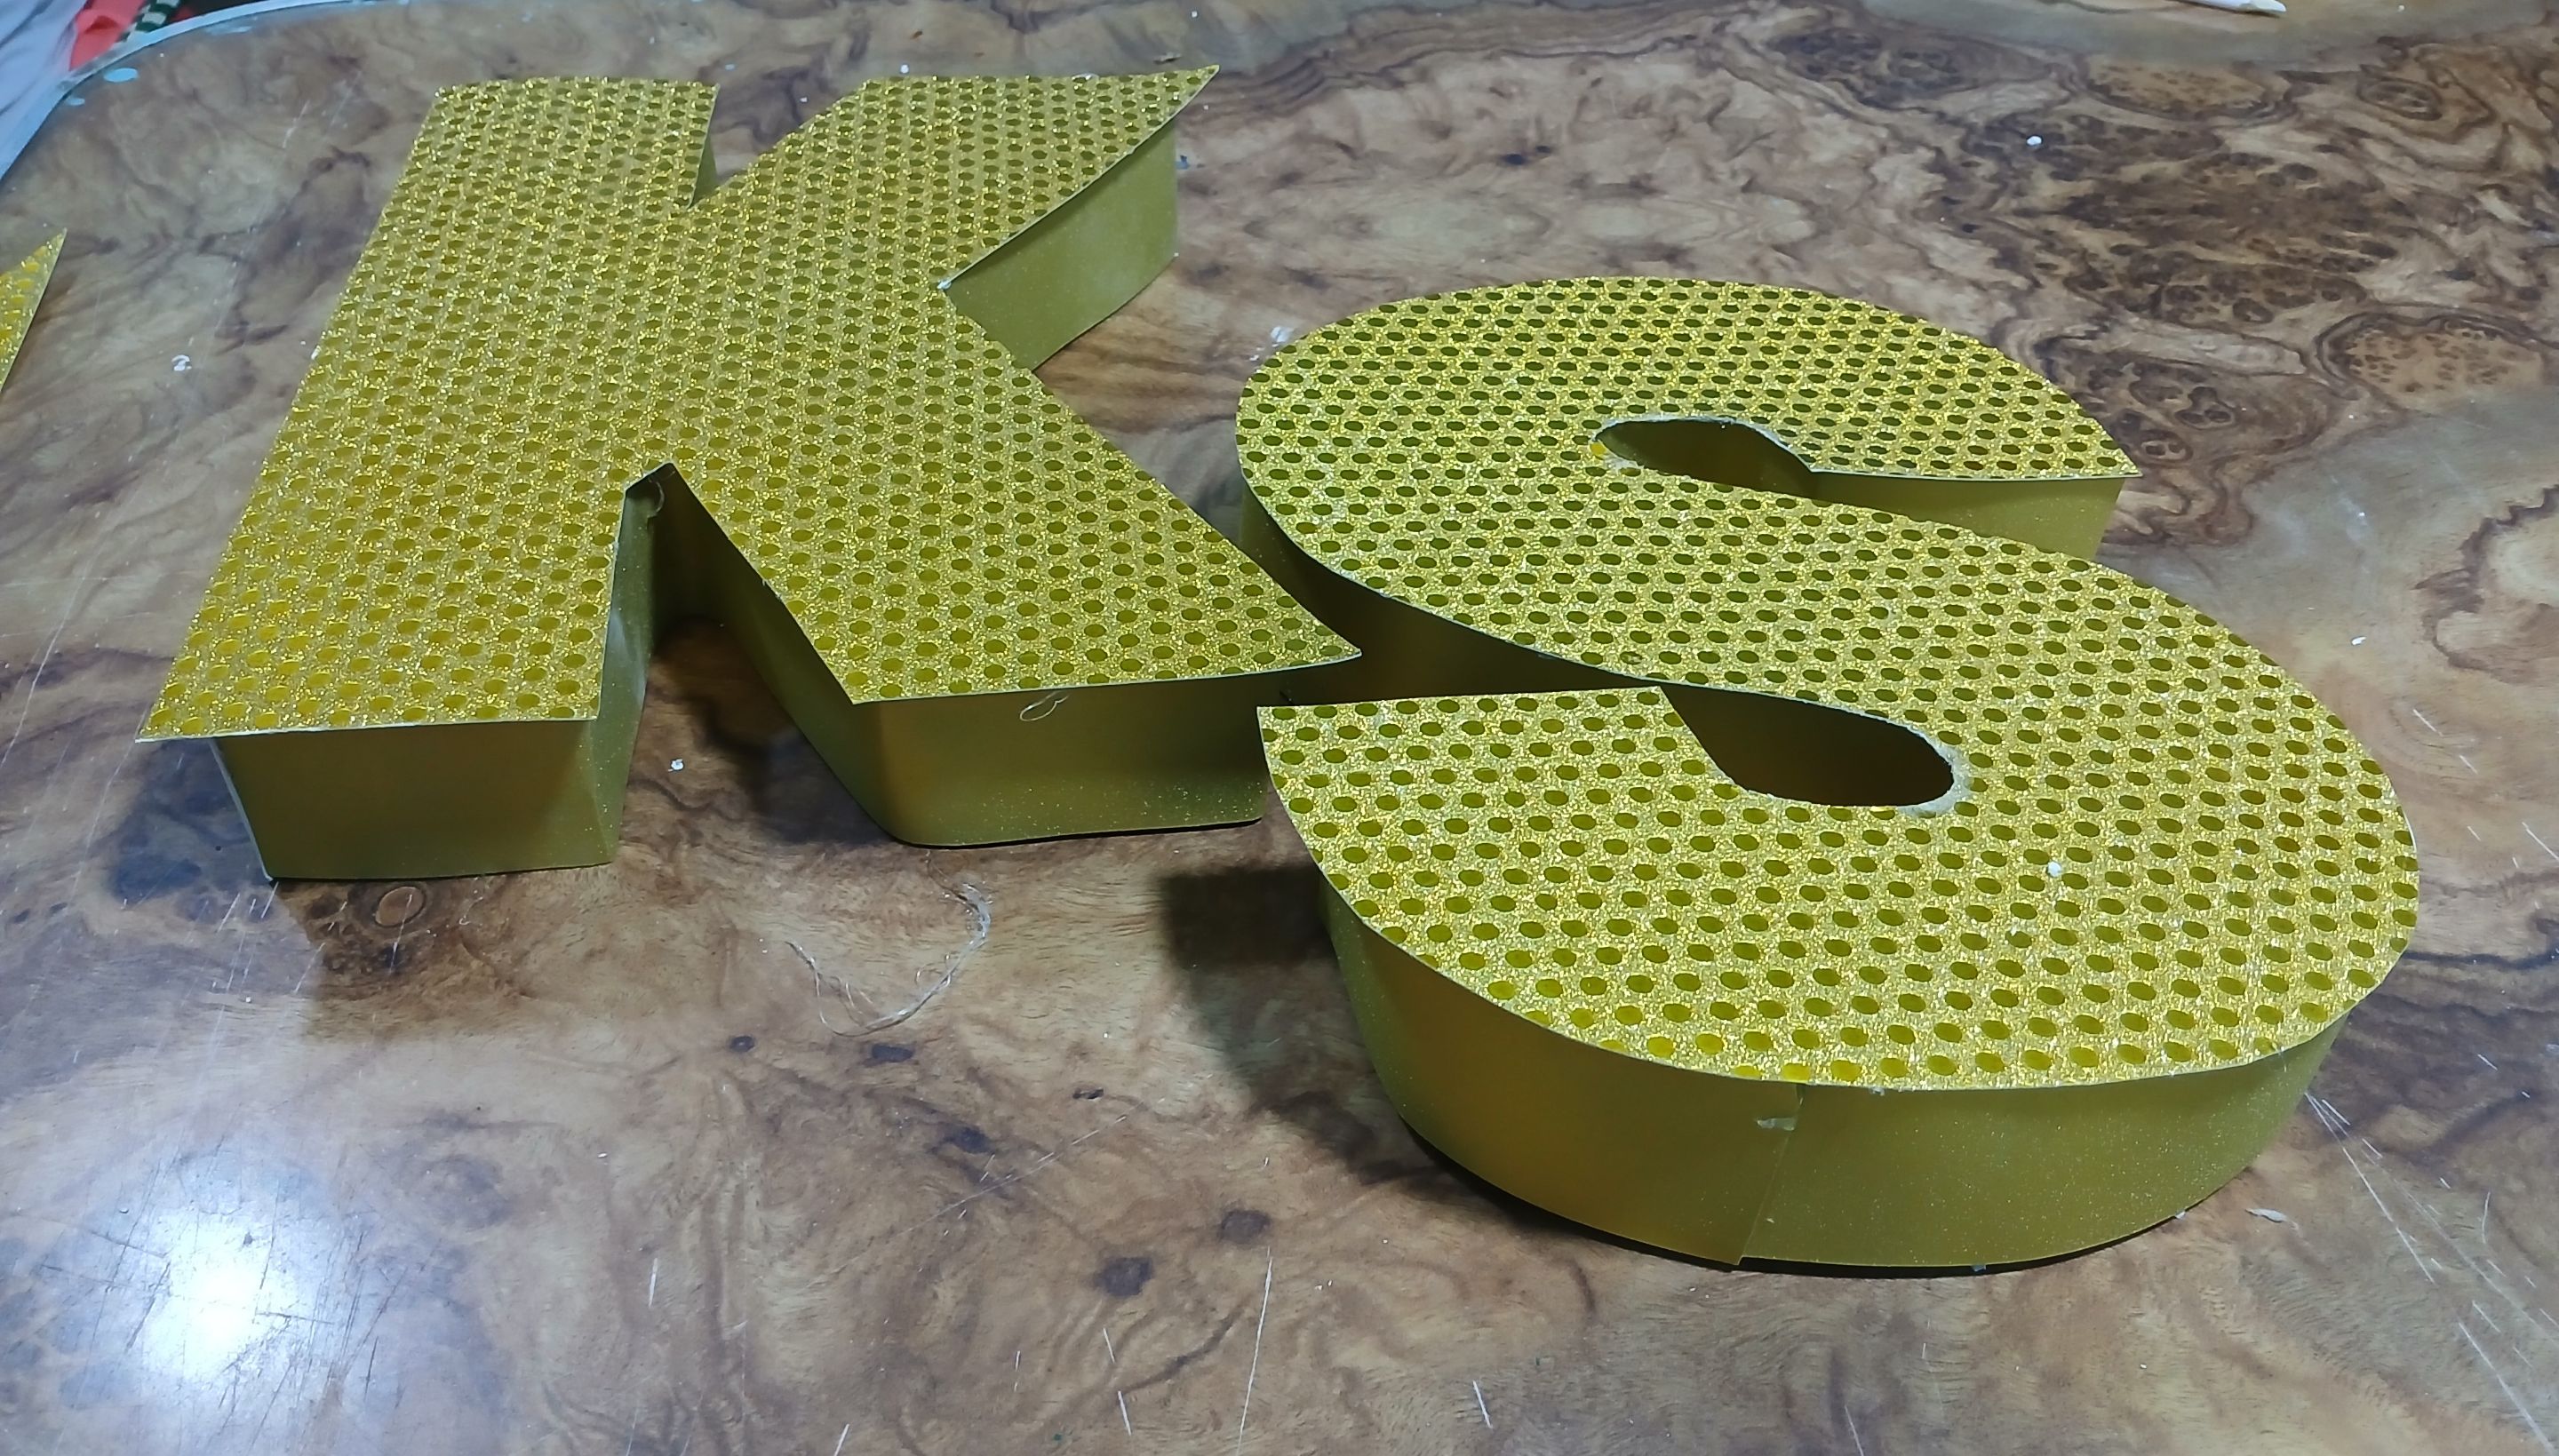
Luego corté una tira de cartulina dorada lisa, del ancho o grosor de la letra, para forrar todo el borde y crear el efecto de 3D
I then cut a strip of plain gold cardboard, the width or thickness of the letter, to line the entire edge and create the 3D effect.
Después realicé el mismo procedimiento con la corona, coloqué el dibujo de la corona sobre las dos piezas de tecnopor, corté utilizando la ayuda del cuchillo liso para las curvas y con el exacto para las partes rectas y semicurvas, para posteriormente unirlas con silicón.
Then I did the same procedure with the crown, I placed the drawing of the crown on the two pieces of technopor, I cut using the smooth knife for the curves and with the exact knife for the straight and semi-curved parts, to later join them with silicone.
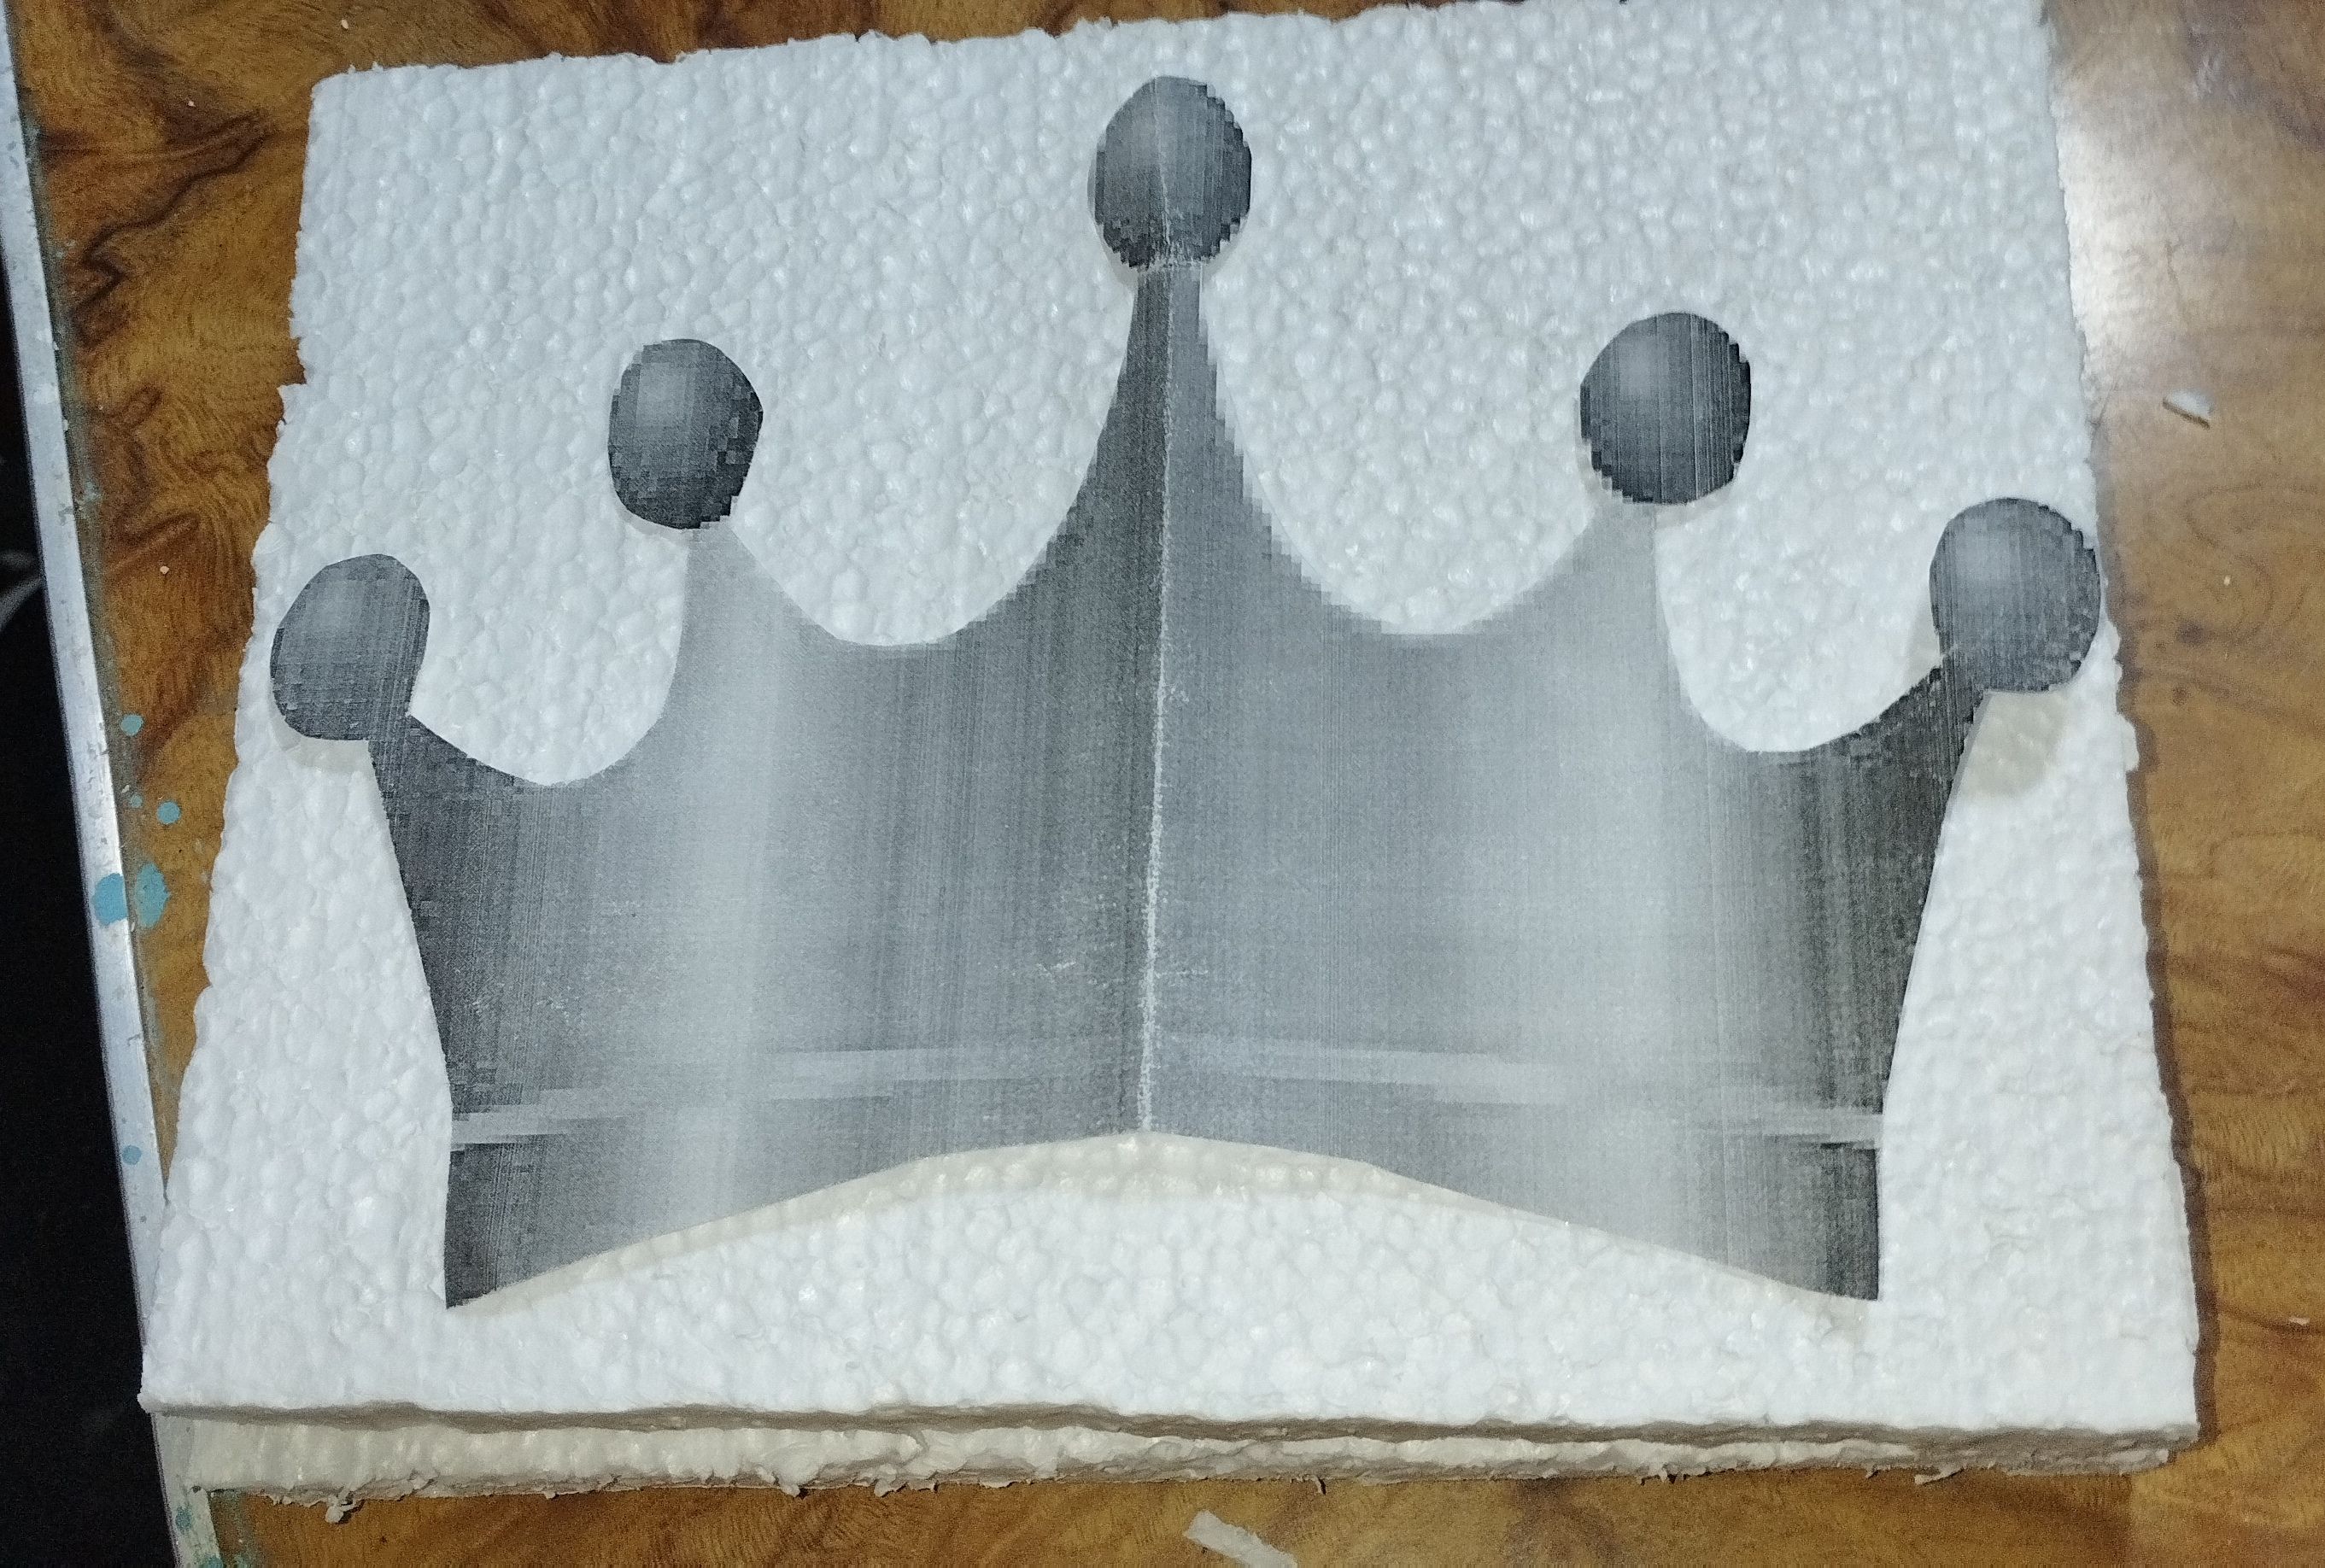
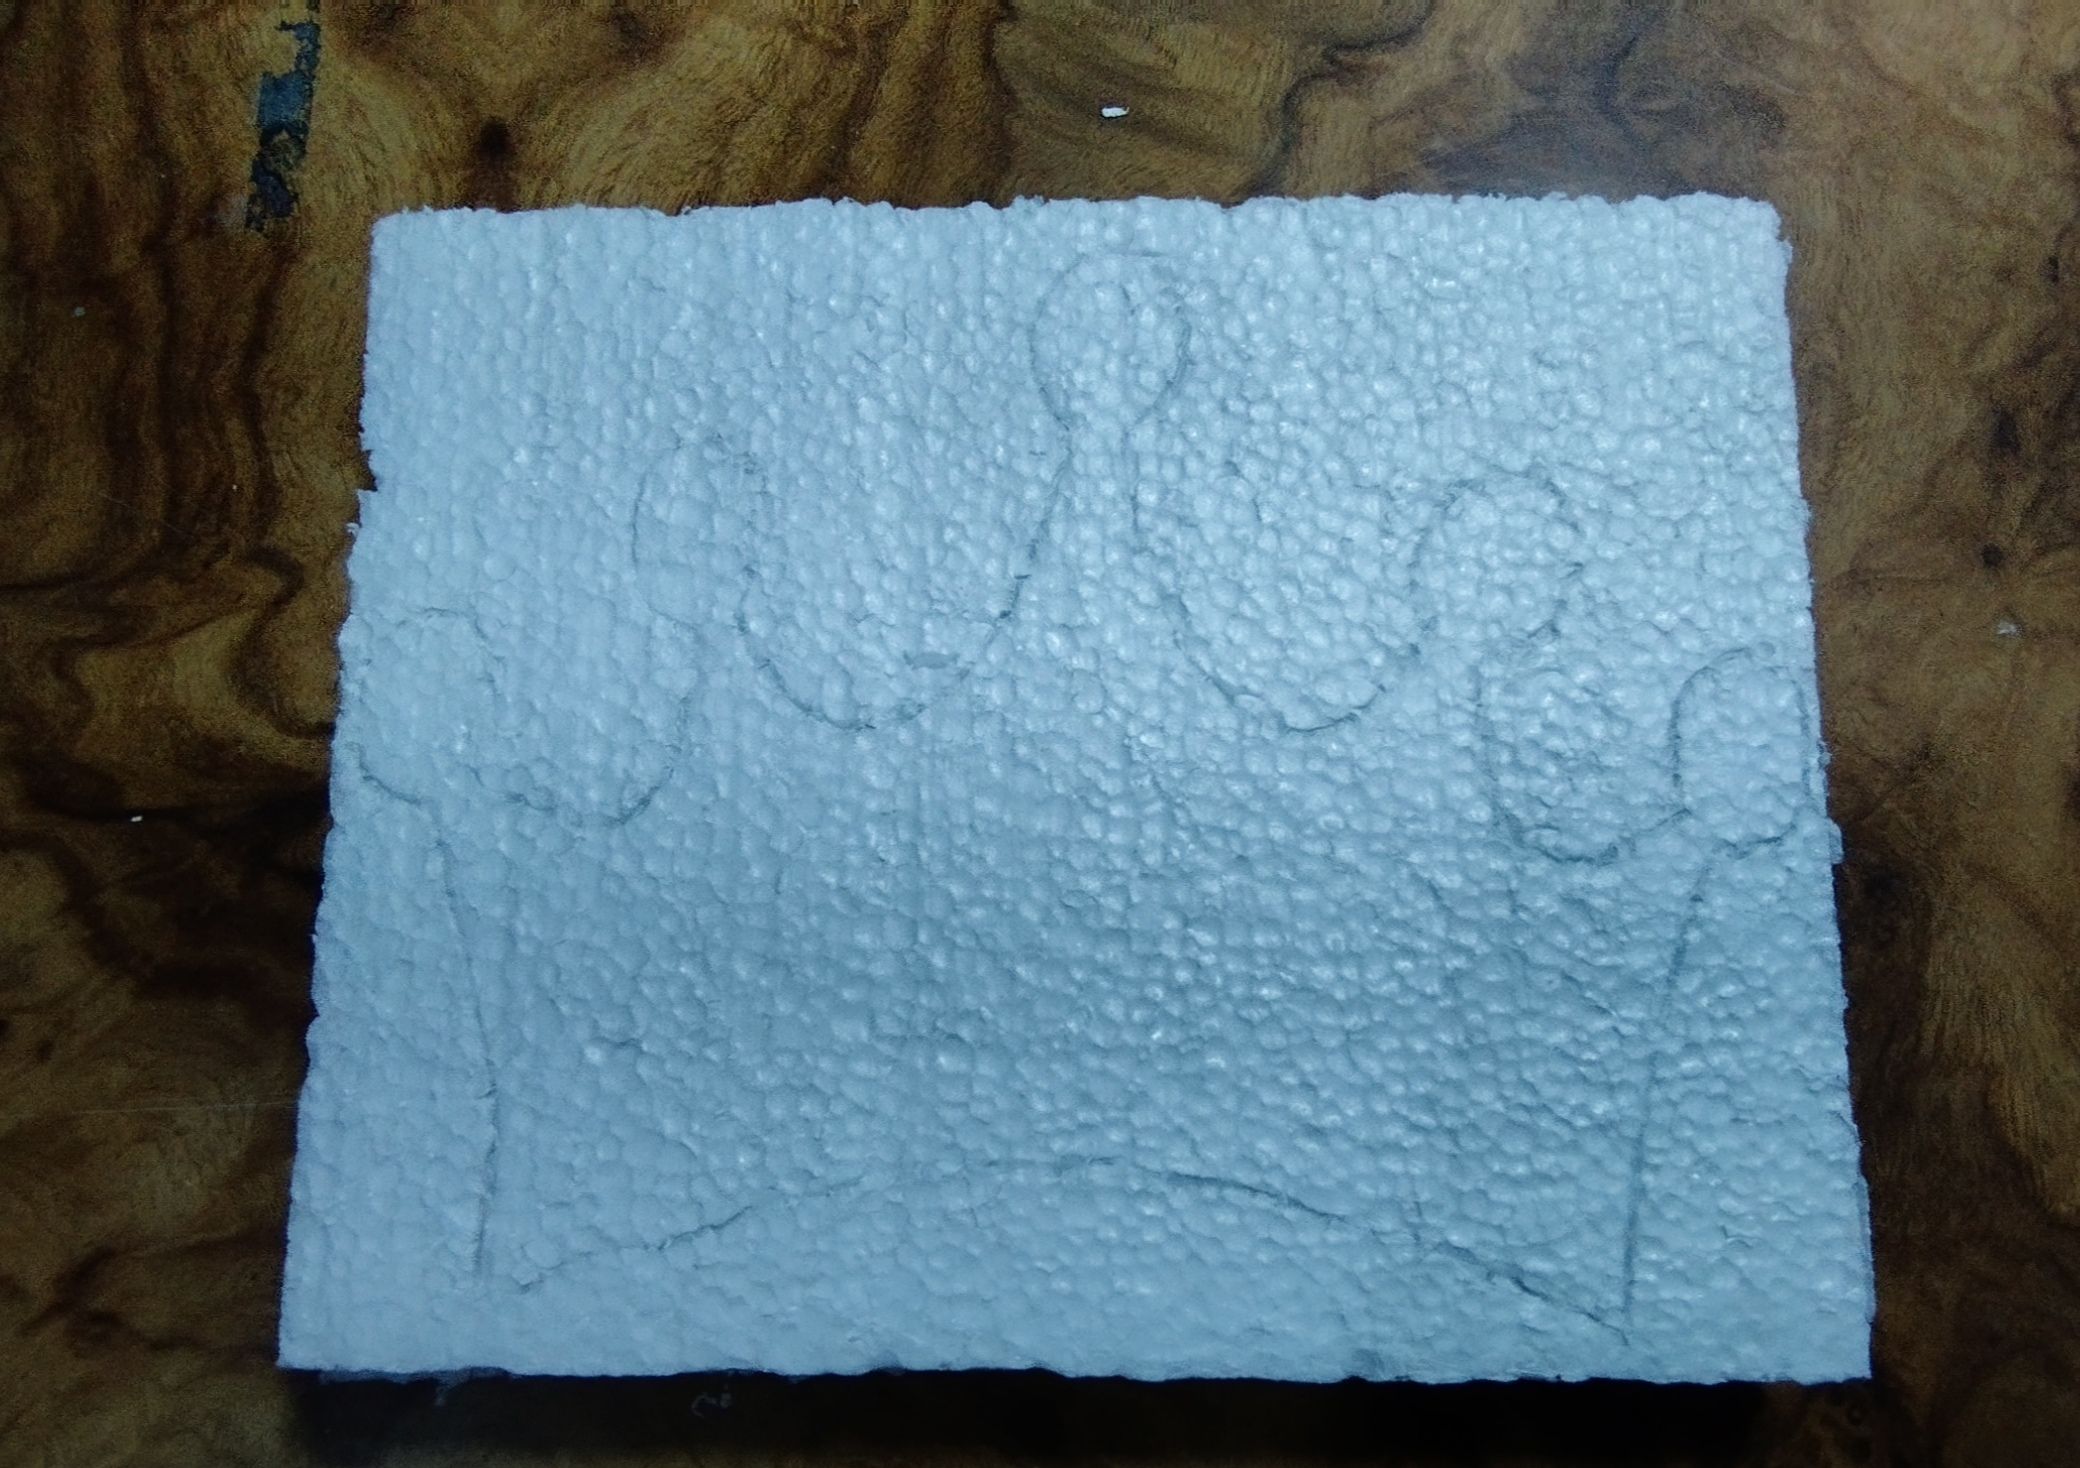
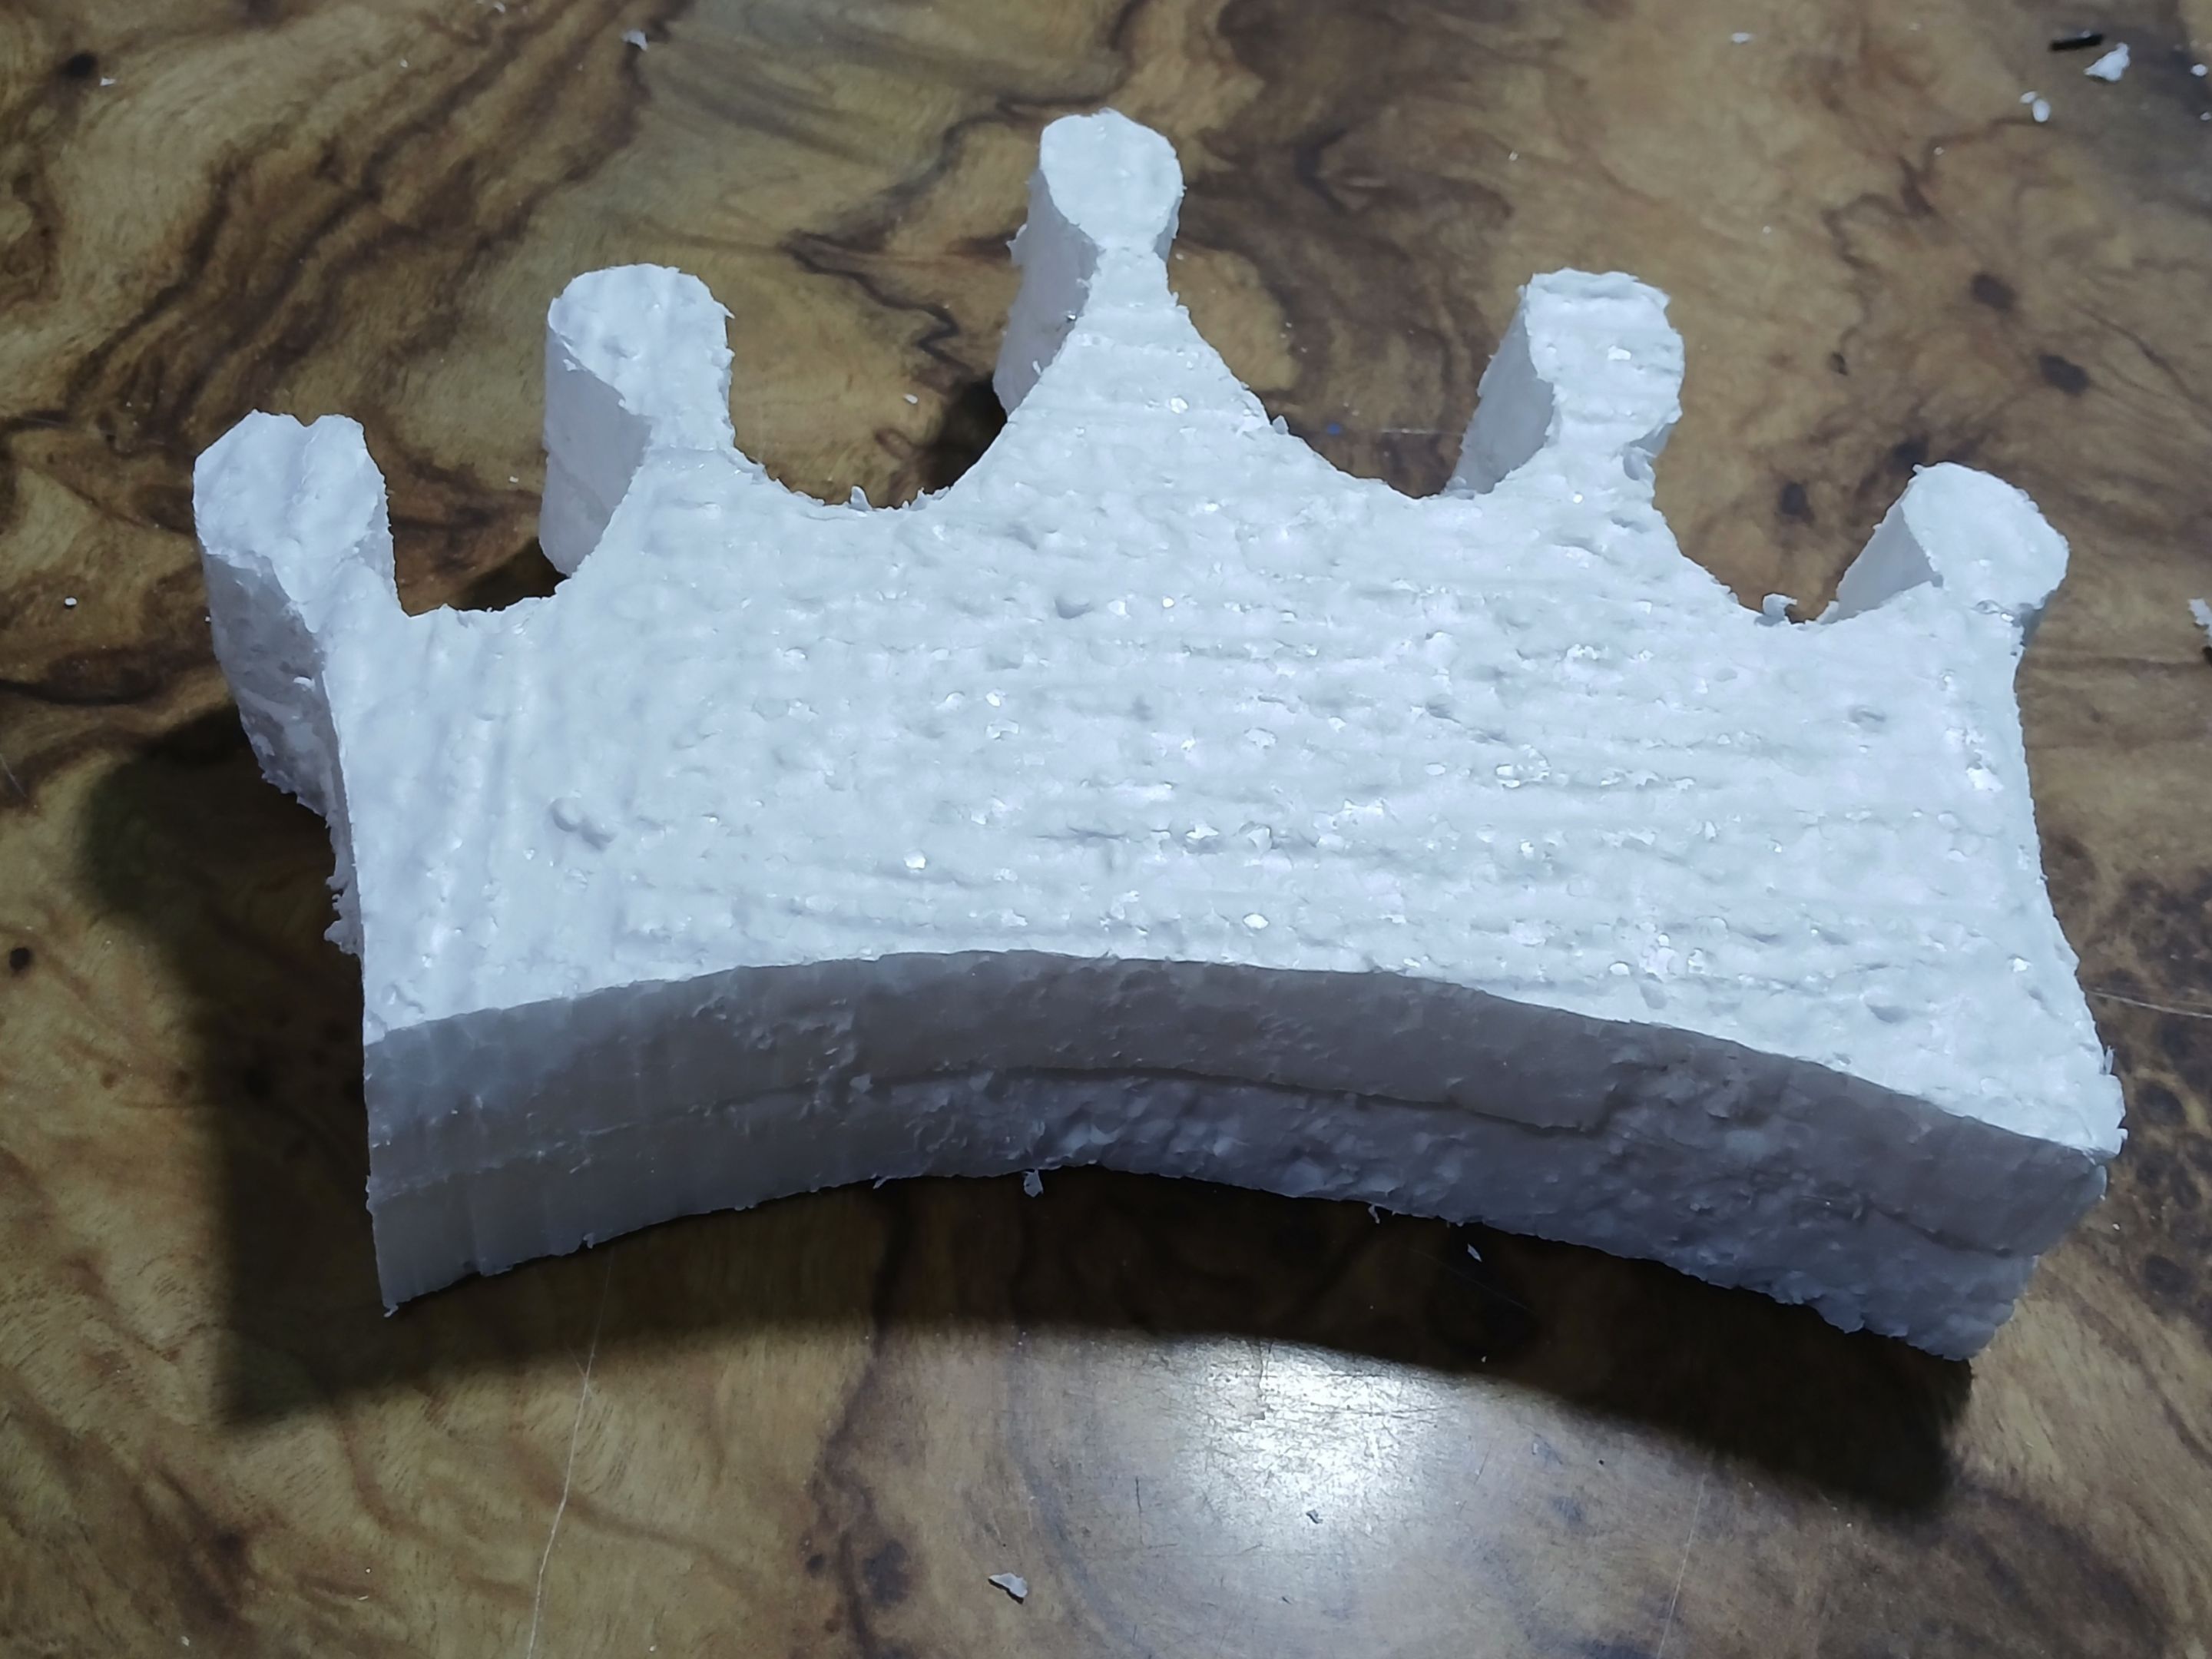
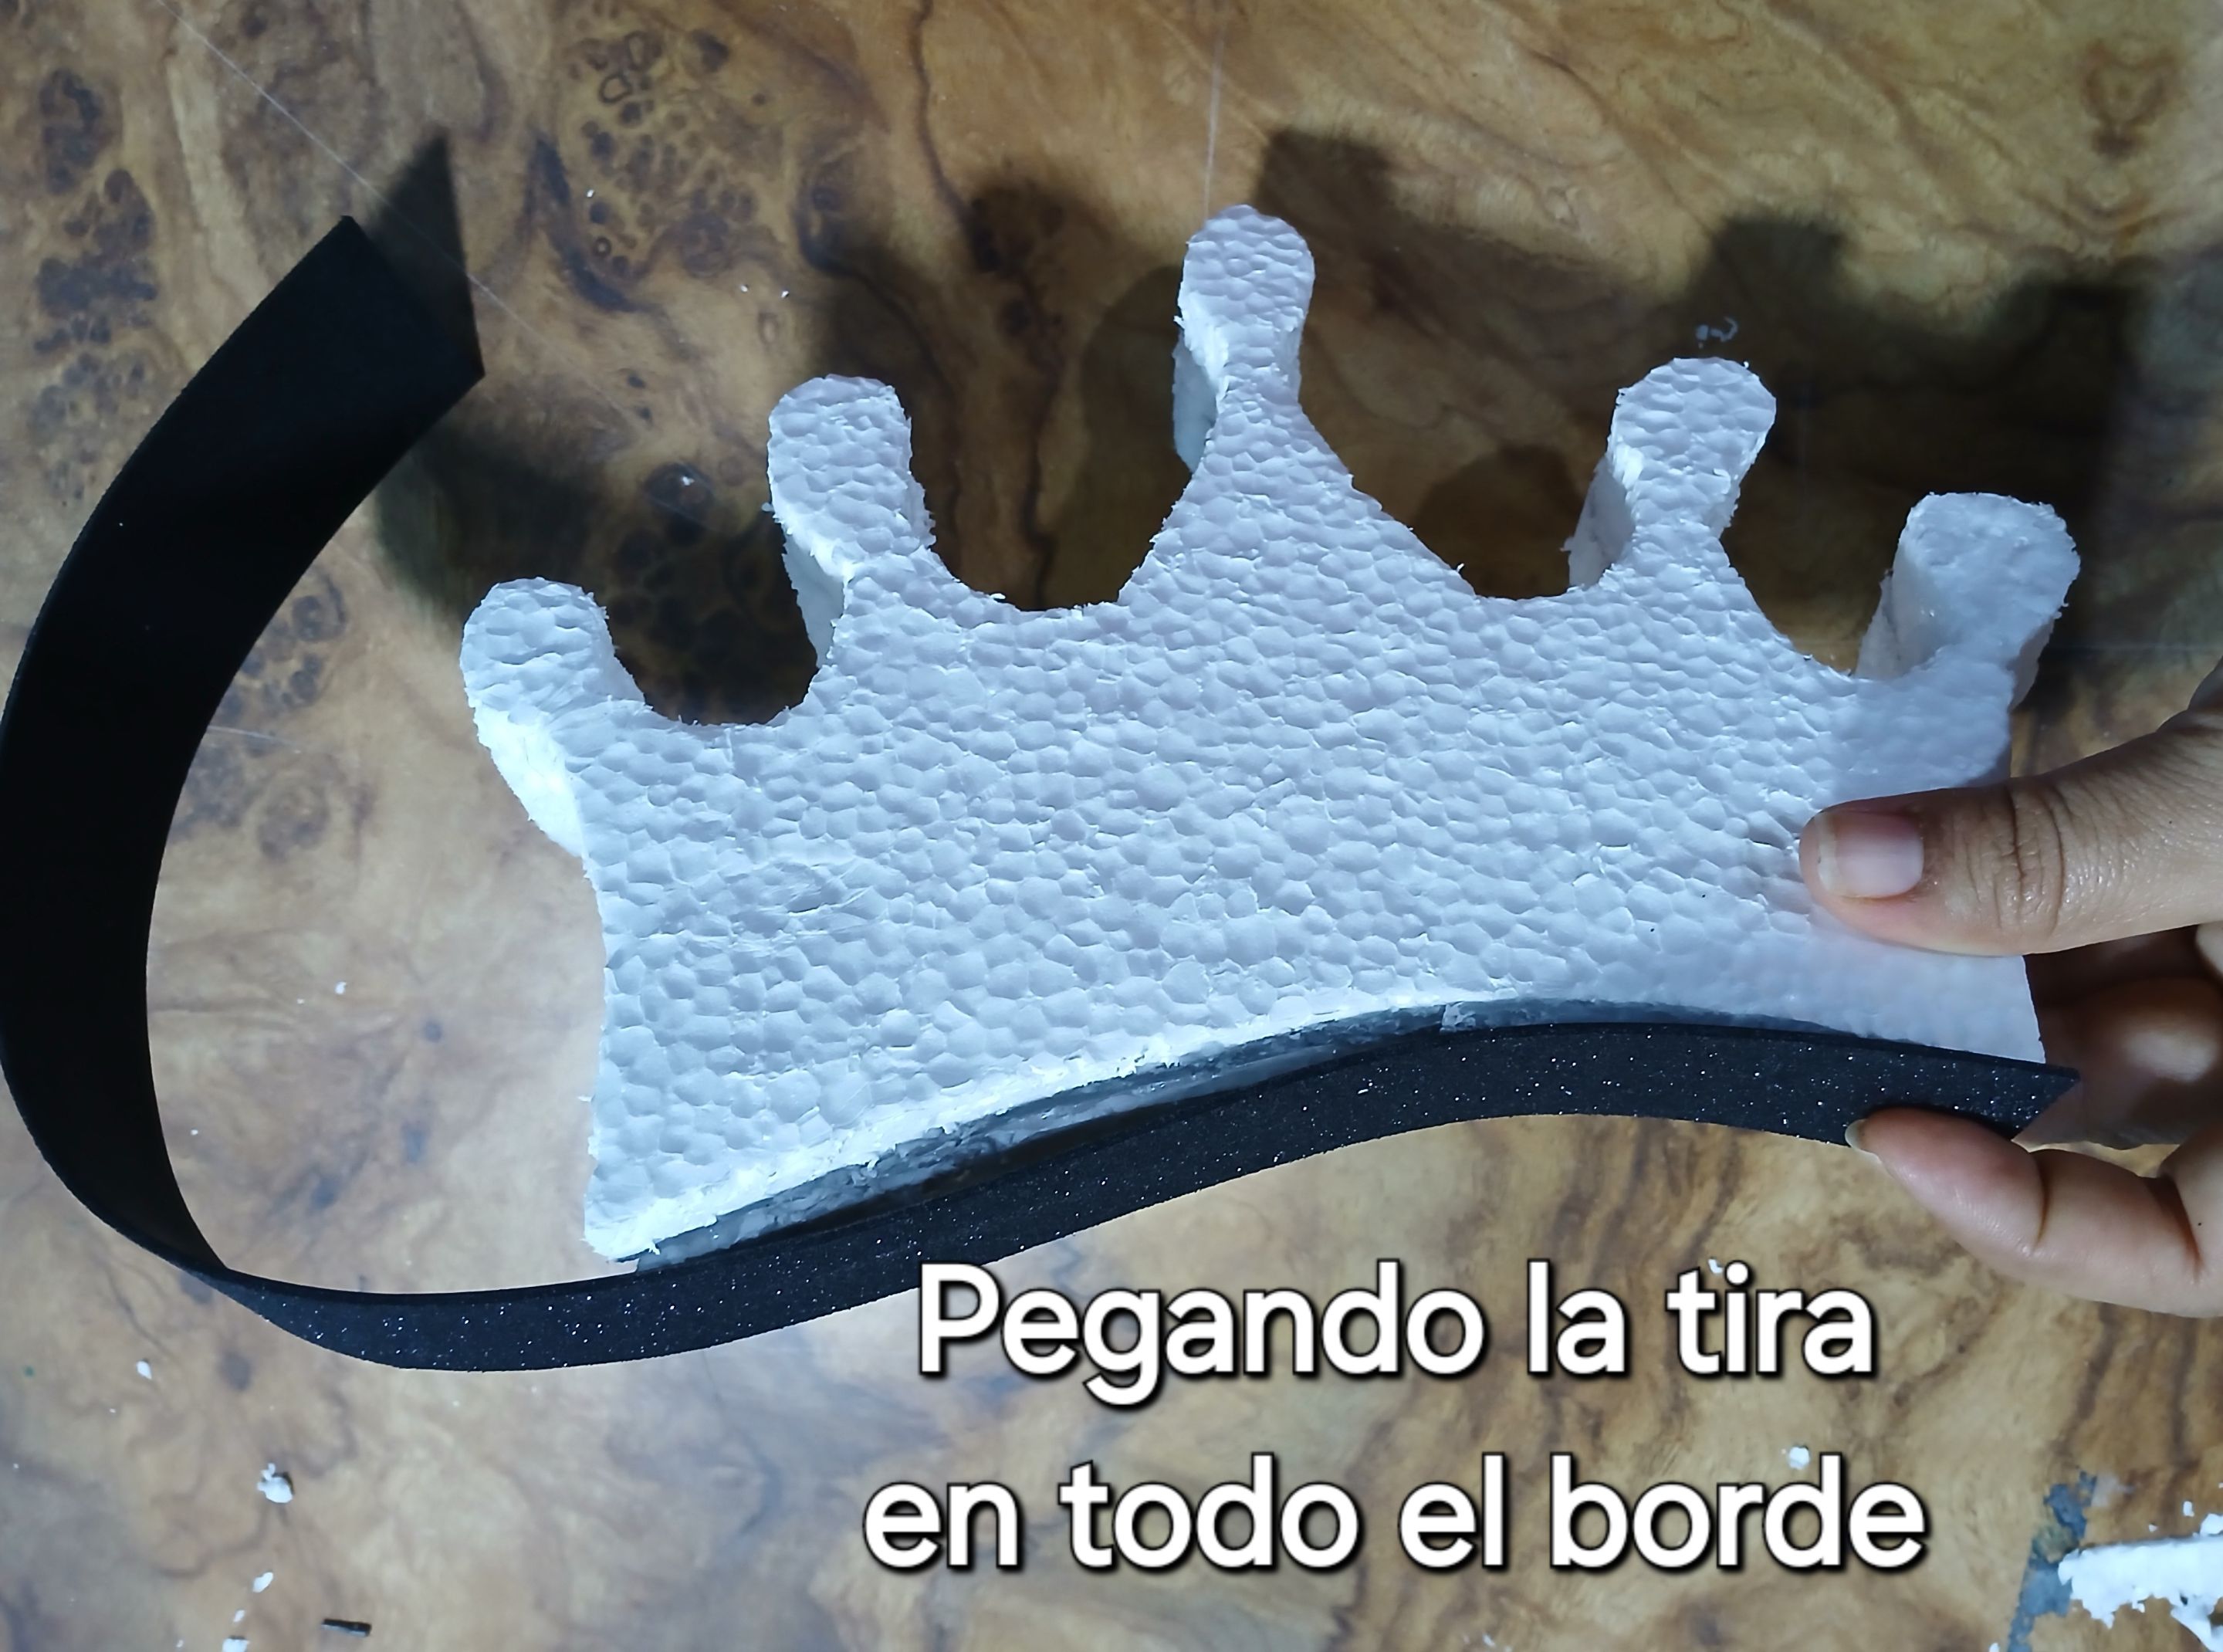
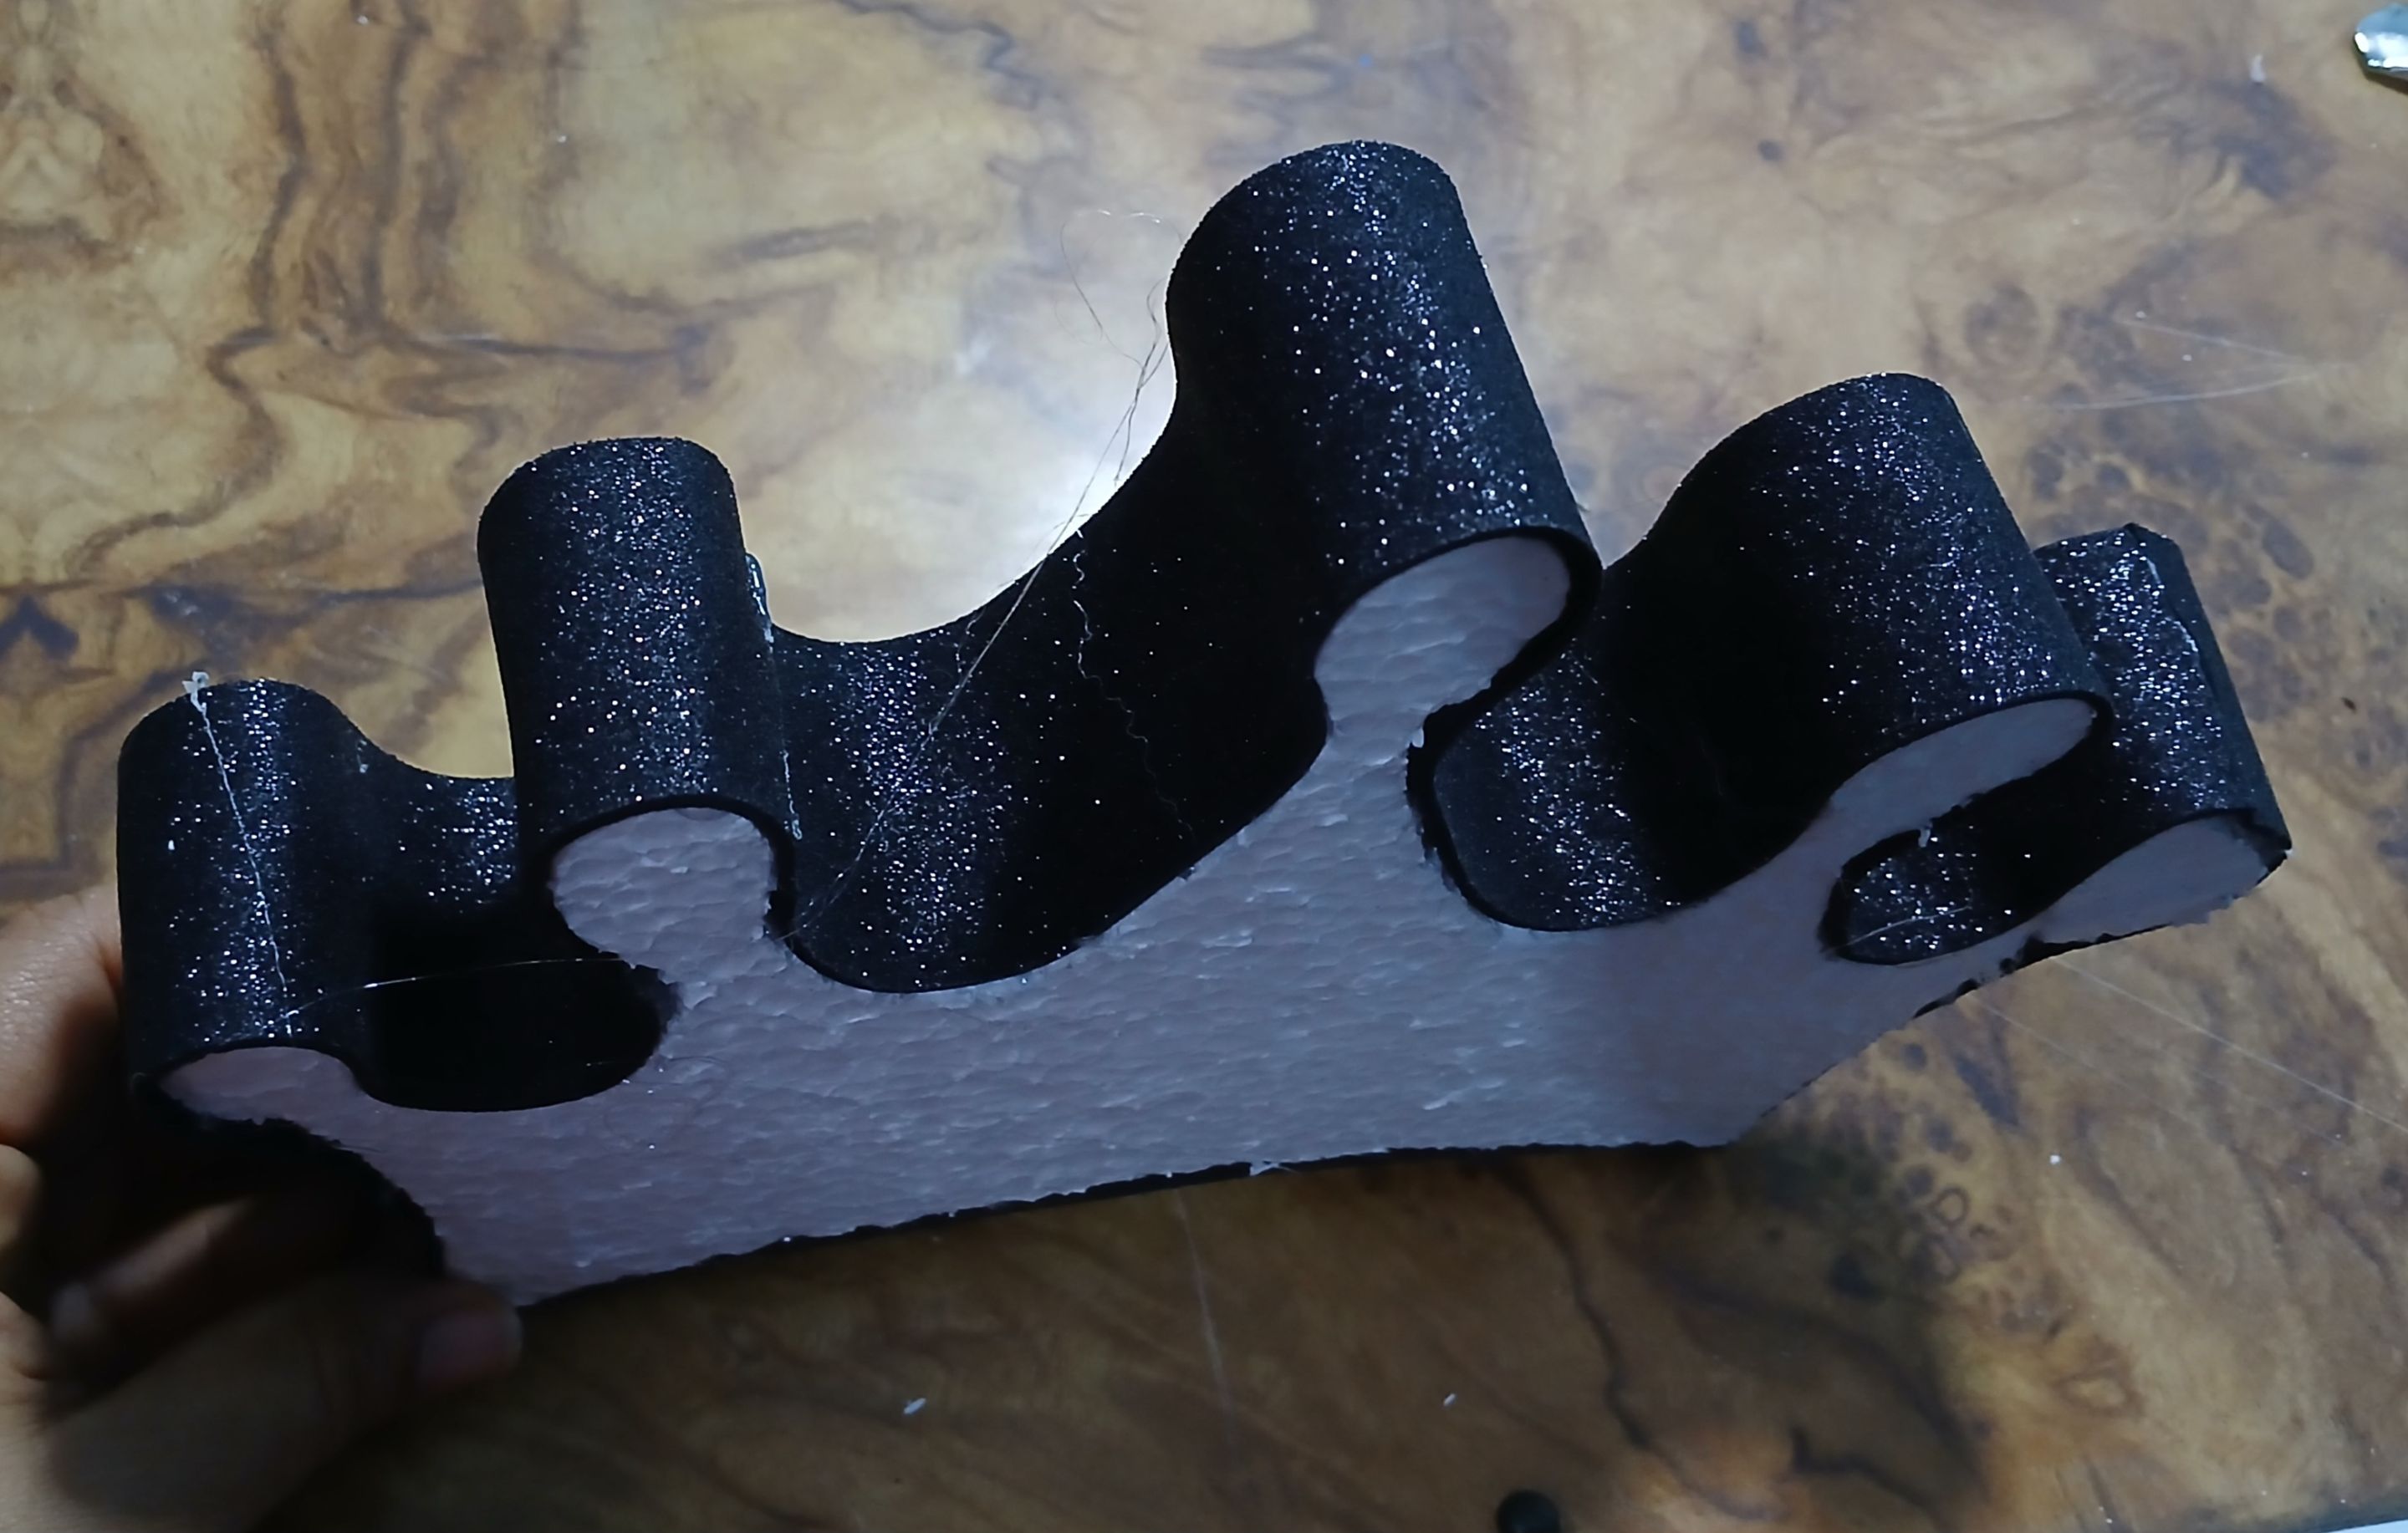
Lista la corona, procedí a cortar una tira de foami negro escarchado, del ancho de la misma y procedí a pegarla por todo el borde, siguiendo la forma de la figura, para forrar y crear el efecto 3D.
Once the wreath was ready, I proceeded to cut a strip of frosted black foami, the width of the wreath, and proceeded to glue it all around the edge, following the shape of the figure, to line and create the 3D effect.
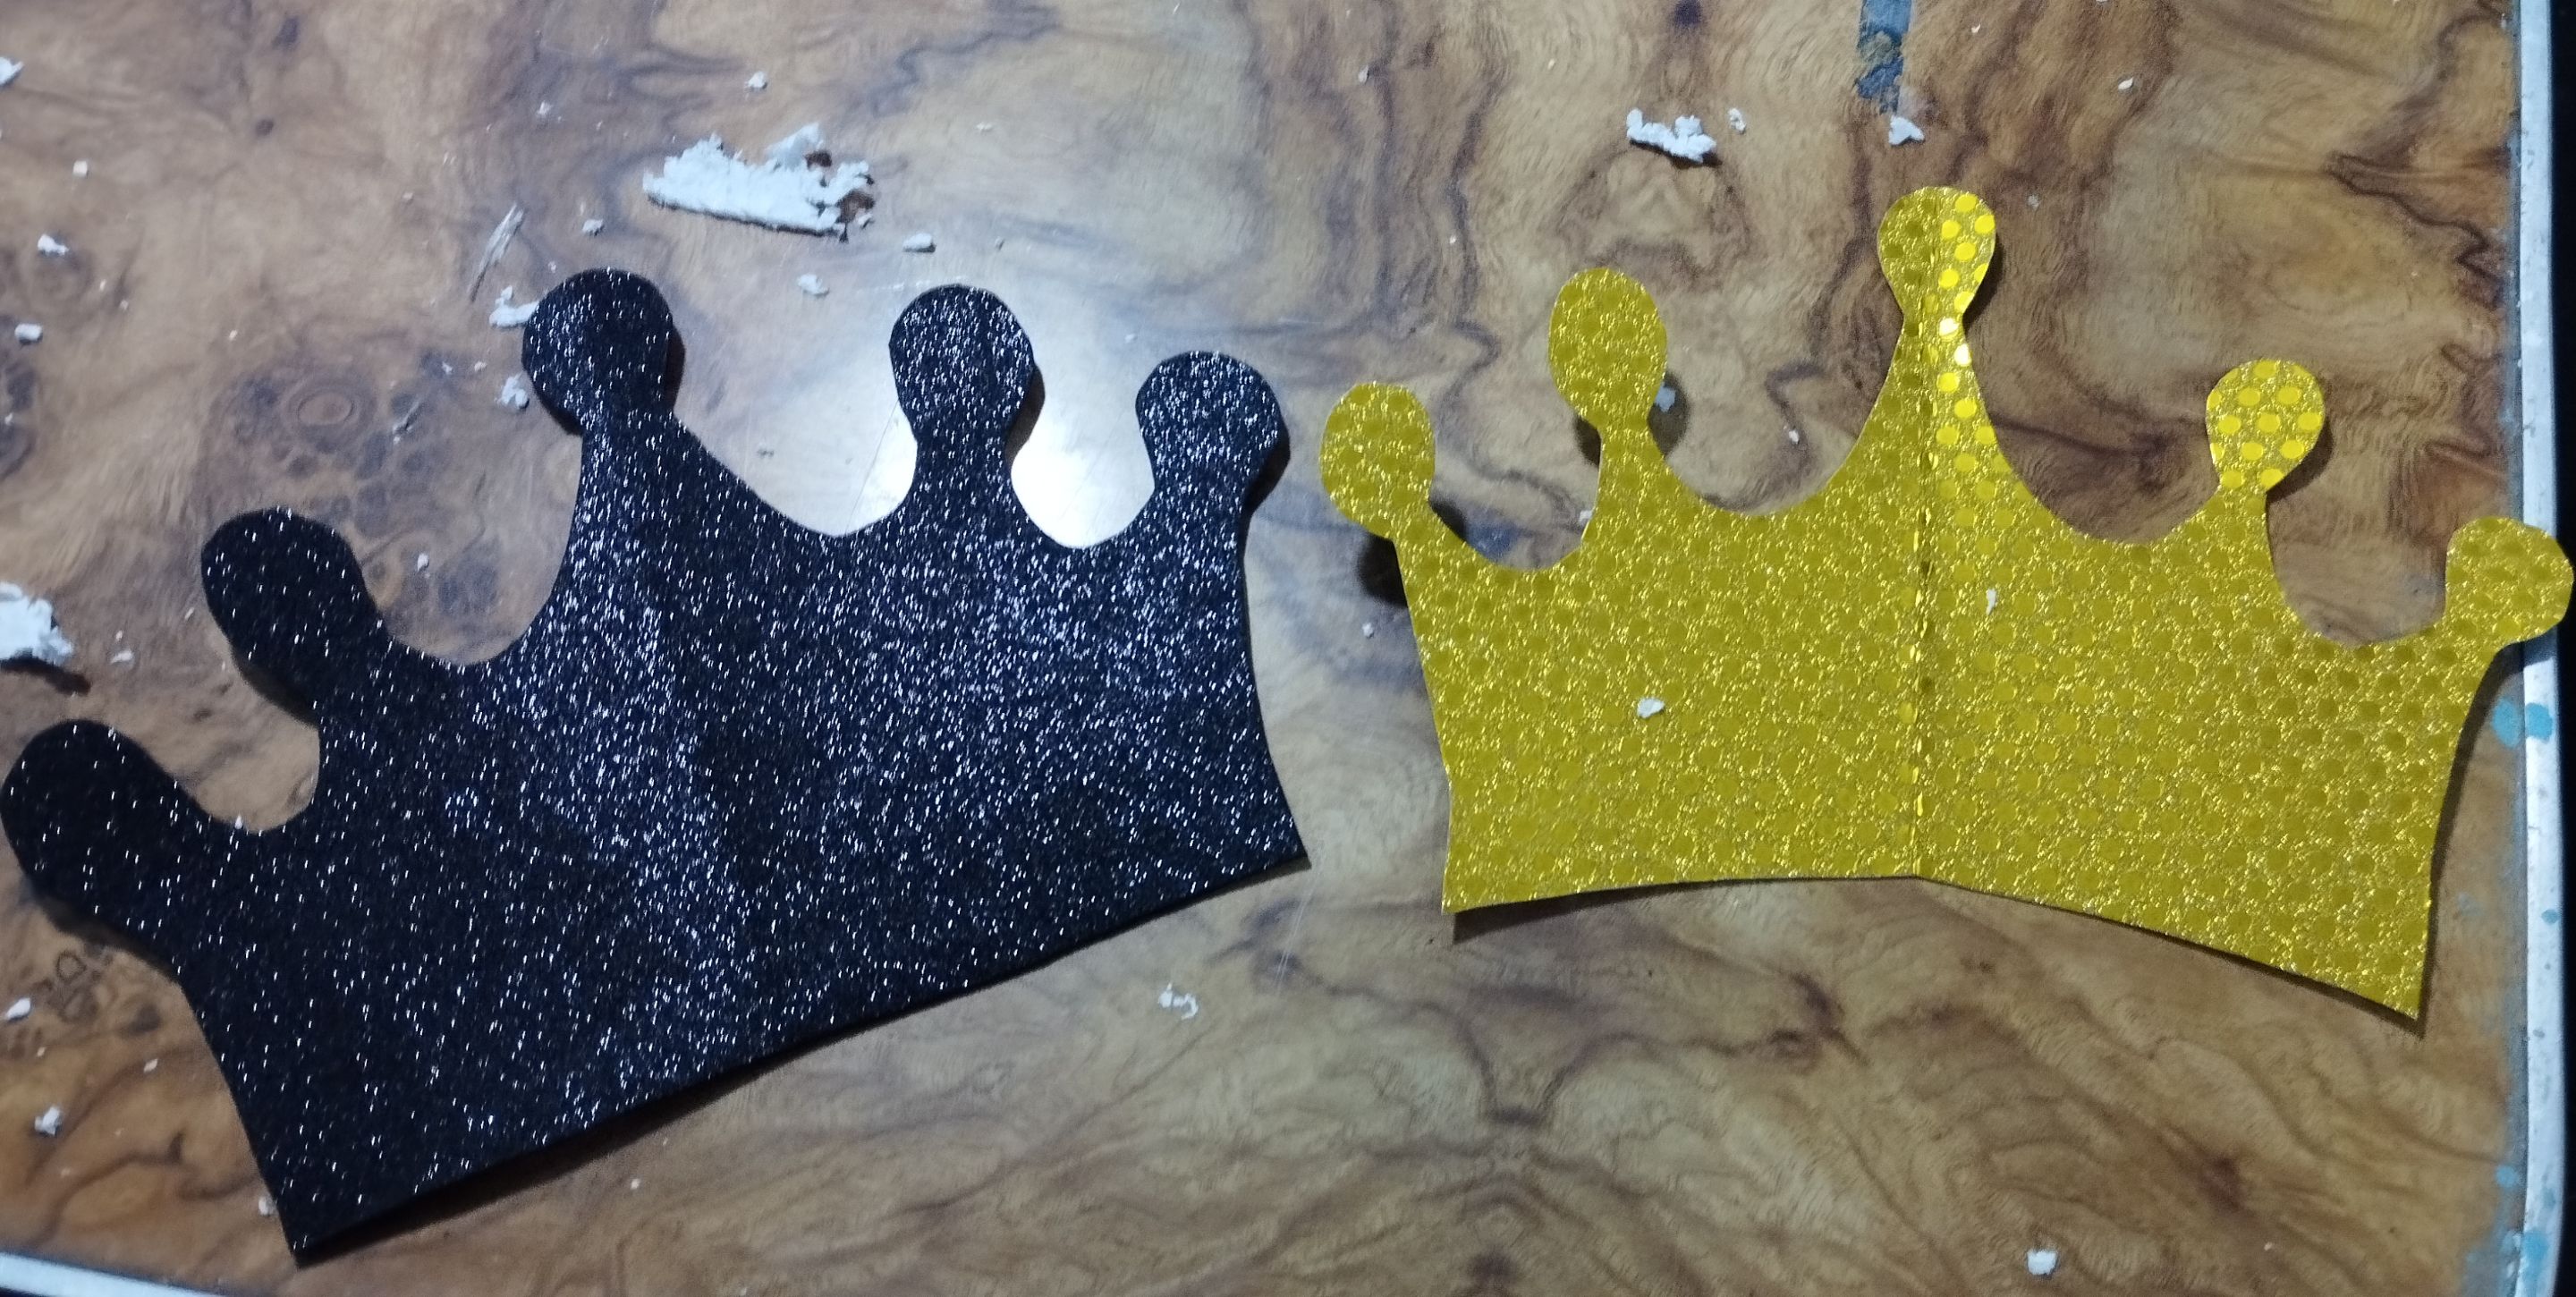
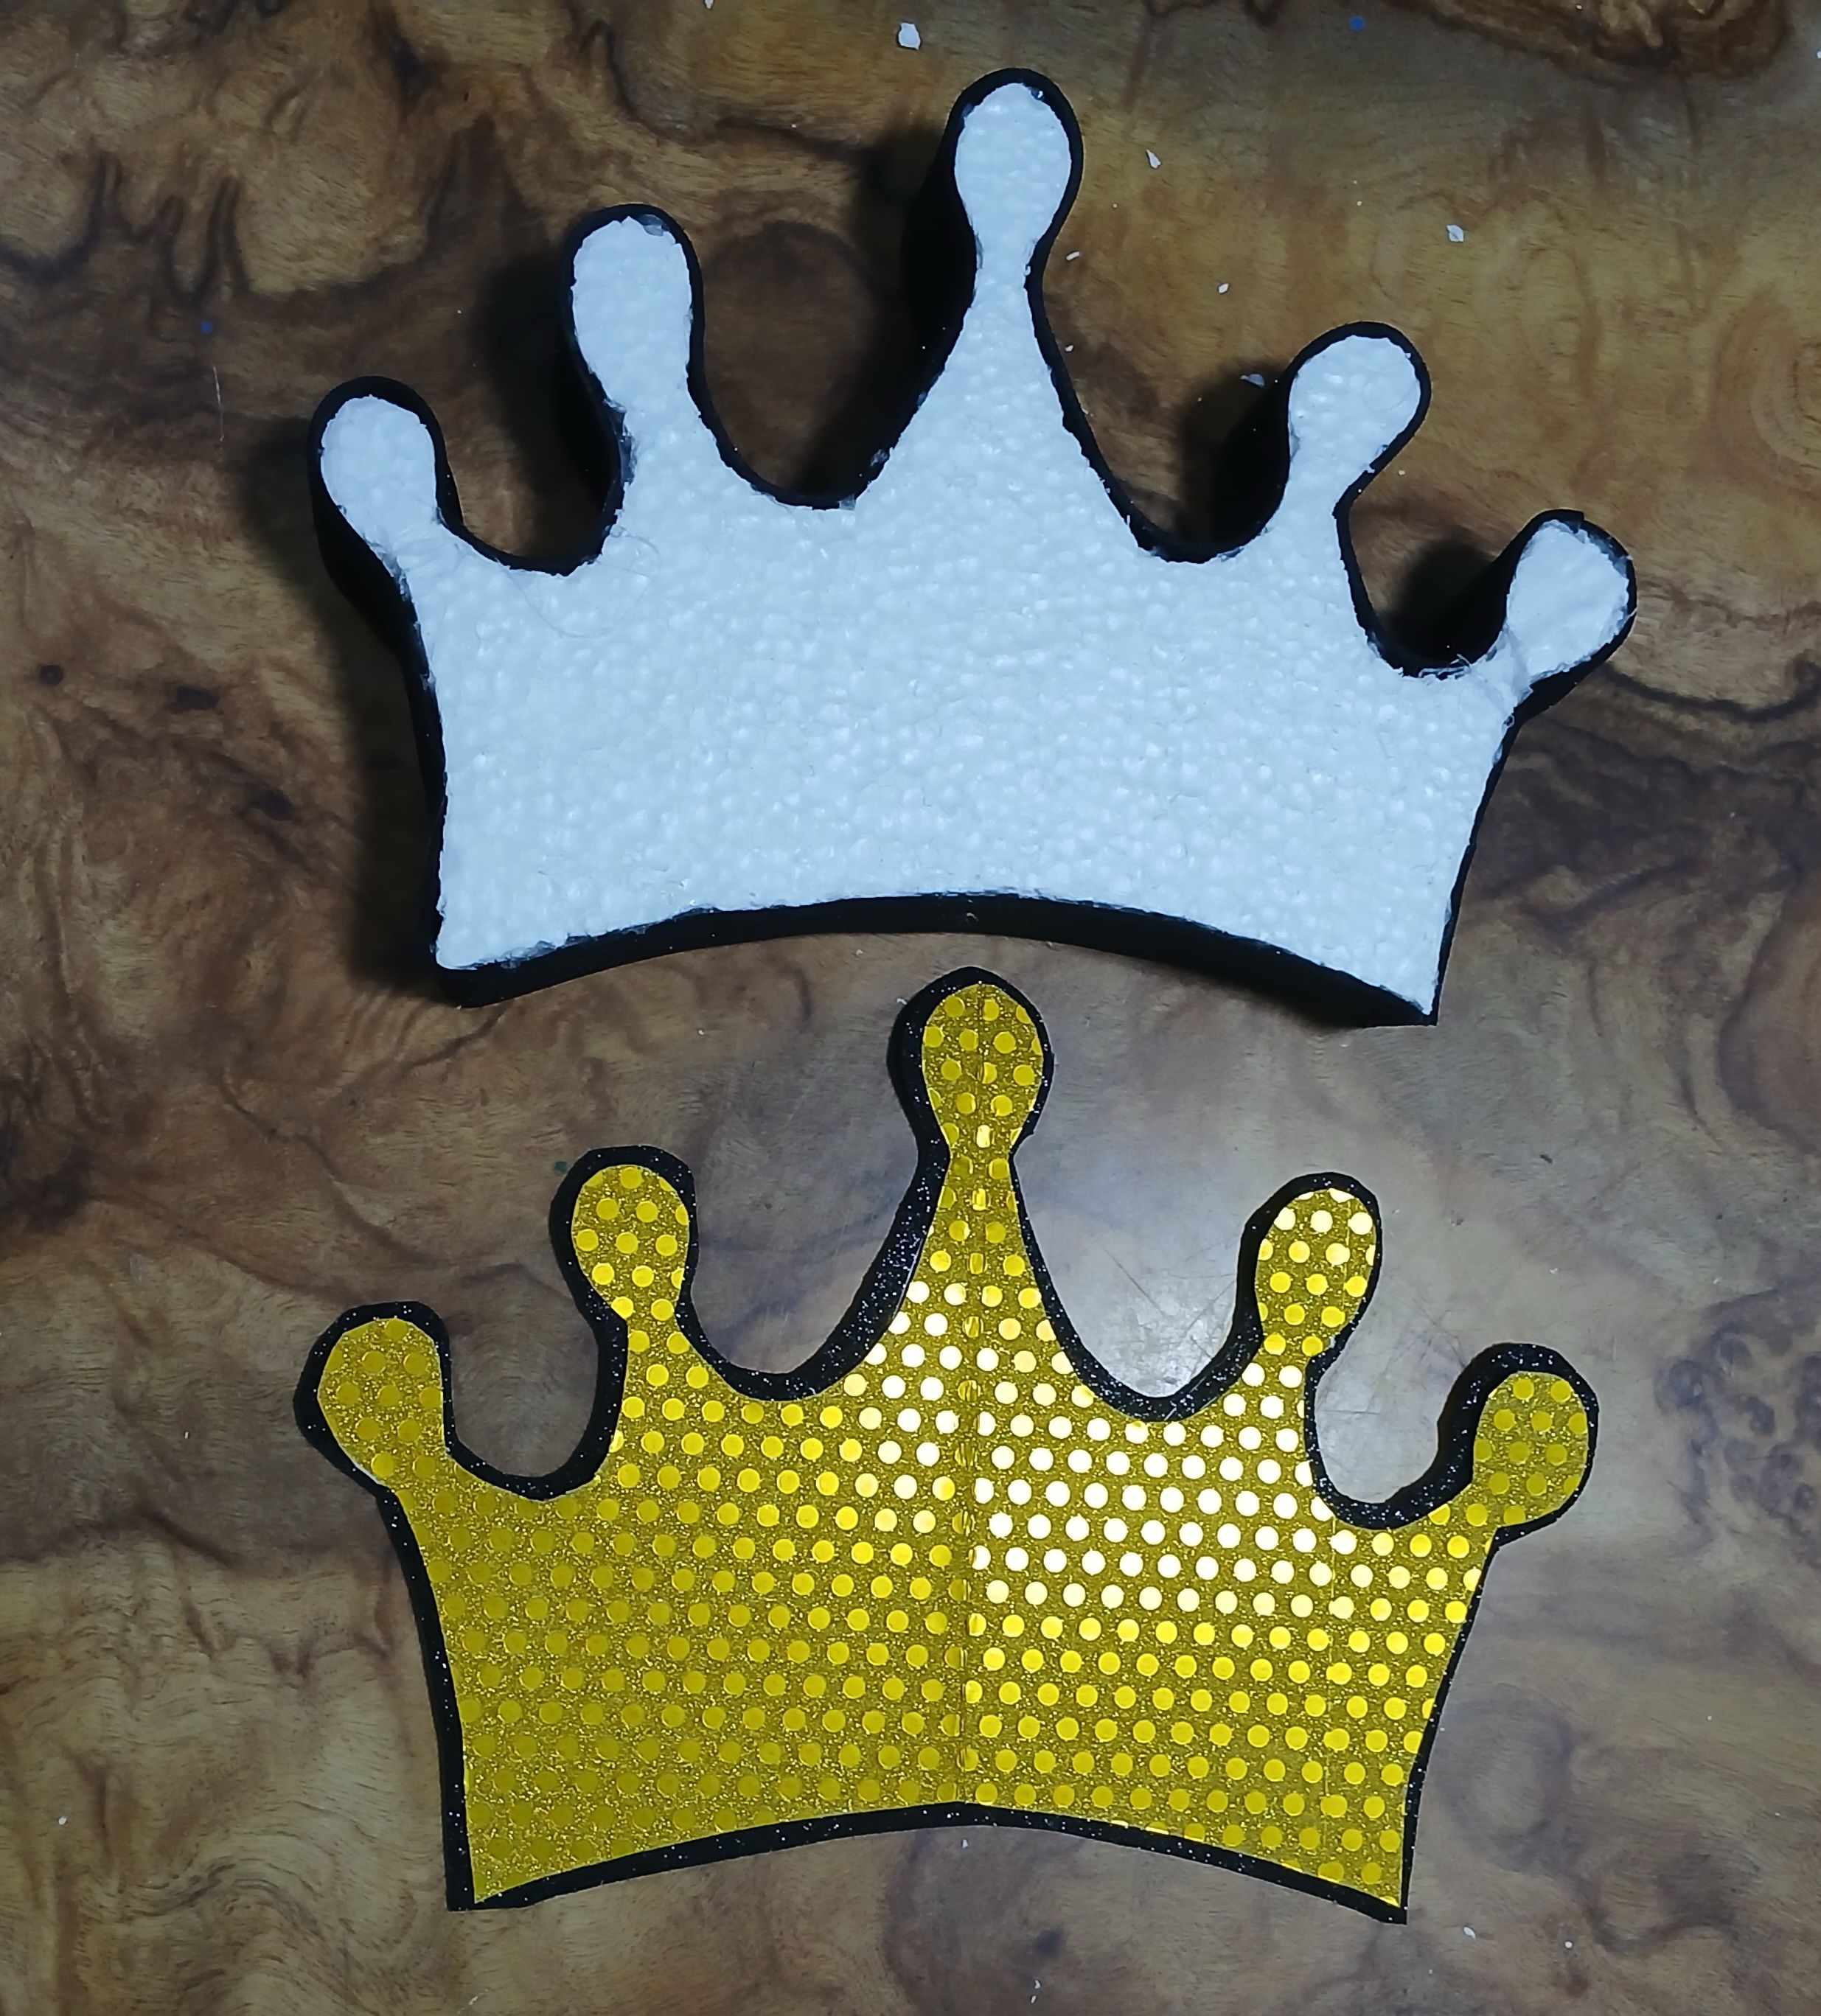
Corté una corona en foami negro escarchado y otra más pequeña que la negra en cartulina con textura de puntos dorada. Pegué la más pequeña encima de la grande y éstas las pegué sobre la corona de tecnopor ya forrada.
I cut a wreath in frosted black foami and another smaller than the black one in cardboard with gold dots texture. I glued the smaller one on top of the larger one and glued them on top of the technopor wreath already lined.
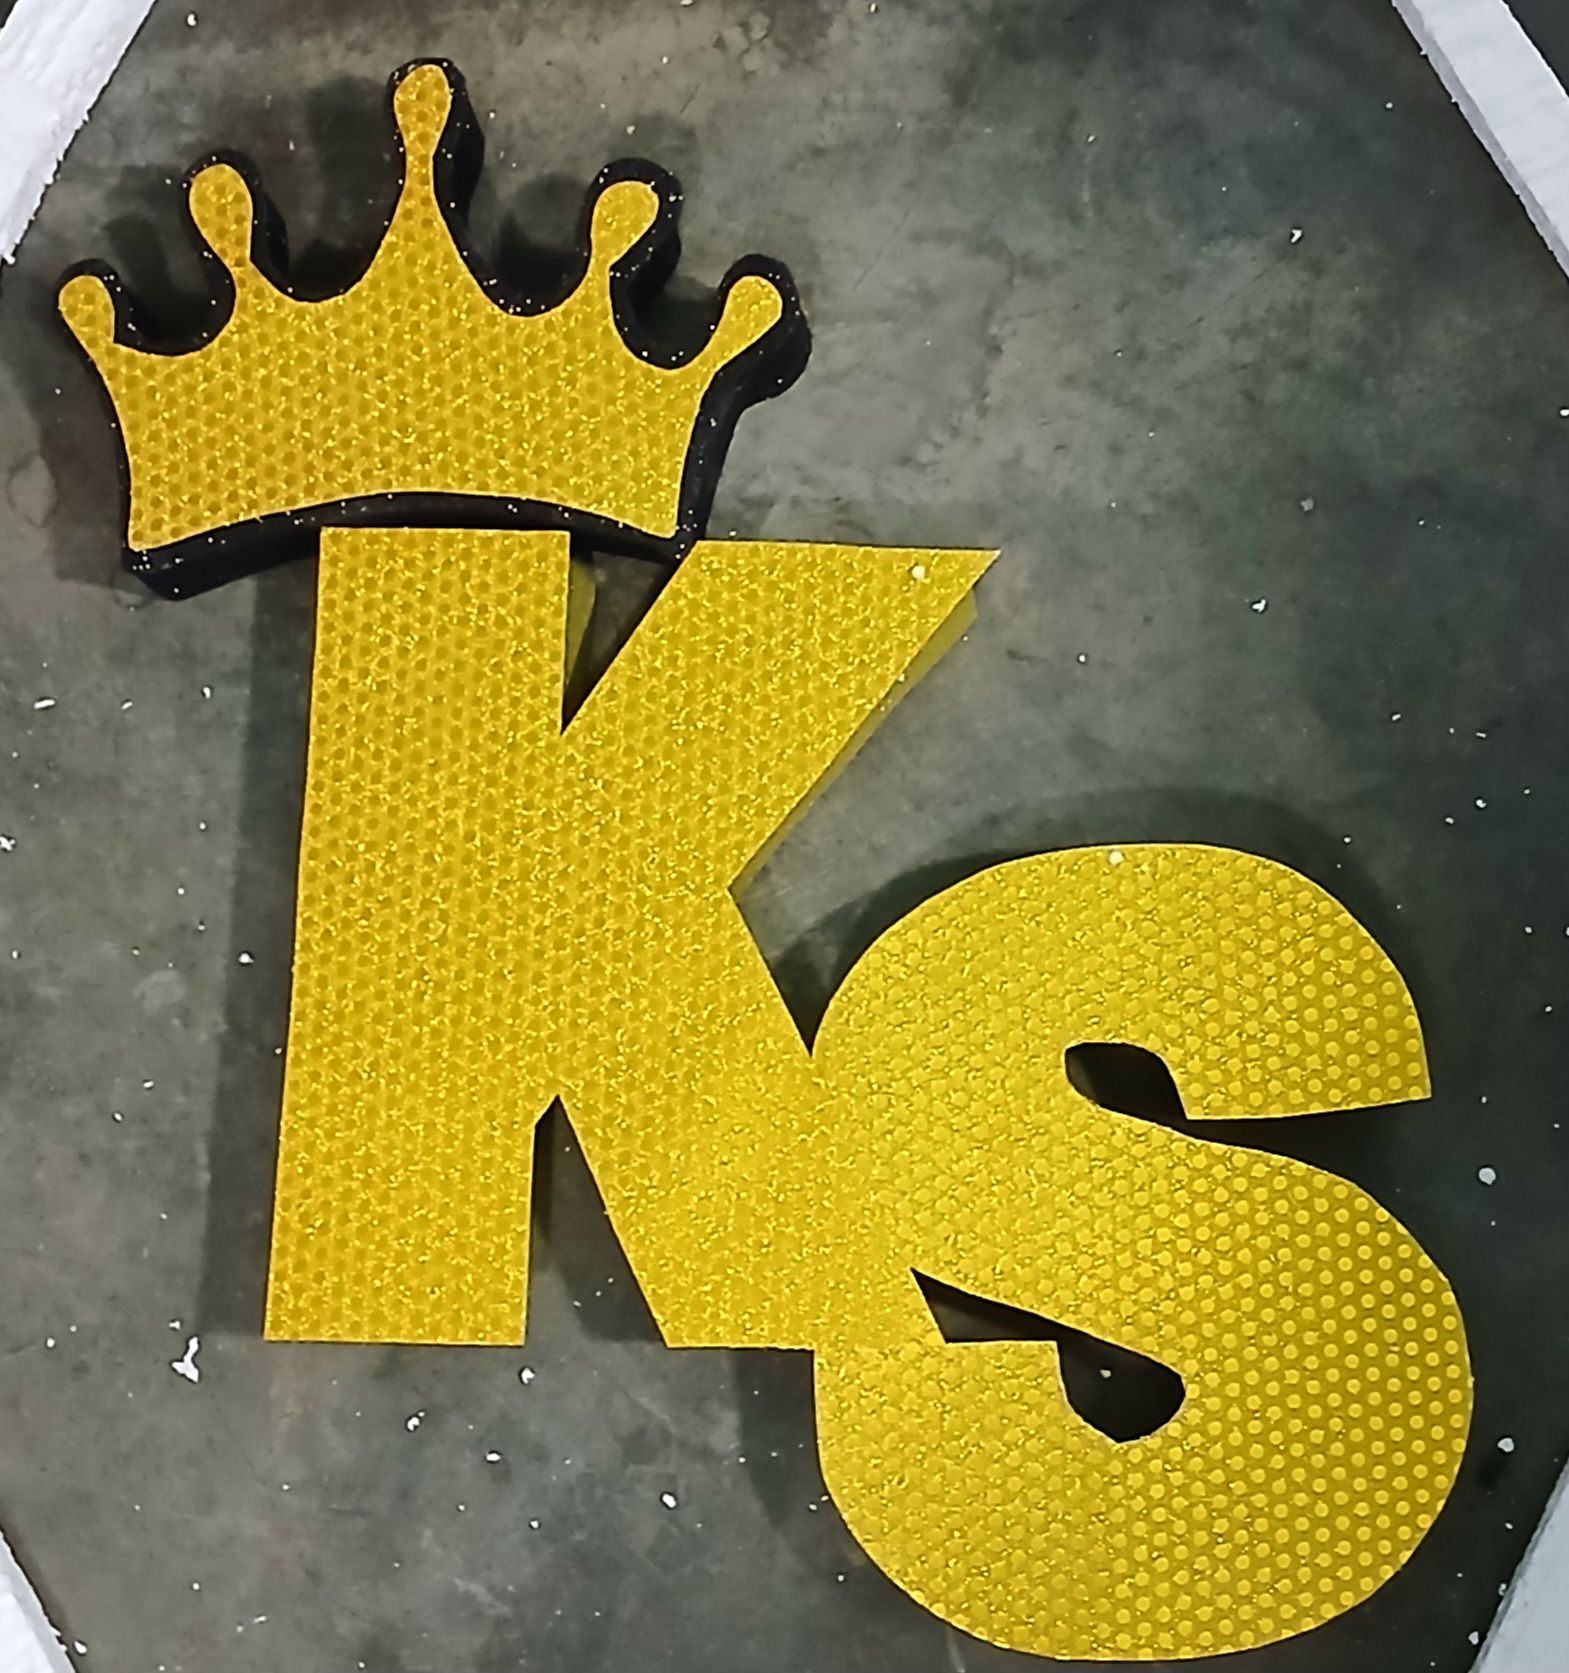

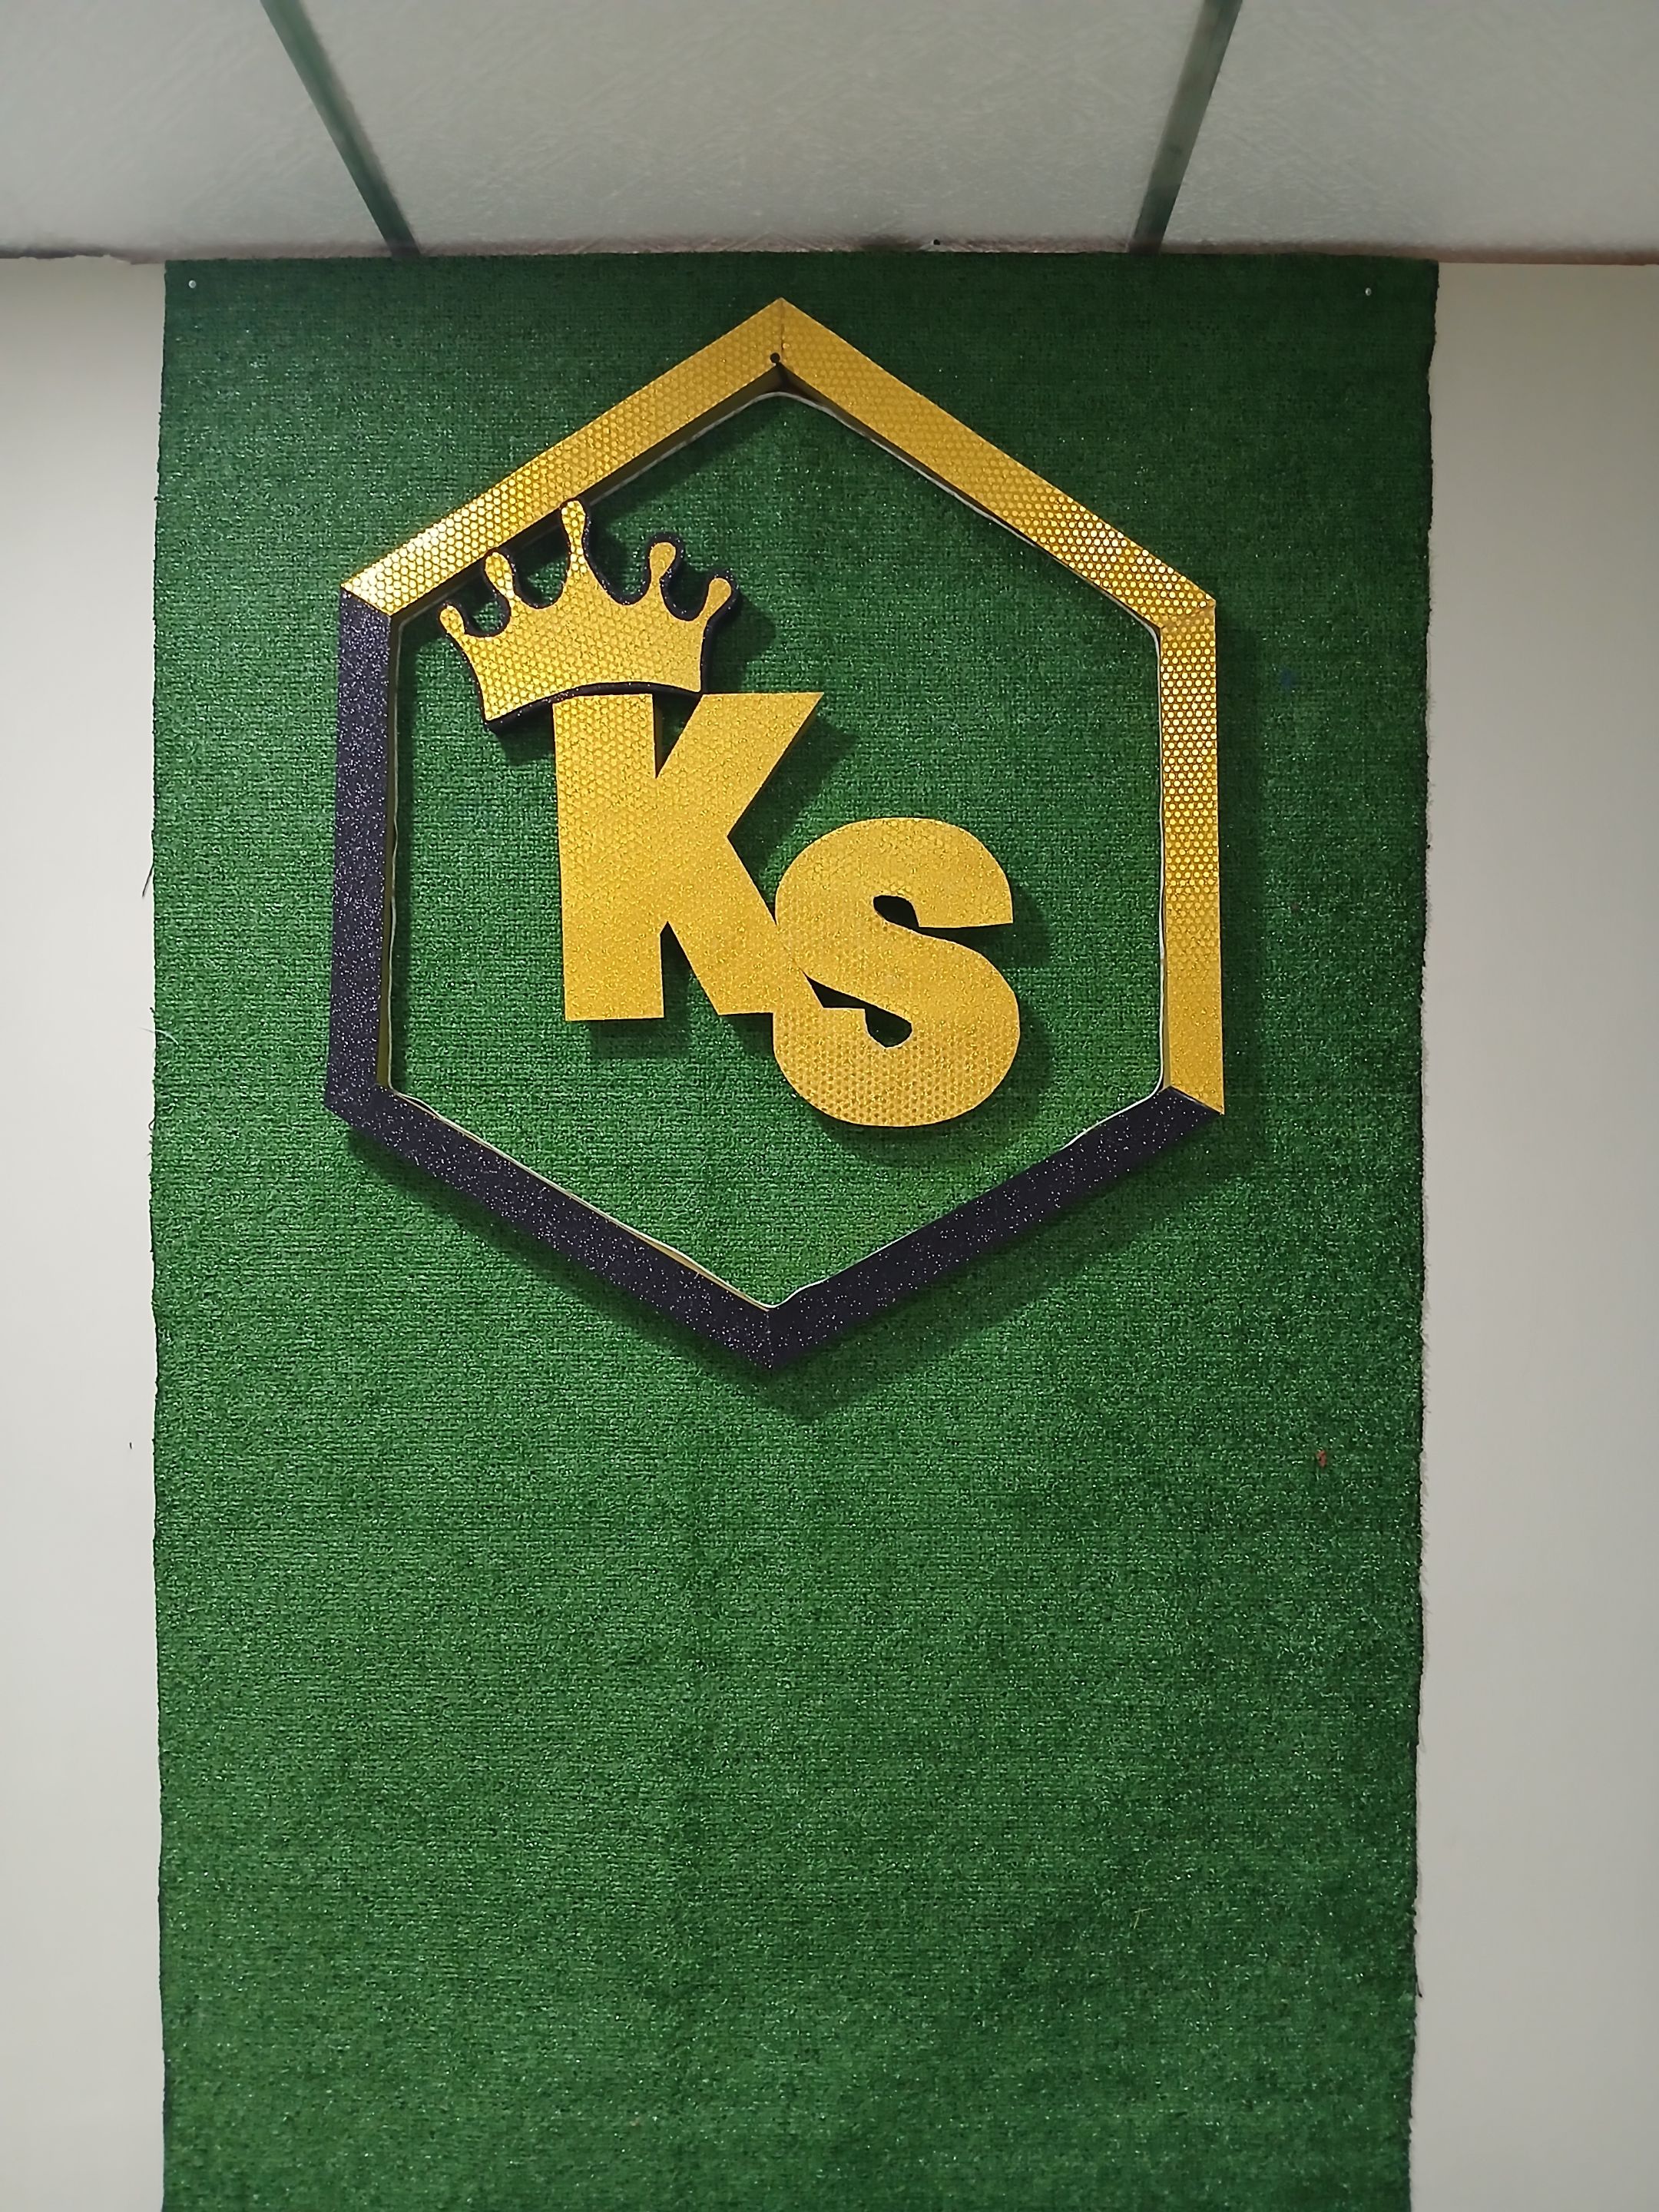
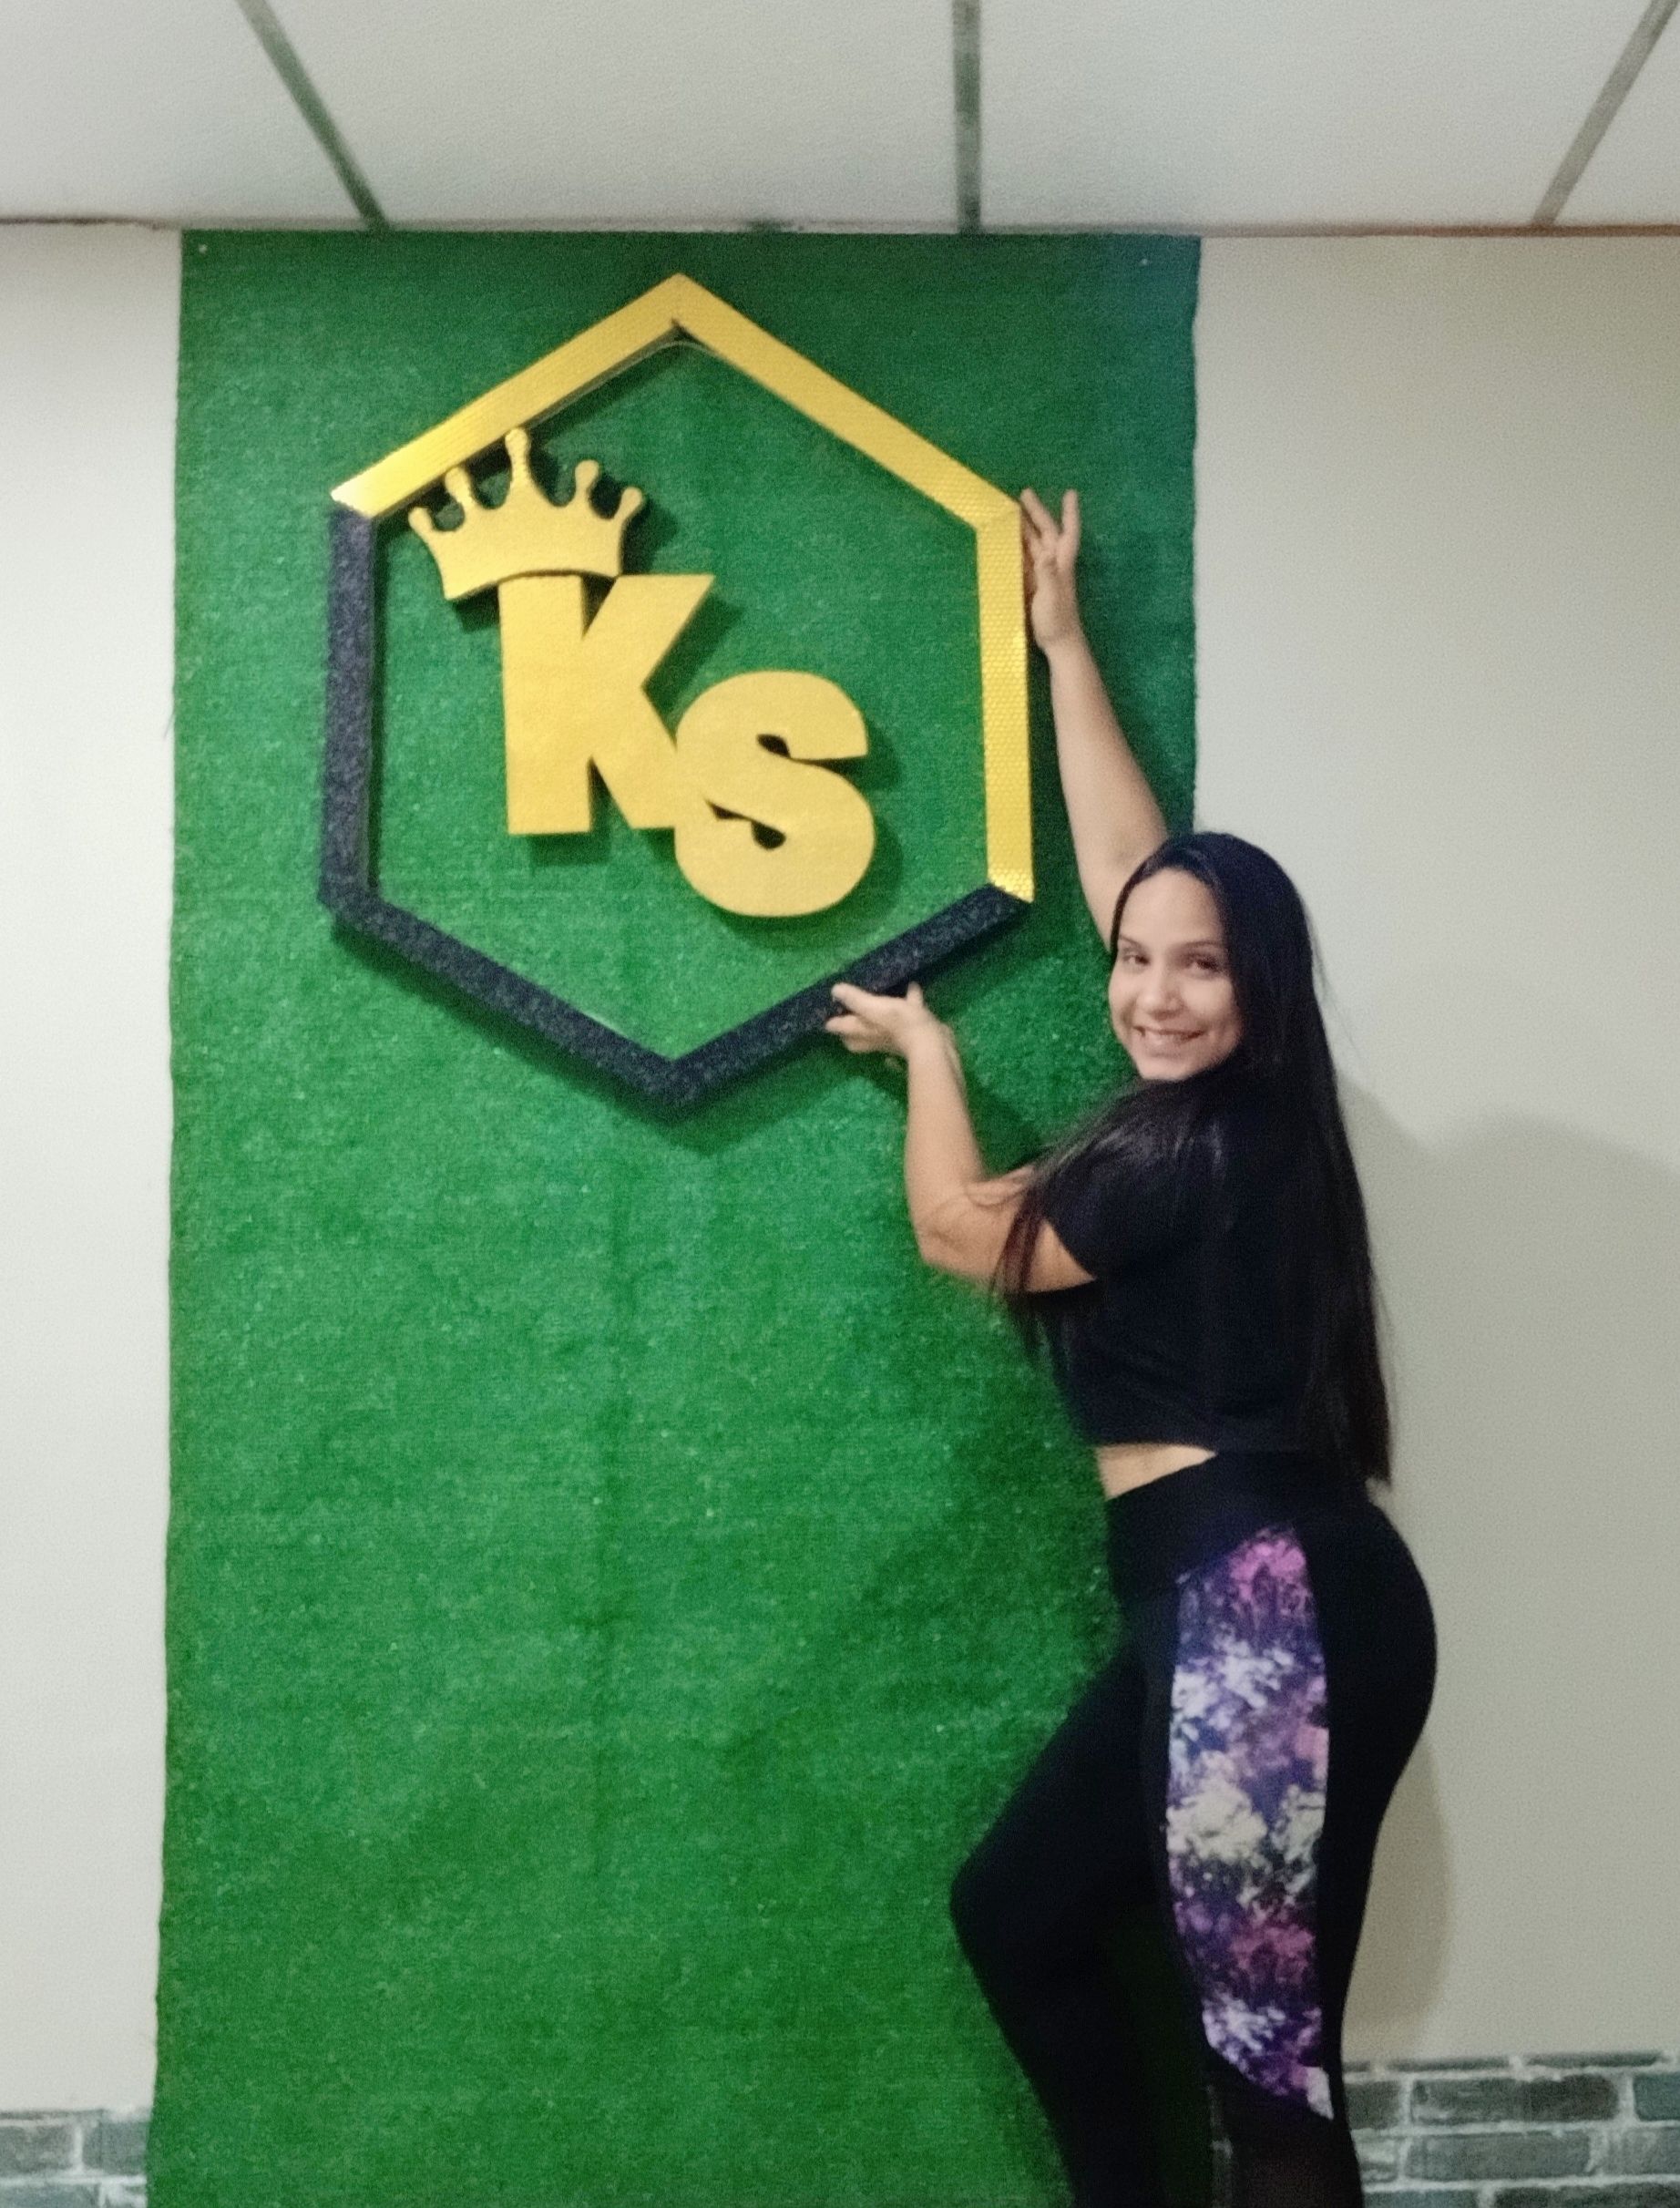
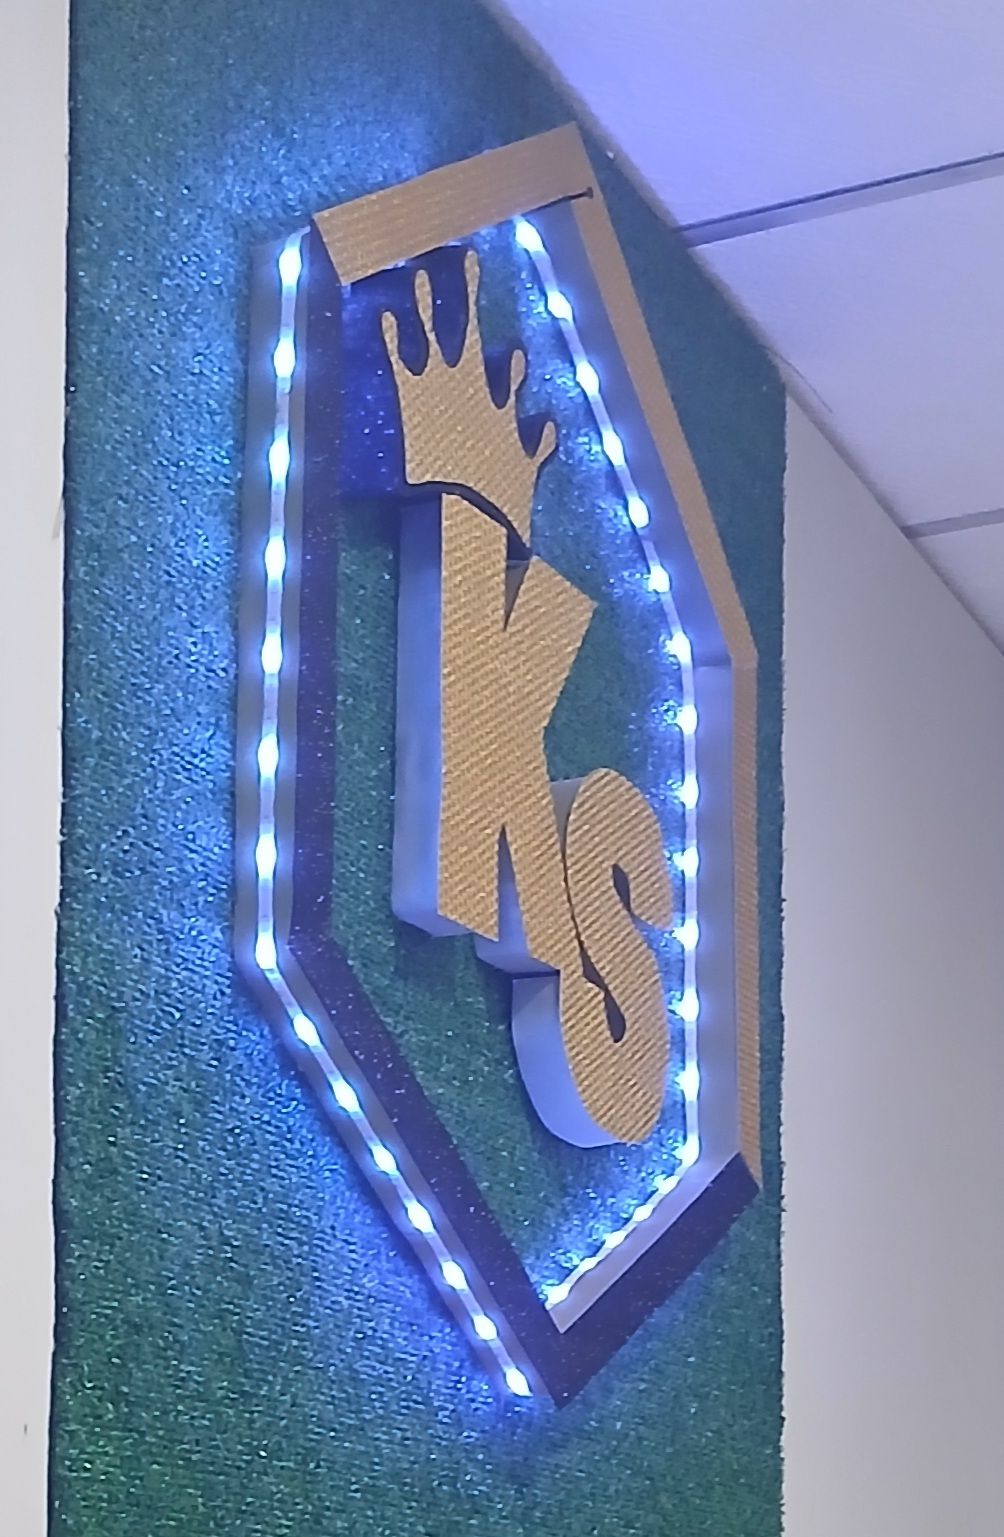
Aplicando estos pasos, lograremos obtener más logros como éste, una buena opción economica y elegante. Espero que te haya gustado el resultado y el tutorial te sea de mucha utilidad para futuros proyectos. Muchas bendiciones apreciados amigos.
*Applying these steps, we will get more achievements like this, a good economical and elegant option. I hope you liked the result and the tutorial will be very useful for future projects. Many blessings dear friends.
- Ediciones y barras realizadas desde - Picsar.
- Traductor: https://www.deepl.com
- Imágenes: Samsung A 15
- Editions and bars made from - Picsar.
- Translator: https://www.deepl.com
- Images: Samsung A 15