Hi needleworker, happy new month! Today marks the beginning of a new month, and how nice it is to start with a new outfit for yourself.
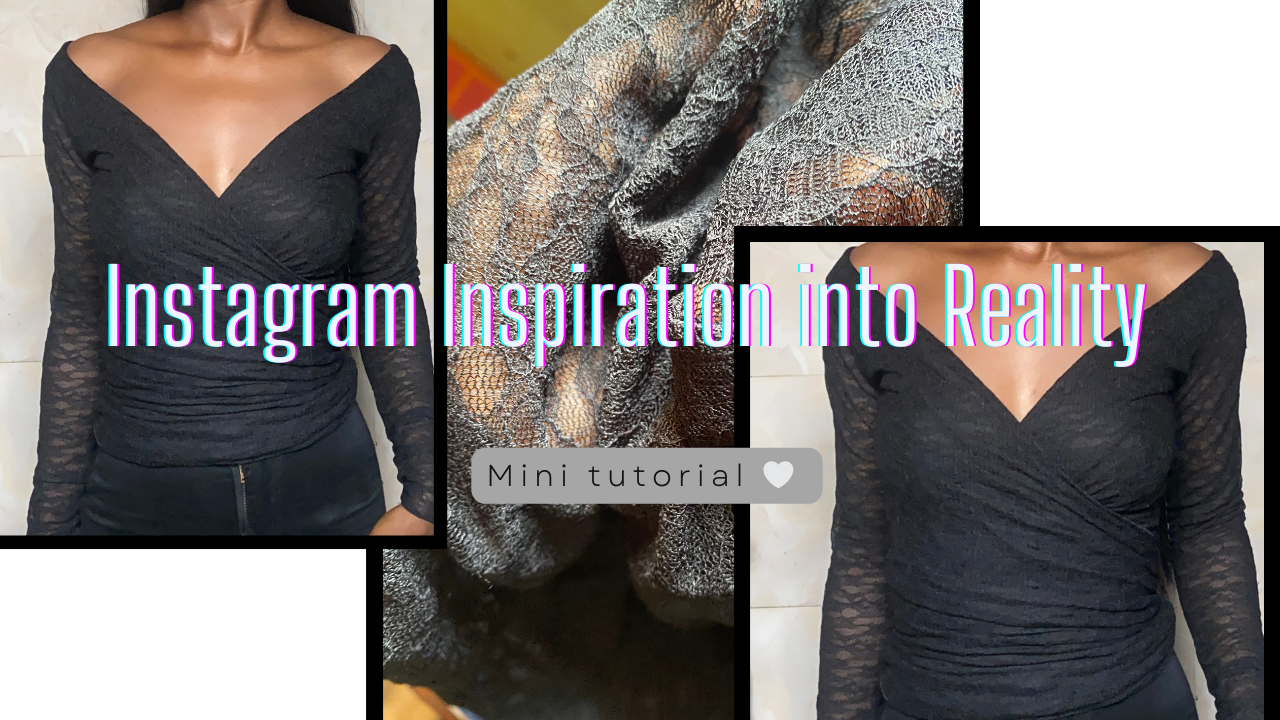
I was scrolling through Instagram last week and came across a beautiful two-piece set from Coucoo (a clothing brand). The top was so stunning that I wished I had it. But since I'm a sewist, I decided to make one for myself. That's the fun part of being a sewist or a tailor – you can literally make anything you want. Cool, right? So, to all the non-sewists out there, you're really missing out on this creative freedom haha.
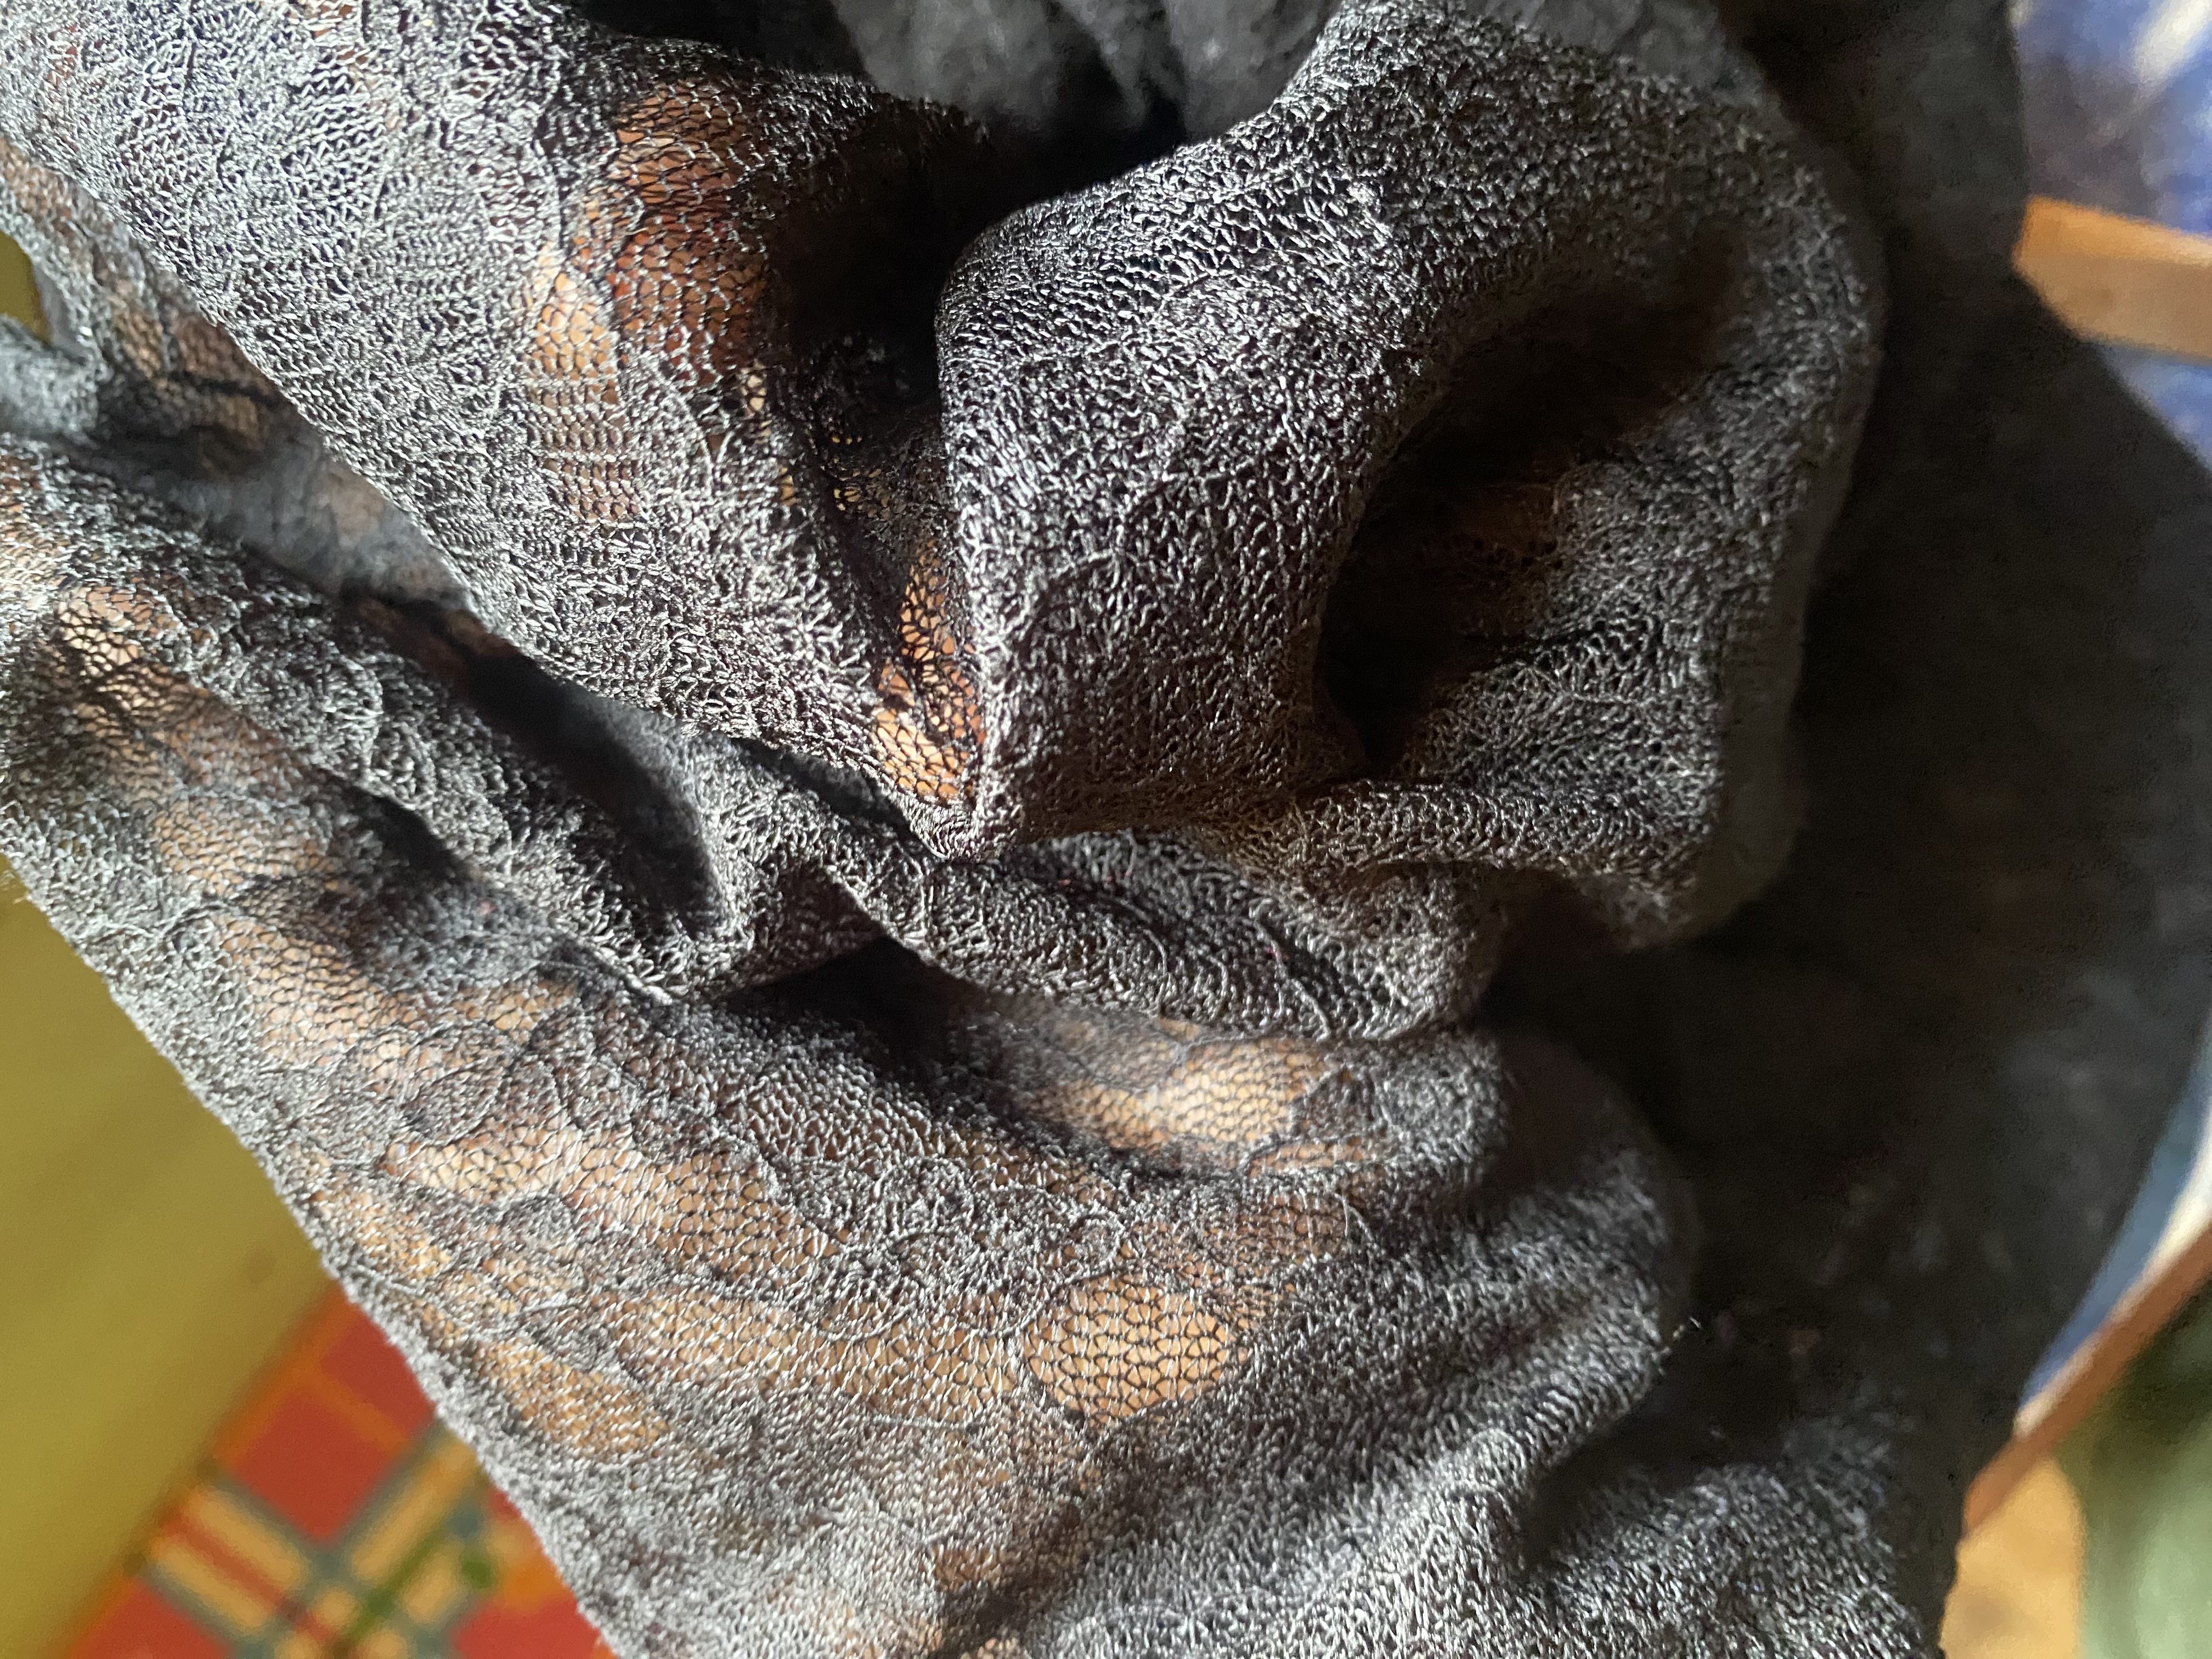
I checked through my fabric stash to see if I could find any material that would be perfect for the top. After all my effort, I couldn't find a stretchy material that would be suitable. The only material I found was a stretchy net fabric. So, I decided to use it since it was my only option. I was a little skeptical, but I decided to give it a try.
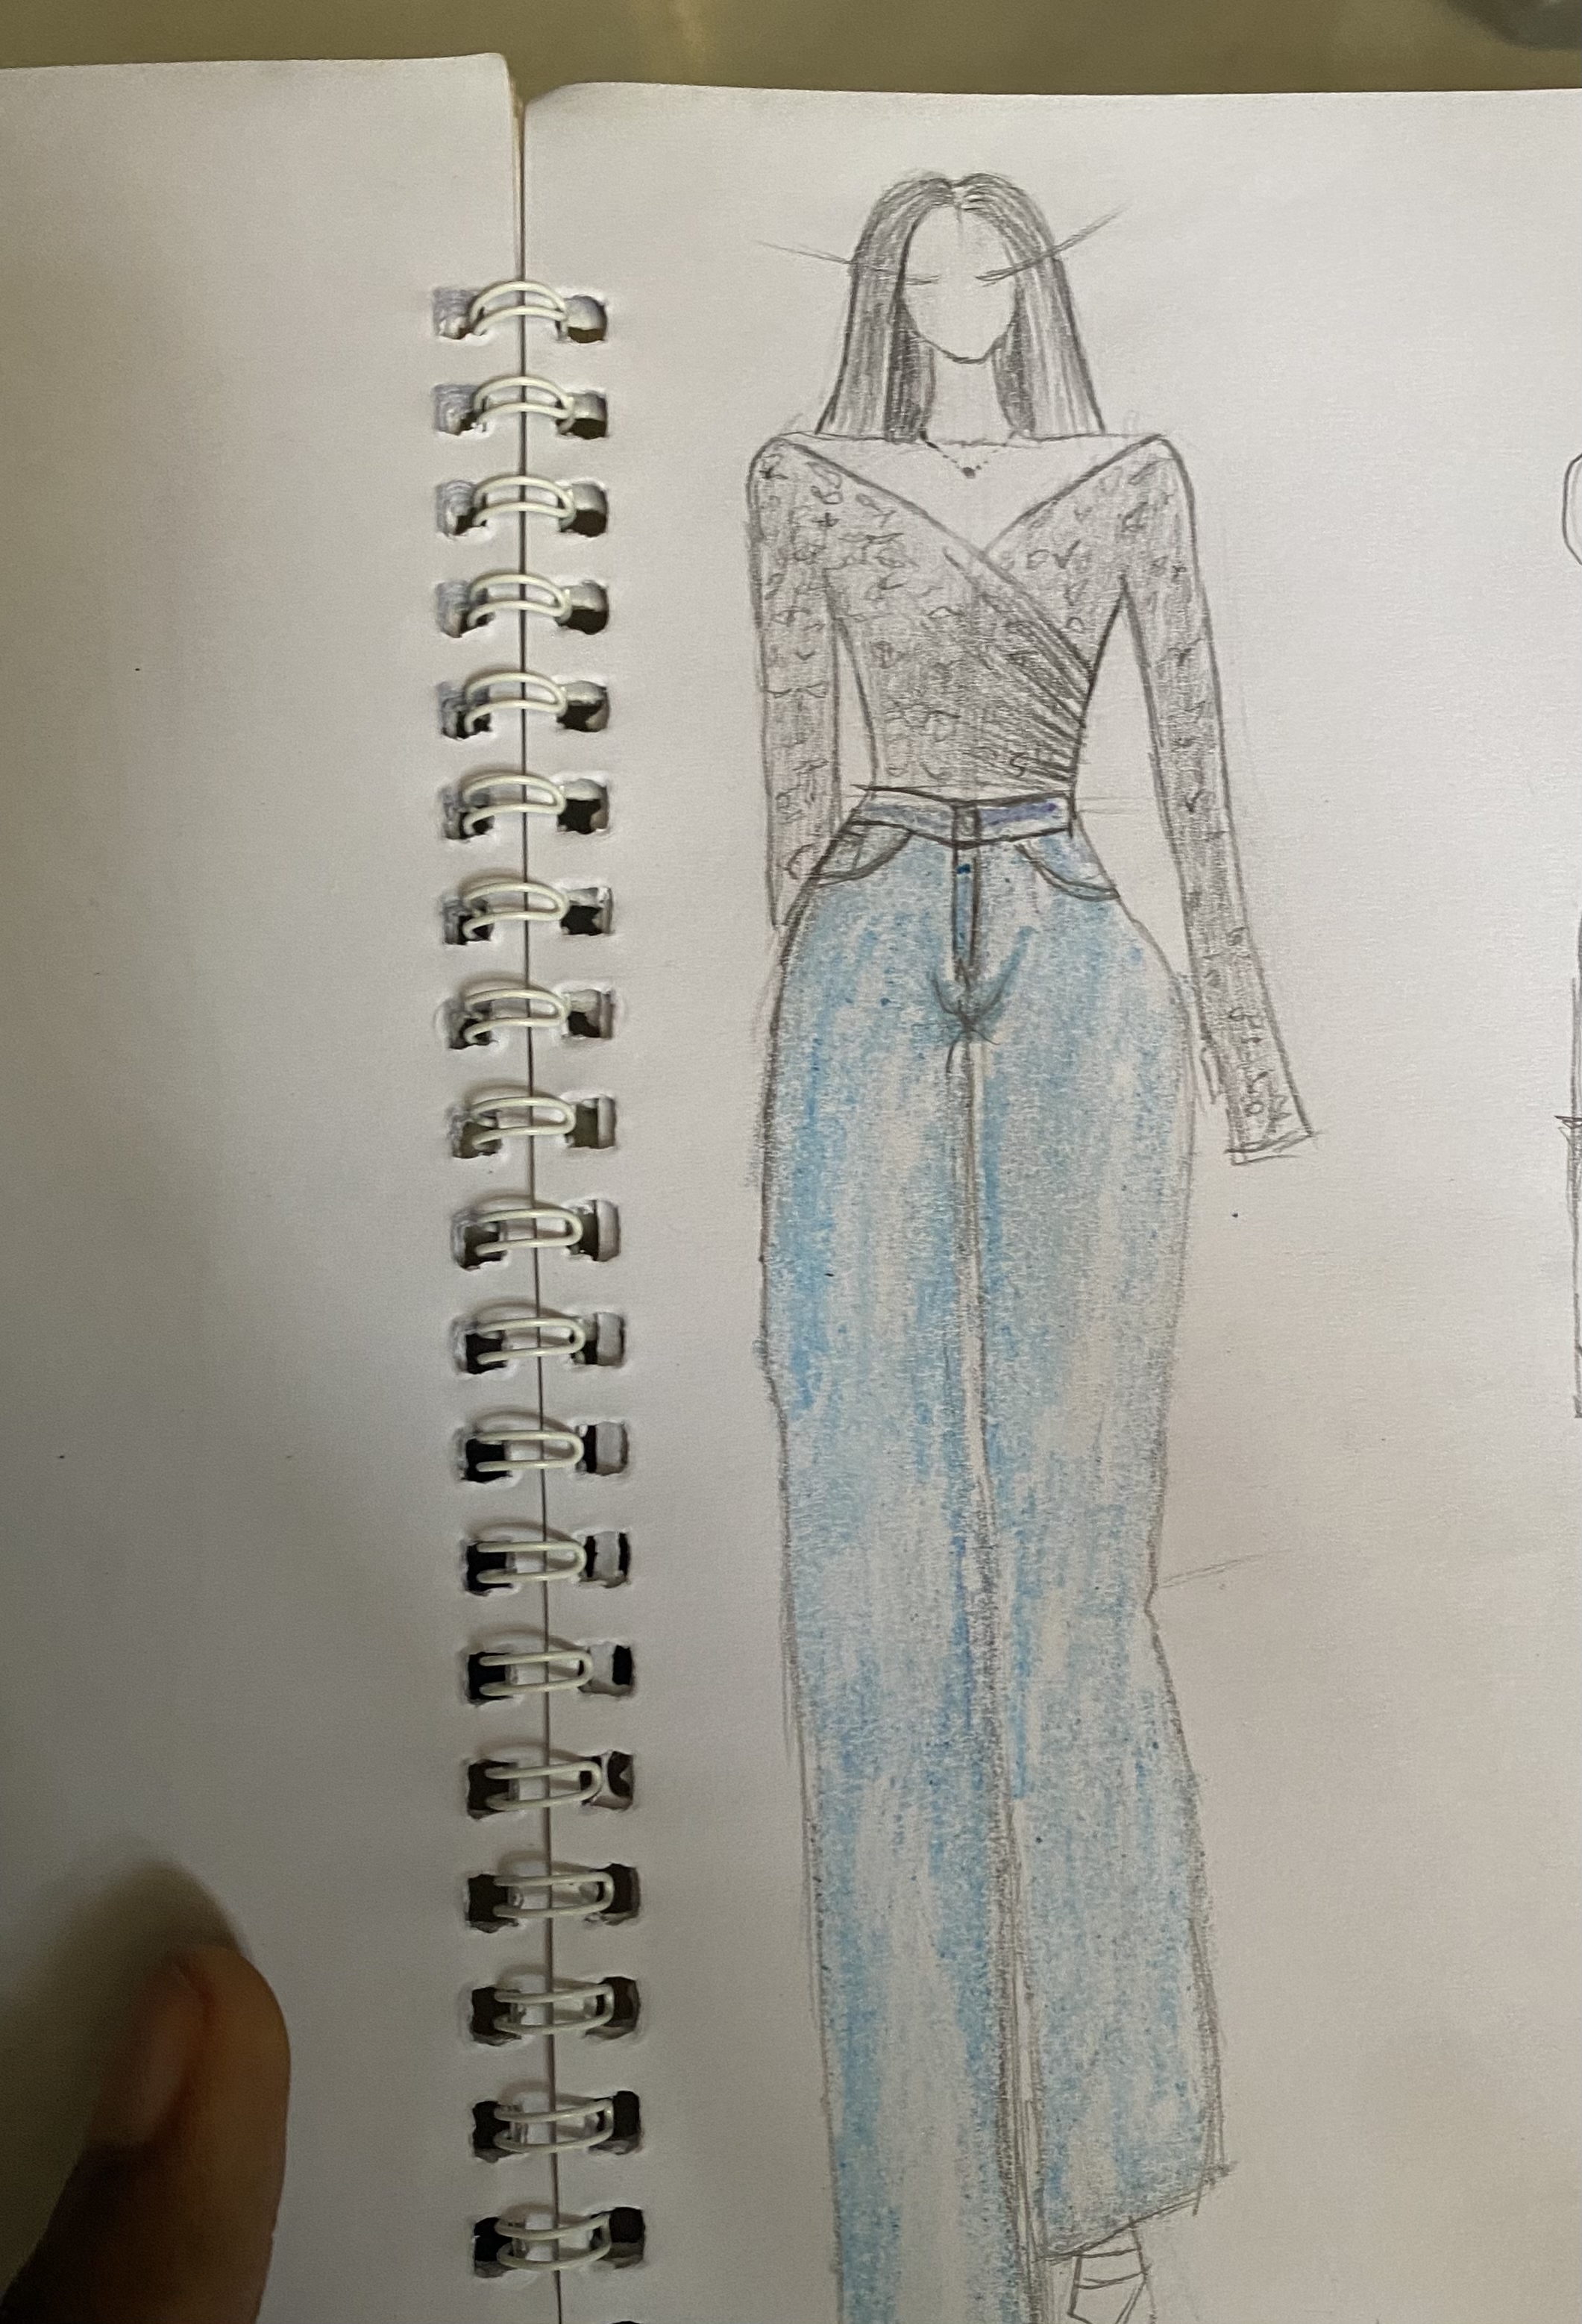
Since I have an event to attend on Tuesday, I decided to make it for the event. I sketched out my entire outfit and decided it would be cool to pair the top with blue jeans. So, this is the full outfit I sketched. I hope it turns out nice though.
Making this top was pretty easy; it took me less than 2 hours to make. The only issue I had was that the fabric wasn't enough, but since the material is stretchy and I'm XS, I was able to manage with it, though I had to join the length of the sleeves. I hate unnecessary joining, but since it's my own clothing, who cares?
Another mistake I made was not patterning. I usually pattern most of all the clothes I make, especially for my clients, but I was too lazy to pattern this top, so I decided to cut the fabric directly. I don't know if it's just me, but I don't put in as much effort when making my clothes, unlike when making clothes for my clients, maybe because I'm not getting paid, lol.
For those interested, here's a mini tutorial on how the top was made:
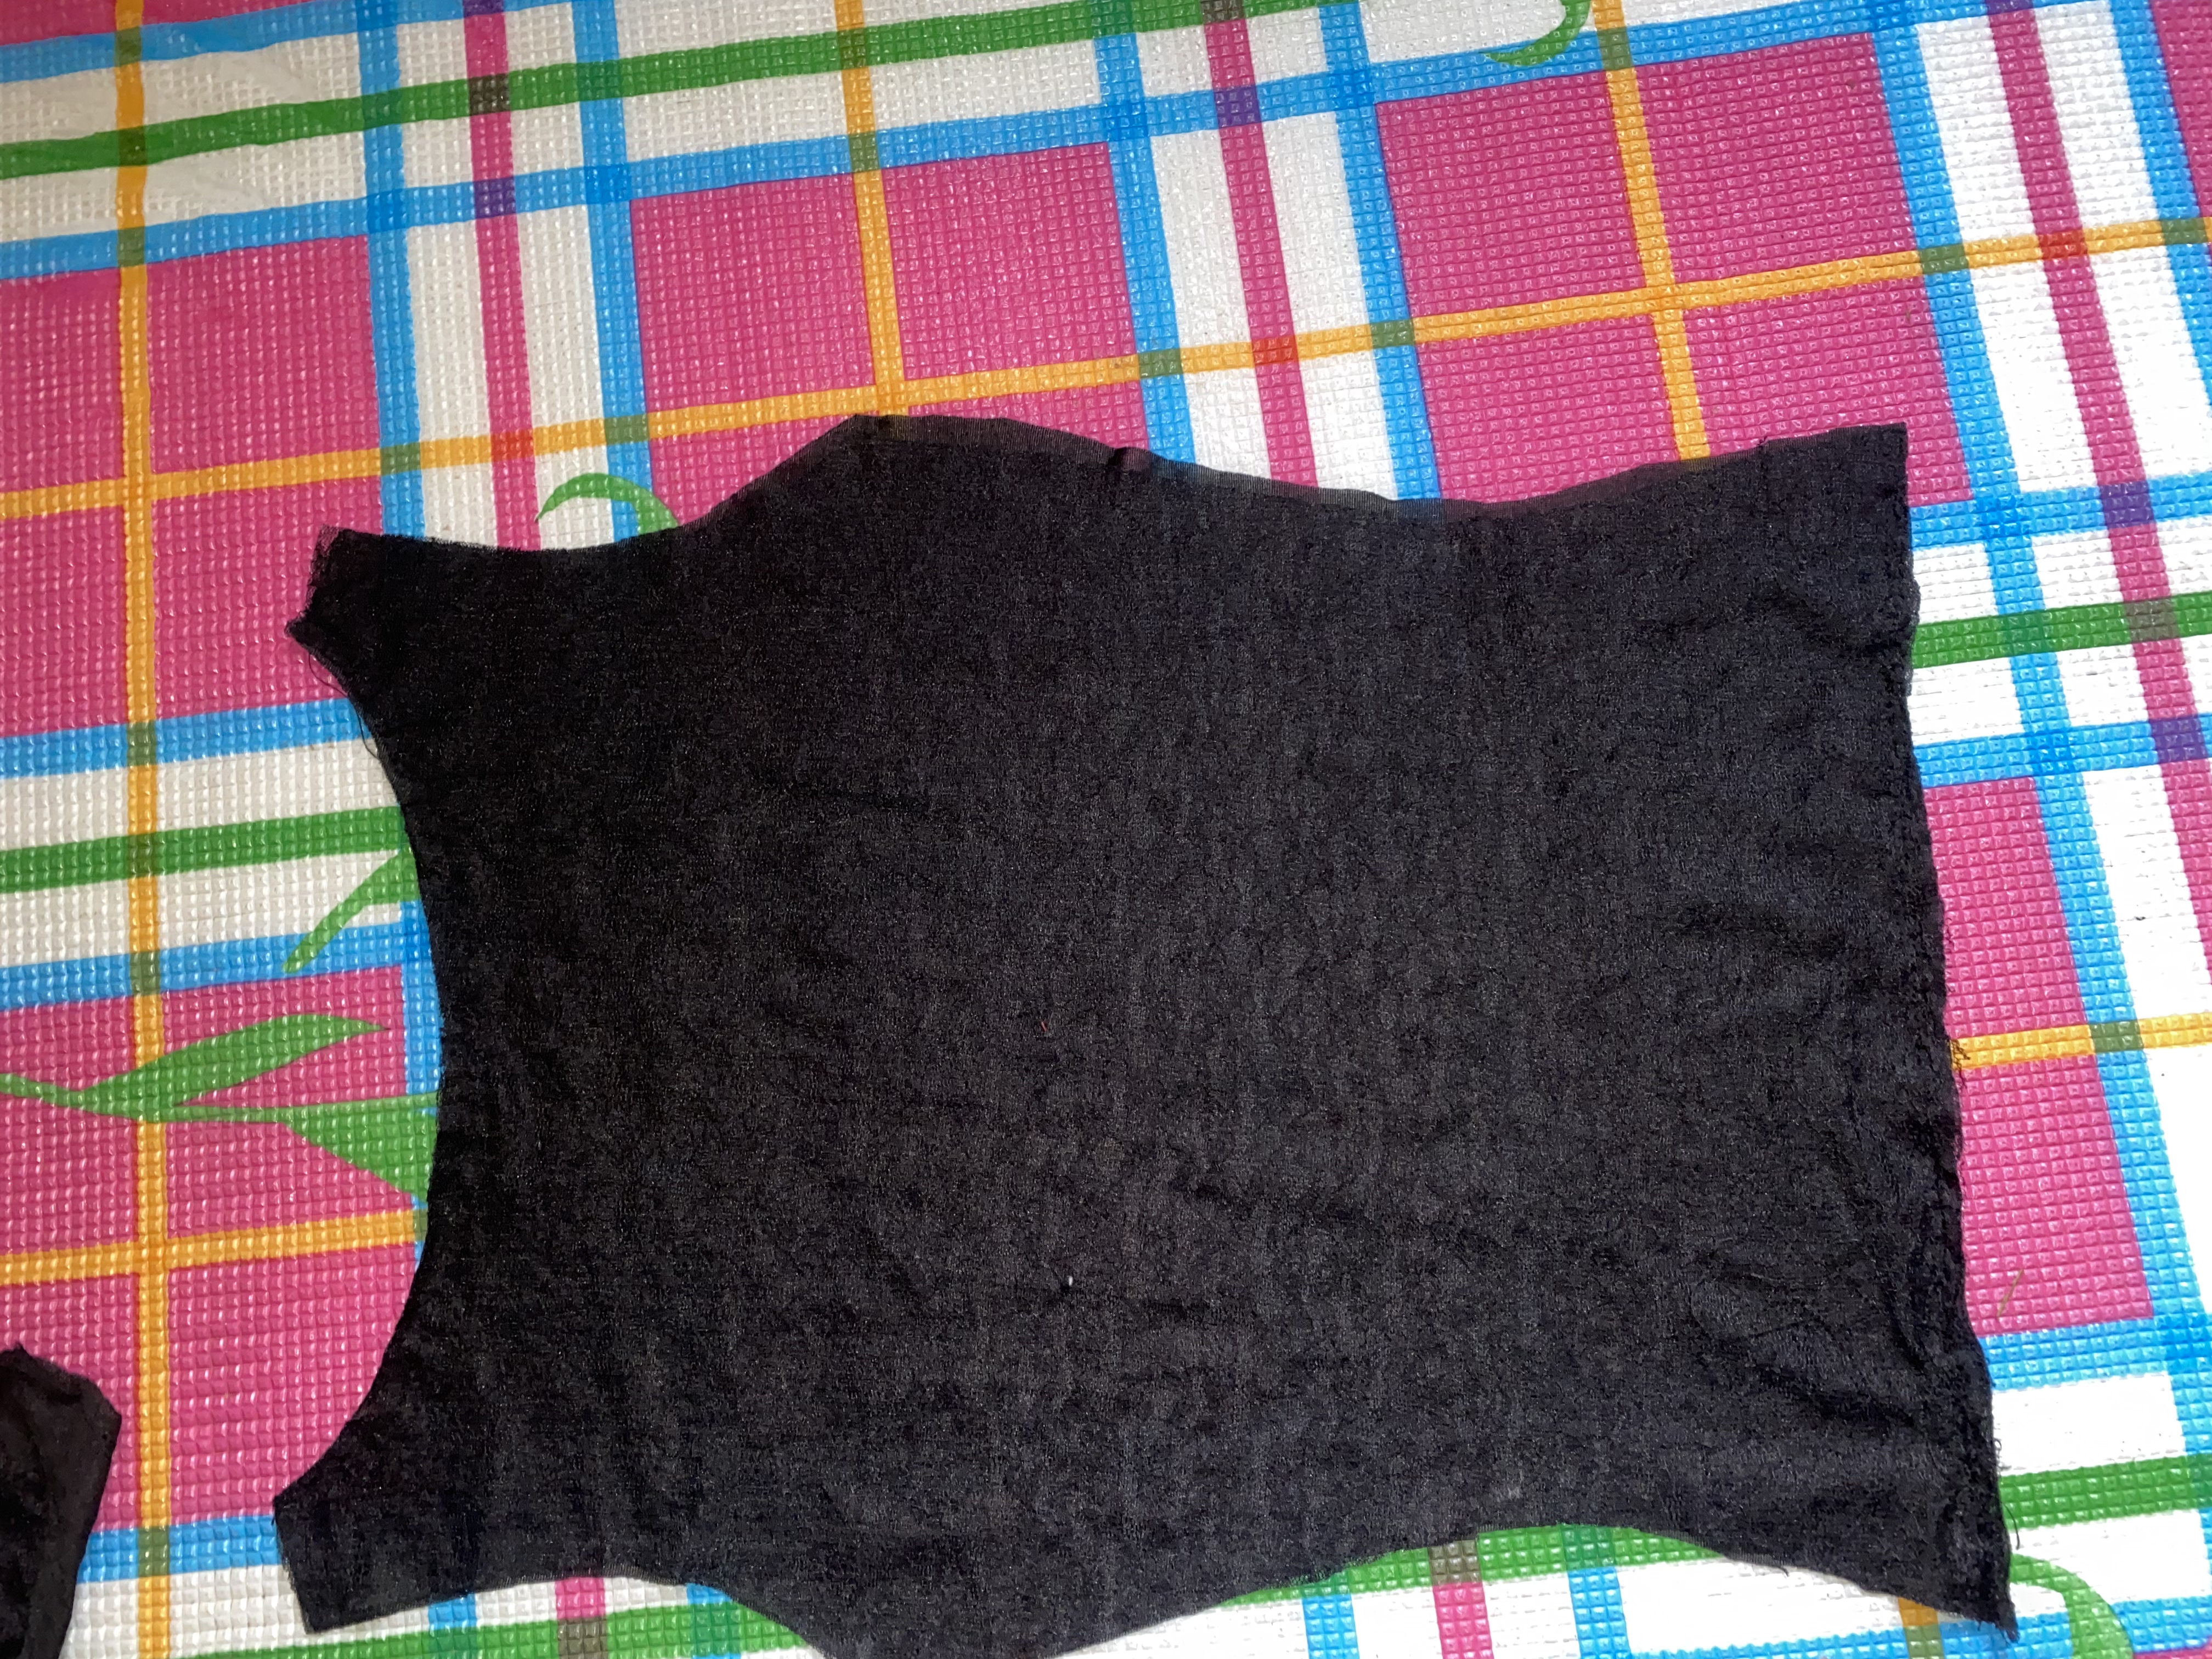
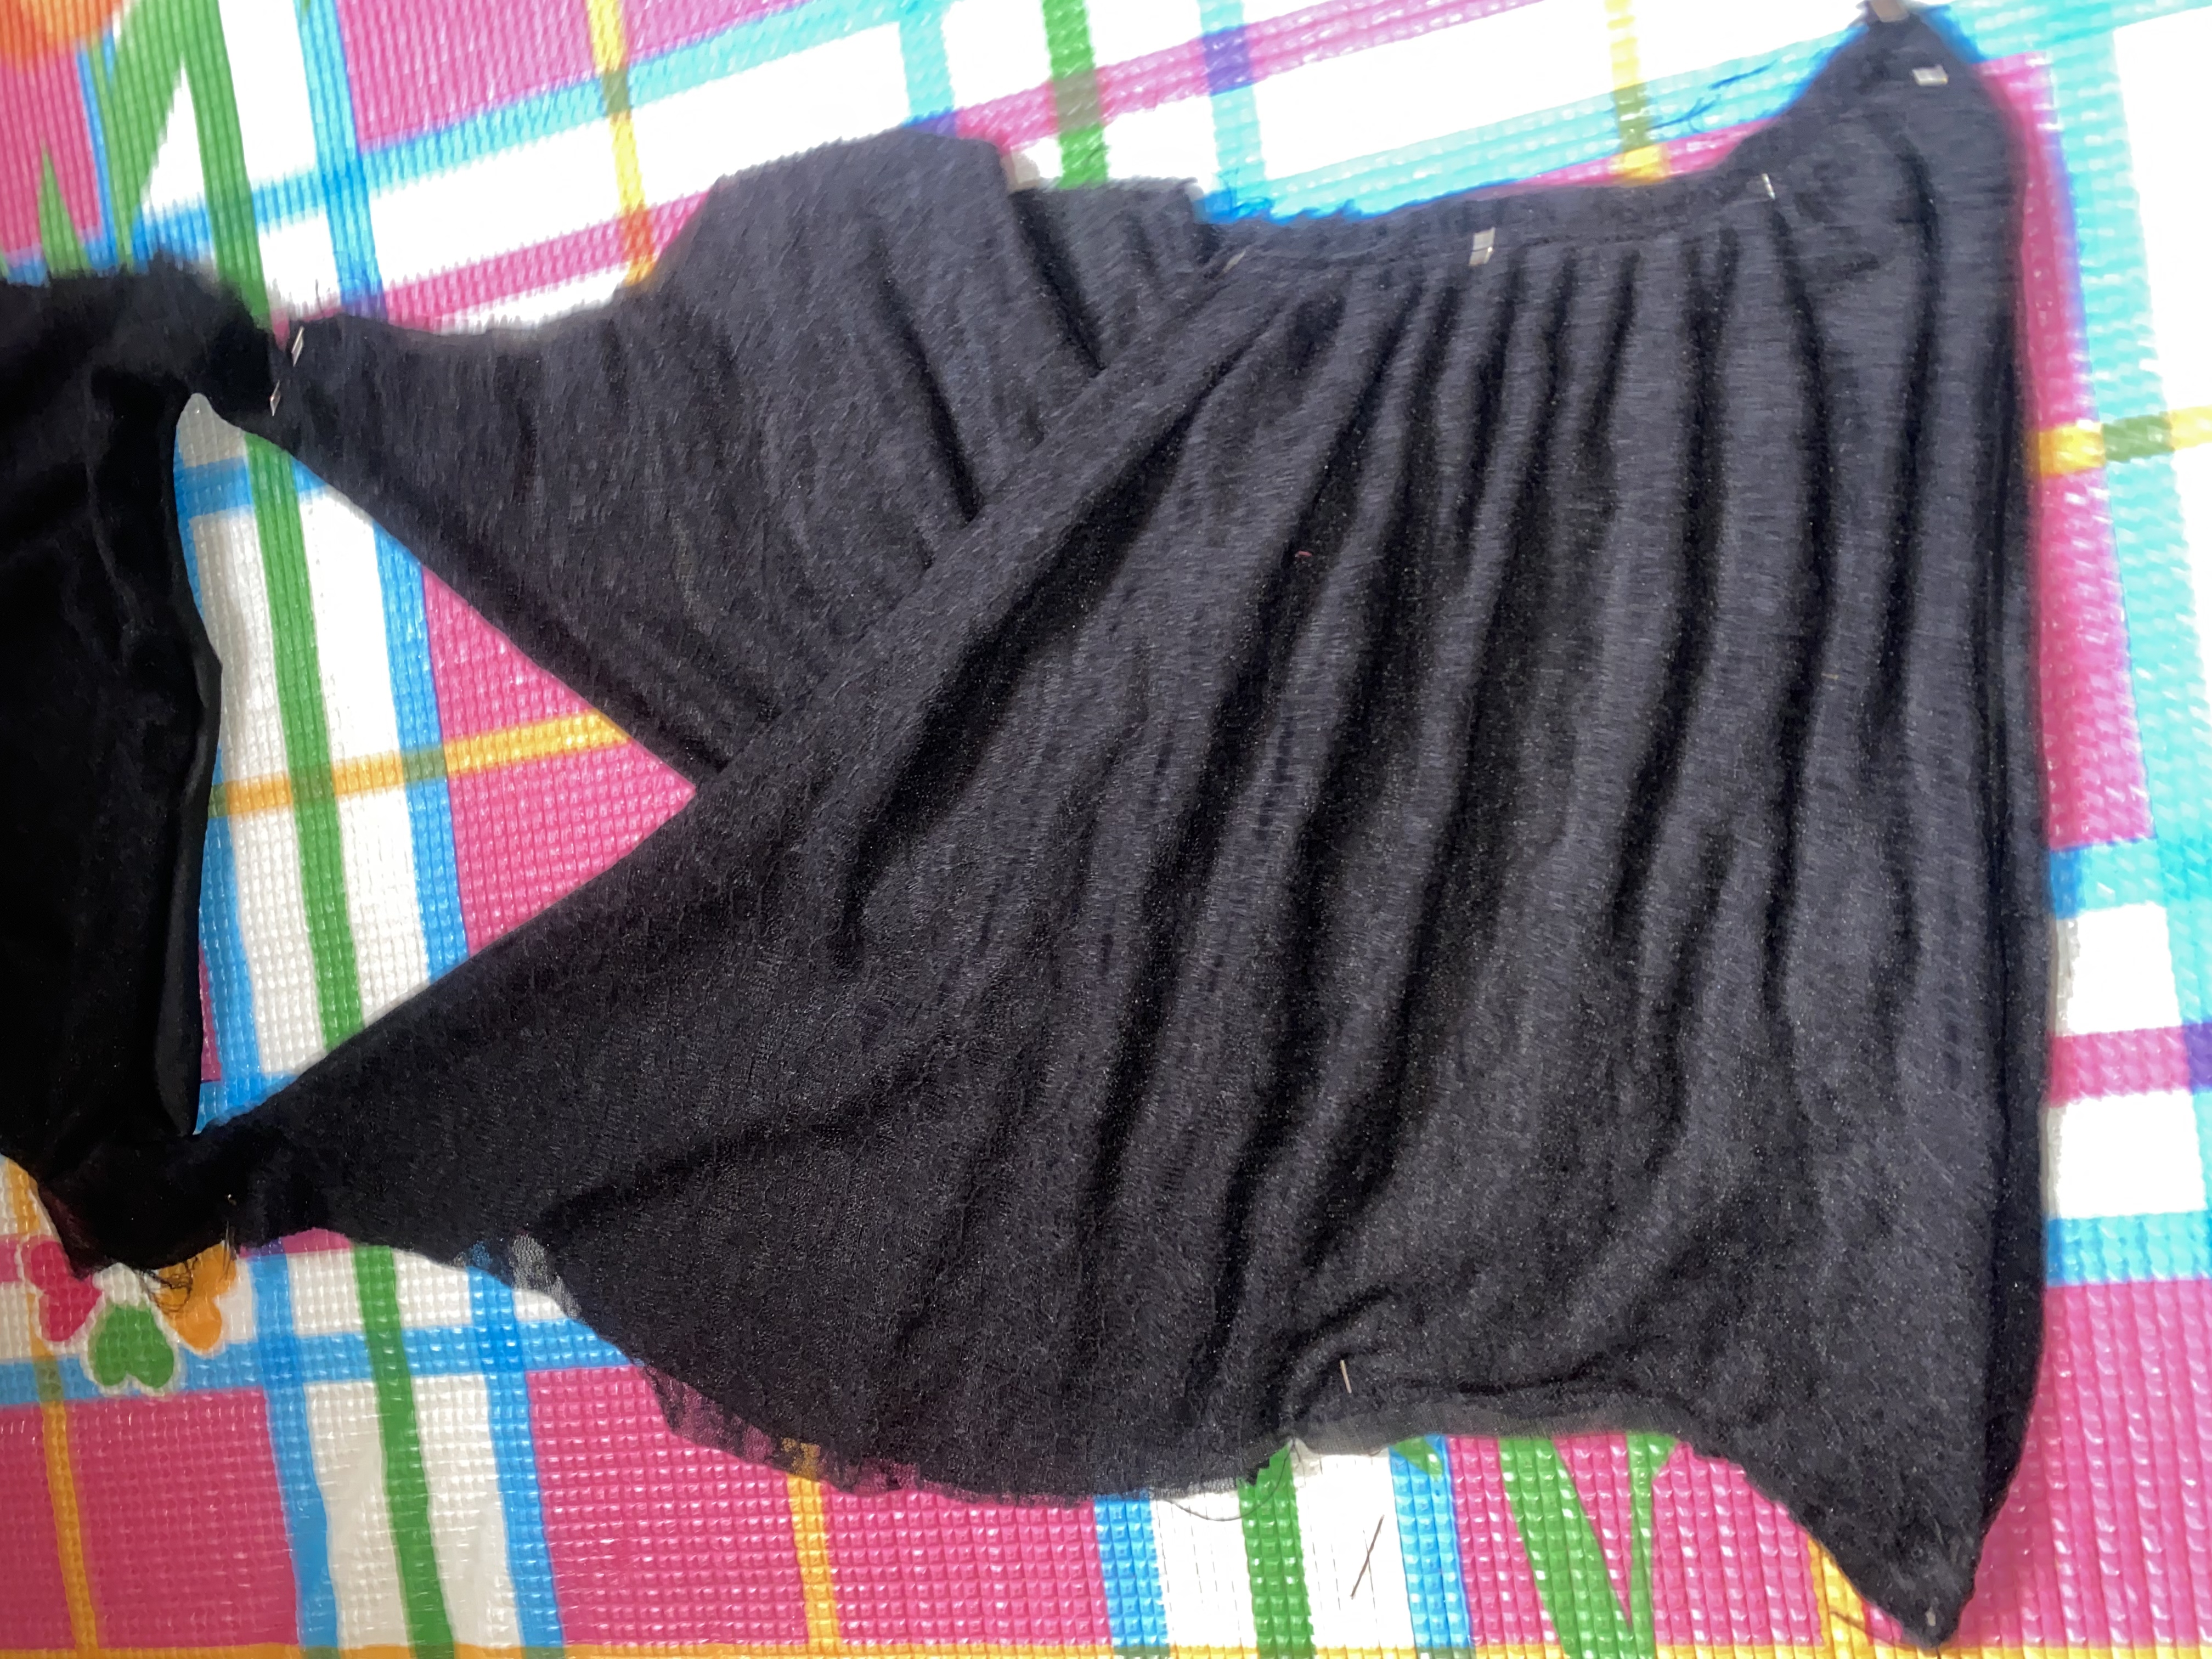
Step 1: Cutting
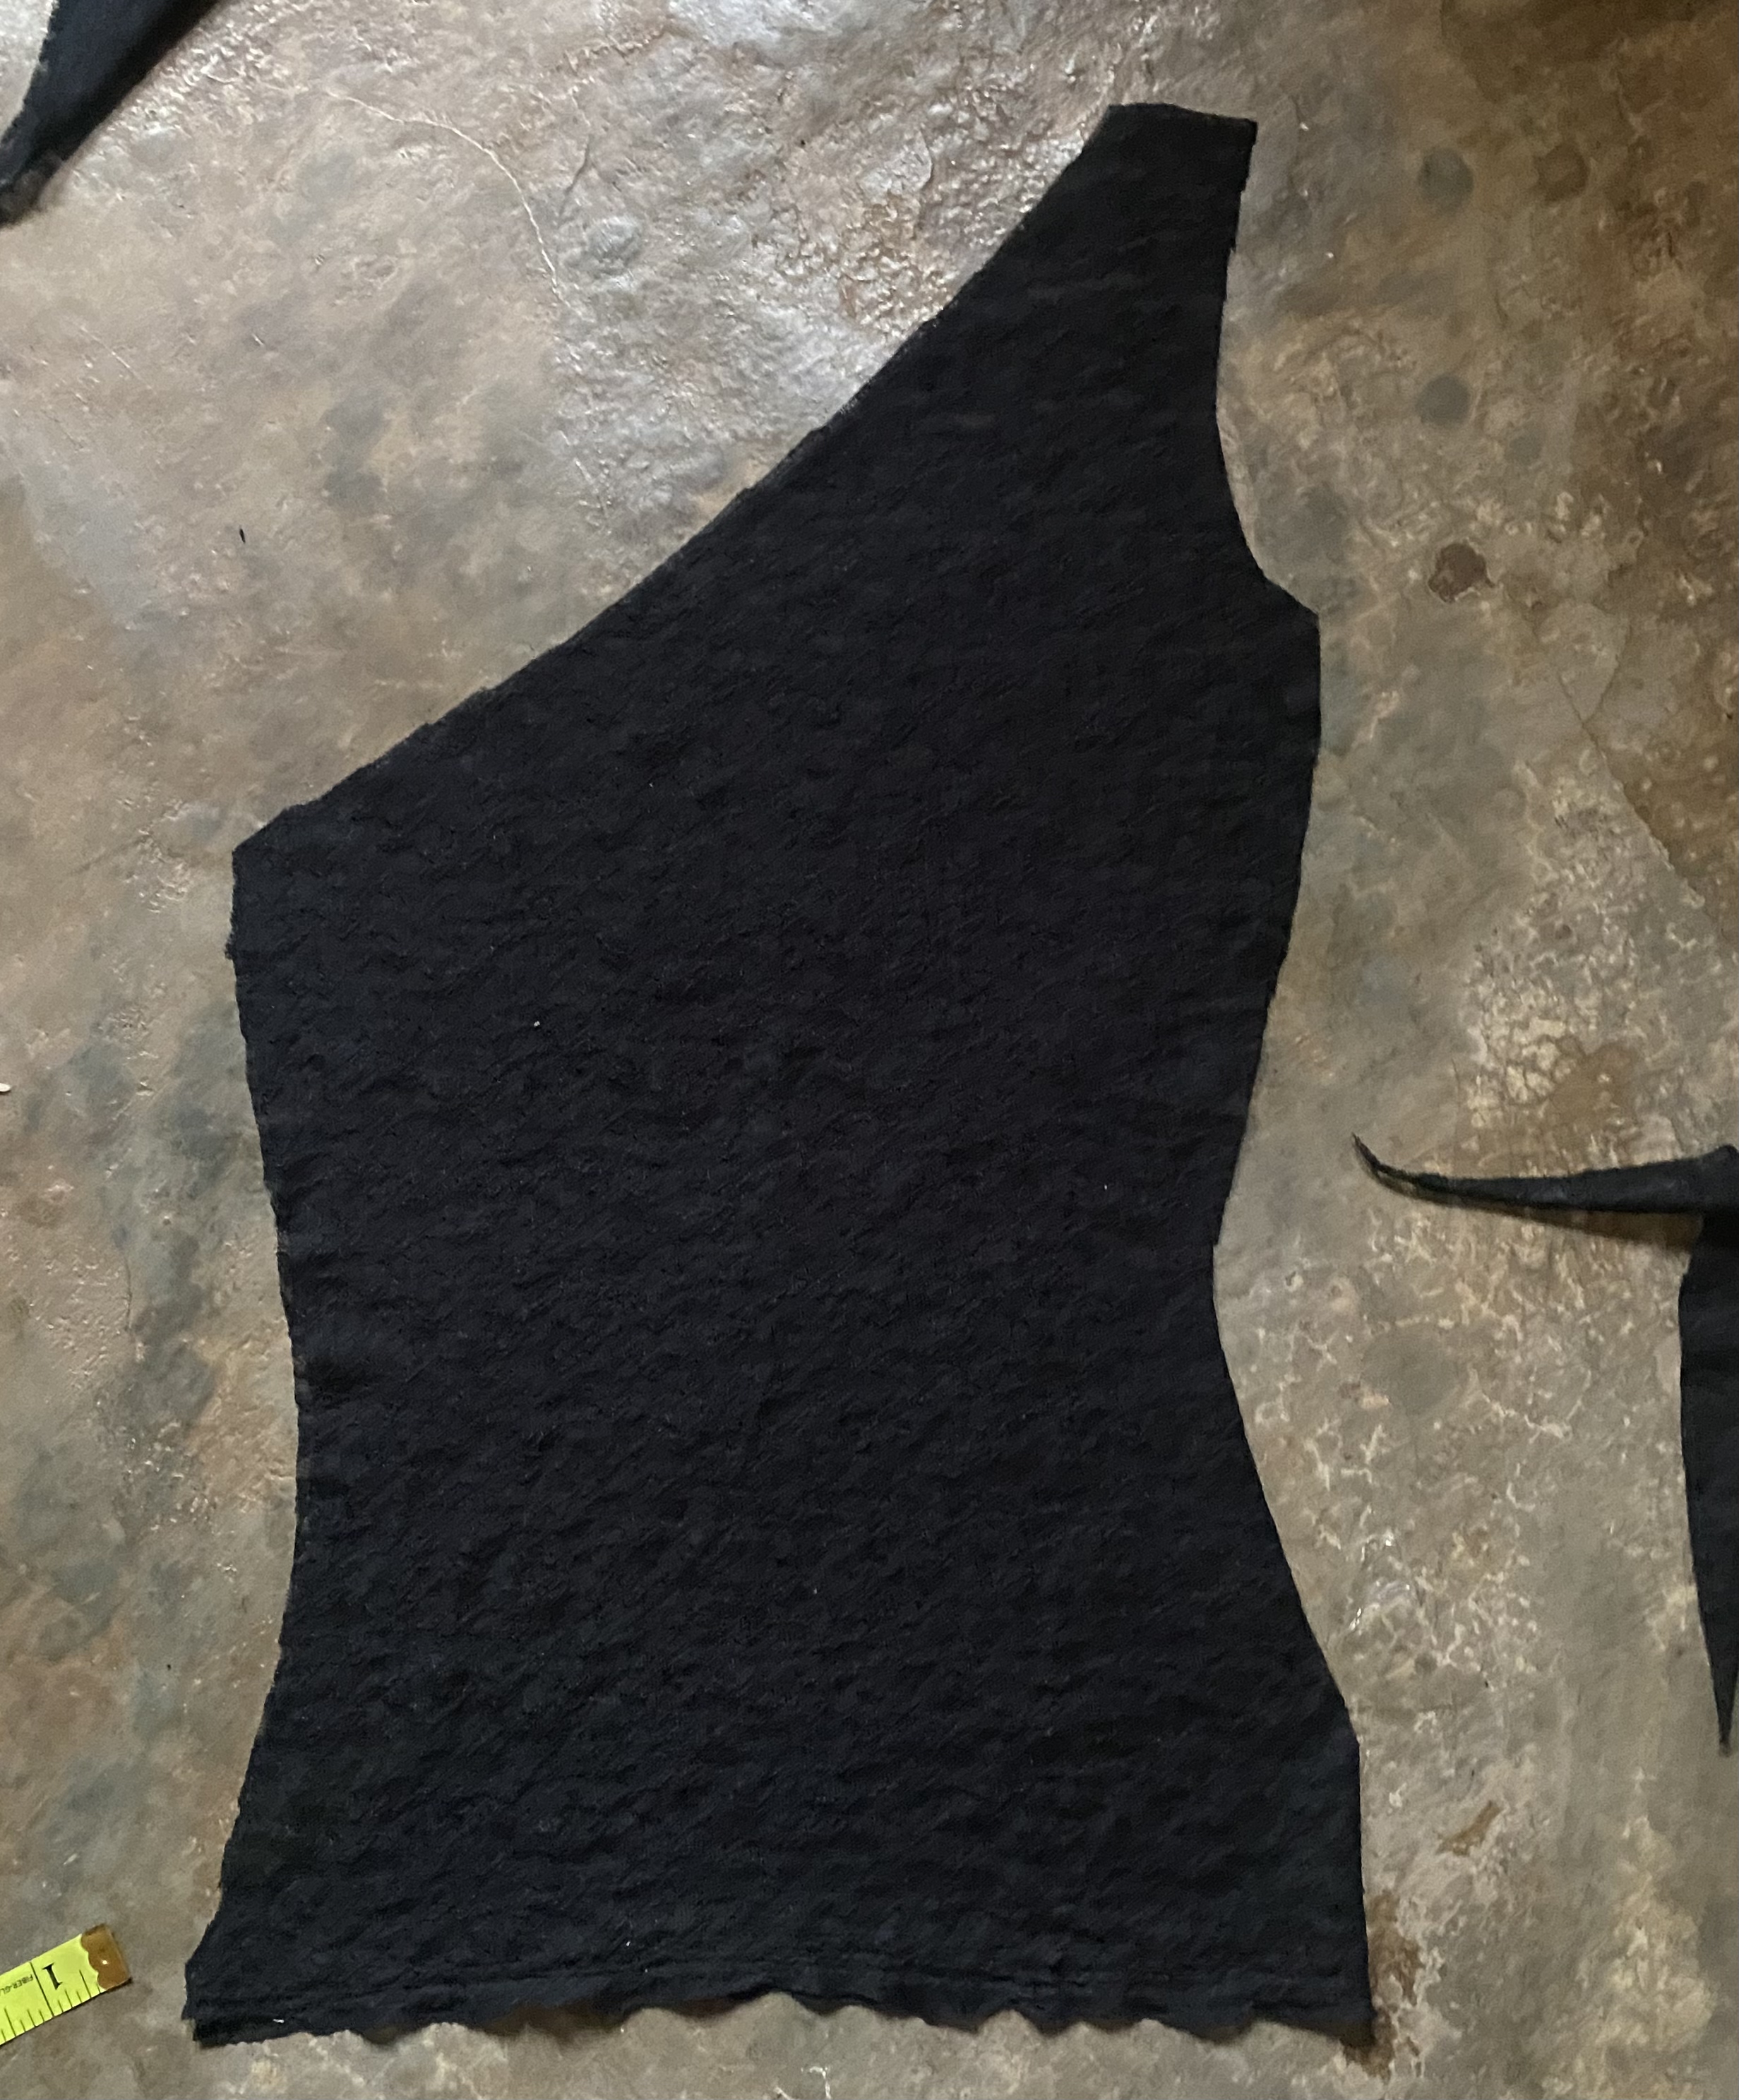
I cut the back of the top first,
 | 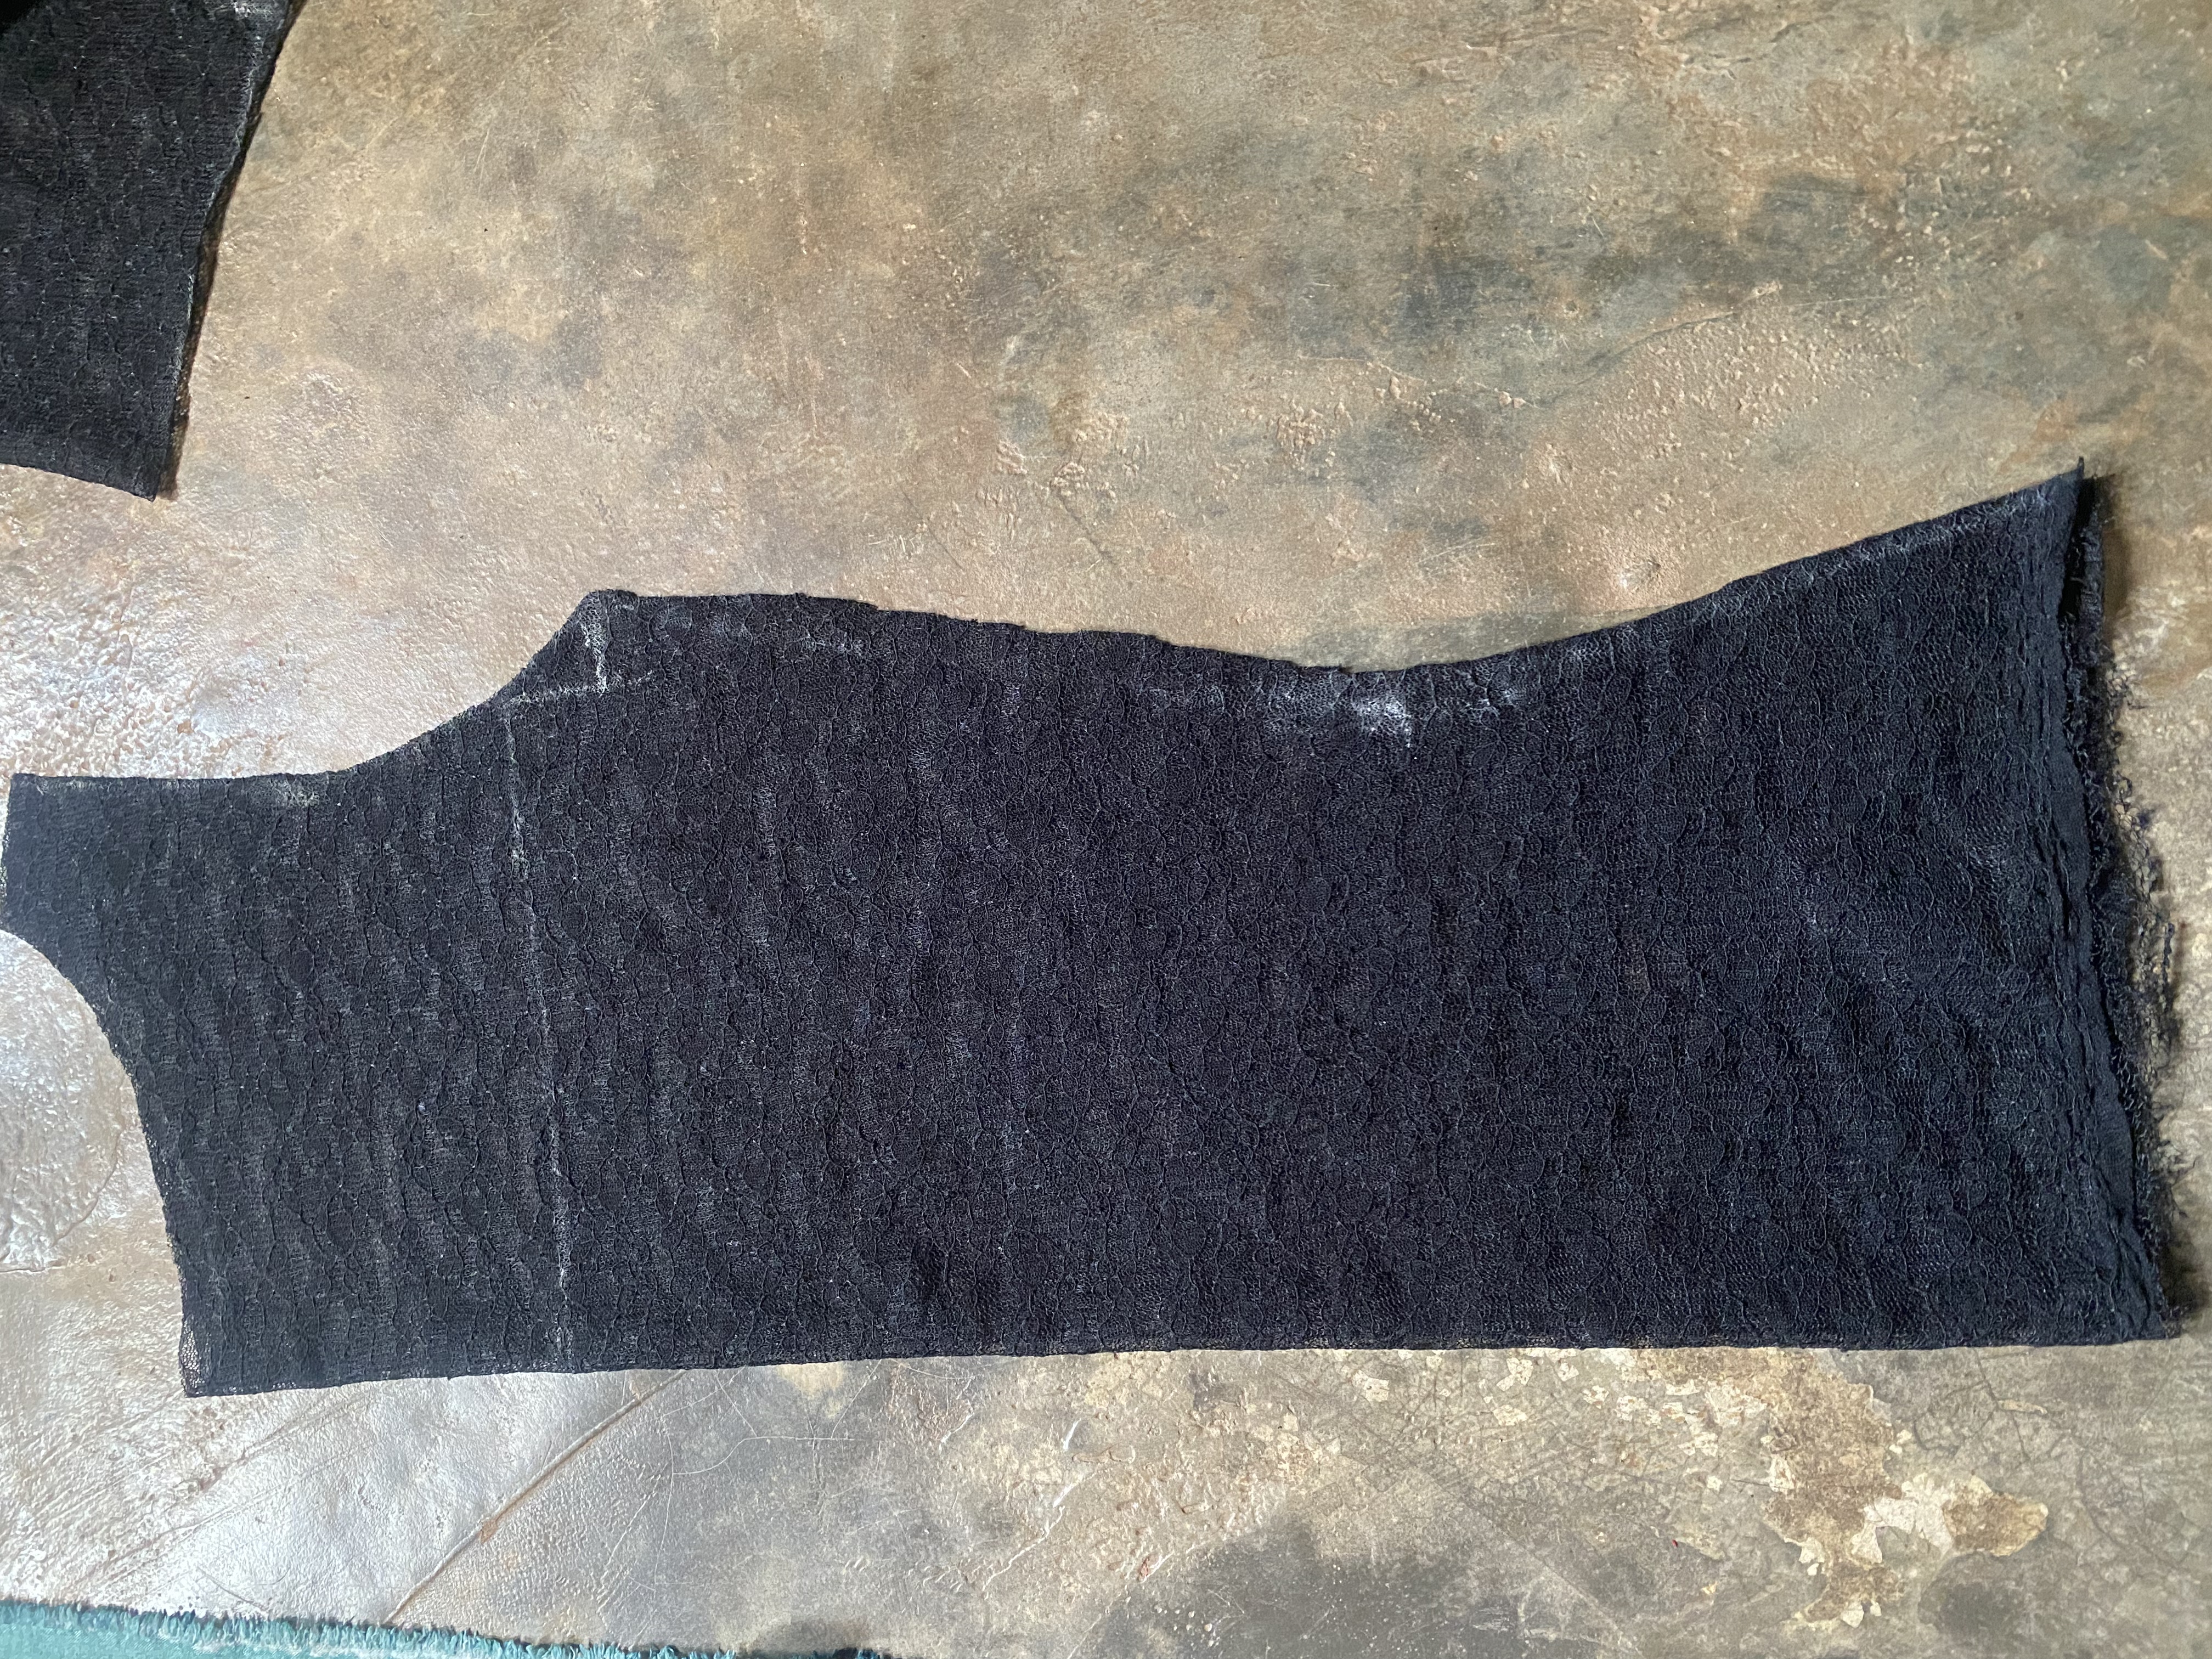 |
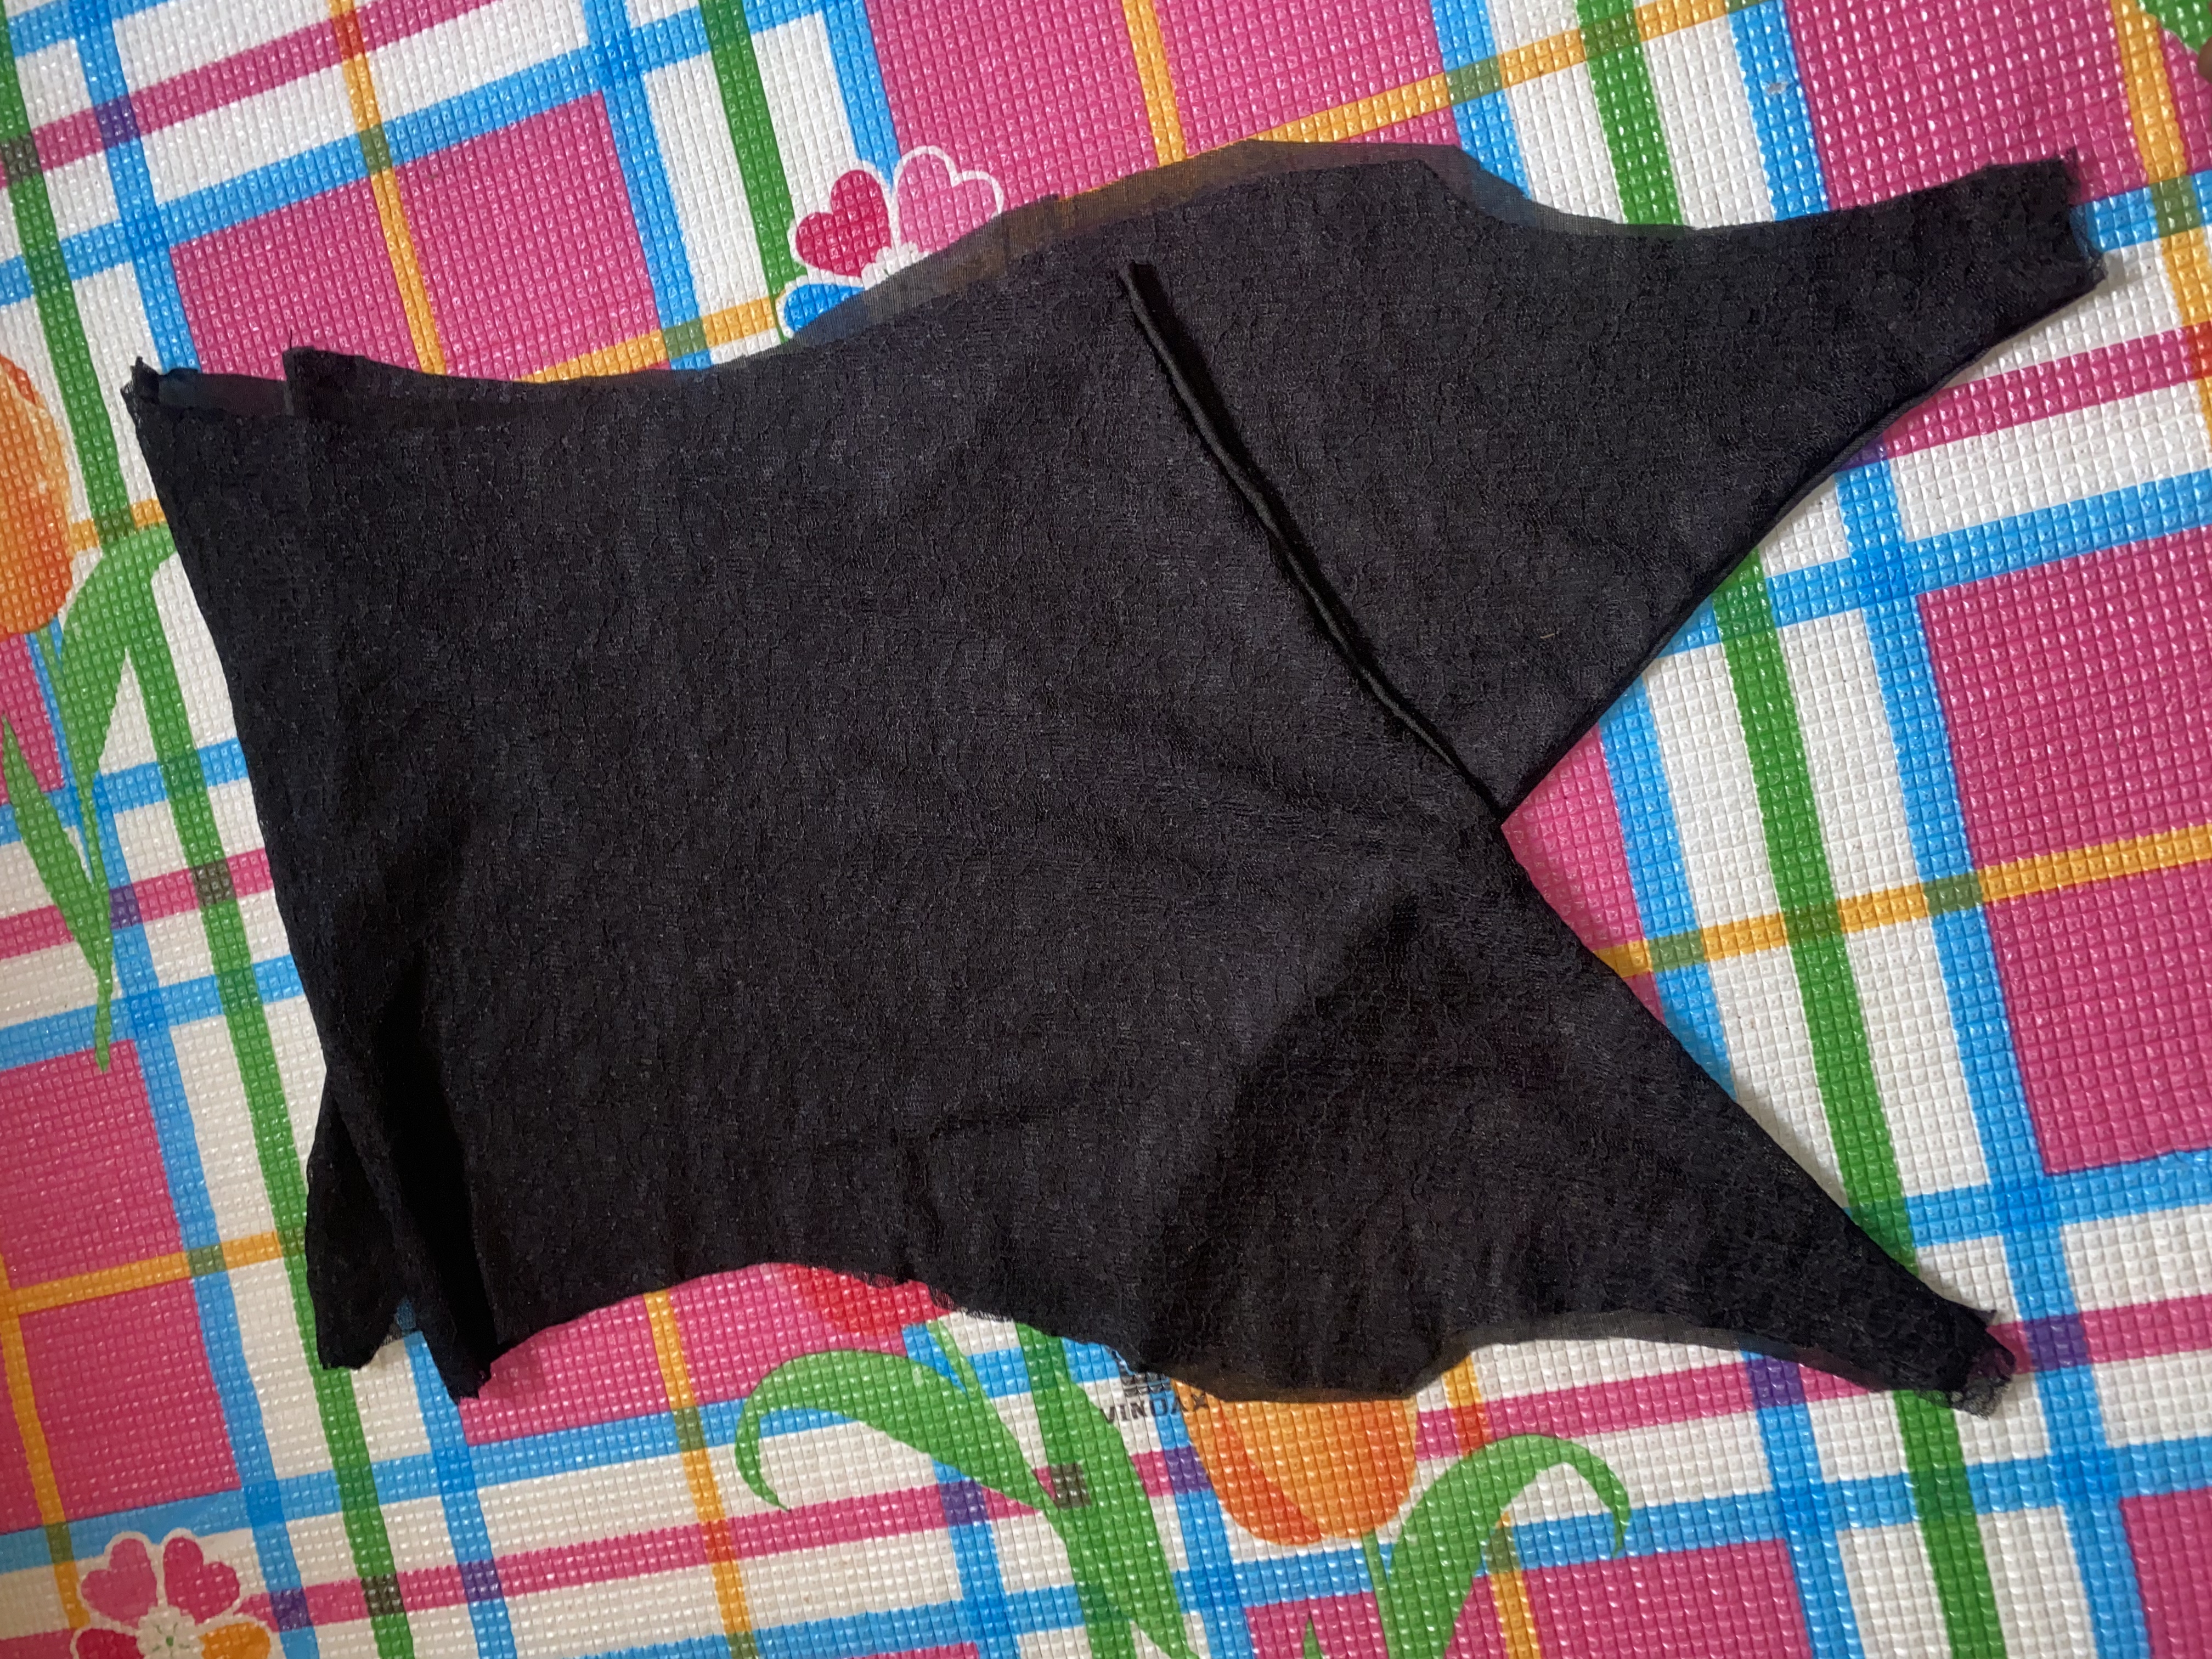
then I cut the front of the top,
and the sleeves, which I had to join to the bottom of the sleeves.
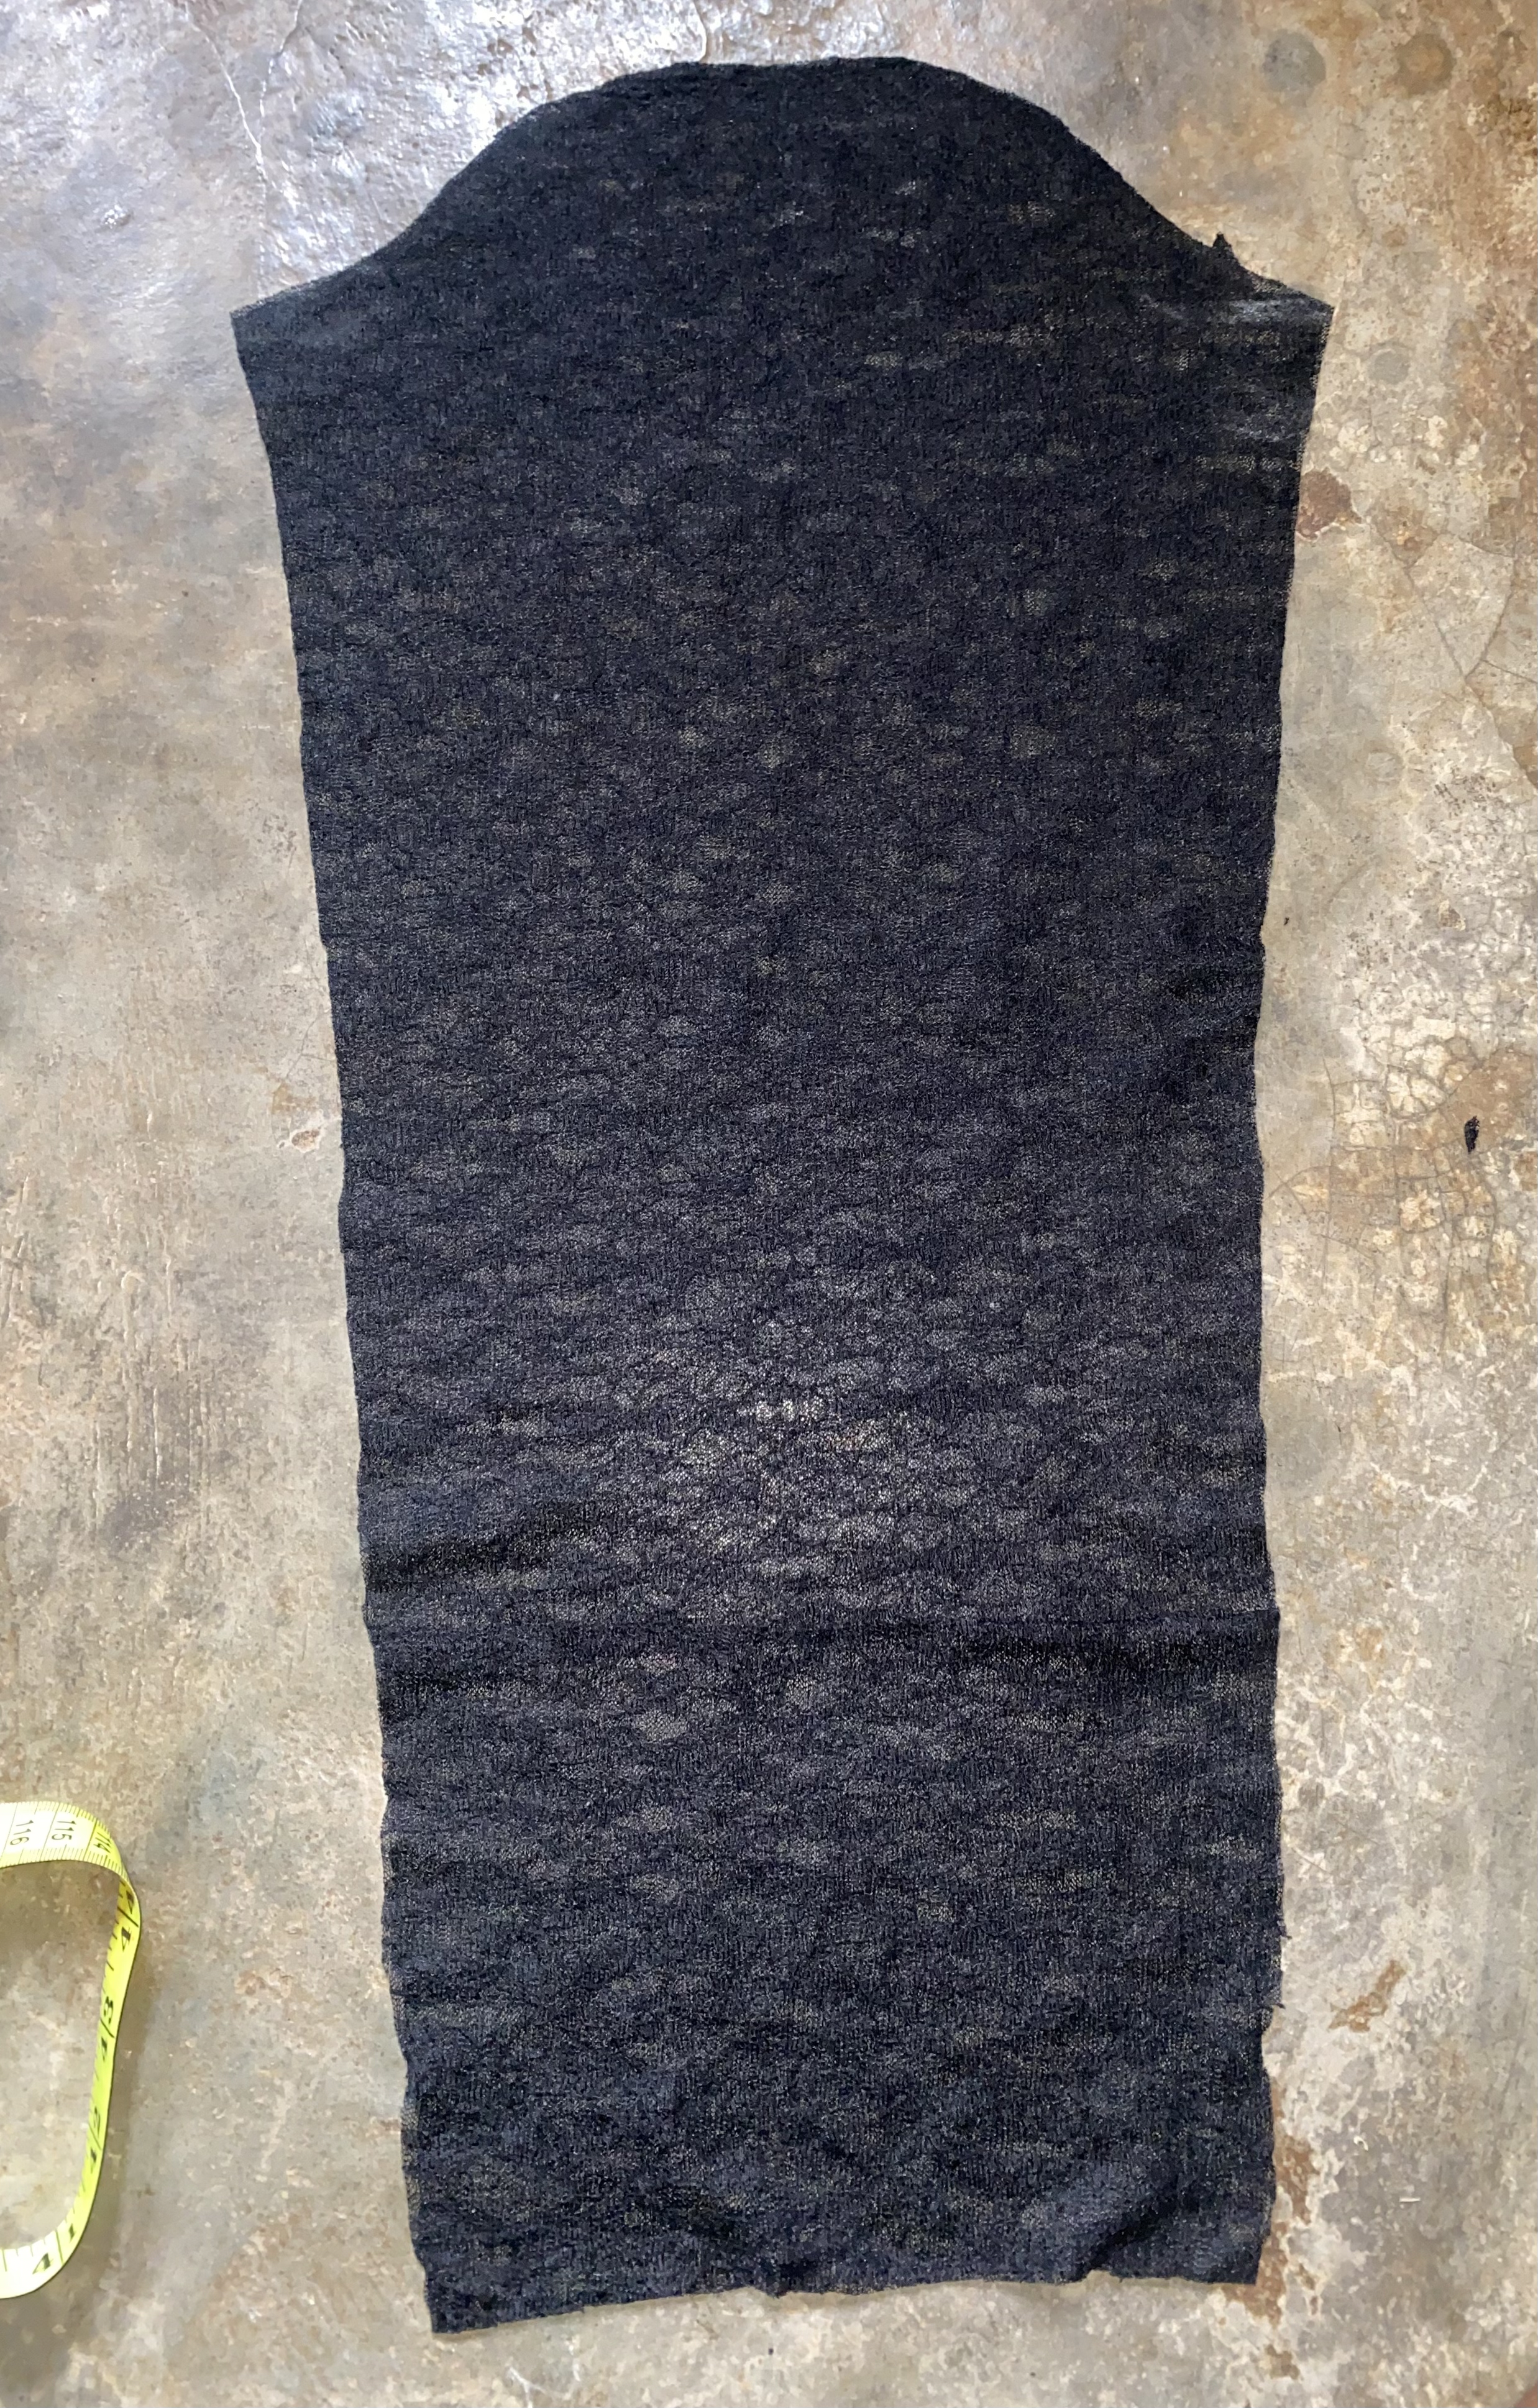
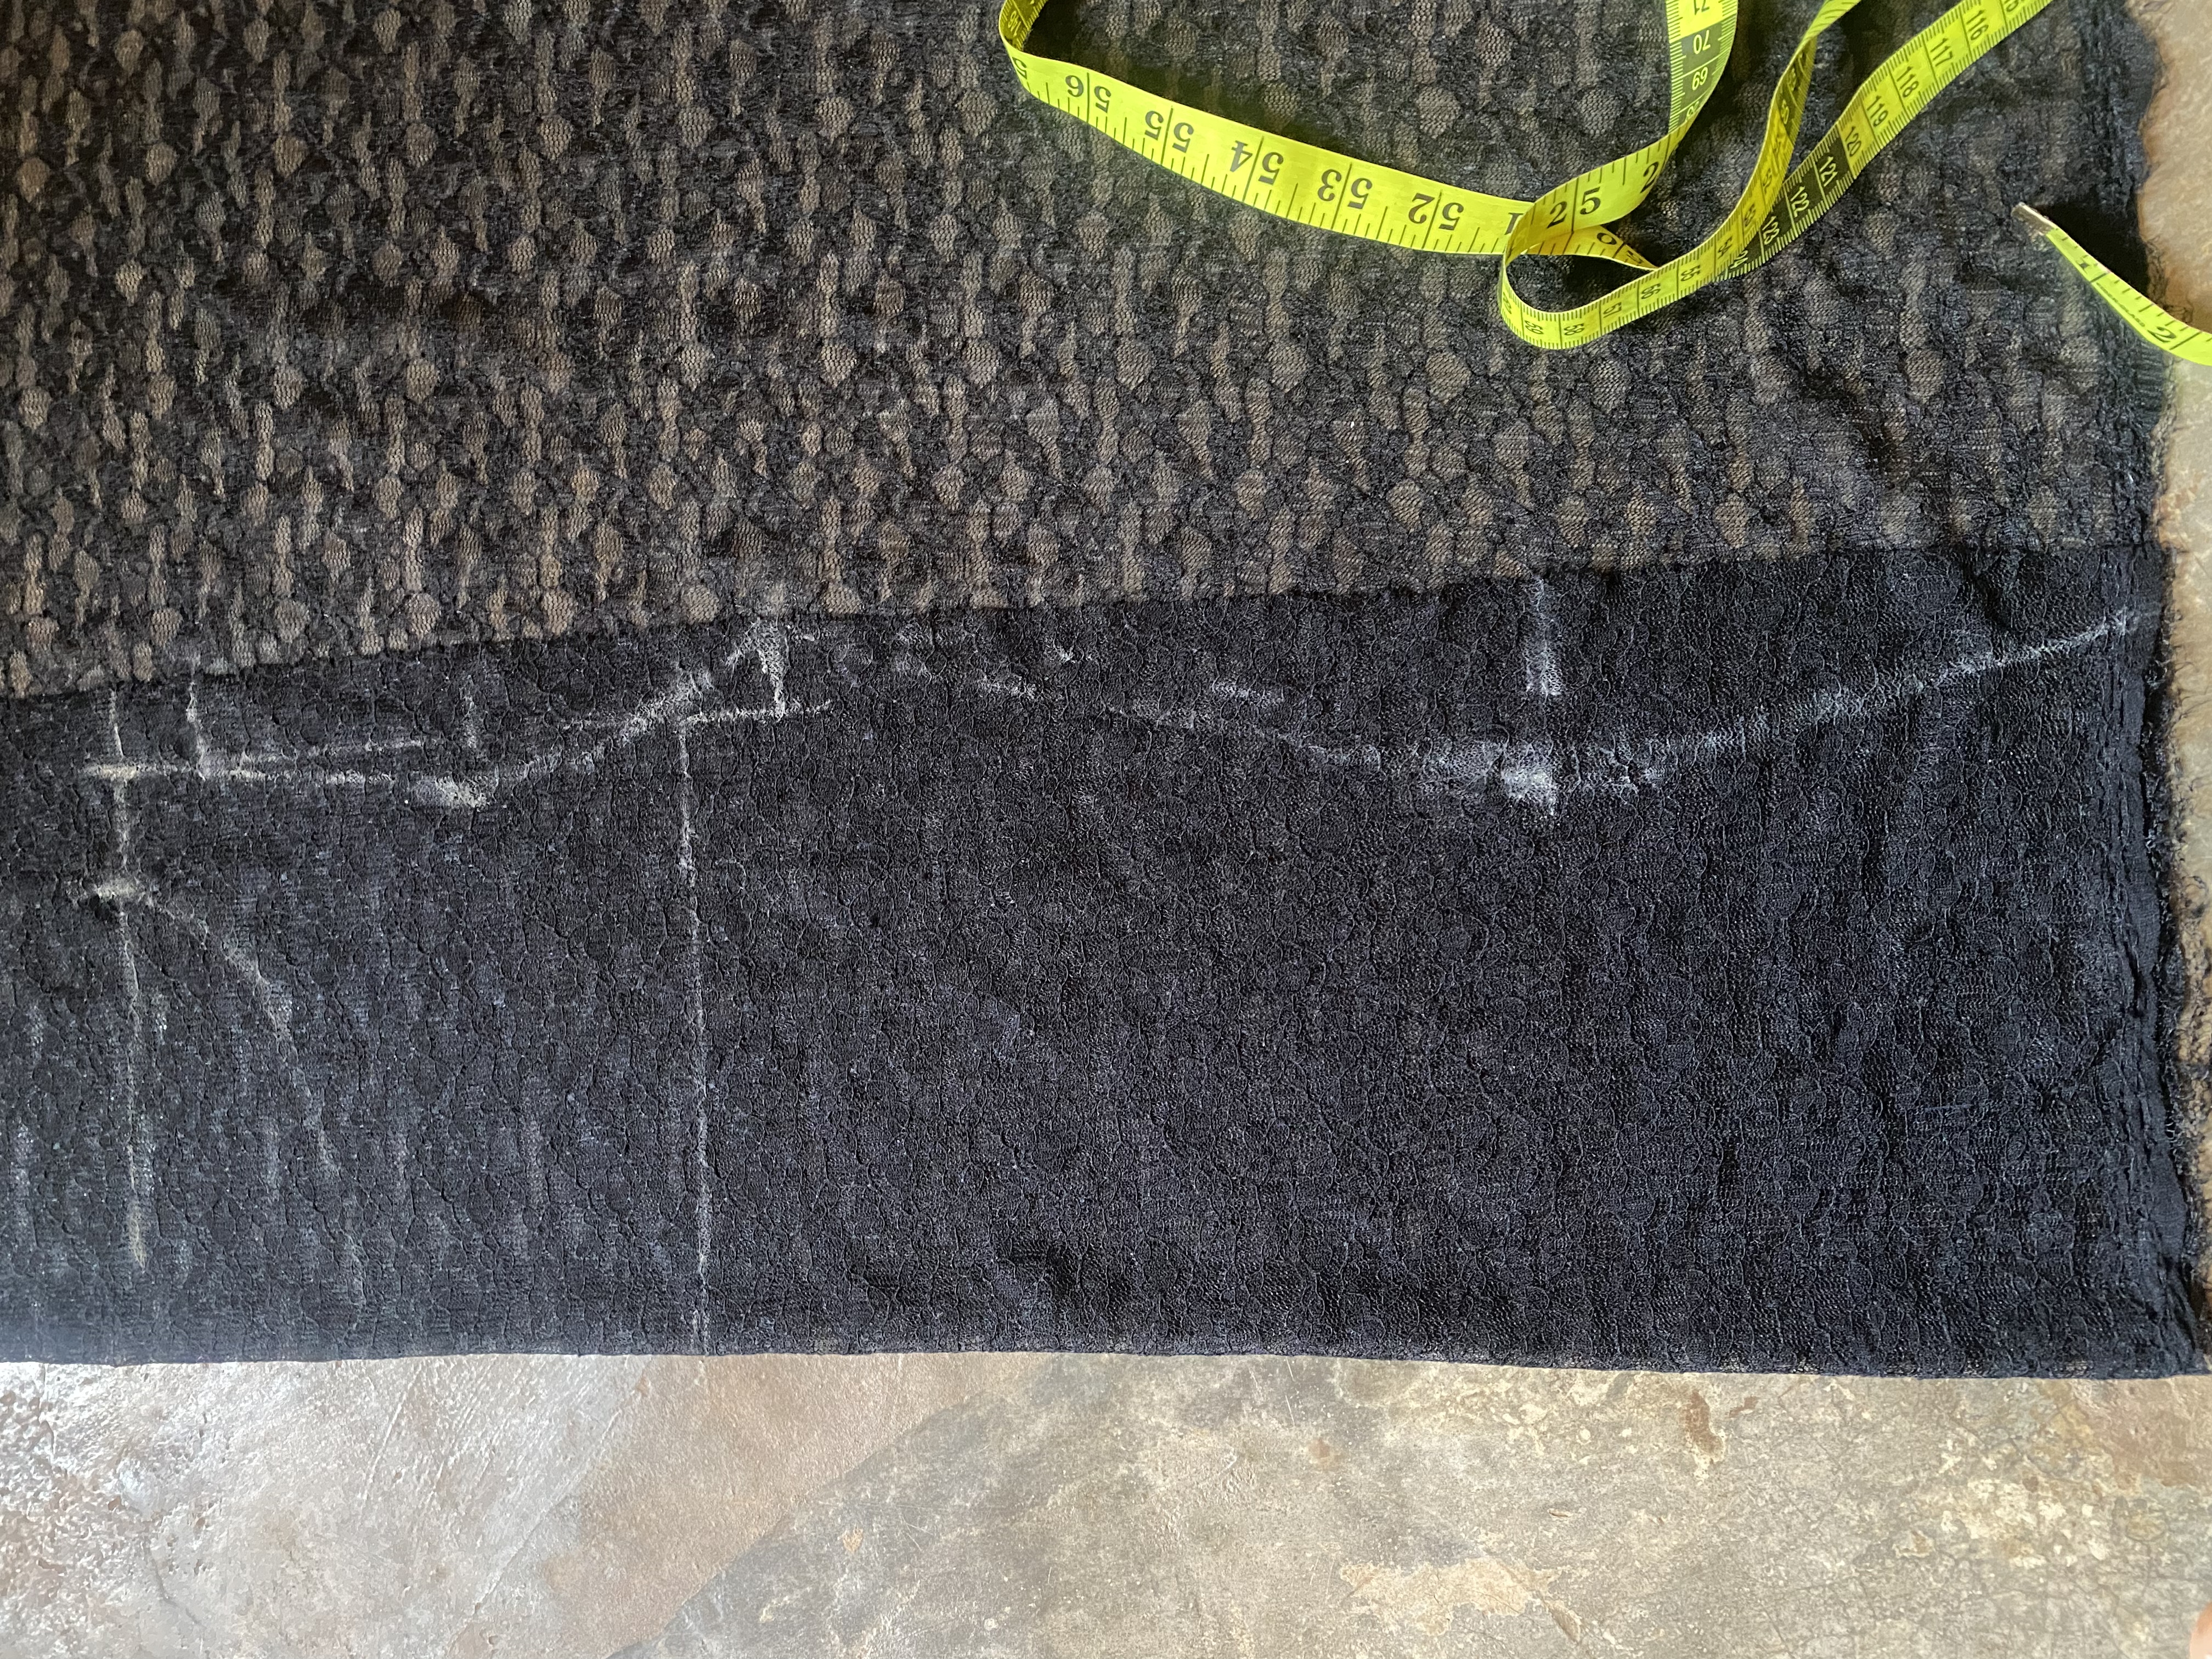
Due to the fabric transparency, lining was necessary. I lined it with a lycra lining to match the stretch of the net fabric I'm using.
I cut the lining only for the body and not for the sleeves.
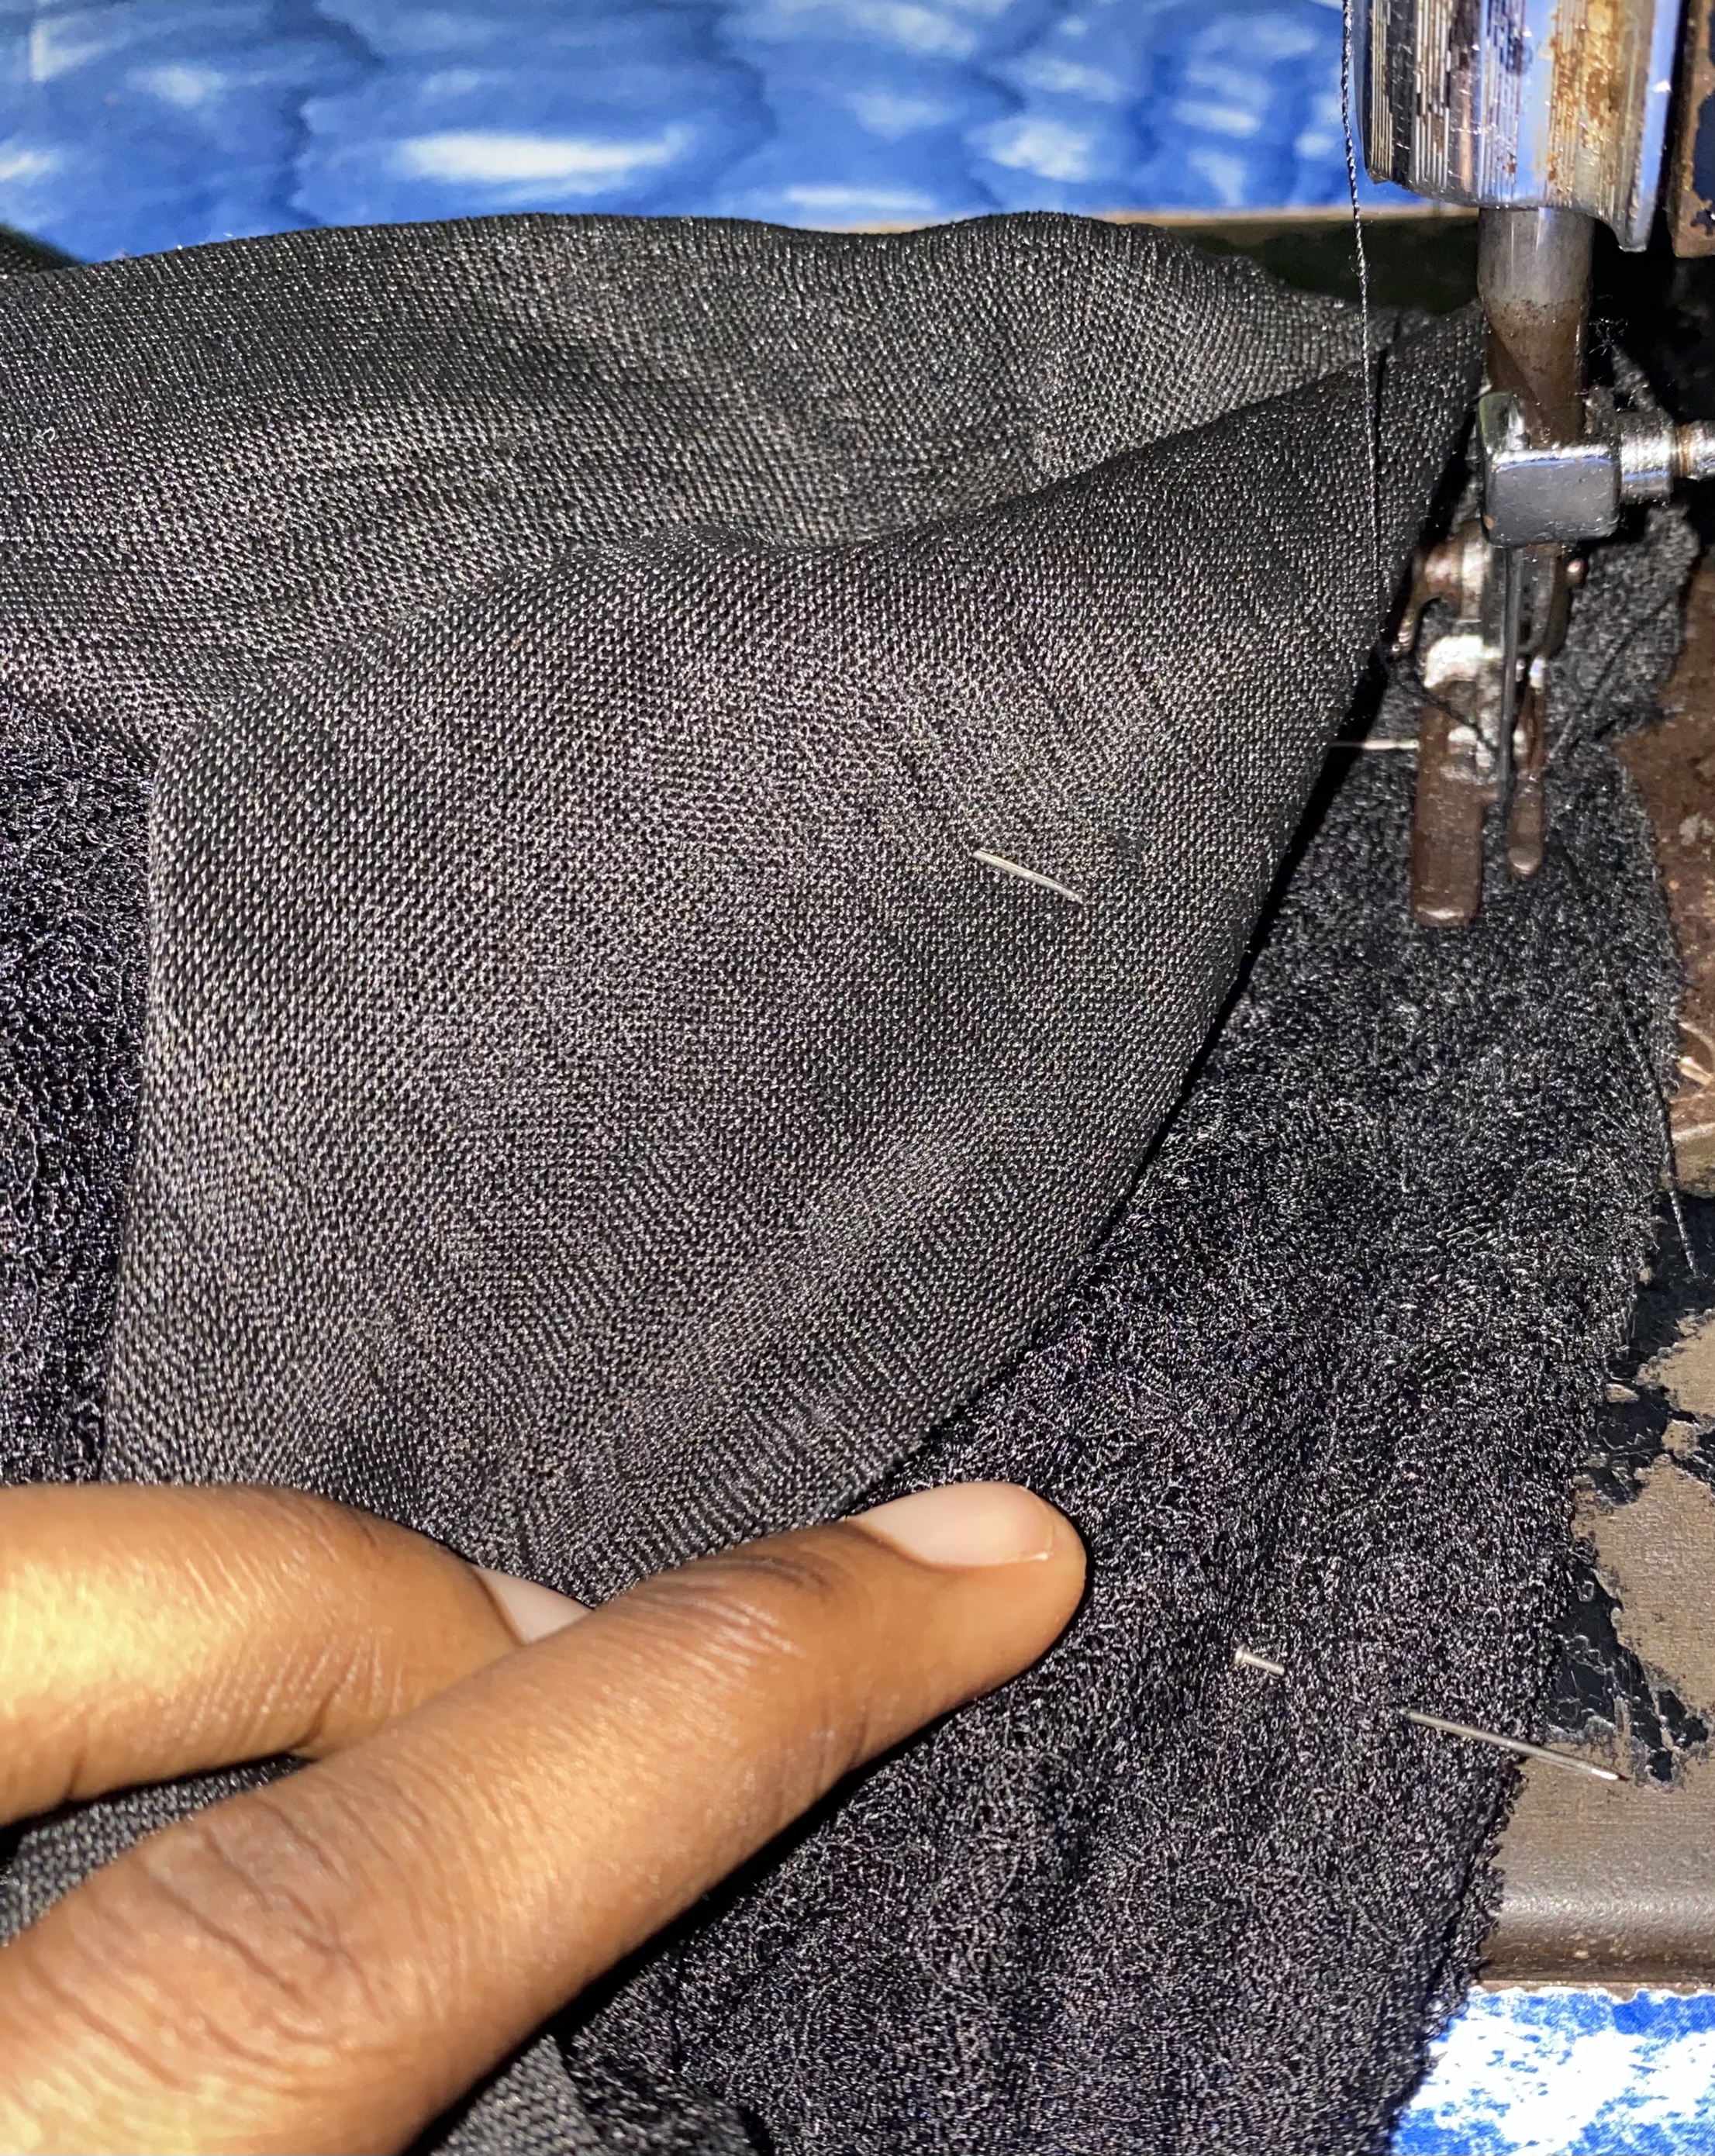
Step 2: Sewing
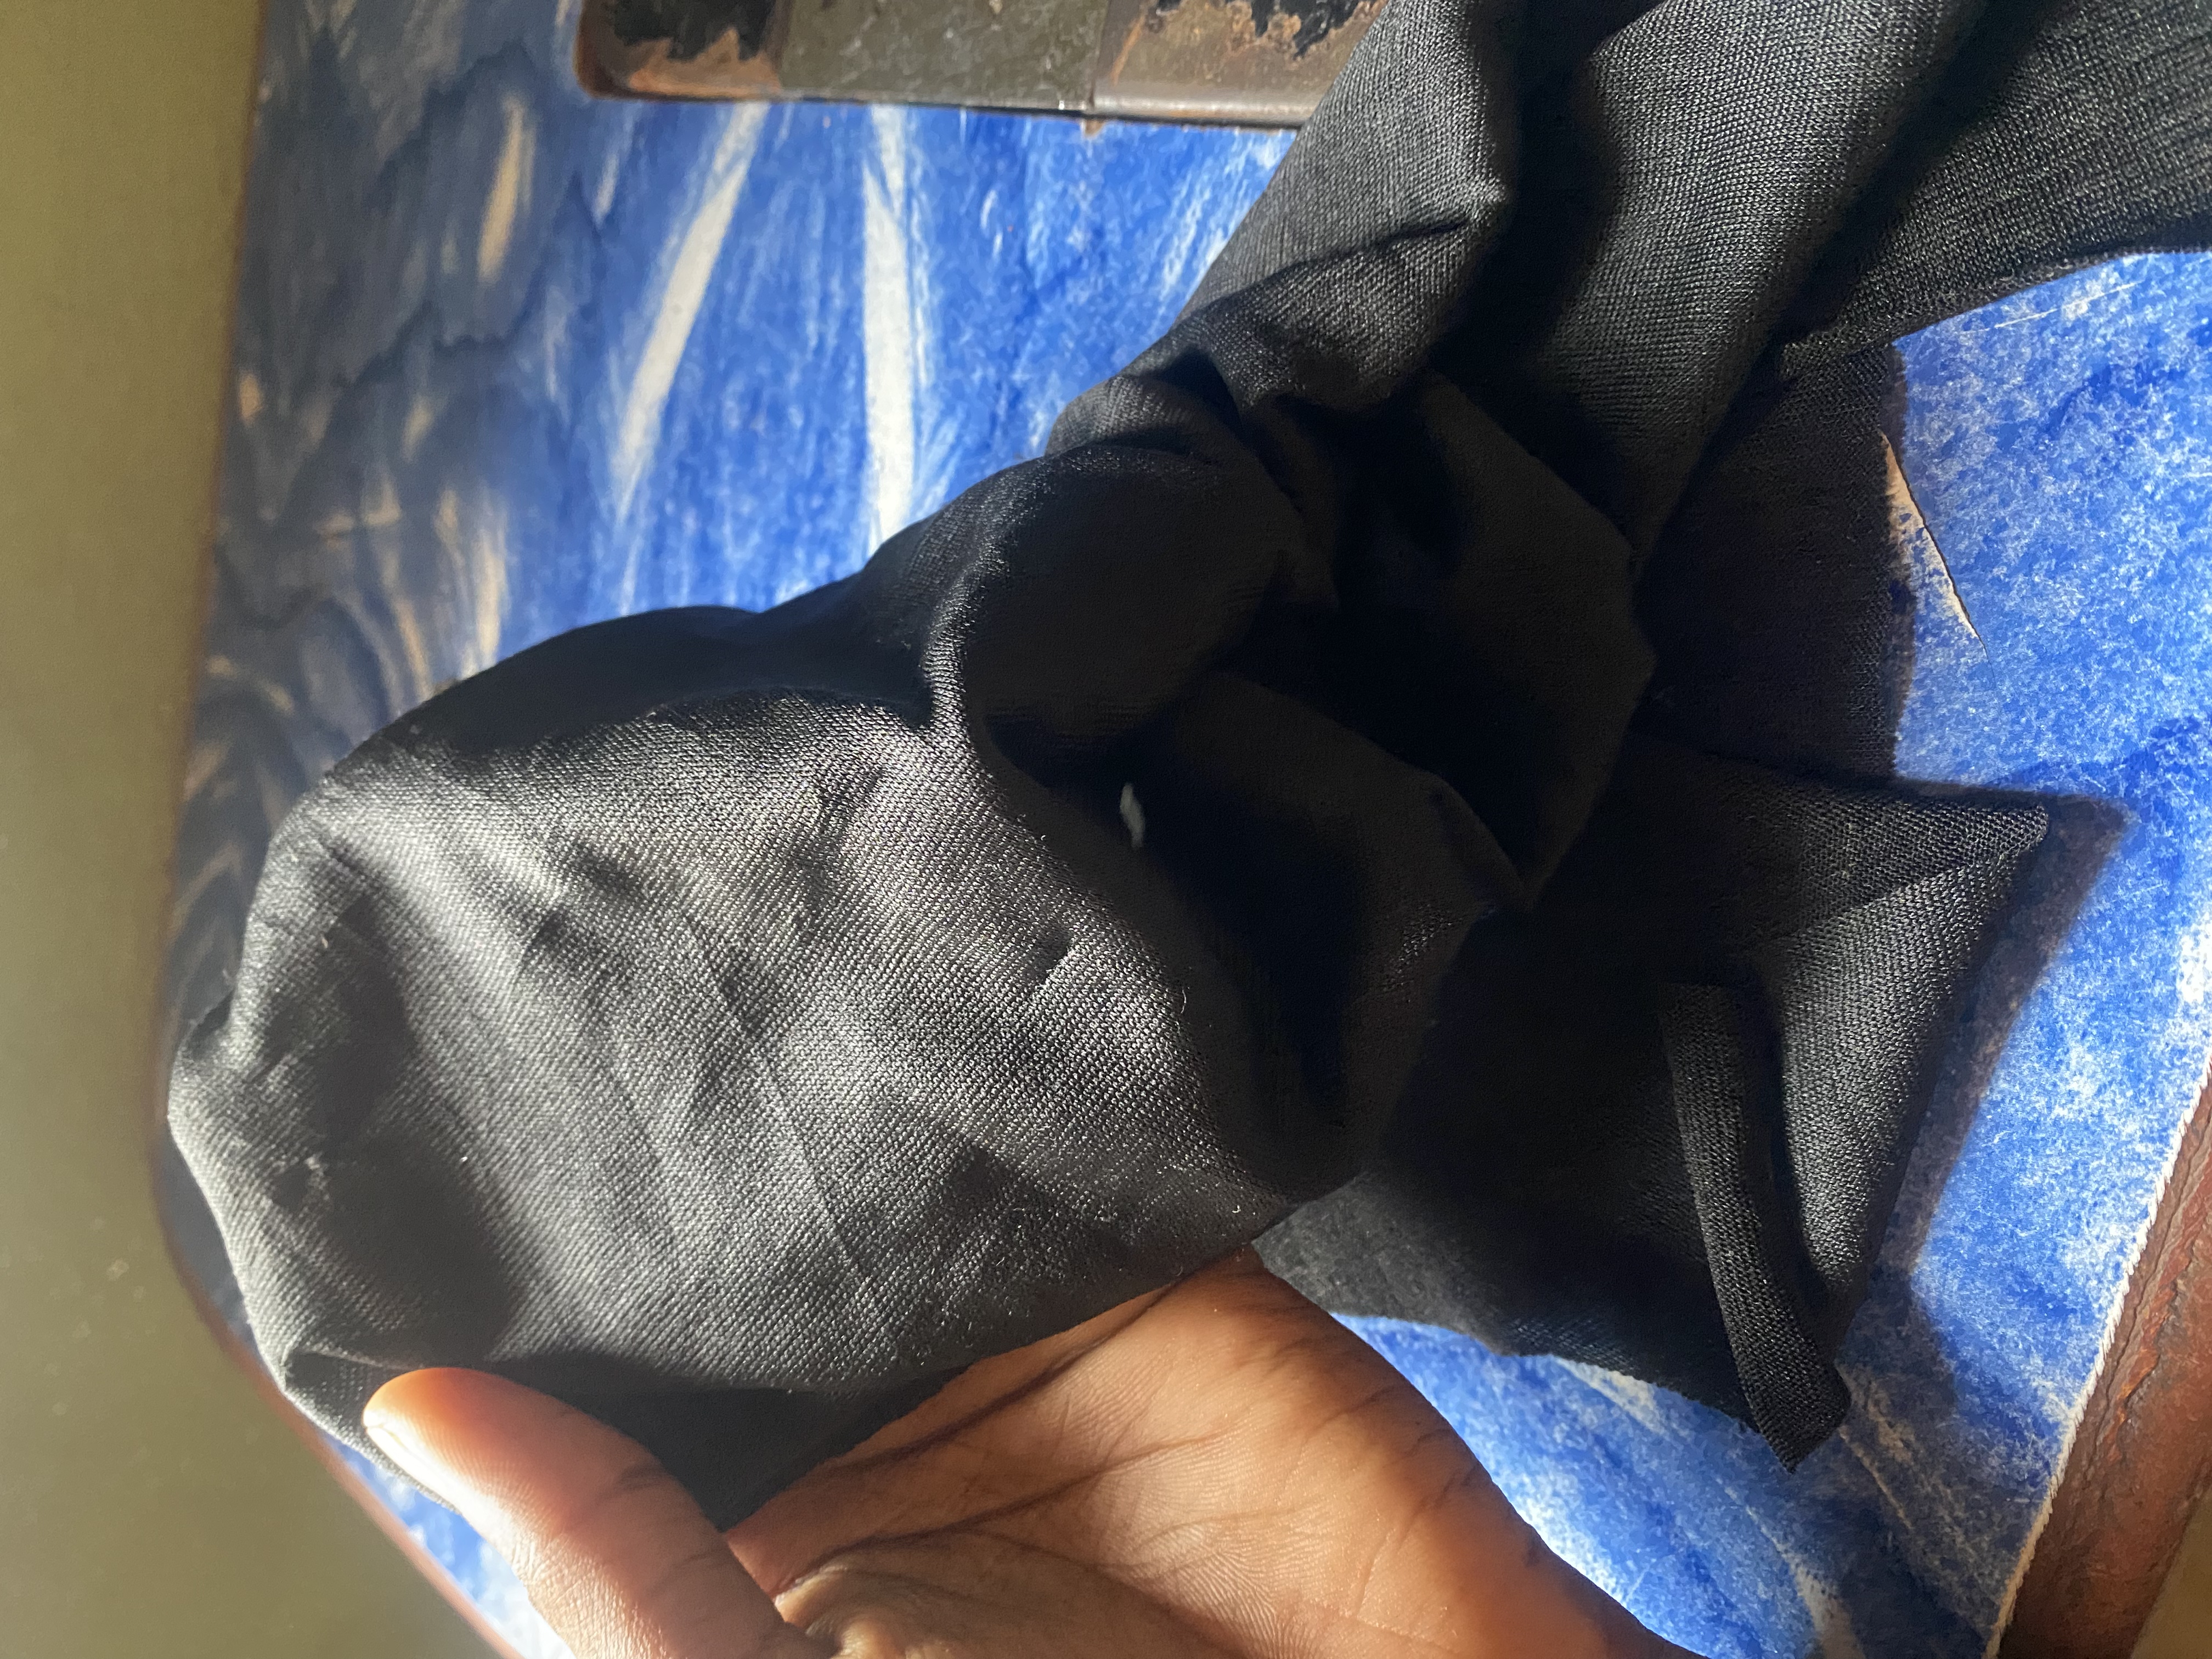
I sewed the lining pieces to their corresponding net fabric sections, using them as an interface for the neckline and a hem to the bottom of the top.
 |  |
I joined the shoulders together.
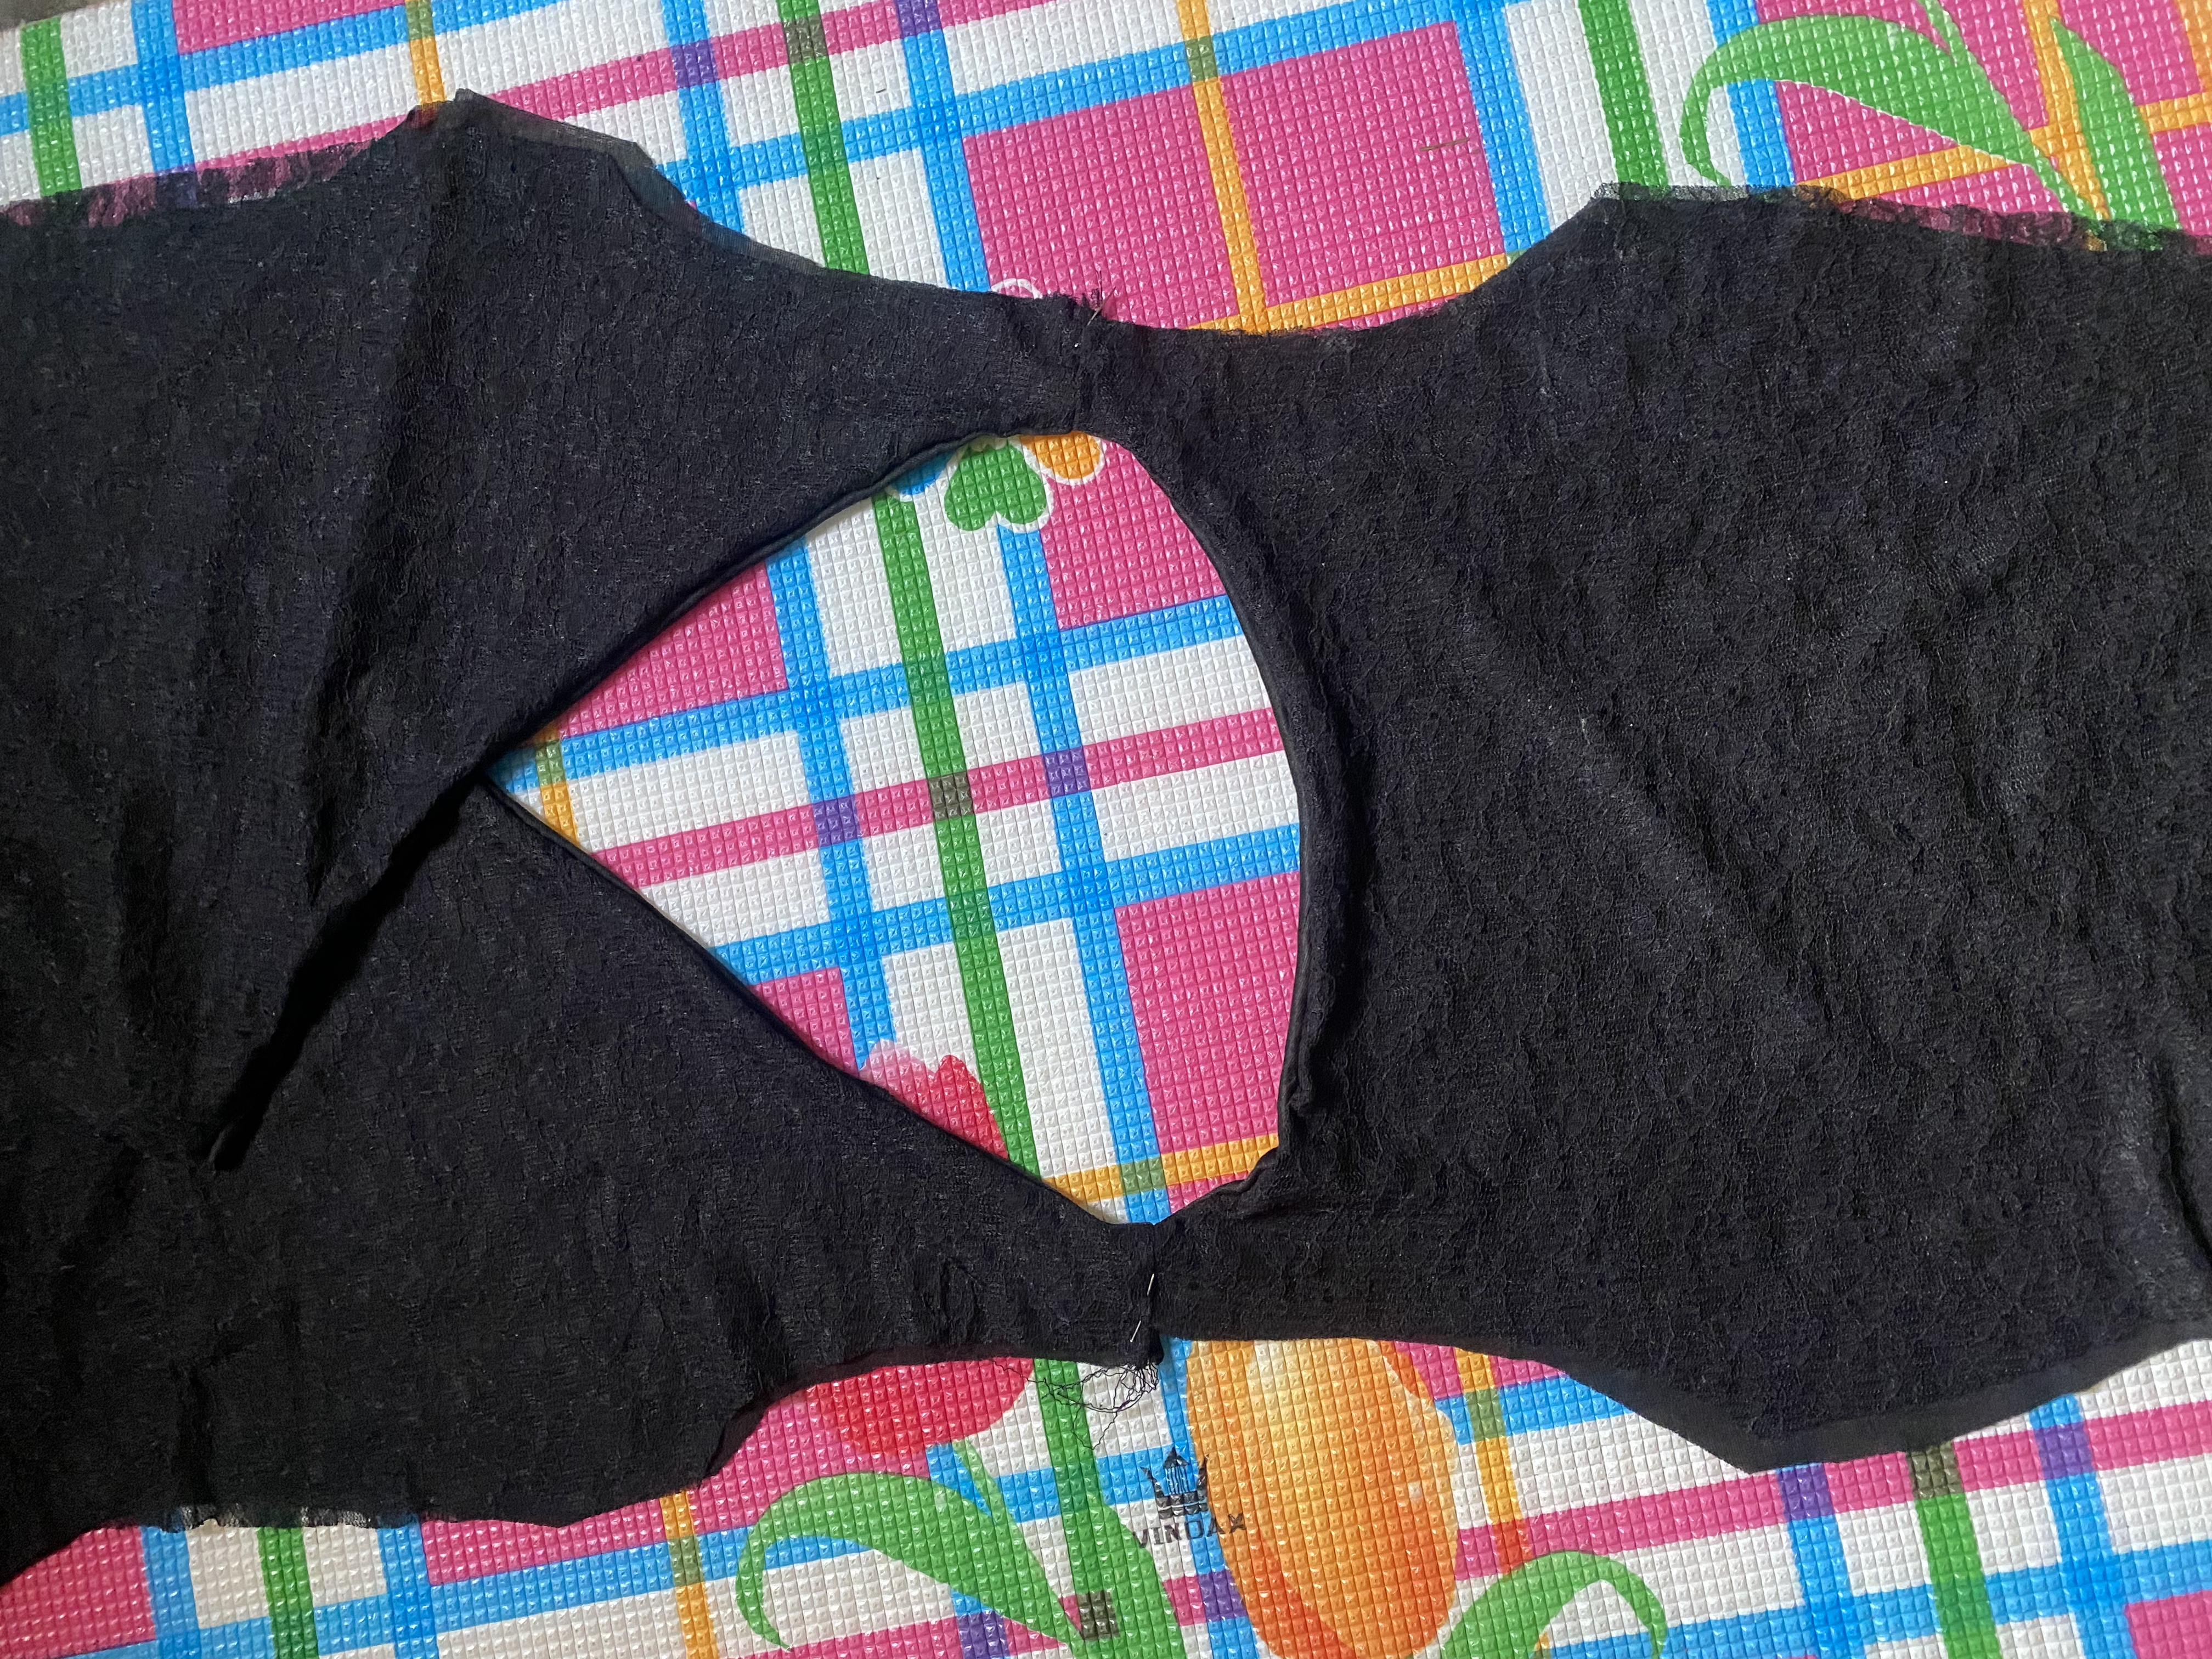
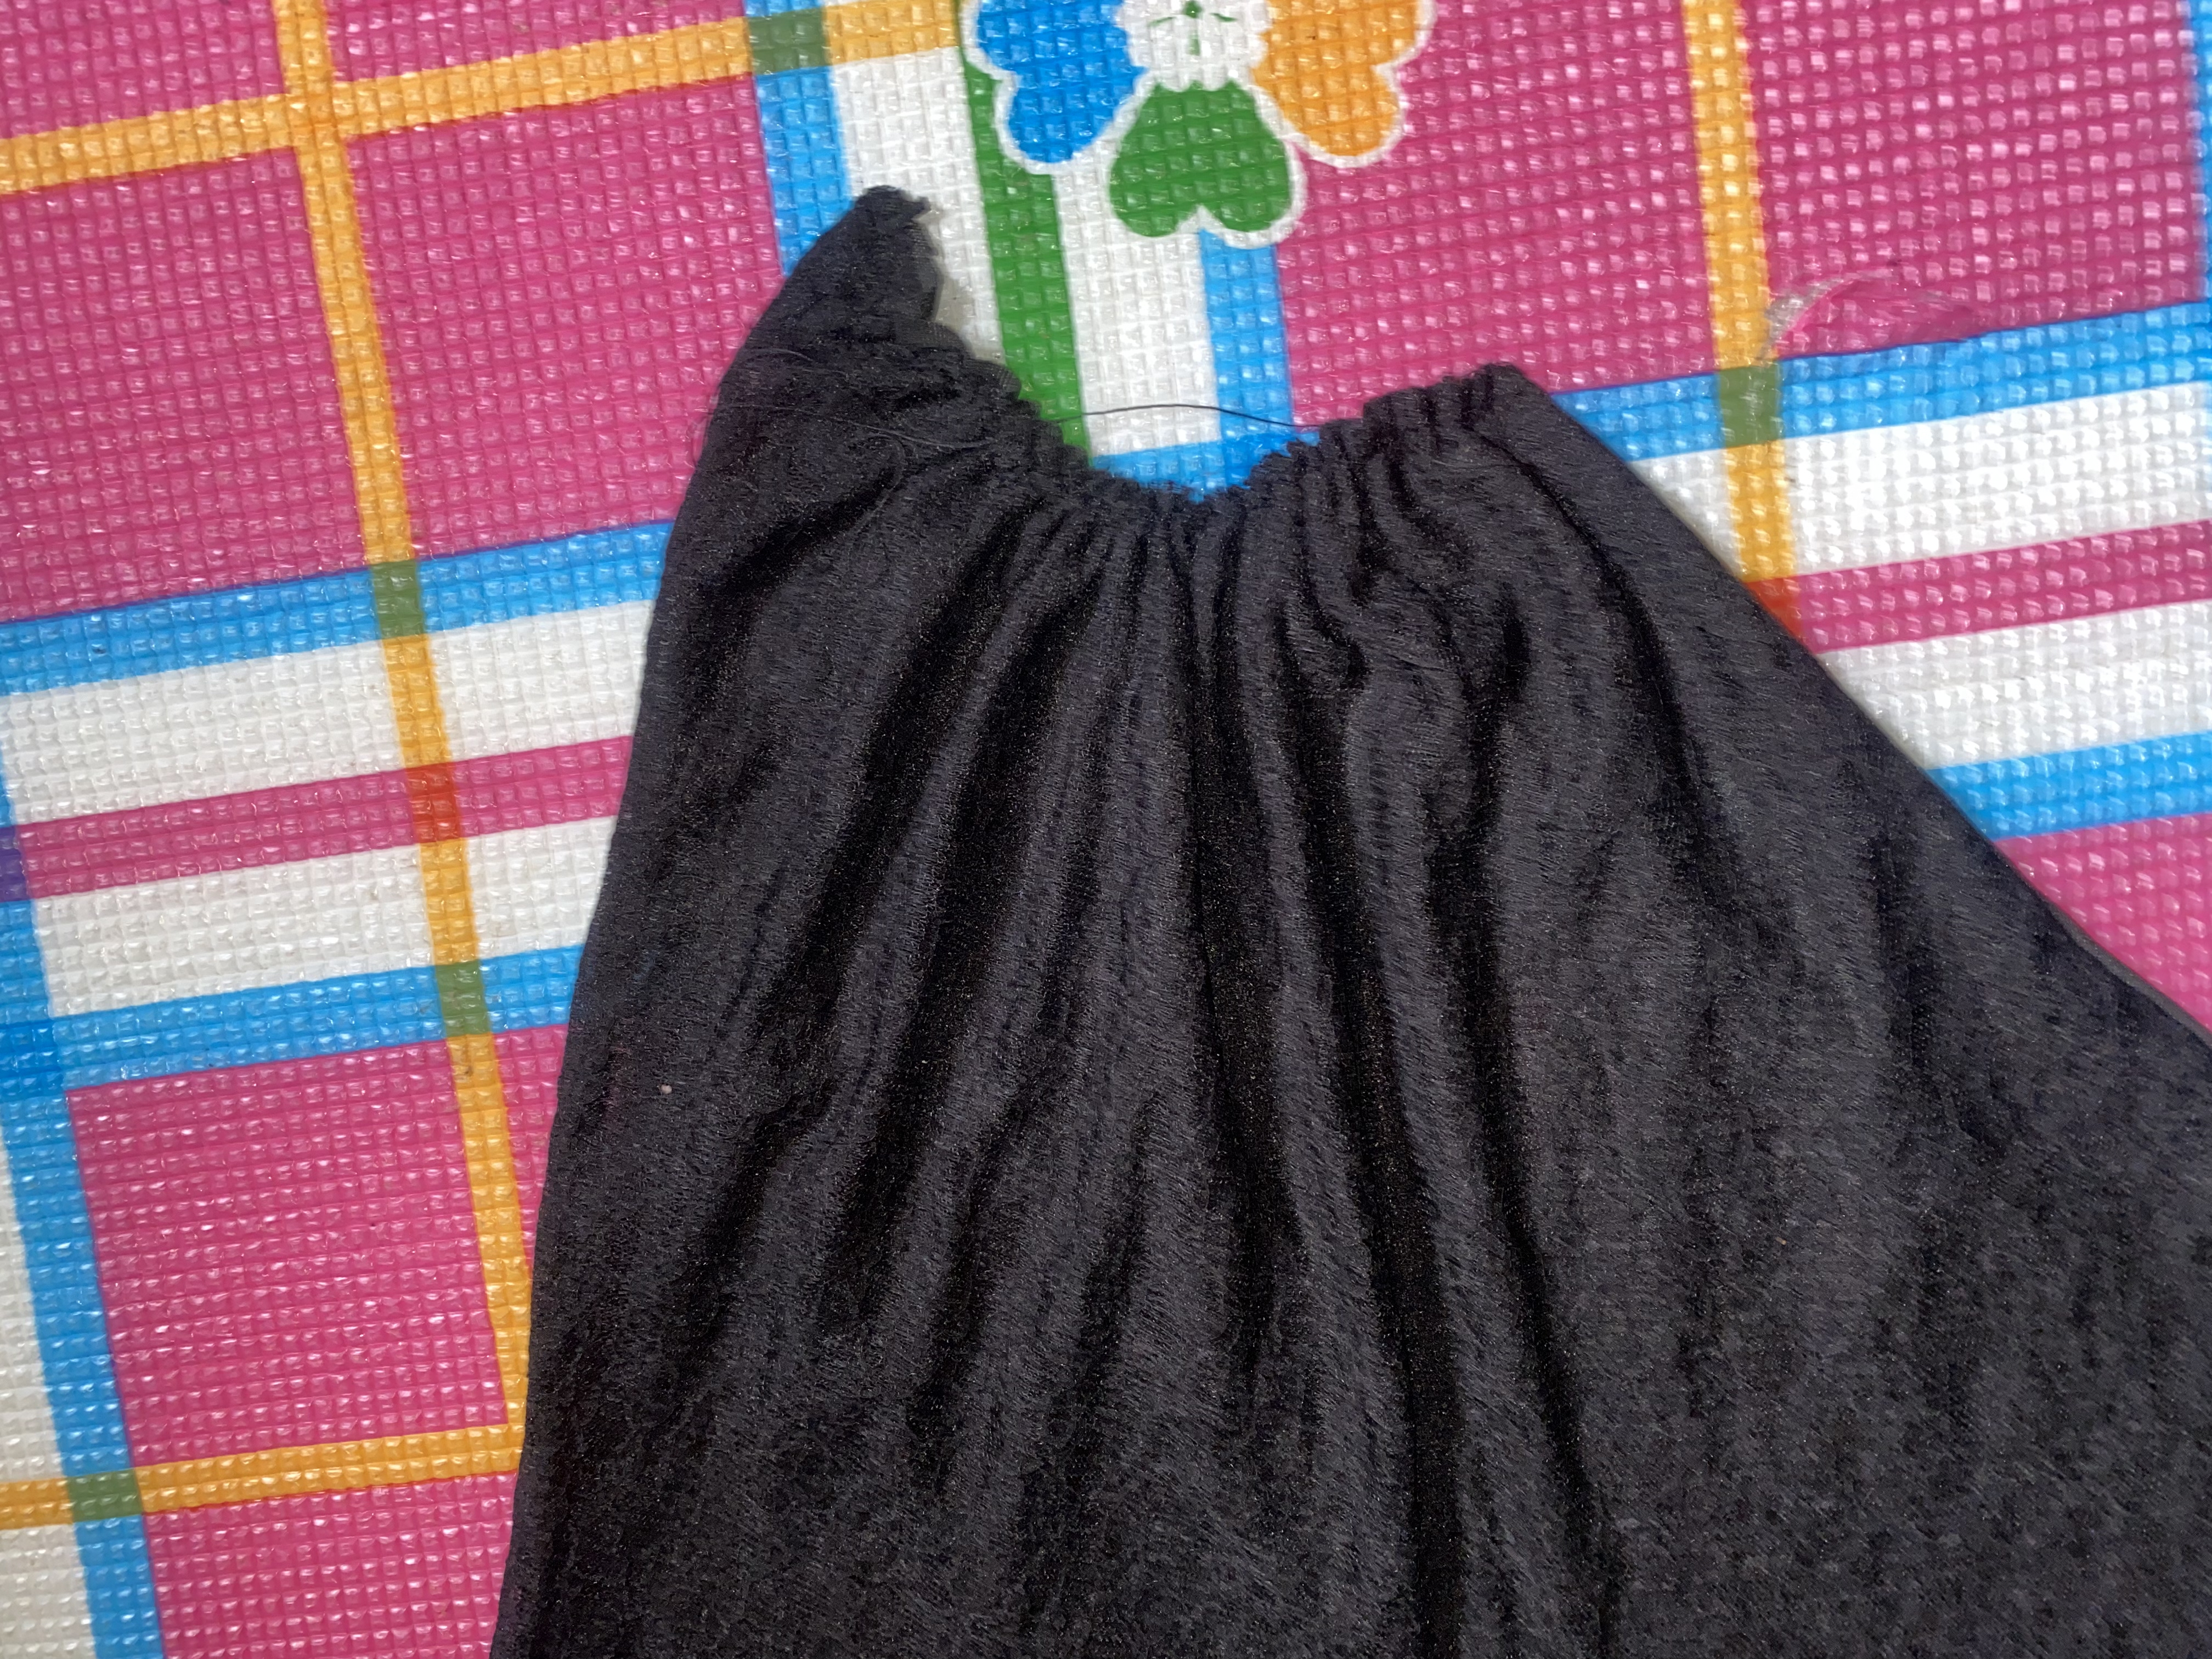
I gathered one side of the front pieces and then I joined the two front pieces together.
Then I joined the sides of the front and back pieces together.

For the sleeves, I added to the length, and then I sewed the sides of the sleeves.
I sewed the sleeve's armholes to the armholes of the body of the top.
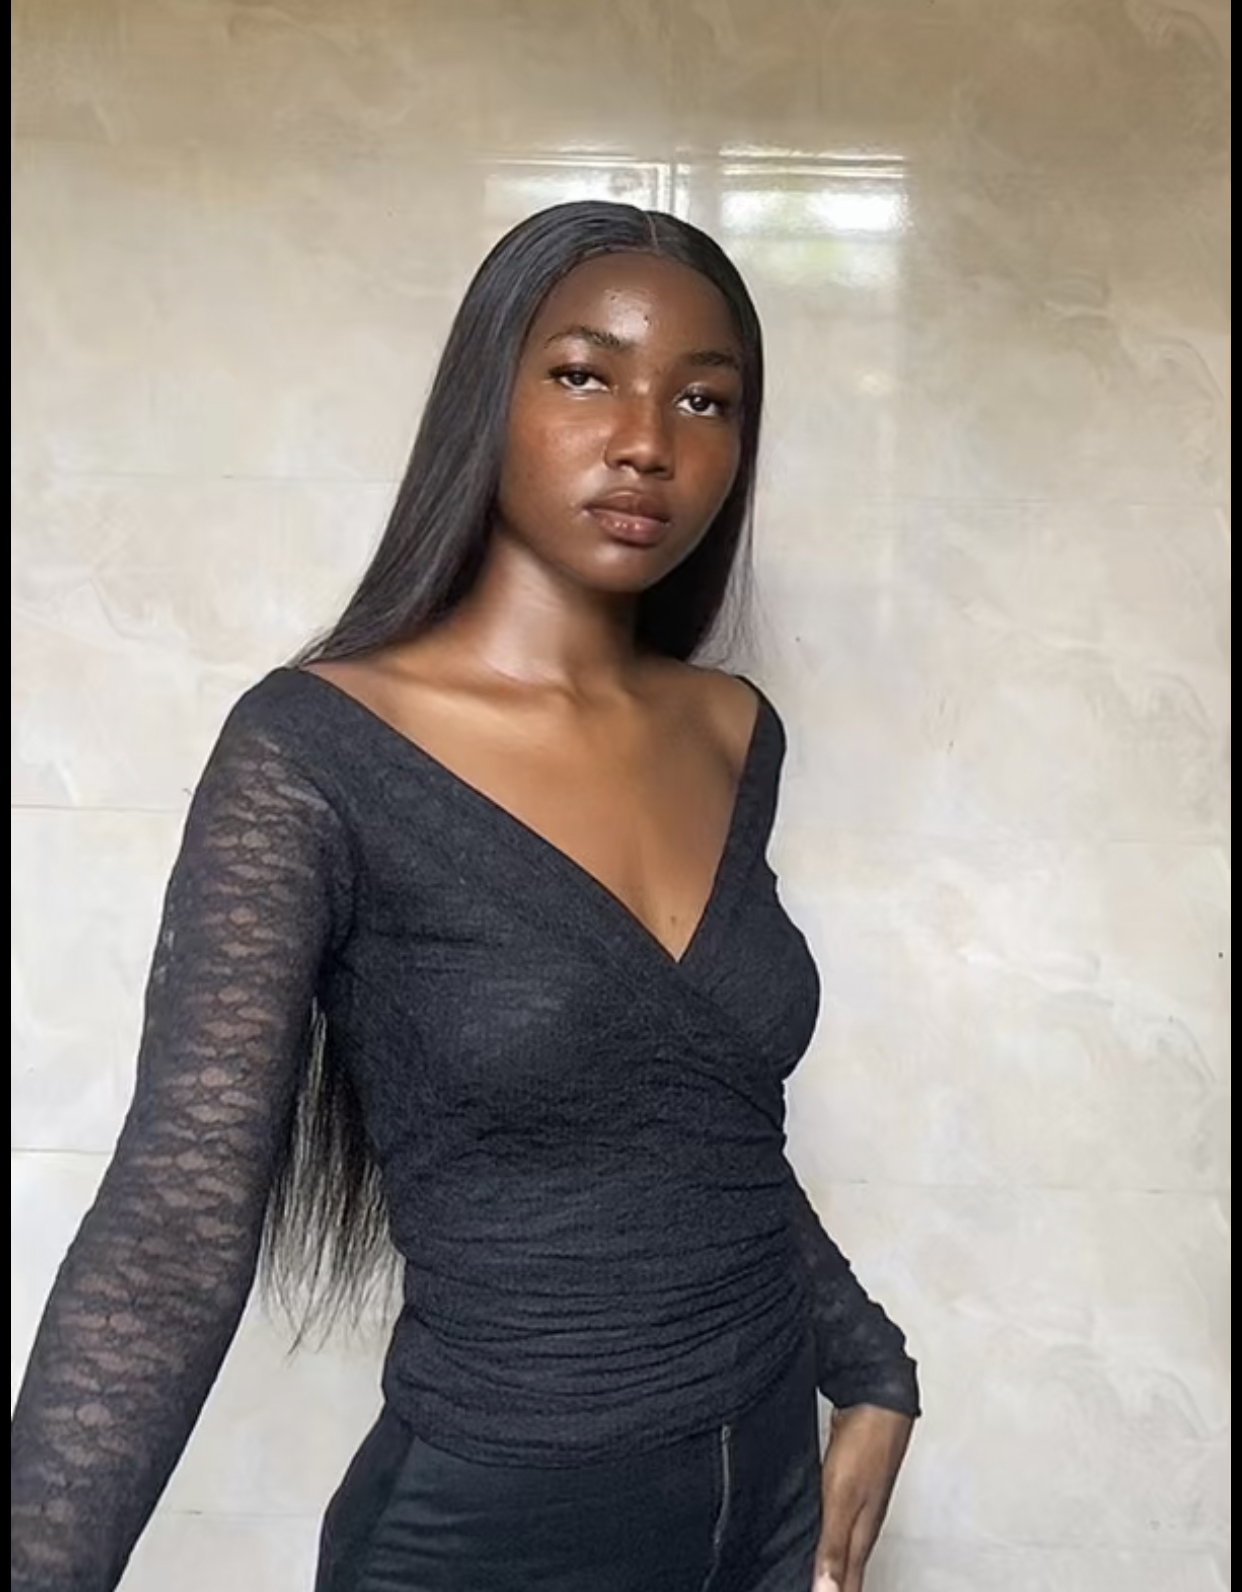
And voila, the top is done. This is the final result for me. I would have loved it to be cropped, but that will be a project for another time.
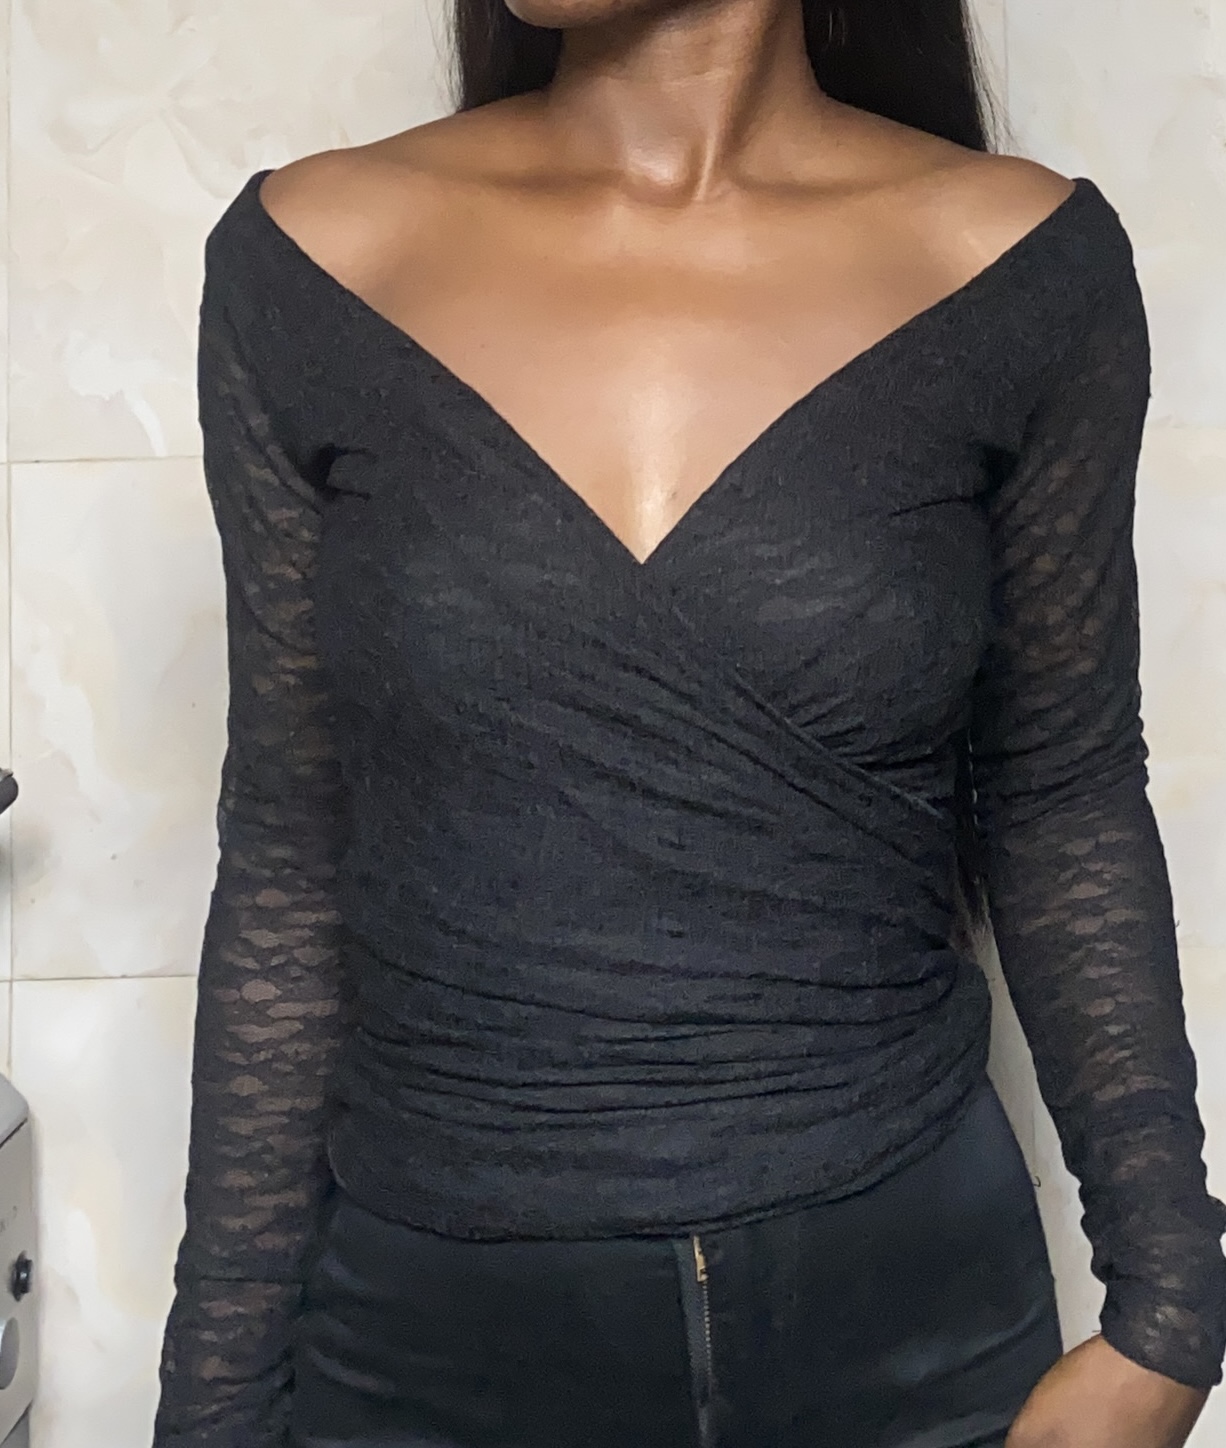
This top looks cute though, don't you think?
Would you wear this?
Thanks for stopping by my blog, and happy new month once again. Here’s to hoping this month brings more blessings to us all and this community❤️✨
All images are mine and the thumbnail was created using Canva