Greetings #hivemotors friends
How are you all doing today? I hope you all are doing amazing. I am happy to be here today to share a very interesting post on how to change a car roof lining on your own. Believe it or not, this is something you can do on your own without asking for help. It is very simple, and I will try every way possible to make it more simple when you go through this post.
Is your car's roof sagging or deteriorating because of heat and wear and tear? Then this post is for you, or if you have a car and the roof will not stay forever, this post is also for you.
The roof lining has to be replaced with a material of high-quality foam-backed brushed nylon to make your car interior look fresh and neat.
I will use pictures to describe my steps, and if you find this post interesting, don't fail to react.
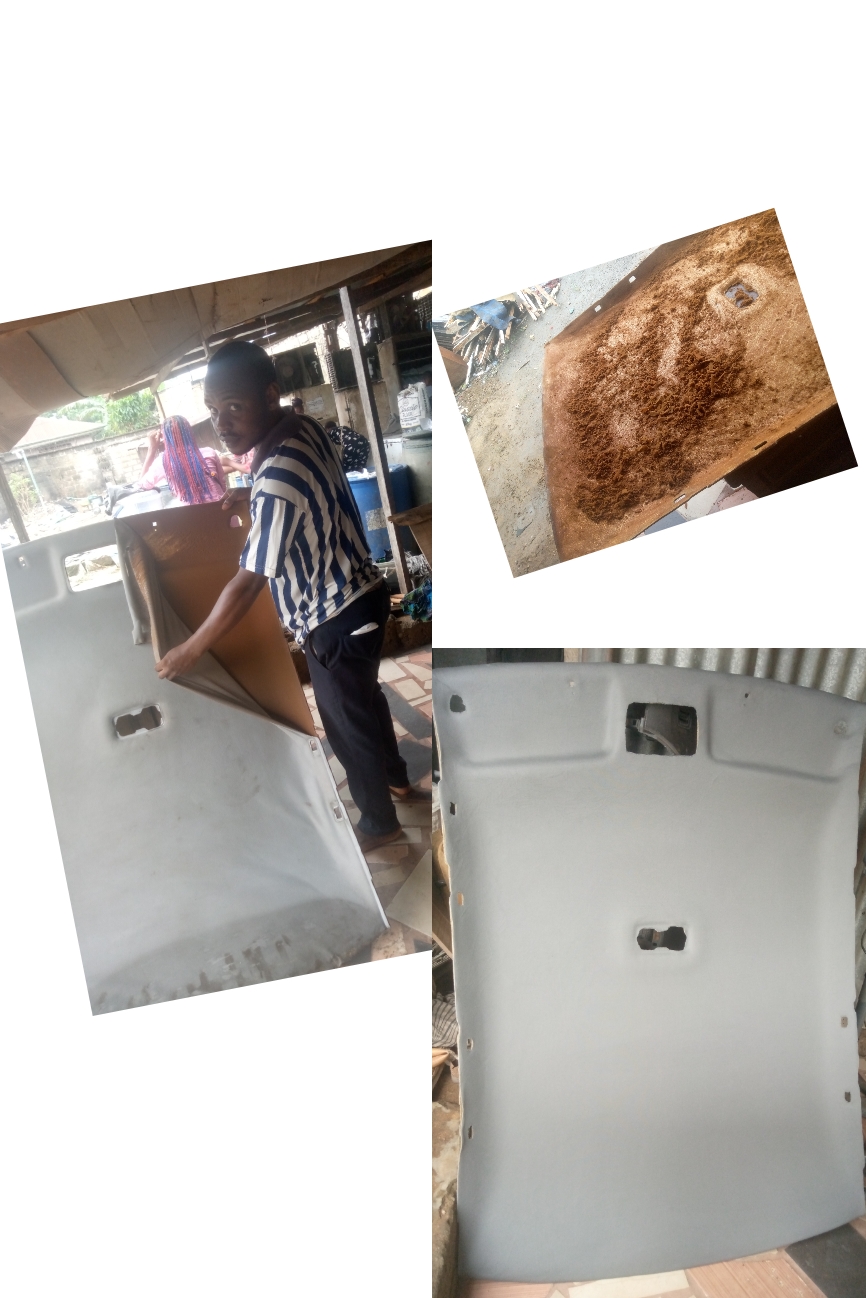
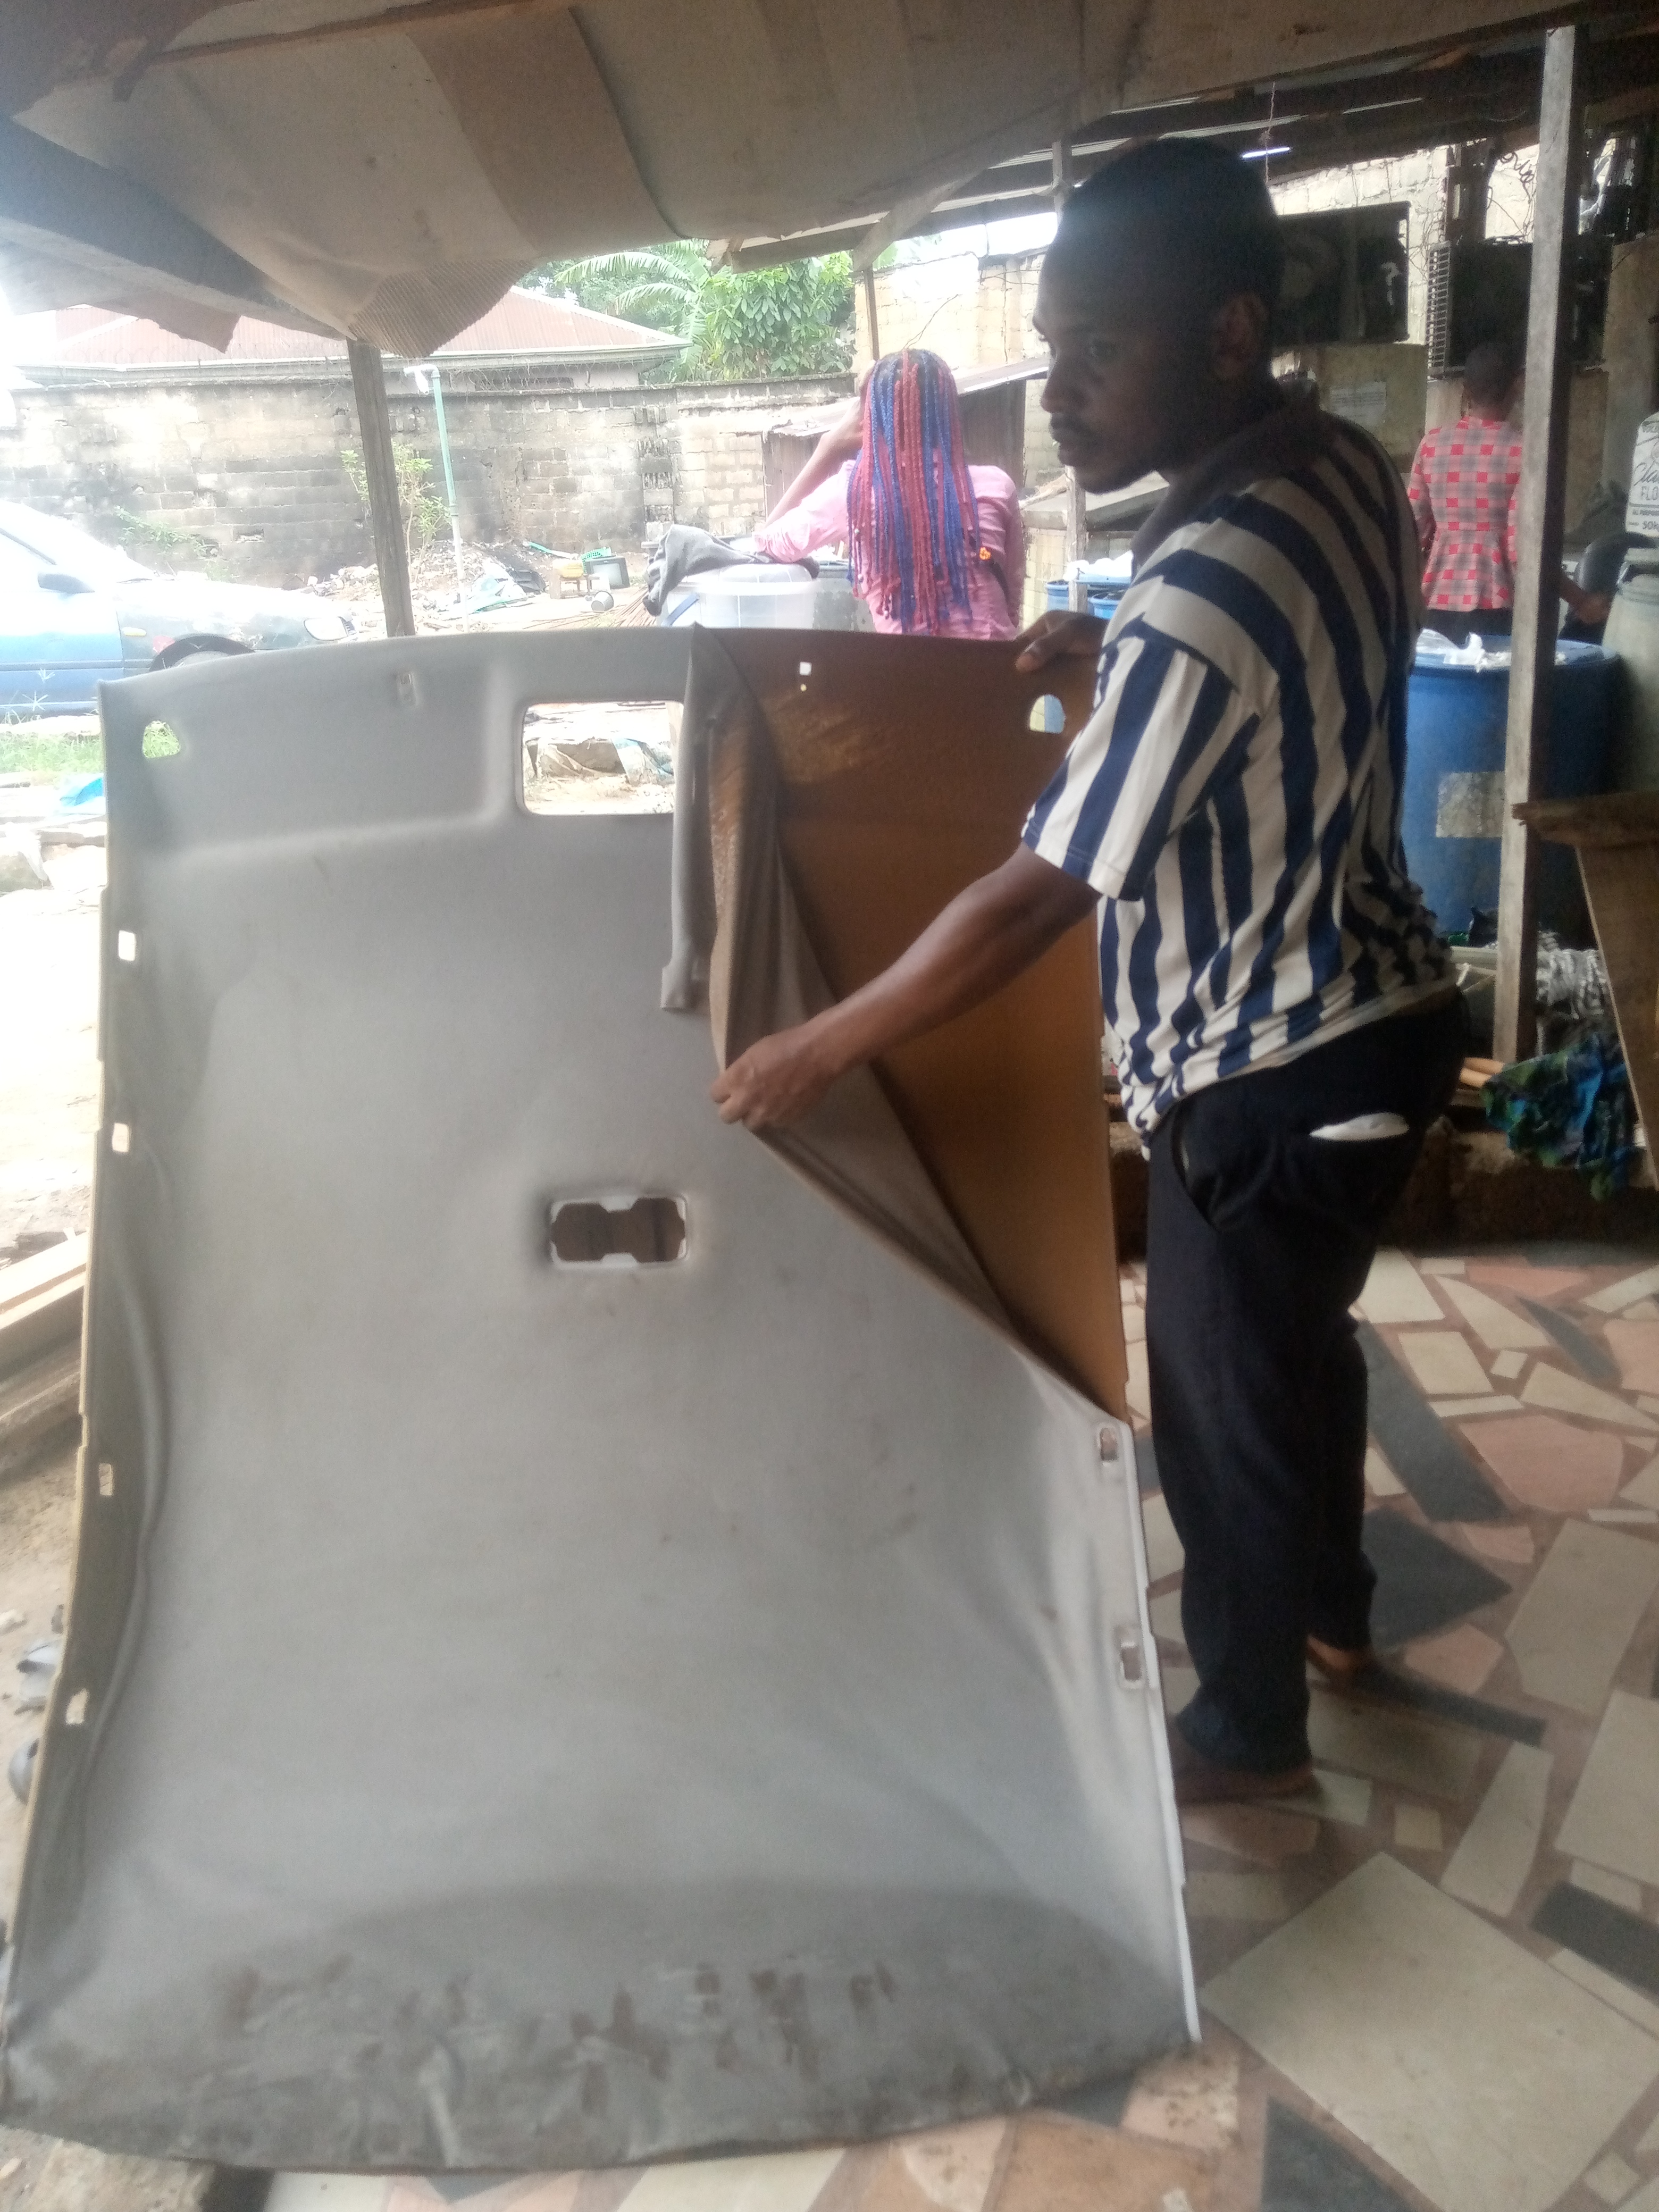
To get it done, you have to loosen the roof lining from the car to where you want to work, with the help of a star screwdriver and some other tools needed depending on the type of car you have, or if you can't loosen it, you can give a panel beater to help you loosen it.
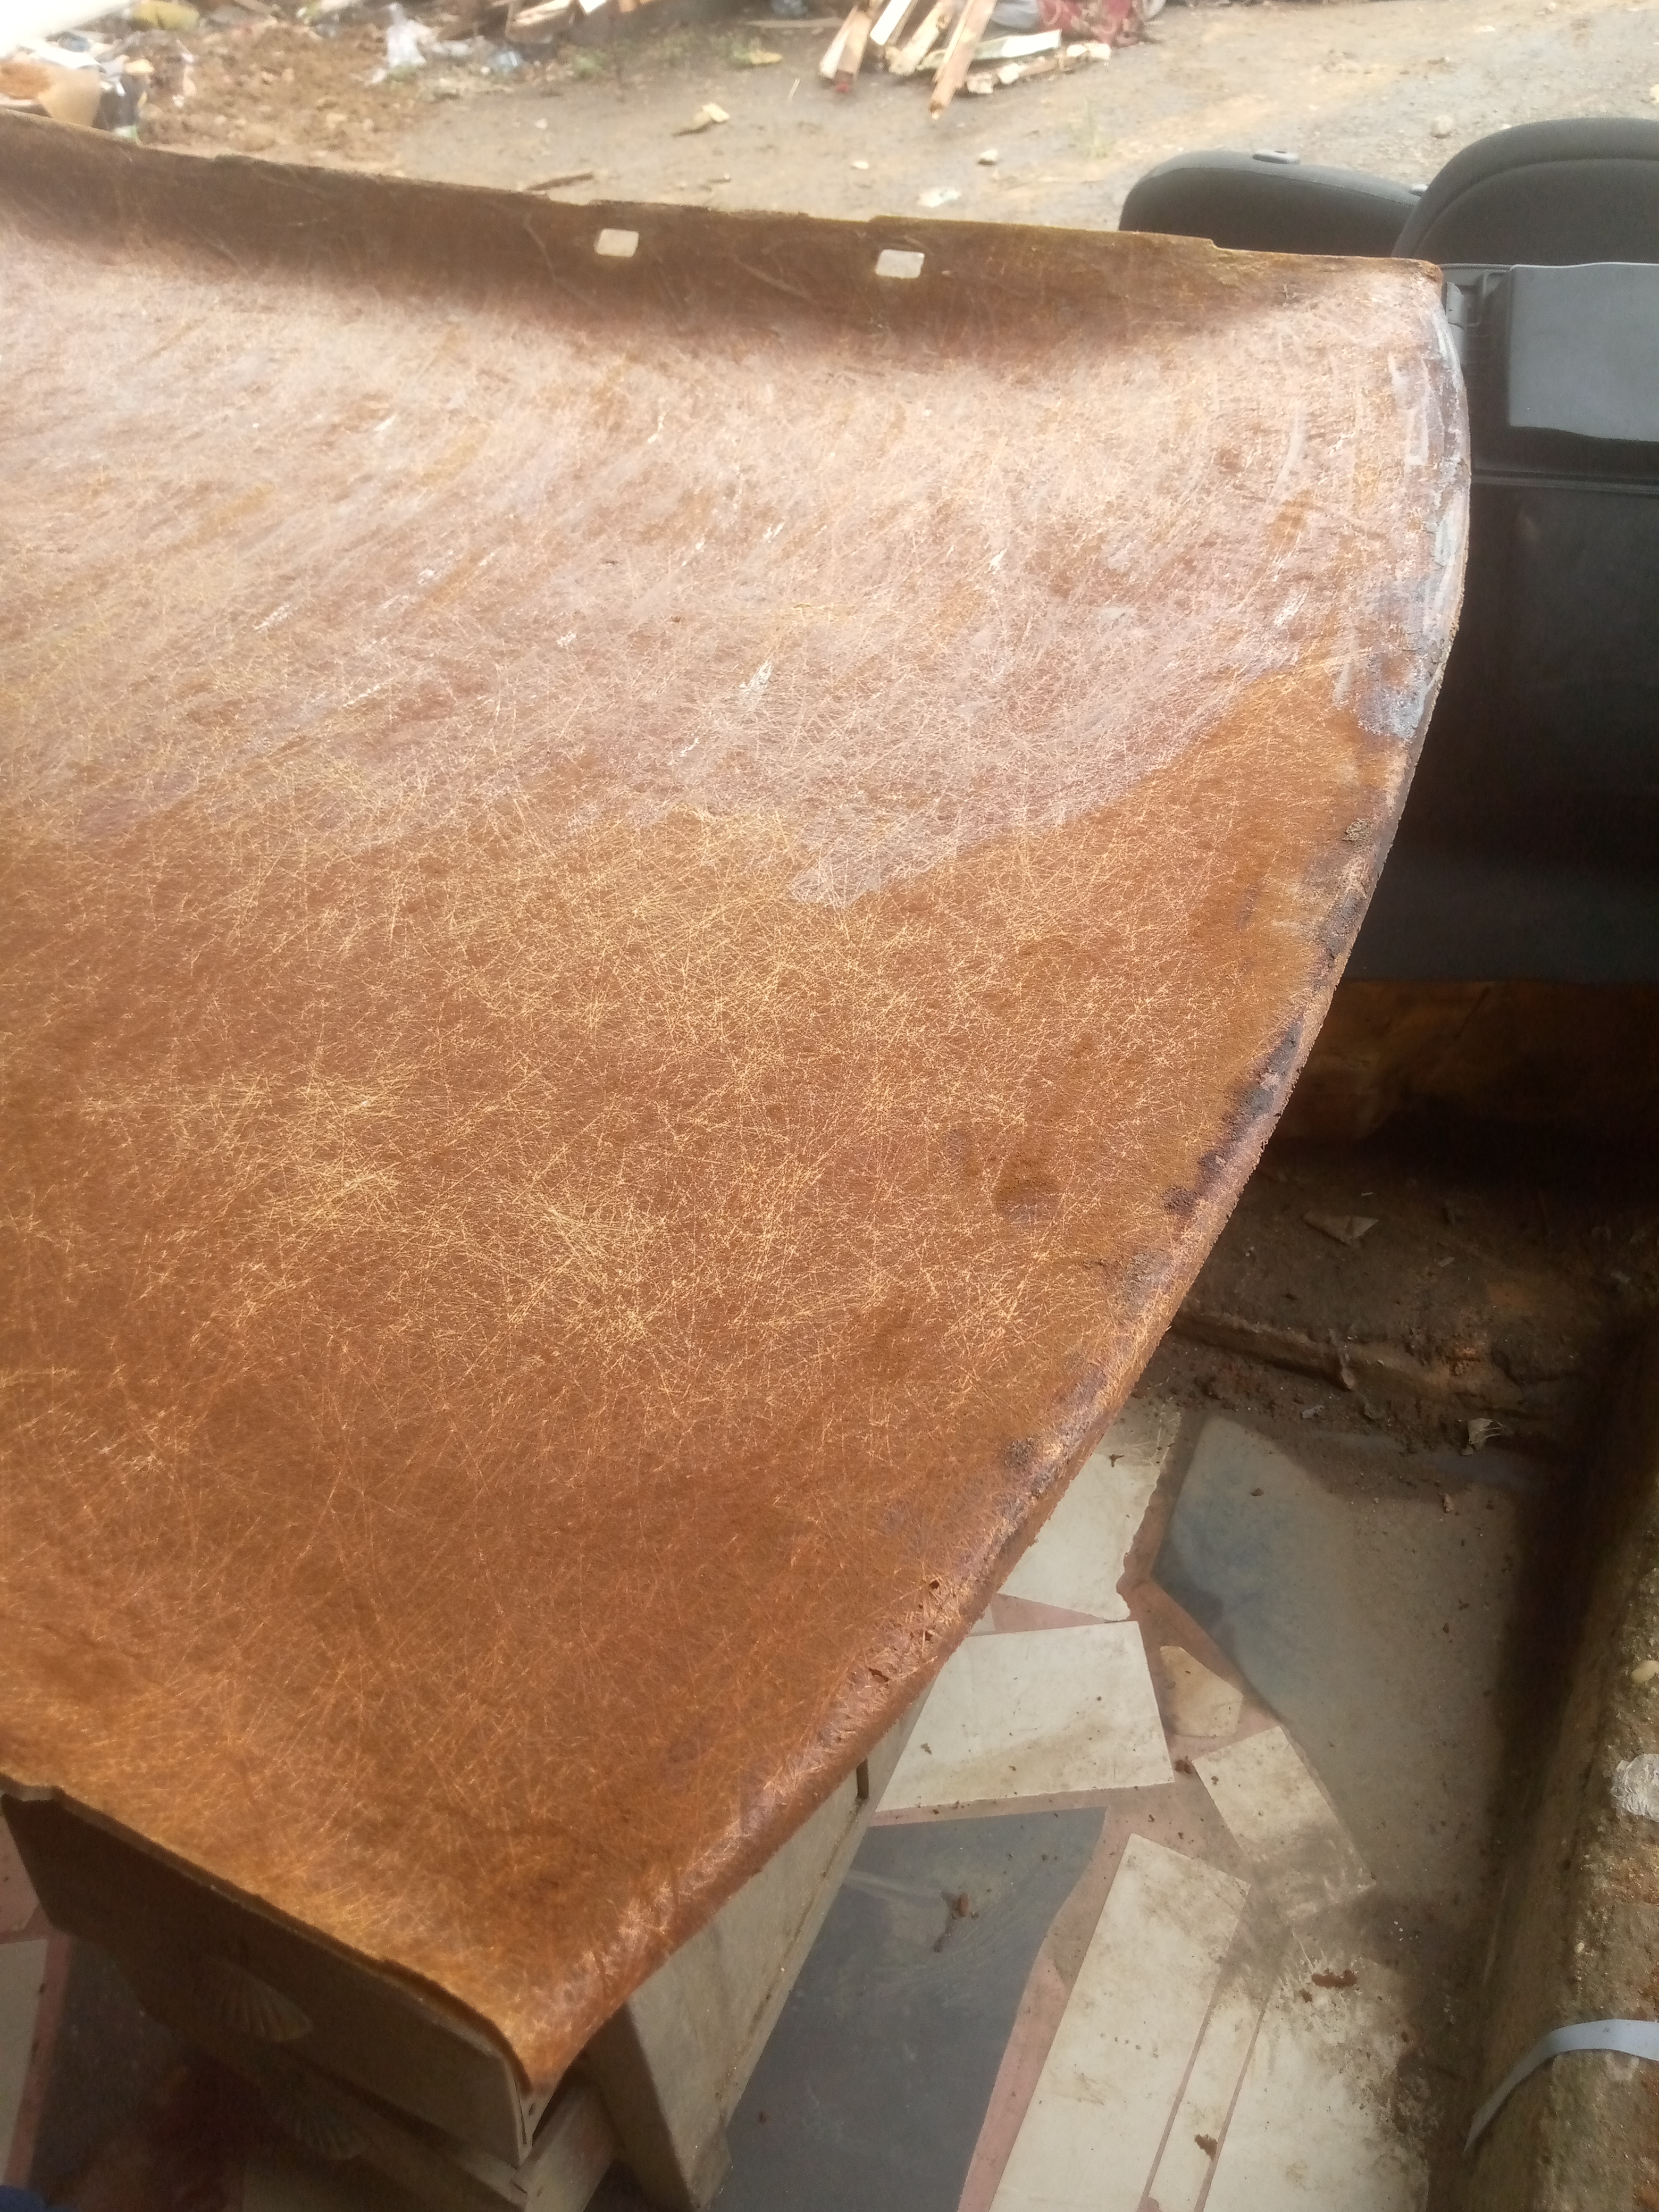
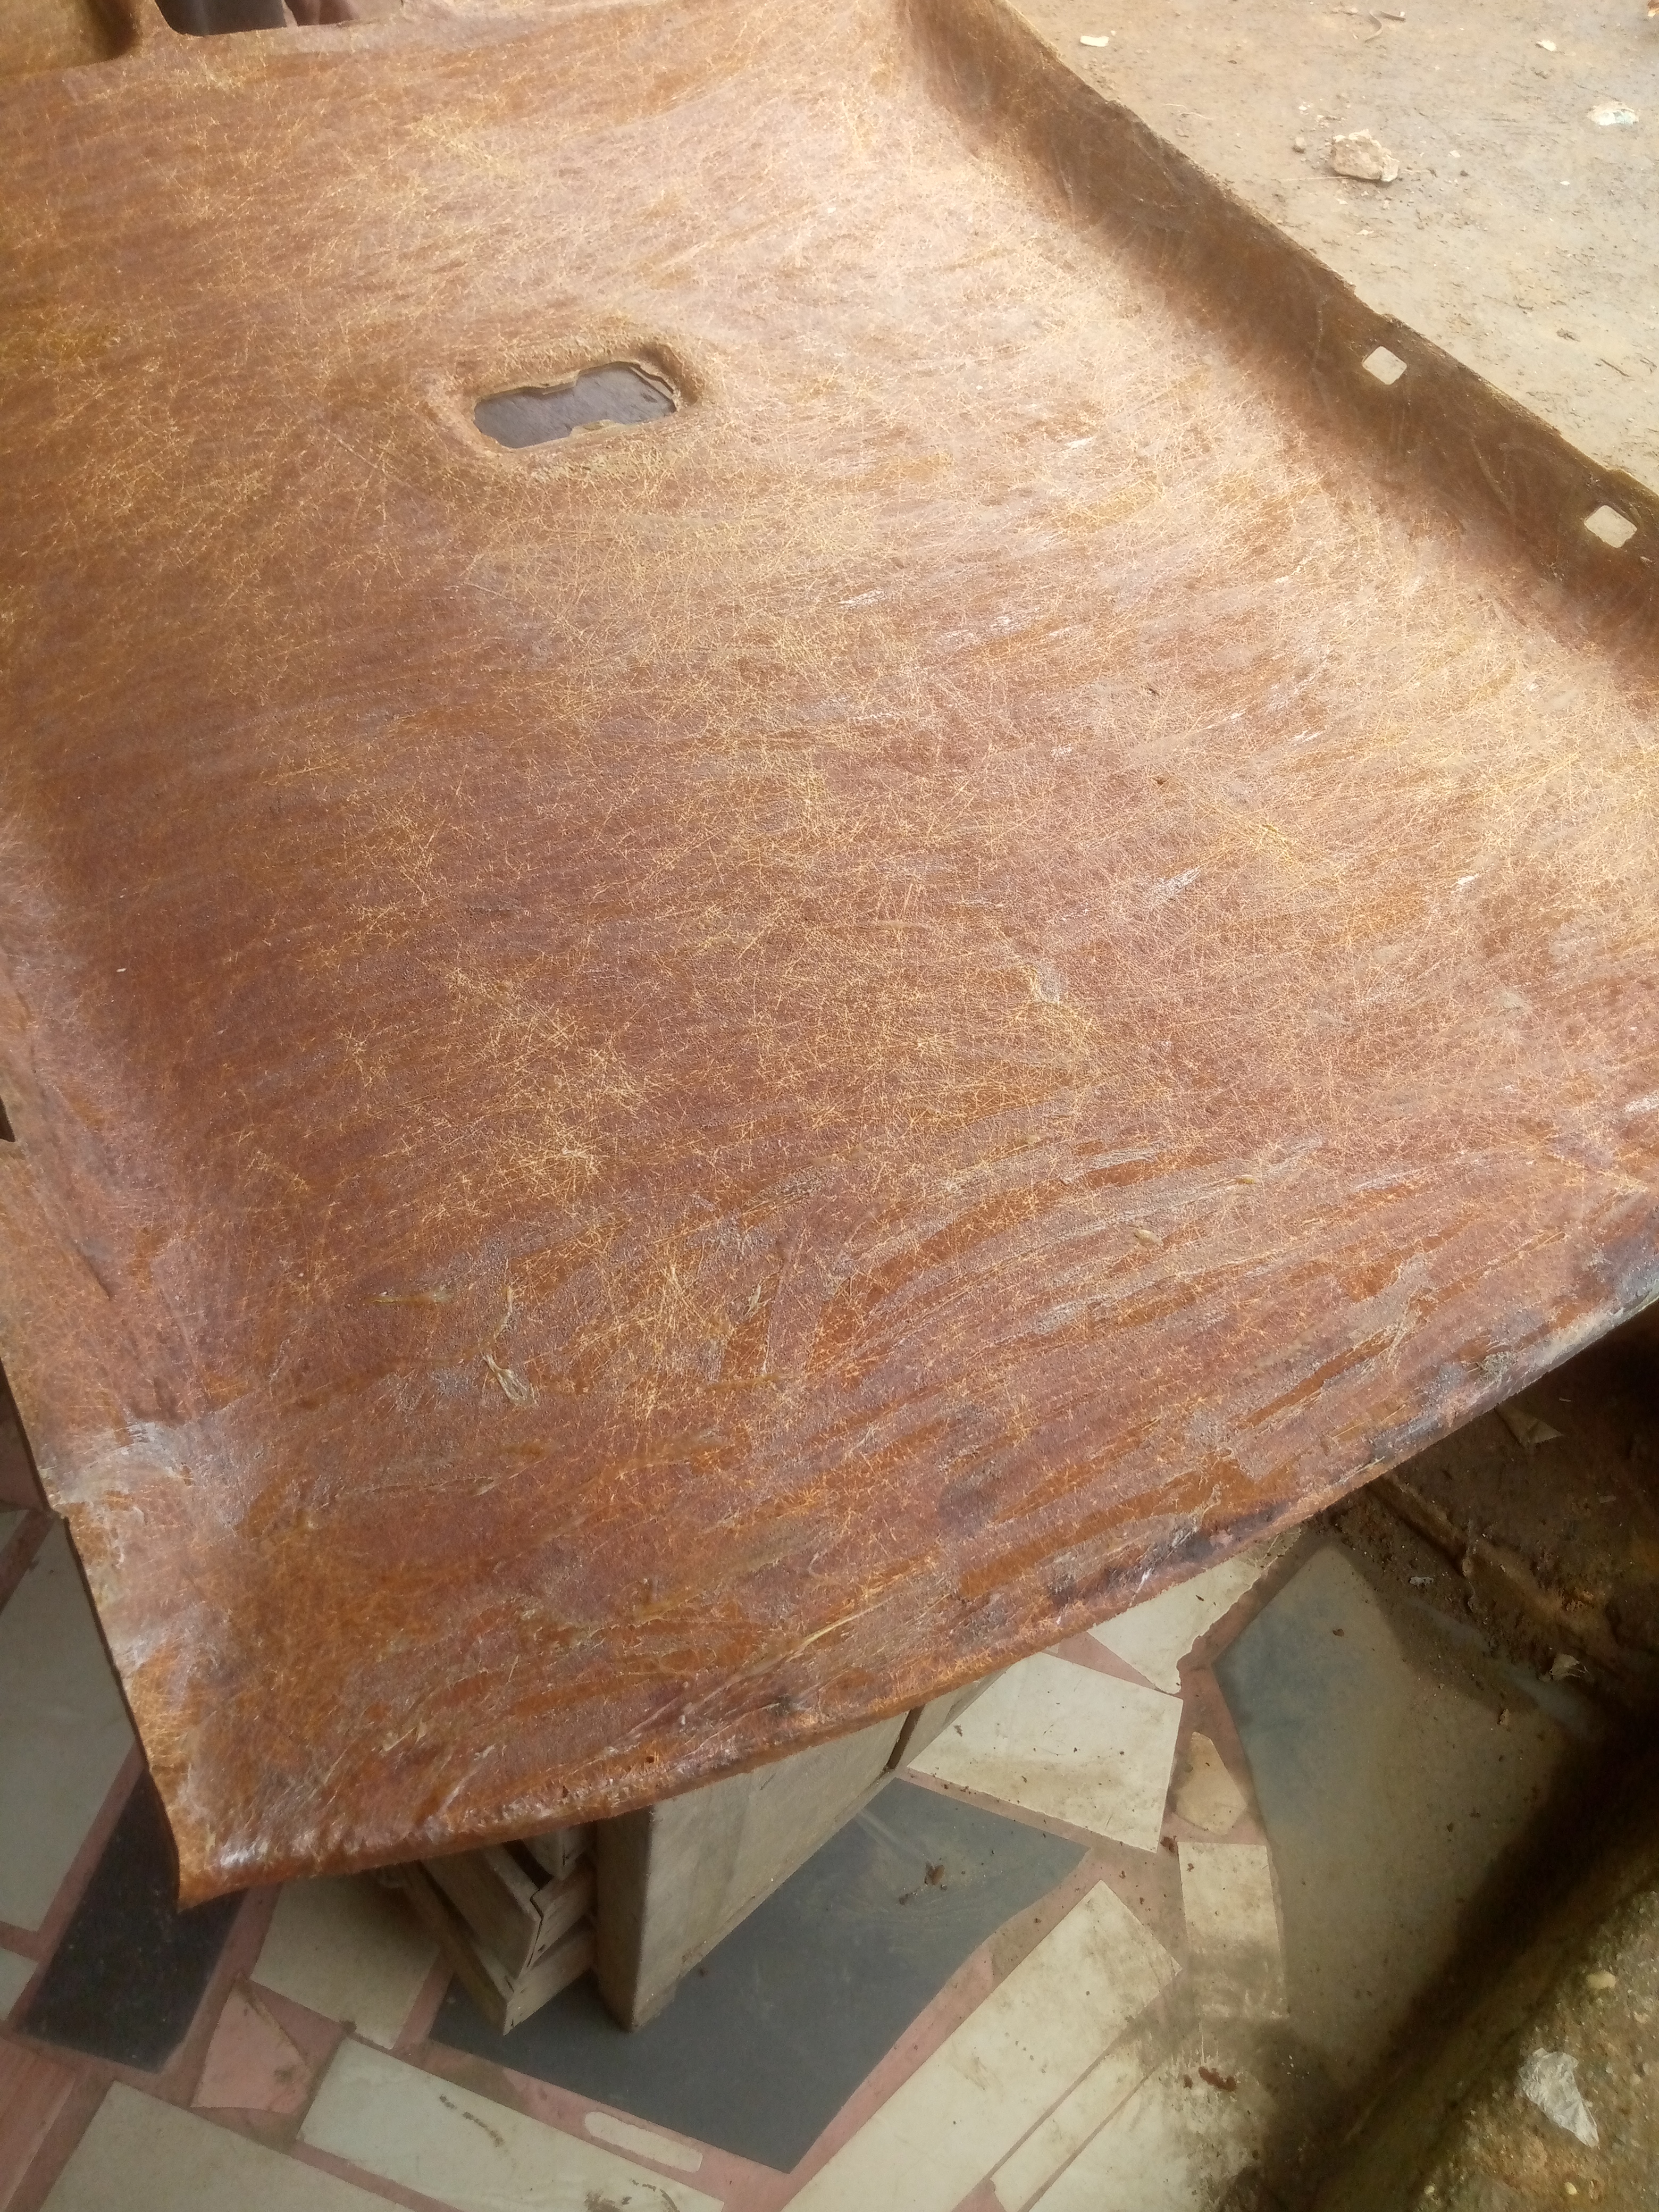
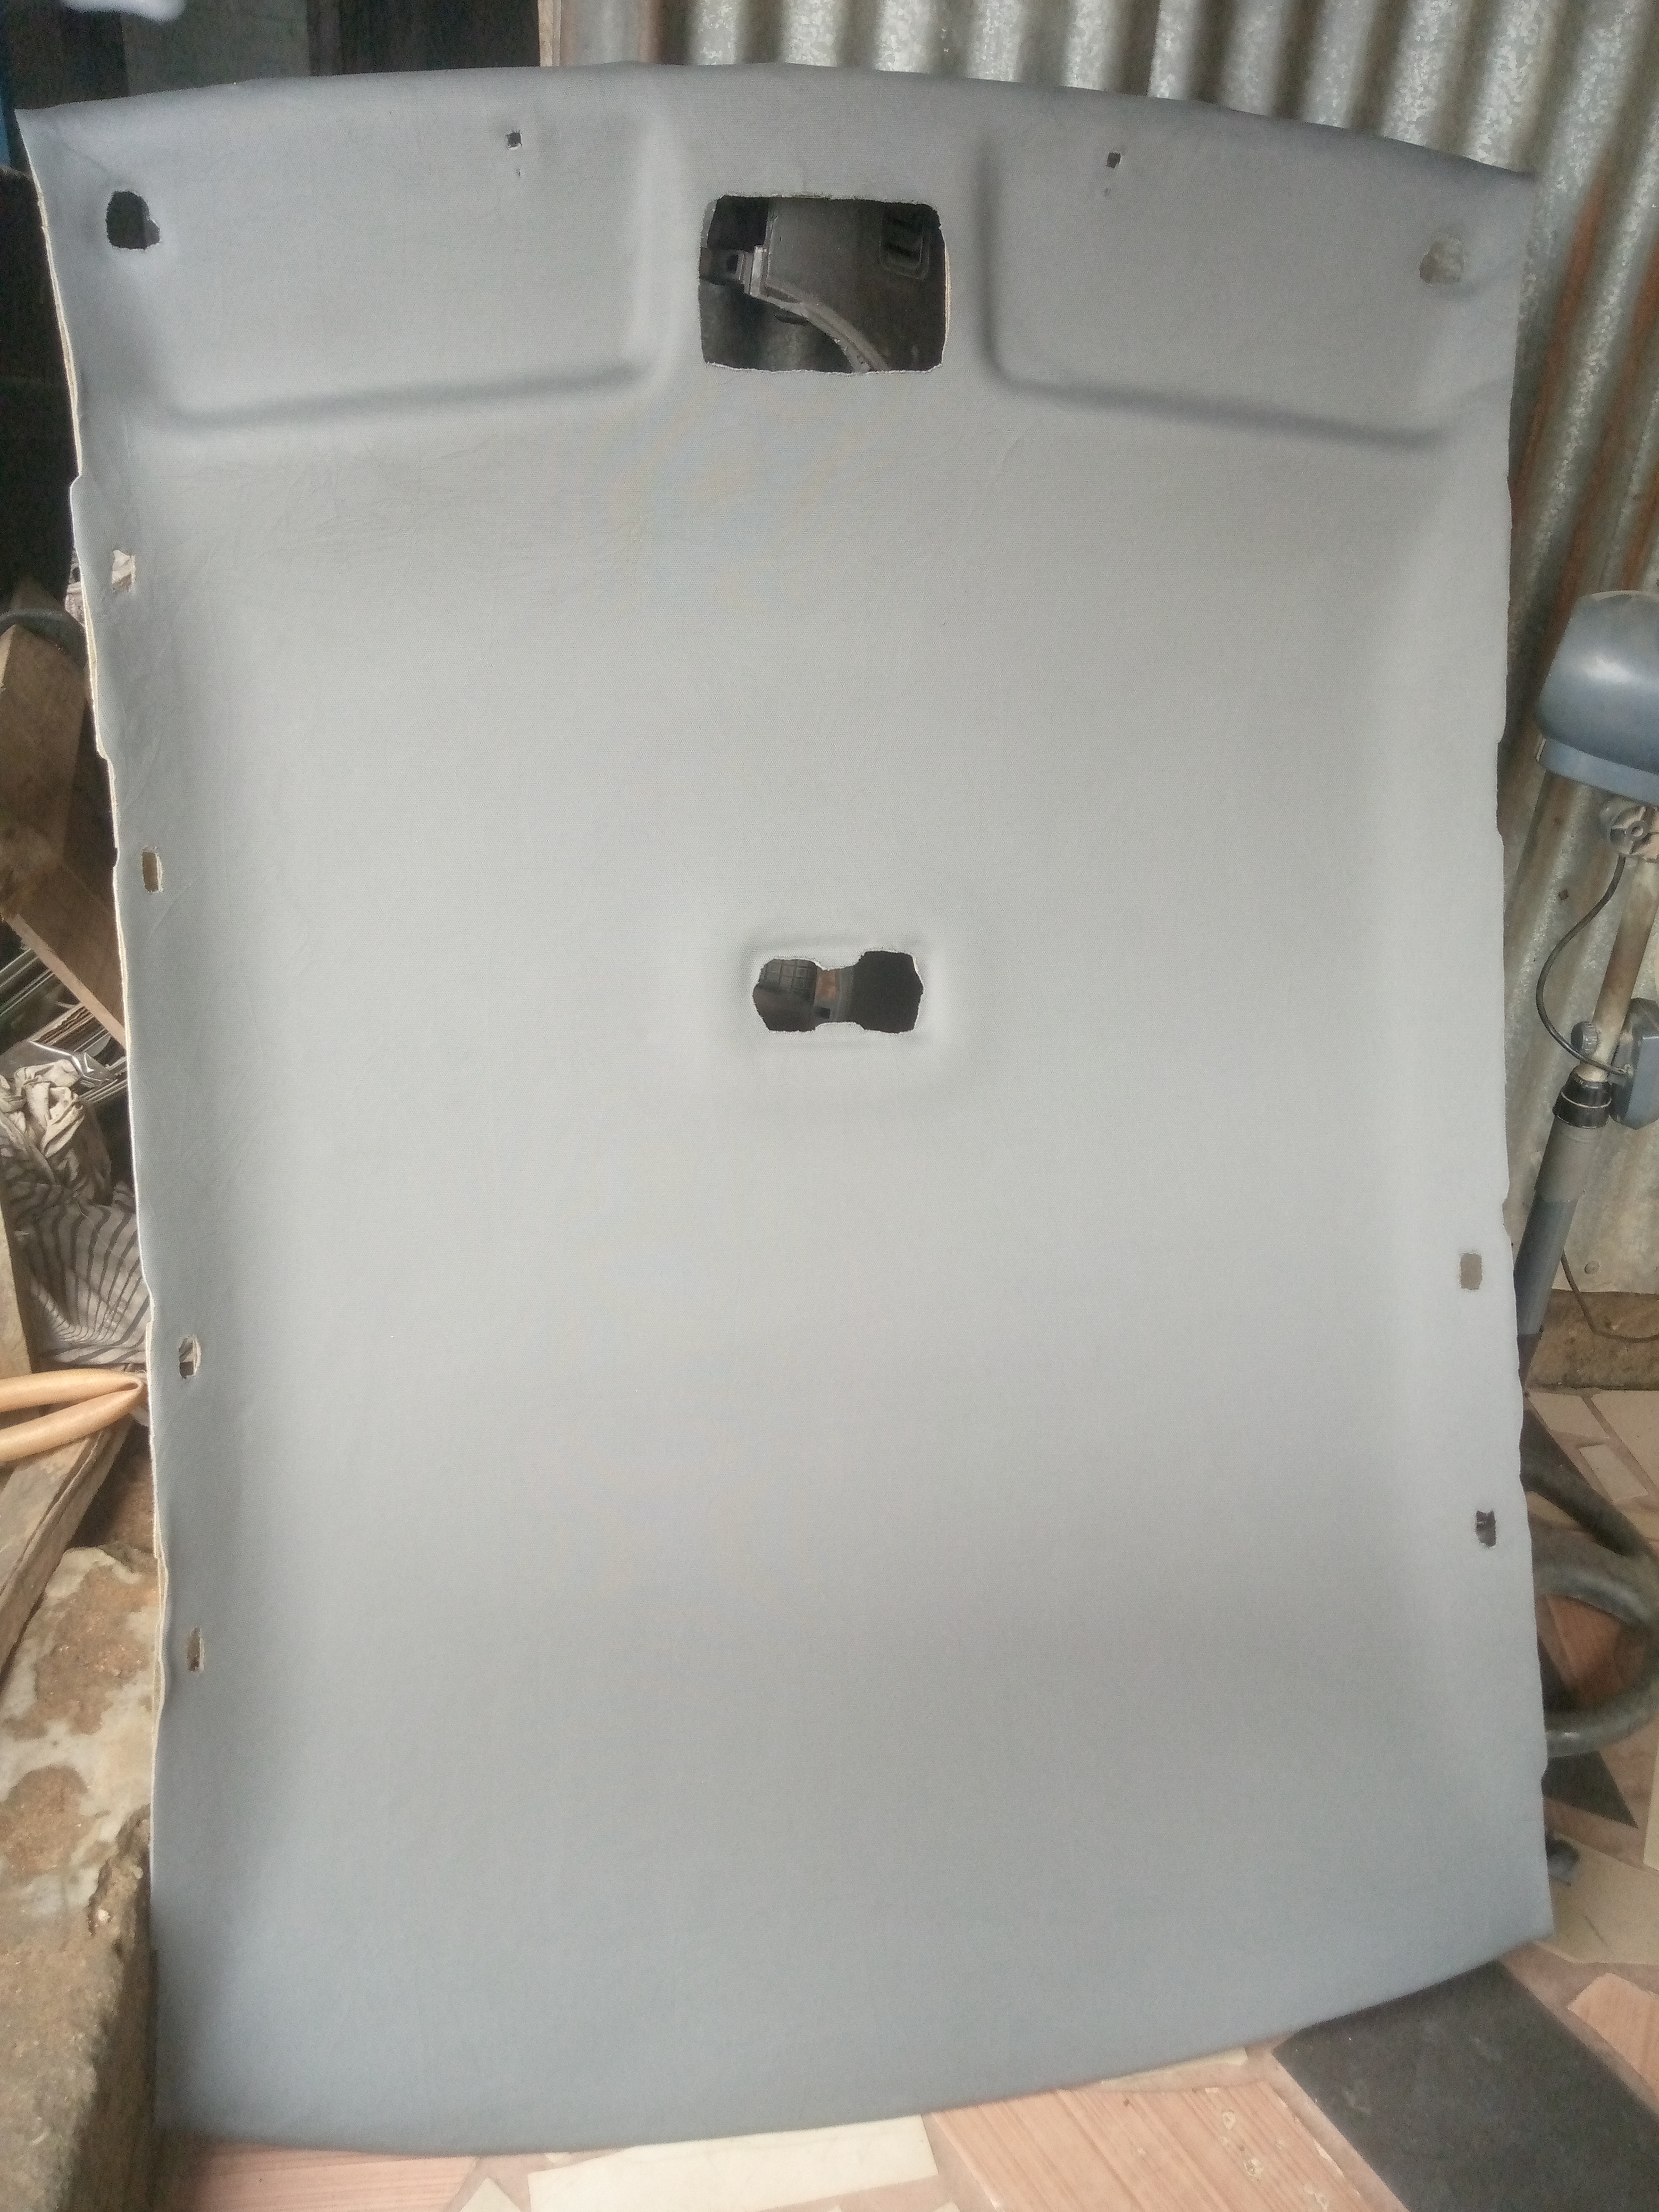
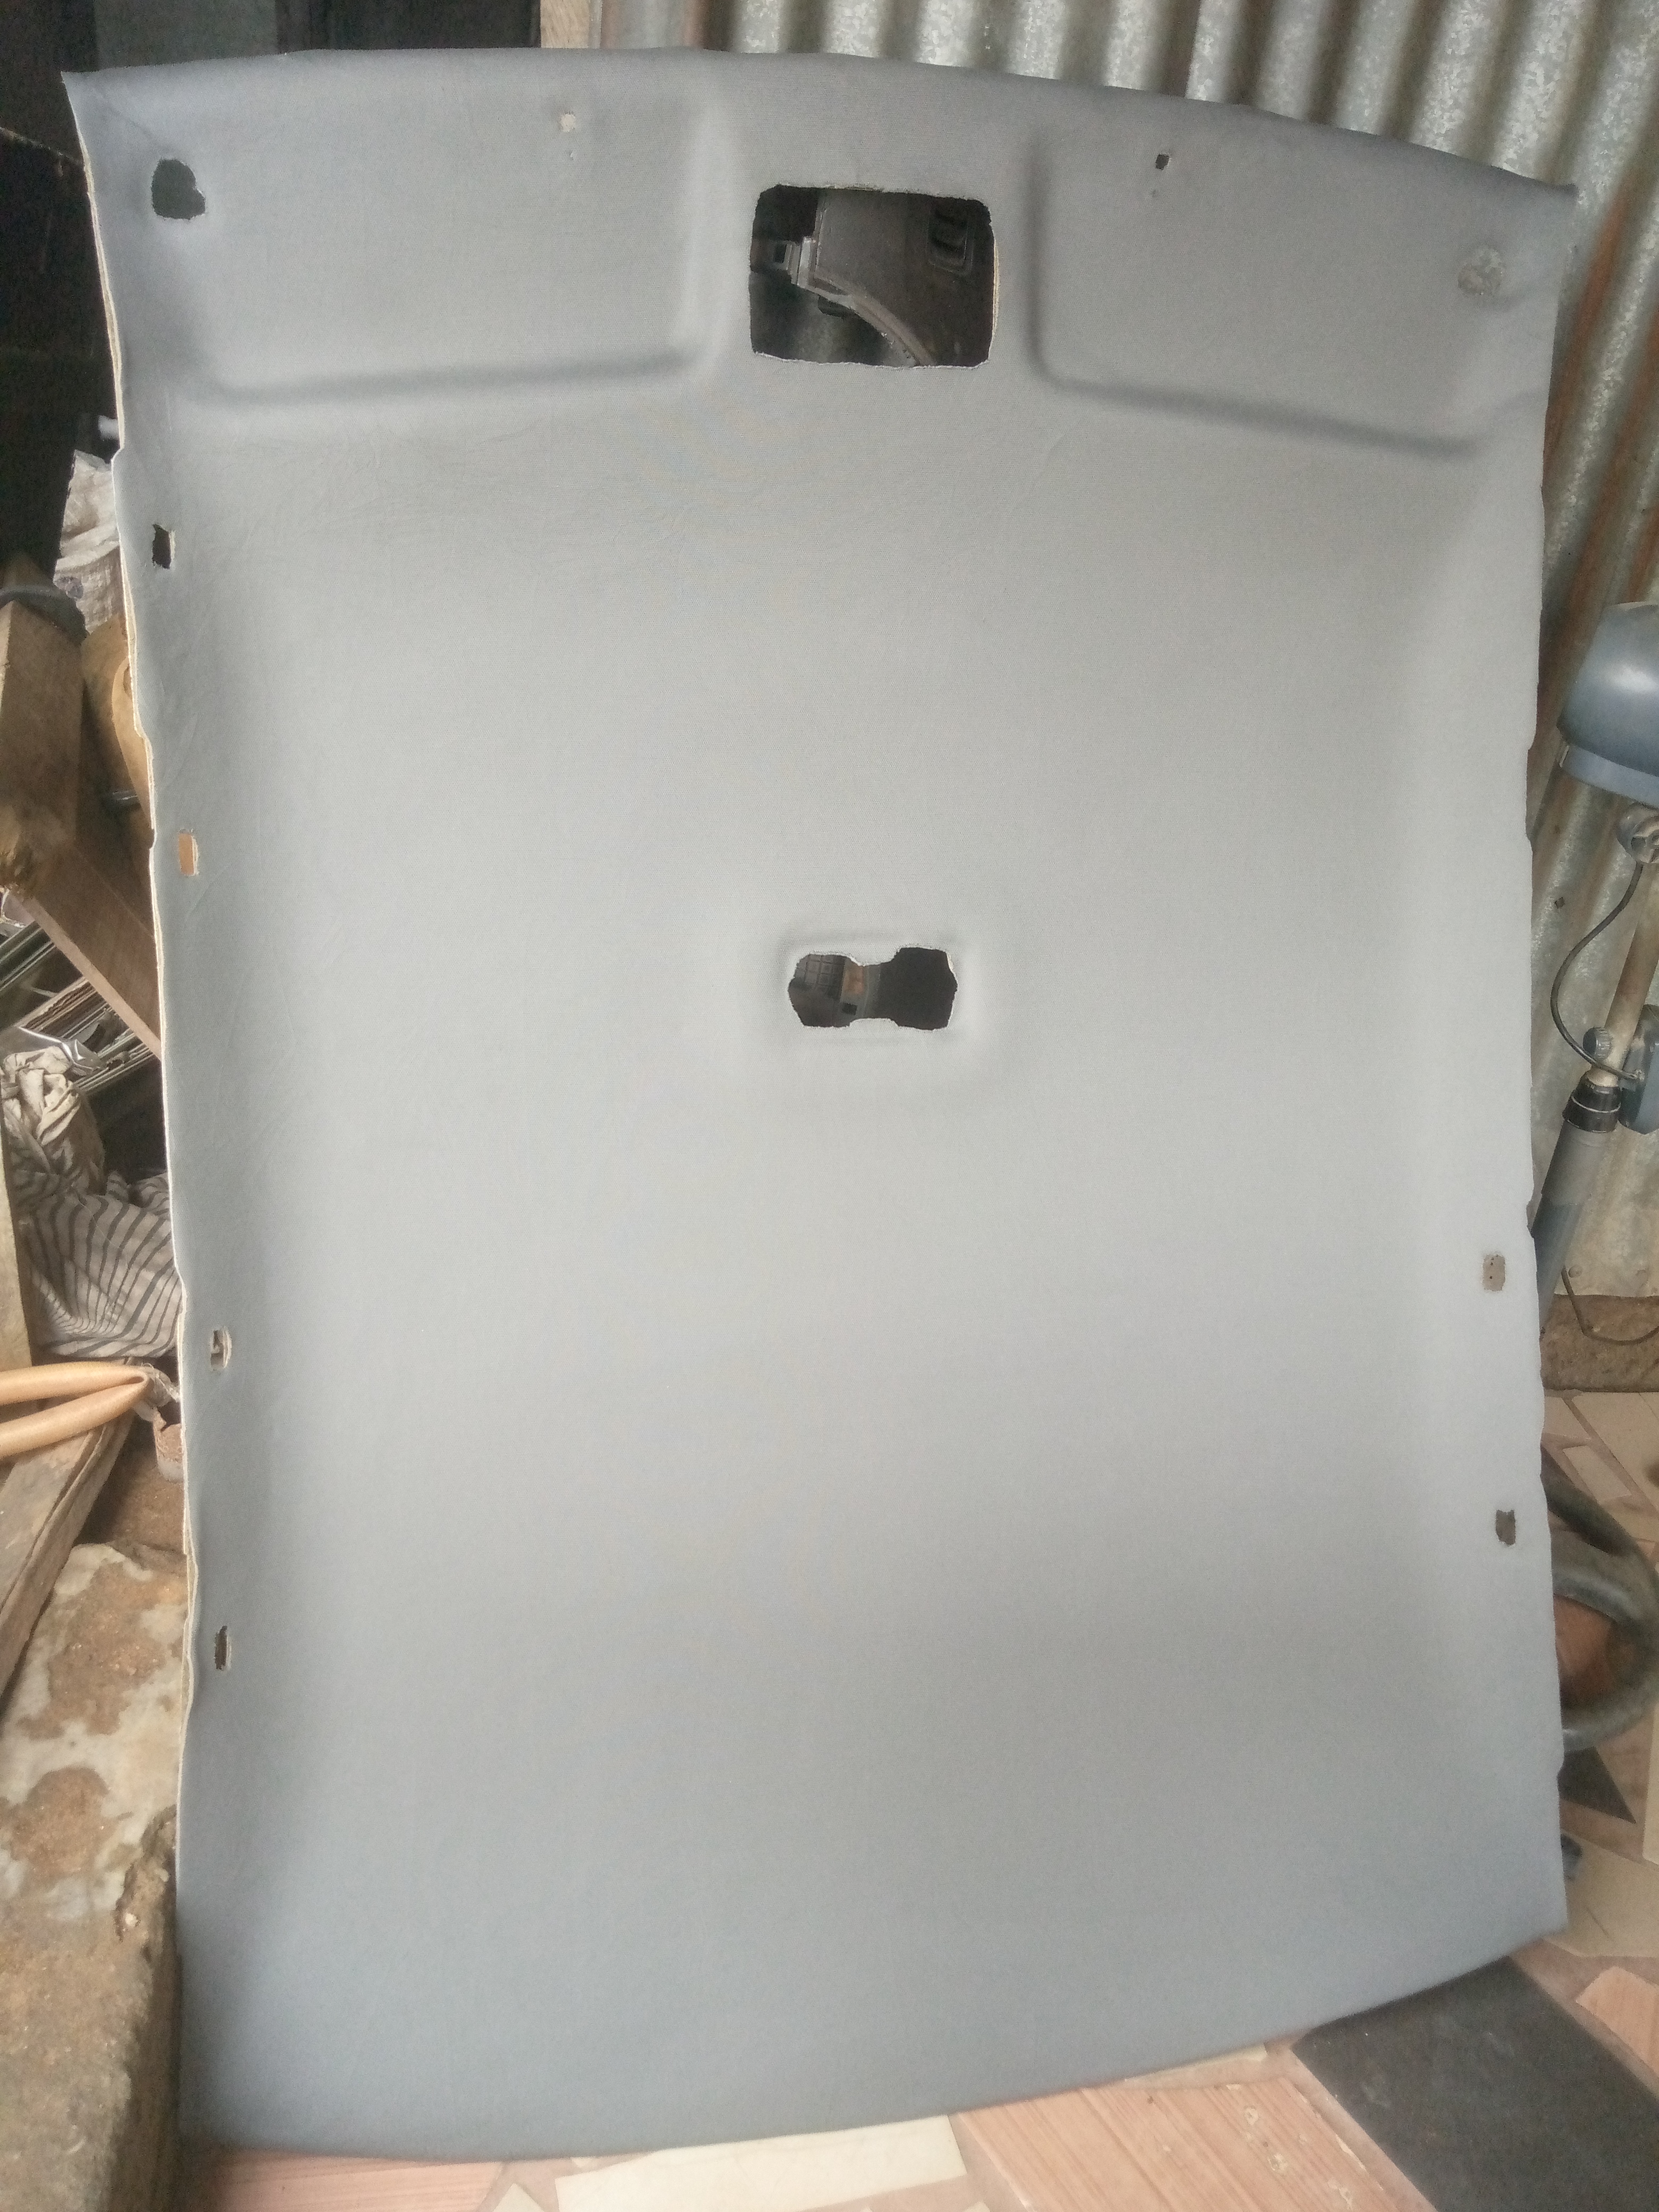
Here is the loose car roof I lost to my shop, and if you look at the picture, you will discover the roof has a sack and has also expired.
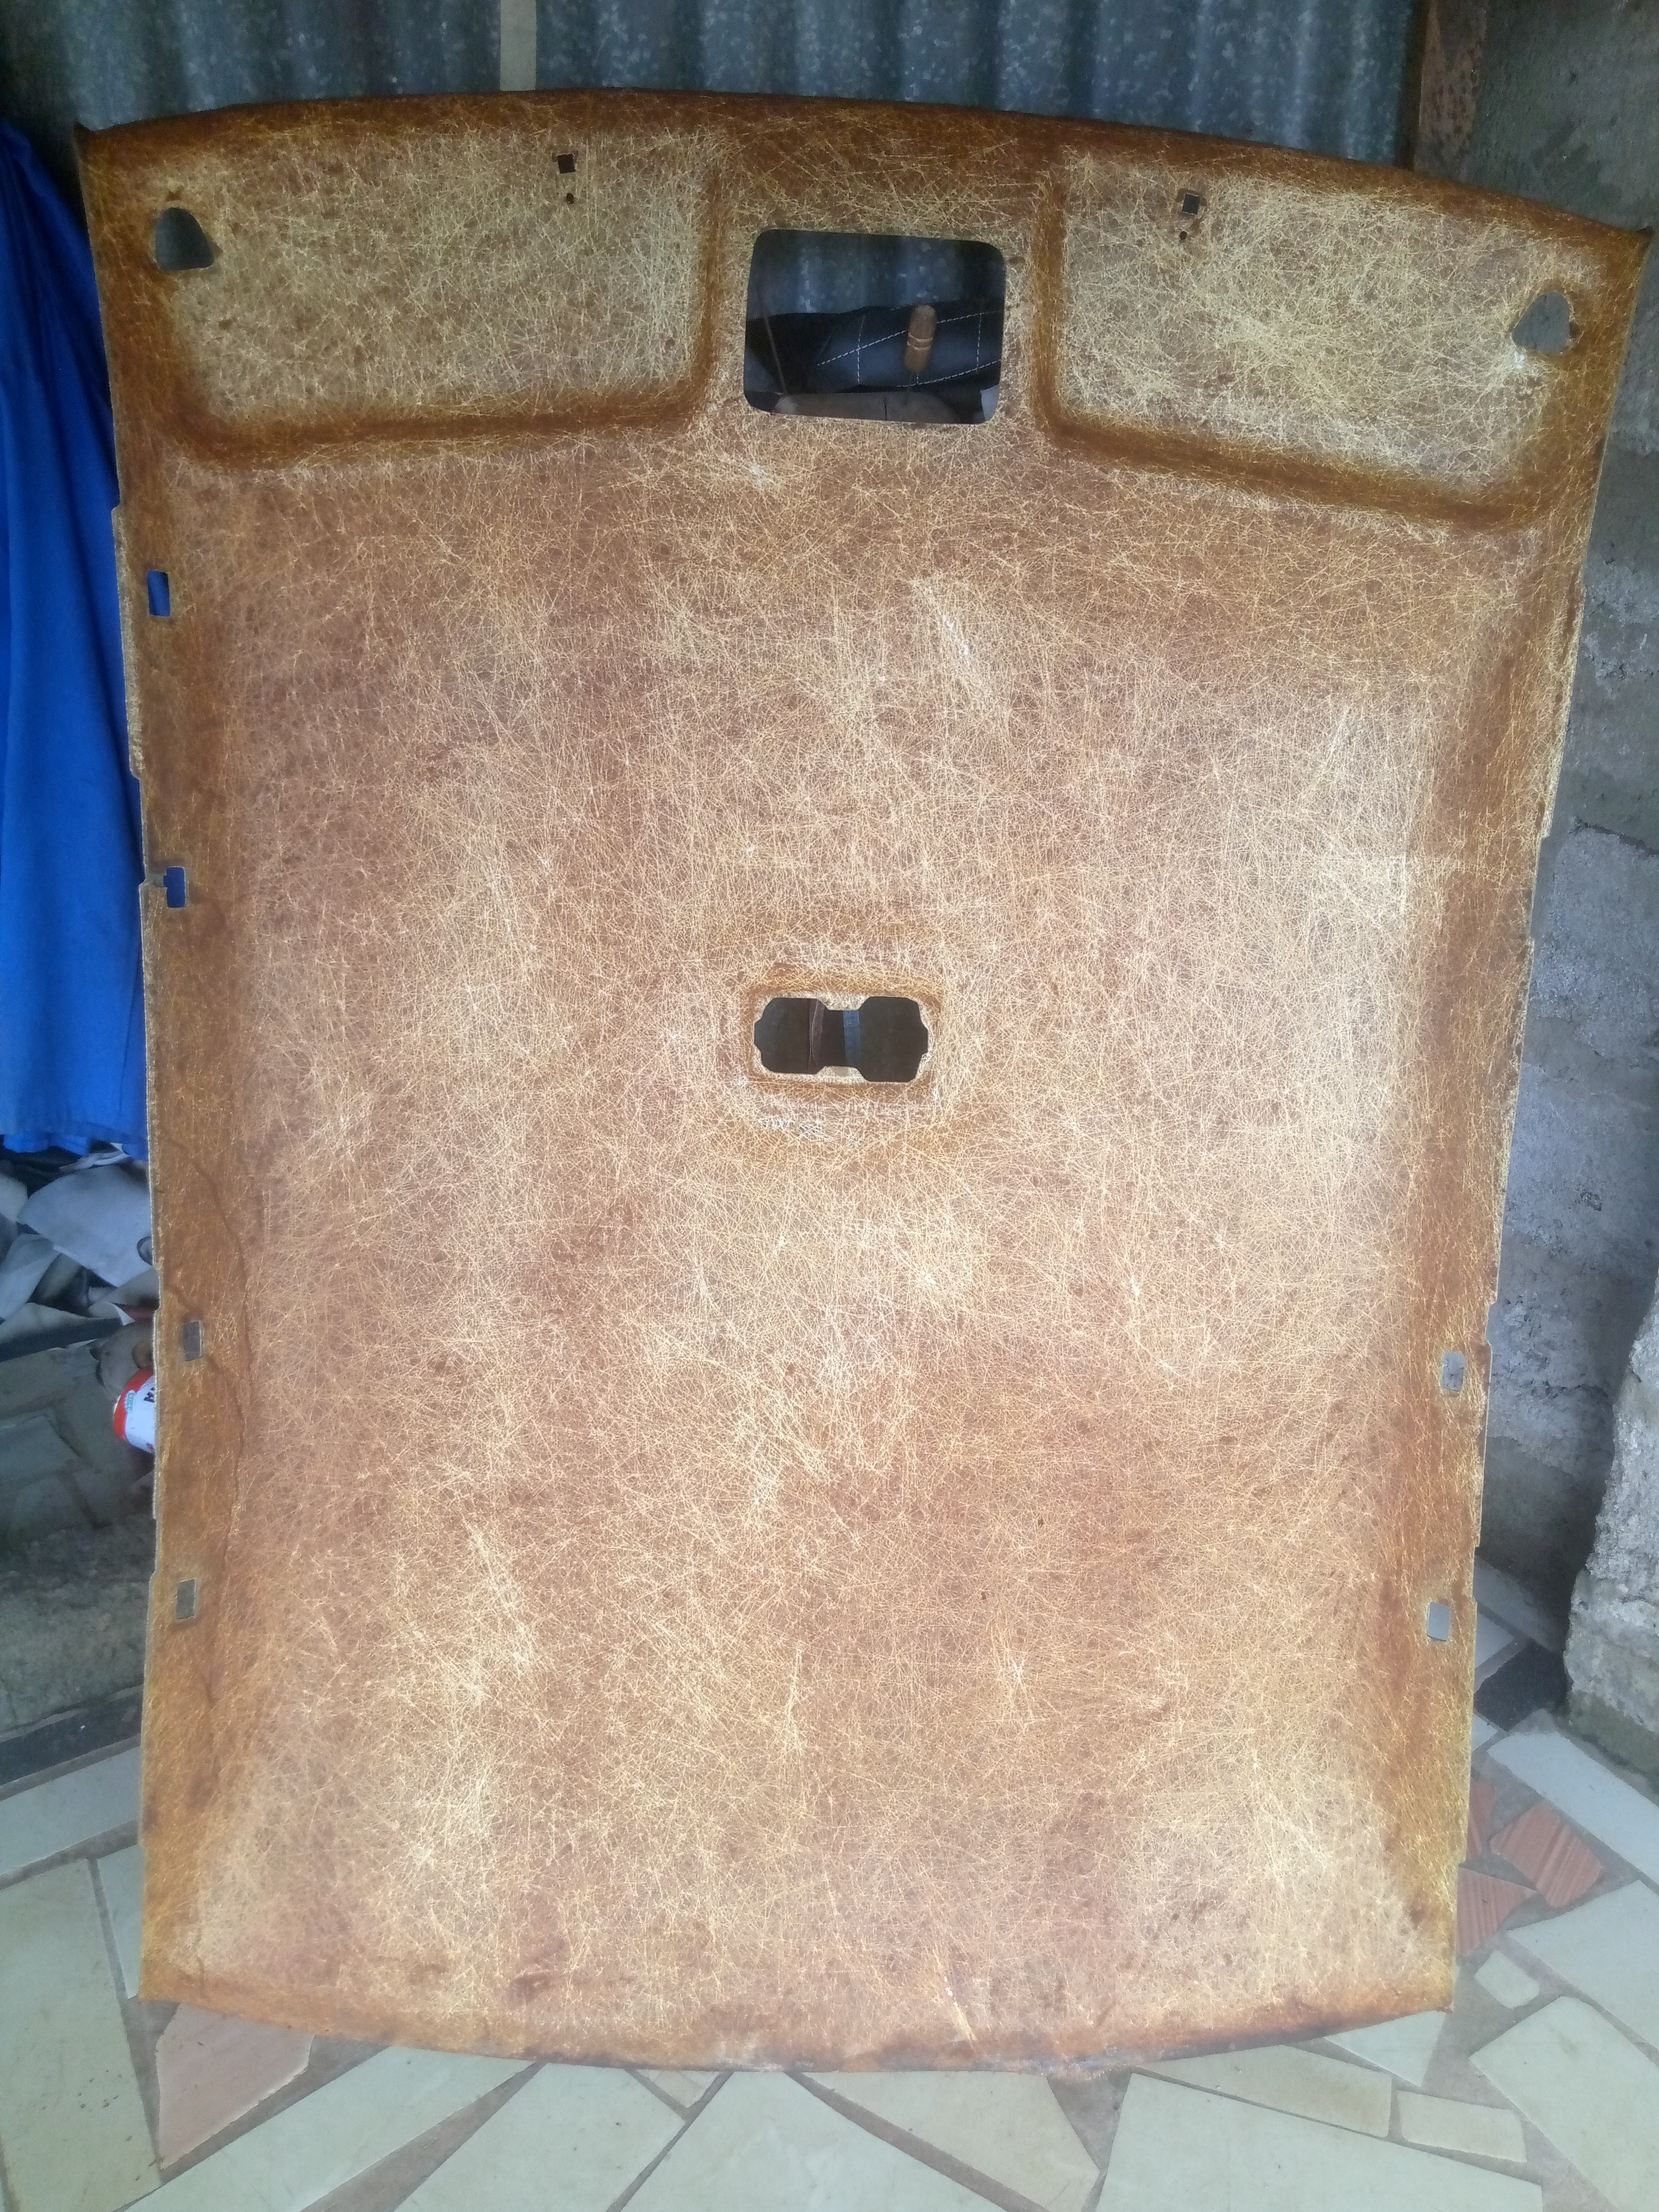
To get it done, we have to get the board ready for the replacement of a new roof lining. This is done simply by, first of all, removing the old lining from the board with the help of your hand. See photo below 👇
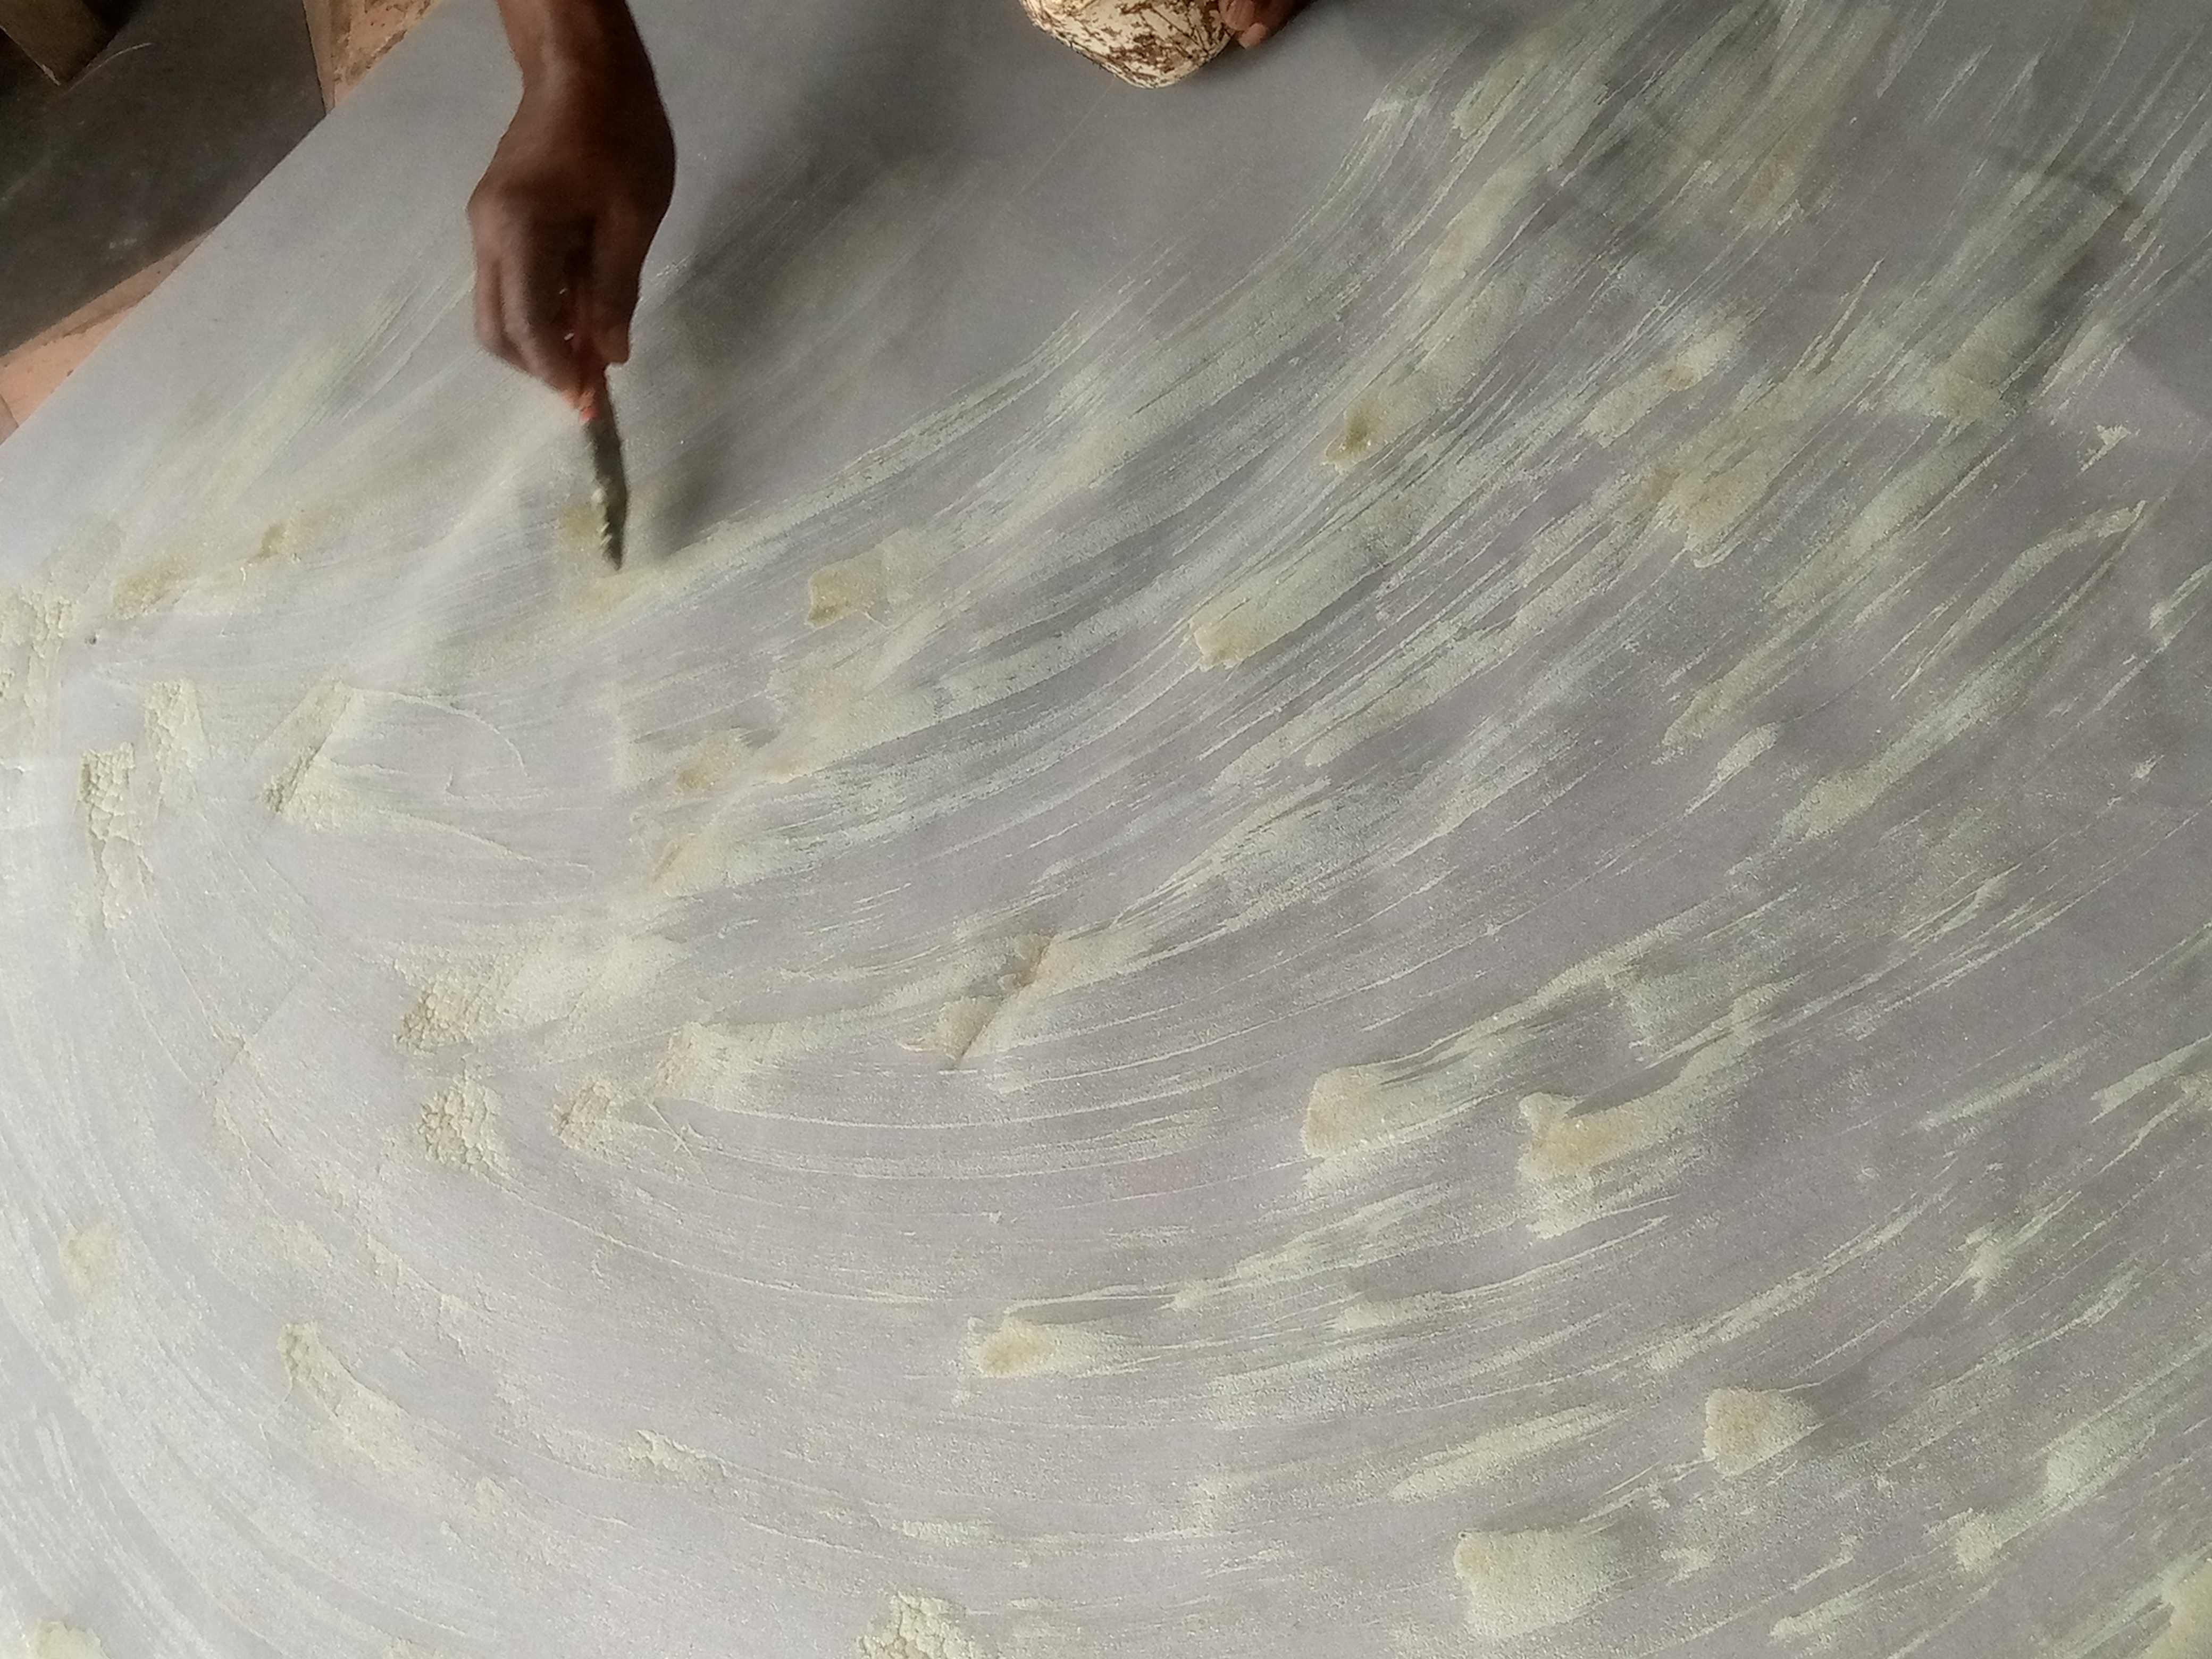
After removing it, some of the old foam deposits are still there, and if you replace a new roof on top, it will not hold, so we have to remove the old deposit material.
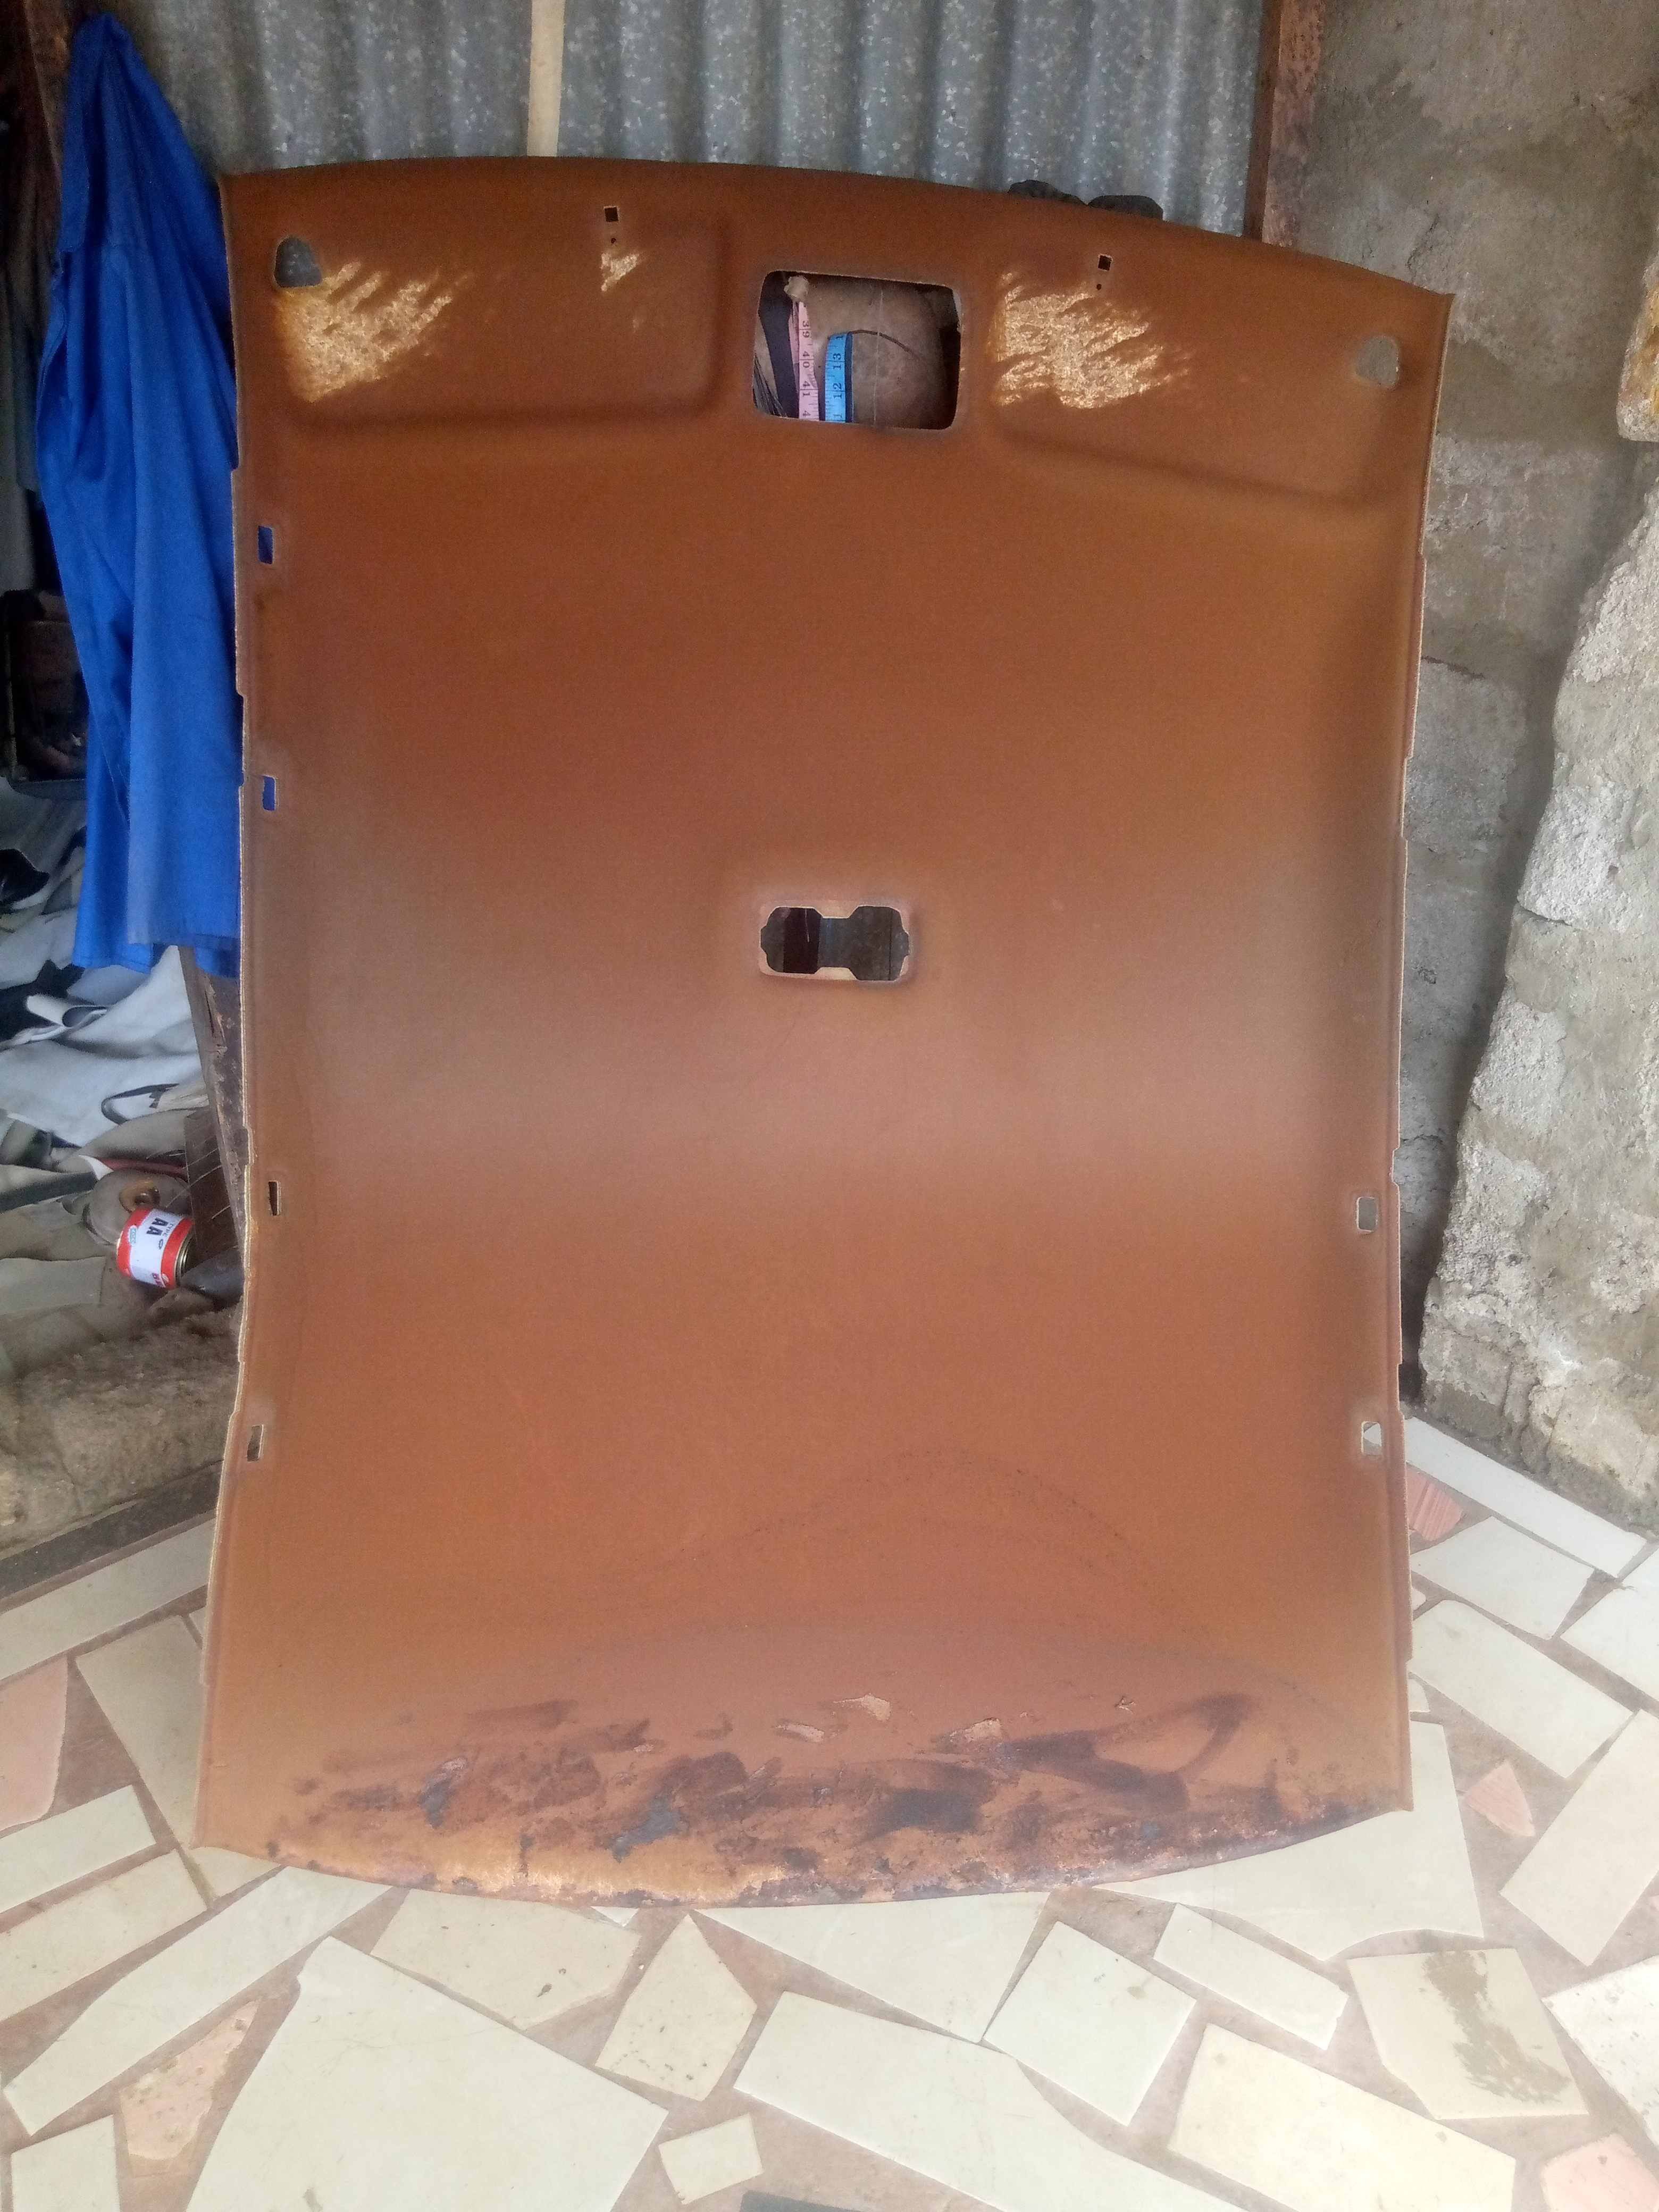
To remove the deposit material, you can use an iron brush or sandpaper to sand it out. What I have available is sandpaper, and that is what I make use of.
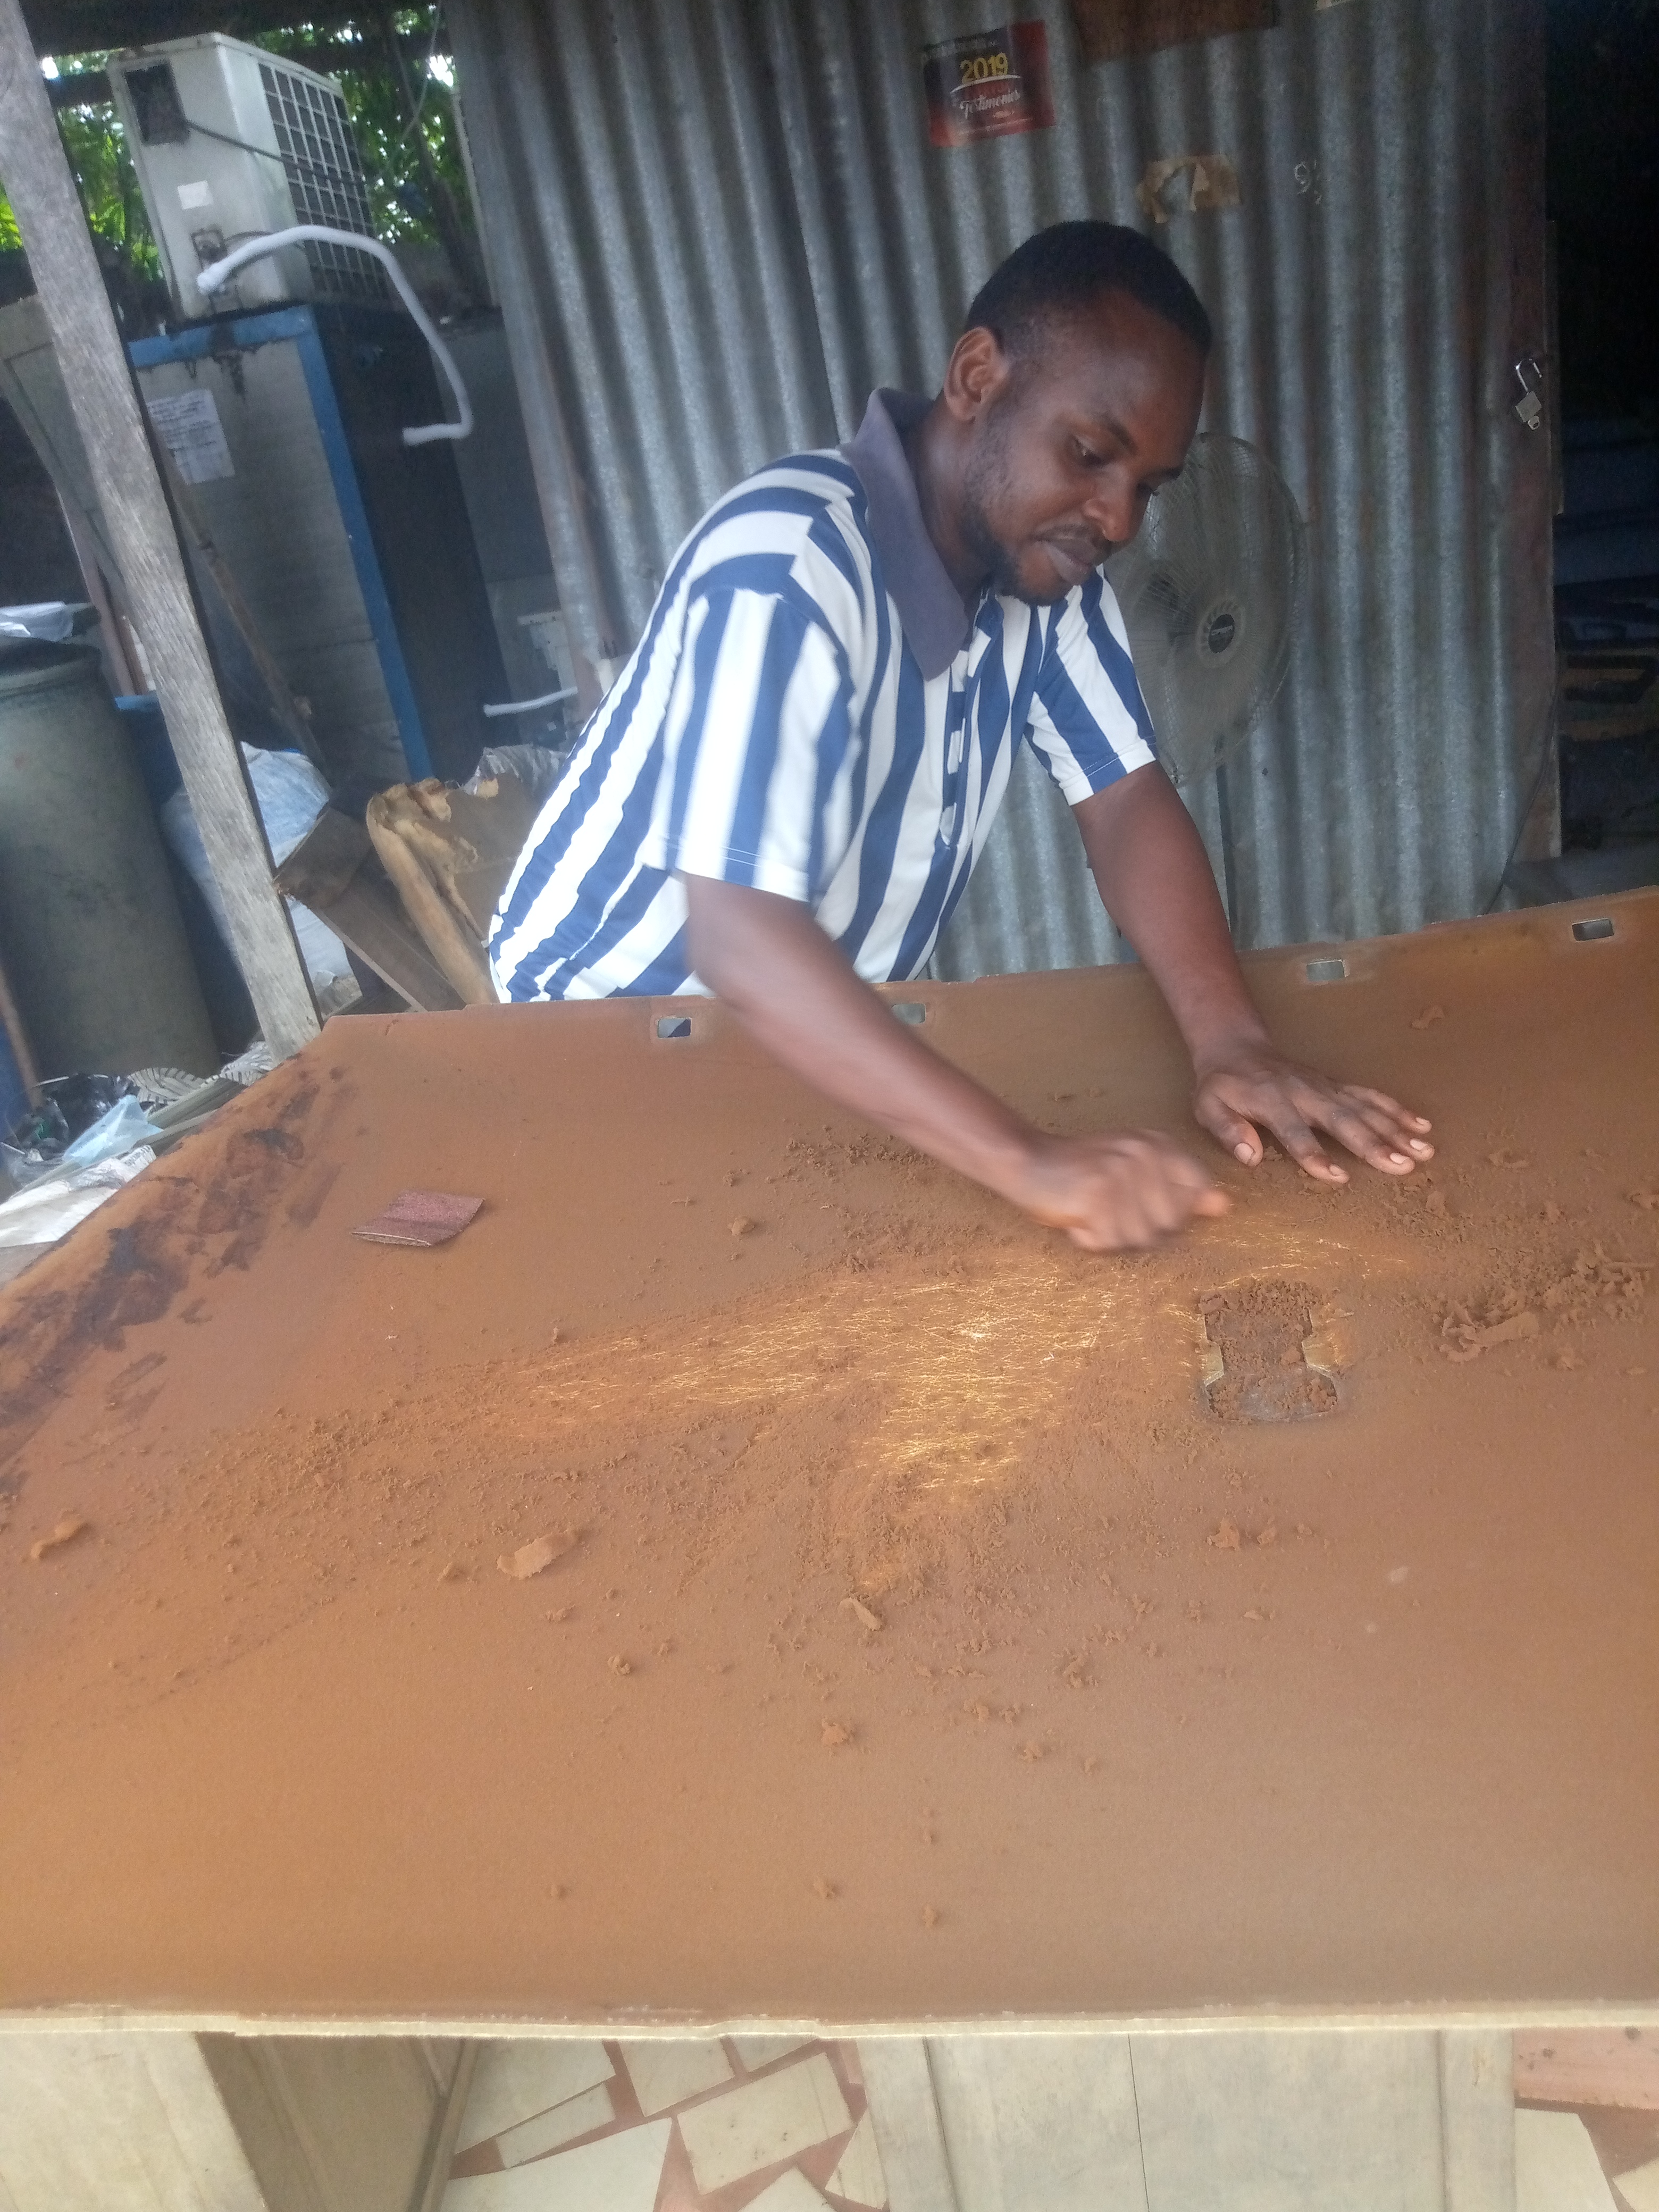
After sanding it, I use the room to sweep out the old sand material.

Finally, the roof material is ready to be replaced with a new one.
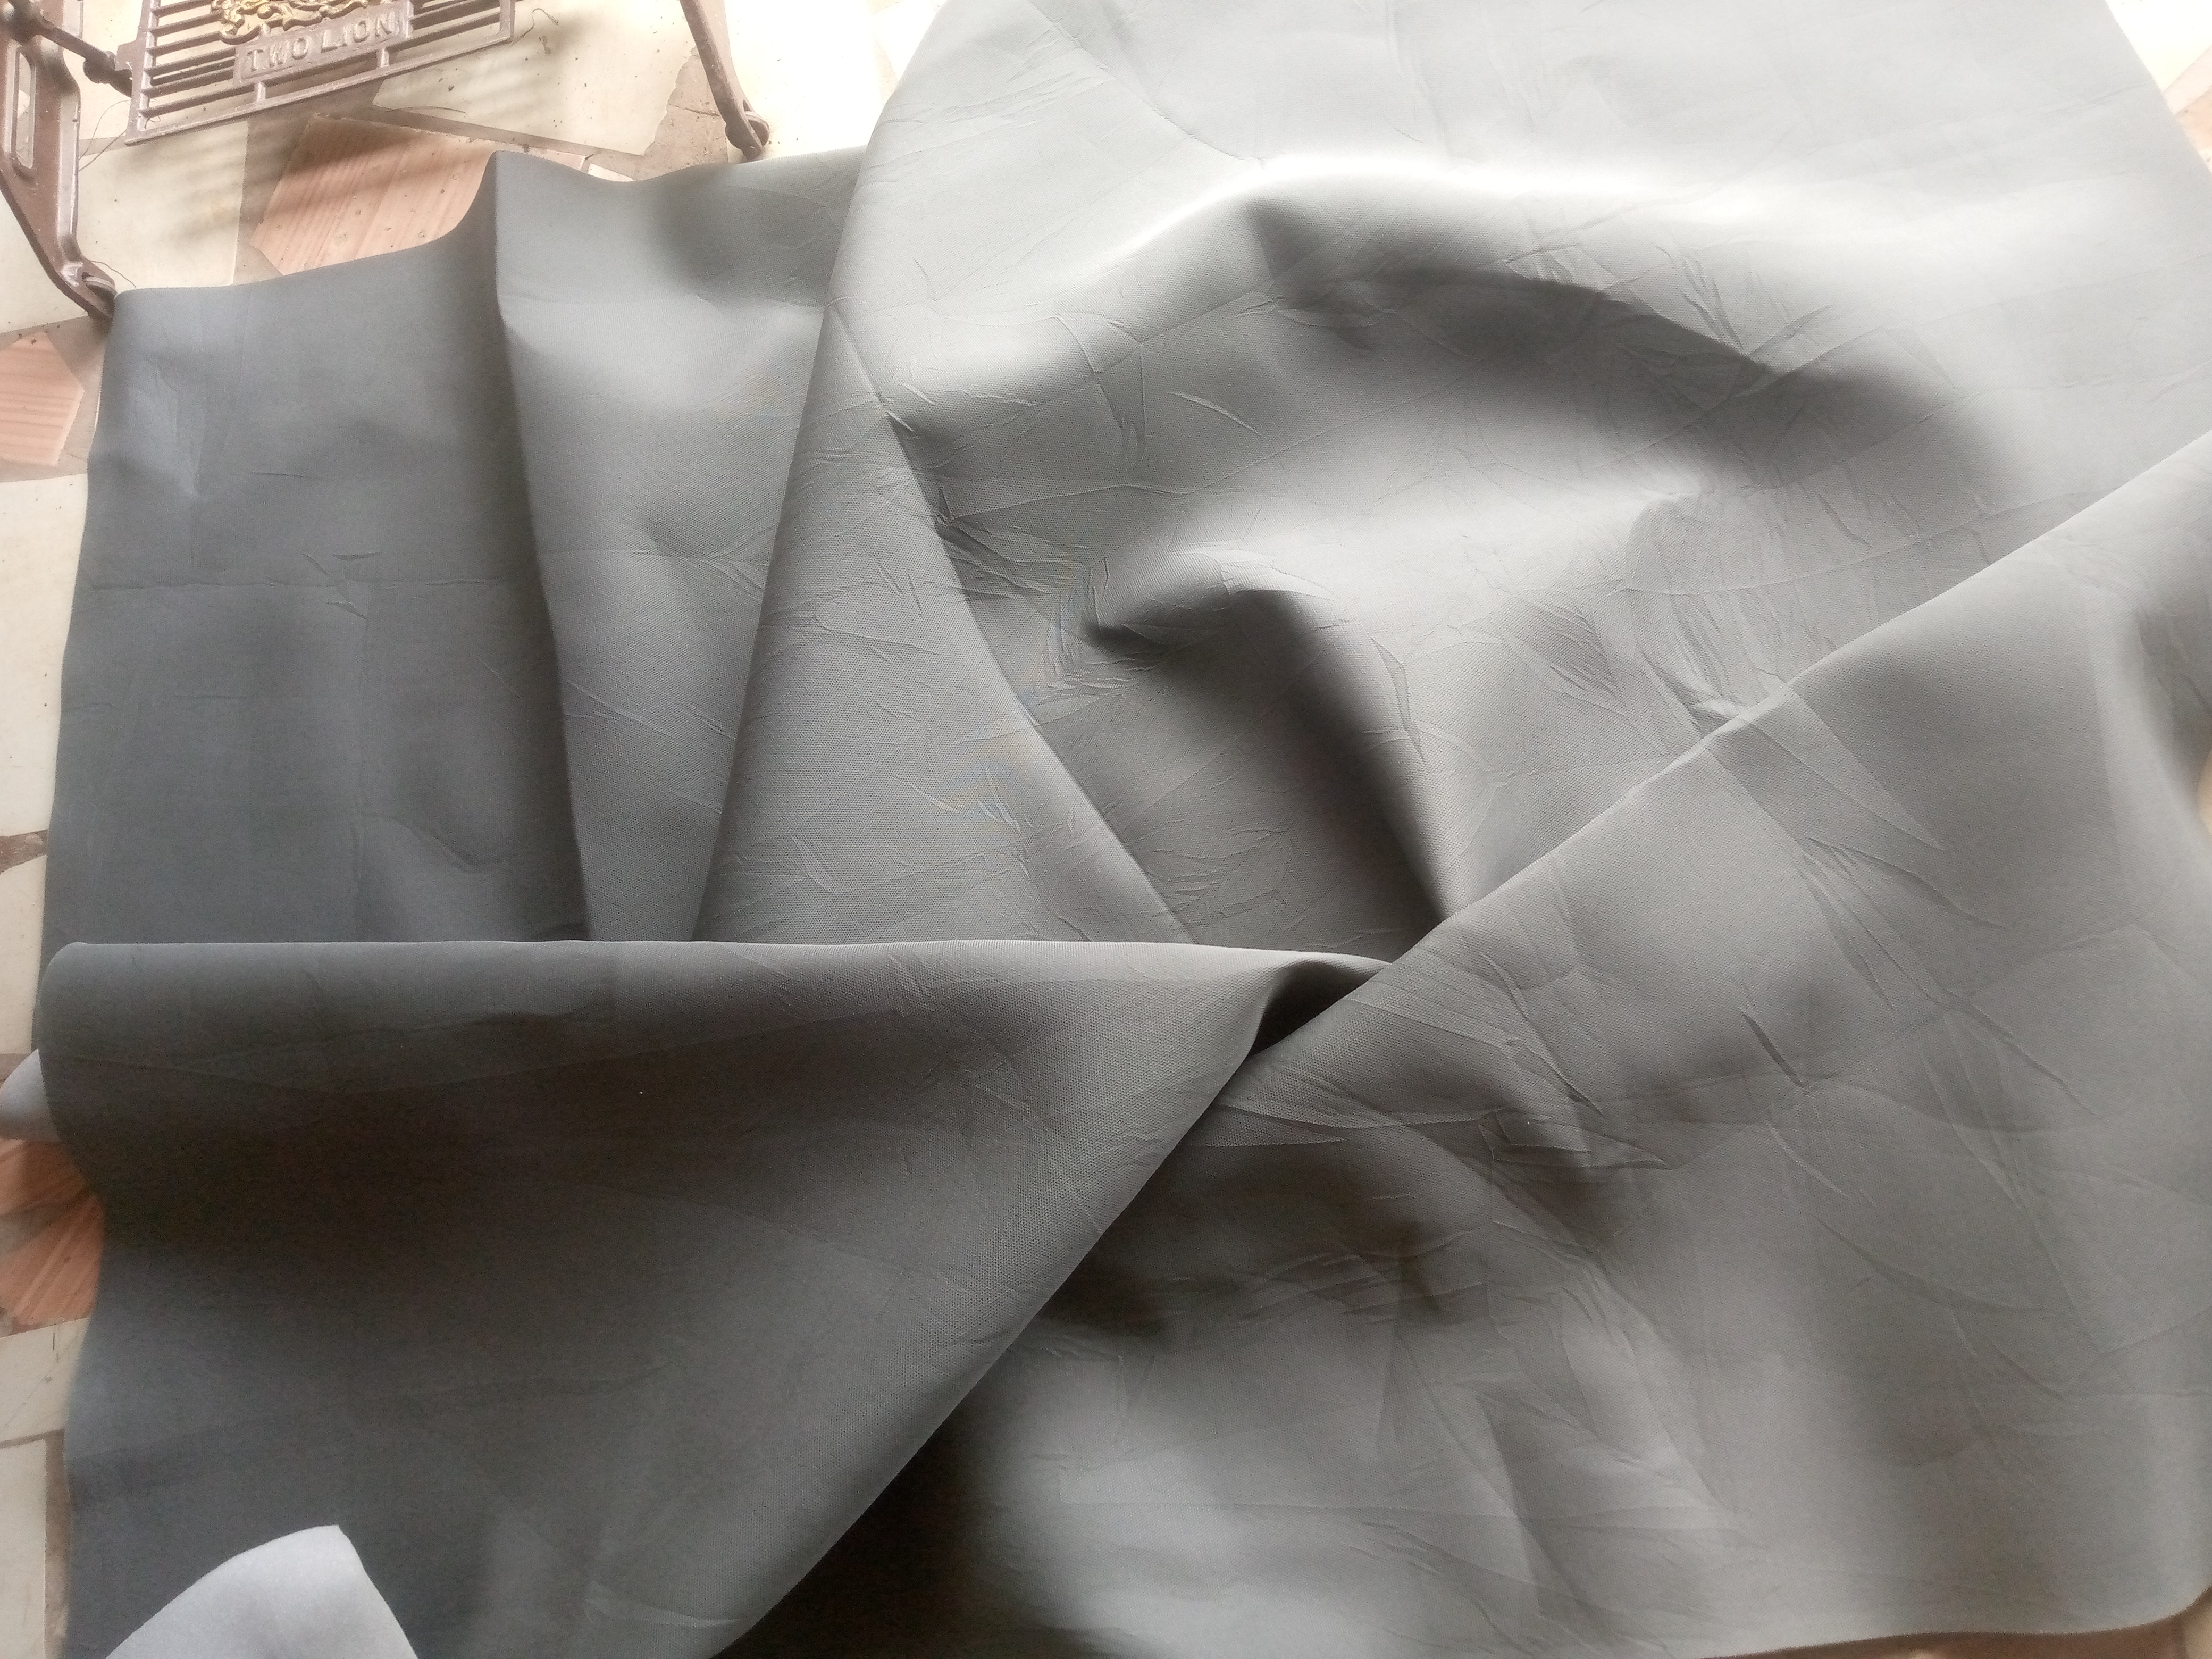
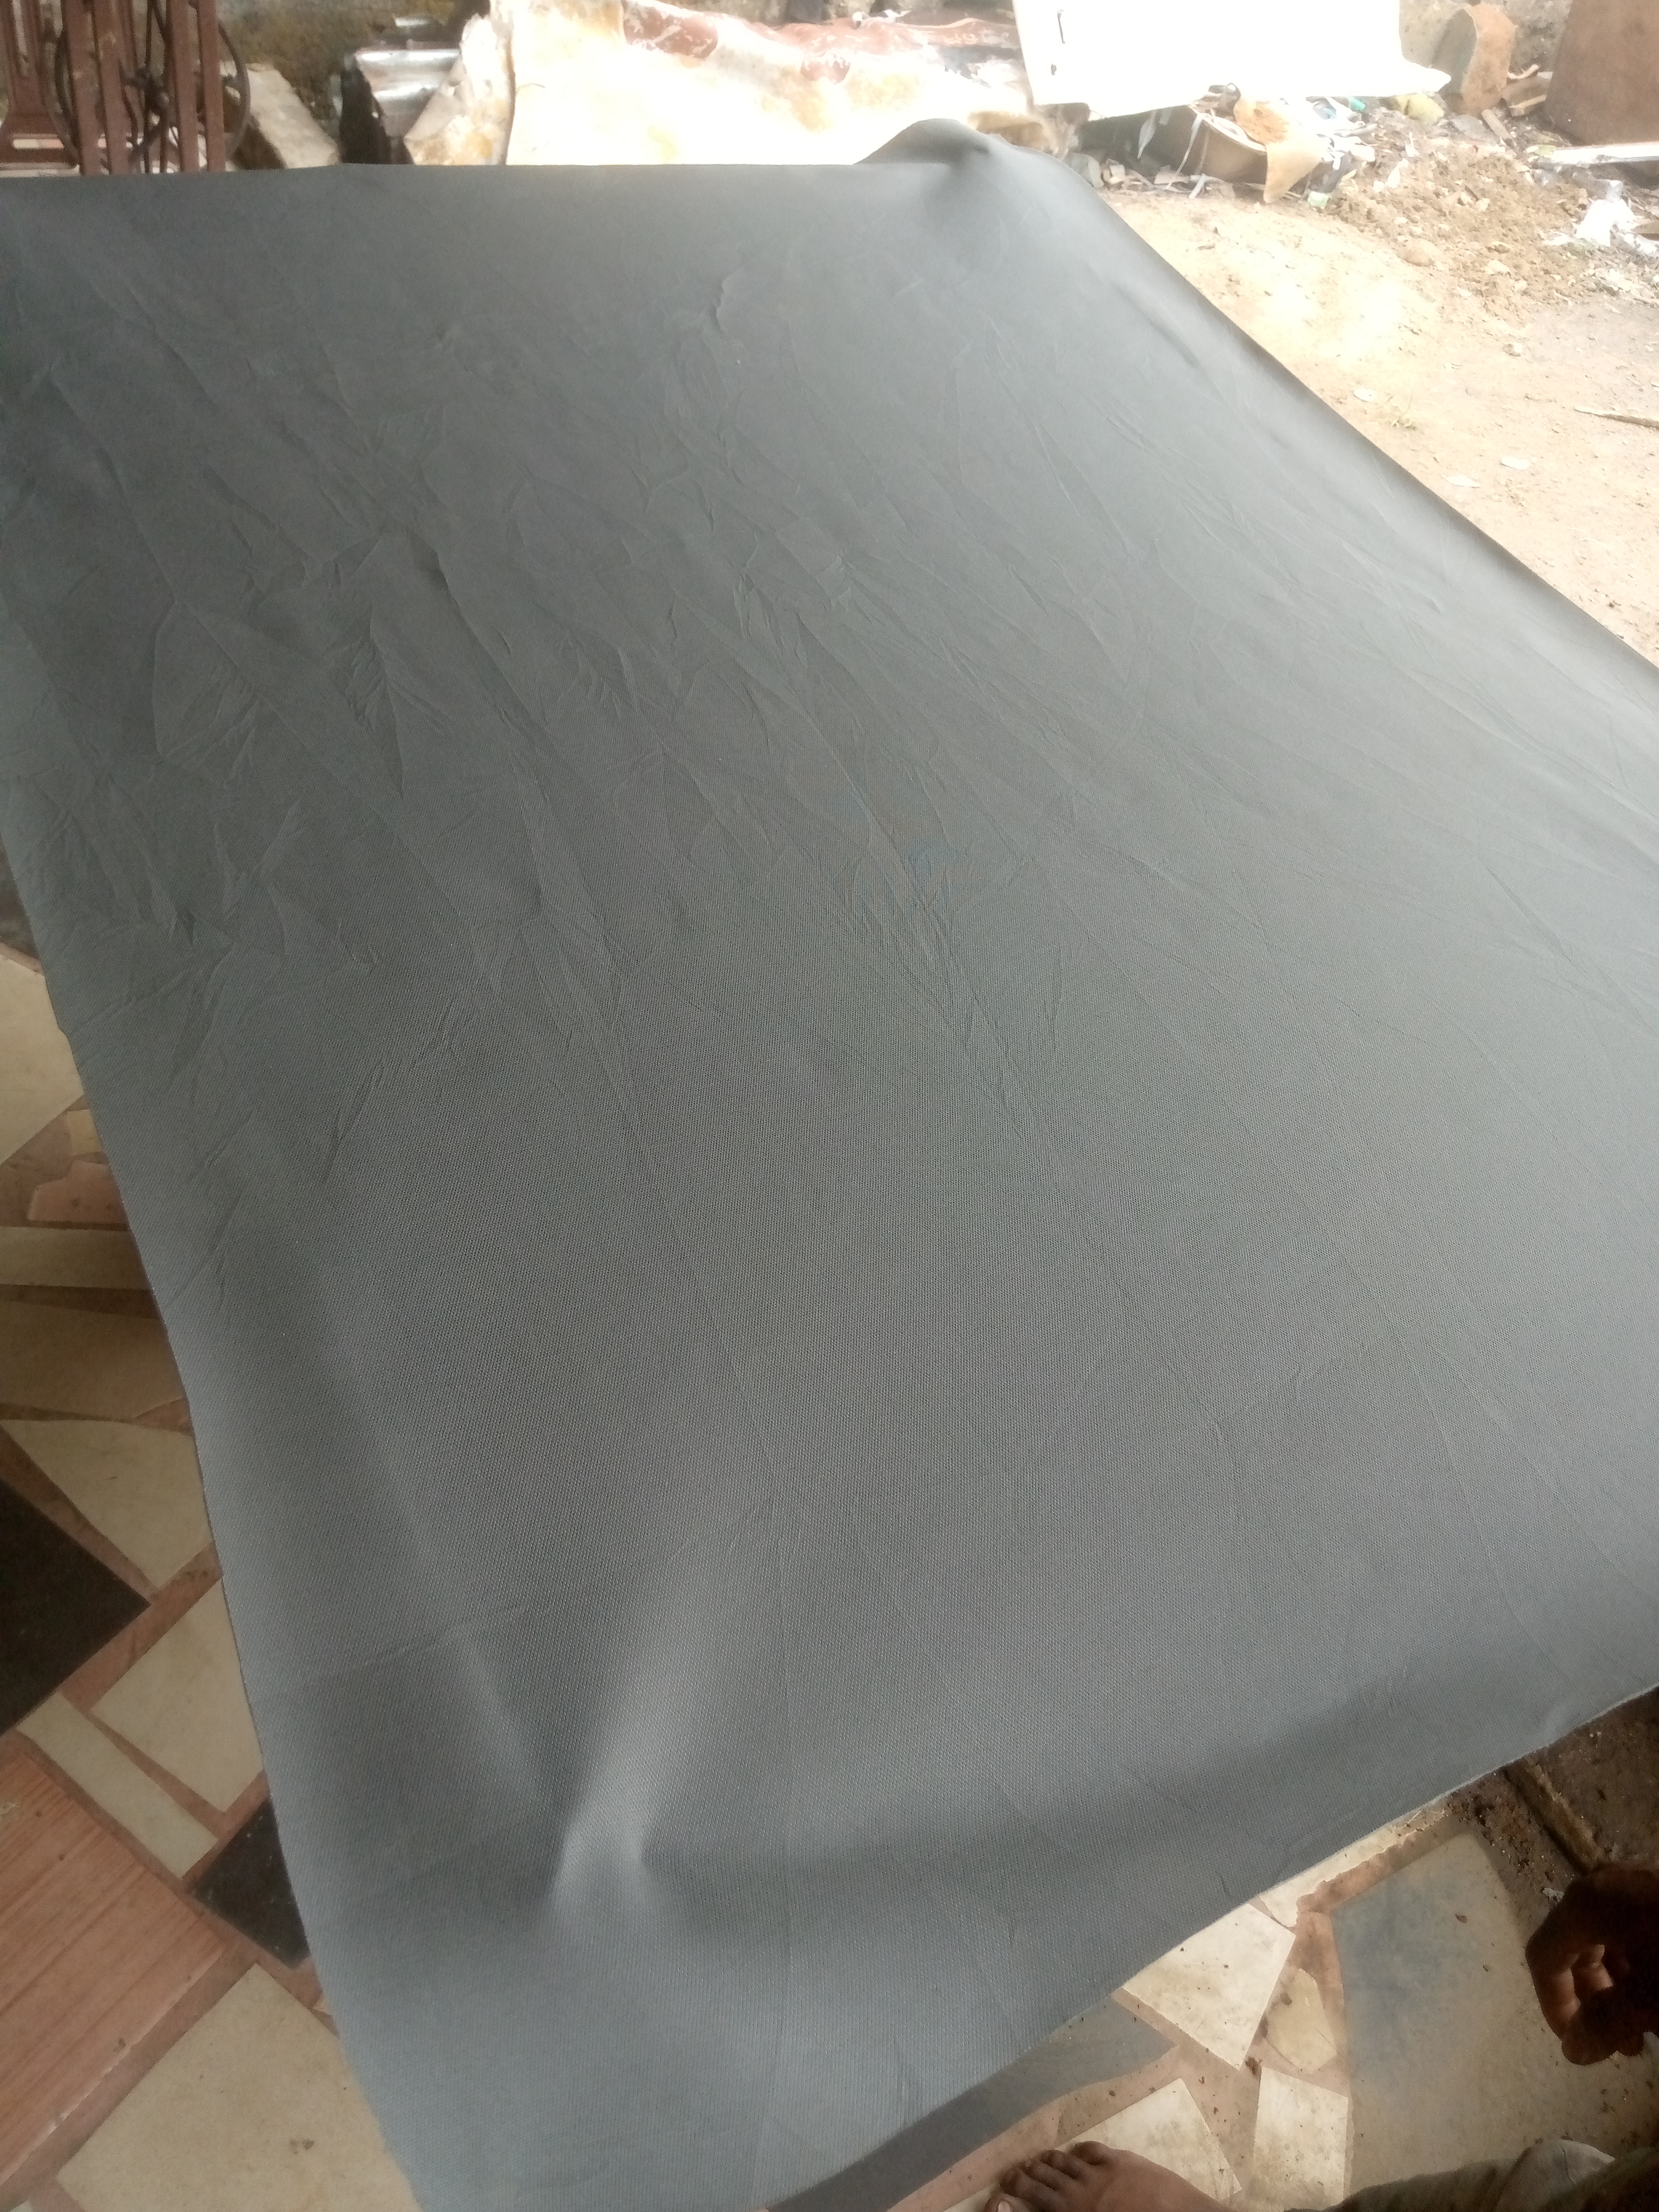
I got a quality roof lining material from the market, and here it is.
I also get original gum. I apply the gum to the board first, all through the board.
After that, I also applied the new roof material. When applying it, you have to make it light so that it will not wet the original surface. You can see how I applied it in the picture below.
After applying the gum to both surfaces, I then brought them together.
I then carefully join it together smoothly without making any way to twist.
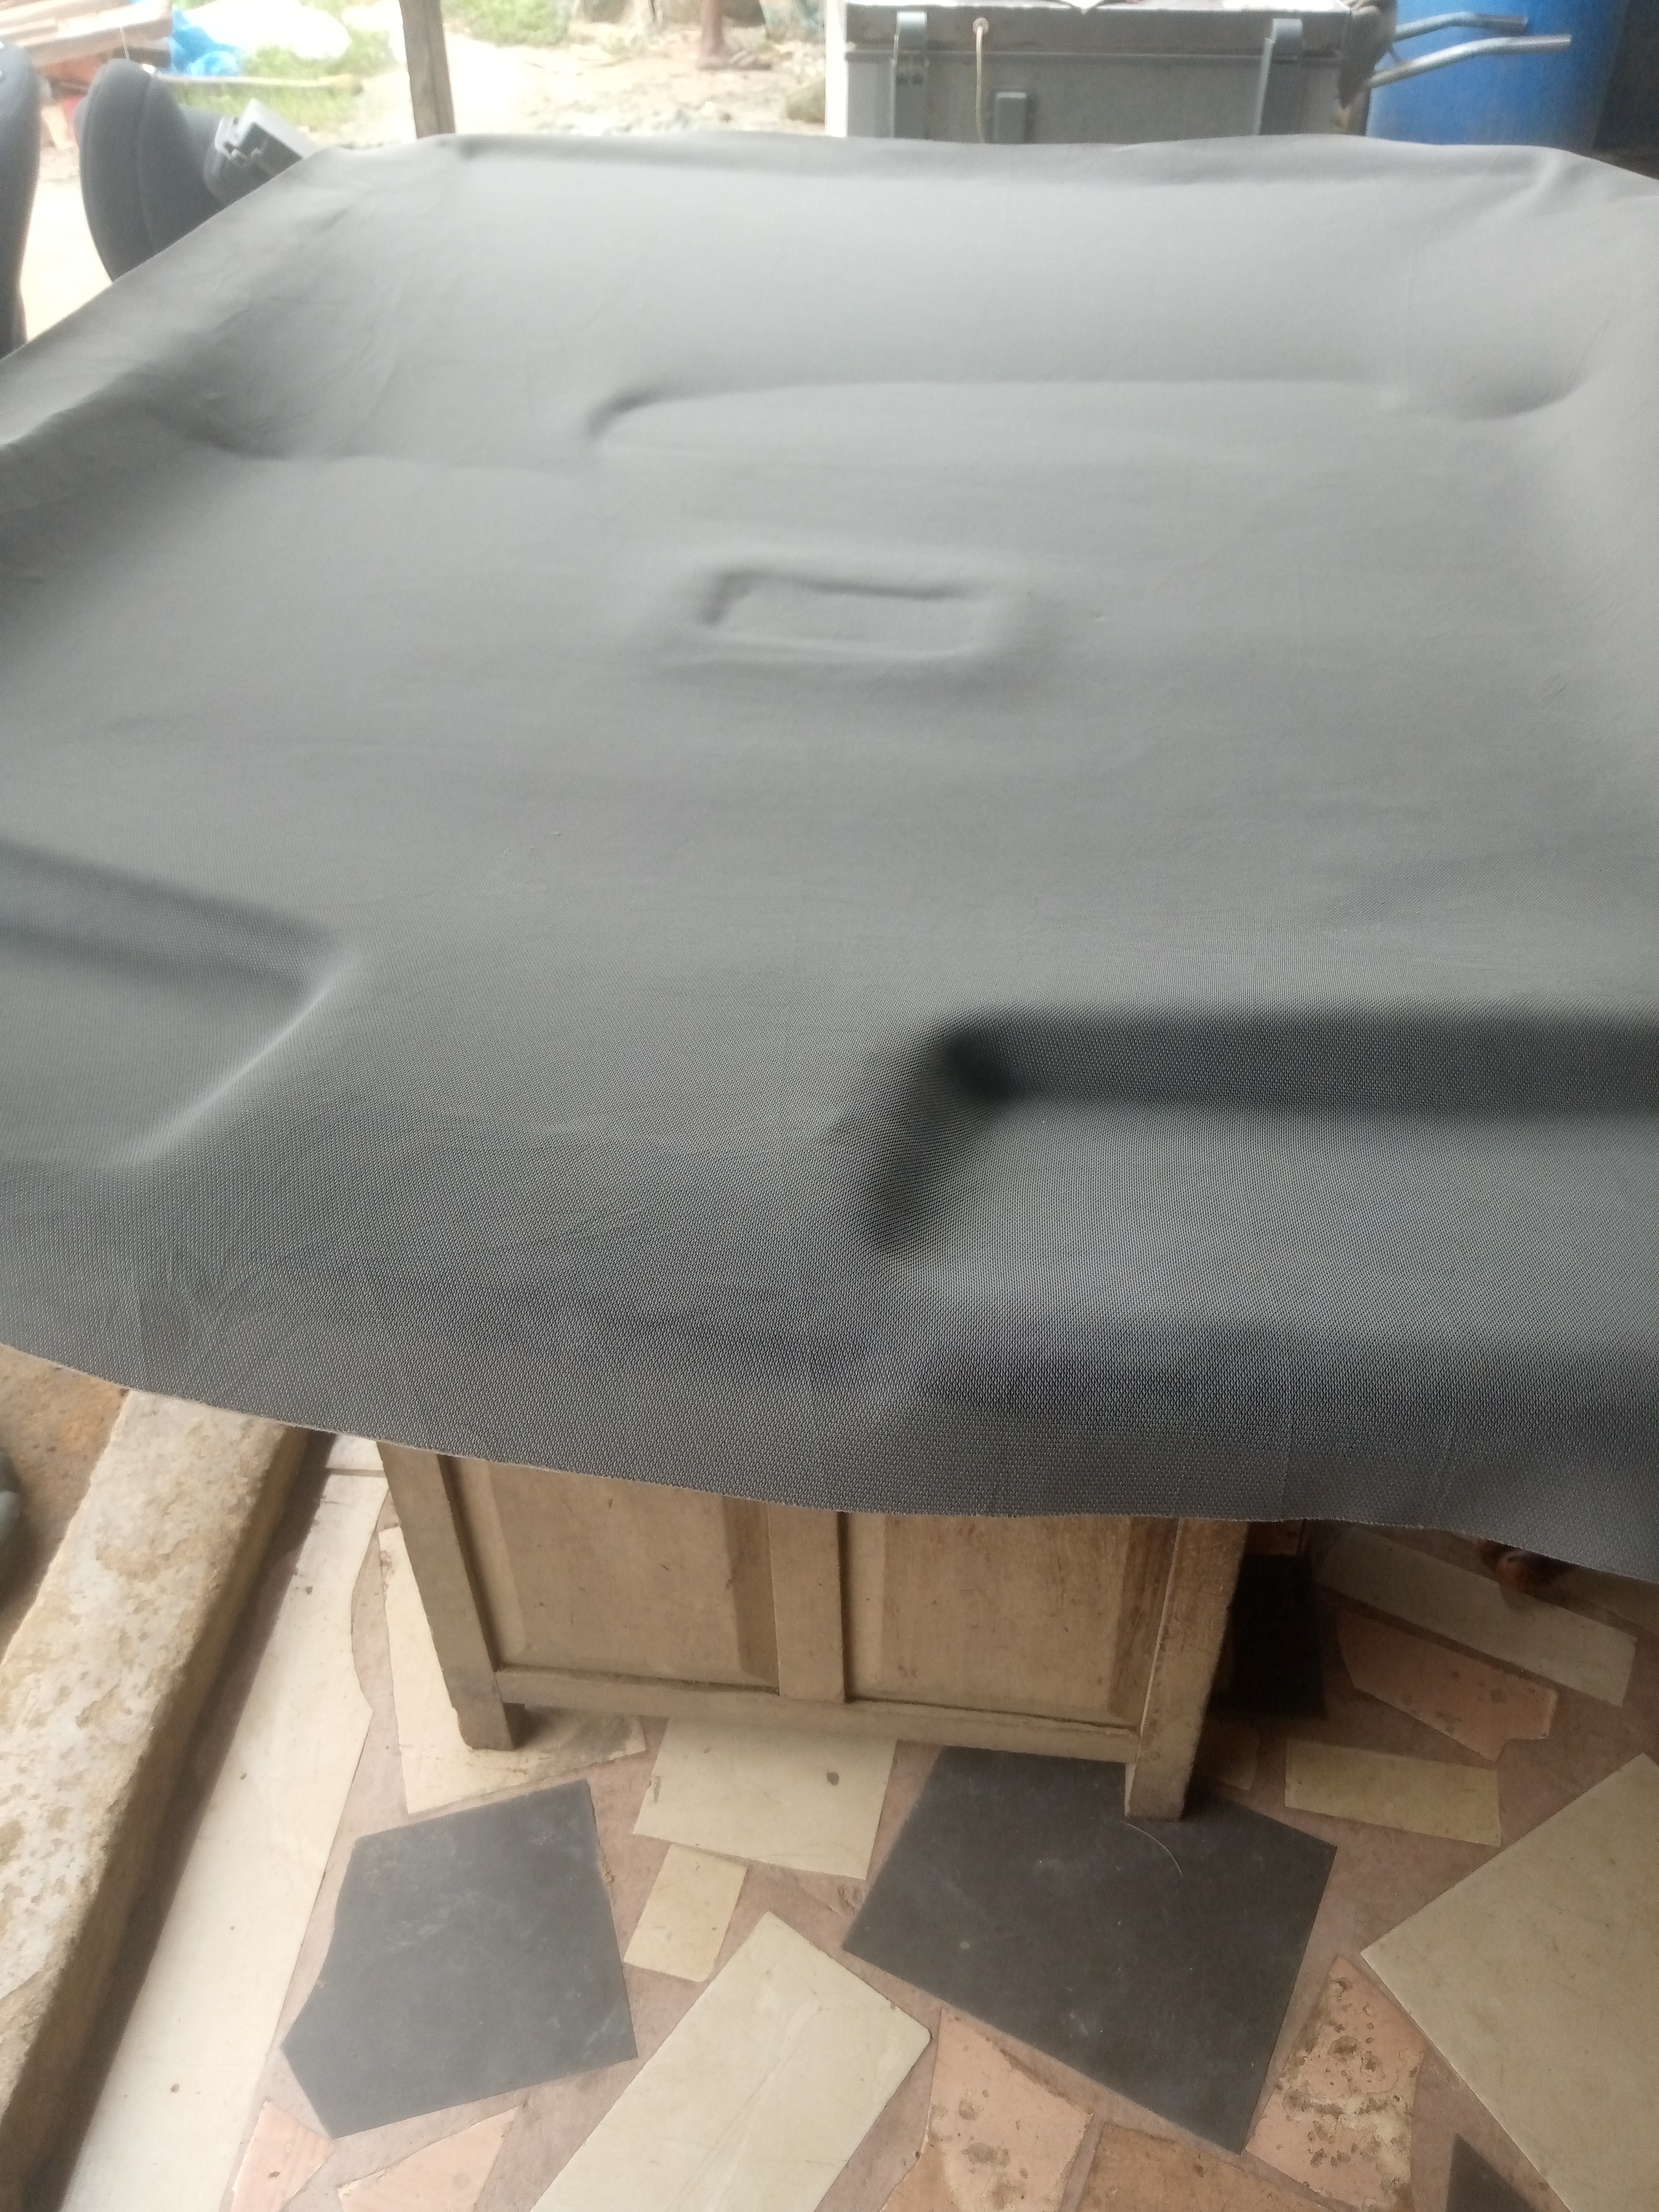
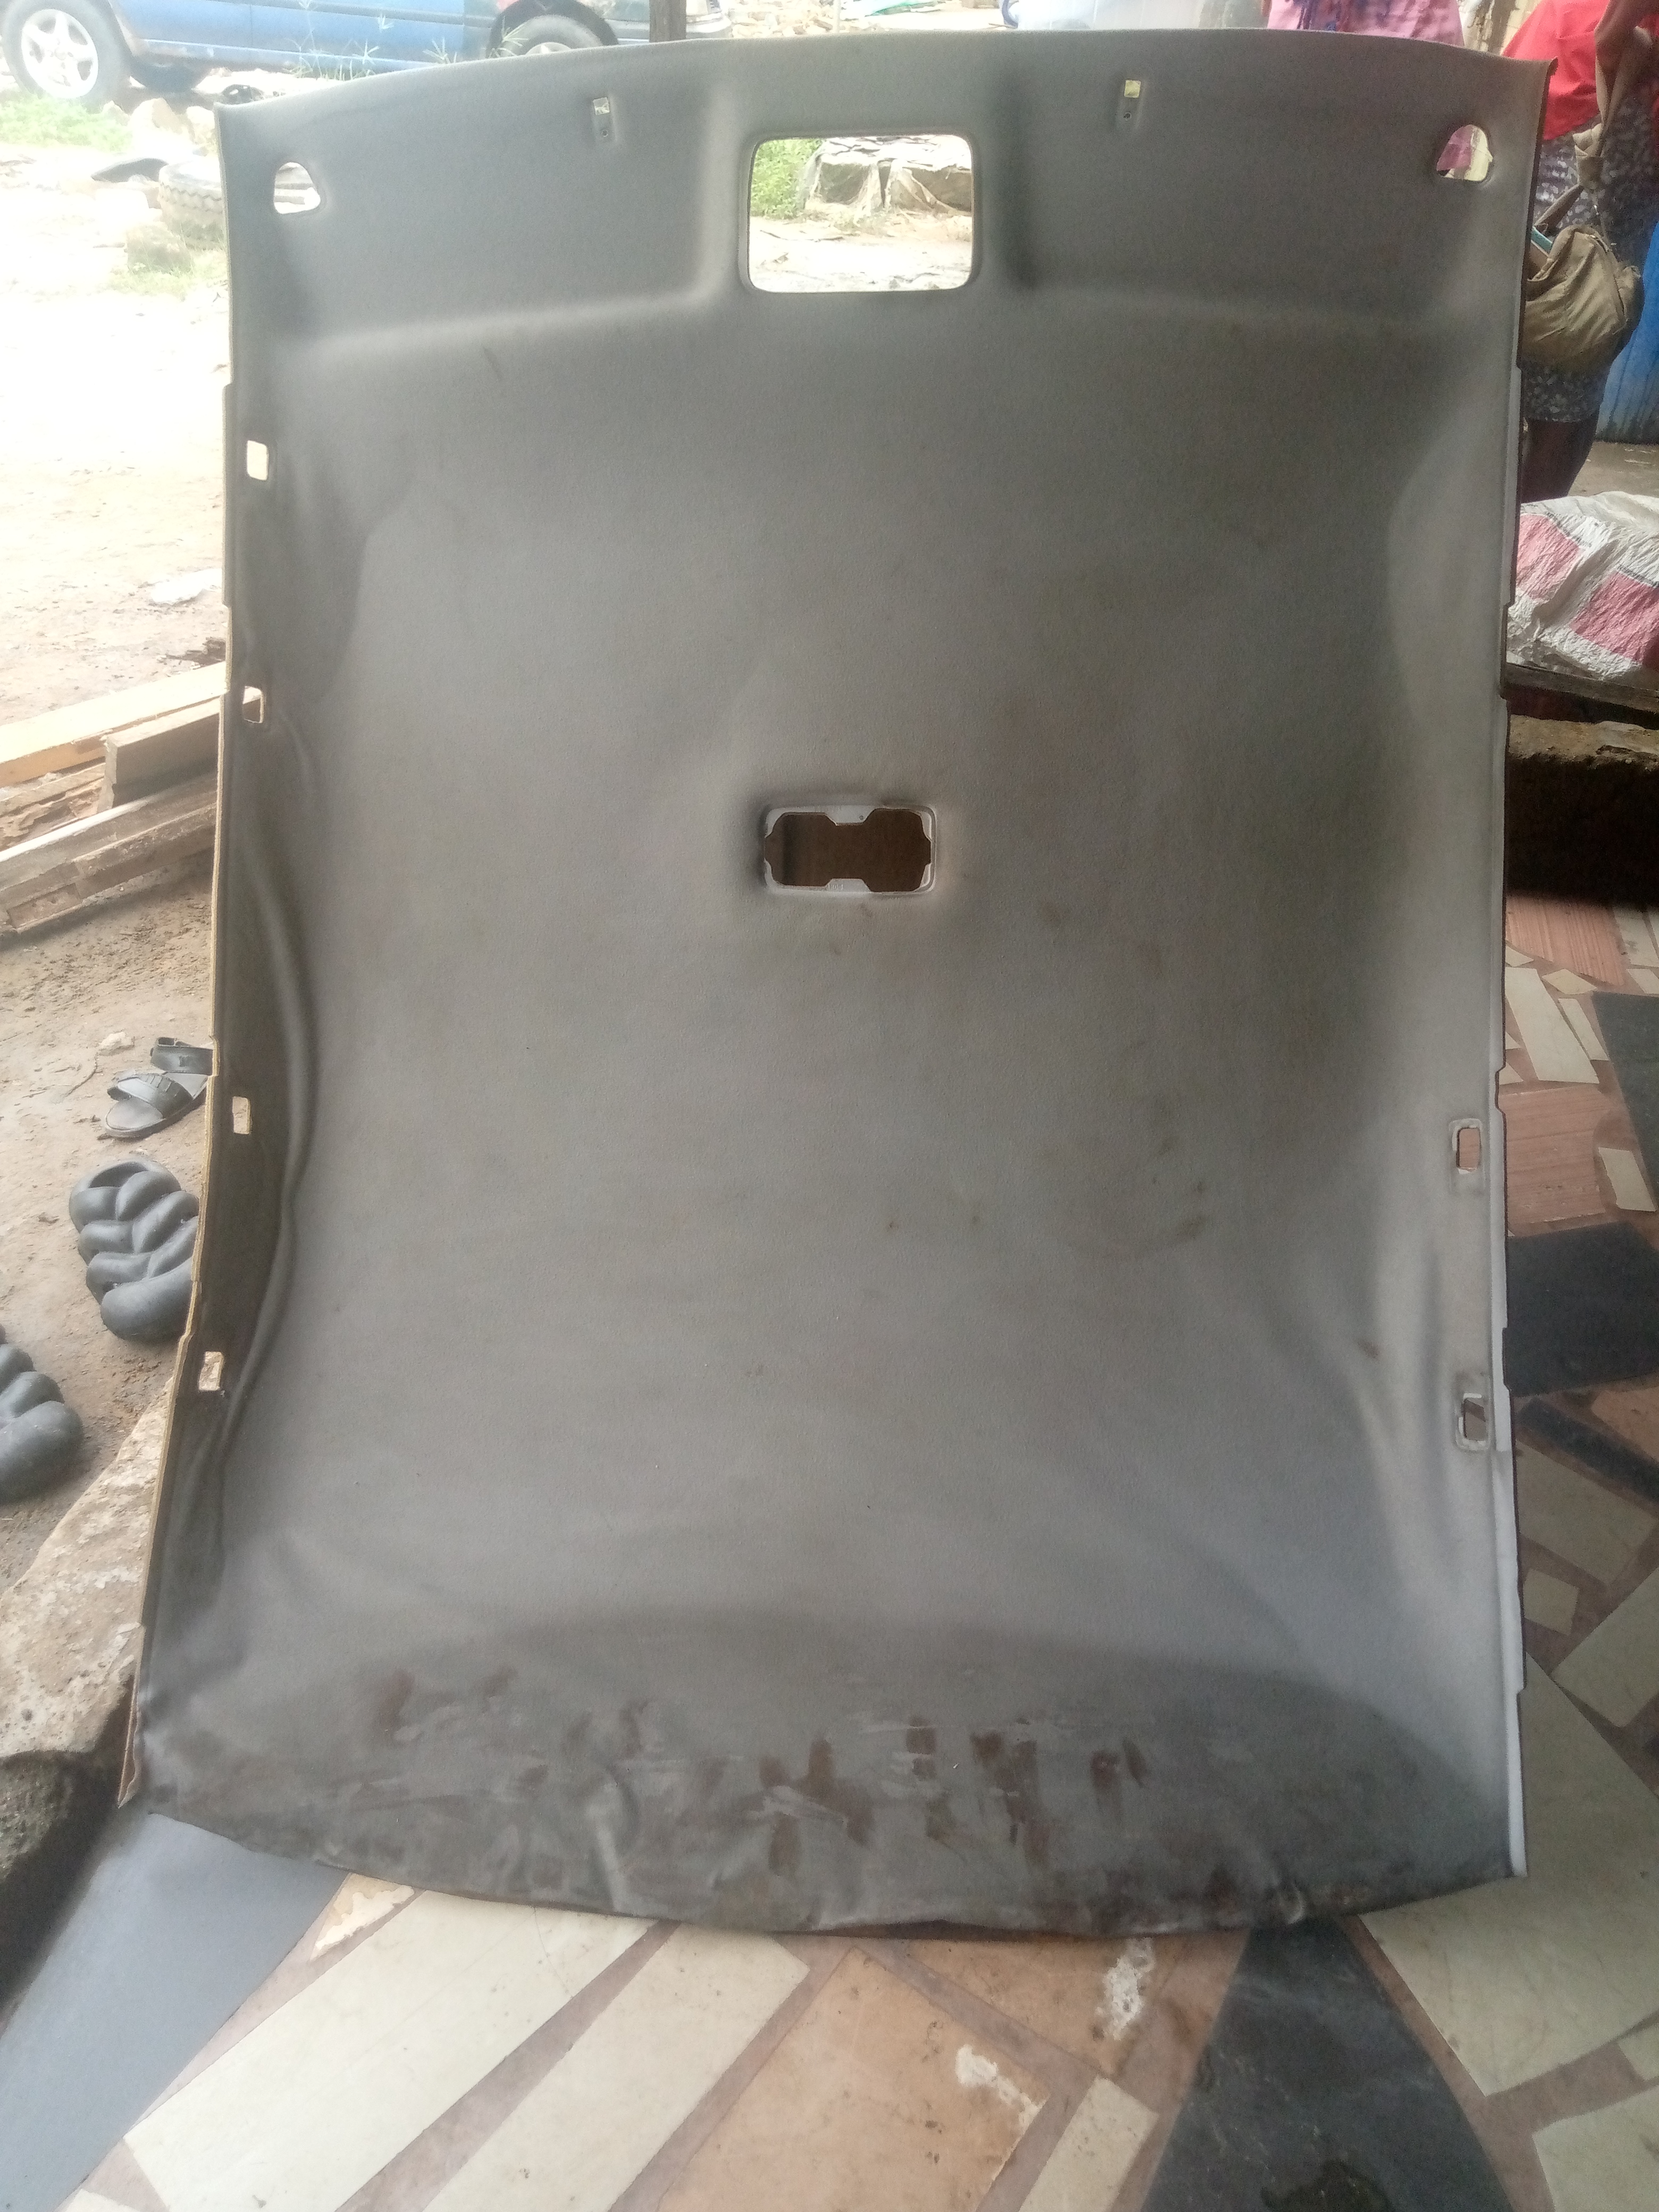
I finally opened the holes in the roof, and the work is being done.
Here is the finished work.
I hope it looks really neat.
Thanks to everyone for going through, especially the creators of this community, @hivemotors, @josuemonterola, @danielcarrerag, the moderator, and all the other members of this community.