

[Esp]
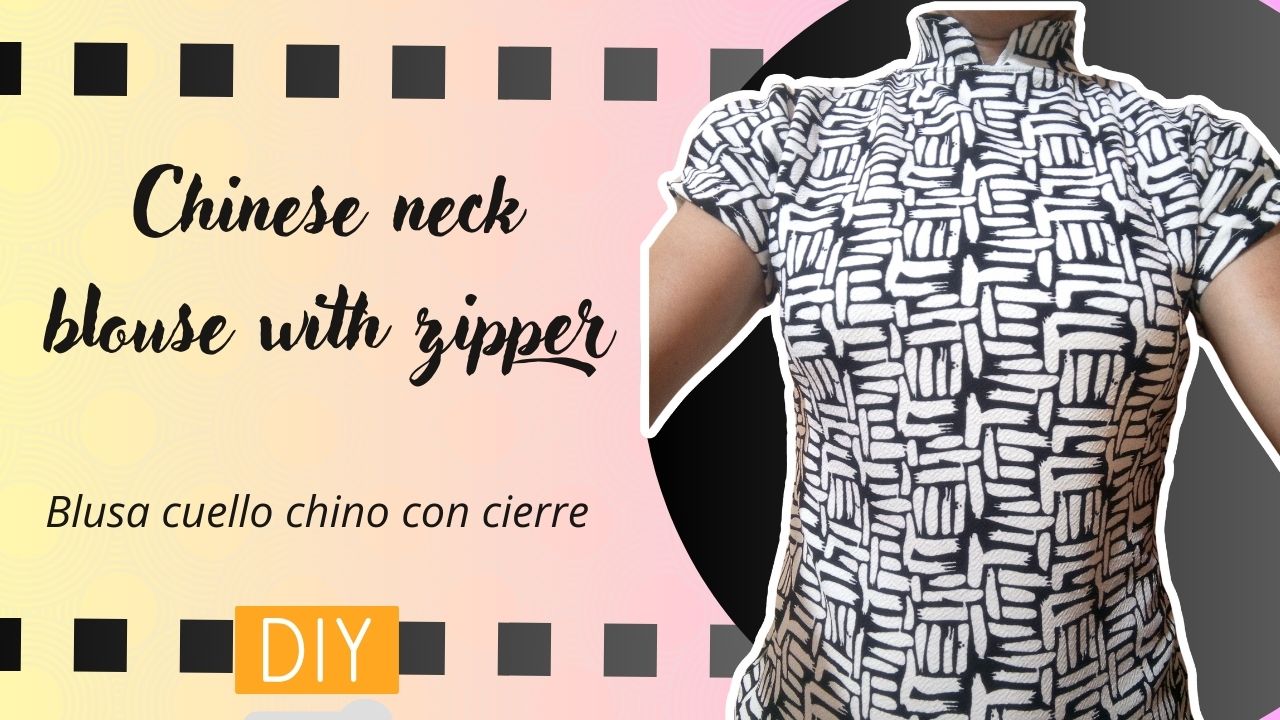
¡Saludos comunidad artesana!
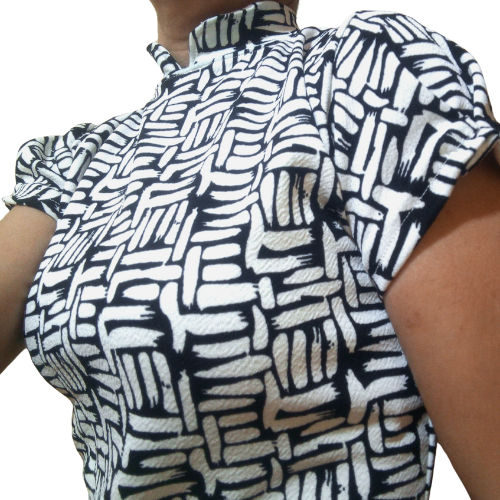
Esta vendría siendo mi segunda camisa cuello chino, la anterior me pareció que por la tela debería llevar un cierre en la parte trasera, para que fuera más ajustada y más fácil de poner, de manera que el cuello no termine estirándose con el tiempo.
Hoy hice un par de cosas diferentes, como arruchar las mangas además del cierre en la parte de atrás que solo tiene la funcionalidad de dar mejor apertura para ponerla y quitarla.
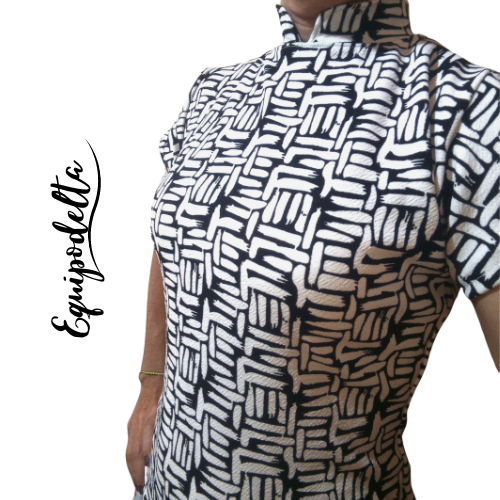
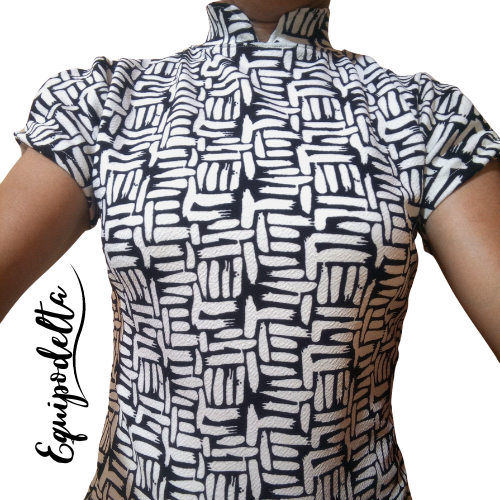
El estampado de la tela me encantó desde que la vi, me gustó su diseño y que fuera monocromática, pues podría ponérmela con todo, bien se a con unos jeans ajustados o con un pantalón negro, inclusive con uno de los pantalones estilo mono ajustables que compré a muy buen precio recientemente.
Les enseño a ustedes que aunque no soy costurera puedo ingeniarme haciendo estas prendas que me encantan, que no muestren mucho y se vean elegantes. Me faltaba ropa nueva en mi guardarropa, hacerlas por mí misma y a mi estilo, que de paso me queden bien es estupendo.
Les iré contando con el paso a paso, cómo lo hice y cómo ingenié colocarle el cierre, ya que no uso patrones para ello.
! [English version]
Greetings artisan community!
This would be my second Chinese collar shirt, the previous one seemed to me that because of the fabric it should have a zipper in the back, to make it tighter and easier to put on, so that the neck does not end up stretching over time.
I did a couple of different things today, like ruffling the sleeves in addition to the zipper in the back which only has the functionality of giving better opening to put it on and take it off.
I loved the print of the fabric since I saw it, I liked its design and that it was monochromatic, because I could wear it with everything, either with skinny jeans or with a black pants, even with one of the adjustable jumpsuit style pants that I bought recently at a very good price.
I show you that even though I am not a seamstress I can manage to make these garments that I love, that don't show too much and look elegant. I was missing new clothes in my closet, making them by myself and in my own style, and at the same time they look good on me, is great.
I will tell you step by step, how I did it and how I managed to put the zipper, since I don't use patterns for it.

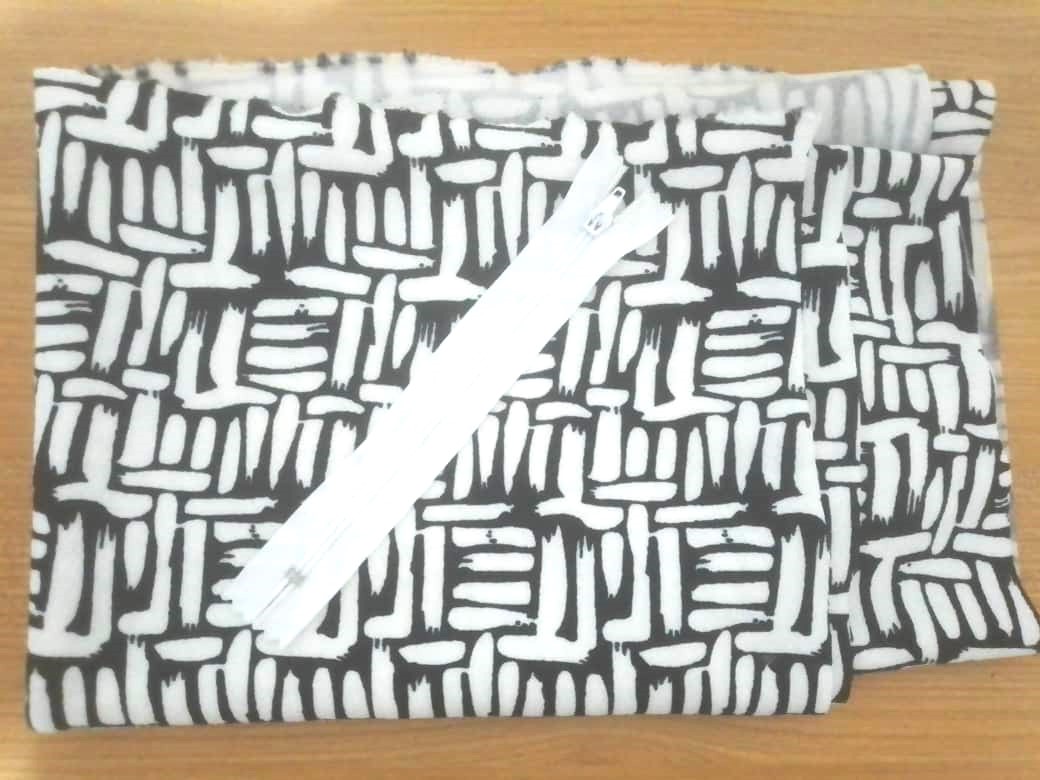
Materiales / materials
| Spanish | English |
|---|---|
| Maquina de coser | Sewing machine |
| Tijera, aguja, hilo | Scissors, needle, thread |
| 1/2 metro de Tela estampada liverpool. | 1/2 meter of liverpool printed fabric. |
Paso a paso / Step by Step
Step 1️⃣/ Paso 1️⃣
 |  | |
 |  |
[Esp]
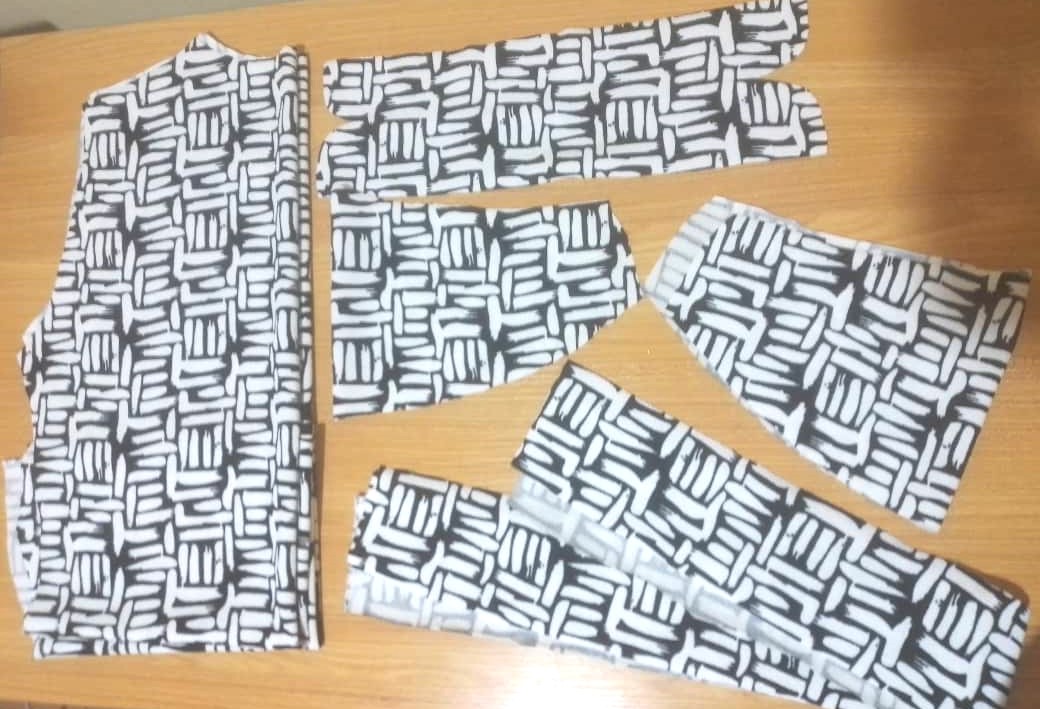
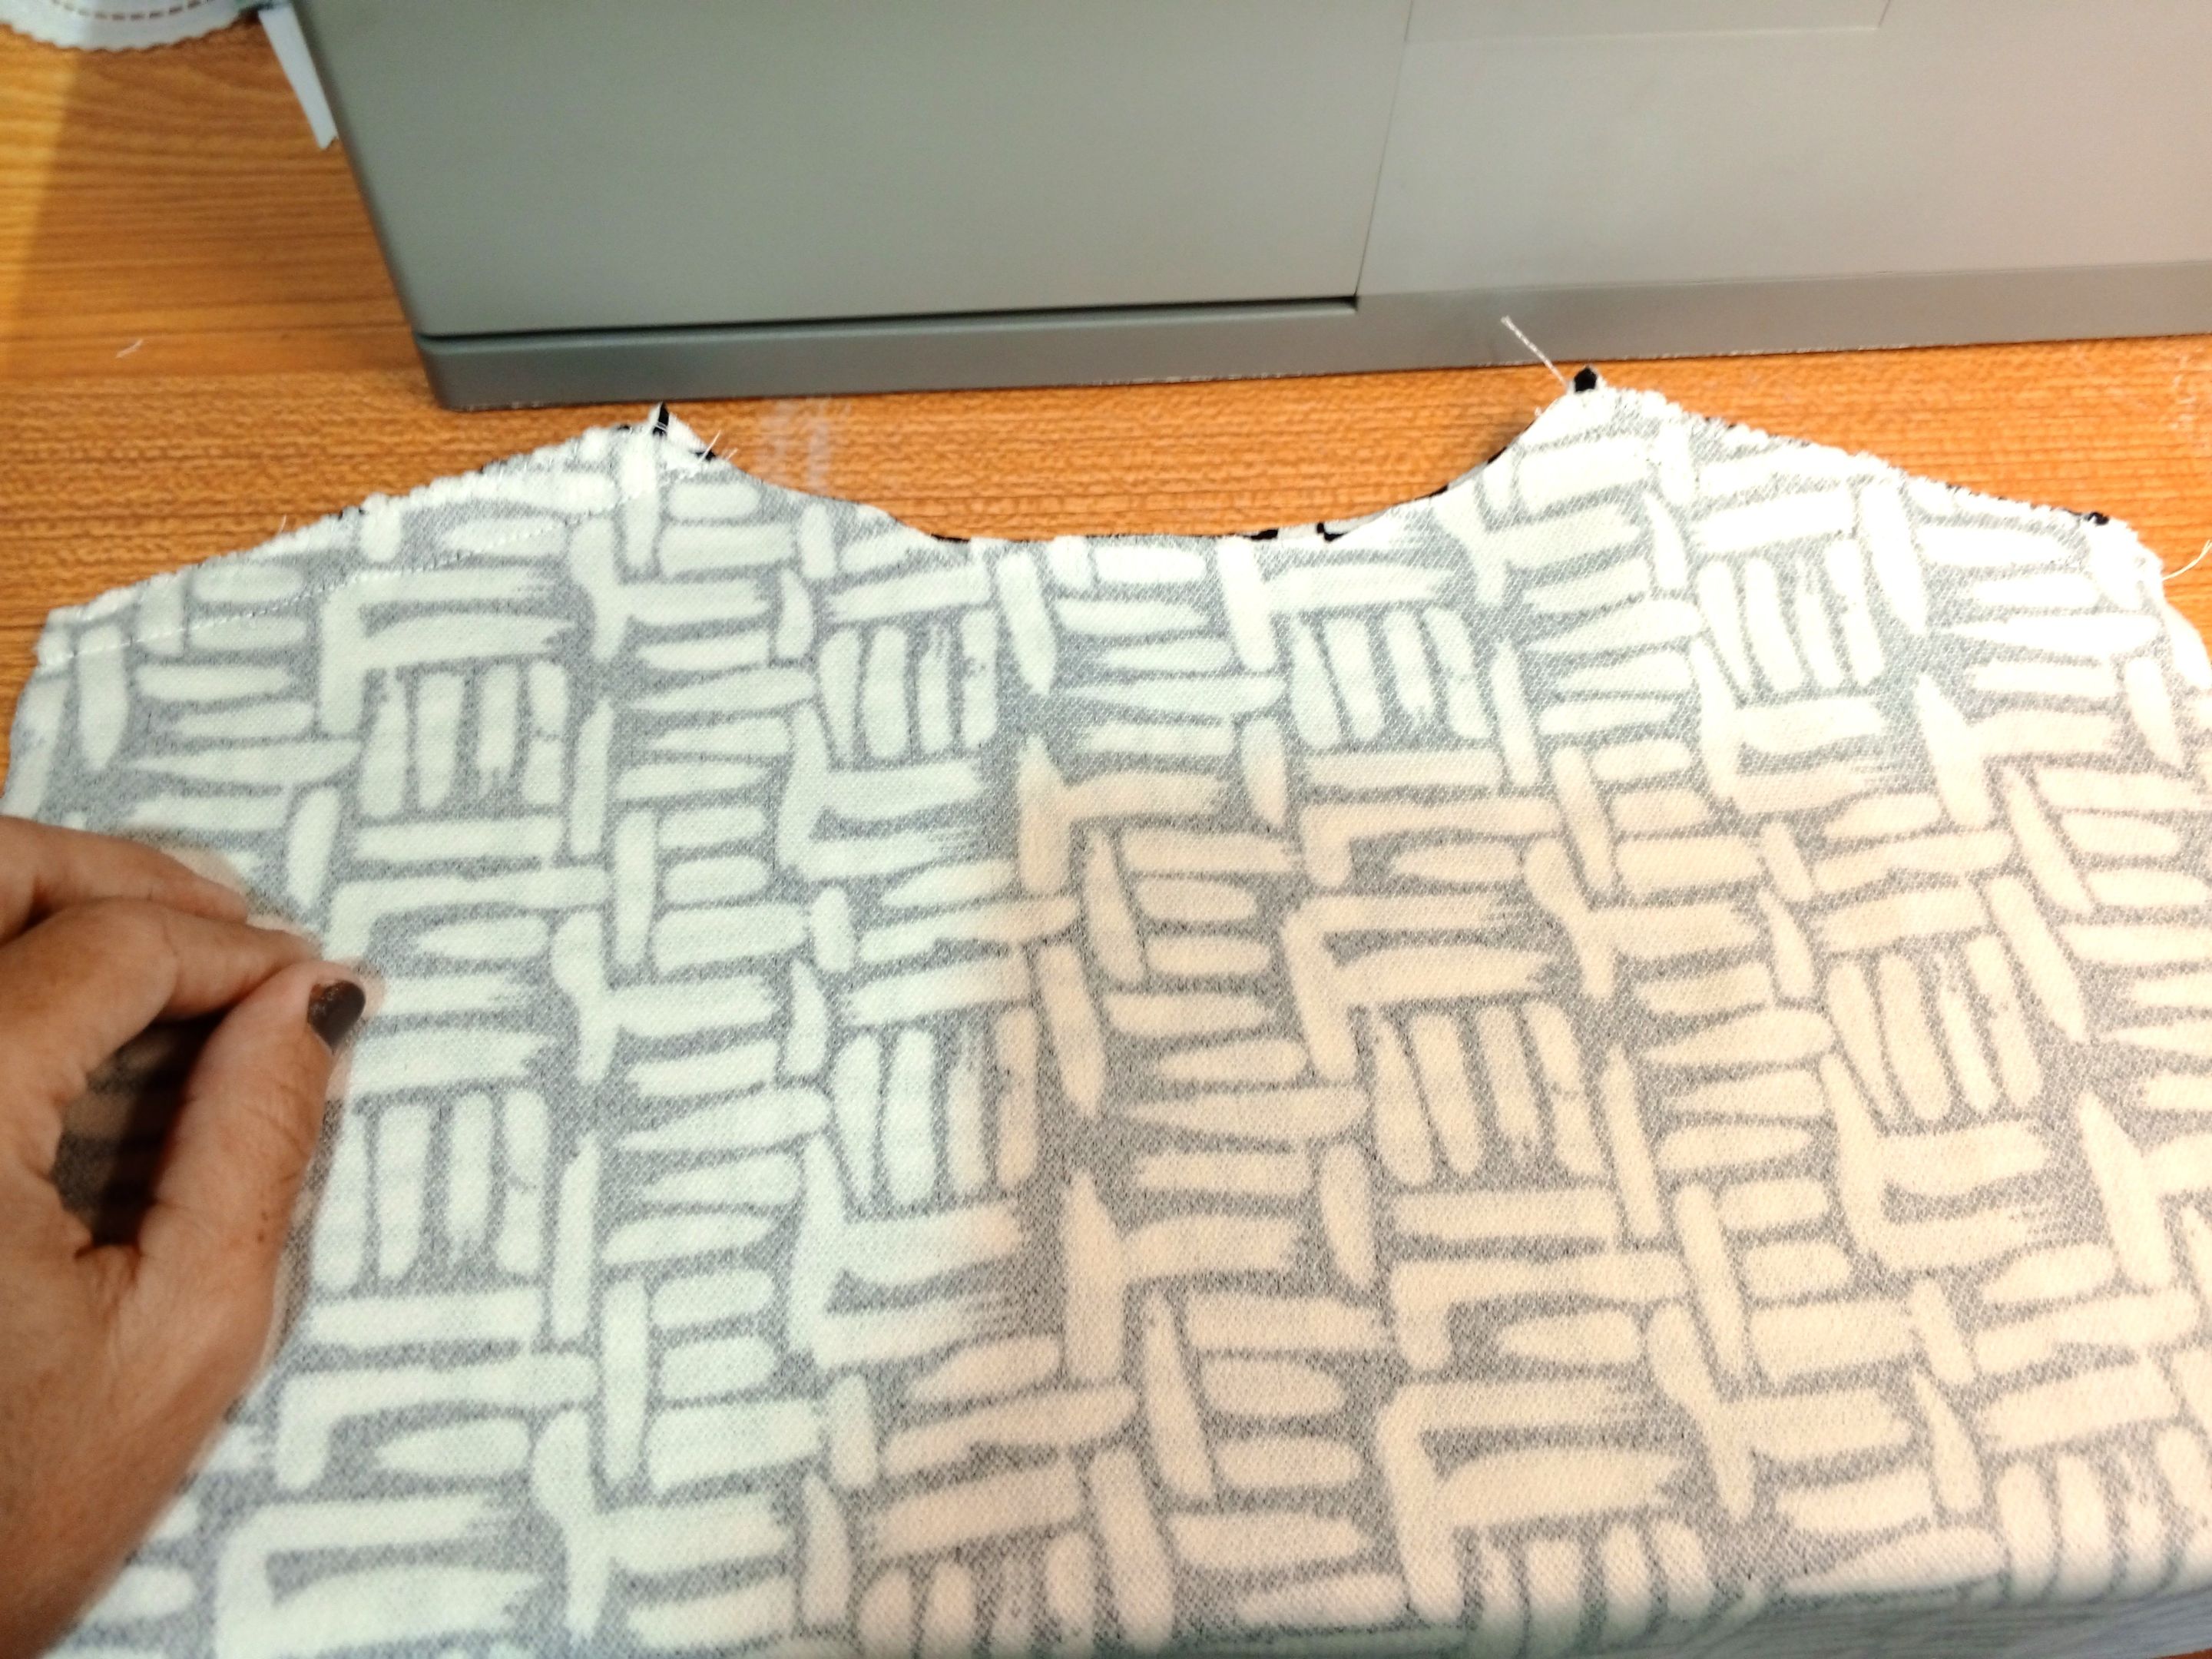
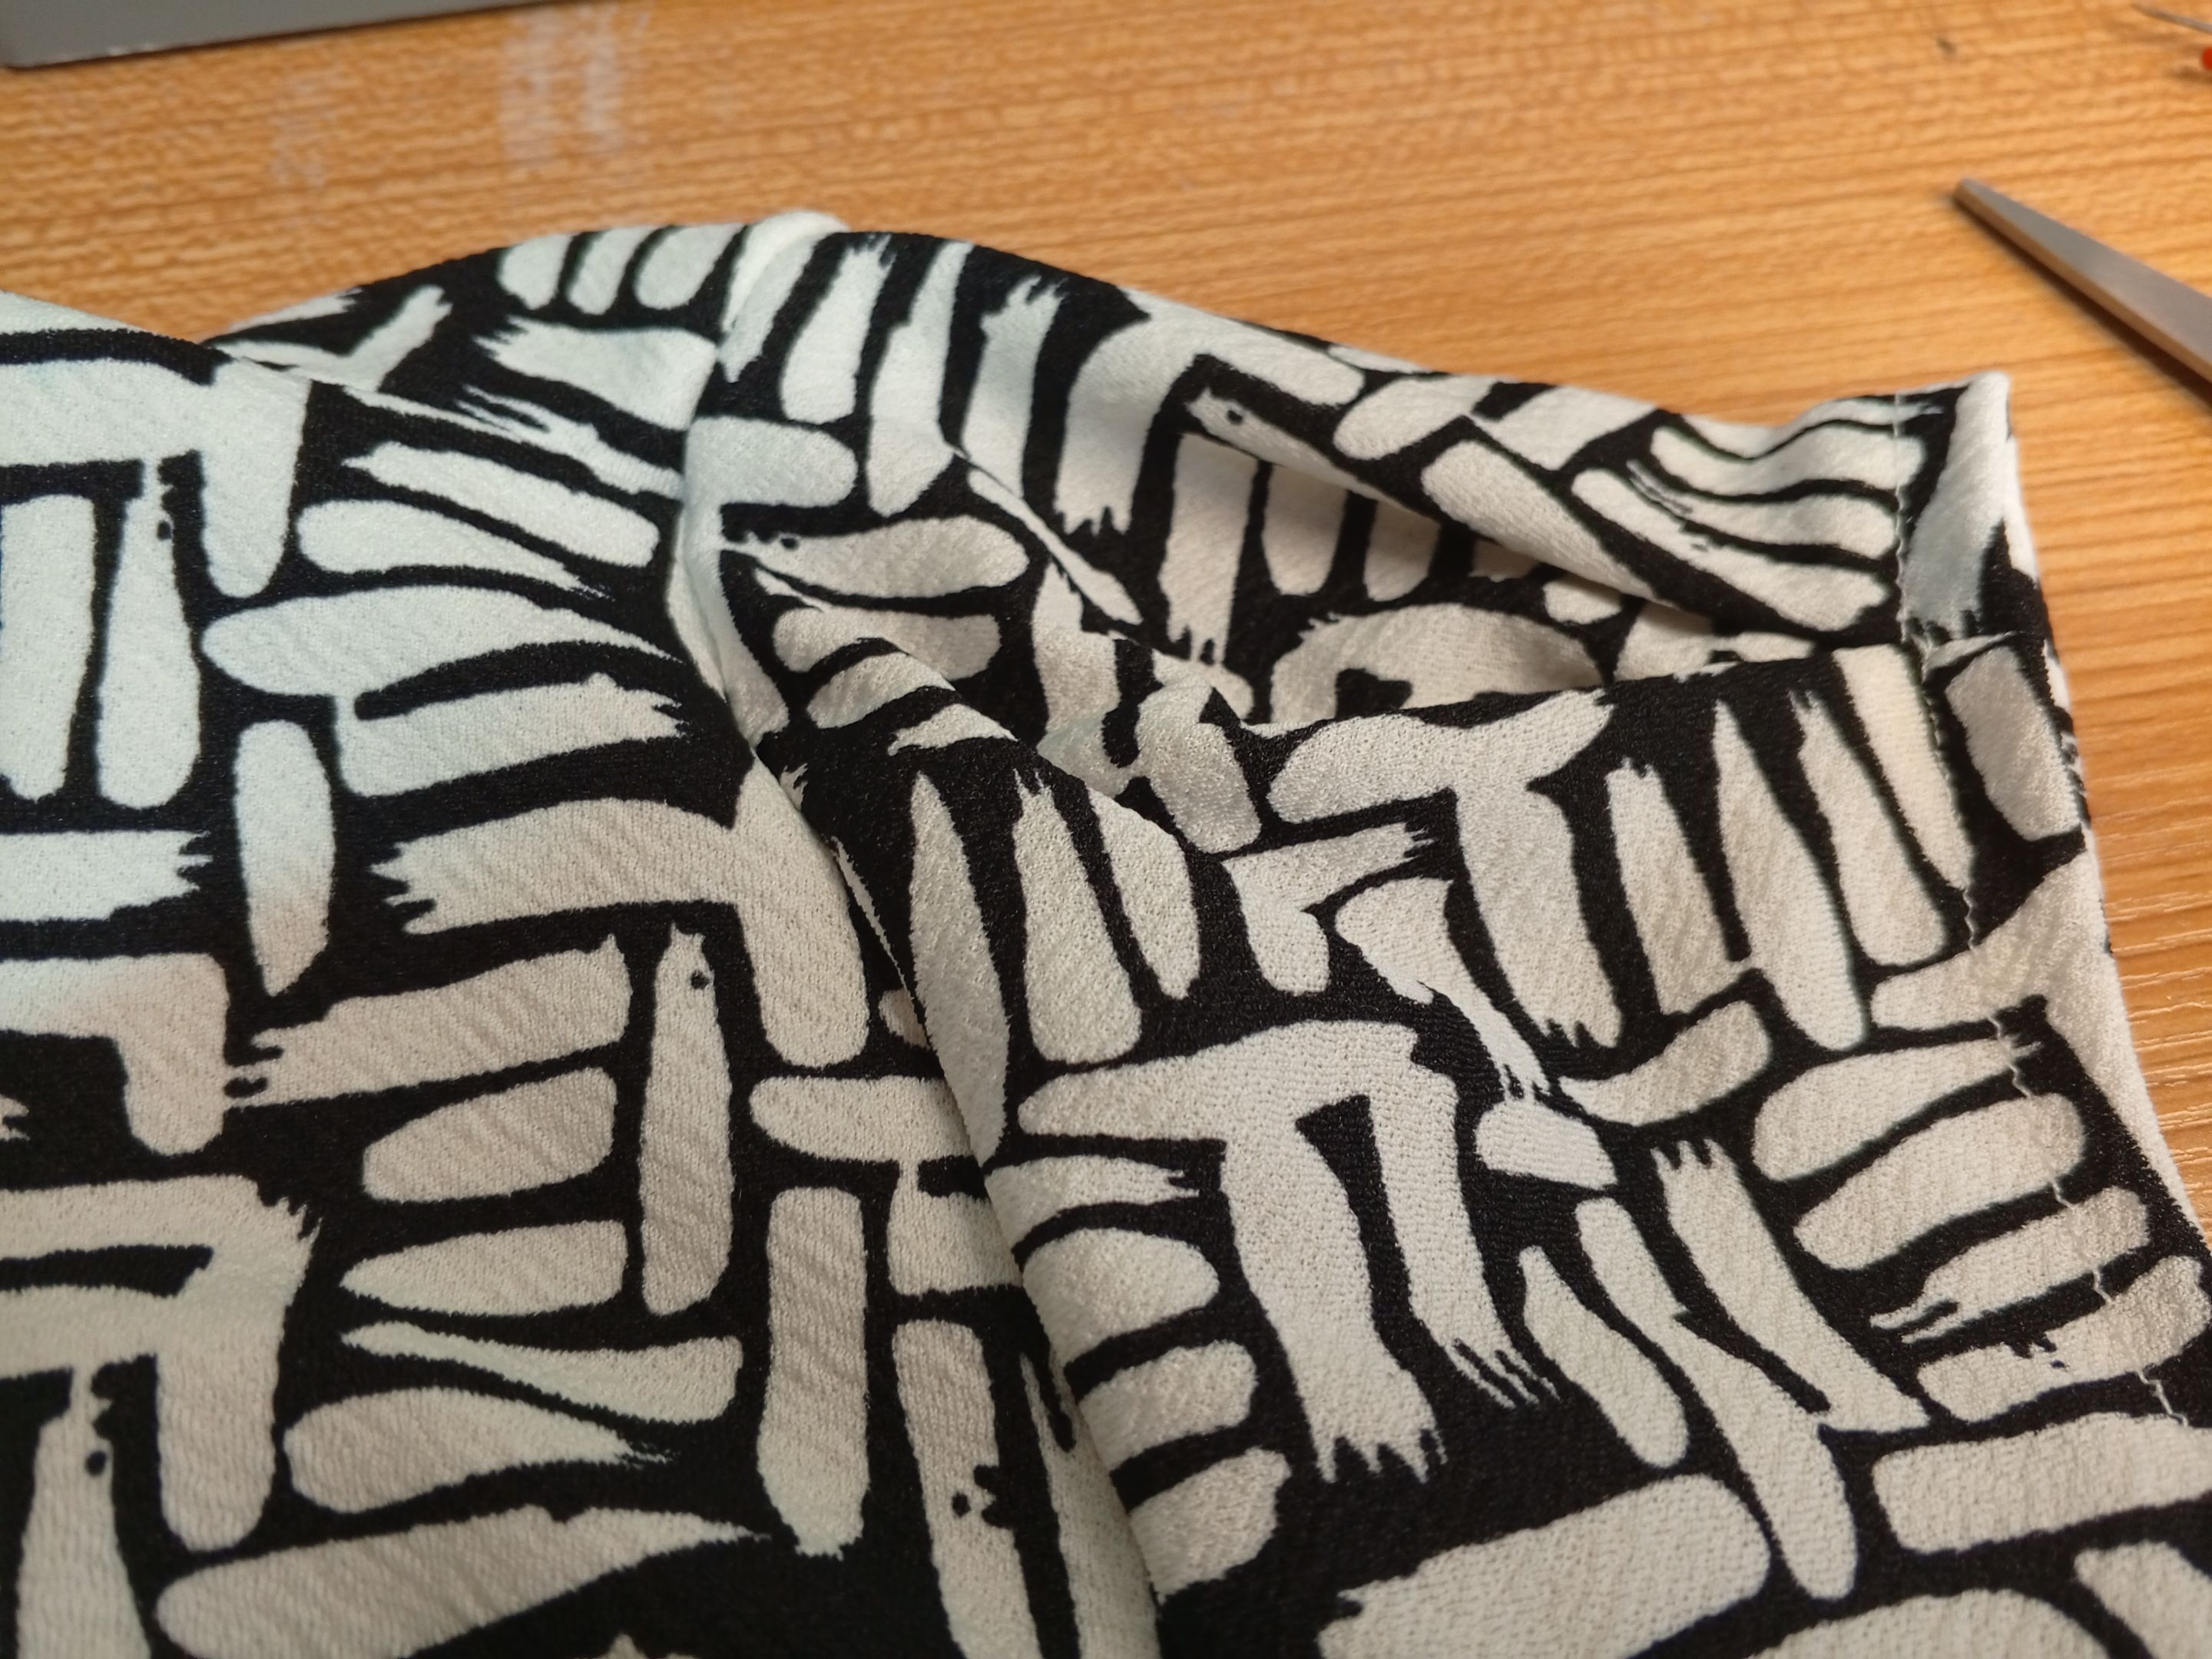
Corto las piezas, uso una blusa mía como modelo, sin embargo, no es cuello chino, ni tiene mangas, el resto lo he cortado siguiendo mi instinto, como las anteriores.
Hay que cerrar la parte de los hombros en primer lugar, cose una línea recta y luego zig zag para que no se deshilache.
El cuello, lo doblas por la mitad del lado del derecho, cose las puntas, voltea y luego pasa una recta por el borde.
! [English version]
I cut the pieces, I use a blouse of mine as a model, however, it is not Chinese collar, nor has sleeves, the rest I have cut following my instinct, like the previous ones.
You have to close the shoulder part first, sew a straight line and then zig zag so it doesn't fray.
The collar, fold it in half right side out, sew the ends, turn it over and then run a straight line along the edge.
Step 2️⃣/ paso 2️⃣
 |  | |
 |  |
[Esp]
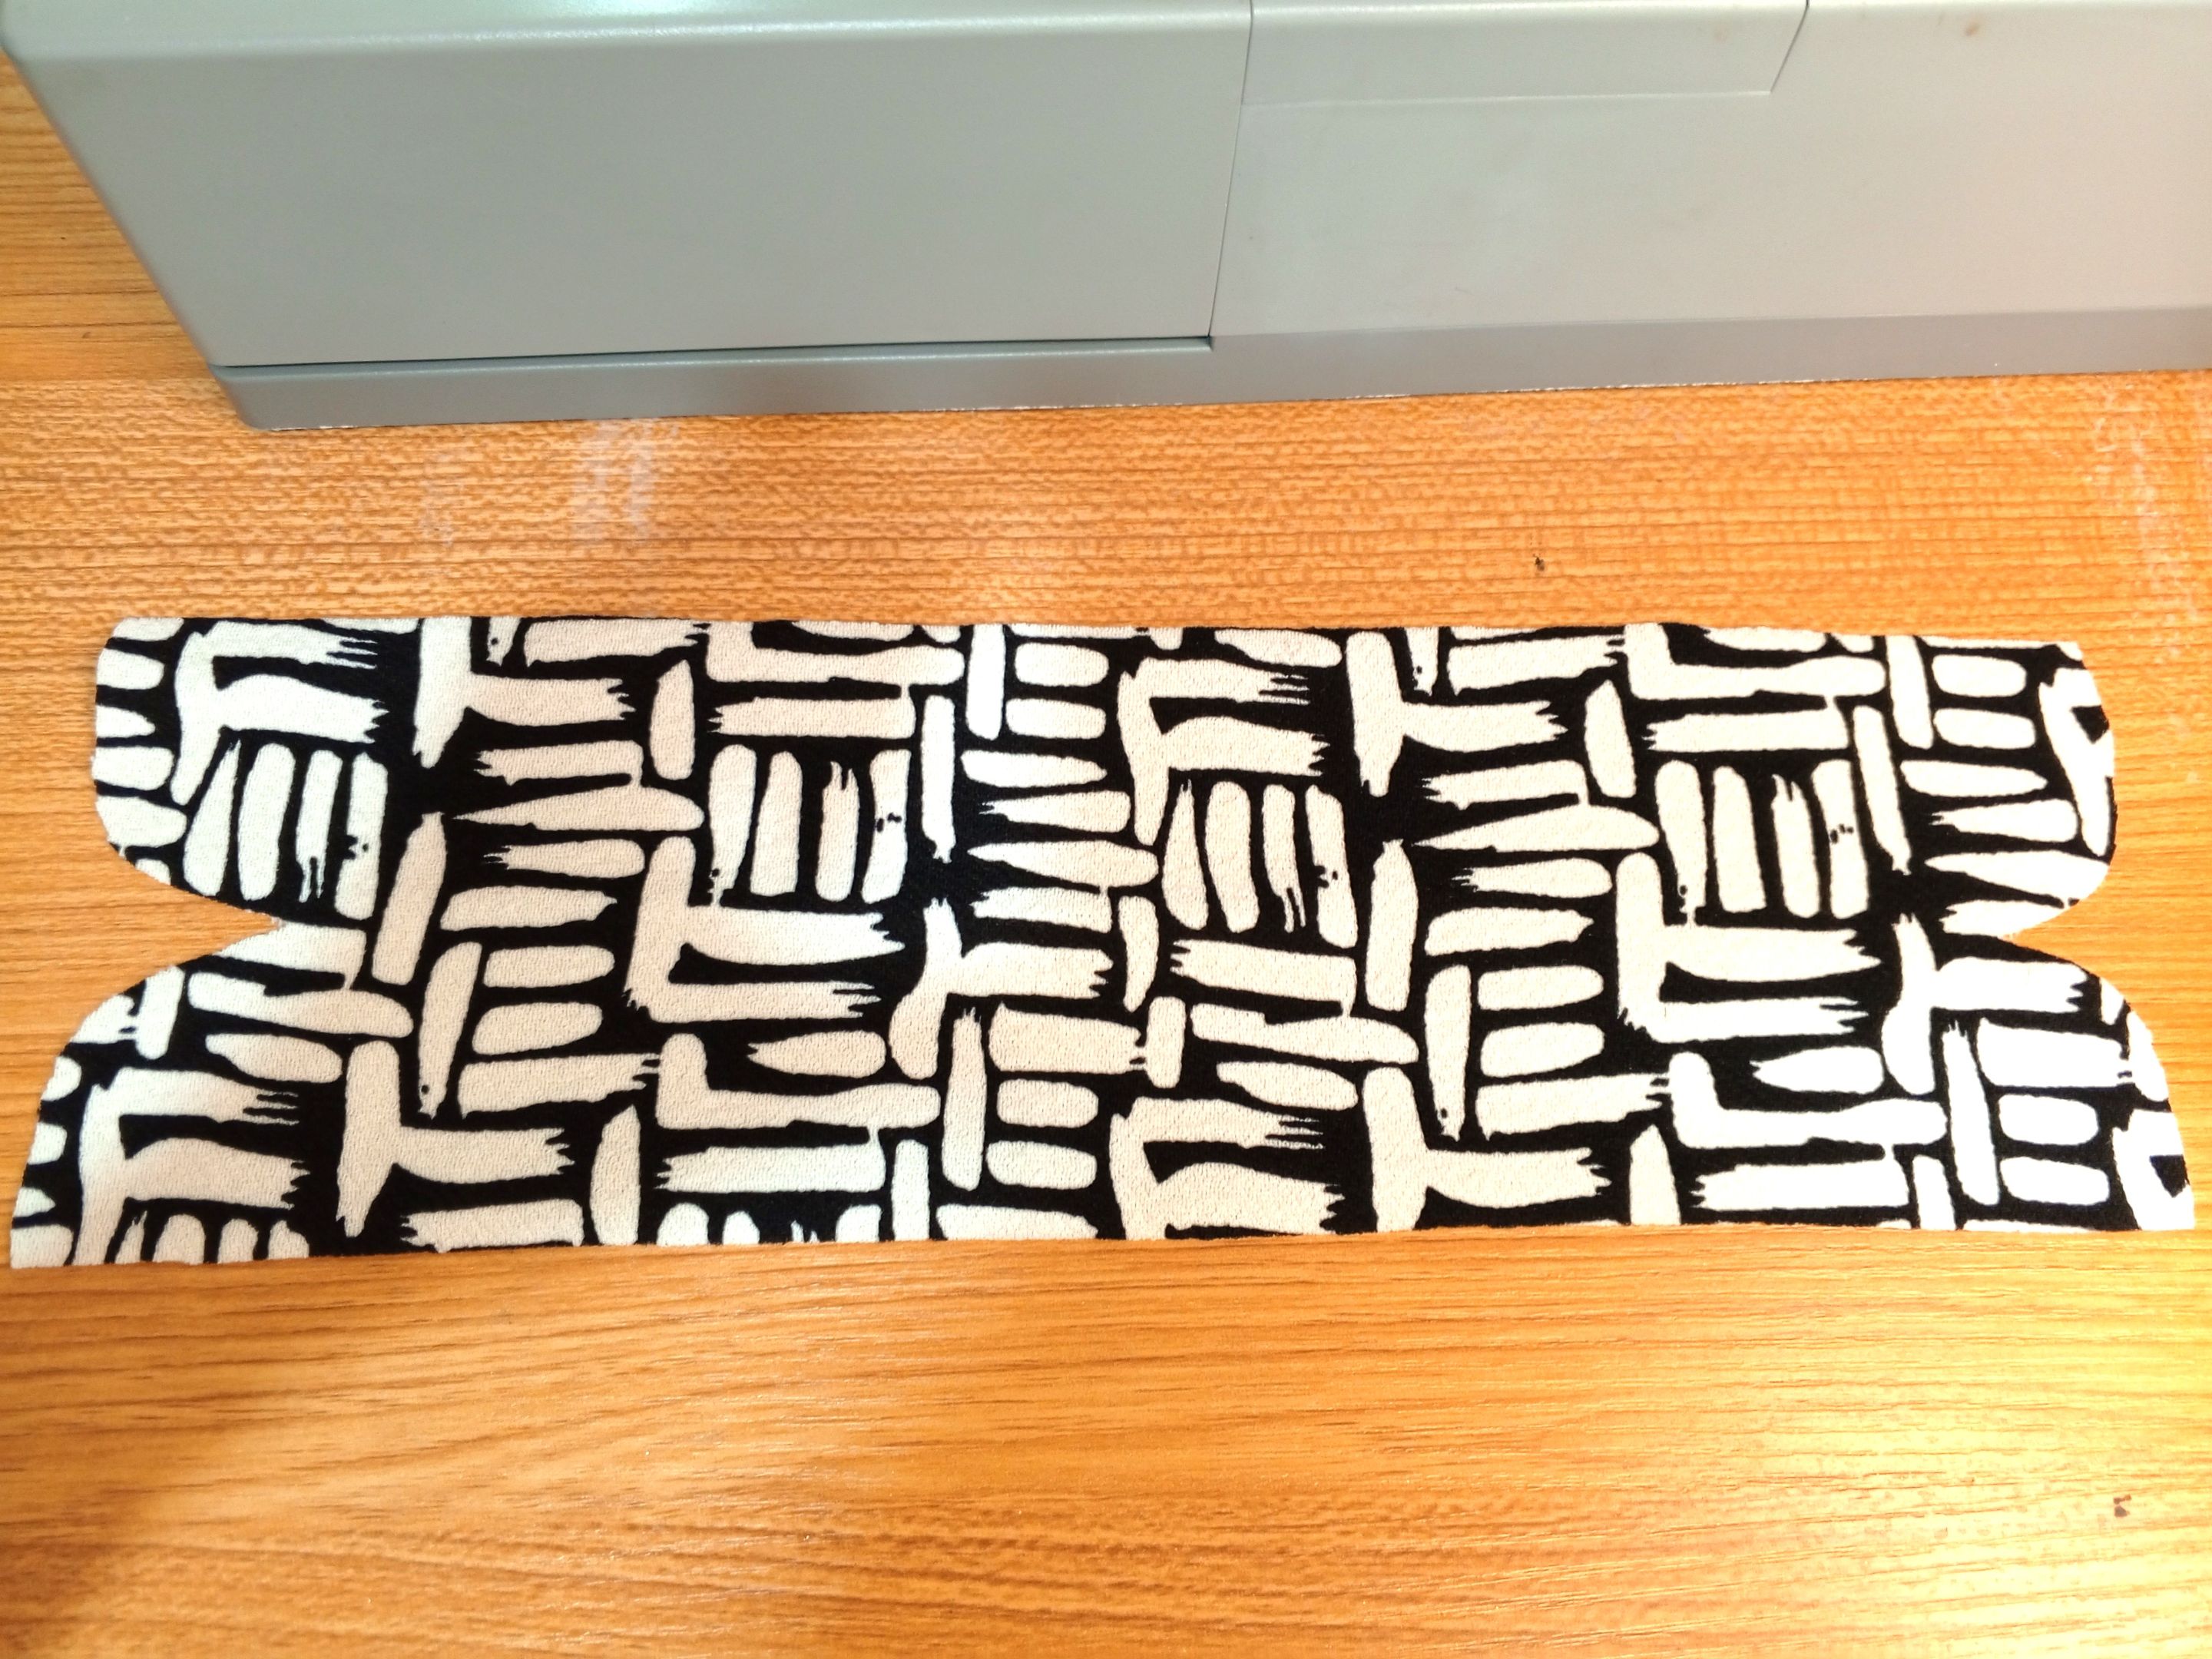
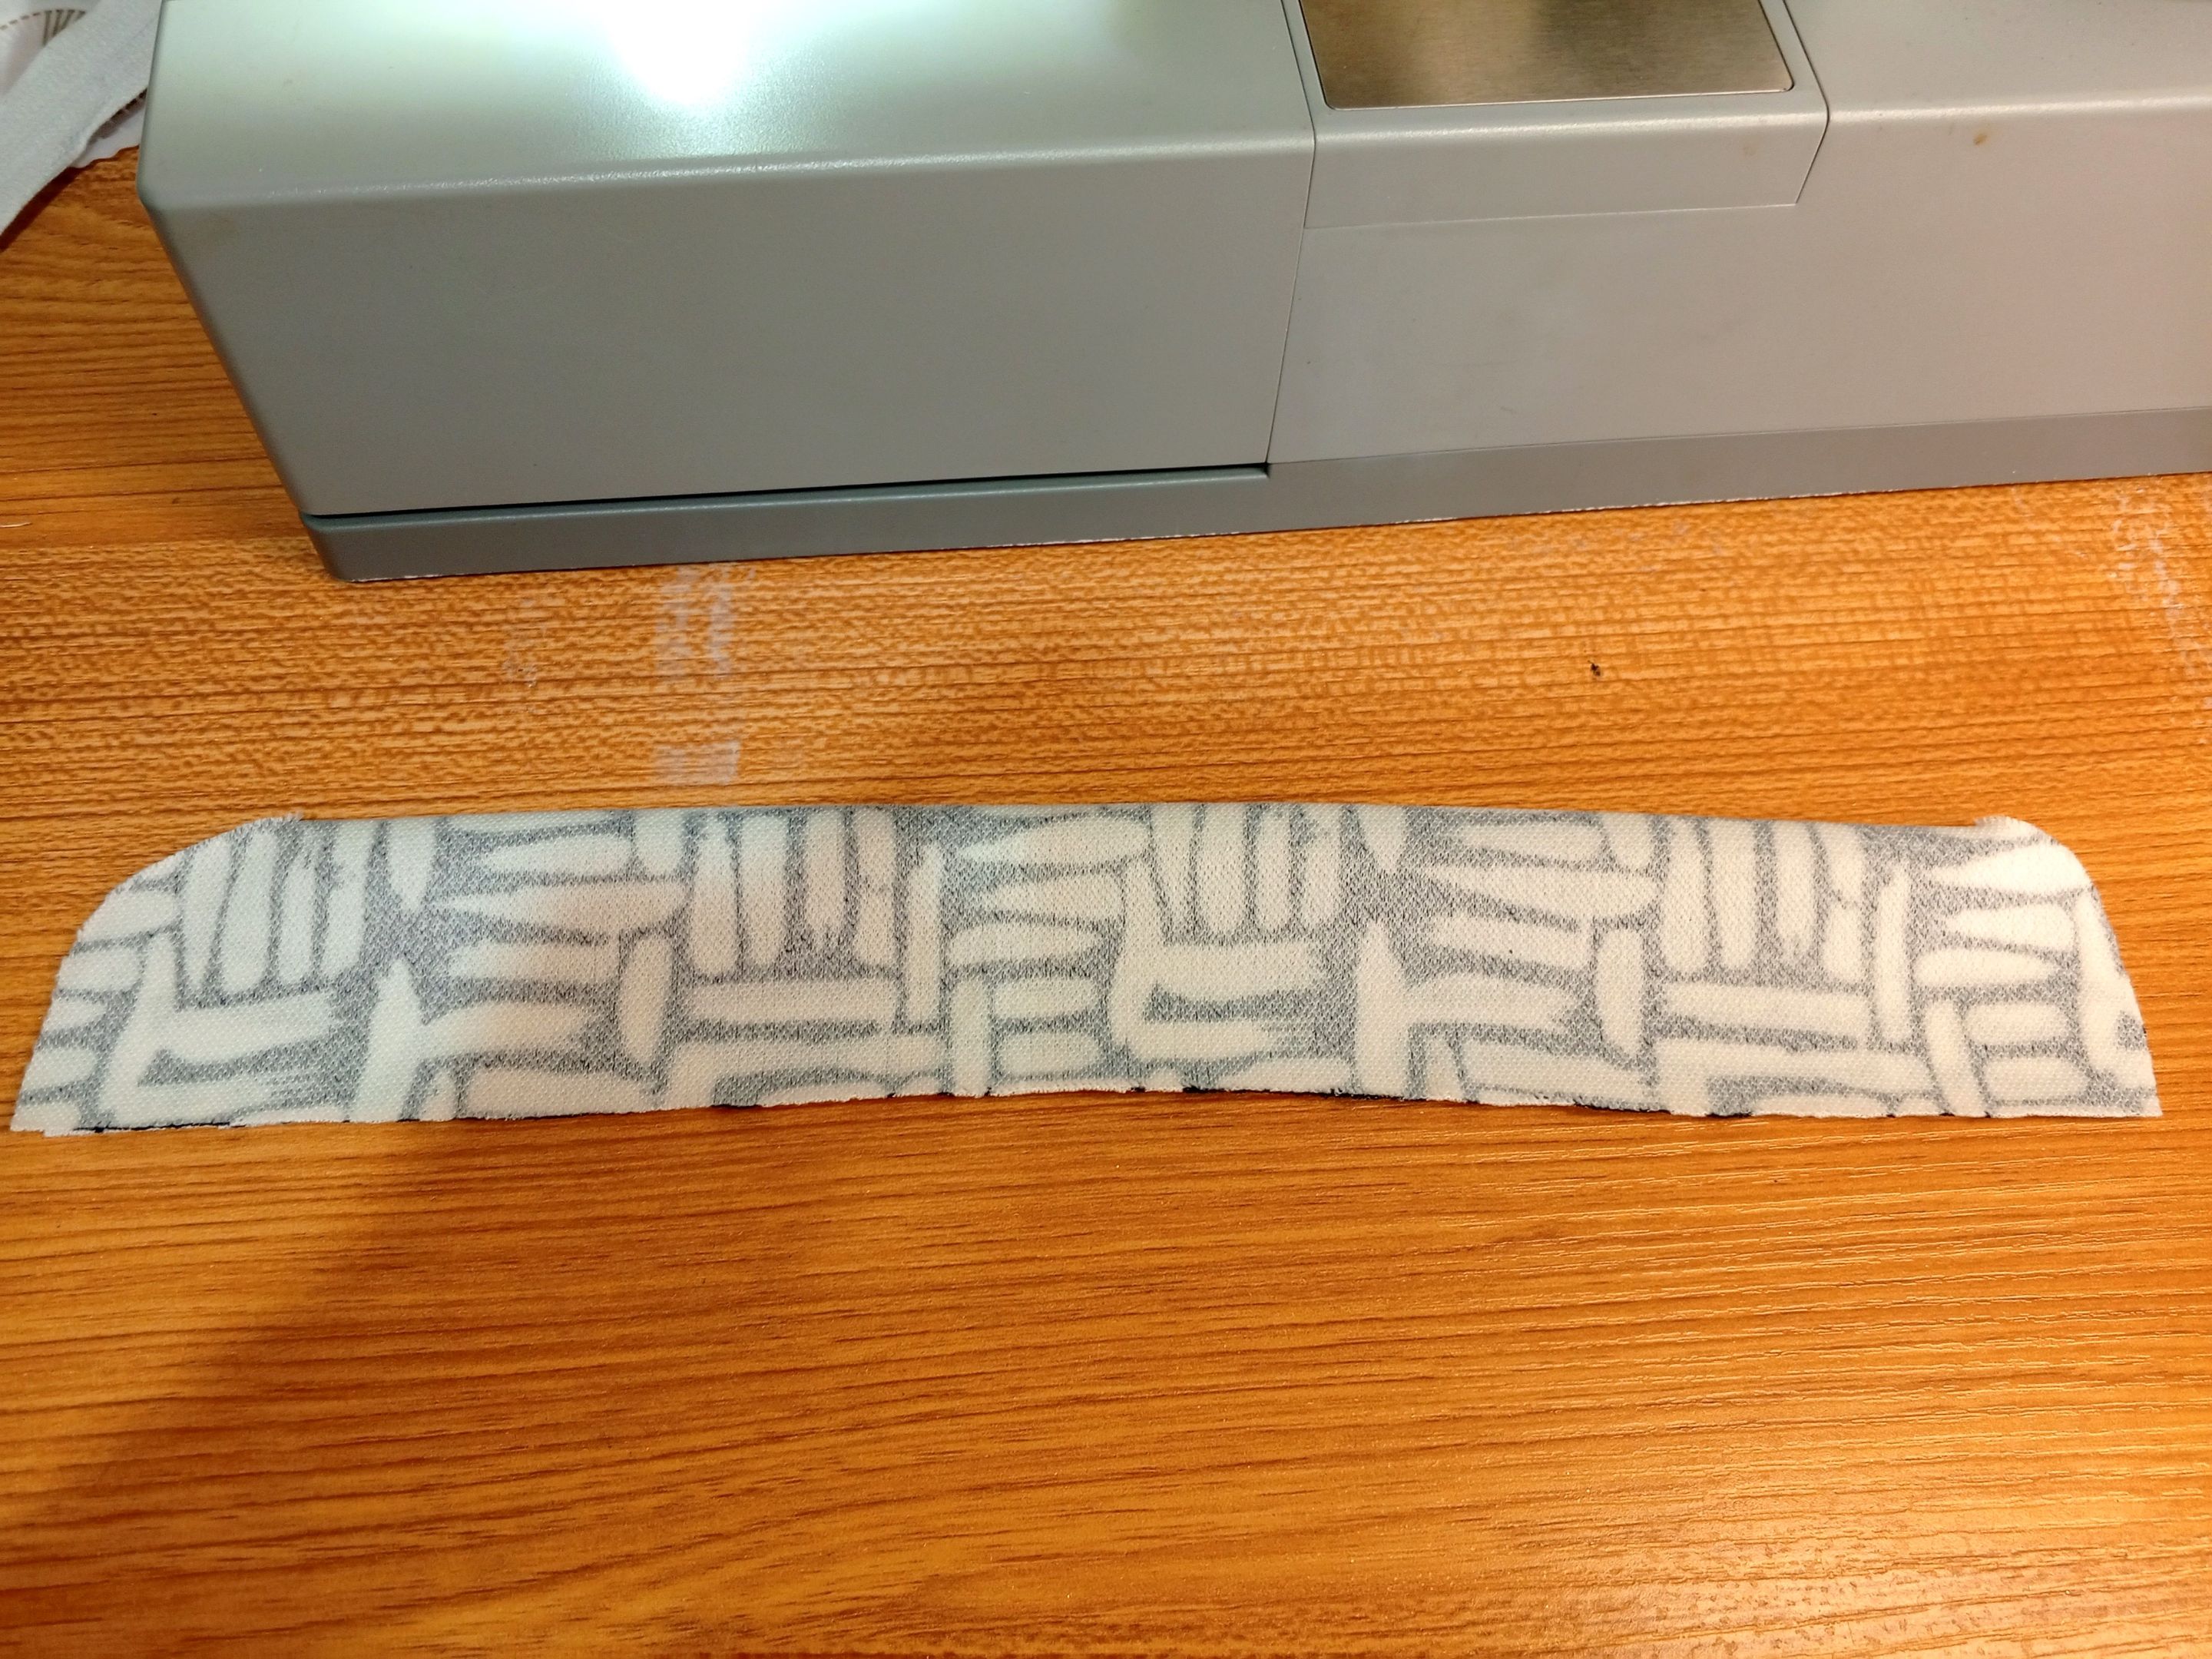
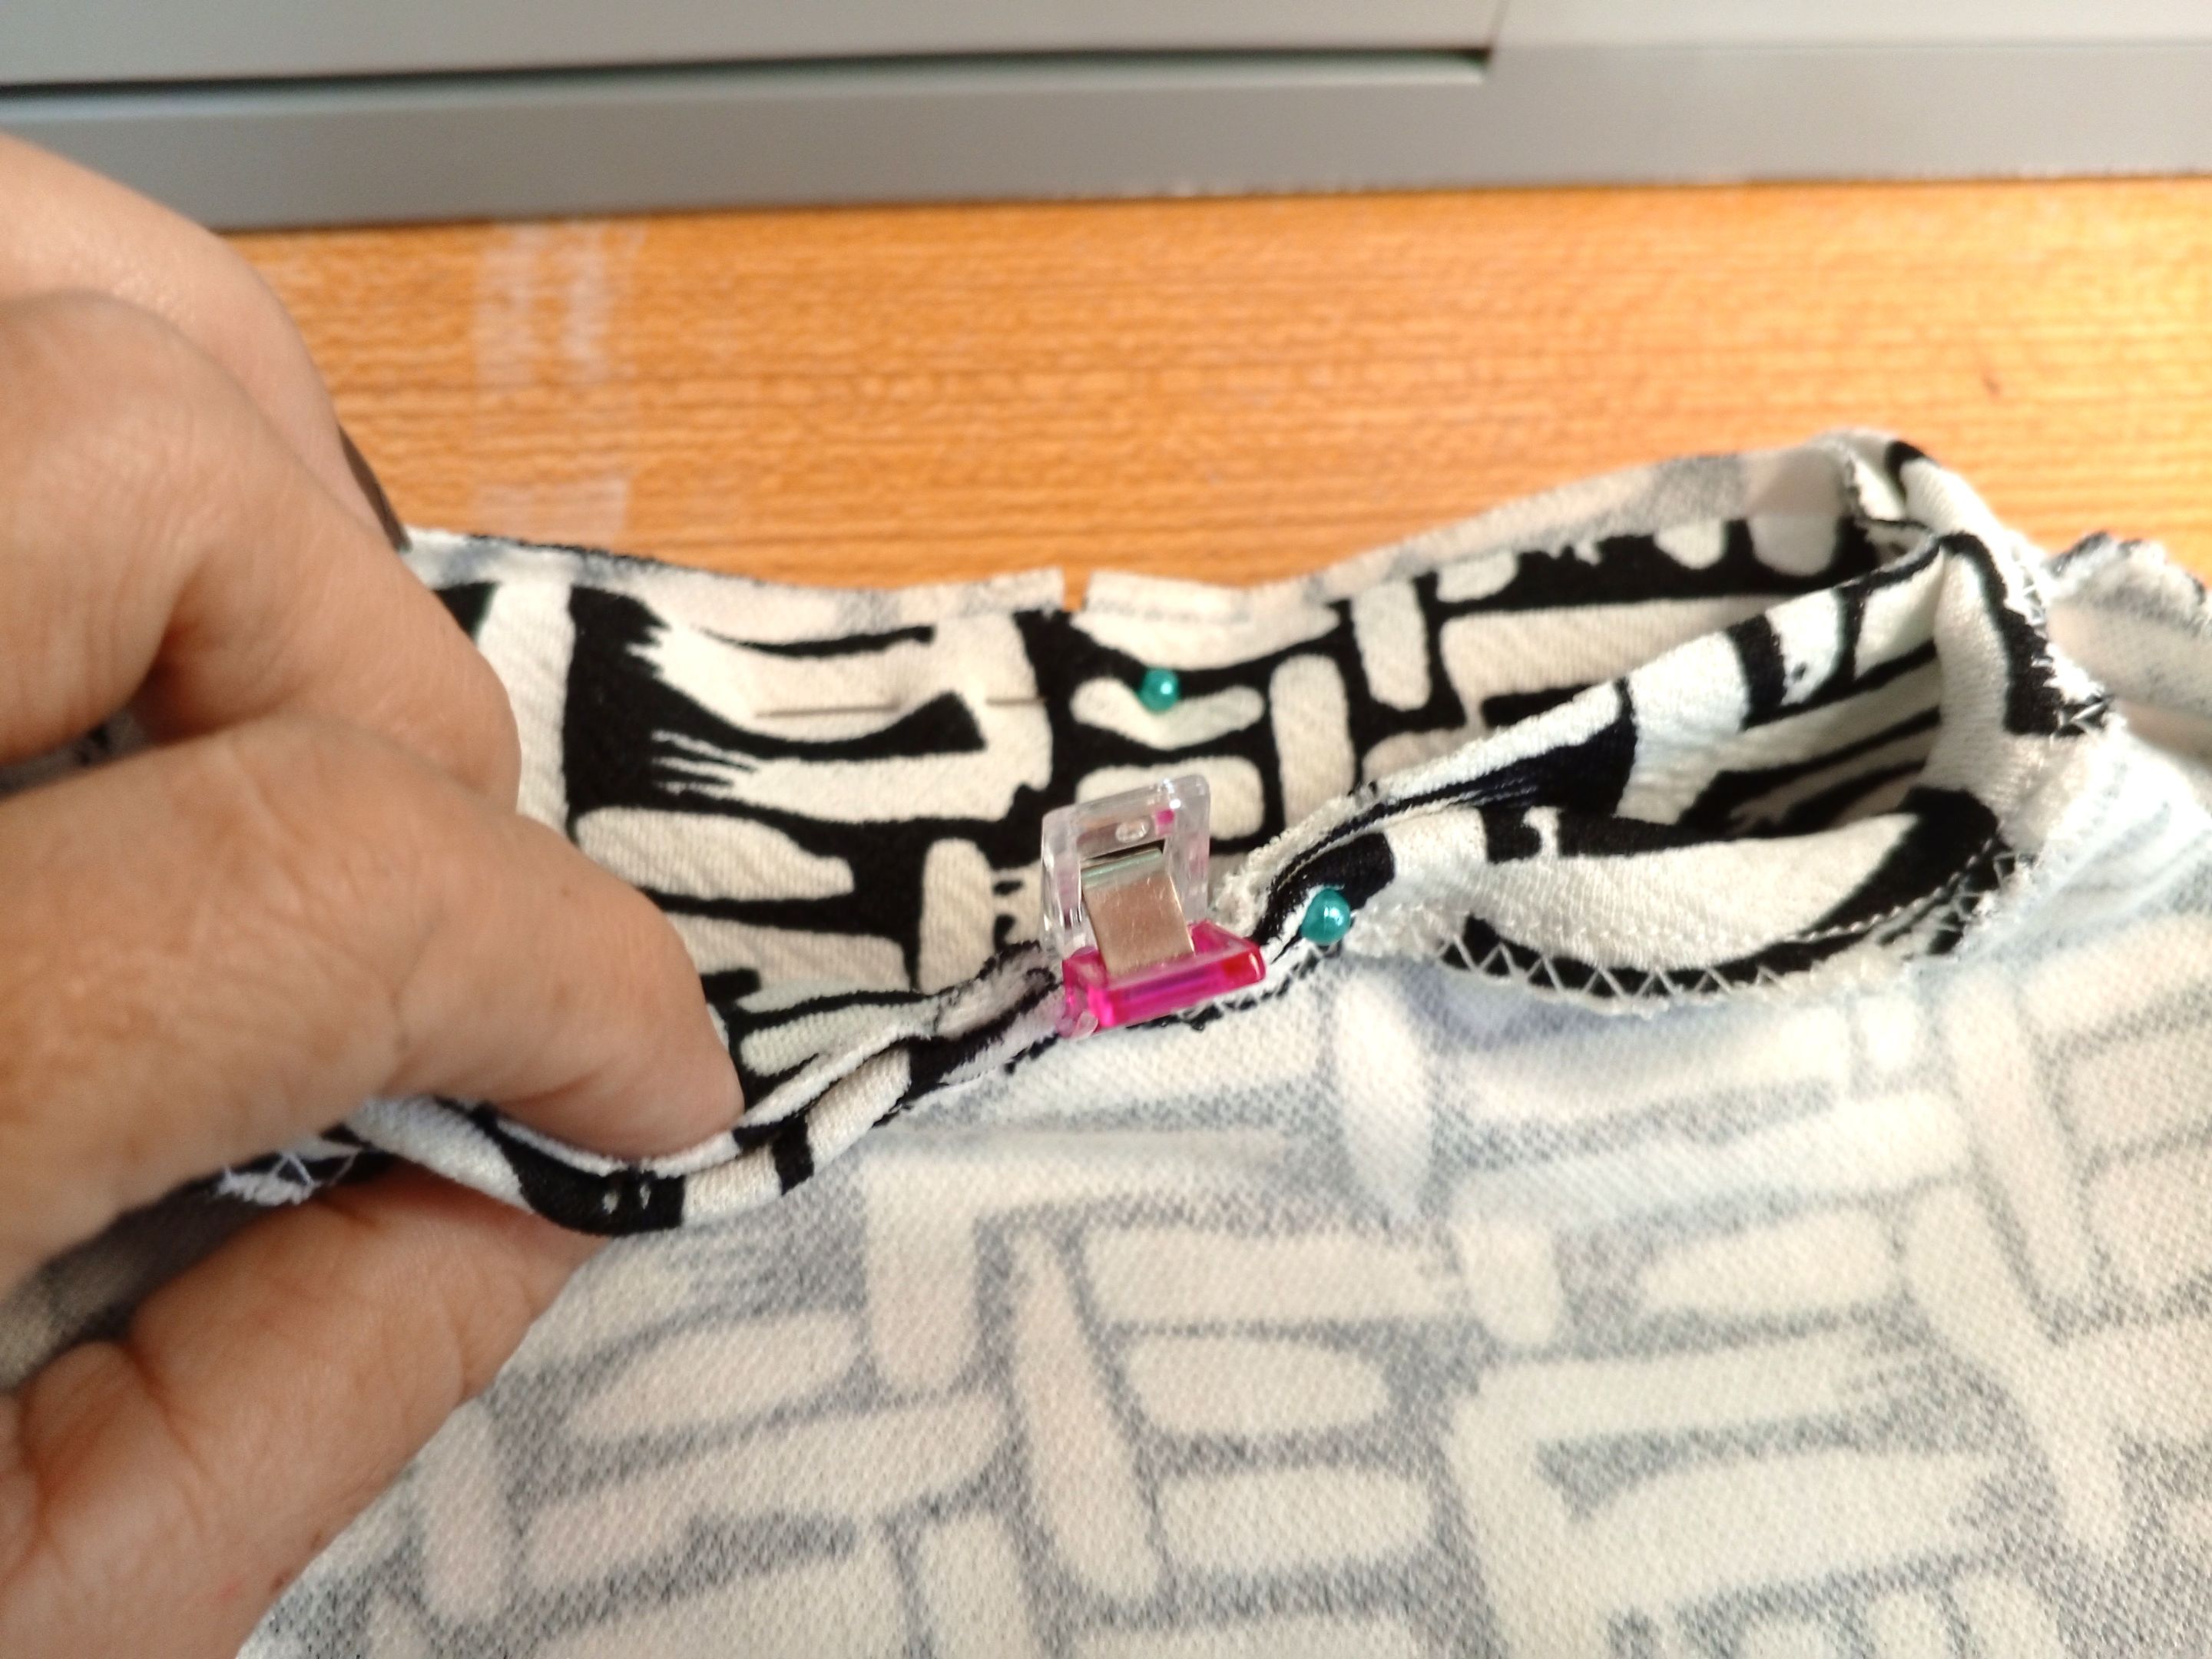
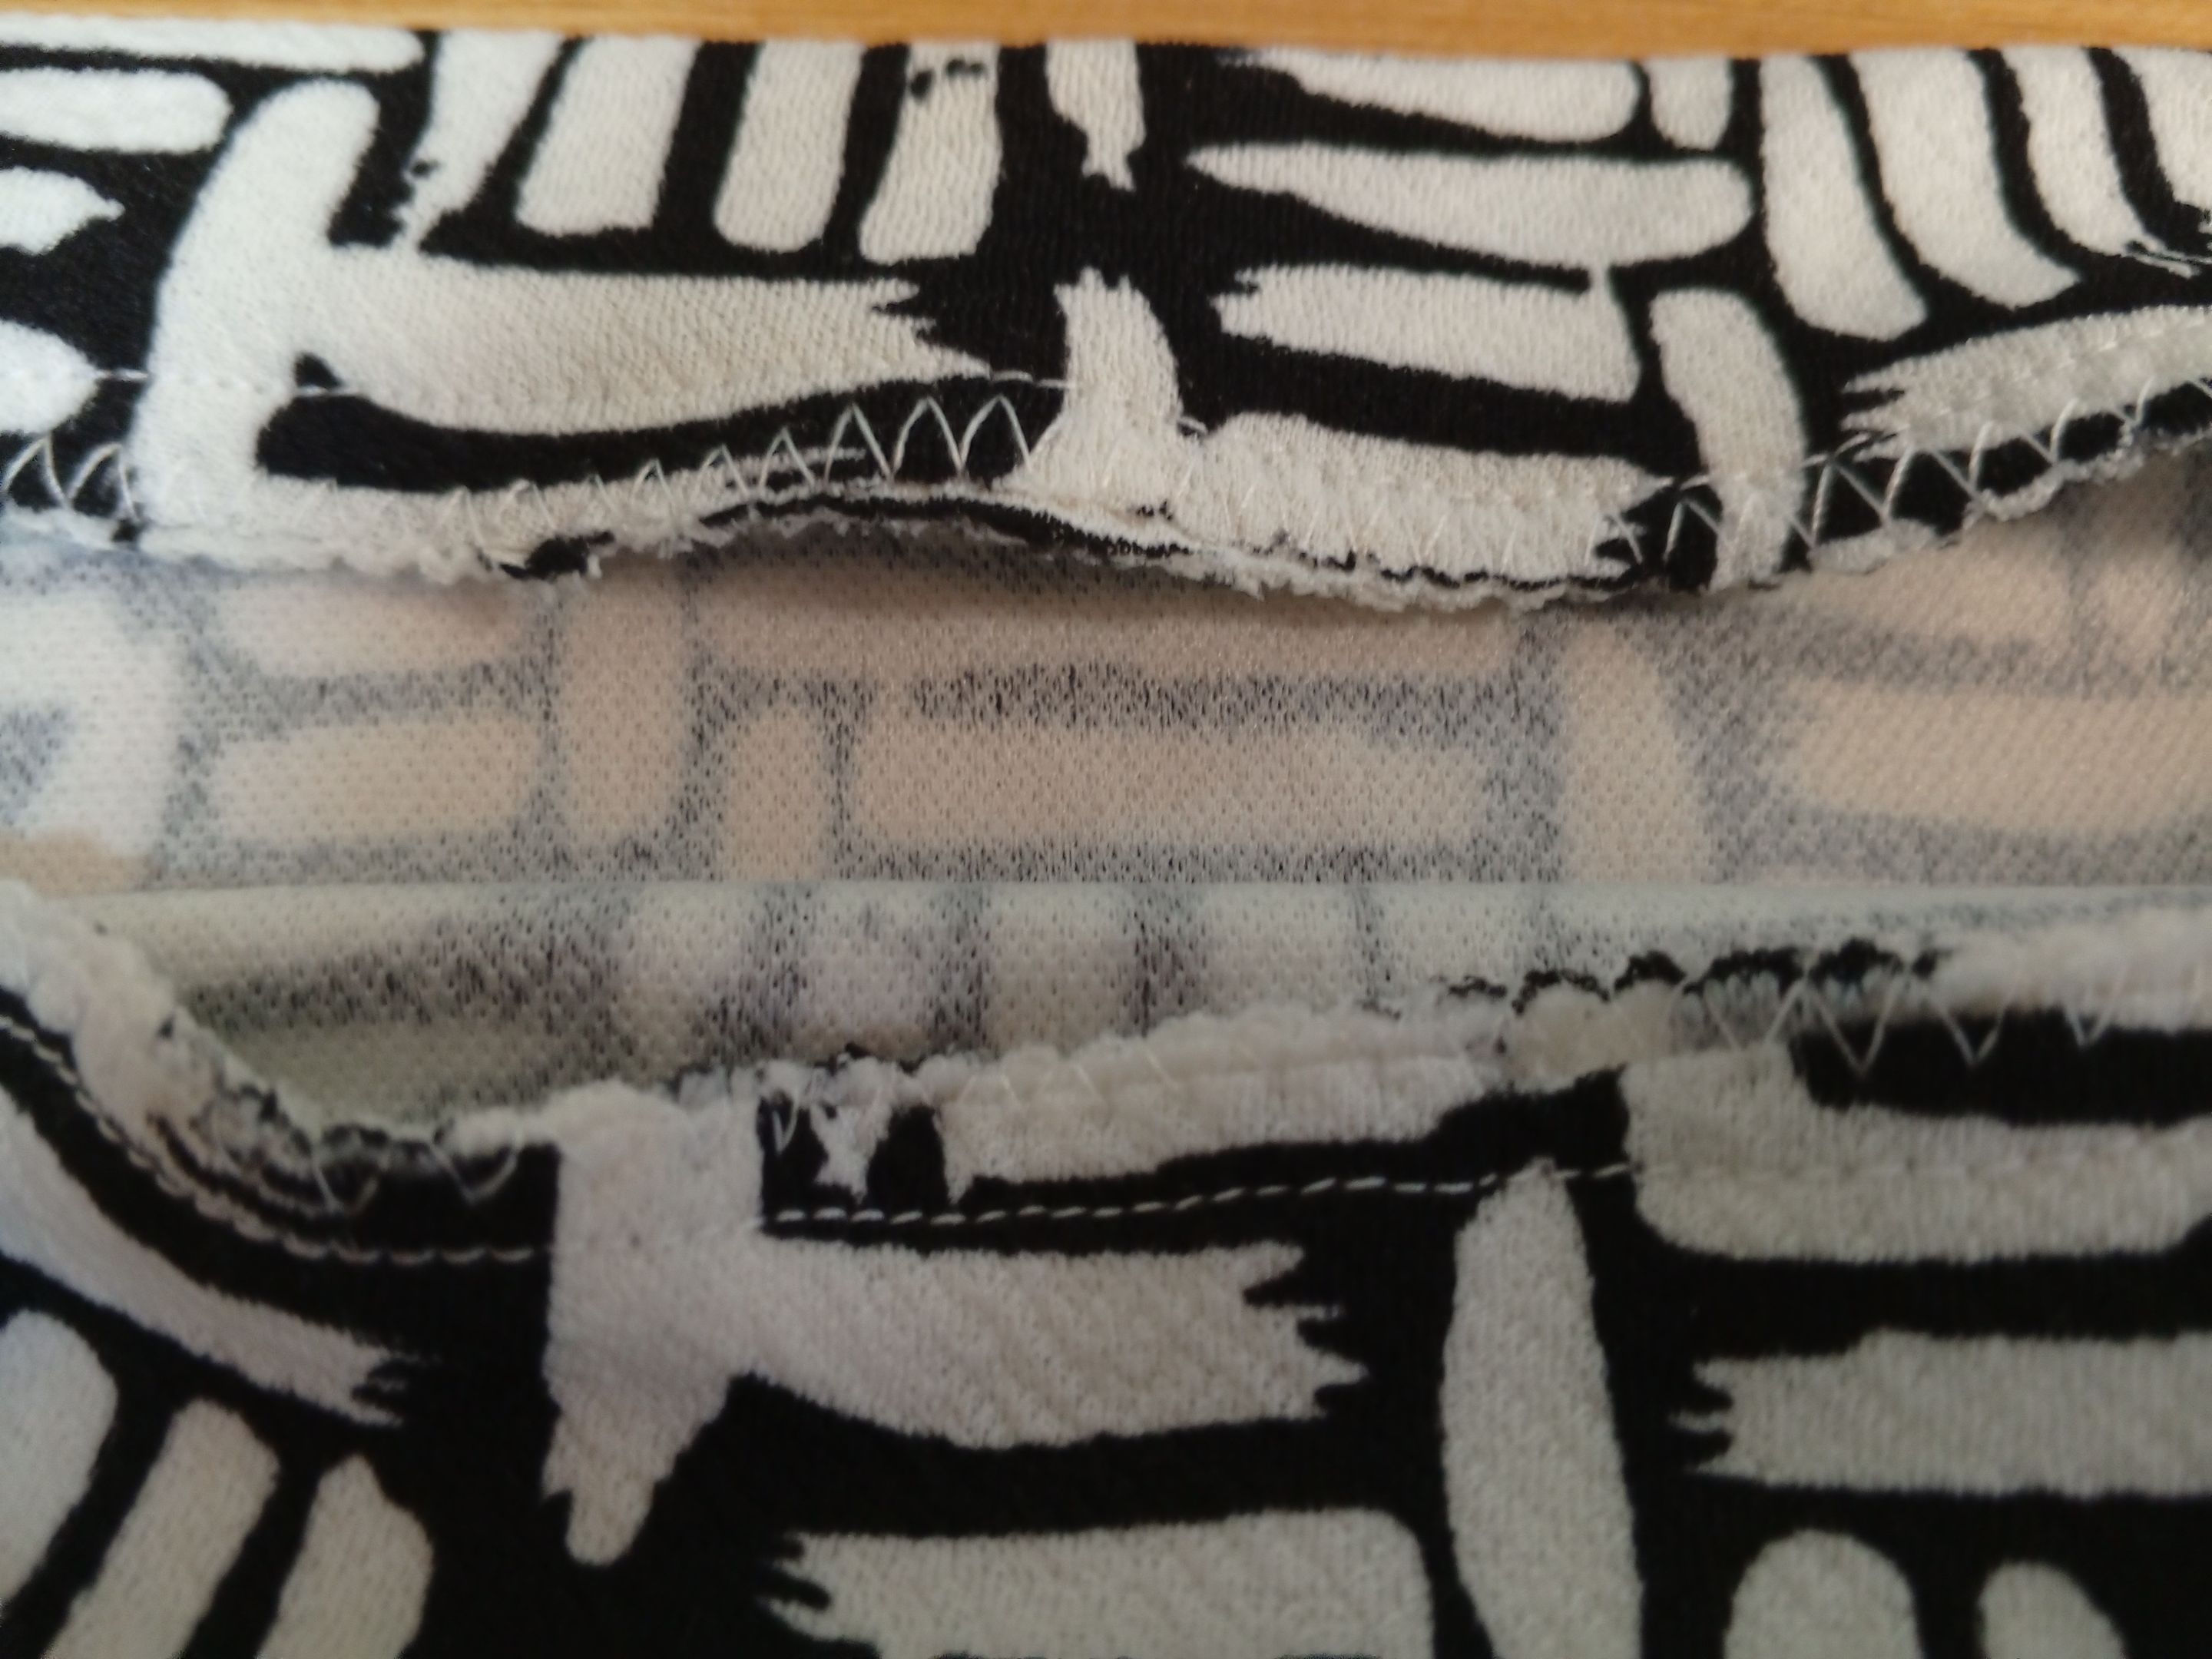
Es necesario pasar zig zag en el cuello, luego cose un ruedo. Con ayuda de pinzas o alfileres trata de poner en posición el cuello para coserlo más cómodamente. Luego de pasar zig zag y una recta para cerrar, lo volteas al derecho y pasas un pespunte.
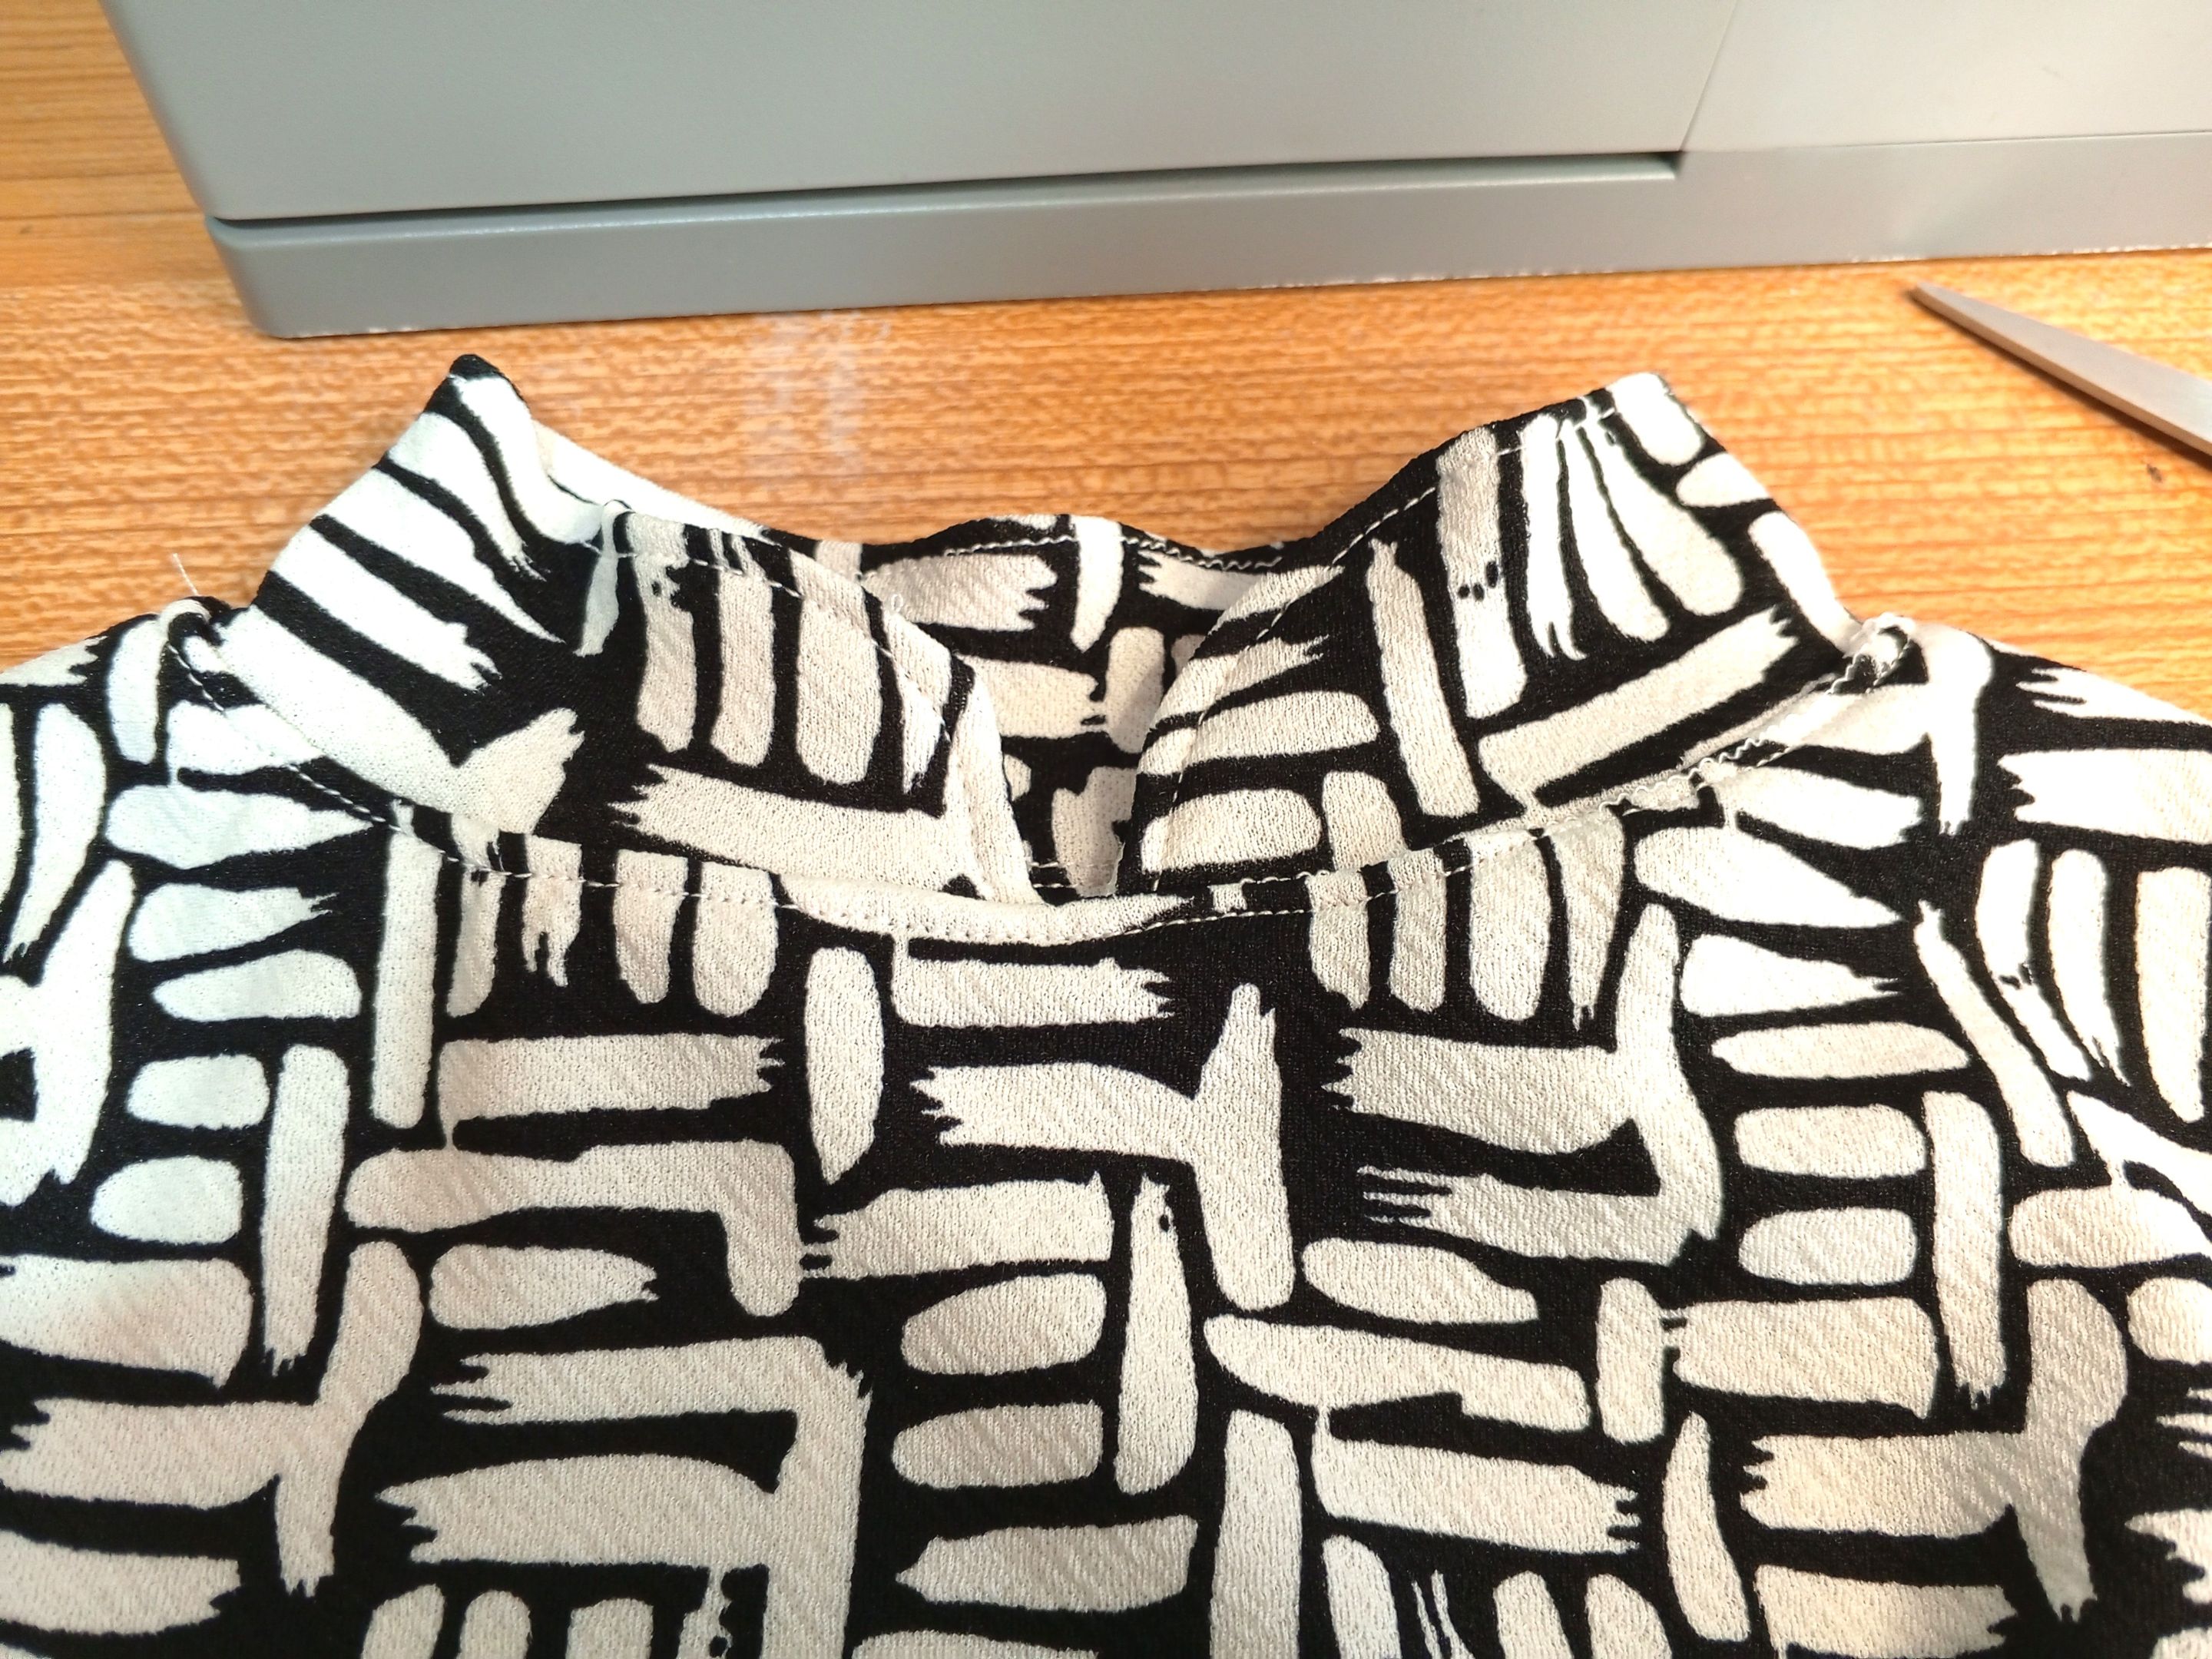
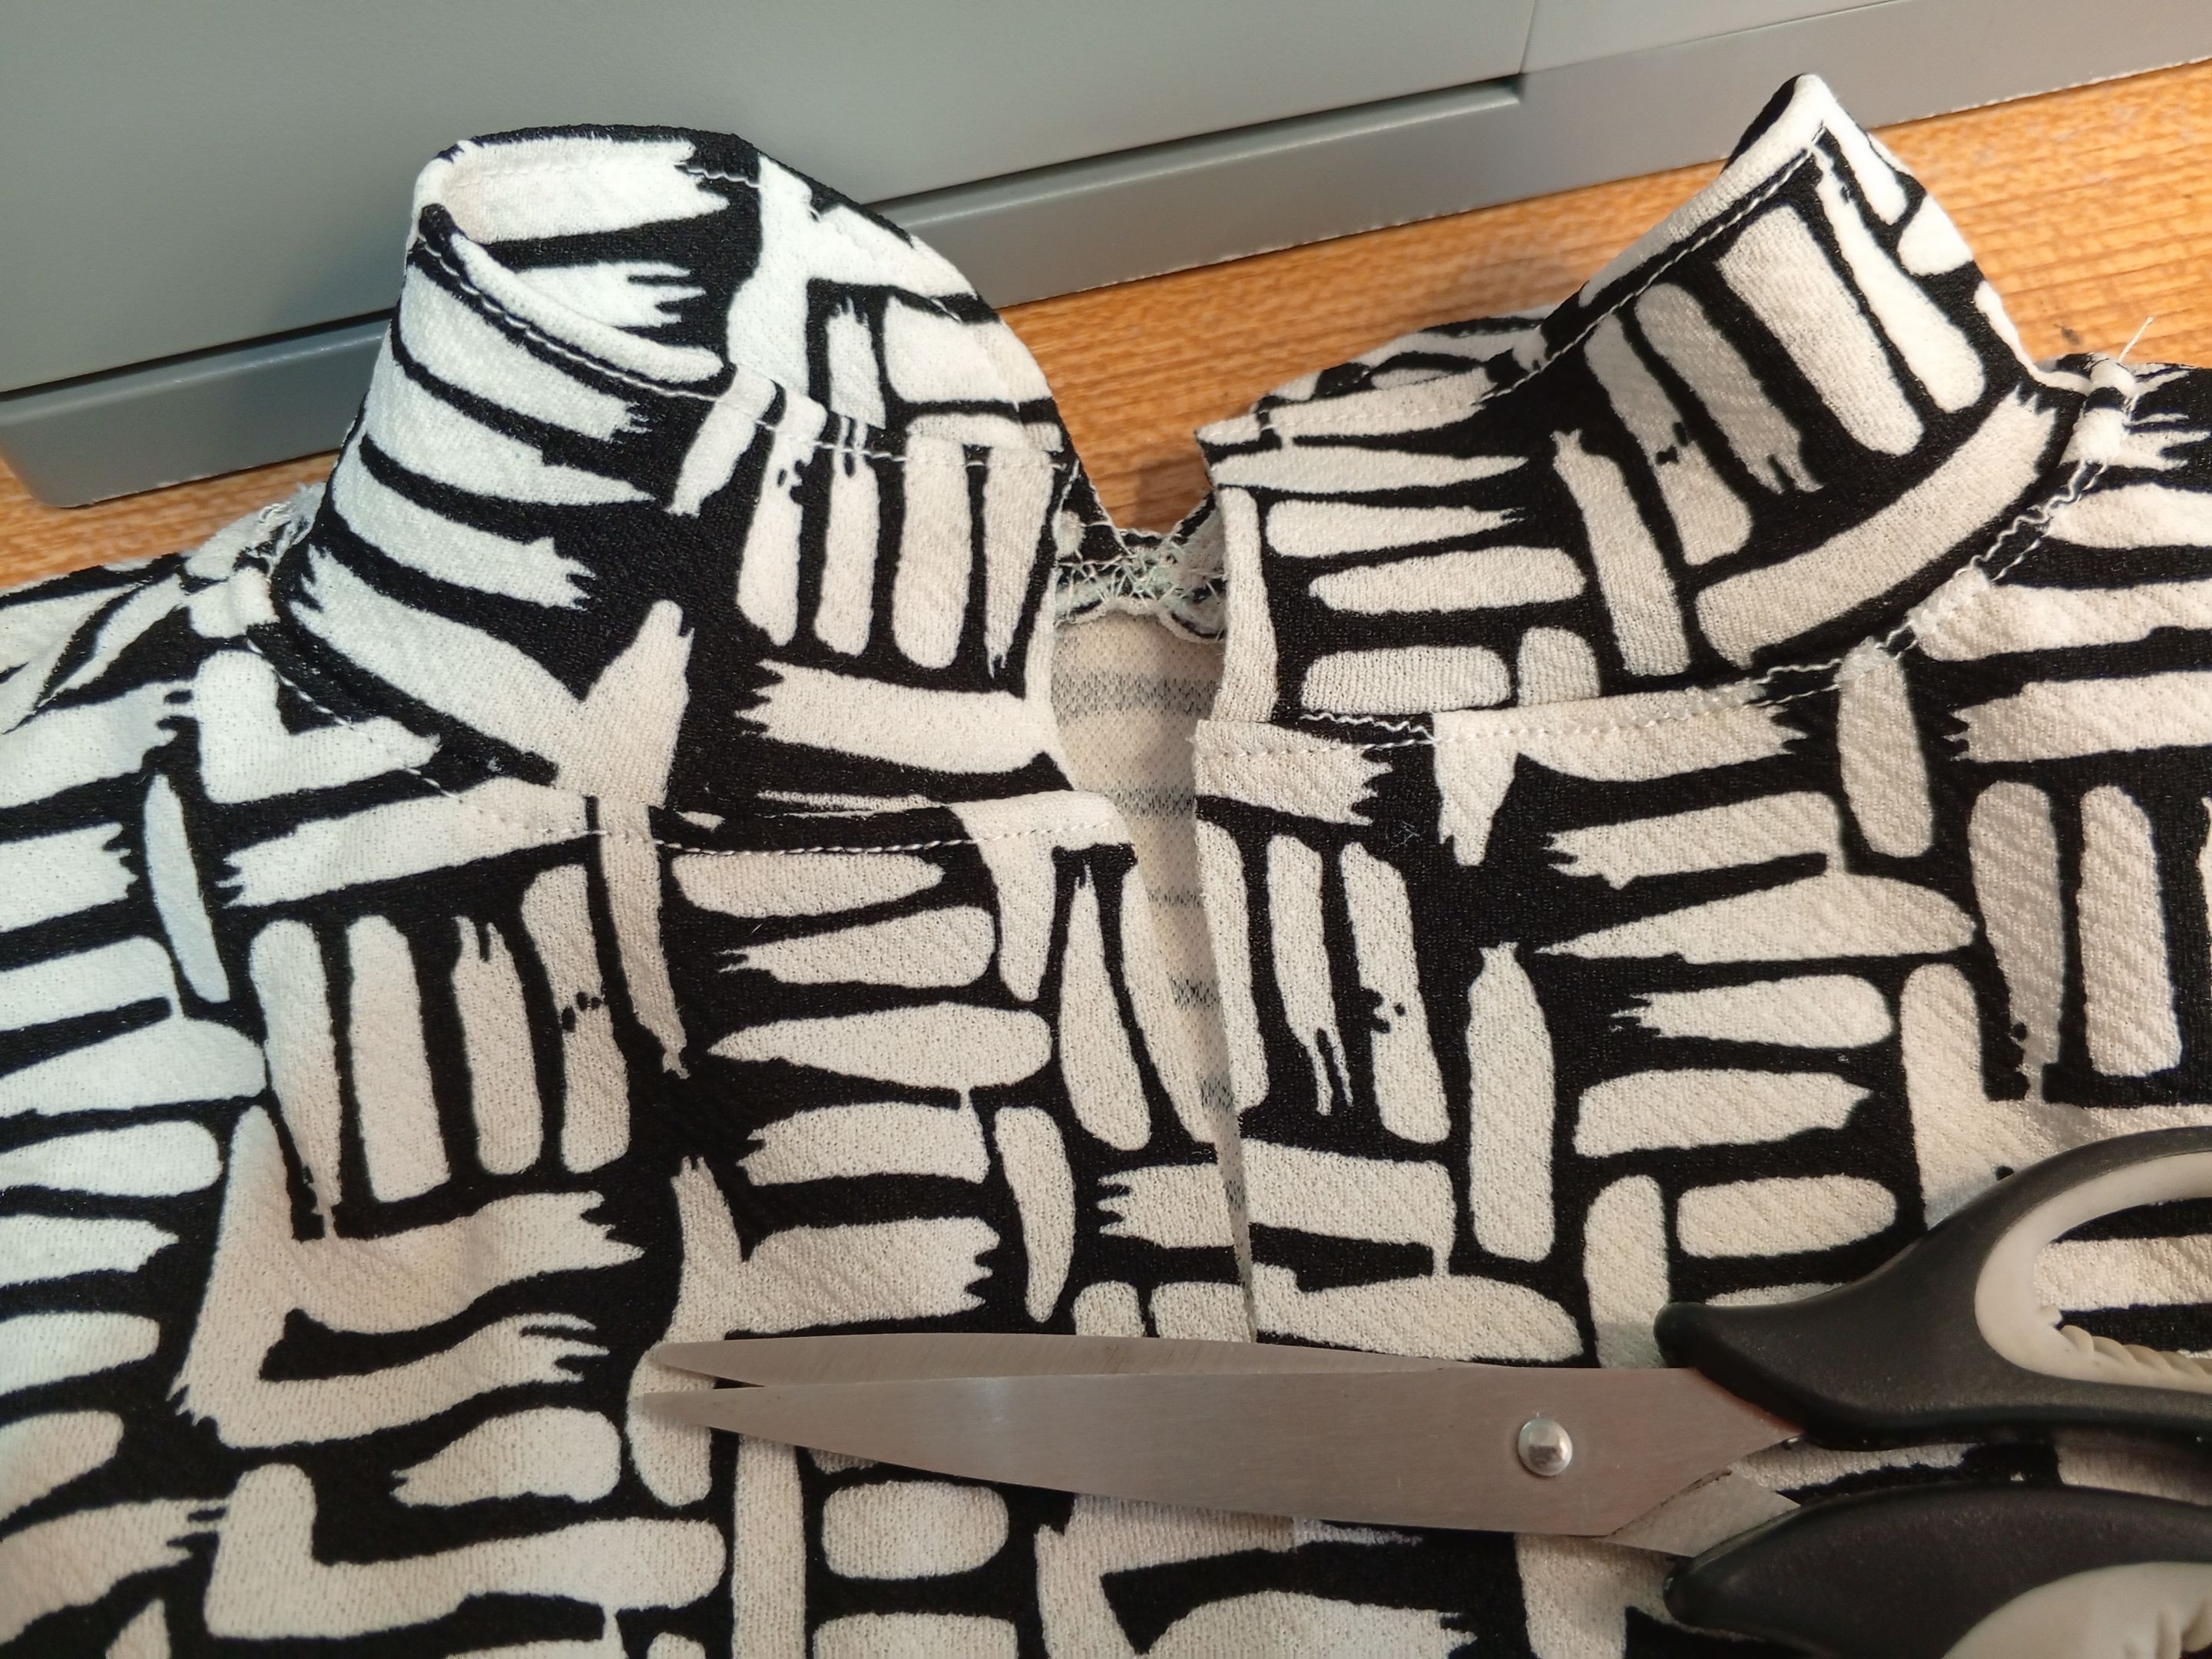
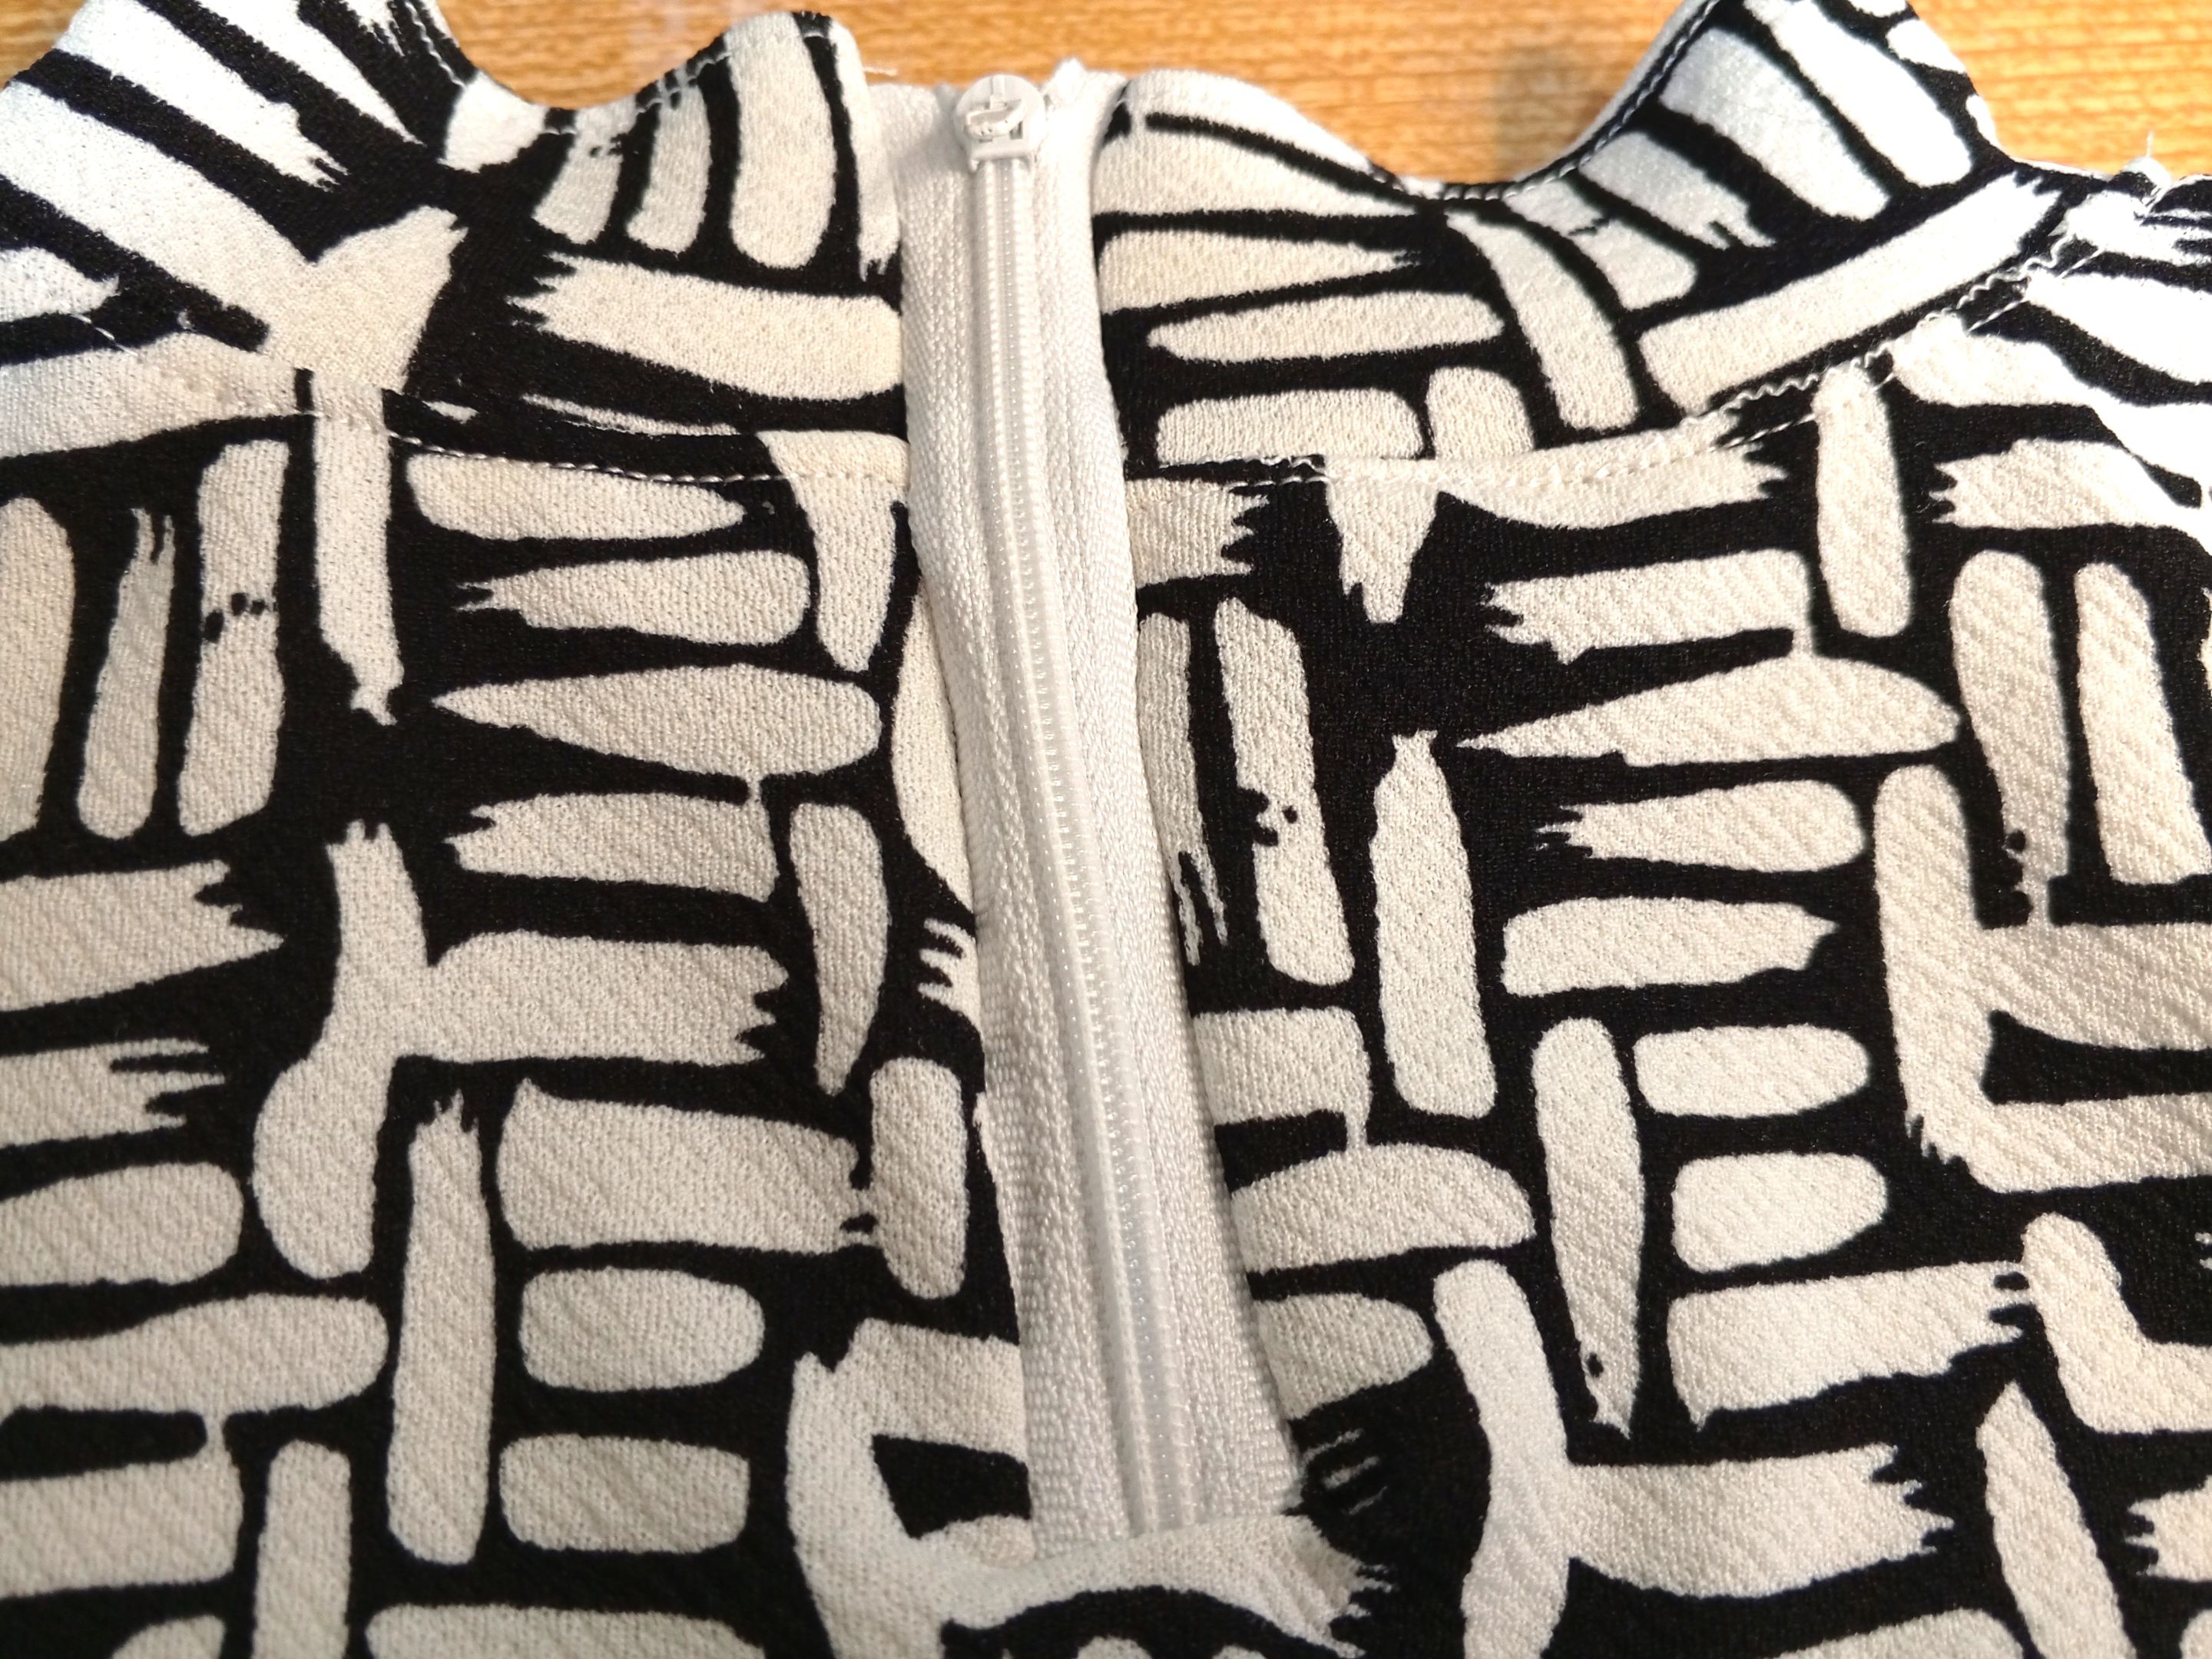
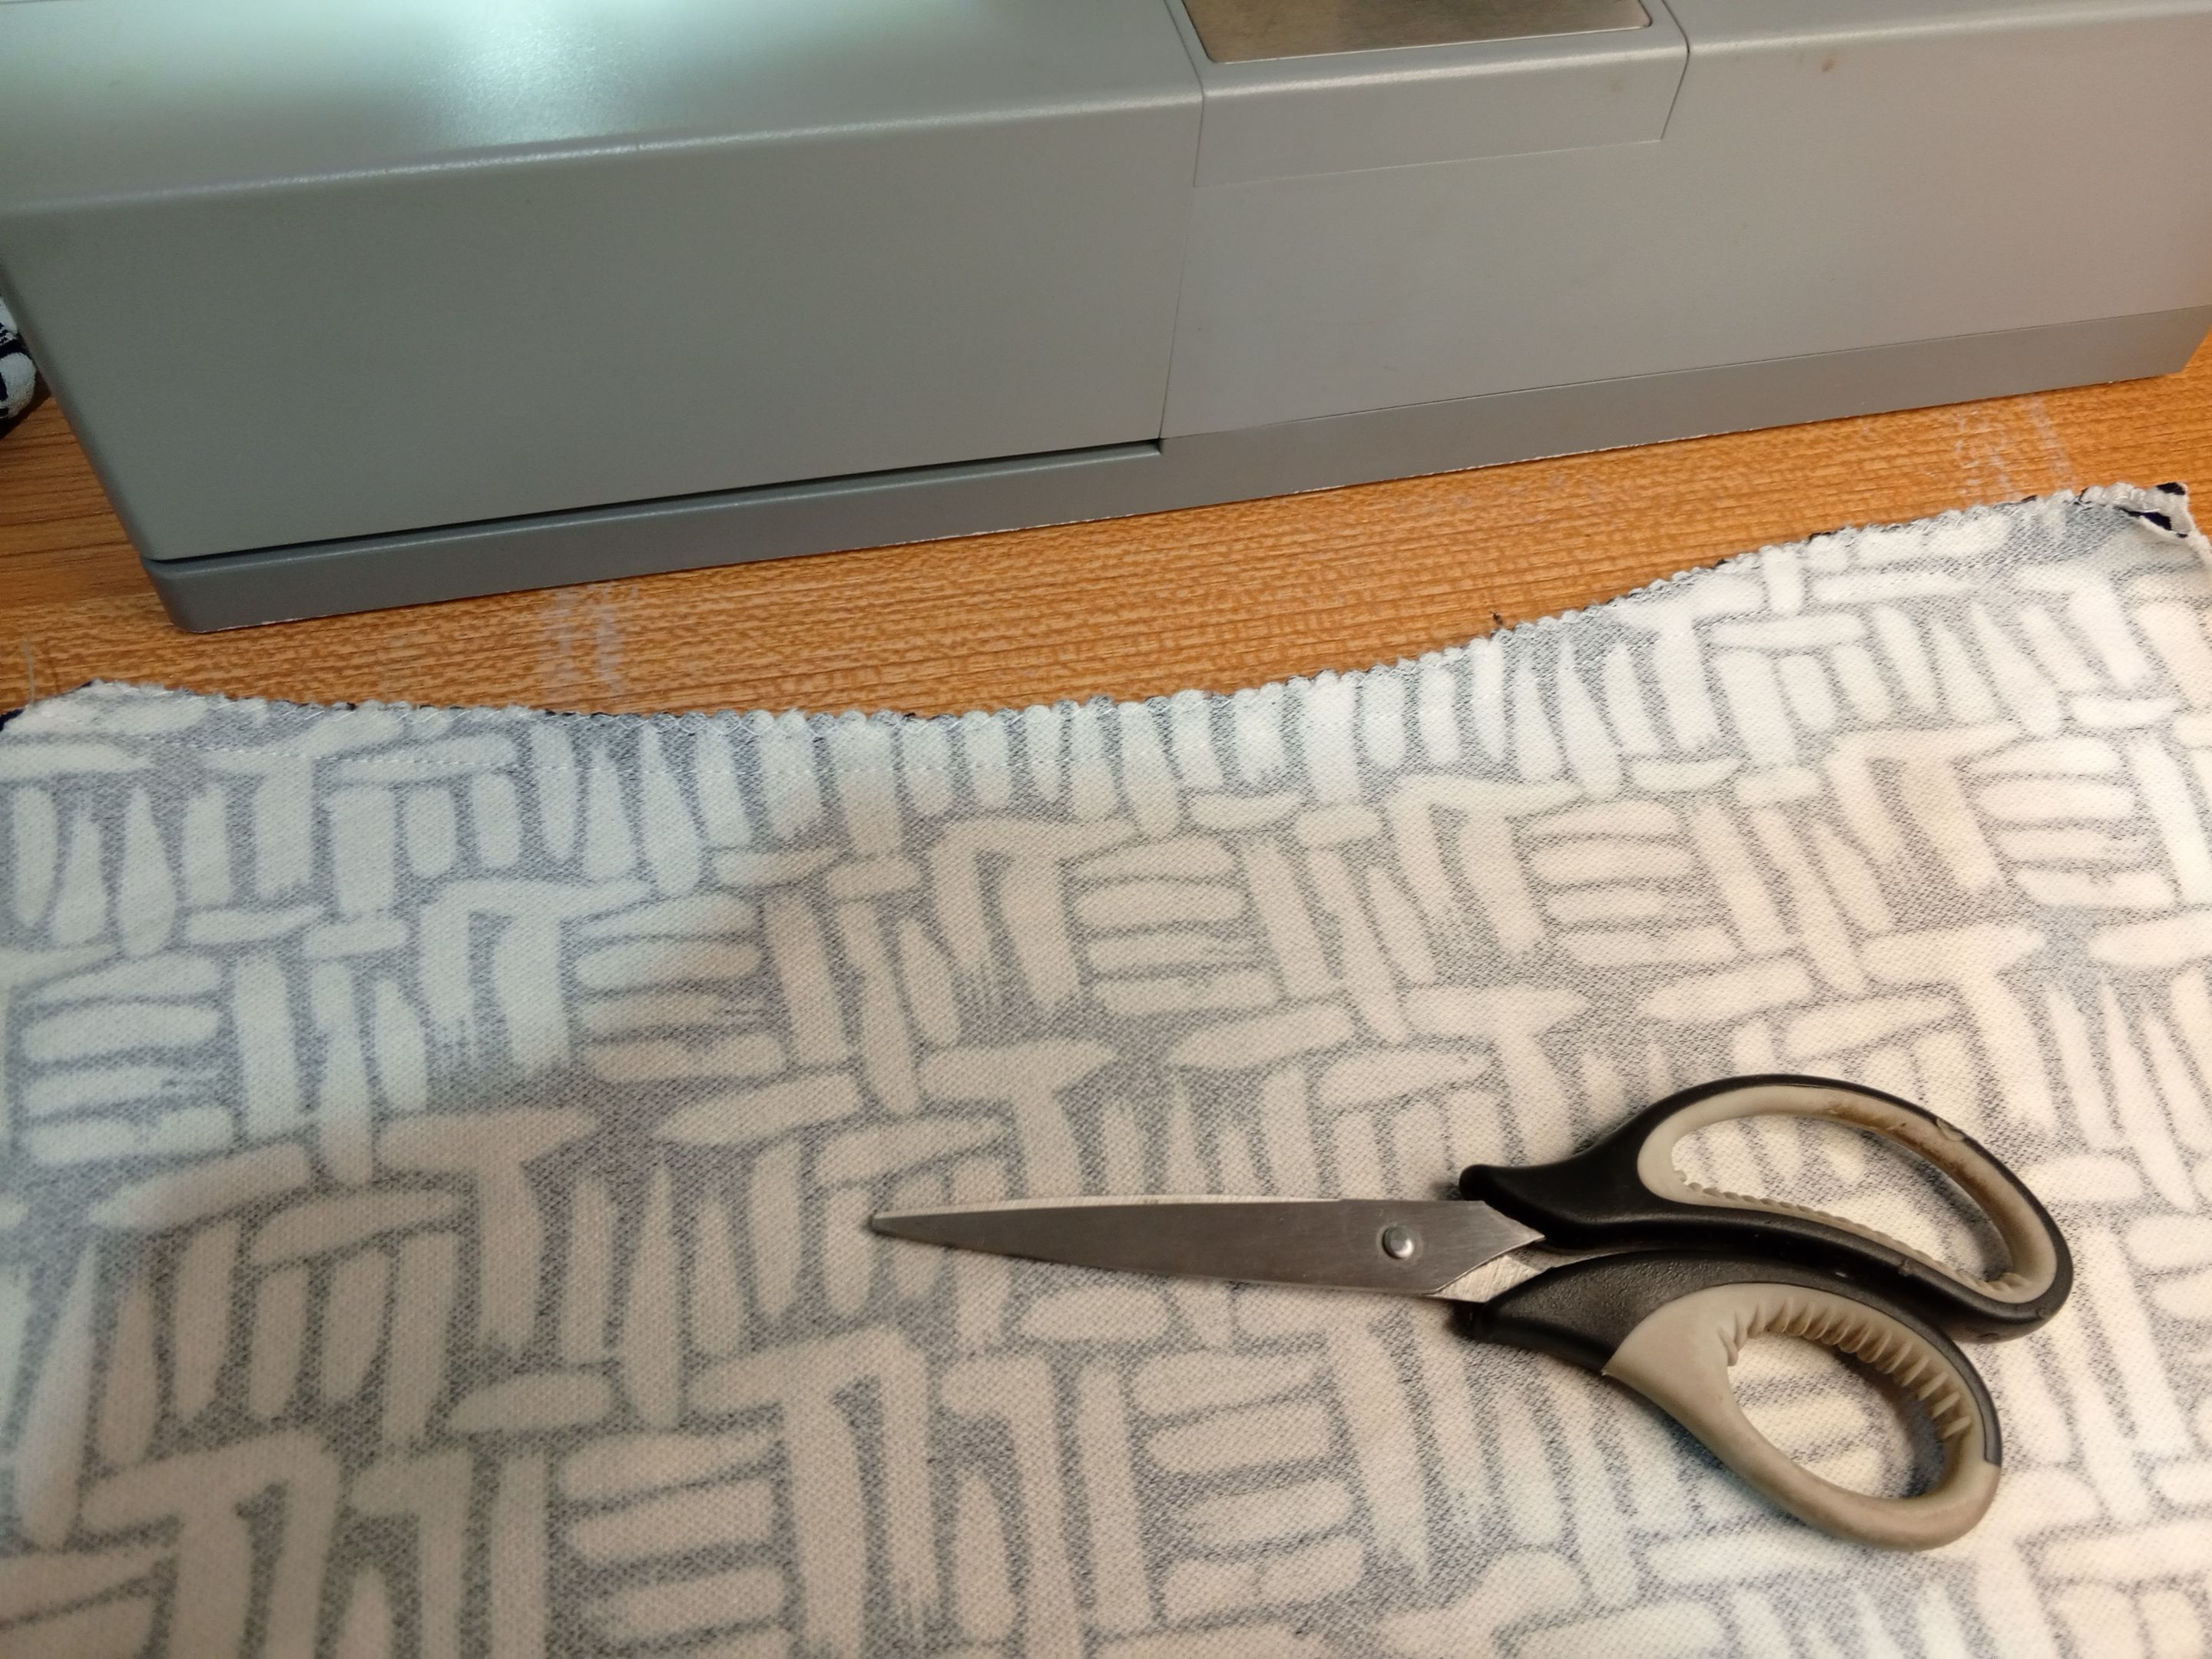
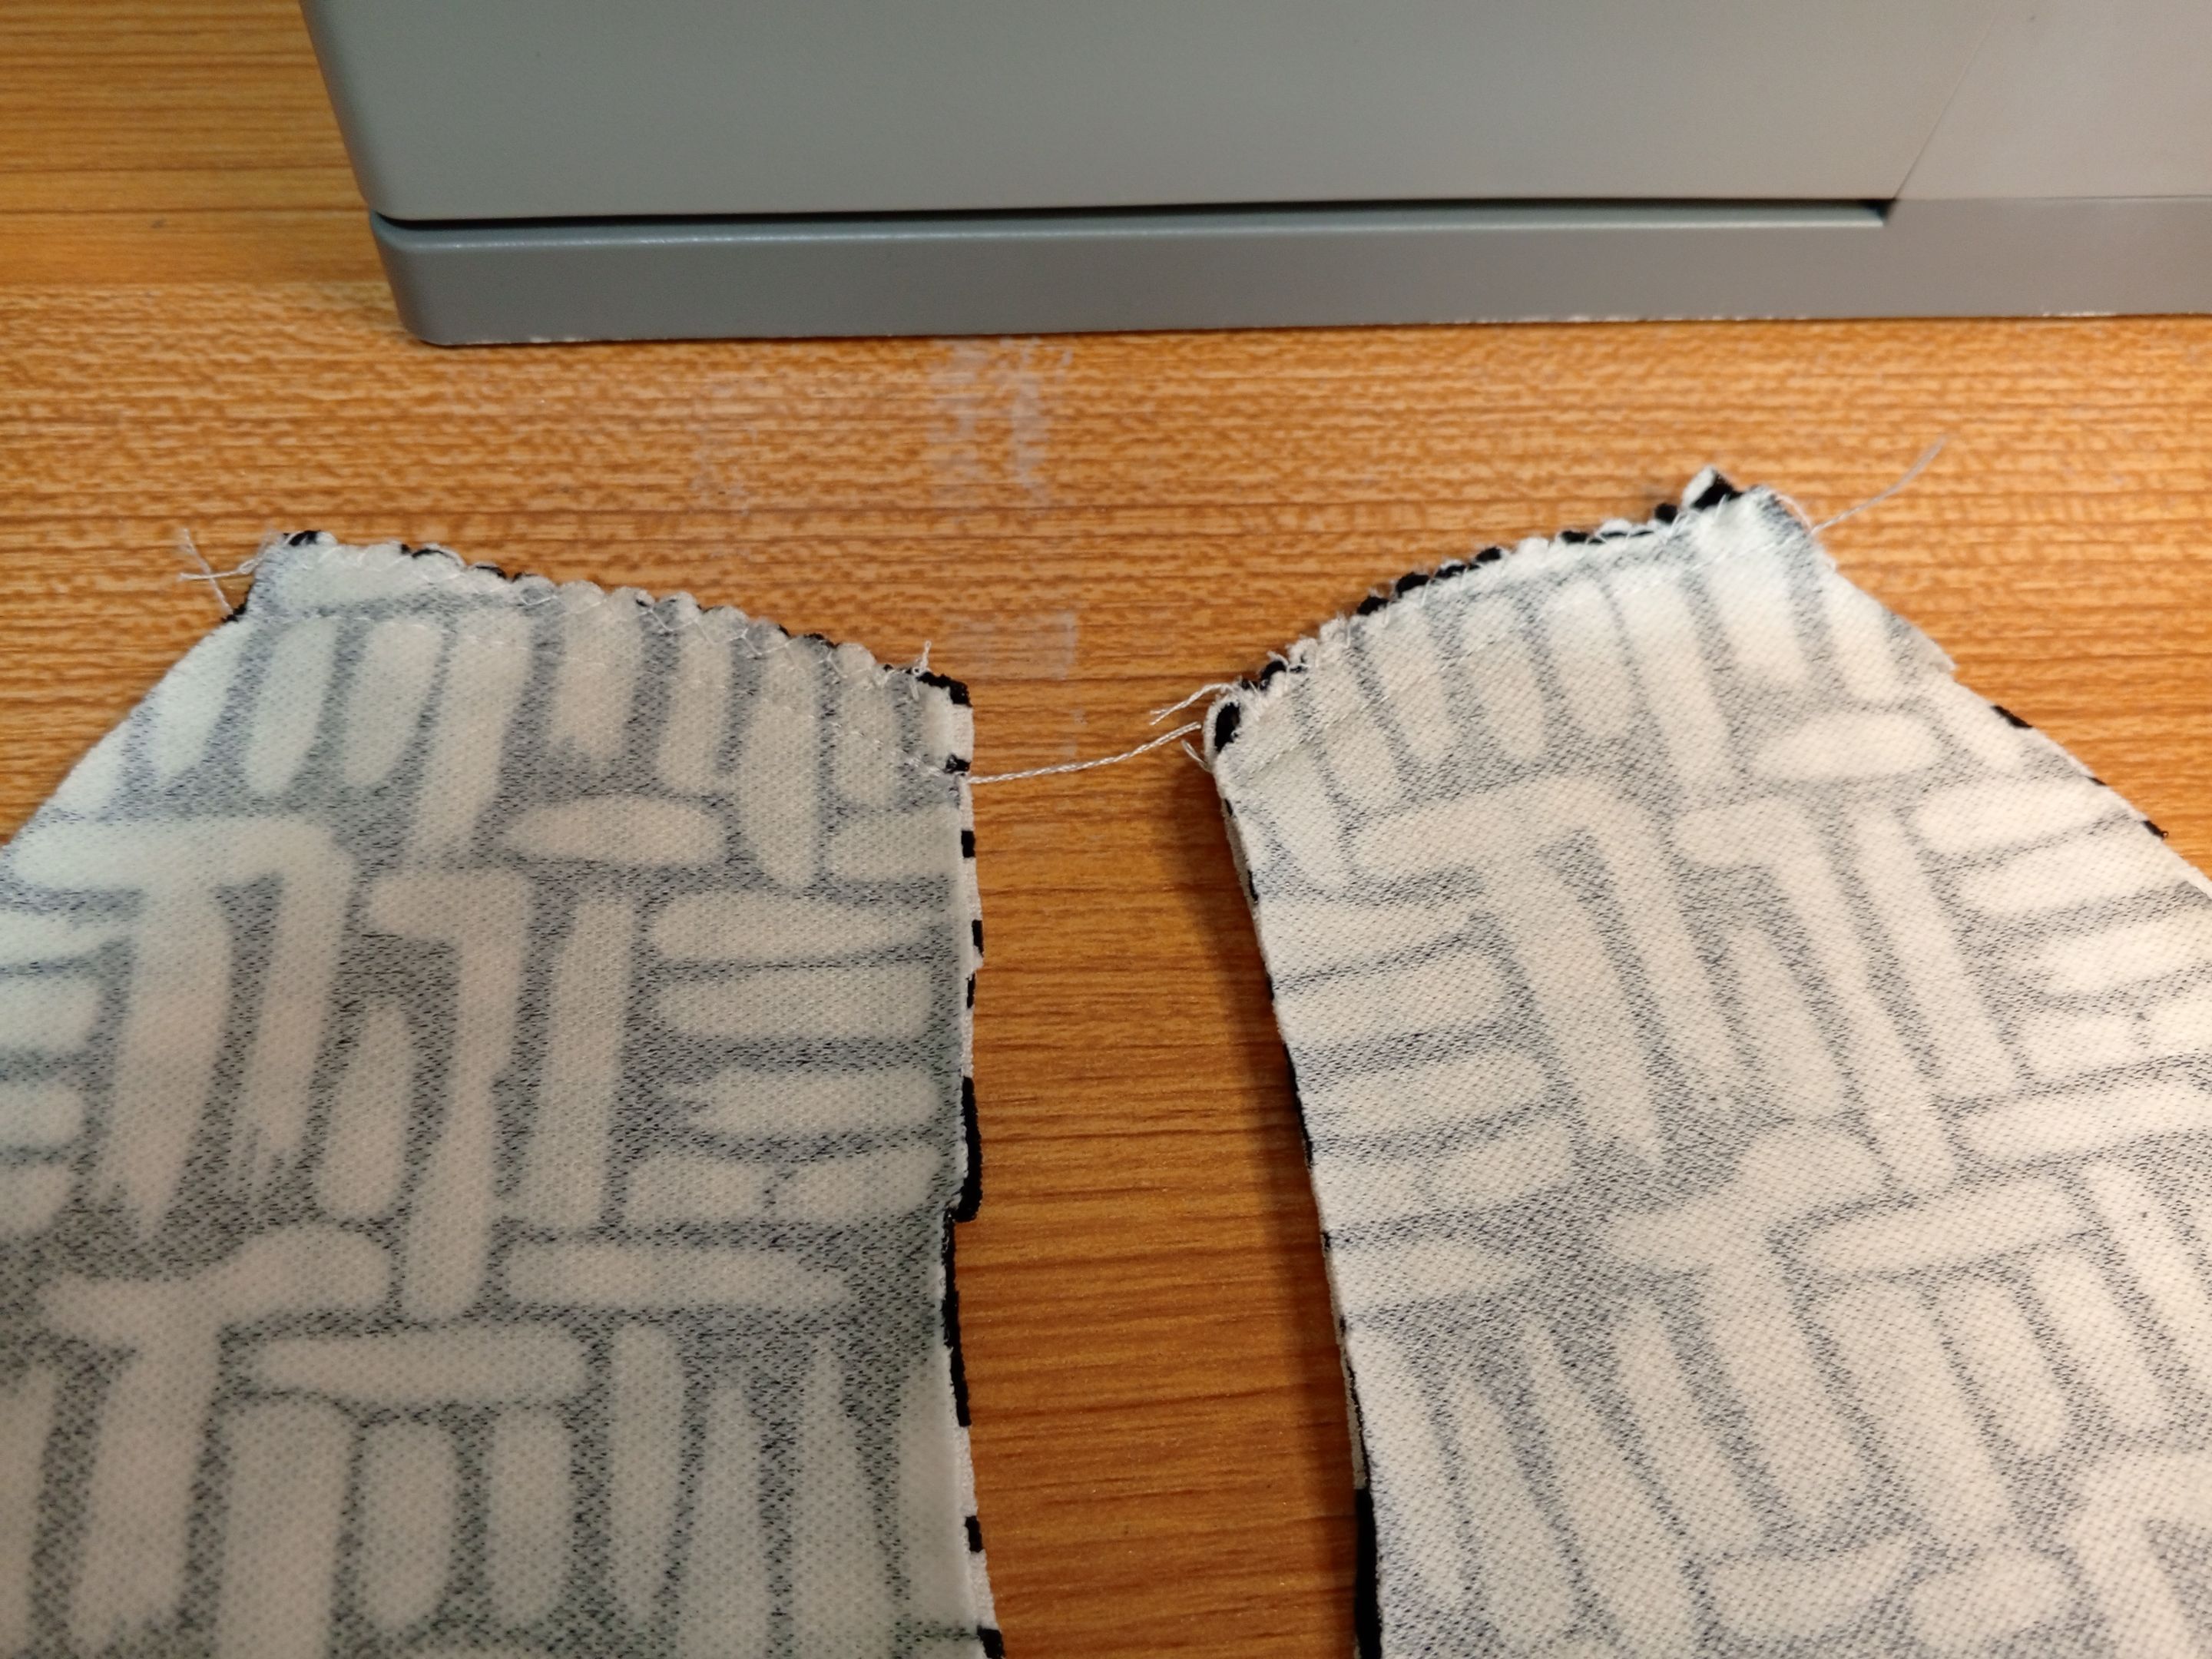
Voltea por la parte de atrás la blusa y corta por la mitad una ranura, esta es la forma que me ingenié no es la adecuada pero para alguien principiante como yo es funcional.
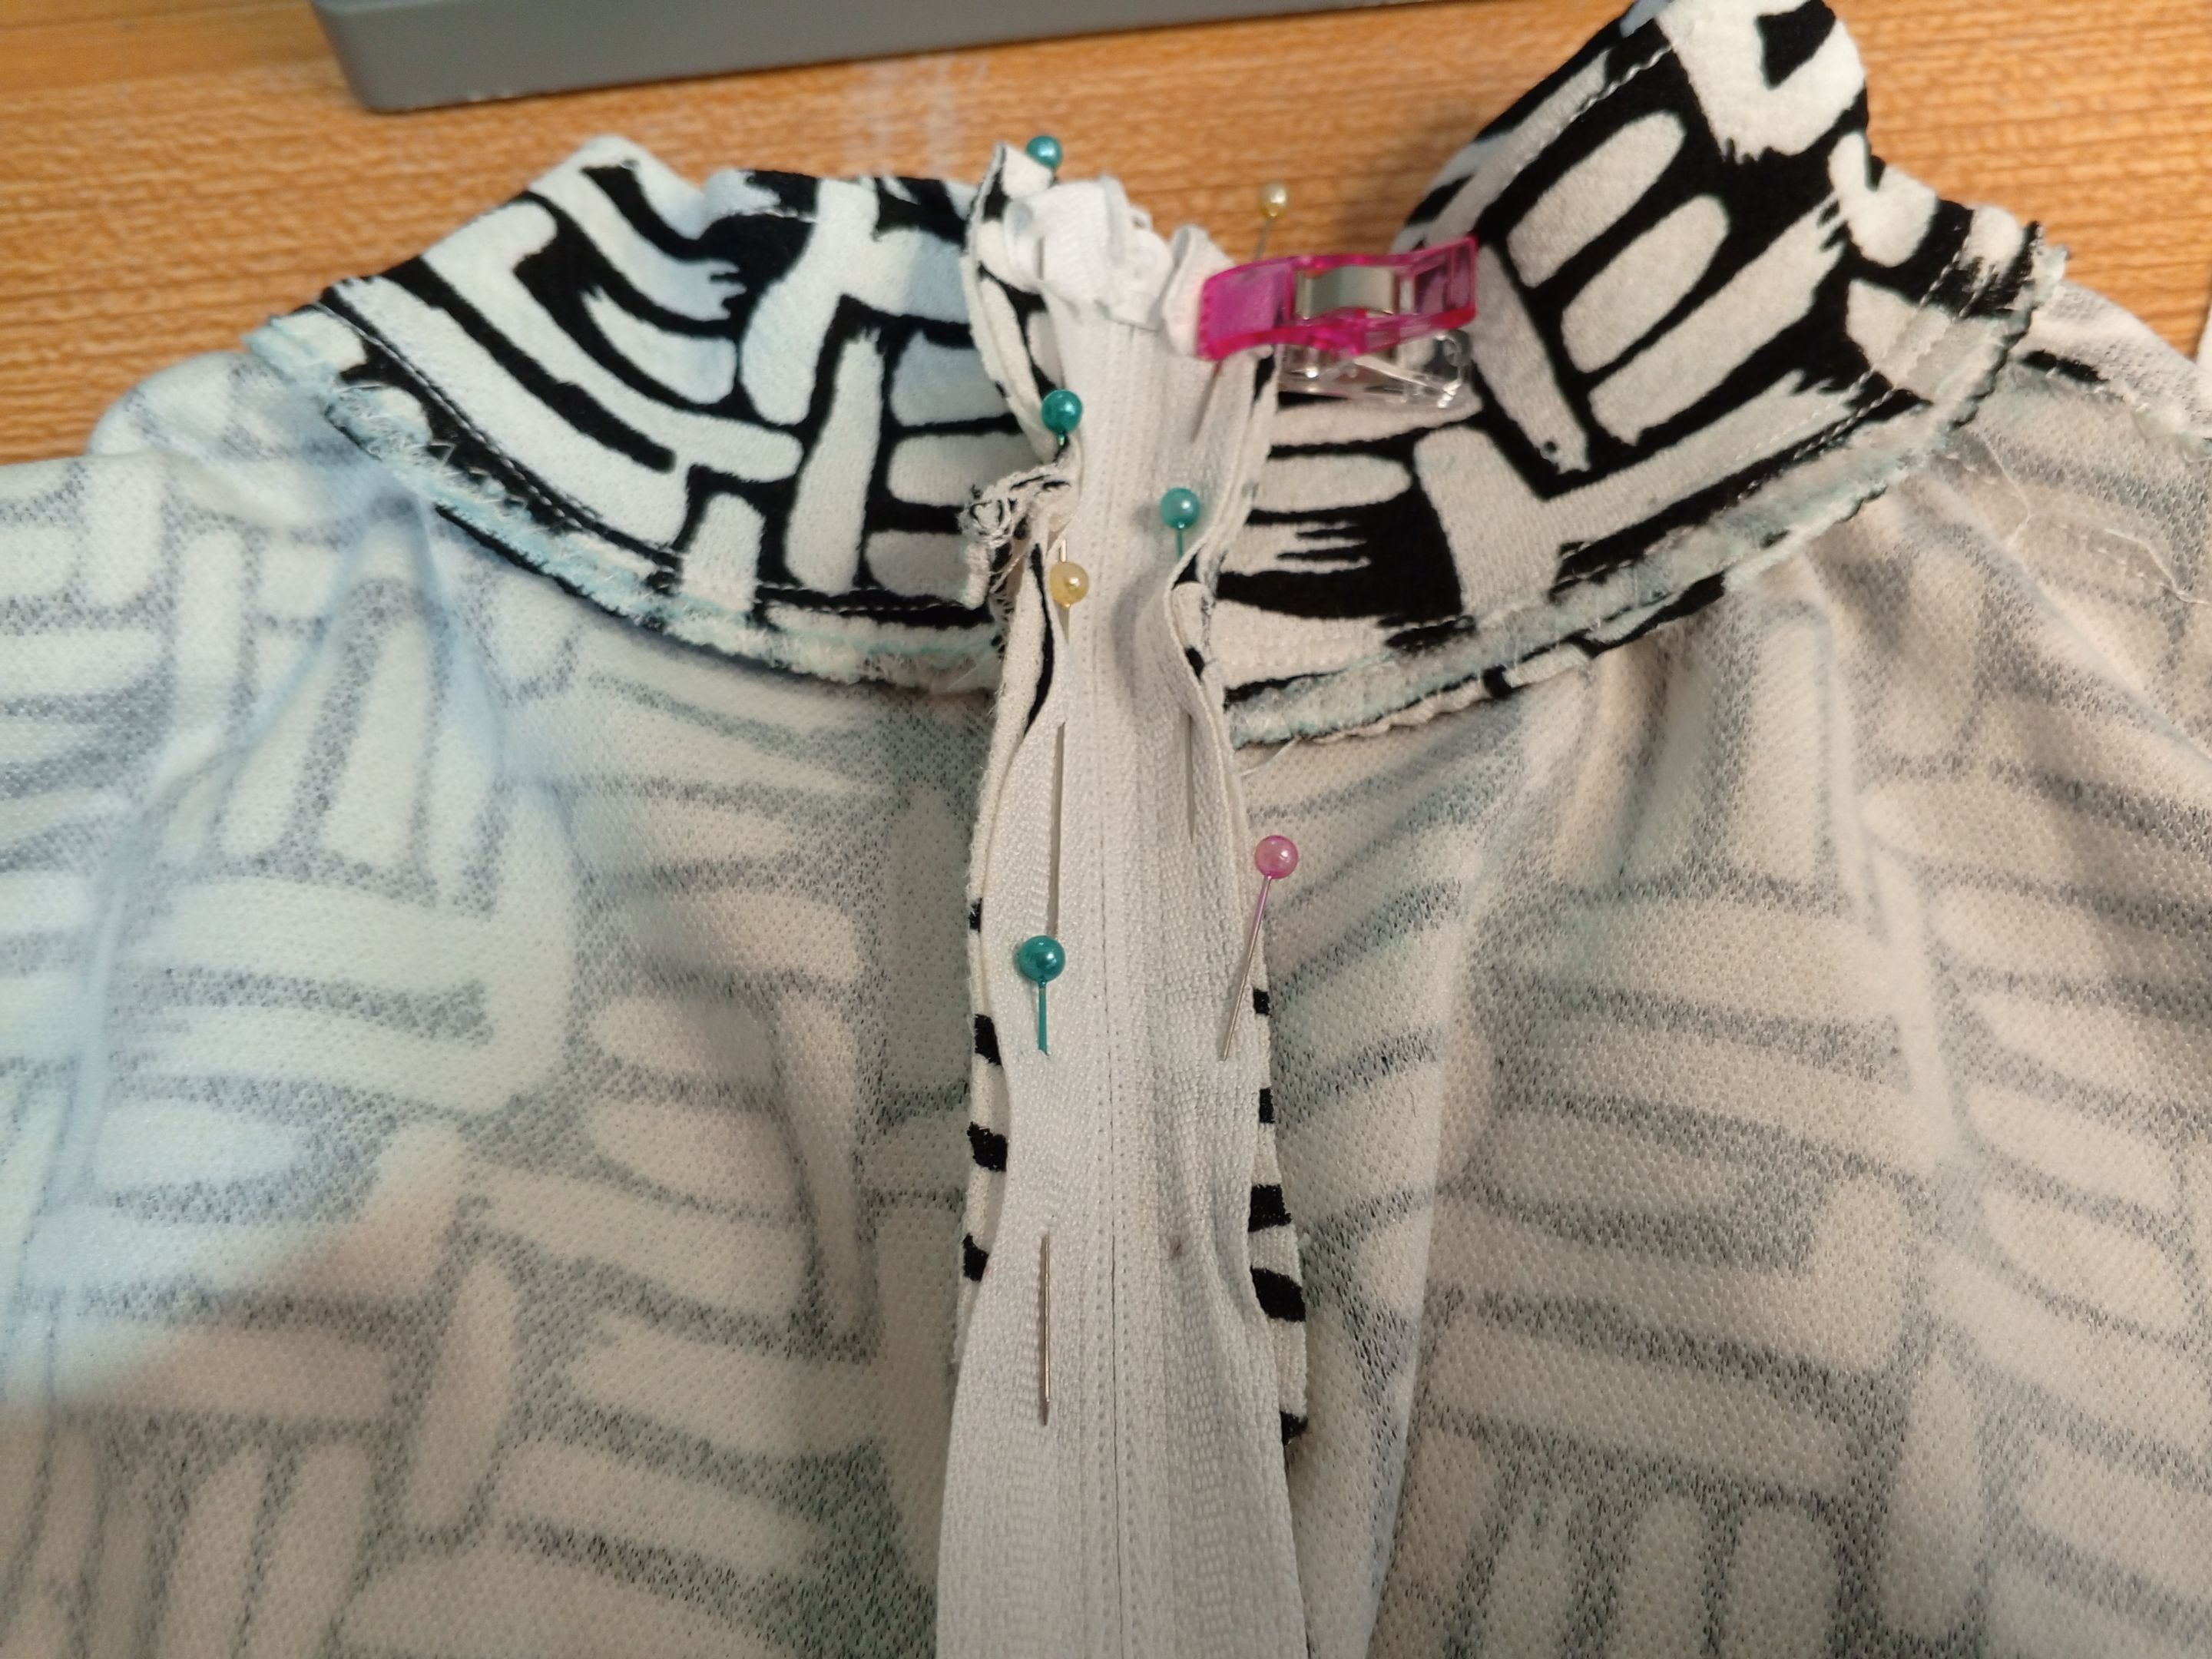
de la misma forma que posicionamos el cuello, lo haces con el cierre, de esta manera sabemos dónde pasar la costura.
! [English version]
It is necessary to spend zig zag on the collar, then sew a hem. With the help of tweezers or pins try to put the collar in position to sew it more comfortably. After zig zagging and sewing a straight line to close, turn it right side out and sew a backstitch.
Turn the back of the blouse over and cut a slit in the middle, this is the way that I made it, it's not the right way but for a beginner like me it's functional.
In the same way that we positioned the collar, you do it with the zipper, this way we know where to pass the seam.
Step 3️⃣/ paso 3️⃣
 |  | |
 |  |
[Esp]
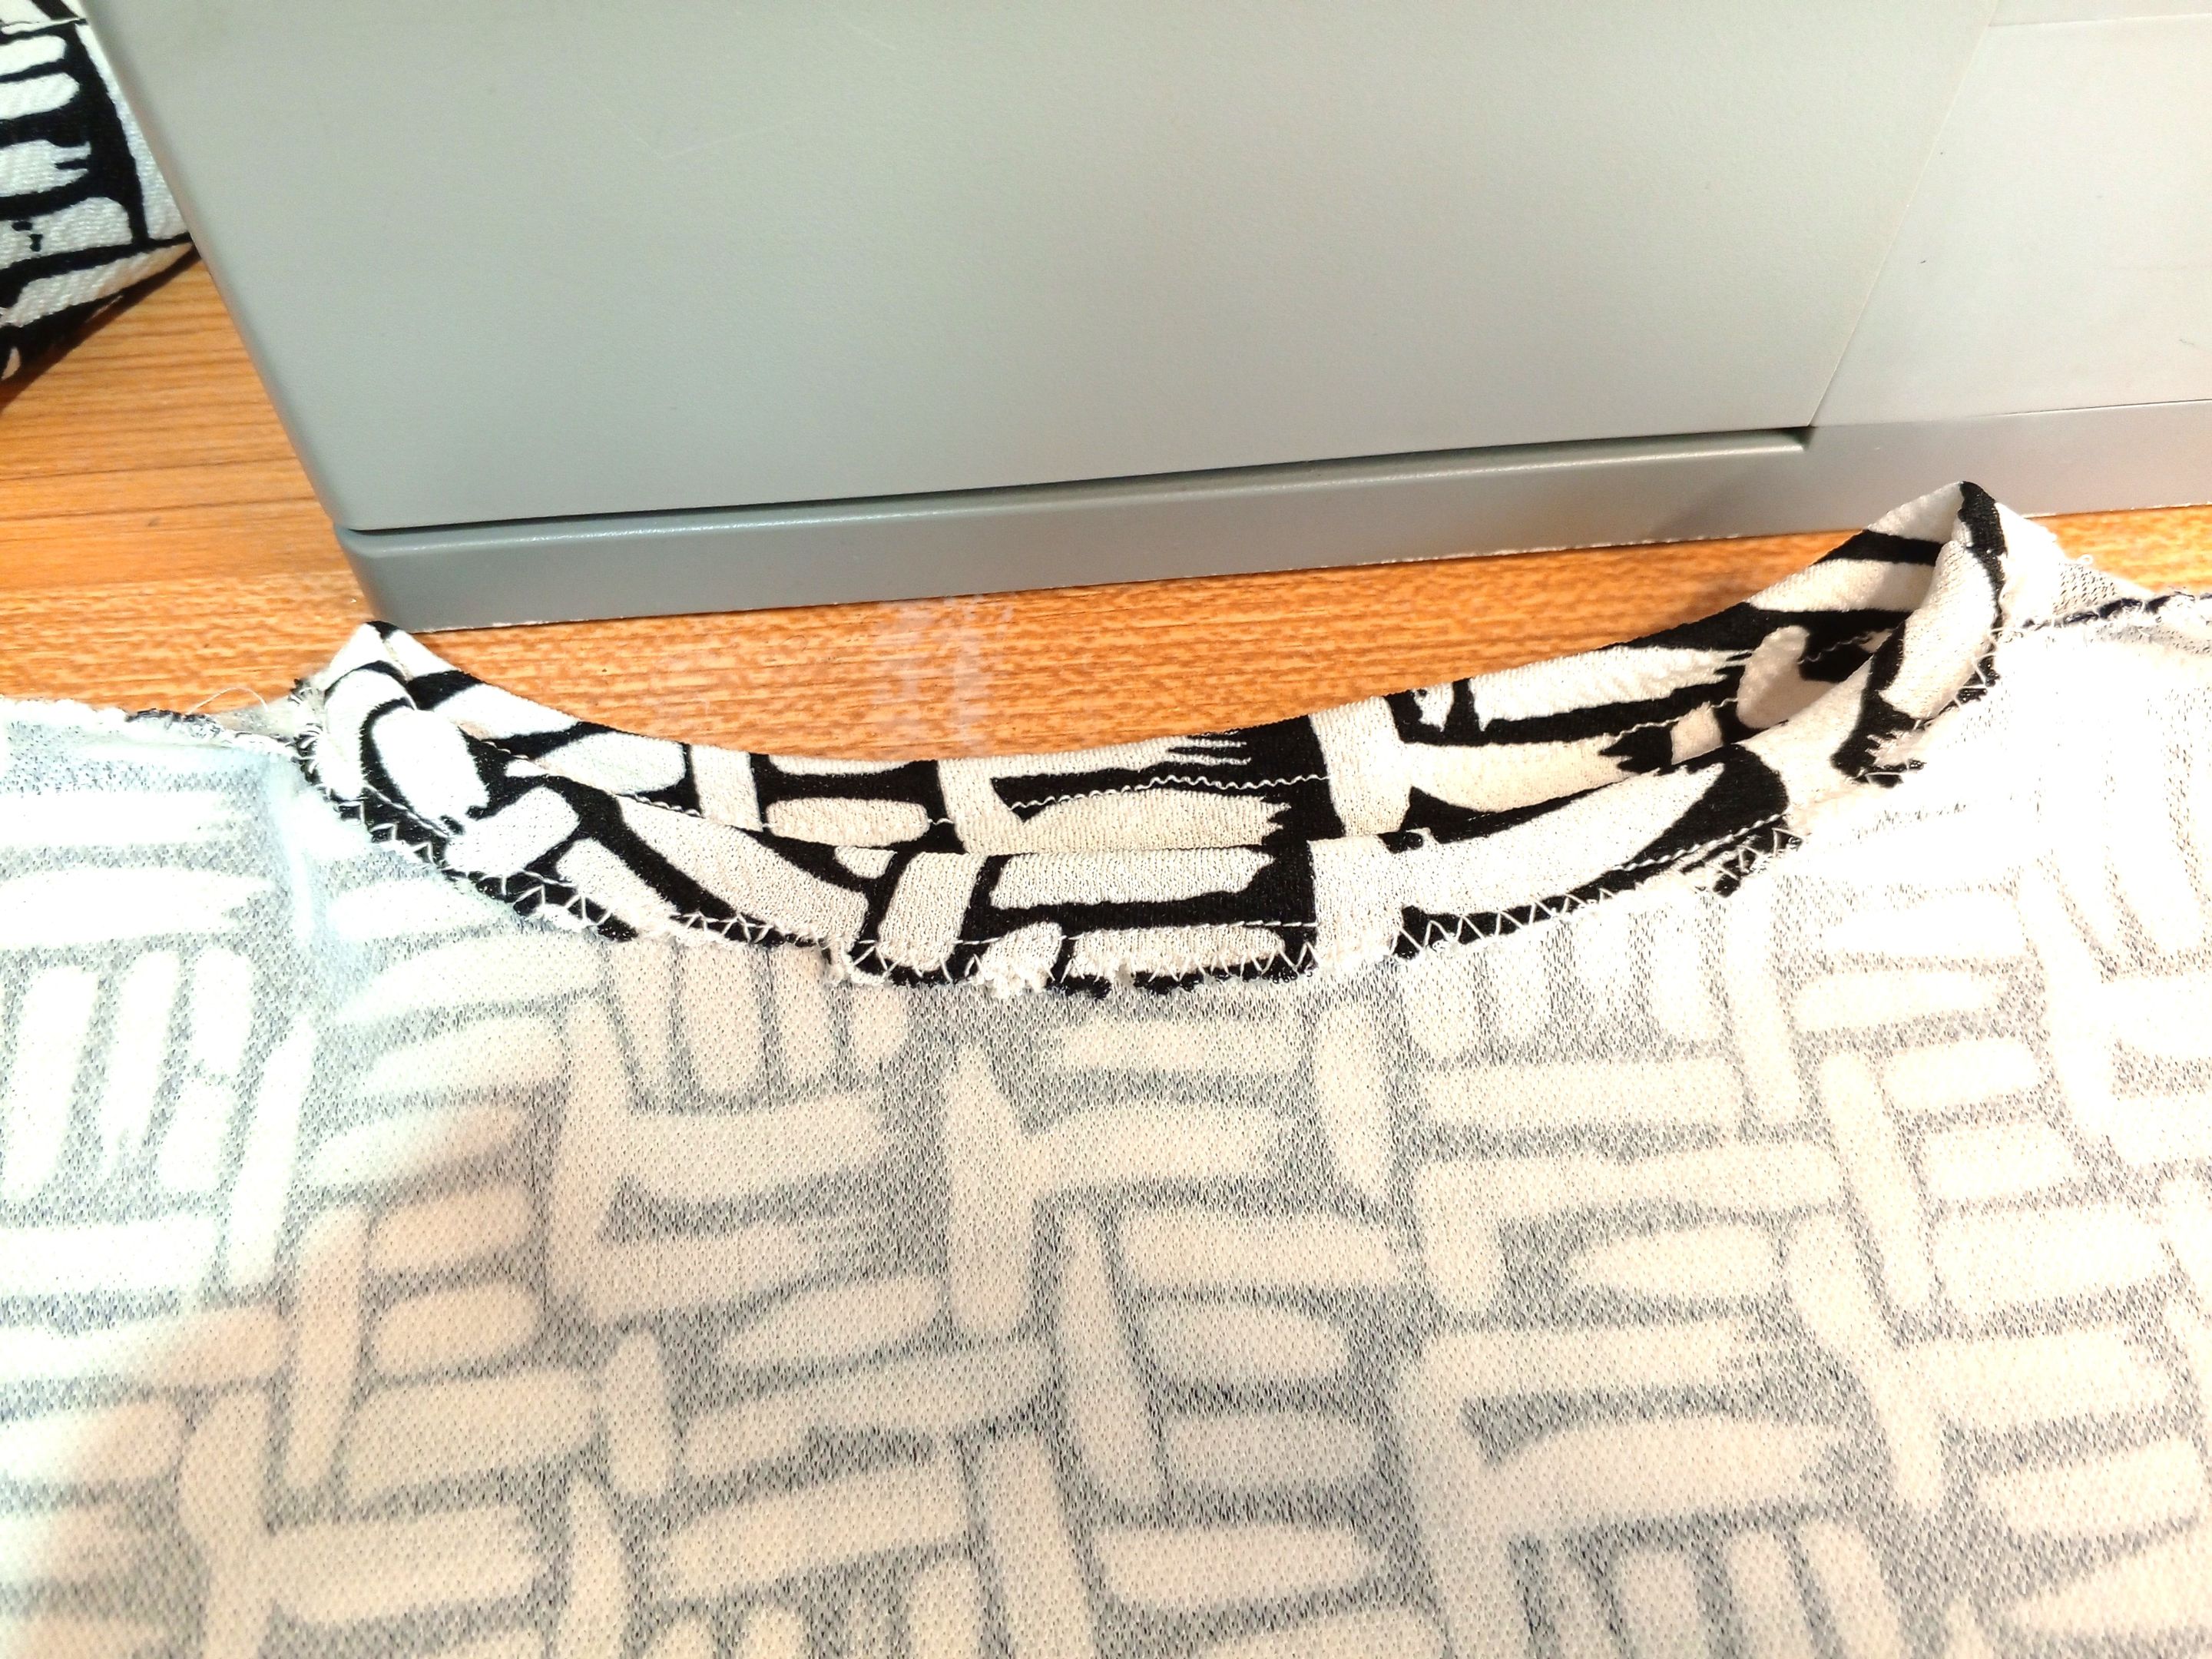
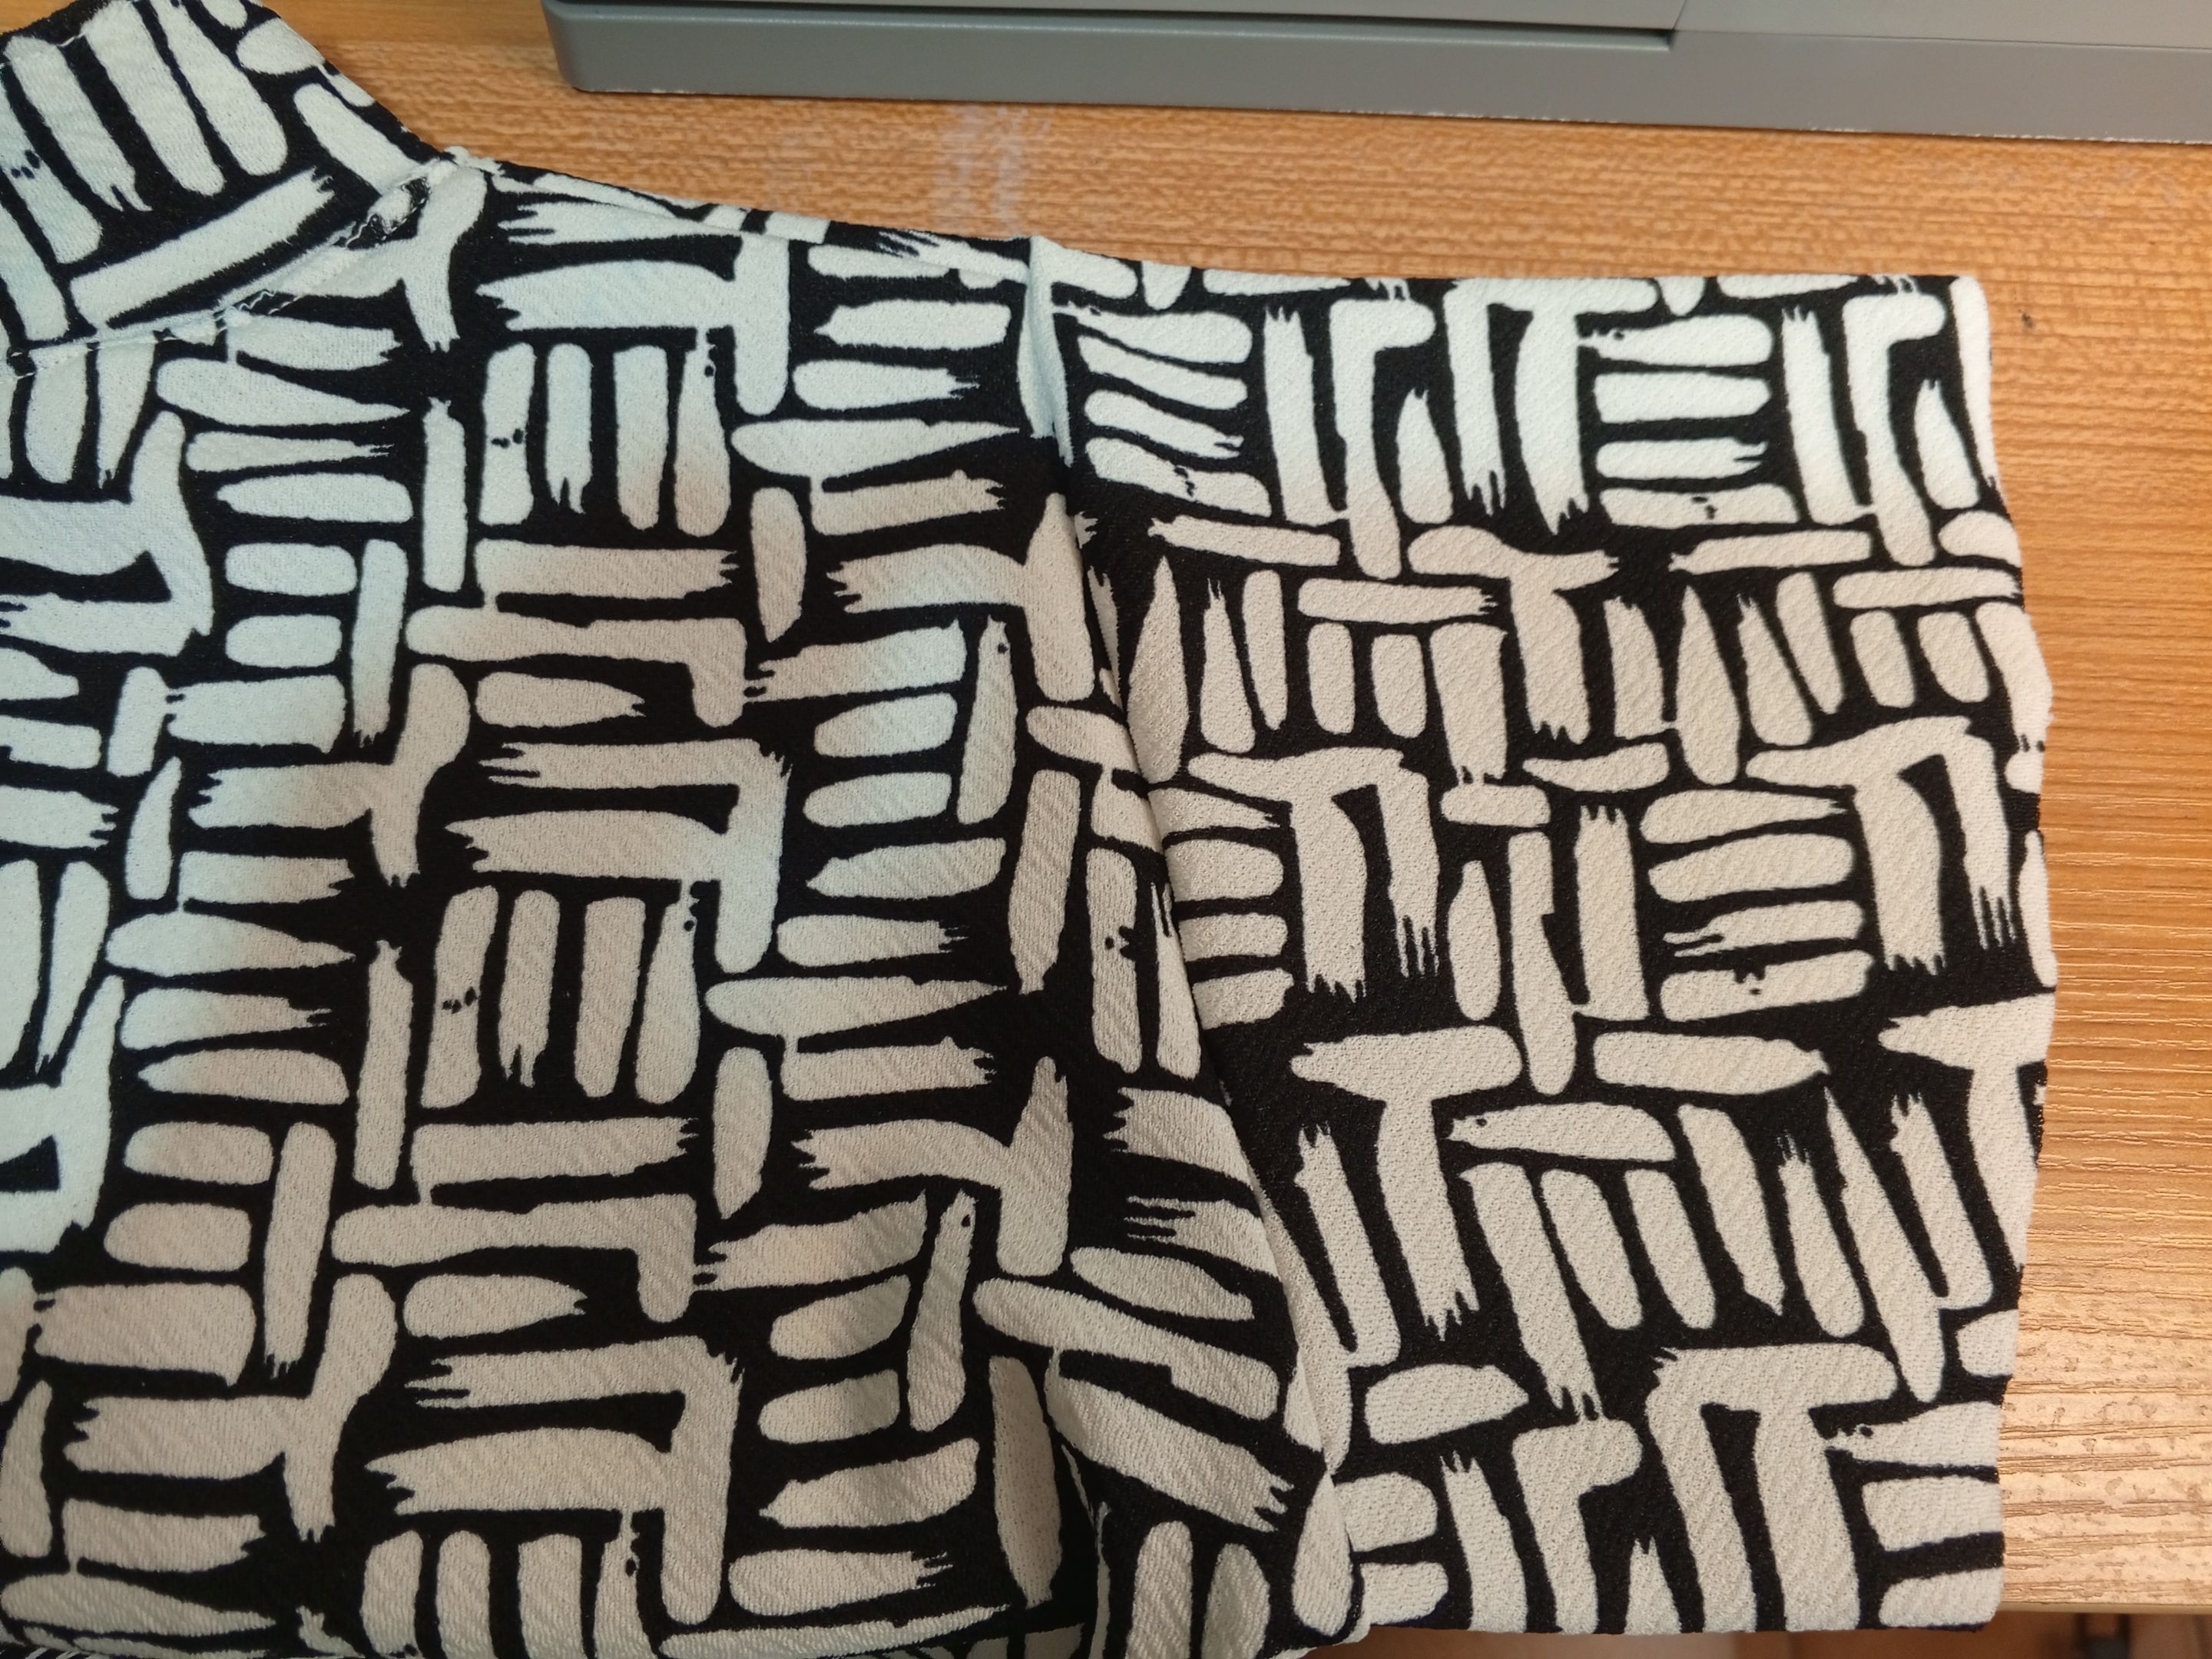
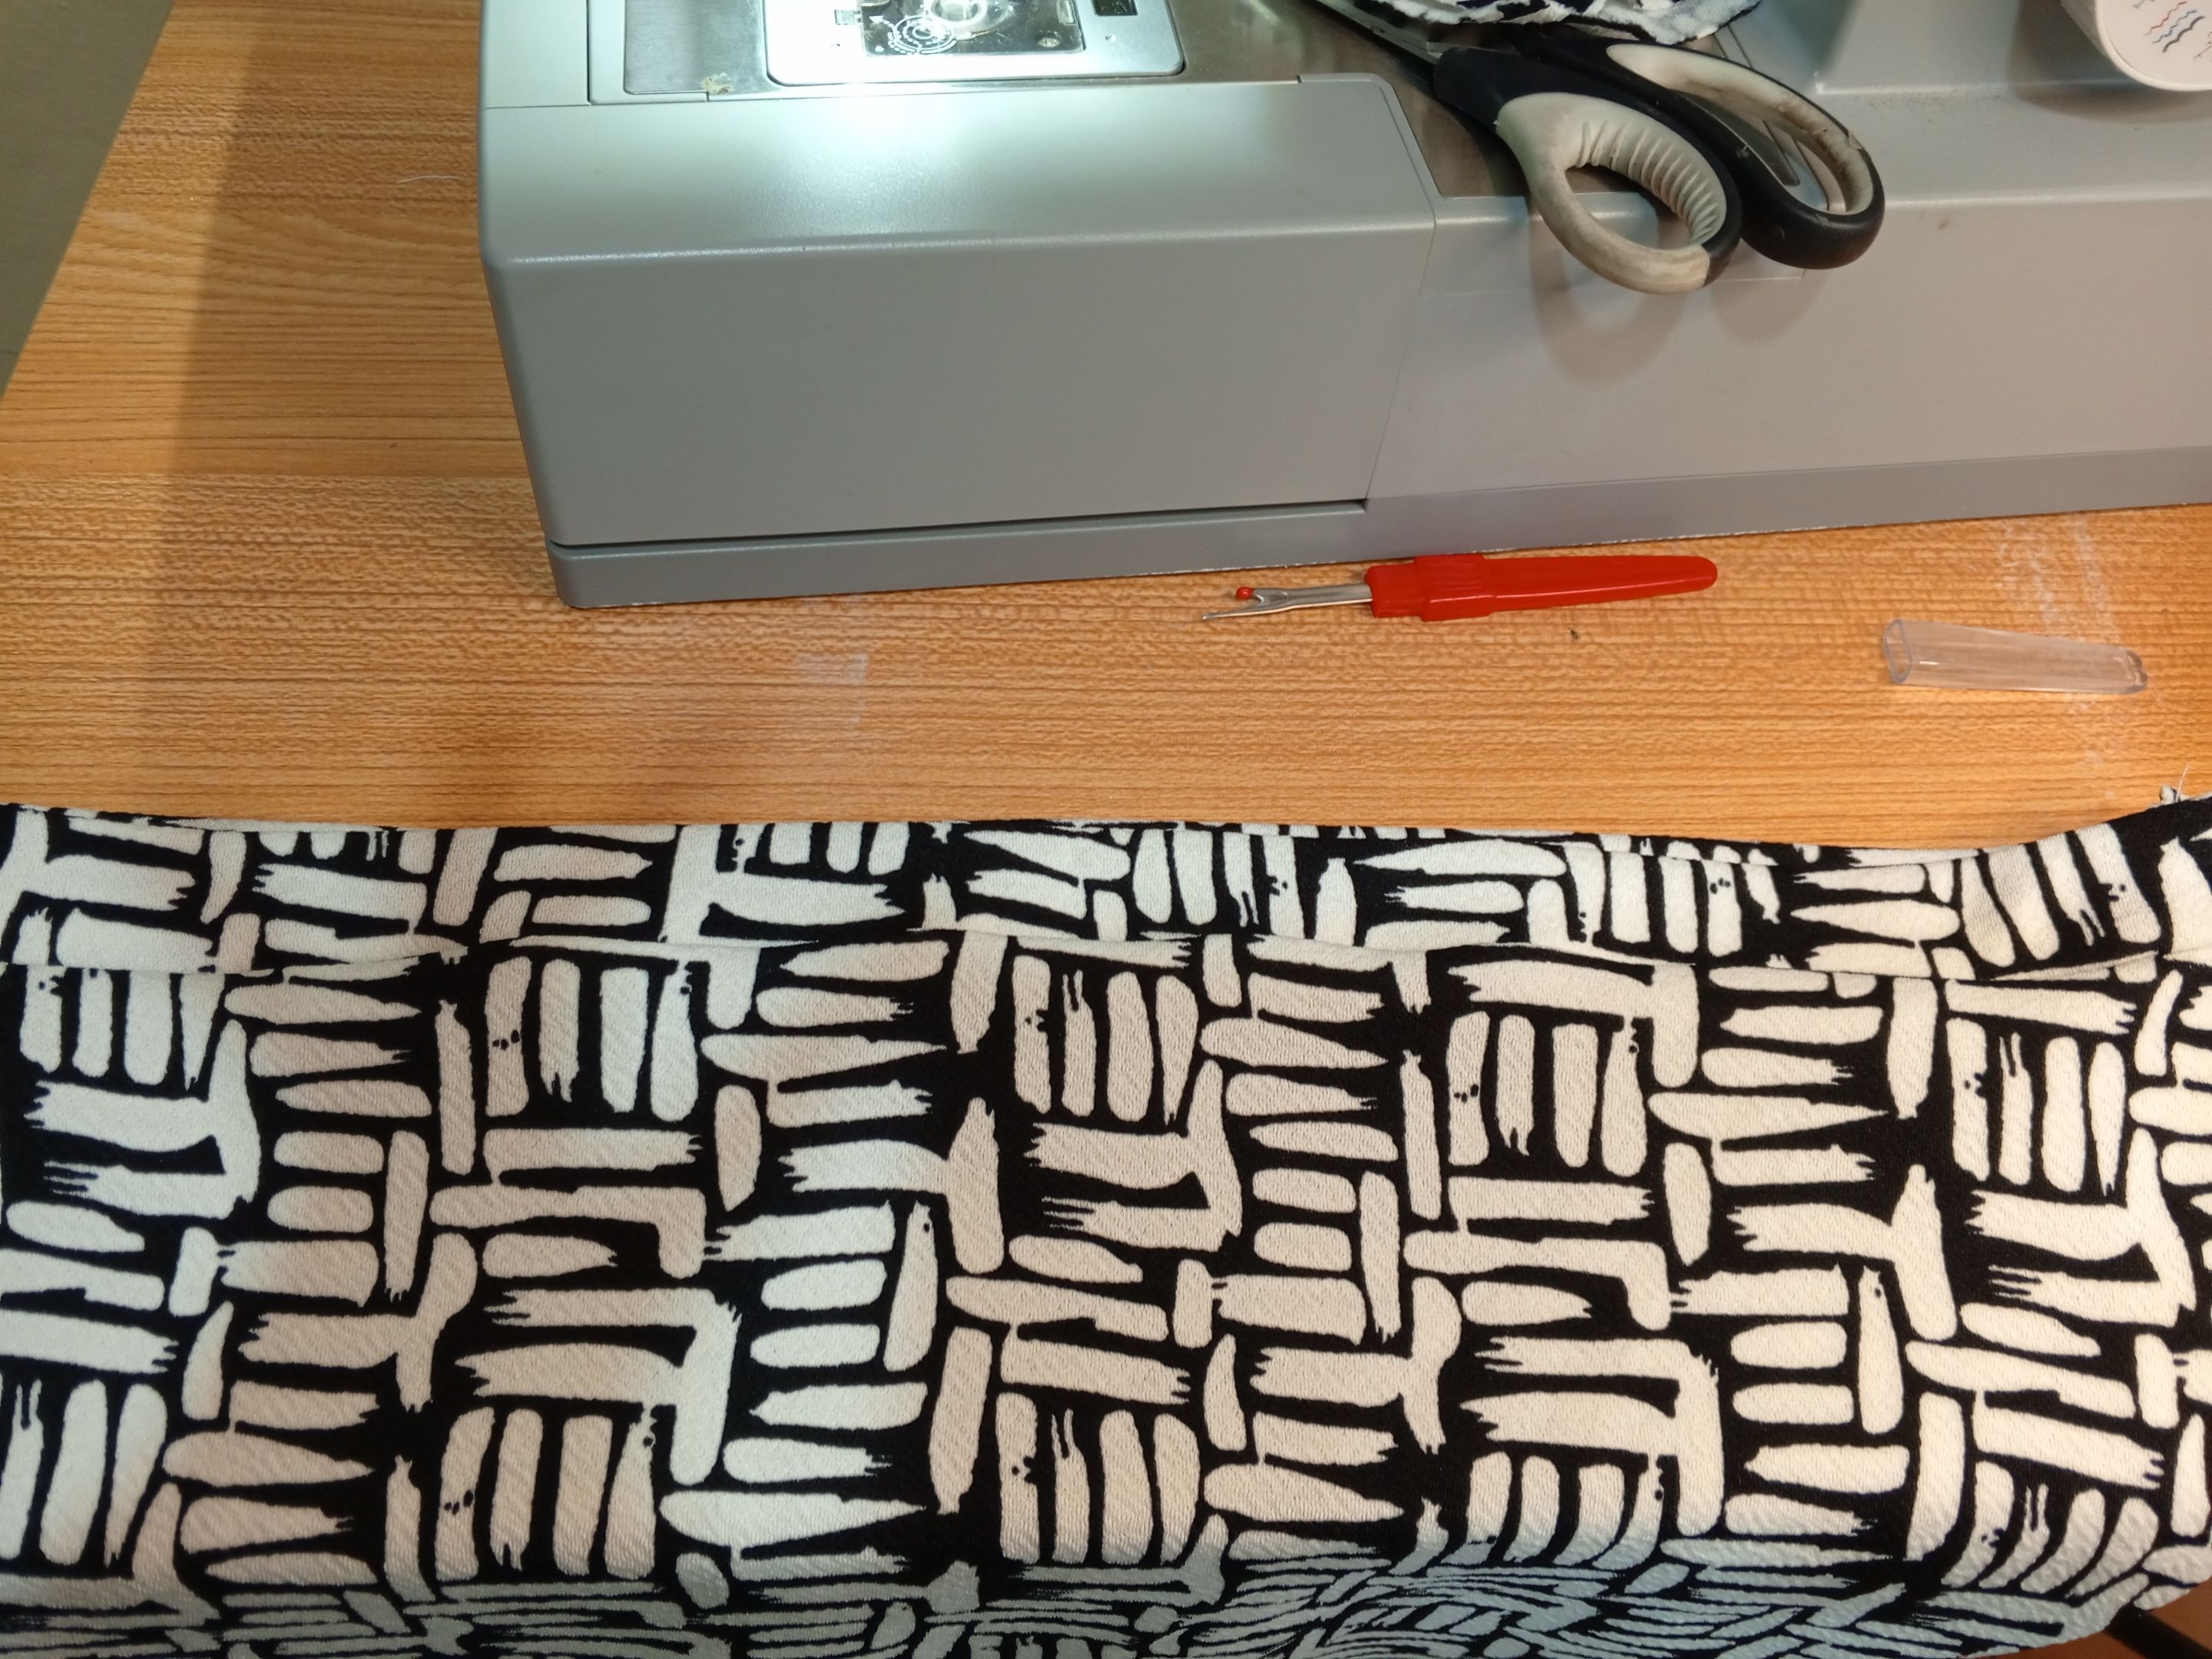
Traté de esconder el cierre, sin embargo no funcionó, tal vez vuelva a intentarlo más adelante, de todas maneras, no se ve mal, pues abarca un espacio muy pequeño.
Ahora cierra los lados de la blusa, pasando un zig zag y luego una recta.
Las mangas también hay que unirlas por el lado más corto que es la parte baja de la axila.
Si es necesario aplicar el procedimiento anterior para colocar la manga en posición y coser con seguridad de que nada se rodará, pues lo haces, yo de igual manera primero cerré con alfileres y luego cosí con zig zag y después una recta.
Cose los ruedos de cada manga, recuerda pasar primero zig zag y luego coses el ruedo.
En la parte de arriba de la manga realicé un dobladillo que asemeja para que quede más armado, esto es a modo de decoración y queda ajustado del brazo.
! [English version]
I tried to hide the zipper, however it didn't work, maybe I'll try again later, anyway, it doesn't look bad, as it covers a very small space.
Now close the sides of the blouse, passing a zig zag and then a straight one.
The sleeves also need to be joined on the shorter side, which is the lower part of the armpit.
If it is necessary to apply the above procedure to place the sleeve in position and sew with certainty that nothing will roll down, then you do it, I did it in the same way first pinned and then sewed with a zig zag and then a straight stitch.
Sew the hems of each sleeve, remember to zig zag first and then sew the hem.
At the top of the sleeve I made a hem that resembles to make it more armed, this is for decoration and is adjusted to the arm.
Step 4️⃣/ paso 4️⃣
 |  |
[Esp]
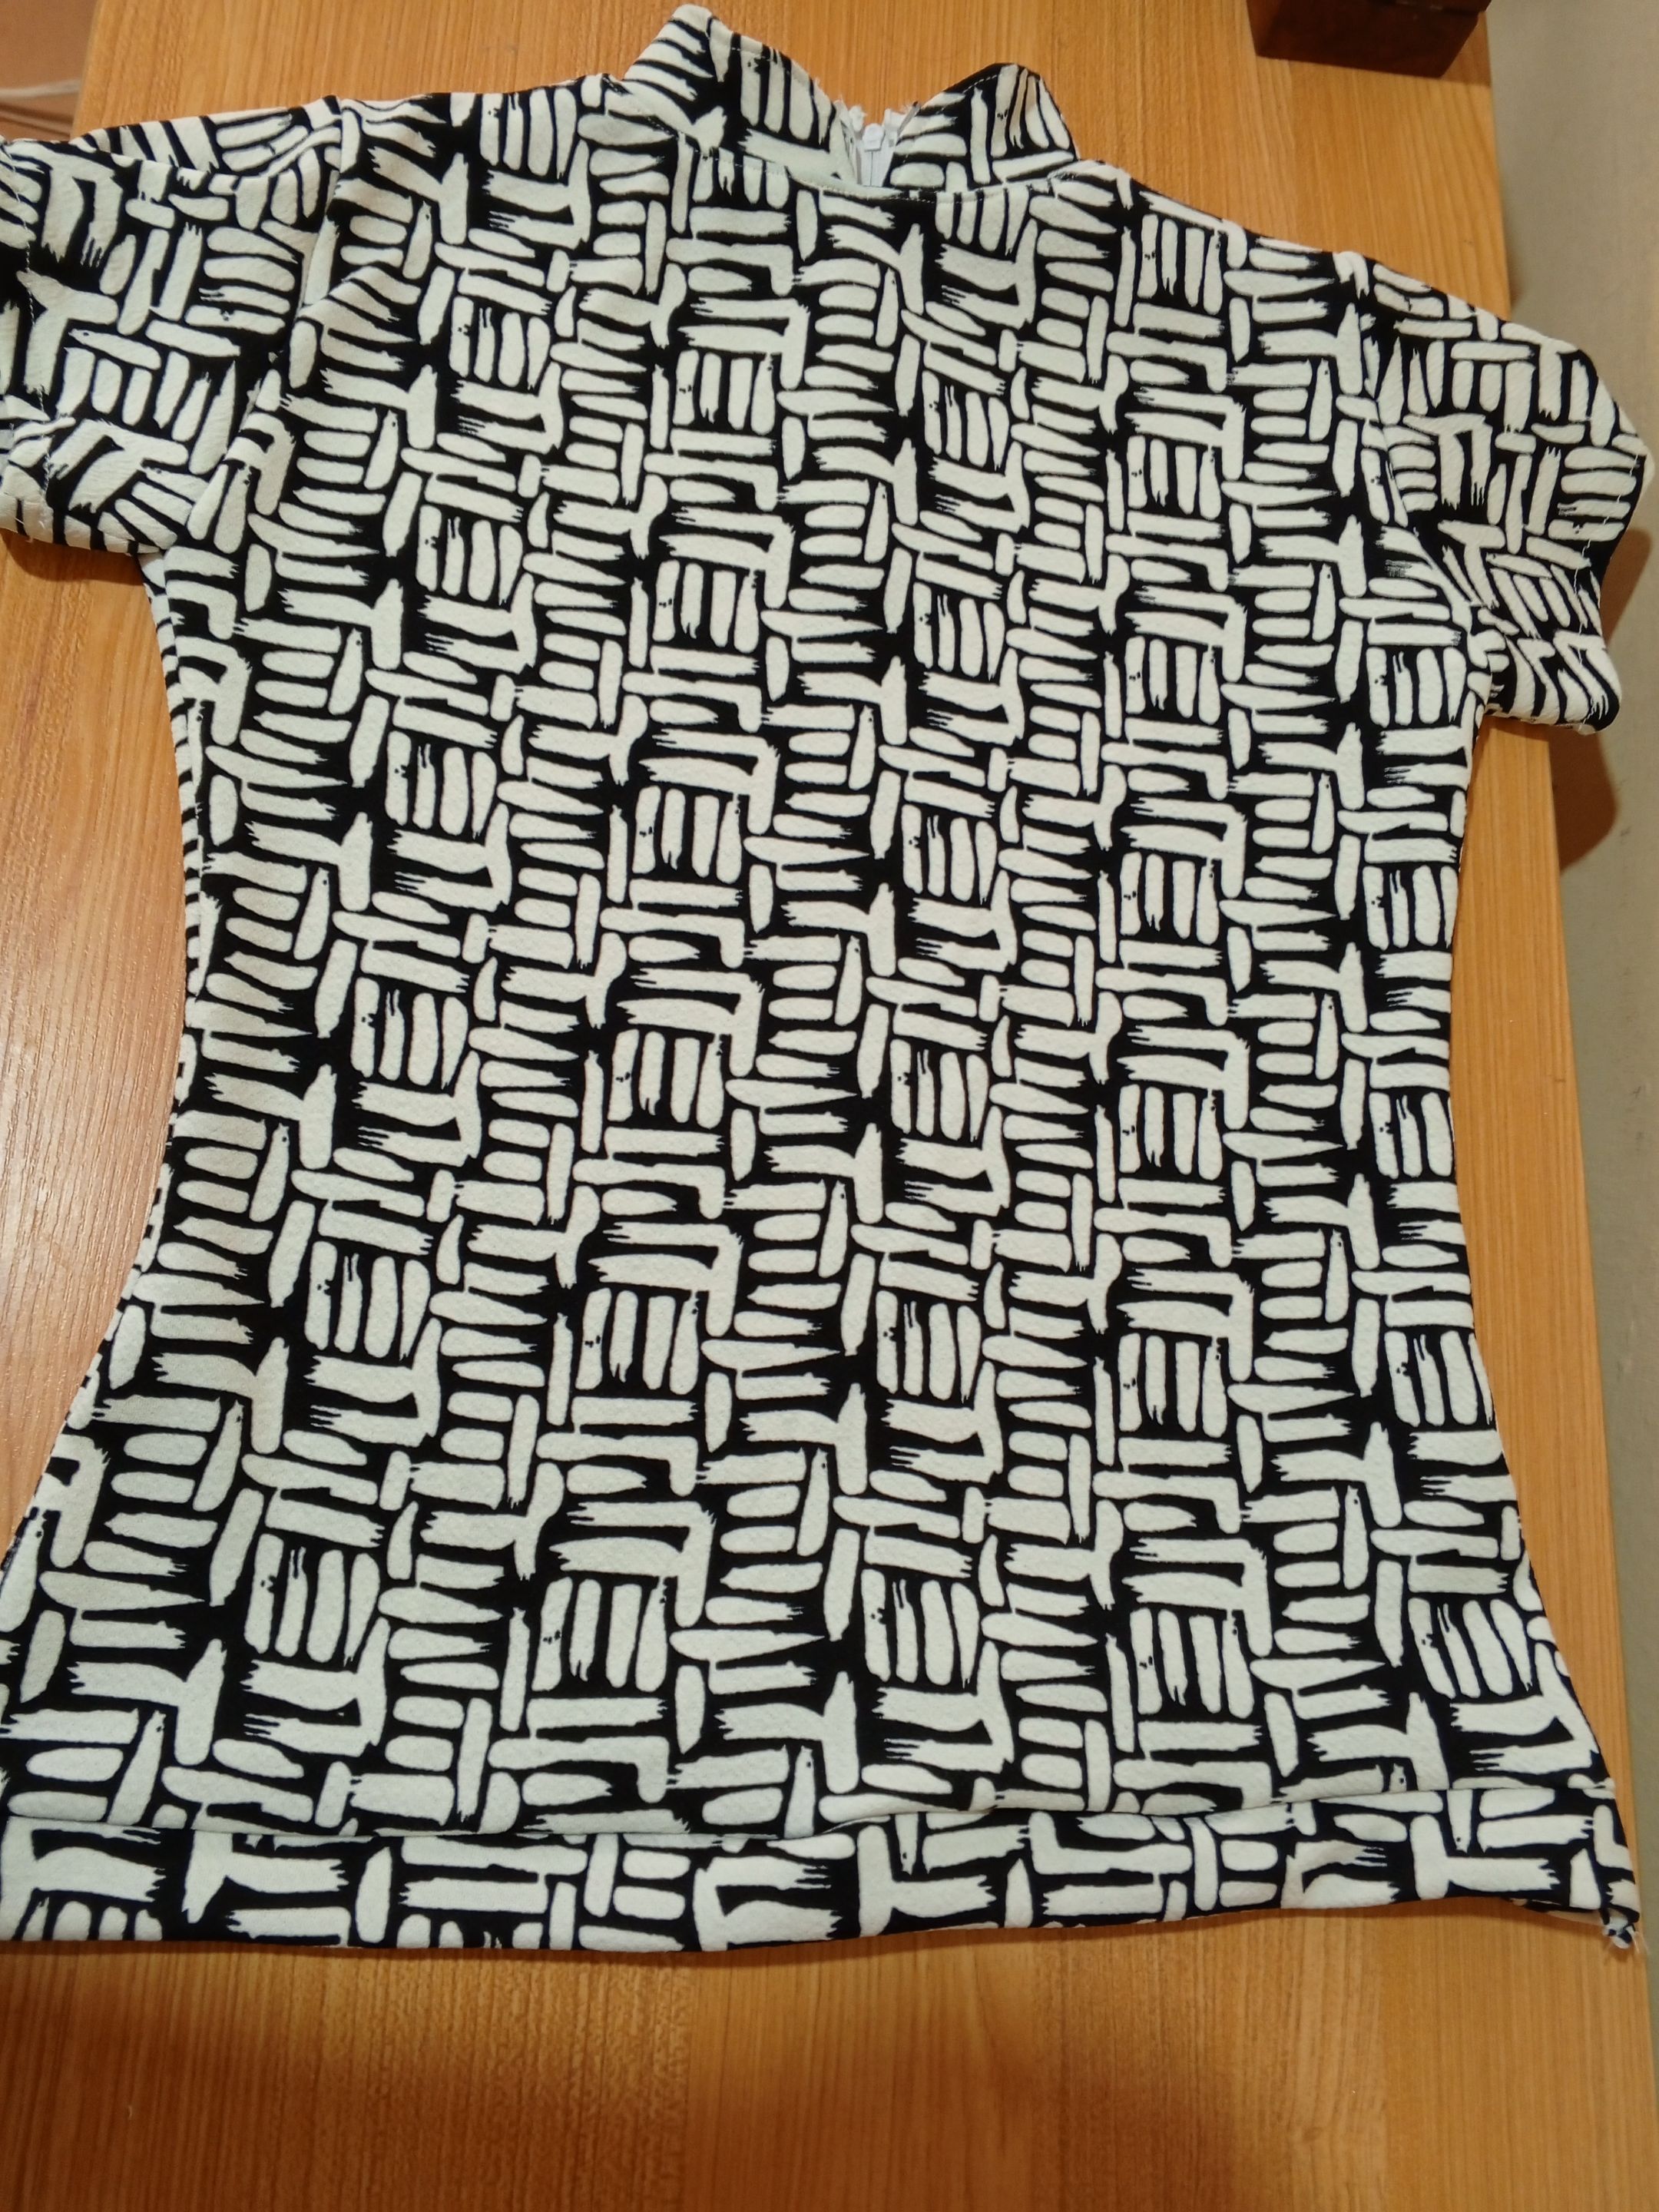
Una vez terminado con las mangas, realizamos el ruedo, yo coloco tela adicional, hago un dobladillo doble vuelta para hacer más larga la blusa, pues me gustan así para usarlas por fuera del pantalón.
Espero les guste el modelo, yo lo amé como todos los que he hecho.
Nos vemos en mi siguiente invento, ¡Jajajaja! Tal vez si me perfecciono lo suficiente haré un modo de emprendimiento.
! [English version]
Once finished with the sleeves, we make the hem, I place additional fabric, I make a double turn hem to make the blouse longer, because I like them this way to wear them outside the pants.
I hope you like the pattern, I loved it like all the others I have made.
See you in my next invention, hahaha! Maybe if I perfect myself enough I'll make a venture mode.

Créditos / Credits

👇Support the Hive DIY community as a witness 👇