Saludos Hivers de la comunidad Hivediy.
En esta ocasión trigo un tutorial que podría servirle a cualquier persona en la web. Se trata sobre una reparación que cada vez se hace más frecuente en los cargadores o transformadores de carga directa.
Greetings Hivers from the Hivediy community.
On this occasion I wheat a tutorial that could be useful to anyone on the web. It is about a repair that is becoming more and more frequent in chargers or direct charge transformers.
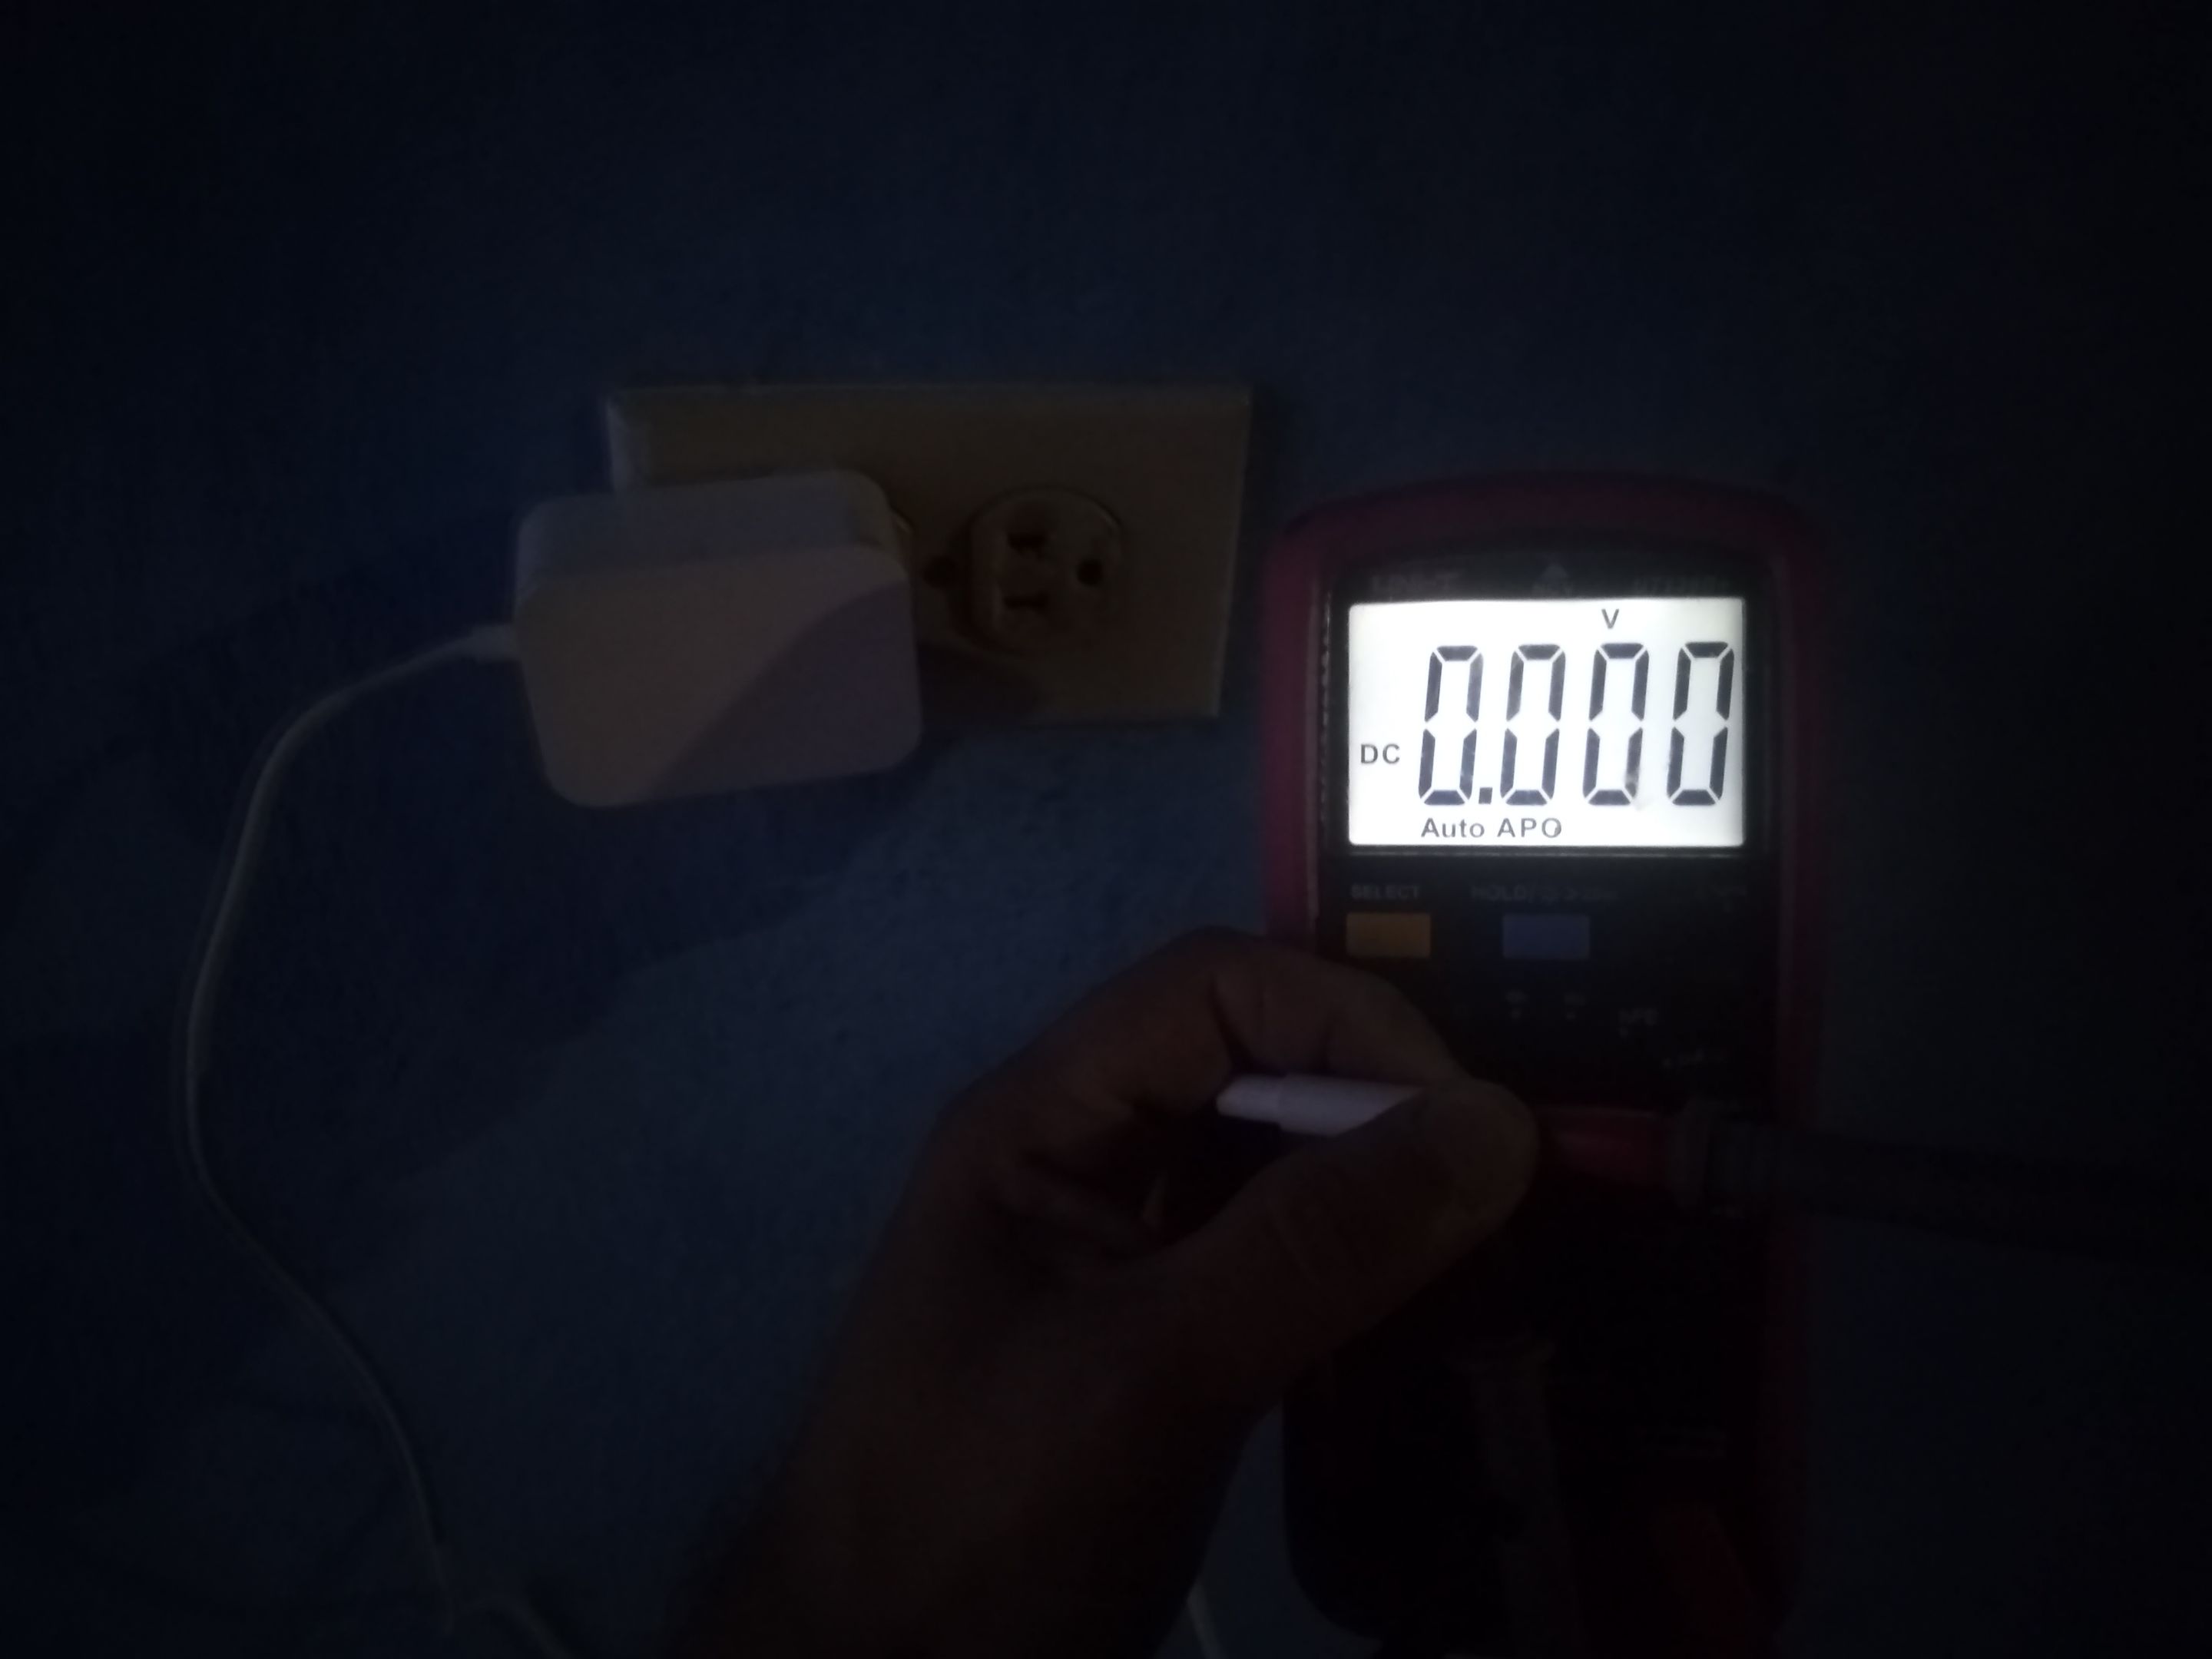
En la imágen de portada ske puede apreciar que el multimetro marca 0,00 VDC, aún cuando el cargador se encuentra conectado a la red eléctrica. Este cargador es de un mini UPS, que por cierto cada vez se están utilizando más en los hogares donde se cuenta con internet.
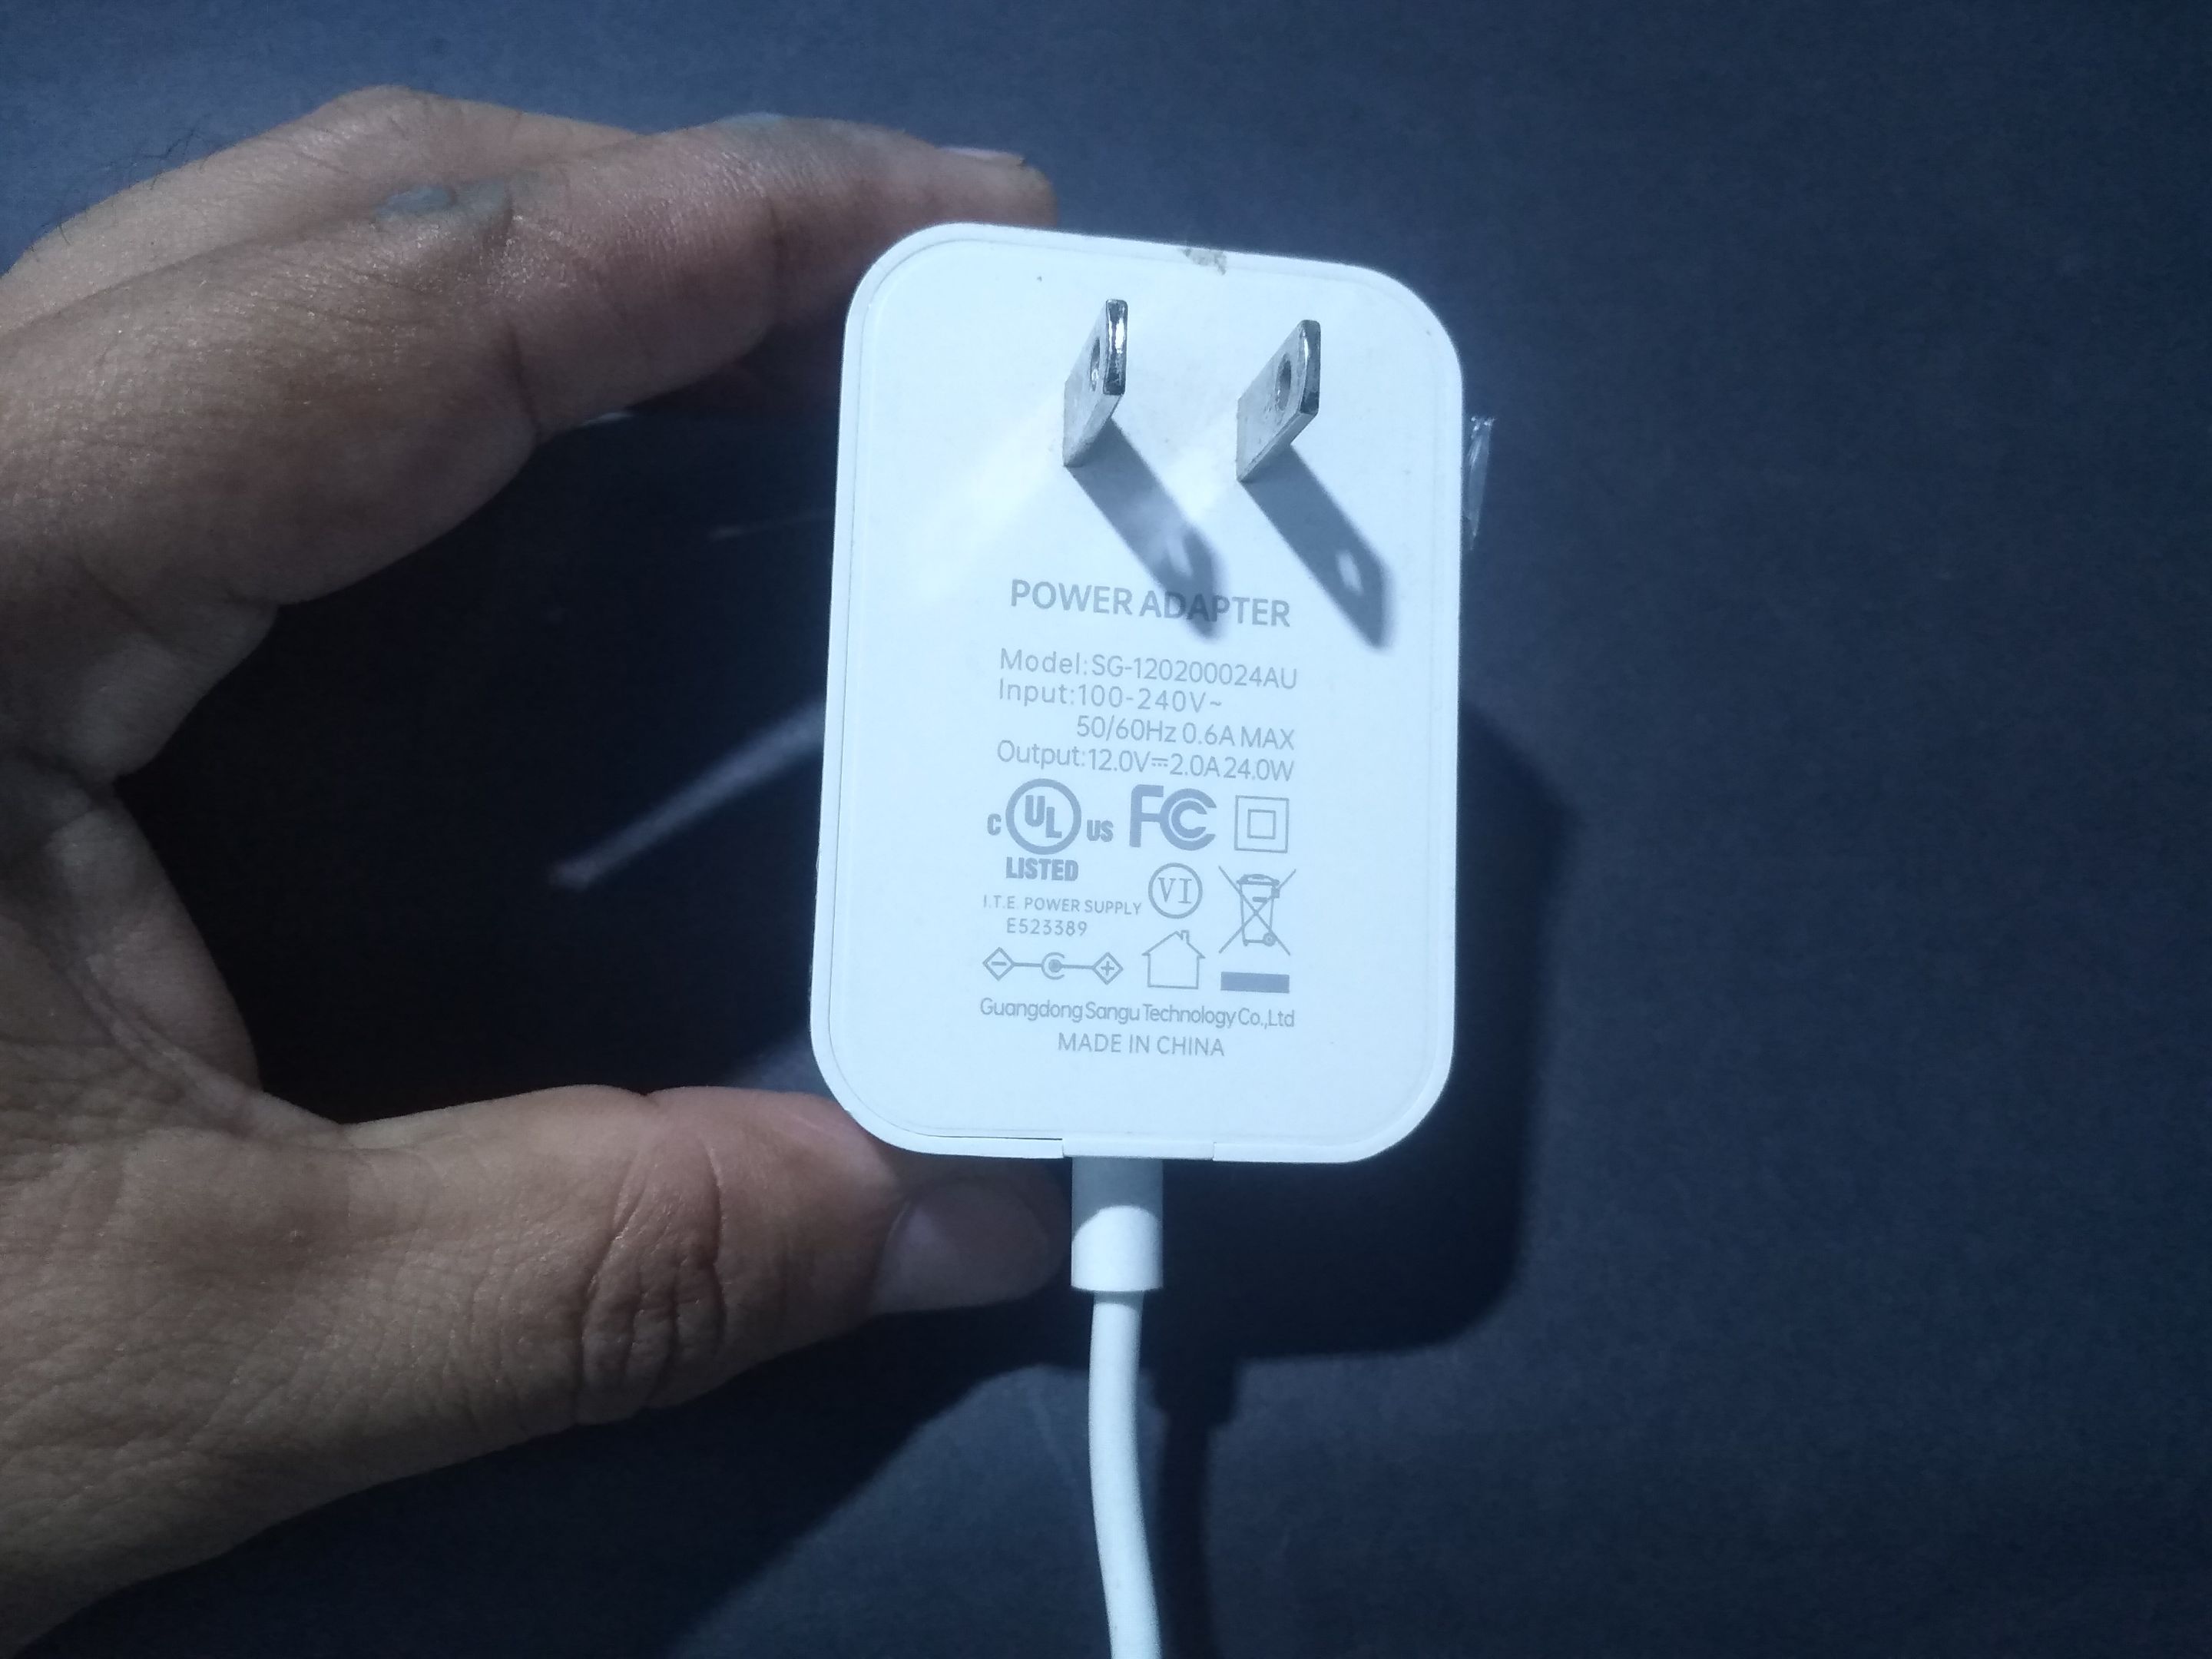
De acuerdo a la ficha técnica de este cargador, se trata de un dispositivo que recibe un voltaje de 120 VAC y dispensa un voltaje de 12 VDC. 2 amp.
In the cover image you can see that the multimeter shows 0.00 VDC, even when the charger is connected to the mains. This charger is a mini UPS, which by the way are being used more and more in homes where there is internet.
According to the data sheet of this charger, this is a device that receives a voltage of 120 VAC and dispenses a voltage of 12 VDC. 2 amp.
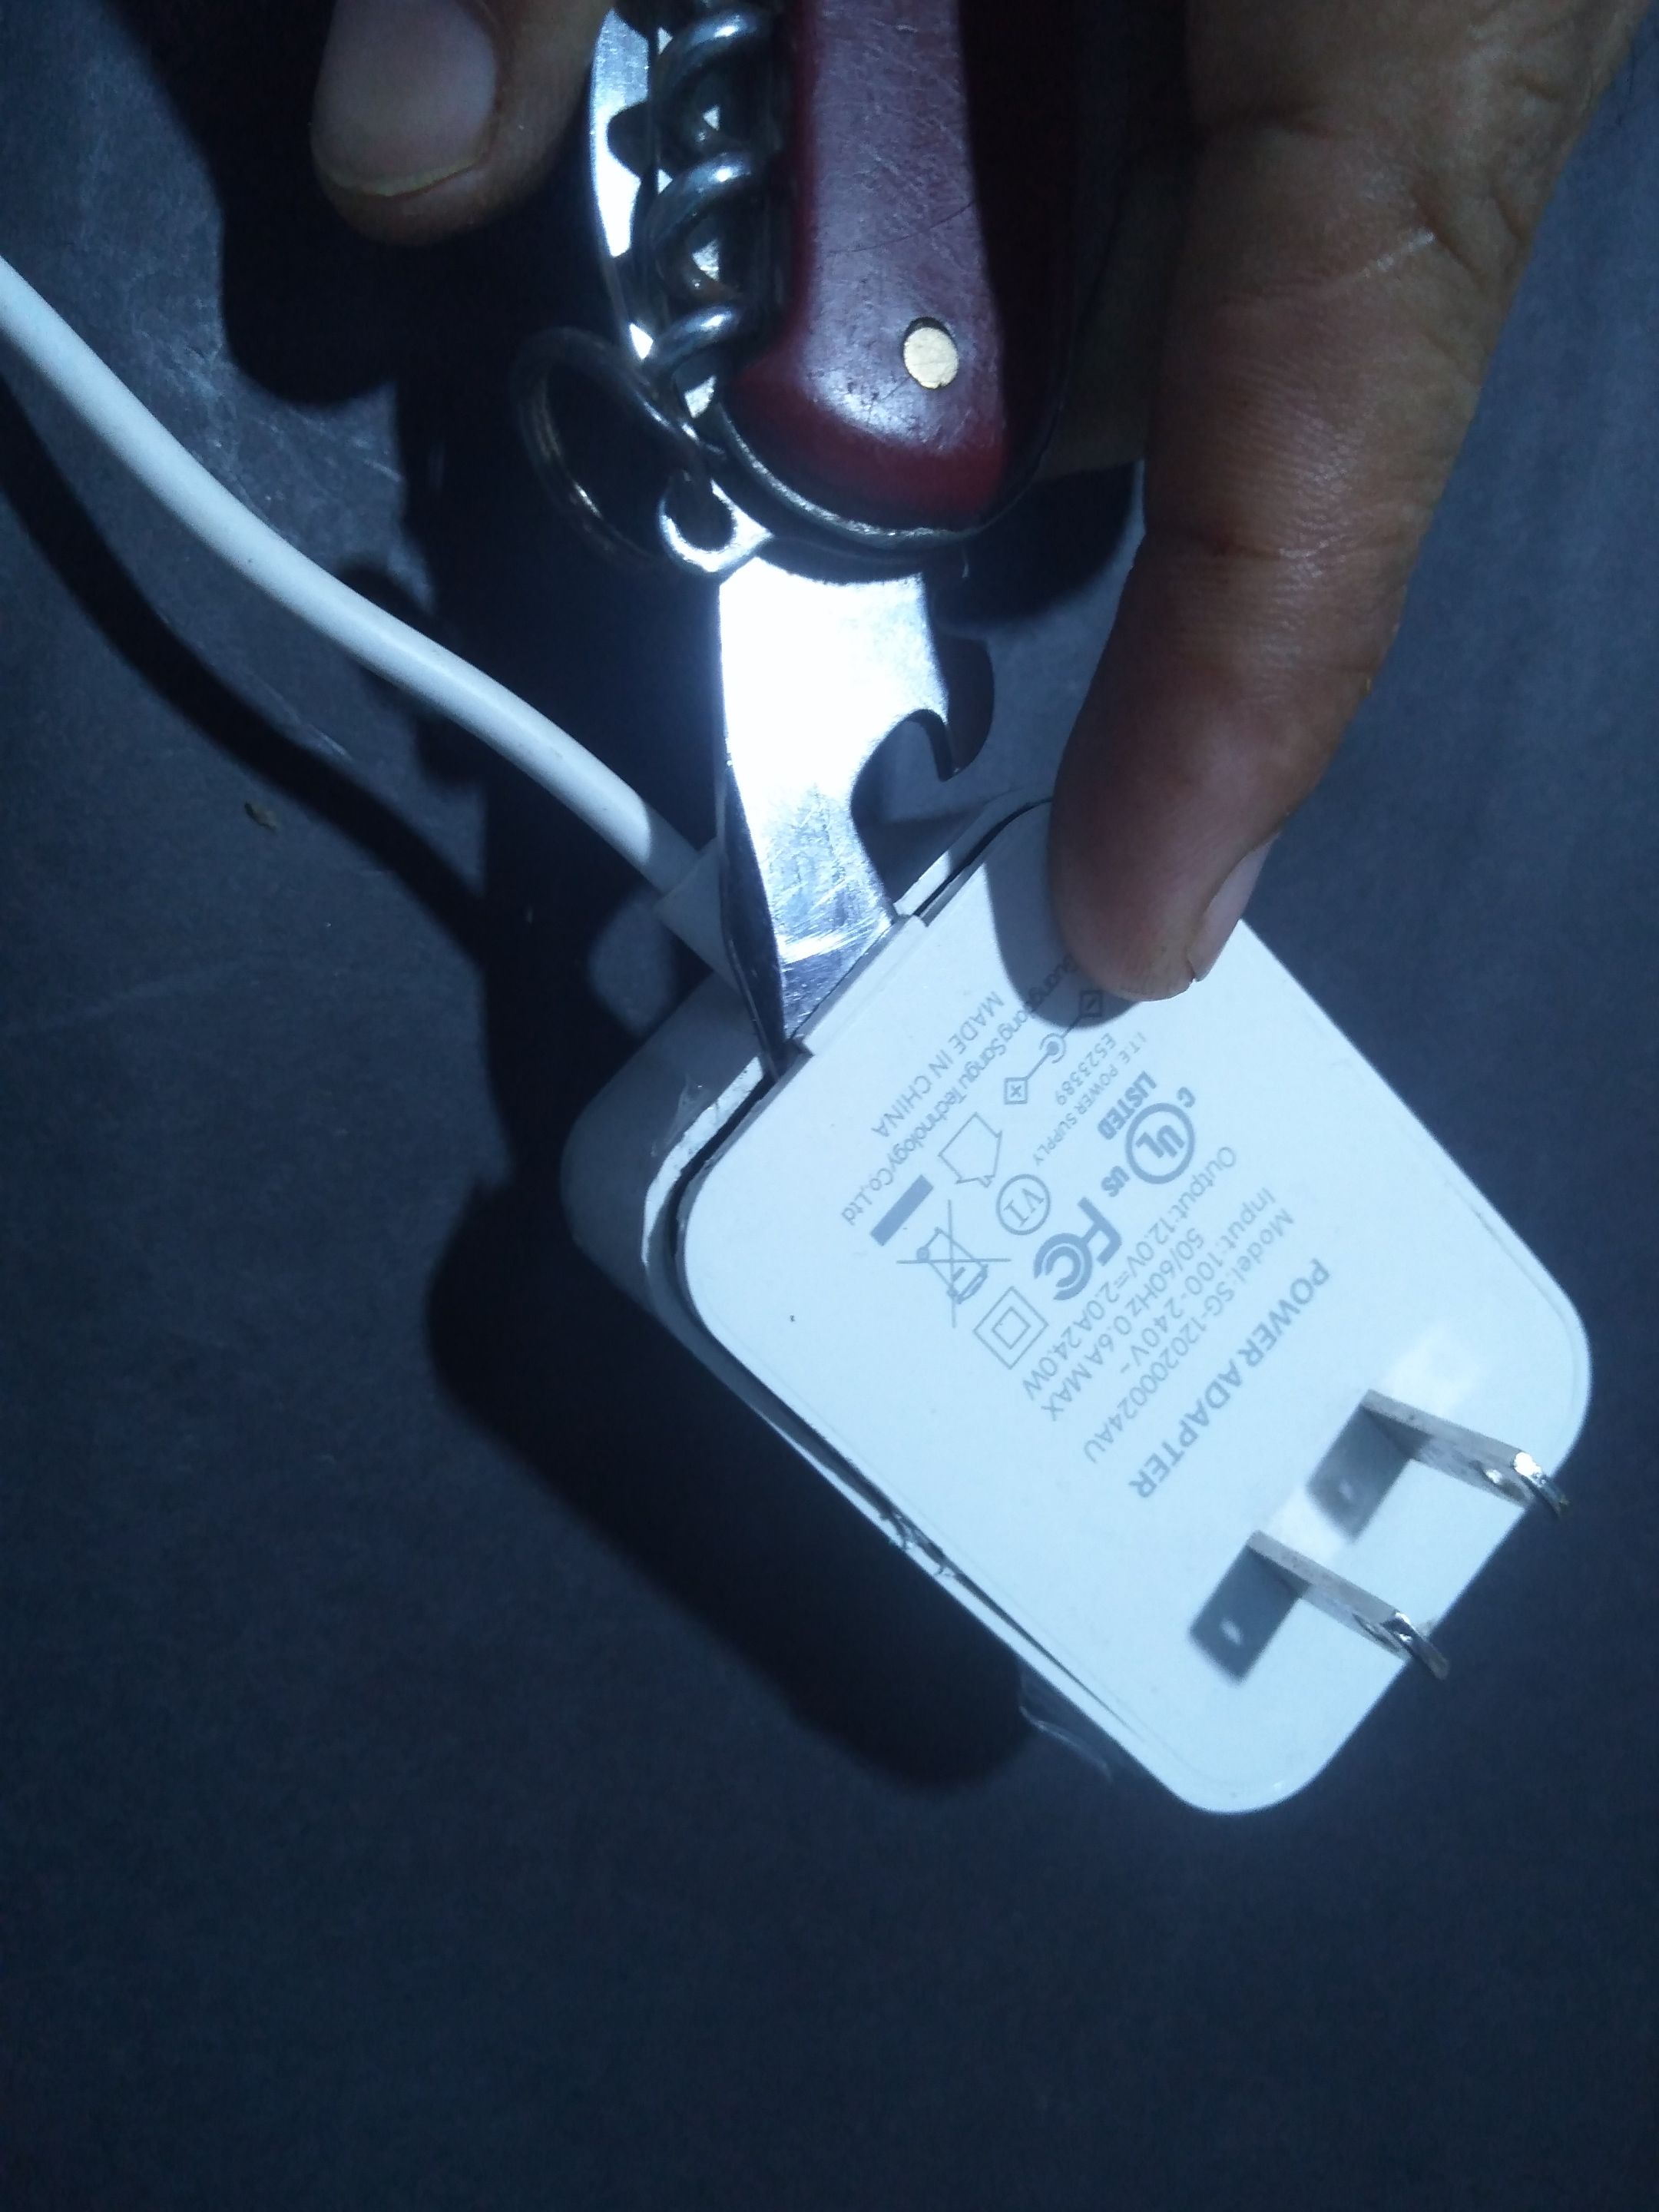
Para iniciar con la reparación del cargador es necesario abrirlo y para hacerlo me apoyé con mi navaja multiuso.
La tapa abre muy fácil, solo había que desencajar los seguros de presión de la tapa y de esta manera descubrir el circuito interno.
To start with the repair of the charger it is necessary to open it and to do so I used my utility knife.
The lid opens very easily, it was only necessary to undo the pressure locks of the lid and in this way discover the internal circuit.
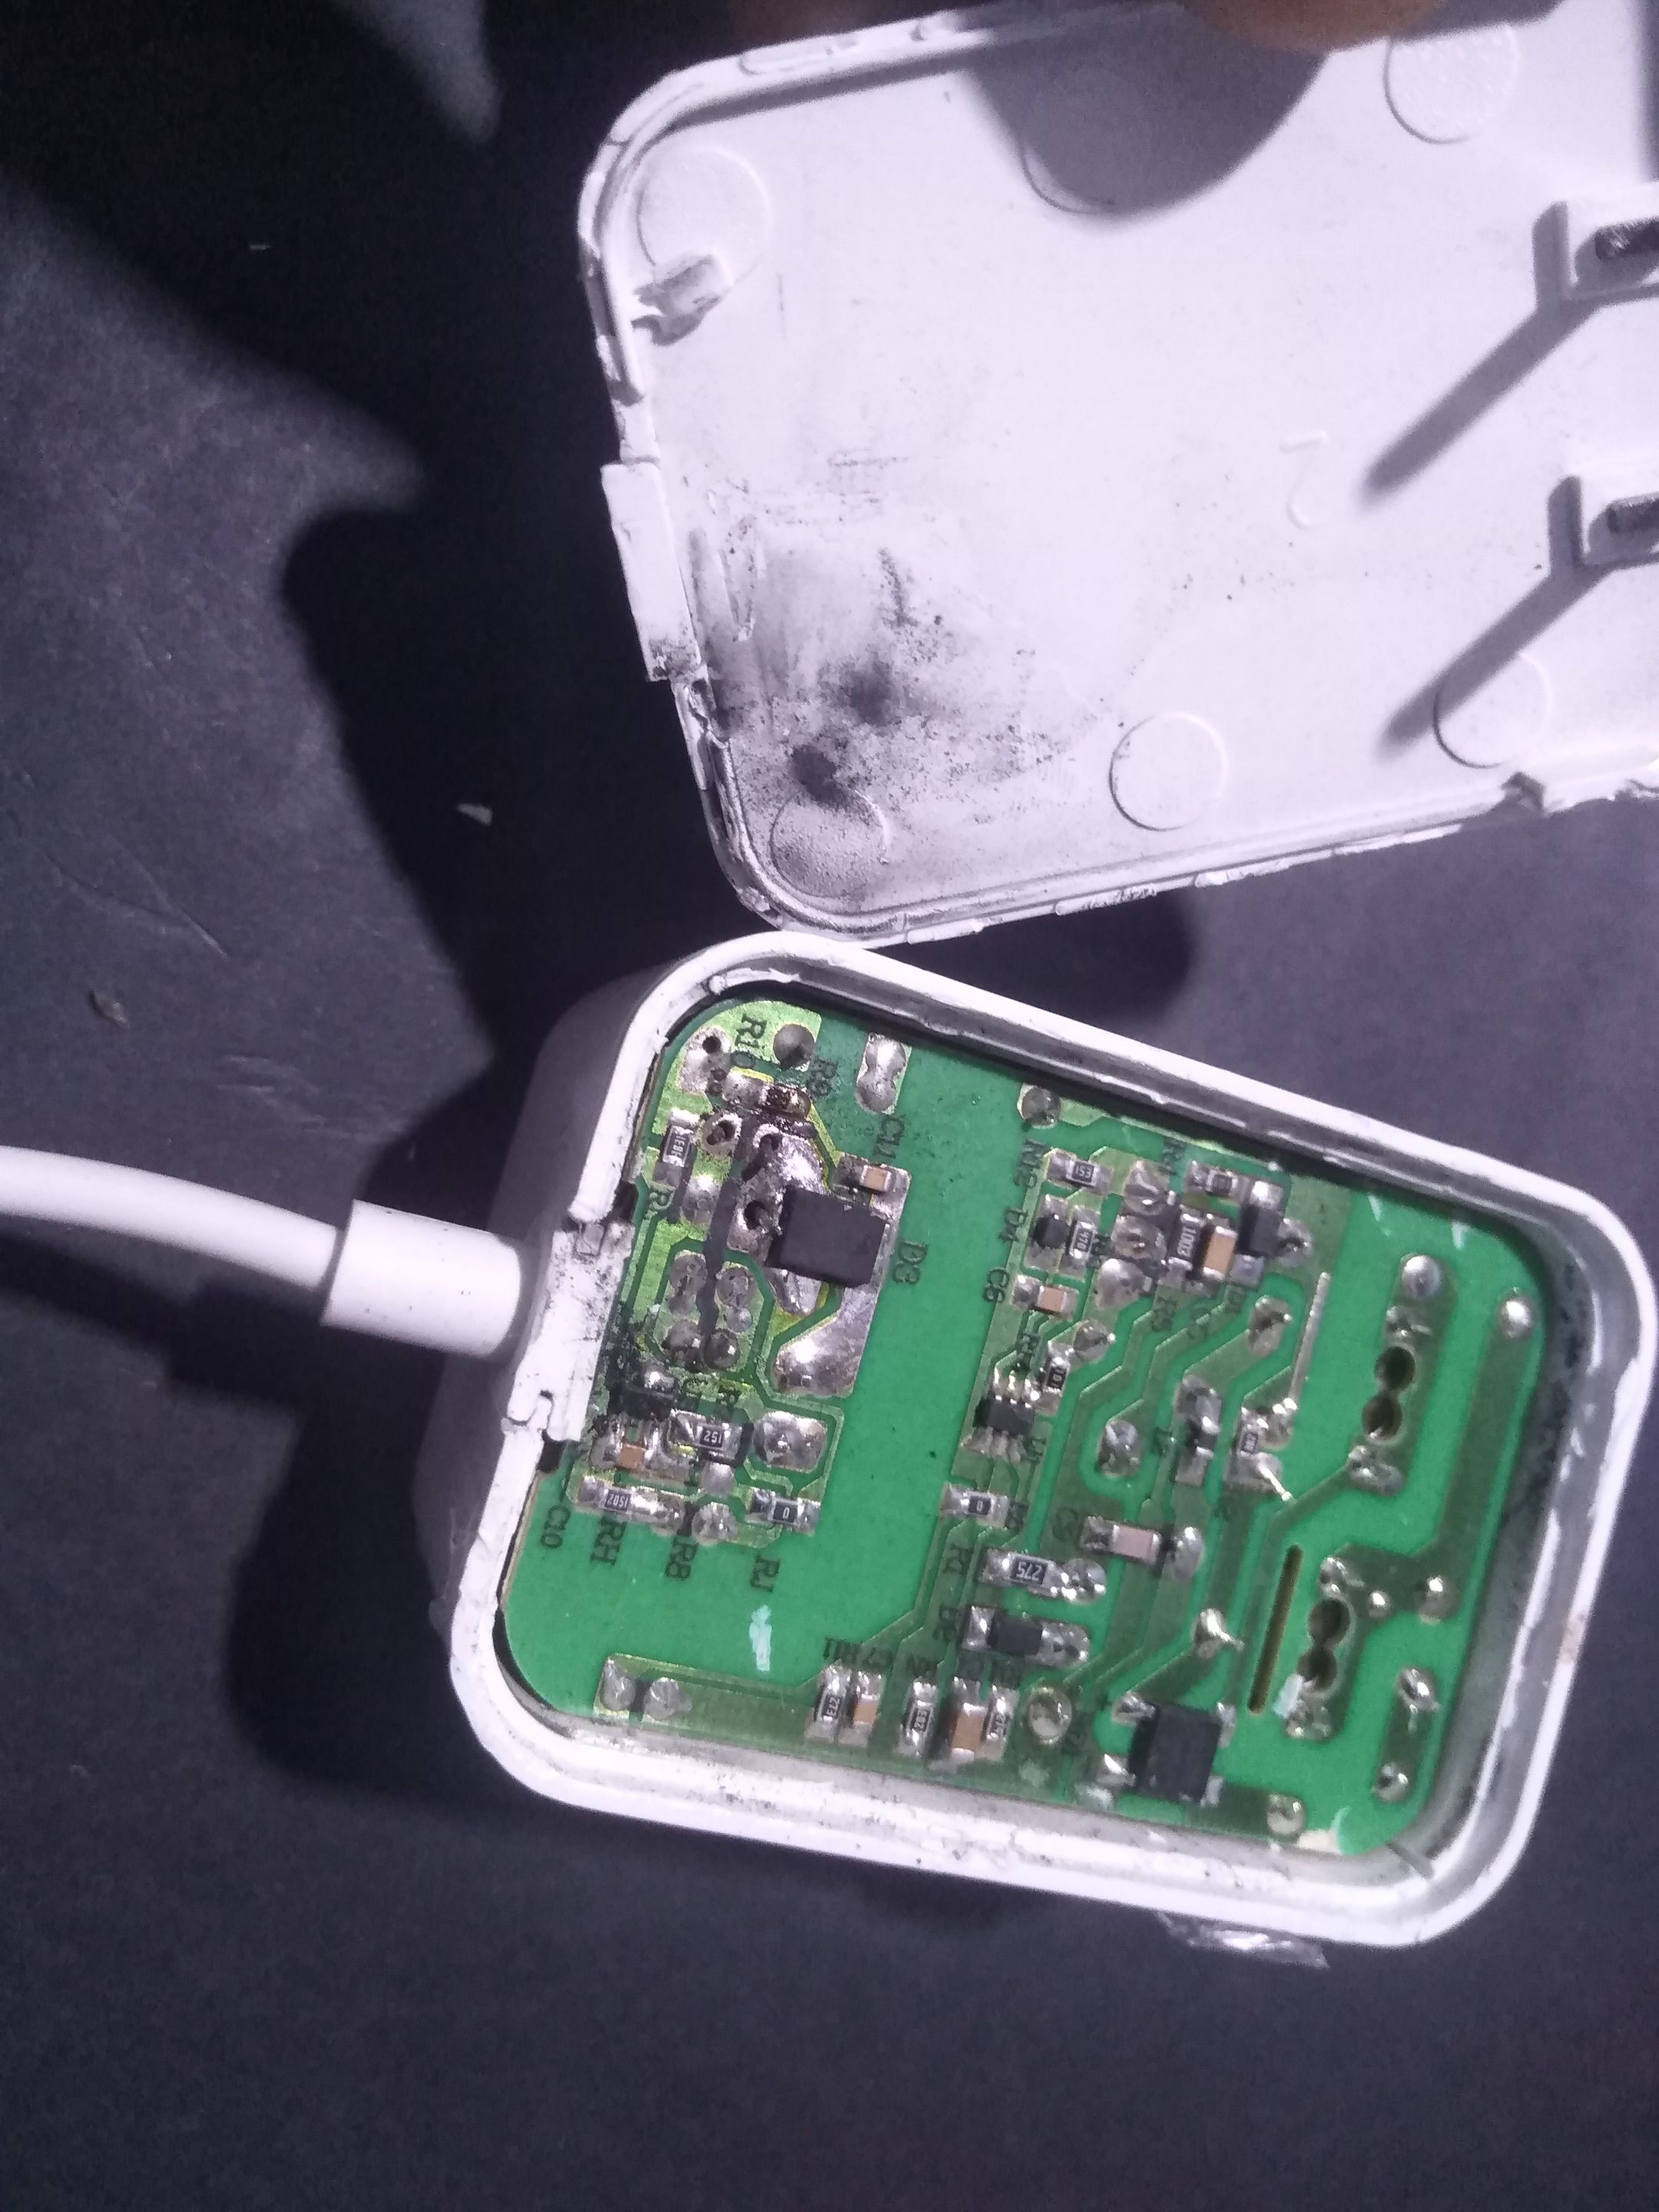
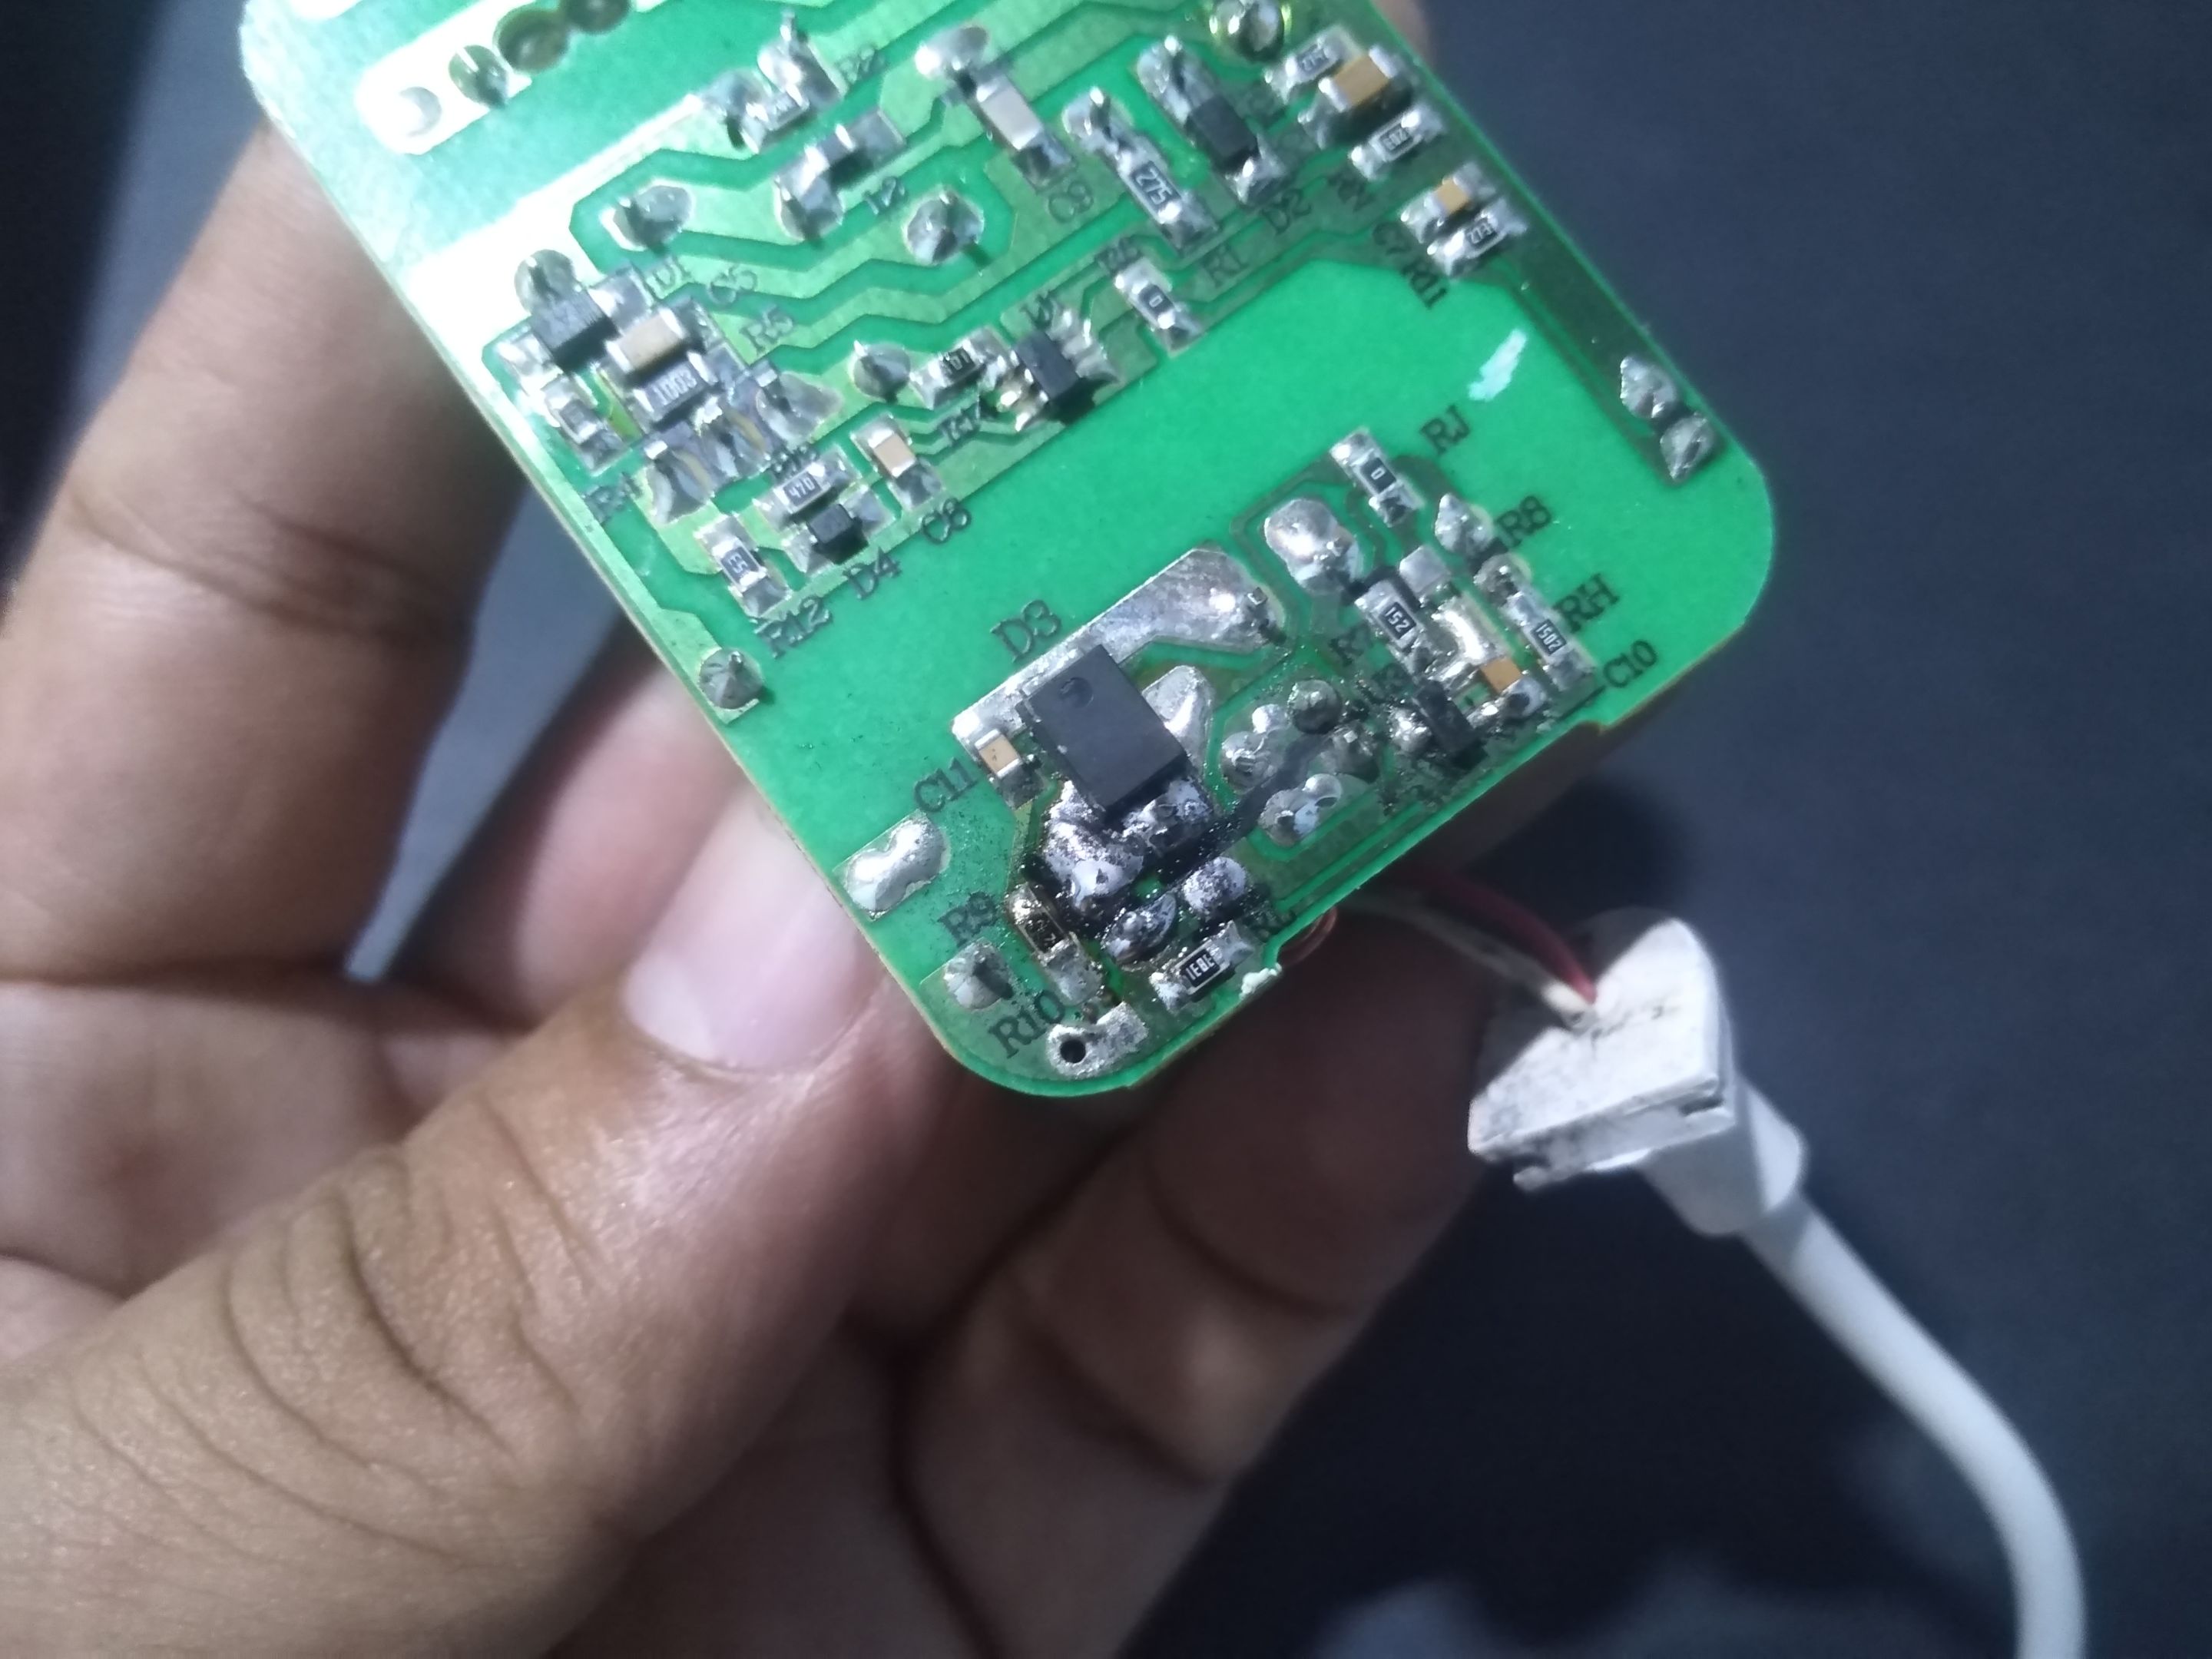
Al observar el interior del circuito me quedé sorprendido con el daño que está haciendo la fluctuación eléctrica en nuestros aparatos.
Evidentemente había un componente quemado en el circuito, pero como había señales de soldaduras derretids por un exceso de voltaje, decidí limpiar un poco el área para detallar bien el daño.
As I looked inside the circuit I was amazed at the damage that the electrical fluctuation is doing to our devices.
Evidently there was a burned component in the circuit, but as there were signs of melted solder joints due to excessive voltage, I decided to clean up the area a bit to detail the damage.
Al sacar completamente el circuito de la carcasa puede ver como un capacitor electrolítico se encontraba totalmente explotado y lleno de ceniza. Este dispositivo se quemó de tal manera que derritió soldadura de estaño de otros componentes aledaños.
Un panorama nada alentador era lo que veía.
When the circuit is completely removed from the housing, you can see how an electrolytic capacitor was completely exploded and filled with ash. This device was burned to such an extent that it melted tin solder from other surrounding components.
Not an encouraging picture was what I saw.
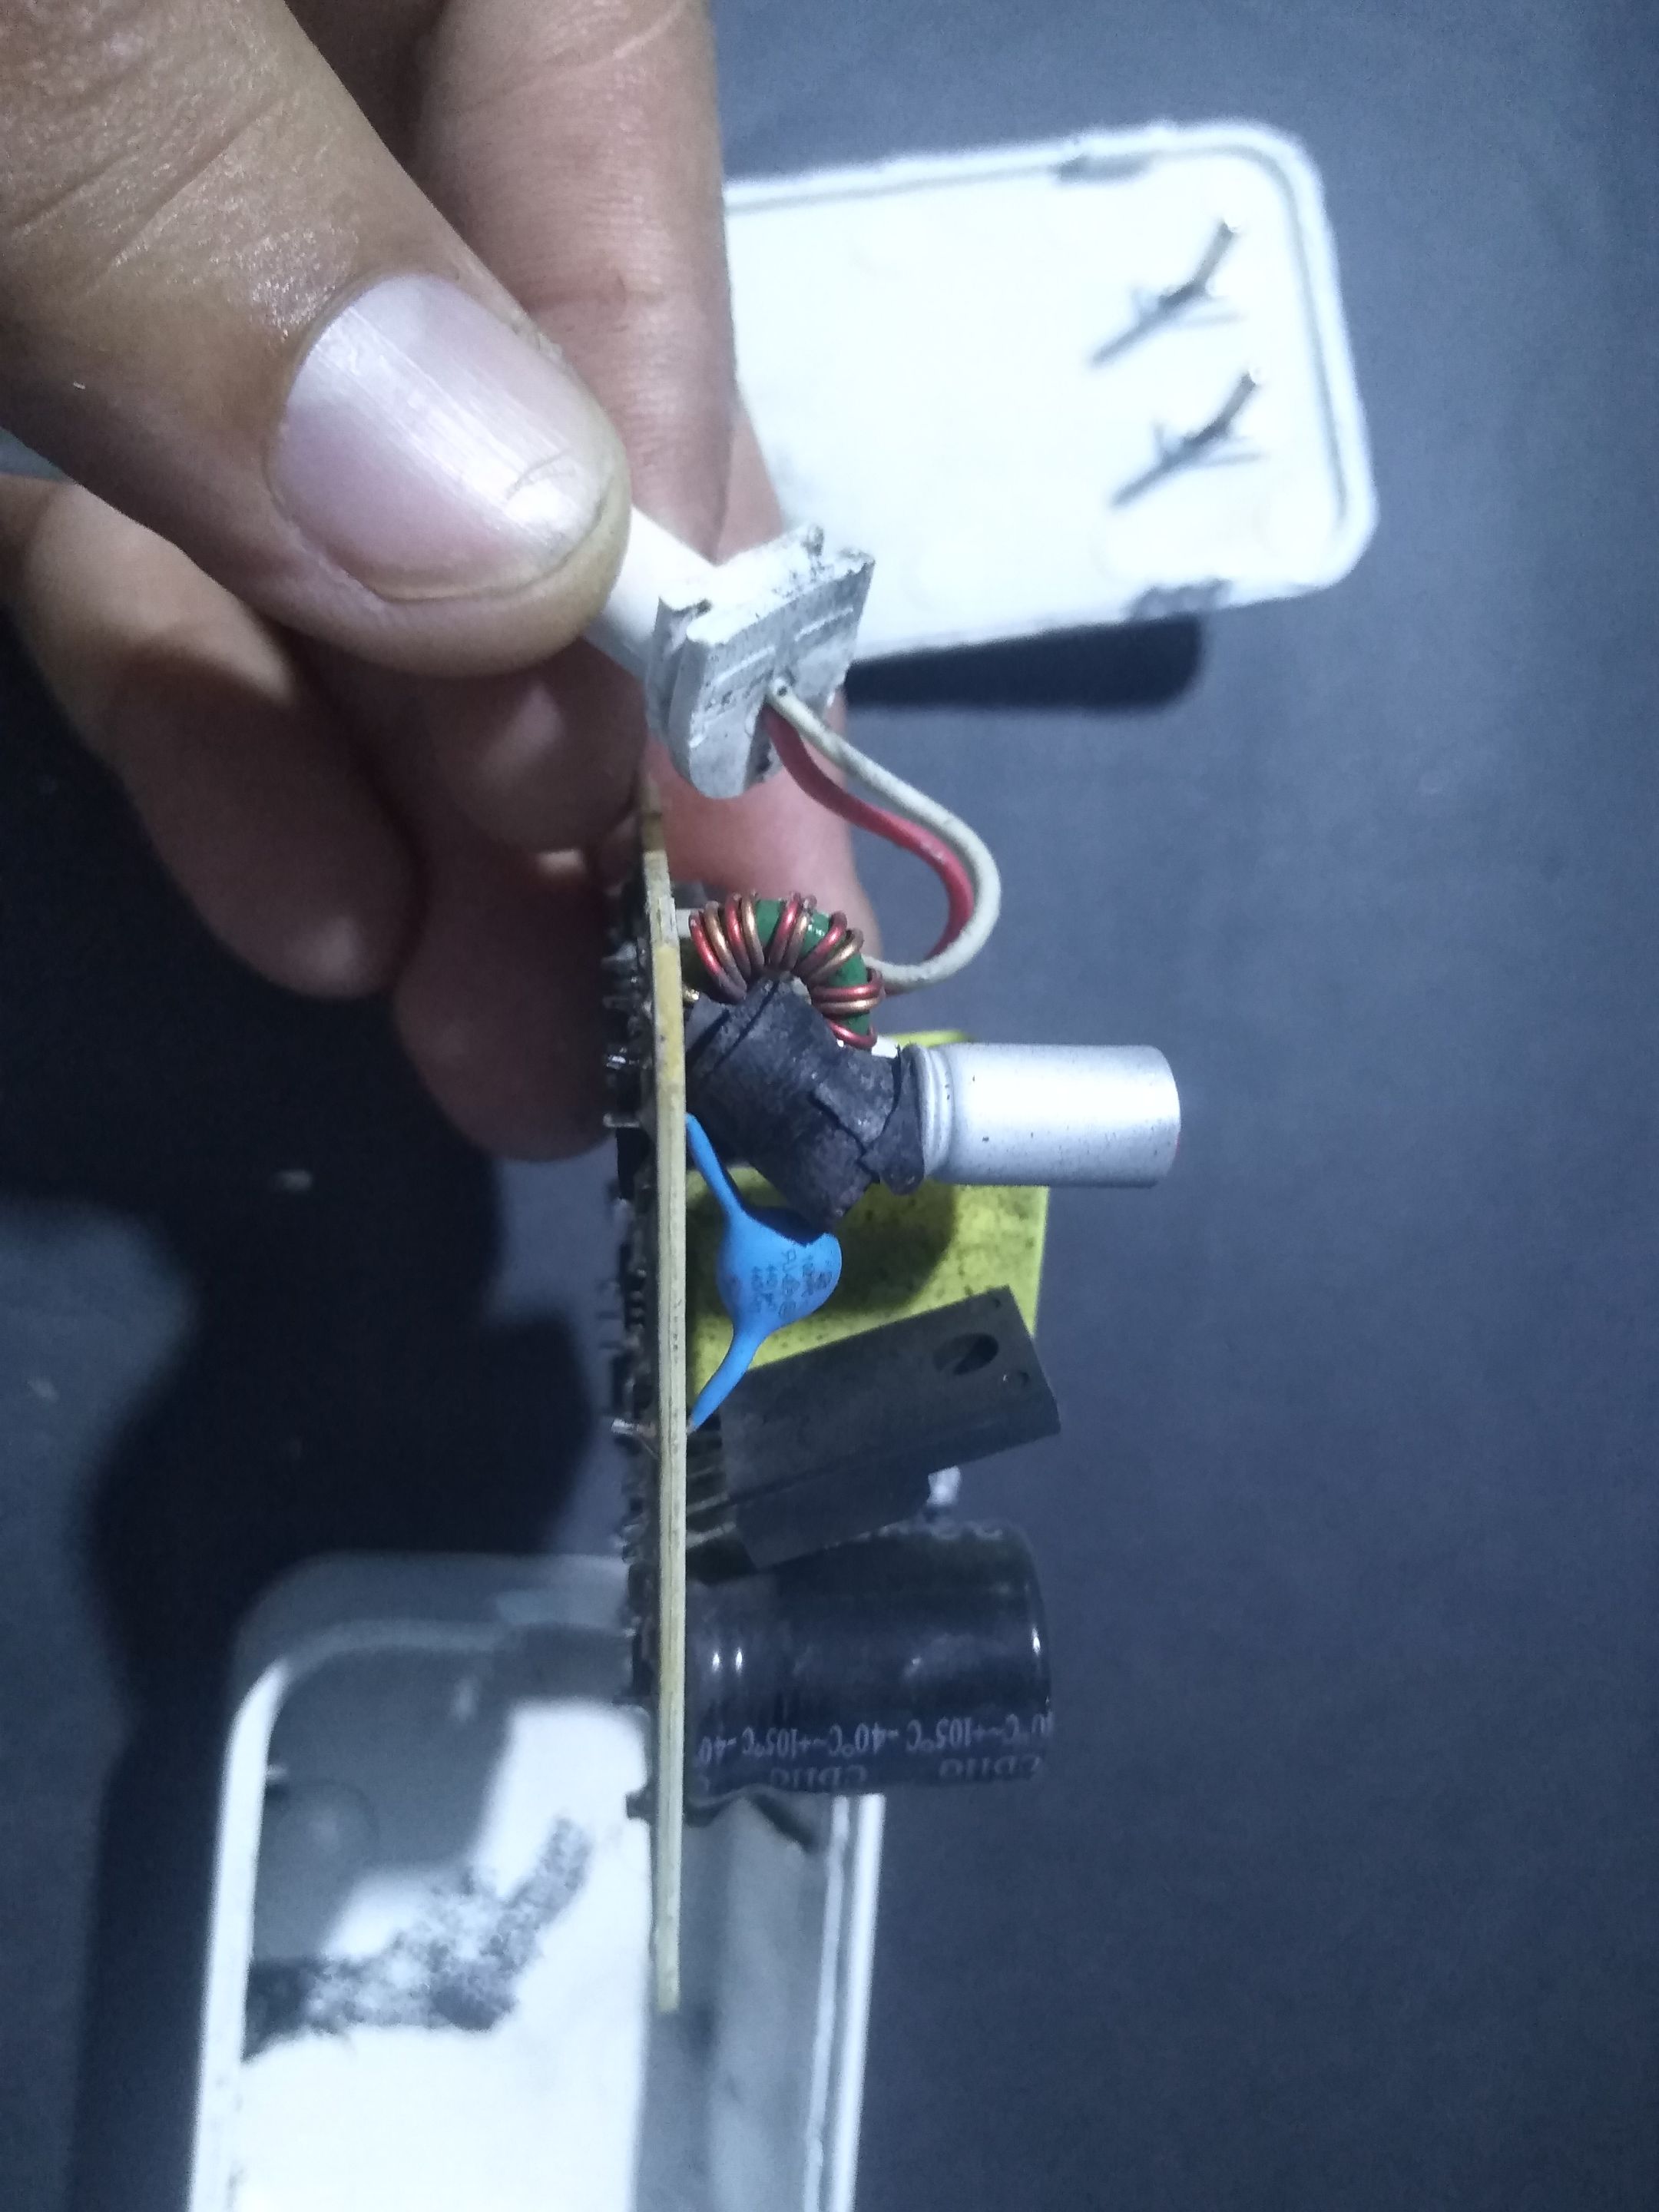
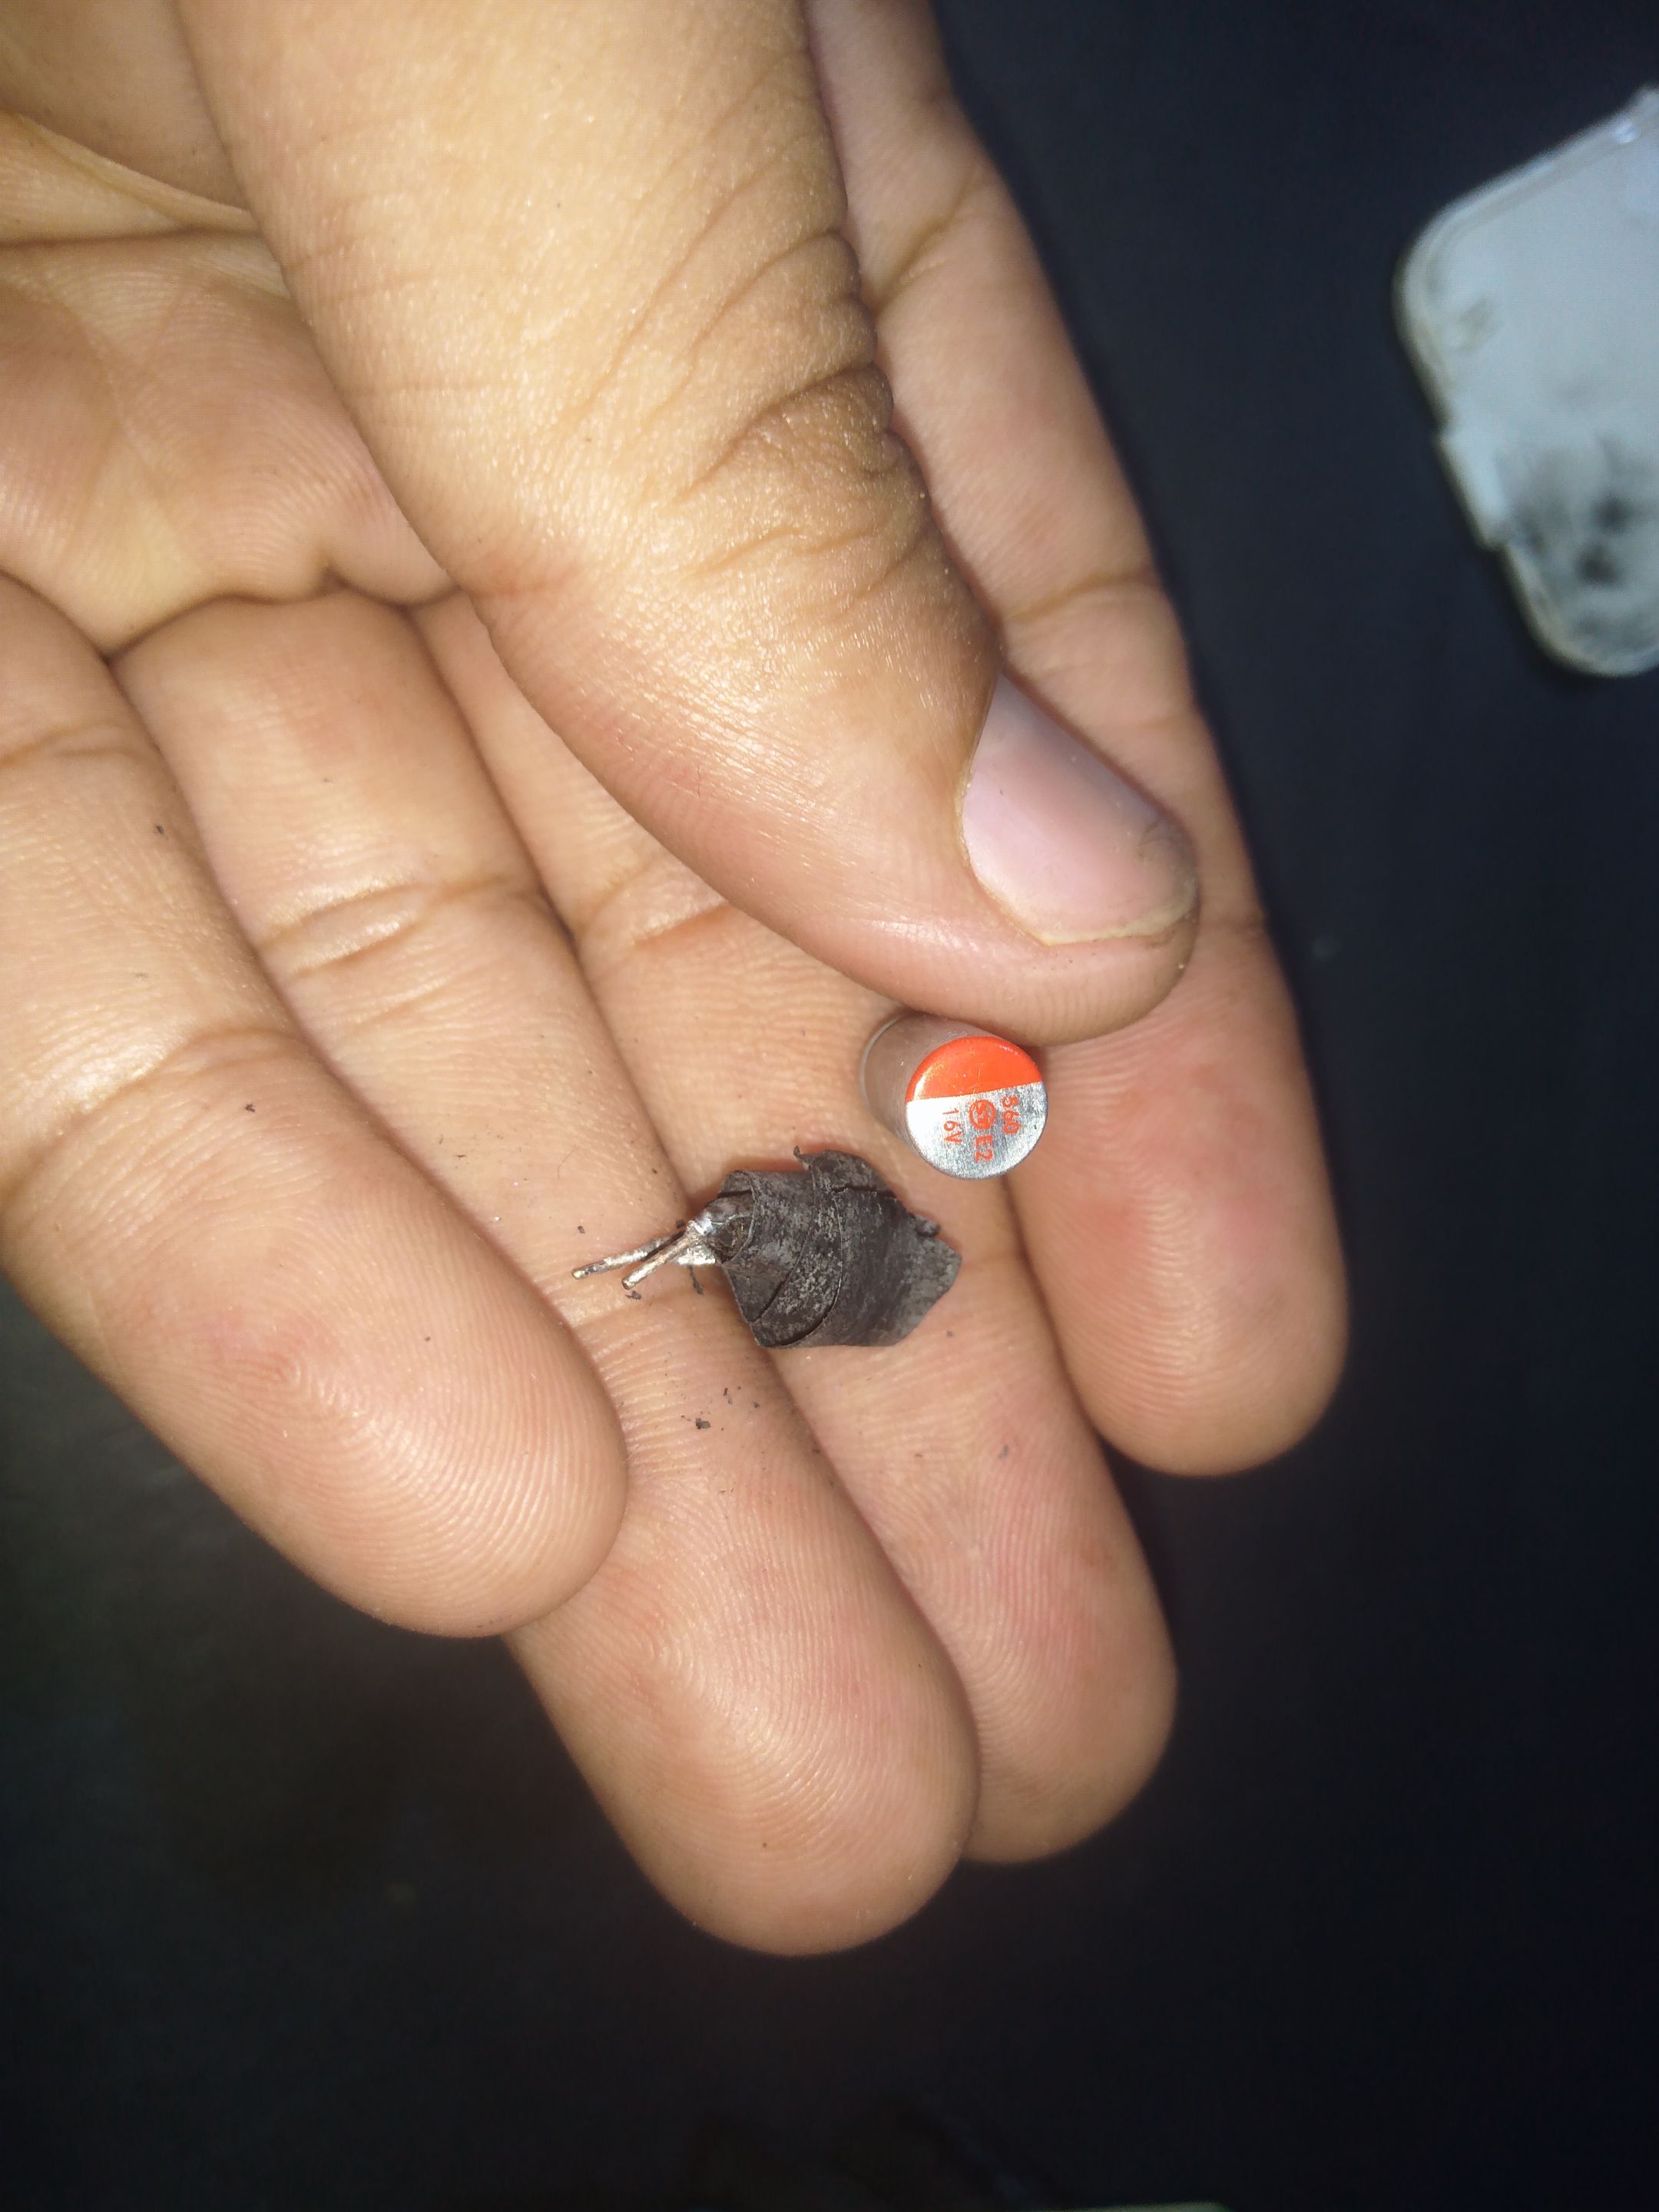
Retiré el capacitor electrolítico para ubicar el reemplazo, de un capacitor de 560 UF por 16 vdc, este tipo de capacitores se encuentran en algunos módems, así que inmediatamente fuí a buscar un módem donante y encontré el capacitor.
I removed the electrolytic capacitor to locate the replacement, a 560 UF per 16 vdc capacitor, this type of capacitor is found in some modems, so I immediately went looking for a donor modem and found the capacitor.
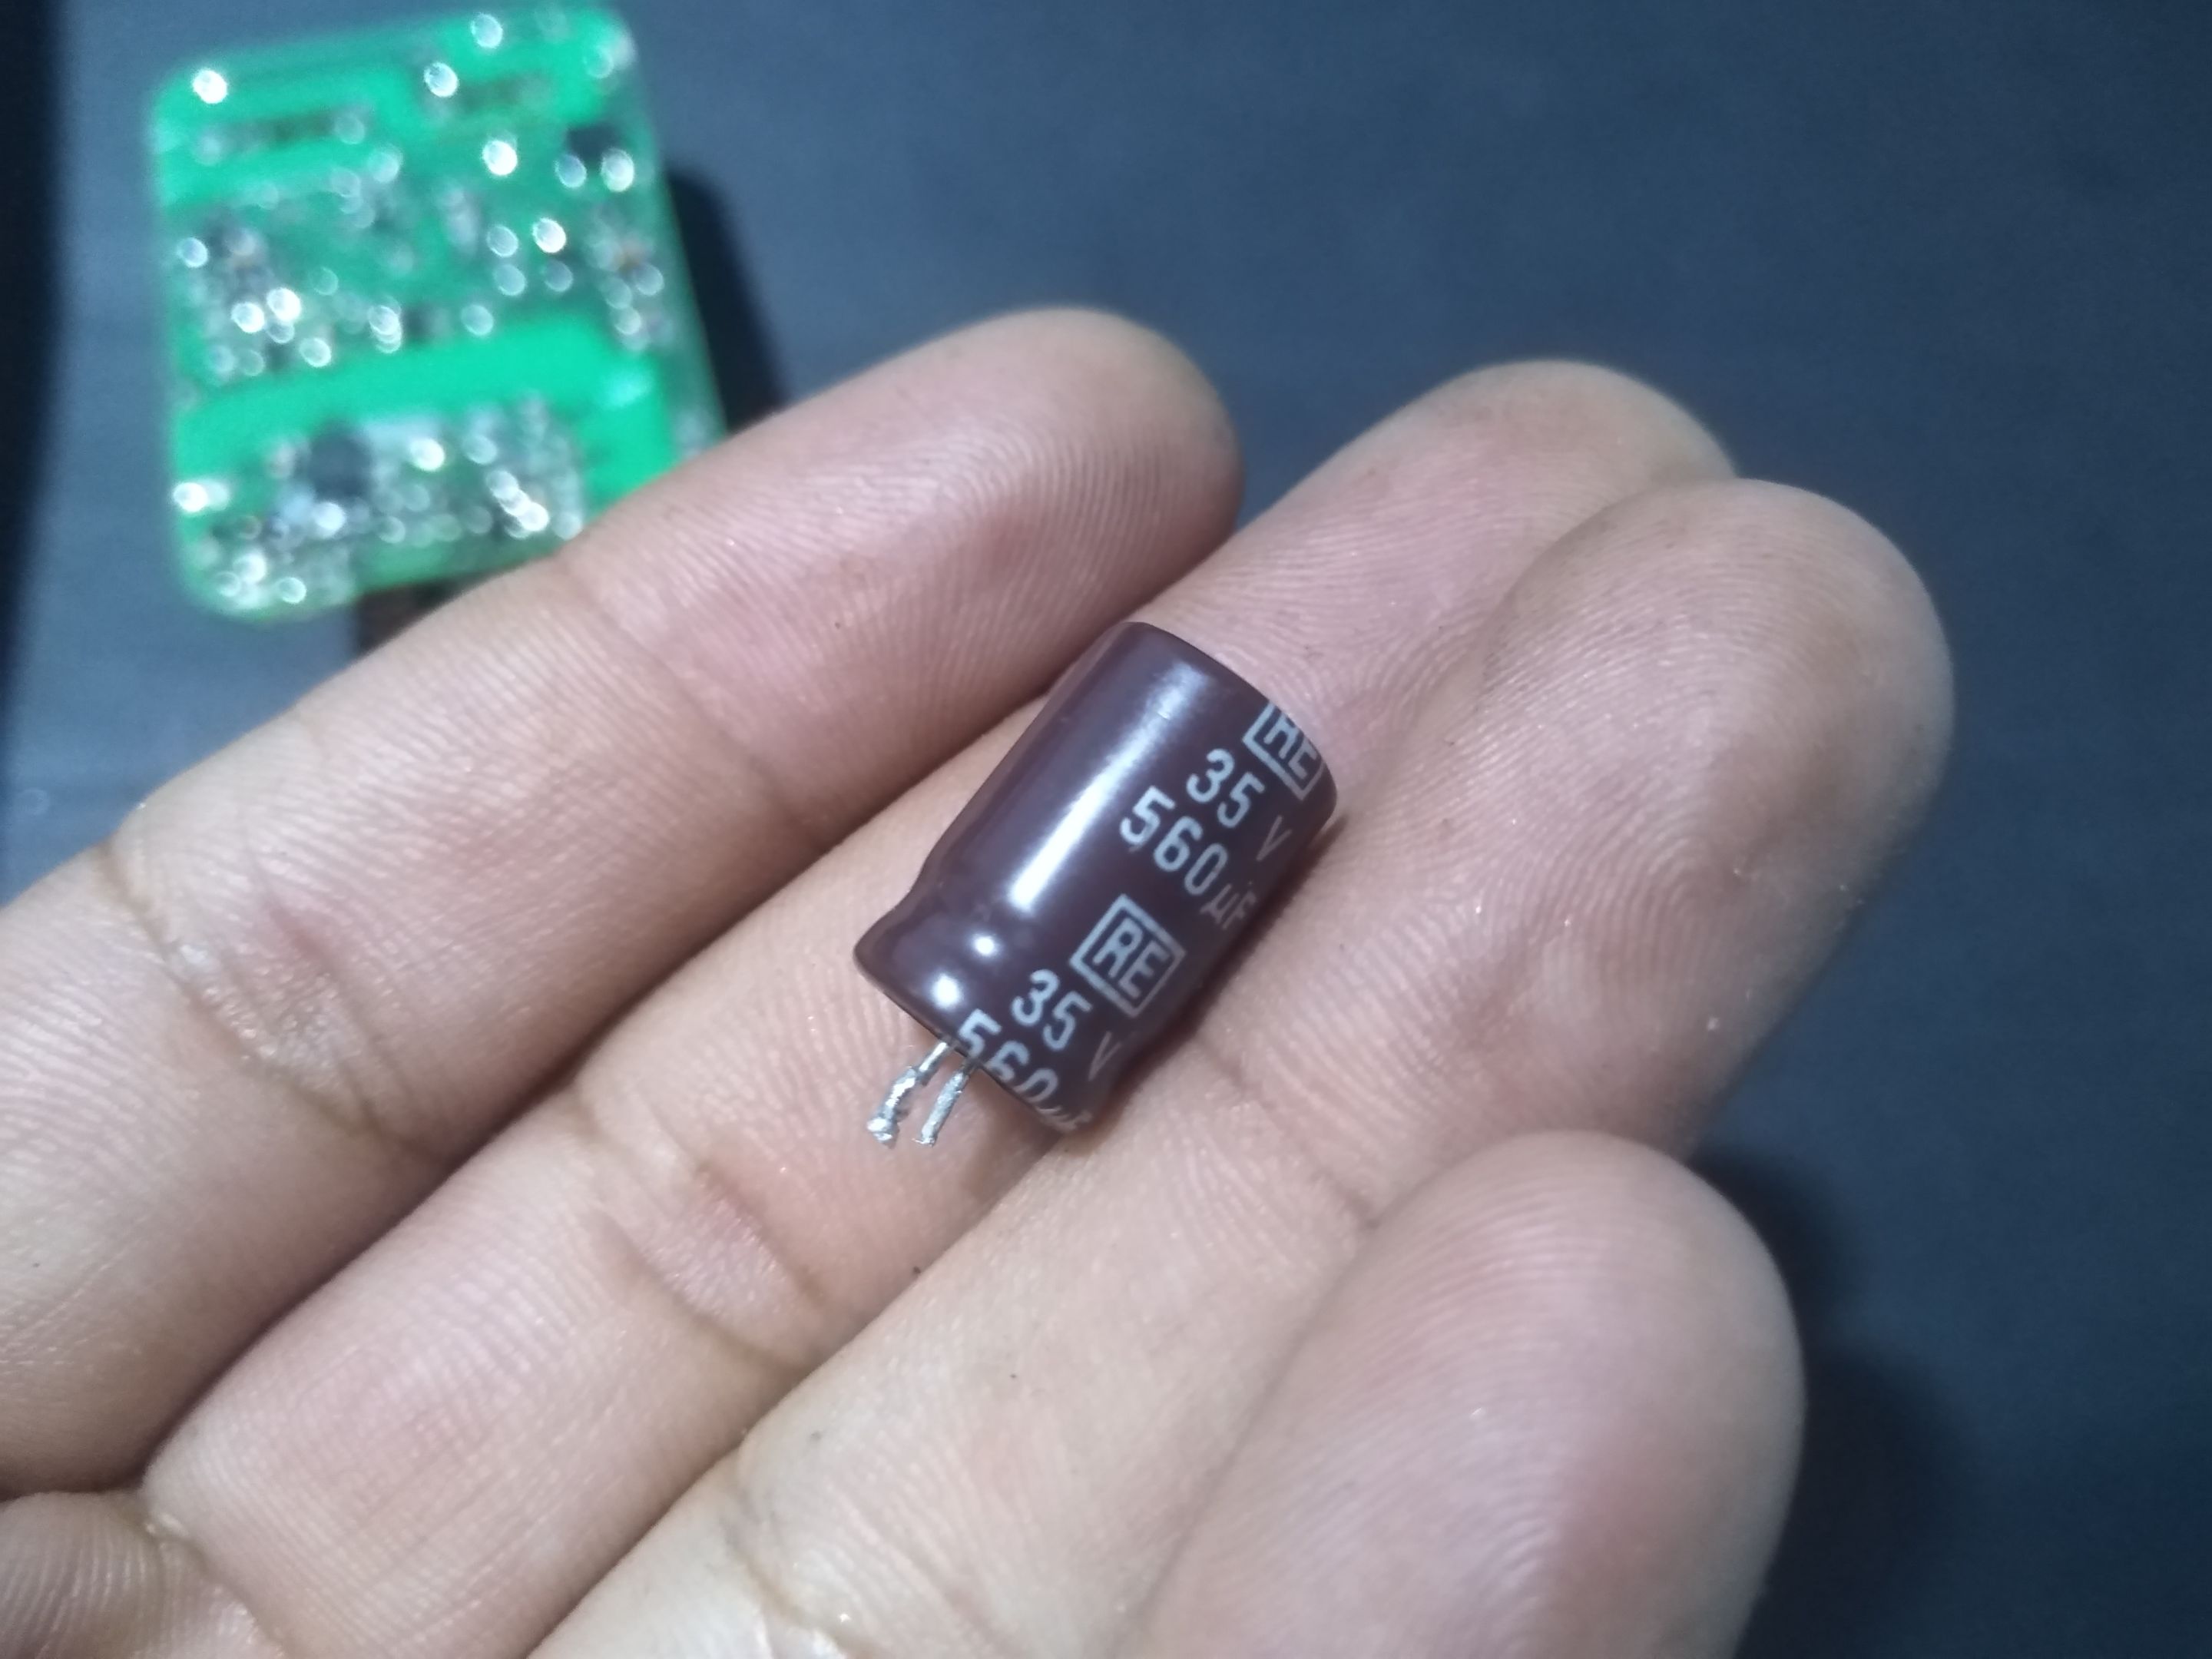
Encontré uno de 560 UF que soporta 35 VDC, es decir; prácticamente el doble de lo que soportaba el capacitor dañado y la verdad es que este tipo de capacitores con un voltaje superior a los 16 vdc iba a ser mejor como reemplazo.
I found one of 560 UF that supports 35 VDC, that is; practically double what the damaged capacitor supported and the truth is that this type of capacitors with a voltage higher than 16 vdc was going to be better as a replacement.
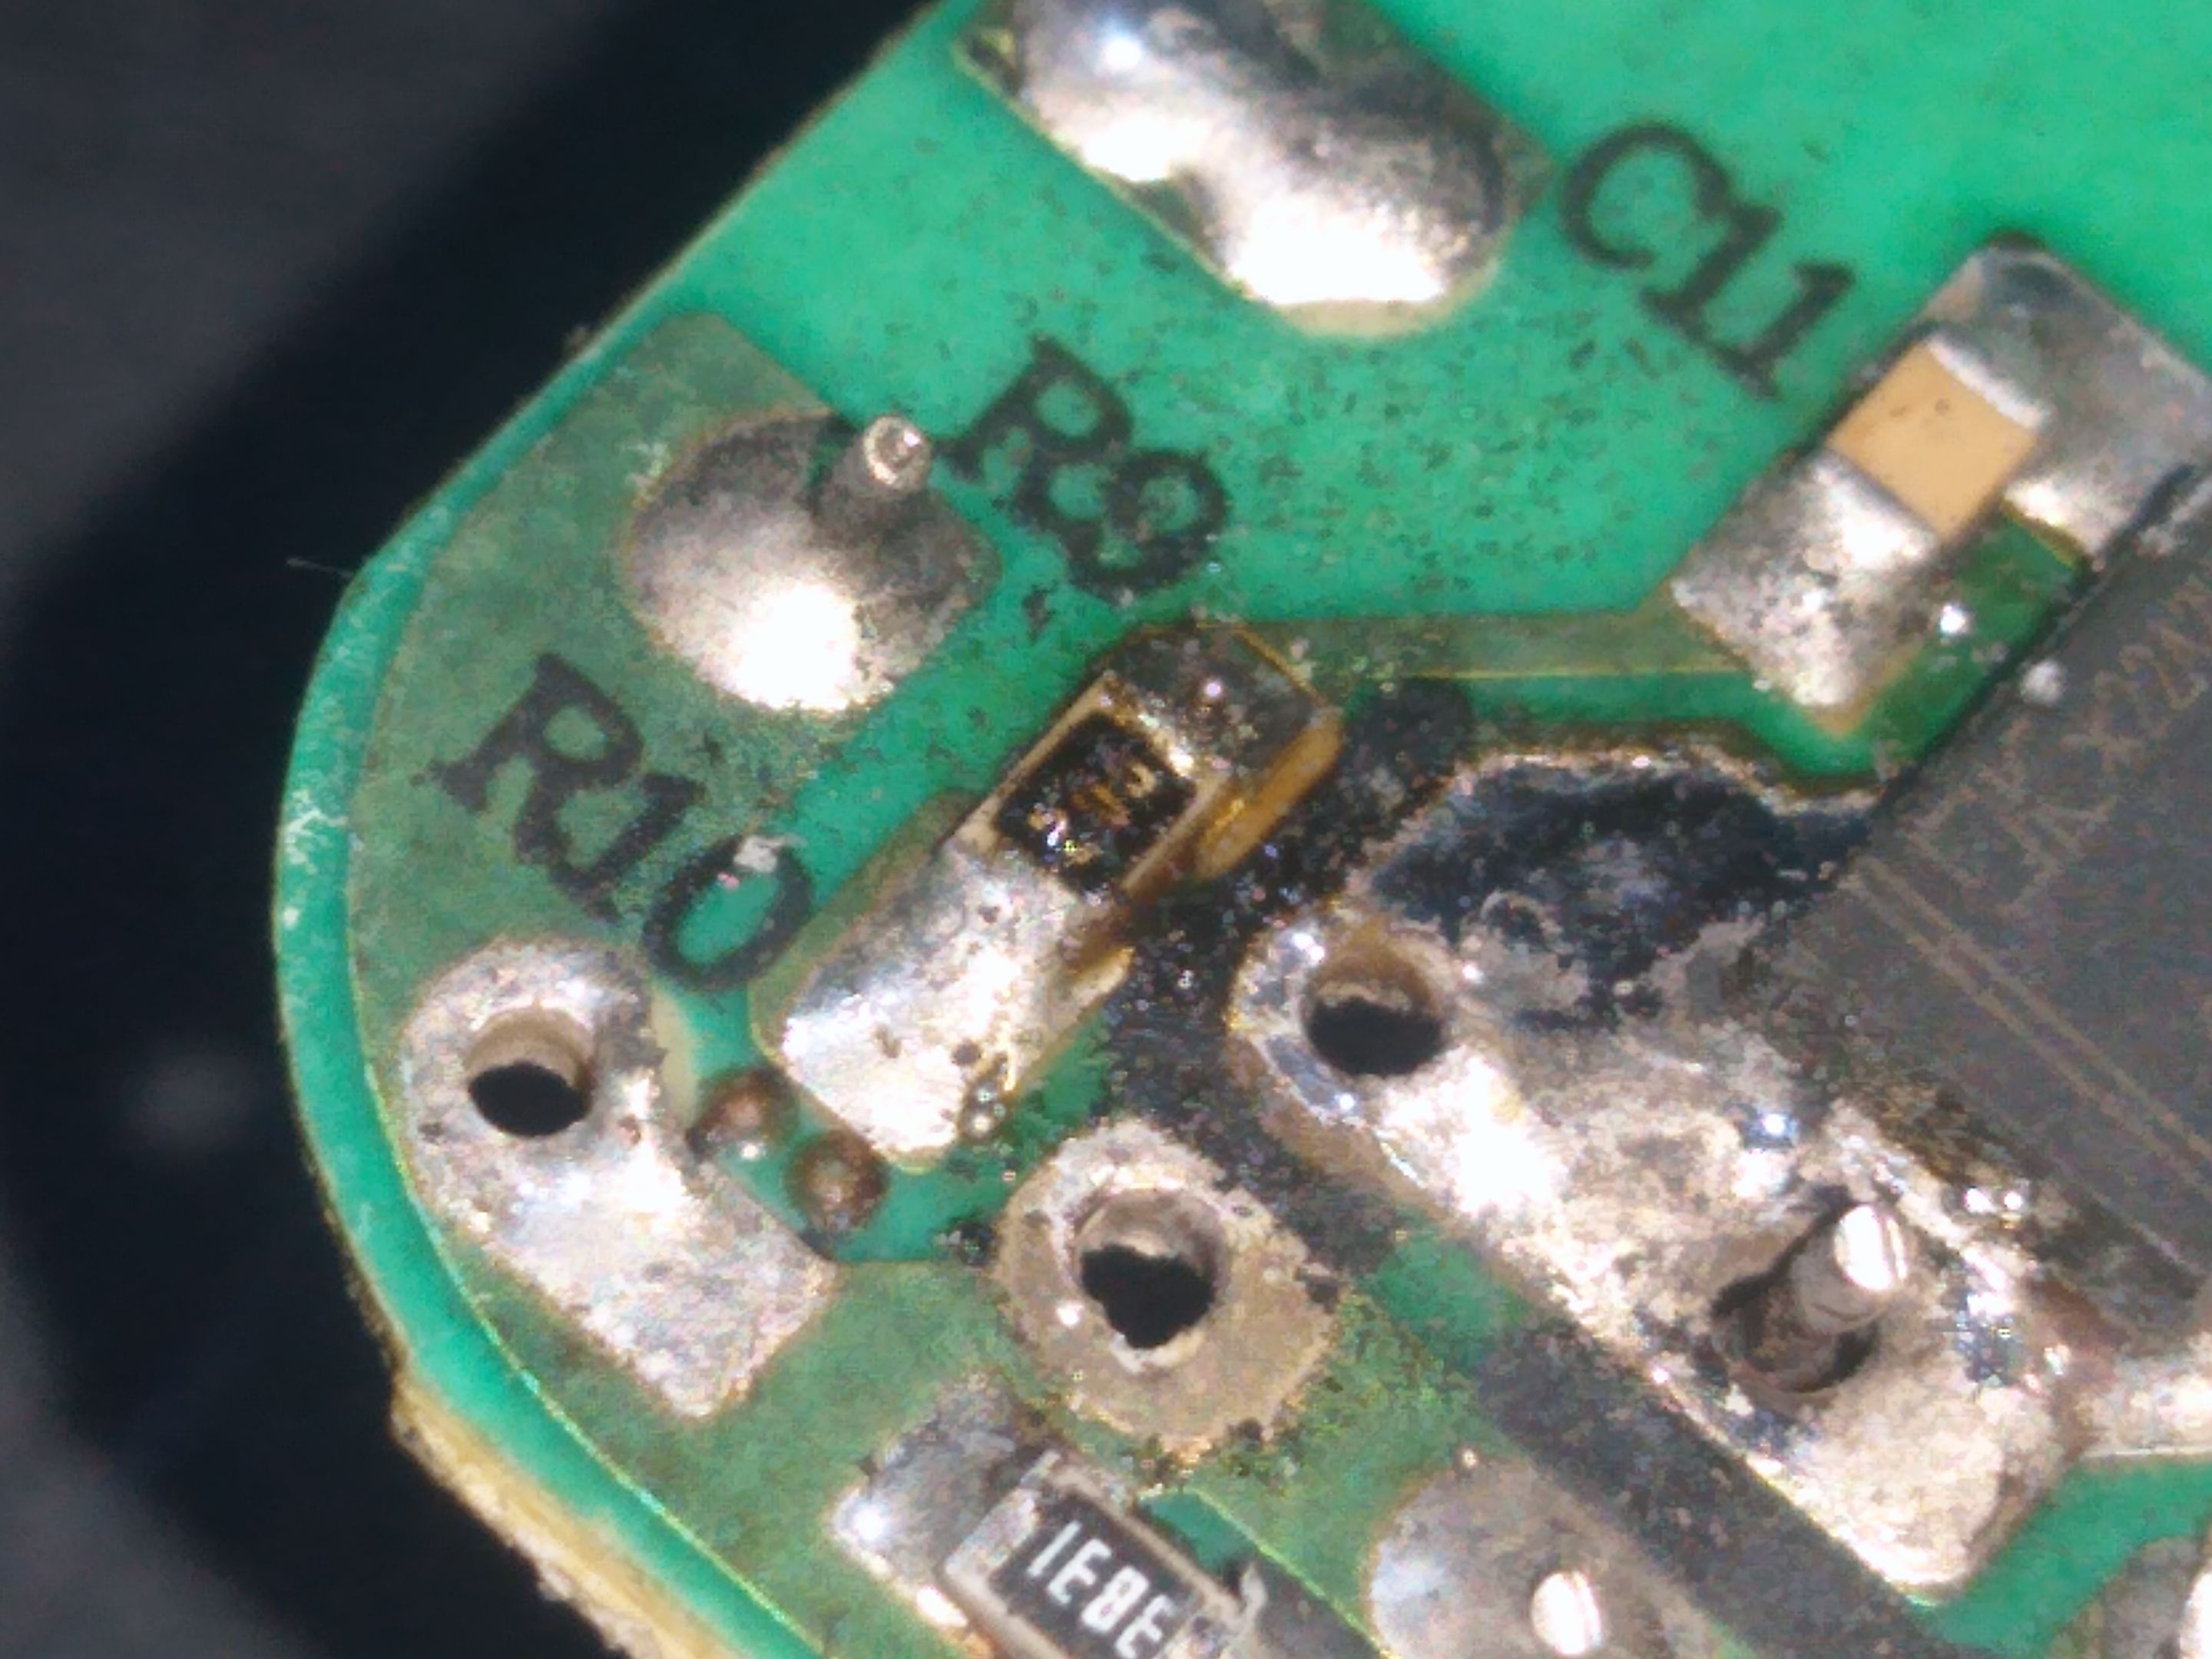
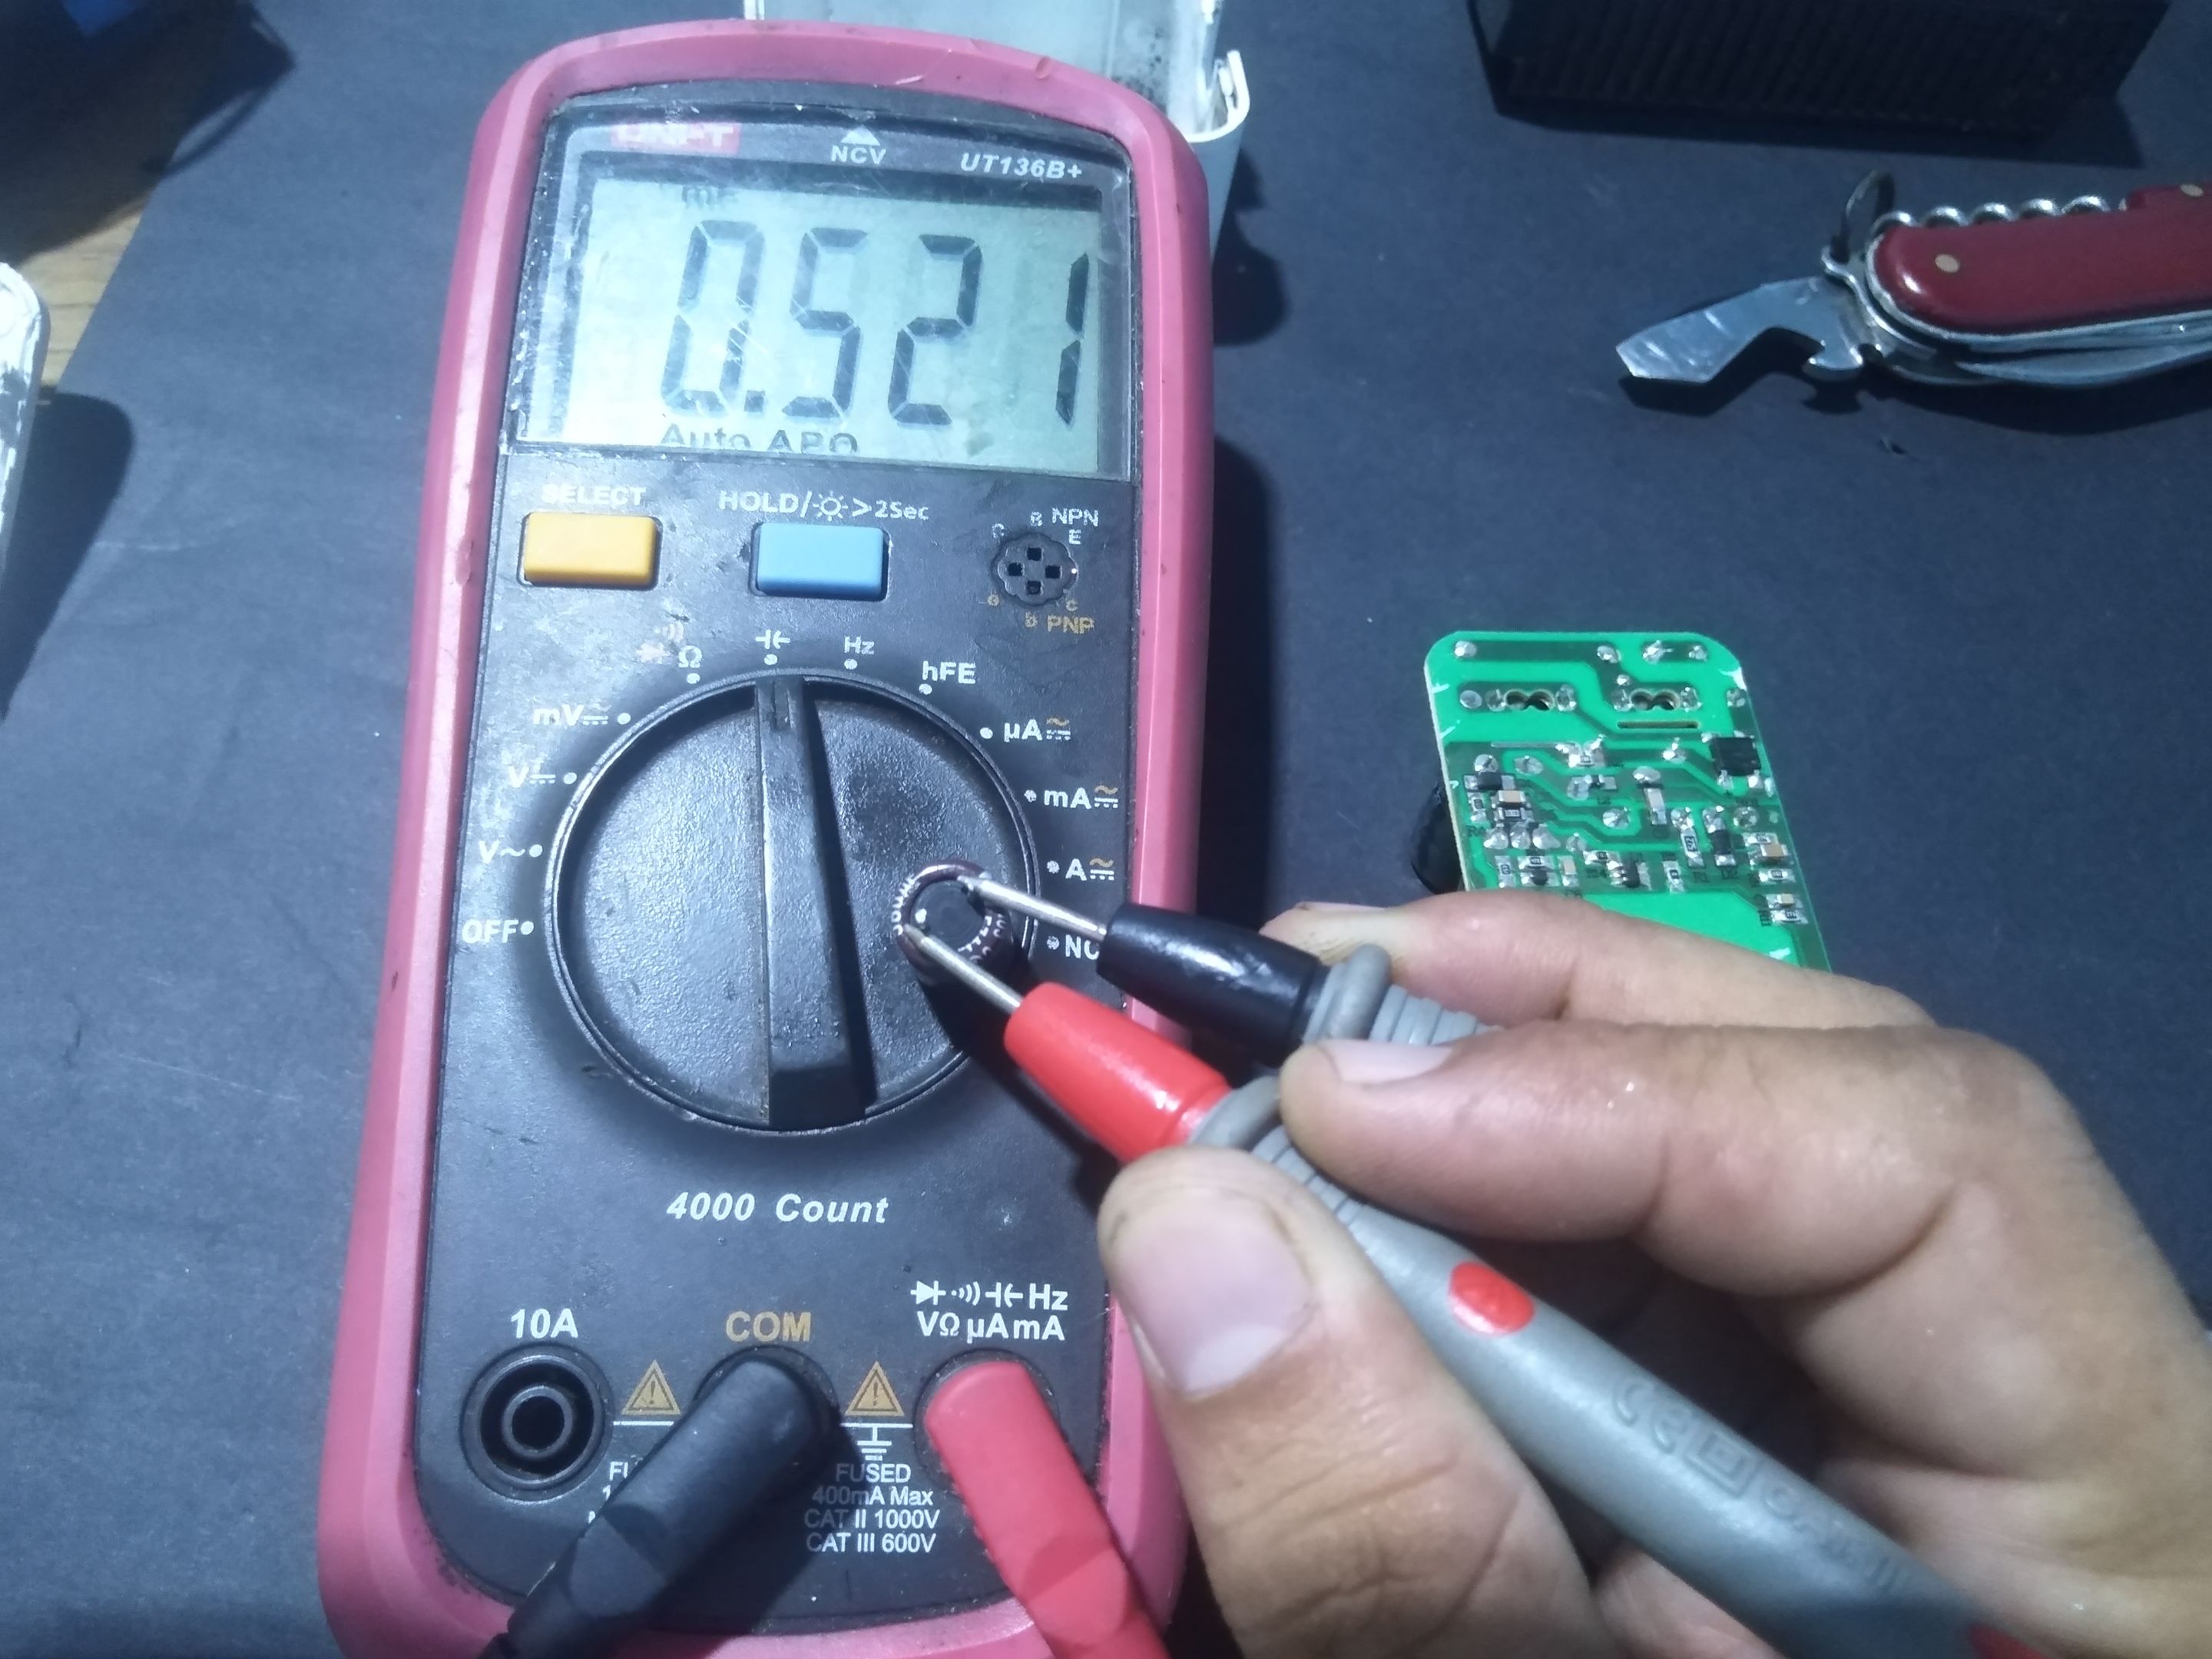
Limpié los orificios donde iba el capacitor y luego lo Solde en su lugar. Antes de colocar el capacitor de reemplazo procedí a medir su capacidad para estar seguro de jqe estaba en buen estado.
I cleaned the holes where the capacitor went and then soldered it in place. Before placing the replacement capacitor I proceeded to measure its capacitance to be sure it was in good condition.
Aquí pueden observar la lectura en el multimetro, mide unos 521 UF, una medida aceptable de acuerdo a su tolerancia.
Ahora puedo estar seguro de que colocaré un capacitor en buen estado y que me dará buenos resultados.
Here you can see the reading on the multimeter, it measures about 521 UF, an acceptable measurement according to its tolerance.
Now I can be sure that I will place a capacitor in good condition and that it will give me good results.
Solde los componentes en la placa respetando la polaridad del capacitor electrolítico, adicionalmente solde lámpara de una bobina cuya soldadura se había derretido.
I soldered the components on the board respecting the polarity of the electrolytic capacitor, additionally I soldered the lamp of a coil whose solder had melted.
Antes de conectar la corriente para hacer la prueba de funcionamiento hice la comprobación de otros componentes, como transistores, fusibles y diodos para corroborar je no existiera un cortocircuito y todo estaba bien.
Sin embargo al pasarle corrientes es que determinaremos sí está bien o no.
Before connecting the current to make the function test I checked other components, such as transistors, fuses and diodes to corroborate that there was no short circuit and everything was fine.
However, it is by passing currents to it that we will determine if it is ok or not.
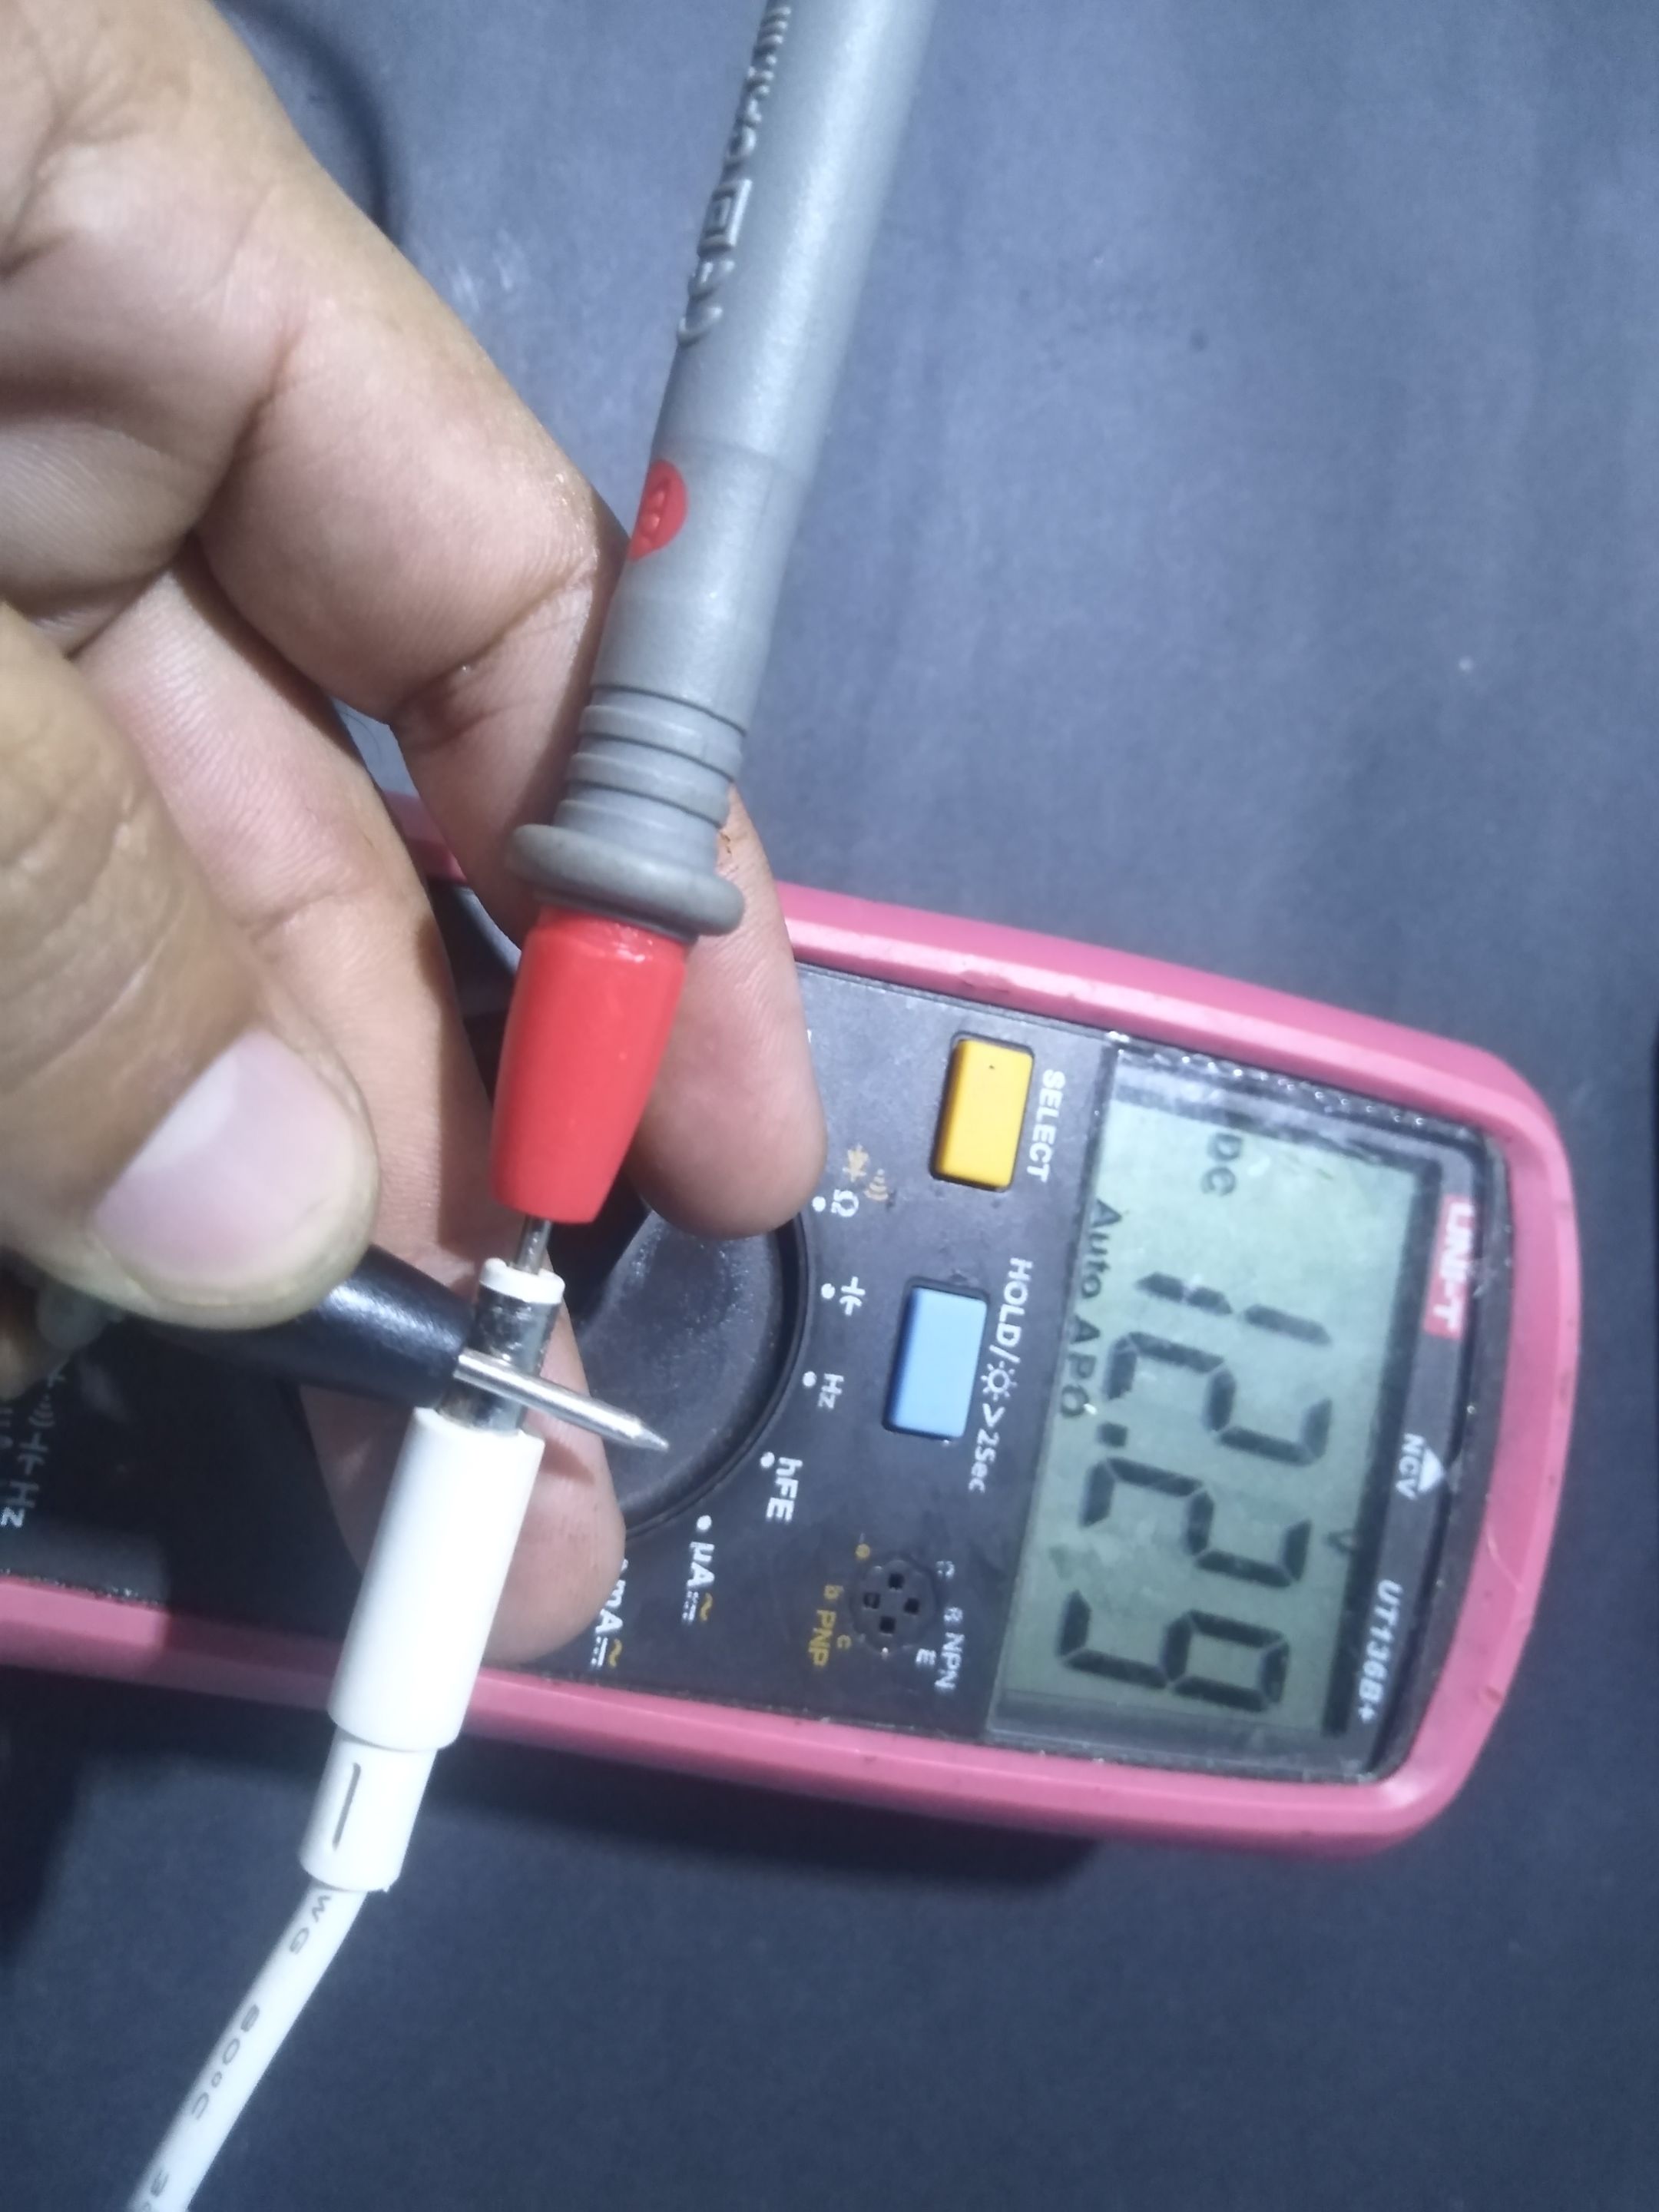
Por lo visto todo está solucionado, el cargador ya suministra los 12 VDC y está cargando el mini UPS. Por lo tanto hemos reparado este cargador que sufrió una fuerte subida de tensión.
Los mini UPS protegen nuestros equipos más importantes como los routers y por esa razón ellos son los que sufren estas fuertes descargas, funcionan como escudos protectores.
Apparently everything is solved, the charger is now supplying the 12 VDC and is charging the mini UPS. So we have repaired this charger that suffered a strong voltage surge.
The mini UPS protect our most important equipment such as routers and for that reason they are the ones that suffer these strong discharges, they work as protective shields.
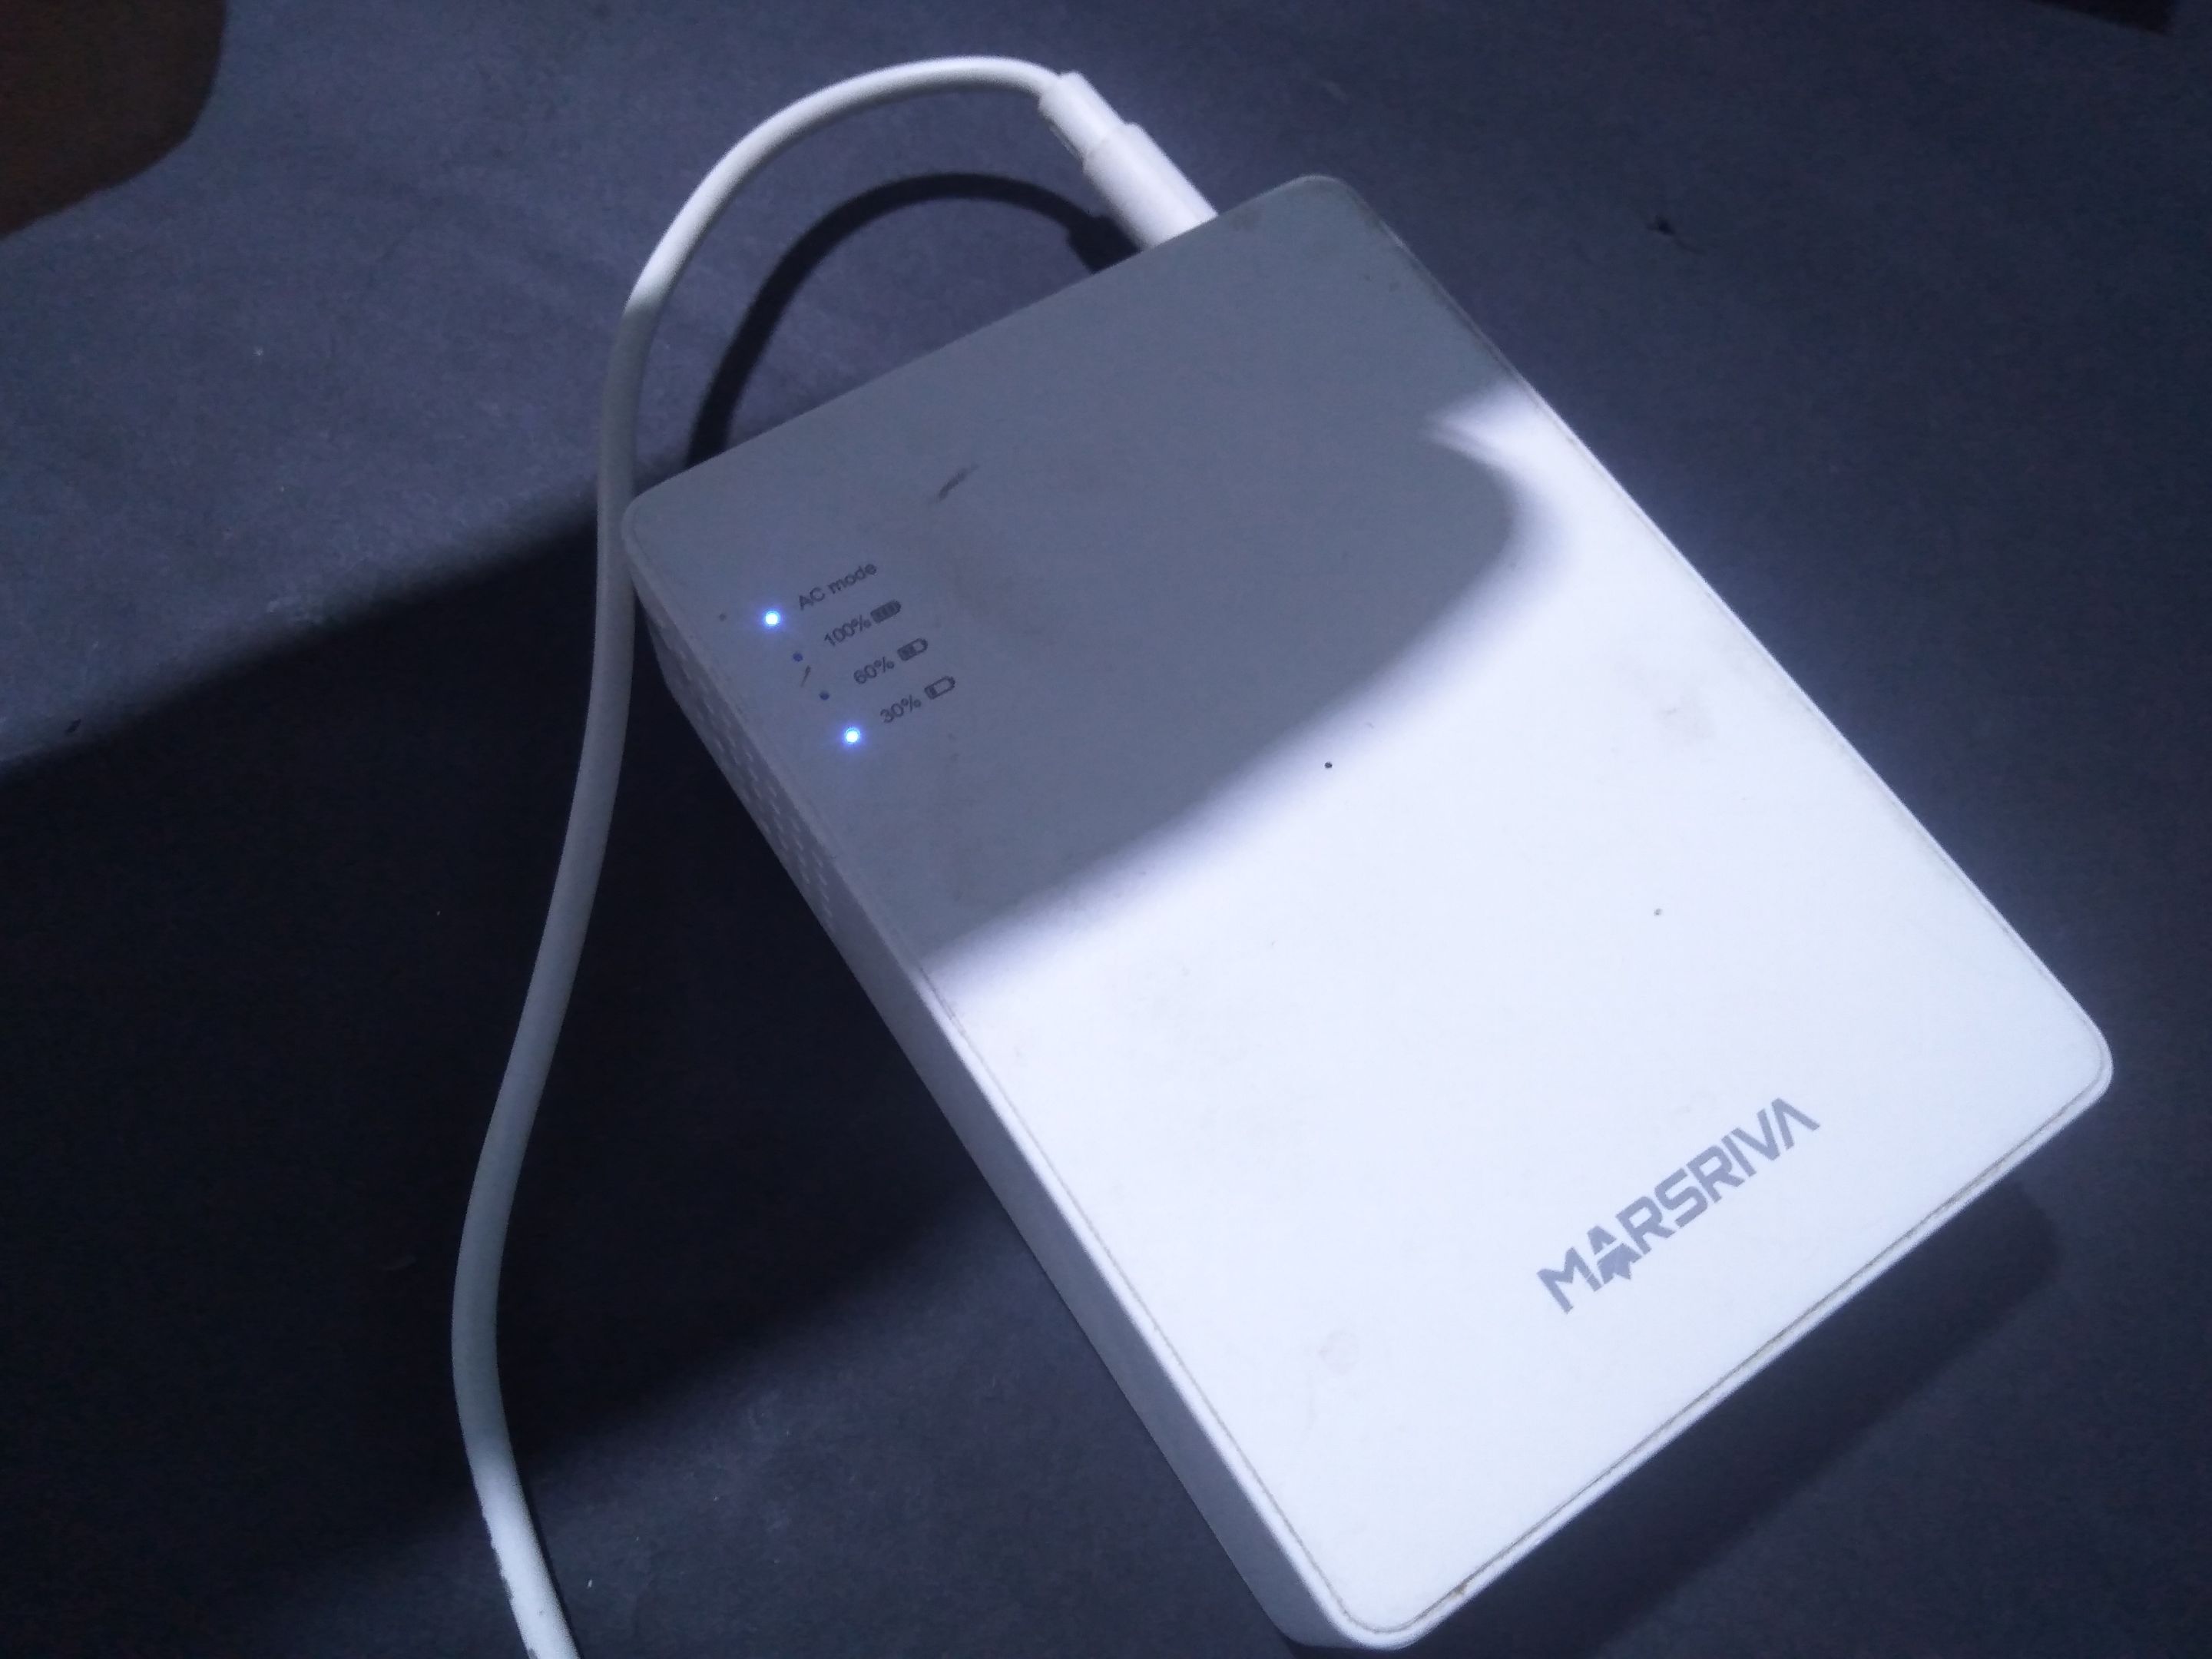
A veces es inevitable que sufran daños, puesto que ellos solo cuentan con la protección dentro de sus circuitos pero también se saturan y se dañan.
Ante alguna anomalía en tu UPS, es bueno que revises el cargador para evitar pensar que tu UPS se dañó, recuerda que primero debemos revisar los elementos que suministran el voltaje, priermo el cable, luego el cargador y después el aparato principal.
Esta falla también es frecuente en cargadores de celulares.
Hasta un próximo encuentro. Espero que esté nuevo tutorial les sirva de guía.
Sometimes it is inevitable that they suffer damage, since they only have the protection within their circuits but also saturate and get damaged.
Before any anomaly in your UPS, it is good to check the charger to avoid thinking that your UPS is damaged, remember that we must first check the elements that supply voltage, first the cable, then the charger and then the main device.
This failure is also frequent in cell phone chargers.
Until next time. I hope this new tutorial will serve as a guide.
Todas las fotografías fueron tomadas con mí Smartphone Huawei Dub-Al00.
