Hola a todos! Saludos miembros de las comunidad Holozing, espero hayan tenido un excelente día y que les termine de ir bien en este viernes, ya casi llega el fin de semana un momento para relajarse, quedarse en casa y realizar nuevas manualidades, en mi caso me gusta invertir el tiempo mientras tengo libre, hoy les quiero compartir una nueva manualidad inspirada en los personajes del juego.
Hello everyone! Greetings members of the Holozing community, I hope you had a great day and that this Friday goes well for you, the weekend is almost here, a time to relax, stay at home and make new crafts, in my case I like to invest time while I have free, today I want to share with you a new craft inspired by the characters of the game.
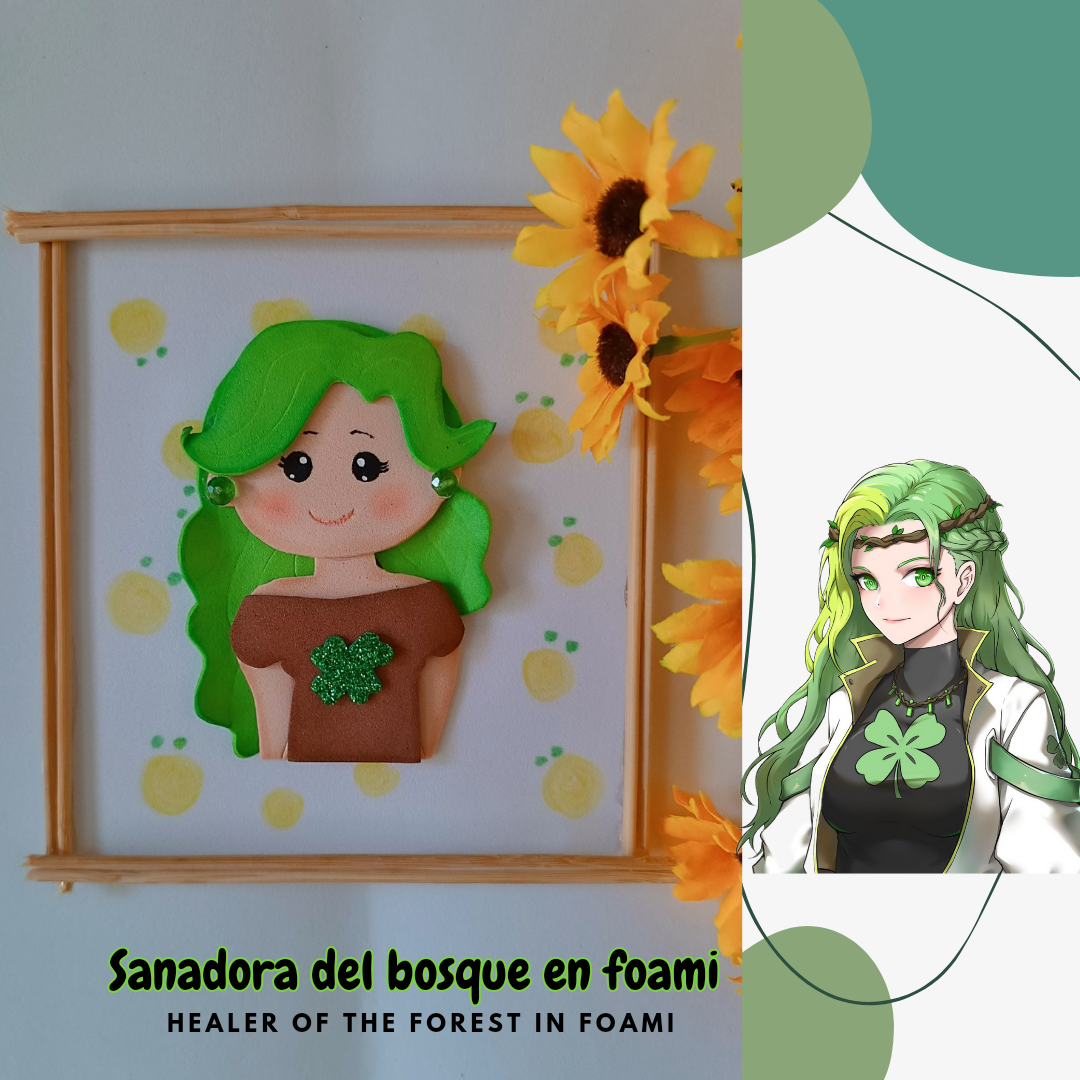
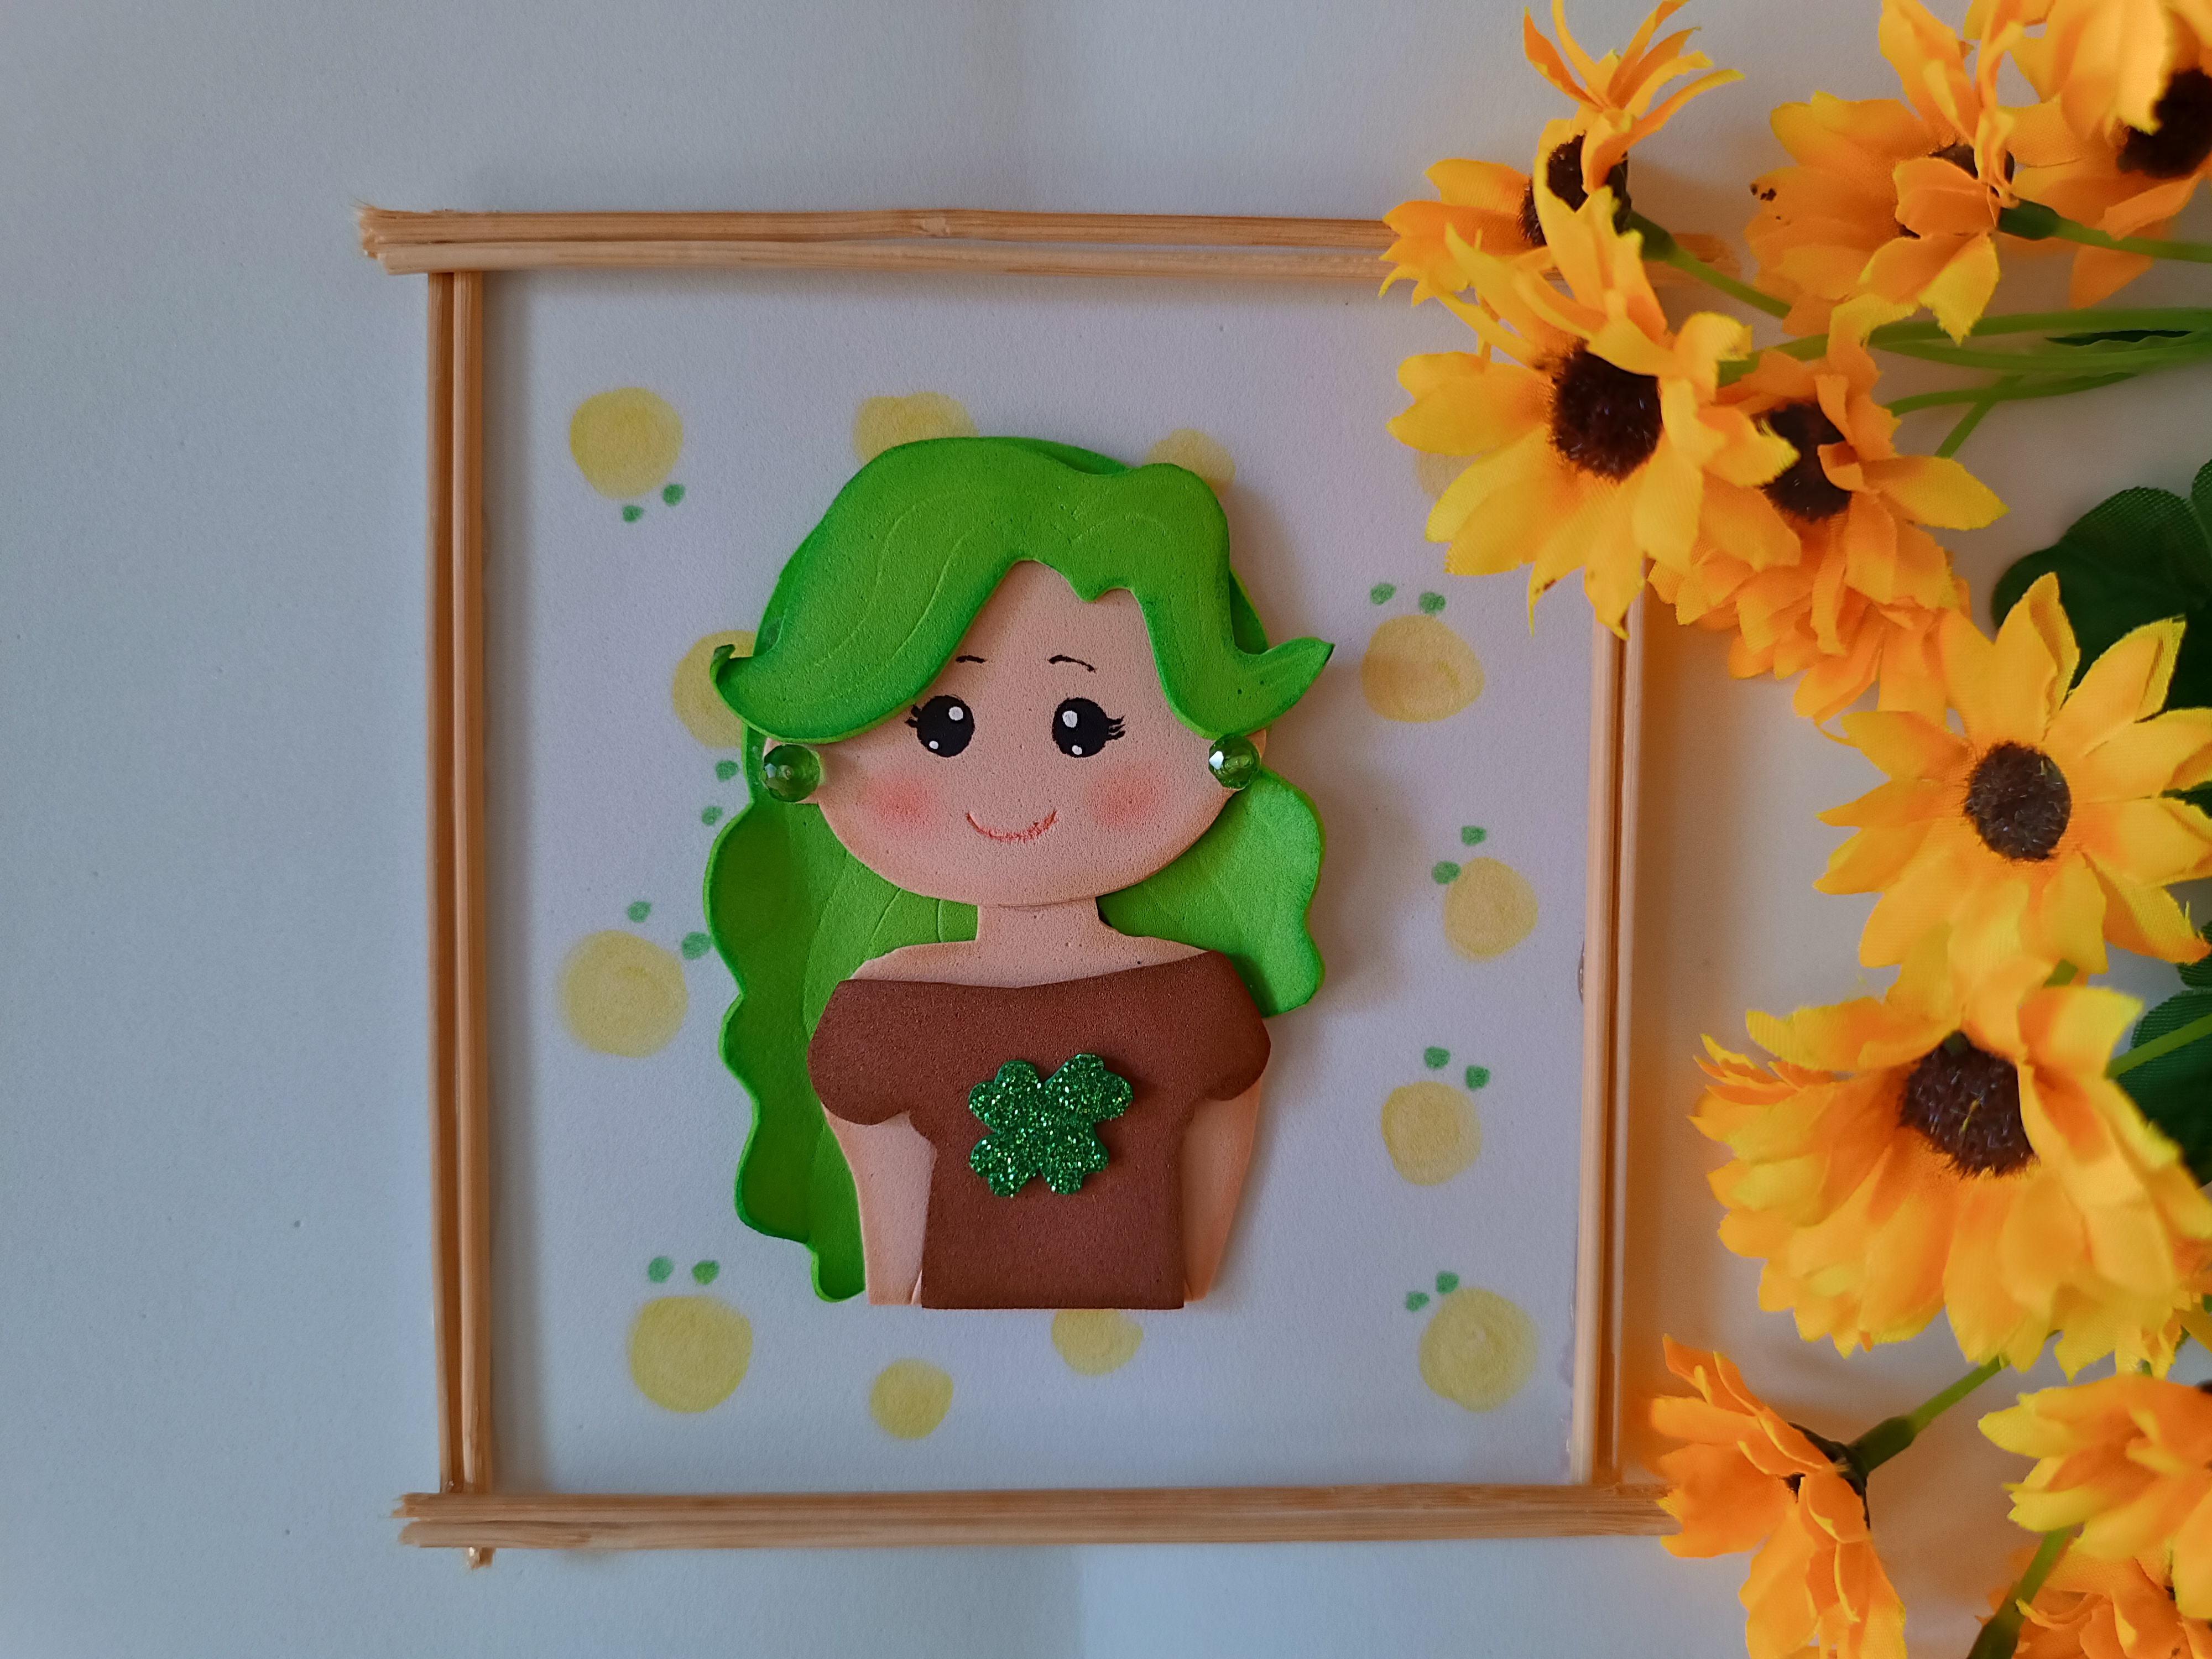
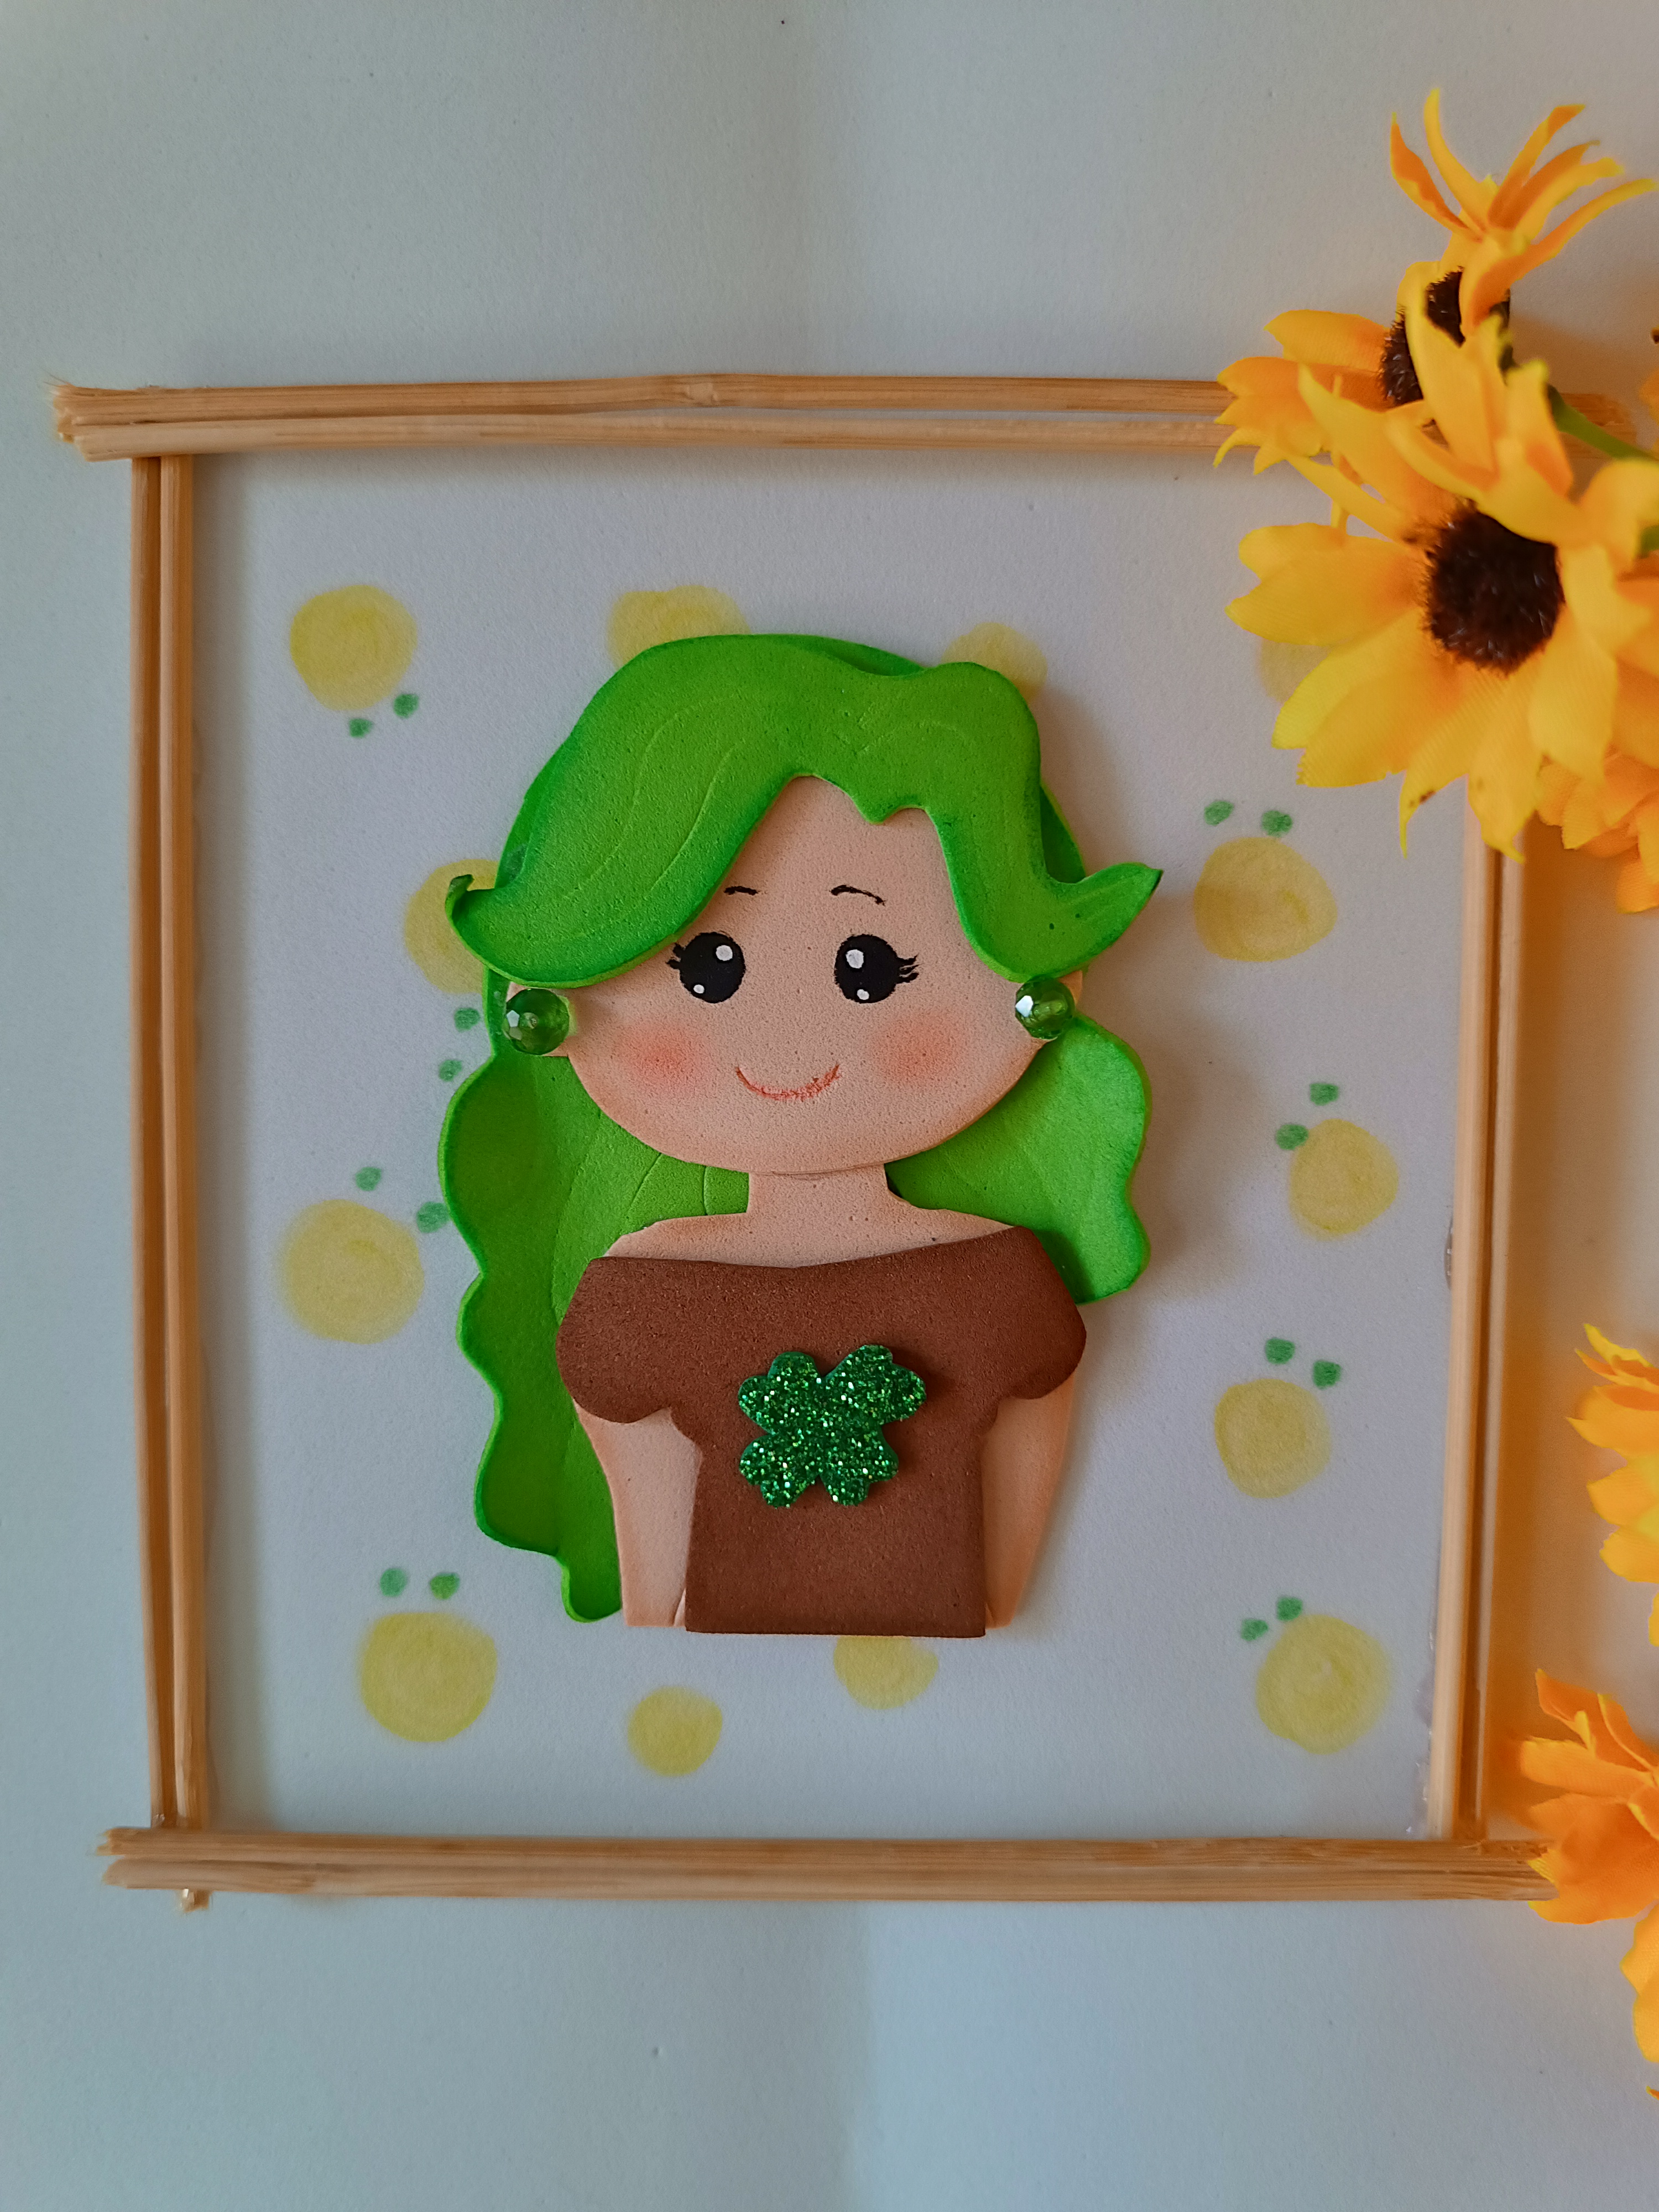
En este caso les comparto un pequeño cuadro de la sanadora del bosque en foami, esta es una versión muy tierna y linda, me enfoqué en sus principales características como el color de cabello y atuendo principal, es muy fácil de realizar solo tenemos que soltar ess creatividad, a continuación les muestro los materiales y el paso a paso.
In this case I share with you a small painting of the forest healer in foami, this is a very tender and cute version, I focused on her main characteristics such as hair color and main outfit, it is very easy to make we just have to let go of ess creativity, below I show you the materials and the step by step.
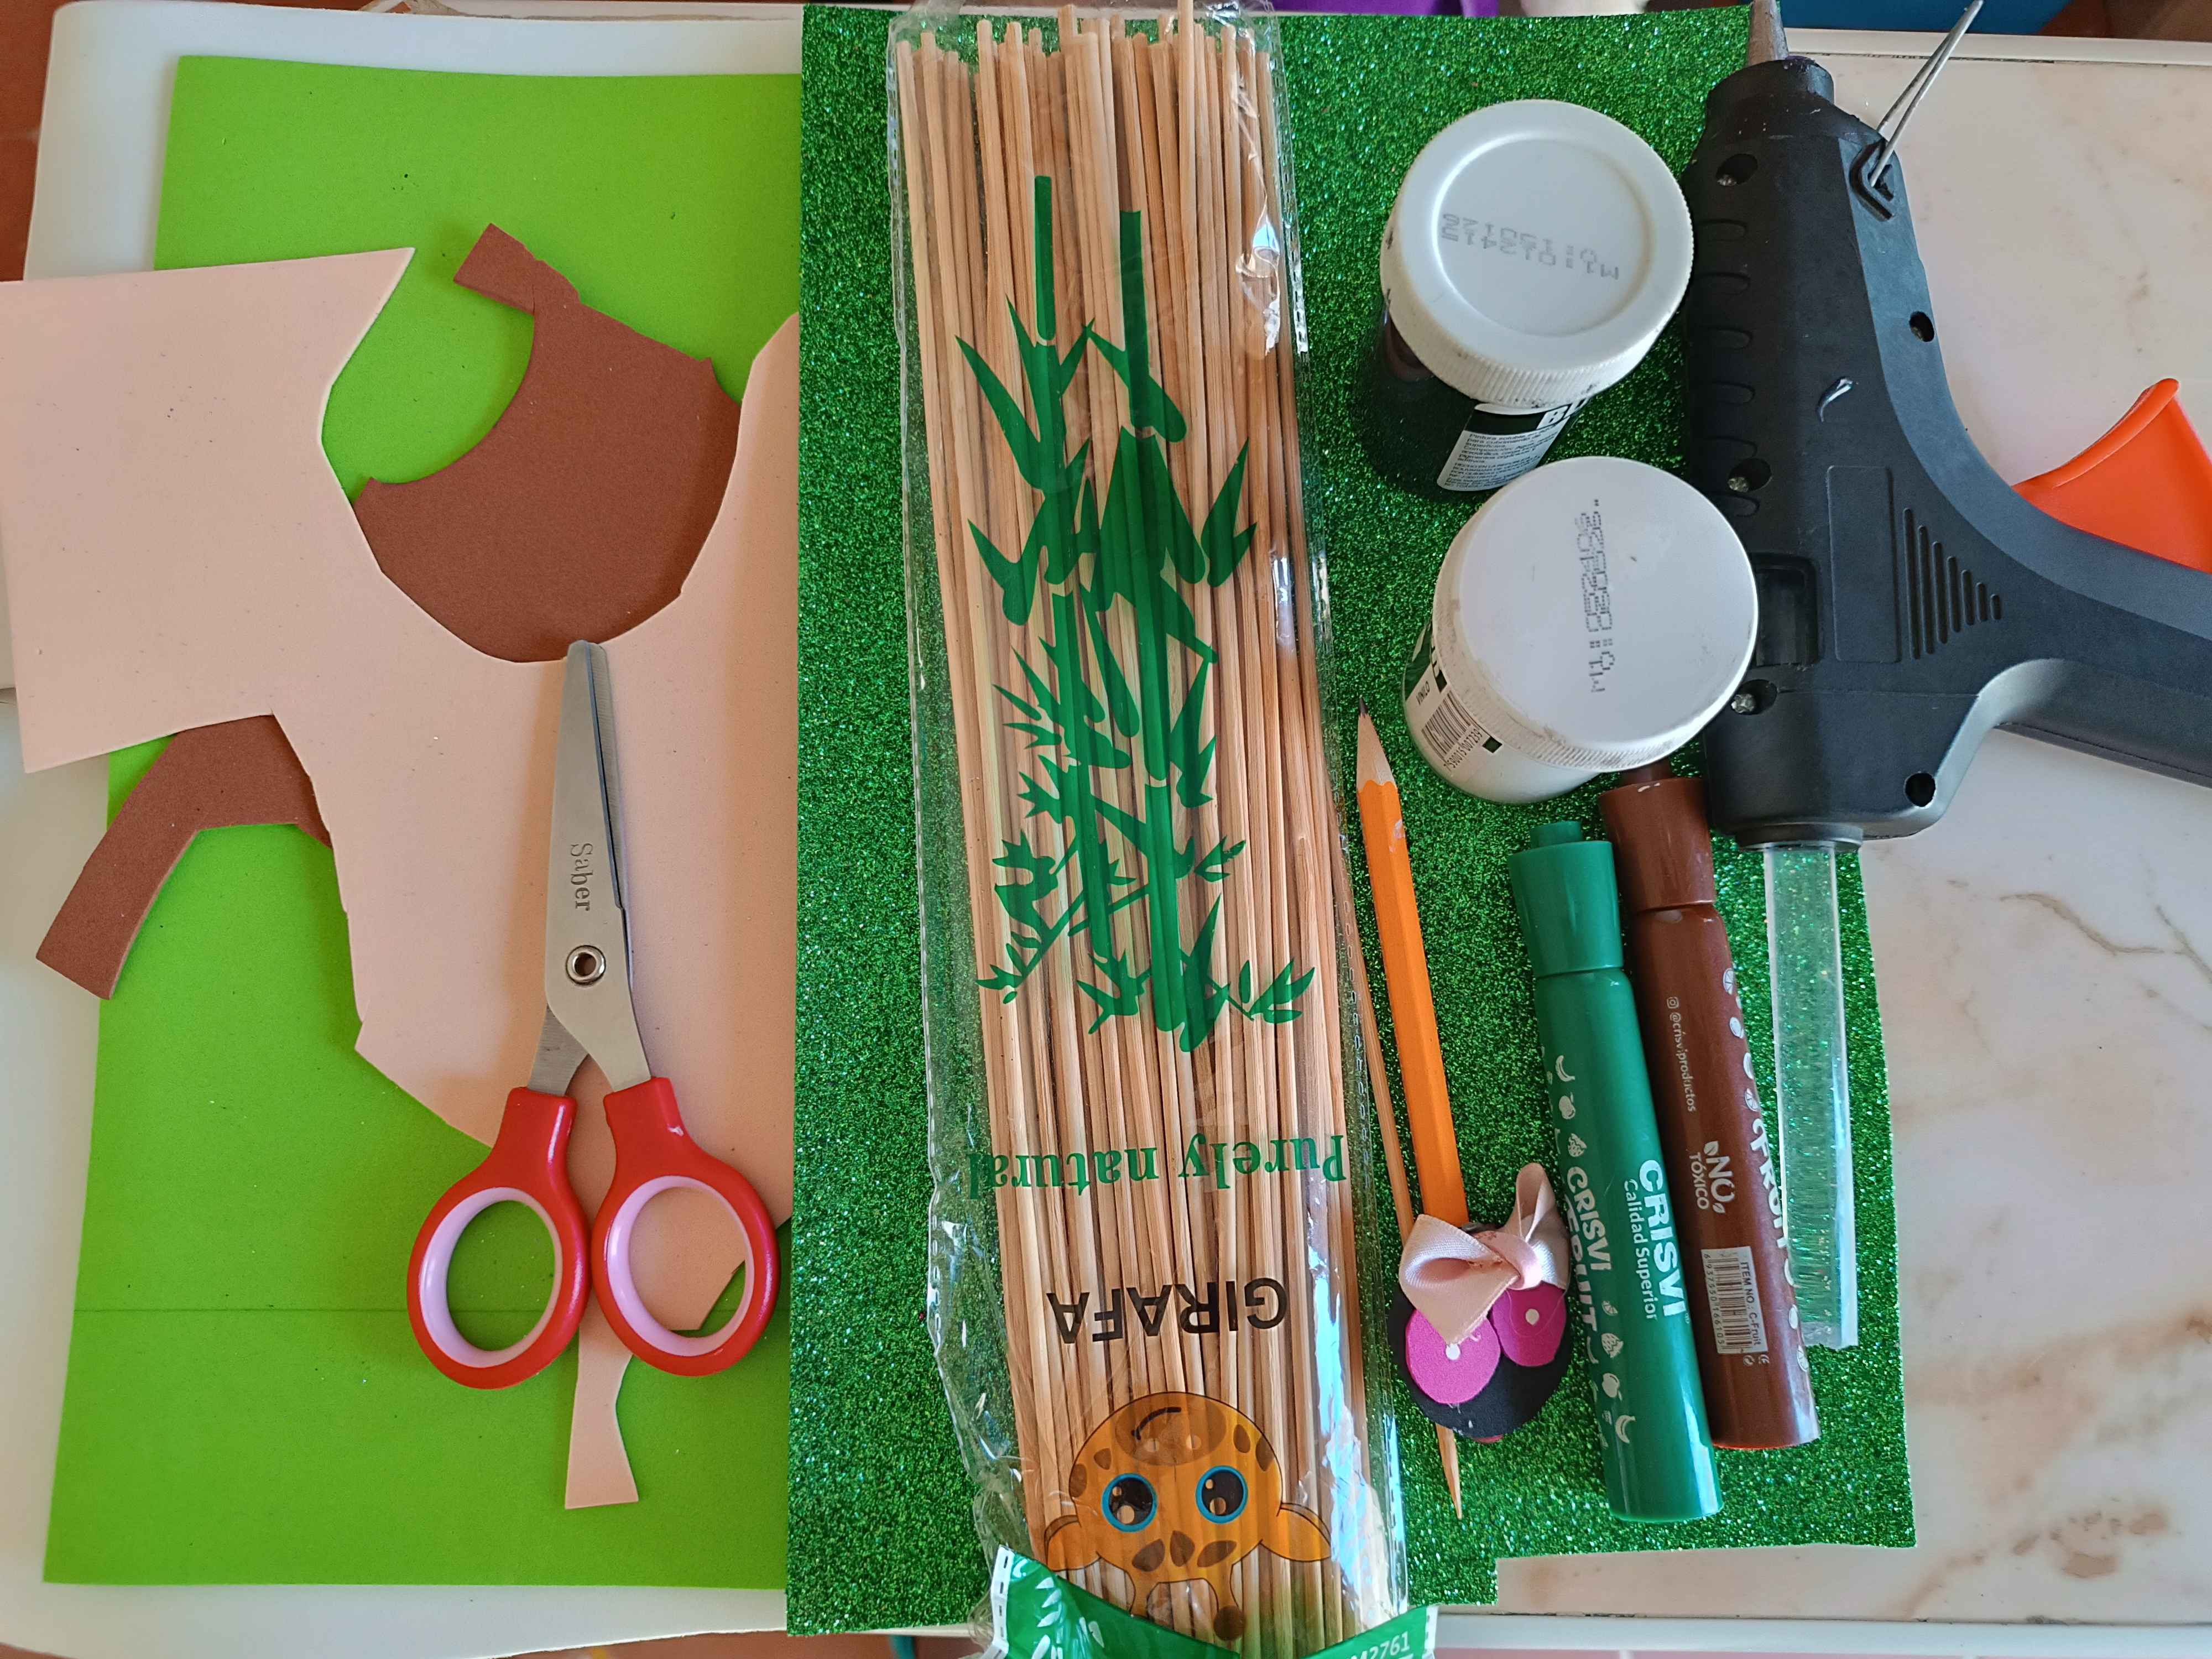
Materiales:
🍀Tijera
🍀Silicón.
🍀Palillo.
🍀Foami verde.
🍀Foami color piel.
🍀Foami marrón.
🍀Foami blanco.
🍀Pintura negra.
🍀Pintura blanca.
🍀Marcadores.
🍀2 piedras de bisutería.
🍀Sombra de colores (rosa y marrón)
Materials:
Scissors
Silicone.
Toothpick.
Green foam.
Skin-colored foami.
Brown foam.
White foam.
Black paint.
White paint.
Bookmarks.
2 jewelry stones.
Colored shadow (pink and brown)
Paso a paso / Step by step
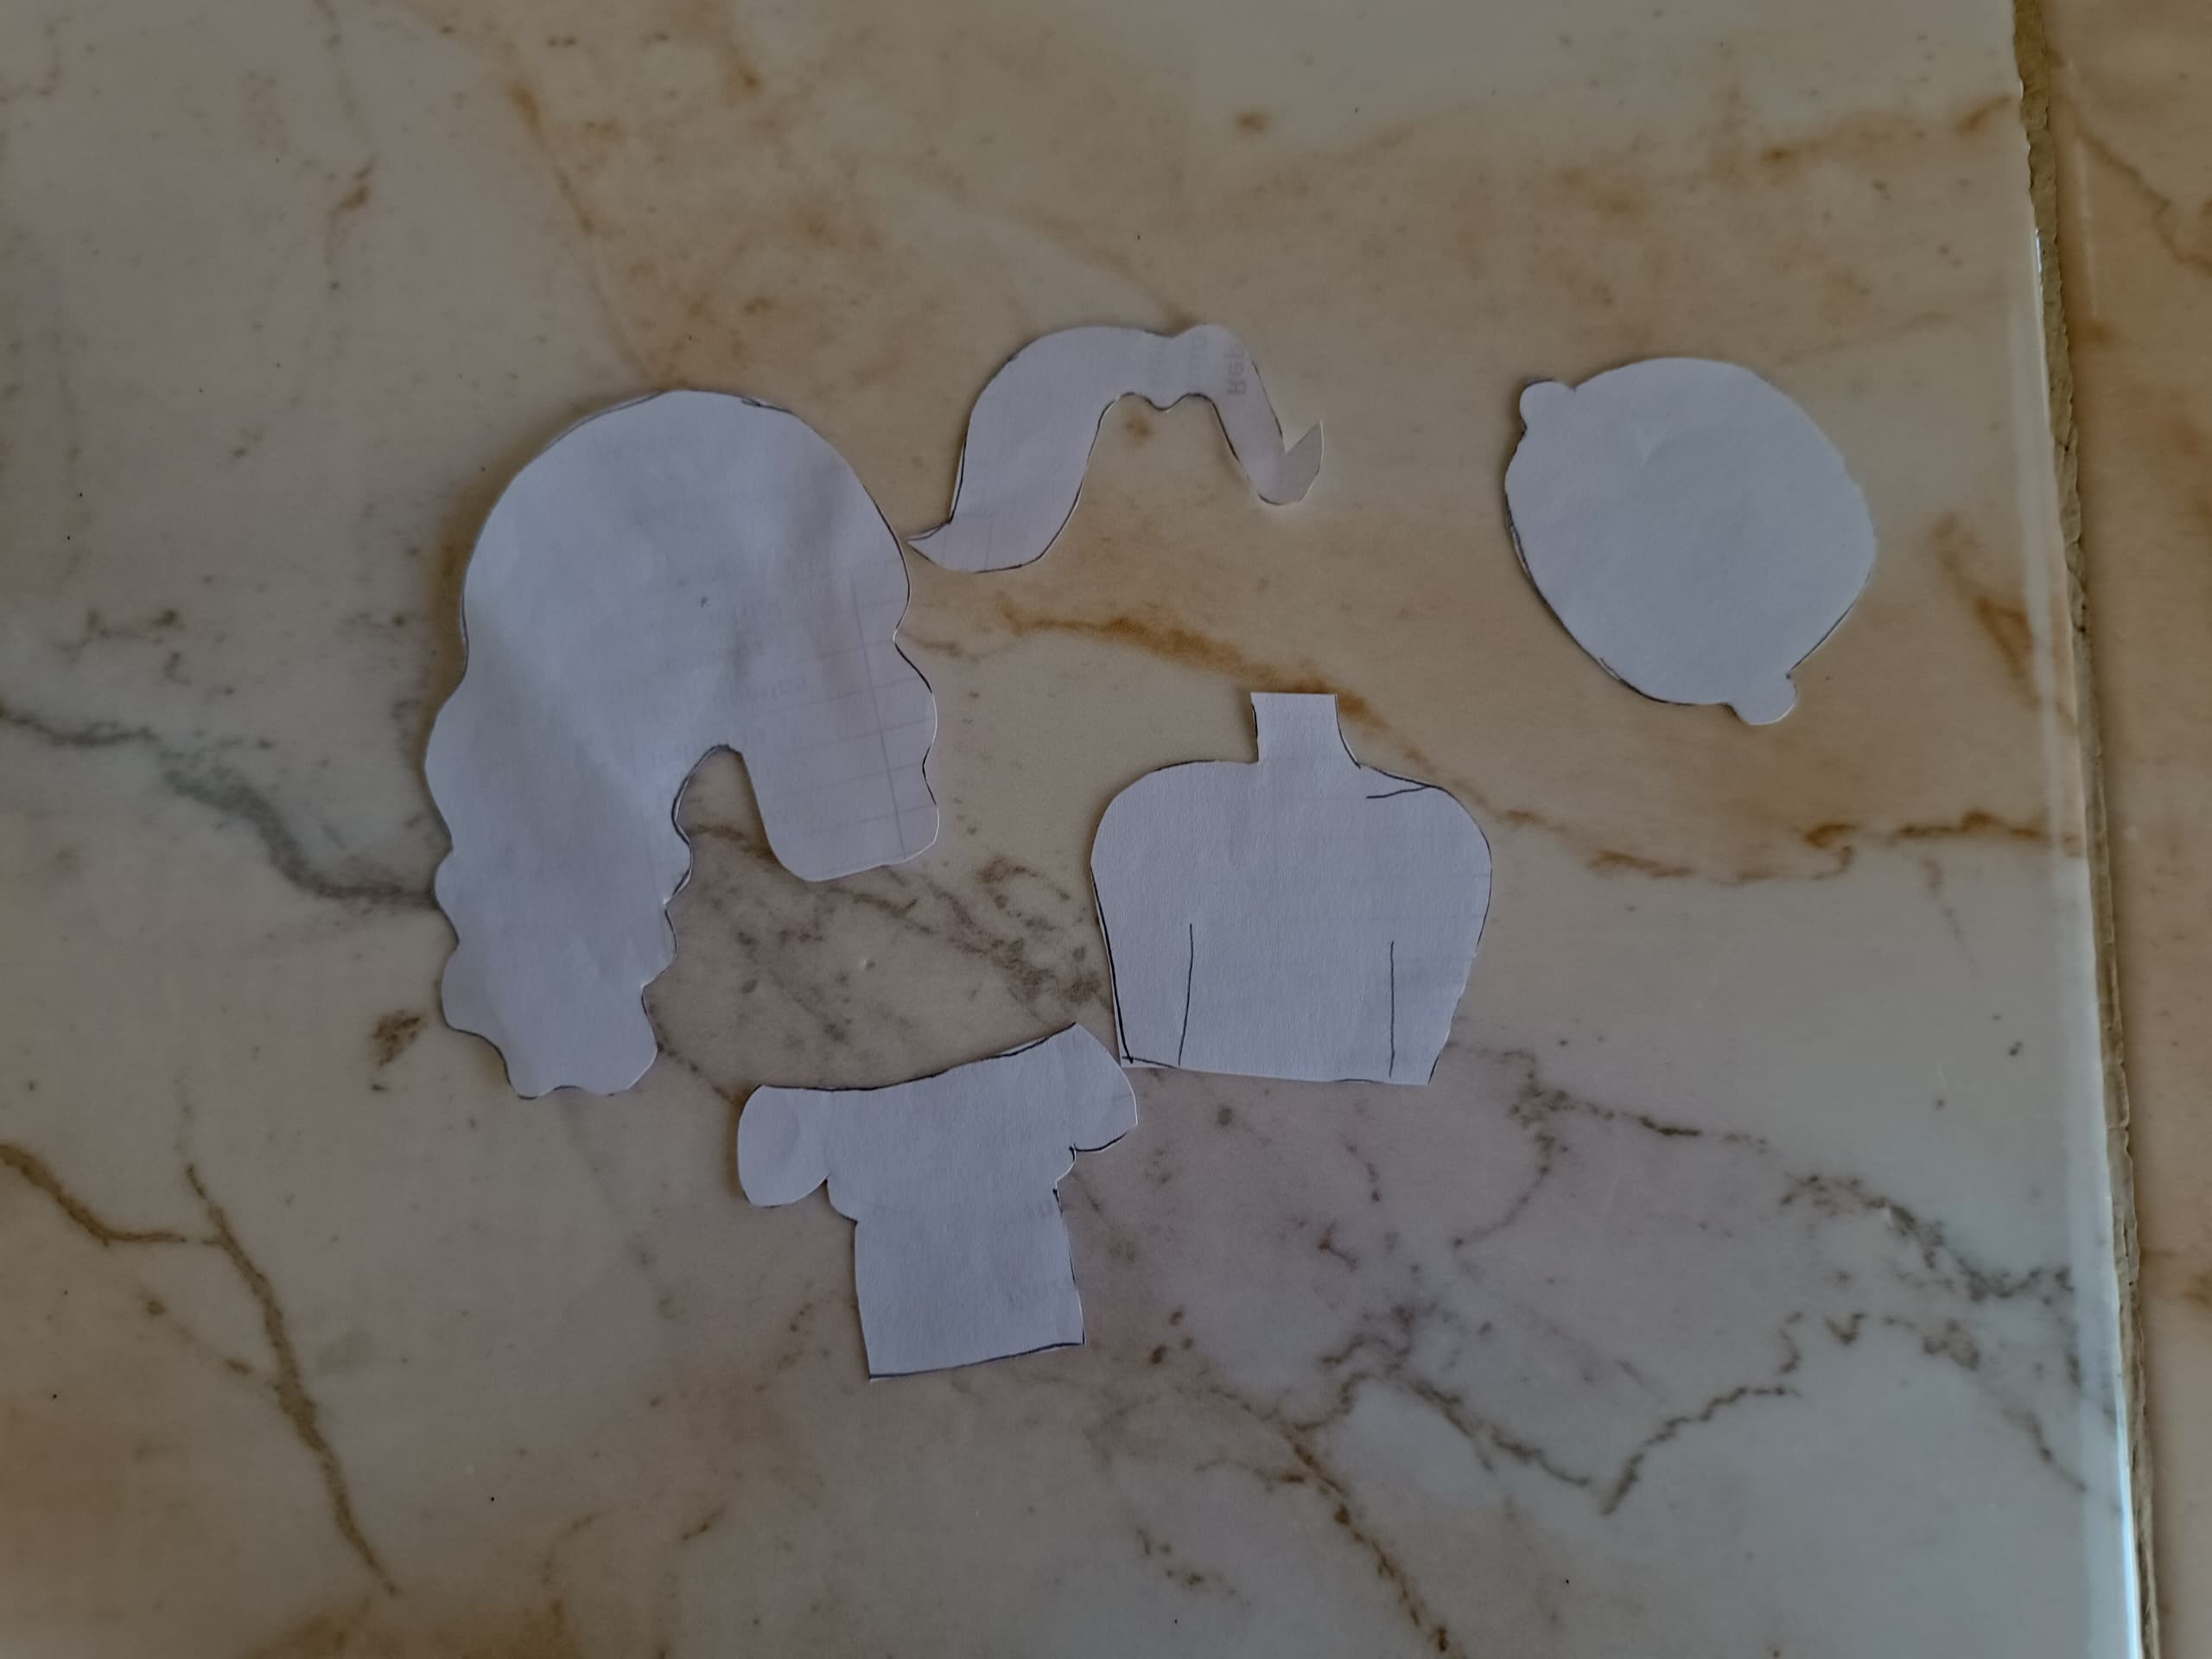
El primer paso se trata de dibujar la figura en hoja blanca que servirá como molde, comenzando por el cabello, cabeza, torso y camisa, cortamos y luego pasamos a dibujar en el foami.
The first step is to draw the figure on a white sheet that will serve as a mold, starting with the hair, head, torso and shirt, we cut it and then start drawing on the foam.
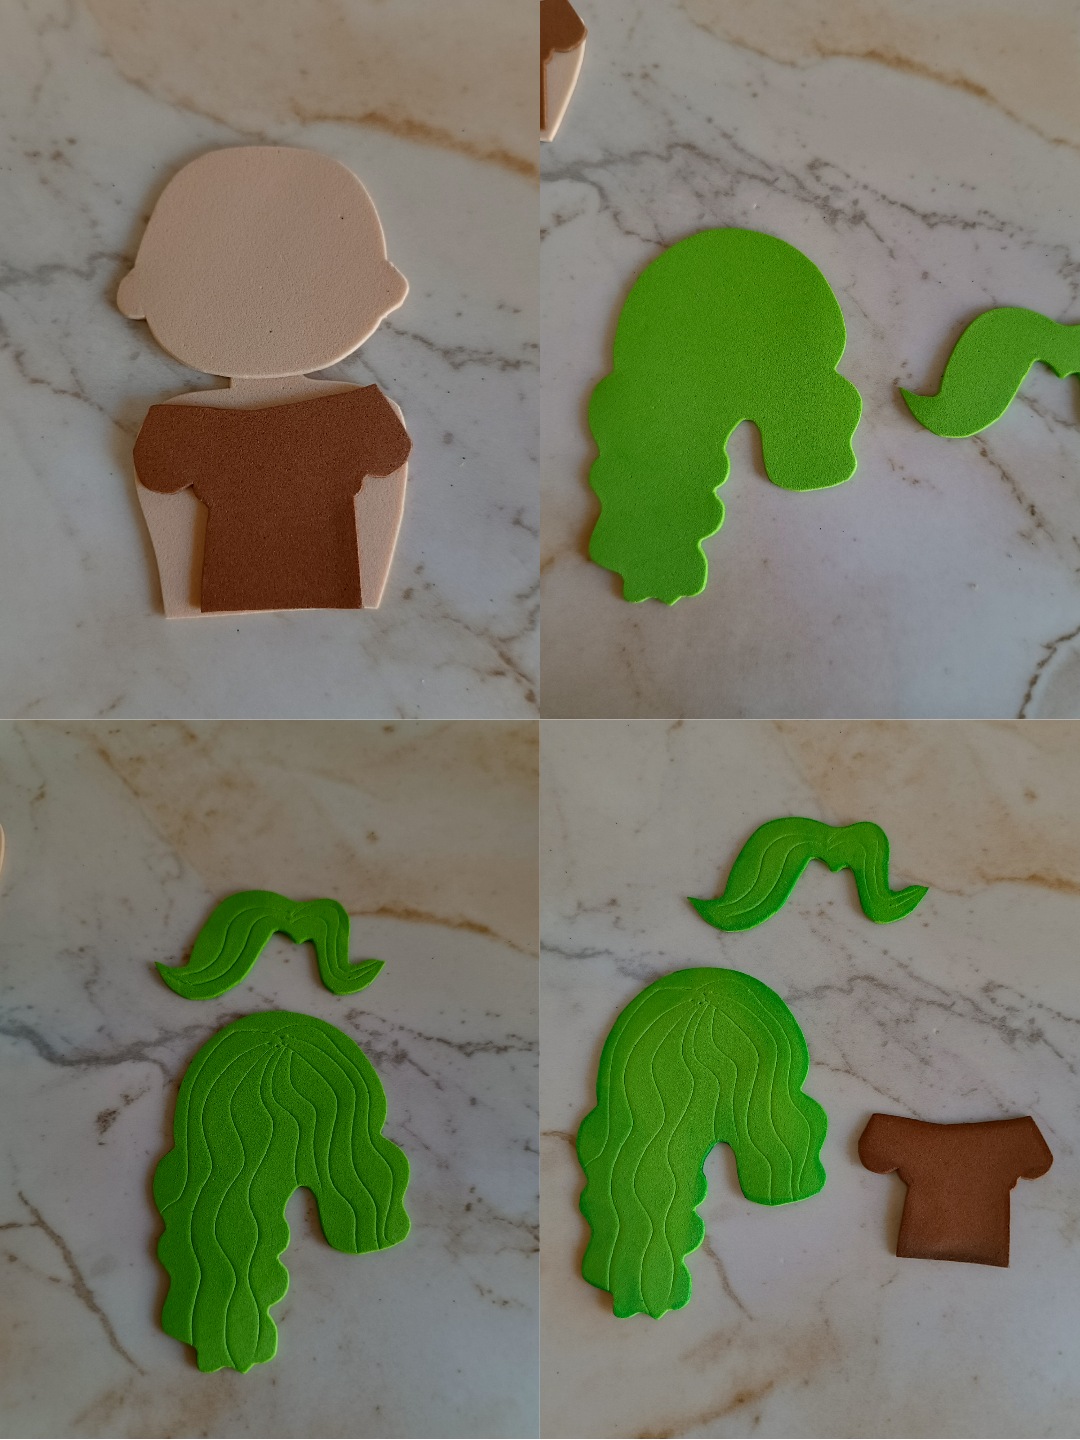
El cabello en foami verde, cabeza y torso en foami color piel, la camisa en foami marrón, el trébol pequeño en foami verde escarchado, con un palillo voy a realizar líneas finas sobre el cabello, también aplicamos marcador verde en los bordes en forma de sombreado, luego al foami color piel con un hisopo de algodón voy a aplicar la sombra en tono marrón en los bordes.
The hair in green foami, head and torso in skin-colored foami, the shirt in brown foami, the small clover in frosty green foami, with a toothpick I am going to make fine lines on the hair, we also apply green marker on the edges in the shape of shading, then to the skin-colored foam with a cotton swab I am going to apply the brown shadow on the edges.
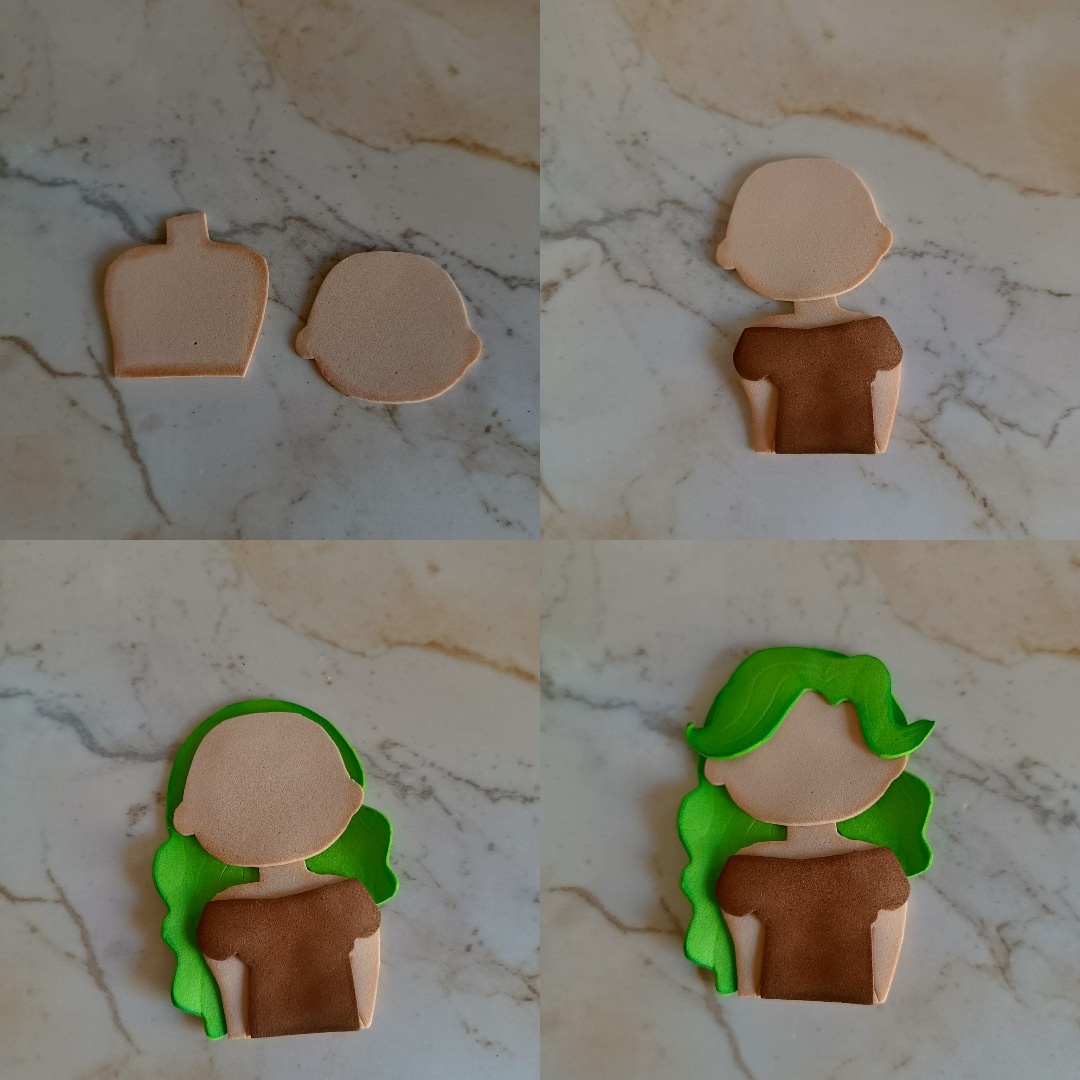
Para la camisa realizamos el mismo paso pero con marcador color marrón, luego voy a comenzar a pegar con silicón cabeza, torso y camisa, mientras aplicamos calor al cabello con una plancha. El siguiente paso es realizar el rostro para esto utilicé pintura negra, blanca y un palillo, apliqué sombra color rosa en las mejillas y labios.
For the shirt we carry out the same step but with a brown marker, then I am going to start gluing the head, torso and shirt with silicone, while we apply heat to the hair with an iron. The next step is to make the face, for this I used black and white paint and a toothpick, I applied pink shadow on the cheeks and lips.
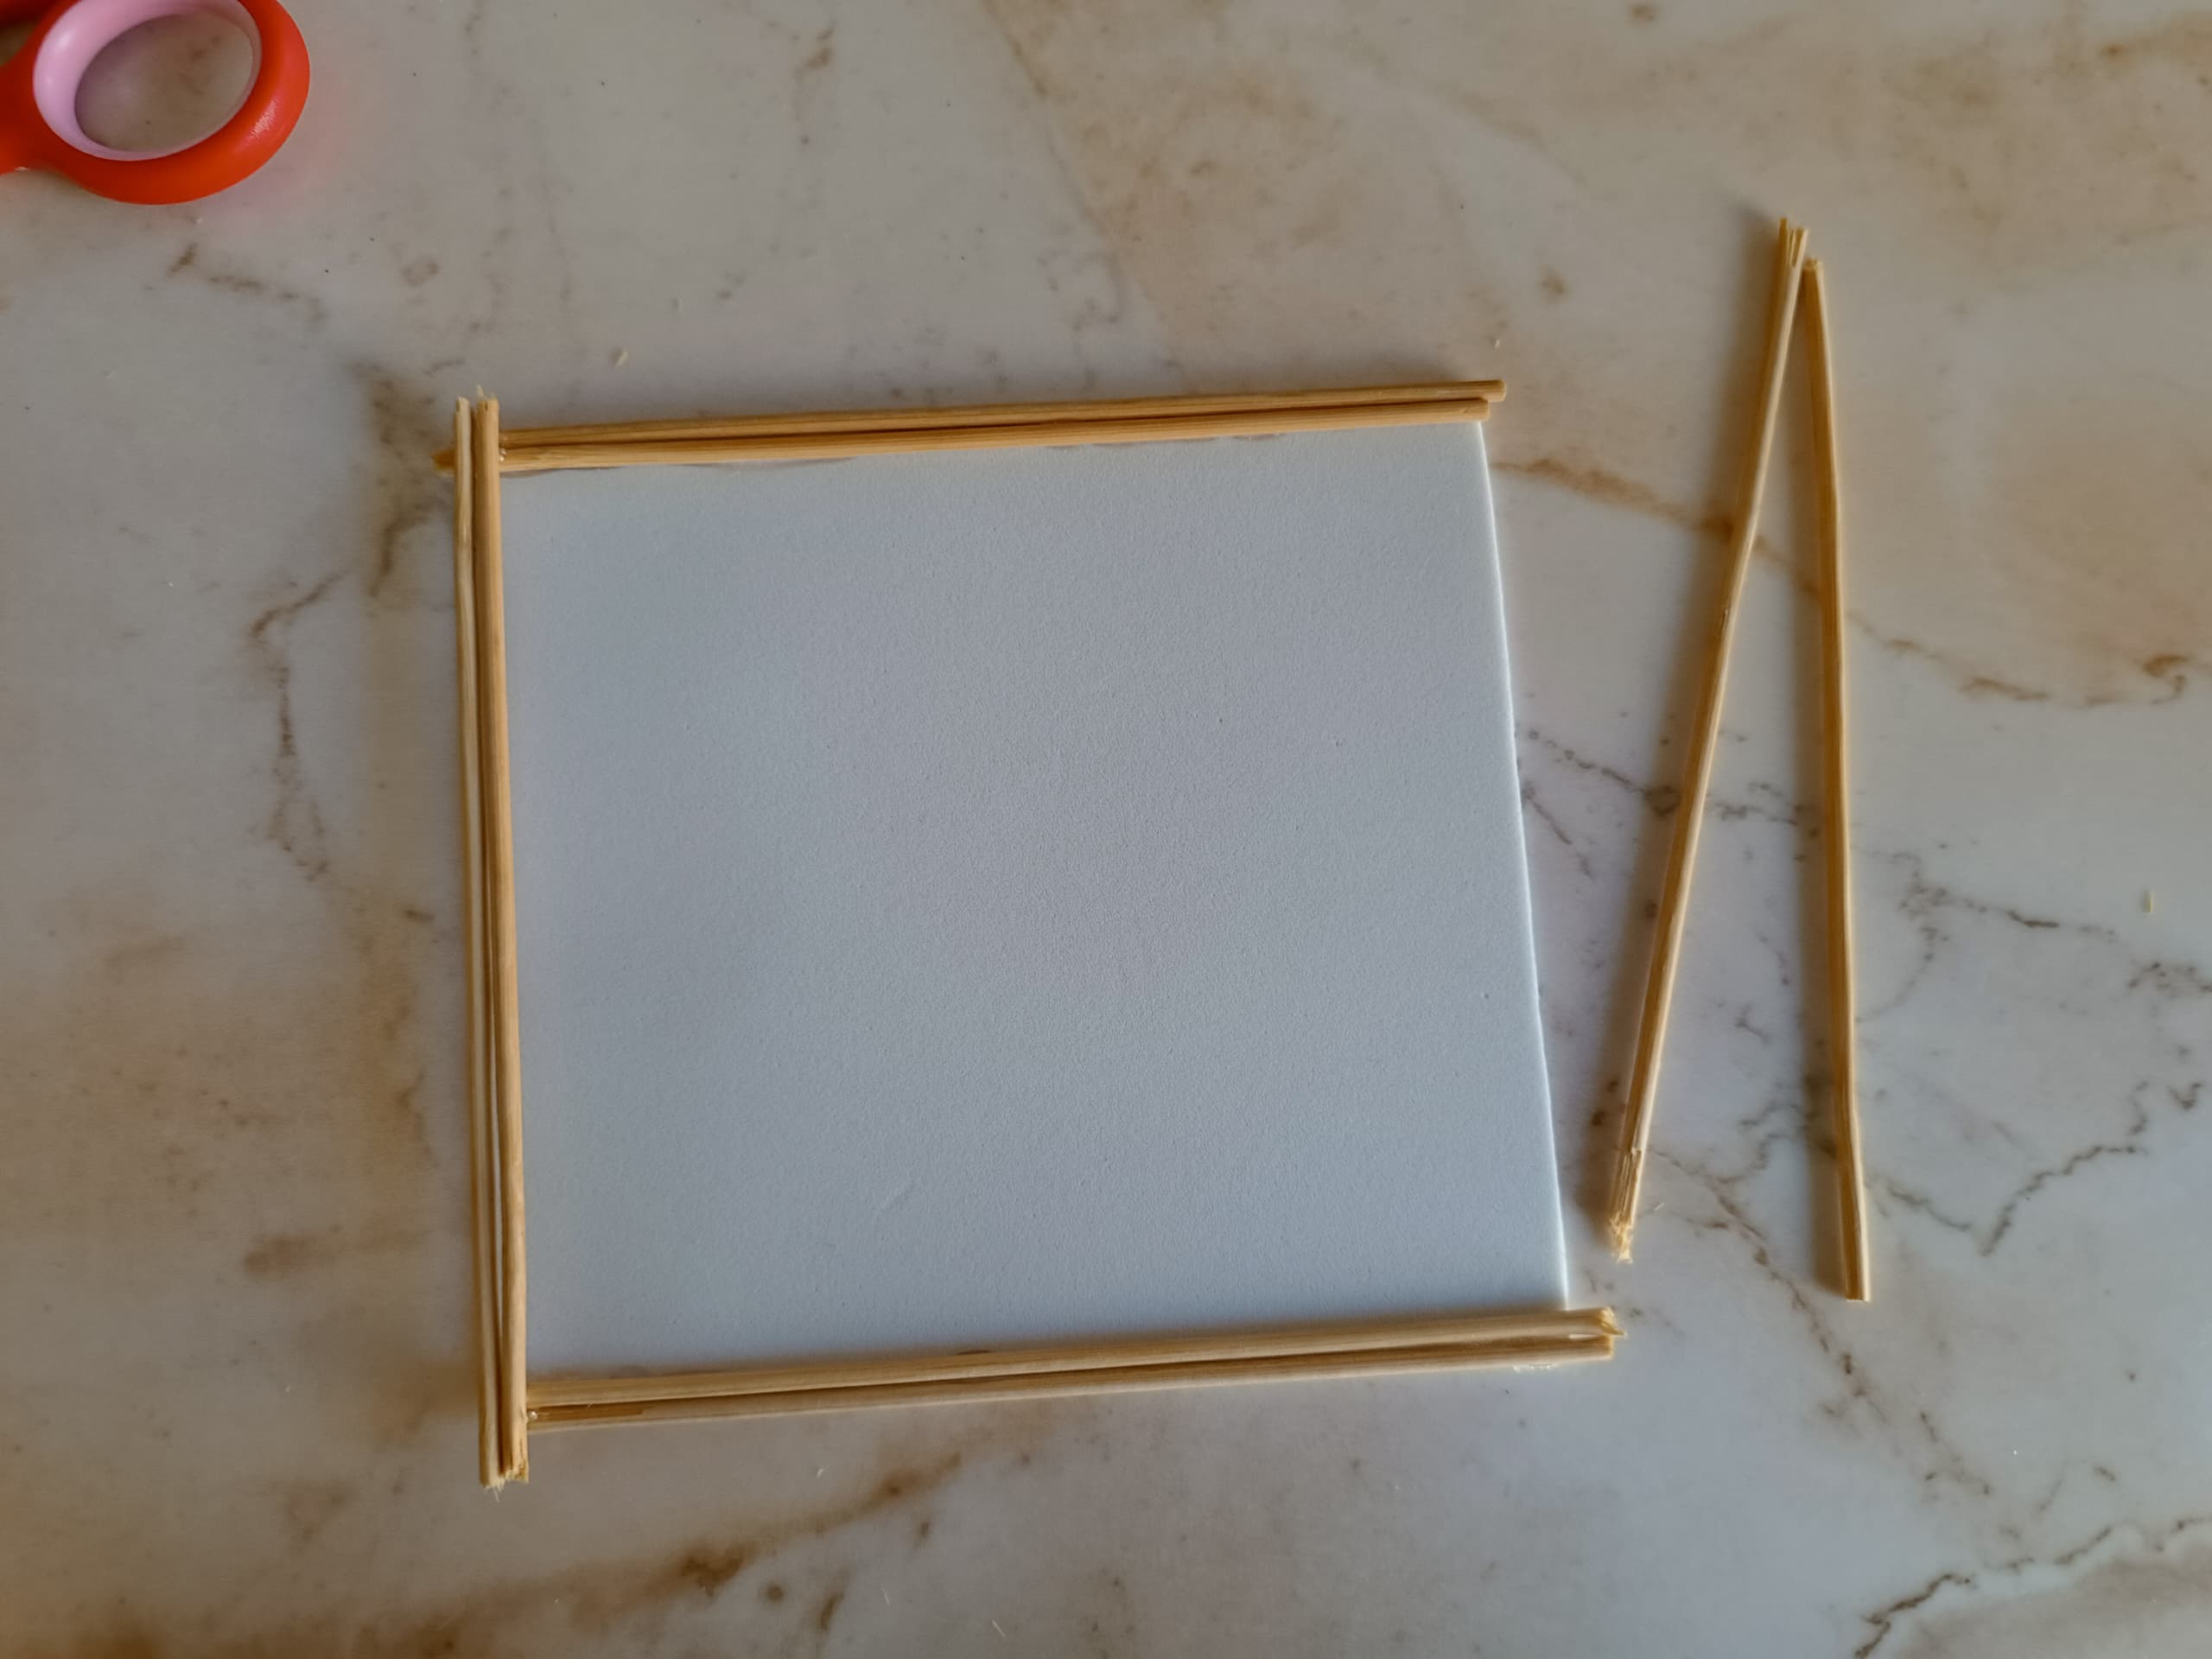
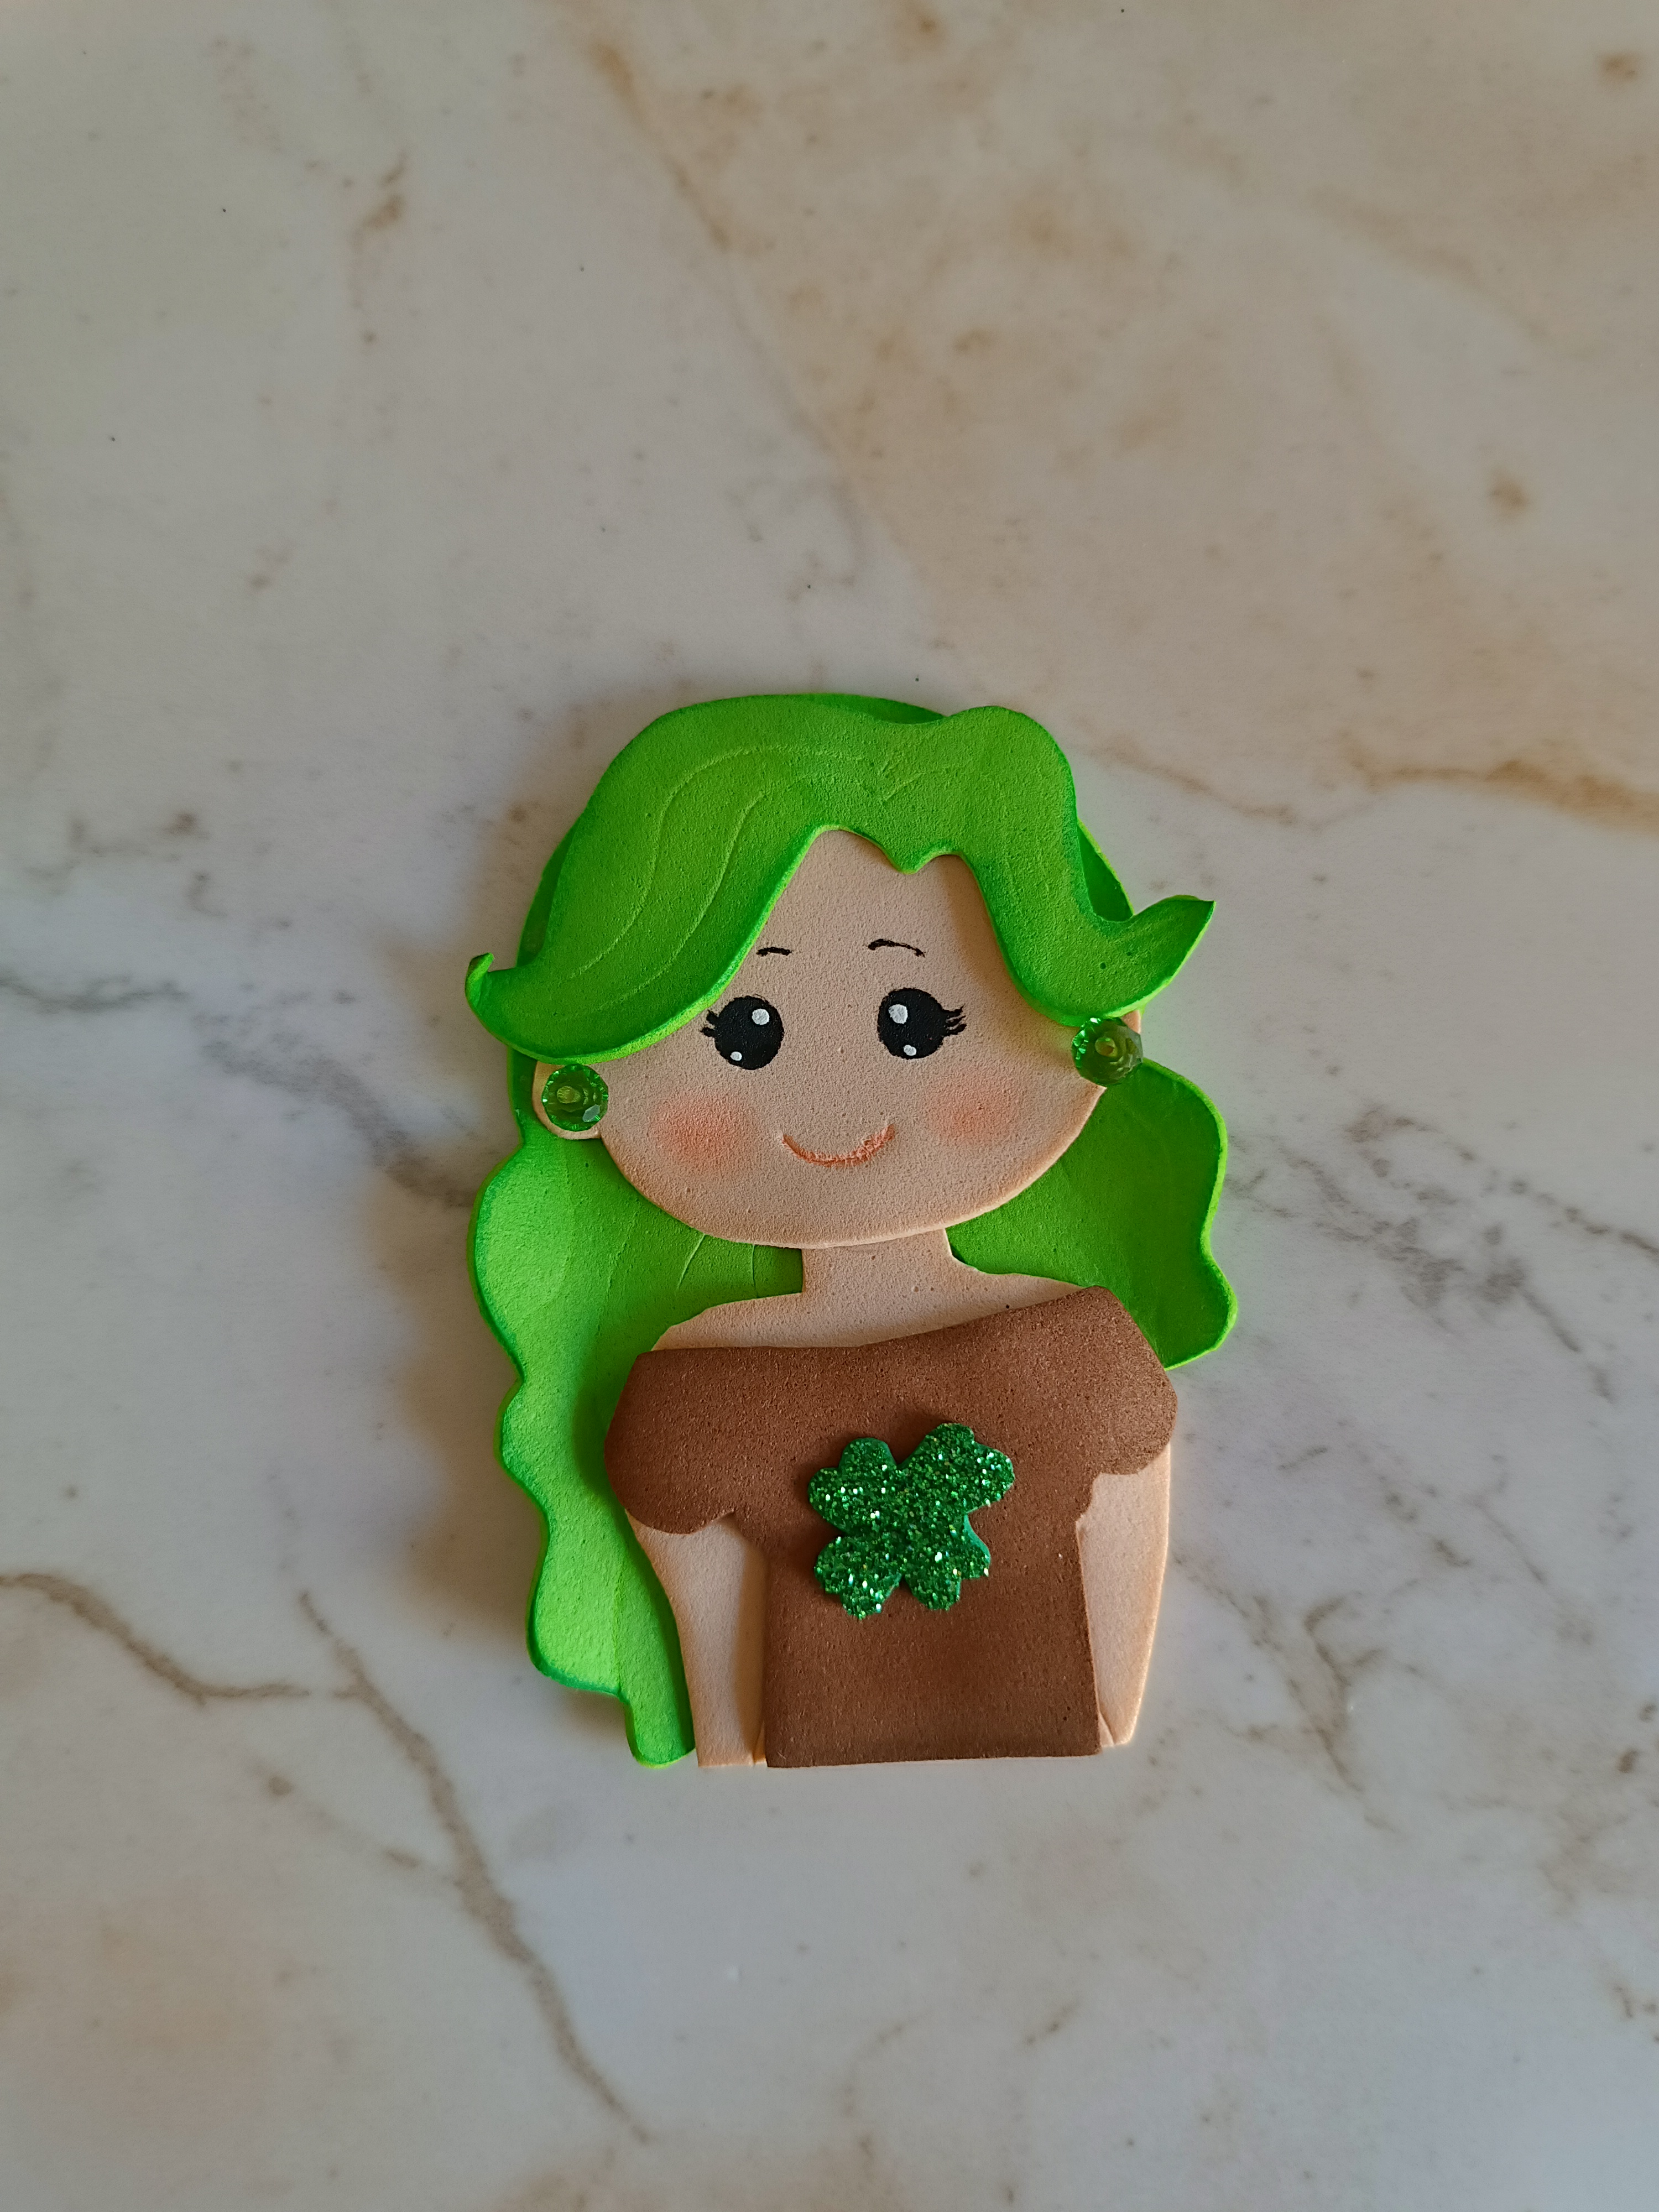
También ubicamos las piedras color verde en forma de zarcillos, ya tenemos lista a la sanadora del bosque, el siguiente paso es realizar un pequeño cuadro en foami blanco aplicando círculos de color verde y amarillo, al rededor corté palillos y los pegué para dar firmeza al foami, de esta forma terminé esta linda creación, espero les haya gustado, nos vemos en una próxima oportunidad con más ideas creativas.
We also place the green stones in the shape of tendrils, we now have the forest healer ready, the next step is to make a small painting in white foam applying green and yellow circles, around it I cut toothpicks and glued them to give firmness to the foami, this is how I finished this beautiful creation, I hope you liked it, see you next time with more creative ideas.

Contenido original. - original content.
Los separadores y banner fueron realizados en Canva. - The dividers and banner were made in Canva.
Las fotografias son tomadas con mi teléfono Redmi Note 11s y editadas en PicsArt - The photographs are taken with my Redmi Note 11s phone and edited in PicsArt.
Traducción de: Google traductor - Translation of: Google translator.