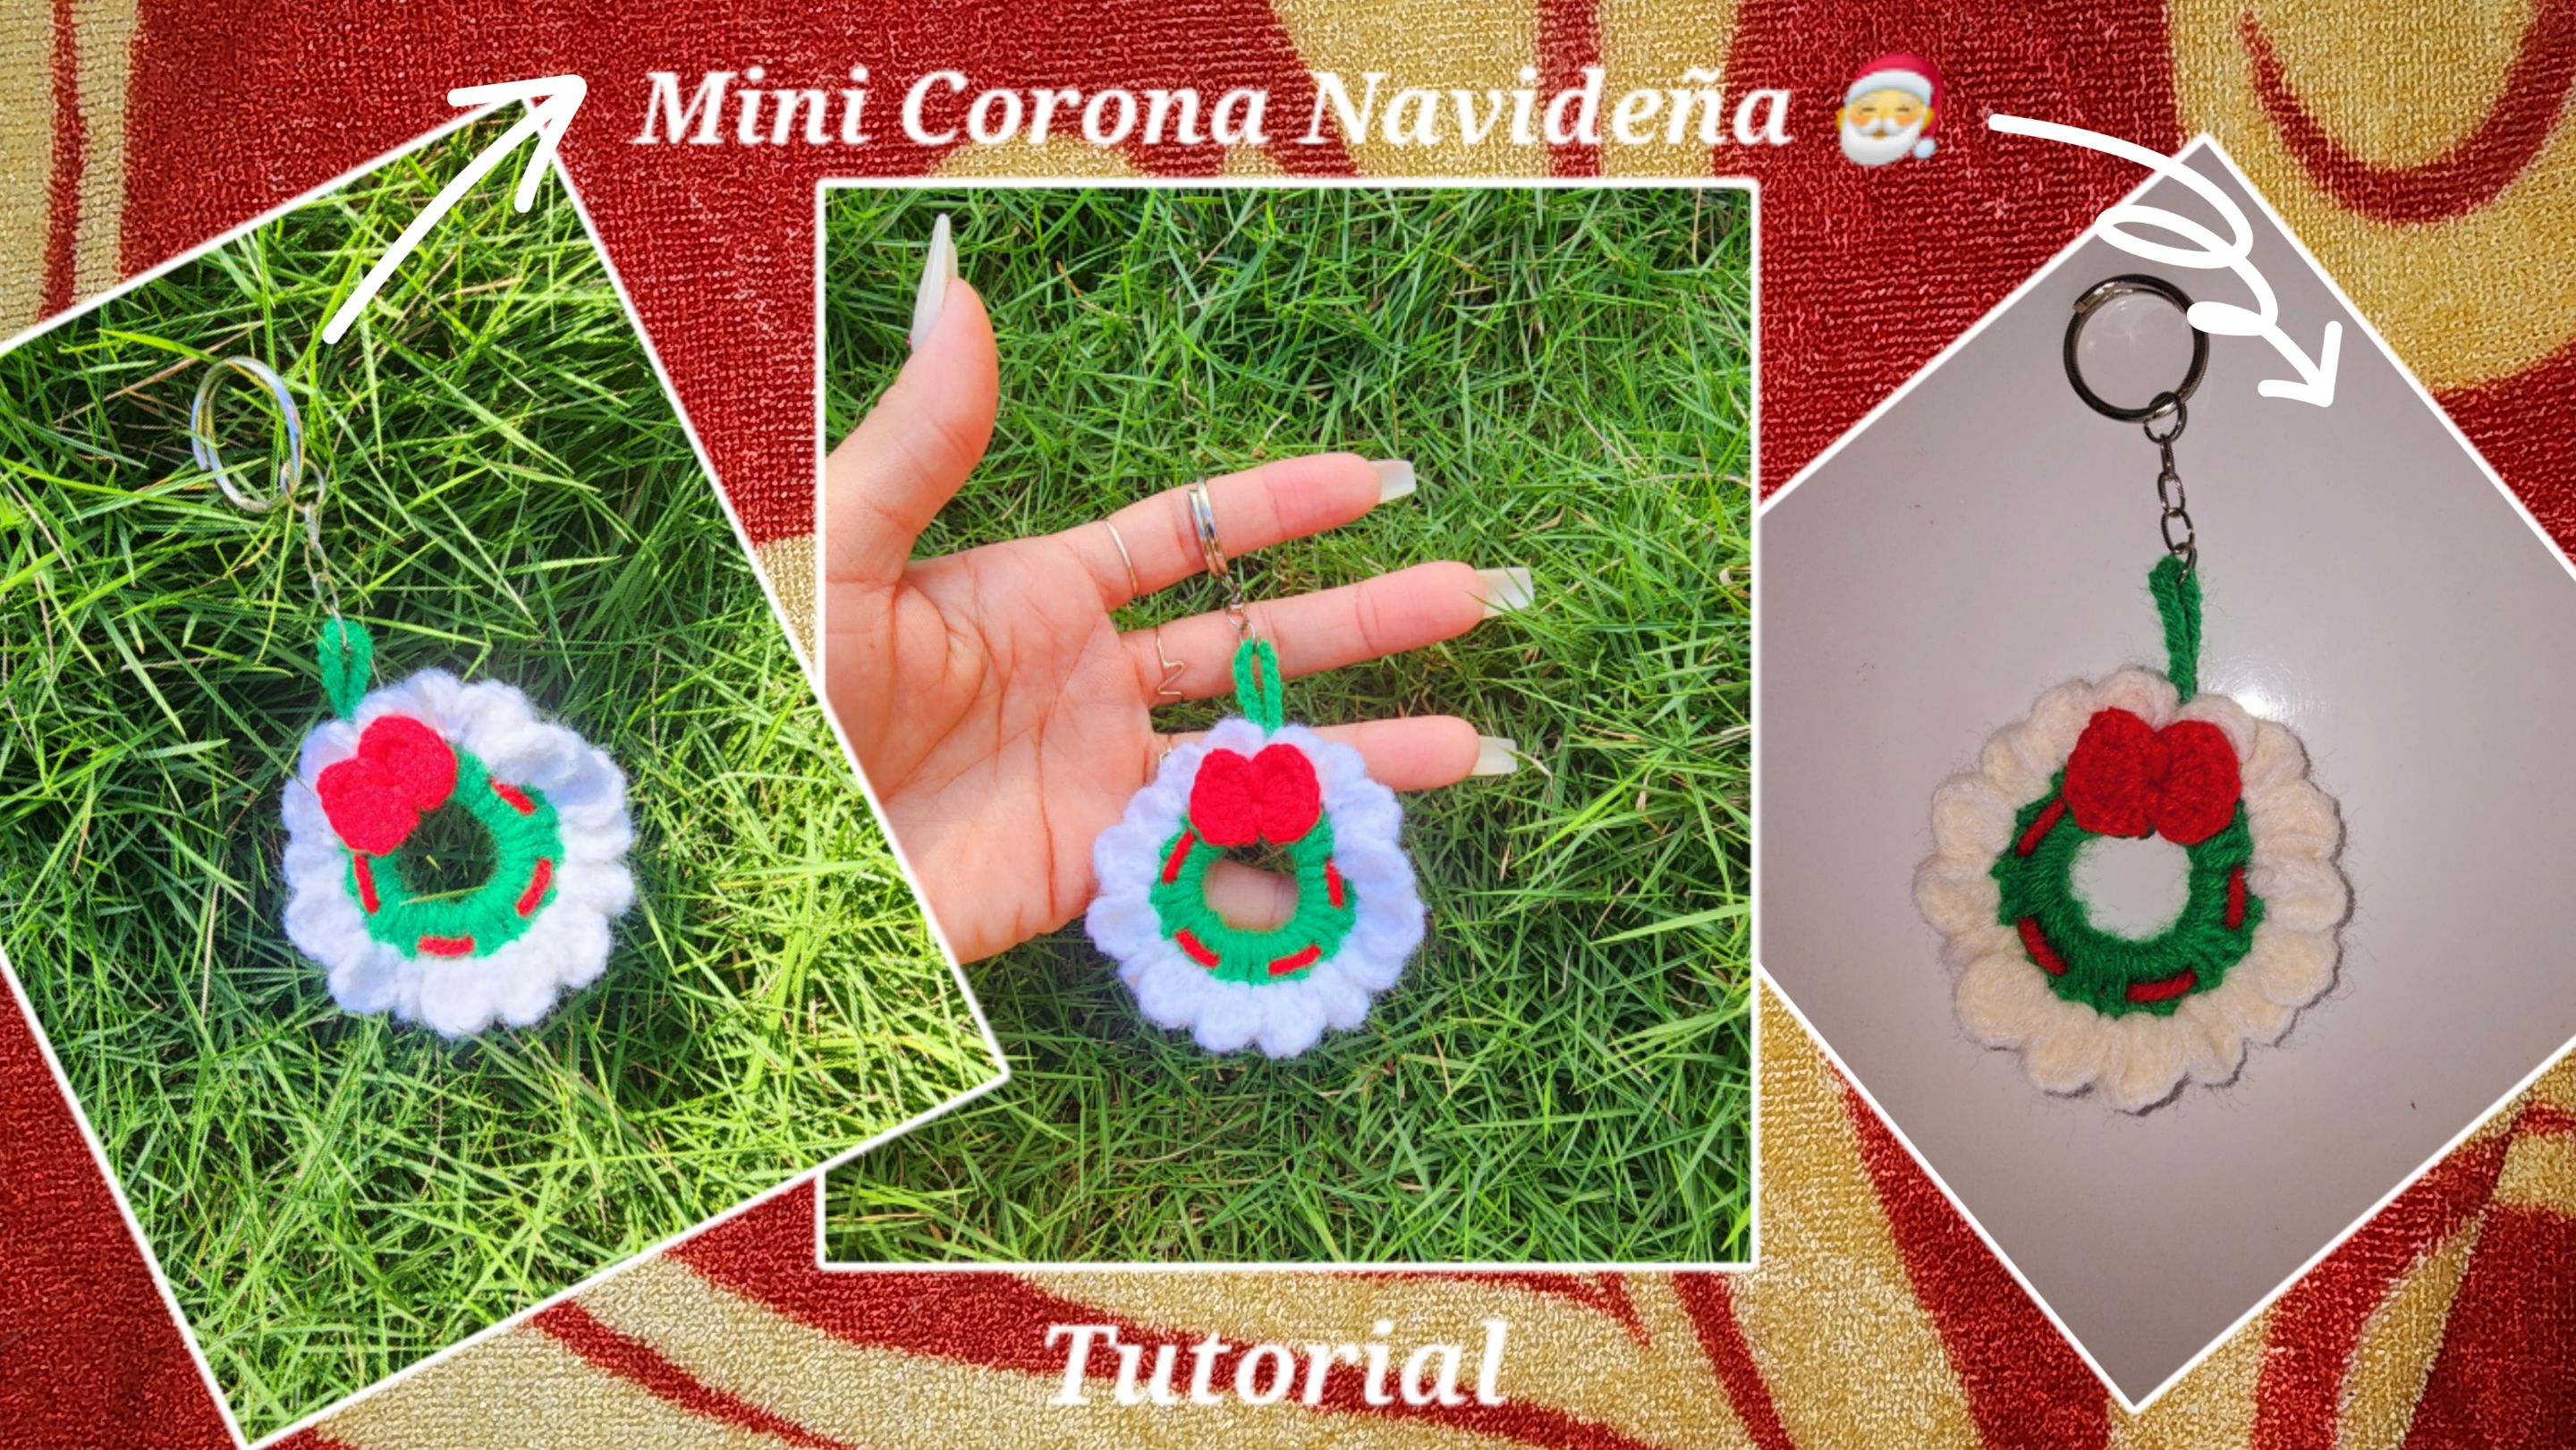
Very beautiful night to all the creative friends of this community and the whole world. I wish and hope that you are in excellent conditions, and that your family members are as well. As for me, I am doing well, happy and grateful to God for a new day for me and my special people; my beautiful and united family.
This time of year fascinates me, these days of having our homes decorated with lights and colorful things close to our families show me that there is nothing more precious or beautiful than our loved ones.
Today I was creating a miniature Christmas wreath keychain, I really liked the result to add as a detail to the gifts for my nephews on Three Kings Day.
I want to share the tutorial with you, it's super easy to do, very quick to make, and using very little thread of each color.
And well friends, without further ado, I show you the step by step.
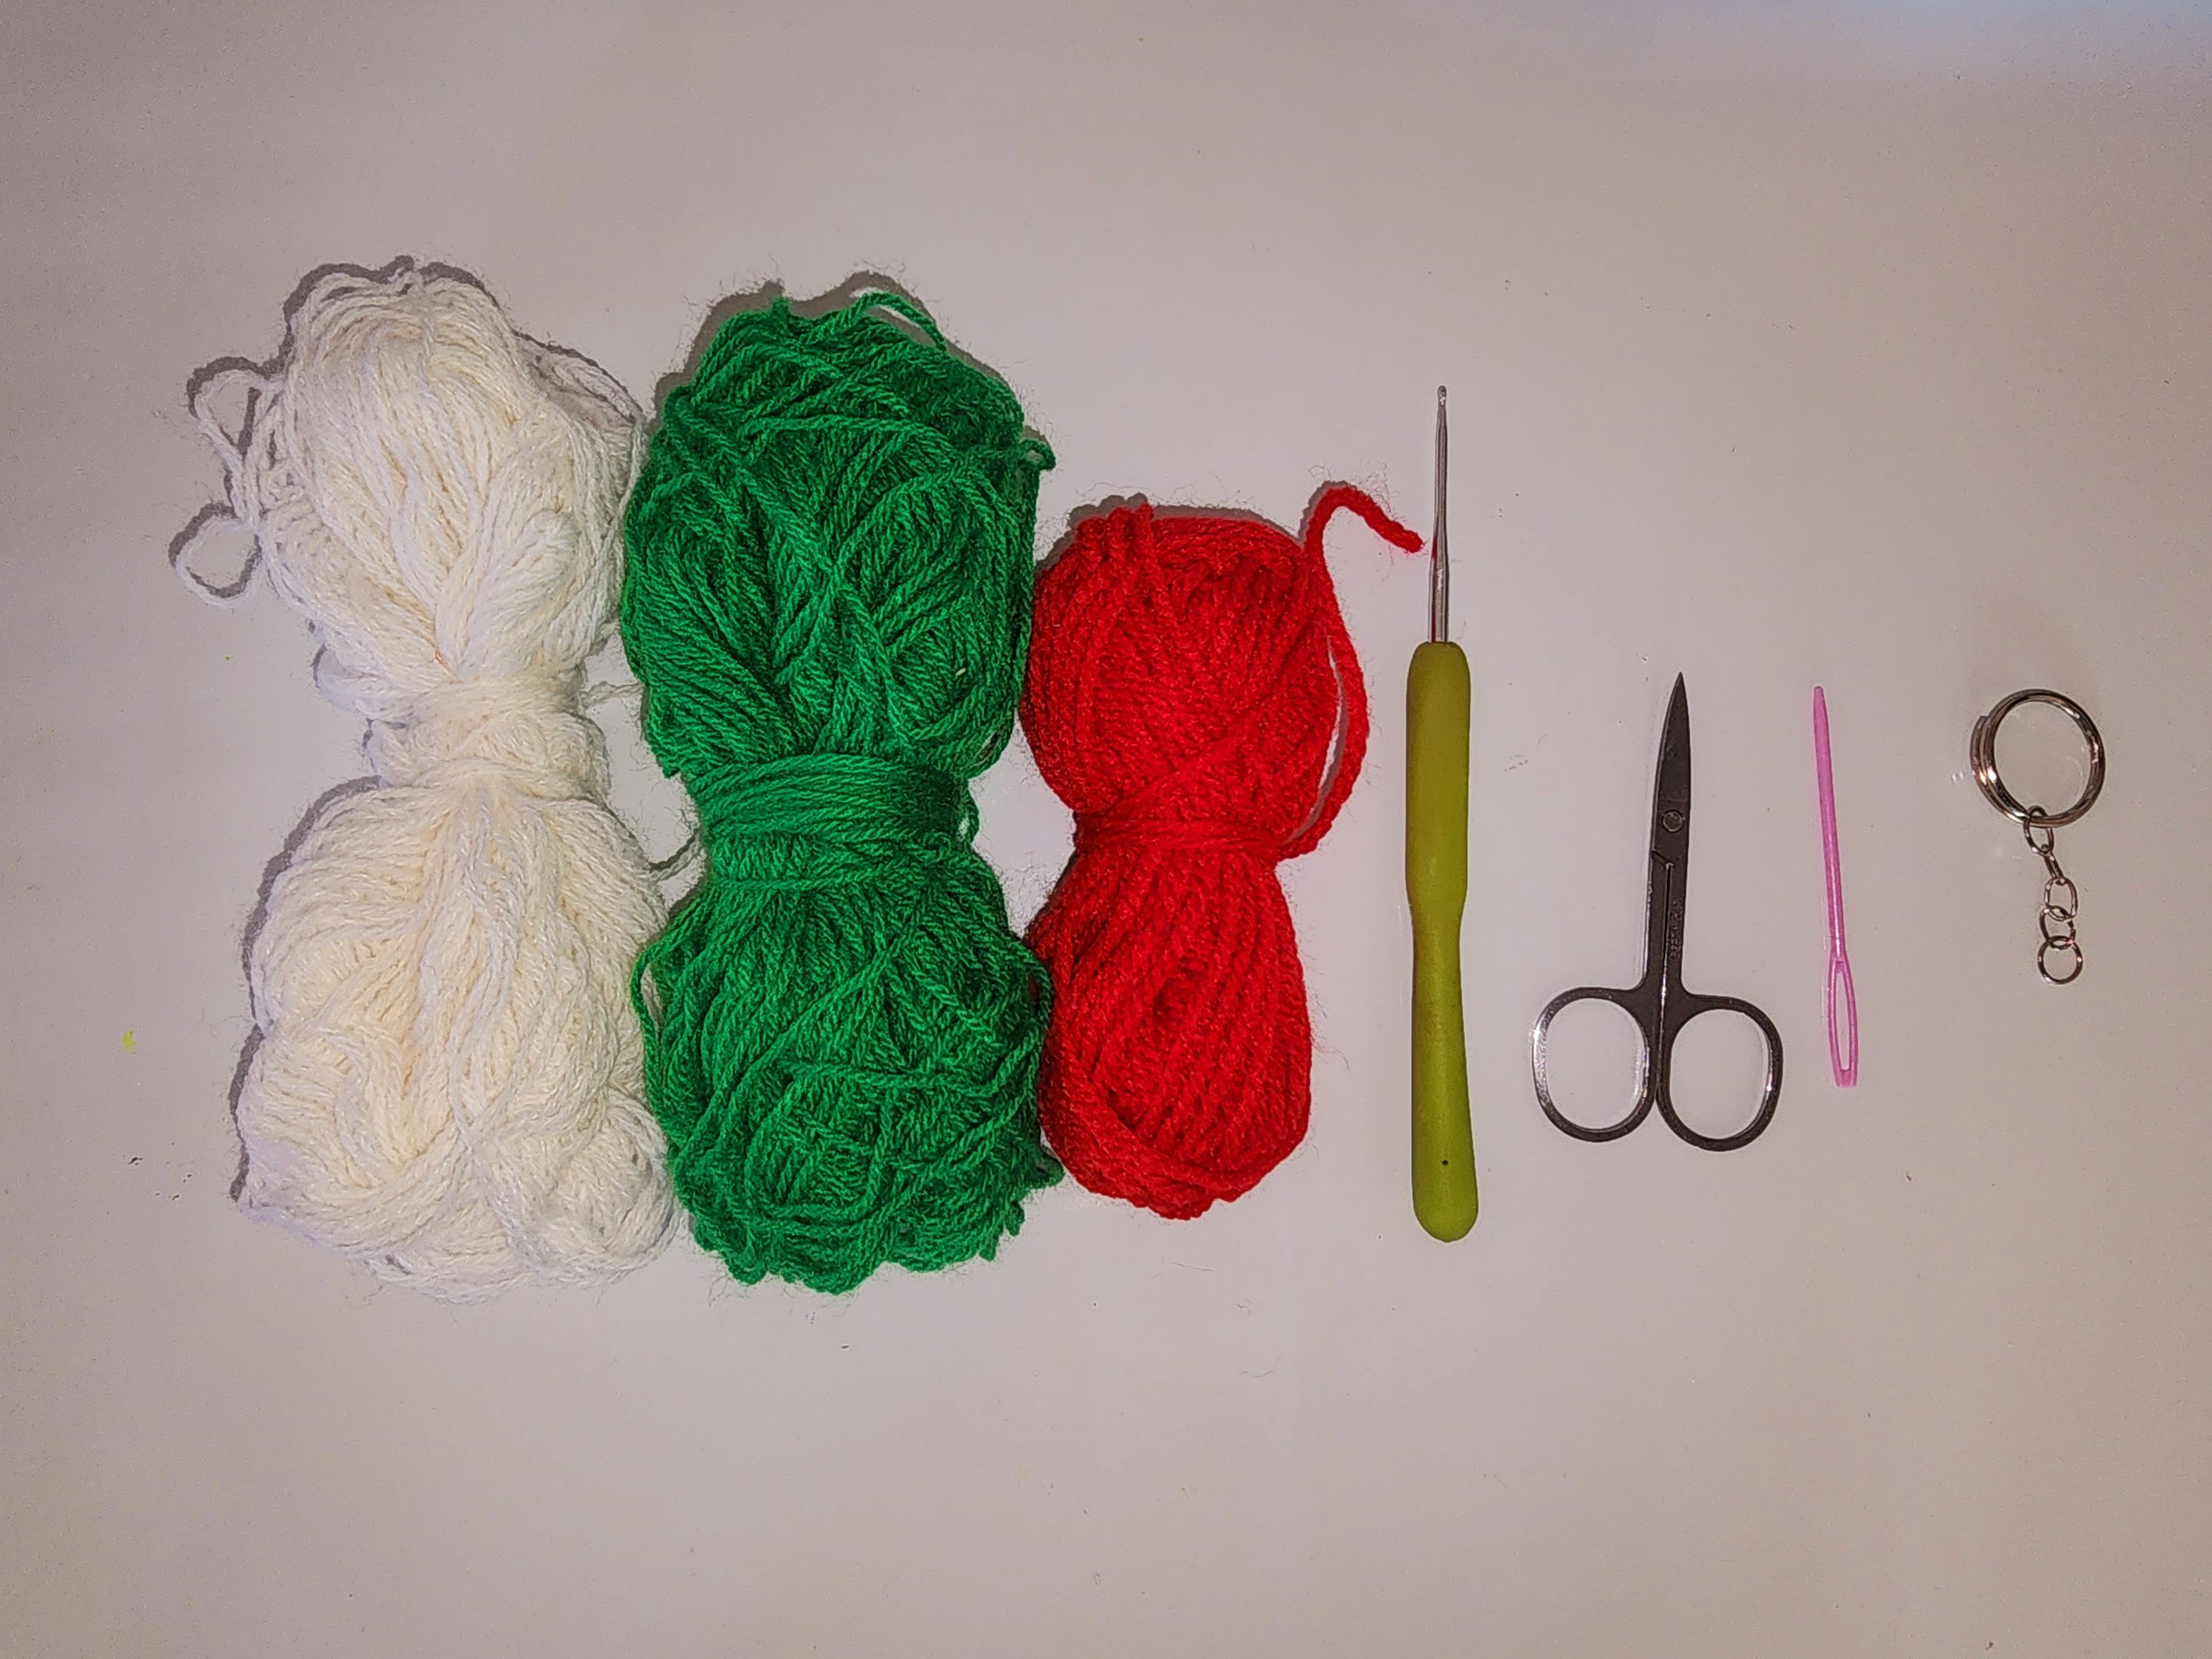
✨️Materials✨️
- Green, white, and red yarn.
- Shoelace.
- Scissors.
- Tapestry needle.
- Keychain ring.
✨️Step by step✨️
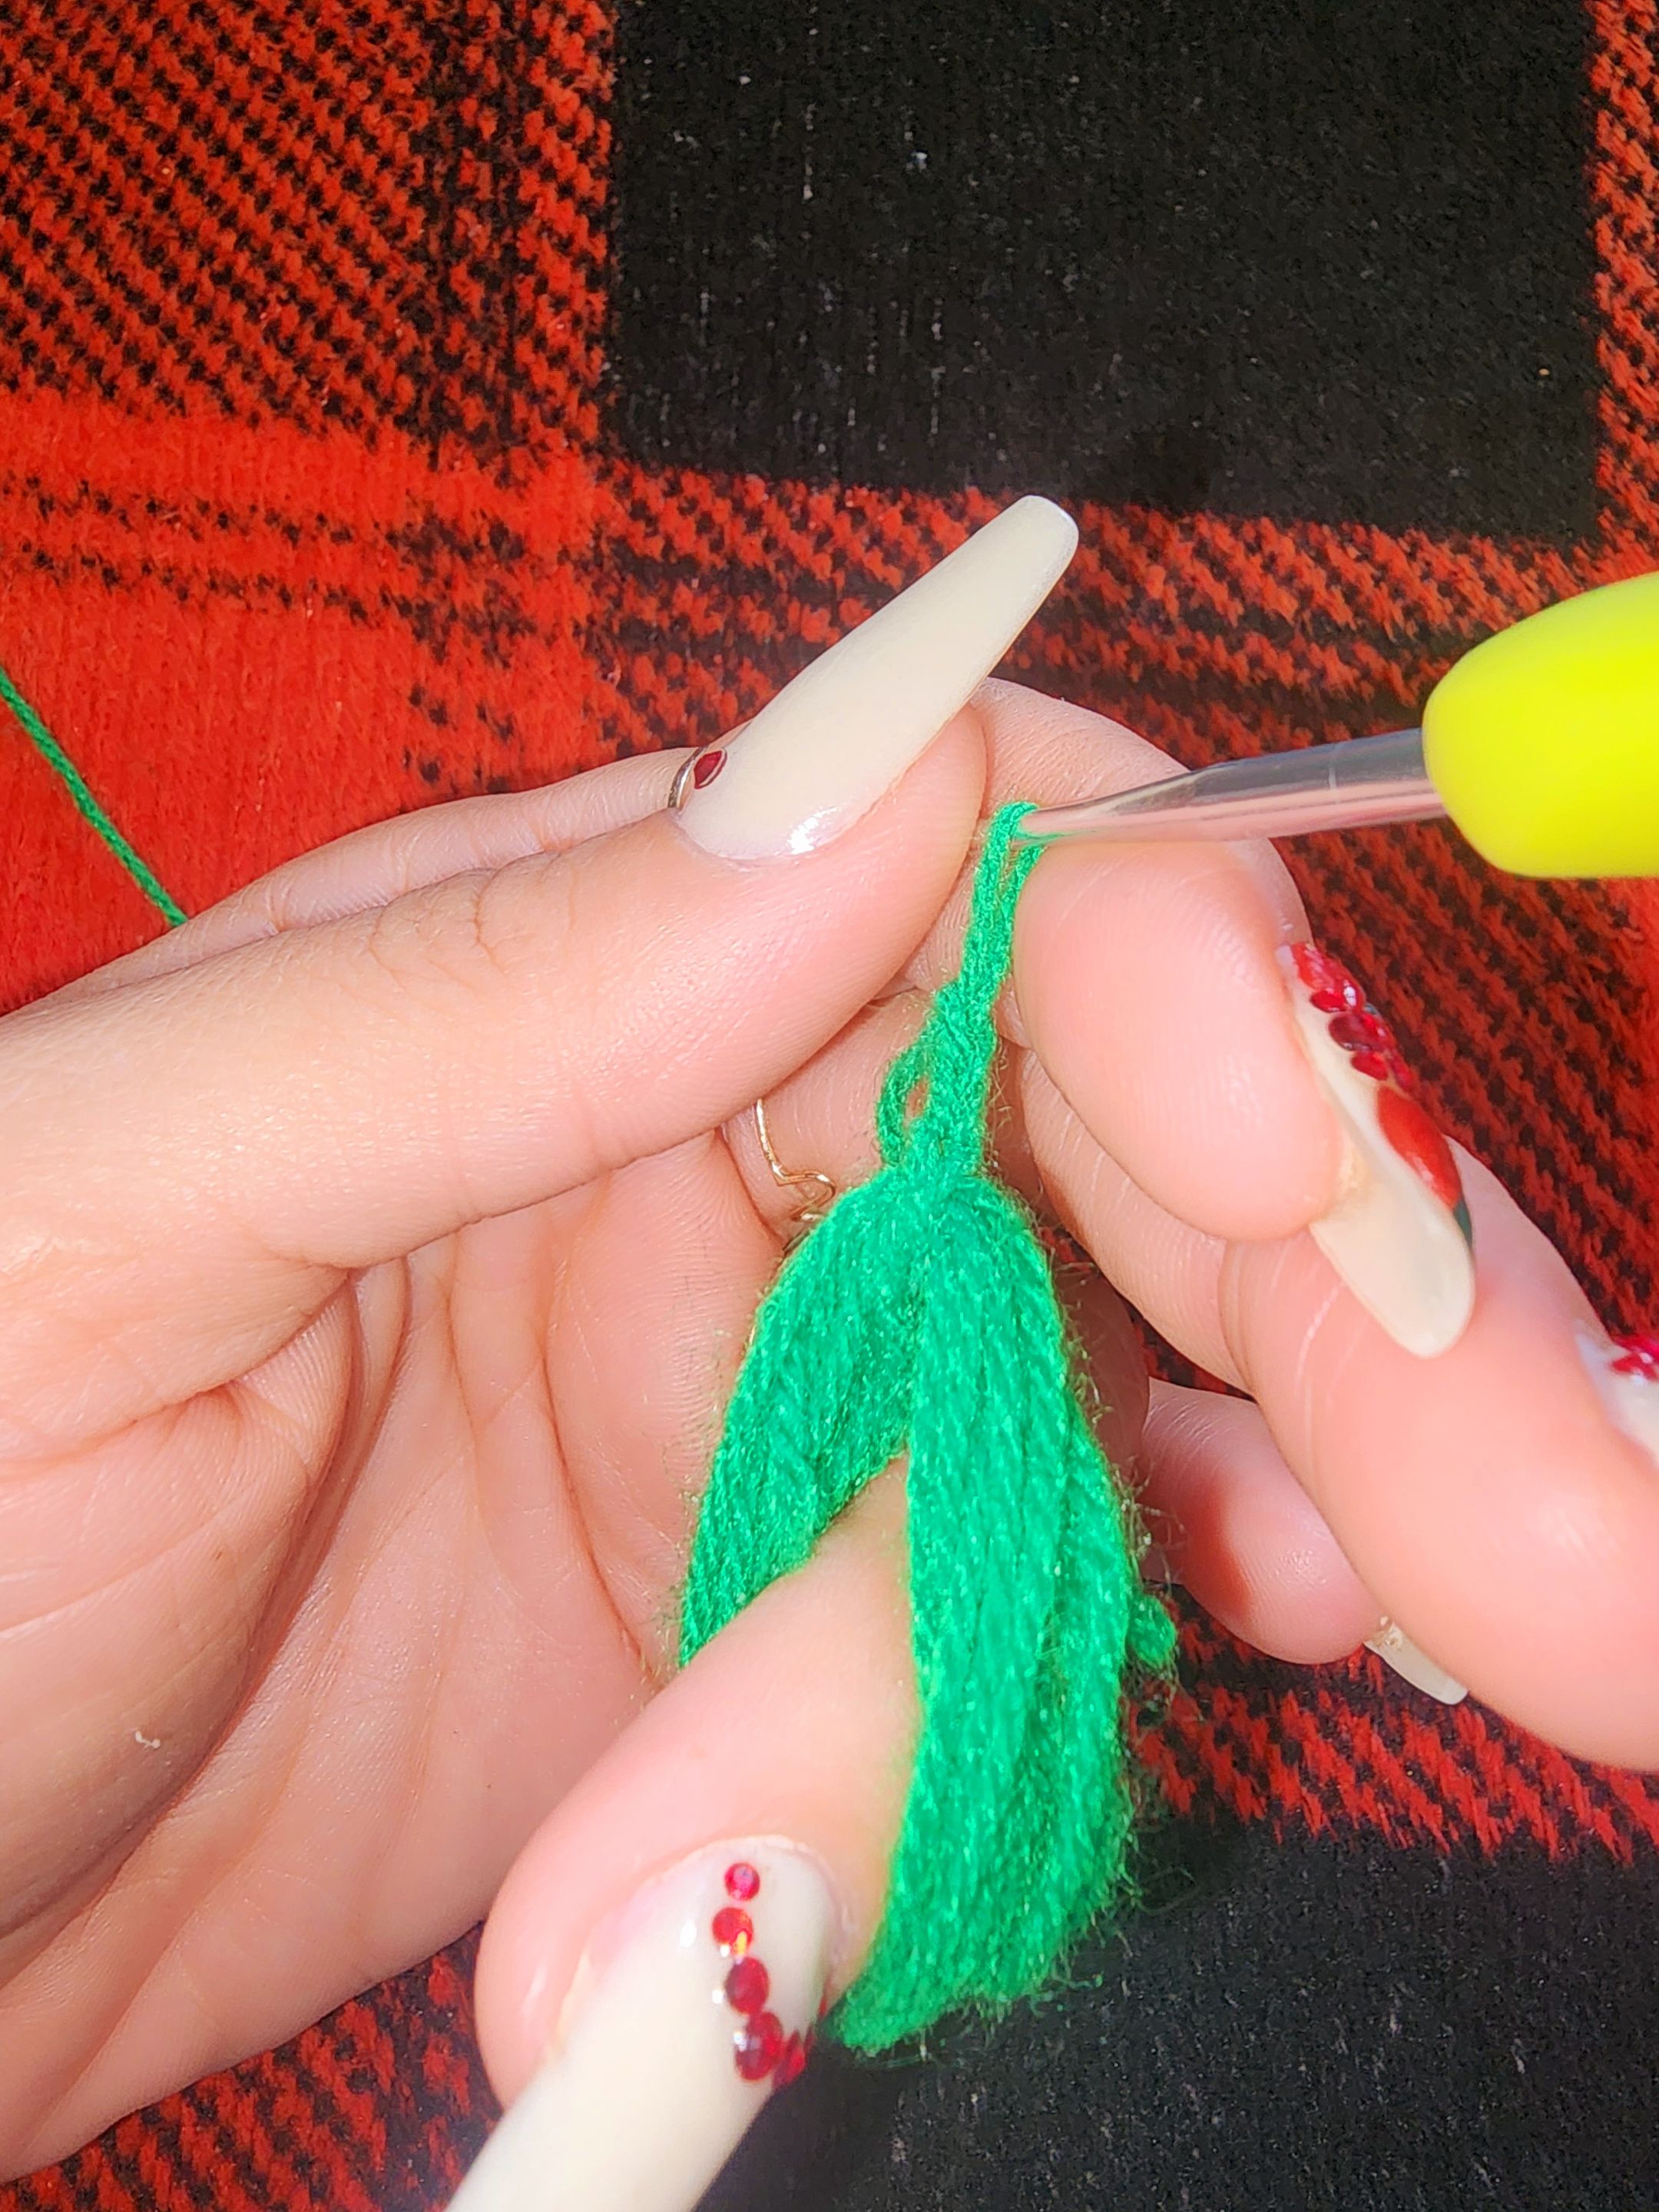
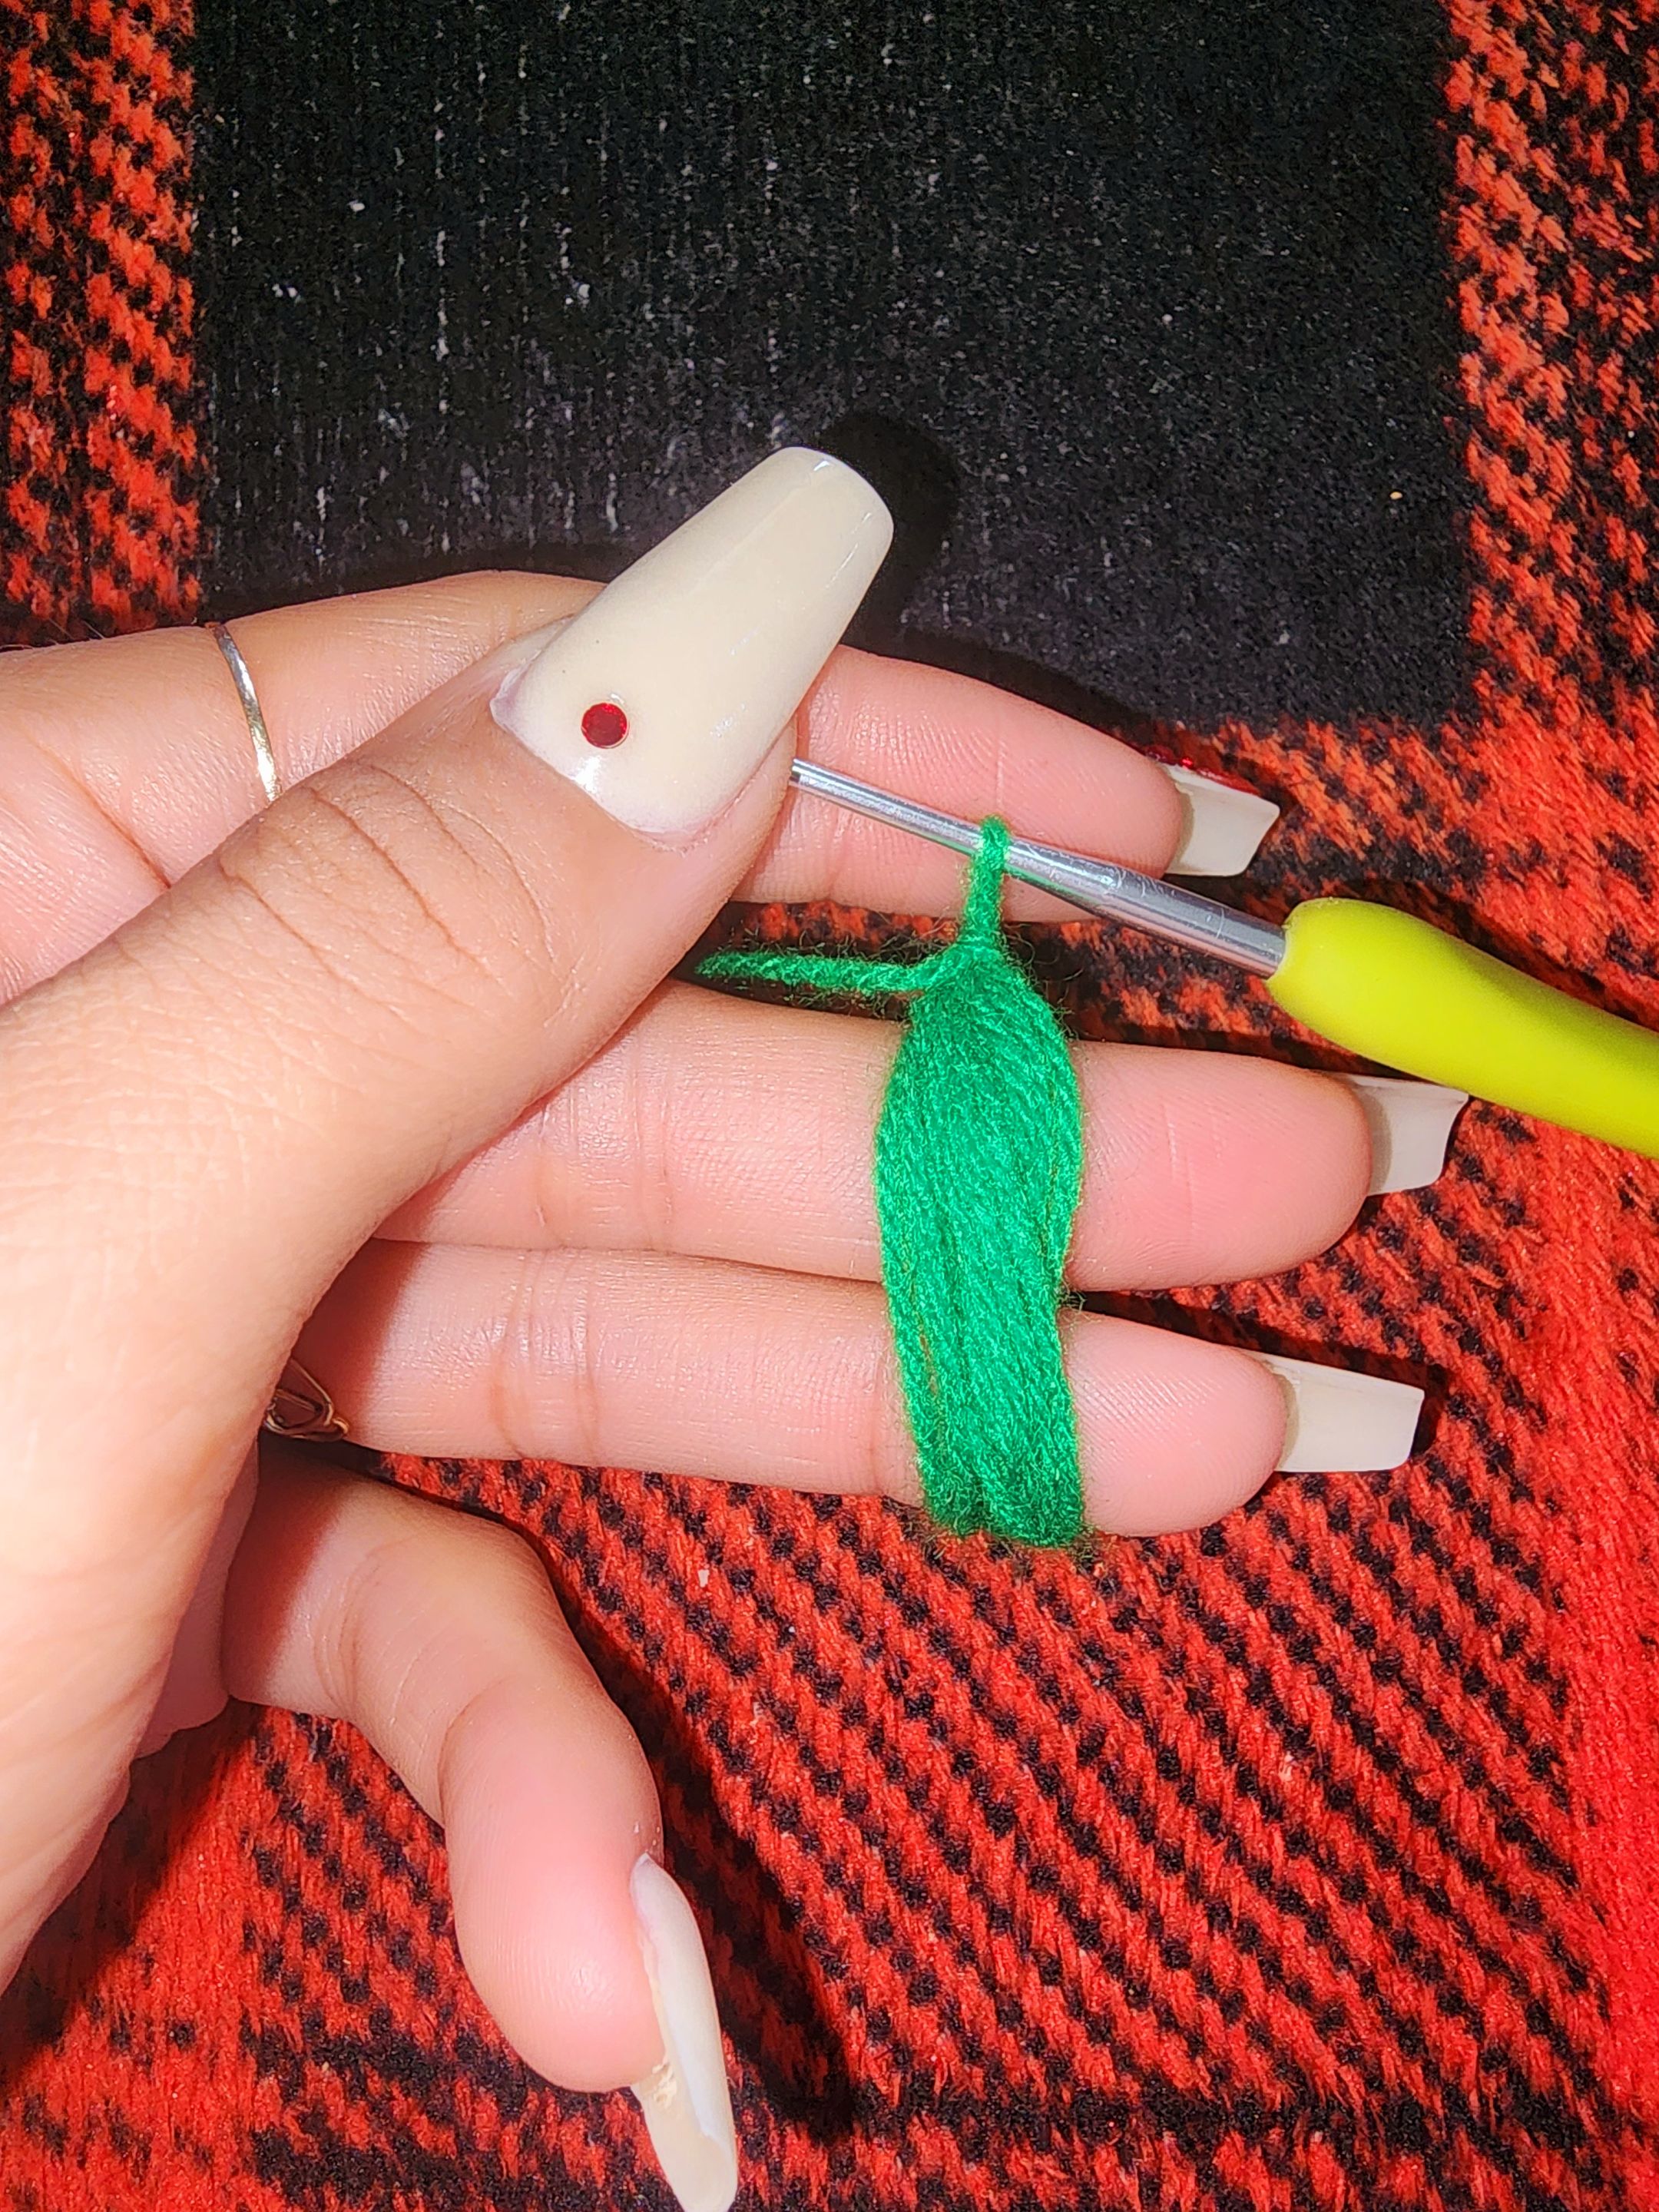
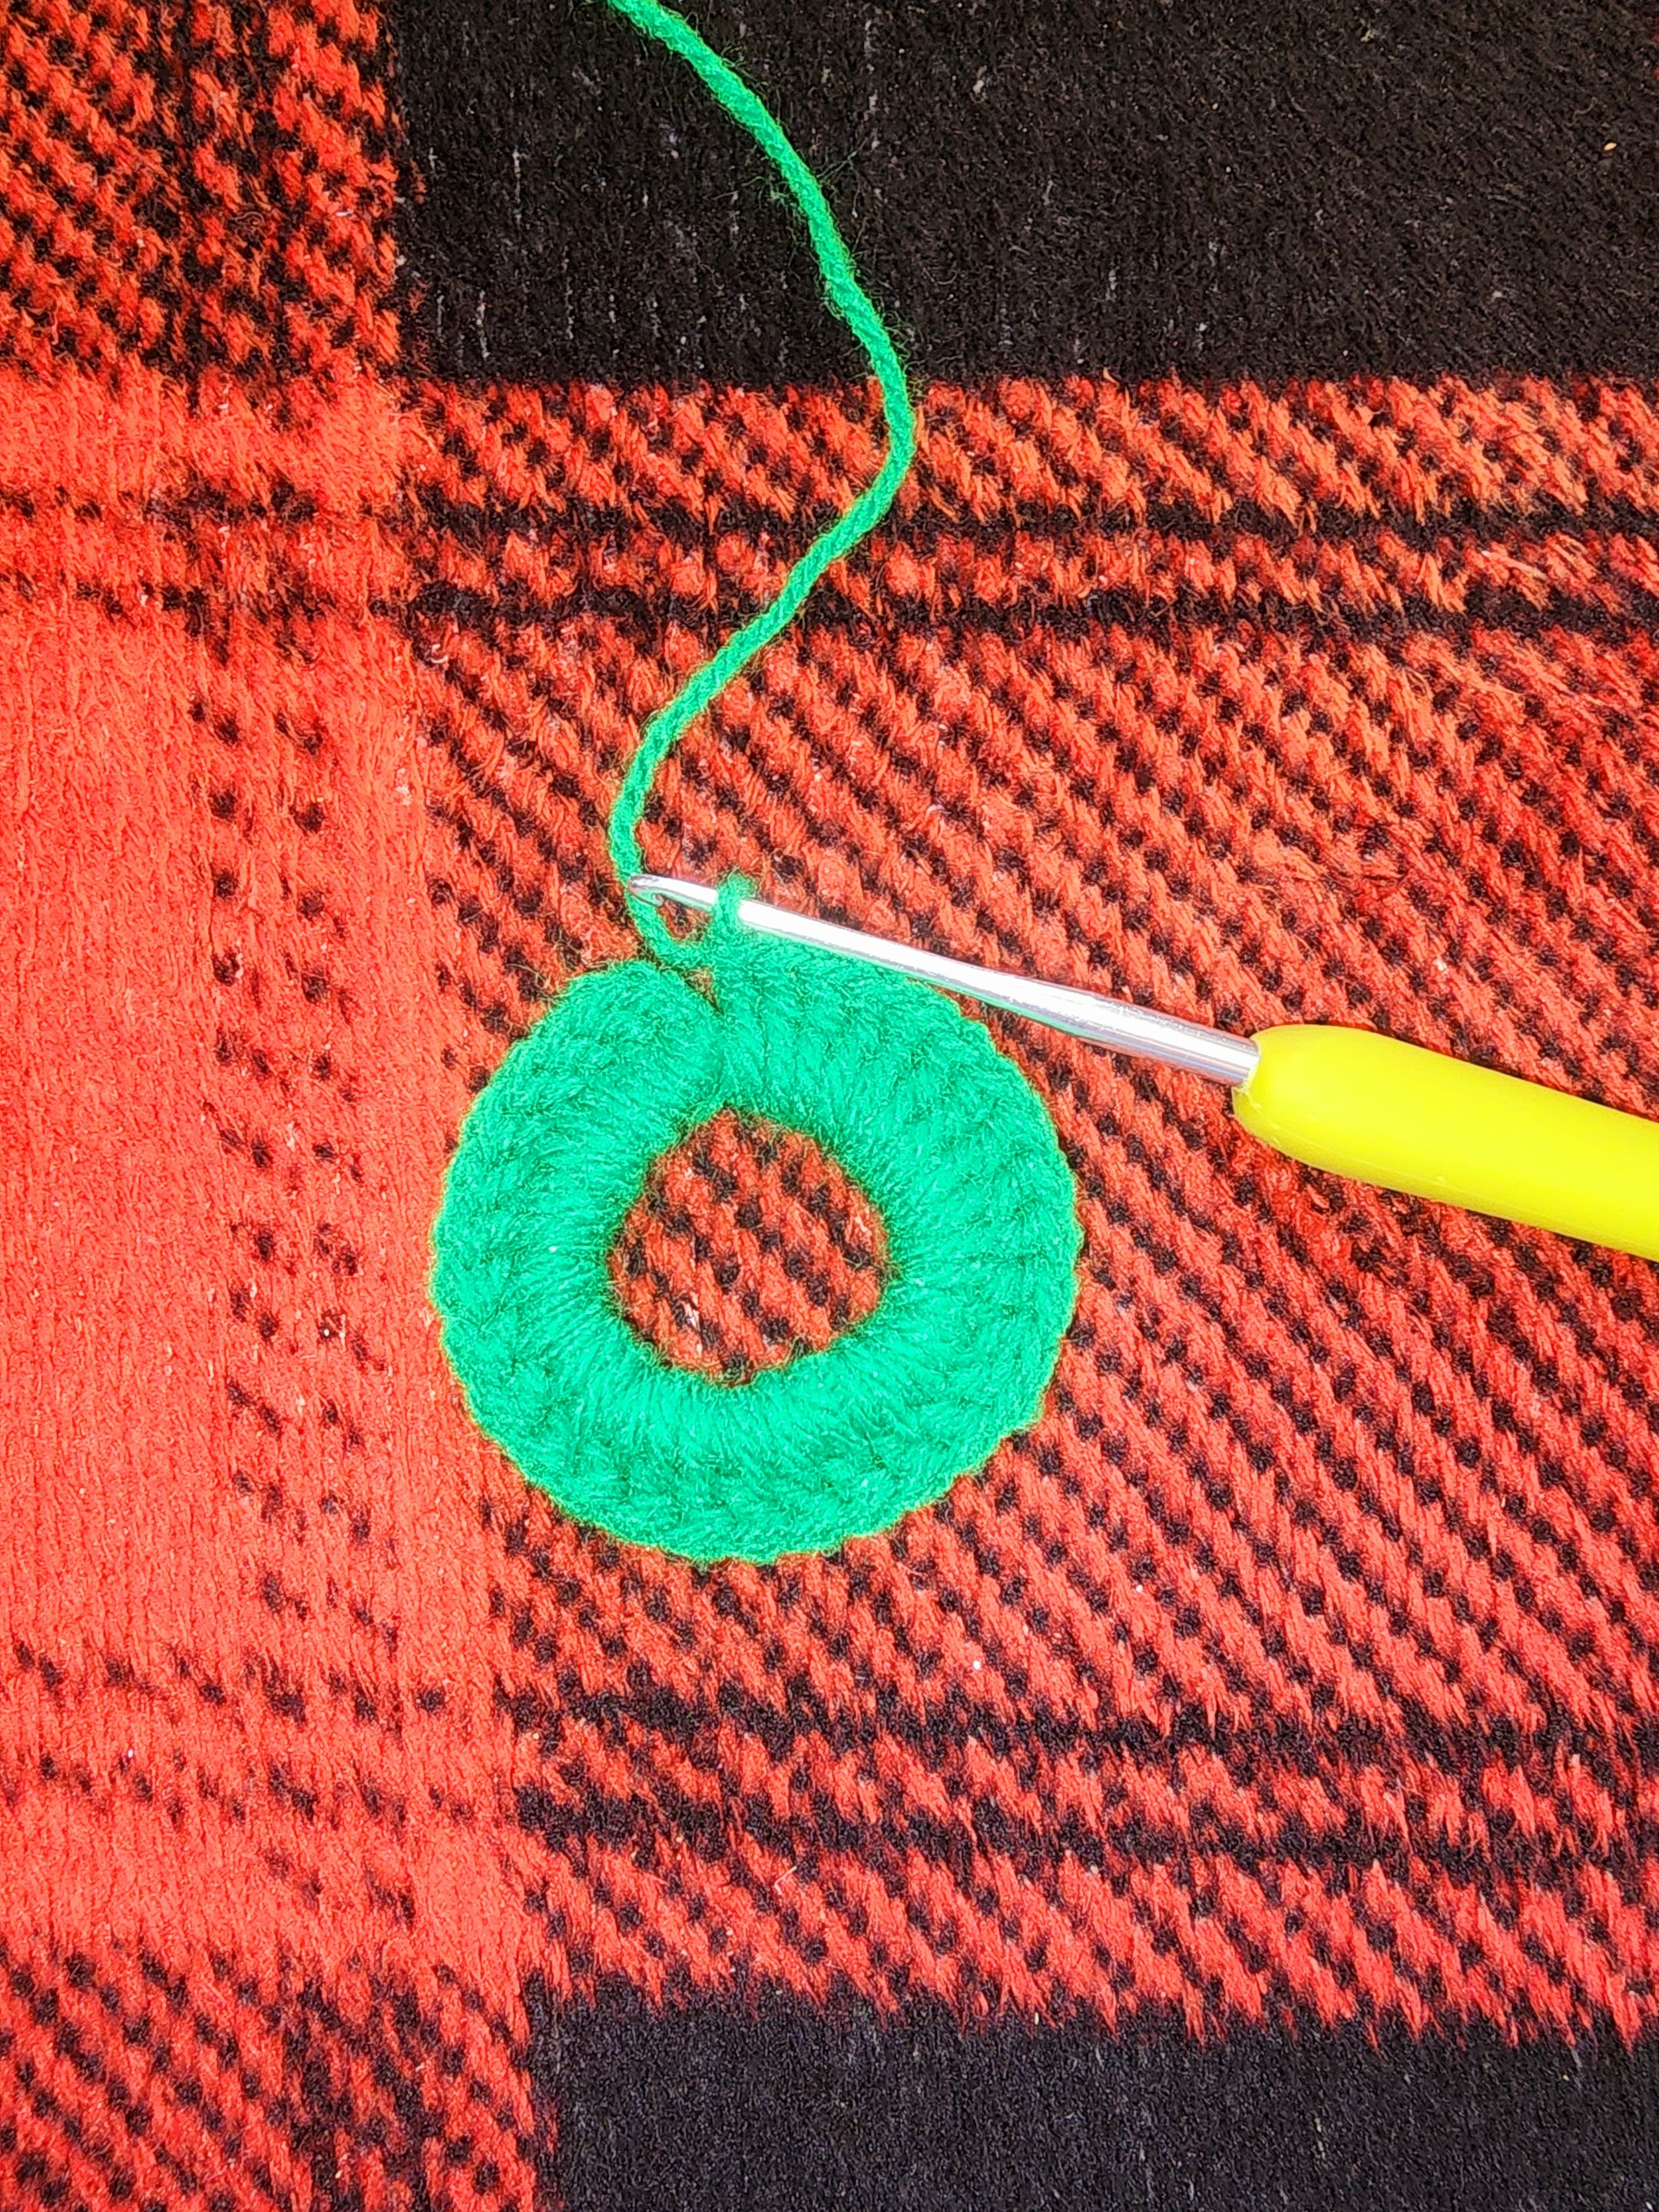
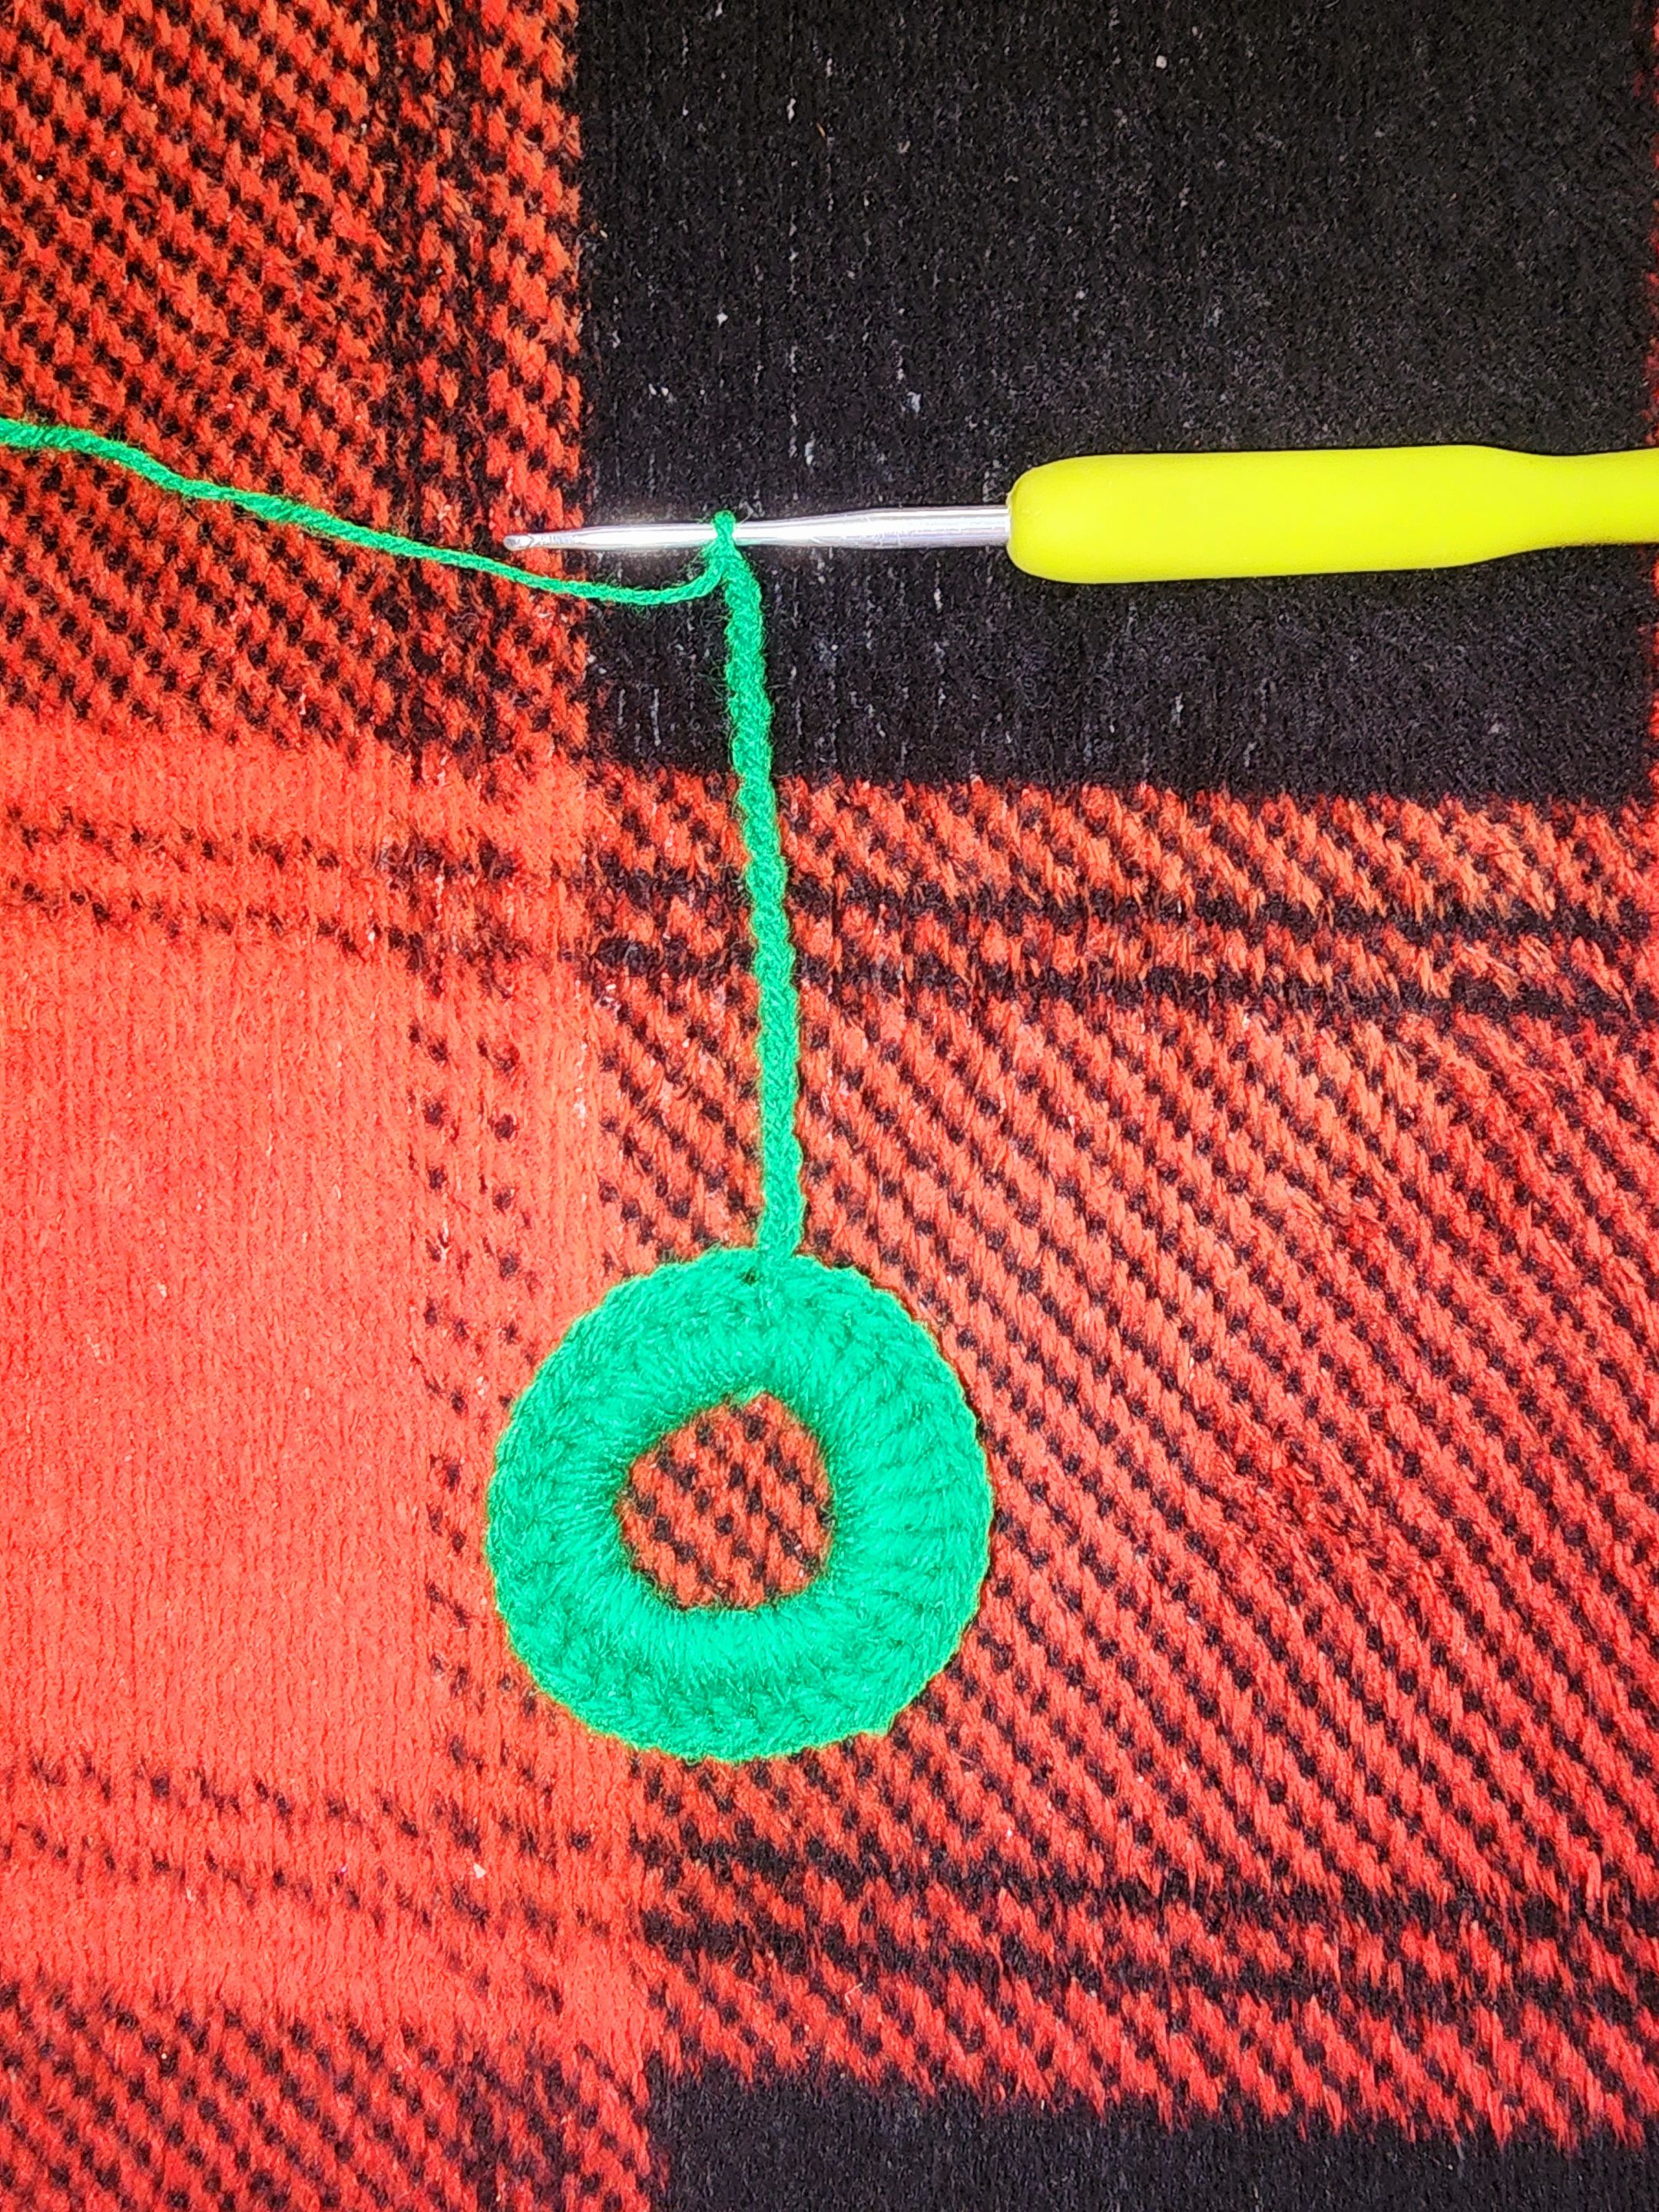
V1 - We start with green thread, wrapping it 10 times around two of our fingers as shown in the photo, then we take the thread passing it underneath these wraps and make 1 slip stitch, then we chain two and start making double crochets around this circle that forms, when we reach the end we close with a slip stitch in the second chain we made at the beginning, make 18 chains and close it in the same stitch with a slip stitch, make a chain, cut the thread and hide it.
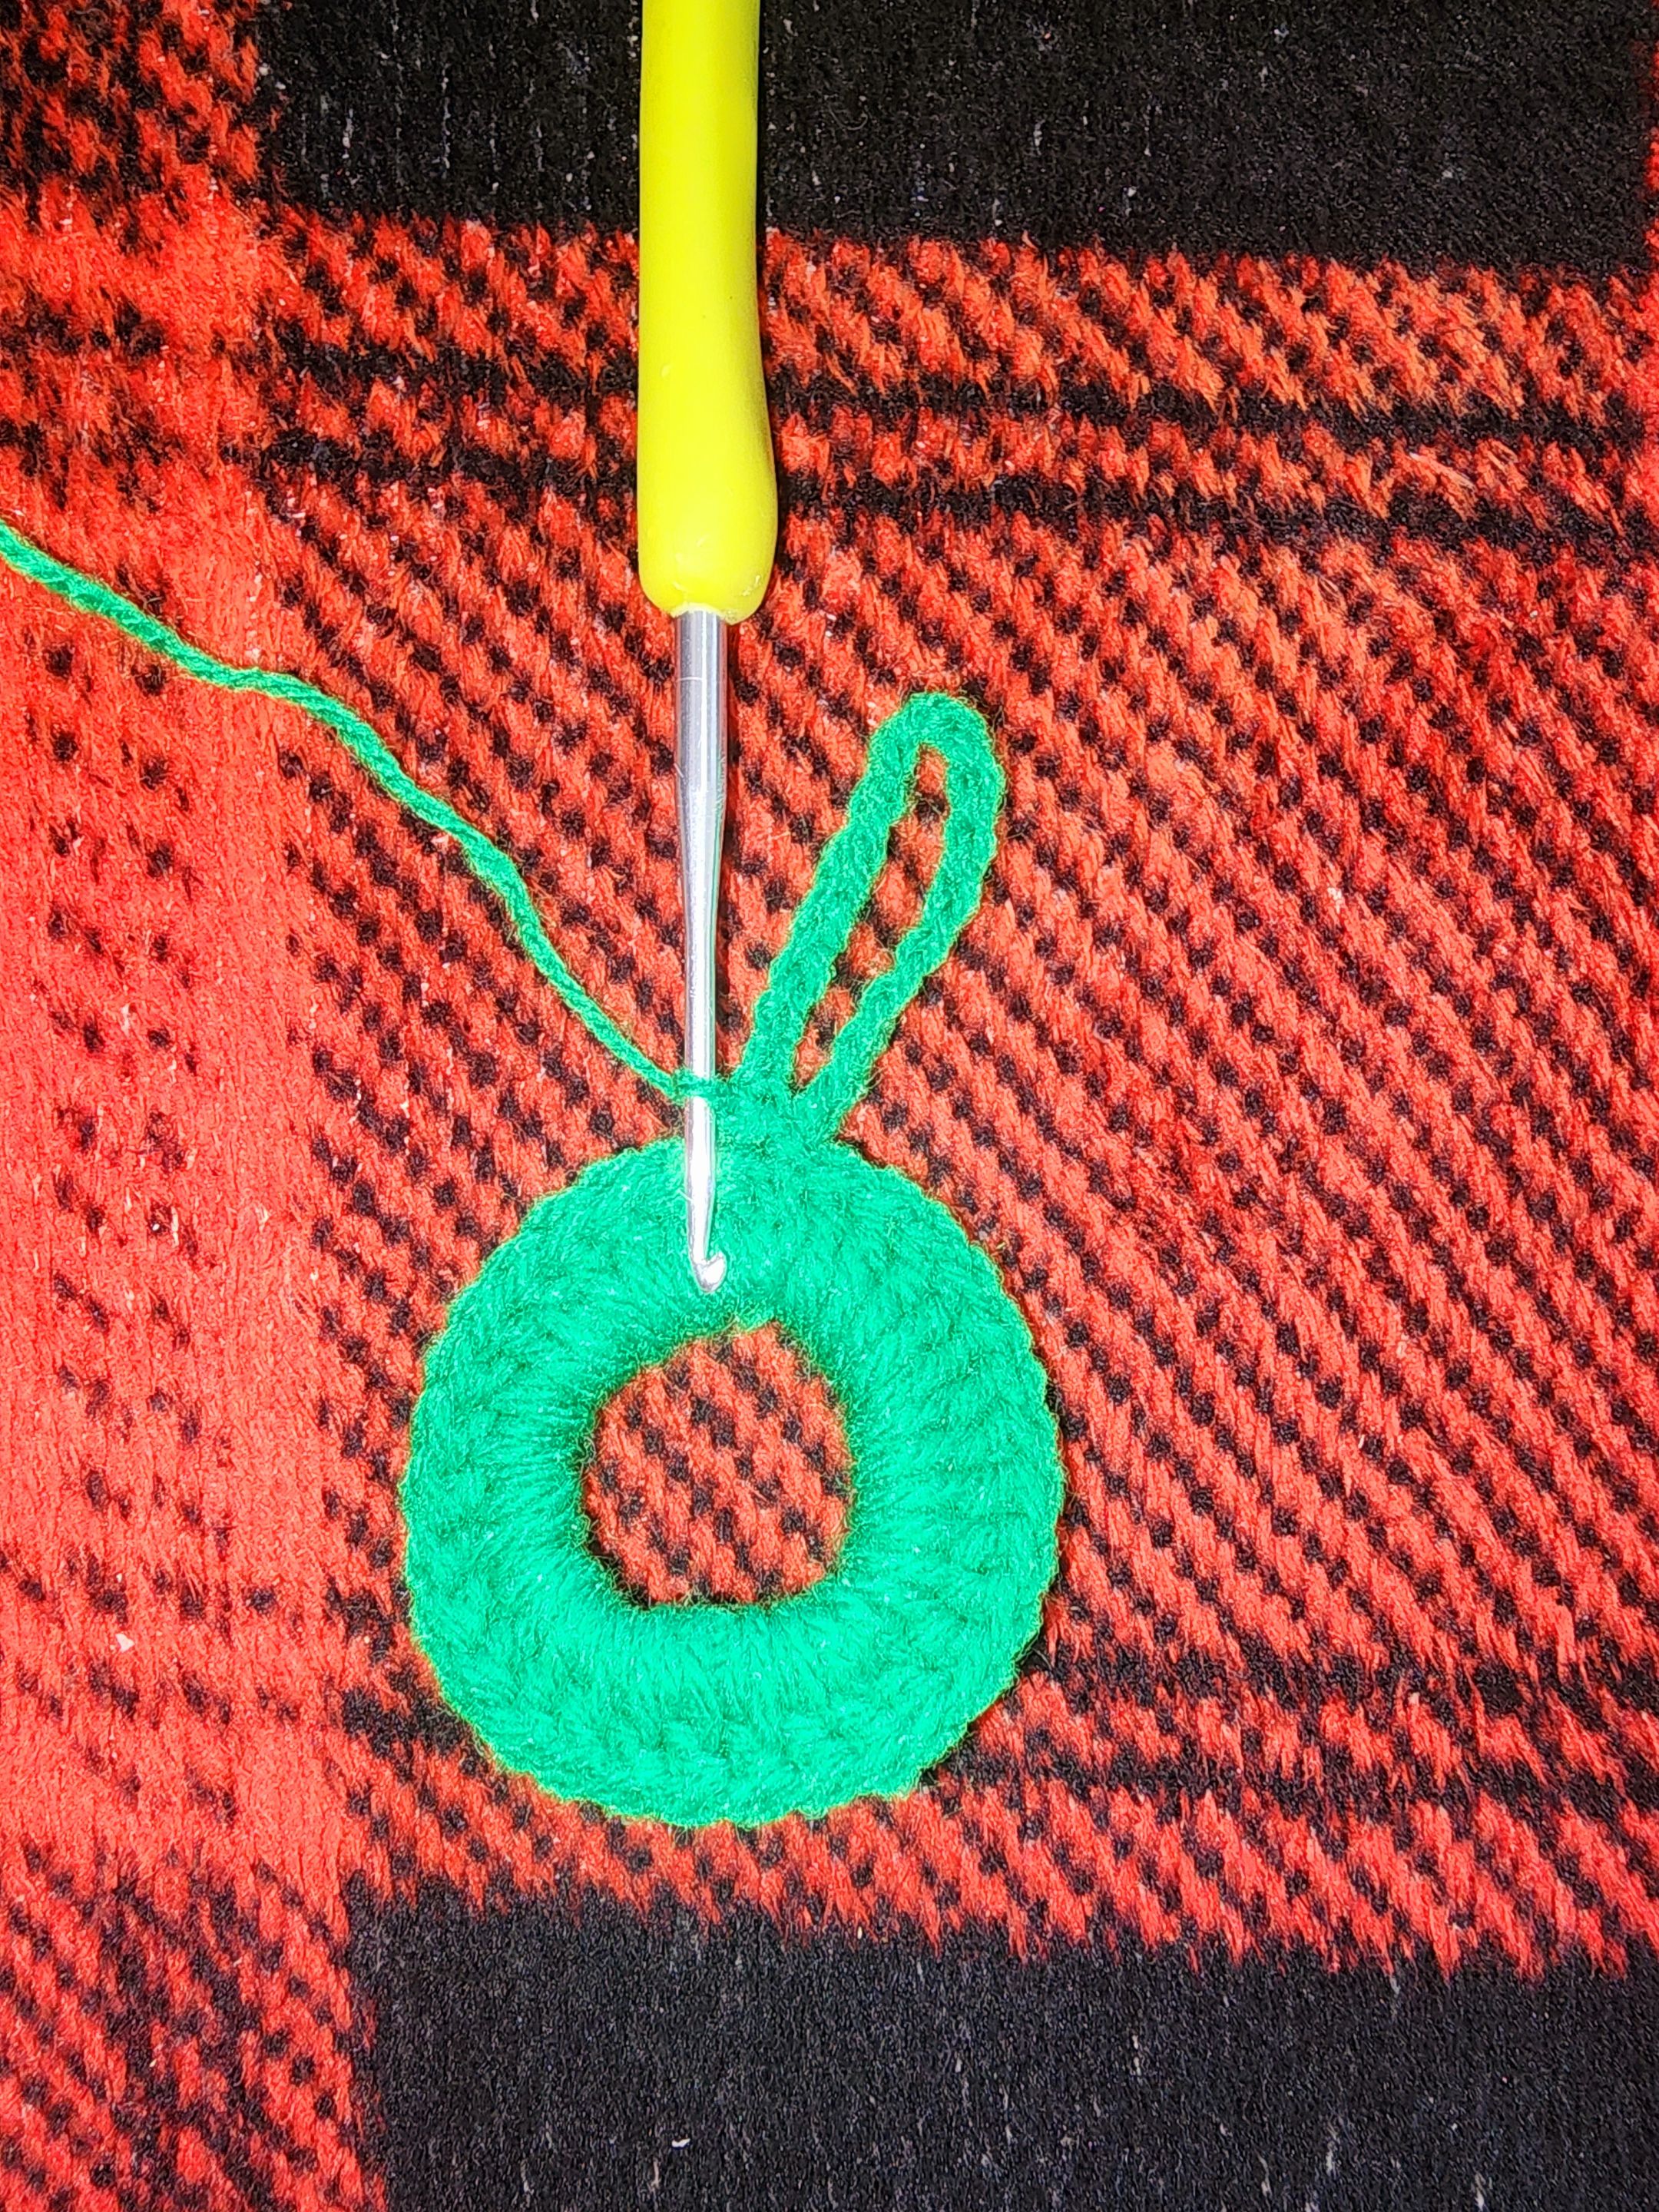
V2 - We start this round with white yarn, on the next stitch after where we made the 18 chains, we start by chaining 2 and then making 5 double crochets in that same stitch, in the next stitch make 1 slip stitch, in the following make 1 slip stitch, chain two and make 5 double crochets. And continue this sequence (1 slip stitch + 2 chains + 5 double crochets in the same stitch + 1 slip stitch in the following stitch) close with a slip stitch in the first of the two chains we chained.
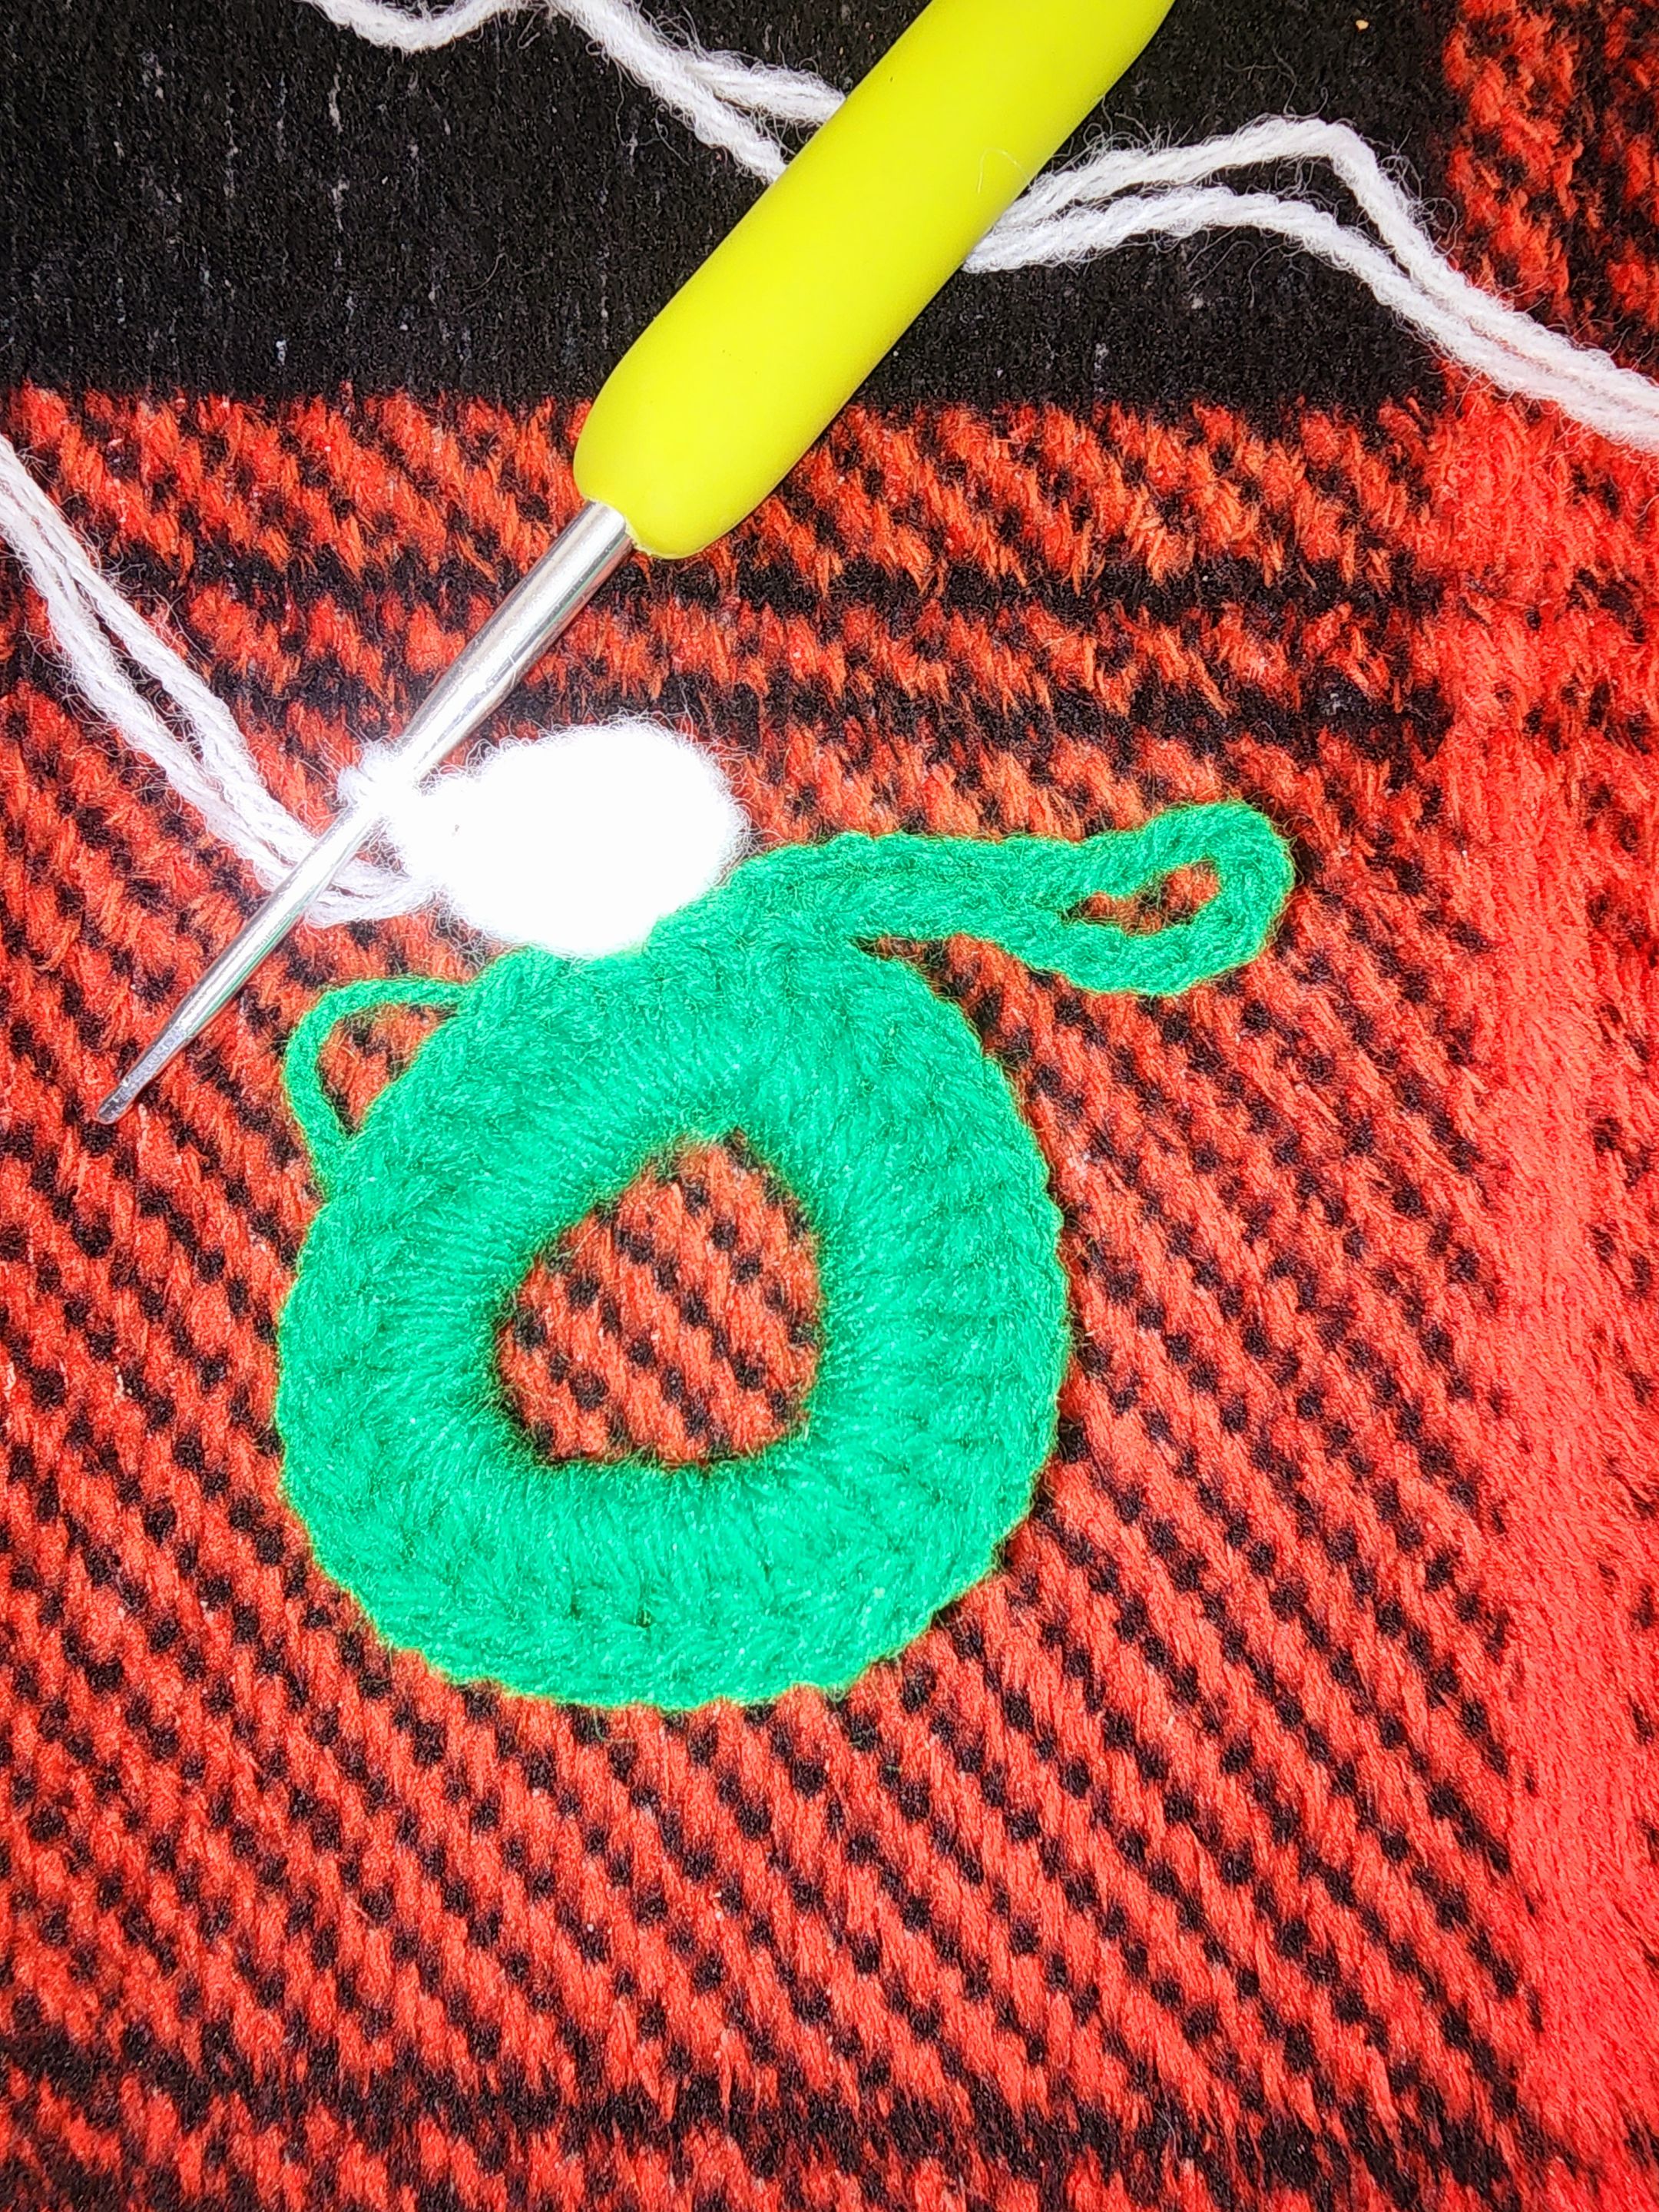
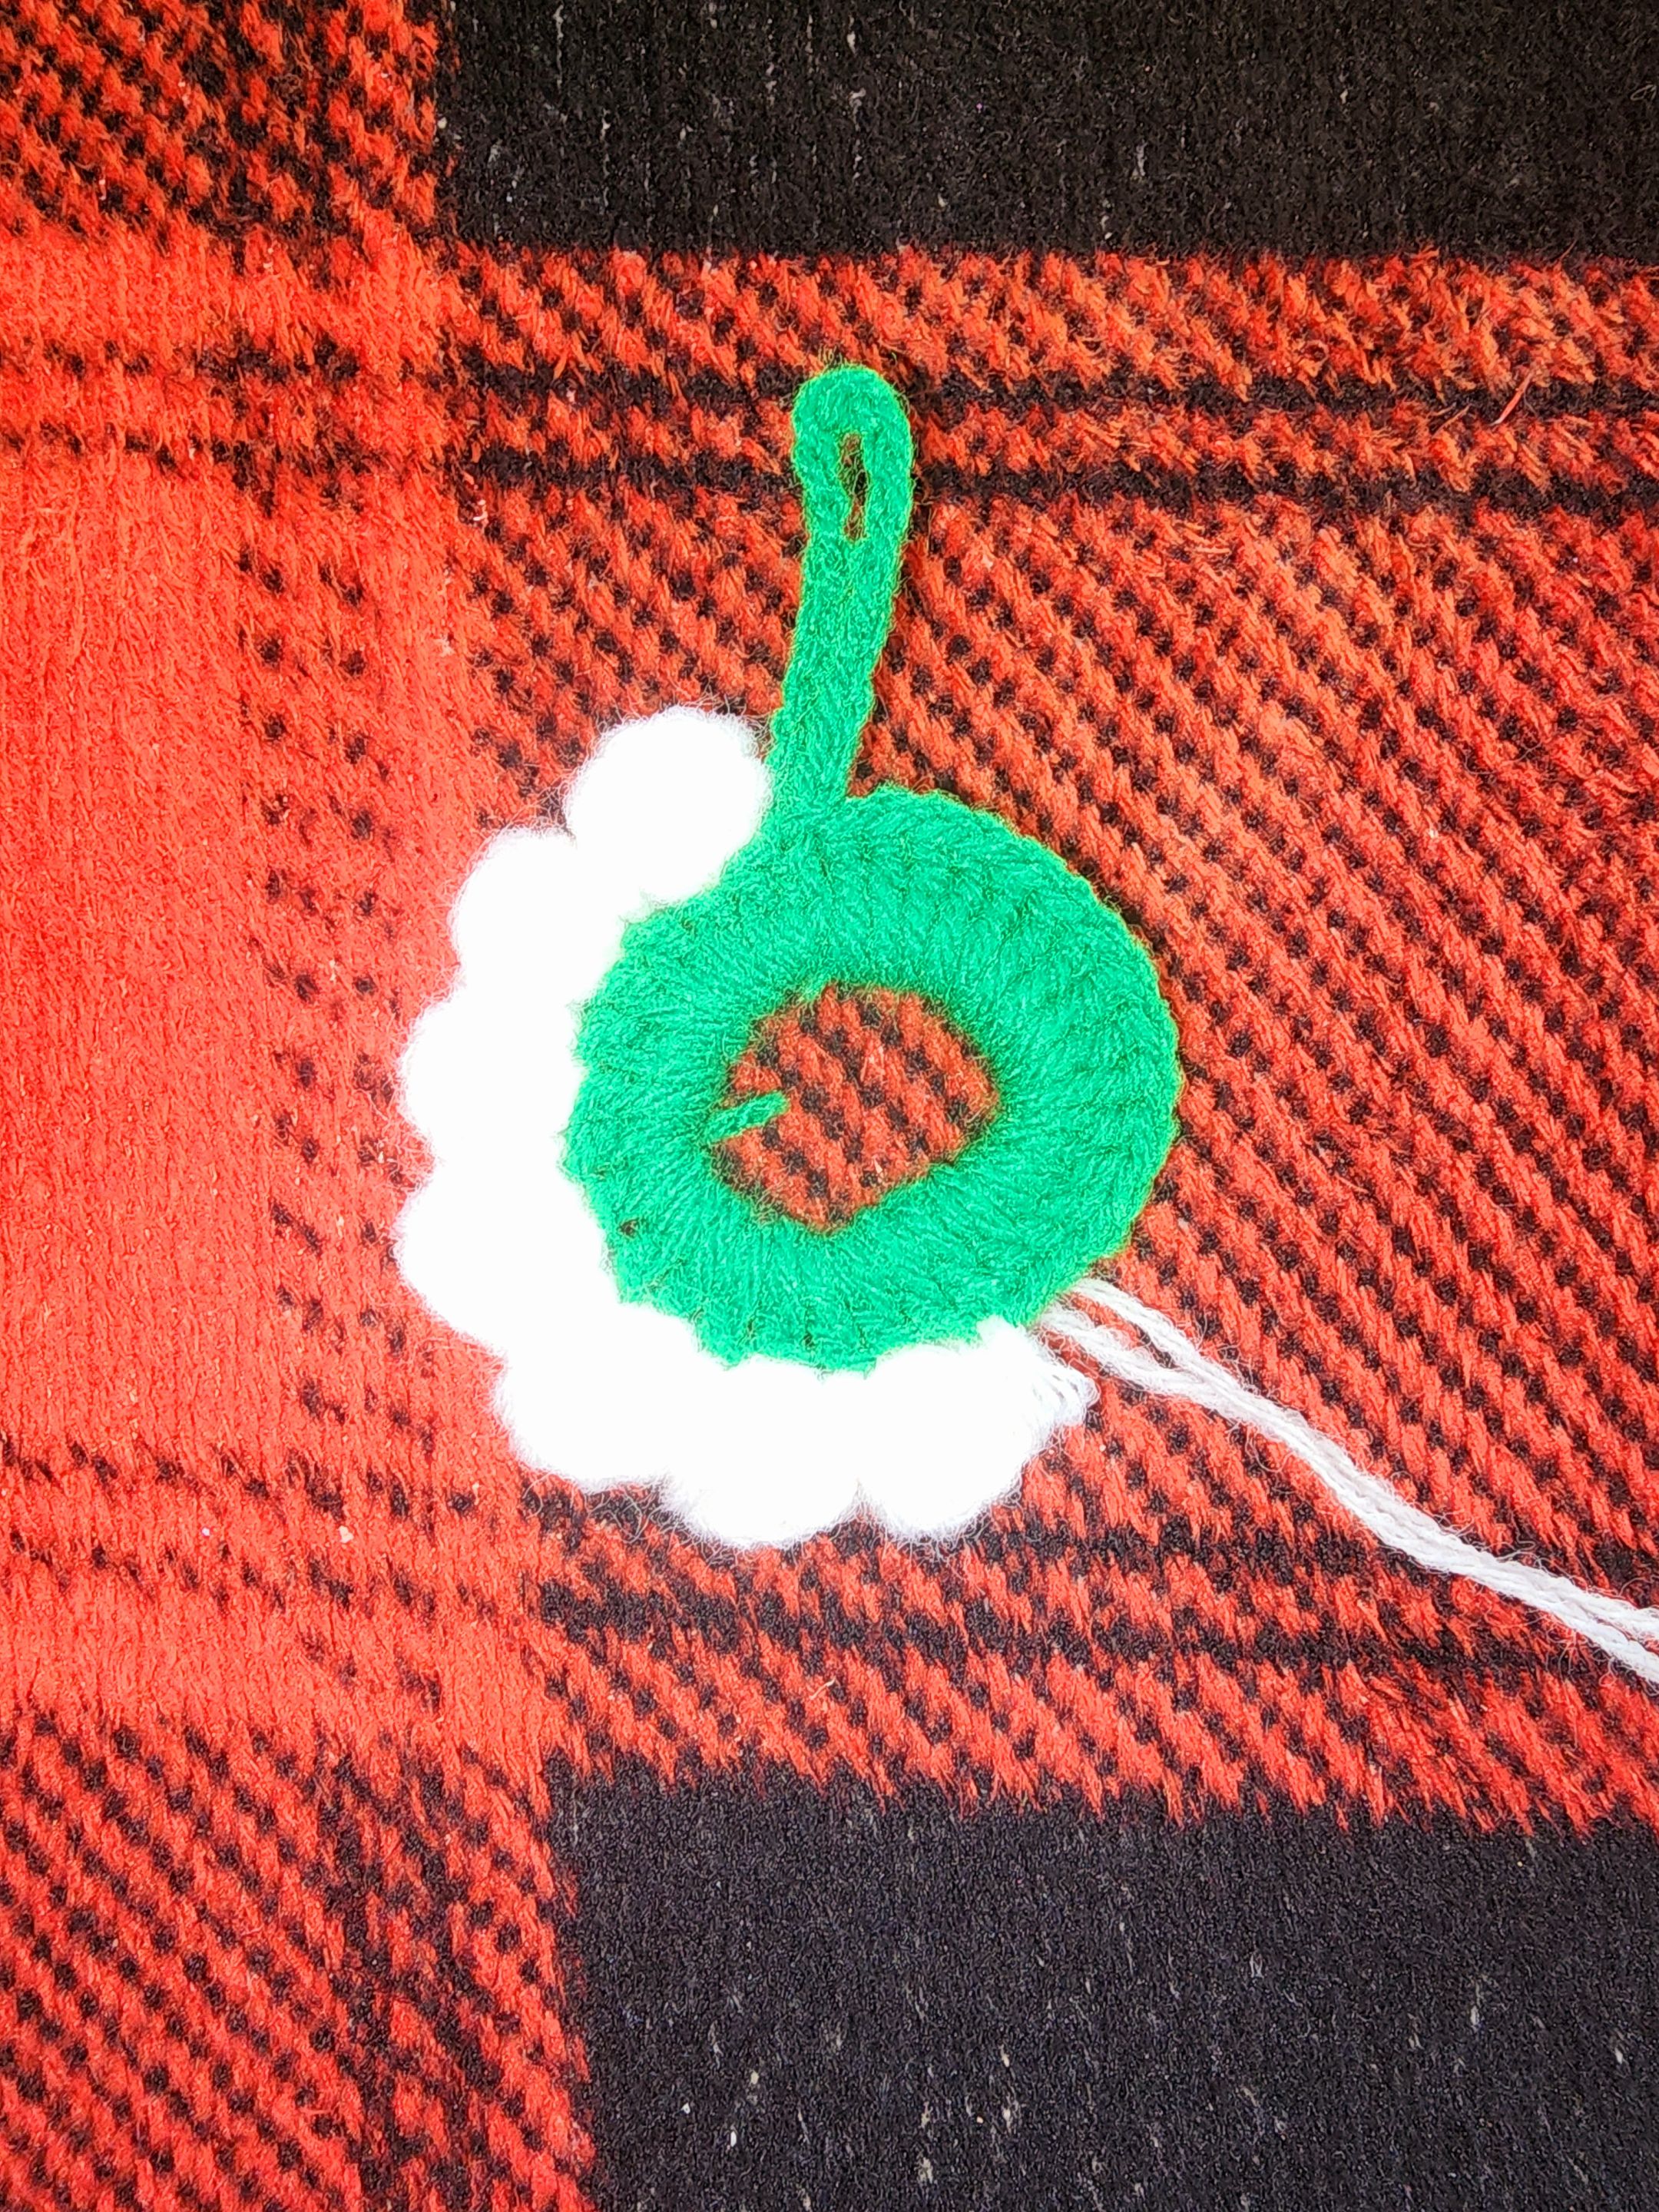
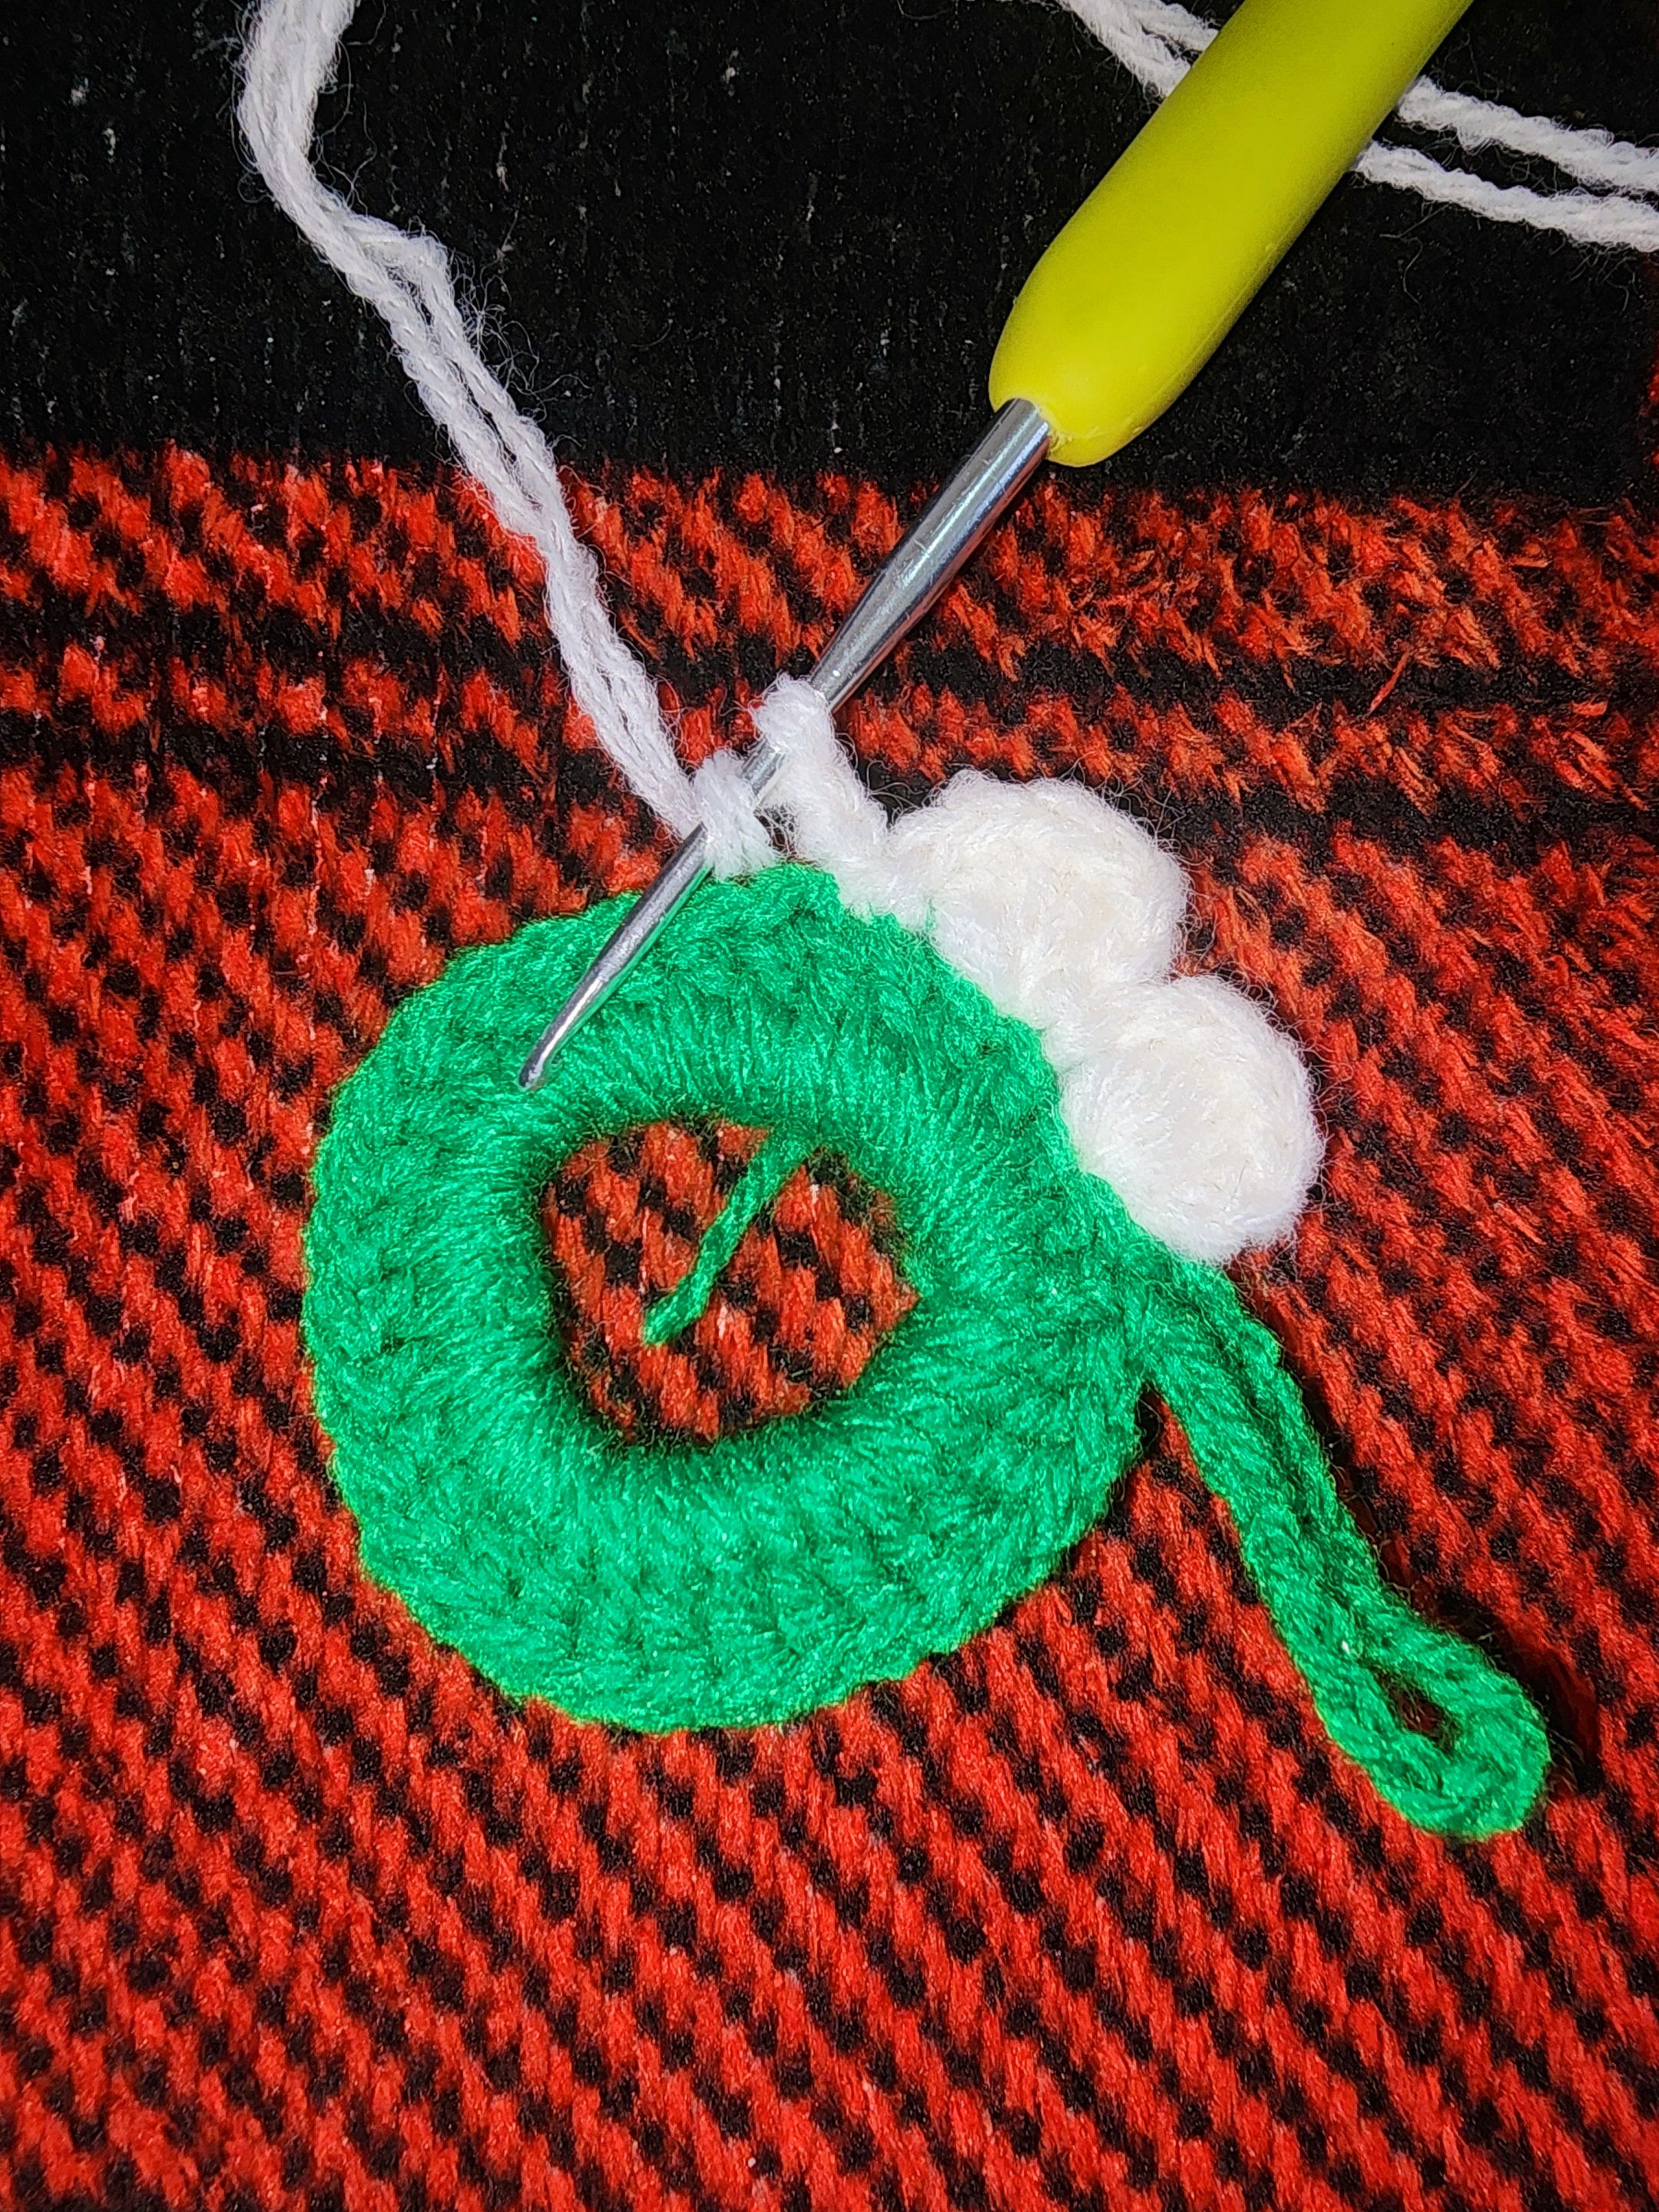
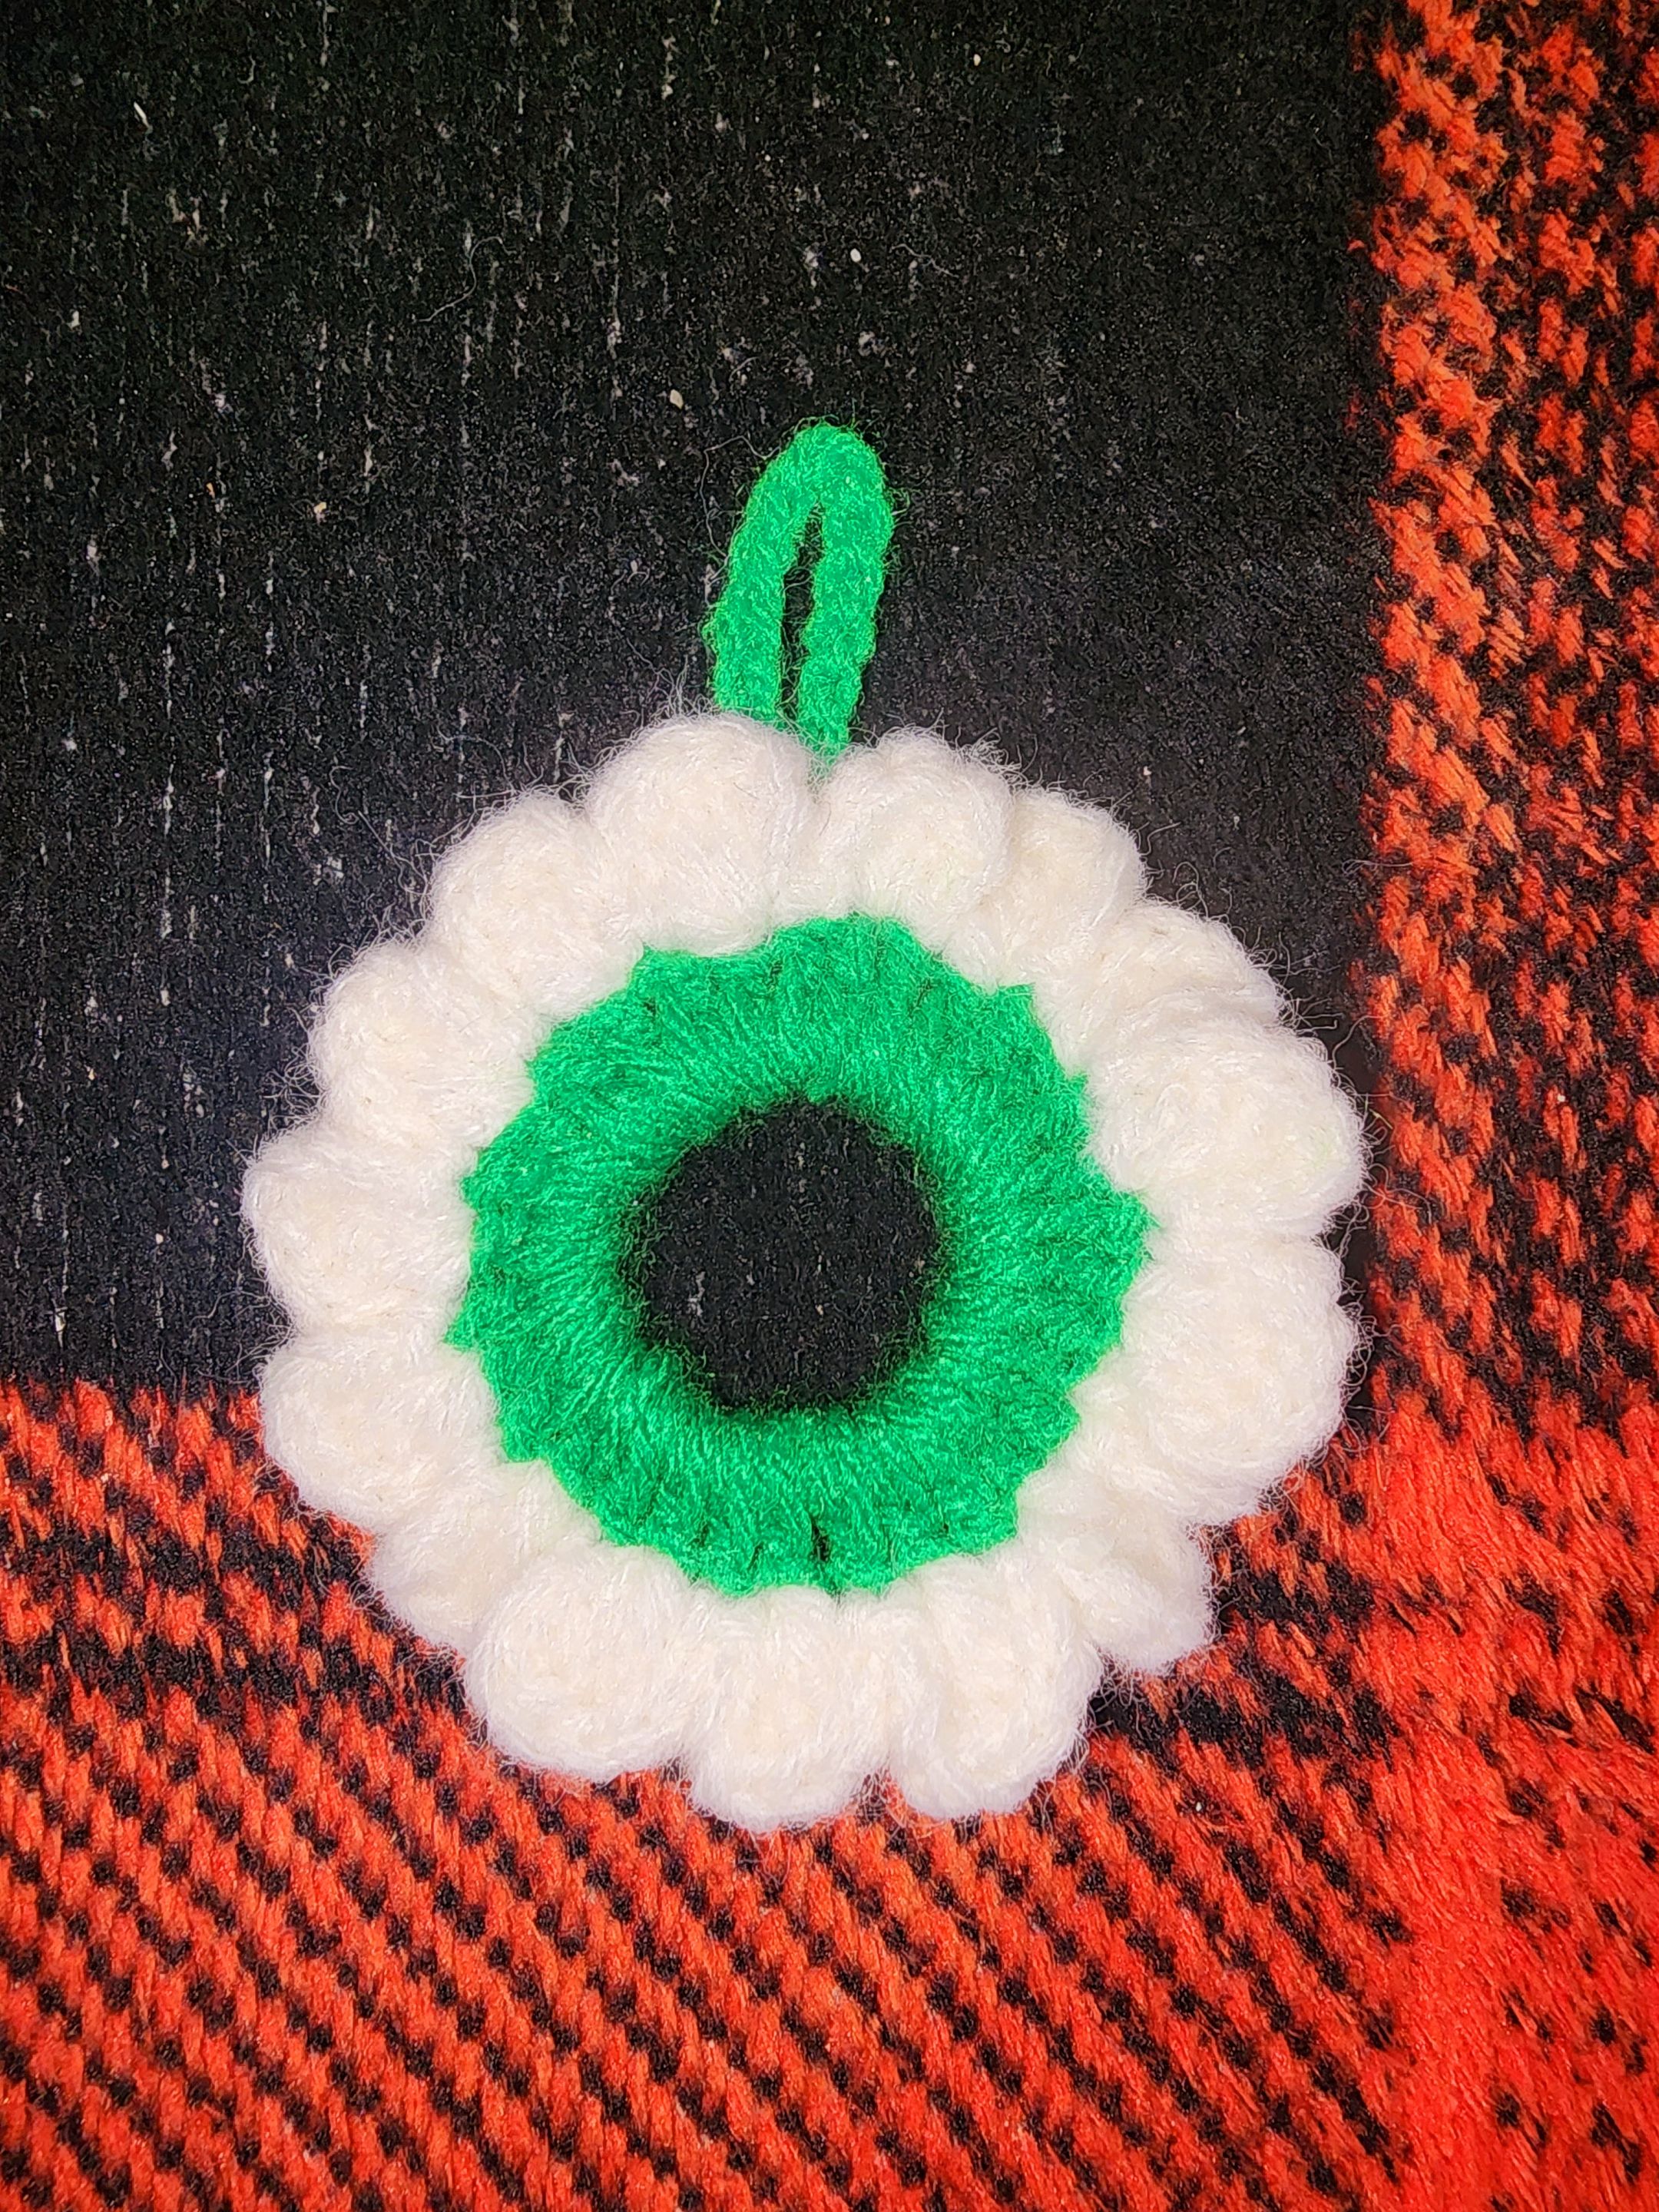
V3 - Now we are going to use red thread, pass the thread in this way, counting three green double crochets, three in front and three in the back.
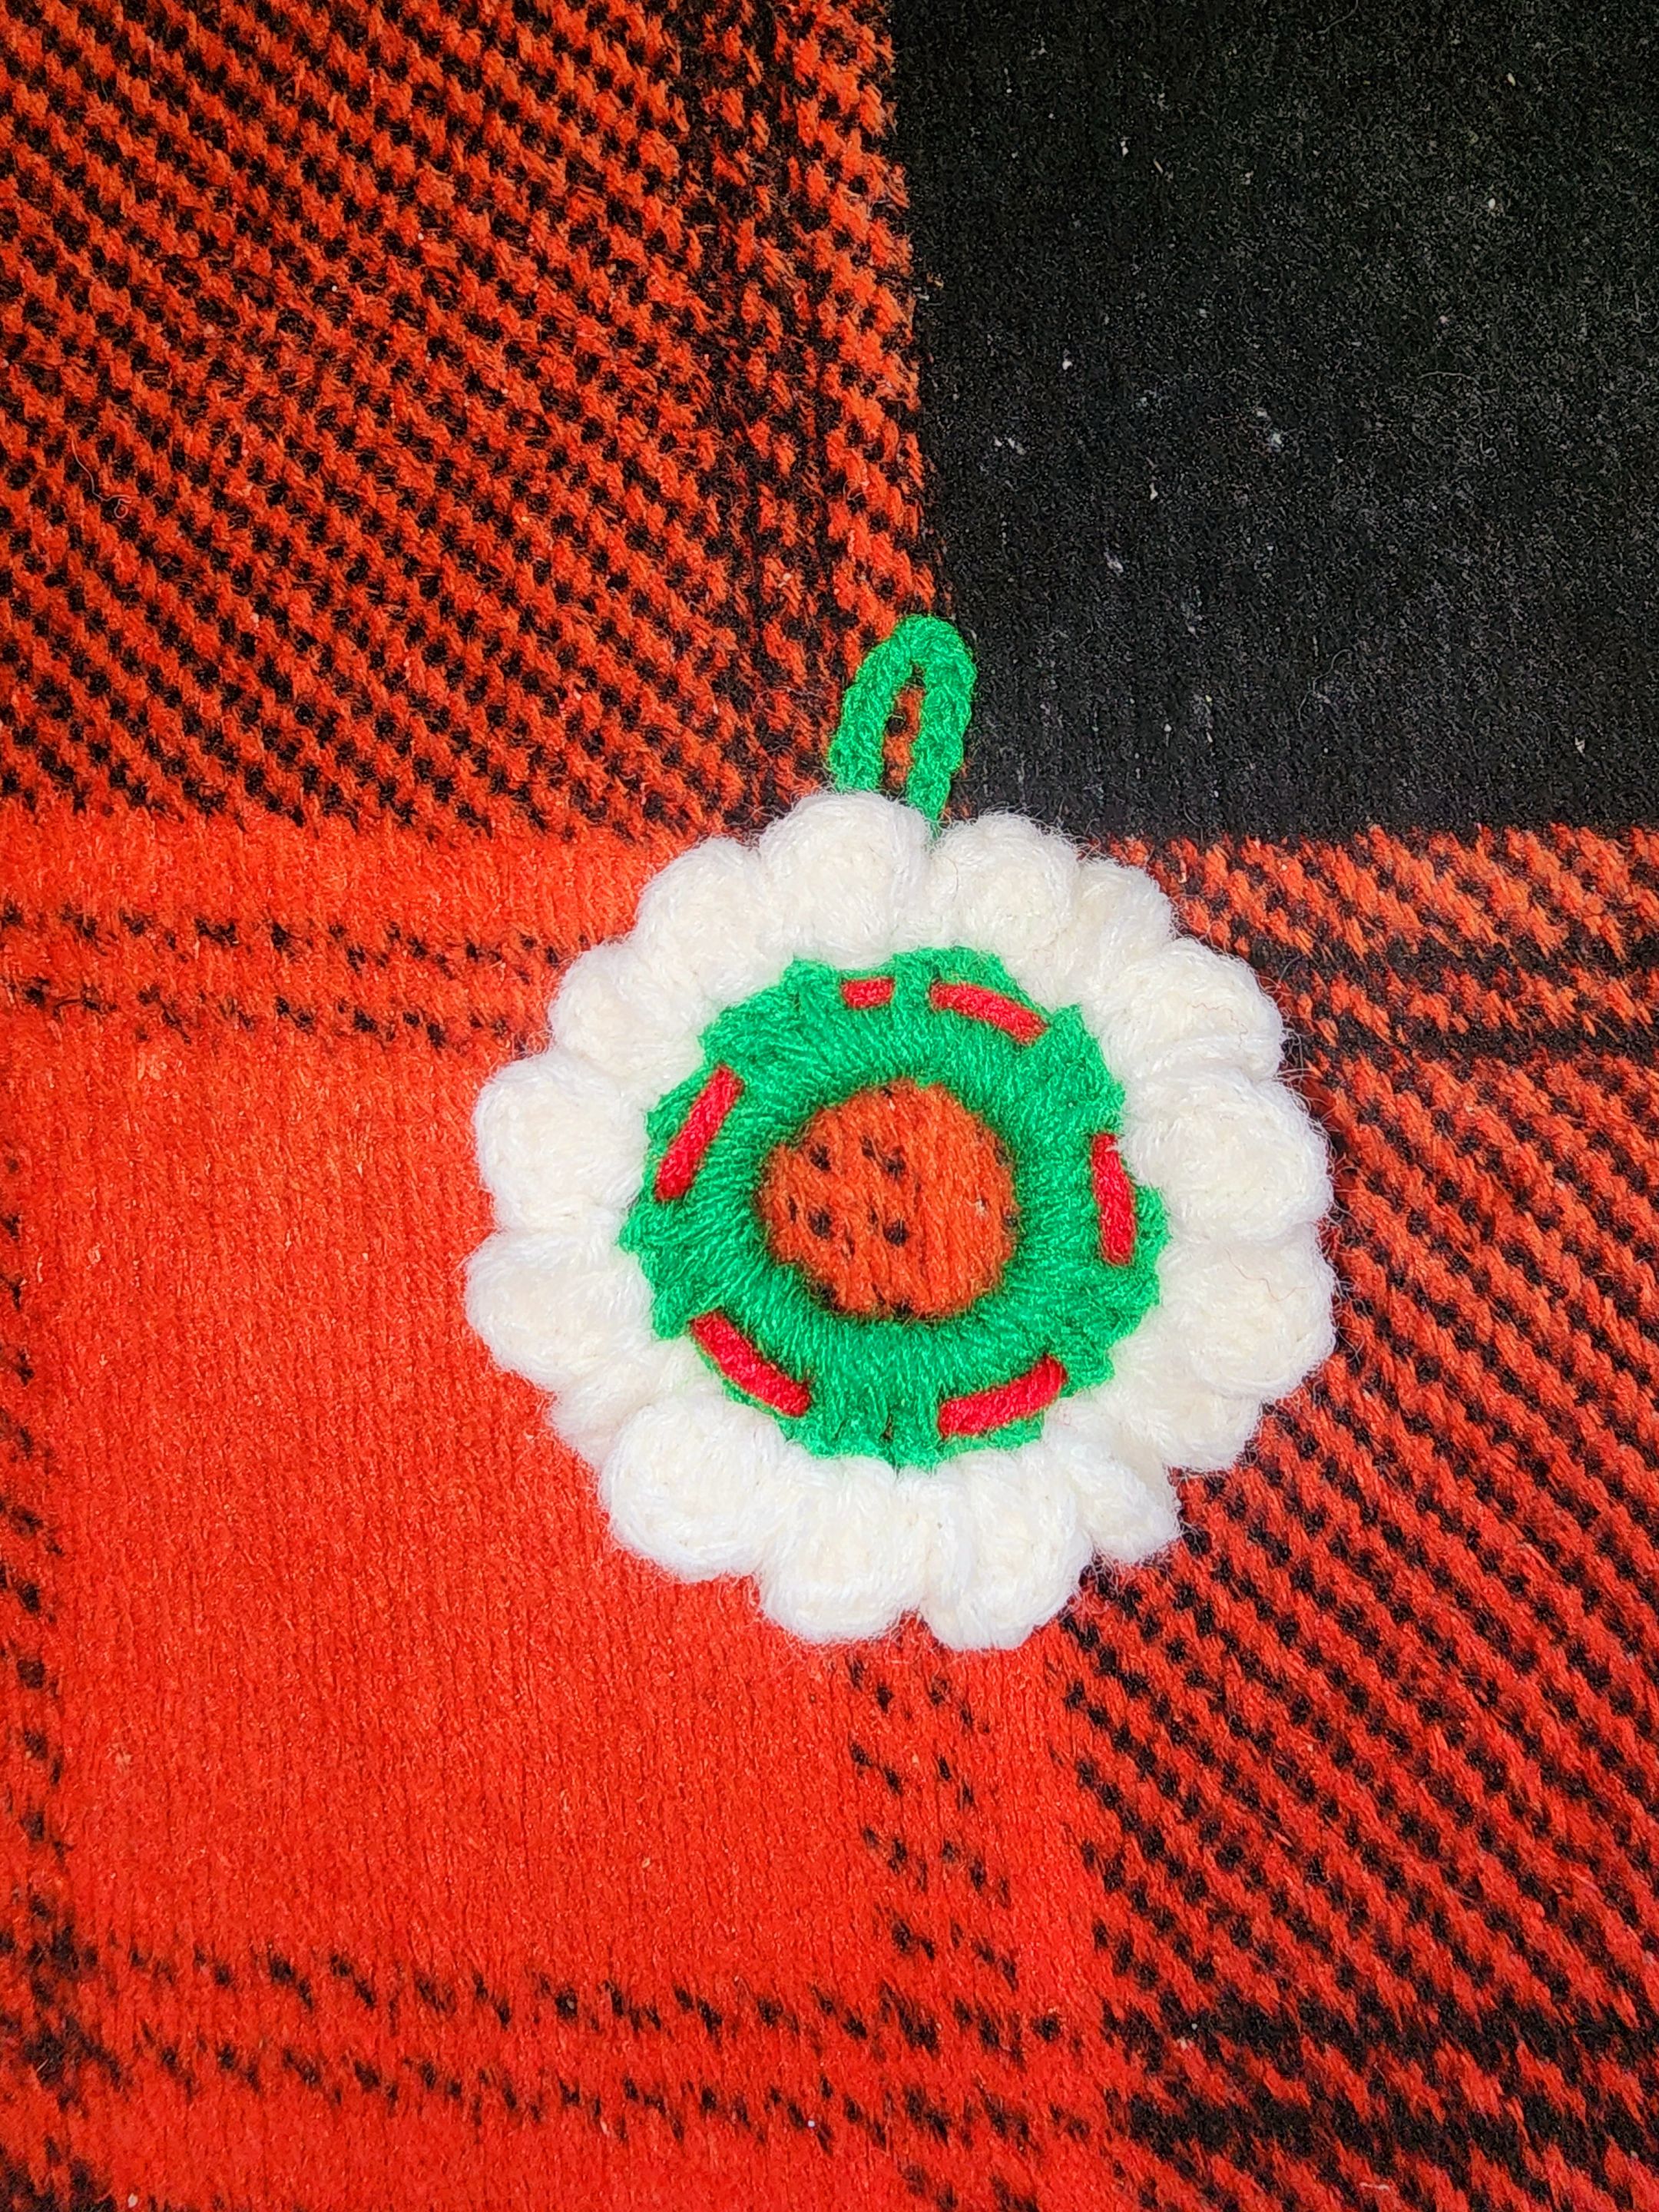
Now we are going to make the bow.
Right side - I started by chaining 5, skipped 2 and in the third one made 1 double crochet, in the next one made 3 double crochets, and in the last one made 1 double crochet + 2 chains and closed with a slip stitch in that same last chain.
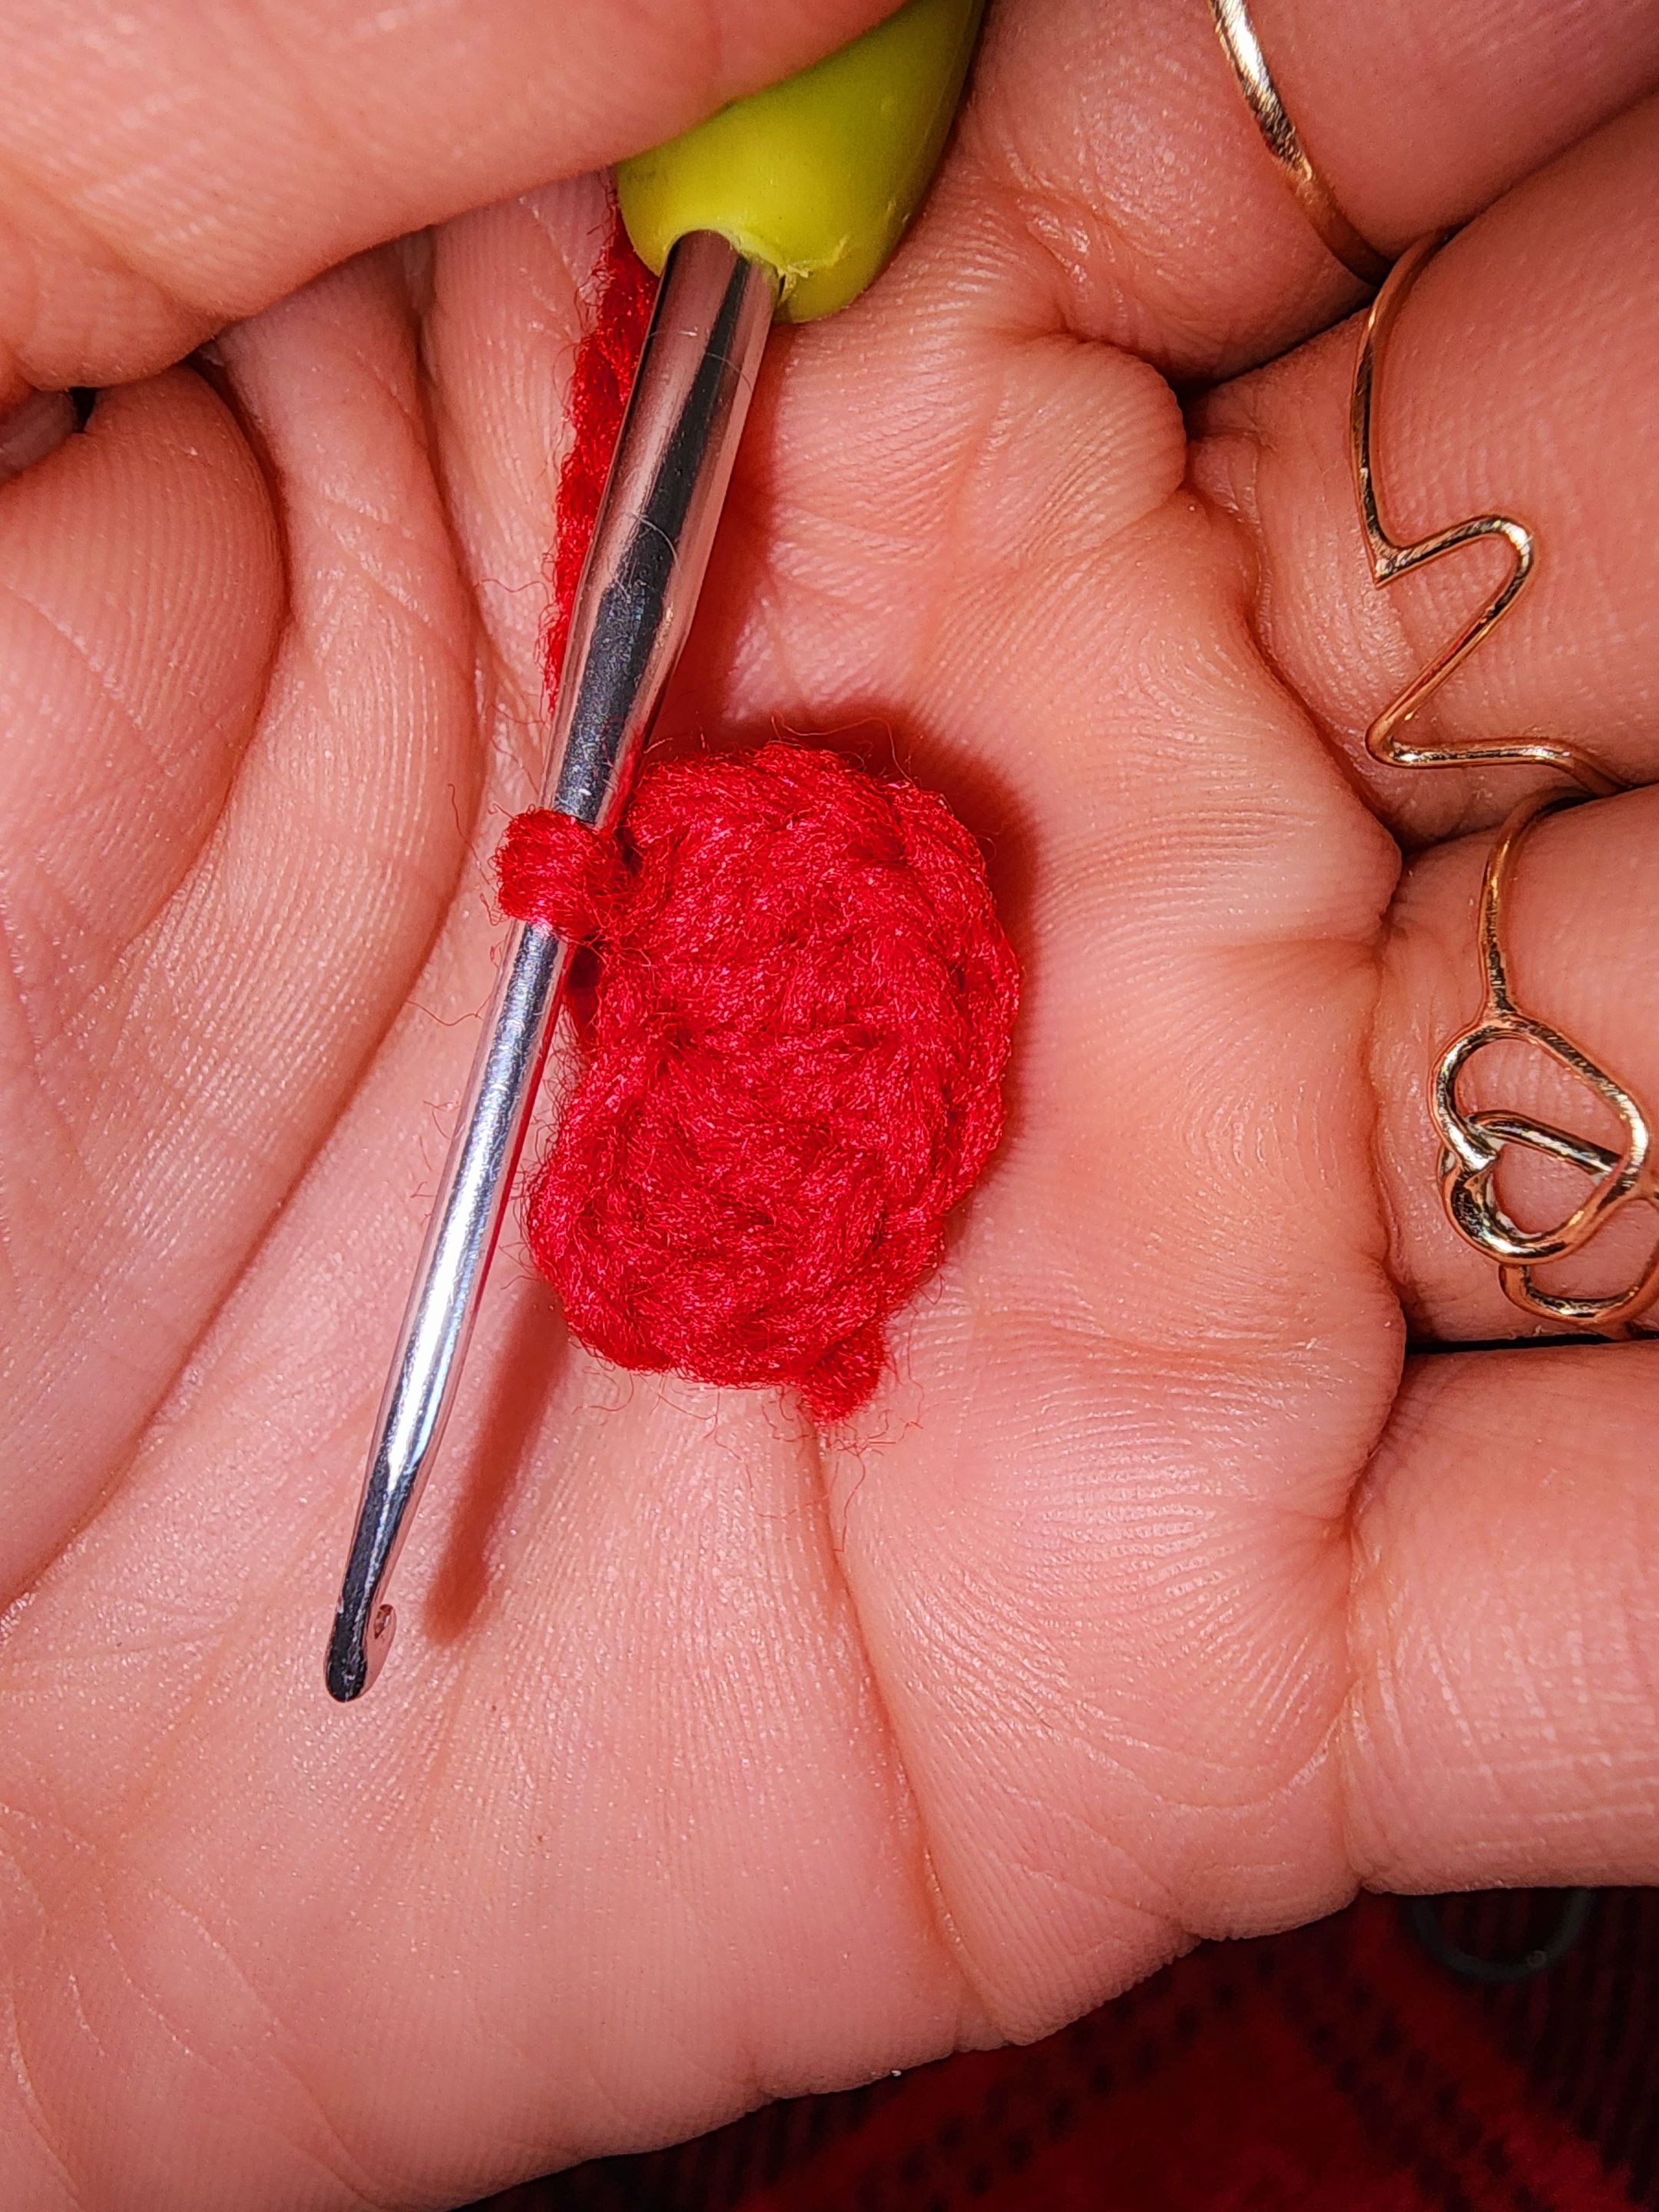
Left side - In that same stitch, I chain two and made 1 double crochet, in the next one 3 double crochets, and in the last one made 1 double crochet + 2 chains and closed with a slip stitch.
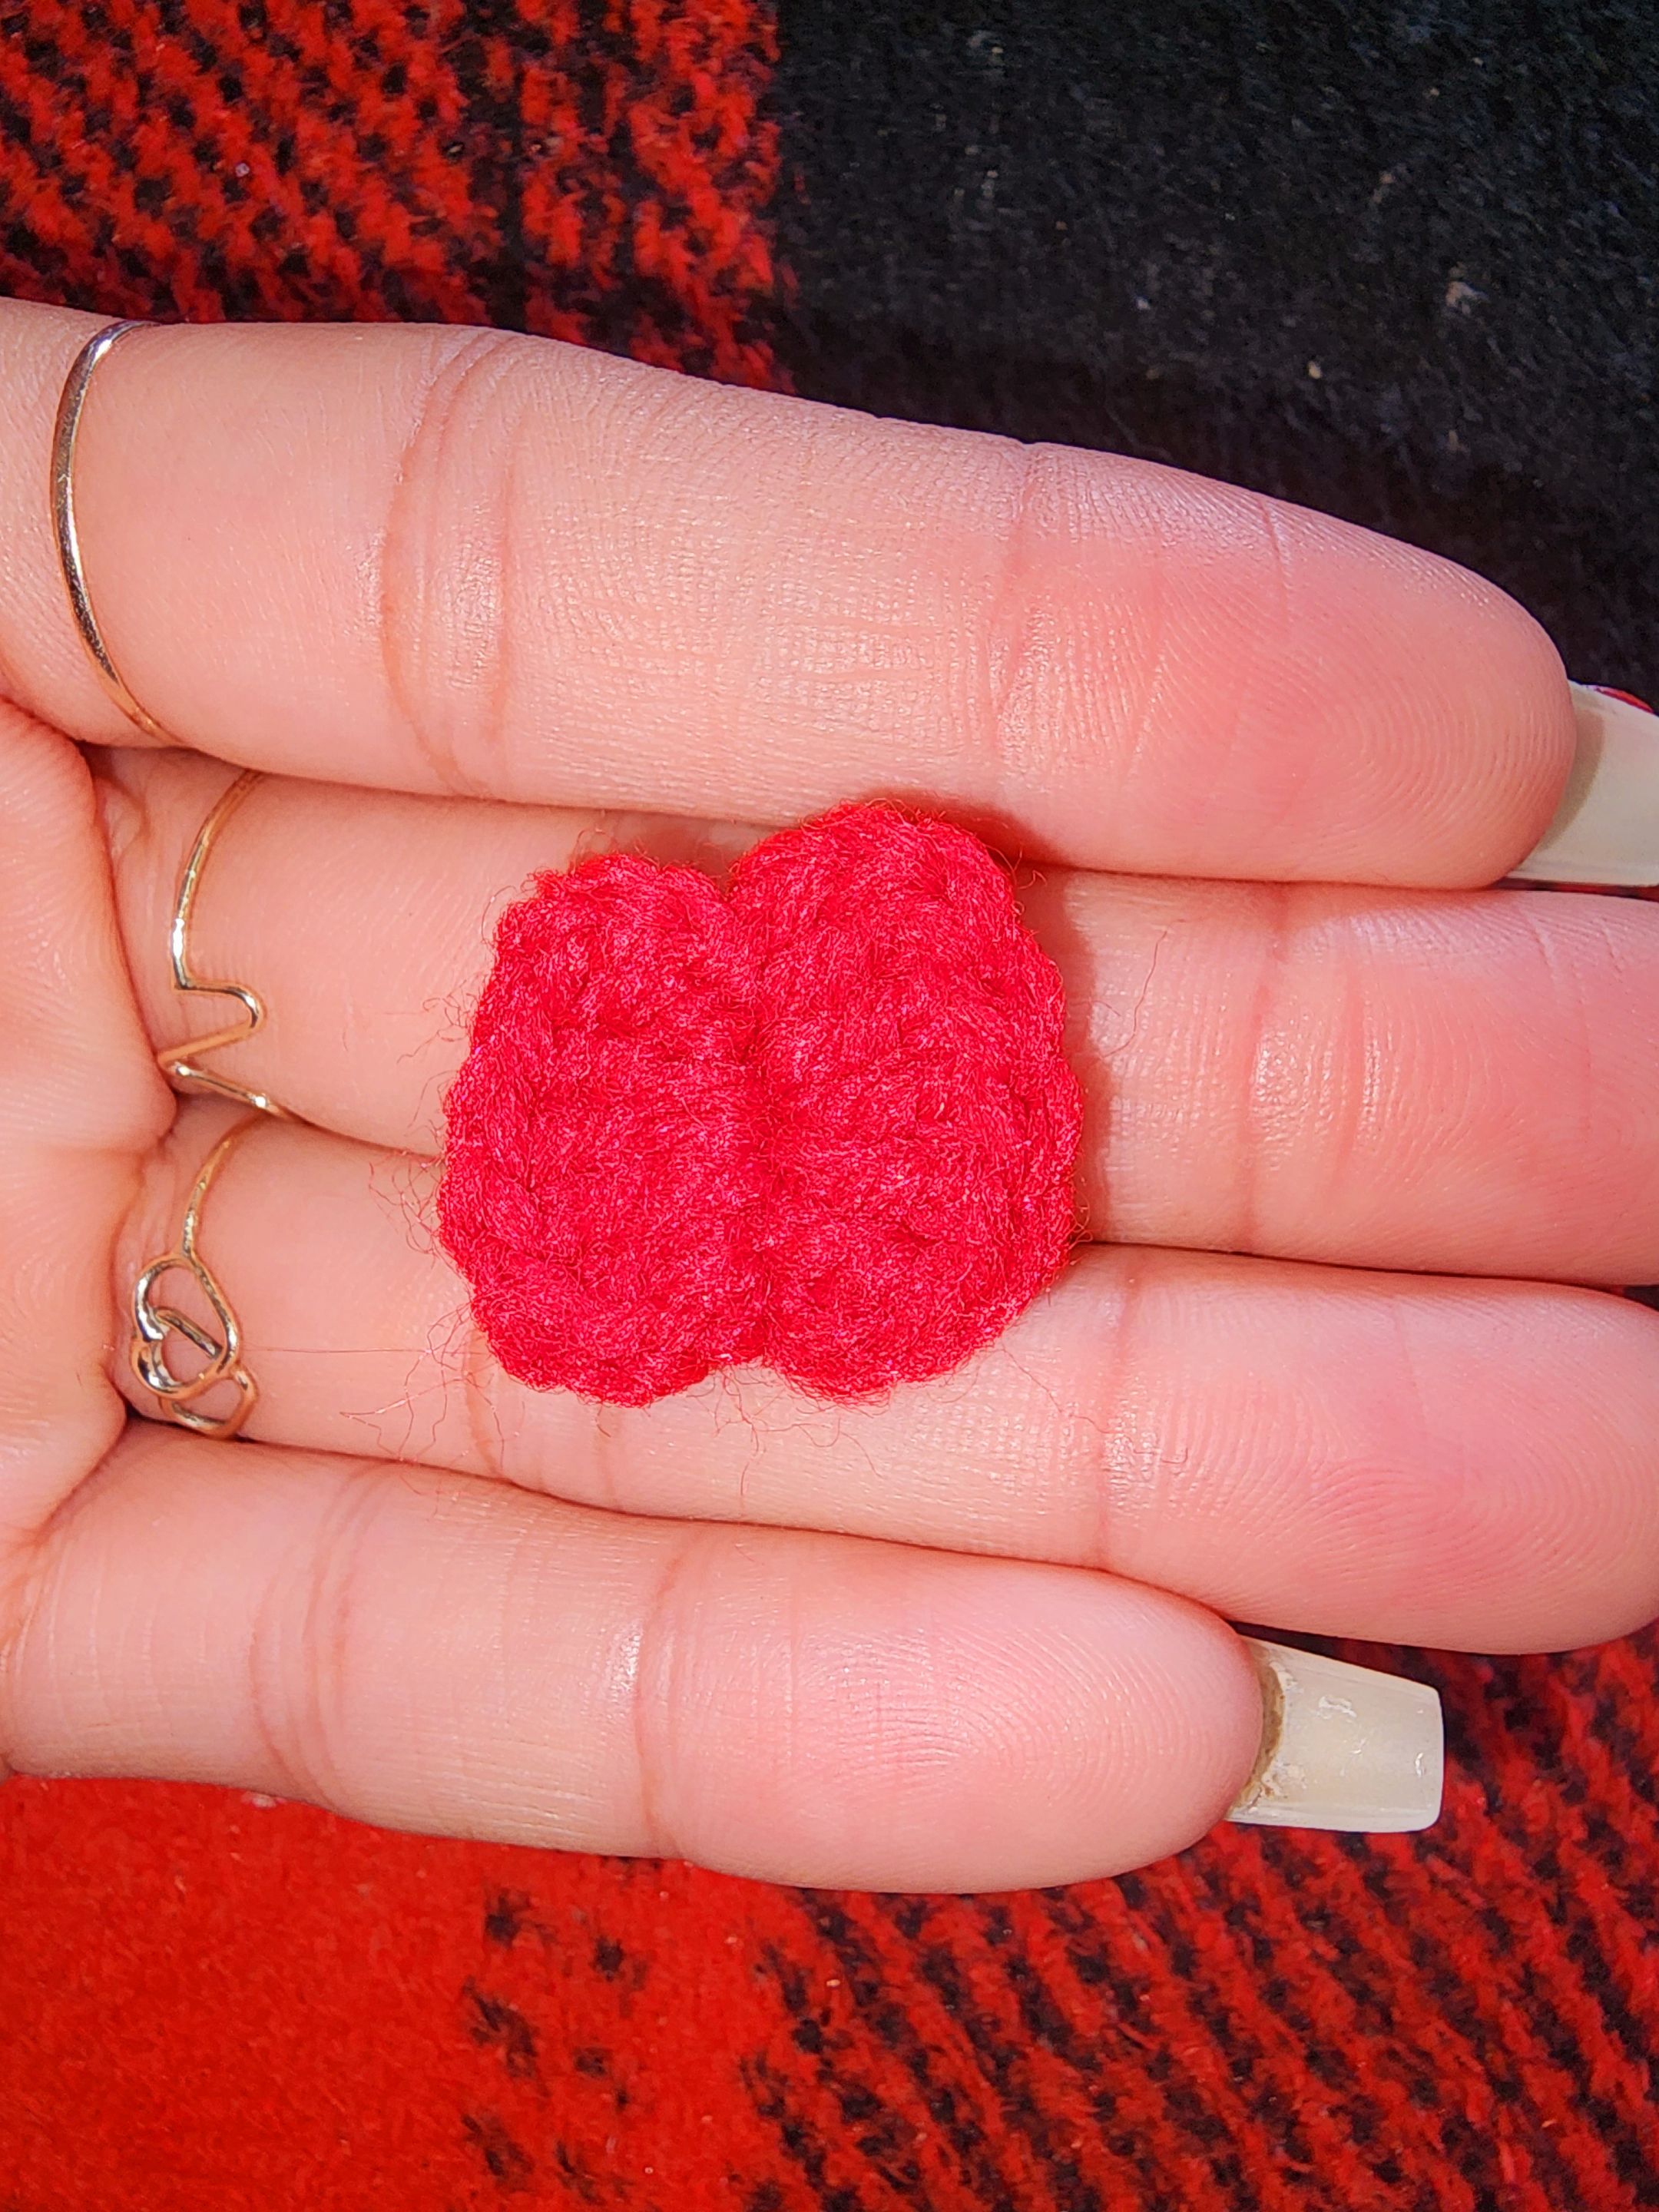
We glue the bow to the top of the mini wreath and now it's just a matter of attaching it to the keychain ring.
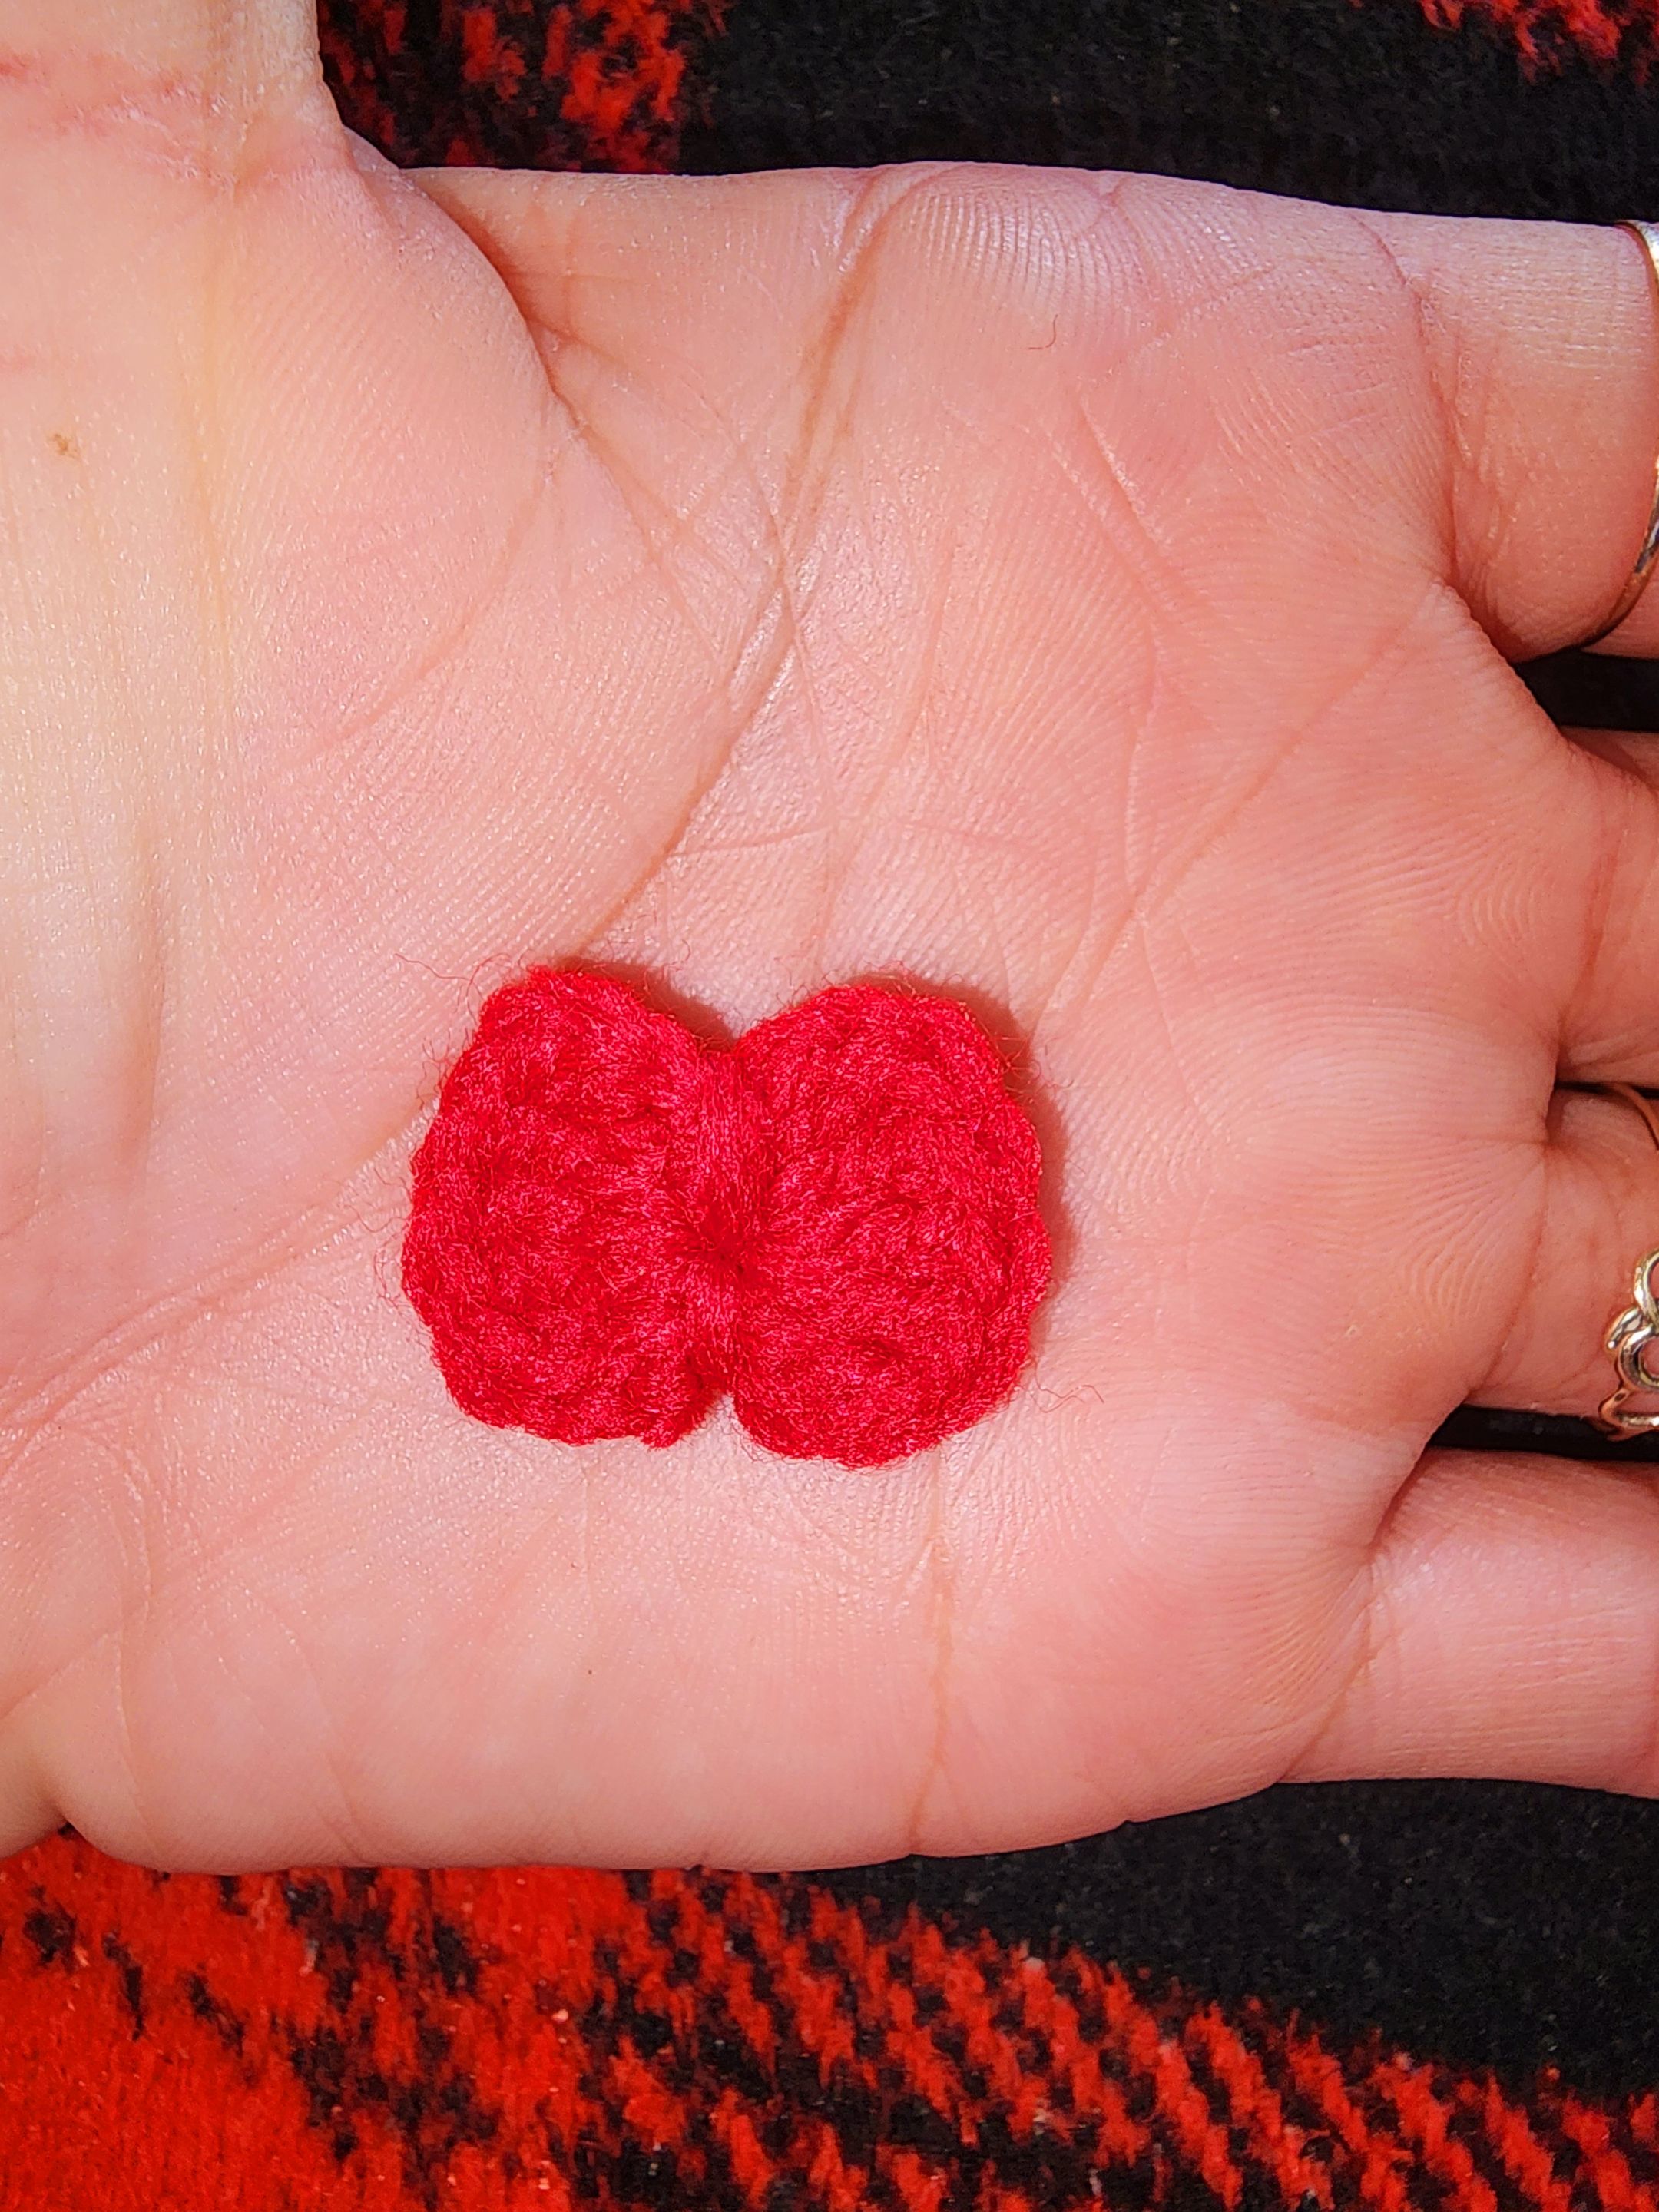
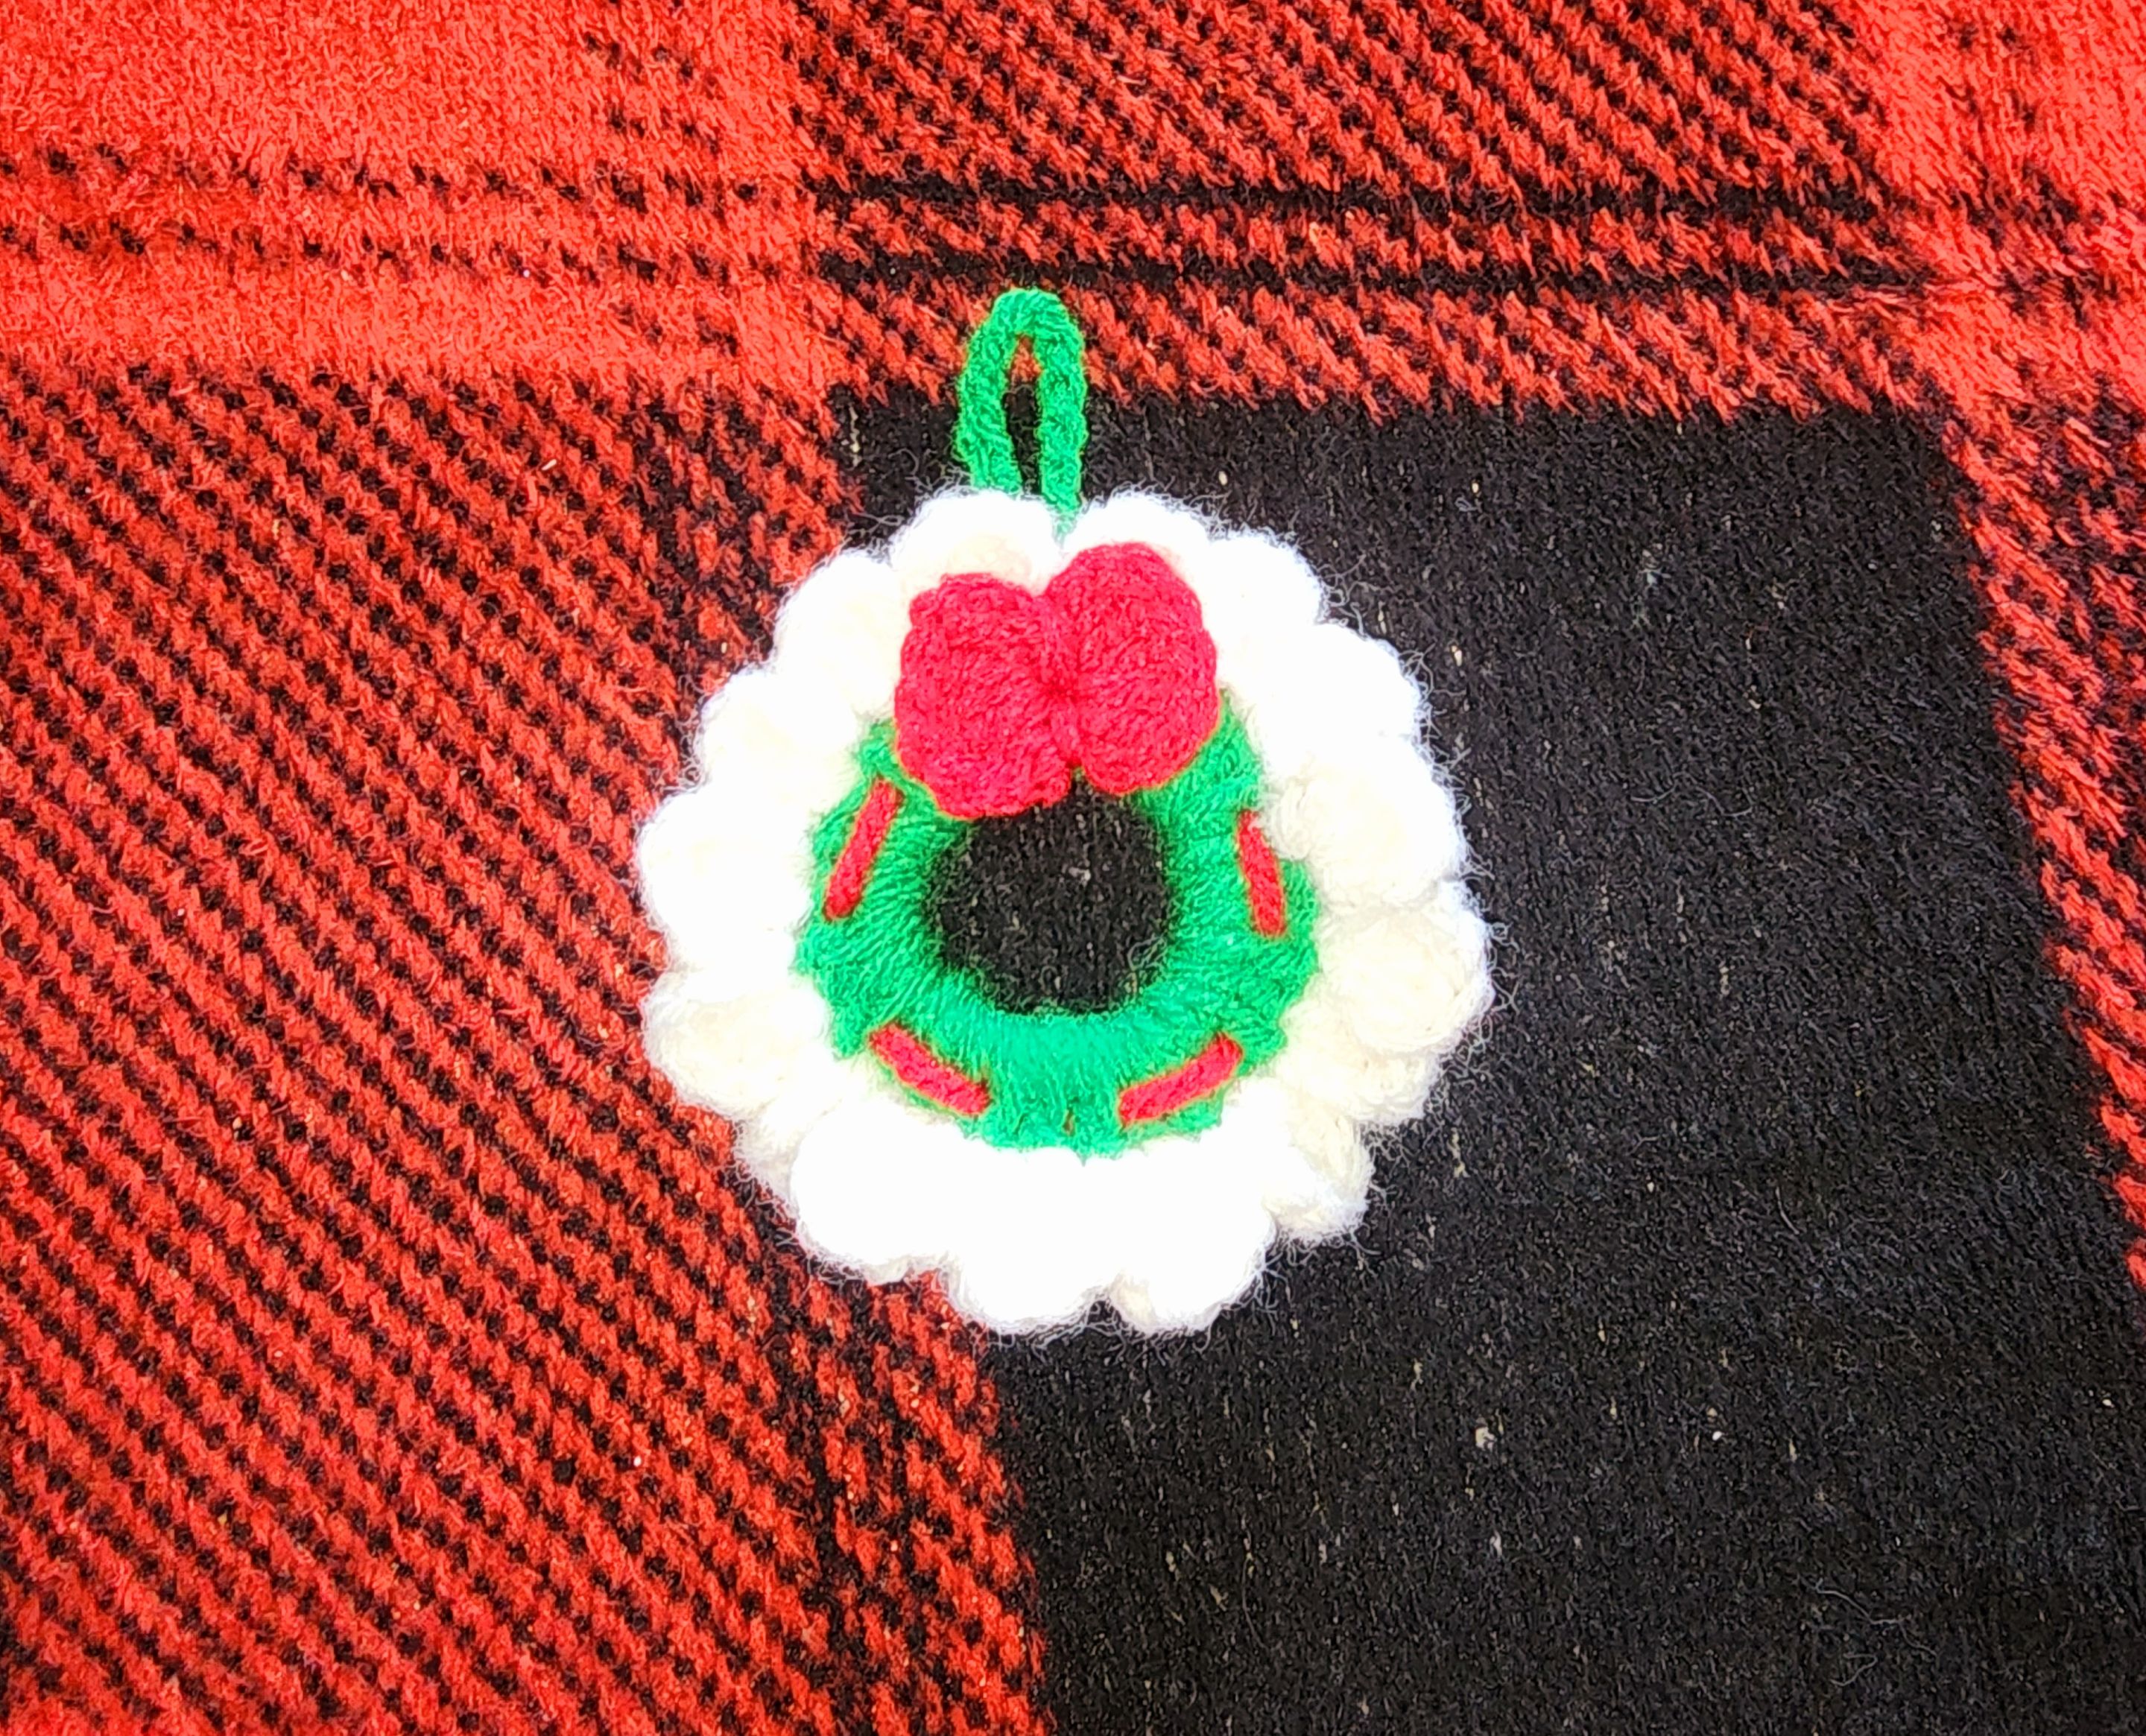
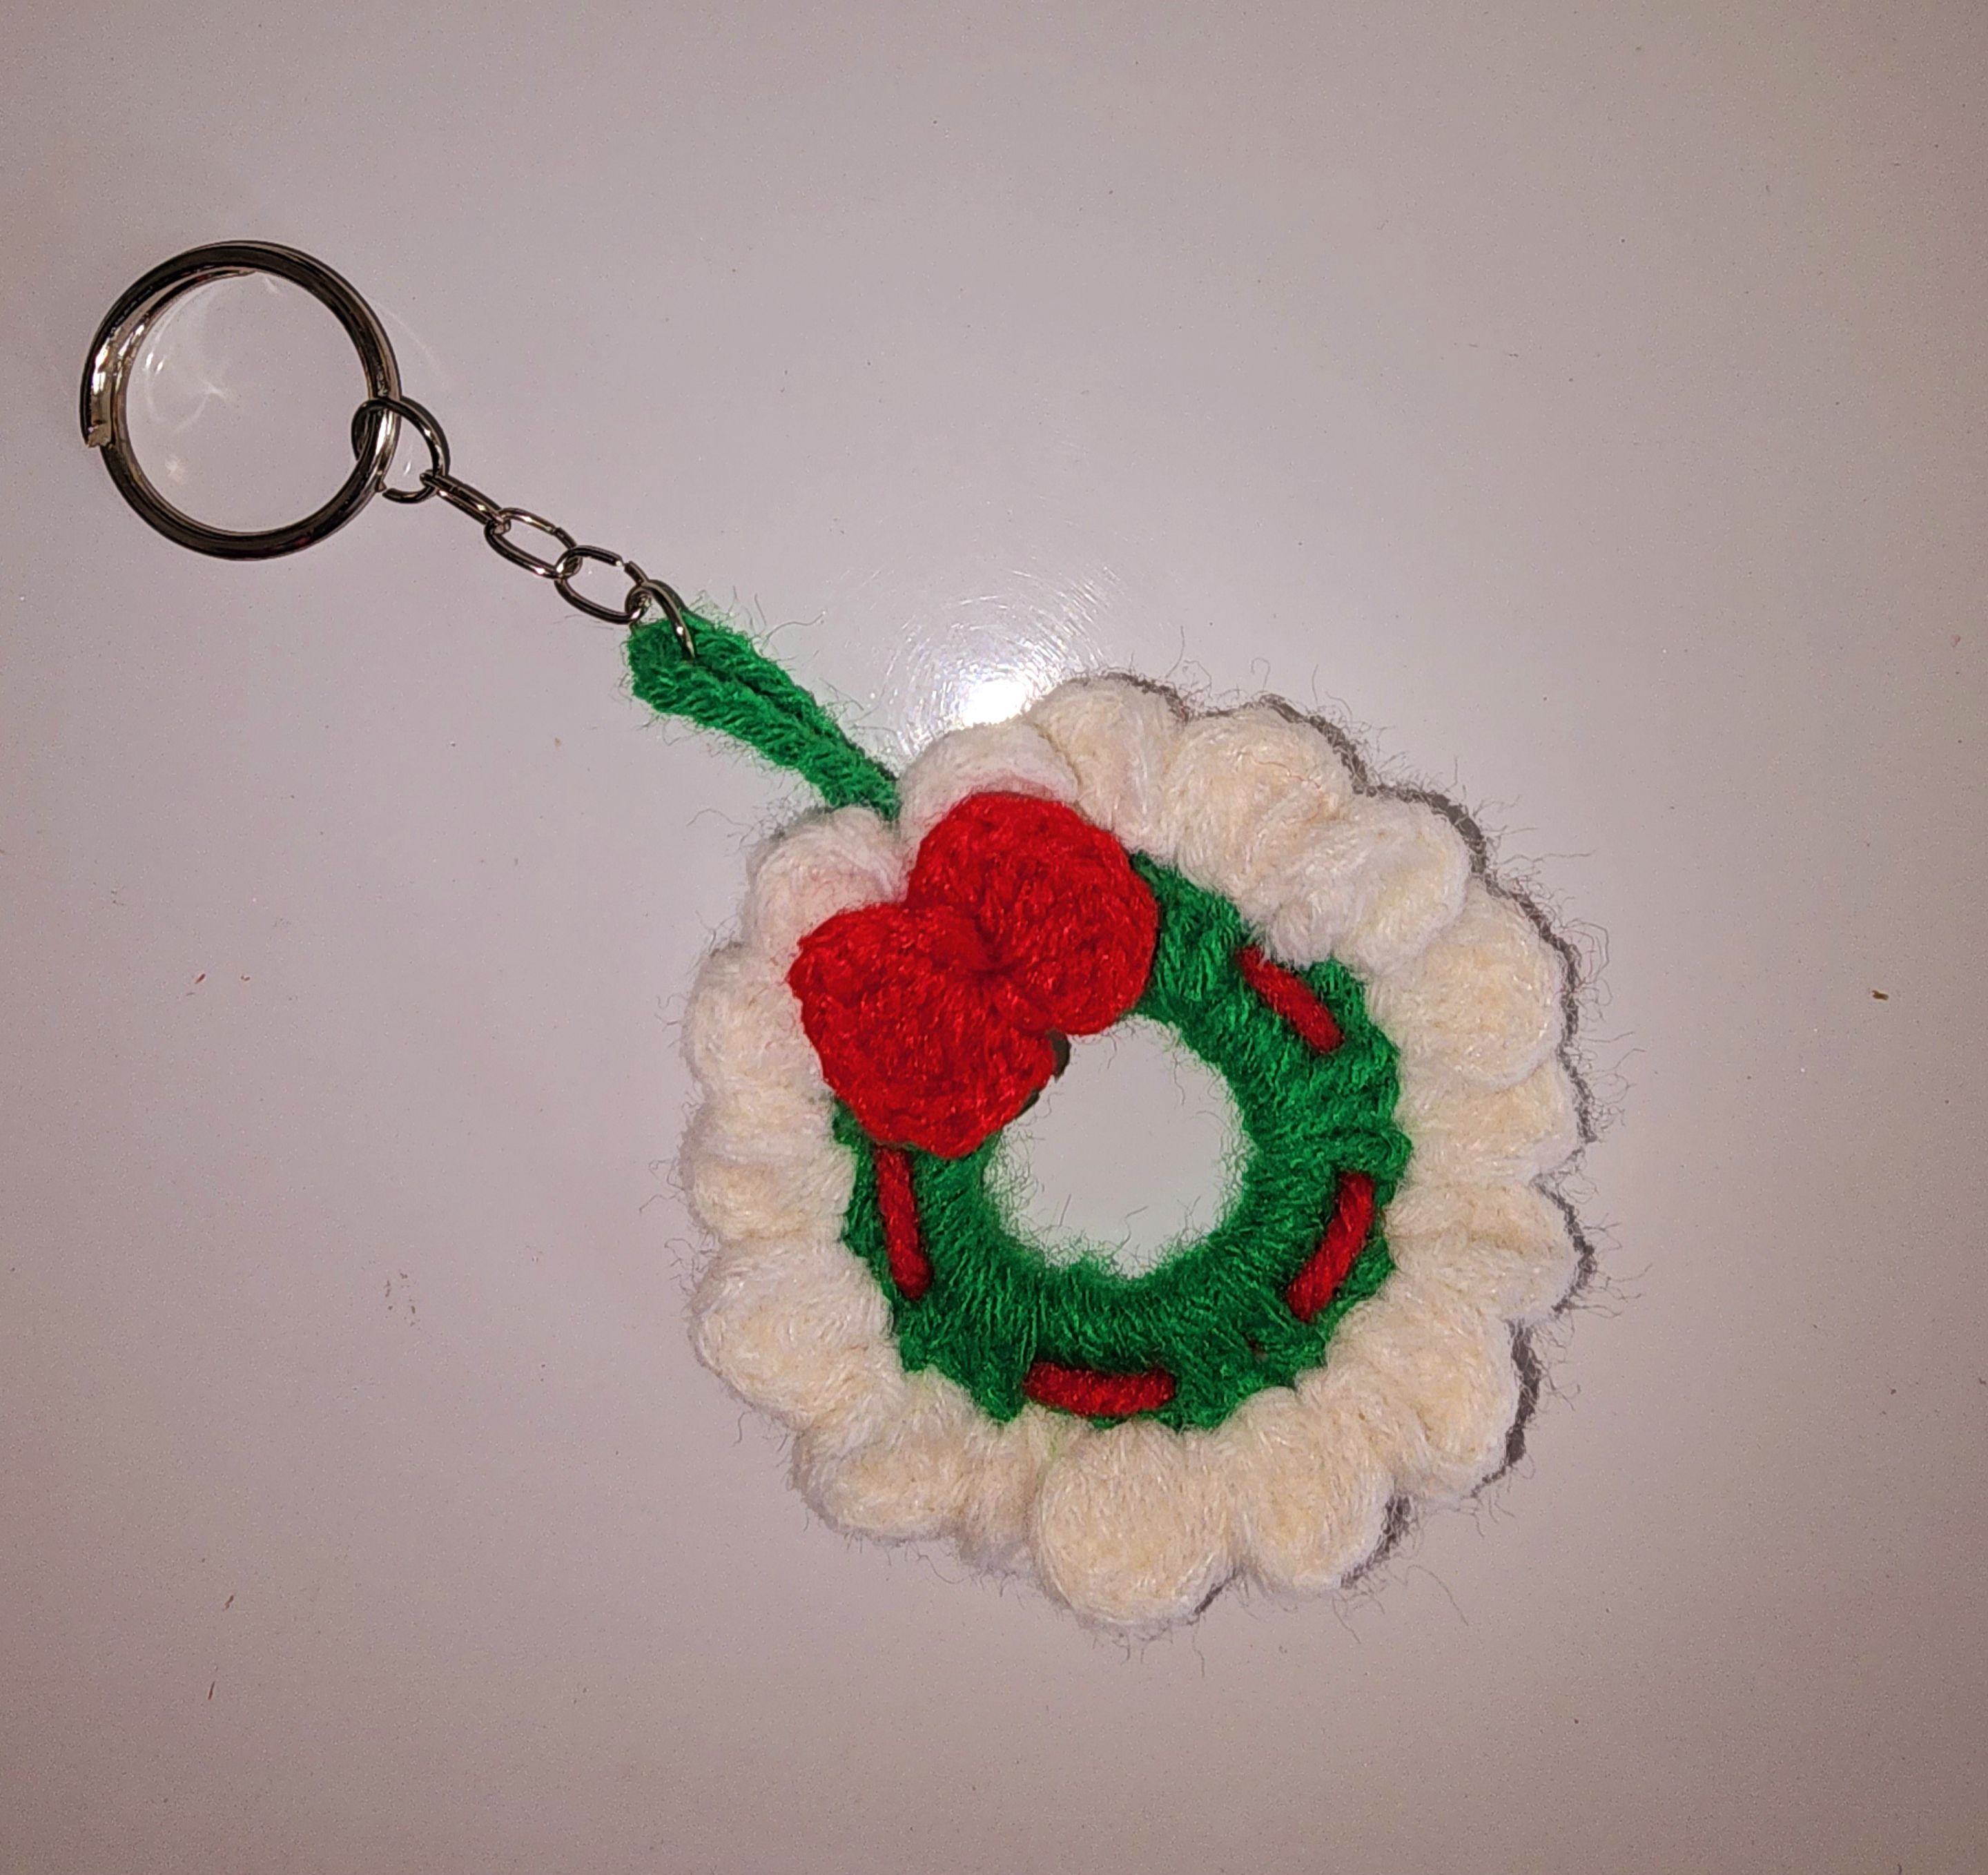
And there you have it friends, this Christmas keychain is now finished. I really liked it, it is simple, but very beautiful at the same time and it represents the Christmas colors.
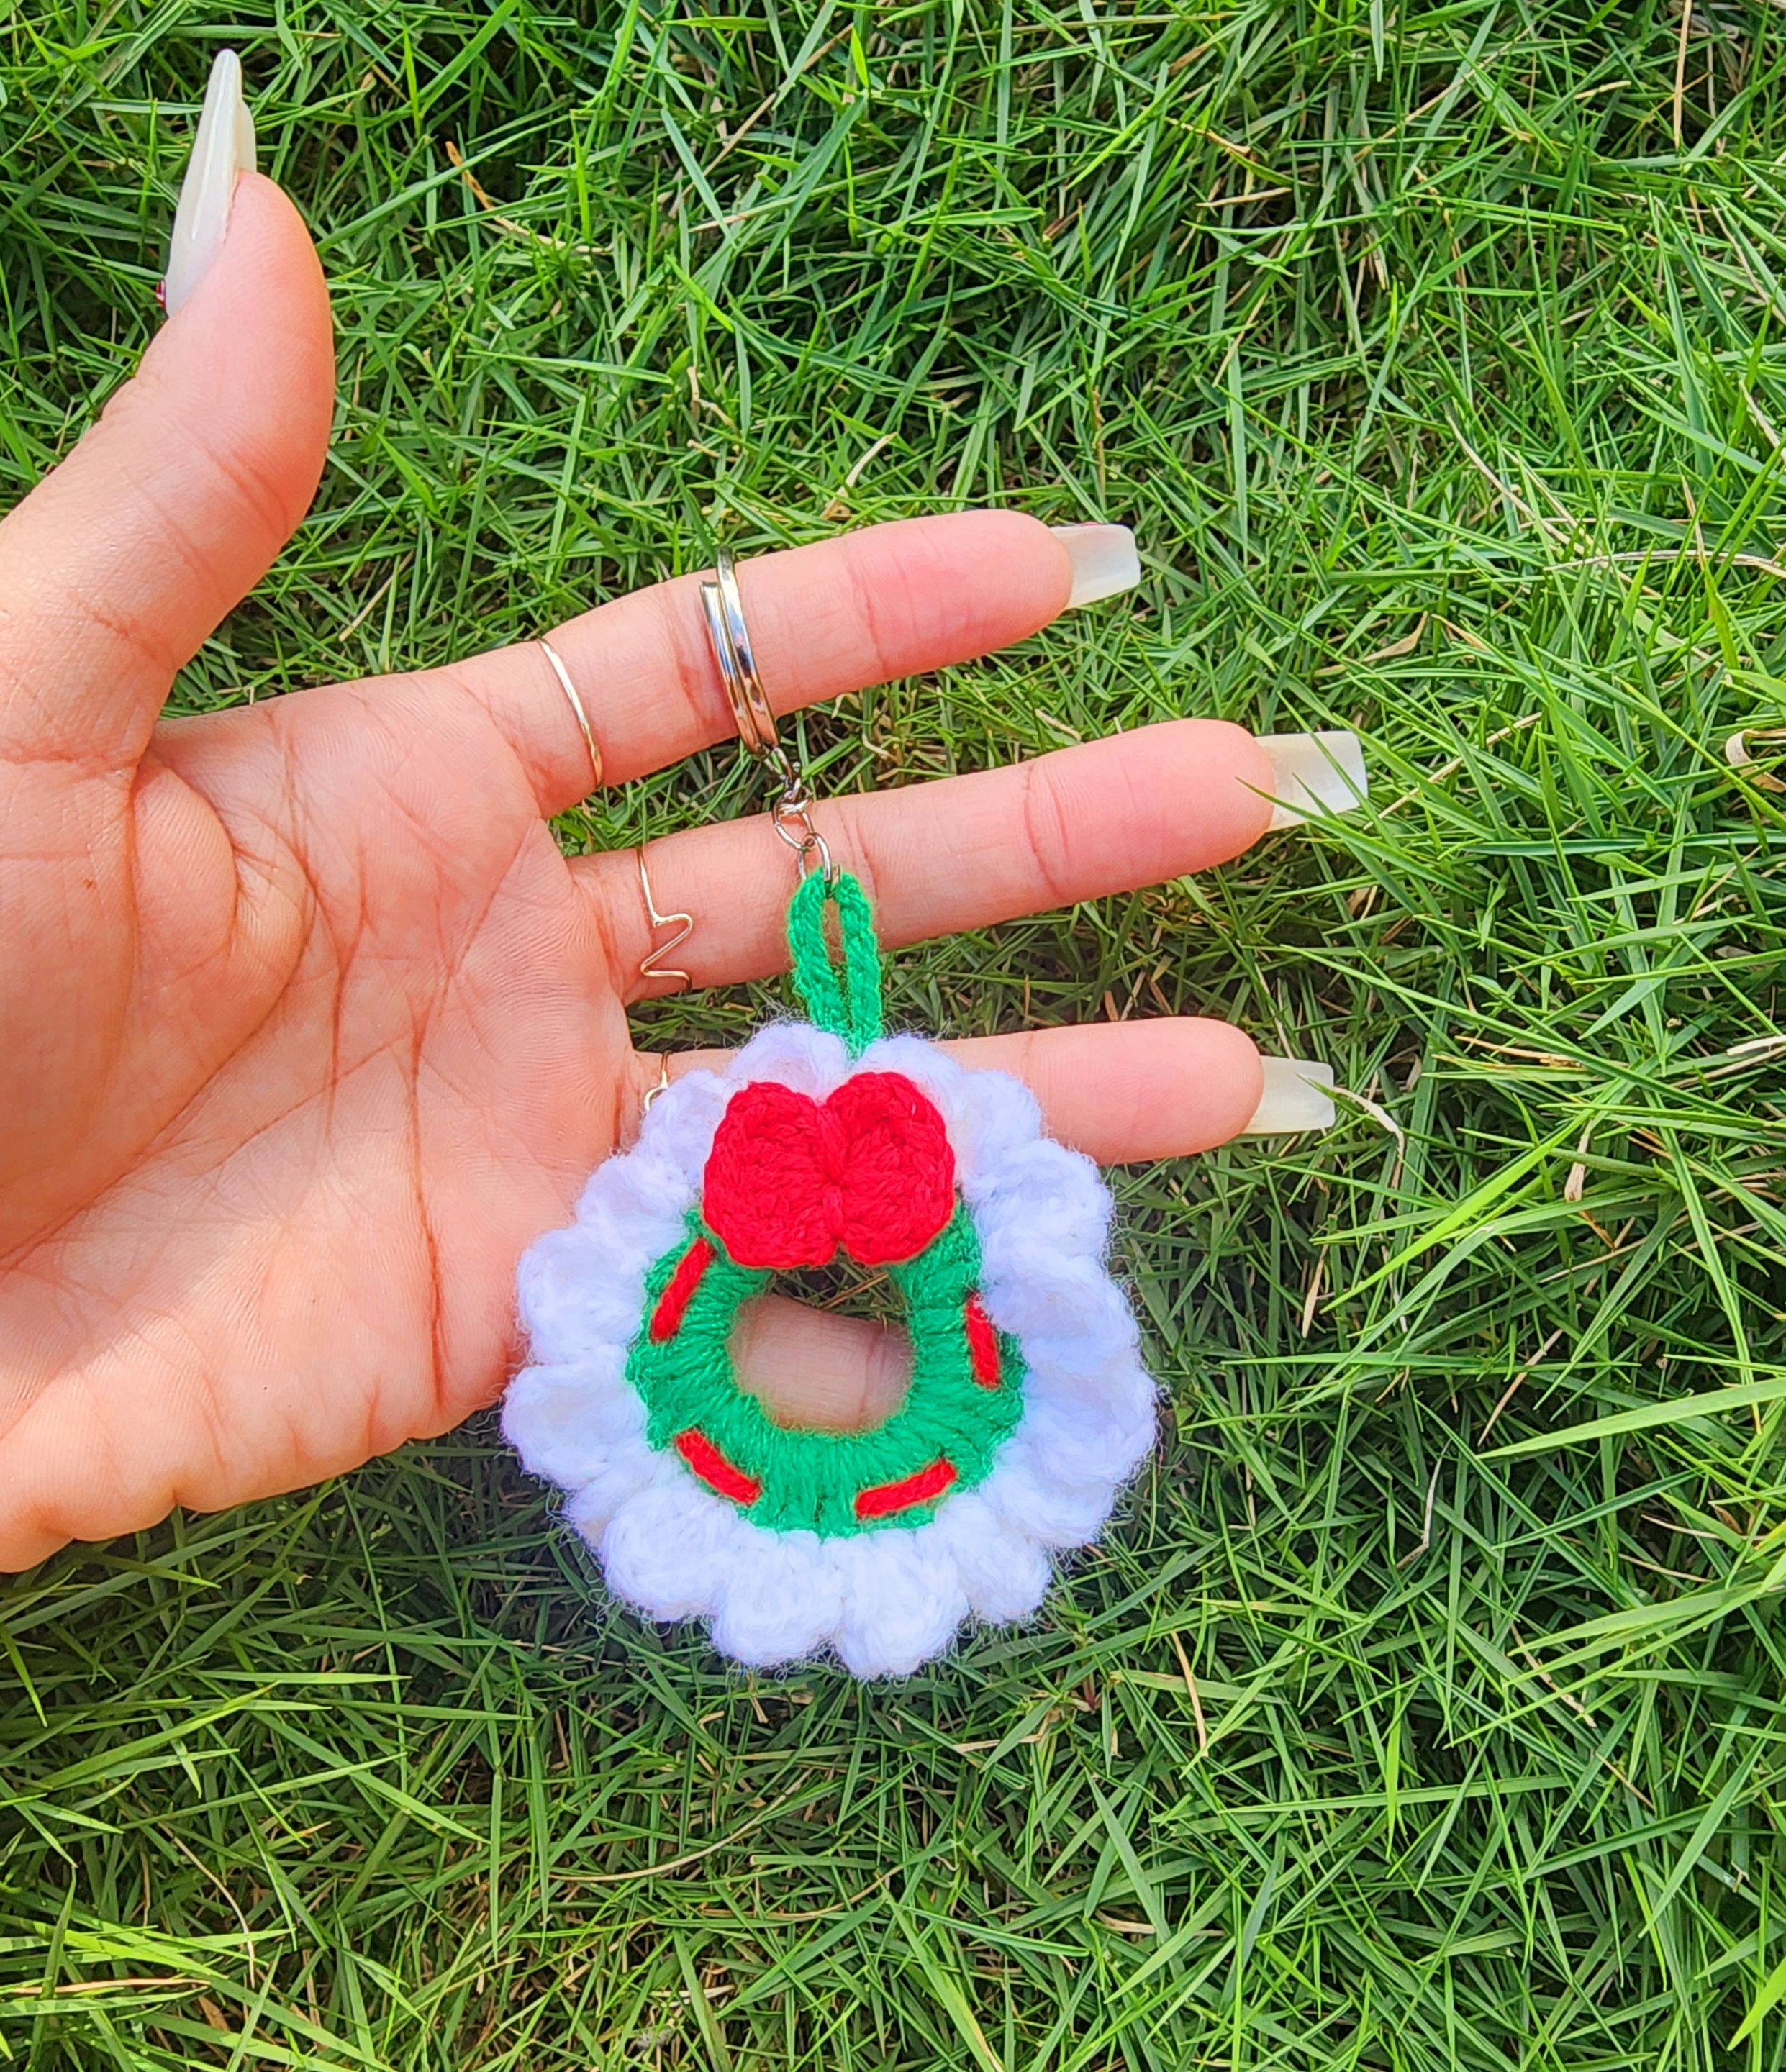
I hope you like it and can make it to add to a gift you wish to give.
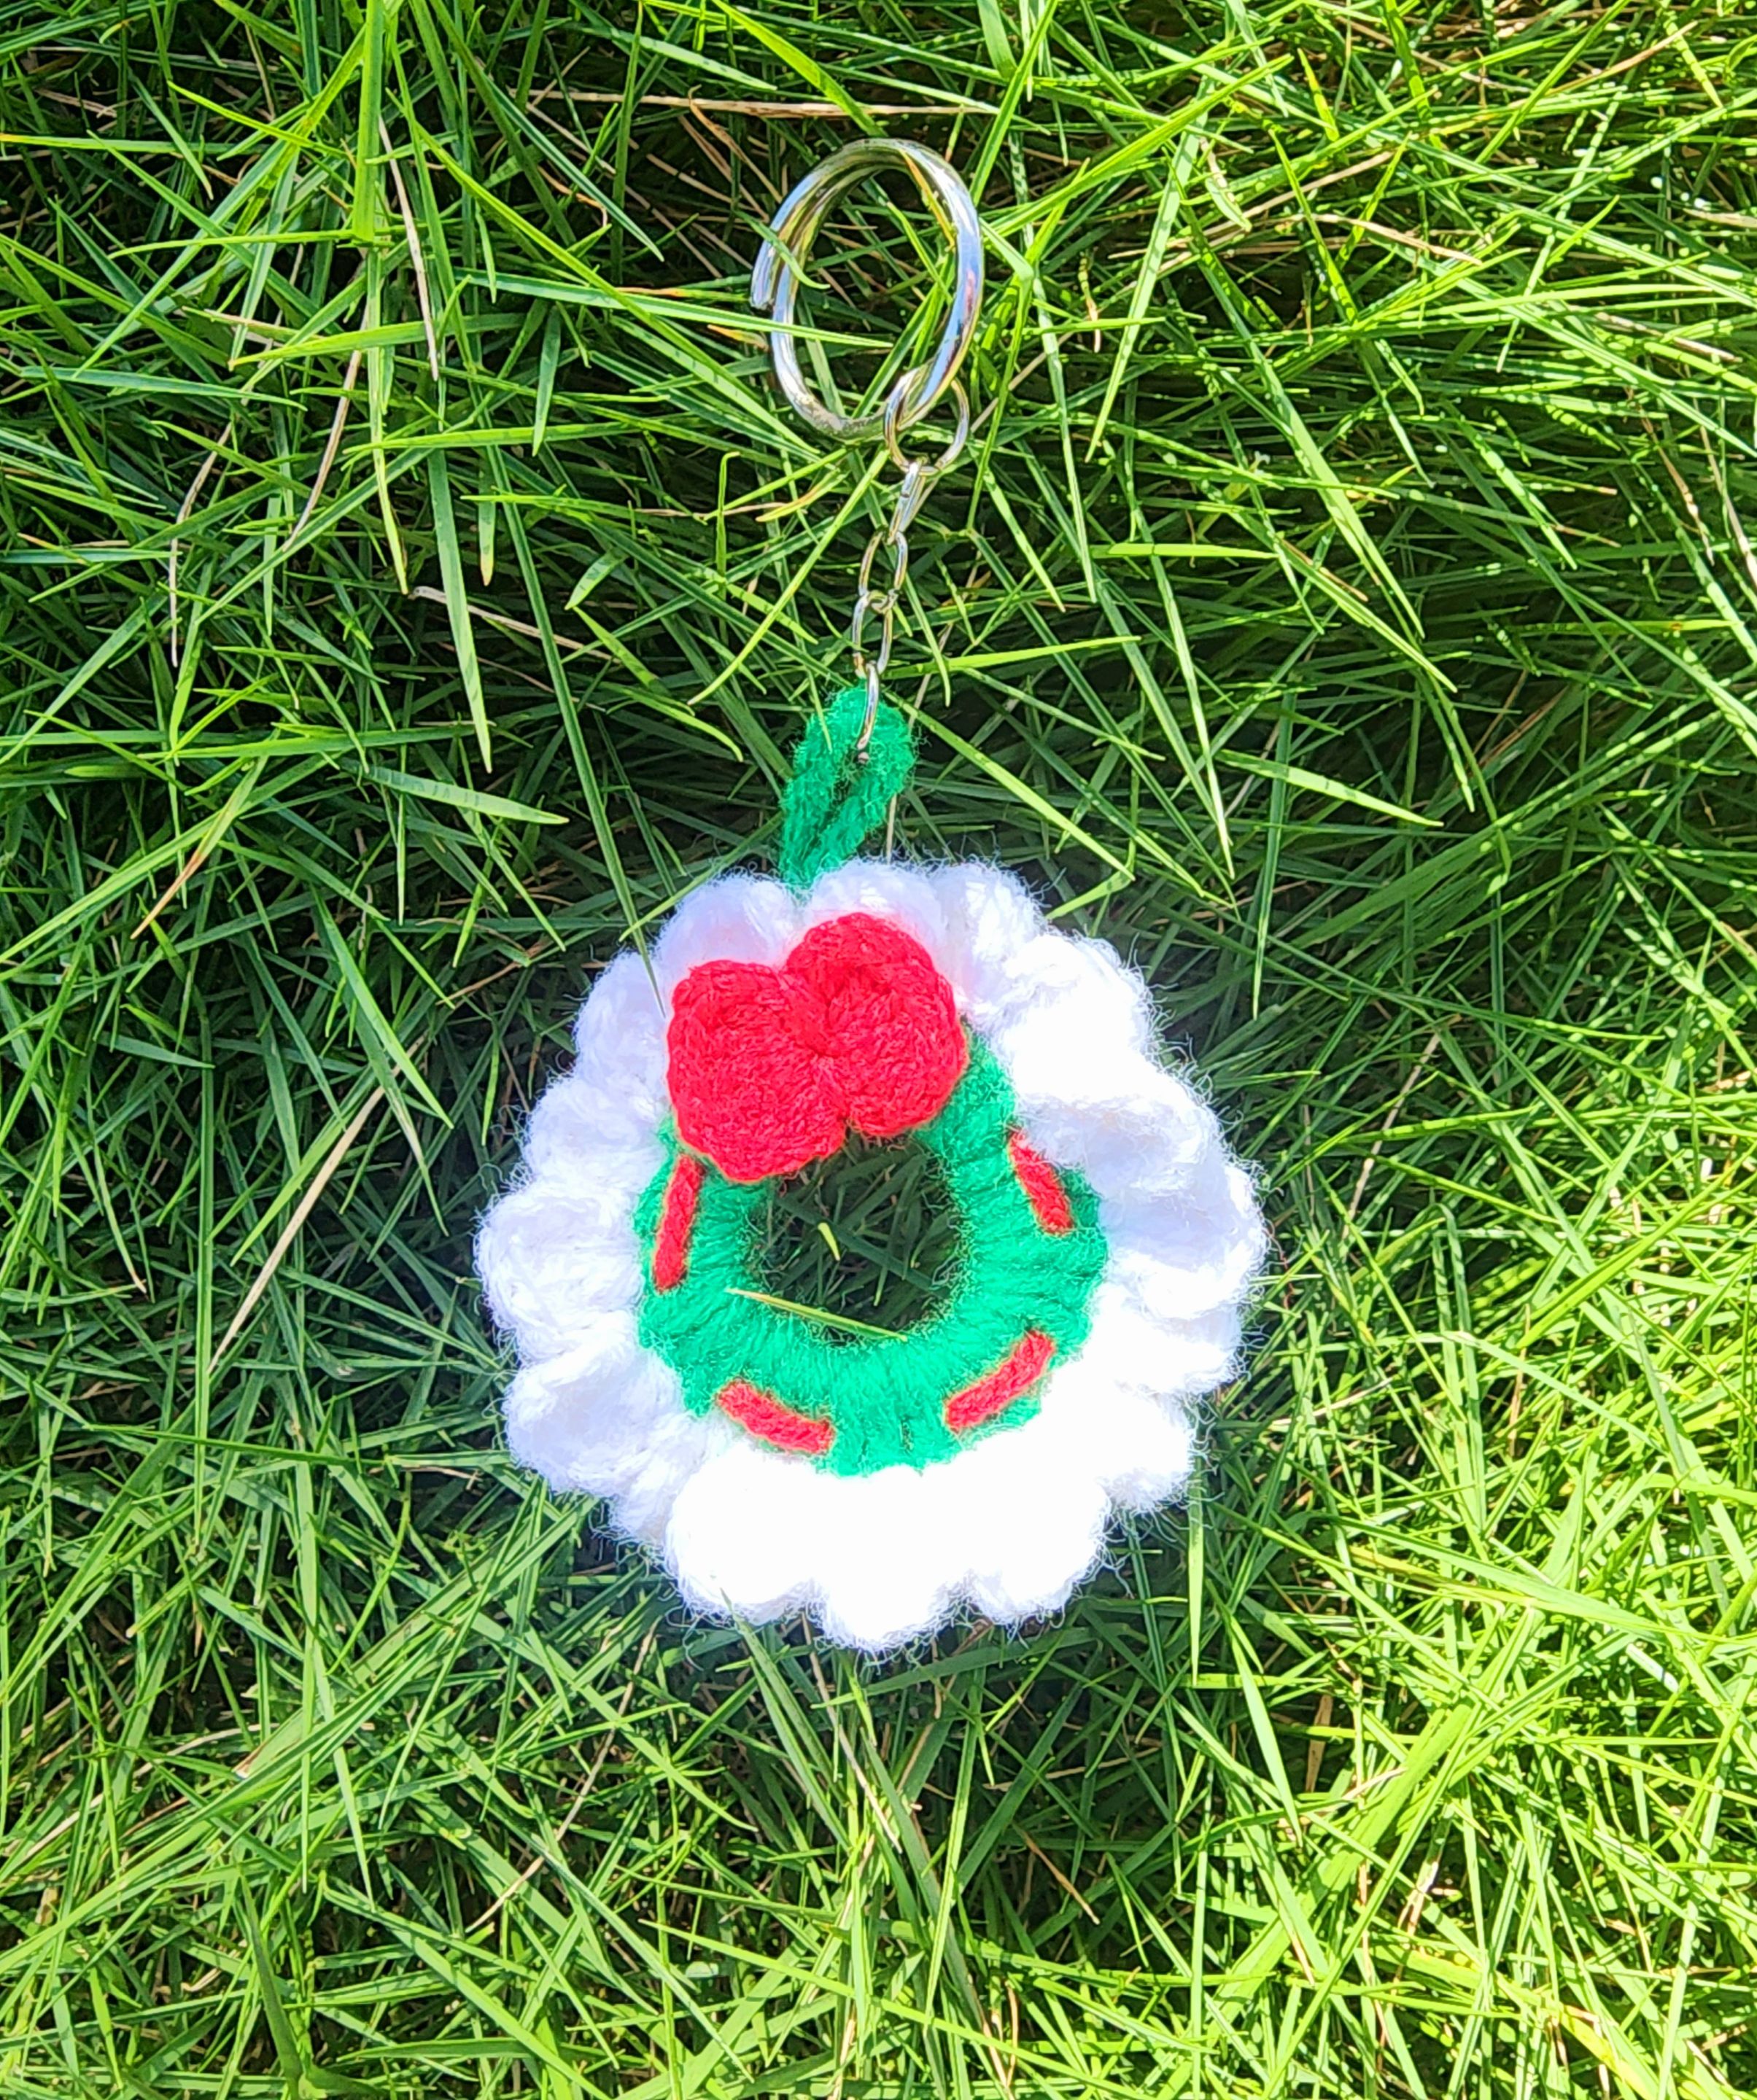
Thank you in advance for reading.
✨️Versión en Español✨️
Muy linda noche a todos los amigos creativos de esta comunidad y del mundo entero. Deseo y espero que se encuentren en excelentes condiciones, y que sus familiares también lo estén. Por mi parte me encuentro bien, feliz y agradecida con Dios de un nuevo día para mí y mis personas especiales; mi hermosa y unida familia.
Esta fecha del año me fascina, estos días de tener nuestros hogares decorados con luces y cosas de colores cerca de nuestras familias me demuestran que no hay cosa más cara ni hermosa que nuestros seres queridos.
Hoy estuve creando un llavero de corona navideña en miniatura, me gustó mucho el resultado para agregar como detalle a los regalos de mis sobrinos el día de los Reyes Magos.
Deseo compartirles el tutorial, es superfácil de hacer, muy rápido de realizar y usando muy poco hilo de cada color.
Y bueno amigos, sin más preámbulos, les muestro el paso a paso.
✨️Materiales✨️
- Lana de color verde, blanca y roja.
- Agujeta.
- Tijera.
- Aguja lanera.
- Herraje de llavero.

✨️Paso a paso✨️
V1 - Comenzamos con hilo verde dando 10 vueltas en dos de nuestros dedos como lo muestra la foto, luego tomamos hilo pasándolo por la parte debajo de estas vueltas y hacemos 1 punto deslizado, luego subimos dos cadenas y comenzamos a hacer puntos altos por todo este círculo que se forma, al llegar al final cerramos con punto deslizado en la segunda cadena que hicimos al inicio, hacemos 18 cadenas y la cerramos en ese mismo punto con punto deslizado, hacemos una cadena al aire, cortamos hilo y escondemos.


V2 - Comenzamos esta vuelta con lana de color blanco, en el punto siguiente donde hicimos las 18 cadenas comenzamos haciendo 2 cadenas y en ese mismo punto hacemos 5 puntos altos, en el siguiente punto hacemos 1 punto deslizado, en el siguiente hacemos 1 punto deslizado, subimos dos cadenas y 5 puntos altos. Y continuamos haciendo esta secuencia (1 punto deslizado + 2 cadenas + 5 puntos altos en el mismo punto + 1 punto deslizado en el siguiente punto) cerramos con punto deslizado en la primera de las dos cadenas que subimos.


V3 - Ahora vamos a usar hilo rojo, pasamos el hilo de esta manera, pasamos el hilo contando tres puntos altos verdes, tres por delante y tres por detrás.

Ahora vamos a hacer el lazo.
Parte derecha - Comencé haciendo 5 cadenas, salté 2 y en la tercera hice 1 punto alto, en la siguiente hice 3 puntos altos y en la última hice 1 punto alto + 2 cadenitas y cerré con punto deslizado en esa misma última cadena.

Parte izquierda - En ese mismo punto subo dos cadenas y hago 1 punto alto, en el siguiente 3 puntos altos y en el último hago 1 punto alto + 2 cadenas y cierro con punto deslizado.

Pegamos el lazo a la parte superior de la mini corona y ahora solo queda unirla al herraje.


Y listo amigos, así queda terminado este llavero navideño. Me gustó mucho, es algo simple, pero muy bonito a la vez y nos representa los colores navideños.

Espero les guste y lo puedan realizar para agregarles a algún regalo que deseen entregar.

Gracias de antemano por leerme
Recursos empleados
| RECURSO / RESOURCE | FUENTE / SOURCE |
|---|---|
| Edición / Edition: | @yunacrochet |
| Imágenes / Pictures: | Samsung Galaxy s22 Ultra |
| Translated / Traducción: | Hive Translator by @noakmilo |
Posted Using InLeo Alpha