¡Hola Amigos de HIVE DIY! , un gusto poder compartir nuevamente mis creaciones con ustedes, he estado un poco ausente por este medio por motivos académicos, pero de igual forma no he parado de realizar mis manualidades!.
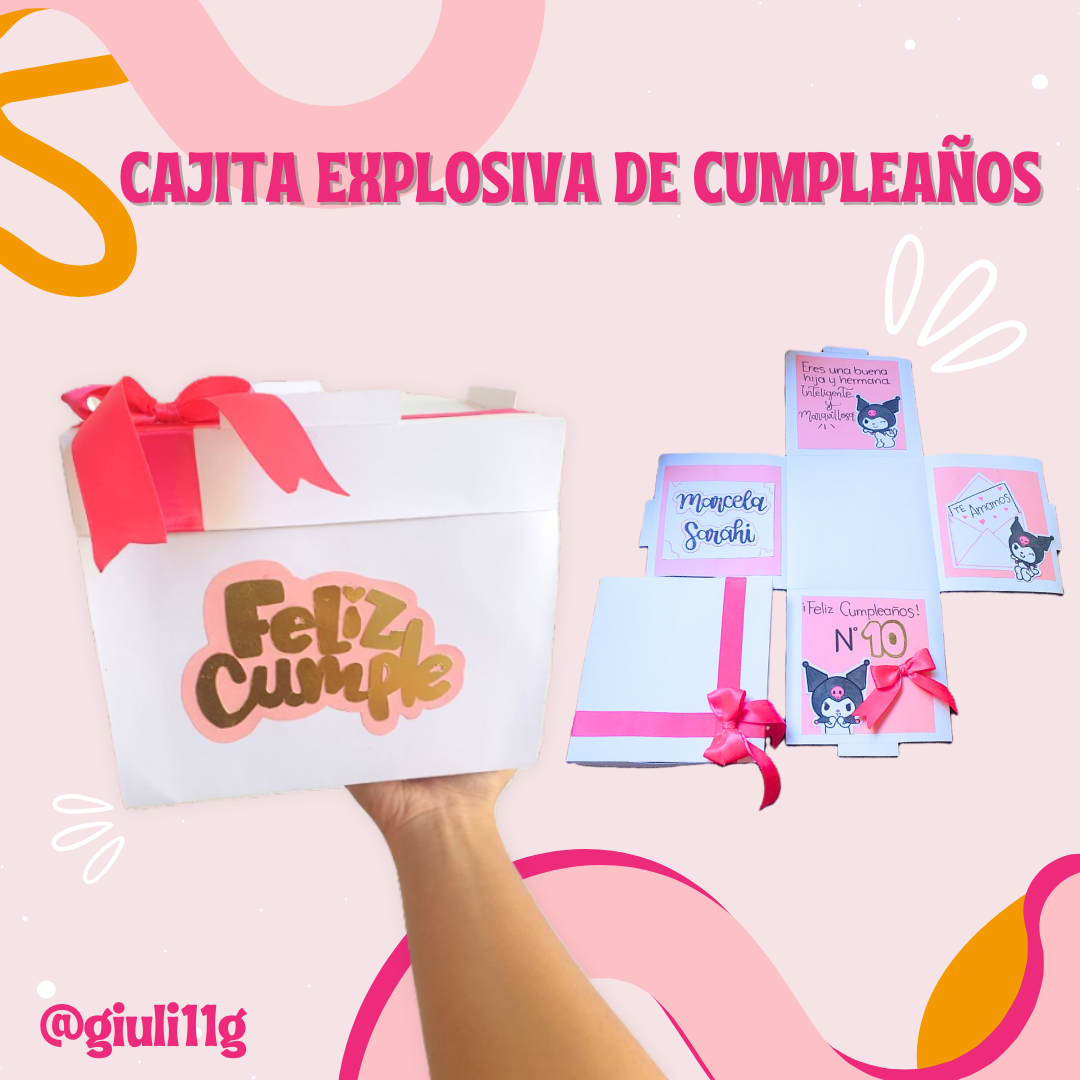
El día de hoy les mostraré como elaboré esta Cajita explosiva o Sorpresa de Cumpleaños, todo hecho a mano, esta es una muy buena idea para un regalo sencillo pero significativo, espero les guste.
Hello Friends of HIVE DIY! It's a pleasure to be able to share my creations with you again, I've been a little absent for academic reasons, but I haven't stopped making my crafts!
Today I will show you how I made this explosive box or Birthday Surprise, all handmade, this is a very good idea for a simple but meaningful gift, I hope you like it.
Use los siguientes Materiales:
- Cartulina Blanca y Rosa
- Silicón Frío
- Cinta color Fucsia de 2 cm de ancho
- Cartulina Metalizada (Dorada)
- Marcadores
- Colores
Use the following materials:
-White and Pink Cardboard
-Cold Silicone
-Fuchsia color ribbon 2 cm wide
-Metallic Cardboard (Gold)
-Markers
-Colors
¡COMENCEMOS! /LET'S GET STARTED!
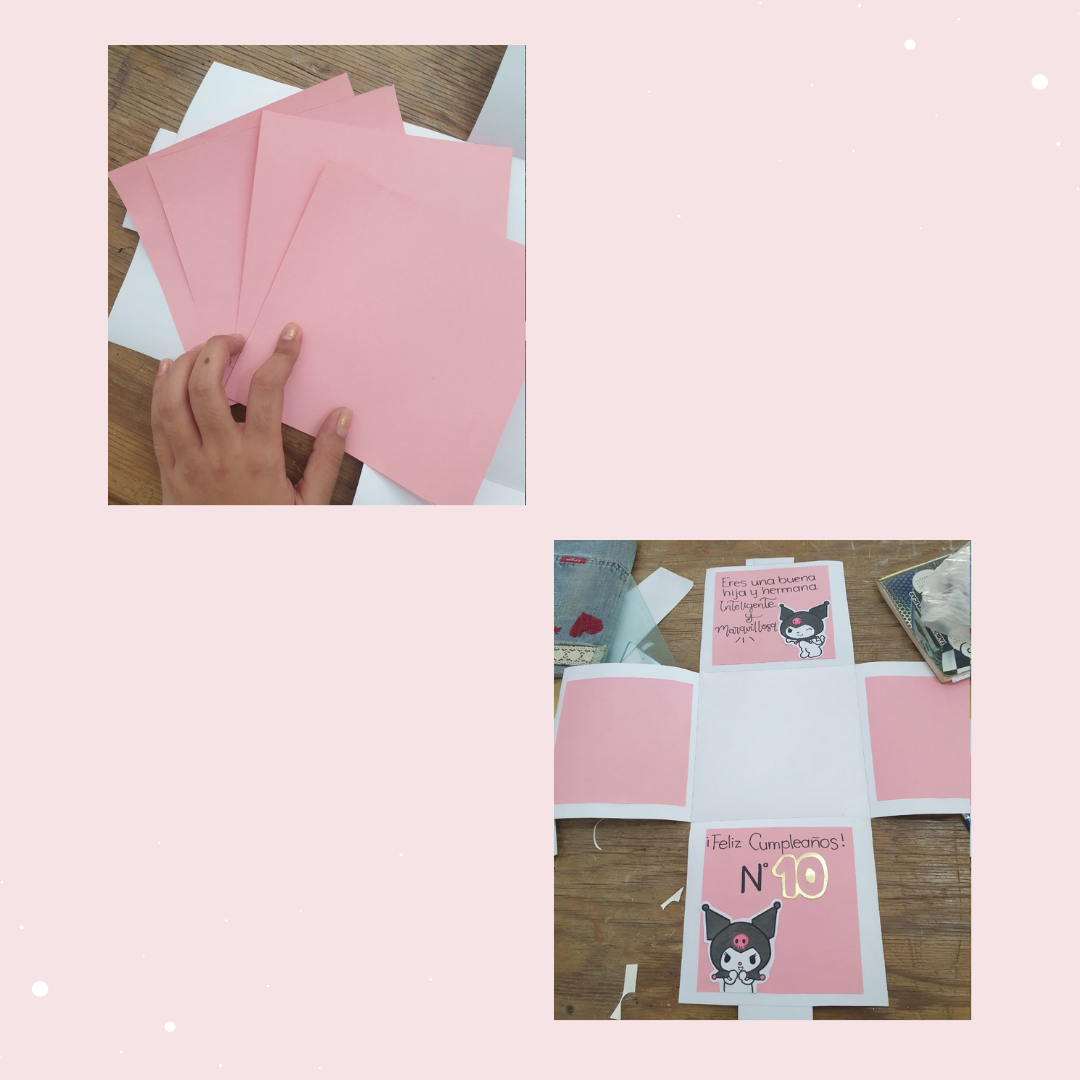
Paso 1
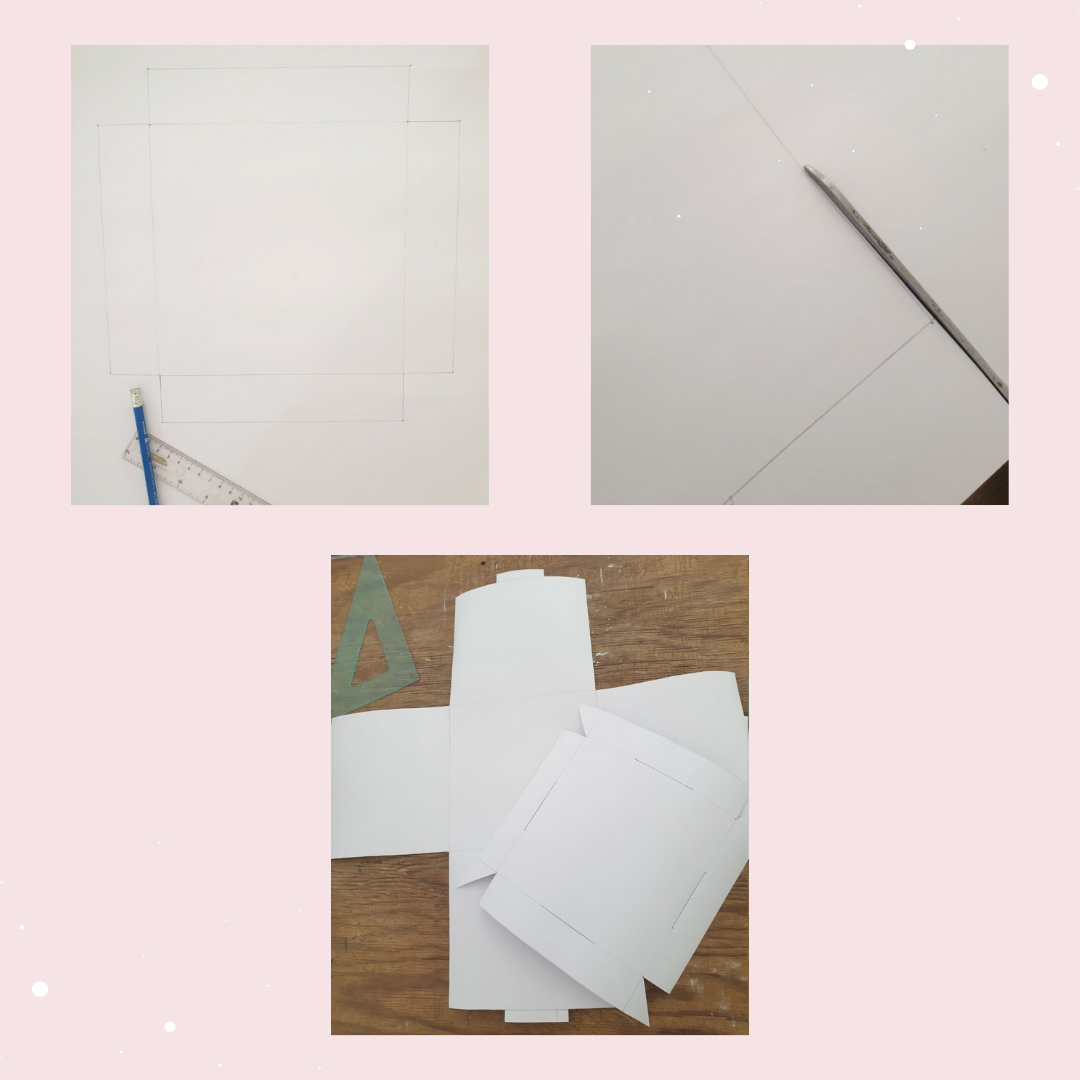
Comencé midiendo con una regla de qué tamaño seria la cajita, yo la hice la base de 20 cm de ancho por 18 de alto (20cm x 18cm) y le agregué unas pestañas en la parte de arriba que encajaran con la tapa para tener mejor soporte , hice la tapa de la caja de 20 cm de ancho por 4 cm de alto (20cm x 4cm )y le hice unos cortes a cada lado de la tapa que será donde encajen las pestañas de la base, y tracé en la cartulina con lápiz y posteriormente las recorté.
Step 1
I started measuring with a ruler how big the box would be, I made the base of 20 cm wide by 18 cm high (20cm x 18cm) and added some tabs on the top to fit with the lid to have better support, I made the lid of the box 20 cm wide by 4 cm high (20cm x 4cm) and made some cuts on each side of the lid that will be where the tabs of the base fit, and traced on the cardboard with pencil and then cut them out.
Paso 2
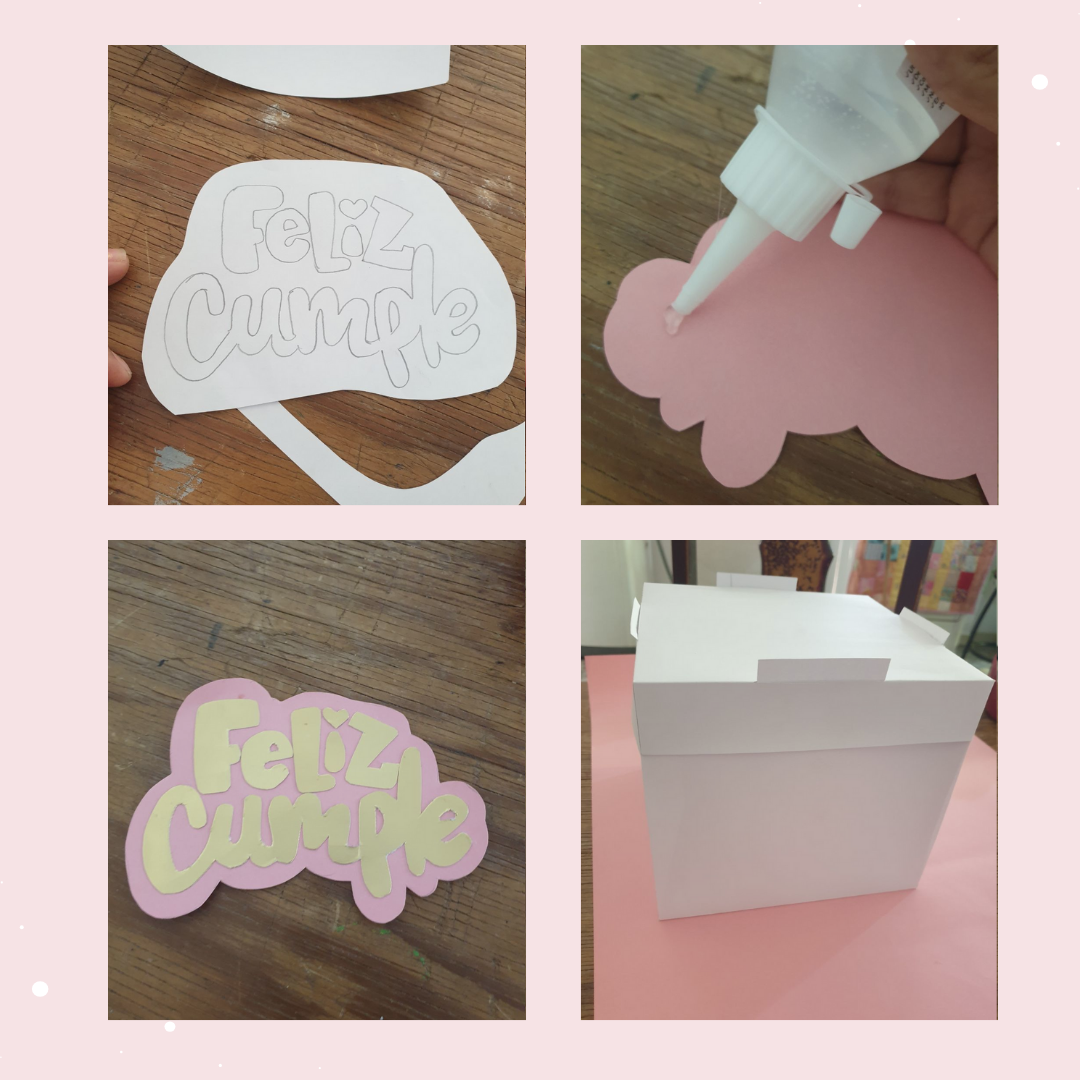
Posteriormente hice en un trozo de hoja la frase “Feliz Cumpleaños” recorte cada letra y la marqué por el revés de la cartulina metalizada, recorté y lo pegué en un trozo de cartulina Rosa, que pegue al frente de la base de la caja y por último armé la cajita. Te muestro en la siguiente imagen como queda armada.
Step 2
Then I cut out the phrase "Happy Birthday" from a piece of paper, cut out each letter and marked it on the back of the metallic cardboard, cut it out and glued it on a piece of pink cardboard, which I glued to the front of the base of the box and finally I assembled the box. I show you in the following image how it is assembled.
Paso 3
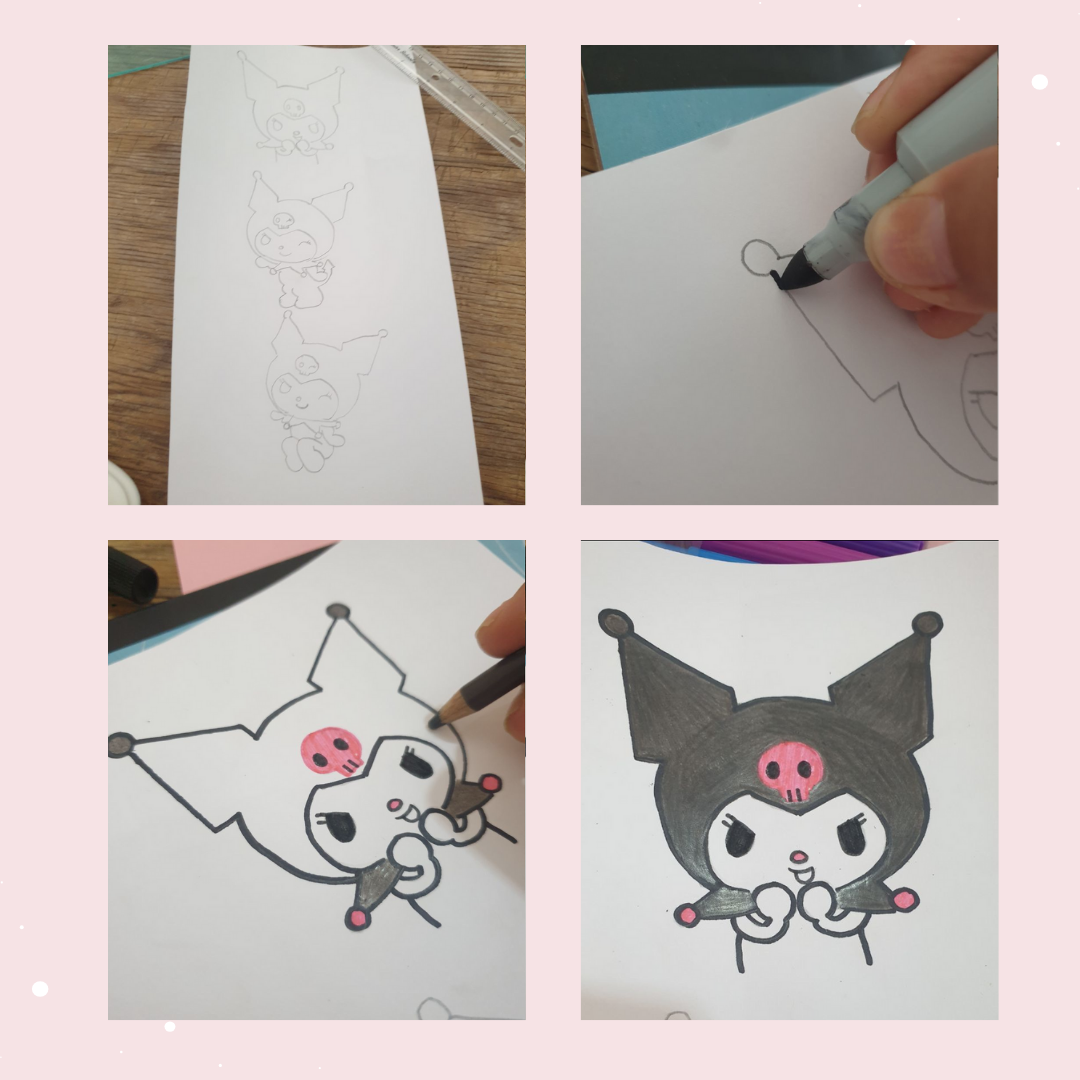
El tema de cumpleaños es de “Kuromi” realmente no conocía esta caricatura, pero investigué y busqué algunas imágenes que me sirvieron de guía para hacerlos en cartulina y dibujarlos. Las coloreé y recorté.
Step 3
The birthday theme is from "Kuromi" I didn't really know this cartoon, but I did some research and looked for some images that served as a guide to make them on cardboard and draw them. I colored them and cut them out.
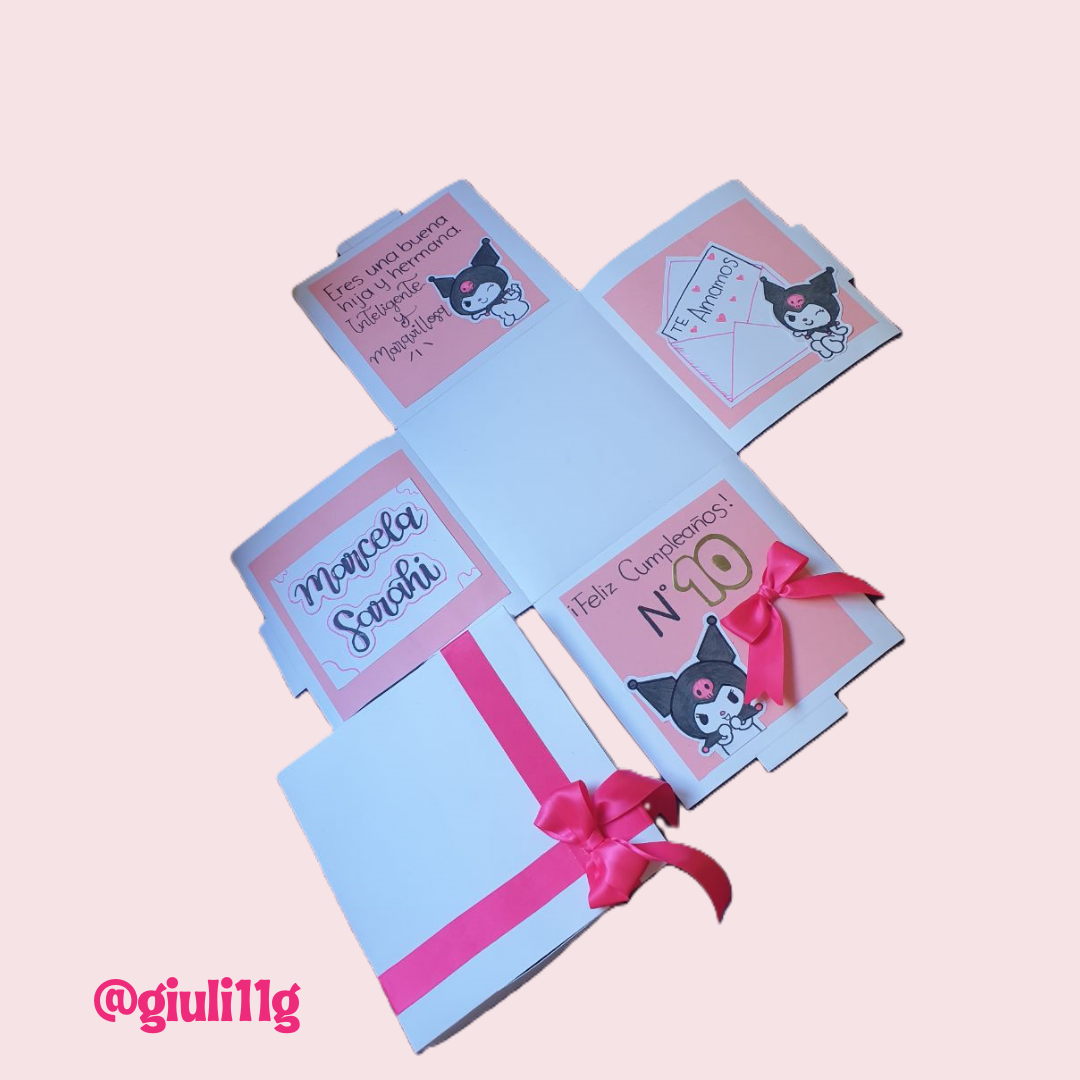
Paso 4
Para decorar la parte de adentro recorte unos cuadrados de cartulina rosa y los pegue en cada lado. Pegué los dibujos y agregué algunas frases para rellenar los espacios vacíos.
Step 4
To decorate the inside I cut out some squares of pink cardboard and glued them on each side. I glued the drawings and added some phrases to fill in the empty spaces.
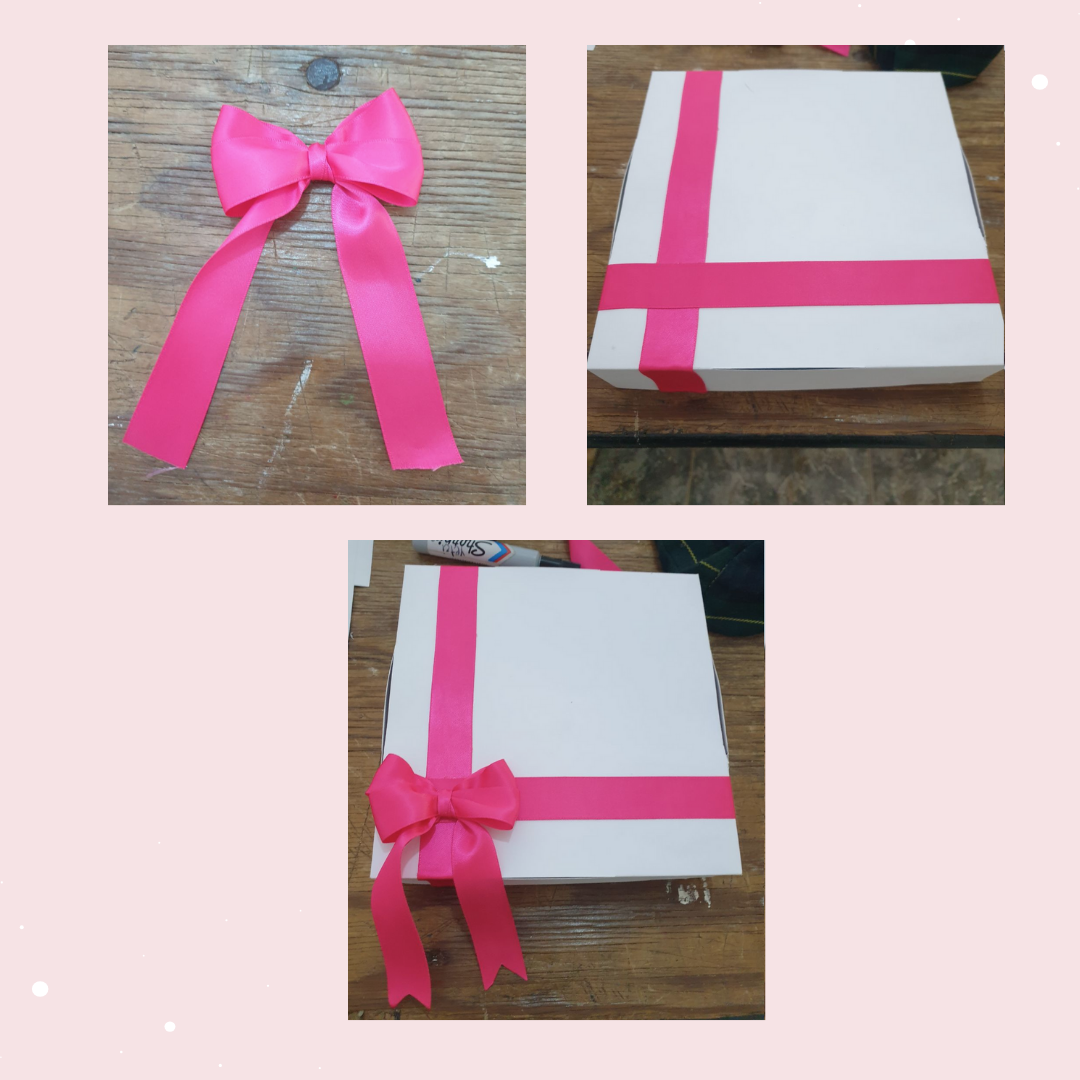
Paso 5
Para la tapa hice un lazo doble y con la otra parte de la cinta pegué en 2 direcciones formando una cruz sin tapar los espacios donde encajan las pestañas de la base.
Step 5
For the lid I made a double loop and with the other part of the ribbon I glued in 2 directions forming a cross without covering the spaces where the tabs of the base fit.
La culminé agregando el nombre de la cumpleañera y en la siguiente foto te muestro el resultado final
I finished it by adding the name of the birthday girl and in the following photo I show you the final result.
¡Me encantó el resultado, espero te haya gustado tanto como a mí!
¡Hasta el próximo blog!
Todas las fotos fueron tomadas con un Samsung Galaxy 9 plus, editadas en Canva y el texto traducido en DeepL.
I loved the result, I hope you liked it as much as I did!
See you next blog!
All photos were taken with a Samsung Galaxy 9 plus, edited in Canva and text translated at DeepL.