
**Que tal amigos de Hive? ** Espero se encuentren muy bien, en este el mes del amor quiero presentarles un hermoso cuadro en relieve floral dedicado al amor.
El amor es una pieza clave que nos invita a crecer y florecer como una flor 🌼. Así como una flor fragante, hermosa el amor nos hace mejores personas.
Así que un símbolo universal del amor son las flores, es por ello que les presento este hermoso cuadro 3D en honor al amor.
Necesitarán los siguientes Materiales:
- 4 foamis amarillos y uno verde
- silicon
- pintura roja, amarilla, verde, blanca, azul, marrón y negra
- madera
- tela de saco o de Pancarta
- conchas de "Divi-Divi" también pueden utilizar semillas de café,o cualquier otra semilla que de un efecto 3D a nuestro diseño.
- Varillas o palitos de un grosor fino.
- plancha de cabello o de ropa
Paso a Paso
1
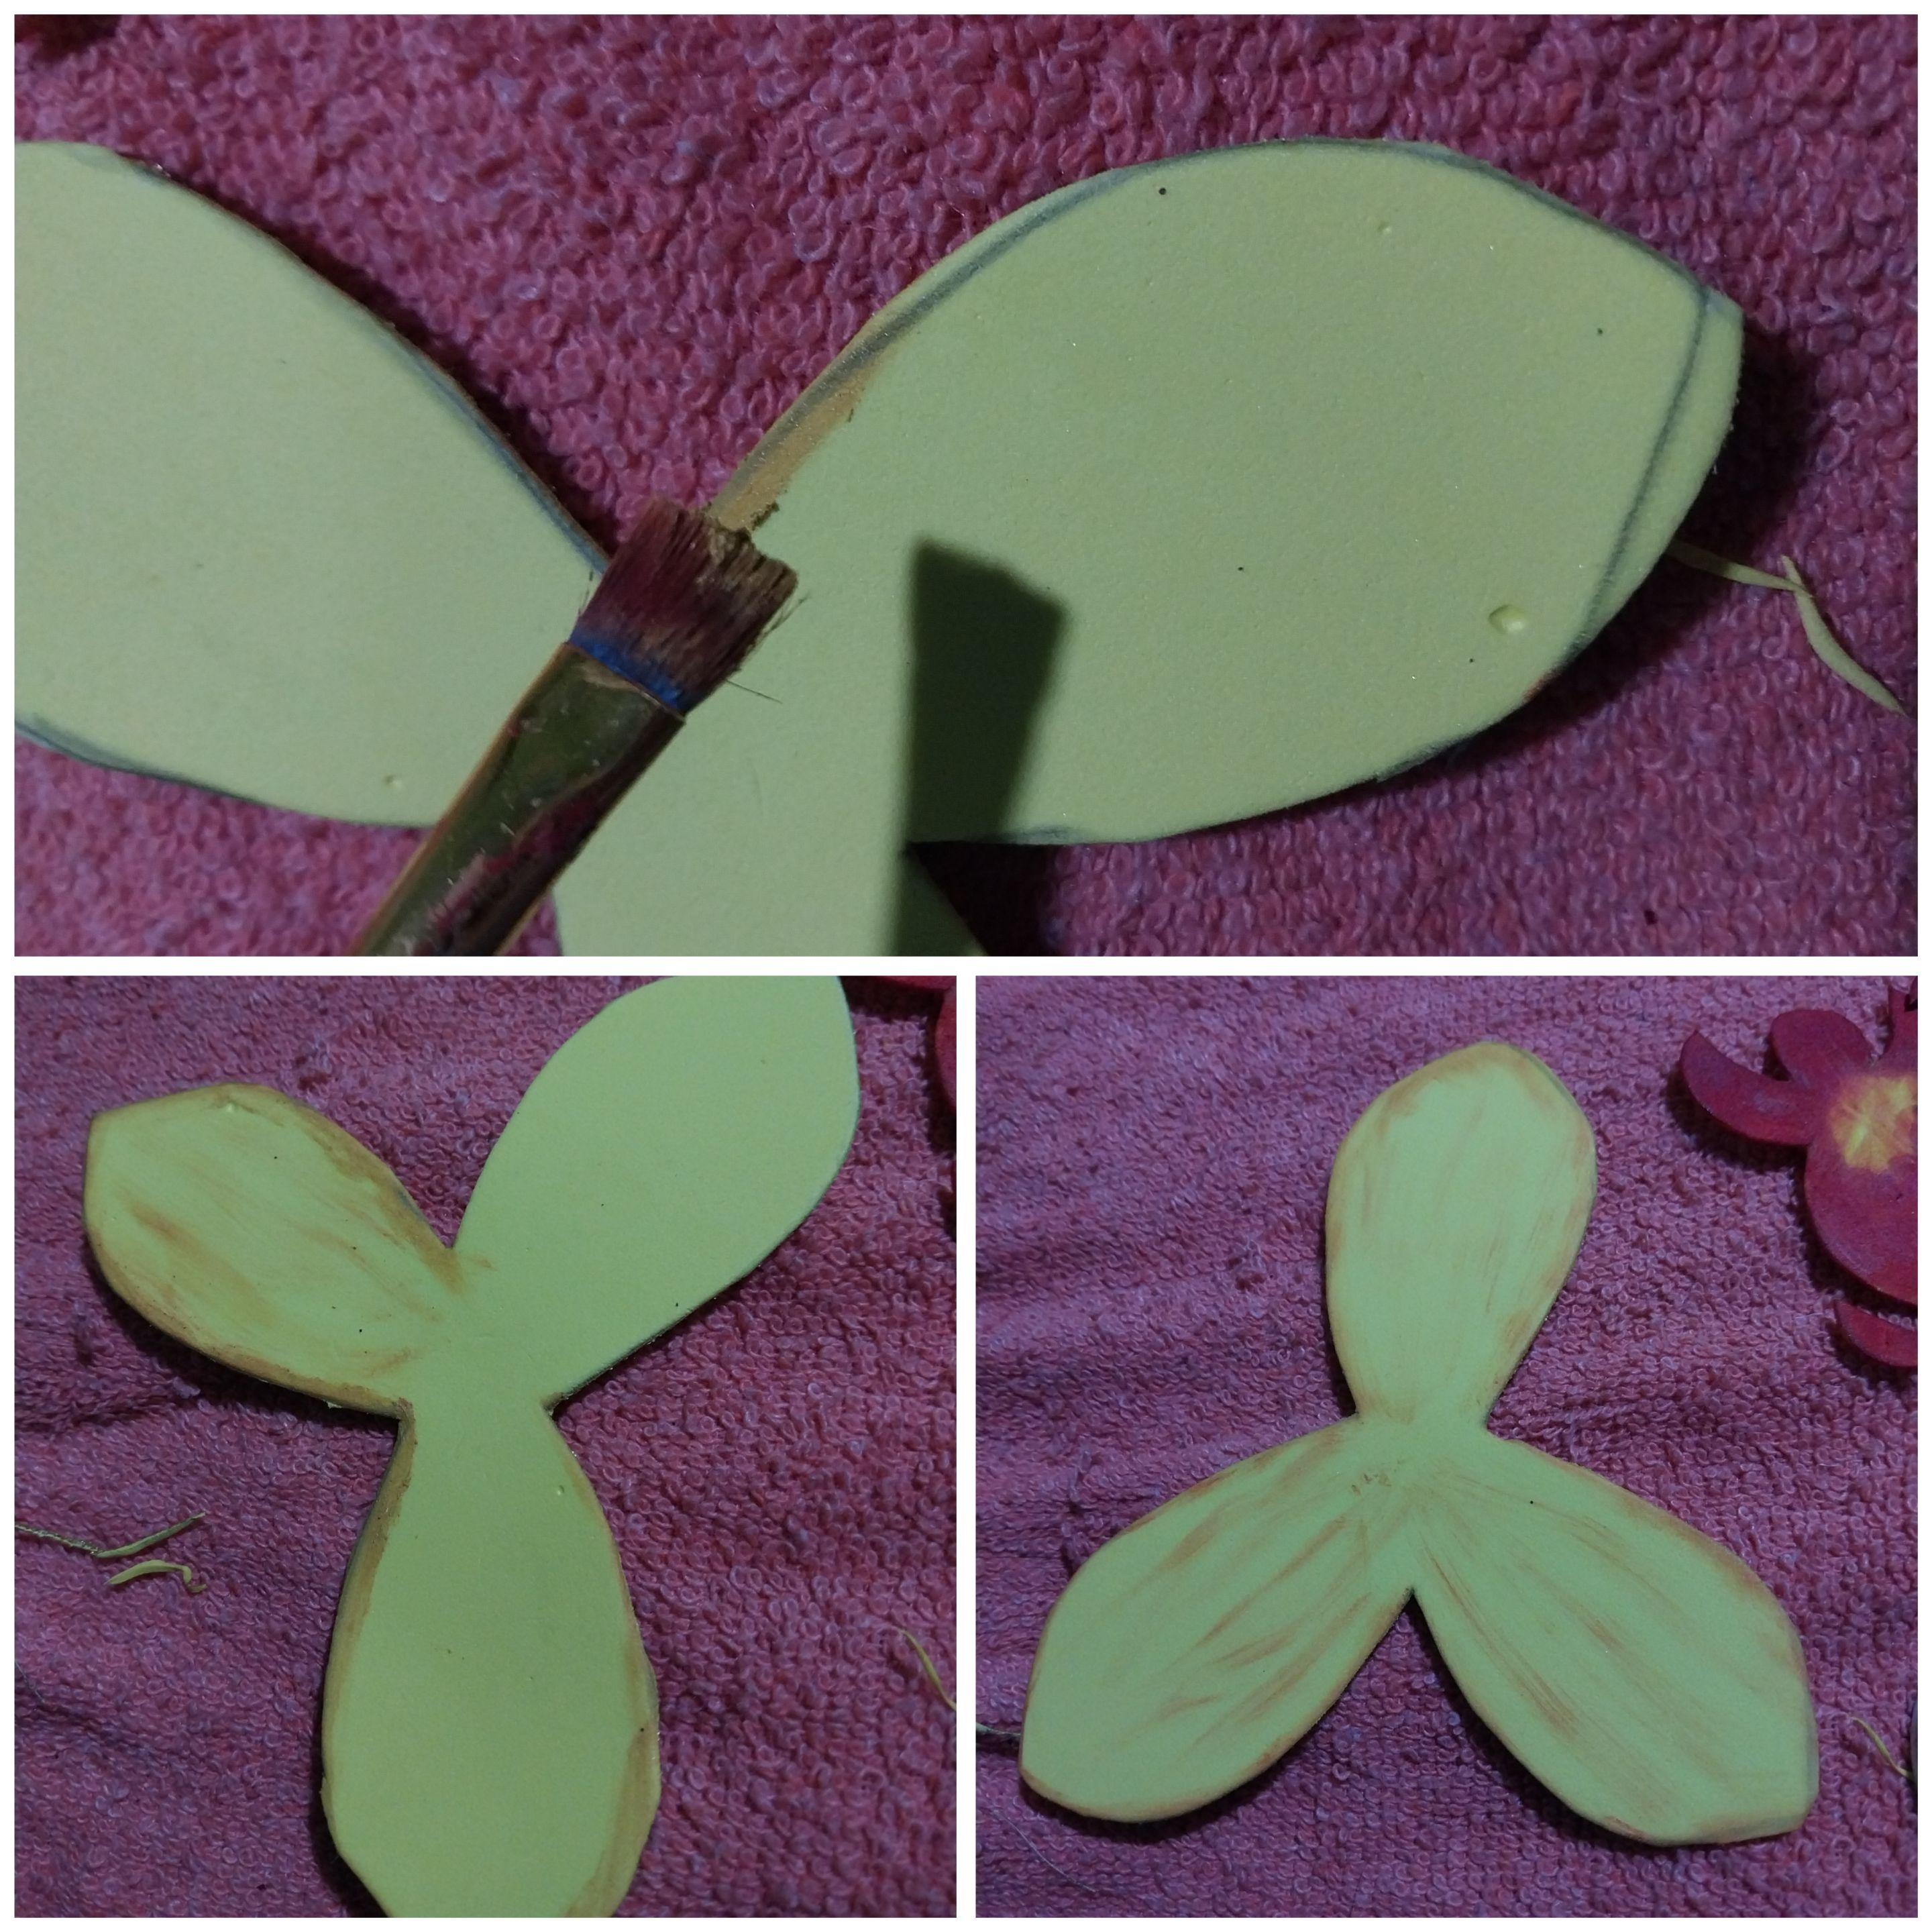
Iniciaremos realizando las flores de foami. Para ello vamos hacer una orquidea. Esta orquidea esta constituida por tres piezas. Una parte de tres pétalos, luego otra pieza de dos pétalos redondos y el pistilo.
Tomamos los patrones y los Colocamos sobre el foami. De los 4 foamis se sacan 6 piezas de cada patrón. Es decir 18 piezas en total.
2
Debemos tomar el pintilo y con la ayuda de un pincel tomamos la pintura roja para pintar estas piezas y dejamos un espacio sin pintar cerca de la terminación de la pieza.
Luego tomamos pintura amarilla y desde el.centro circular amarillo hacemos unas pinceladas hacia afuera.
Seguidamente debemos marcar unas líneas rojas en la parte central de círculo amarillo.
3
Seguidamente debemos tomar la pieza de dos pétalos y con la pintura naranja debemos bordear la zona de los pétalos. Luego con la ayuda del pincel desde el borde se hacen algunos reflejos solo en la orilla de estos.
4
( )
)
Seguidamente tomamos los pétalos de 3 y con pintura naranja también bordeamos los mismos y hacemos algunas pinceladas sobre los pétalos.
5
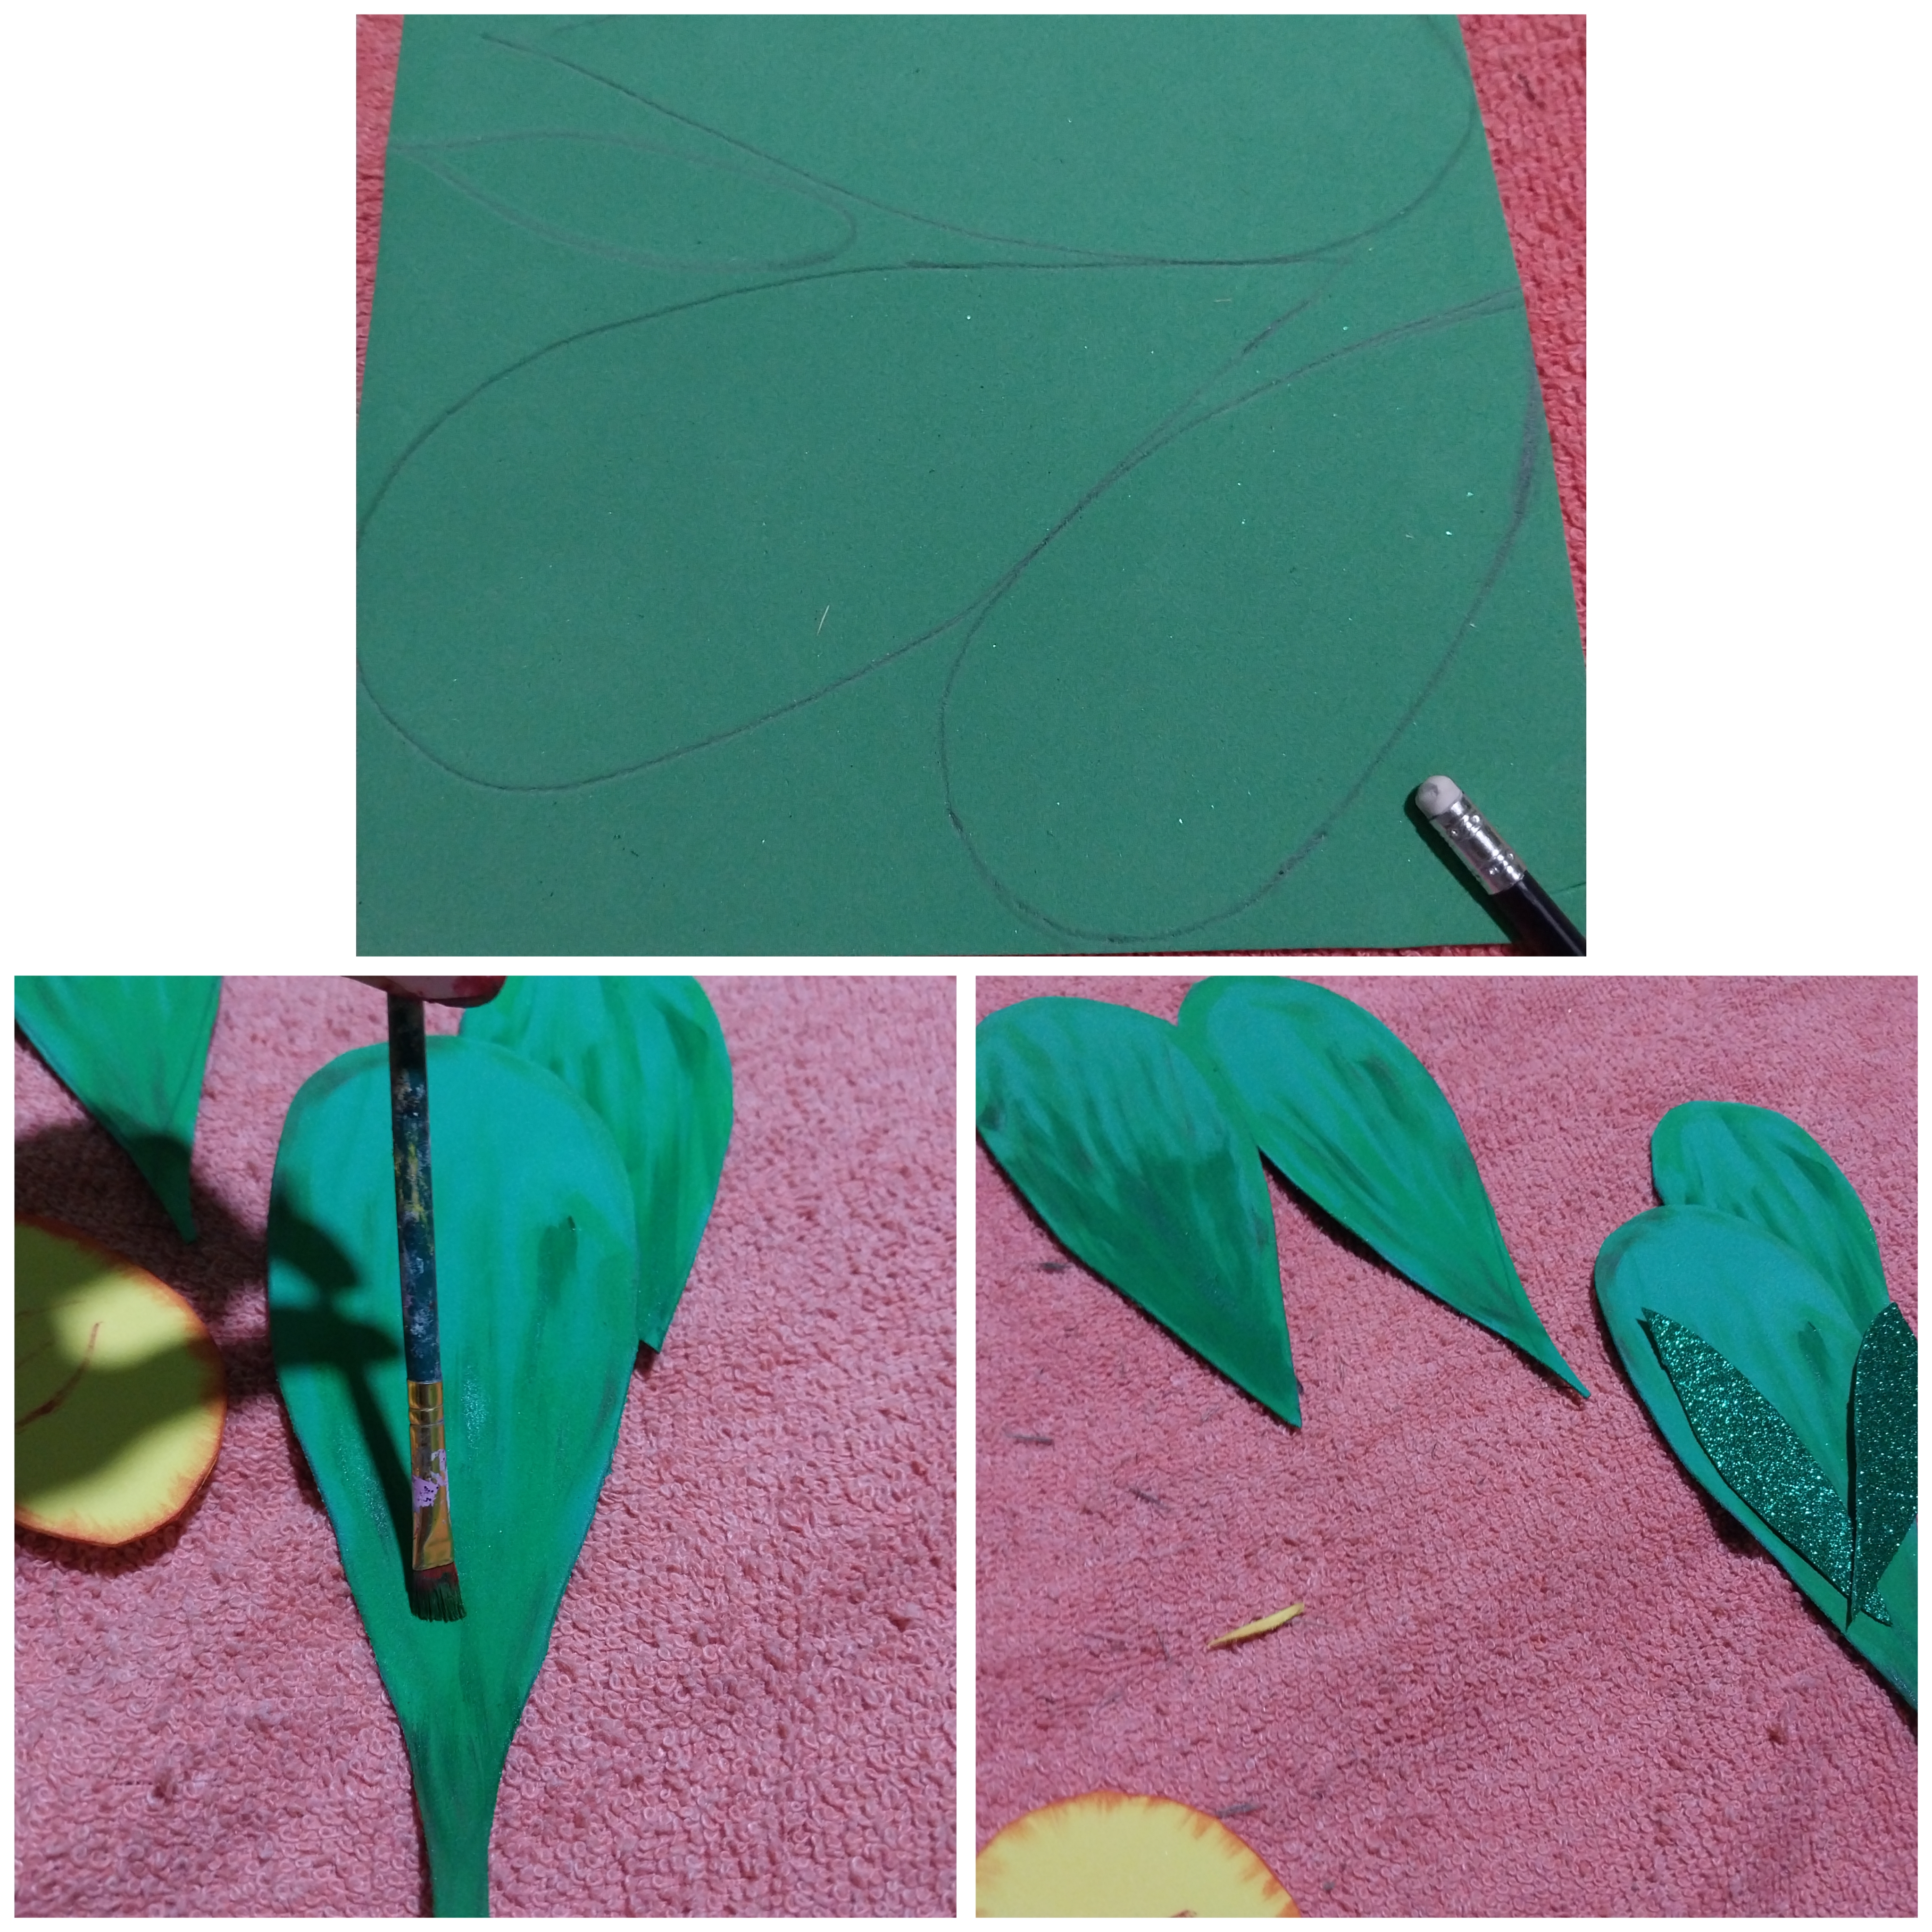
Luego tomamos el foami verde y sobre este vamos a marcar unas hojas grandes. Luego tomamos la pintura verde y le damos algunos matices verdes a esta.
6
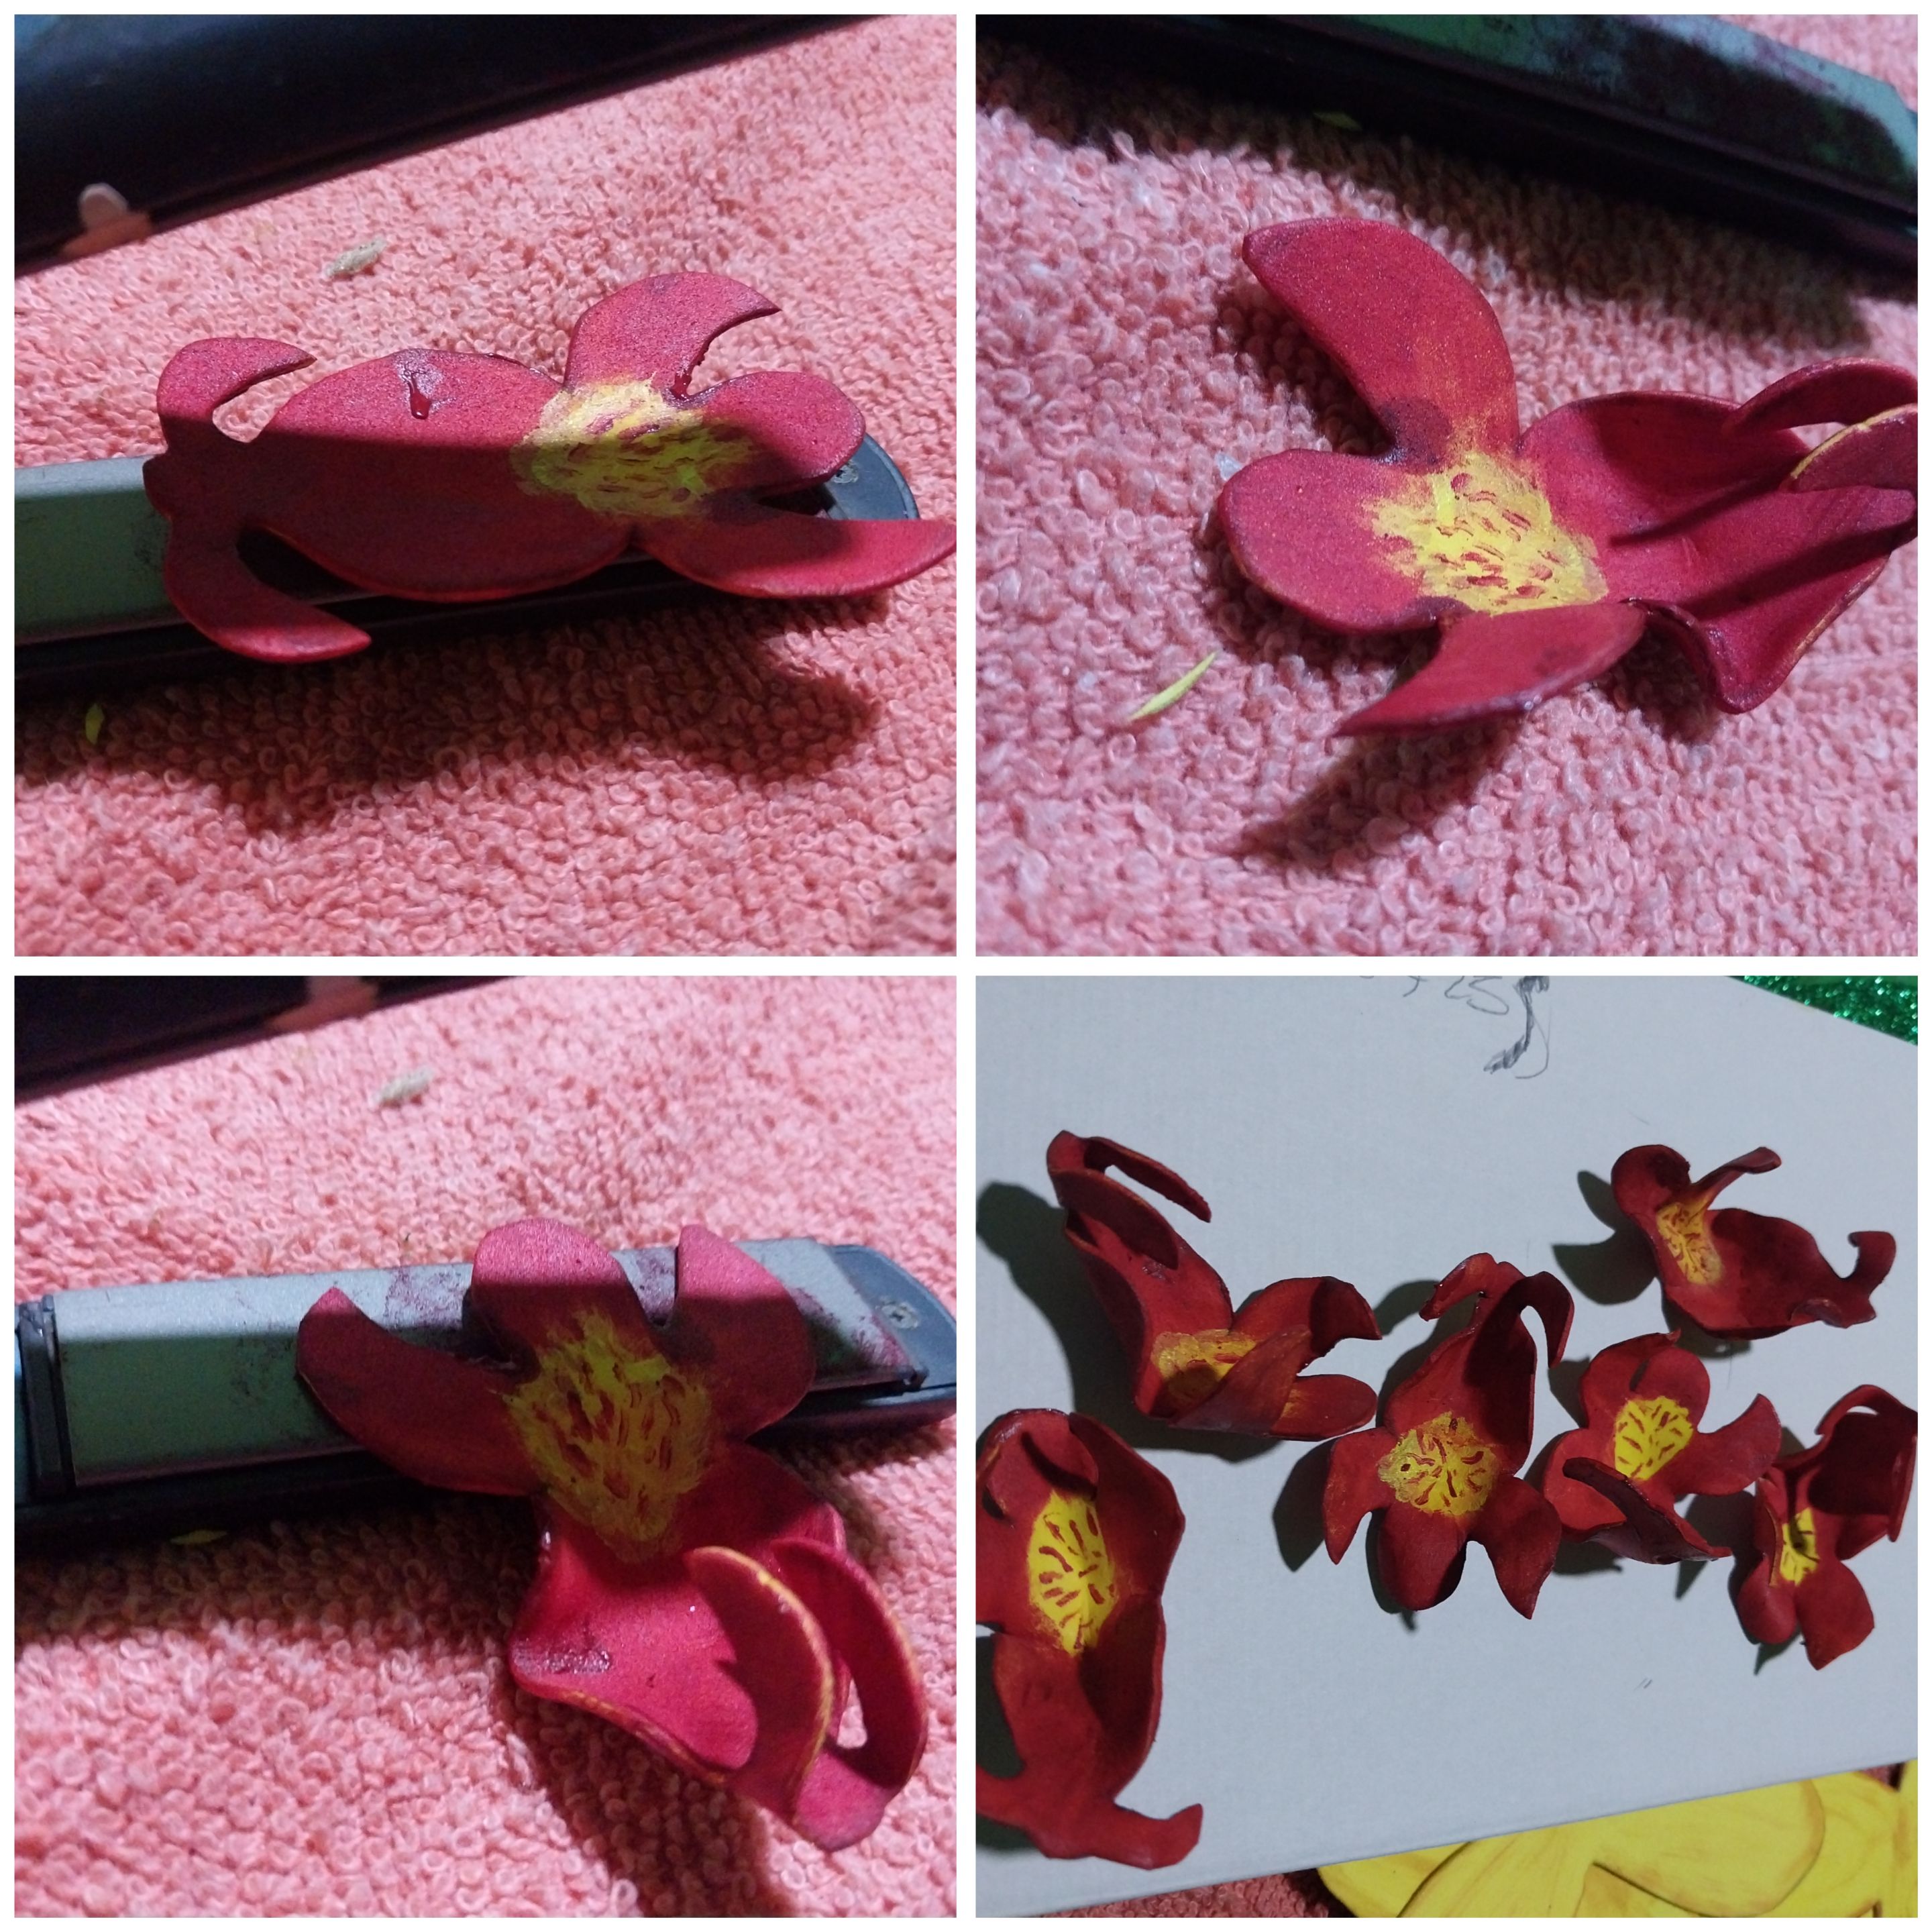
Luego tomamos la plancha y le damos forma a nuestros pistilos. Debemos hacer que las puntas queden hacia dentro y levantadas y para ello al colocarlos sobre la plancha esperamos 4 segundos y luego presionamos en el centro.
7
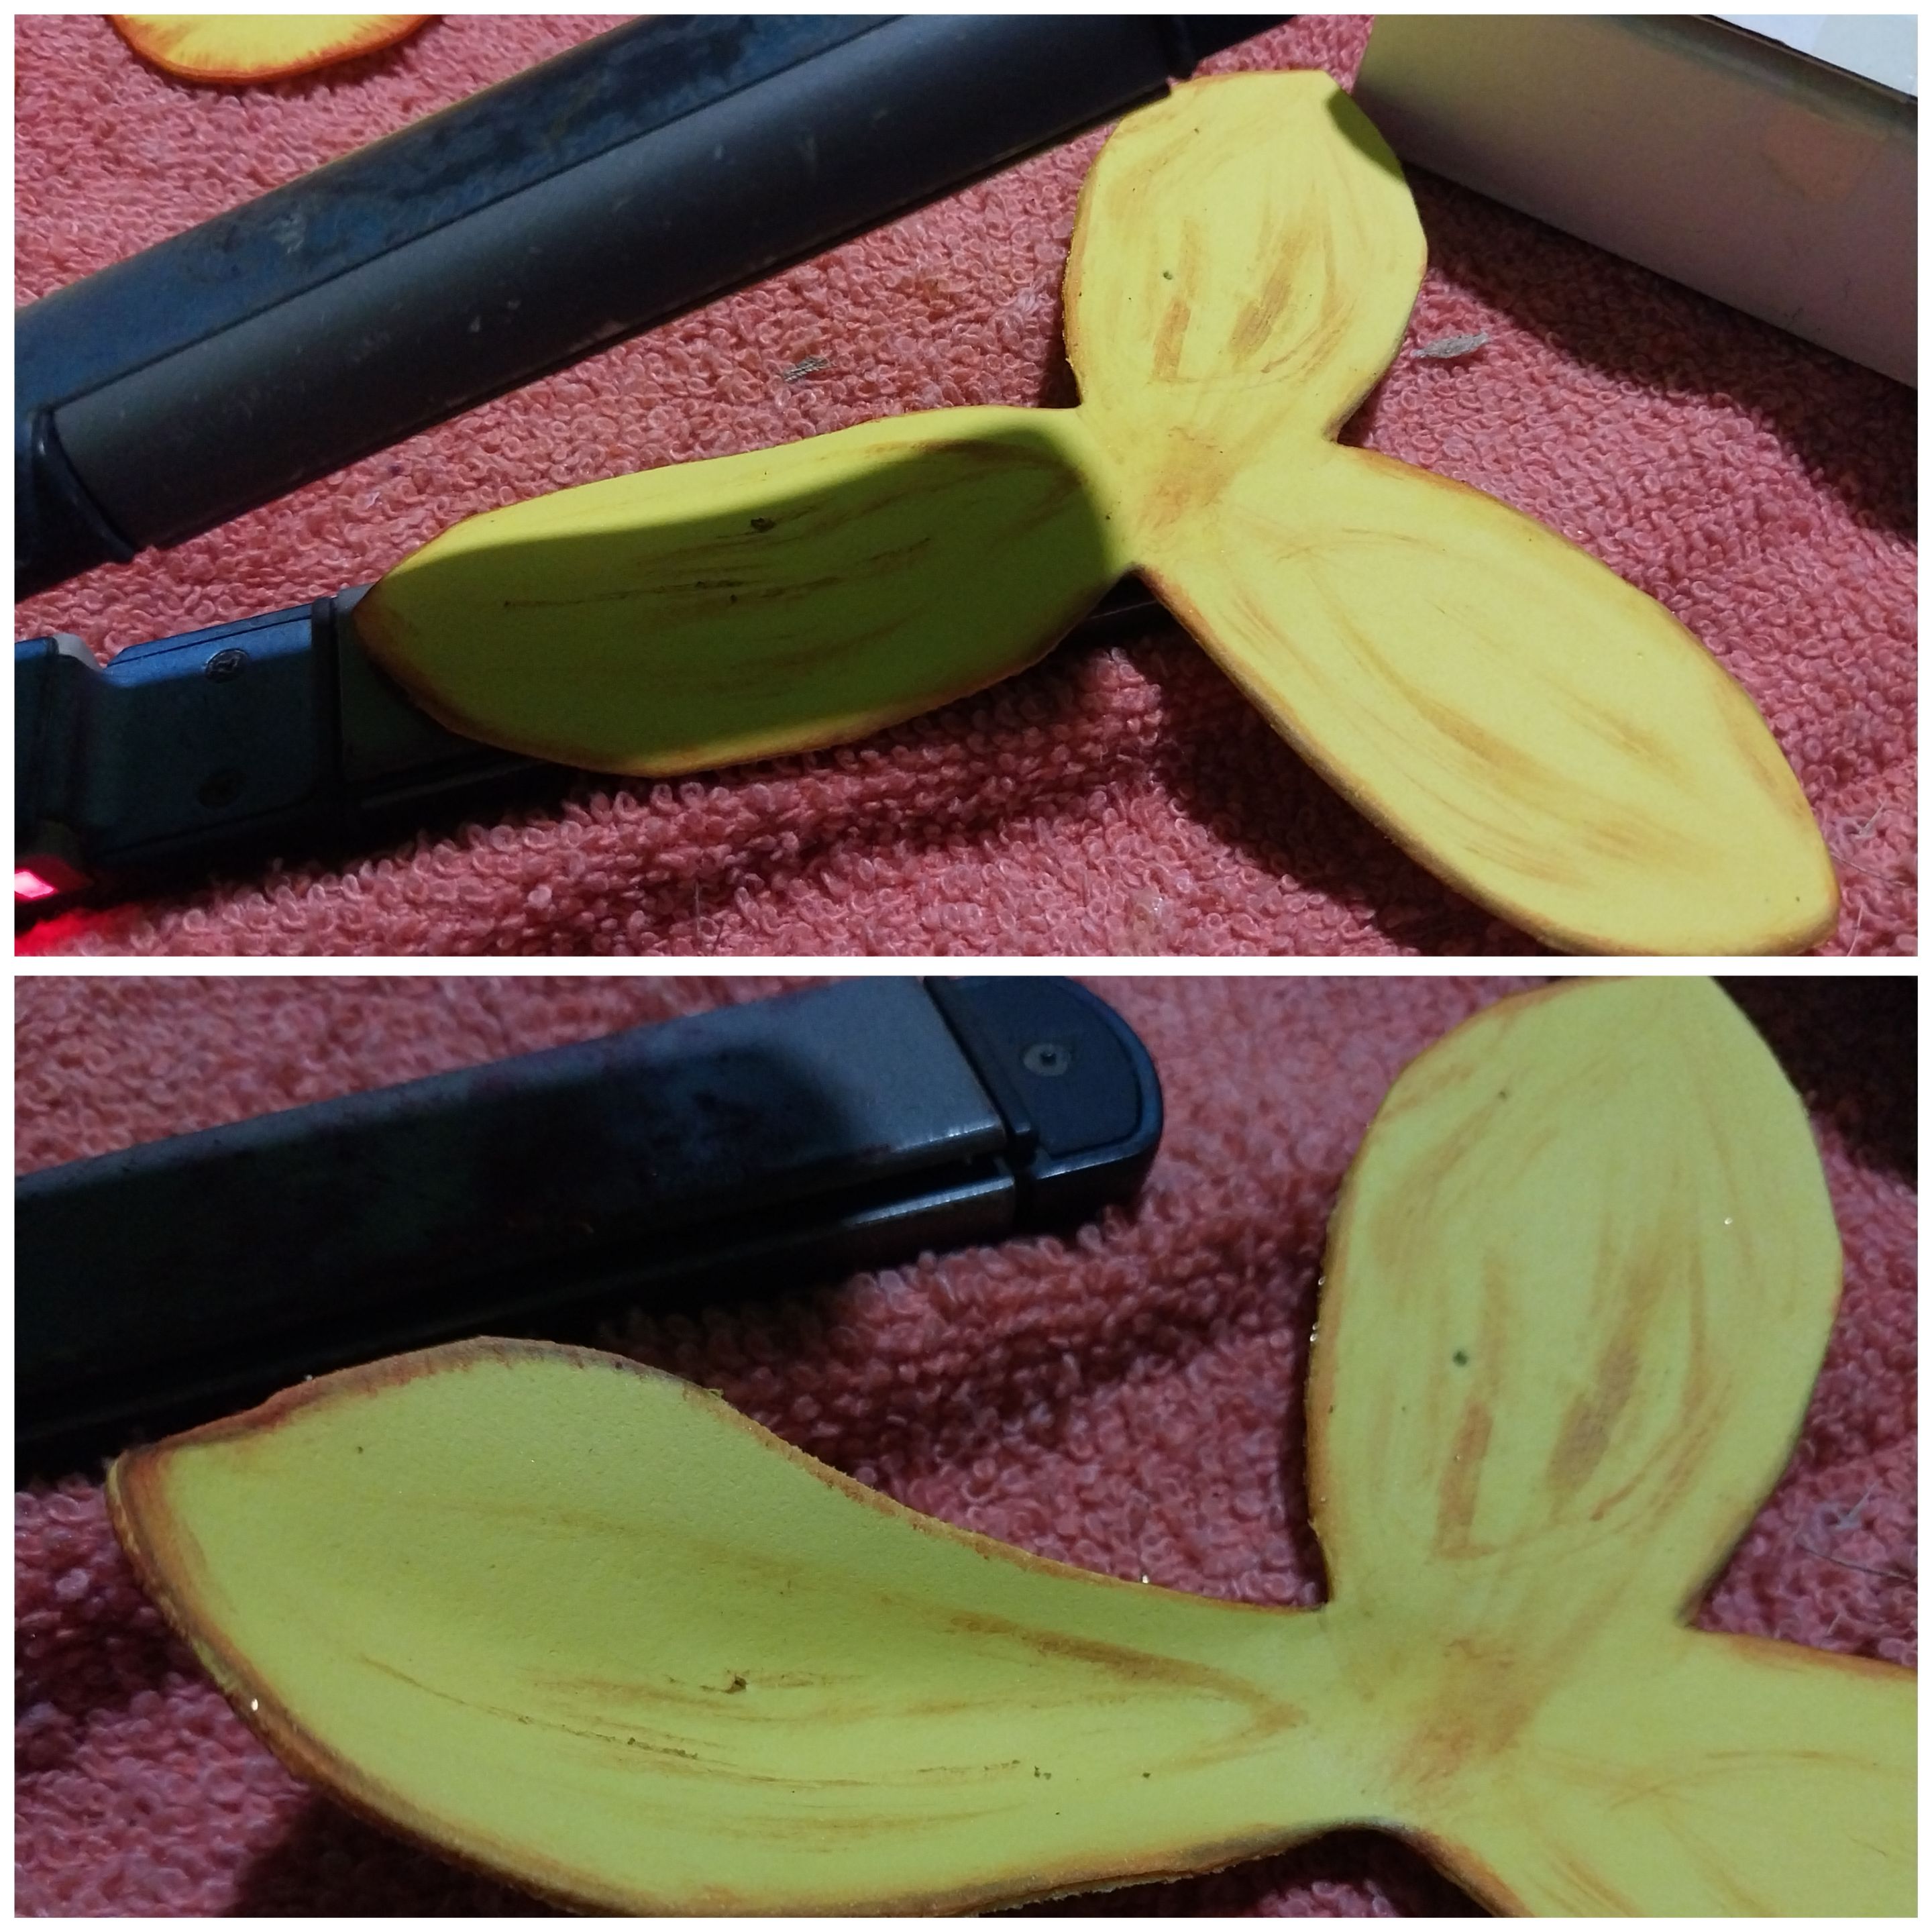
Seguimos haciendo lo mismo con los pétalos de tres, pero para estos debemos darle una forma alargada y ovalada, para ellos presionamos una linea central y a lo largo de este.
8
Para los pétalos ovalados nos apoyamos de los dedos para crear ondas ovalada y pliegues en estos.
9
Luego unimos las piezas.
La base de la flor la forma los pétalos de tres, luego los pétalos ovalados de dos y por último nuestro pistilo rojo.
10
Tomamos la madera y sobre esta vamos a pegar la tela blanca con la ayuda de silicon caliente.
Seguidamente se pega una Varillas verde, también podemos utilizar una rama seca o crear con palillos esta. Pegamos las varillas con el silicon caliente.
11
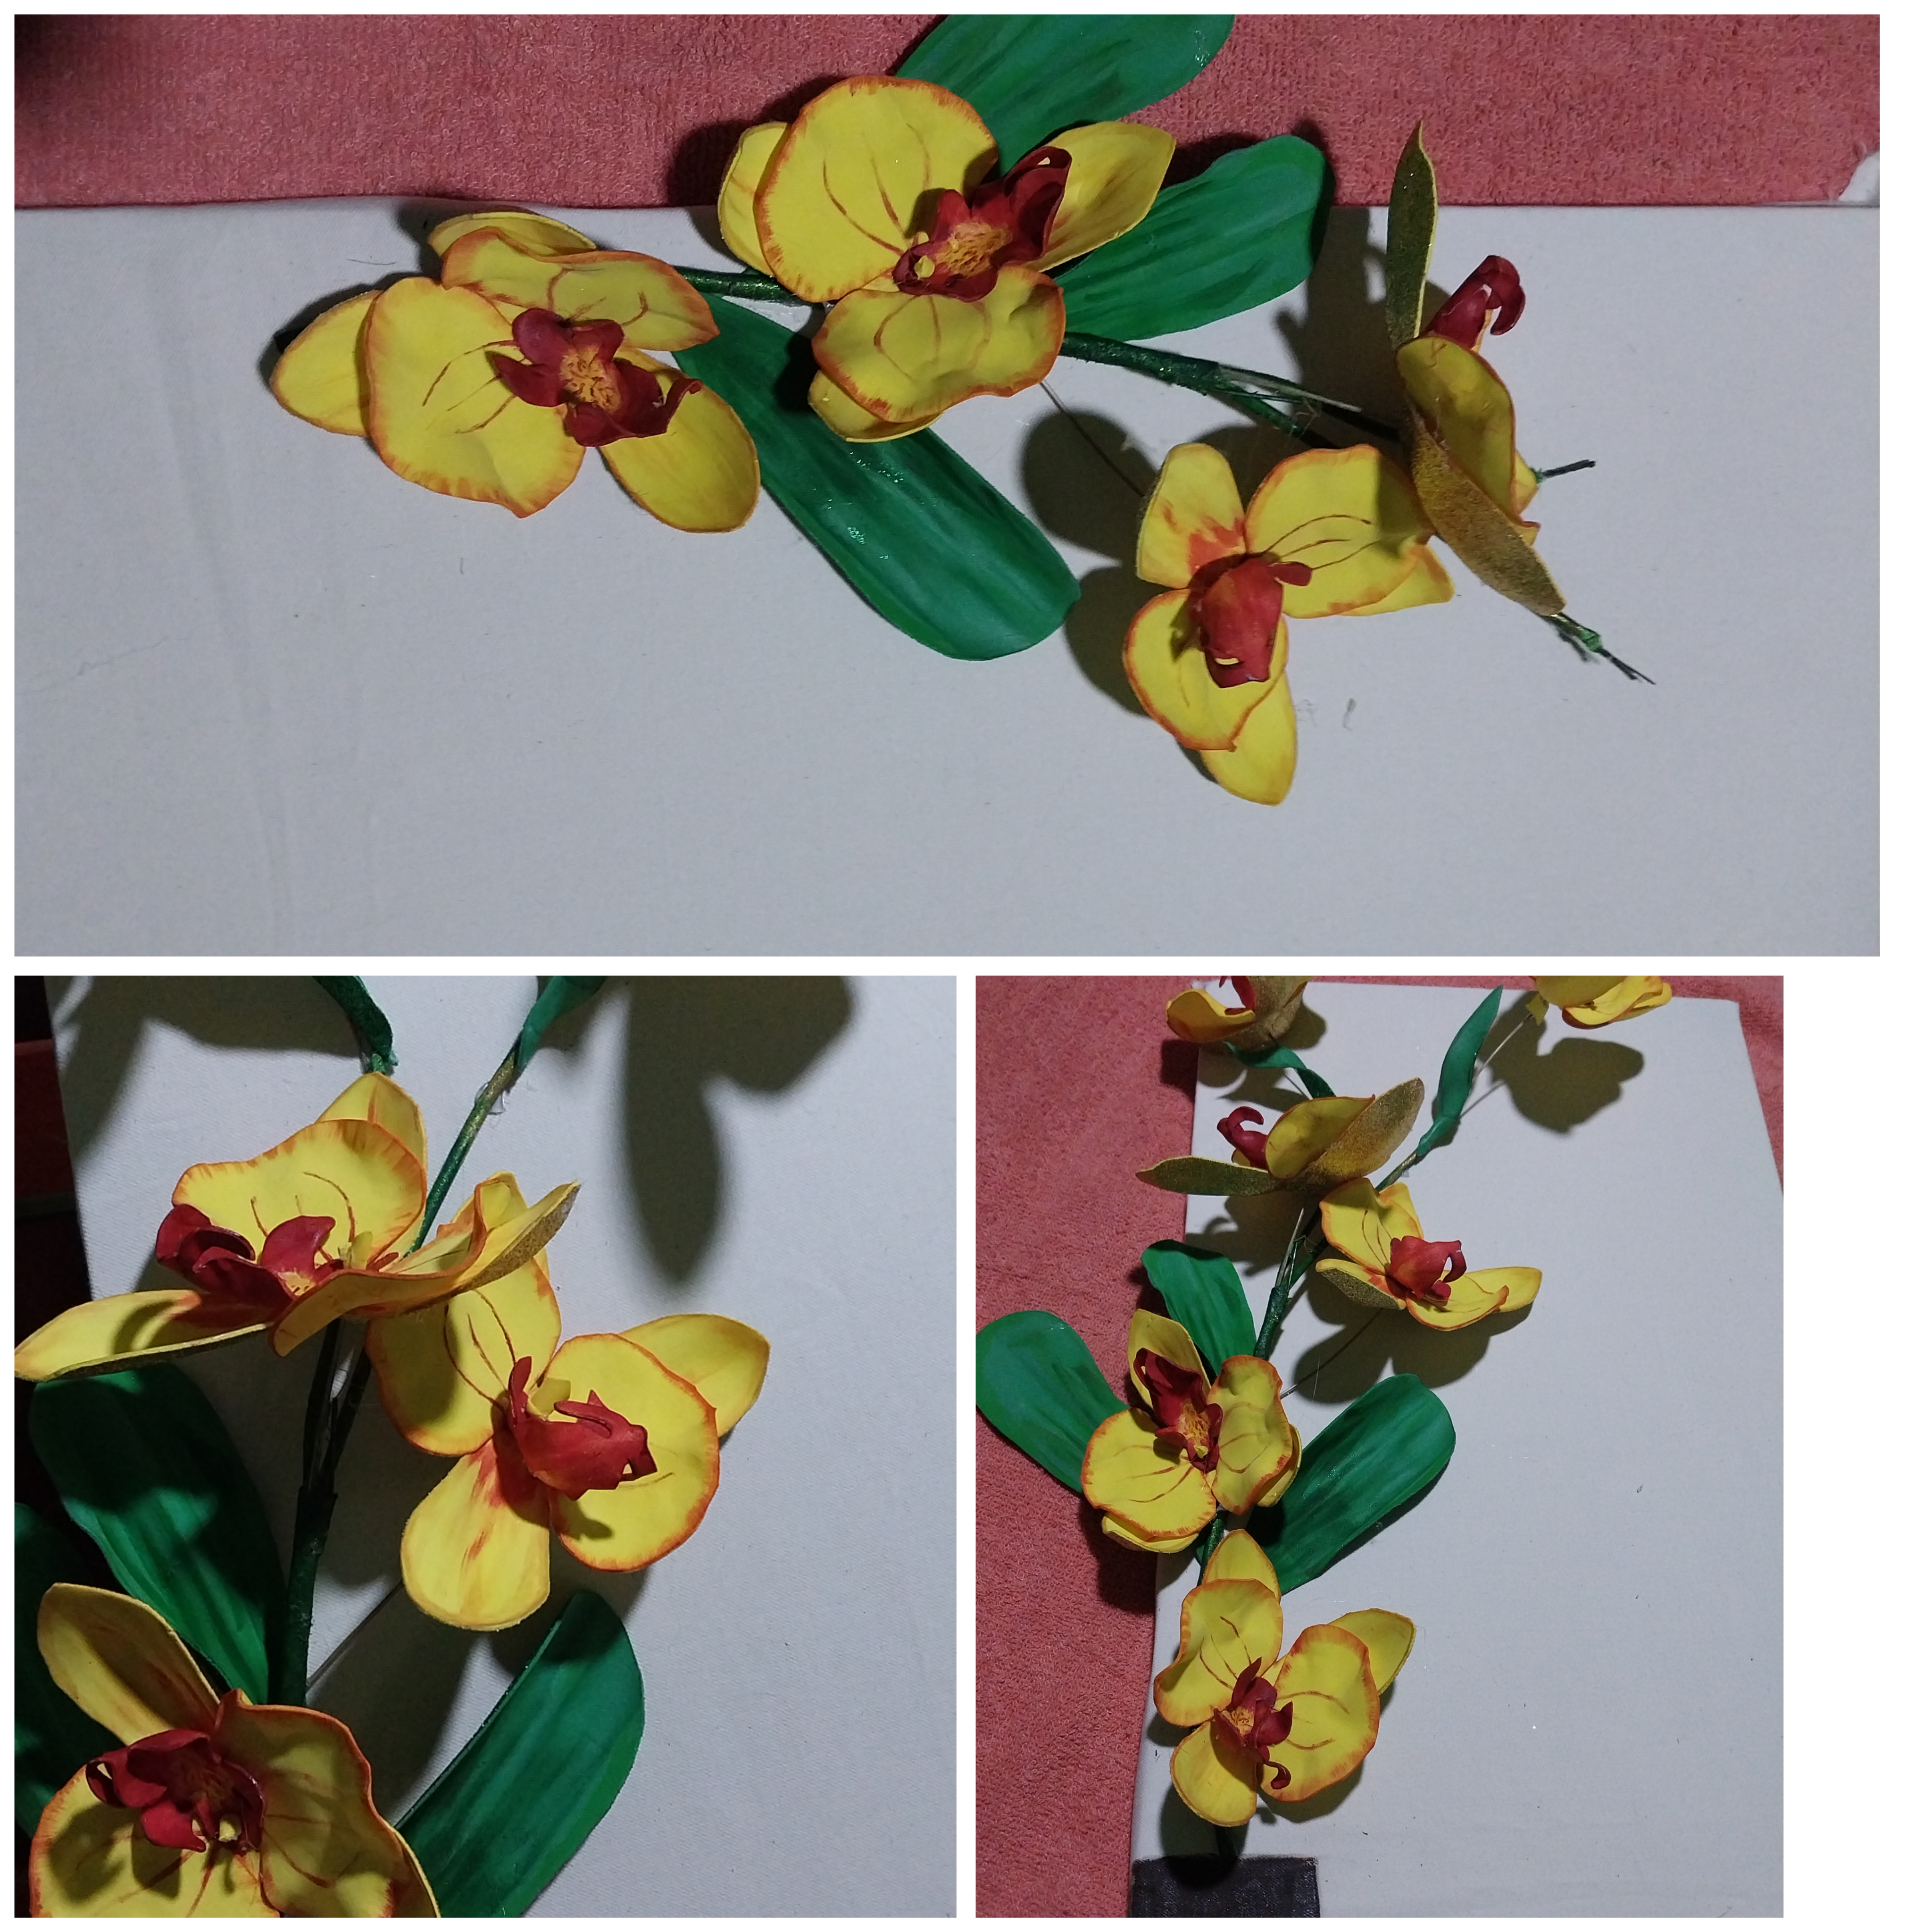
De esta manera vamos incorporando las flores.
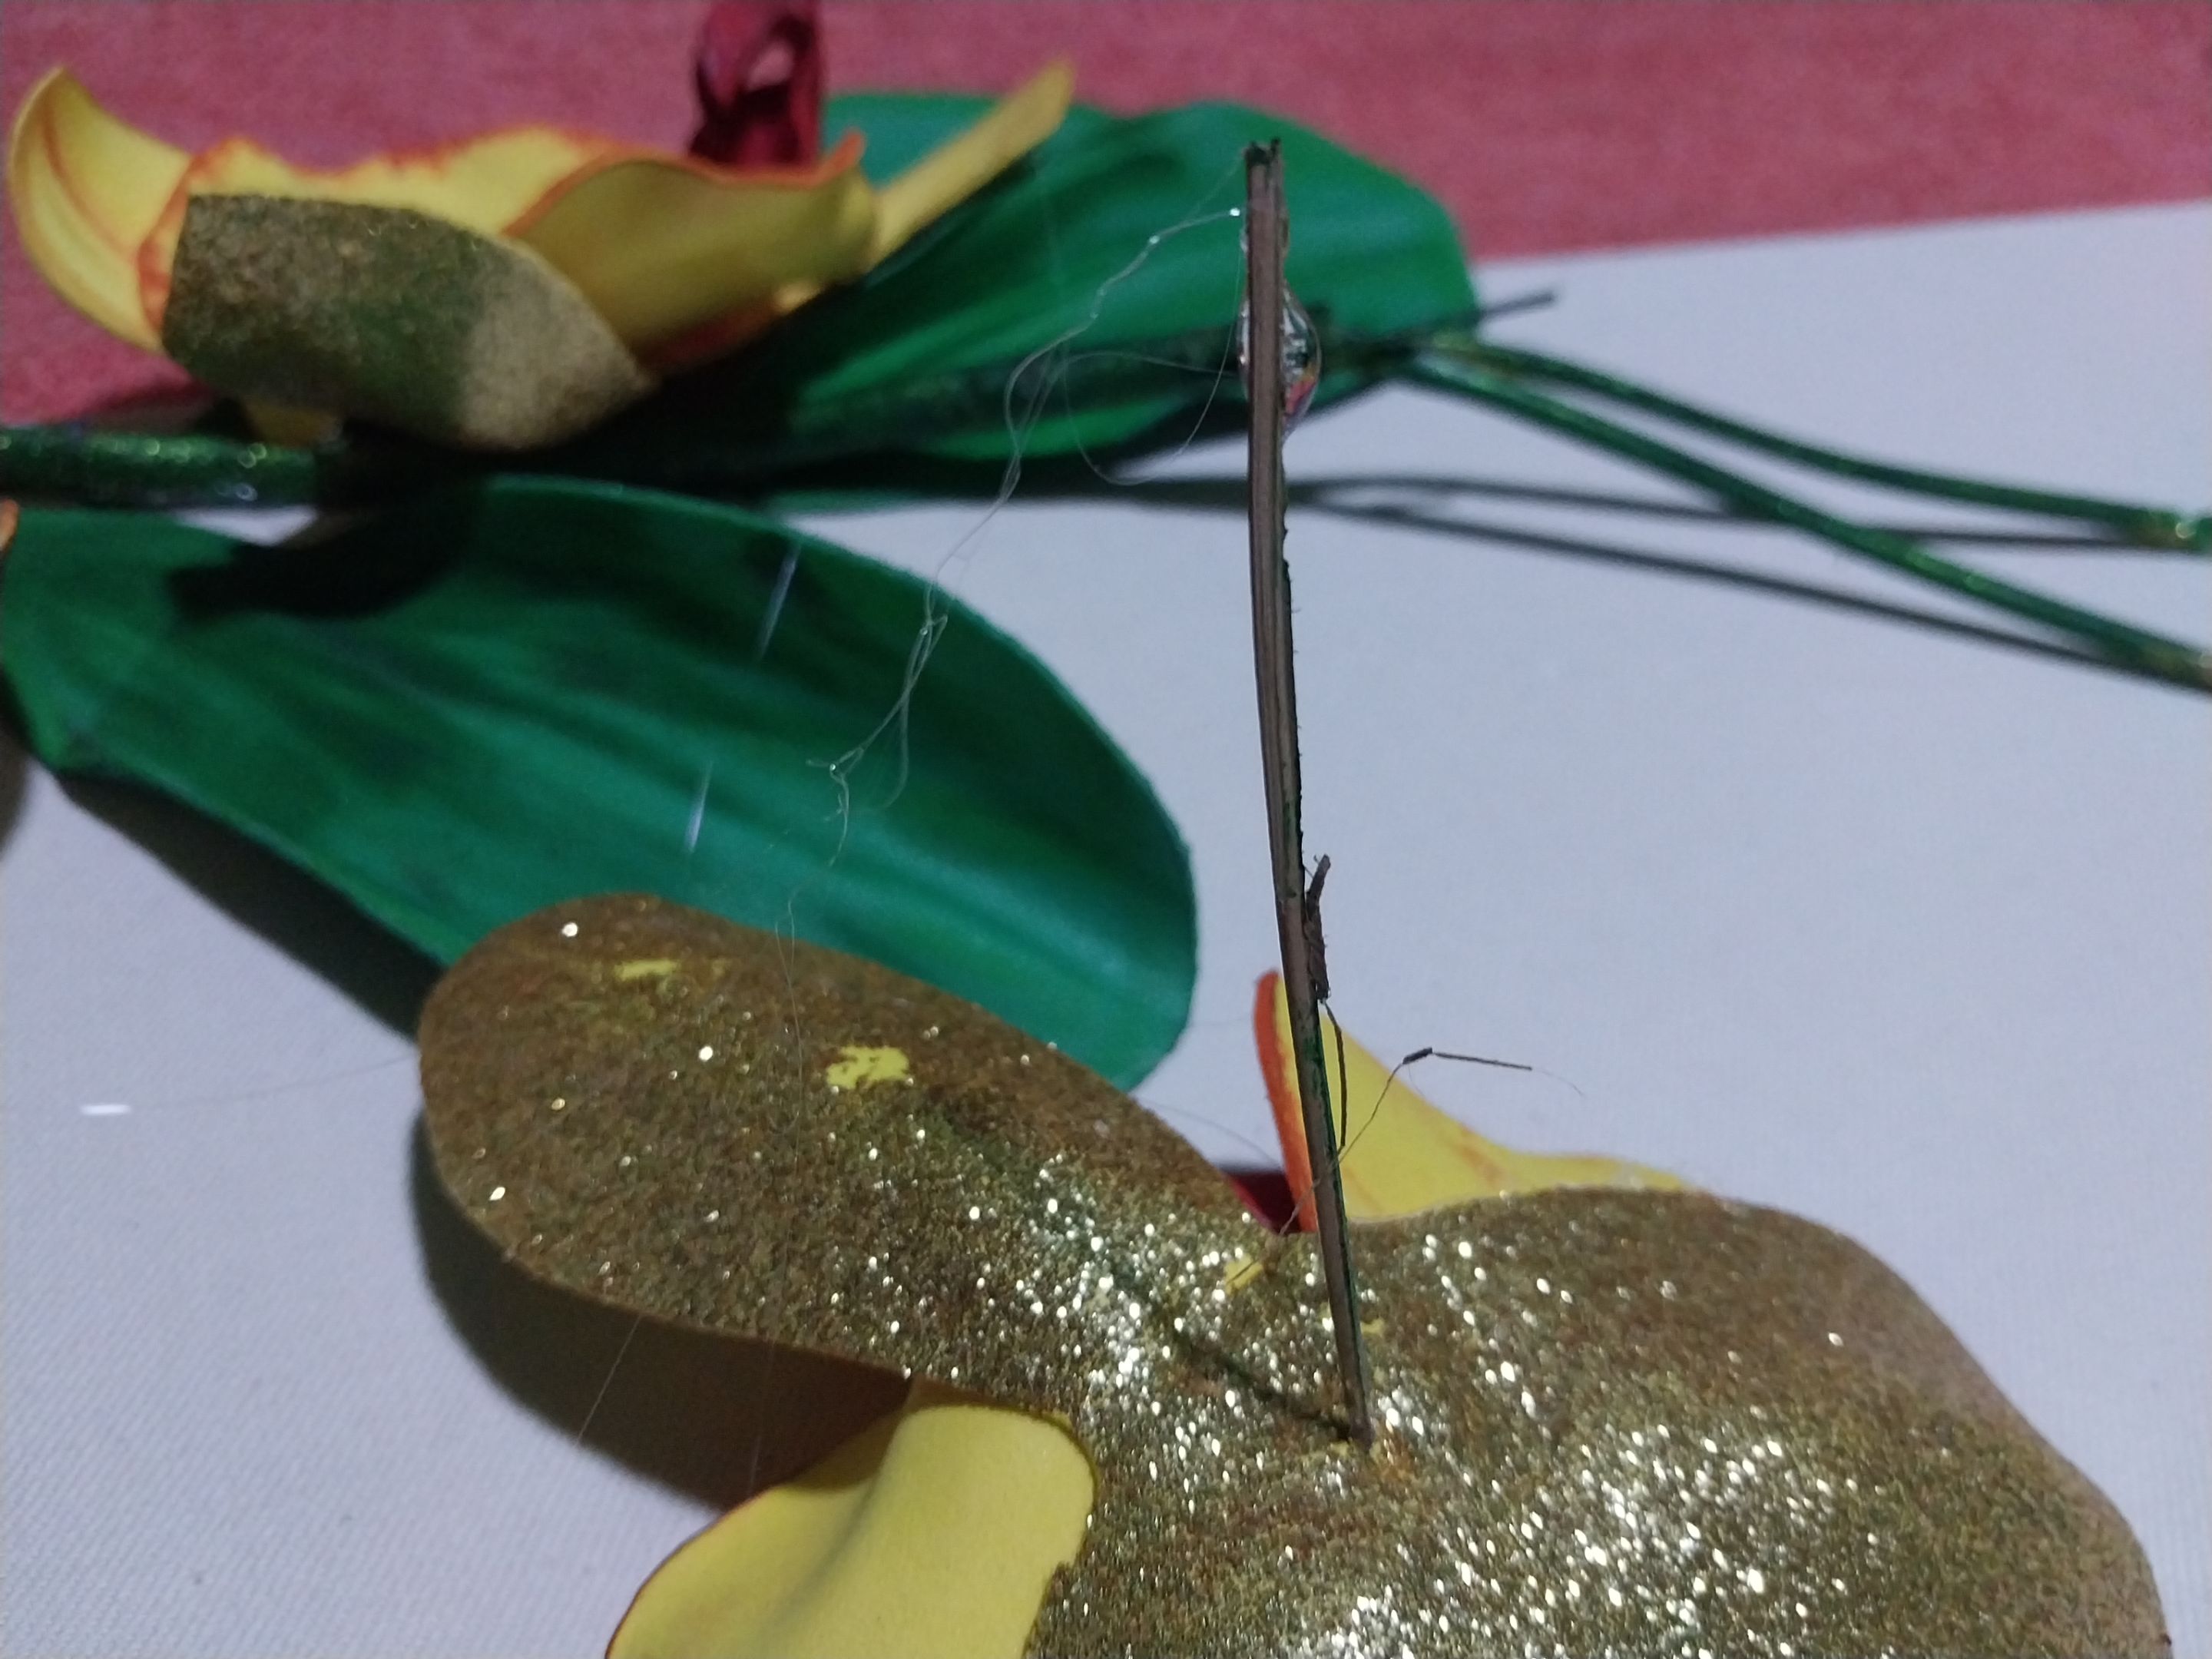
A algunas de las flores le he colocado Varillas de coco para hacer el tallo más largo.
12
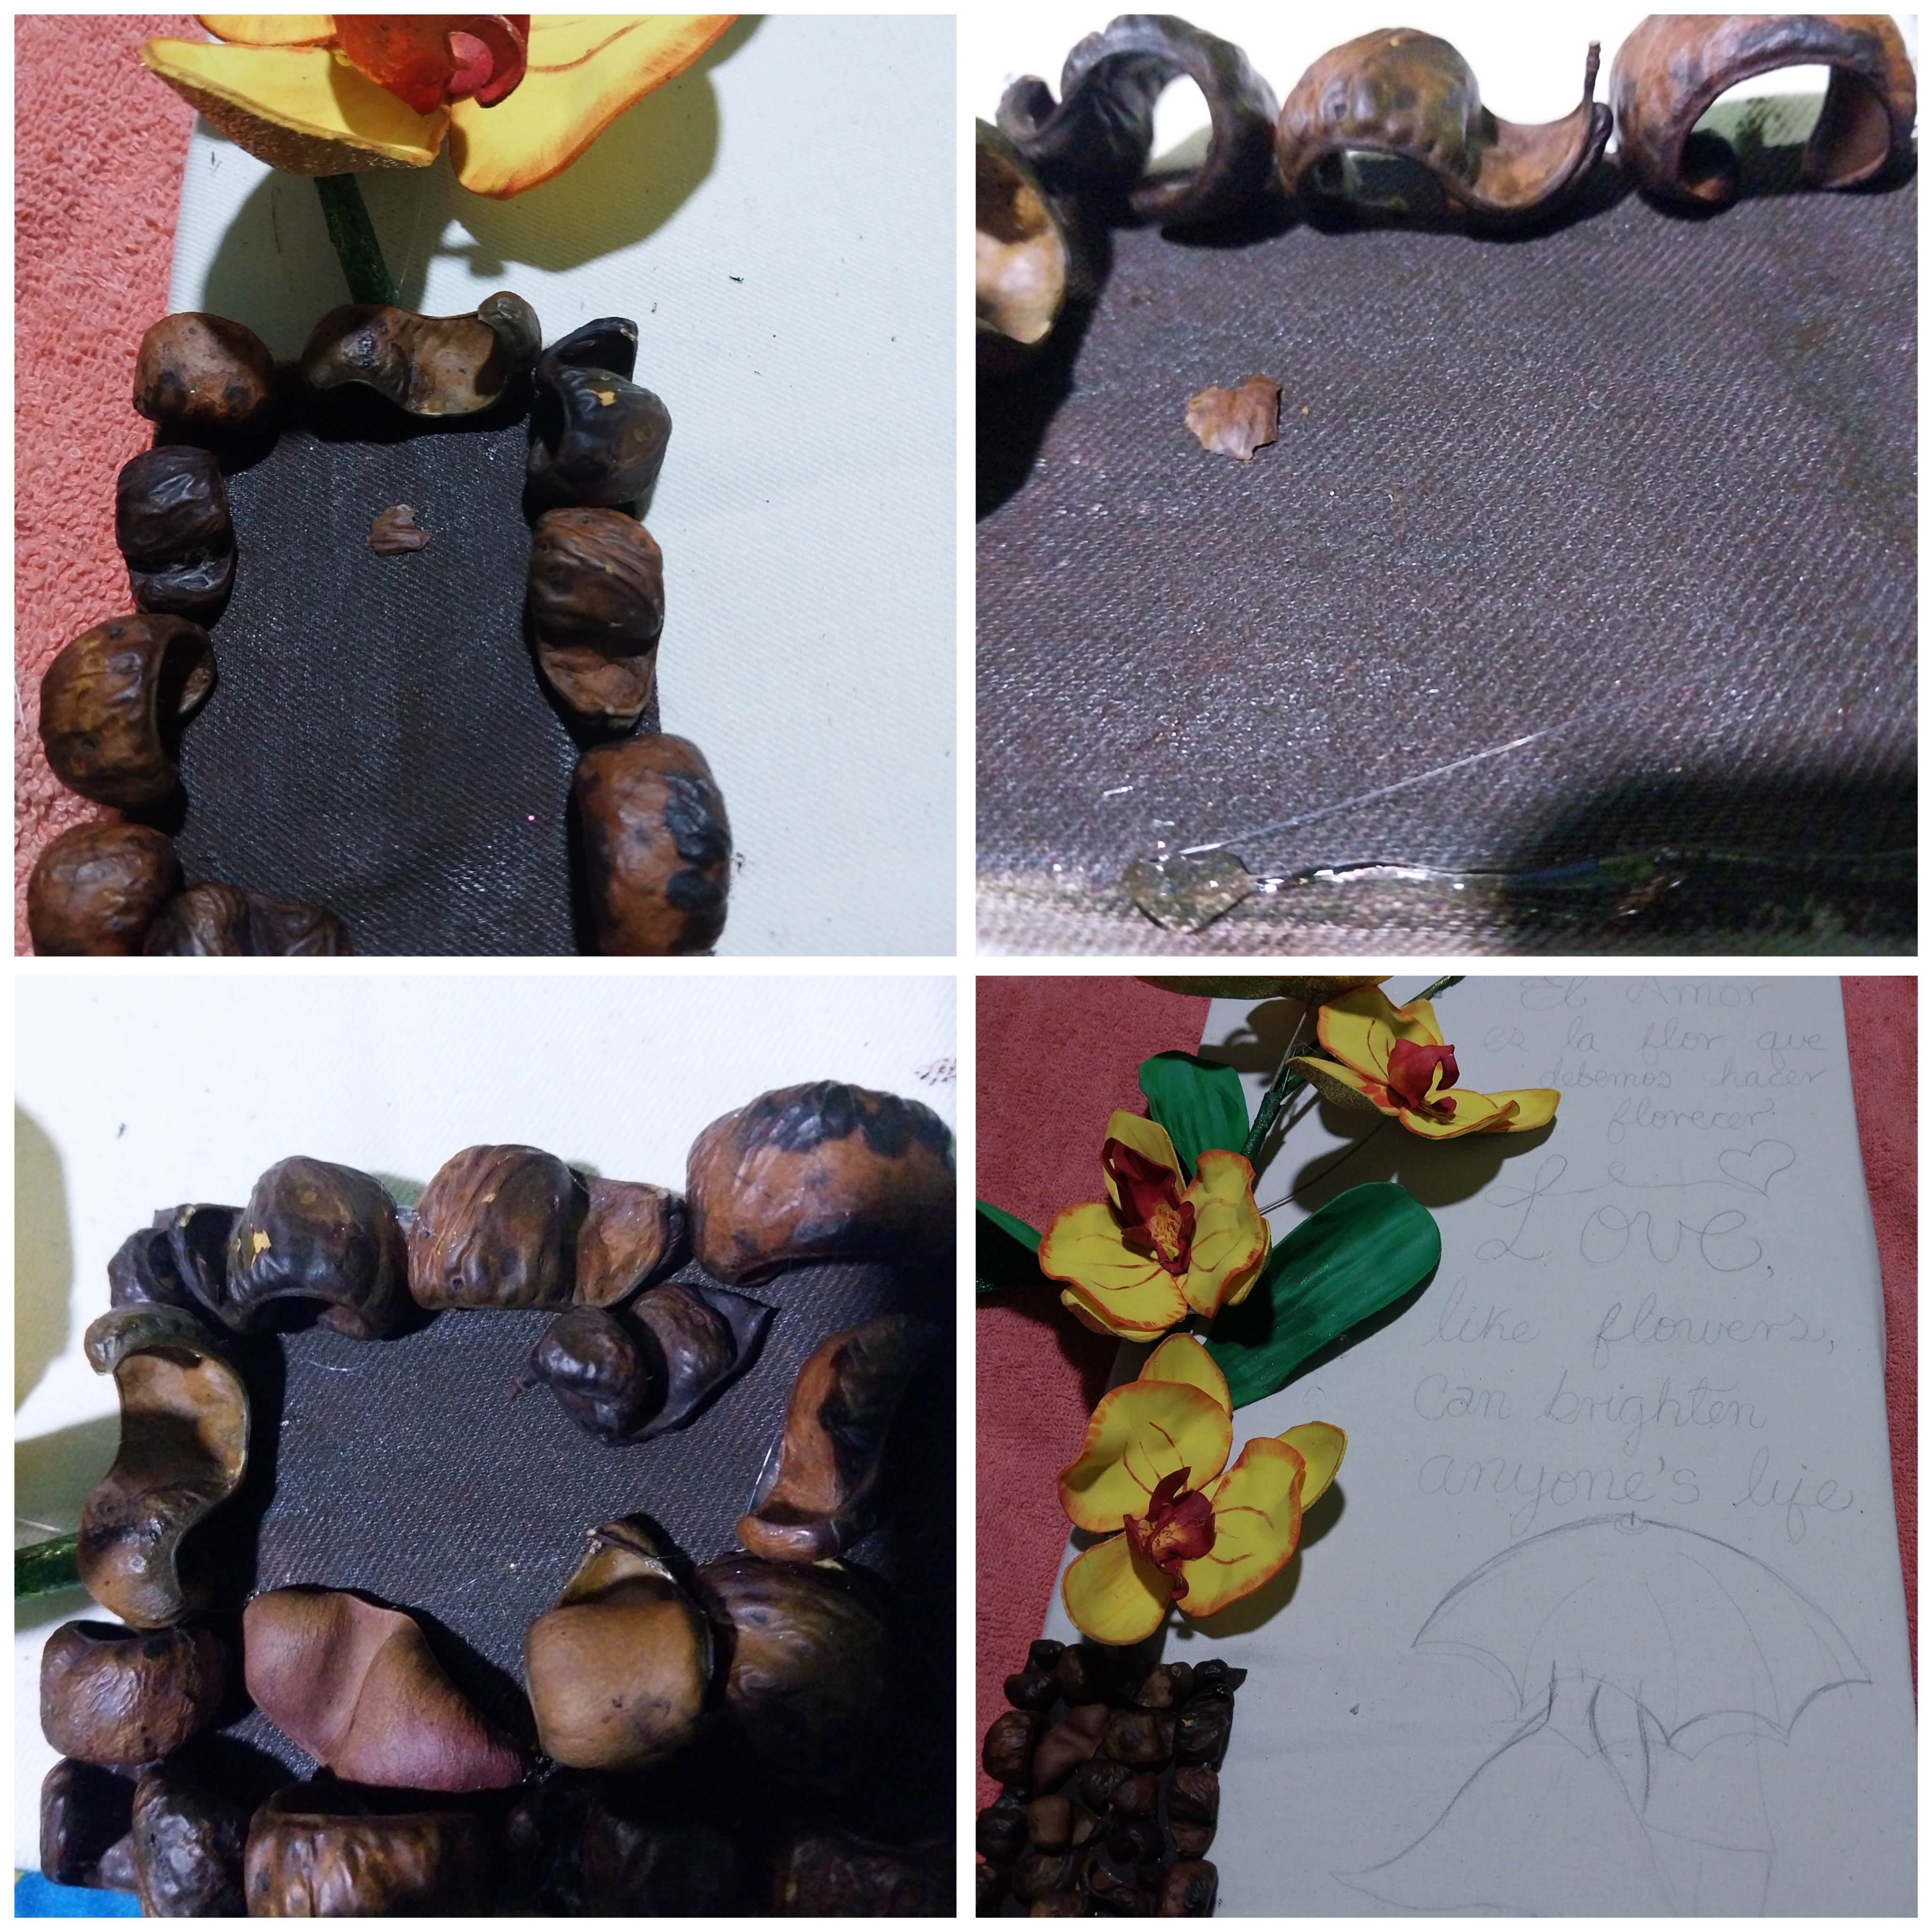
Luego hacemos una maceta, utilizamos el color marrón como fondo de este y luego vamos pegando las conchas de "divi divi" (pueden usar la semilla o la concha de su preferencia)
Seguidamente en el espacio en blanco he colocado un bonito mensaje alusivo al amor y a las flores. Y también hice una pareja de enamorados debajo de una sombrilla.
13
( )
)
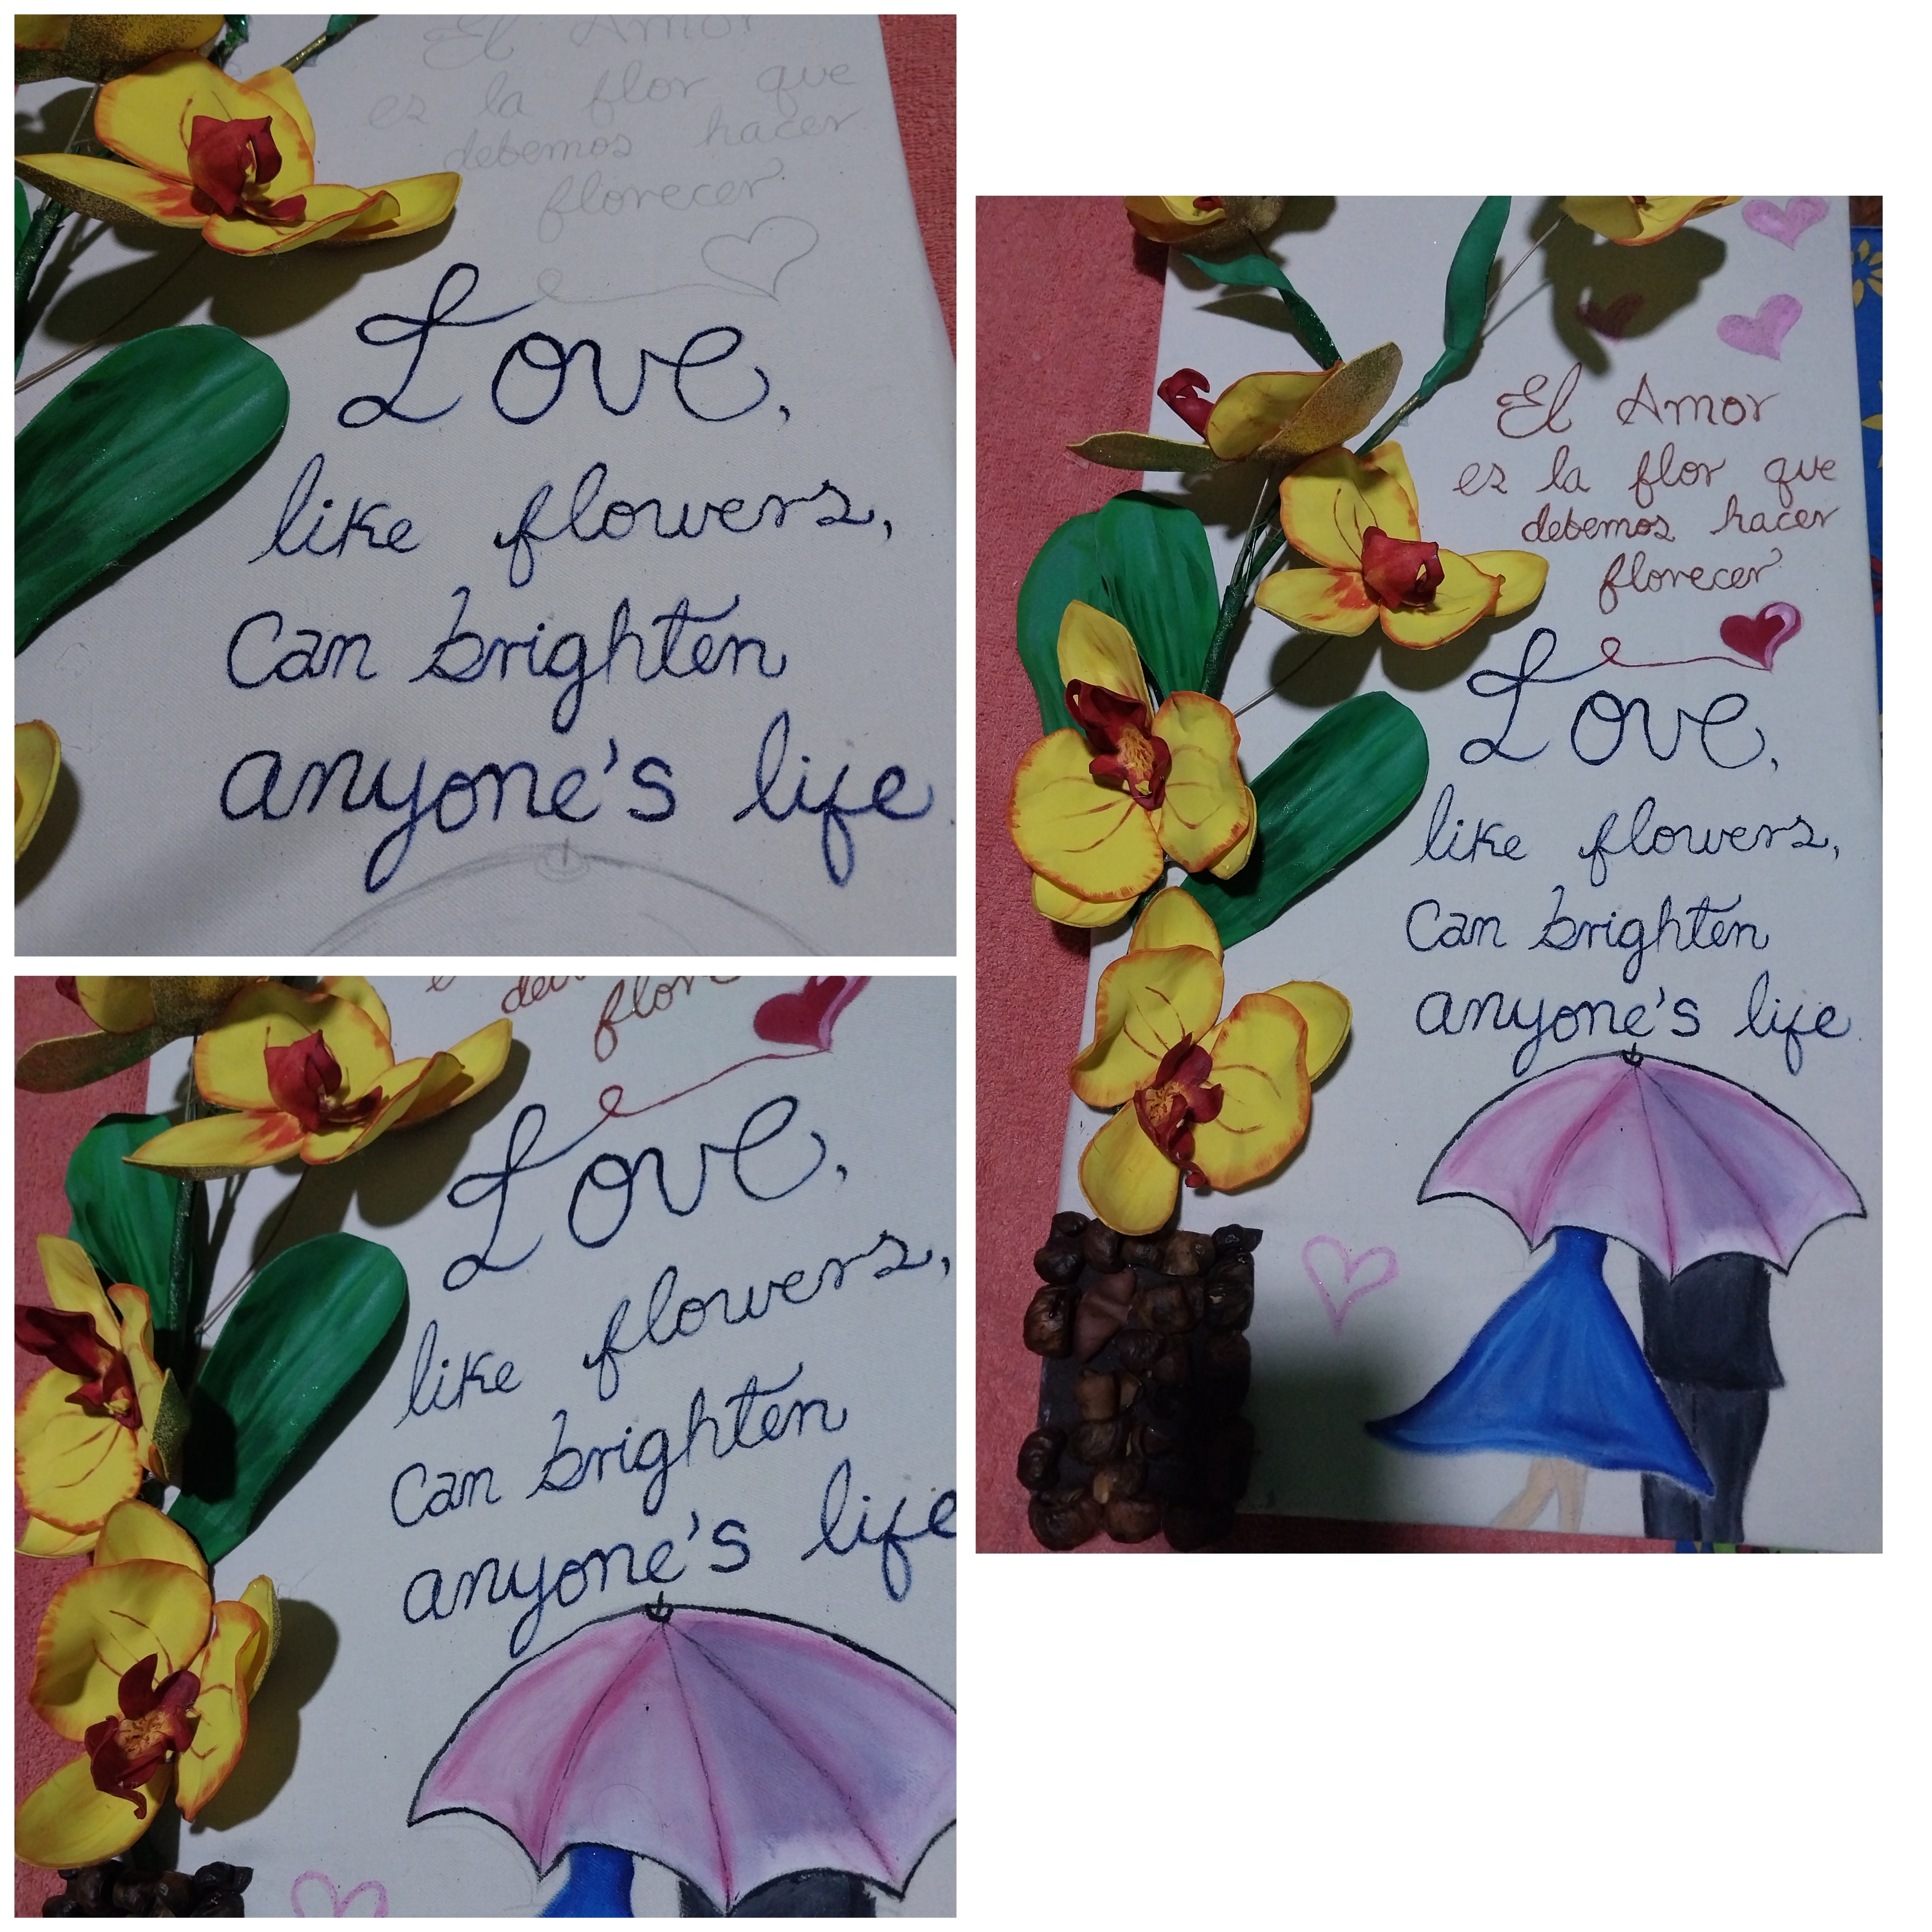
Por ultimo le damos color a las letras , al dibujo y hacemos algunos corazones.
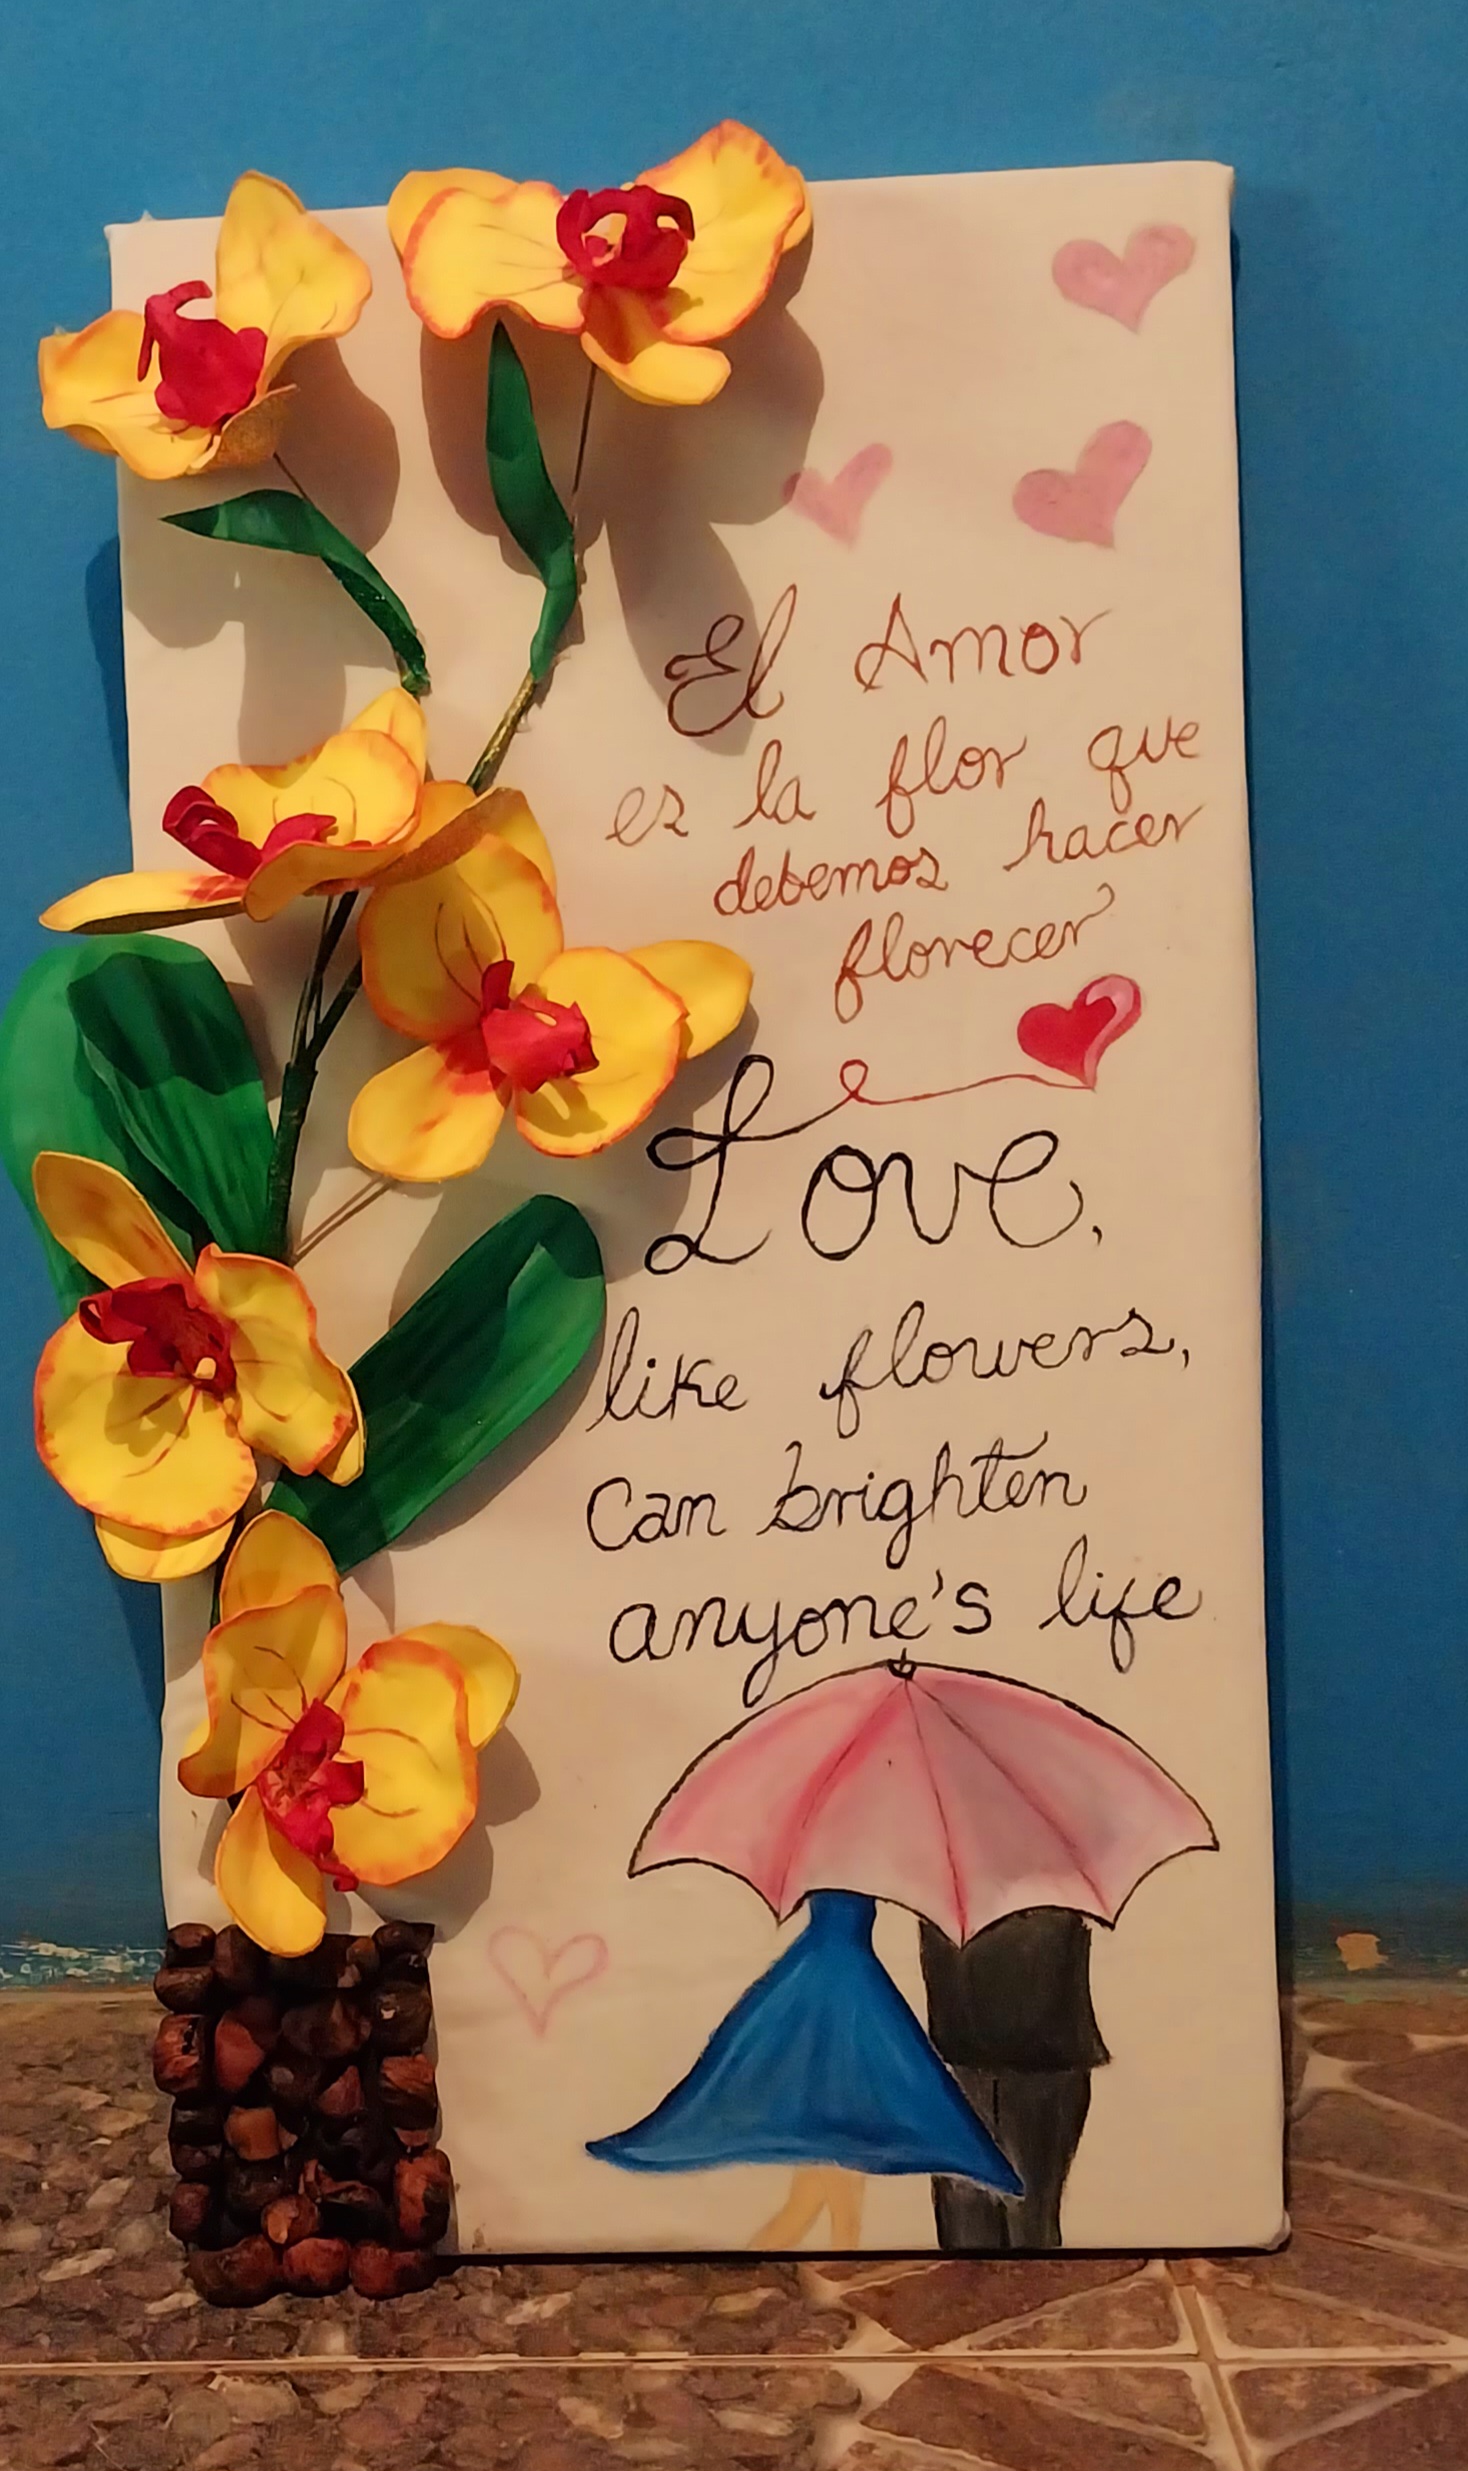
Este es el resultado final.
Muchas Gracias
Hello friends of Hive. I hope you are very well, in this the month of love I want to present you a beautiful floral relief painting dedicated to love.
Love is a key piece that invites us to grow and bloom like a flower 🌼. Just like a fragrant, beautiful flower love makes us better people.
So a universal symbol of love are flowers, that's why I present you this beautiful 3D painting in honor of love.
You will need the following materials:
- 4 yellow foamis and one green foamis
- silicon
- red, yellow, green, white, white, blue, brown and black paint
- wood
- sackcloth or banner fabric
- Divi-Divi" shells, you can also use coffee seeds, or any other seed that gives a 3D effect to our design.
- Sticks or sticks of a thin thickness.
- hair or clothes iron
Step by Step
1
We will start by making the foami flowers. For this we are going to make an orchid. This orchid is made up of three pieces. One part of three petals, then another piece of two round petals and the pistil.
We take the patterns and place them on the foami. From the 4 foamis we take 6 pieces of each pattern. That is 18 pieces in total.
2
From a brush we take the red paint to paint these pieces and leave an unpainted space near the end of the piece.
Then we take yellow paint and from the yellow circular center we make a few strokes outwards.
Next we must mark some red lines in the central part of the yellow circle.
3
Next we must take the piece of two petals and with the orange paint we must border the area of the petals. Then with the help of the brush from the edge we make some reflections only on the edge of these.
4
()
Next we take the petals of 3 and with orange paint we also border them and make some brushstrokes on the petals.
5
Then we take the green foami and on this we are going to mark some big leaves. Then we take the green paint and give some green shades to it.
6
Then we take the iron and shape our pistils. We must make the tips are inward and raised and to do this by placing them on the iron we wait 4 seconds and then press in the center.
7
We continue doing the same with the petals of three, but for these we must give an elongated and oval shape, for them we press a central line and along this.
8
For the oval petals we use our fingers to create oval waves and folds in them.
9
Then we join the pieces together.
The base of the flower is formed by the petals of three, then the oval petals of two and finally our red pistil.
10
We take the wood and on this we are going to glue the white fabric with the help of hot silicon.
Then we glue a green sticks, we can also use a dry branch or create this with sticks. We glue the rods with the hot silicon.
11
In this way we incorporate the flowers.
To some of the flowers I have placed coconut sticks to make the stem longer.
12
Then we make a pot, we use the brown color as a background and then we glue the "divi divi" shells (you can use the seed or the shell of your choice).
Then in the blank space I placed a nice message alluding to love and flowers. And I also made a couple in love under an umbrella.
13
()
Finally we give color to the letters, the drawing and make some hearts.
This is the final result.
Thank you very much
- Images belong to me
- Translator: Deepl Traslator
- Editing: Canva