Wednesday of Blessings, pleased to be able to be present here today with my colleagues from Needle
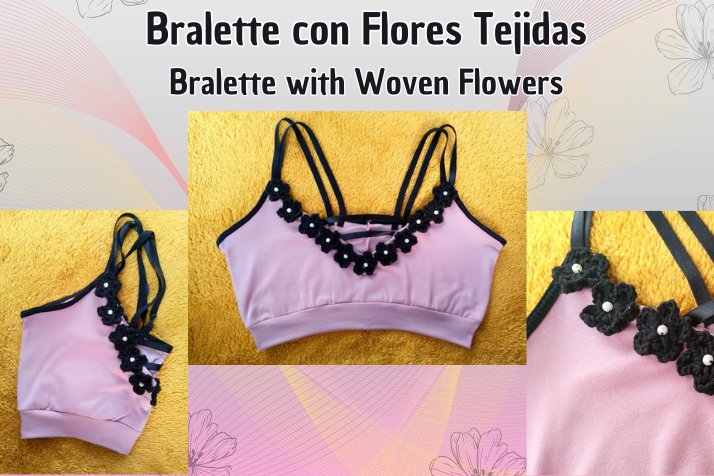
Hoy quiero compartir con ustedes una pequeña confección de un Bralette con detalles de flores tejidas. Lo he realizado a manera de encargo para una amiga, que deseaba una prenda de similitud, que fuese linda y cómoda. Les confieso que dudé en recibir el encargo, puesto que iba a ser mi primera vez elaborando una pieza como esta, pero asumí el reto con mucha paciencia y cuidado. Siempre es bueno experimentar cosas nuevas.
Today I want to share with you a small preparation of a Bralette with woven flower details. I made it as a commission for a friend, who wanted a similar garment that was cute and comfortable. I confess that I was hesitant to receive the commission, since it was going to be my first time creating a piece like this, but I took on the challenge with great patience and care. It's always good to experience new things.
Con la confección de este Bralette aprendí algunas cosas, como que el sesgo elástico tiene una manera peculiar al coserle, debe ser tirado un poco para que no se formen ondas. También que la lencería es algo muy entretenido de elaborar, la implementación de diversos detalles nos puede ayudar a crear un pieza única. Uno de los contratiempos que tuve para esta pieza es la ausencia del encaje, inicialmente hubiese preferido colocarle encaje elástico, más sin embargo en la única mercería del pueblo no había de este material. Para solventar dicha ausencia, opté por elaborar flores tejidas para colocarle por todo el detalle de busto.
With making this Bralette I learned a few things, like that the elastic bias has a peculiar way when sewn, it must be pulled a little so that waves do not form. Also, lingerie is something very fun to make, the implementation of various details can help us create a unique piece. One of the setbacks I had for this piece is the absence of lace, initially I would have preferred to put elastic lace on it, however the only haberdashery store in town did not have this material. To address this absence, I chose to make woven flowers to place all over the bust detail.
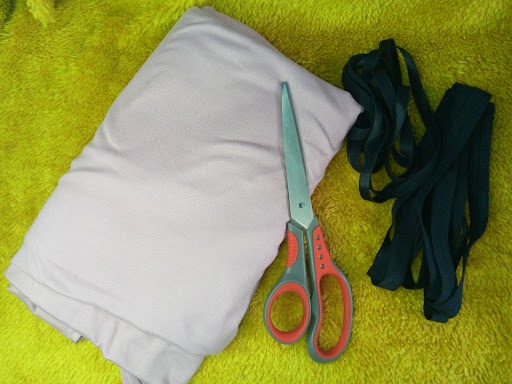
La chica que me ha encargado el Bralette me indicó que deseaba que fuese suave, algo bastante cómodo y que fuese ideal para colocársele en casa sin más nada sobre el mismo. Por ello, opté por una tela llamada Microdurazno Heavy, que es super suave, fresca y muy elástica. Adicionalmente usé Bretel, Sesgo elástico, hilo para tejer y perlas decorativas. El resultado me gustó mucho, porque a pesar mi primera confección de este tipo, considero que ha quedado muy linda y femenina.
The girl who ordered the Bralette from me told me that she wanted it to be soft, something quite comfortable and ideal for putting on at home without anything else on it. Therefore, I opted for a fabric called Micropeach Heavy, which is super soft, cool and very elastic. Additionally I used Bretel, Elastic bias, knitting thread and decorative beads. I really liked the result, because despite my first preparation of this type, I think it turned out very pretty and feminine.
 |  |
🌸🌸🌸🌸🌸🌸
Materiales
- Tela Microdurazno Heavy
- Bretel
- Sesgo Elástico
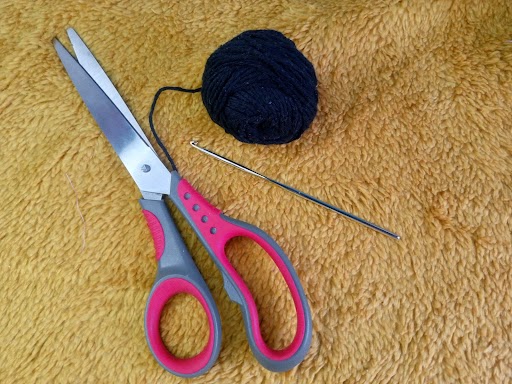
- Hilo pabilo para tejer las flores
- Perlas
- Aguja para tejer
- Tijera
- Máquina de coser - Hilos a tonos, negro y rosa
- Aguja e hilo, manual
Materials
- Micropeach Heavy Fabric
- Bretel
- Elastic Bias
- Wicker thread to weave the flowers
- Pearls
- Knitting needle
- Scissors
- Sewing machine - Tonal threads, black and pink
- Needle and thread, manual
 |  |
🌸🌸🌸🌸🌸🌸
Proceso de Creación / Creation Process
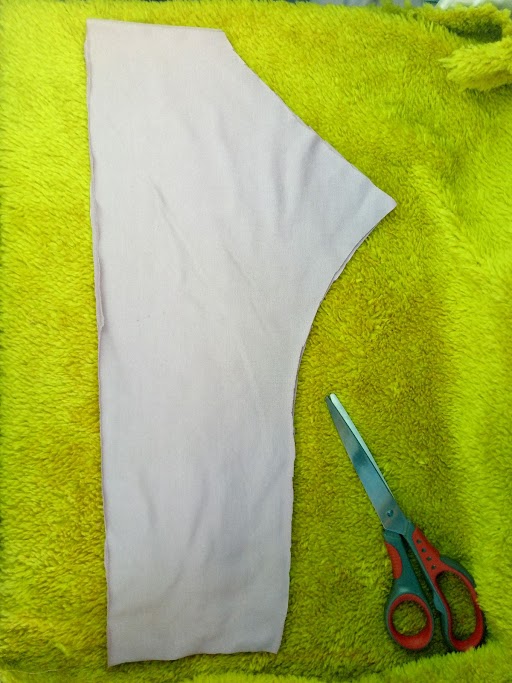
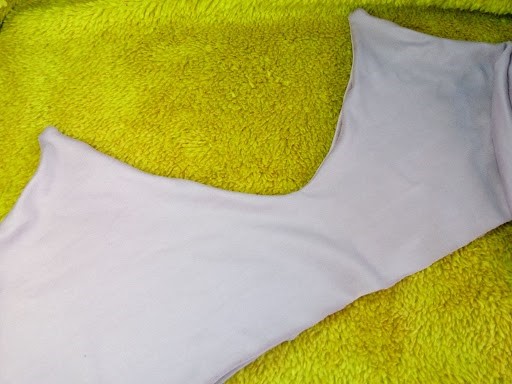
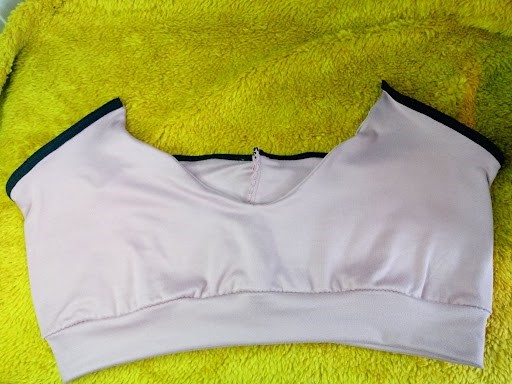
Cortamos dos piezas principales para el Bralette, idénticas. Para ello, he usado uno que me ha proporcionado mi clienta, lo coloqué a mitad desde el centro del busto y espalda, marqué y corté. También un listón que cubra el contorno de largo y tenga 10 cm de alto.
We cut two main pieces for the Bralette, identical. To do this, I used one that my client provided me, I placed it halfway from the center of the bust and back, marked and cut. Also a ribbon that covers the entire length and is 10 cm high.
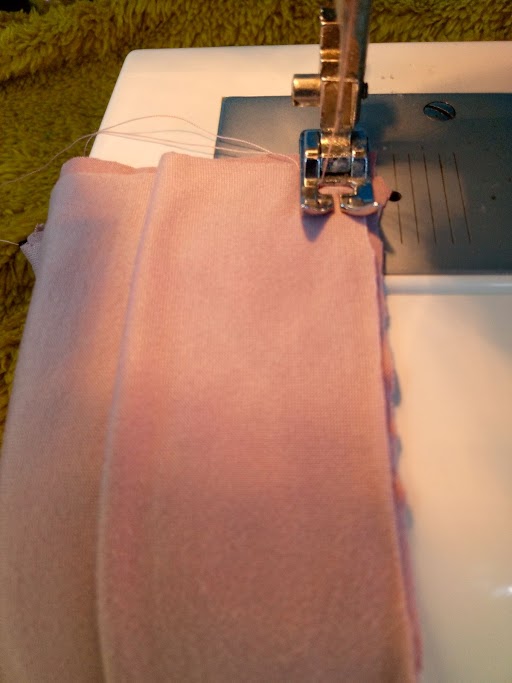
Enfrentaremos derechos de las piezas y con una puntada en Zig Zag, la más grande que tenga nuestra máquina, coseremos el contorno superior para unir ambas piezas.
We will face the pieces right side up and with a Zig Zag stitch, the largest our machine has, we will sew the upper contour to join both pieces.
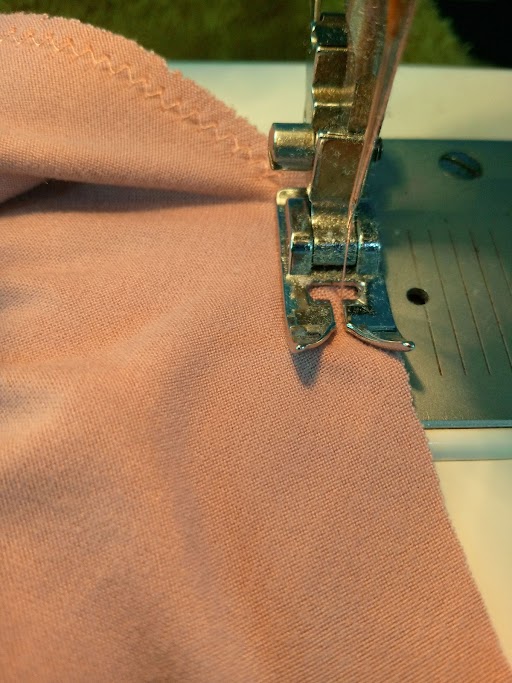 |  |
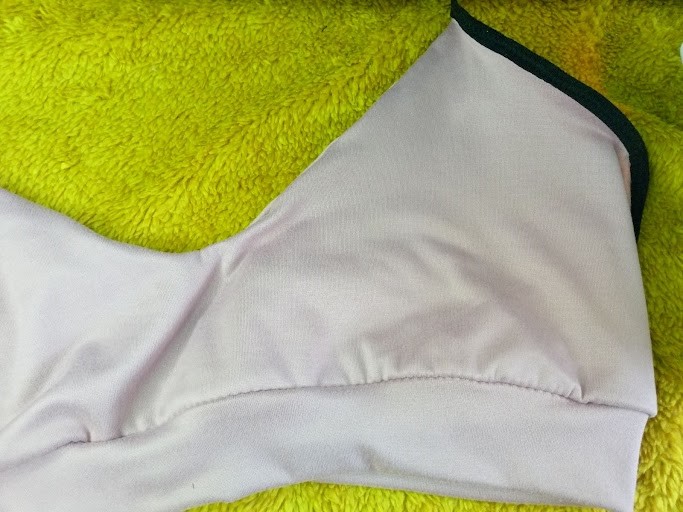
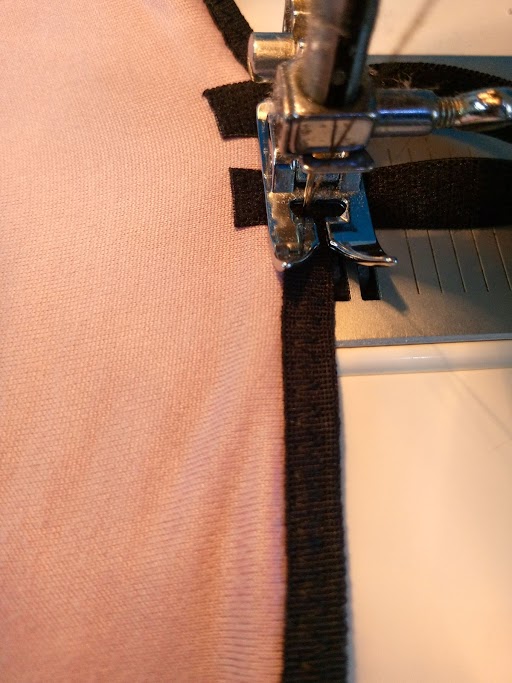
Volteamos la pieza e iniciamos a colocar el sesgo, por todo el contorno superior. Exceptuando el centro del escote.
We turn the piece over and begin to place the bias, along the entire upper contour. Except for the center of the neckline.

El paso siguiente ahora es colocar el listón en la parte inferior. Enfrentamos derechos y unimos con puntada de Zig Zag. Cortaremos excedentes para que nos quede más prolijo.
The next step now is to place the ribbon at the bottom. We face right sides and join with a Zig Zag stitch. We will cut excess so that it is neater.
 |  |
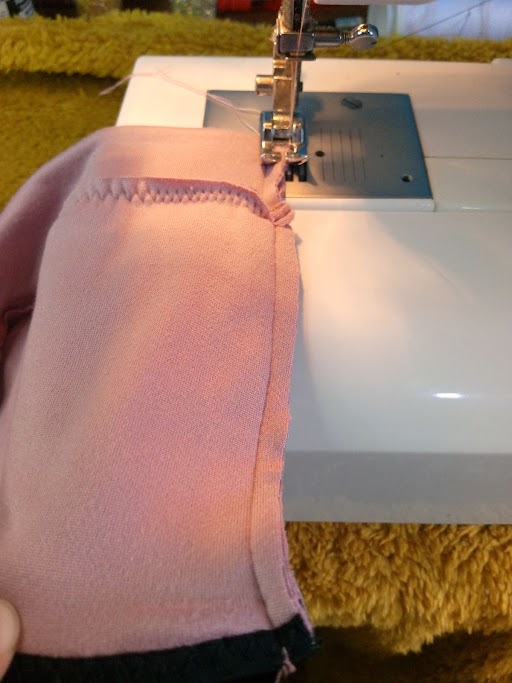
Cerramos la parte trasera para unir, con costura recta y rematamos con un falso Over o zig zag.
We close the back part to join, with a straight seam and finish with a false Over or zig zag.
 |  |
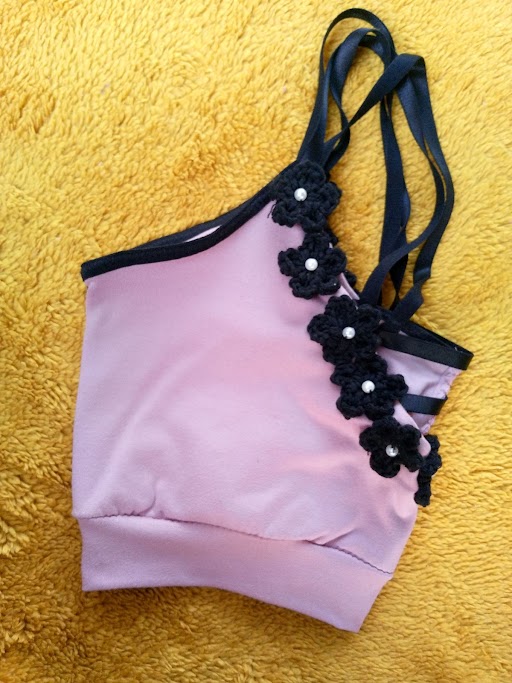
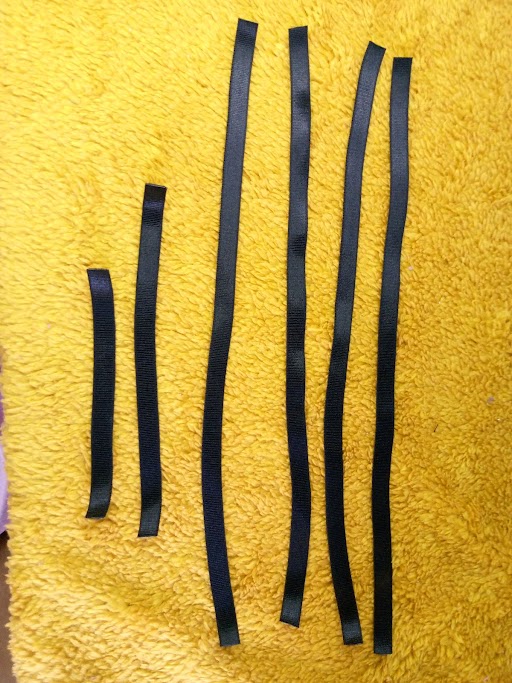
Medimos ahora los tirantes, para colocarlos de manera fija con costura. Le he colocado dos de cada lado y dos que atraviesan el escote del busto.
We now measure the straps, to place them firmly with sewing. I have placed two on each side and two that cross the neckline of the bust.
 |  |
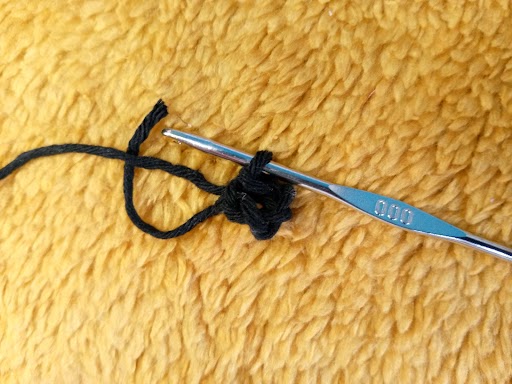
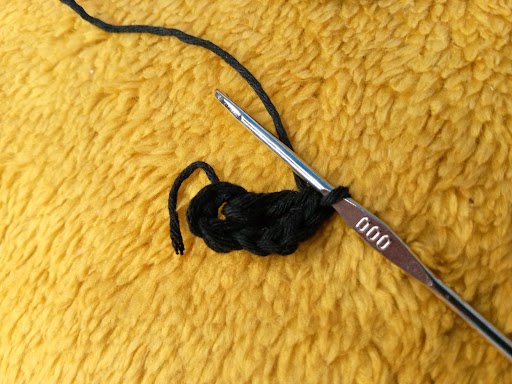
Teniendo listo el Bralette procederemos a tejer las flores, que he hecho usando los siguientes puntos:
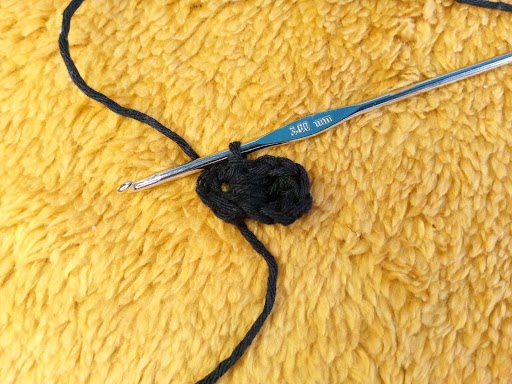
1 Aro + 4 cadenetas + Punto deslizado uniendo primero con último. Pétalo: dos cadenetas de altura + dos varetas + dos cadenetas y se unen a la base del aro. Así formaremos cada pétalo. repetimos el proceso hasta obtener 5 pétalos por cada flor.
Having ready the Bralette we will proceed to knit the flowers, which I have done using the following stitches:
1 Hoop + 4 chains + Slip stitch joining first to last. Petal: two chains high + two double crochets + two chains and join to the base of the hoop. This is how we will form each petal. We repeat the process until we obtain 5 petals for each flower.
 |  |
 | 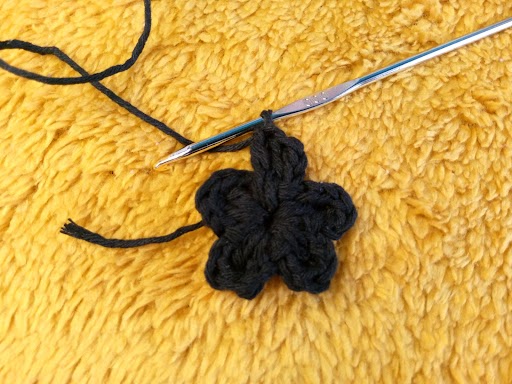 |
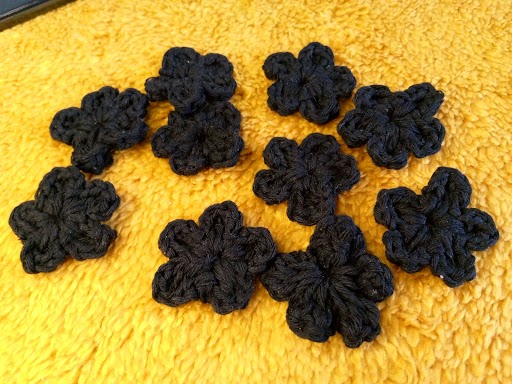
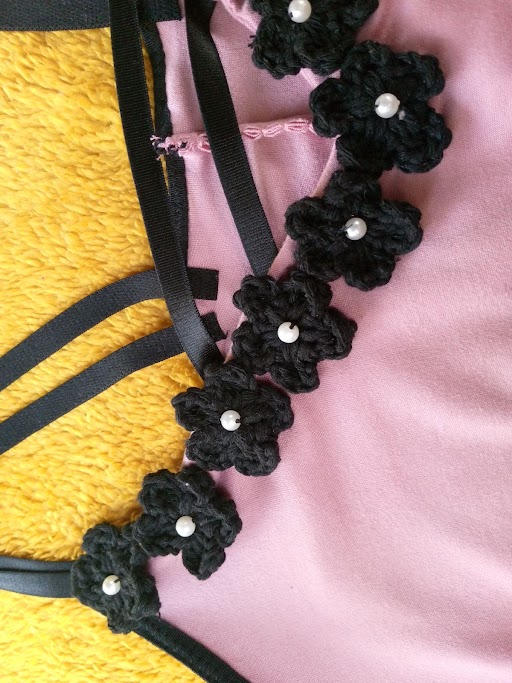
En total hice 11 flores tejidas, estas abarcaran todo el centro del escote del busto. He cosido cada flor con aguja e hilo de manera manual.
In total I made 11 woven flowers, these will cover the entire center of the neckline of the bust. I have sewn each flower with a needle and thread manually.
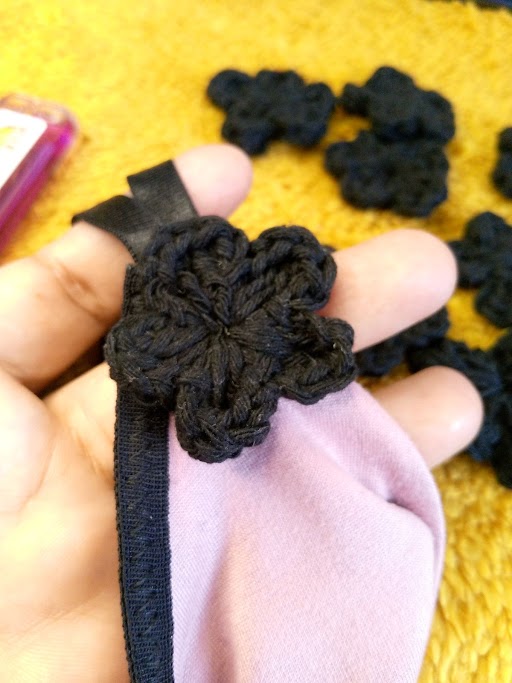
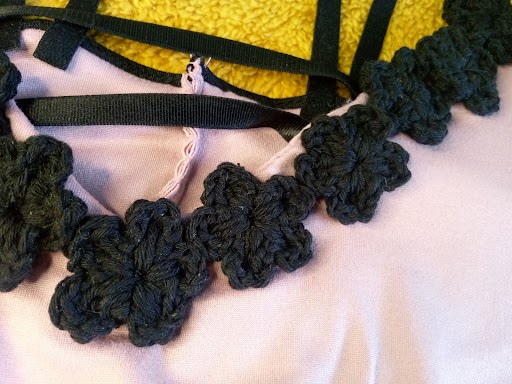
Por último cosemos las perlas en el centro de cada flor
Finally we sew the pearls in the center of each flower

🌸🌸🌸🌸🌸🌸
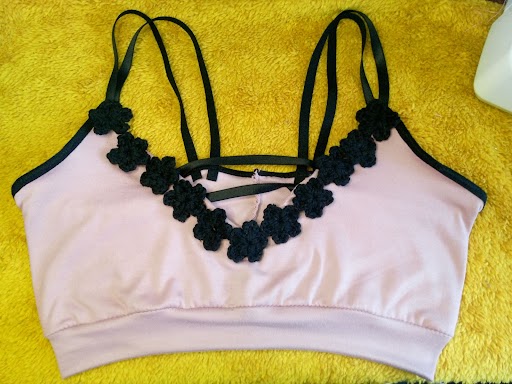
Resultado / Result :
🌸🌸🌸🌸🌸🌸
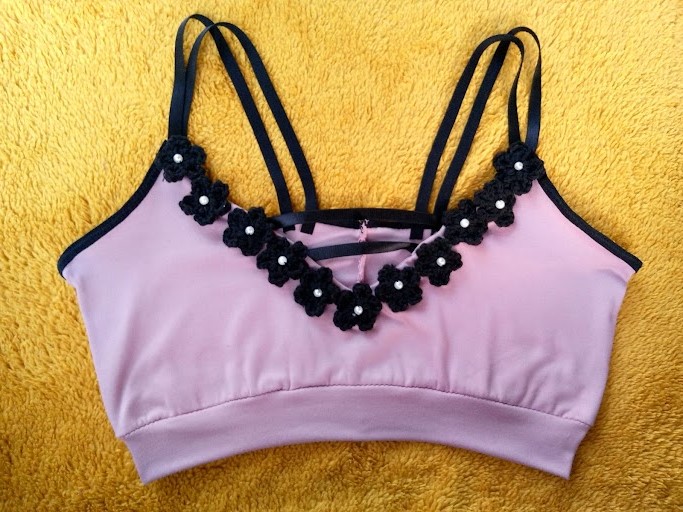
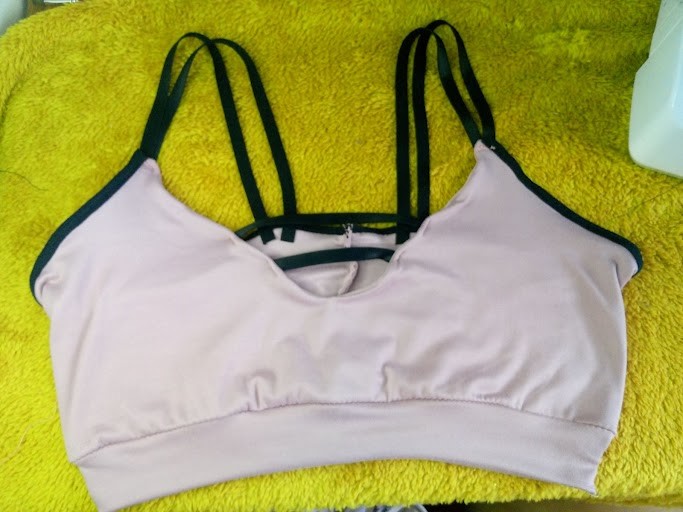
El resultado me ha gustado mucho, a mi clienta le encantó. Me dijo que había quedado asombrada por lo lindo que habían resultado las flores. Me felicitó por la improvisación, por habérmela ingeniado buscando una alternativa más linda y personalizada.
¡Y hasta aquí el proyecto del día! Espero les haya gustado tanto como a mí.
Si tienes alguna duda o sugerencia, no dudes en dejar un comentario. Las fotos que he colocado a lo largo del texto, las he tomado desde mi móvil Infinix.
¡Hasta la próxima!, tengan todos un bendecido día cargado de salud, paz y amor.
I really liked the result, my client loved it. She told me that she had been amazed by how pretty the flowers had turned out. She congratulated me on the improvisation, for having managed to find a more beautiful and personalized alternative.
And that's it for the project of the day! I hope you liked it as much as I did.
If you have any questions or suggestions, don't hesitate to leave a comment. The photos that I have placed throughout the text were taken from my Infinix mobile.
Until next time, everyone have a blessed day full of health, peace and love.