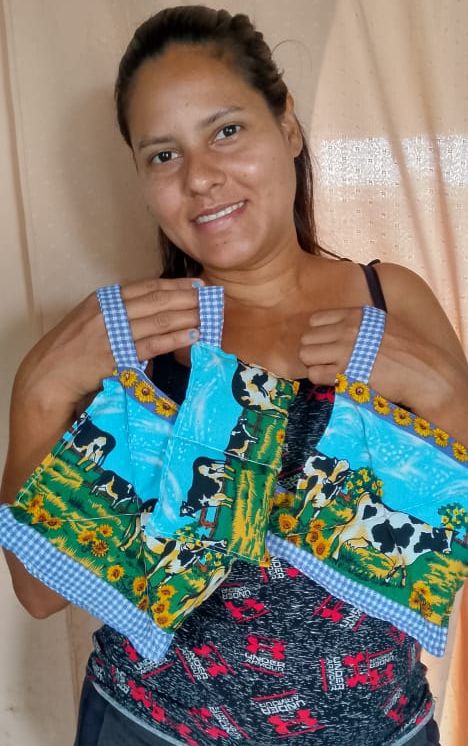
Un cordial saludo a todos los miembros de esta maravillosa comunidad de Hive. Me alegra mucho estar de nuevo en línea para mostrarles un nuevo proyecto que he creado. Les traigo una idea genial y muy útil para la cocina: estos lindos y prácticos agarradores nos facilitarán mucho el manejo de ollas, calderos, sartenes y demás utensilios. Así, no nos quemaremos las manos, y lo mejor de todo, requiere muy pocos materiales y se hace en pasos sencillos. Sin más preámbulos, los invito a disfrutar del siguiente material.
Warm greetings to all the members of this wonderful hive community. I'm very happy to be back online to show you a new project I've created this time. I'm bringing you a great and very useful idea for the kitchen: these cute and practical pot holders will make it much easier for us to handle our pots, cauldrons, pans, and other utensils. This way, we won't burn our hands, and best of all, it requires very few materials and is done in simple steps. Without further ado, I invite you to enjoy the following material.
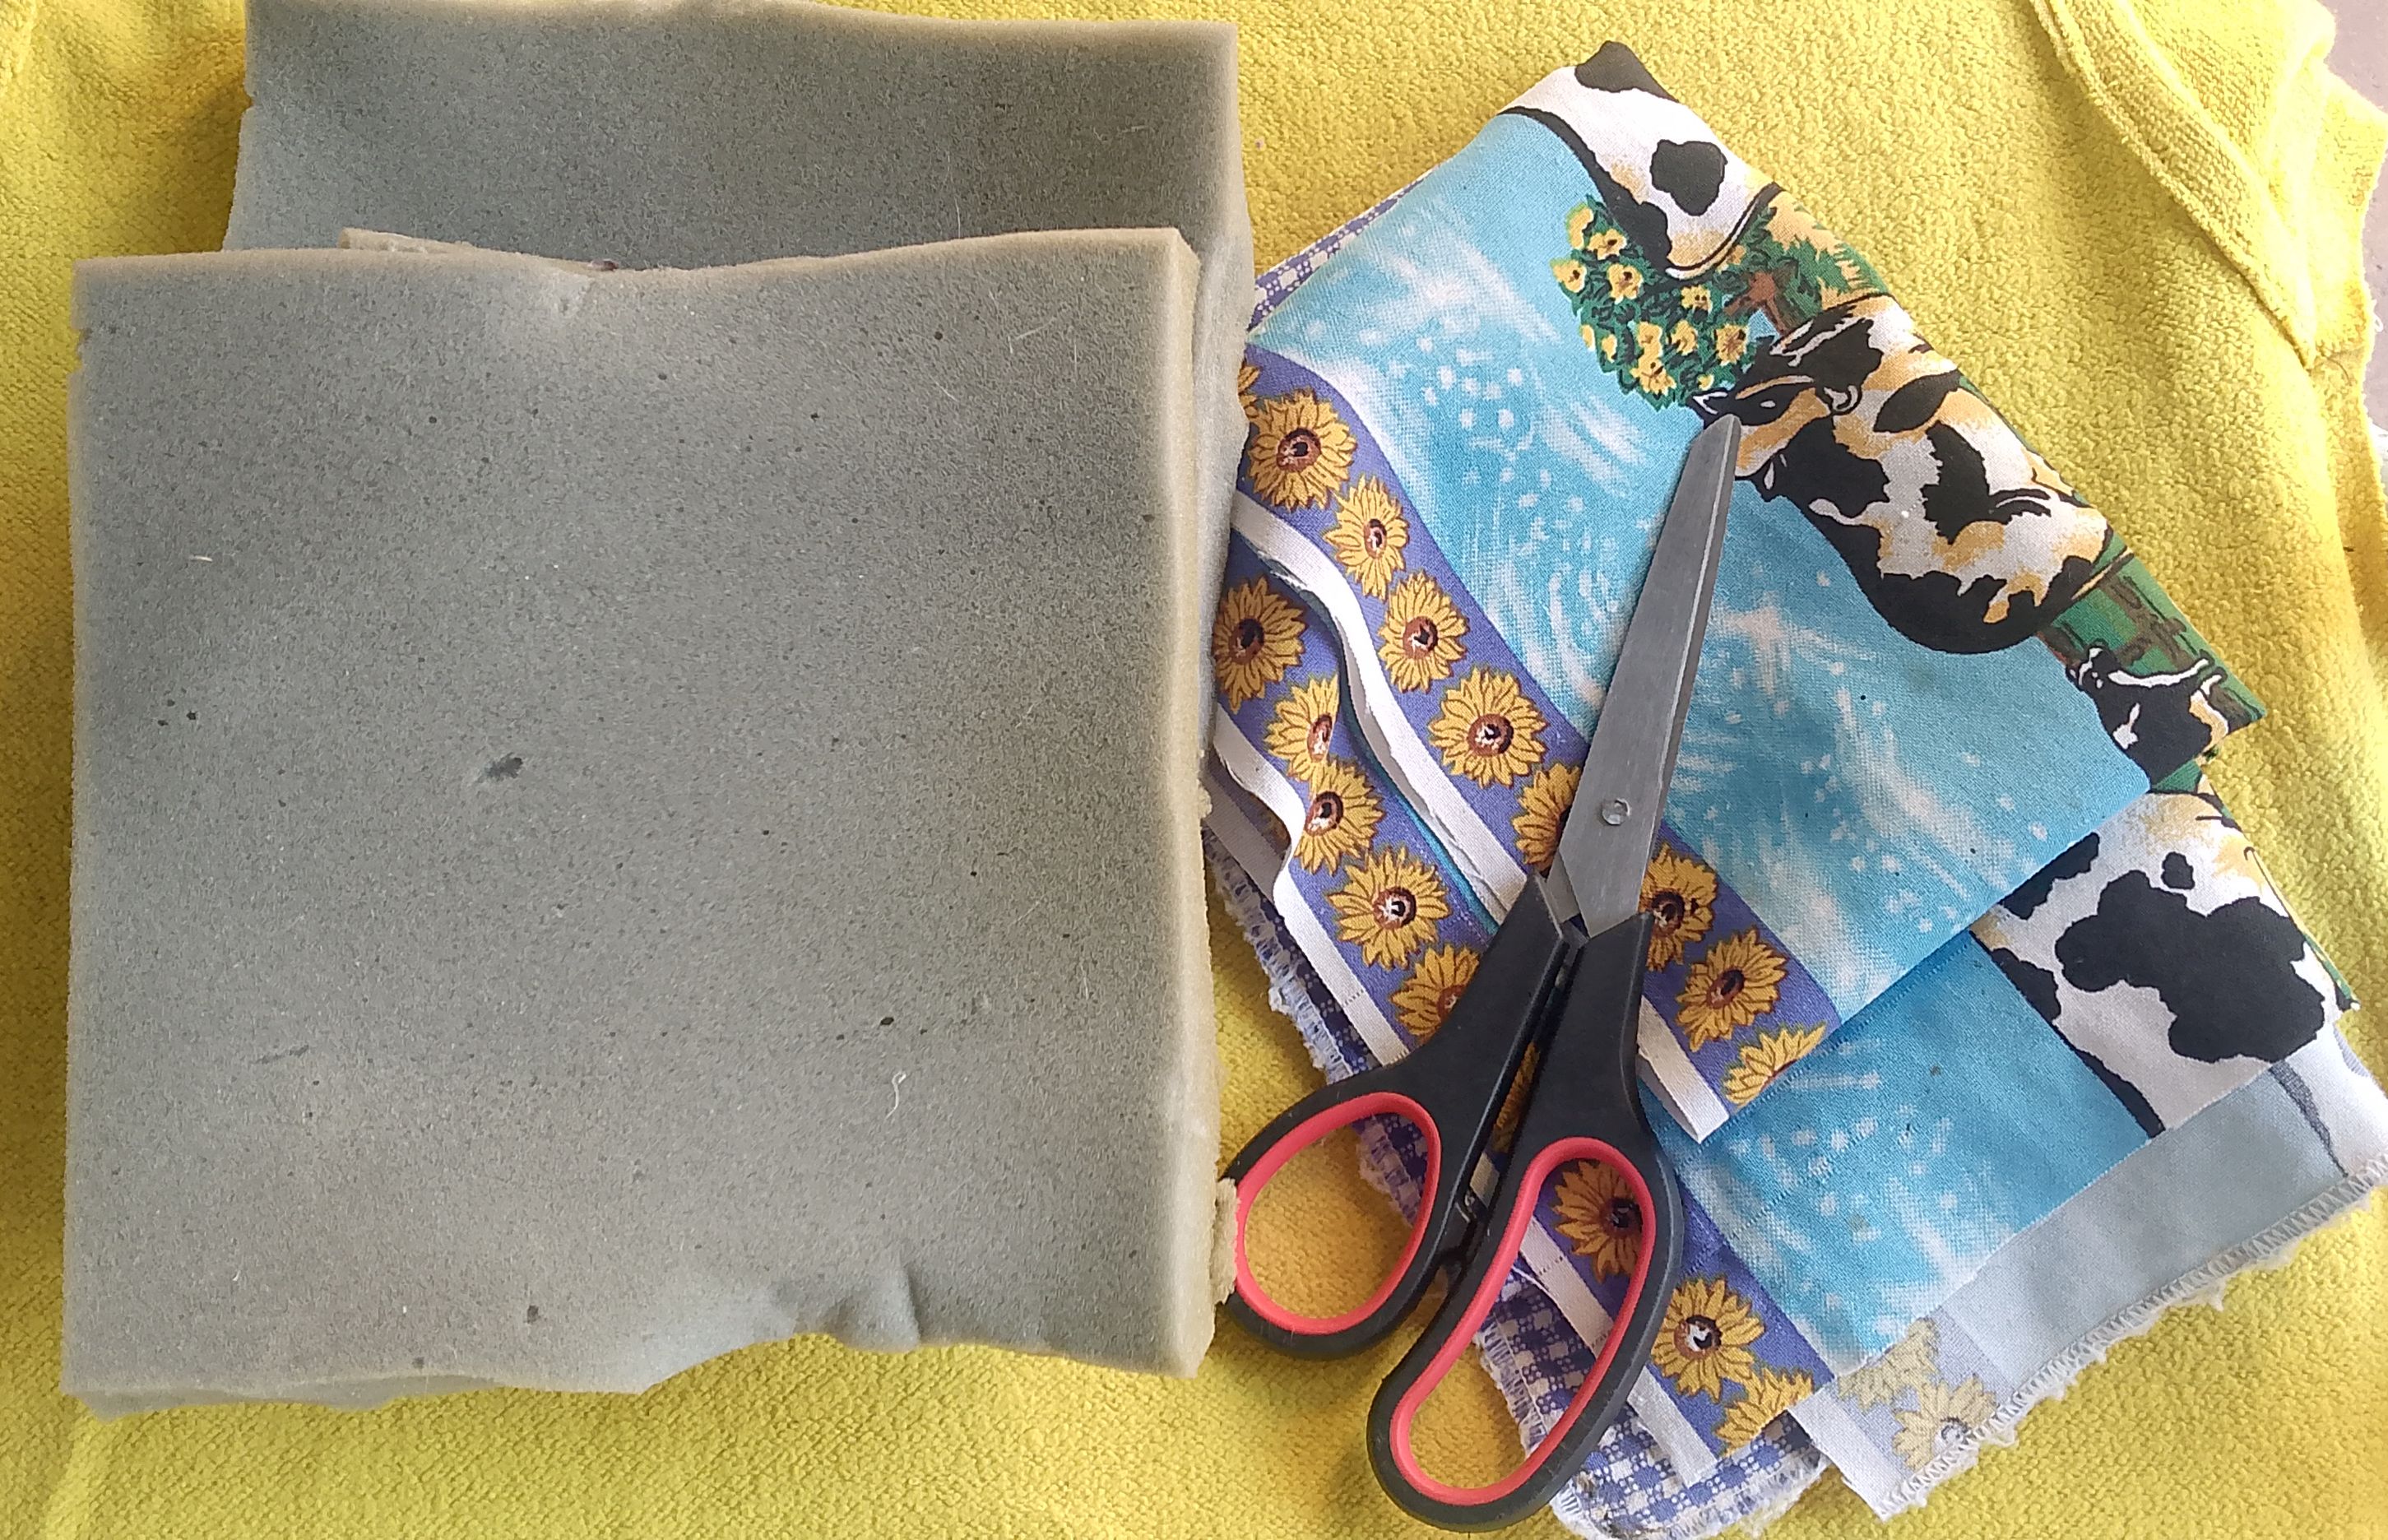
Se necesitaran:
- Esponja.
- Tijera.
- Aguja e hilo.
- Tela del diseño y color de su preferencia.
You will need:
- Sponge.
- Scissors.
- Needle and thread.
- Fabric in the design and color of your choice.
*COMENCEMOS CON EL PROCESO DE FABRICACIÓN:
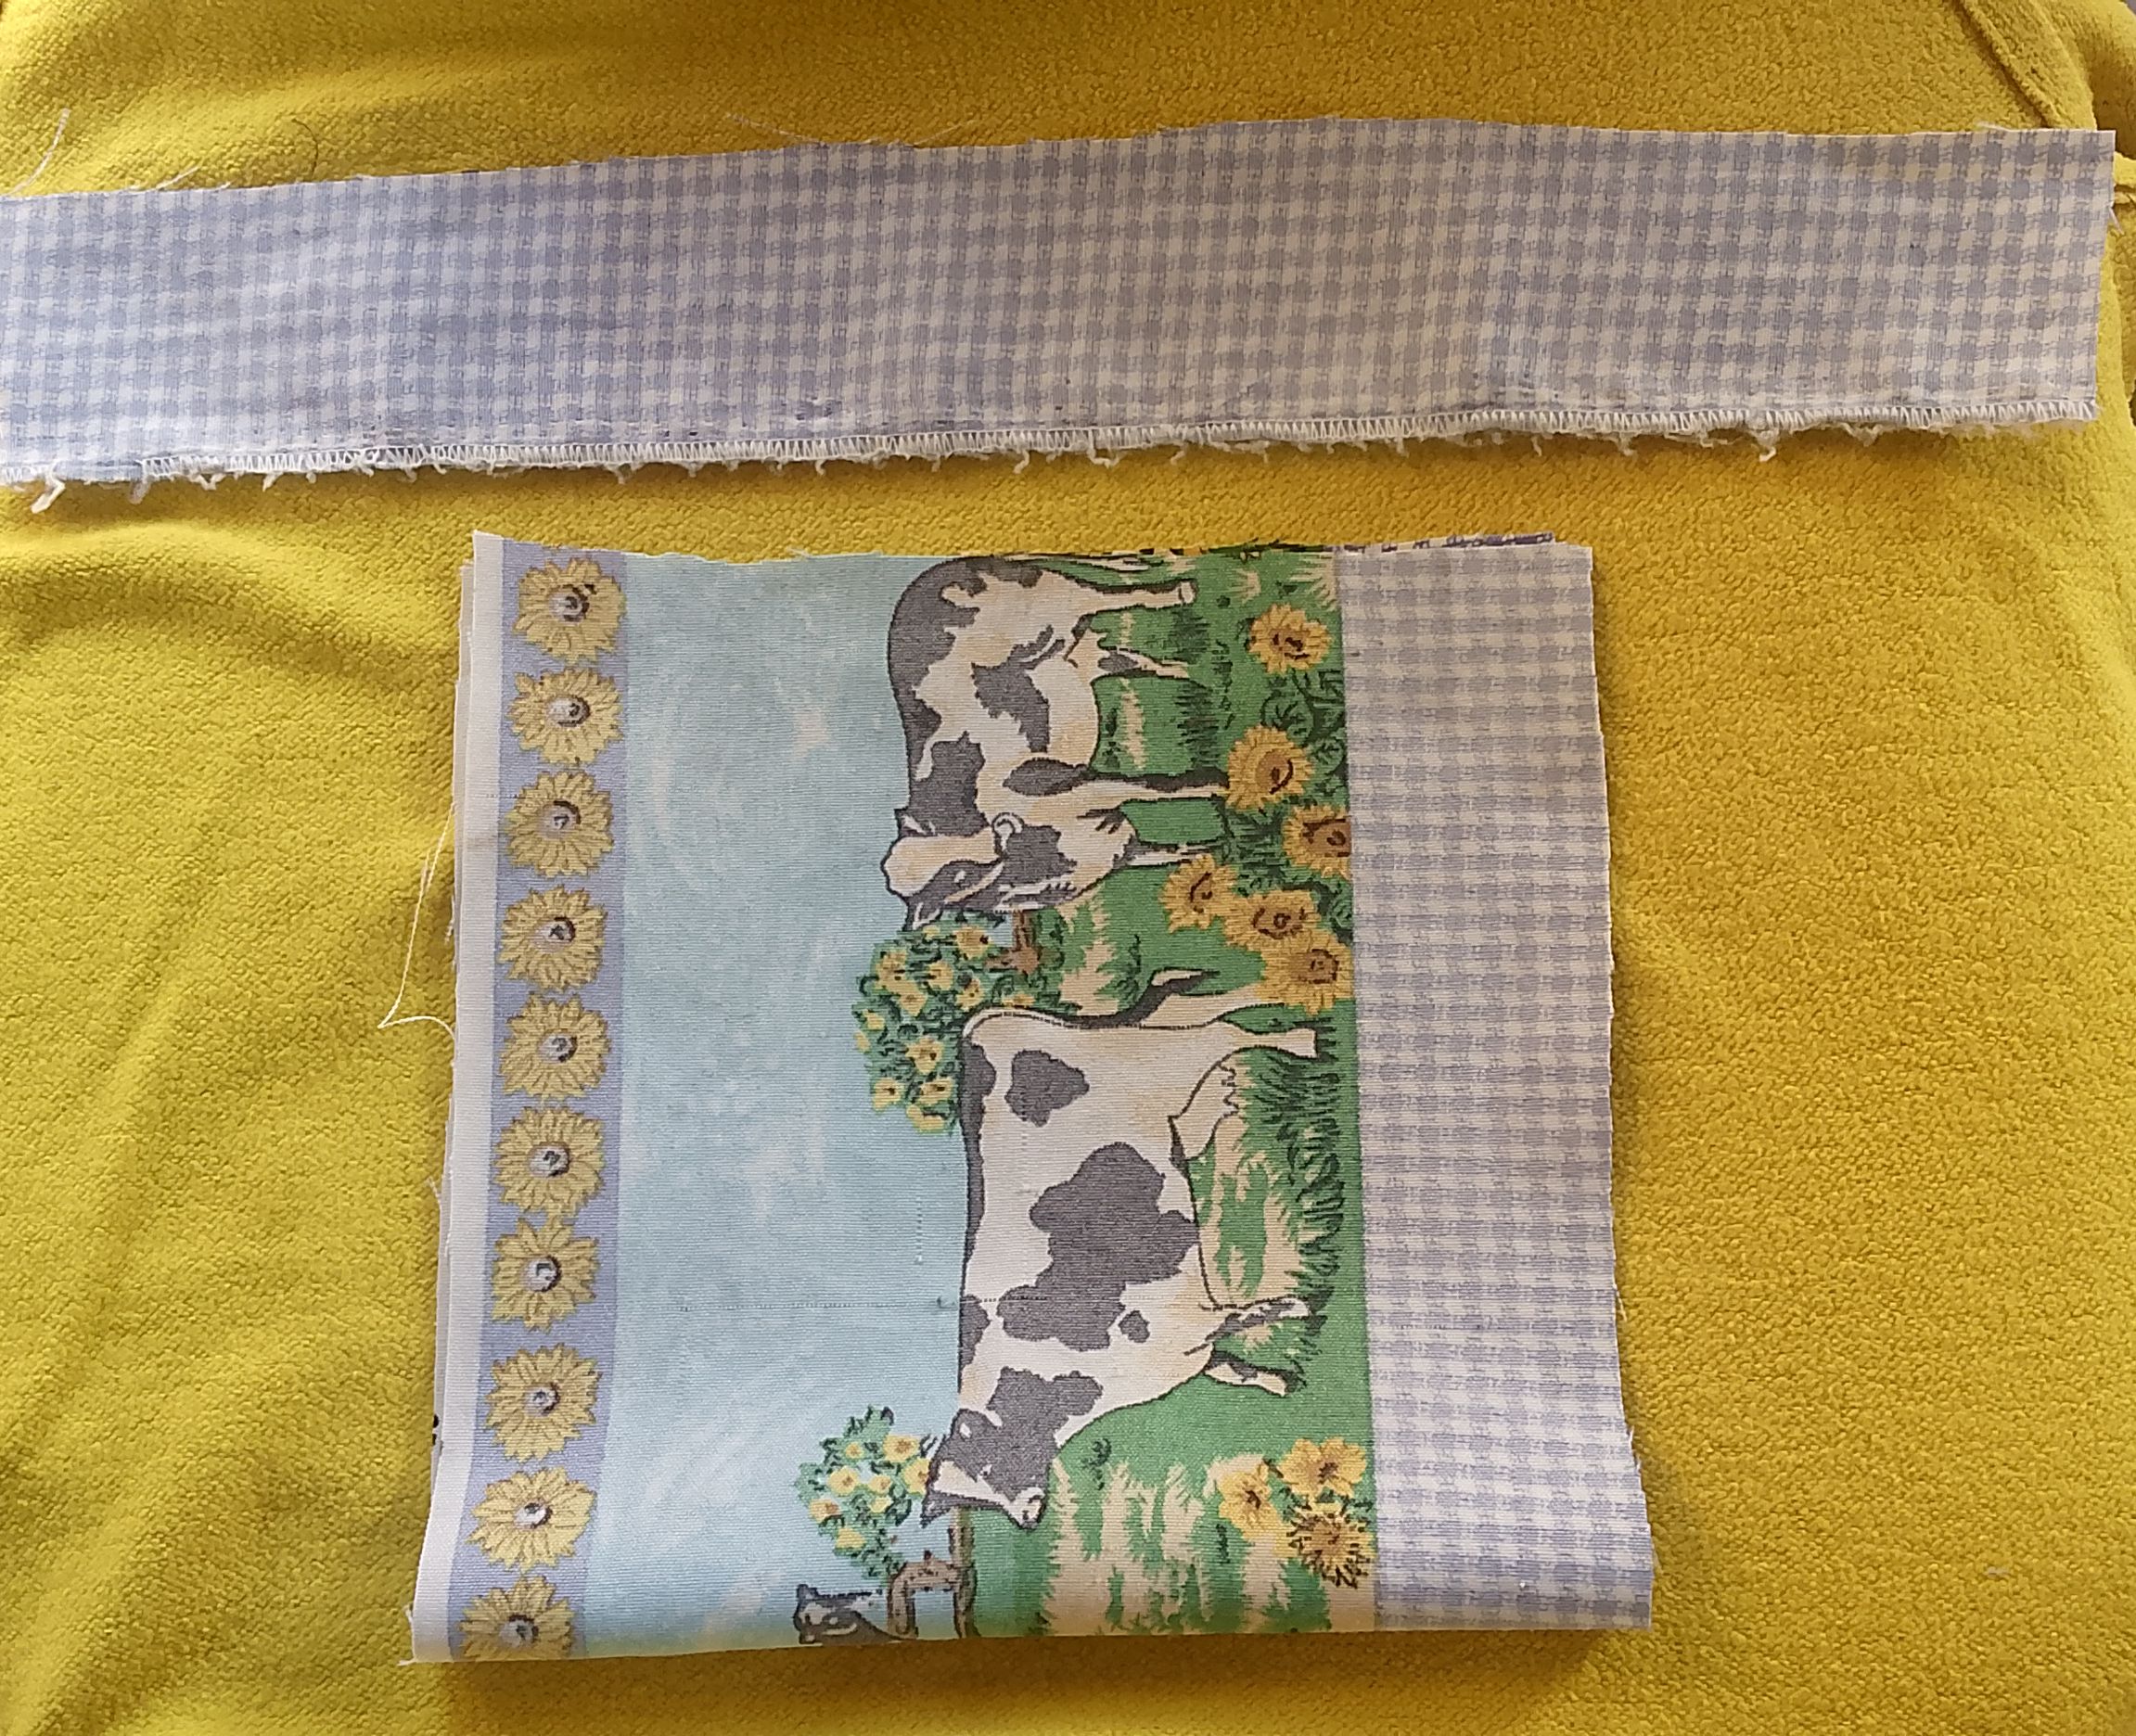
Lo primero que tendrás que hacer es cortar la esponja. La forma es opcional; puede ser rectangular, circular o triangular. En este caso, opté por cortarla en cuadrados porque creo que quedaría bien. Después, toma la tela y dóblala por la mitad. Mide la esponja que ya cortaste para que la cubra completamente, dejando siempre el borde. Recuerda colocar la tela del revés para marcar y coser con mayor facilidad, ya que así conseguirás un acabado más bonito. Además, corta una tira larga de aproximadamente 4 centímetros de ancho.
LET'S BEGIN WITH THE MANUFACTURING PROCESS:
The first thing you'll need to do is cut the sponge. The shape is optional; it can be rectangular, circular, or triangular. In this case, I chose to cut it into squares because I think it would look good that way. After this, take the fabric and fold it in half. Measure the sponge you've already cut so that it completely covers the sponge, always leaving the edge. Remember to place the fabric inside out to mark and sew more easily, as this will give a nicer finish. Also, cut a long strip approximately 4 centimeters wide.
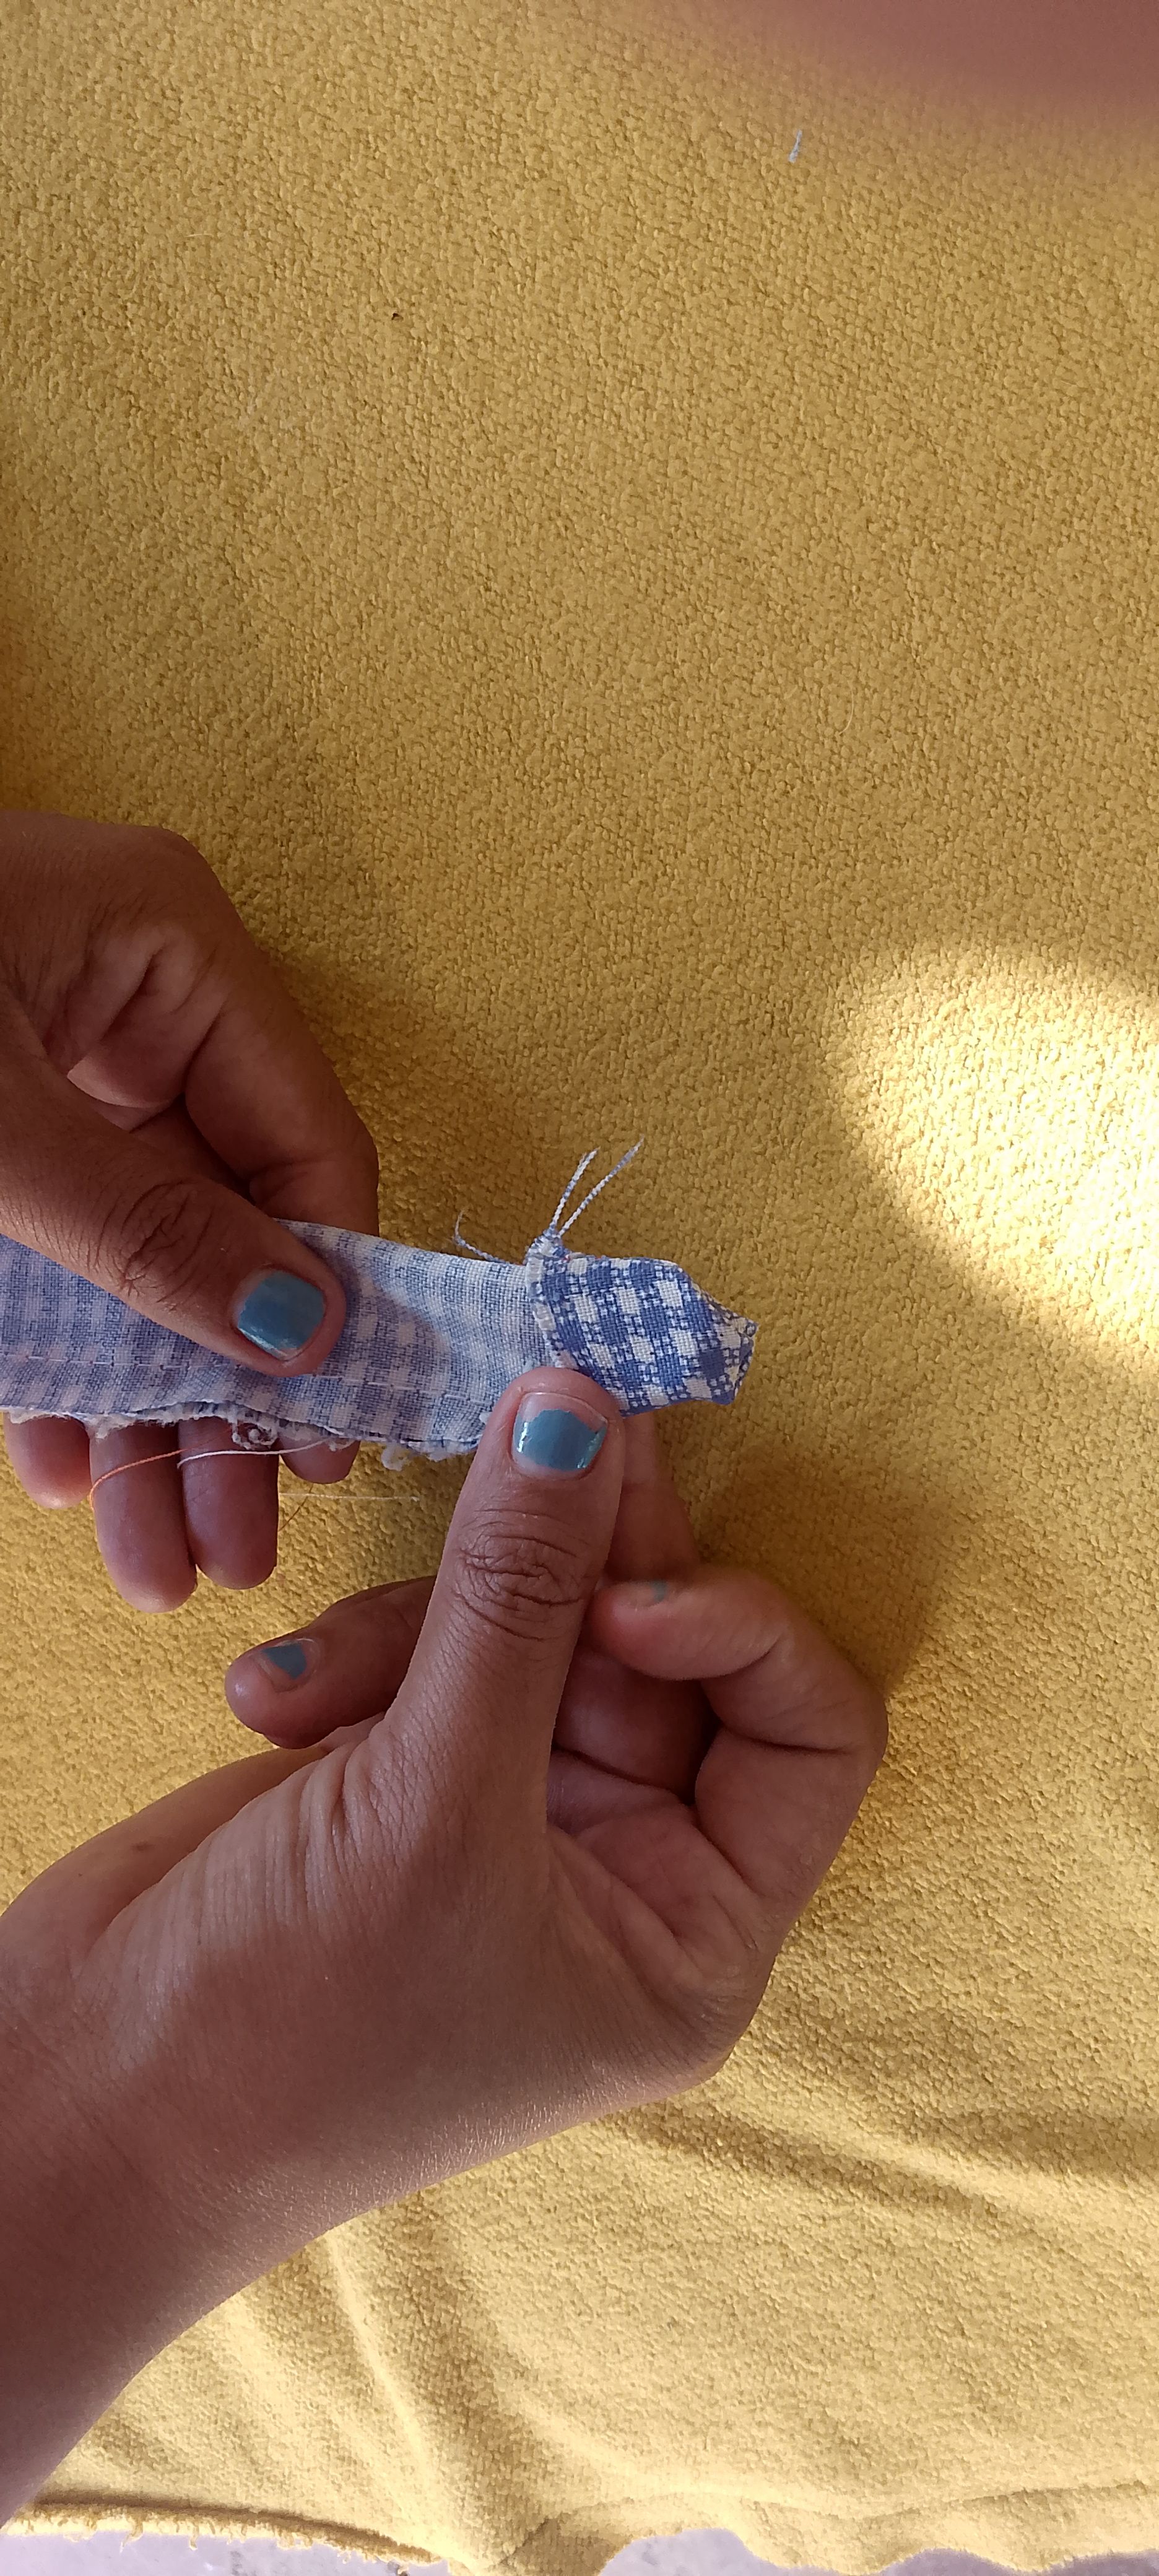
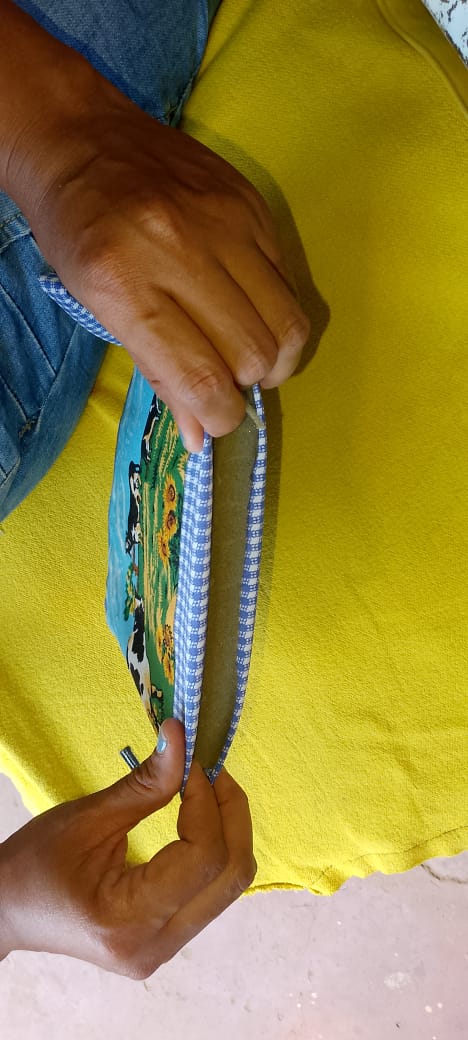
Una vez hecho esto, dobla la tira que cortaste antes y empieza a coser. No olvides coserla por el revés. Esto nos ayudará a hacer el colgador. Después de completar este paso, dóblala de nuevo por el derecho y córtala en tres partes iguales.
Once you've done this, fold the strip you cut earlier and start sewing. Don't forget to sew it on the wrong side. This will help us make the pot hanger. After completing this step, fold it right side out again and cut it into three equal pieces.
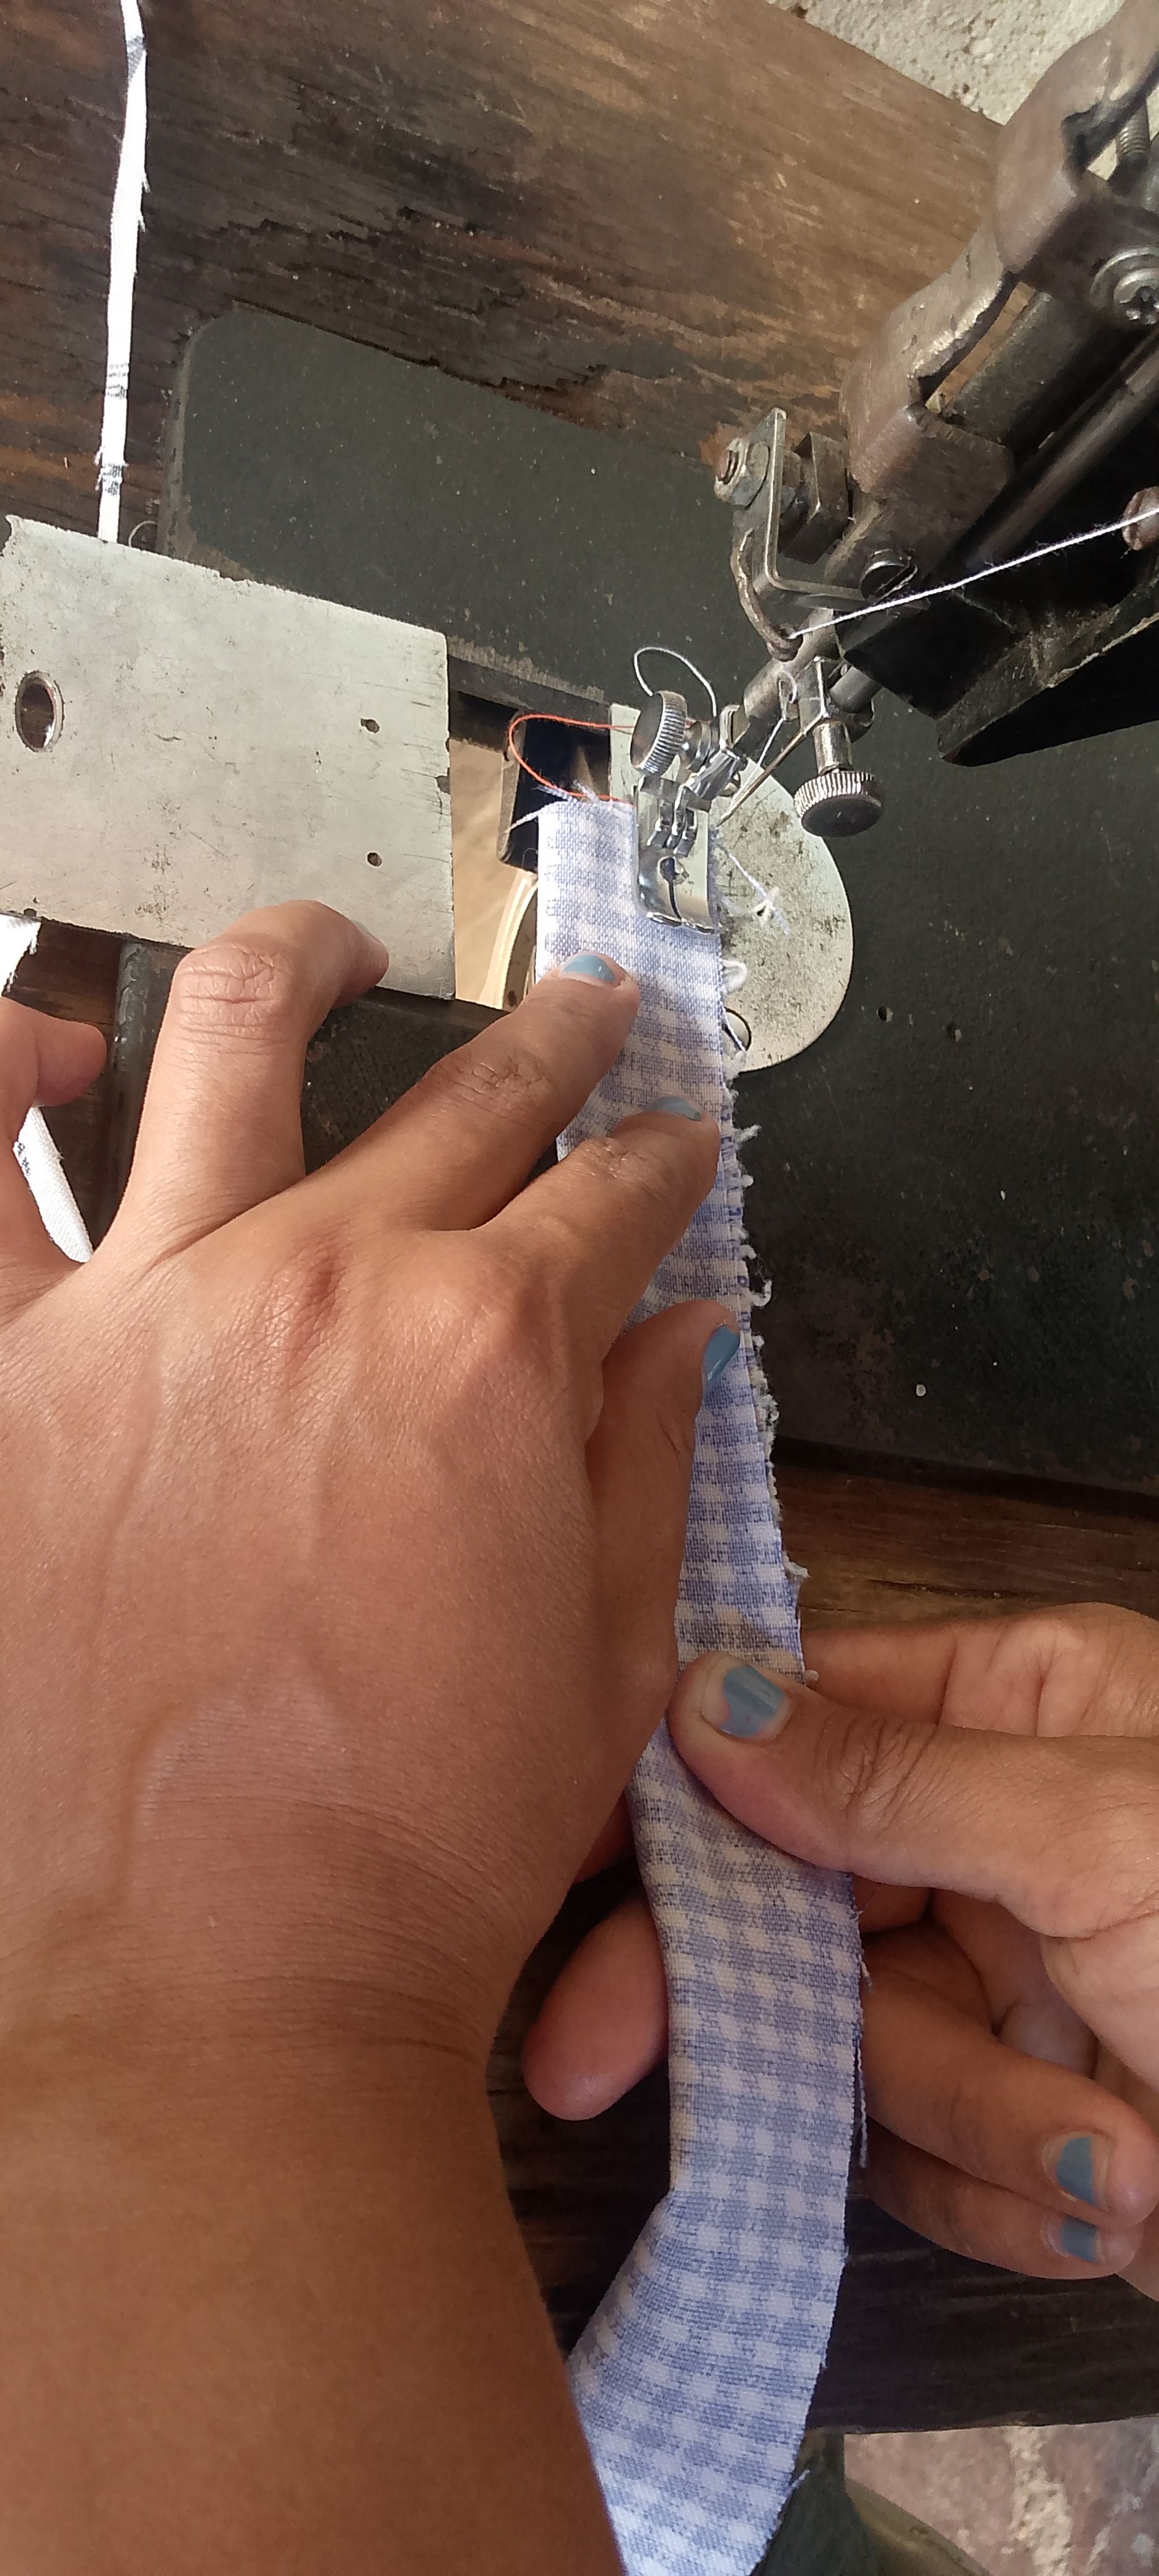
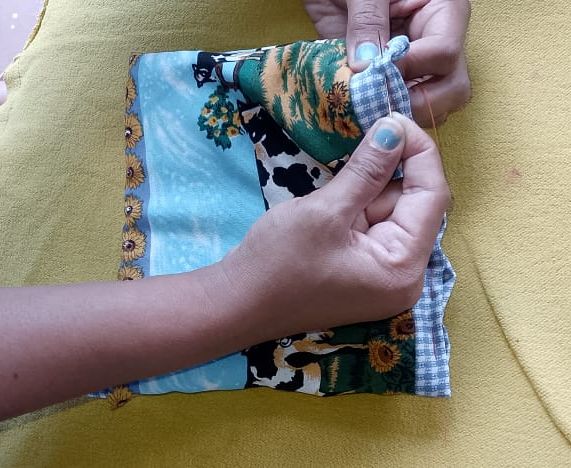
Toma la tela y coloca un trozo de la tira que cortaste en el paso anterior, dóblala a la mitad y colócala en el centro de ella y comienza a coser, mira la imagen.
Take the fabric and place a piece of the strip that you cut in the previous step, fold it in half and place it in the center of it and start sewing, look at the image.

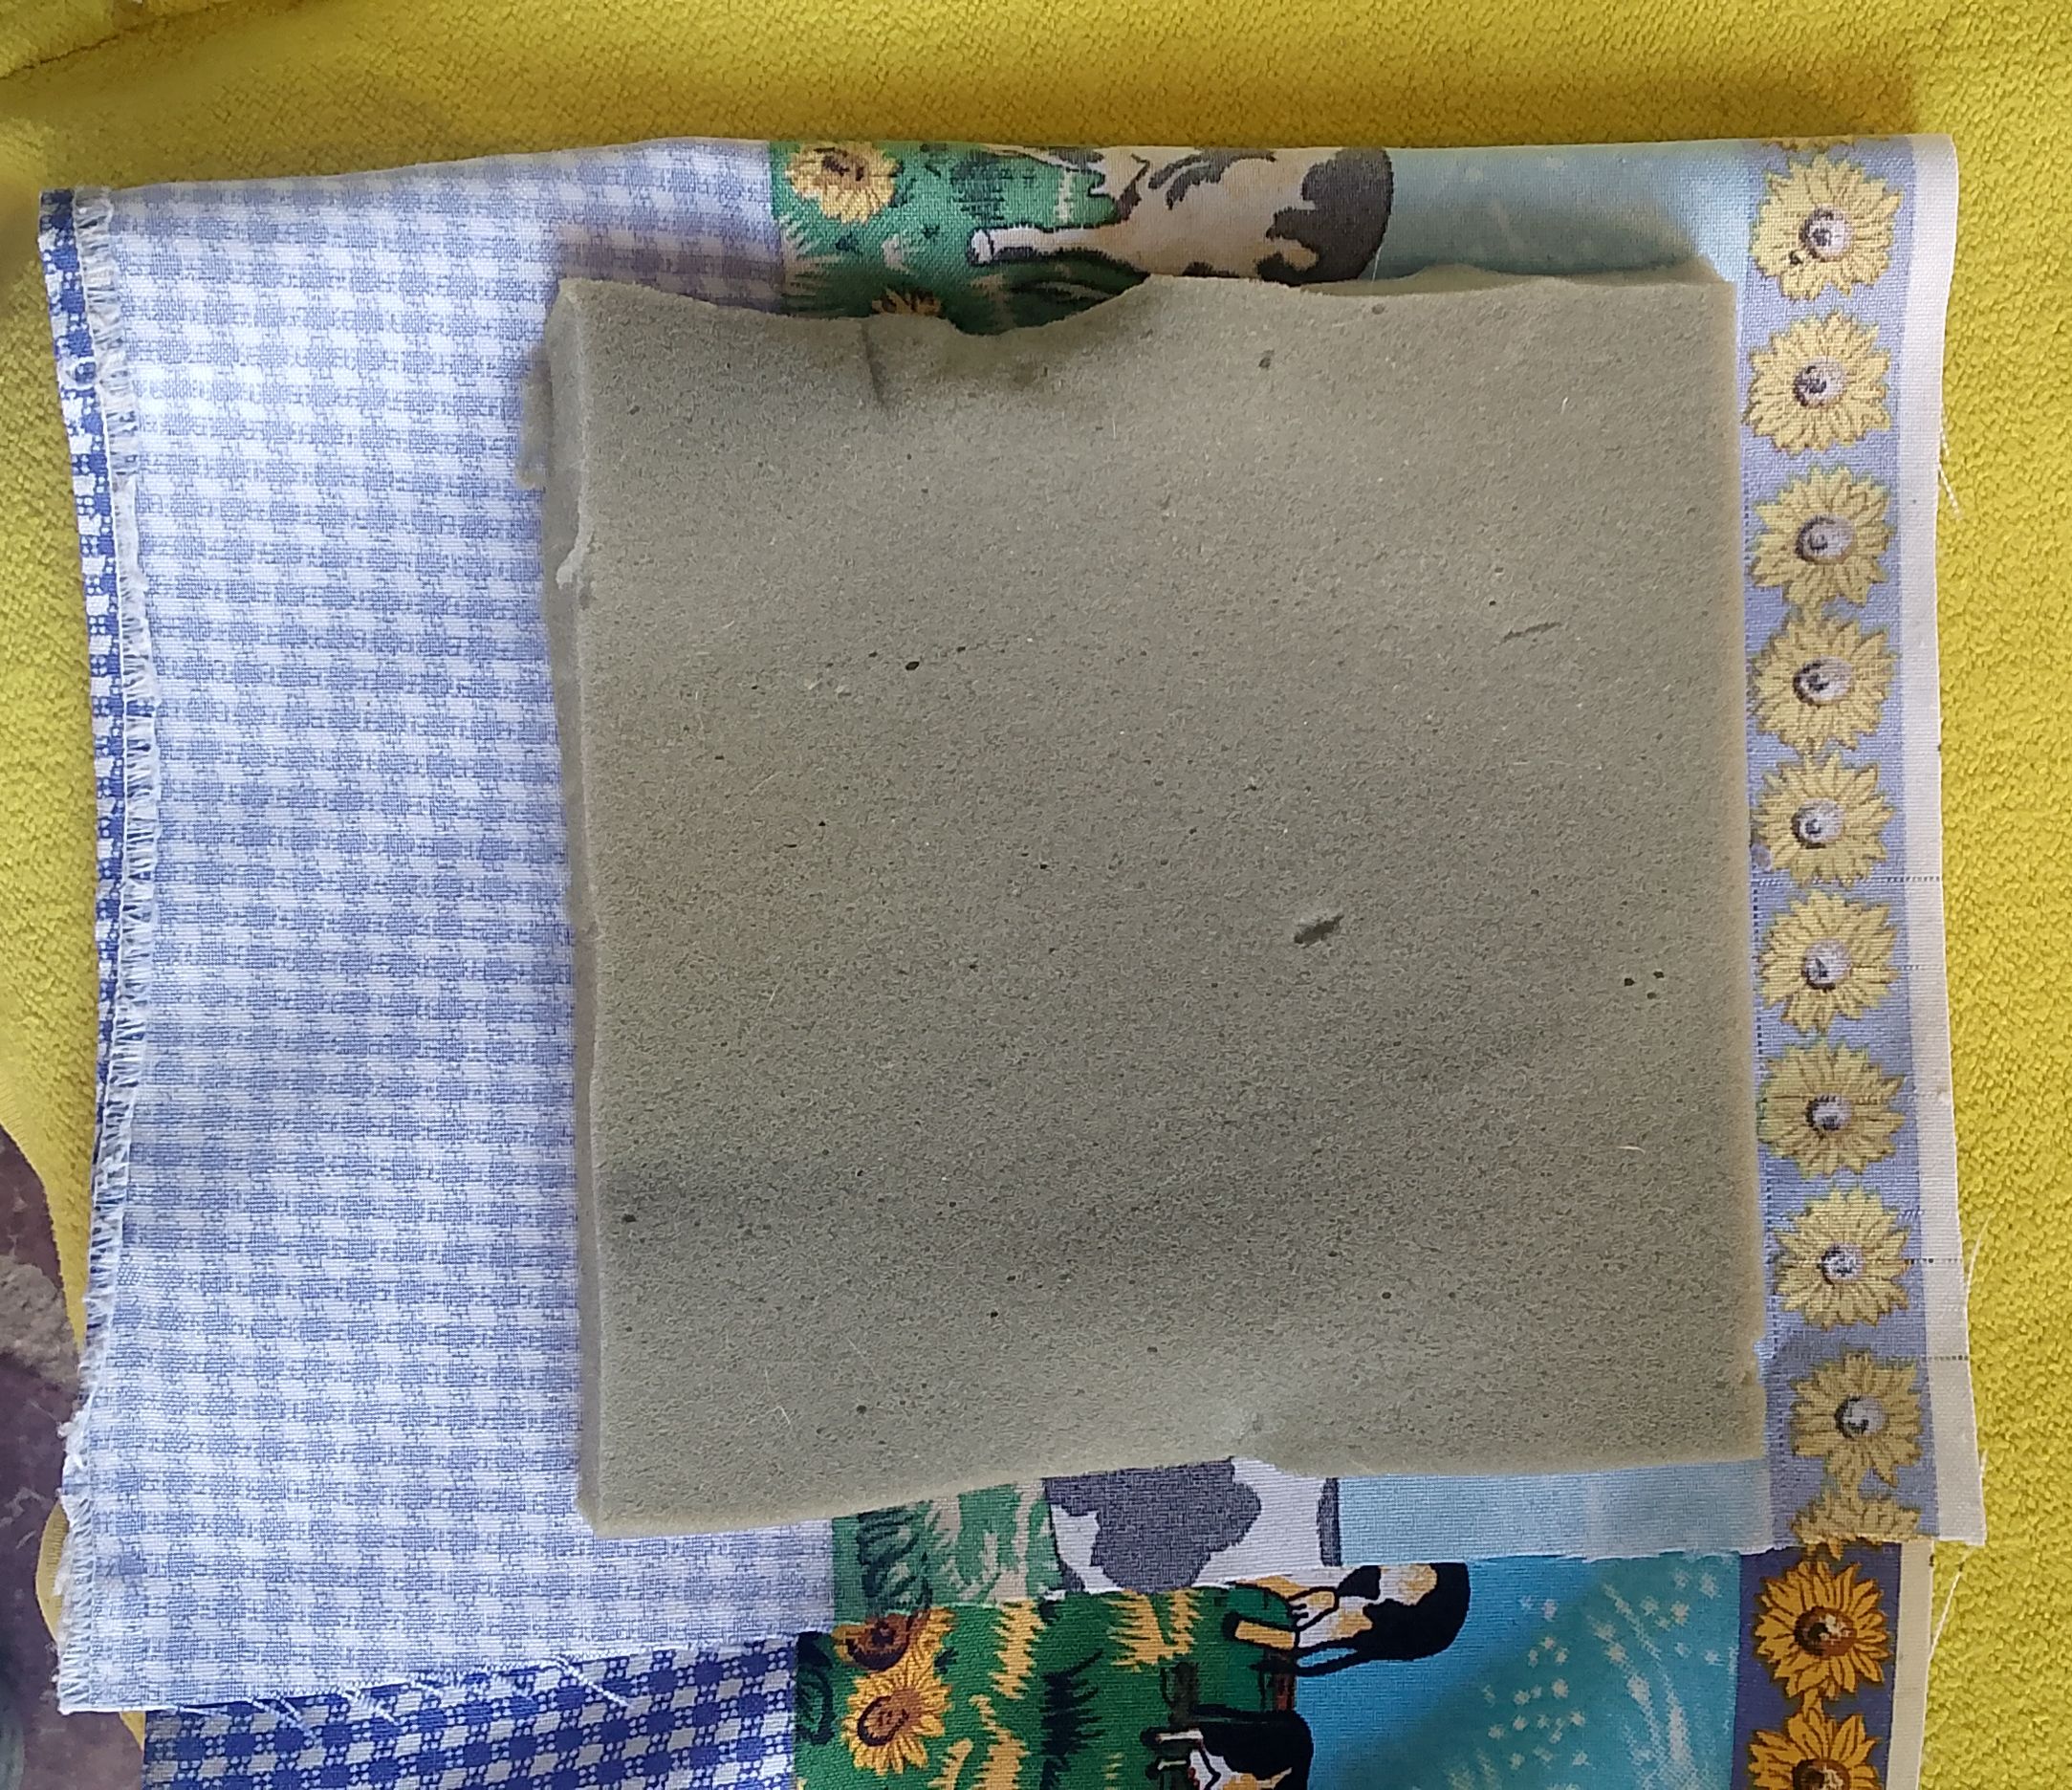
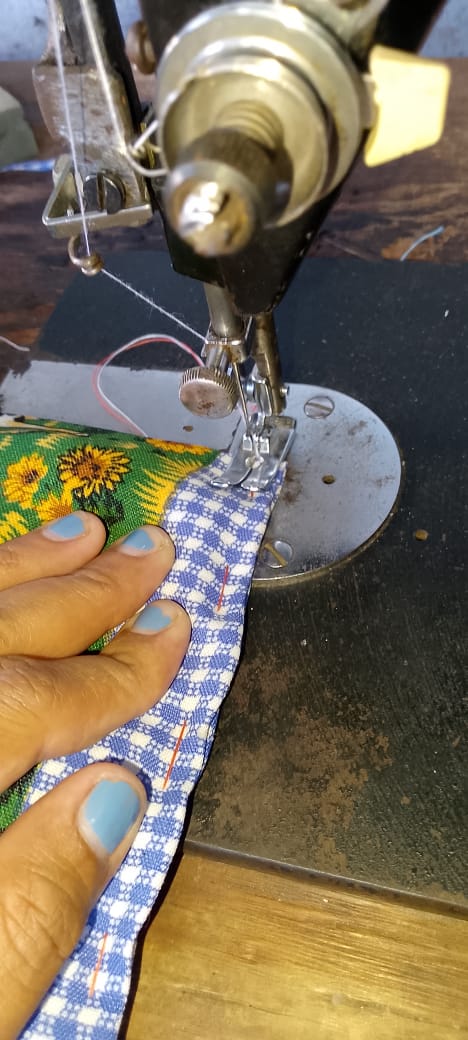
Dóblala por el lado derecho e introduce la esponja dentro de ella, luego procede a doblar los bordes hacia adentro como se ve en la imagen y hilvana para tener una guía por donde va la costura, puedes hacerlo a mano en este caso yo utilice la máquina de coser.
Fold it on the right side and insert the sponge inside it, then proceed to fold the edges inwards as seen in the image and baste it to have a guide where the seam goes, you can do it by hand in this case I used the sewing machine.


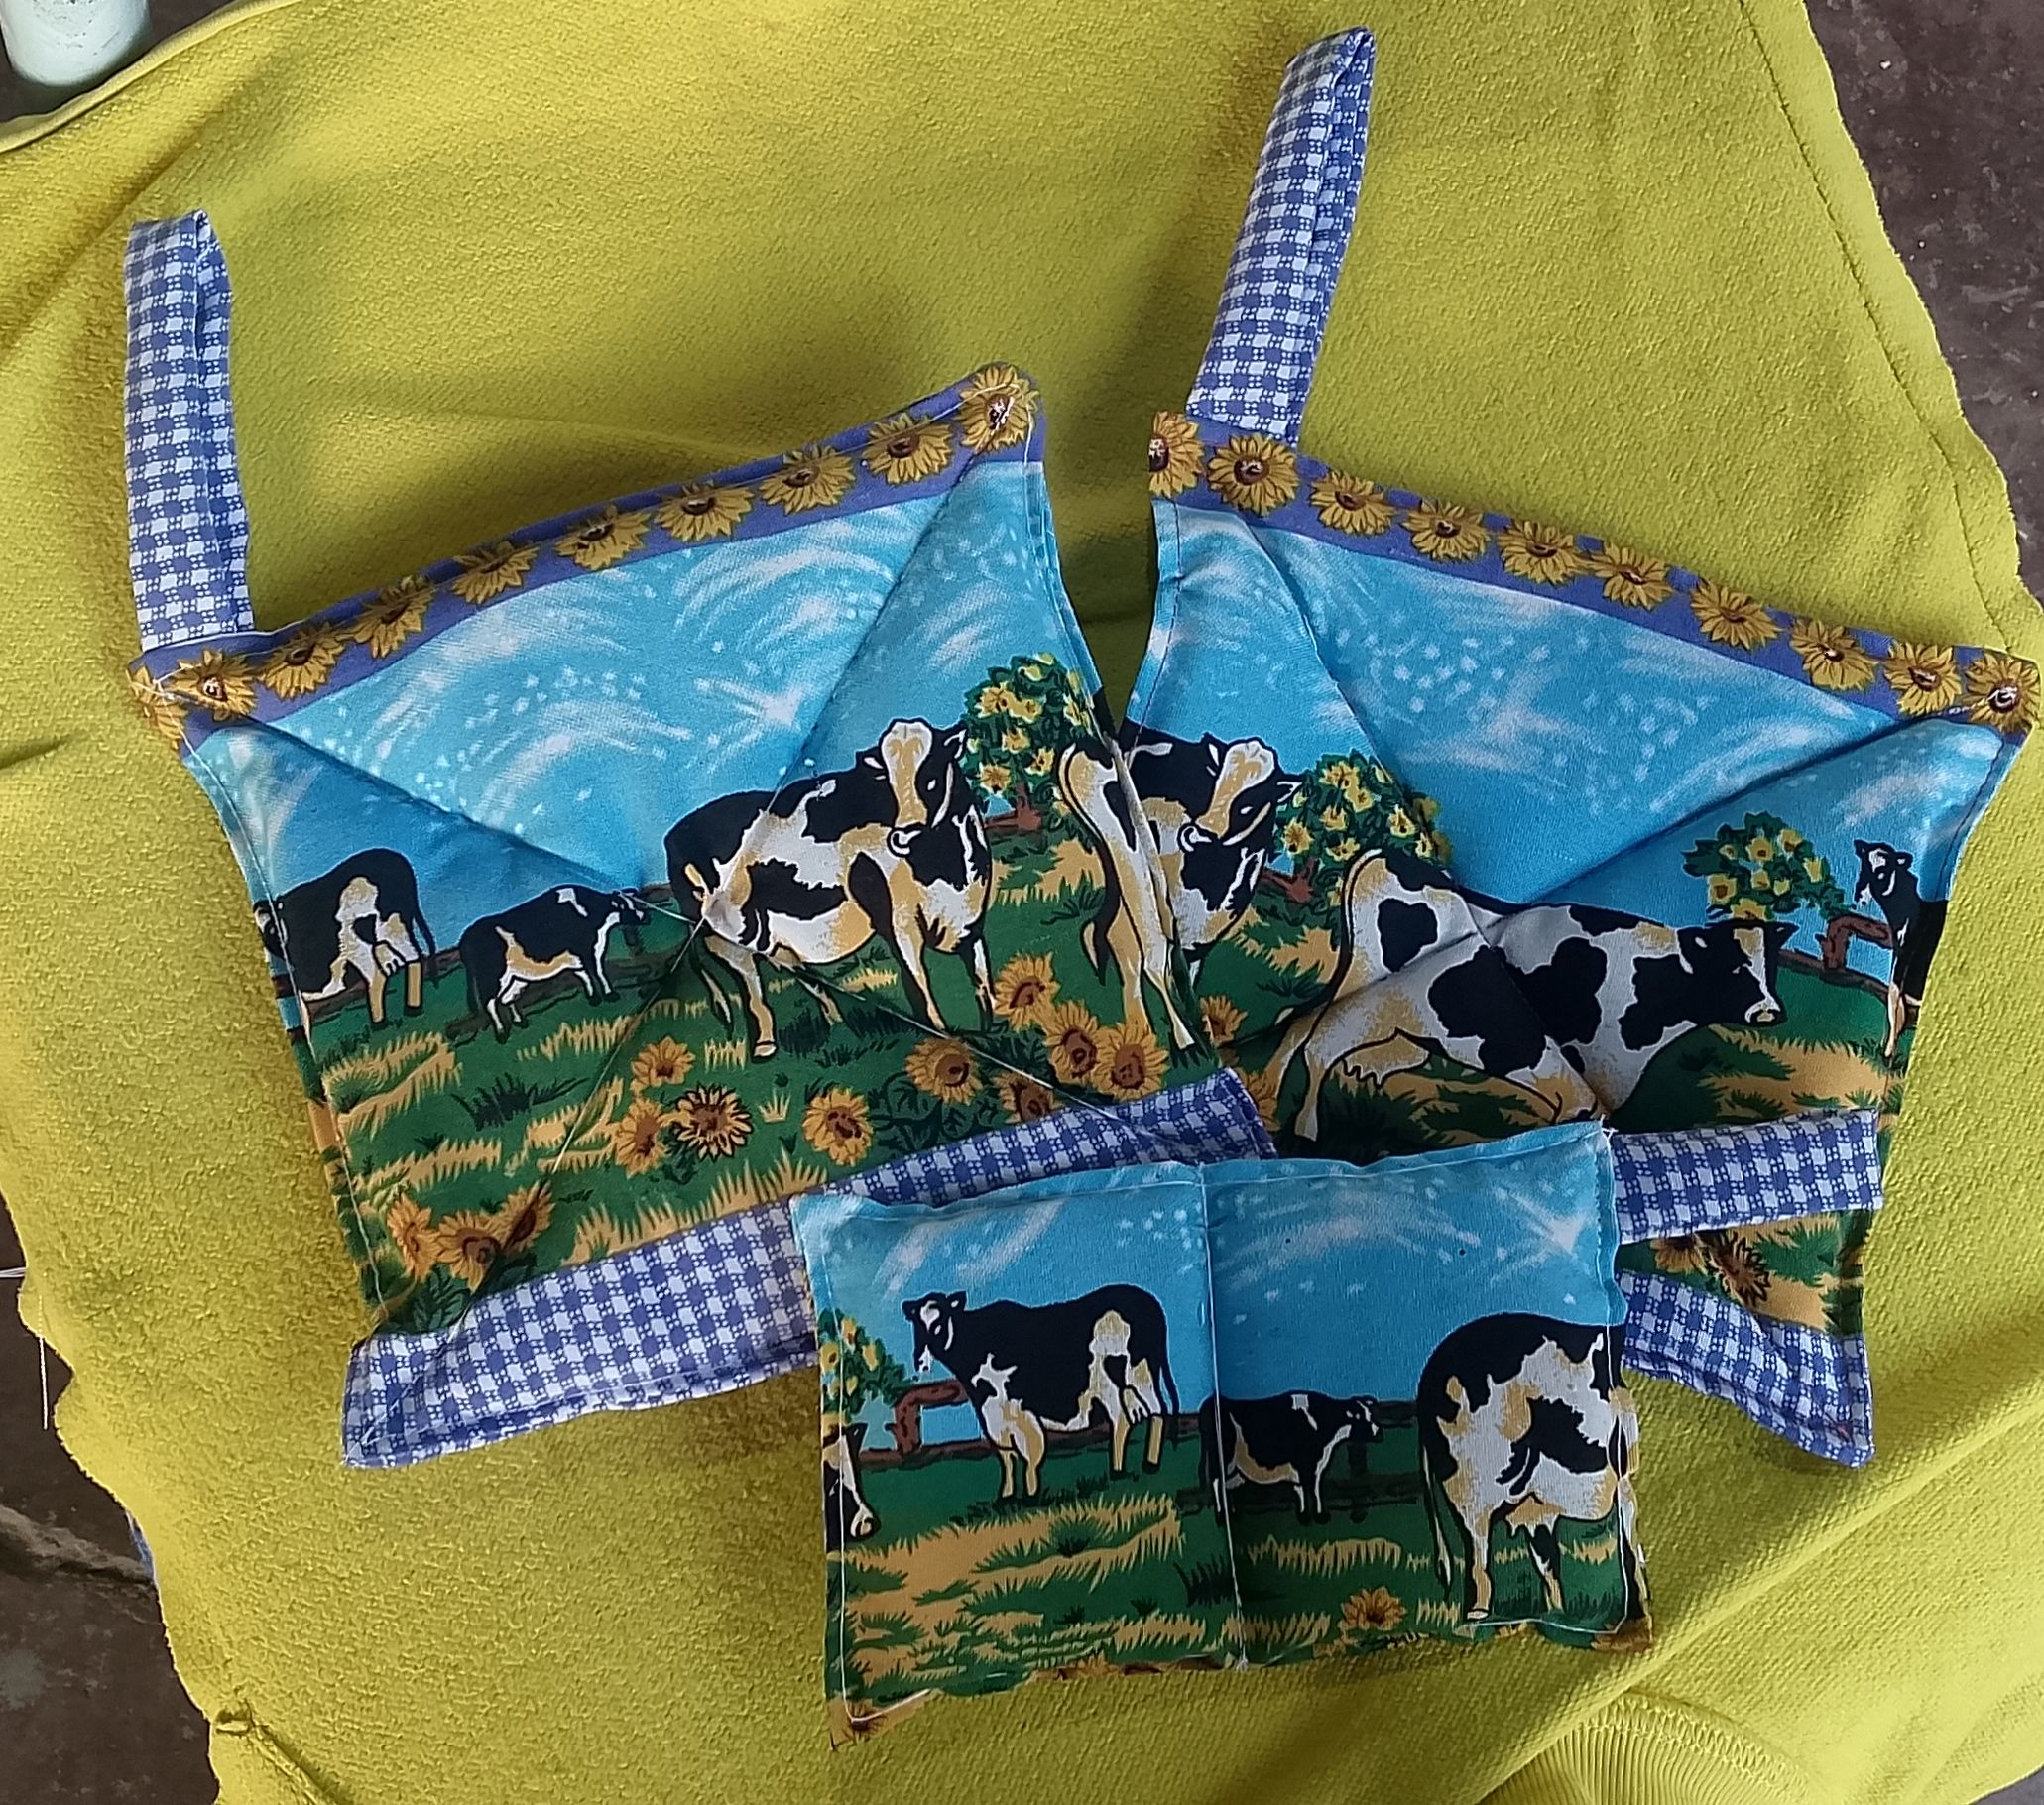
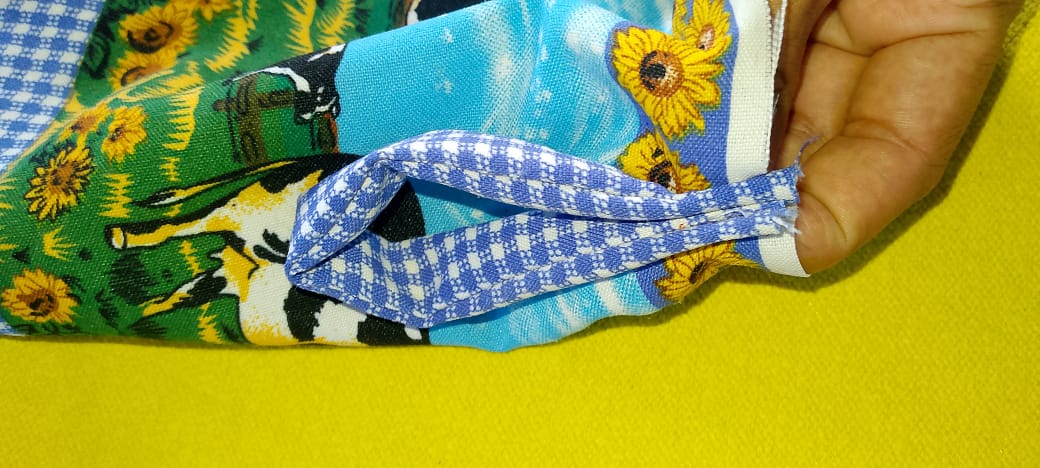
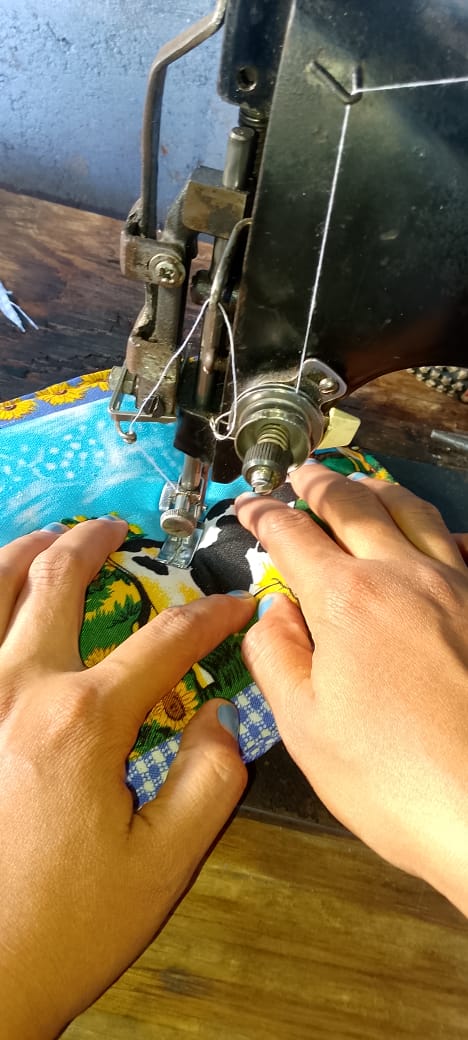
Finalmente, haz una costura en forma de X para que el asa se pueda doblar fácilmente. Repite estos pasos hasta completarlos todos.
Finally, sew an X-shaped seam so the handle can be folded easily. Repeat these steps until you've completed them all.
Muchas gracias por su visita espero les haya gustado este trabajo, nos vemos en la proxima oportunidad.
Thank you very much for your visit. I hope you enjoyed this work. See you next time.