Assalamualaikum
Everyone.I am @mdakash62
Friends,Grettings everyone
 |
|---|
Equipment:-
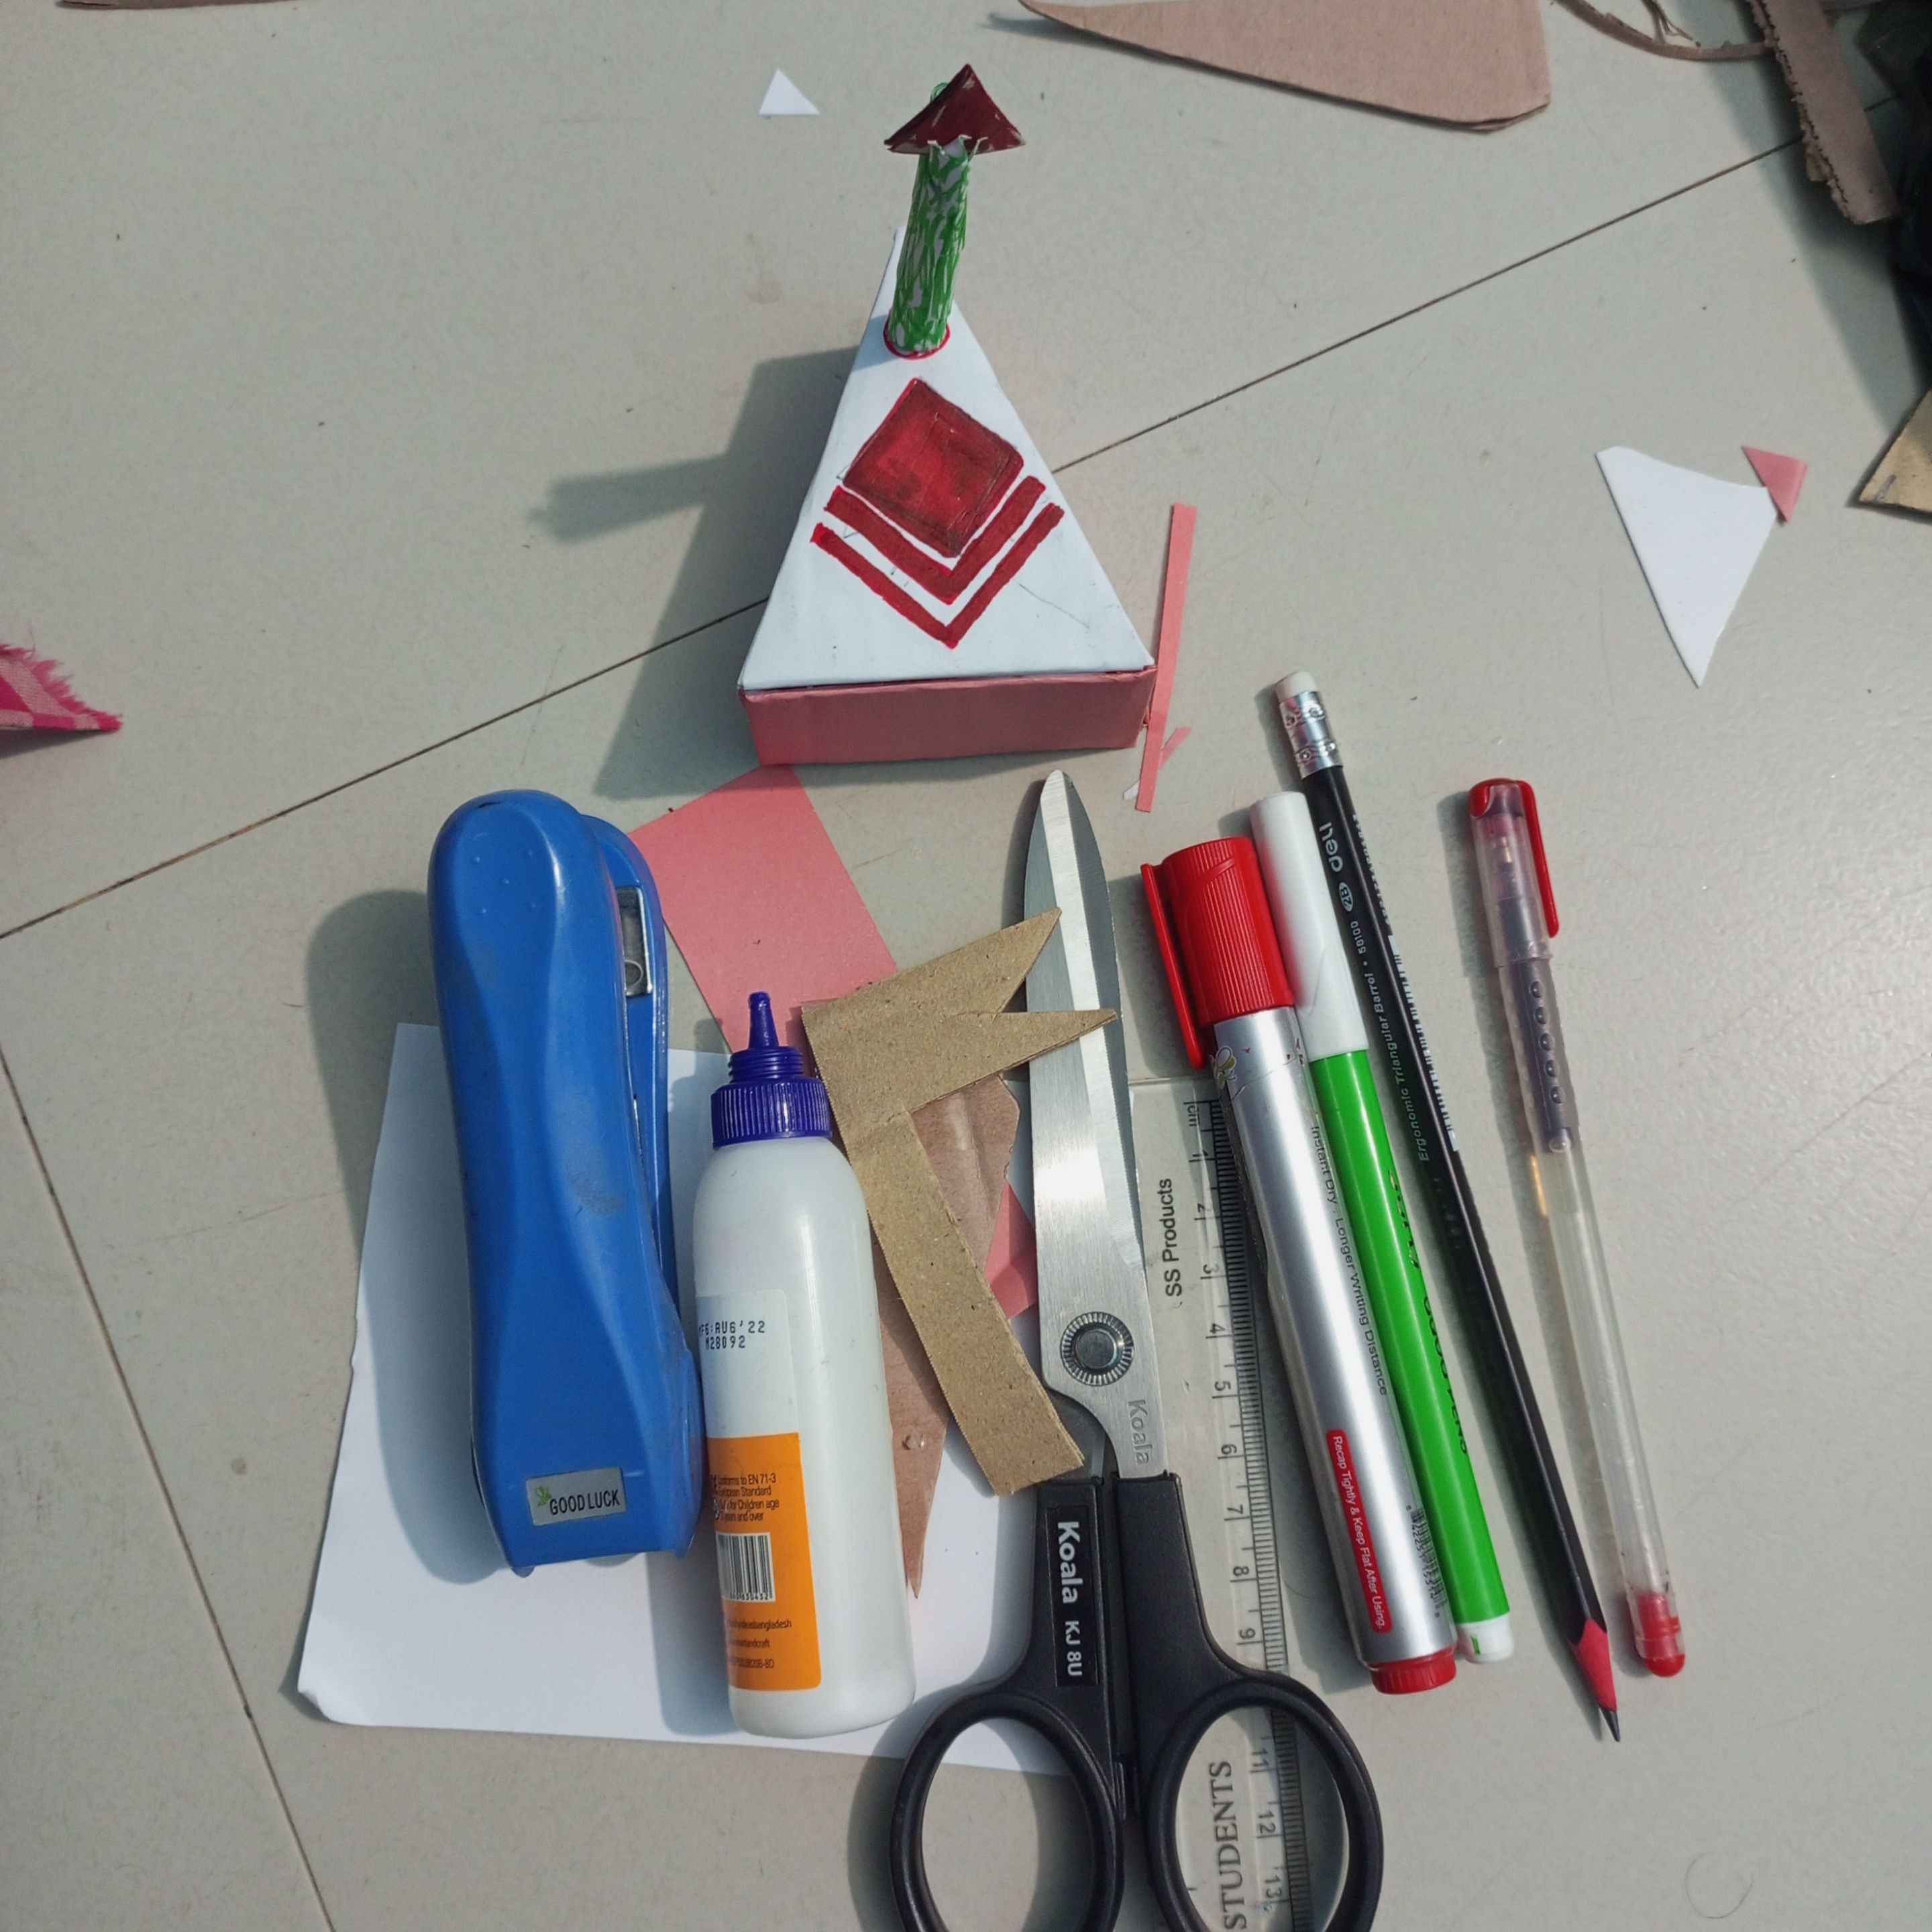
scale
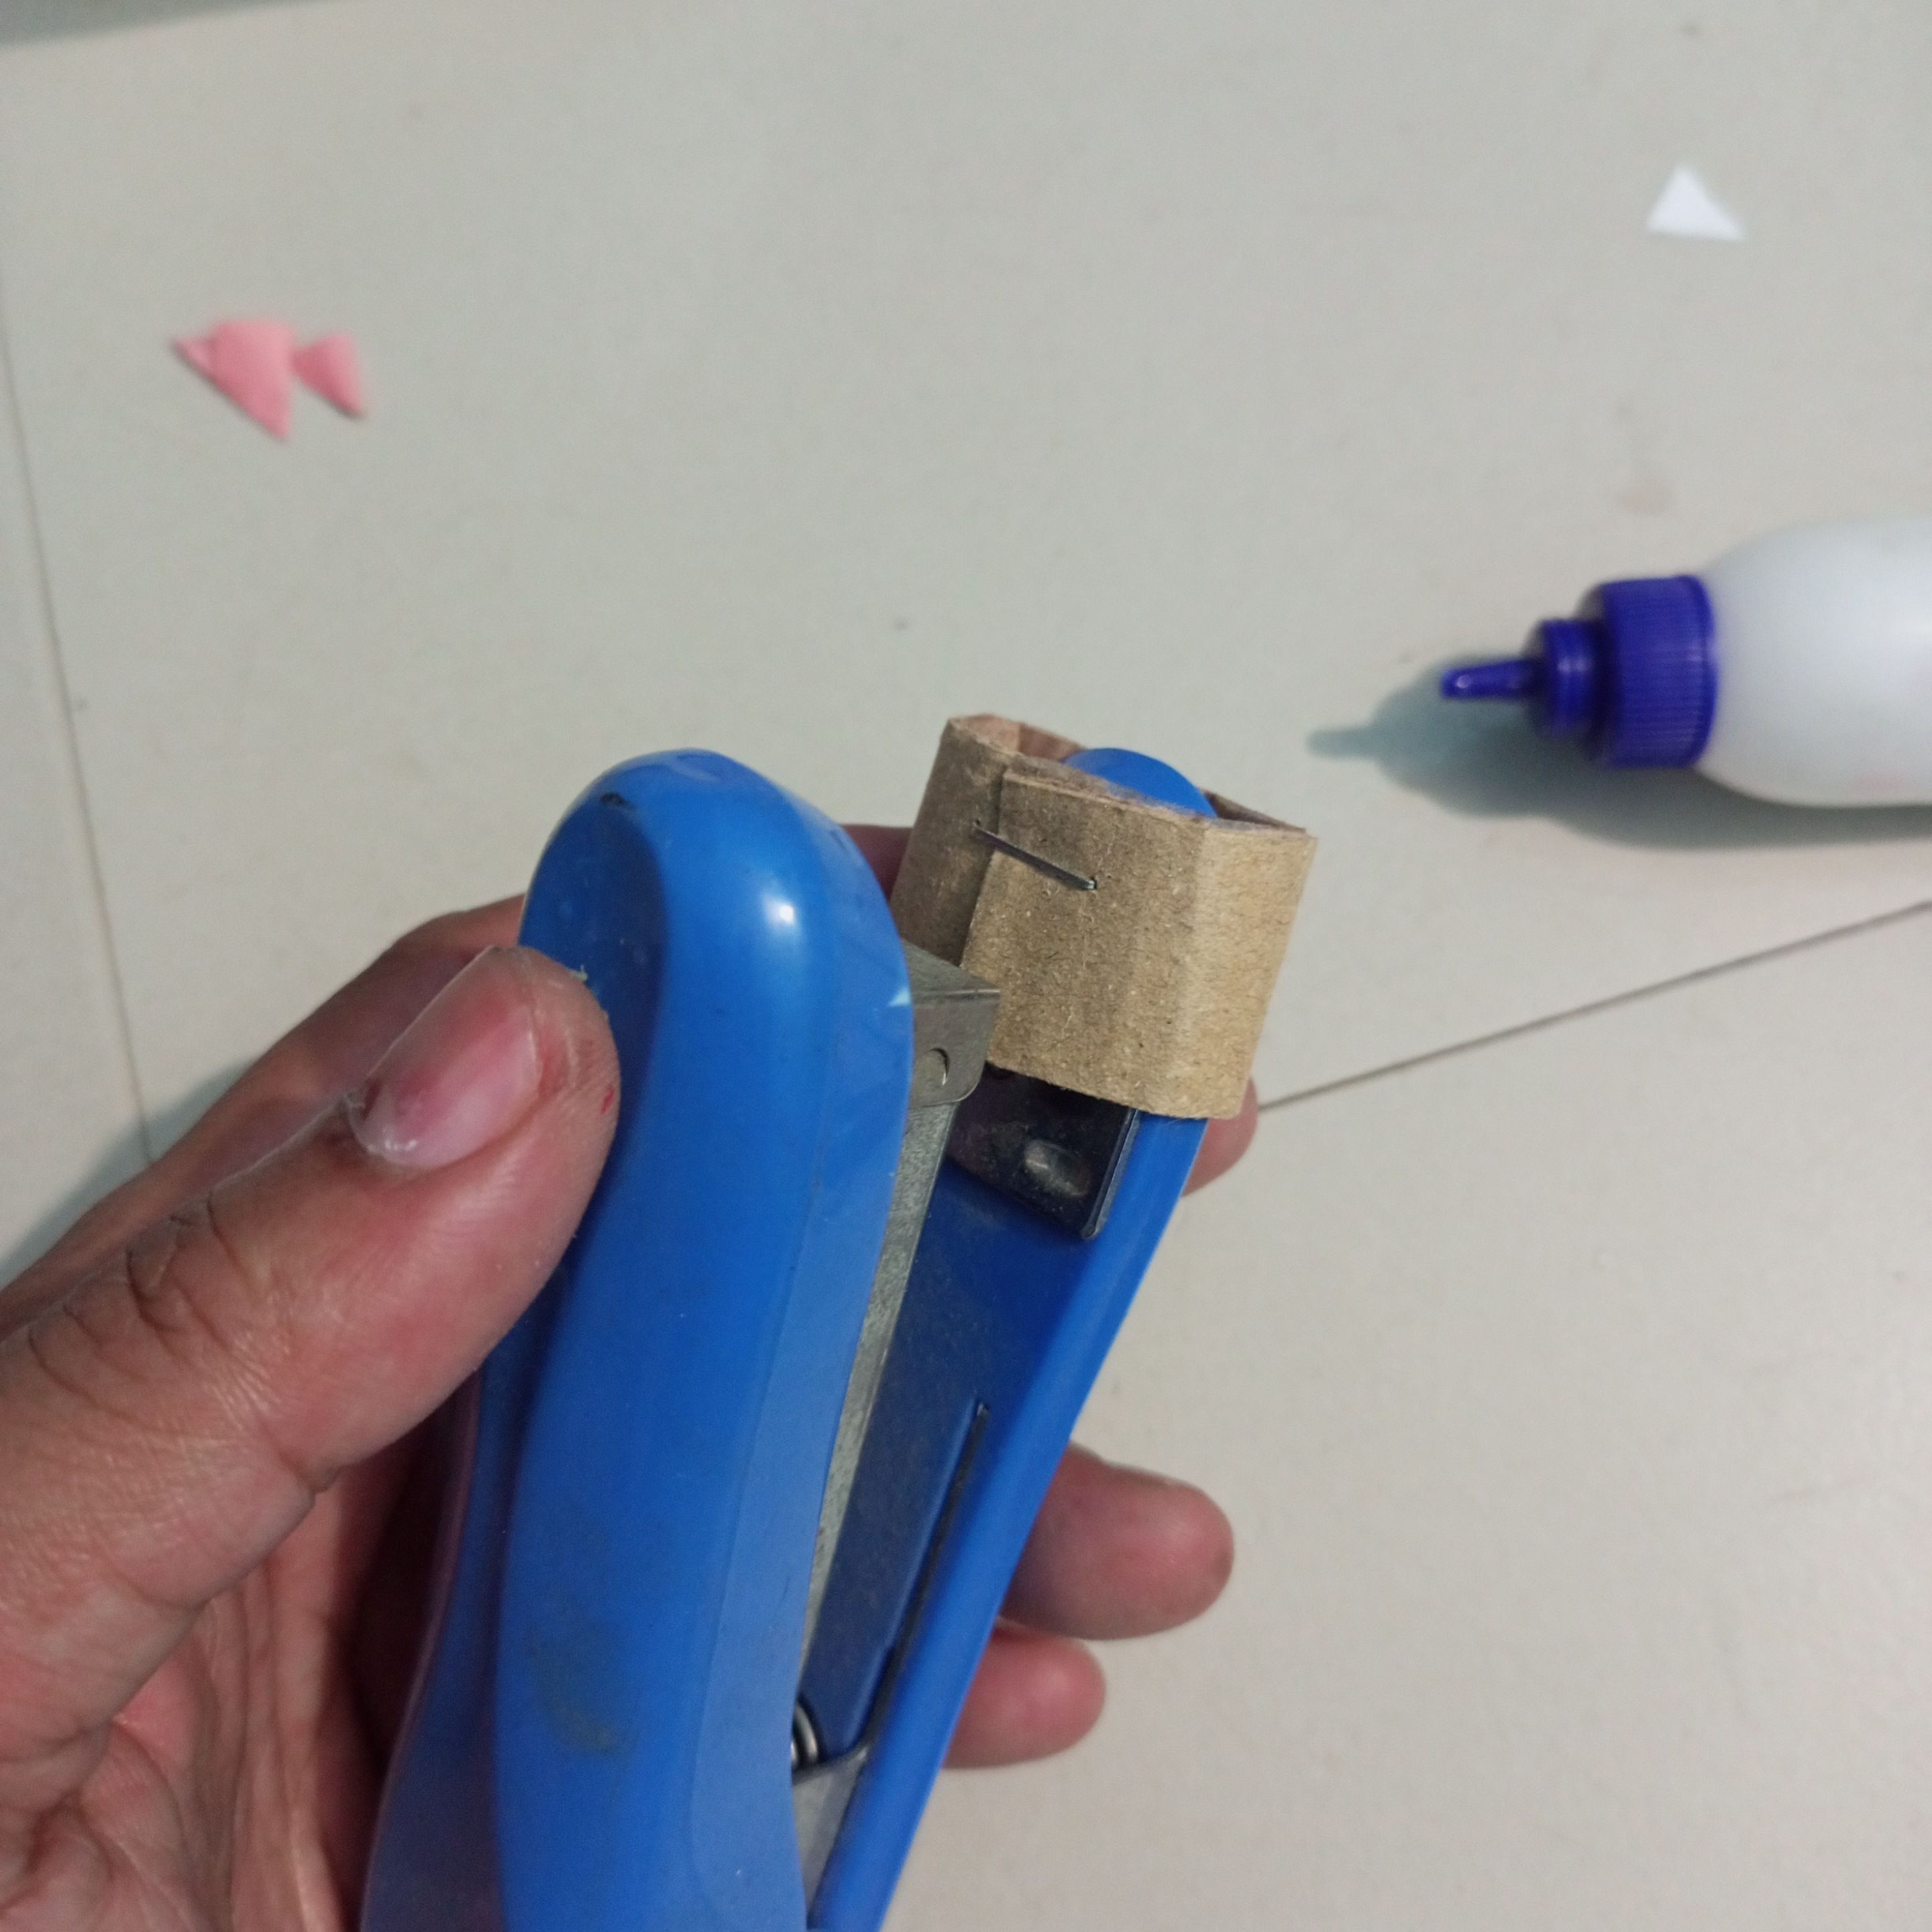
stapler
scissors
cardboard
2B pancil
white paper
colour paper
Fevicol Guru
red colour pen
doms colour pencil
 |
|---|
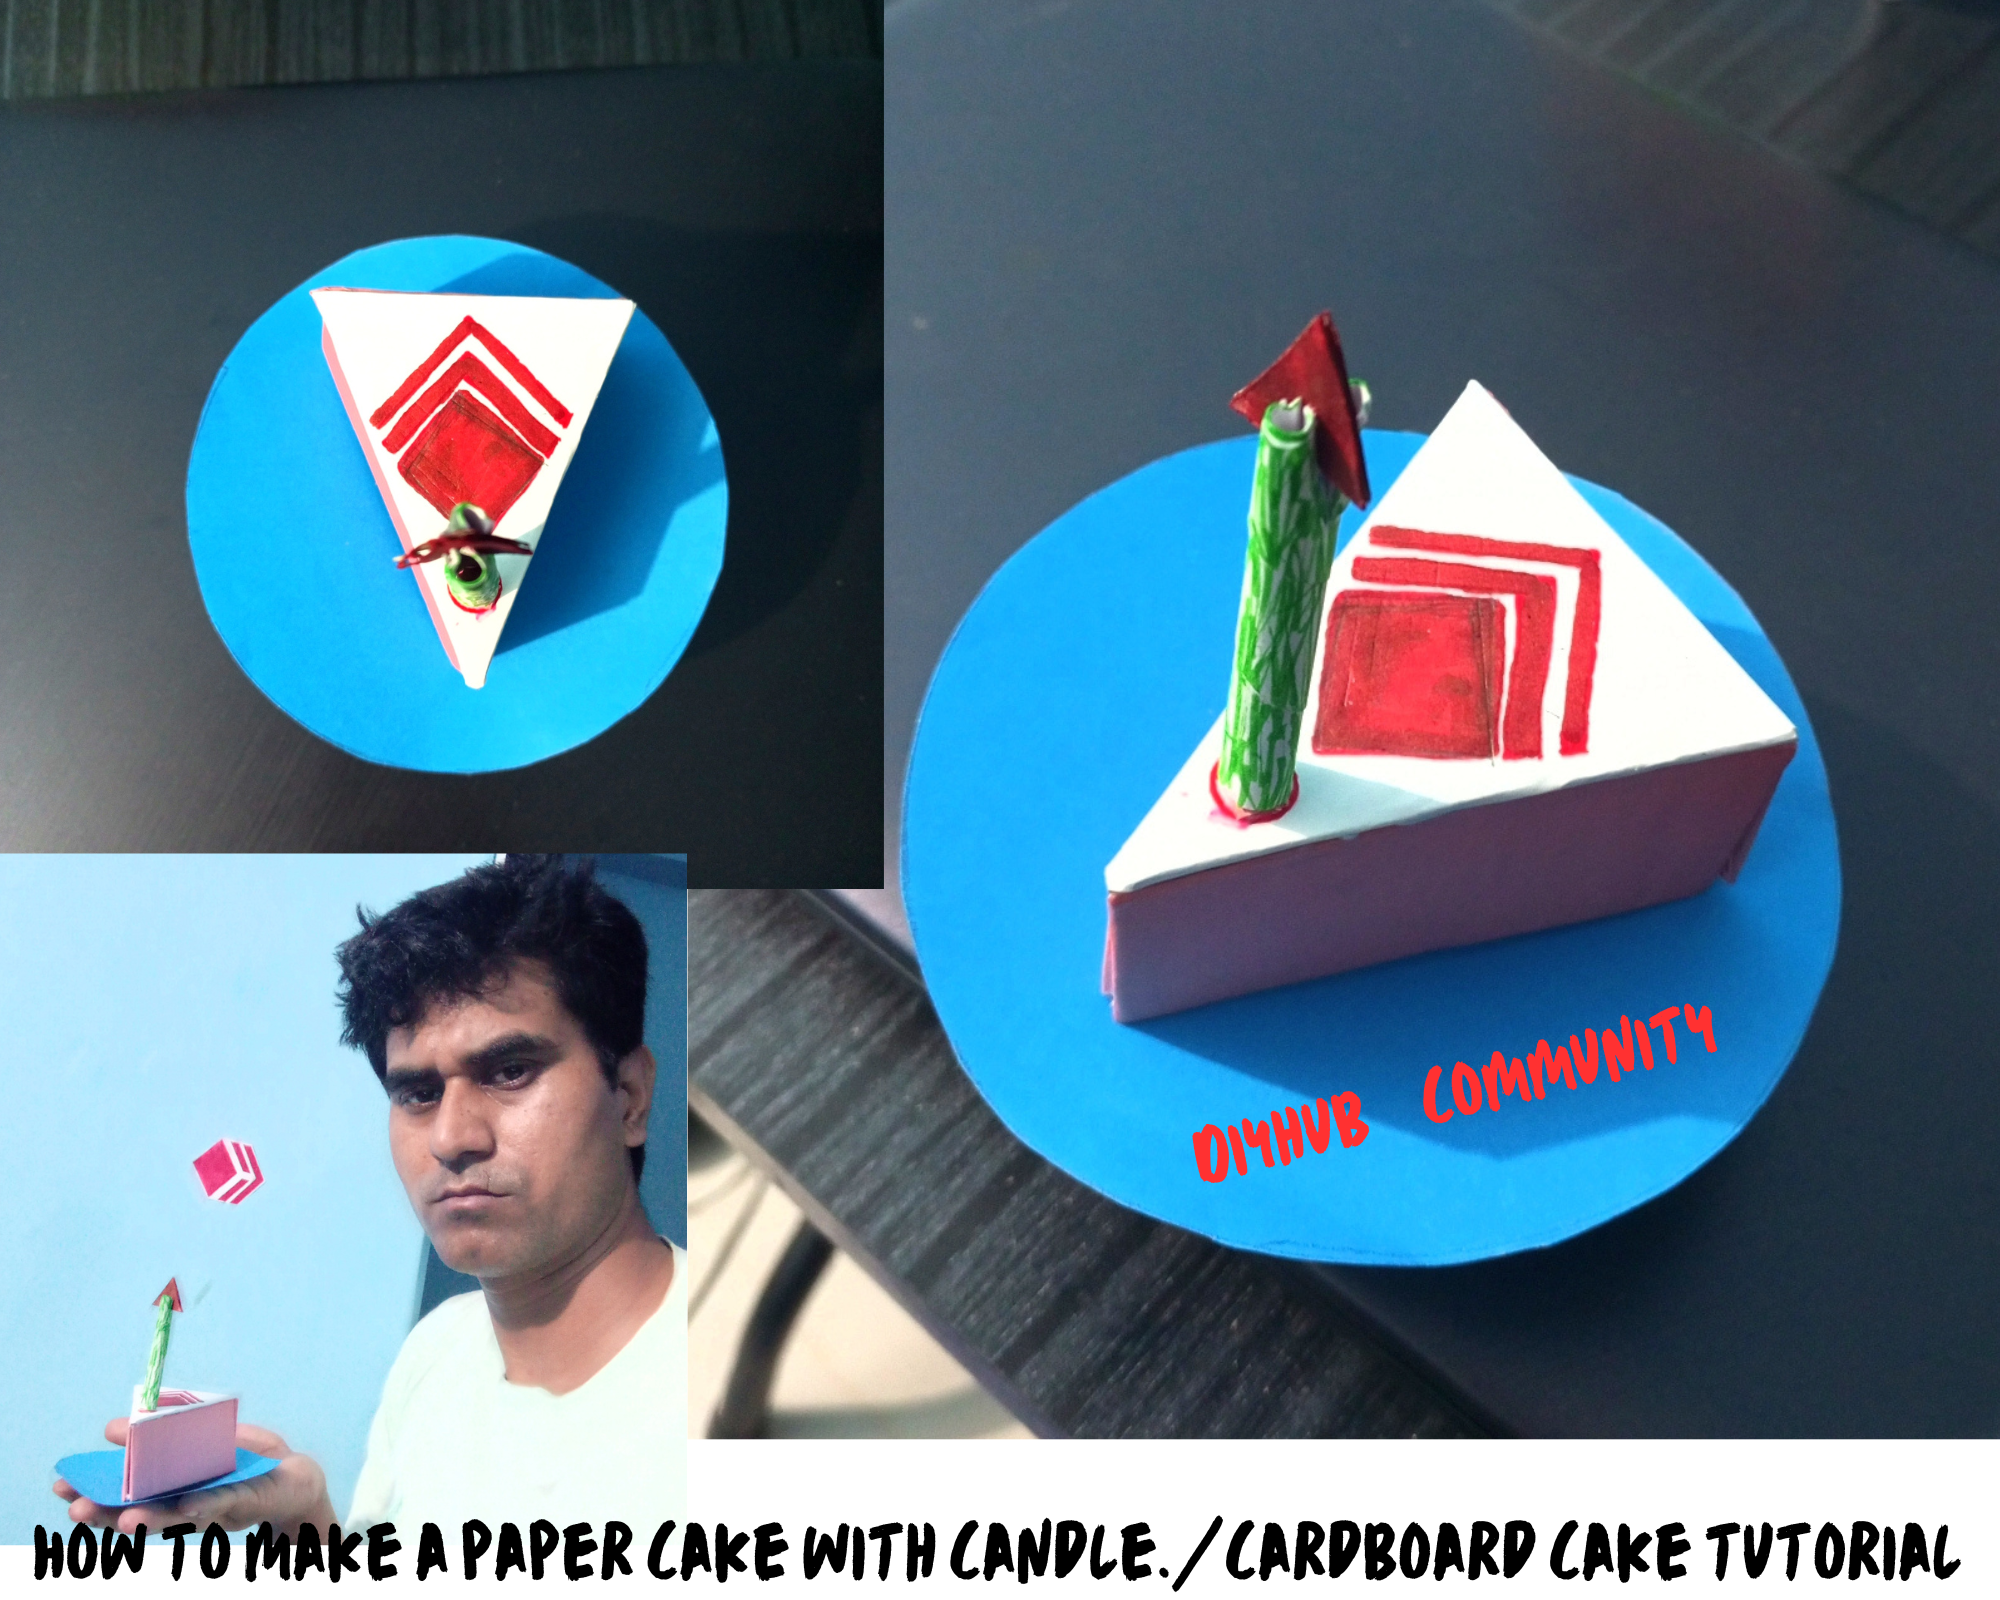
Step by step making plan
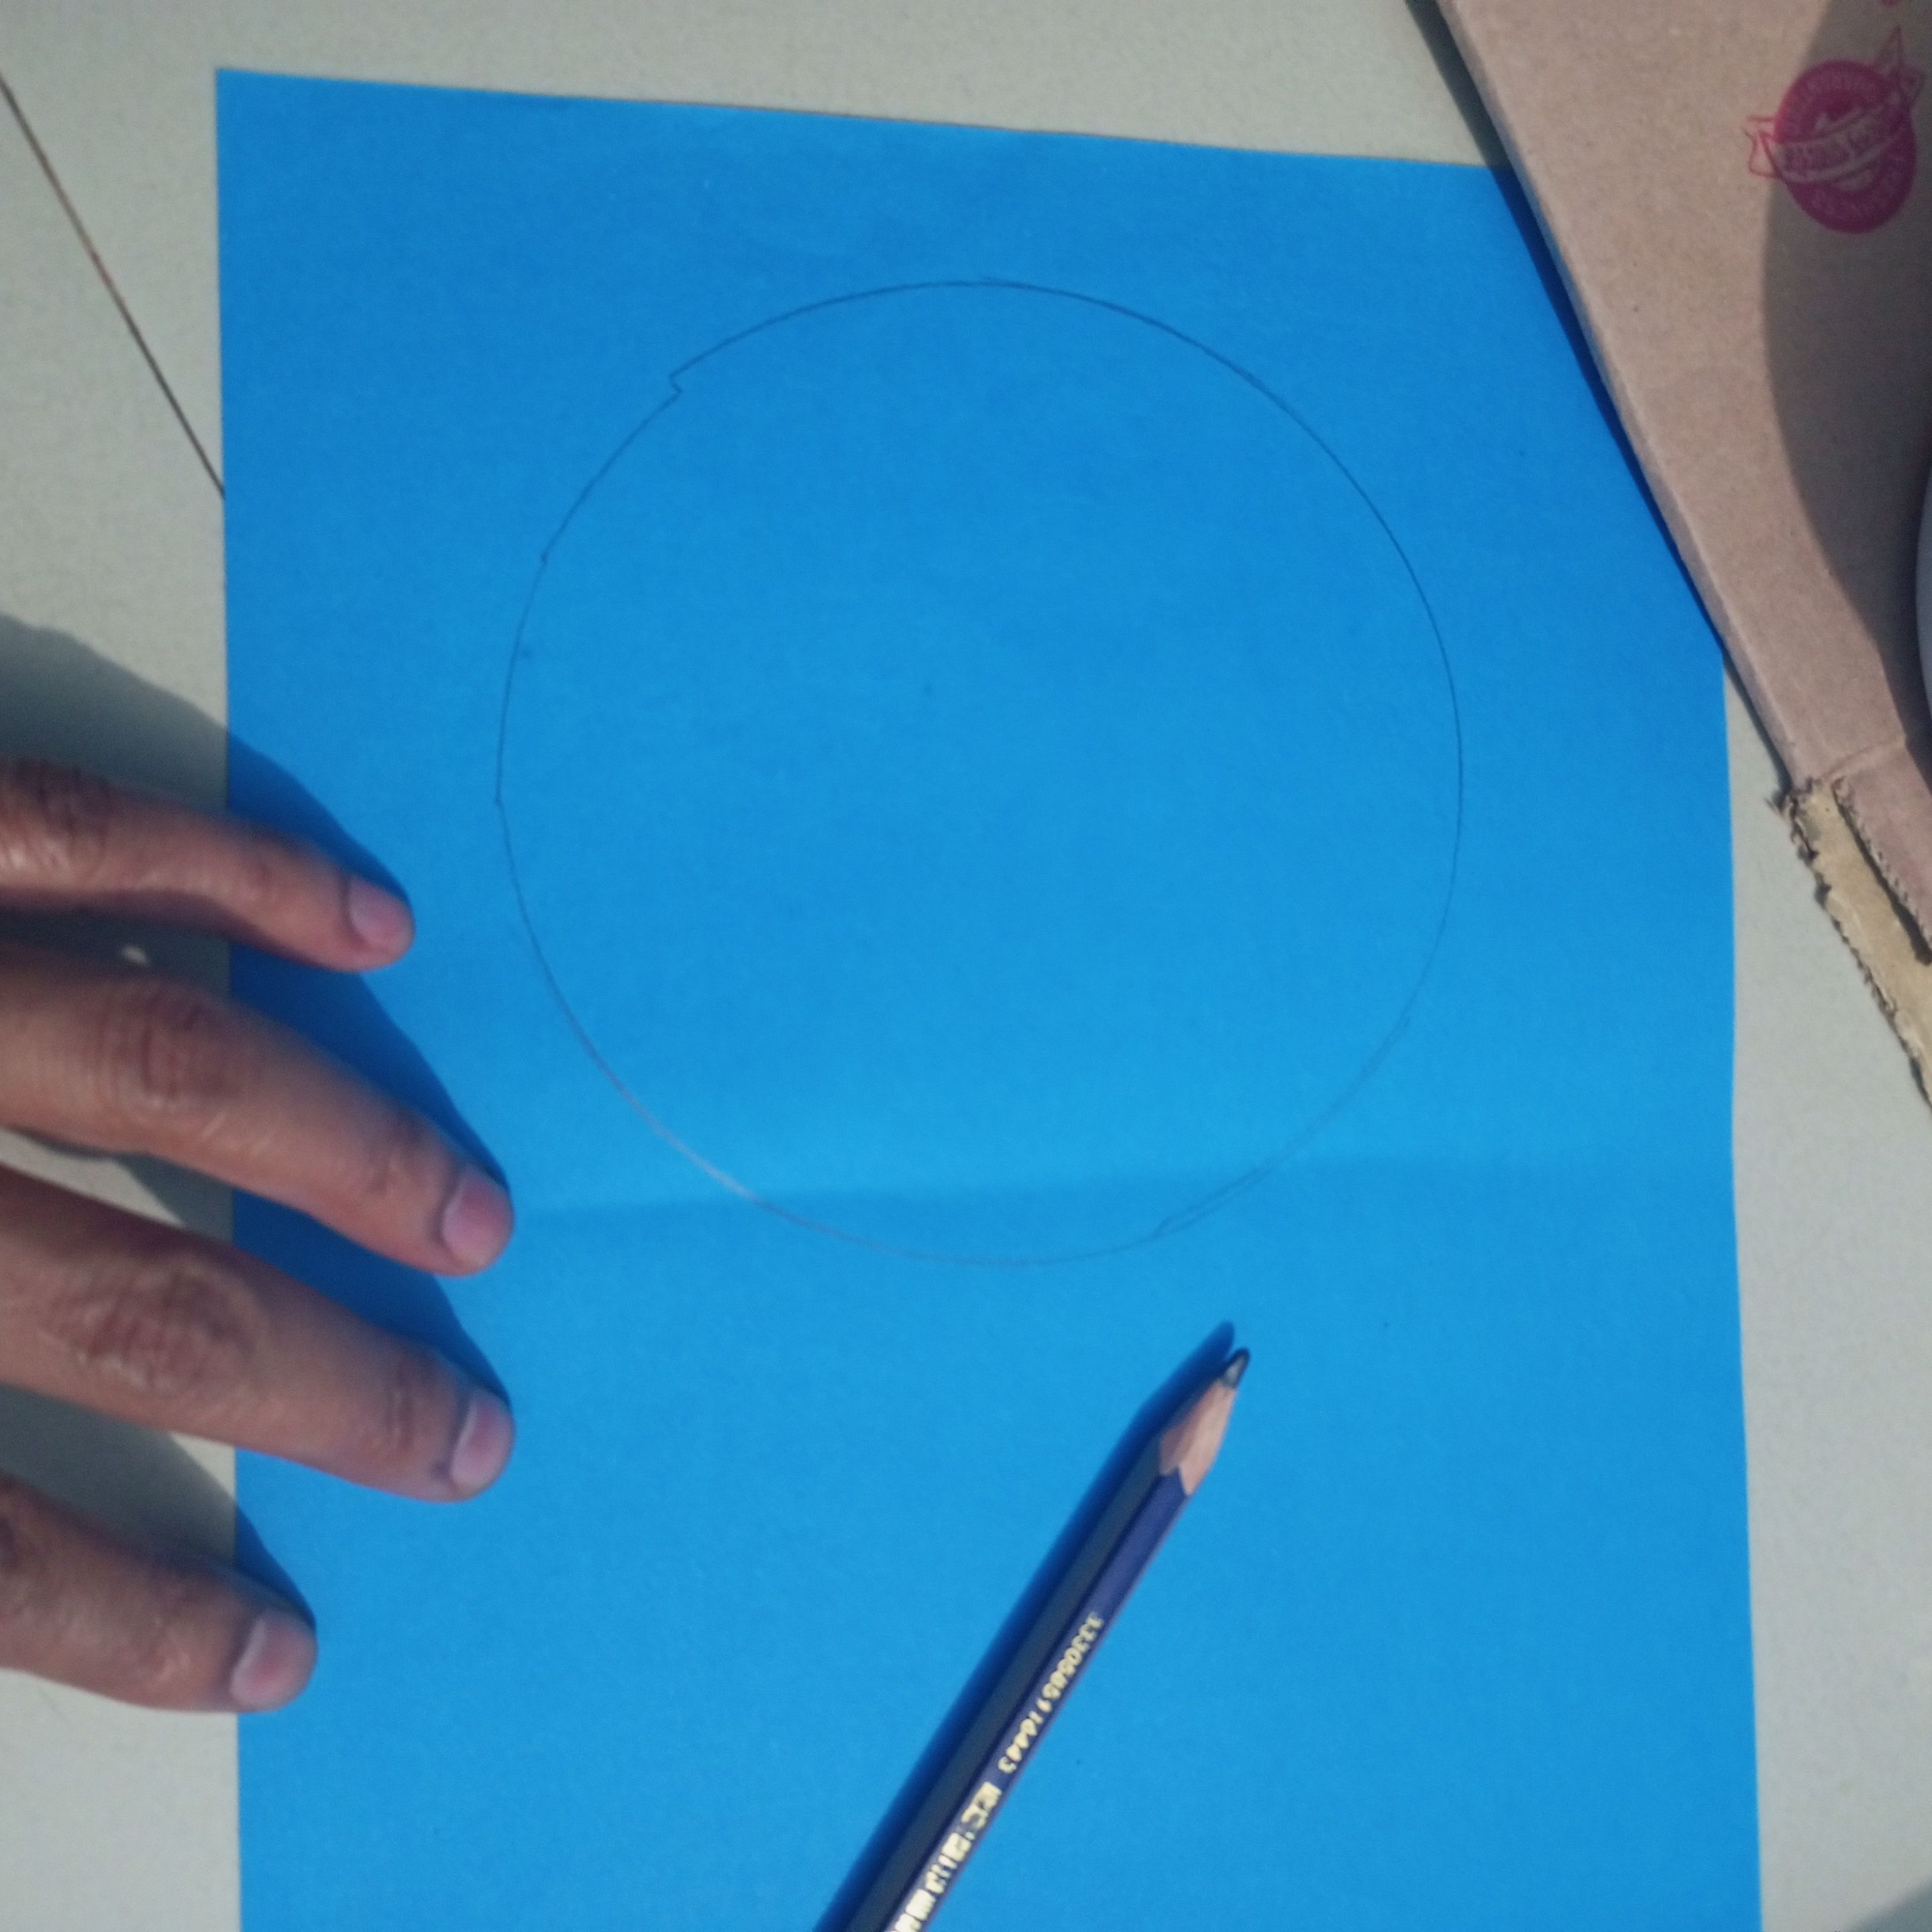
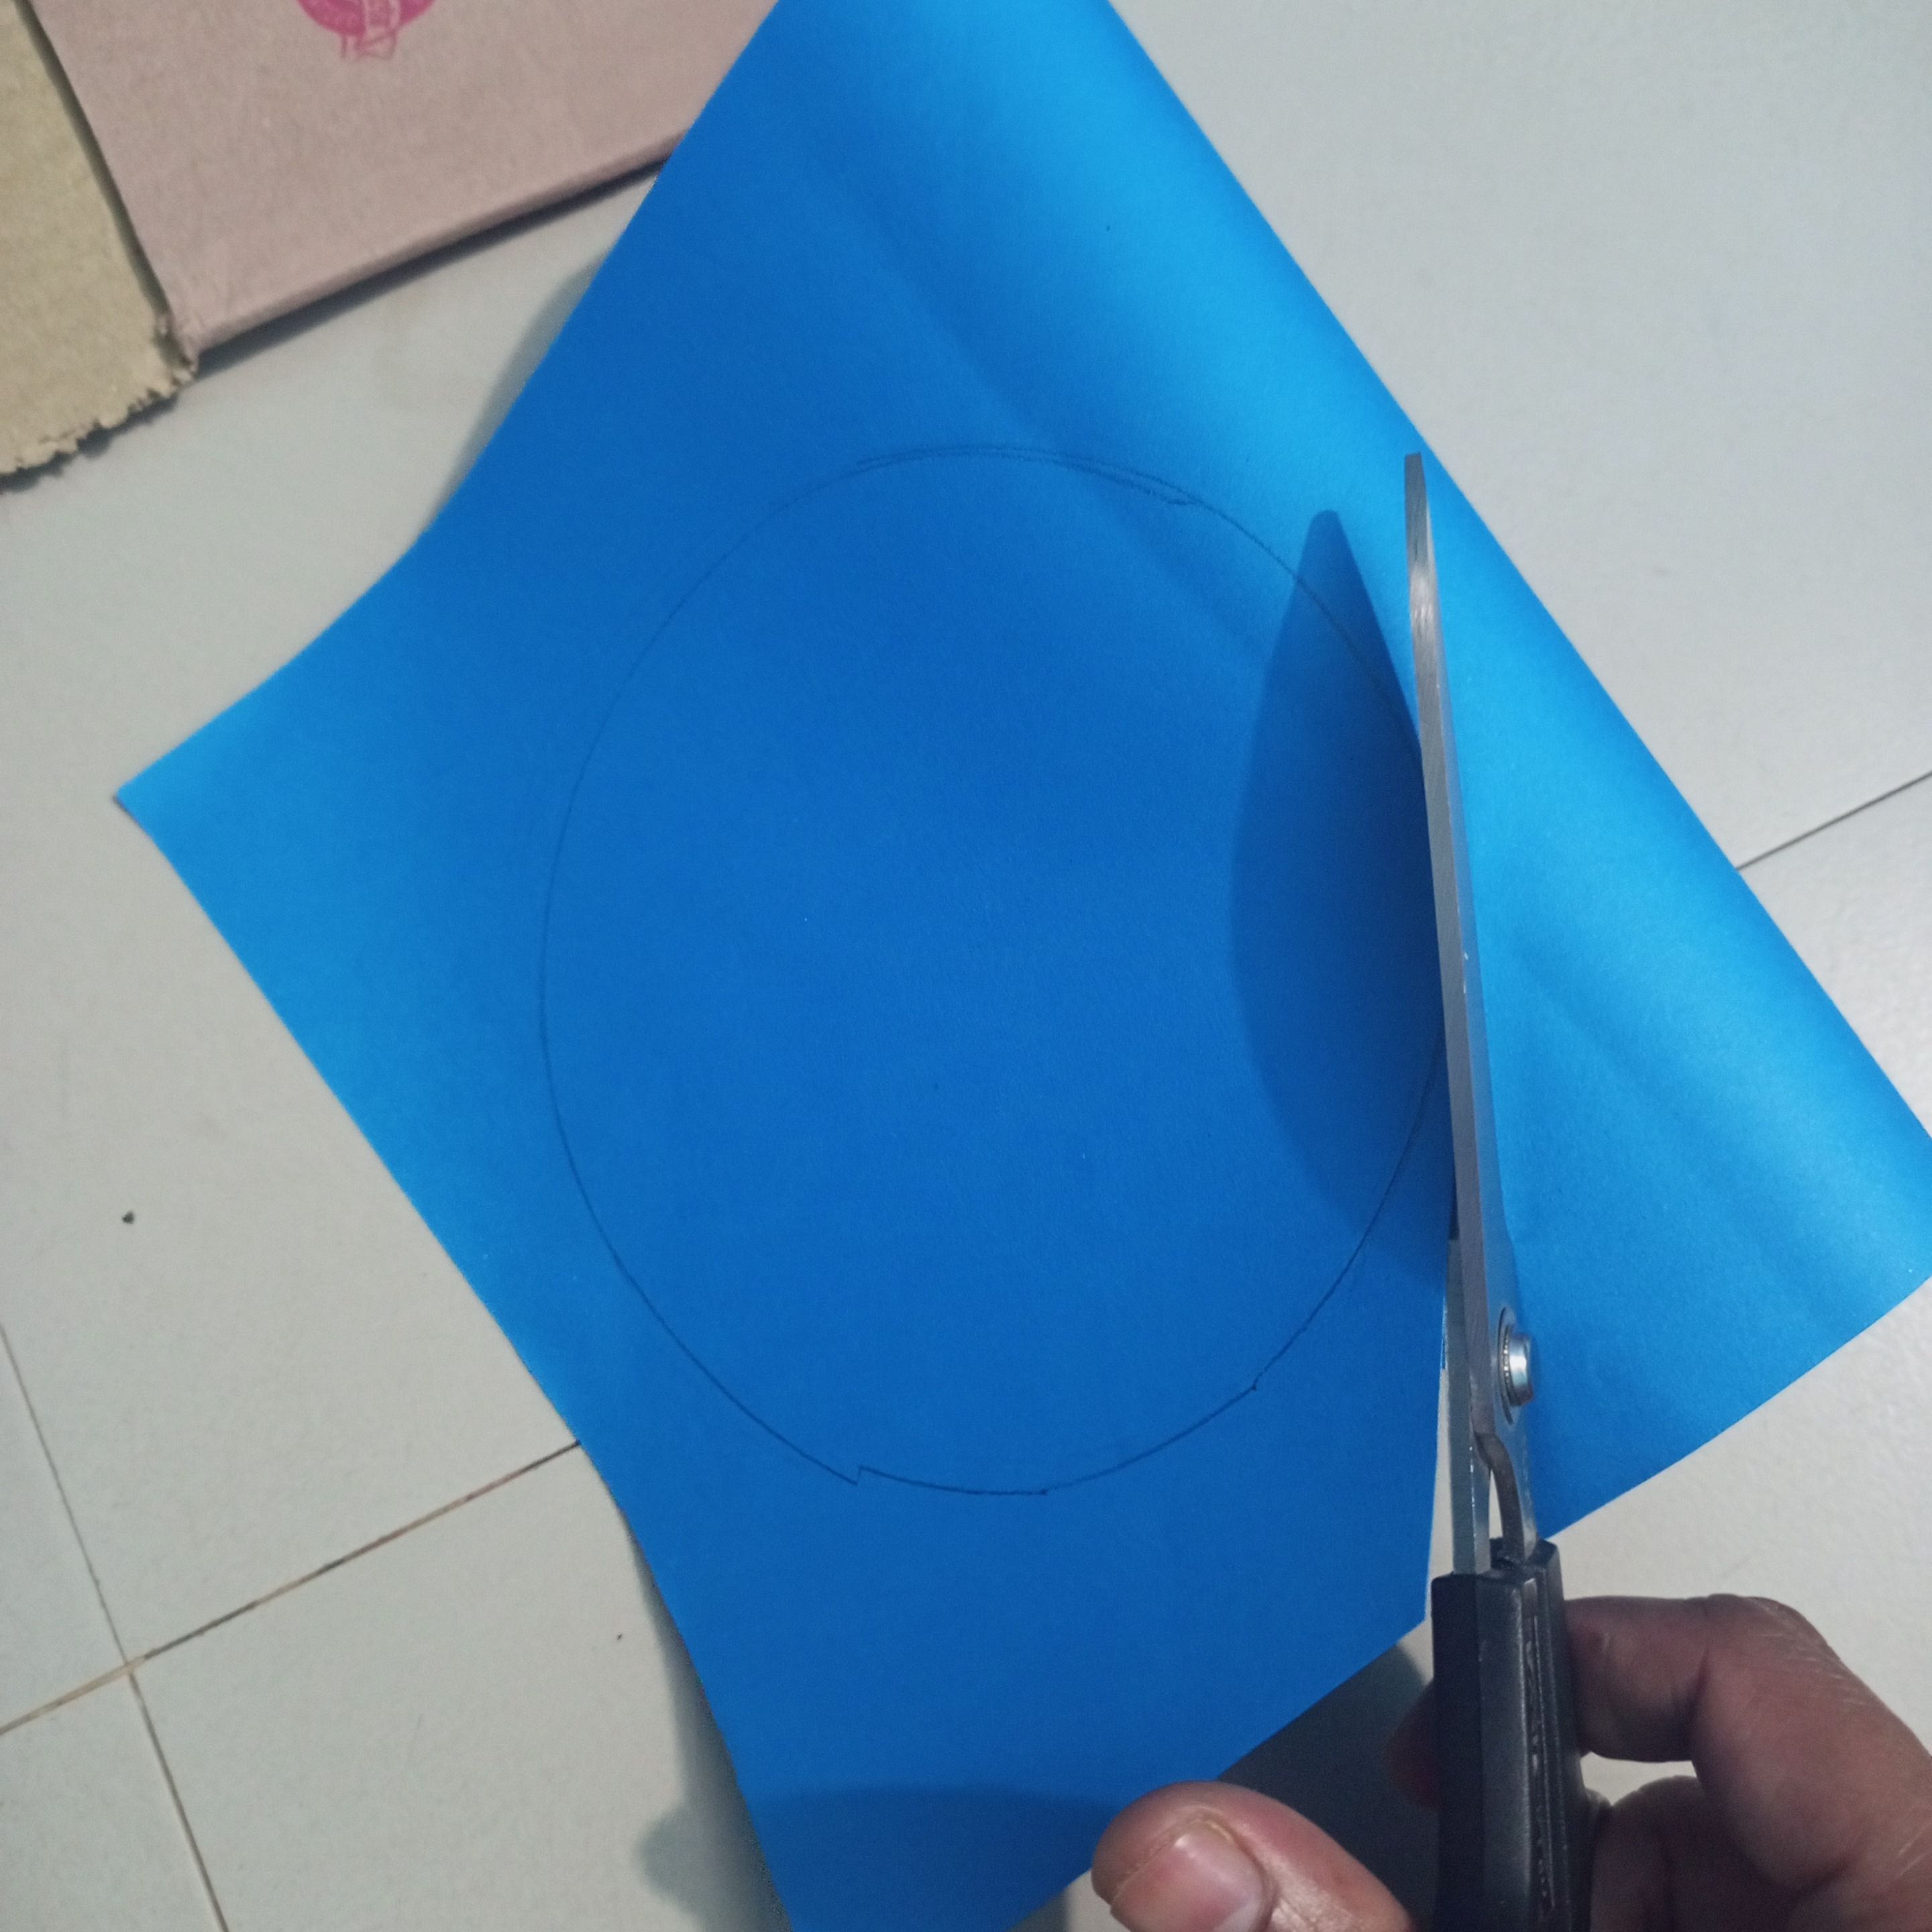
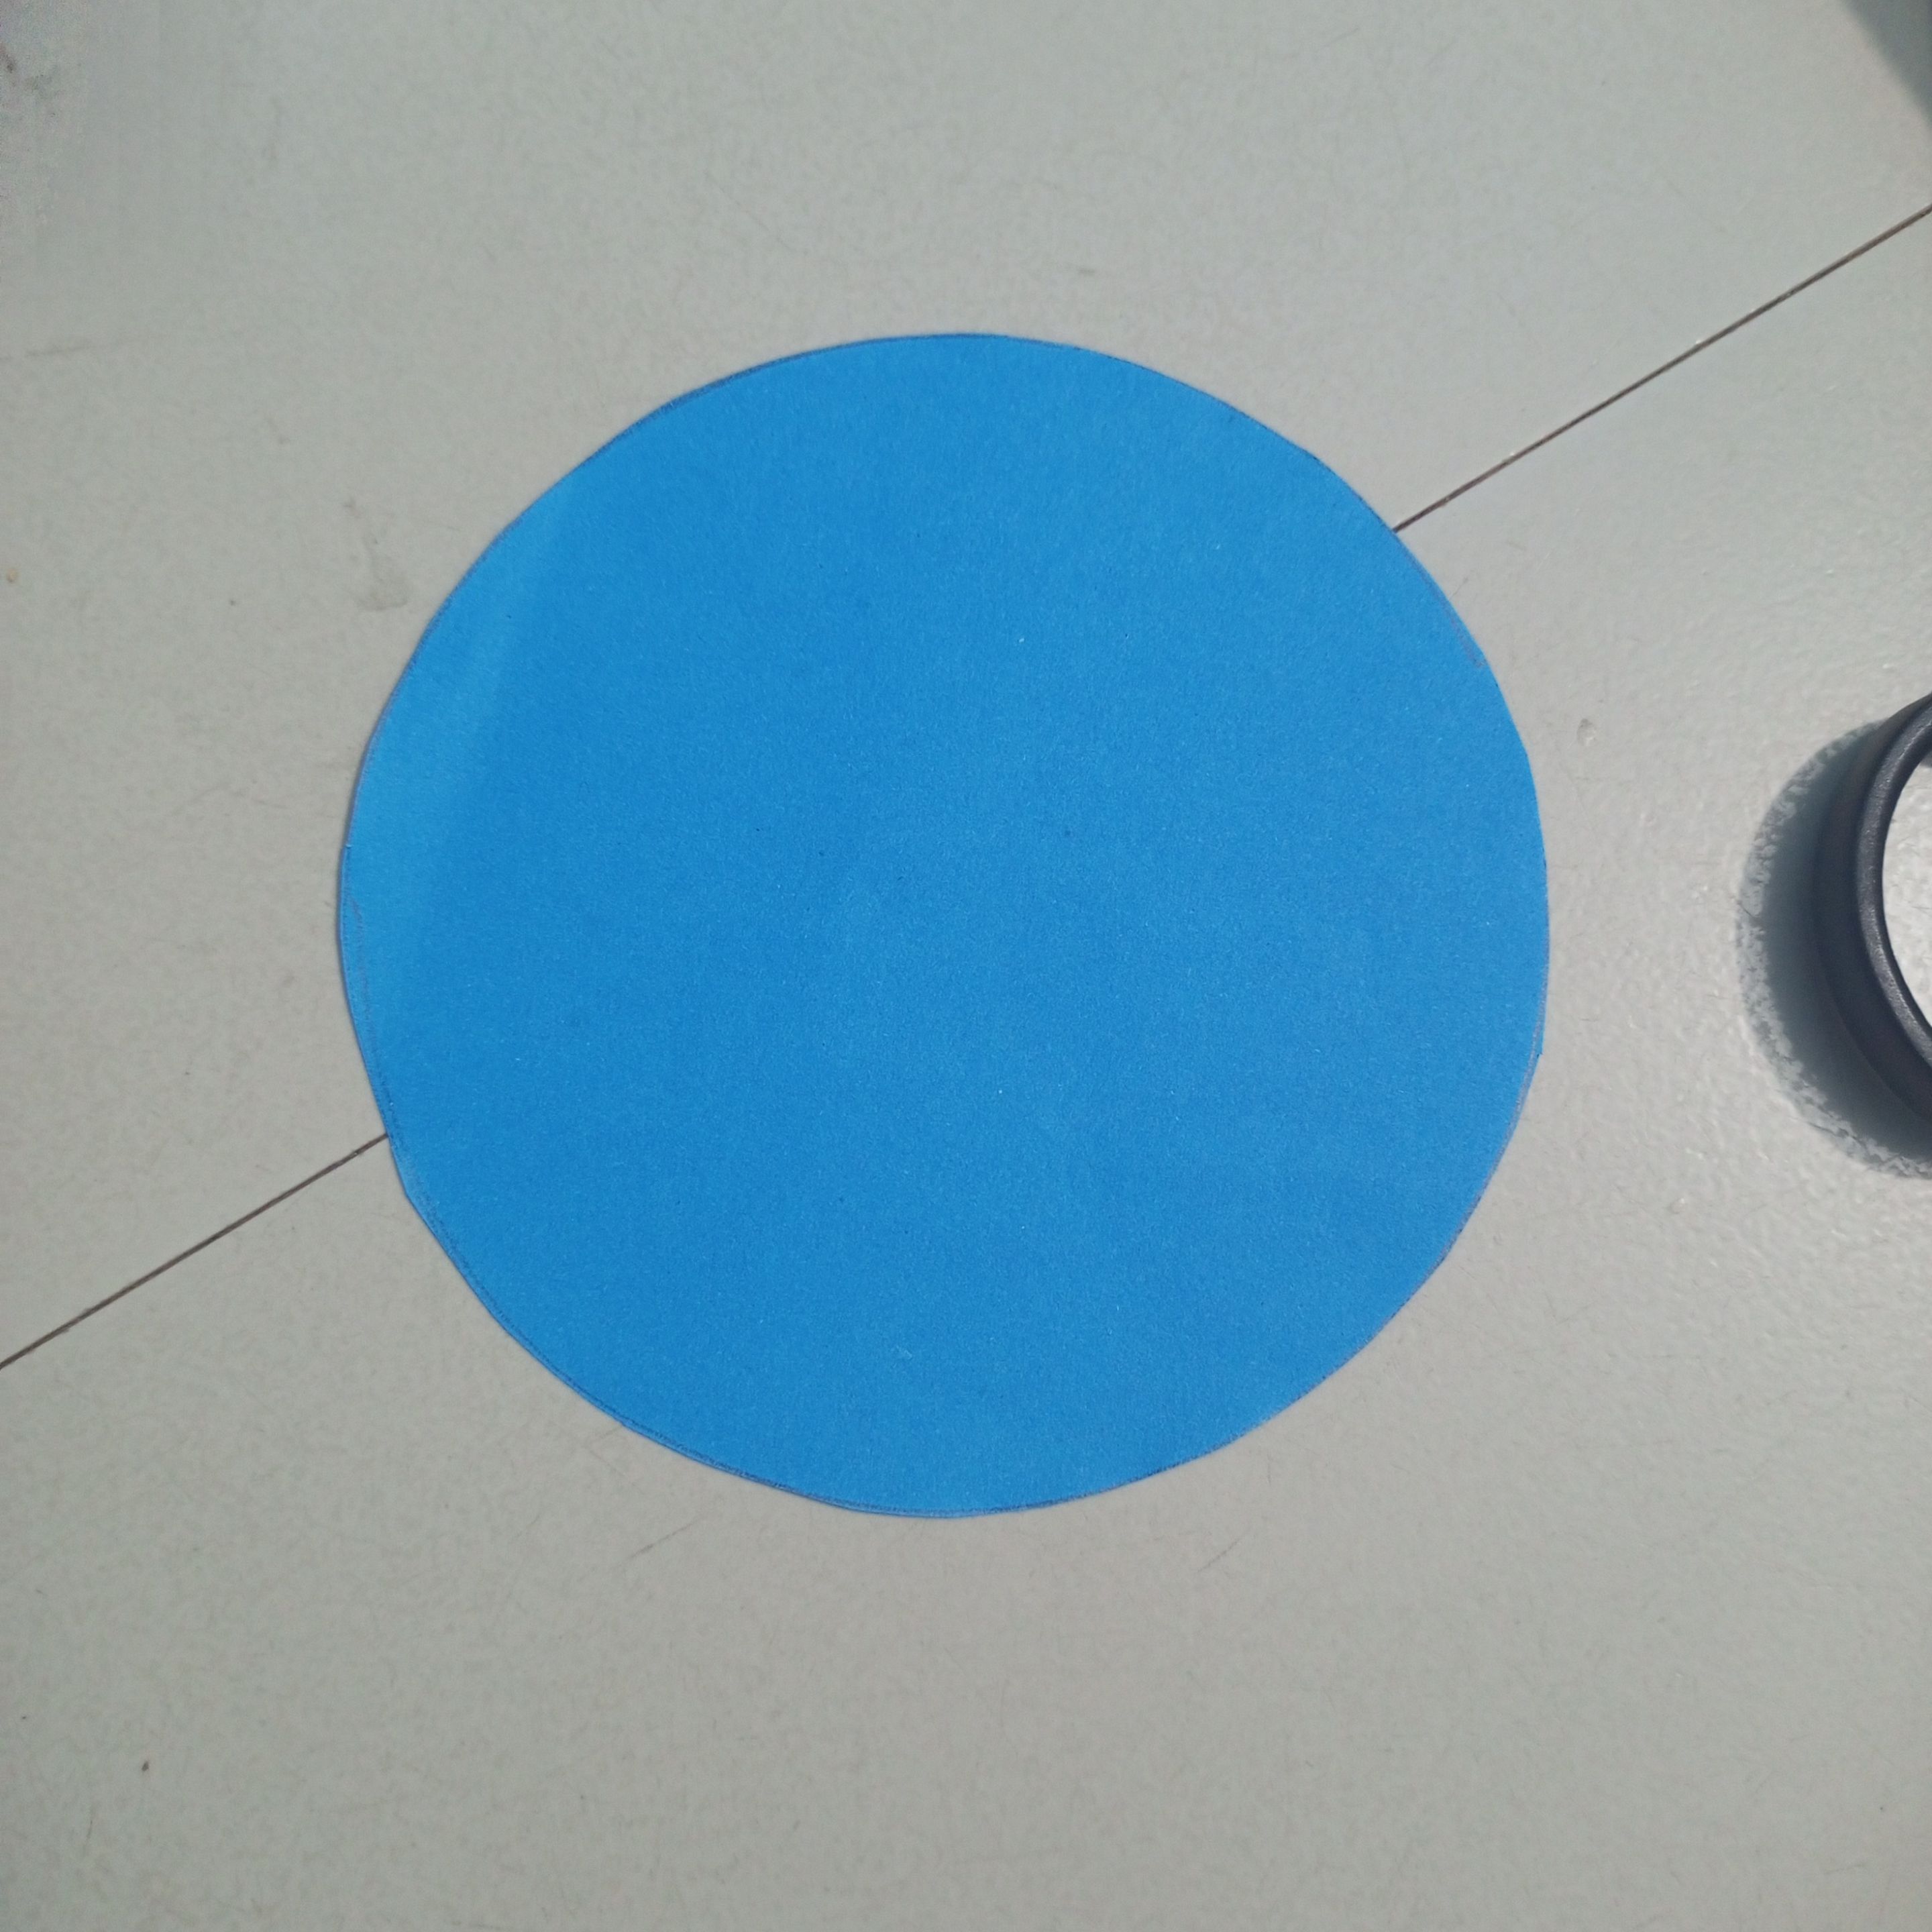
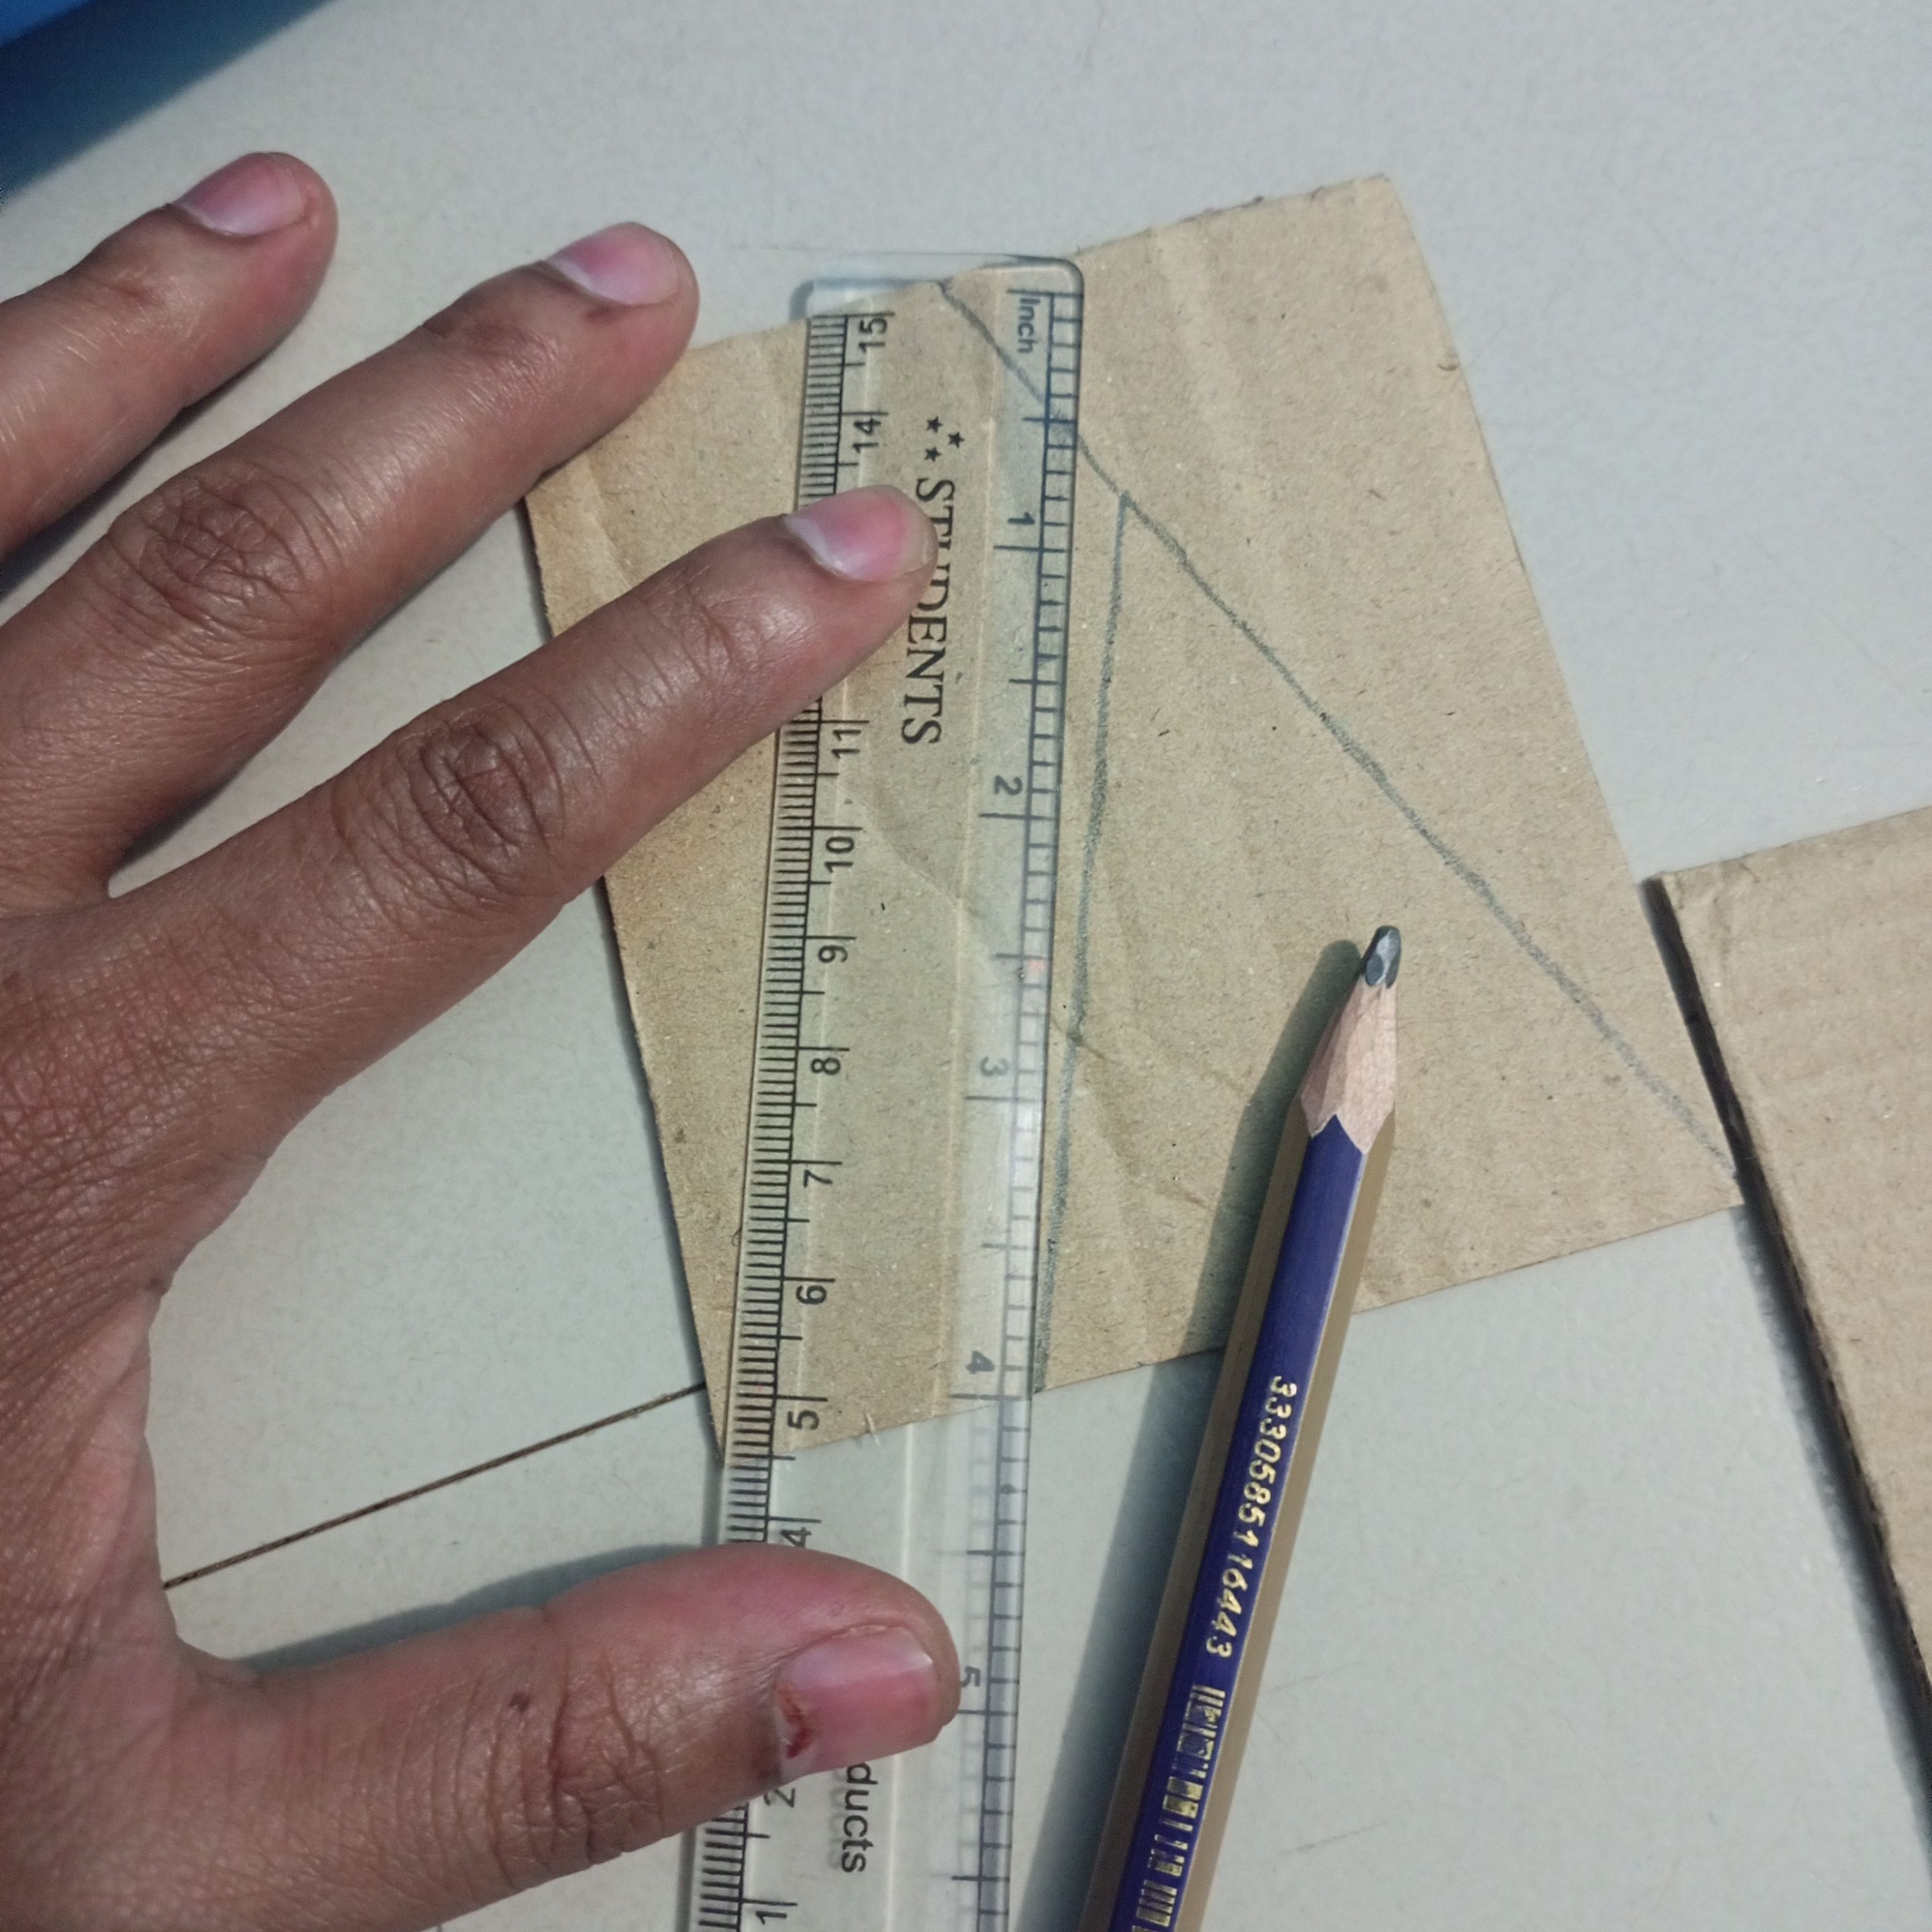
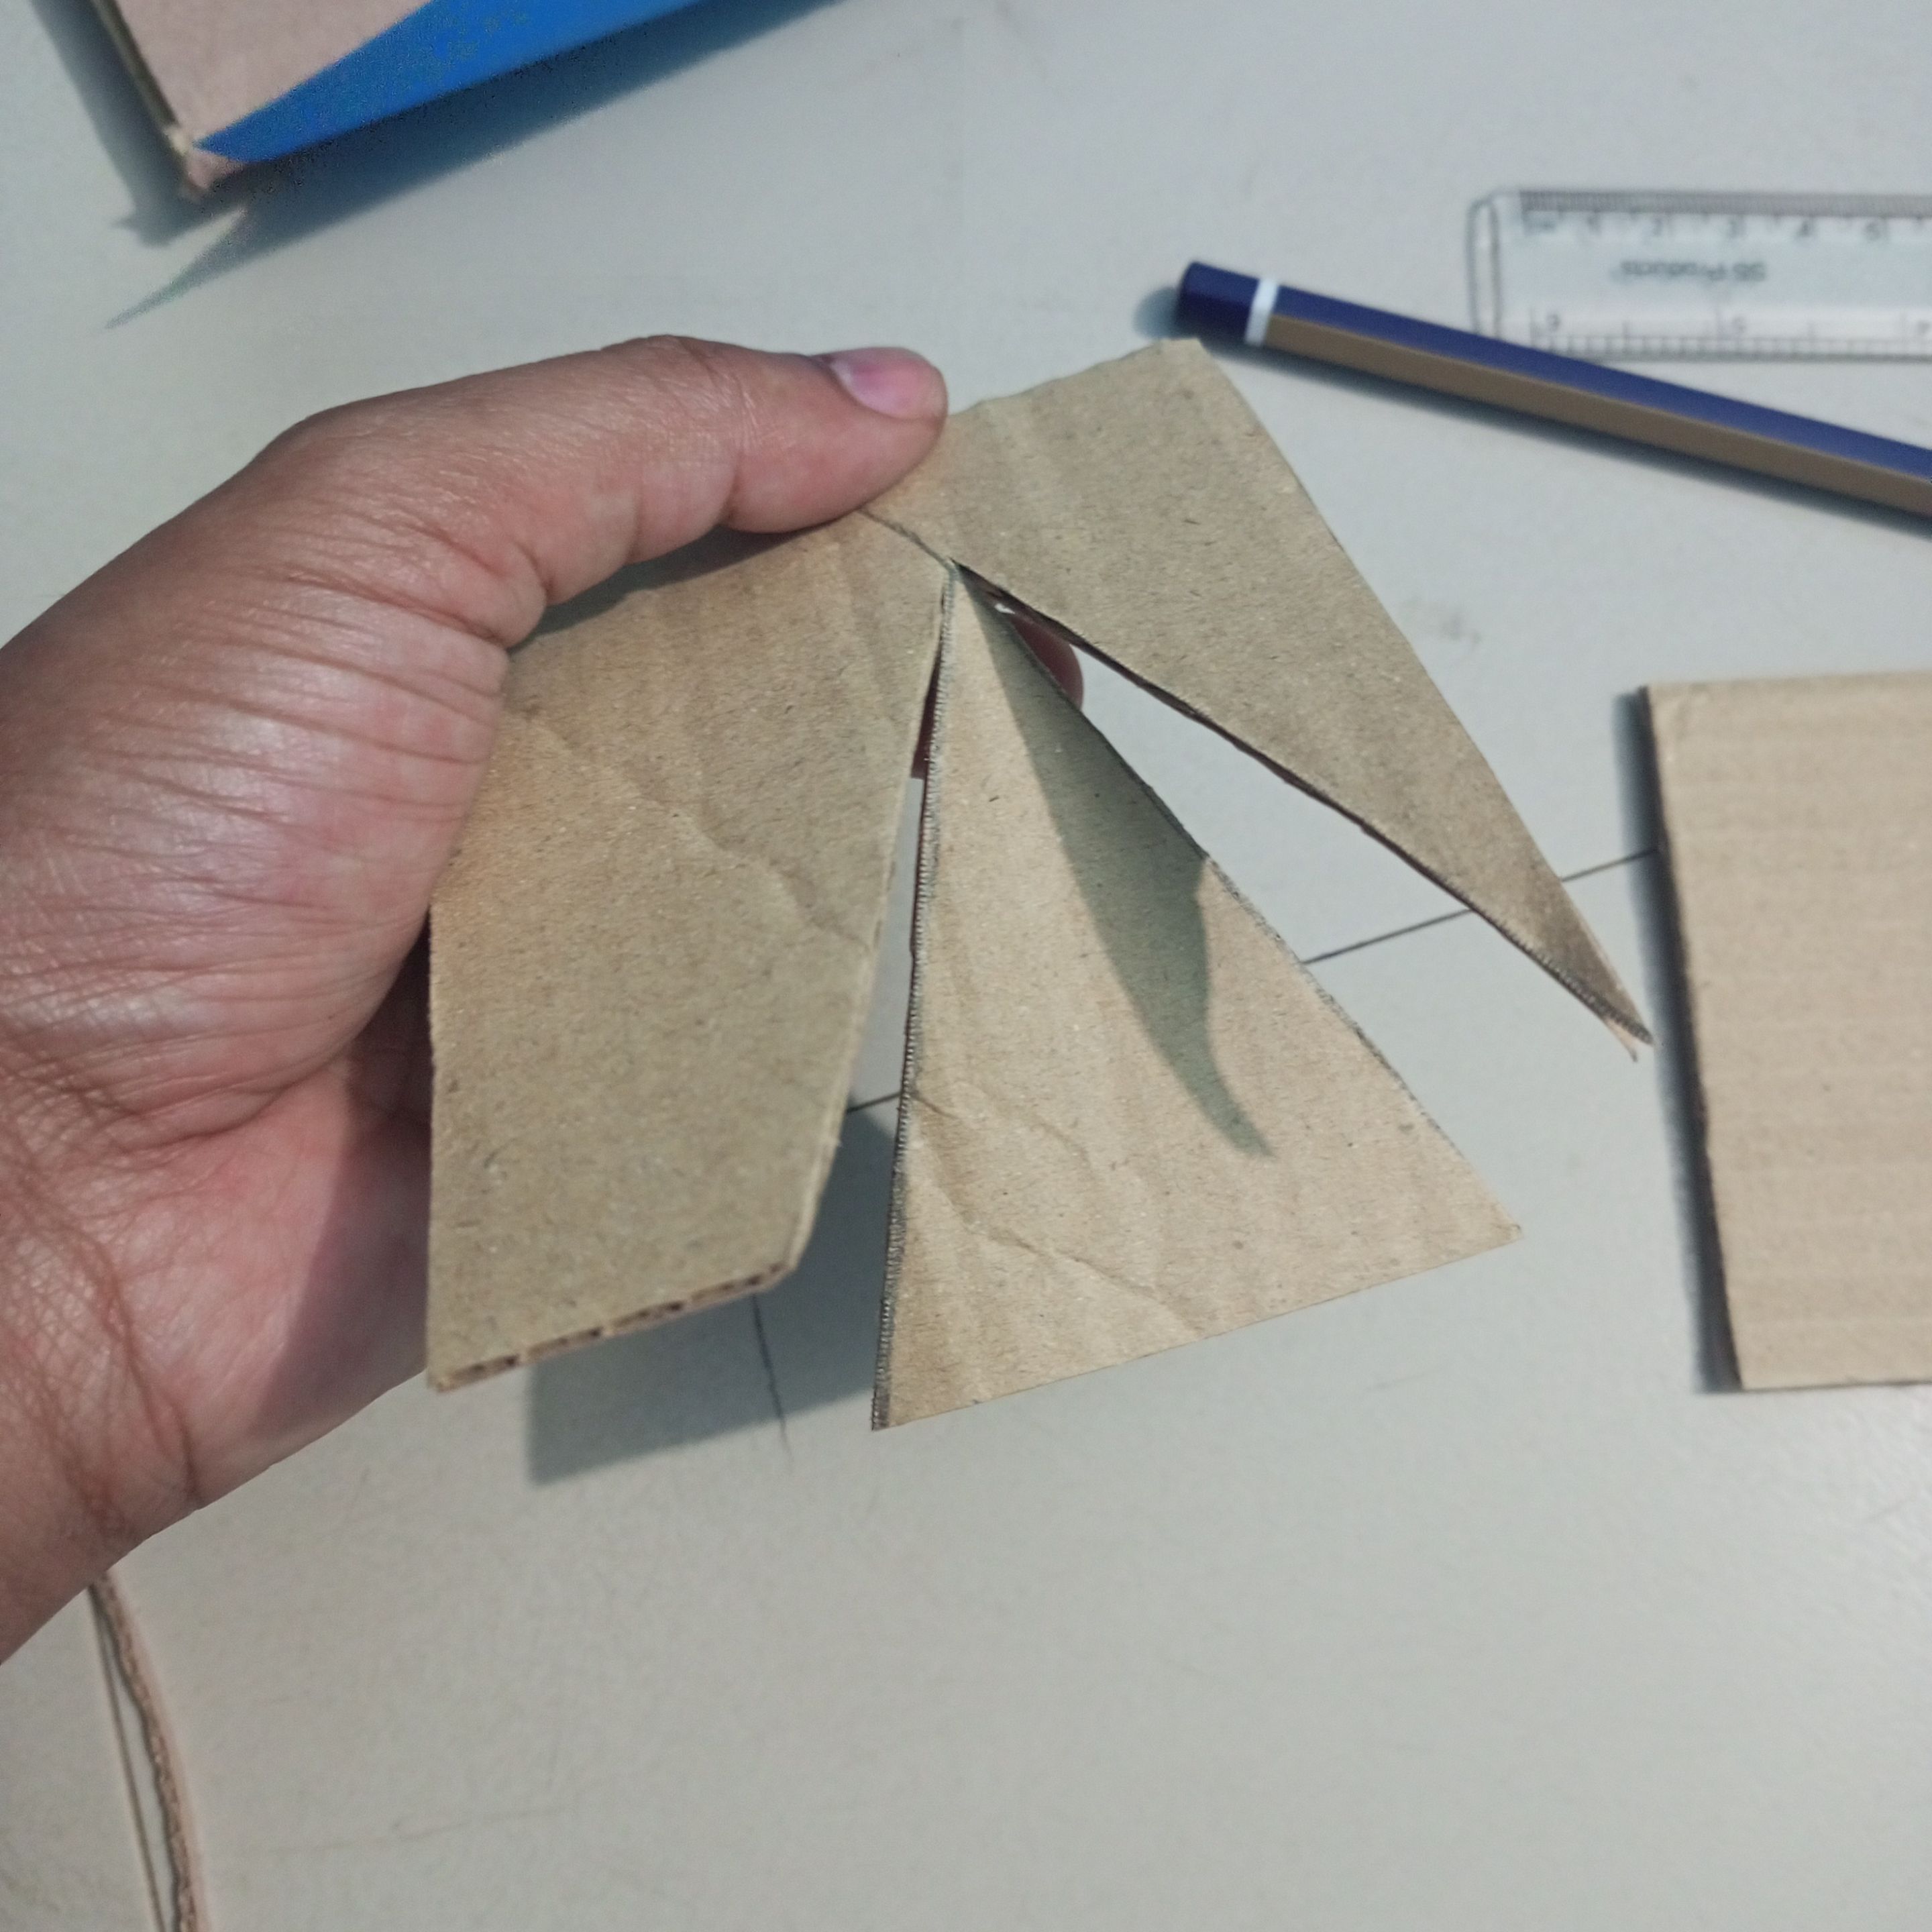
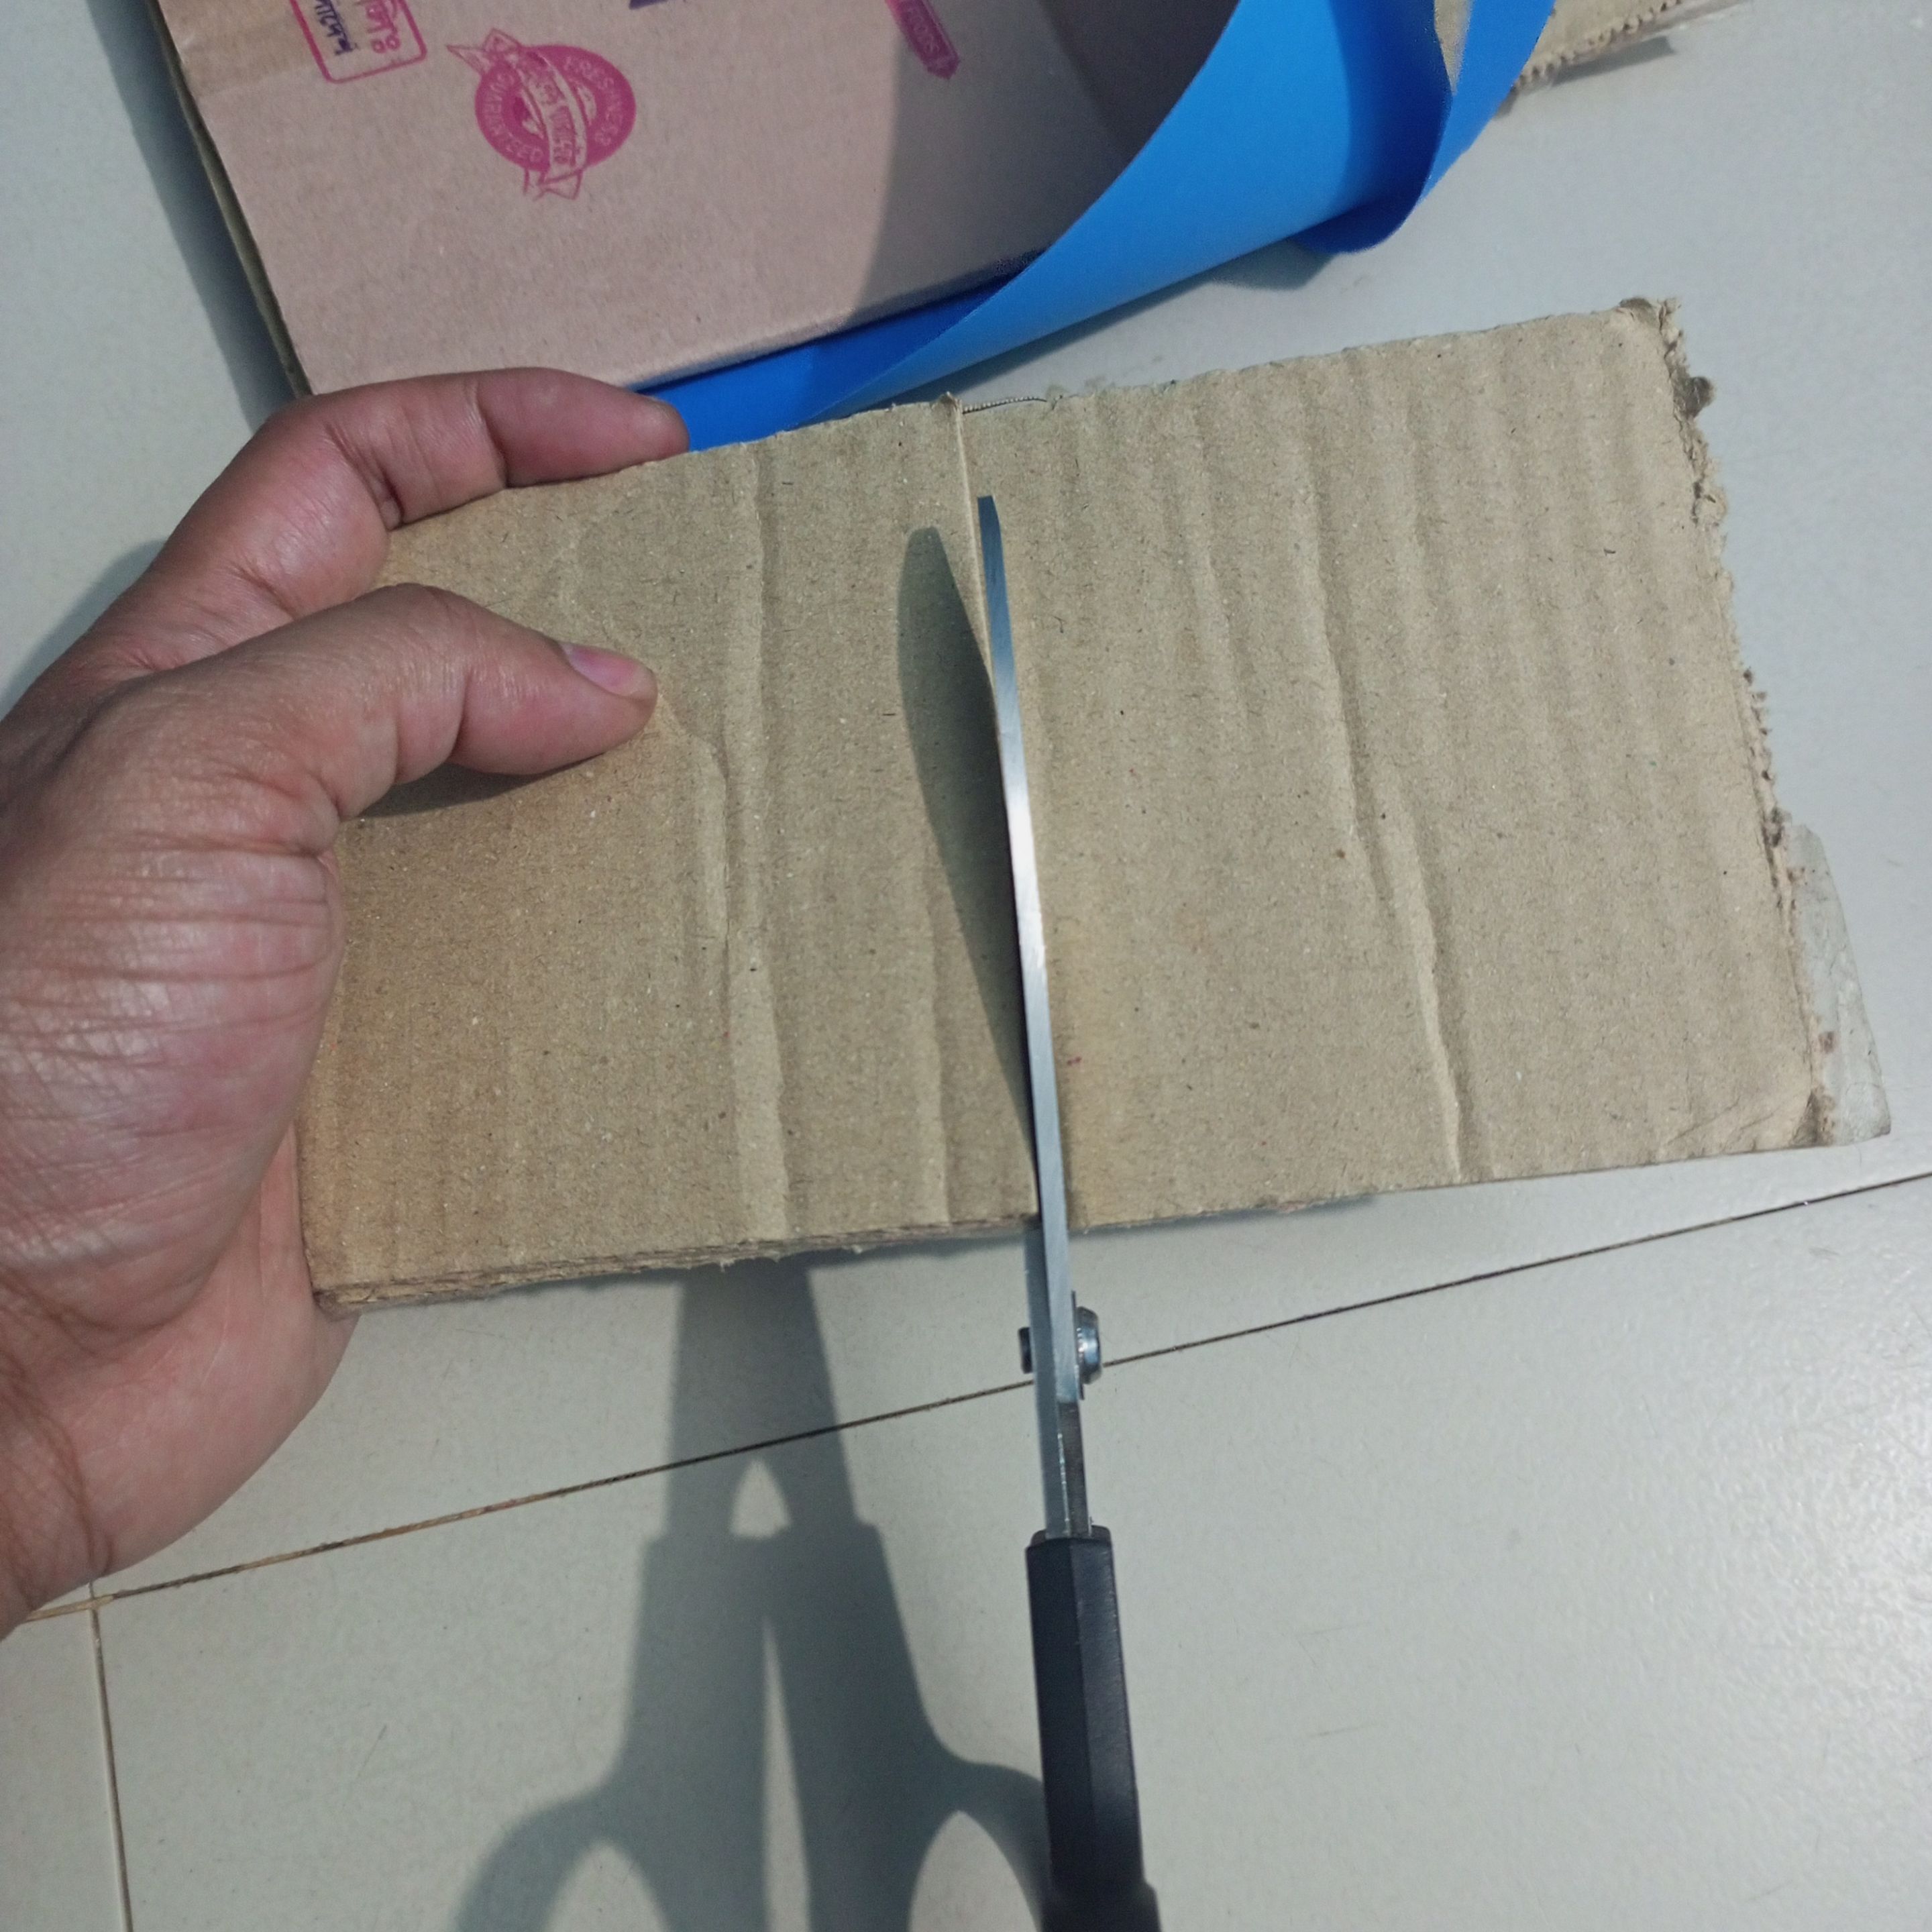
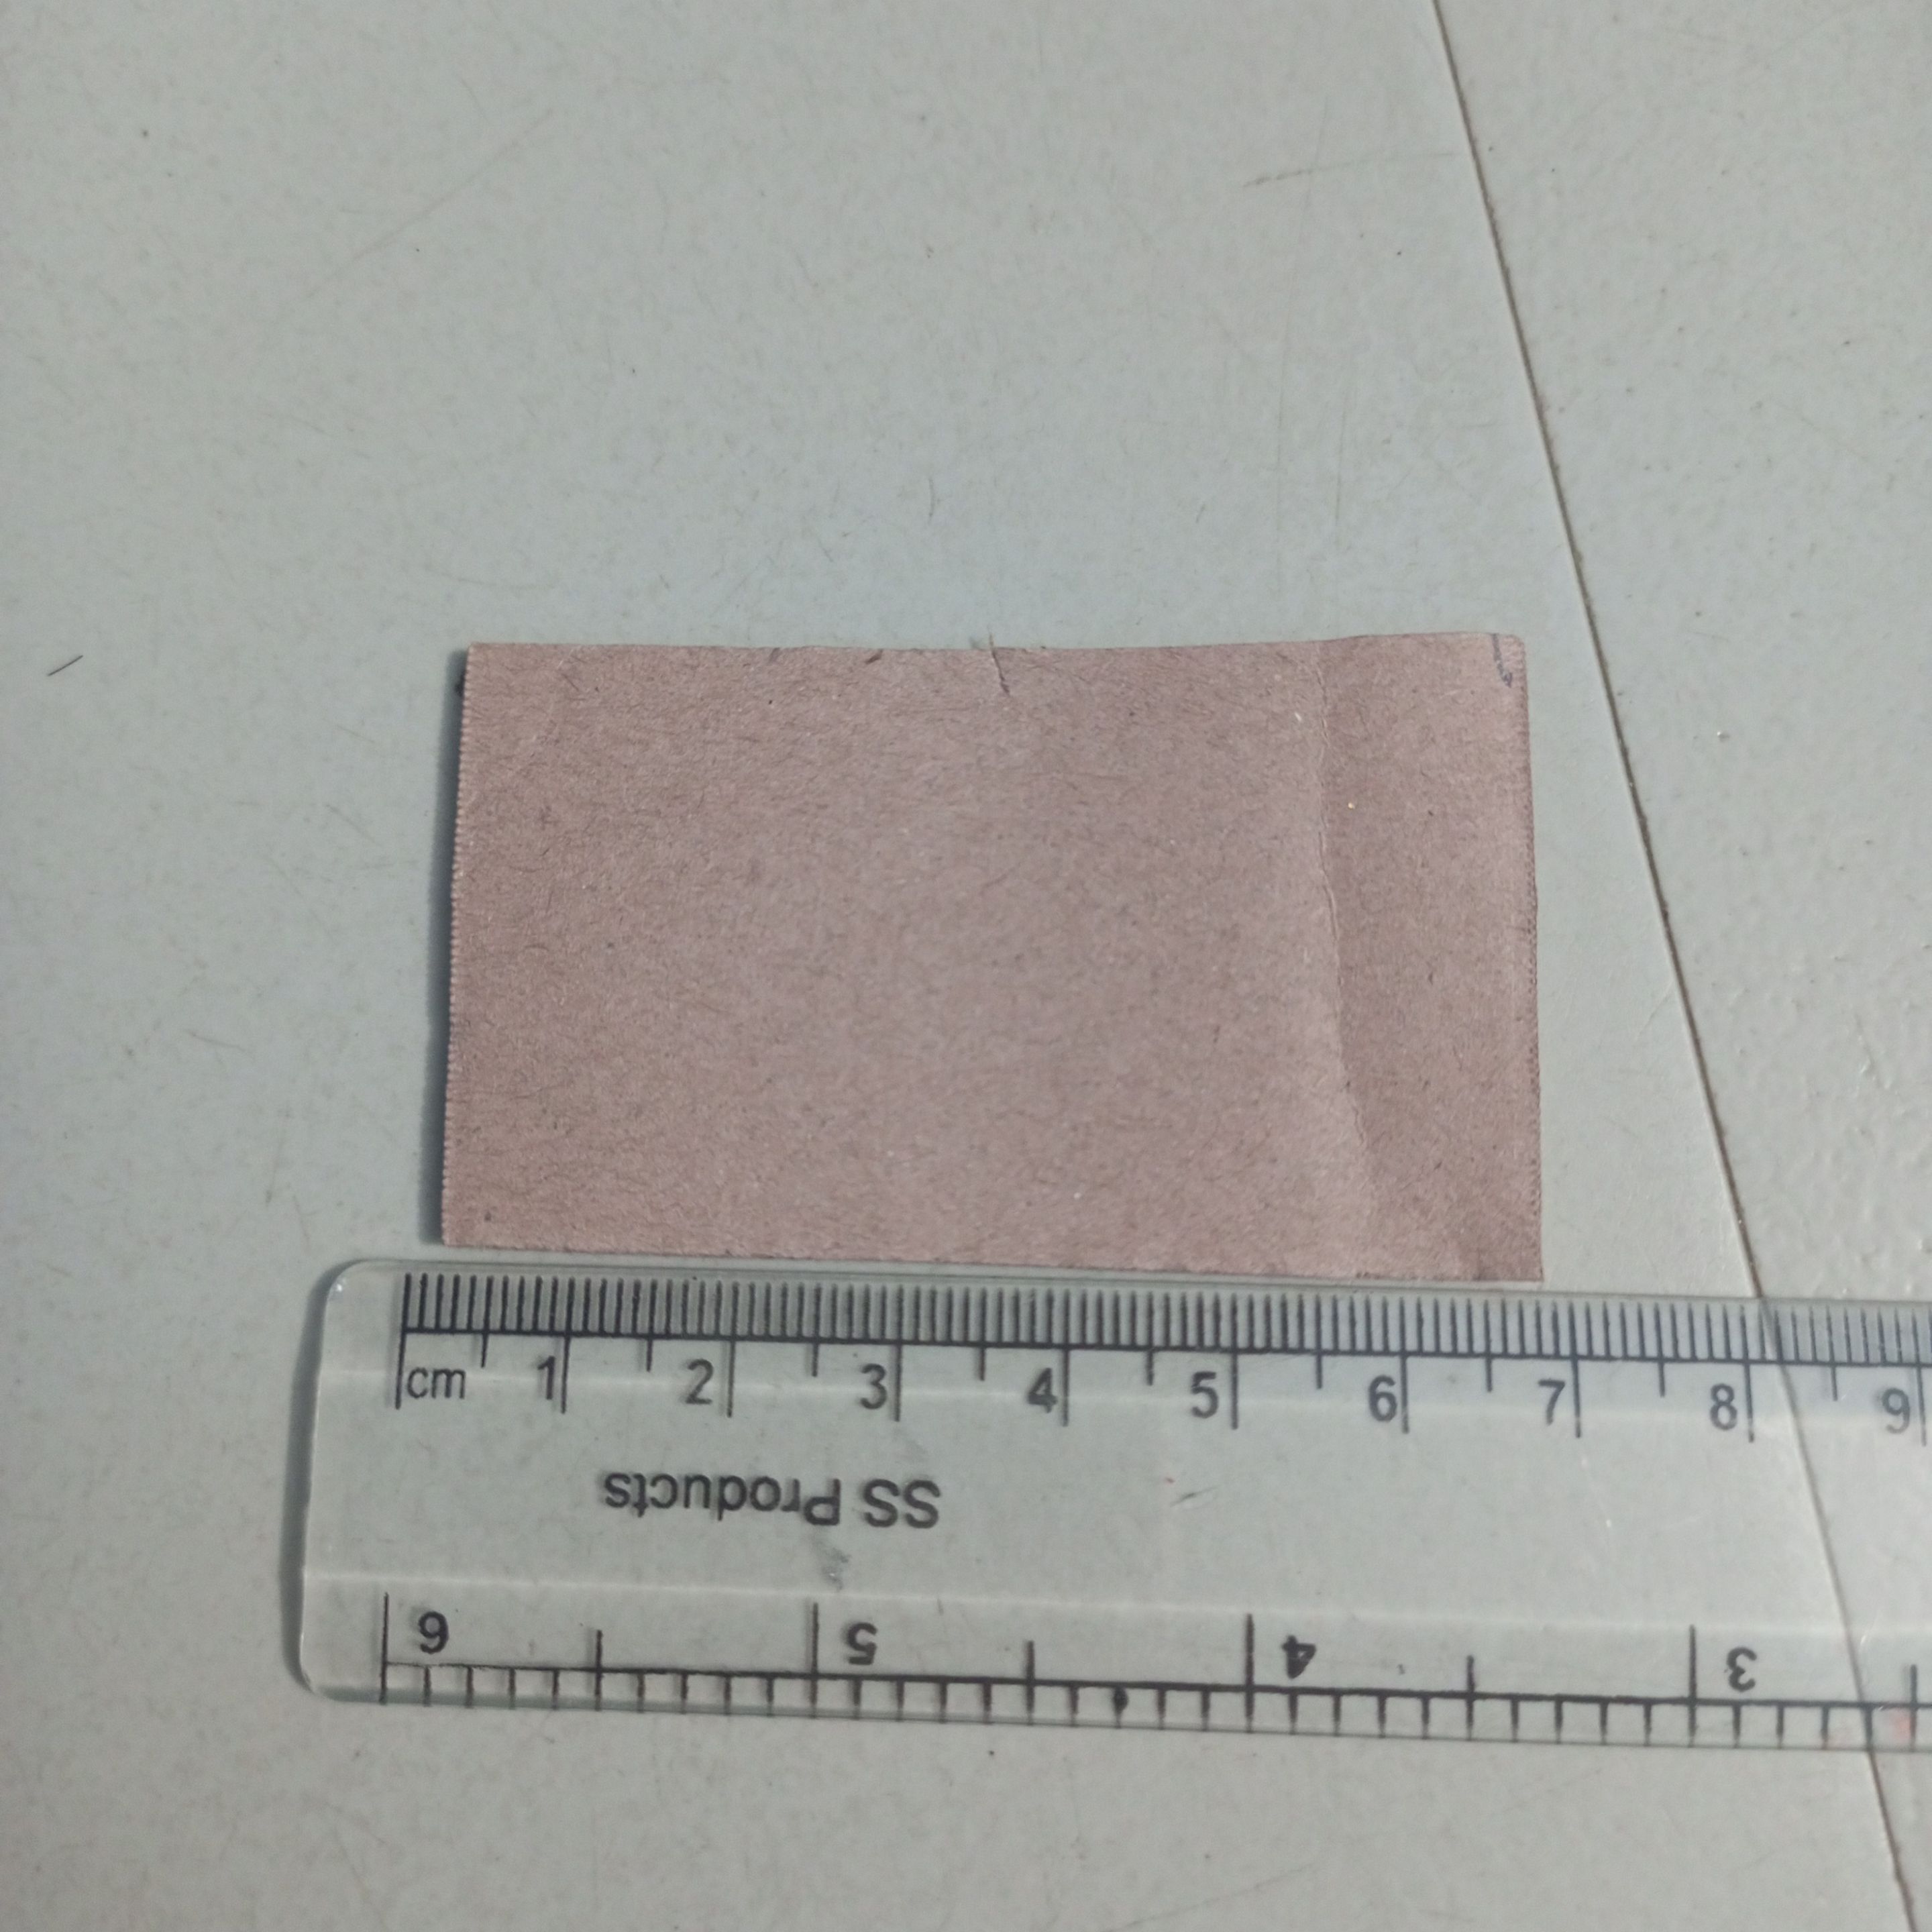
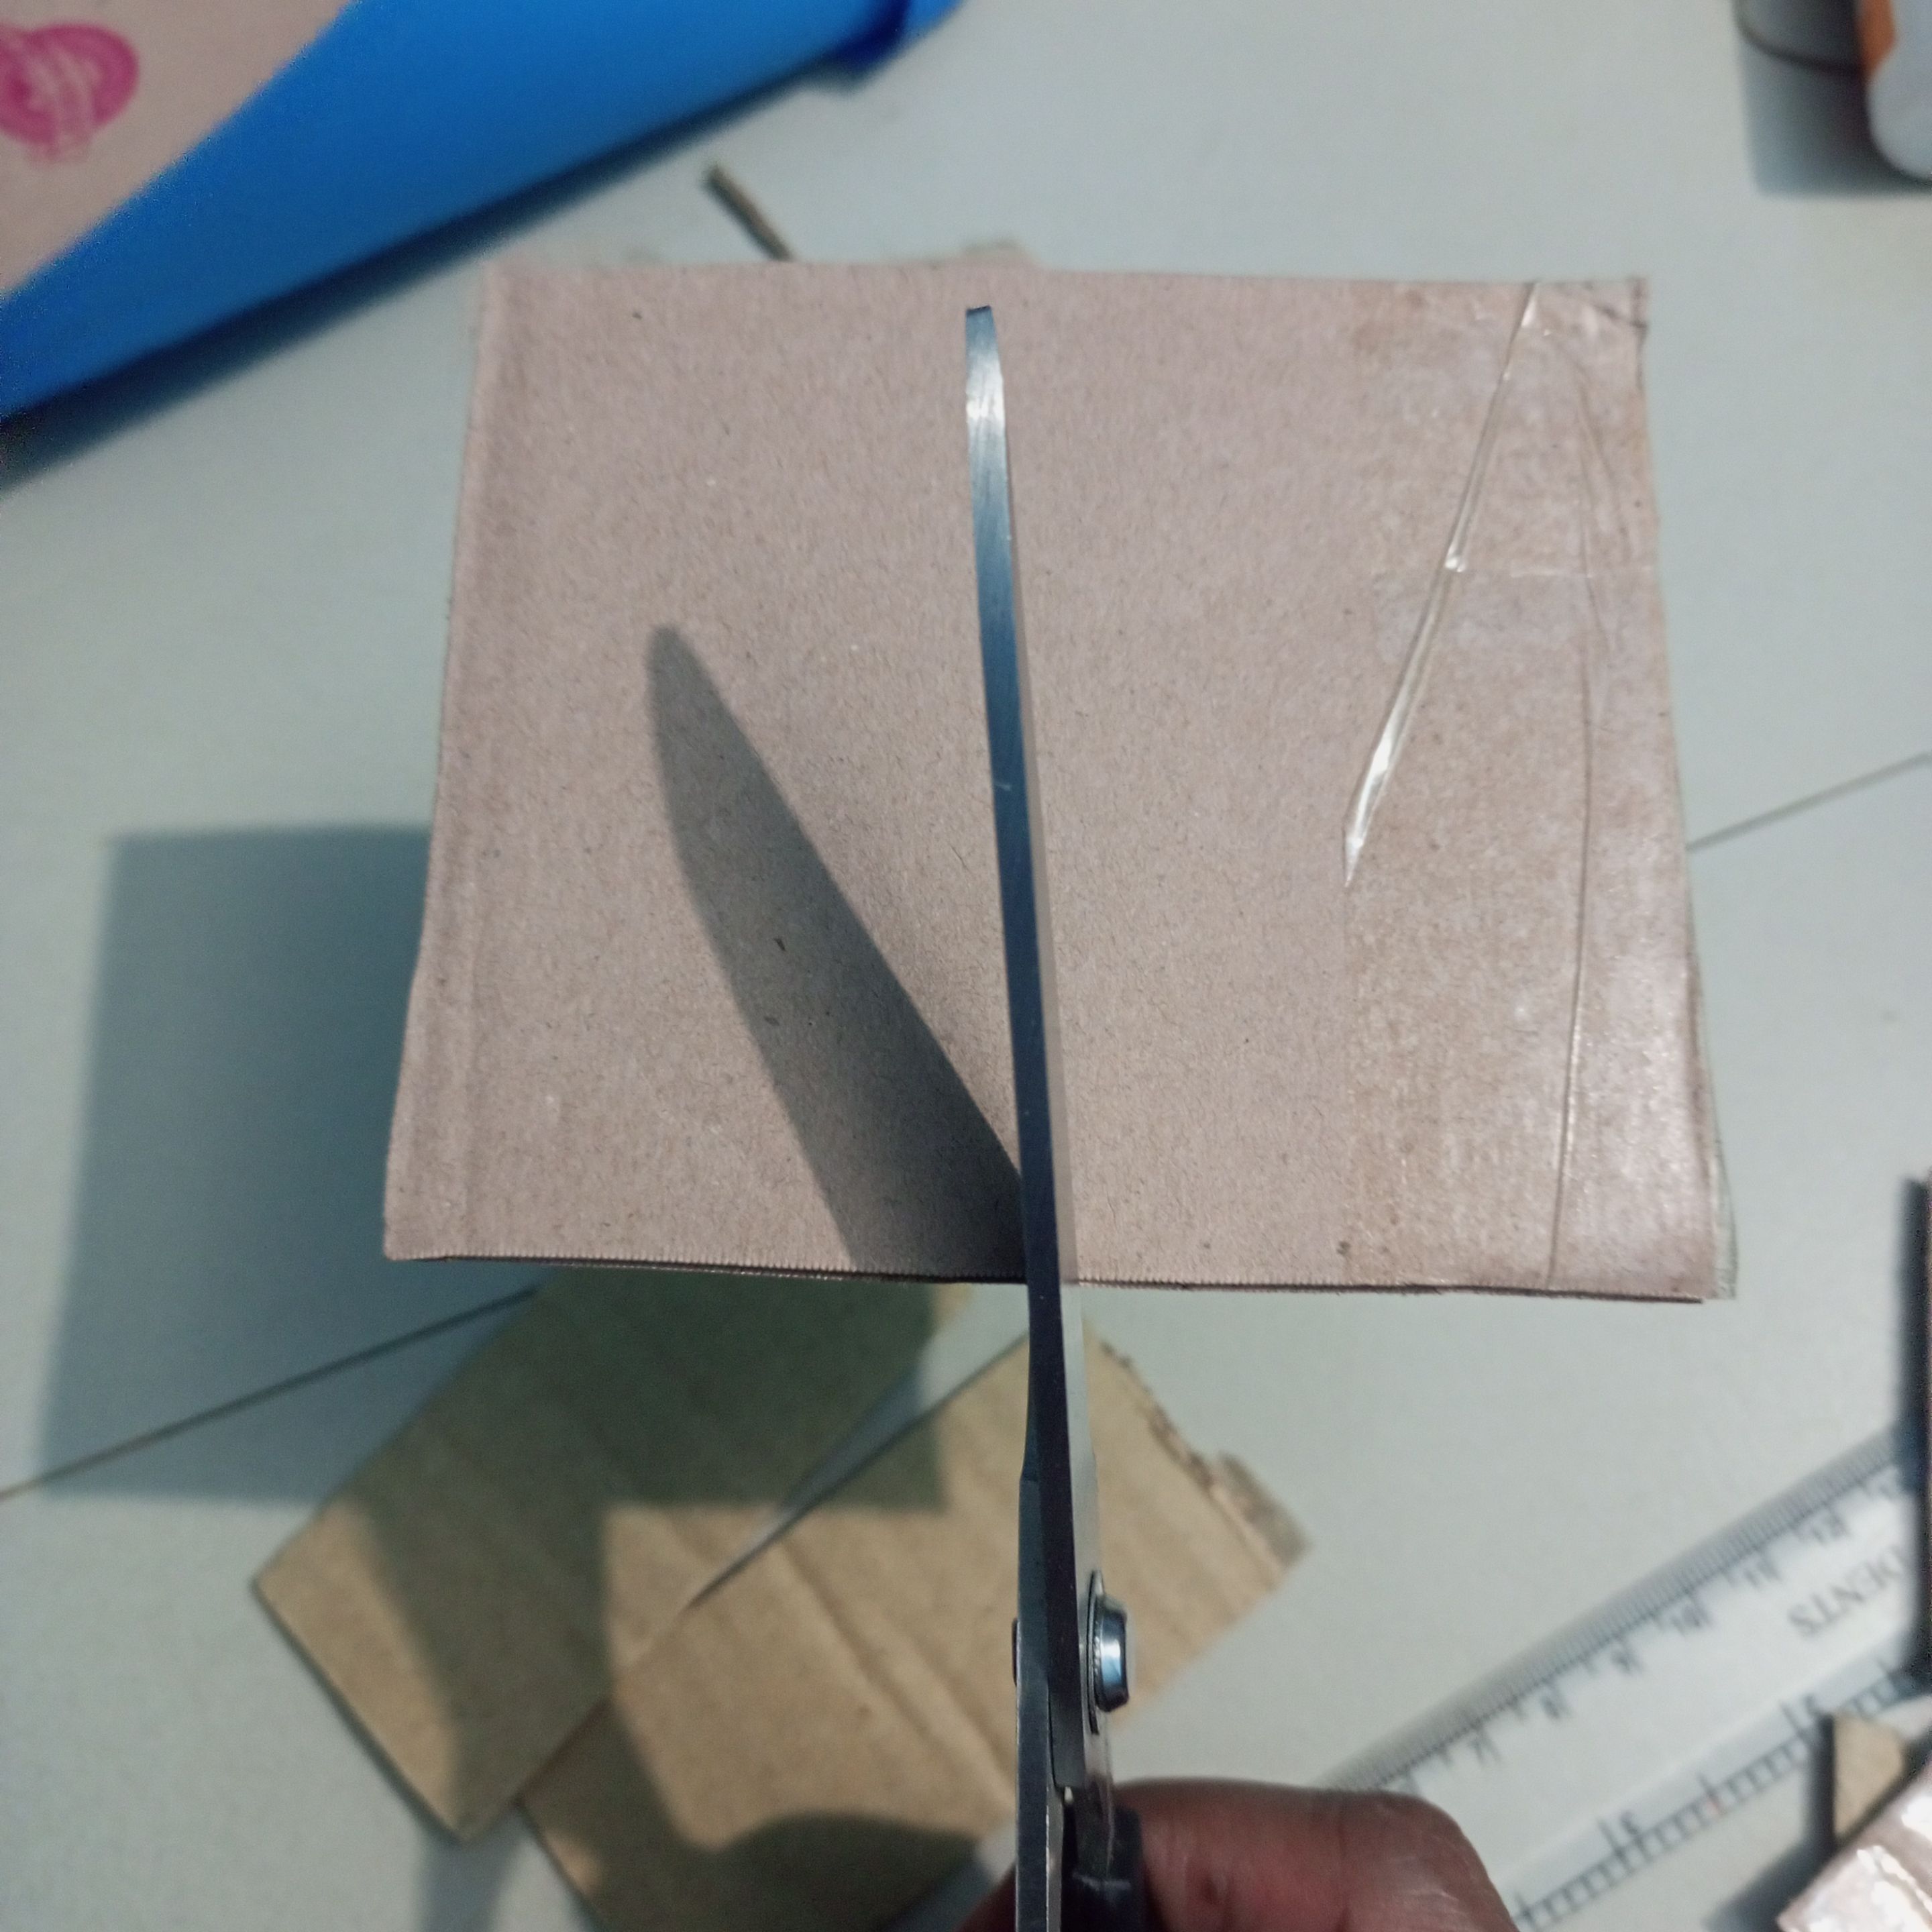
Next I cut the cardboard and cut two 4/7 pieces of paper on both sides to form the back of the cake. Cut another piece of cardboard and cut out the two sides of the cake.
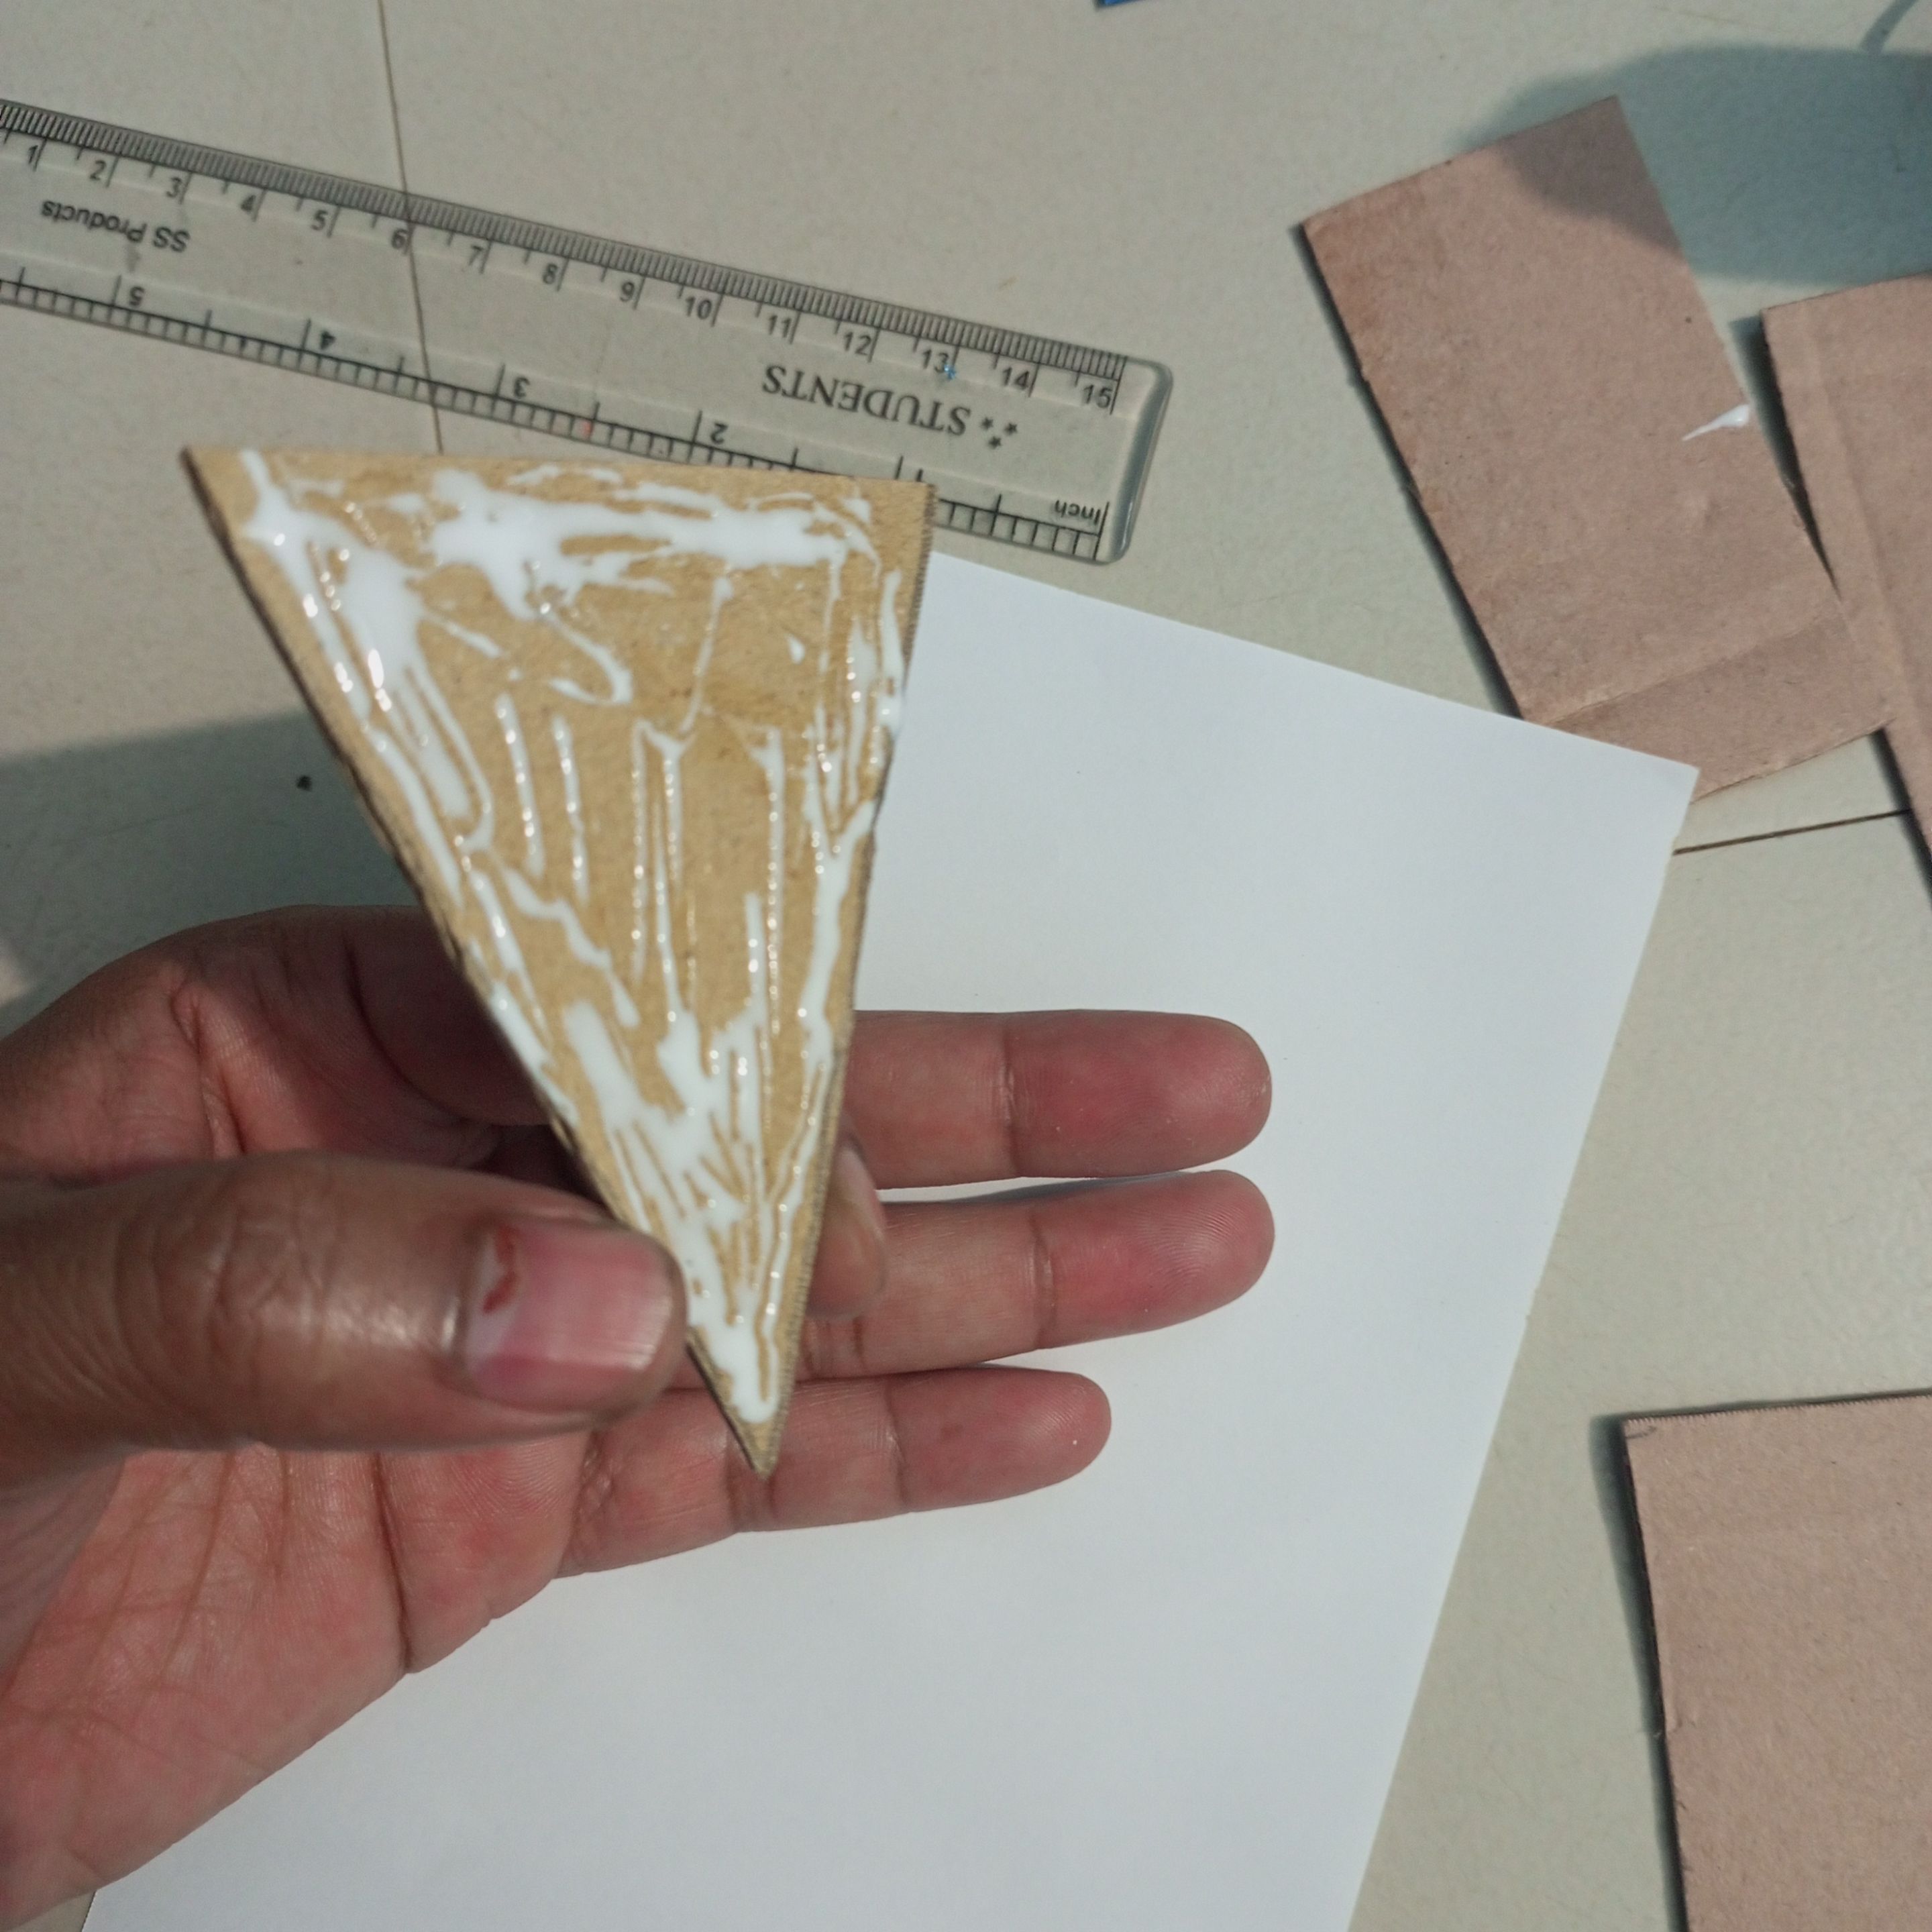
In this way, I attached the color paper to all the cardboard papers one by one with the help of Favicol glue.
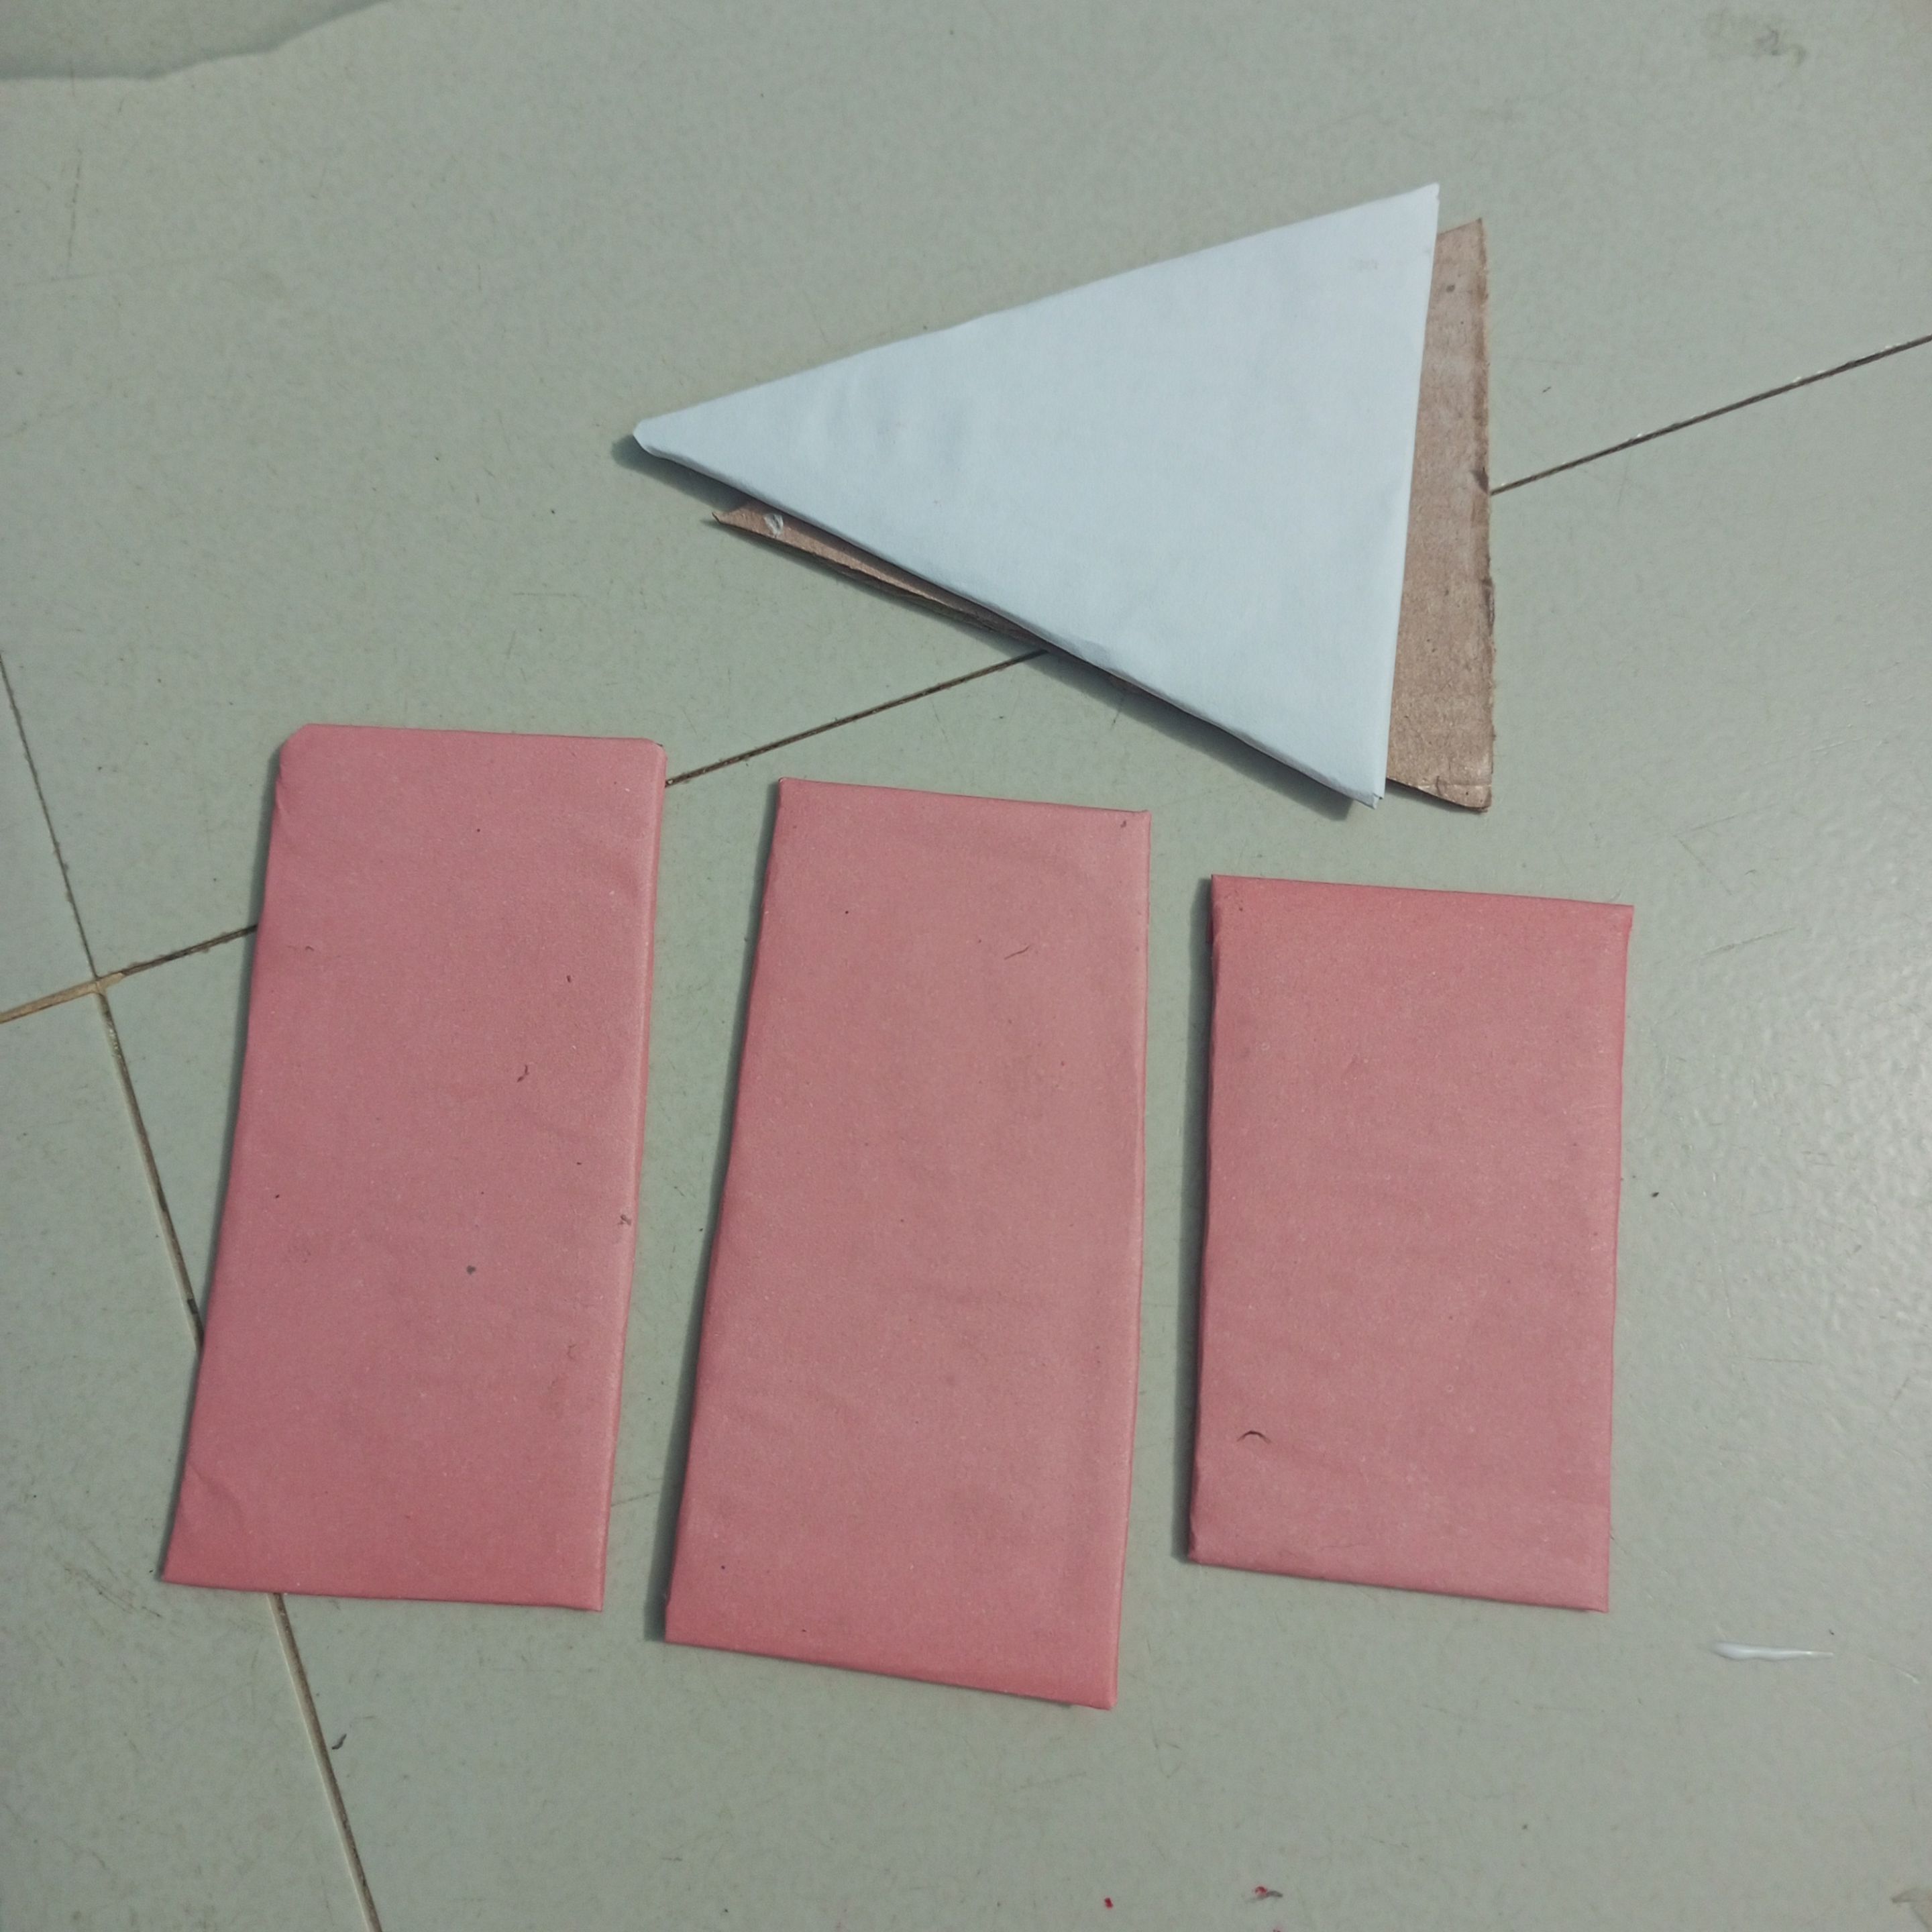
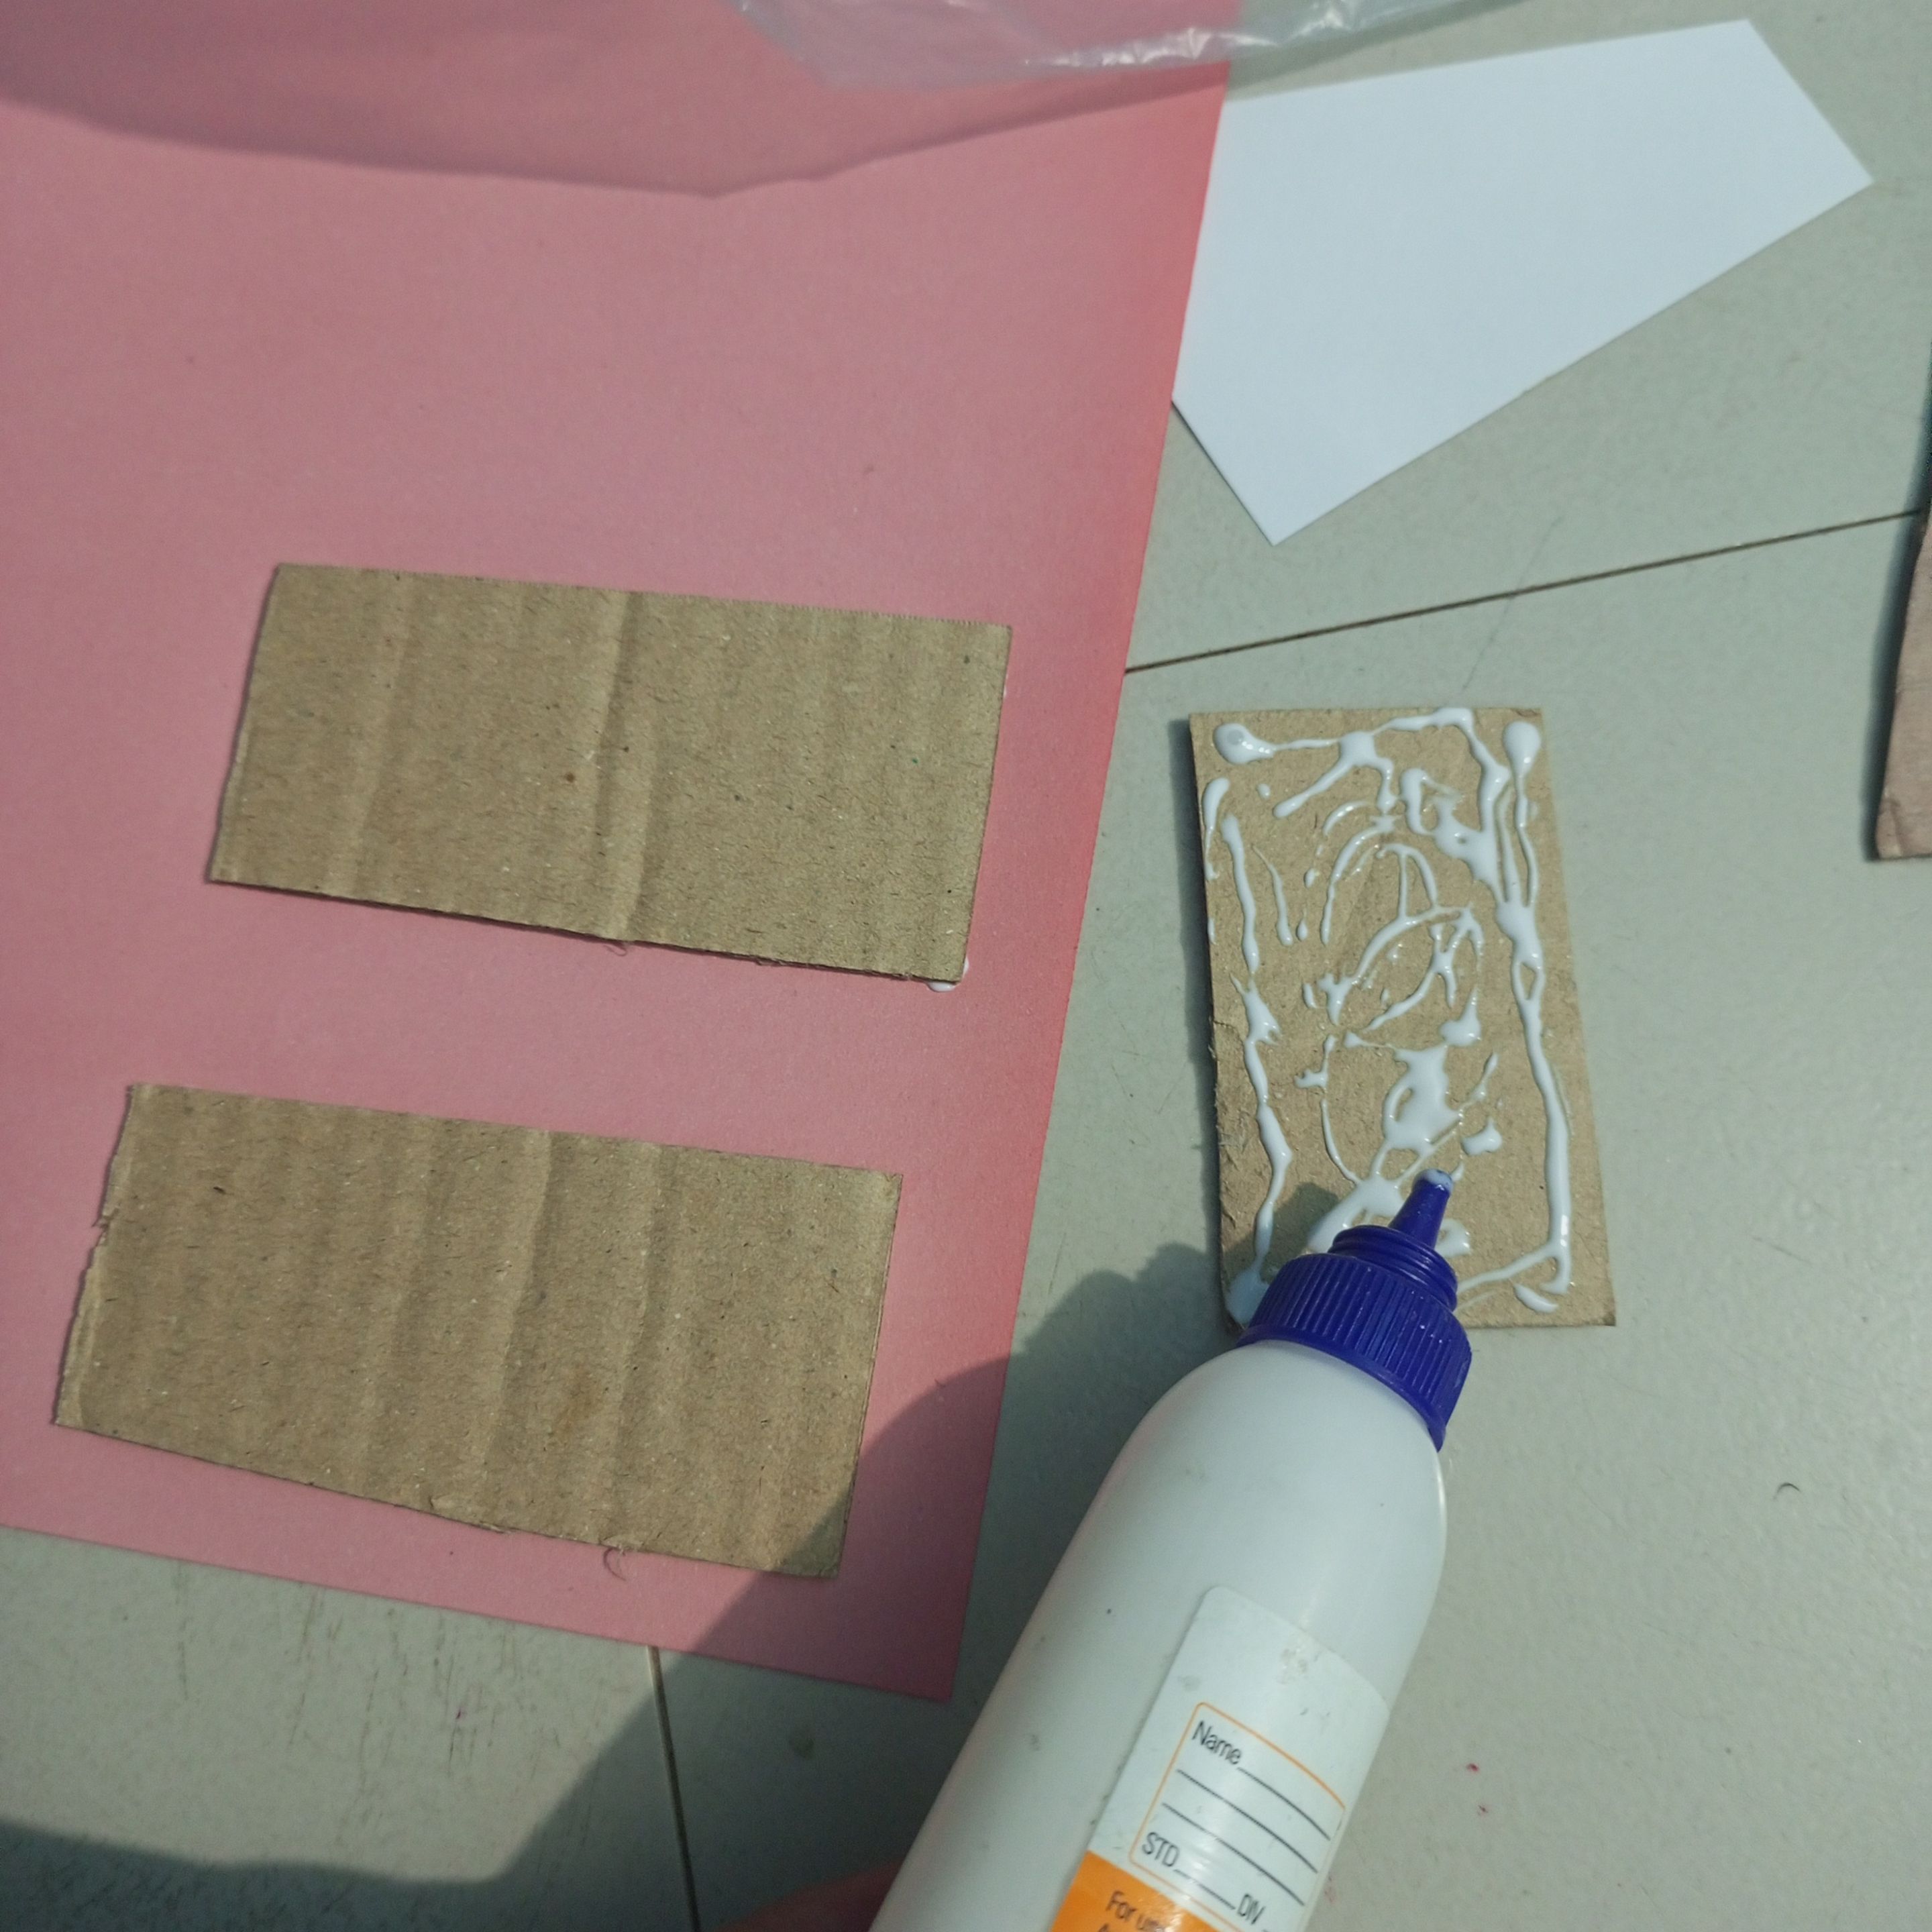
In this way I divided all the cardboard papers into two colors.
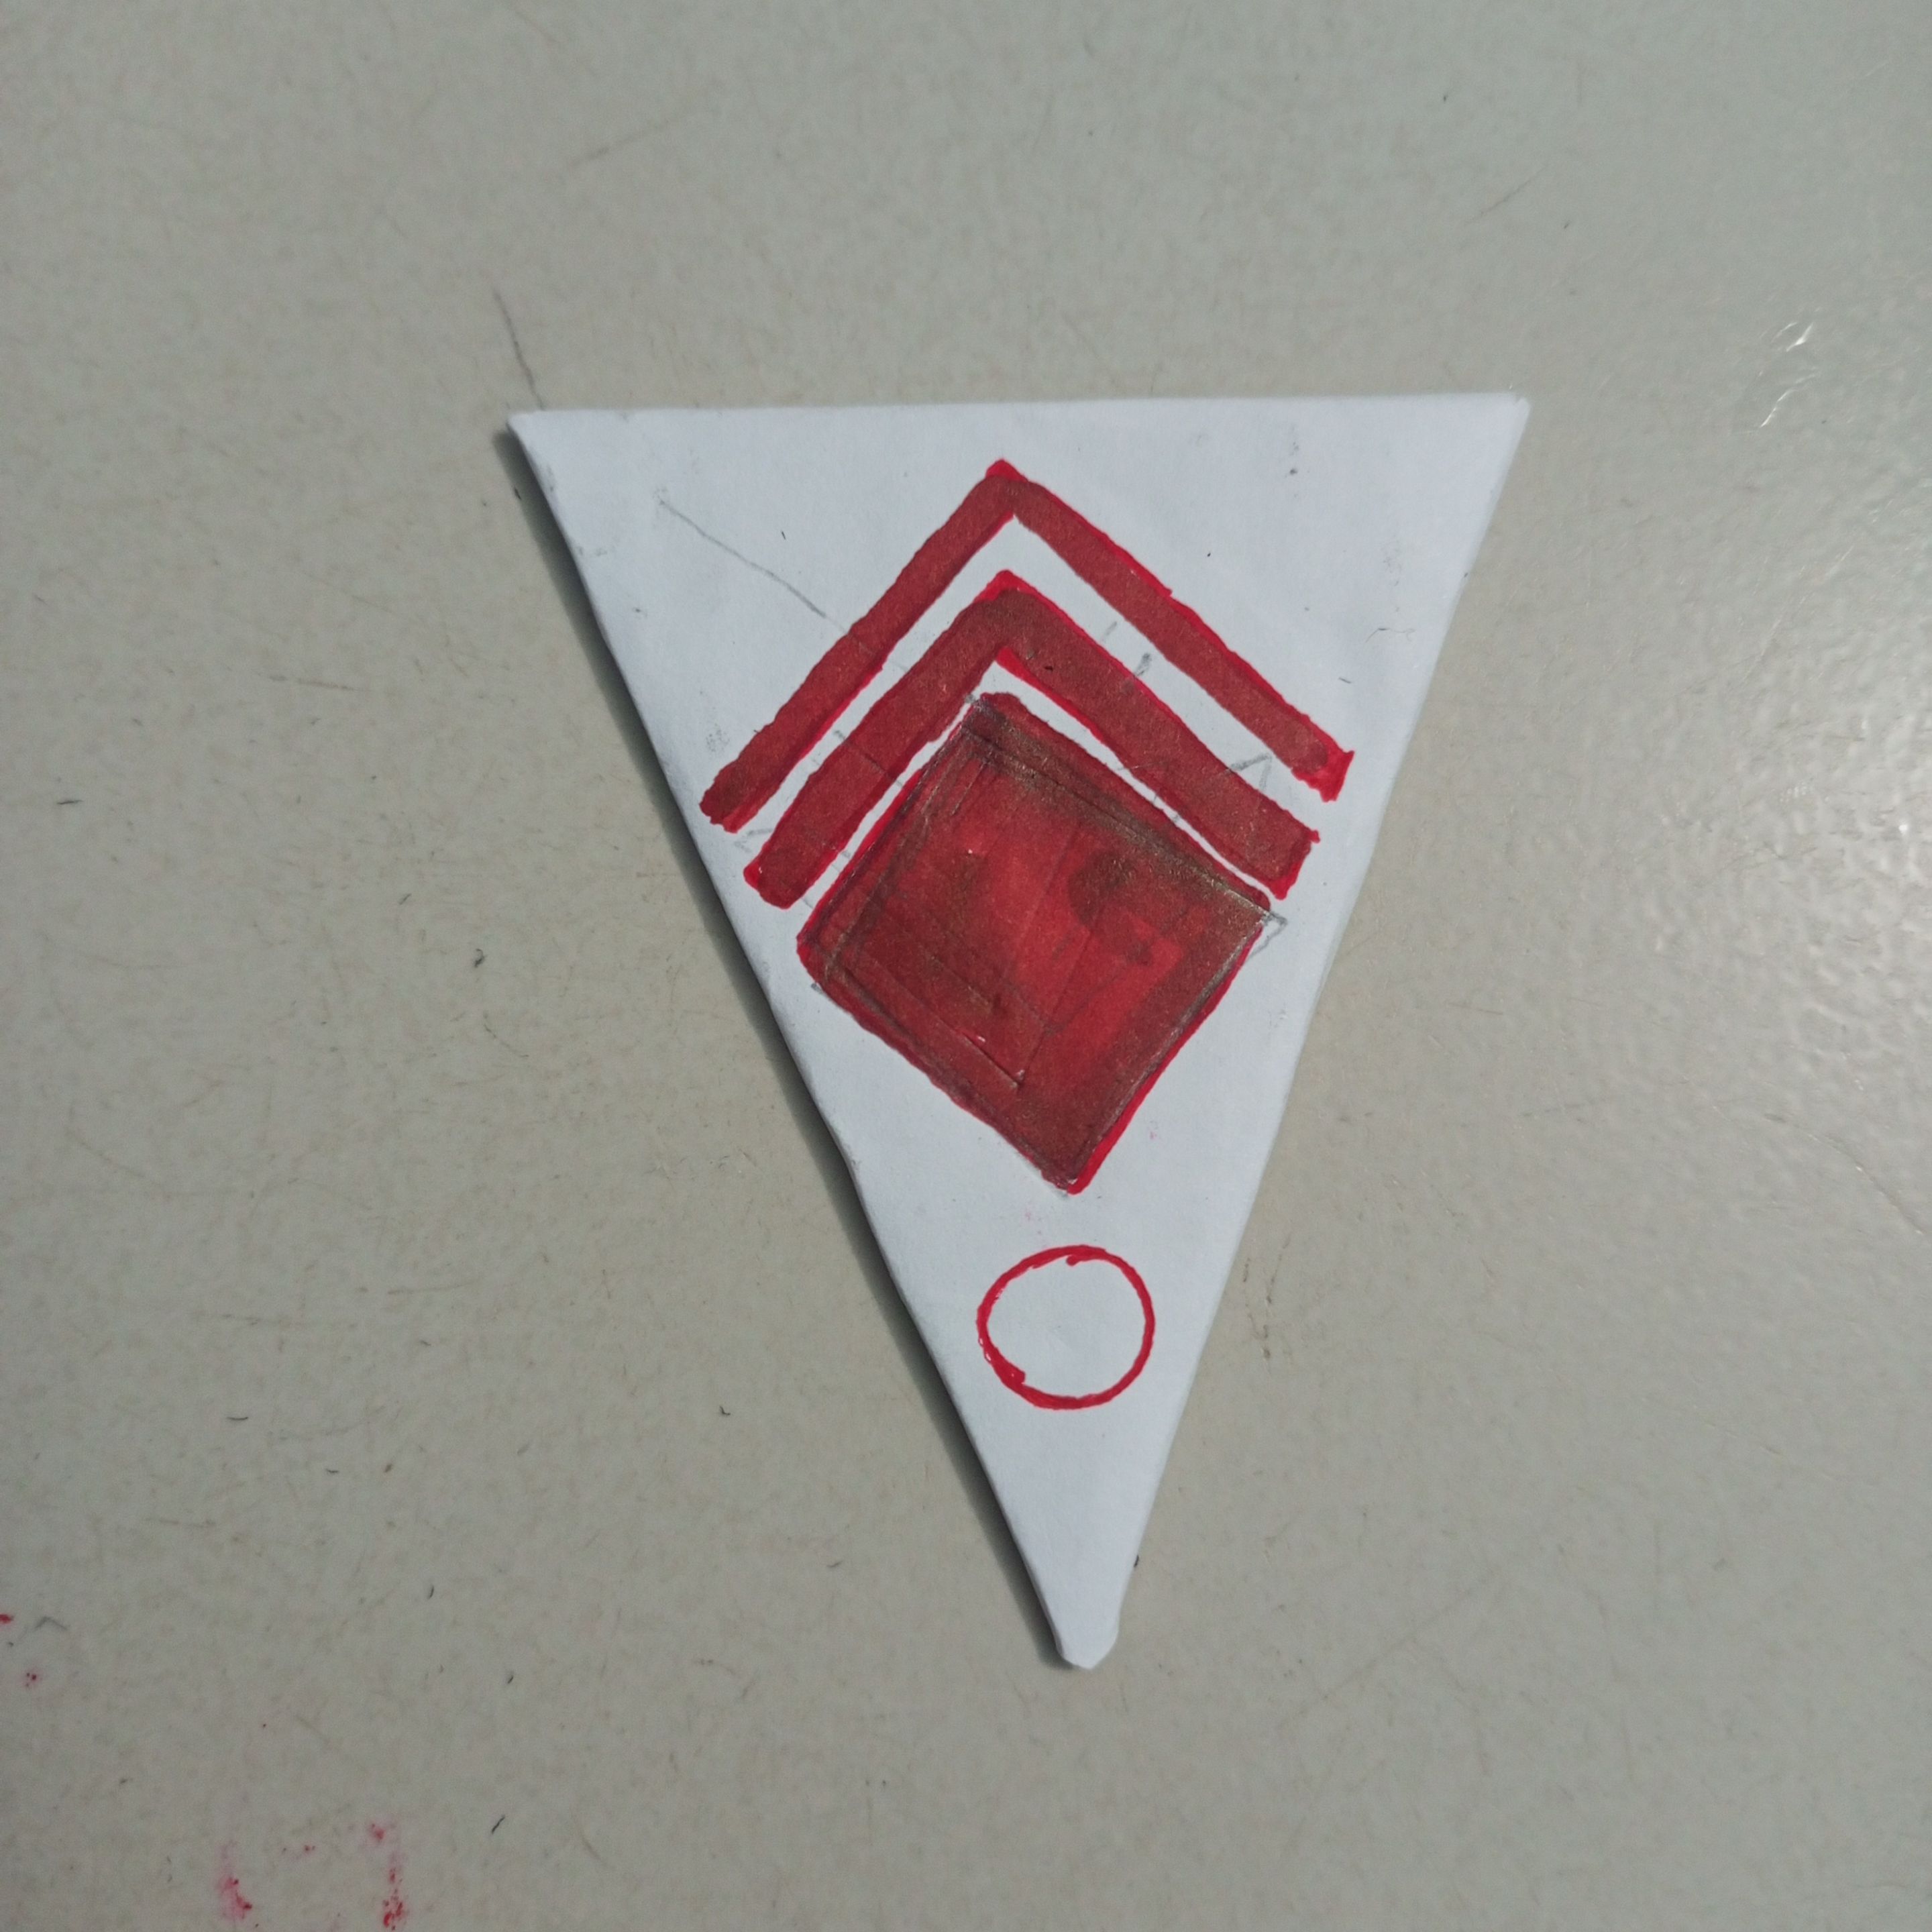
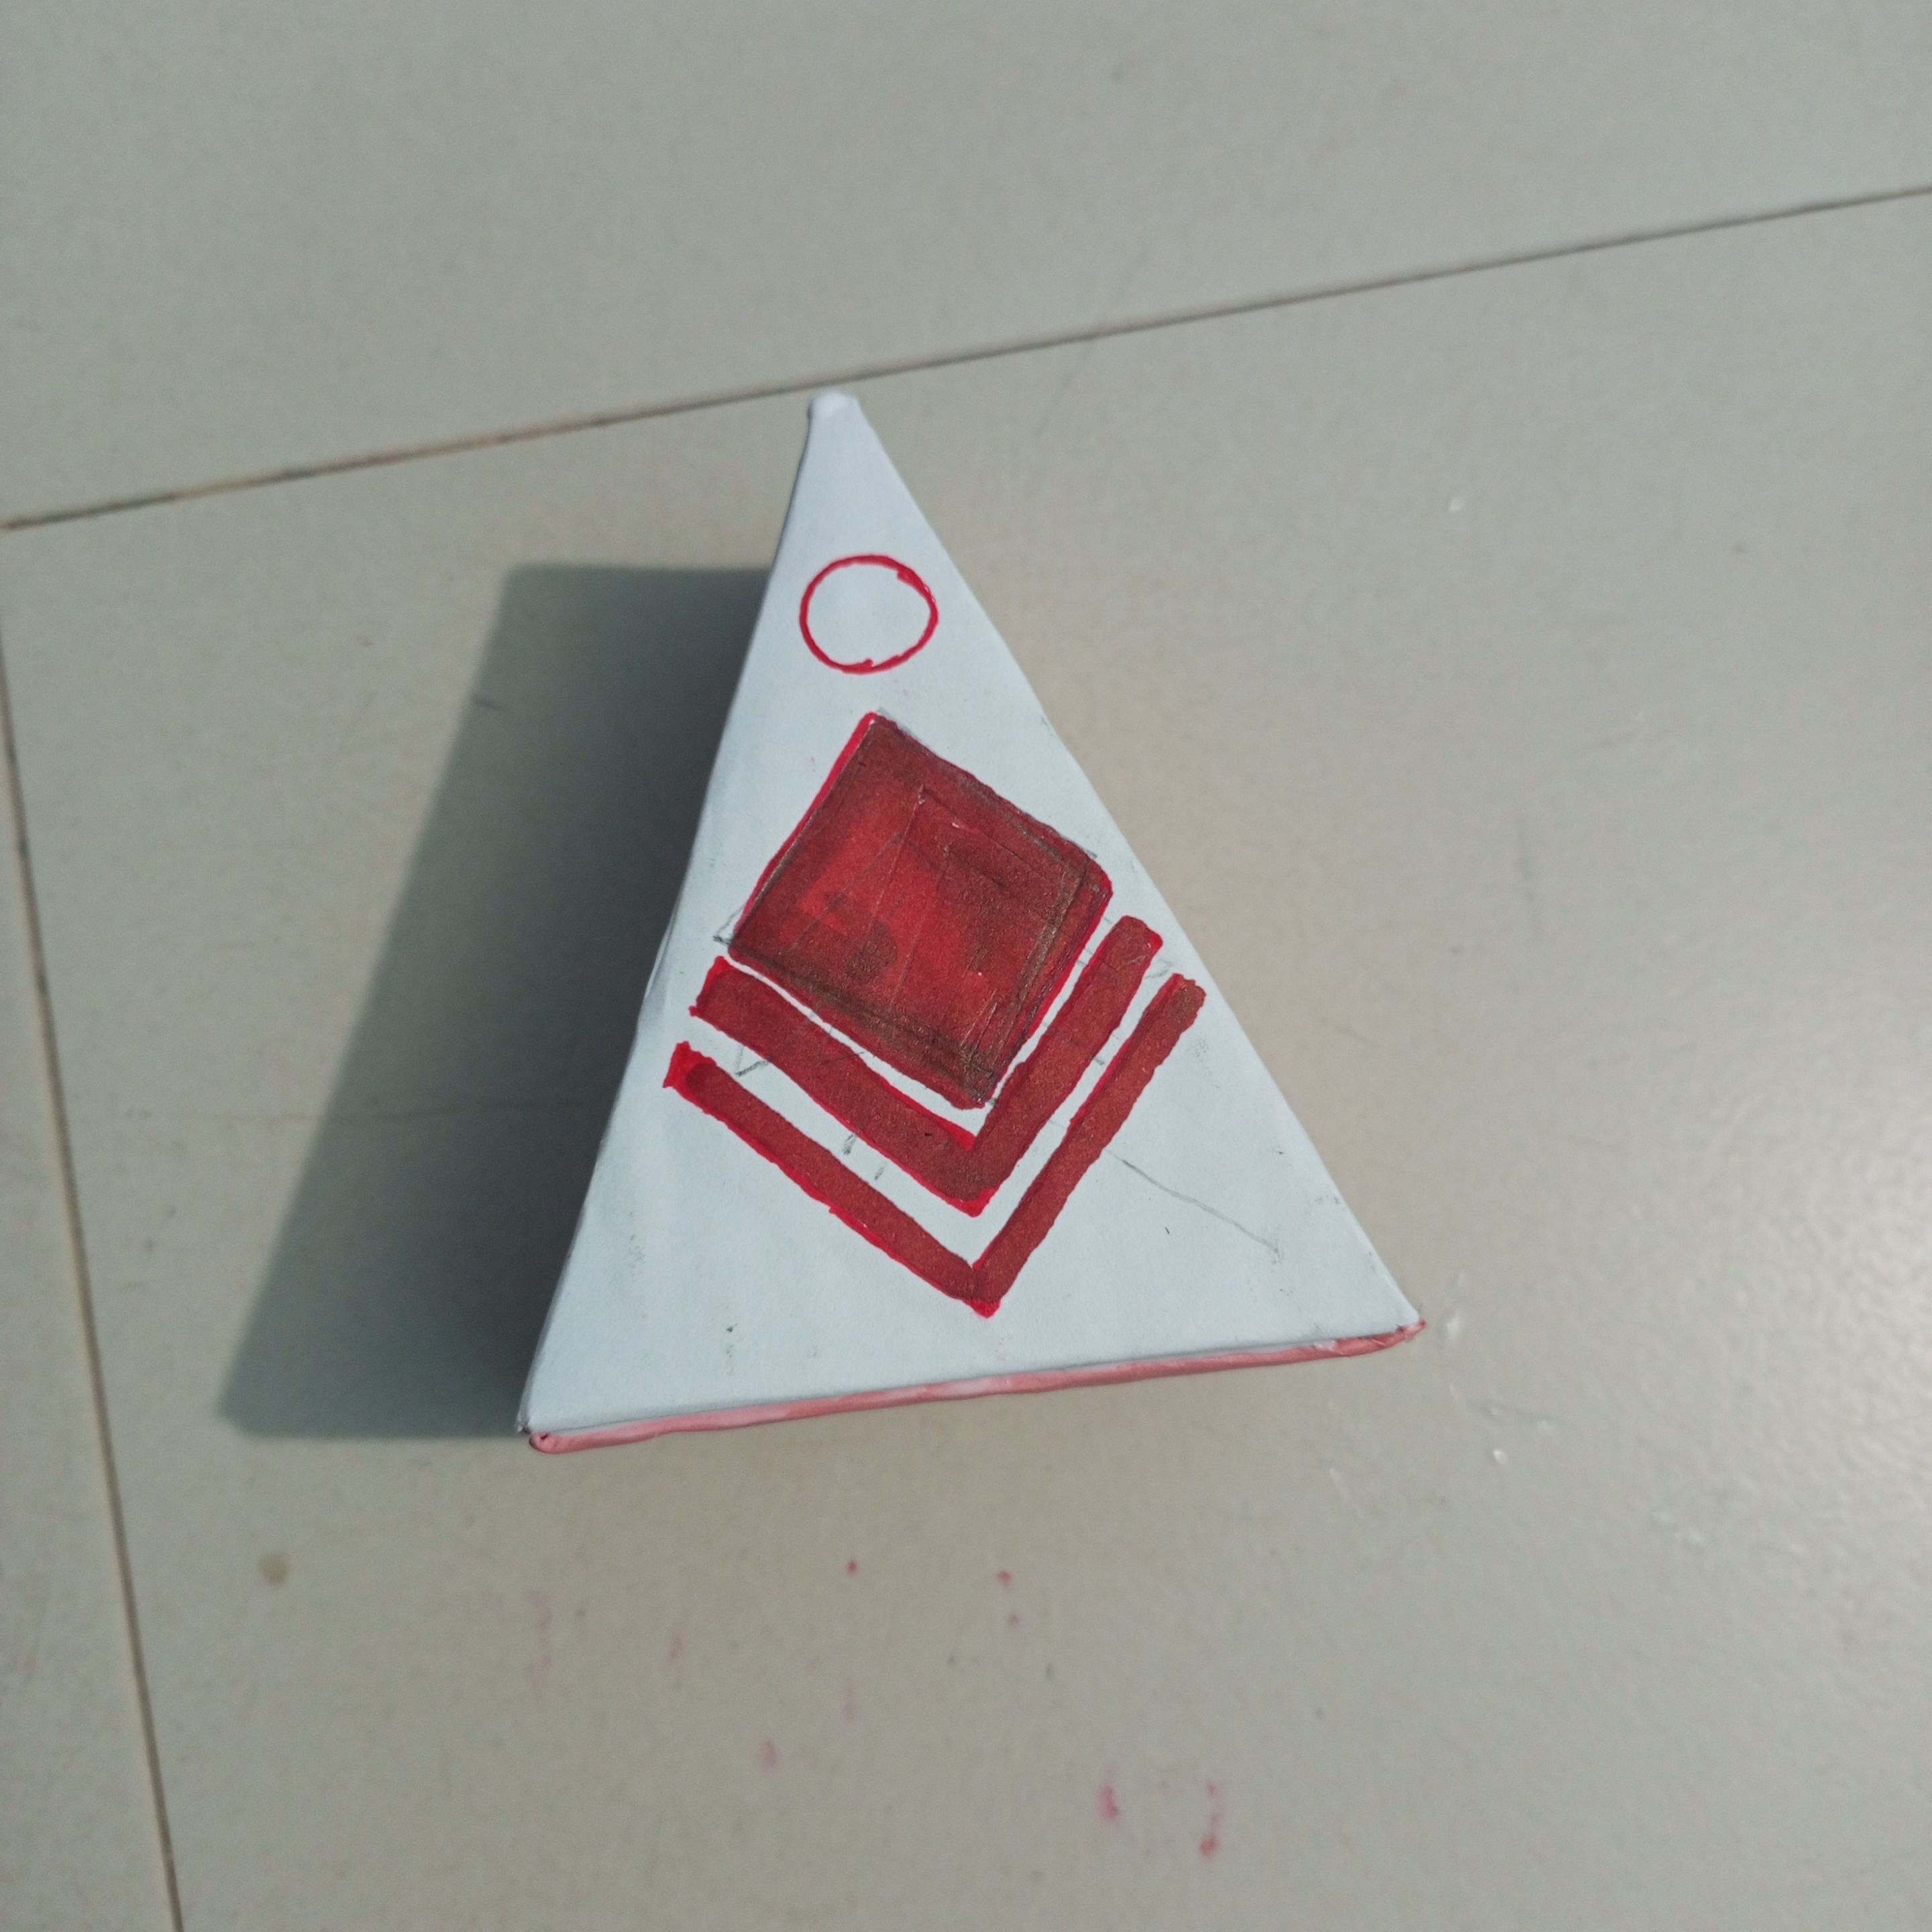
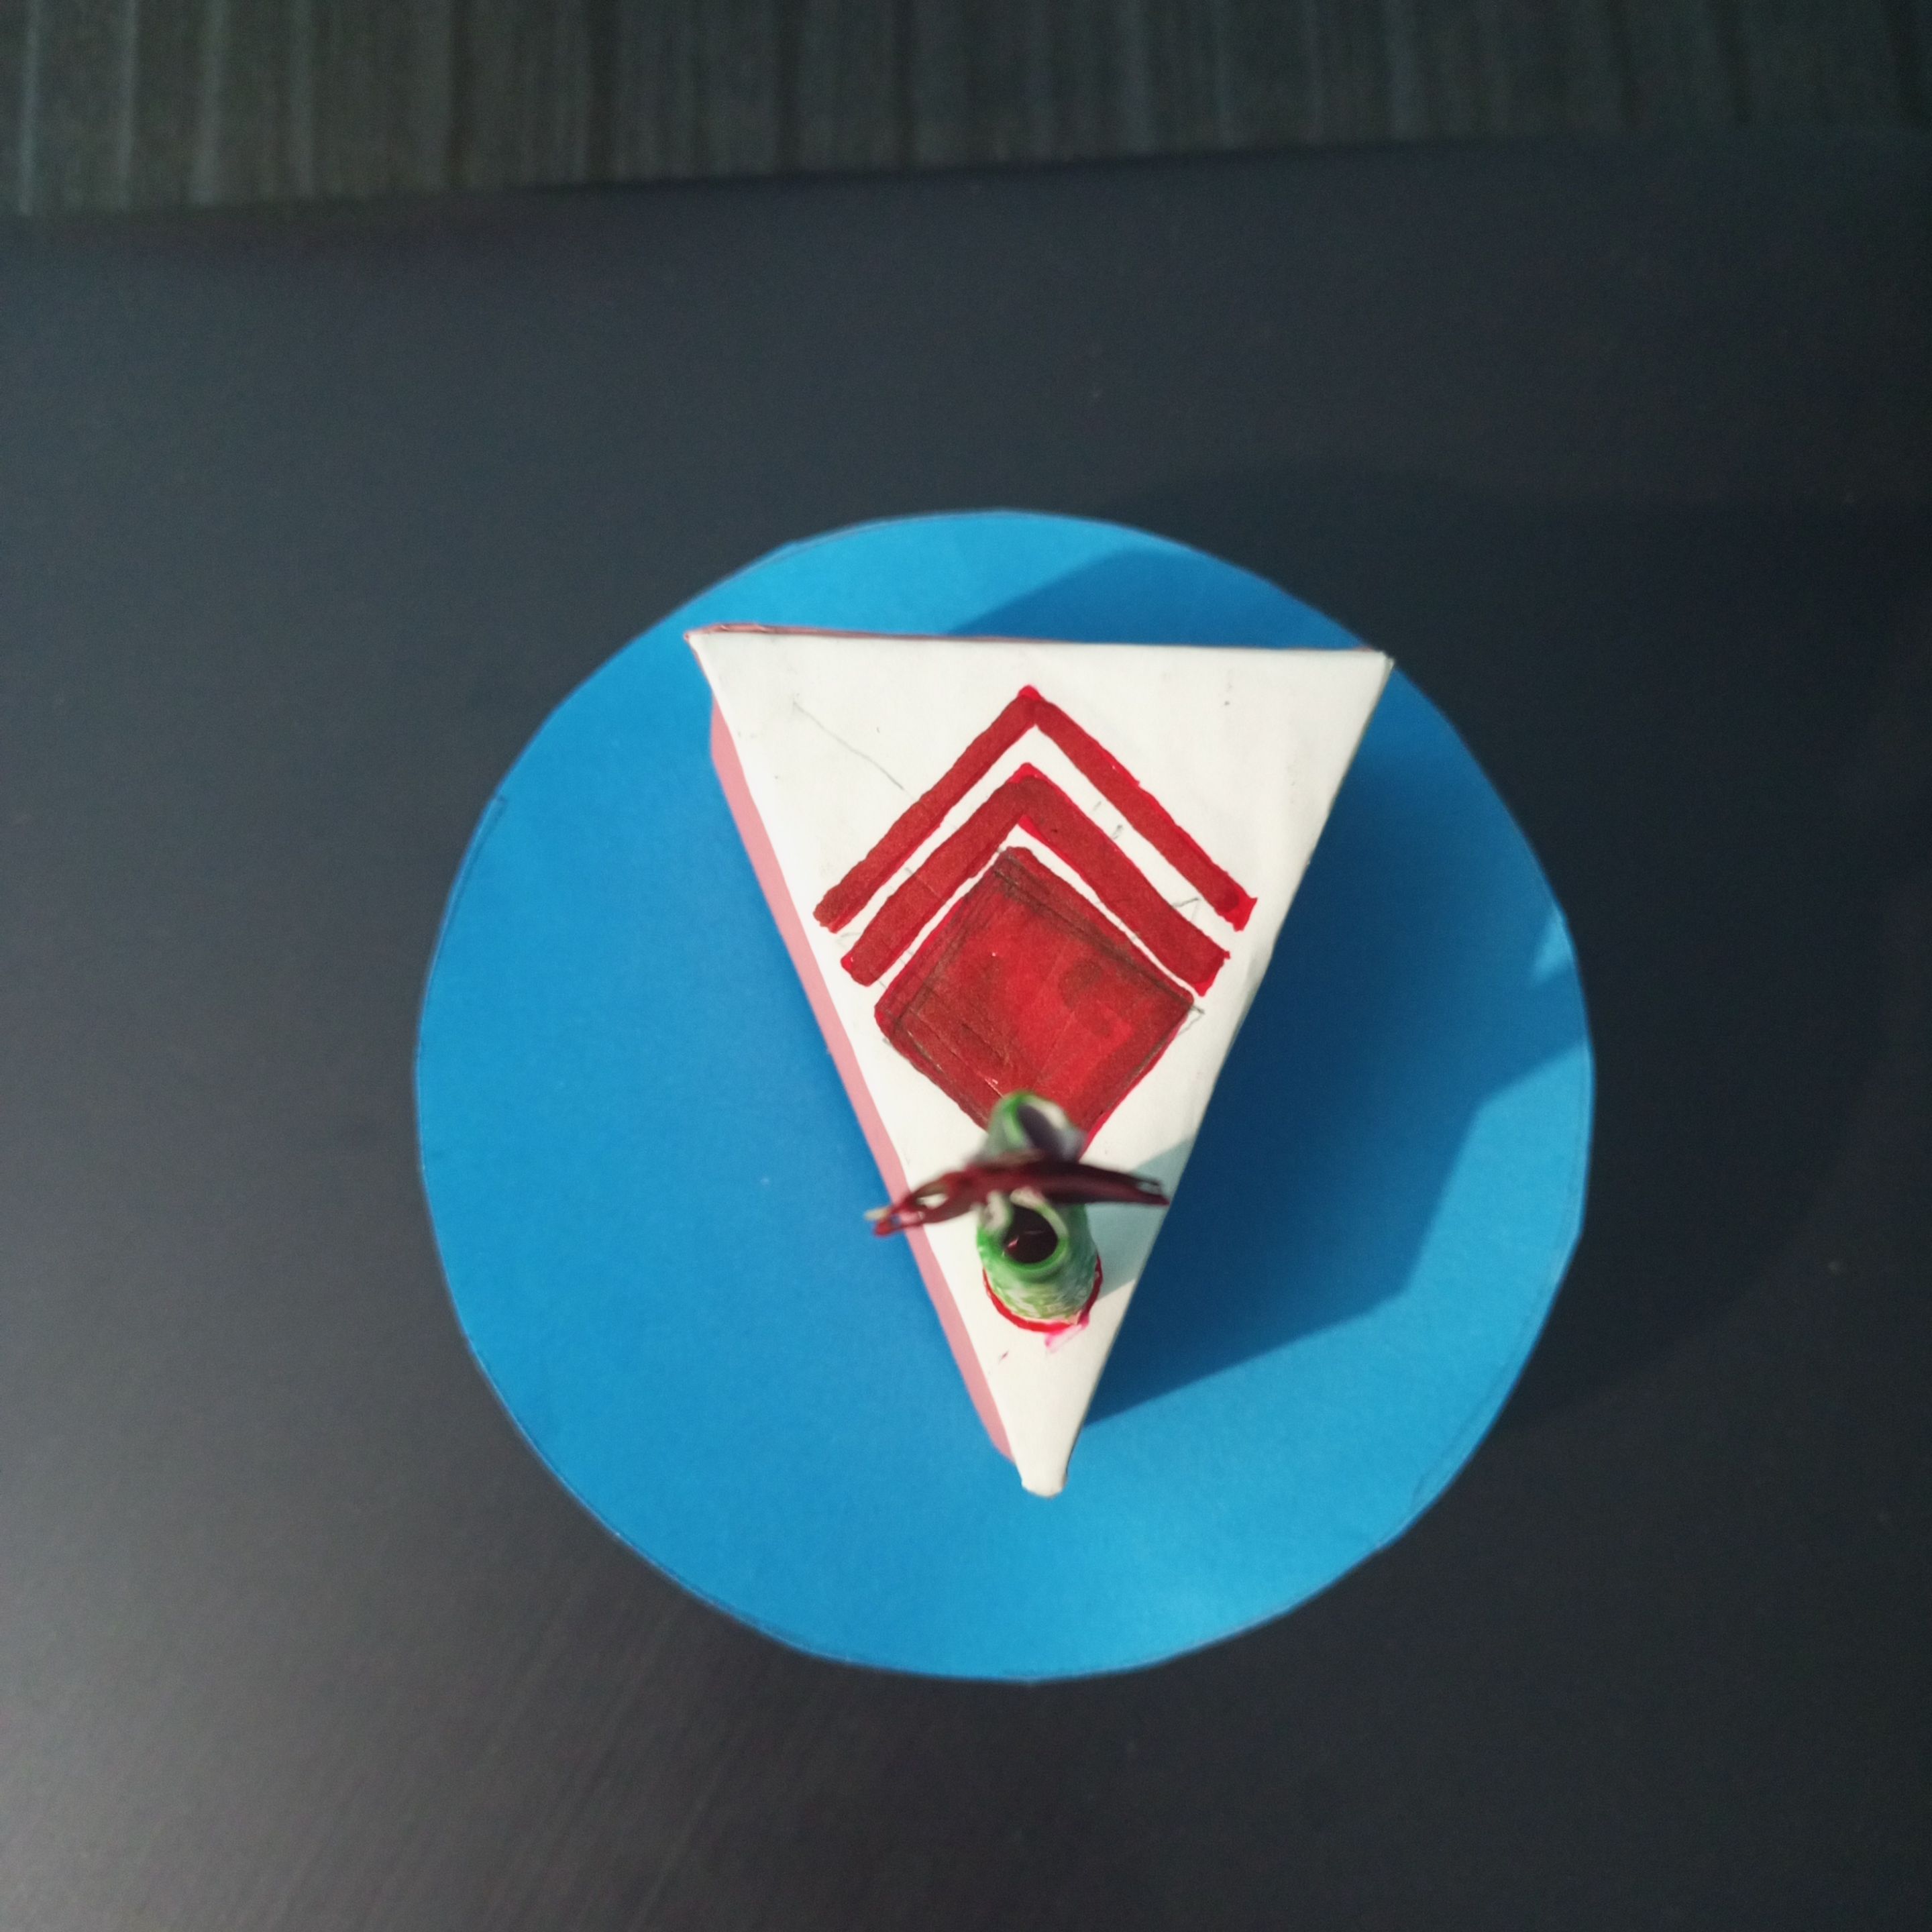
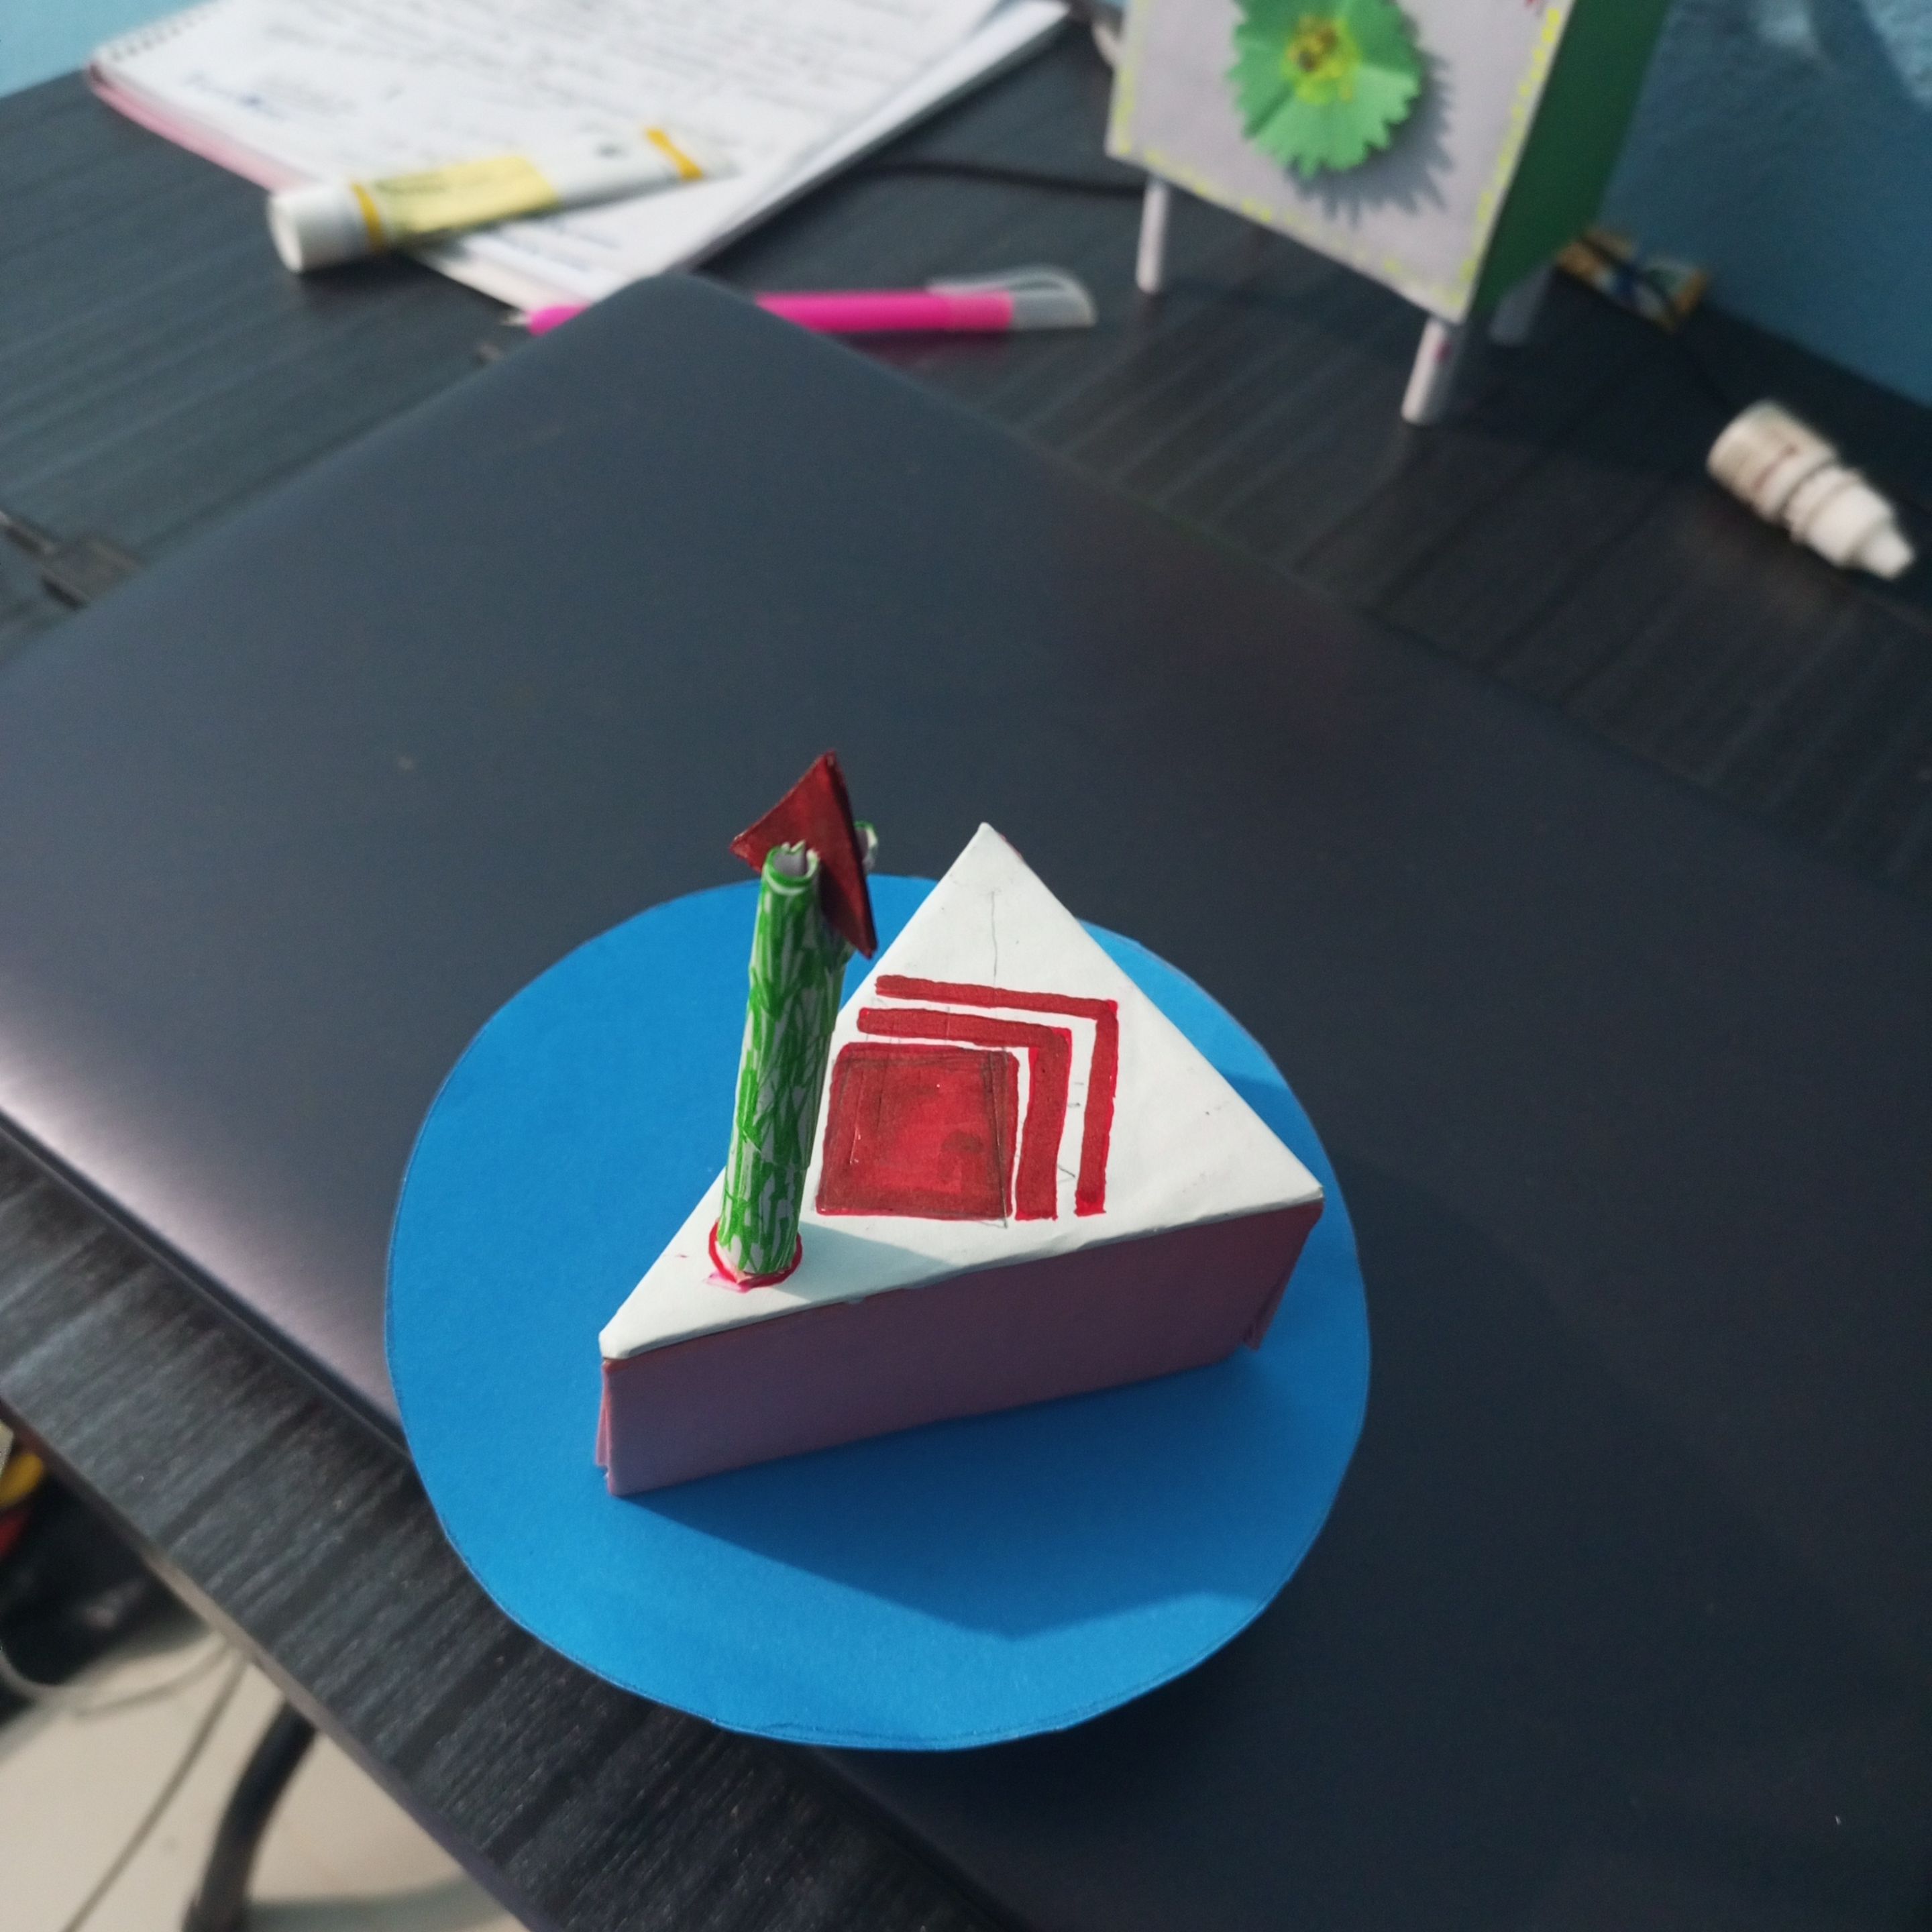
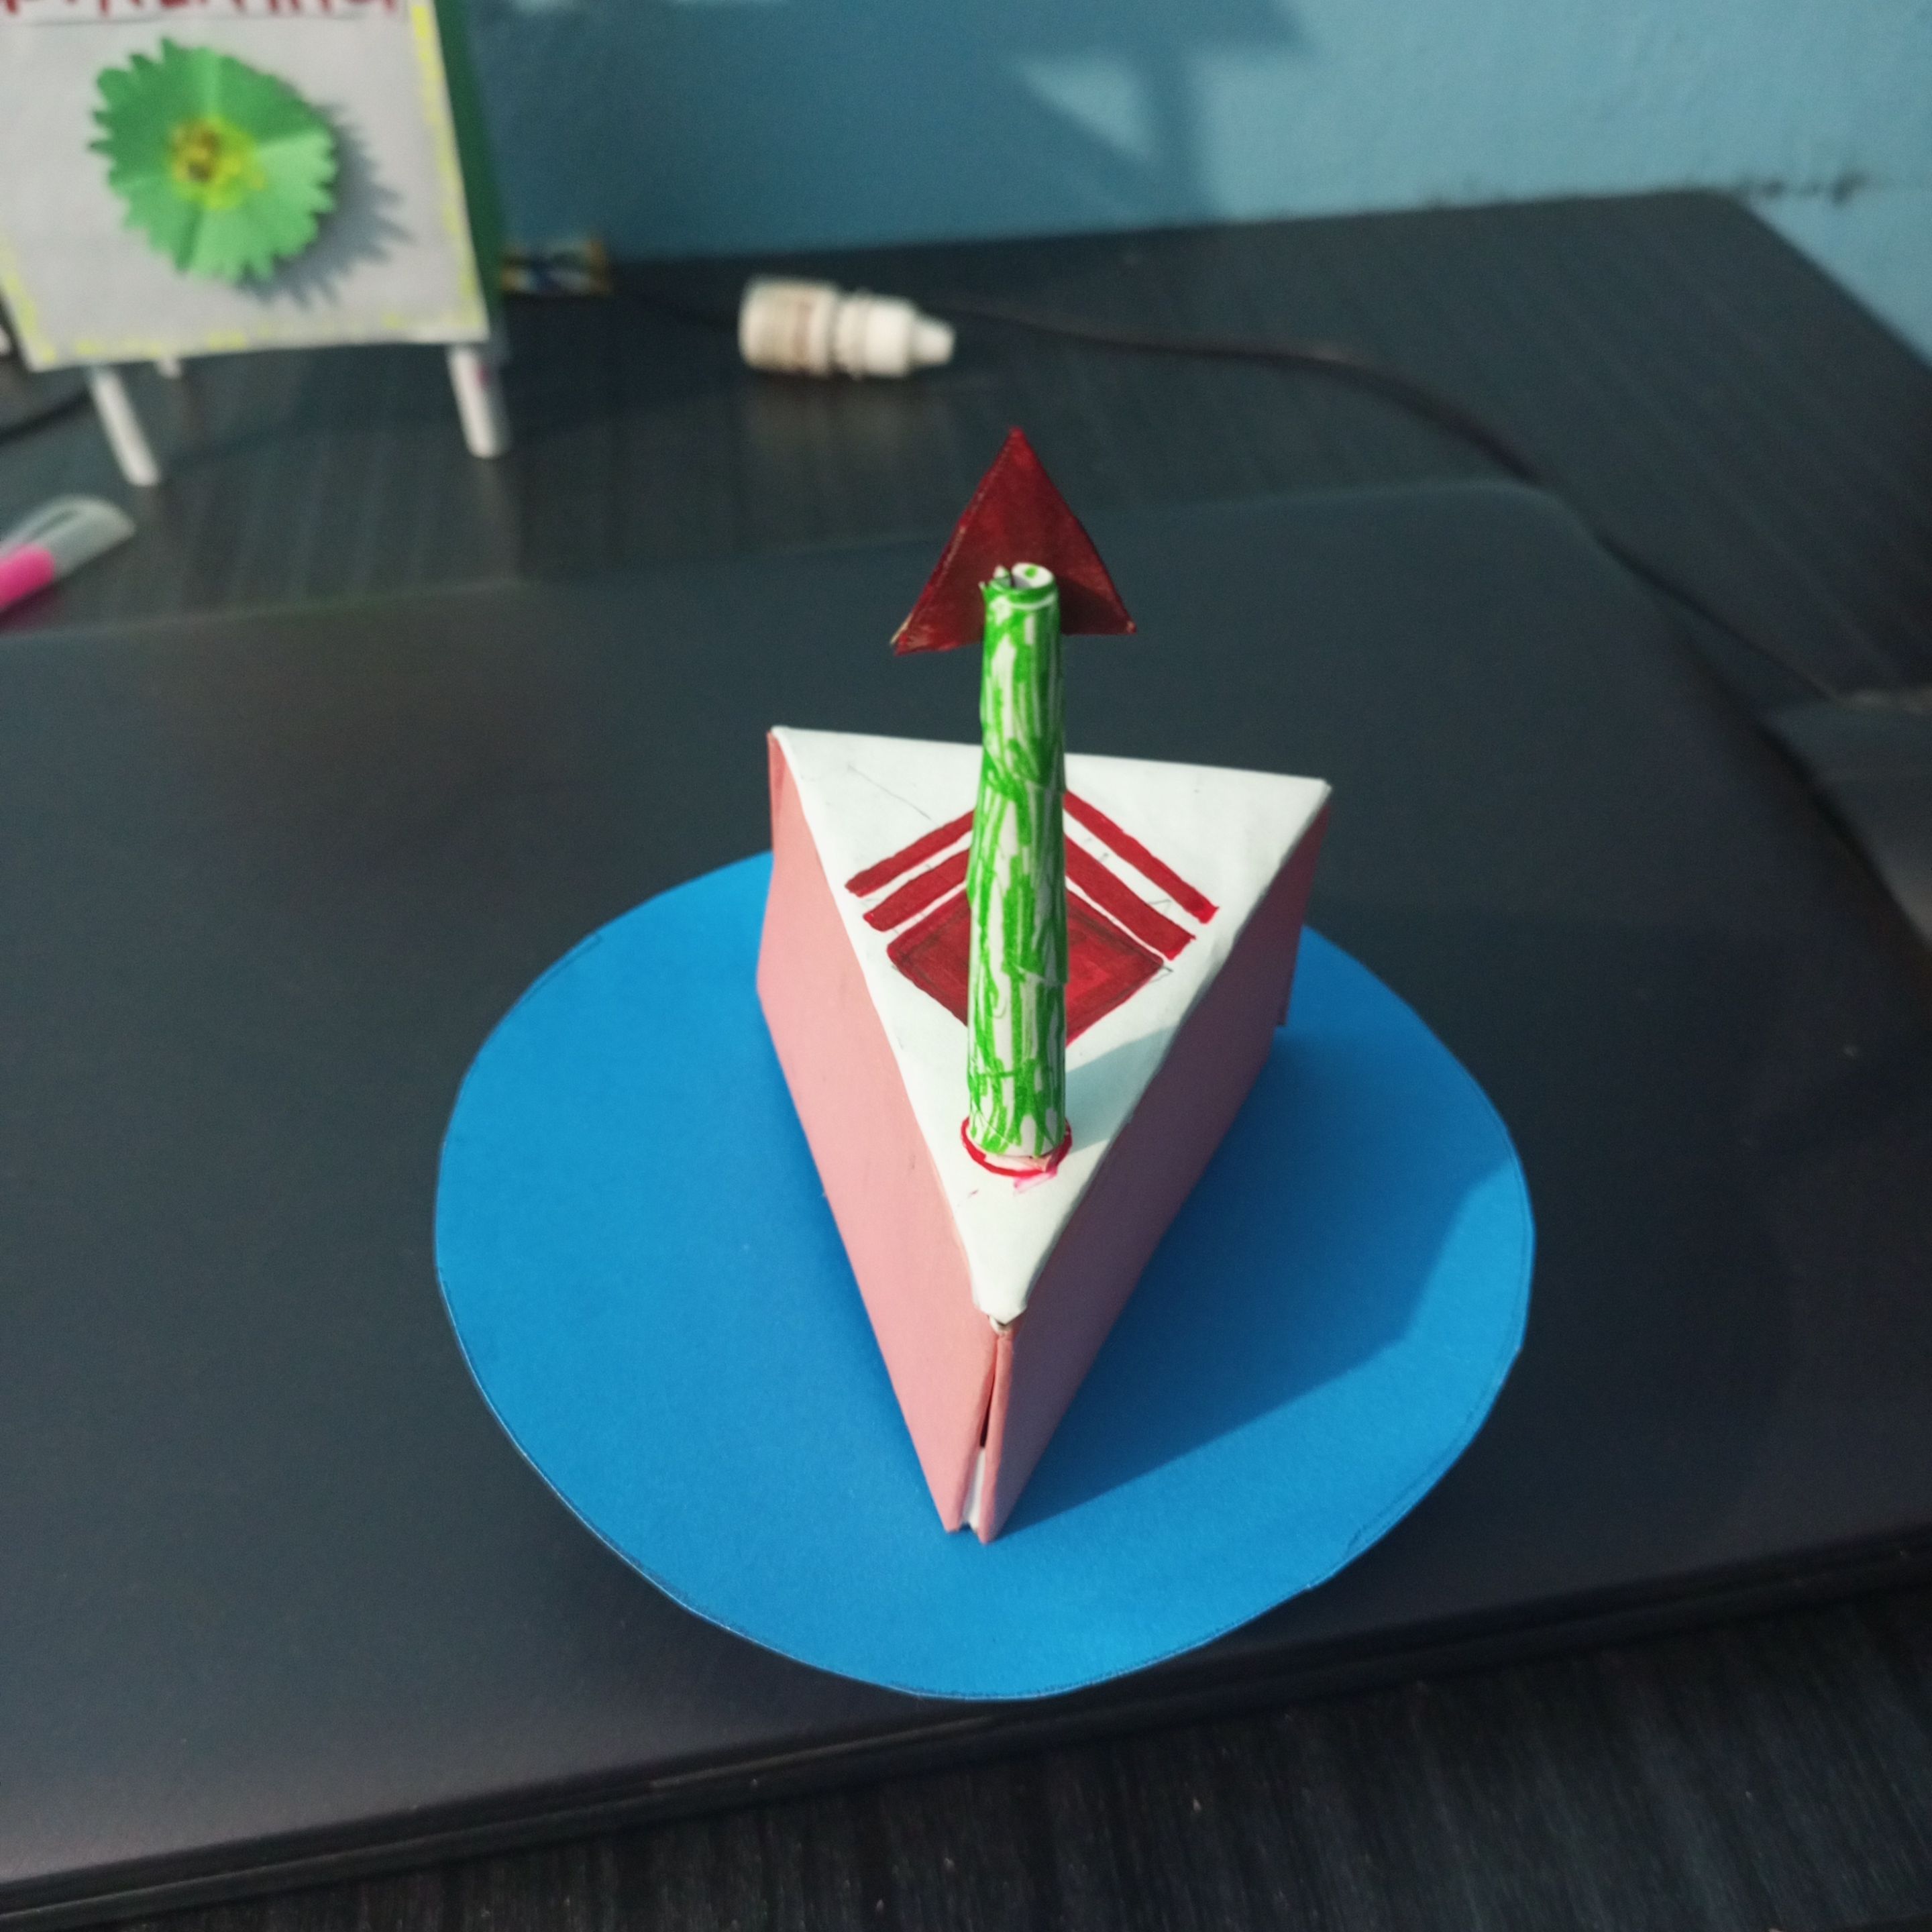
Then I drew the Hive blog logo in pencil and created a nice logo using a marker pen.Which we all love.
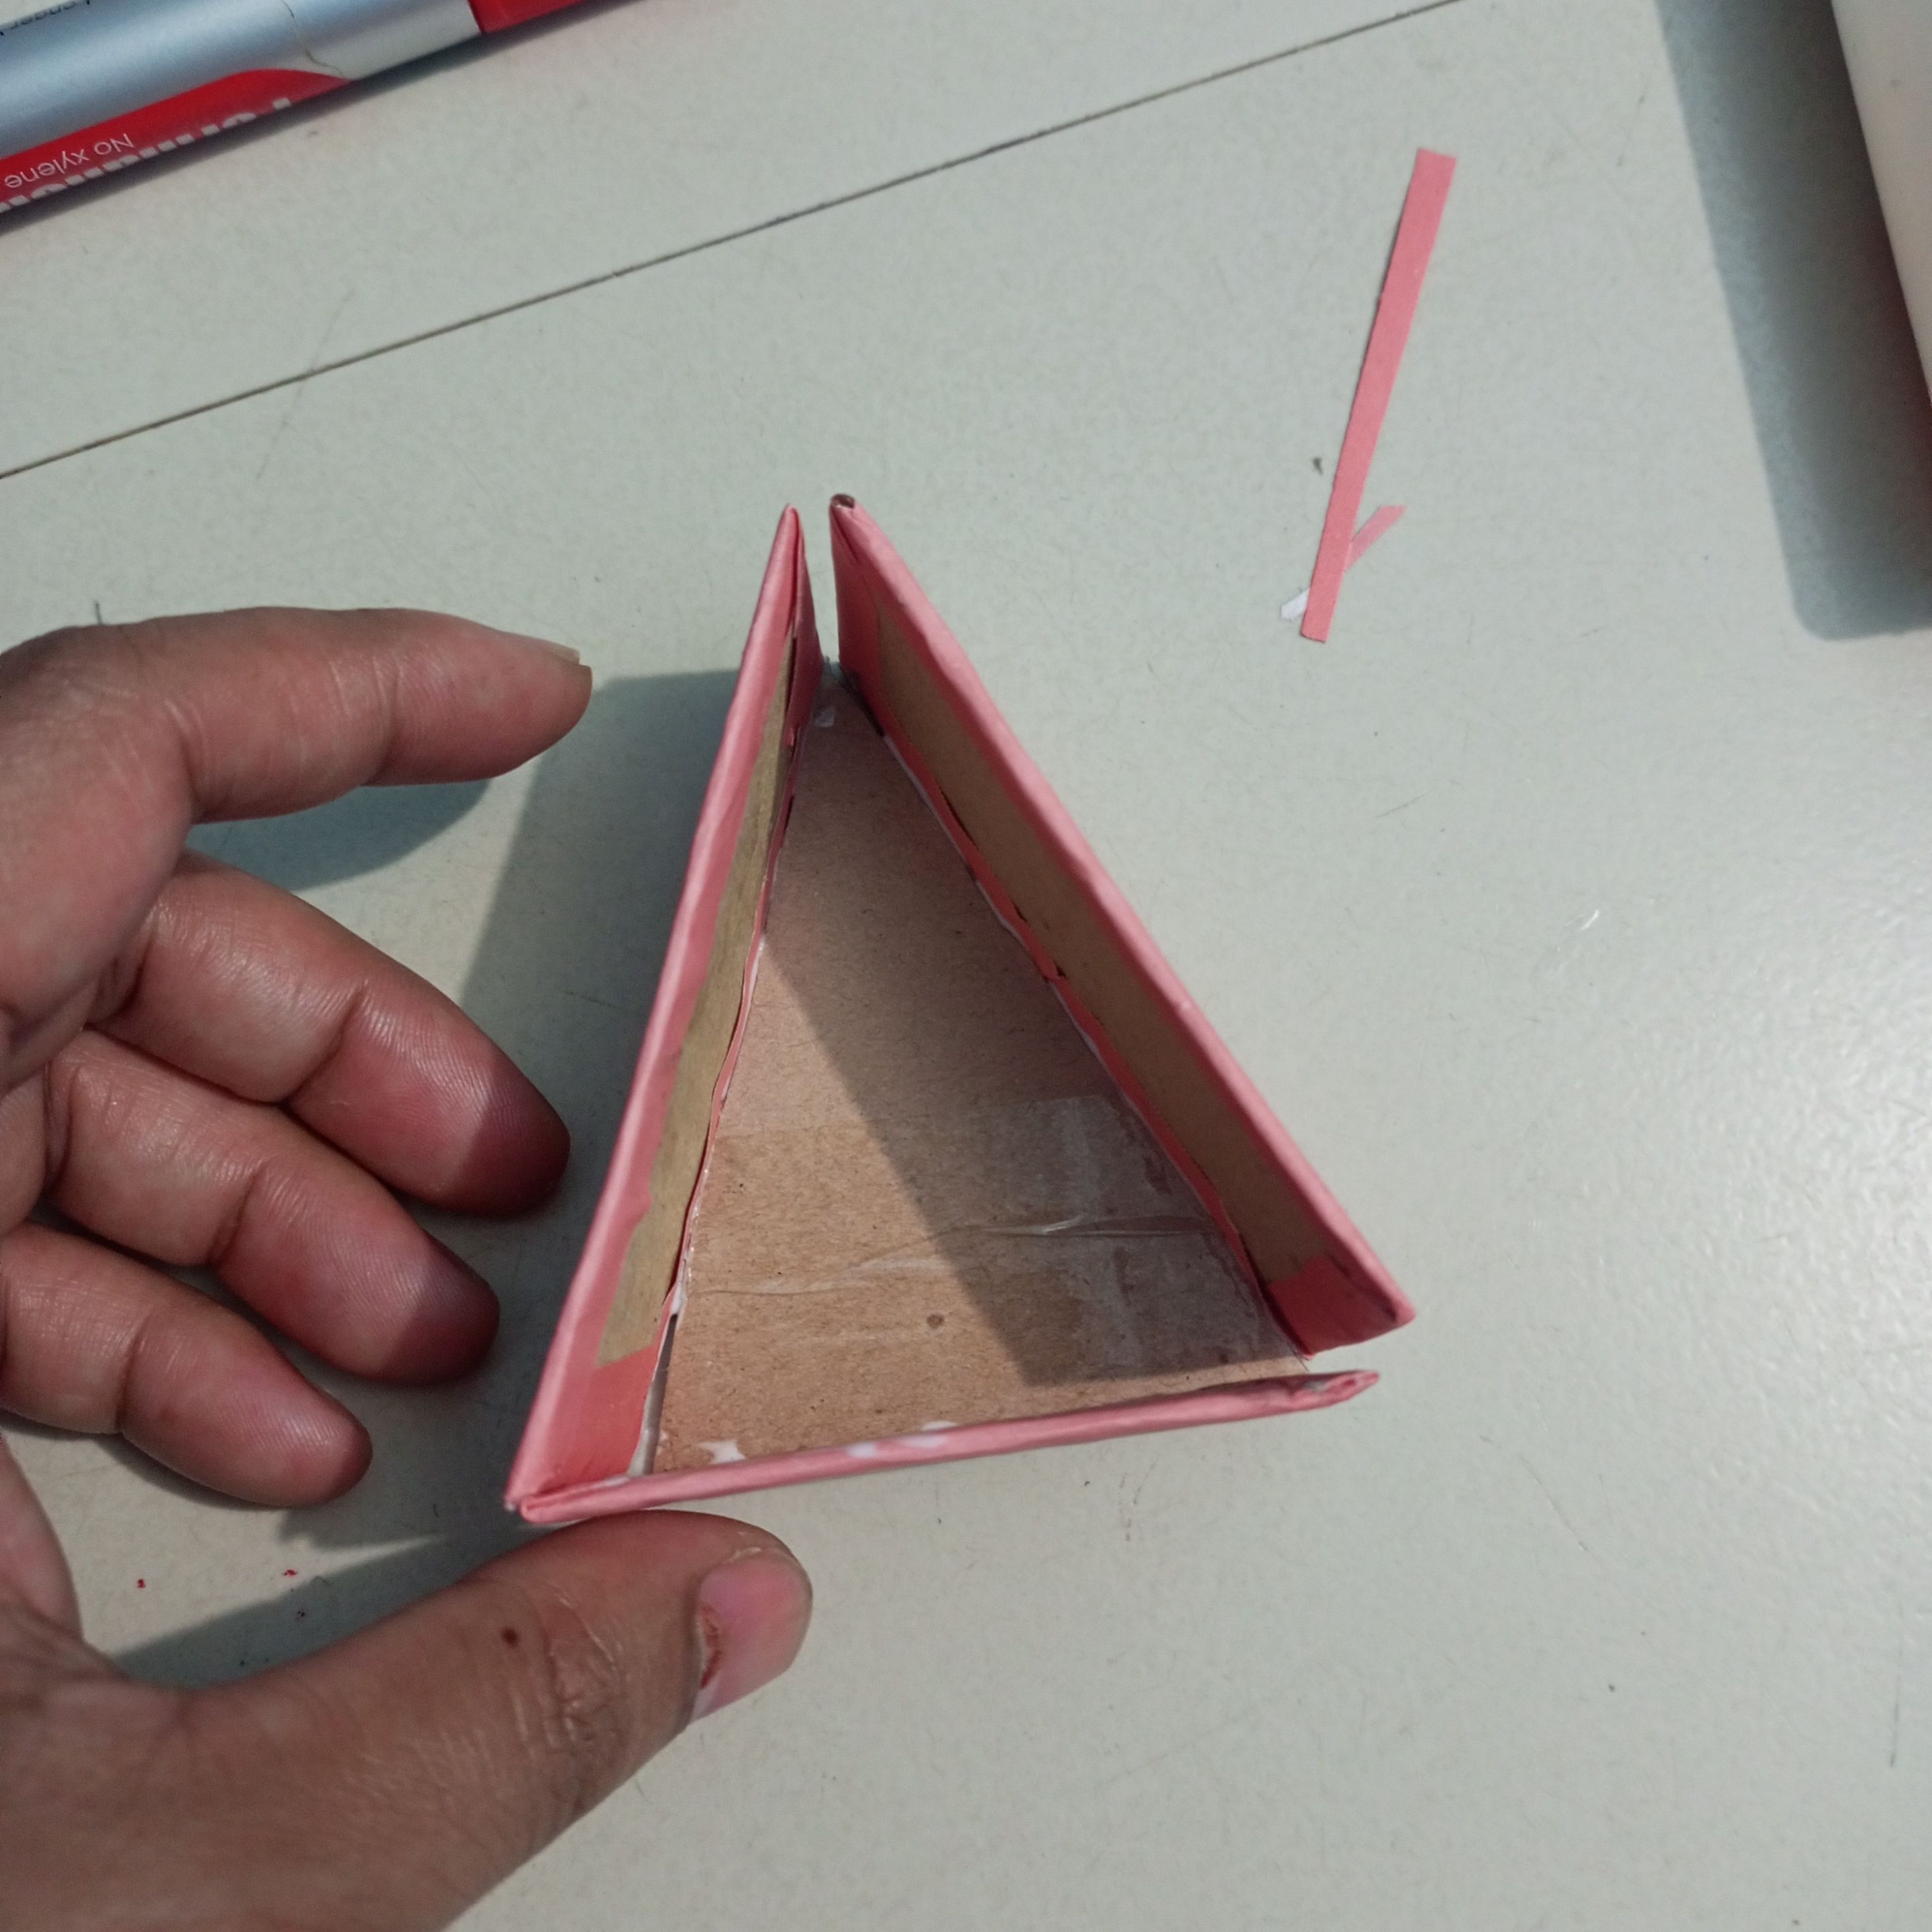
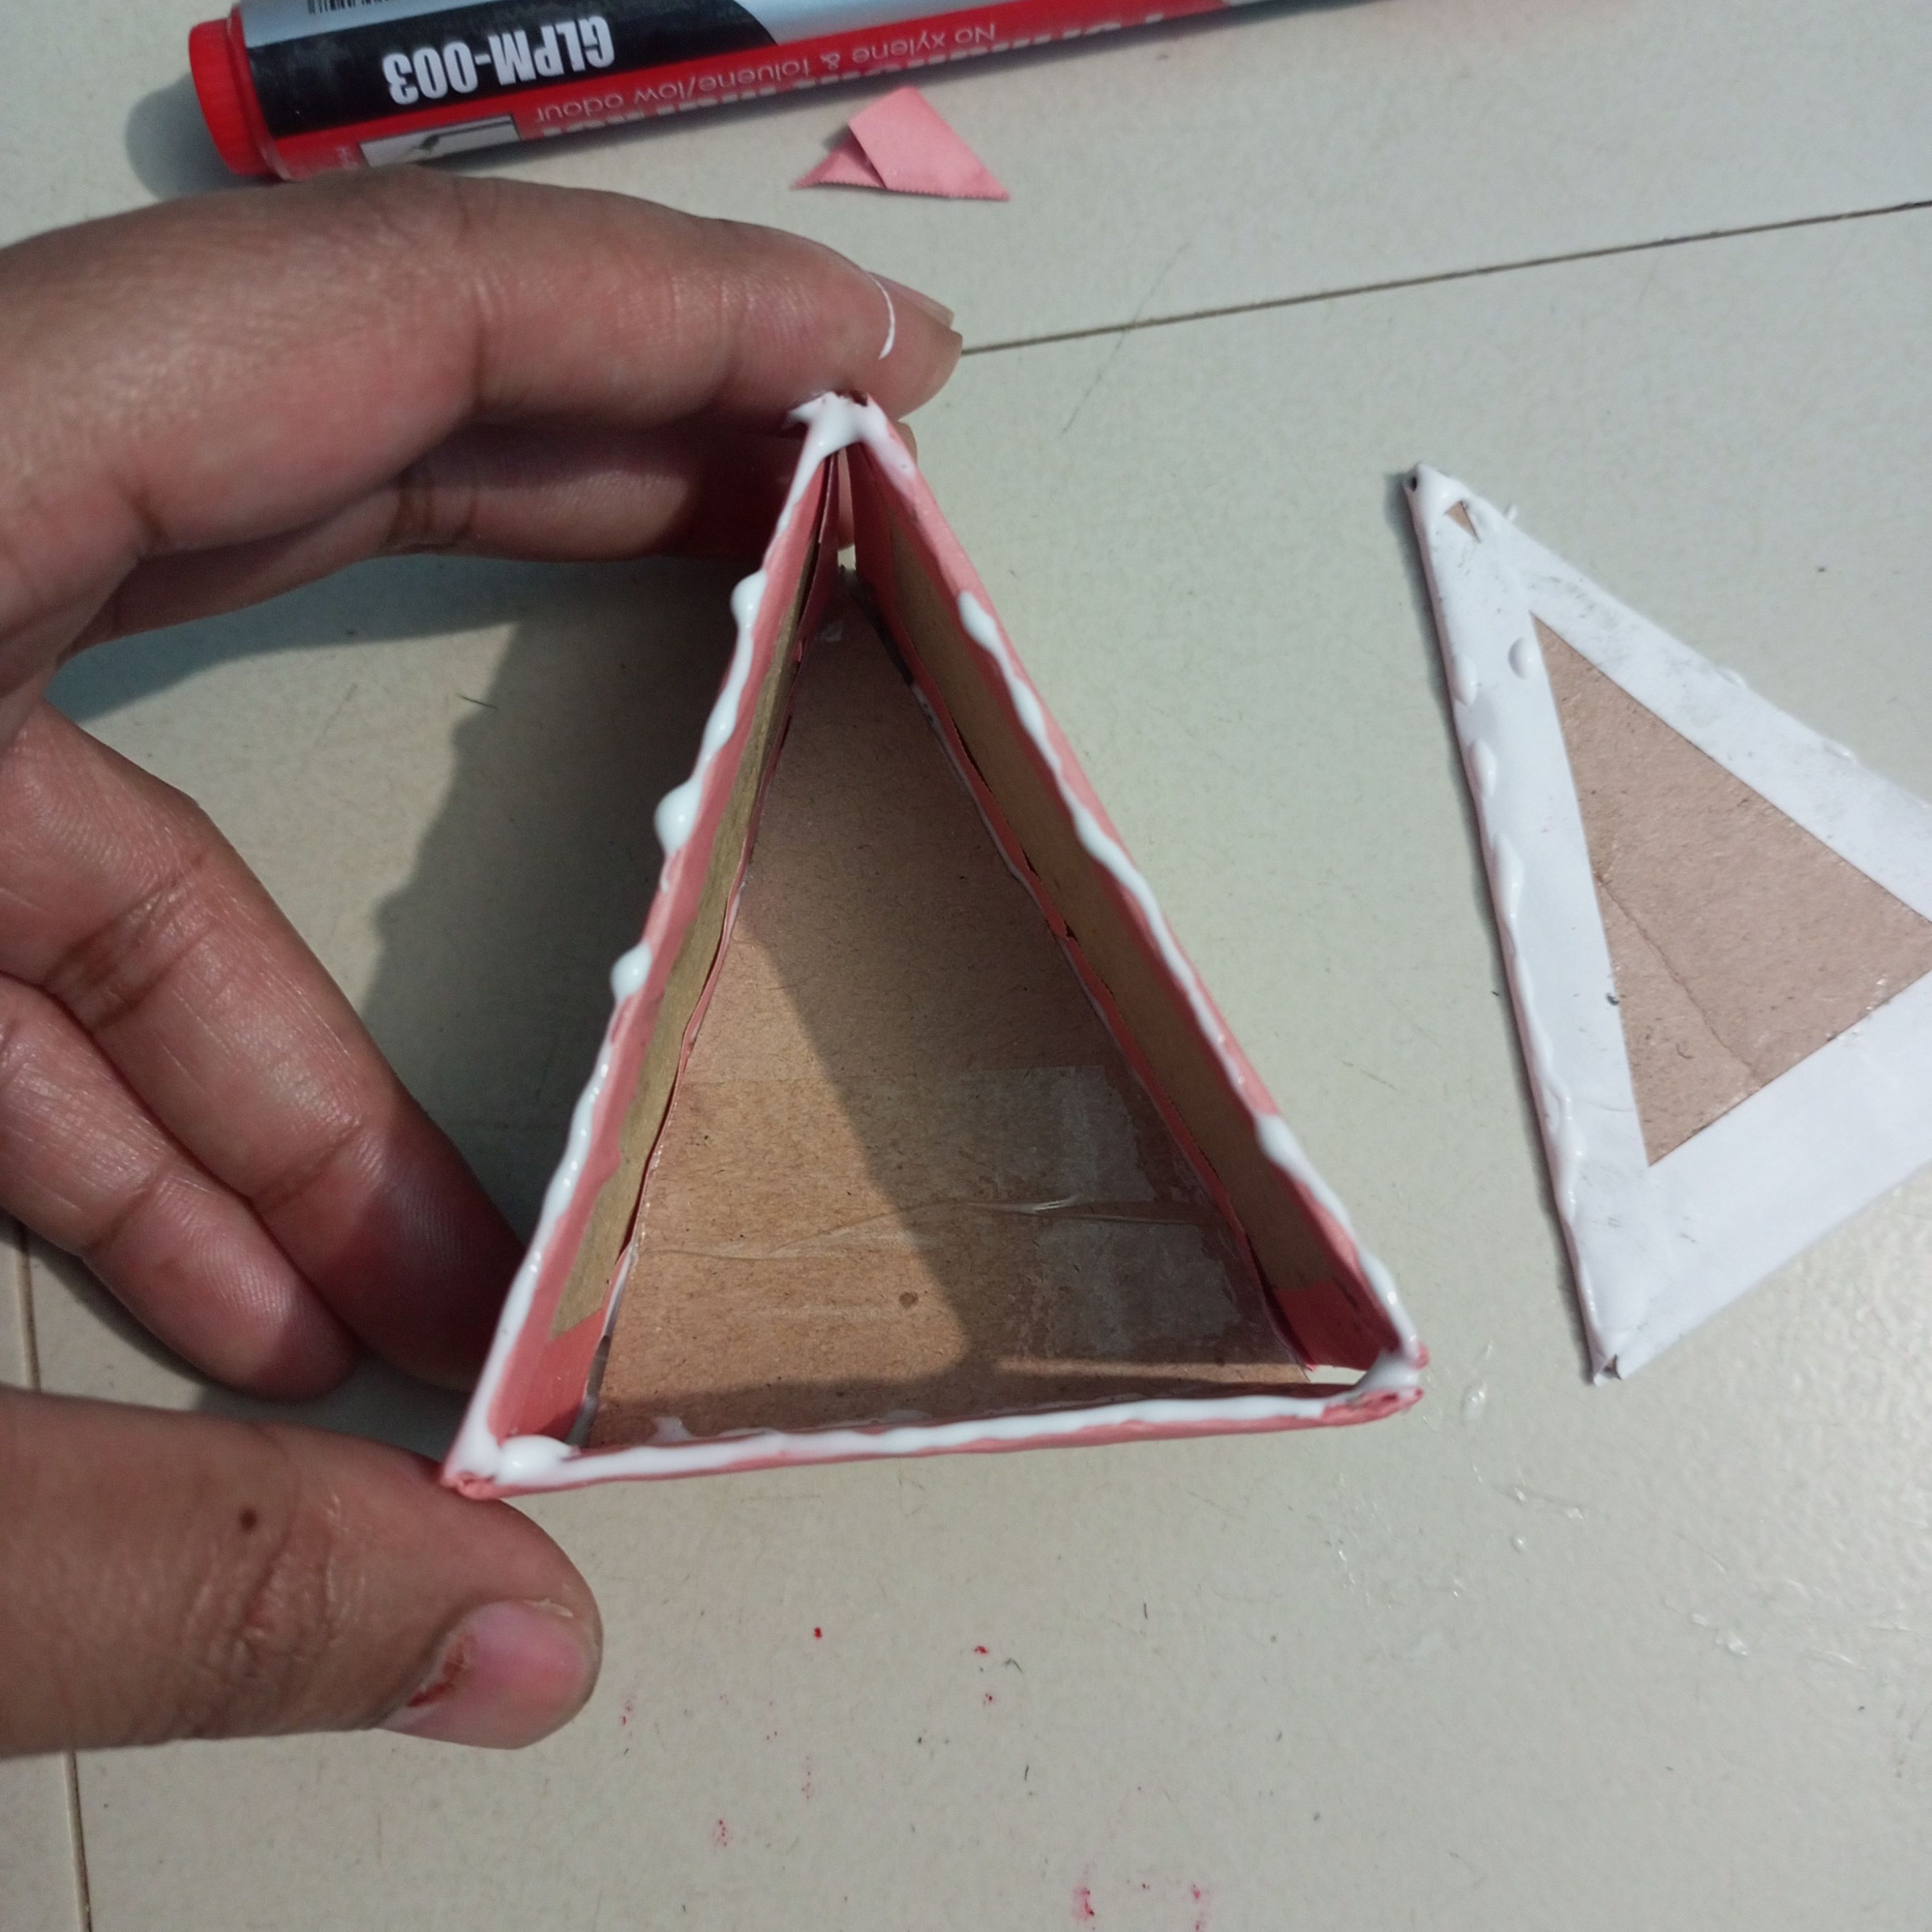
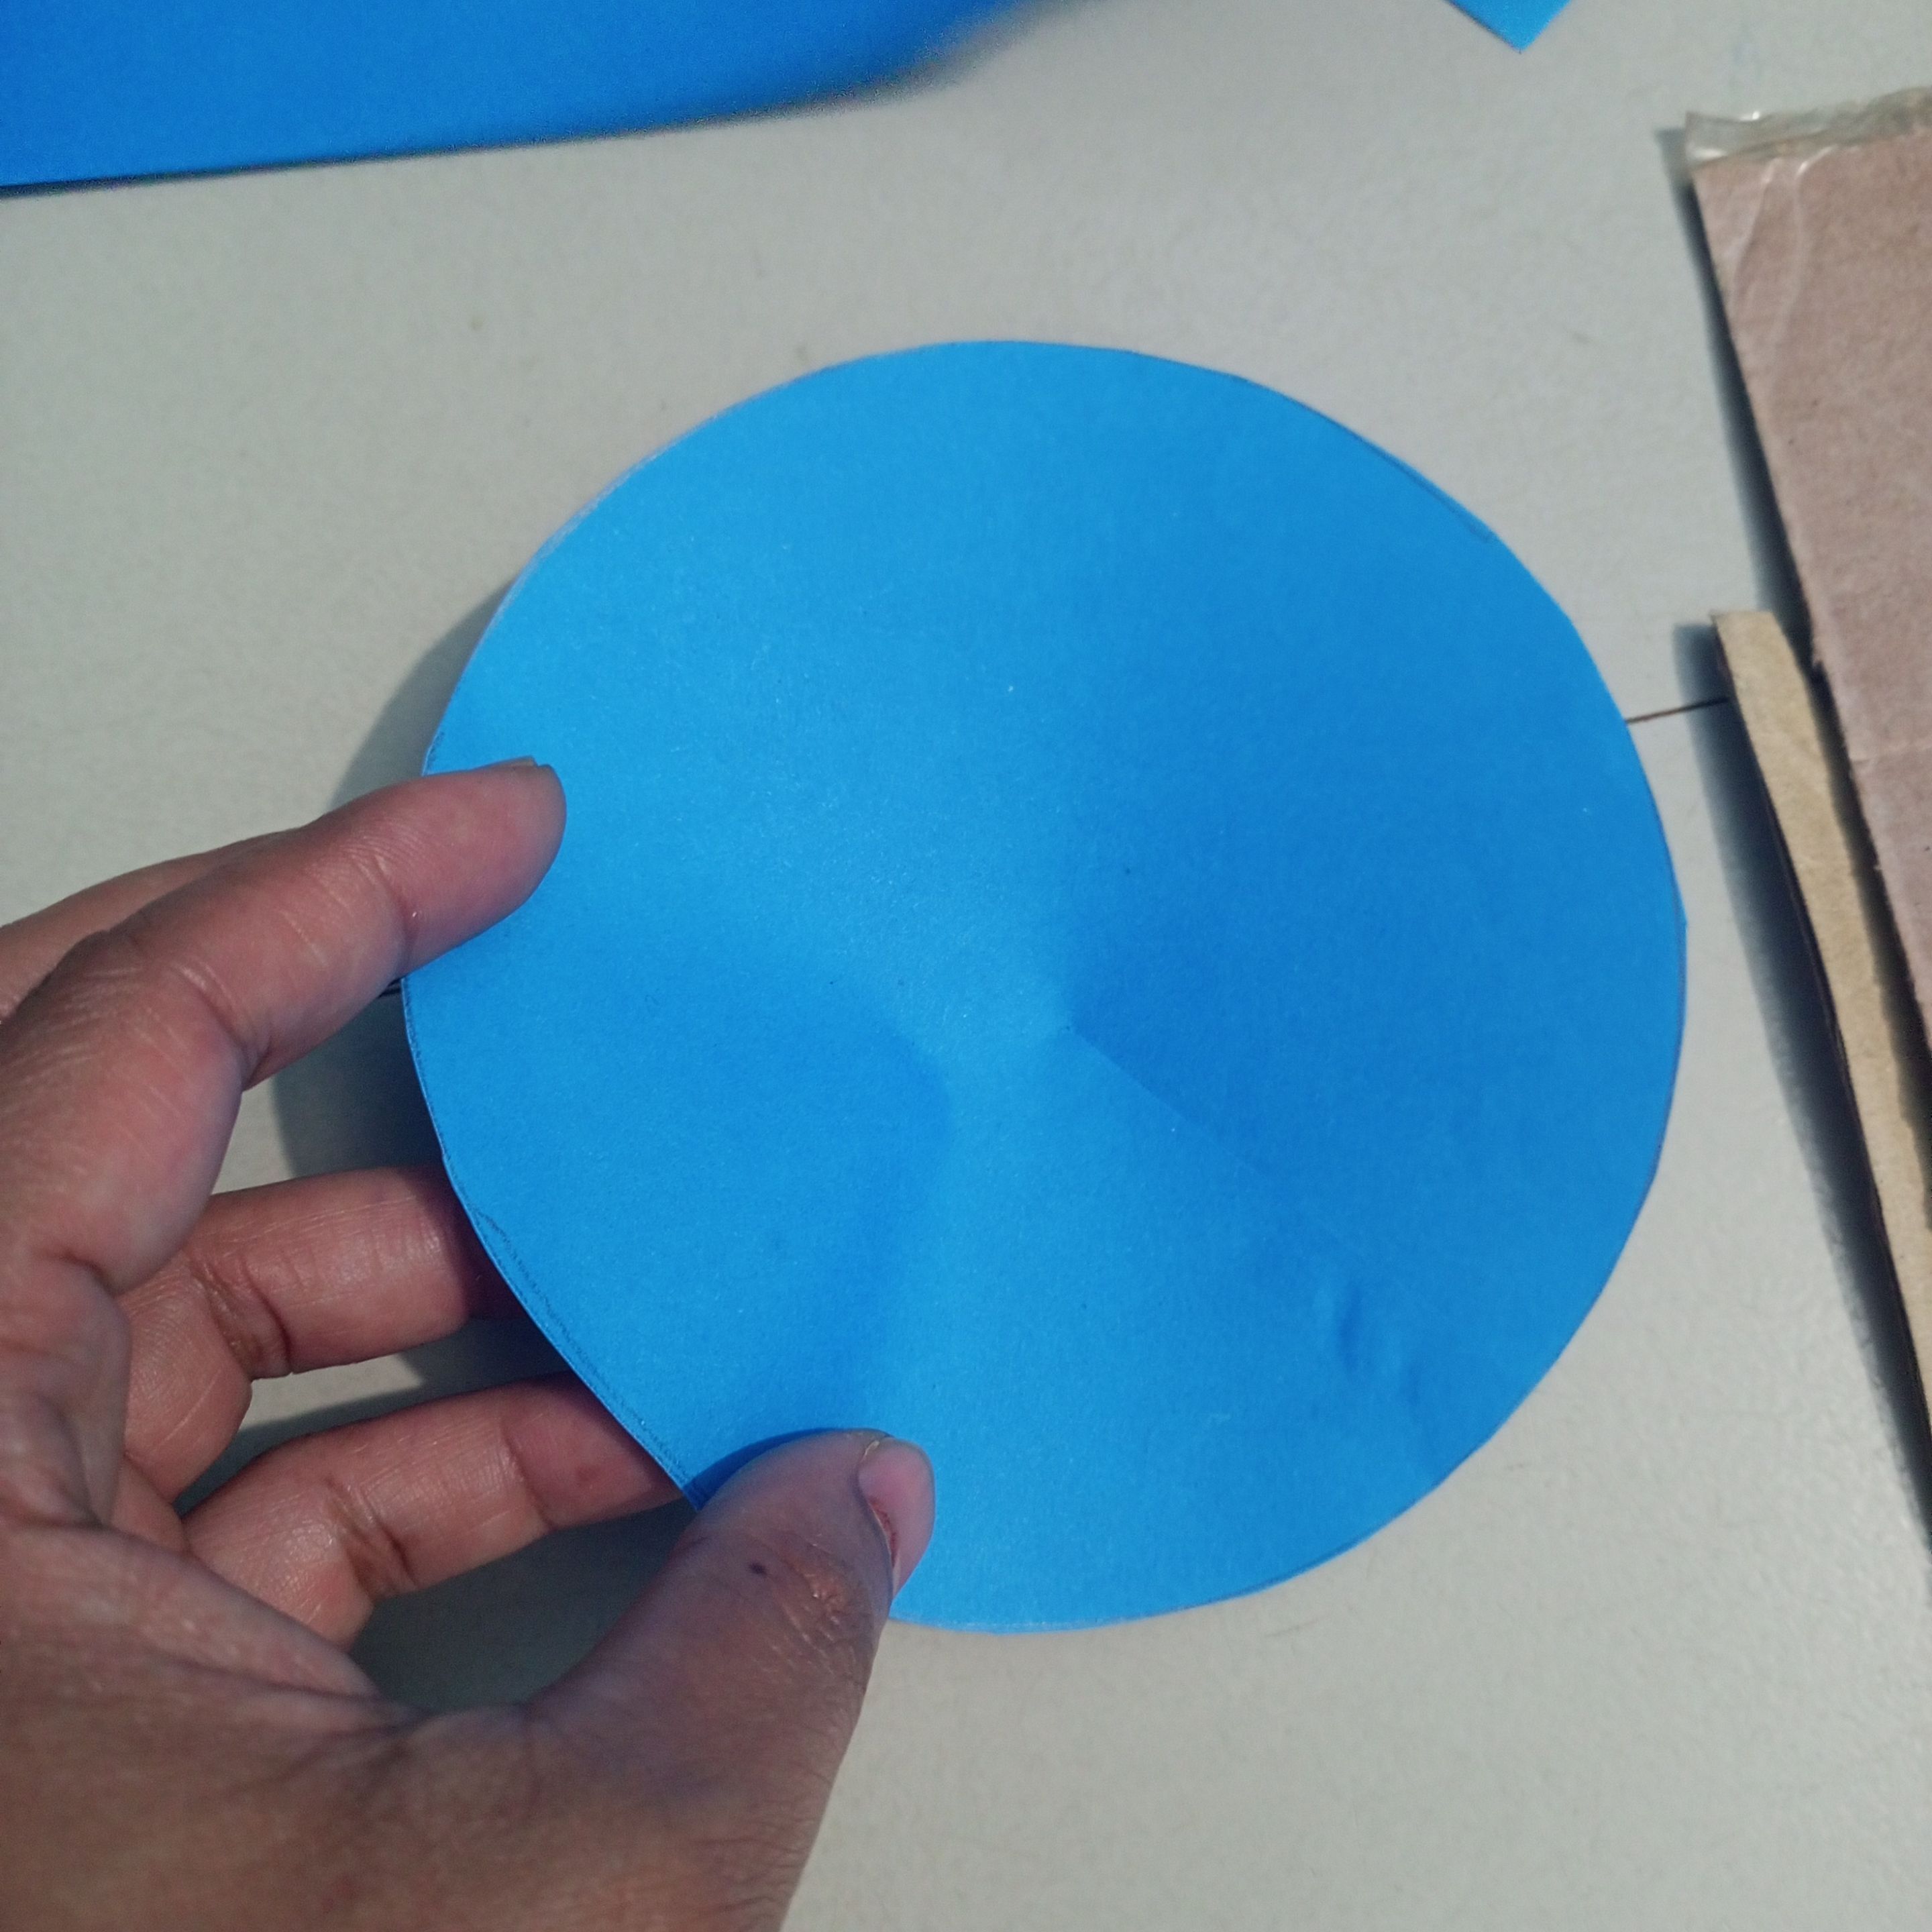
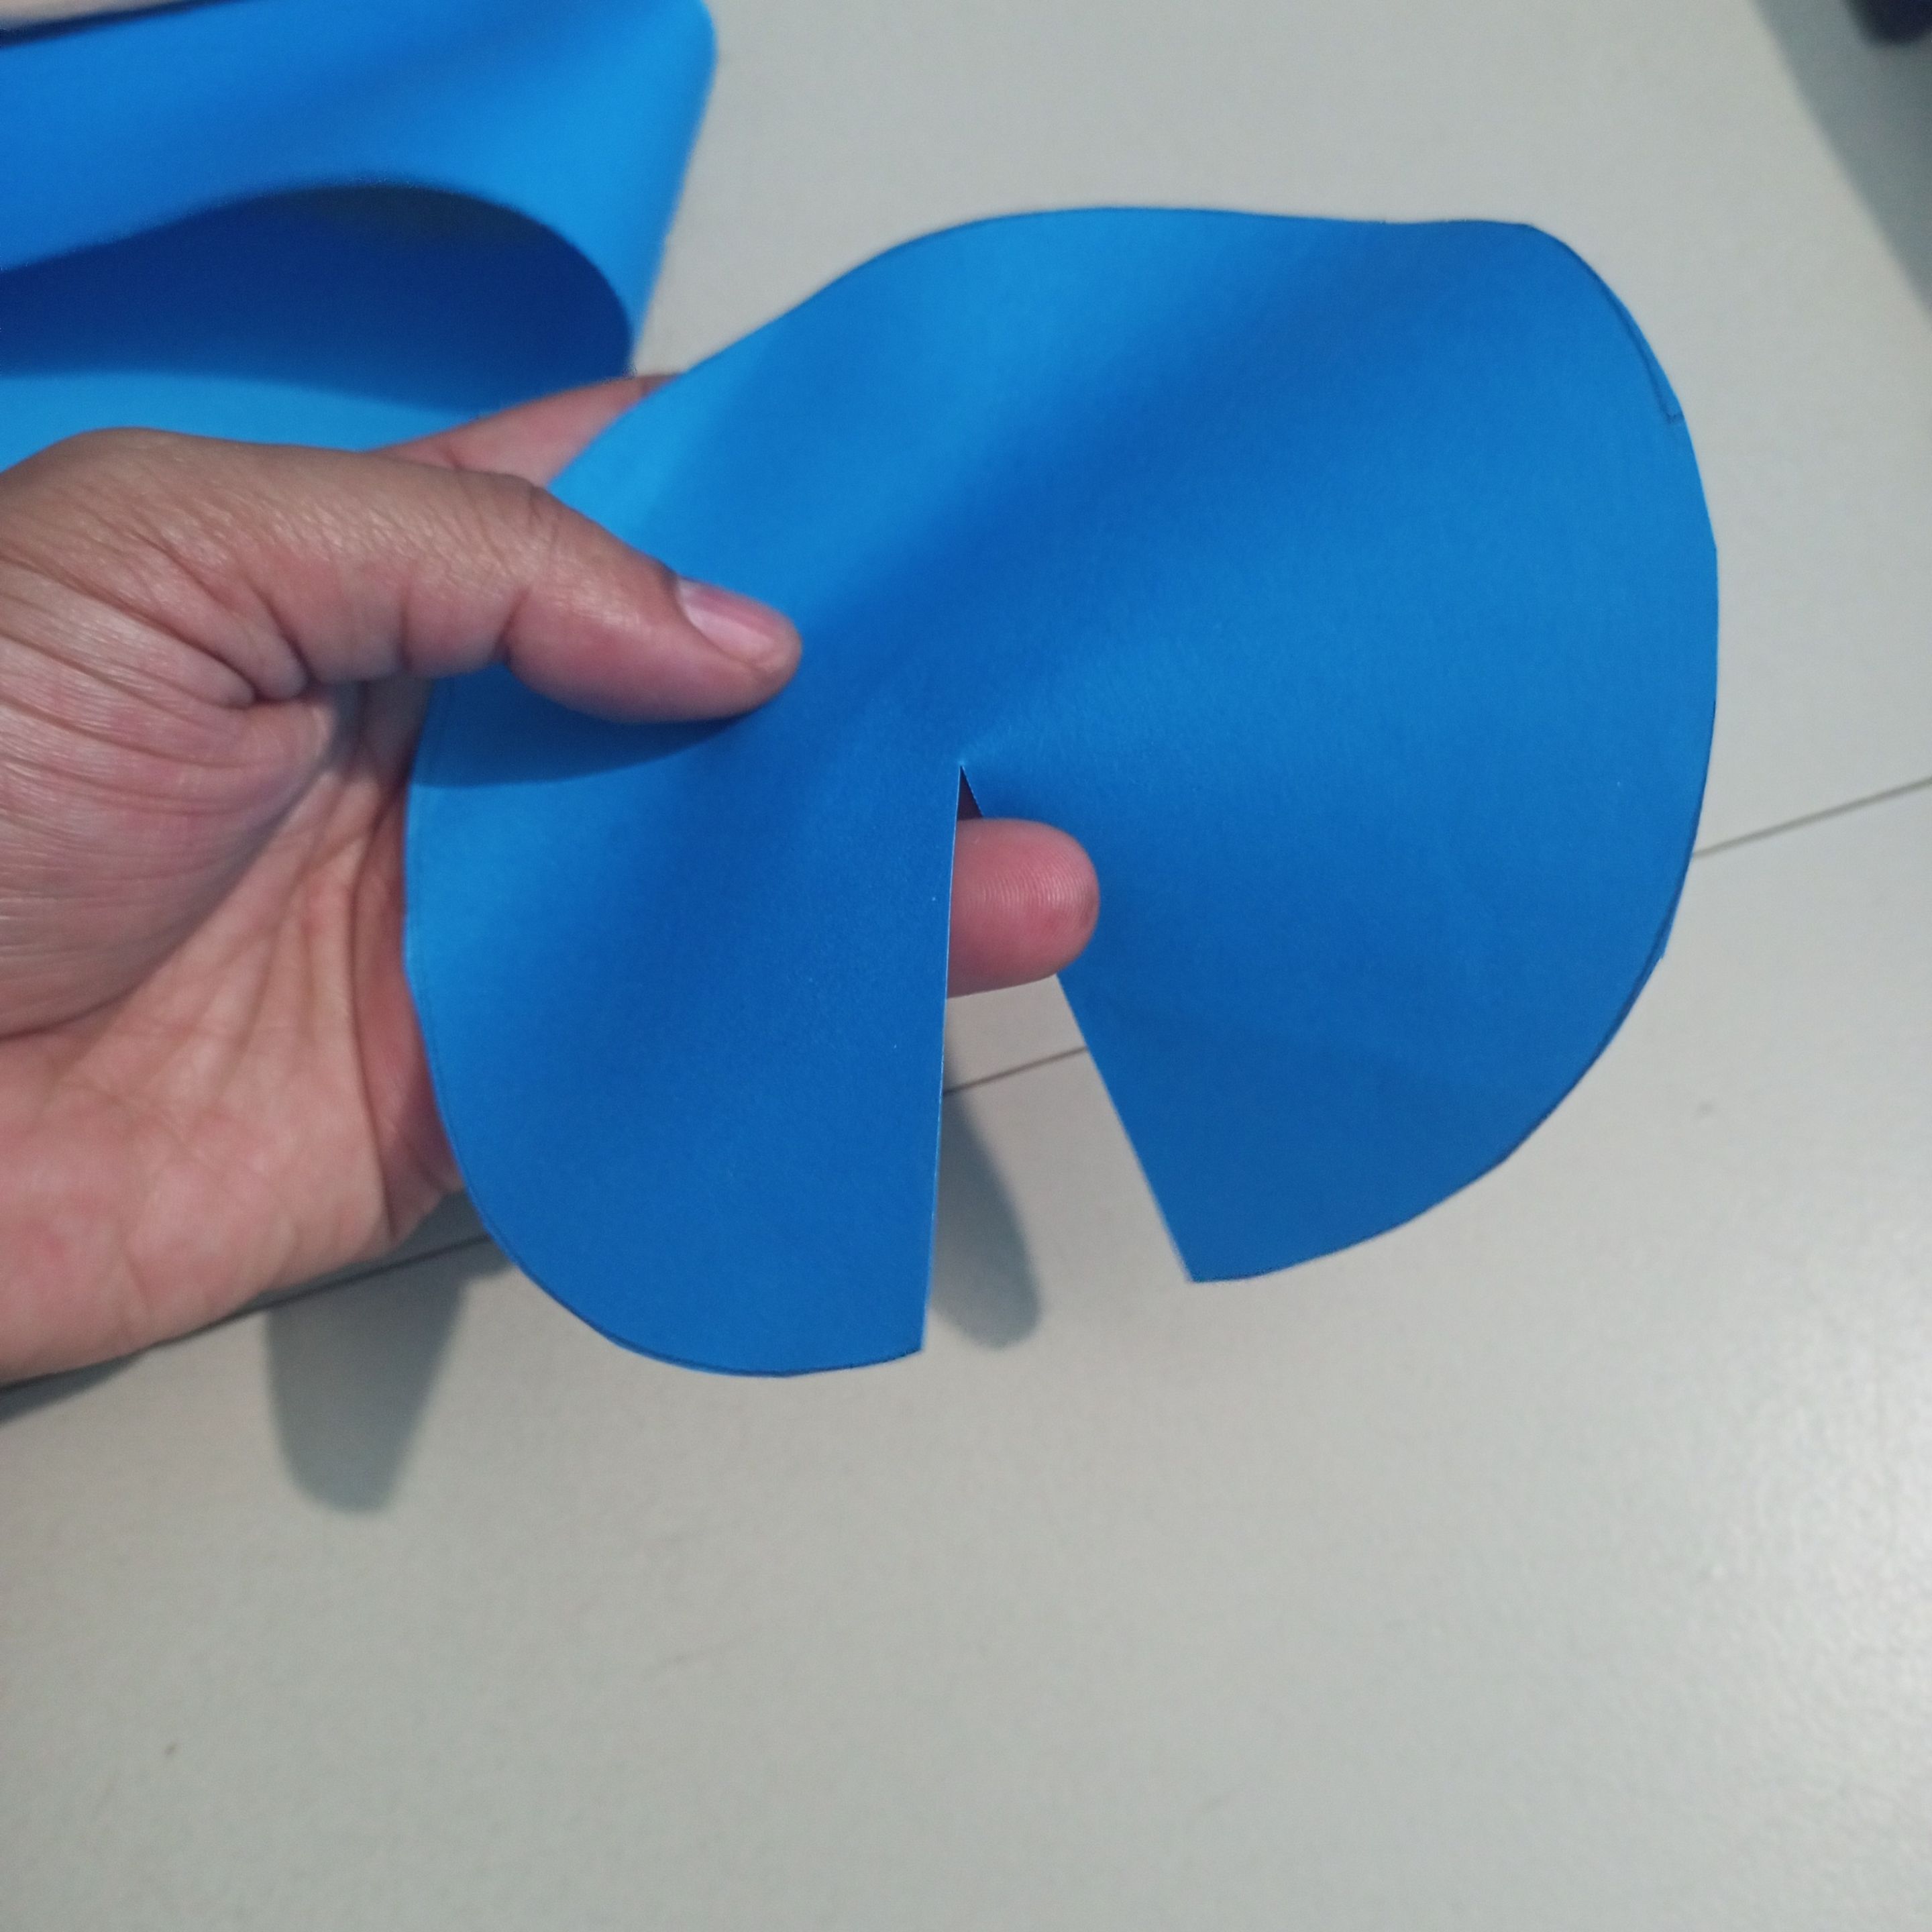
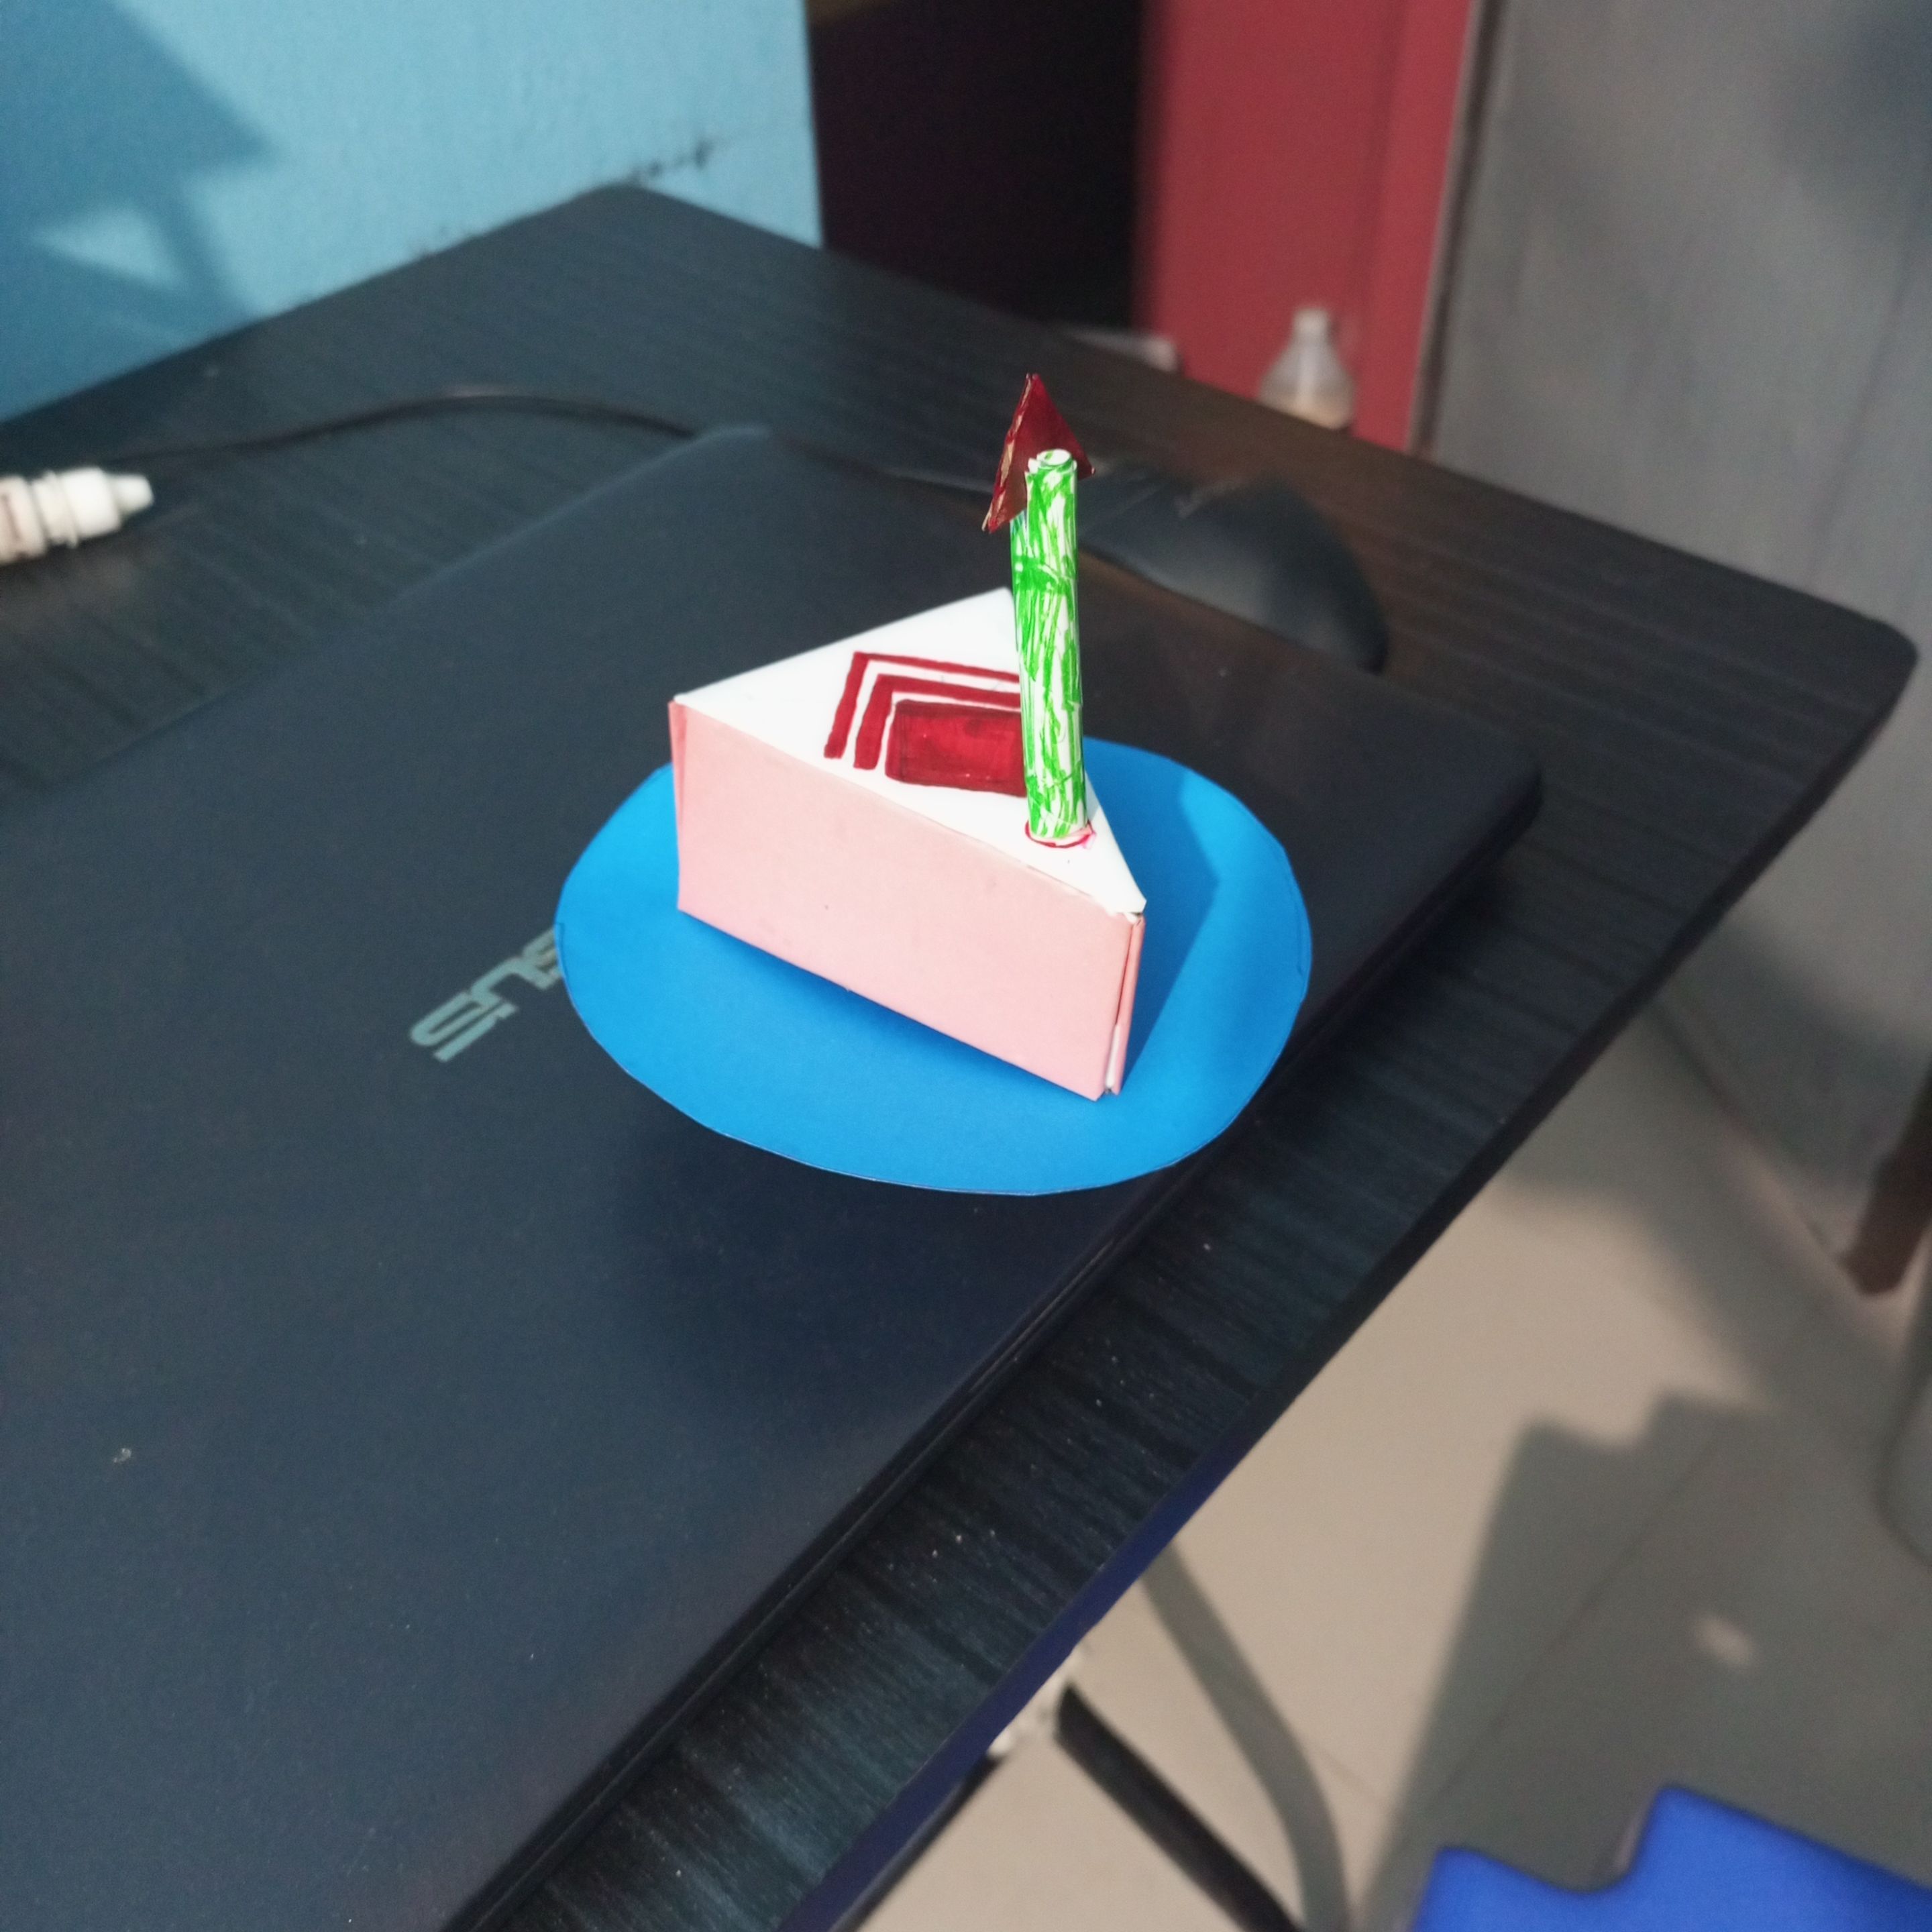
Next I placed my party and attached the three parts on the three sides. With the help of Favicol glue, I then applied Favicol glue to the top cute side.
Then I attached the top part of the cake.
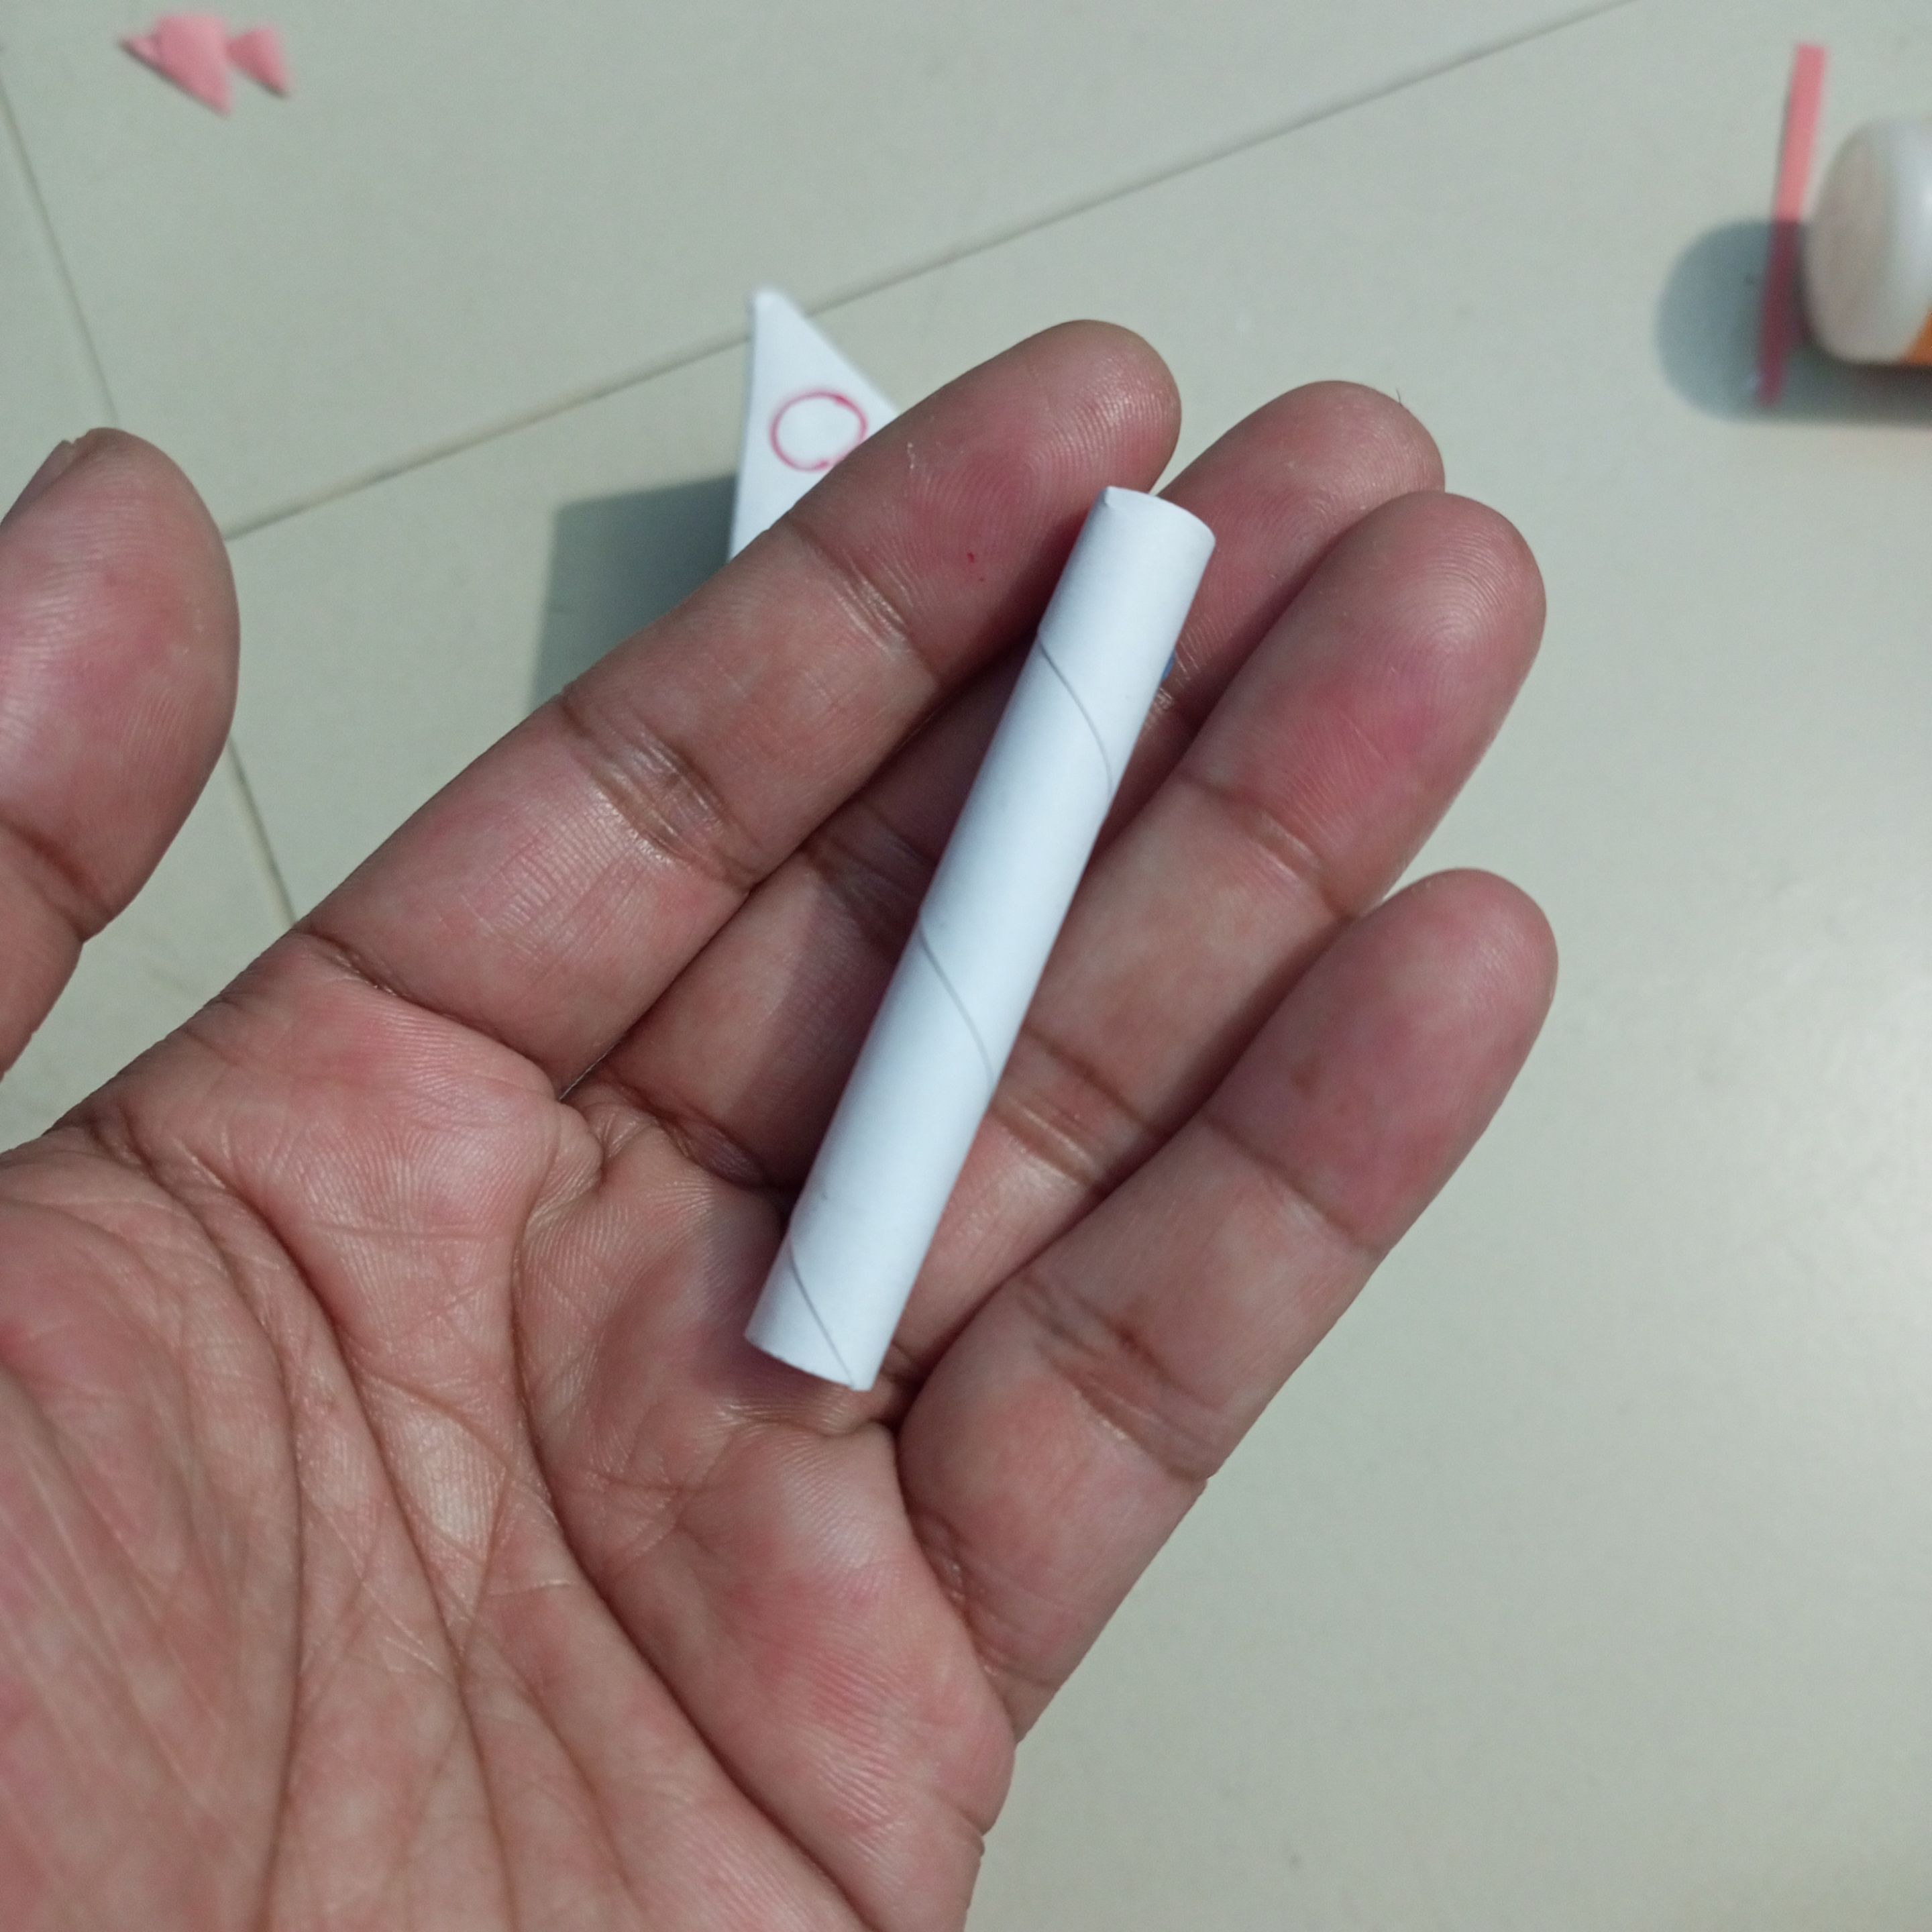
Next I made a paper stick to make into a candle shape.
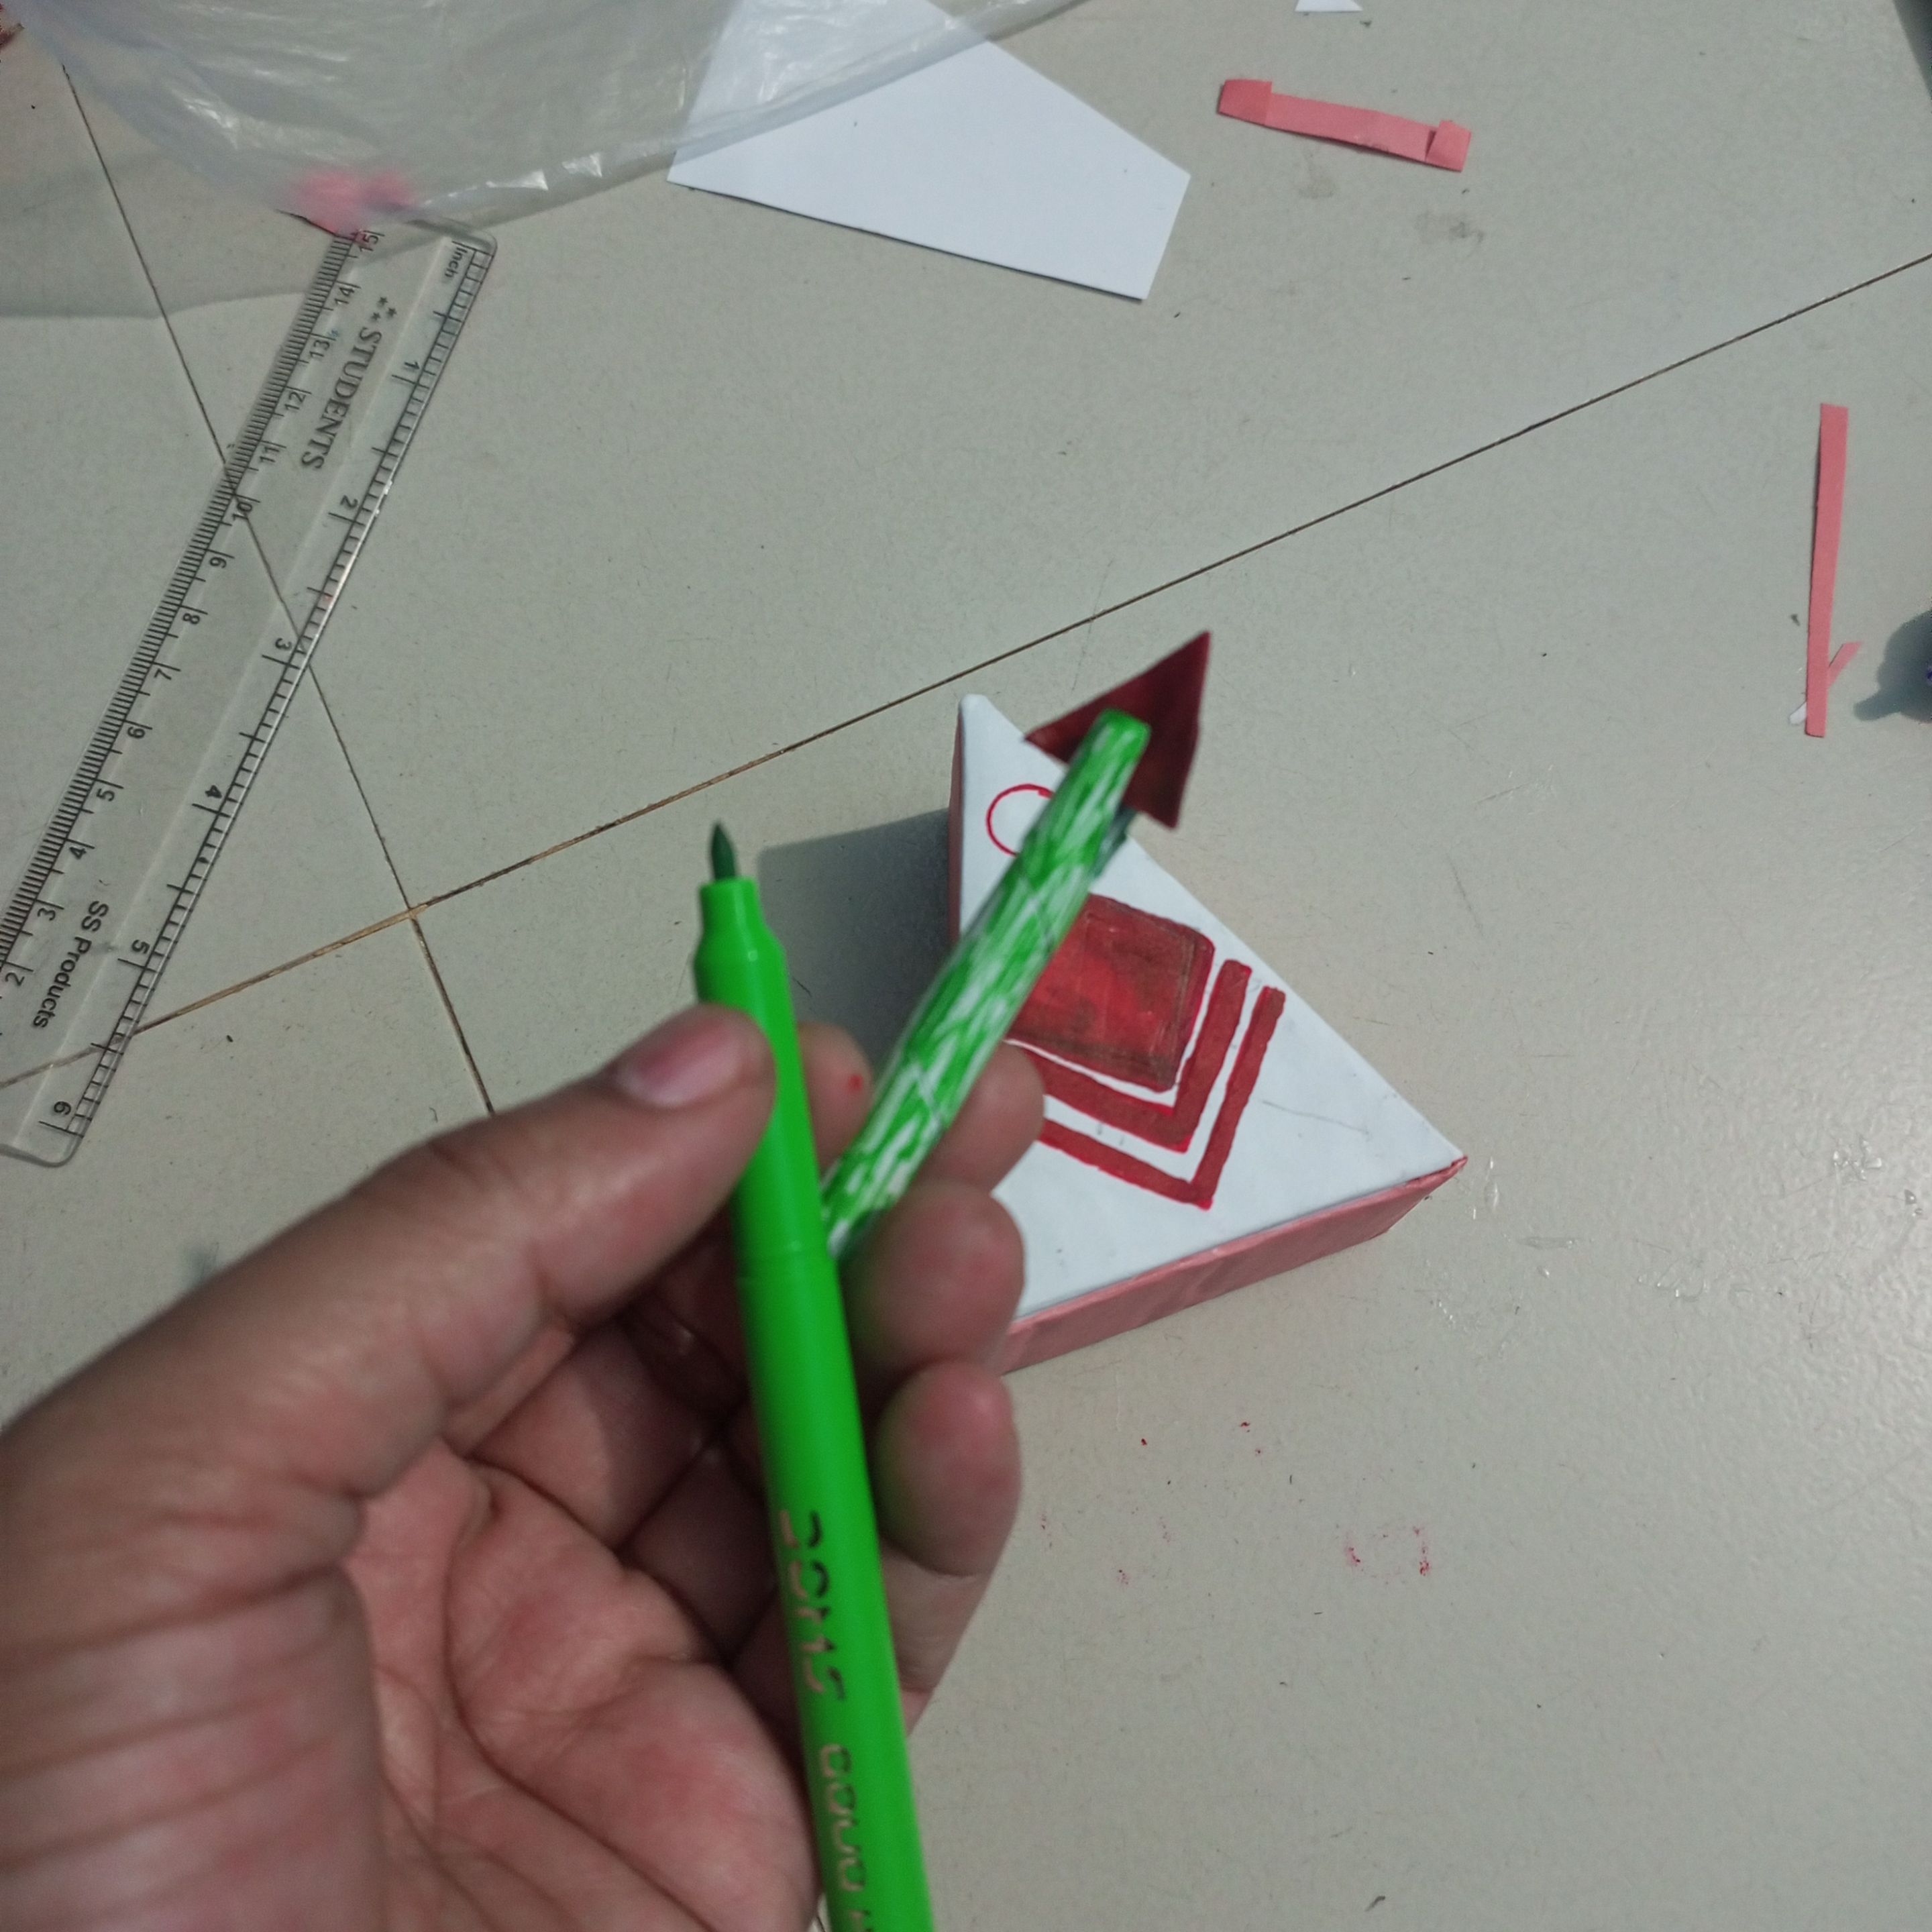
Then I colored that stick green. Another small piece of cardboard and turned it red.
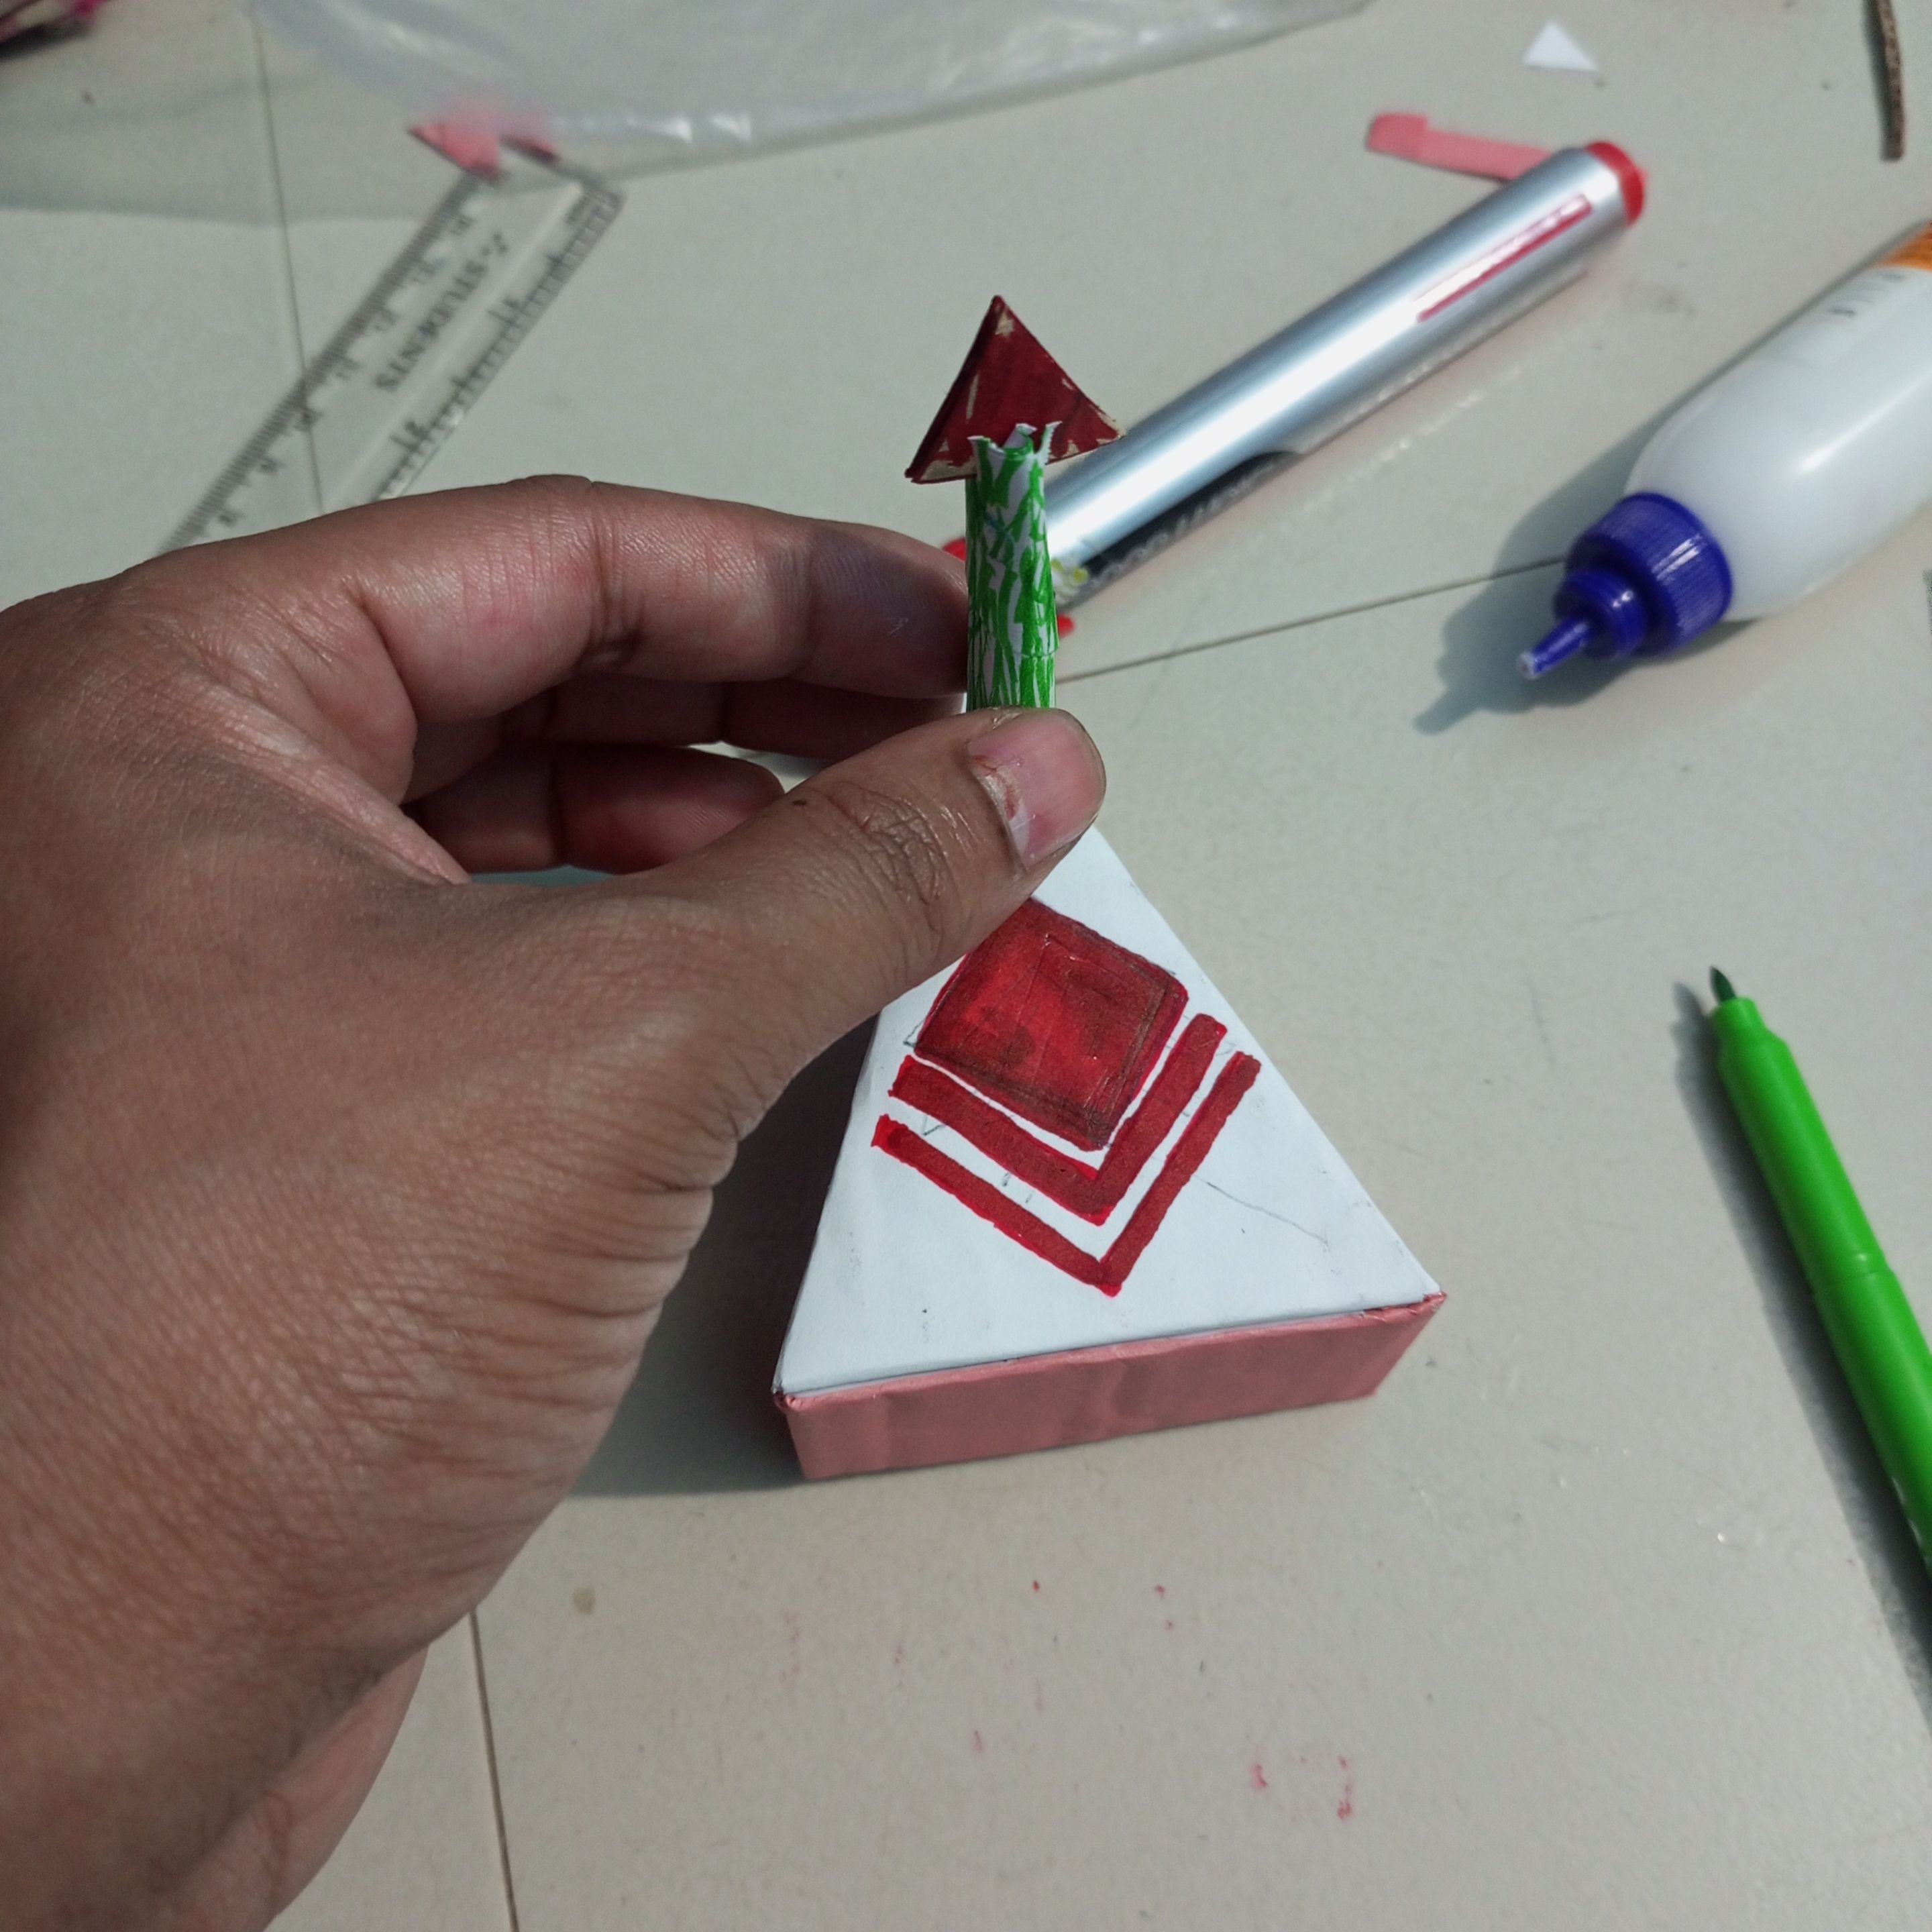
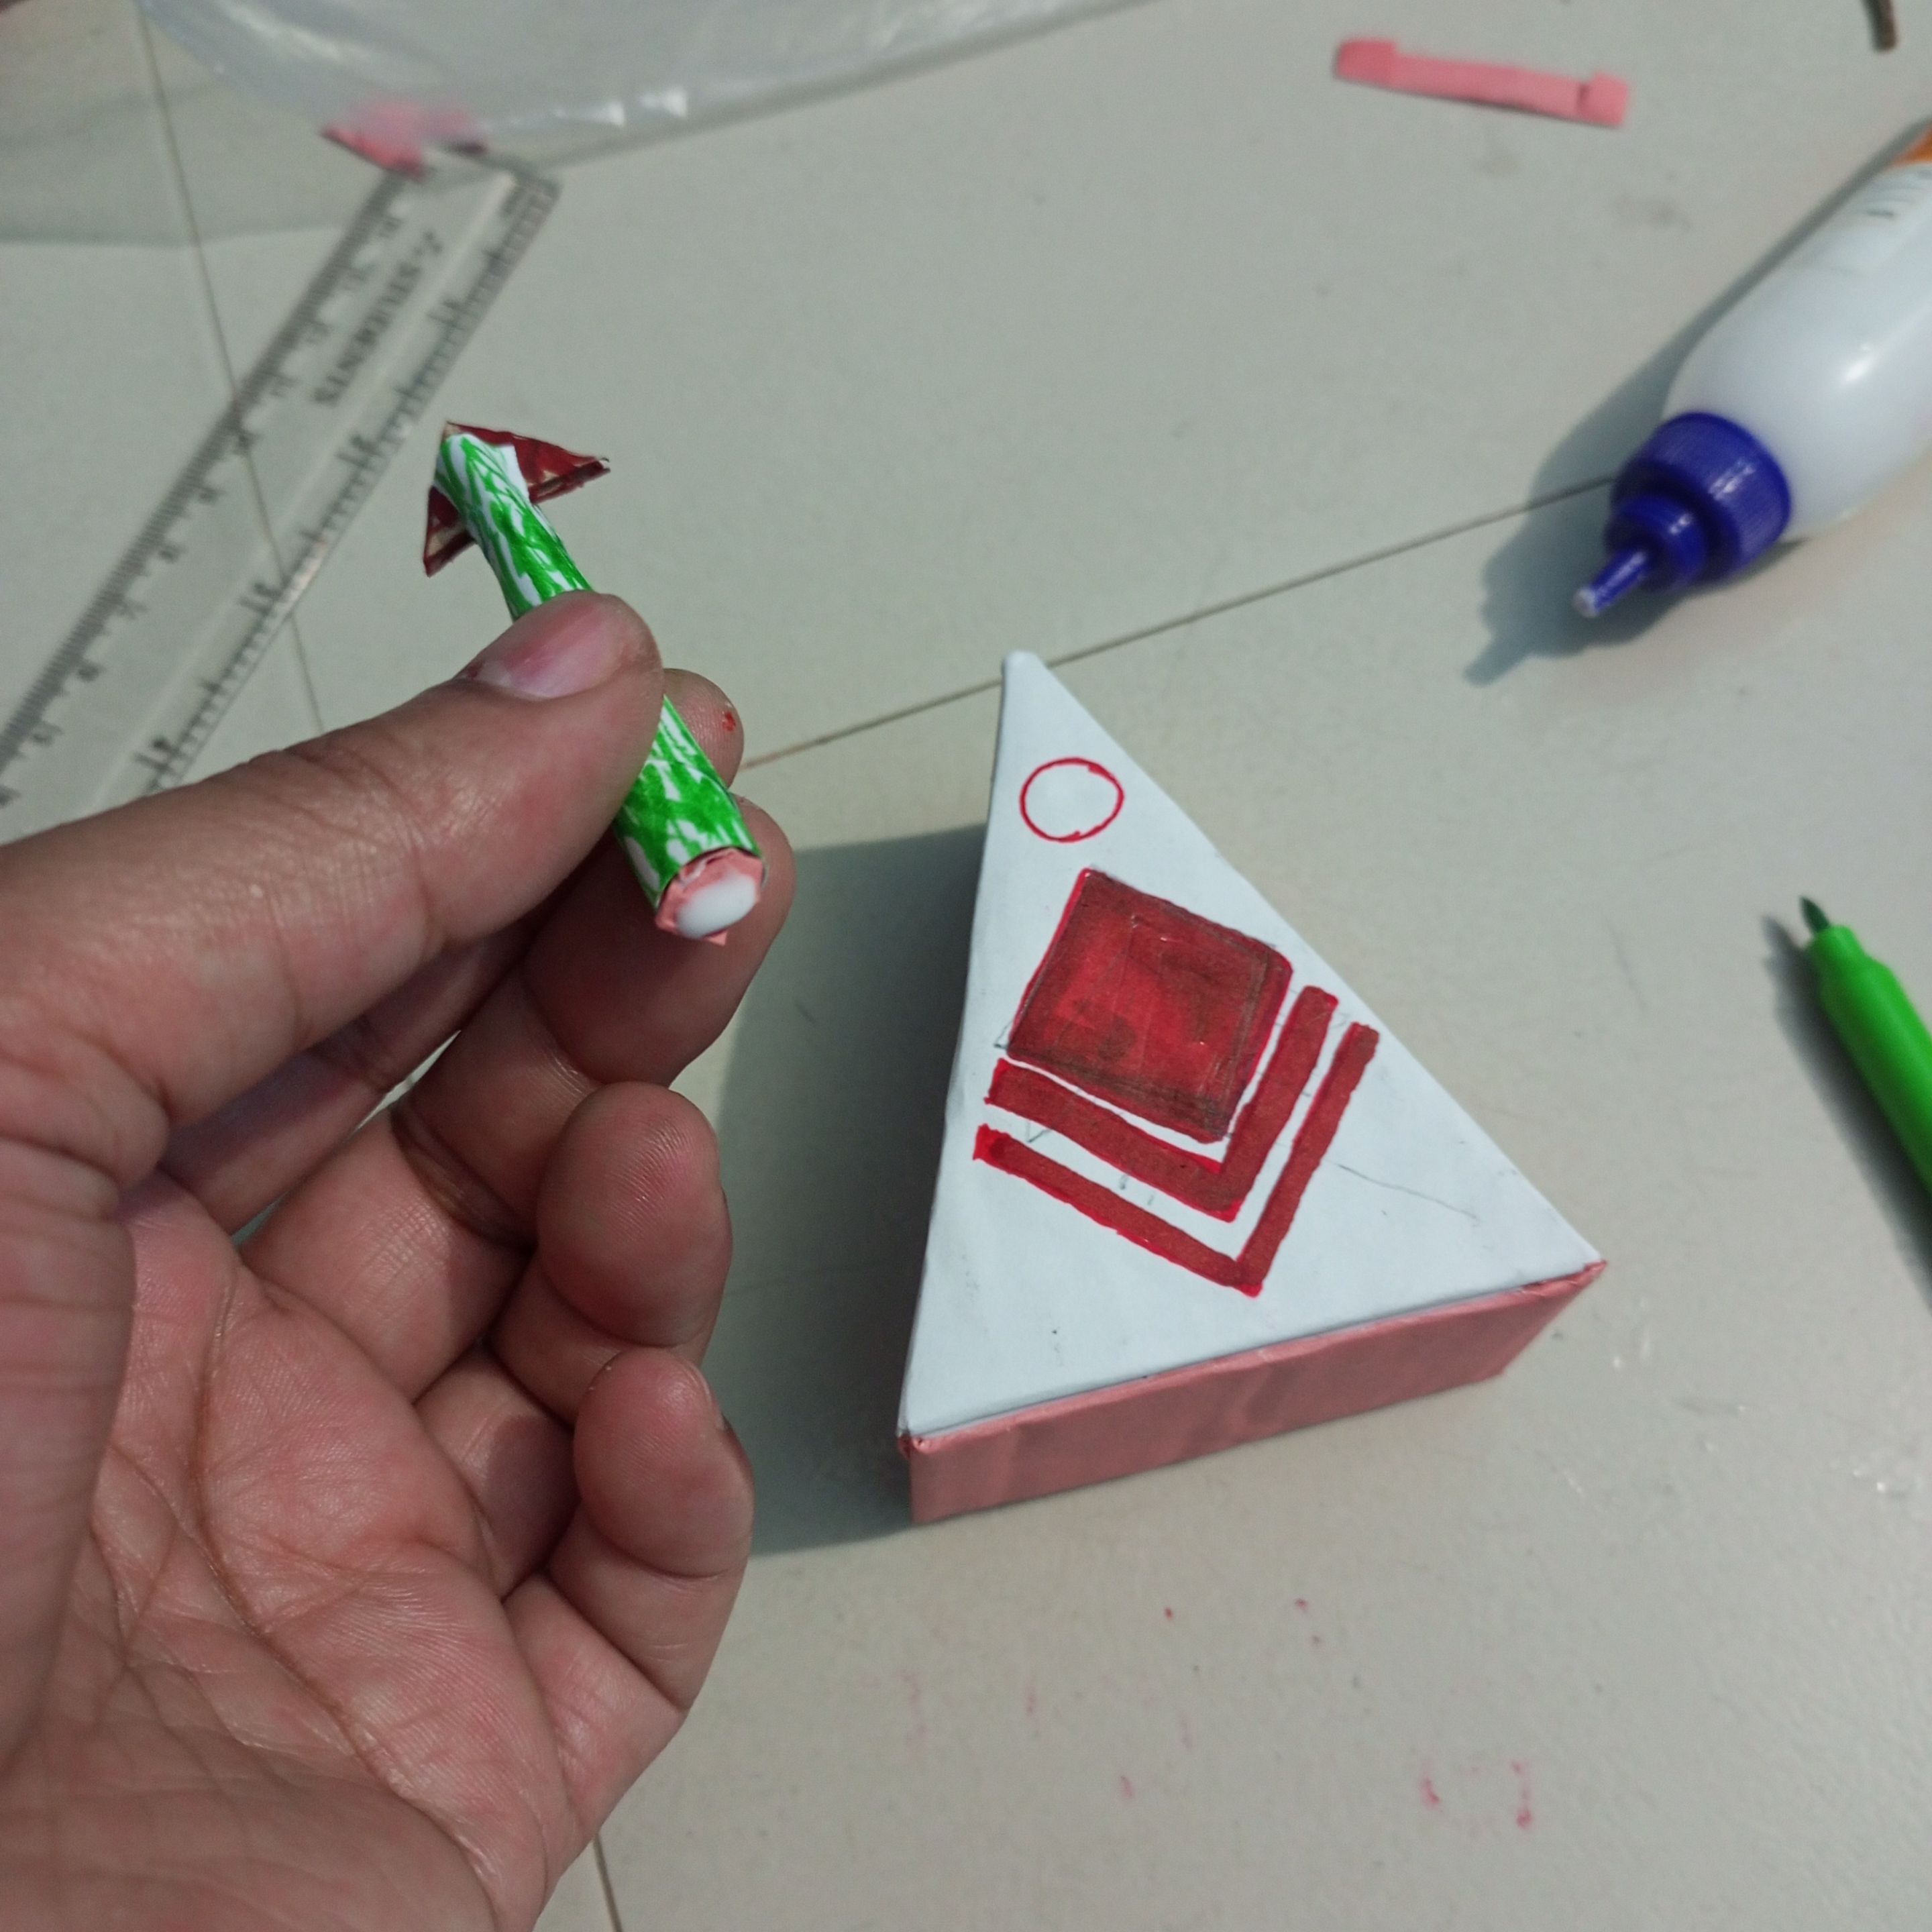
Next I attached small pieces of paper with fevicol glue and attached the candle to the top of the cake.
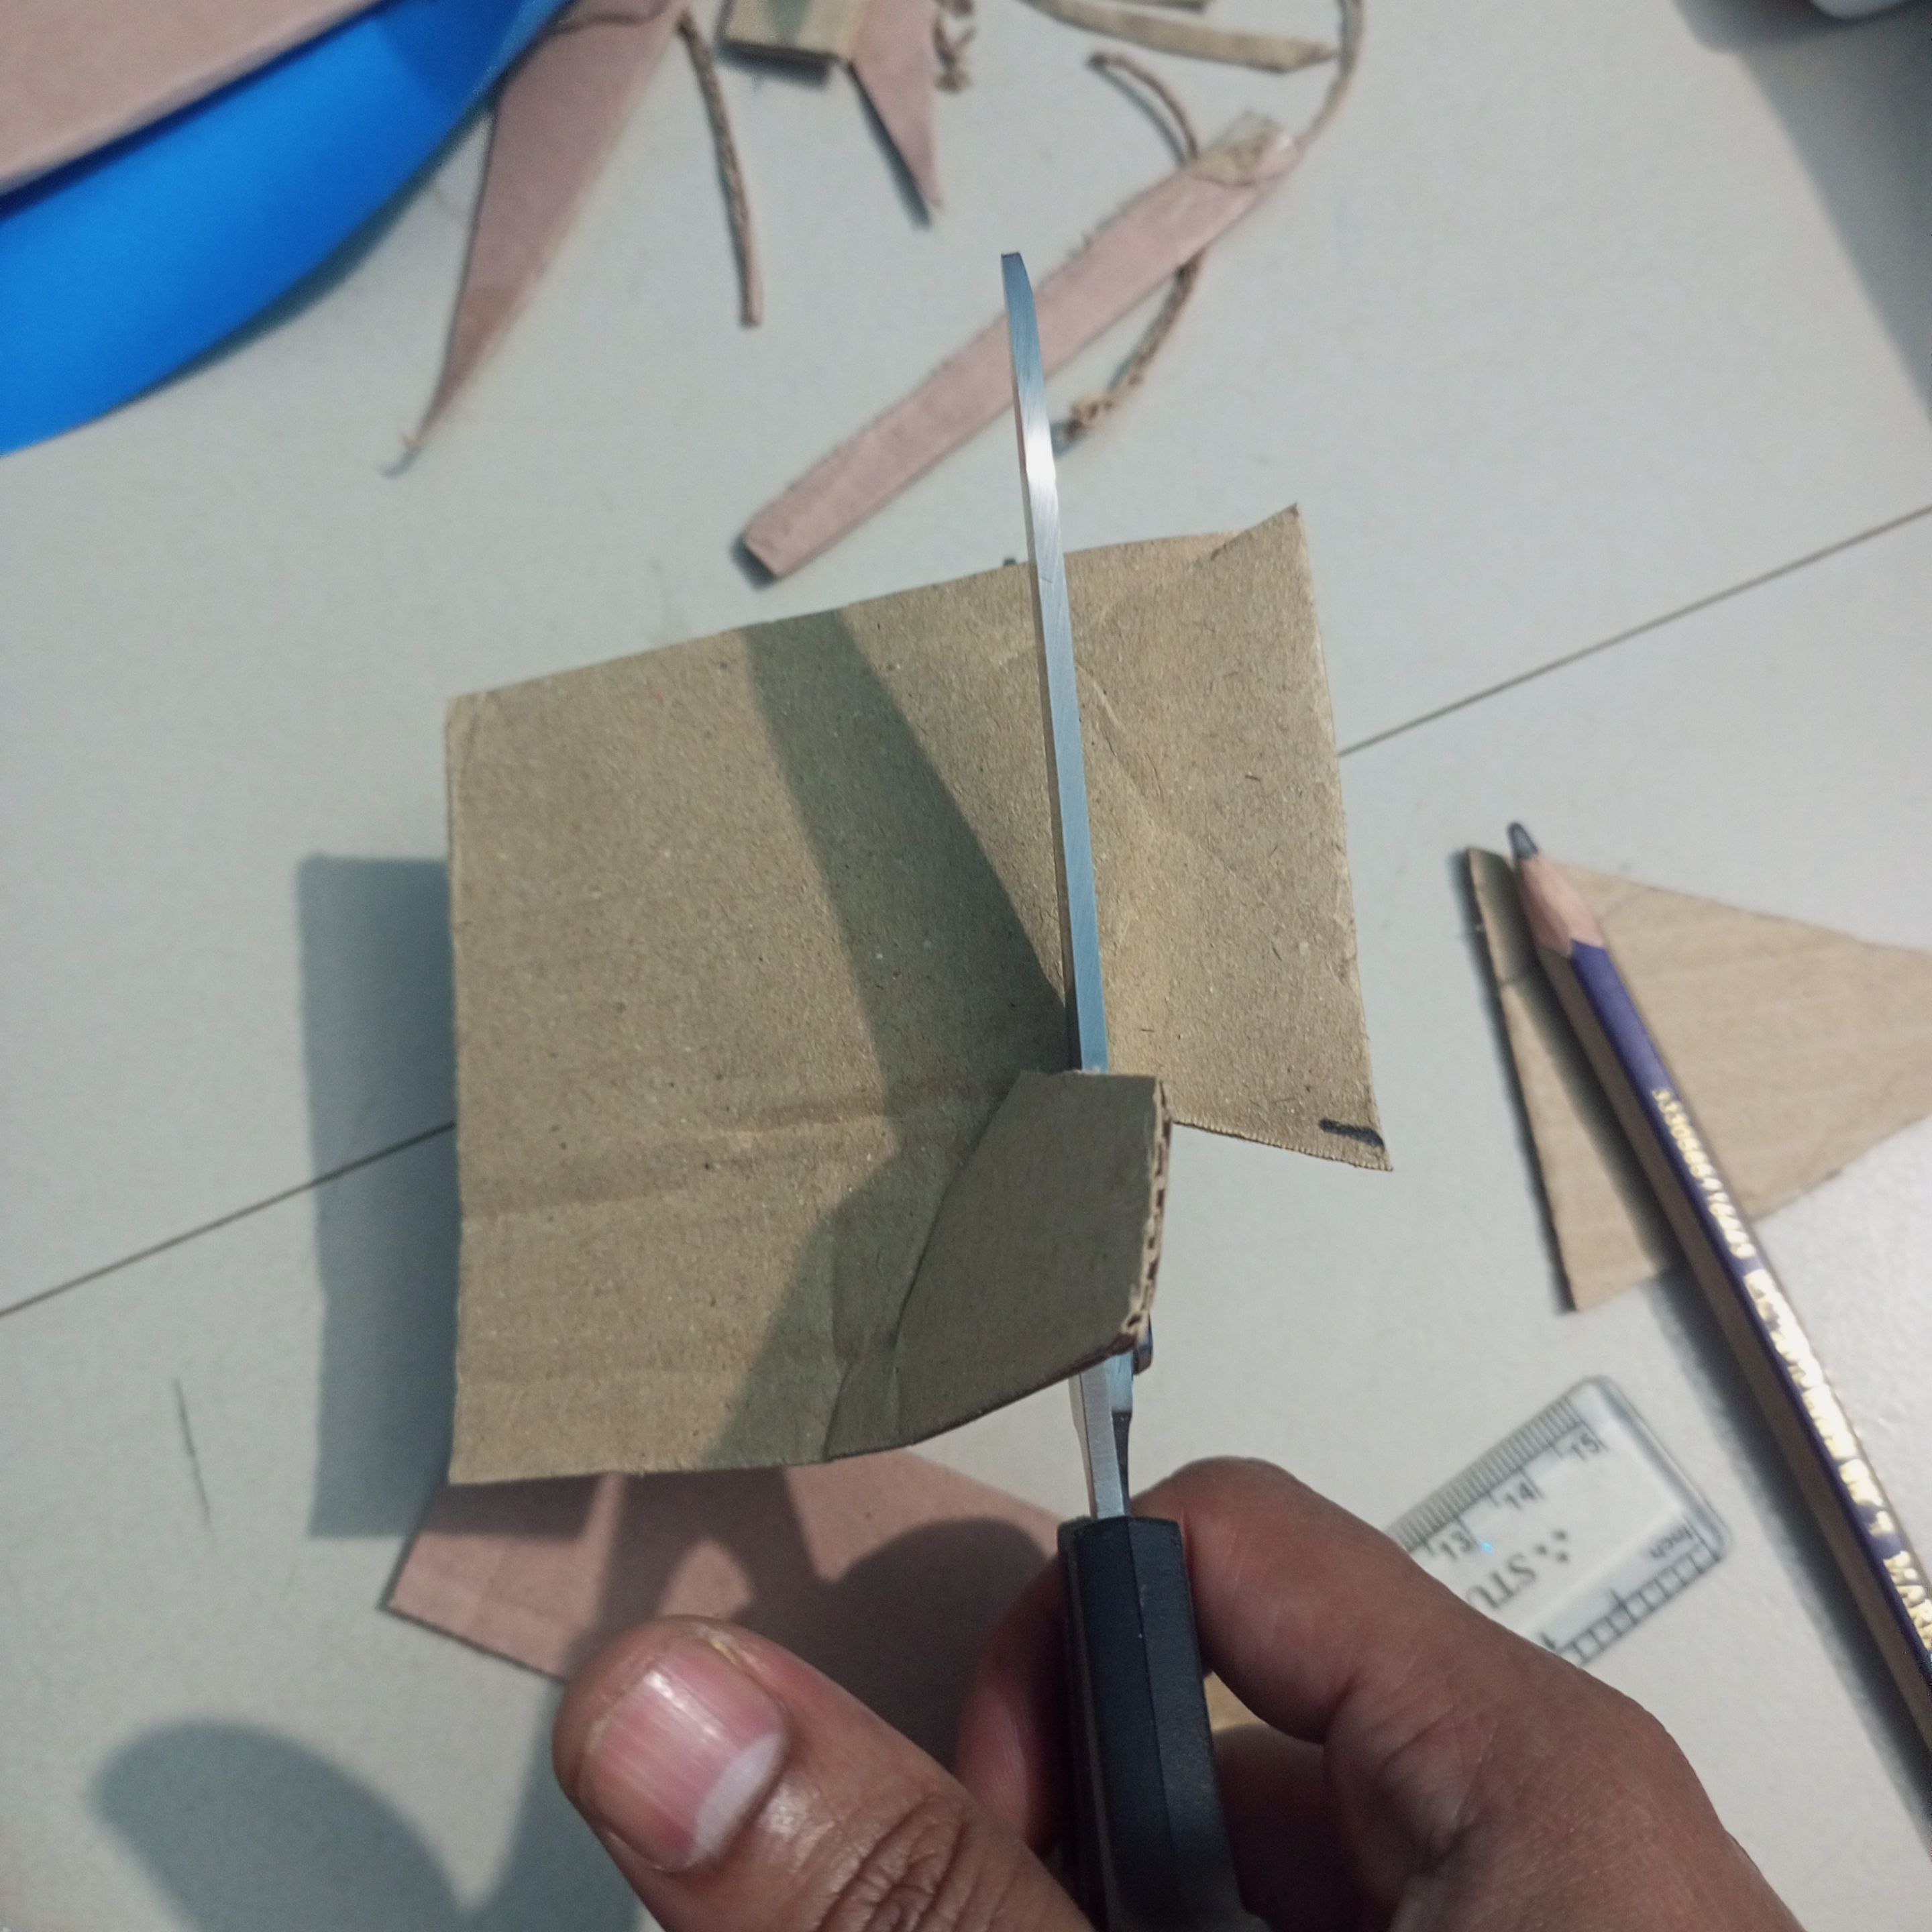
Next I took a small piece of cardboard and cut it into a star plus die to place the peg on.

 |
|---|
Thank you for reading my creative article blog .Stay safe,stay happy.i think if you find any mistake in writing or something.Please allow me to correct it.And find me on social media.
| Class | #Crafts #photography |
|---|---|
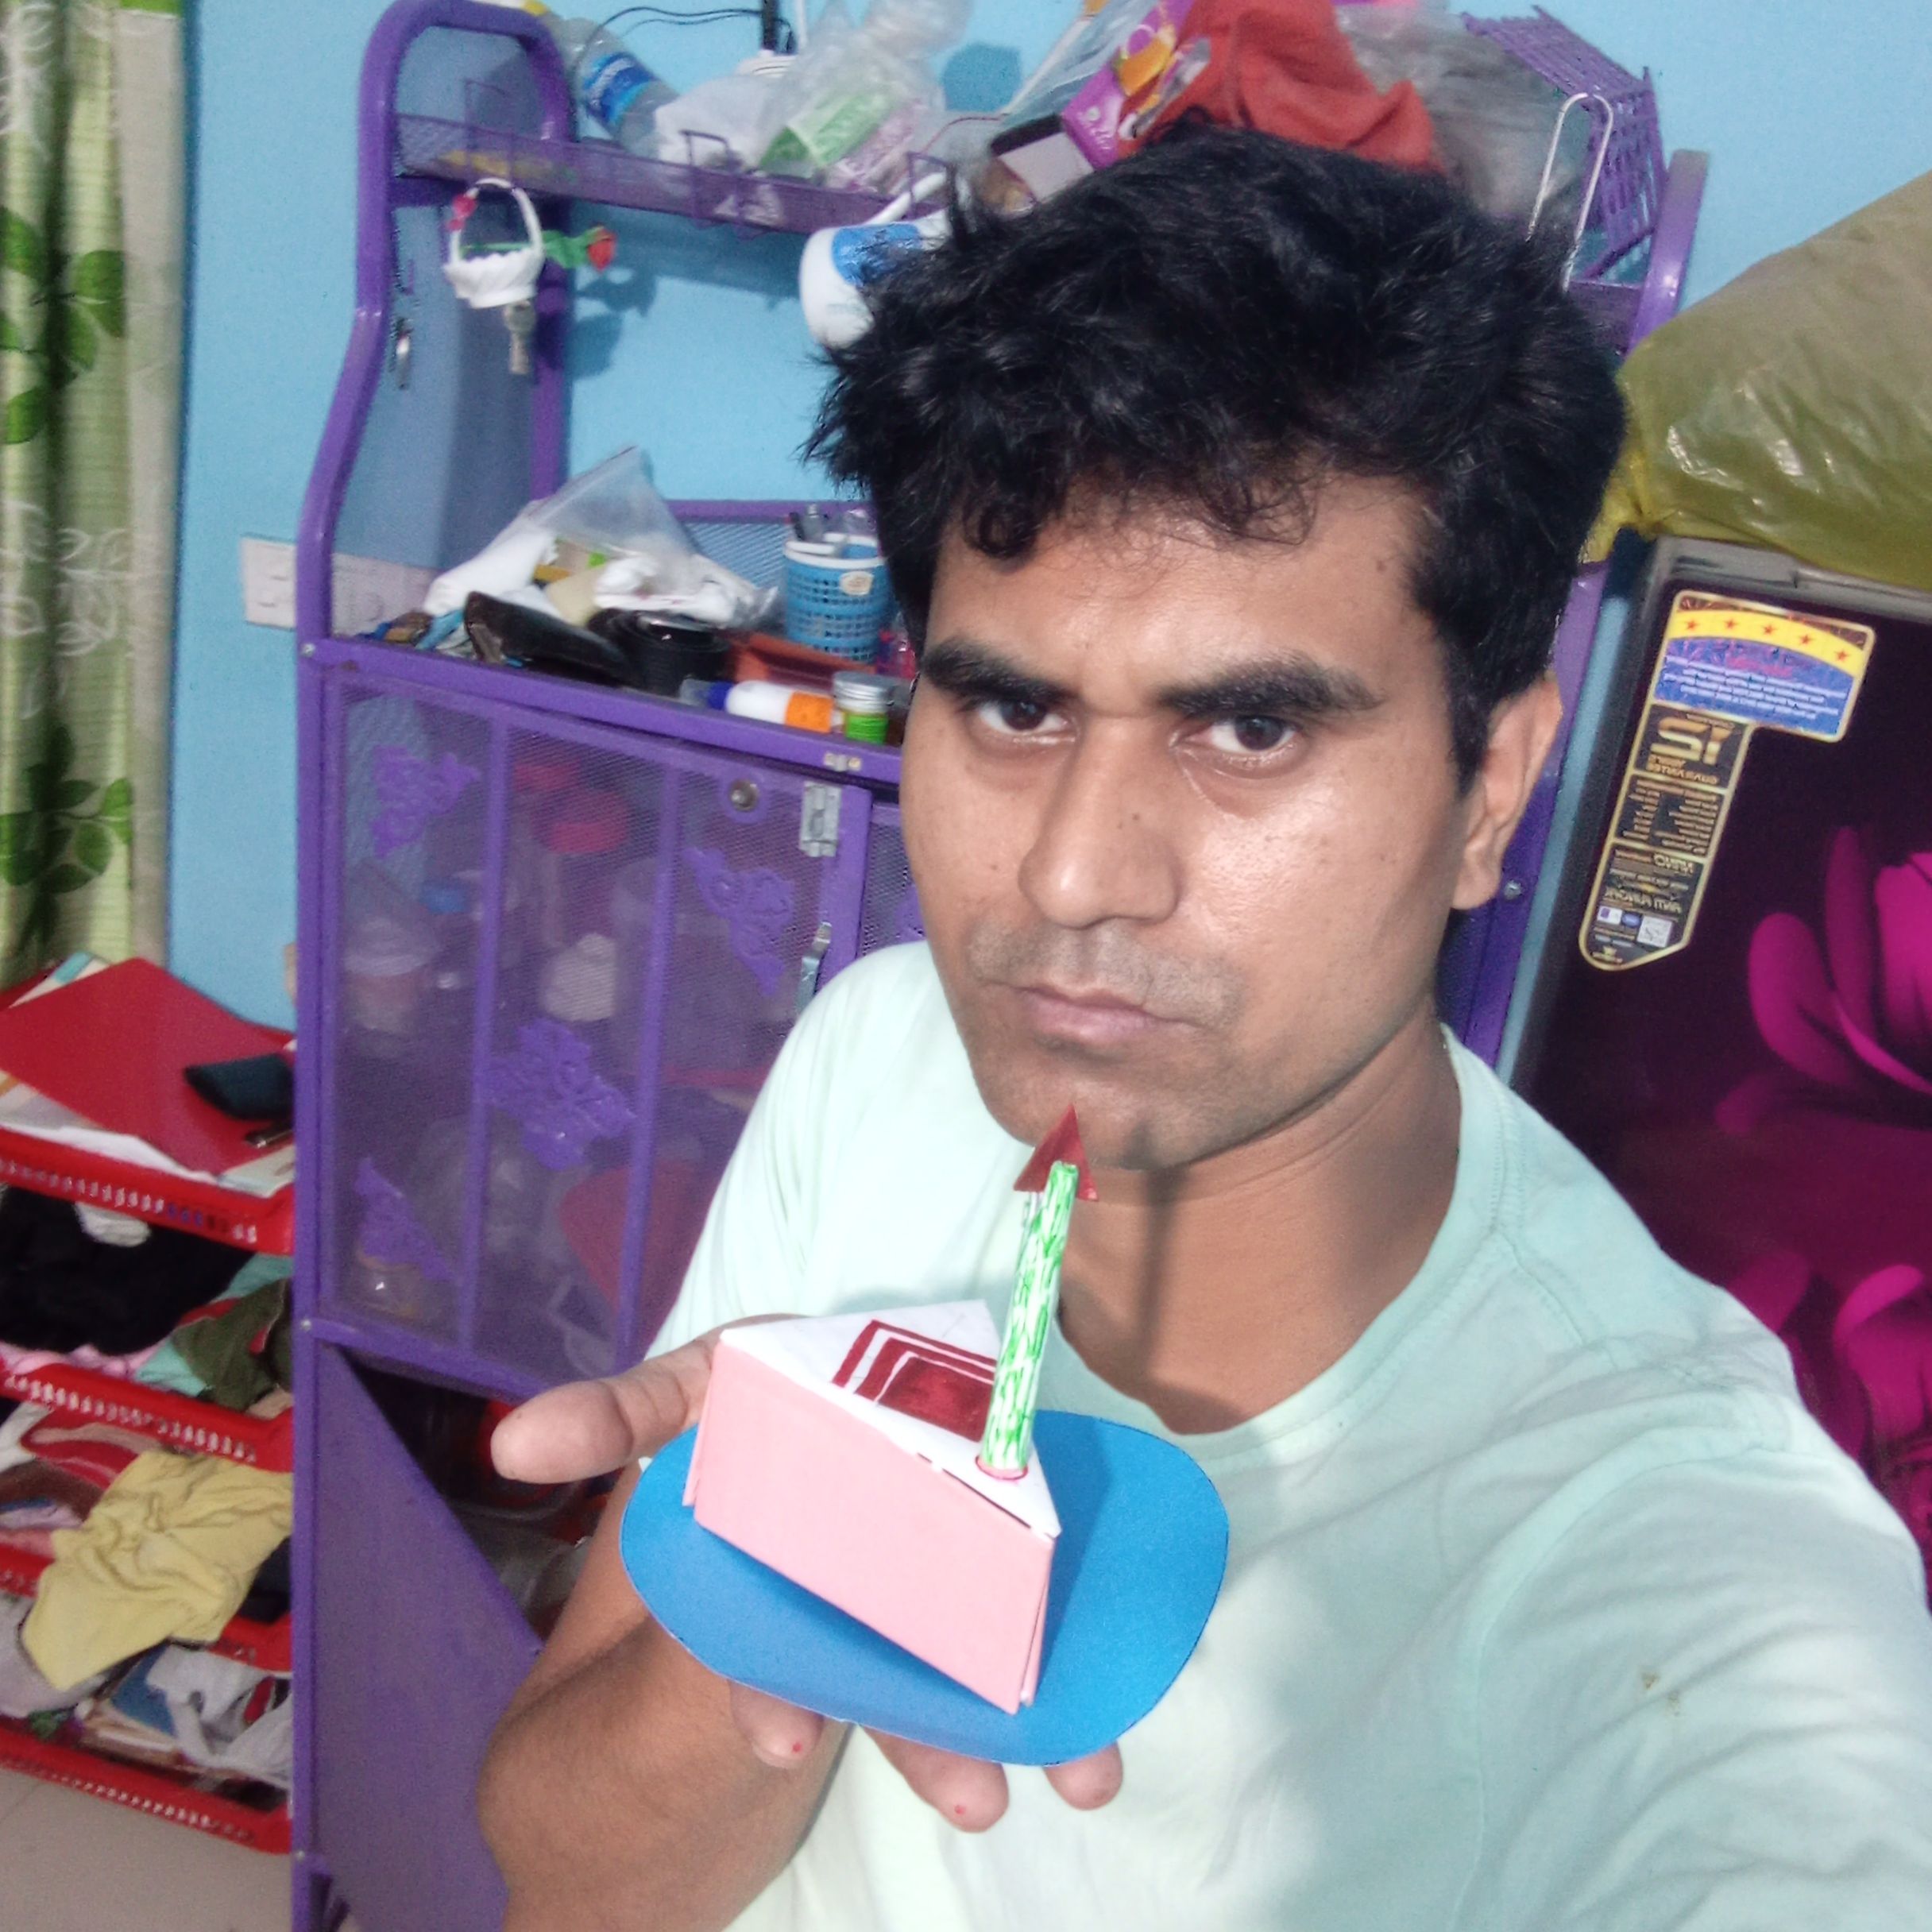
| Device | Tecno spark 48 Ultra sensing all camera |
| Photographer | @mdakash62 |
My introduced link