My Greetings! Dear #holozing friends.
I hope you had a happy and productive week. I want to share with you my weekly report and a new project of a decorated bag.
First I will show you the weekly report of the dividends earned by the delegation.
¡Mi Saludo! Queridos amigos de #holozing.
Espero que hayan tenido una semana feliz y productiva. Quiero compartir con ustedes mi reporte semanal y un proyecto nuevo de una bolsita decorada.
Primero les mostraré el reporte semanal de los dividendos obtenidos por la delegación.

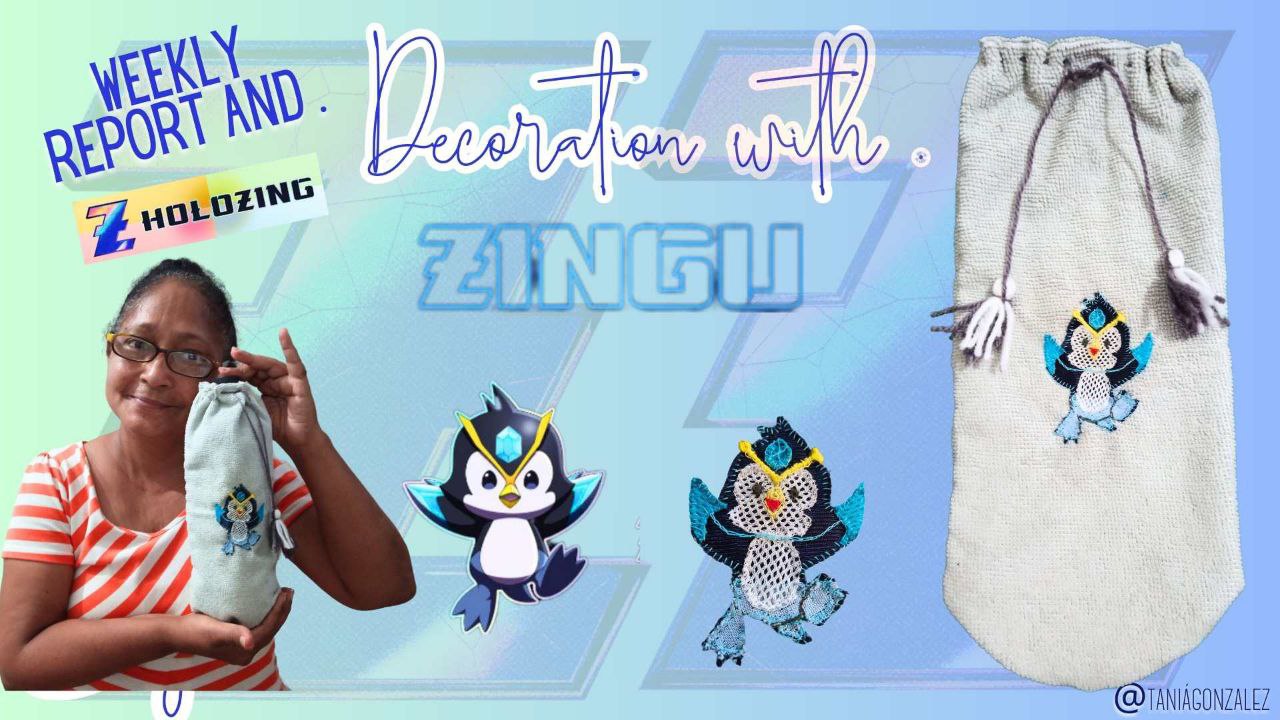
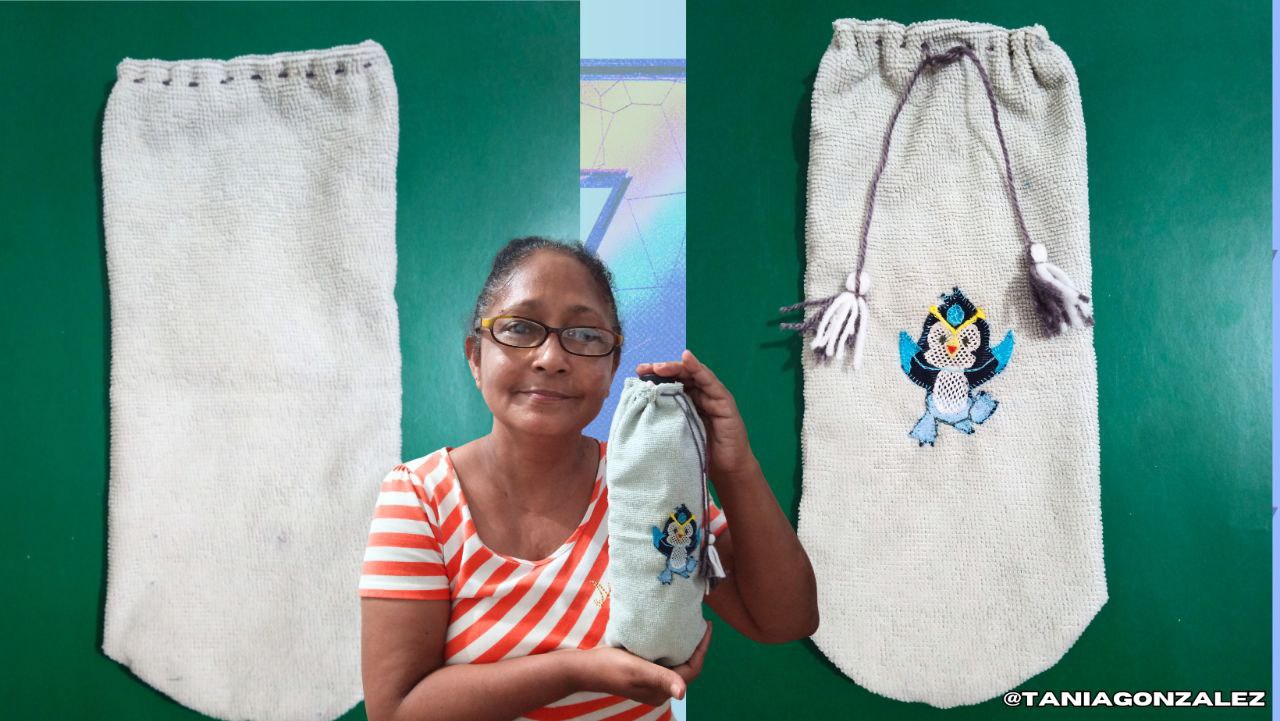
Now I will tell you what was the craft I made today, it is a little bag to put a water knob decorated with this beautiful penguin Zingu.
Next, I will show you how I made this craft and the materials I used.
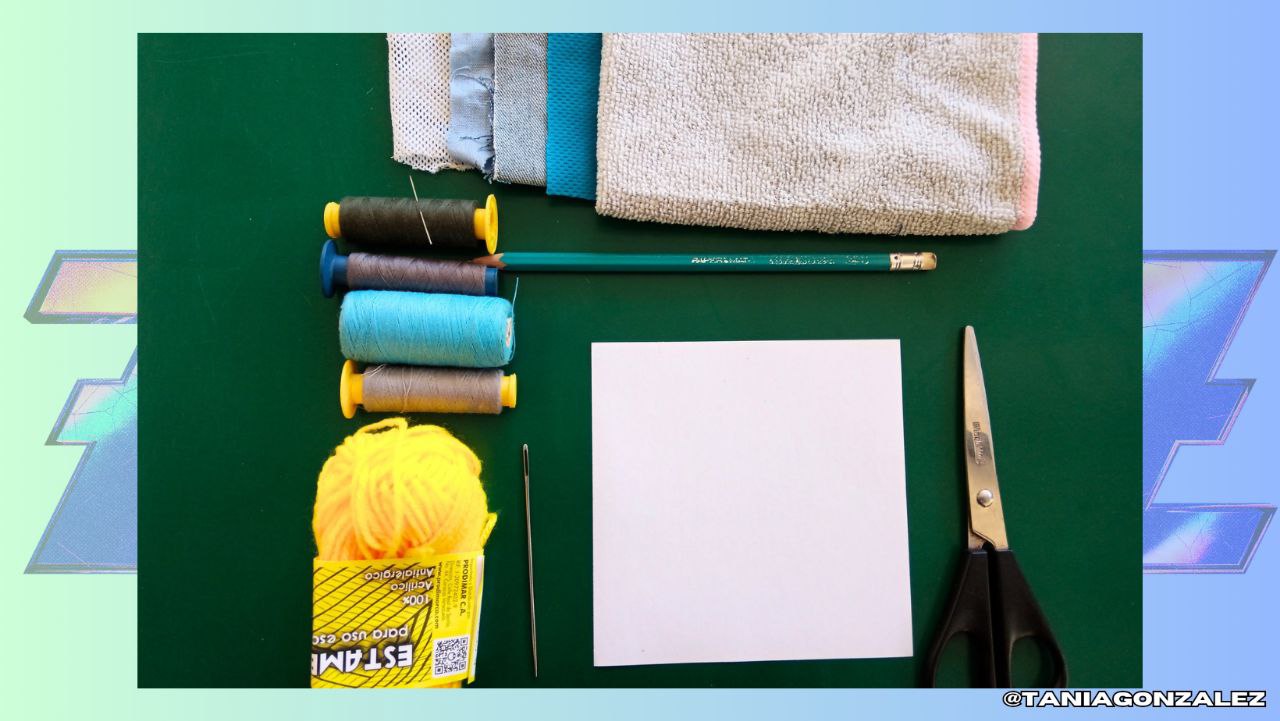
Materials:
- Gray plush bag
- Fabric scraps in dark blue, light blue, light blue, sky blue and white.
- Yellow, red, blue, blue, gray, black and white sewing threads.
- Gray, white and yellow yarn.
- Scissors
- Needle
- Blade
- Pencil
*Ahora les diré cuál fue la manualidad que elaborado en el día de hoy, se trata de una bolsita para colocar un pomo de agua decorada con este hermoso pingüino Zingu.
A continuación, les mostraré cómo elaboré esta manualidad y los materiales que utilicé.
Materiales:
- Bolsita de felpa gris
- Retazos de telas de color azul oscuro, azul claro, azul celeste y blanco.
- Hilos de coser amarillo, rojo, azul, gris, negro y blanco.
- Estambre gris, blanco y amarillo.
- Tijeras
- Aguja
- Hoja
- Lápiz
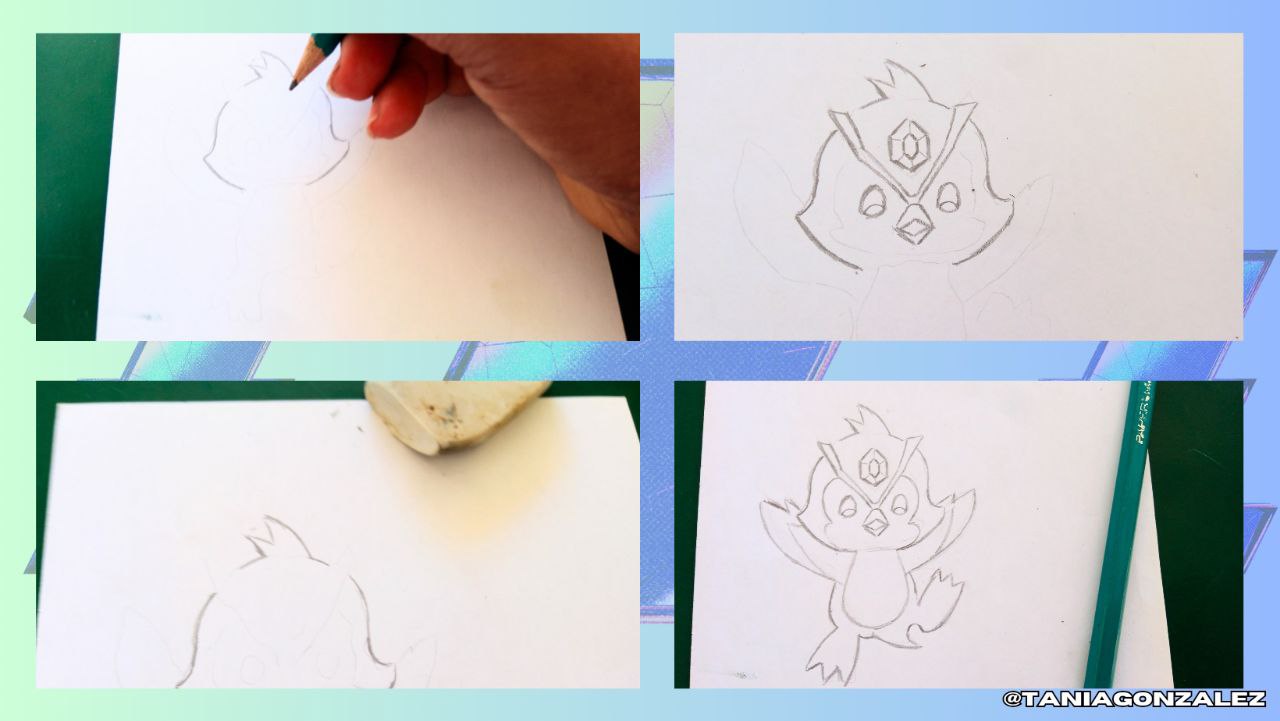
To start this craft, the first thing I did was to draw a picture of the Zingu on a sheet of paper. I looked at the phone to try to make it as similar as possible. As I told you before, I like to draw first to have a clearer idea of how my craft will look like.
Para comenzar esta manualidad lo primero que hice fue elaborar en una hoja de papel el dibujo del Zingu. Me fijé en el teléfono para tratar de que quedara lo más parecido posible. Como les he comentado antes, me gusta dibujar primero para tener una idea más clara de cómo quedará mi manualidad.
Once I had the drawing completely finished, I cut it out to serve as a mold and I could transfer the pieces to the fabric.
Una vez tuve el dibujo terminado completamente, lo recorté para que me sirviera de molde y pude transferir las piezas a la tela.
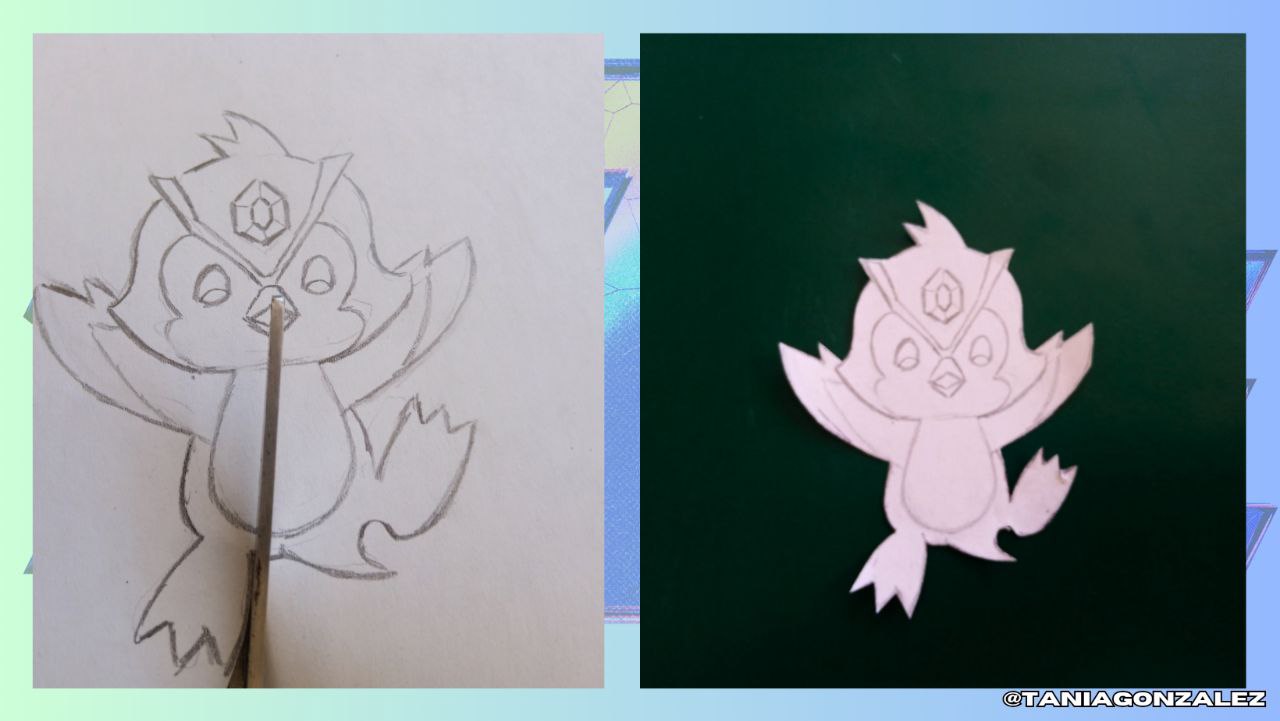
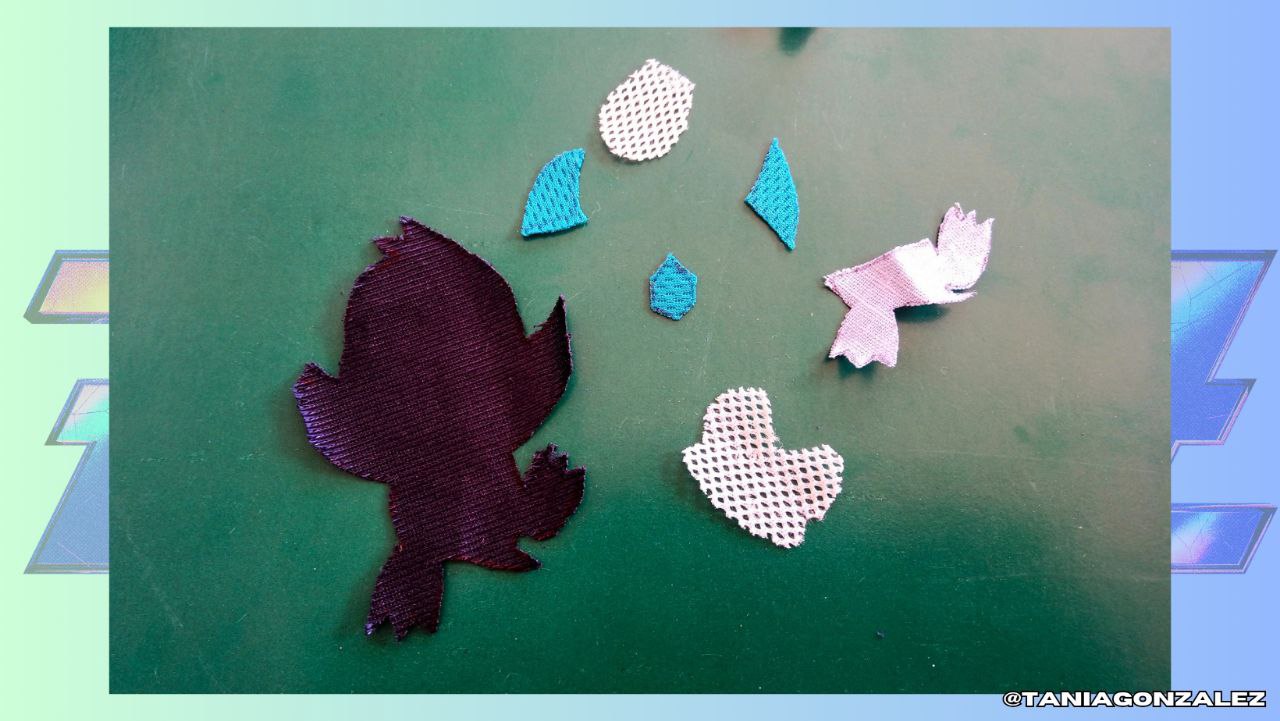
I transferred and cut out each of the pieces with which I am going to decorate the plush bag.
Transferí y recorté cada una de las piezas con las que voy a decorar el bolsito de felpa.
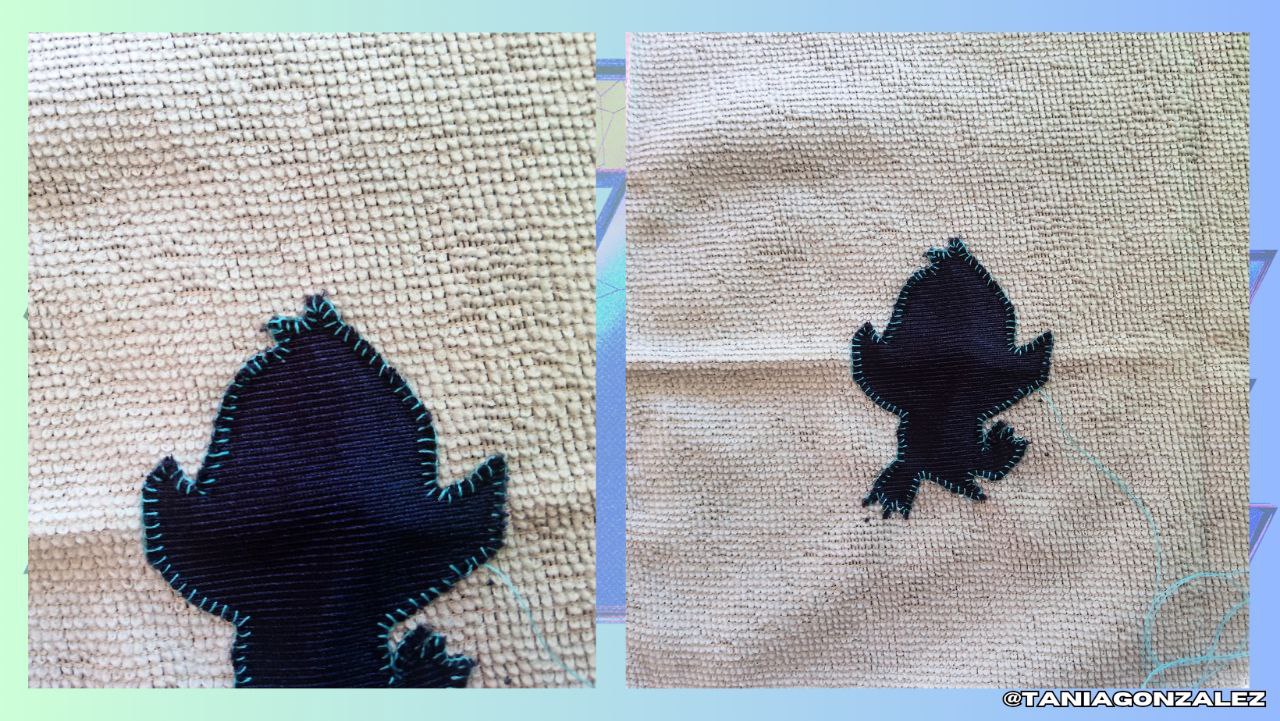
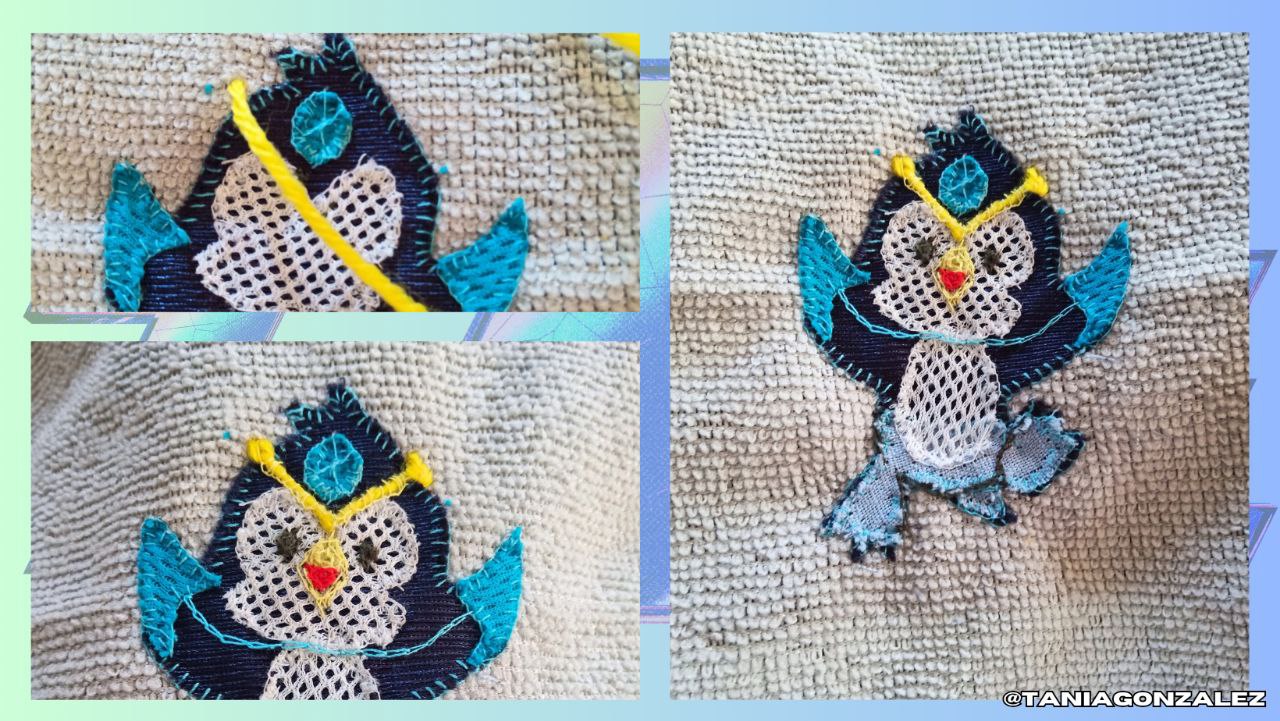
I started by attaching the dark blue piece with blue sewing thread by scalloping stitches all the way around it until it was attached to the gray plush.
Comencé fijando la pieza en azul oscuro con hilo de coser azul dando puntadas festón por todo su alrededor hasta que quedara fijada en la felpa gris.
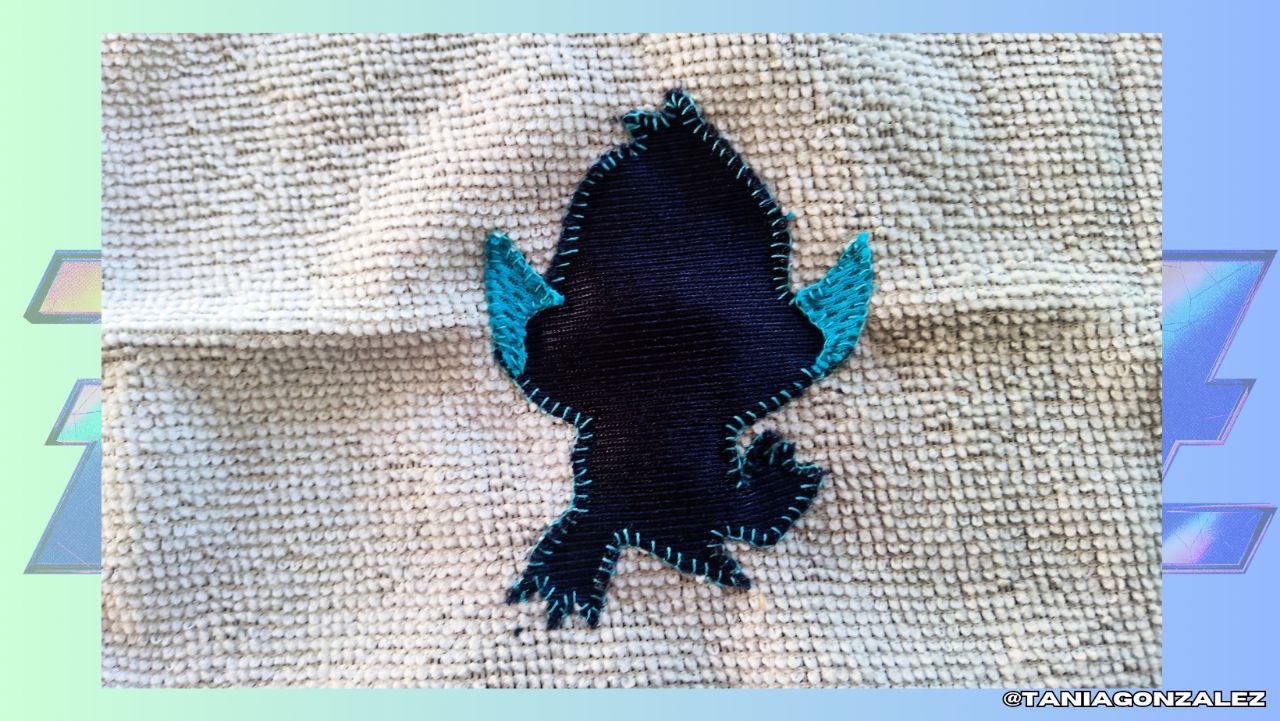
Next are the wing pieces in another shade of blue with the same scallop stitch all around to fix it to the previous piece.
Seguido están las piezas de las alas en otra tonalidad de azul con la misma puntada festón por todo su alrededor para dejarla fija a la pieza anterior.
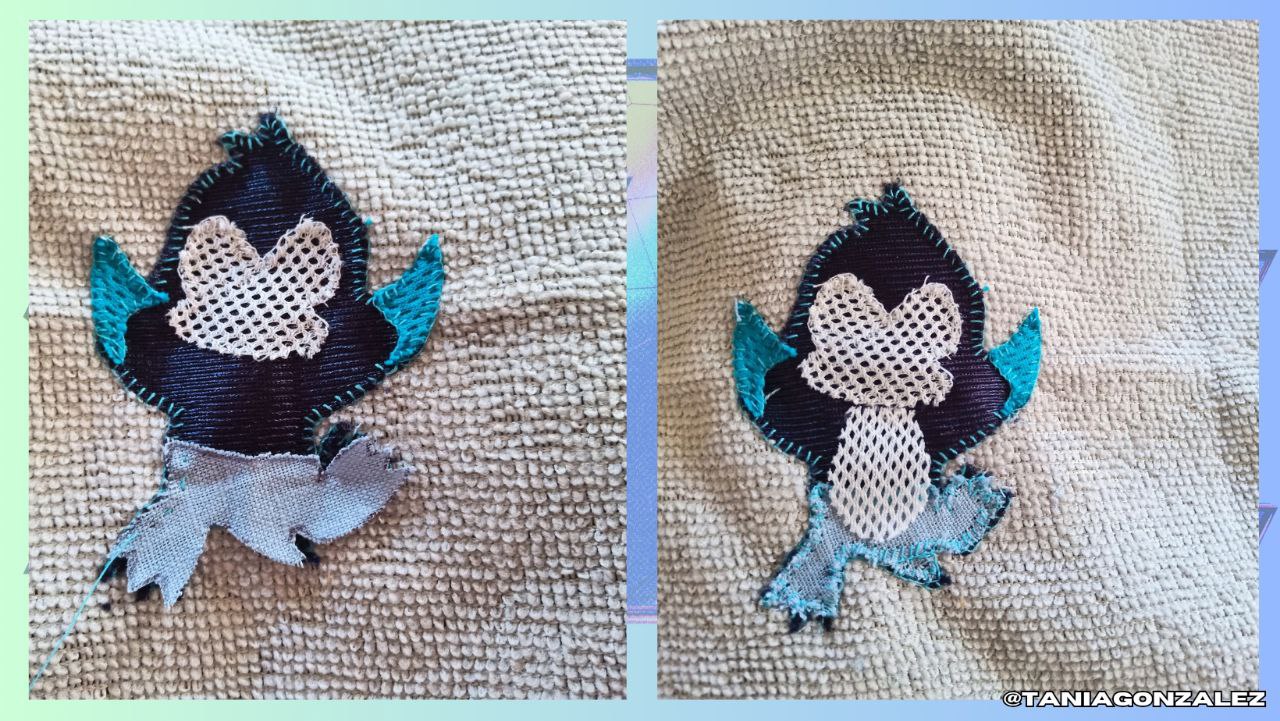
I continued to attach the white piece followed by the light blue, also with scalloped stitches all around.
Continué fijando la pieza en blanco seguida del azul claro, igualmente con puntadas festón por todo su alrededor.
Then I embroidered the details of the face: I started with yellow yarn, then embroidered the penguin's beak first with yellow yarn and then with red yarn; finally I embroidered the eyes with black yarn.
Luego bordé los detalles del rostro: comencé con estambre amarillo, luego bordé el pico del pingüino primero con hilo amarillo y después con hilo rojo; finalmente bordé los ojos con hilo negro.
Here you can see how the plush bag I made to put the water bottle in my purse was decorated. I hope you liked this craft.
Aquí pueden ver cómo quedó decorada la bolsita de felpa que elaboré para colocar el frasco de agua en mi bolso. Espero que esta manualidad les haya gustado.
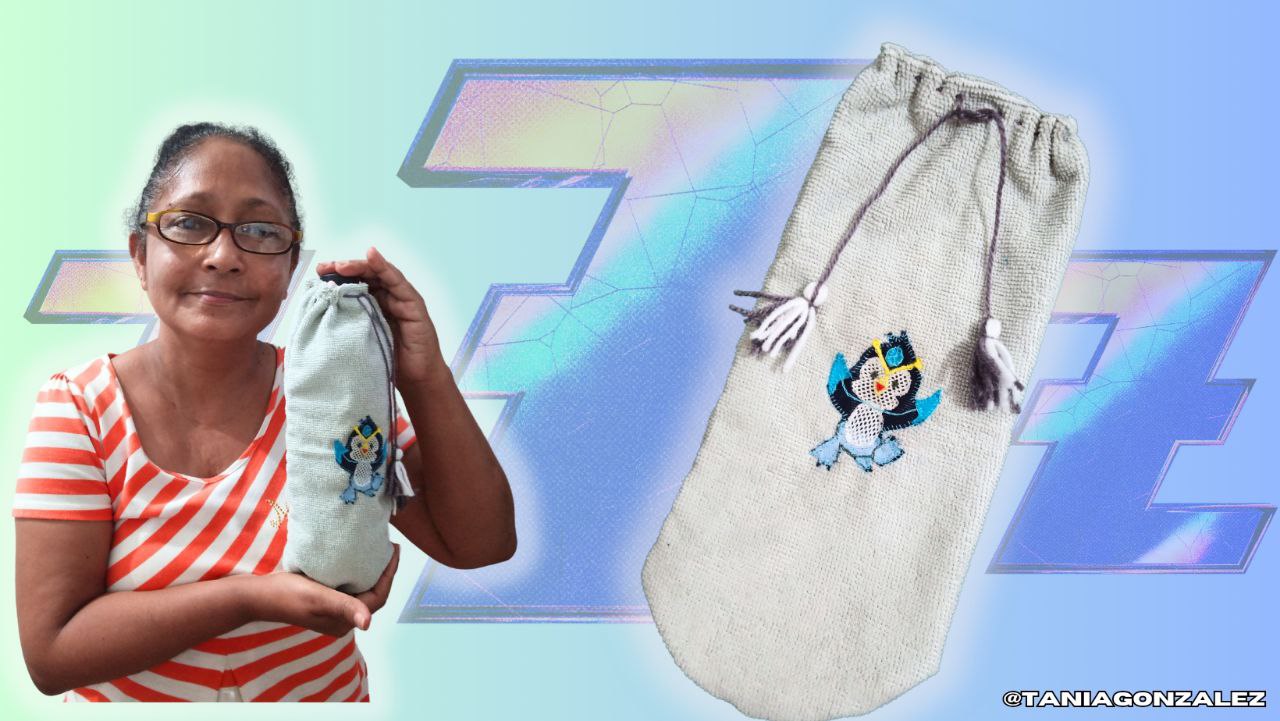
I invite you to see the next post, where I will present another creation like this one, see you later!
Los invito a ver la próxima publicación, donde presentaré otra creación como esta. ¡Hasta luego!

The photos were taken with a Bison X10 Pro
DeepeL was used
Photos was made with Canvas