DIYHUB
Hello good afternoon DIYHub friends. I hope my friends, wherever you are, are always healthy and happy. To be honest, I've wanted to share various origami paper craft tutorials for a long time, but I'm confused about what I should share.
Finally after thinking about what I would make. Today I will make handicrafts from origami paper for bookmarks. For those of you who like reading books, I hope you don't skip my post.
OK, let's just prepare the materials needed to make a bookmark from origami paper. Of course, with very simple and easy steps in just 10 minutes it will become a very aesthetic bookmark.
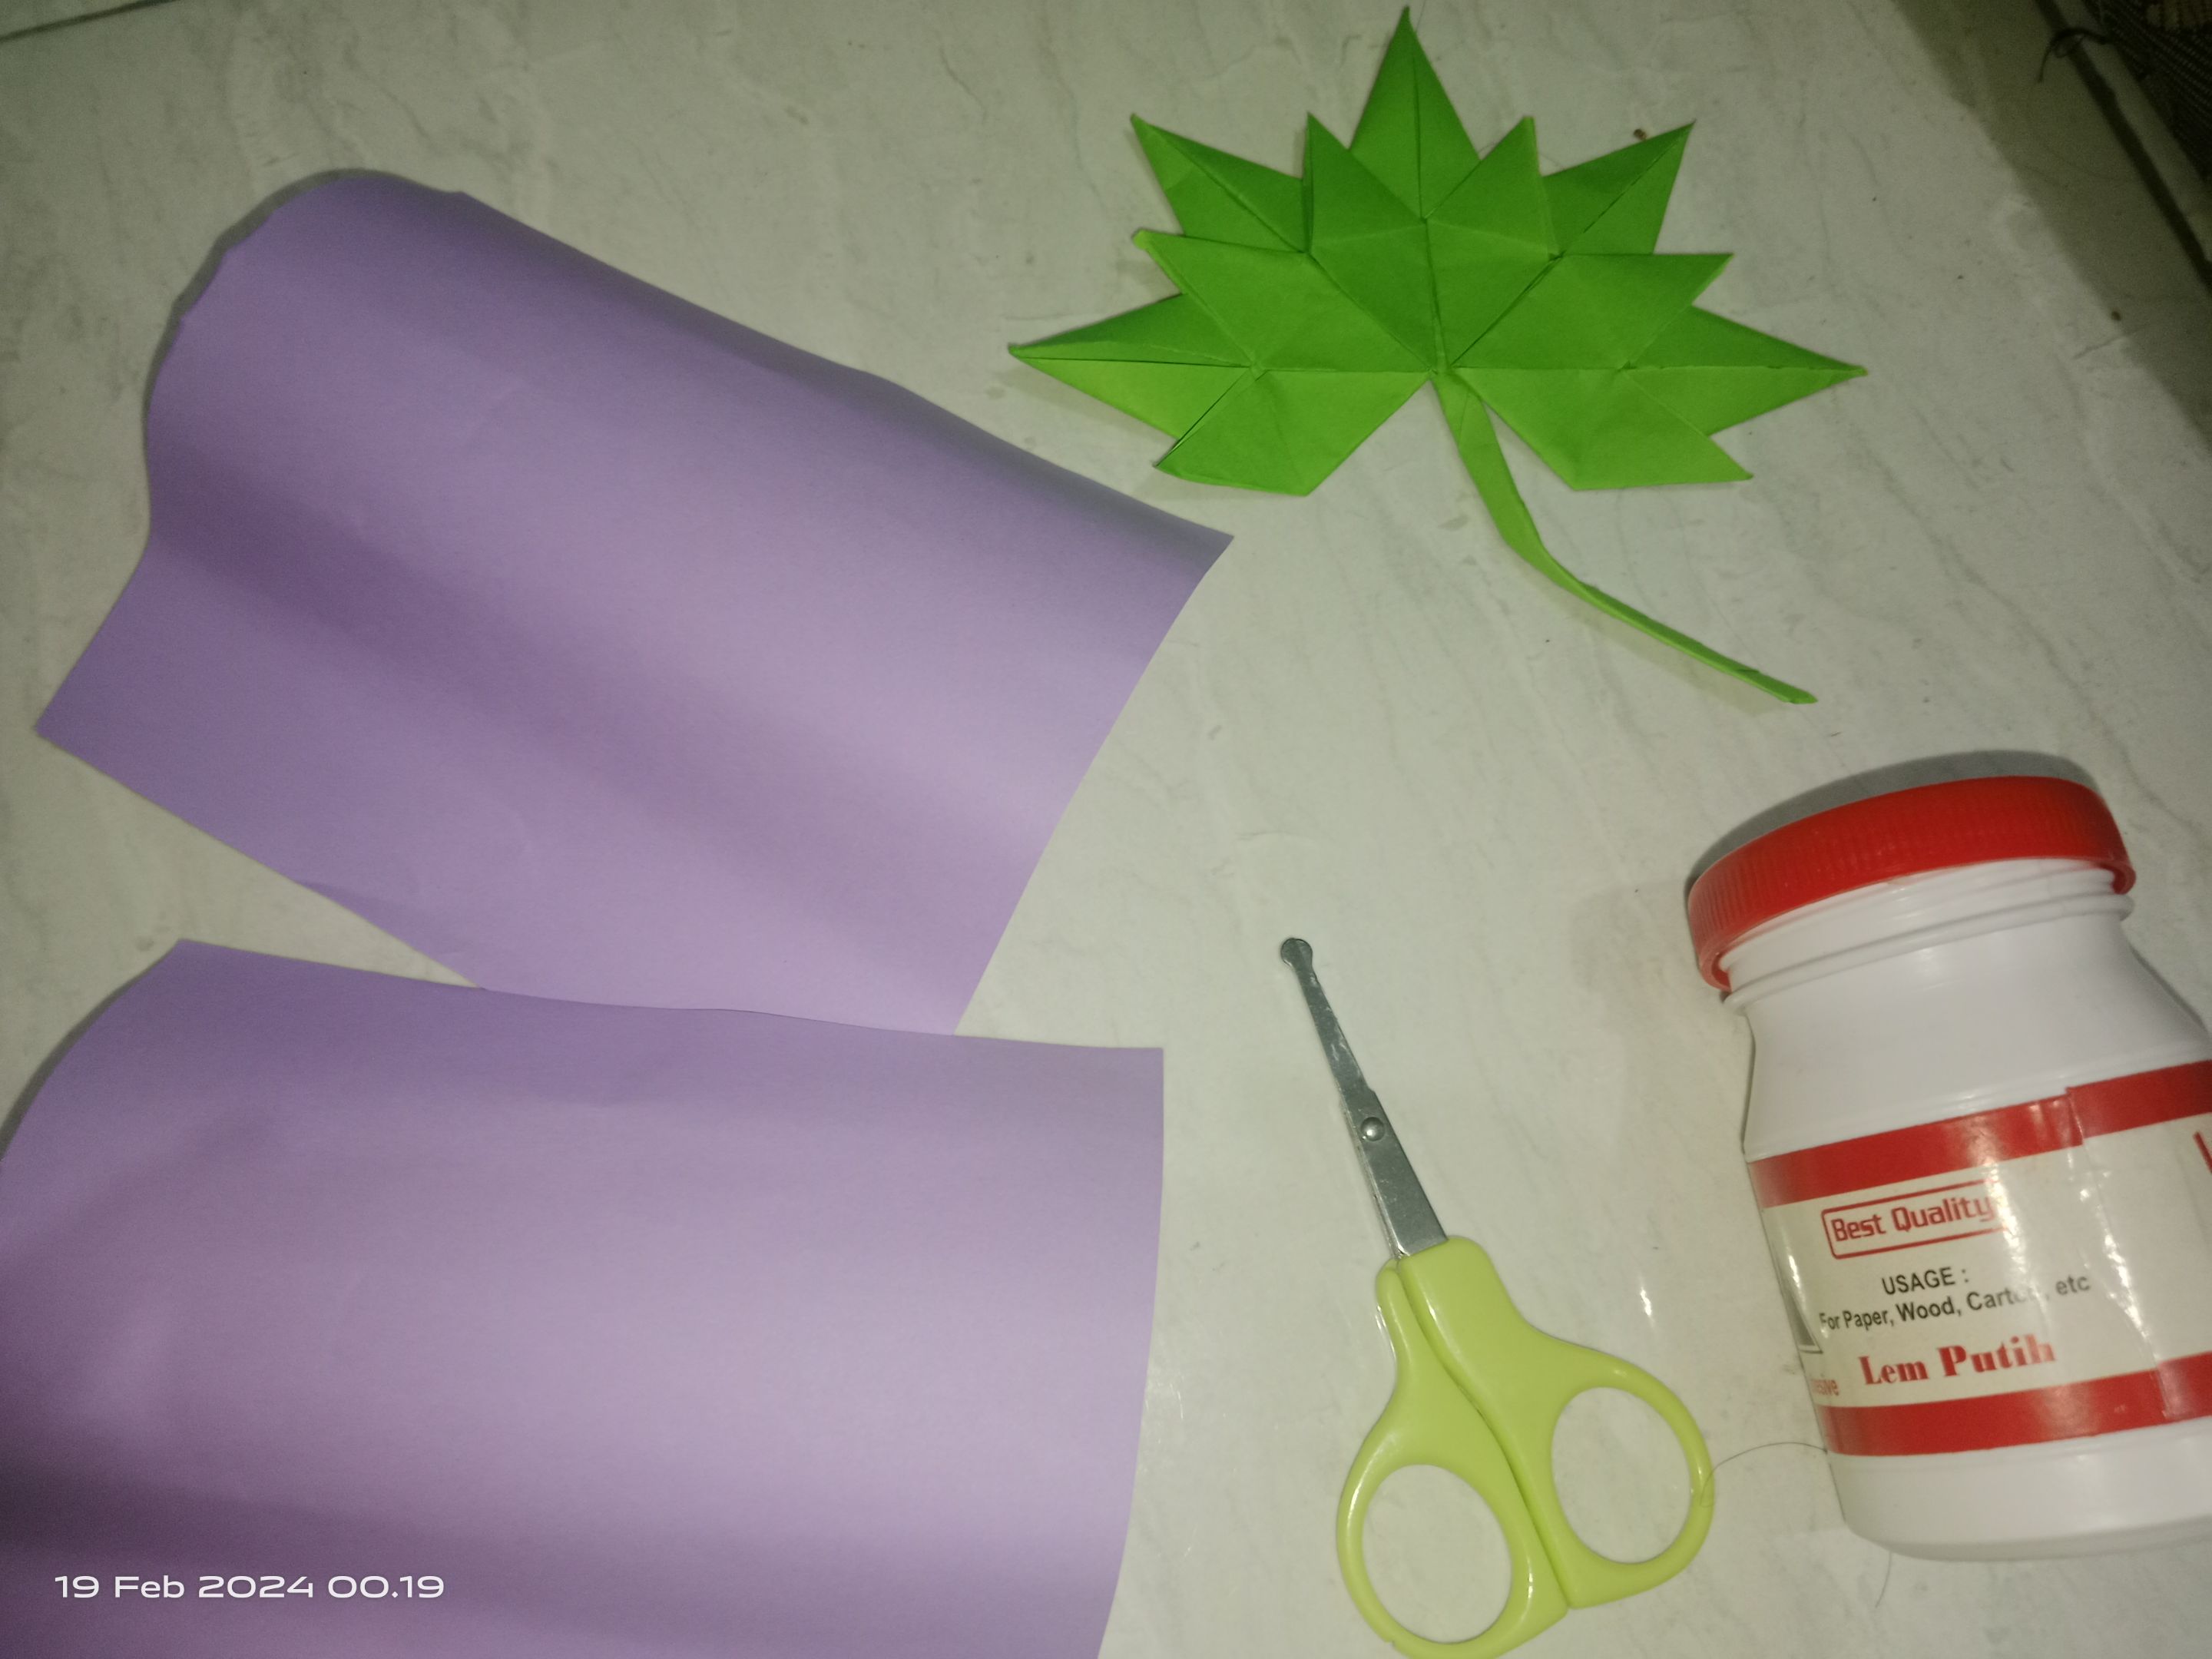
MATERIAL
• Origami paper
• glue
• scissors
The Step
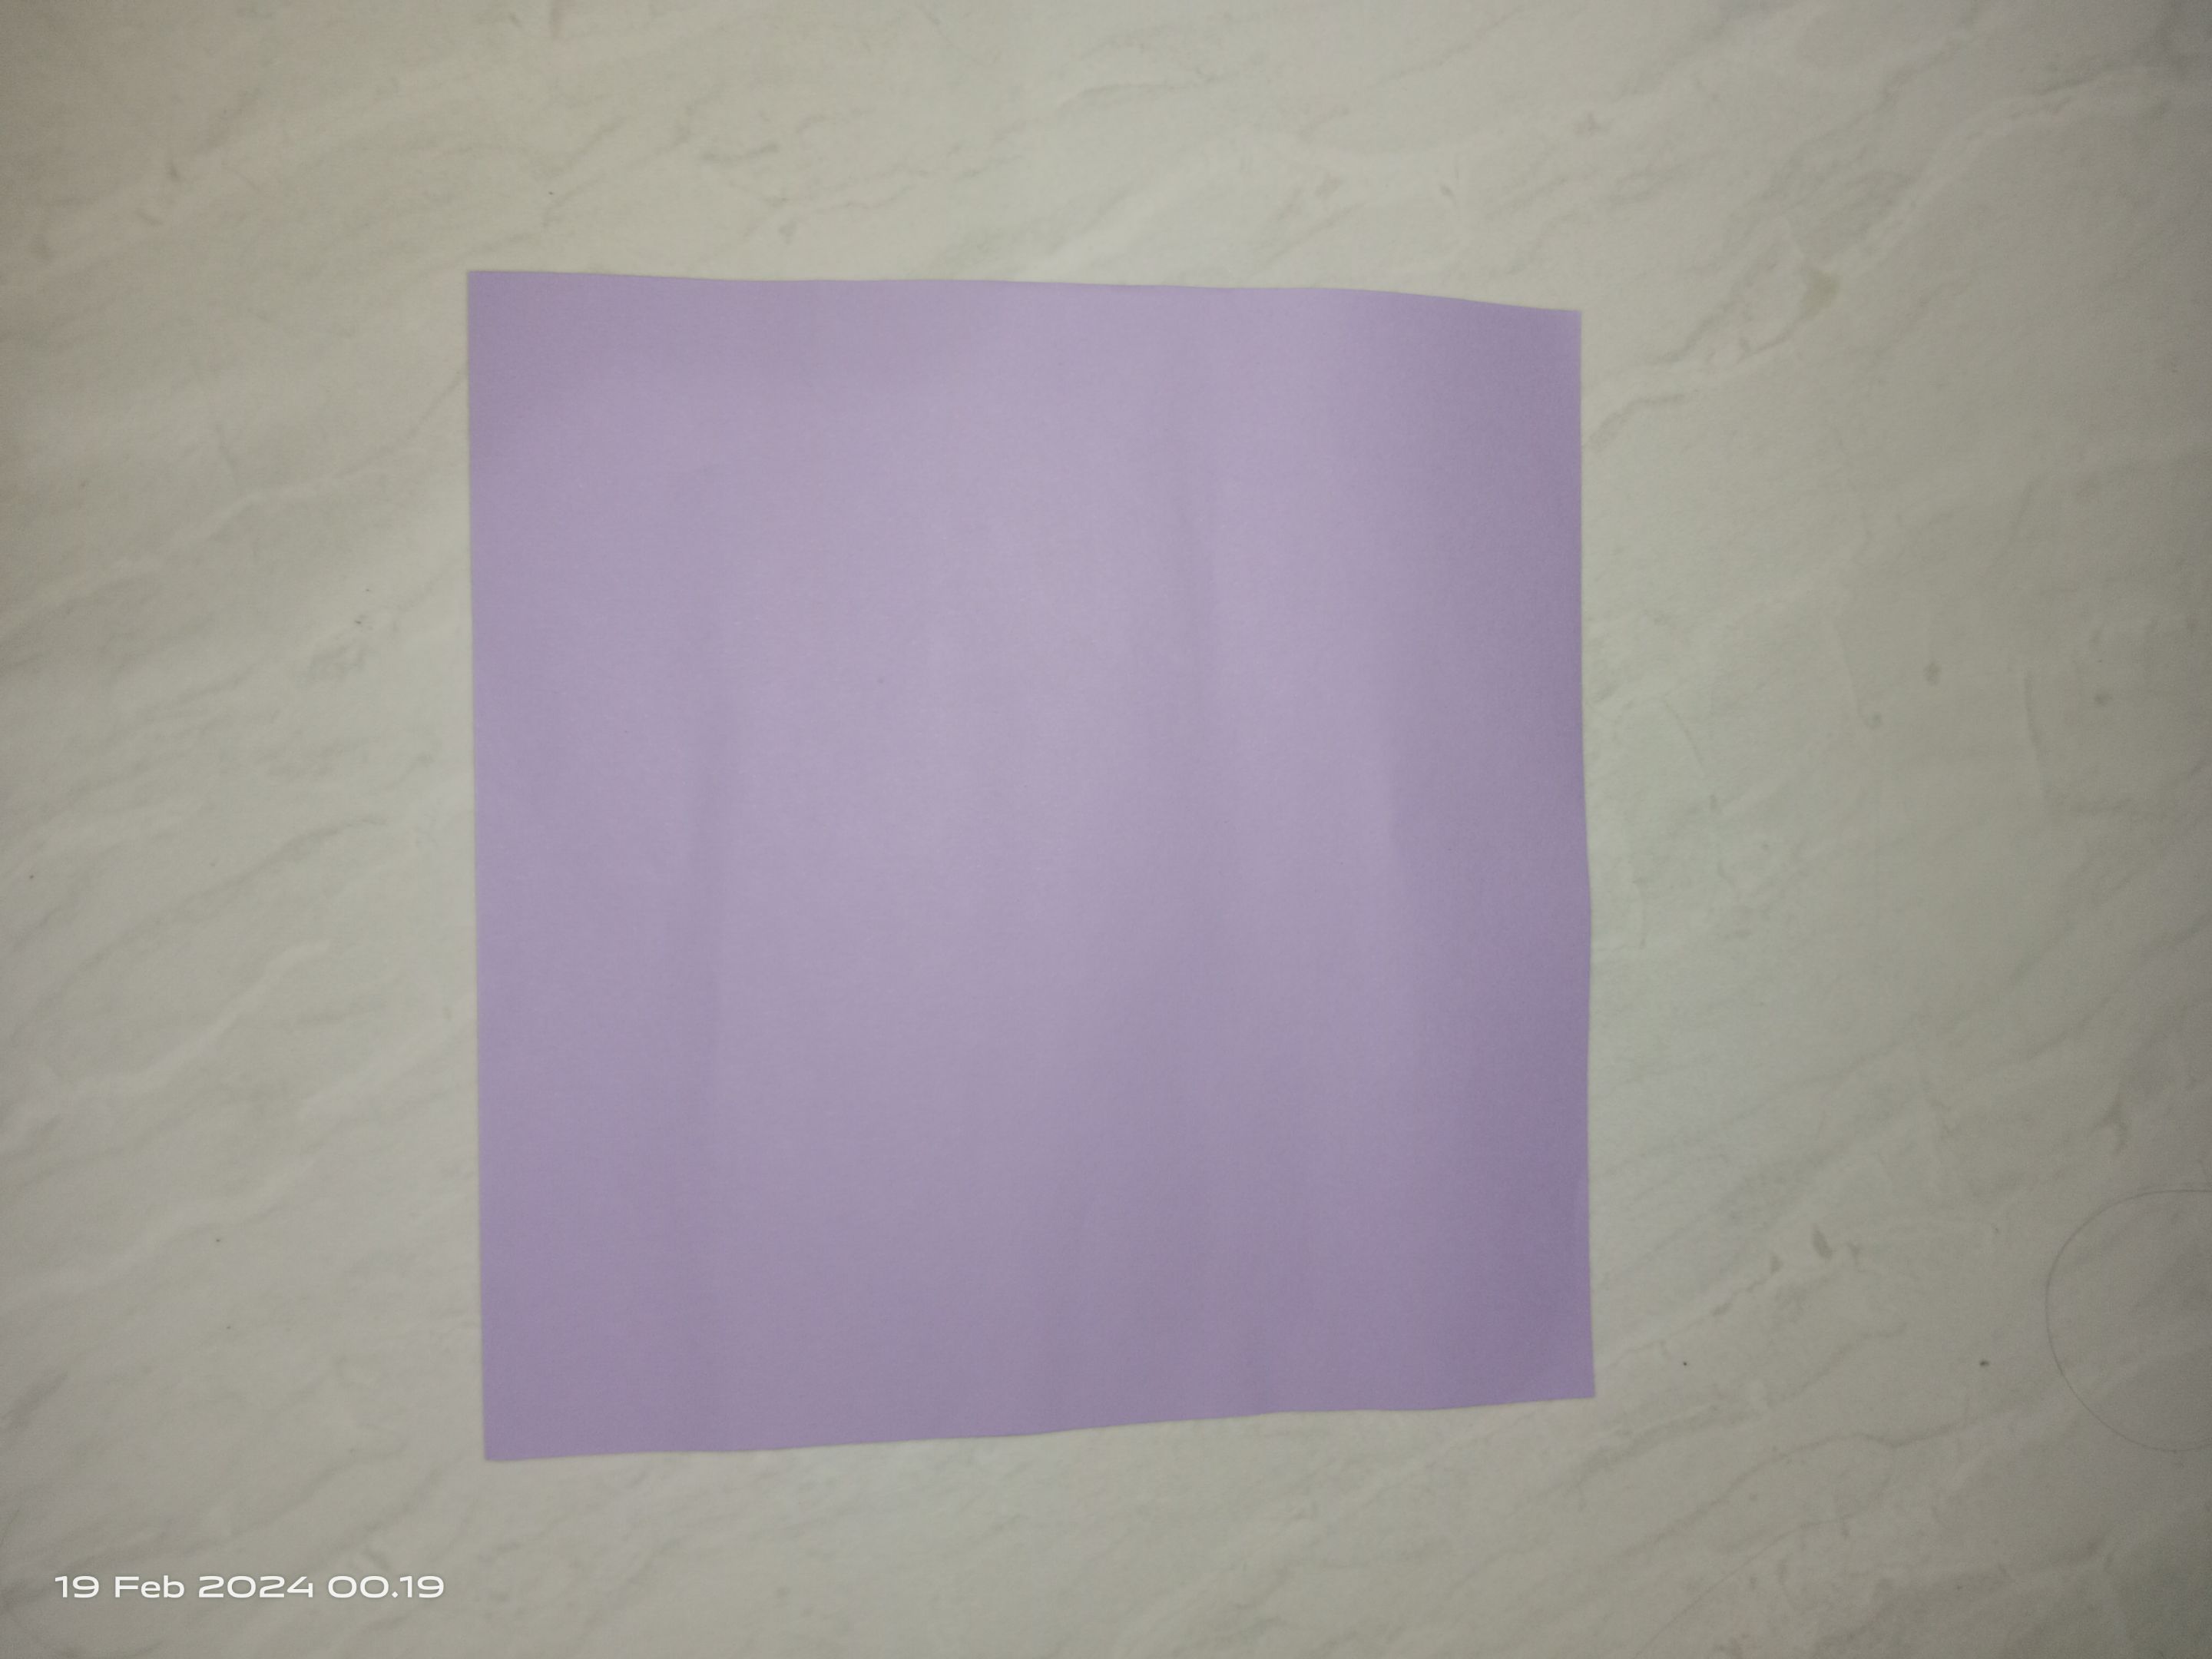
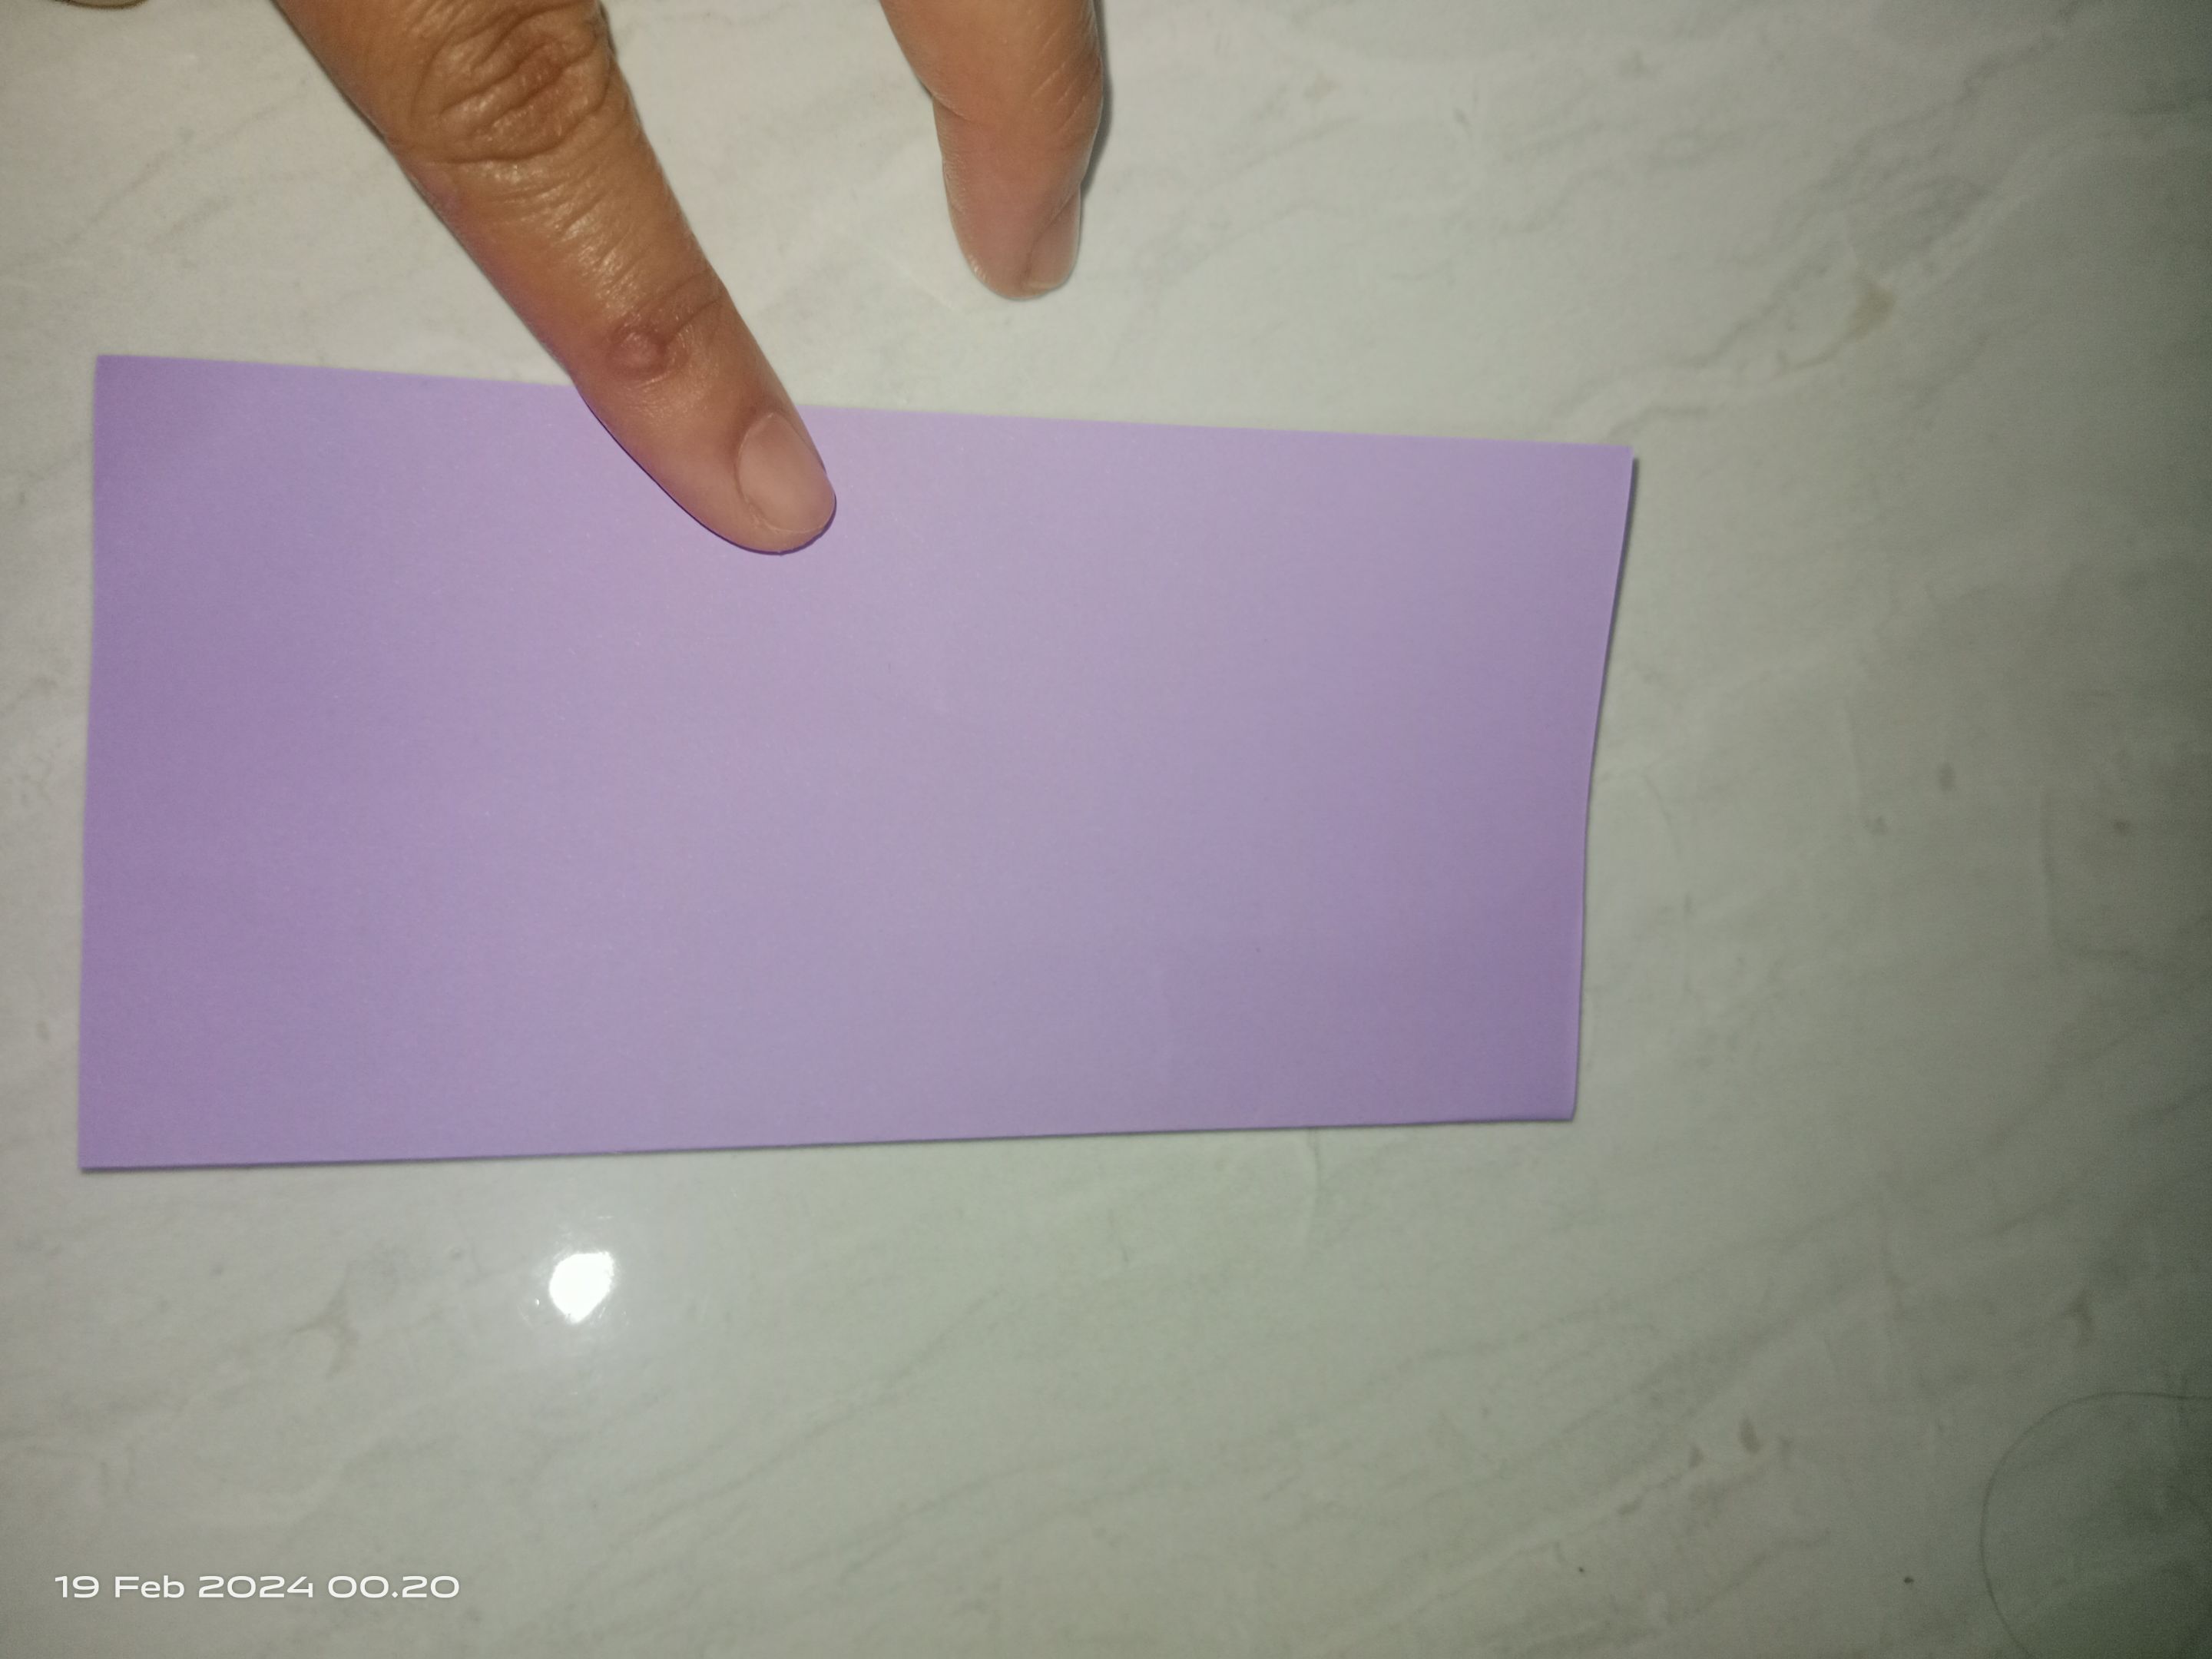
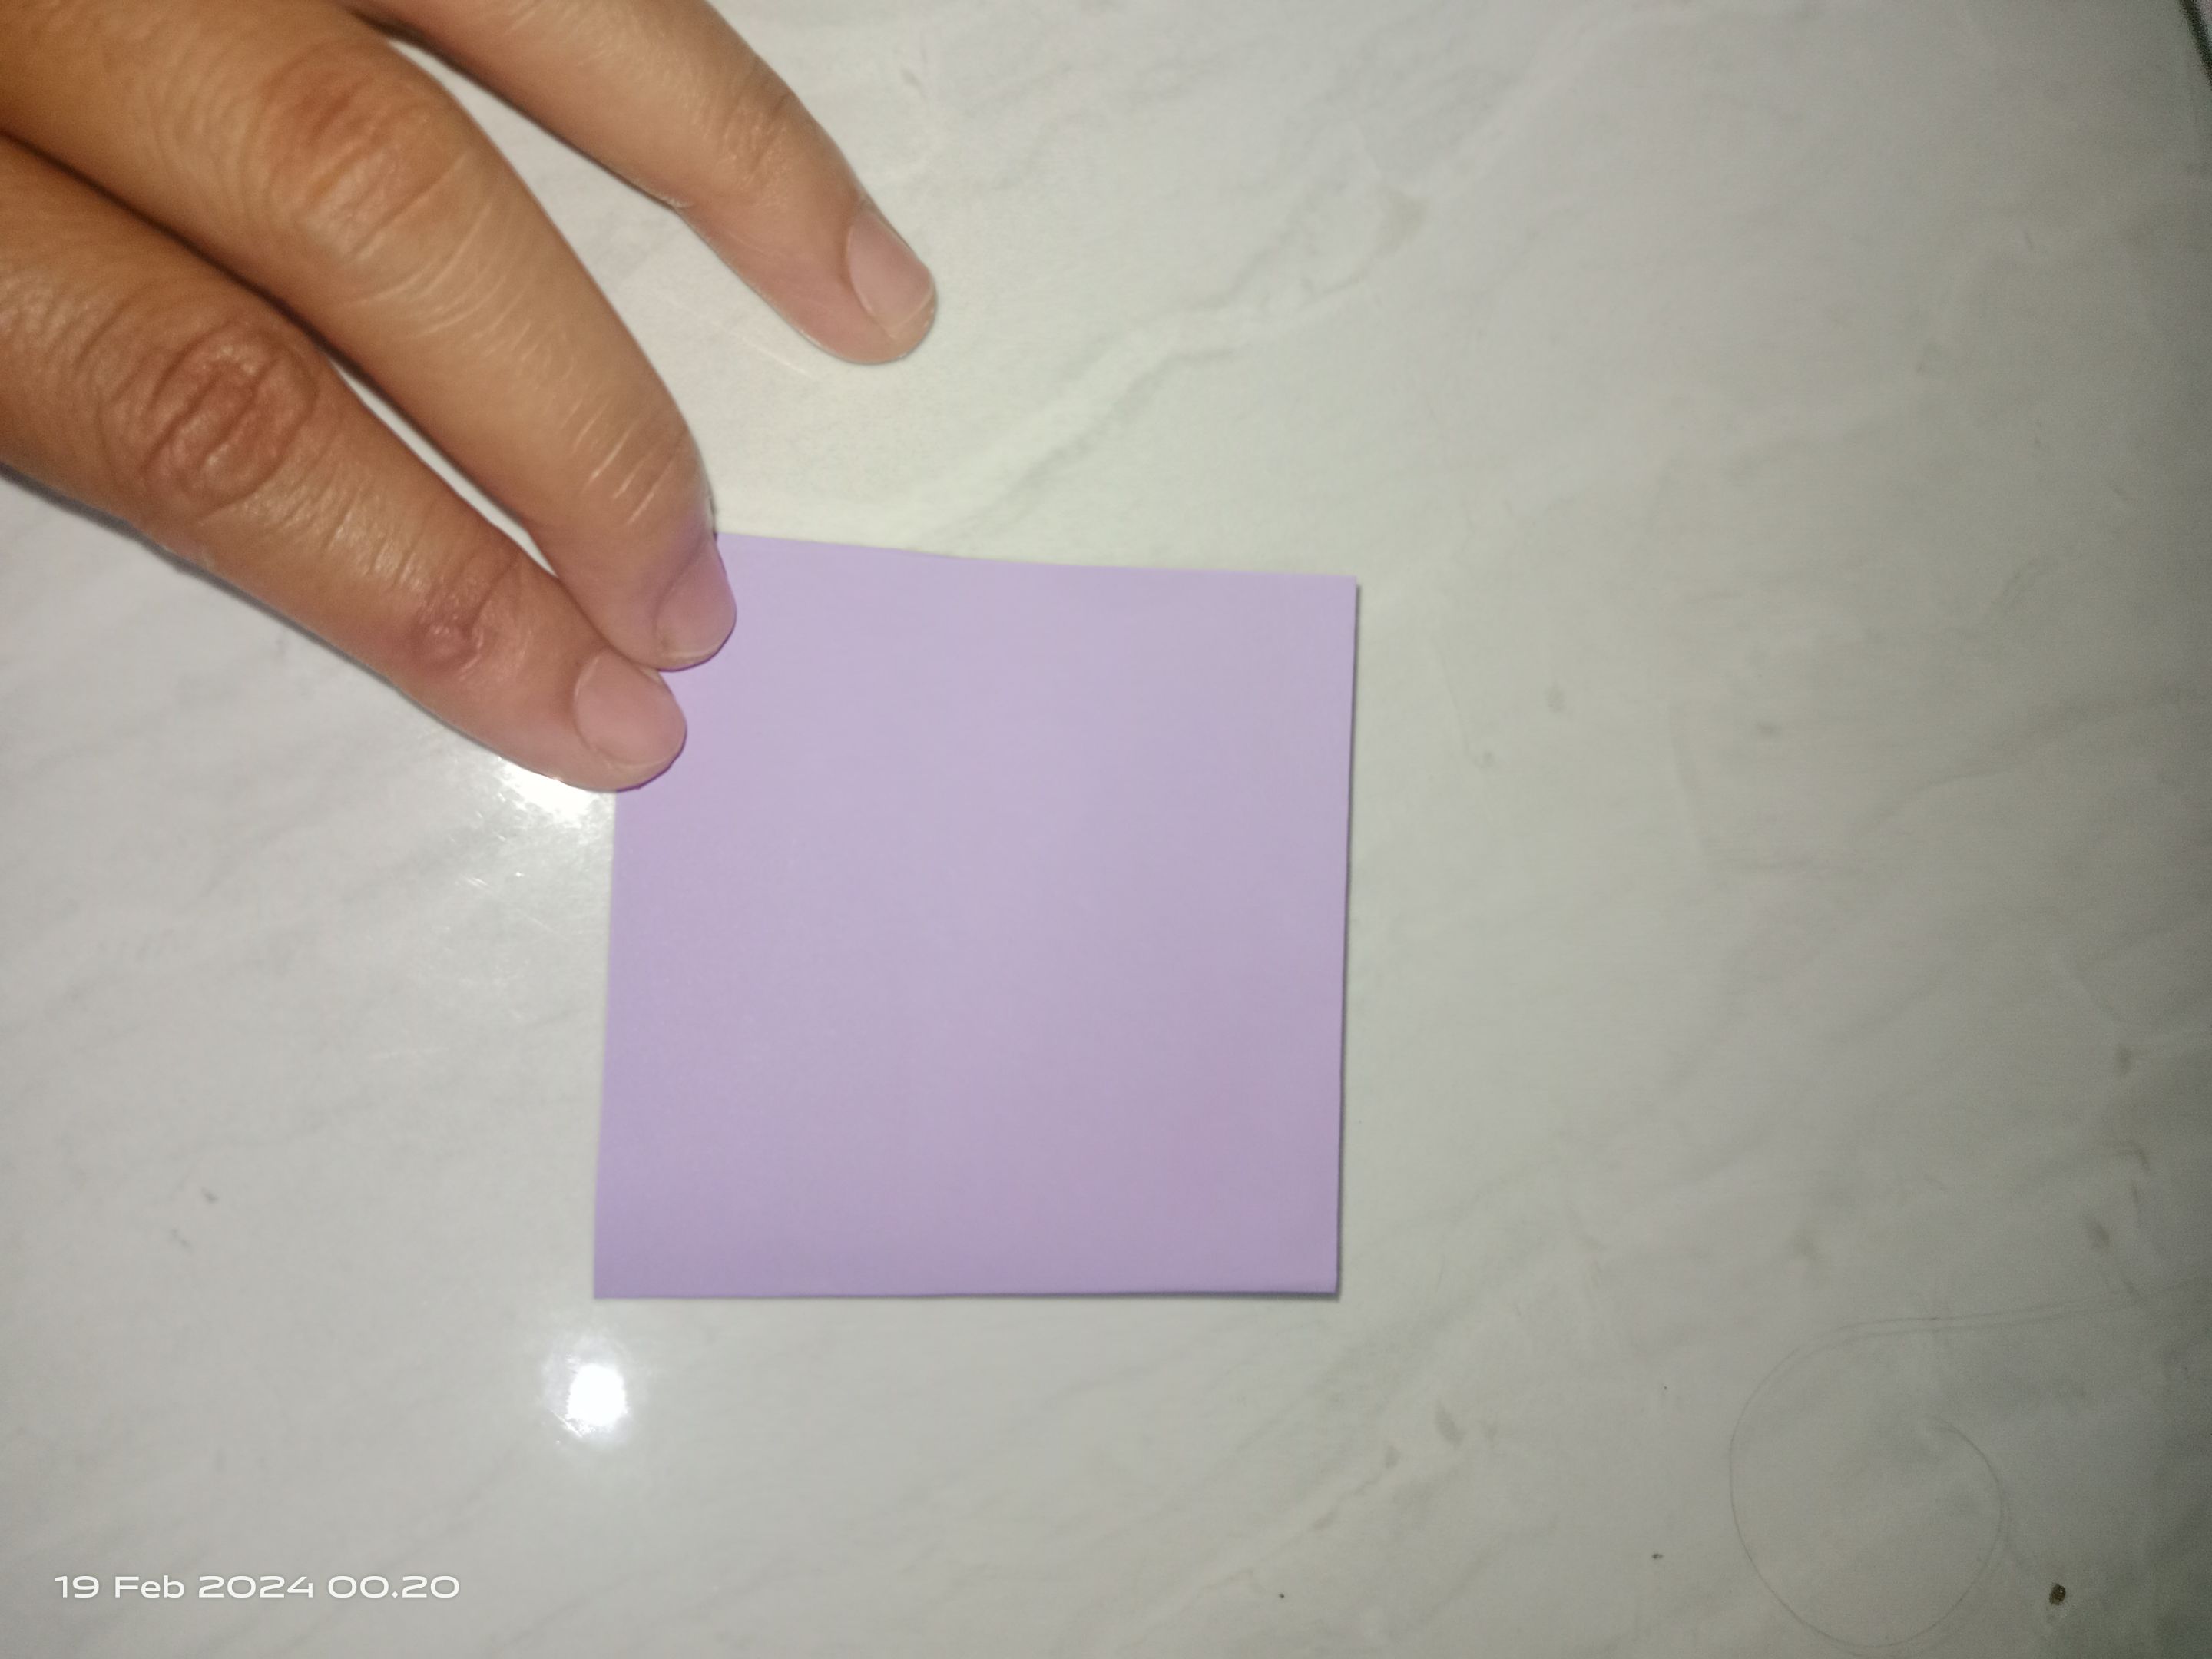
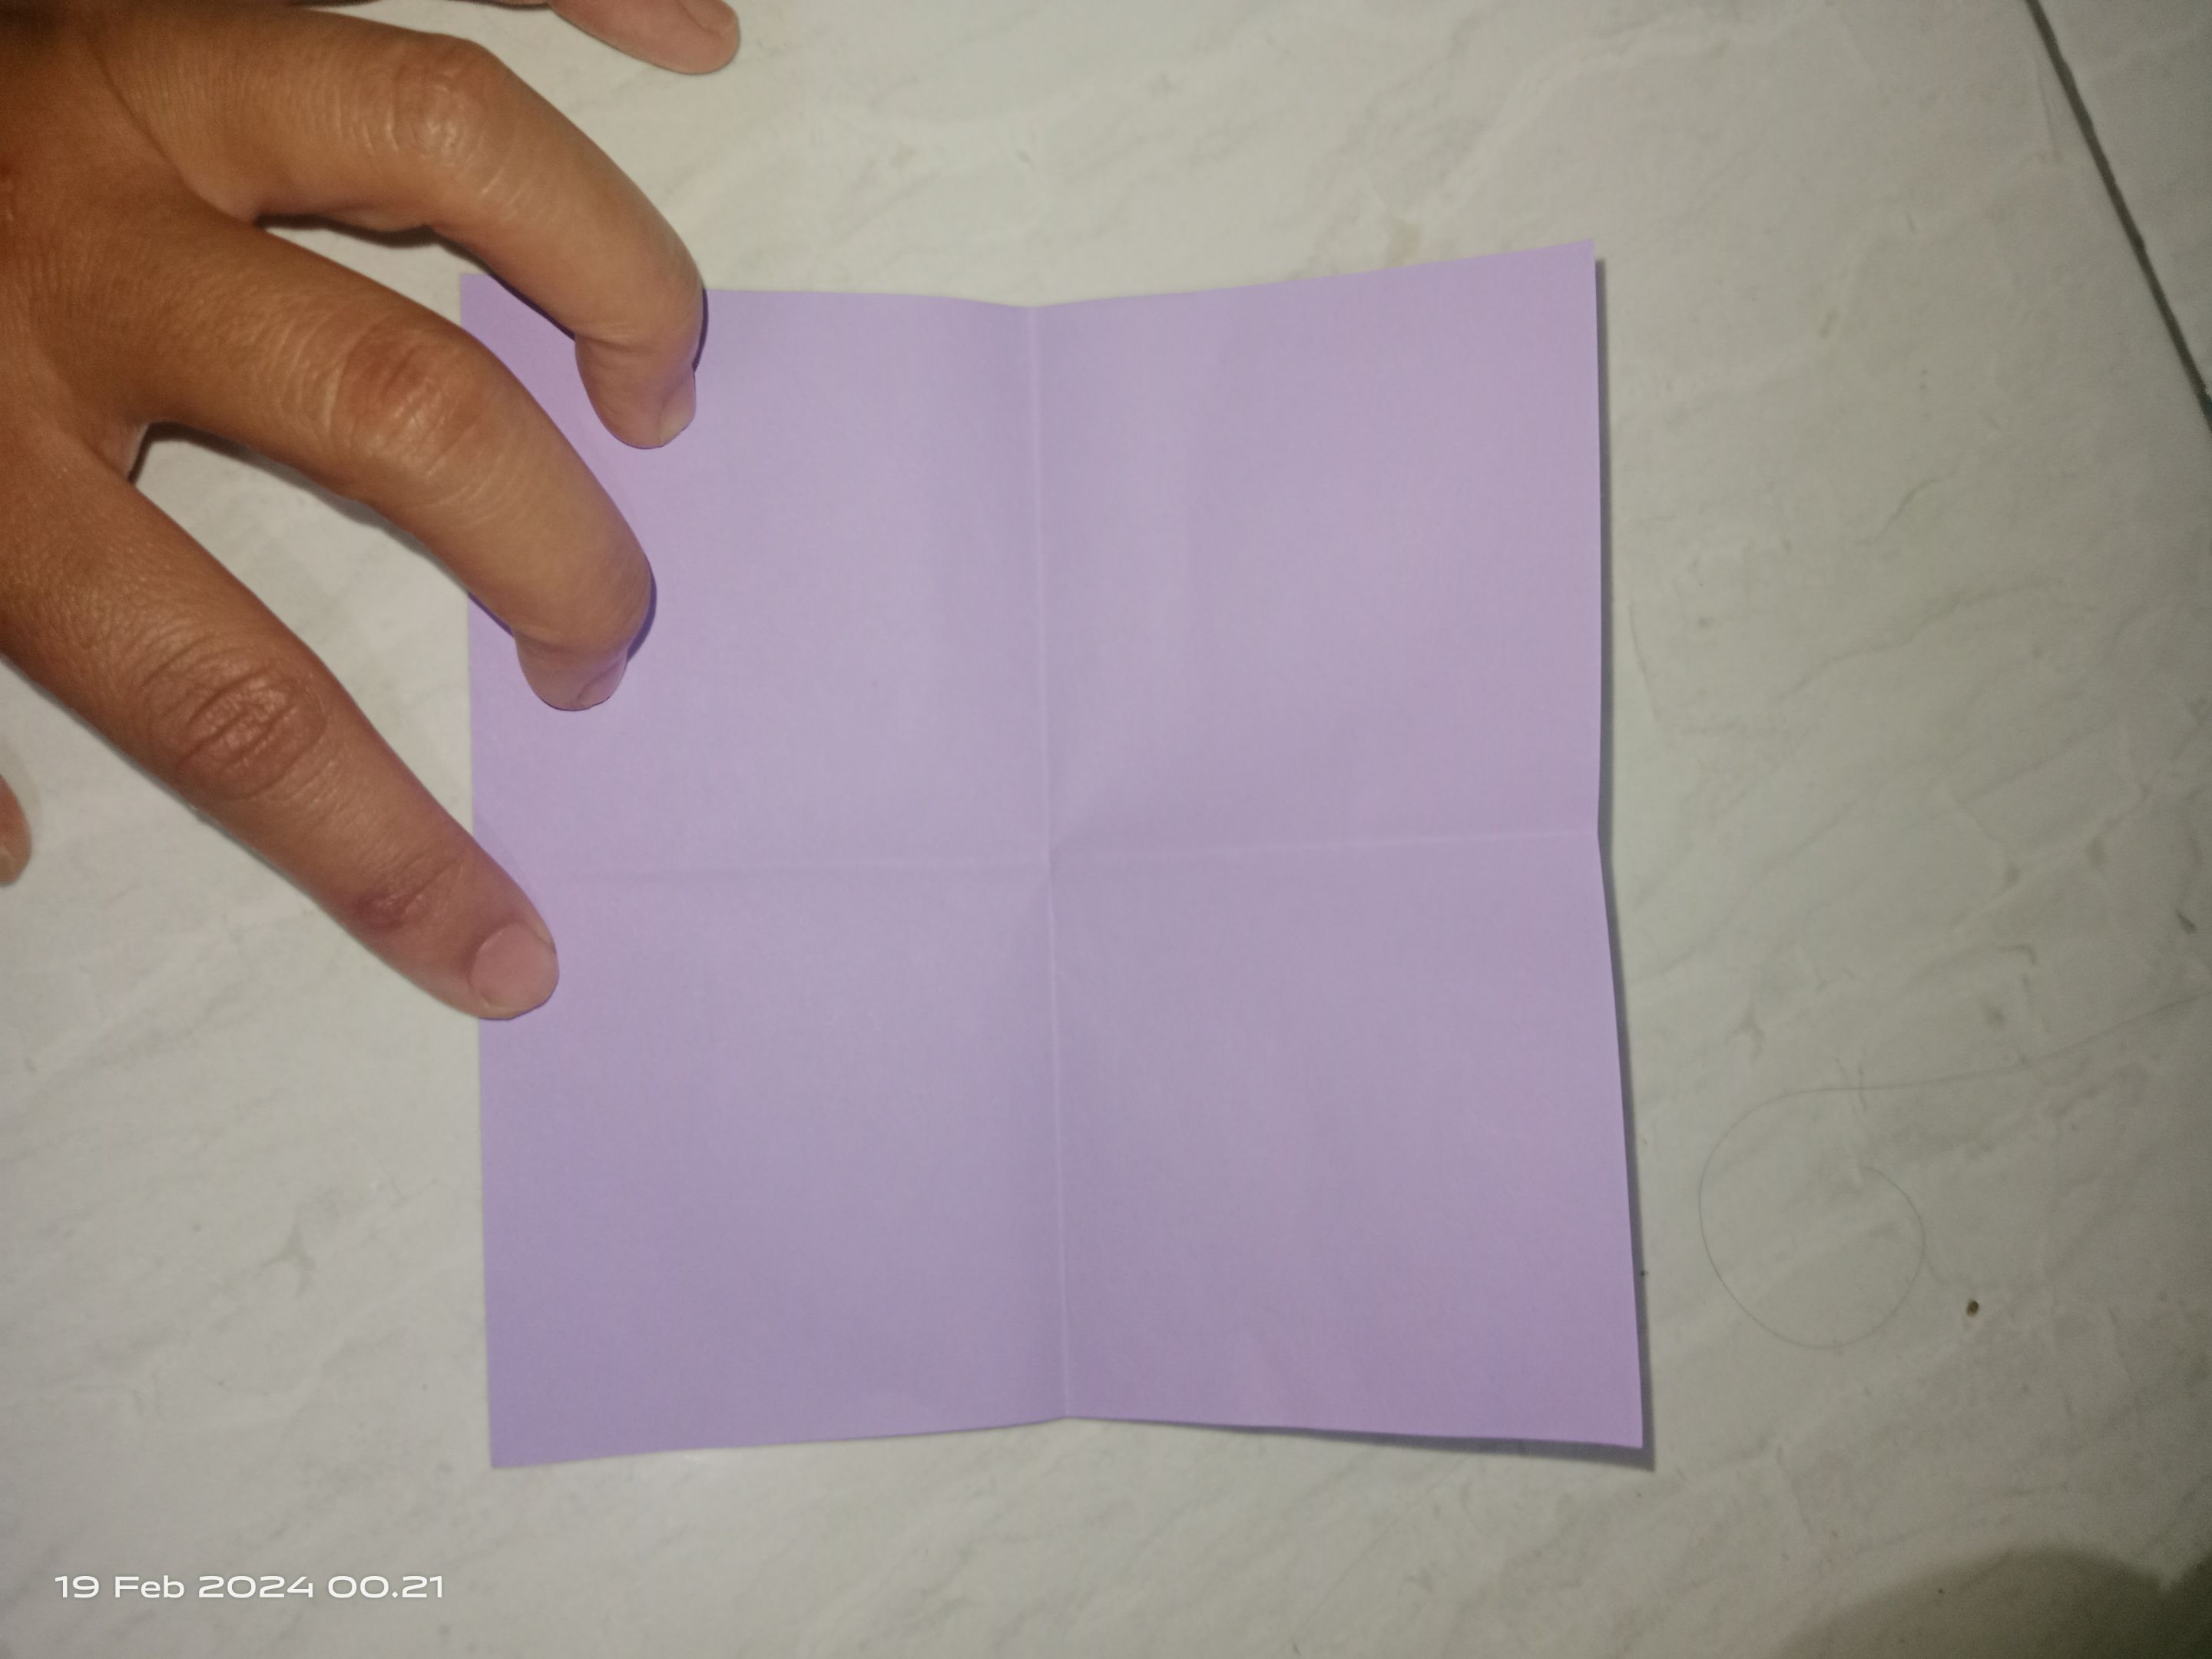
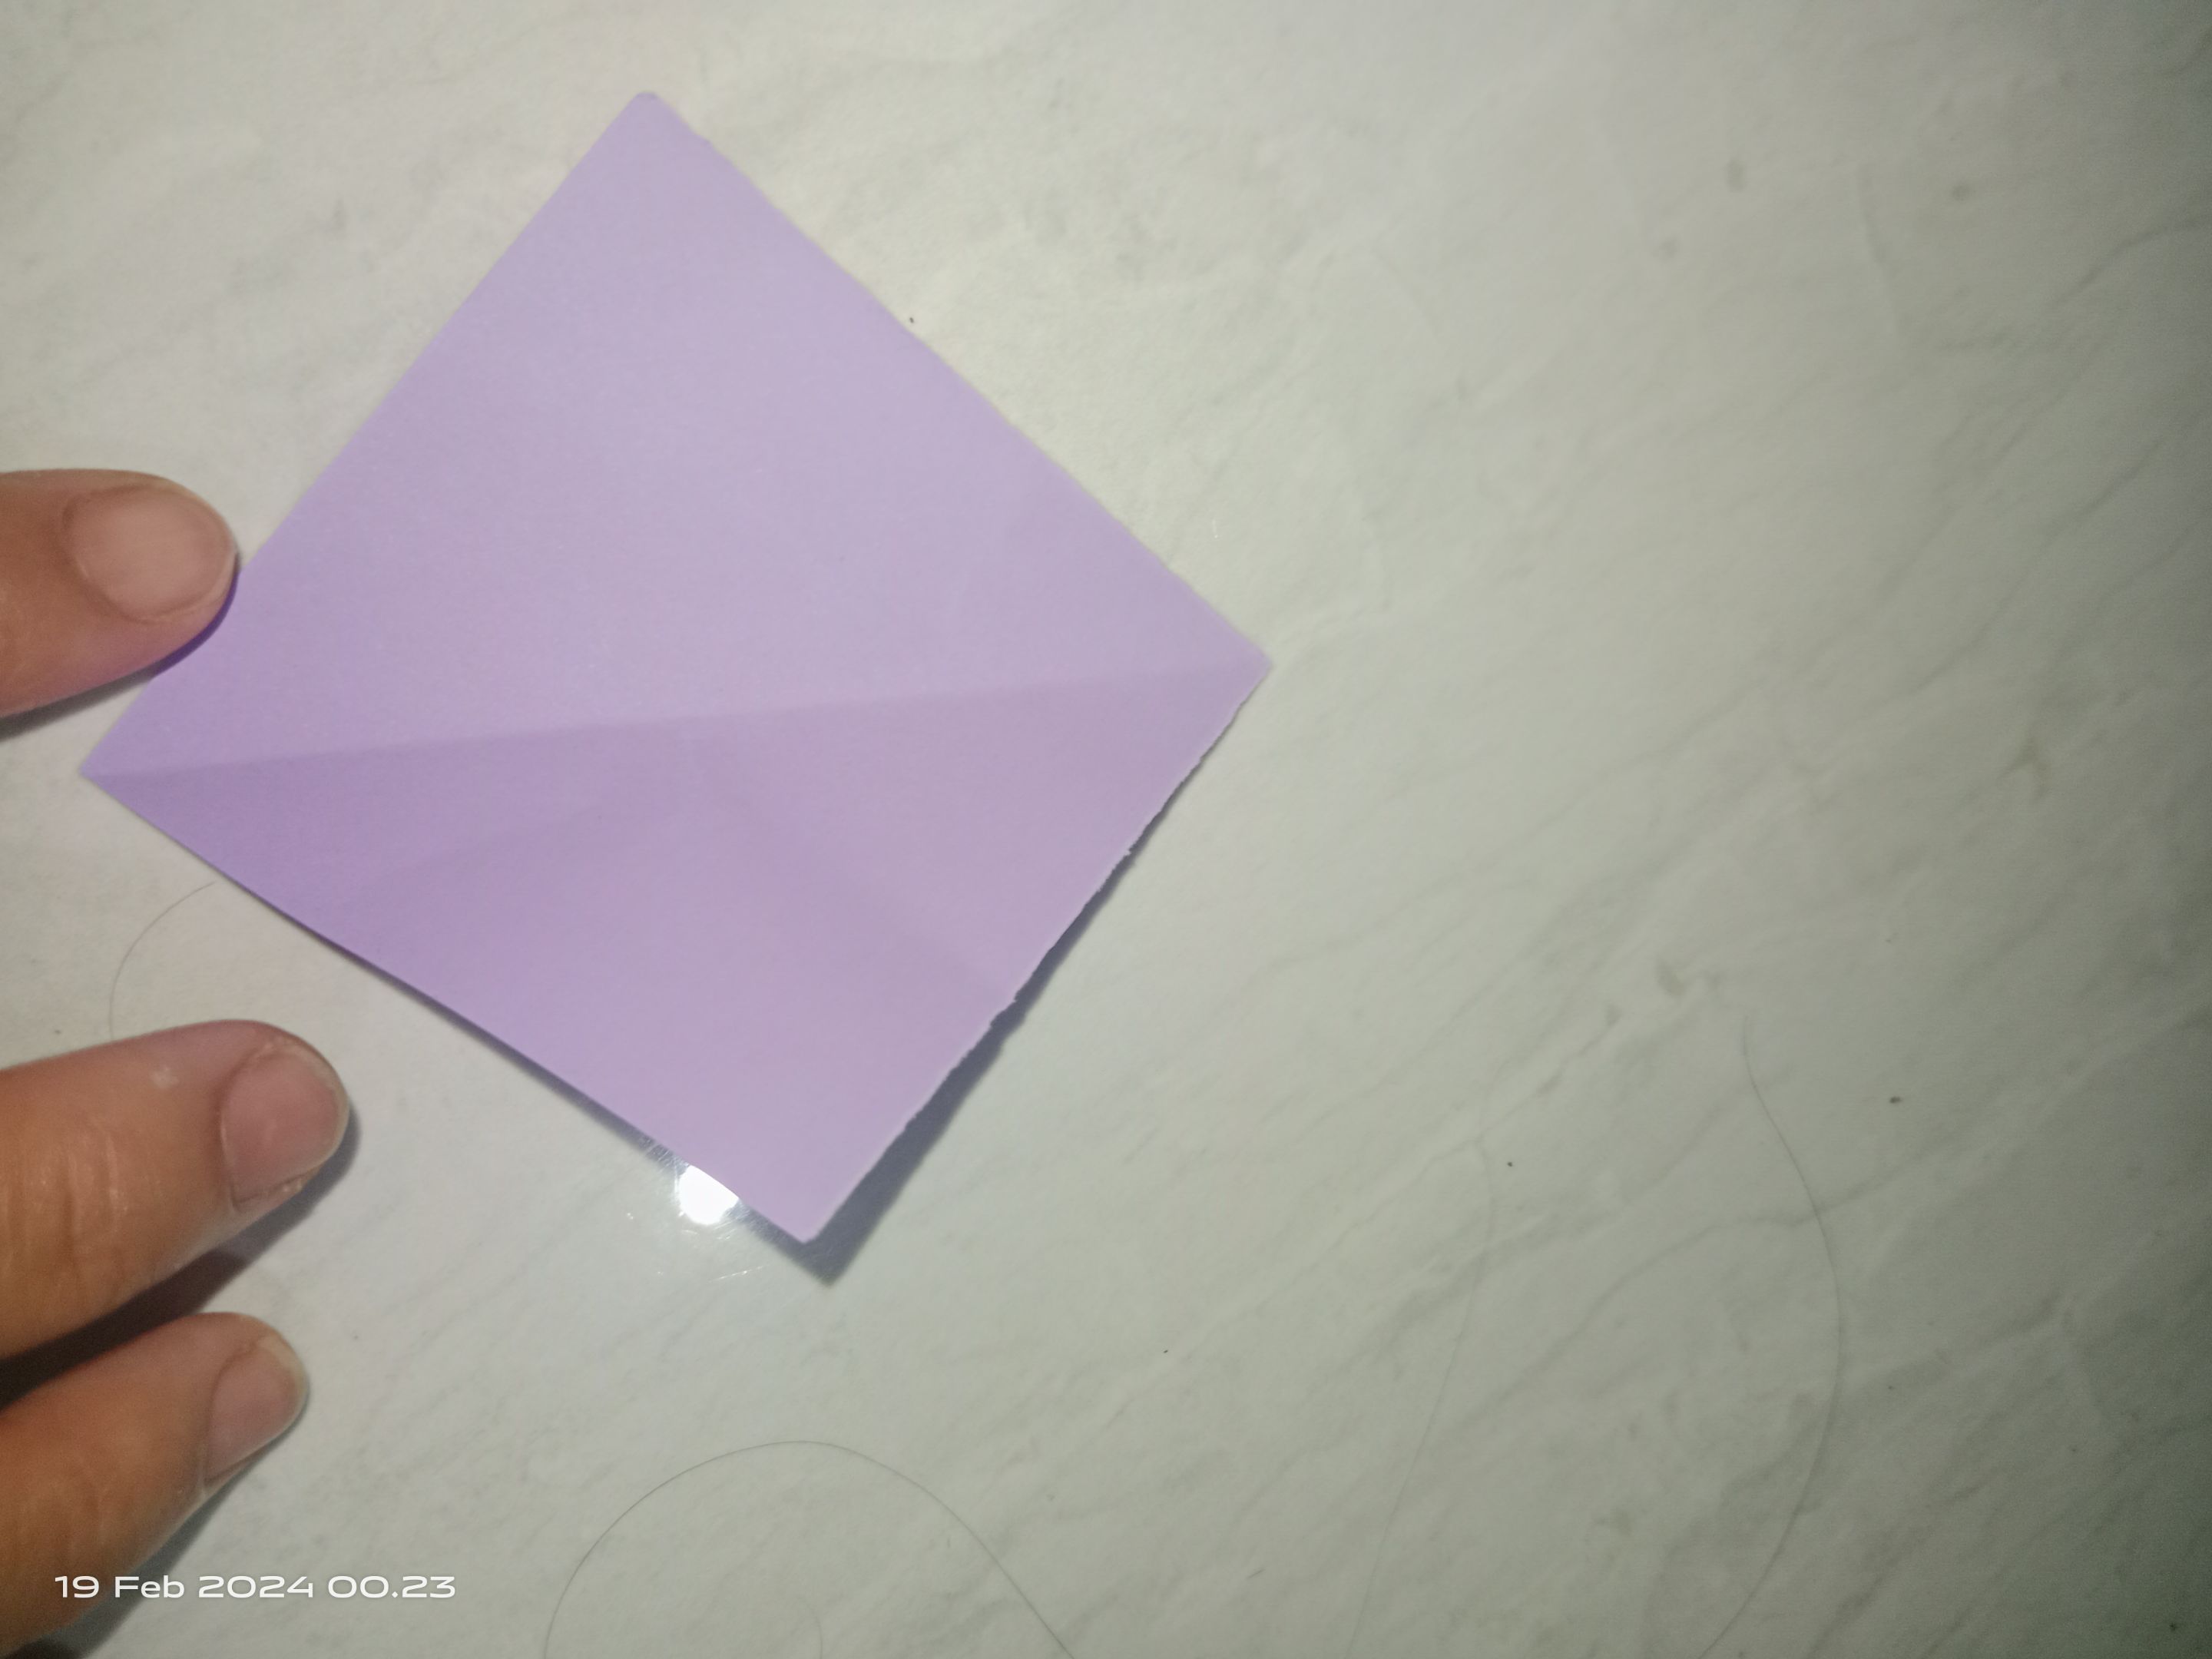
Step 1
Take 1 origami paper, then we fold it in 2 and fold it in 2 again to produce 4 parts.
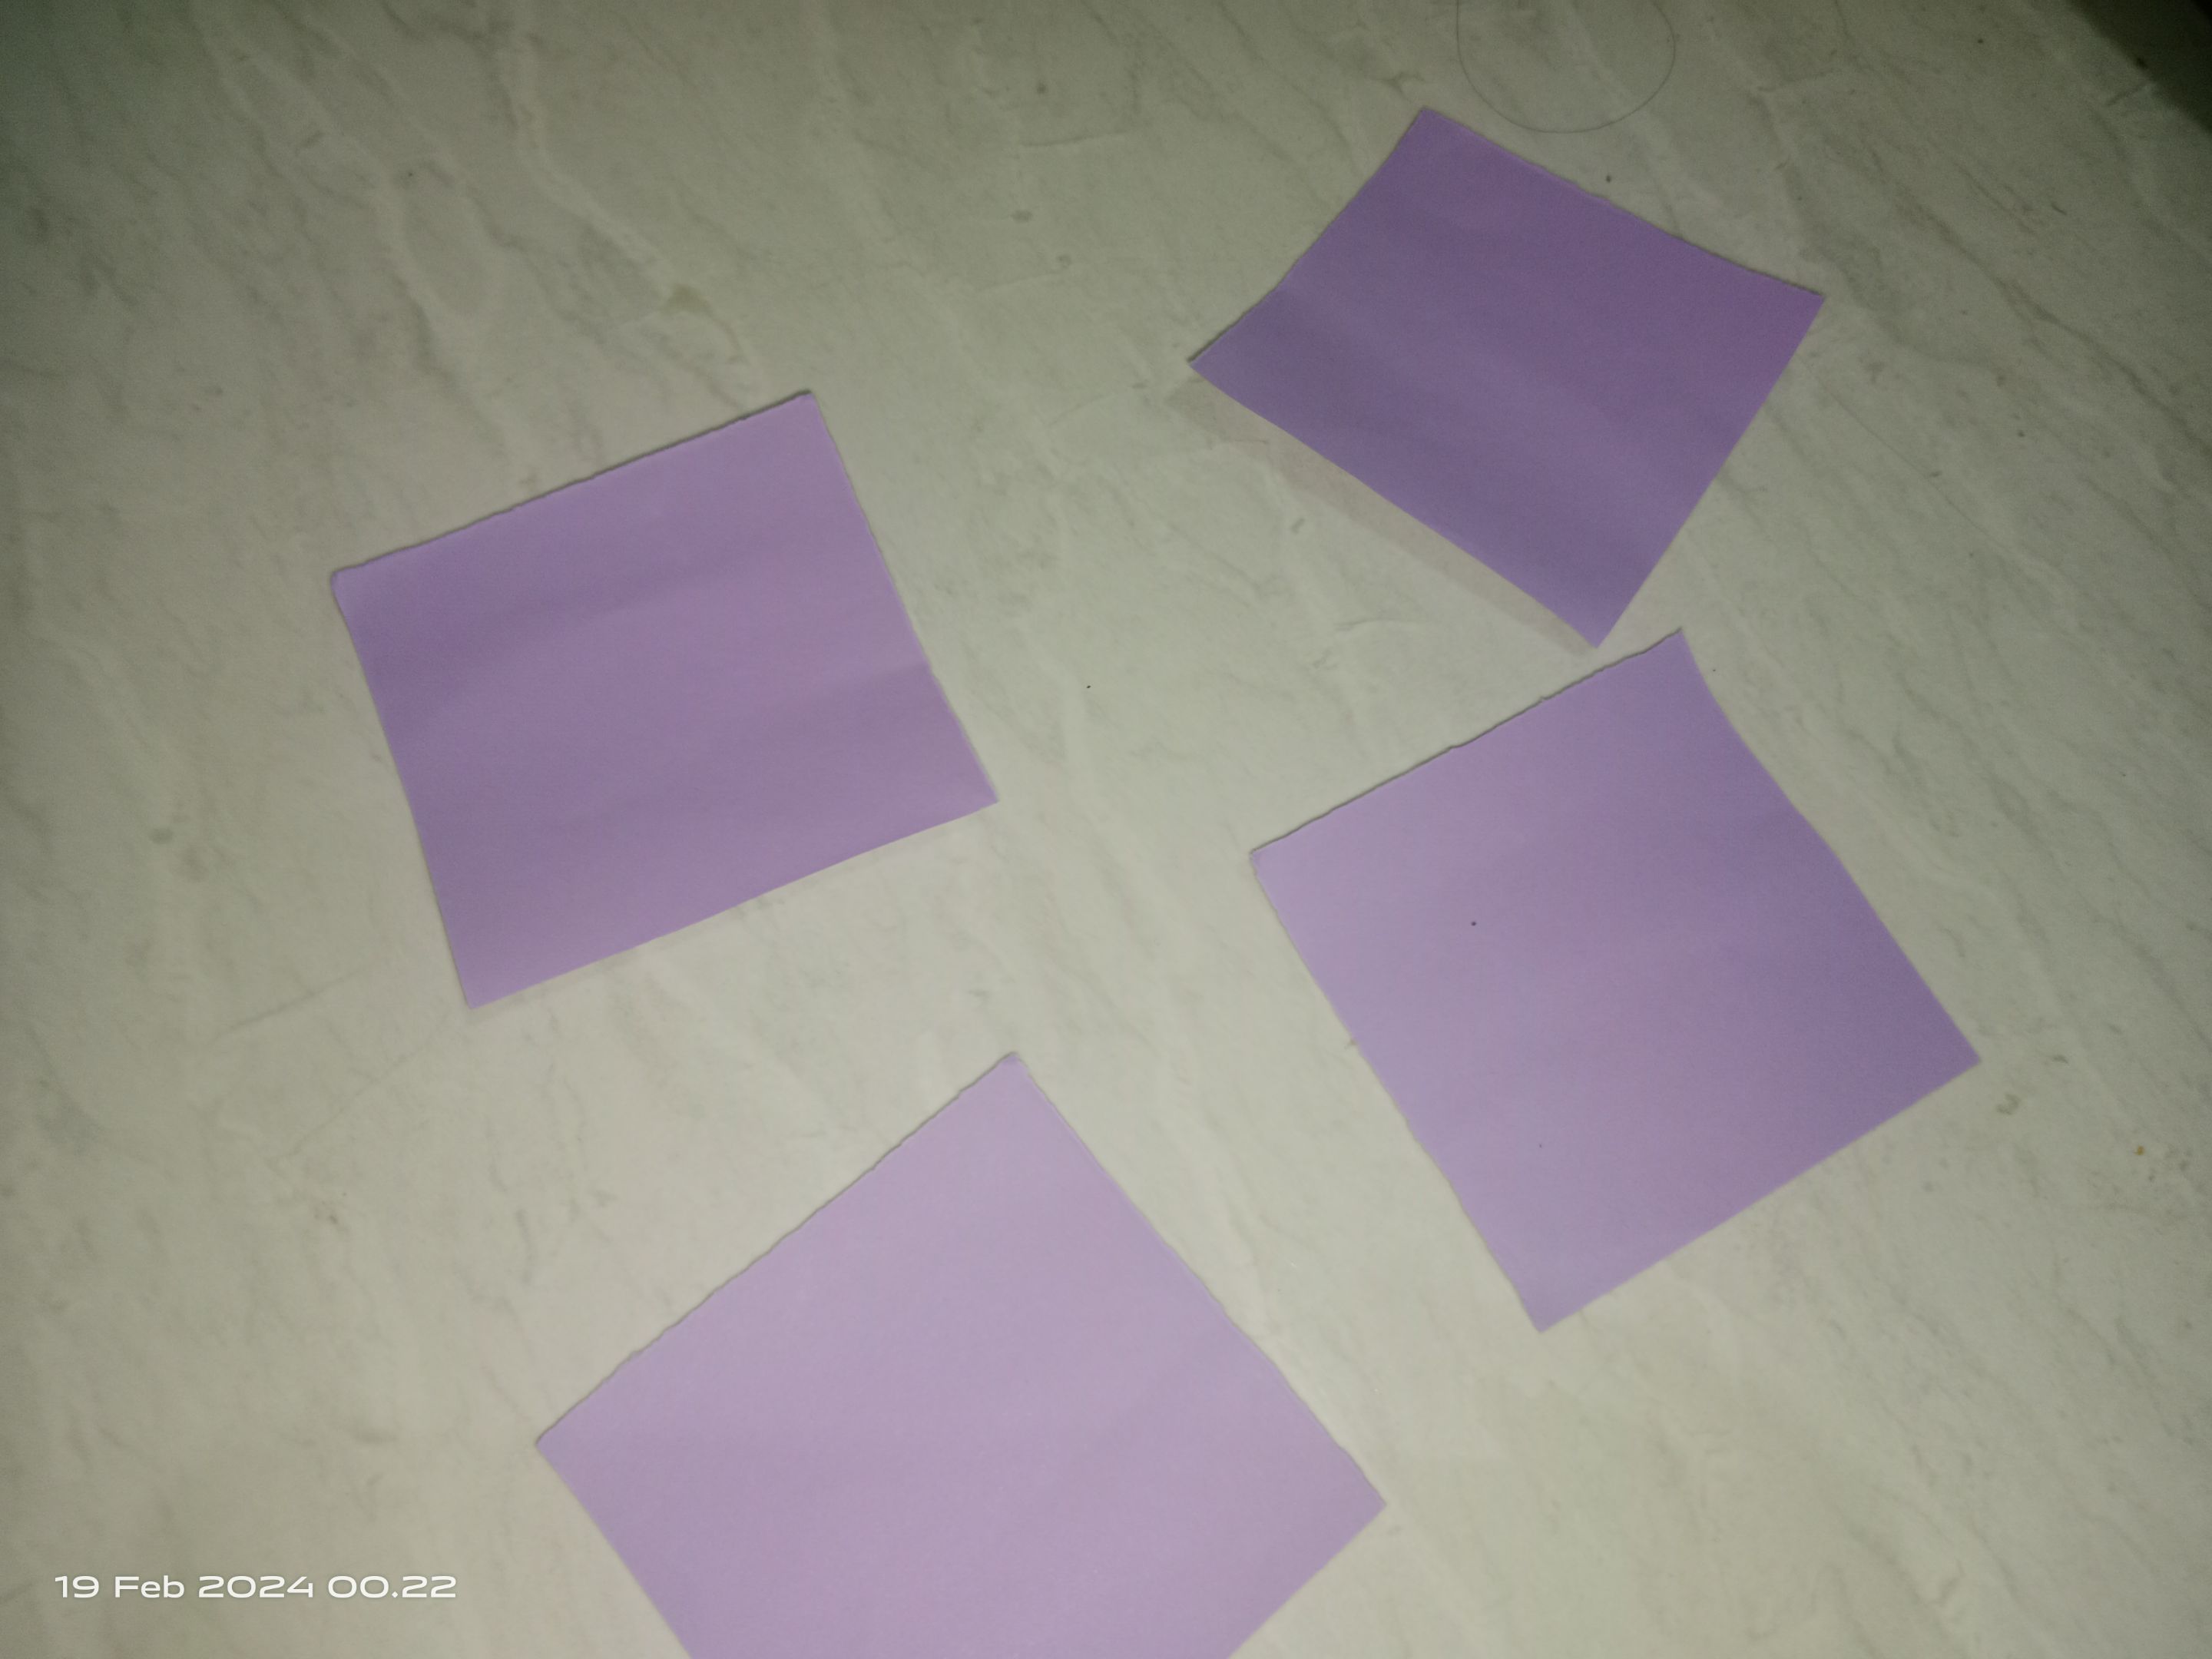
Step 2
After we get the lines on the origami paper, take scissors and cut out the origami paper following the lines we have made. Until later 1 origami becomes 4 small parts.
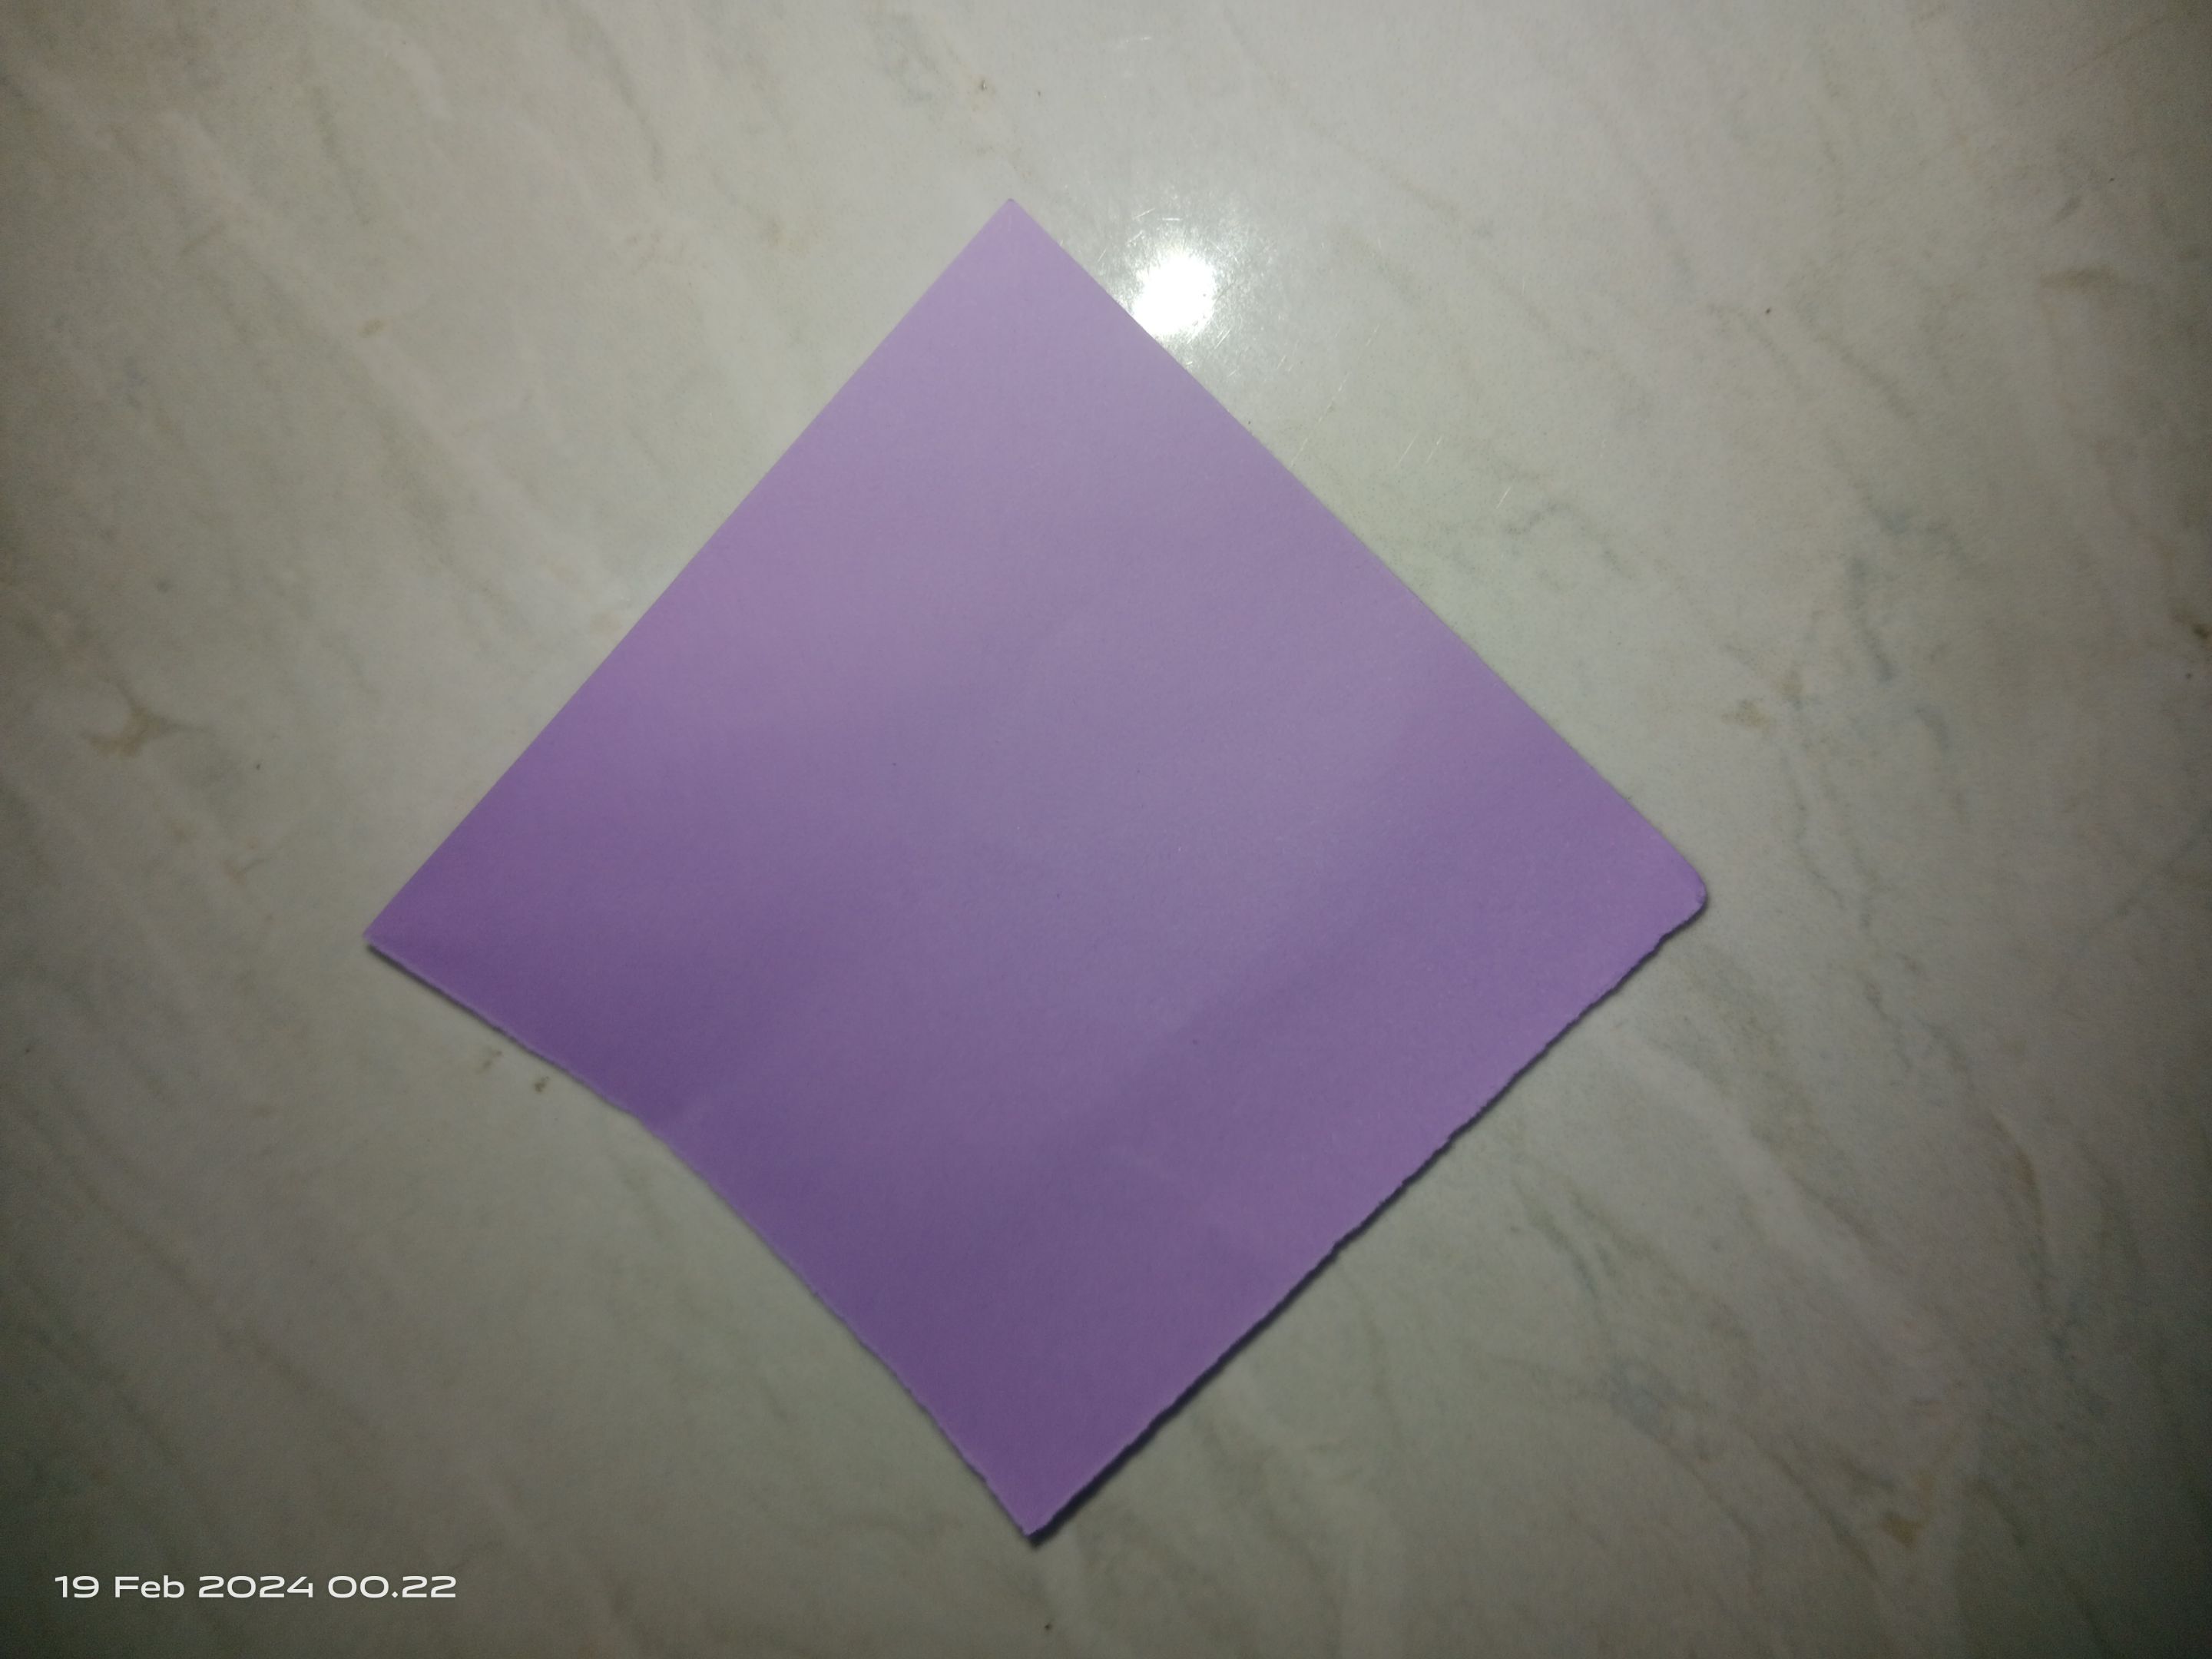
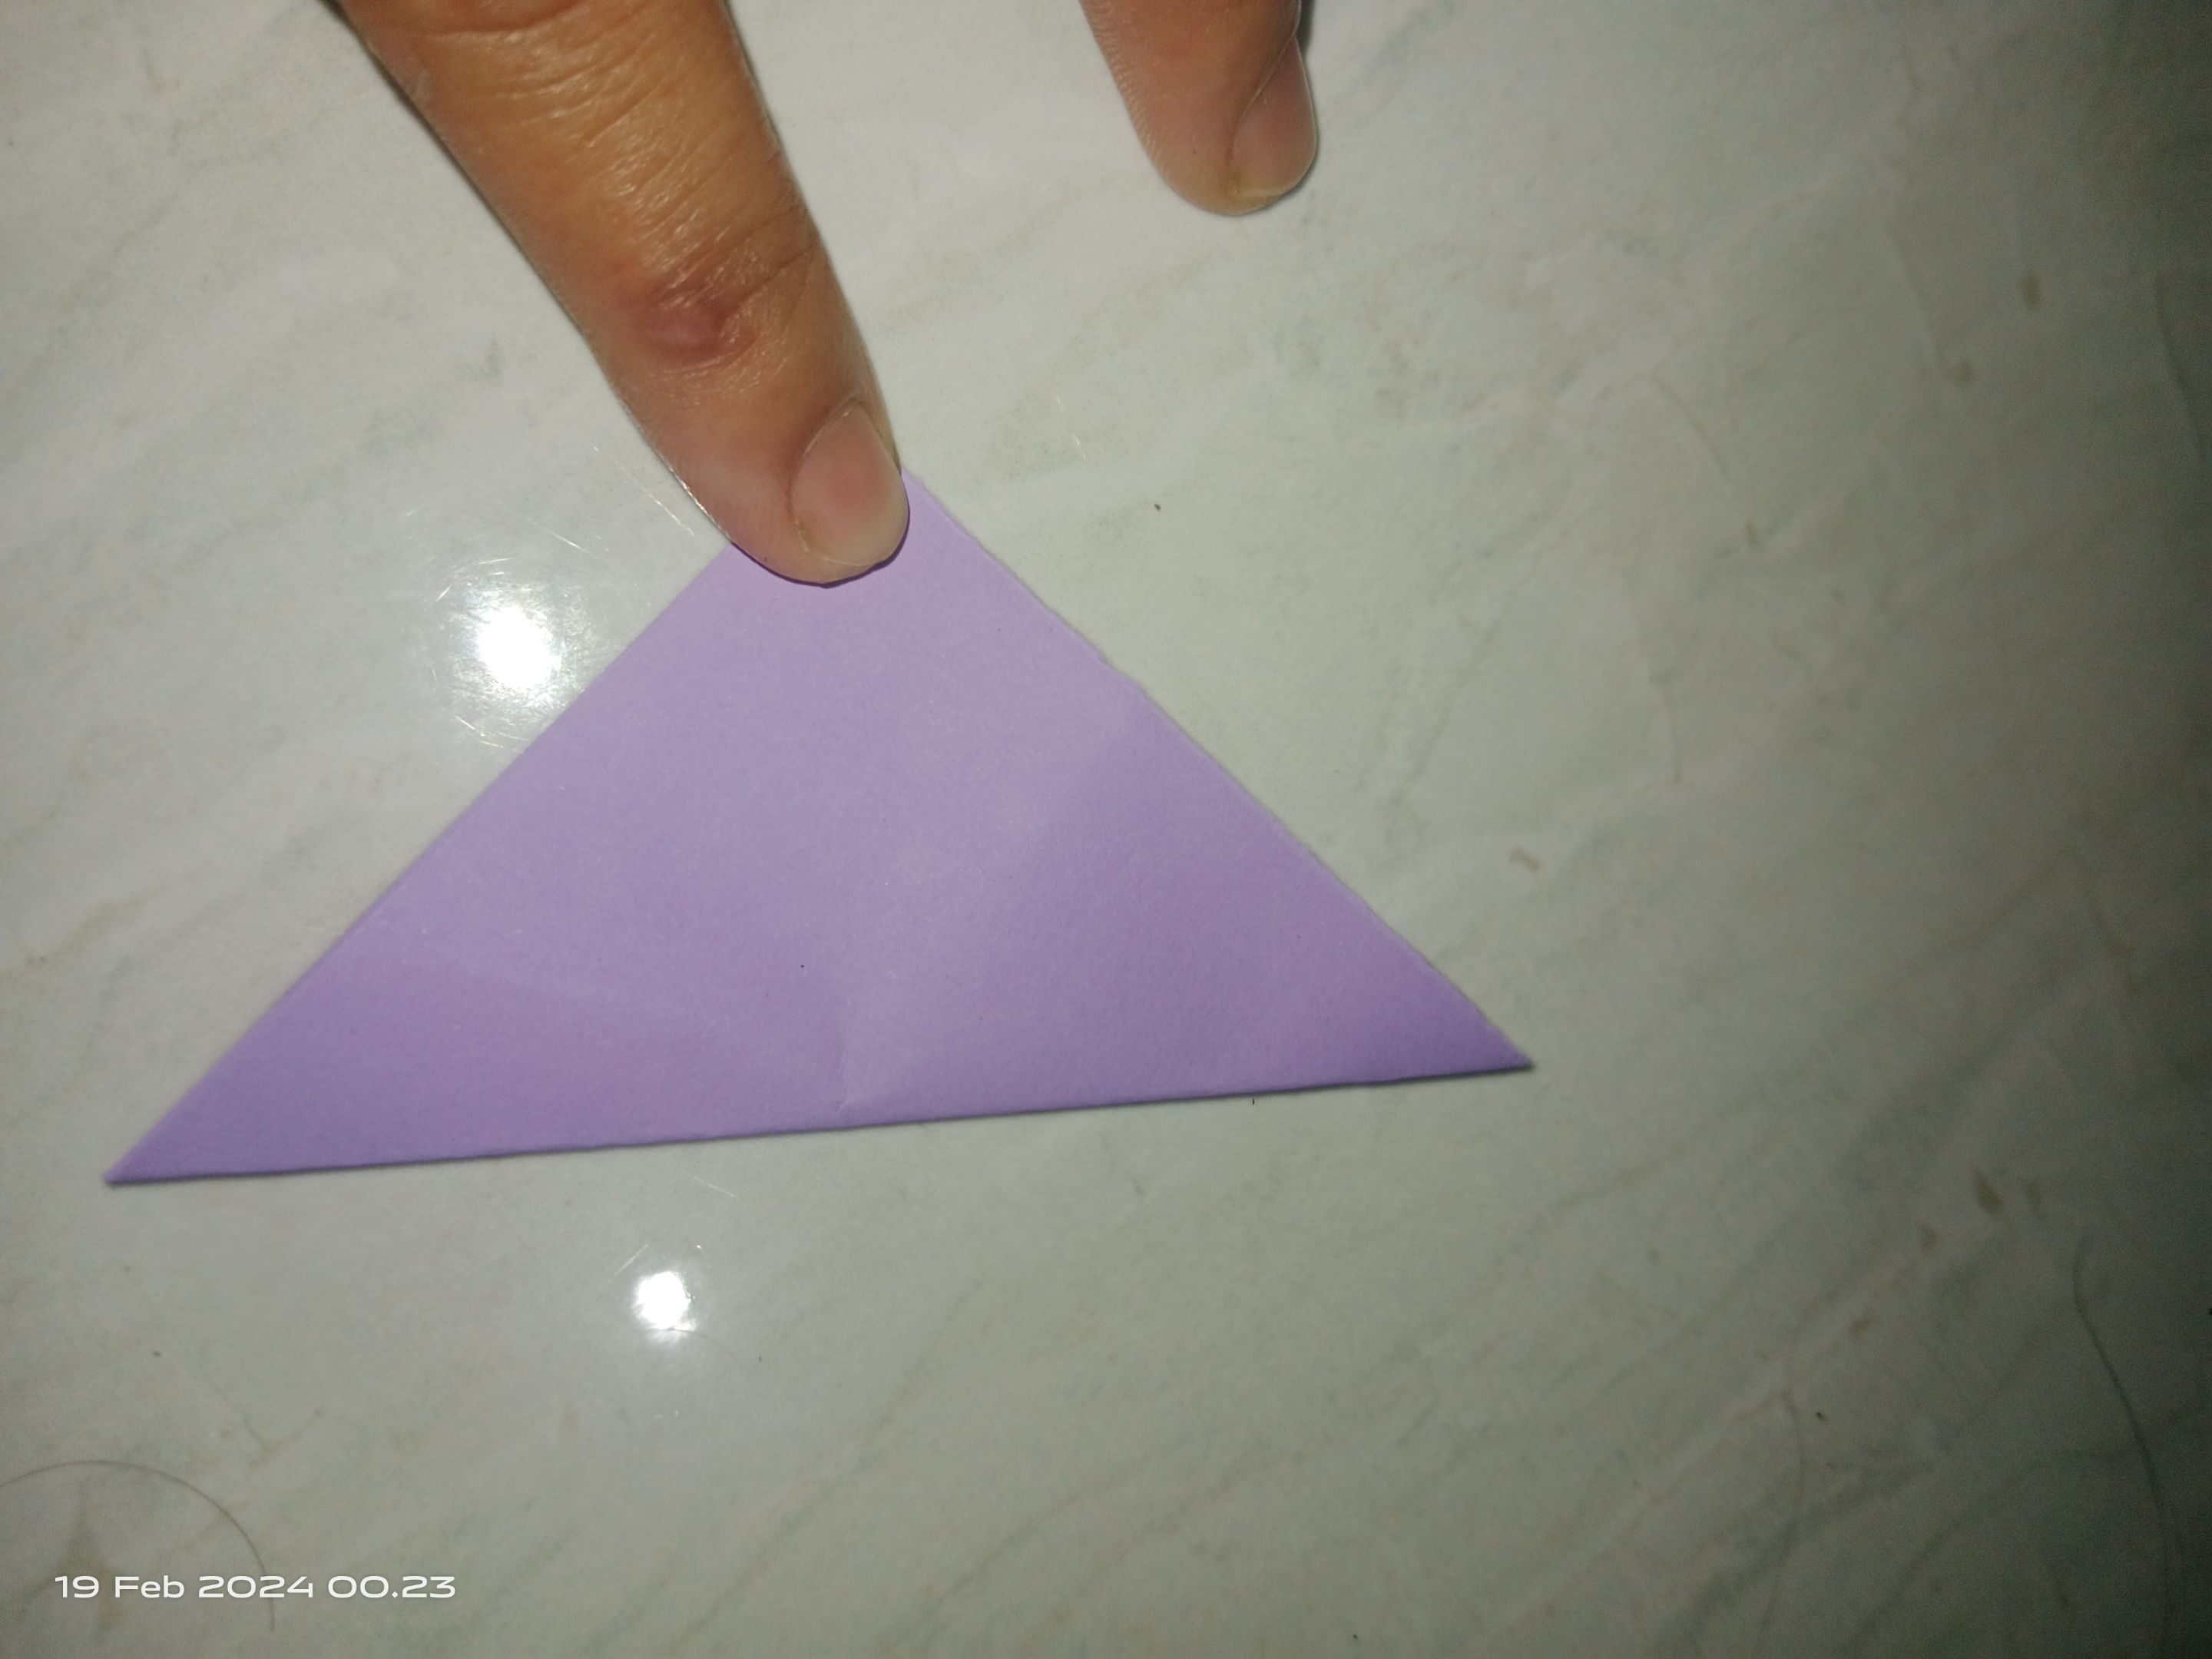
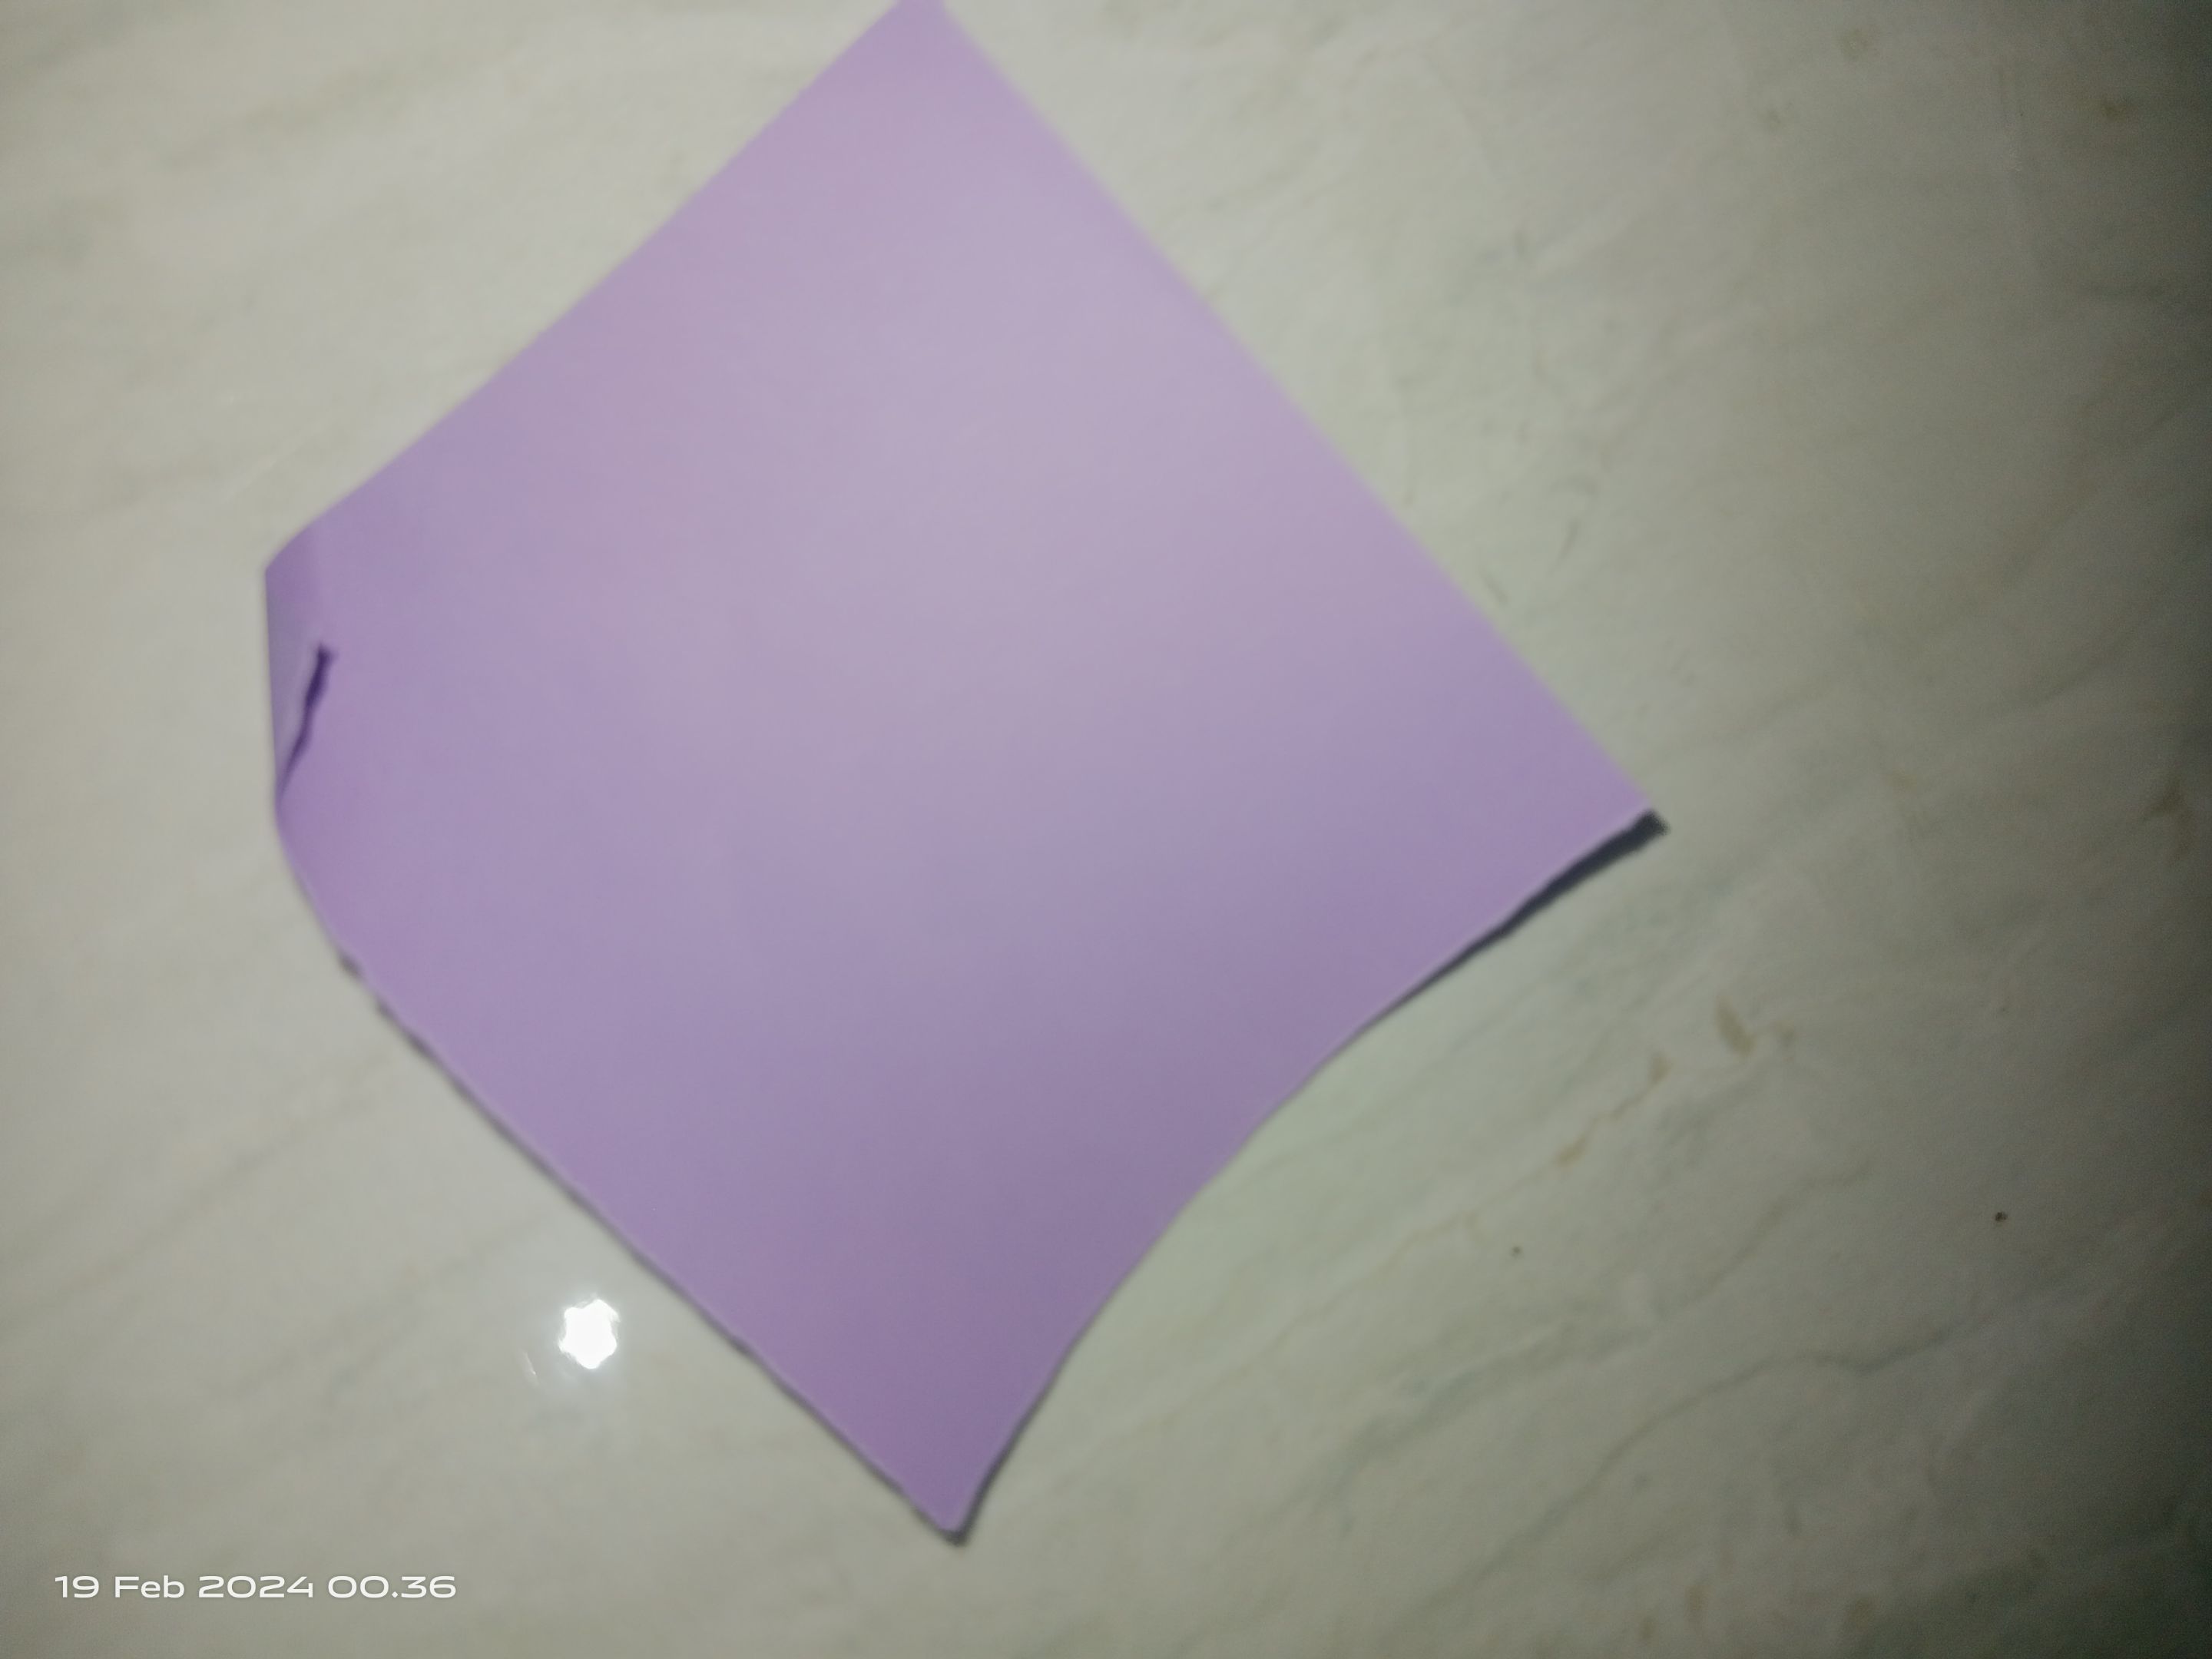
Step 3
After cutting, take 1 part of the origami paper that has been cut.
fold in 2 to find the center line, then fold the paper into a triangle leaving the ends of the paper.
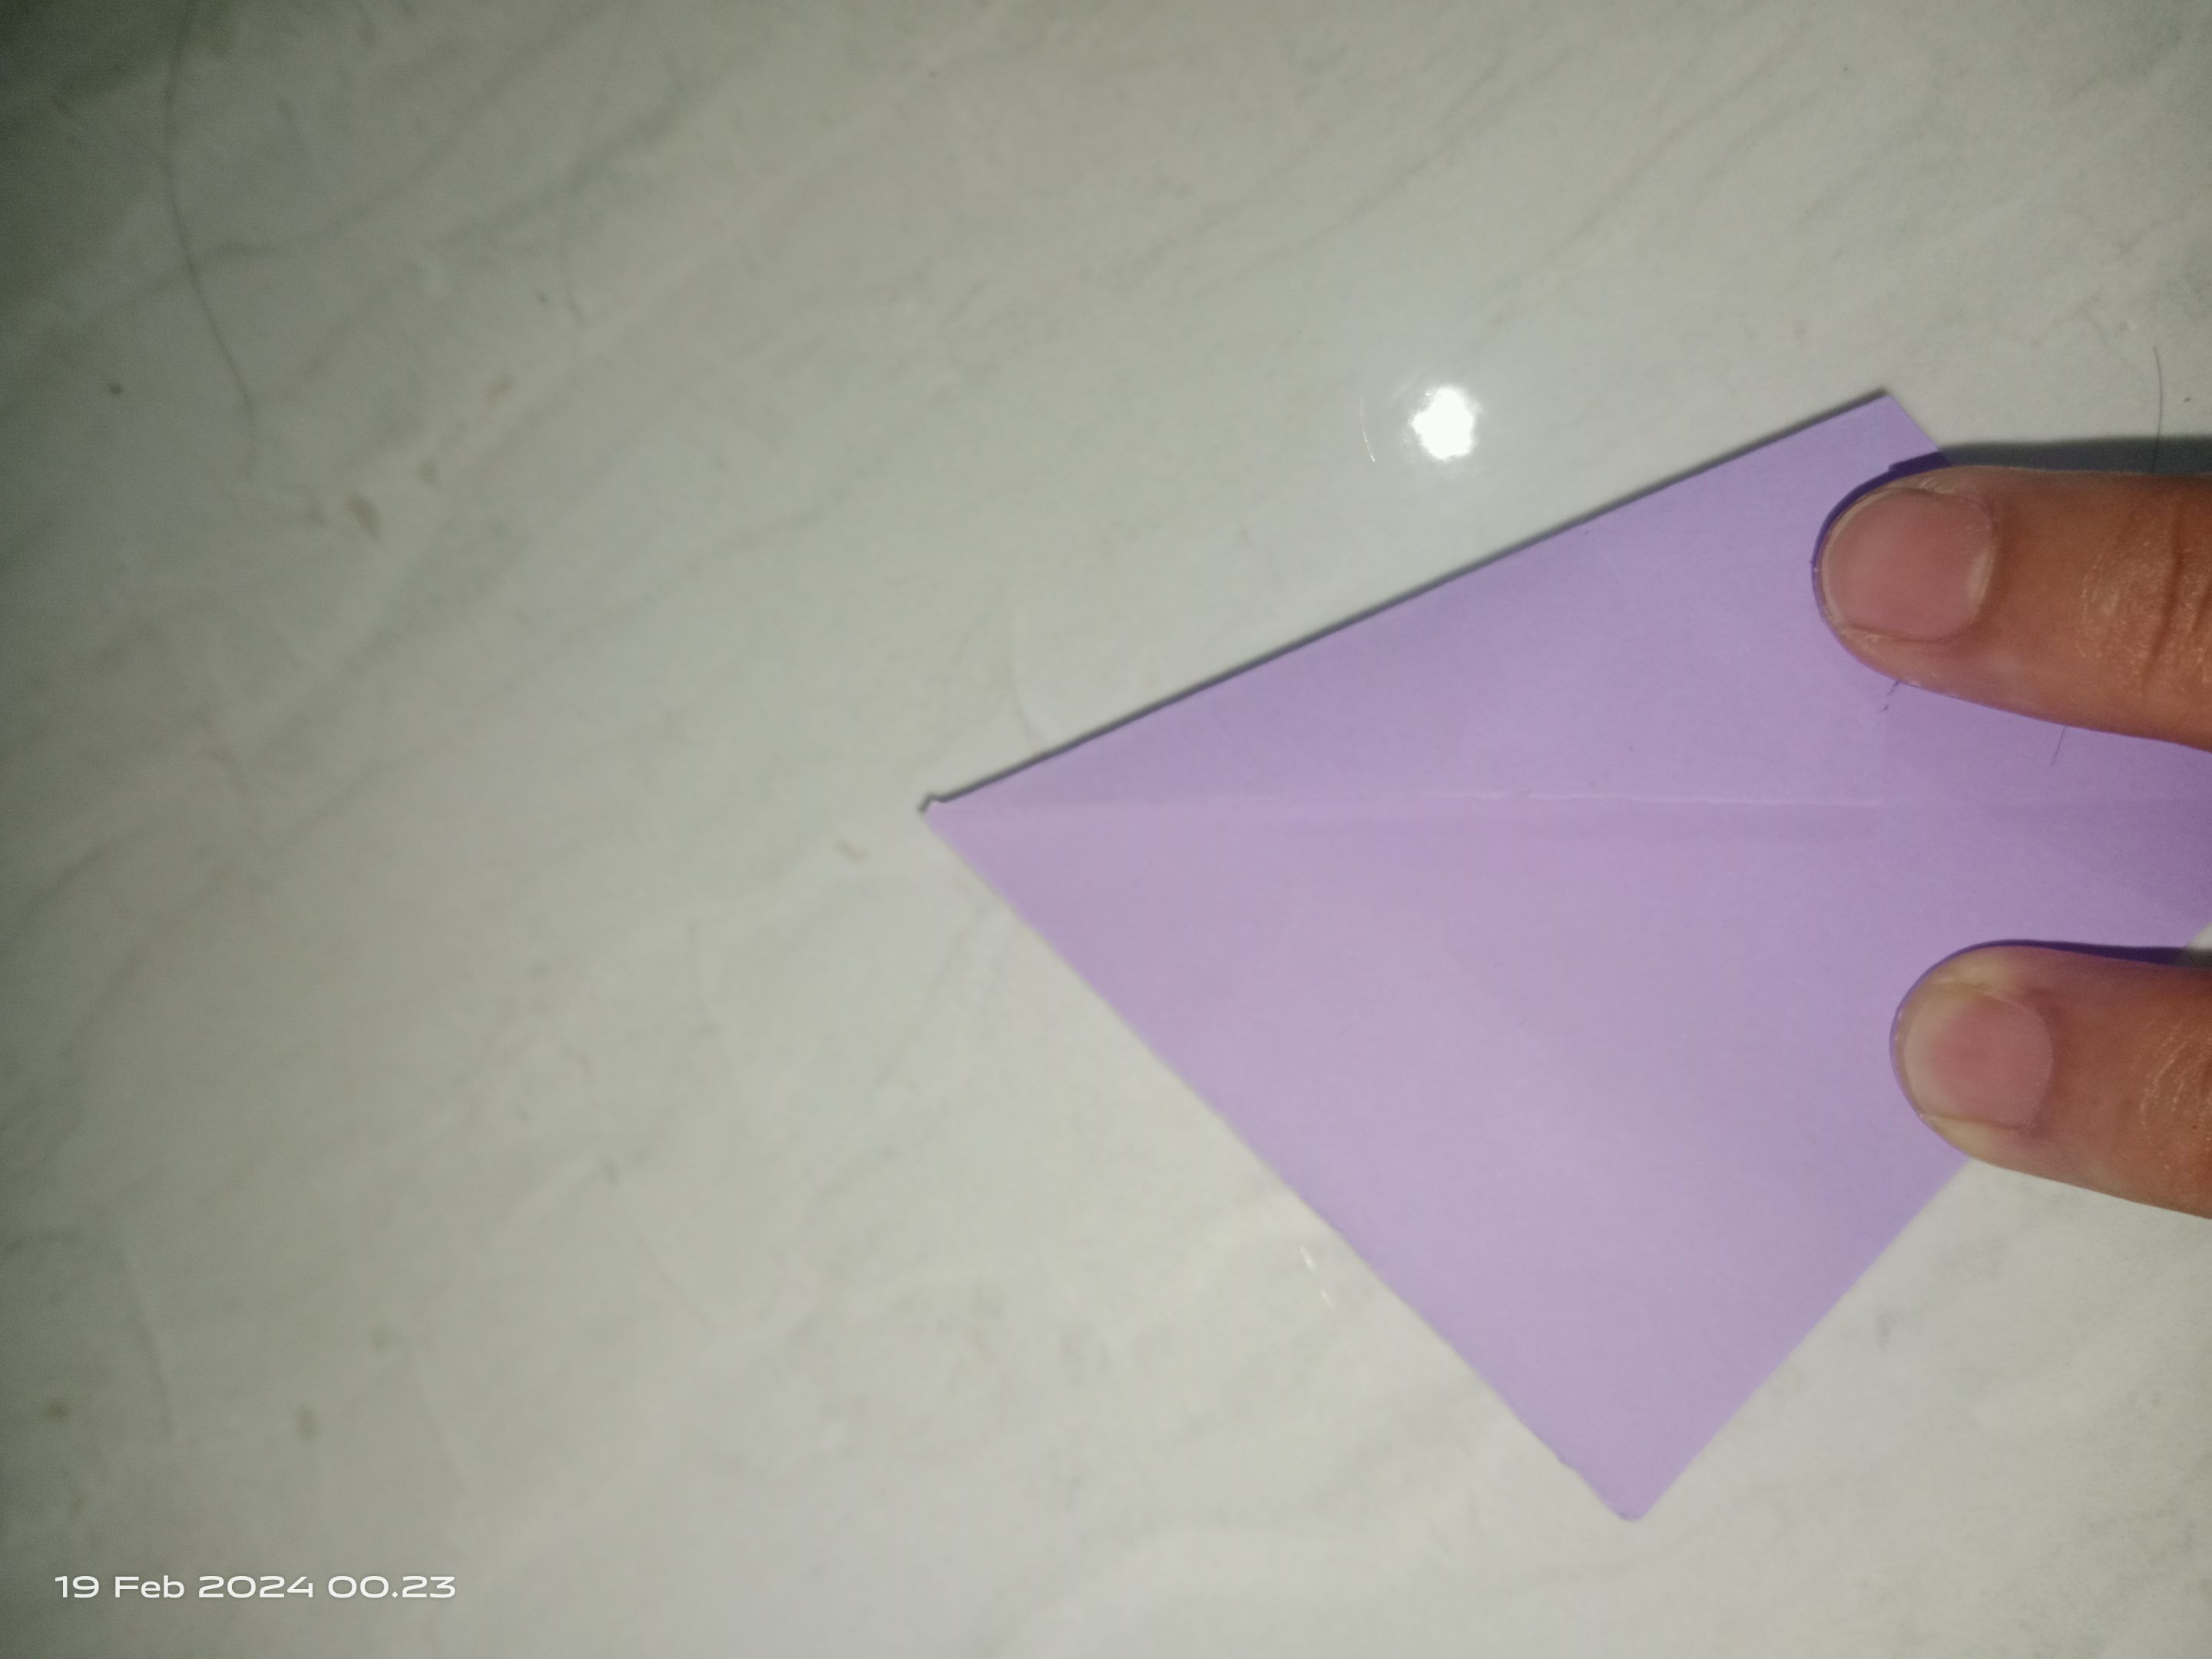
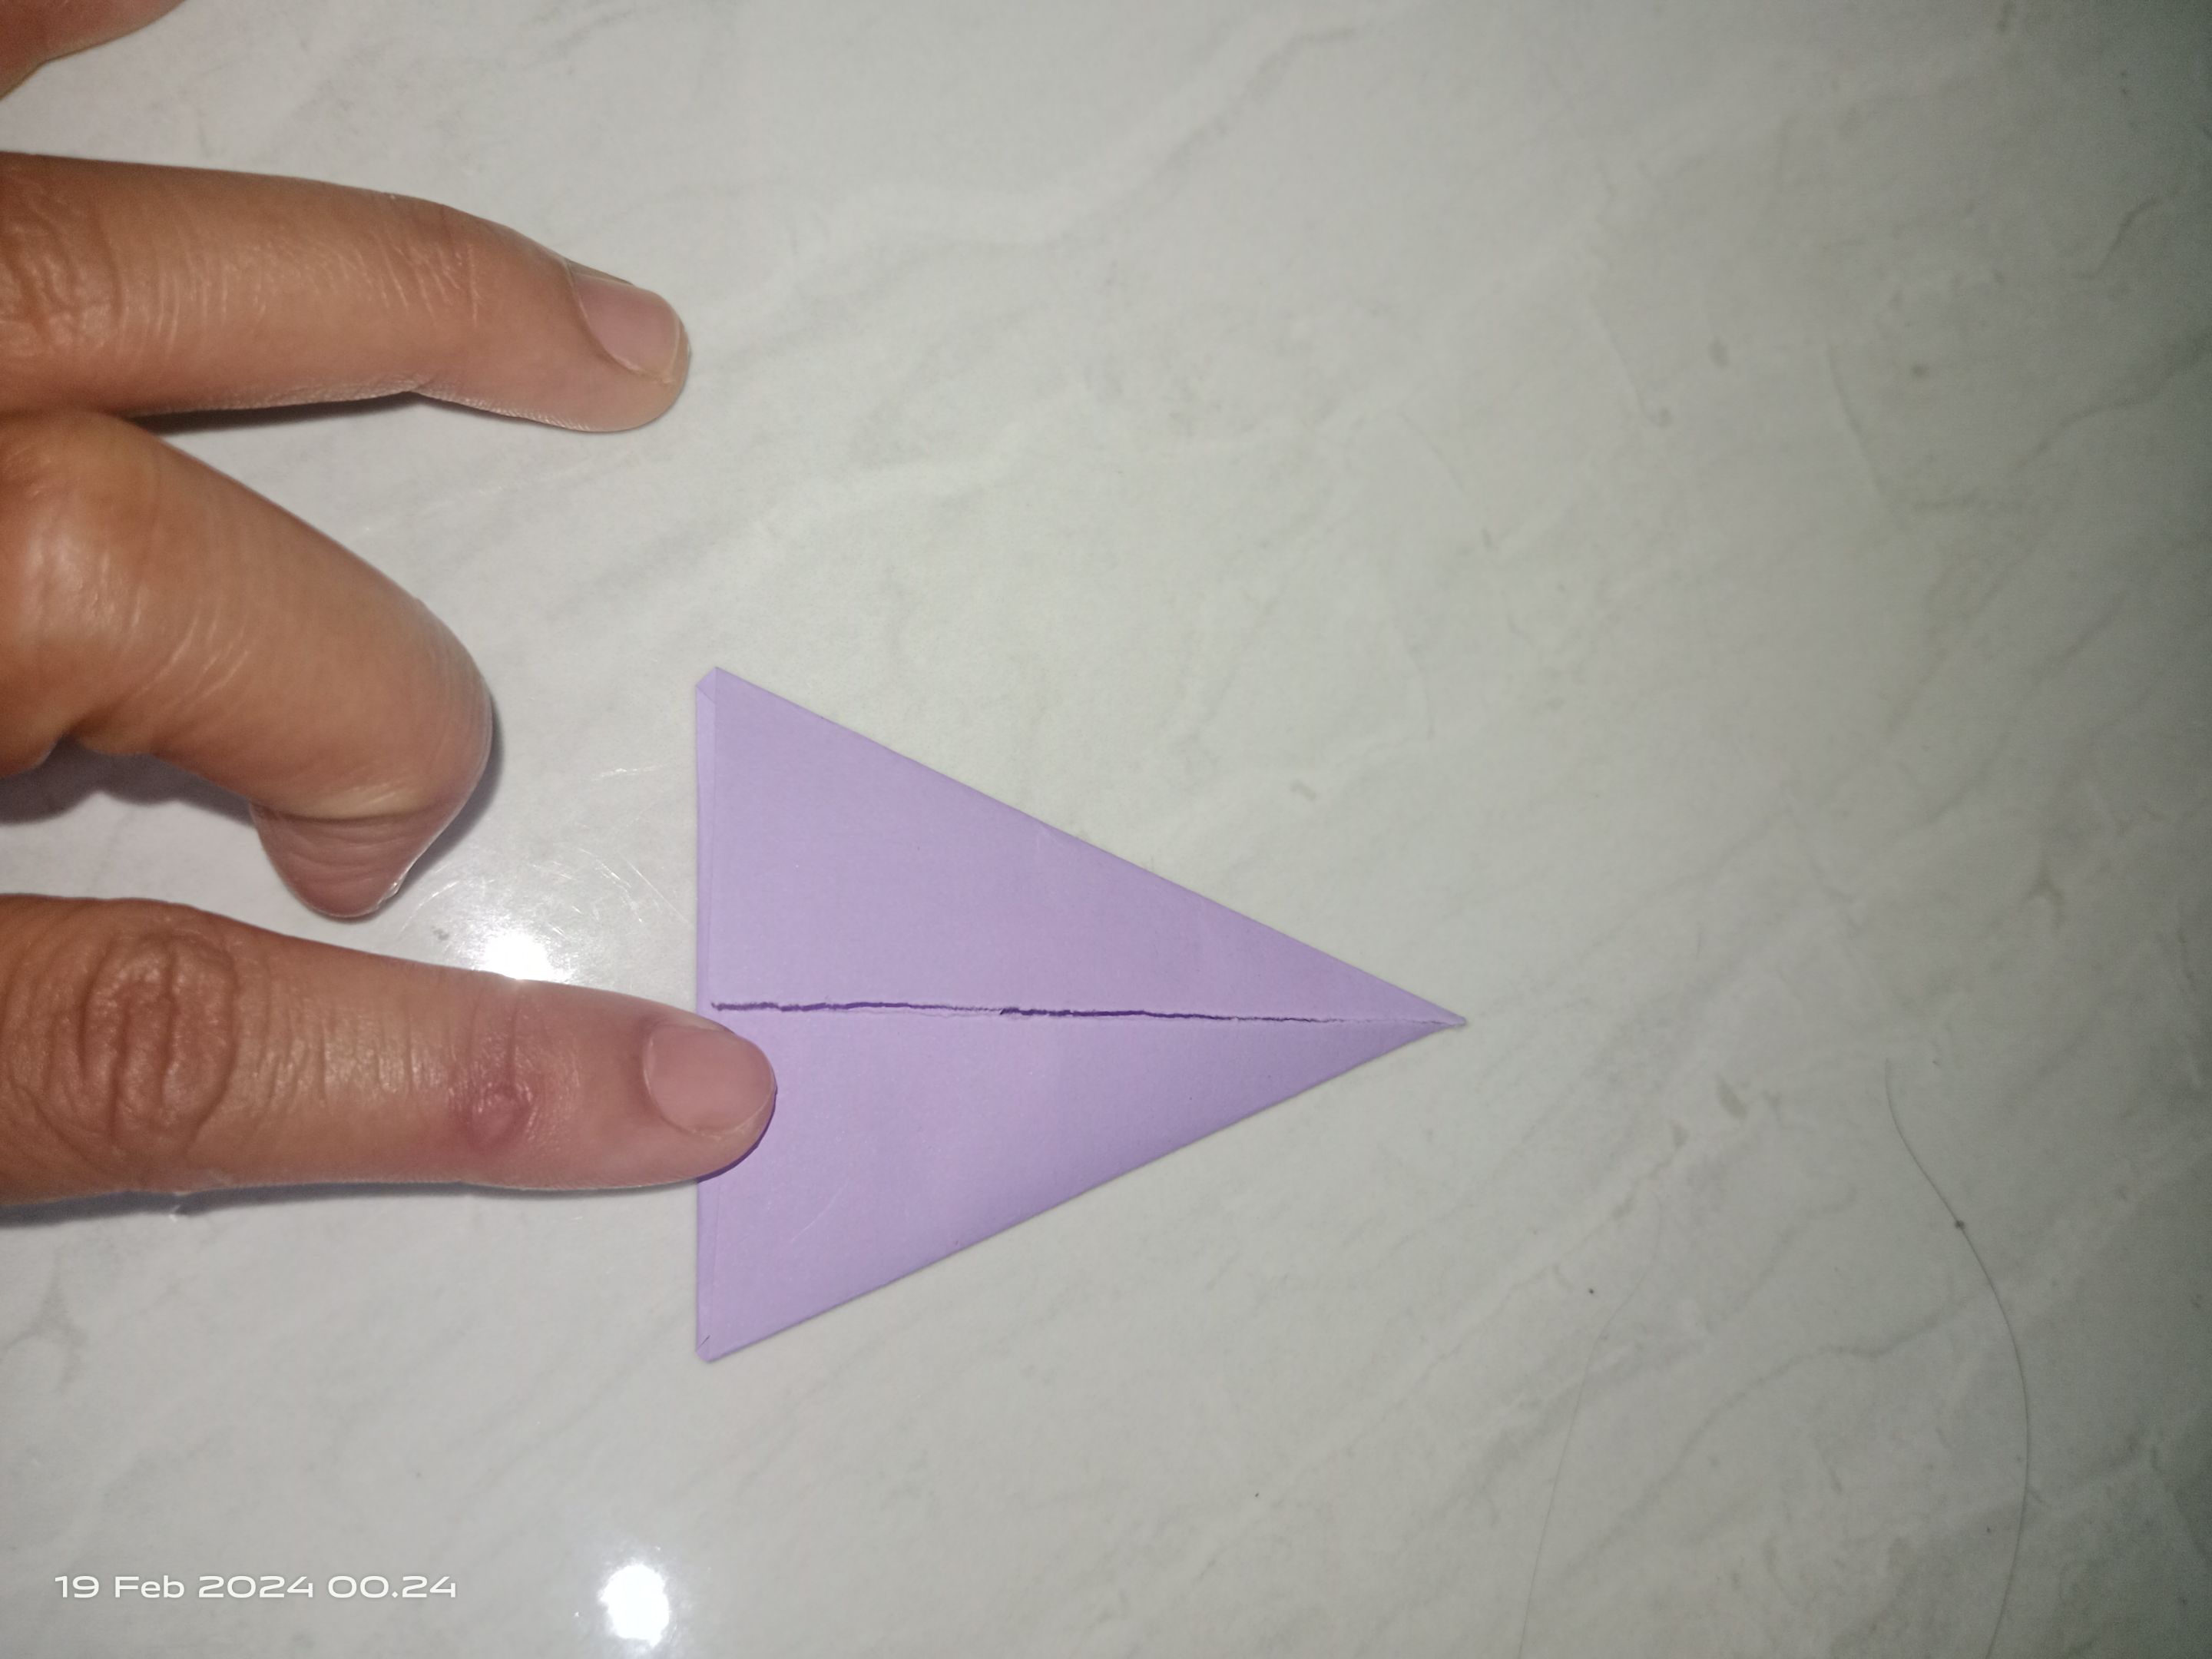
Step 4
Fold the remaining edge of the paper into the triangular fold. Like the picture.

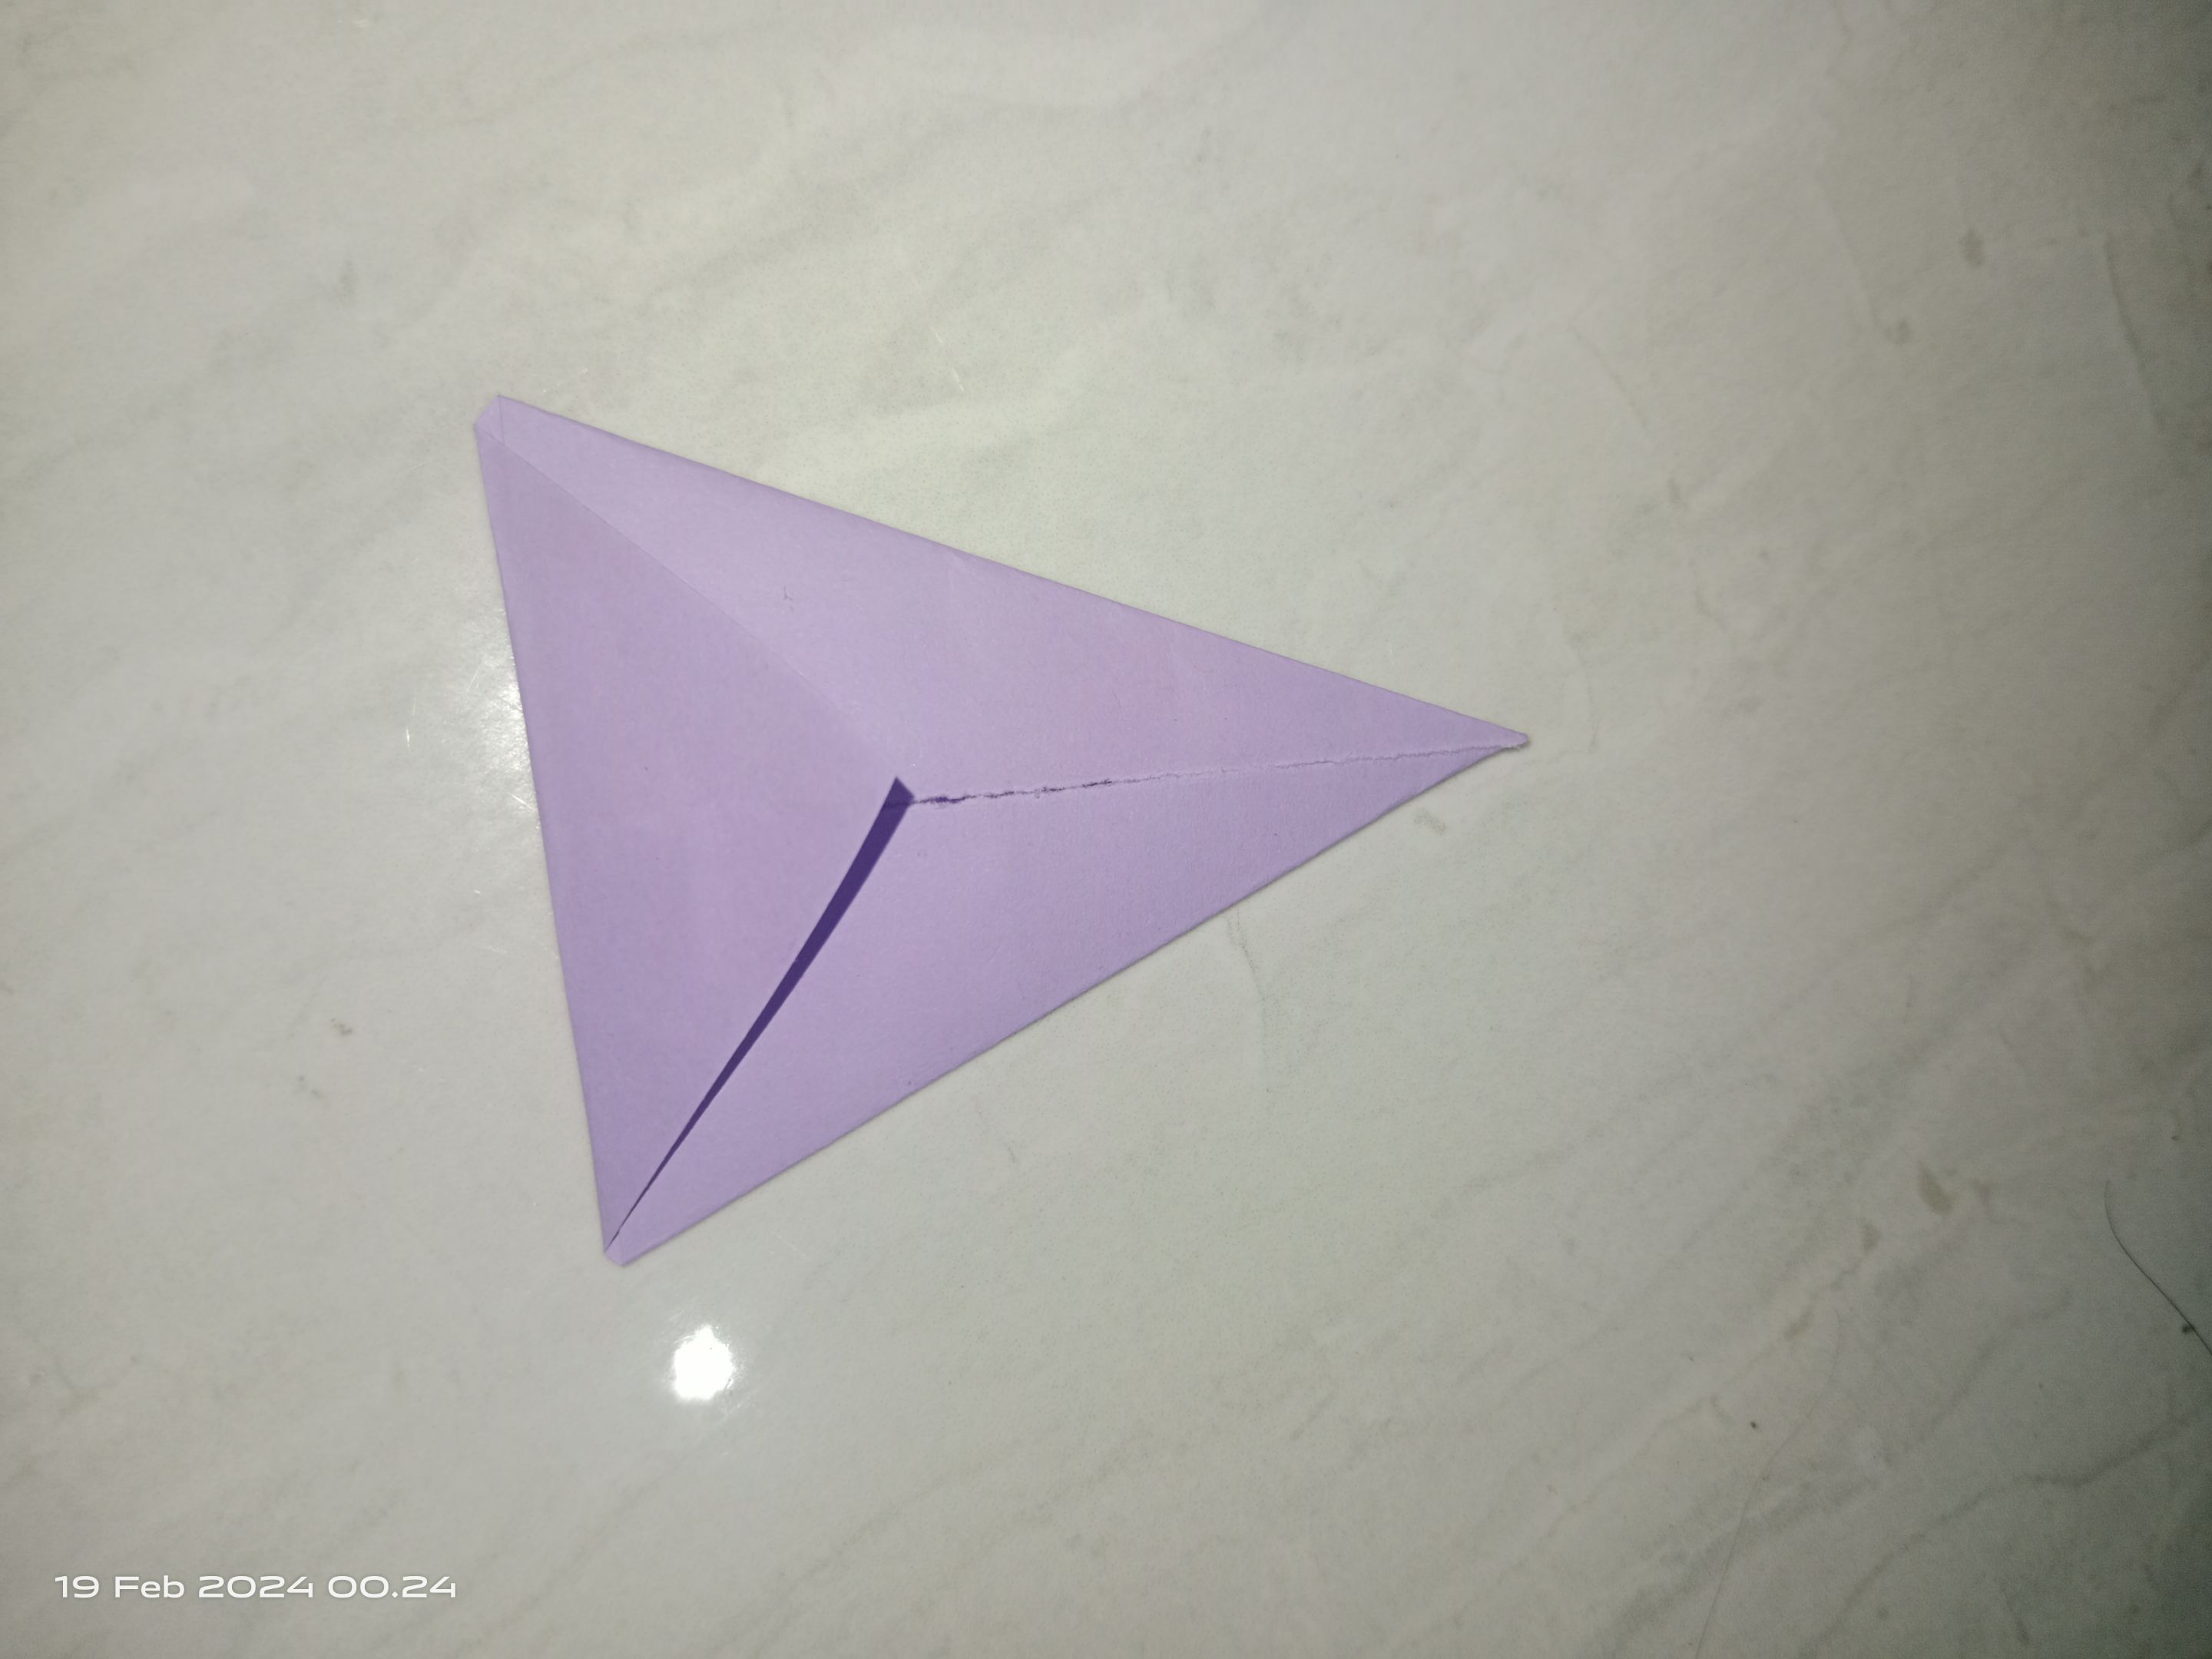
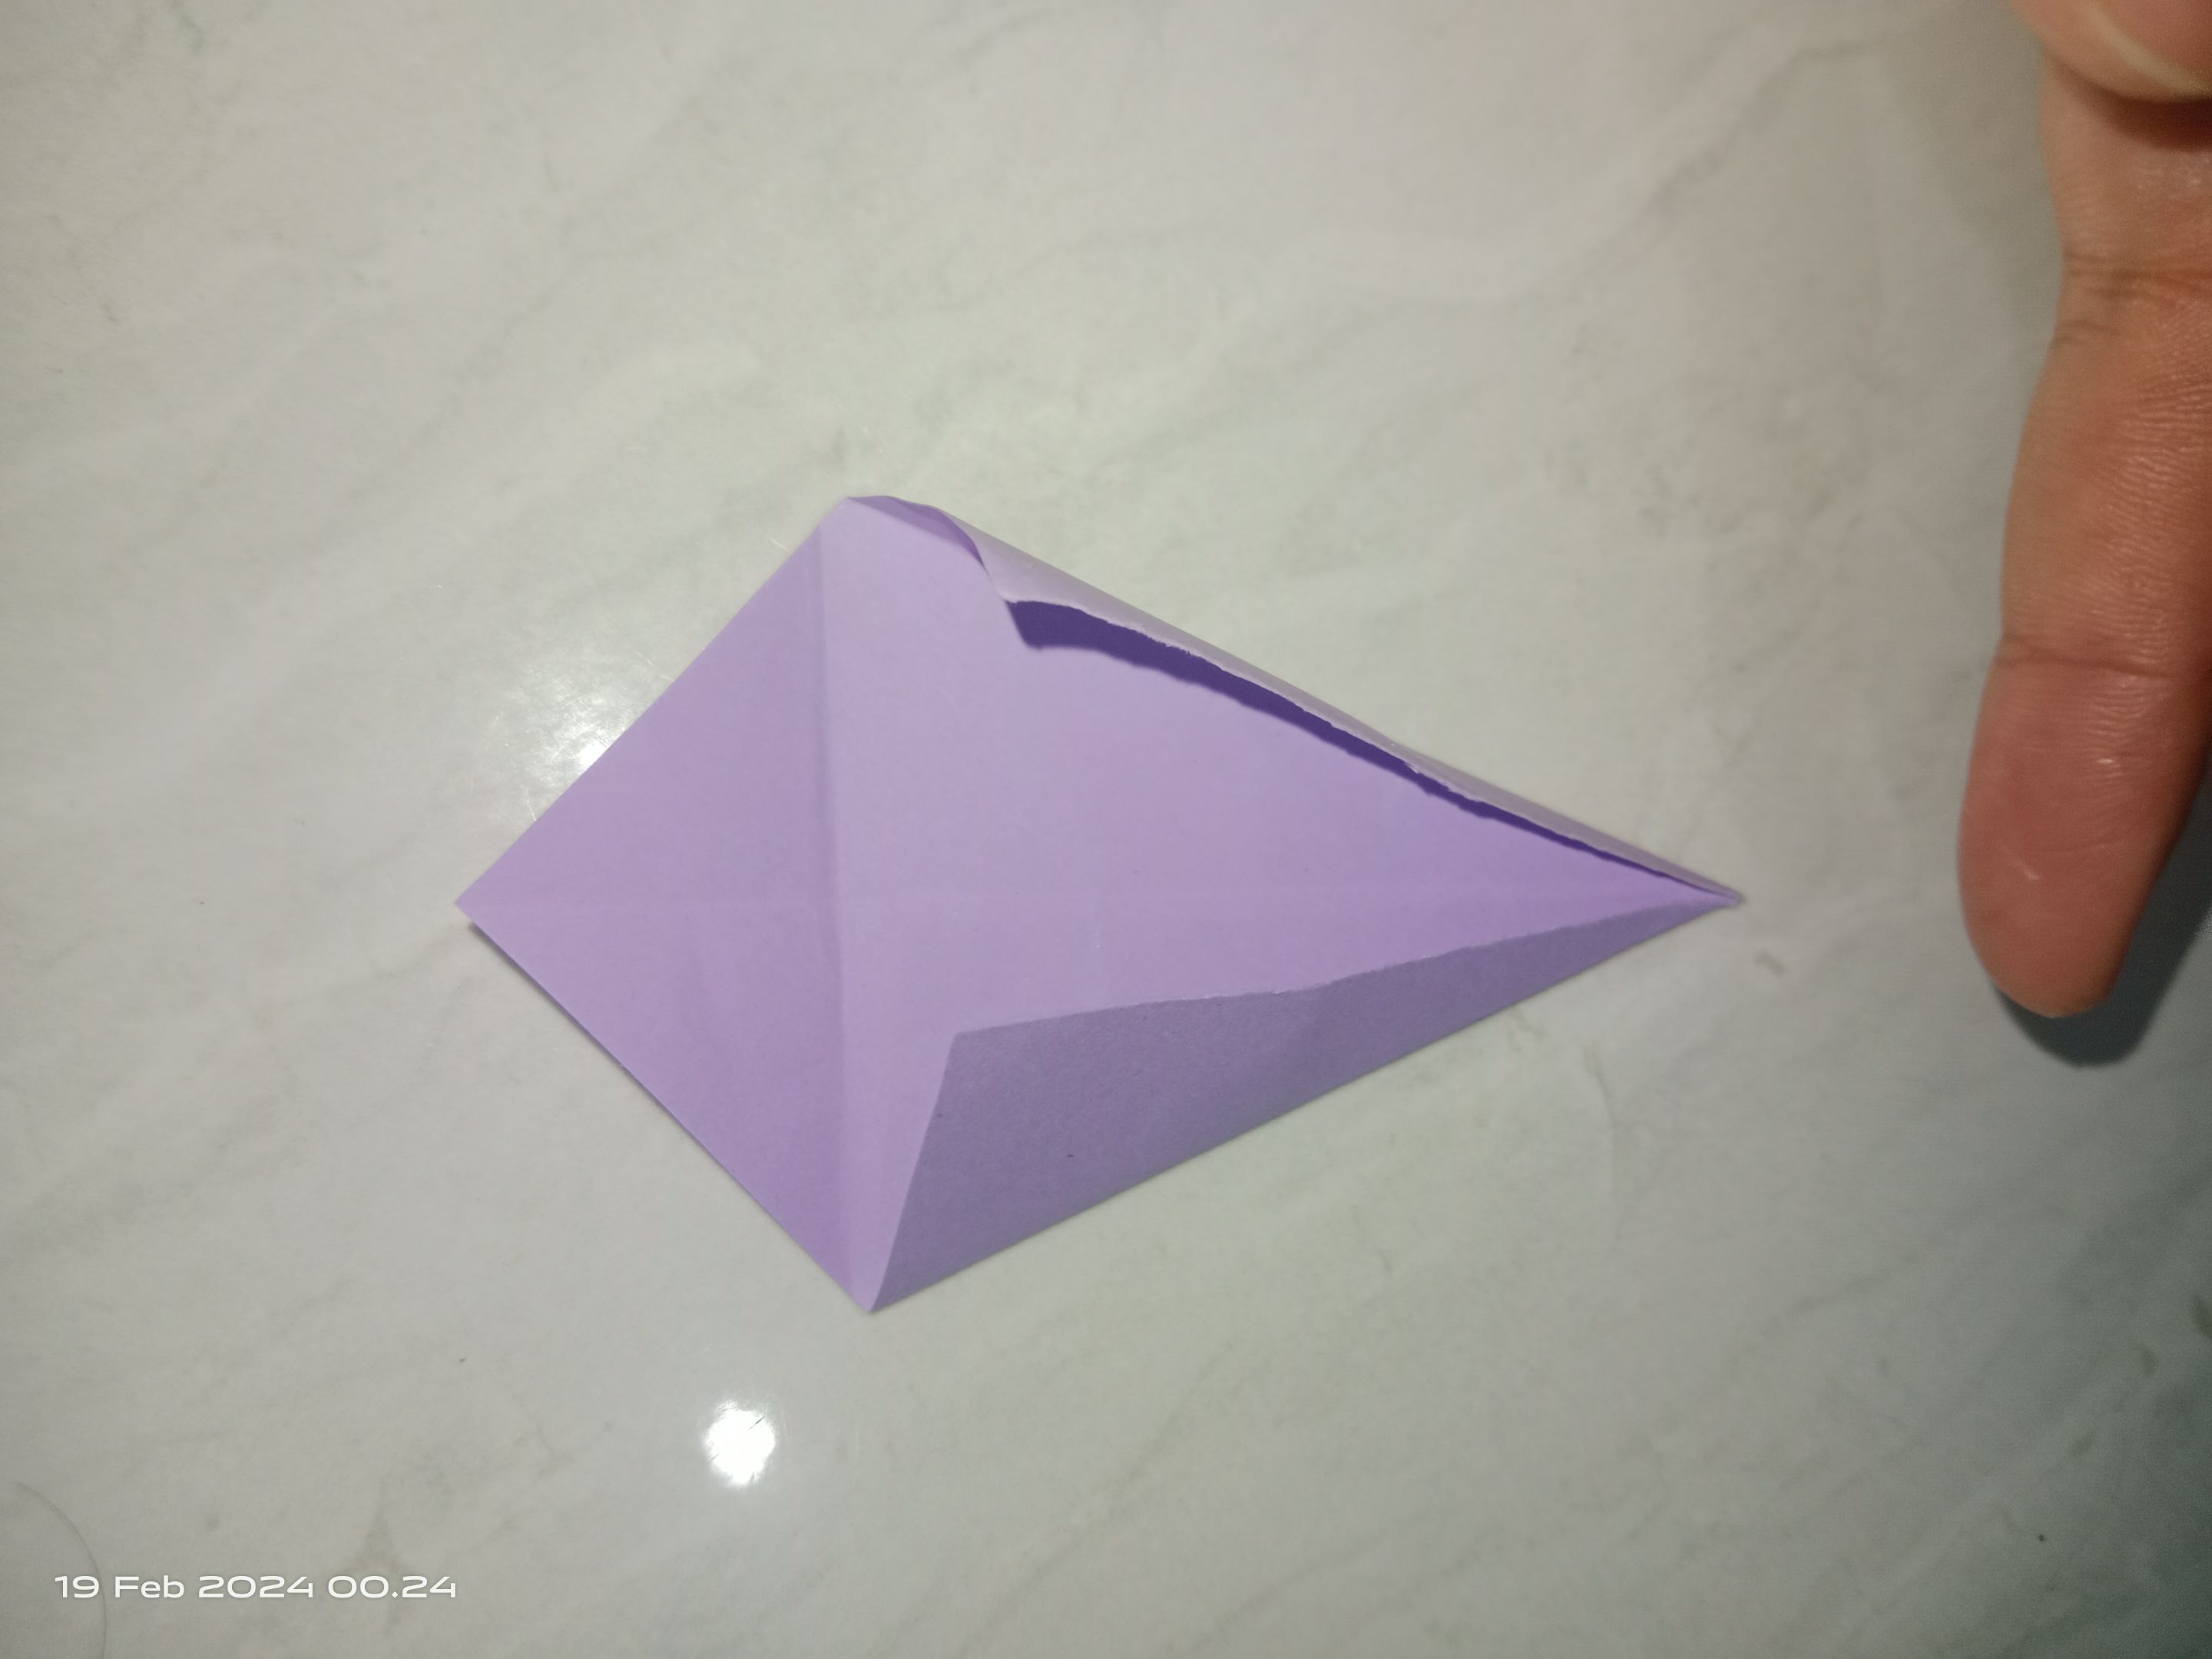
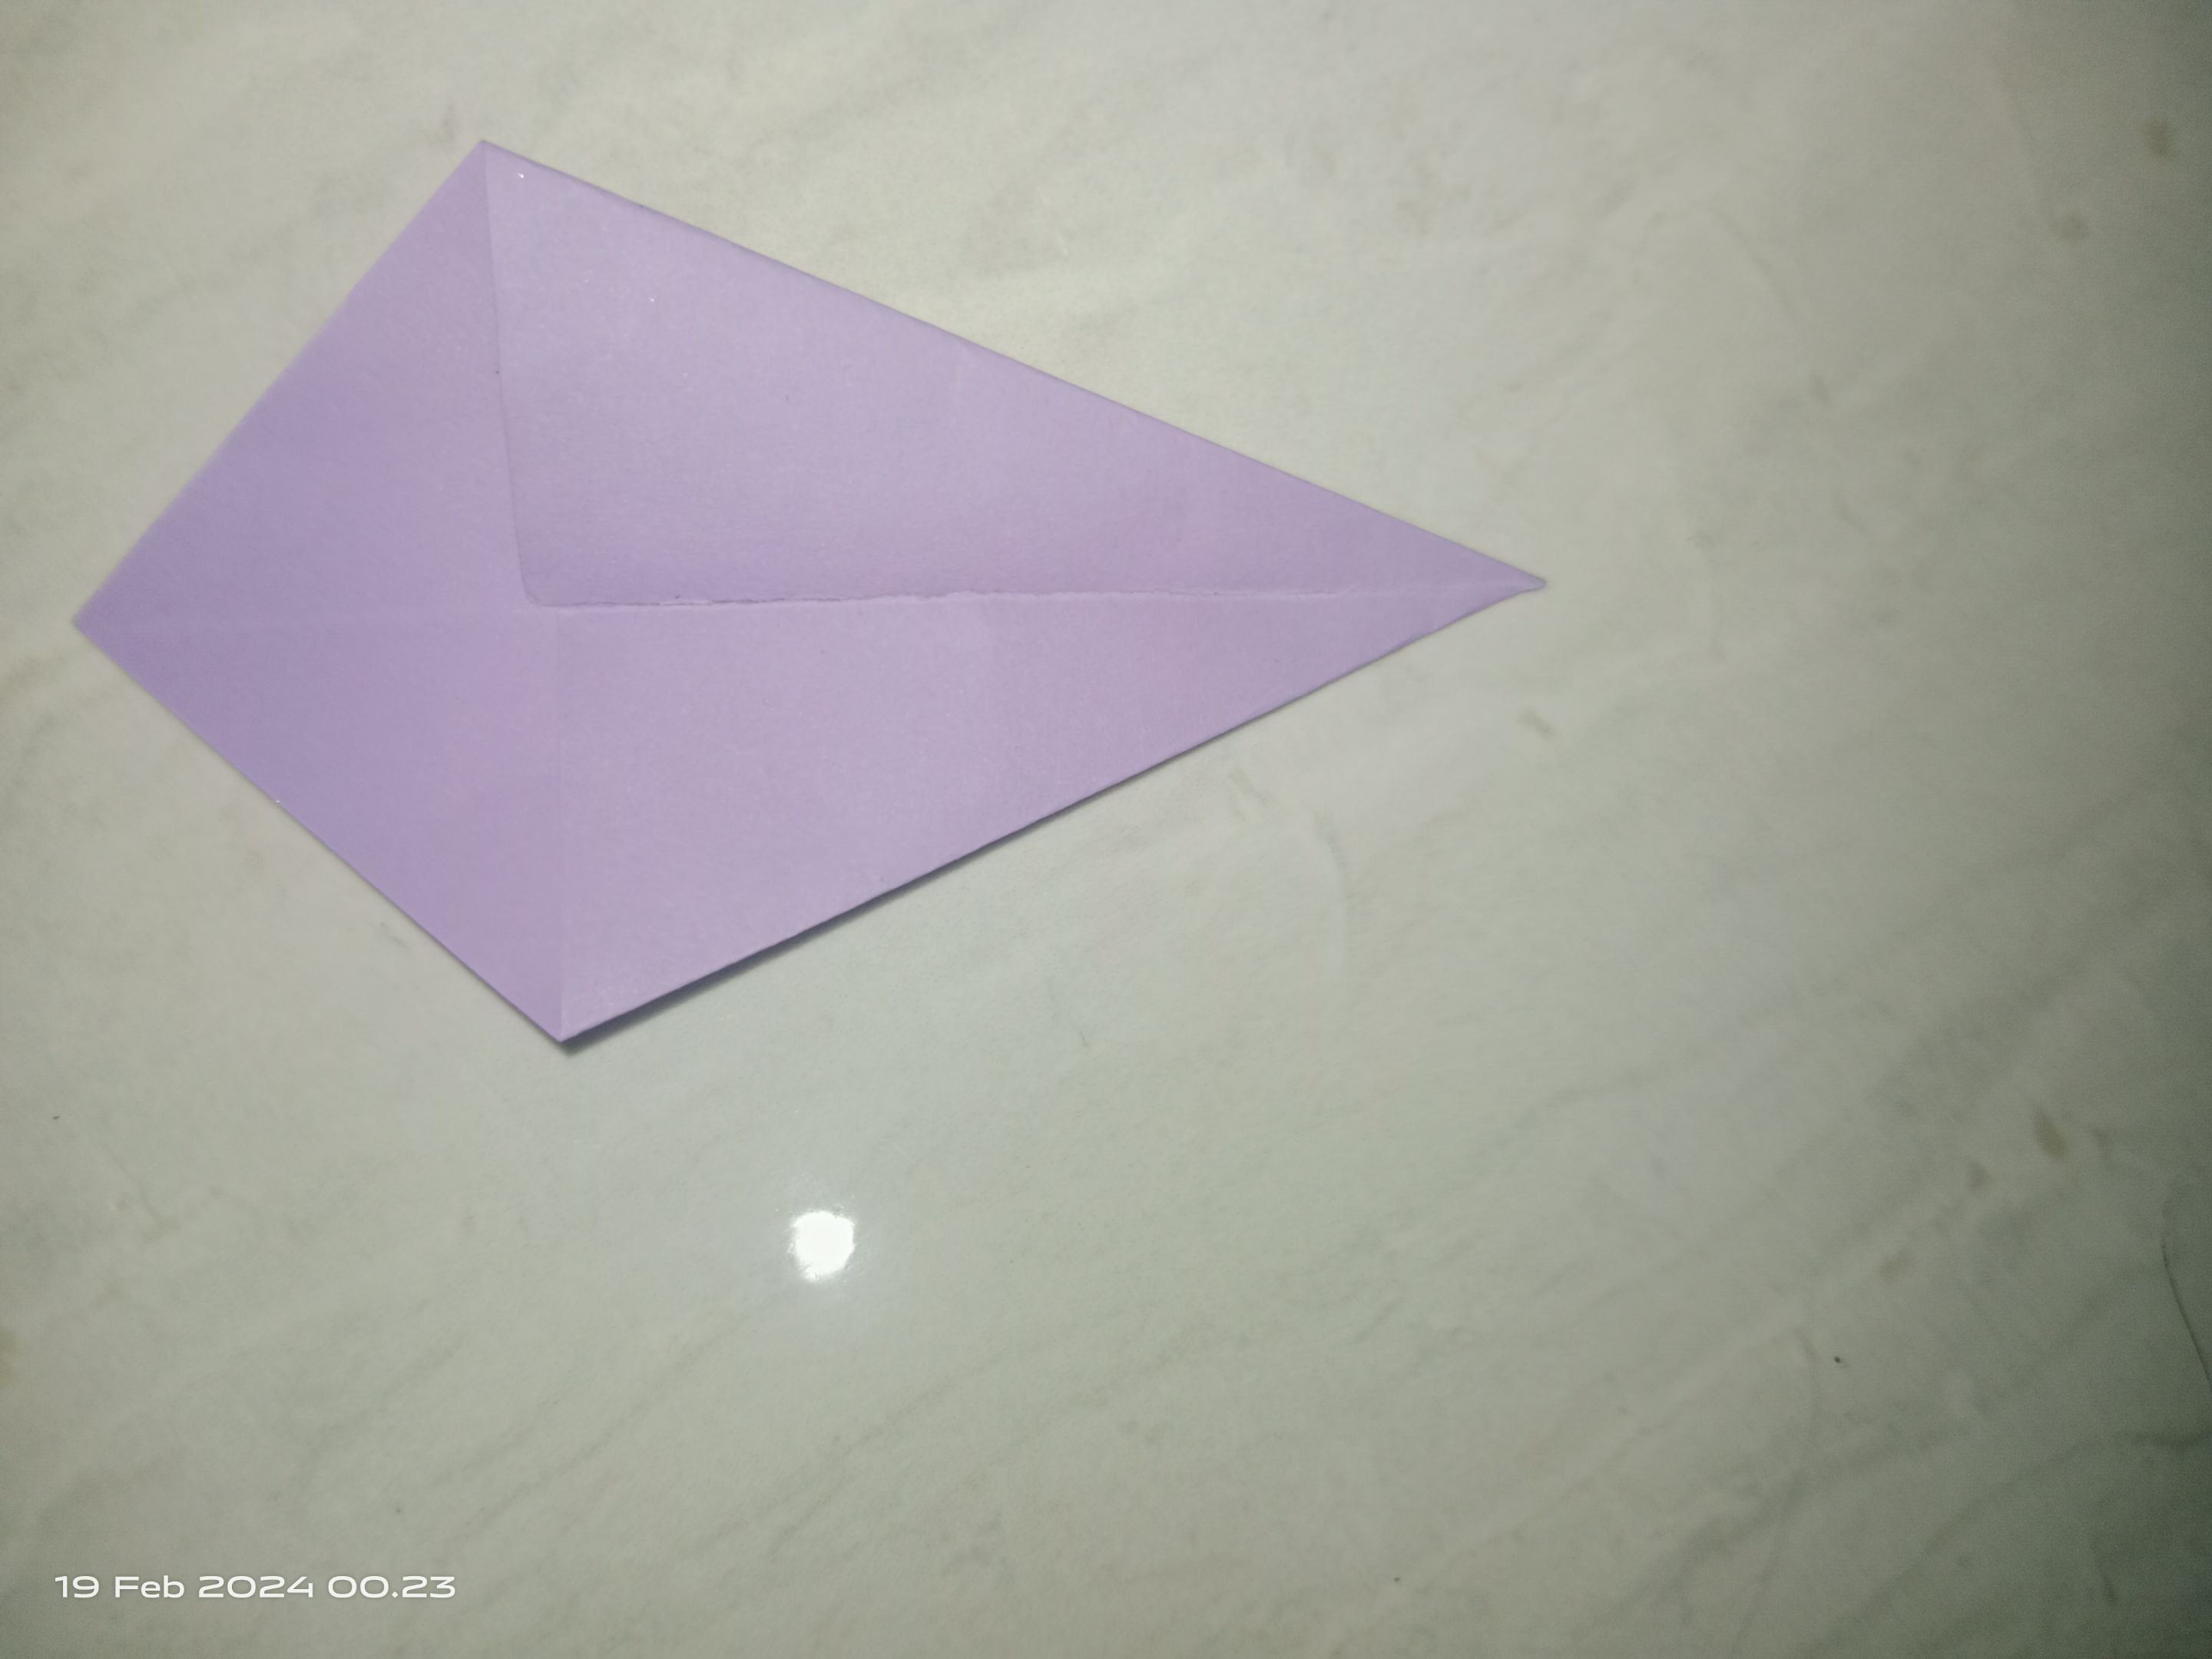
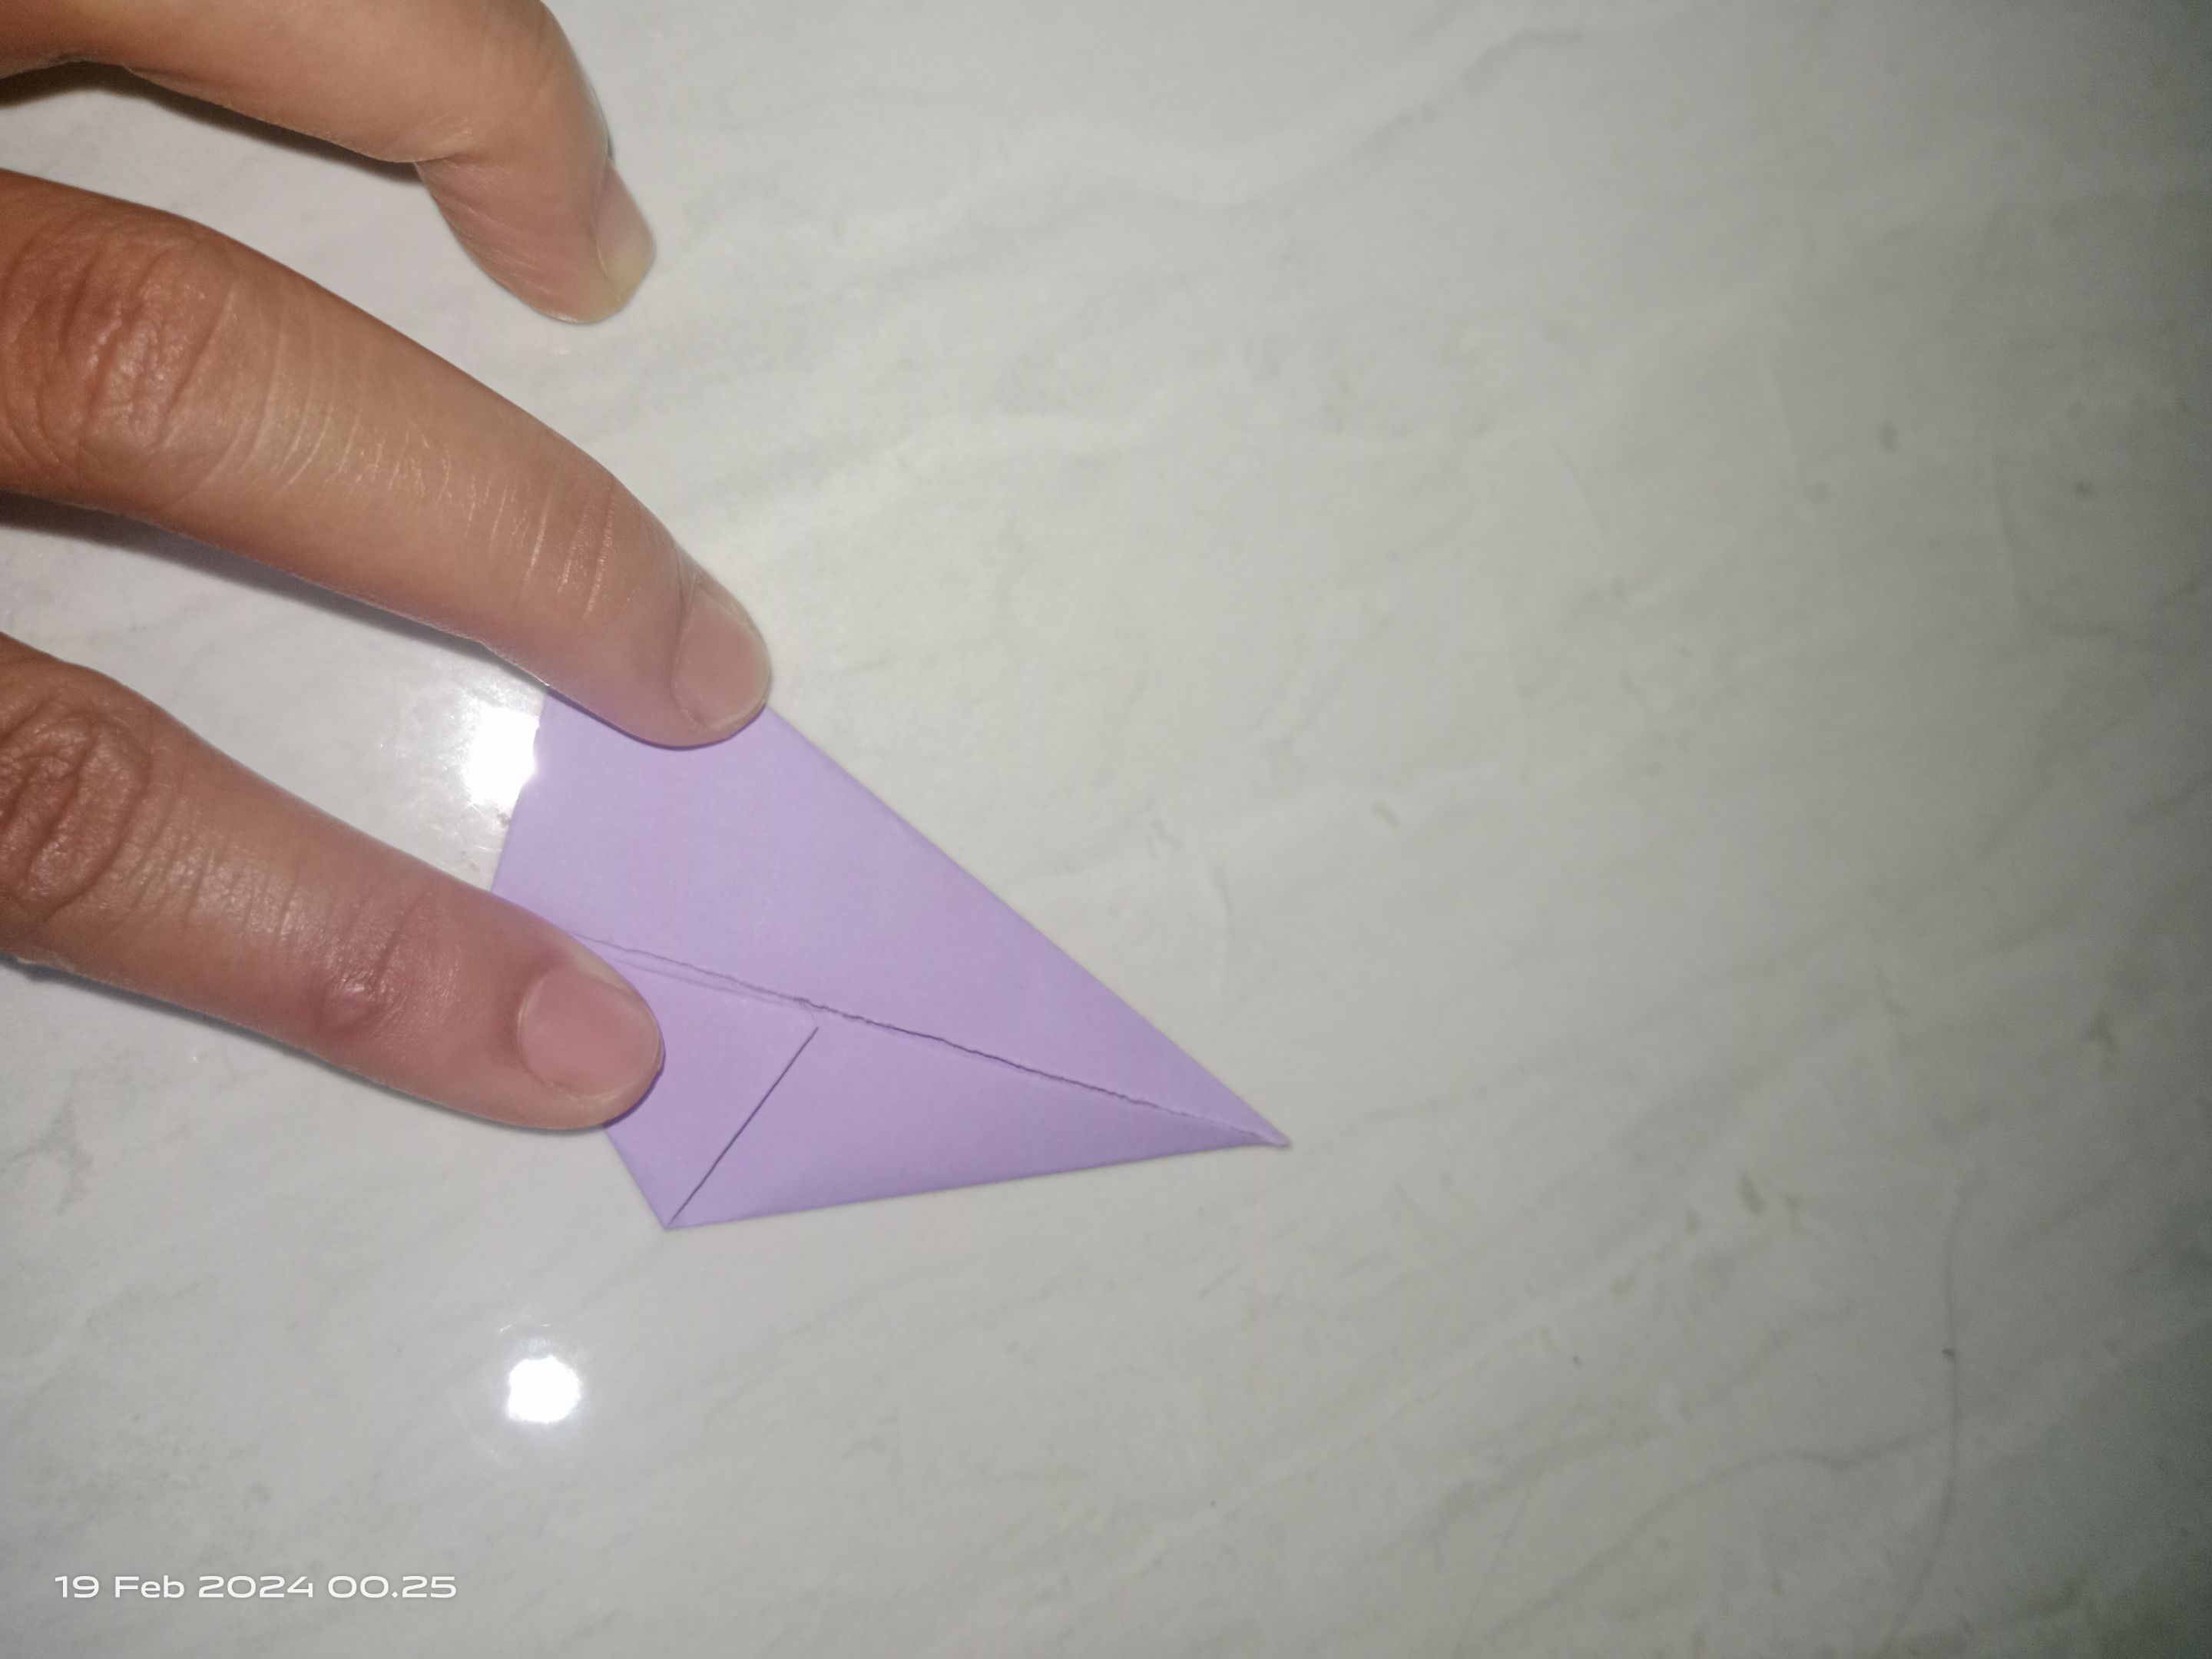
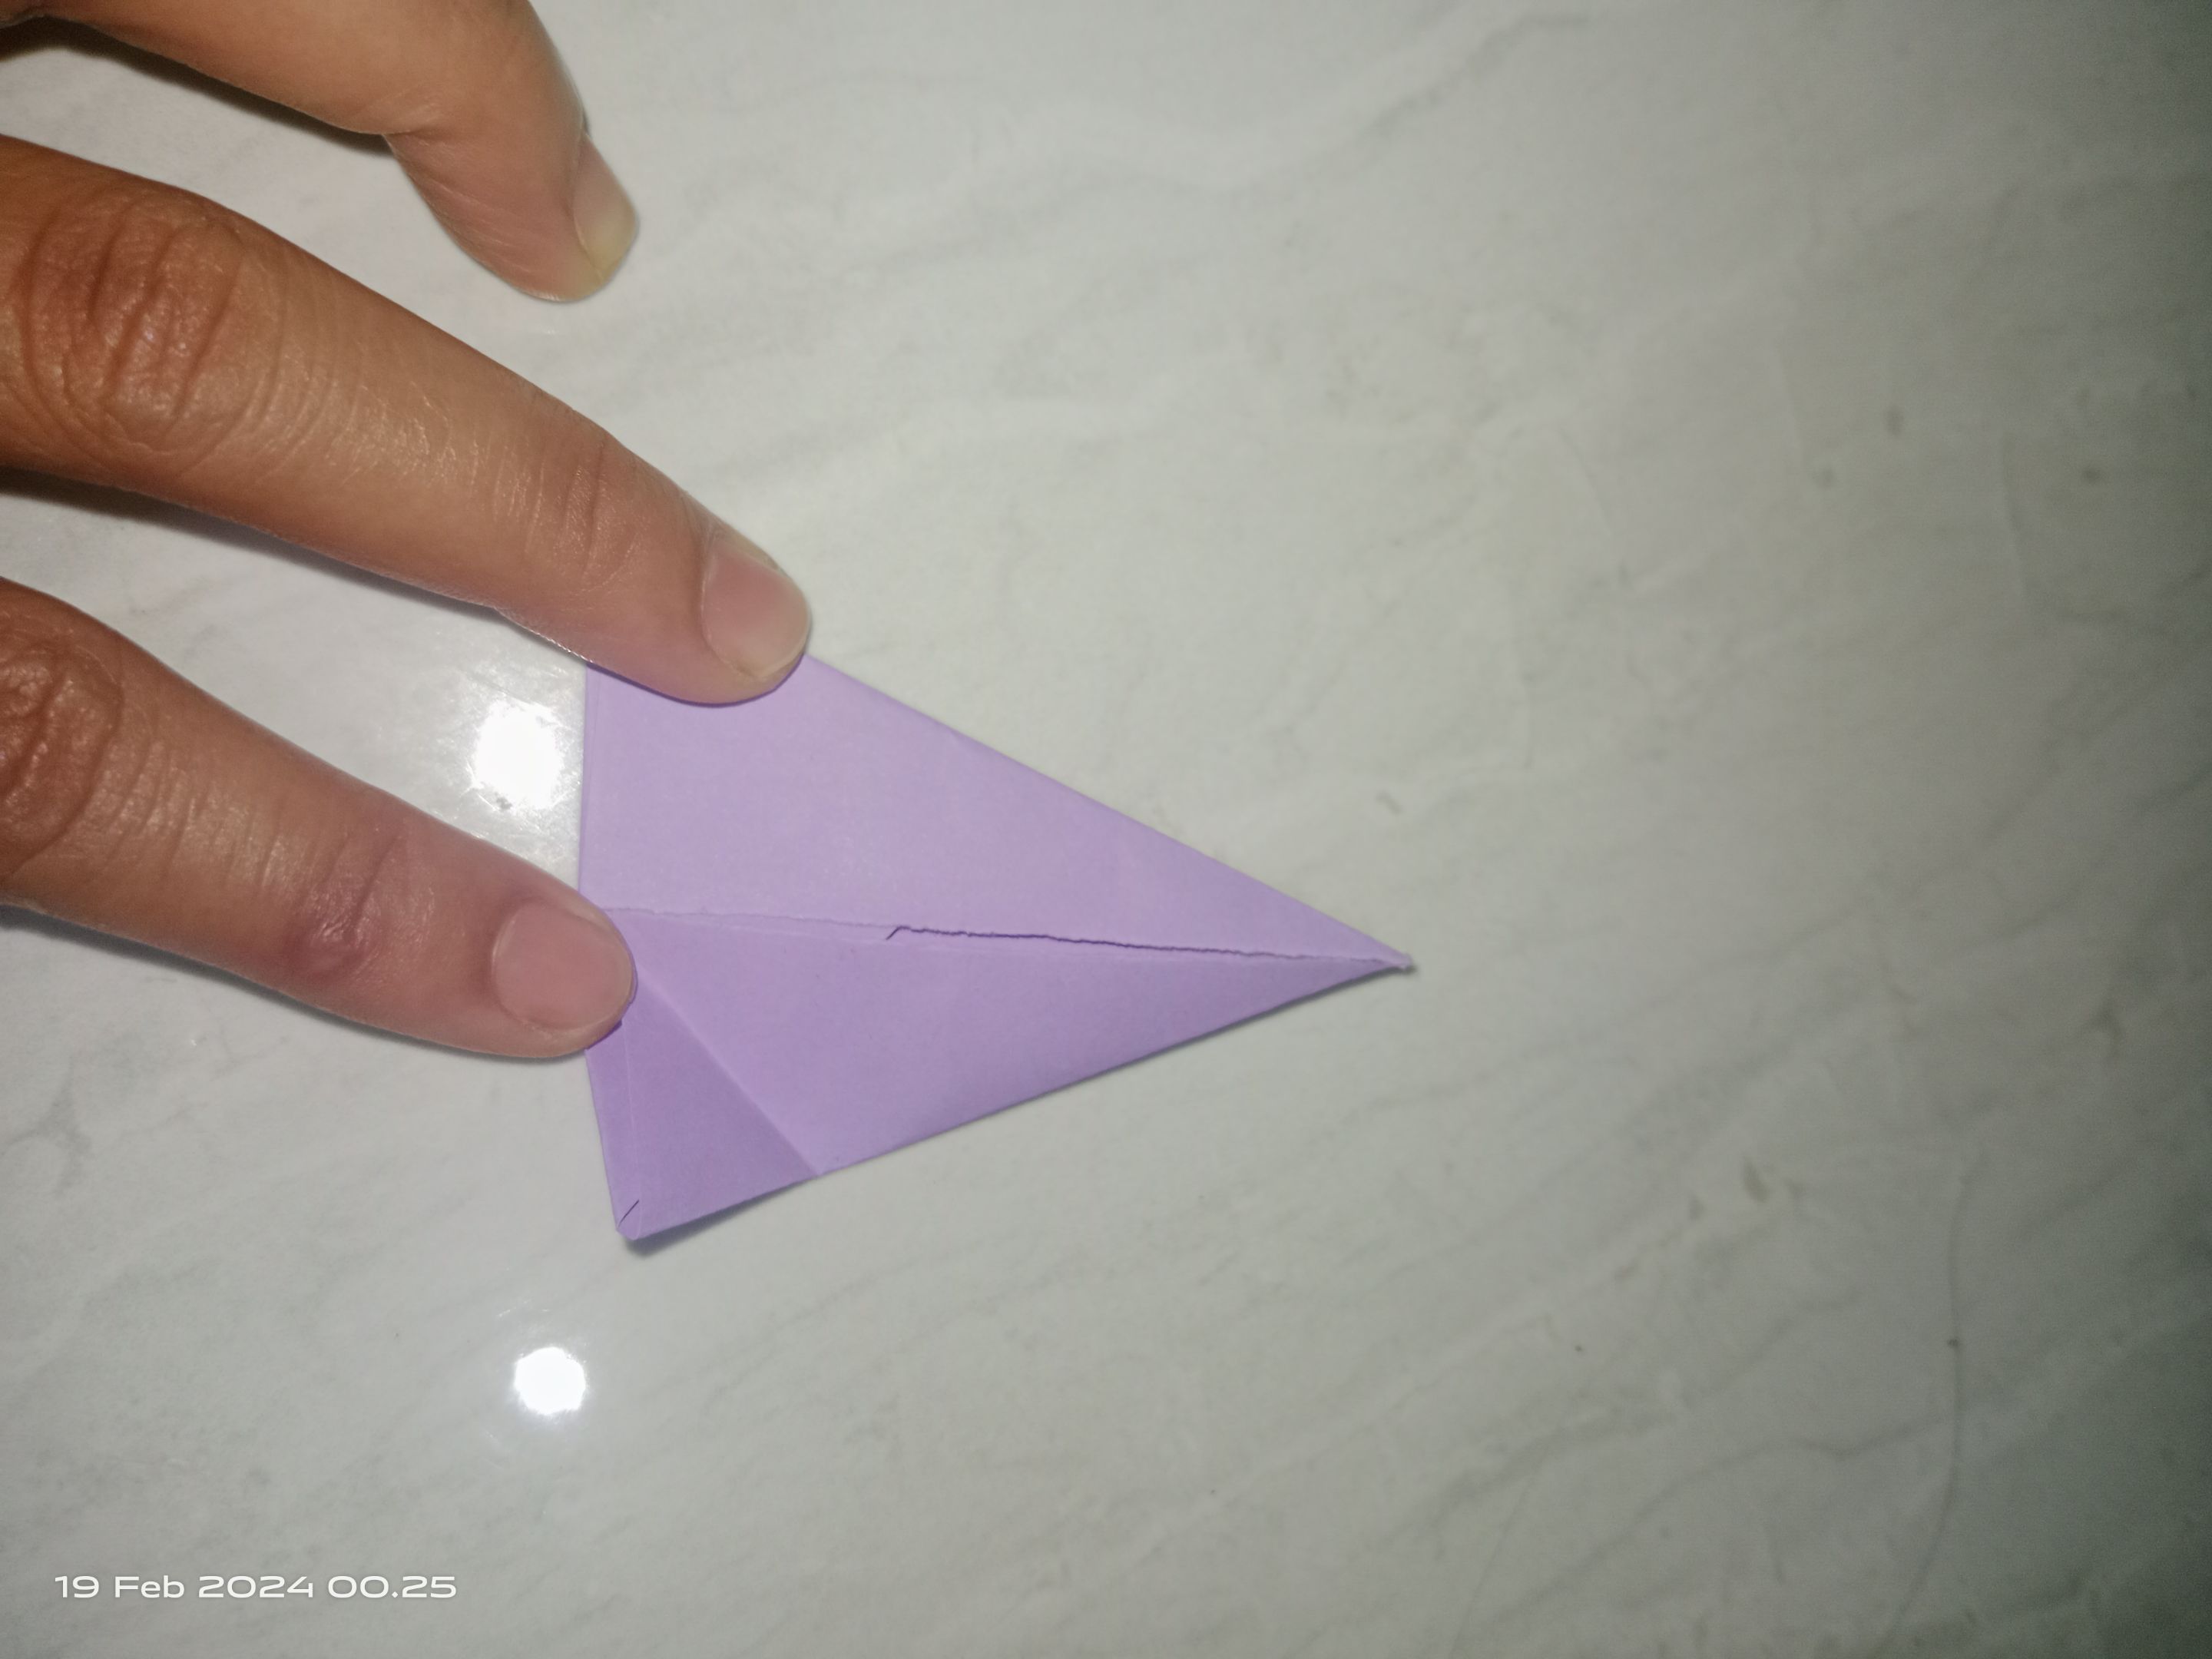
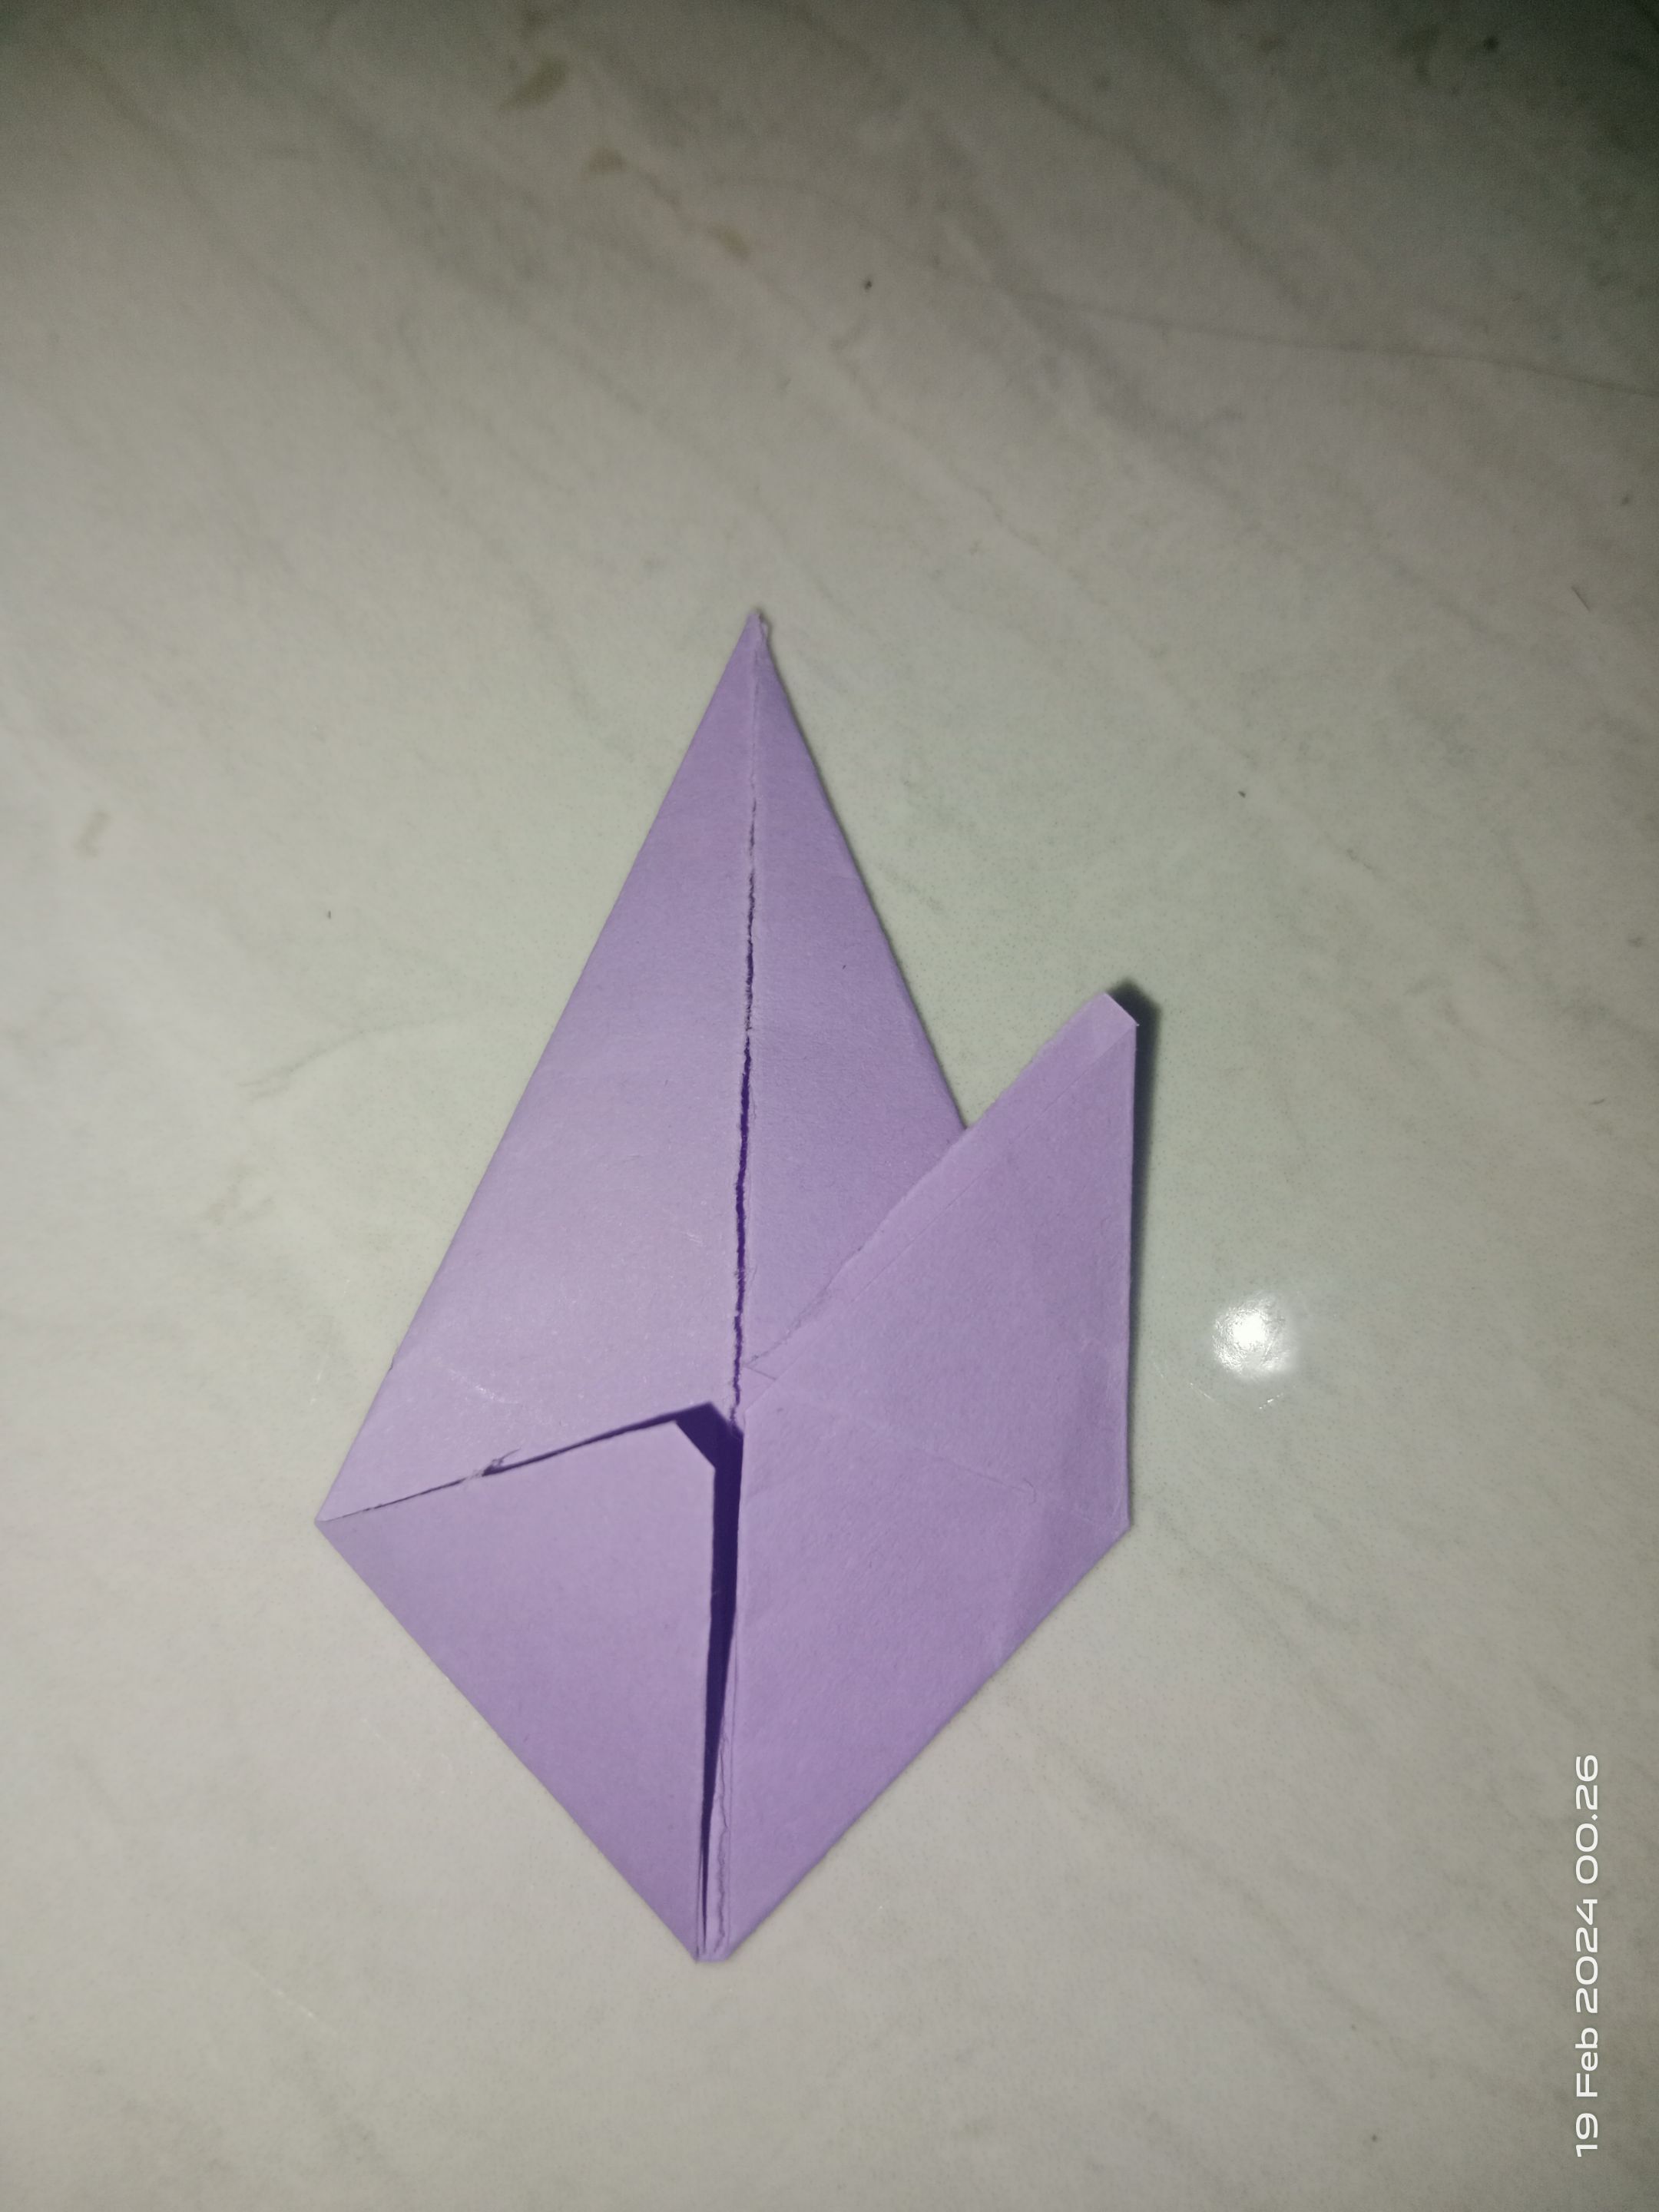
Step 5
Once the paper is an isosceles triangle, then fold each leg into the middle of the line.
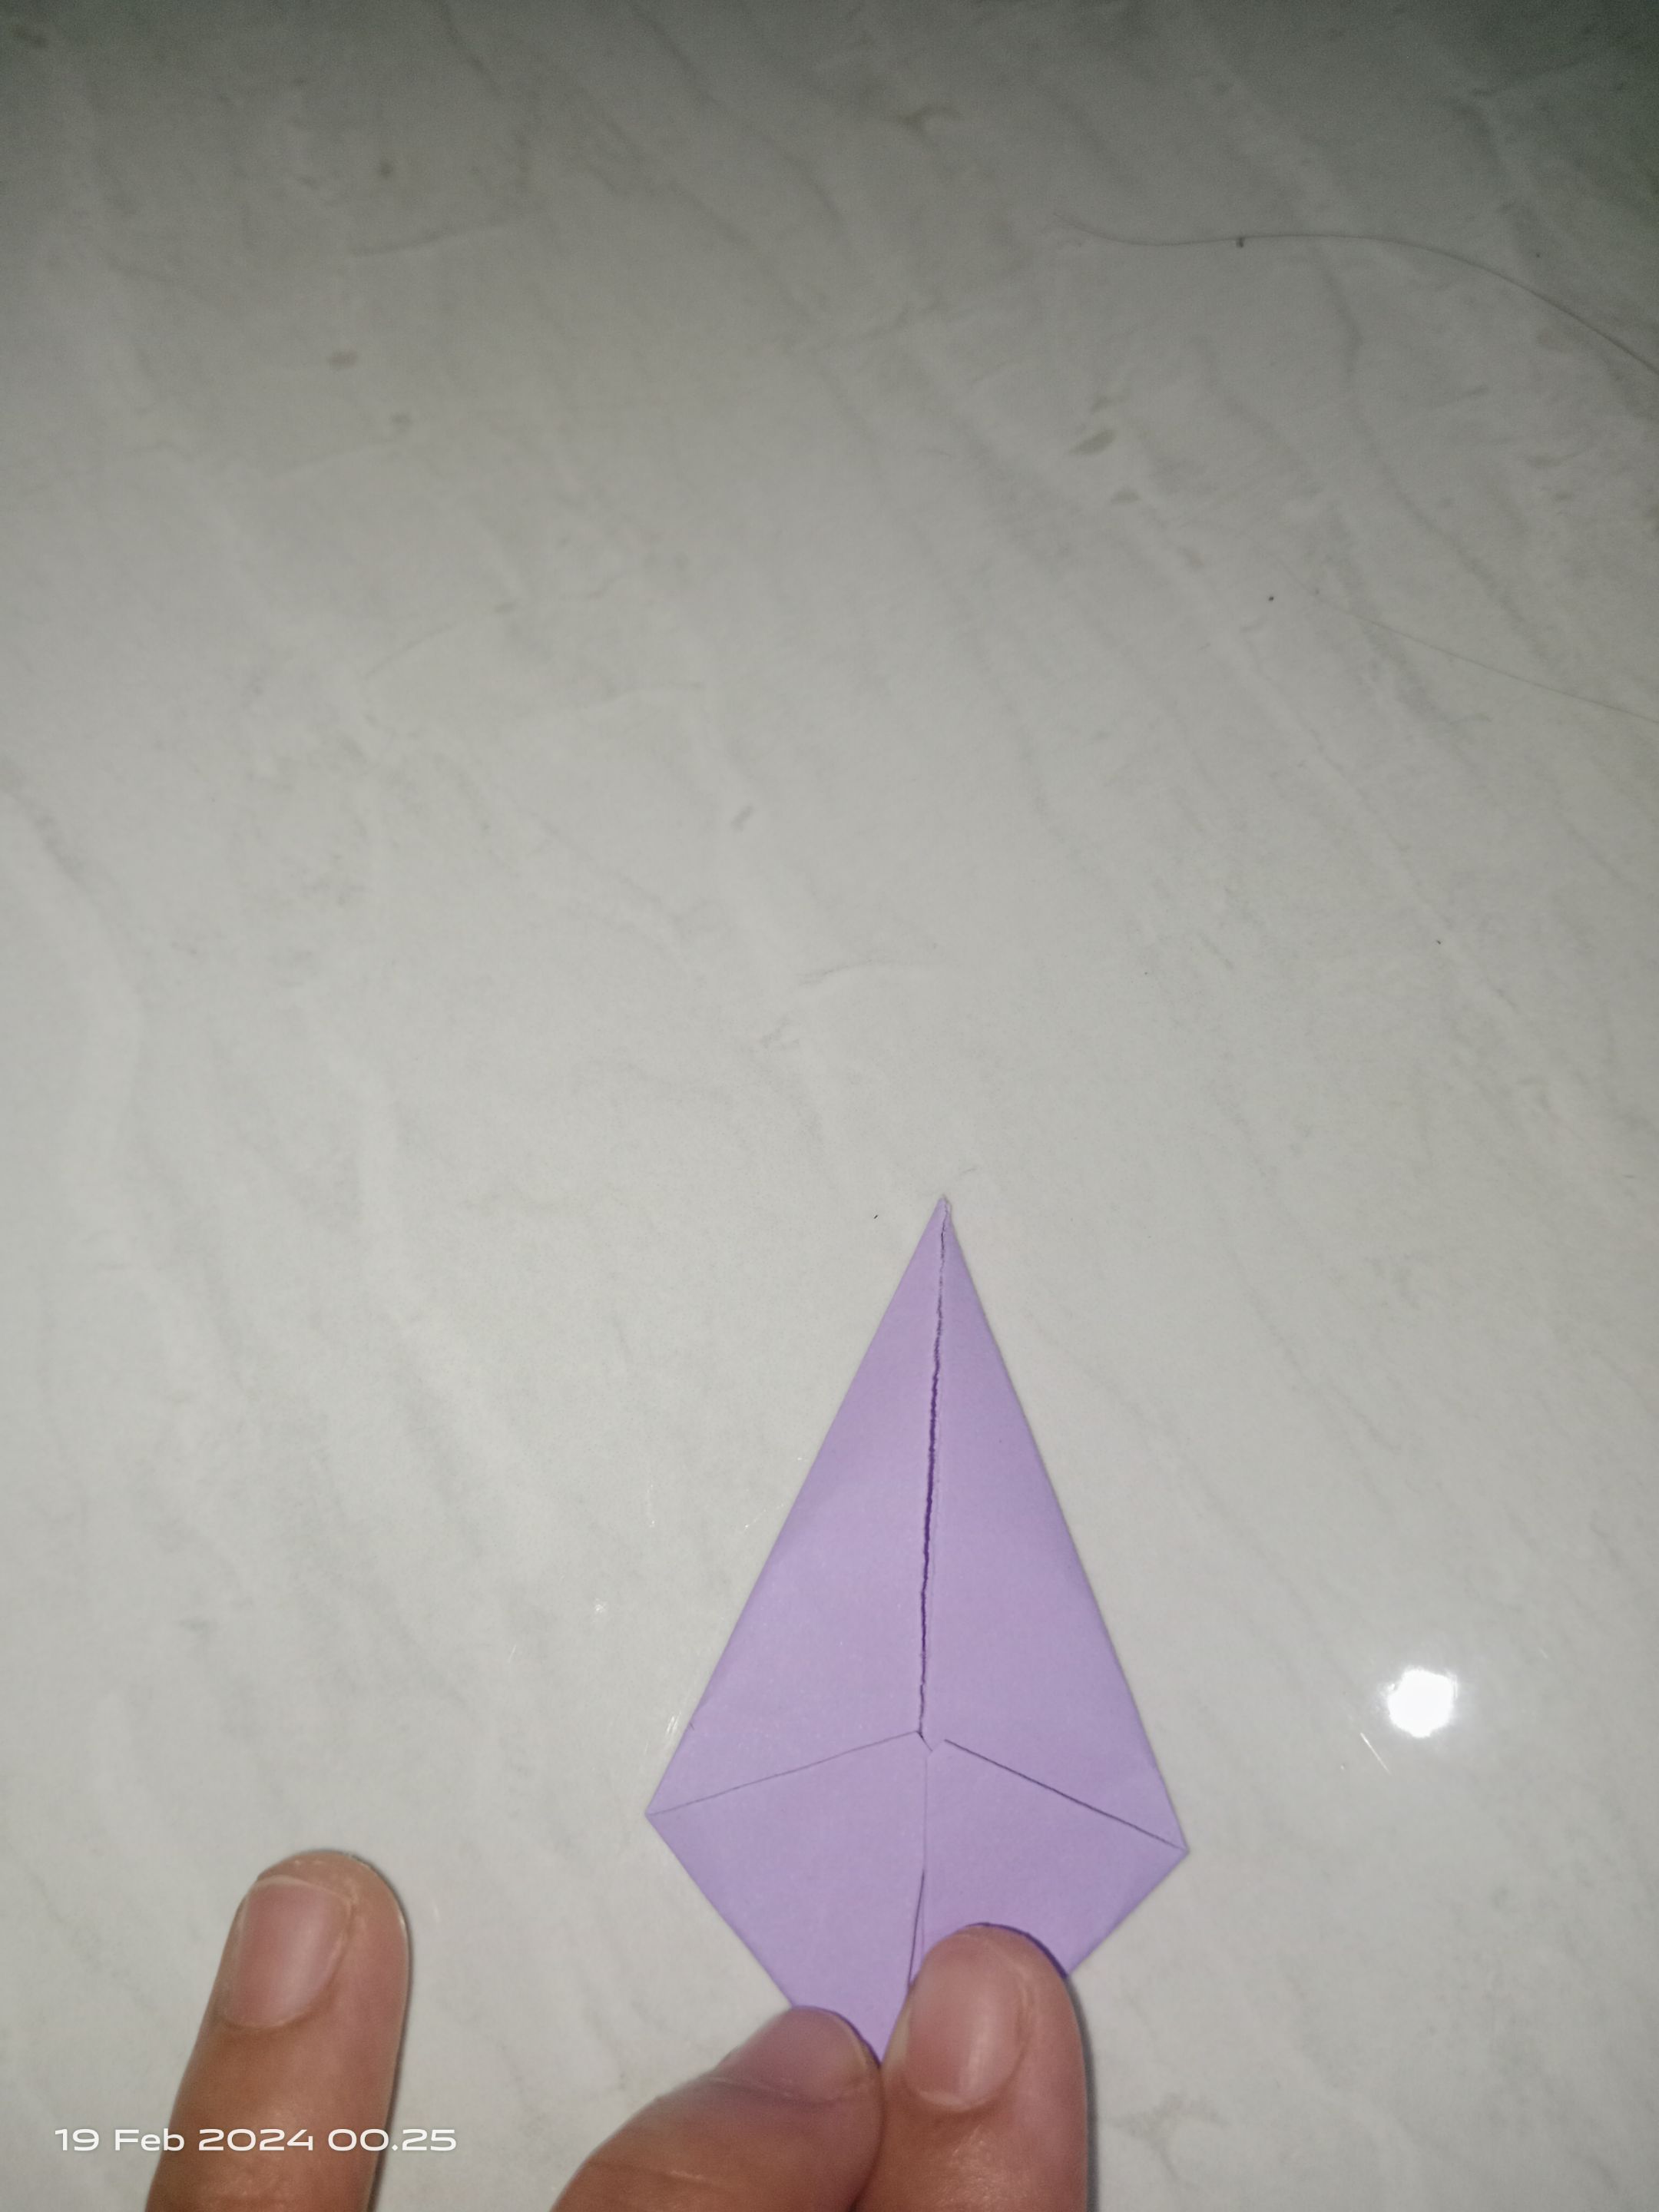
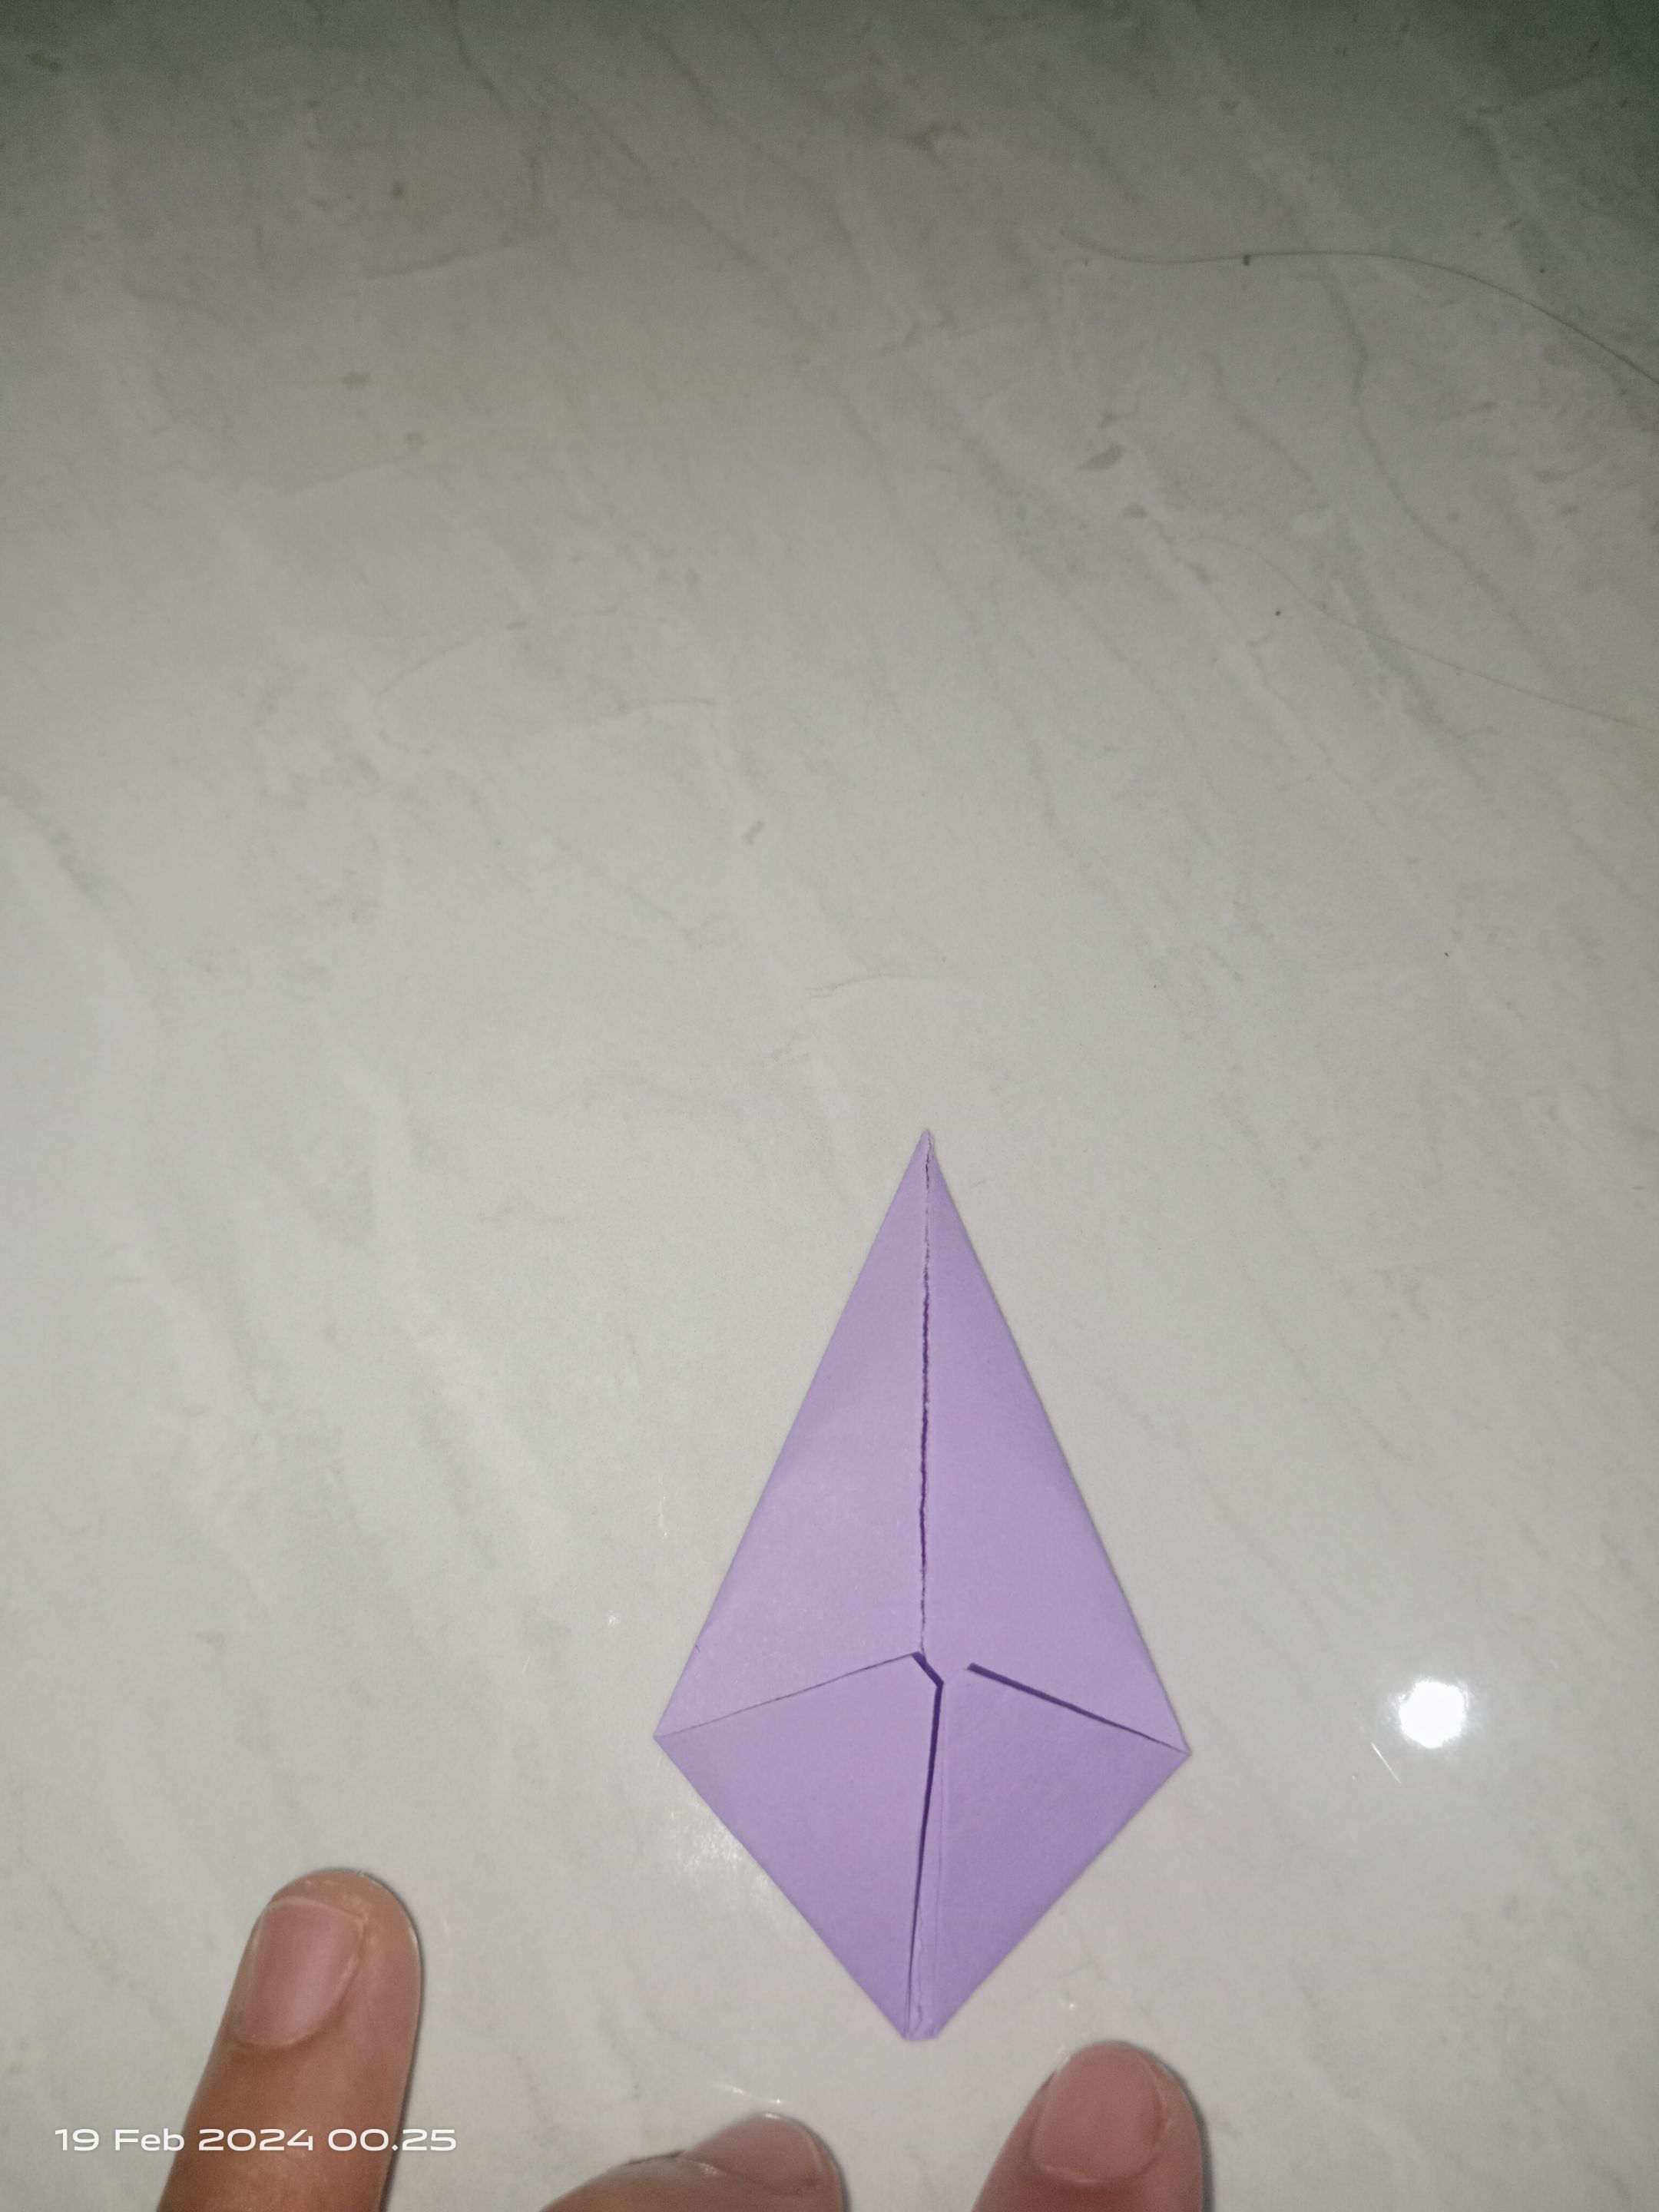
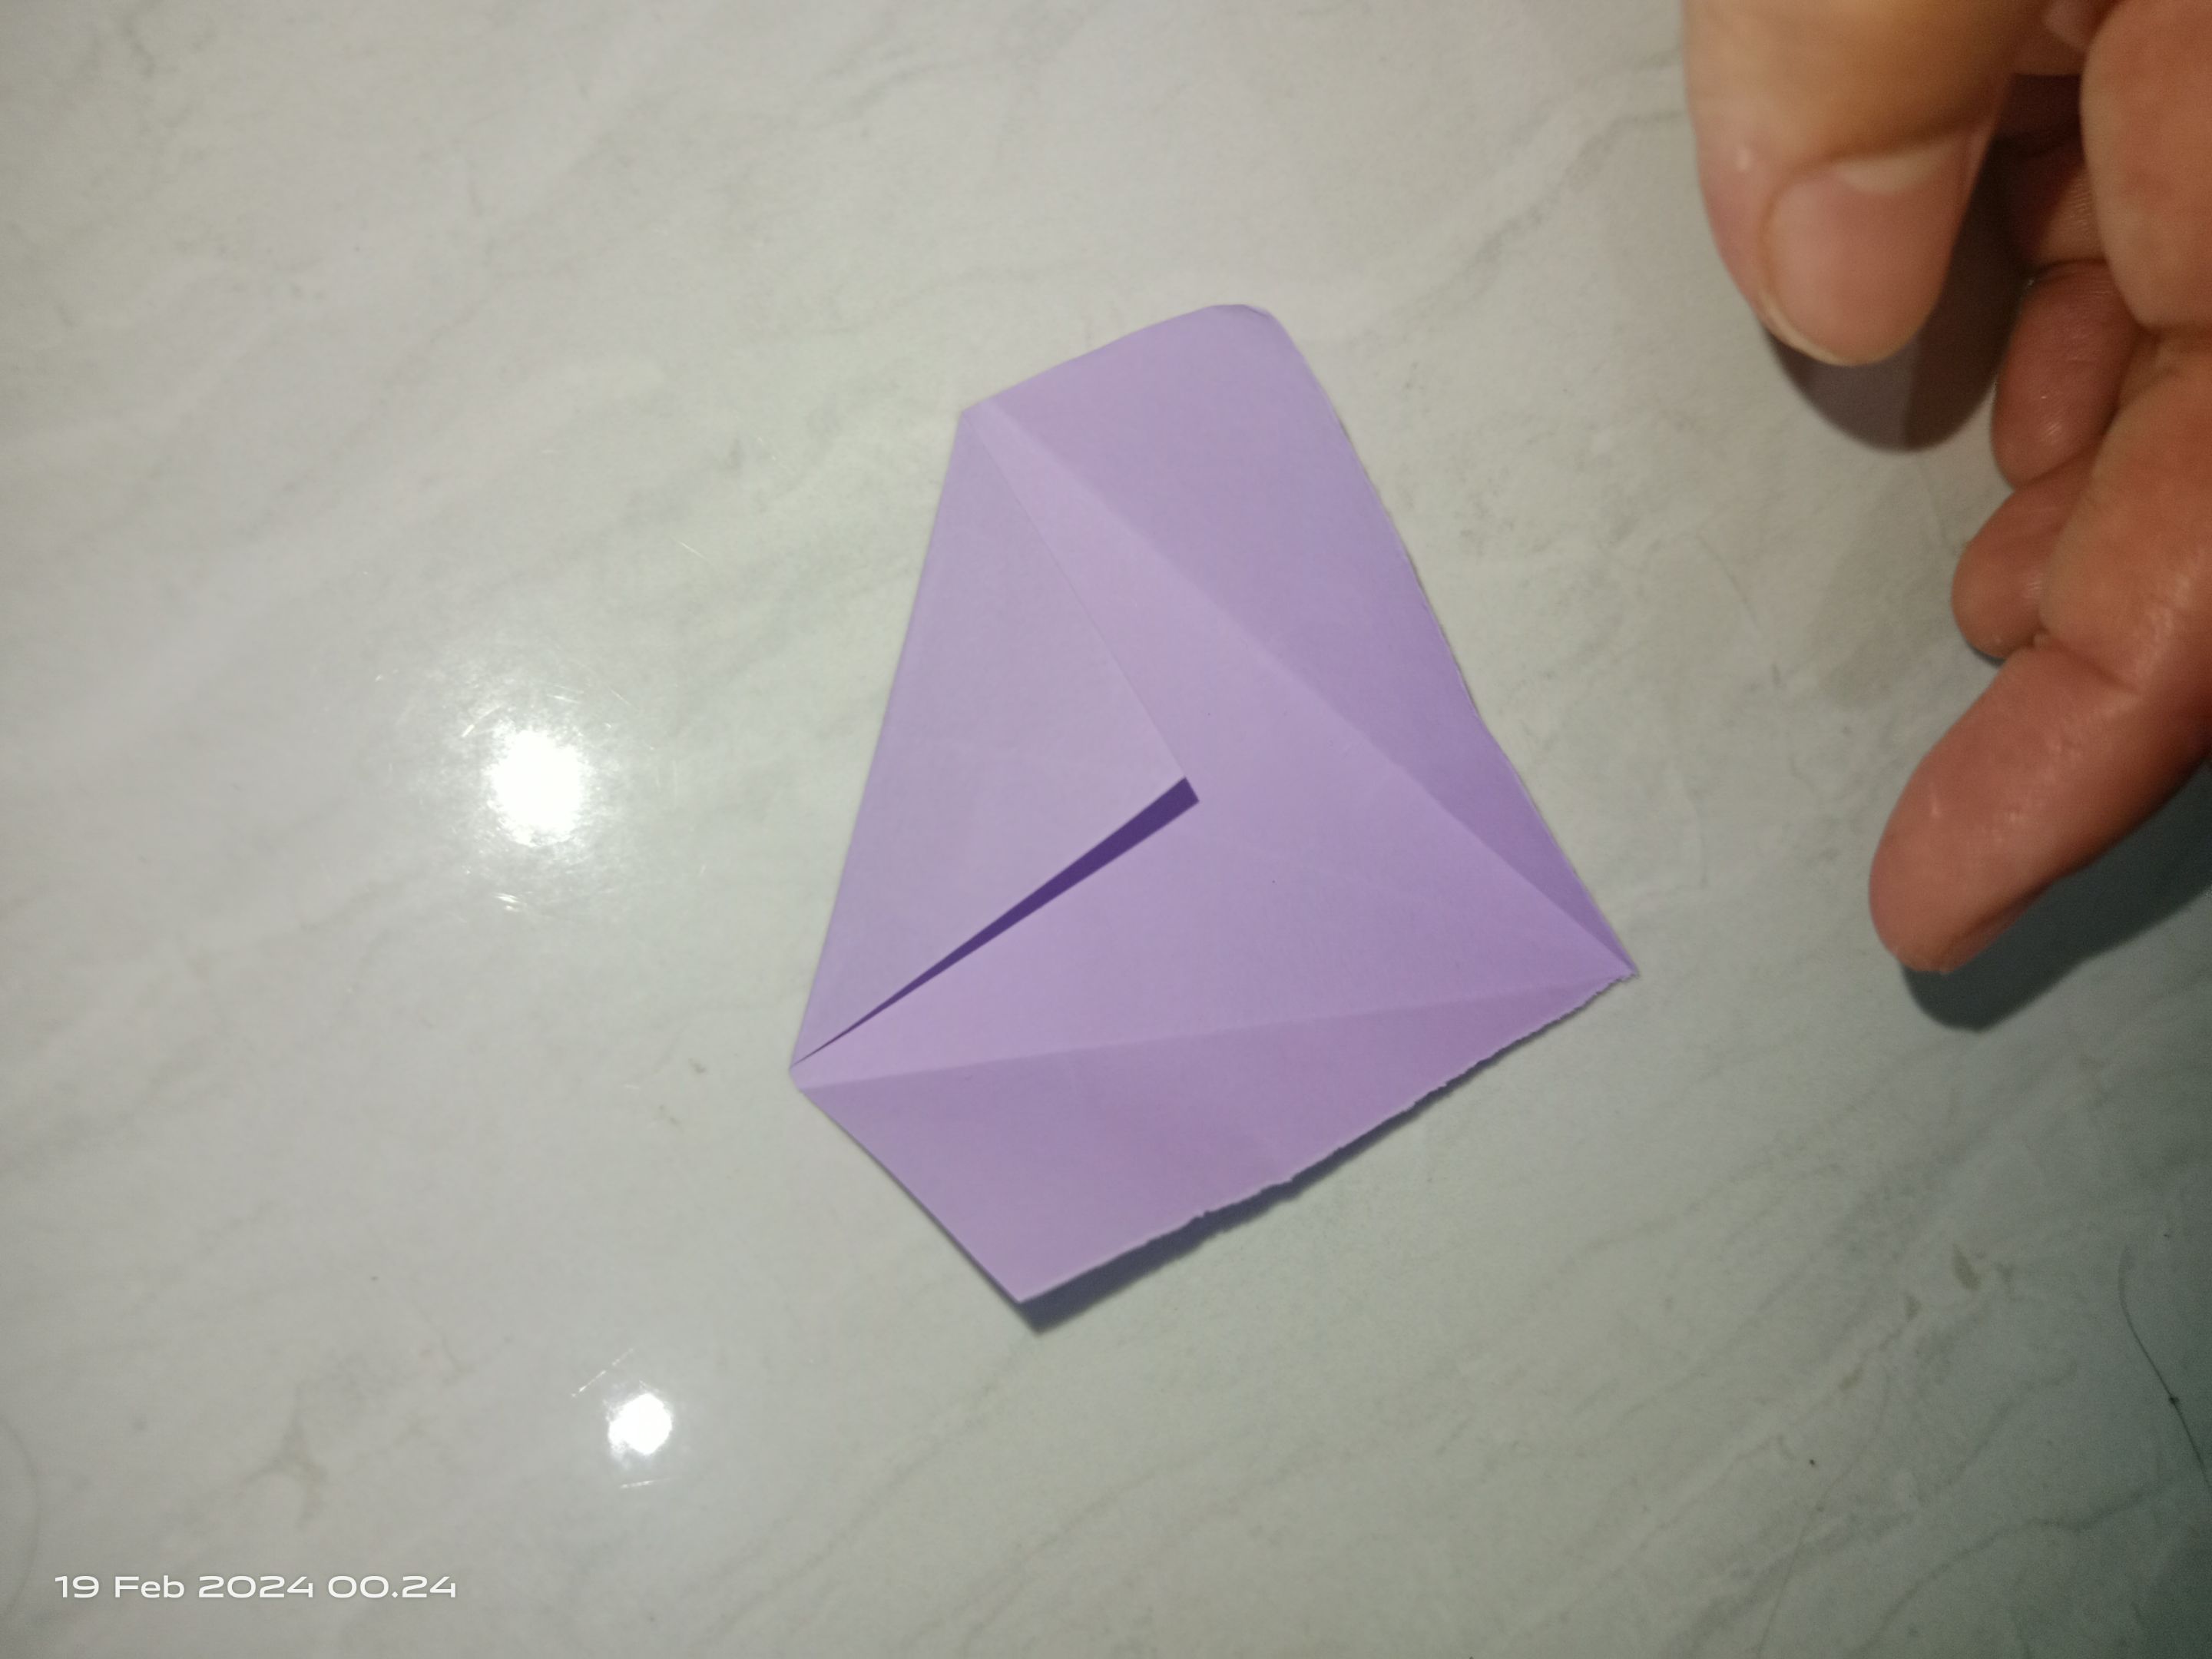
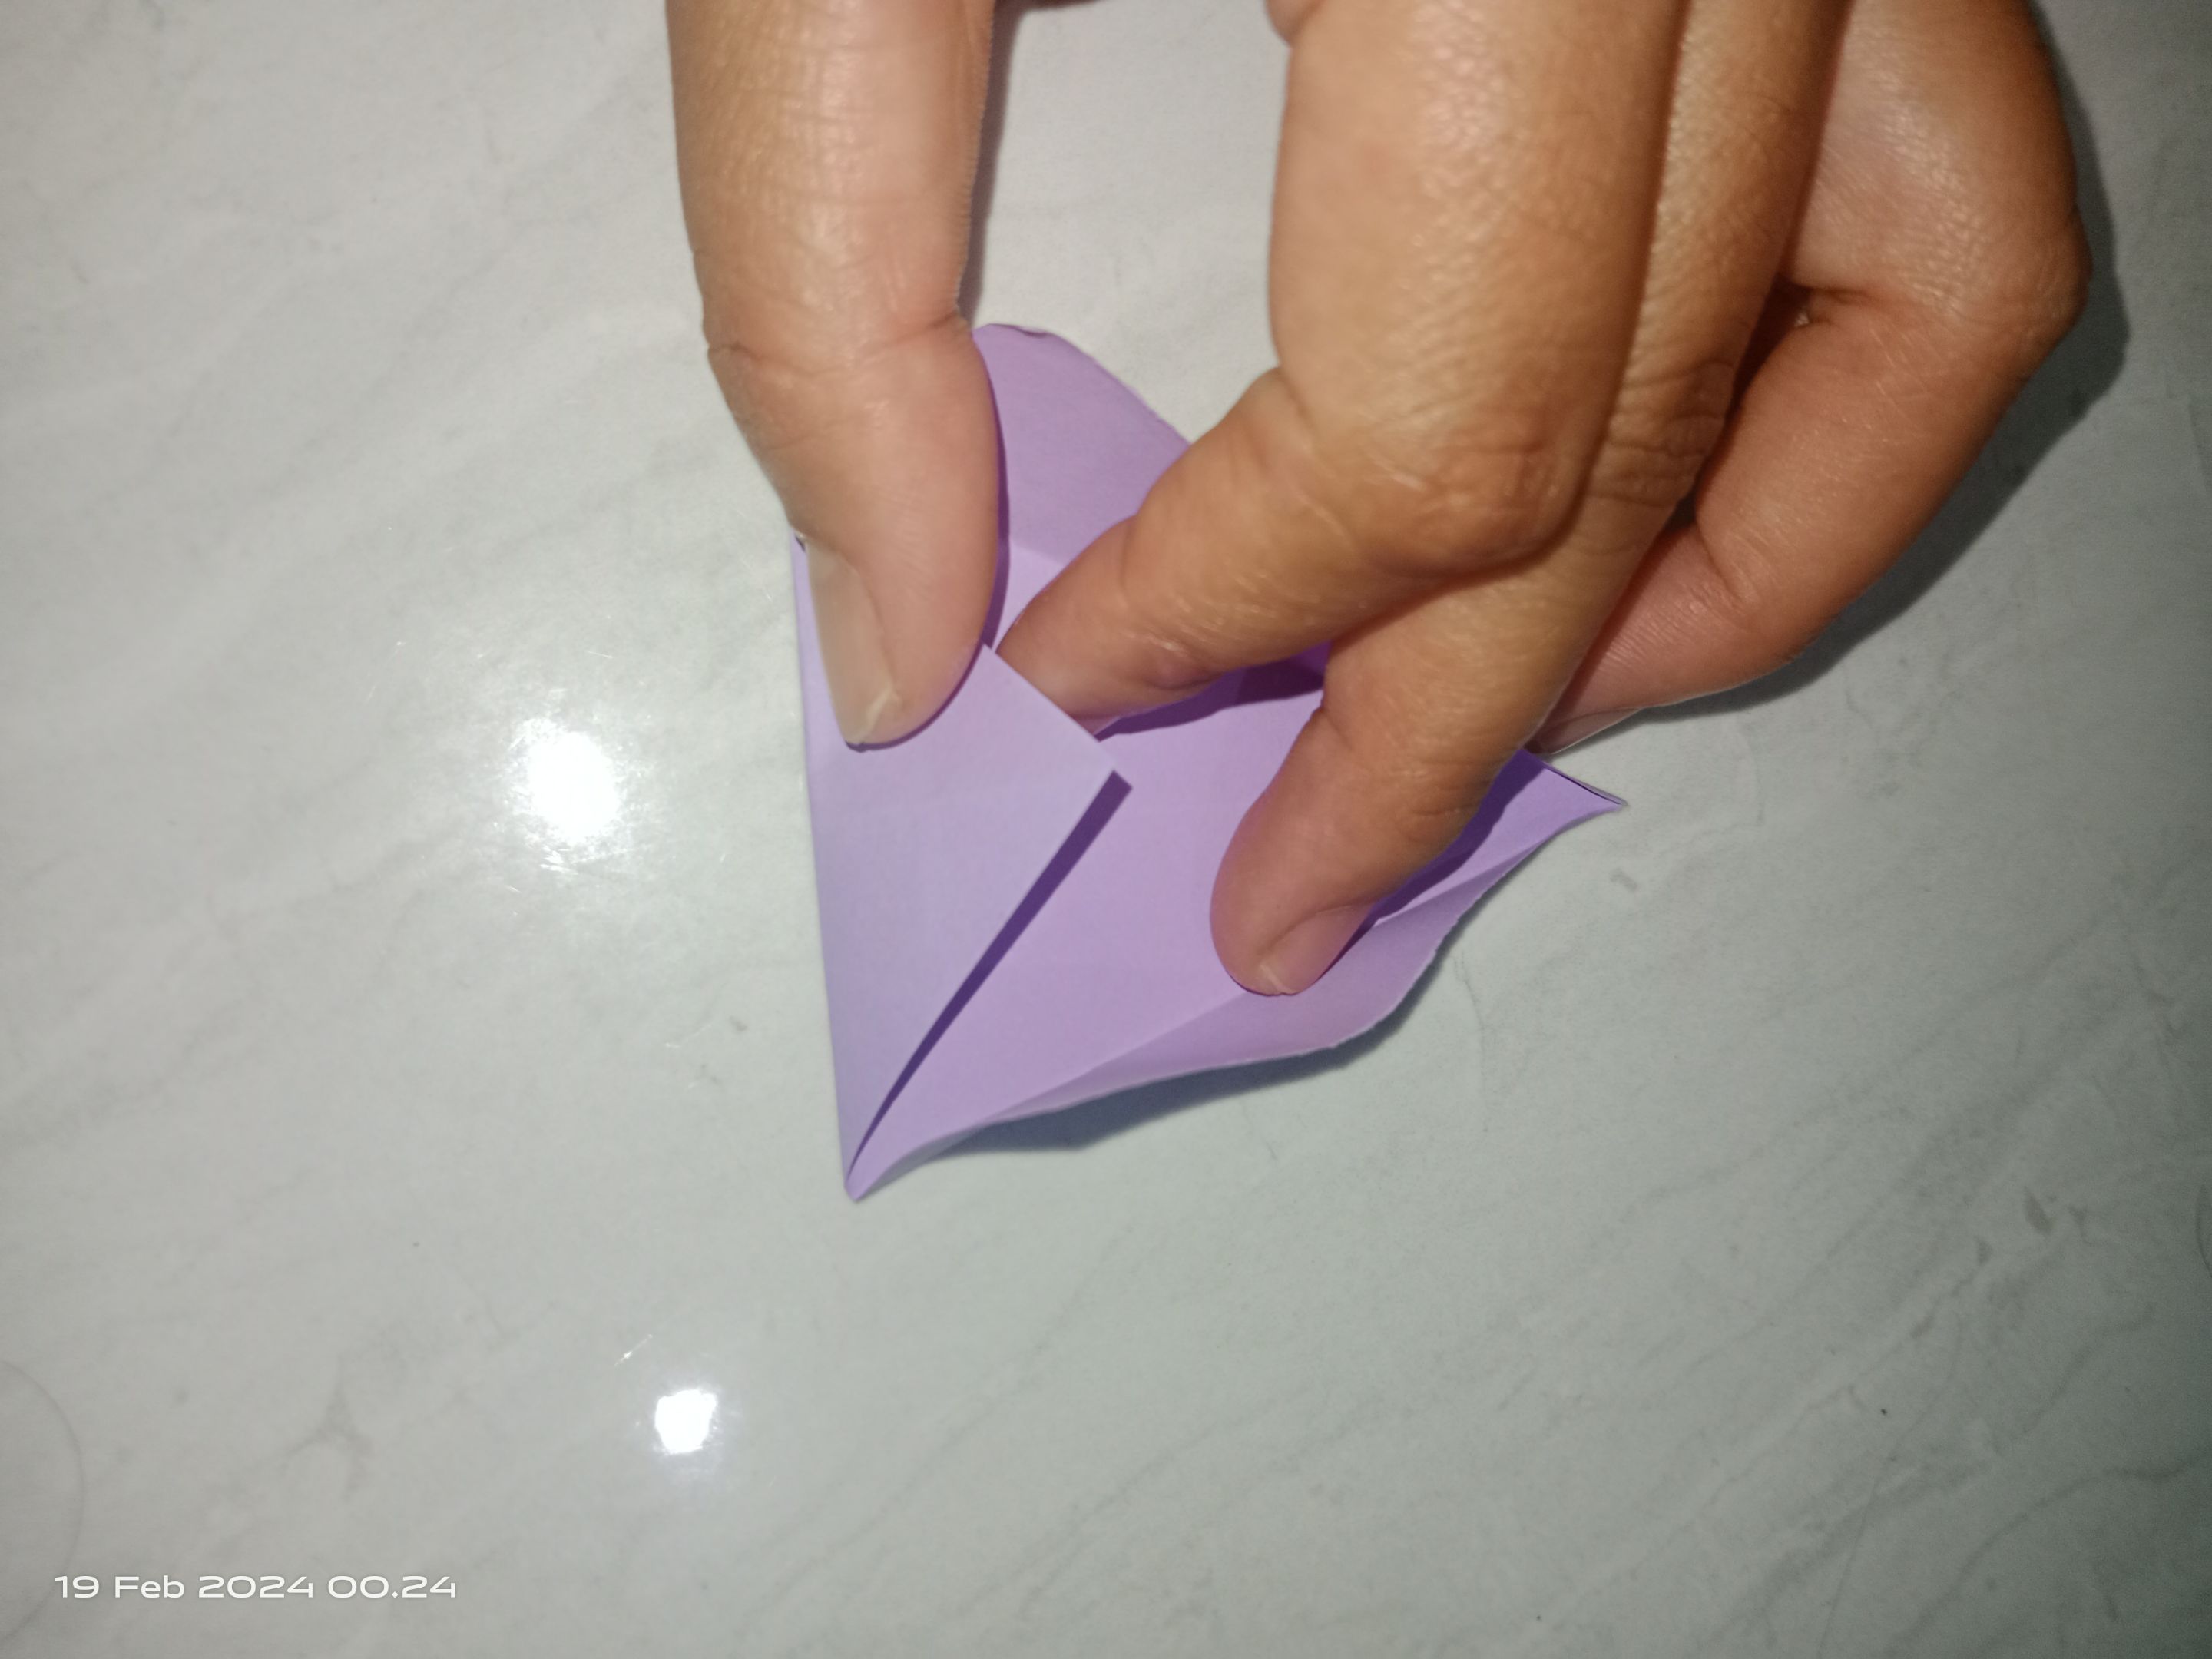
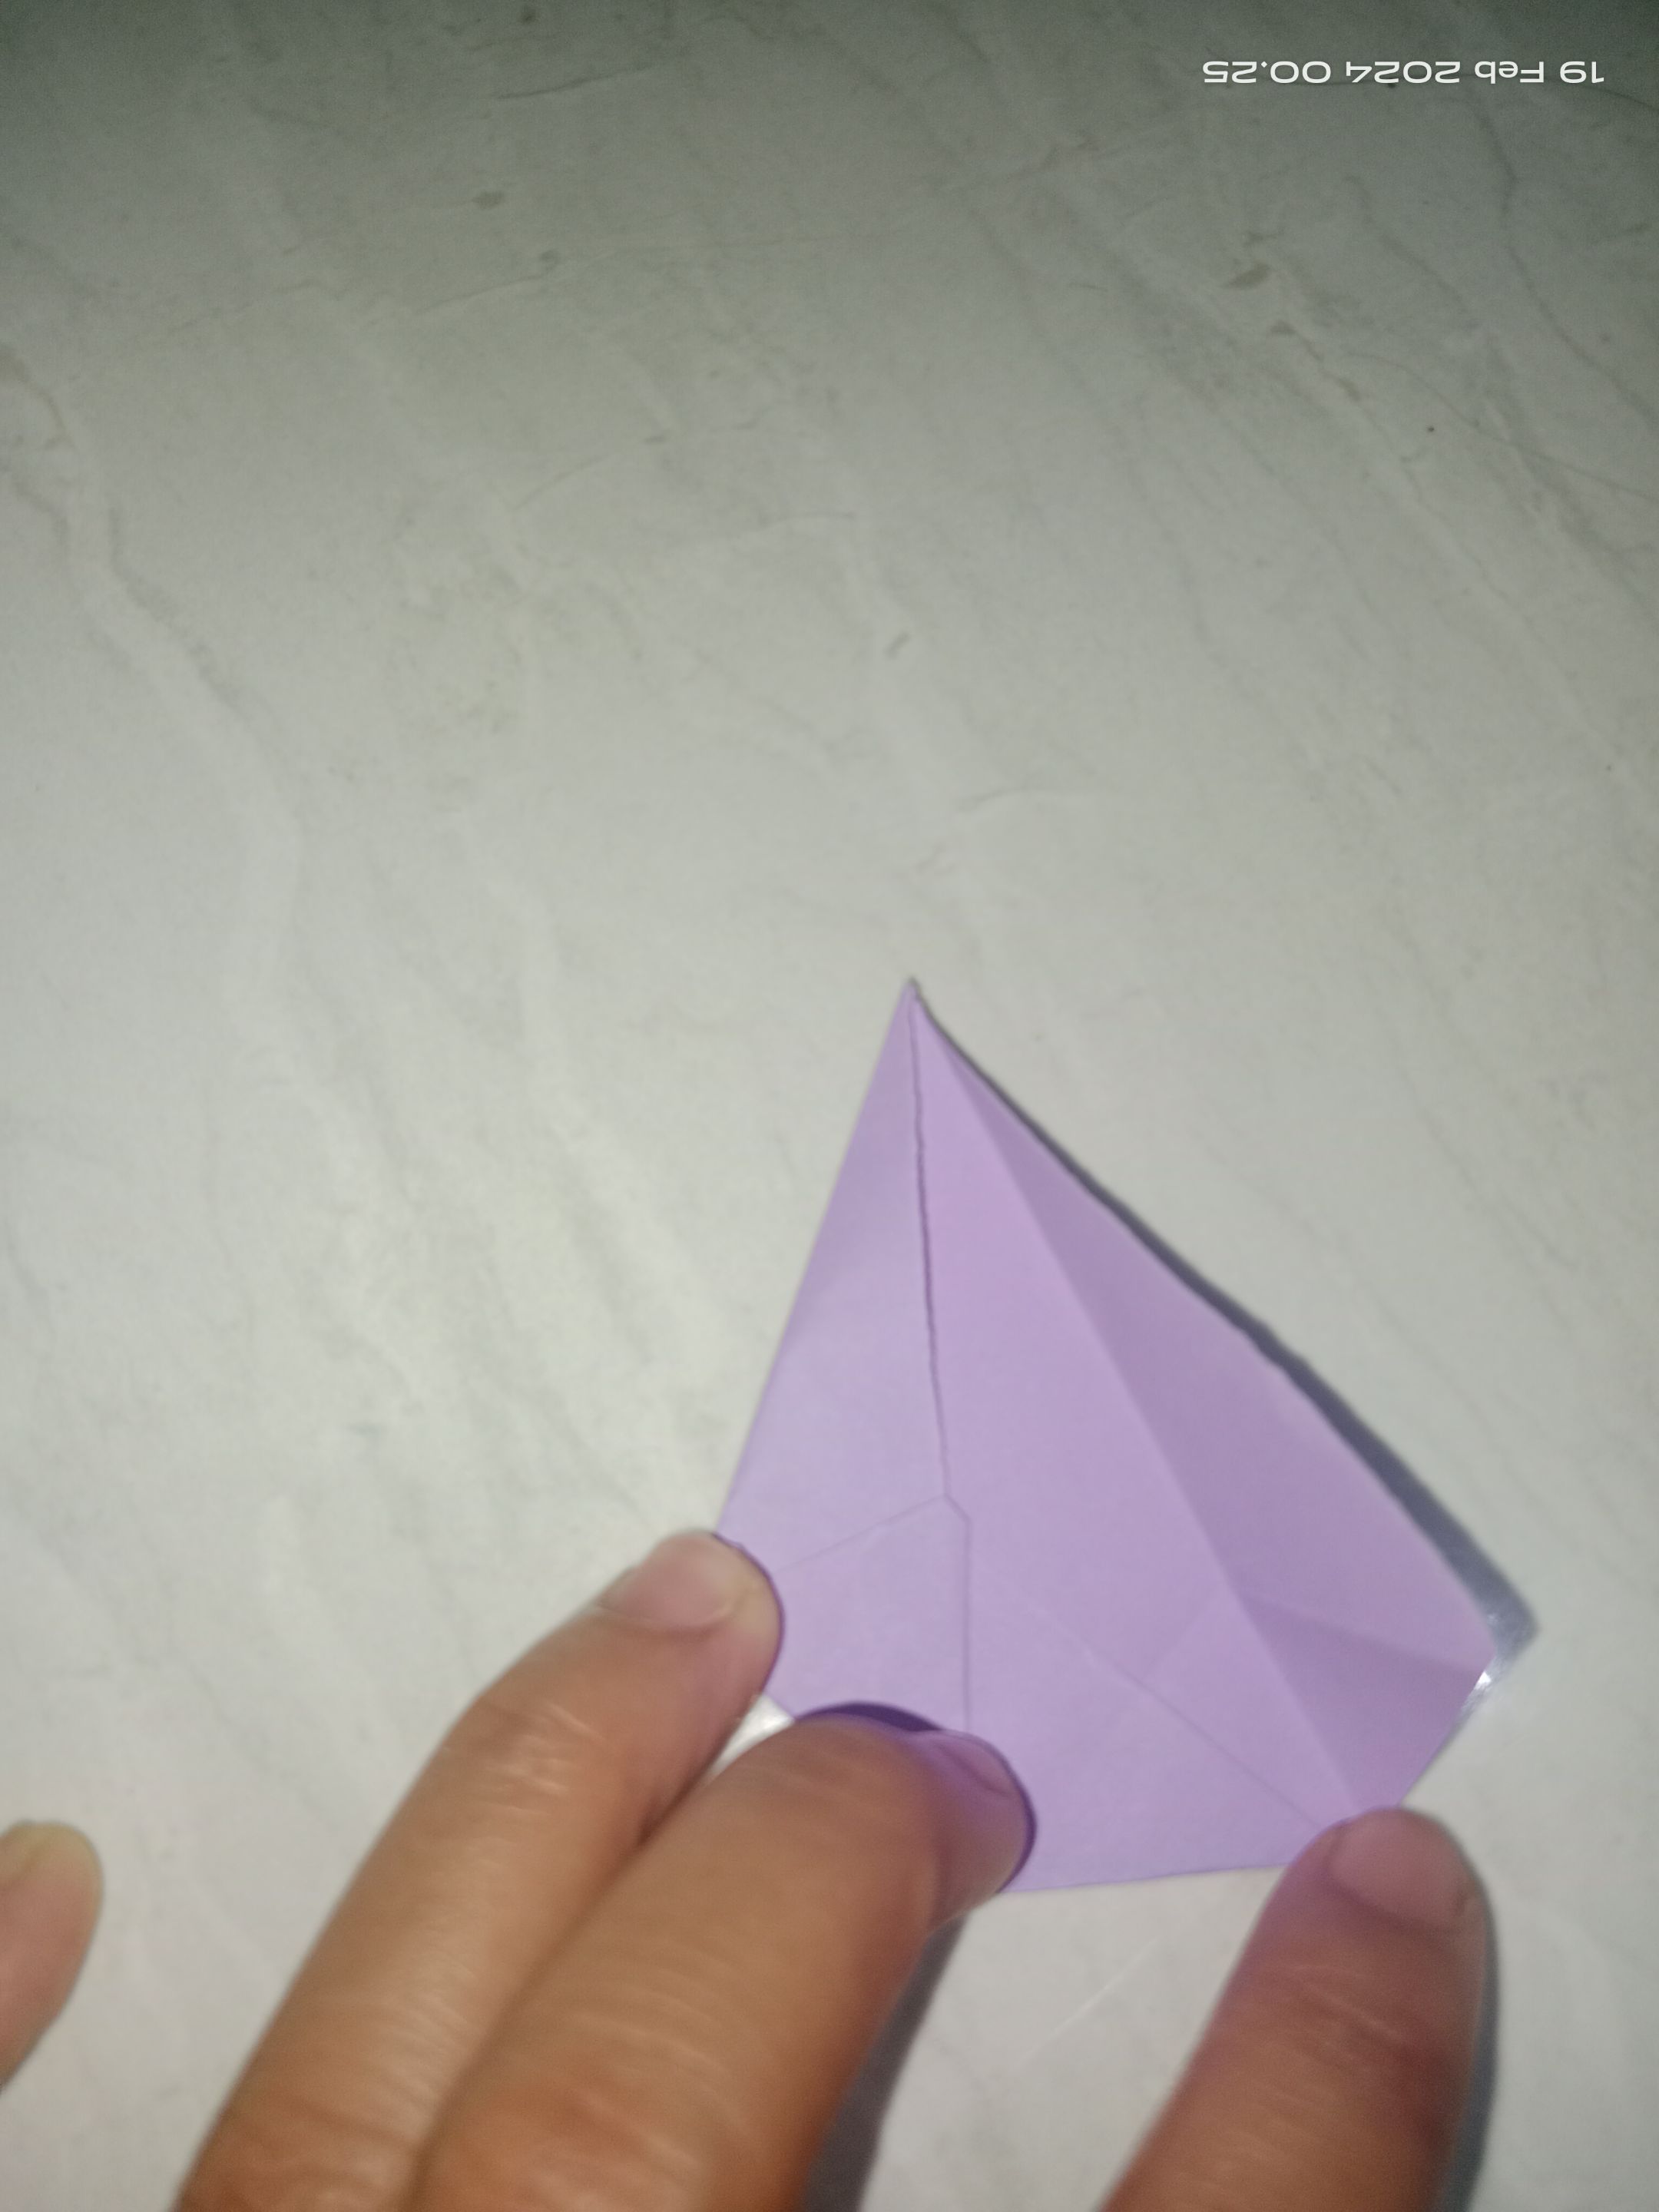
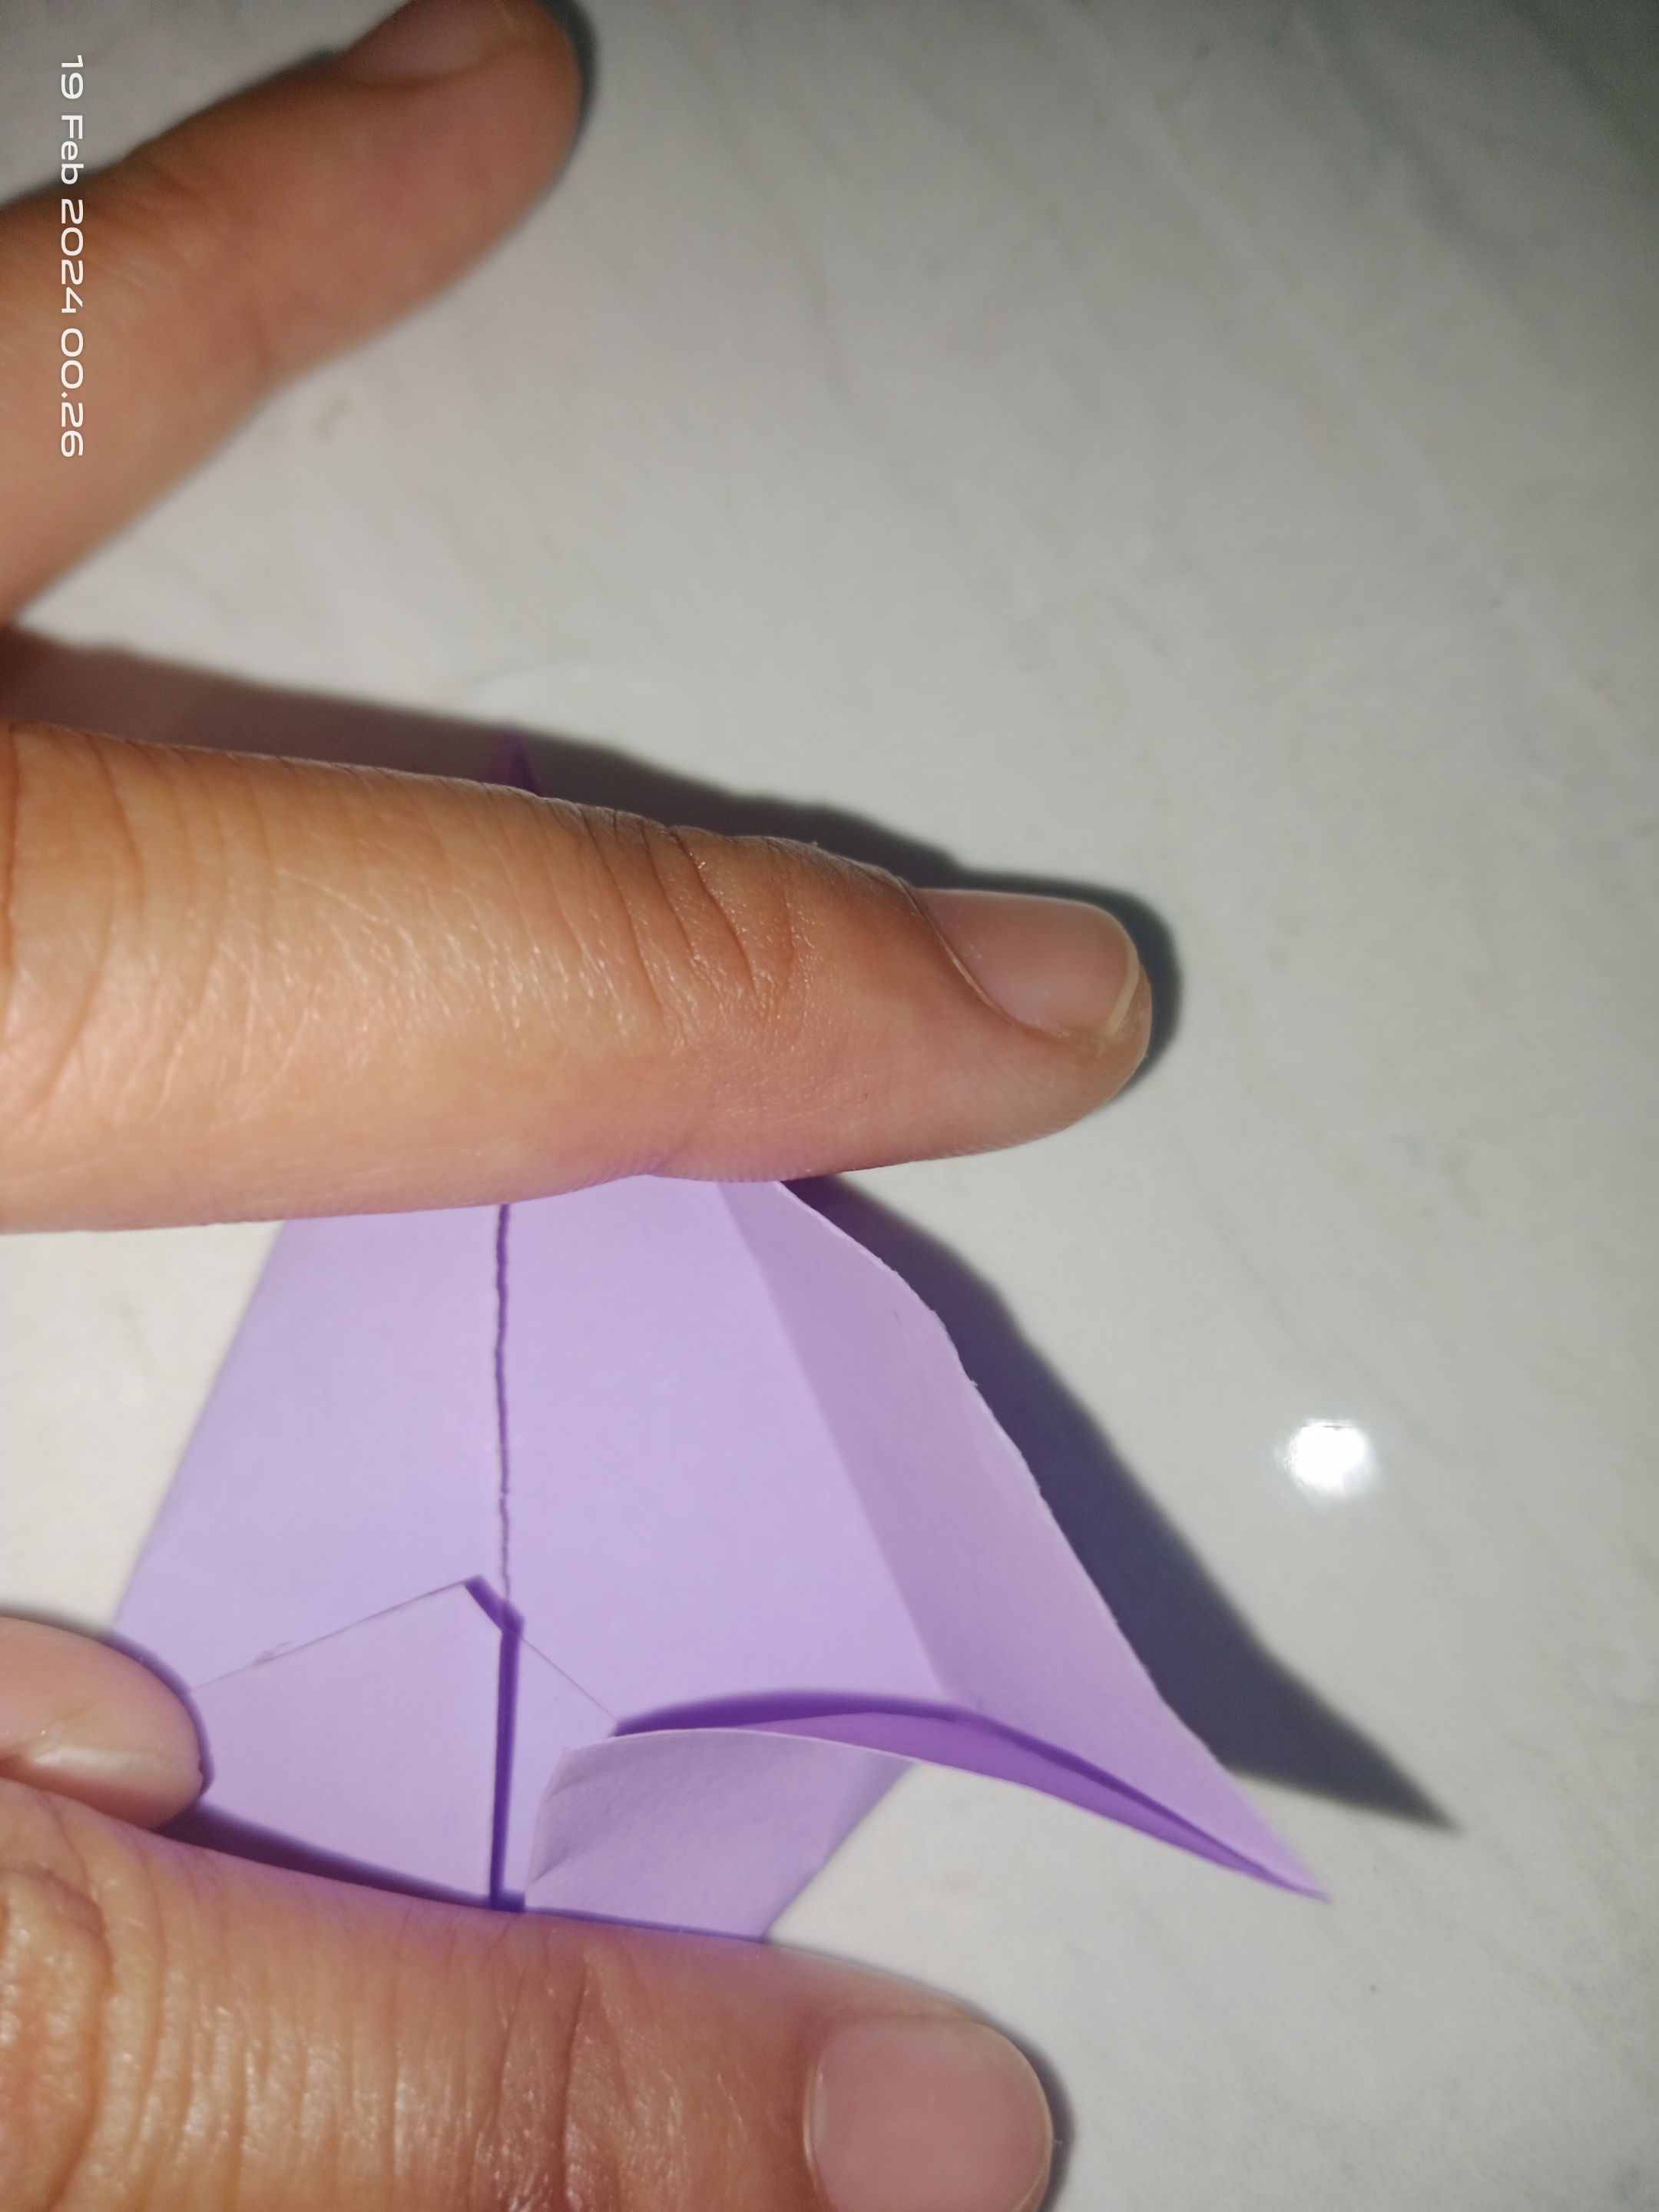
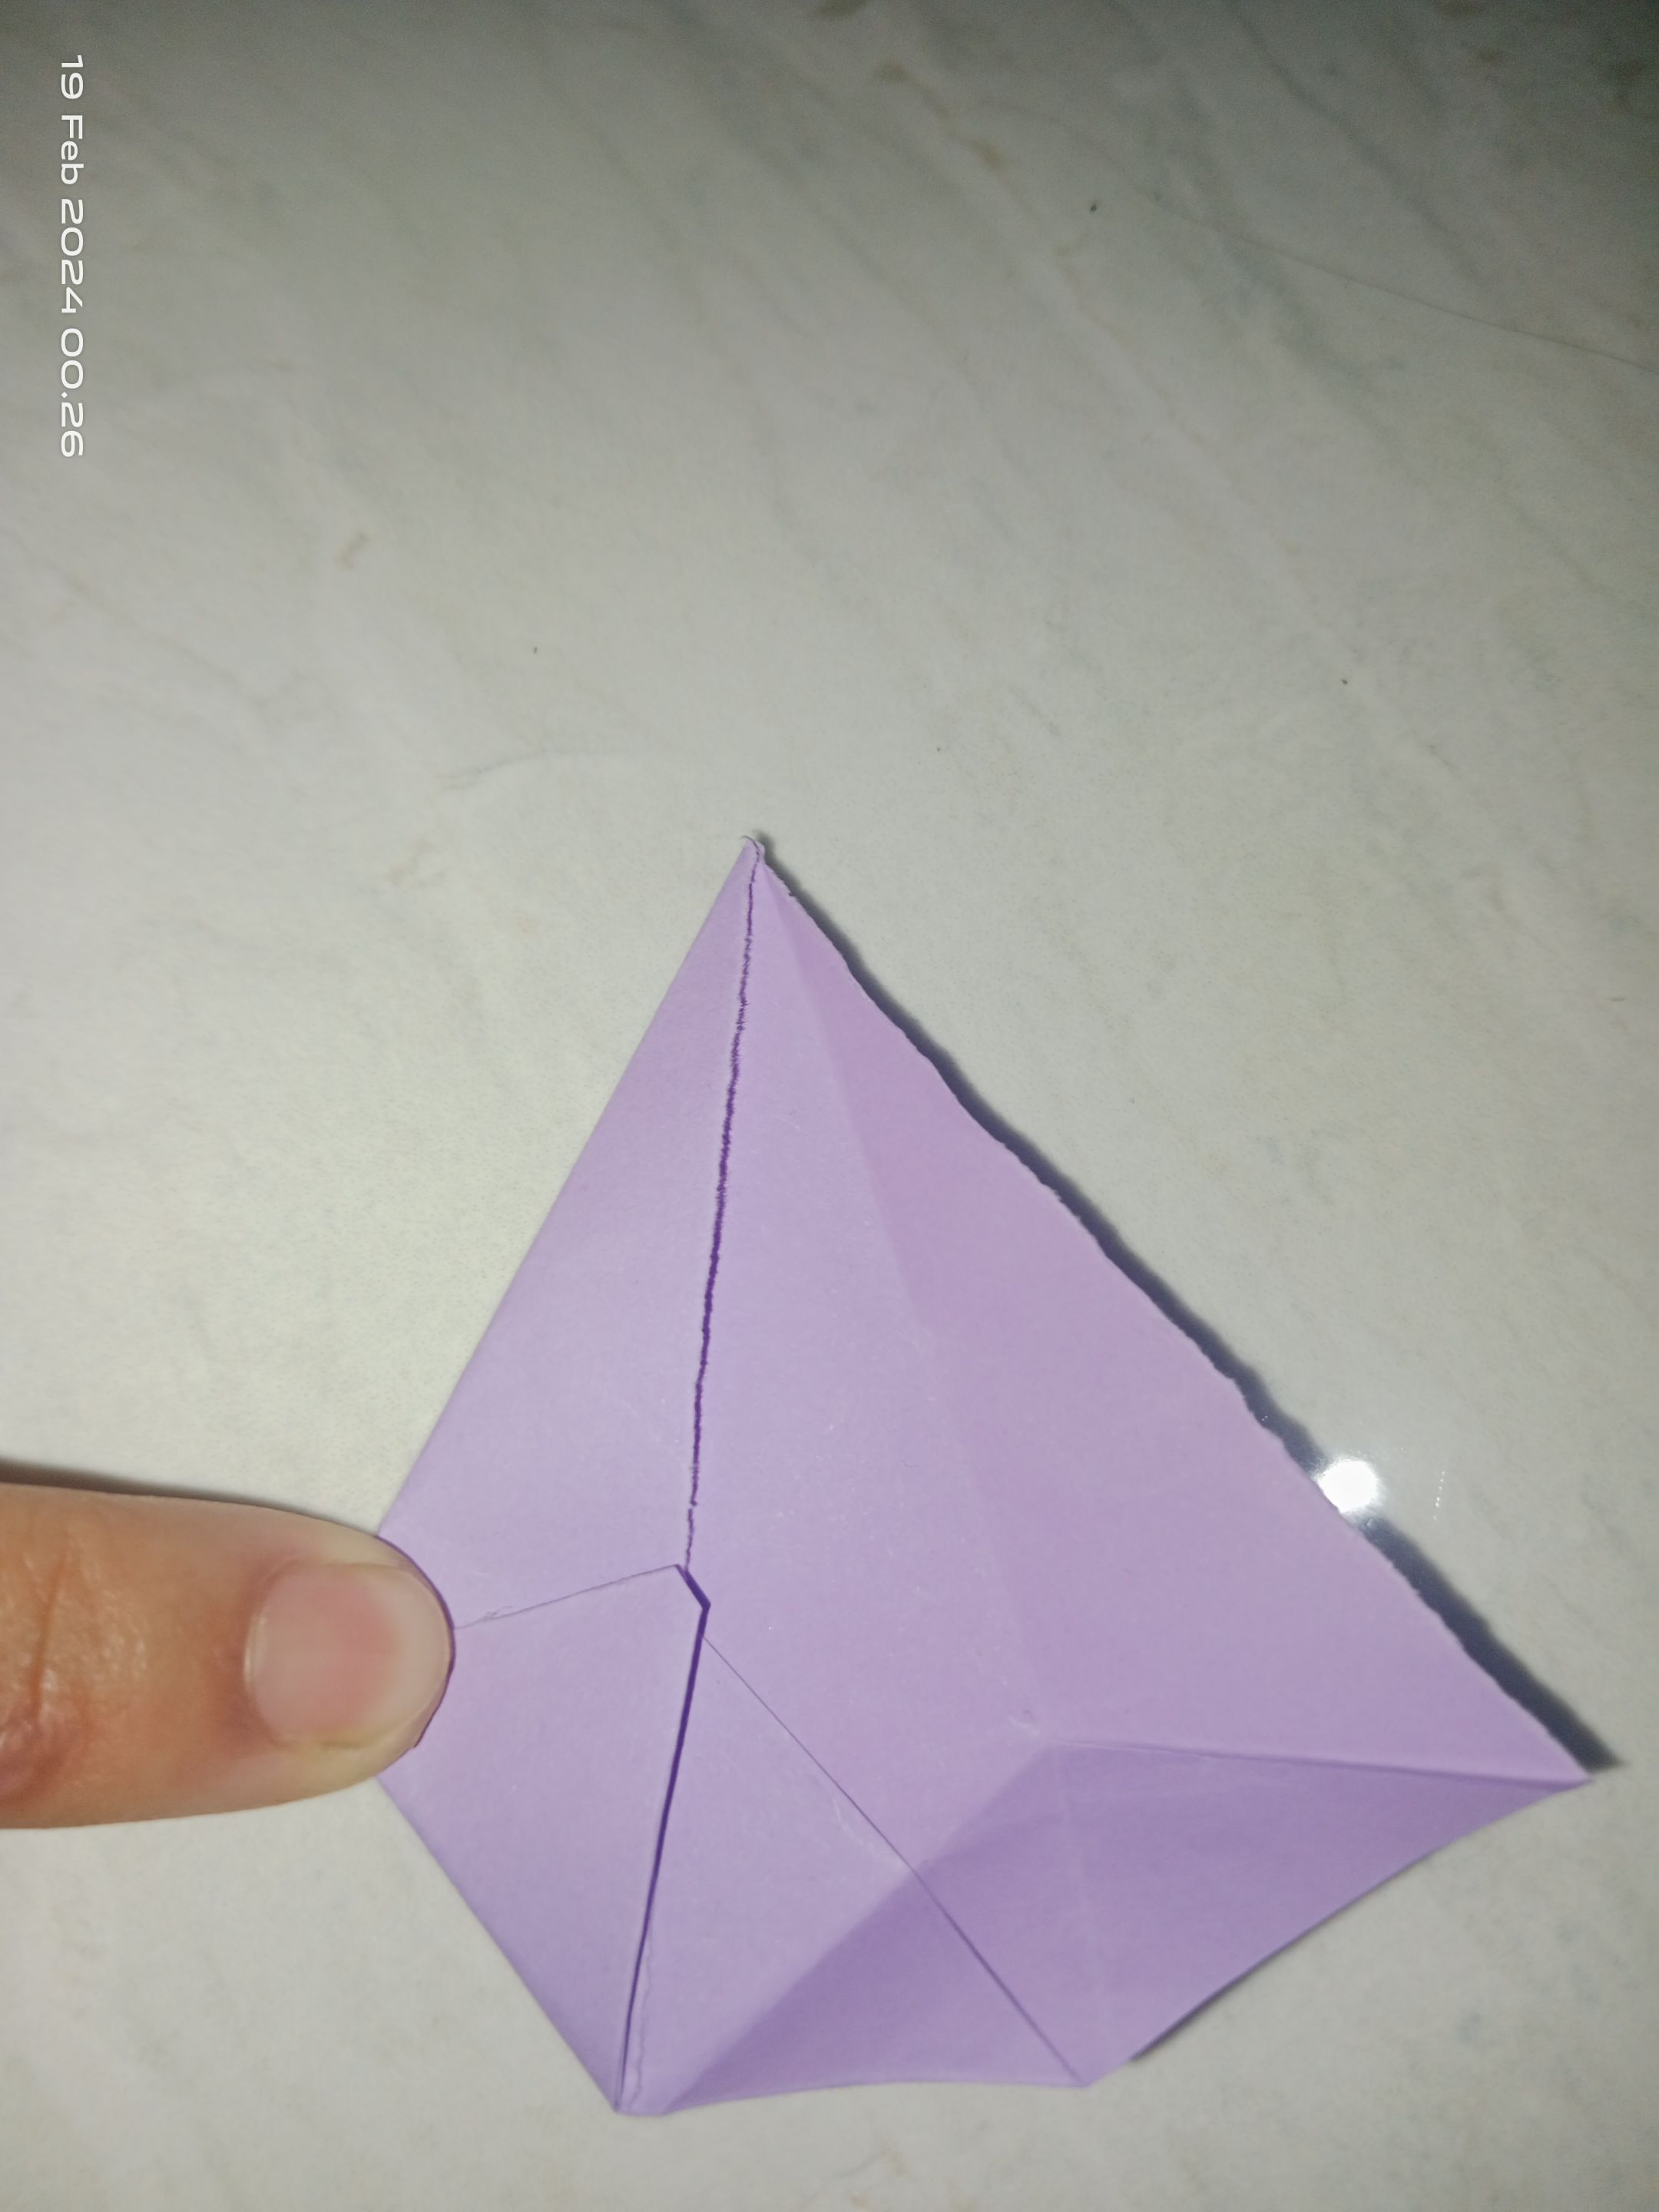
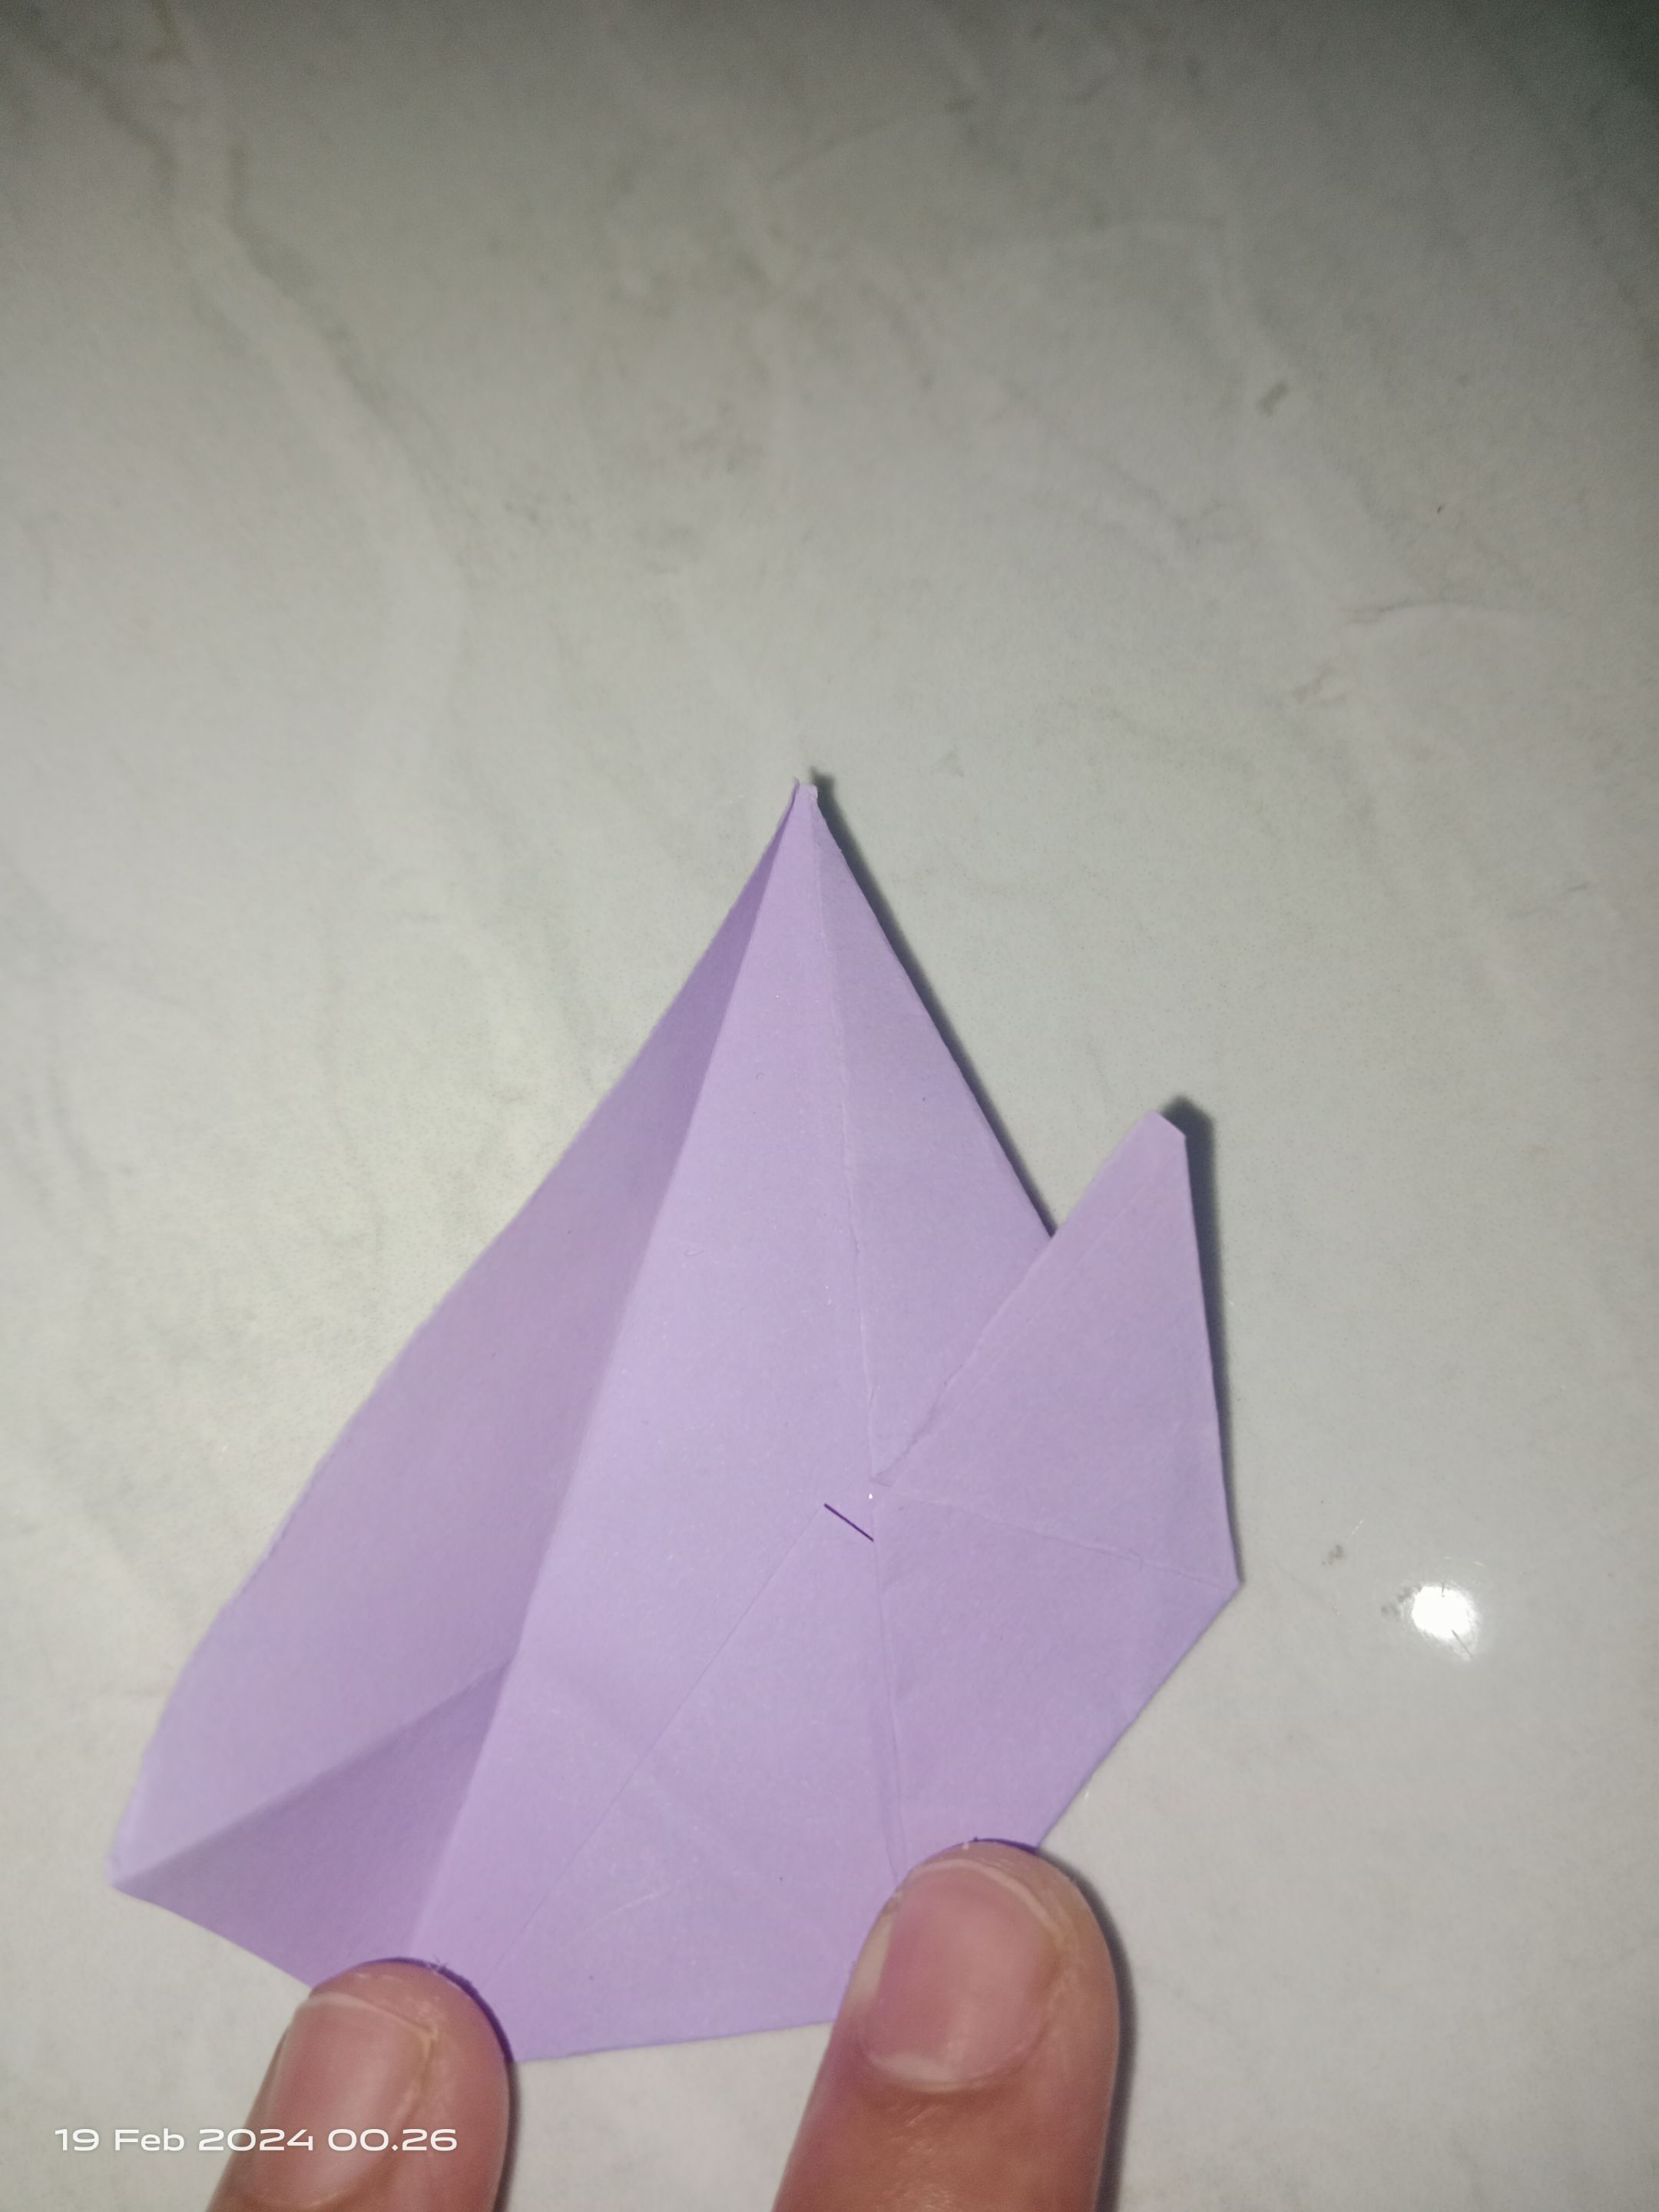
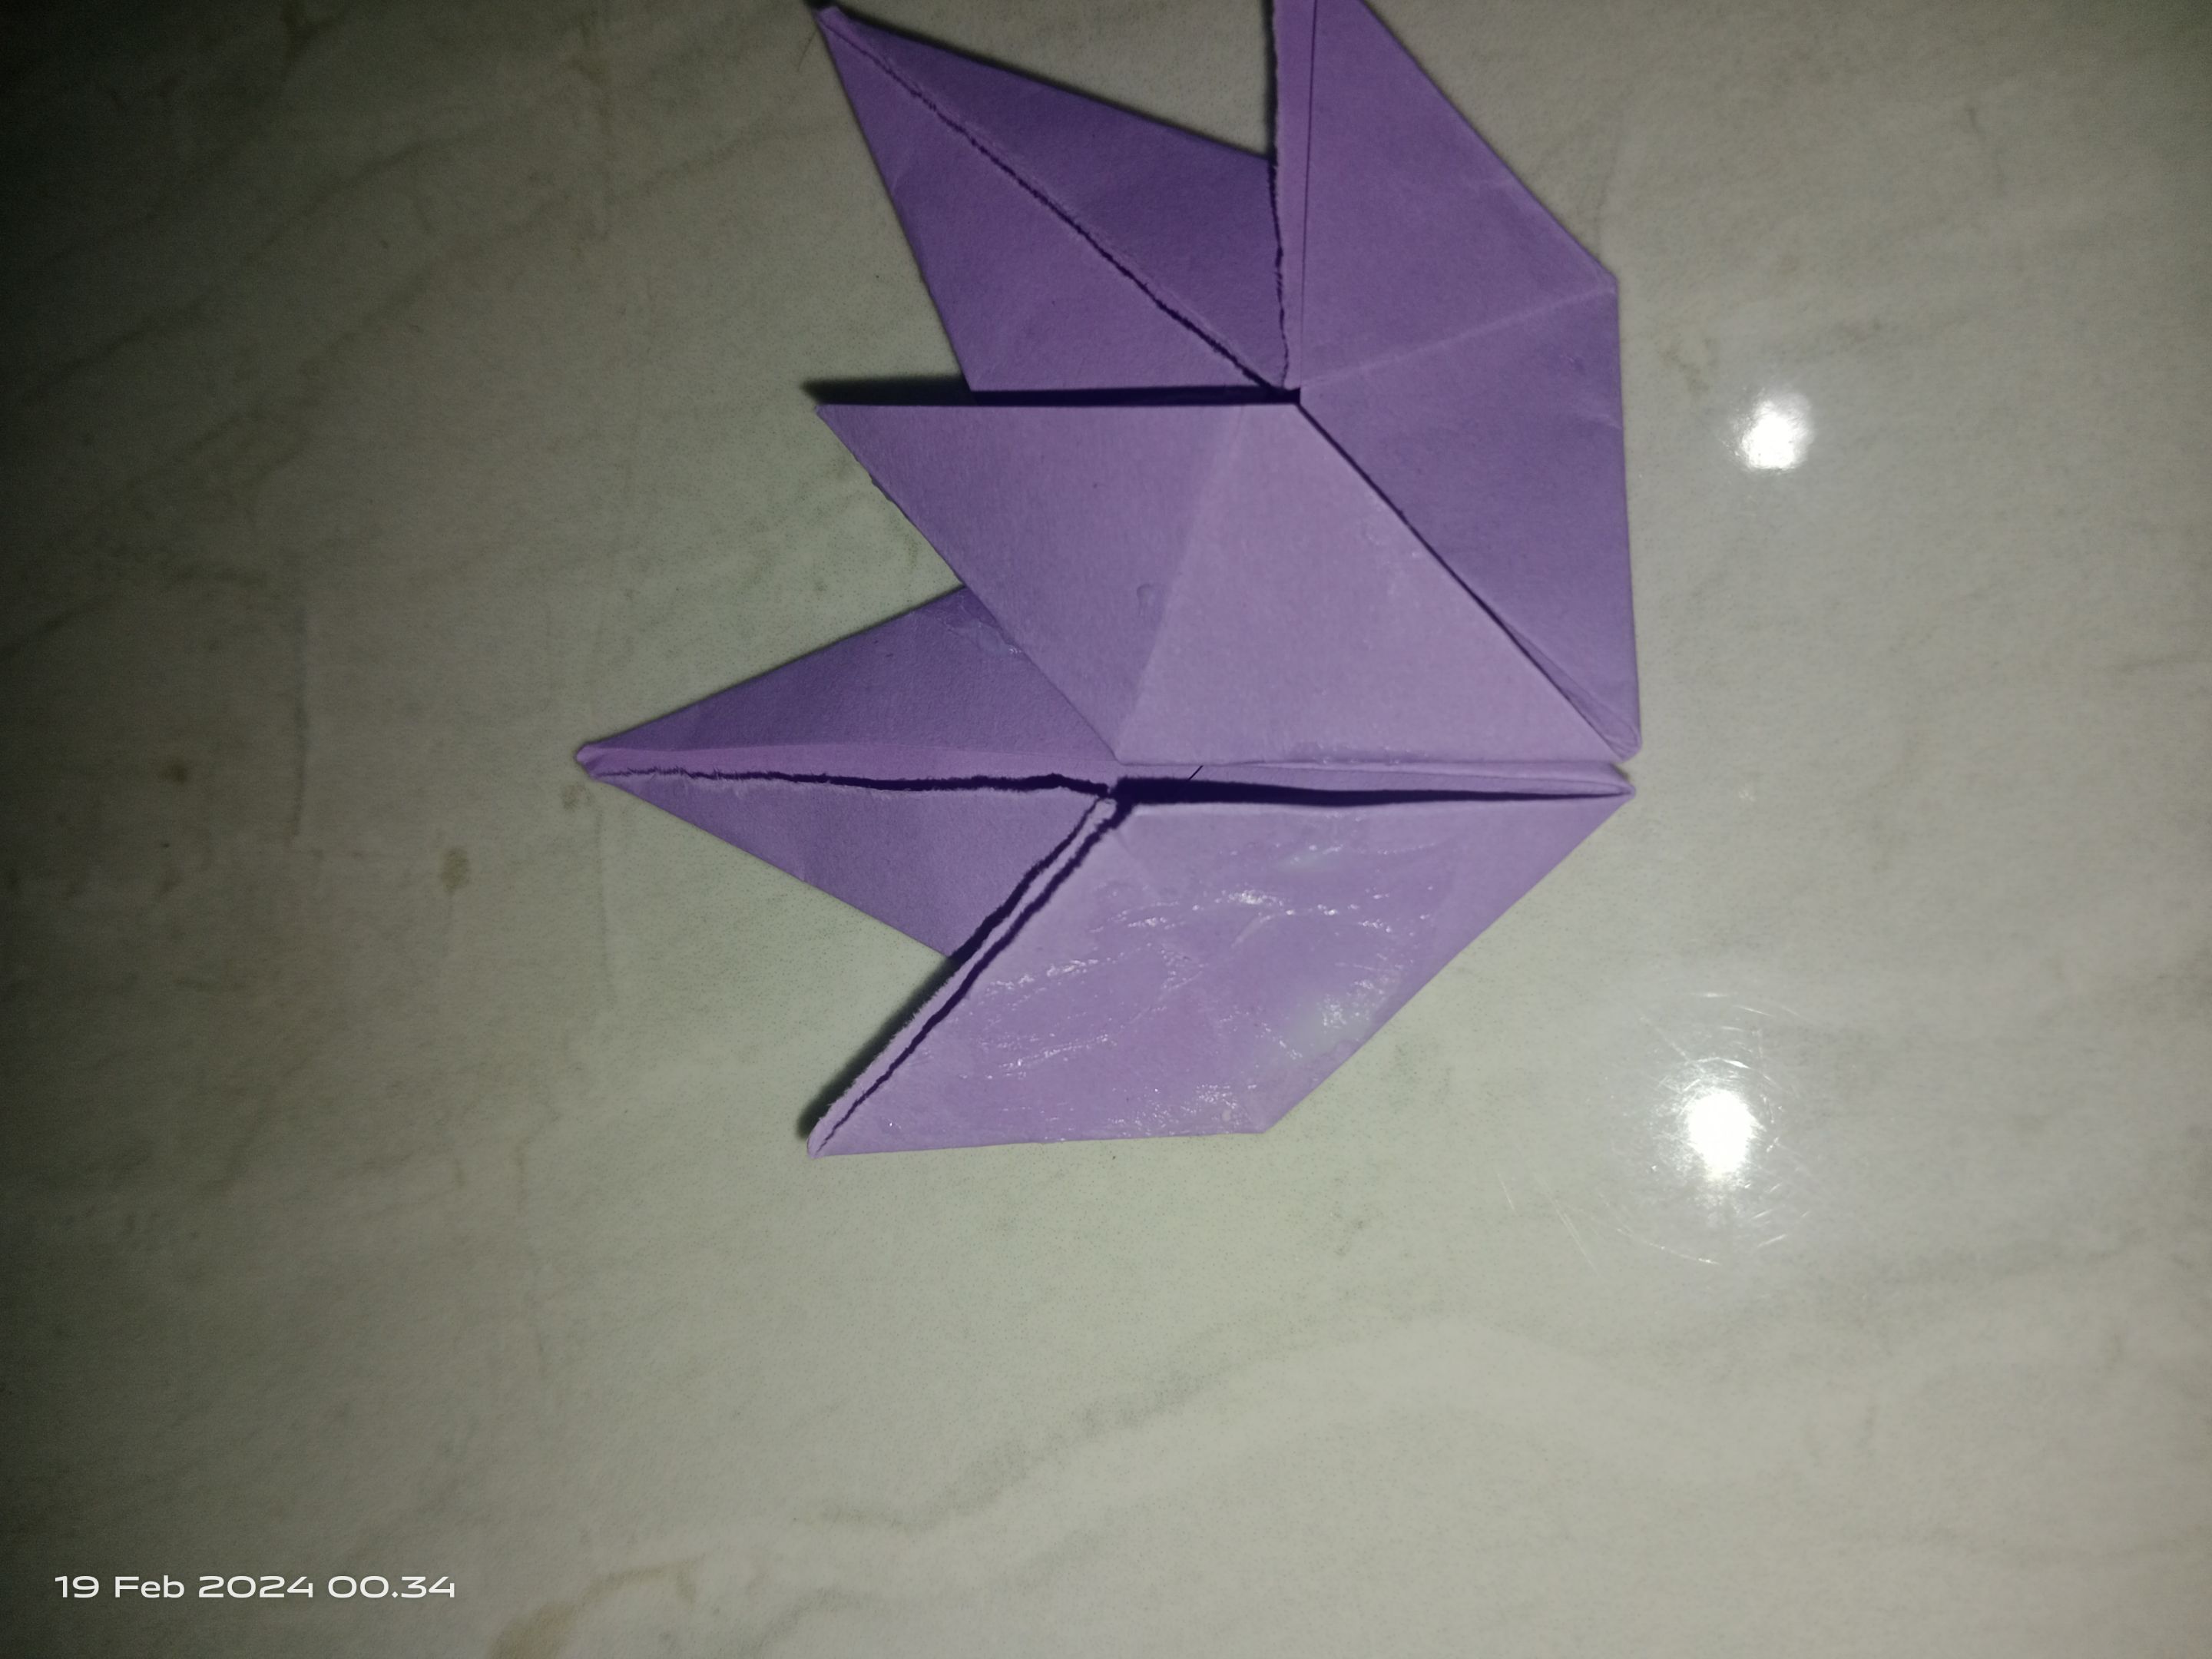
Step 6
After it is shaped like a small diamond. Open 1 part and fold the paper to the inside of the paper. Repeat on the other side.
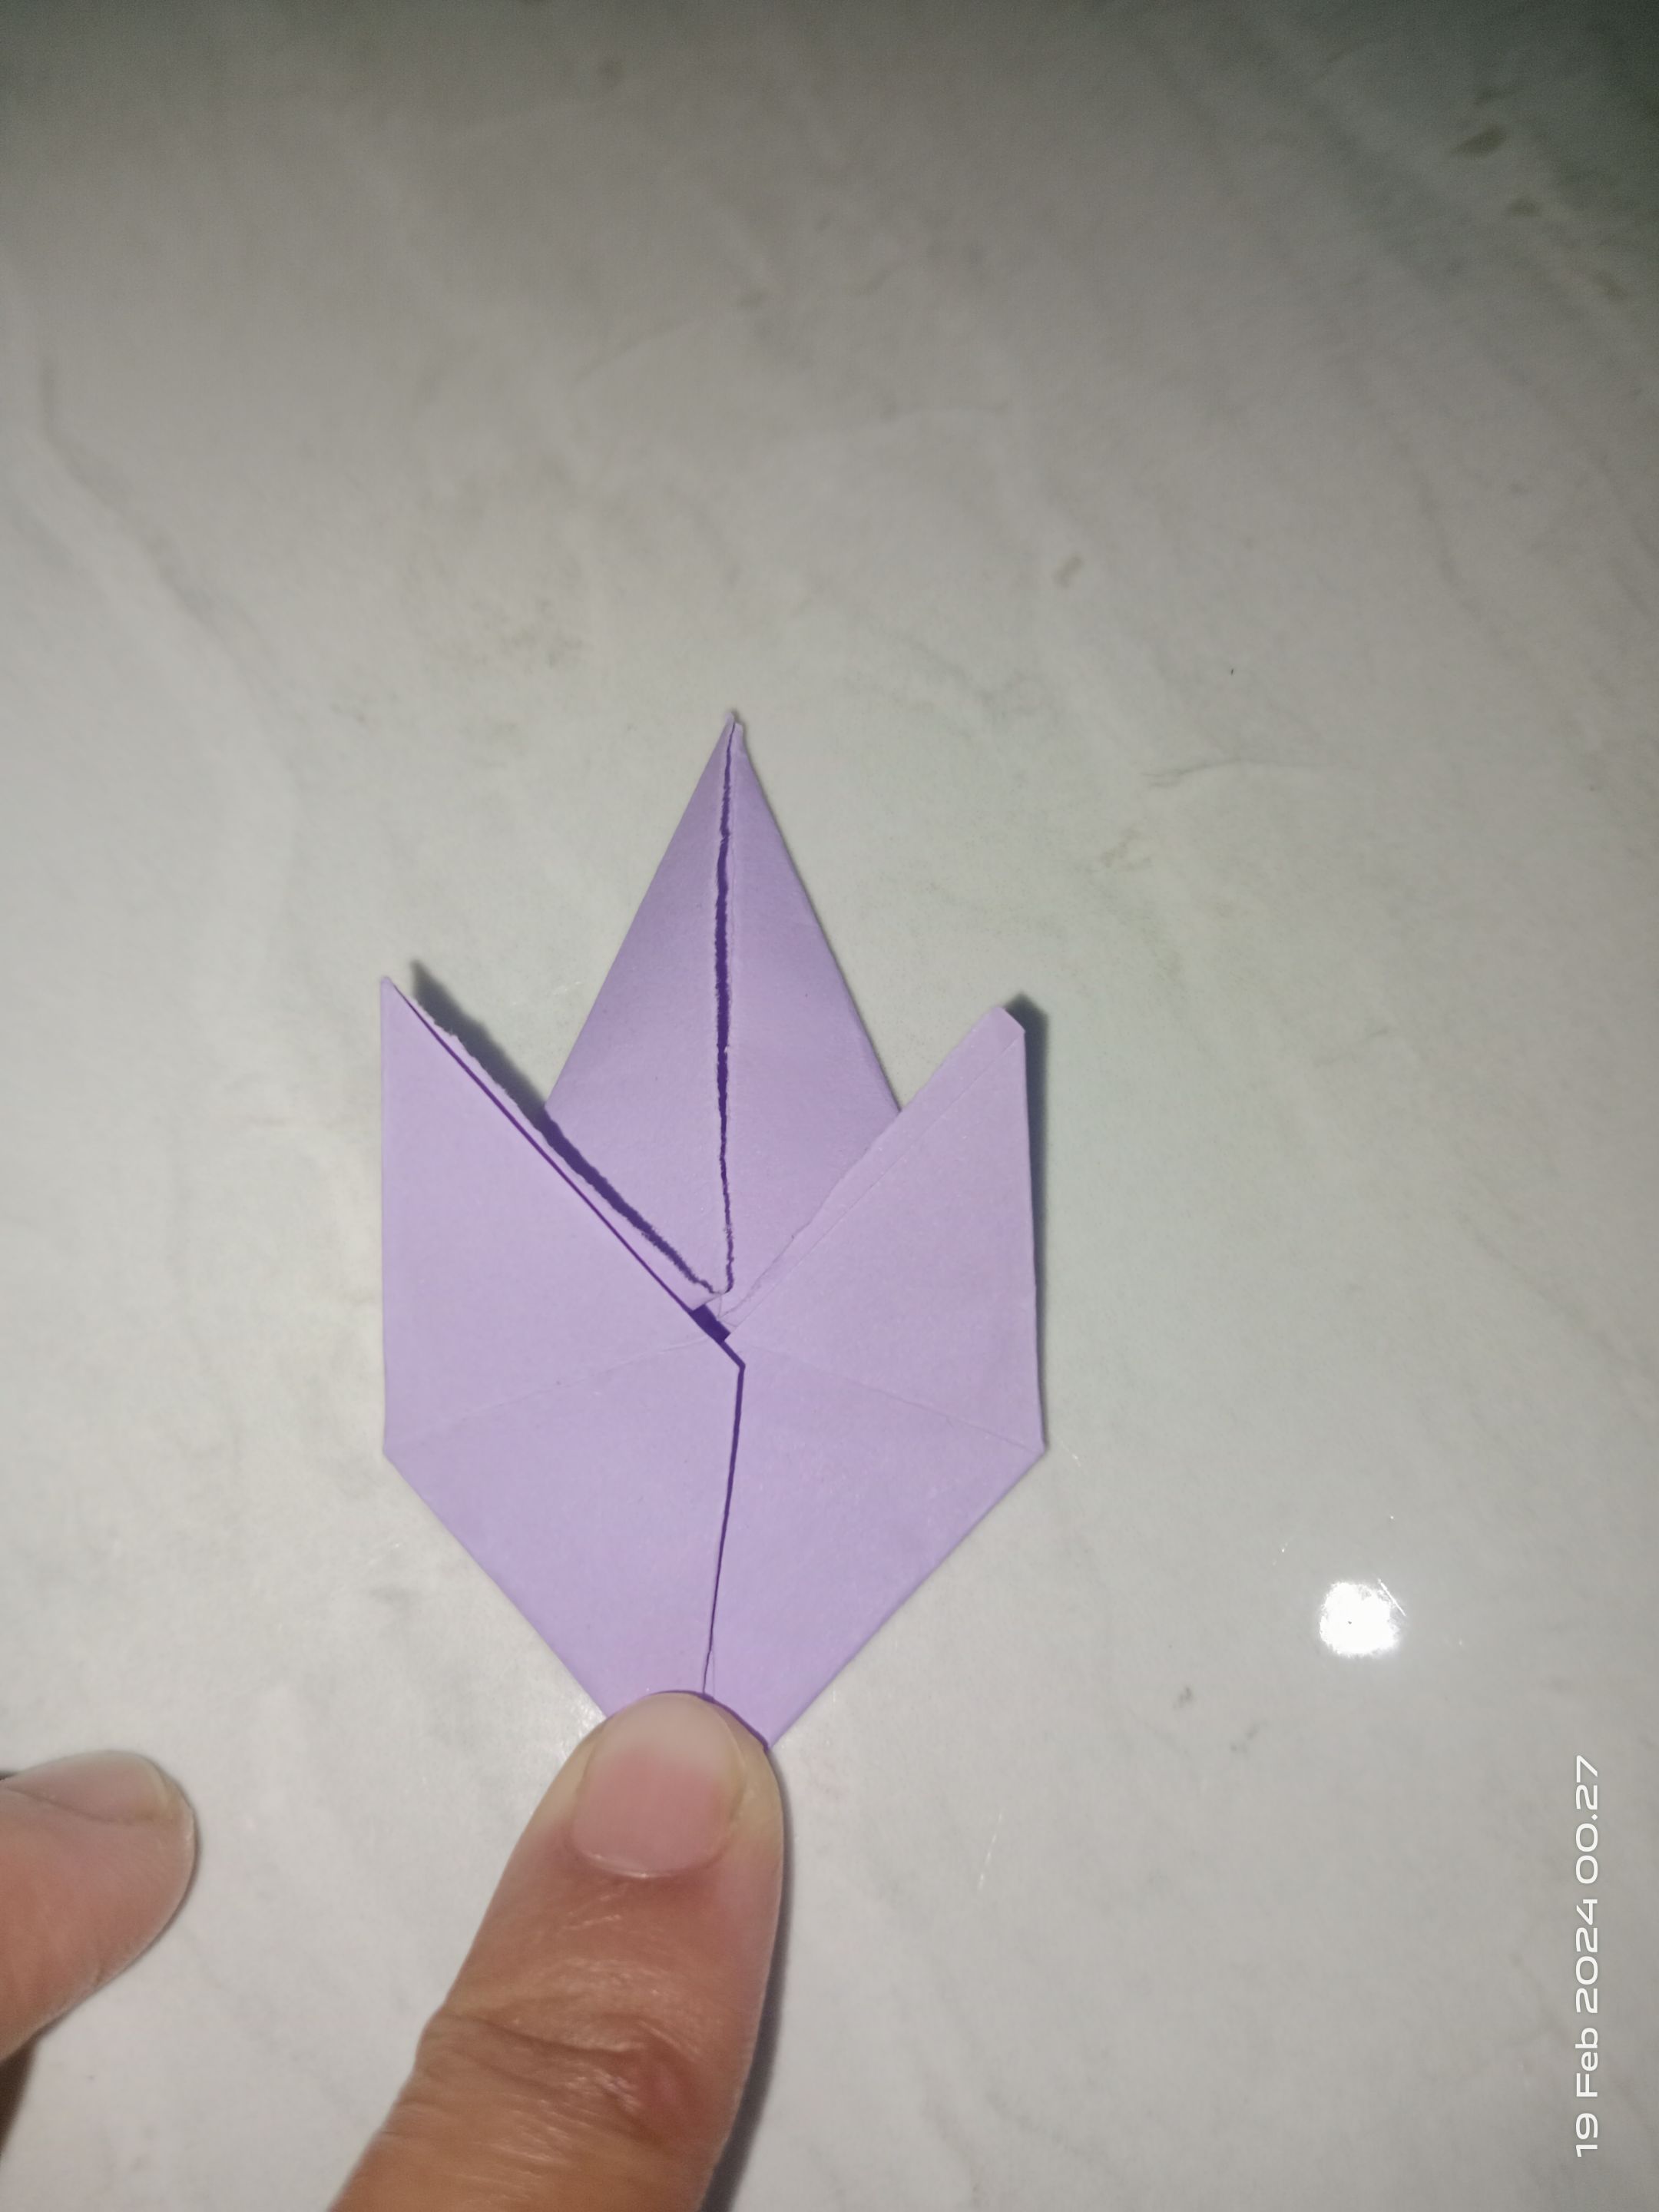
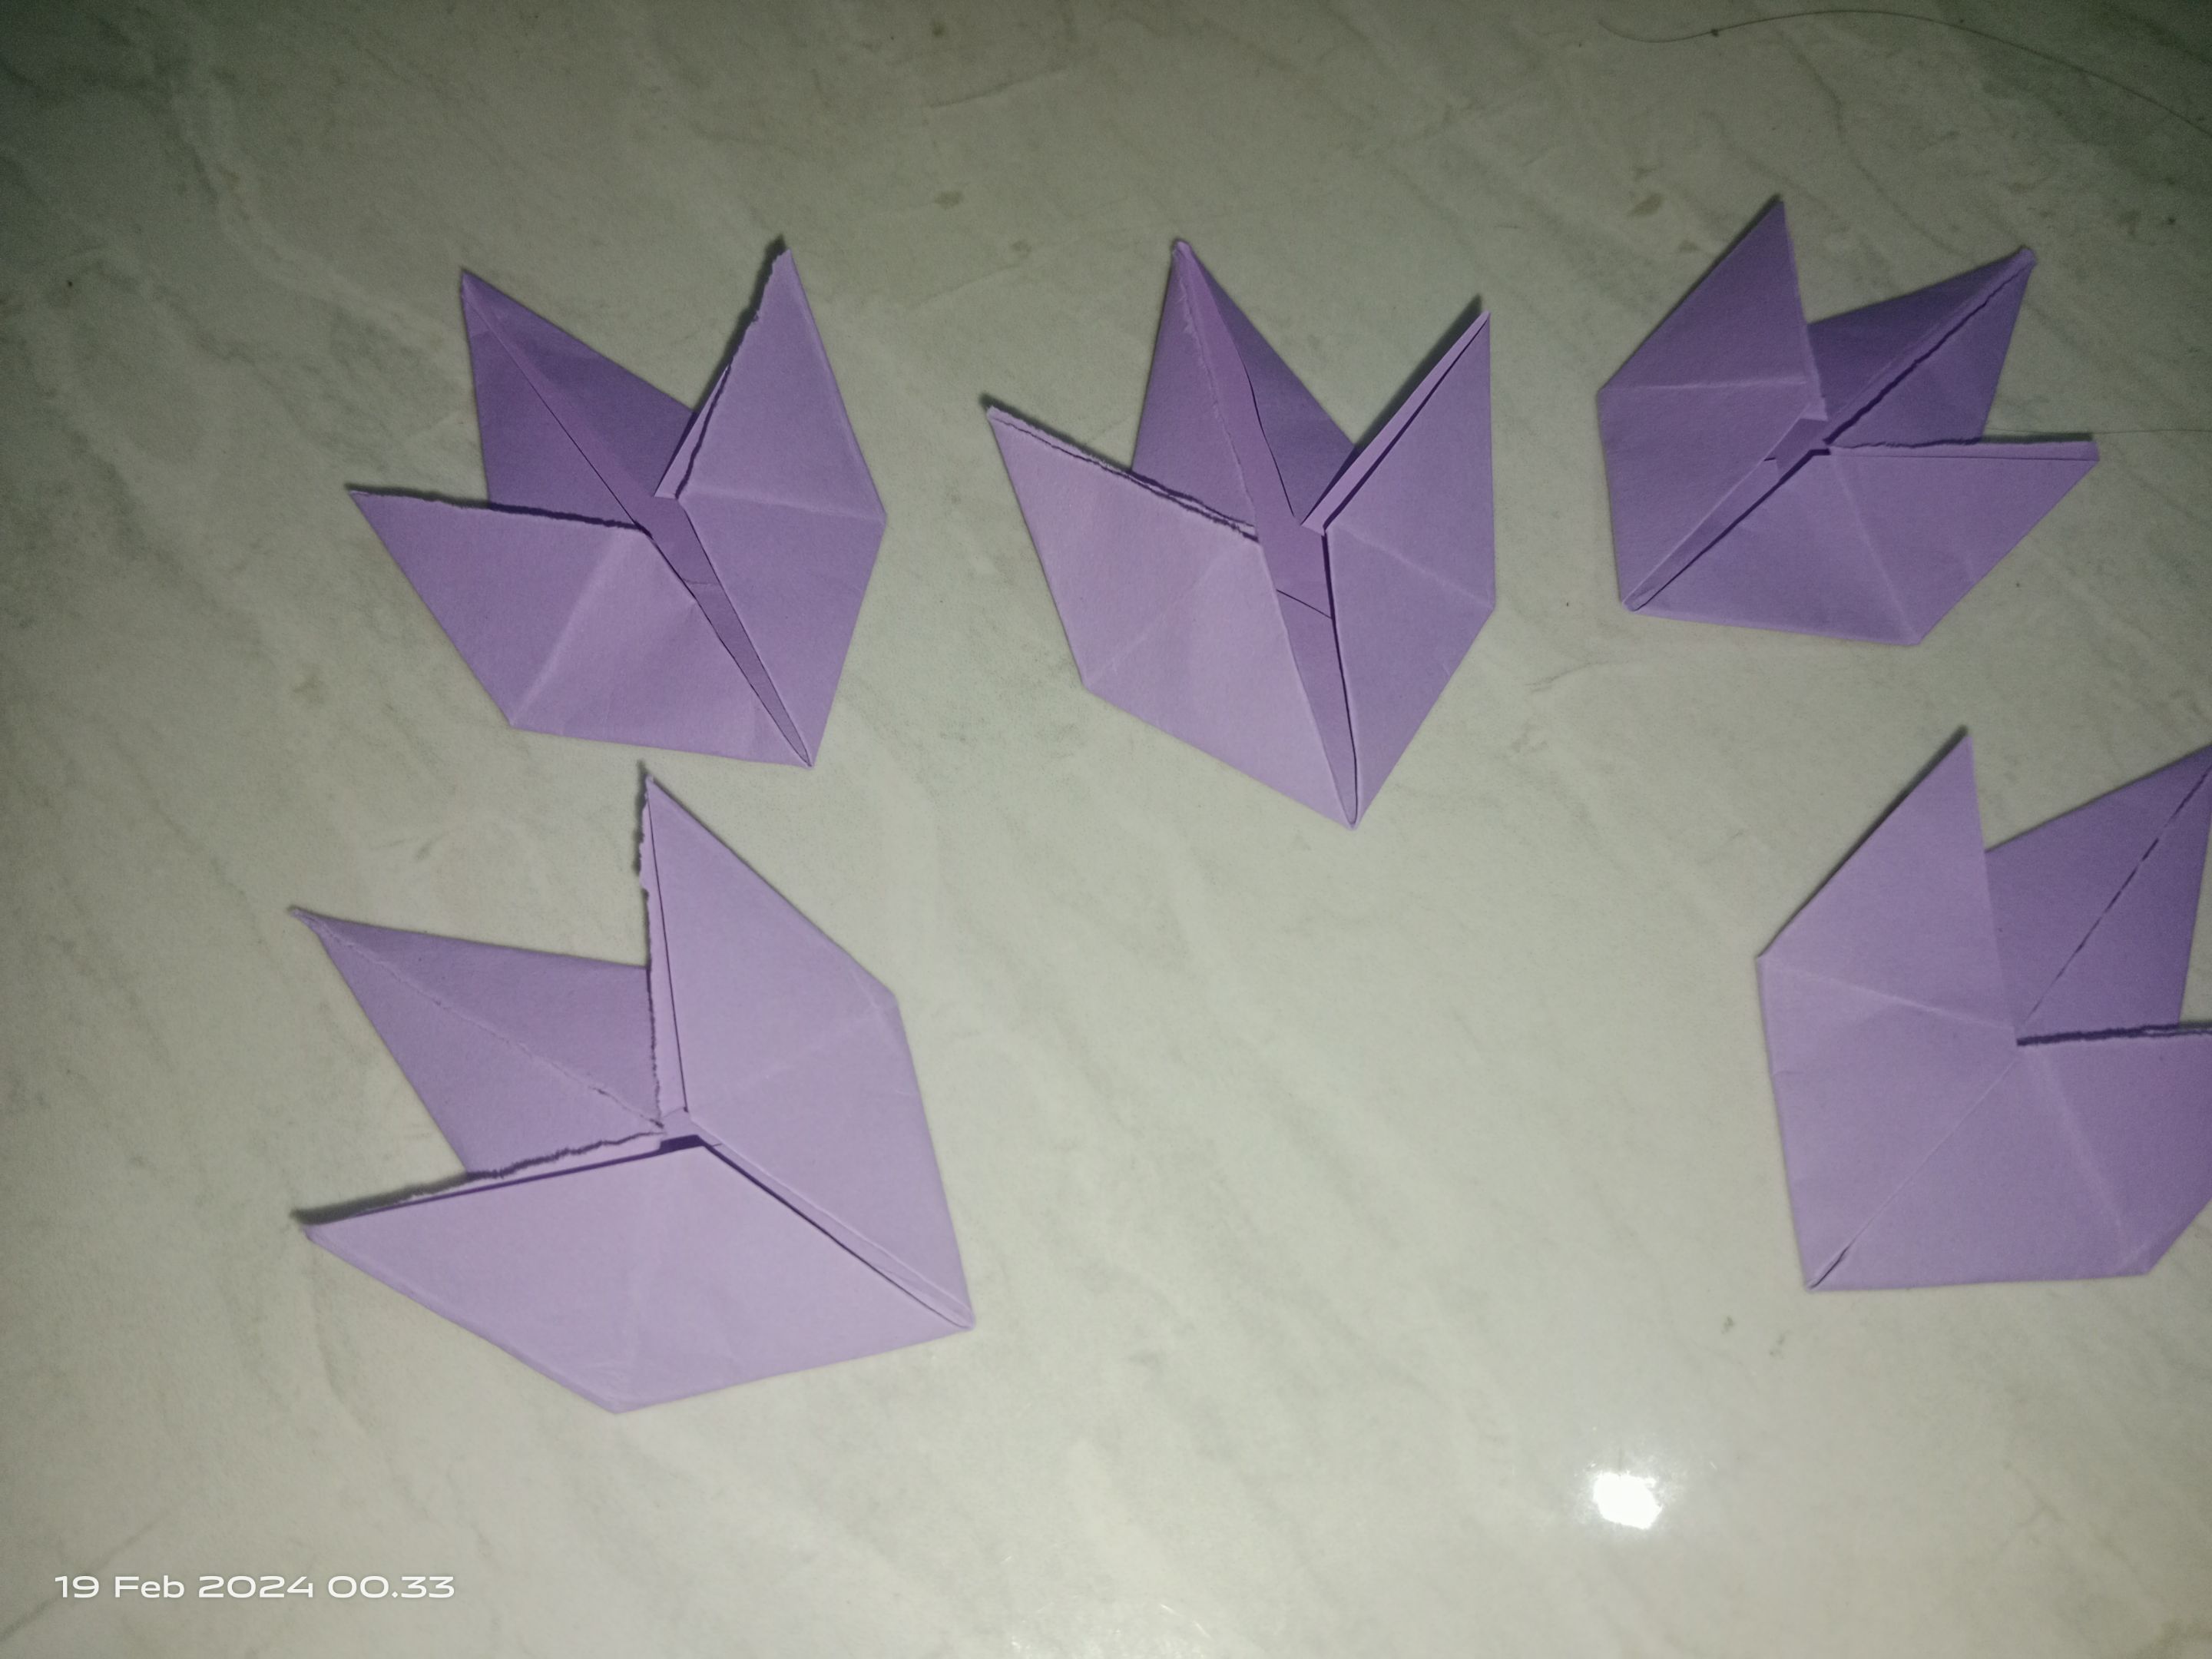
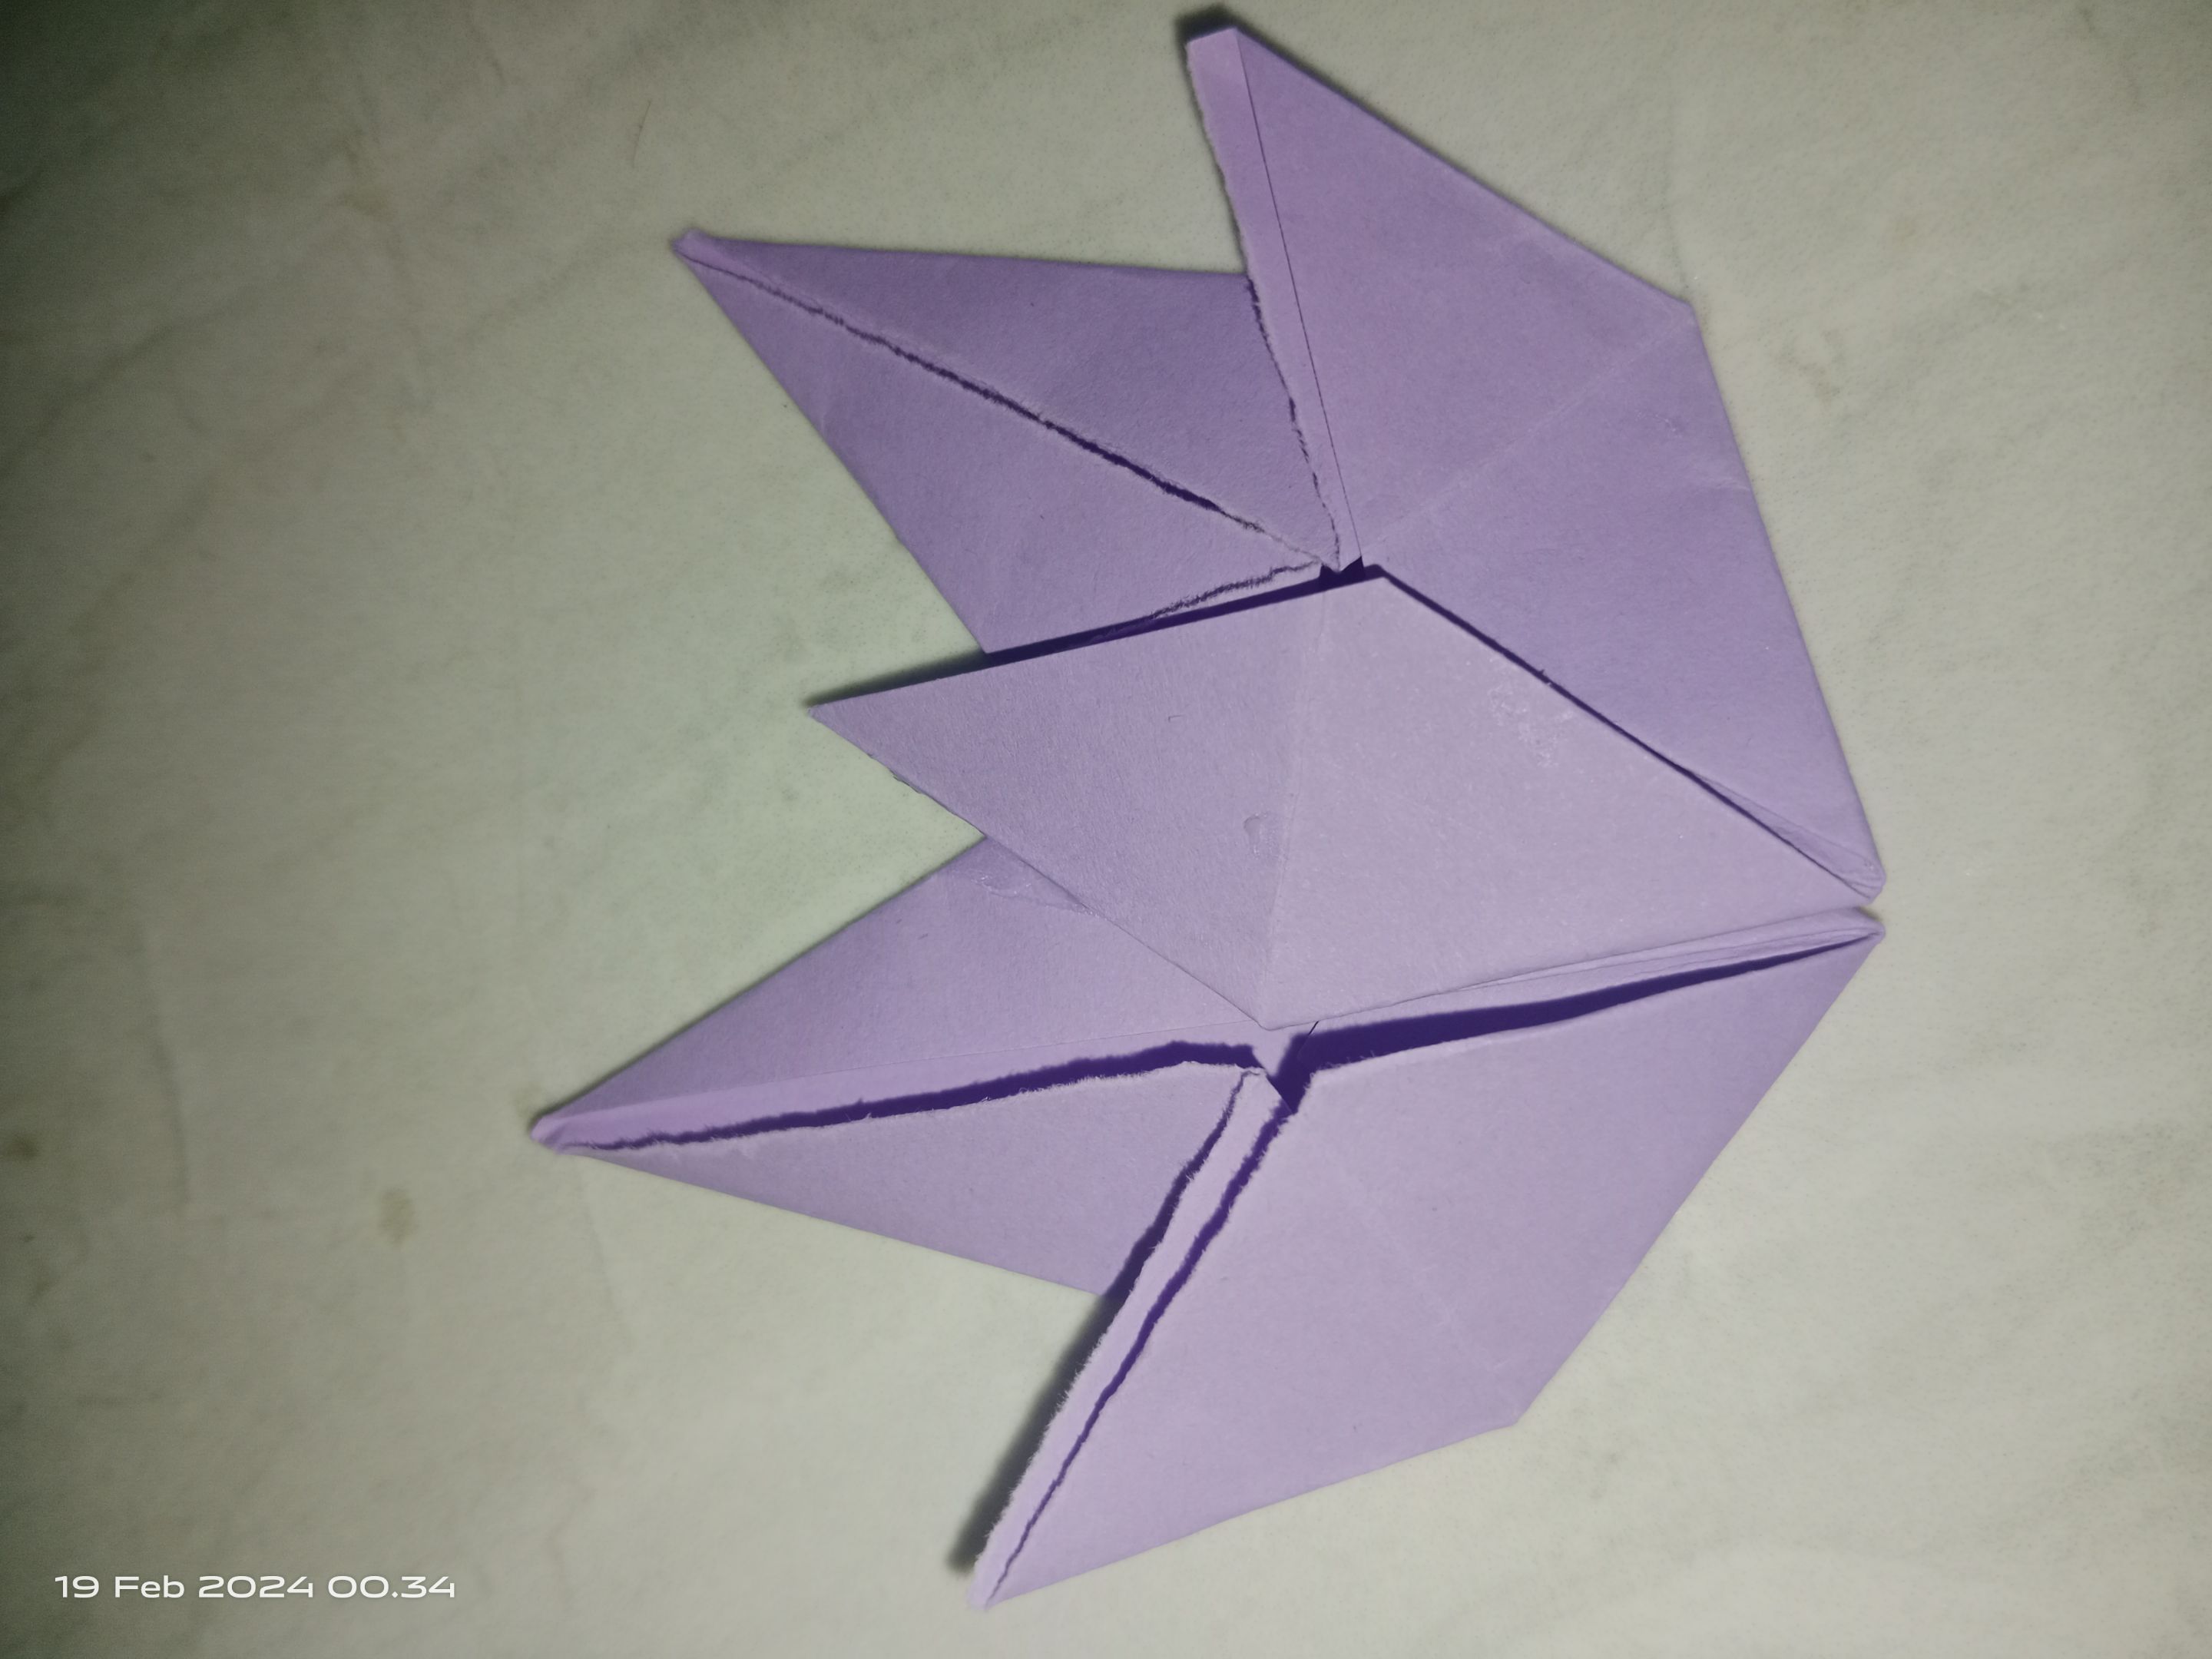
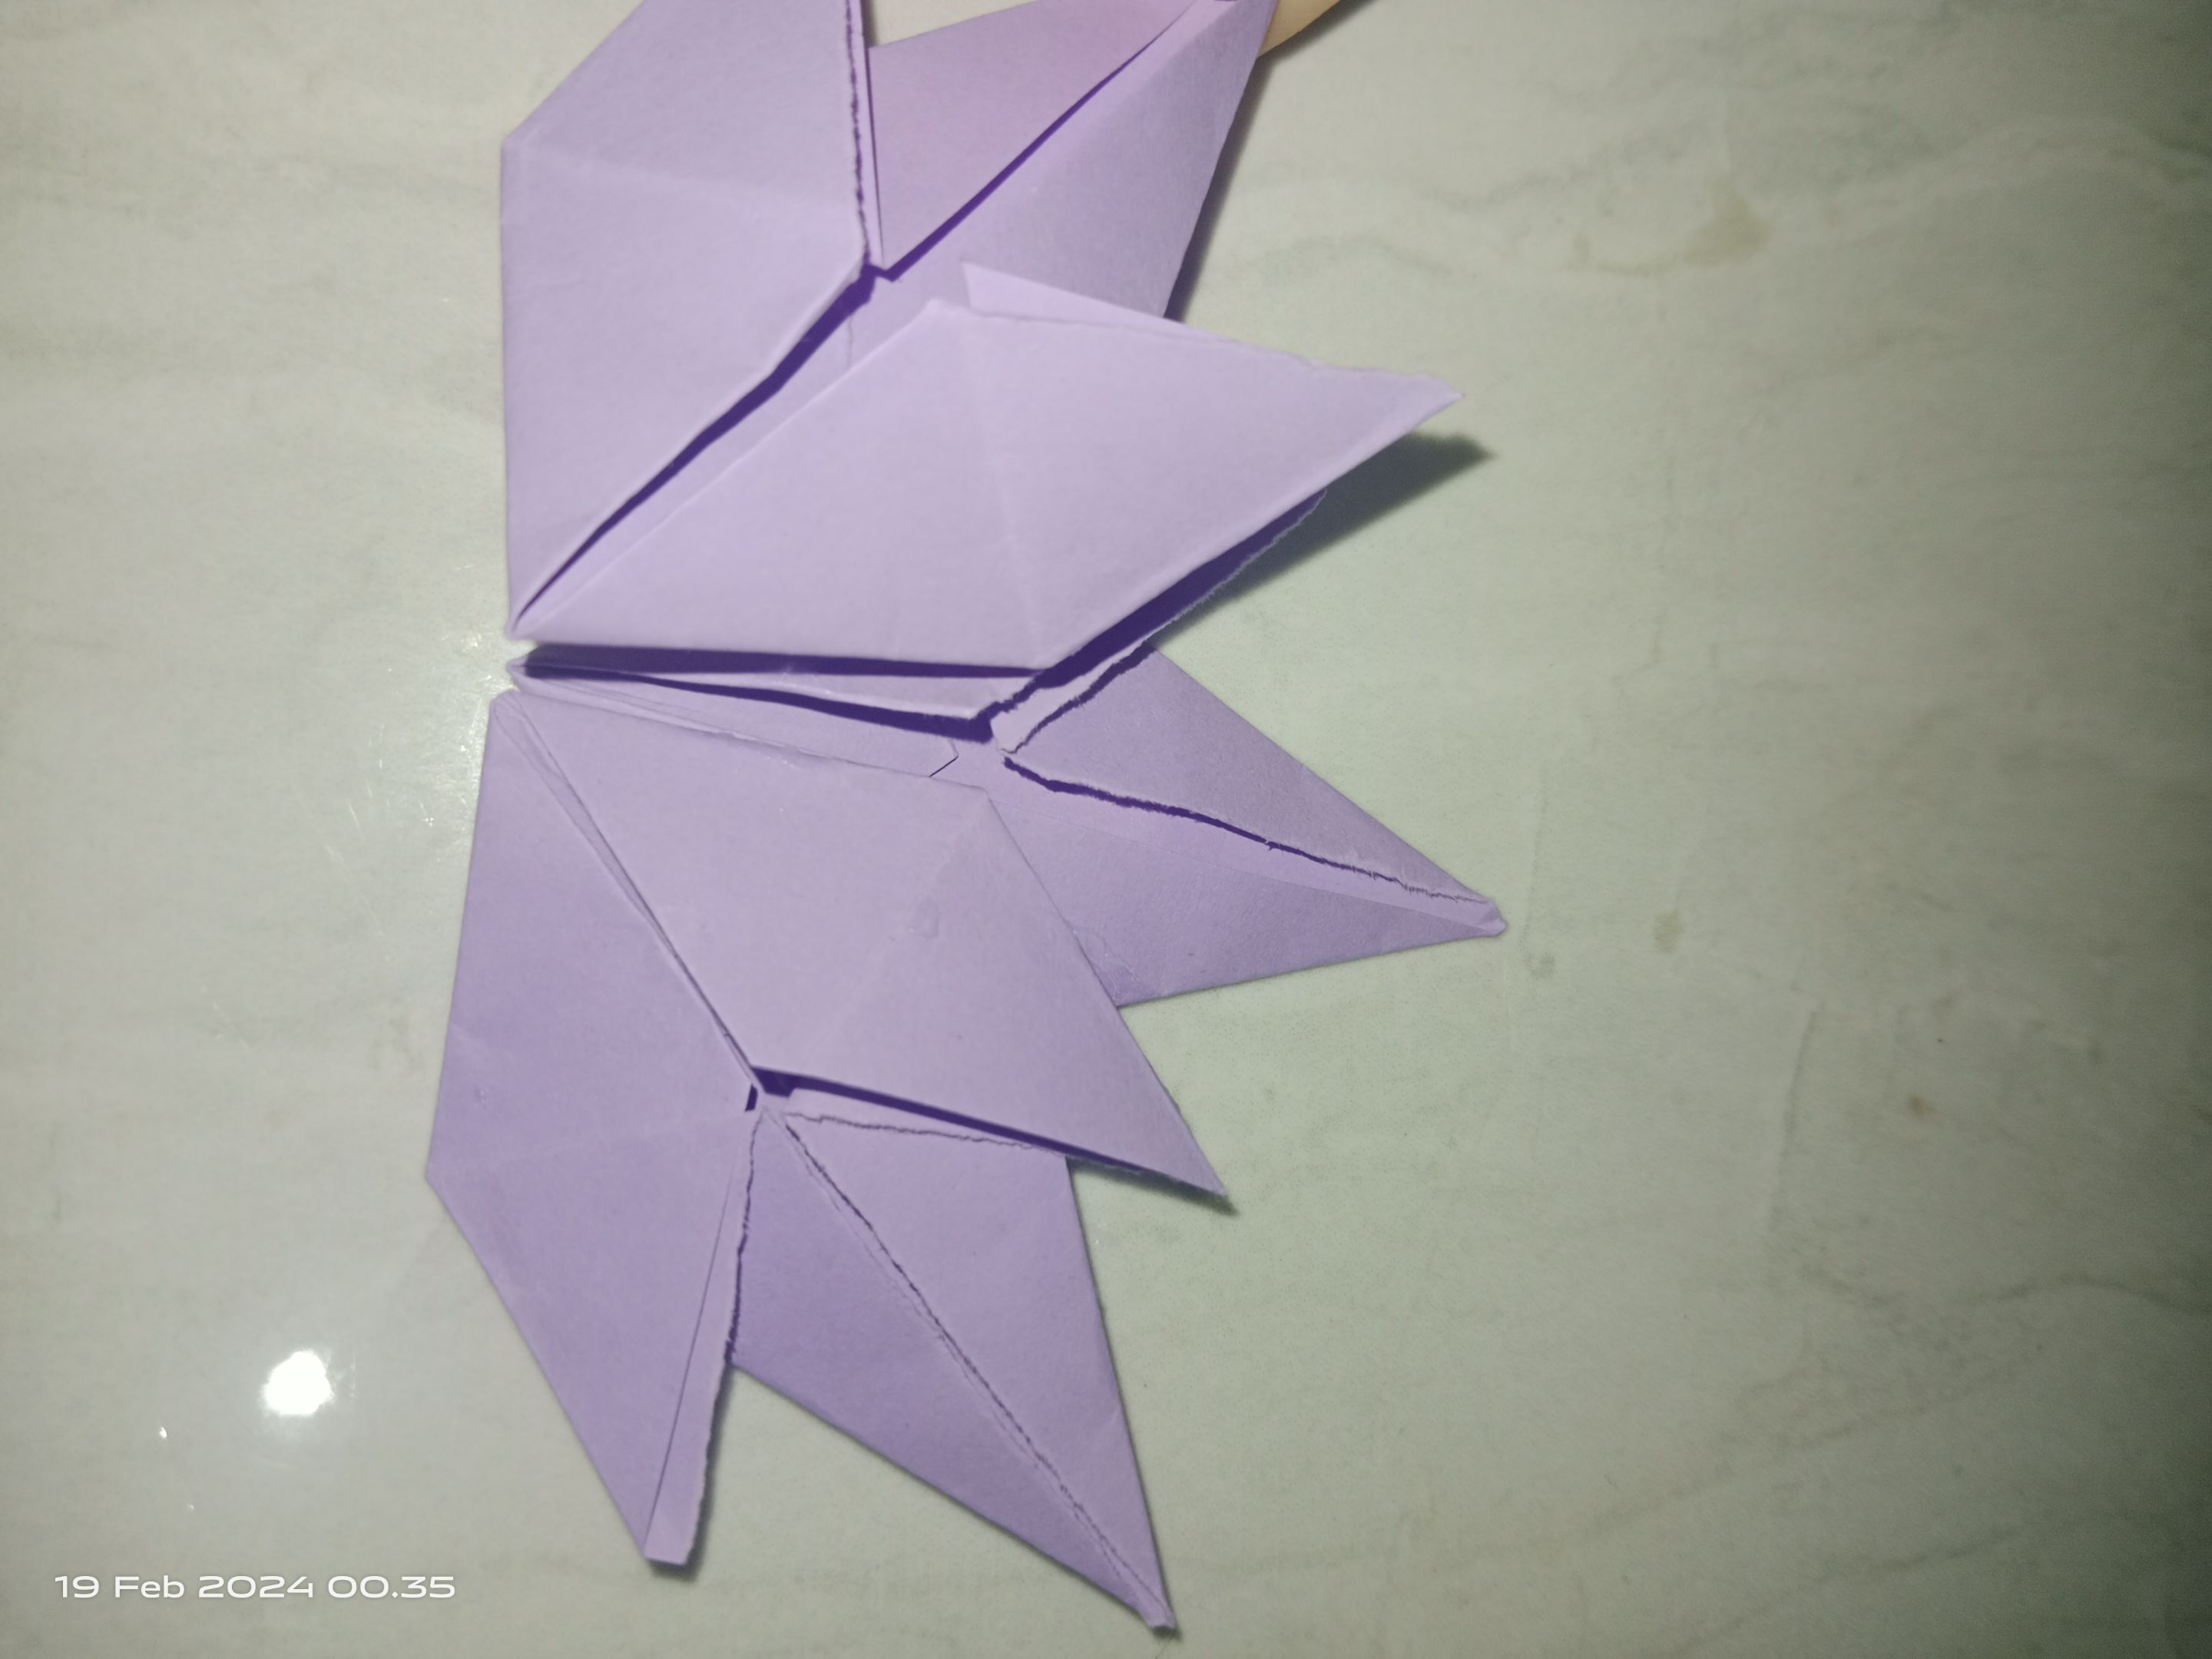
Step 7
Repeat these steps until you have 5/6 parts.
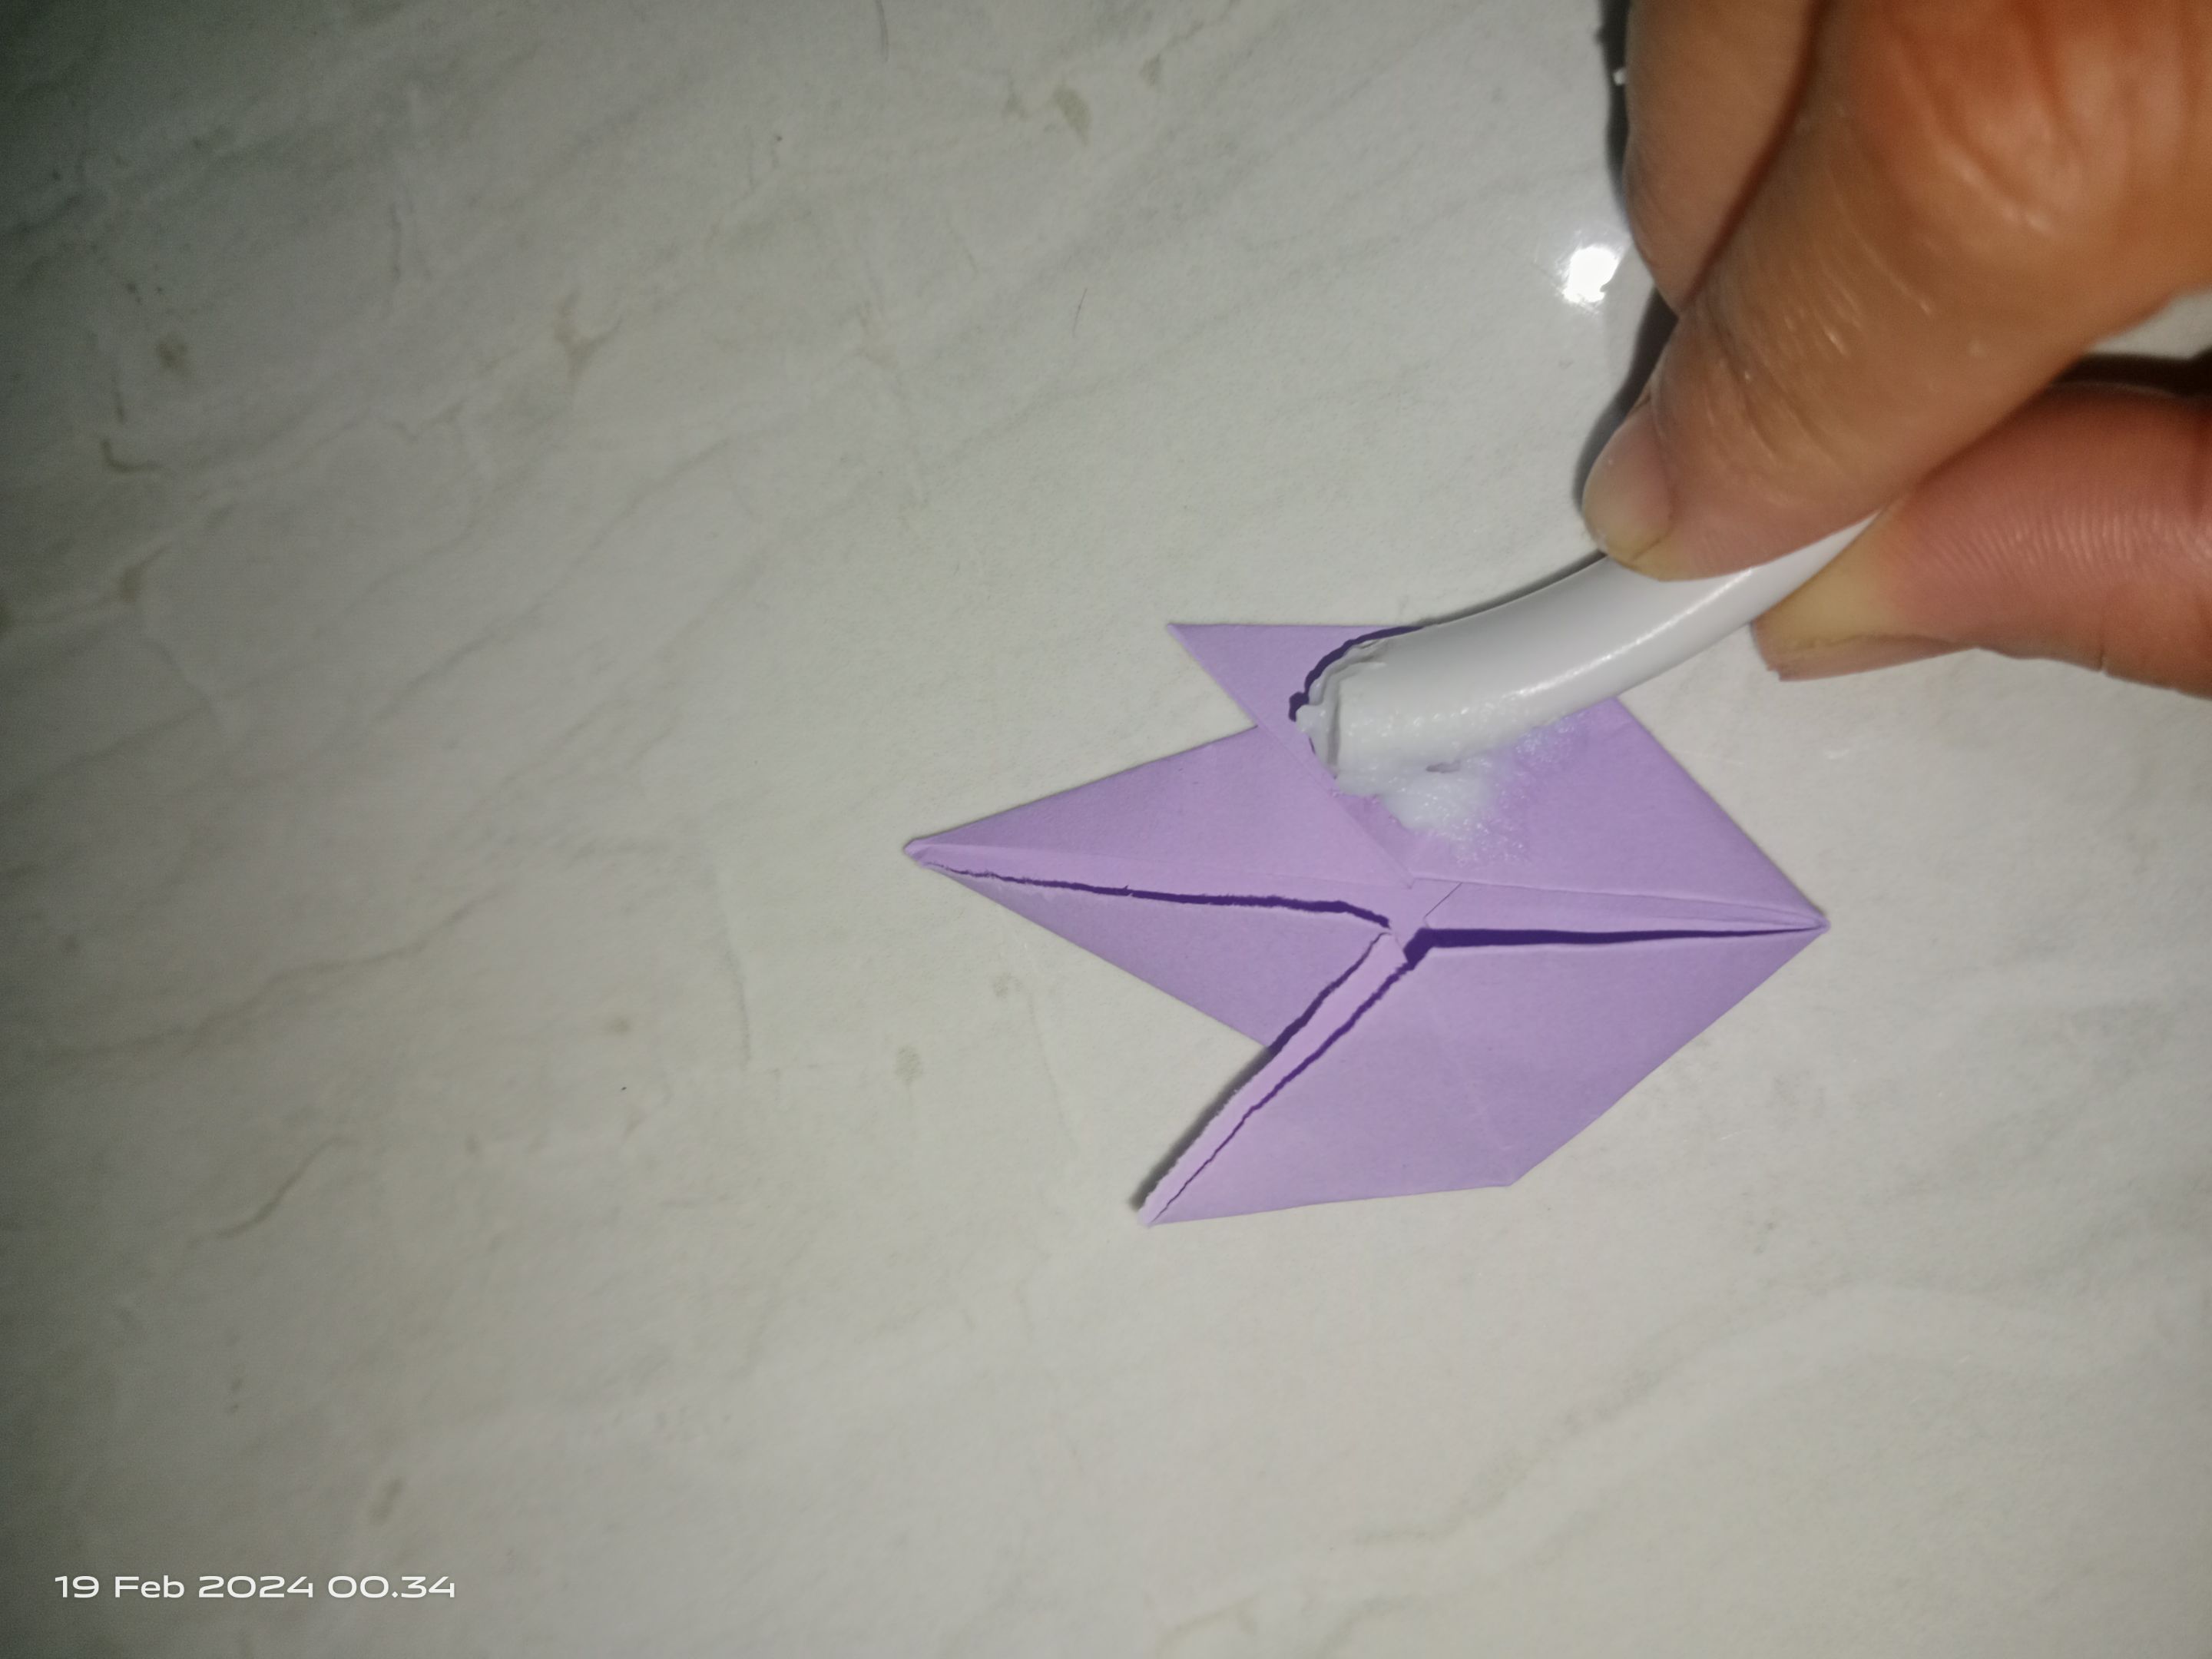
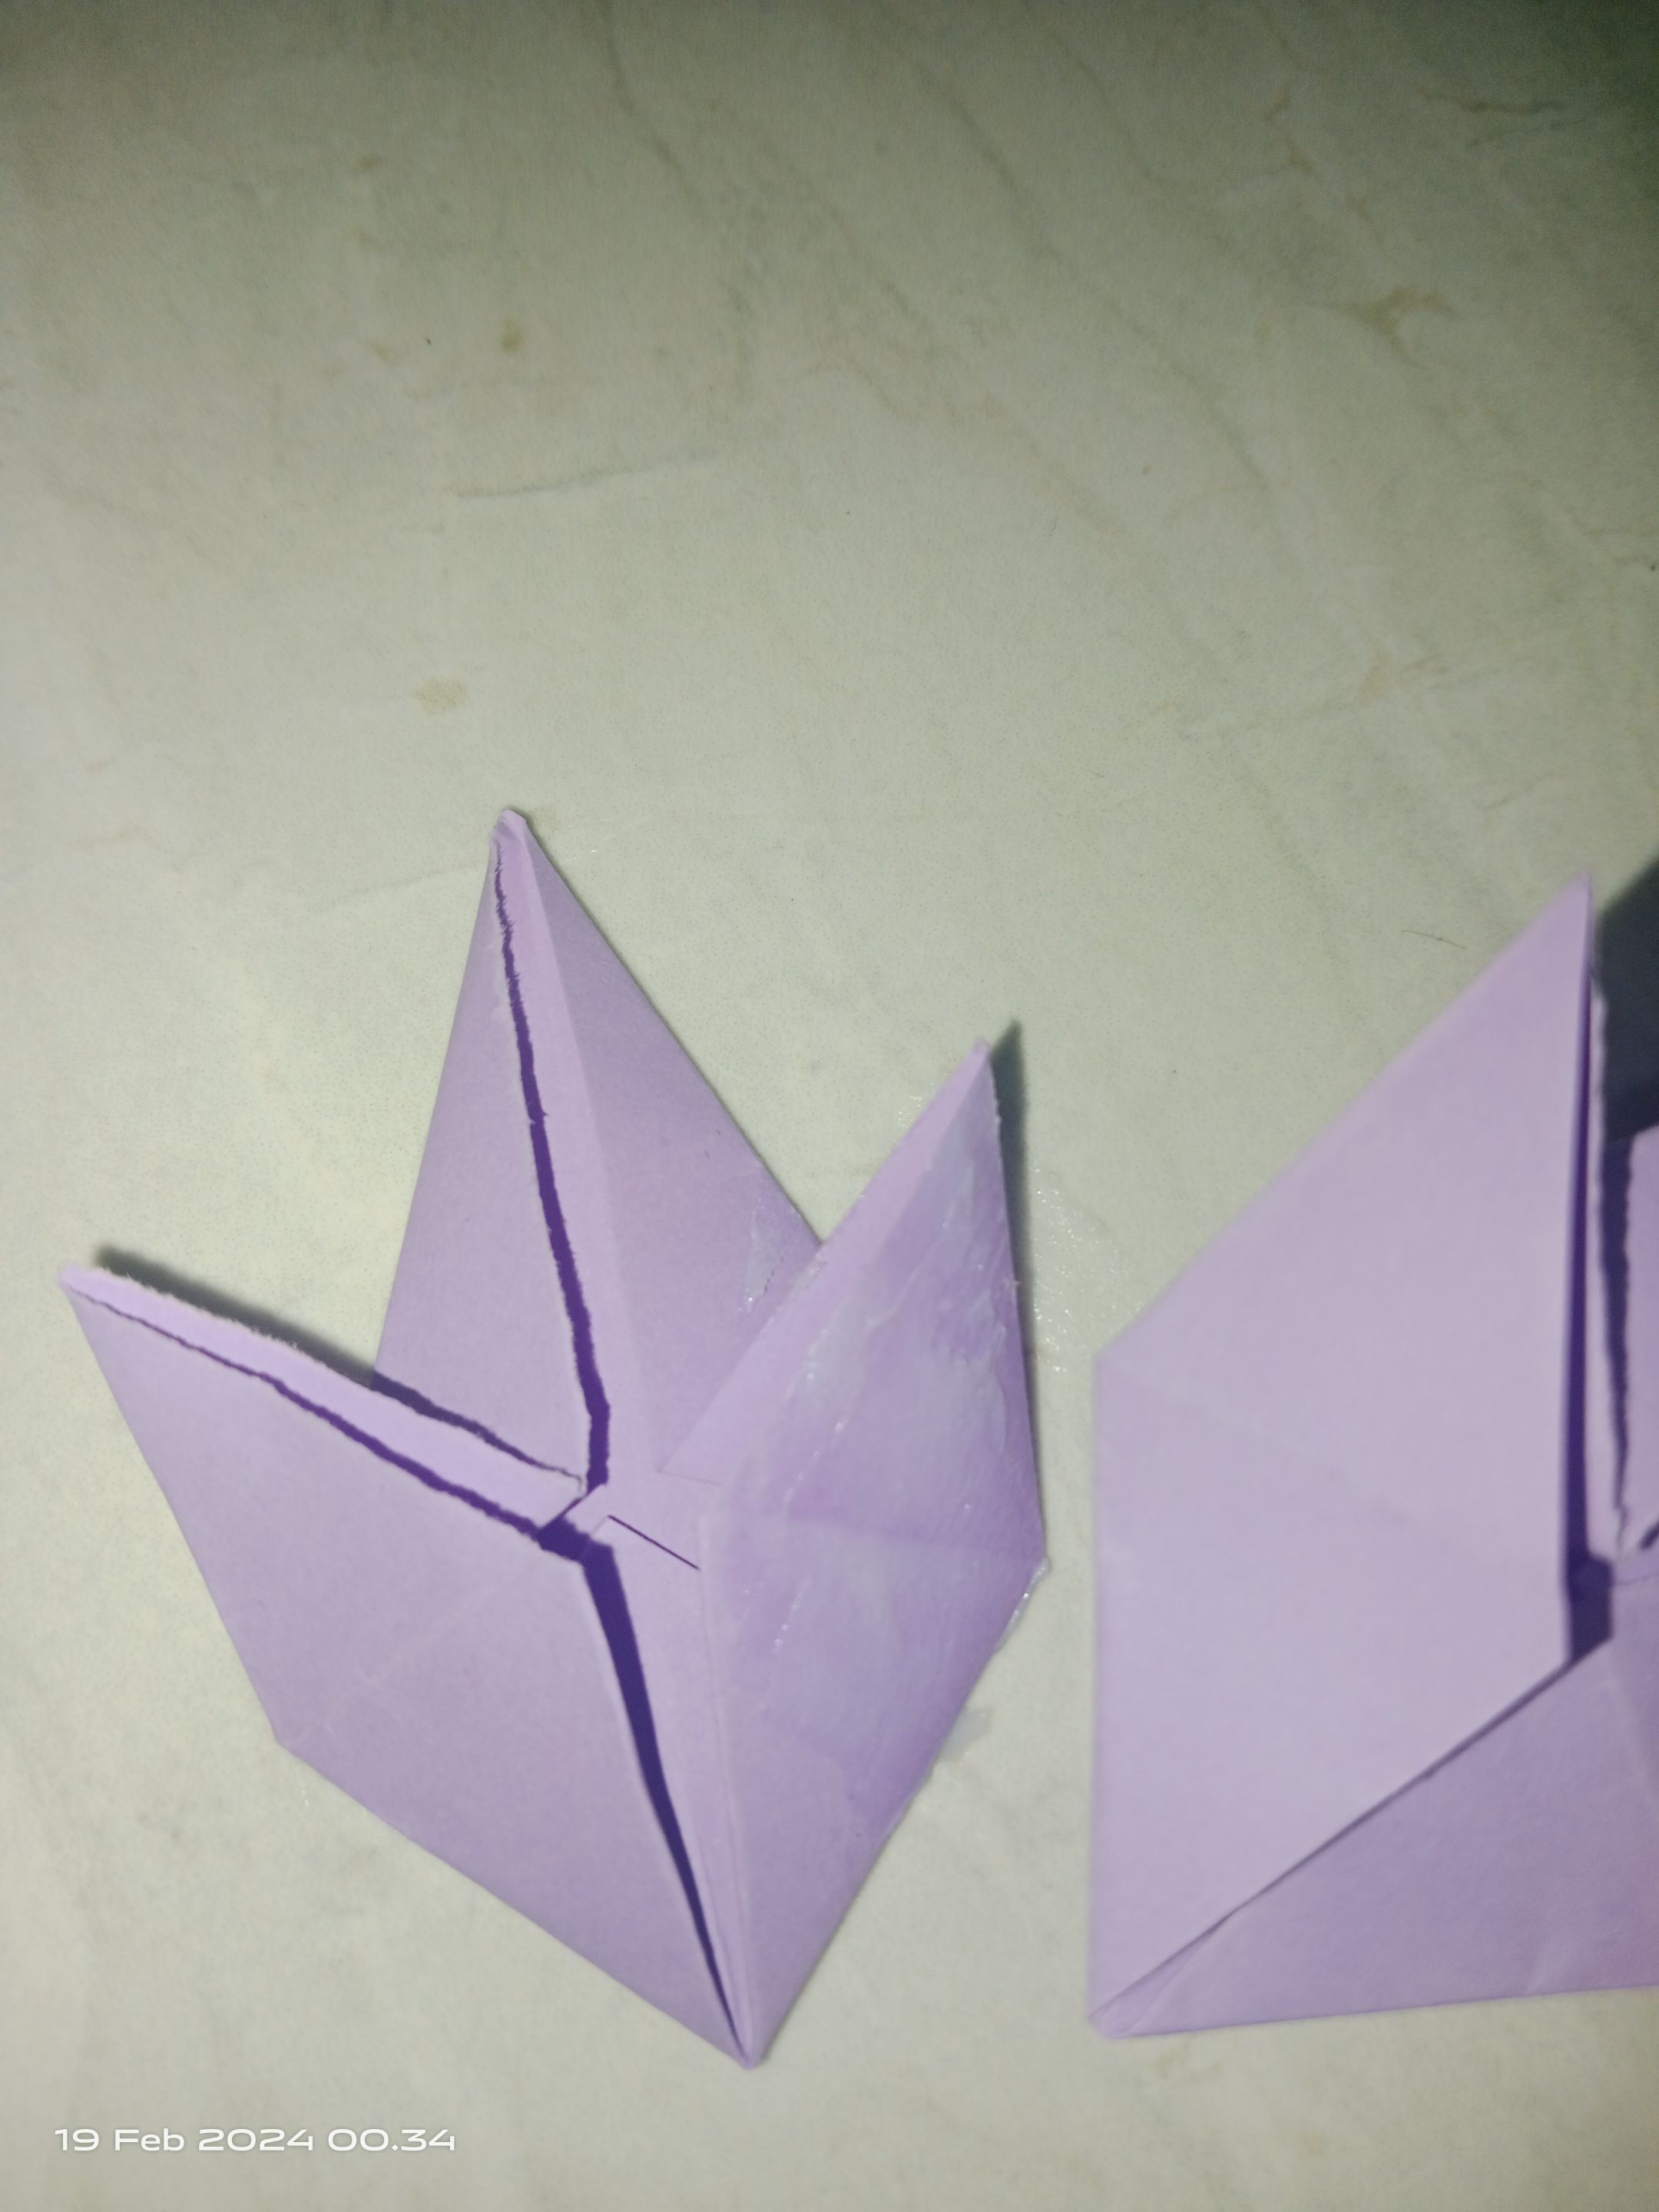
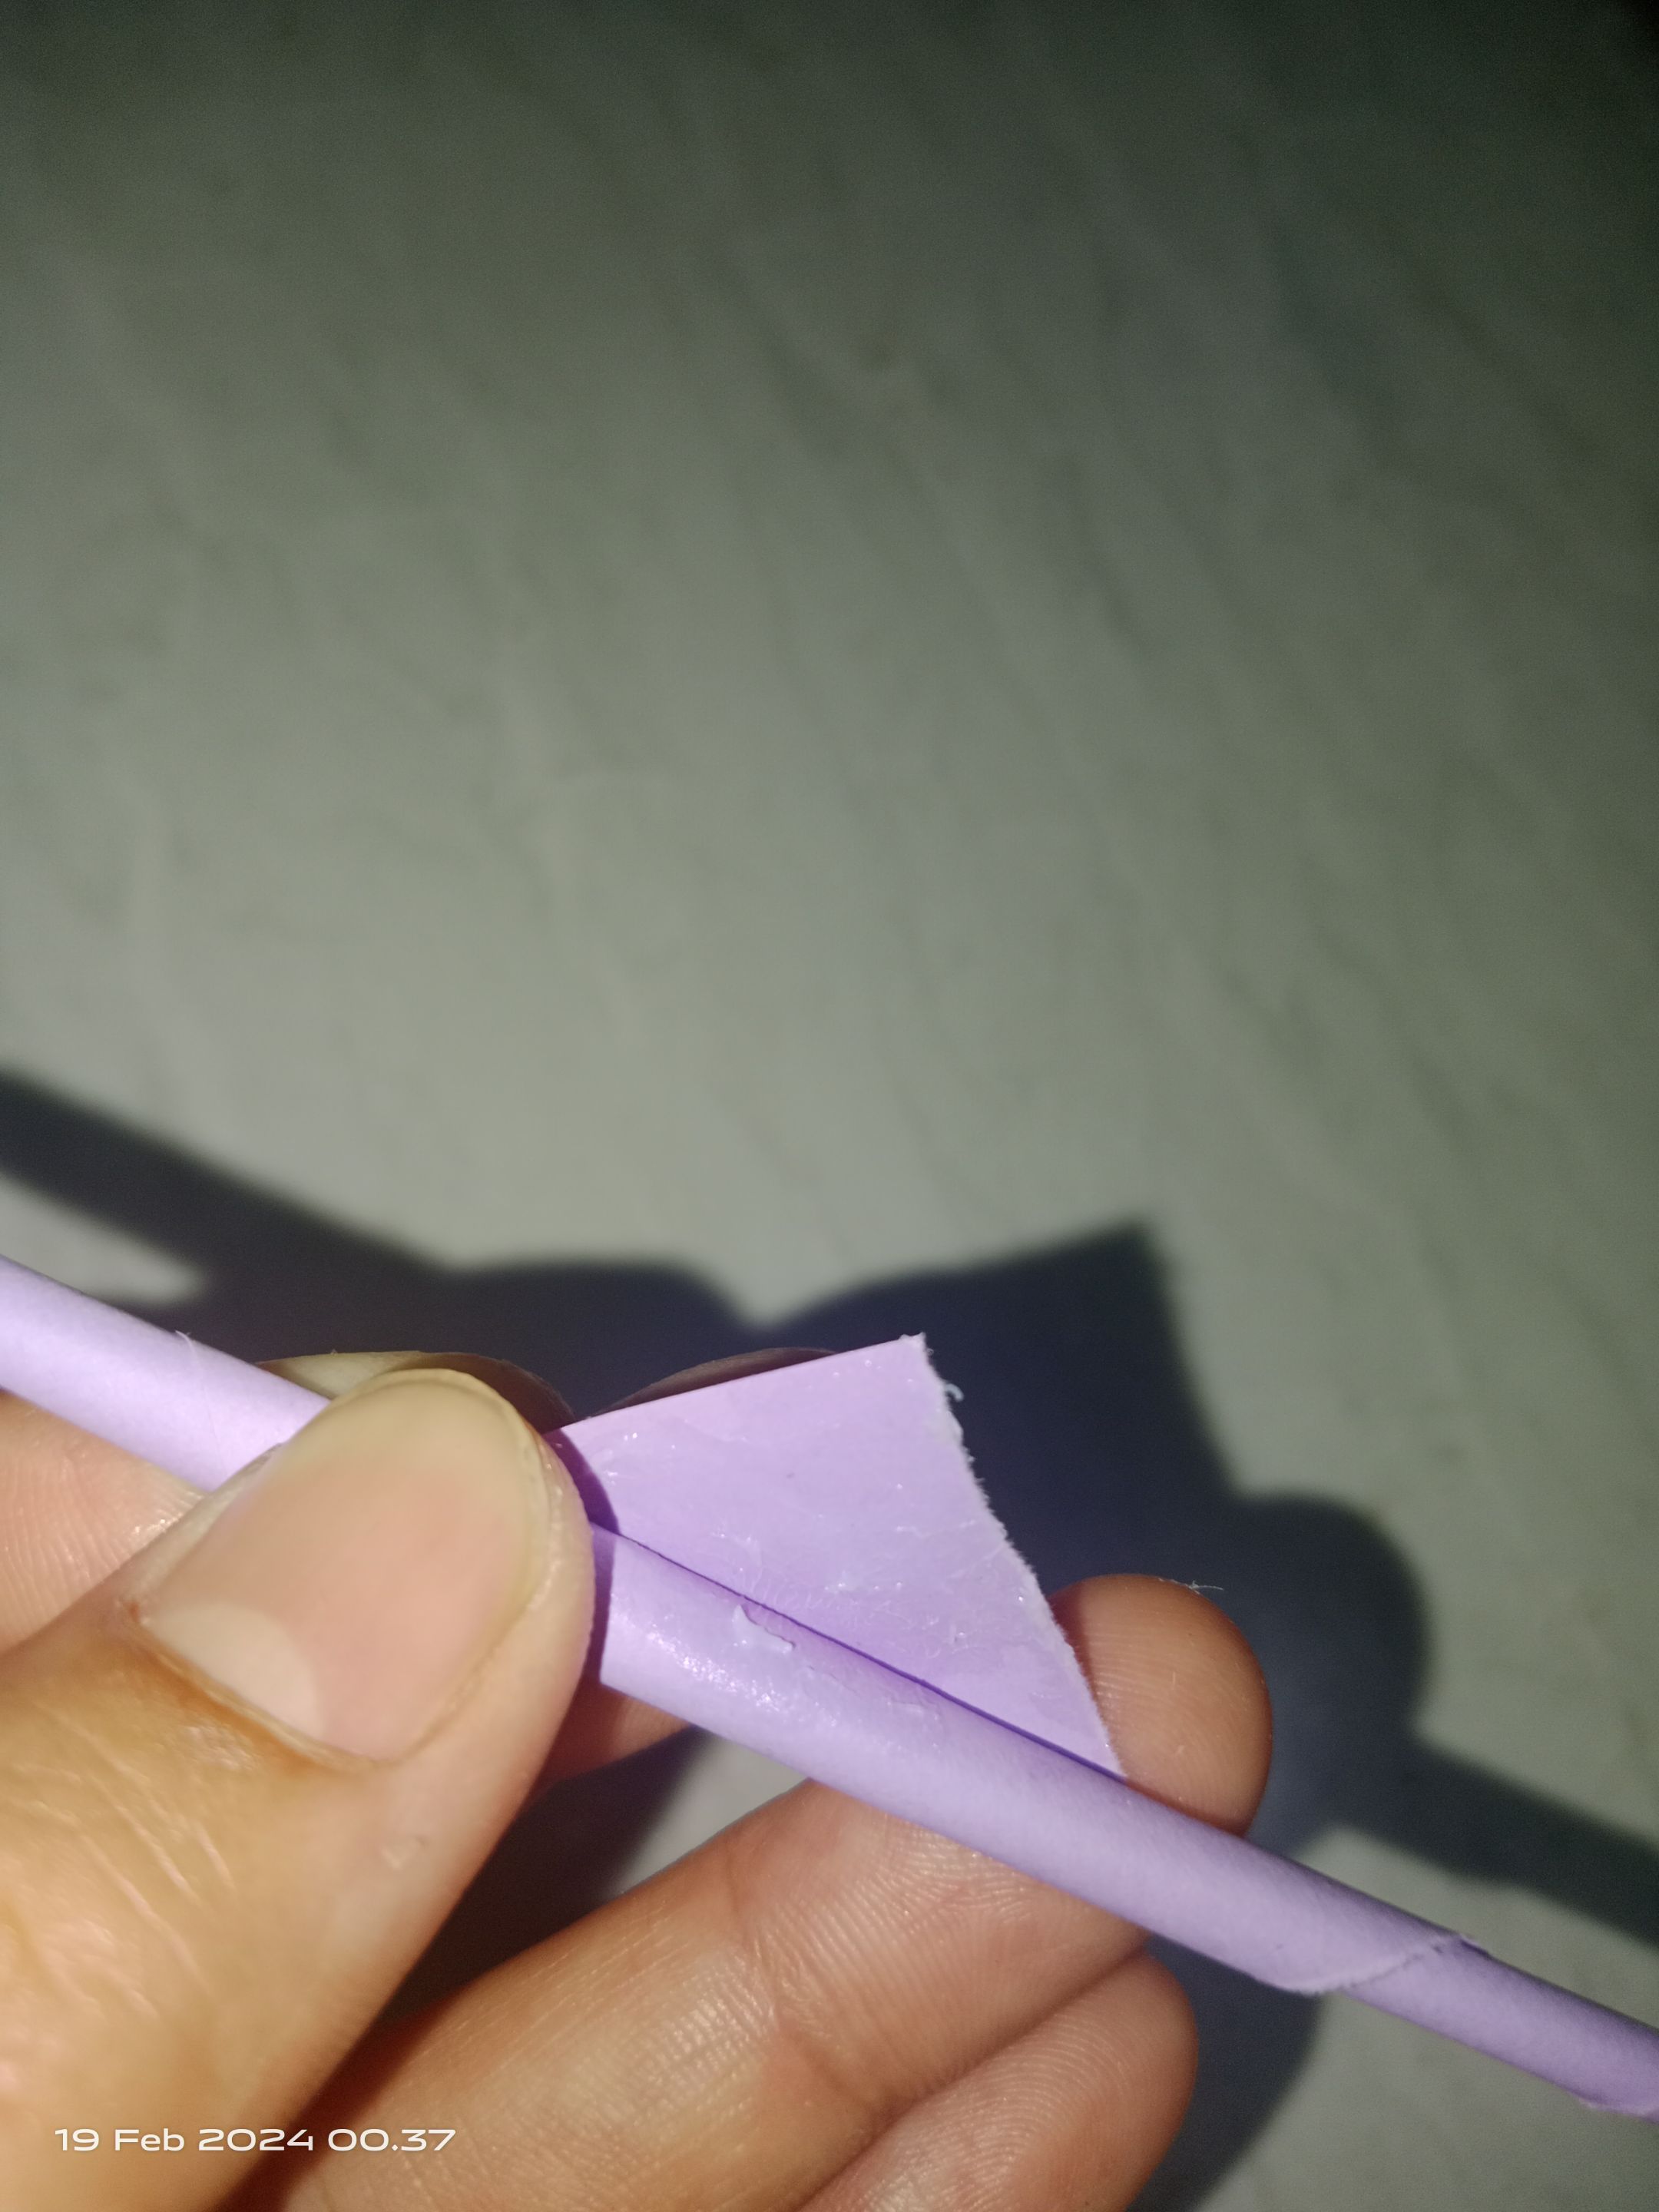
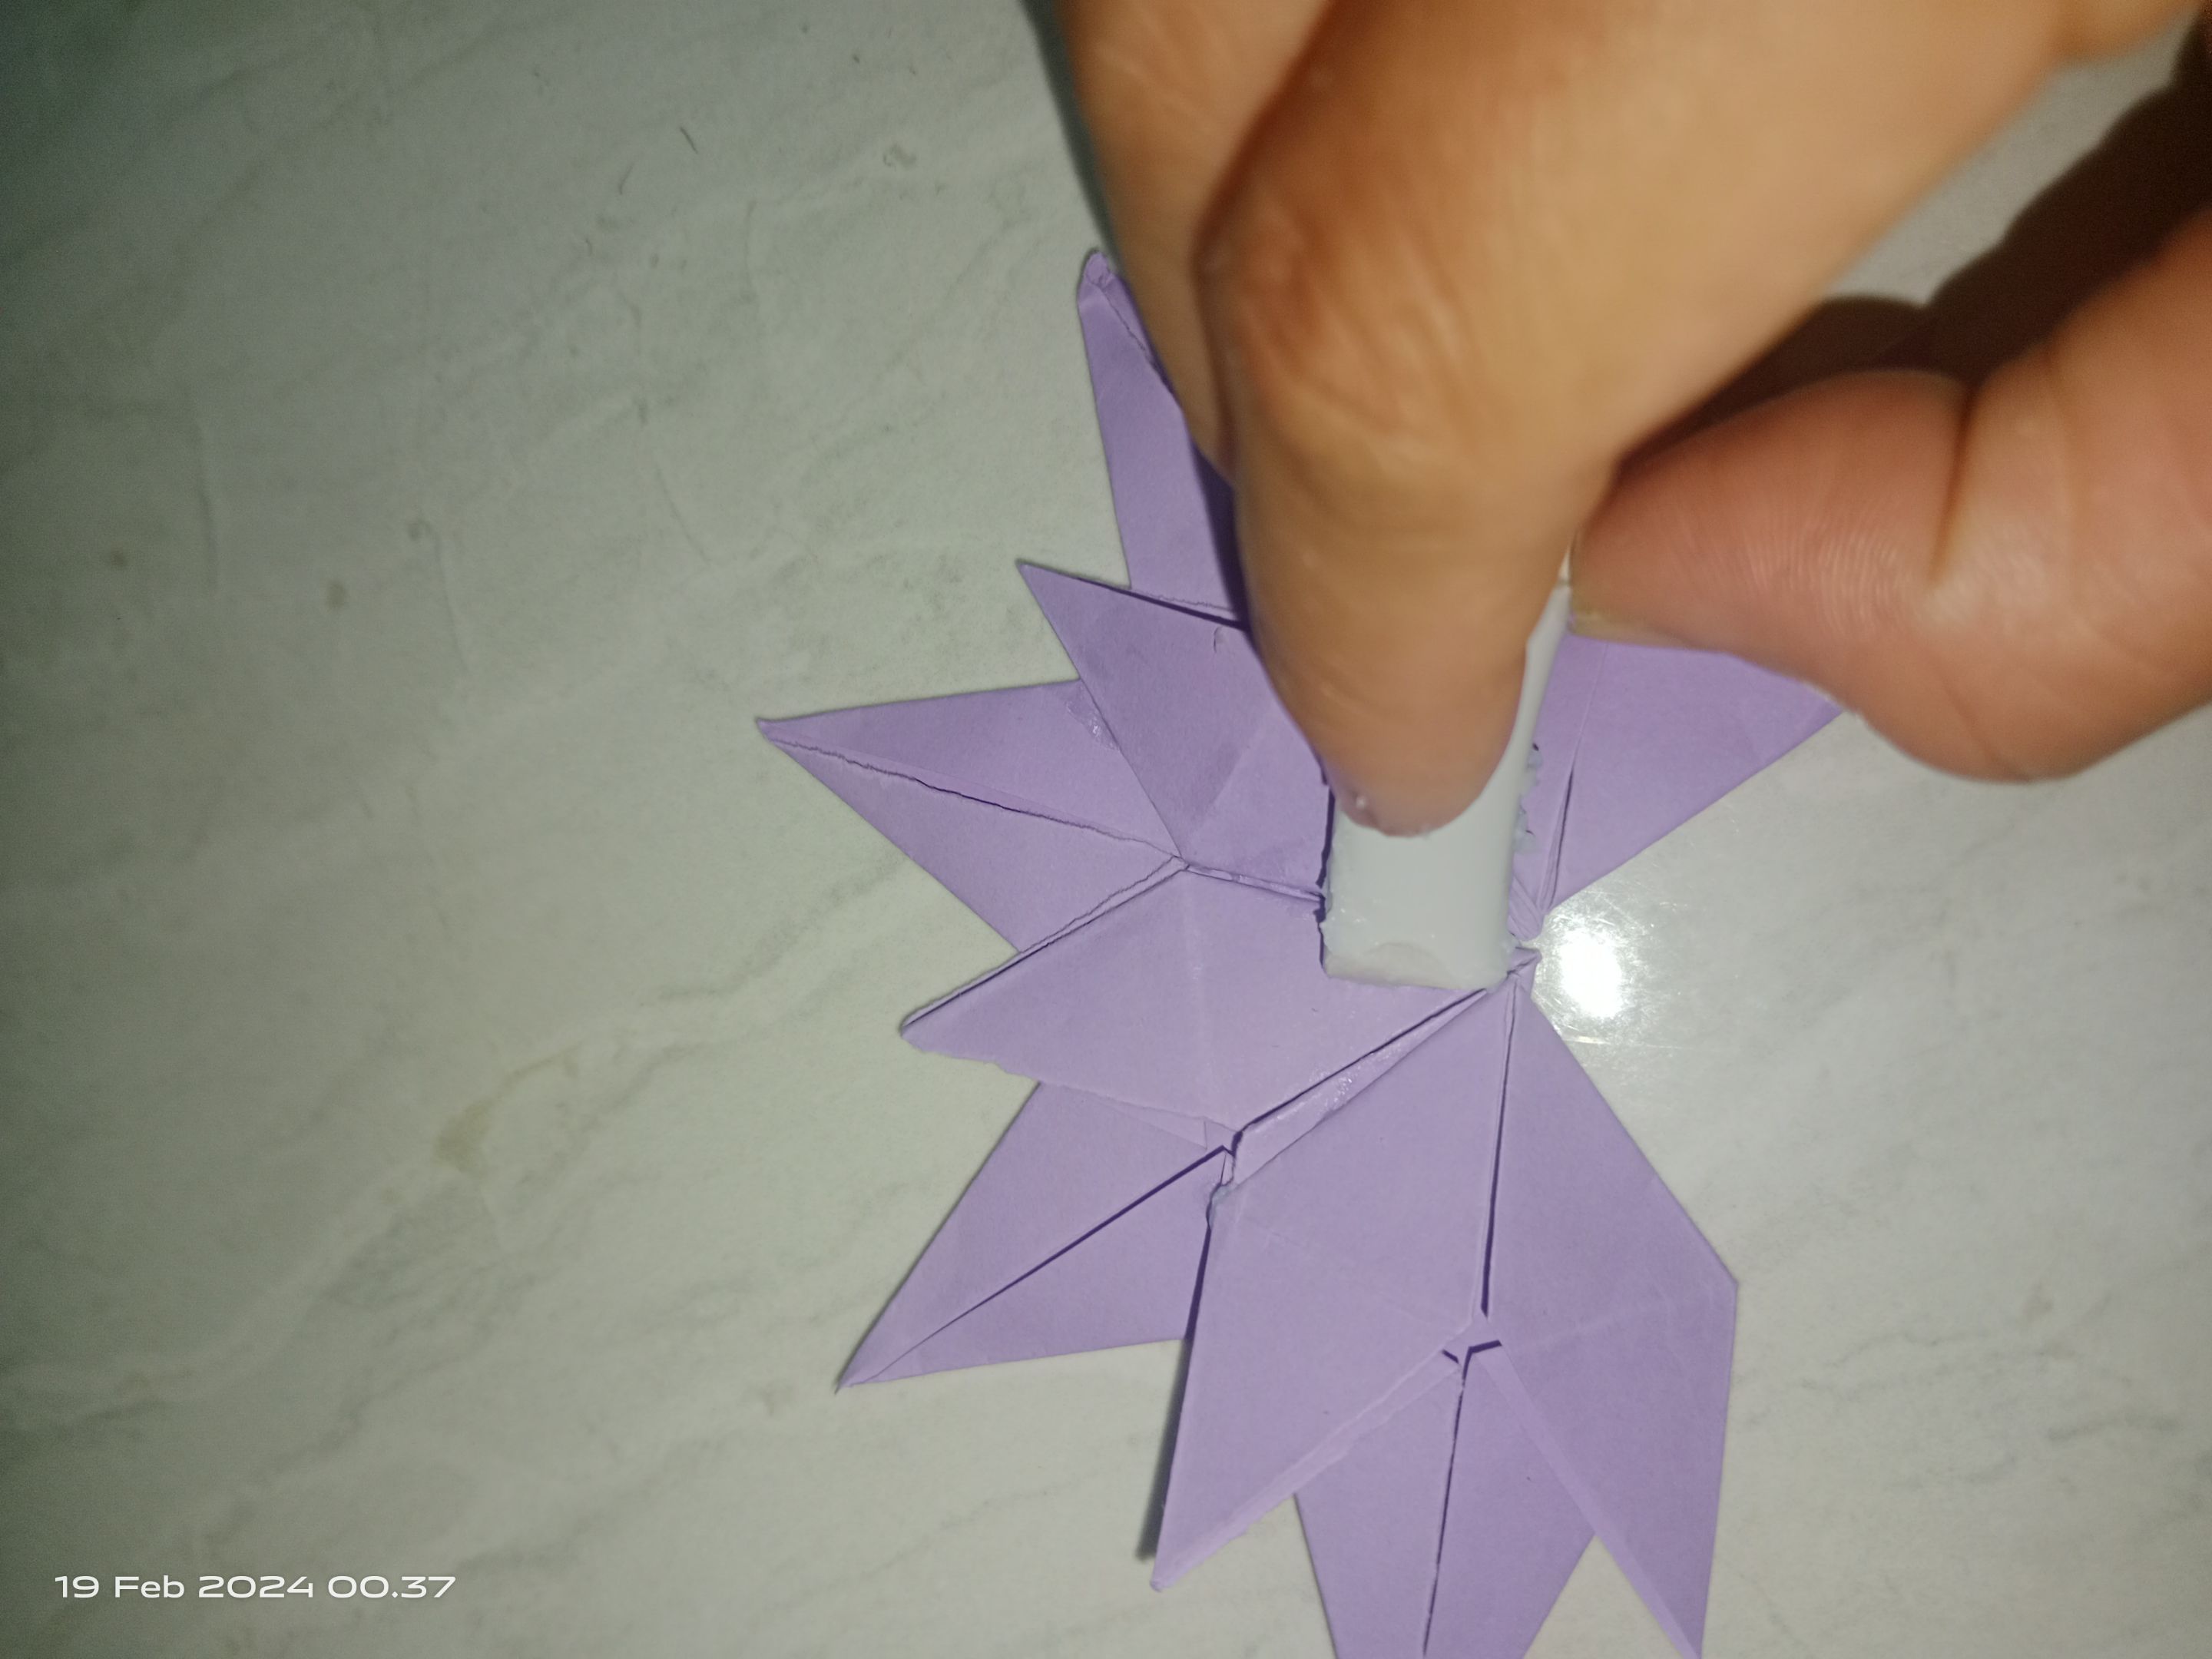
Step 8
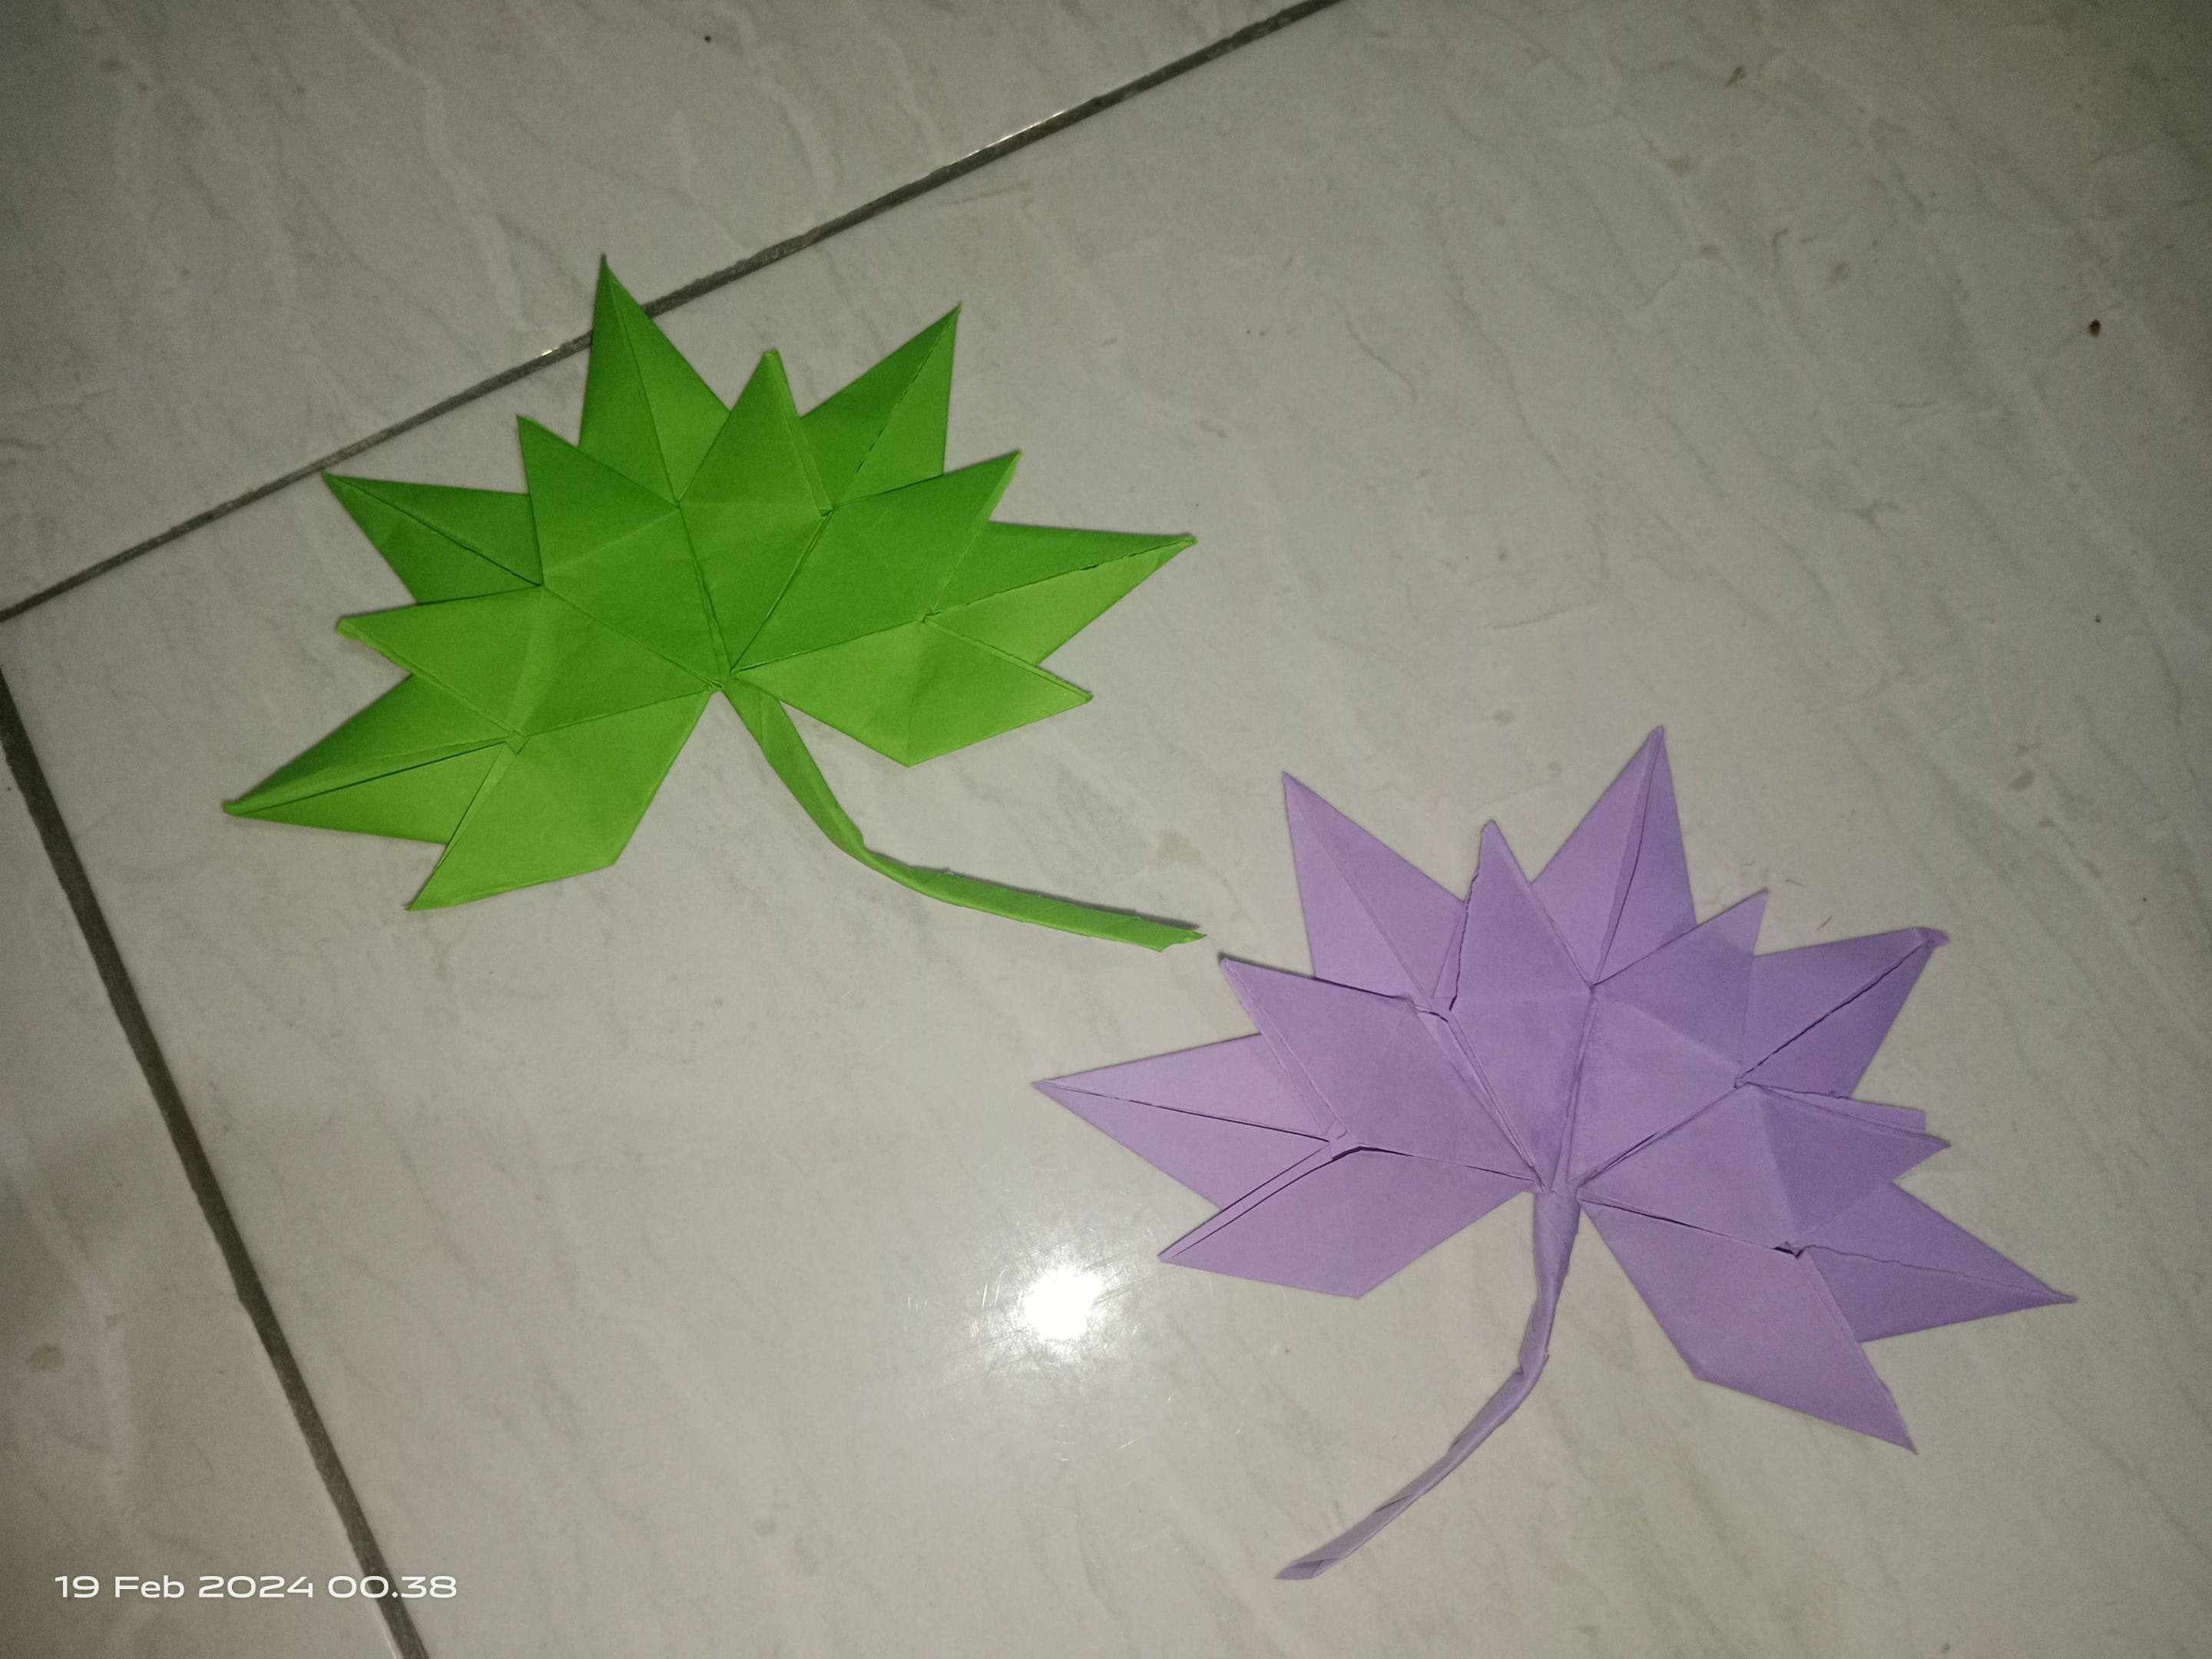
The final step, apply glue to each side of the paper and apply it repeatedly until it produces beautiful leaves.

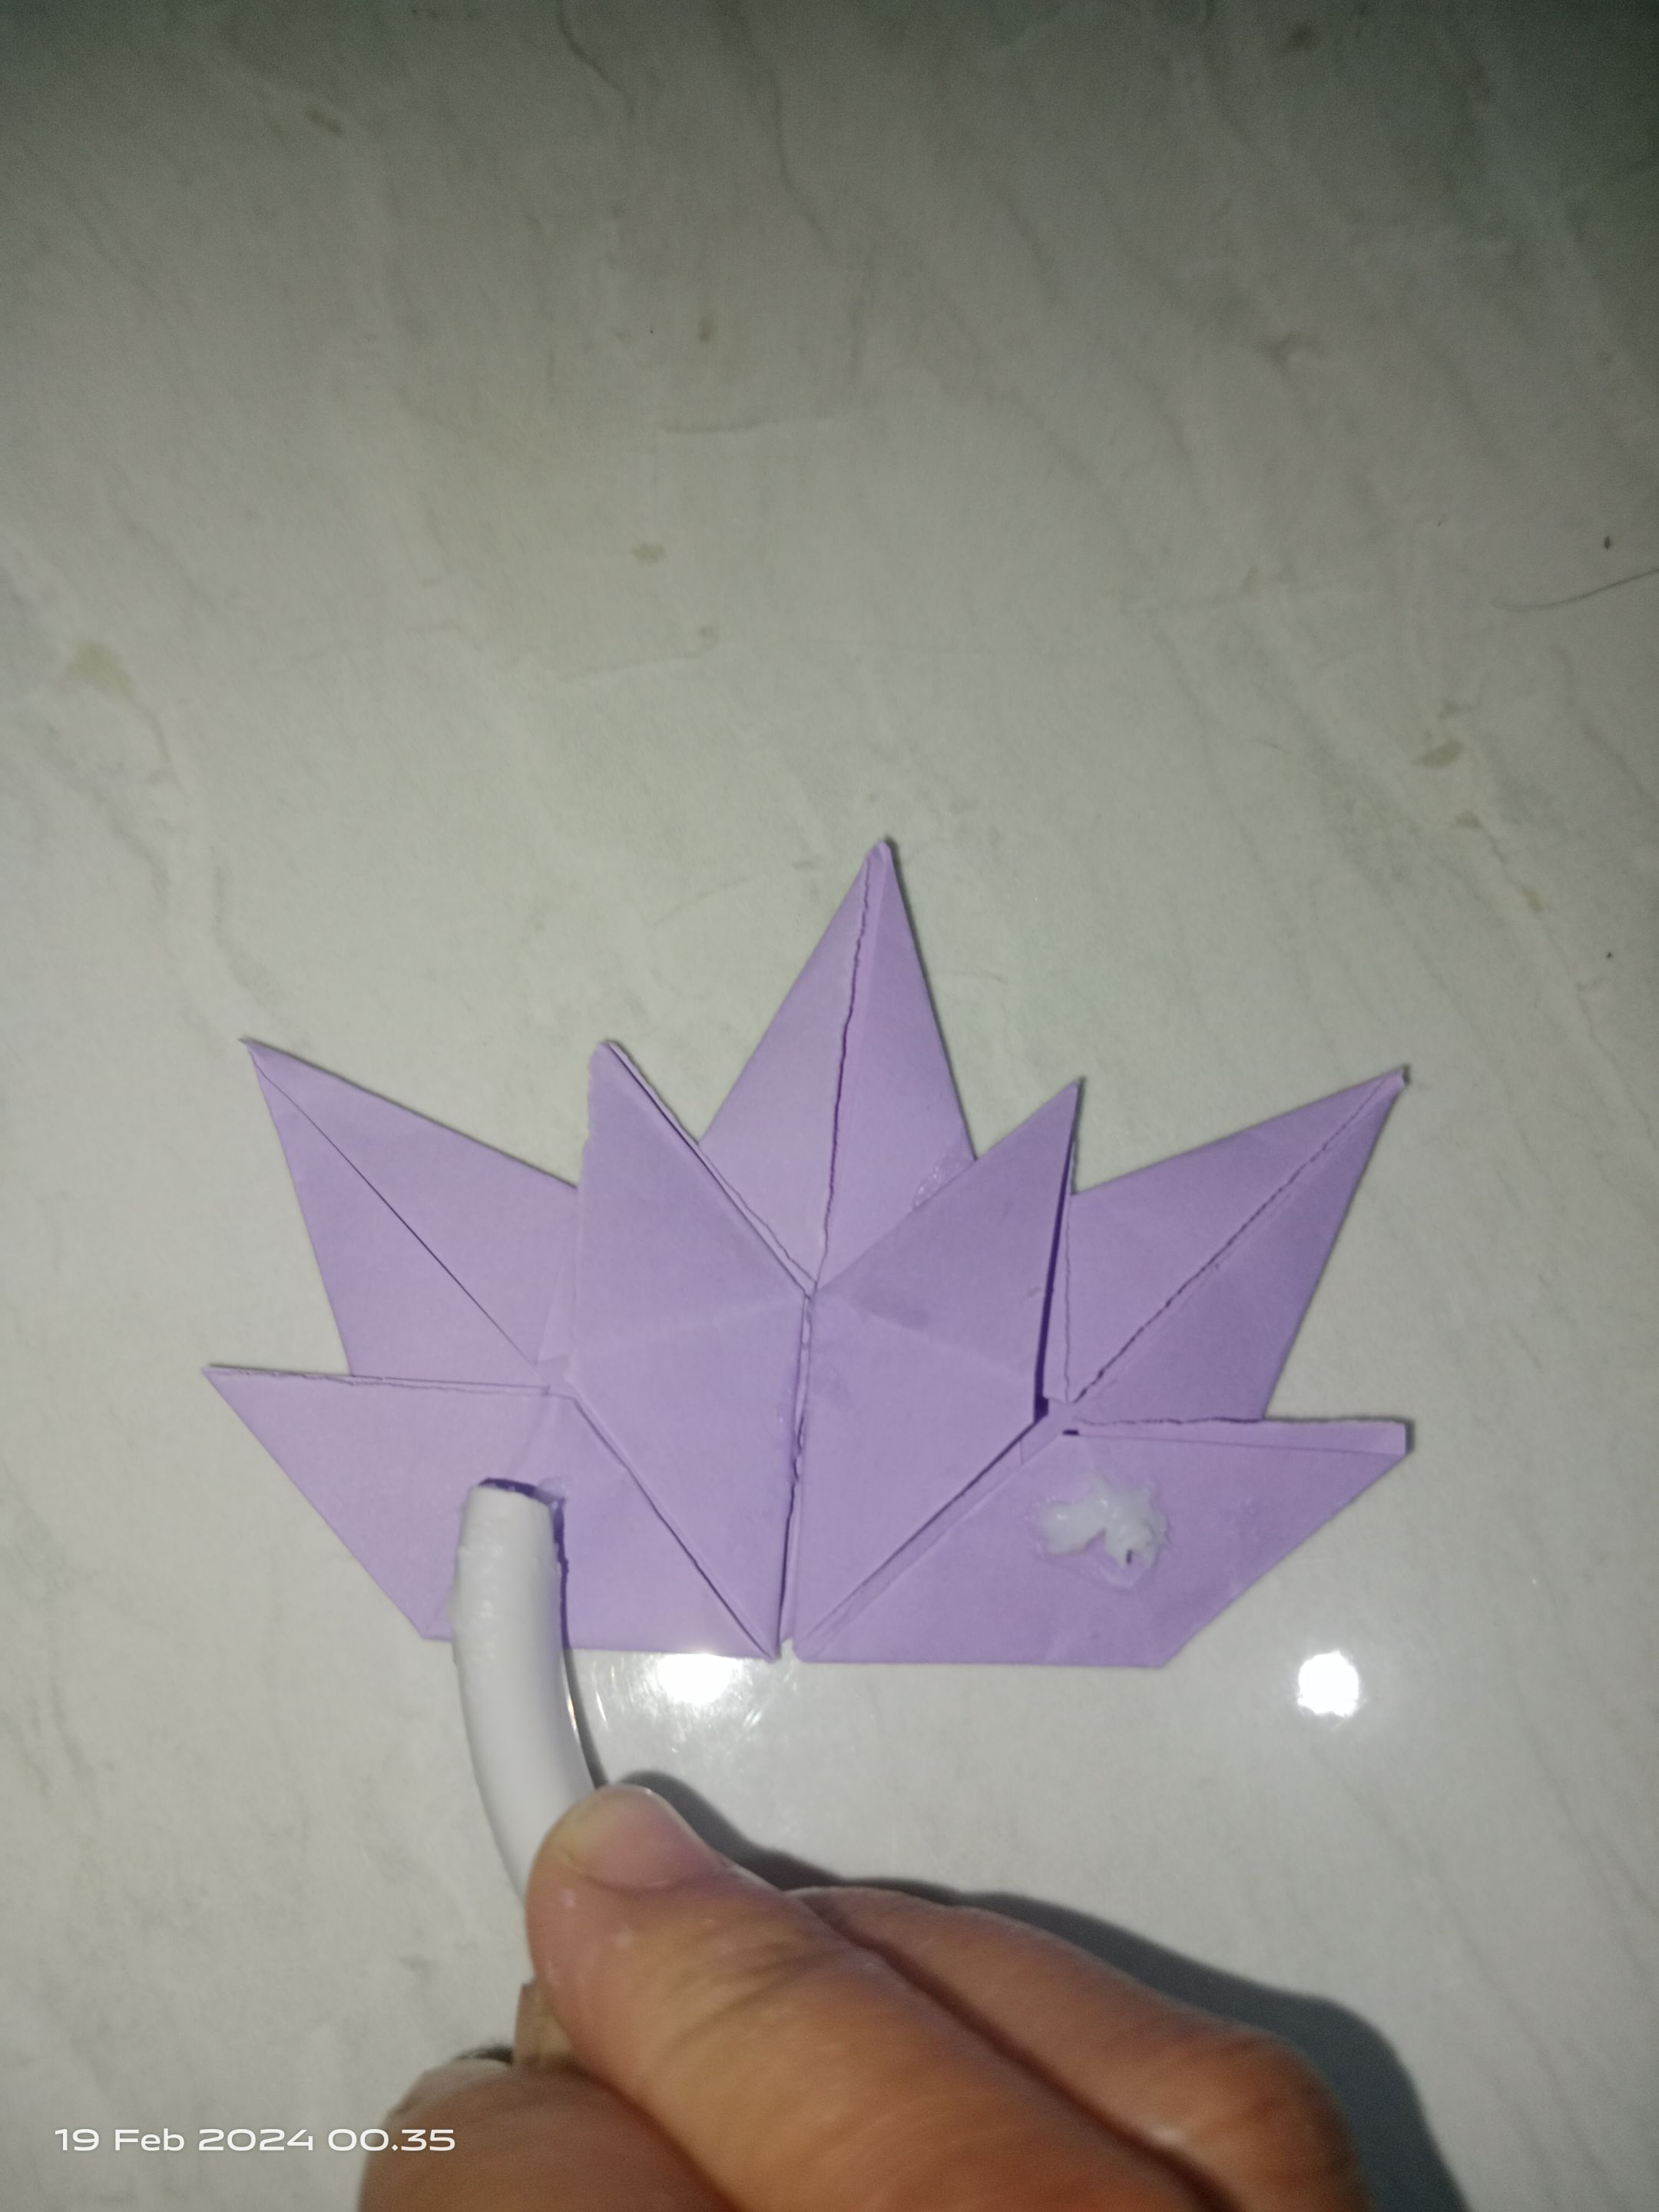
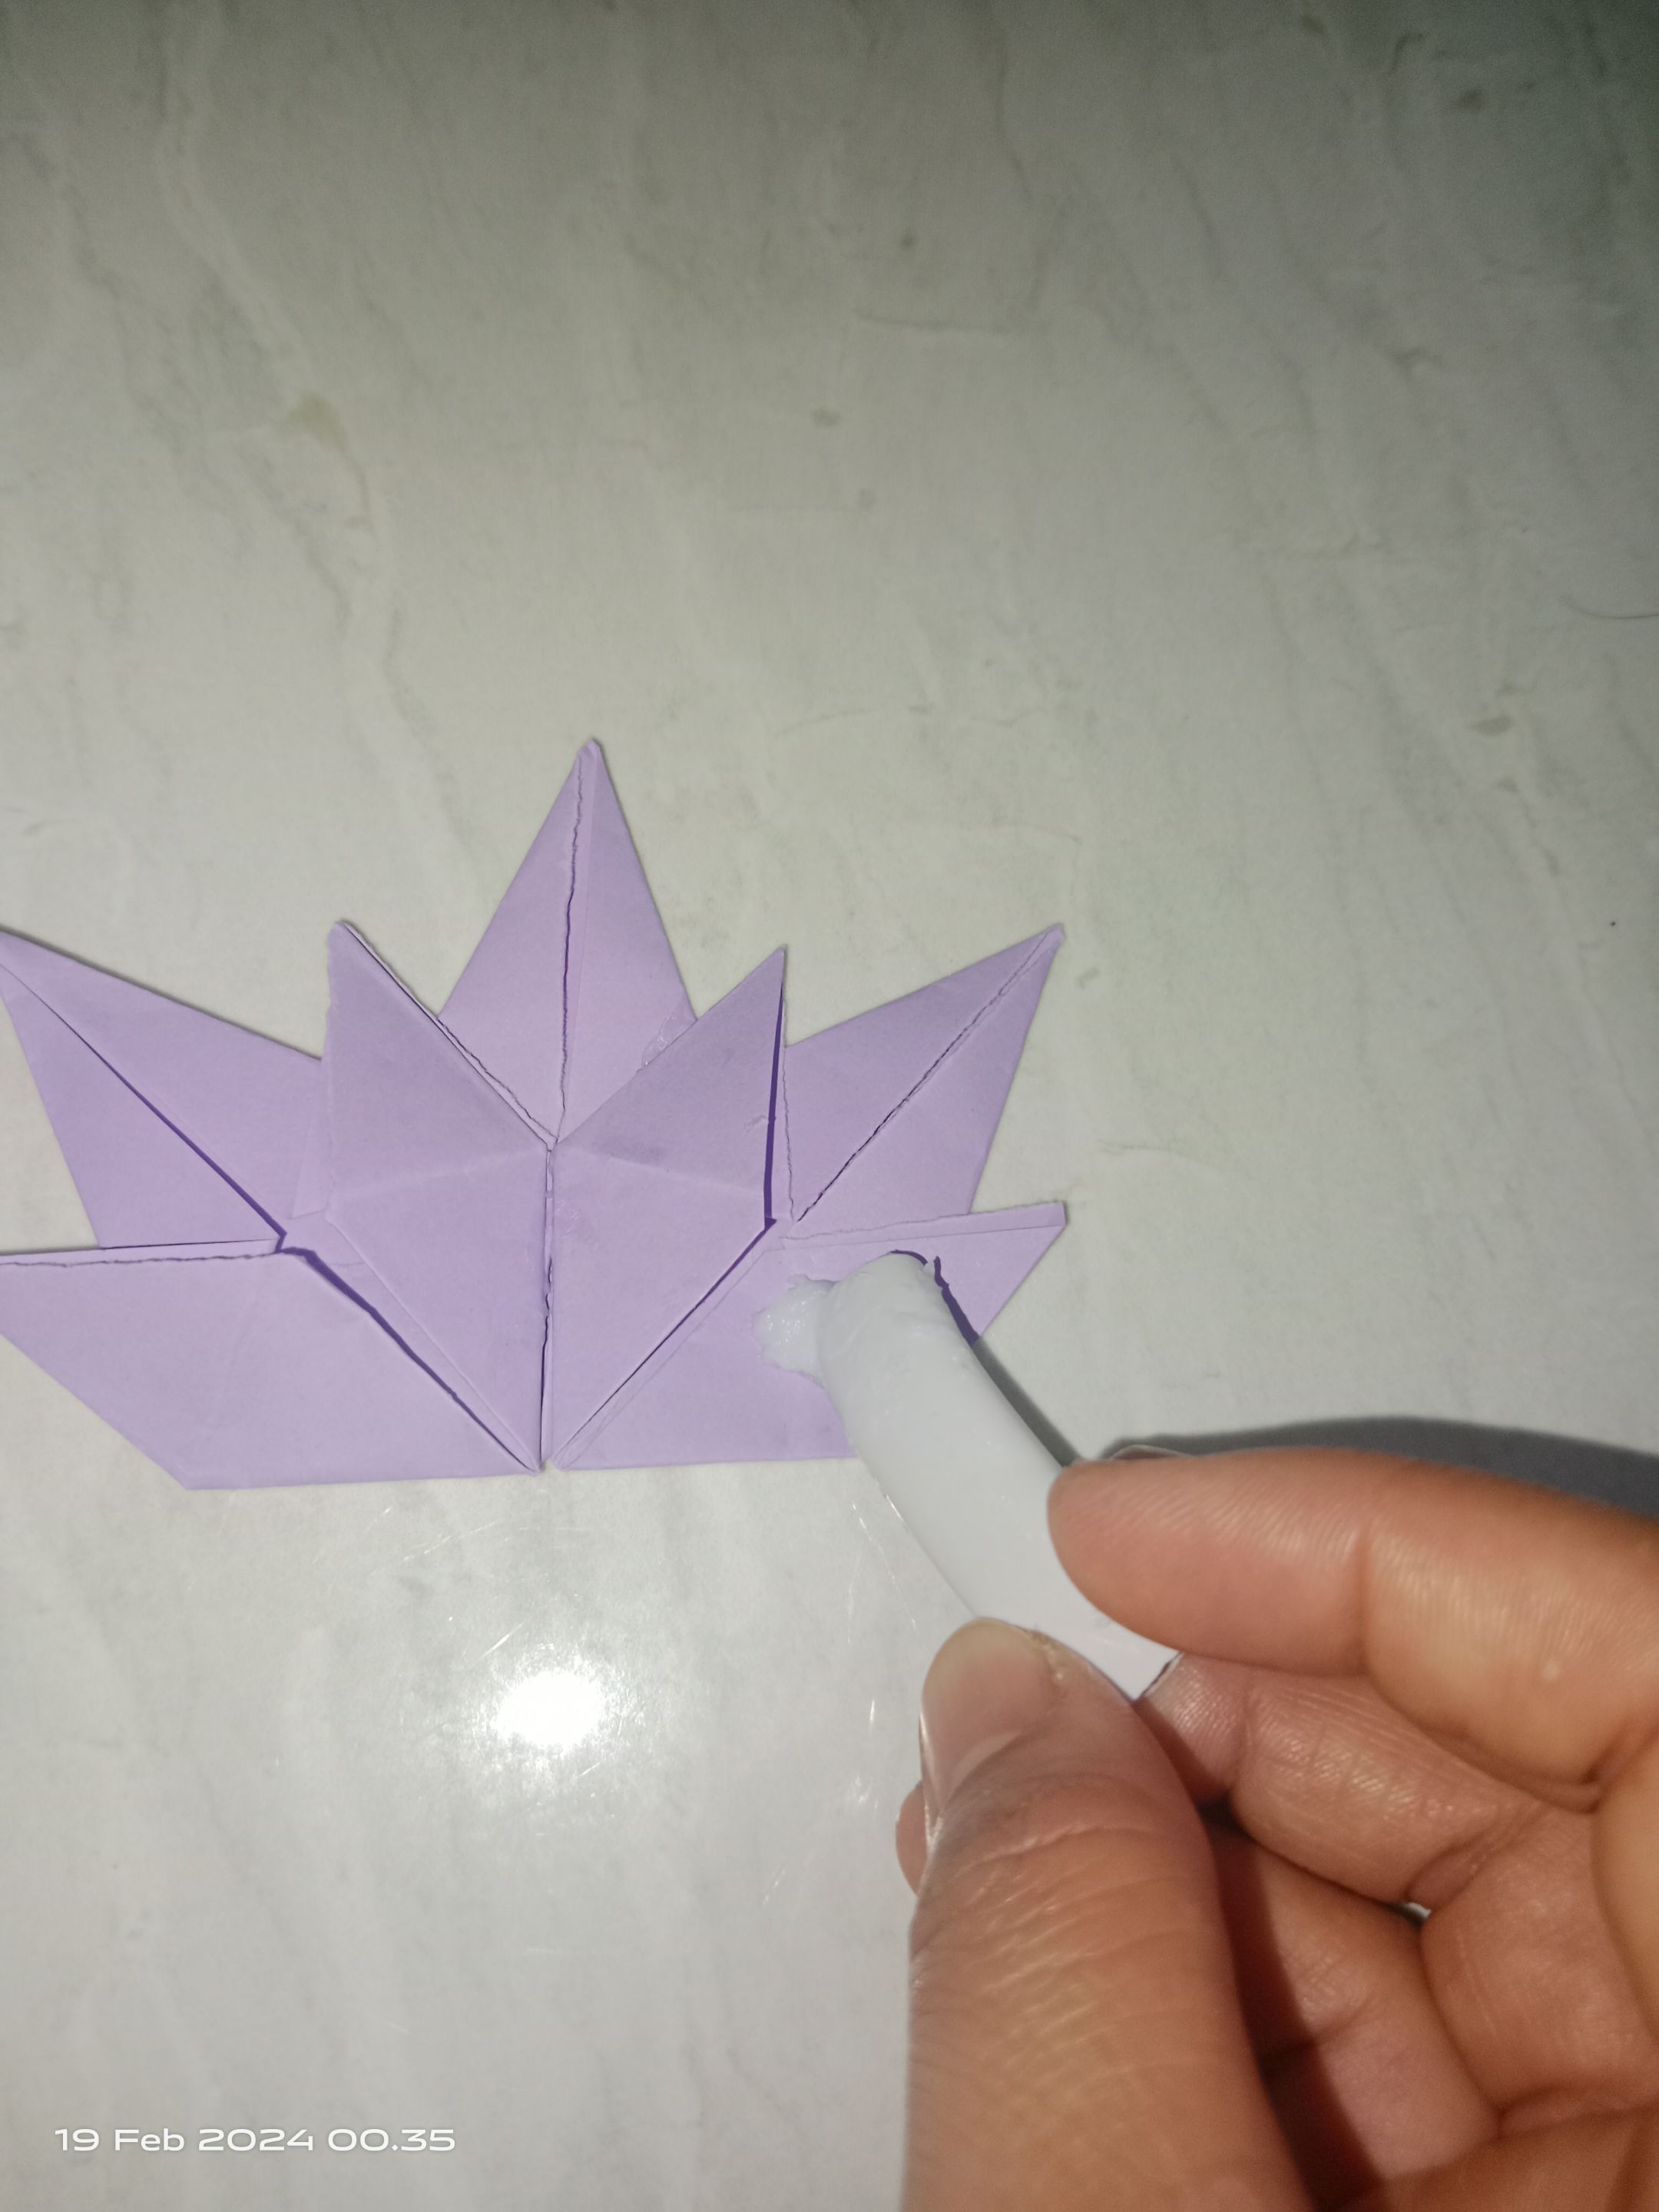
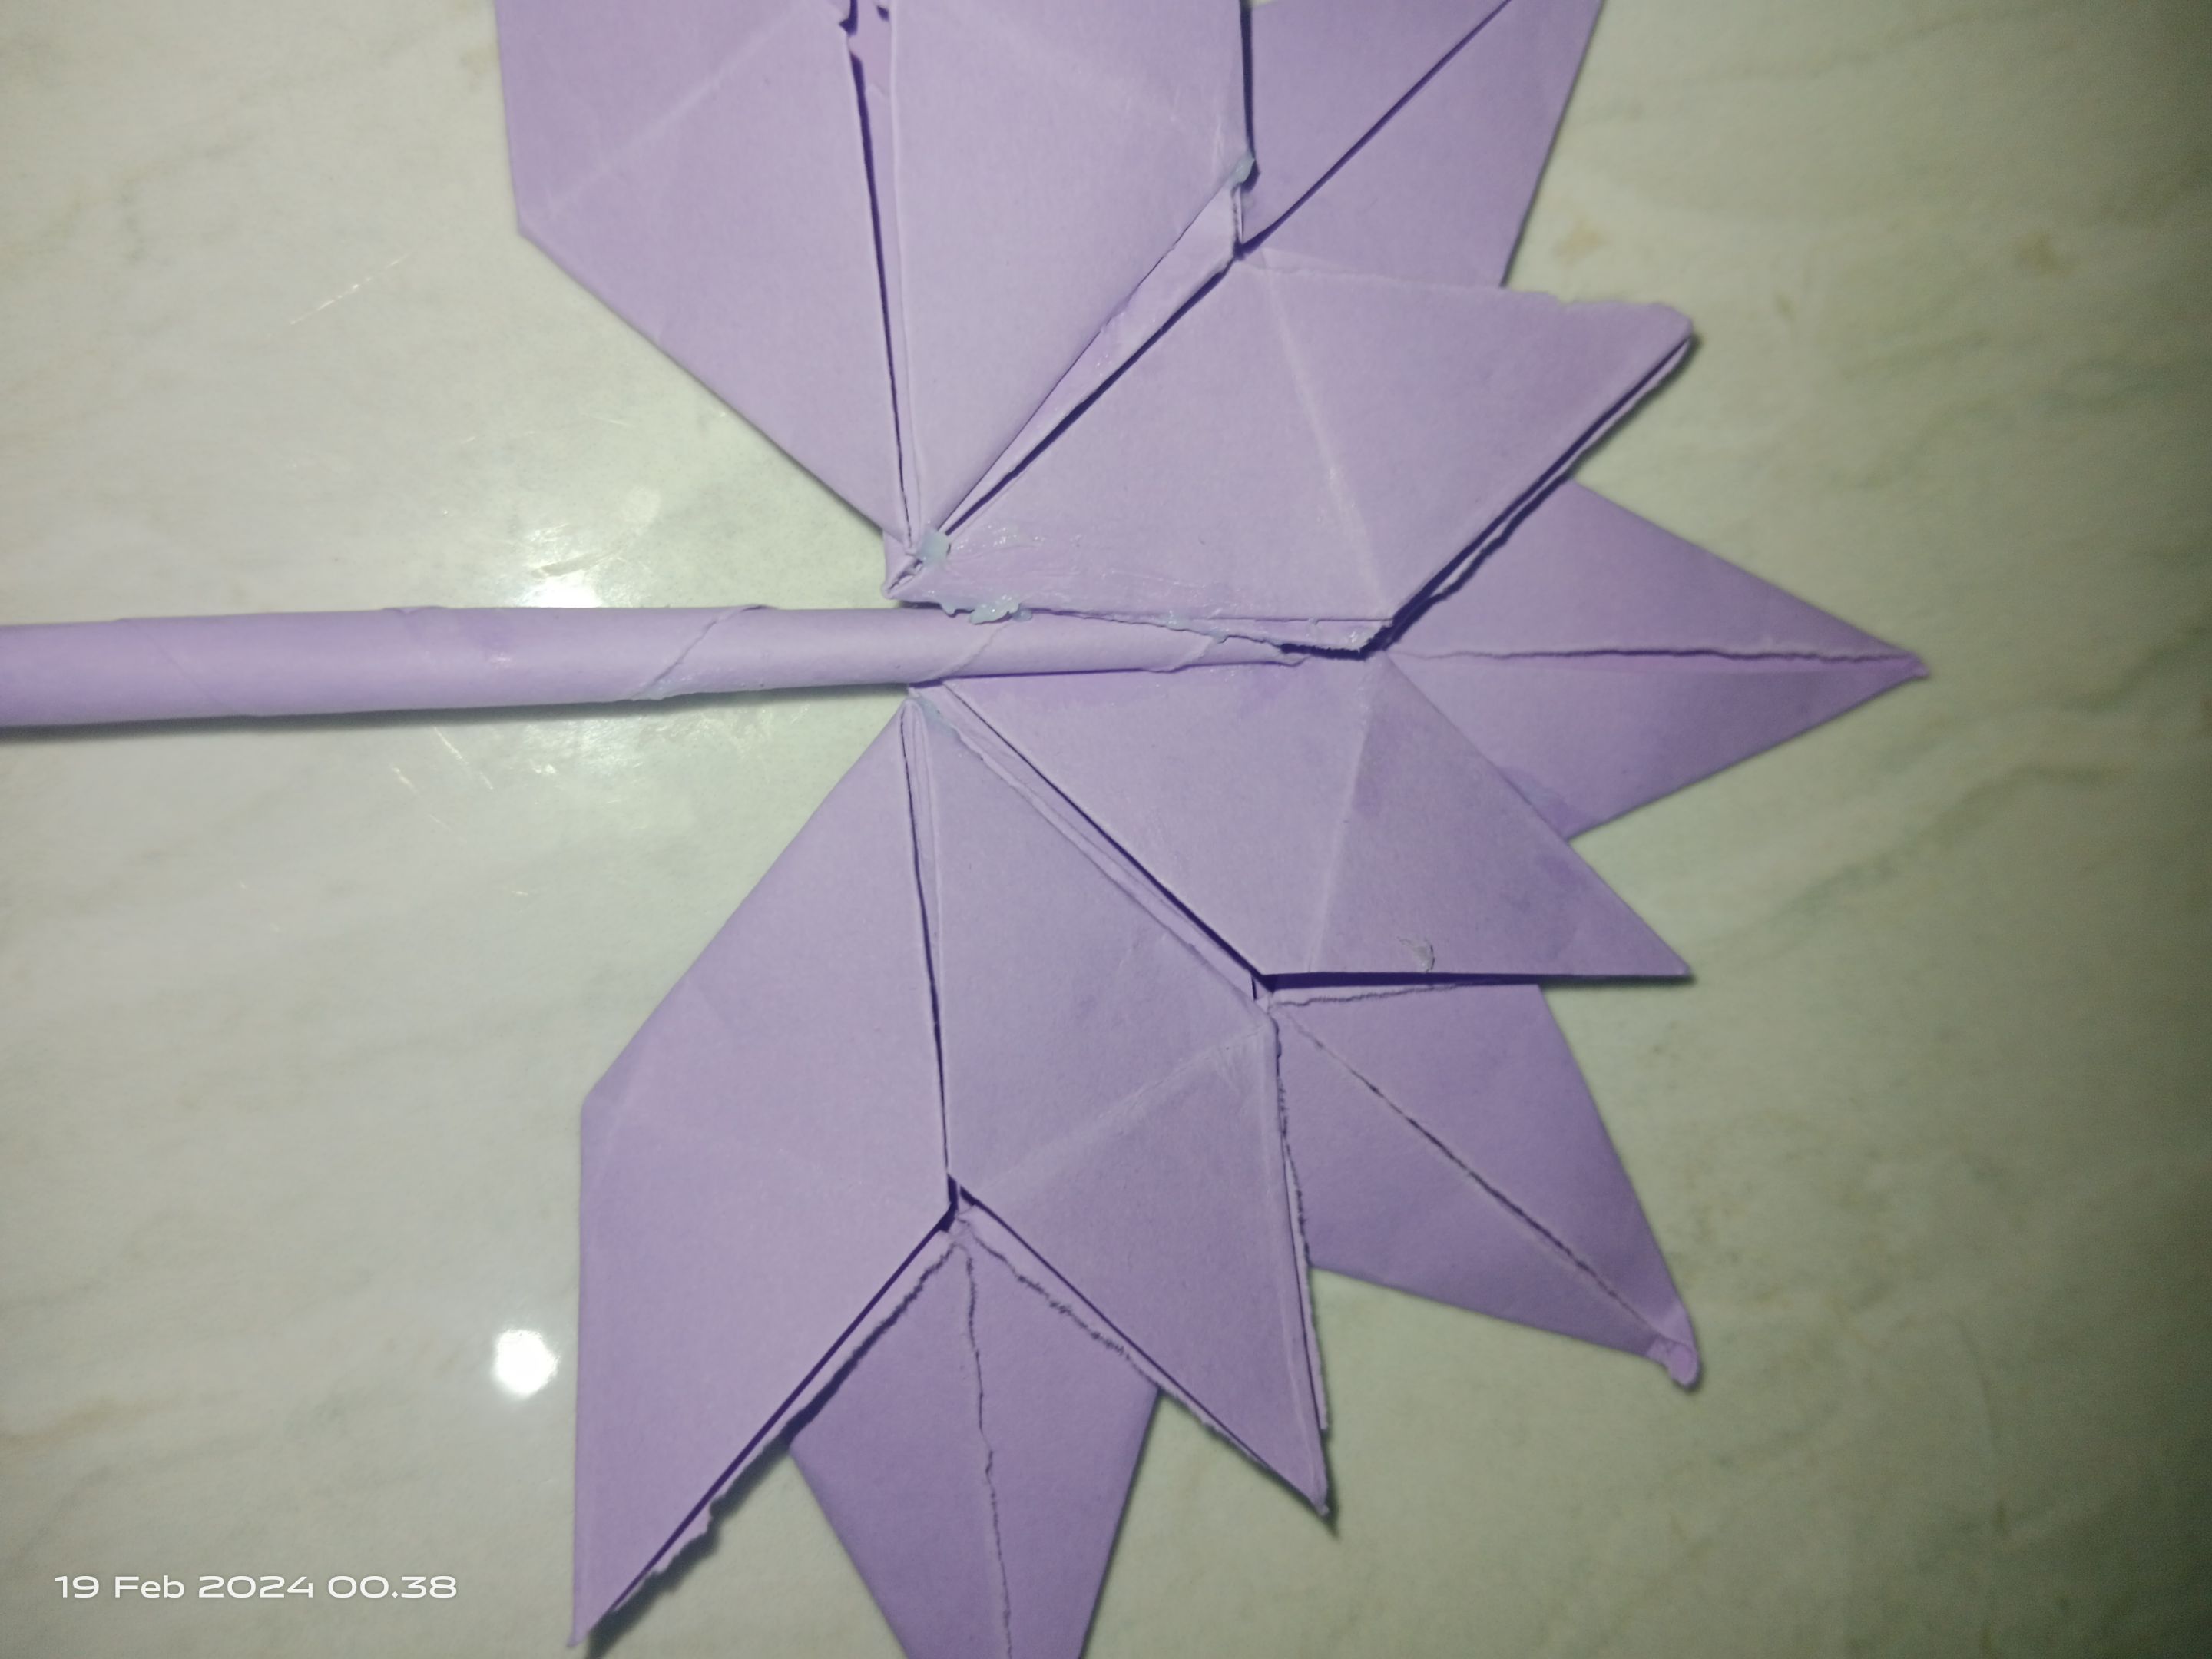
Step 9
The part that was almost forgotten was making the stems on the leaves to add to the aesthetics of the leaves later.
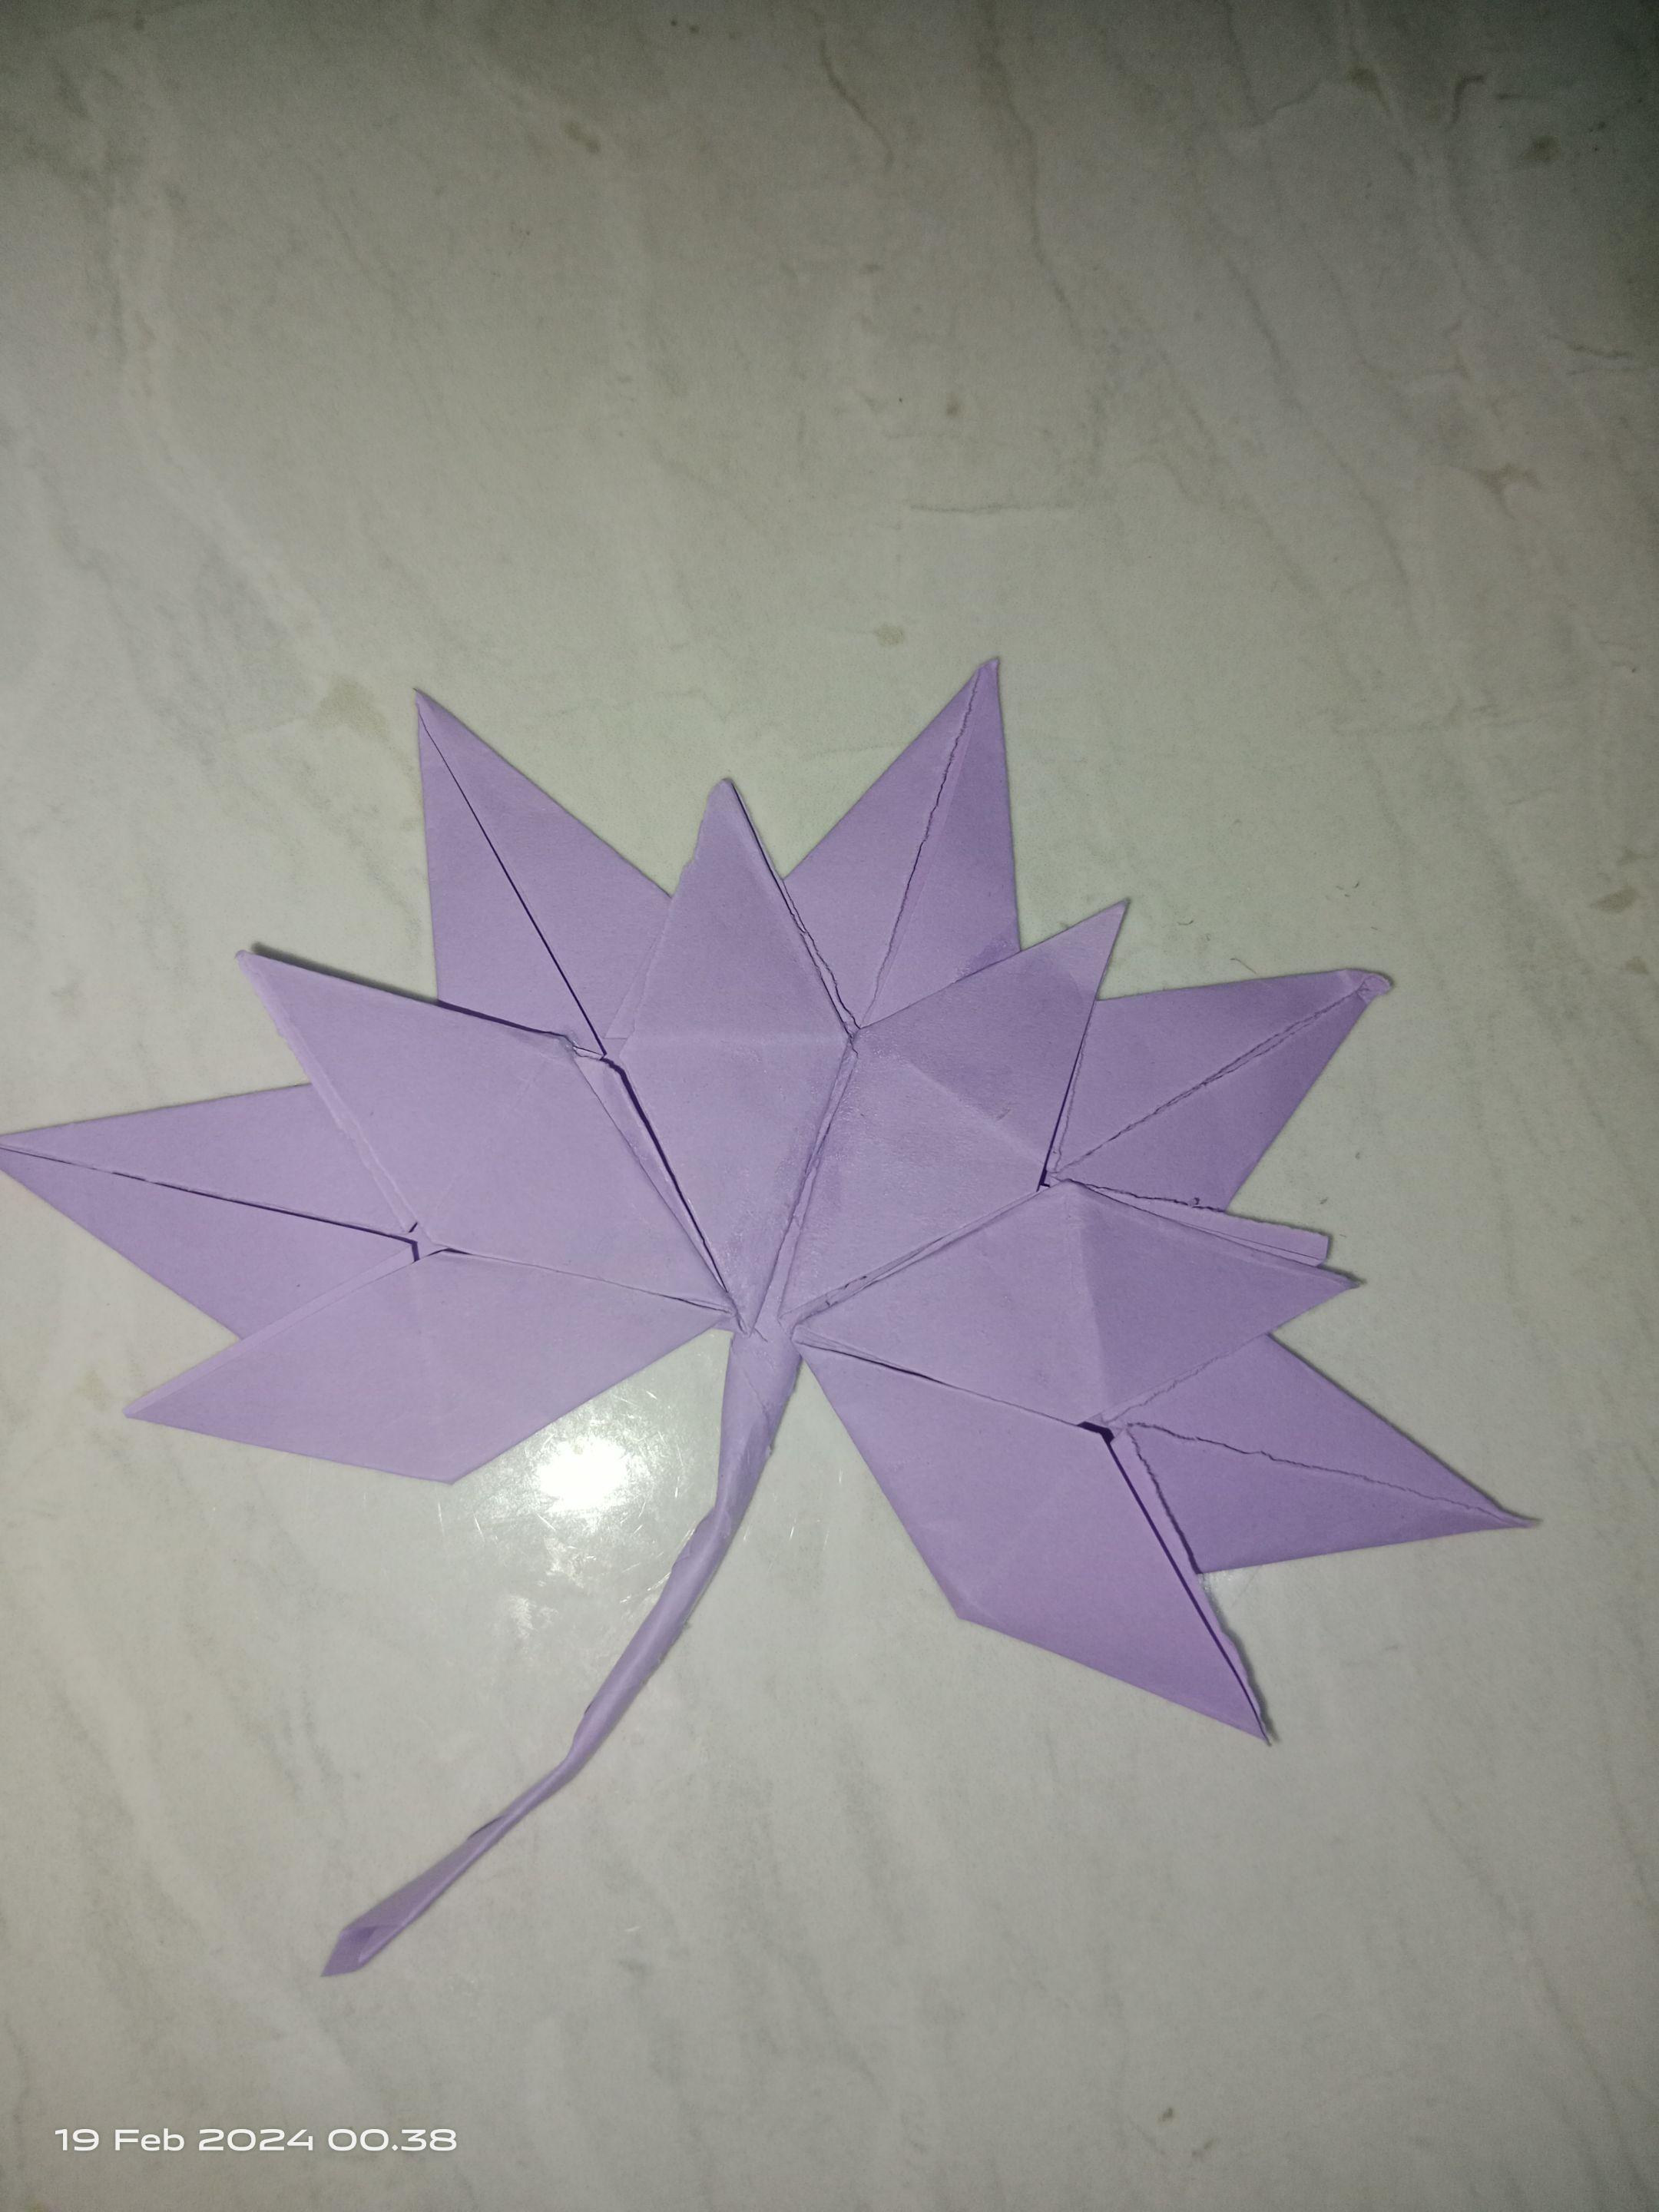
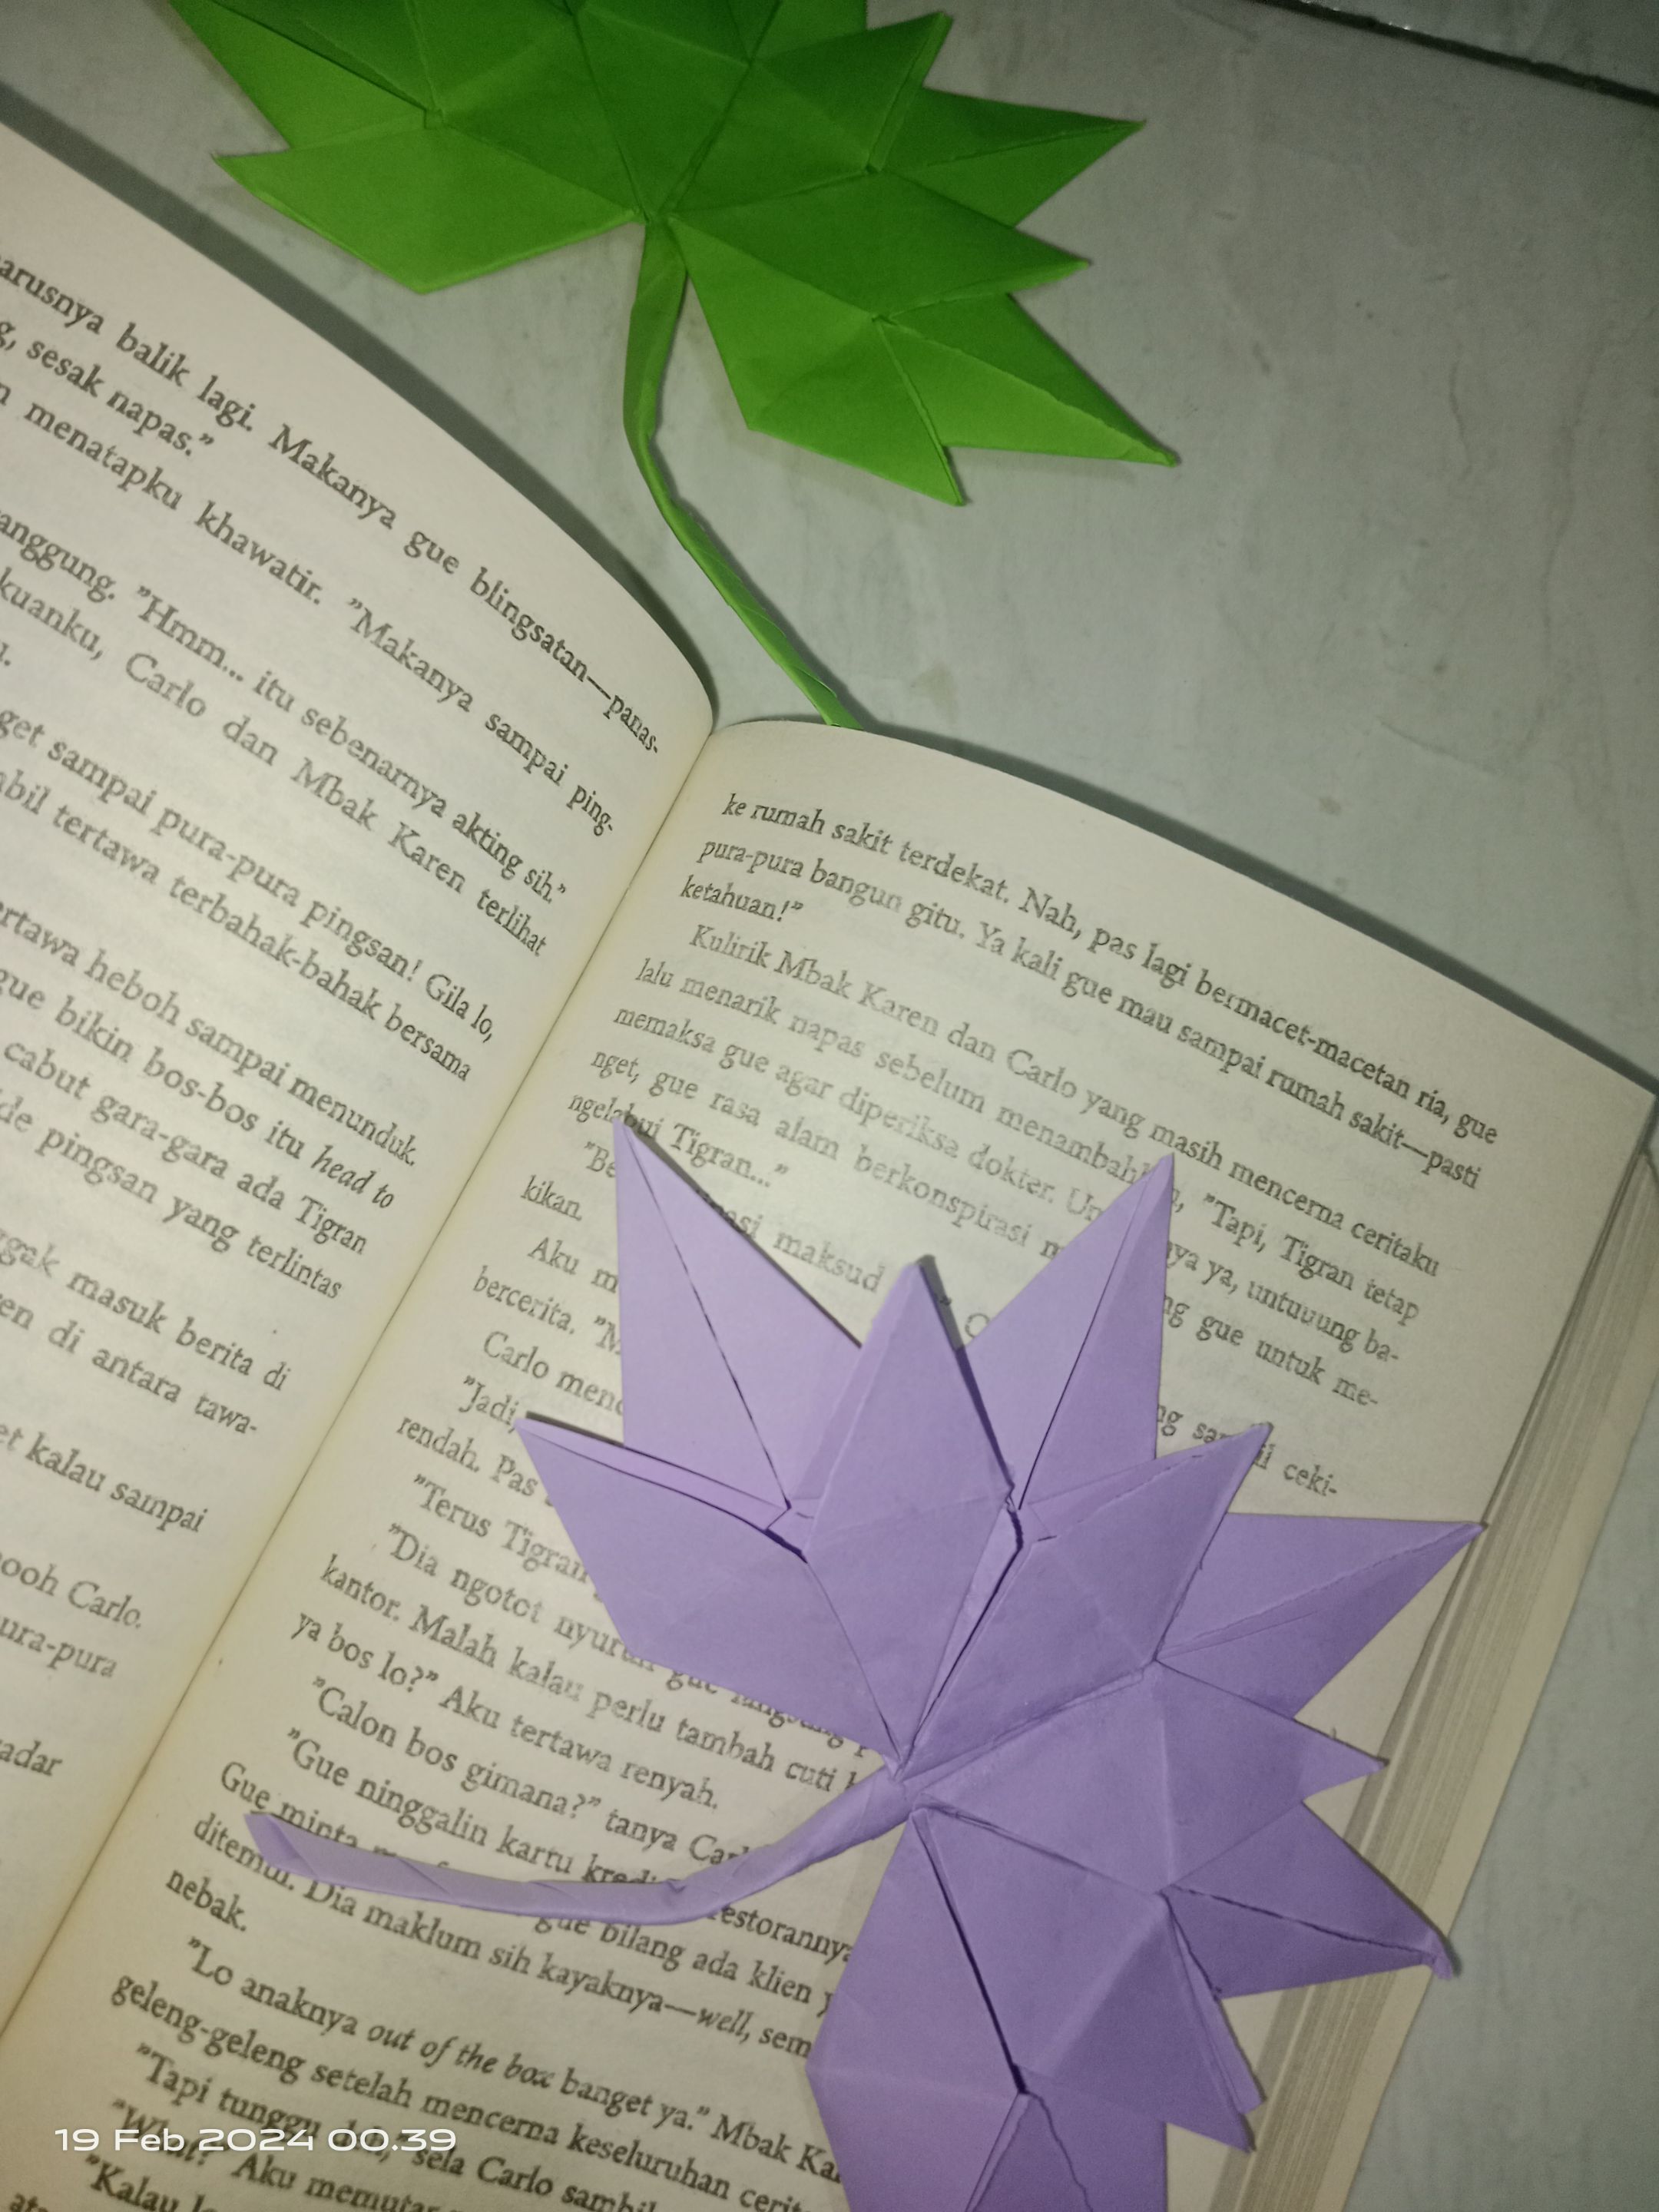
RESULT
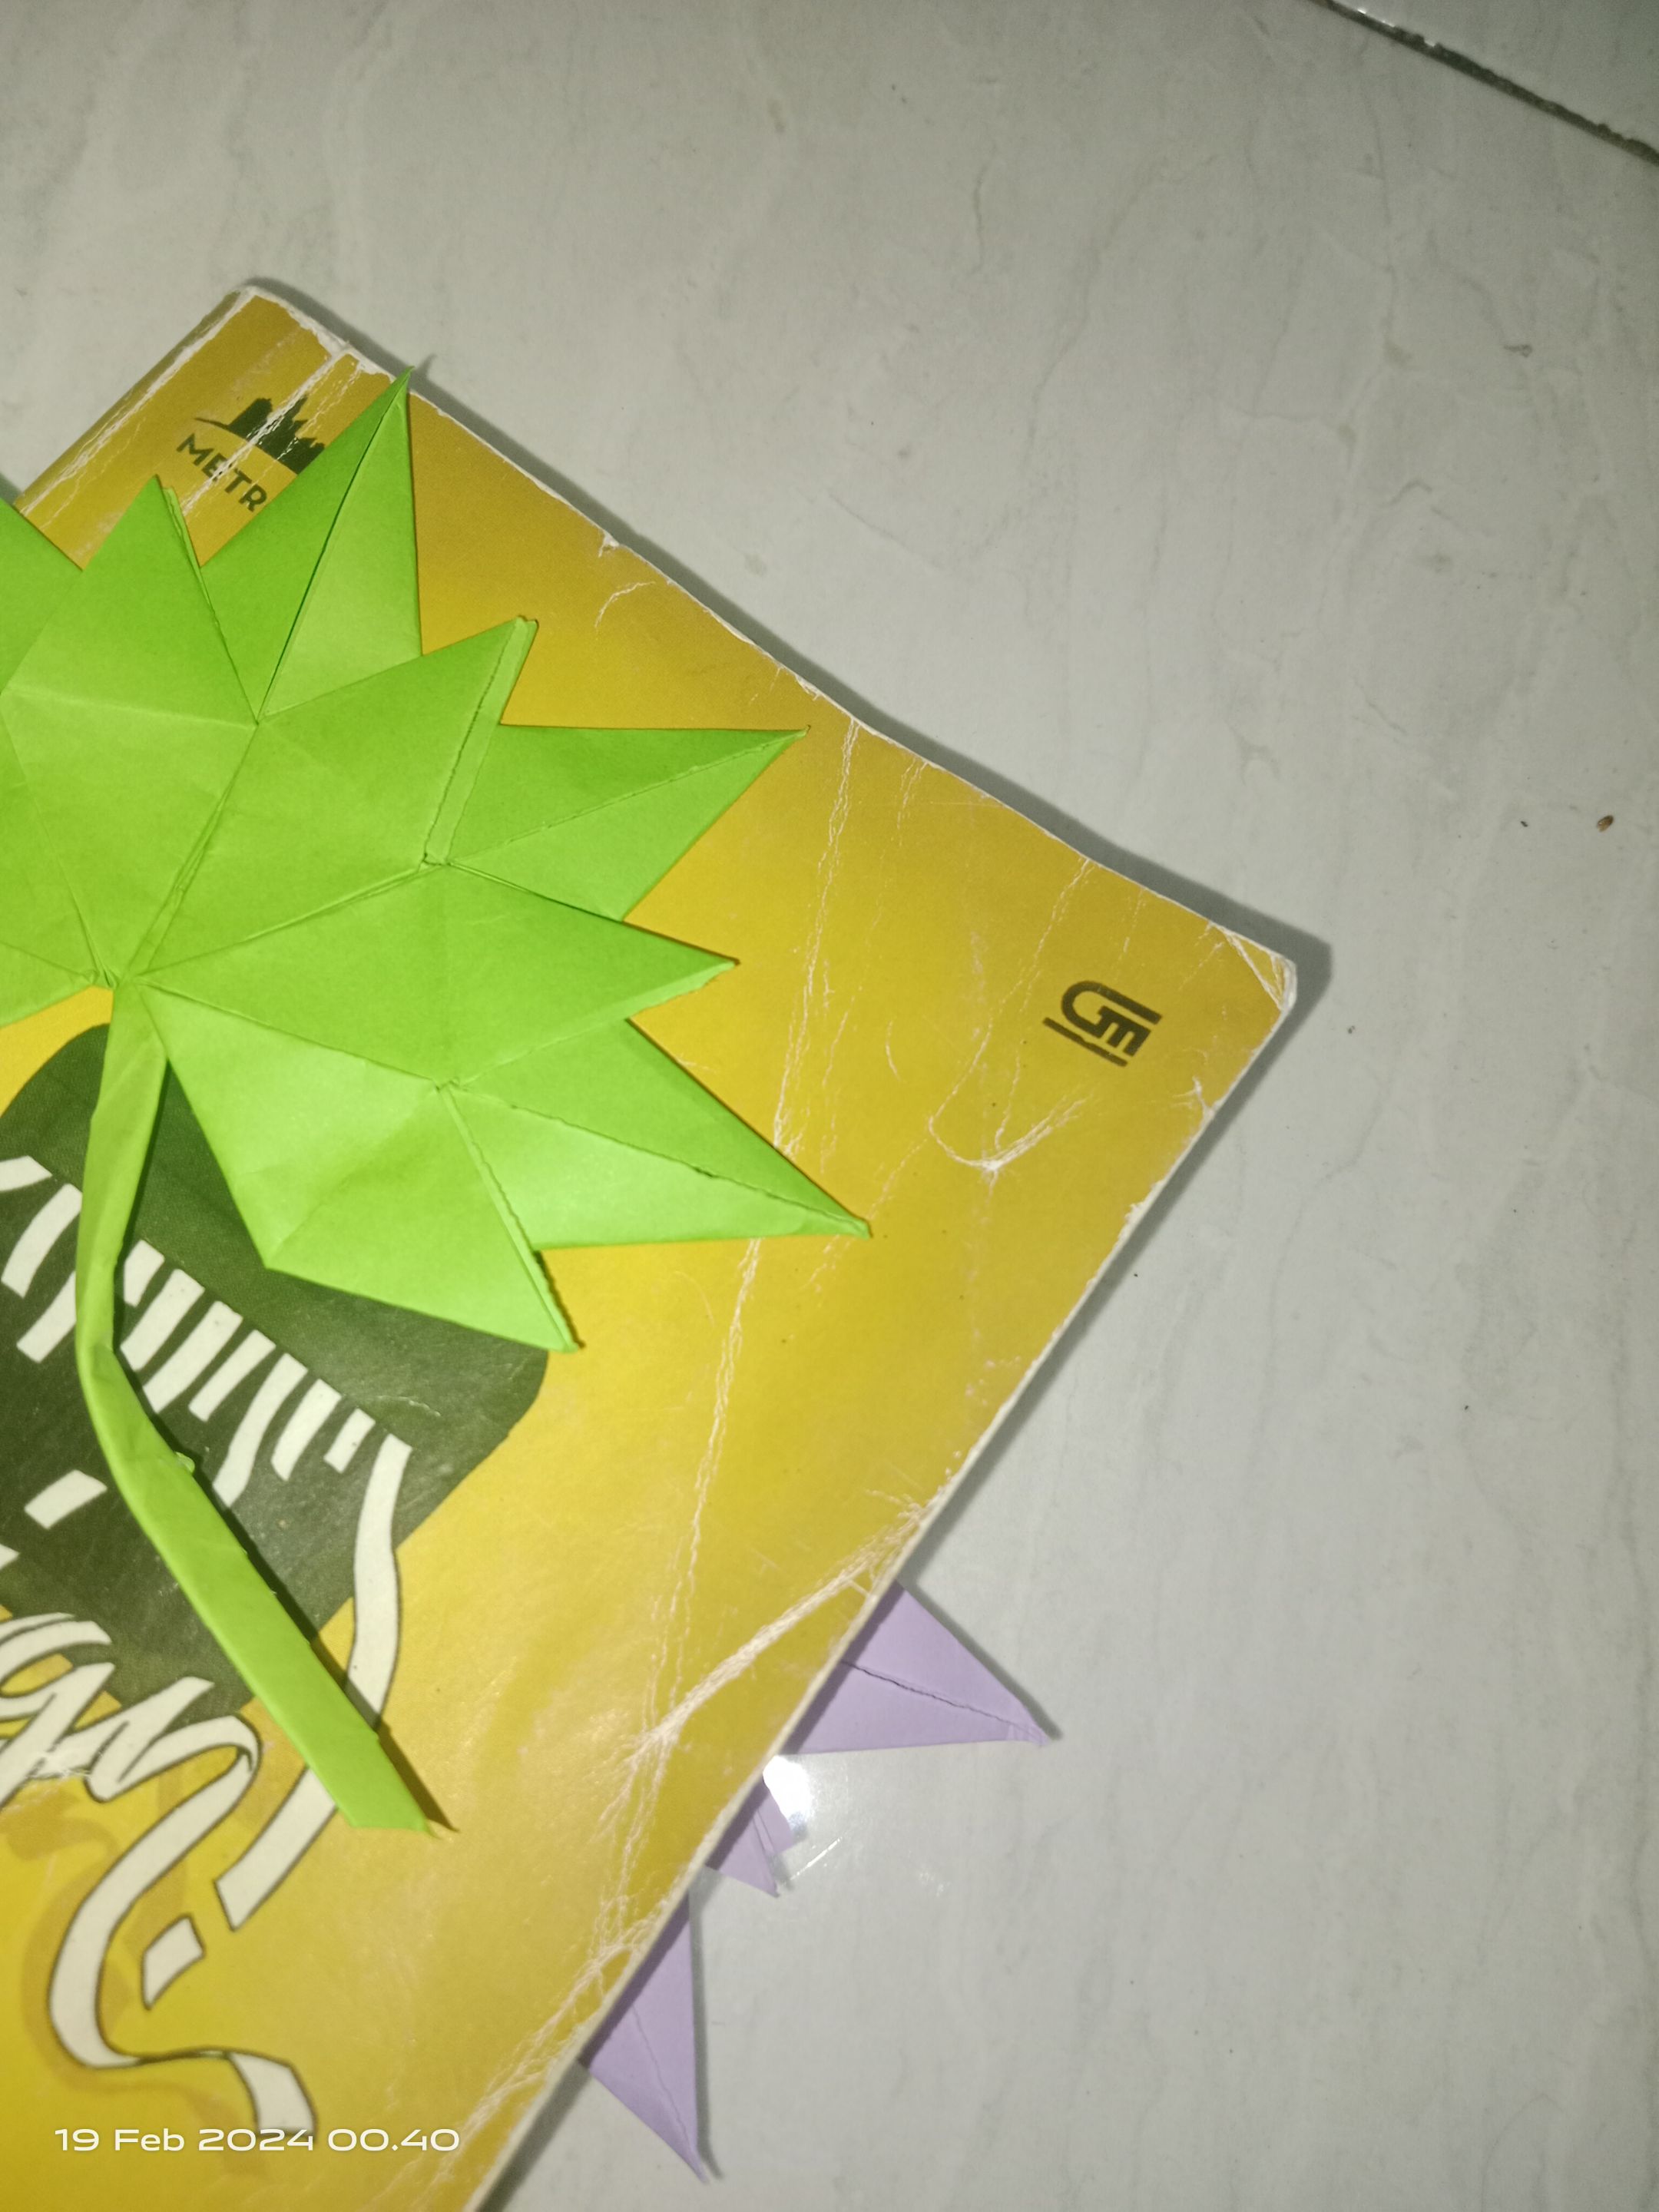
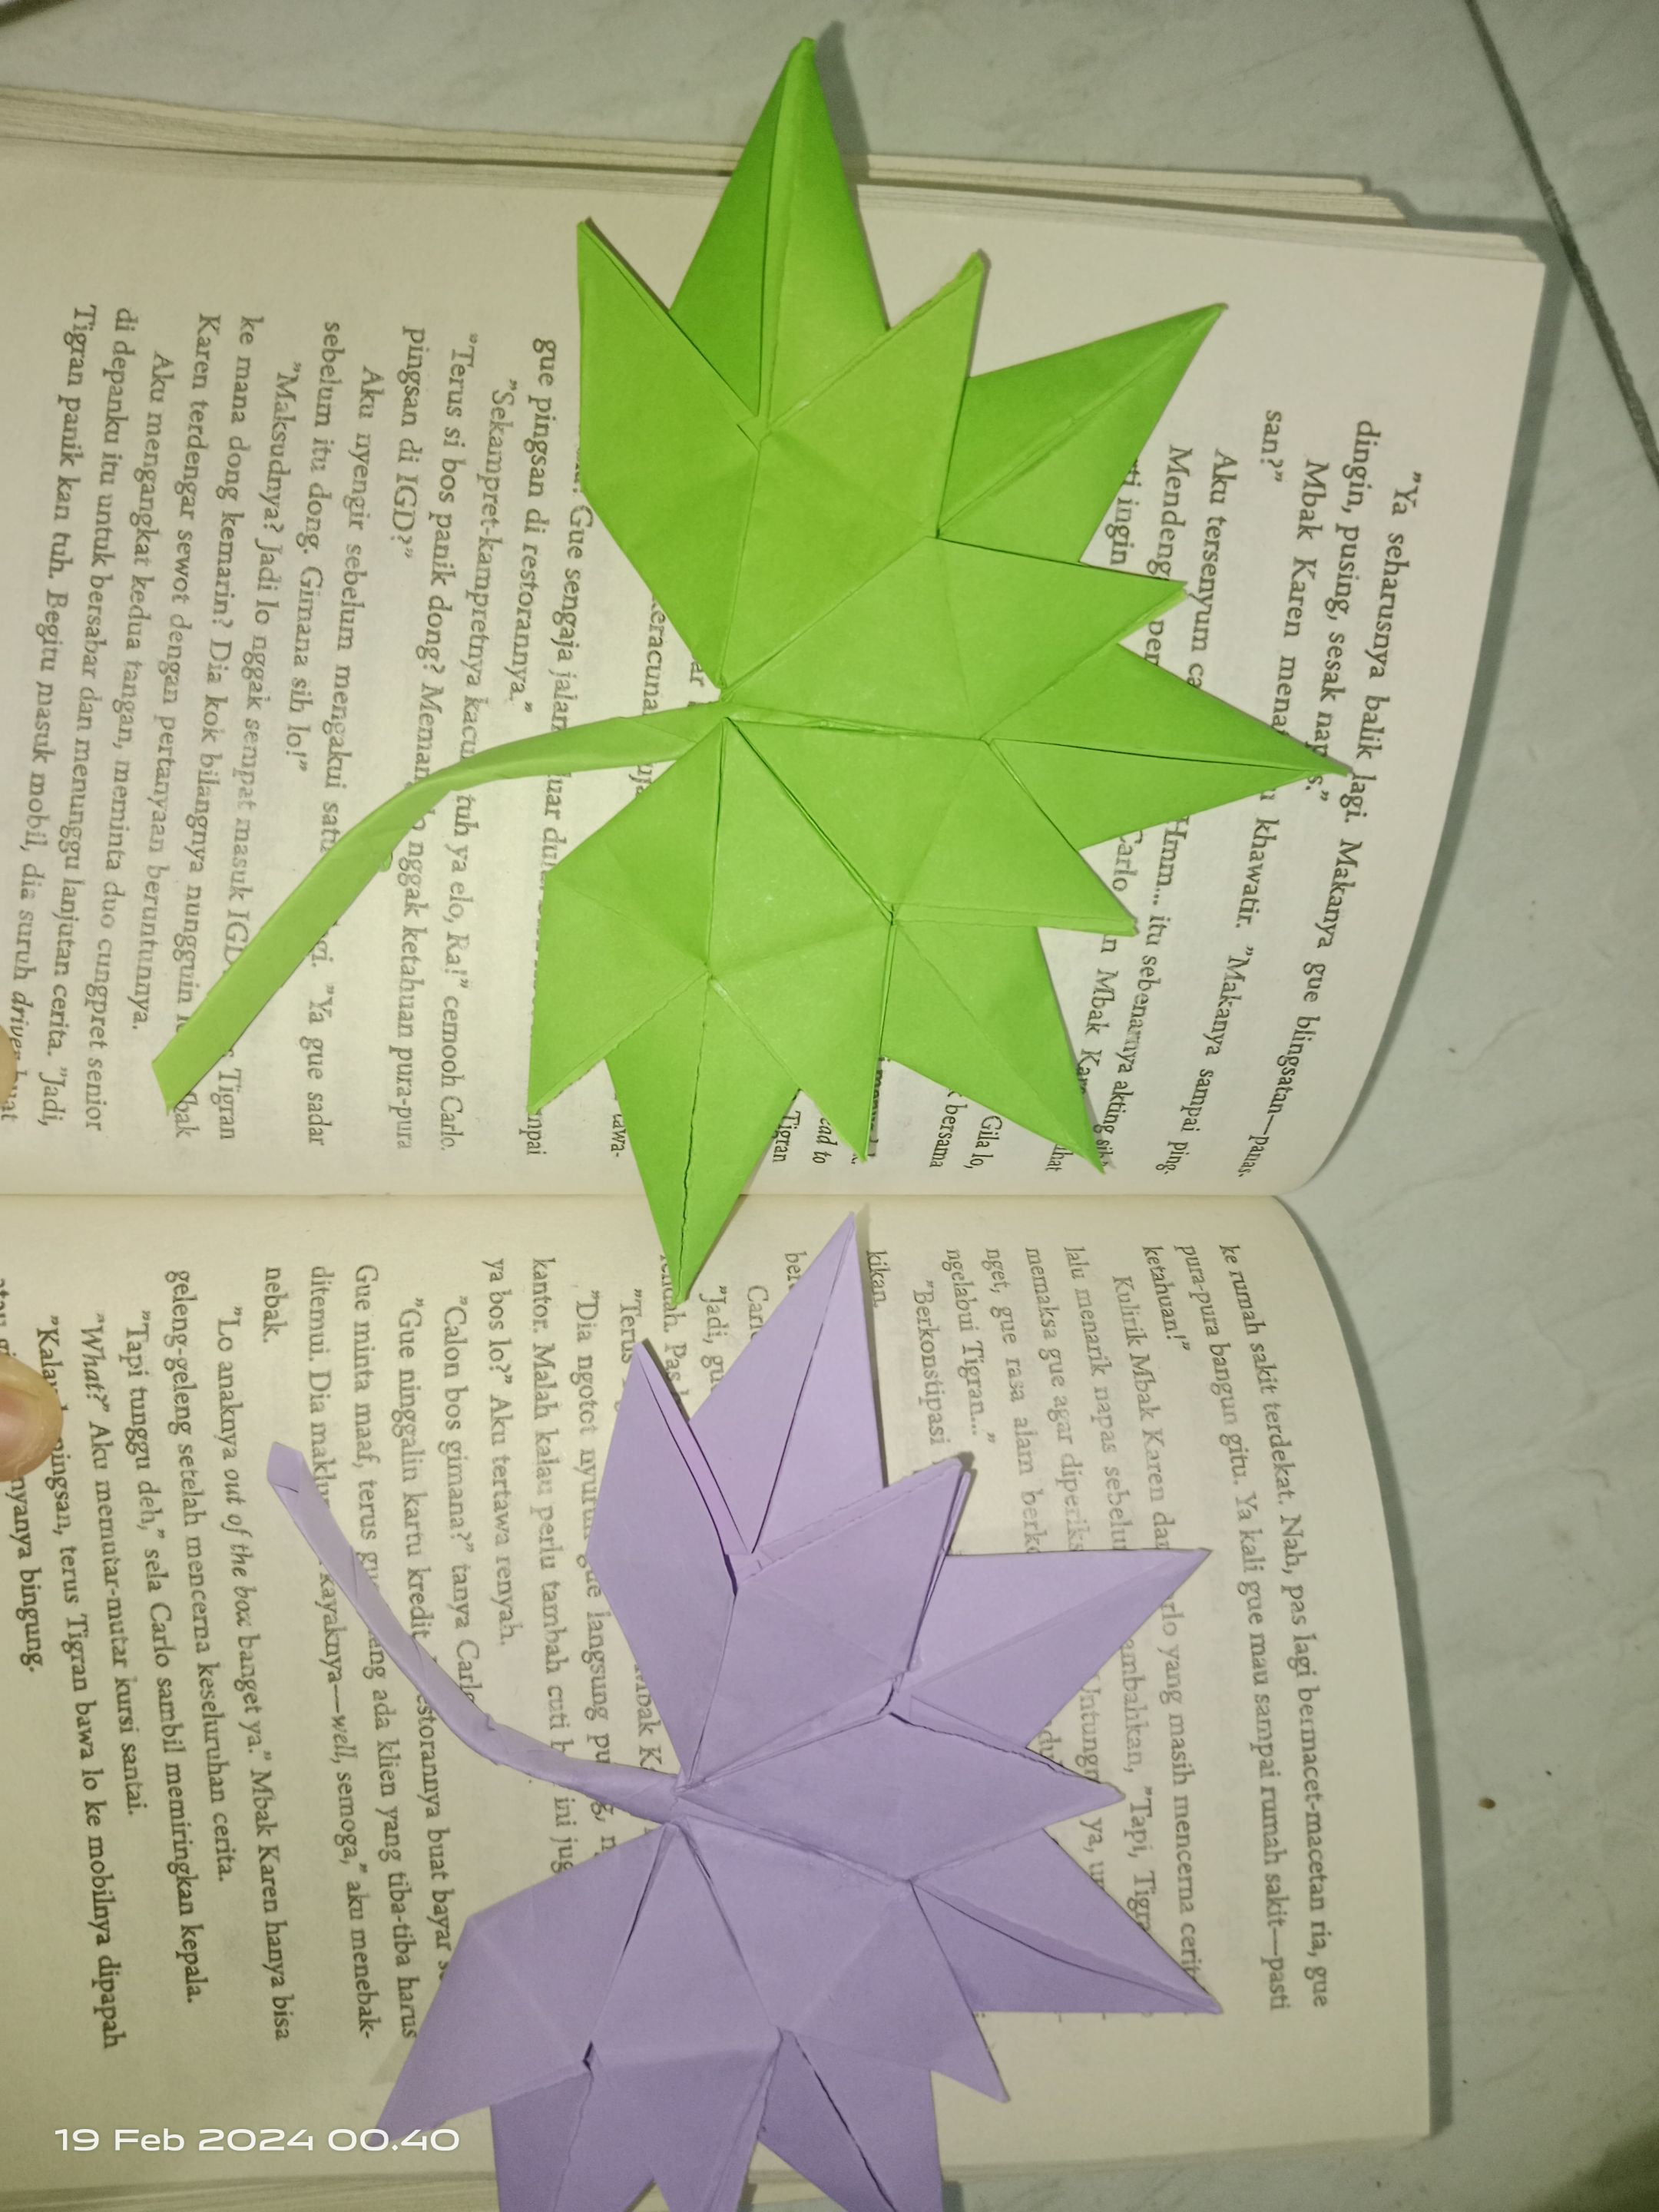

This tutorial is very suitable for school children and book readers to make it easier for us to find the last page we read using this origami bookmark. I hope all my friends like my post today. See you next time craft friends.
Hello this is Nisa, an amateur writer

Thank you for reading my blog. Please support me to keep posting on HIVE and reblog if you want my blog to be useful. Good luck!😍