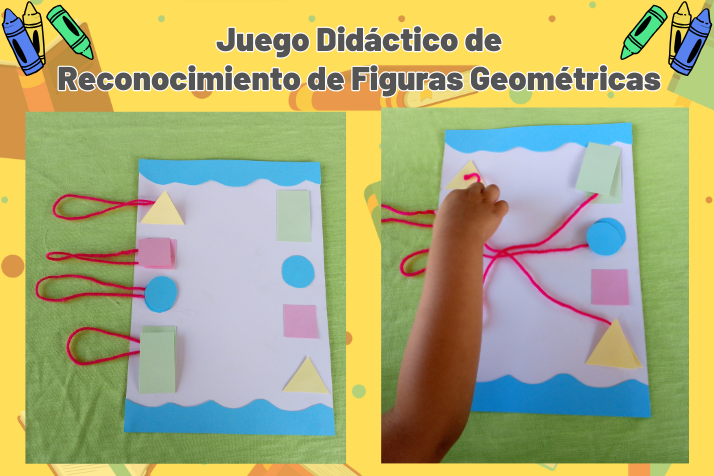
Me complace grandemente compartir con ustedes en esta ocasión para mostrar como he realizado un juego didáctico de Reconocimiento de las Figuras Geométricas. Es una actividad ideal para cuando el niño o niña esta en la etapa inicial de aprendizaje, donde se encuentra relacionándose con nuevos aspectos como figuras, números y vocales.
I am very pleased to share with you on this occasion to show how I have made a didactic game of Recognition of Geometric Figures. It is an ideal activity for when the boy or girl is in the initial stage of learning, where they are relating to new aspects such as figures, numbers and vowels.
Como he comentado anteriormente, me dedico a dar tareas dirigidas a niños de primaria y siempre me encuentro leyendo y consultando información sobre el abordaje de actividades diferentes y divertidas que el niño o niña pueda realizar y aprender. Me gusta que los niños aprendan mientras juegan, considero que así es la mejor manera de acercarlos al estudio.
As I mentioned previously, I am dedicated to giving tasks aimed at primary school children and I always find myself reading and consulting information about approaching different and fun activities that the boy or girl can do and learn. I like that children learn while they play, I consider that this is the best way to bring them closer to studying.
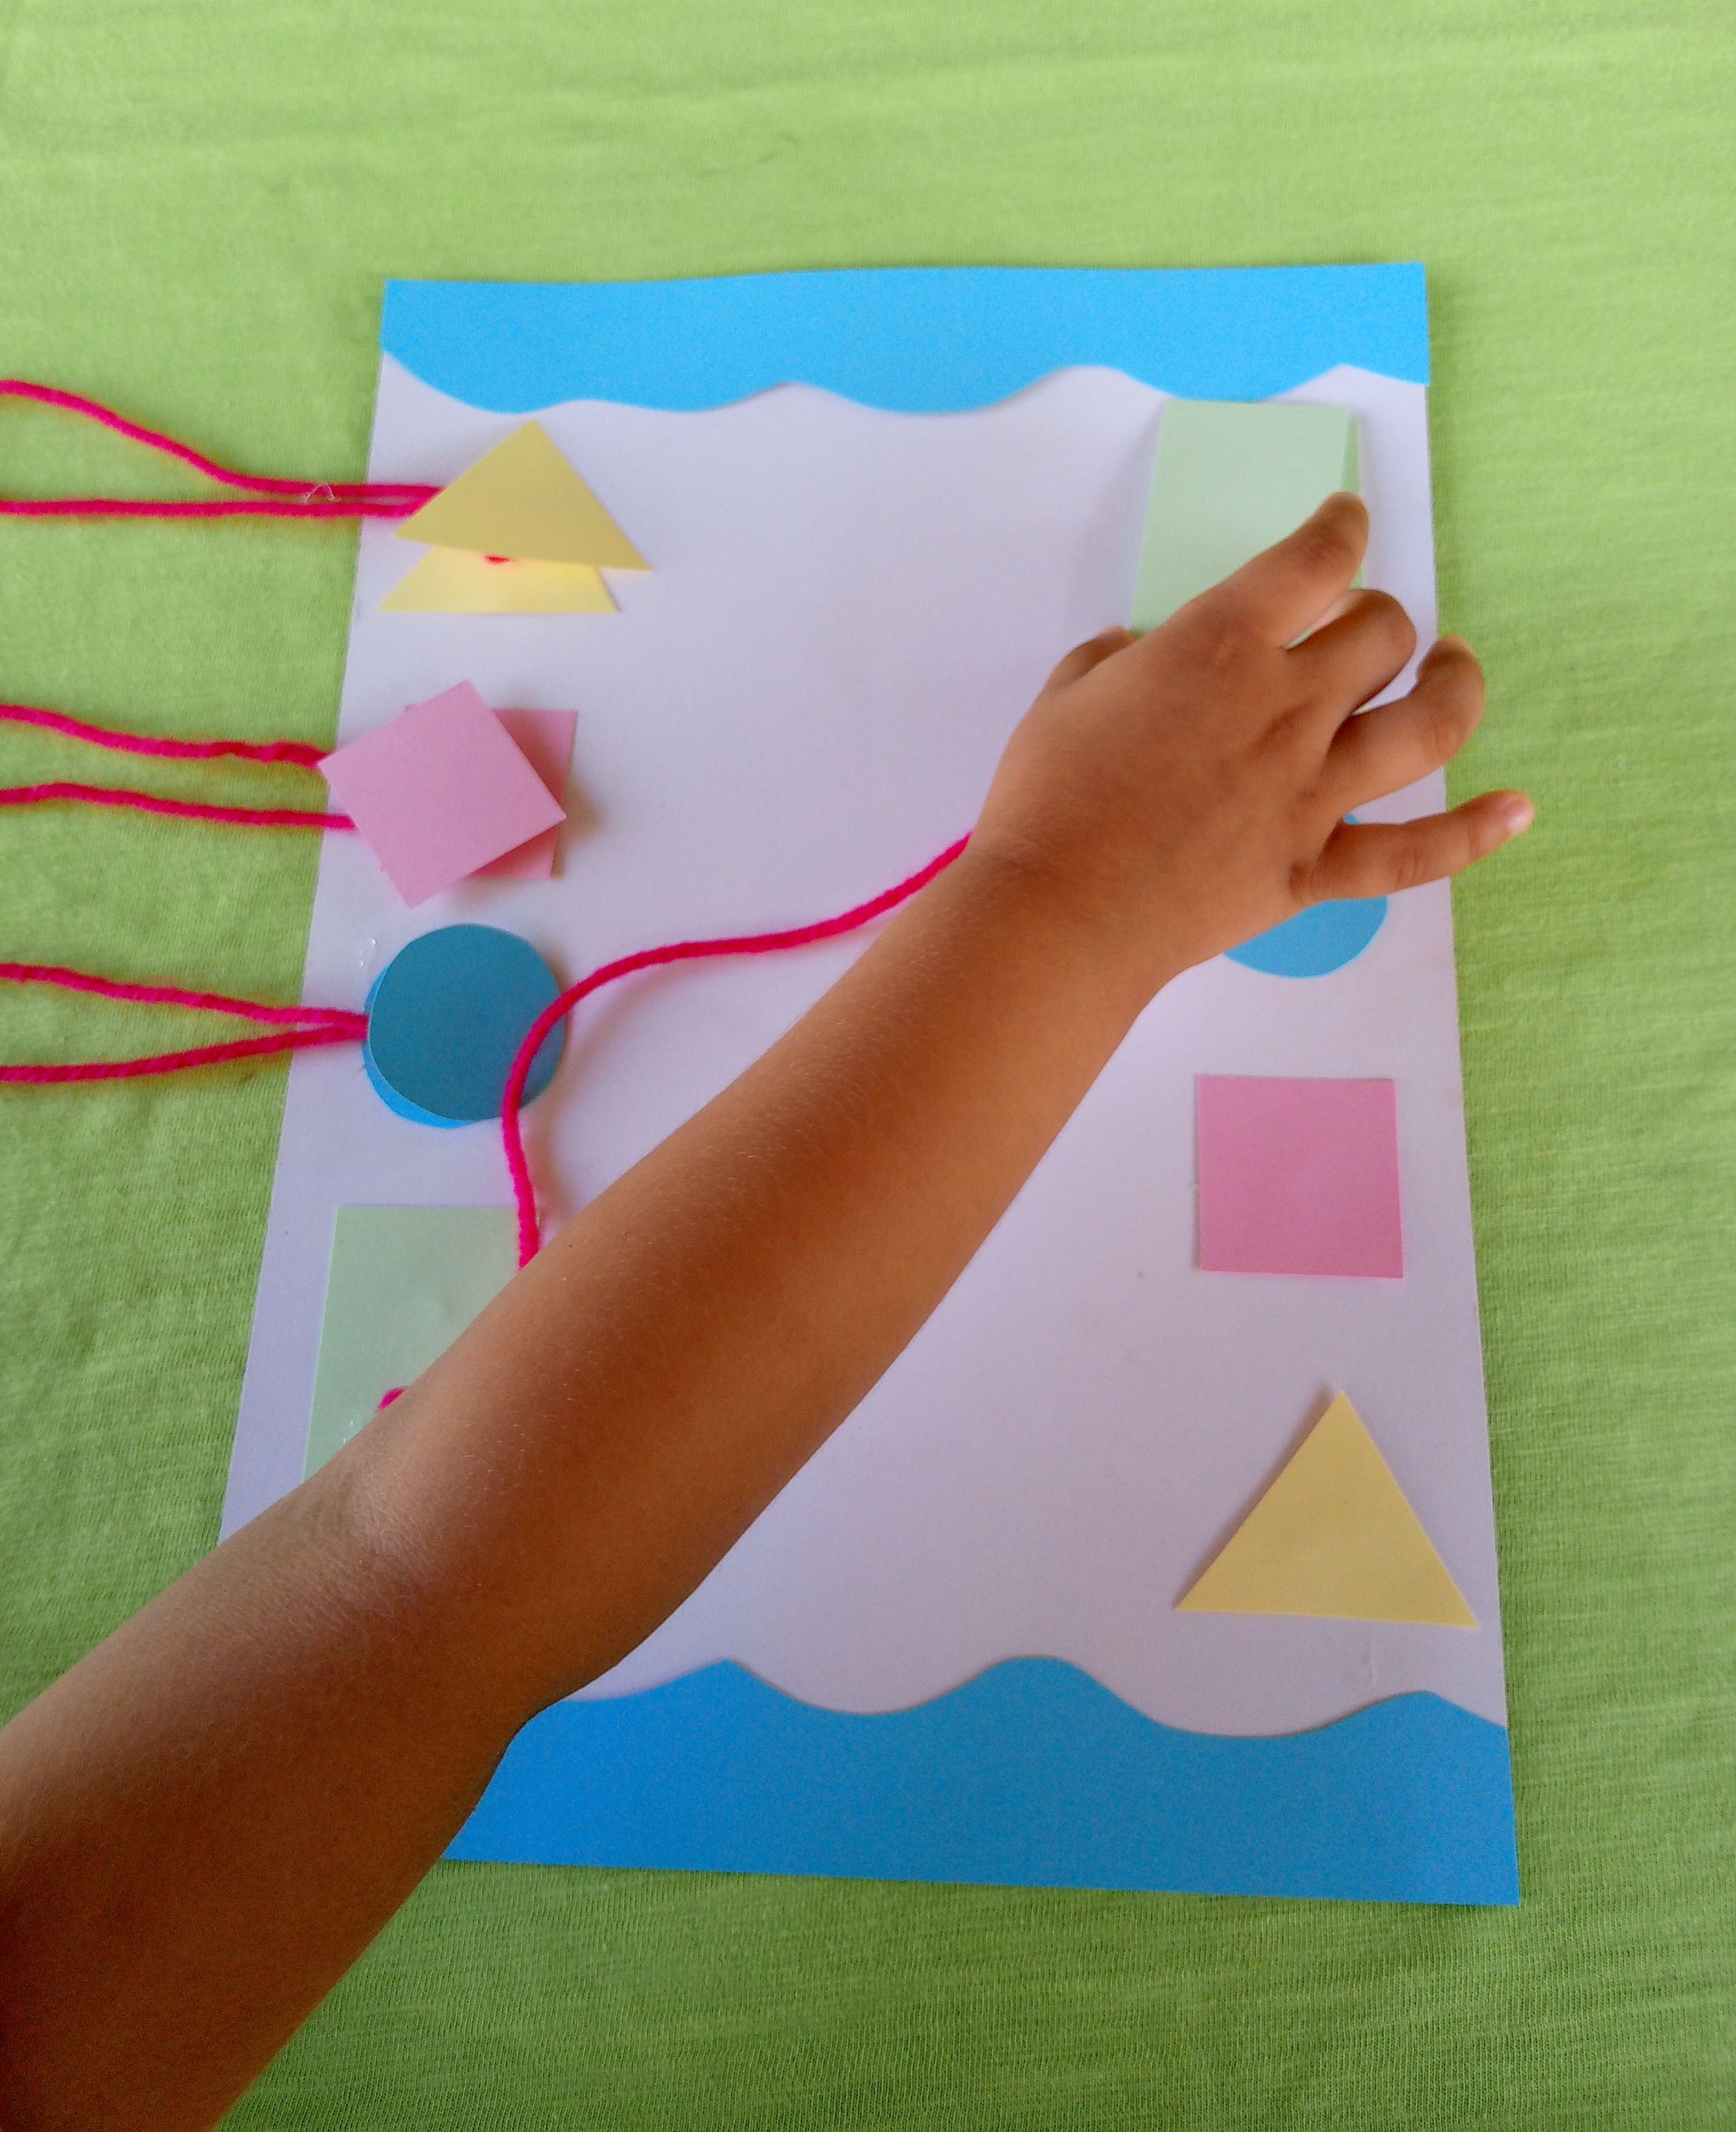
Muchas veces no incentivamos a nuestros niños, ignorando que con pocos materiales y totalmente accesibles podemos crear lindos, útiles y divertidos juegos didácticos que nos ayuden a dar y fomentar aprendizaje en ellos. Este juego de Reconocimiento de Figuras Geométricas es sencillo de realizar, he usado cartulina escolar en colores variados, tijera, silicon y un poco de estambre. En las fotos pueden apreciar a una de mis niñas de tarea dirigida, realizando actividades de aprendizaje de las figuras geométricas.
Many times we do not encourage our children, ignoring that with few and fully accessible materials we can create beautiful, useful and fun educational games that help us give and encourage learning in them. This Geometric Figure Recognition game is easy to do, I have used school cardboard in various colors, scissors, silicone and a little yarn. In the photos you can see one of my guided homework girls, carrying out learning activities about geometric figures.

¿Cómo funciona este Juego Didáctico?/ How does this Didactic Game work?
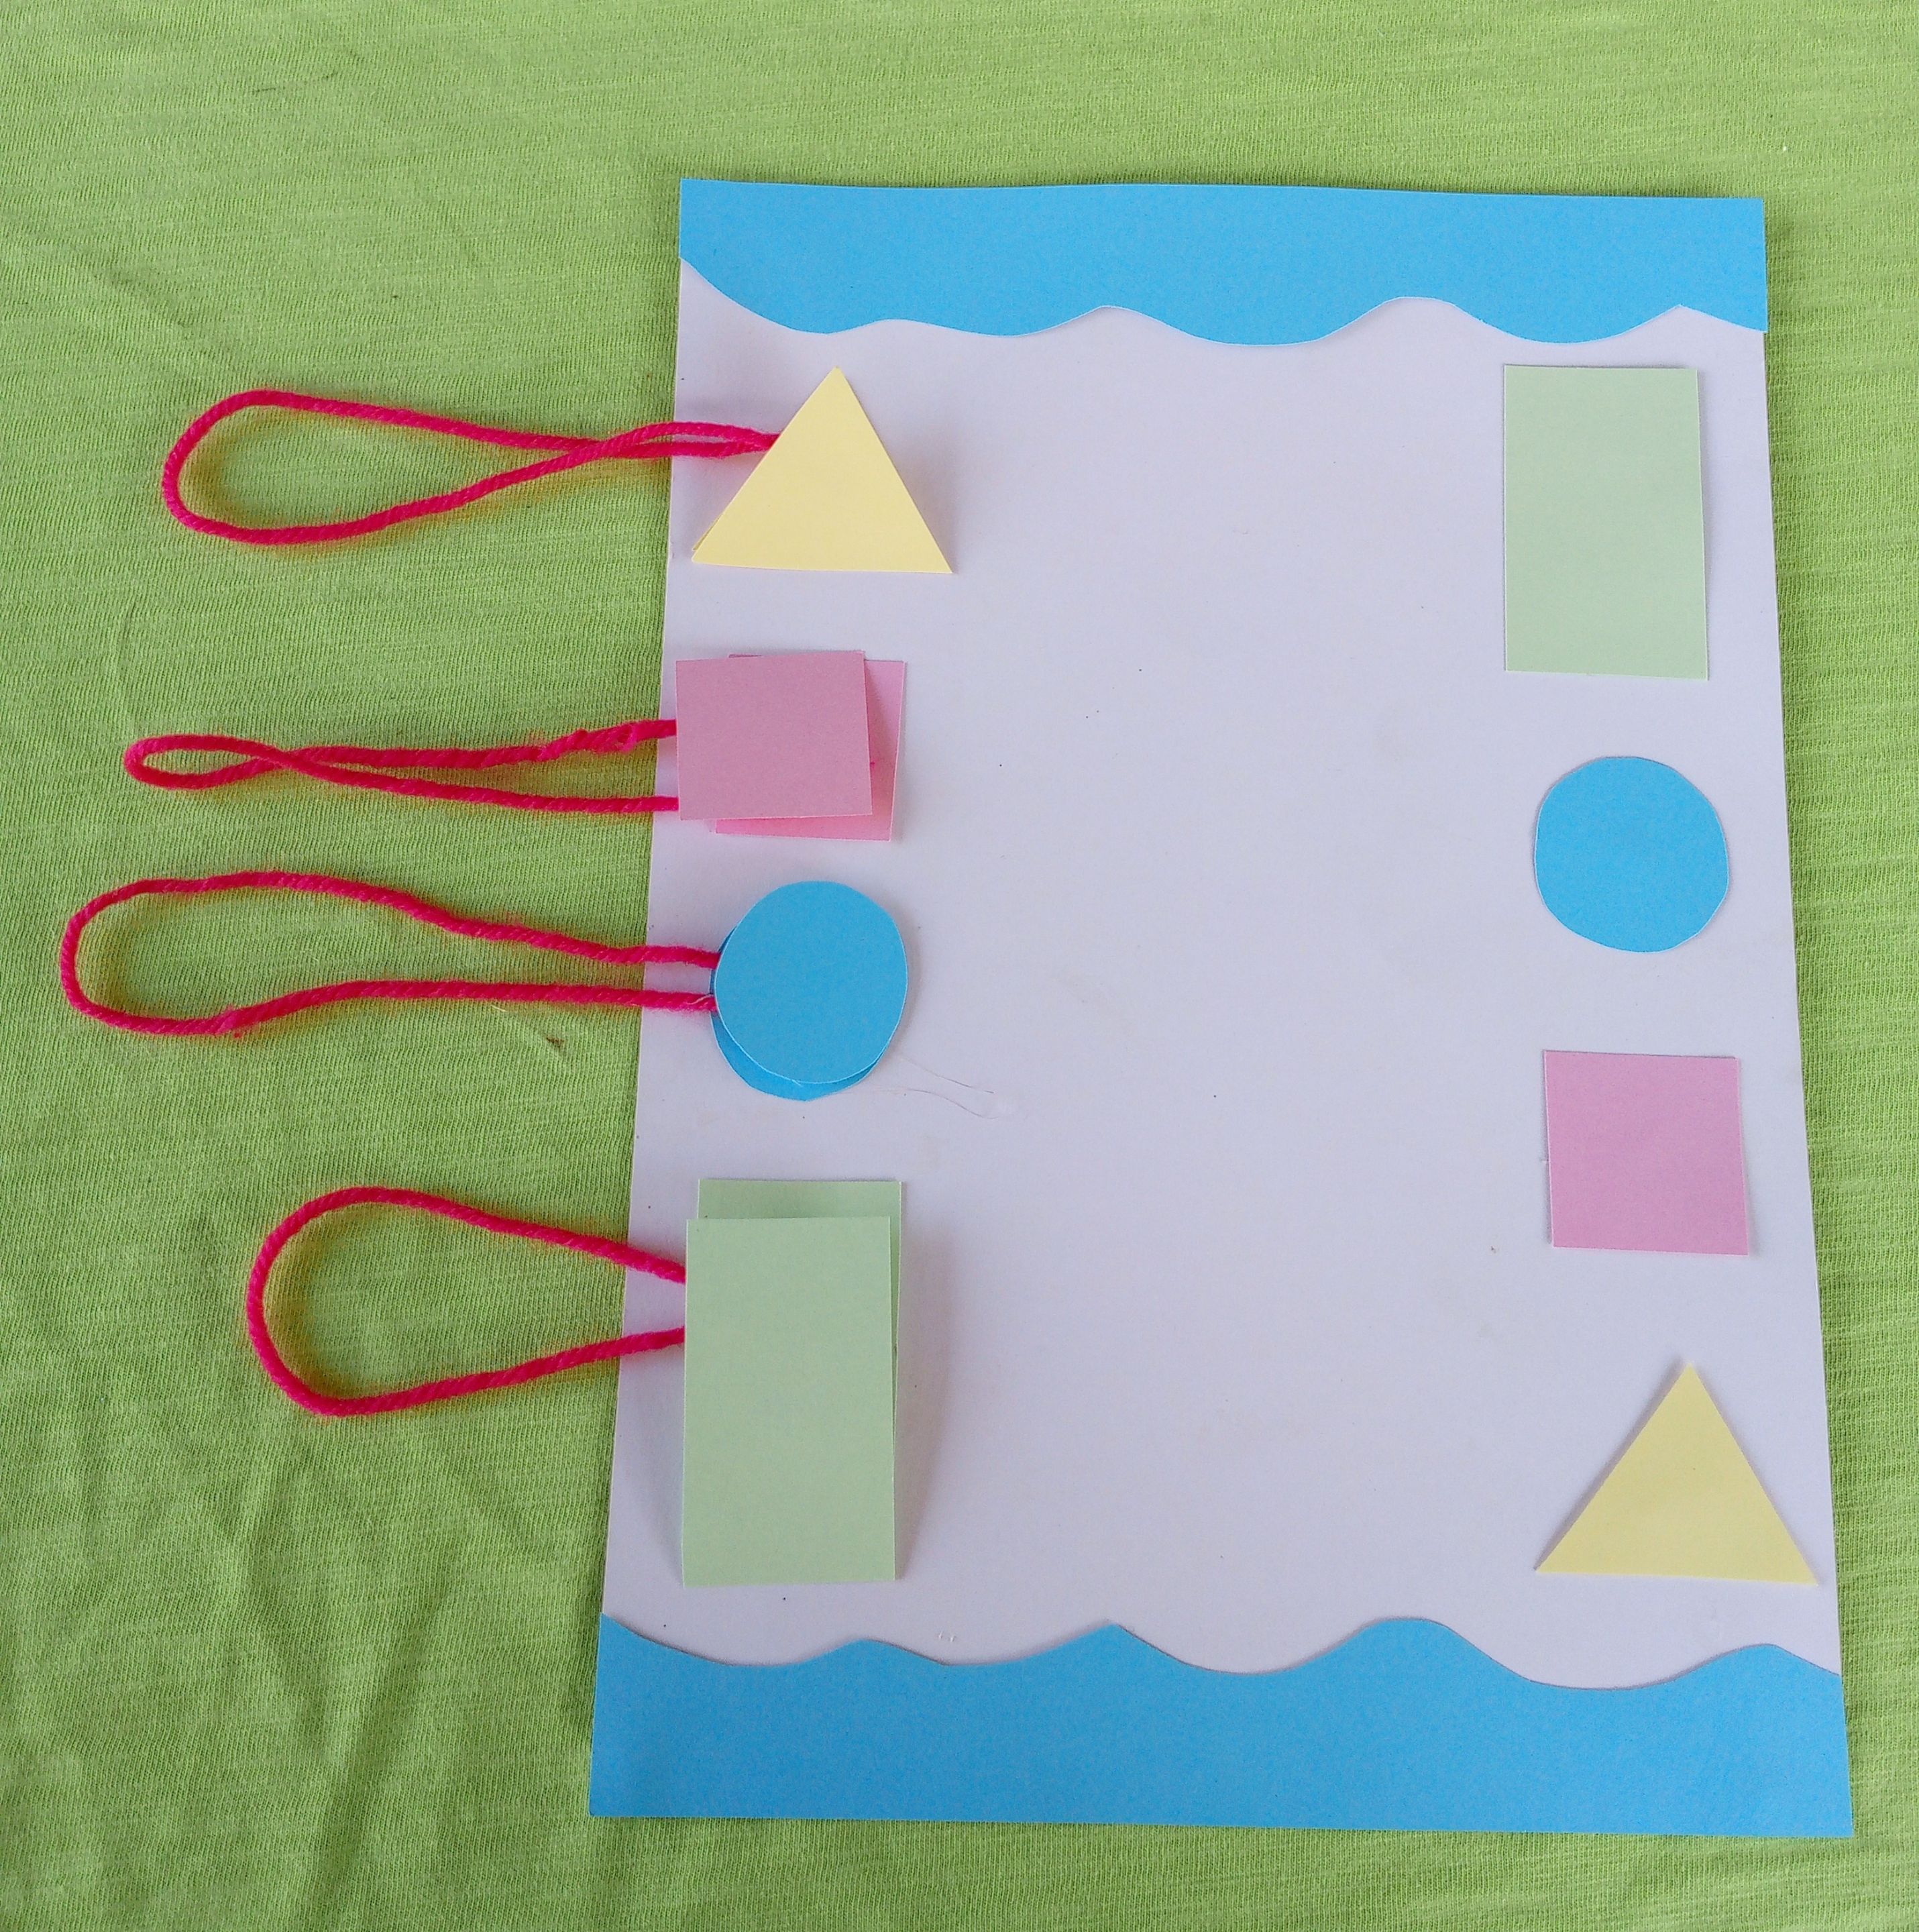
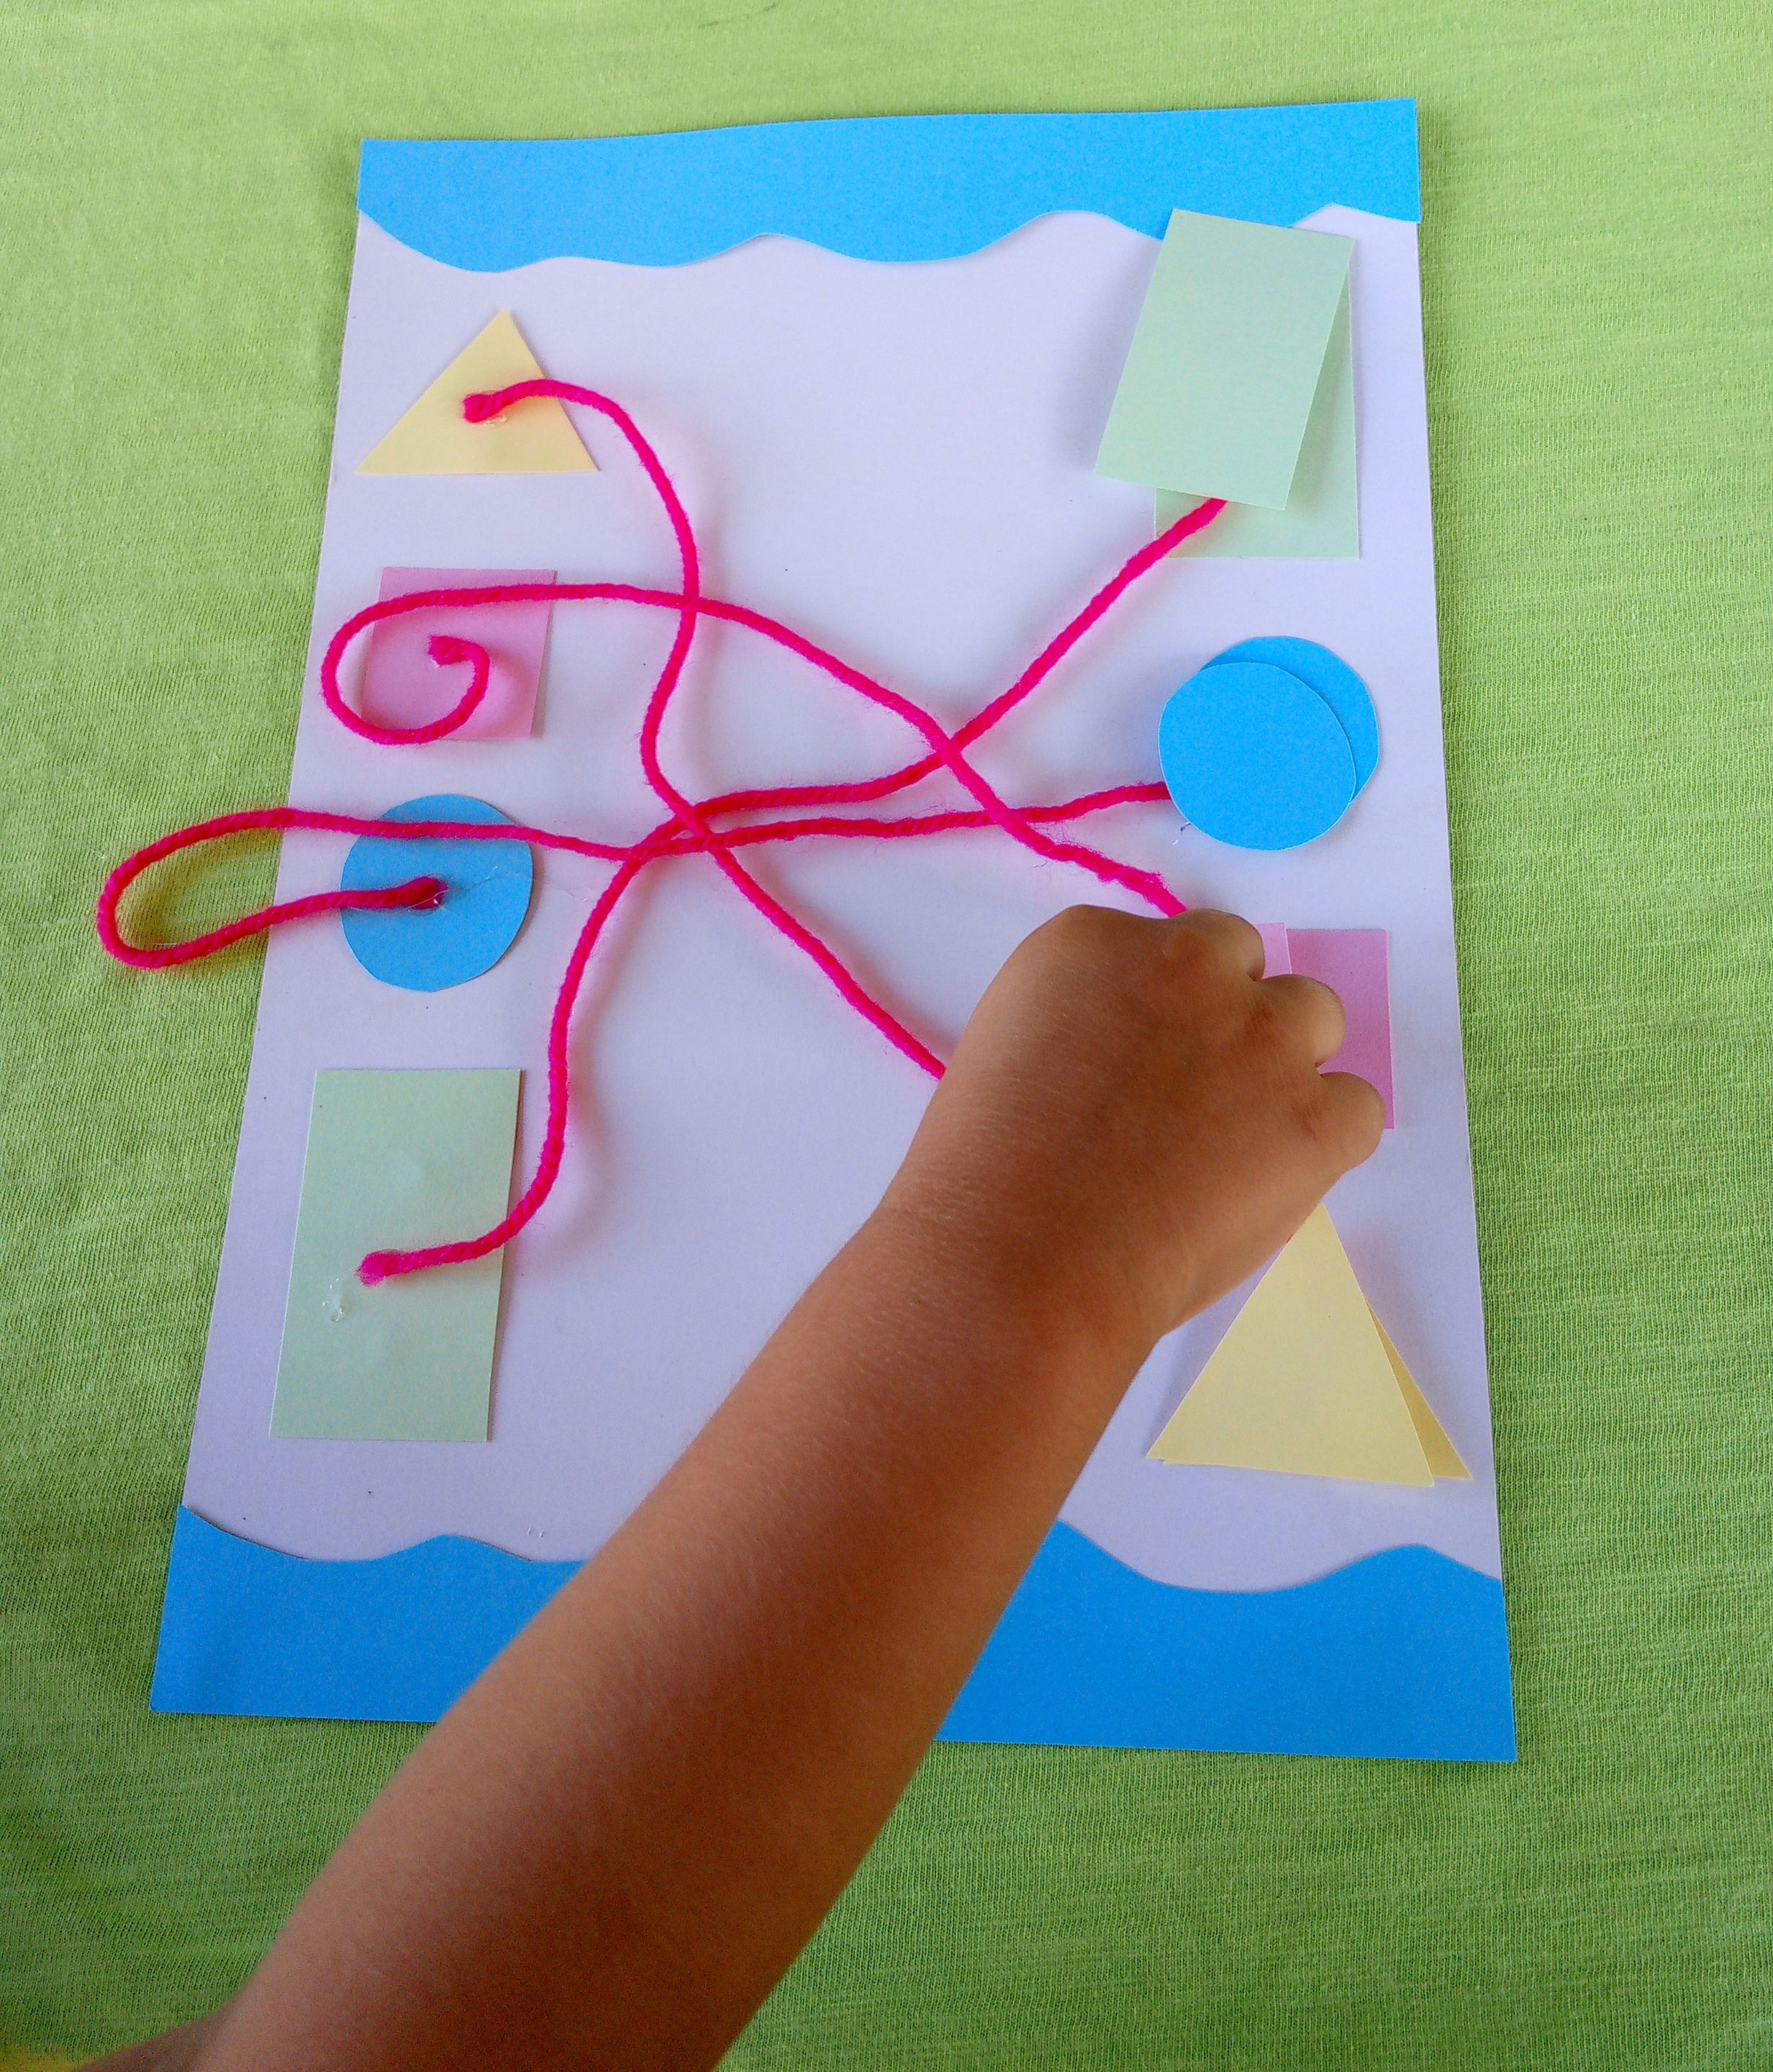
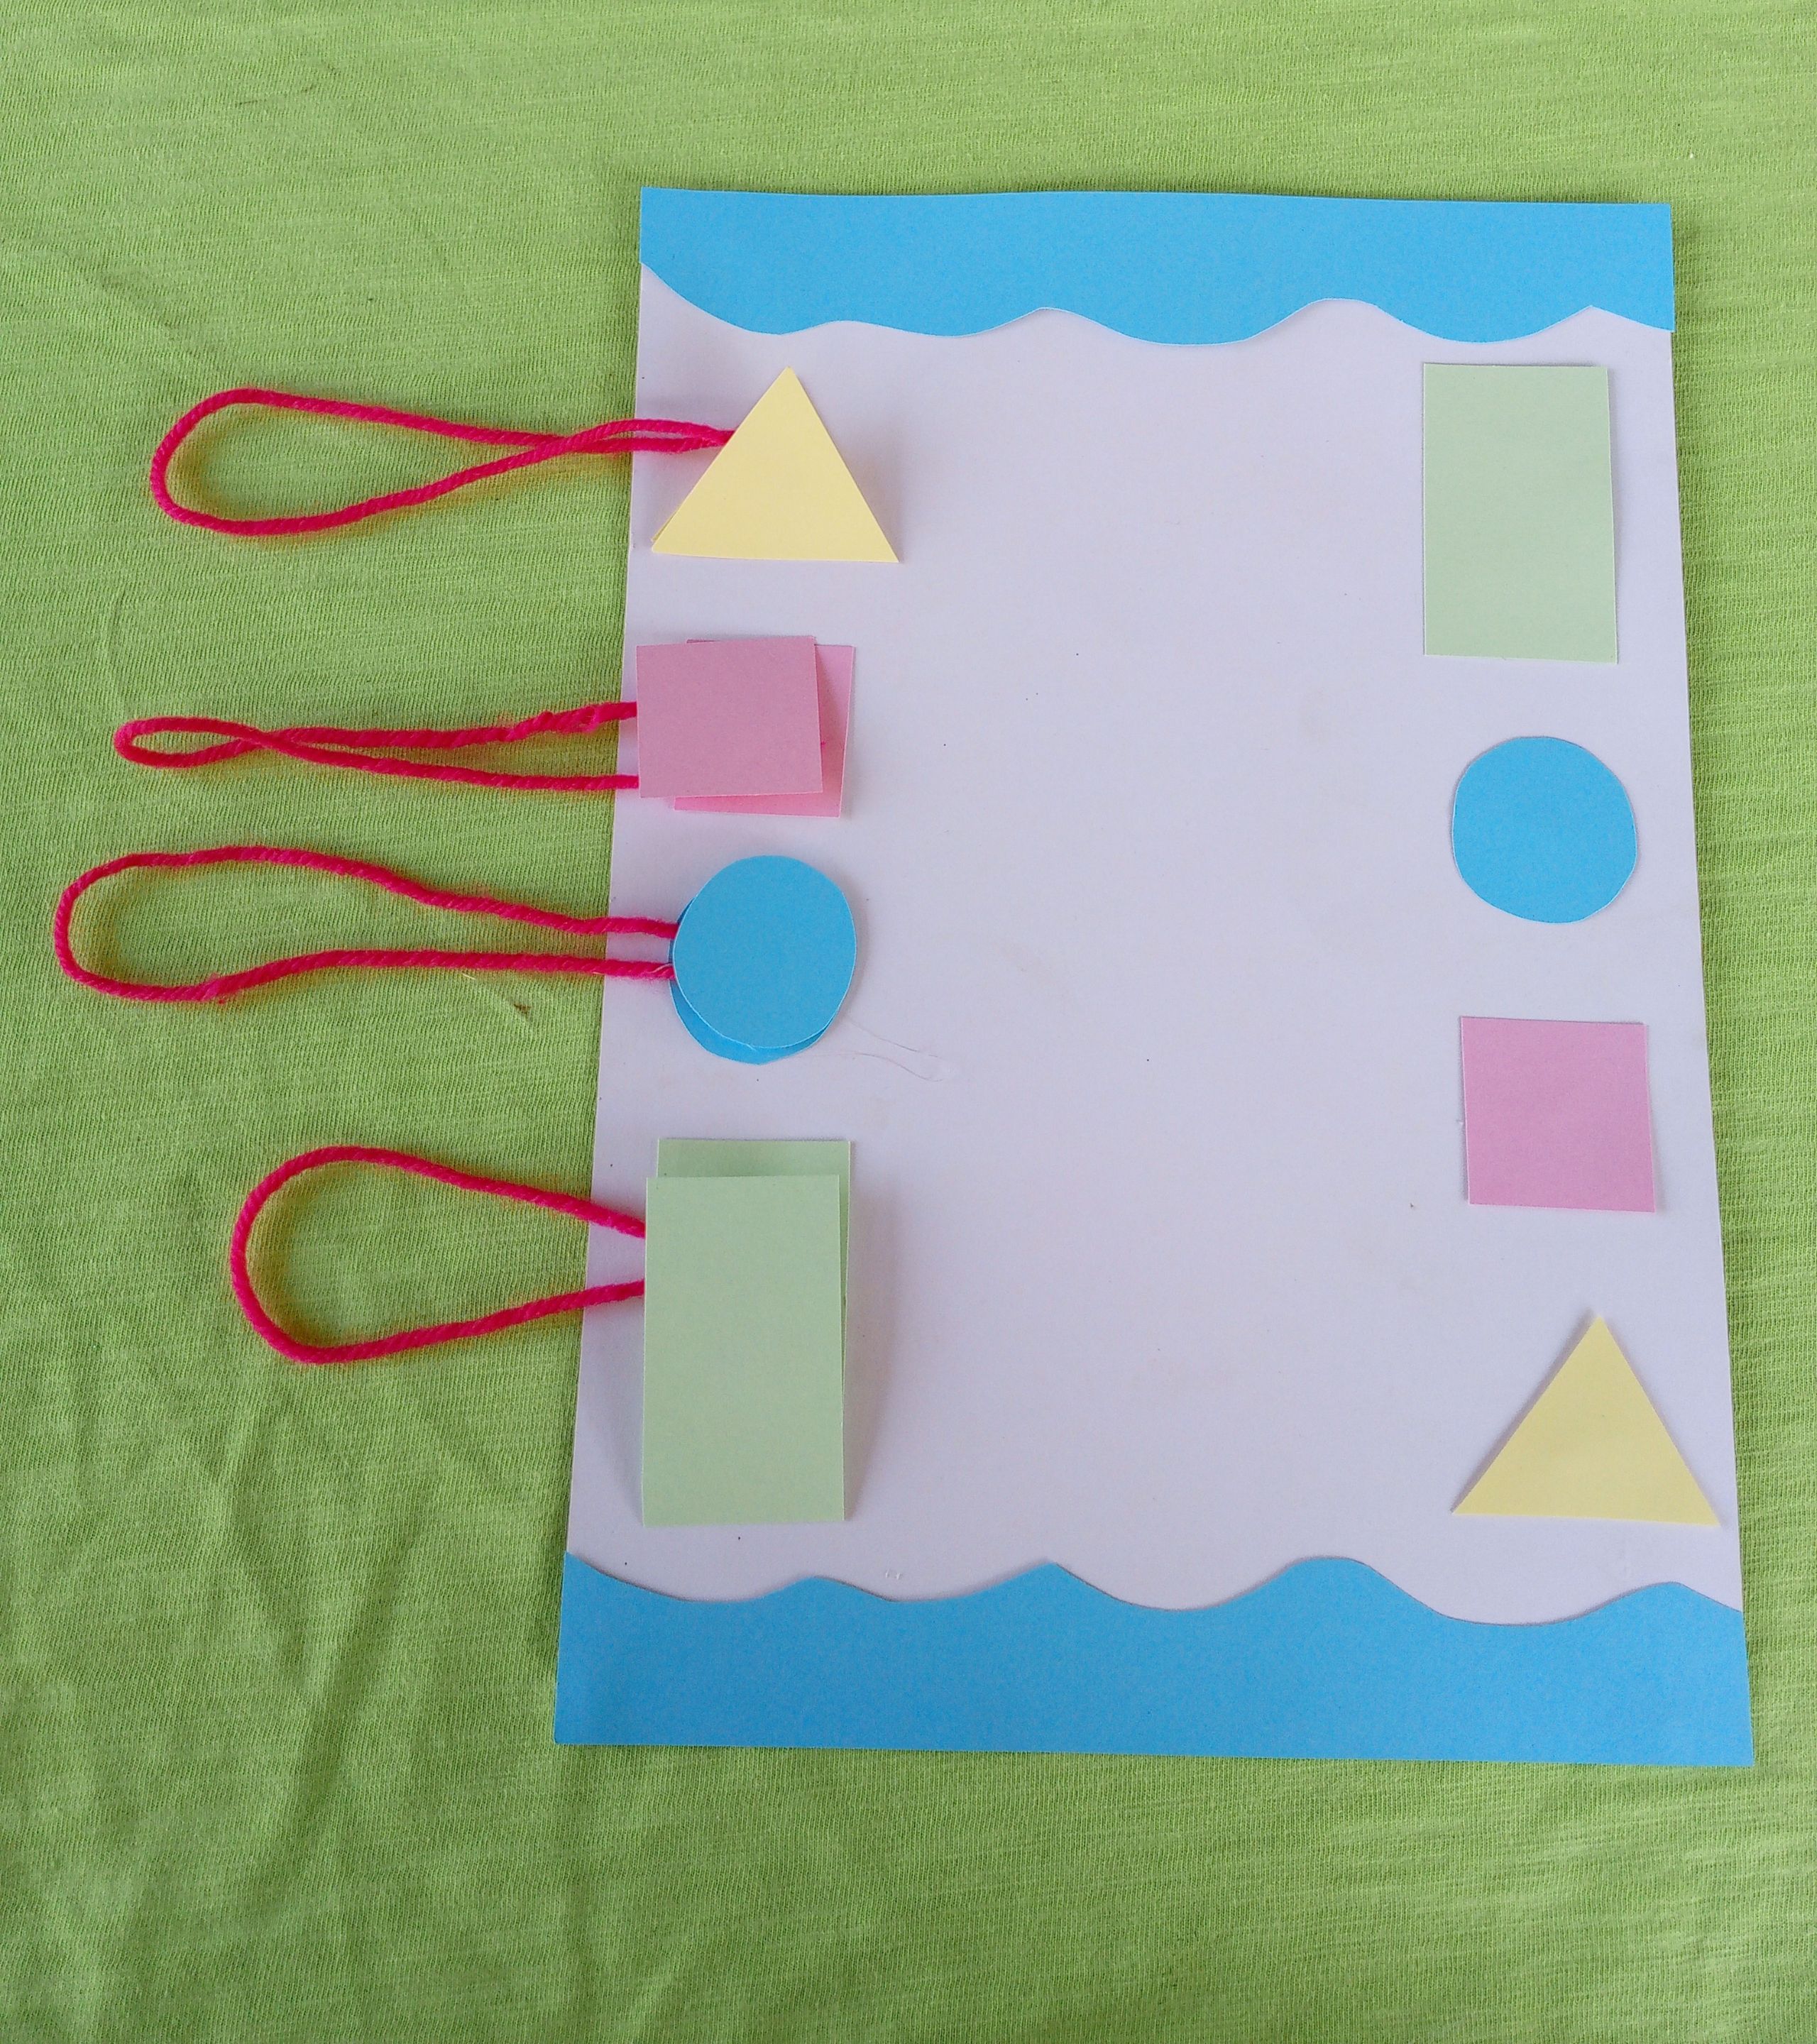
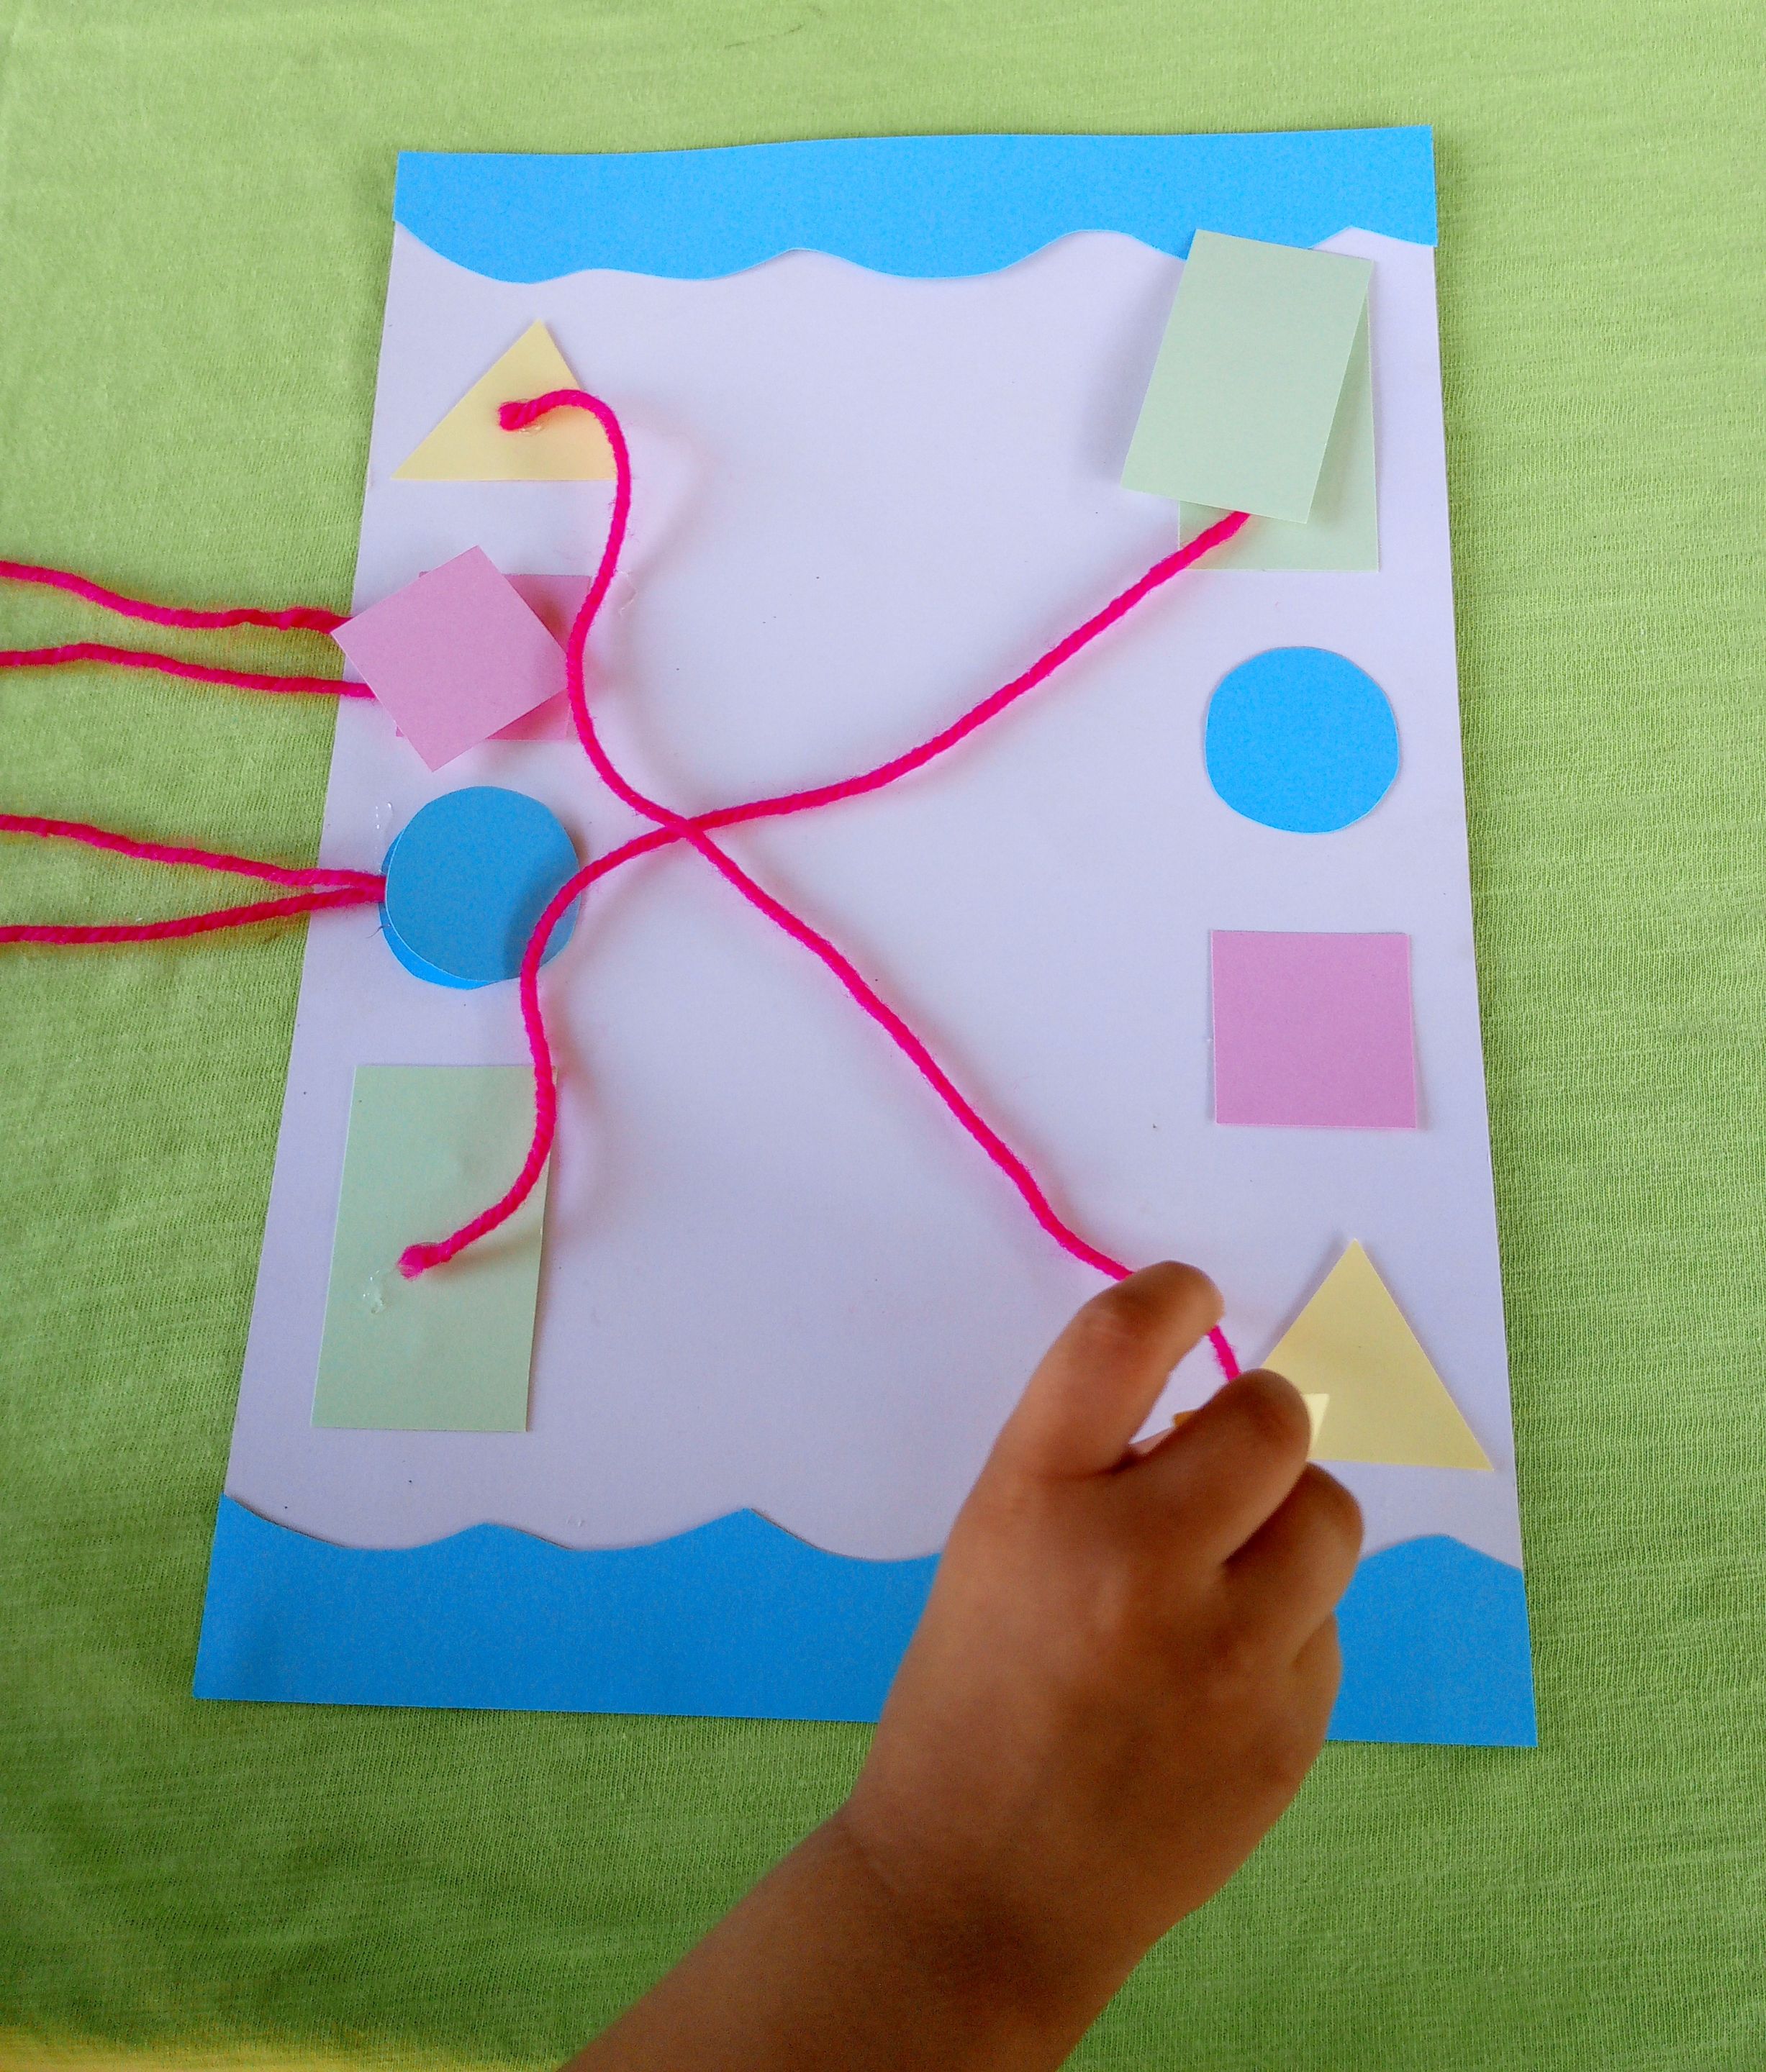
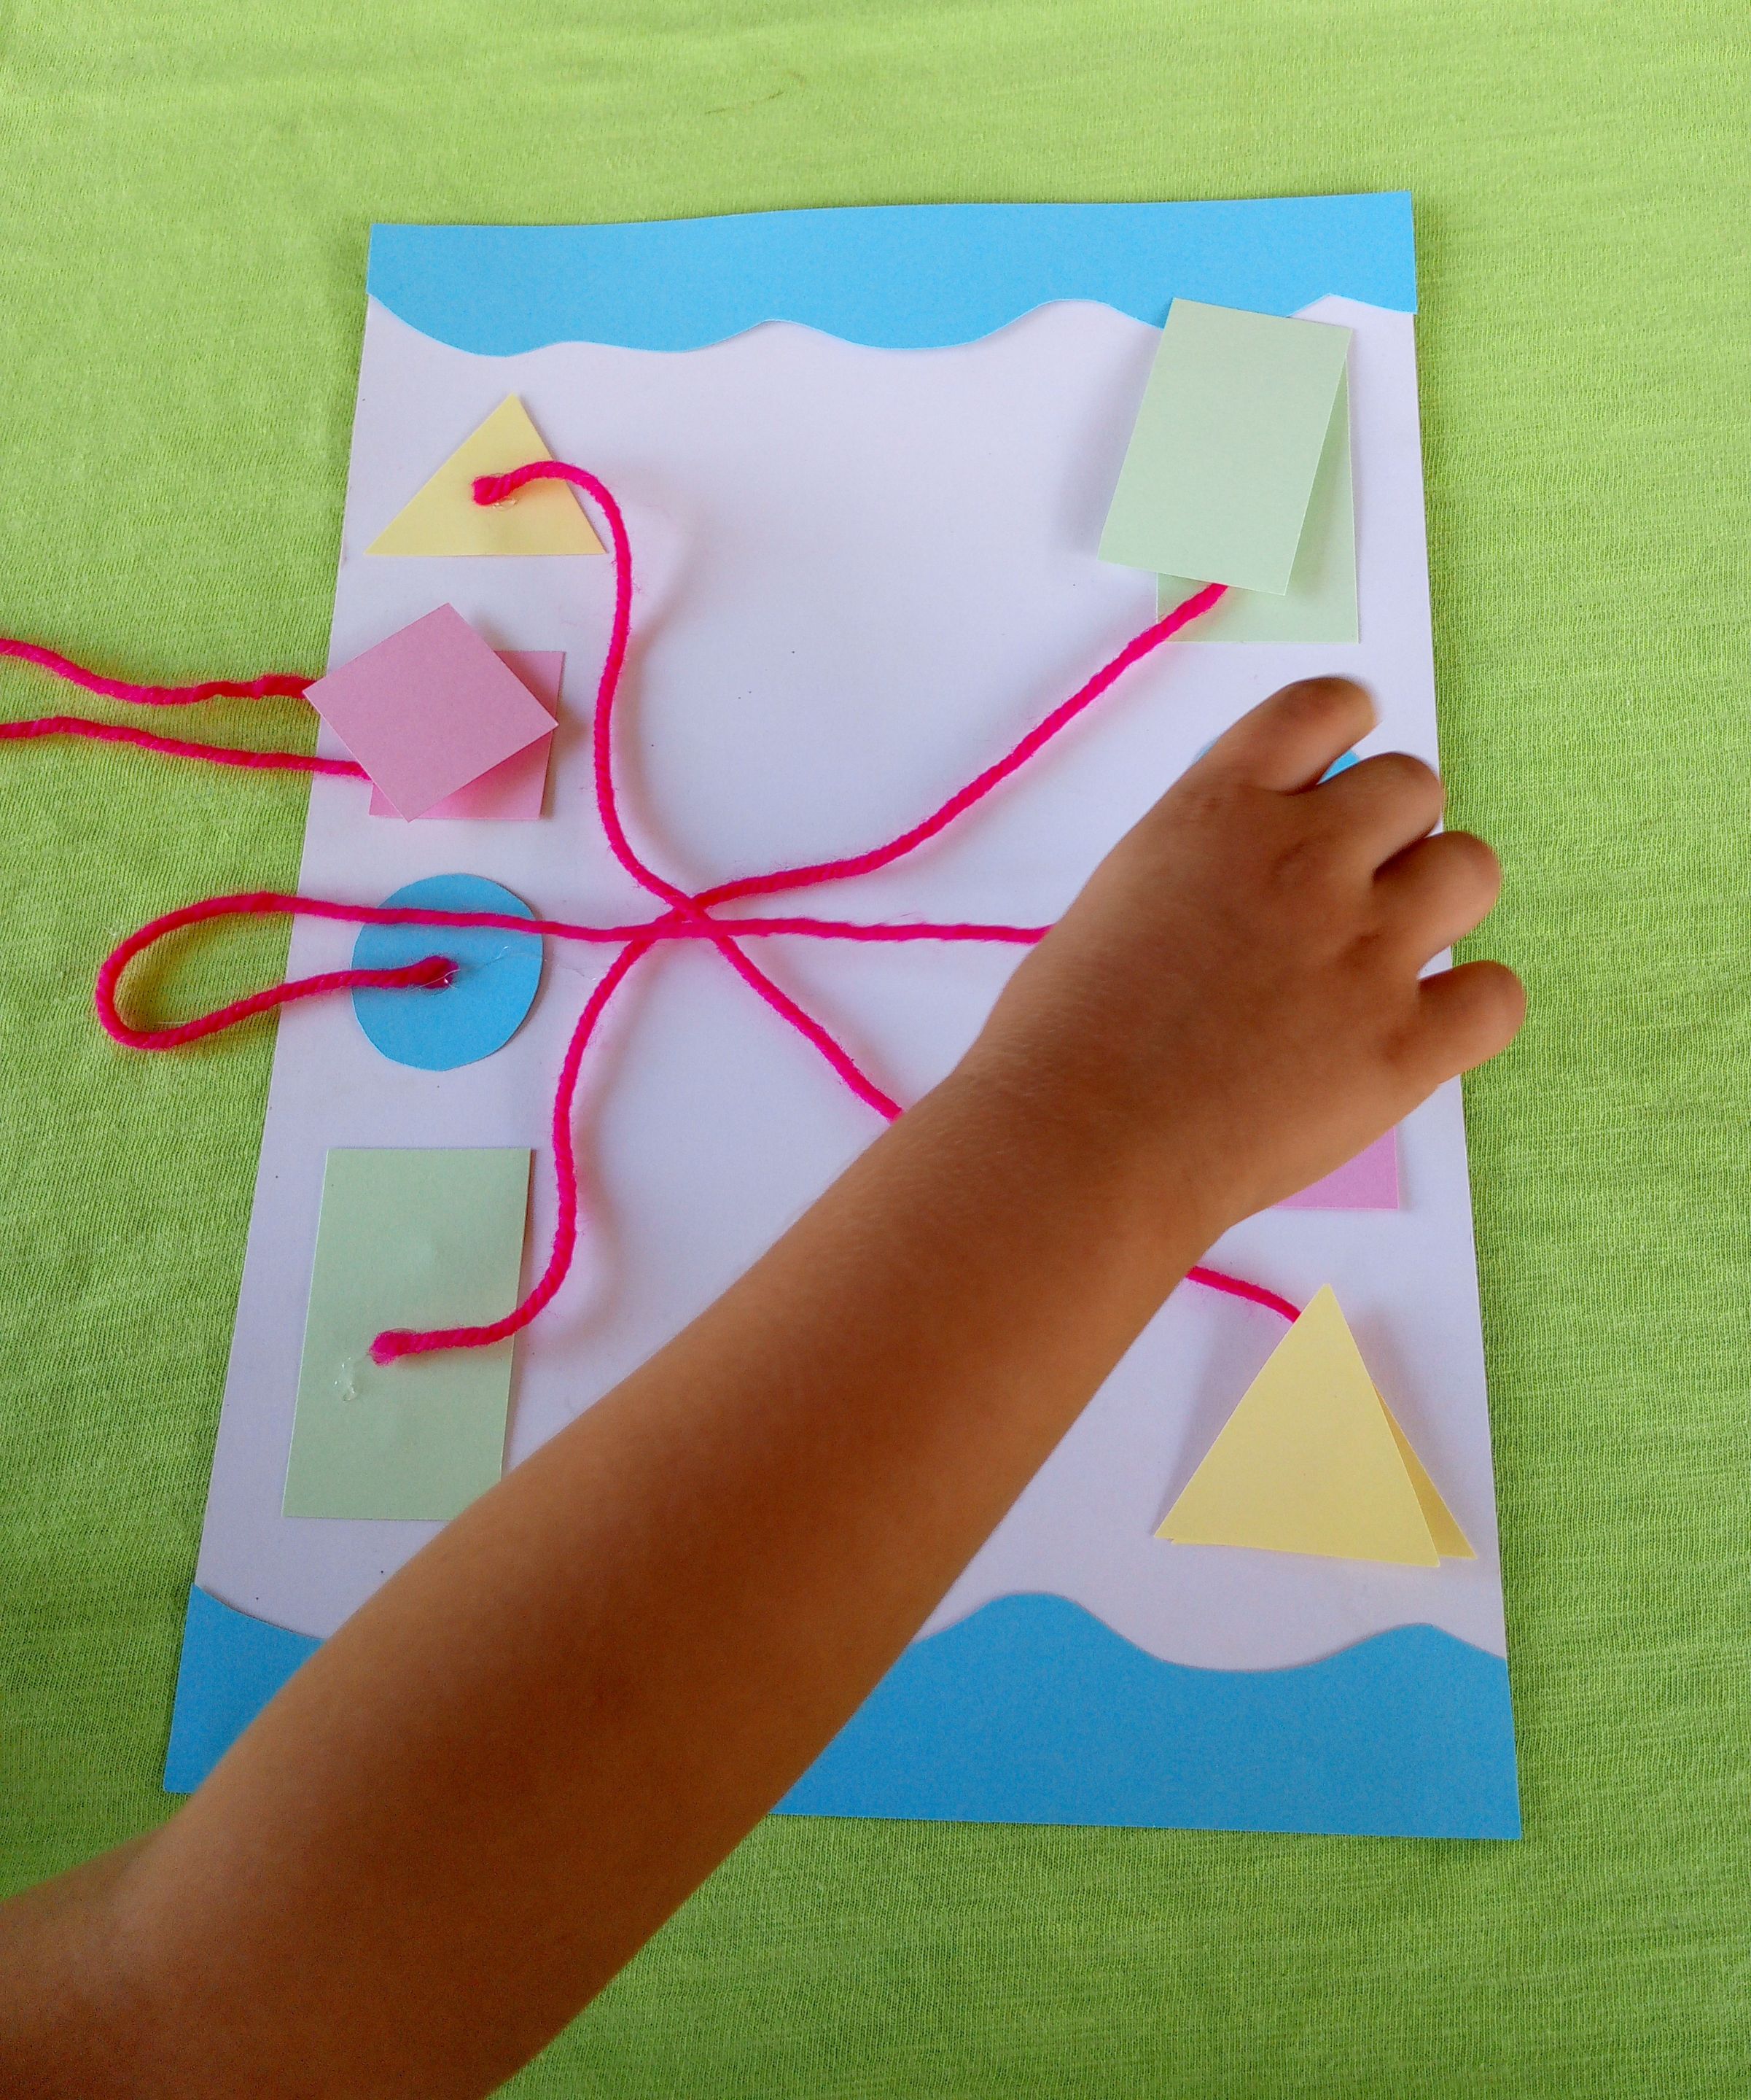
Las piezas del lado izquierdo son dobles, es una base y de esta base se encuentra adherido otra copia de la figura unida a un trozo de hilo. El niño debe indicar el nombre de la figura y llevar la pieza copia a donde se encuentra la misma del lado derecho. Y así sucesivamente, podemos aprovechar las piezas coloridas para repasar los colores al mismo tiempo. Dando instrucciones al niño de indicar el nombre de la "figura y color". Este tipo de juego didáctico podría hacerse fácilmente en versiones de colores, vocales o números, según sea lo que amerita aprender el niño. Lo ideal es que el niño juegue con esto, cuando ya previamente ha recibido explicación sobre las figuras.
The pieces on the left side are double, it is a base and to this base another copy of the figure is attached to a piece of thread. The child must indicate the name of the figure and take the copy piece to where it is on the right side. And so on, we can take advantage of the colorful pieces to review the colors at the same time. Instructing the child to indicate the name of the "shape and color." This type of educational game could easily be made in versions of colors, vowels or numbers, depending on what the child needs to learn. The ideal is for the child to play with this, when he has previously received an explanation about the figures.
✏️✏️✏️✏️✏️✏️
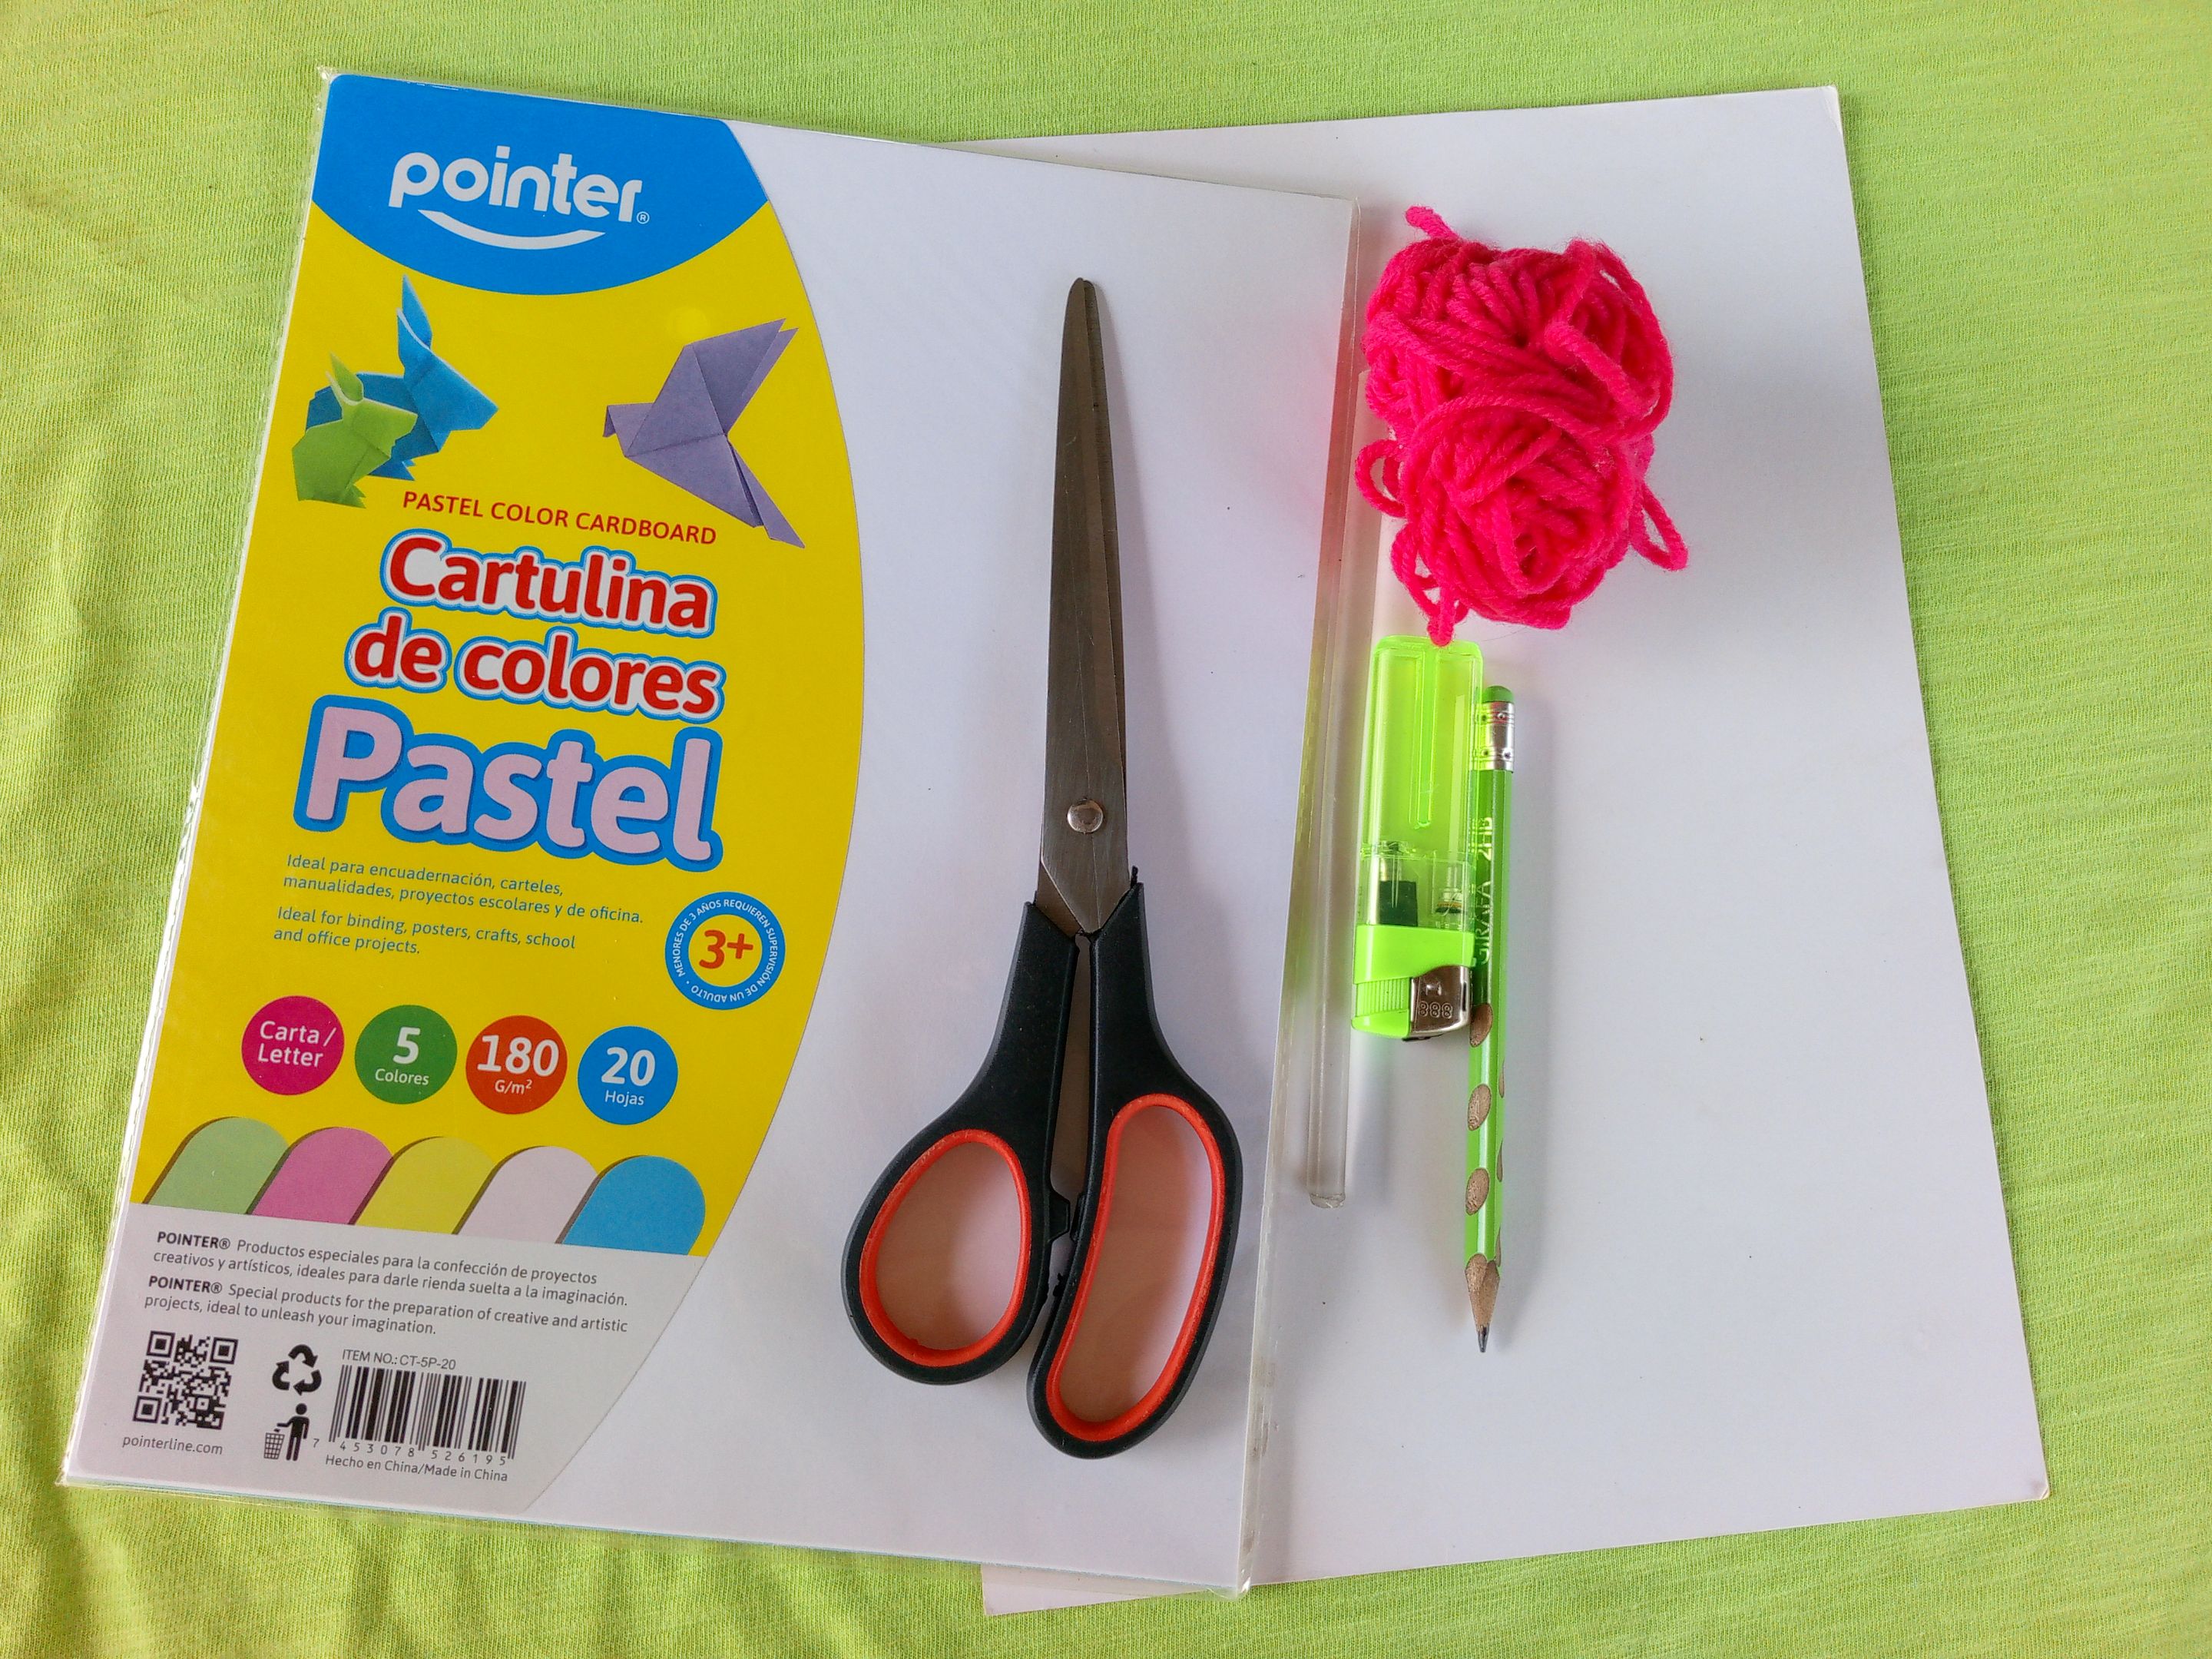
Materiales
- Cartulina de Colores
- Estambre
- Silicon o Pega Blanca. Encendedor
- Tijera
- Lápiz
Materials
- Colour cardboard
- Yarn
- Silicon or White Glue. Lighter
- Scissors
- Pencil
✏️✏️✏️✏️✏️✏️
Proceso de Creación / Creation Process
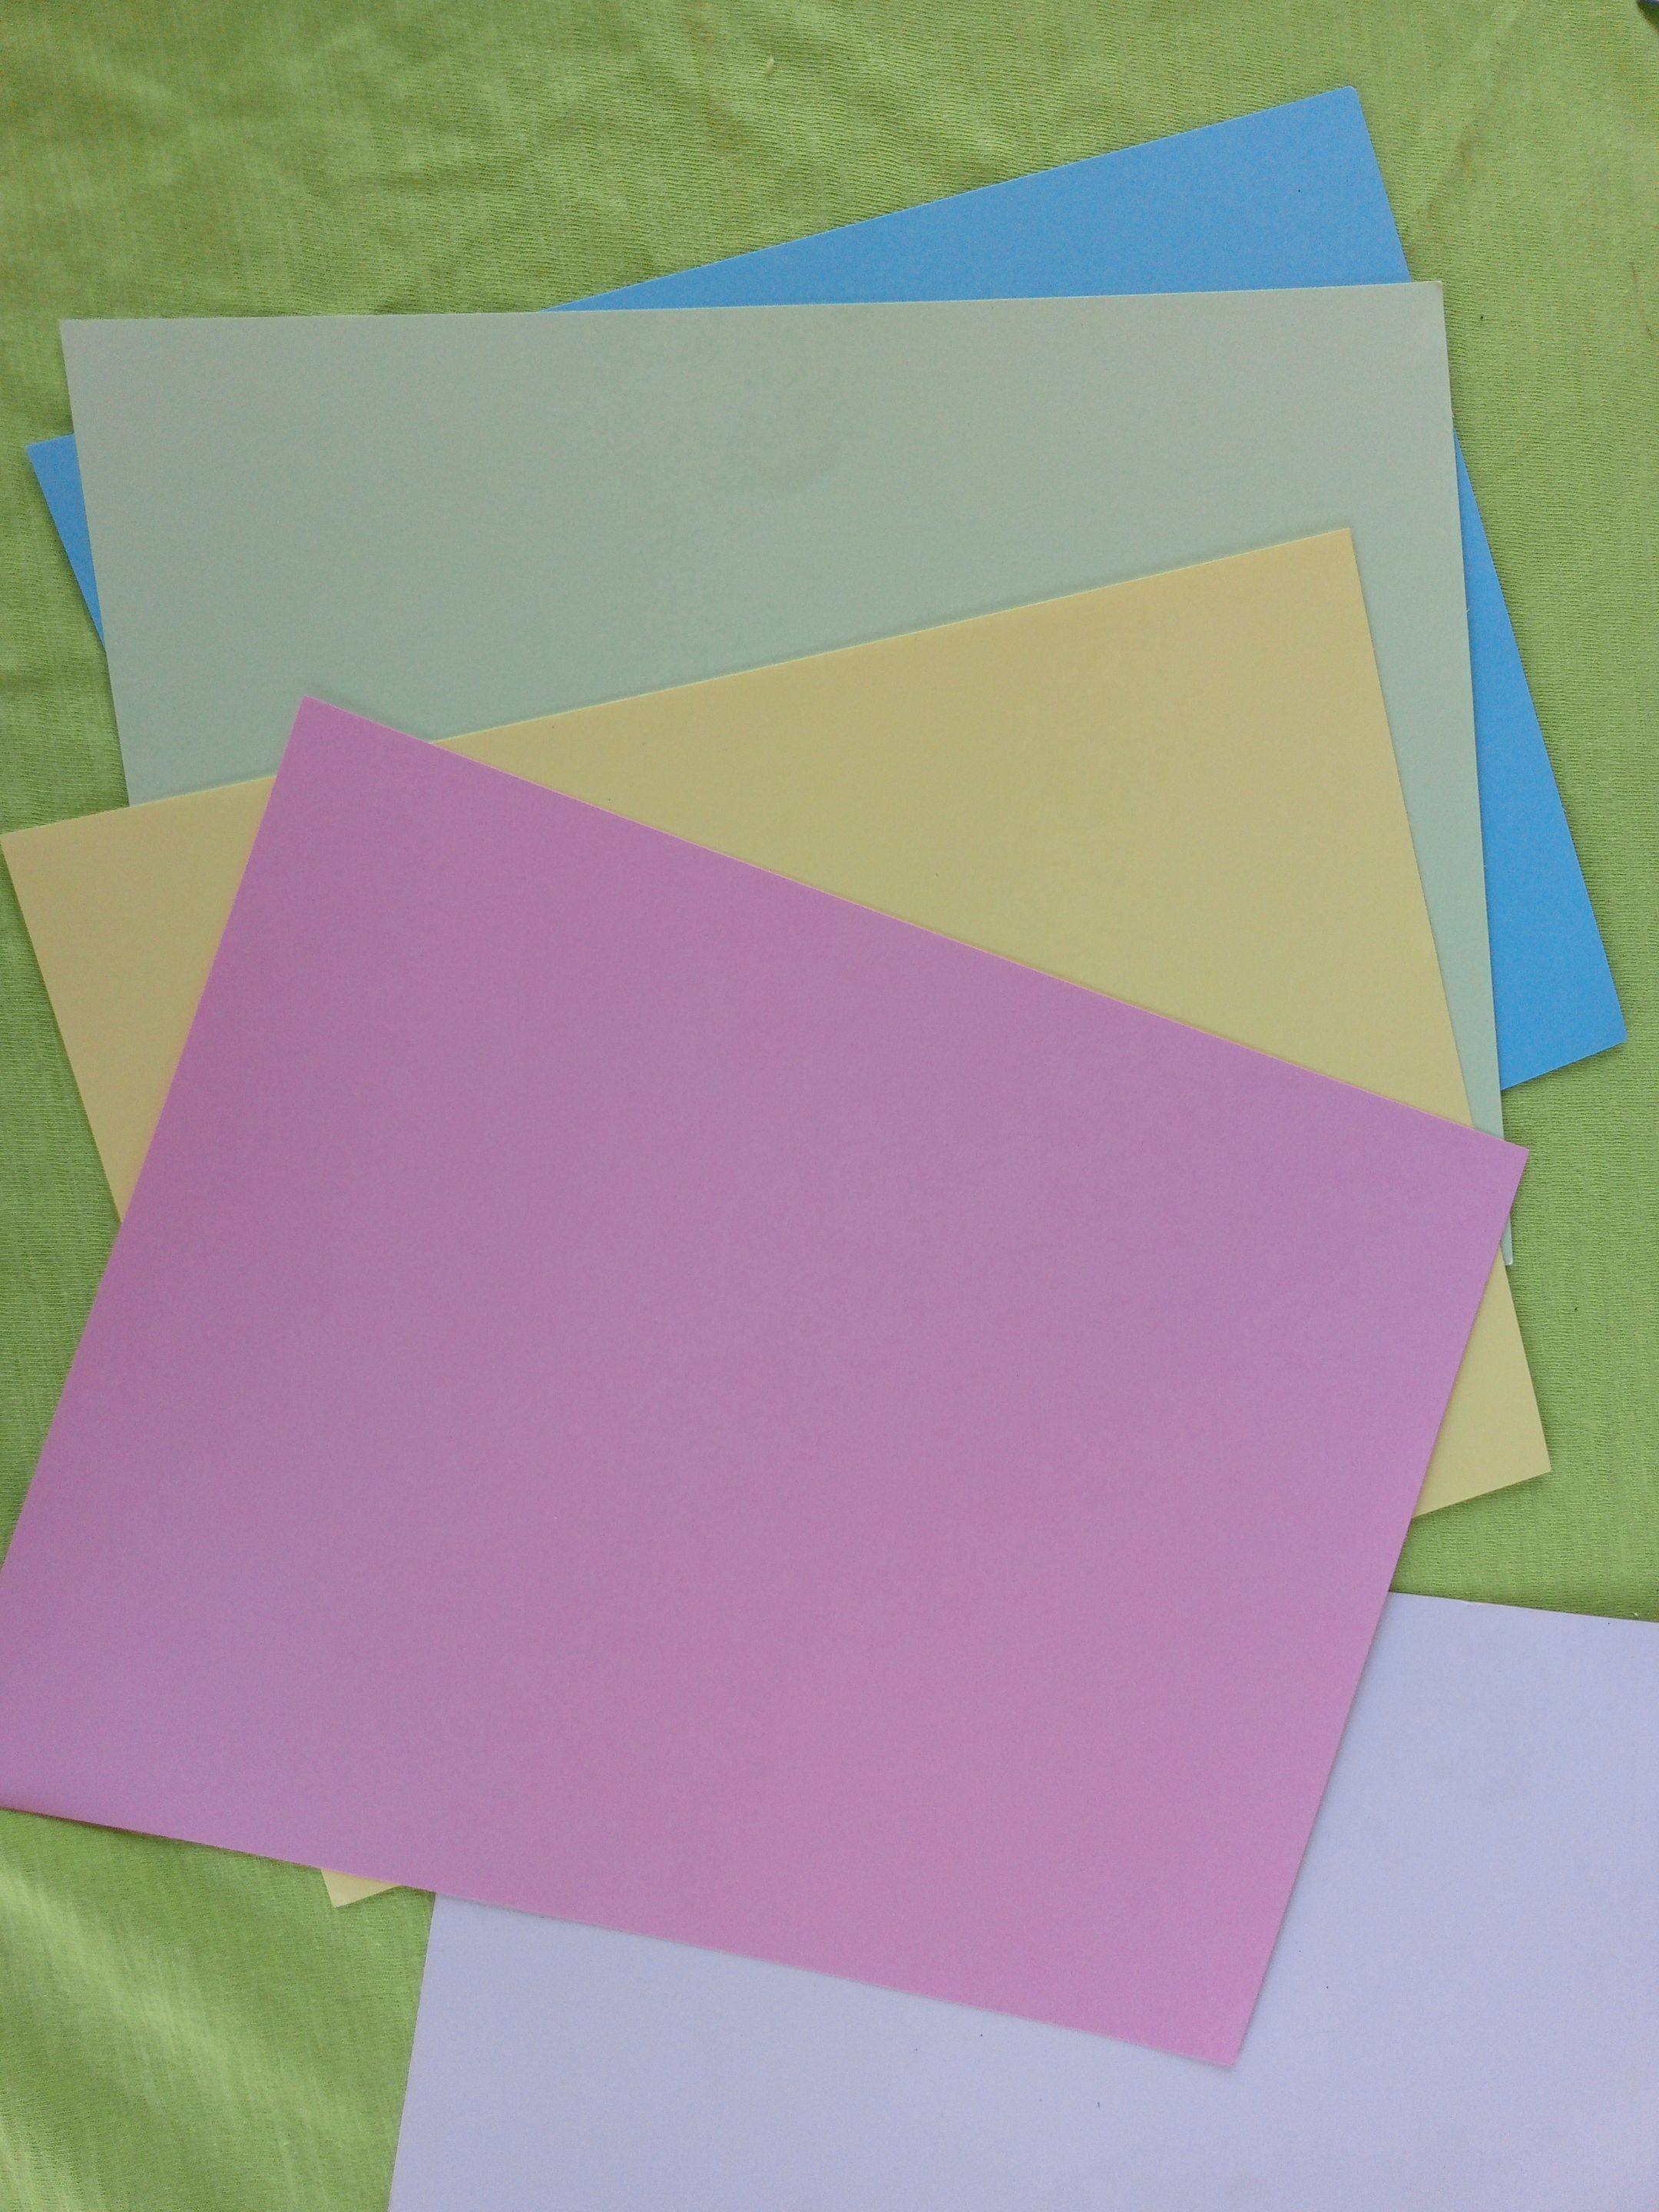
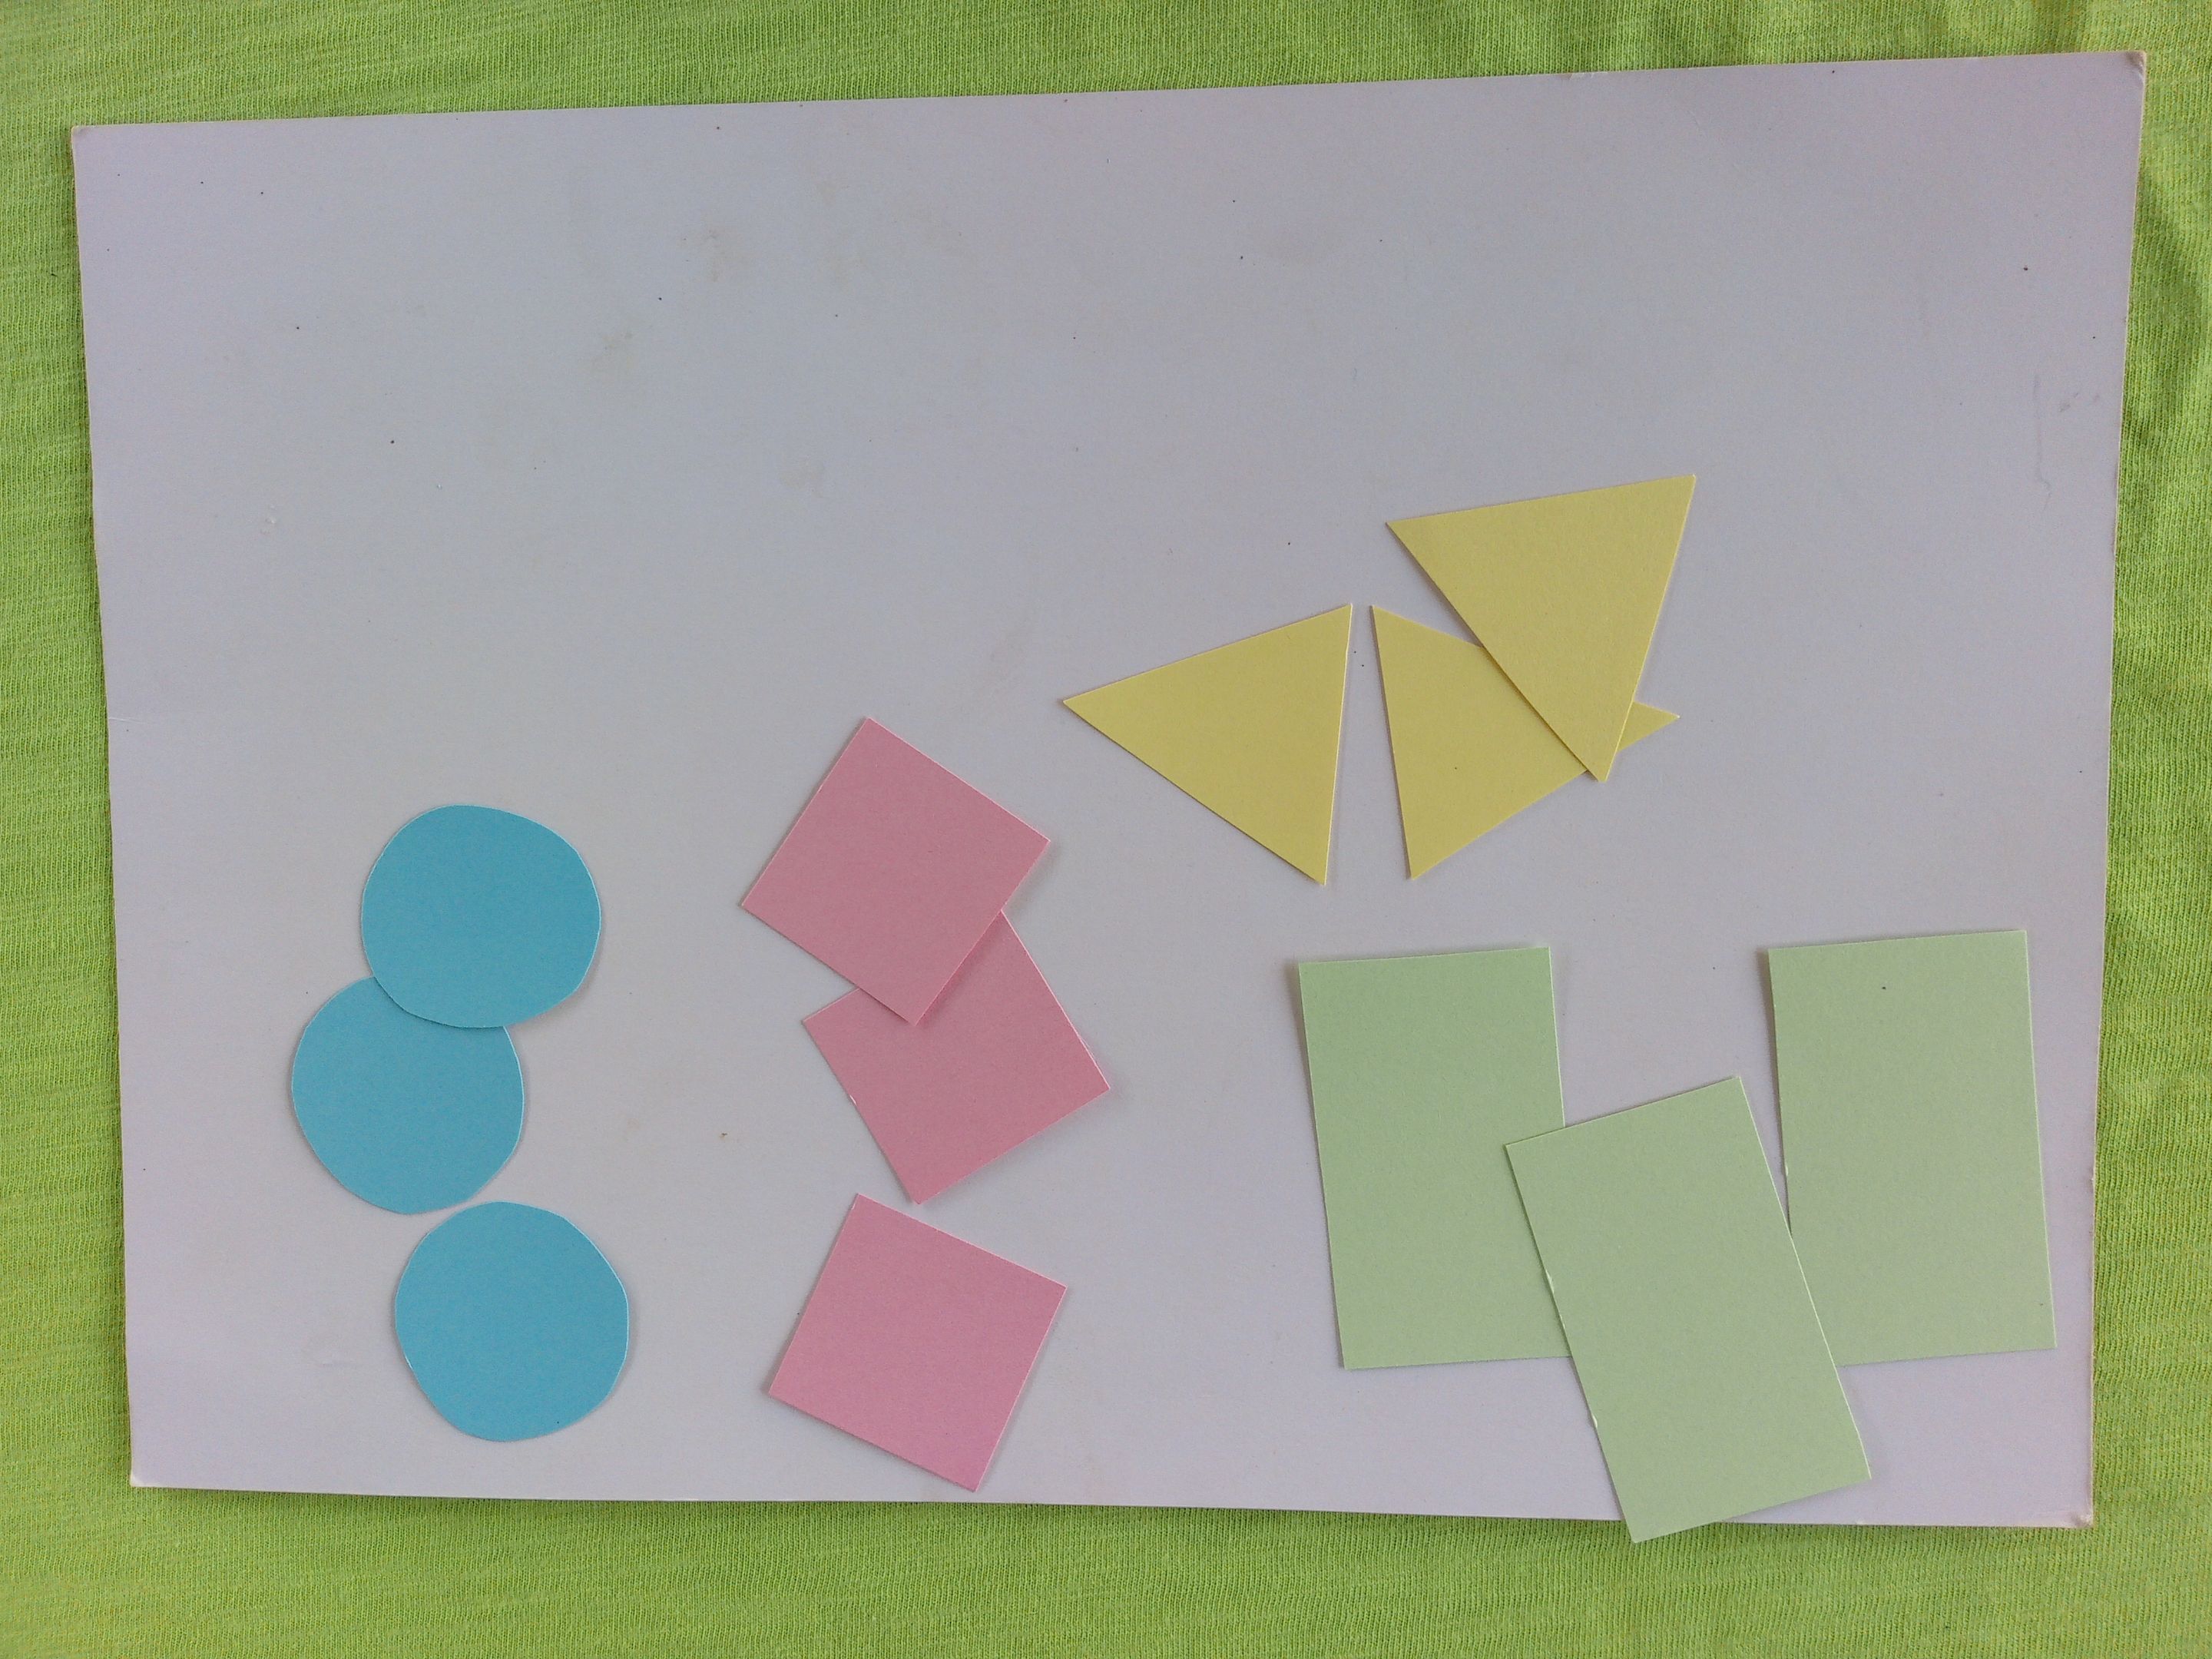
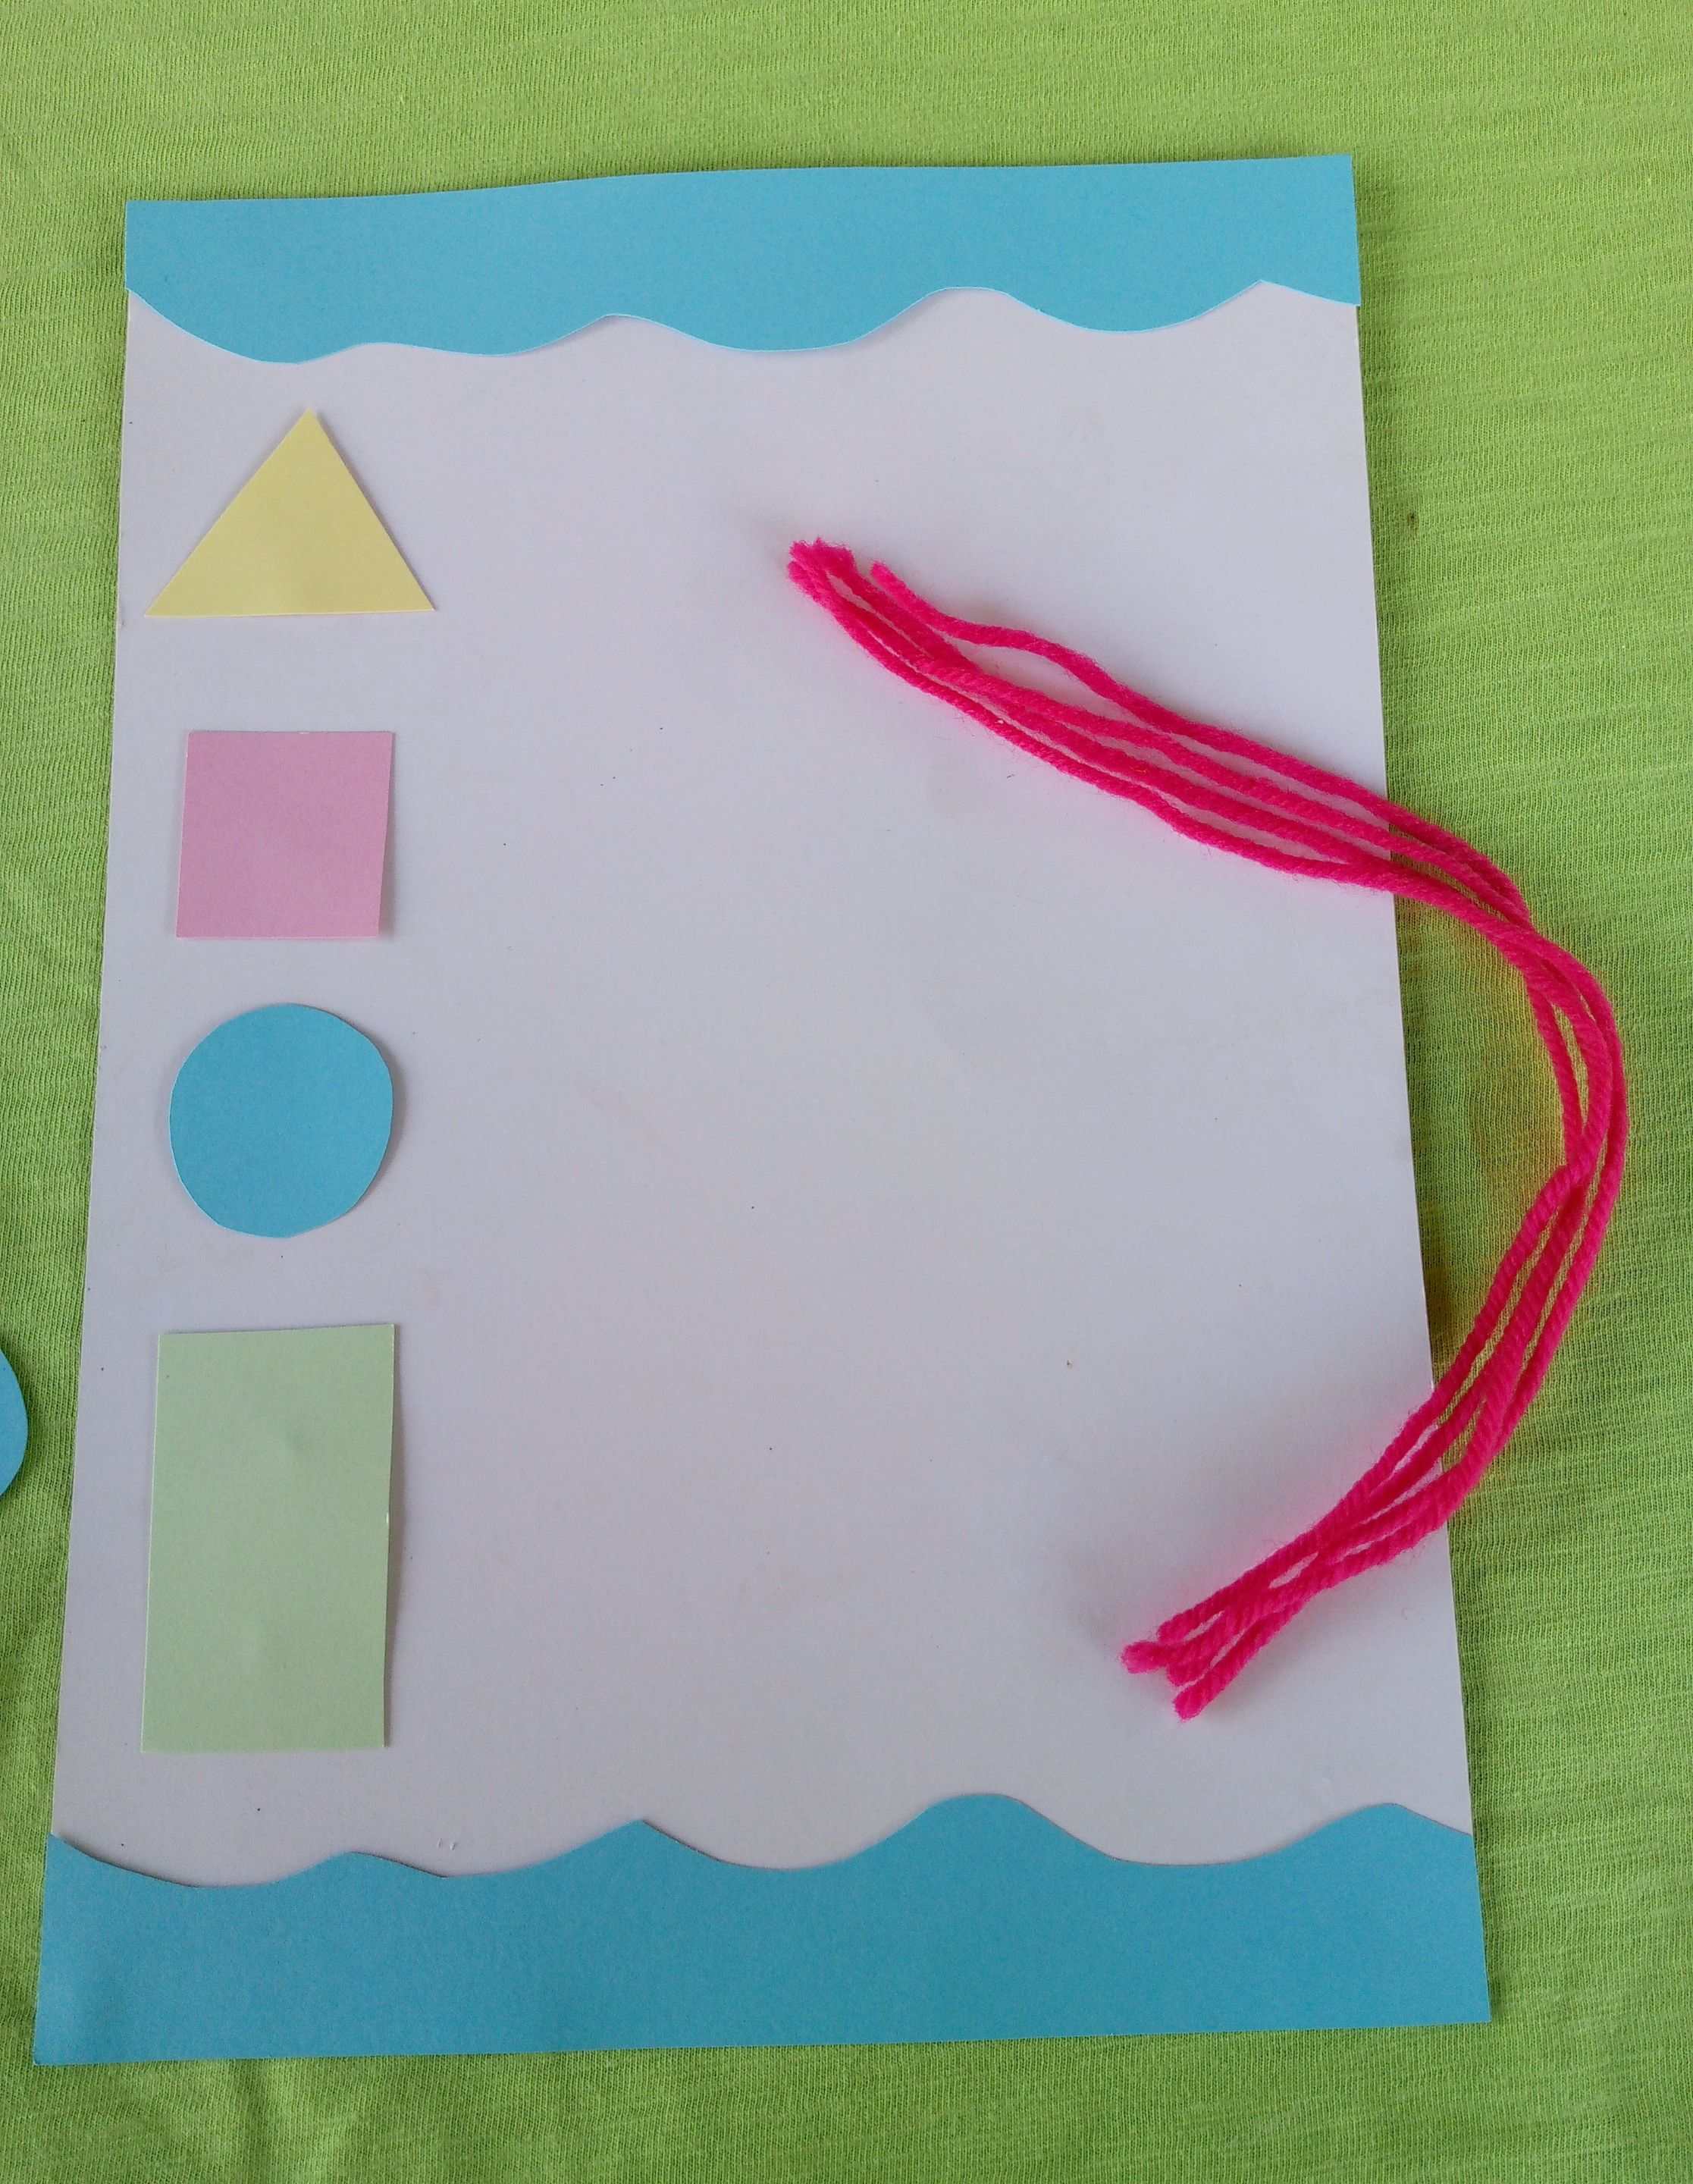
Tomaré como base una cartulina blanca, y en las cartulinas de colores dibujaré y cortaré las figuras geométricas que deseo. Éstas son: Triángulo, Cuadrado, Circulo, Rectángulo. De cada figura deben cortar 3 iguales y de preferencia en diferentes colores para que sea más llamativo al niño o niña. Ellos aman los colores.
I will use a white cardboard as a base, and on the colored cardboard I will draw and cut the geometric figures that I want. These are: Triangle, Square, Circle, Rectangle. From each figure you should cut 3 identical ones and preferably in different colors to make it more attractive to the boy or girl. They love colors.
 |  |
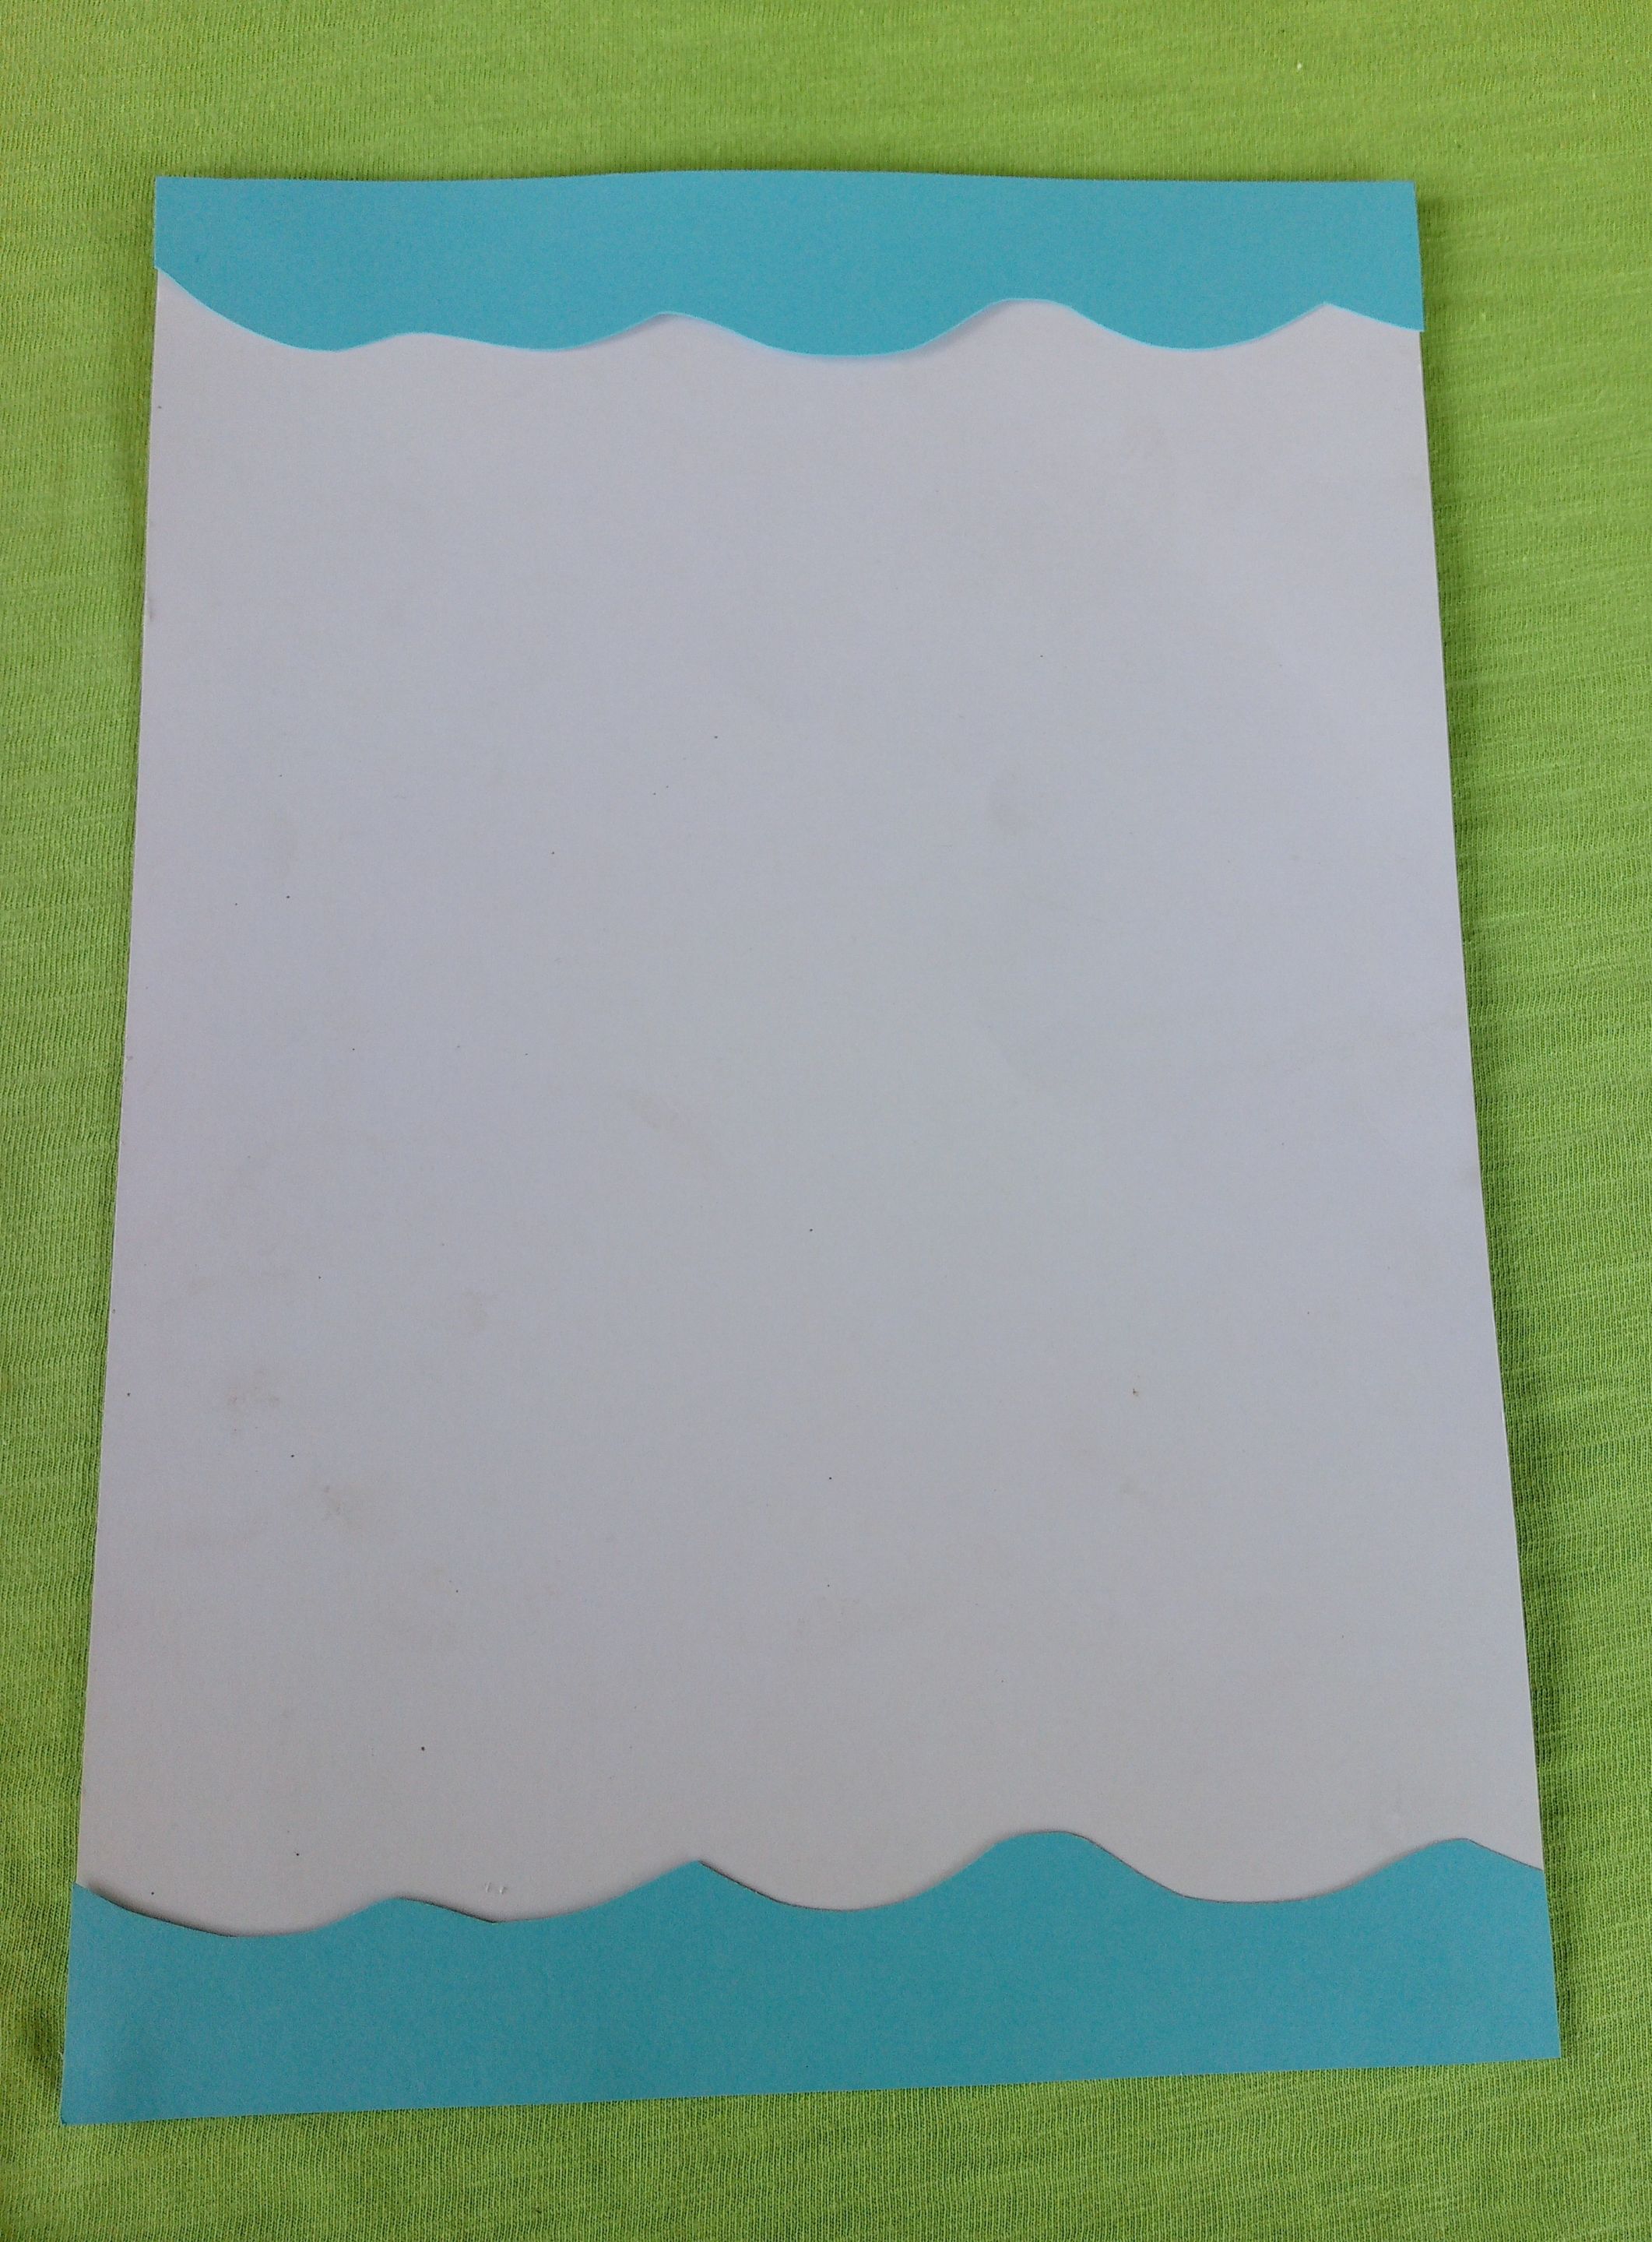
Ahora tomando la base y una cartulina adicional, haremos una decoración de ondas en la parte superior e inferior. Fijaremos con pega blanca.
Now taking the base and an additional cardboard, we will make a wave decoration at the top and bottom. We will fix it with white glue.
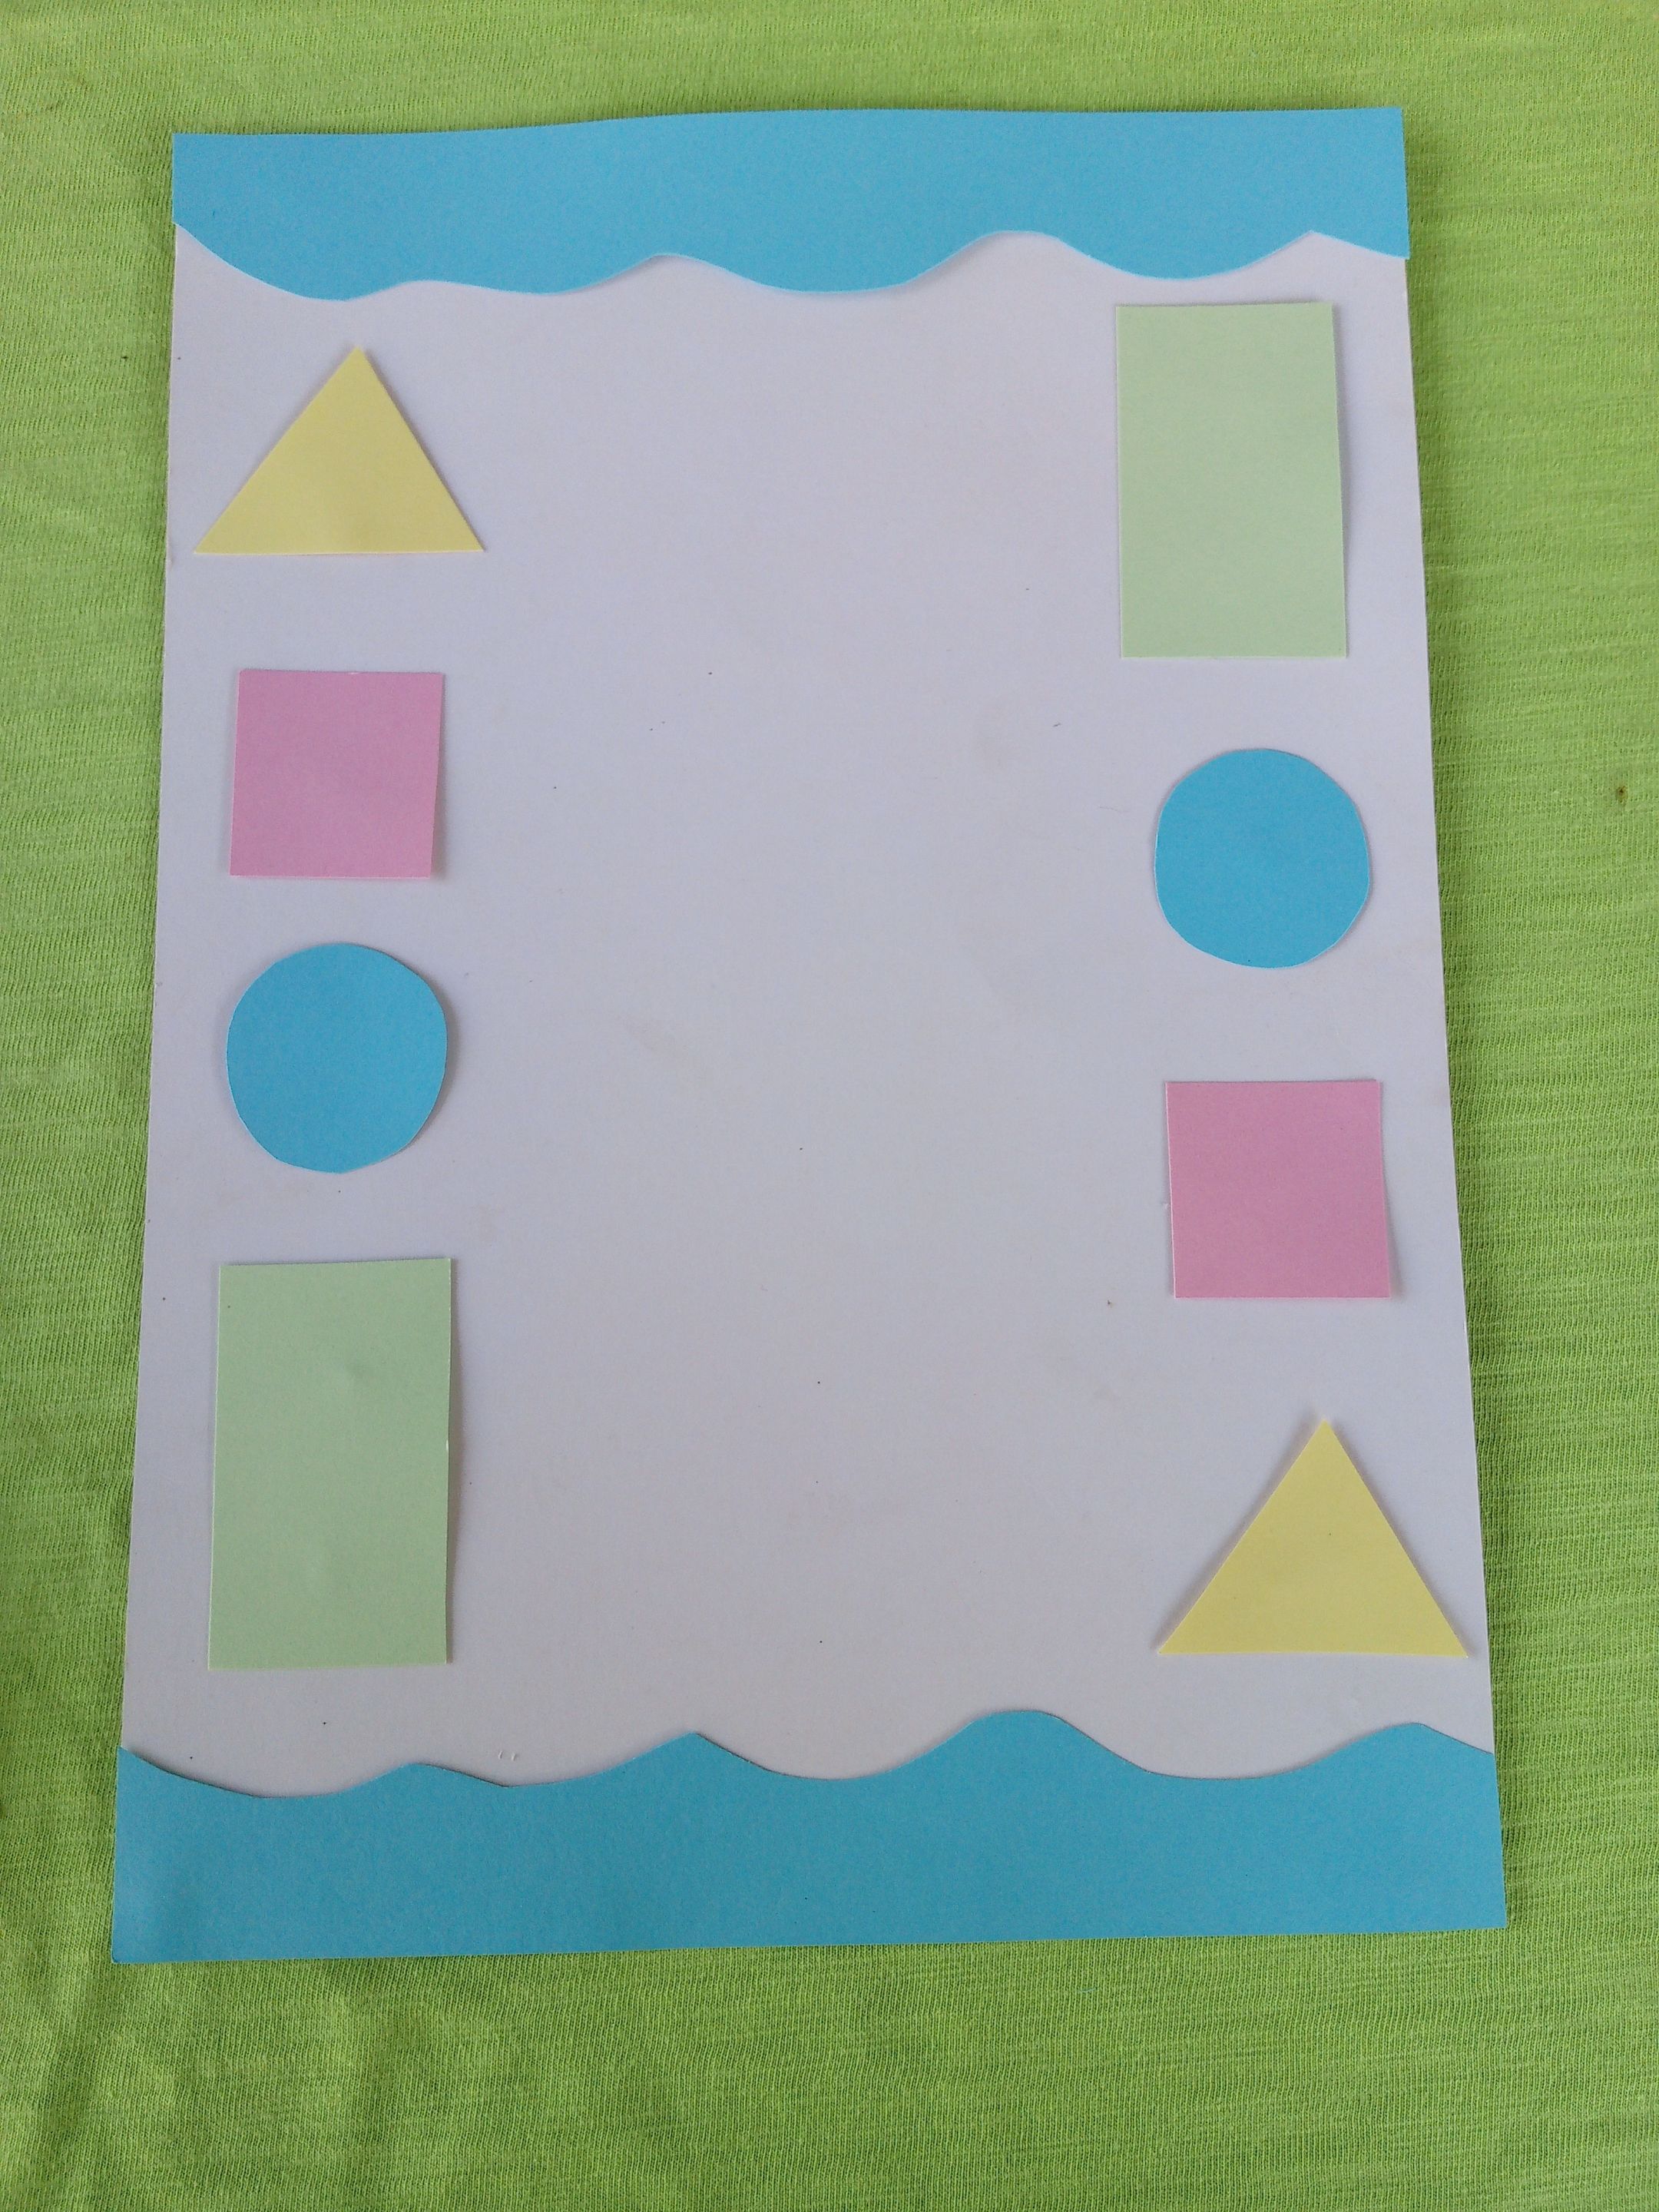
Continuaremos colocando las figuras, una hilera por la izquierda y otra por la derecha. Recuerden no colocar las figuras de manera directa, sino ordenarlas de manera diferente.
We will continue placing the figures, one row on the left and another on the right. Remember not to place the figures directly, but to order them differently.
 |  |
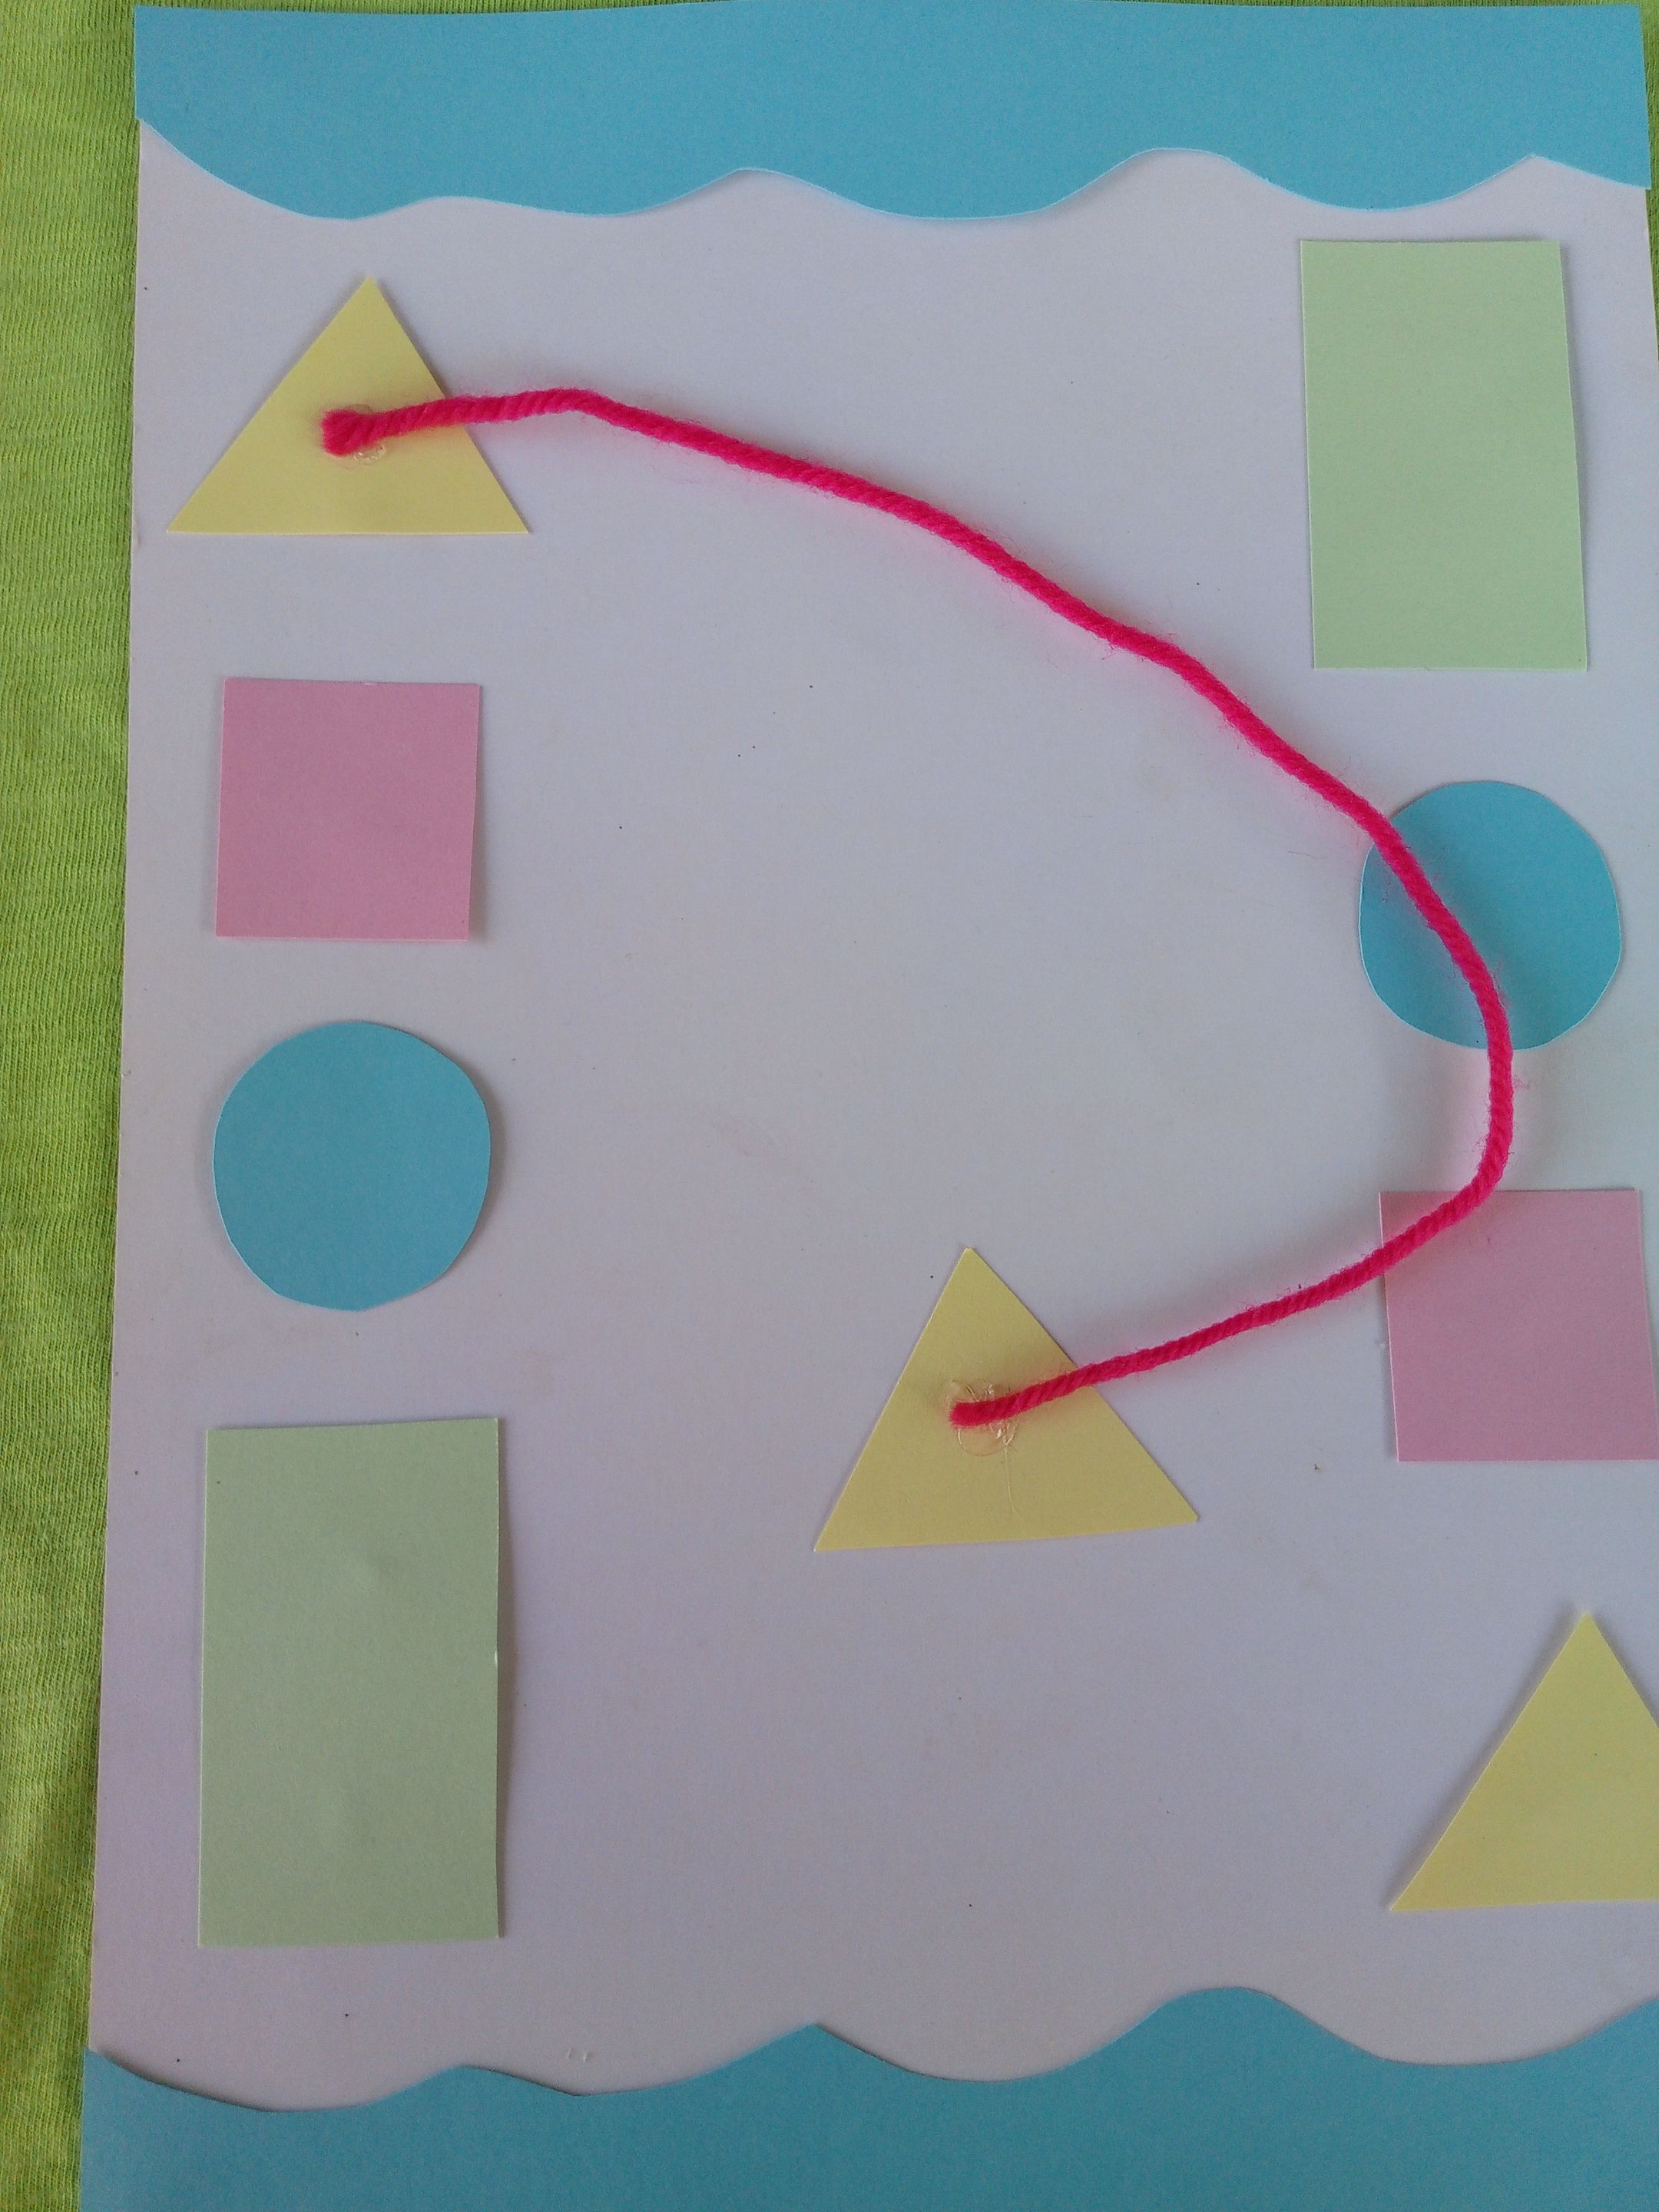
Después cortamos los hilos midiendo que lleguen a alcanzar al otro extremo de la hilera. Fijamos en la figura base de un extremo y del otro extremo pegamos la tercera copia que nos queda. El proceso lo repetiremos con todas las figuras.
Then we cut the threads measuring that they reach the other end of the row. We fix the base figure on one end and on the other end we glue the third copy that we have left. We will repeat the process with all the figures.
 |  |
✏️✏️✏️✏️✏️✏️
Resultado / Result
✏️✏️✏️✏️✏️✏️
¡Y hasta aquí el proyecto del día! Espero les haya gustado tanto como a mí.
Si tienes alguna duda o sugerencia, no dudes en dejar un comentario. Las fotos que he colocado a lo largo del texto, las he tomado desde mi móvil Infinix.
¡Hasta la próxima!, tengan todos un bendecido día cargado de salud, paz y amor.
And that's it for the day's project! I hope you liked it as much as I did.
If you have any questions or suggestions, don't hesitate to leave a comment. The photos that I have placed throughout the text were taken from my Infinix mobile.
Until next time! Everyone have a blessed day full of health, peace and love.