Bienvenidos amigos a mi Blog, Espero que estén muy bien el día de hoy esta es una de segundas publicaciónes en la comunidad de Jewelry llegué a la comunidad por medio de mi hermana y quiero estar un poco más activa me gusta mucho hacer accesorios y también me gustan las manualidades las fotos y espero que poco a poco vaya creciendo en hive.
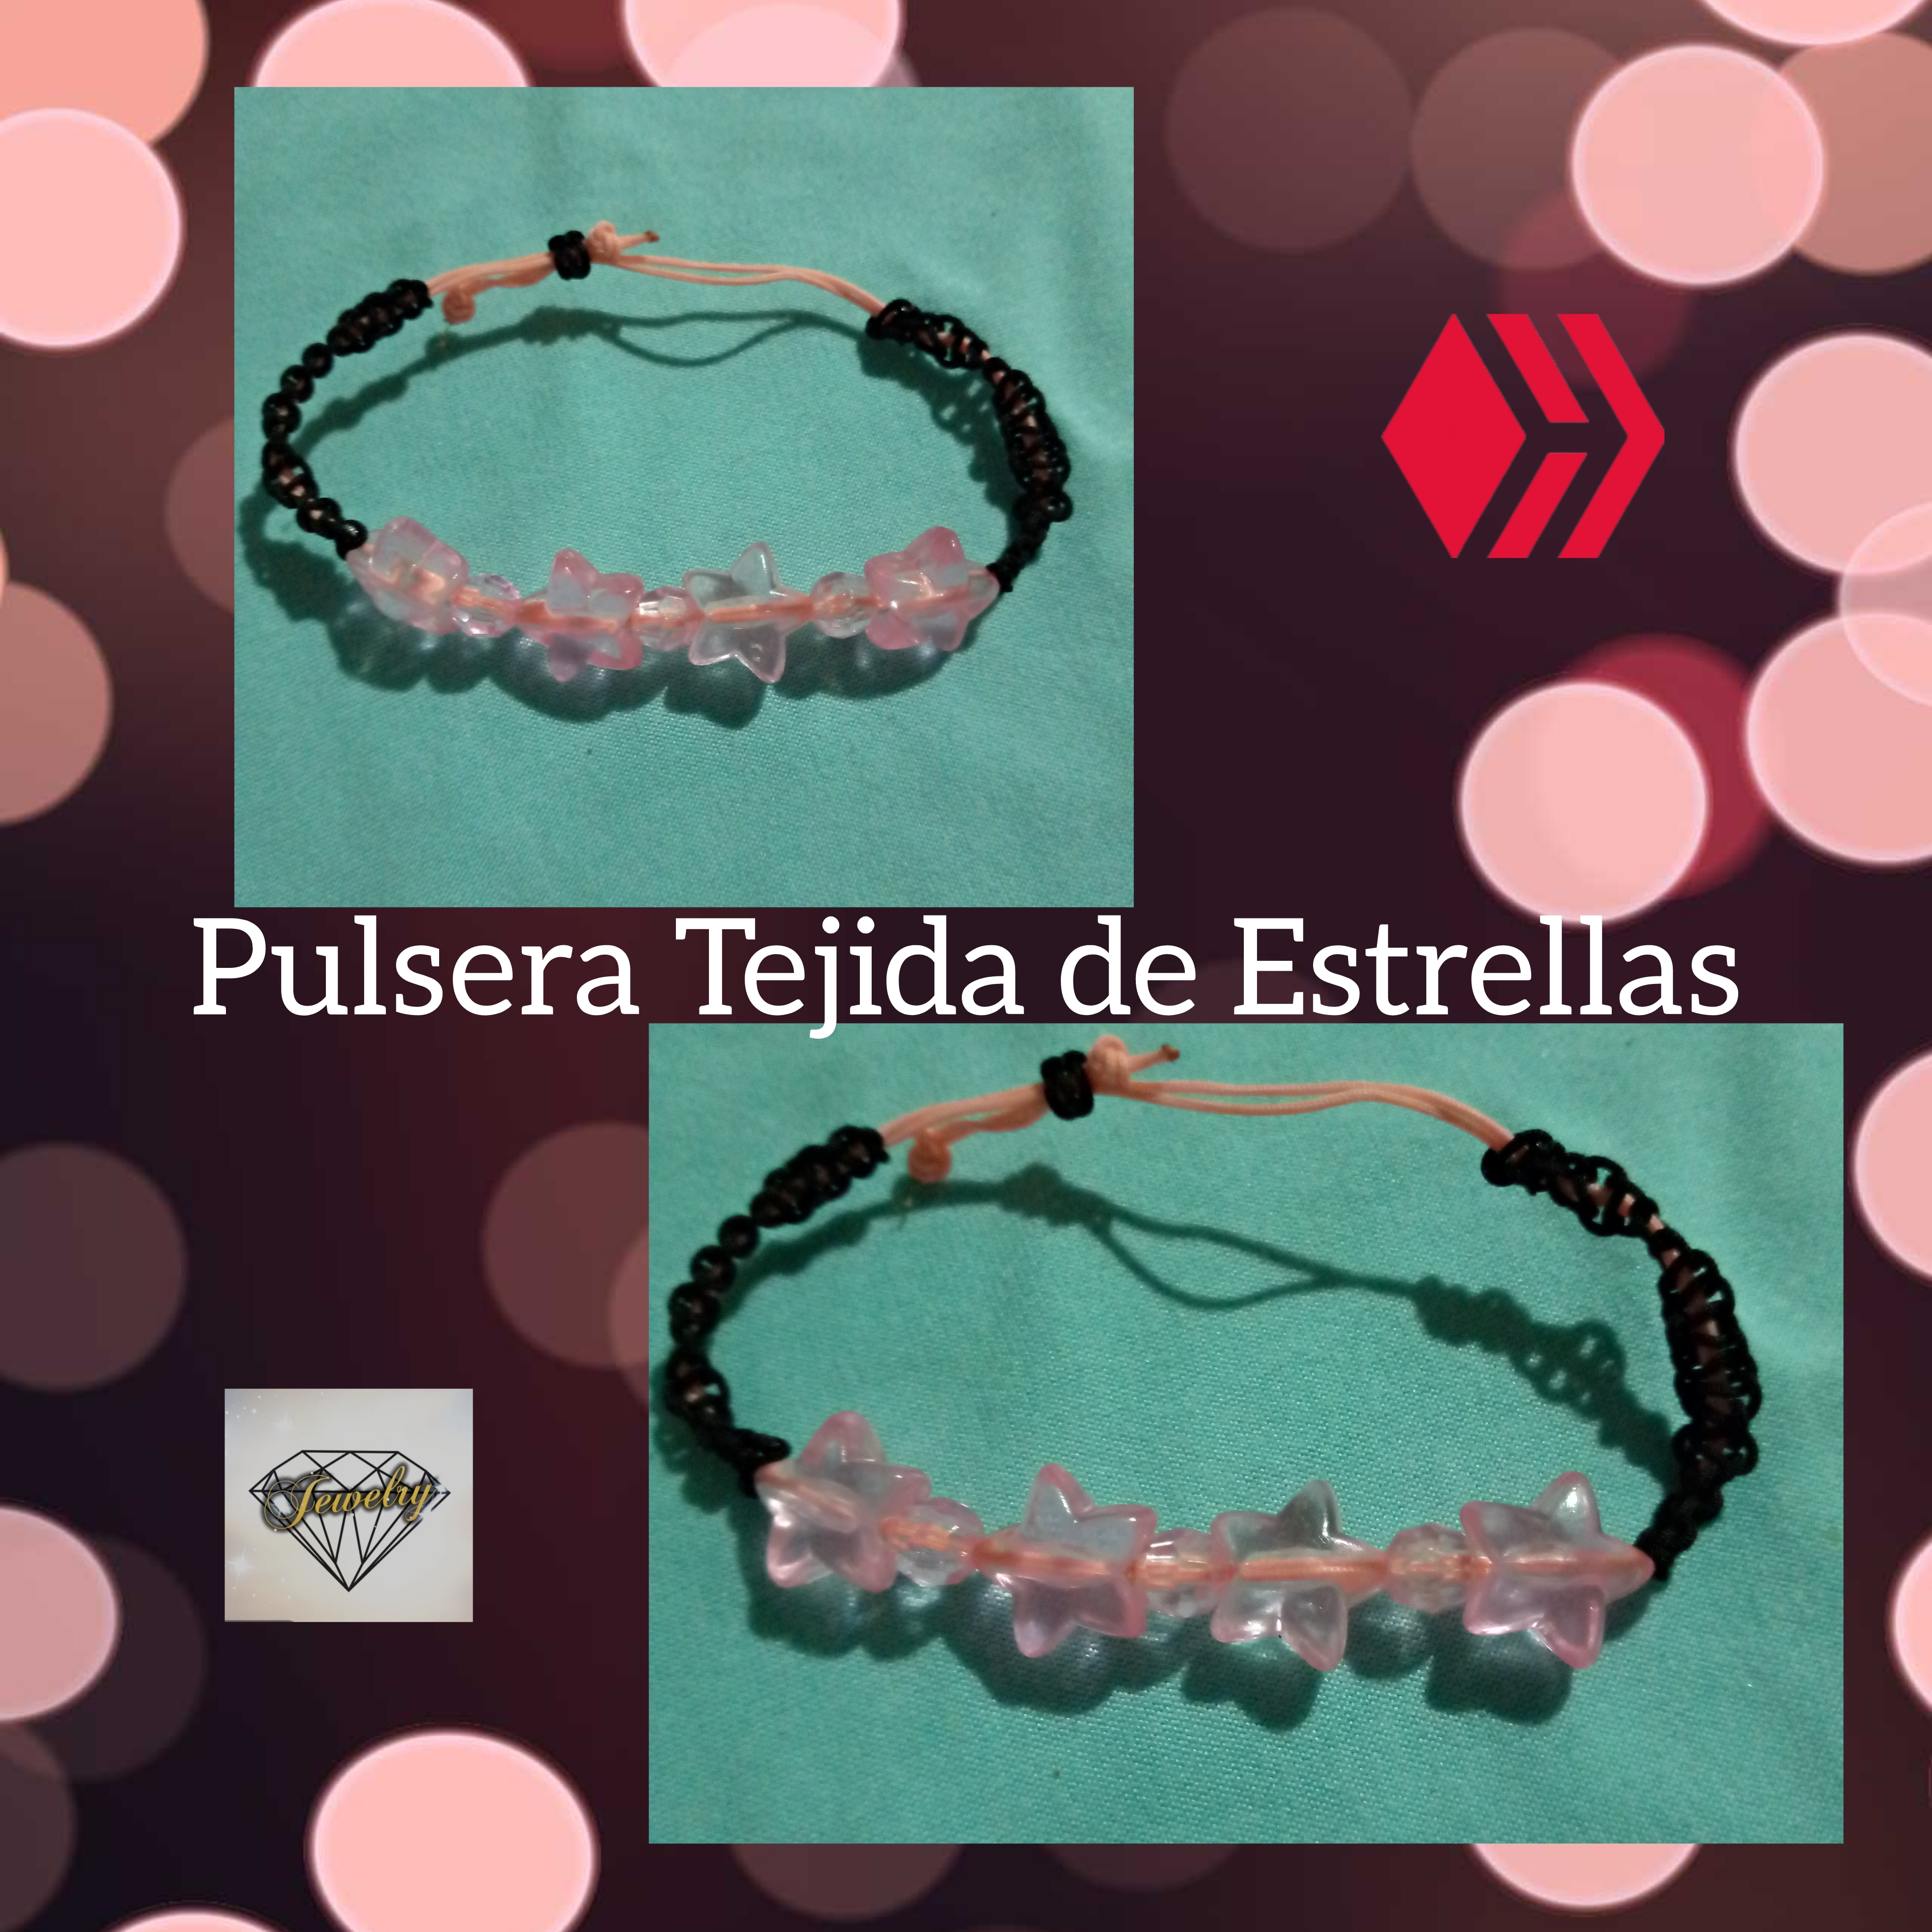
Hoy hice una pulsera que es hecha con hilo chino y utilicé unas estrellitas y unos cristales en color rosado les voy a decir los materiales que utilicé y les voy a explicar cómo hice la pulsera.
- Tabla y gancho
- Hilo chino negro
- Hilo chino rosado
- Cuatro piedra en forma de estrellita rosada
- Tres cristales rosada
- Tijera
- Encendedor
- Pañito azul
1
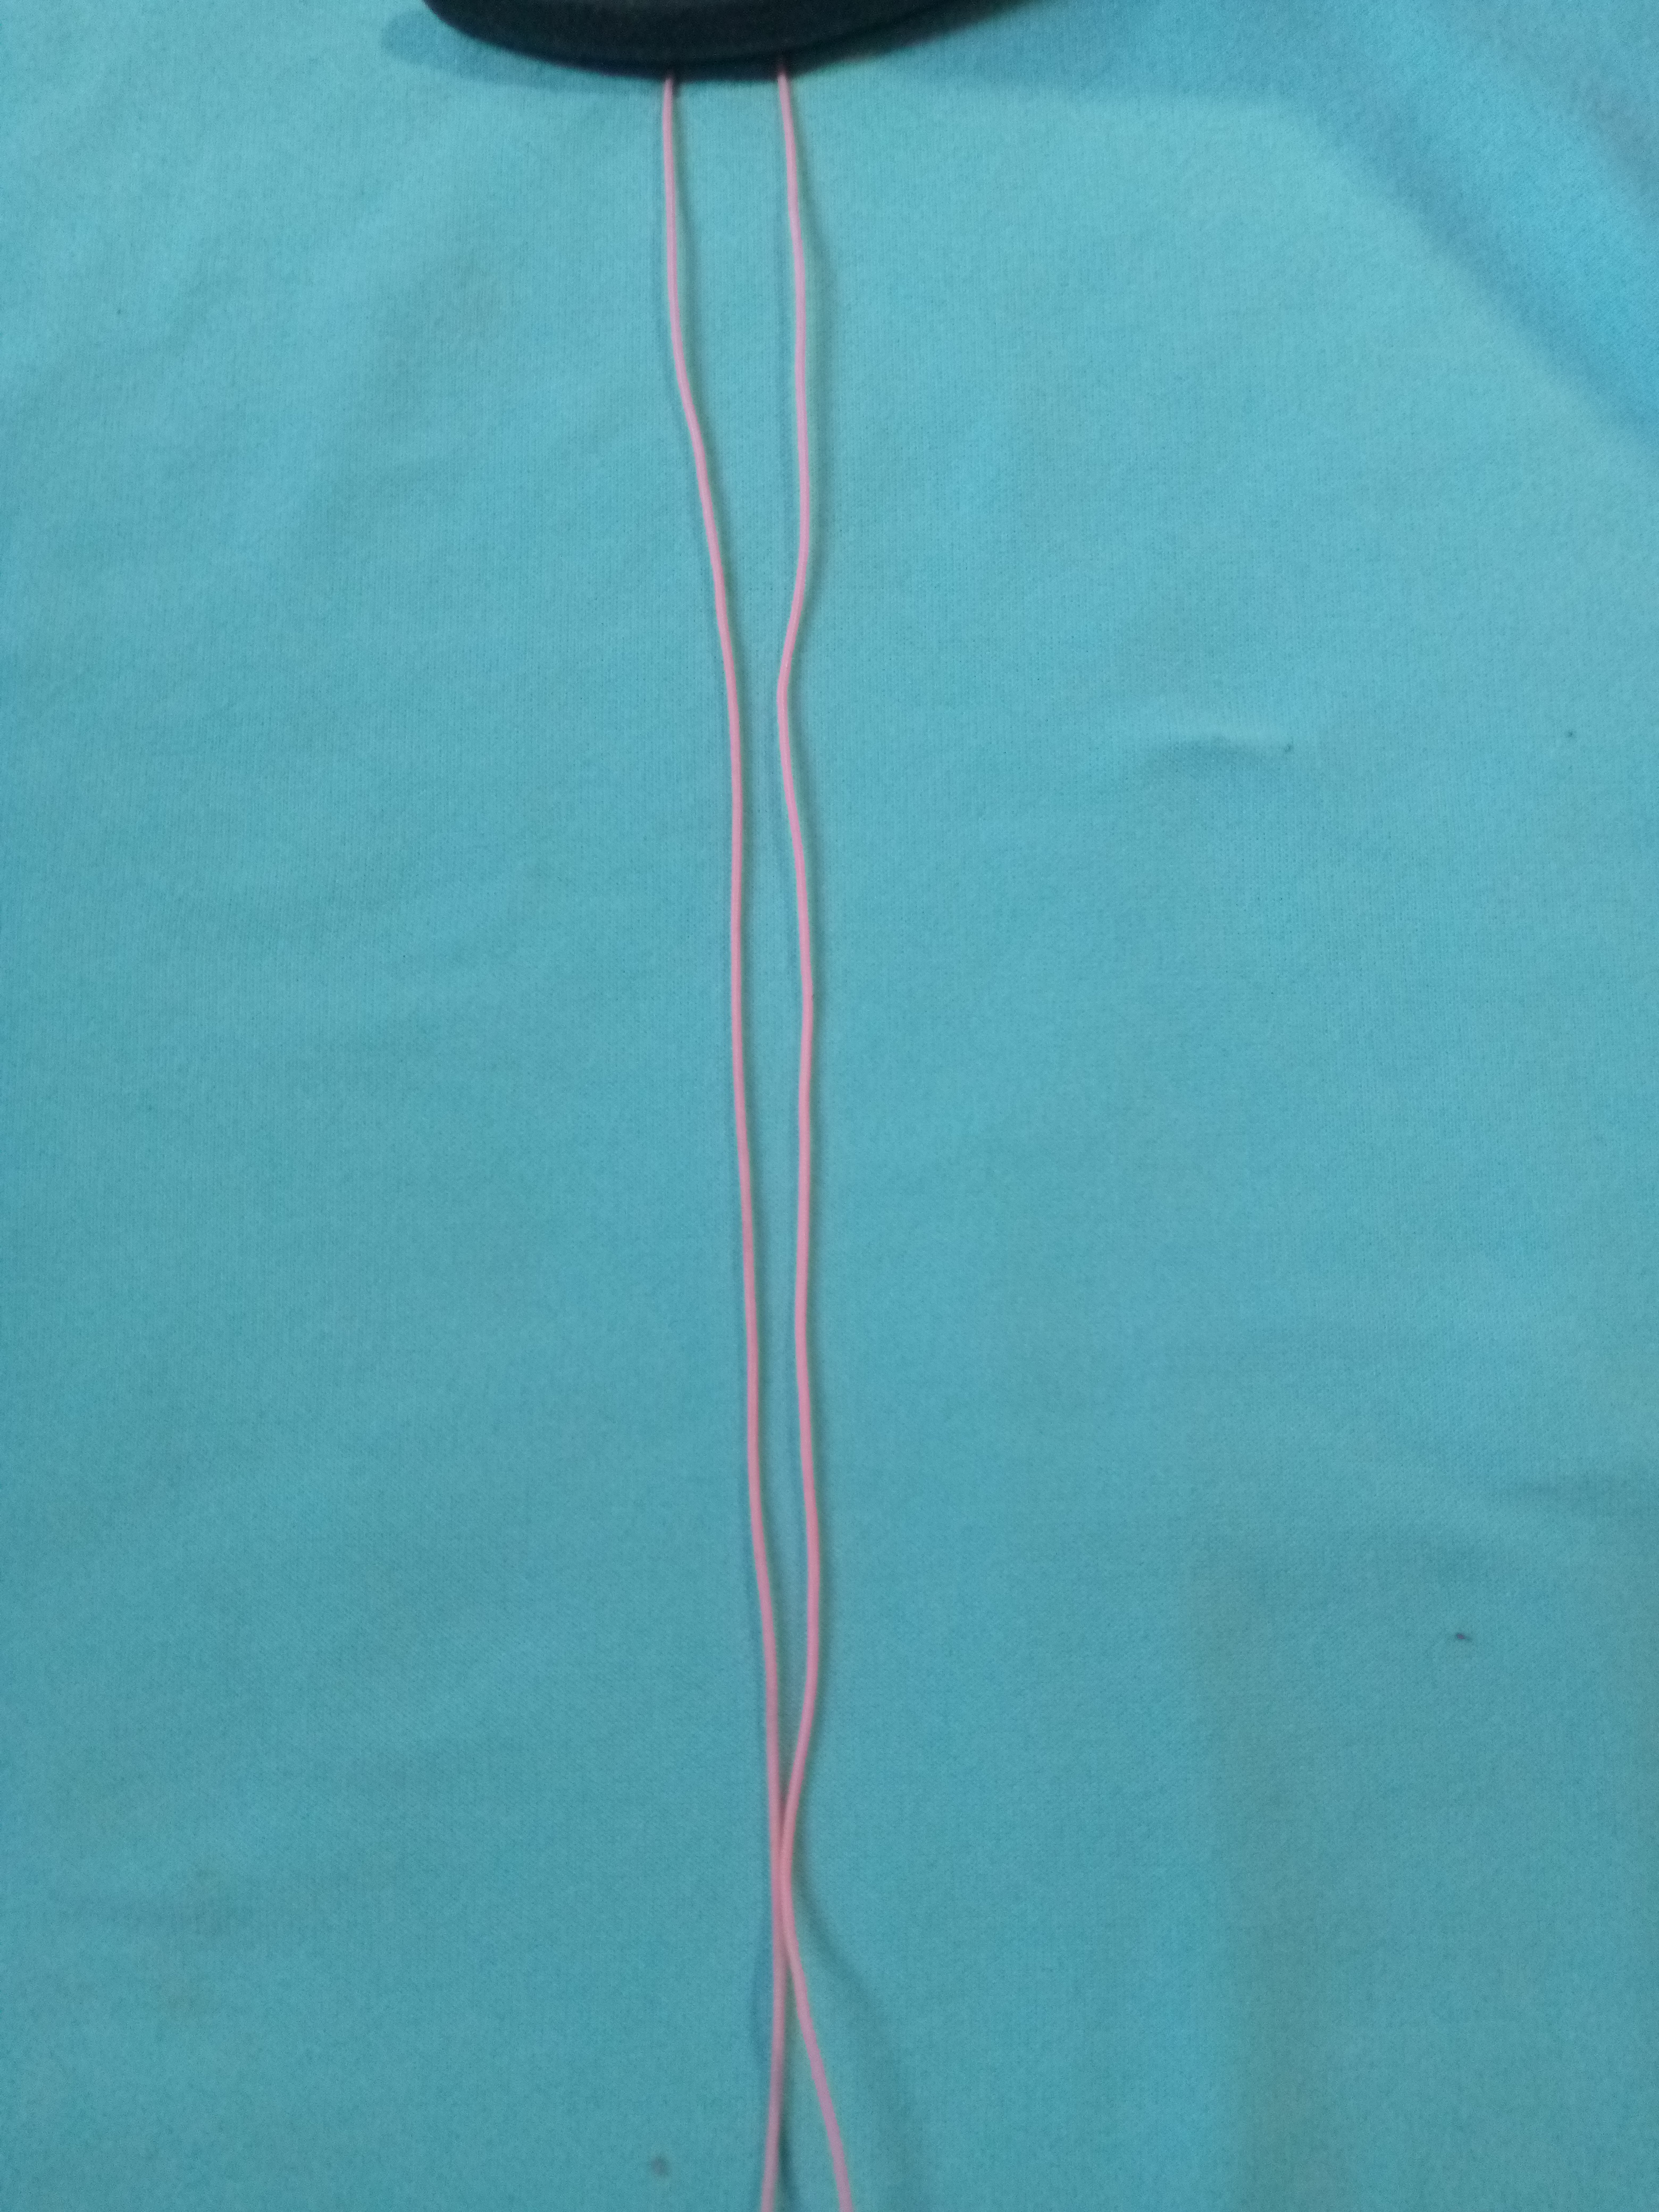
Lo primero que hice fue poner los hilos En posición en una tabla junto con un gancho y le puse de fondo un pañito azul que tengo para dar una presentación limpia.
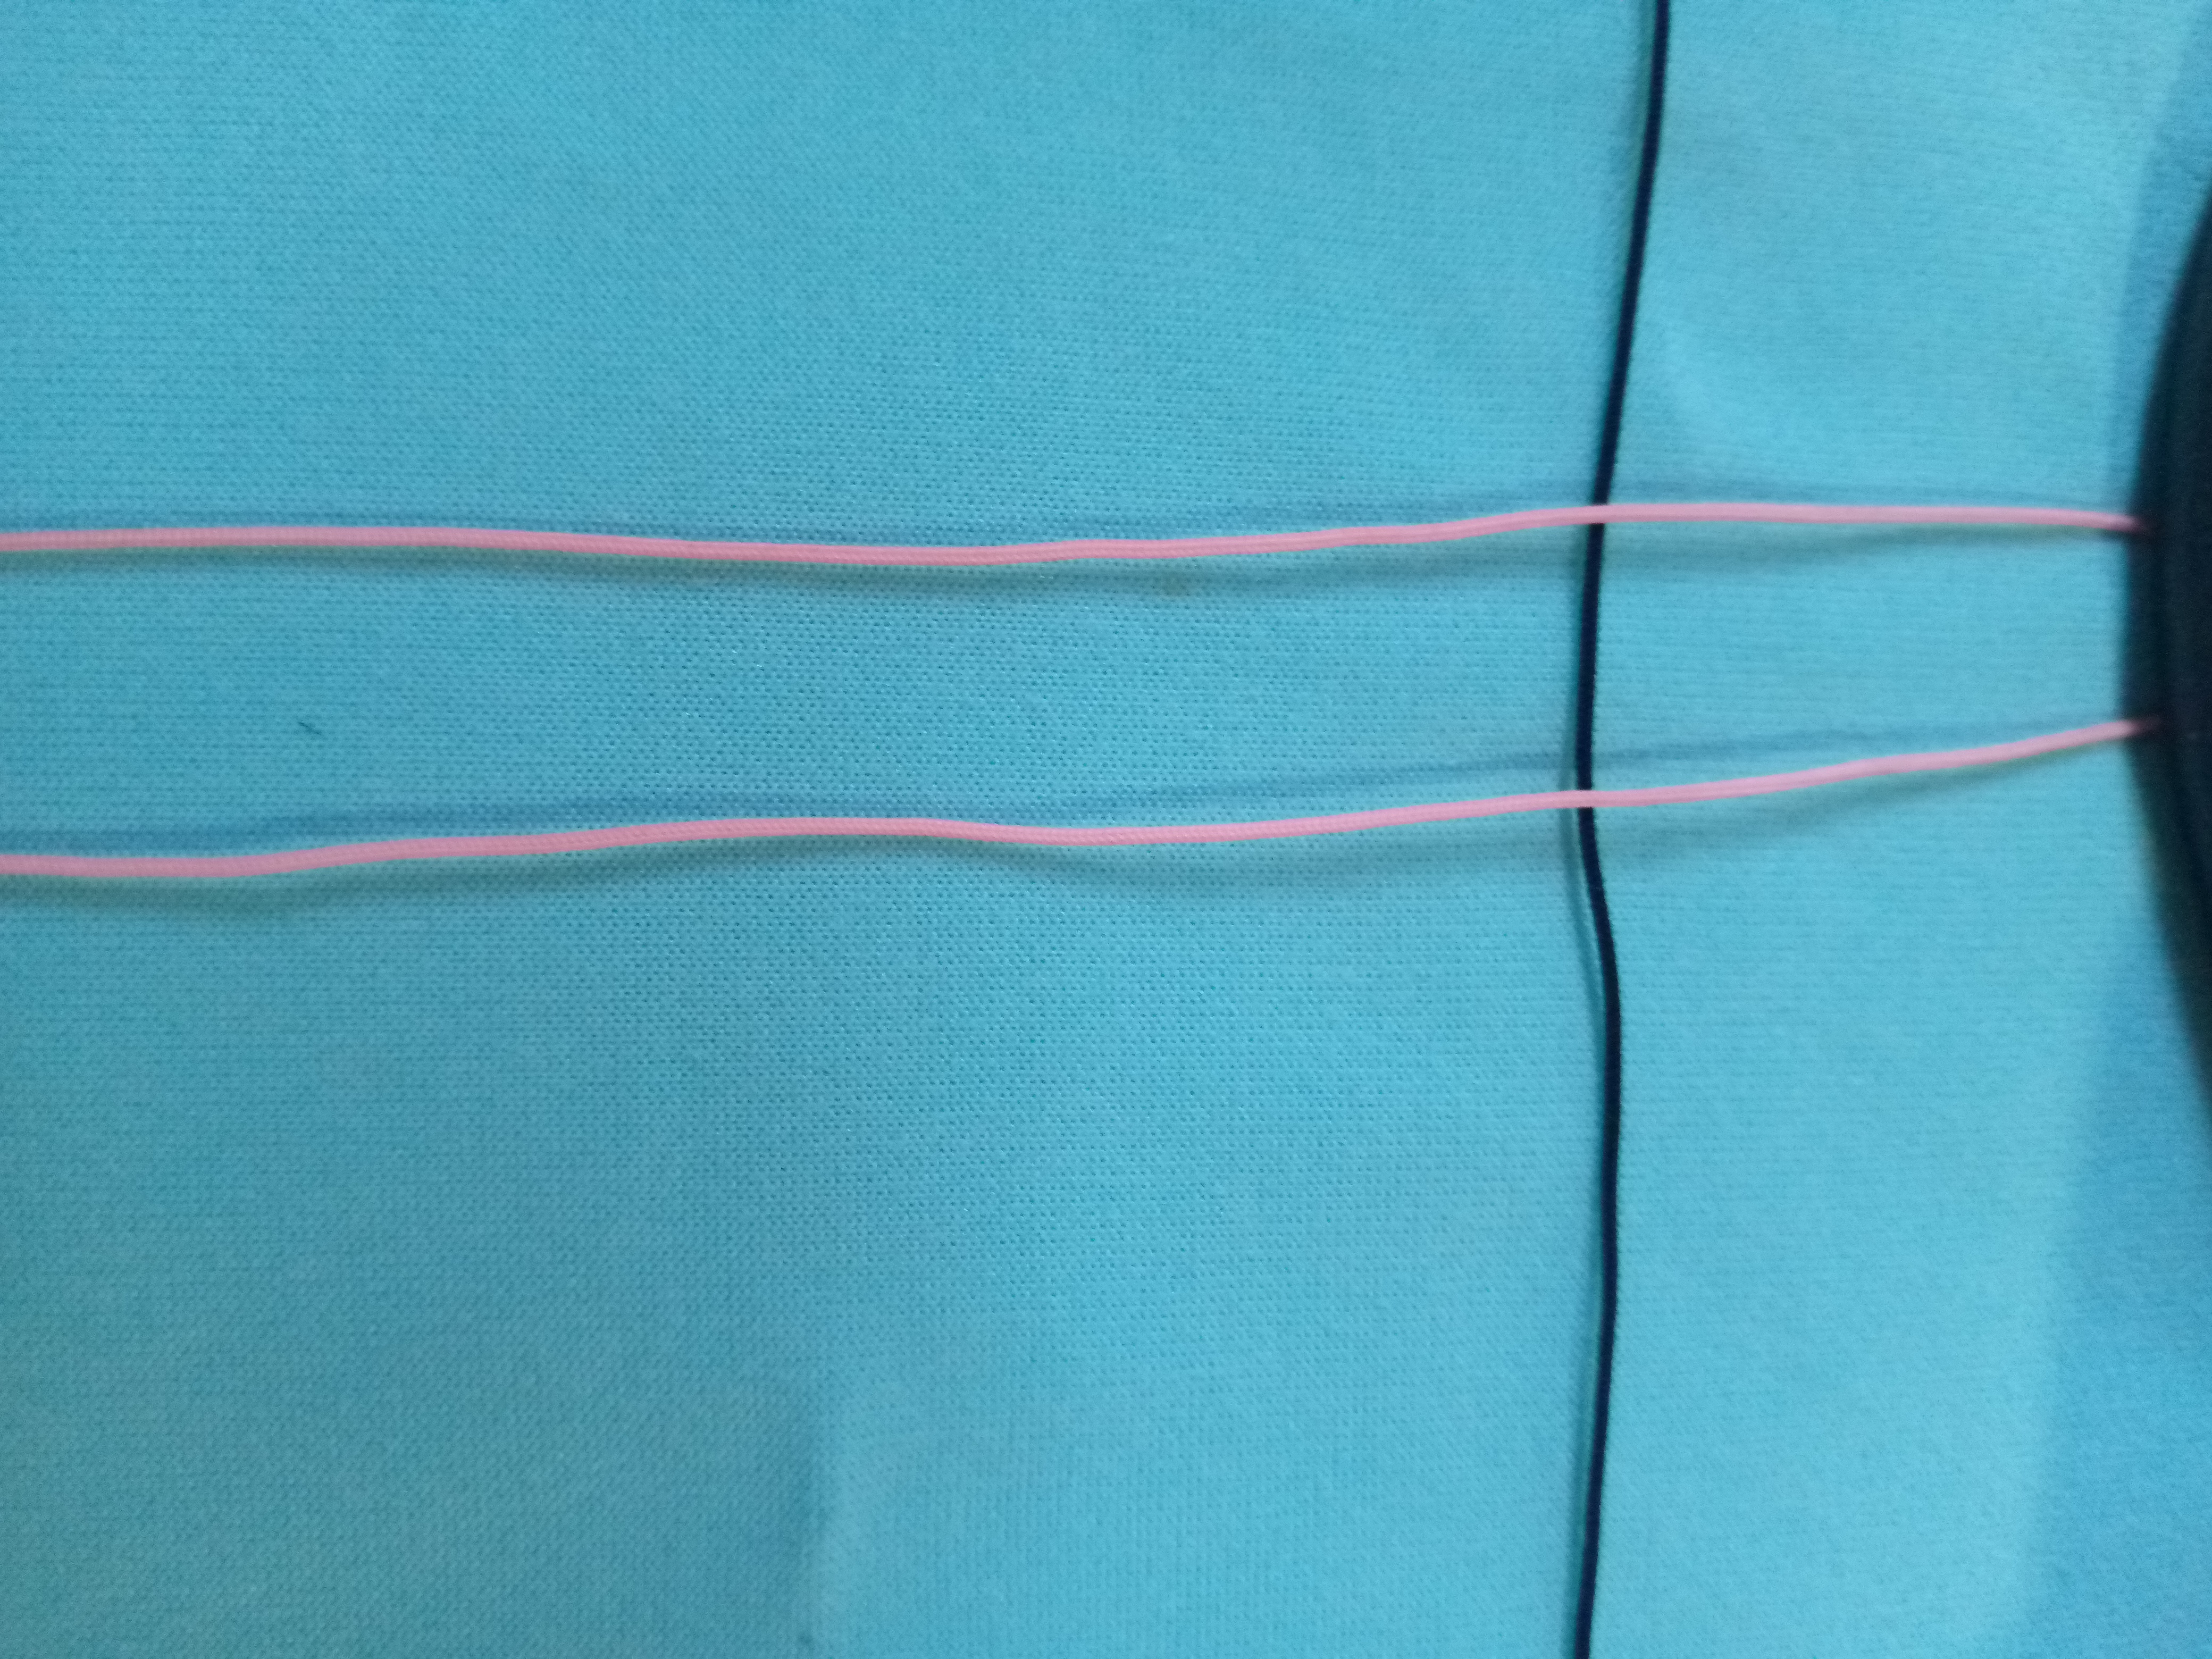
Una vez ya listo los hilos para empezar el primer tejido nos encargamos de que esté todo.
2
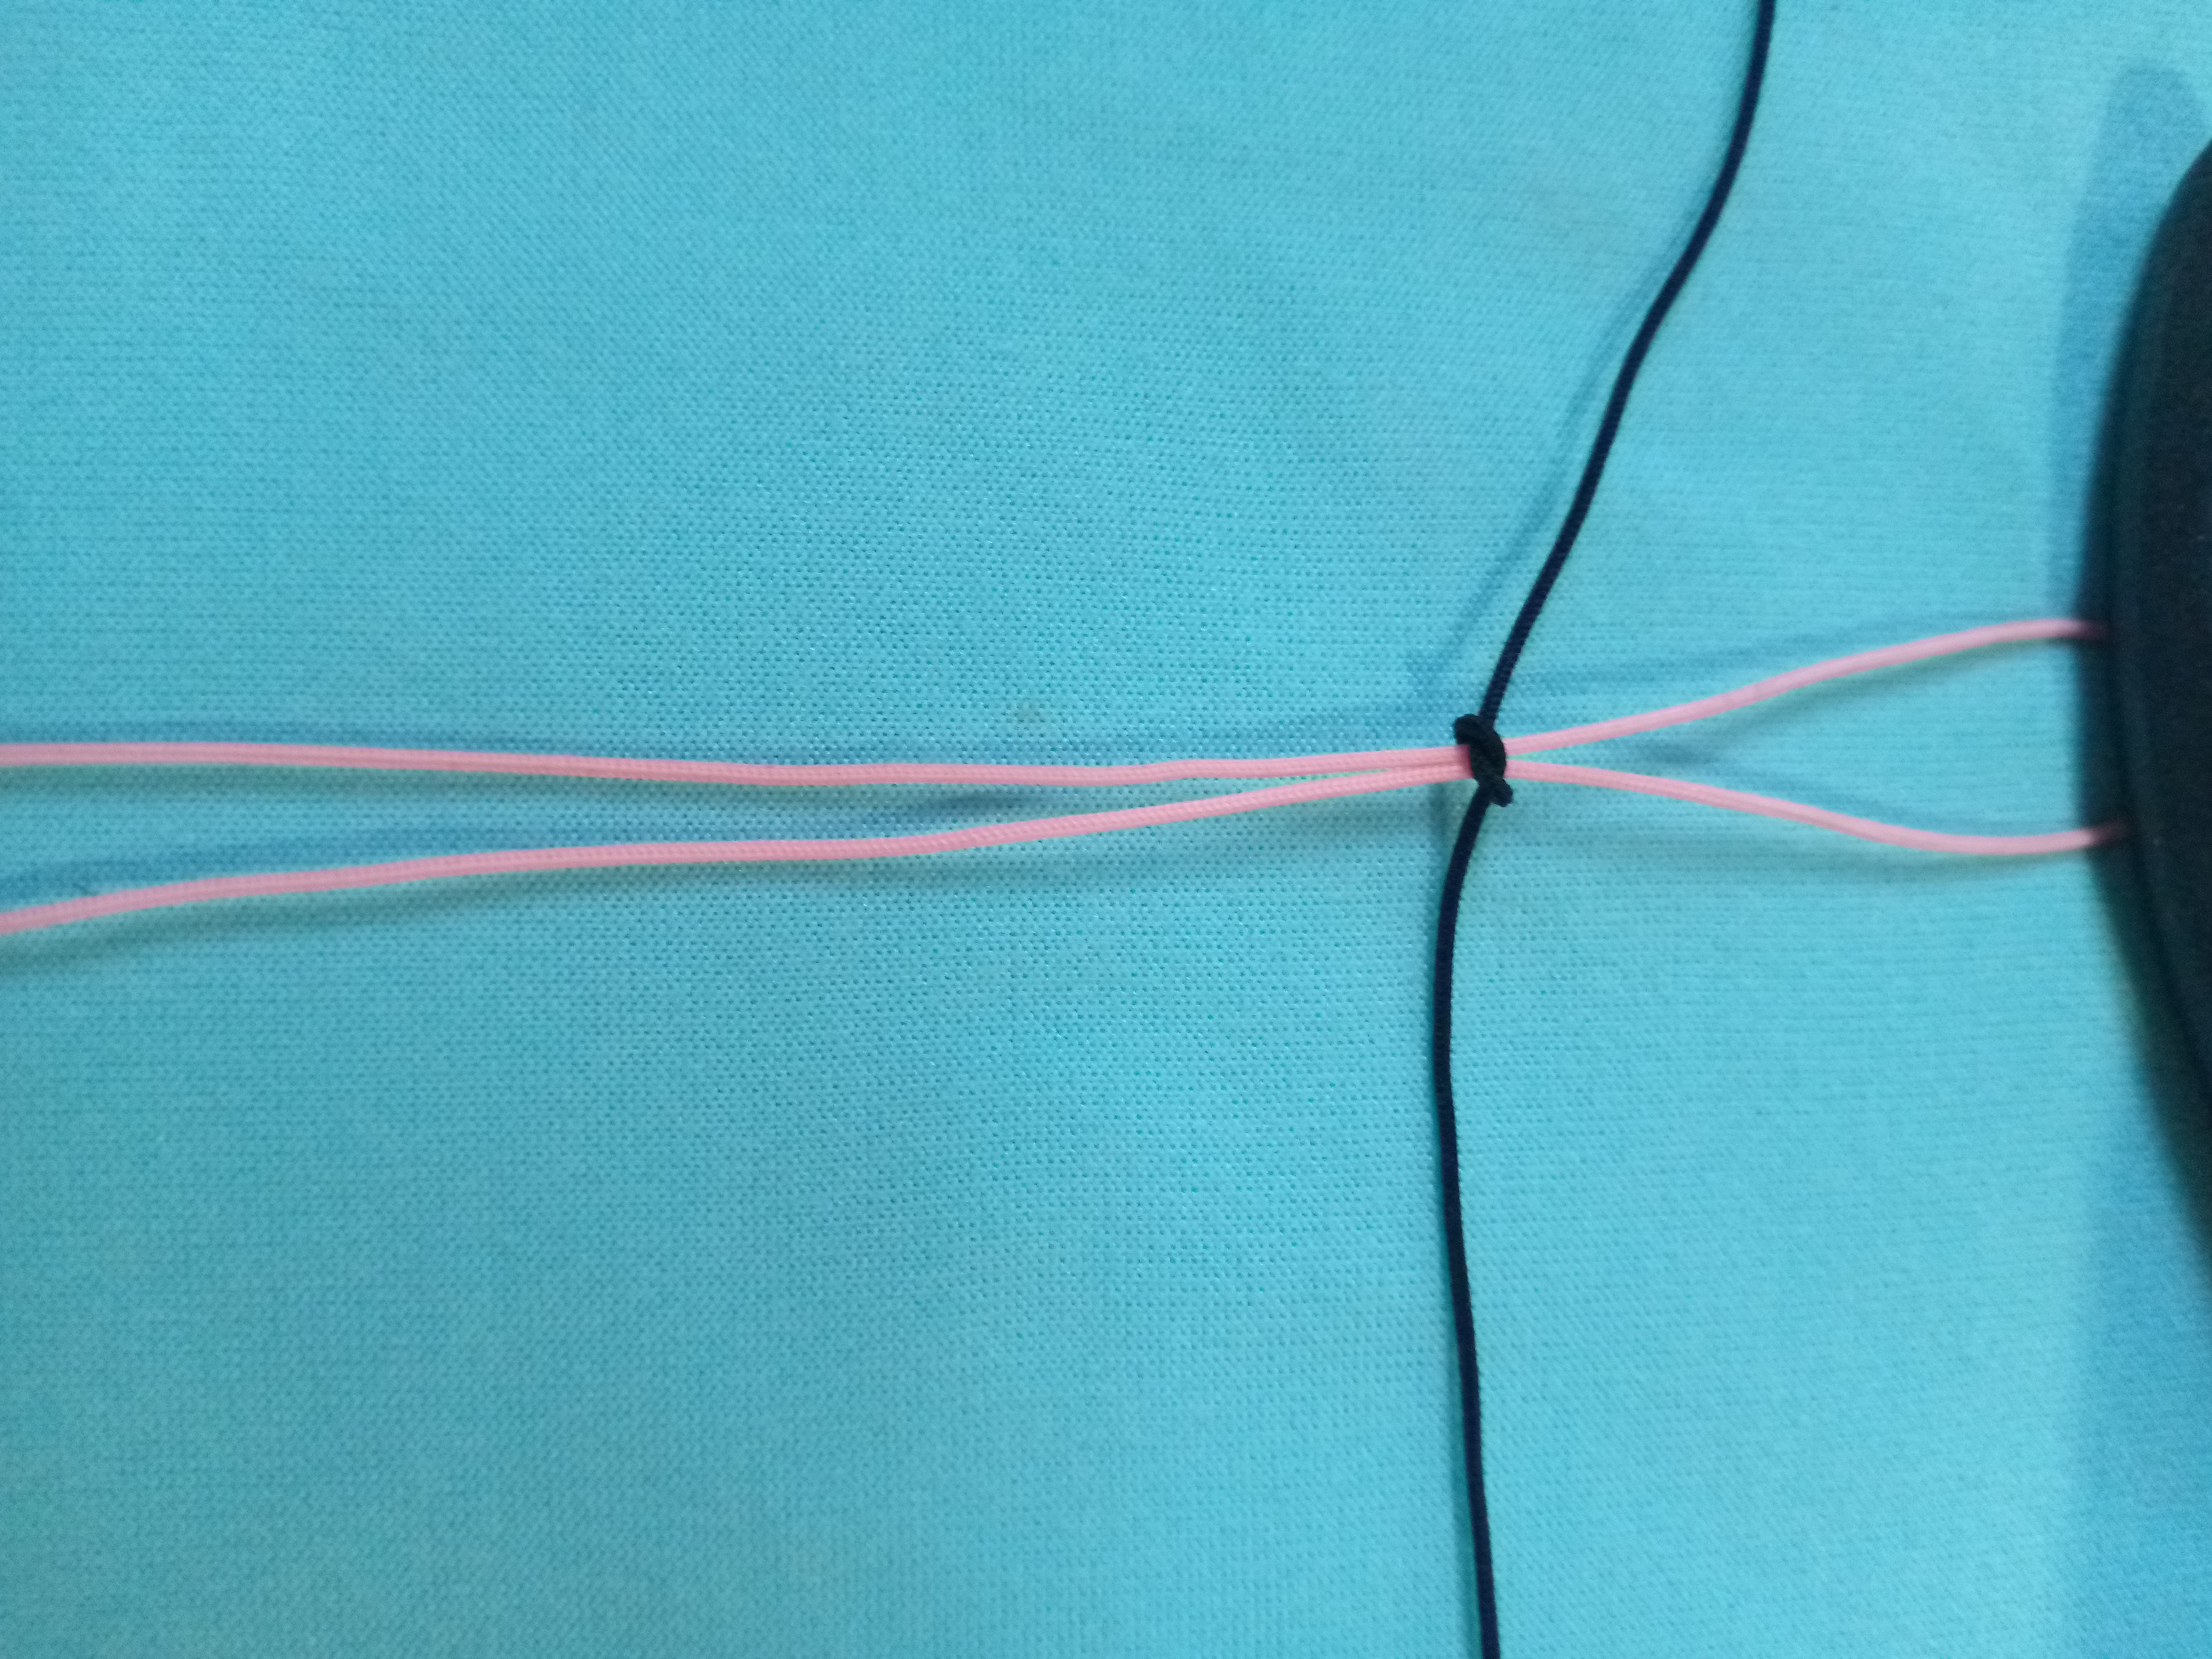
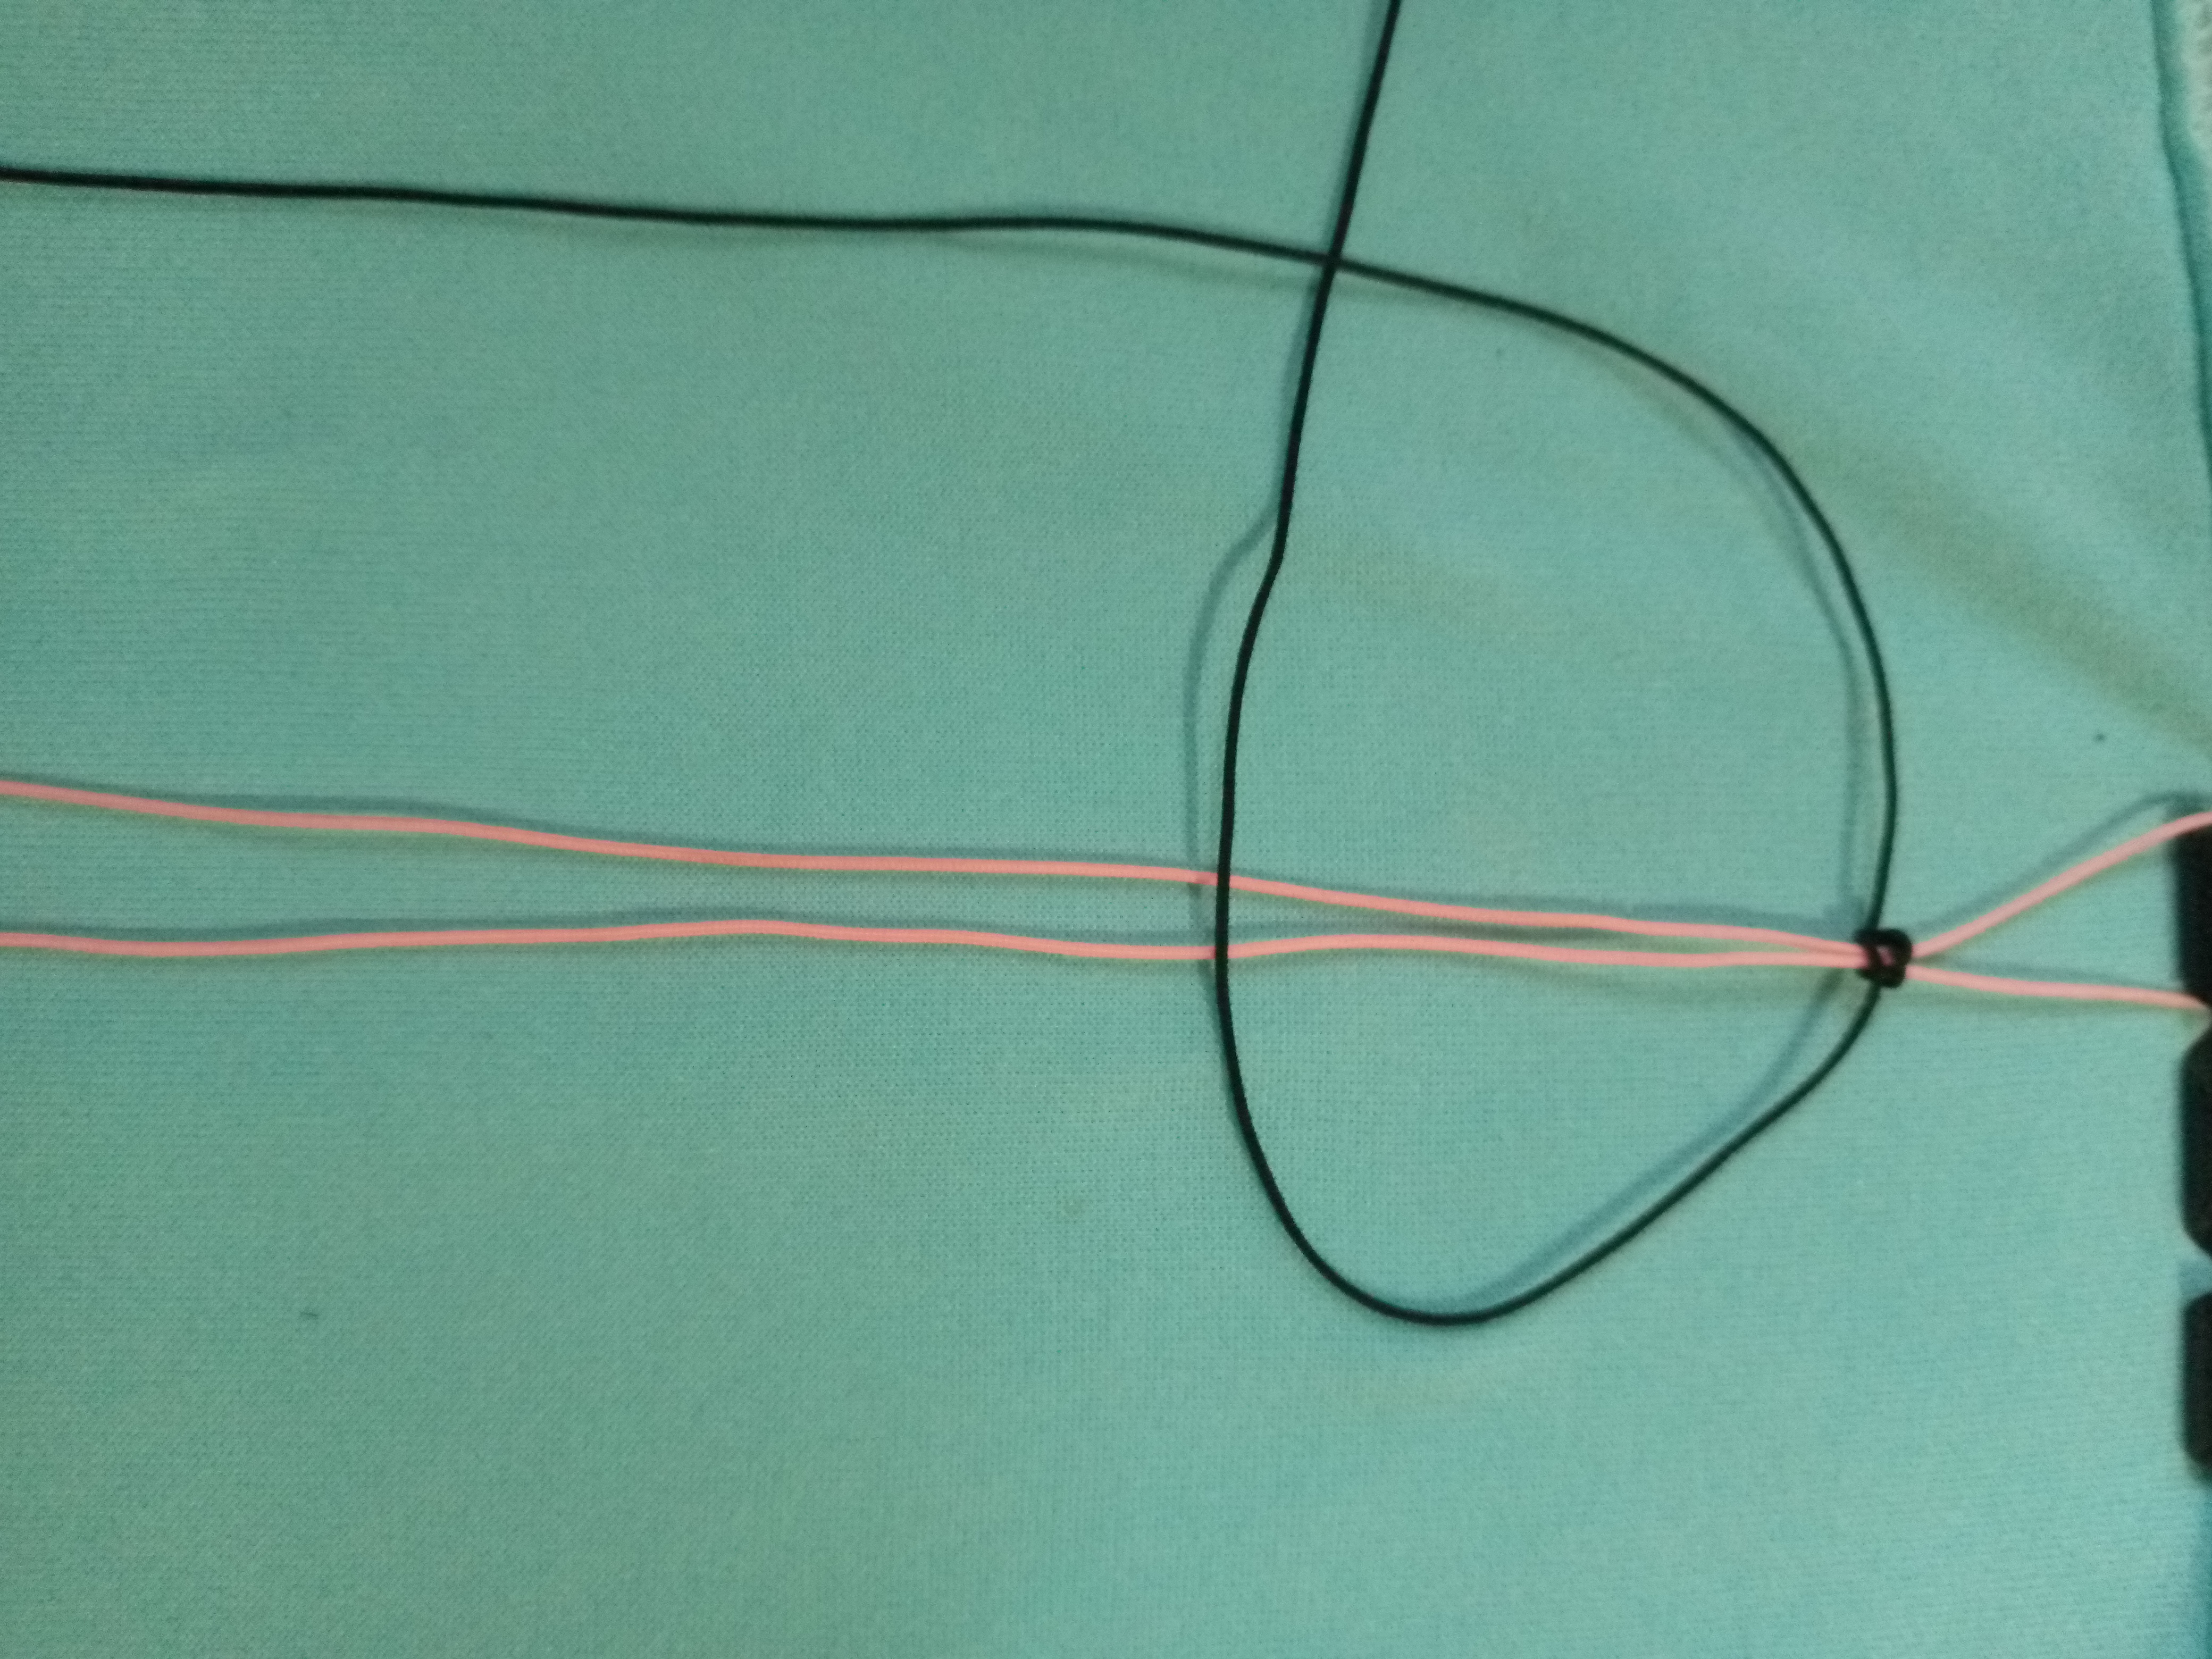
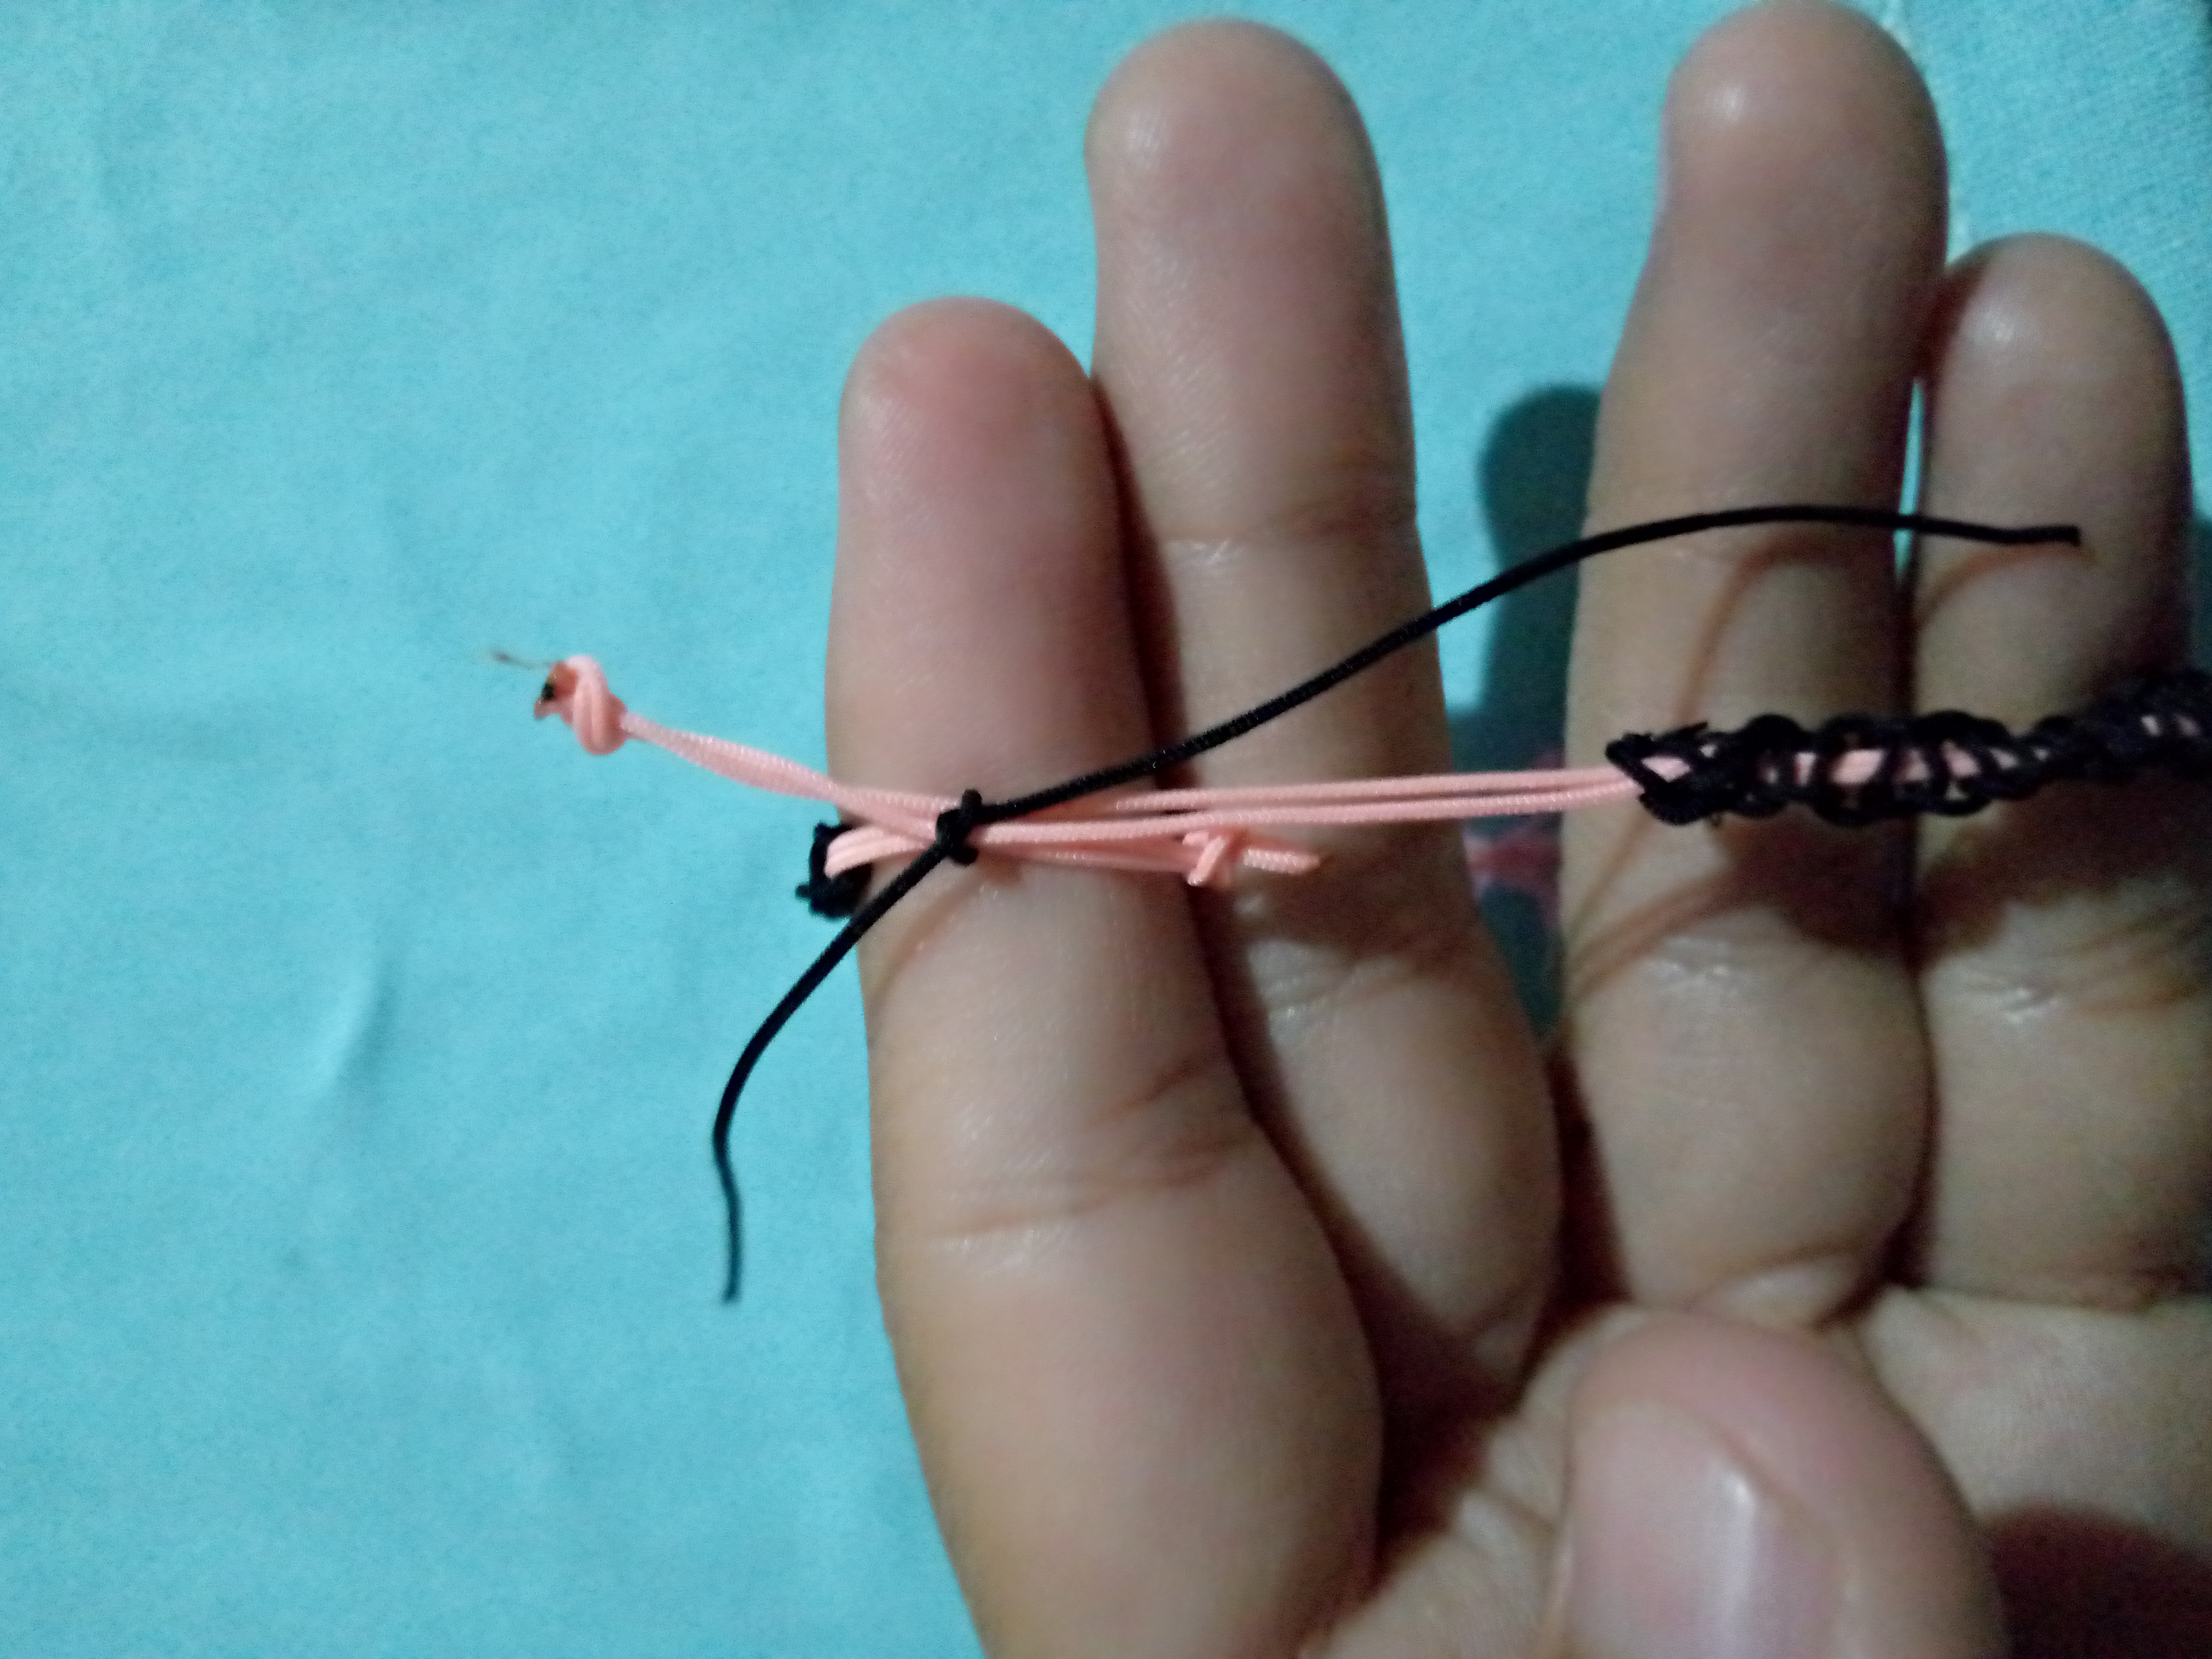
Ahora vamos a utilizar el hilo chino negro que es con el que vamos a hacer el tejido lo primero que vamos a hacer es pasar el hilo por debajo de los dos rosados y hacer un nudo normal así de esta manera.
3
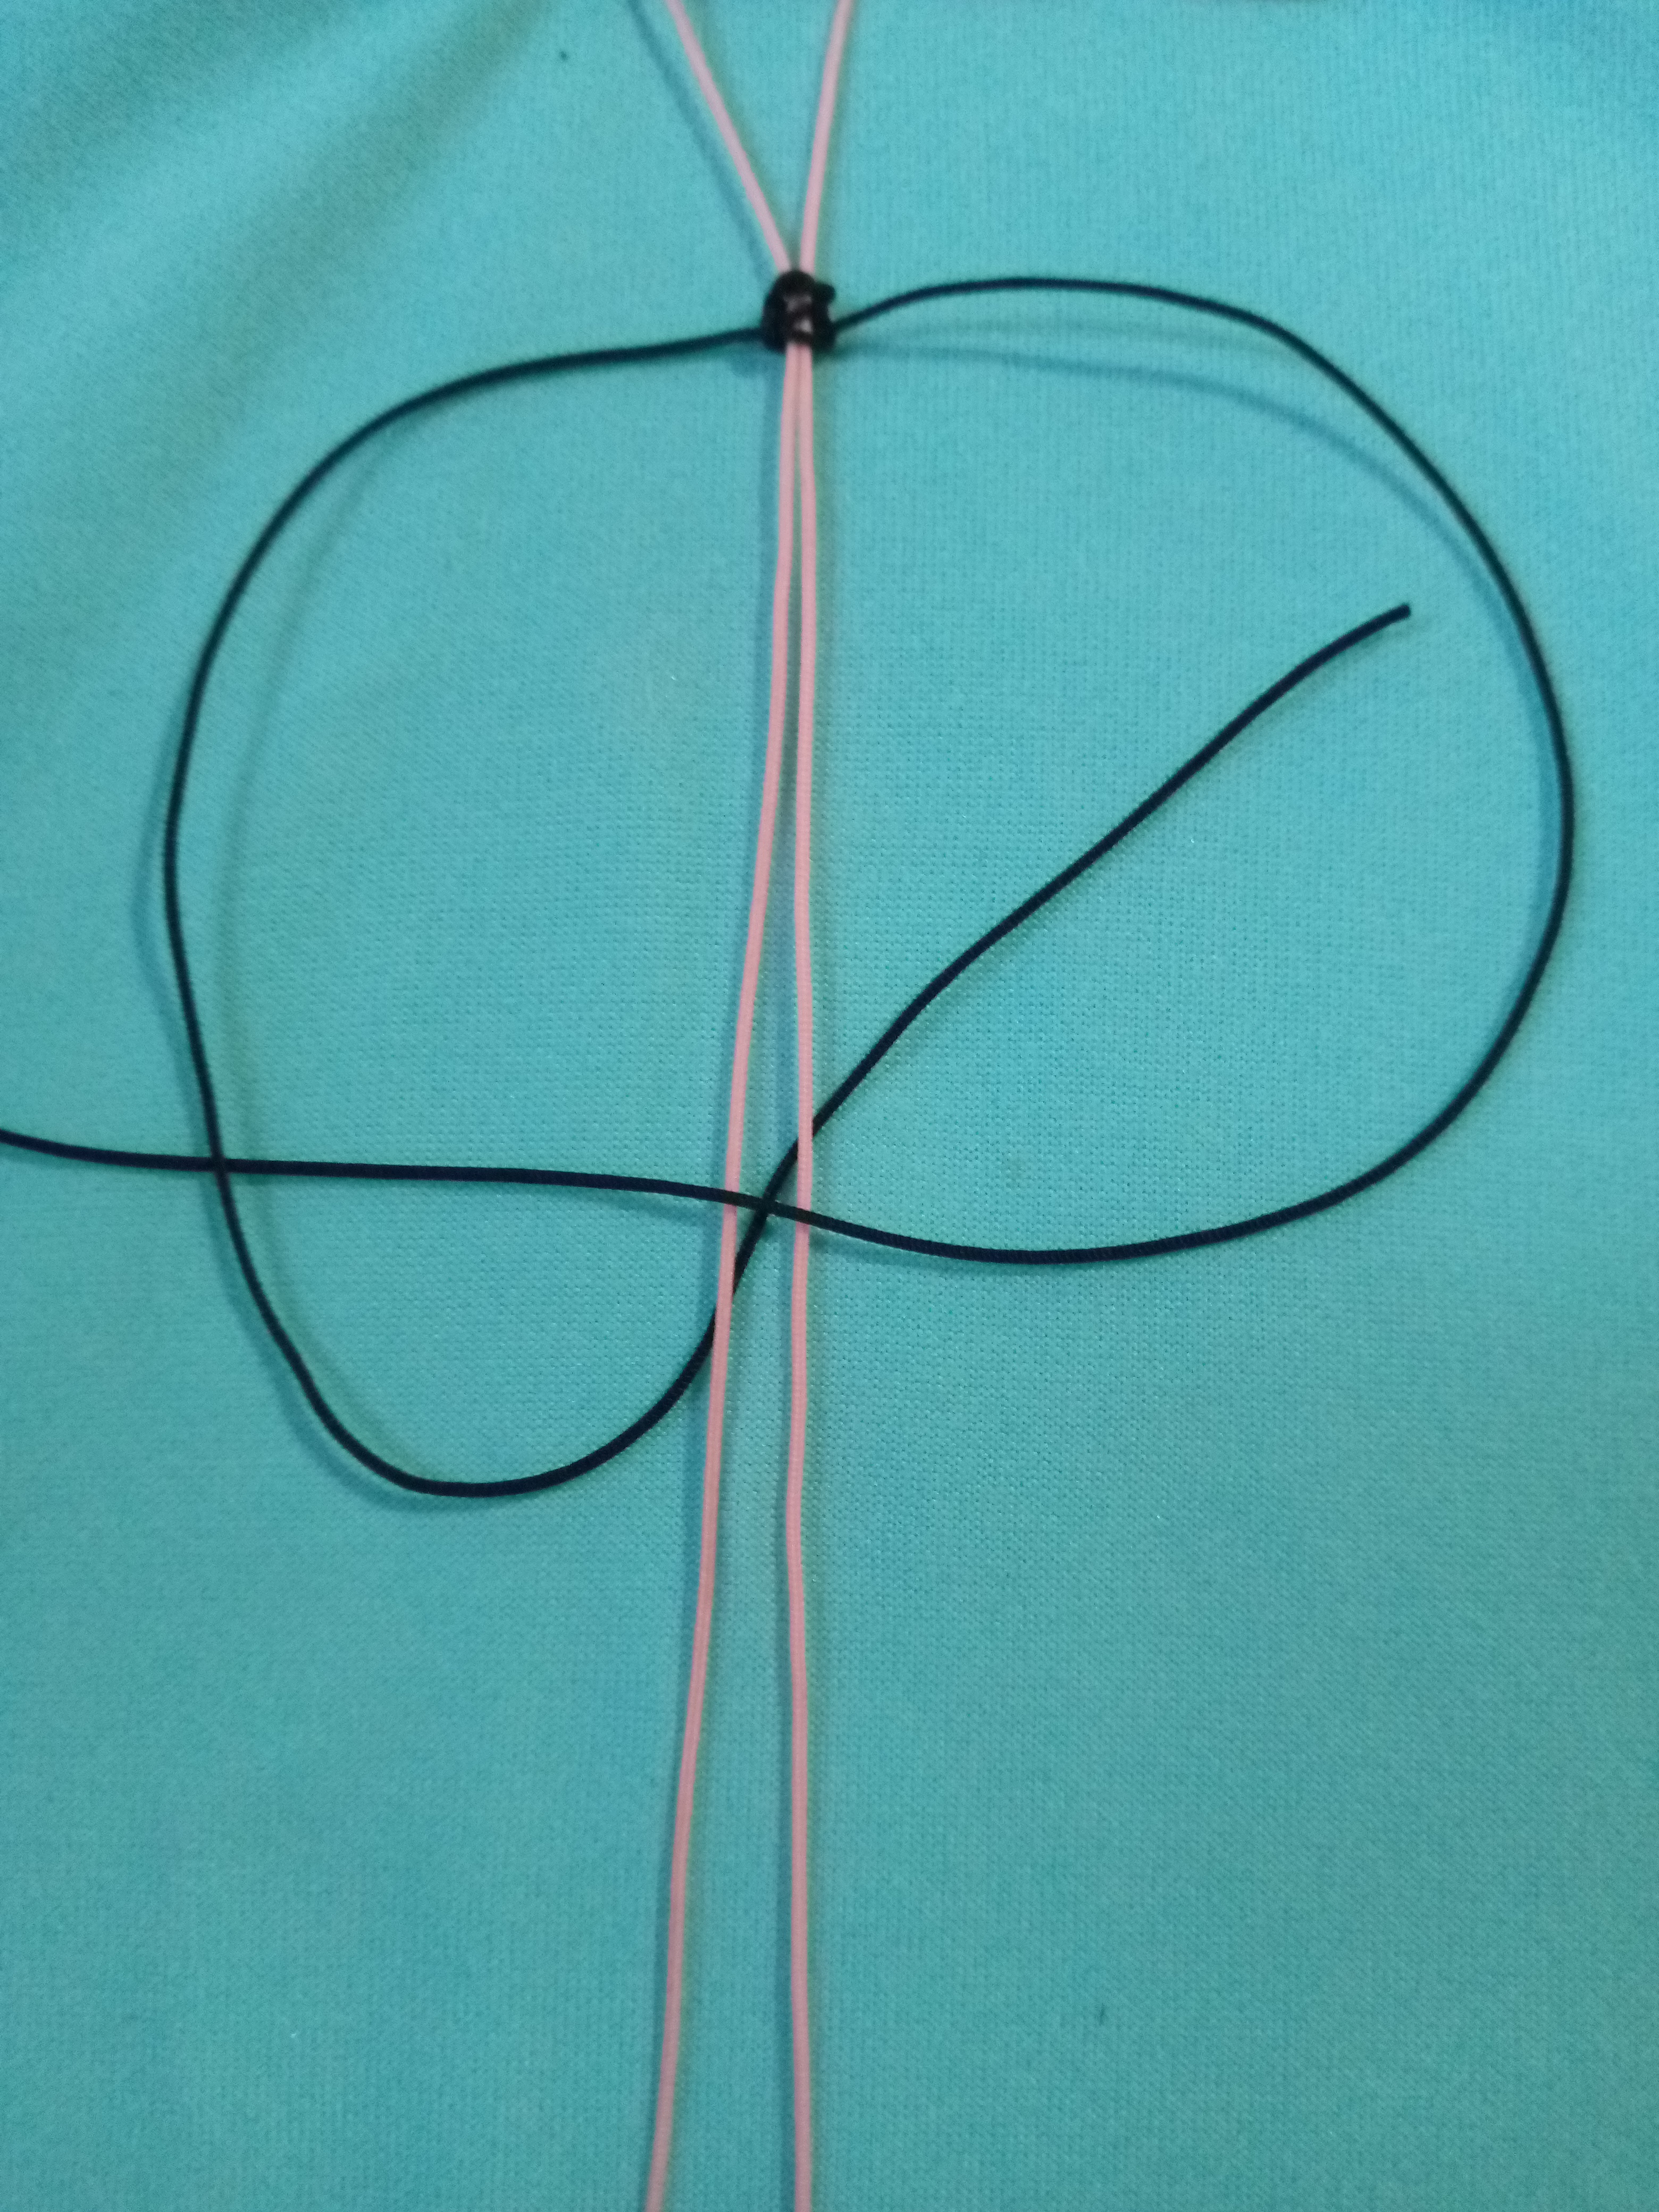
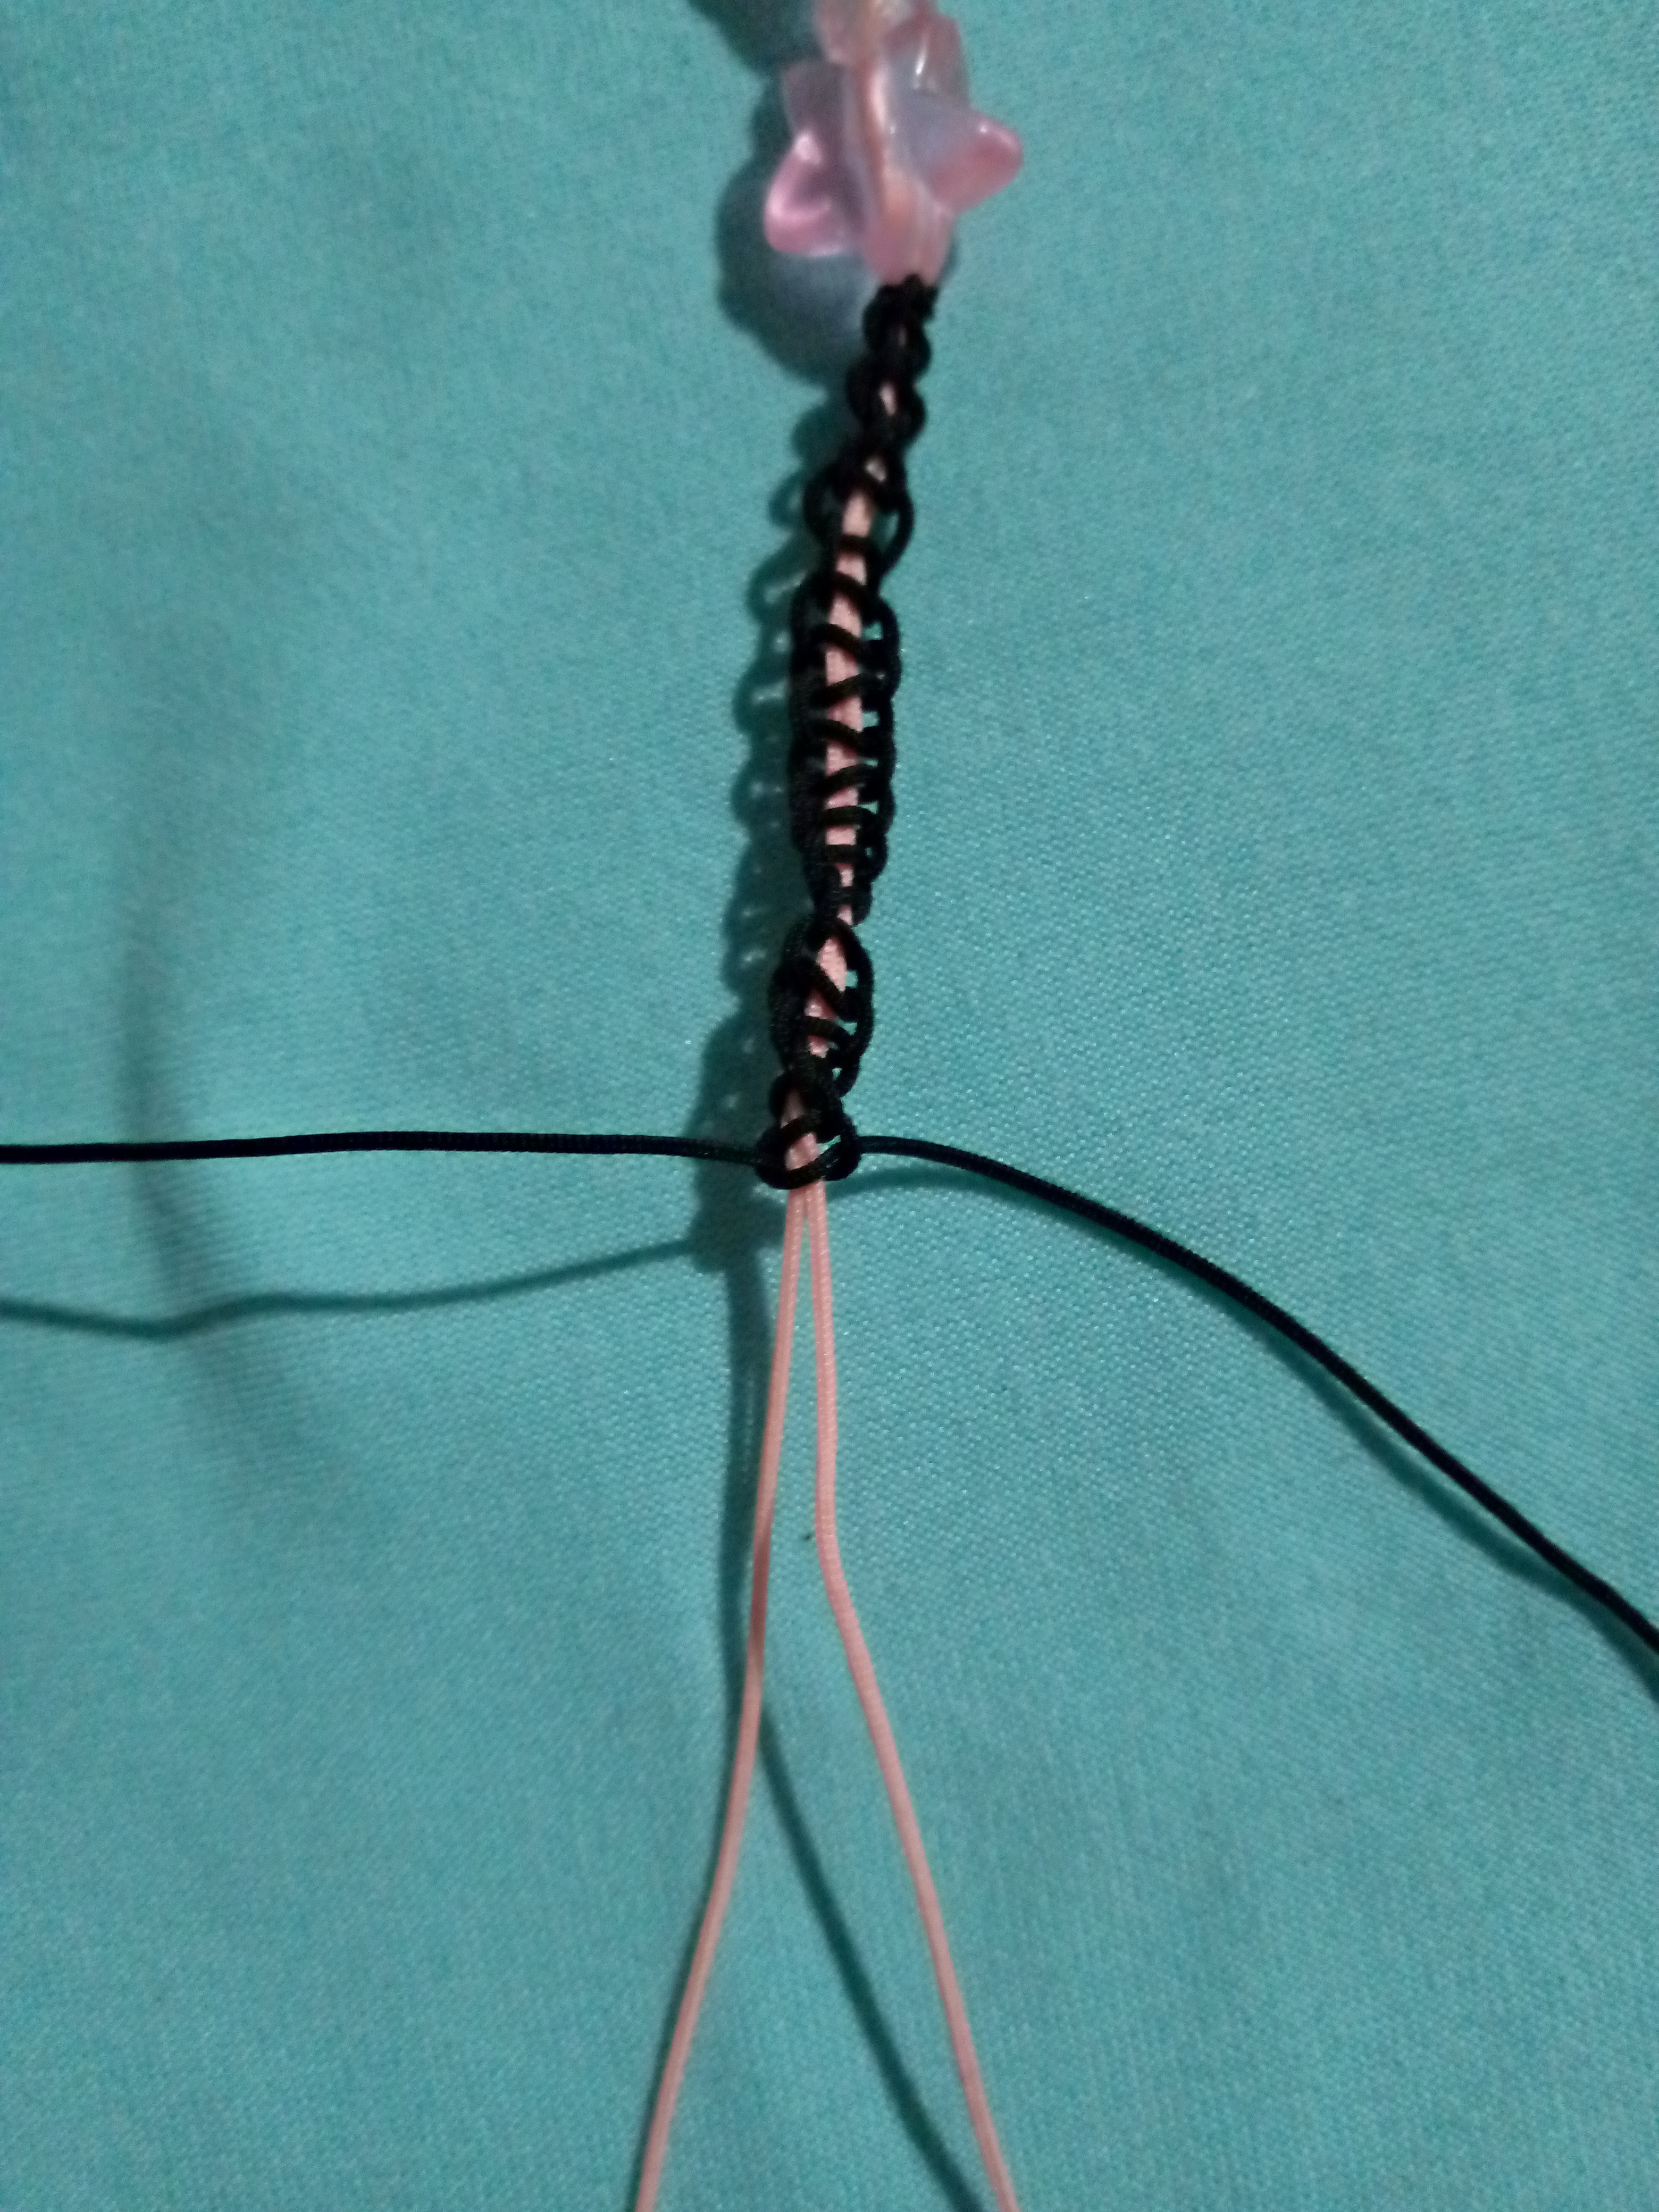
Después vamos a formar por la parte de arriba con el hilo de la parte derecha una p y con el de la parte izquierda vamos a introducirlo por debajo de los hilos rosados y negros y vamos a ir apretando para que así vaya formando el tejido.
4
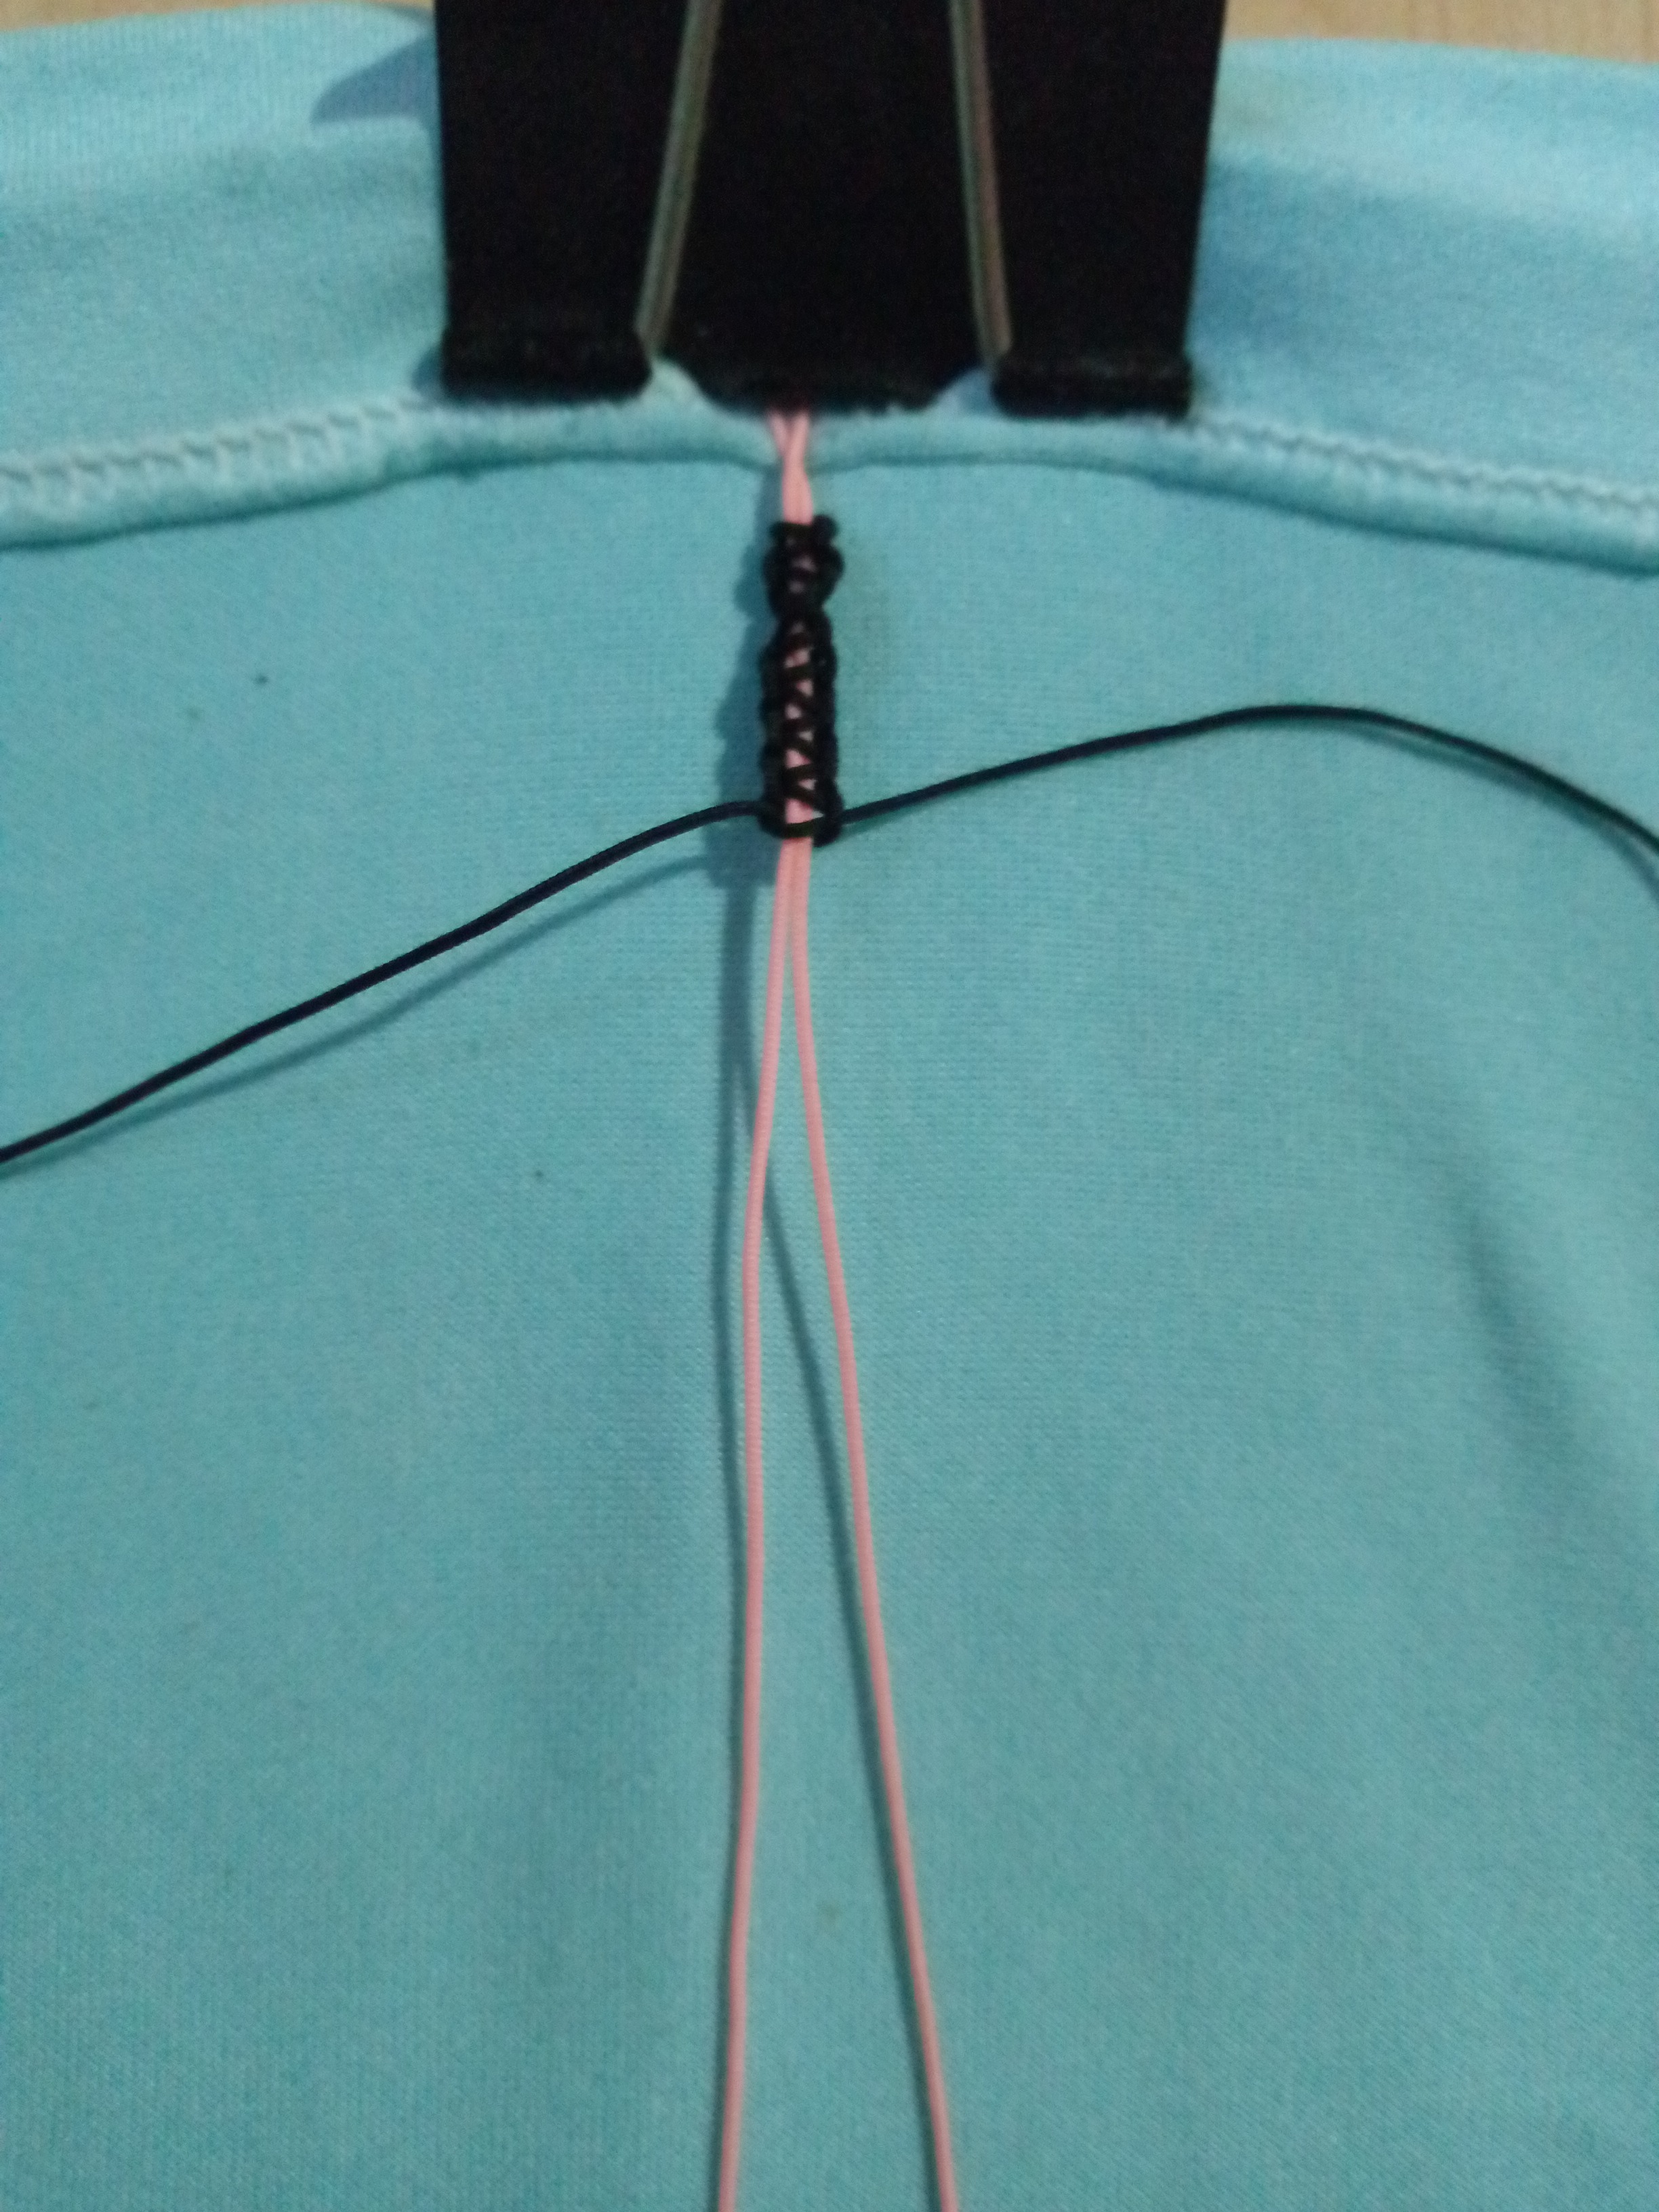
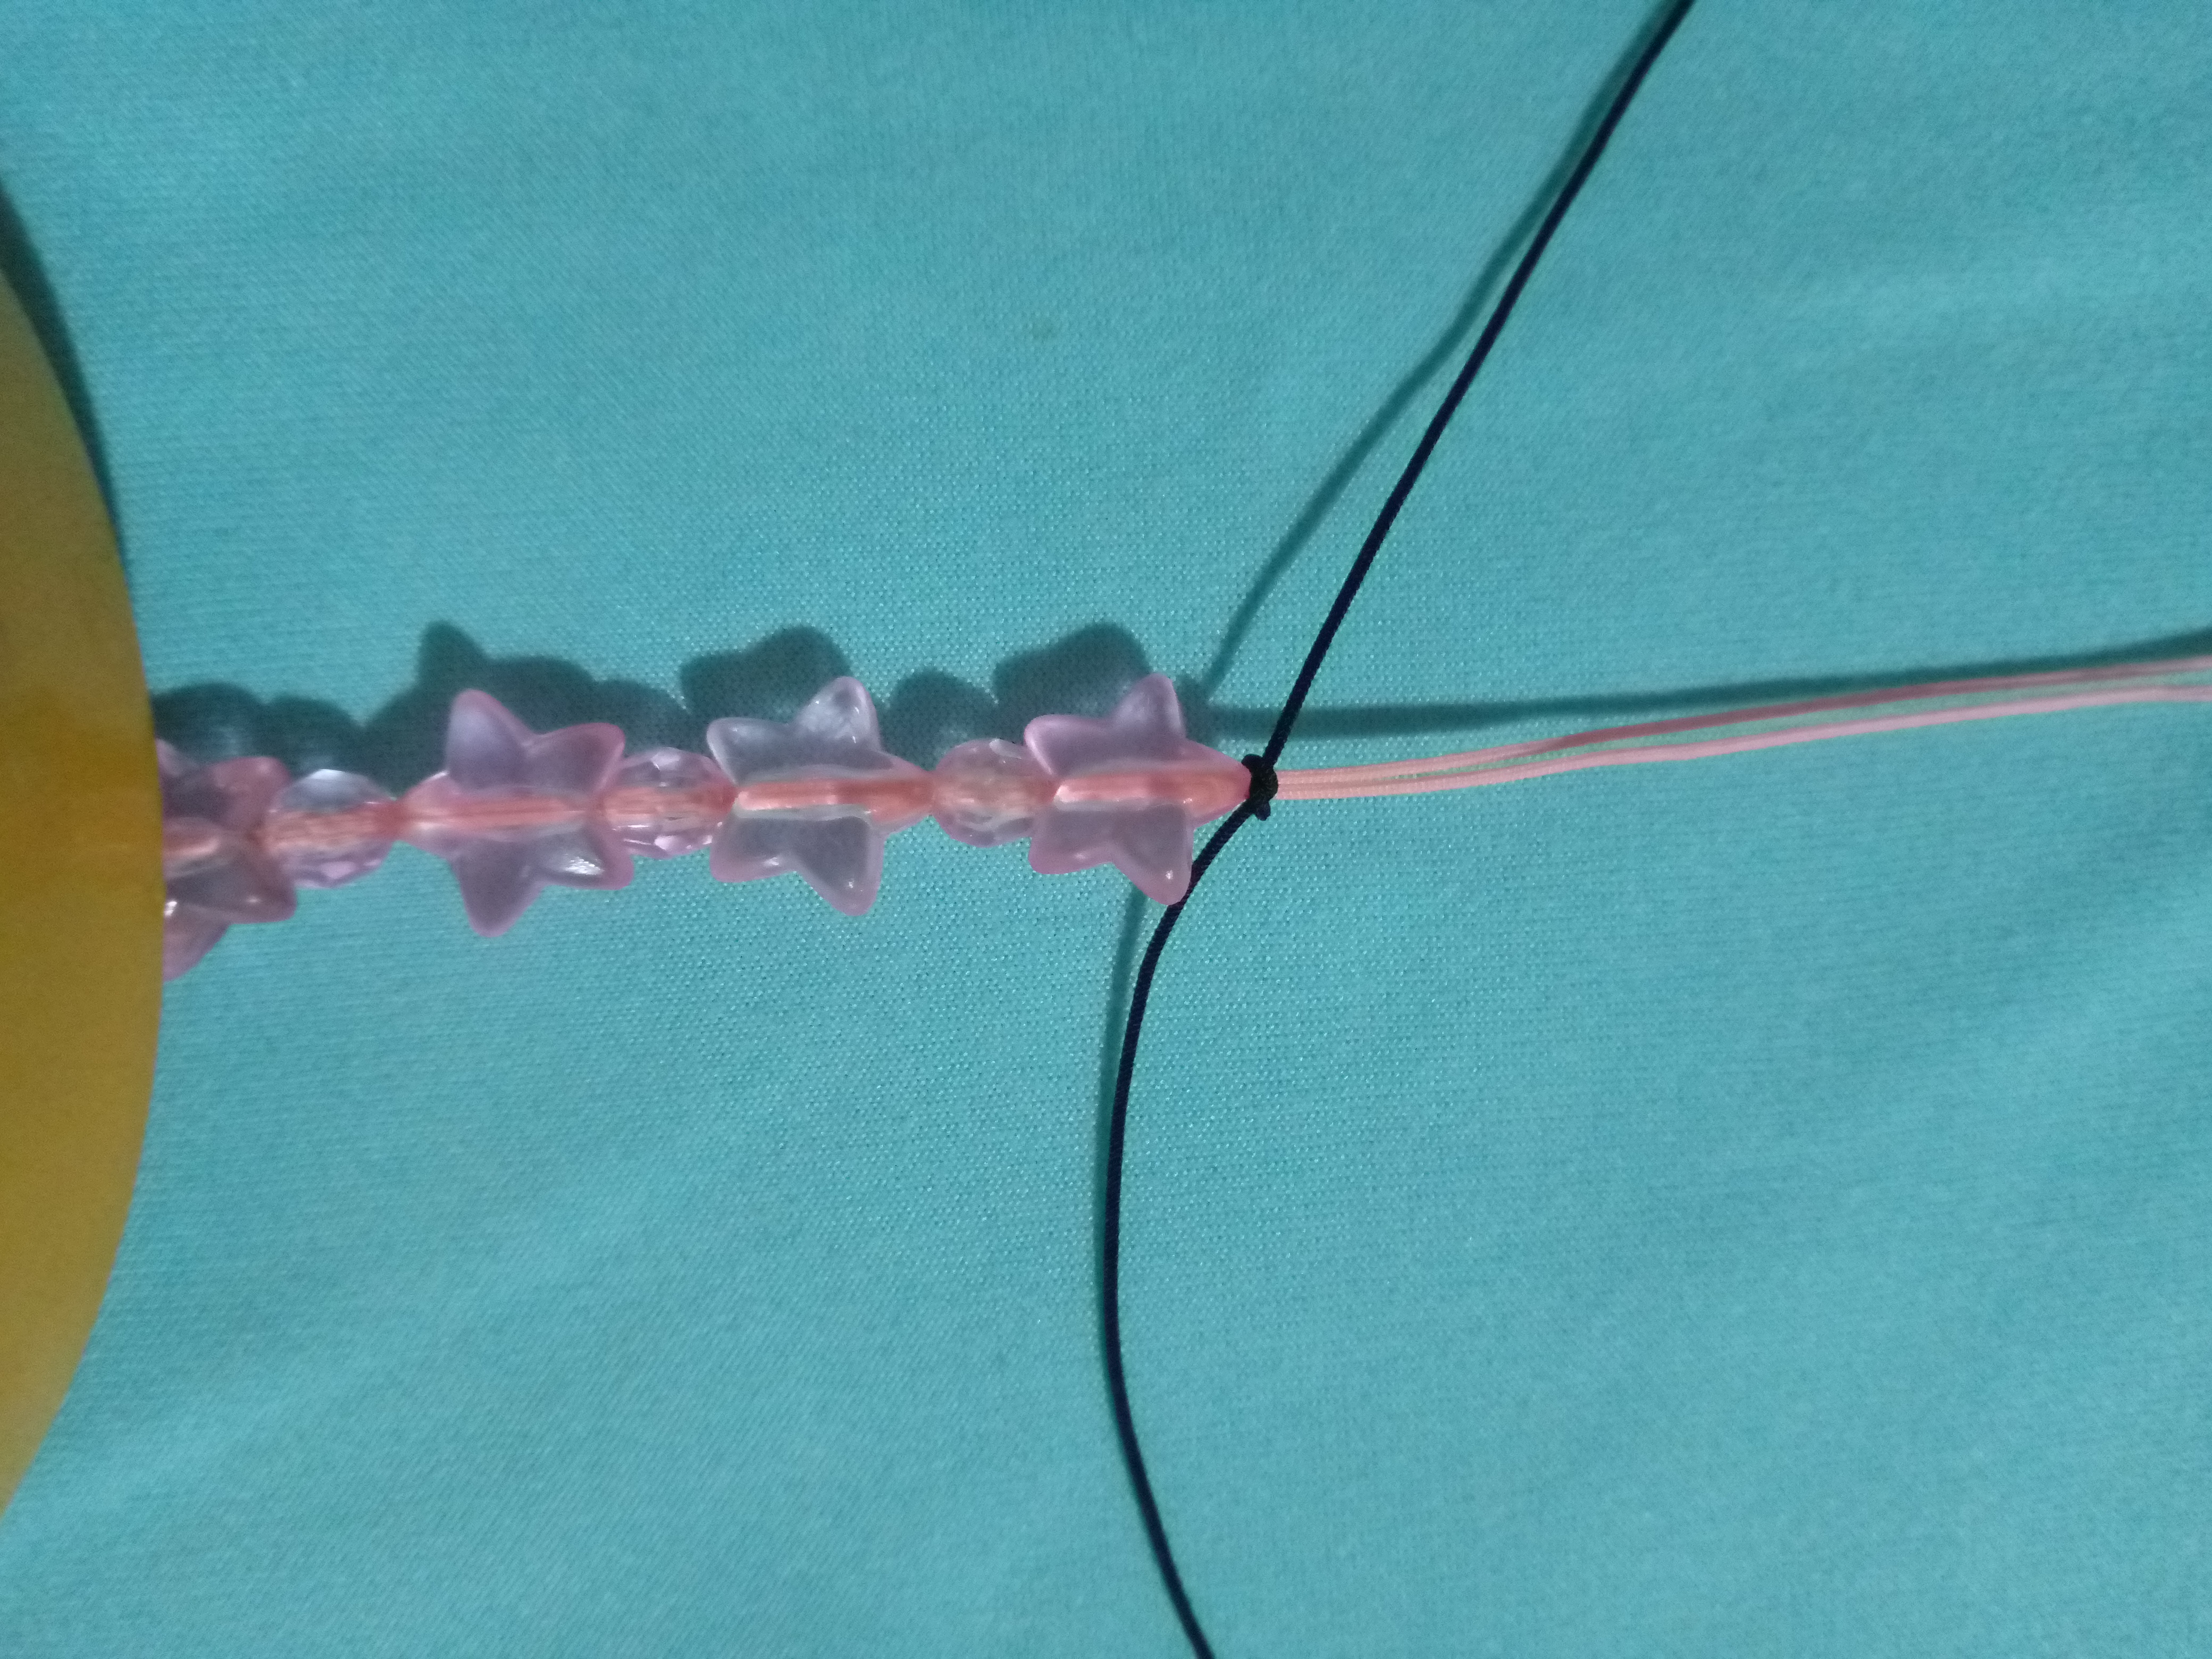
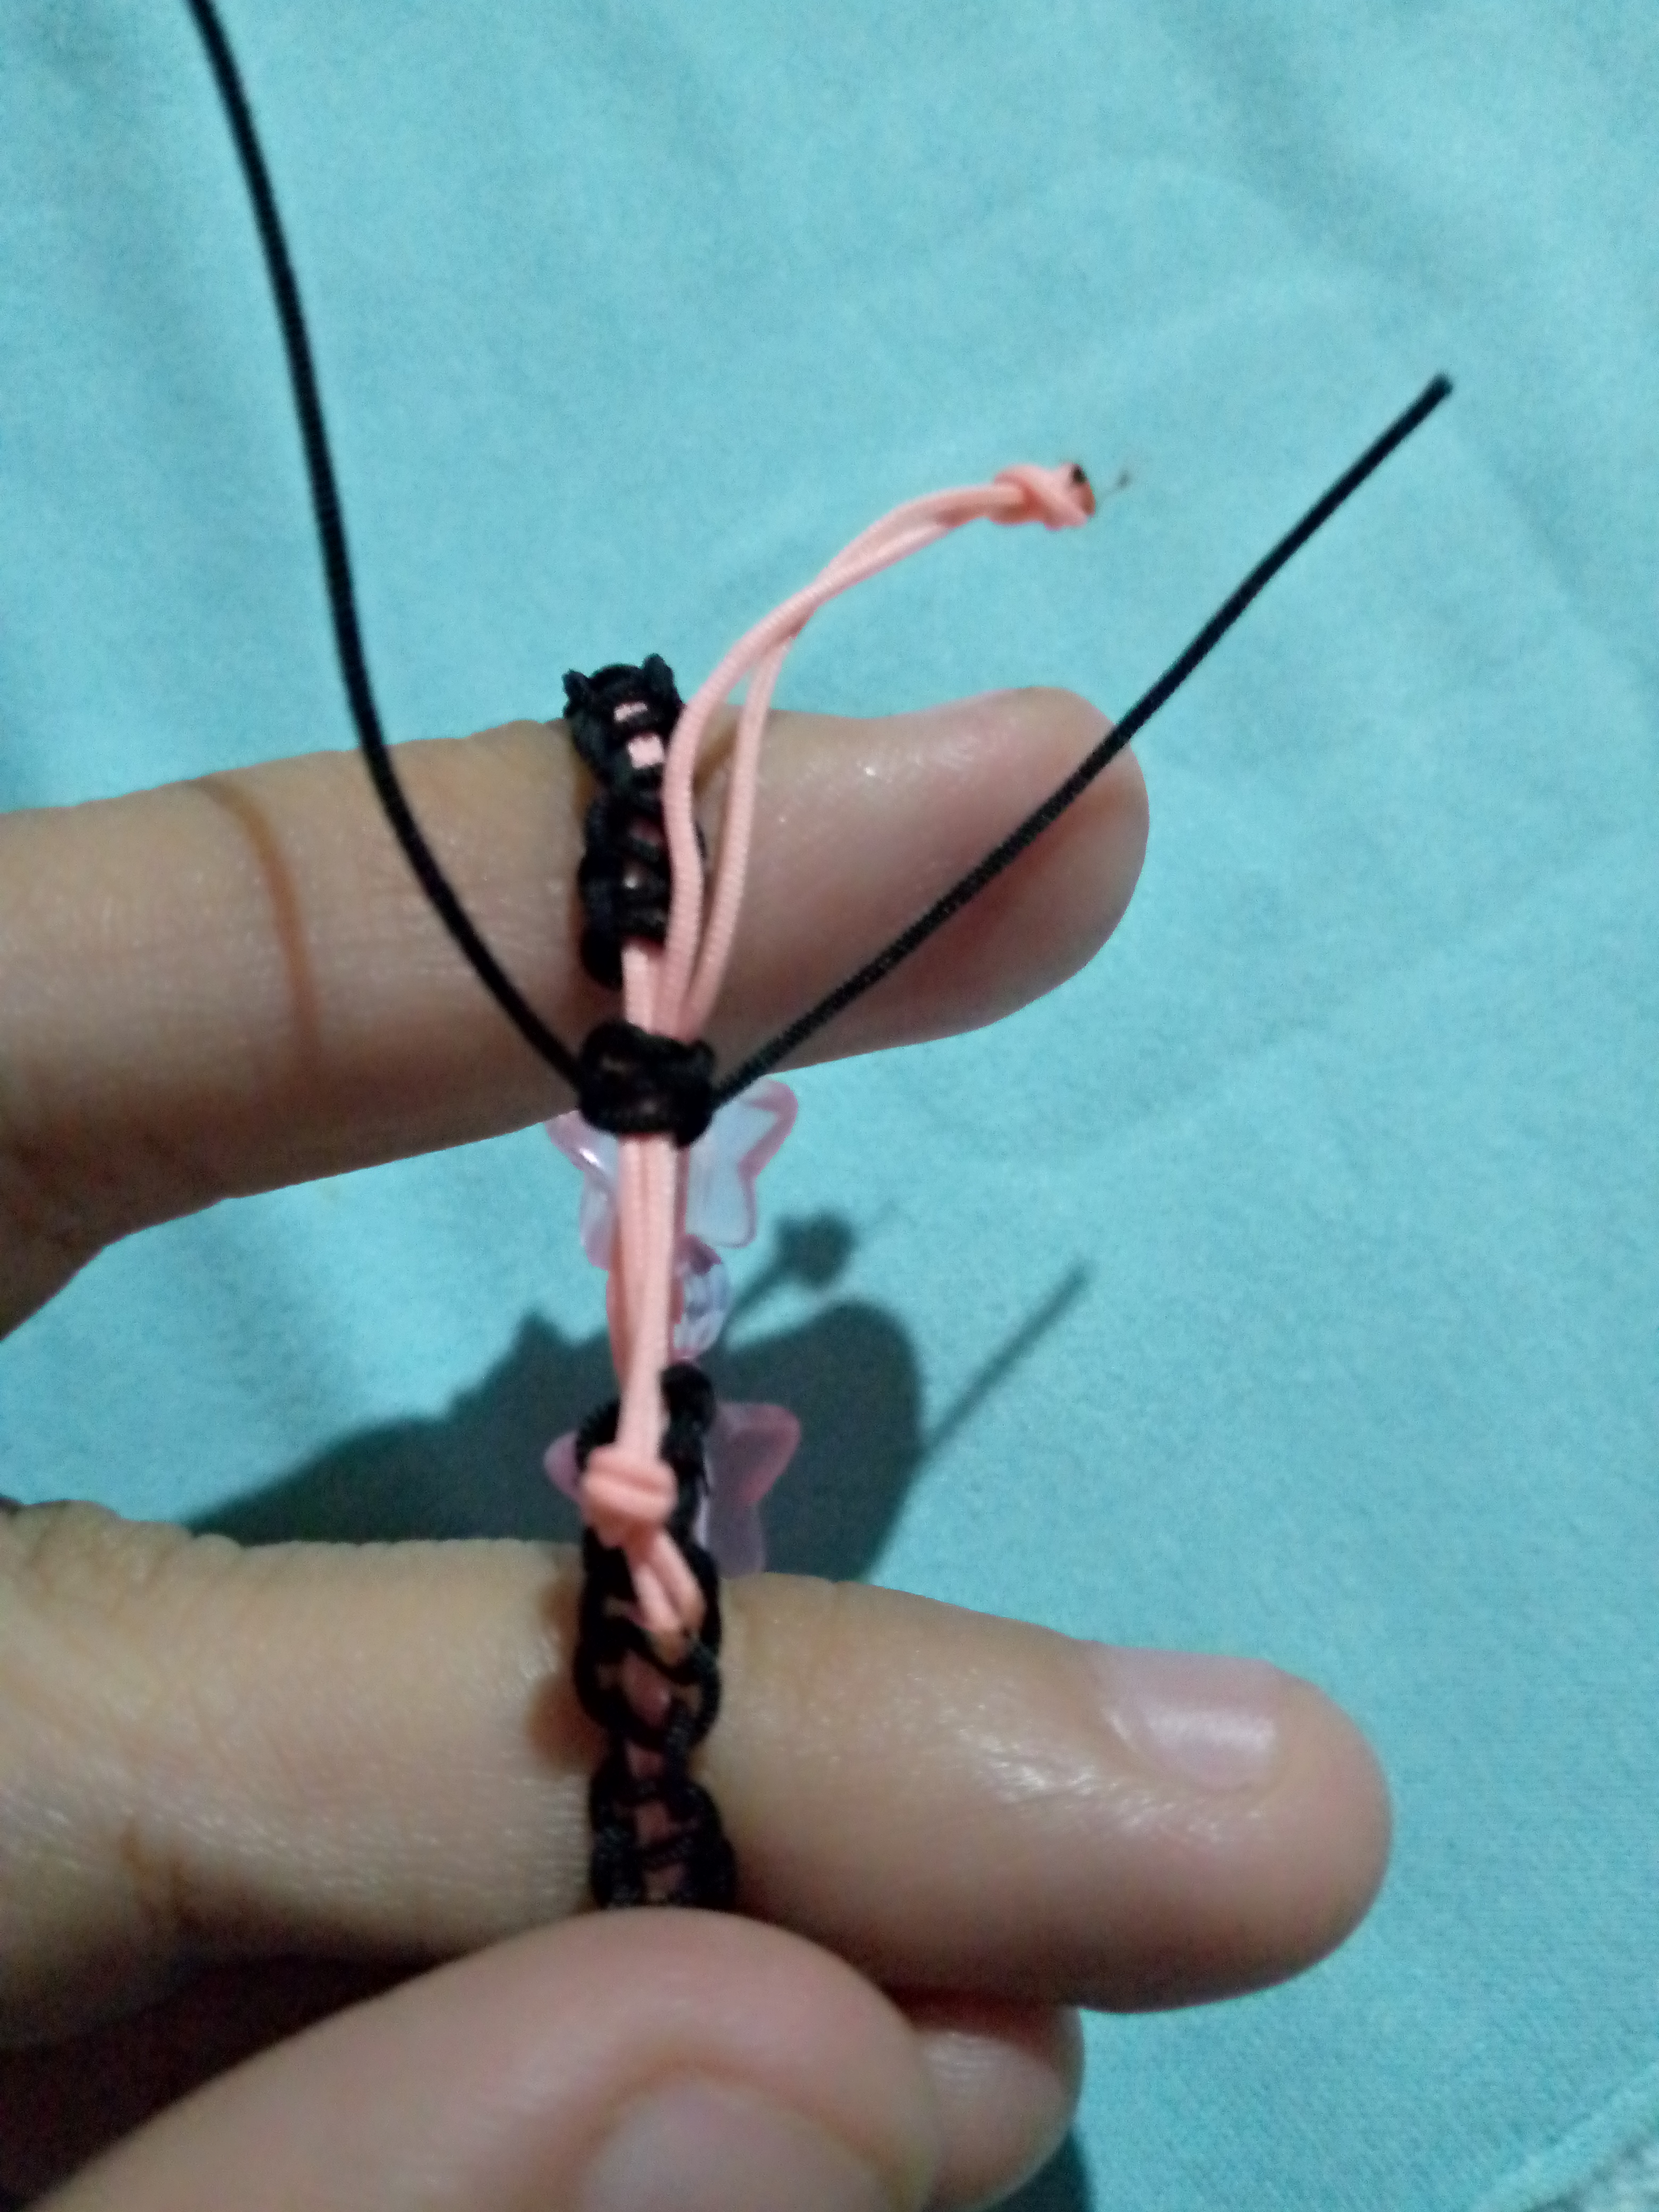
Este lo vamos a realizar un poco a la mitad de el hilo rosado porque en la parte del centro vamos a colocar unos cristales rosados y vamos a utilizar las estrellas rosadas también y después de eso iremos al siguiente paso.
5
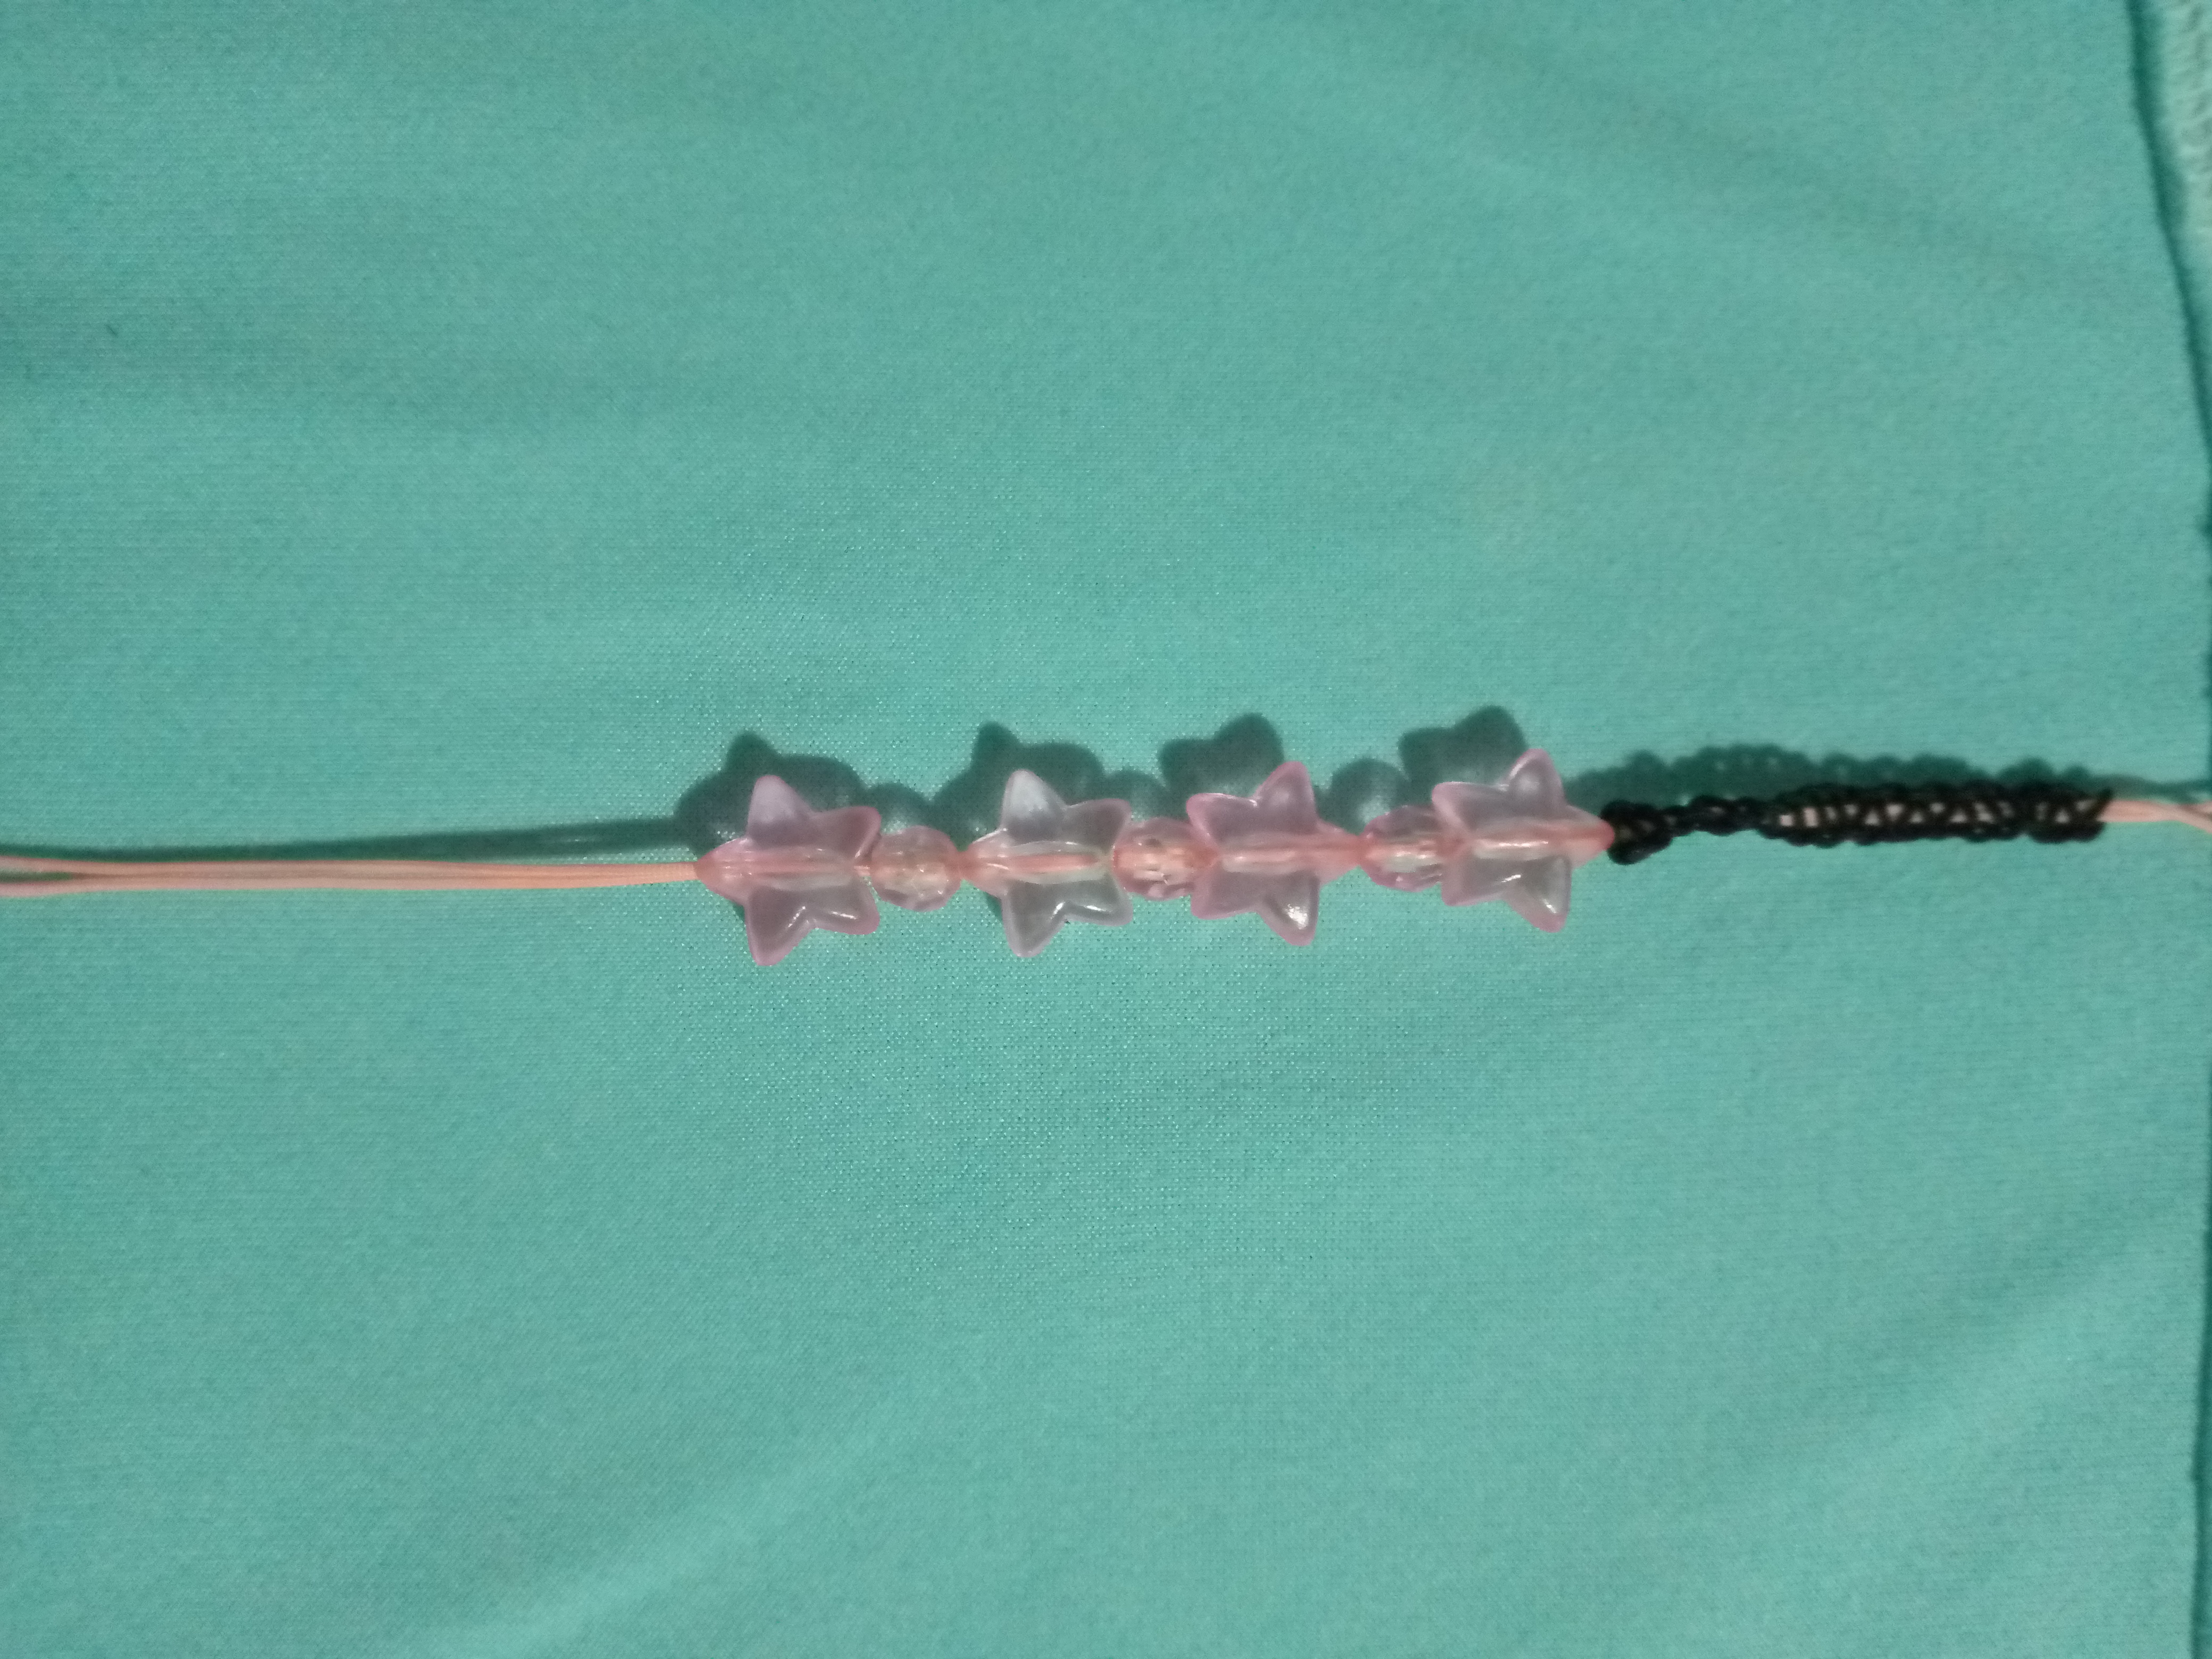
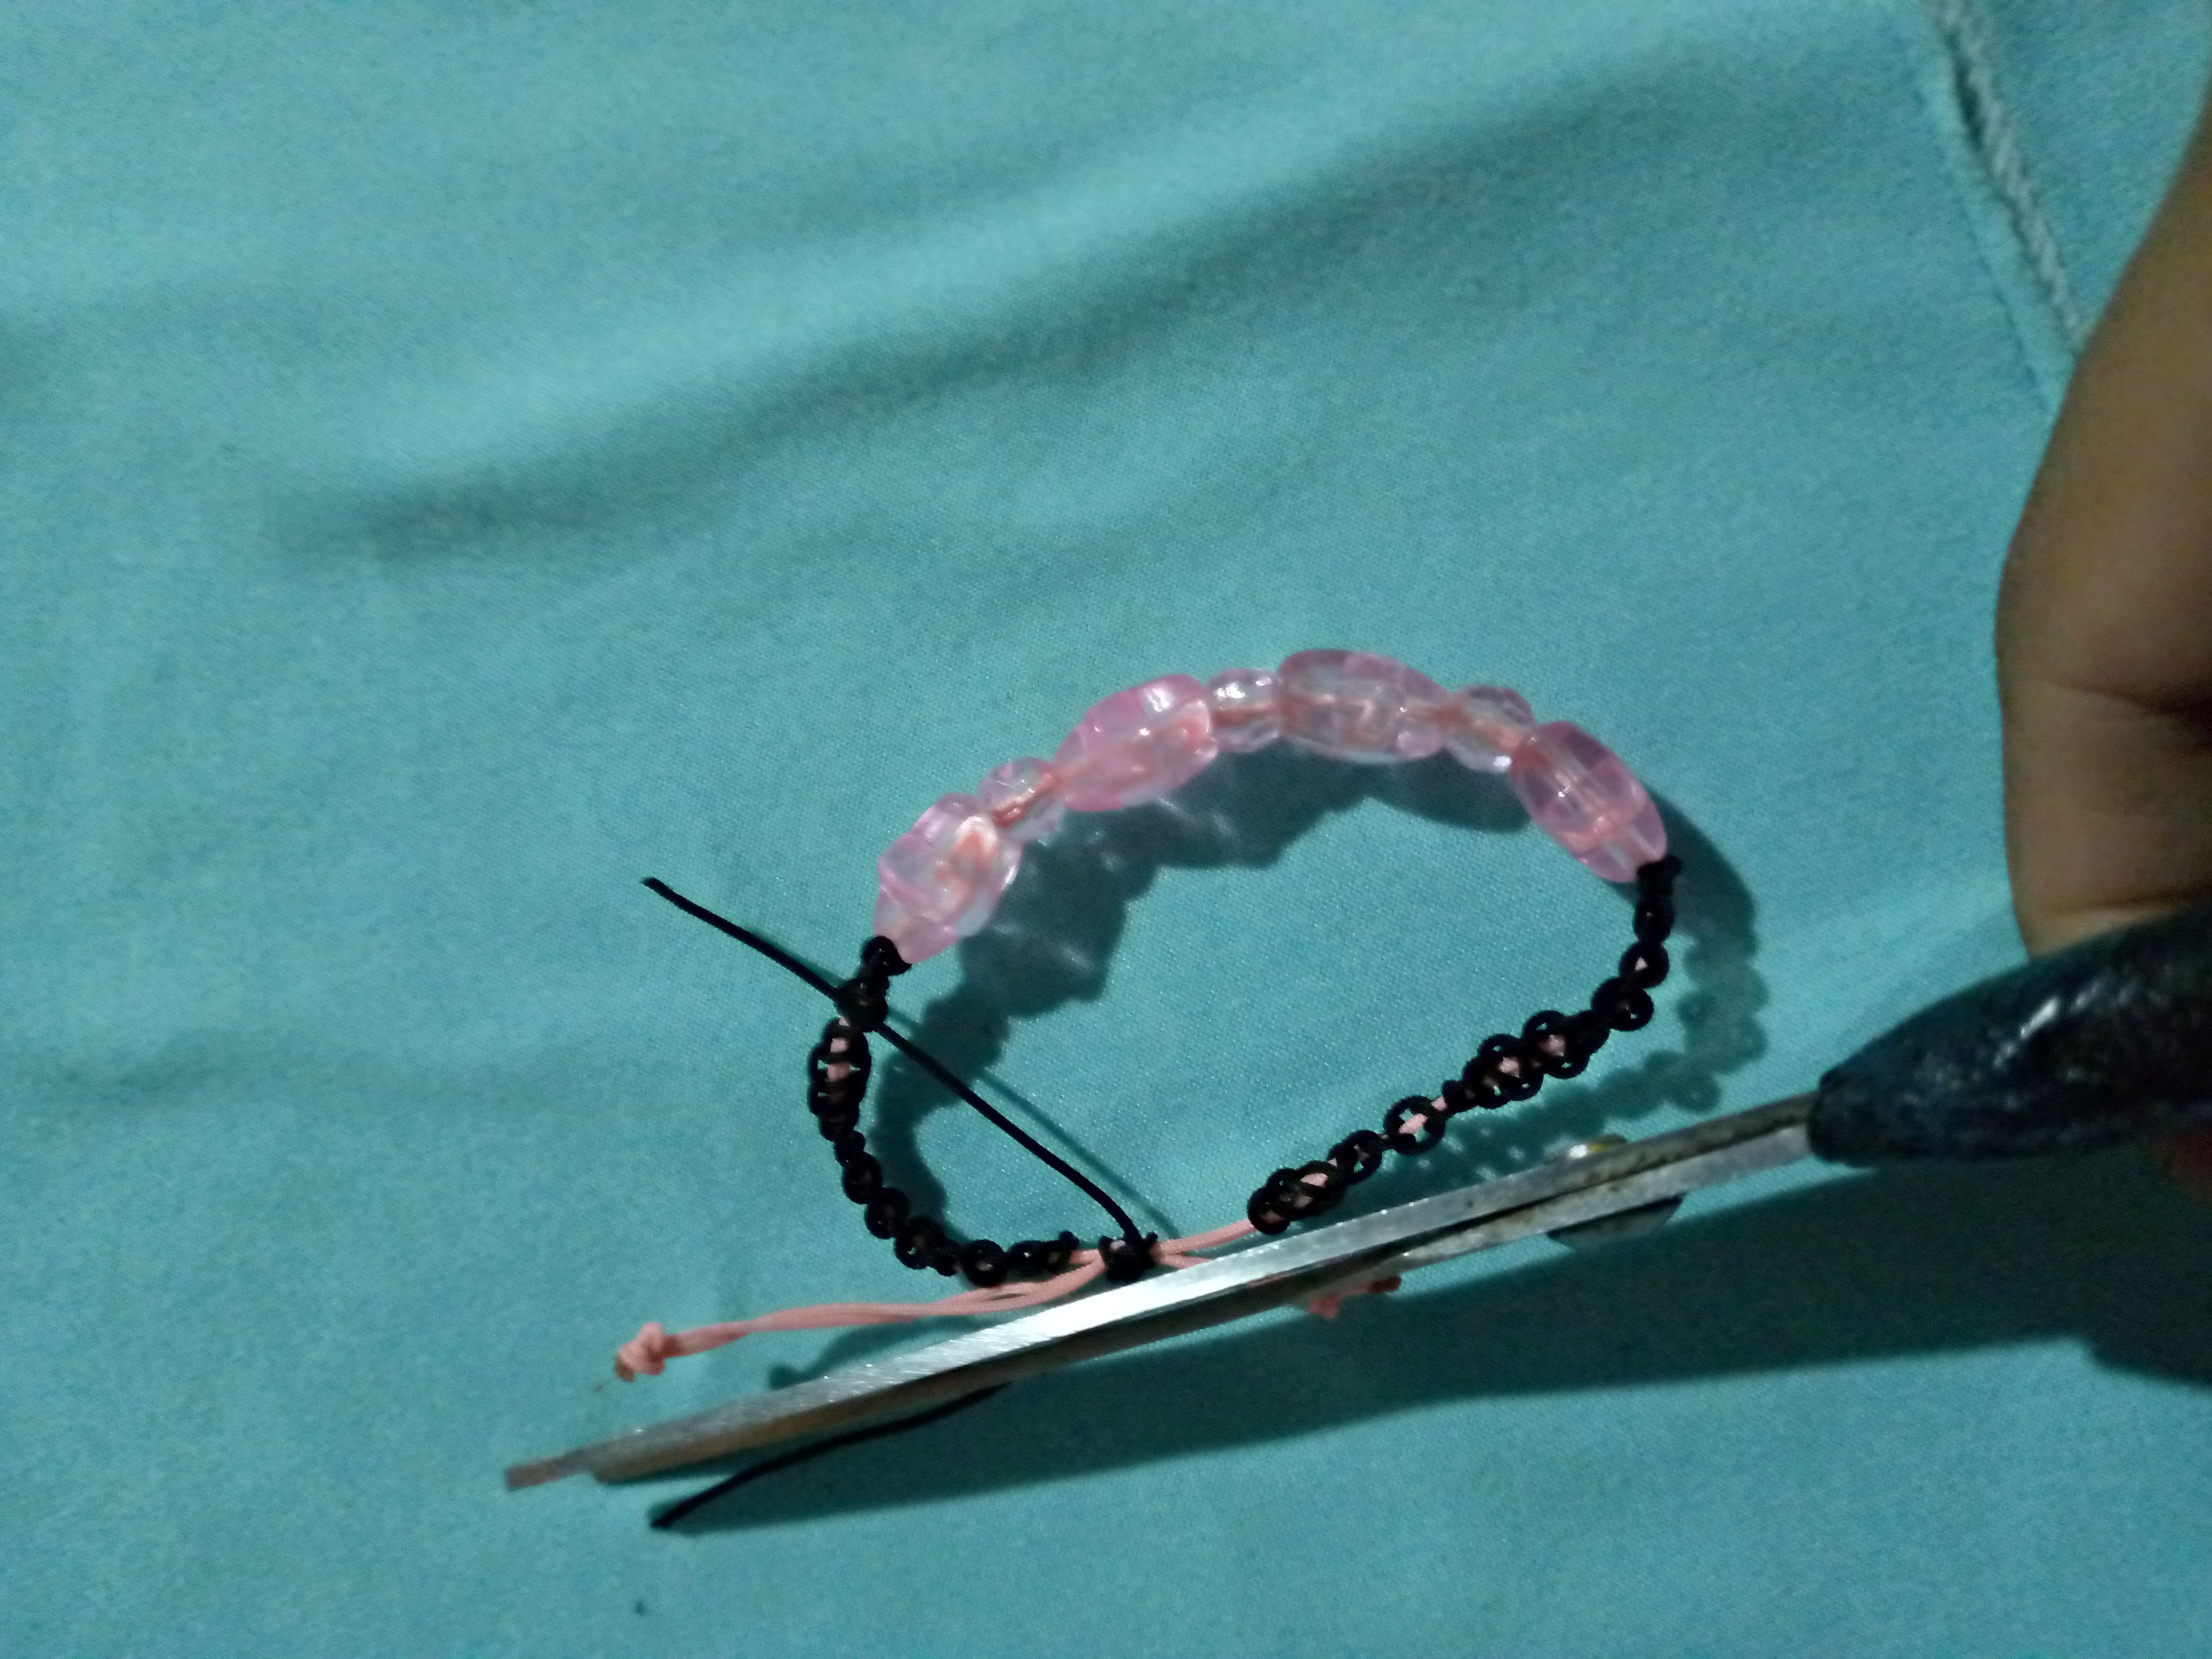
Vamos a comenzar a tejer haciendo los mismos pasos primero el nudo luego la p Y por último el otro hilo lo pasamos por debajo y los de arriba y hacemos el no y este vamos a llevarlo hasta tener la misma medida del otro luego con la tijera cortamos y con El encendedor quemamos los restos de hilos que queden.
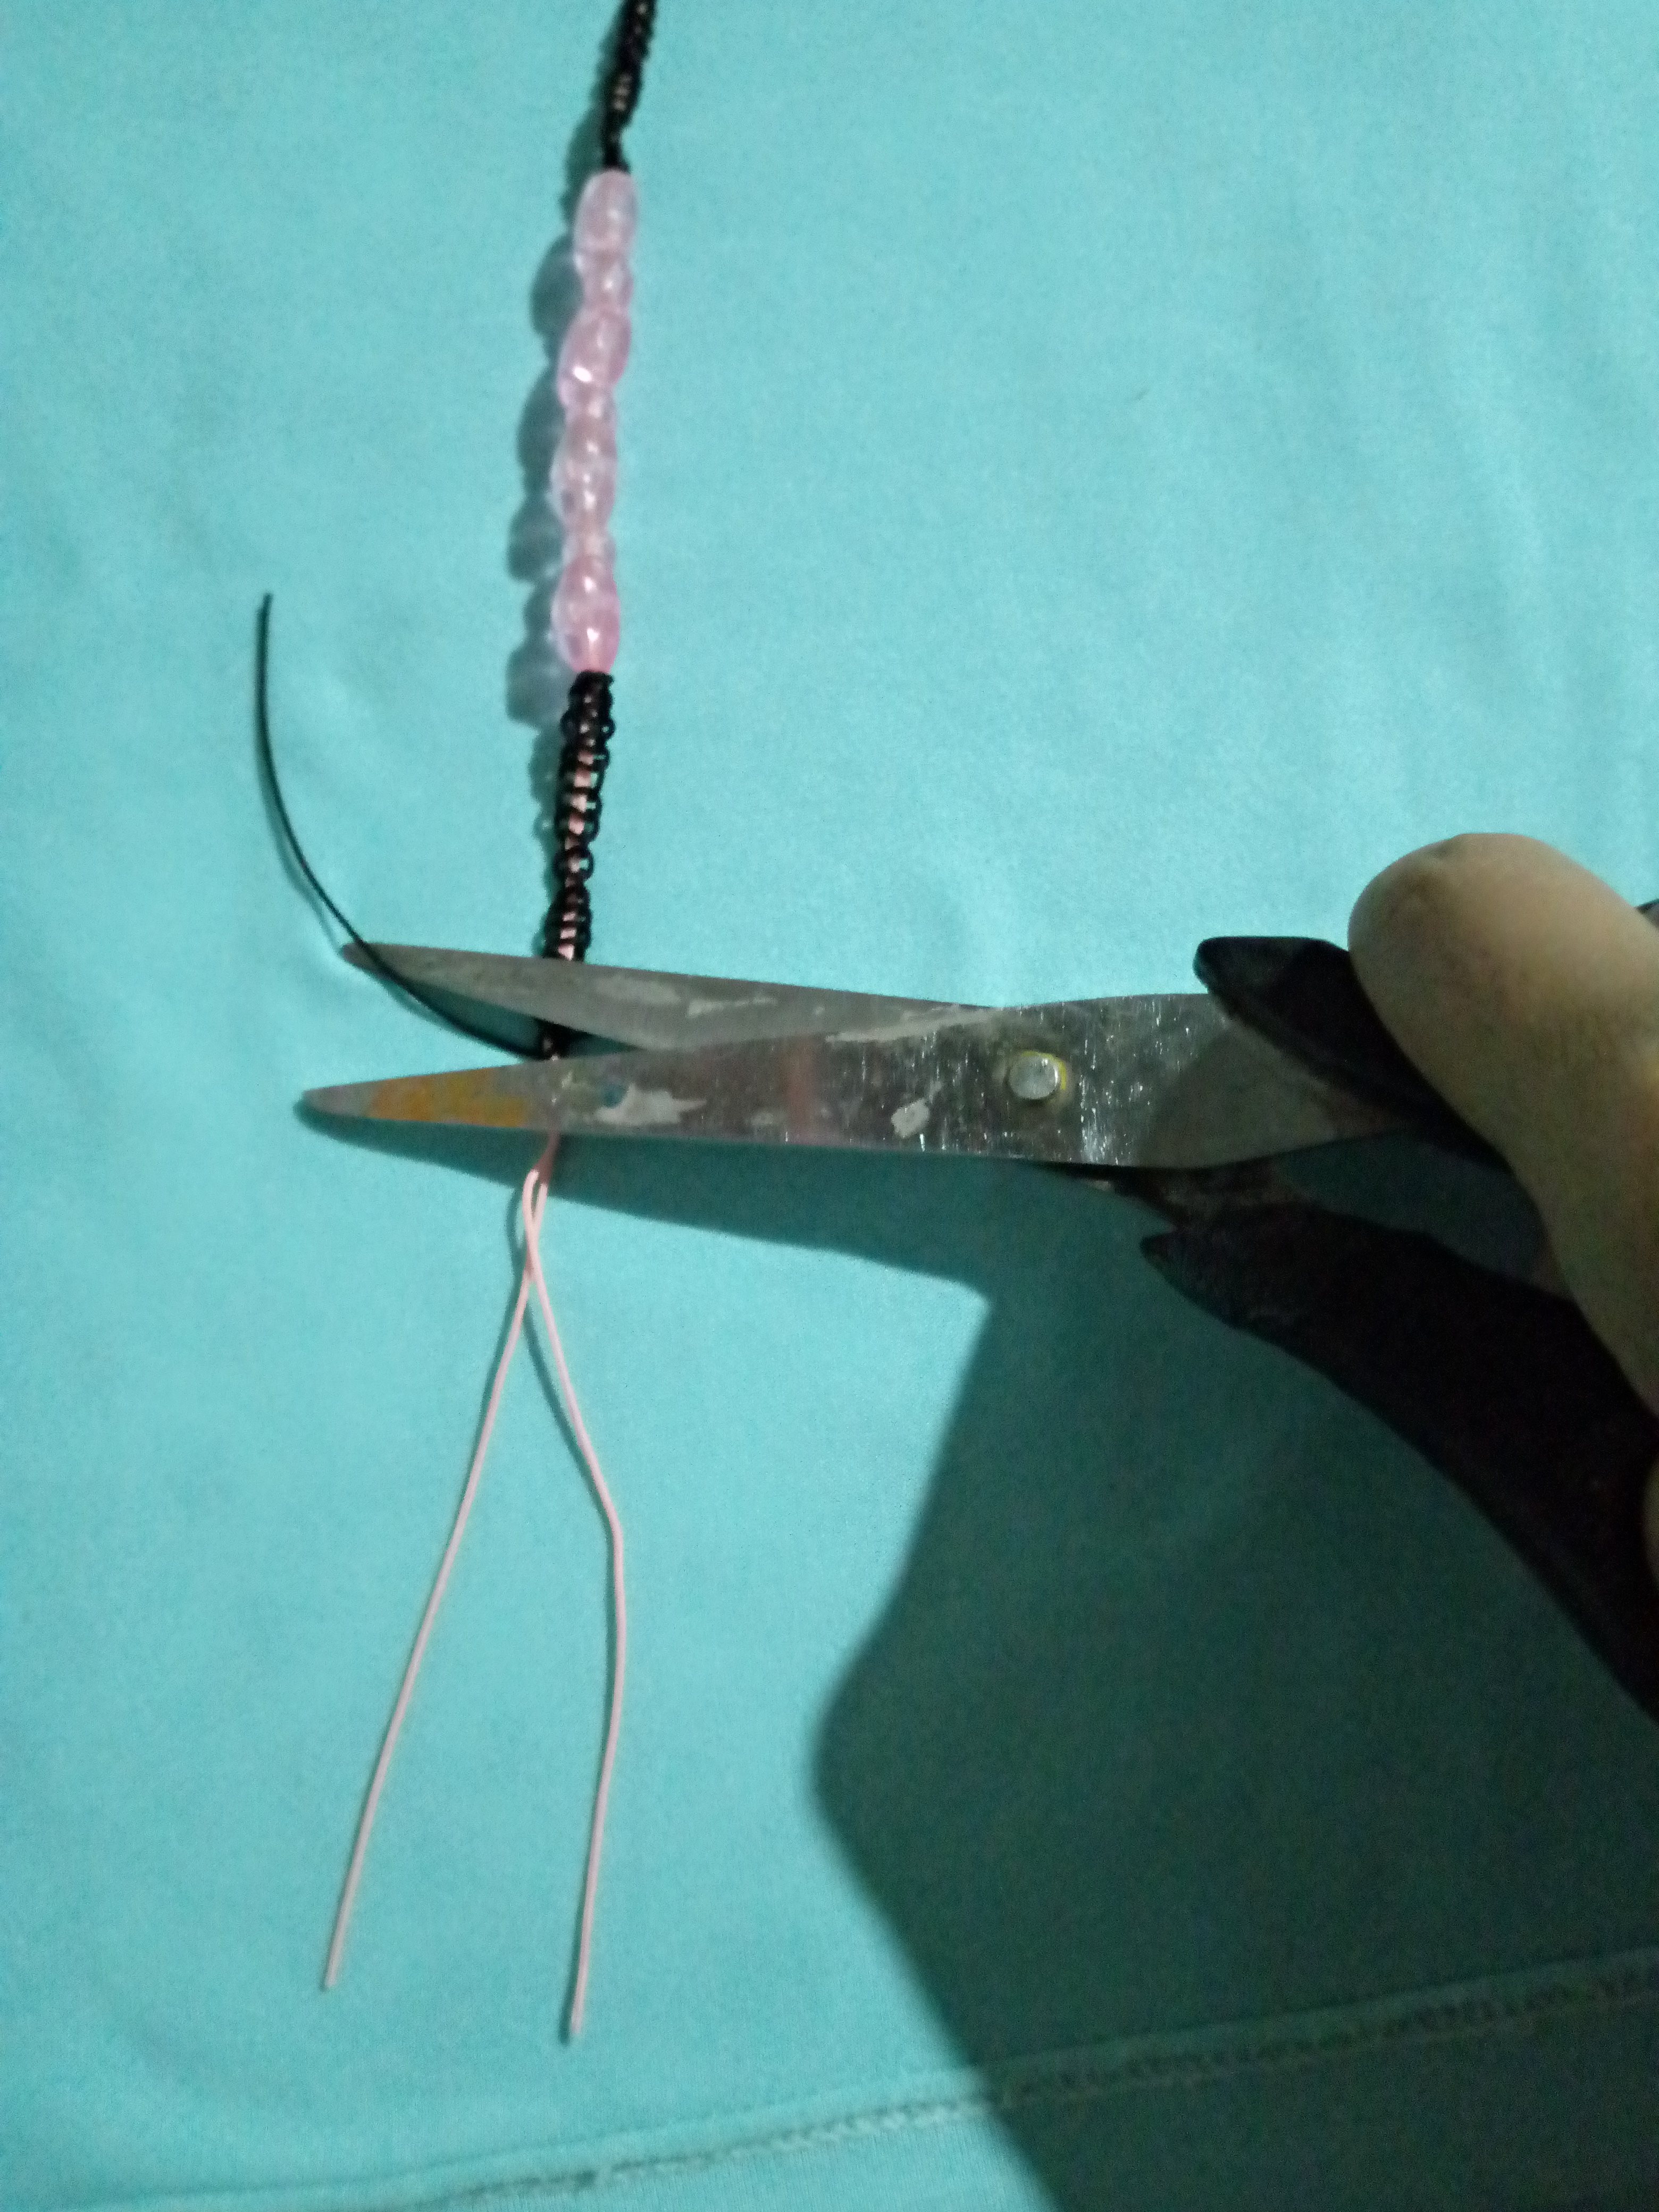
Cuando estemos utilizando El encendedor tenemos que tener mucho cuidado porque si se nos pasa de temperatura o fuego no puede quemar el resto de la pulsera.
6
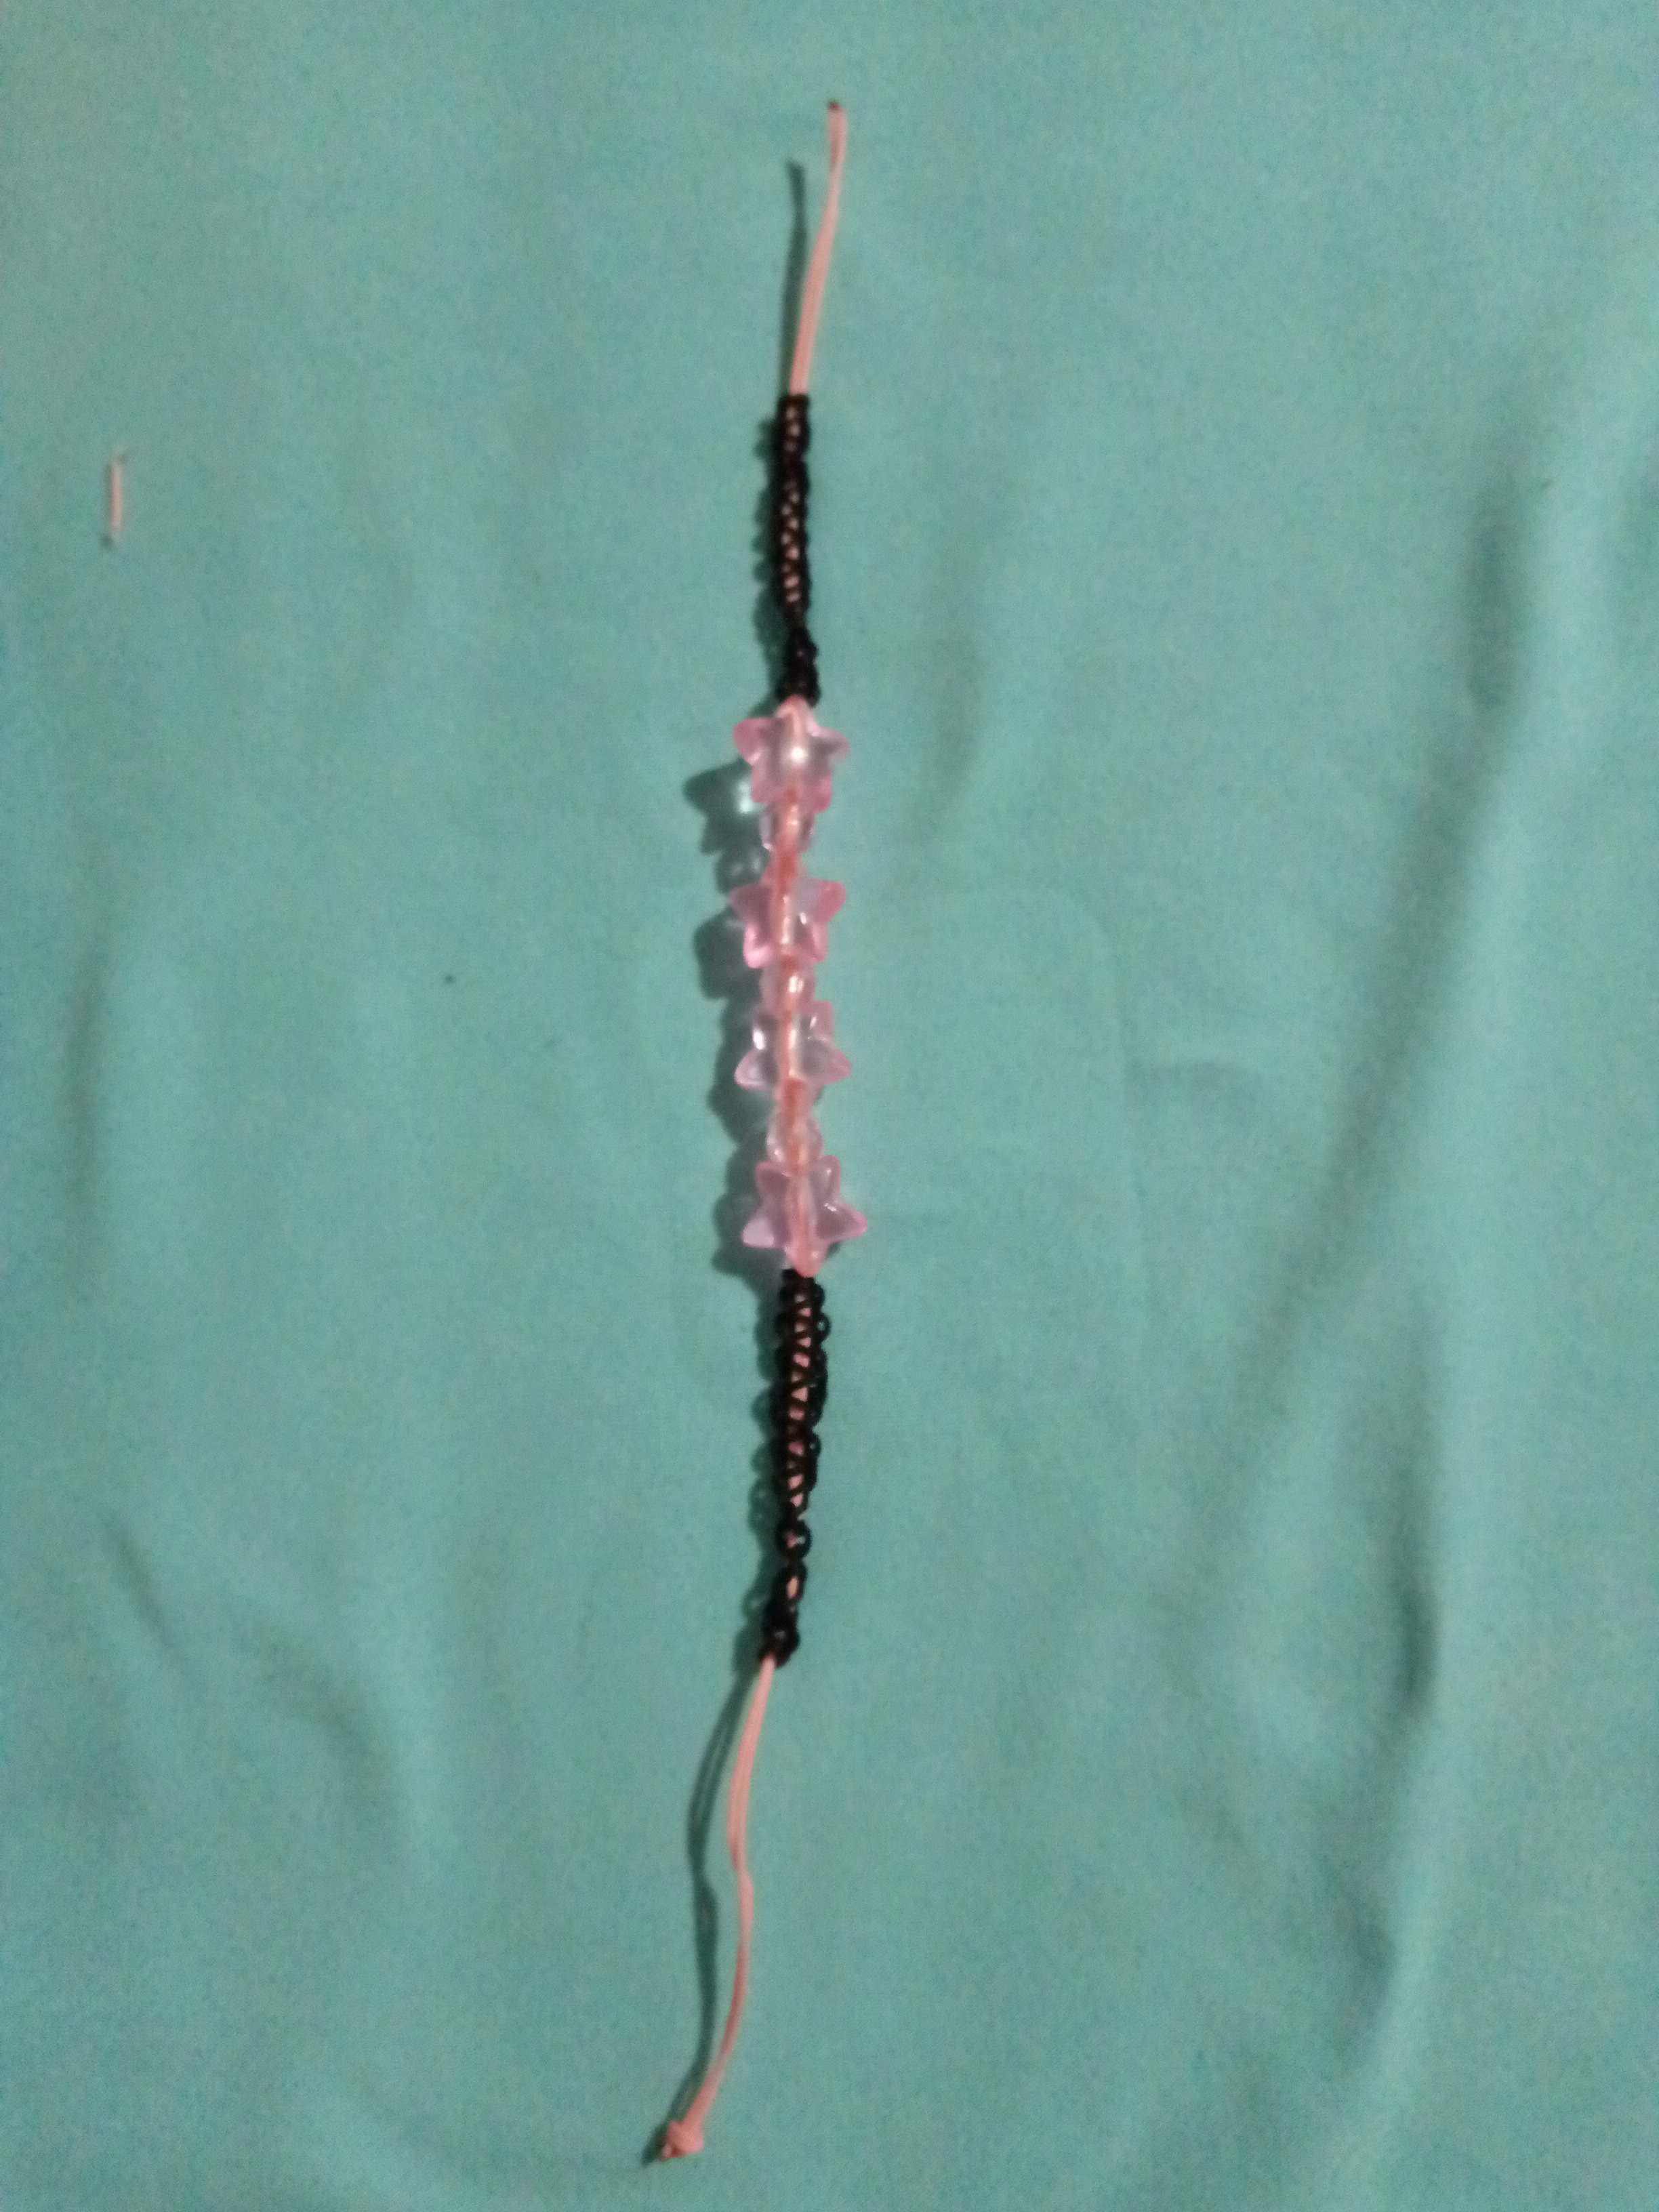
Ahora con otro pedacito de hilo negro para hacer el amarre del cierre de la pulsera vamos a utilizar la misma técnica tres veces seguidas luego vamos a cortar y vamos a quemar la punta del hilo y así terminamos nuestra pulsera.
Espero que les guste pronto estaré nuevamente con usted espero sus comentarios saludos para toda la familia de jewelry y hive.
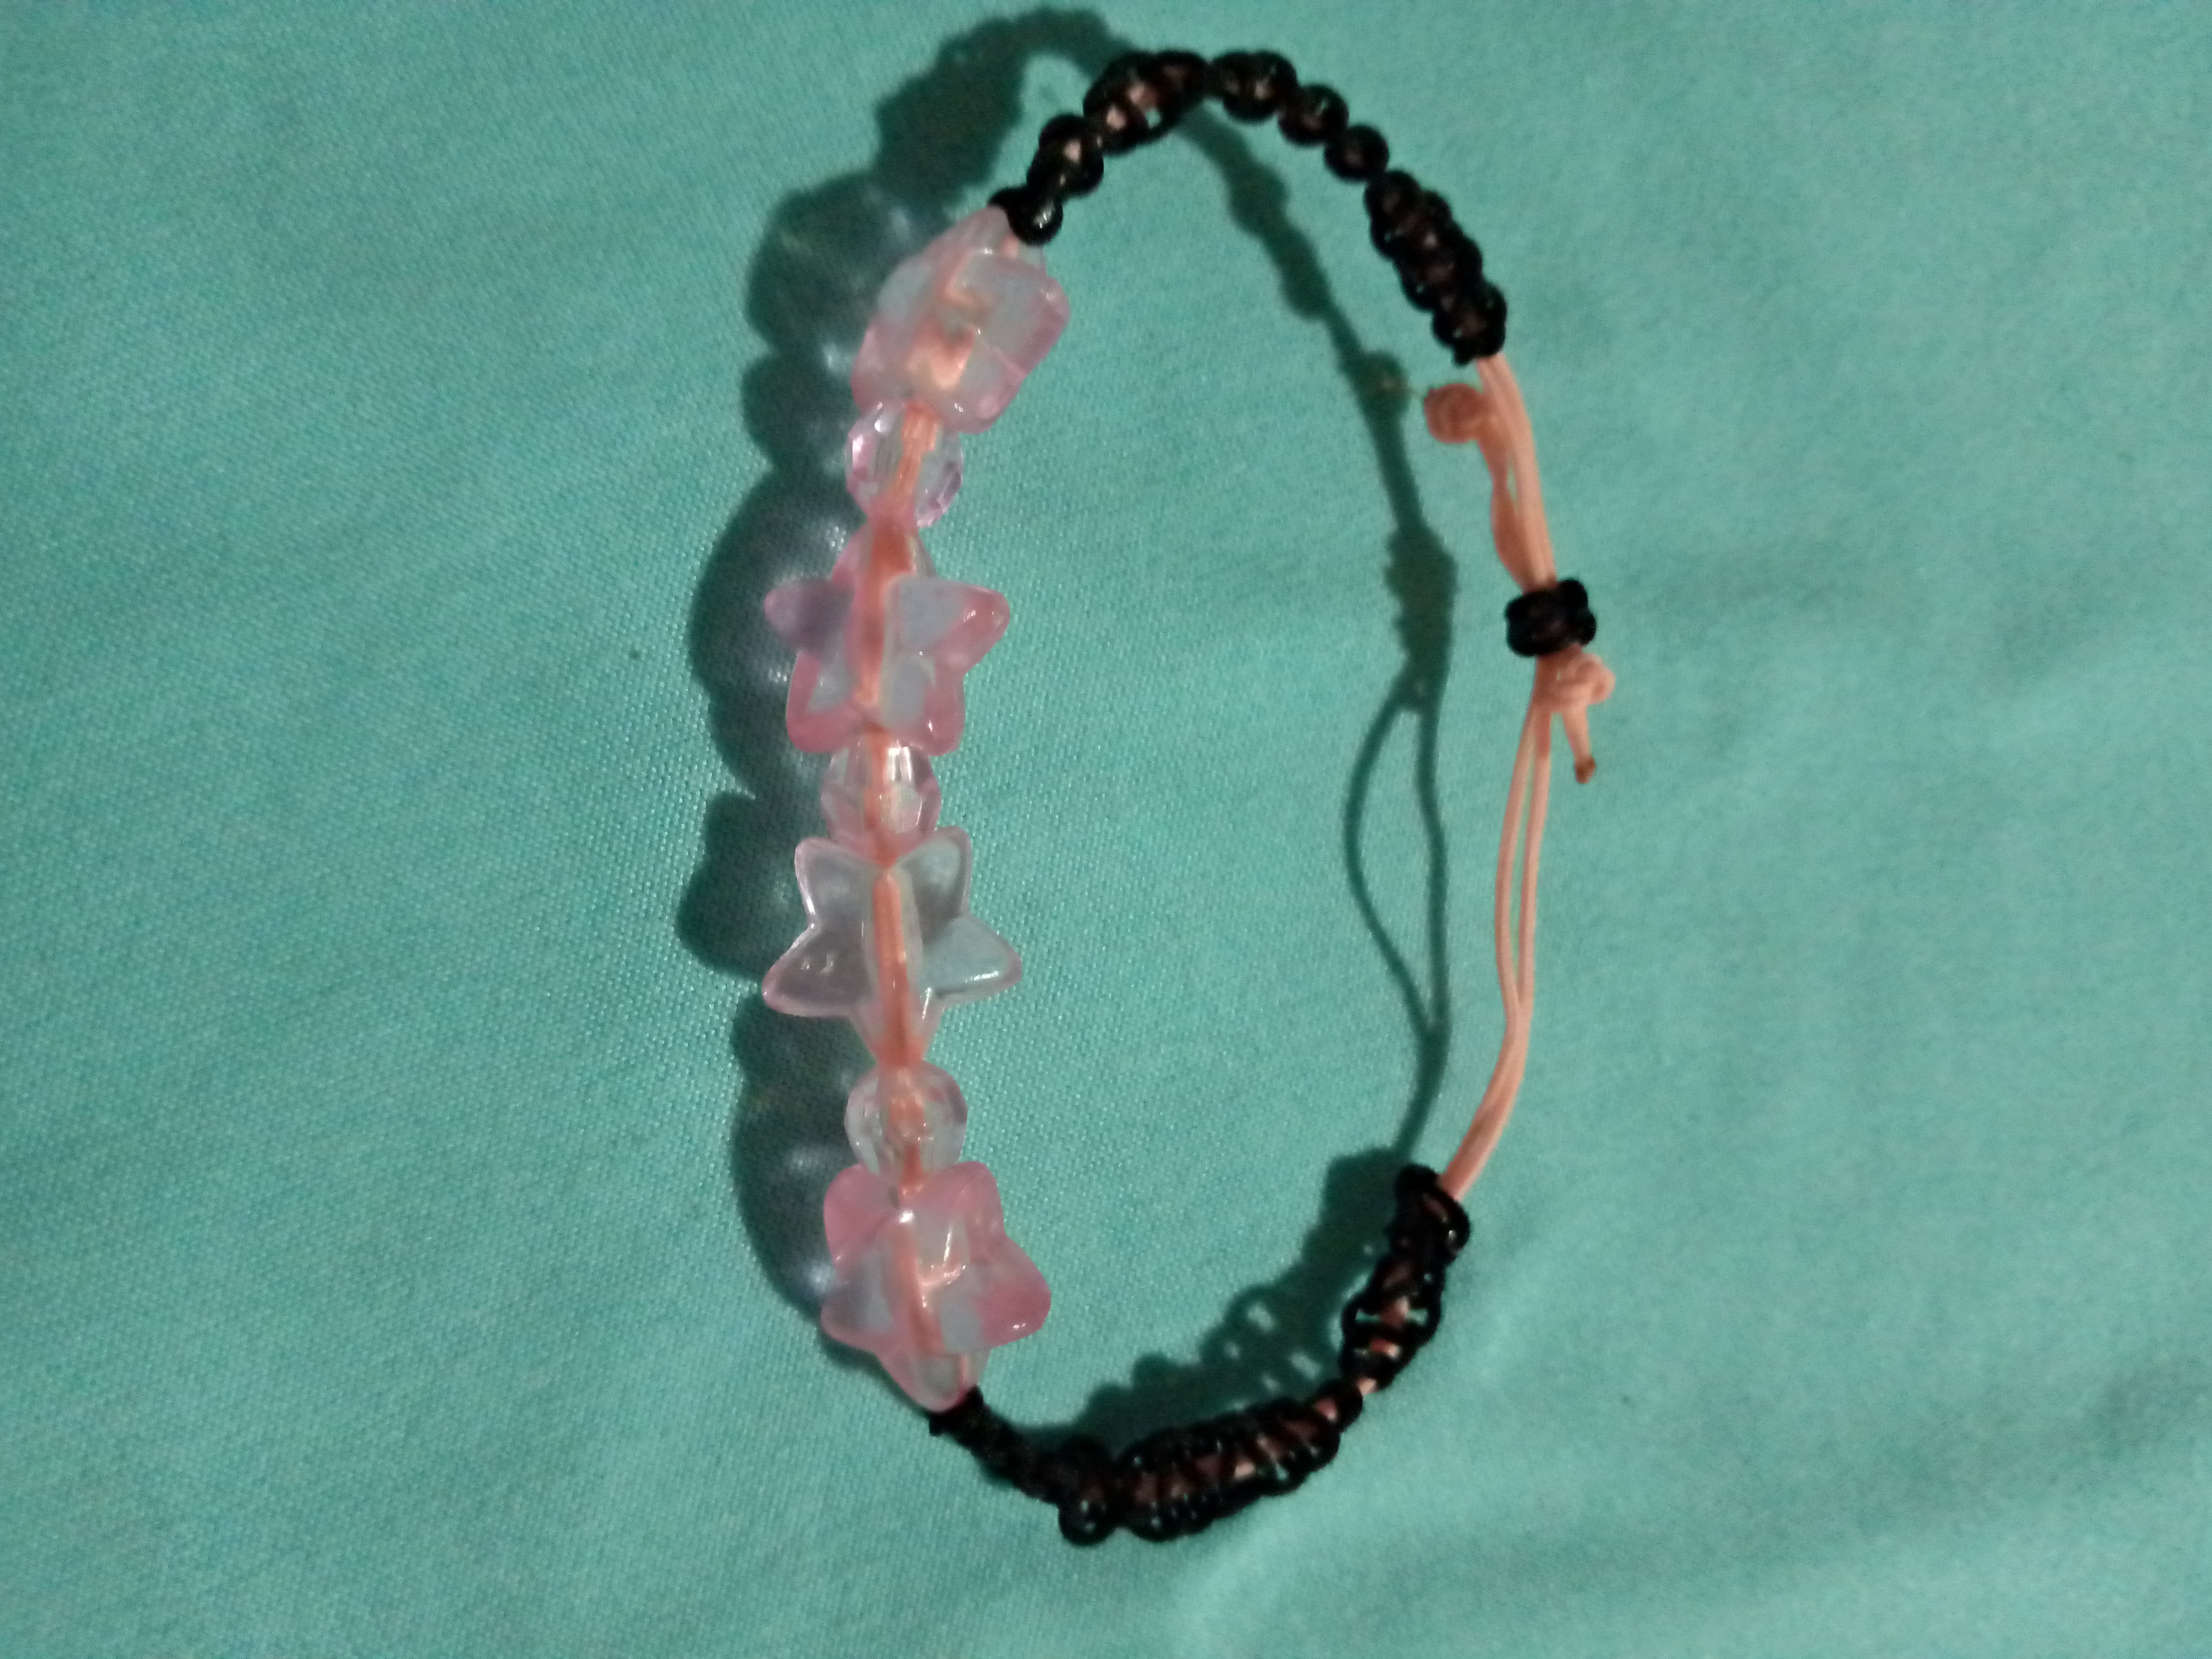
Qué opinan cómo quedó mi pulsera?
⭐ La foto las tomé de mi teléfono y son de mi propiedad.
⭐ Edité la foto en polish.
⭐ El traductor que me ayudó a traducir fue Deelp
Welcome friends to my Blog, I hope you are very well today this is one of the second publication in the community of Jewelry I came to the community through my sister and I want to be a little more active I really like to make accessories and I also like the crafts and photos and I hope that little by little I will grow in hive.
Today I made a bracelet that is made with Chinese thread and I used some stars and crystals in pink color I'll tell you the materials I used and I'll explain how I made the bracelet.
- Board and hook
- Black Chinese thread
- Pink Chinese thread
- Four pink star-shaped stones
- Three pink crystals
- Scissors
- Lighter
- Blue cloth
1
The first thing I did was to put the yarns in position on a board along with a hook and I put a blue cloth that I have as a background to give a clean presentation.
Once the yarns are ready to start the first weaving we make sure that everything is ready.
2
Now we are going to use the black chinese thread which is the one we are going to use to weave the fabric. The first thing we are going to do is to pass the thread under the two pink ones and make a normal knot like this.
3
Then we are going to form a p on the top with the thread on the right side and with the thread on the left side we are going to introduce it under the pink and black threads and we are going to tighten it so that it forms the weave.
4
We are going to make this one a little bit in the middle of the pink thread because in the center we are going to place some pink crystals and we are going to use the pink stars also and after that we are going to go to the next step.
5
We are going to begin to weave making the same steps first the knot then the p and finally the other thread we pass it under and the ones above and we make the no and this we are going to take it until we have the same measure of the other one then with the scissors we cut and with the lighter we burn the remains of threads that are left.
When we are using the lighter we have to be very careful because if we overheat or fire can not burn the rest of the bracelet.
6
Now with another piece of black thread to make the clasp of the bracelet we are going to use the same technique three times in a row then we are going to cut and burn the tip of the thread and thus we finish our bracelet.
I hope you like it soon I will be with you again I hope your comments greetings to all the family of jewelry and hive.
What do you think about how my bracelet turned out?
⭐ The photo I took them from my phone and they are my property.
⭐ I edited the photo in polish.
⭐ The translator who helped me translate was Deelp.