

[Esp]
¡Saludos comunidad DIY!
Con este ya tengo mi segundo arbolito artesanal para lucirlo ne mi mesita de la sala. Lucen adorables junto a mi elefante rojo, se ve armonía de color. Aun no pongo mi árbol de navidad, no he estado de ánimos dado a todo el estrés que he venido cargando durante estos dos últimos meses. Sin embargo, he estado haciendo una manualidades que se ven como si fueran comparadas y me agrada, ya que rara vez algo me queda prolijo. Tengo pendiente hacer un arreglo floral para mi mesa grande del comedor, con los mismos colores para mantener la armonía, me encantaría aplicar la misma temática de color en el árbol de navidad, eso requiere de dinero. A ver cómo va esta última semana.
Espero les guste, es muy country y combina con el estilo de mis muebles de madera.
! [English version]
Greetings DIY community!
With this one I already have my second handmade tree to show it off on my living room table. They look adorable next to my red elephant, it looks like a harmony of color. I haven't put up my Christmas tree yet, I haven't been in the mood due to all the stress I've been carrying during the last two months. However, I have been doing some crafts that look as if they were compared and I like it, since I rarely do anything neat. I have yet to make a floral arrangement for my large dining room table, with the same colors to keep the harmony, I would love to apply the same color theme to the Christmas tree, that takes money. Let's see how this last week goes.
I hope you like it, it is very country and matches the style of my wooden furniture.

Materiales / Materials

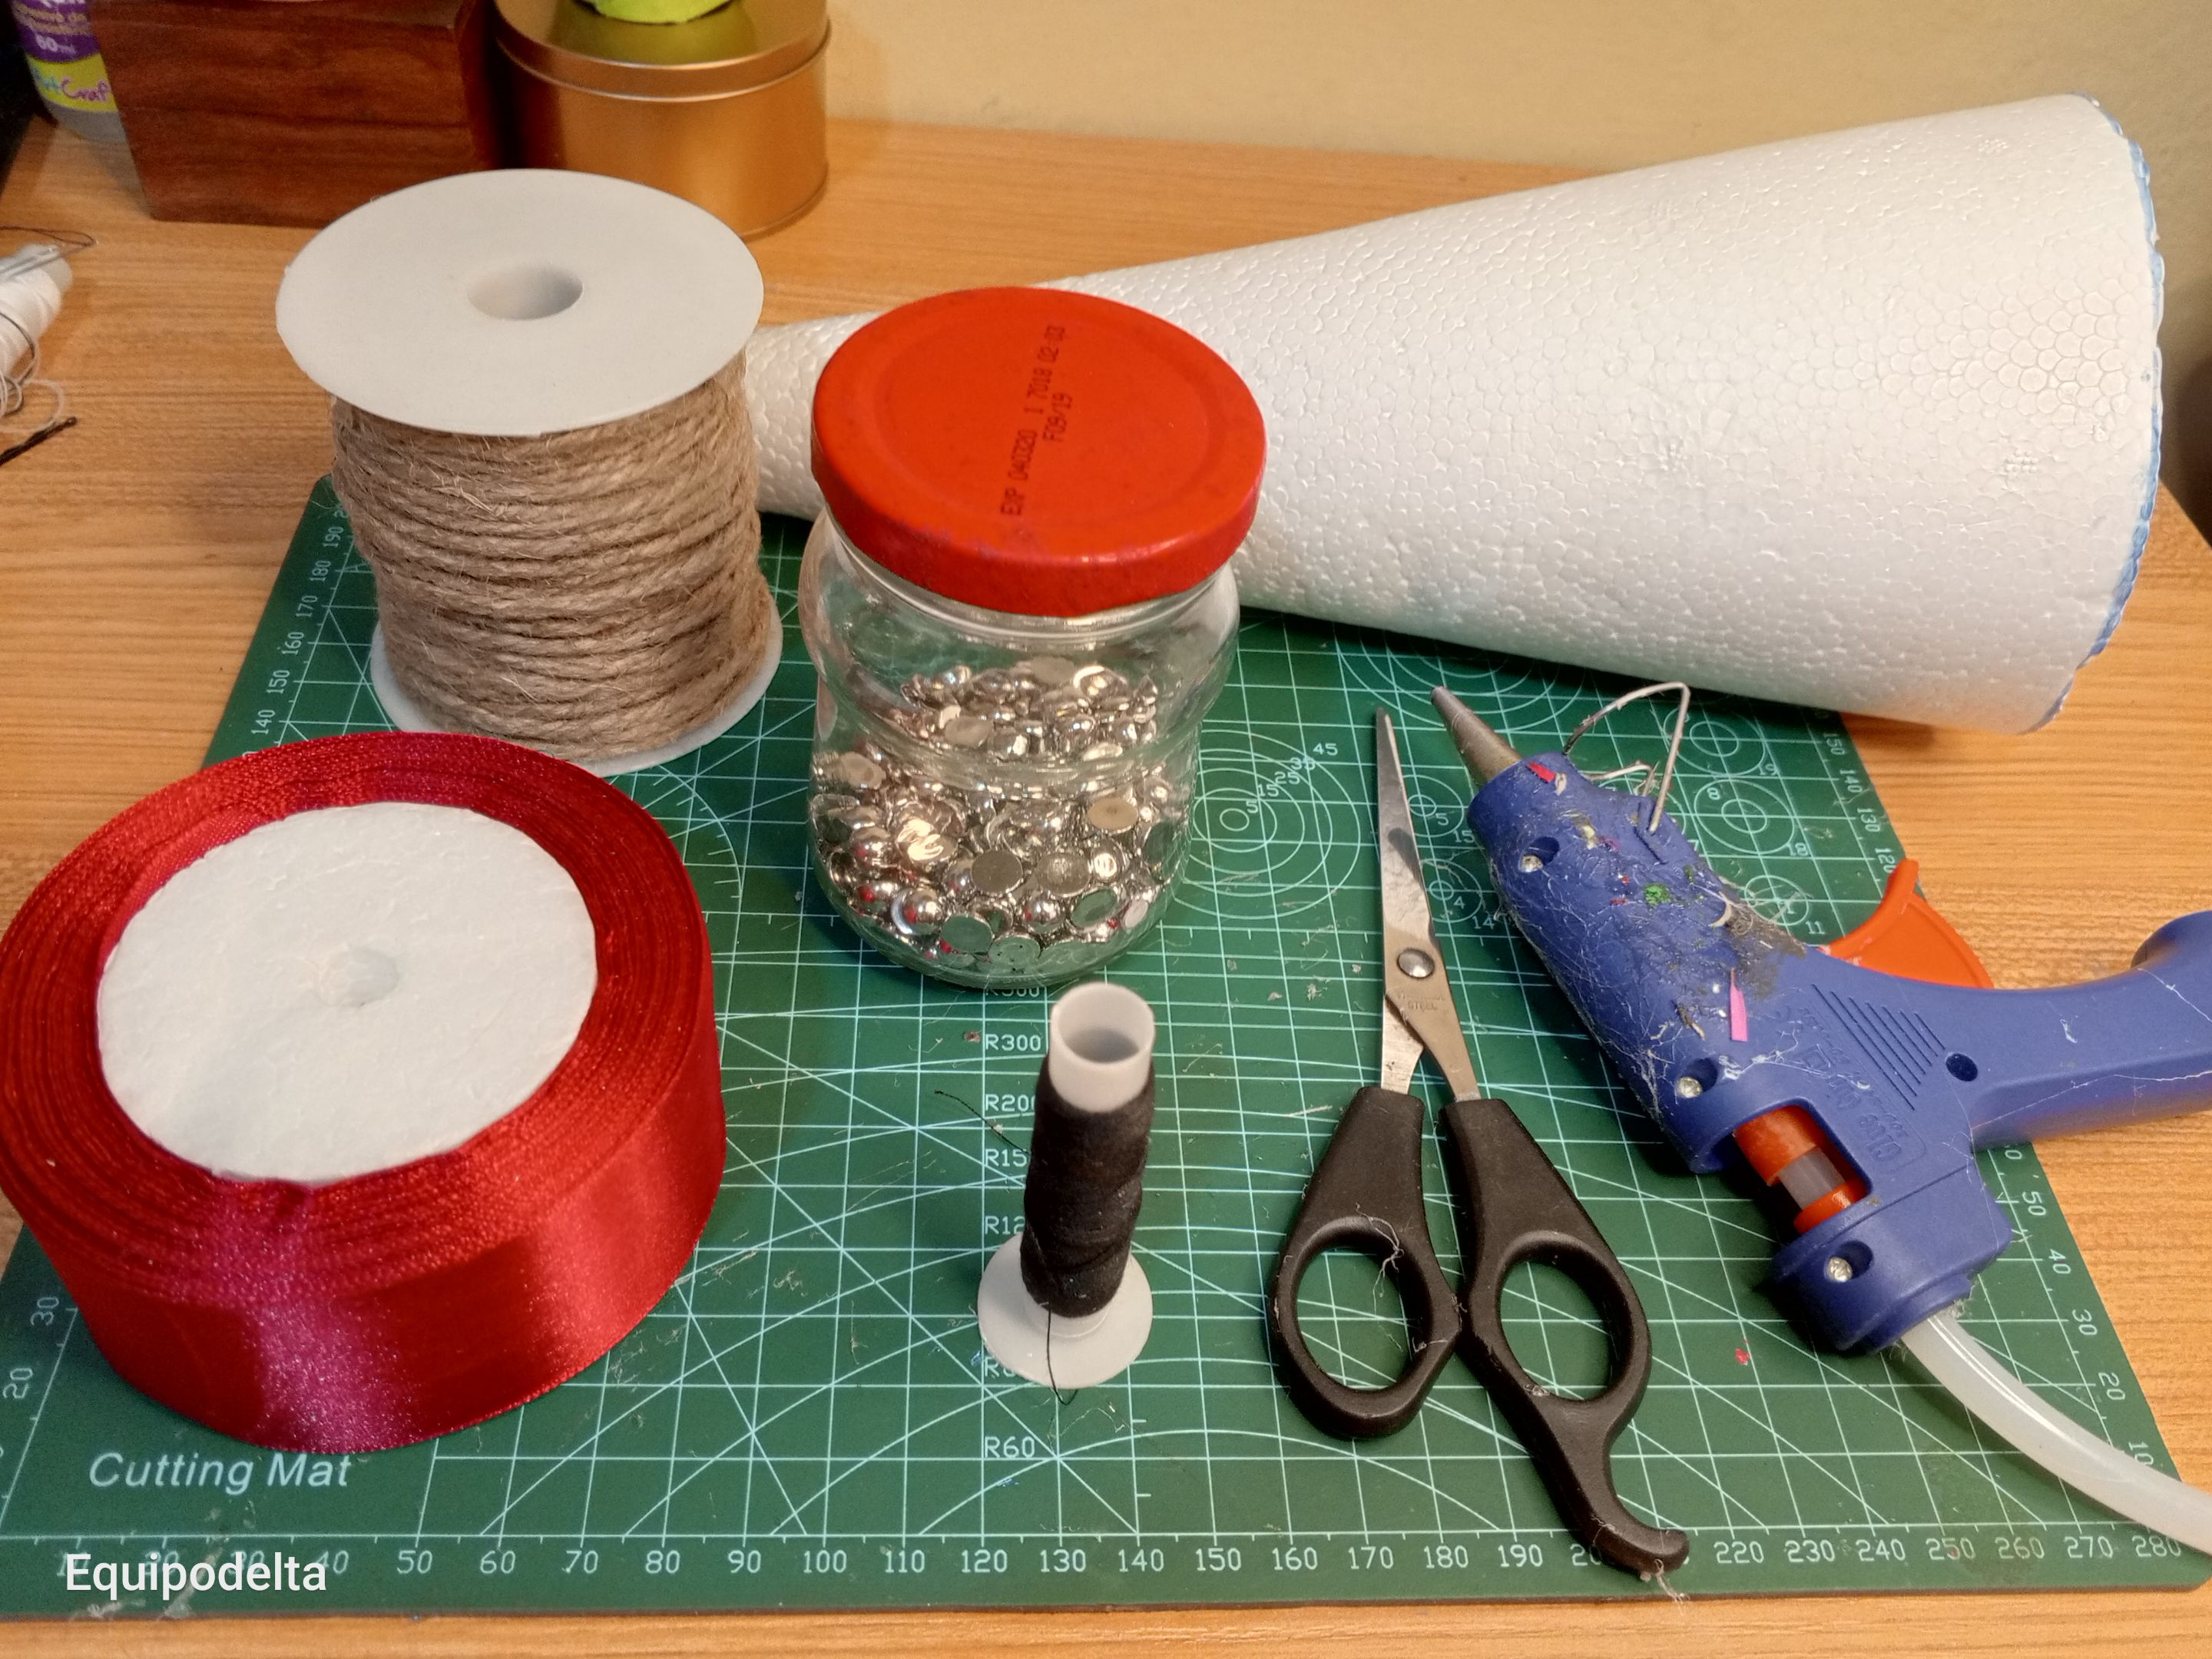
| Spanish | English | |
| Cono de anime | Anime cone | |
| Yute | Jute | |
| Tijera | Scissors | |
| Hilo | Thread | |
| Media perla color plateado | Silver-colored half pearl | |
| Cartulina dorada | Gold cardboard | |
| Silicón caliente | Hot Silicone | |
| Cinta de raso N°9 | Satin ribbon N°9 |


Paso a paso / Step by Step


Step 1️⃣/ Paso 1️⃣
 |  |
[Esp]
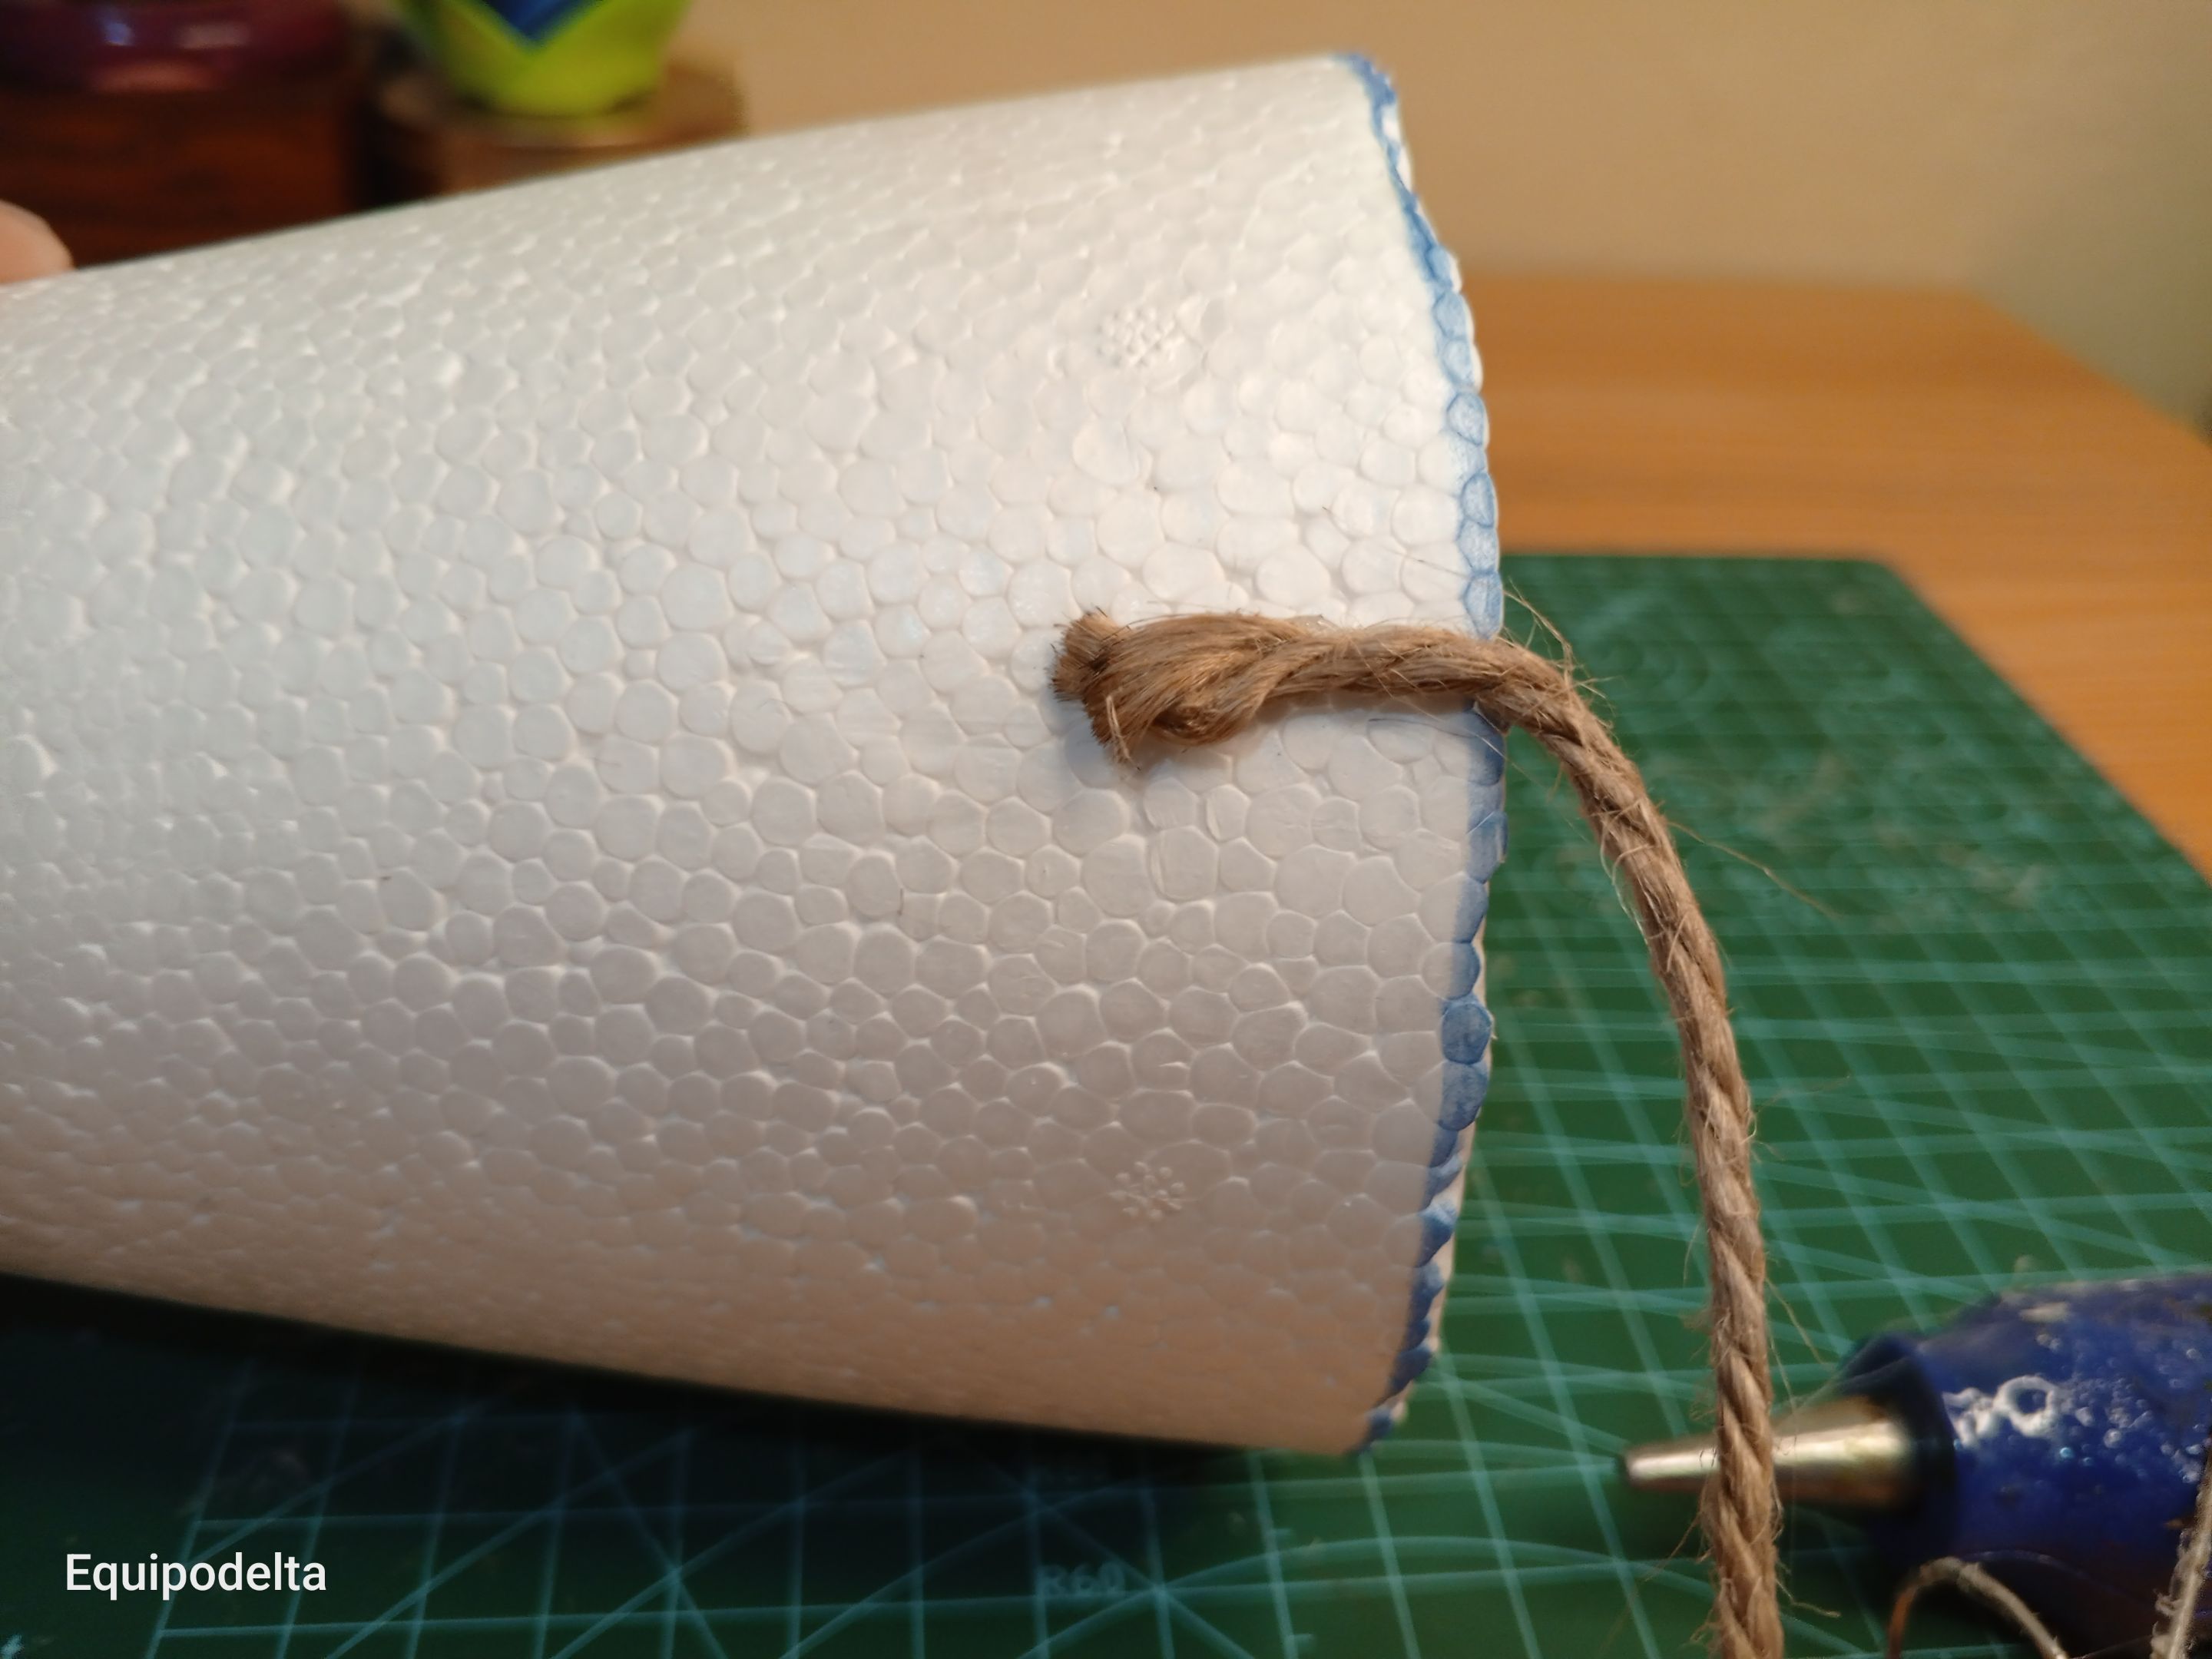
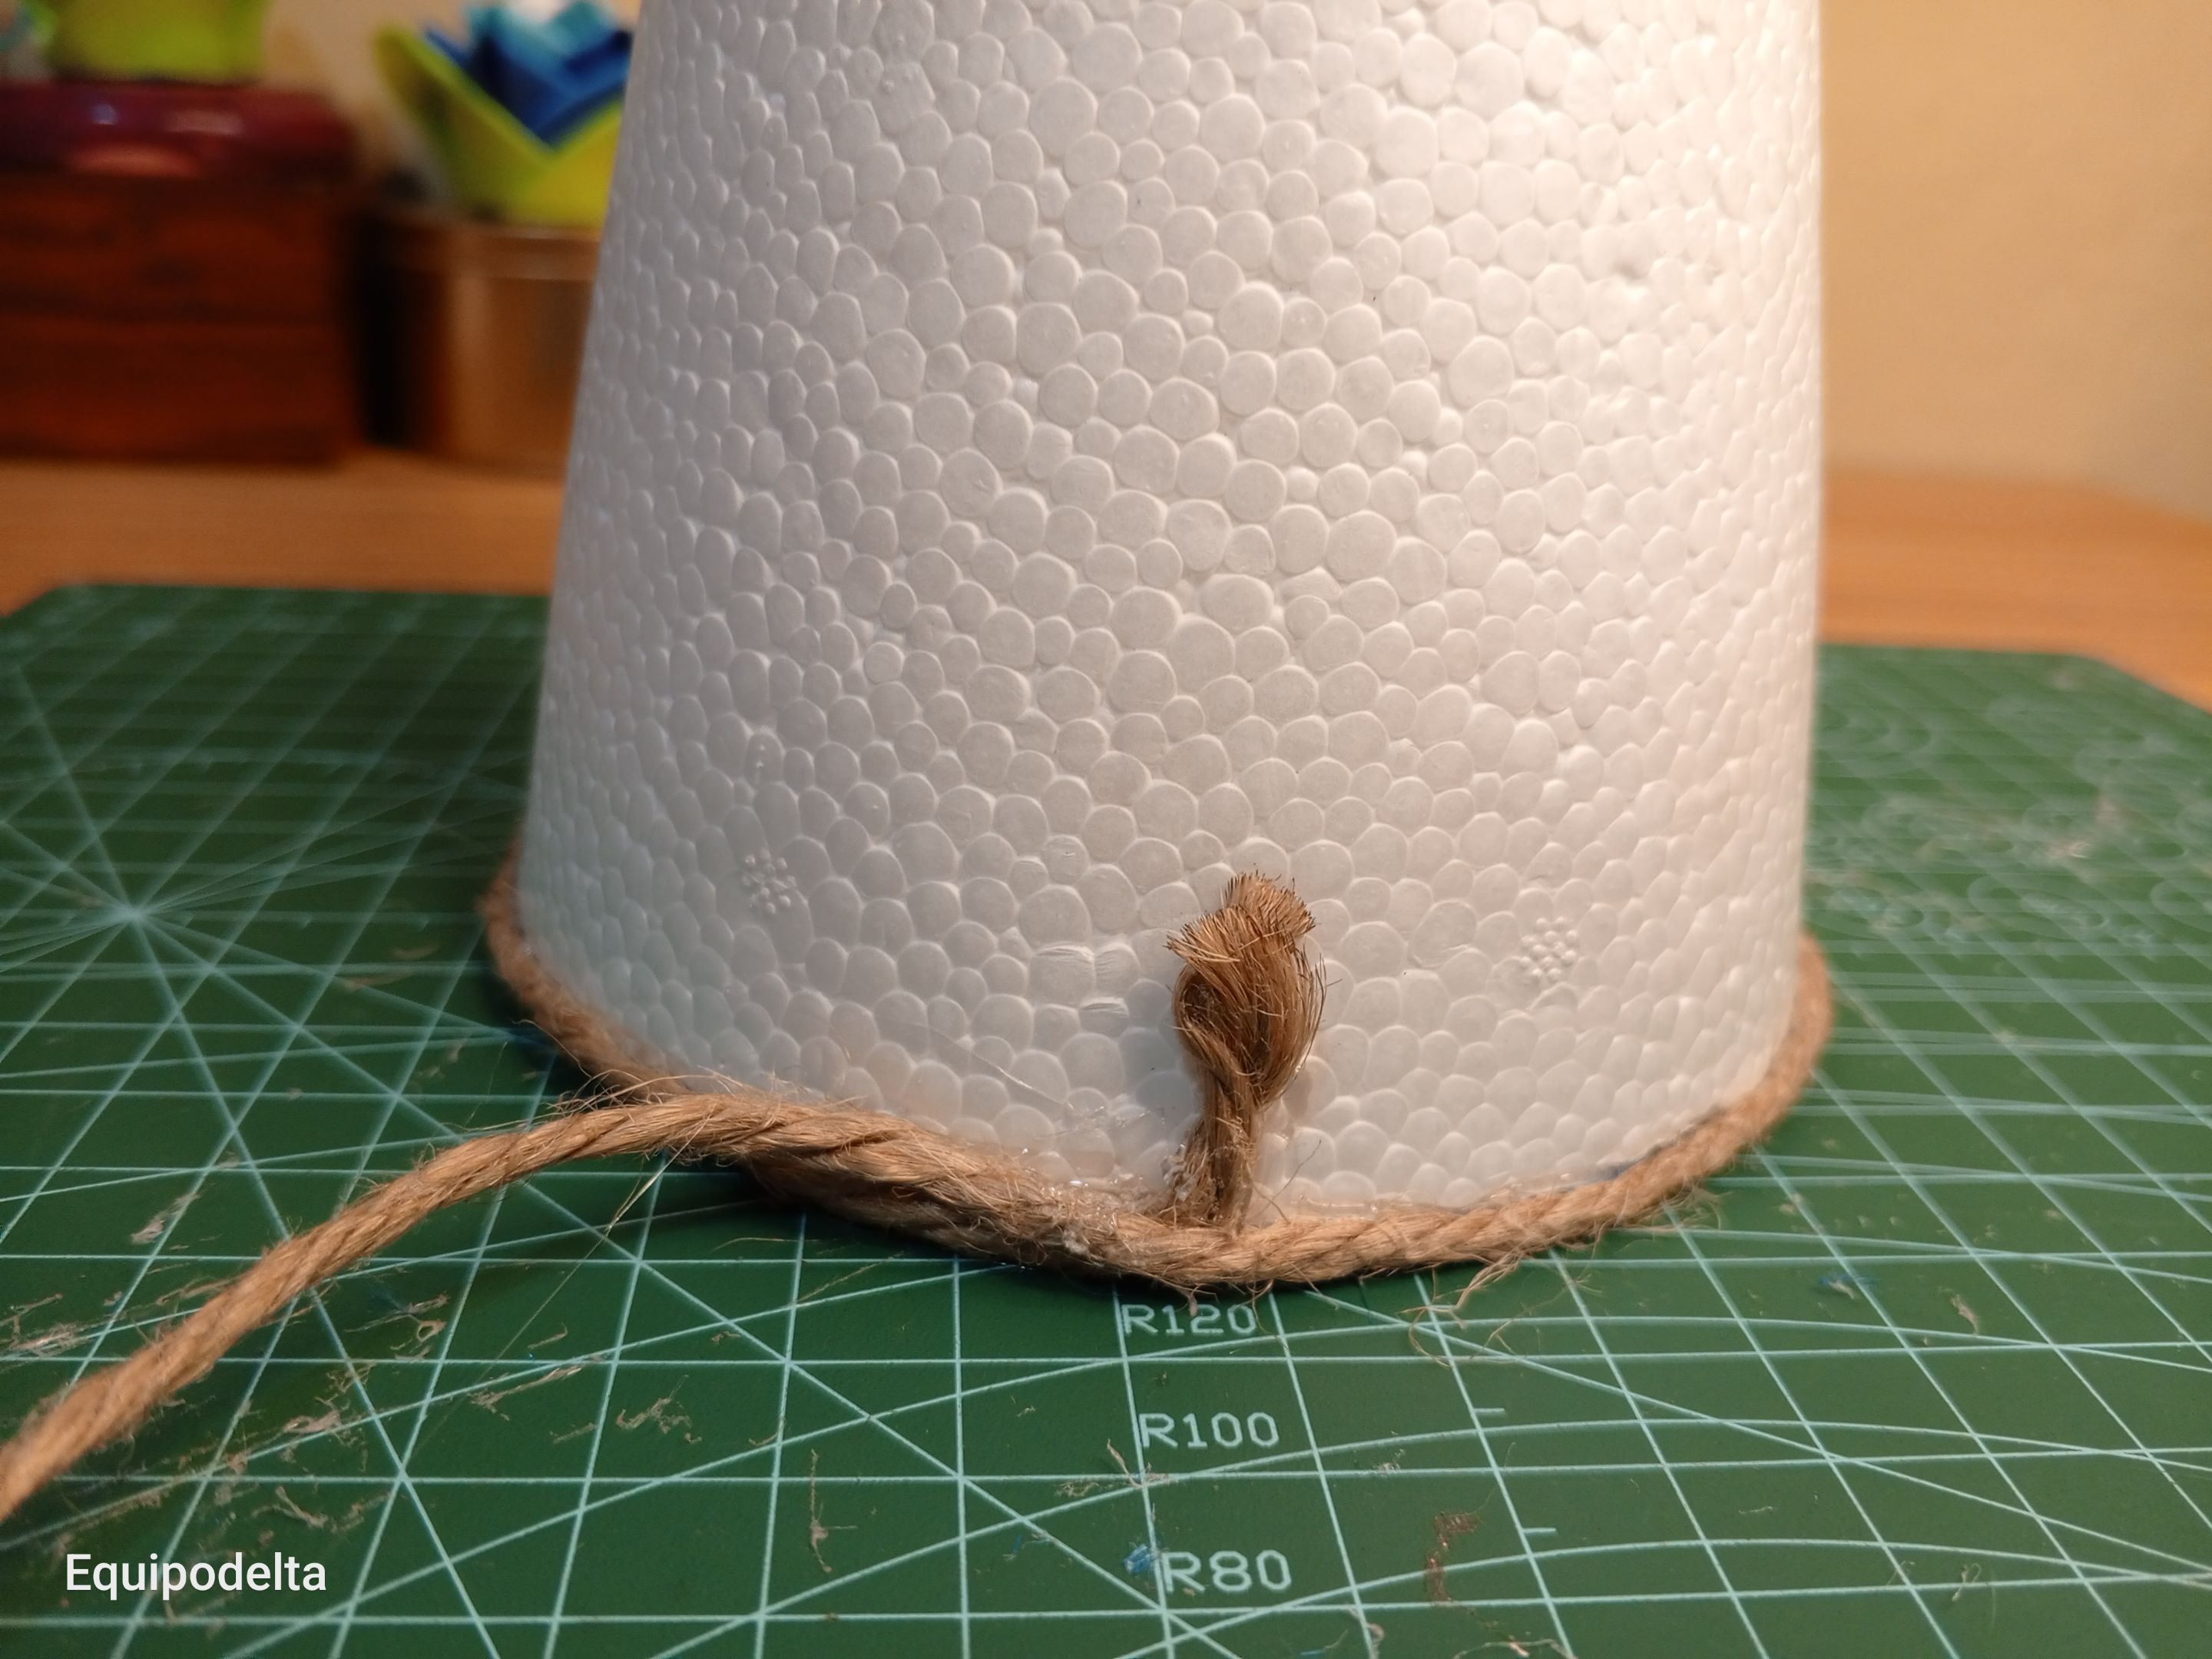
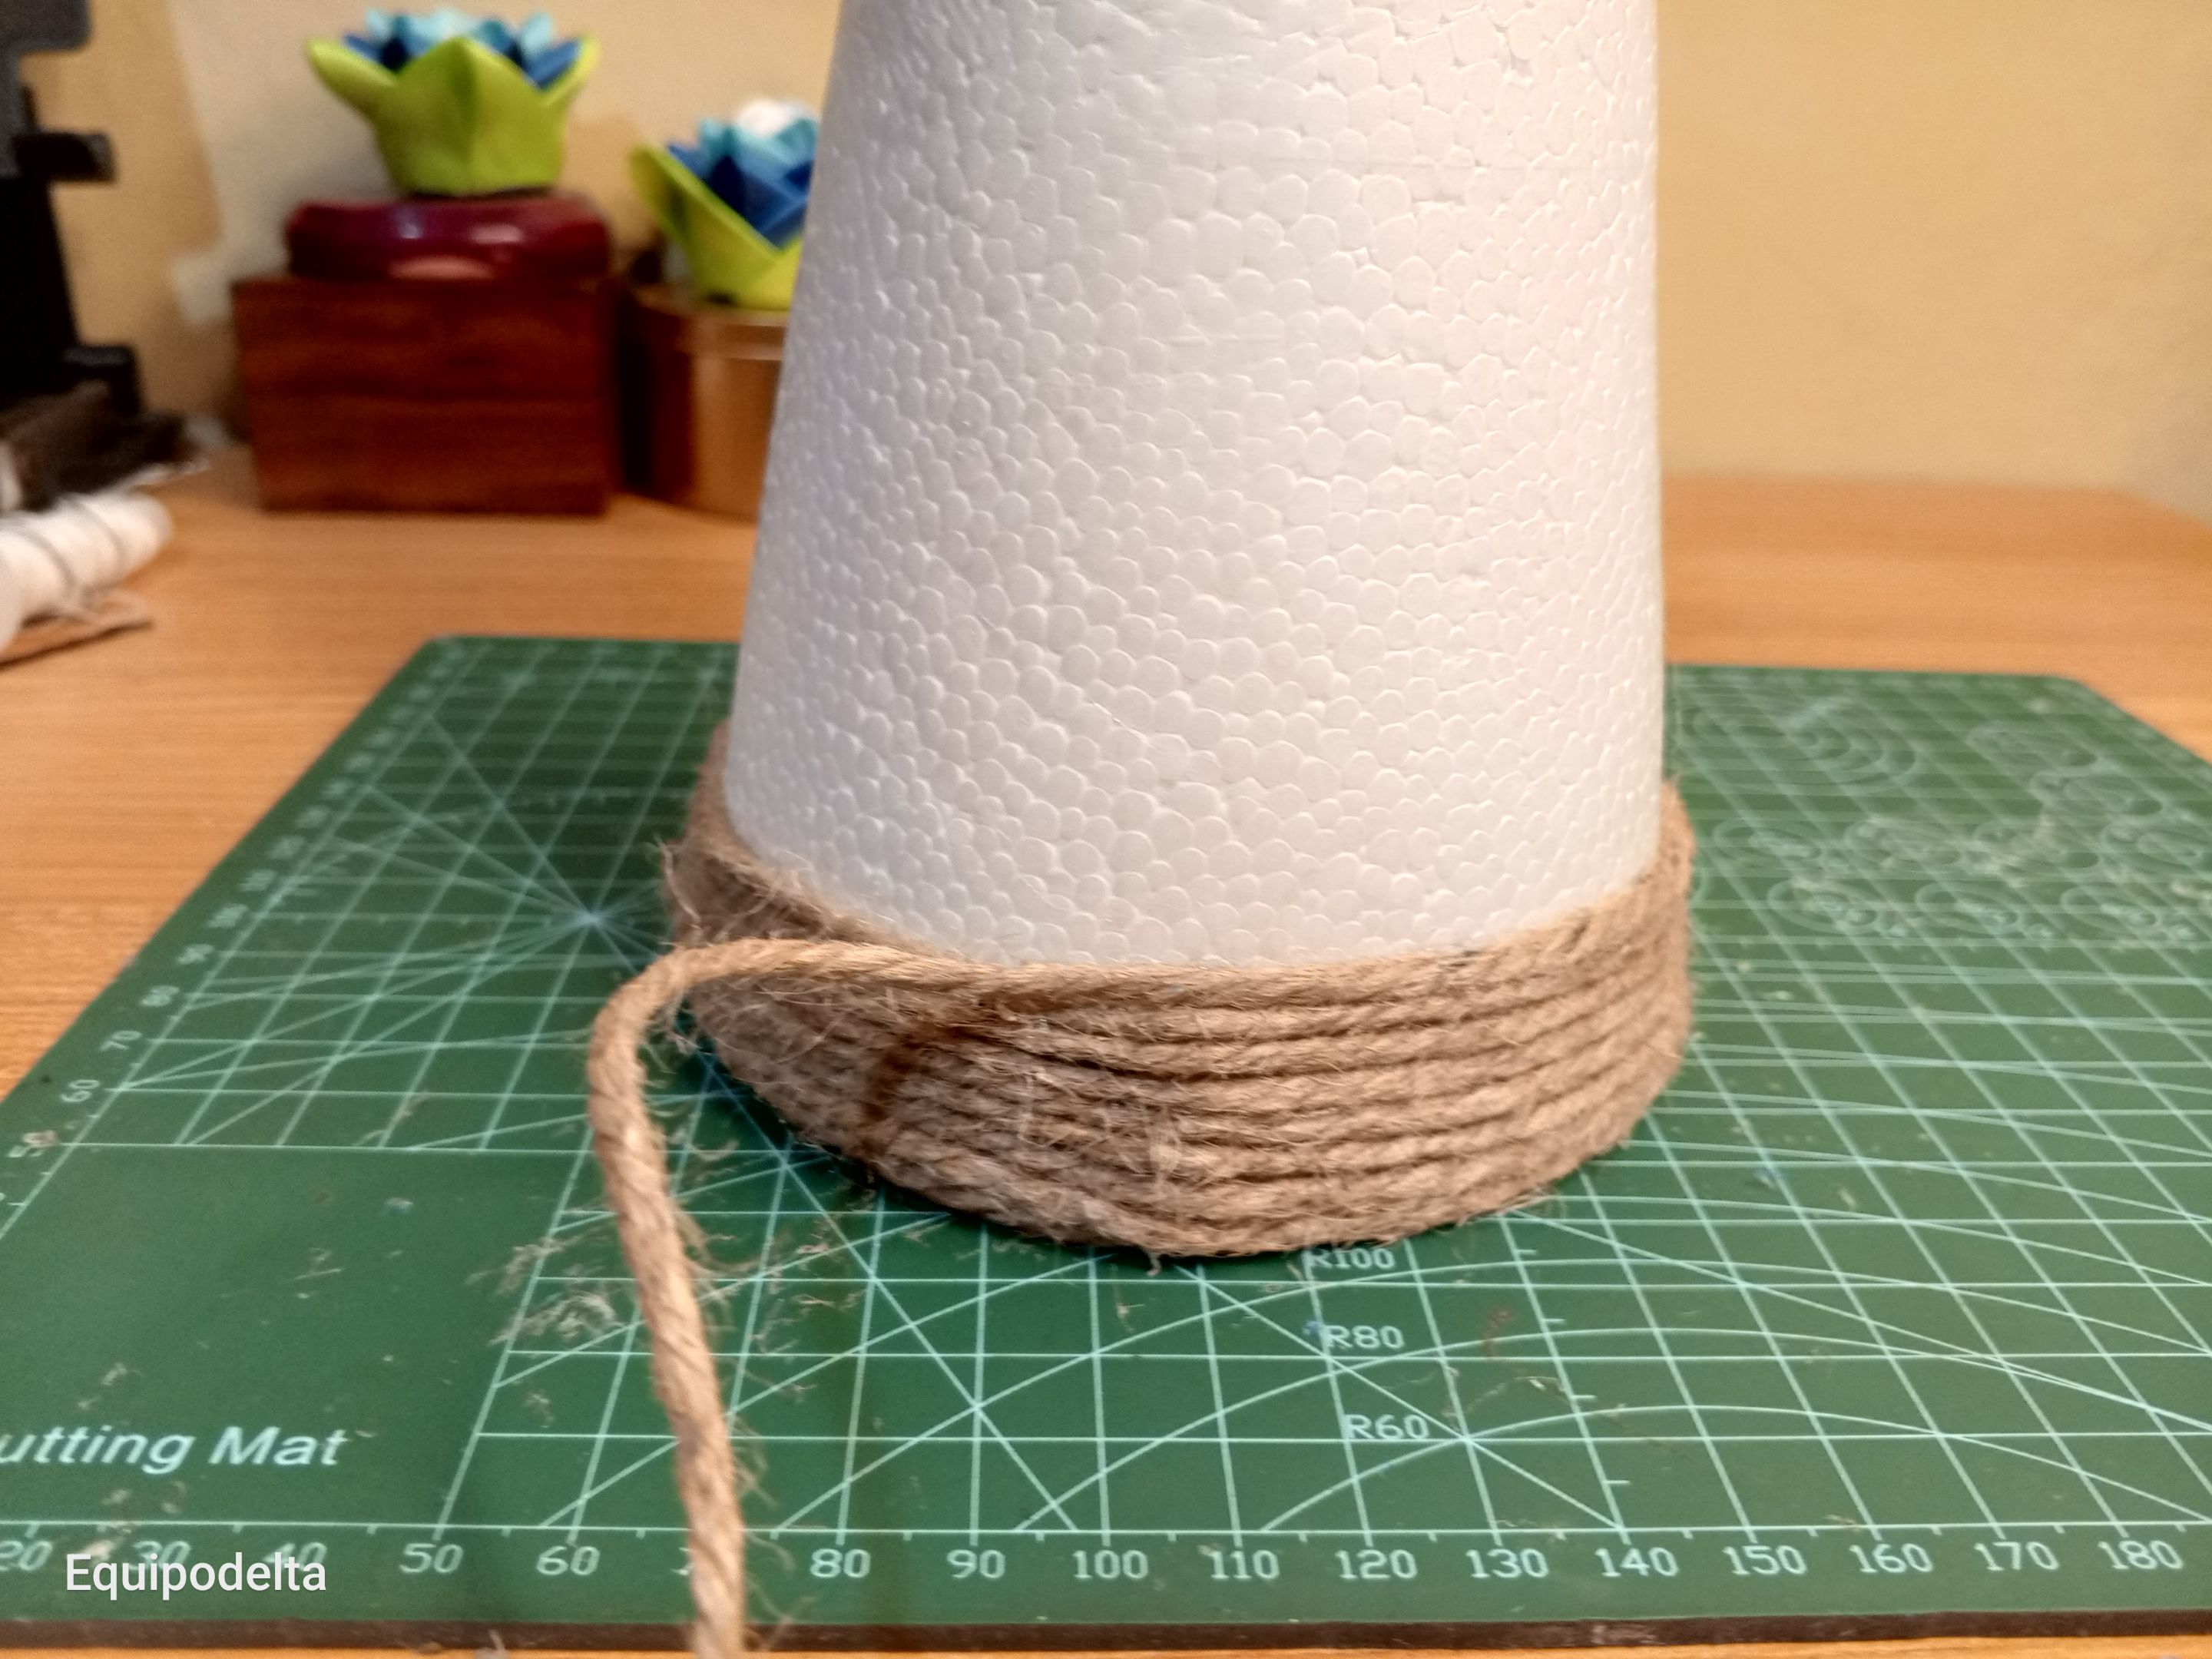
Los pasos son simples y fácil de hacer. Se trata de forrar el cono con el yute. para que quede fijo recomiendo colocar la punta del yute como muestra la imagen, aplica pegamento y comienza a dar vueltas el yute en el cono.
! [English version]
The steps are simple and easy to do. I recommend to place the tip of the jute as shown in the picture, apply glue and start twirling the jute around the cone.

Step 2️⃣/ paso 2️⃣

 |  |
[Esp]
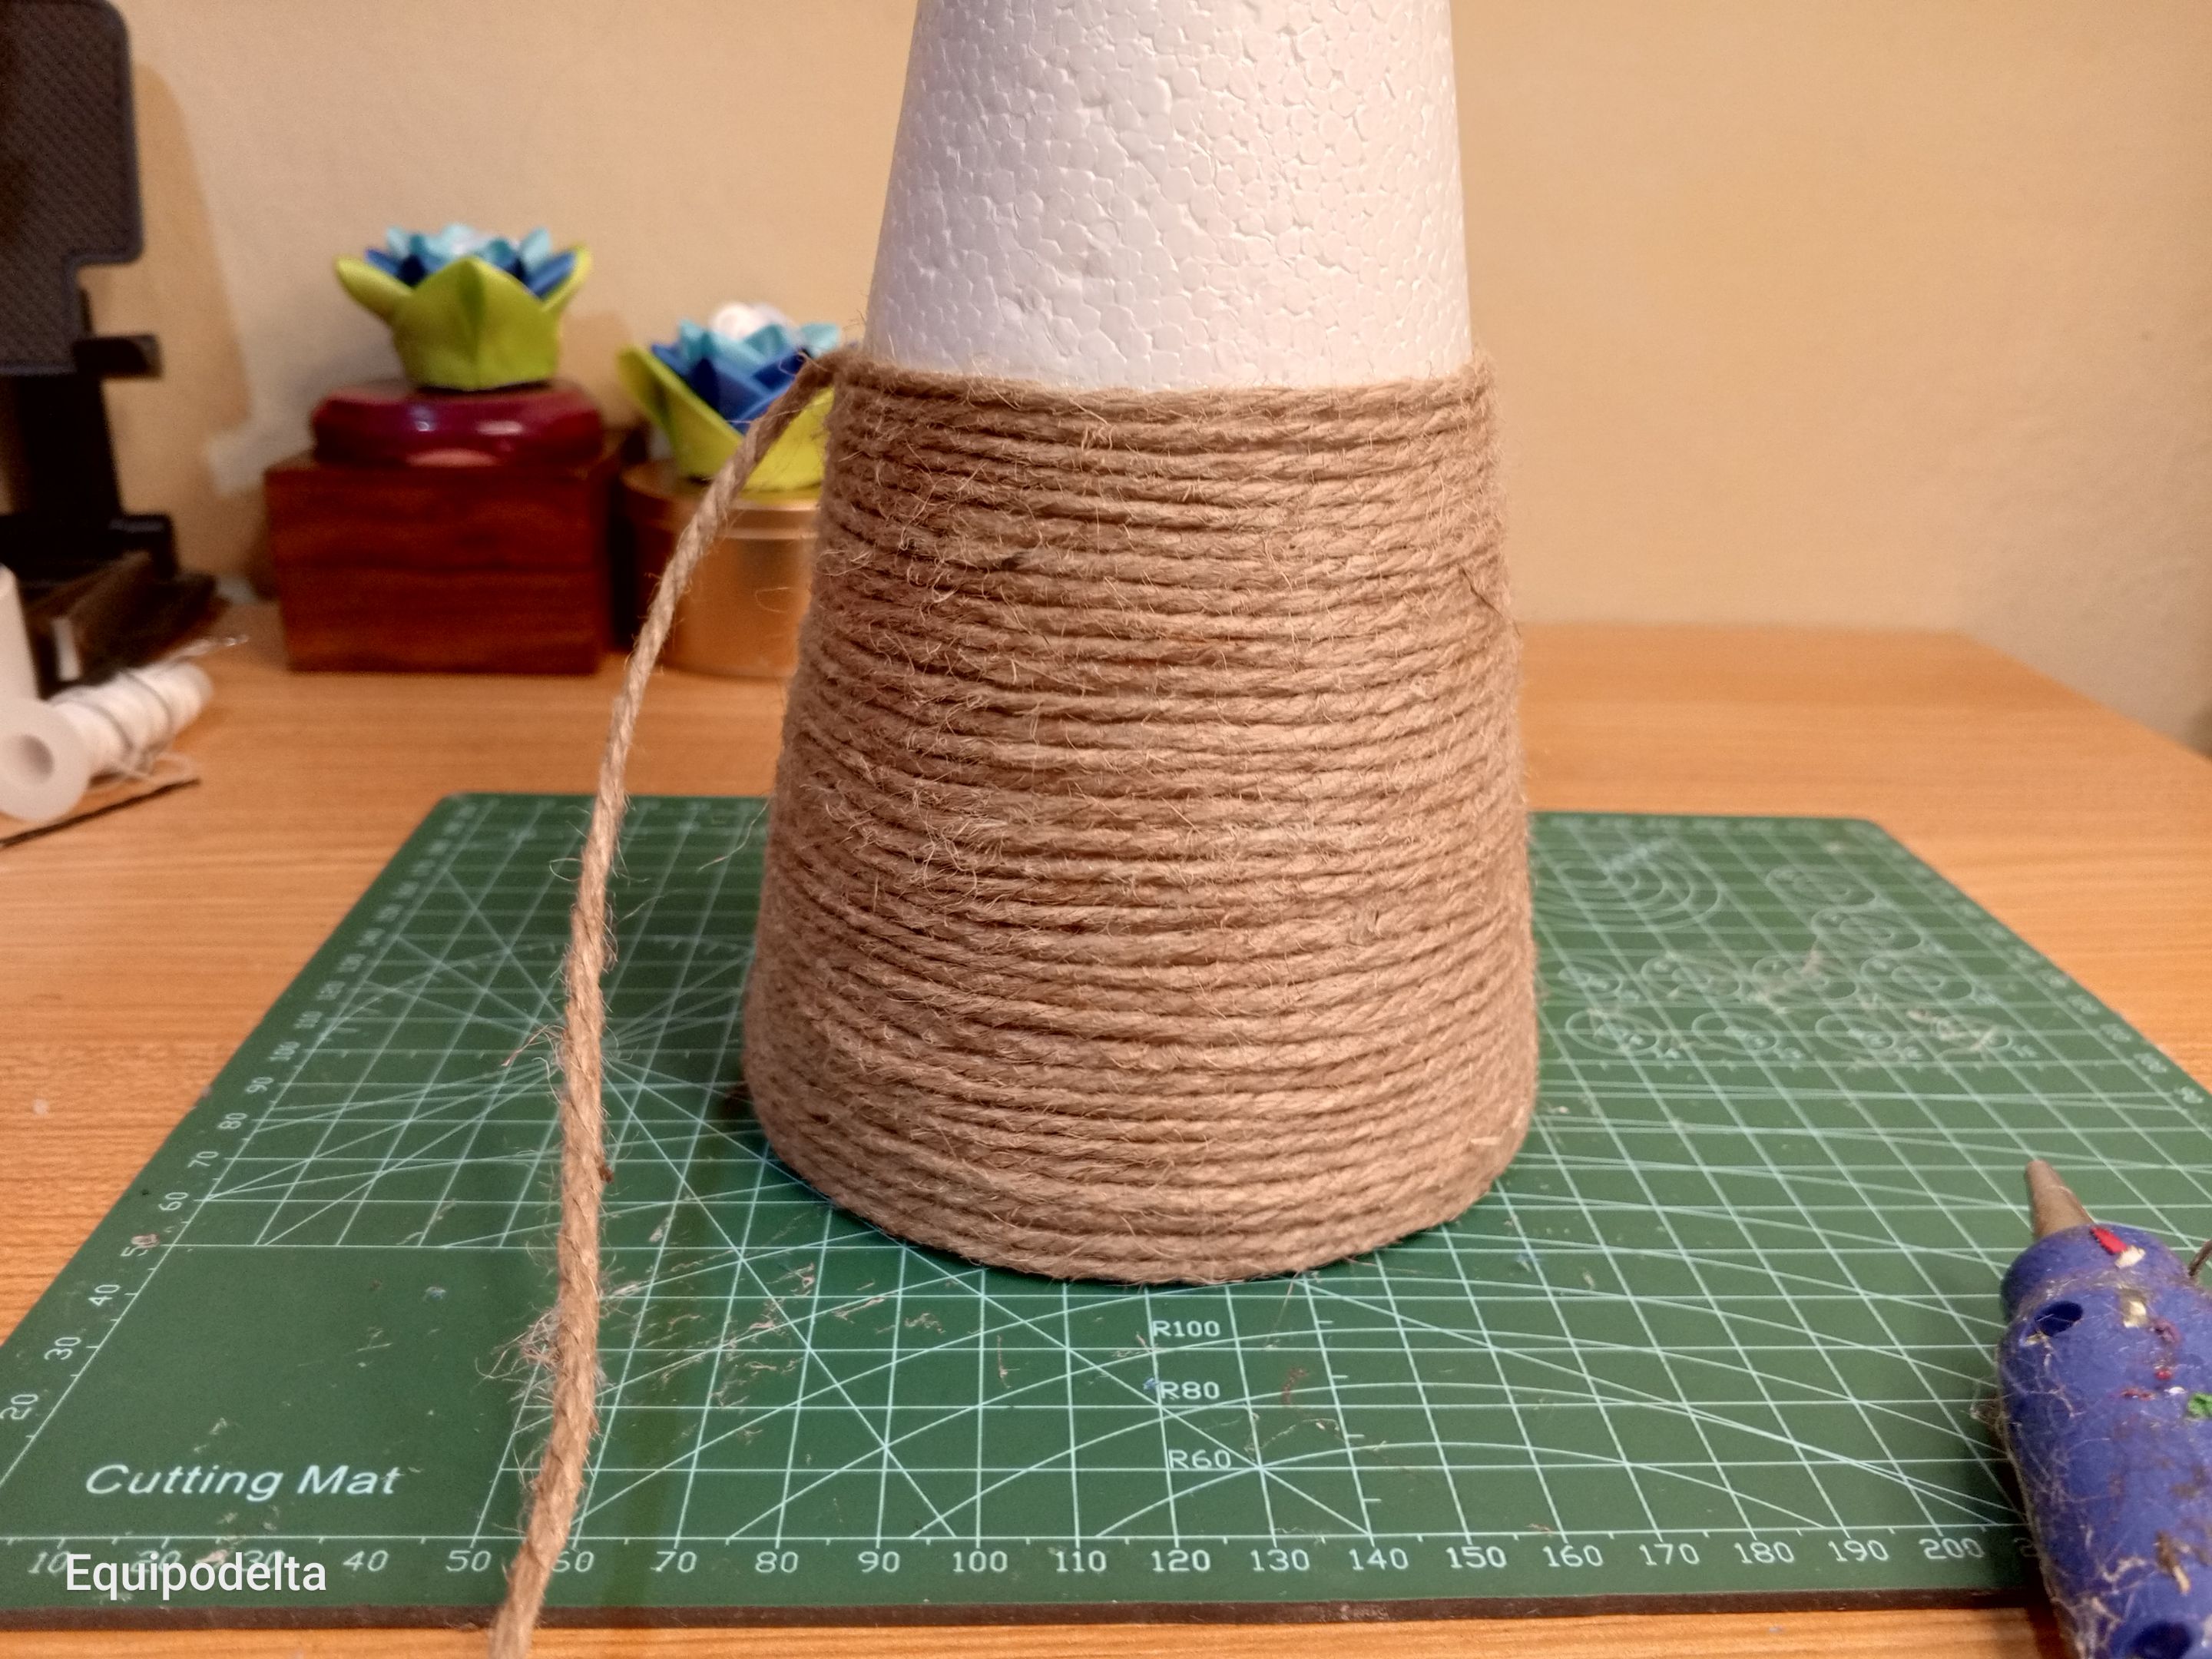
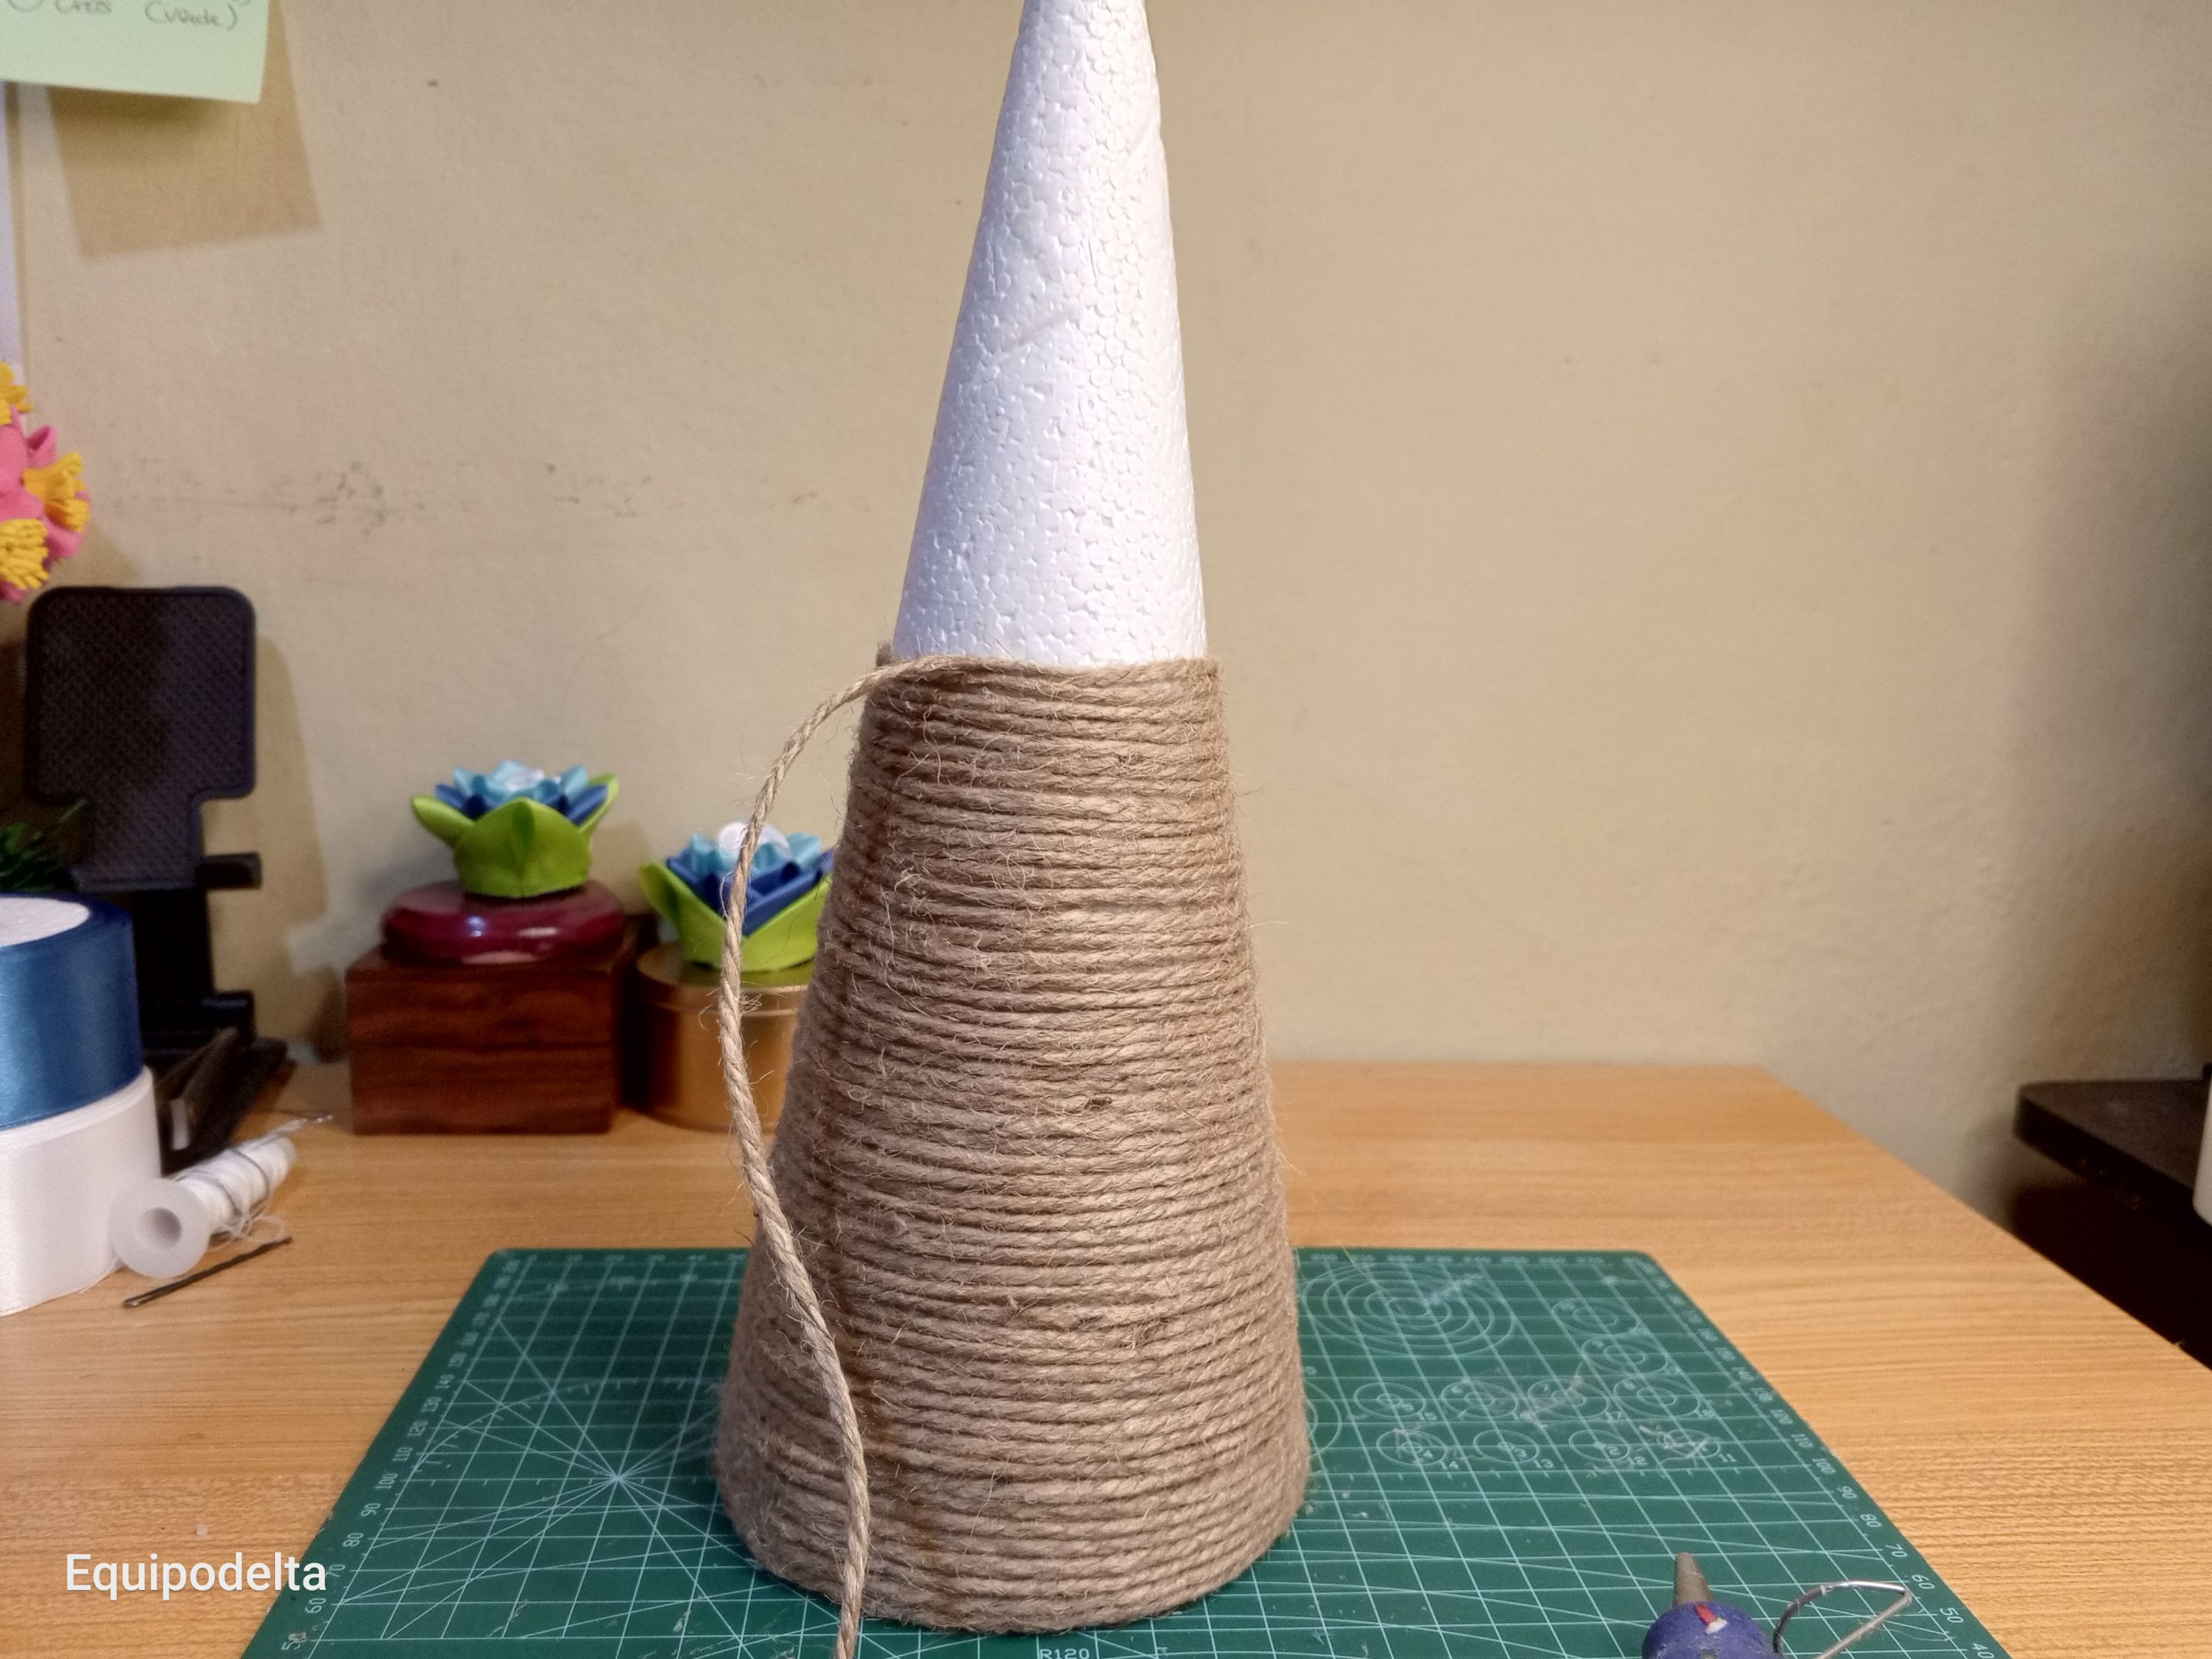
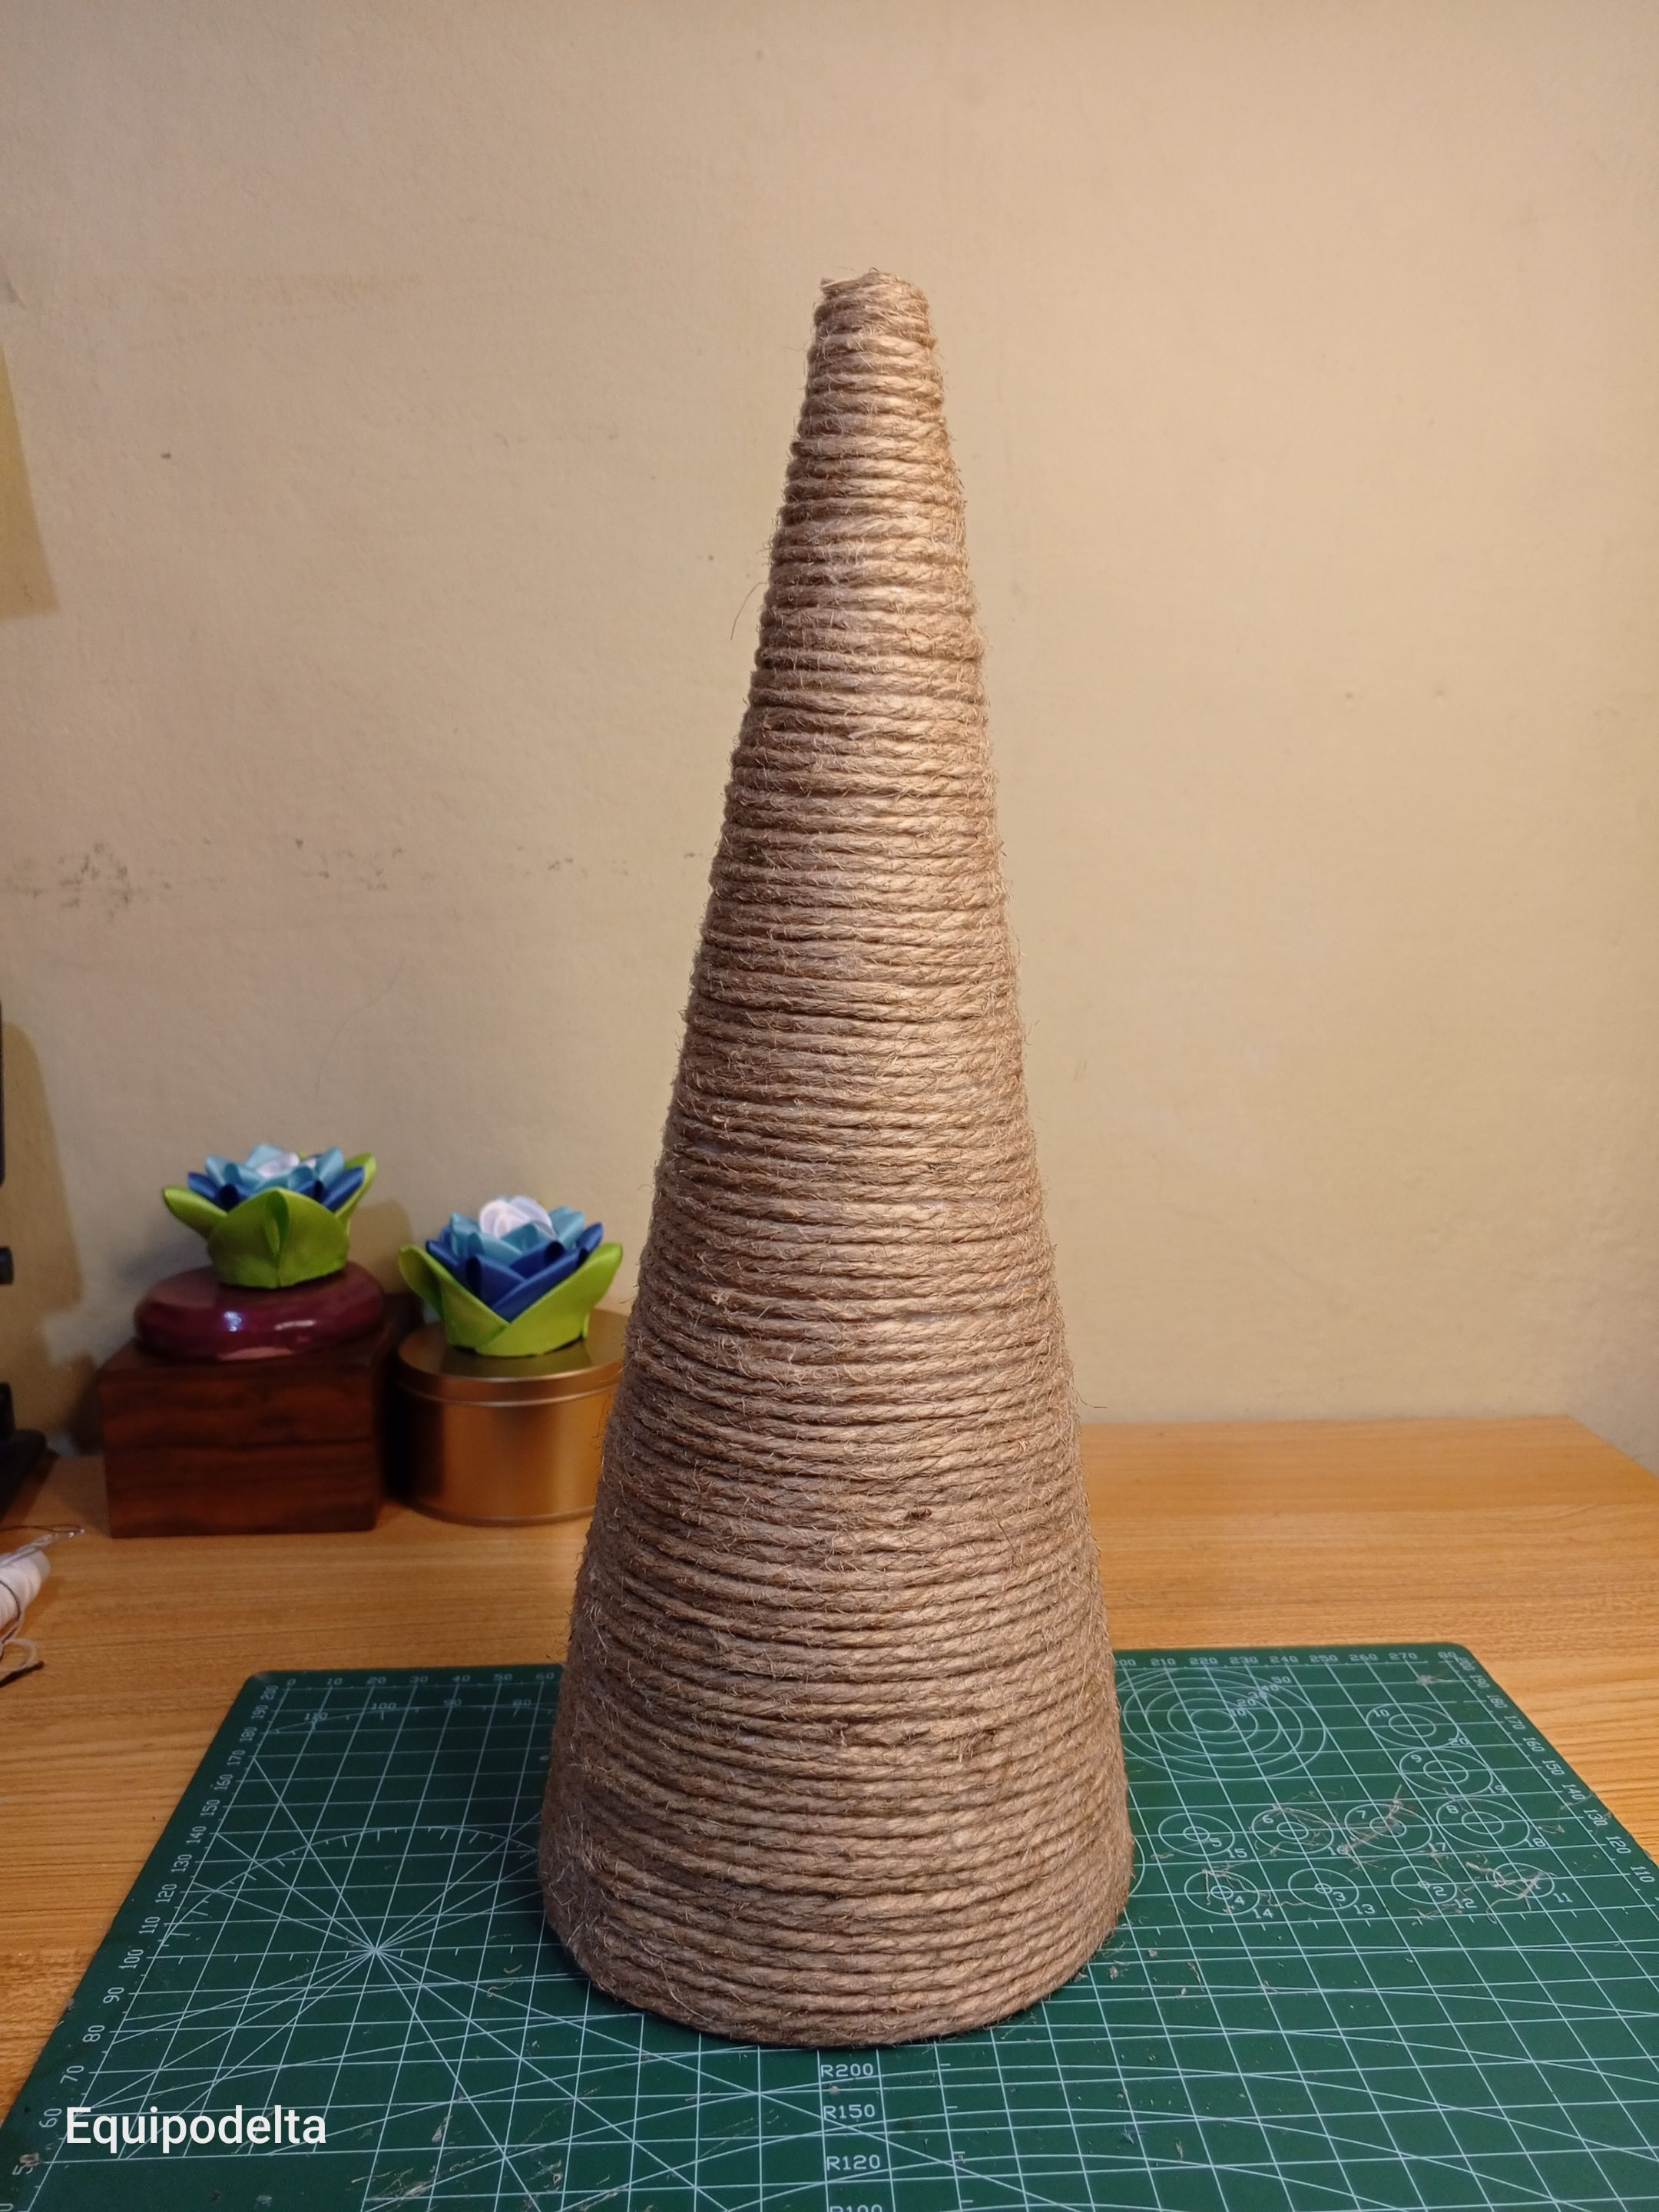
Aplica el pegamento al rededor del cono y luego el yute.
Puedo decir que forrar el cono fue algo terapéutico para mí y mi situación de estrés. Esta parte la disfruté mucho y me lo tomé con mucha calma.
Cuando forres el cono asegúrate que cubras todos los espacios con el yute y no se vea el cono, lo puedes forrar como quieras, yo lo hice de forma ordenada.
! [English version]
Apply the glue around the cone and then the jute.
I can say that lining the cone was therapeutic for me and my stressful situation. I really enjoyed this part and took it very easy.
When you line the cone make sure you cover all the spaces with the jute and the cone is not visible, you can line it however you want, I did it in an orderly fashion.

Step 3️⃣/ paso 3️⃣

 |  |  |
[Esp]
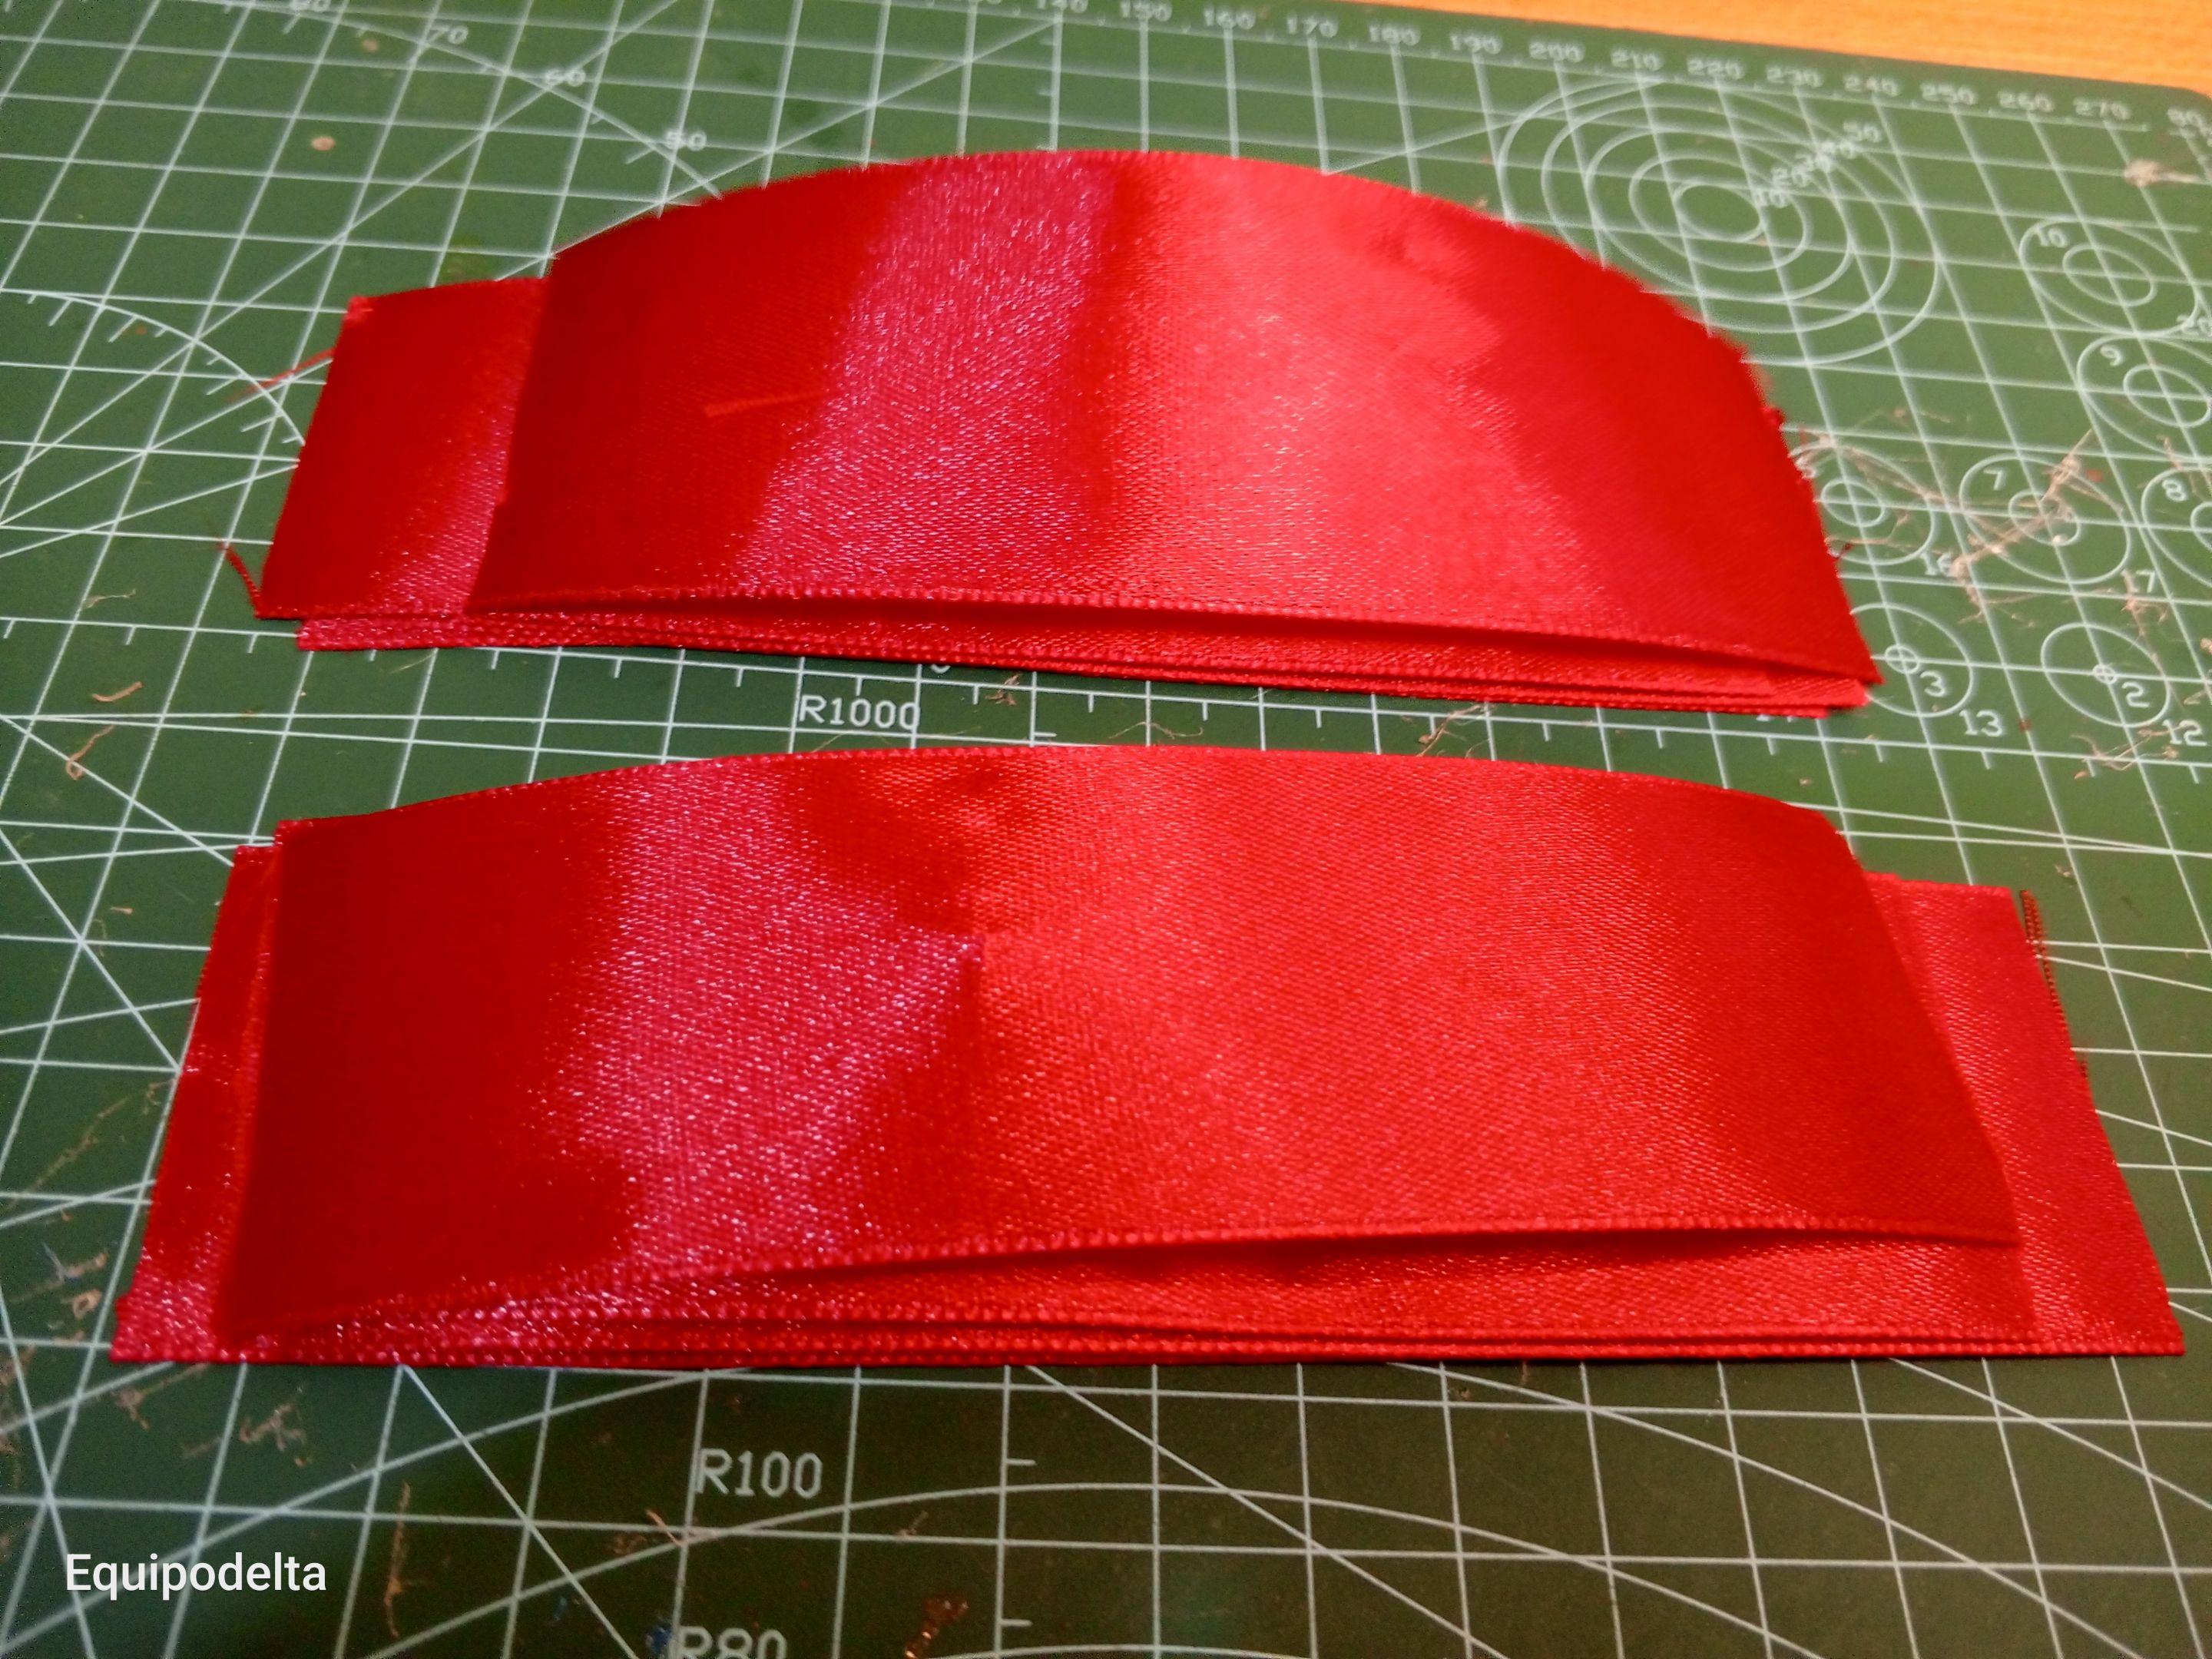
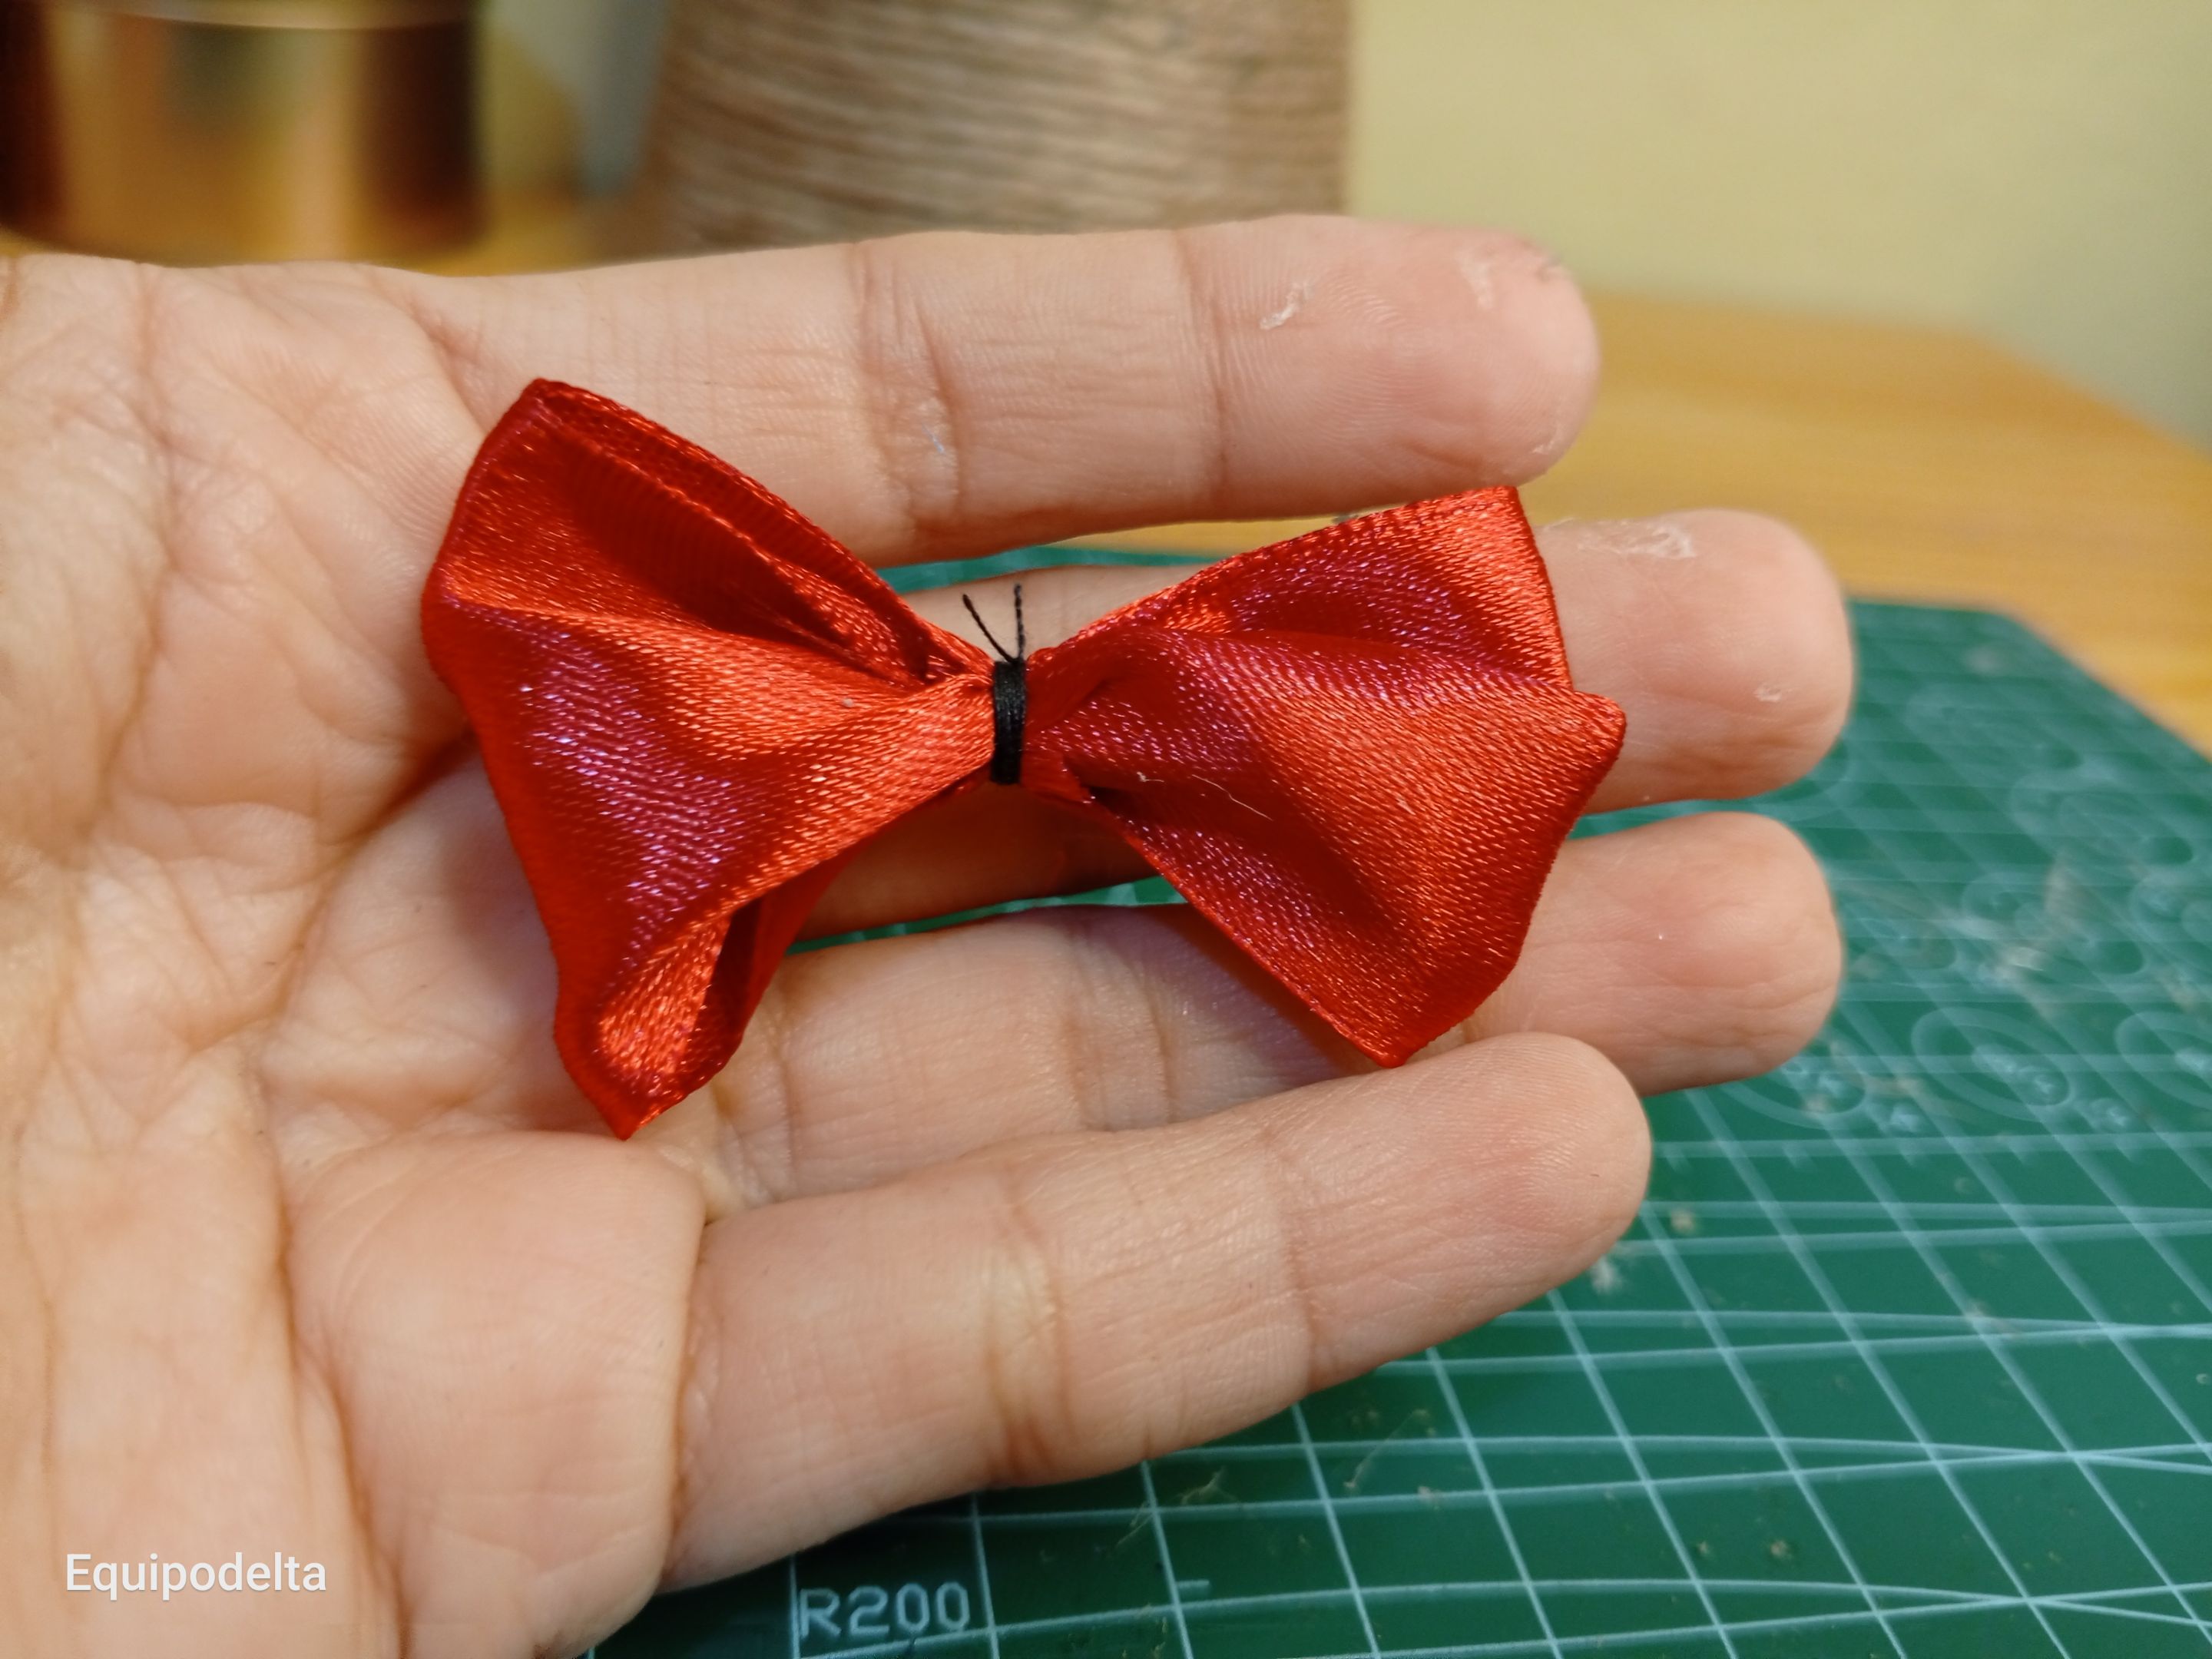
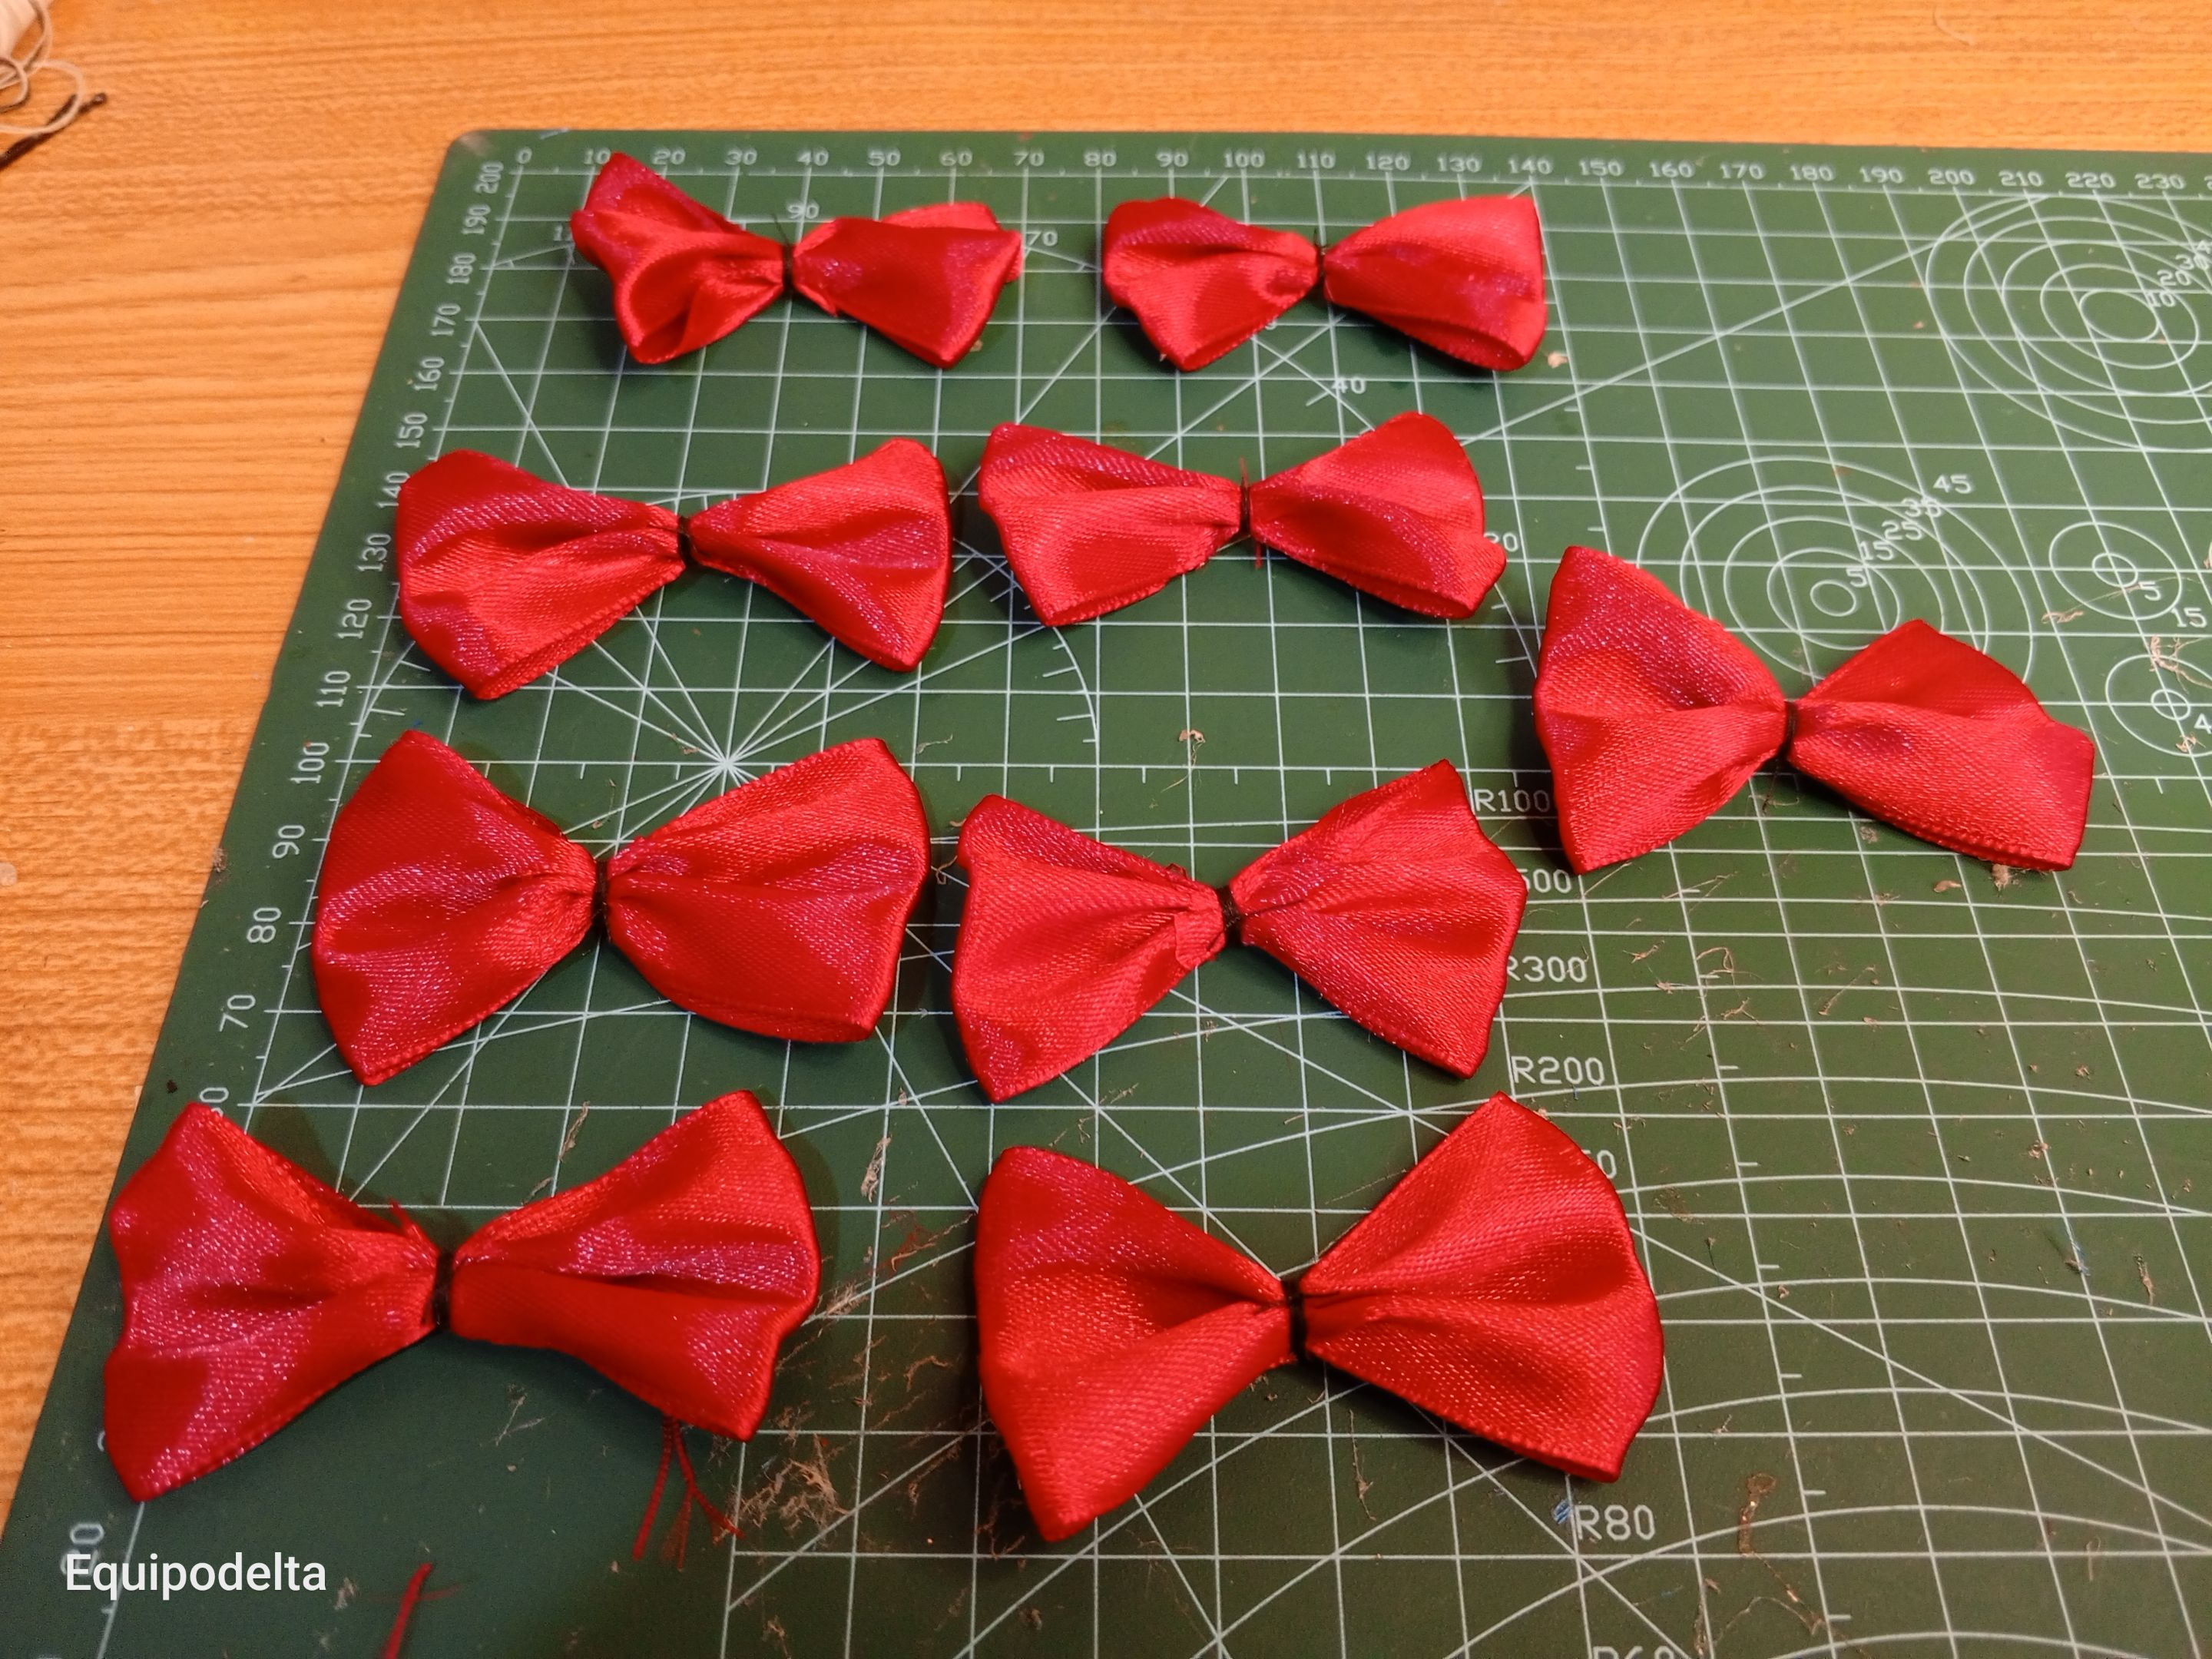
Corta varios trozos de cinta de unos 6 centímetros, tantos como gustes para decorar el árbol. Quema los bordes para evitar deshilache, realiza un lacito con cada trozo y fija con hilo en el centro. Luego pegas media perla en el centro.
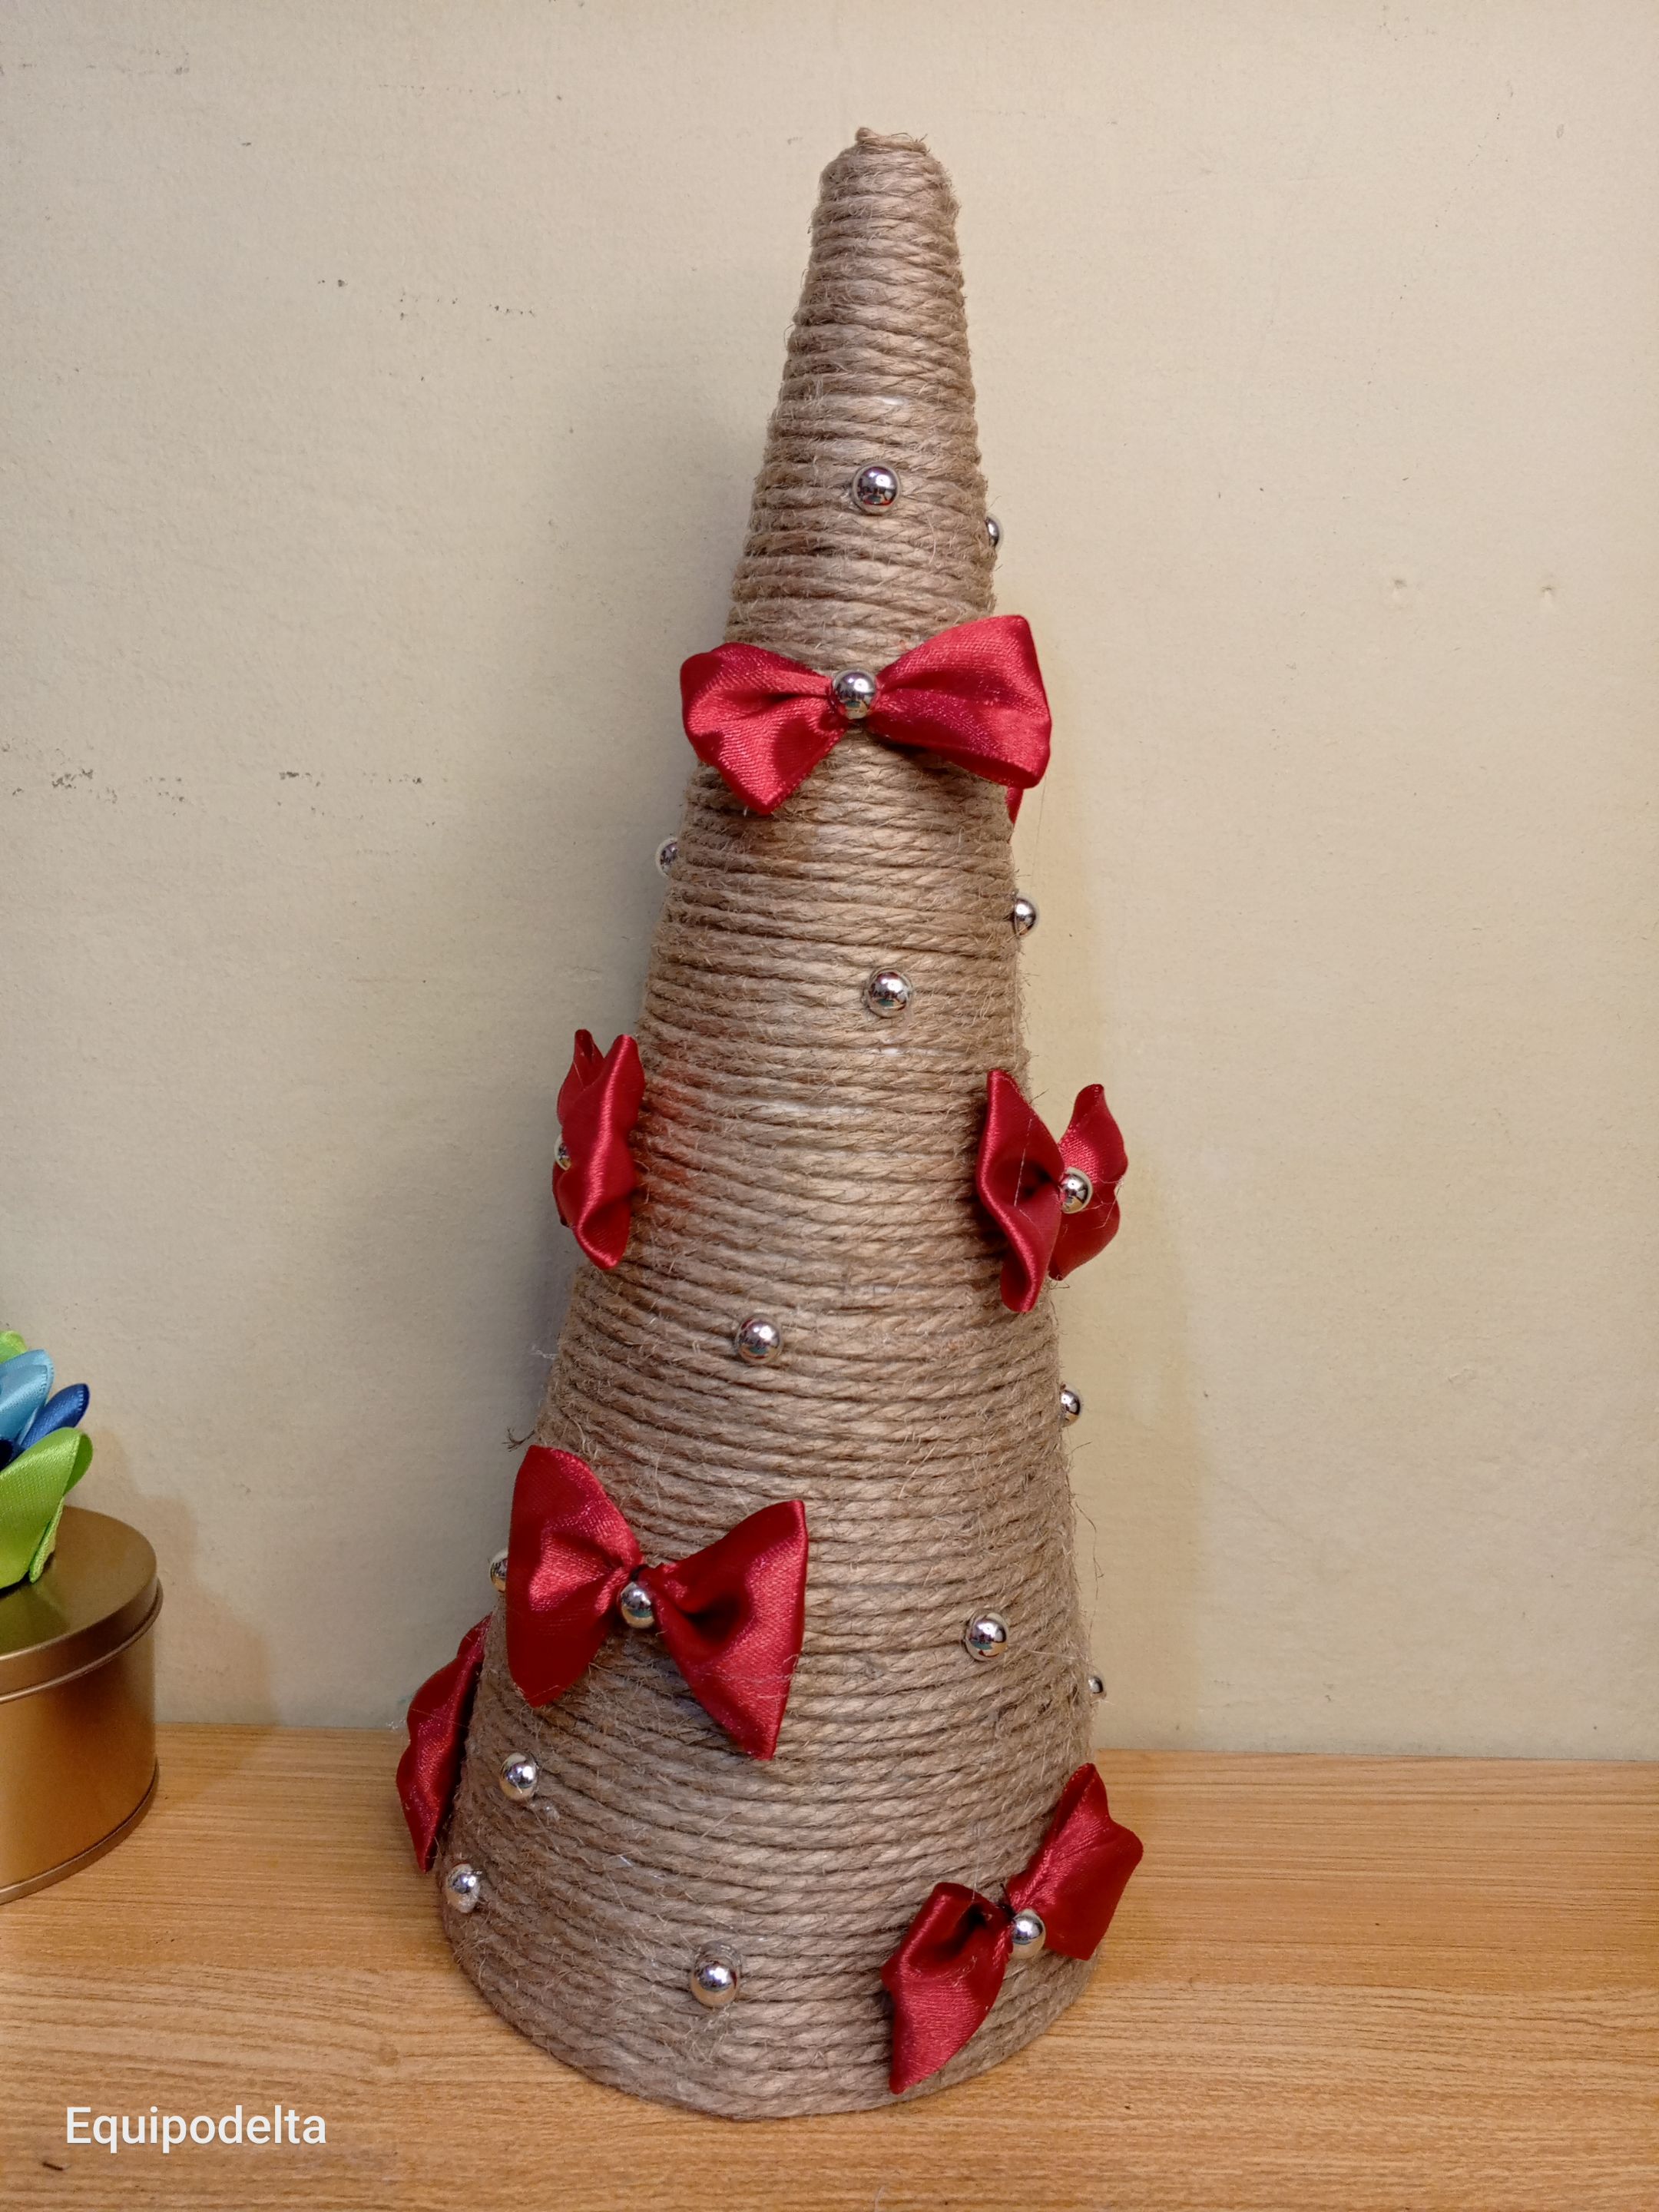
Pega los lacitos al árbol y una que otra media perla para realzar.
! [English version]
Cut several pieces of ribbon about 6 centimeters long, as many as you like to decorate the tree. Burn the edges to avoid fraying, make a bow with each piece and fix with thread in the center. Then glue half a pearl in the center.
Glue the ribbons to the tree and a half pearl or two to enhance.

Step 4️⃣/ paso 4️⃣

 |  |
 |  |  |
[Esp]
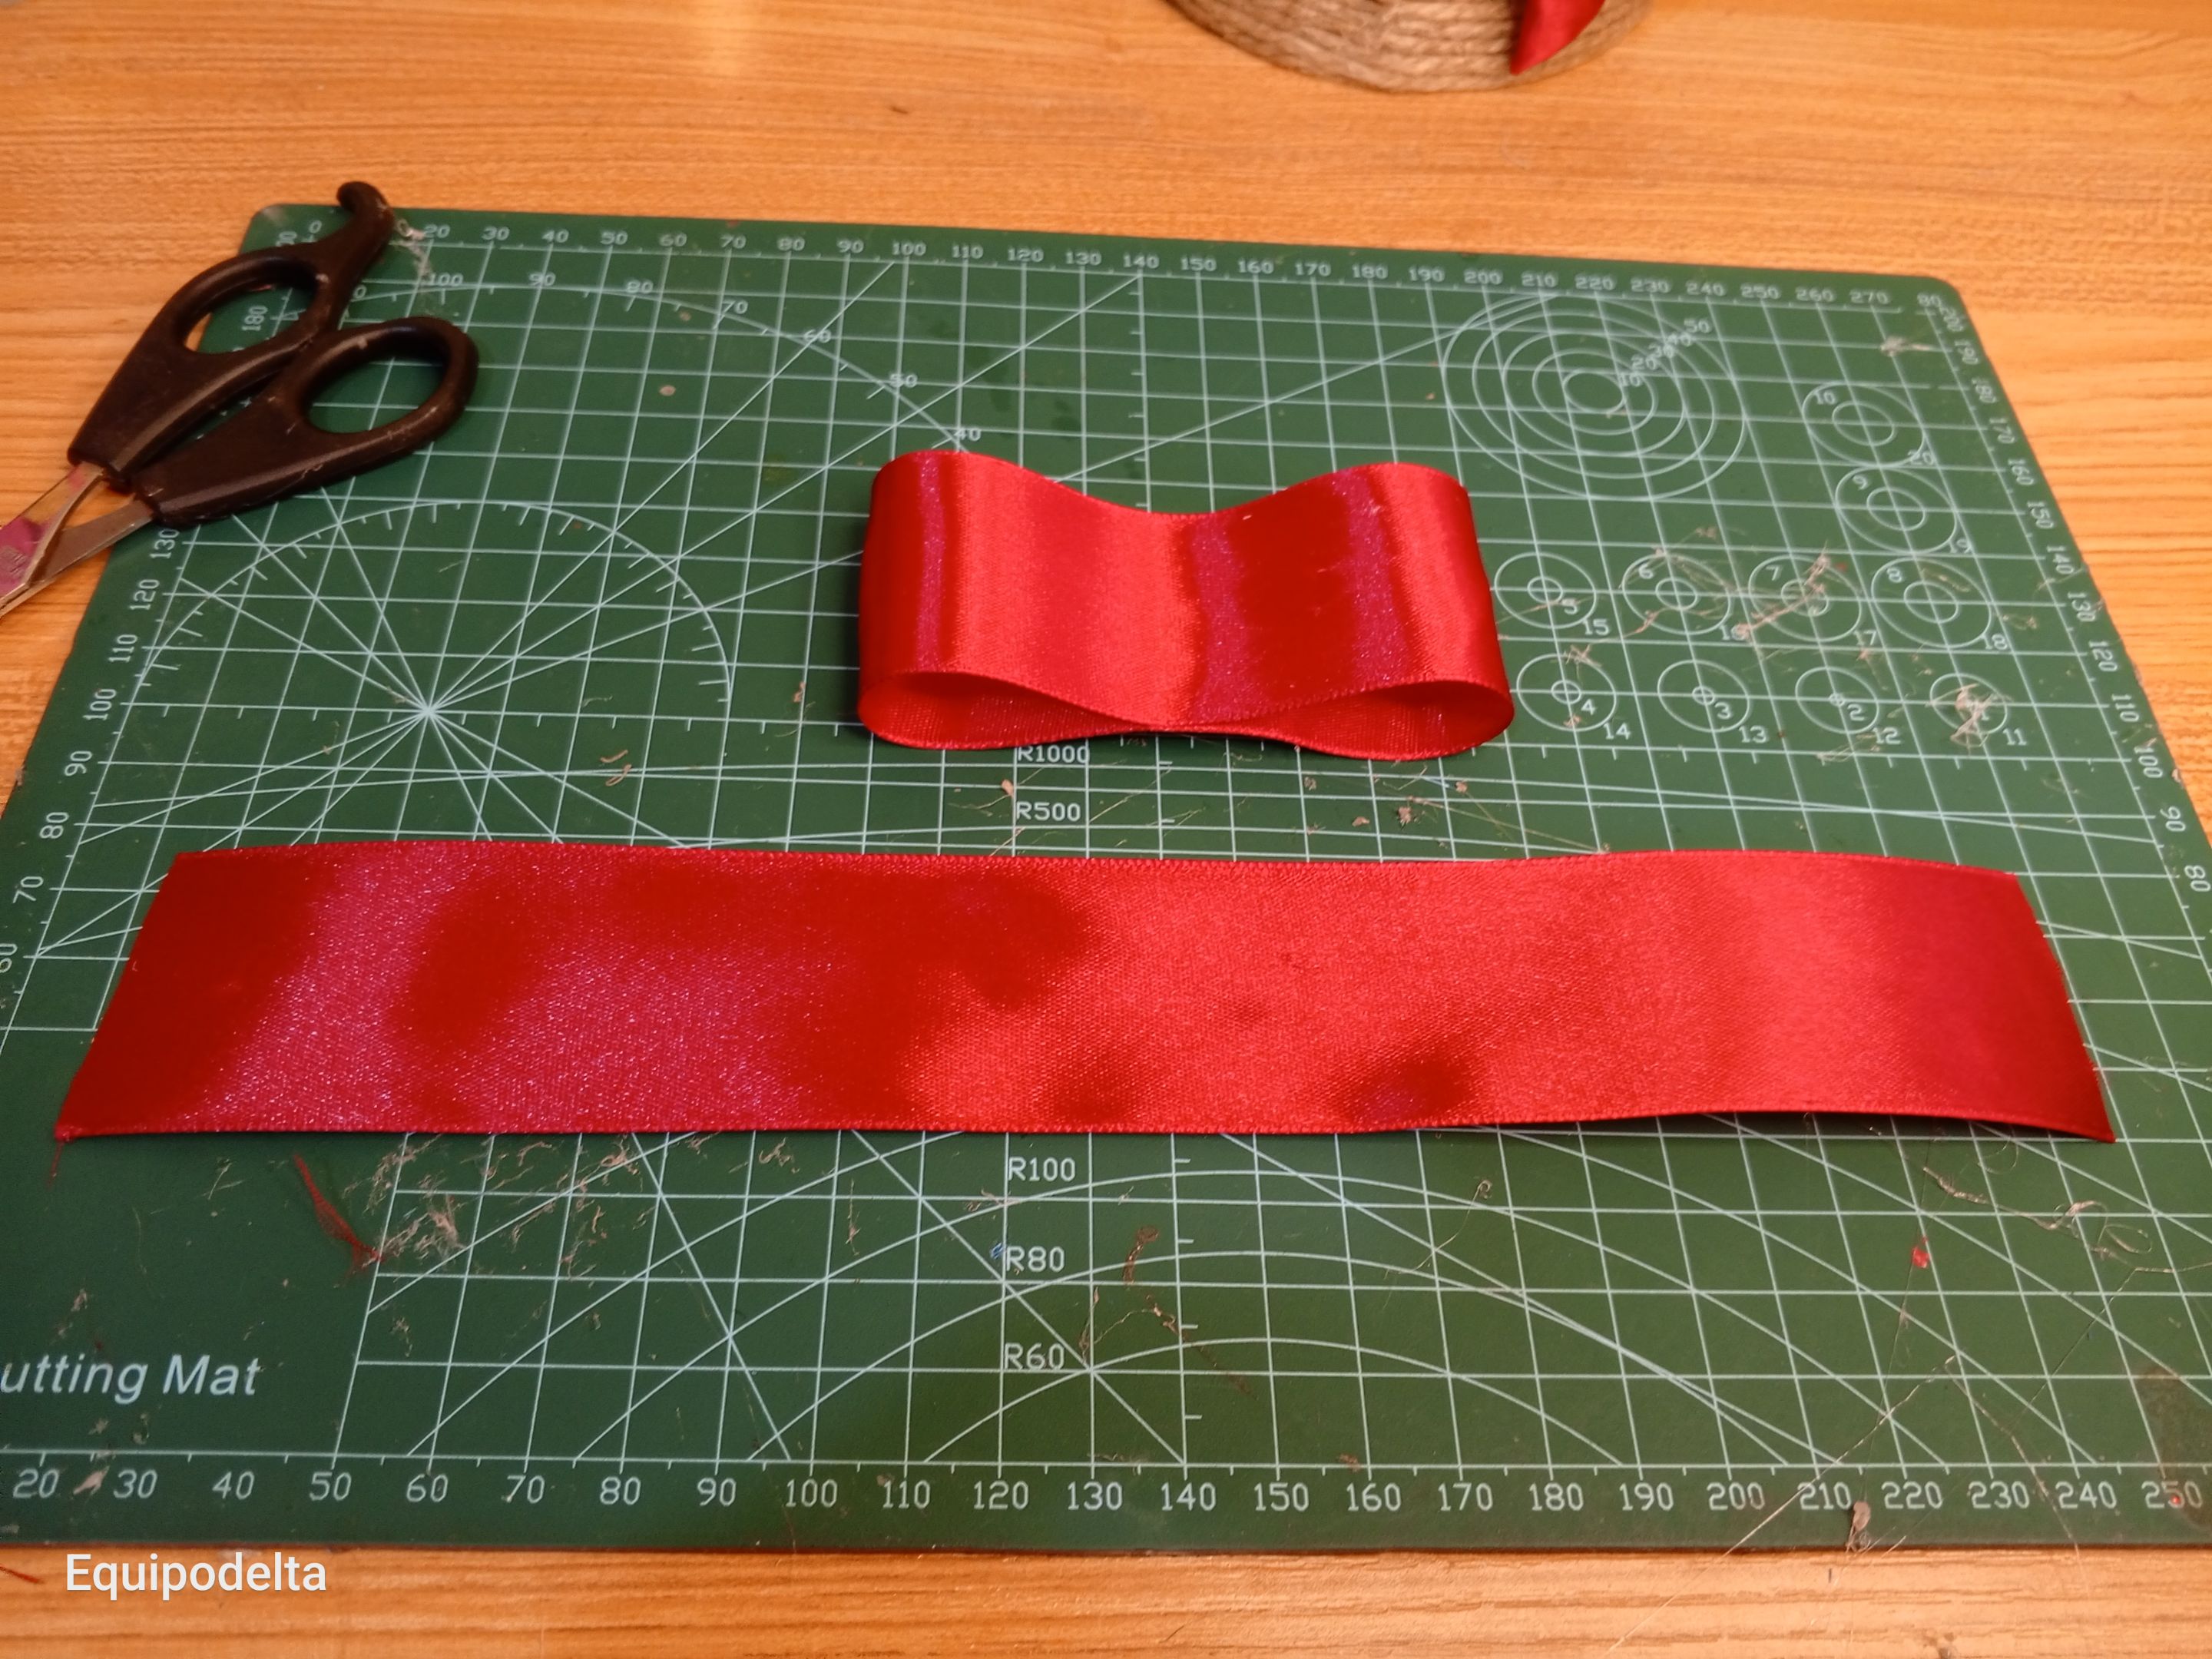
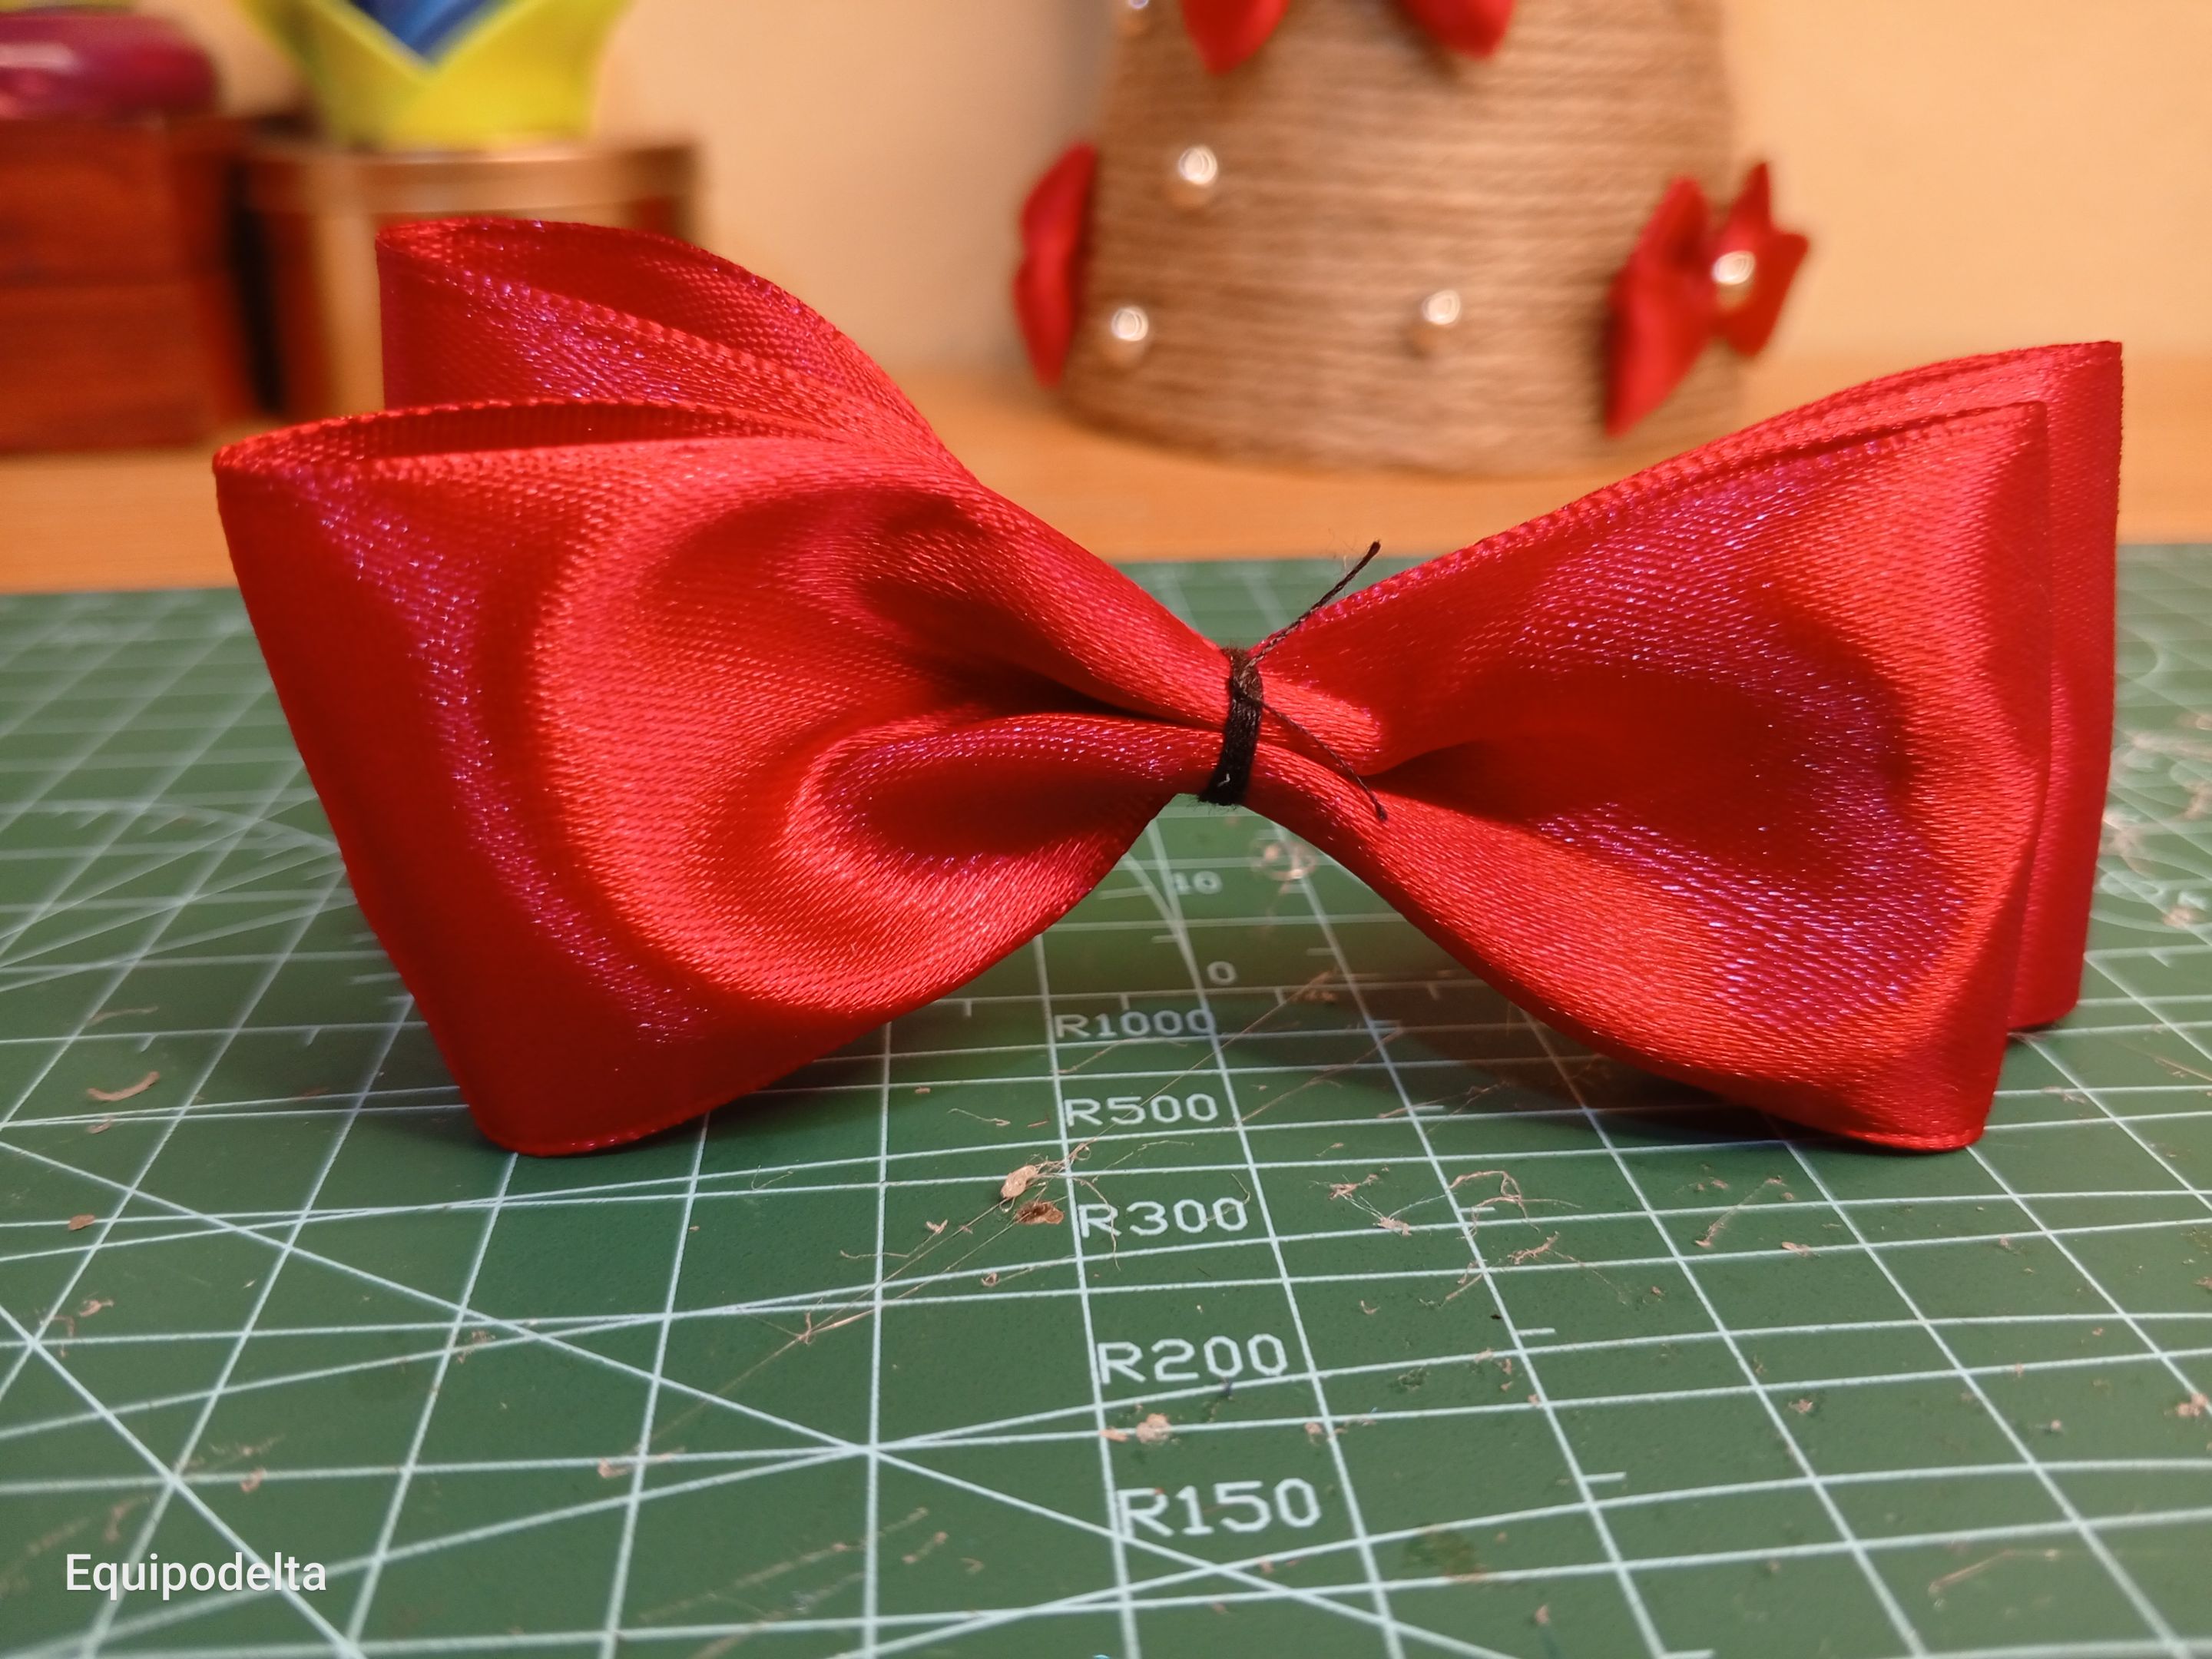
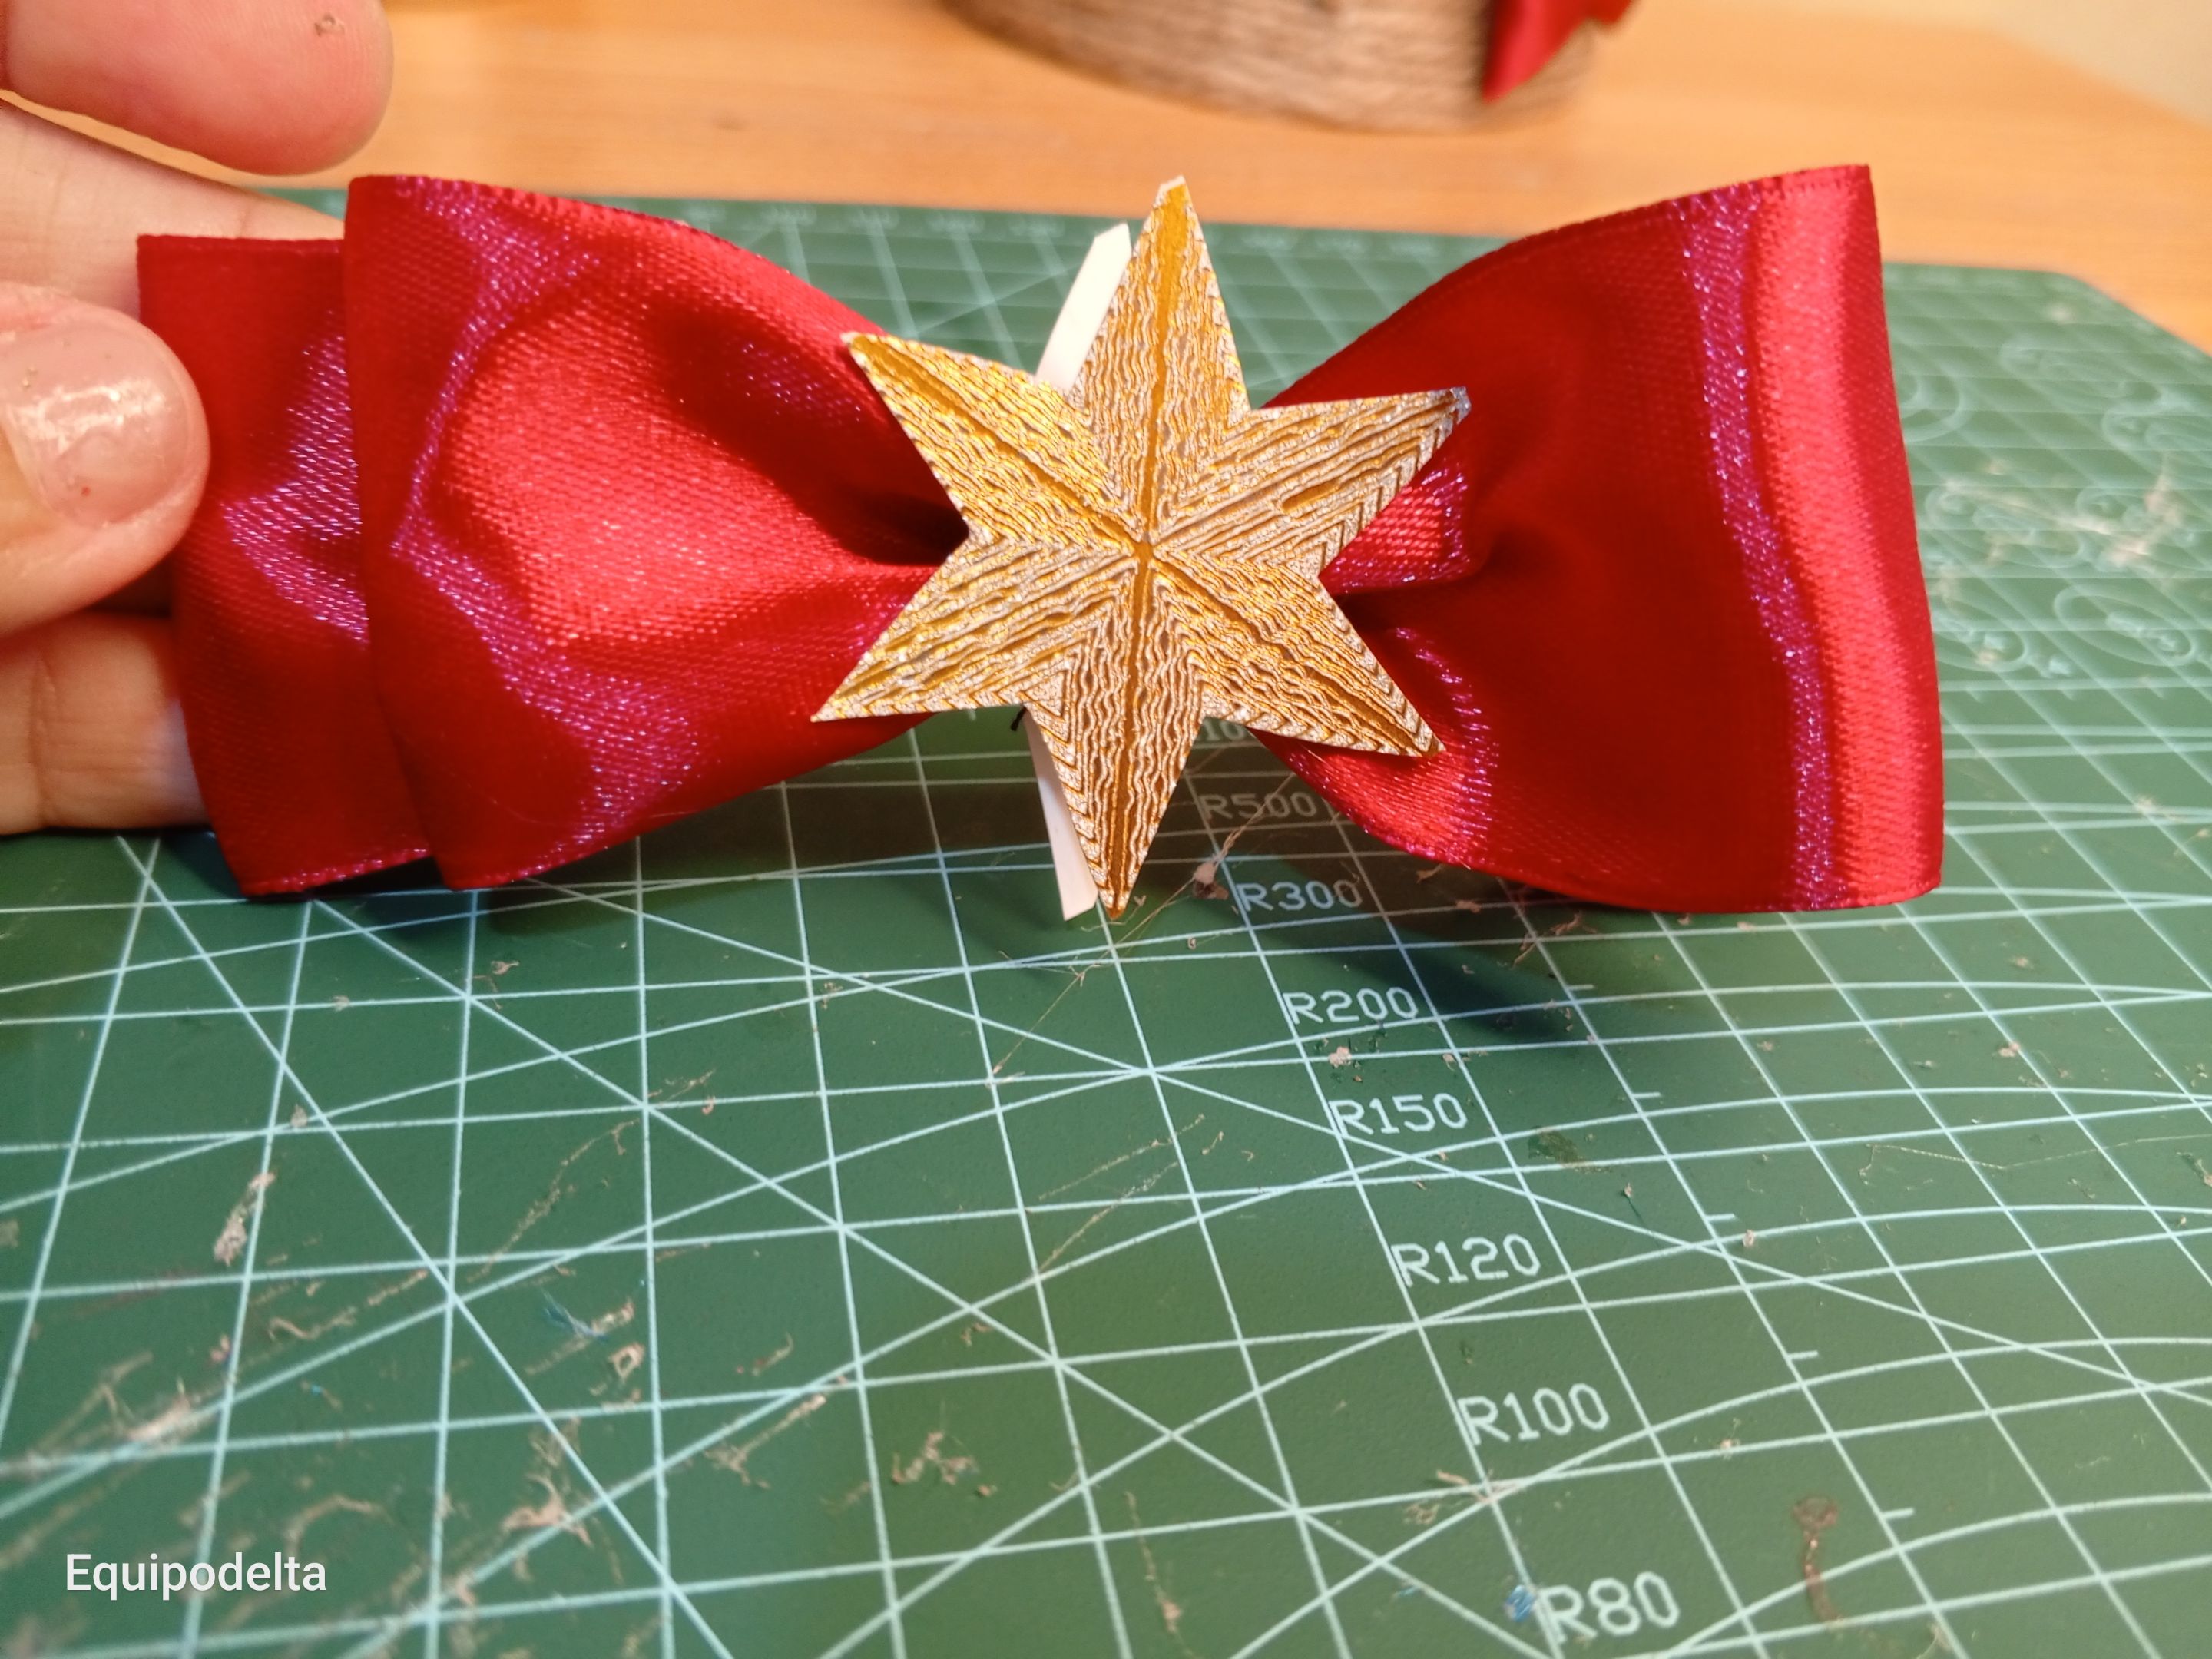
Corta ahora dos listones para formar el lazo de la punta del árbol, aplica el procedimiento de los lacitos anteriores. Une ambos lazos con el hilo o pegamento.
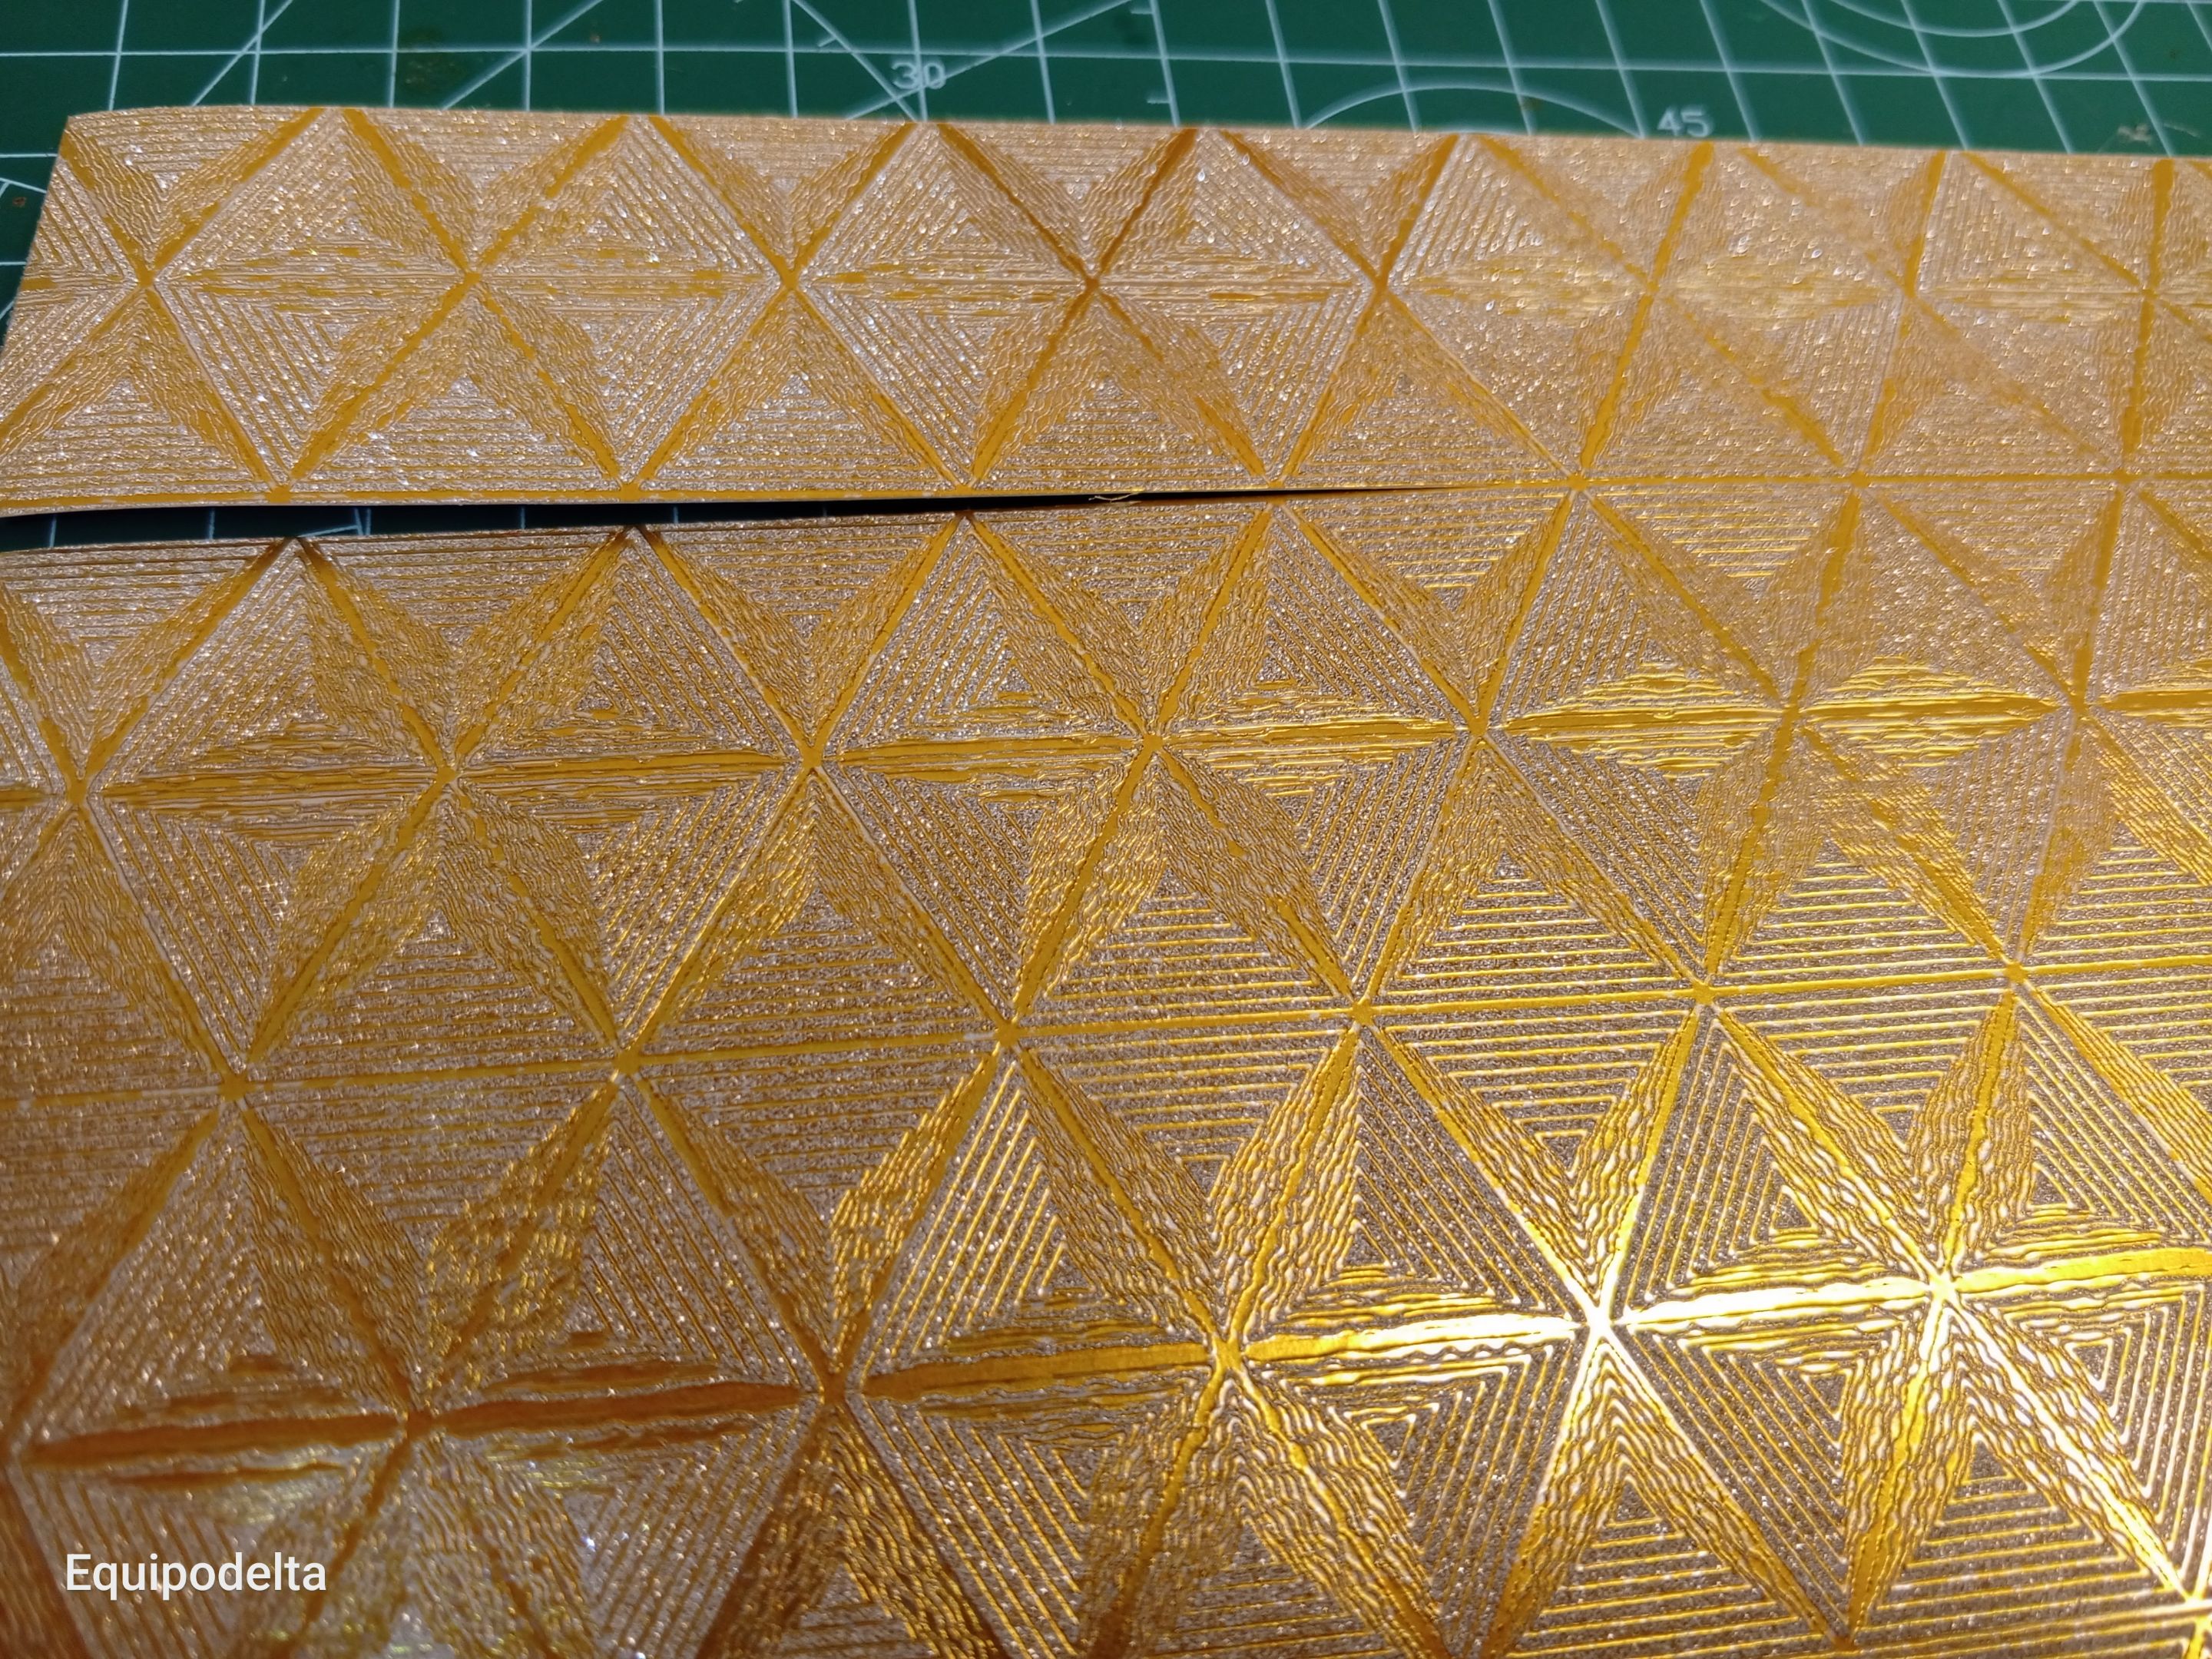
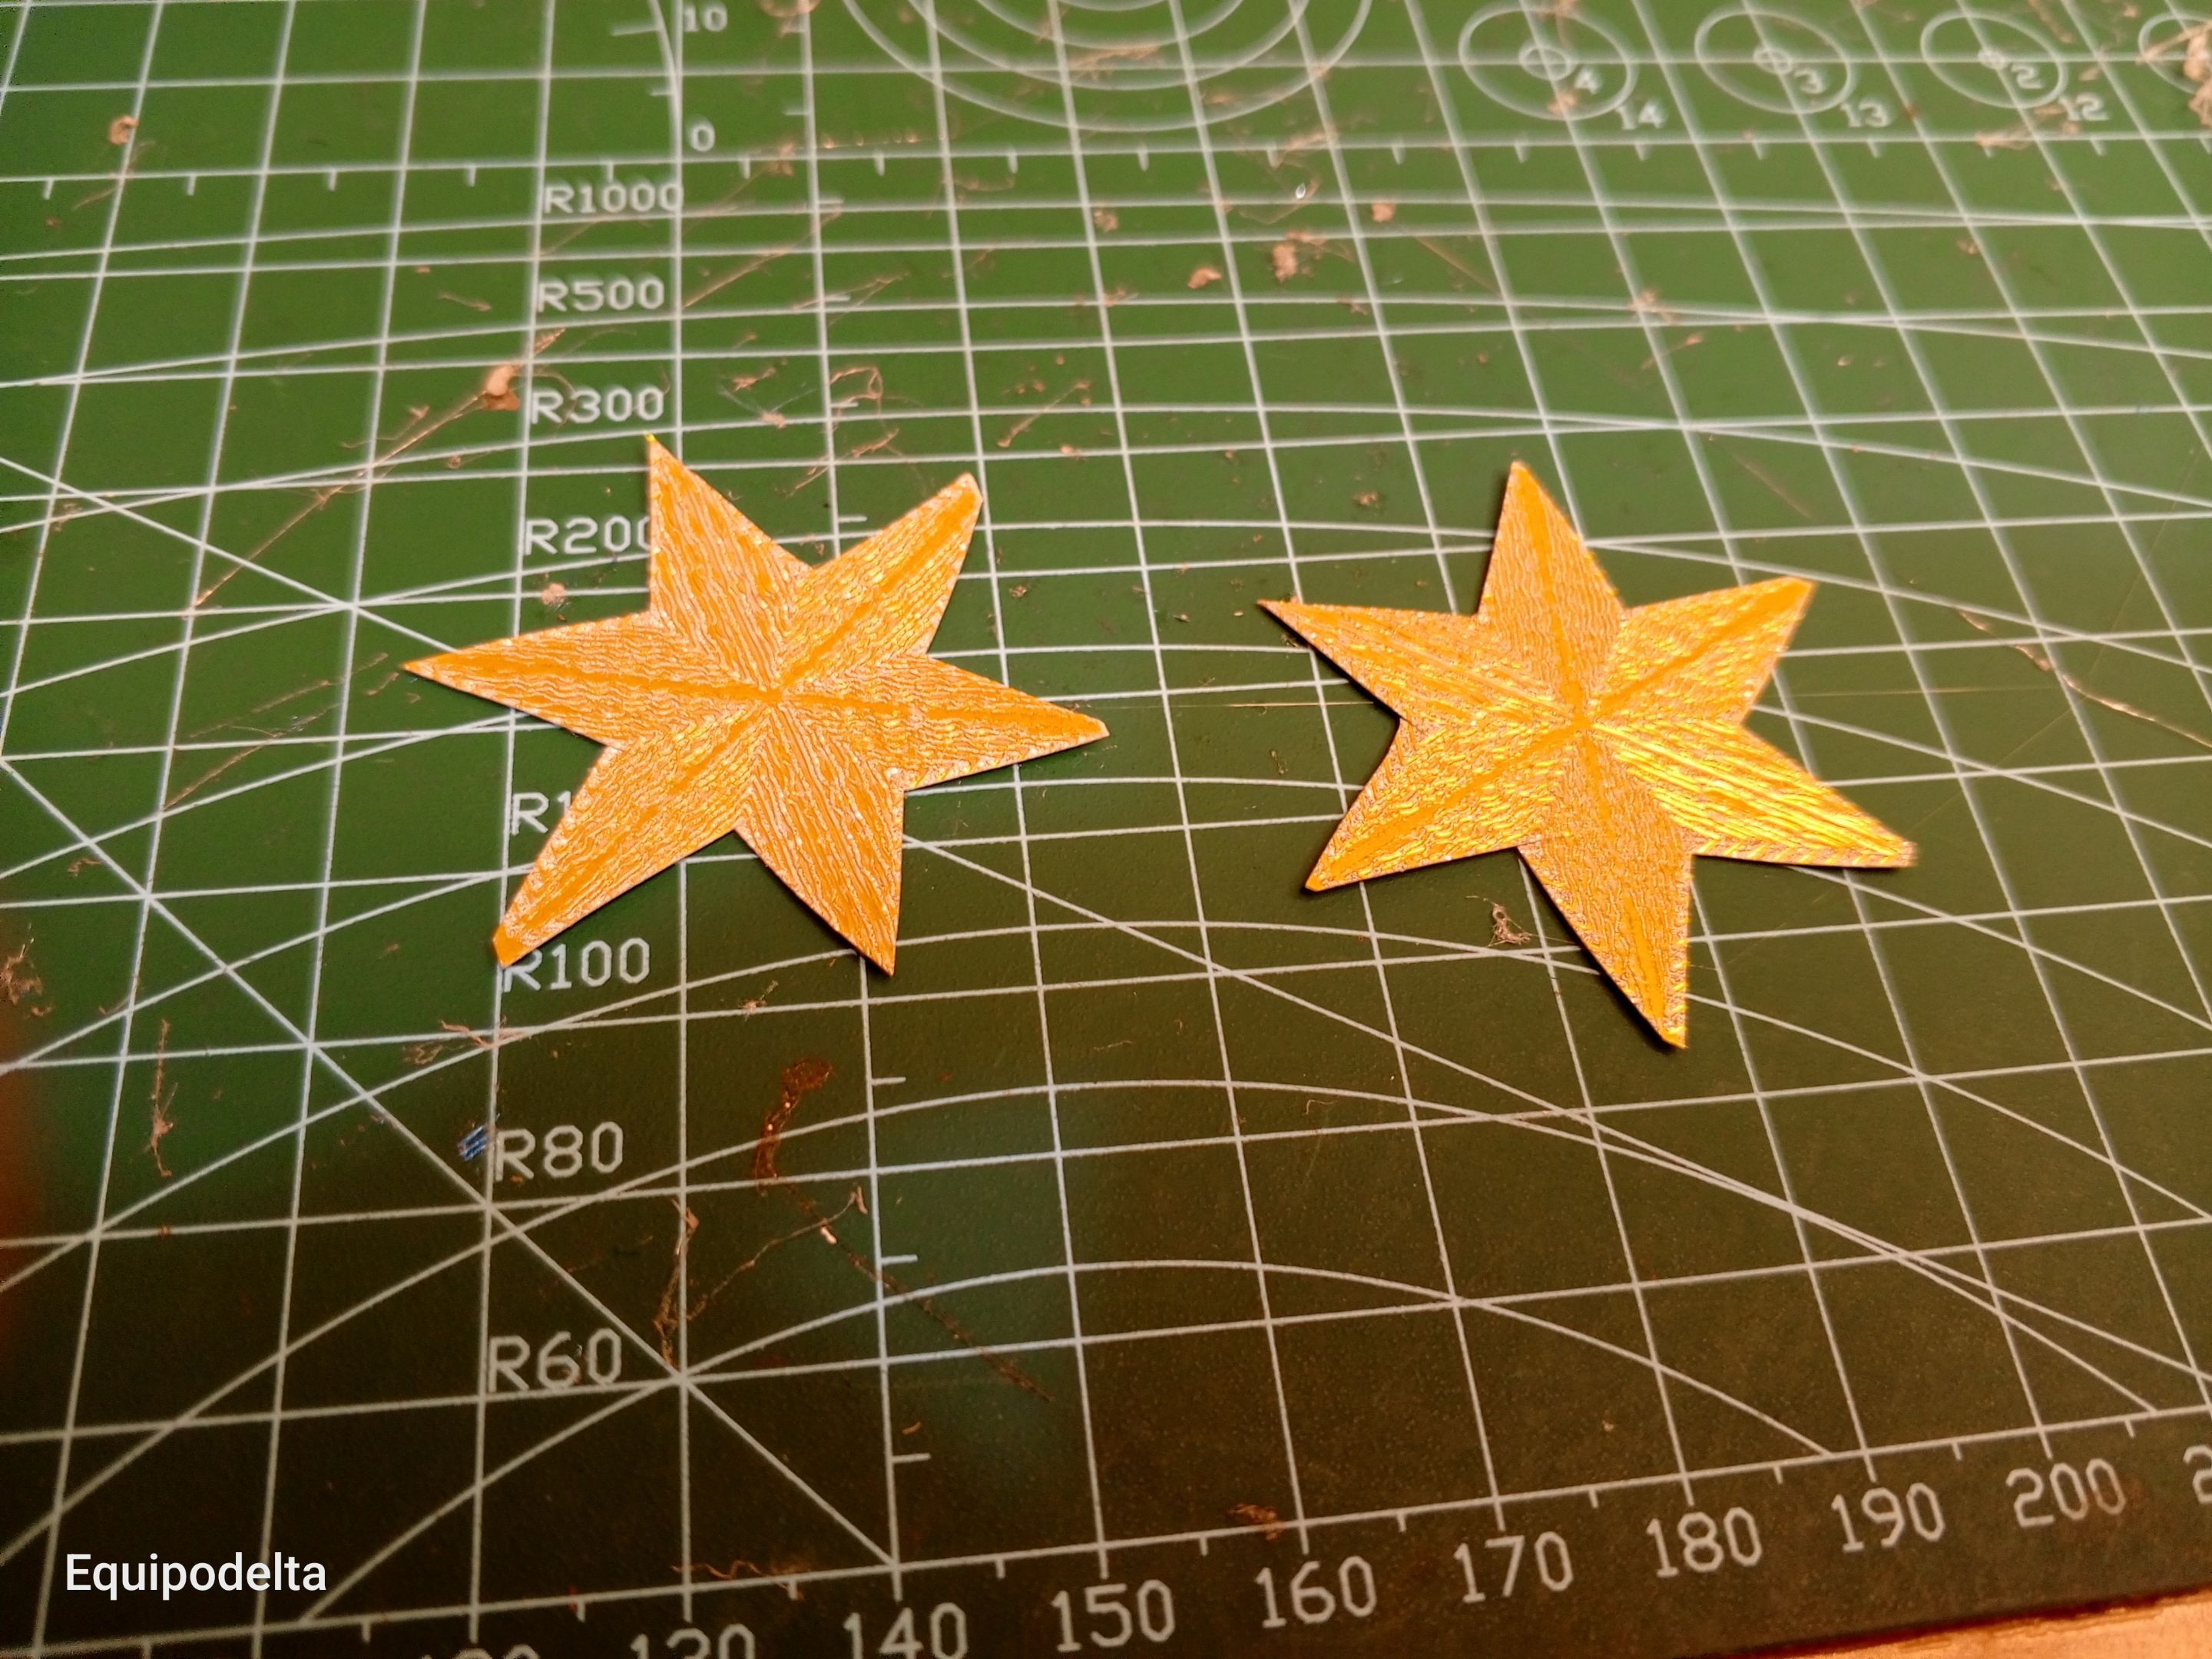
Yo tenía una cartulina que tiene estrellas dibujadas, aproveché la forma para reciclar, ya que se me acabó el foami escarchado. Recorté la forma de la estrellas y coloqué una en la parte delantera del lazo y otra en la parte trasera.
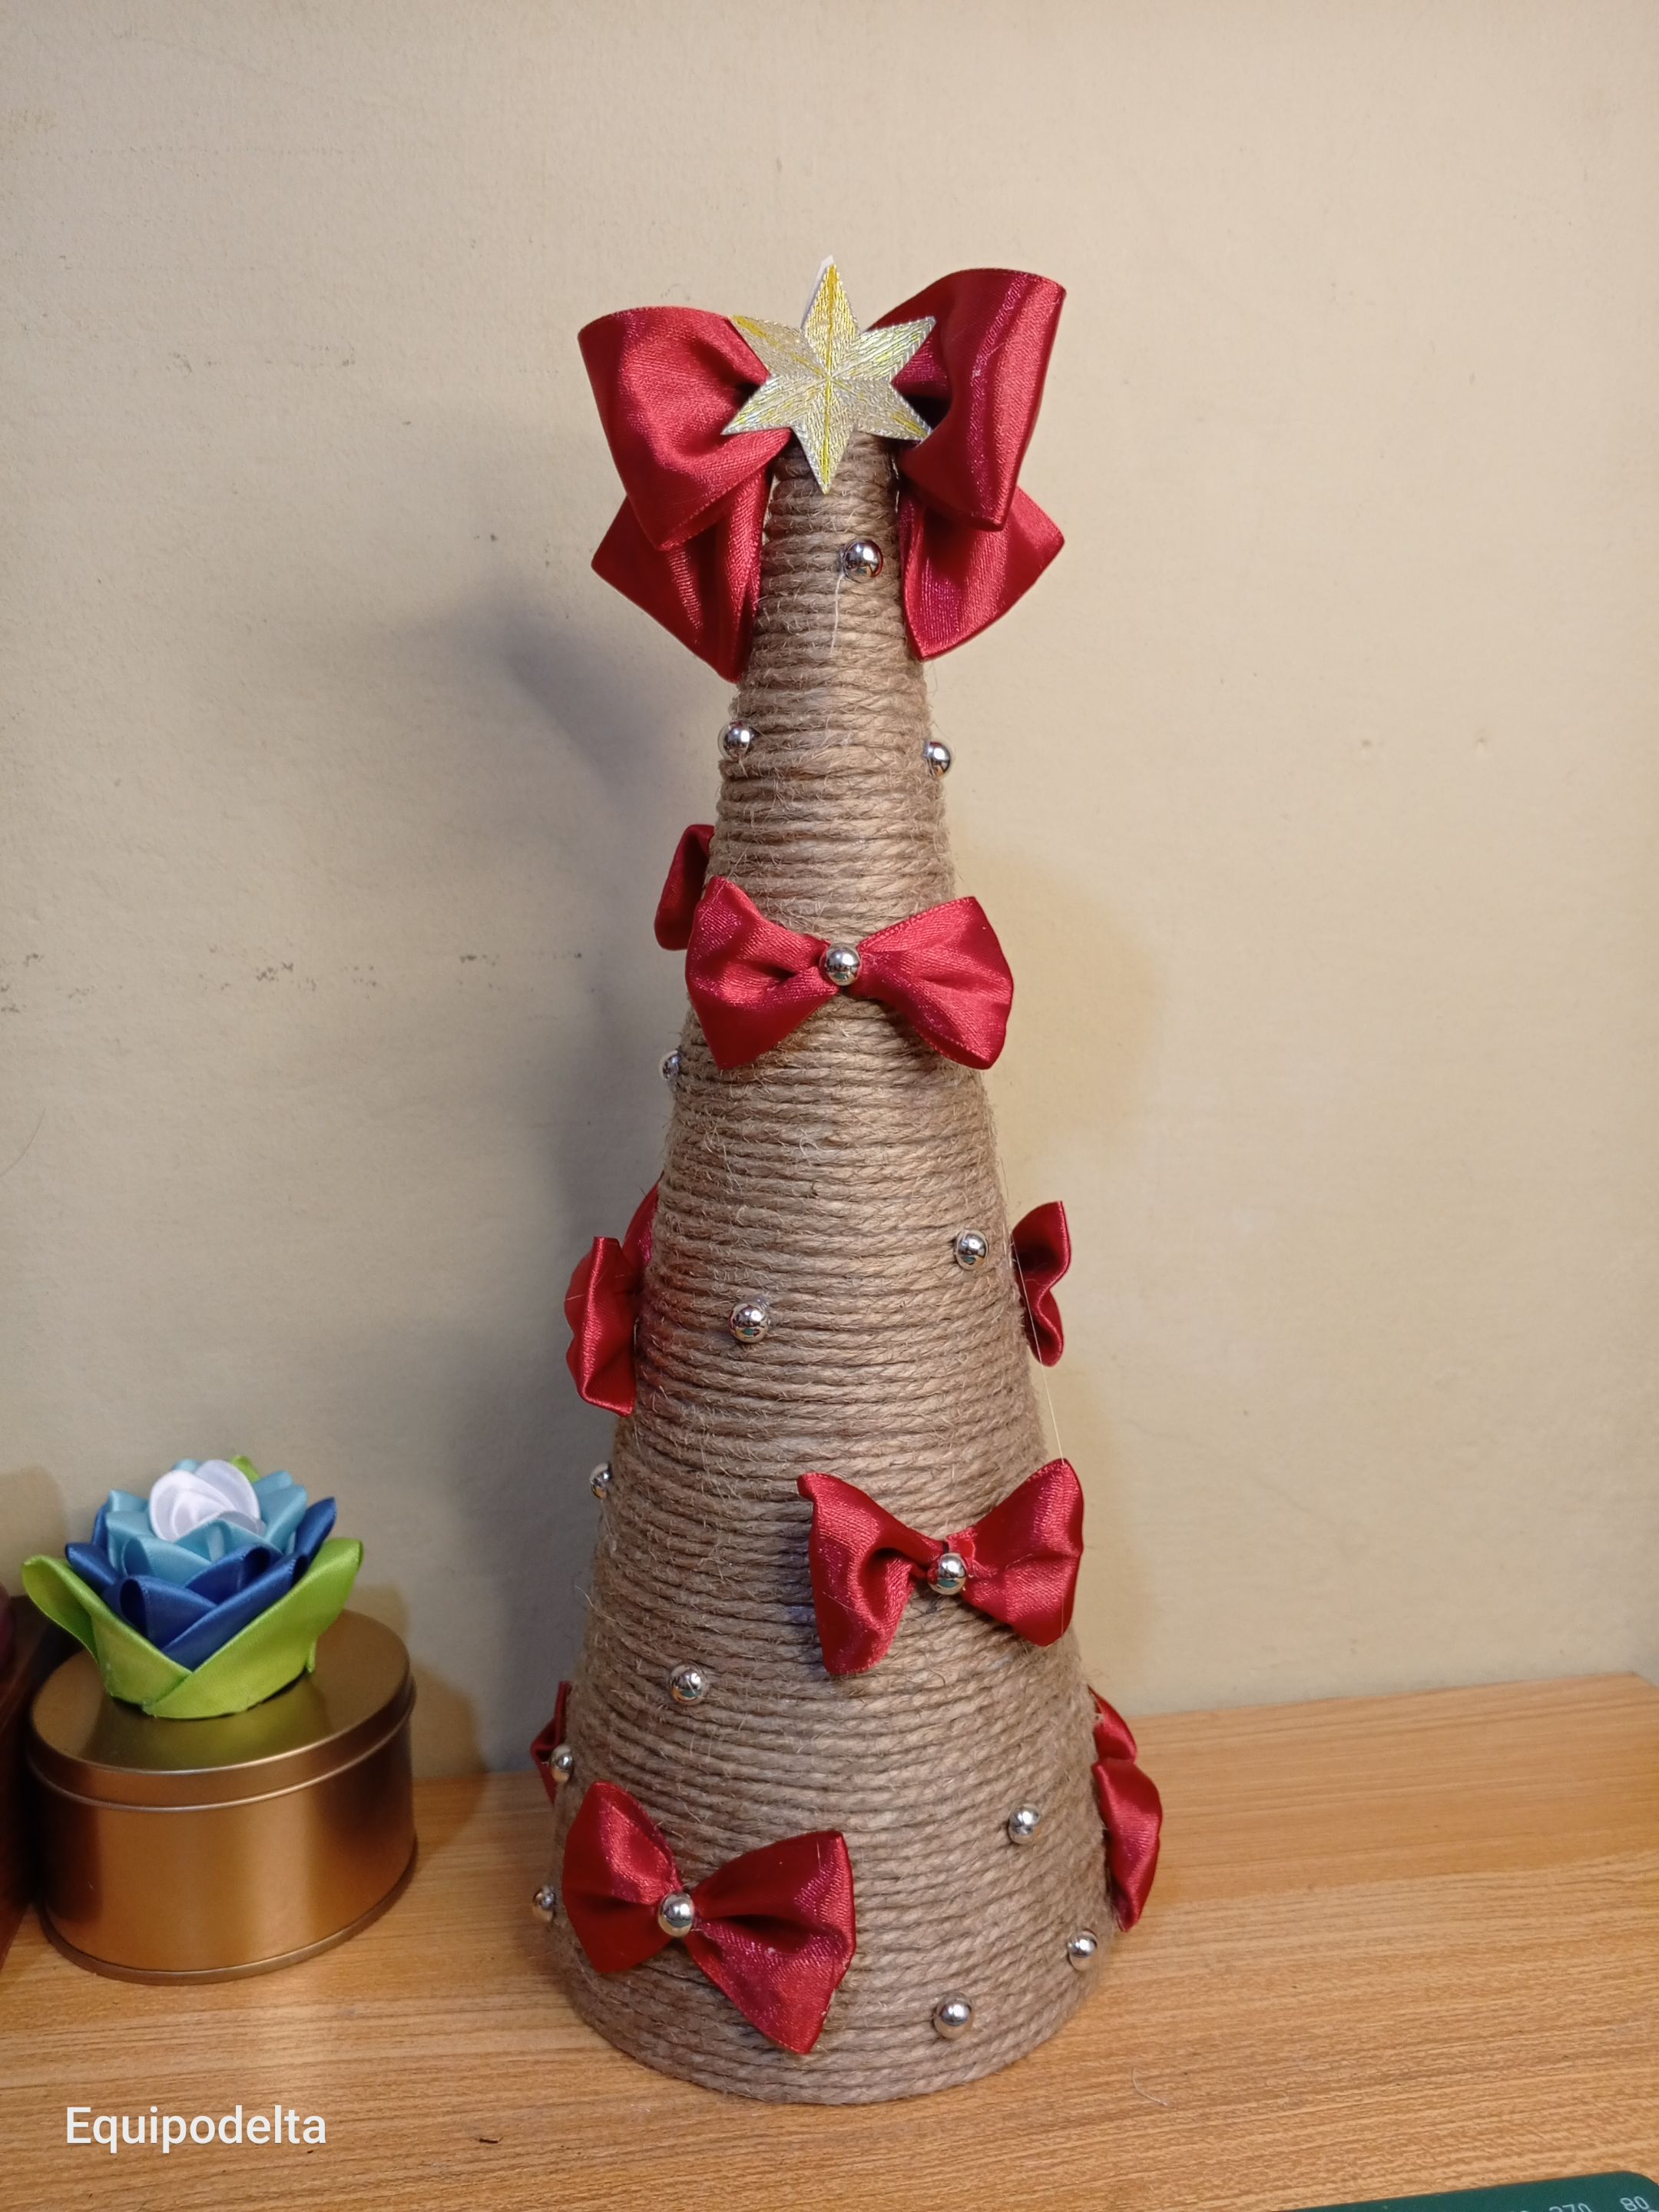
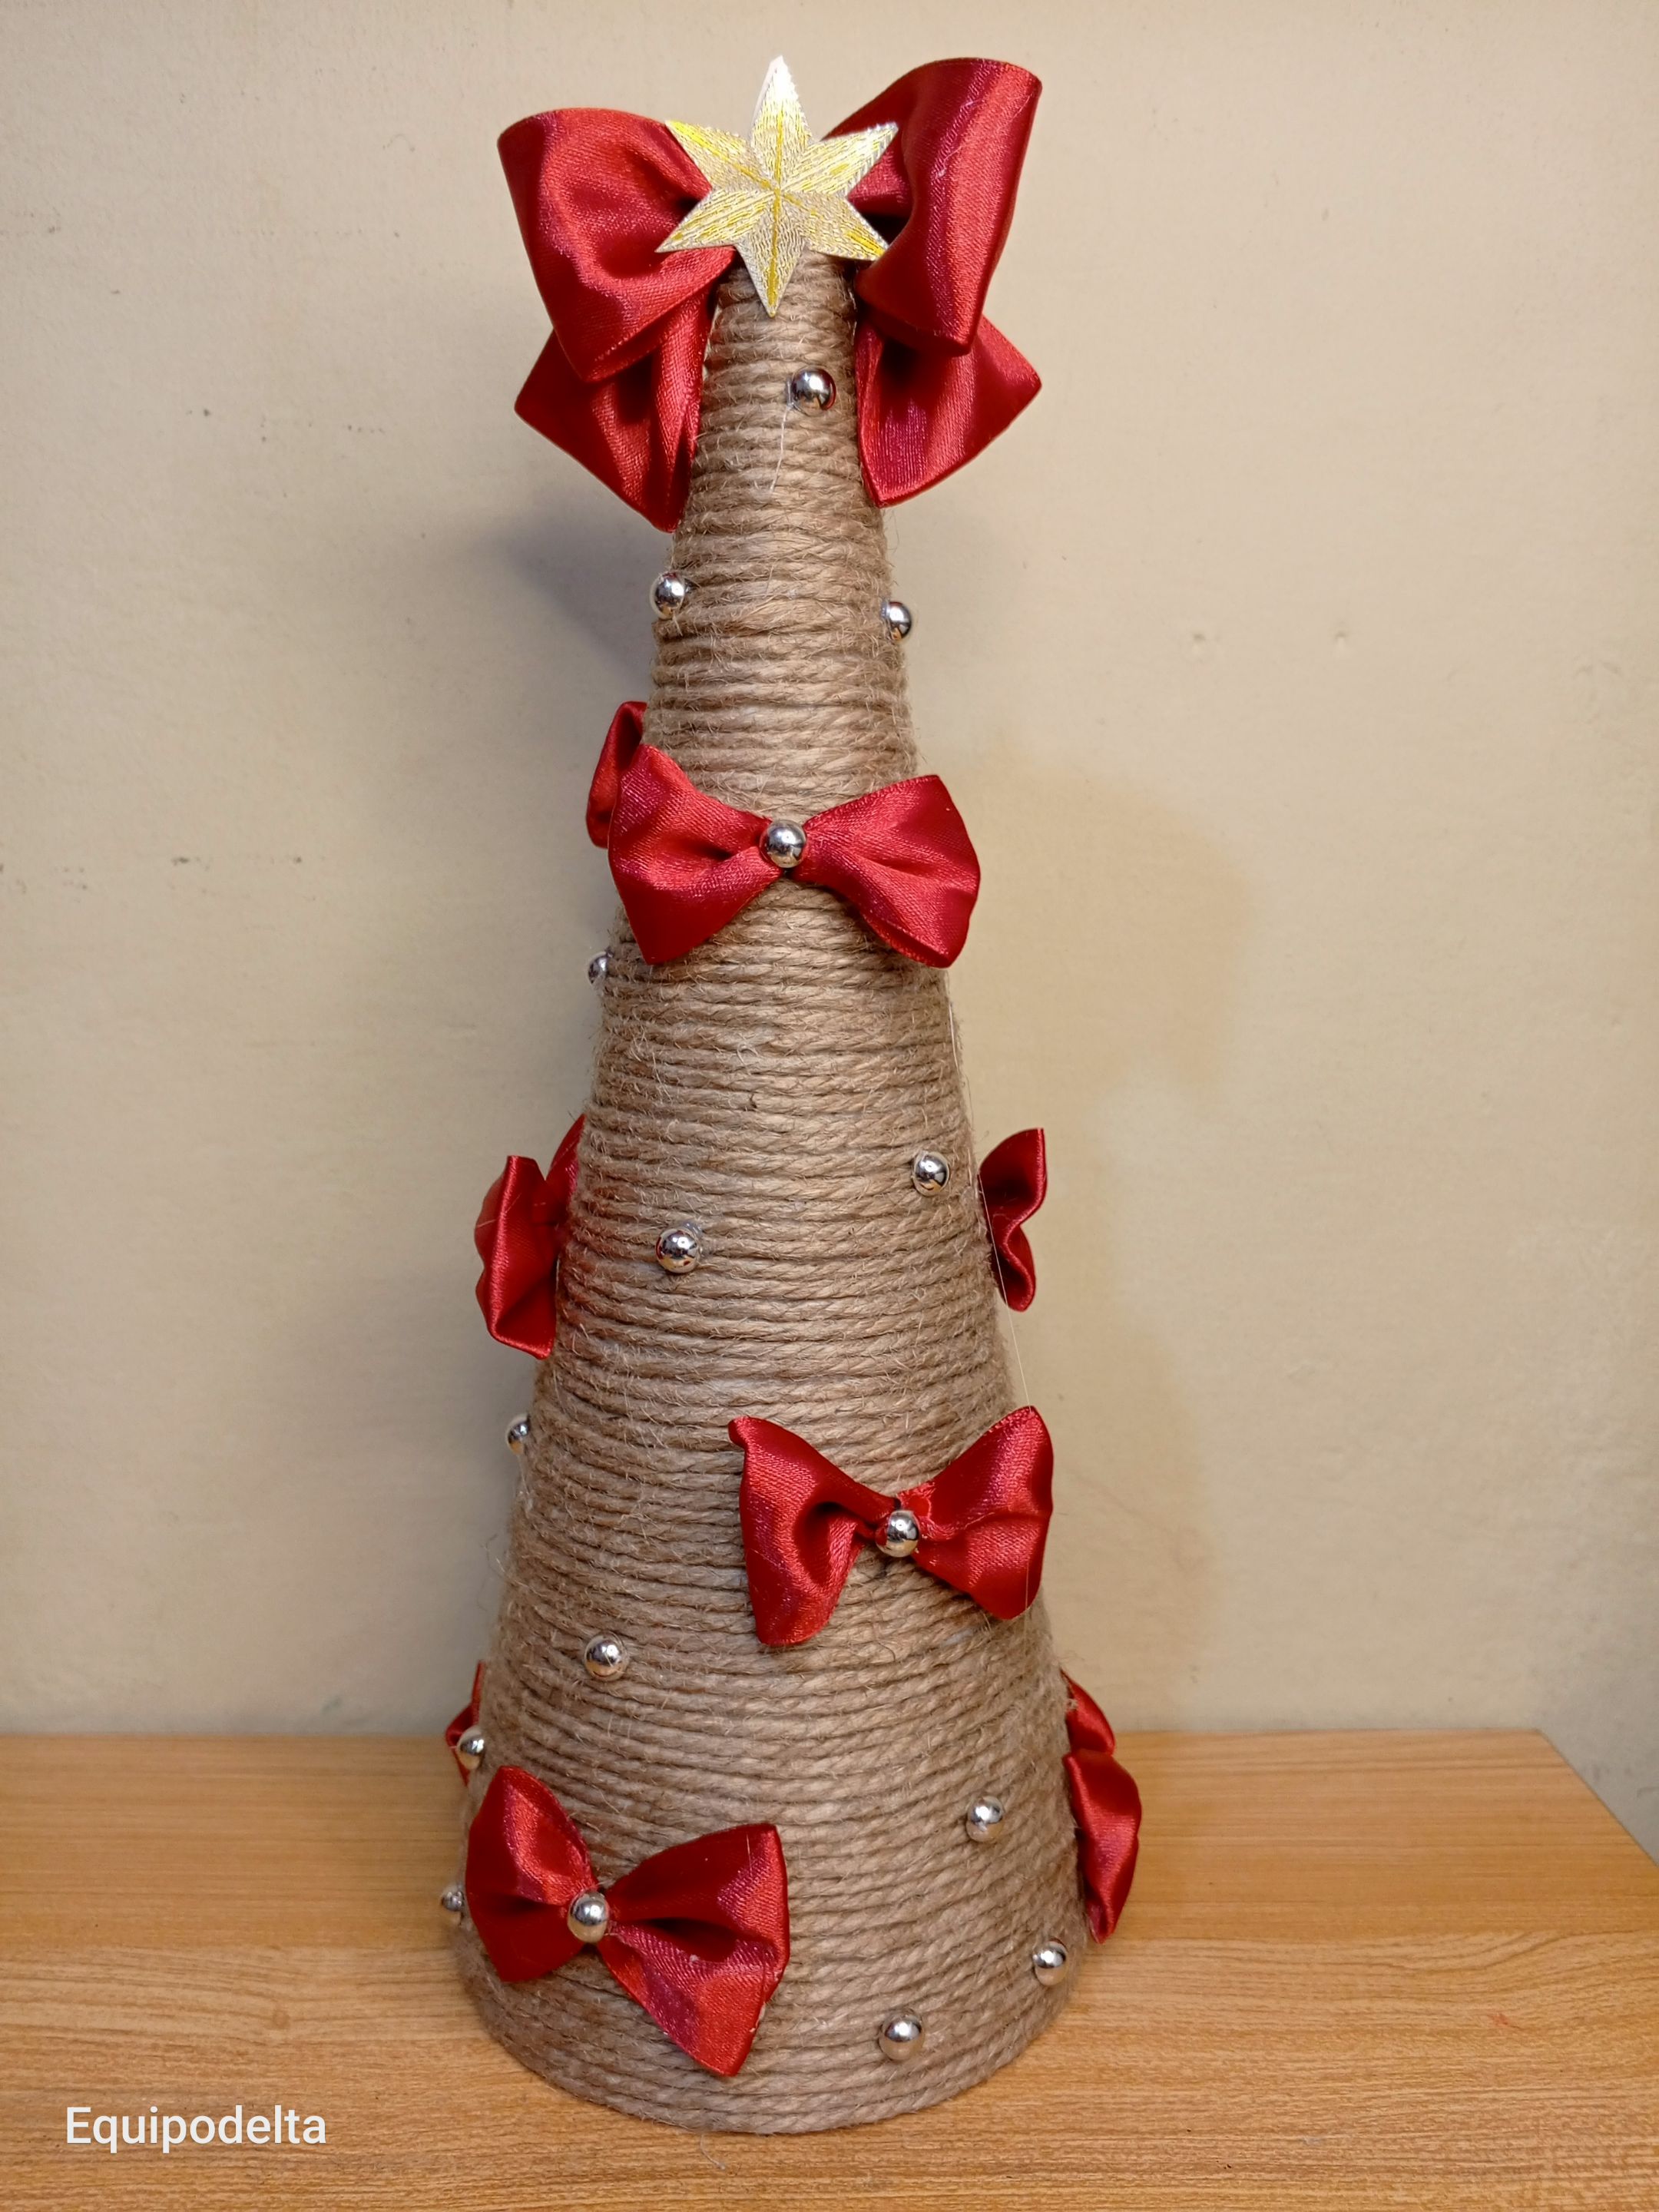
Ahora pegué el lazo en la punta del árbol.
Quedó muy bonito ¿Verdad?
Espero te guste.
! [English version]
Now cut two ribbons to form the bow at the top of the tree, following the same procedure as for the previous ribbons. Join both ribbons with the thread or glue.
I had a cardboard with stars drawn on it, I took advantage of the shape to recycle, since I ran out of frosted foami. I cut out the shape of the stars and placed one on the front of the bow and one on the back.
Now I glued the ribbon to the top of the tree.
It turned out very nice, didn't it?
I hope you like it.


Créditos / Credits


💜💜💜


![]() 👉
👉  👉
👉  👉
👉  👉
👉 
Here / Bríndame un café
