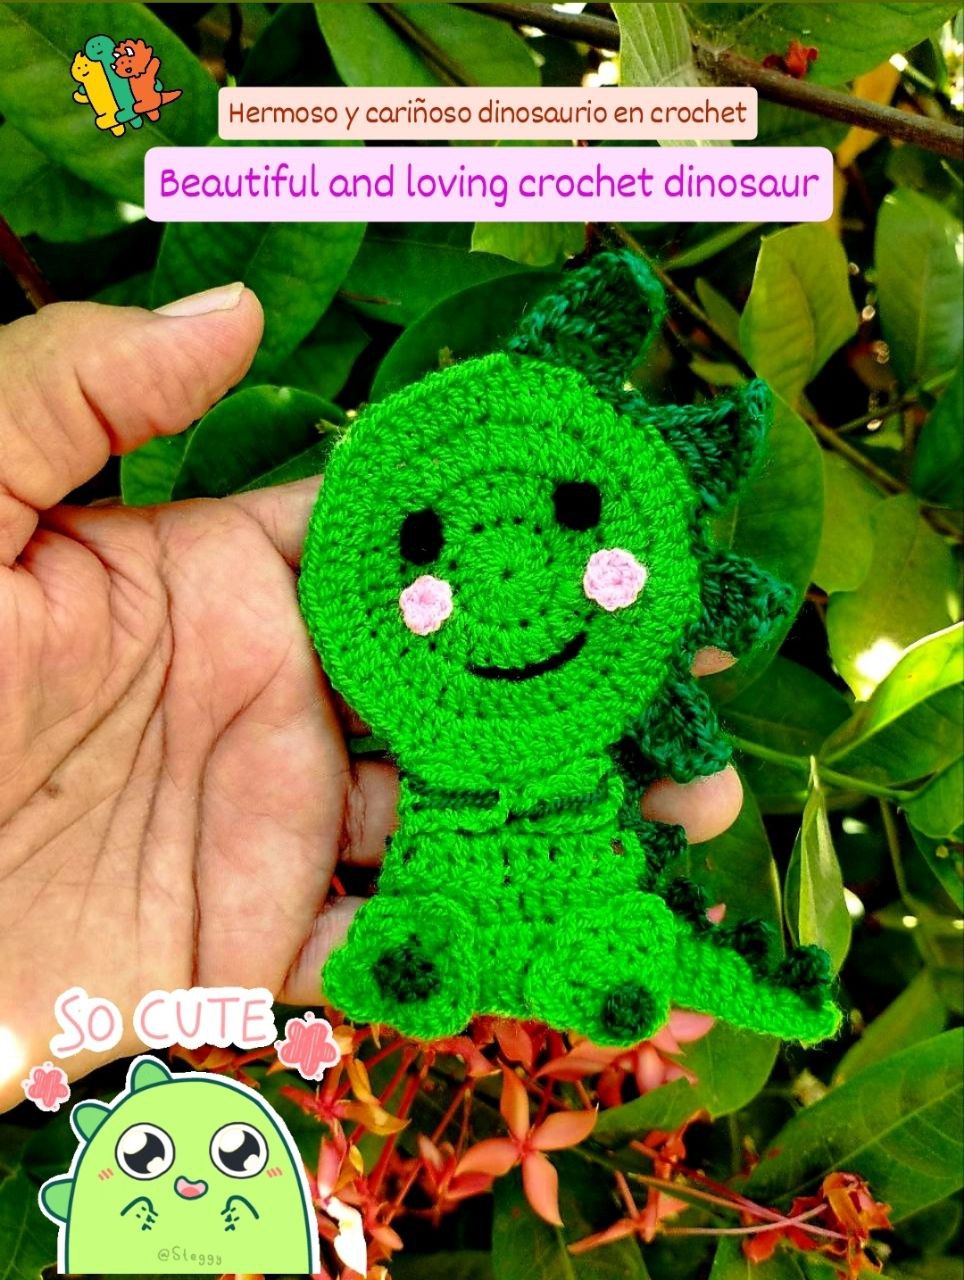
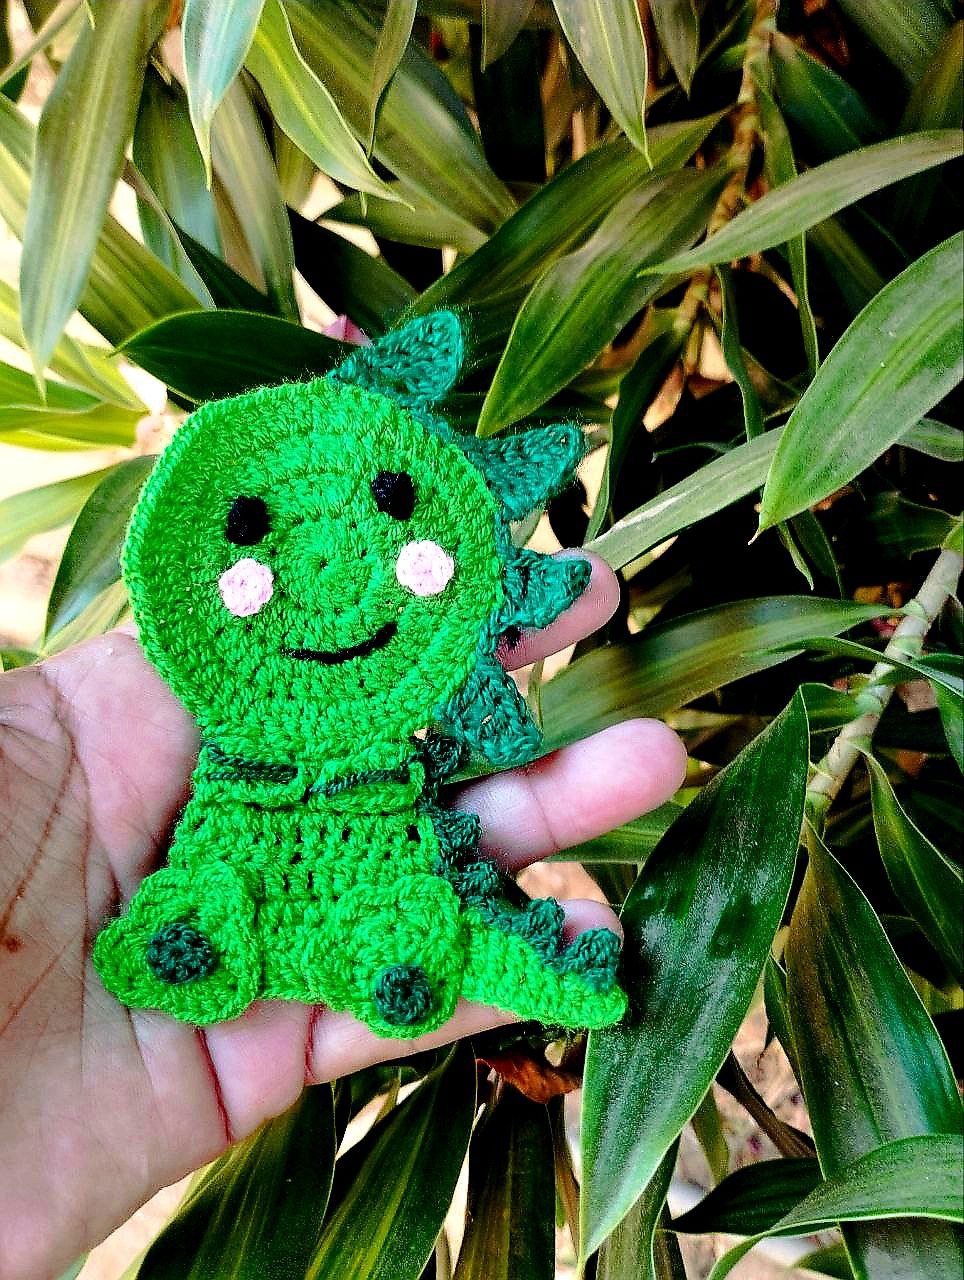
Hello hello friends of this excellent community 🧶❤️ today I share with you a cute and flirty dinosaur made in crochet 🦖🧶 especially to be used as an appliqué or however you wish.
Hola hola amigos de esta excelente comunidad 🧶❤️ hoy les comparto un lindo y coqueto dinosaurio elaborado en crochet 🦖🧶 especialmente para ser usado como apliques o como lo desees.
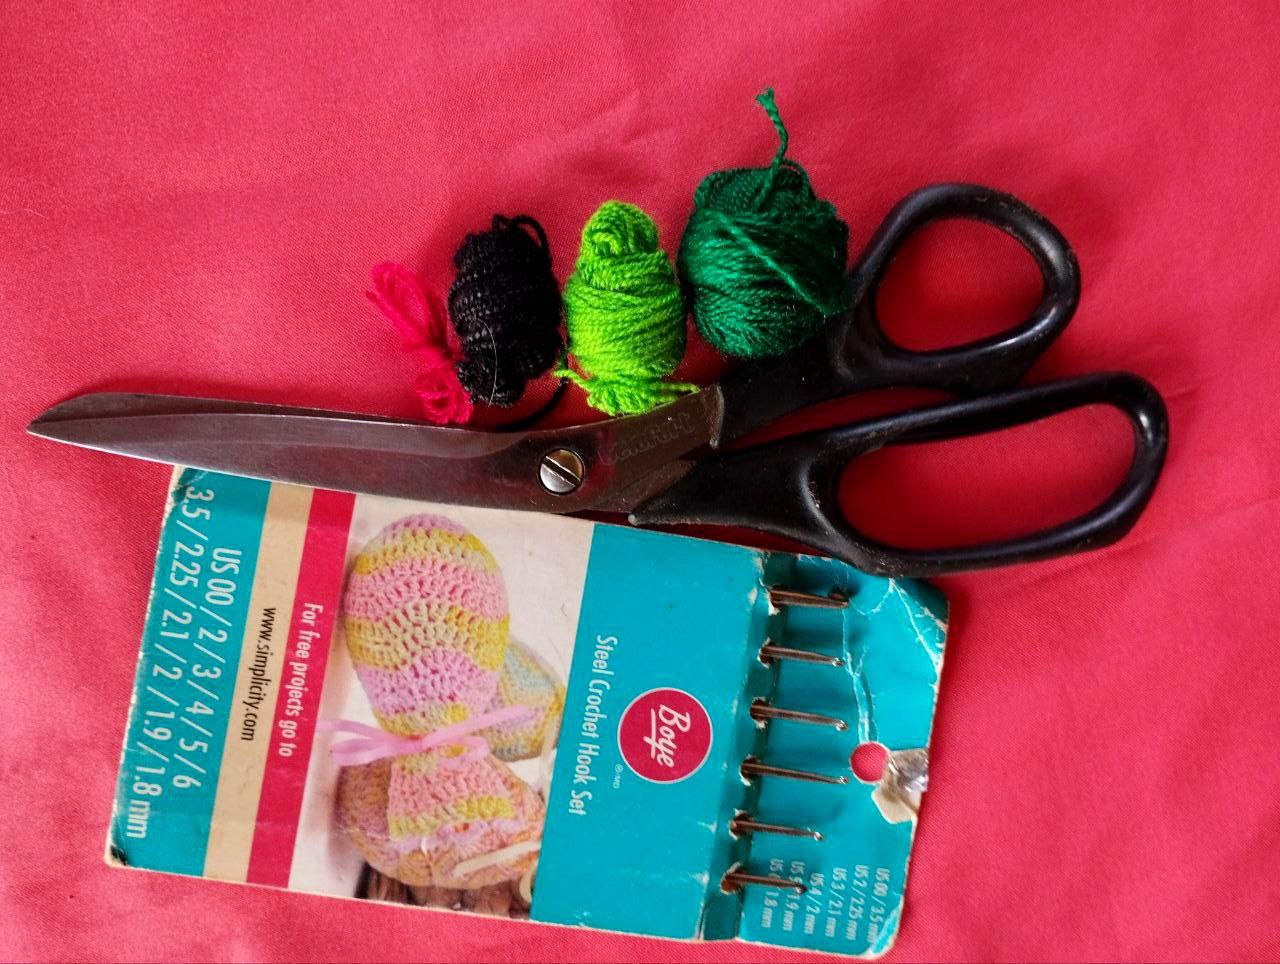
The materials used in this project were crochet threads in the following colors: Leaf green, dark green, black and pink, crochet hook number 4 and scissors. For the stitches I used: Normal double crochets, half double crochets, single crochets, double crochets with 2 and 3 loops.
Los materiales usados en este proyecto han sido hilos de crochet en los colores: Verde hoja, verde oscuro, negro y rosa, aguja de crochet número 4 y tijeras, para los puntos hice uso de: Puntos altos normales, puntos medios altos, puntos bajos, puntos altos de 2 y 3 lazadas.
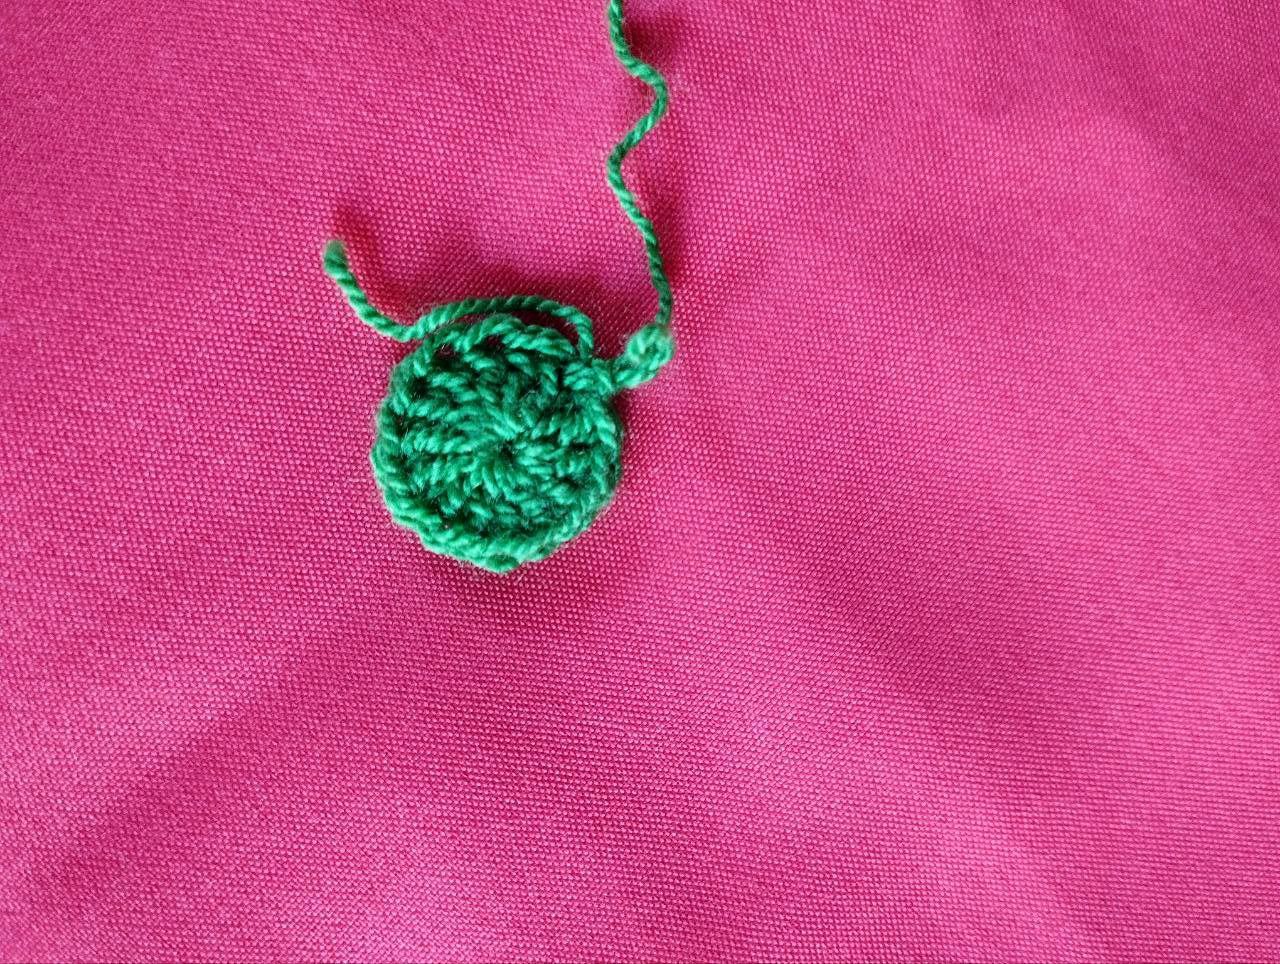
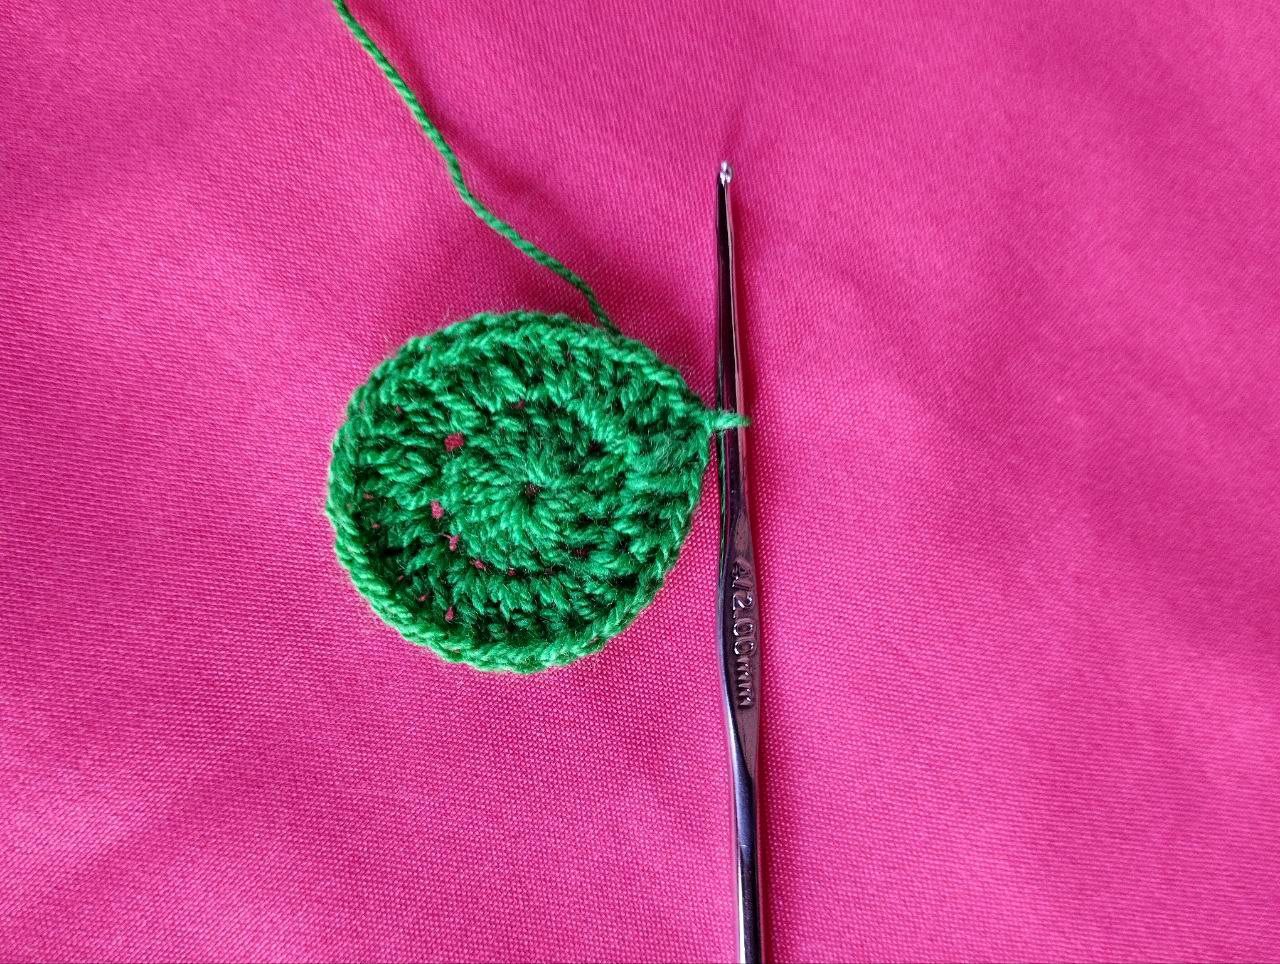
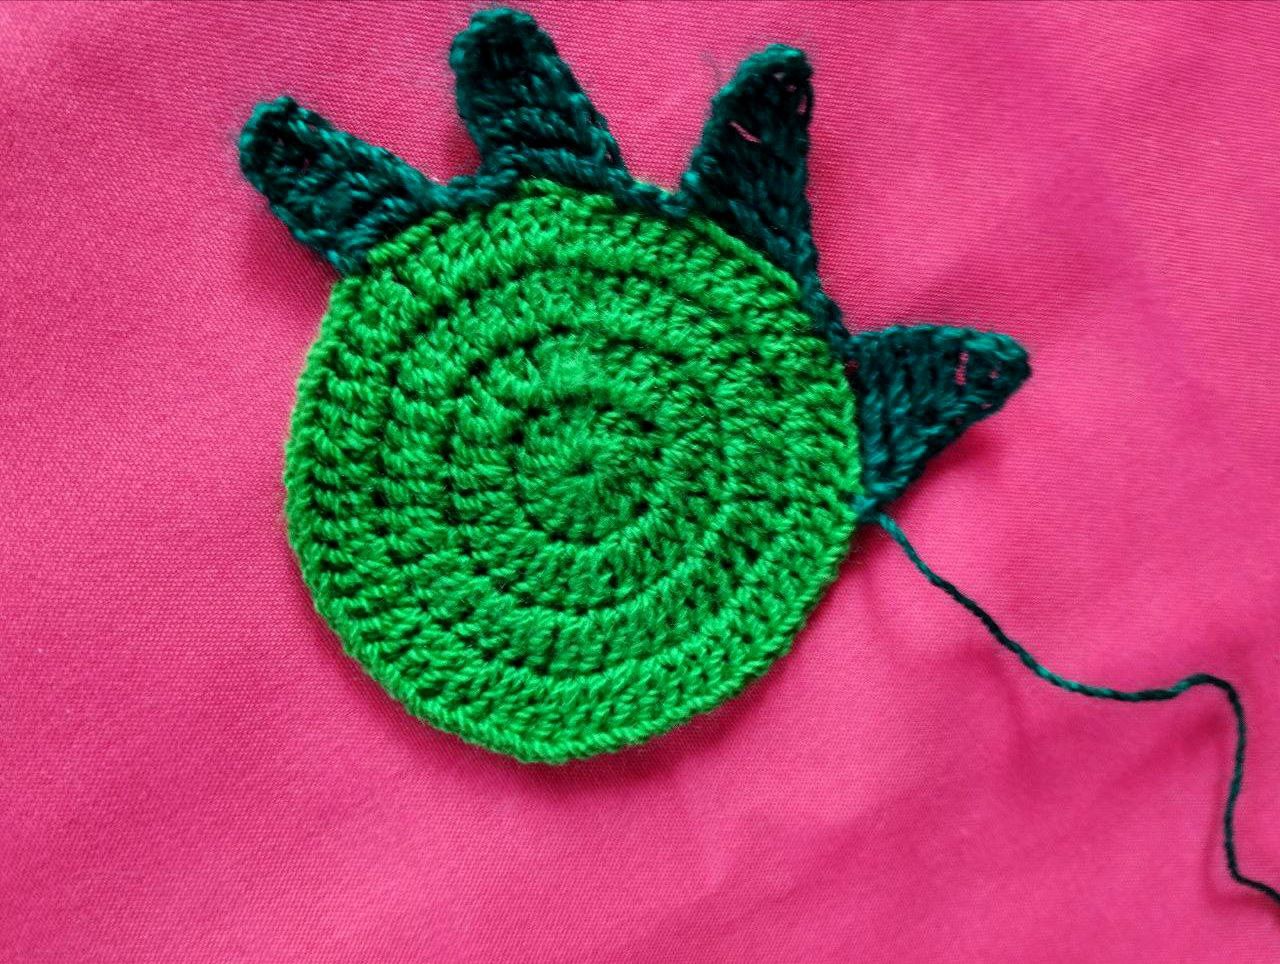
I'll start with the light green yarn to make the head. This is formed with a 4-row circle, starting with a magic ring. Inside, we make 15 regular double crochet stitches. Row 2 is all increases. Rows 3 and 4 are formed by making 15 increases in each row.
With the dark green yarn, we make a chain of 7 stitches. In the fourth chain, we make a regular double crochet and 3 double crochet loops. We skip 3 spaces. In the fourth space, we make a slip stitch, another slip stitch, and repeat again. In the next space, we make 8 chains and make 1 regular double crochet, 2 double crochet loops, and 2 double crochet loops of 3 loops. We cast off and repeat. That's 4 in total.
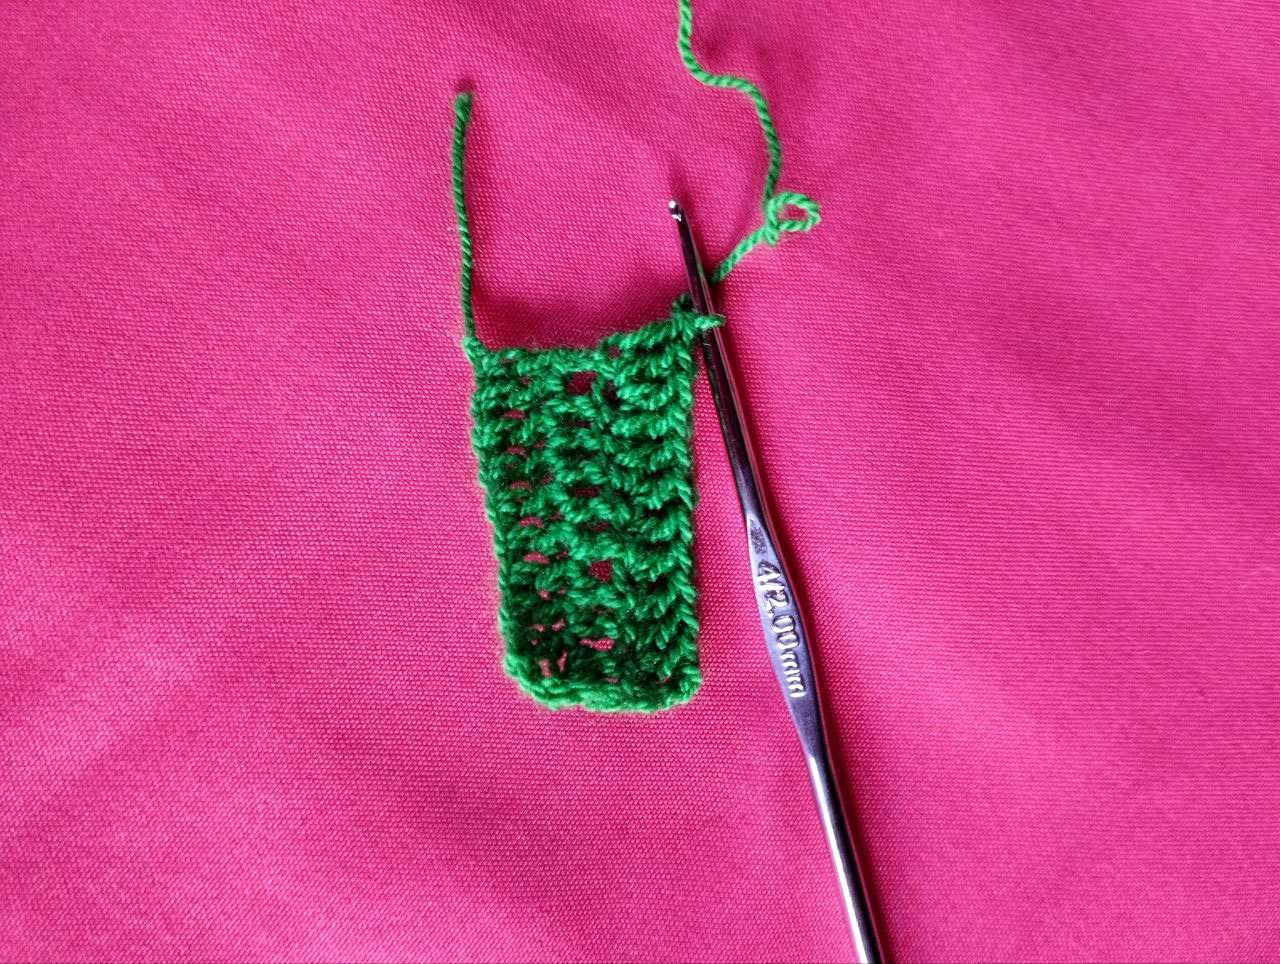
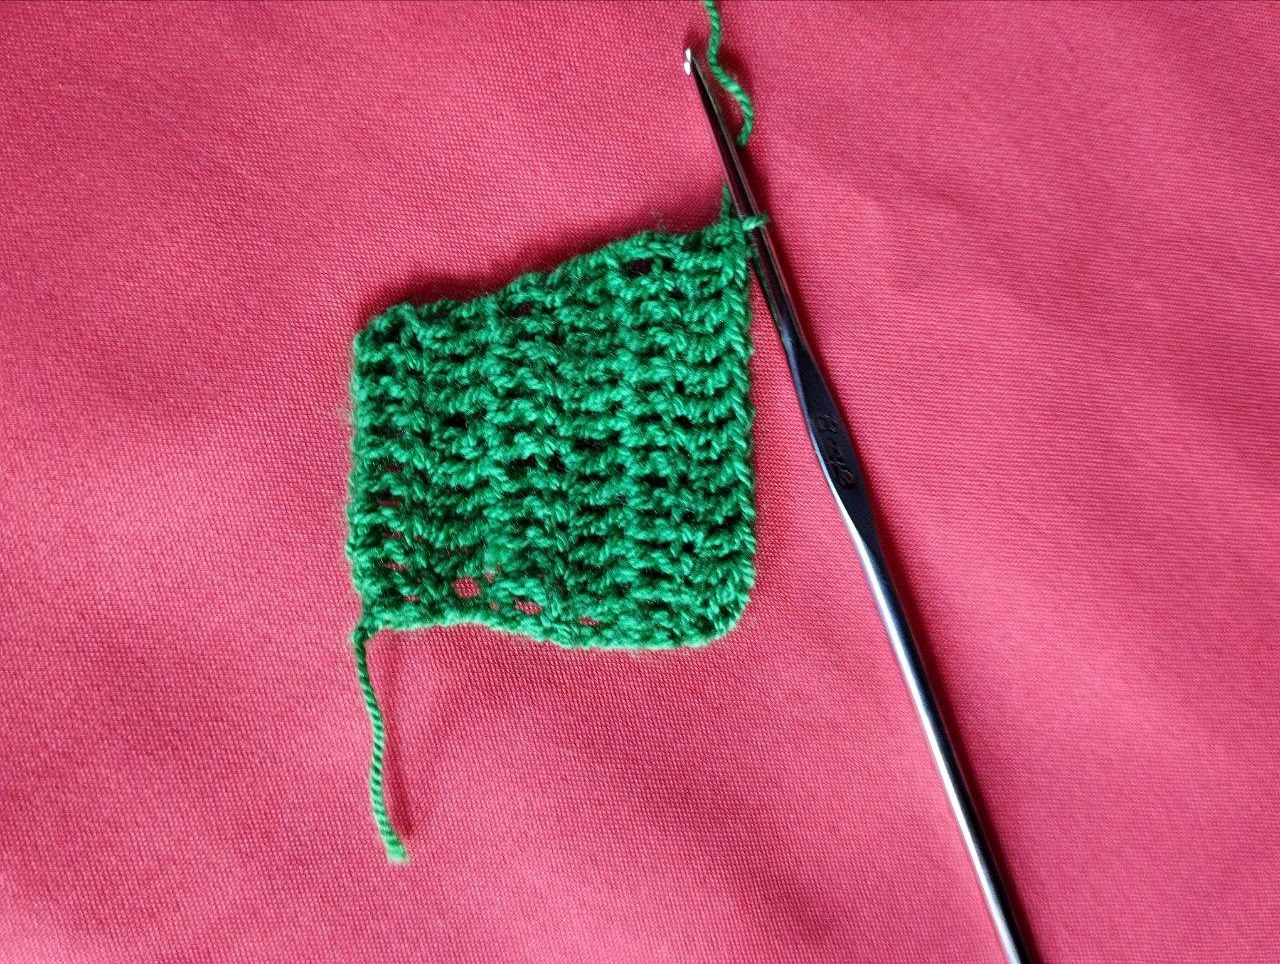
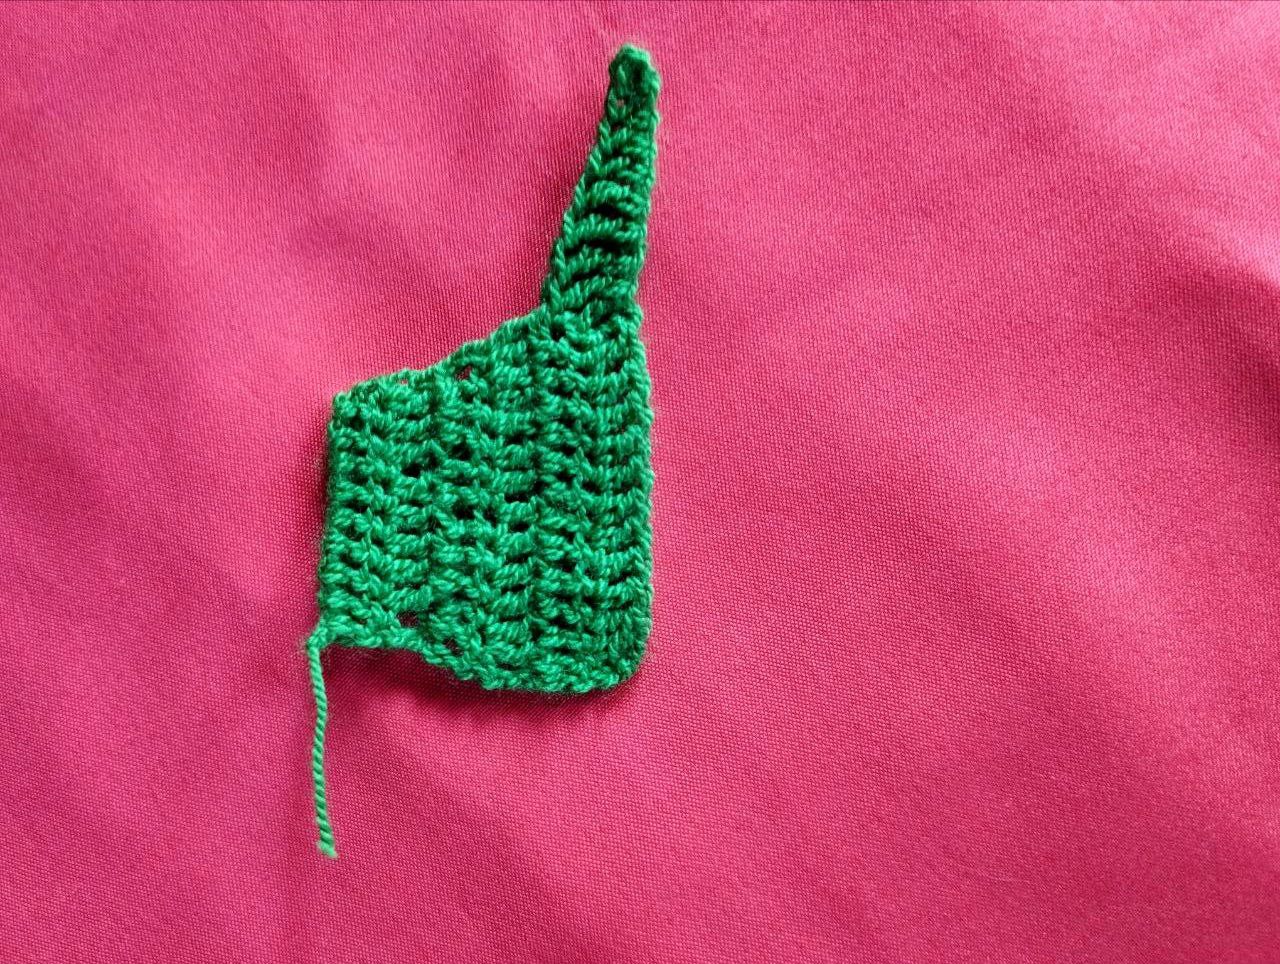
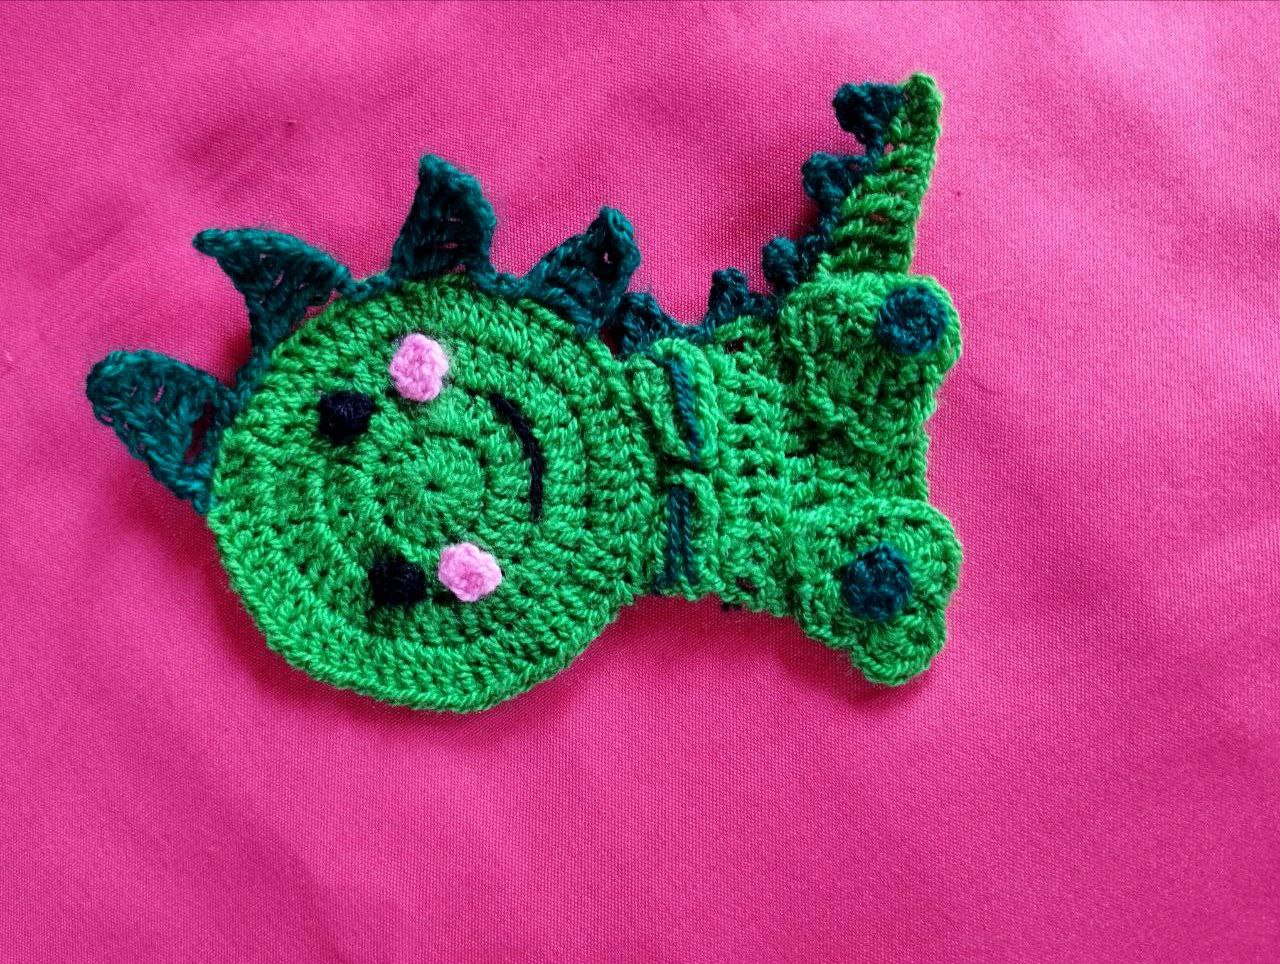
For the body, we make 12 chains and 10 regular double crochet stitches. For the next row, we make 1 increase at the beginning of the row and another increase at the end. For row 3, we work the same way as the previous one. In row 4, we make 1 decrease at the beginning and another at the end of the row. For the tail, we make 20 chain stitches and return with 2 single crochet stitches, 2 half double crochet stitches, 2 regular double crochet stitches, and 2 double crochet yarn loops. We close with a slip stitch in the 3rd row of the body. We place the dark green yarn and make the spikes on the back in this way: 3 chain stitches, 2 half double crochet stitches, 1 double crochet stitch. We close by skipping a space, slip another space, and repeat until we have 5 groups.
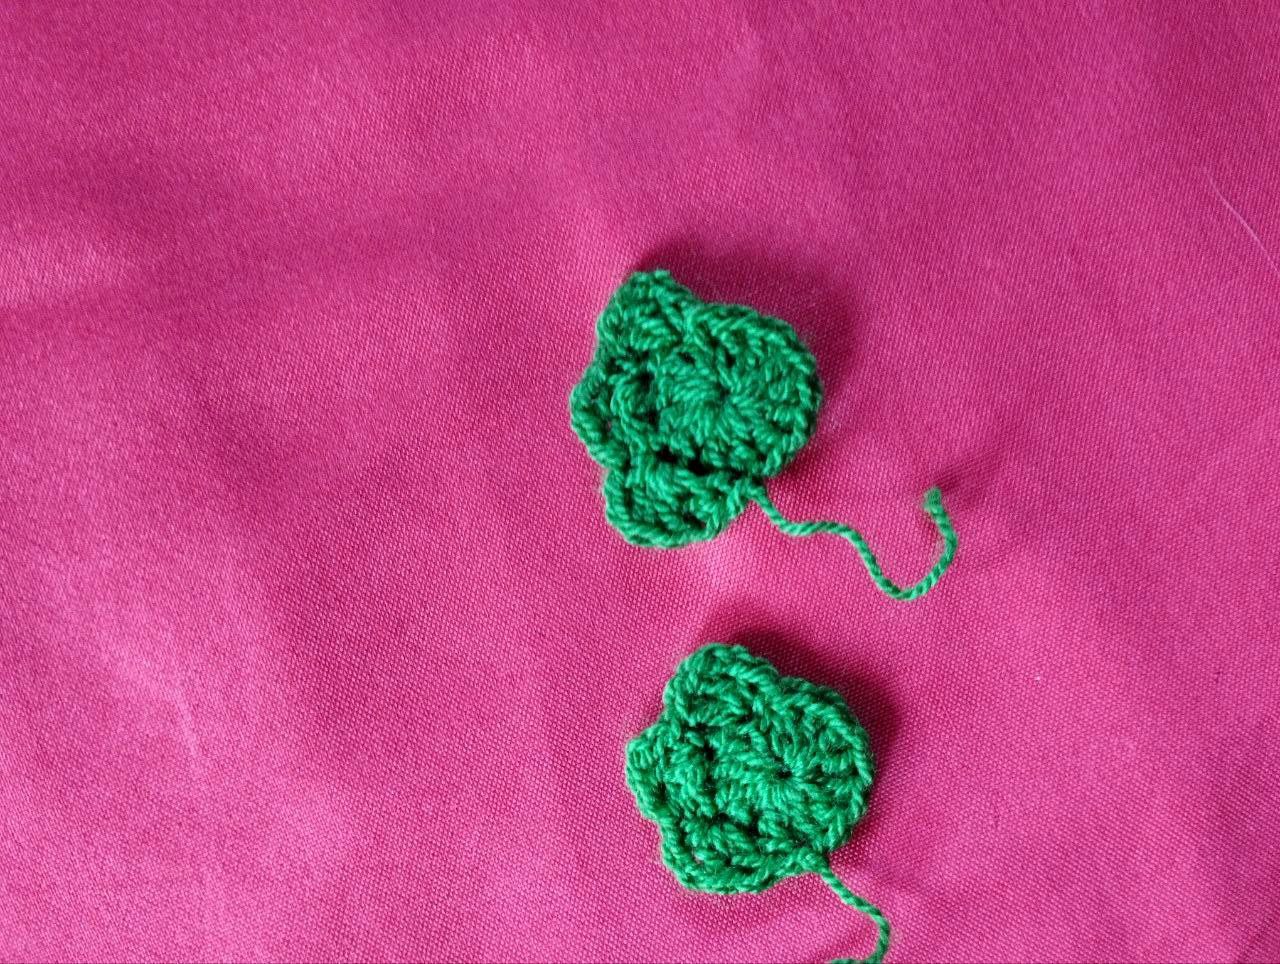
For the back legs, we make a circle of 13 regular double crochets and in row 2, we make 1 single crochet, 2 chains, 2 double crochets all in the same space, skip 1 space, make a single crochet in the next space, and repeat the 3 regular double crochets from before, thus making 3 little paws. From these, we make 2 identical paws.
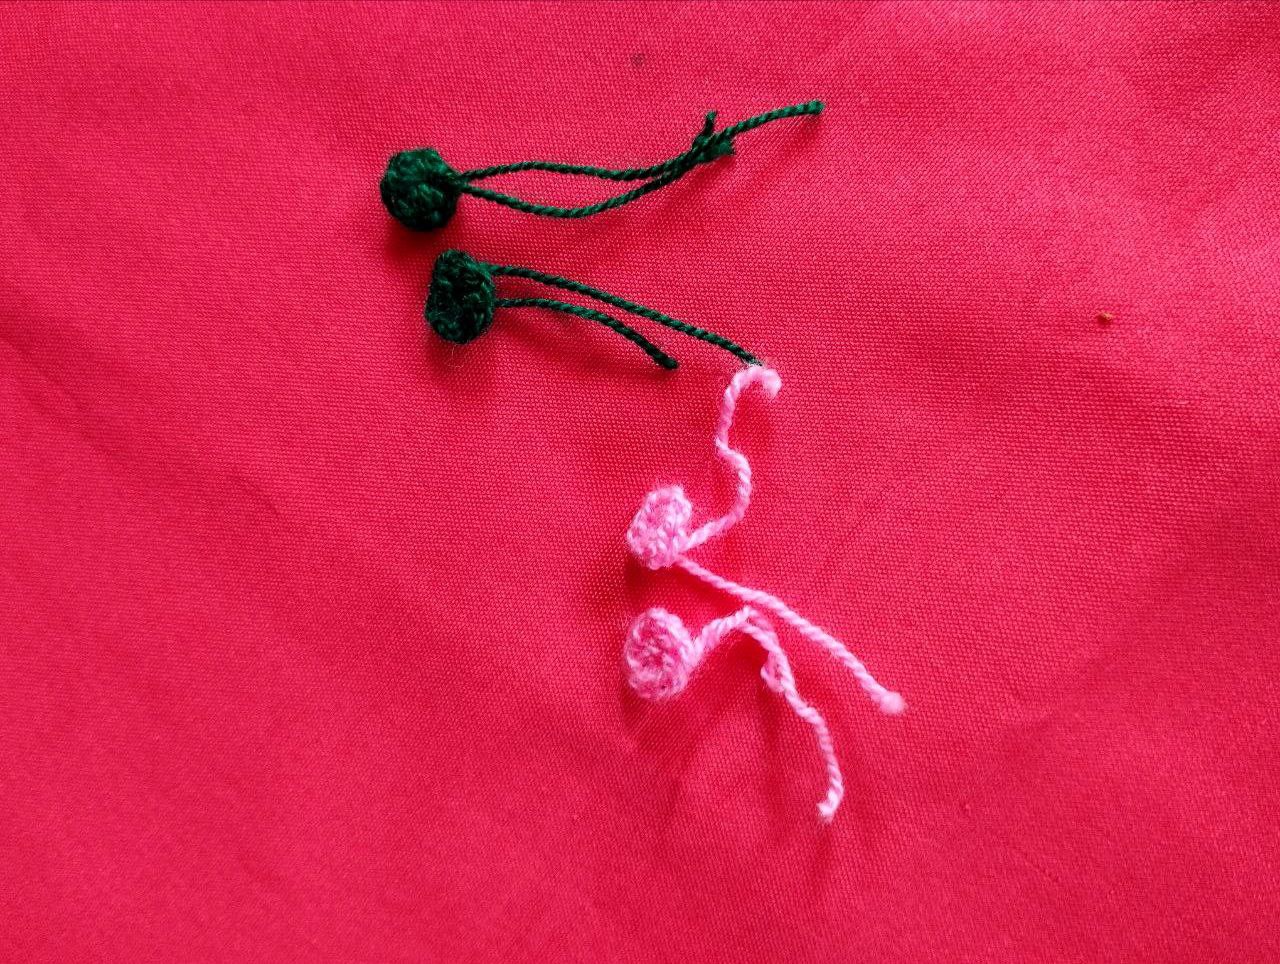
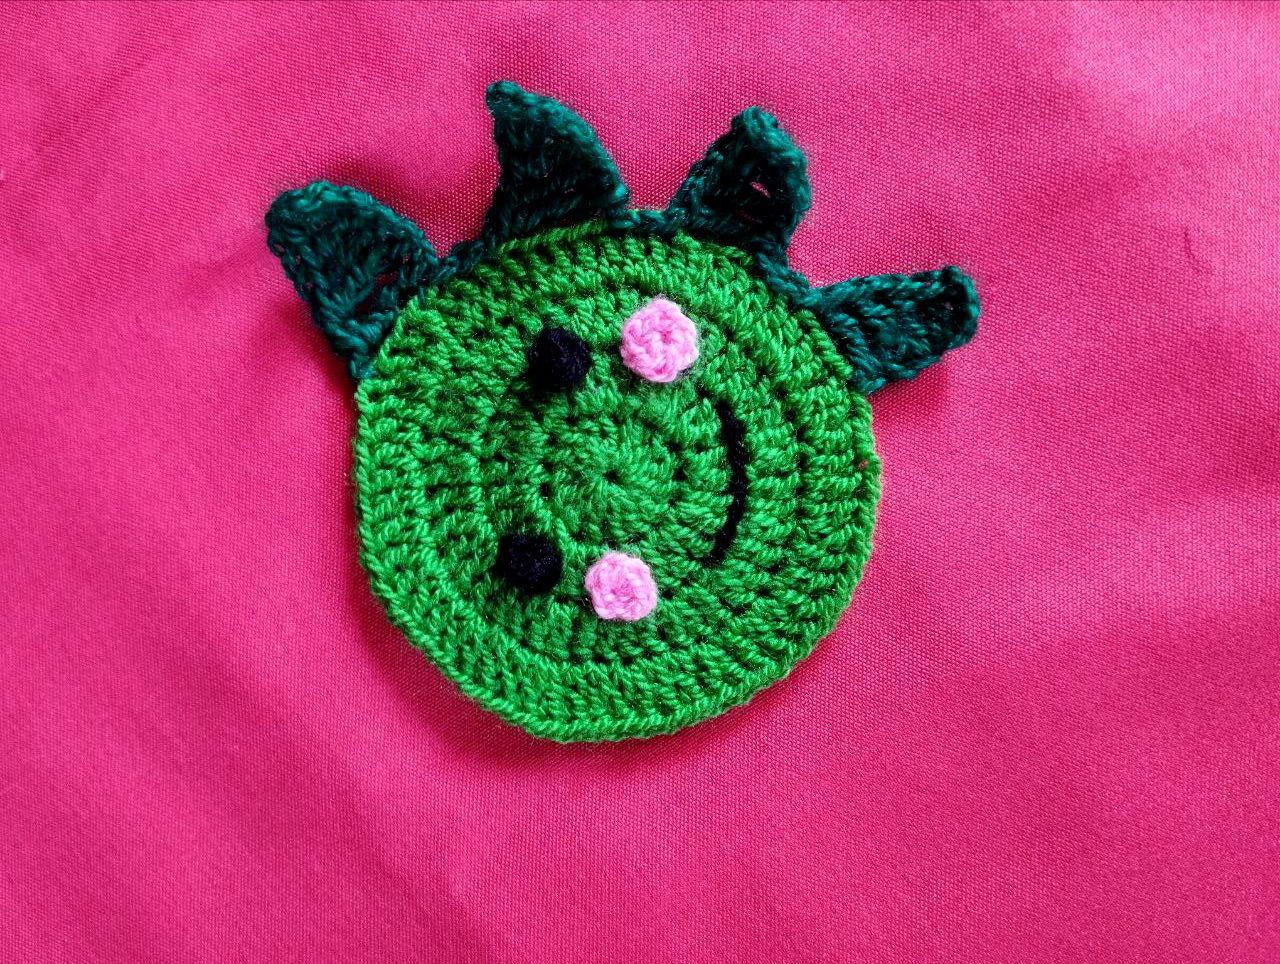
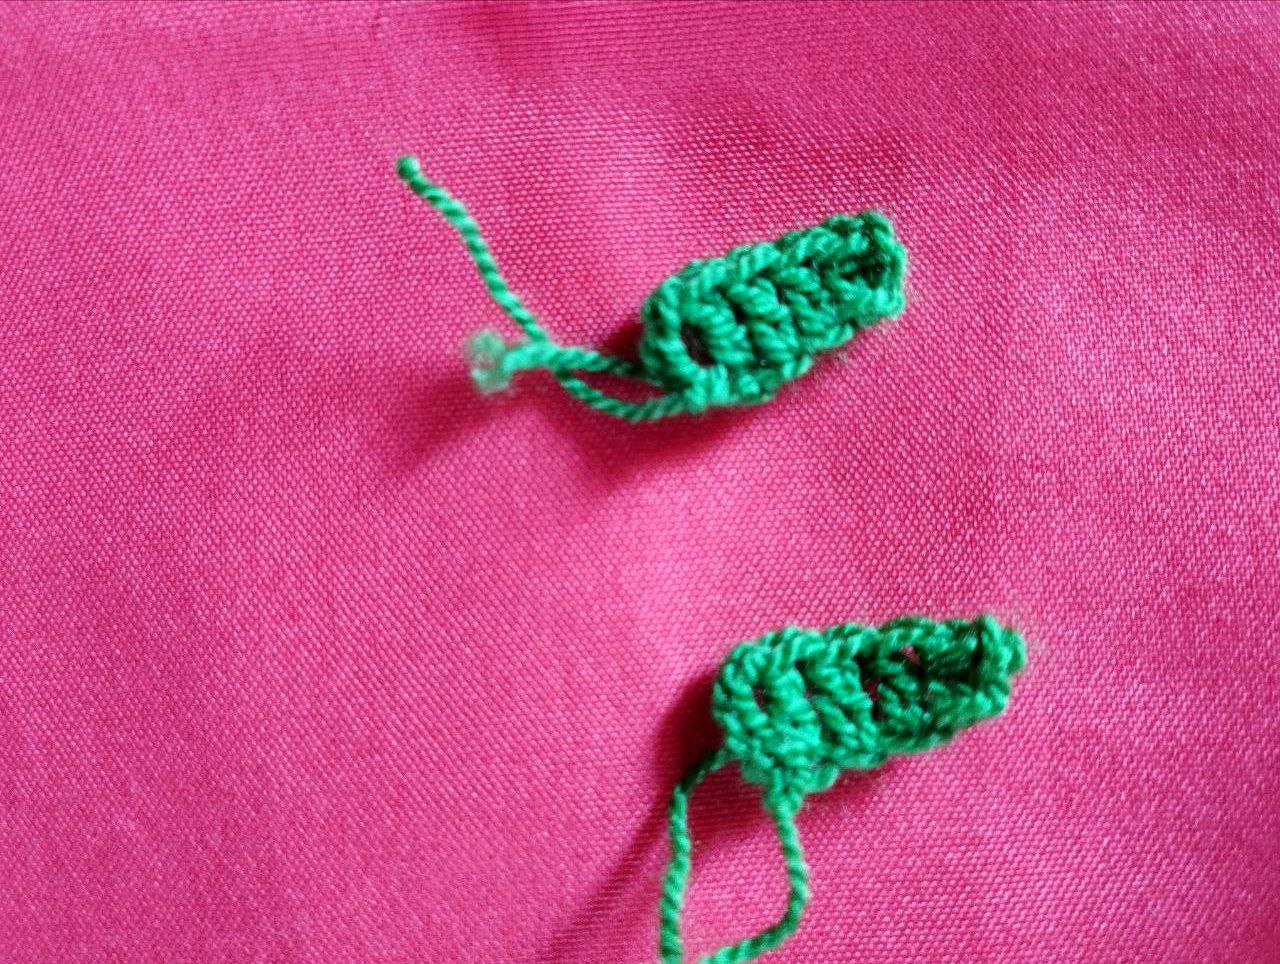
For the hands, we work 6 chains, 1 half double crochet, 2 regular double crochets, 3 chains, and close with a slip stitch at the other end, also 2 identical ones. With the pink yarn, we make the cheeks. A circle of 7 single crochets and close, we need 2 identical ones. The detail of the paws is worked the same as the cheeks in dark green. We proceed to embroider the eyes with black yarn, as well as the smile, only the cheeks and the detail of the paws. We place the hands in the correct position and seal them with dark green. We also place the paws and finally, we join the head to the body.
Comenzaré con el hilo color verde claro para hacer la cabeza, esta se forma con un circulo de 4 filas, comenzando con un anillo mágico y dentro hacemos 15 puntos altos normales, la fila 2 es de puros aumentos, las filas 3 y 4 se forman haciendo 15 aumentos en cada fila.
Con el hilo de color verde oscuro hacemos una cadena de 7 puntos, en la cuarta cadena hacemos un punto alto normal y 3 puntos altos doble lazada , saltamos 3 espacios y en el cuarto espacio realizamos un punto deslizado, otro punto deslizado y repetimos de nuevo, en el siguiente hacemos 8 cadenas y hacemos 1 punto alto normal, 2 puntos altos doble lazada y 2 puntos altos de 3 lazadas cerramos y repetimos serían 4 en total.
Para el cuerpo hacemos 12 cadenas y elaboramos 10 puntos altos normales, para la siguiente fila hacemos 1 aumento al comienzo de la fila y otro aumento al final, para la fila 3 trabajamos de igual forma a la anterior, en la fila 4 hacemos 1 disminucion al comienzo y otra al final de la fila, para la cola hacemos 20 puntos de cadenas y nos devolvemos con 2 puntos bajos, 2 puntos medio alto, 2 puntos altos normales y 2 puntos altos doble lazada, cerramos con un punto deslizado en la 3 fila del cuerpo, colocamos el hilo verde oscuro y hacemos las espigas de la espalda de esta forma 3 puntos de cadenas, 2 punto medio alto, 1 punto alto cerramos saltando un espacio, deslizamos otro espacio y volvemos a repetir hasta obtener 5 grupos.
Para las patitas de atrás hacemos un circulo de 13 puntos altos normales y en la fila 2, hacemos 1 punto bajo 2 cadenas, 2 puntos altos todos en el mismo espacio, saltamos 1 espacio hacemos un punto bajo en el siguiente y repetimos los 3 puntos altos normales anteriores, así elaboramos 3 garritas, de estás patitas hacemos 2 iguales.
Para las manitos trabajamos 6 cadenas , 1 punto medio alto, 2 puntos altos normales 3 cadenas y cerramos con punto deslizado en el otro extremo, también 2 iguales, con el hilo rosa hacemos las mejillas, un círculo de 7 puntos bajos y cerramos, necesitamos 2 iguales, el detalle de las patitas se trabaja igual a las mejillas en color verde oscuro, procedemos a bordar los ojos con el hilo color negro, también la sonrisa, únicos las mejillas y el detalle de las patitas, colocamos las manos en posición adecuada y las recordamos con el color verde oscuro, también colocamos las patitas y finalmnete unimos la cabeza con el cuerpo.

Dear friends, this project is very meticulous due to the number of pieces that are made and placed later, I liked it a lot and wanted to share its elaboration with you, thank you for your time, greetings 🍃🦖🧶🙏🏻🙏🏻
Queridos amigos este proyecto es muy minucioso por la cantidad de piezas que se elaboran y se colocan posteriormente, me gustó mucho y quise compartir con ustedes su elaboración, gracias por su tiempo, saludos 🍃🦖🧶🙏🏻🙏🏻

The photographs are my own, taken with my Redmi Note 11 cell phone and edited with the Instagram application, the translation of the text was done using this means: Google.
My Instagram account and work venture is:
Siriuscrochet, the magic of knitting.
Las fotografías son de mi autoría tomadas con mi celular Redmi Note 11 y editadas con la aplicación Instagram la traducción del texto la realice utilizando este medio: Google.
Mi cuenta de Instagram y emprendimiento laboral es:
Siriuscrochet, la magia de tejer.