
Hola hola querida comunidad diy
Como están el día de hoy? Yo muy bien, con ganas de contarles que hoy hice algo parecido a una manualidad o algo por el estilo. Para este halloween no me he terminado de decidir sobre que me voy a disfrazar, pero aprovechando que estudio odontologia y tengo muchos materiales, decidí hacer algo para este halloween. Si ustedes por alguna razón tiene estos materiales por casa, también puede hacerlo. Sin más quiero mostrarles como hacer estos increíbles colmillos
How are you today? I'm very well, I wanted to tell you that today I did something like a craft or something like that. For this halloween I haven't decided what I'm going to dress up as, but taking advantage of the fact that I study dentistry and I have a lot of materials, I decided to make something for this halloween. If for some reason you have these materials at home, you can do it too. Without further ado, I want to show you how to make these amazing fangs.

Colmillos de vampiro hechos a la medida
Antes que todo, es difícil que tengan todos los materiales si no estudian esto o no tienen algún familiar que trabaje de esto, por eso tratare de simplificar los materiales
First of all, it is difficult for you to have all the materials if you do not study this or do not have a family member who works in this field, so I will try to simplify the materials.

Materiales
●Yeso París (yeso dental, bastante barato en las tiendas especiales)
●Alginato dental (esto si es más difícil de conseguir)
●Cubeta dental
●Tirro
●Resina dental (la más barata que encuentren)
●Lámpara de fotocurado (puede ser de esas para hacer uñas)
● Plaster of Paris (dental plaster, fairly inexpensive at specialty stores)
● Dental alginate (this is harder to get)
● Dental tray
● Tirro
● Dental resin (the cheapest you can find)
● Light curing light (can be one of those for doing nails)

Proceso
Antes que nada, debo decir que realmente este post lo hago para mostrar un poco como los hice, ya que se que a muchos se les hará difícil conseguir materiales, y que es más fácil comprar uno de plásticos clásicos, esto es en caso de que los puedan conseguir
First of all, I must say that I really do this post to show a little how I made them, since I know that many will find it difficult to get materials, and it is easier to buy a classic plastic one, this is in case you can get them.
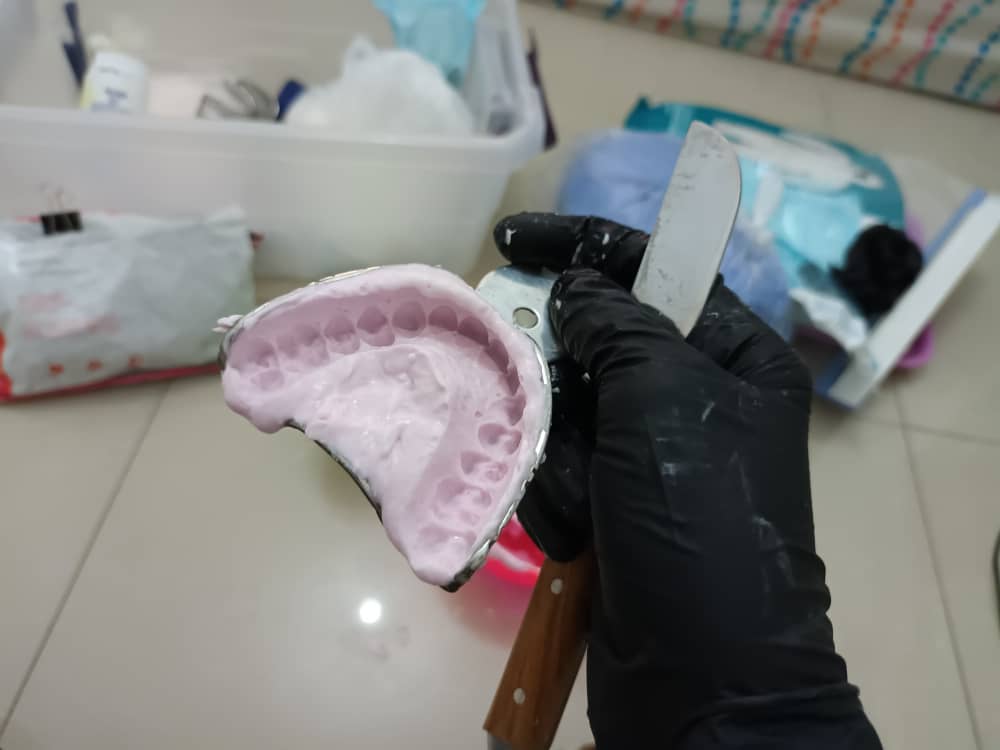
Primero, deberías sacar un modelo de tus dientes, eso lo harás con el alginato y la cubeta. Pueden buscar en YouTube como mezclar y sacar su propia impresion dental cuando ya tengan estos materiales, tal vez no sea tan facil pero intentando podrán conseguirlo
First, you should make a model of your teeth, which you will do with the alginate and the tray. You can search on YouTube how to mix and make your own dental impression once you have these materials, it may not be that easy but you can try to do it.
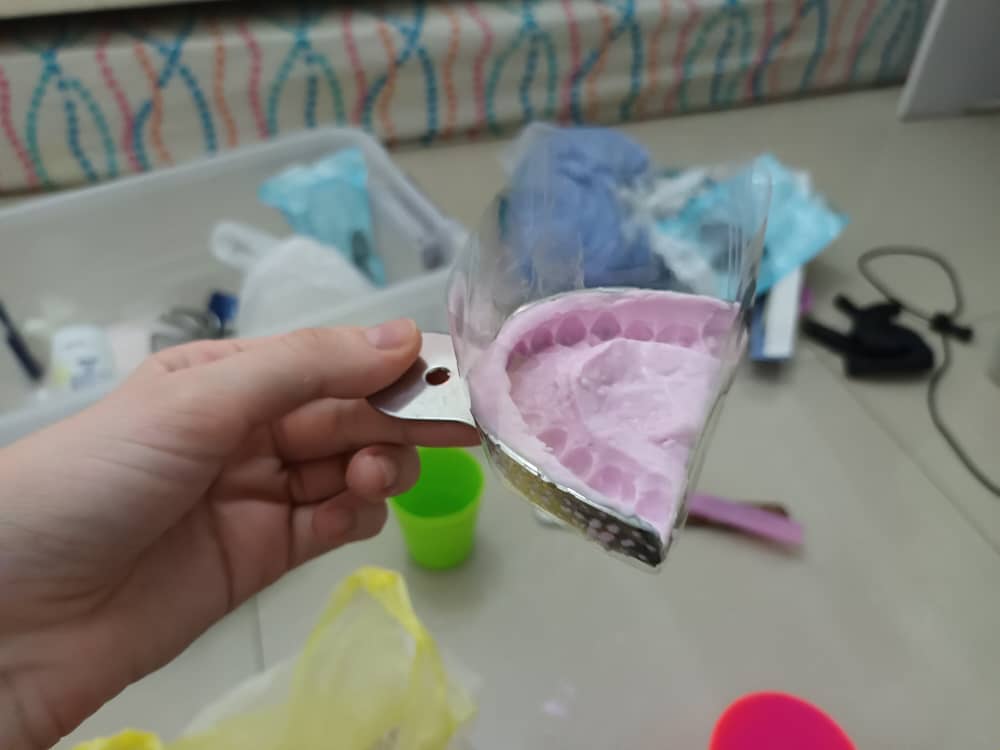
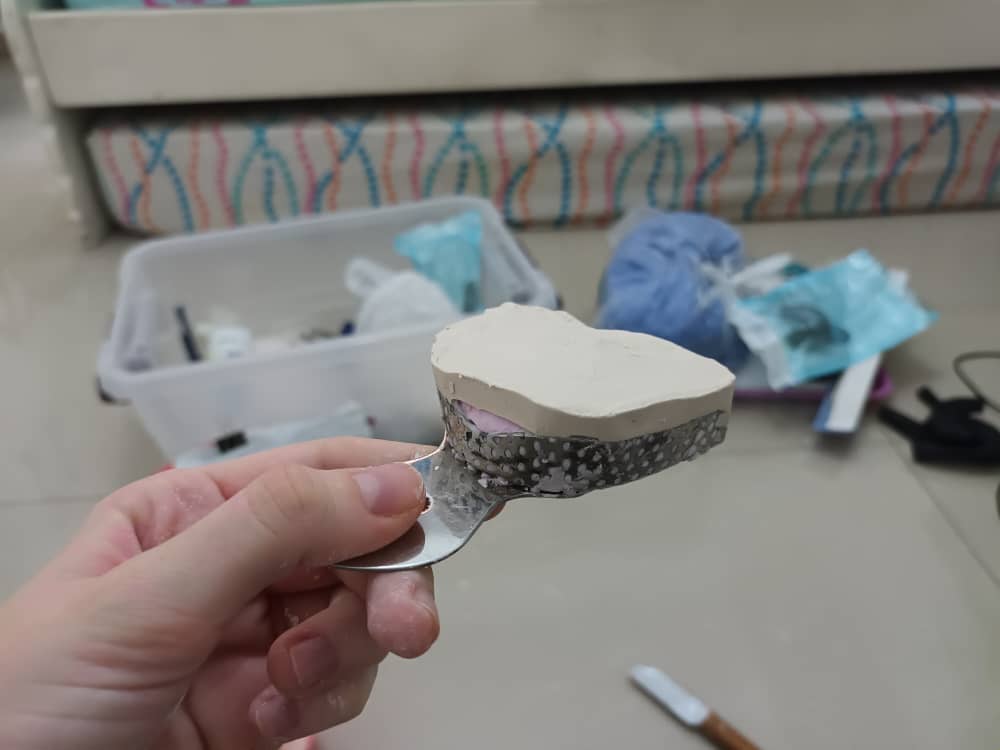
Luego de eso, con el tirro pasan a hacer una pequeña barrera para su impresión, y que así puedan sacar el molde para hacérselos a medida. Esta parte es algo complicada, ya que trate de usar un tirro normal de toda la vida, y se me hizo algo difícil hacer todo el proceso. Luego de eso, con el yeso, pasan a ponerlo en la impresión, este debe estar algo líquido espeso, para que entre bien y logres sacar una buena impresión. Mientras estés colocando el yeso, deberás estar haciendo movimiento de vibración con tu mano, para sacar todas las burbujas que puedan quedar por dentro.
After that, with the thyrsus, they make a small barrier for printing, so that they can take the mold to make them to size. This part is a bit complicated, since I tried to use a normal thyrsus, and it was a bit difficult to do the whole process. After that, with the plaster, they put it in the impression, this must be a little thick liquid, so that it enters well and you can get a good impression. While you are placing the plaster, you should be making a vibrating movement with your hand, to remove all the bubbles that may remain inside.
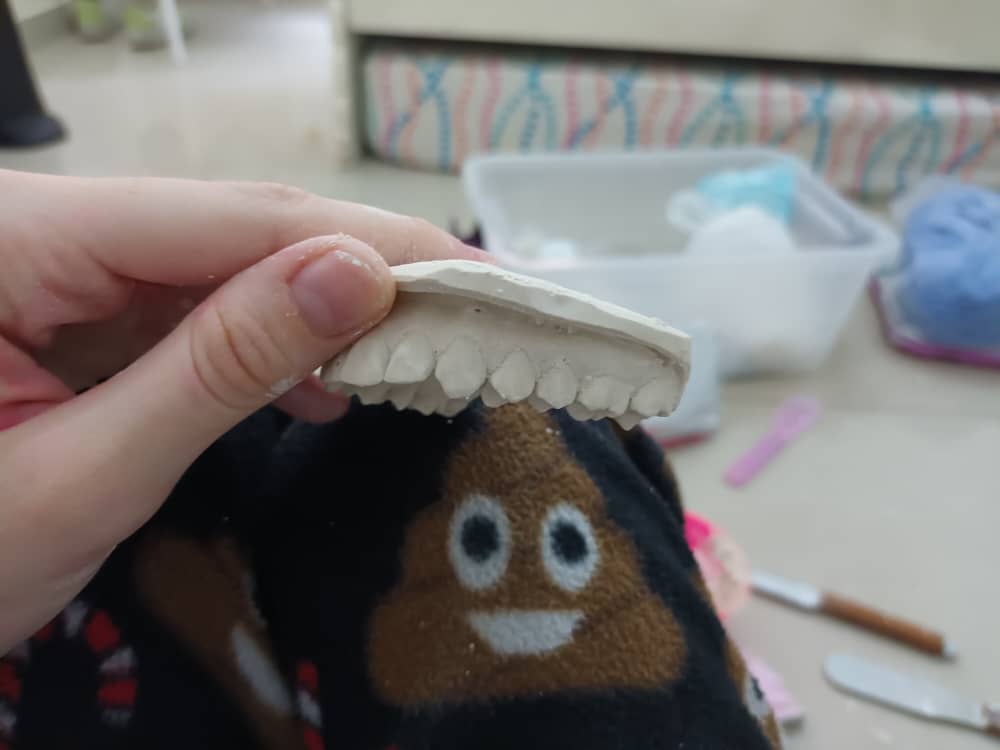
En poco tiempo tendrás tu molde completamente listo para sacar. Yo en mi caso puse poco yeso, ya que no quería gastar tanto material para esto, no hacía falta. Tienes que sacar la impresión lentamente haciendo movimientos lentos para que no se rompa y pierdas tu trabajo
In a short time you will have your mold completely ready to take out. In my case I put little plaster, since I didn't want to spend so much material for this, it wasn't necessary. You have to remove the impression slowly making slow movements so that it doesn't break and you lose your work.
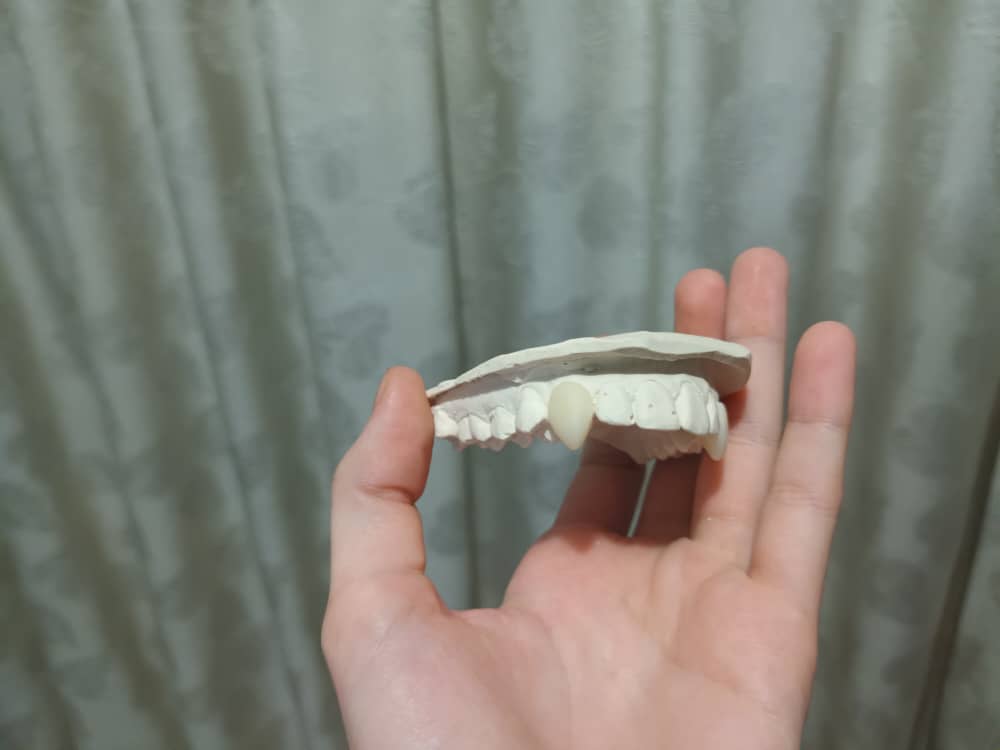
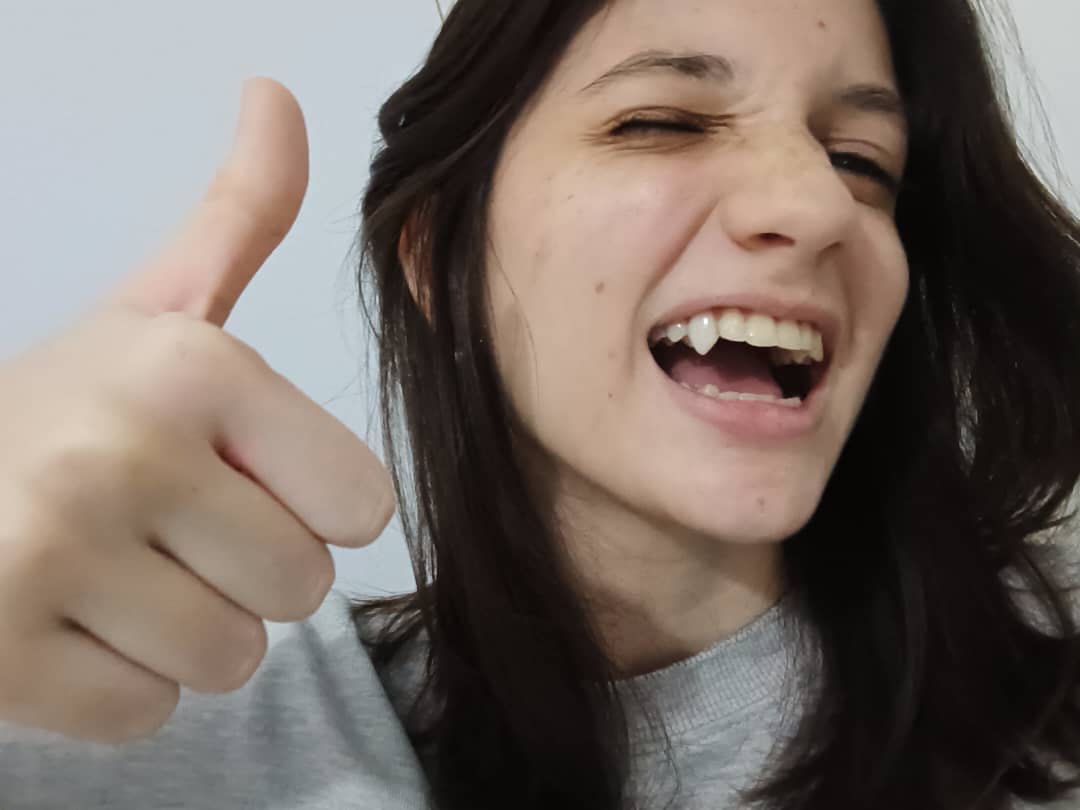
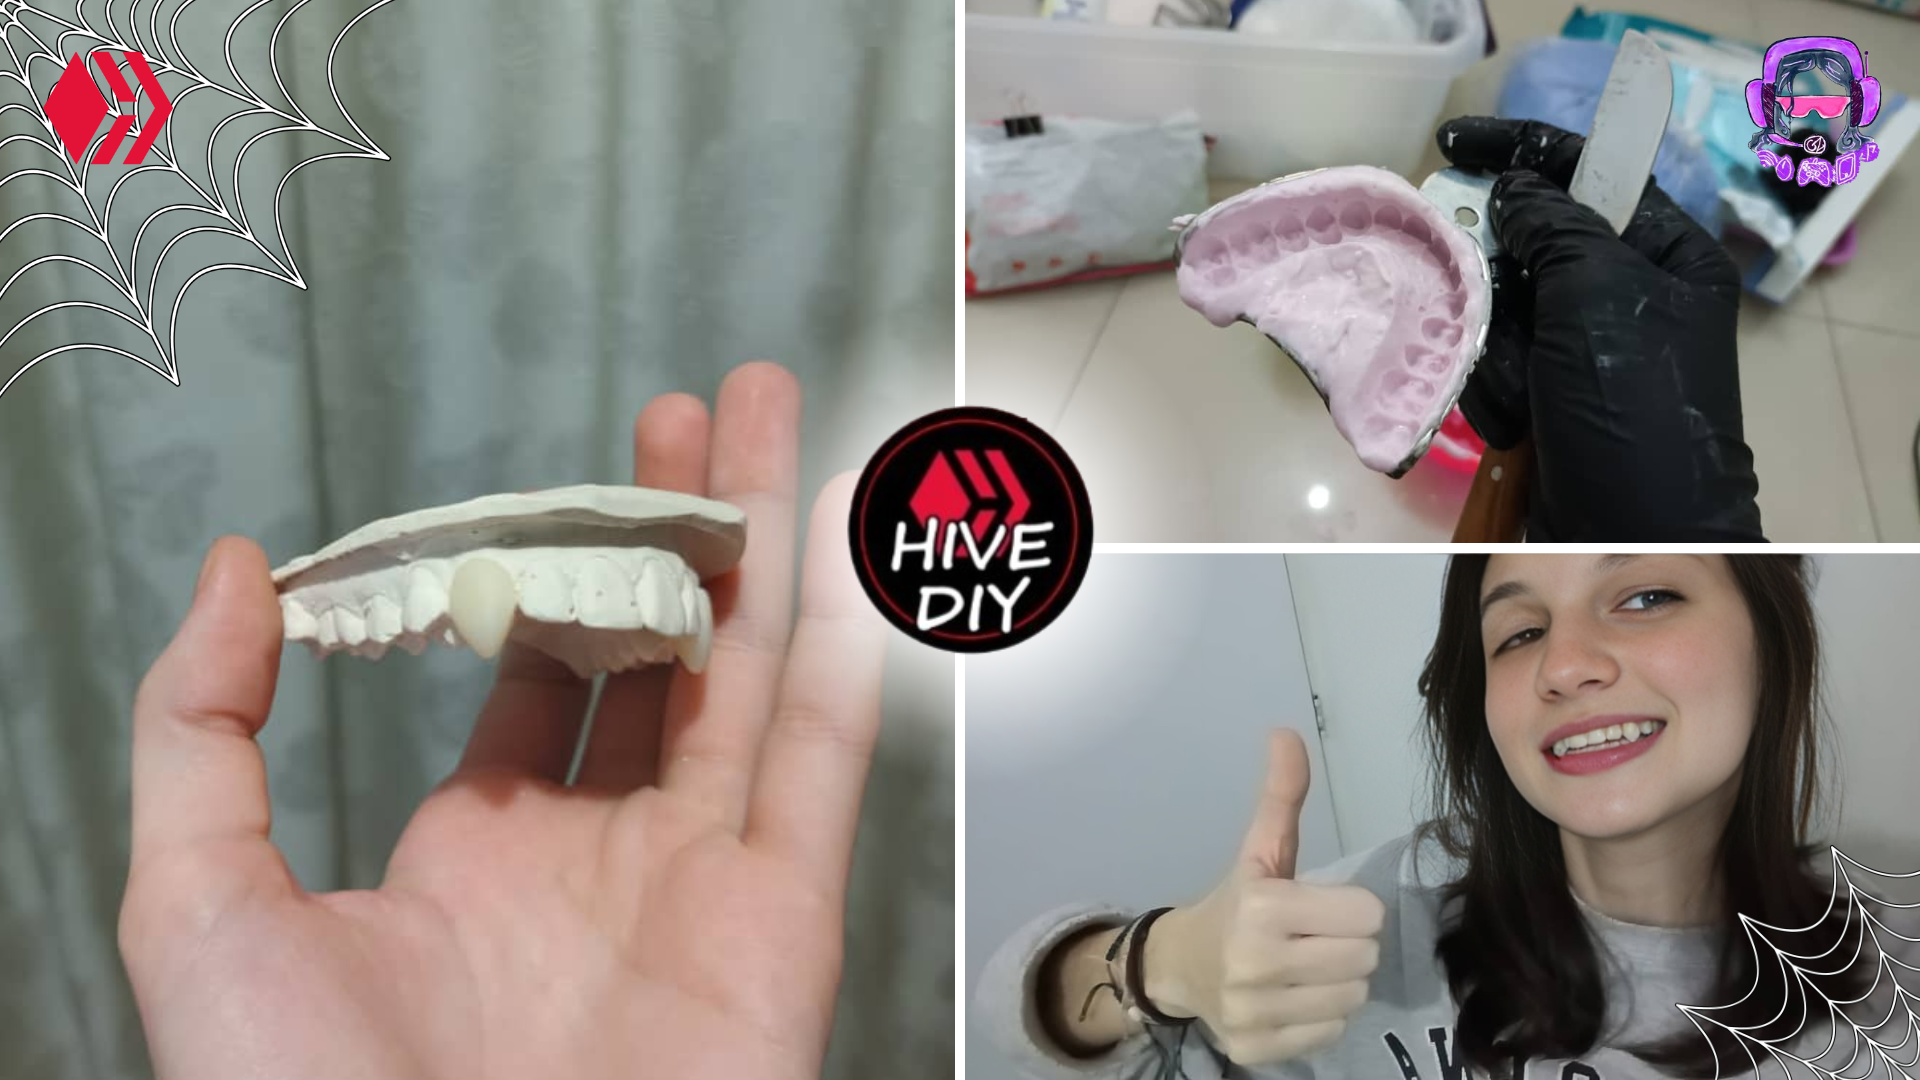
Al tener tu modelo, puedes comenzar a crear tus Colmillos. Yo lo hice con las manos, para comprobar que podías hacerlo sin muchos materiales. Los dos Colmillos los moldee con mis dedos, y la verdad es que quedaron bastante bien. Cuando termines un colmillo, deberás fotocurarlo con la lámpara, dejándolo mínimo 40 segundos para que así seque lo más posible
Once you have your model, you can start creating your Fangs. I did it with my hands, to check that you could do it without a lot of materials. The two Fangs were molded with my fingers, and the truth is that they turned out quite well. When you finish a fang, you should light cure it with the lamp, leaving it for at least 40 seconds so that it dries as much as possible.

Desde aquí, todo depende de el corazón que le pongas moldeando. Tienes que asegurarte que tenga buena forma para que así puedan agarrarse y quedar bastante bien agarrados a tus dientes. Si hiciste todo bien, tendrás un muy buen resultado. Algo que si debo decir es que no debes dejar esto mucho tiempo en tus dientes, ya que puede hacer daño, no hay que dormir con eso ni nada por el estilo
From here, it all depends on how much heart you put into shaping them. You have to make sure that it has a good shape so that they can grip and hold on to your teeth pretty well. If you did everything right, you will have a very good result. One thing I must say is that you should not leave this on your teeth for too long, as it can hurt, you should not sleep with it or anything like that.
De verdad que hacer esto me encantó llevaba muchísimo tiempo queriendo hacerlos, y el resultado me super gusto, siento que están muy lindos y si lo termino usando para halloween me quedarán super bien
I really loved making these, I had been wanting to make them for a long time, and I really liked the result, I feel they are very cute and if I end up using them for halloween they will look great.

Gracias por leer!
Muchas muchas gracias por pasarte por aquí! Me ha encantado el resultado y quería mostrarlo, ojalá puedan hacerlo o si no, espero que les guste, nos vemos!
Thank you very much for stopping by! I loved the result and wanted to show it, hopefully you can do it or if not, I hope you like it, see you!
| Traducido con Deepl | Translated with deepl | |
|---|---|---|
| Imagenes de mi autoria | images of my autoship | |
| Portada editada con Canva | Cover edited with Canva |

