Greetings to everyone and i hope you are all doing well and fine. It's that time of the year were we celebrate and spend time with our family, Christmas is a time of joy and giving and one symbol that represents the season is a Christmas tree. A Christmas tree is one of the many things found in many homes during Christmas and Today I will show you how to make a Christmas tree with a glitter paper. December means Christmas, and in this month everybody spends it with festivities and joyous celebrations. So on the occasion of this special day, I will show you how to make a Christmas tree. Let's see how I made it.

MATERIALS USED
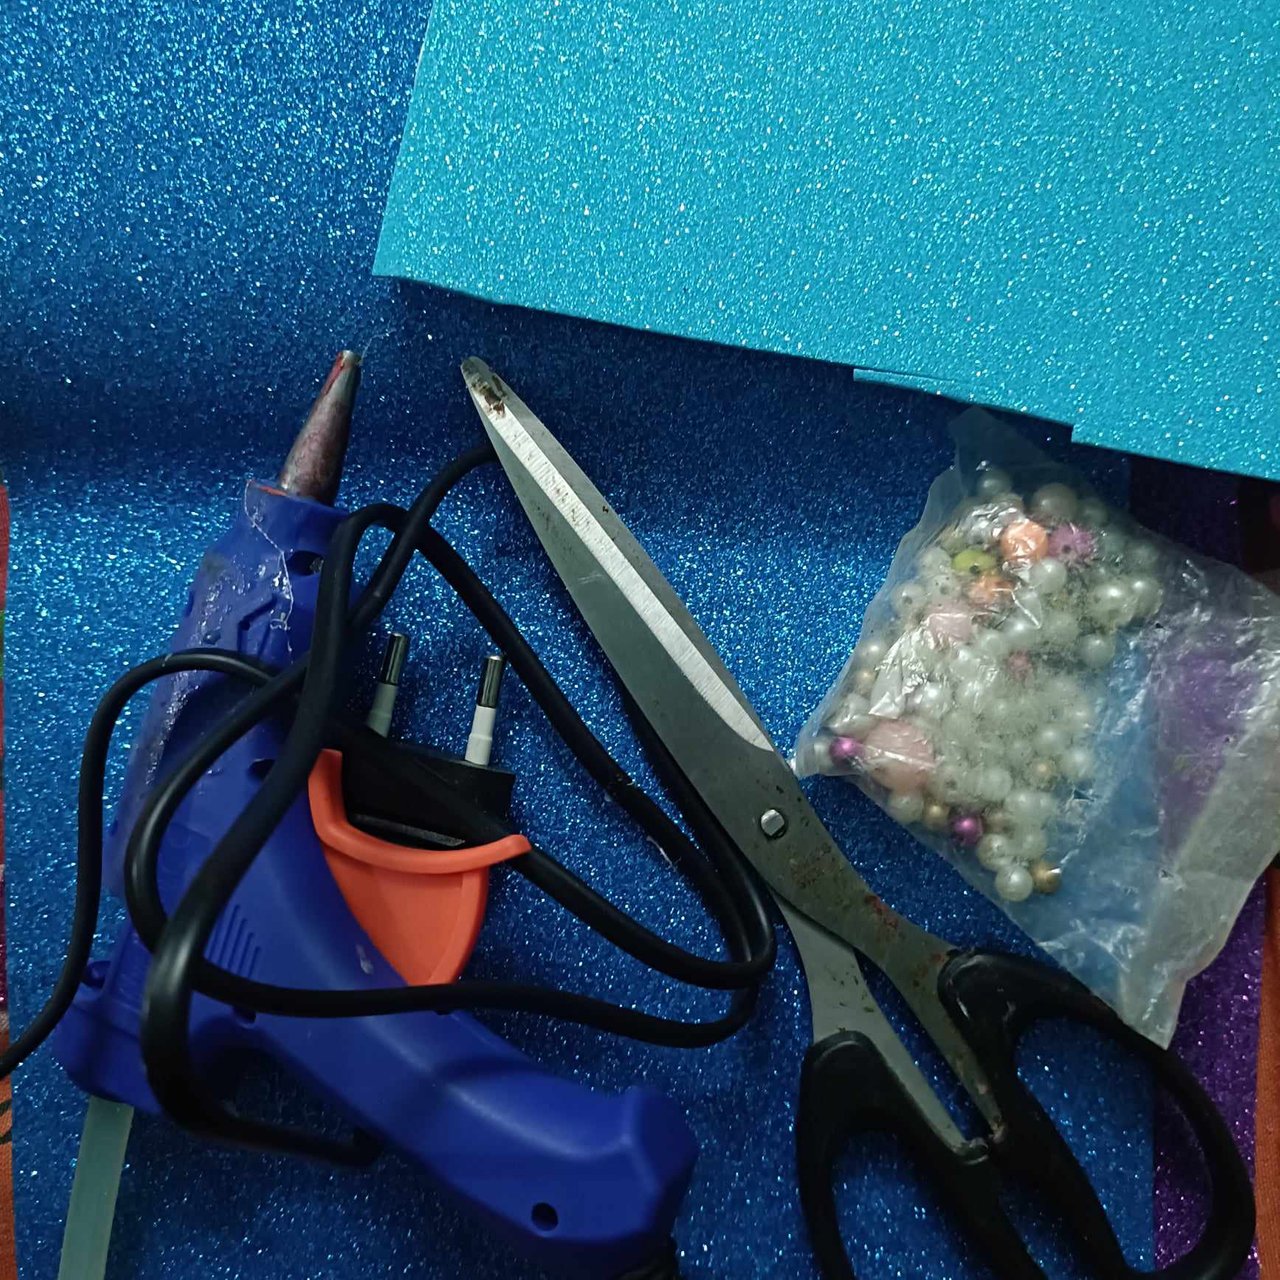
• glitter paper
• scissors
• gum gun and
• white bead
LET'S BEGIN
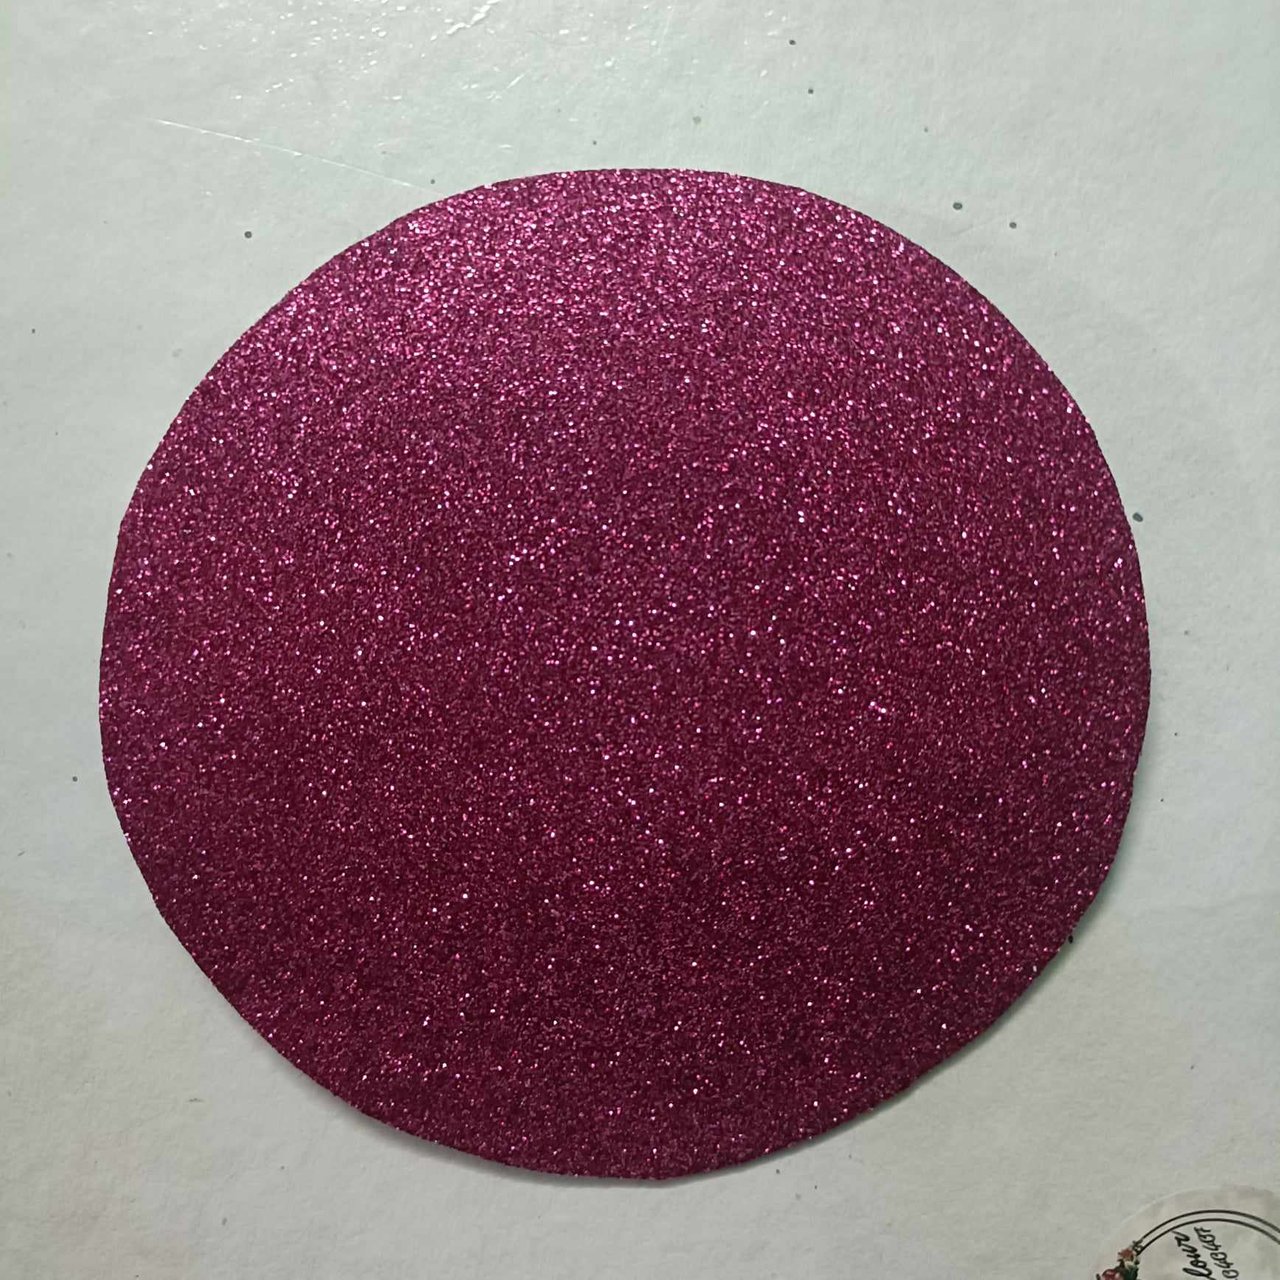
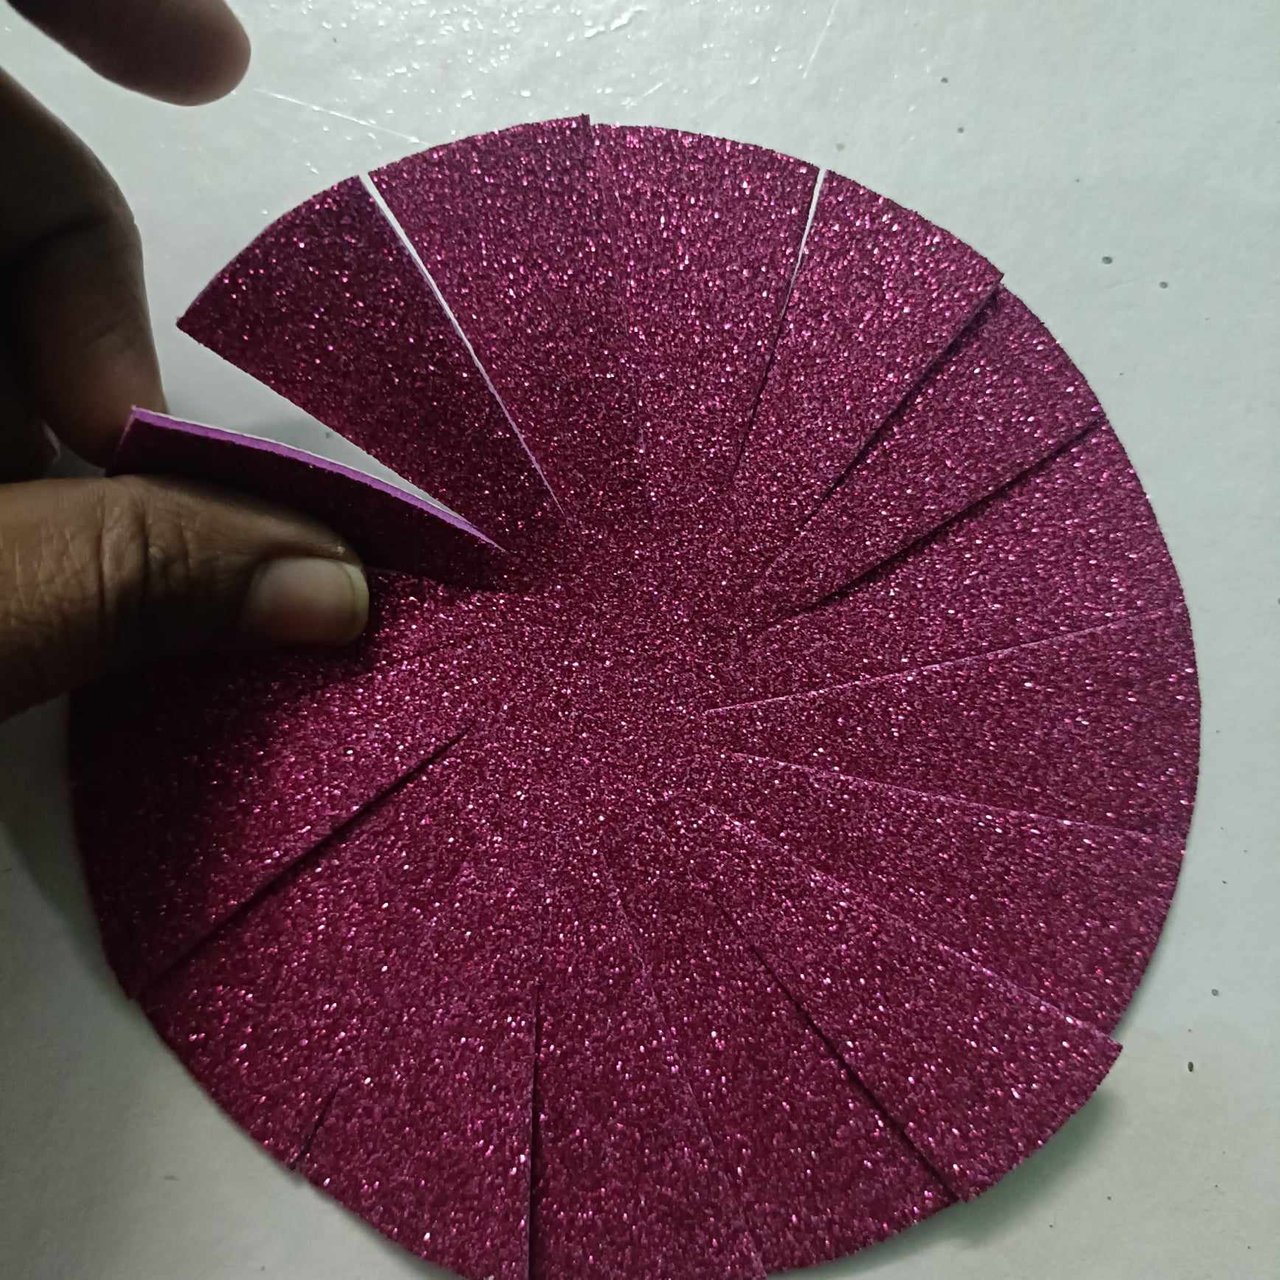
step I
To start, I took my red glitter paper and cut it into a large round shape and then I cut it into small pieces afterwards.
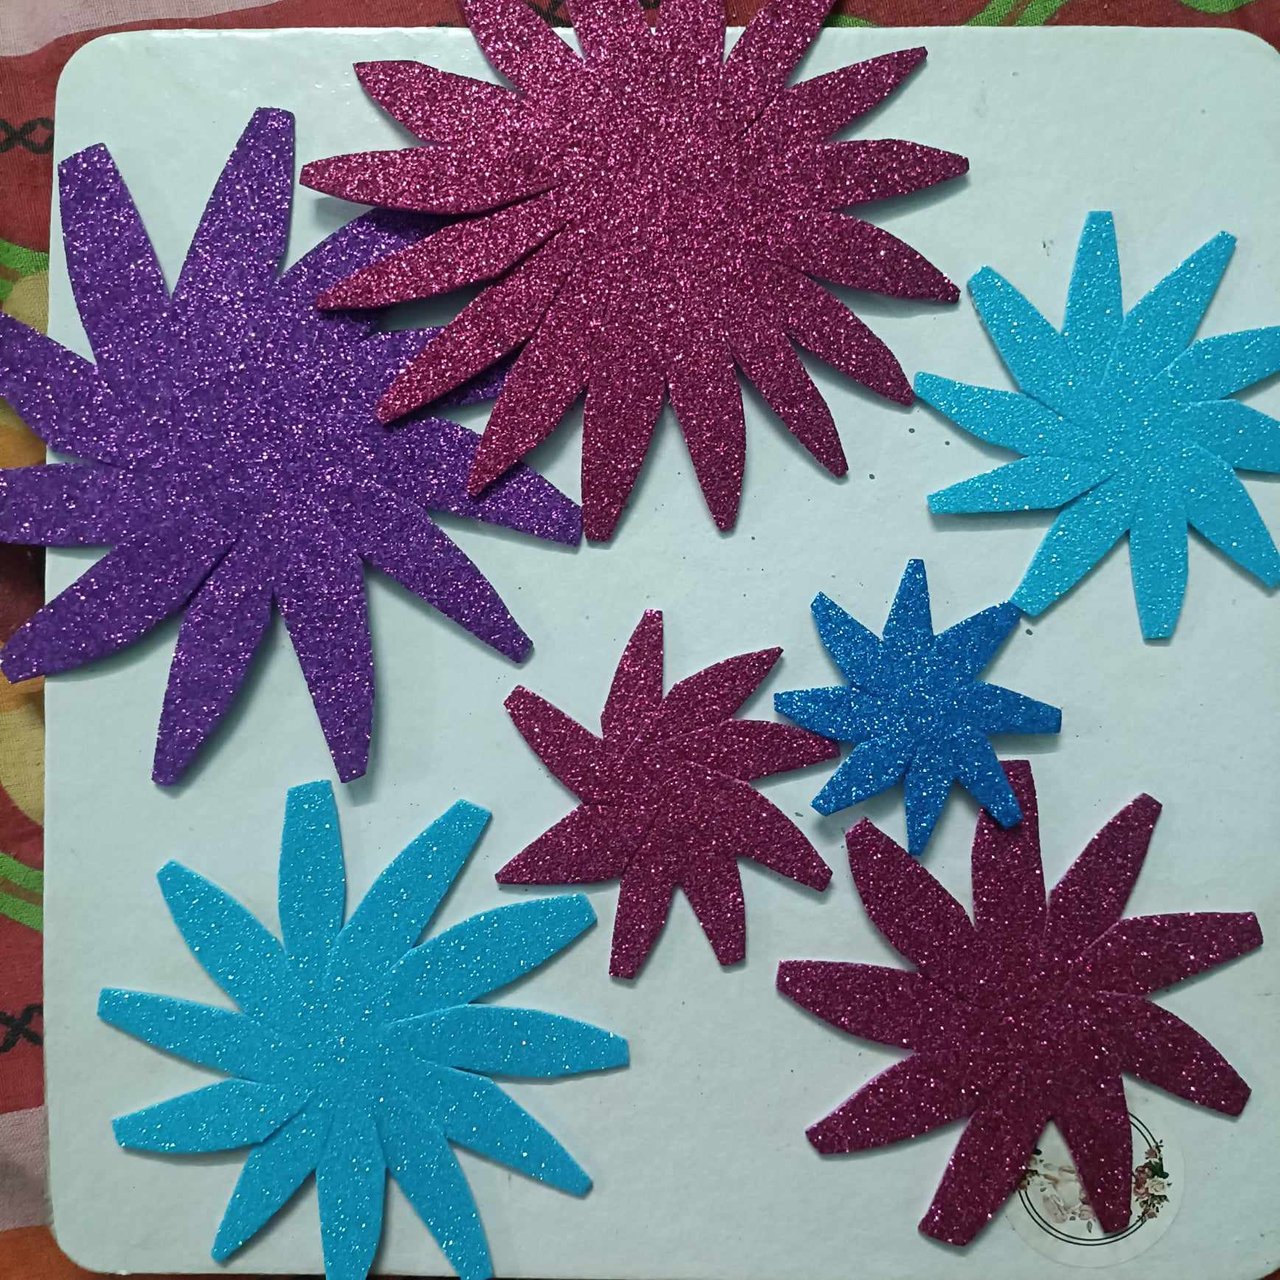
step 2
After doing that, I then cut the glitter paper into thin flowers, and made seven flowers of glitter paper of different colours.

step 3
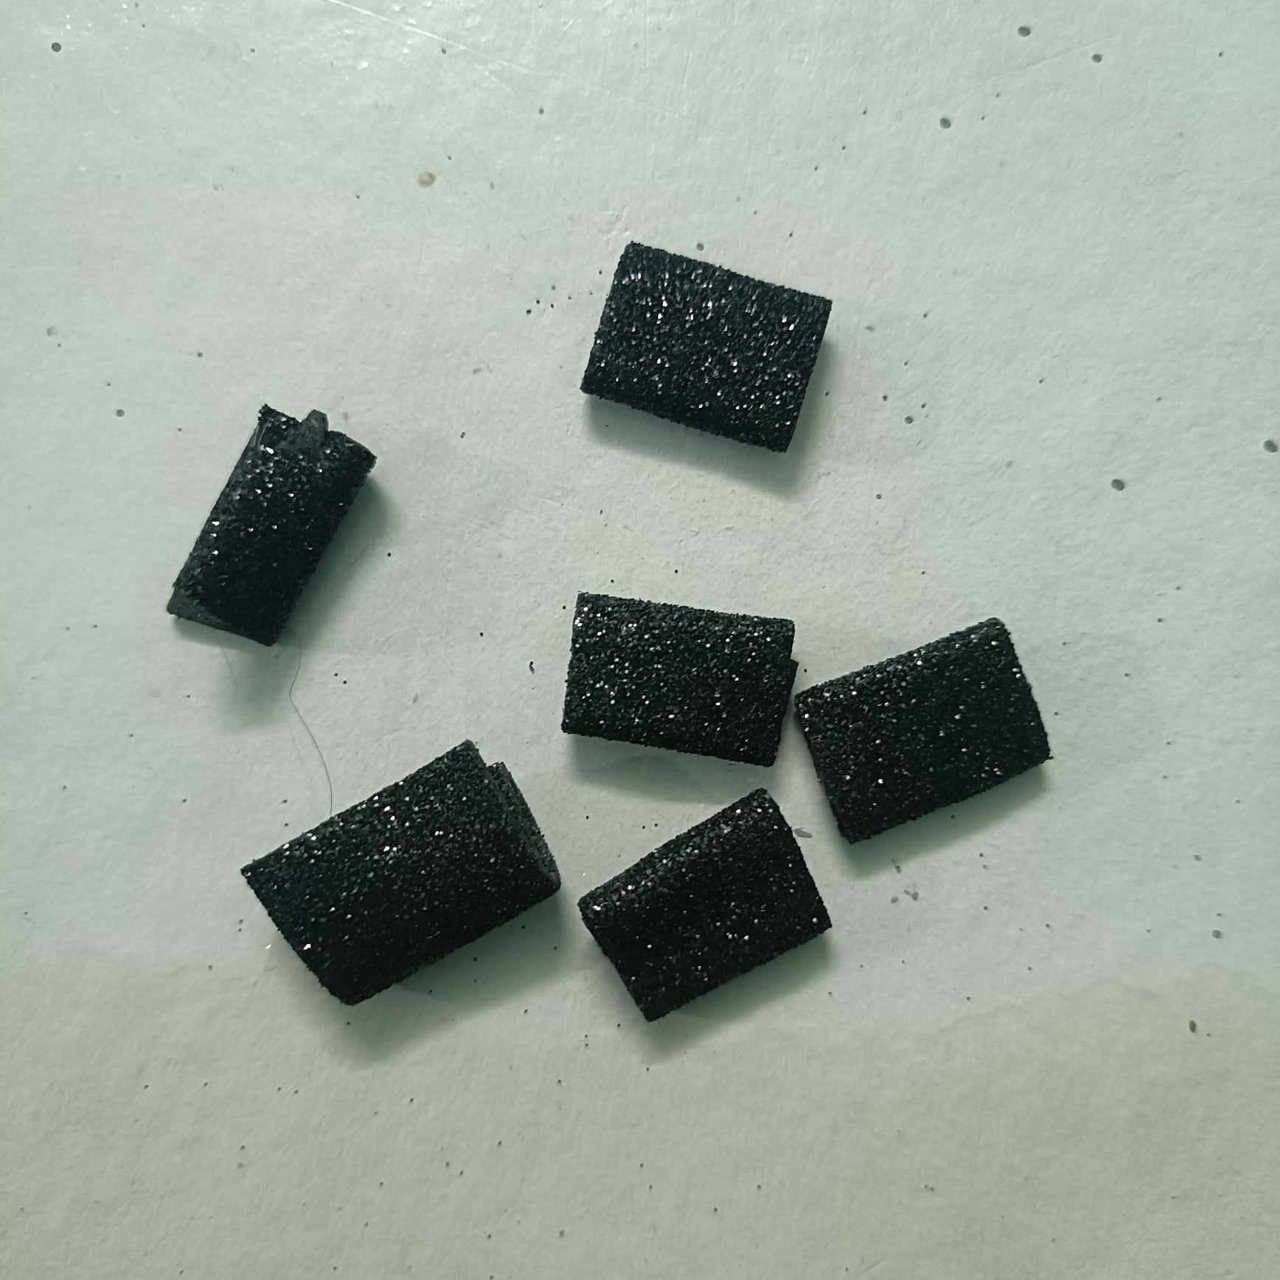
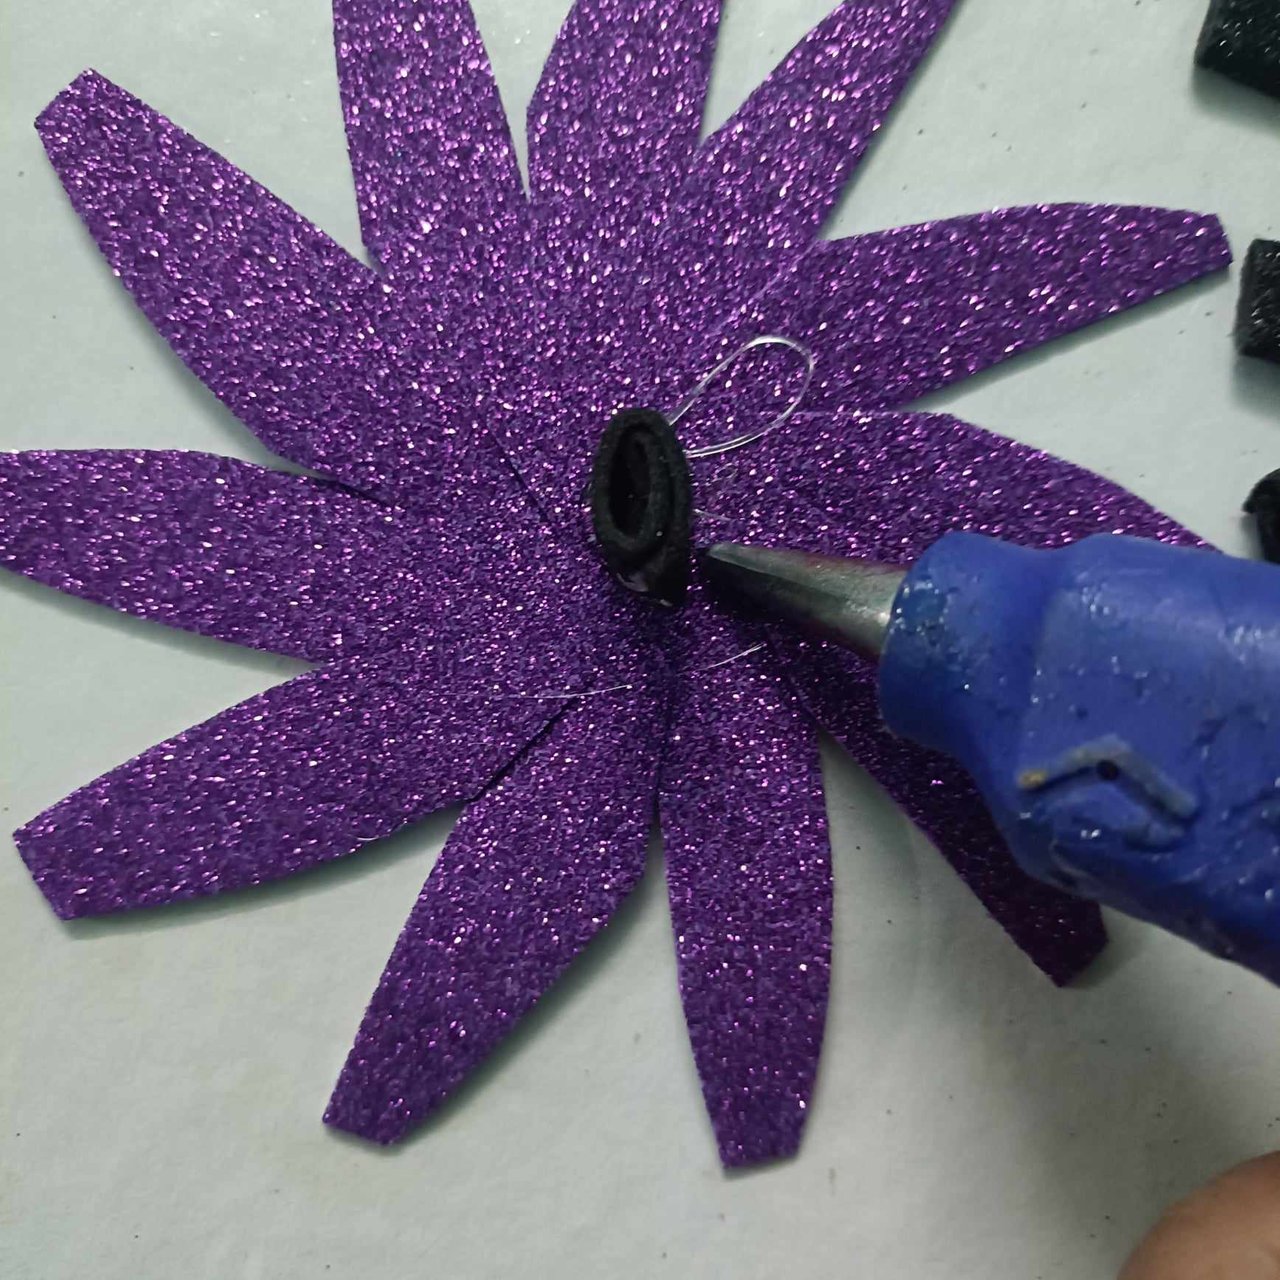
I then cut black glitter paper into six pieces and wrapped them in a circle and gum it, then I glue the black glitter paper to the flowers I made.
step 4
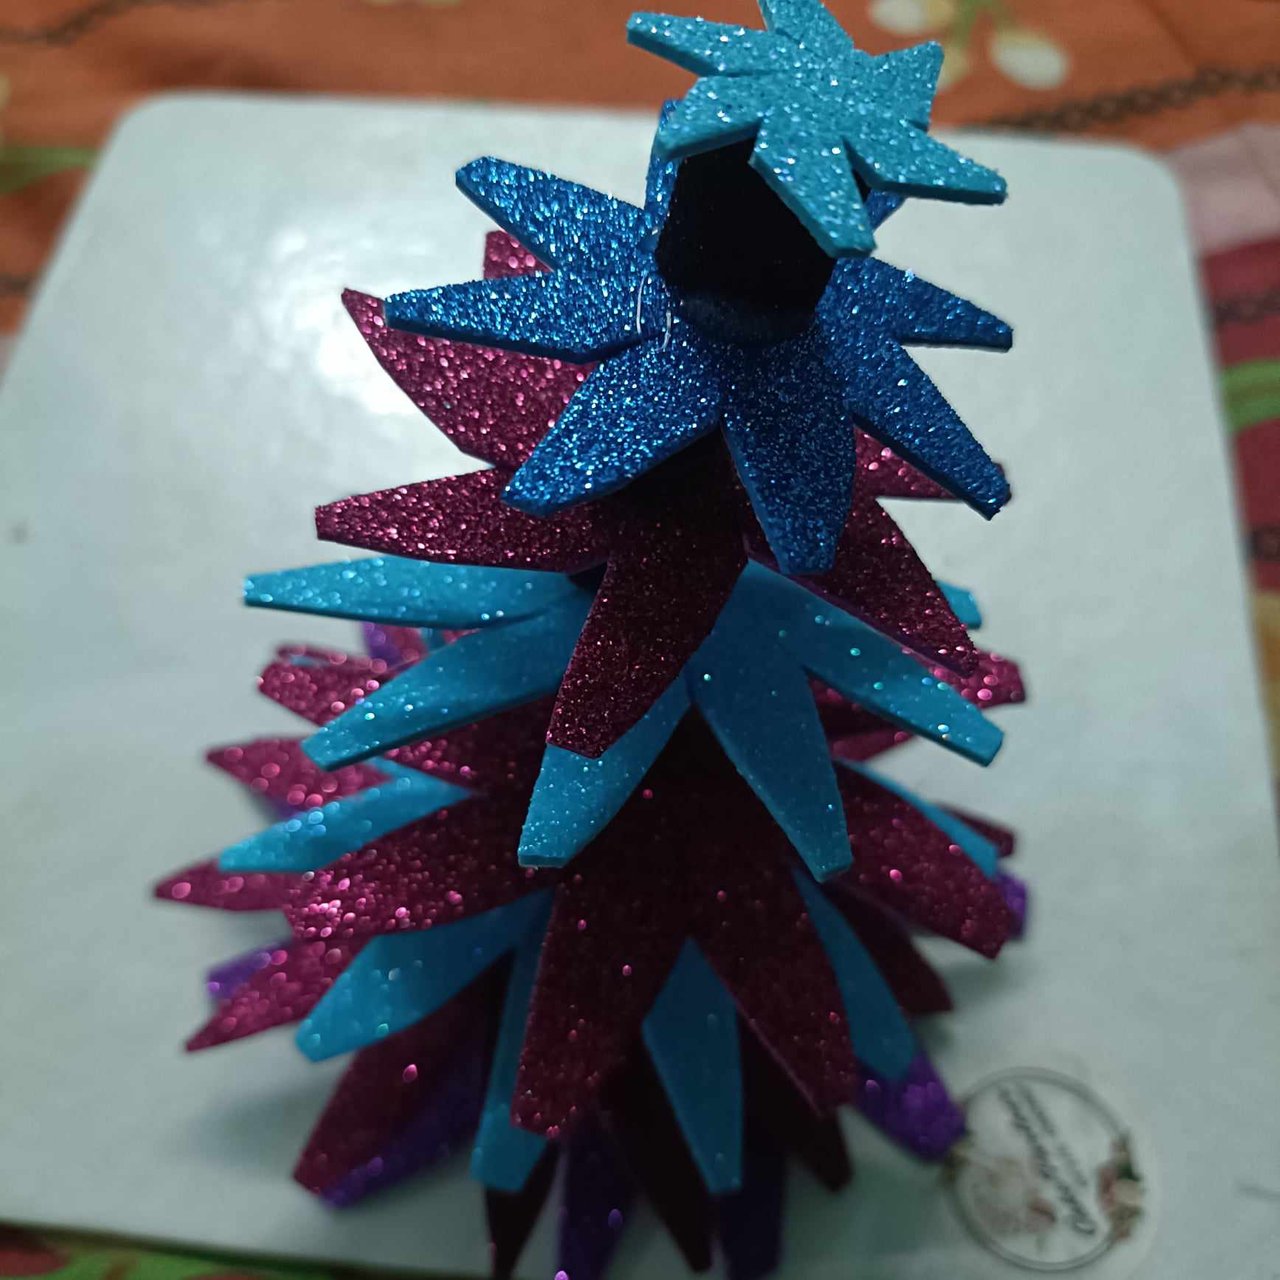
After doing that, I then began to gum them together one by one.
step 5
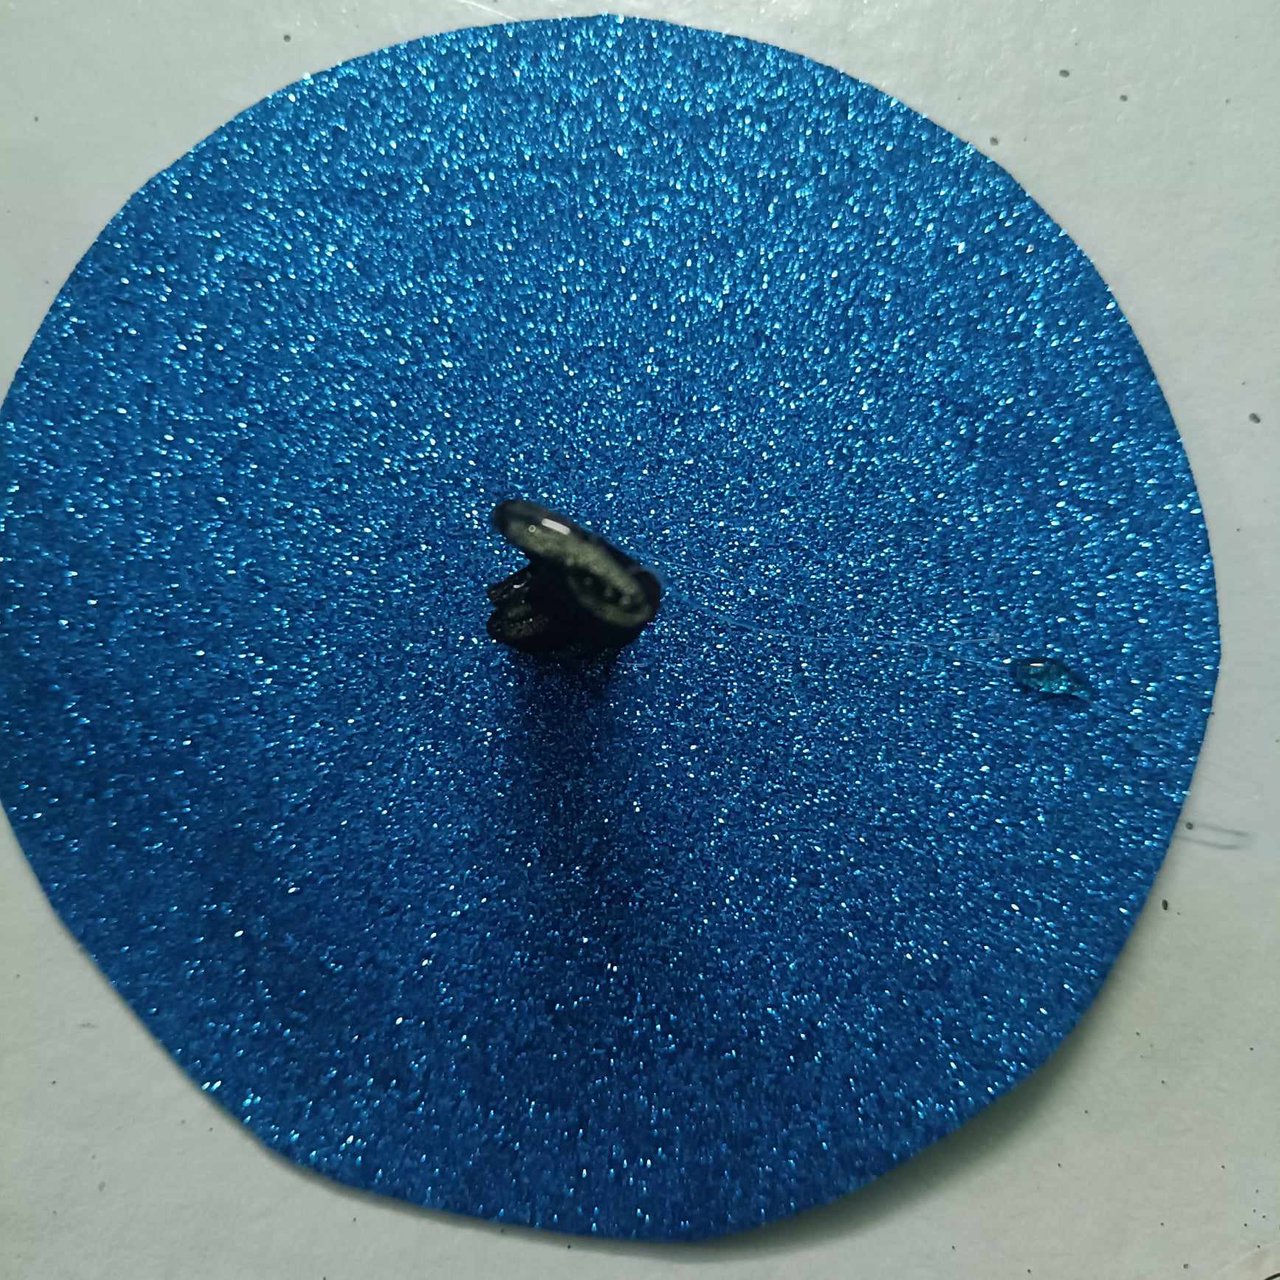
Then I also cut another round blue glitter paper and gum the black paper on top of it and then I place my tree on top.
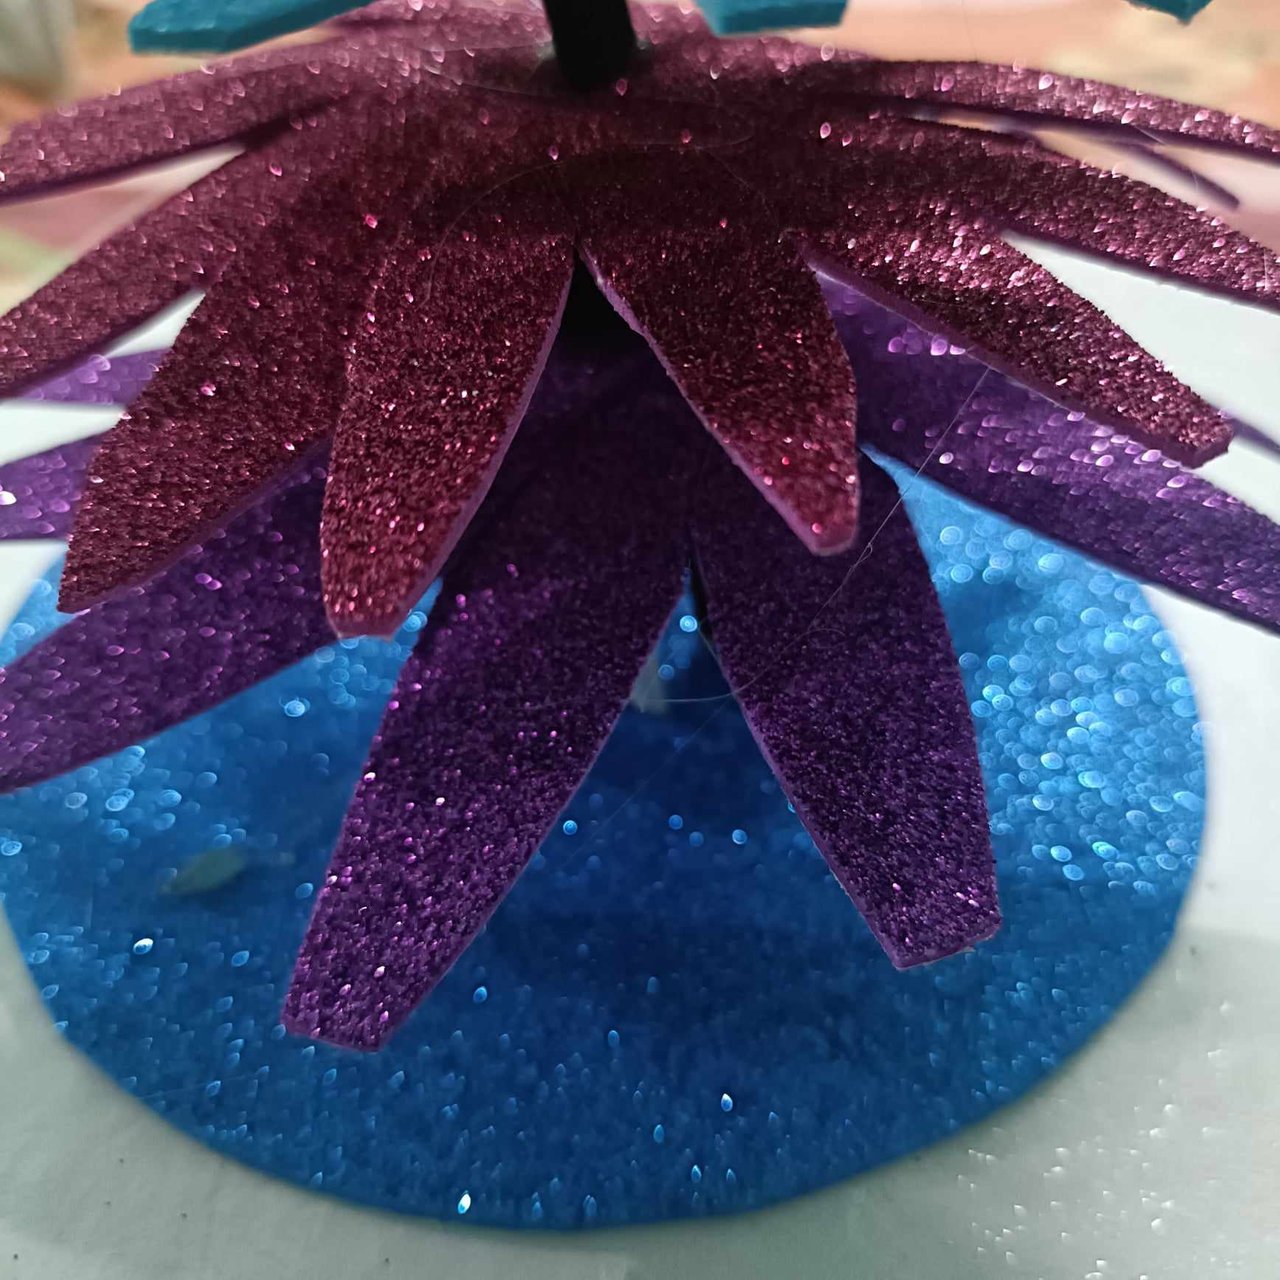
step 6
After that, I then cut out red glitter paper with scissors to the size and shape I want and then I gum it to the top.
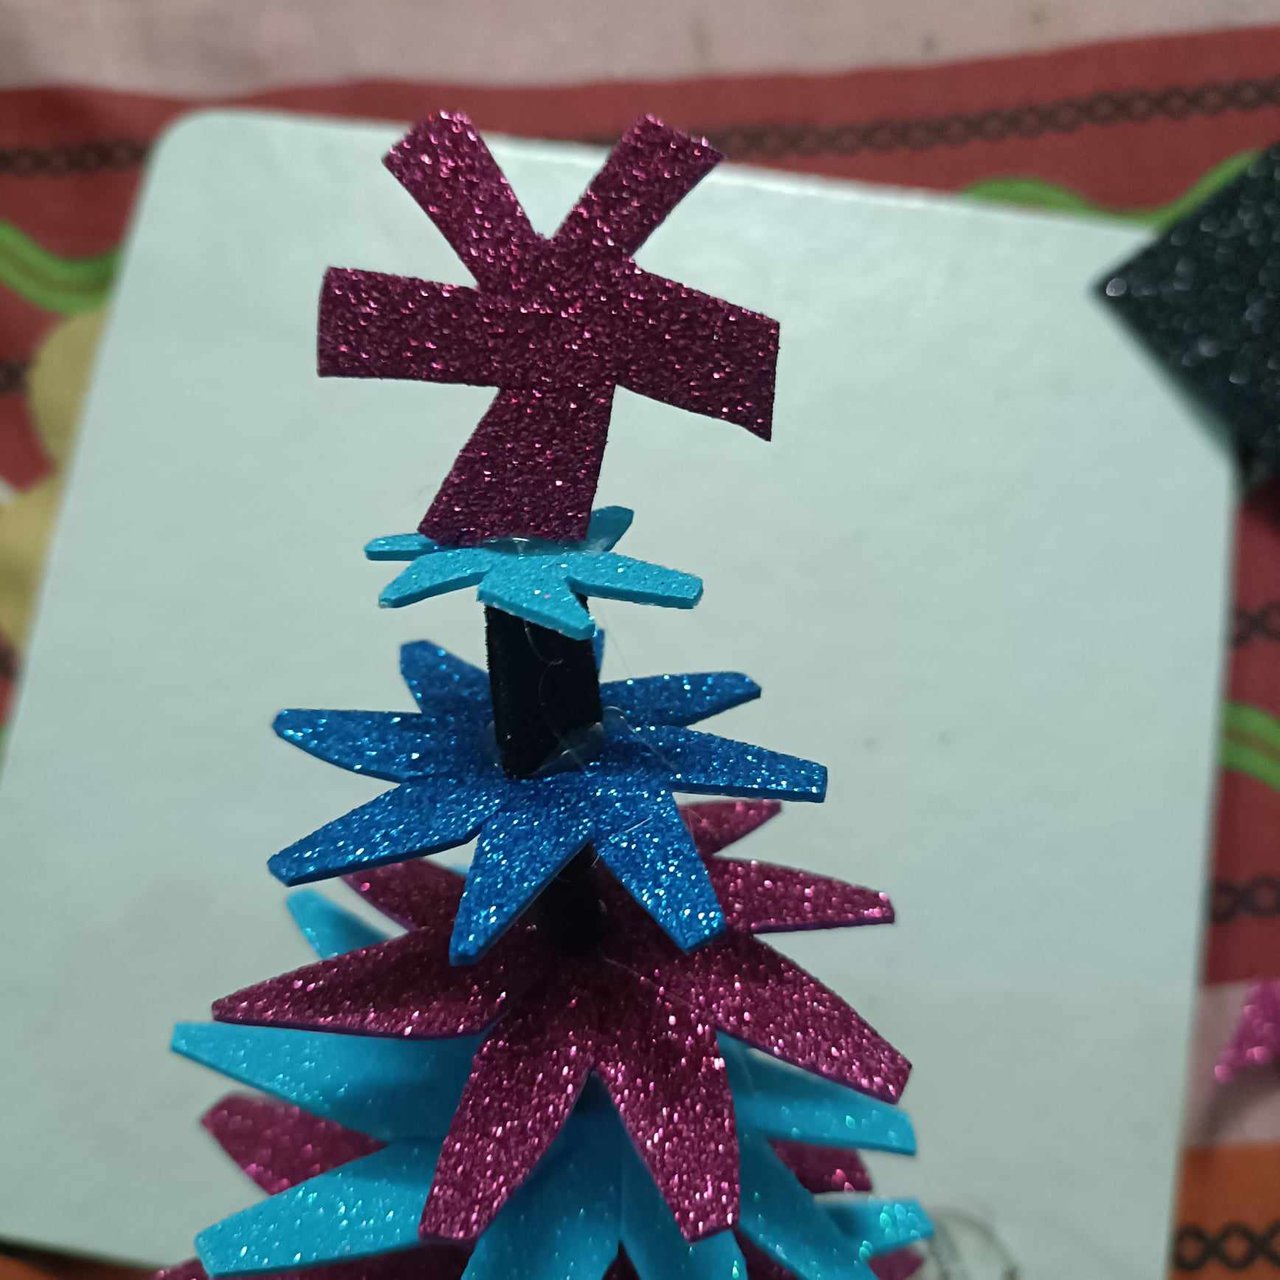
step 7
Lastly I then gum my white bead's to my tree to give it a spark a little.
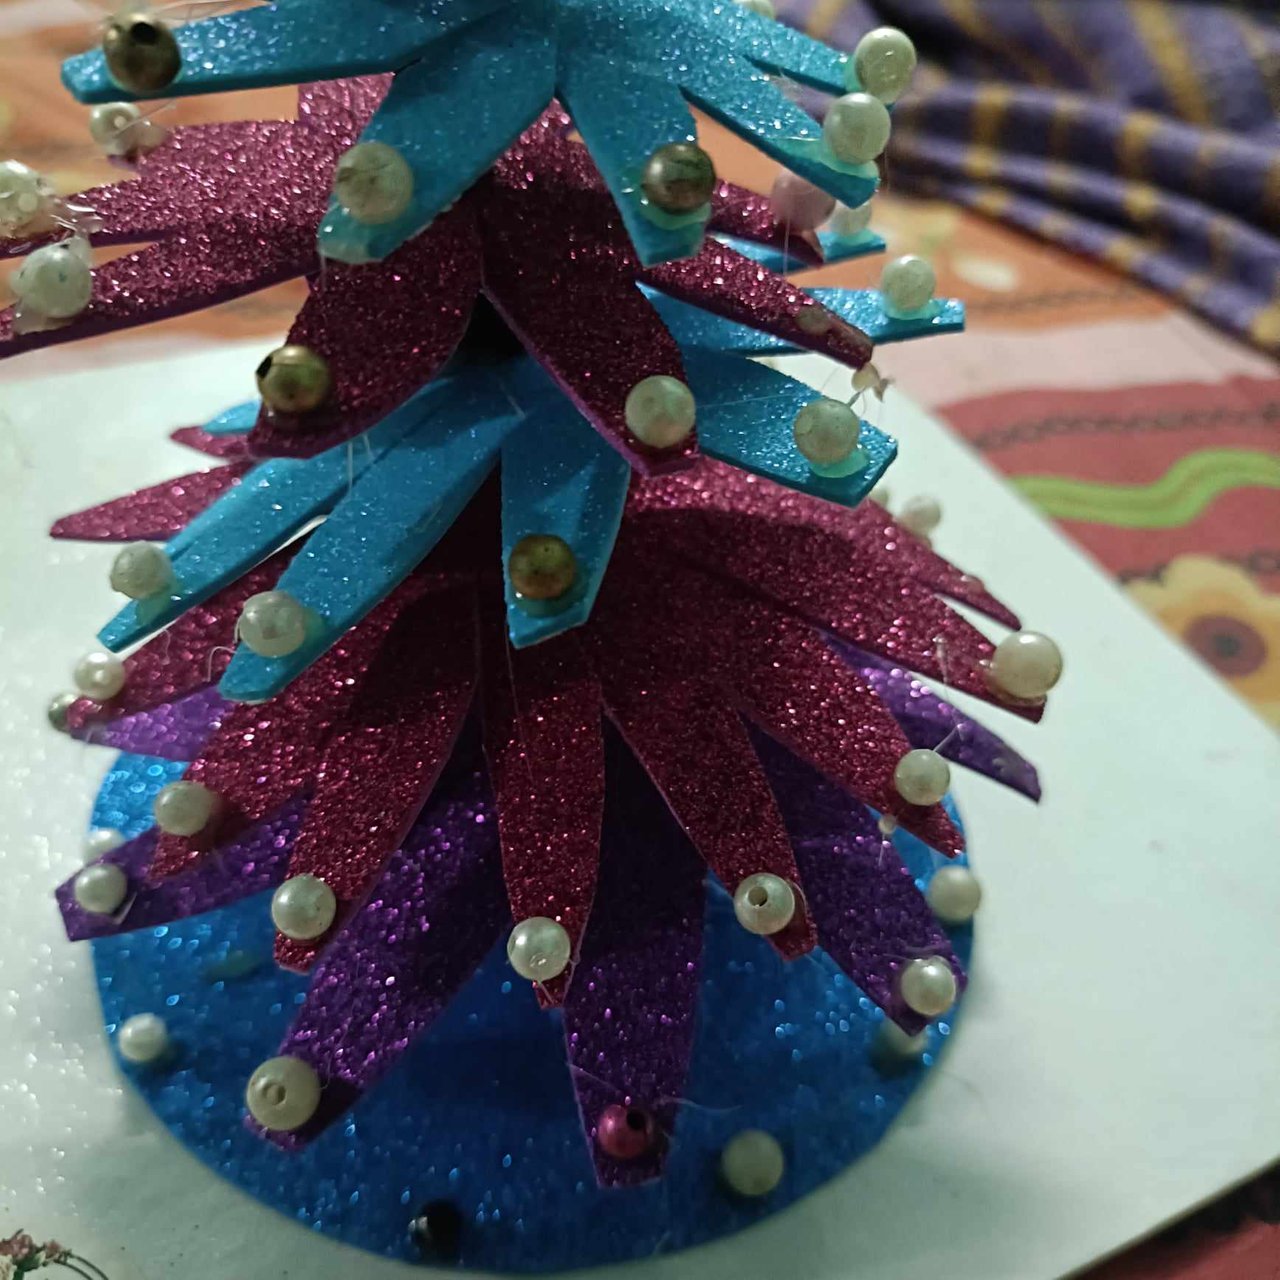
My Christmas tree is now ready, here's a picture of my final result.
This month is truly a special month as Christmas is celebrated around the world and we get to spend time with our loved ones. I hope everyone likes the Christmas tree I have made today and I will see you in my next post. Until then, best wishes and take care.