Hoy estoy más que feliz de compartir con ustedes una nueva creación que no solo amé, sino que estaba muy ansiosa por hacerla y ver si resultaba como yo la había visualizado. Se trata de una cajita con ruedas para guardar mis libros de recetas, y por supuesto este es otro proyecto de reciclaje. Acompañenme a ver cómo la hice.
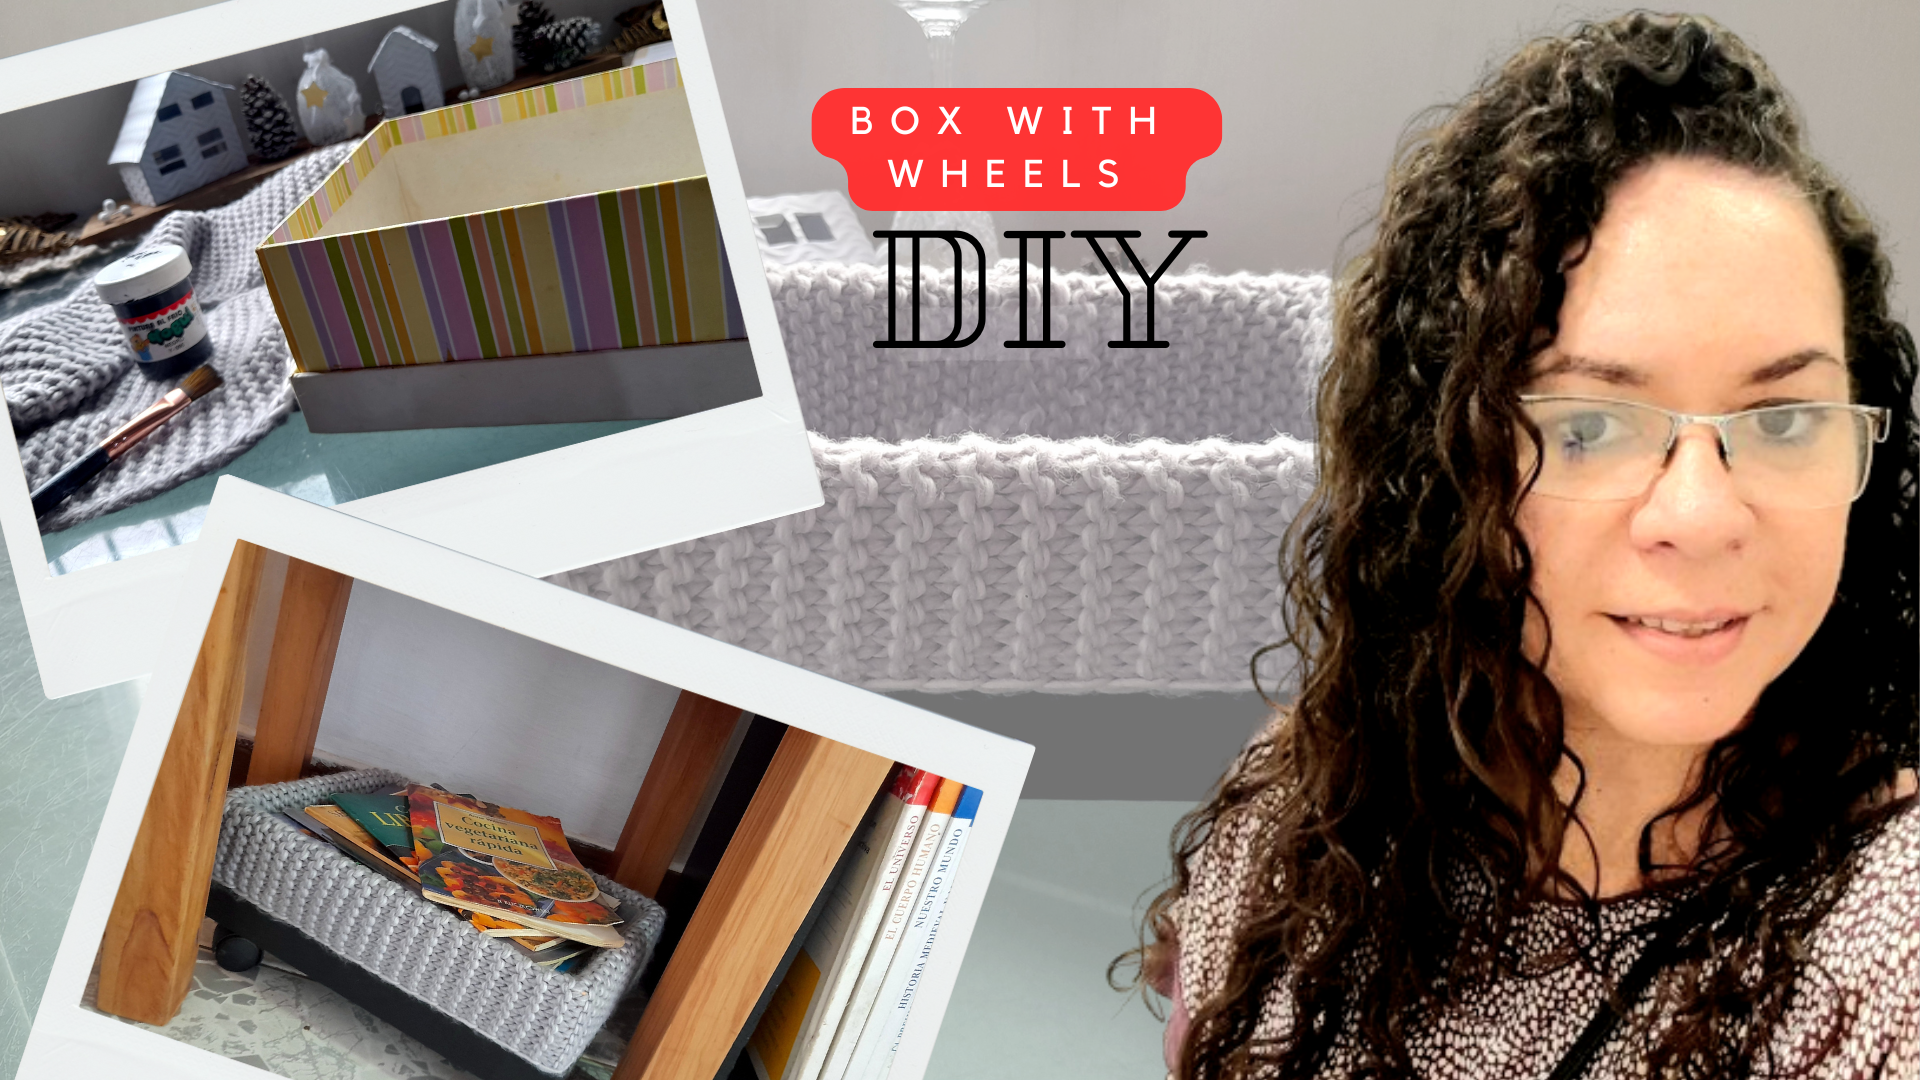
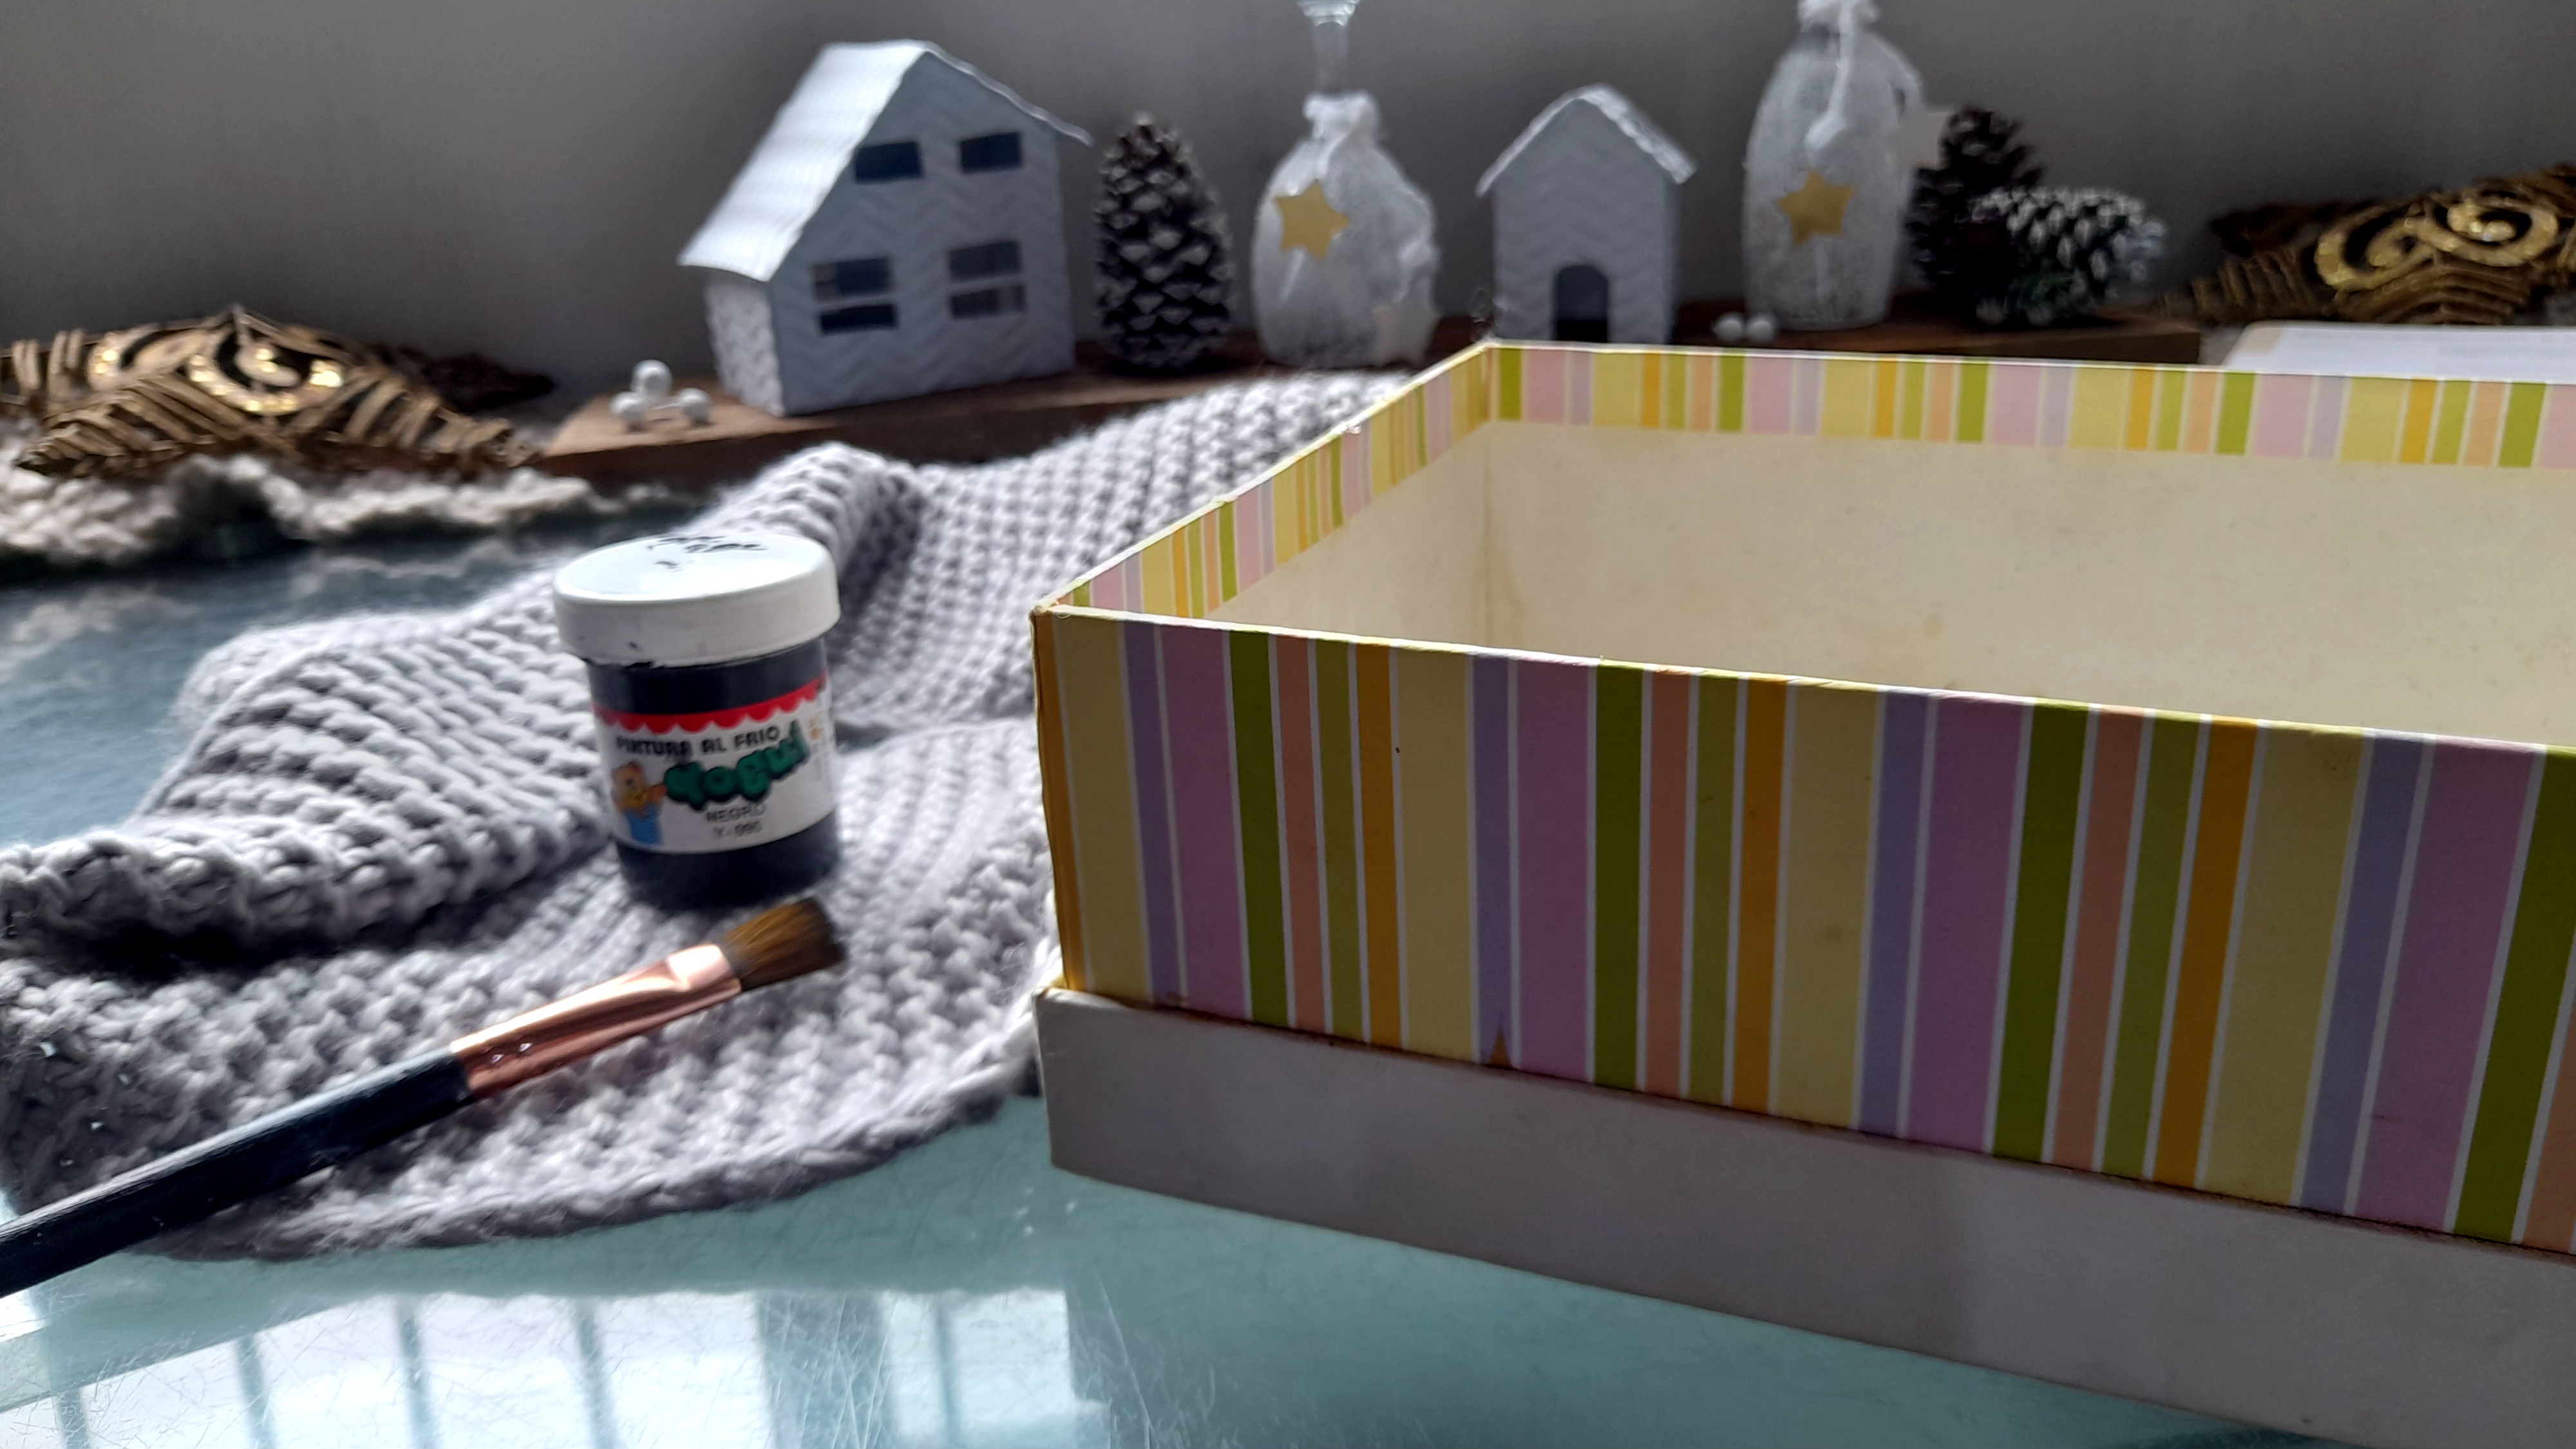
Les cuento que esta cajita debe tener unos 11 años guardada porque "un día la voy a usar", y aunque se demoró un poco, finalmente llegó su hora de brillar, y ayudarme a decorar mi hogar.
En esta cajita yo guardaba algunos recuerdos de cuando mis hijos eran bebés, pero hace un tiempo después de un cambio en su habitación la desocupé, y estuvo guardada por unos meses hasta que hice mi mini recibidor en casa, y pensé que sería muy útil para ponerla debajo del banquito que restauré hace poco y usarlo como revistero, pero una vez estuvo listo, decidí usarla para guardar mis libros de recetas. Es un proyecto bastante sencillo y "low cost" como a mí me gusta, así que vamos con los materiales que usé y el paso a paso.
Materiales
Caja de cartón firme
Retazo de una bufanda a ganchillo
Retazo de tela negra
Trozo de cartón
Pistola de silicón
Pintura al frío negra
Pincel
Regla
Lápiz
Tijera
4 rueditas
Paso a paso
Lo primero que hice fue pintar de negro la parte de abajo de la caja, que como ven sobresale de la otra parte, y básicamente ése fue el detalle que me hizo guardarla por tantos años, además del grueso de la caja.
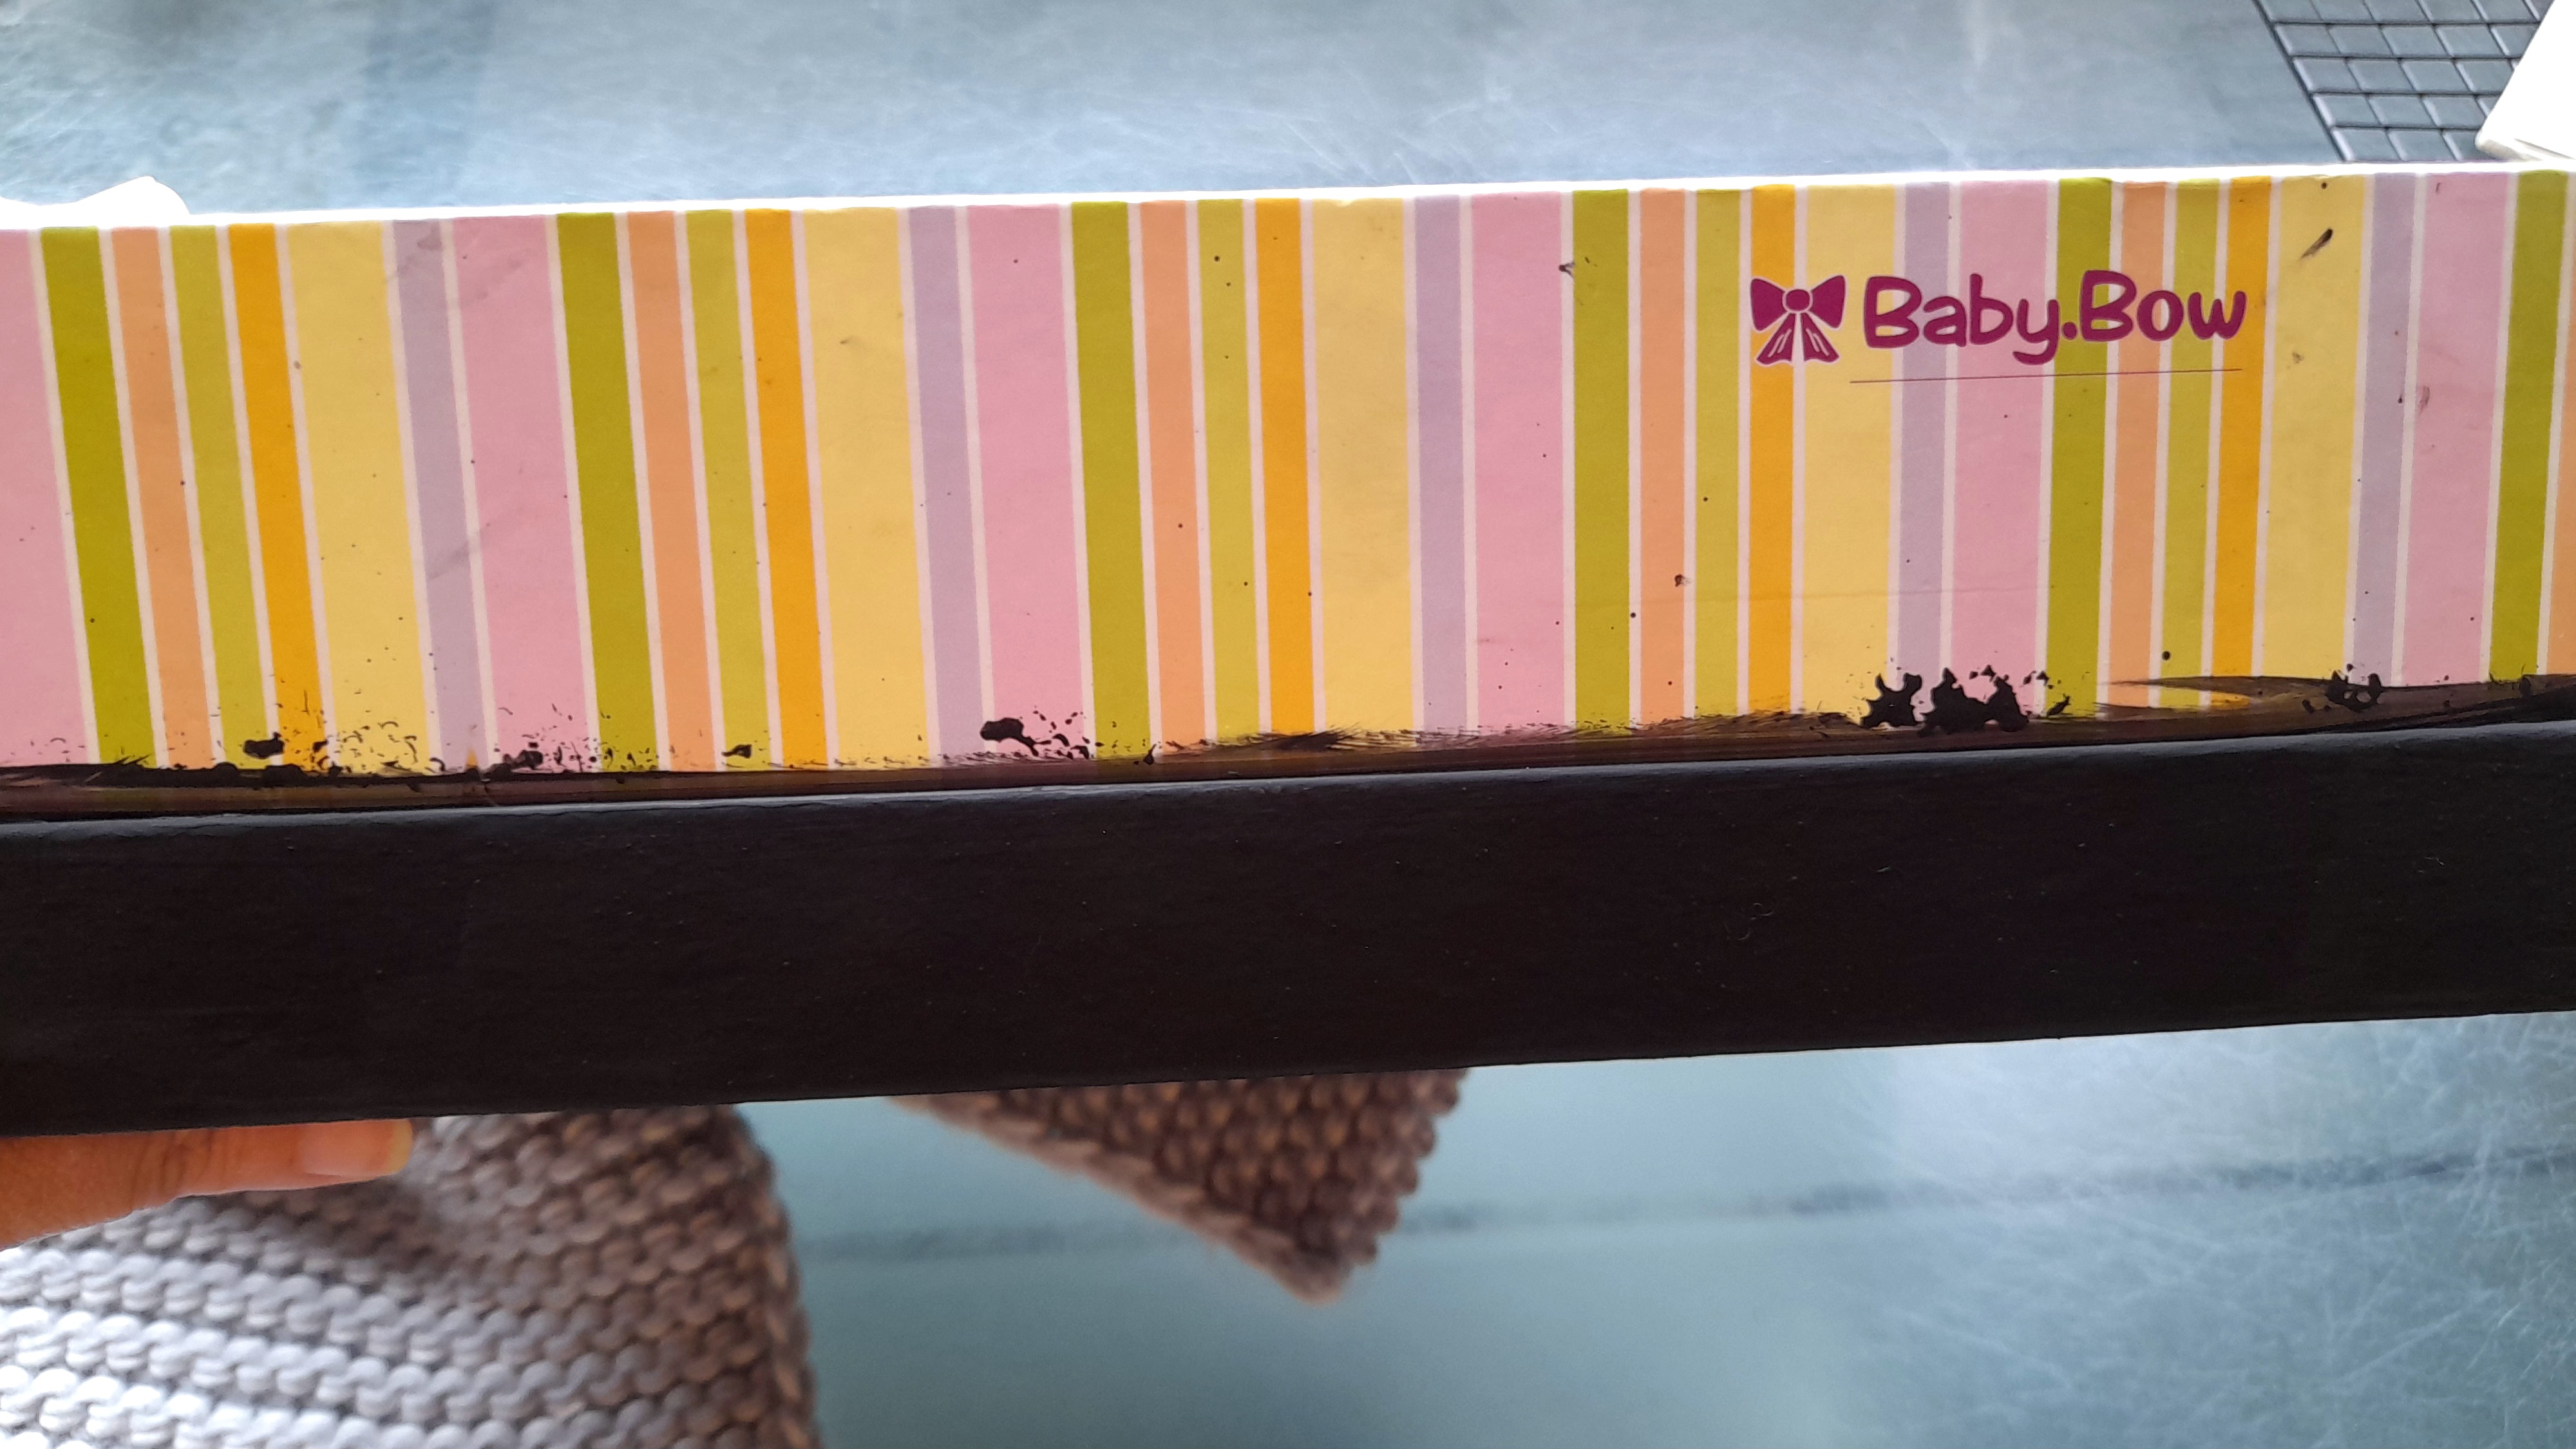
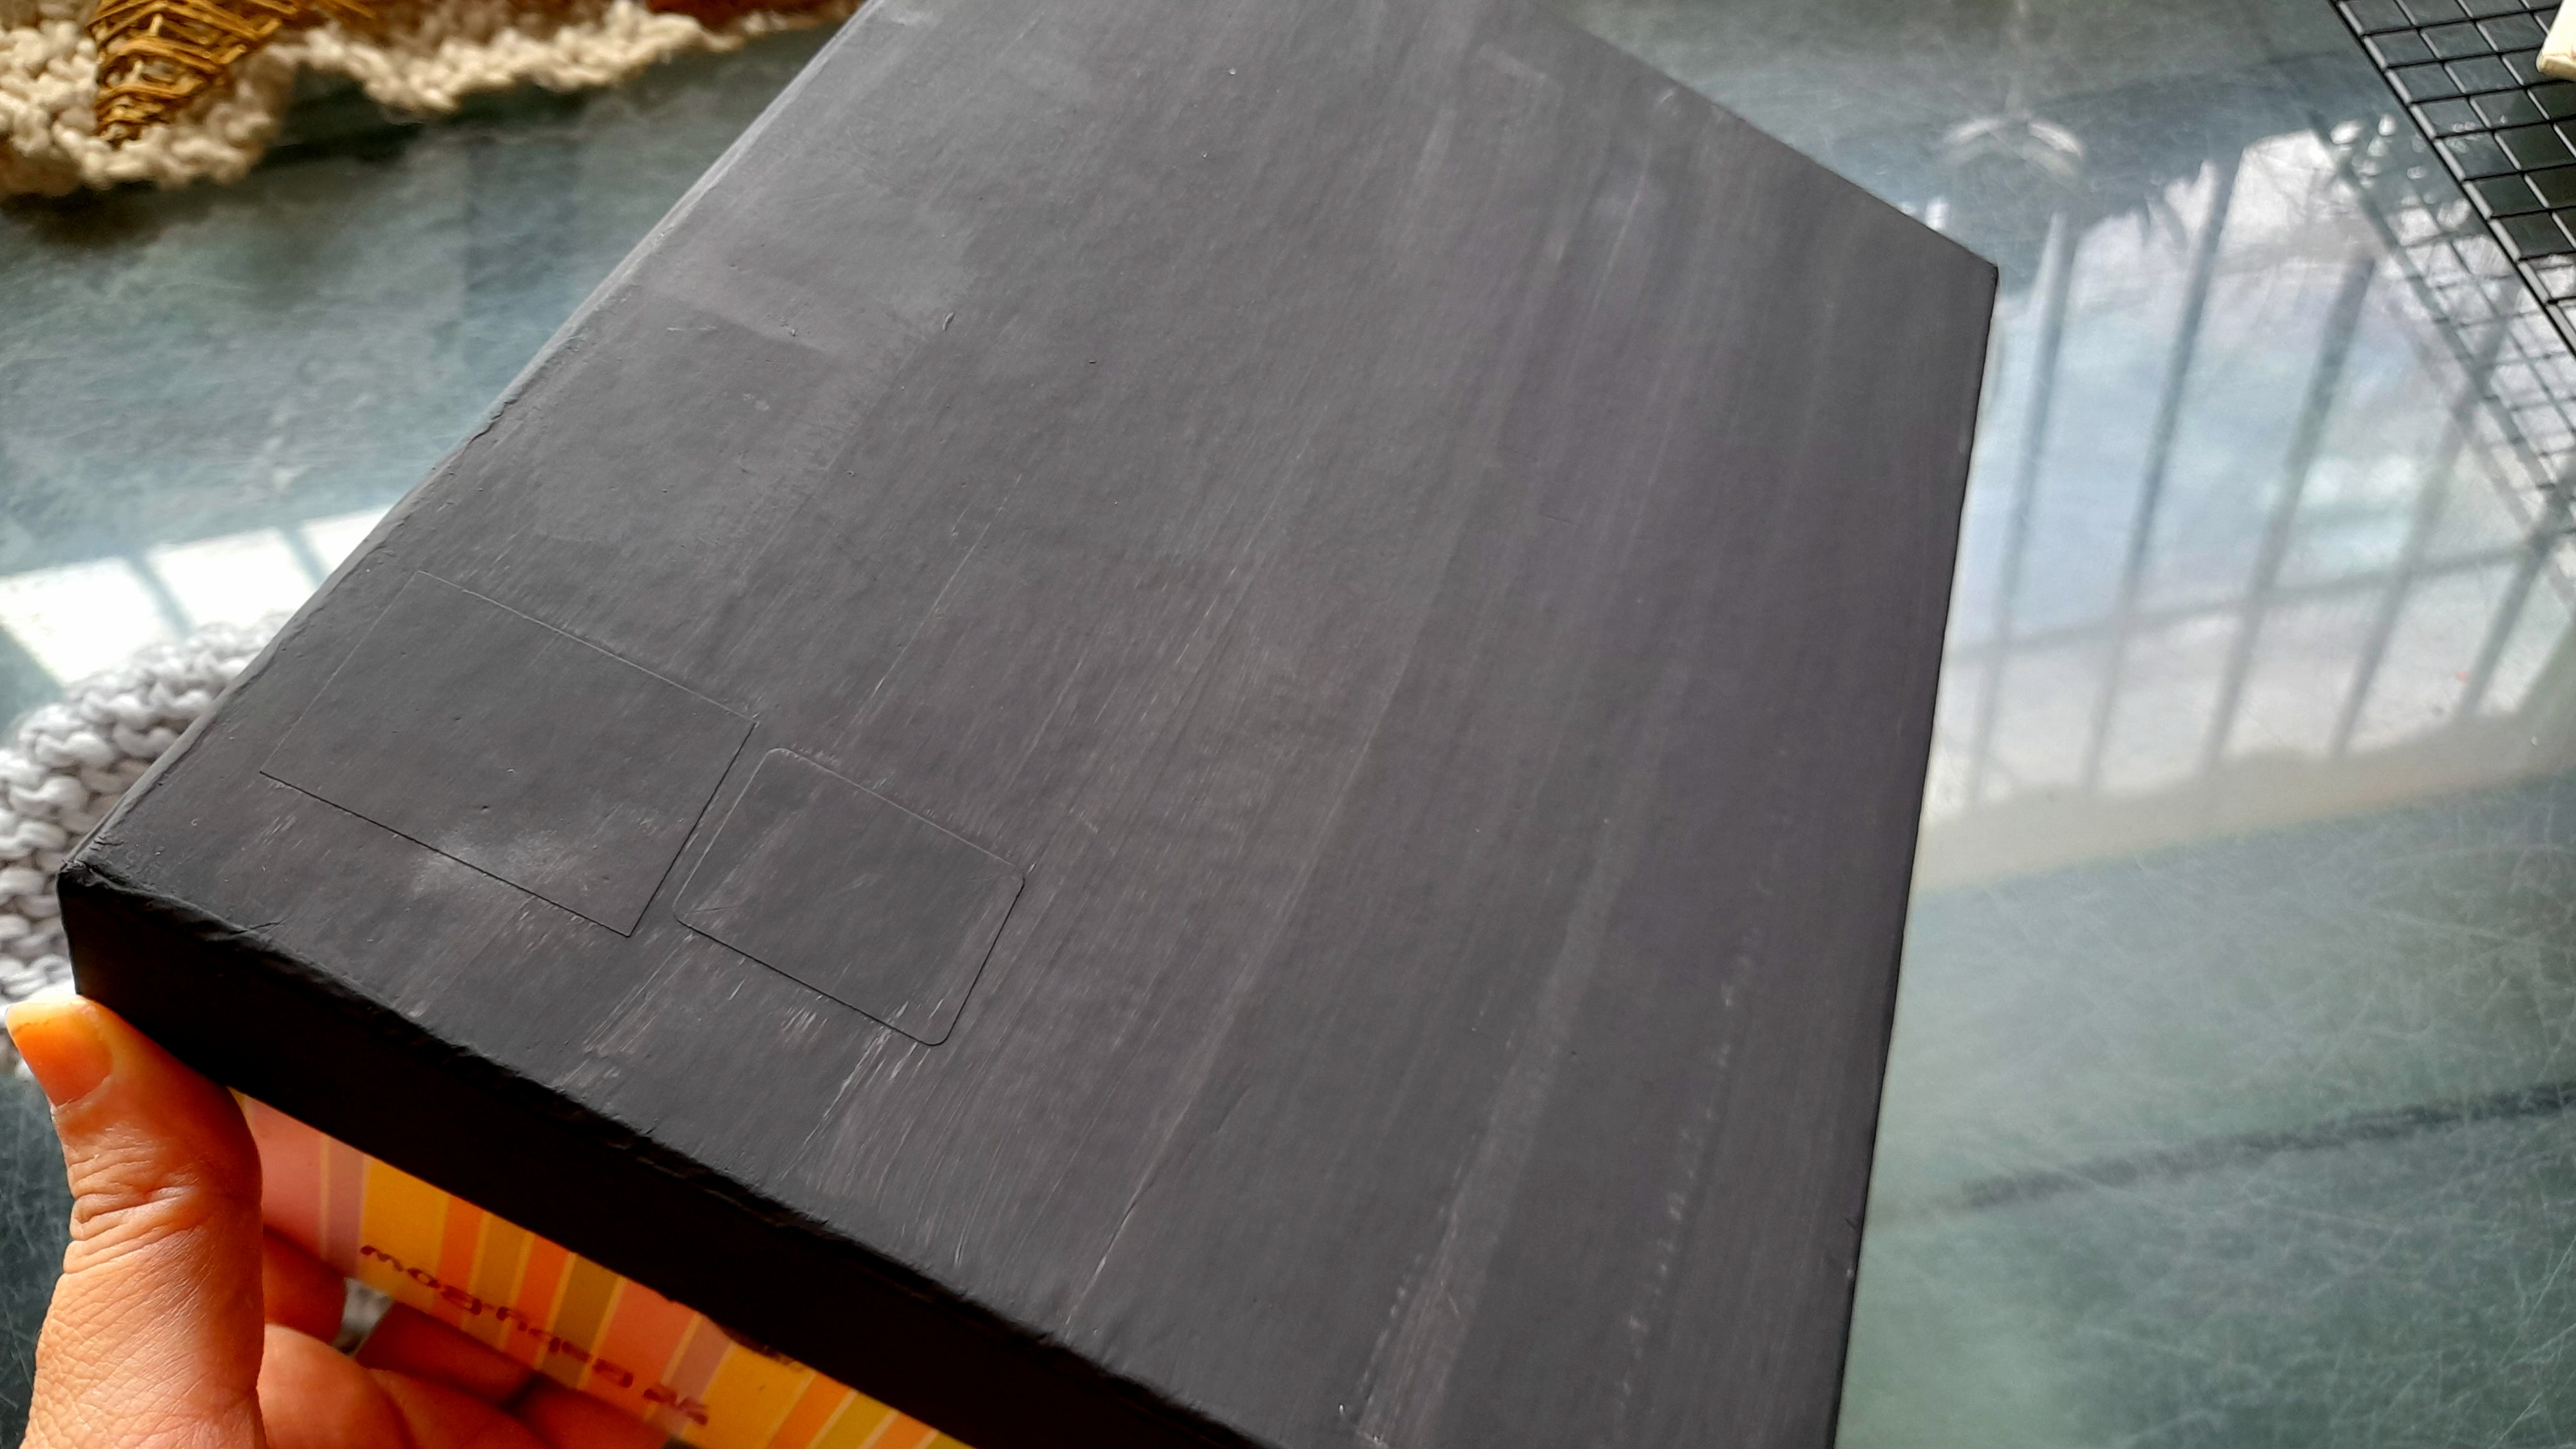
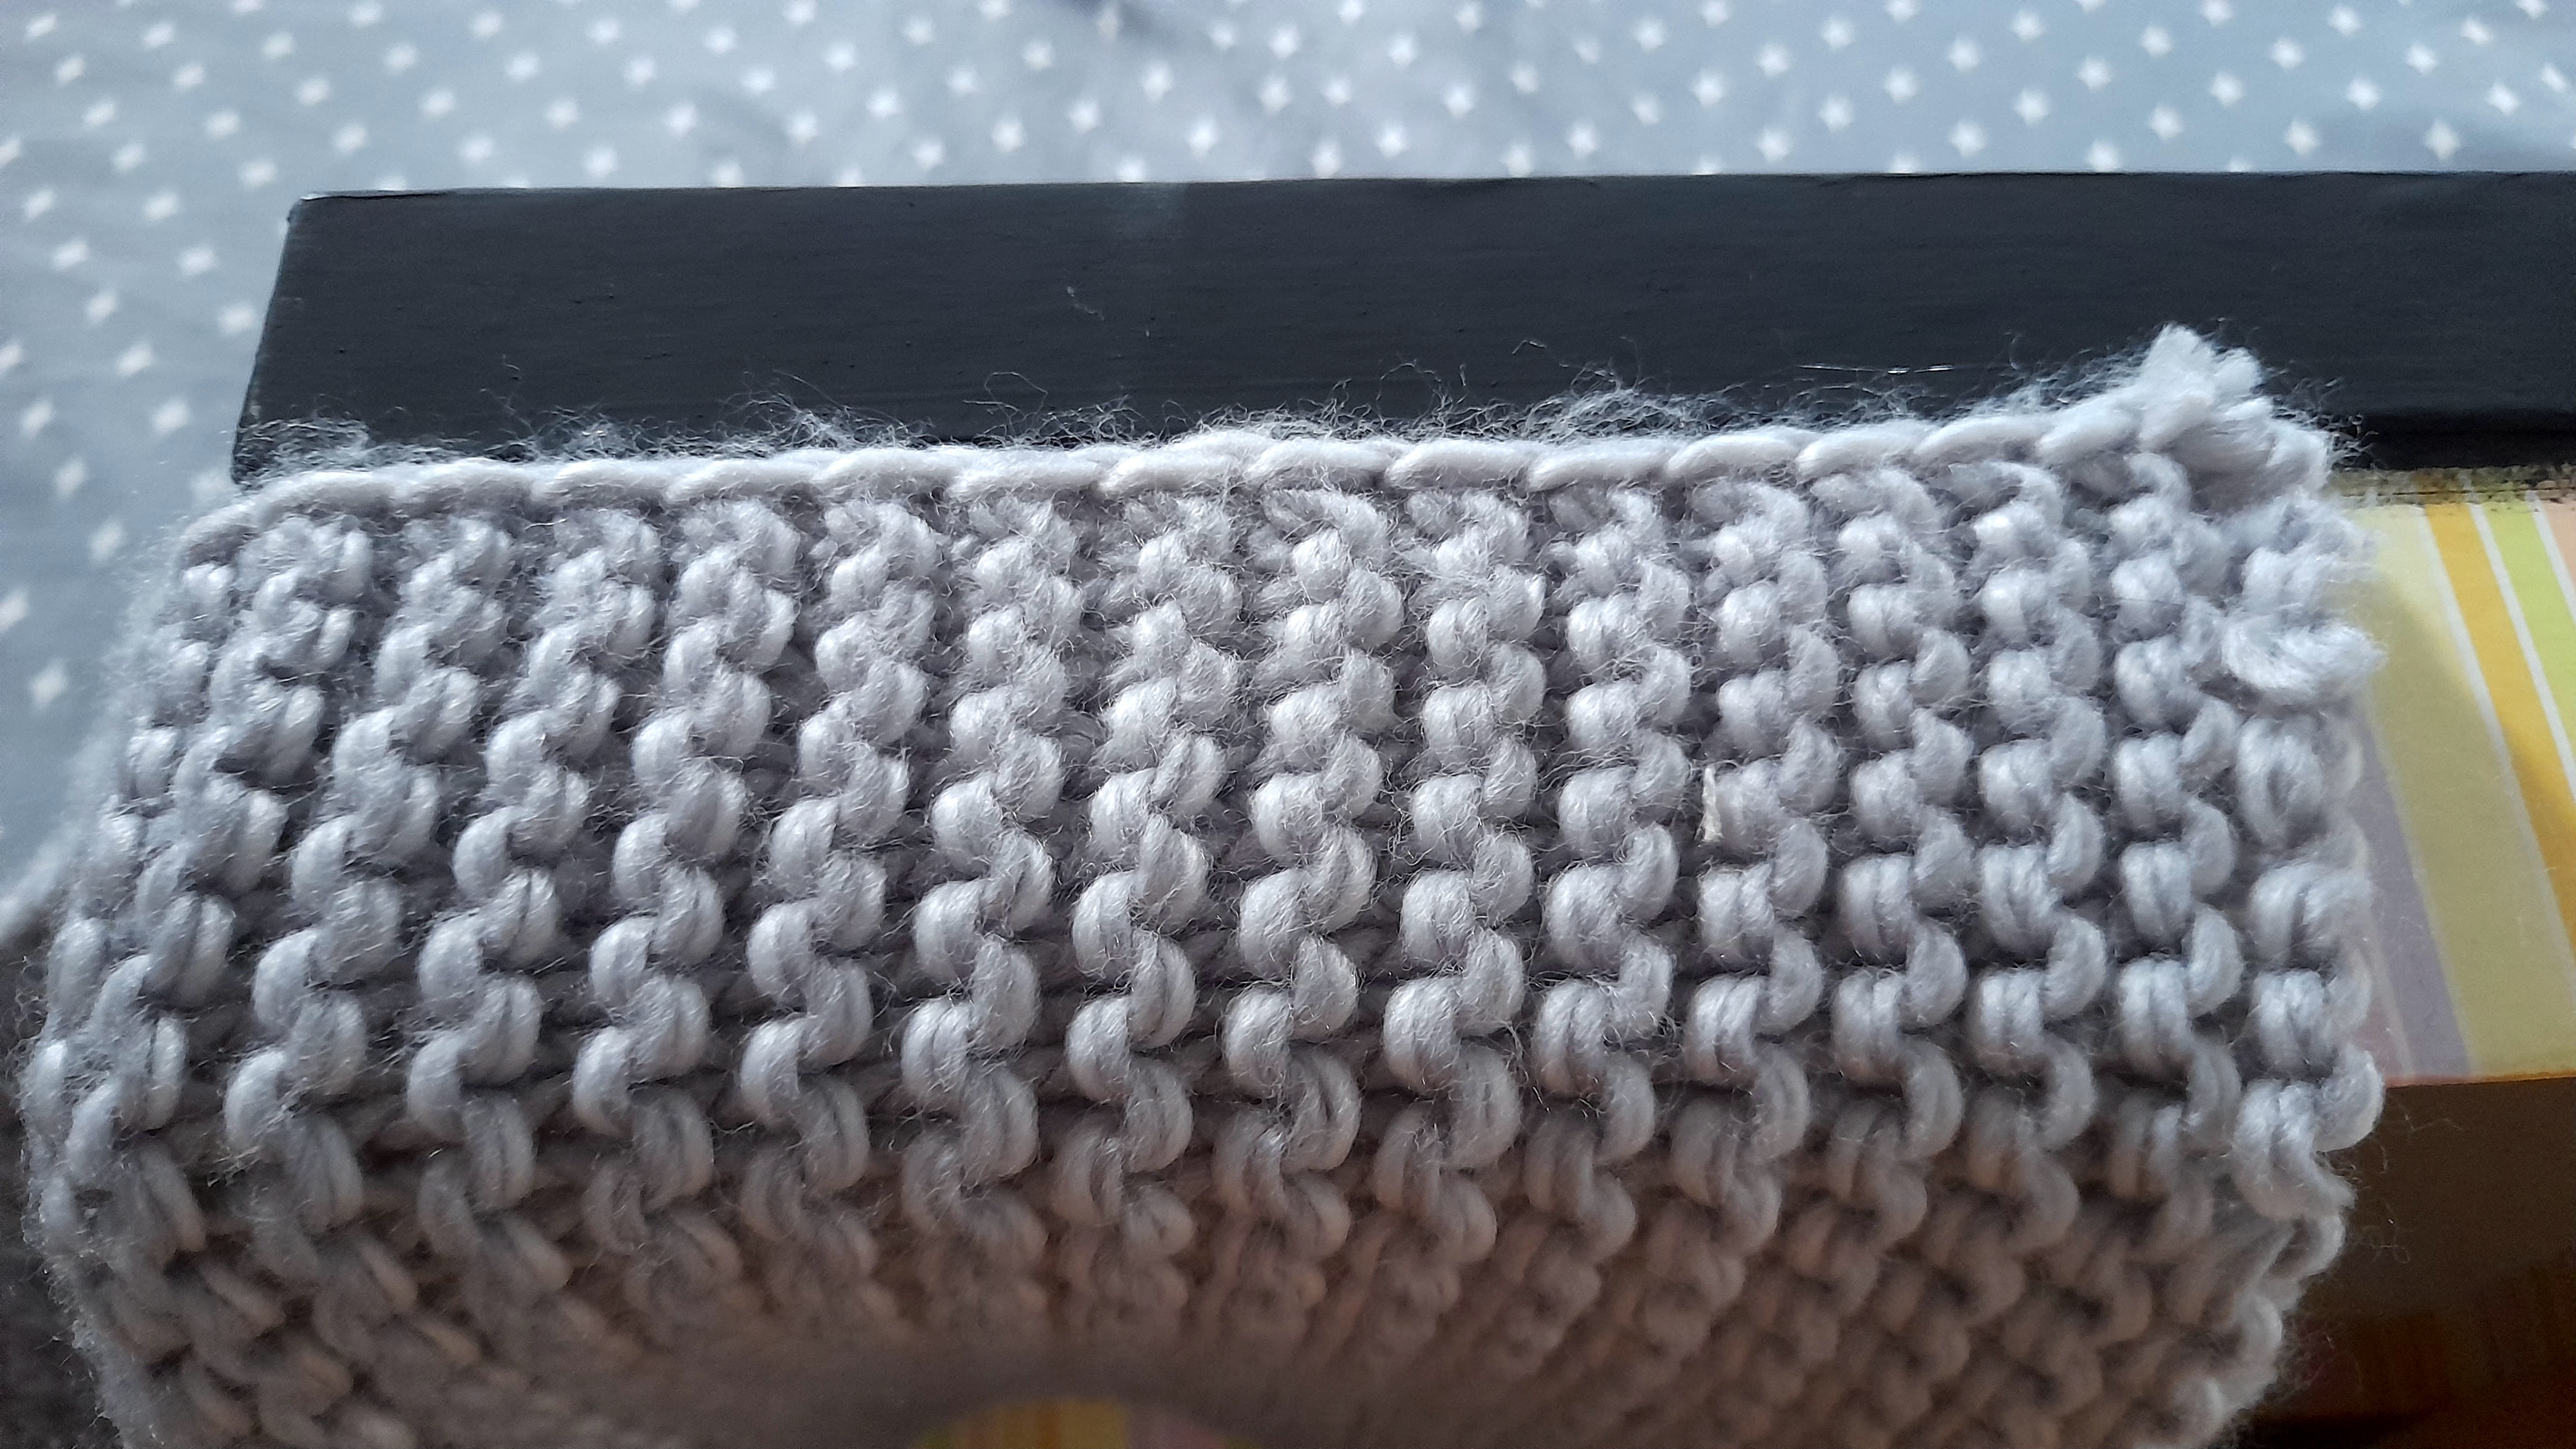
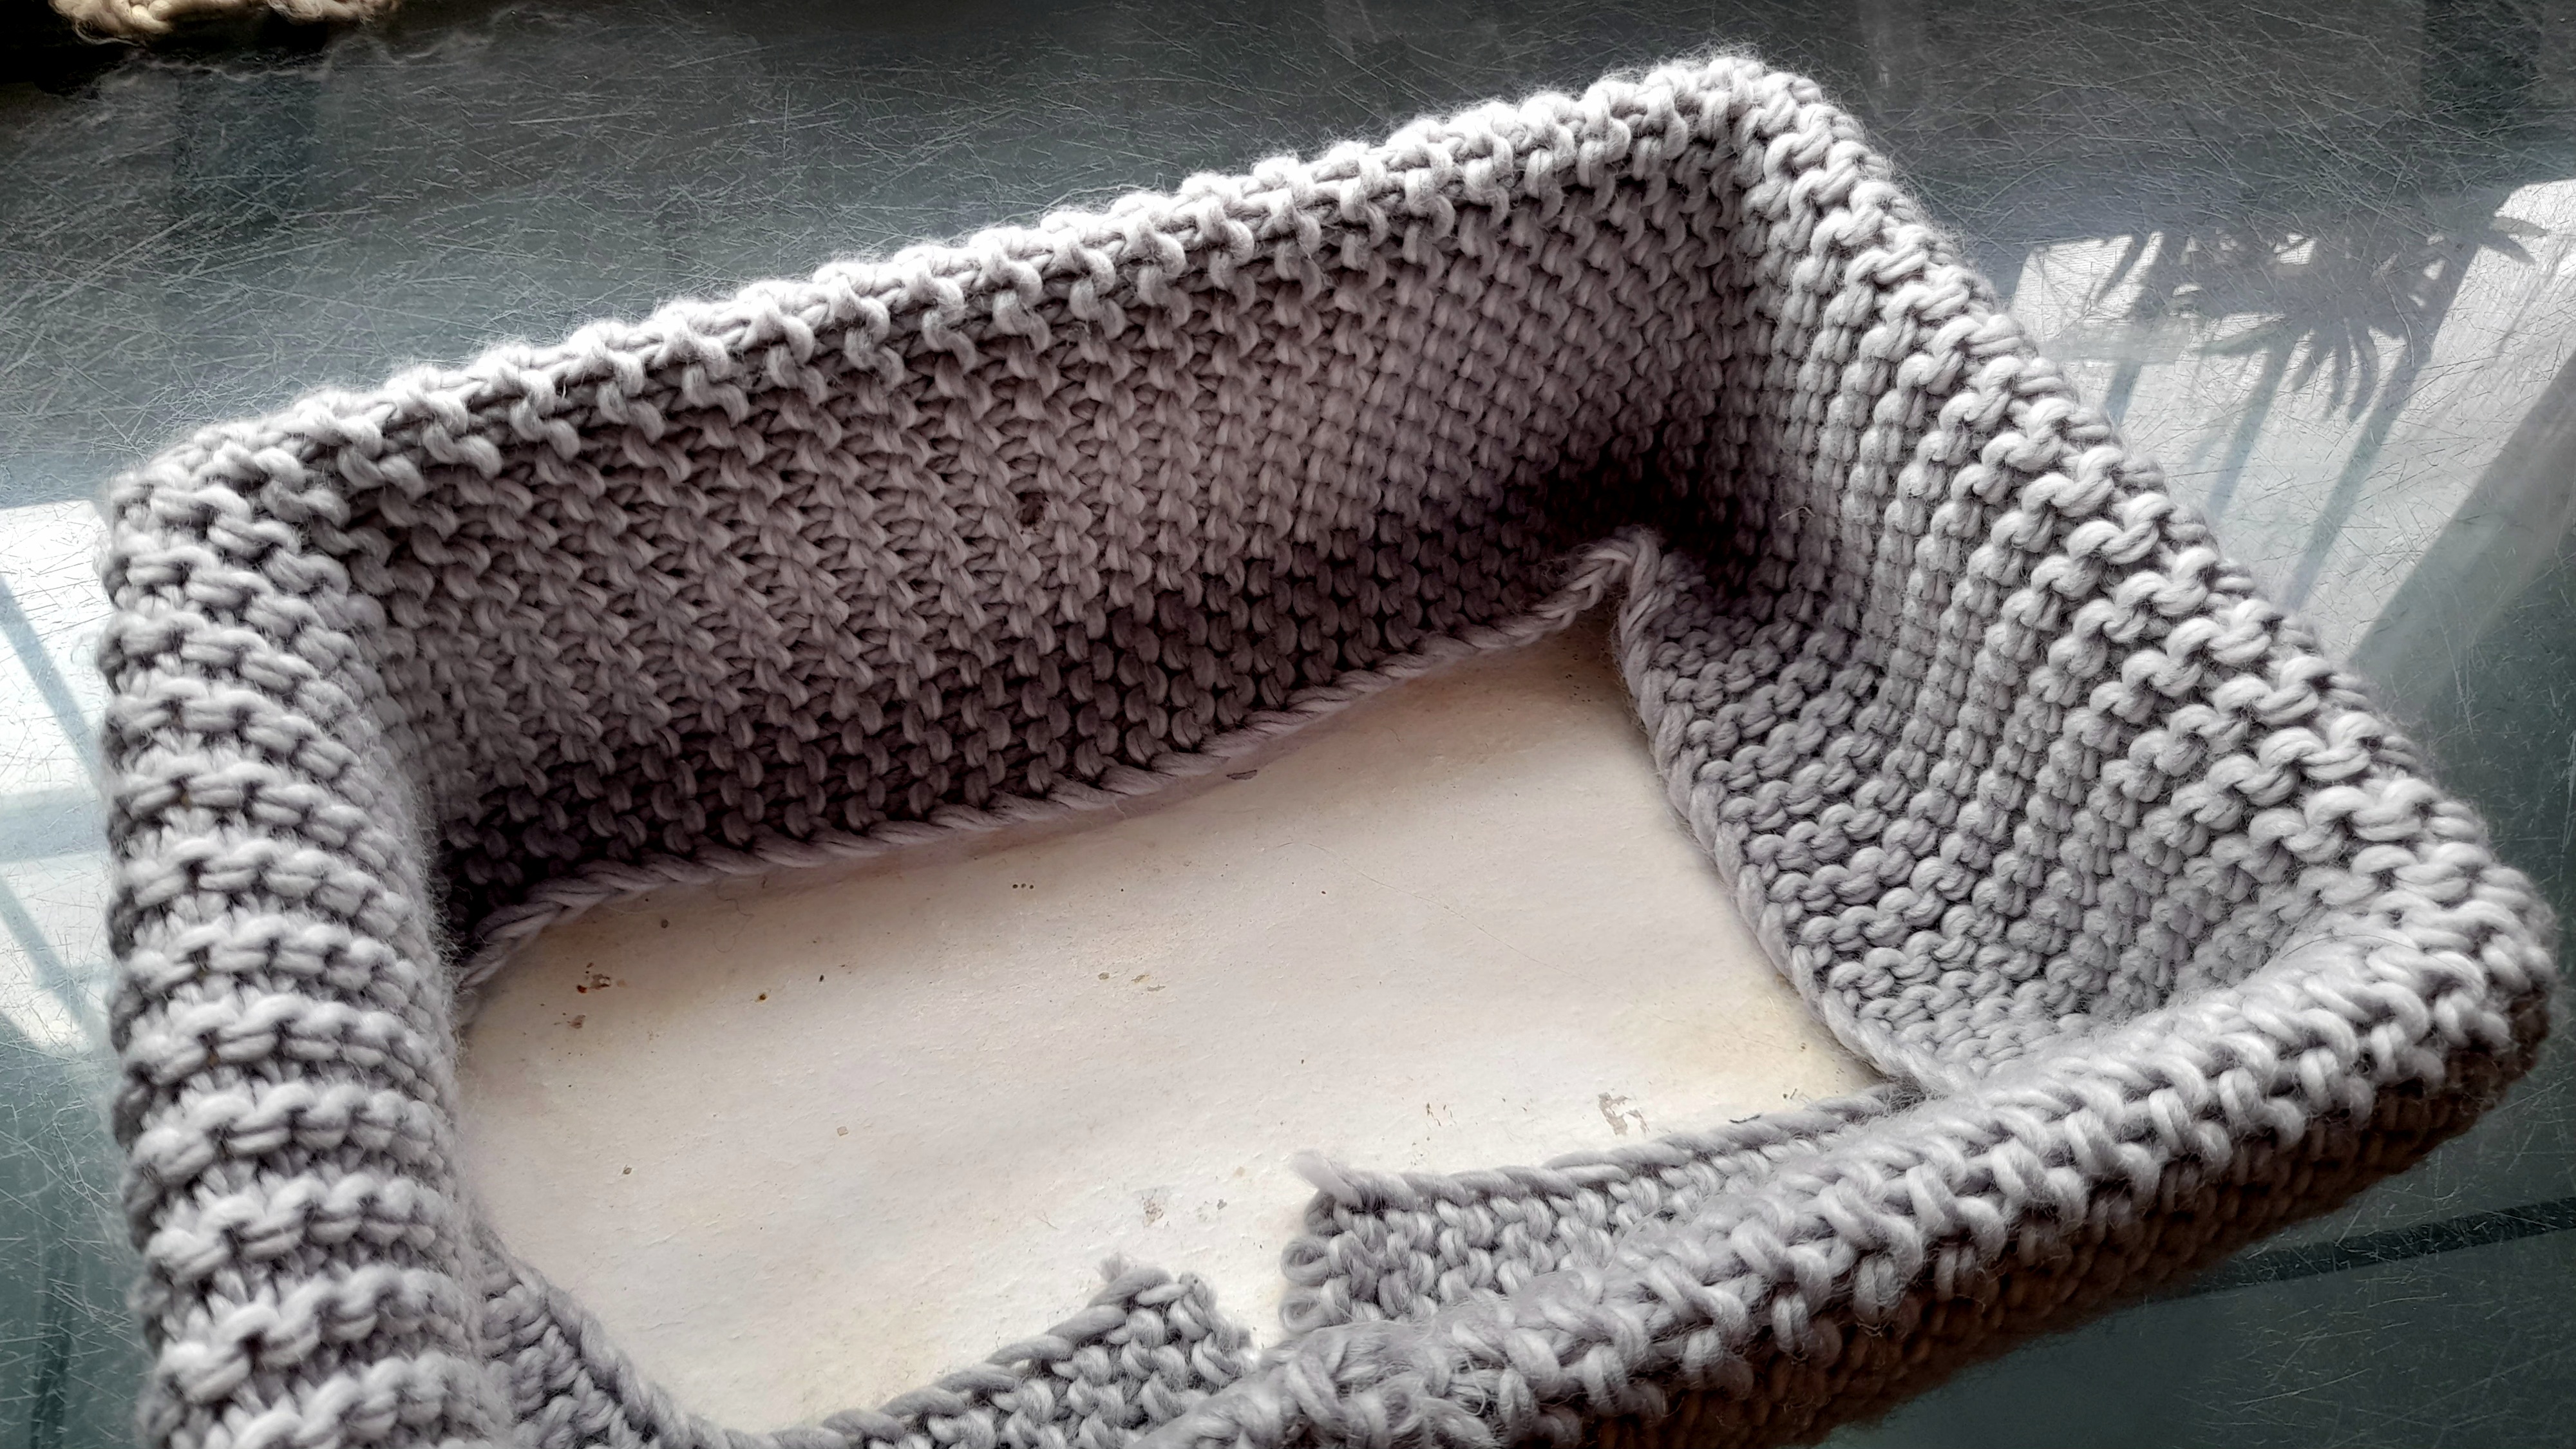
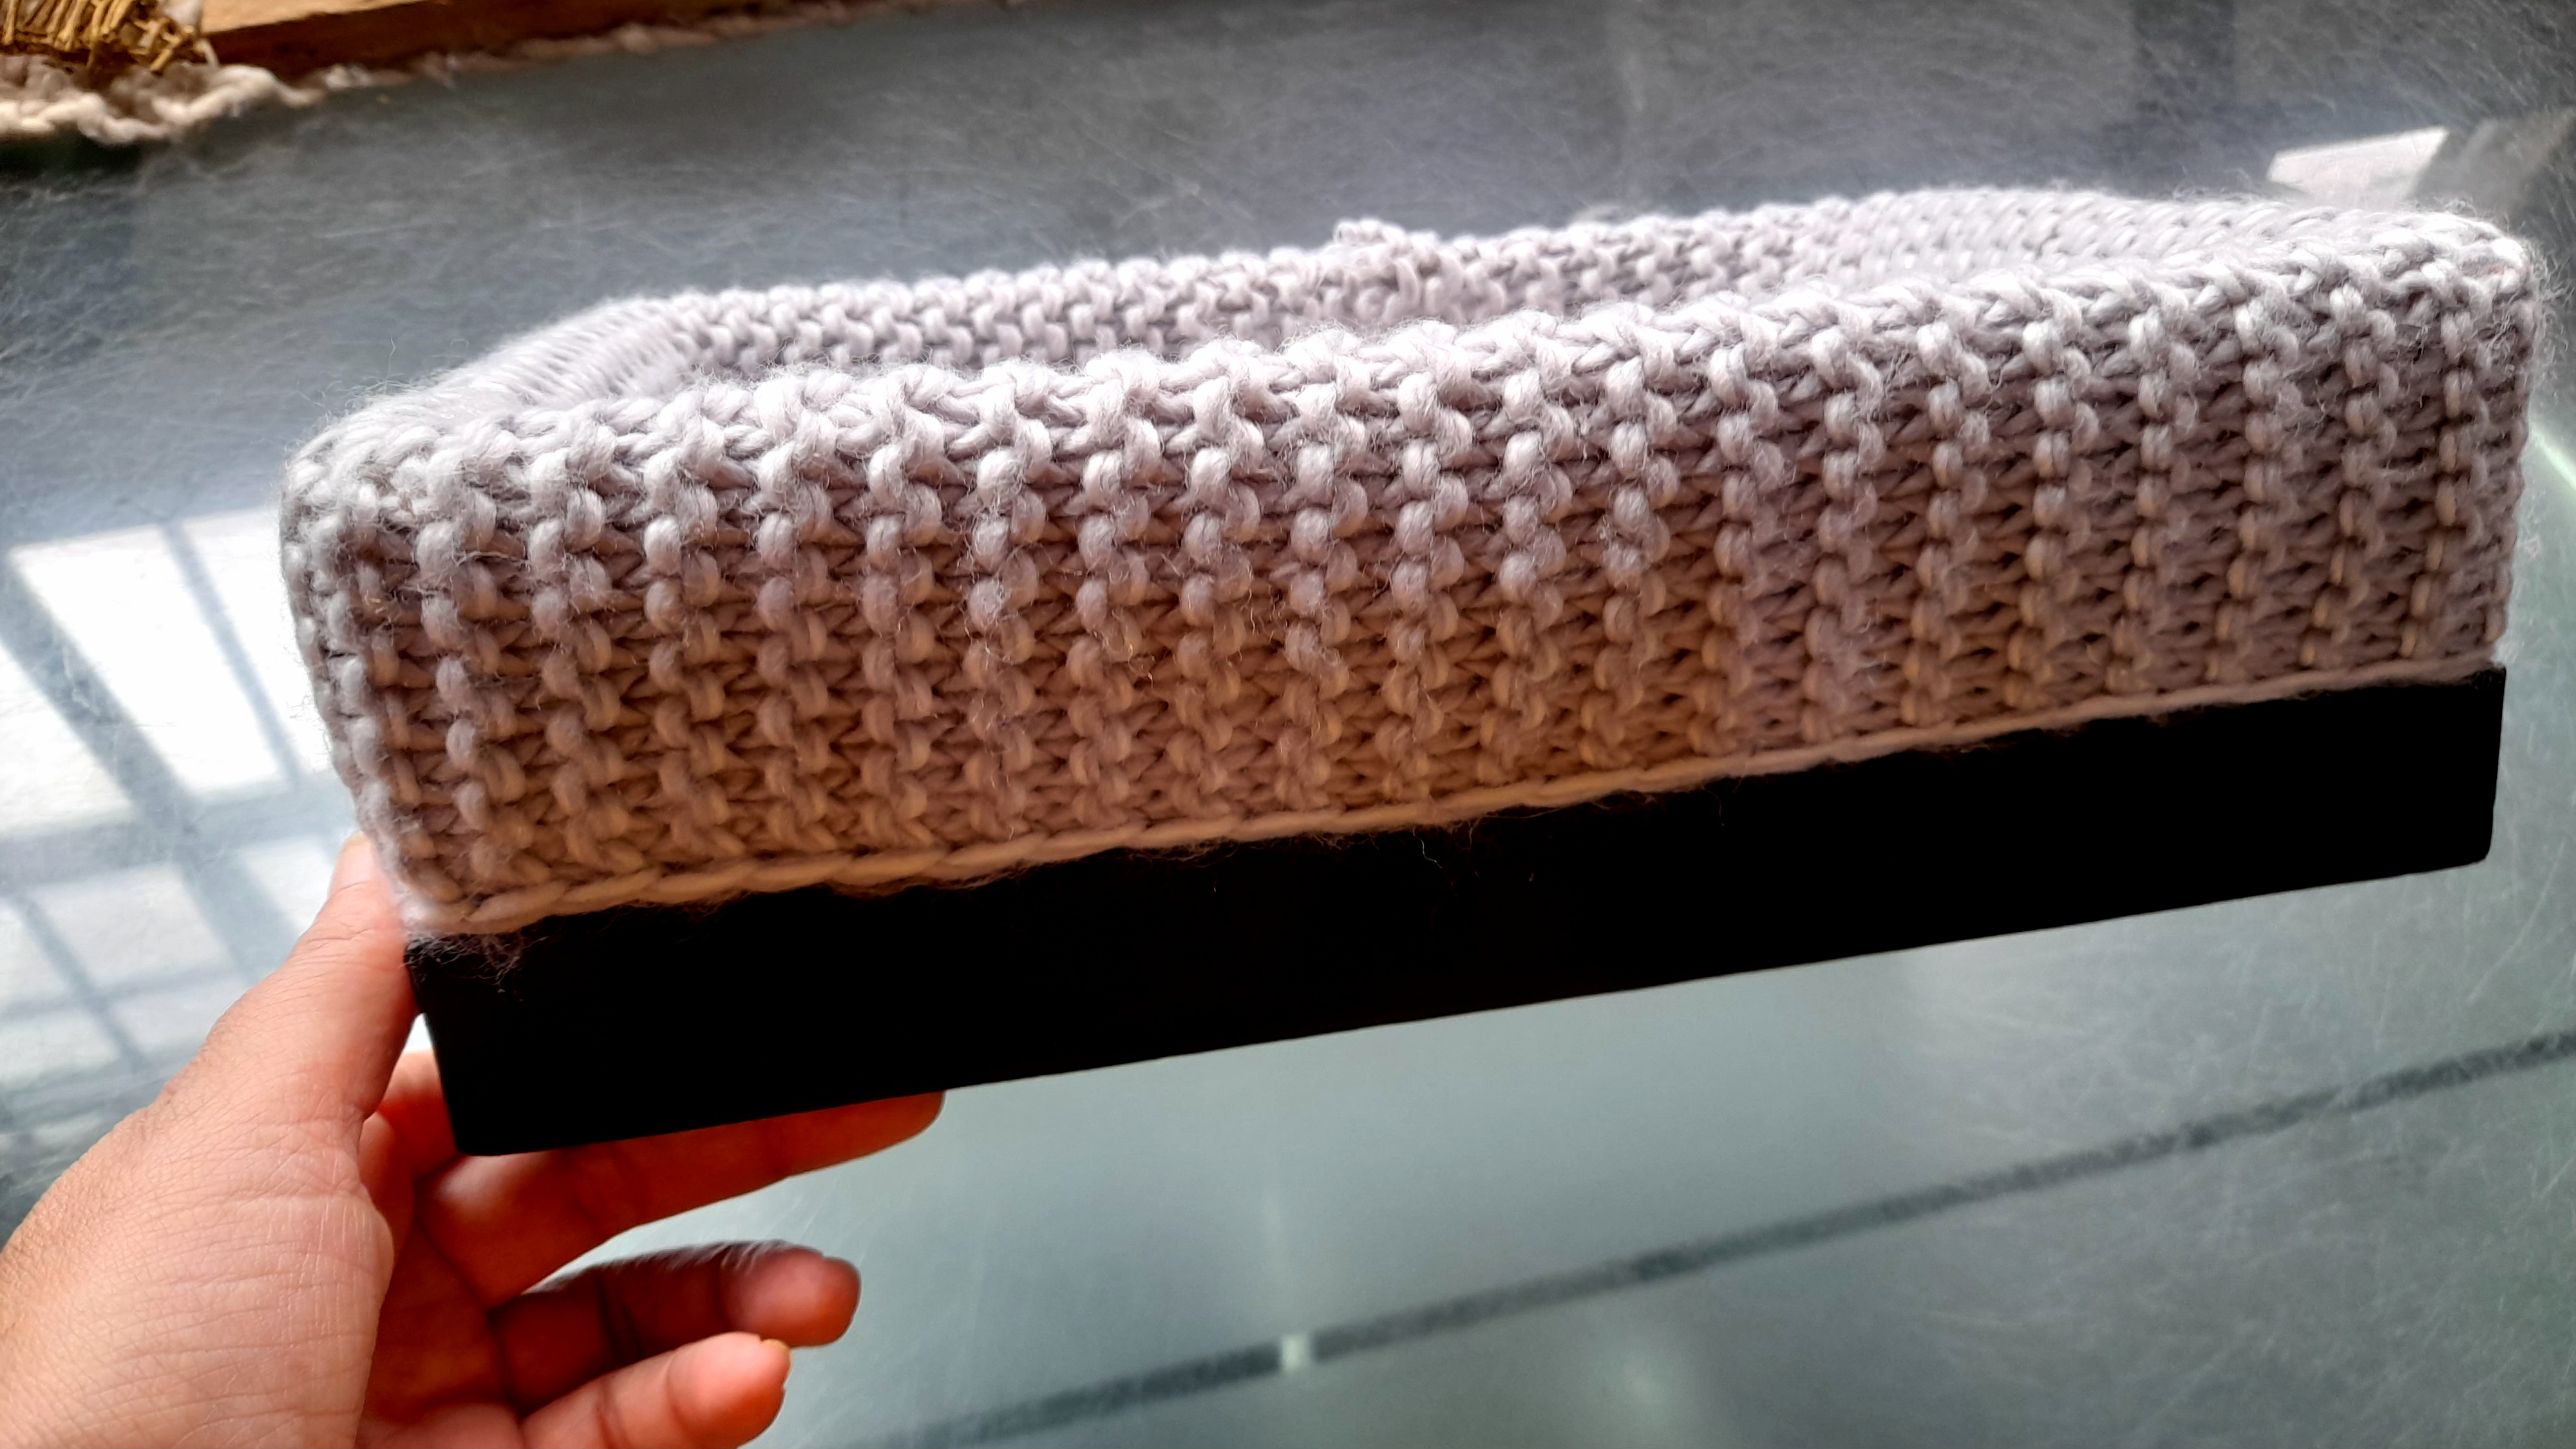
Una vez seca la pintura el siguiente paso fue cubrir con el trozo de bufanda que fue el que me sobró luego de hacer el forro
para mi cojín, y justo alcanzaba para cubrirla, así que lo que hice fue pegarla por todo el borde inferior, justo al ras de la base que pinté de negro, y luego llevé hacia adentro de la caja la bufanda y la pegué al fondo de la caja.
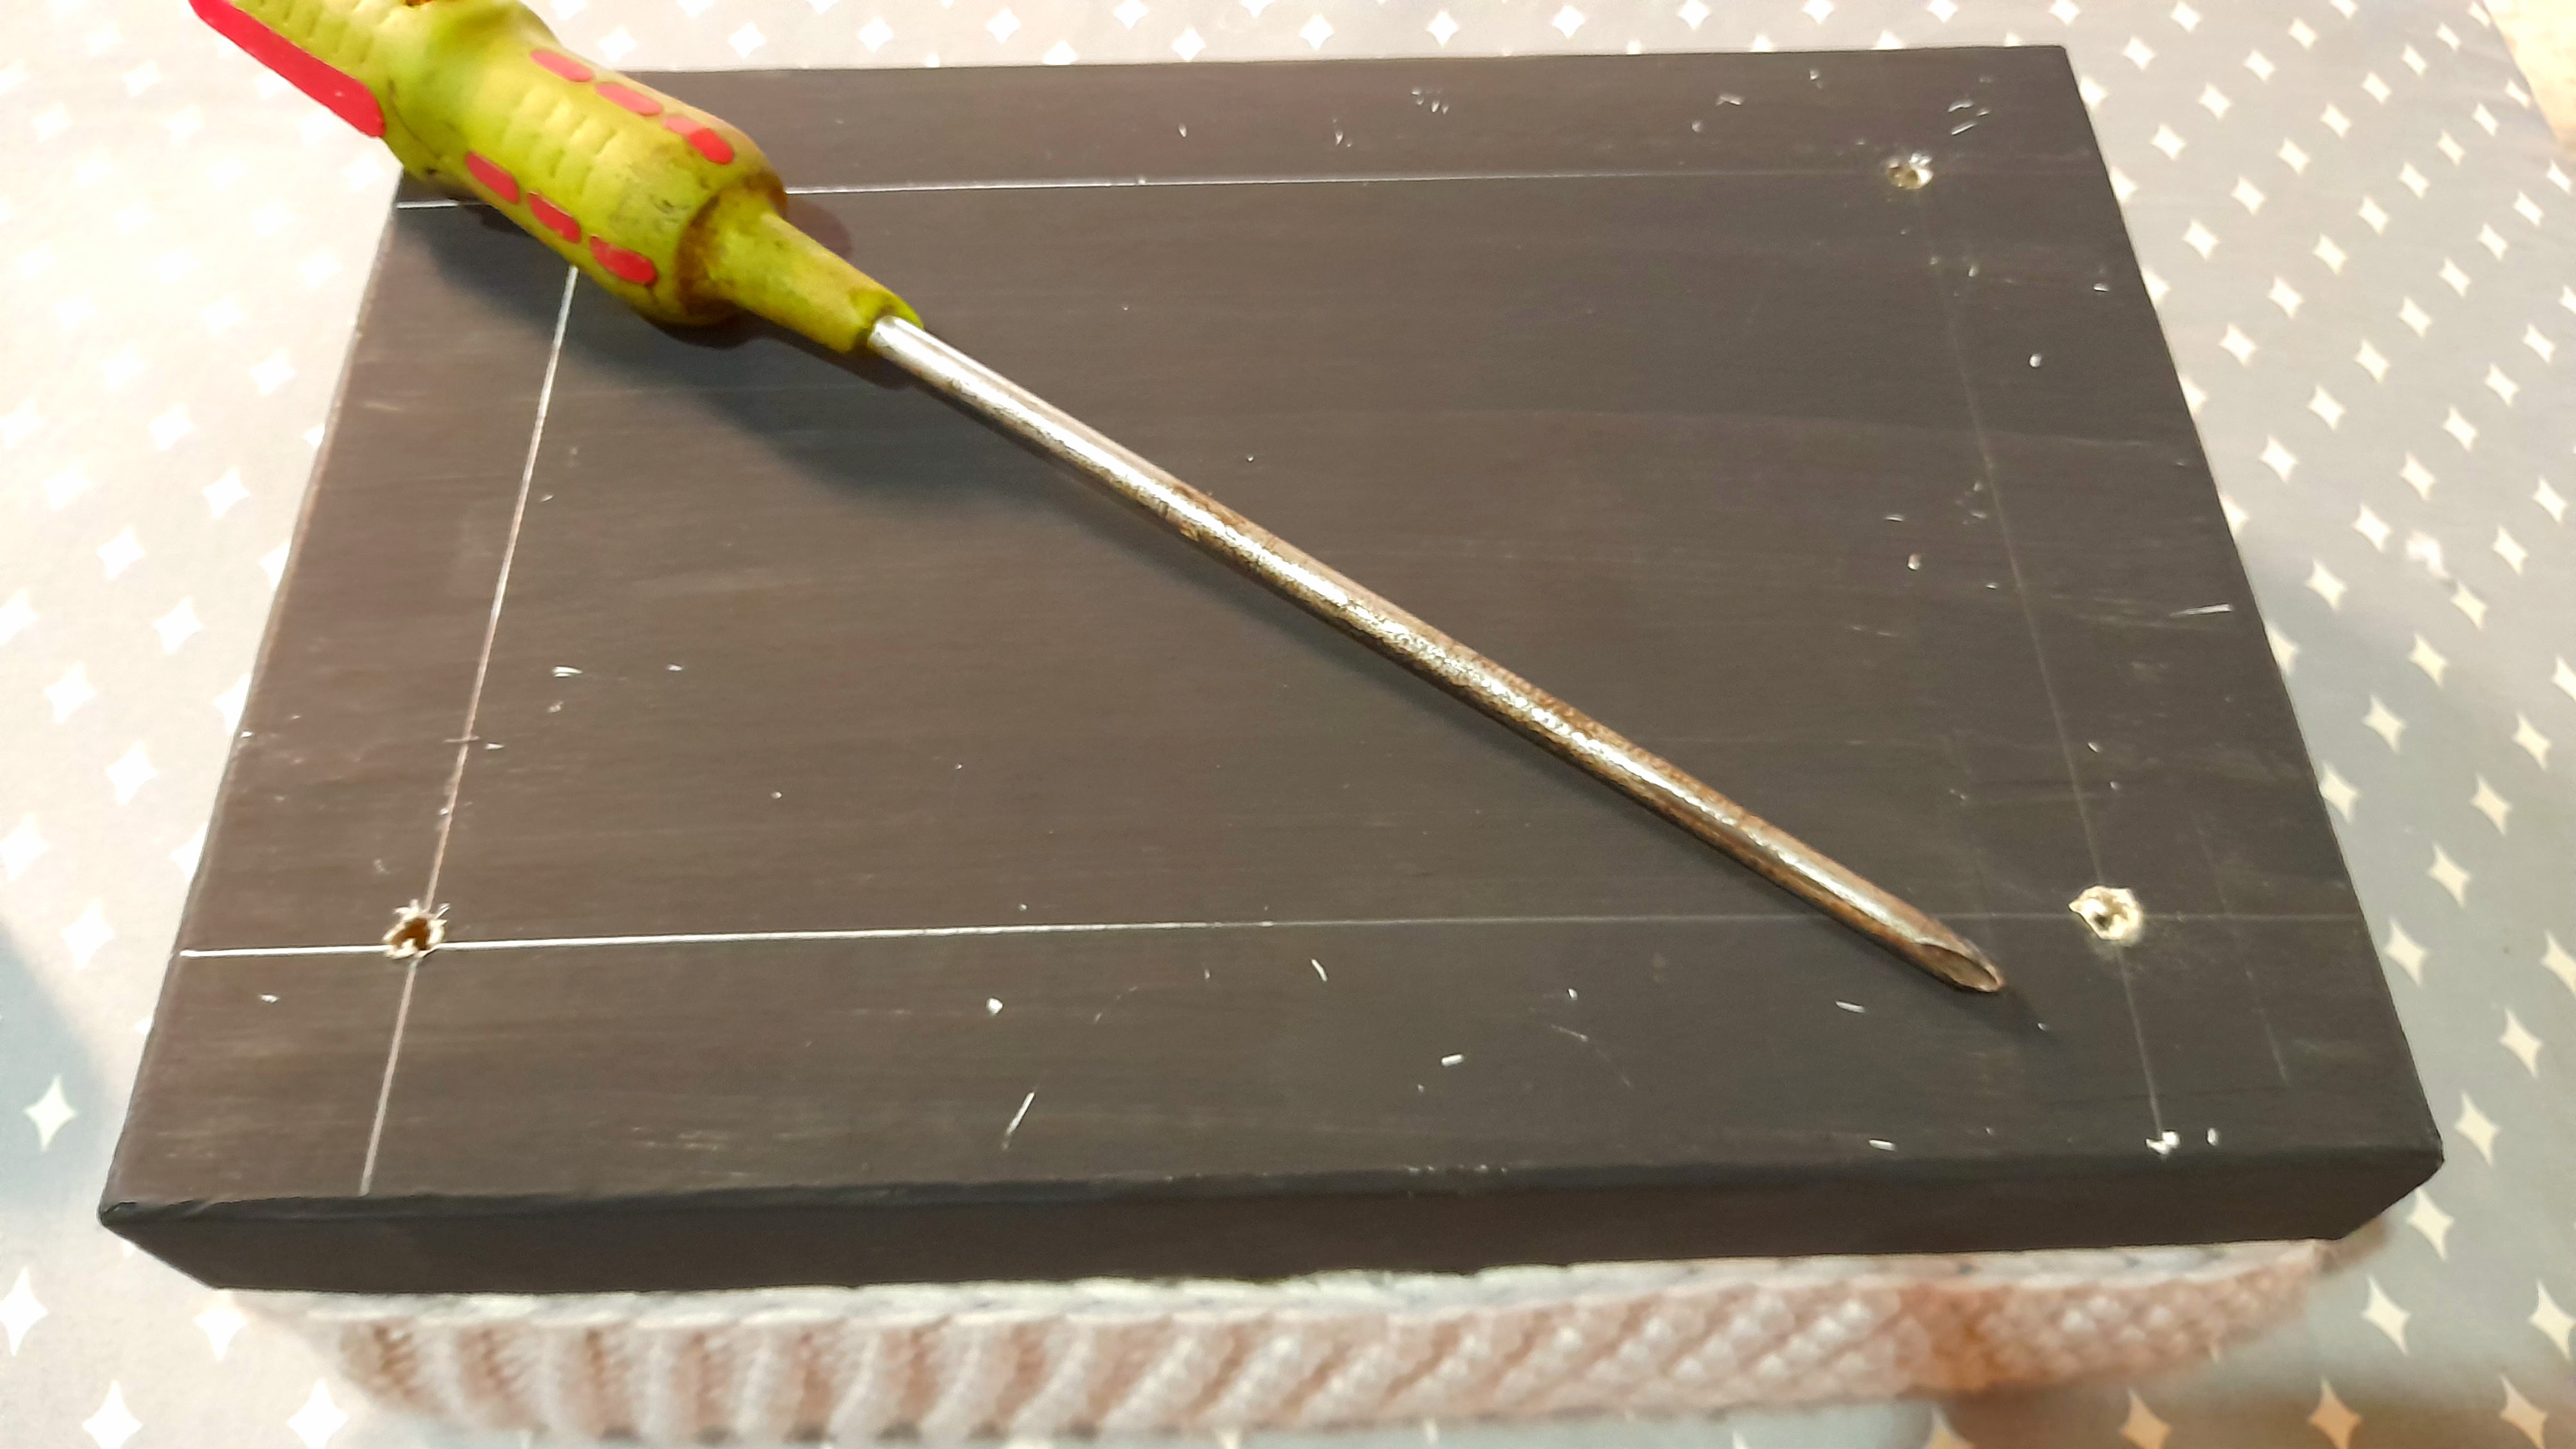
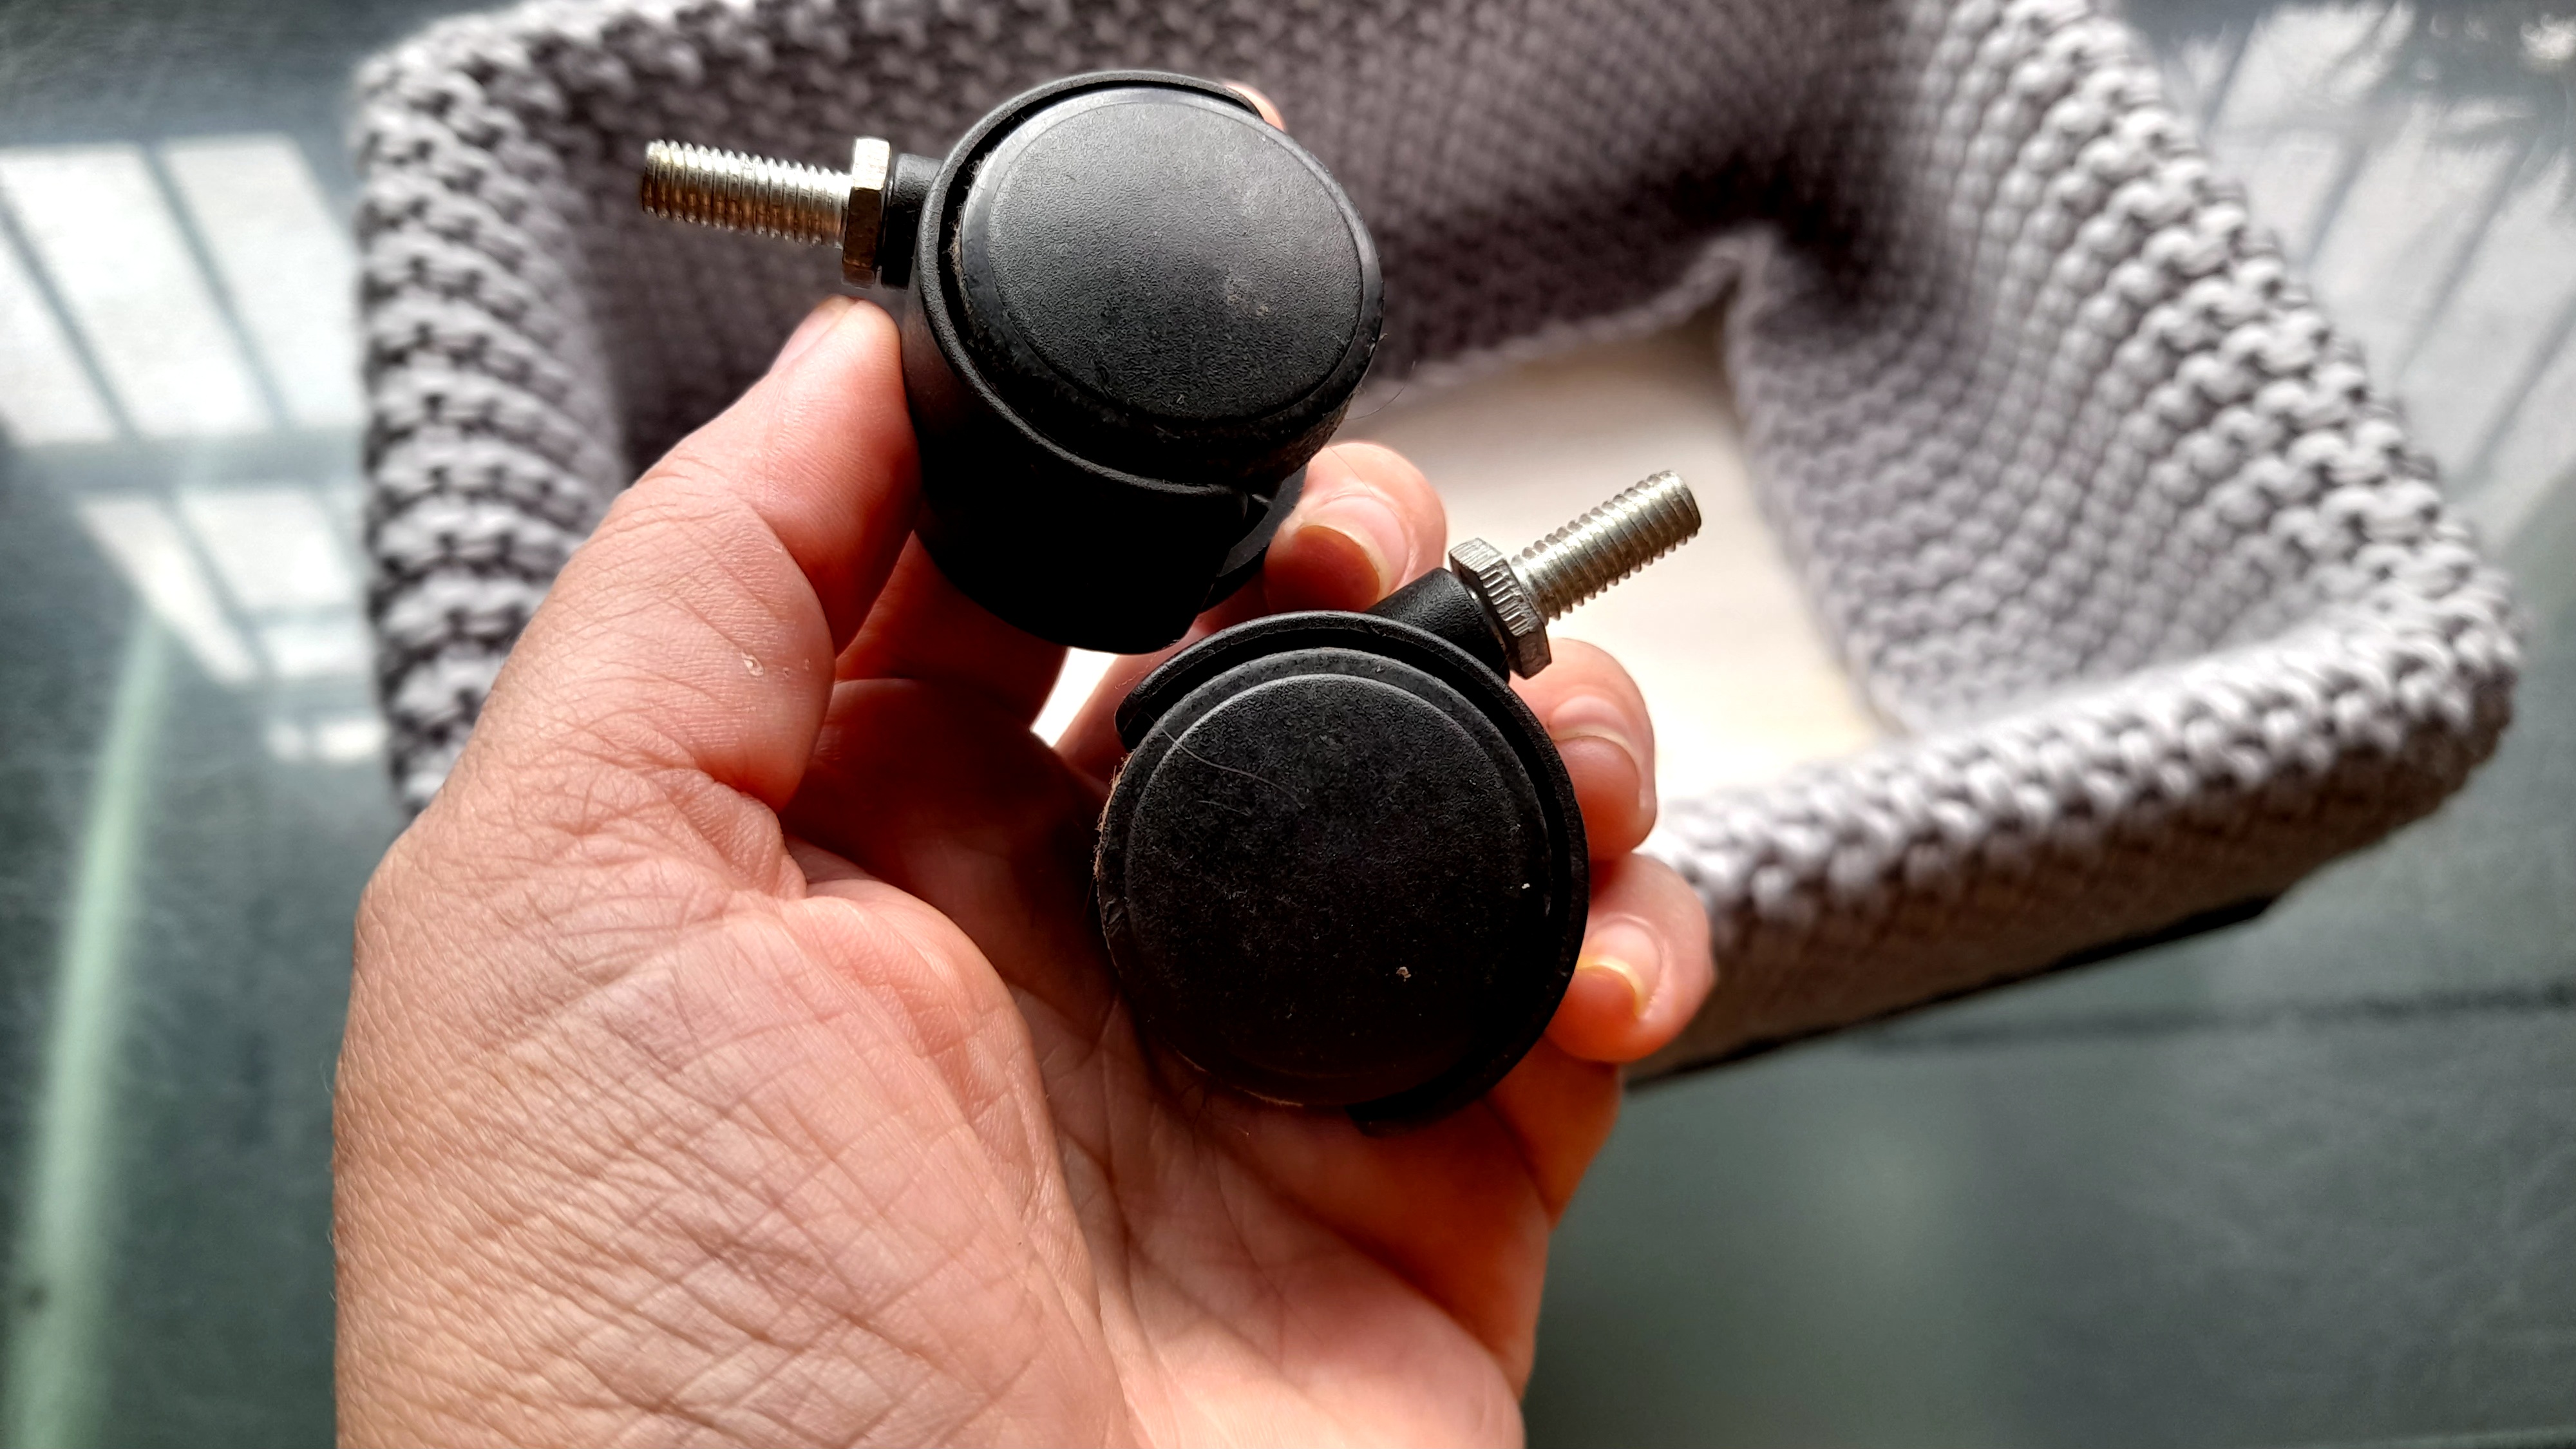
El siguiente paso fue agregar las rueditas a la caja, las que también tienen sus años guardadas, pues eran parte de la cuna de bebé de Matías, y lo que hice fue marcar con un lápiz y la regla el lugar donde irían las rueditas.
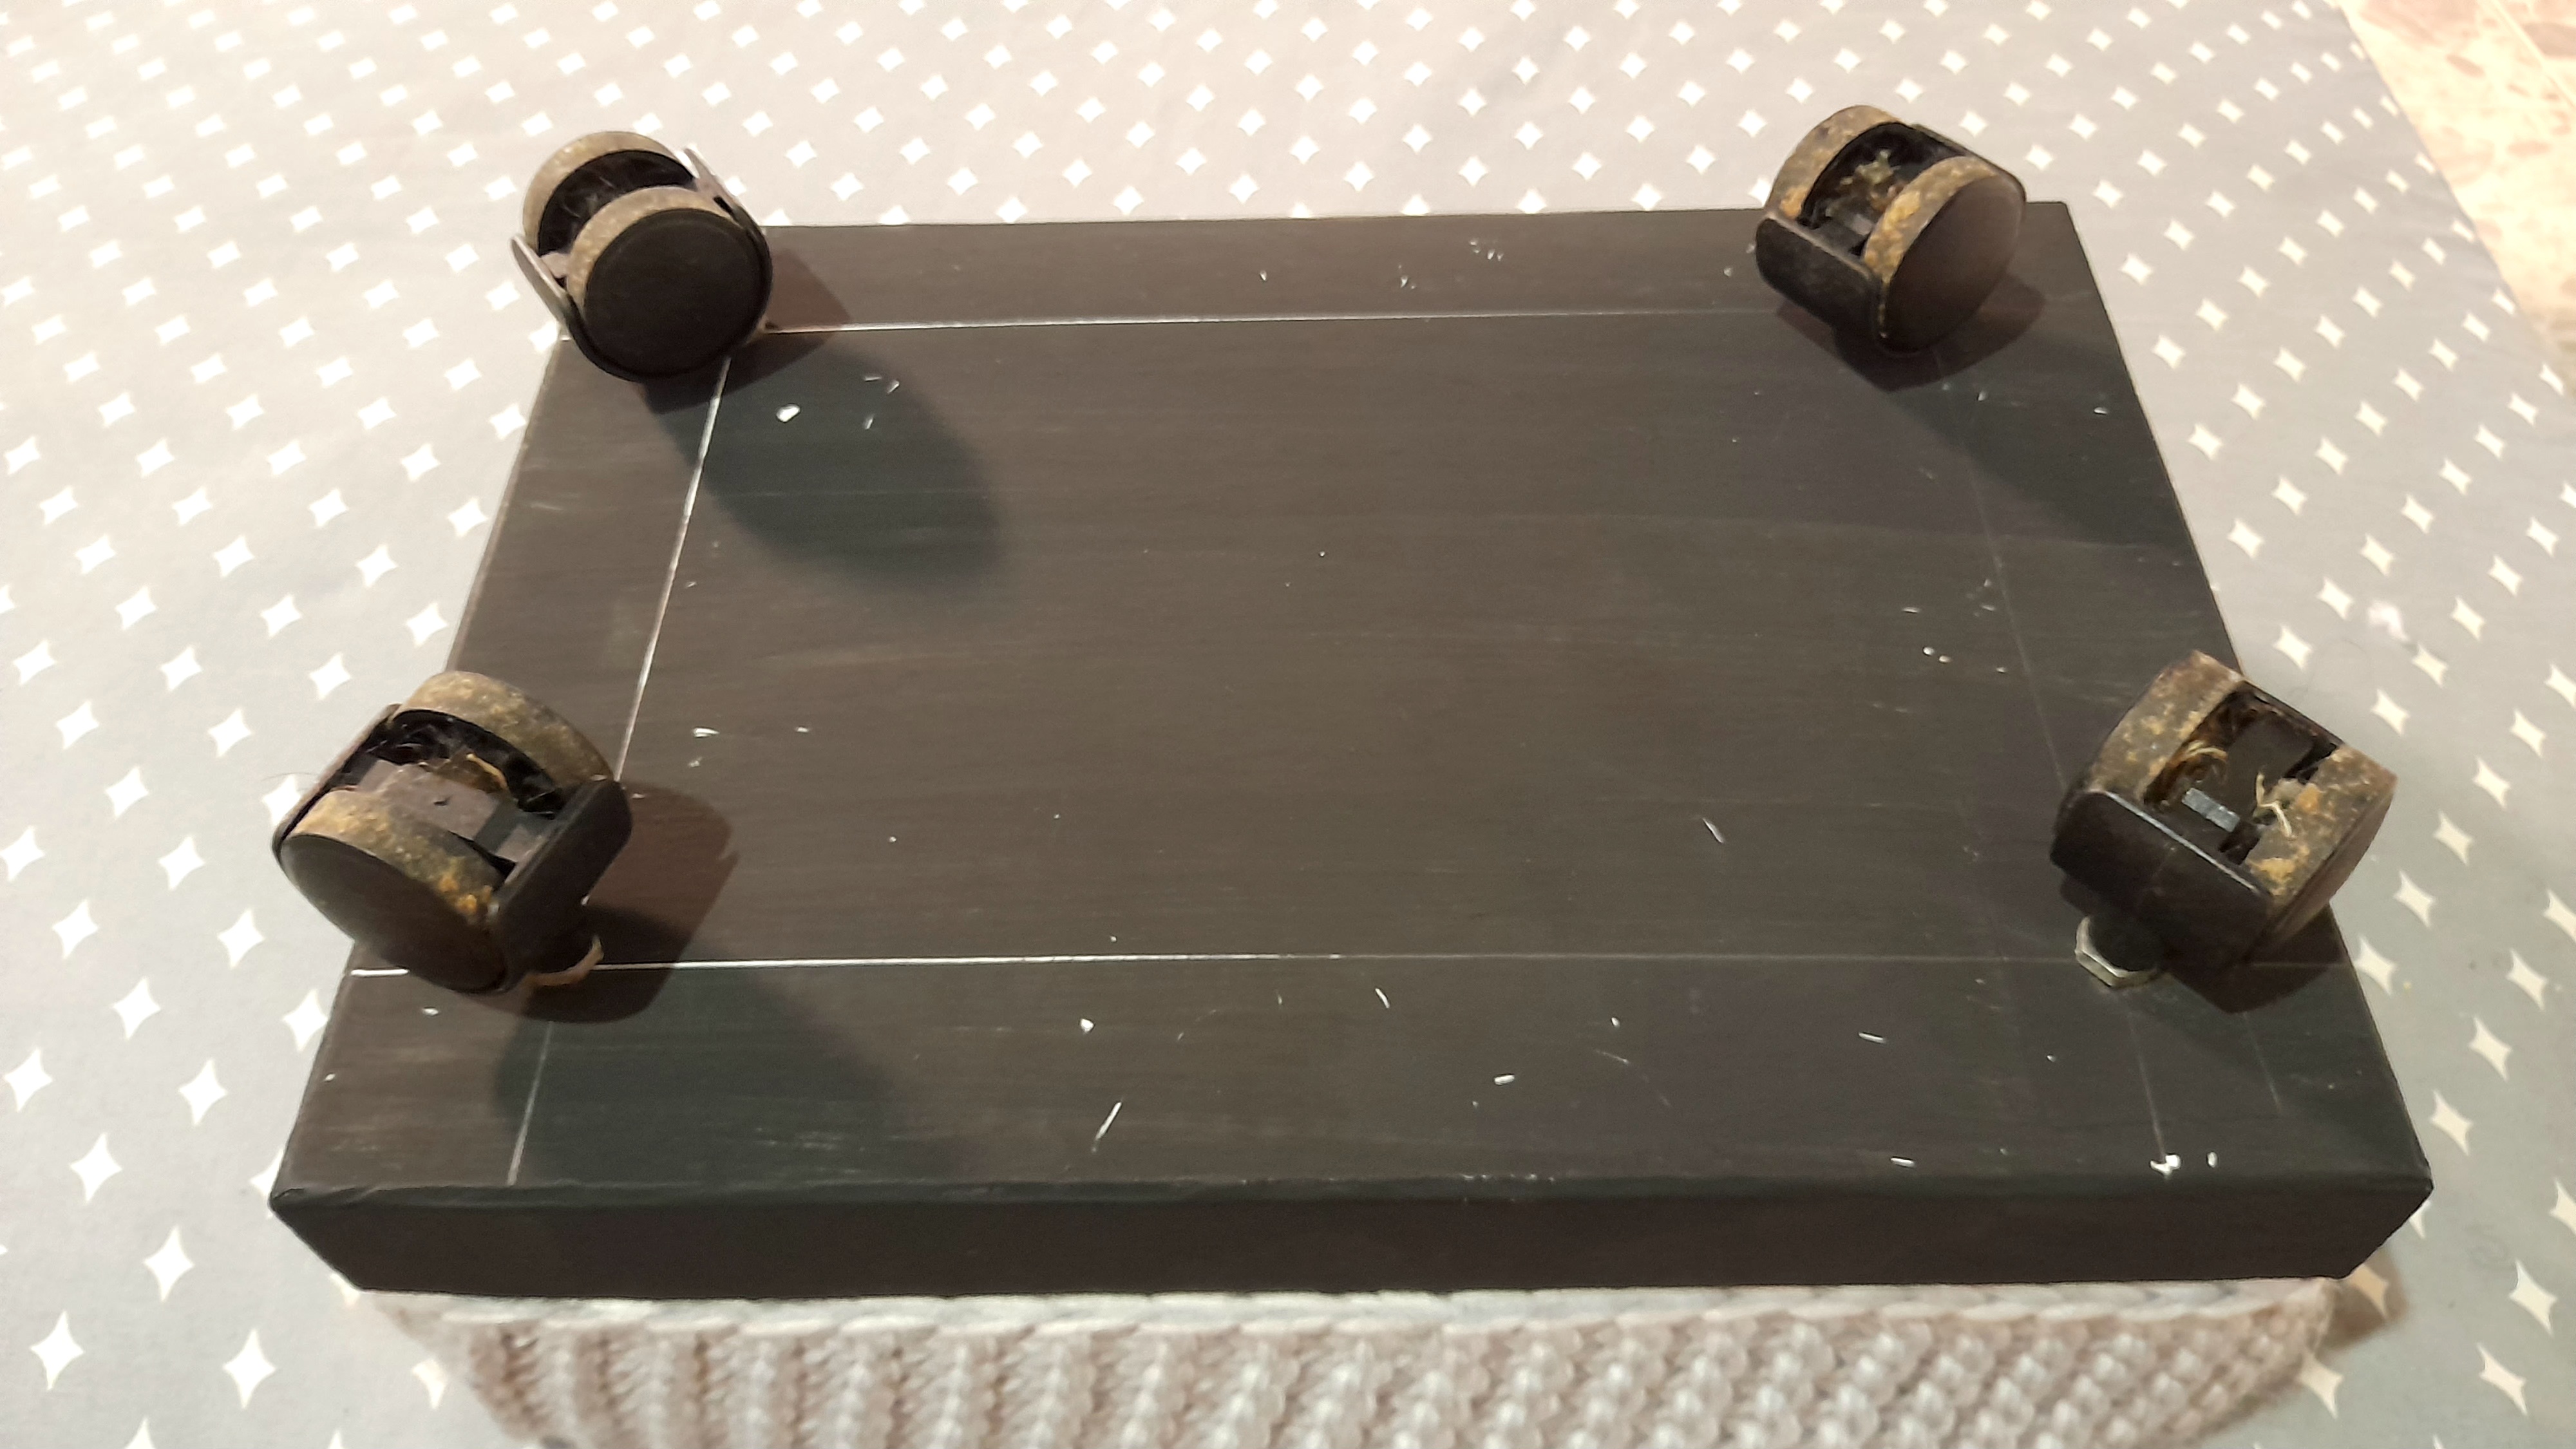
Seguidamente con la ayuda de un destornillador de estrías hice los agujeros para las rueditas y las ubiqué en su lugar, asegurándolas con silicón caliente. Y una vez listas, dí una última mano de pintura a la parte inferior de la caja.
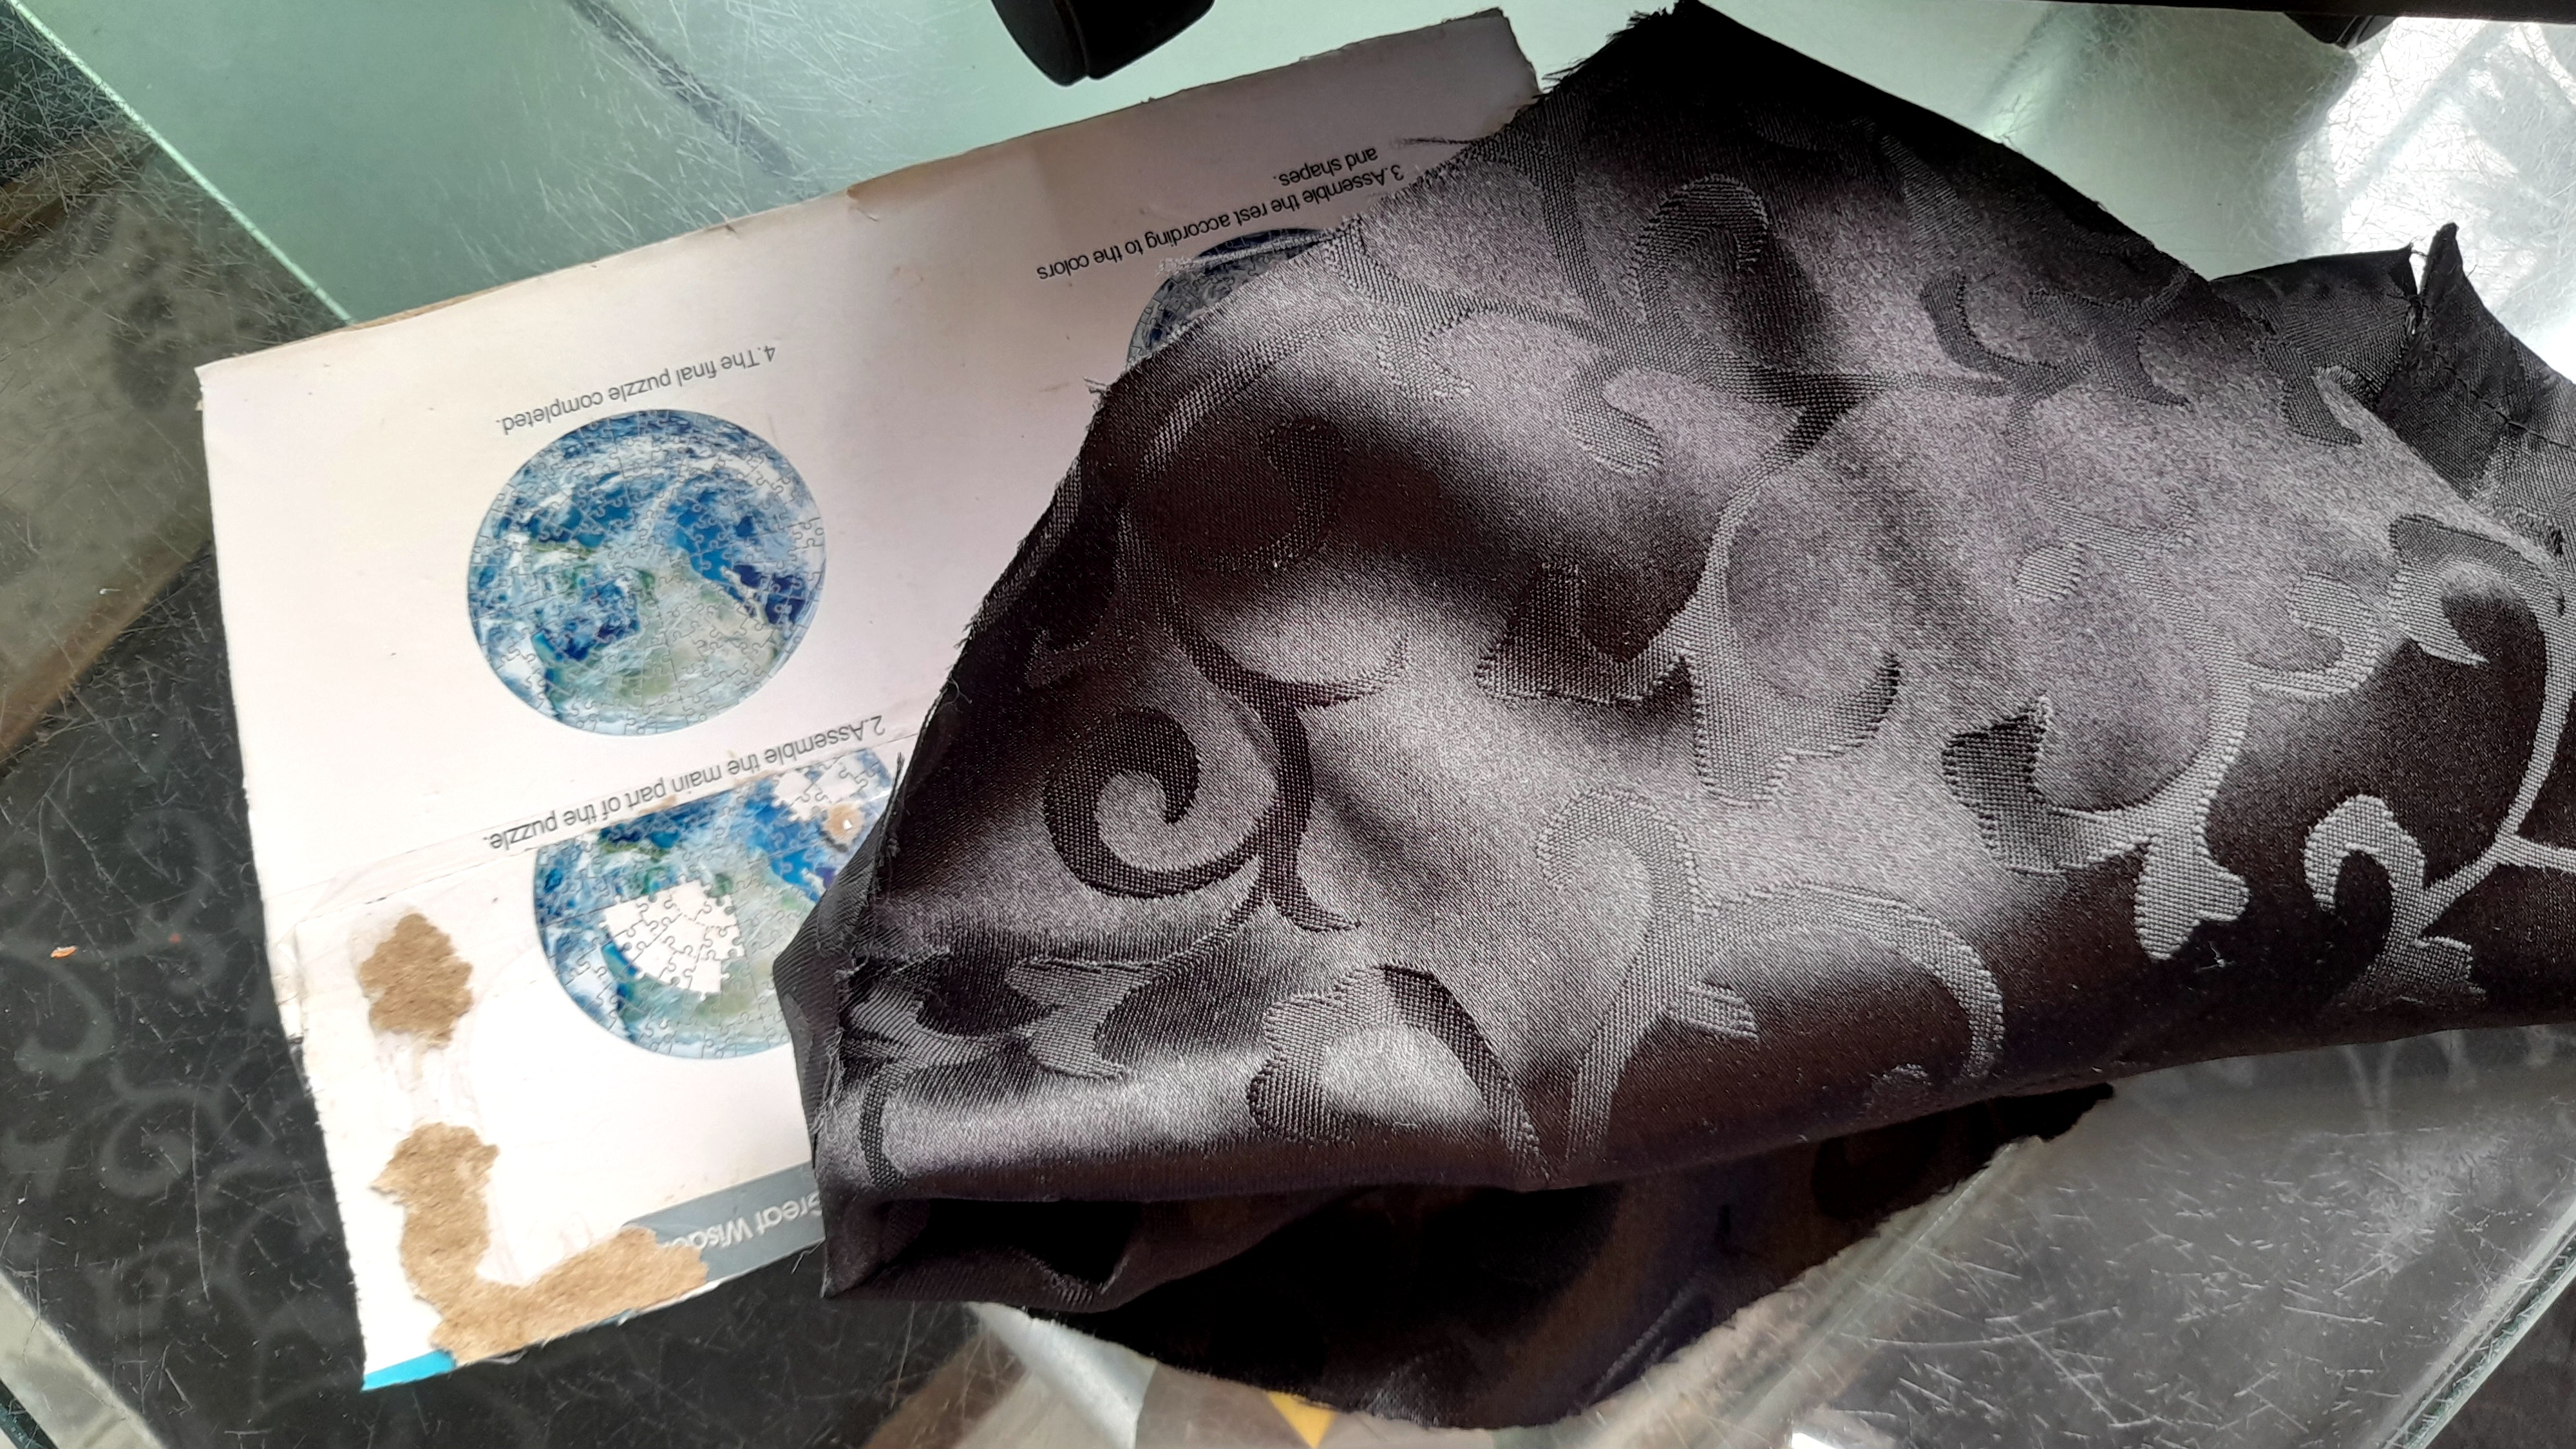
Lo siguiente fue cubrir el fondo de la caja, y para eso, utilicé cartón y un retazo de tela negra que forma parte de unas cortinas que he usado para otros proyectos en casa, y lo que hice fue recortar el cartón tomando como referencia las medidas del fondo de la caja, recorté un trozo de tela negra dejando cerca de dos centímetros demás para poder pegarla al cartón, cosa que hice con ayuda de la pistola de silicón.
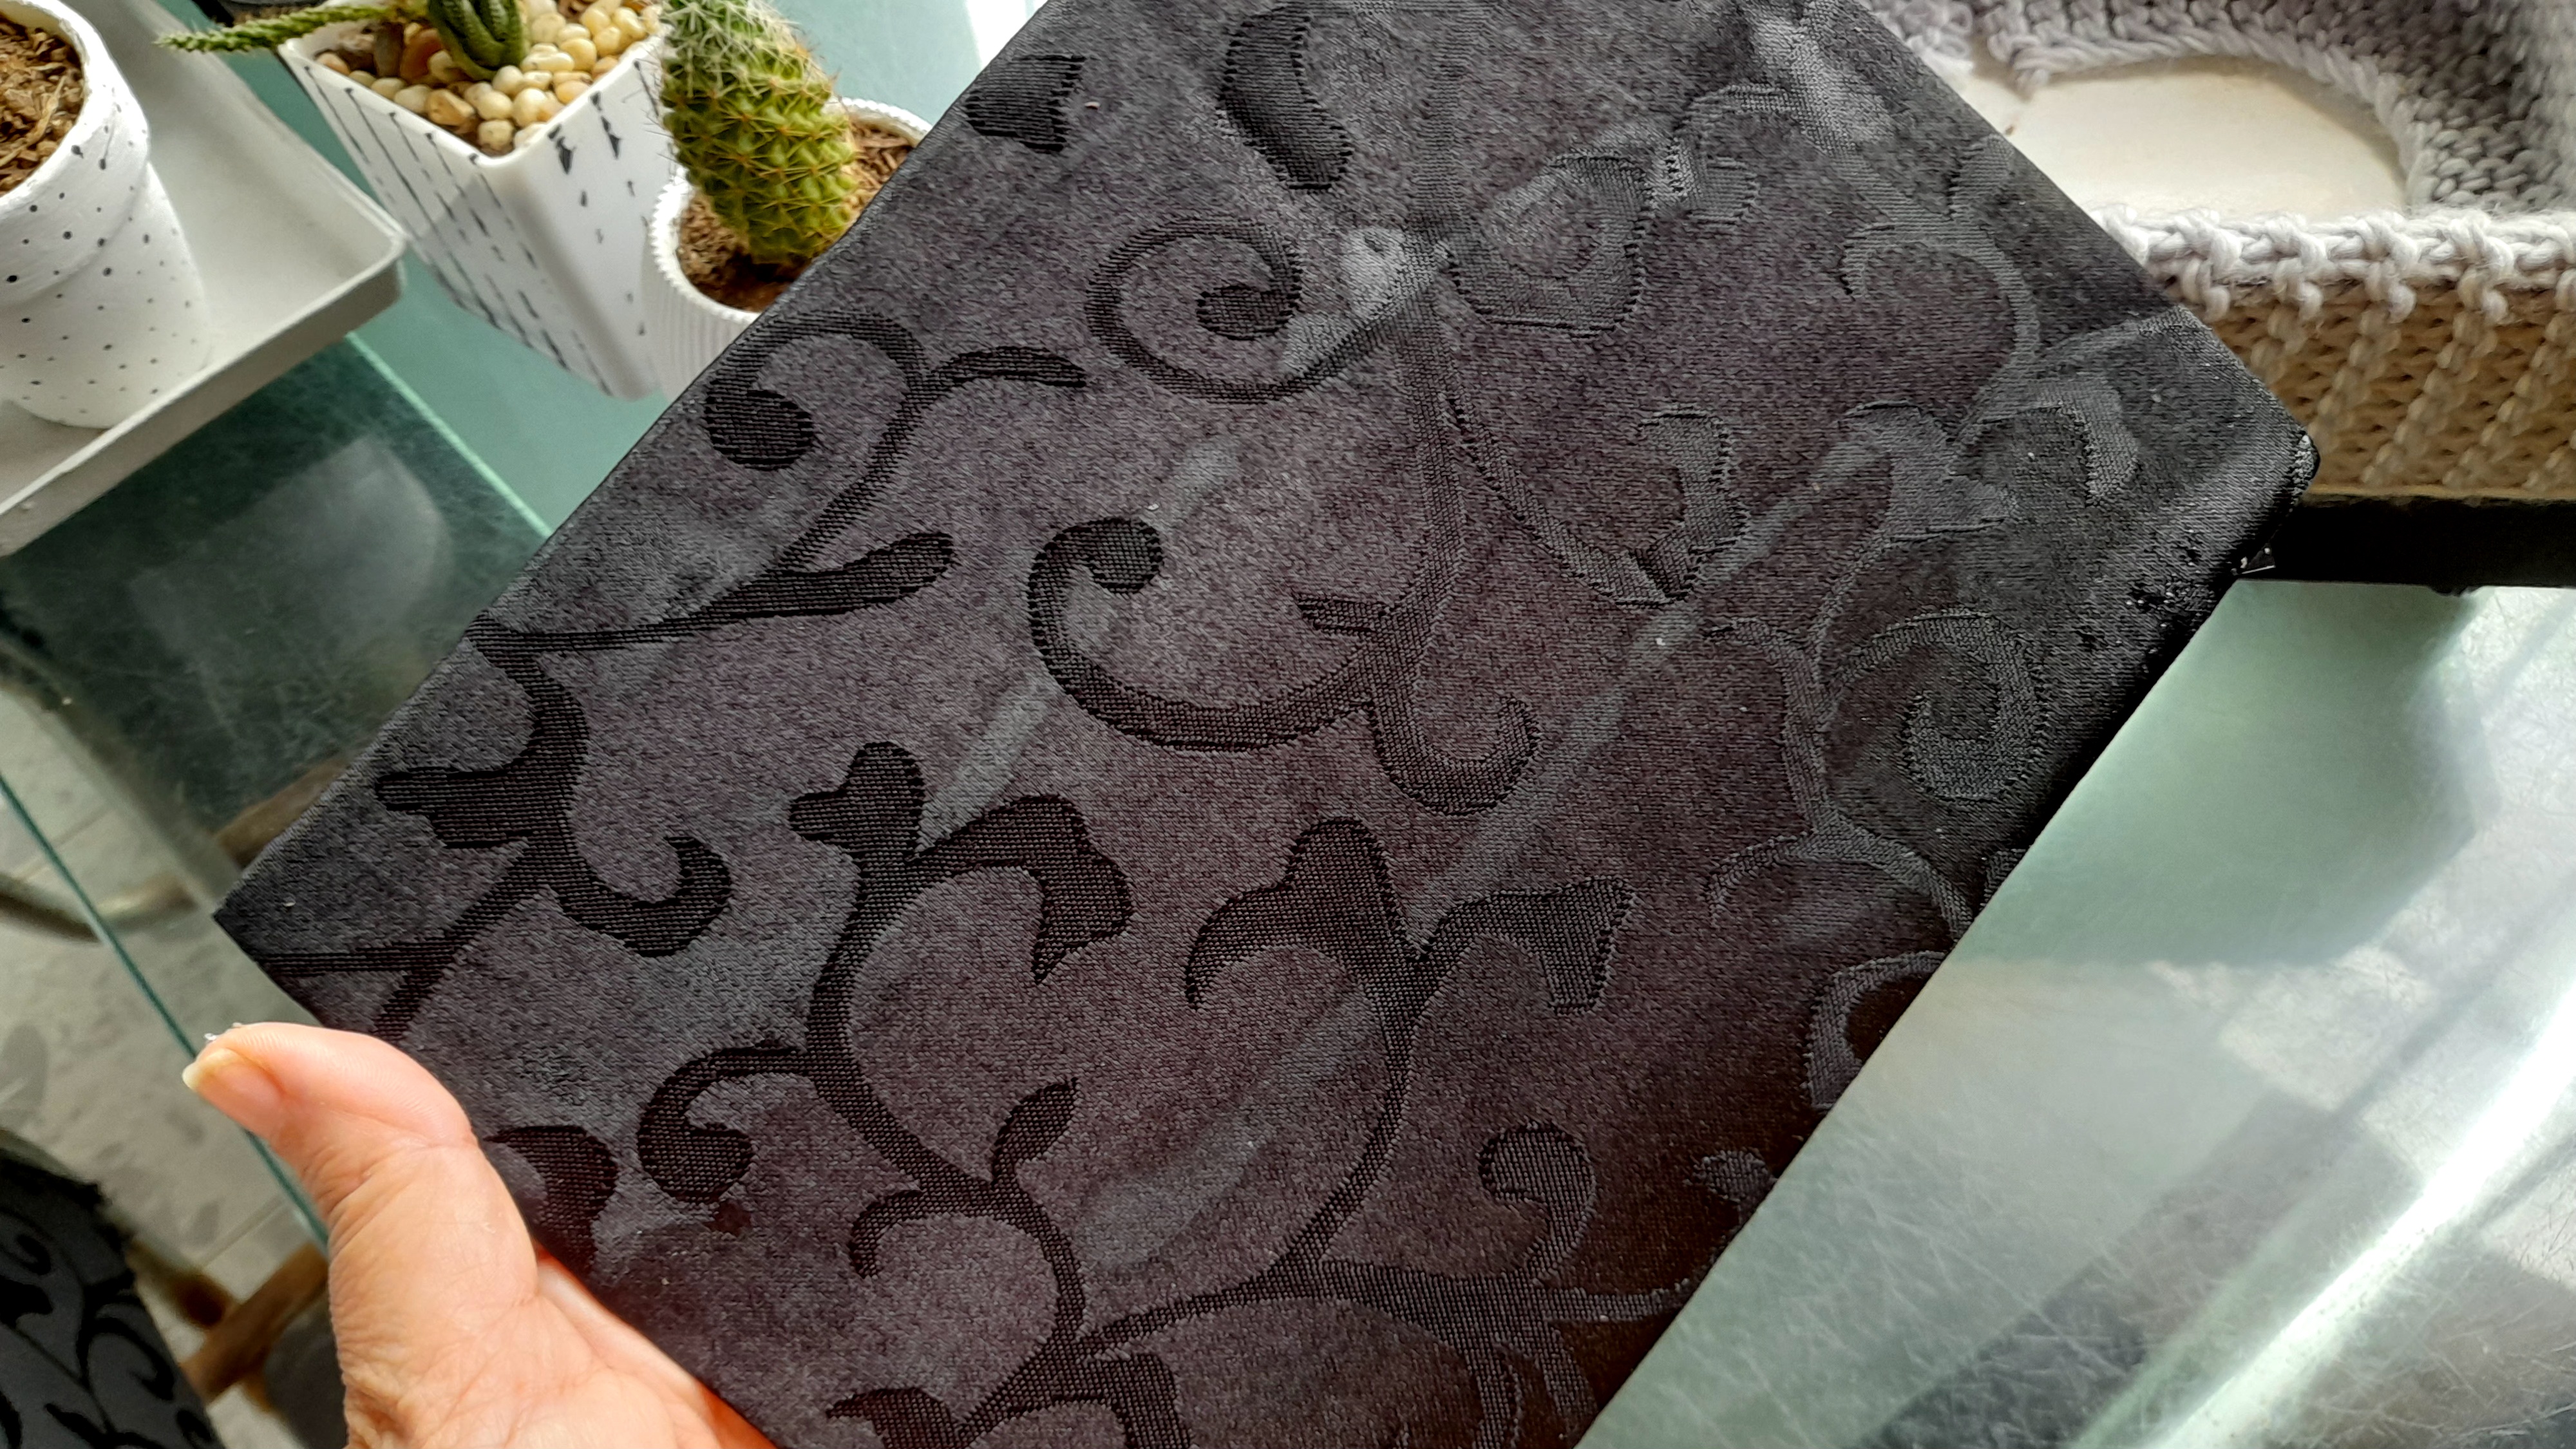
Y para finalizar con este proyecto, solo pegué el cartón forrado en el fondo de la caja y listo. Realmente amé este proyecto porque luce tal como lo imaginé y se ve super lindo en su lugar, además me resulta muy útil ya que puedo tener a la mano mis libros de recetas, y aquí pensando, quizá más adelante la mude a la cocina. Ya veremos 😏
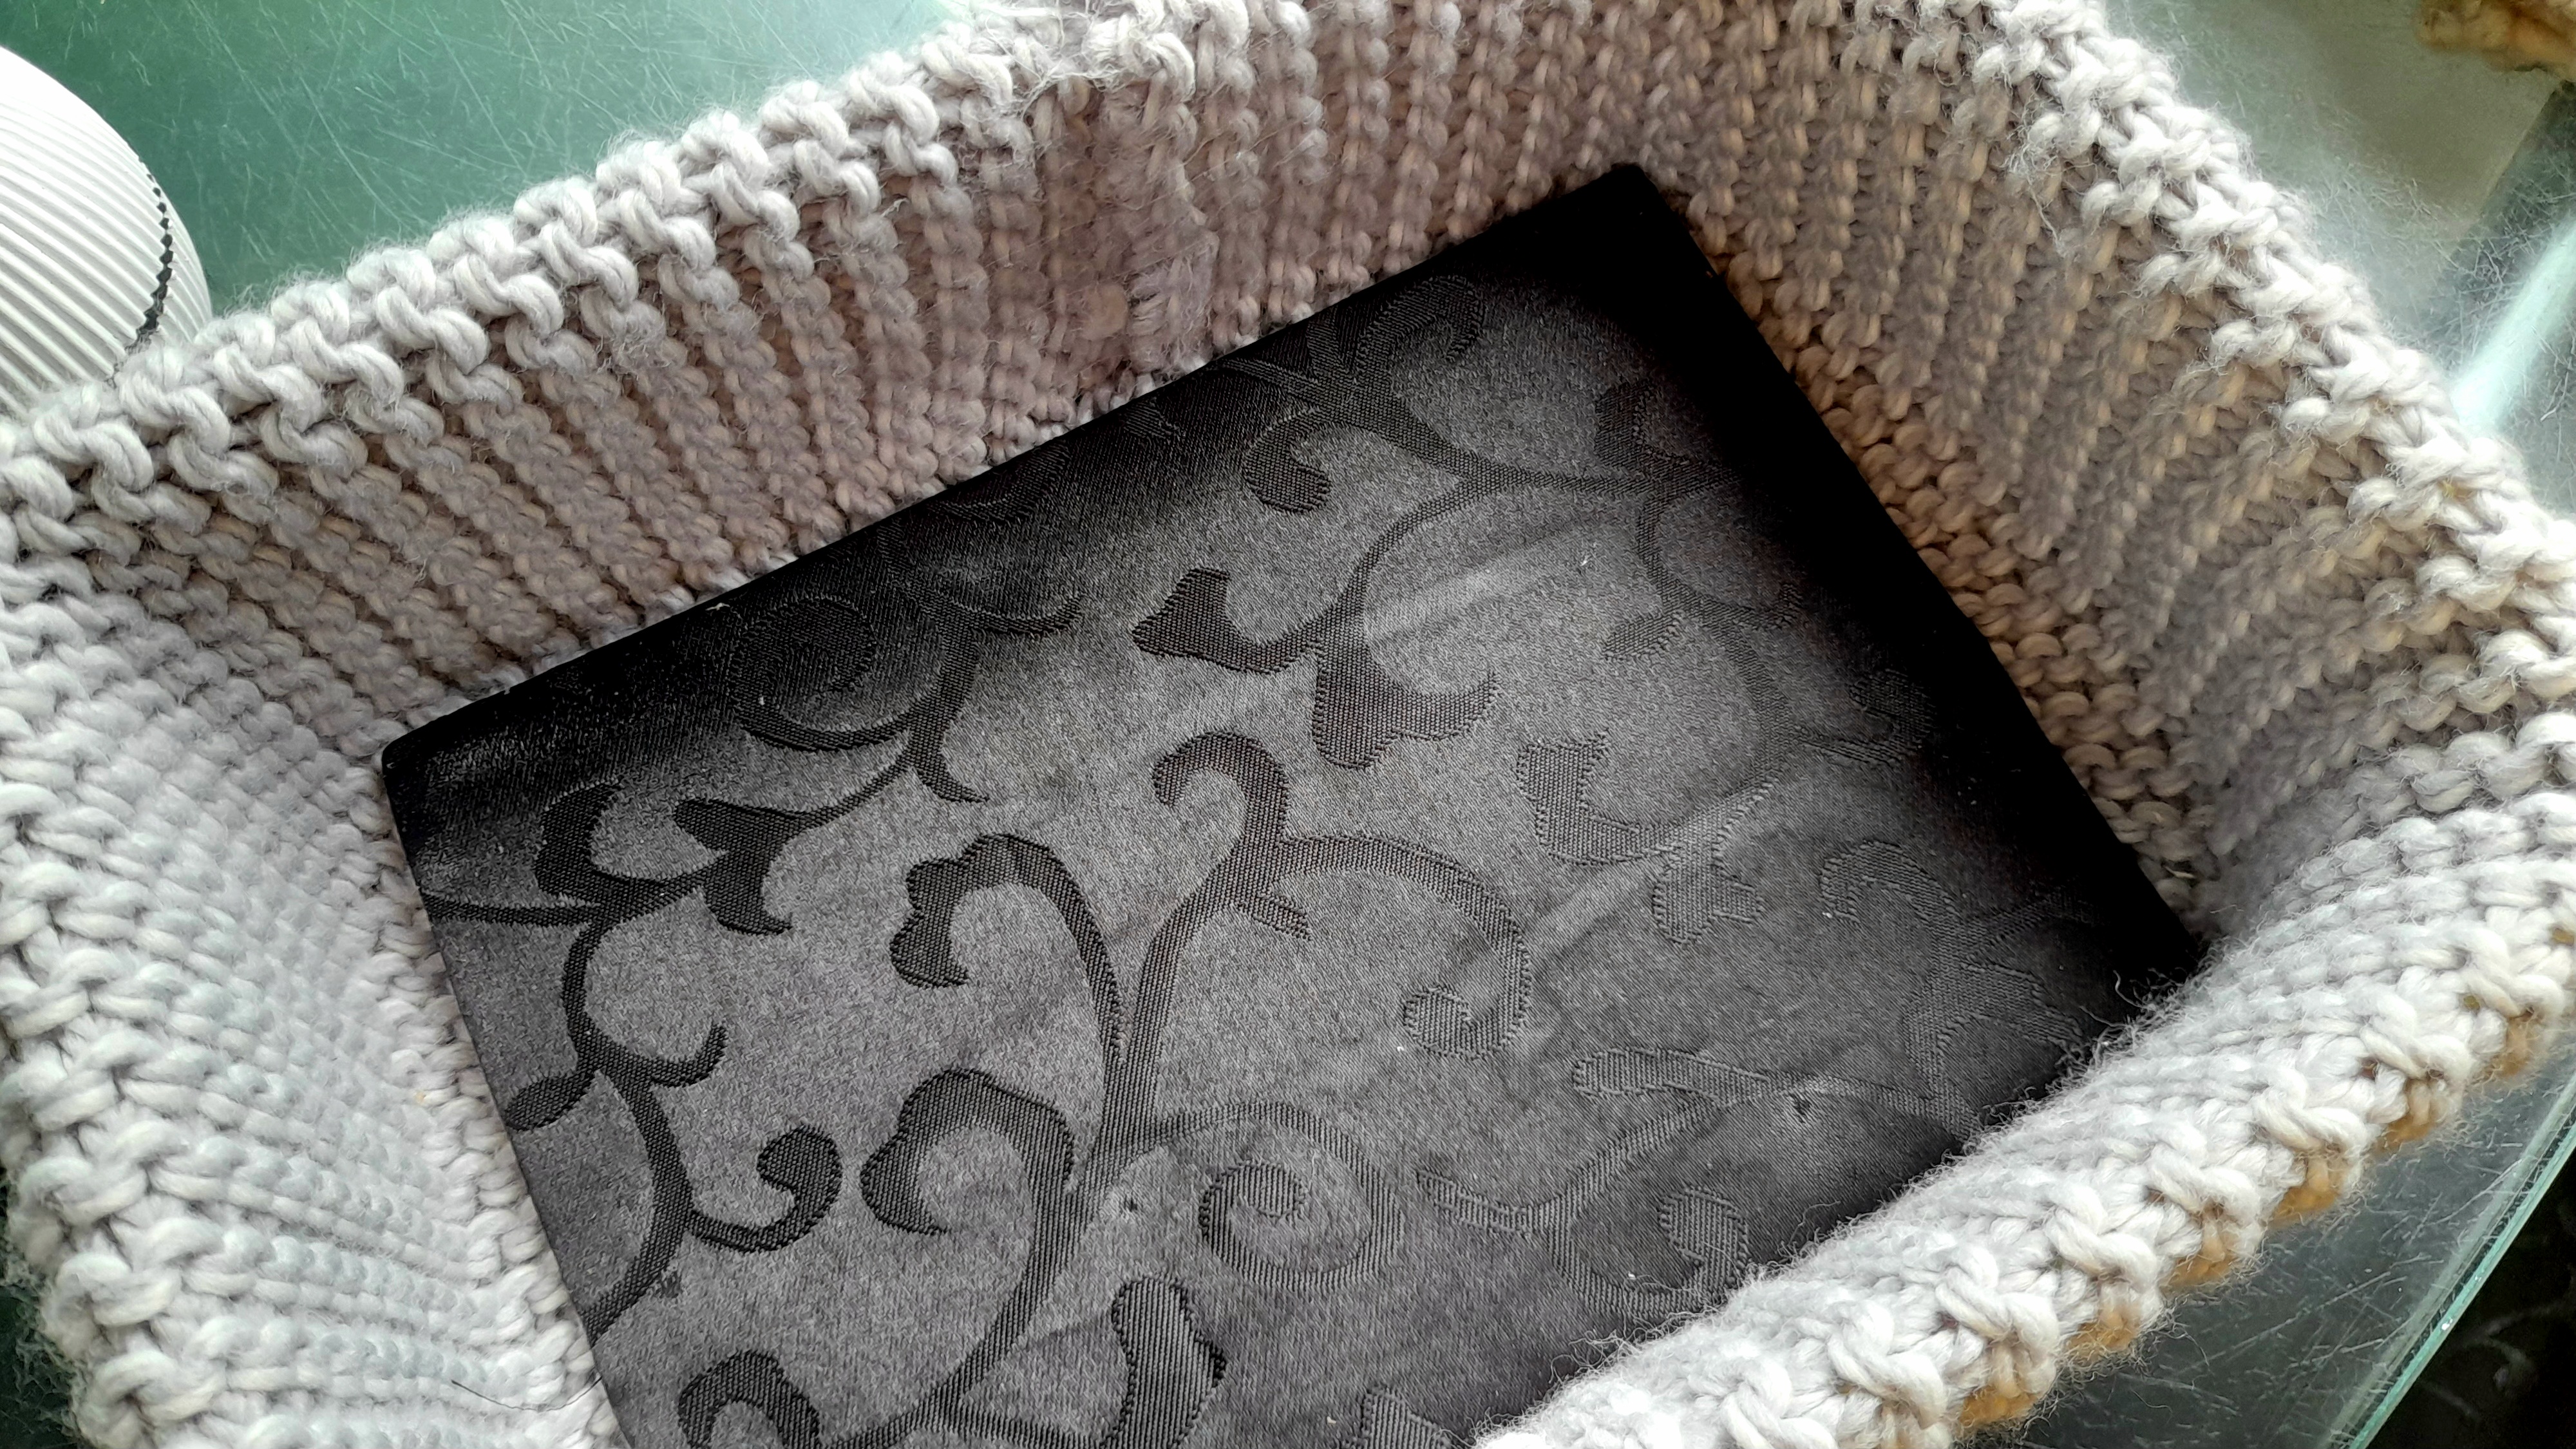
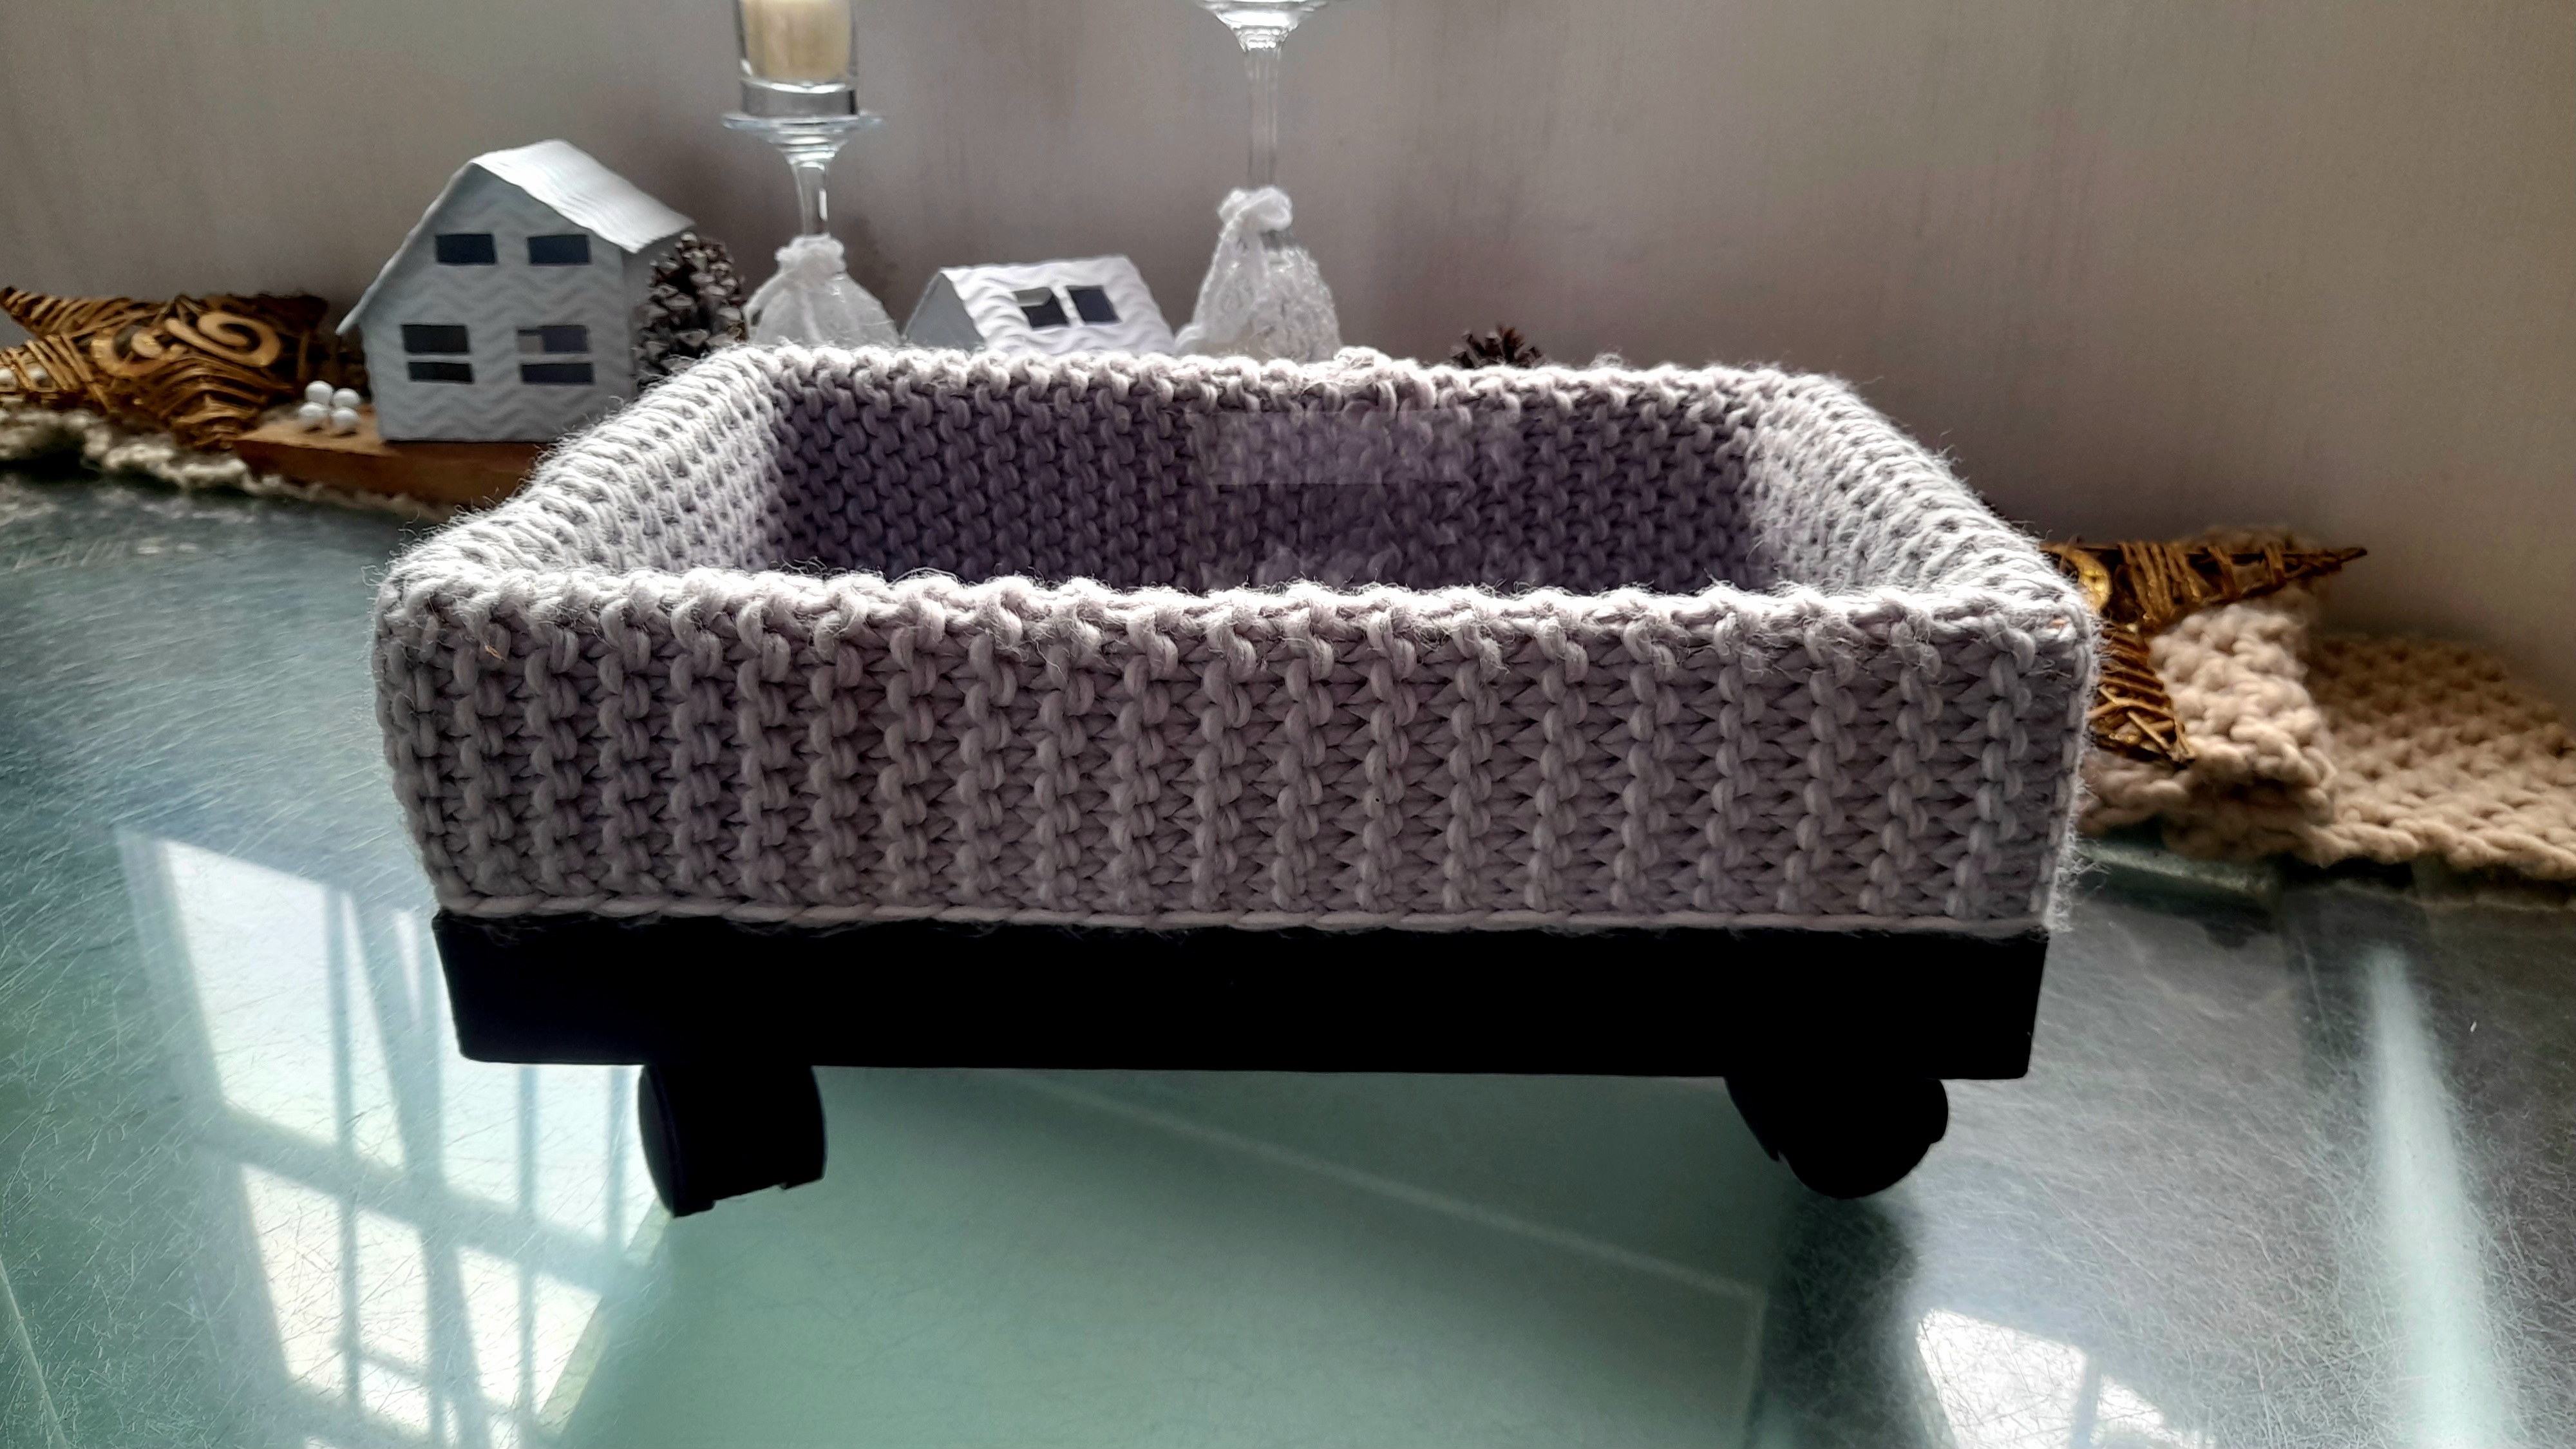
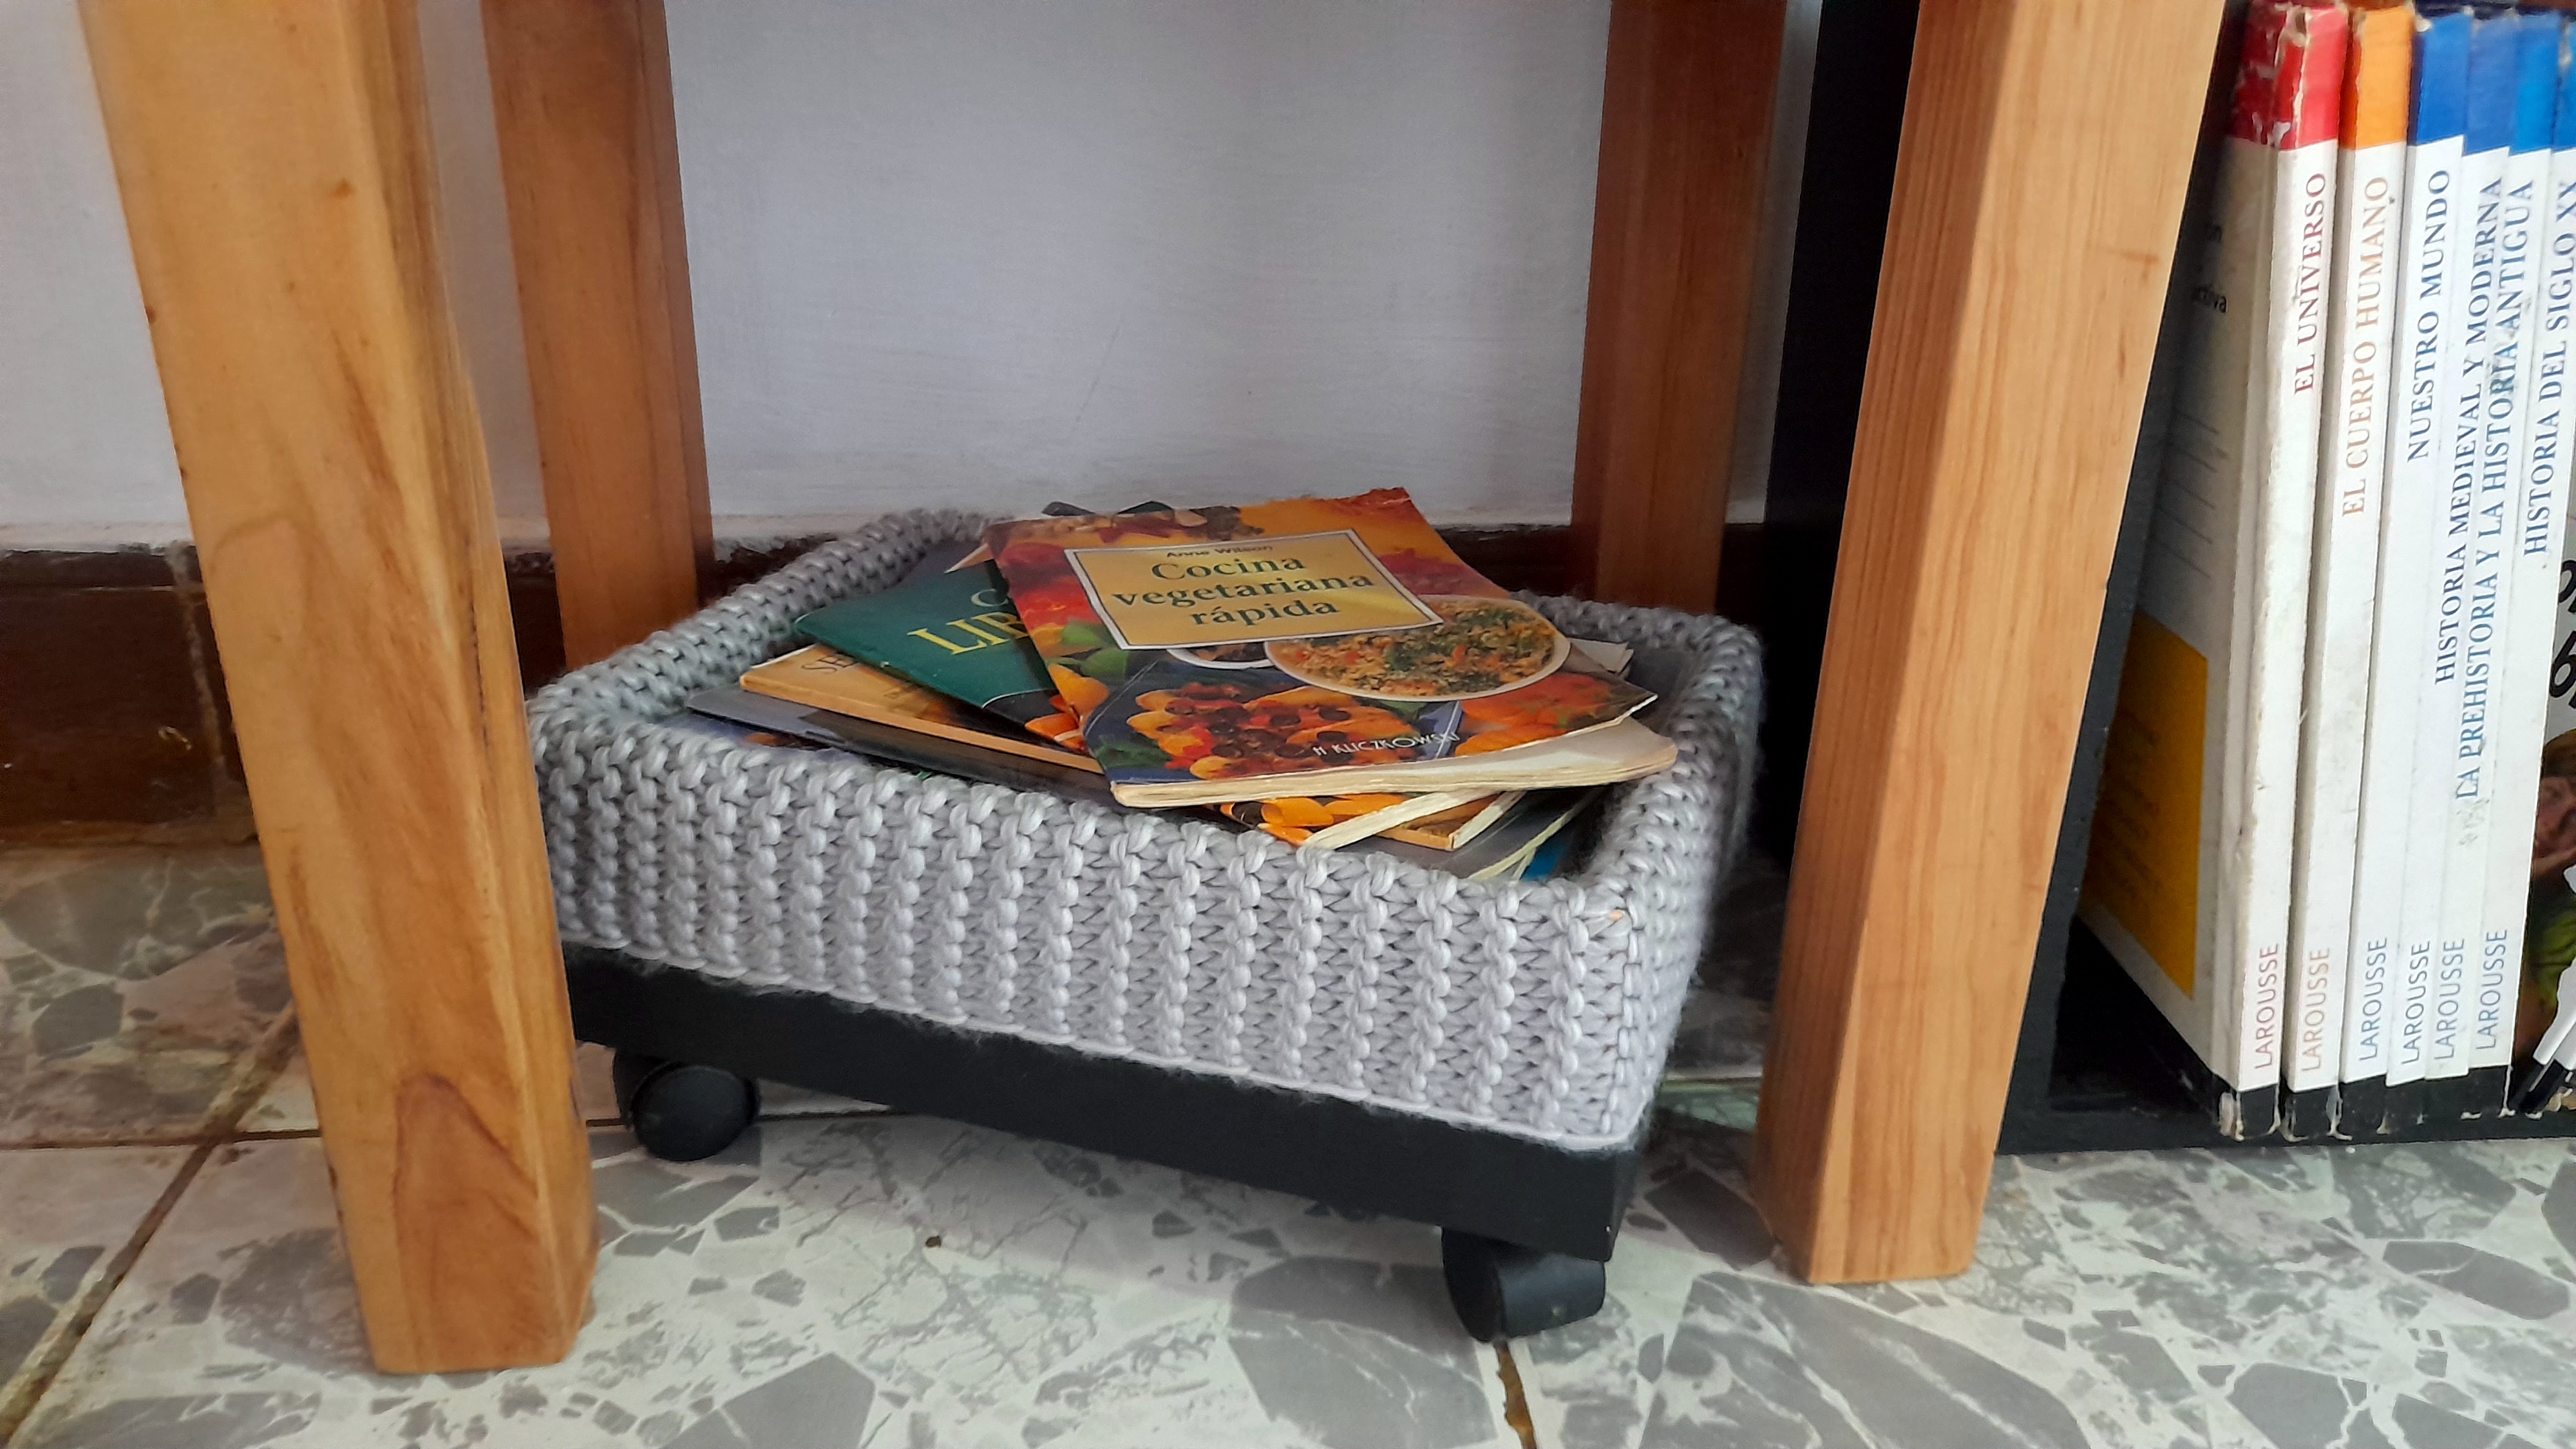
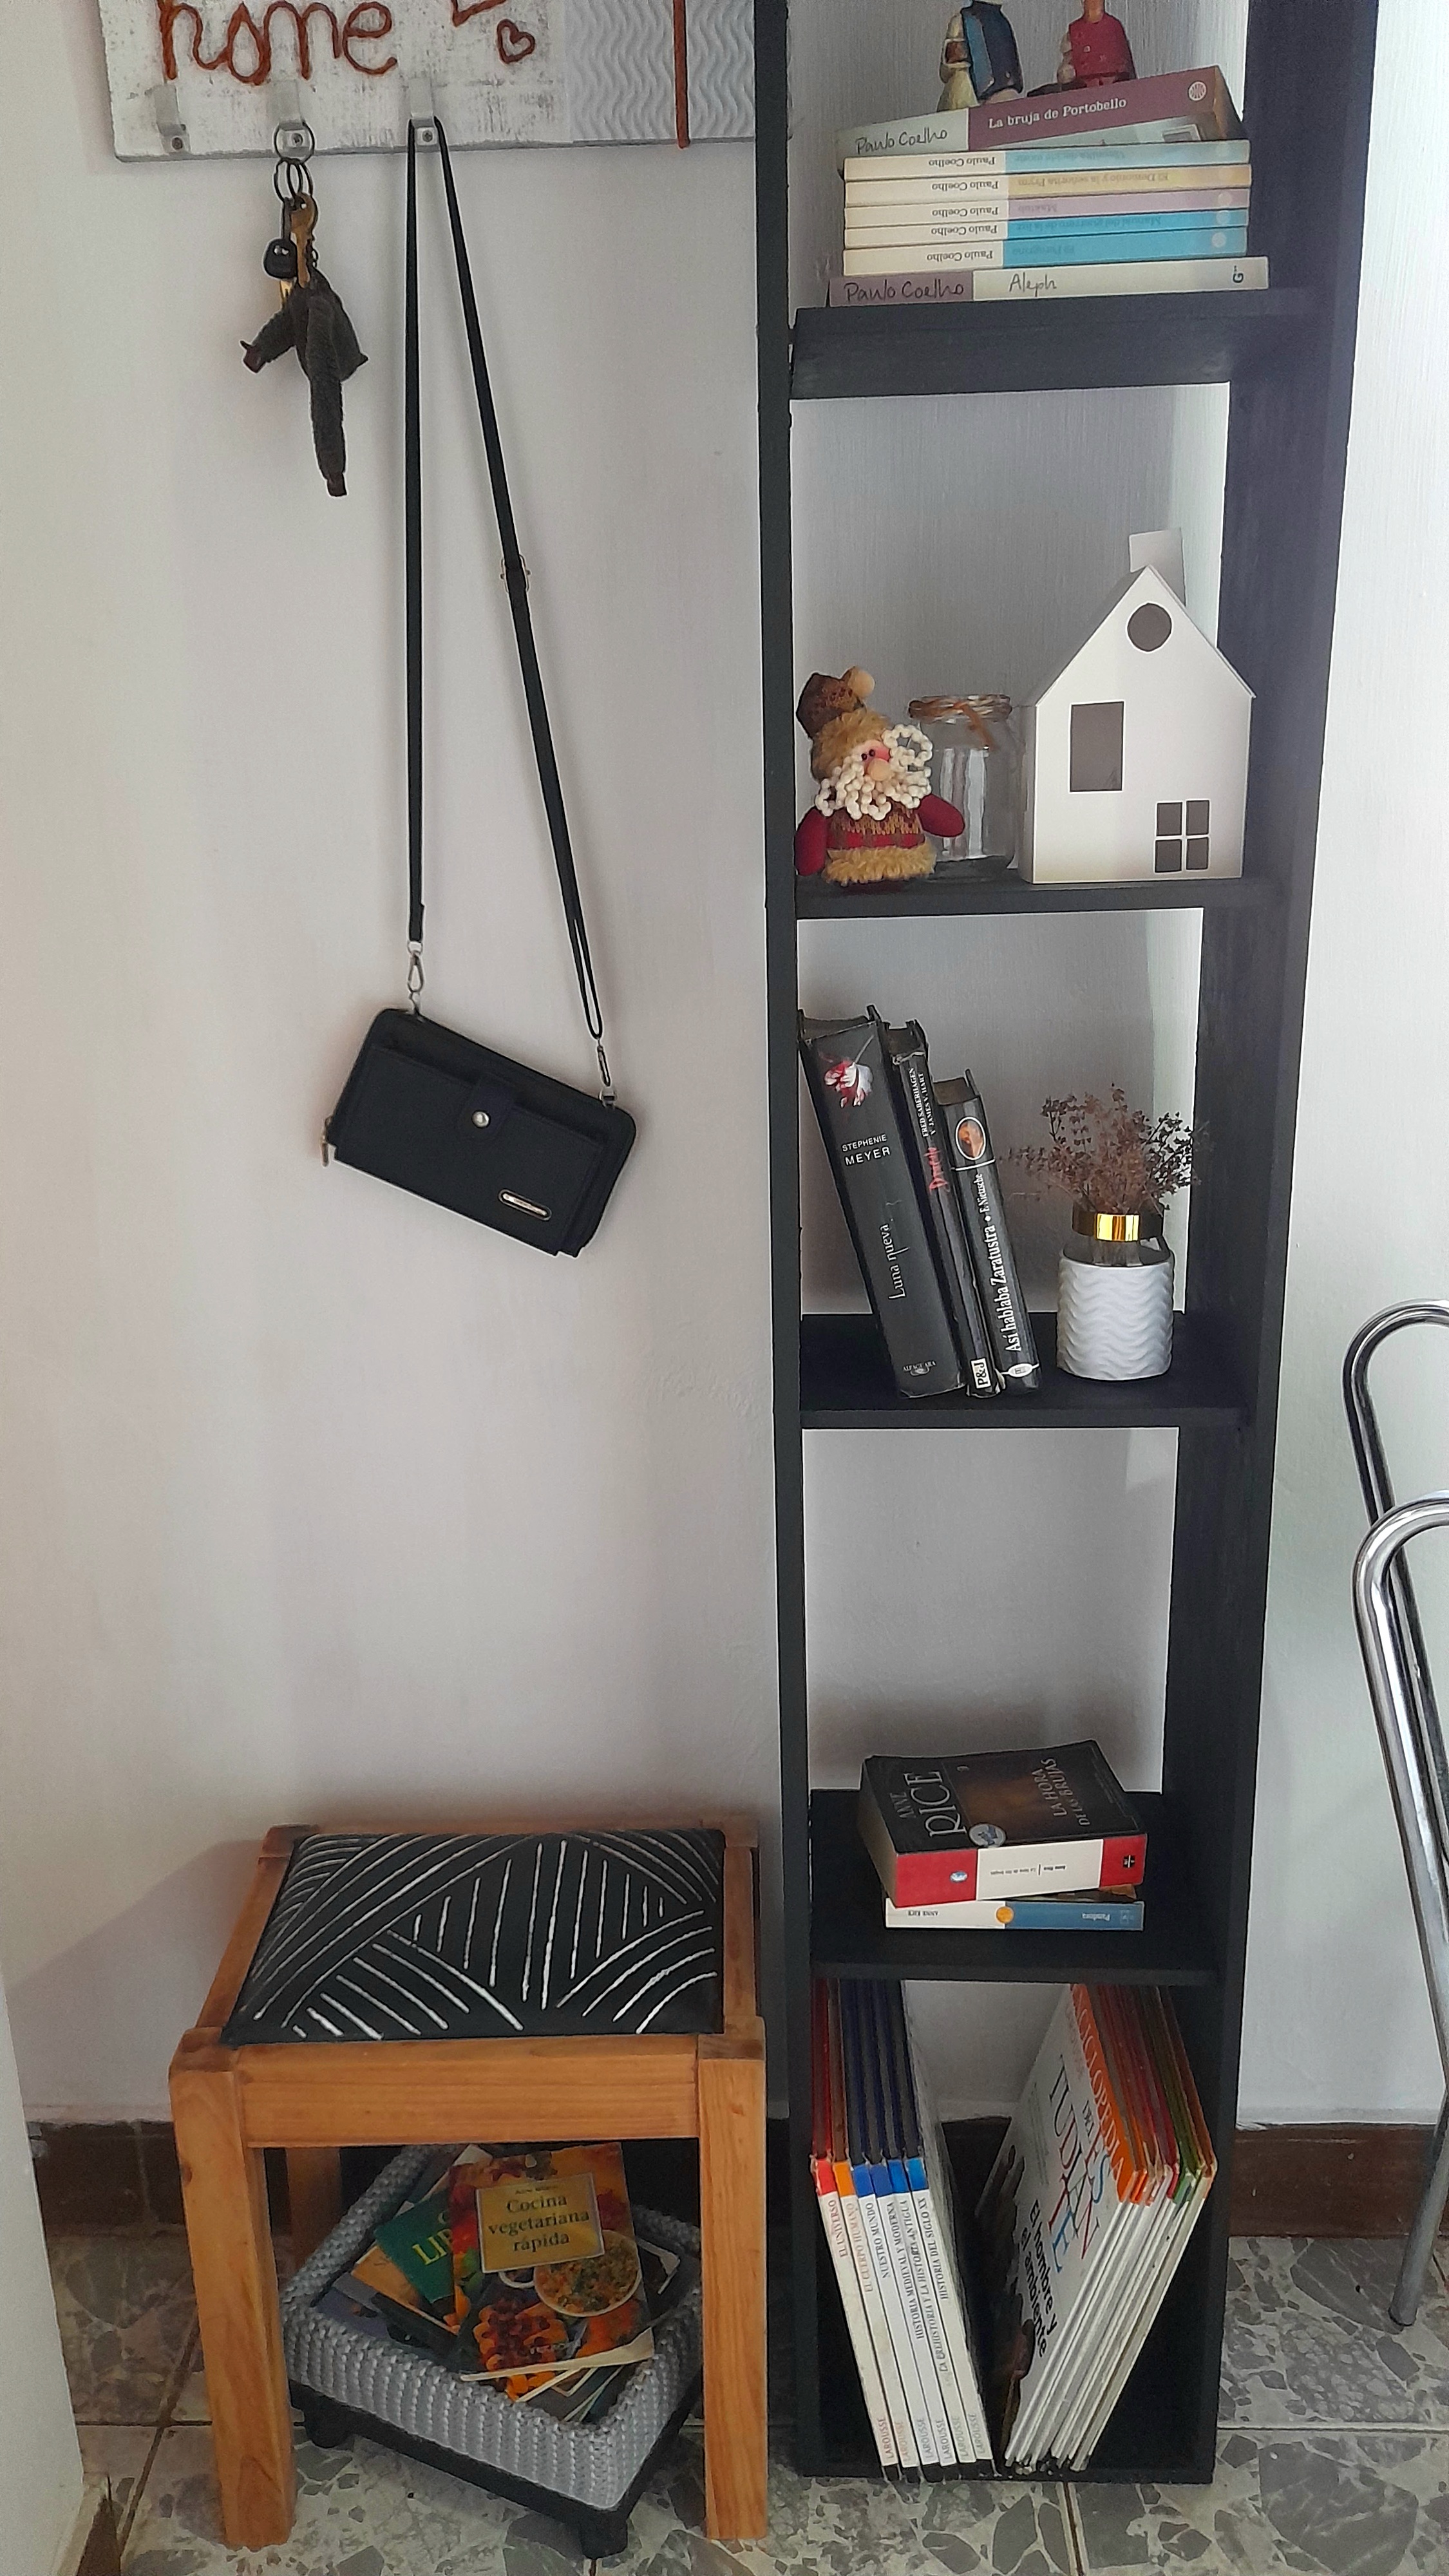
Por lo pronto, ya está donde debía estar, y yo feliz de haber podido realizar otro de mis proyectos. Cuéntenme, ¿qué les pareció?

Today I am more than happy to share with you a new creation that I not only loved, but was very anxious to make and see if it turned out as I had envisioned. It is a little box on wheels to hold my recipe books, and of course this is another recycling project. Join me to see how I made it.

I tell you that this little box must have been in storage for 11 years because "one day I'm going to use it ", and although it took a while, it finally got its time to shine, and help me decorate my home.
In this little box I kept some memories from when my kids were babies, but some time ago after a change in their room I vacated it, and it was stored for a few months until I made my mini foyer at home, and I thought it would be very useful to put it under the bench I restored recently and use it as a magazine rack, but once it was ready, I decided to use it to keep my recipe books. It's a pretty simple project and "low cost " as I like it, so let's go through the materials I used and the step by step.
Materials
Sturdy cardboard box
Piece of a crocheted scarf
Piece of black fabric
Piece of cardboard Piece of cardboard
Silicone gun
Black cold paint
Brush
Ruler
Pencil
Scissors
4 small wheels
Step by step
The first thing I did was to paint the bottom of the box black, which as you can see protrudes from the other side, and basically that was the detail that made me keep it for so many years, besides the thickness of the box.


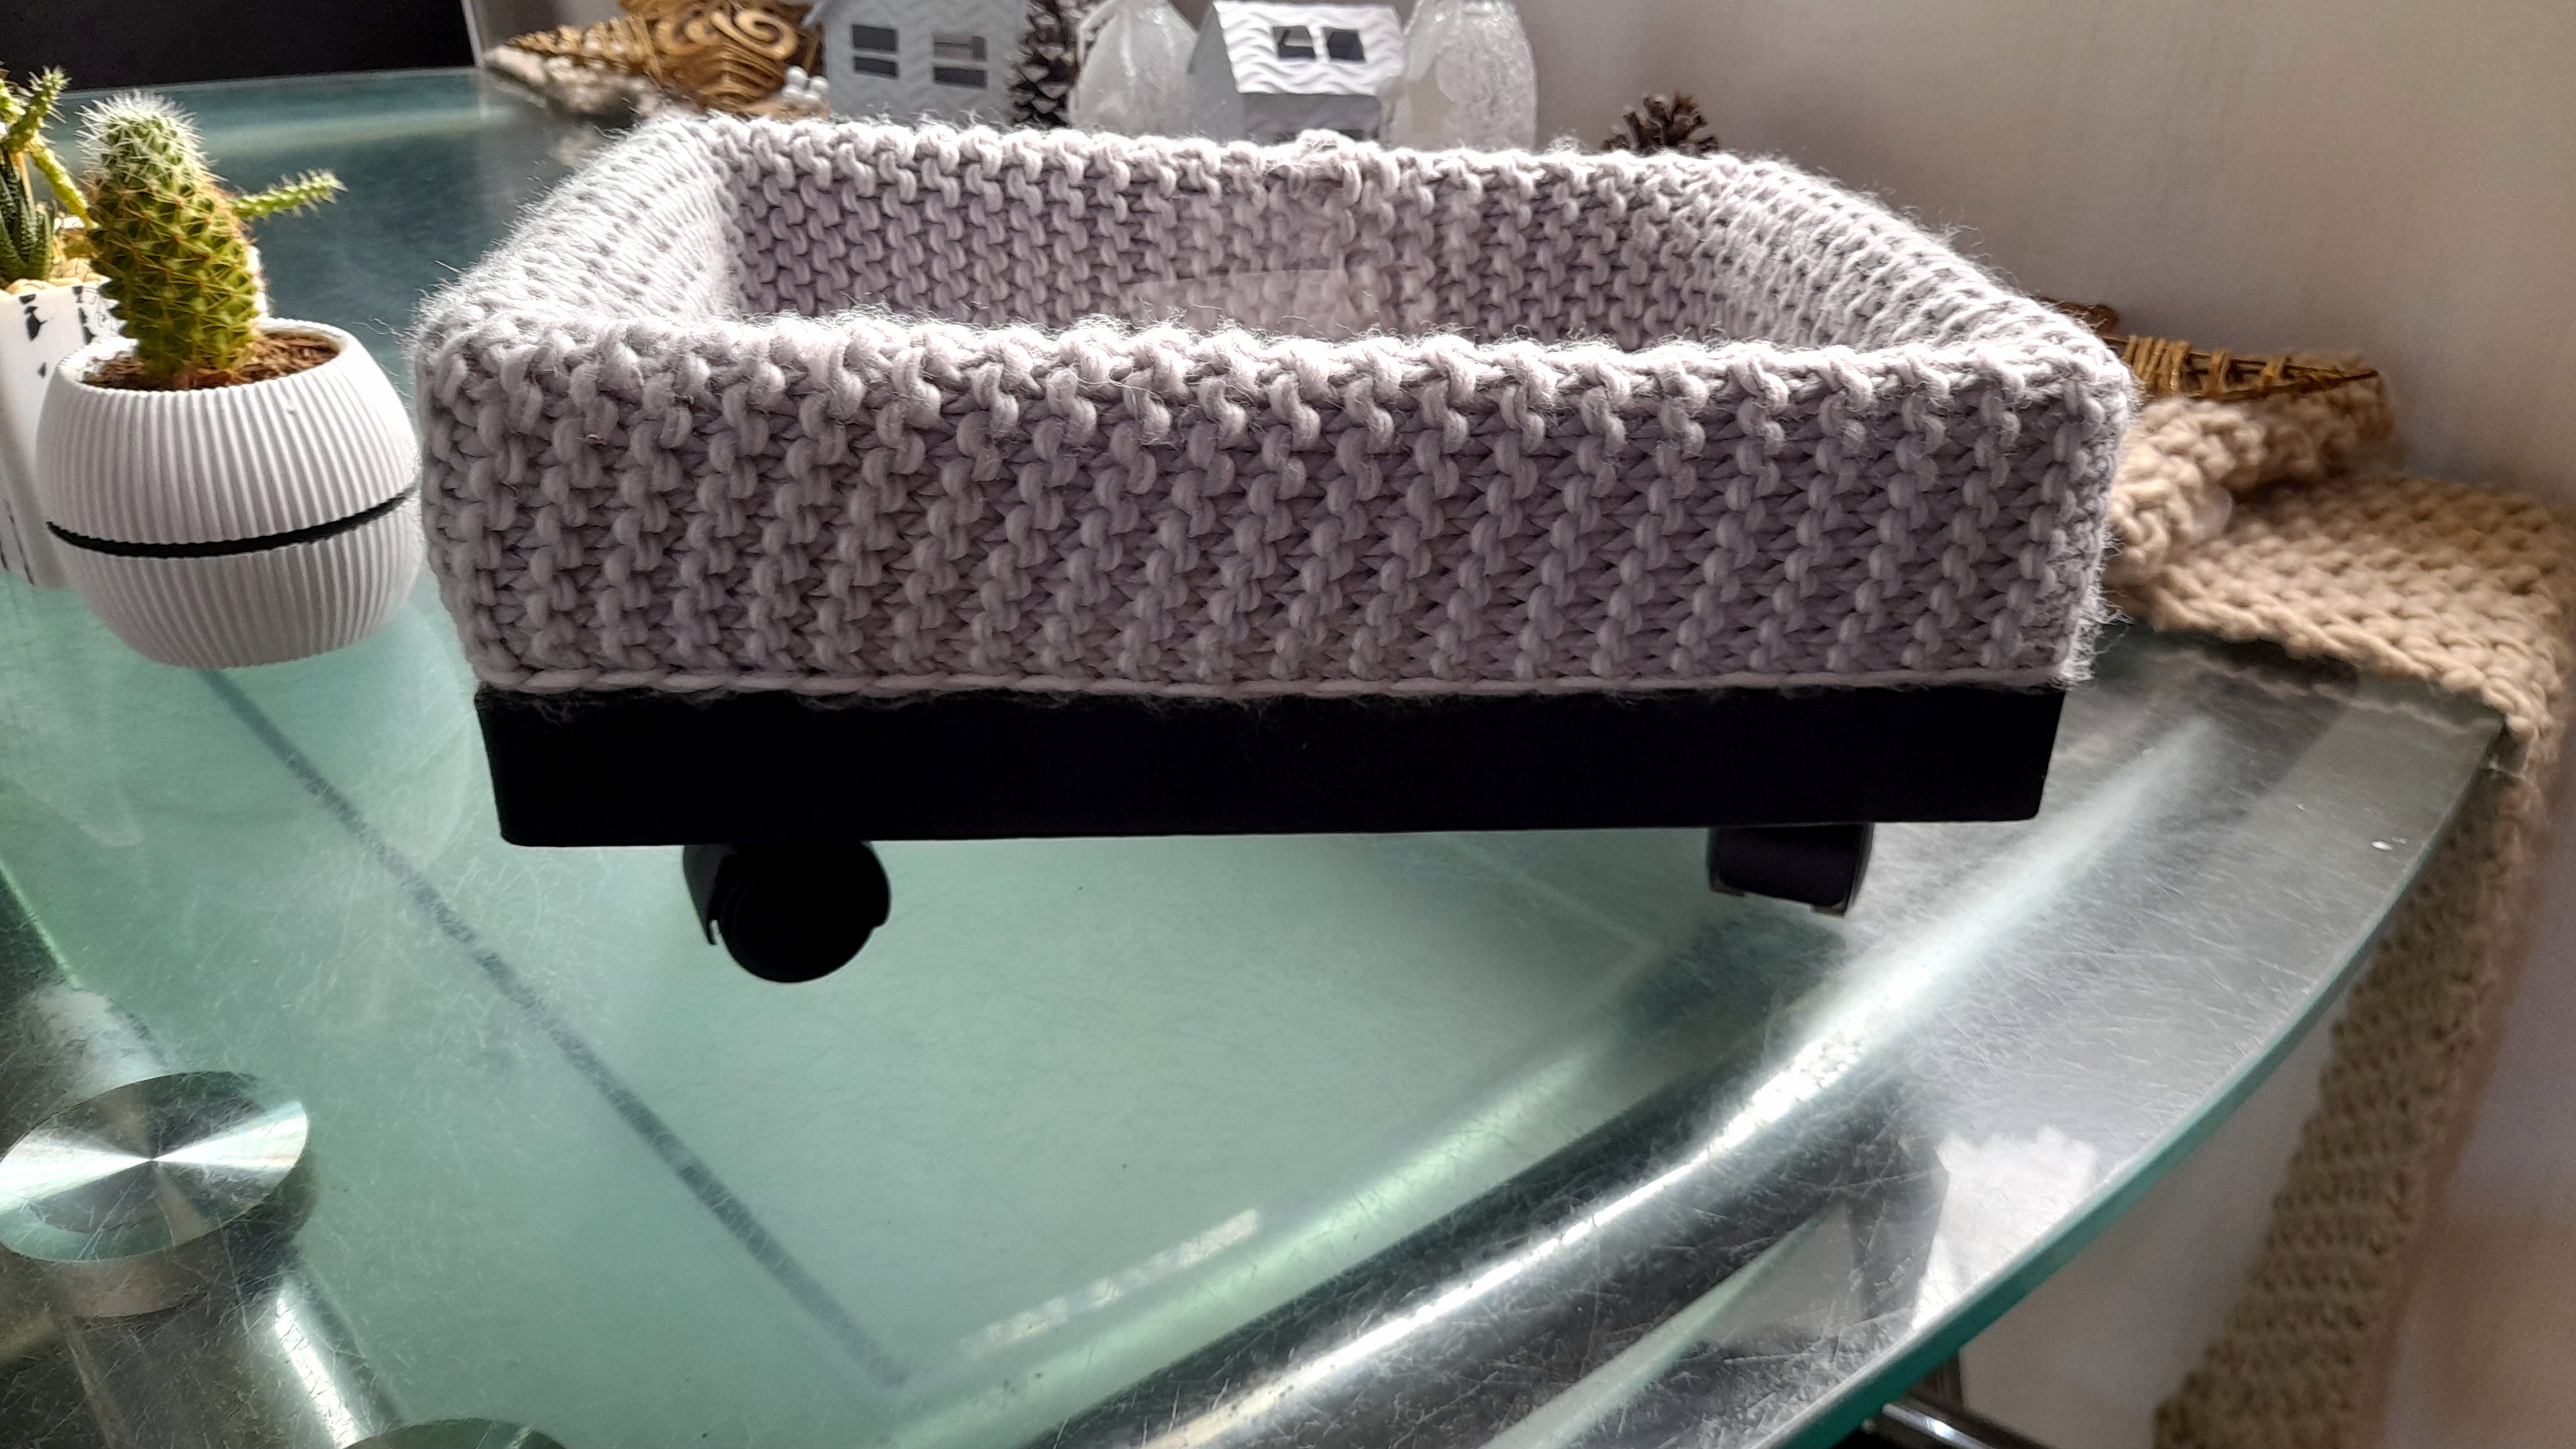
Once the paint was dry, the next step was to cover it with the piece of scarf that I had left over after making the lining for my cushion, and it was just enough to cover it, so what I did was to glue it all around the bottom edge, just flush with the base that I painted black, and then I brought the scarf inside the box and glued it to the bottom of the box.


The next step was to add the wheels to the box, which also have their years in storage, as they were part of Matias' baby crib, and what I did was to mark with a pencil and the ruler the place where the wheels would go.
Then with the help of a fluted screwdriver I made the holes for the wheels and put them in place, securing them with hot silicone. And once they were ready, I gave a final coat of paint to the bottom of the box.


The next thing was to cover the bottom of the box, and for that, I used cardboard and a piece of black fabric that is part of some curtains that I have used for other projects at home, and what I did was to cut the cardboard taking as reference the measurements of the bottom of the box, I cut a piece of black fabric leaving about two centimeters left to glue it to the cardboard, which I did with the help of the silicone gun.


And to finish this project, I just glued the lined cardboard to the bottom of the box and that was it. I really loved this project because it looks just as I imagined it and it looks super cute in its place, plus it's very useful for me since I can have my recipe books at hand, and here thinking, maybe later I'll move it to the kitchen. We'll see 😏


For now, it's where it was meant to be, and I'm happy to have been able to complete another one of my projects. Tell me, what did you think?

Posted Using InLeo Alpha