Un saludo apreciados amigos creadores de hive diy, amantes de crear y modificar y sobre todo aportar a las ideas de la construcción y decoración de los espacios, tenía unos días sin publicar, así que volvemos con más del trabajo hecho a mano.
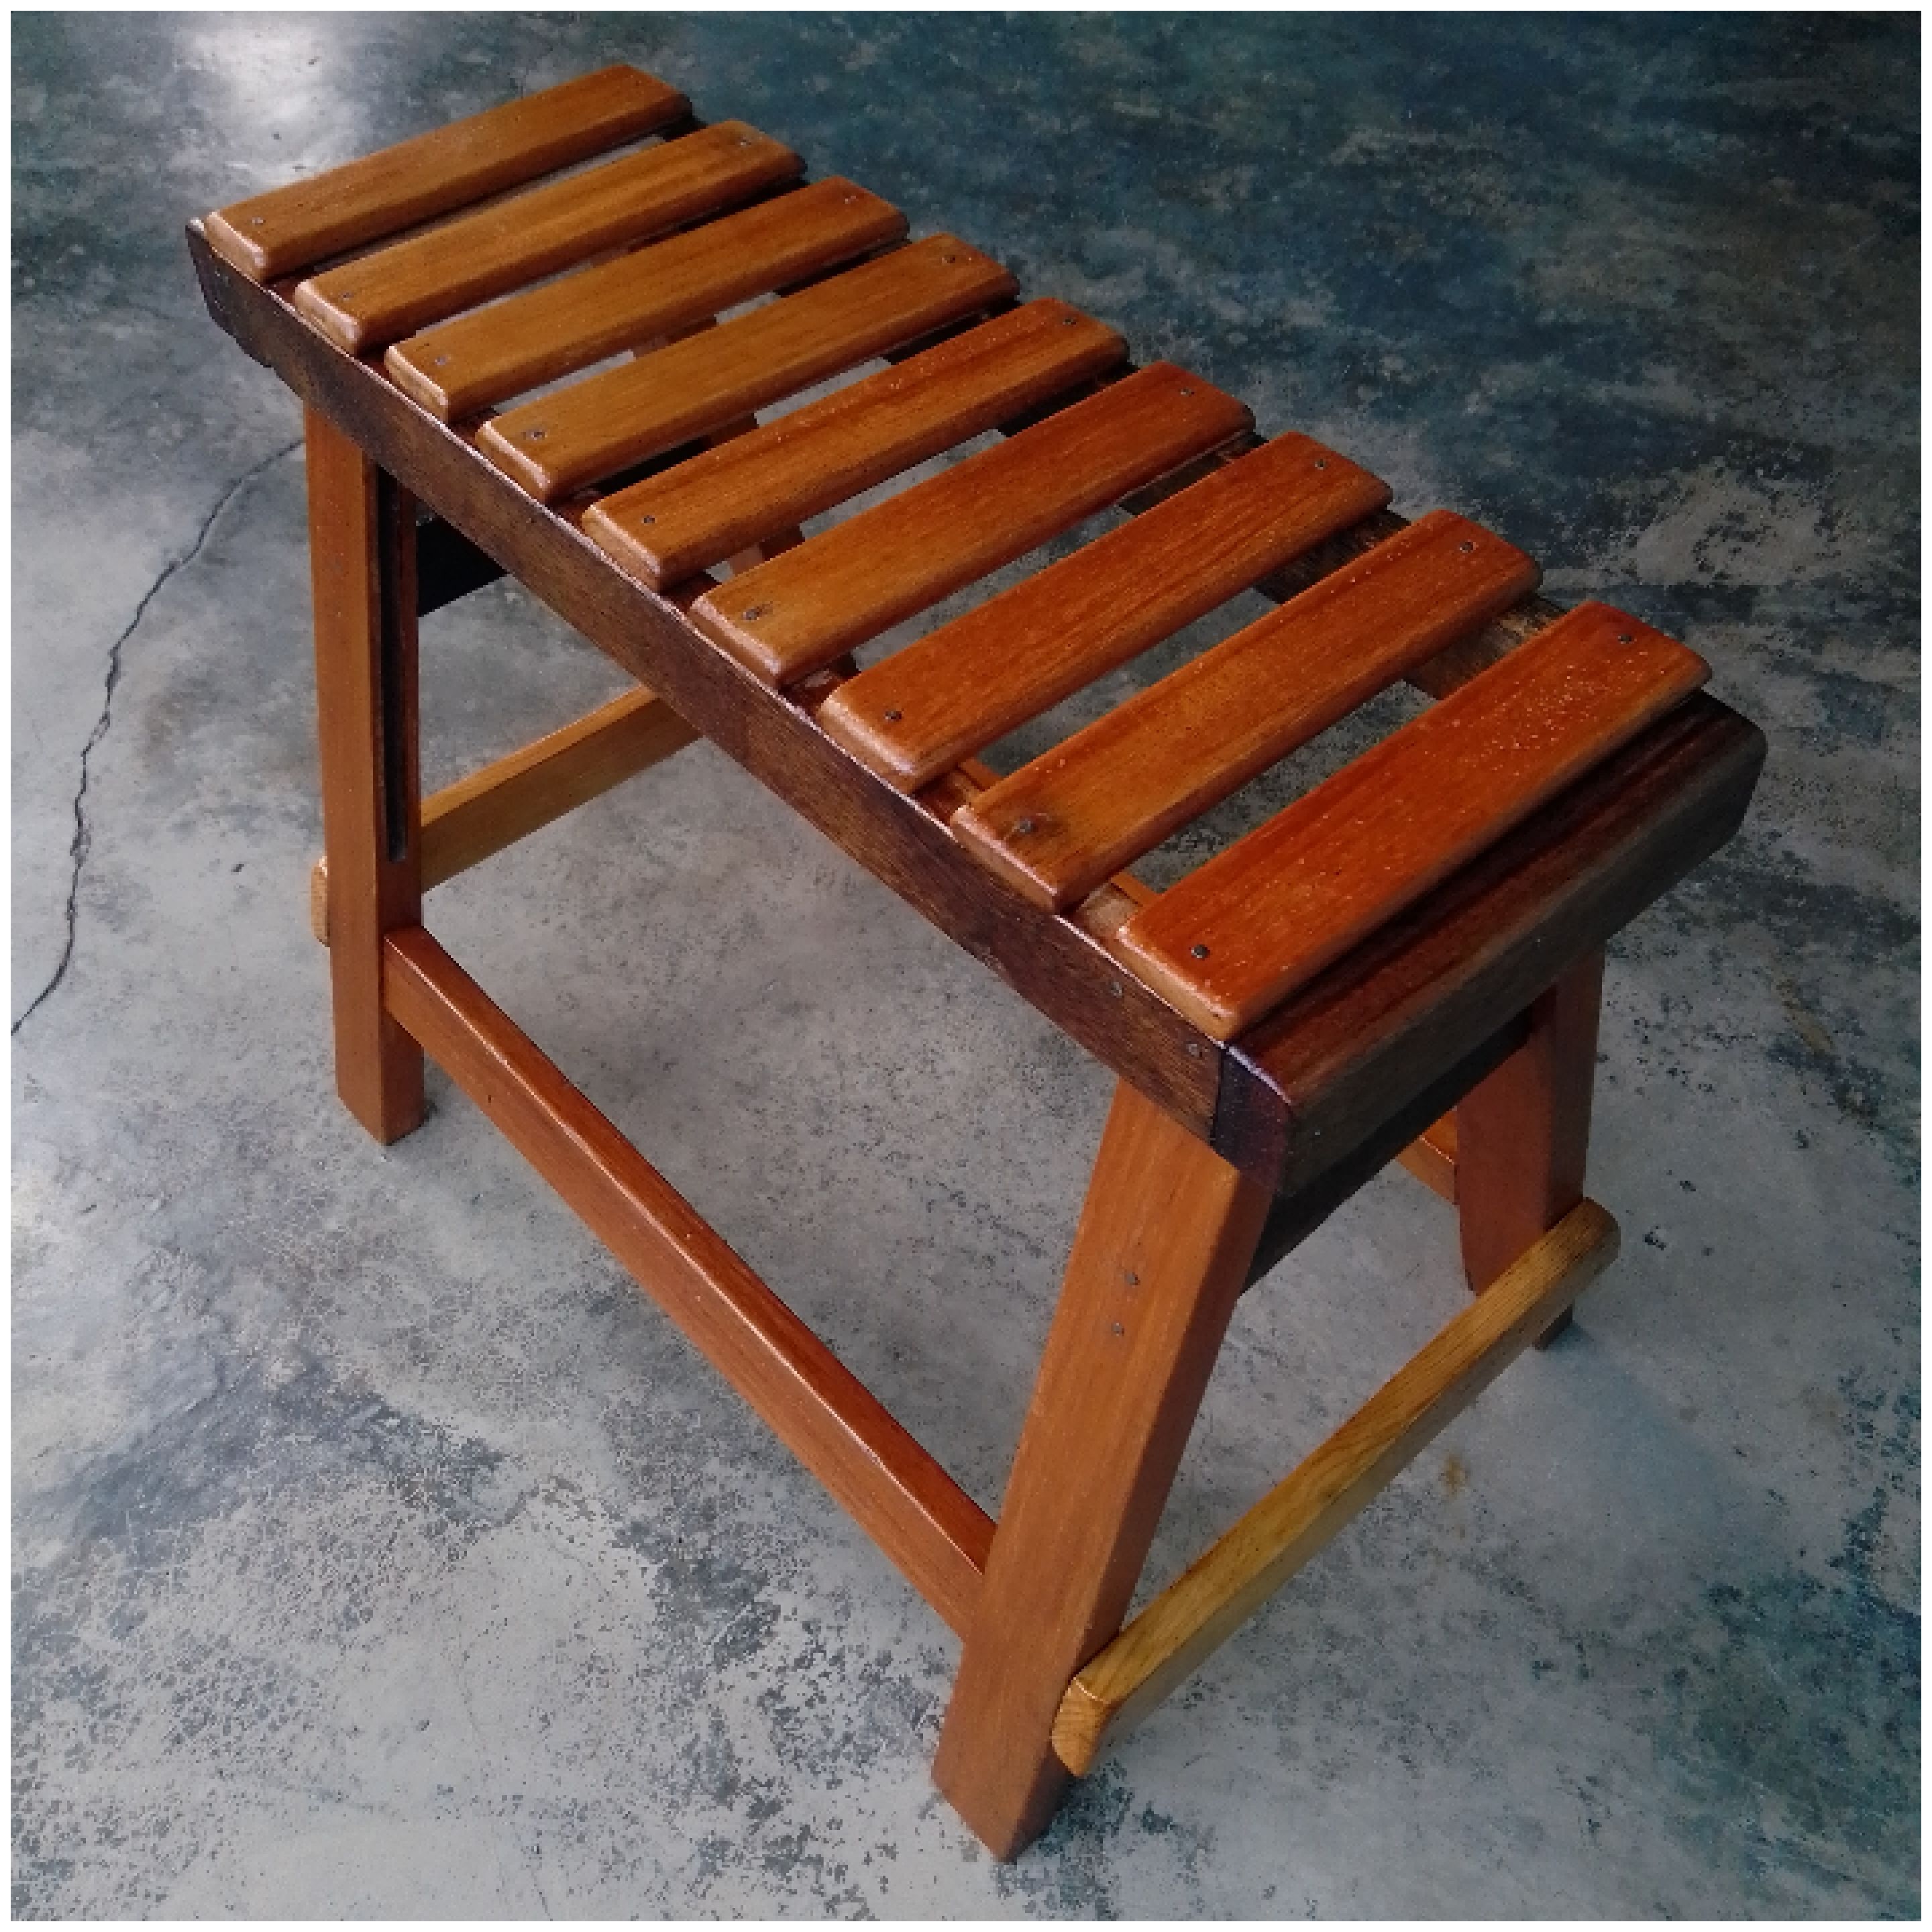
En esta ocasión les compartiré un poco de carpintería y como podemos modificar y prolongar la vida de un mueble, es cuestión de visualizar las virtudes de la misma y también sus maderas, puesto que podrían ser maderas nobles antiguas de muy buena calidad, es una actividad que suelo hacer en el atelier, muchas veces las consigo otras veces las compro, a veces no son reparable, es la constante visión del creador, desarrollar una idea con lo que tenemos, así que a buscar escuadra, serrucho martillo y clavo...

Serrucho
Clavos de 1 1/2""
Cola de carpintero
Martillo
Madera

paso 1
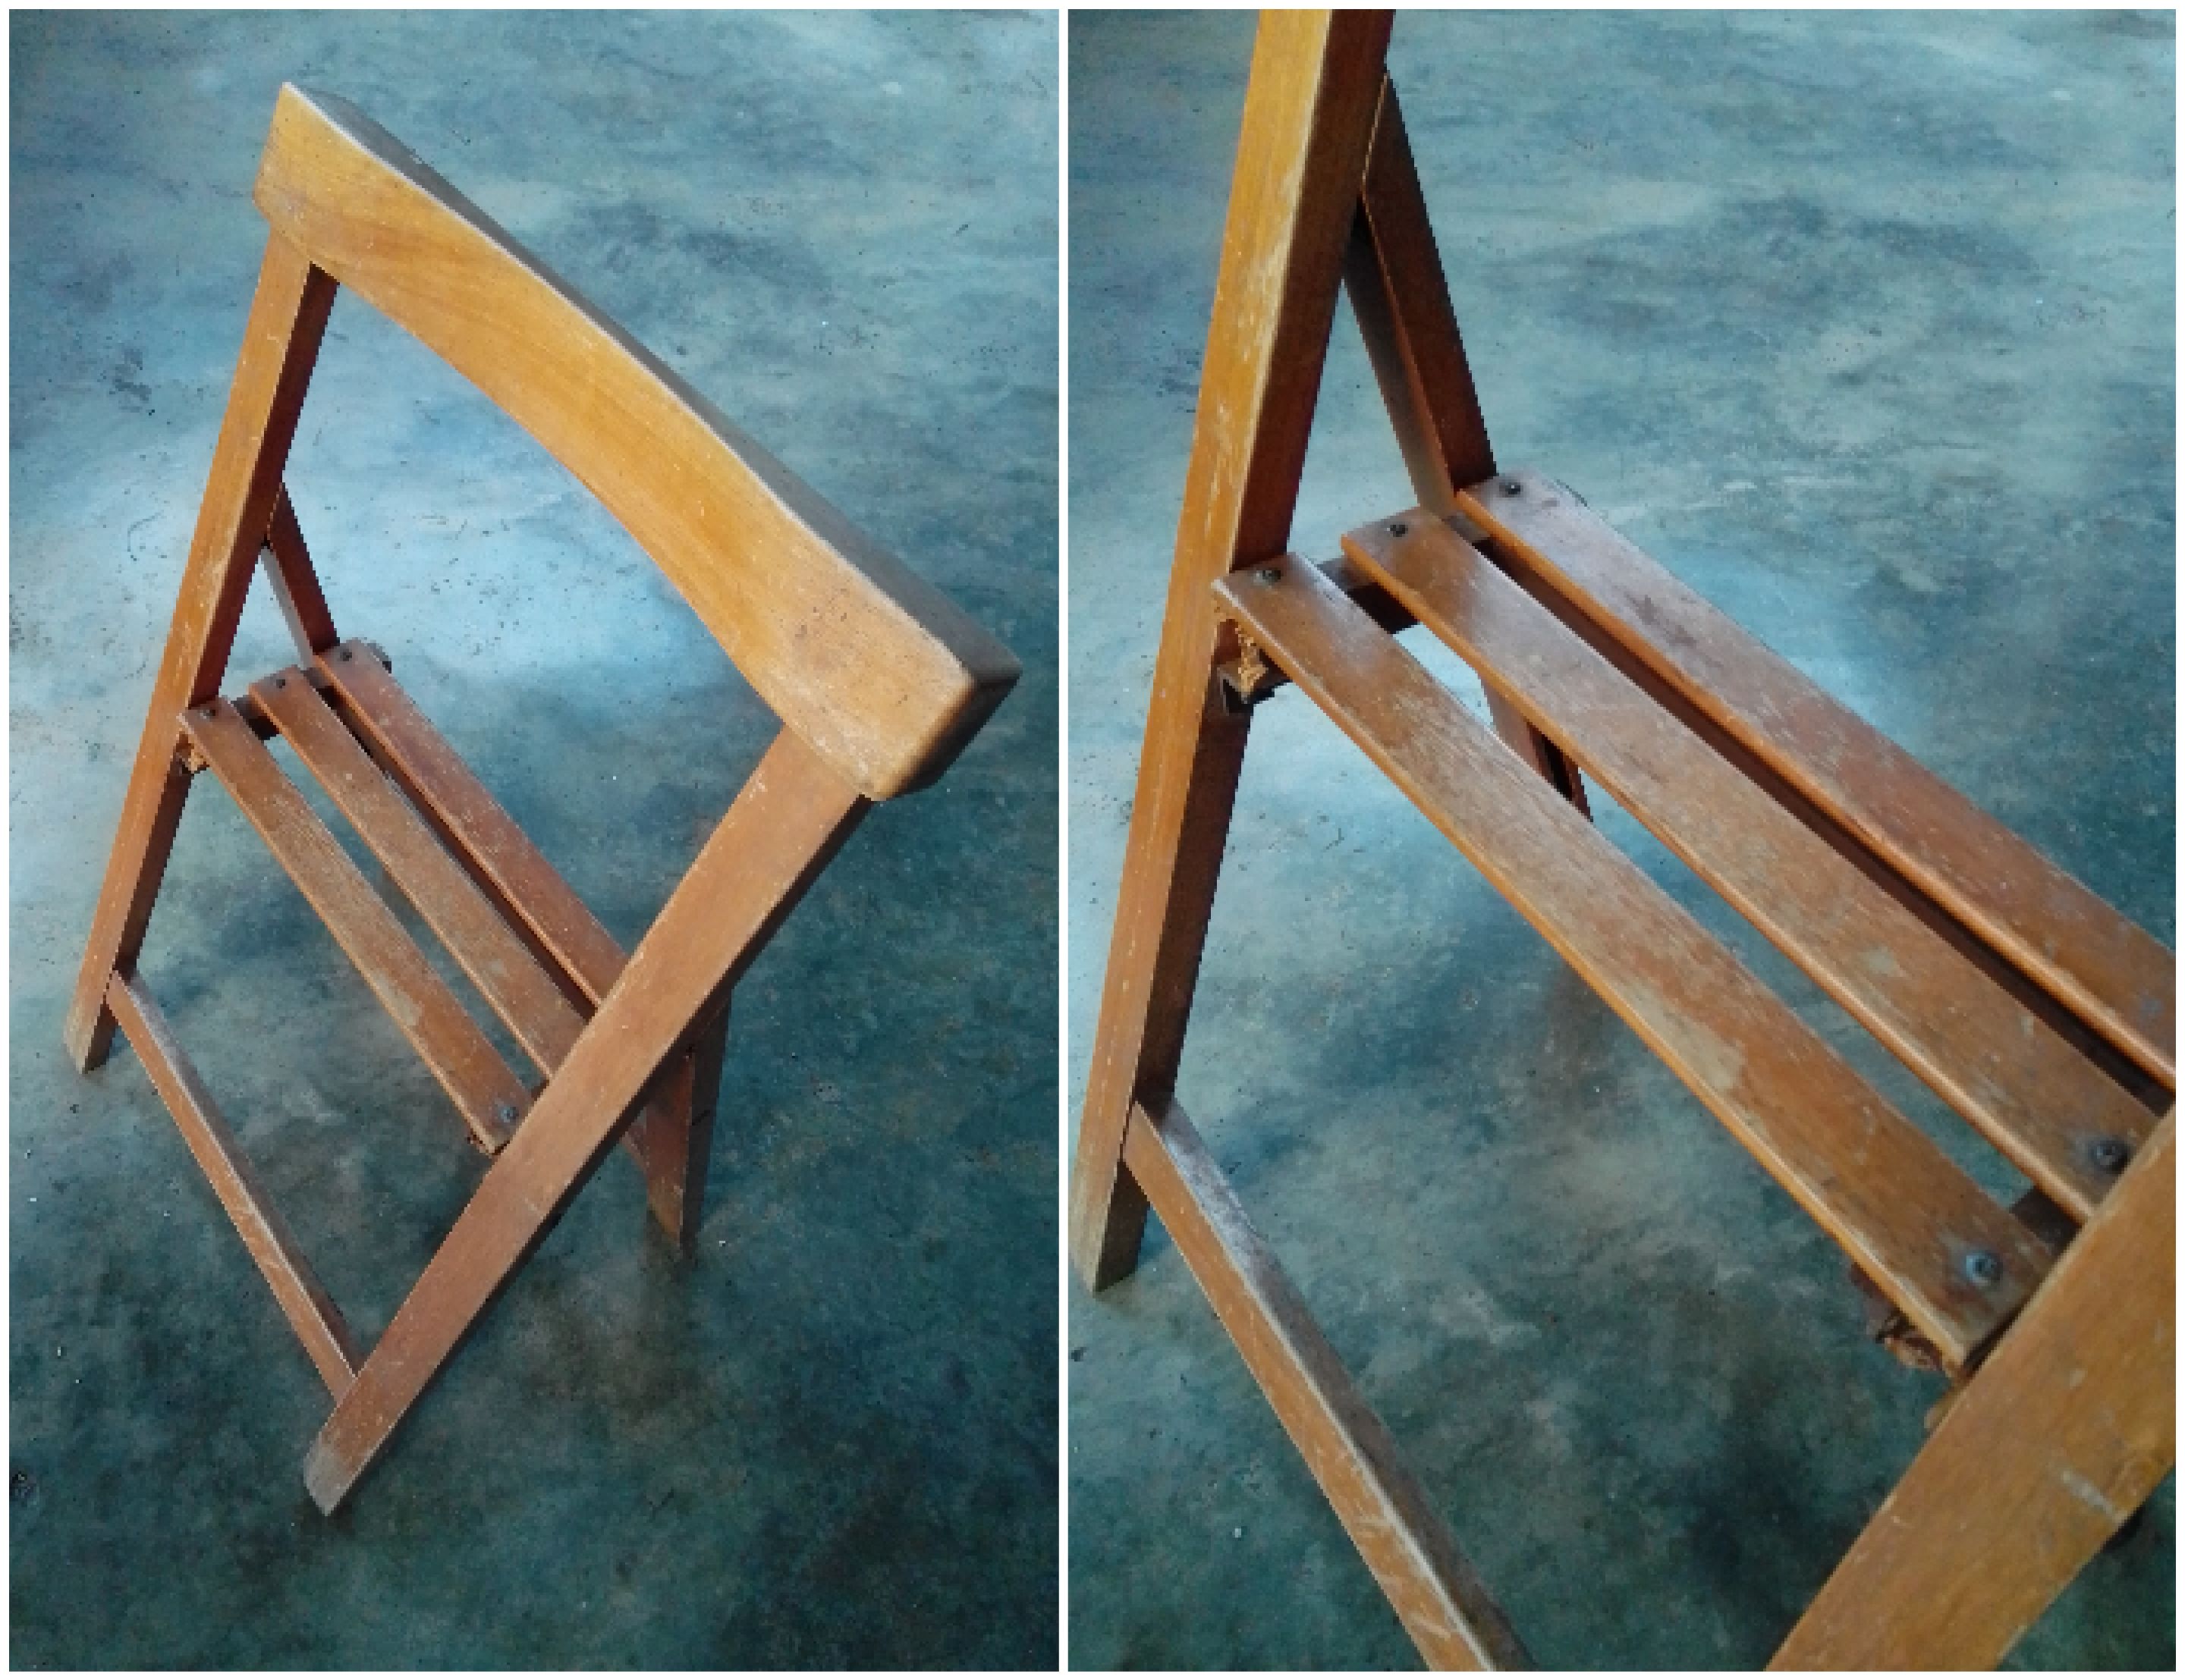
En este paso les presento la silla playera encontrada, al parecer estaba roto el asiento y la intentaron poner fija, pero se volvería a romper por poca superficie de apoyo, así que la lleve a casa y estudie la posibilidad de transformarla y darle una segunda vida.
Paso 2
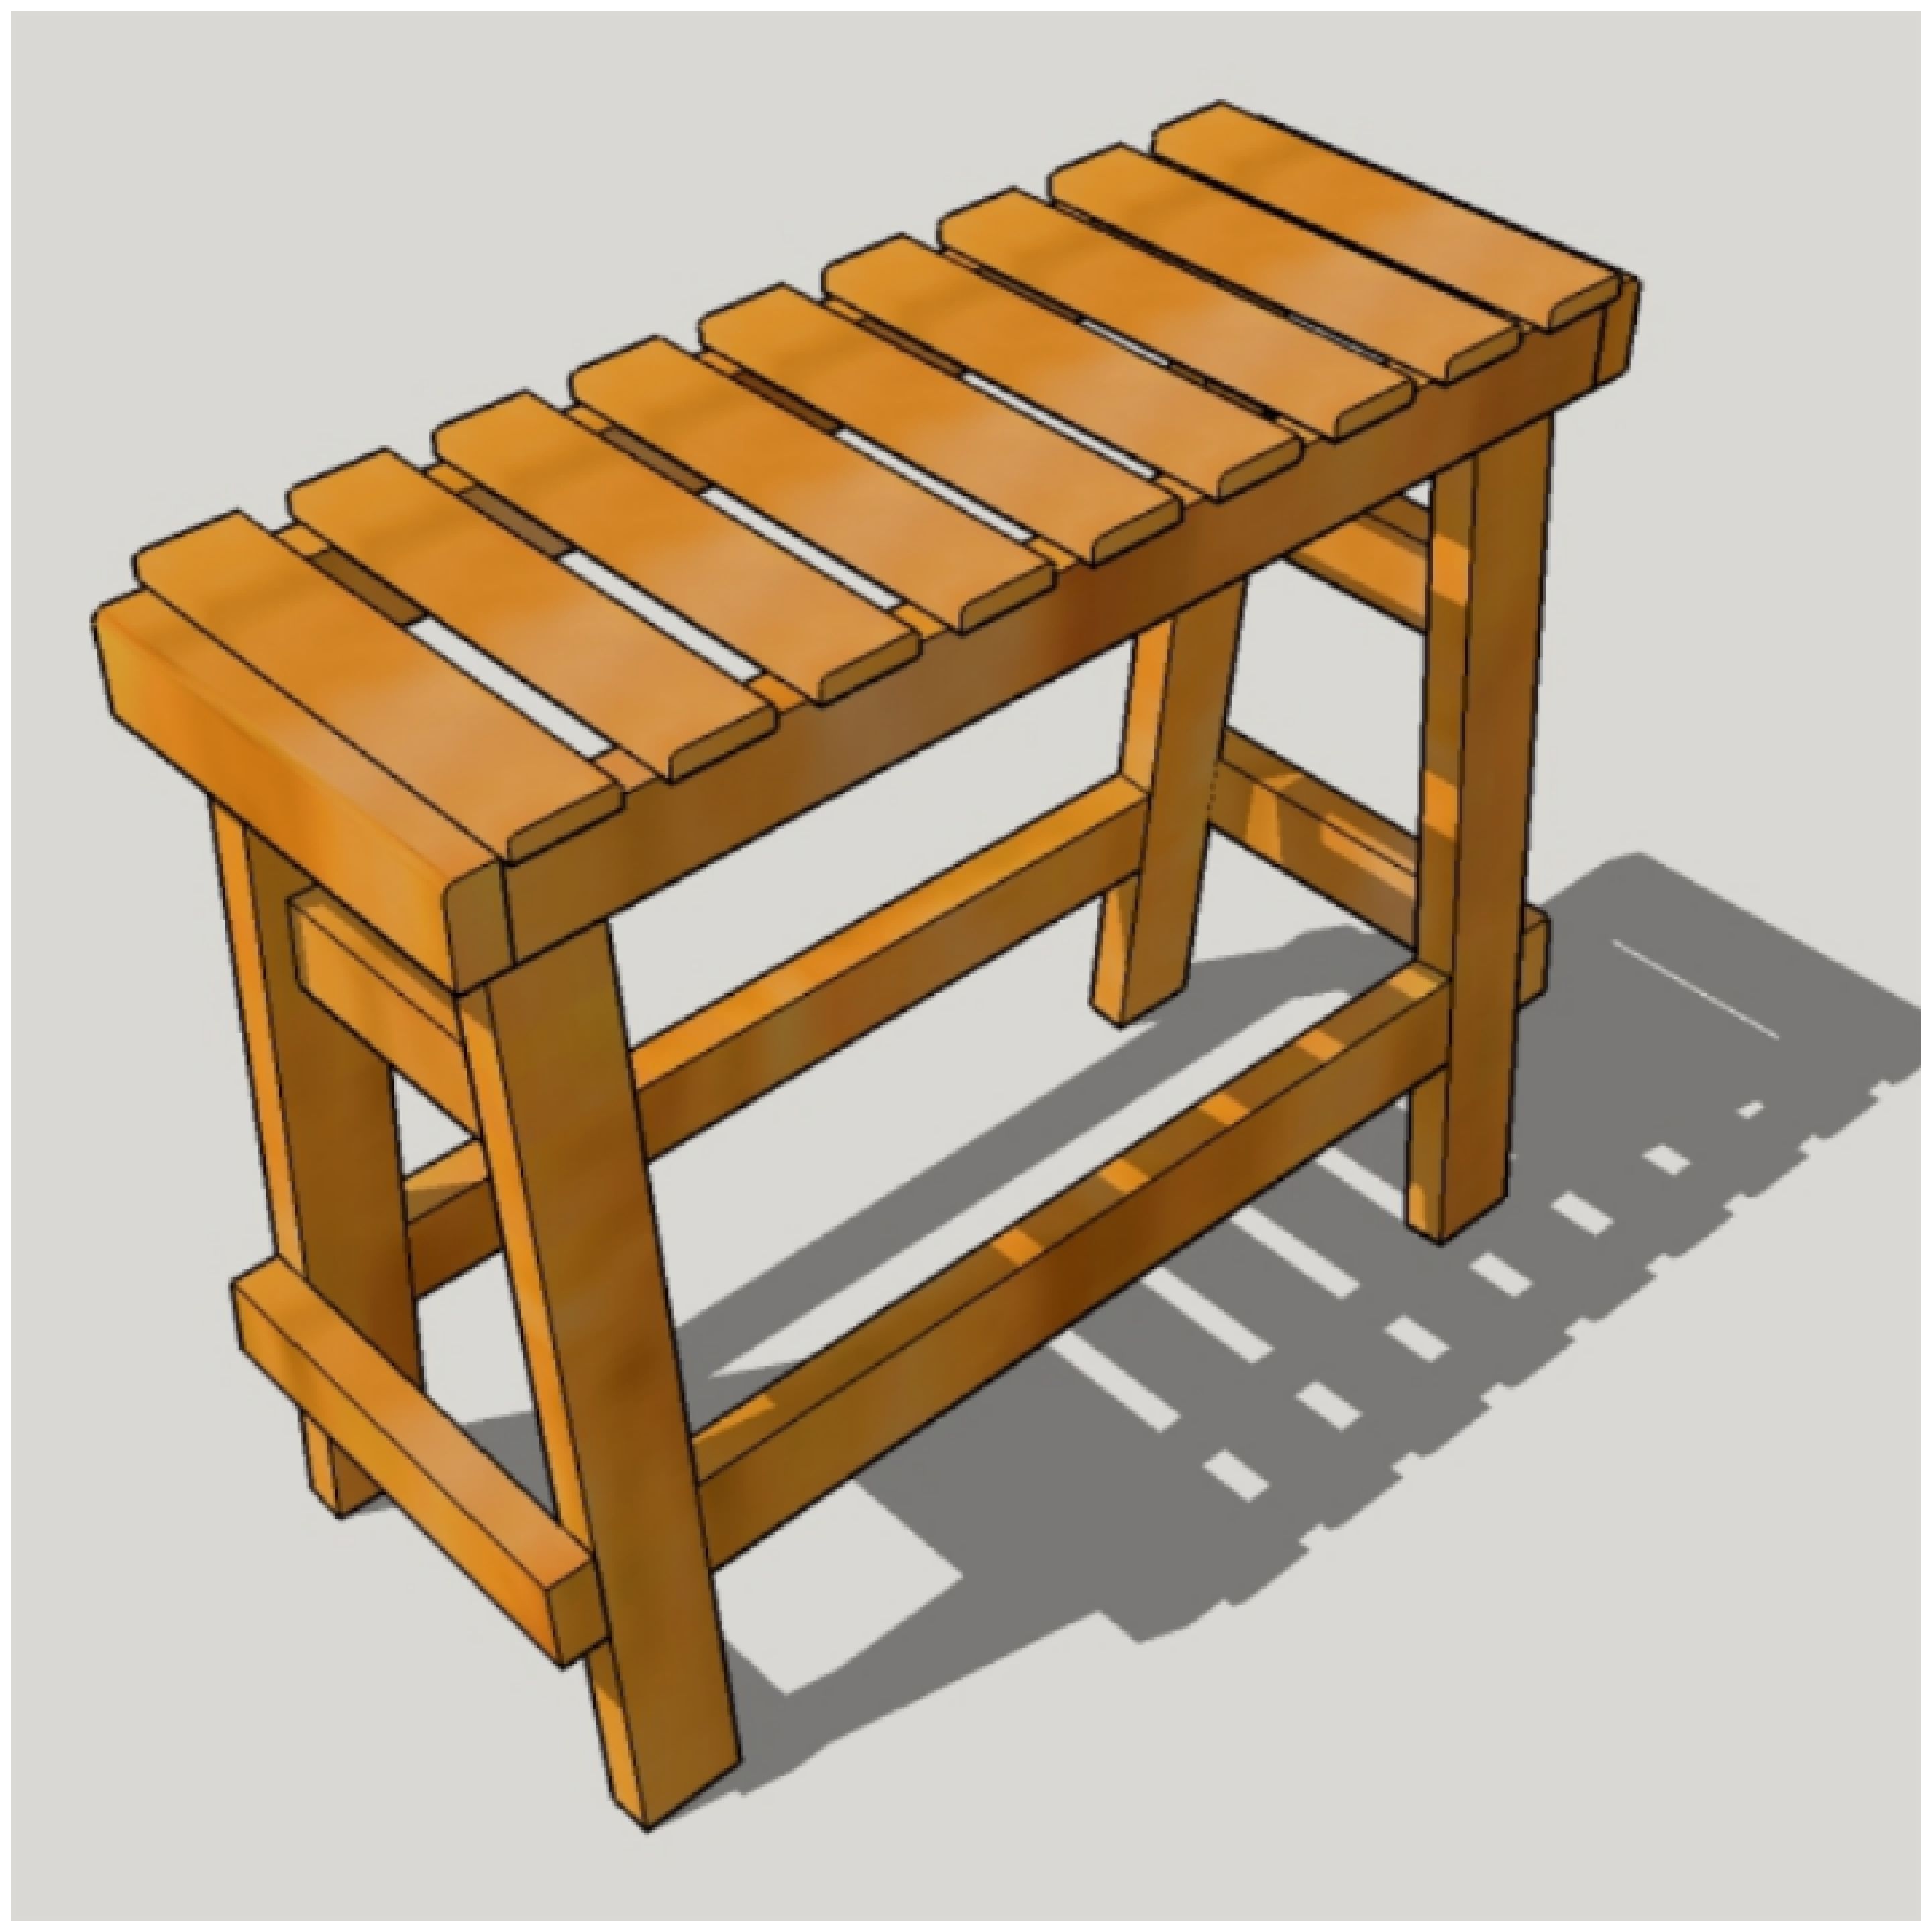
Me fui a mi PC y comencé a idear el plano en sketchup, así que esto fue el resultado, el plano nos resulta de mucha utilidad, ya que al momento de empezar a hacer cortes no tendremos que estar pensando tanto, pues ese tiempo lo invertimos en la creación del plano, la inspiración del diseño la obtuve desde la música, pues como desarrollo mi arte desde la luthería de Cordófonos, imagine un pequeño xilófono y hasta podría ser la silla de un pianista, a esta silla le llame, “la silla musical”
Paso 3
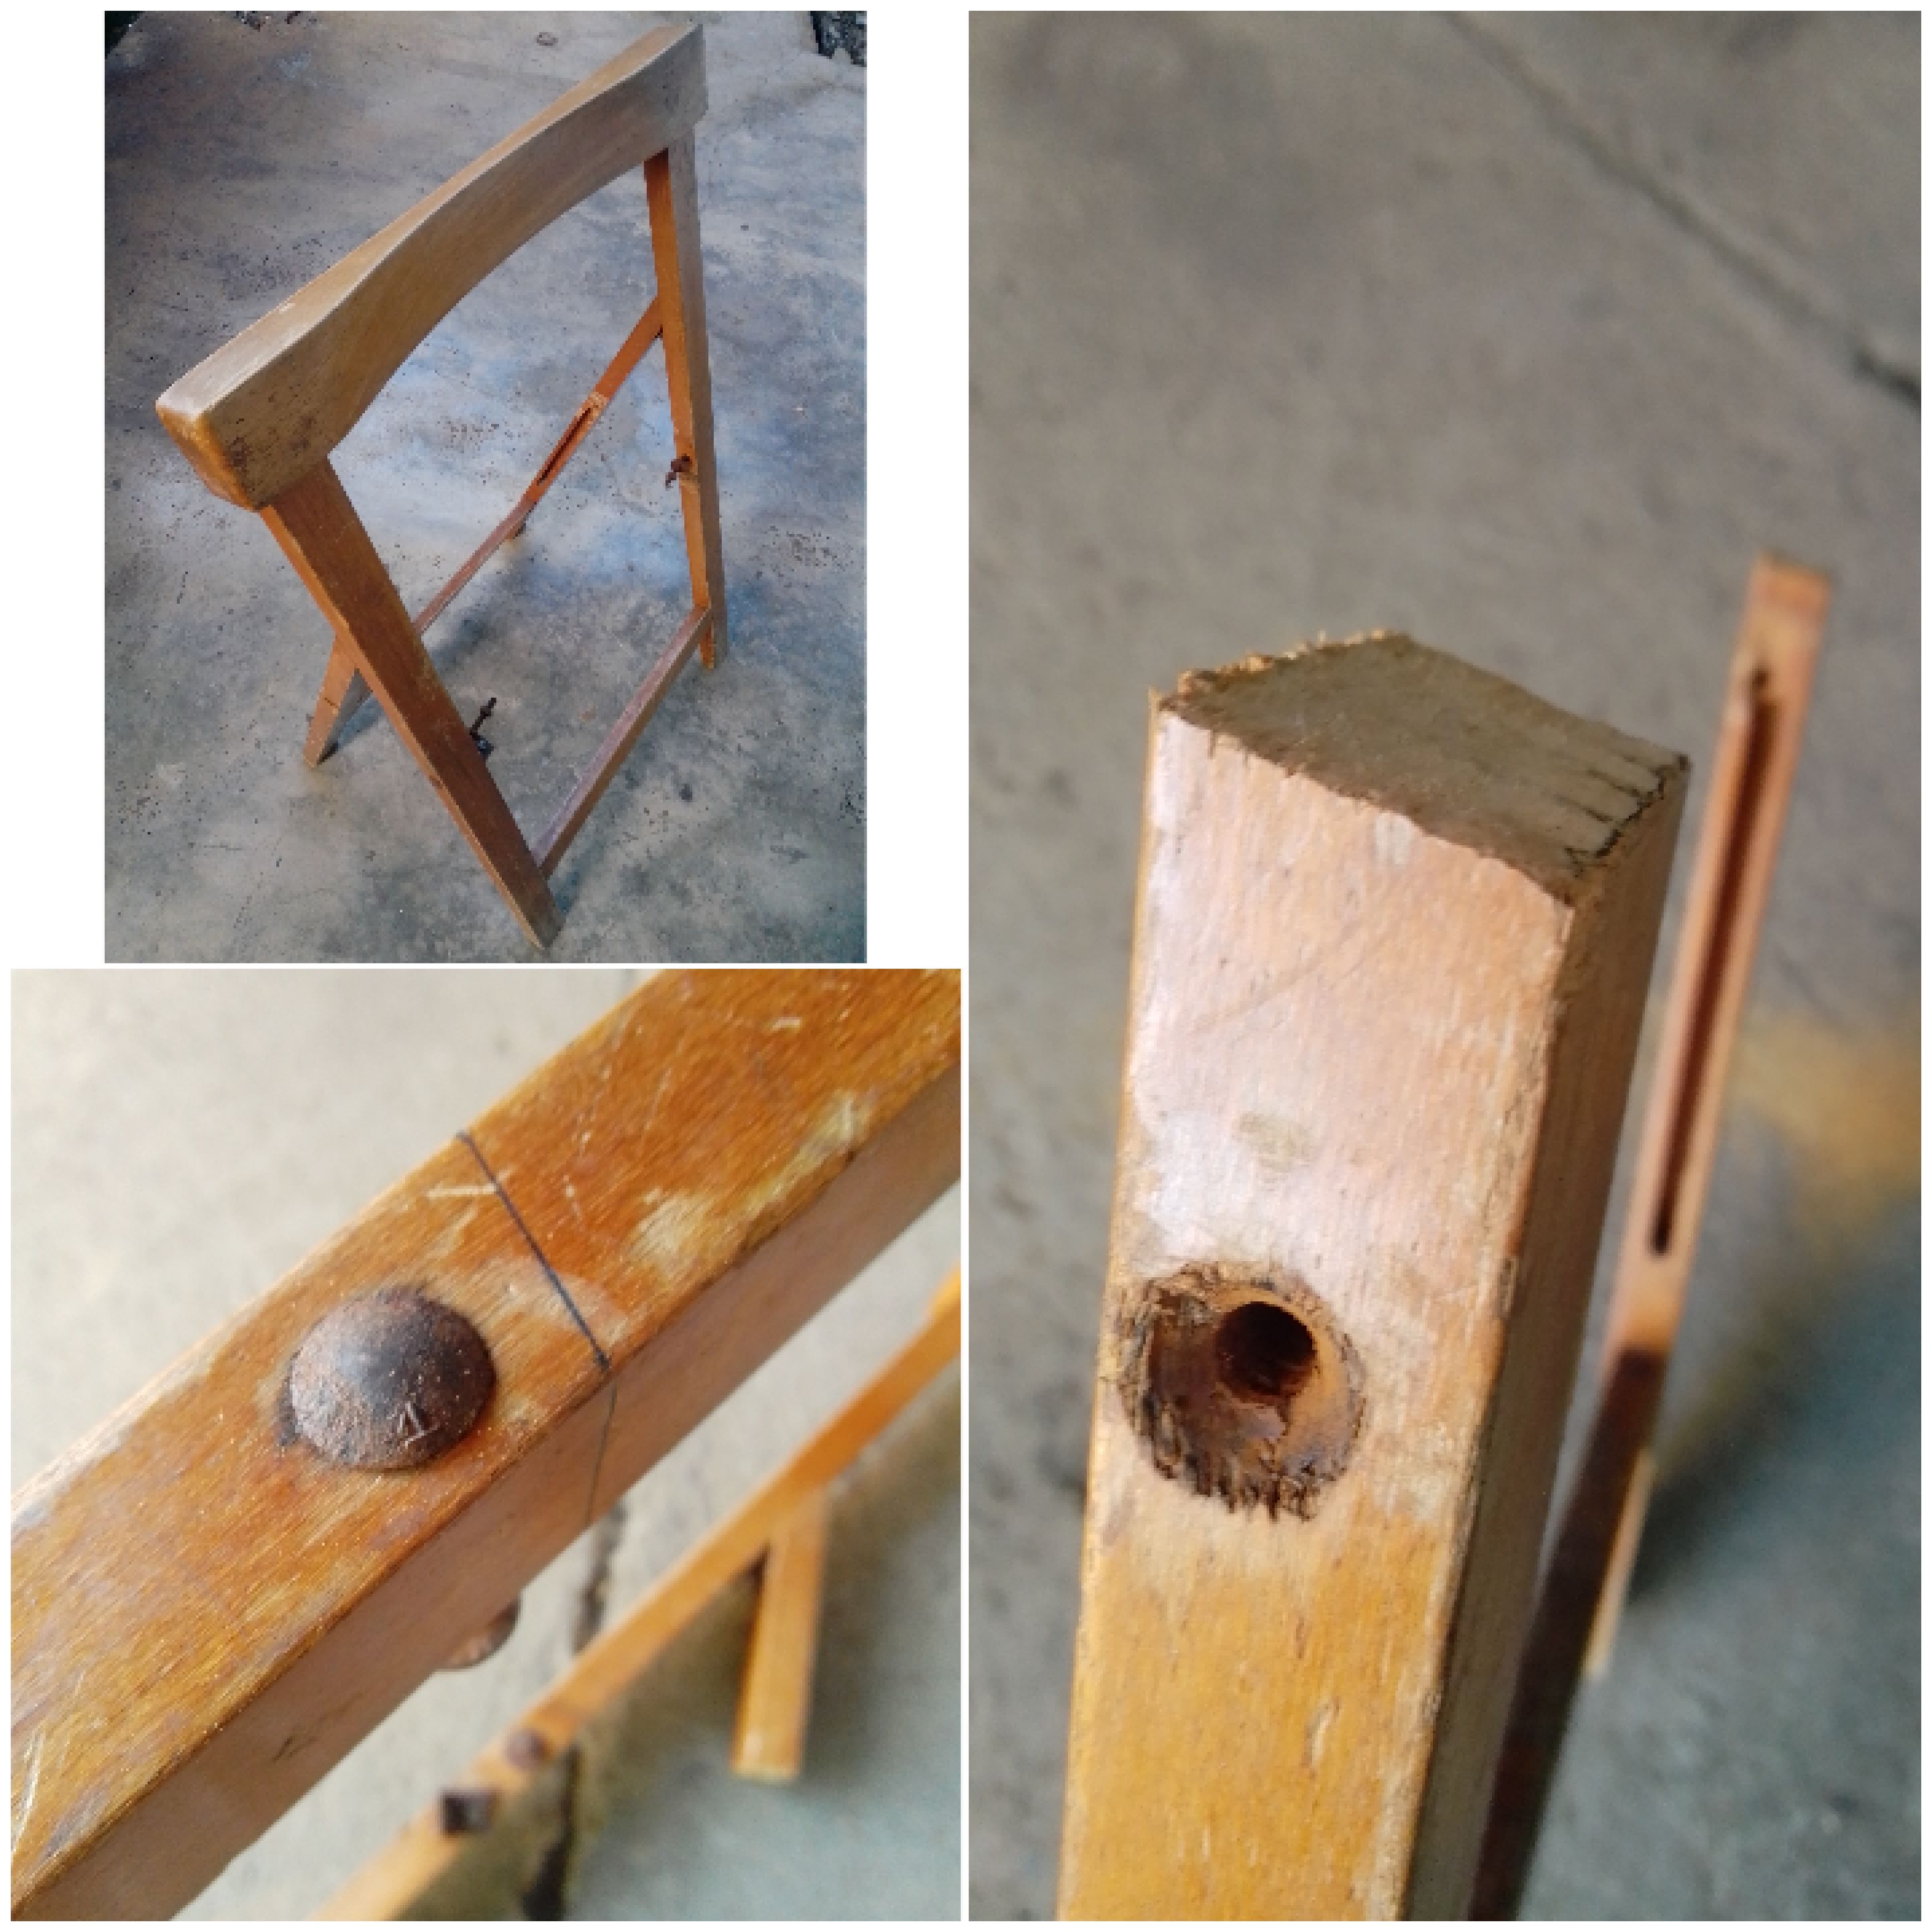
Aquí comenzamos por desarmar la silla y a darles la misma dimensiones a ambas, pues una de las partes tenía un ángulo, lo cual le daba más inclinación al apoyar al suelo, así que corte todas de forma recta.
Paso 4
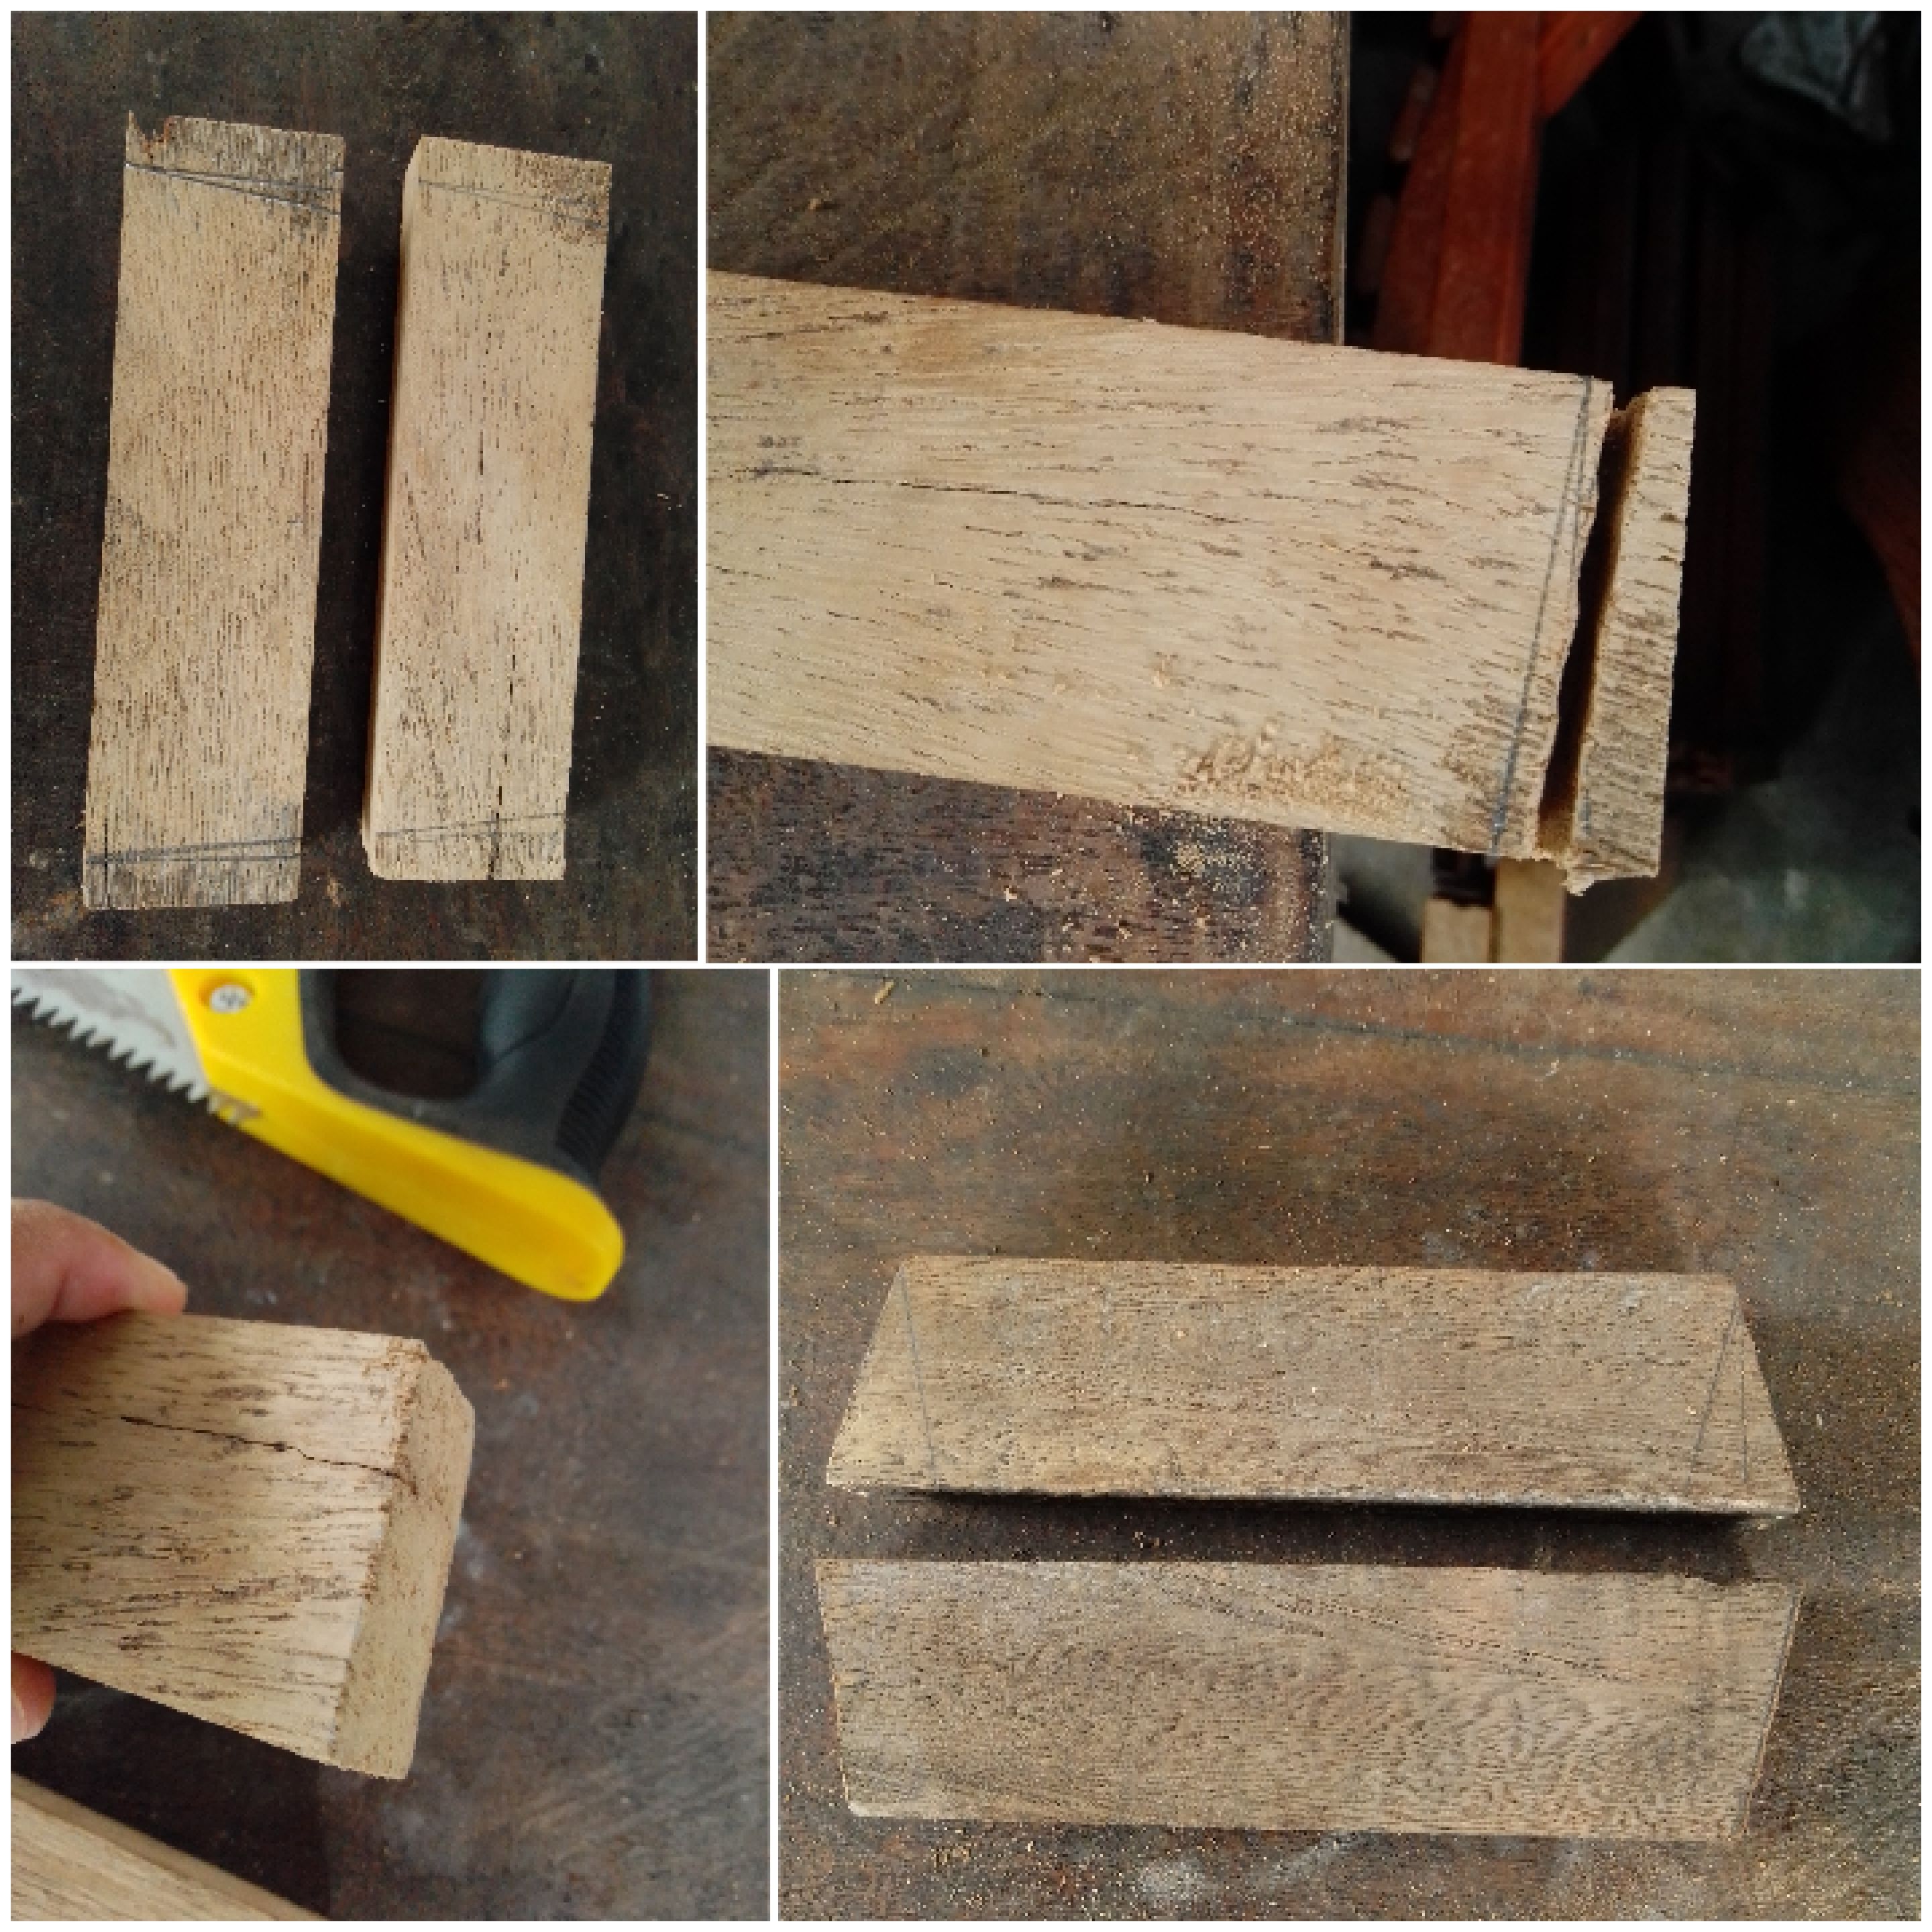
Tomamos una pieza de madera la cual nos servirá de travesaño superior y nos proporcionara el ángulo, a este le trace un ángulo de 80 y con el serrucho fui cortando, con calma y sin acelerar el corte para que nos quede prolijo.
Paso 5
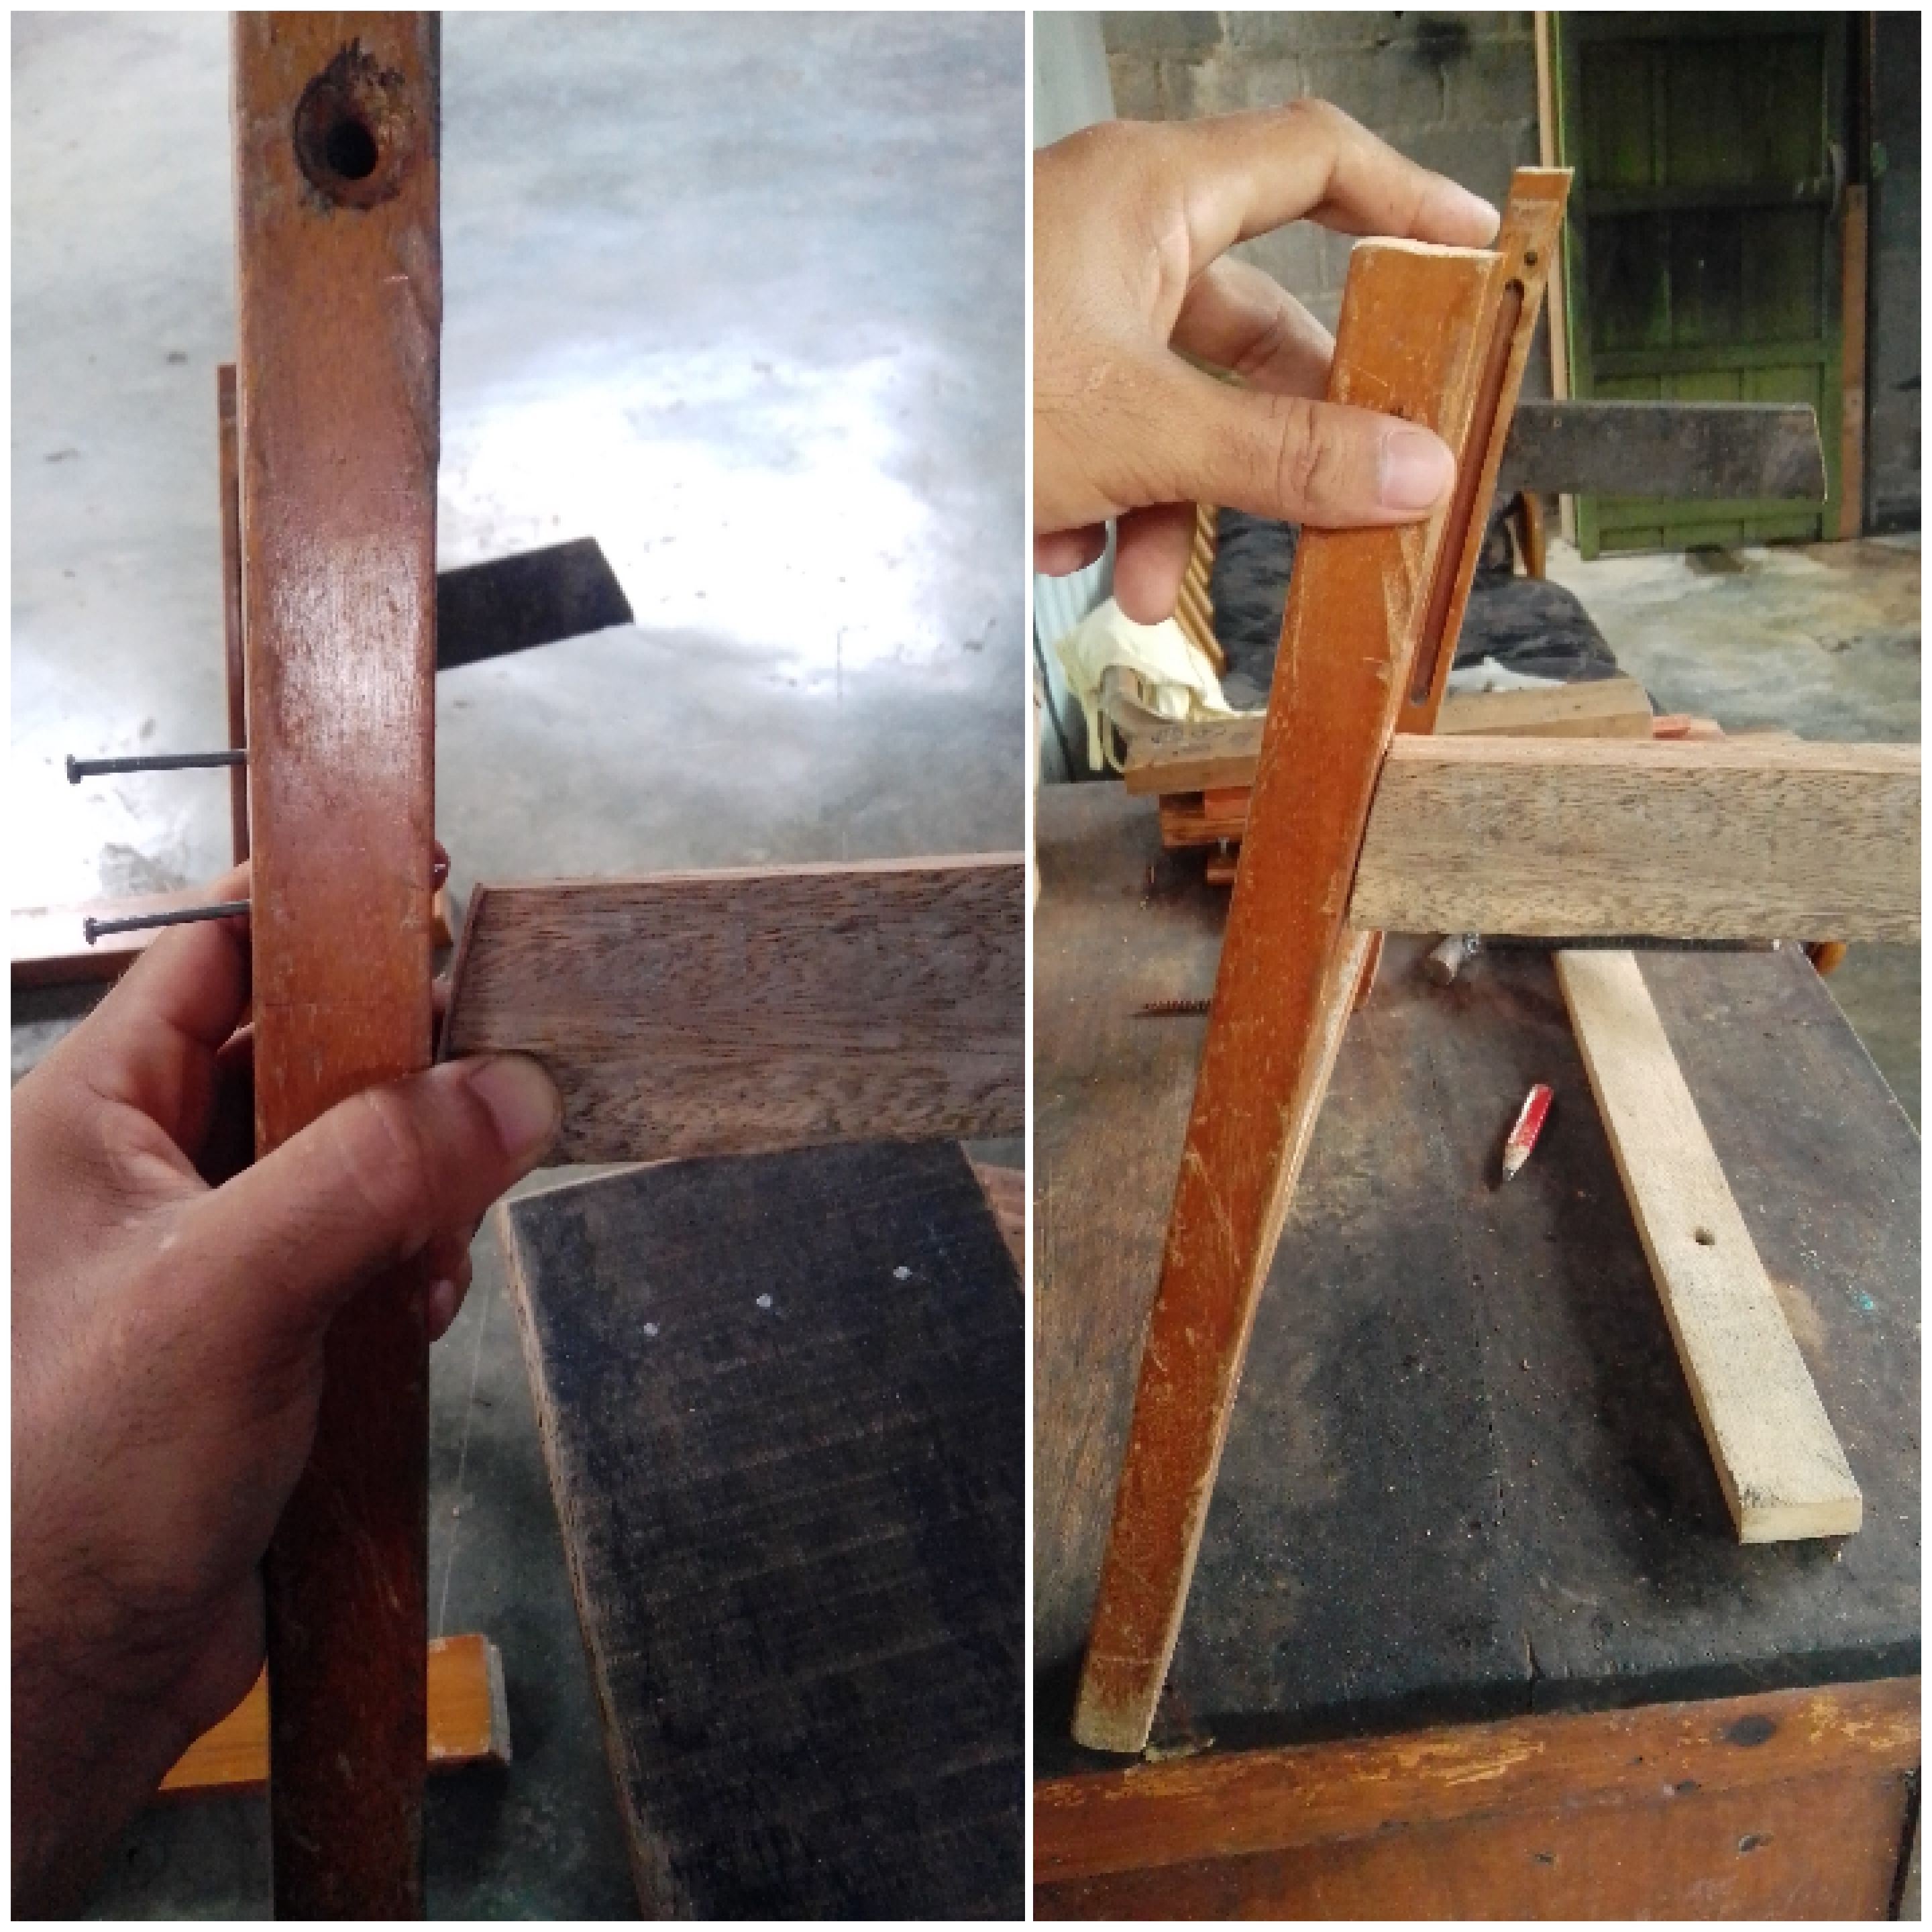
Tomamos el travesaño anterior y procedemos a colocarlo en el trazo que hayamos dispuesto, colocamos cola de carpintero y clavamos, les aconsejo primero clavar las patas para que sea mucho más práctico su clavada porque cuando clavamos sobre una pieza con ángulo suele correrse.
Paso 6
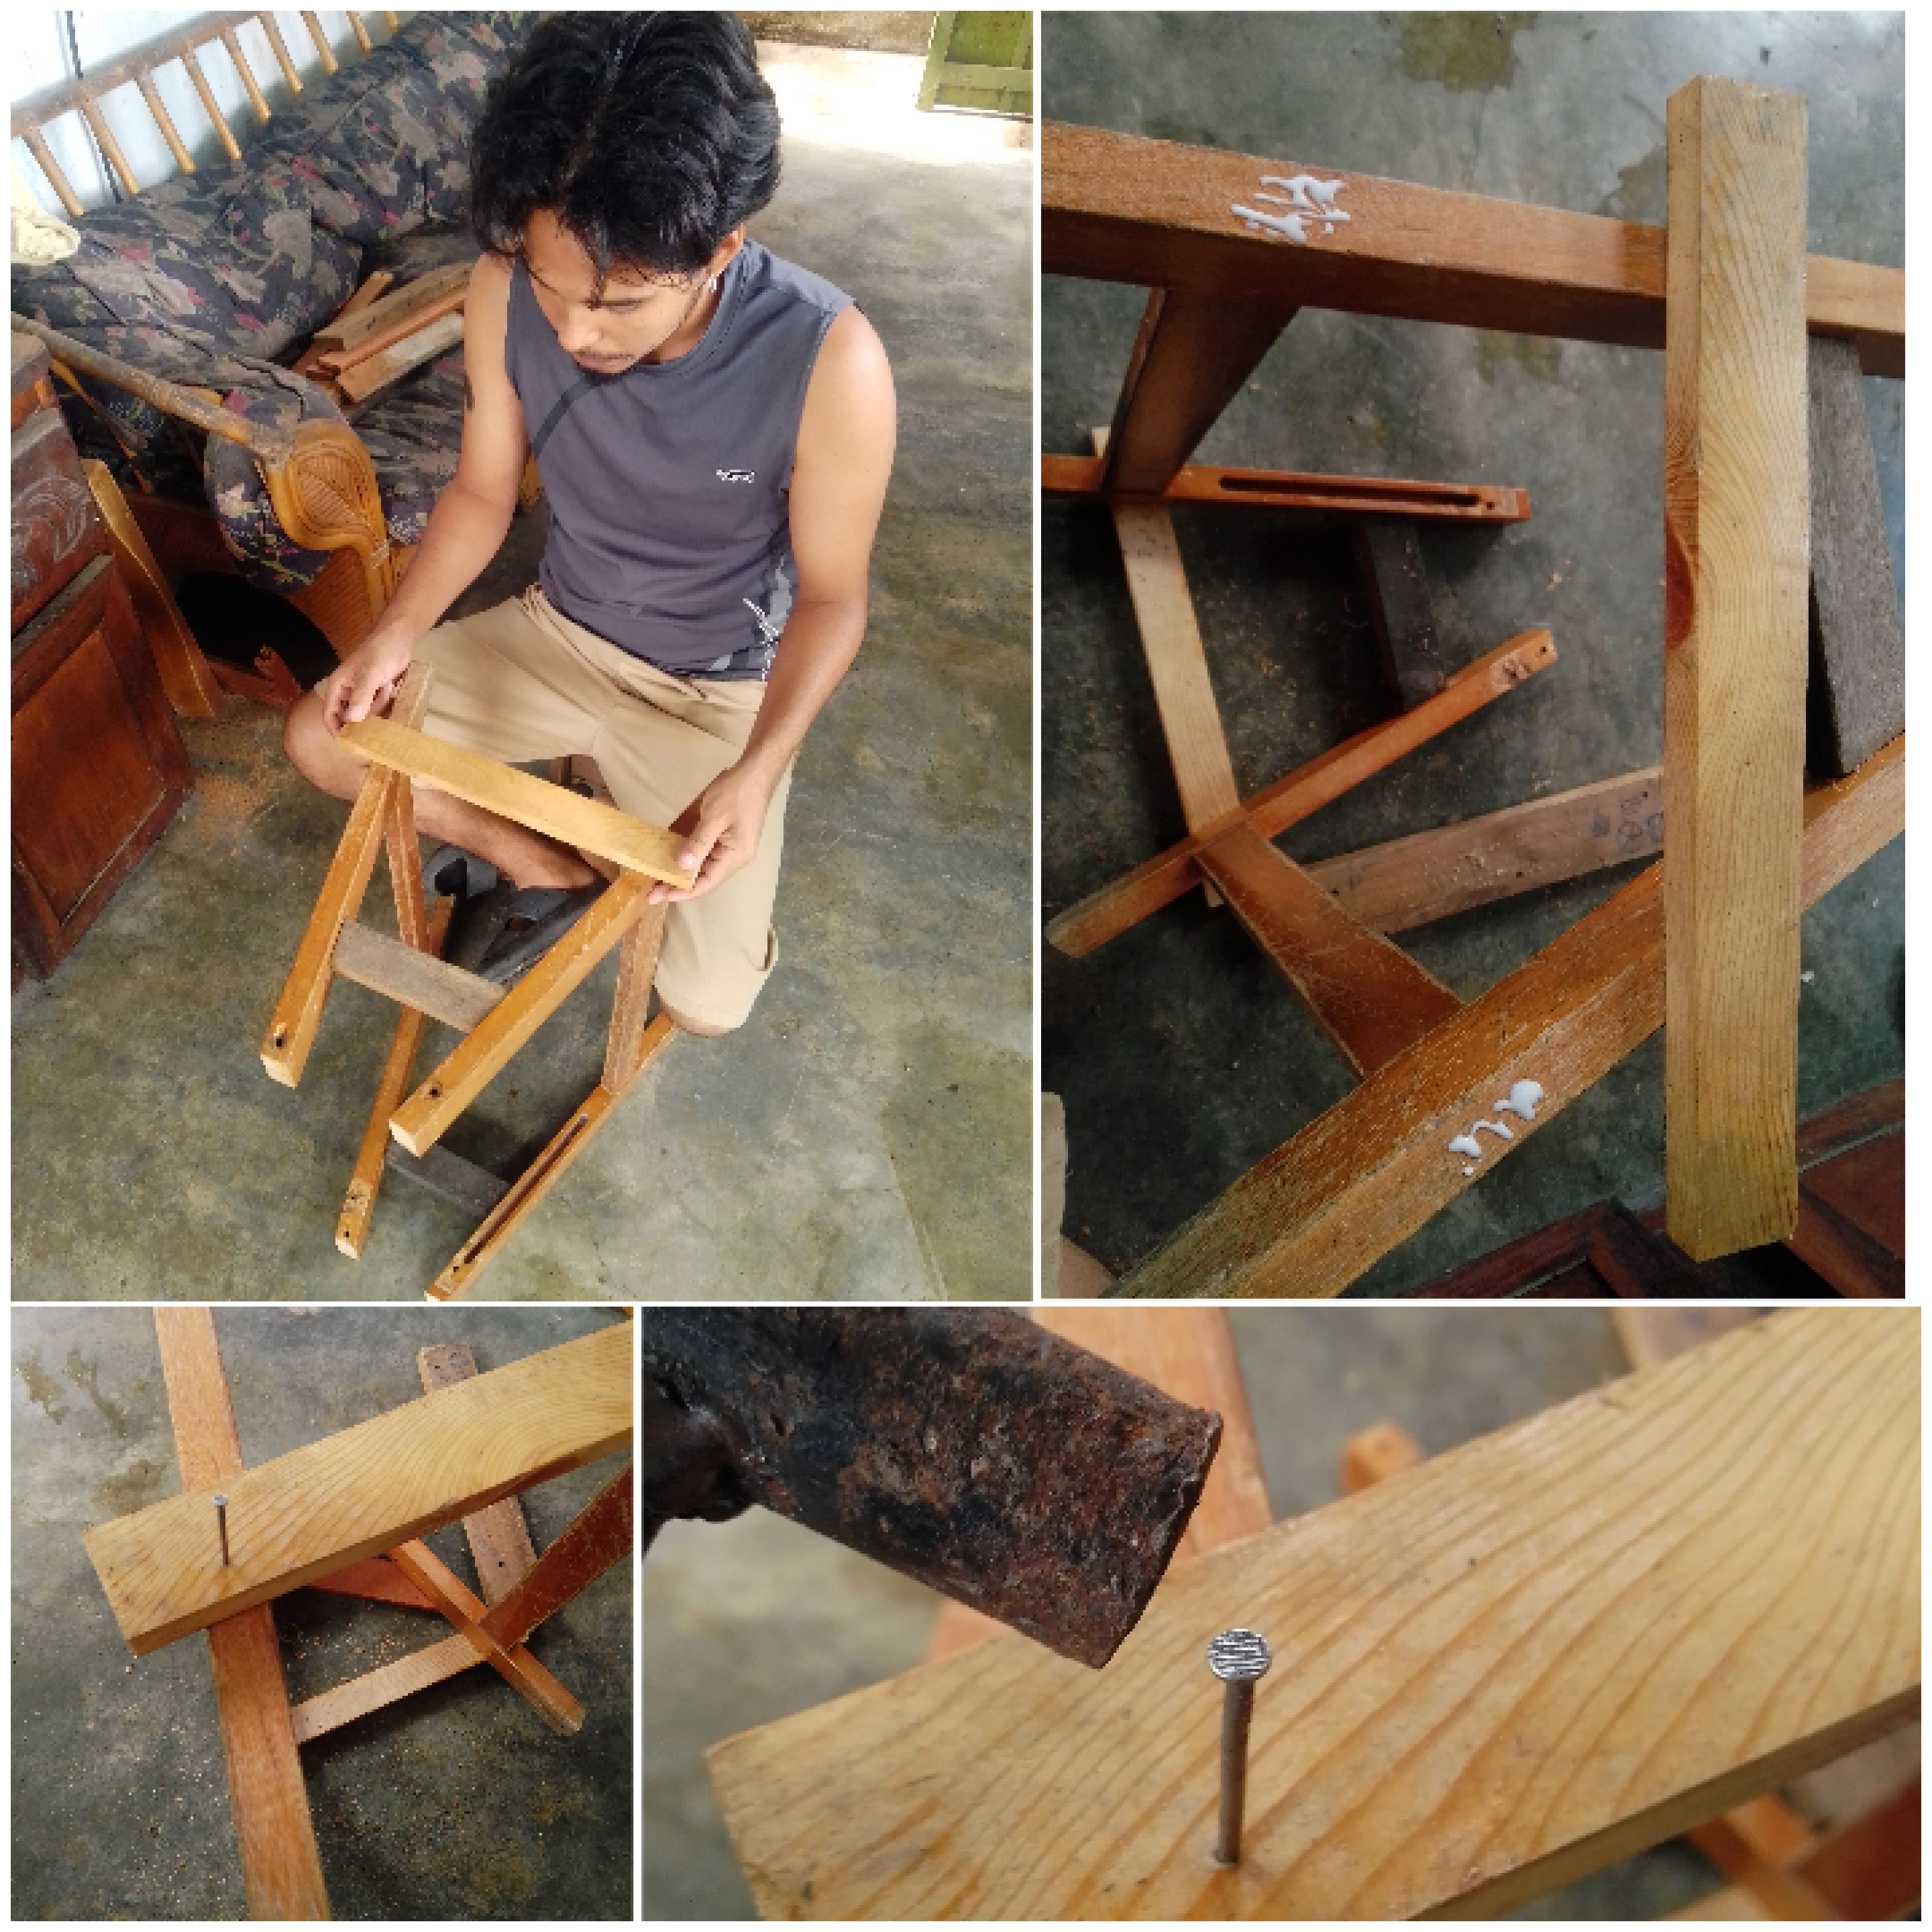
Como bien pudimos apreciar en el plano le colocaré unos travesaños laterales para darle más estabilidad a la silla, colocamos unos punticos de cola y clavamos.
Paso 7
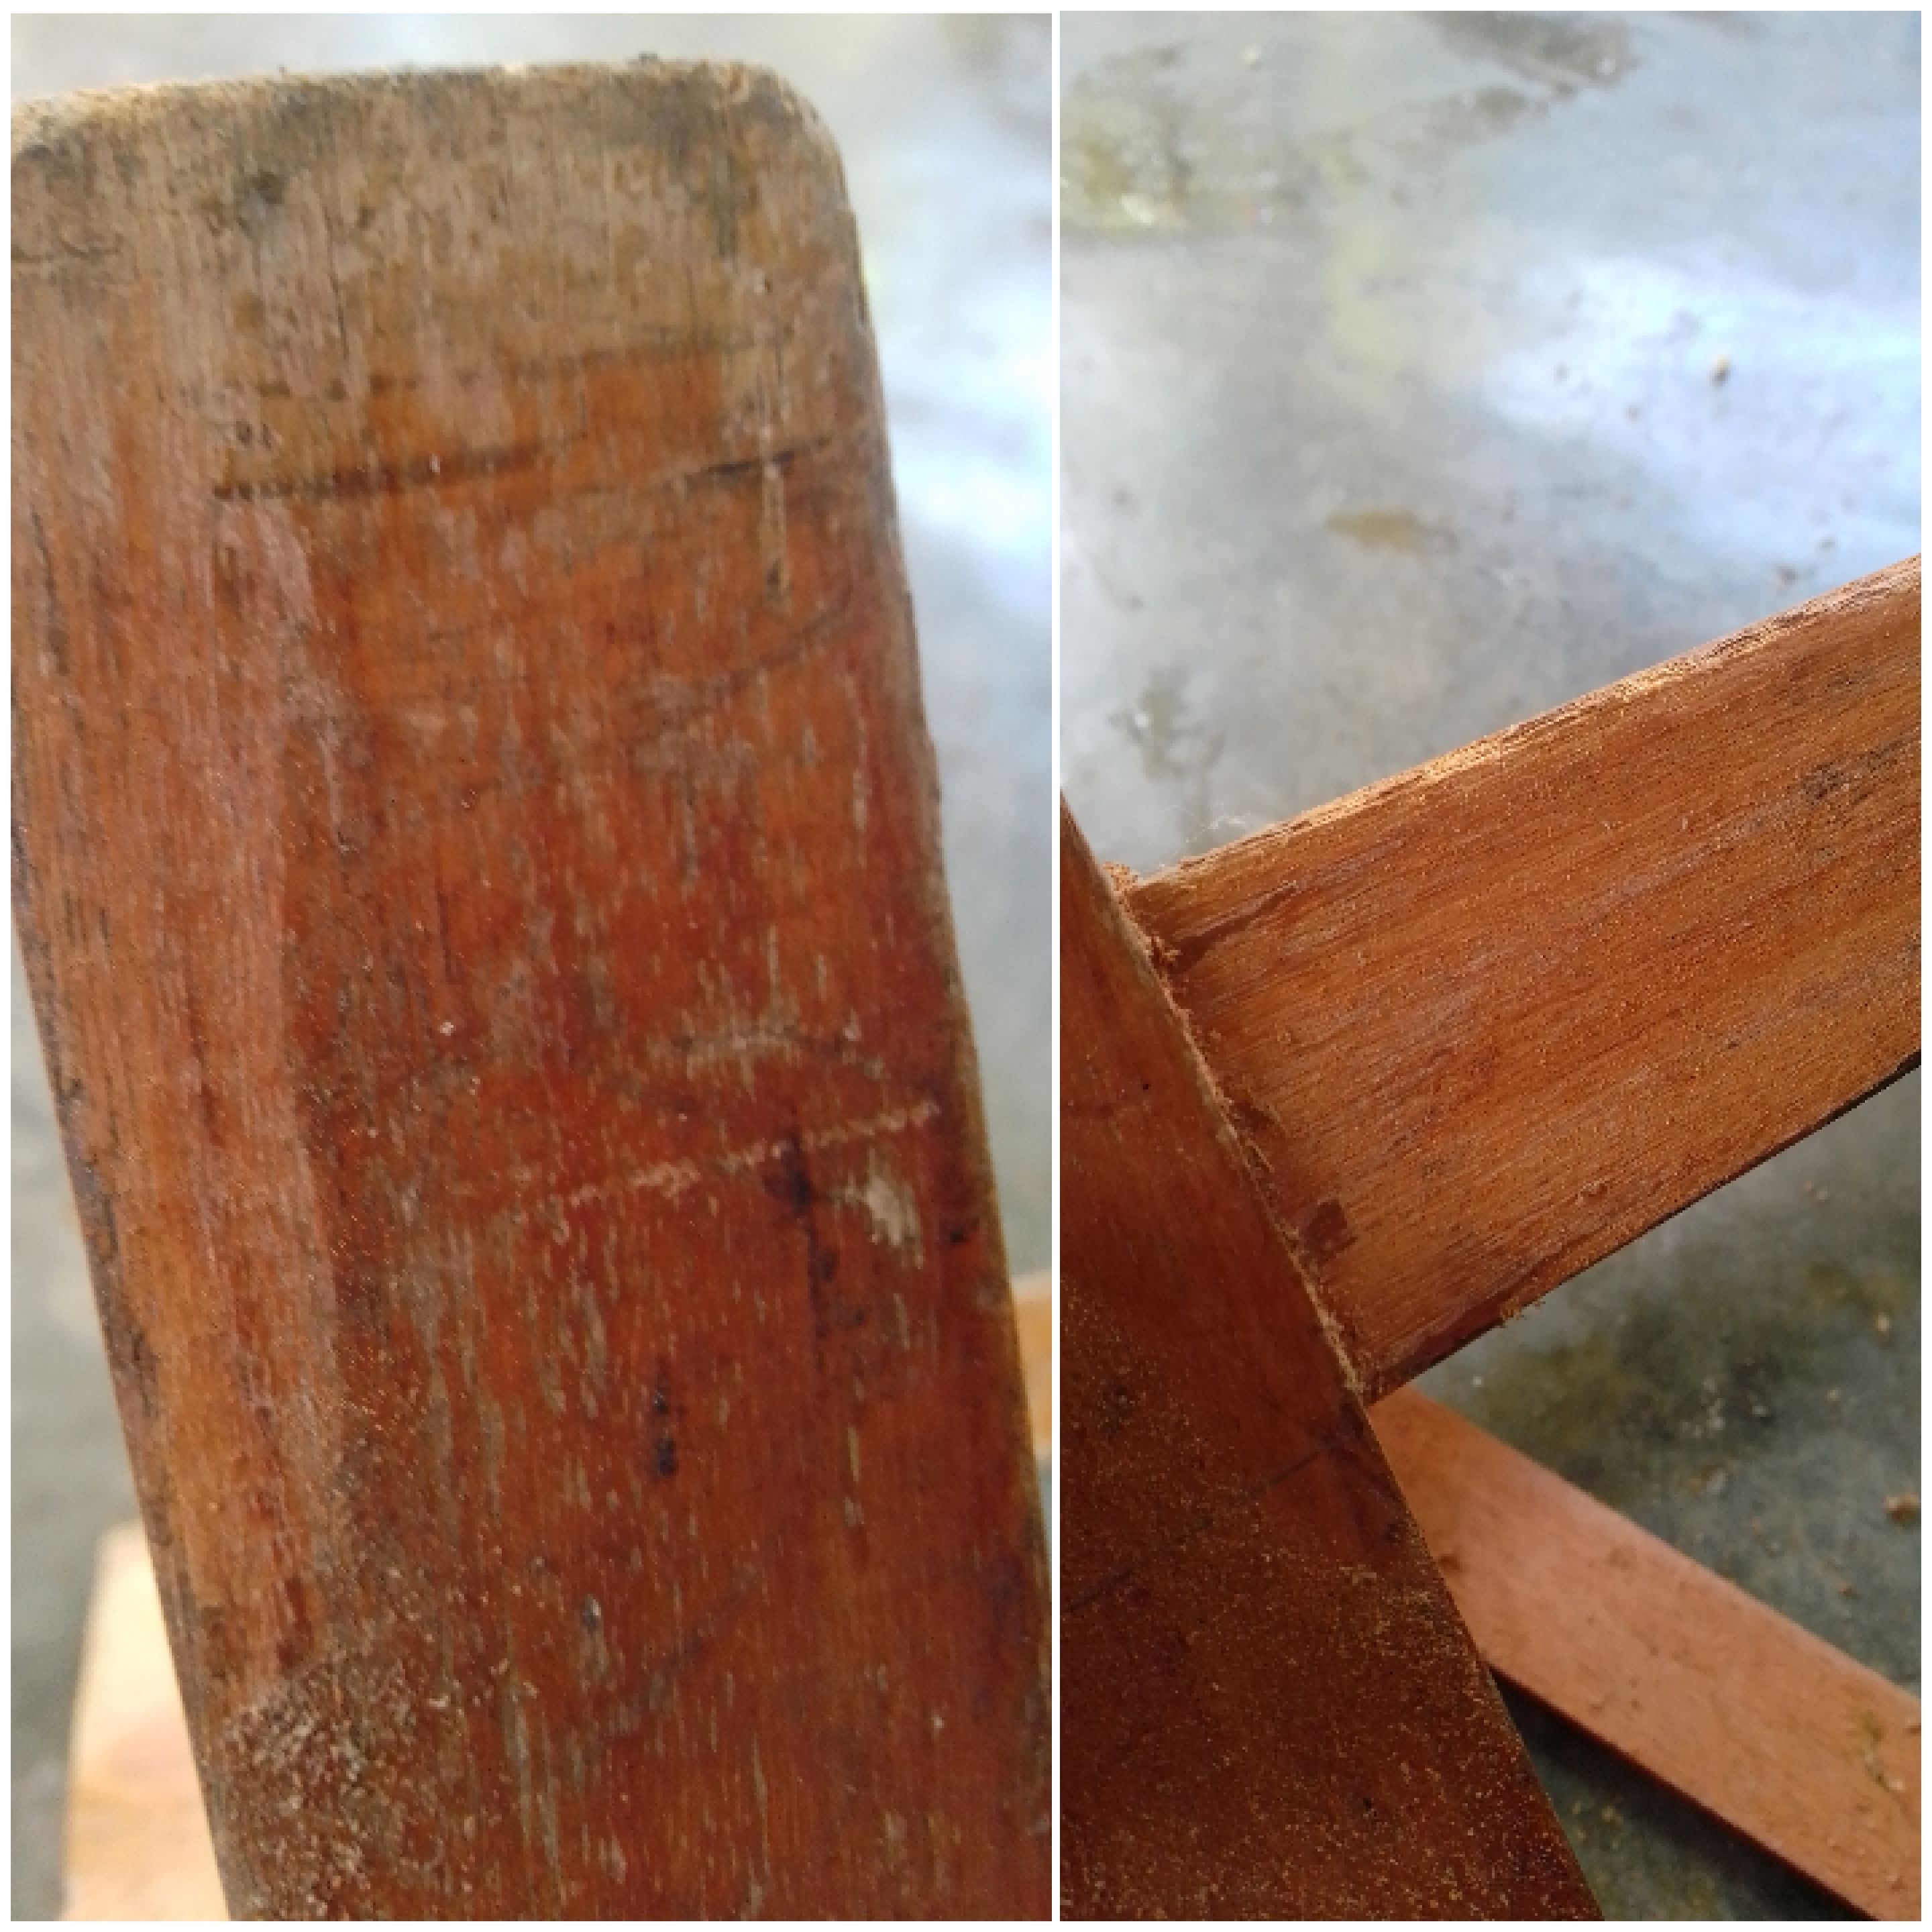
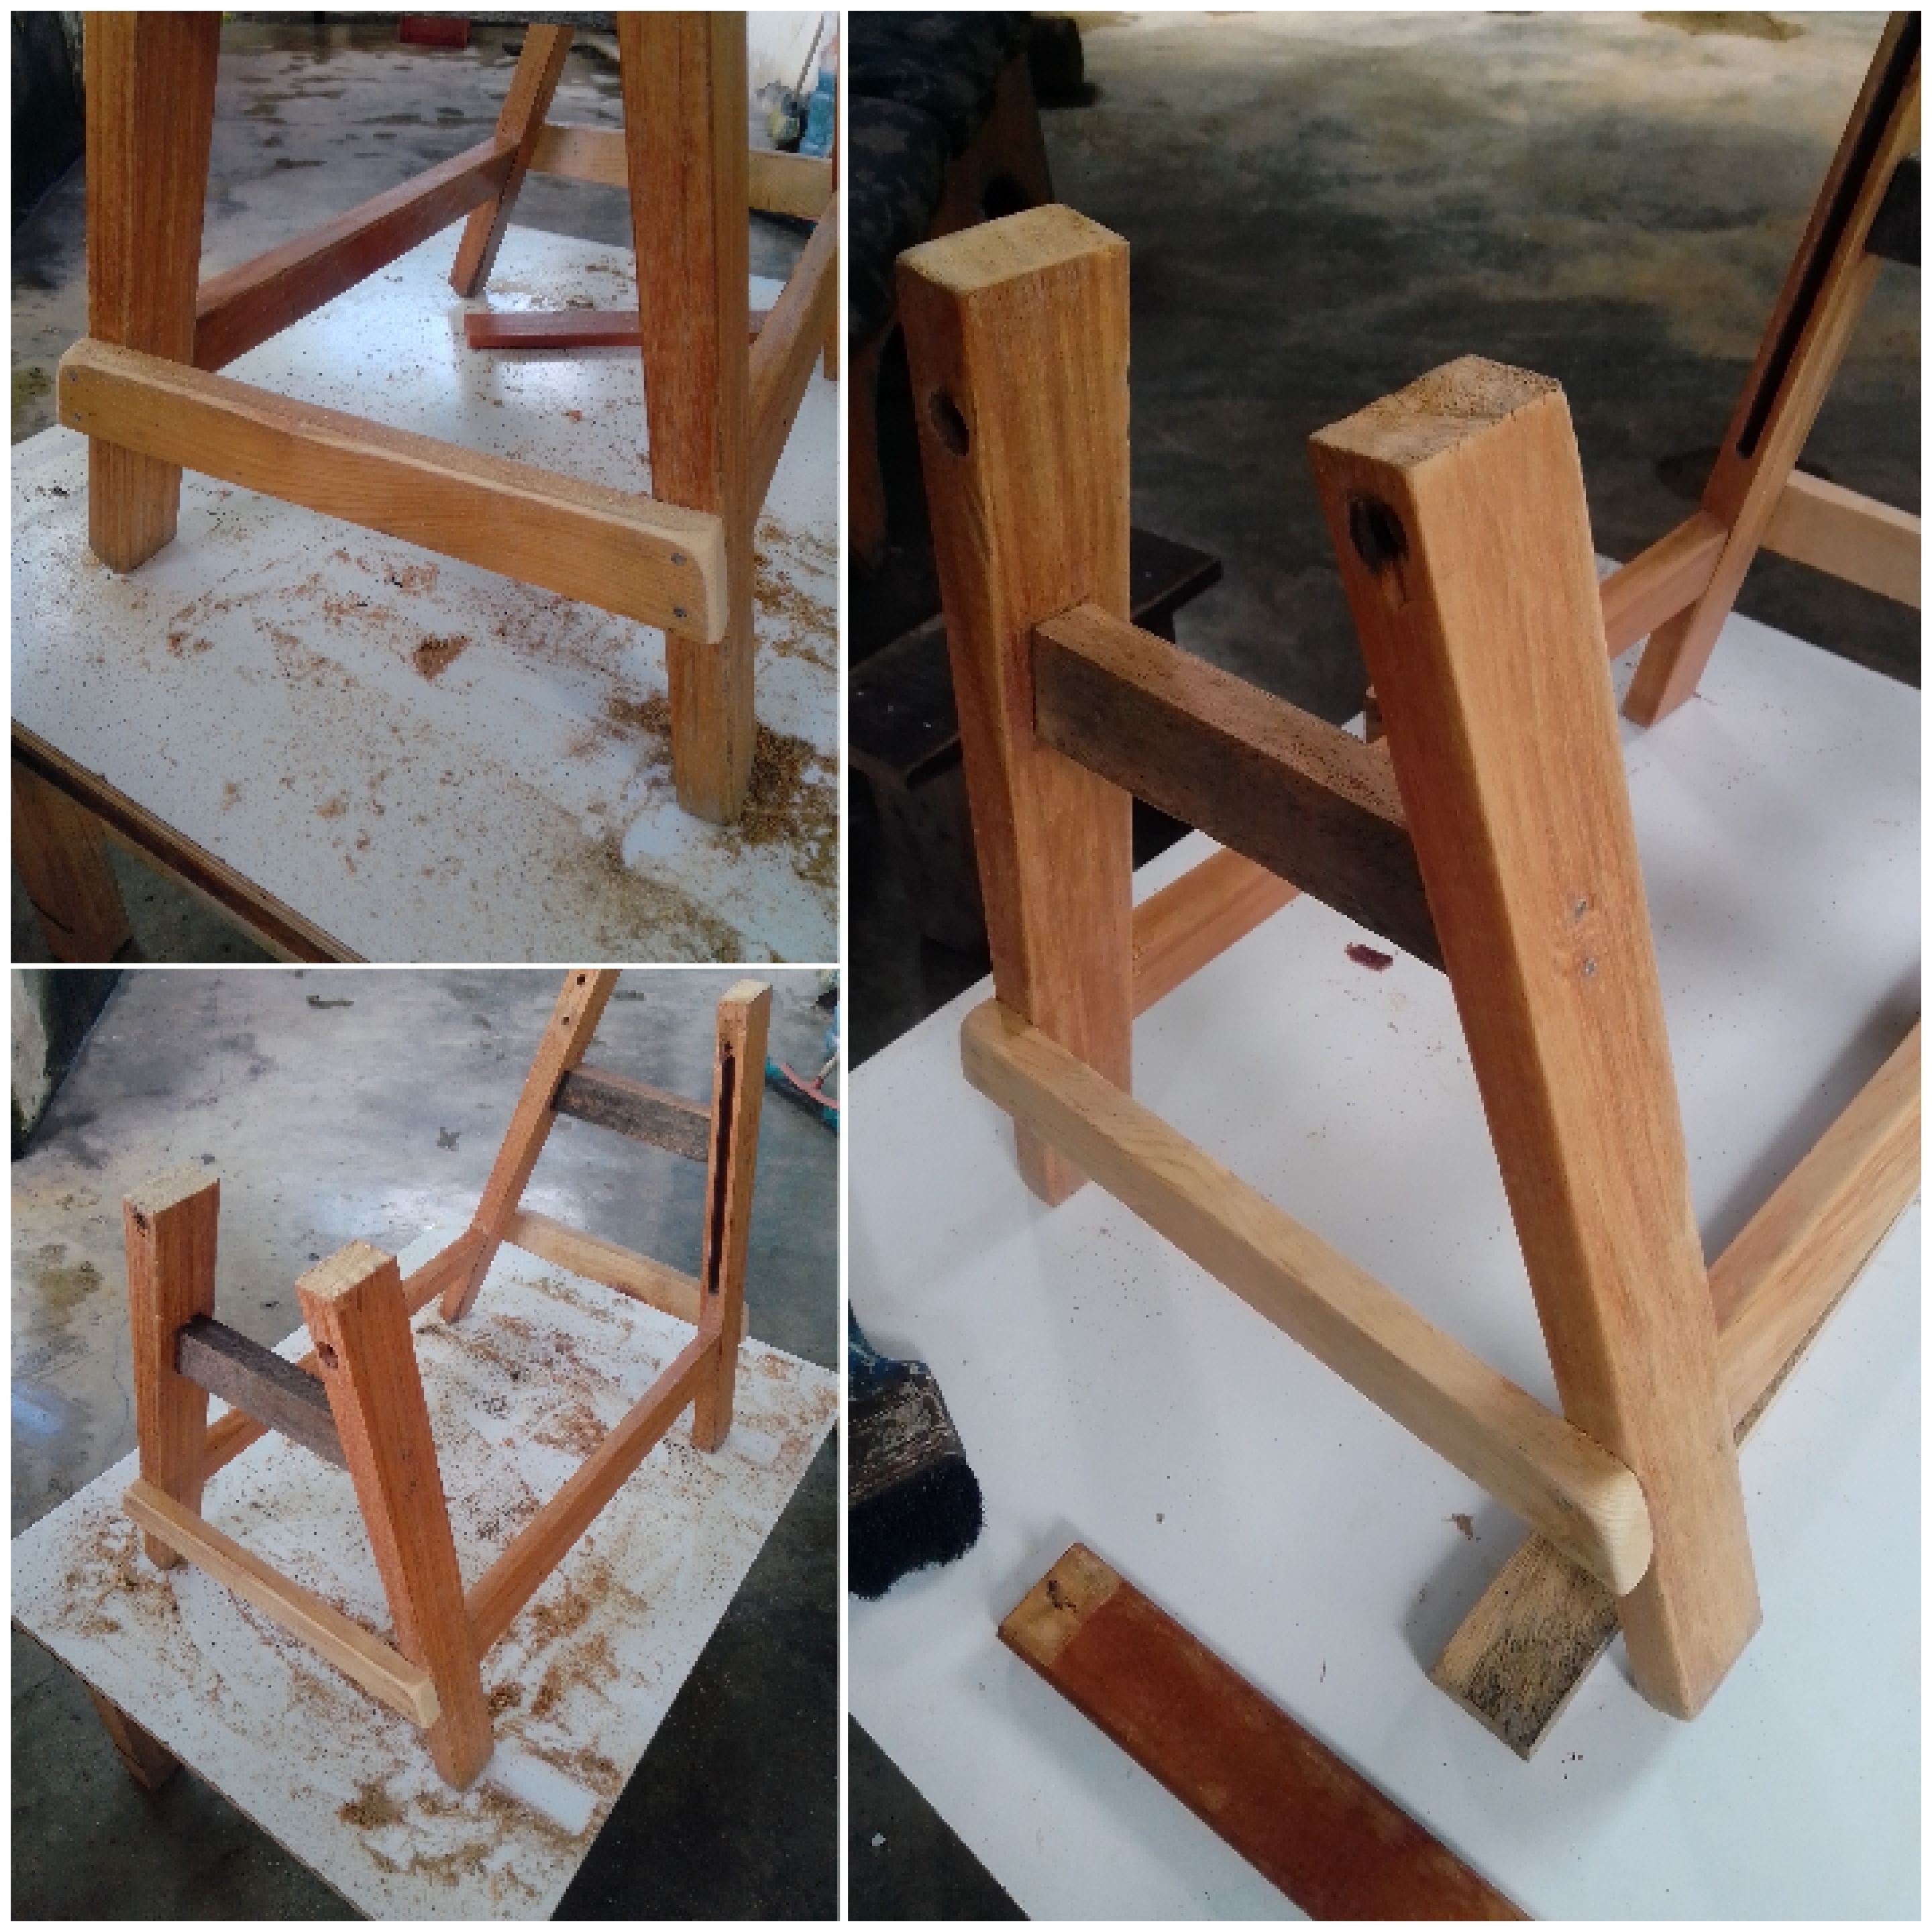
Ya teniendo nuestra estructura lista lo que hacemos en este paso es raspar la superficie con una cuchilla para luego lijarla con lija 80 hasta una 220 y así vamos viendo el cambio de la misma.
Paso 8
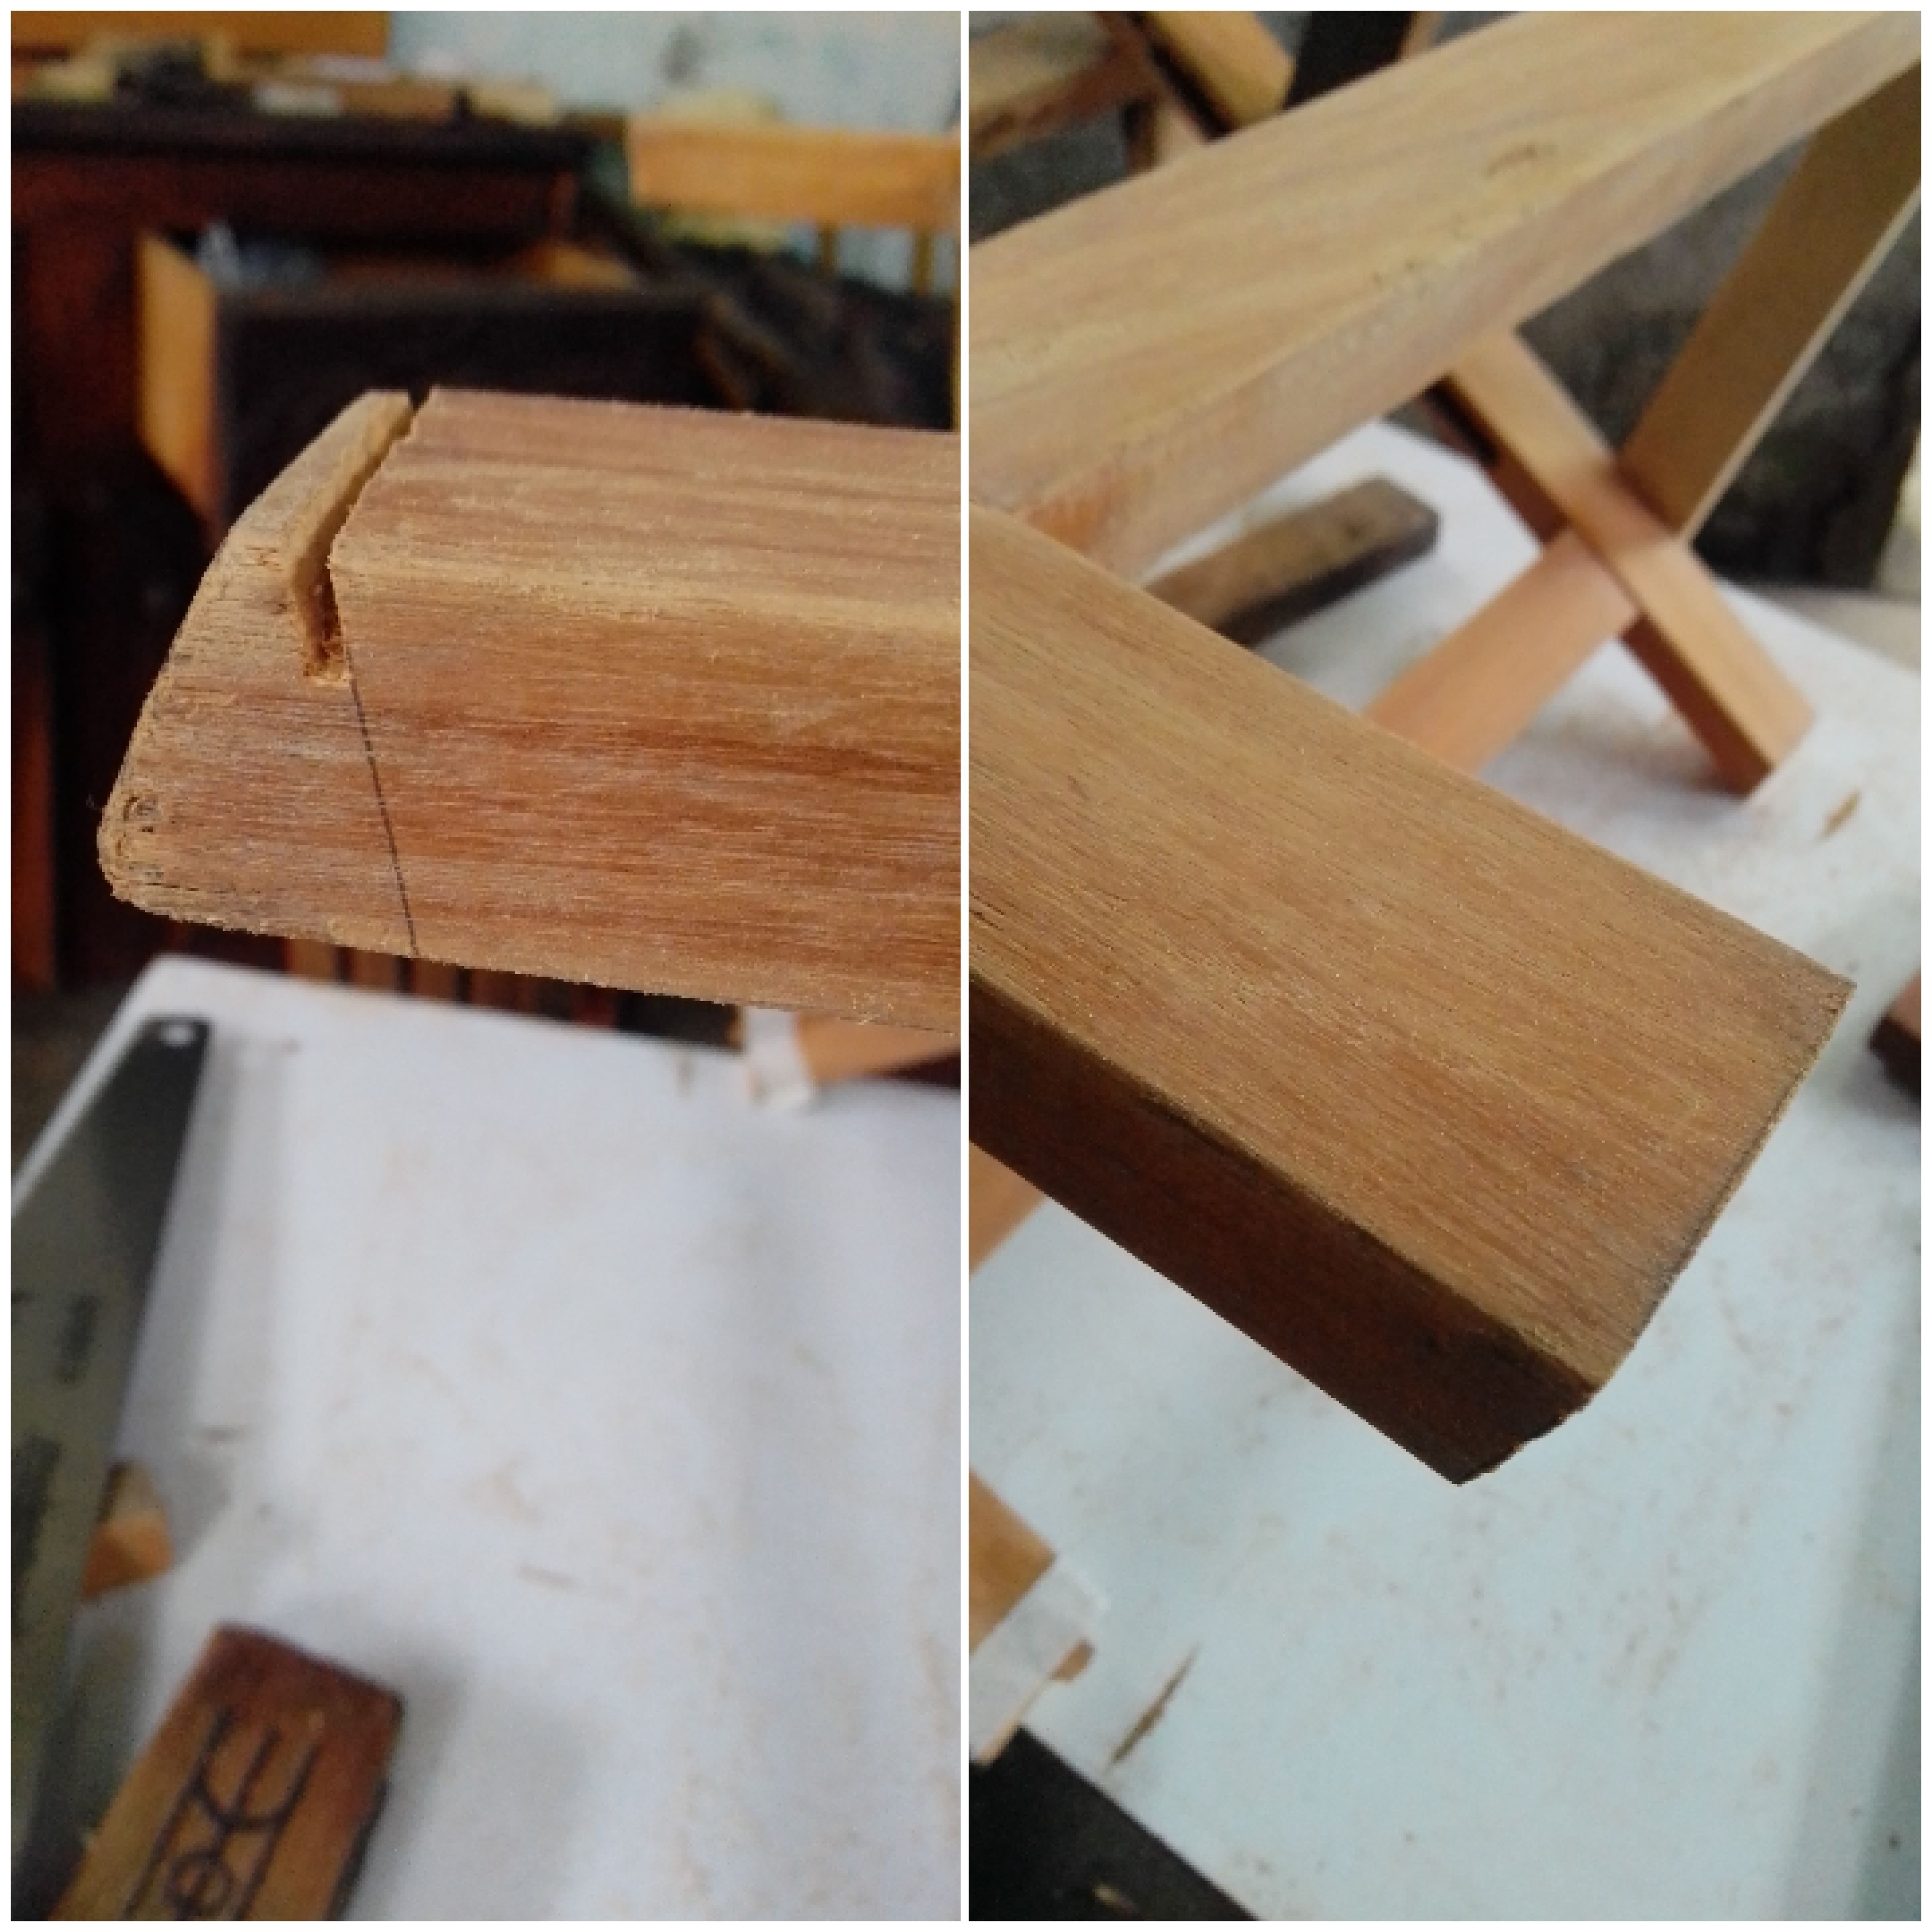
Para culminar el proceso de la estructura vamos a nivelar las patas, la colocamos sobre una superficie plana y colocamos una madera de al menos 0,5 cm, la pegamos a la pata y trazamos, de esta forma nos da el ángulo indicado para que quede sin desnivel.
Paso 9
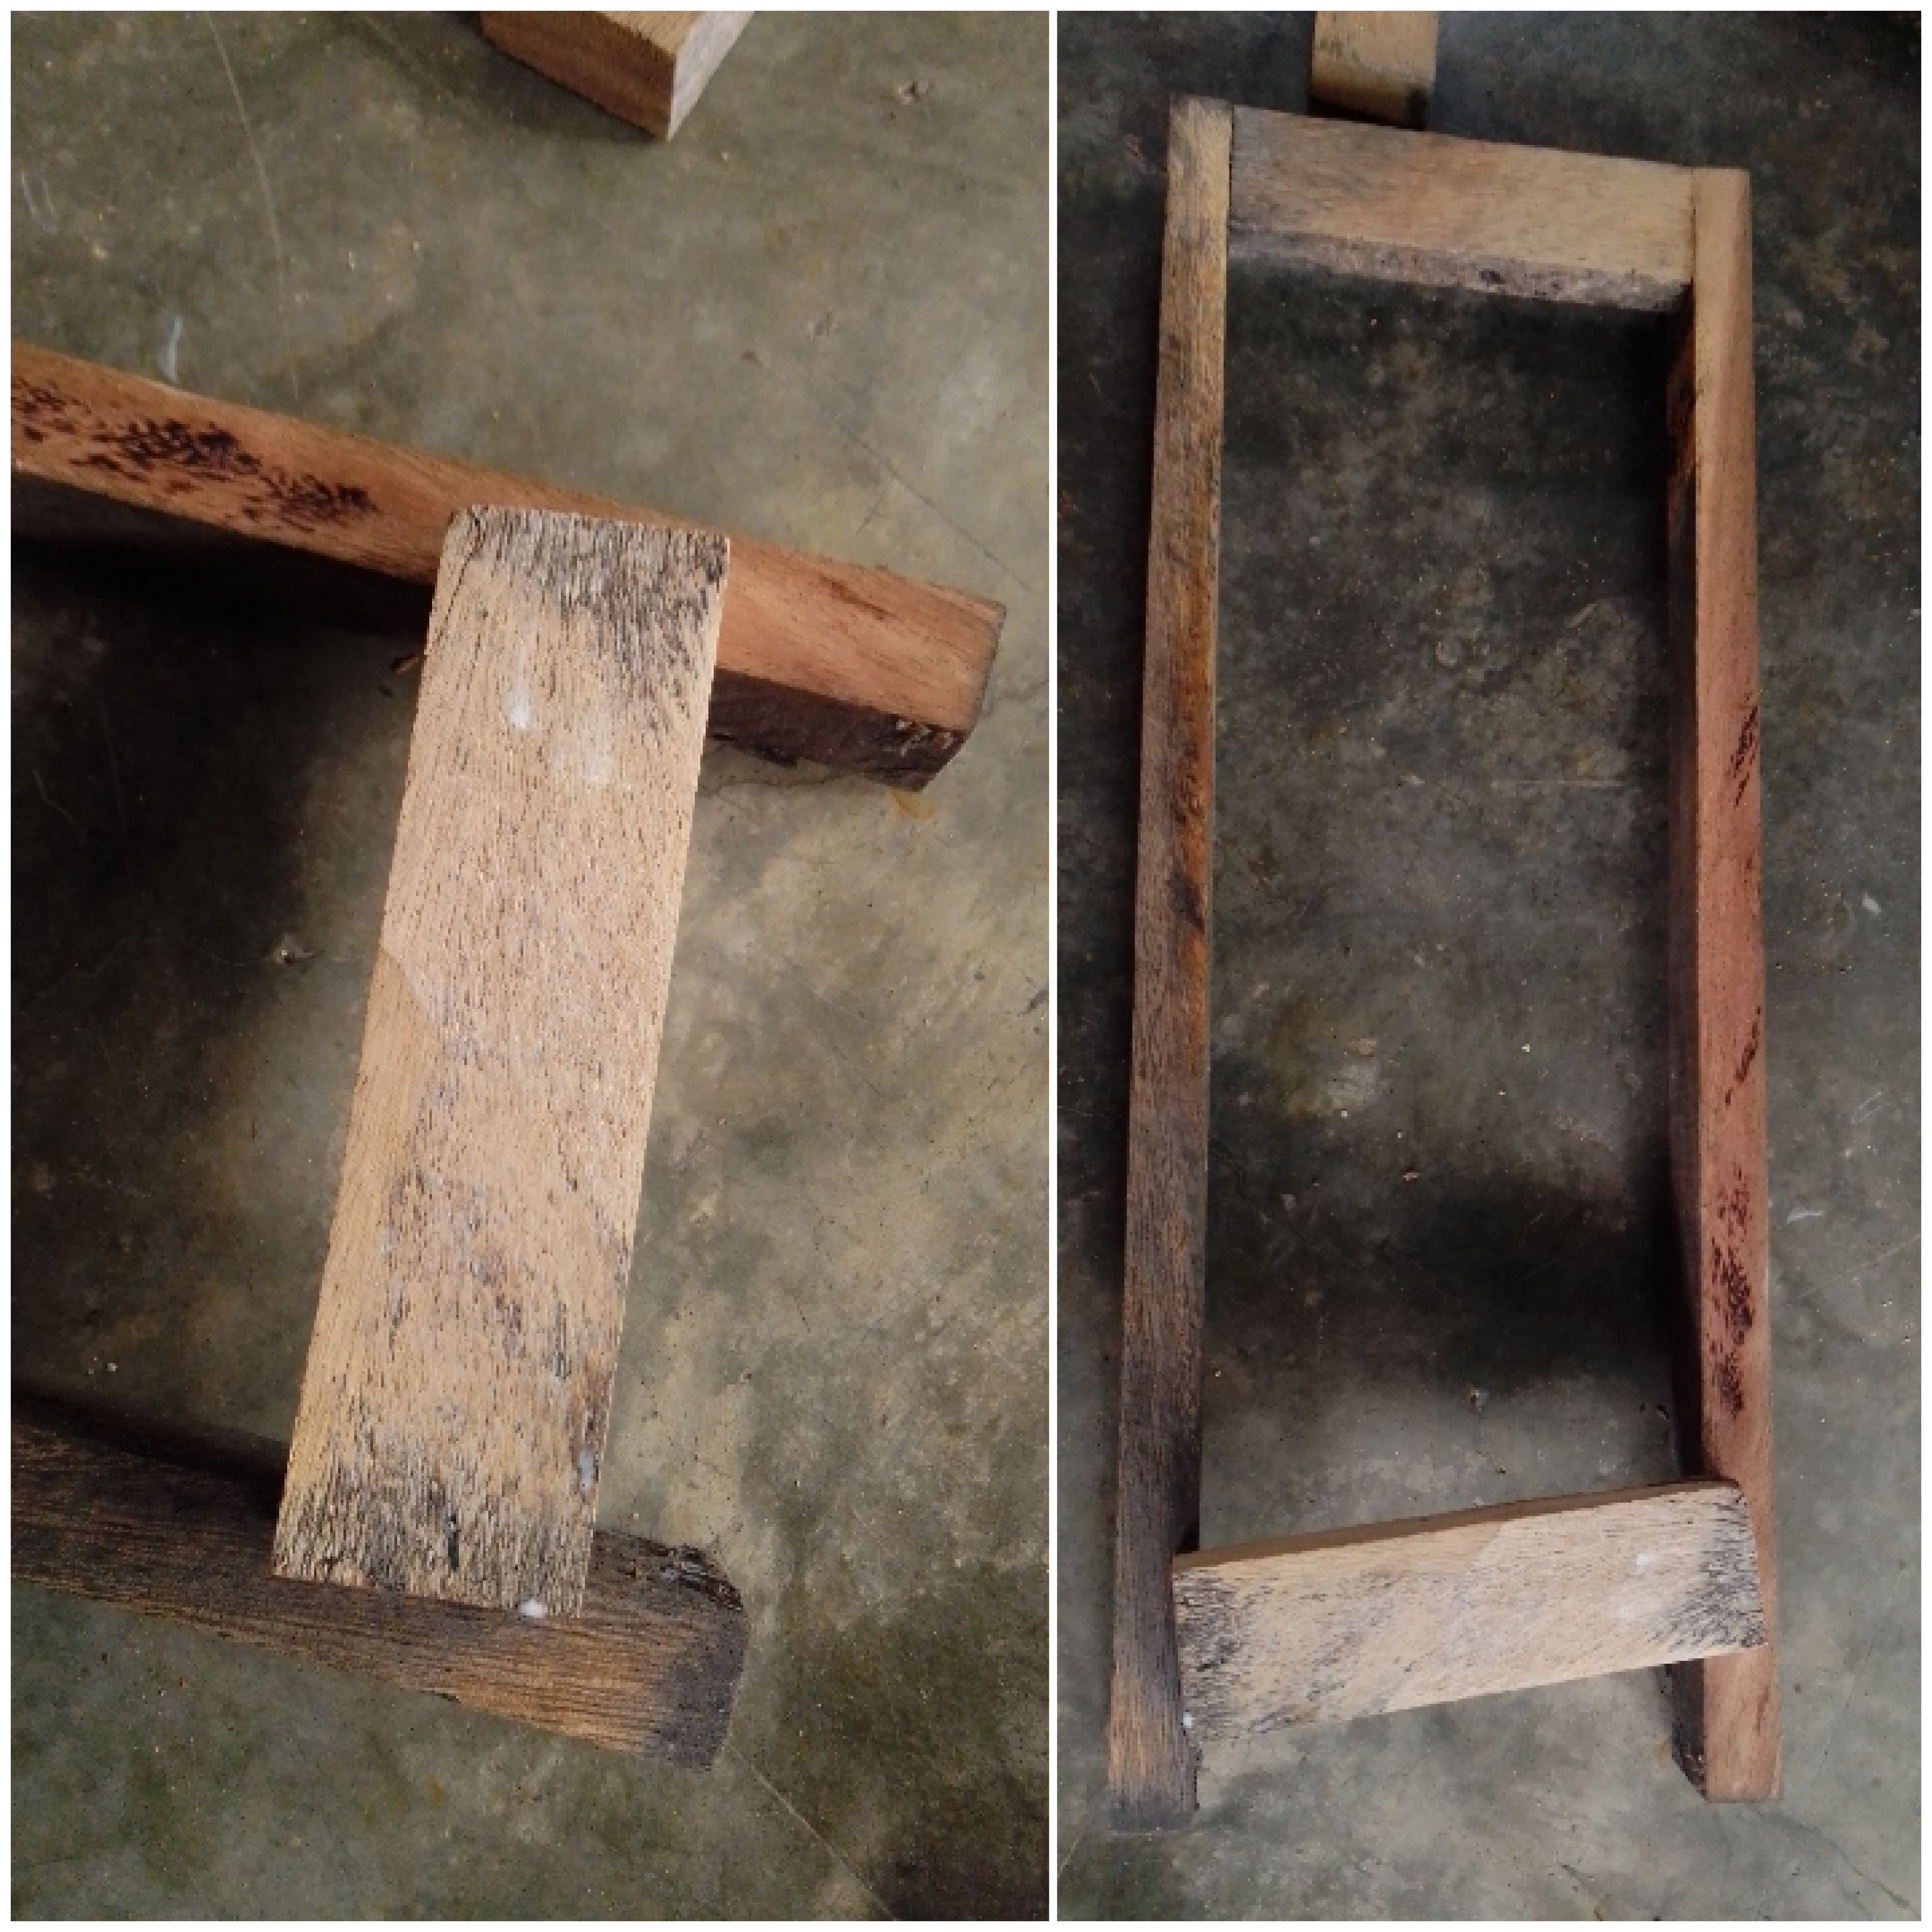
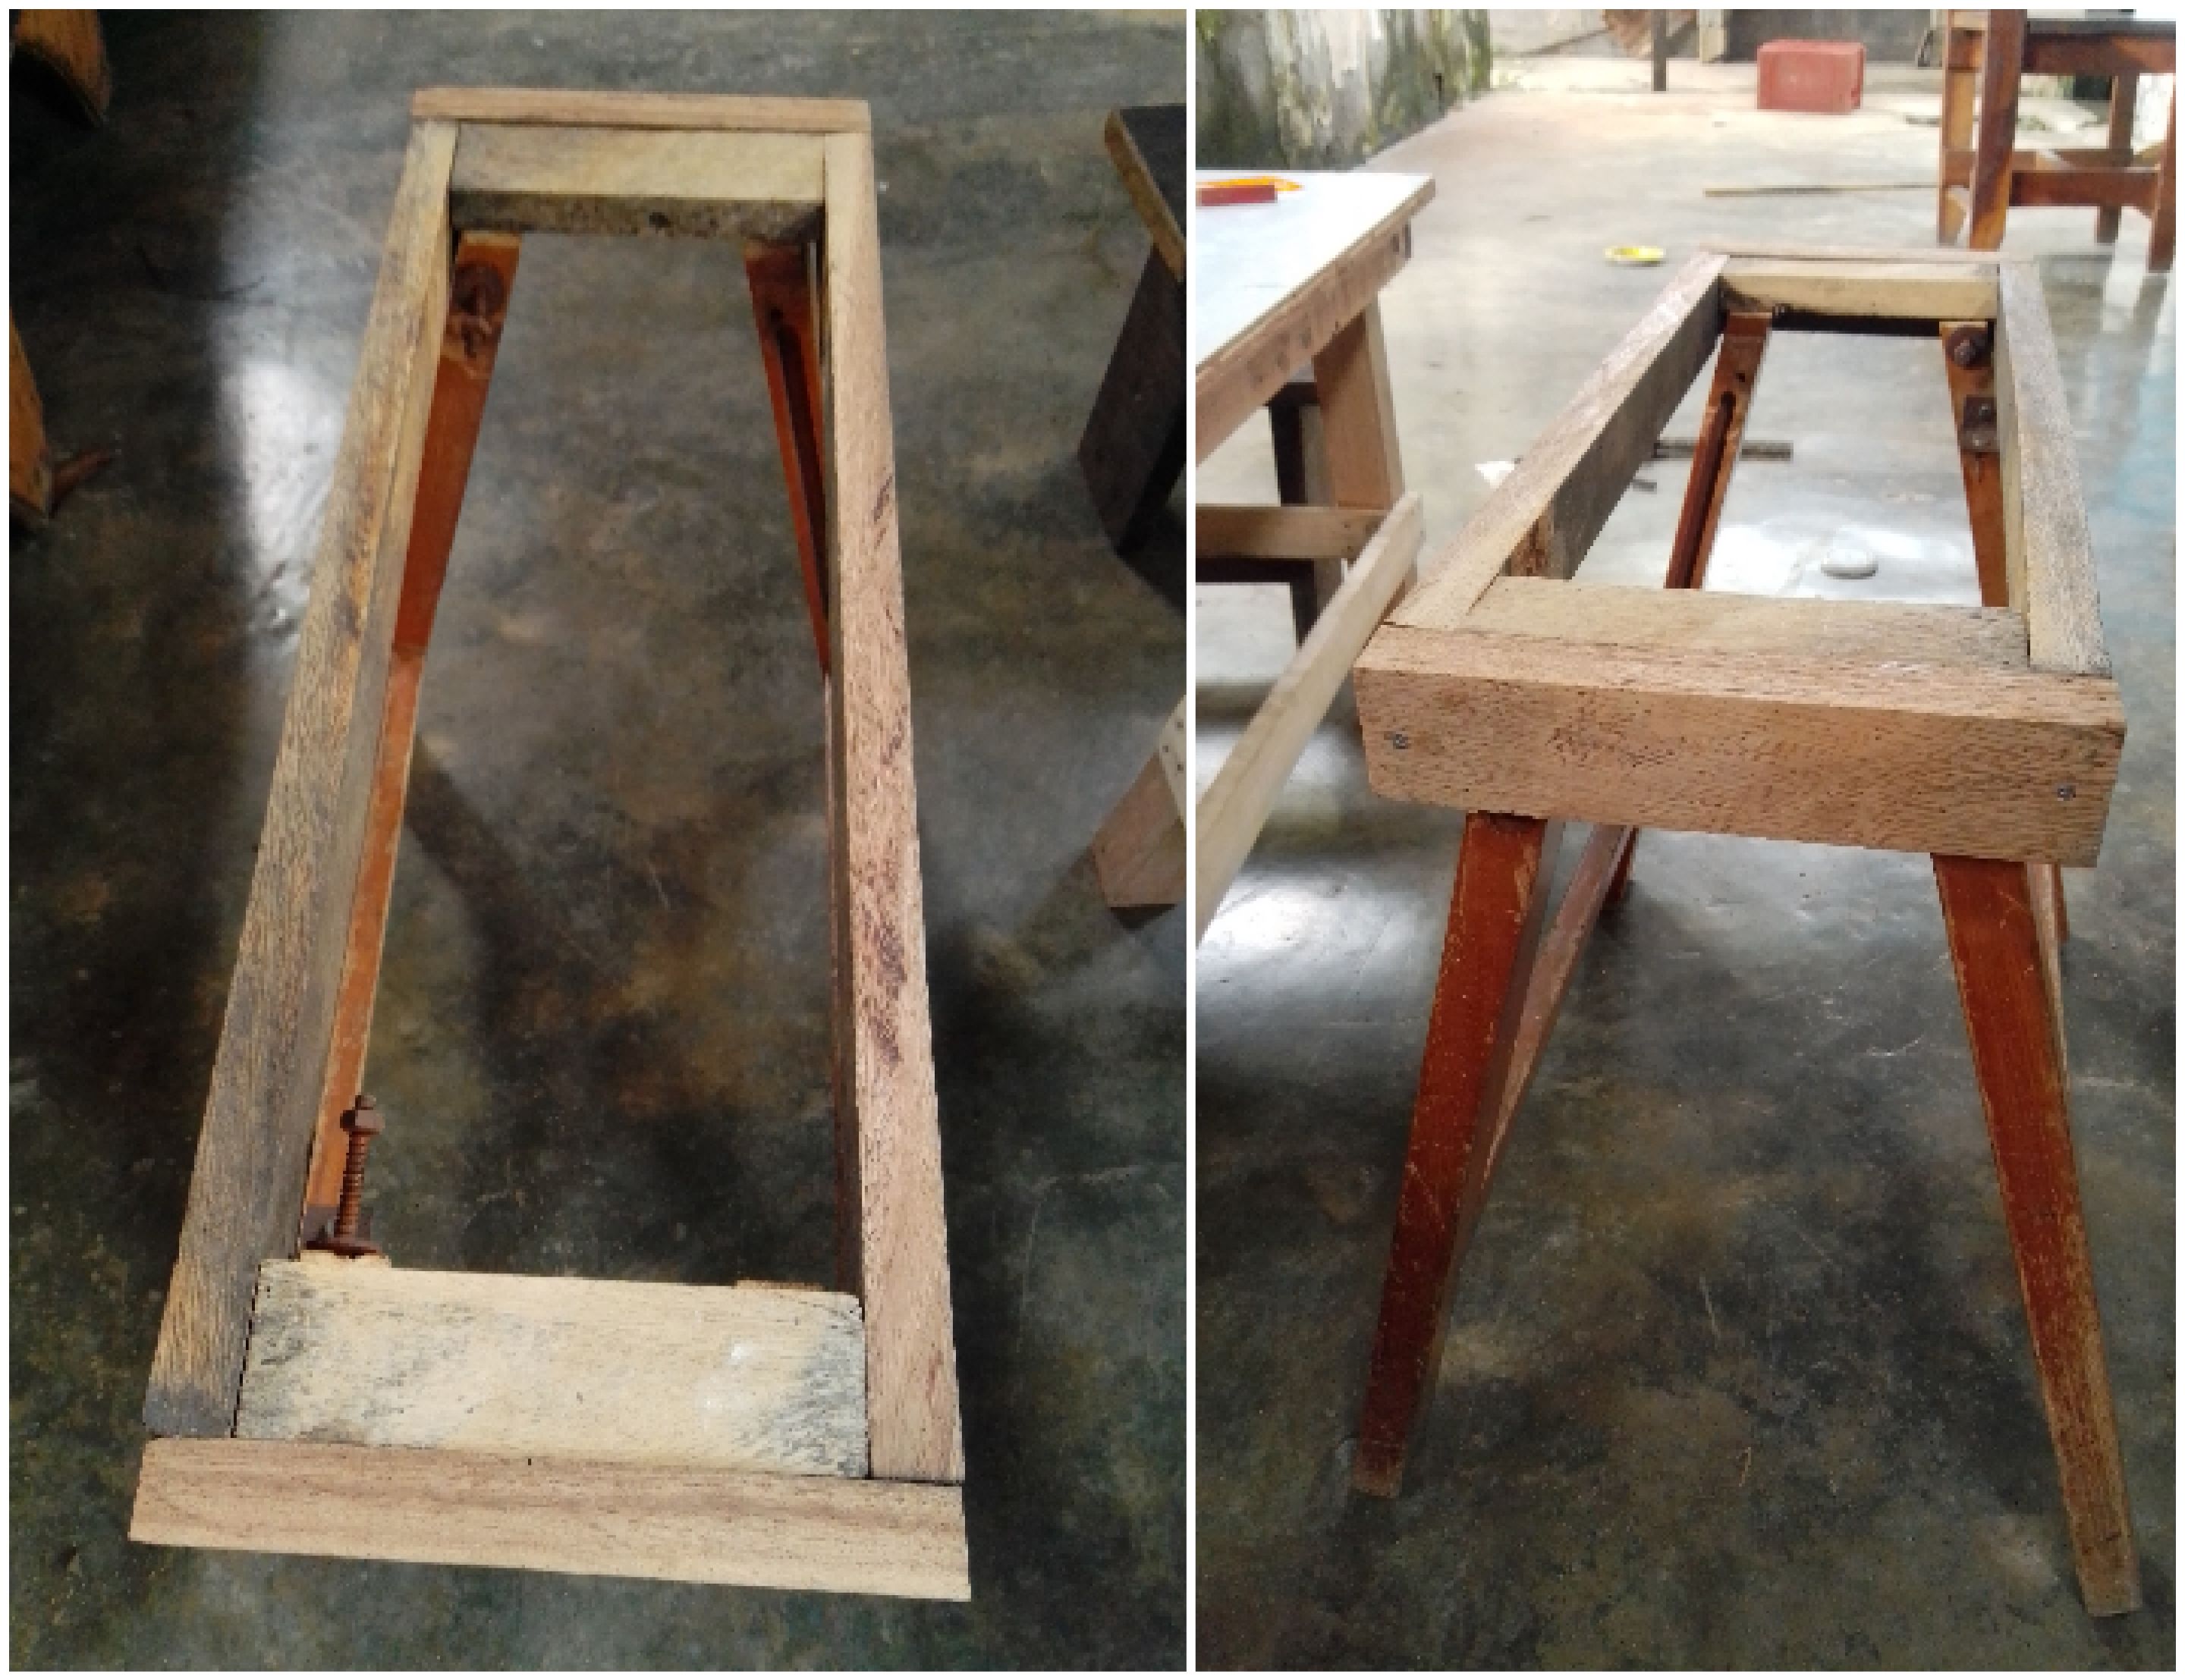
Reservamos la estructura de la silla y nos concentramos a realizar el asiento, creamos un rectángulo como si fuese una marco y clavamos como les muestro en la imagen, además en cada borde clavamos otra madera que quede al mismo ancho que la más larga, esto para generar un empotrado.
Paso 10
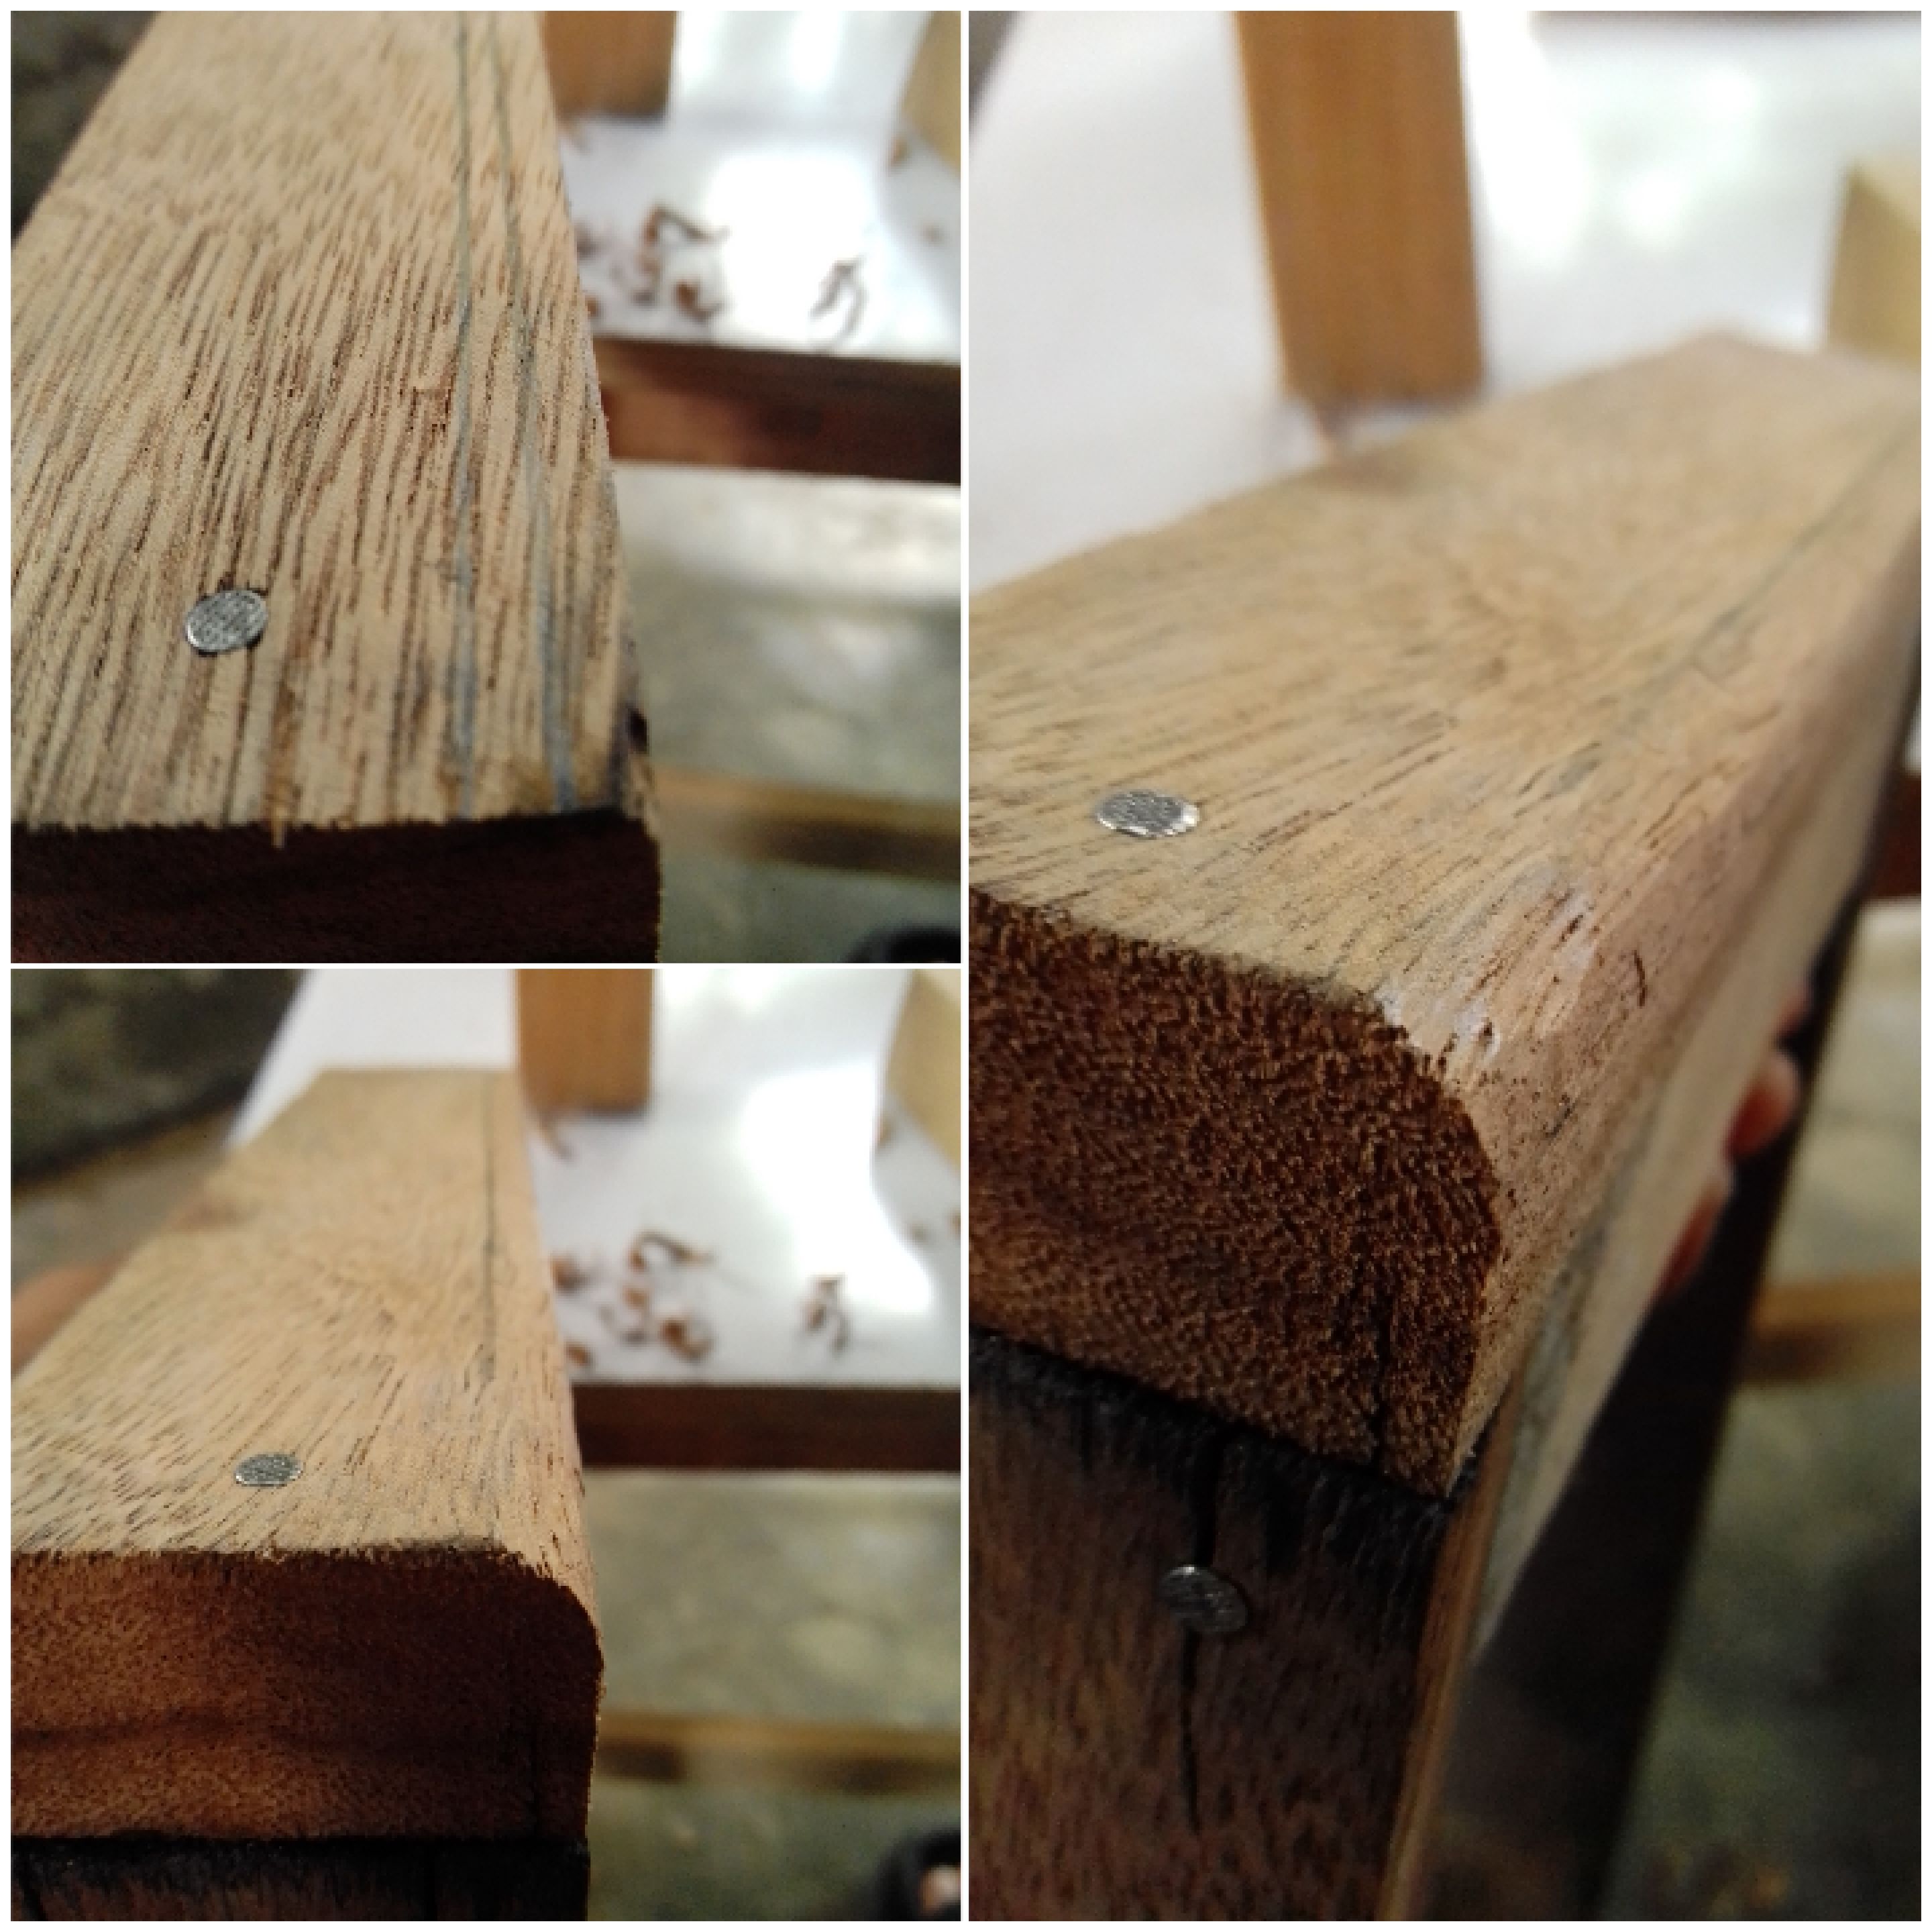
Con una cuchilla o un cepillo de carpintero suavizamos los bordes, esto para darle más suavidad y ornamento.
Paso 11
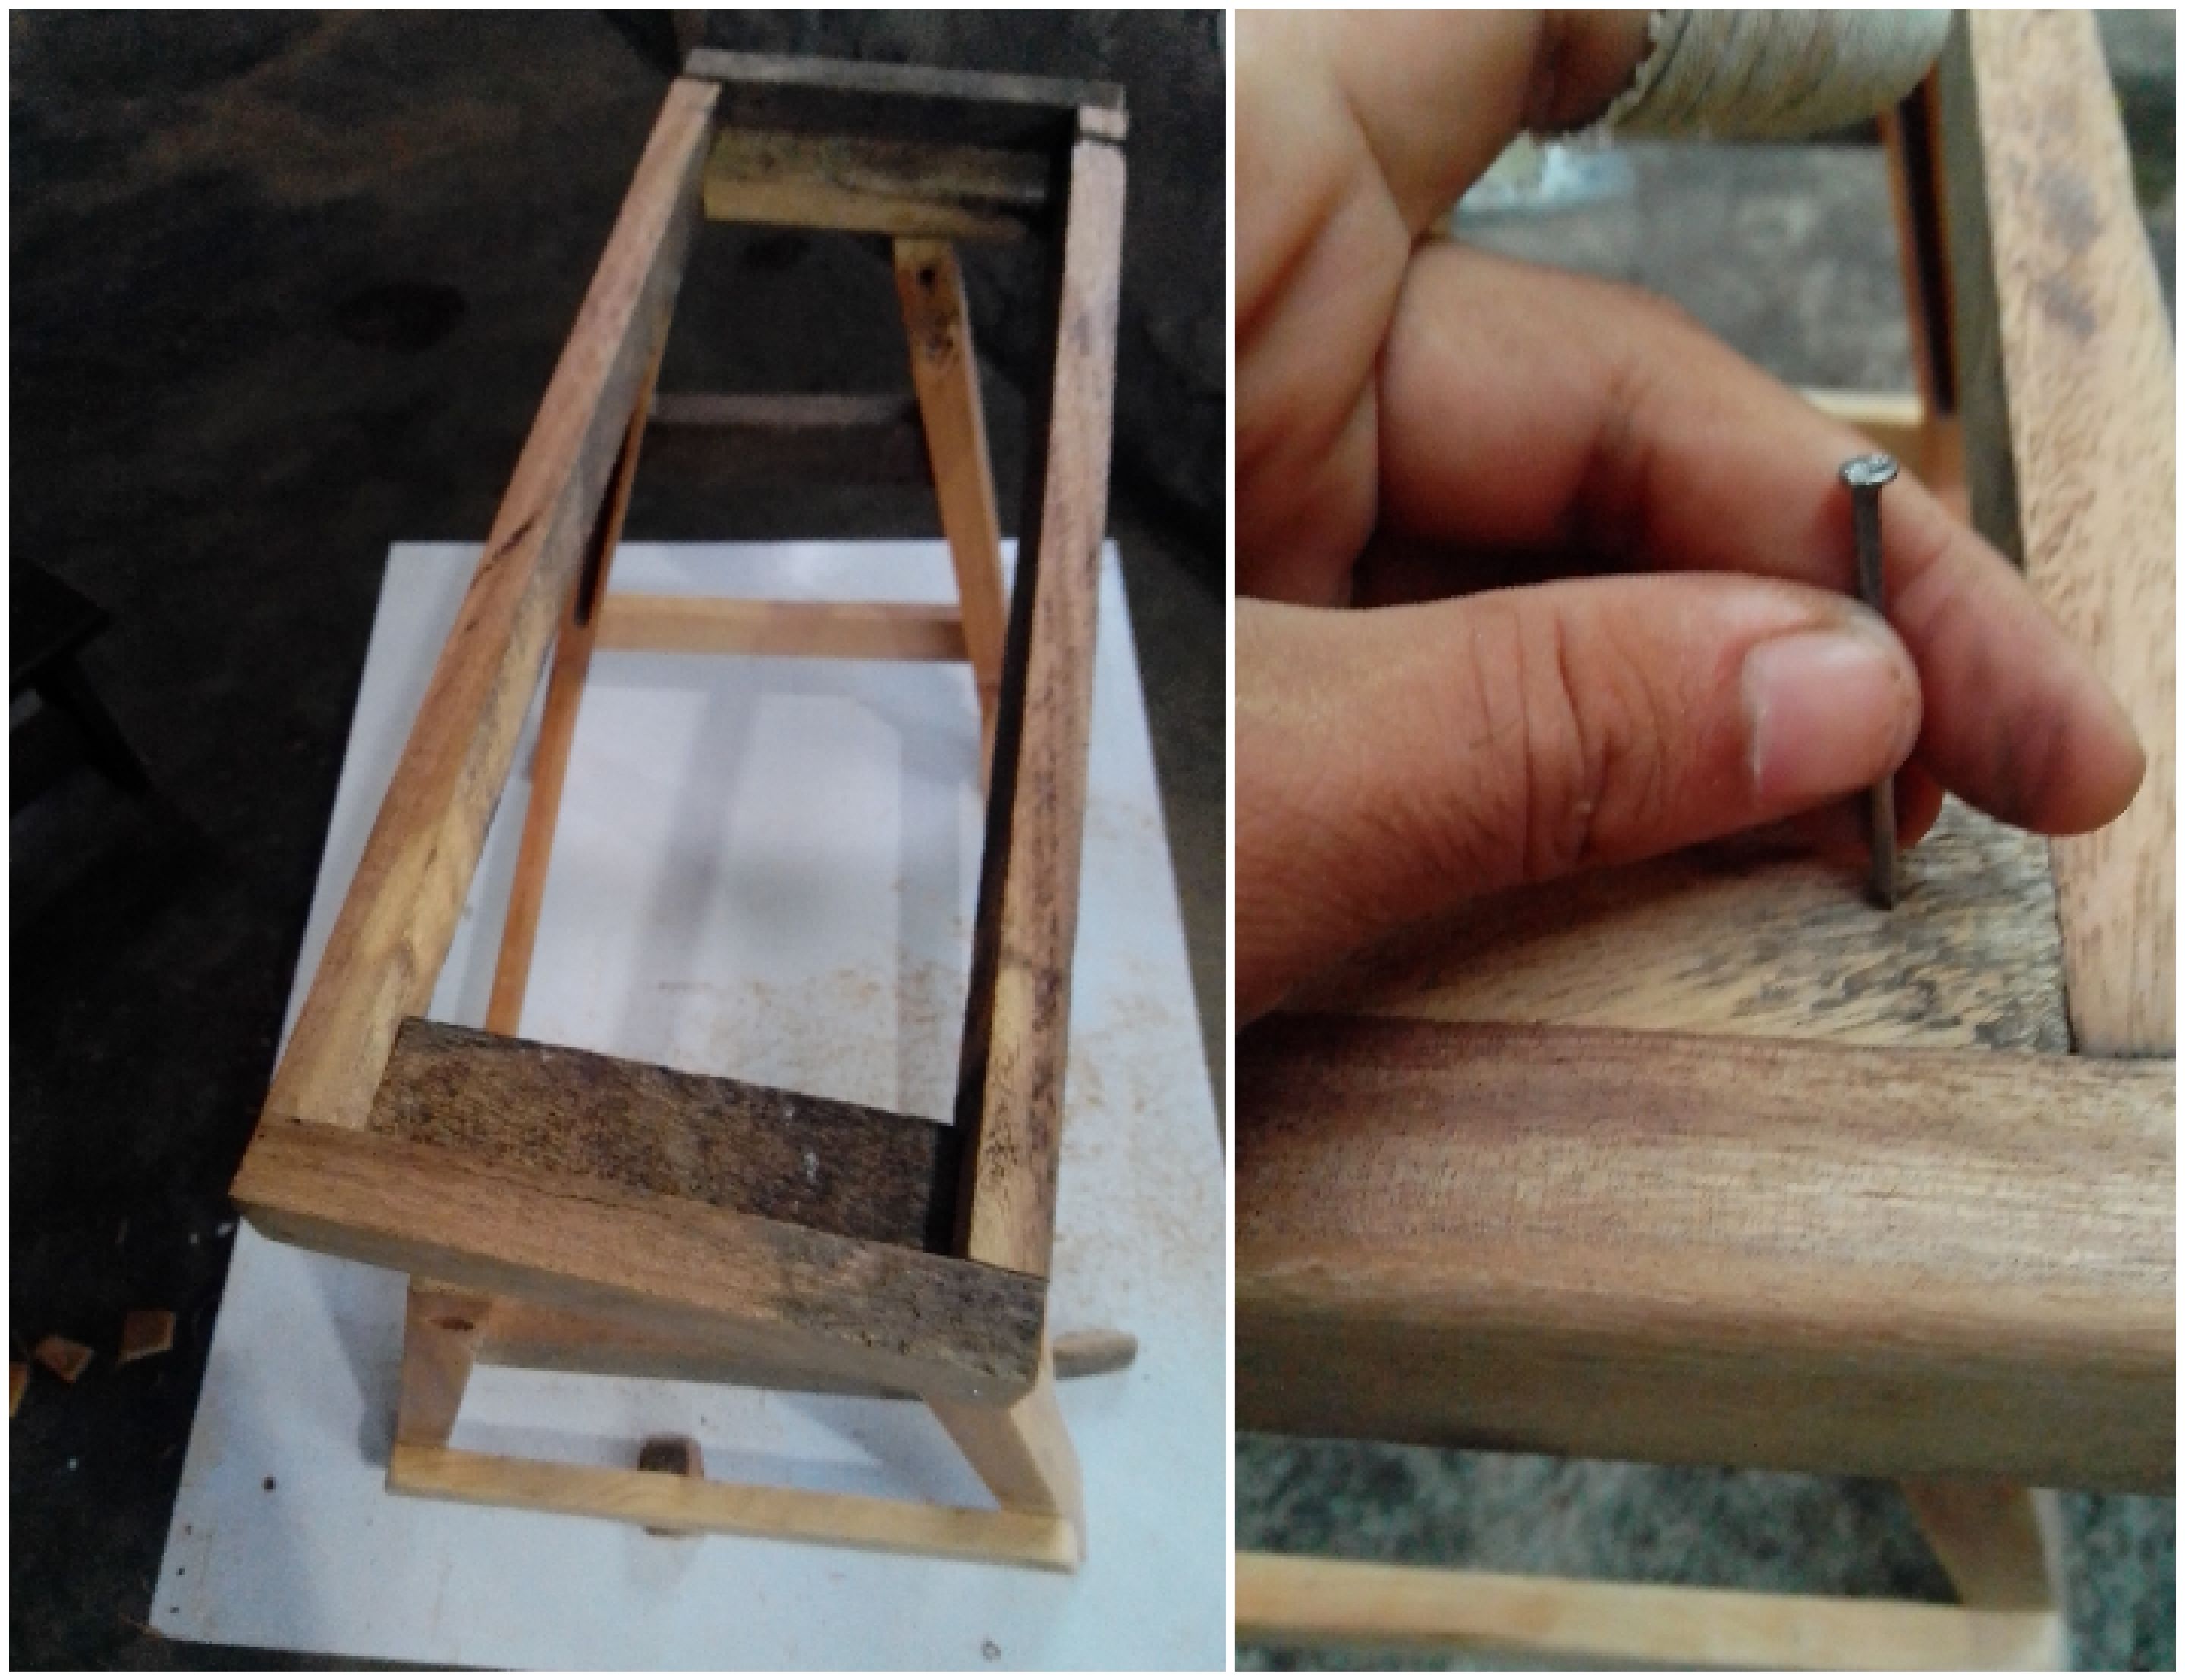
Ahora casi acercándonos al final, ensamblemos ambas estructuras y clavamos, no nos olvidemos de poner cola porque la cola pega y el clavo da la presión necesaria para la unión.
Paso 12
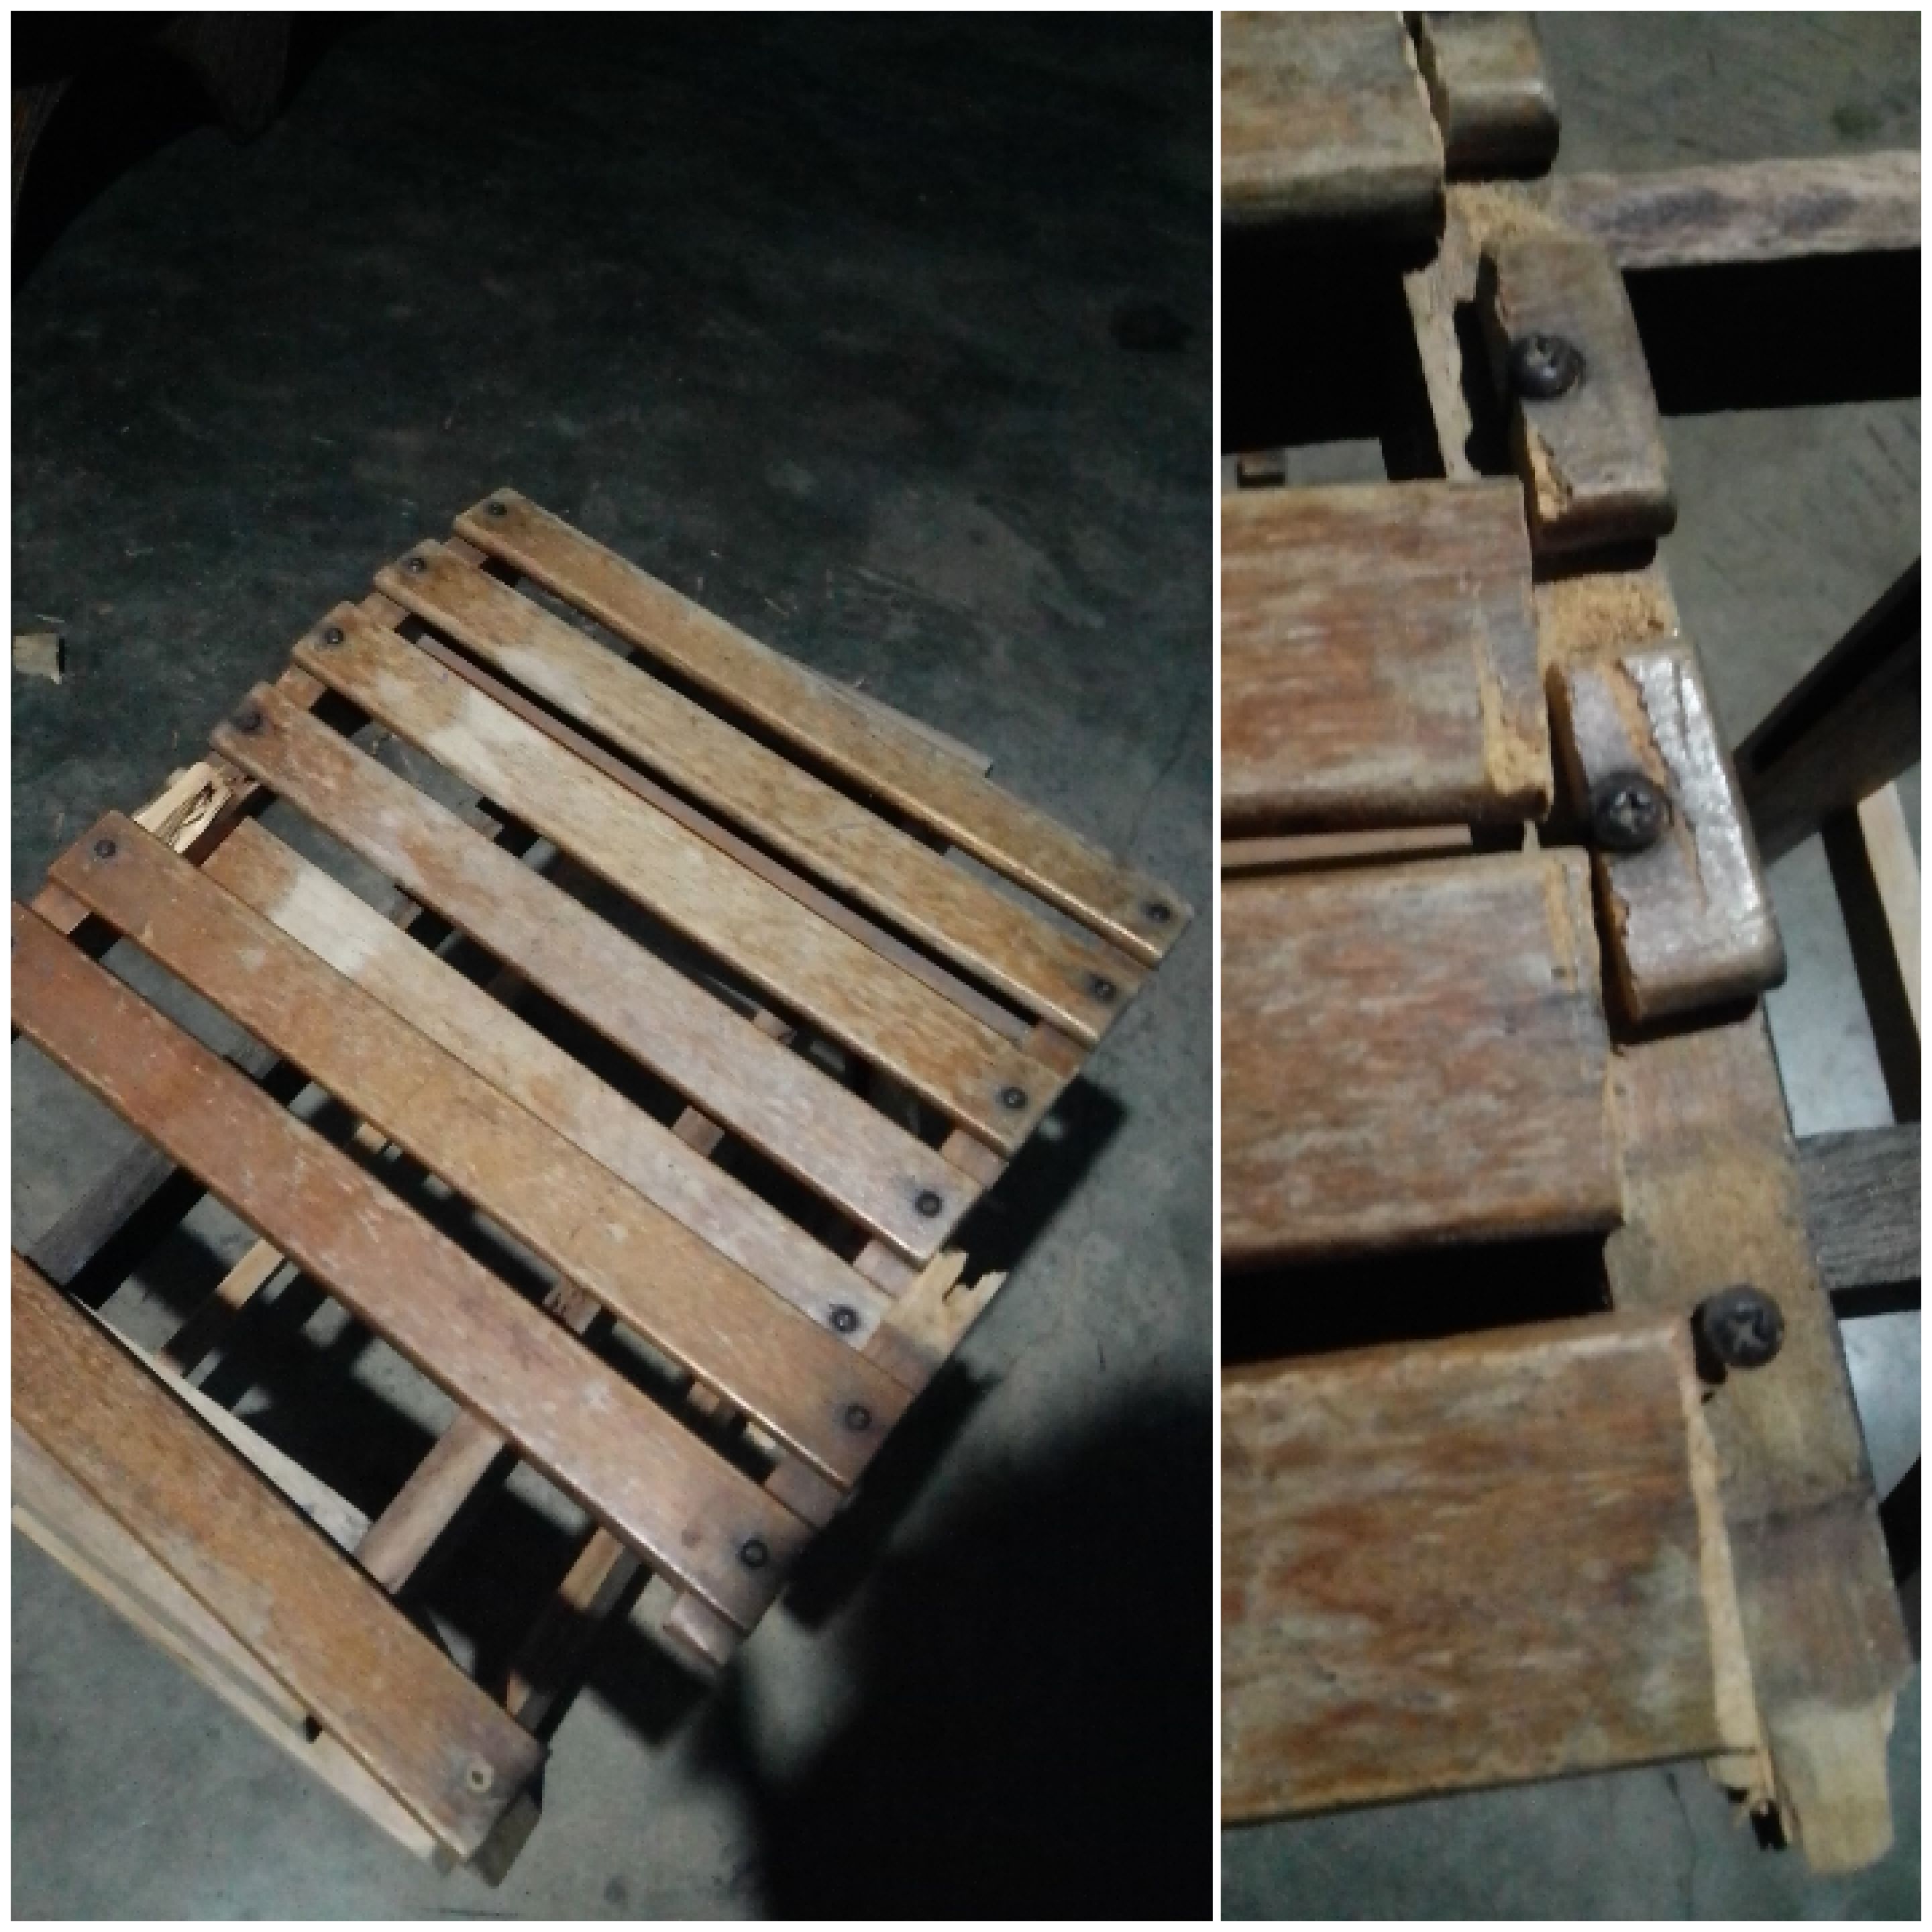
Tomamos el antiguo asiento y tomamos cada una de estas tablas, en vista que no pude quitar los tornillos lo que hice fue serruchar, las lije y las clave con clavos de 1 pulgada, pues si usamos más largo necesitaríamos generar más impacto y como resultado tendríamos el debilitamiento de las patas y toda la estructura.
Paso 13
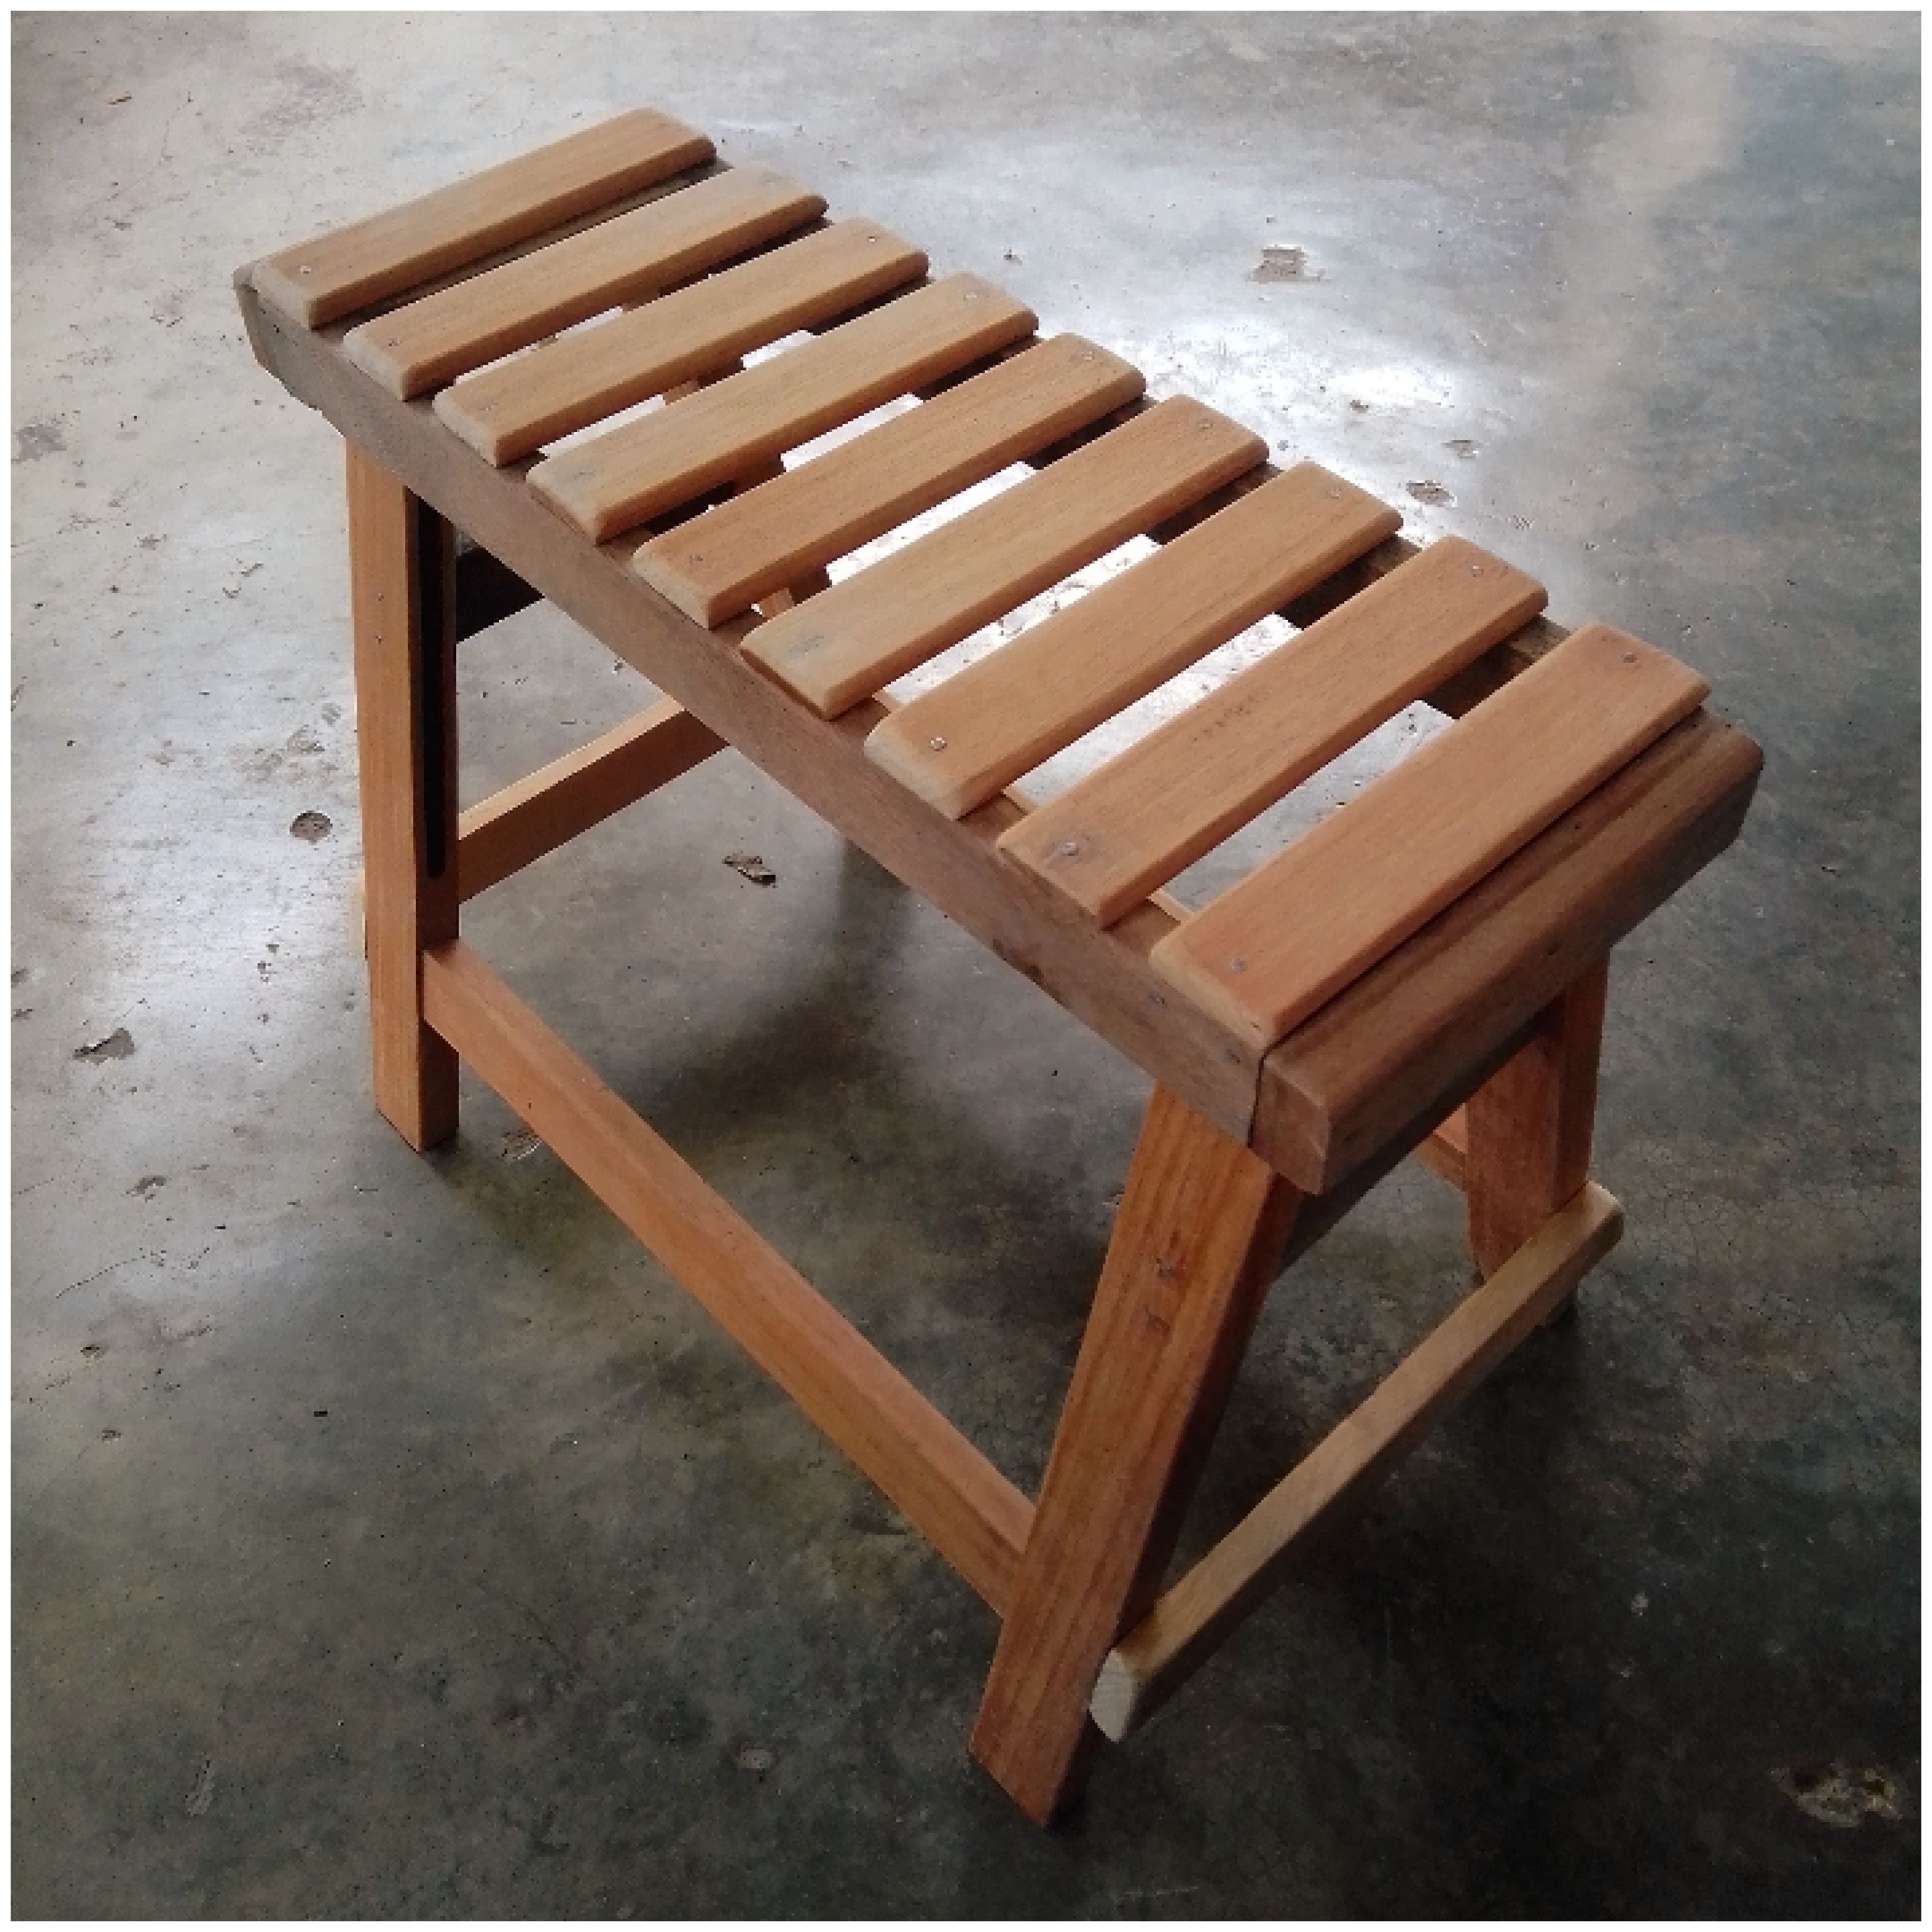
De esta manera podemos apreciar el trabajo final de la silla musical, el último paso complementario sería el barnizado para realzar los tonos y protegerla.
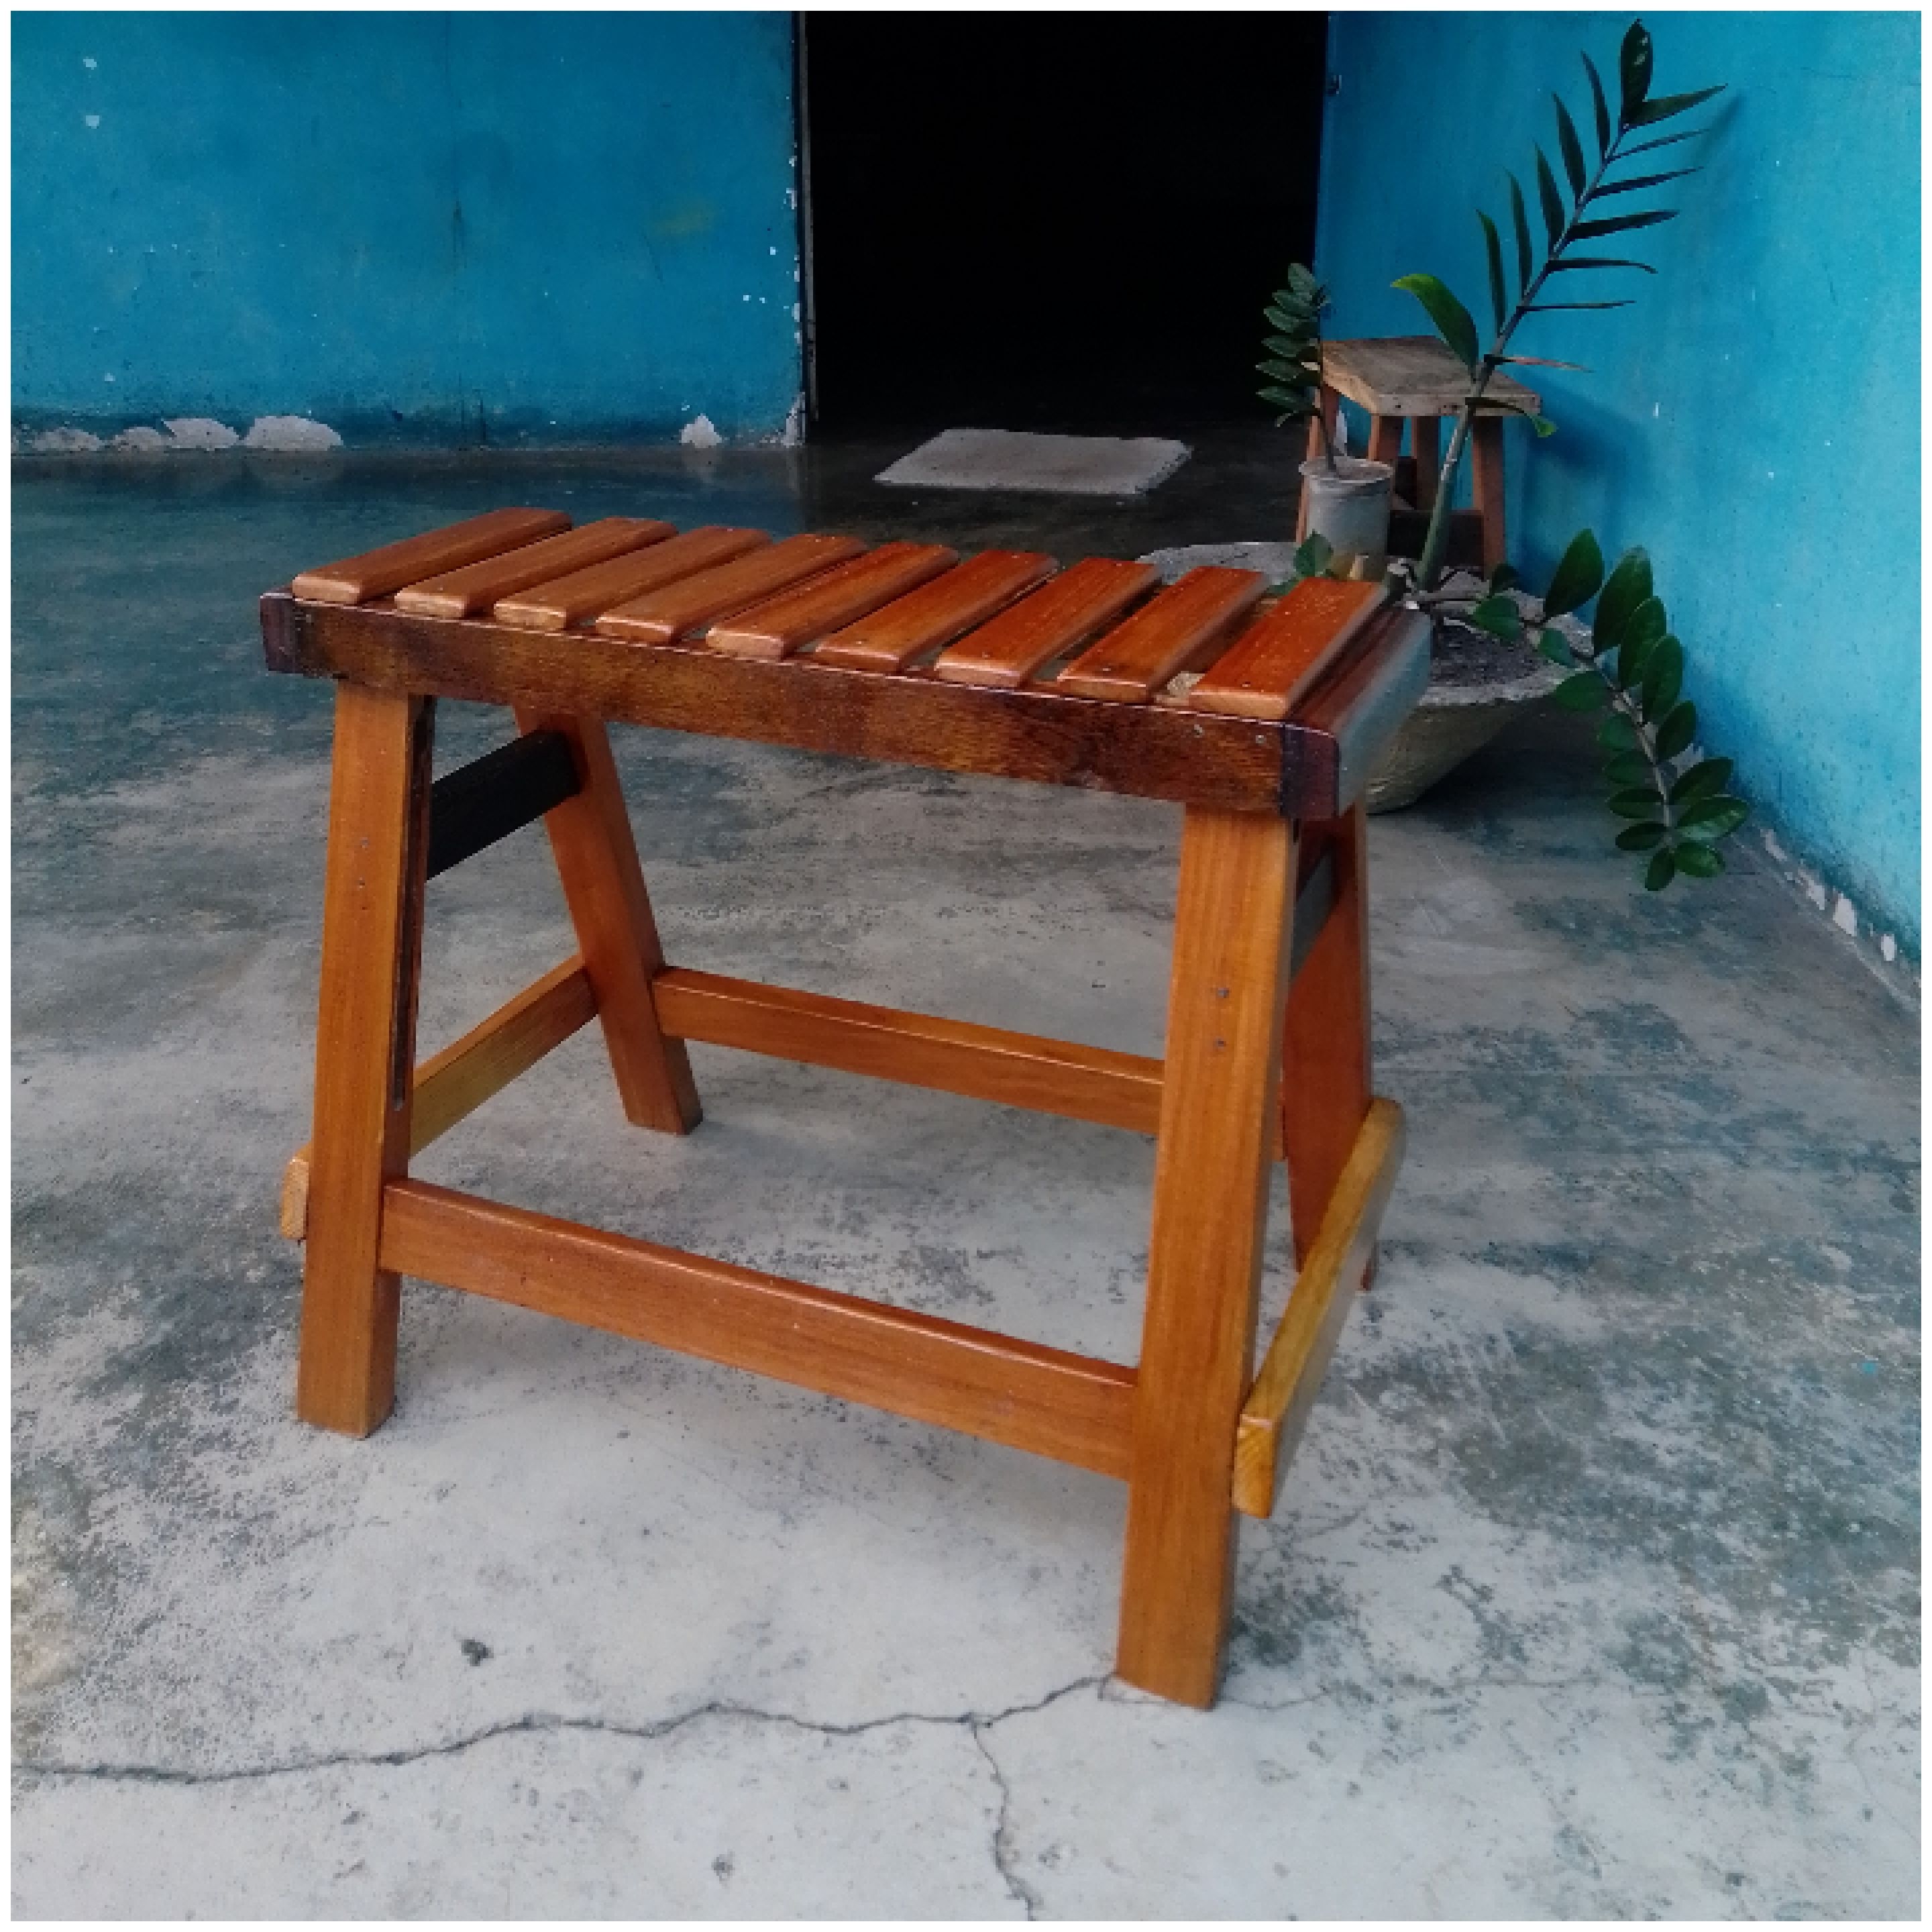
Amigos entusiastas, artesanos, creadores de Hive diy de esta manera finalice este pequeño proyecto el cual lo realice completamente a mano, me tomo 1 día y medio, trabajando pacientemente, así que tenemos una nueva silla para pensar y reflexionar sobre otros encuentro con la madera ya sea crear desde cero, modificar o arreglar, aunque siendo sincero es mucho más practico comenzar desde cero una idea, aunque muchas veces debemos inhalar y exhalar al redefinir ciertos muebles e instrumentos me disfruto tal práctica con la filosofía de dar vida y utilidad a algo, antes de ir a la leña, siempre con objetividad, porque muchas veces hay objetos que sinceramente ya tuvieron su vida útil.

Me despido y espero que sea de provecho este contenido, muchas gracias por leer, si tienen alguna sugerencia o duda estoy atento a los comentarios y si desean hacer algún pedido o adquirir algún trabajo de los que hago pueden contactarme, hasta una próxima publicación.

- Fotografías tomadas desde mi celular
- texto traducido en deelp
- Edición de imágenes en canva
- Diseño de plano en SketchUp

English
Greetings dear friends creators of hive diy, lovers of creating and modifying and above all contribute to the ideas of construction and decoration of spaces, I had a few days without publishing, so we return with more handmade work.

This time I will share with you a bit of carpentry and how we can modify and prolong the life of a piece of furniture, it is a matter of visualizing the virtues of it and also its woods, since they could be old hardwoods of very good quality, is an activity that I usually do in the atelier, many times I get them other times I buy them, sometimes they are not repairable, it is the constant vision of the creator, develop an idea with what we have, so look for square, saw hammer and nail.
...
Saw
1 1/2"" nails
Carpenter's glue
Hammer
Wood
step 1

In this step I present you the beach chair found, apparently the seat was broken and they tried to put it fixed, but it would break again for little support surface, so I took it home and studied the possibility of transforming it and give it a second life.
Step 2

I went to my PC and began to devise the plan in sketchup, so this was the result, the plan is very useful, because when we start making cuts we will not have to be thinking so much, because that time is invested in the creation of the plan, the design inspiration I got from the music, because as I develop my art from the lutherie of Chordophones, imagine a small xylophone and could even be the chair of a pianist, this chair I call, "the musical chair".
Step 3

Here we started by disassembling the chair and giving them the same dimensions to both, as one of the parts had an angle, which gave it more inclination when resting on the floor, so I cut them all straight.
Step 4

We take a piece of wood which will serve as the upper crossbar and provide us with the angle, this will trace an angle of 80 and with the saw I was cutting, calmly and without accelerating the cut so that it is neat.
Step 5

We take the previous crossbar and proceed to place it on the line that we have arranged, we put carpenter's glue and nail, I advise you to nail the legs first to make it much more practical nailing because when we nail on a piece with an angle usually runs.
Step 6

As we could see in the plan I will place some lateral crossbars to give more stability to the chair, we put some glue and nail.
Step 7


Already having our structure ready what we do in this step is to scrape the surface with a blade and then sand it with sandpaper 80 to 220 and so we will see the change of it.
Step 8

To finish the process of the structure we will level the legs, we place it on a flat surface and place a wood of at least 0.5 cm, we glue it to the leg and trace, in this way we get the angle indicated so that it is without unevenness.
Step 9


We reserve the structure of the chair and we concentrate to make the seat, we create a rectangle as if it were a frame and nail as I show you in the image, also in each edge we nail another wood that is the same width as the longest, this to generate a recessed.
Step 10

With a blade or a carpenter's plane we smooth the edges, this to give it more smoothness and ornament.
Step 11

Now almost approaching the end, we assemble both structures and nail, do not forget to put glue because the glue sticks and the nail gives the necessary pressure for the union.
The glue glues and the nail gives the necessary pressure for the union.
Step 12

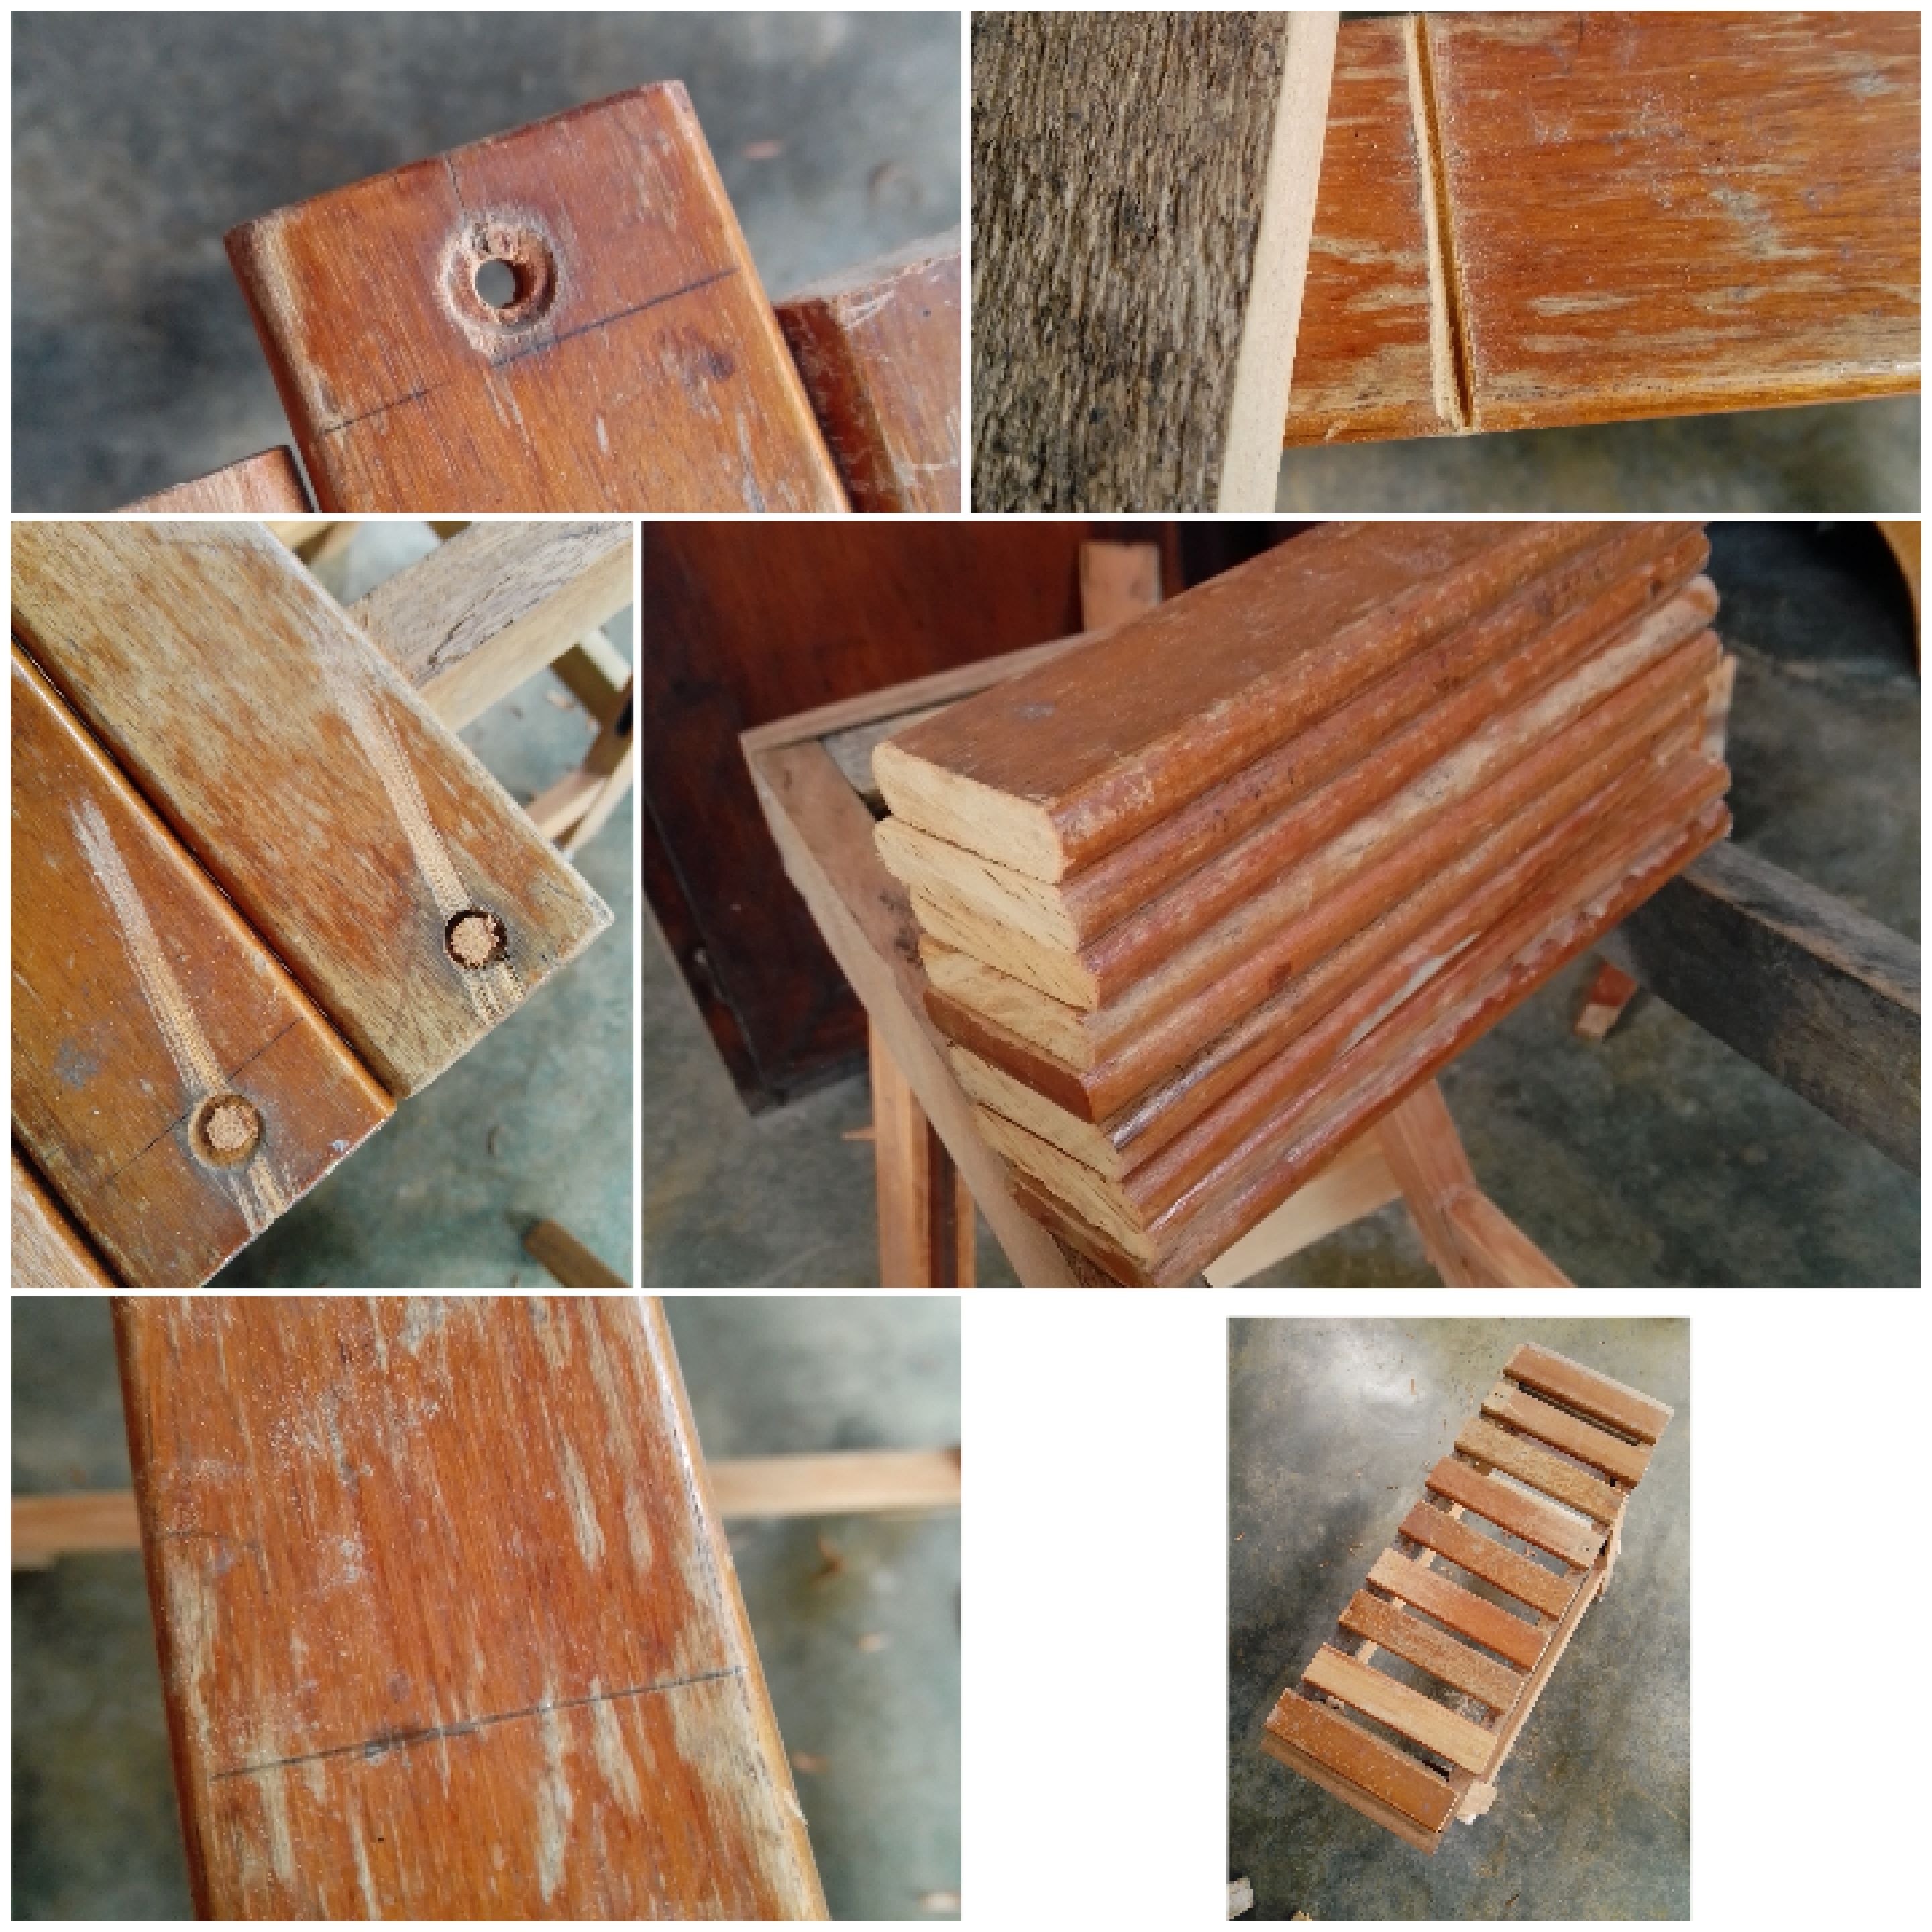
We took the old seat and took each of these boards, in view that I could not remove the screws what I did was sawing, sanded them and nailed them with 1 inch nails, because if we used longer we would need to generate more impact and as a result we would have the weakening of the legs and the whole structure.
Step 13

In this way we can appreciate the final work of the musical chair, the last complementary step would be the varnishing to enhance the tones and protect it.

Enthusiast friends, craftsmen, creators of Hive diy in this way I finish this little project which I made it completely by hand, it took me 1 day and a half, working patiently, so we have a new chair to think and reflect on other encounters with wood either create from scratch, modify or fix, although being honest it is much more practical to start from scratch an idea, although many times we must inhale and exhale when redefining certain furniture and instruments I enjoy such practice with the philosophy of giving life and utility to something, before going to the firewood, always with objectivity, because many times there are objects that sincerely already had their useful life.

I say goodbye and I hope this content is of benefit, thank you very much for reading, if you have any suggestions or questions I am attentive to the comments and if you wish to place an order or purchase any of the work I do can contact me, until a future publication.

- Photographs taken from my mobile phone
- Text translated in deelp
- Image editing in canva
Posted Using InLeo Alpha