✨✏️¡Hola amigos amantes de la creatividad! Espero que hayan pasado un muy buen comienzo de semana.✏️✨
🔸Sin más que añadir, a continuación los dejo con el paso a paso:
✨✏️¡Hello friends who love creativity! I hope you had a very good start to the week.✏️✨
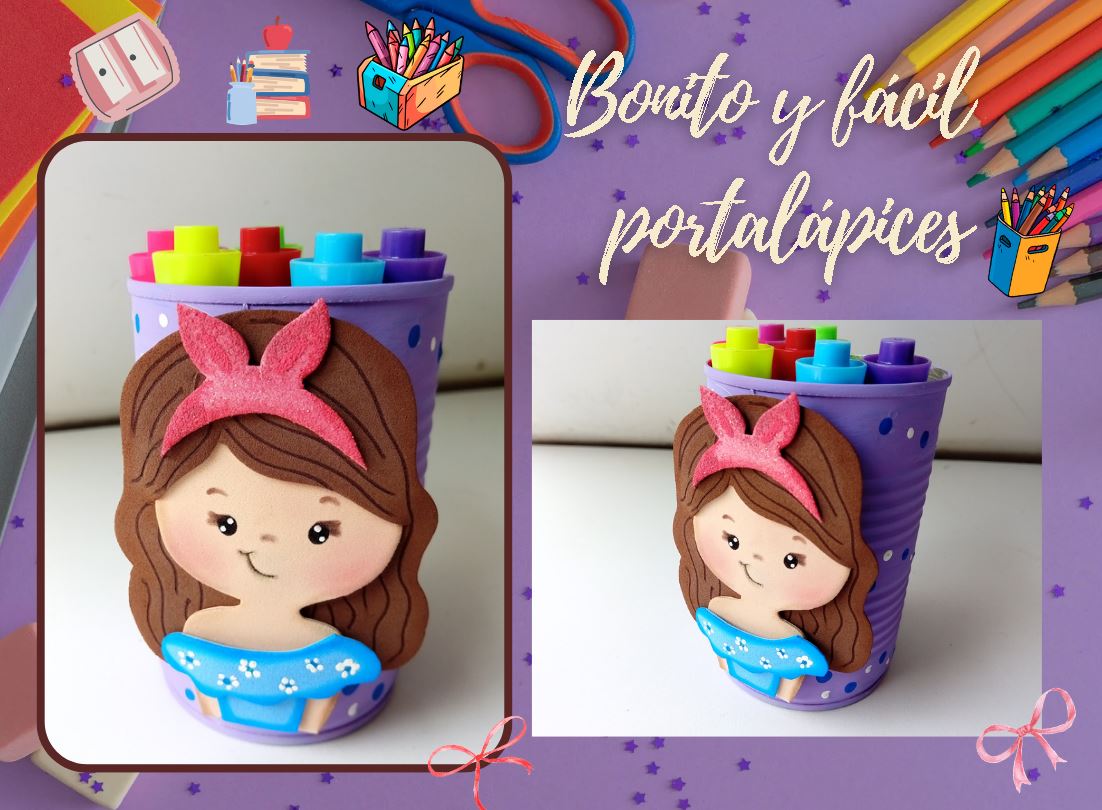
Good afternoon friends. I hope you are having a great week. Today I share with you the step by step to make a beautiful pencil holder. For a while now I have wanted to make a nice, but simple pencil holder to share with you, but I couldn't carry out the idea, since I hadn't opened the can that I will be using in this tutorial, haha. I had many ideas with this can, another of them was to cover it with fabric, but just before starting, I changed my plans and decided to paint it. Also, I wanted to make a cute figure of a girl or girl in foam to obtain a fairly simple and easy result, but tender and very pretty.
🔸Without more to add, then I leave you with the step by step:
♥️ESPERO QUE TE GUSTE,
¡Empecemos!
♥️I HOPE YOU LIKE IT,
Let's start!

✂️ MATERIALES | ✂️ MATERIALS
- Una lata.
- Pinturas.
- Foami azul.
- Foami piel.
- Foami marrón
- Foami escarchado rosa.
- Marcadores.
- Pegamento.
- Hoja.
- Lápiz.
- A tin.
- Paintings.
- Blue foam.
- Leather foam.
- Brown foam
- Pink frosty foam.
- Markers.
- Glue.
- Sheet.
- Pencil.
✏️ PROCEDIMIENTO | ✏️ PROCESS
- PASO 1:
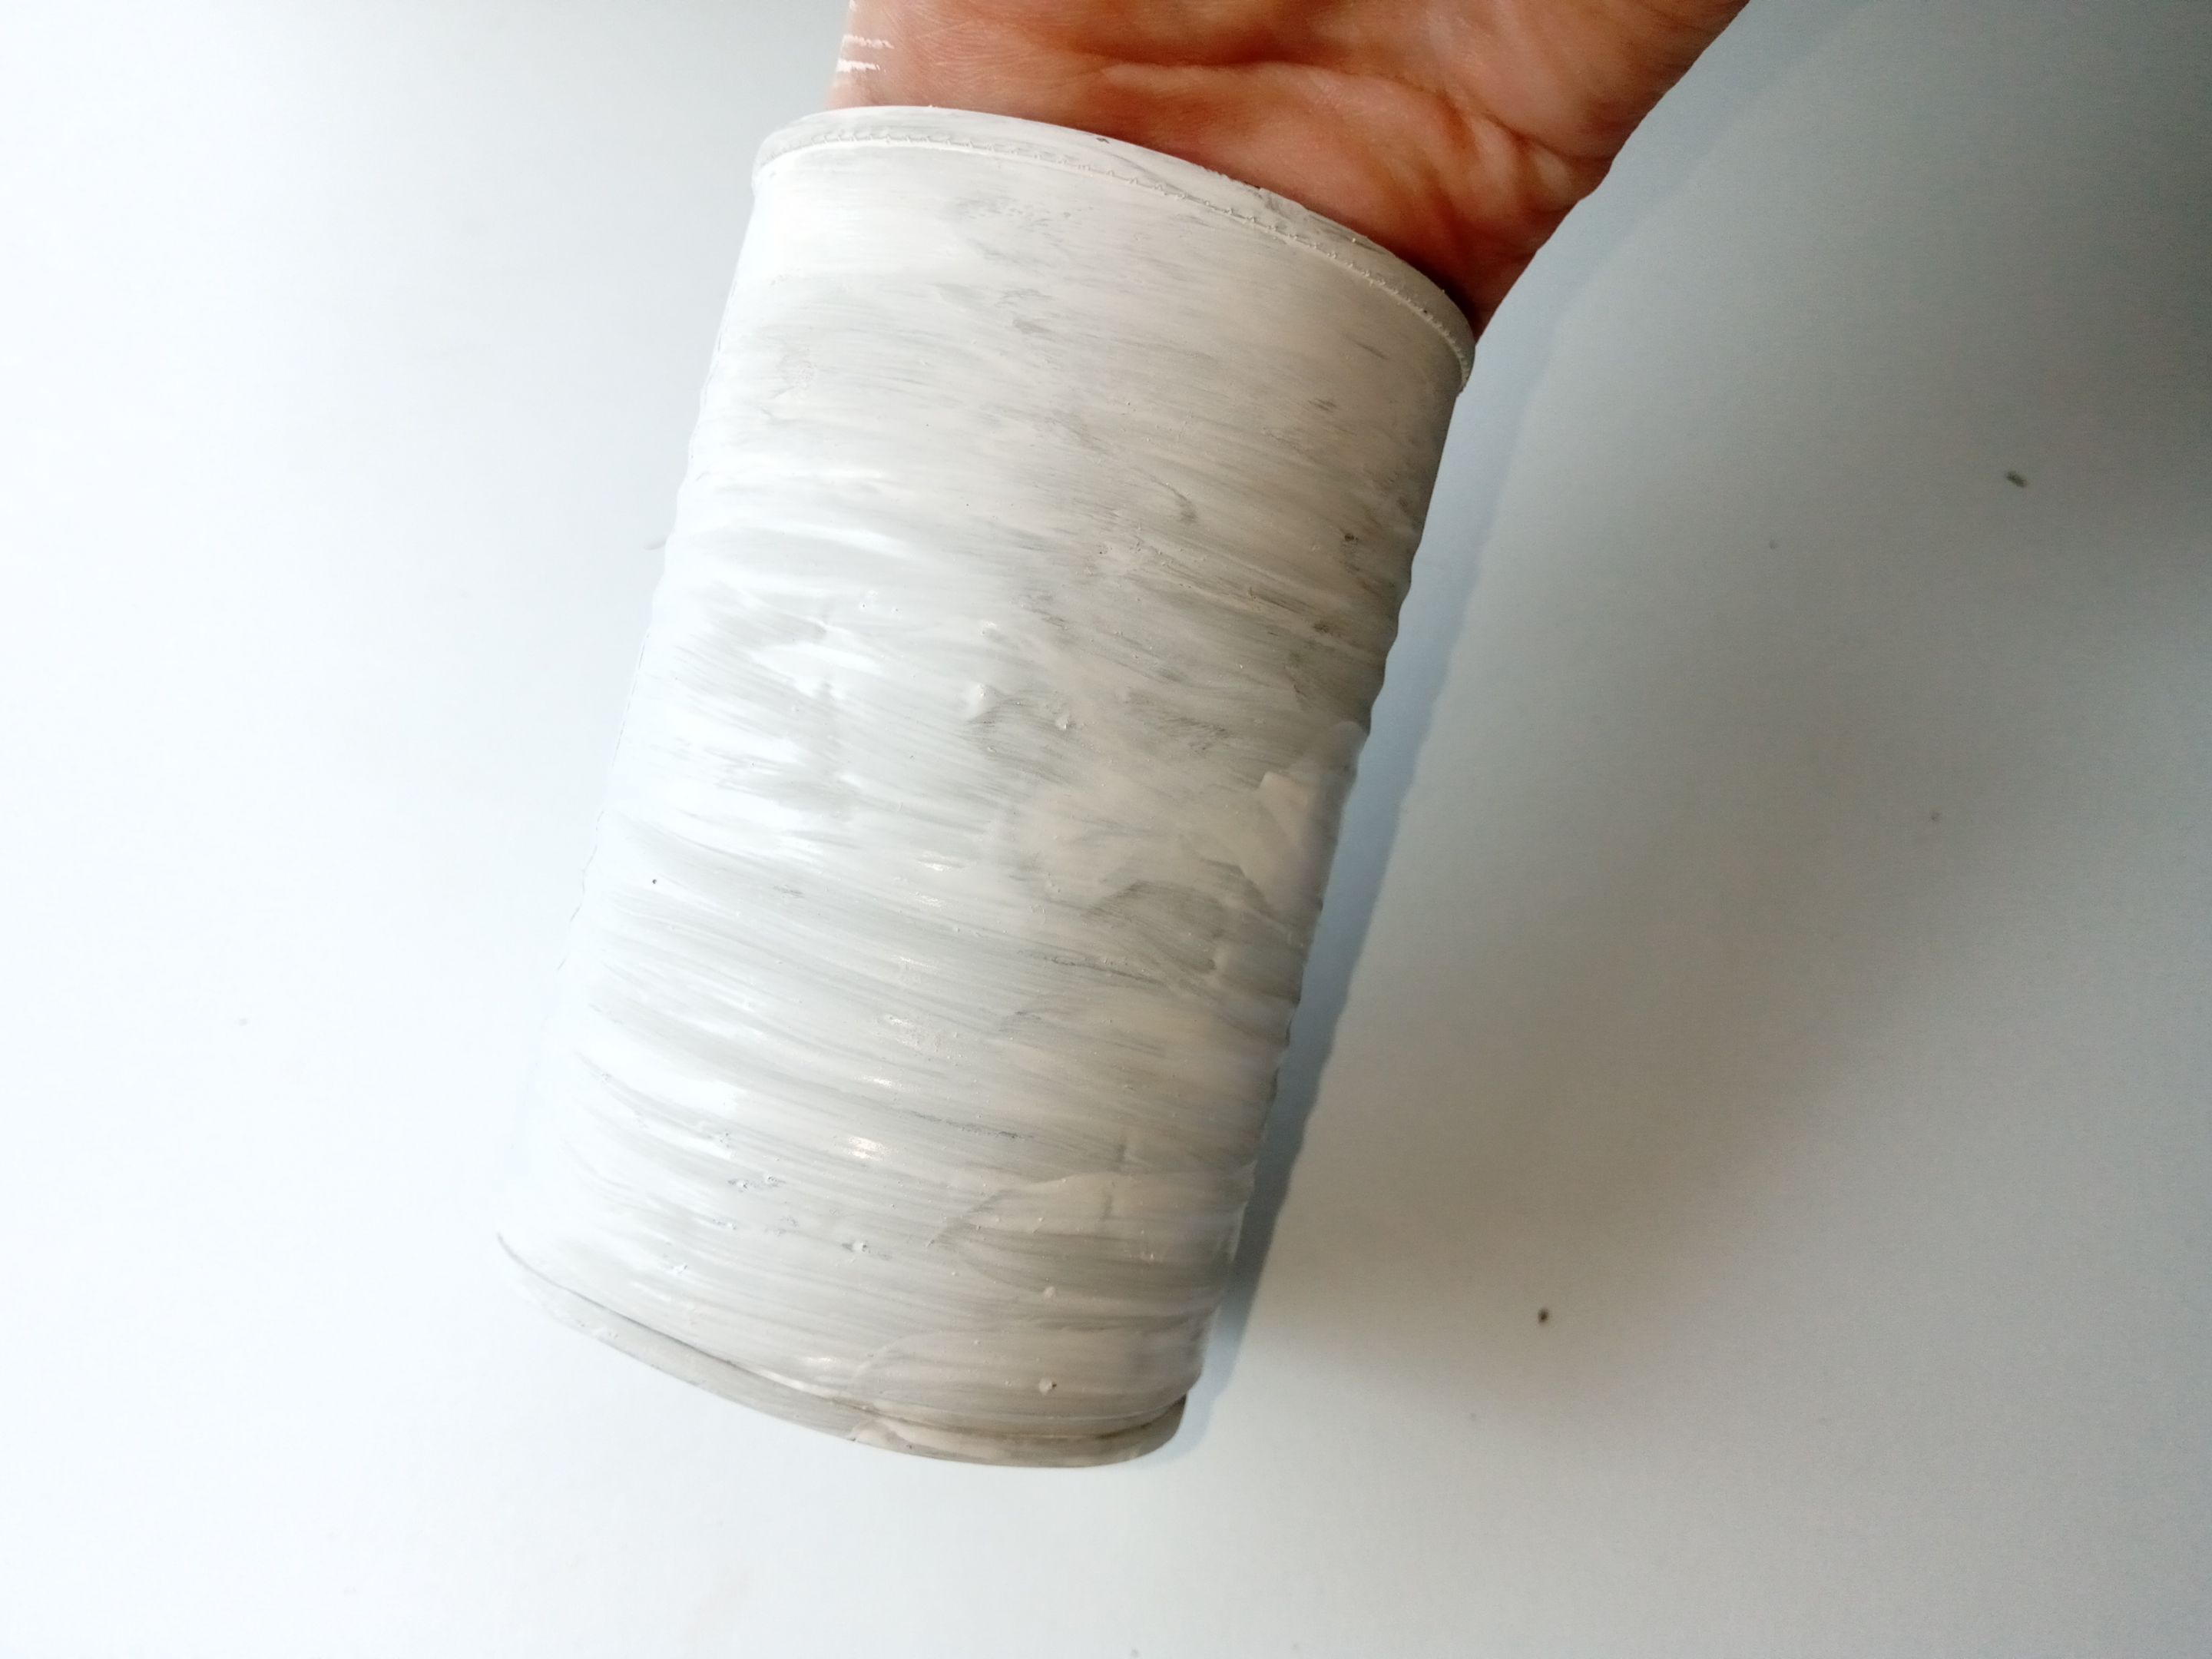
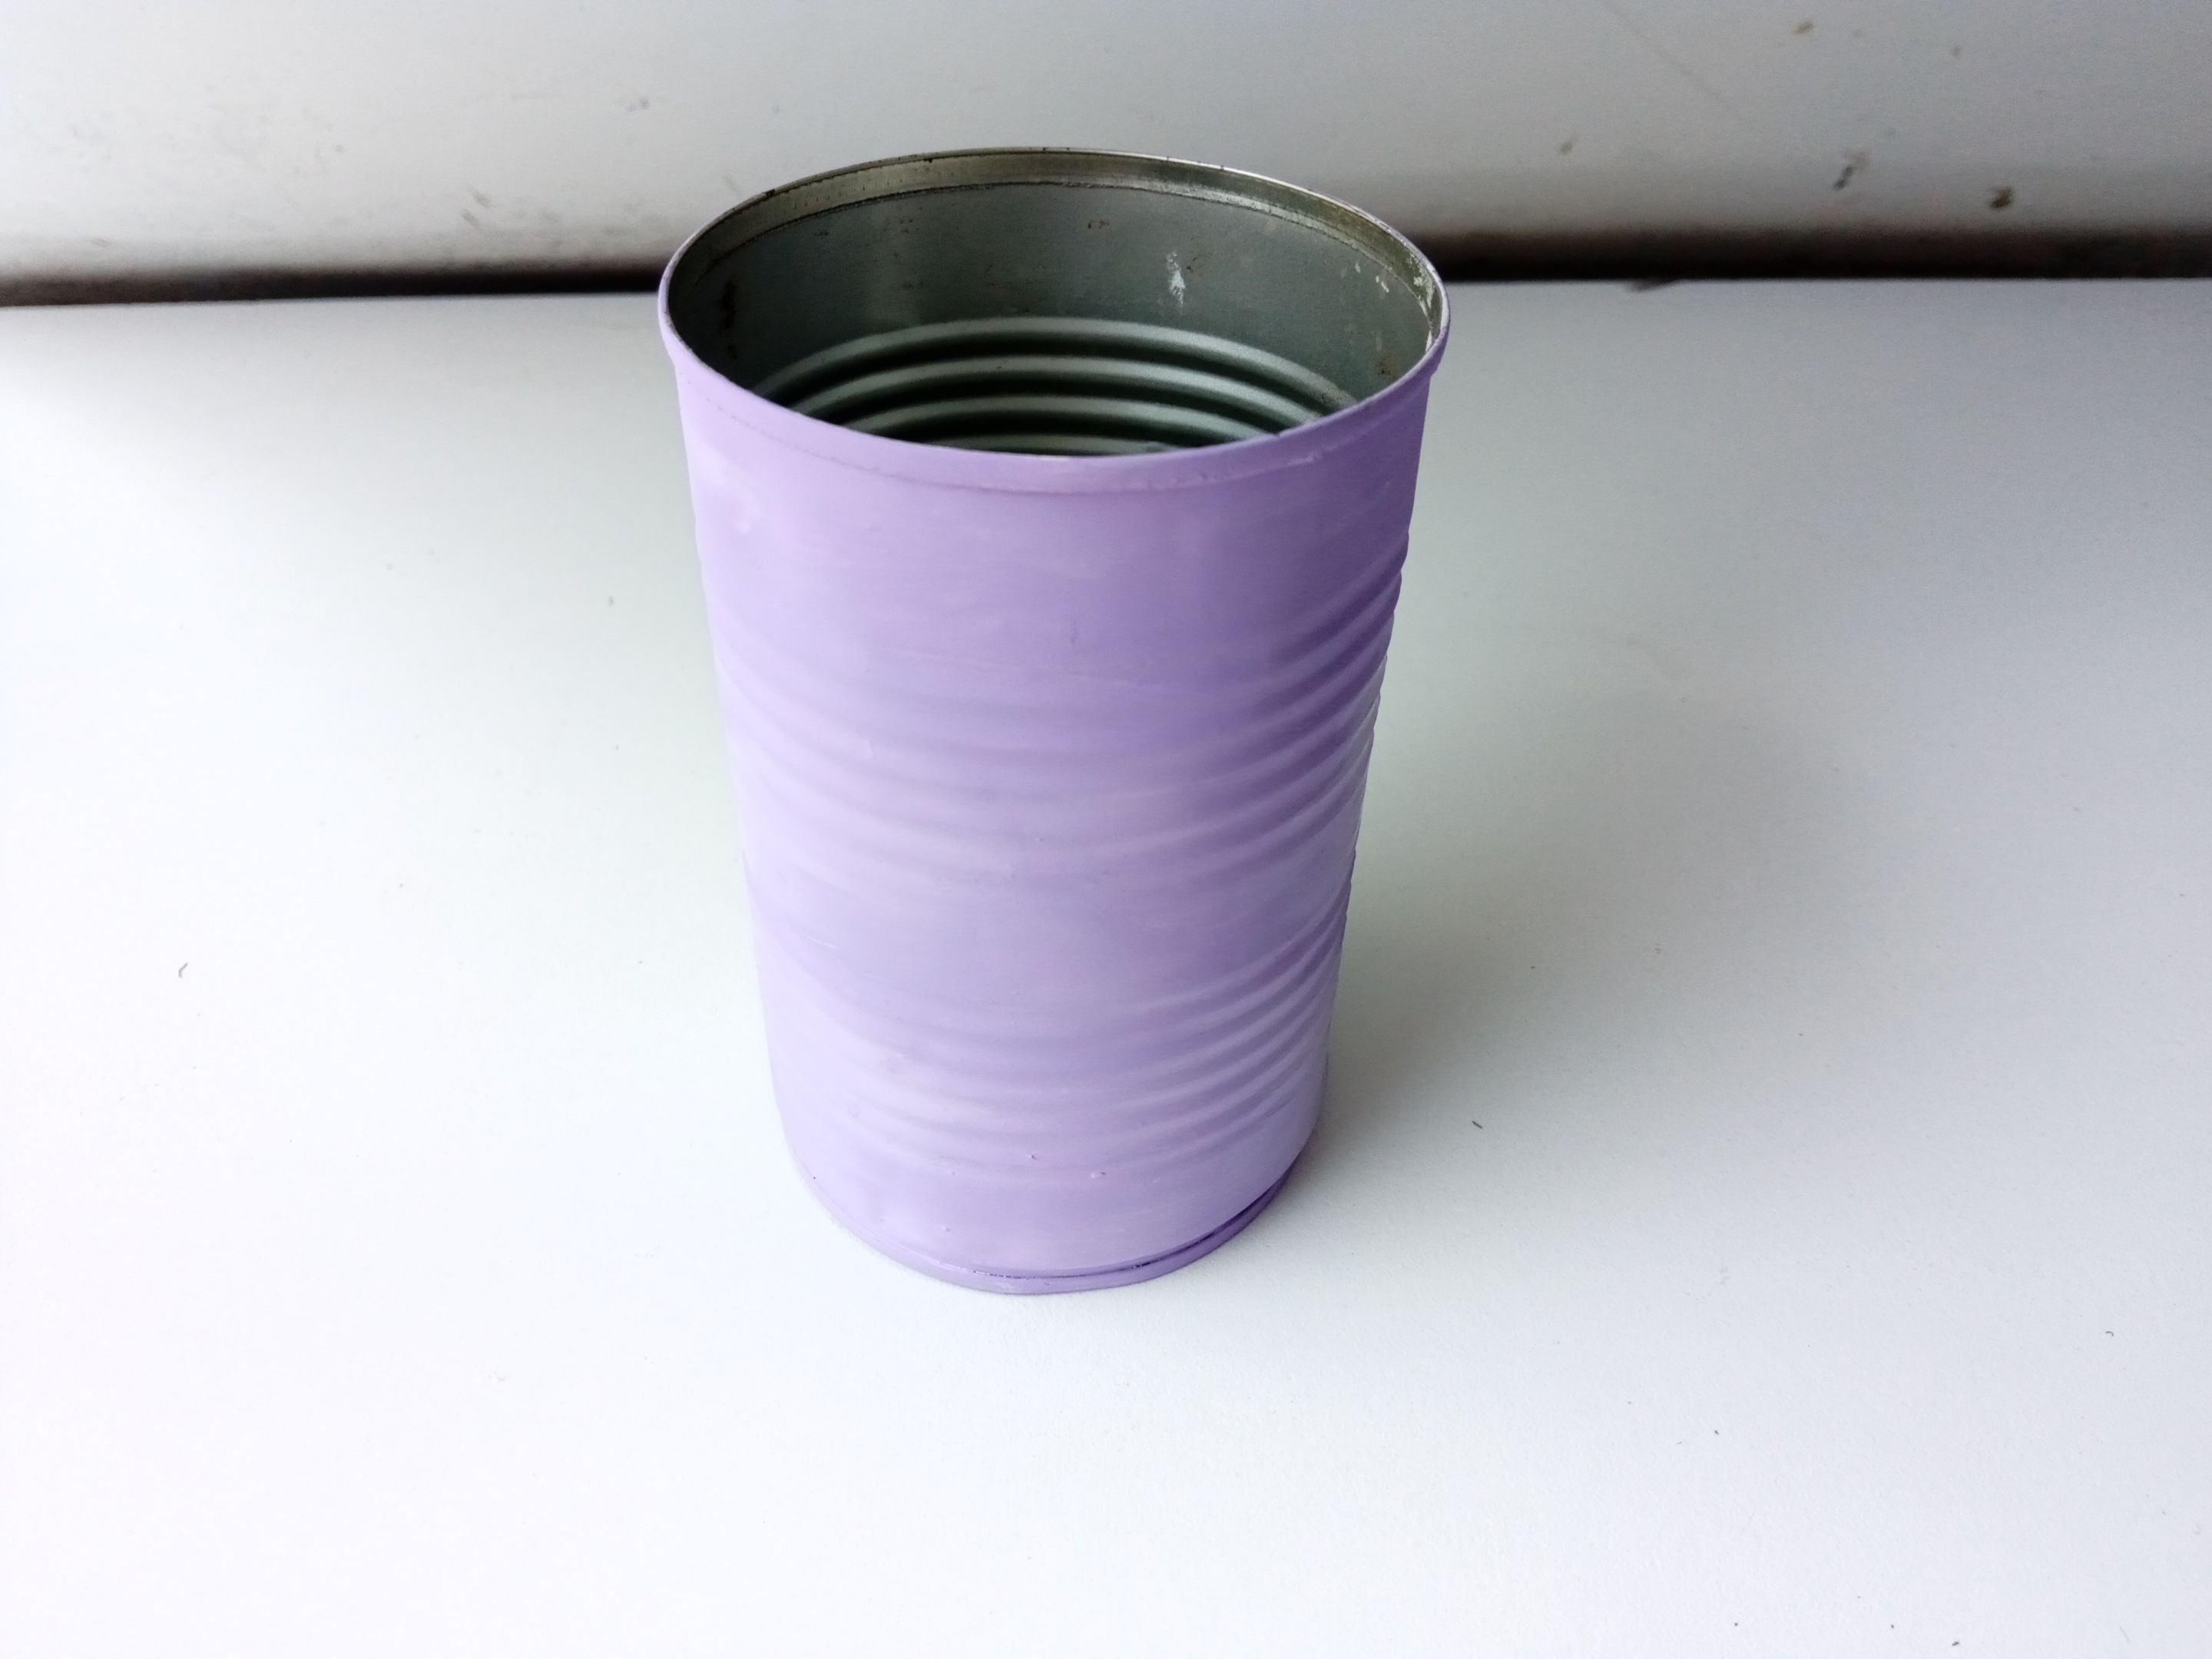
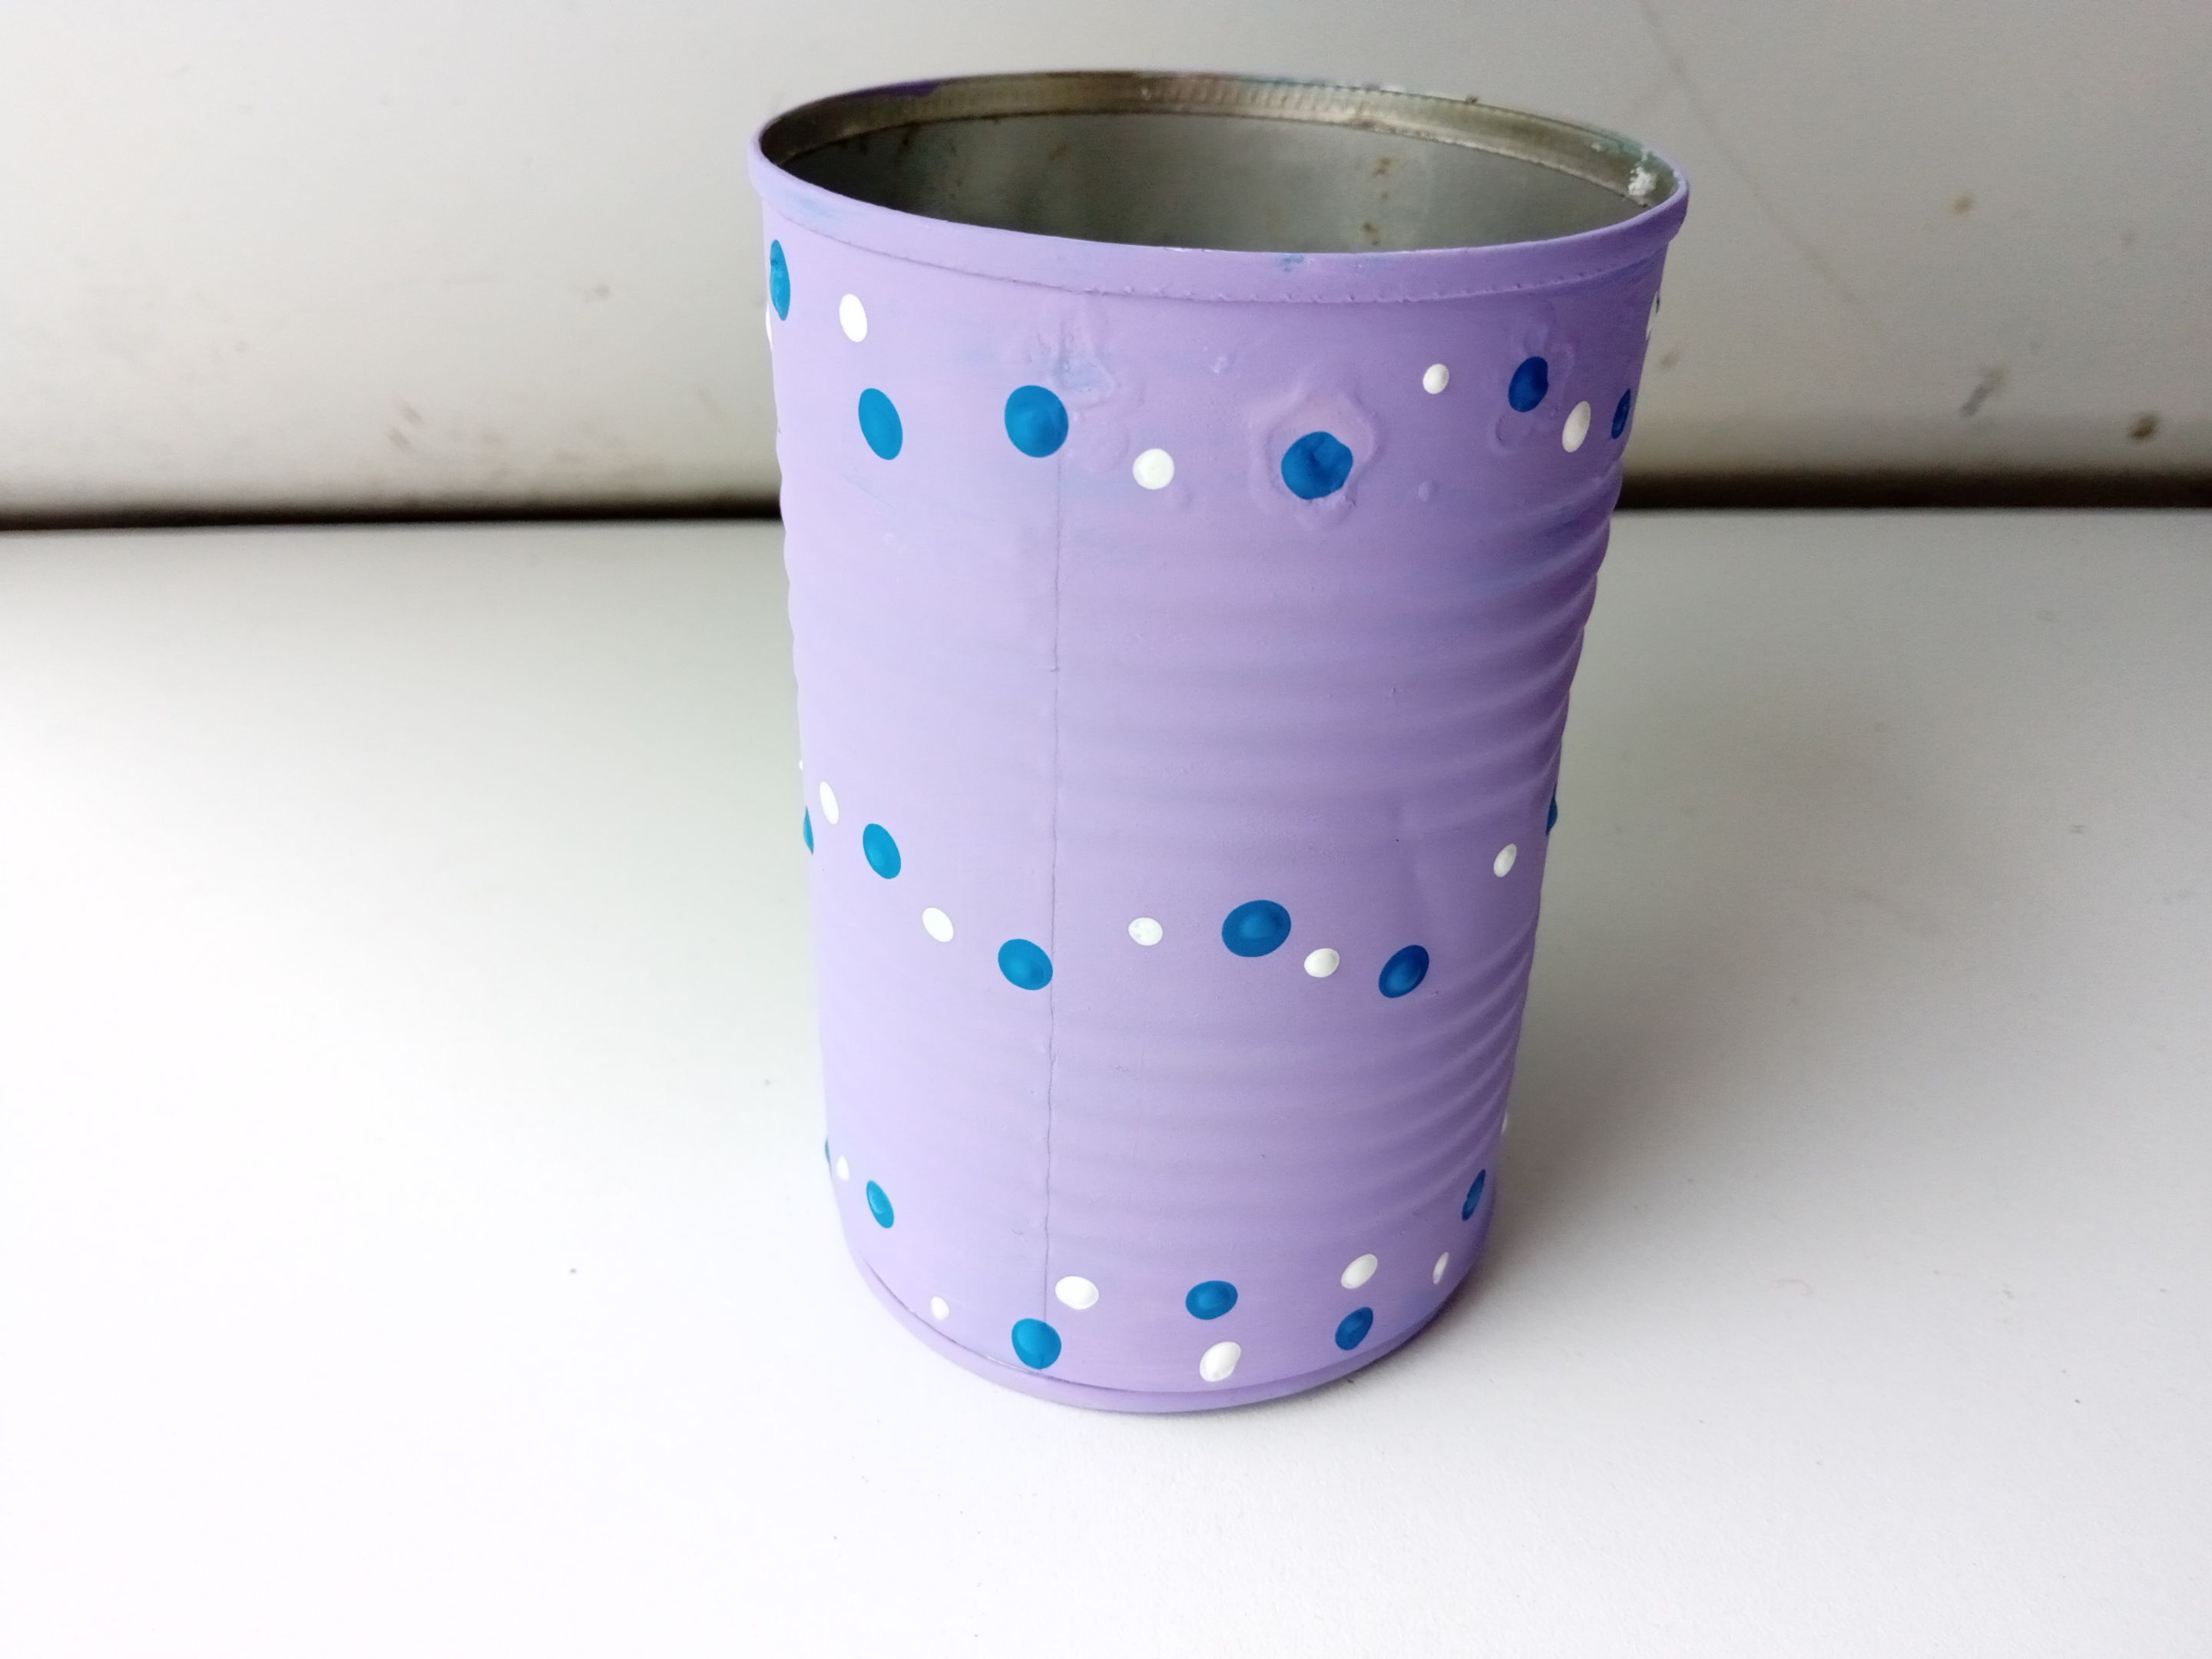
Lo primero que hice fue pintar la primera capa de la lata con pintura blanca, para que al momento de agregar el color protagonista, este tenga un mejor tono o su tono original. Al estar seco, pase la primera capa de pintura, en mi caso utilicé un lila y en caso de que necesite otra capa, pues le pasamos otra capa.
- STEP 1:
The first thing I did was paint the first layer of the can with white paint, so that when I added the main color, it would have a better tone or its original tone. When it is dry, apply the first layer of paint, in my case I used a lilac and in case it needs another layer, we apply another layer.
- PASO 2:
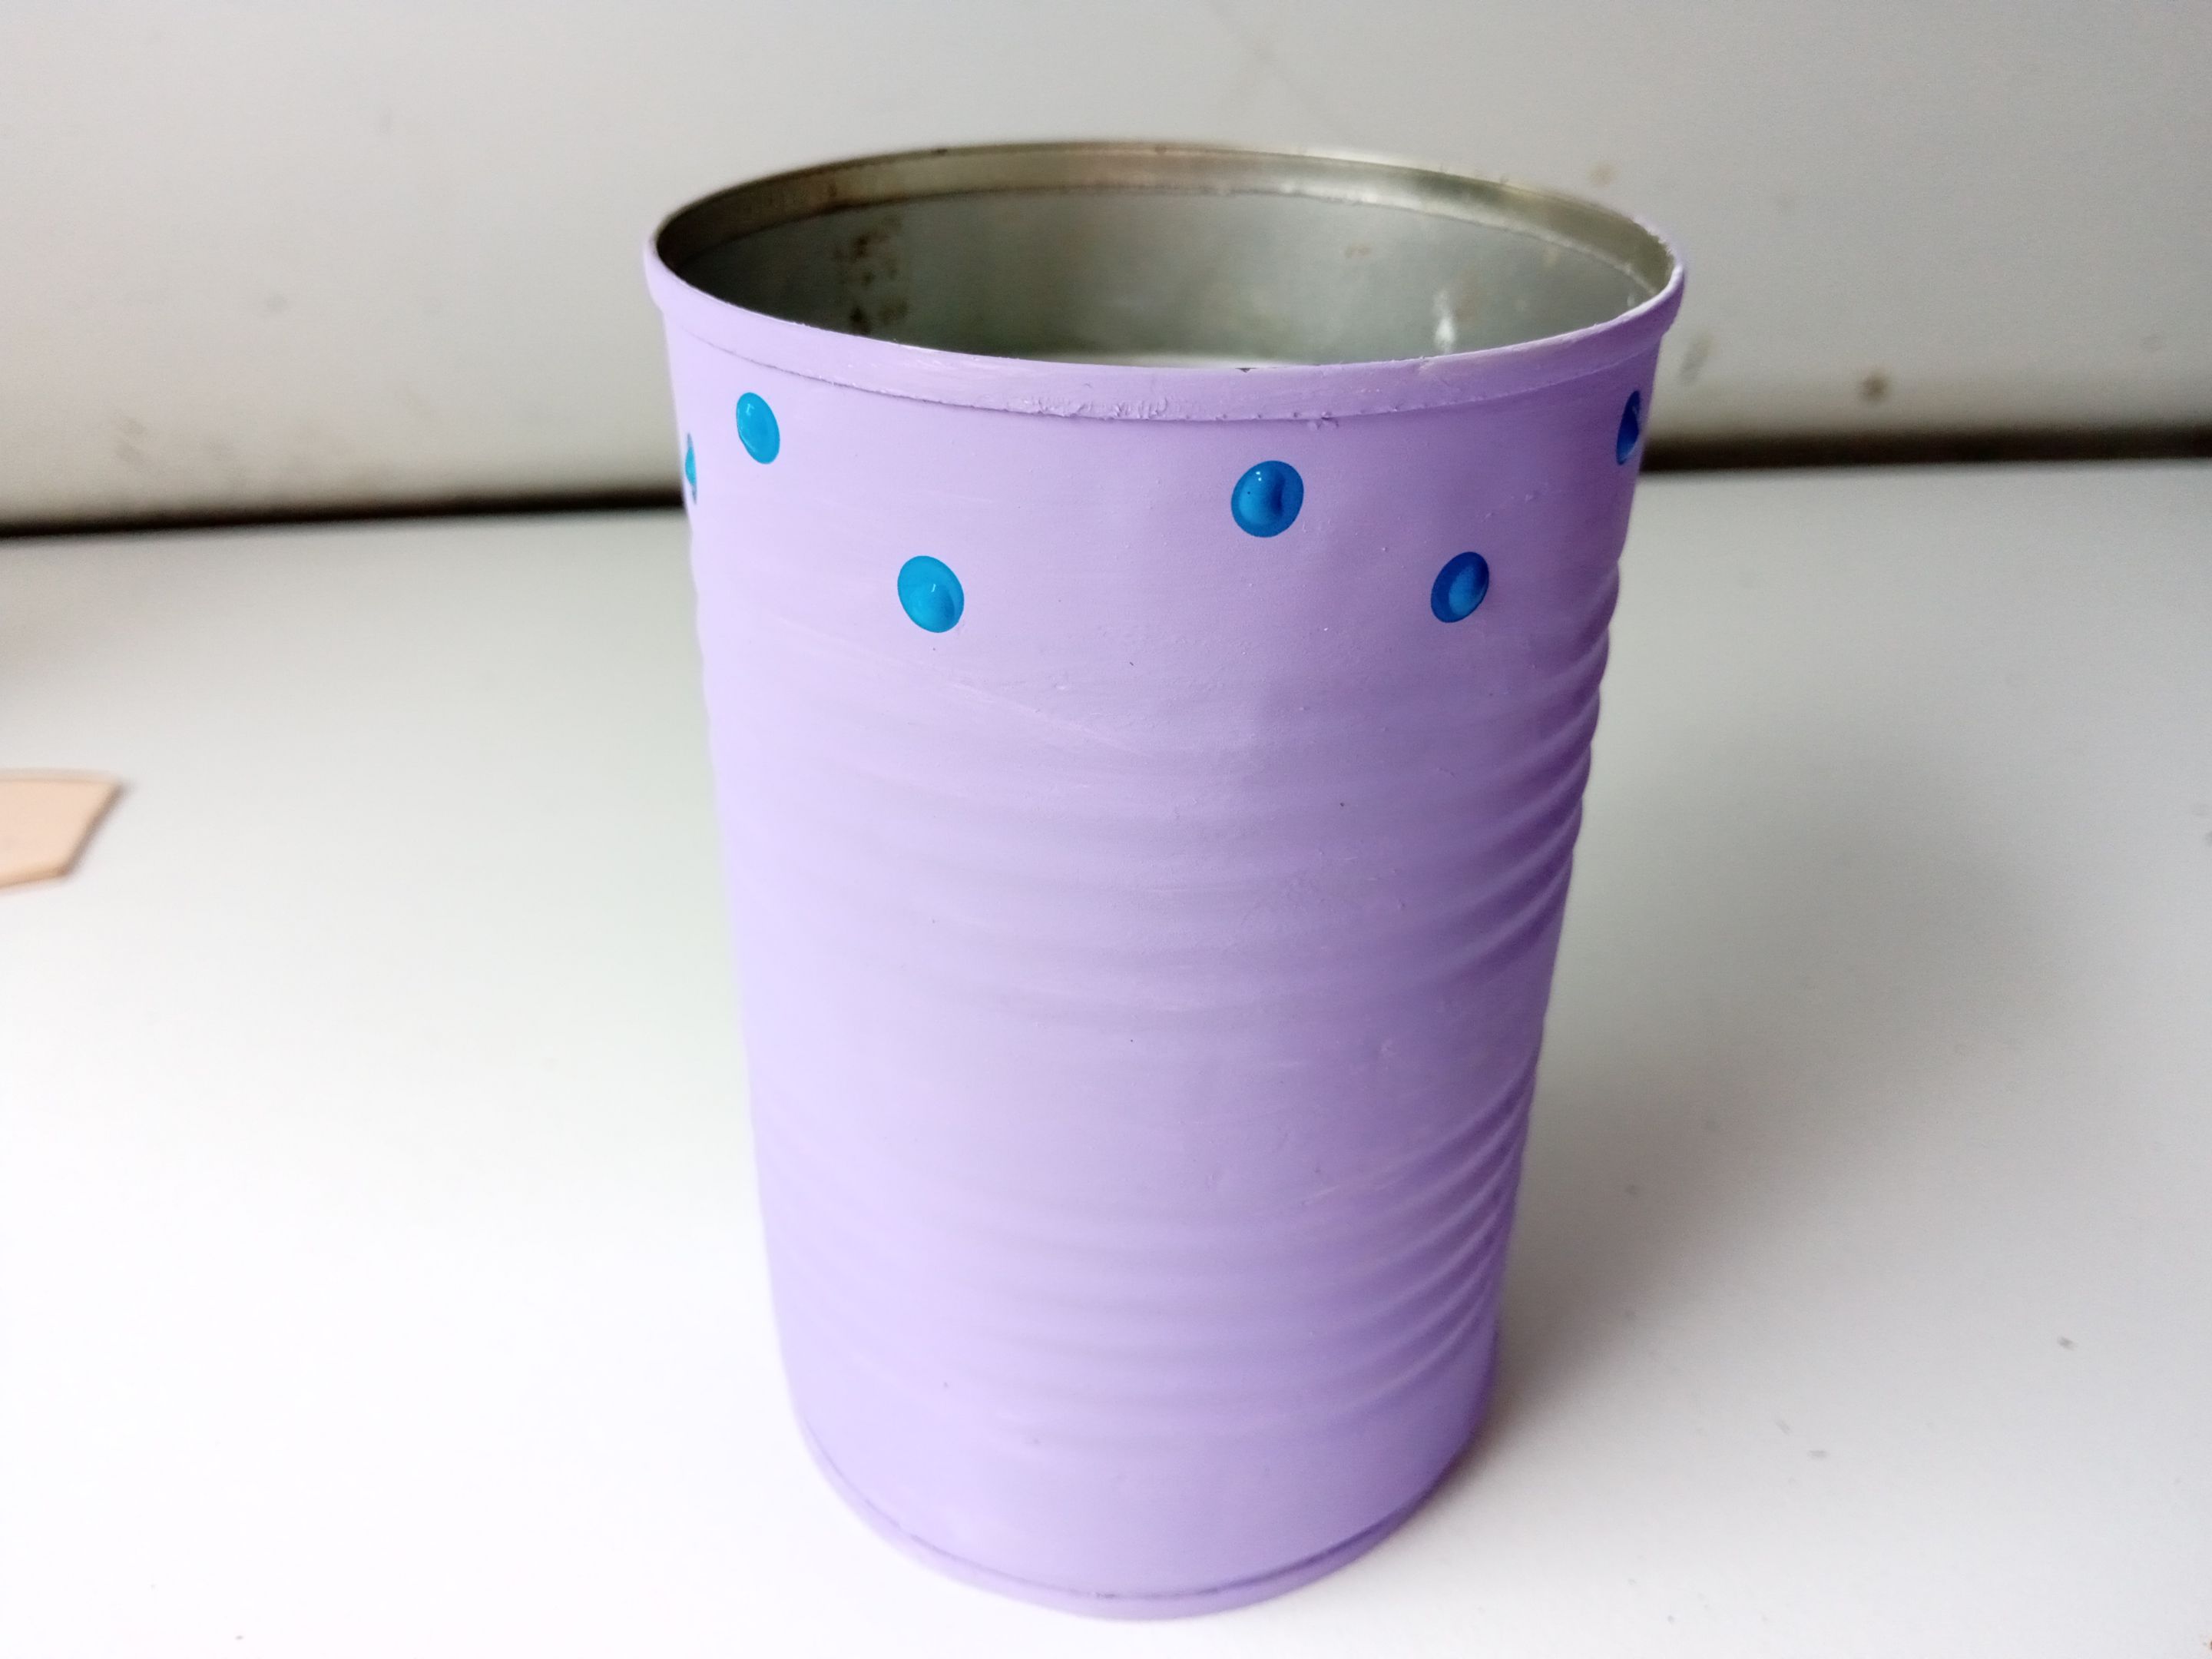
Al estar totalmente seco, le quise pintar un diseño con tonos azules y blancos, es por eso que, a las partes lisas de la lata, le pinté puntos azules y luego, puntos un poco más pequeños en blanco. A principio iba a pintar flores en estas partes, pero no me gusto el resultado.
- STEP 2:
Once it was completely dry, I wanted to paint a design with blue and white tones, that is why, on the smooth parts of the can, I painted blue dots and then slightly smaller white dots. At first I was going to paint flowers in these parts, but I didn't like the result.
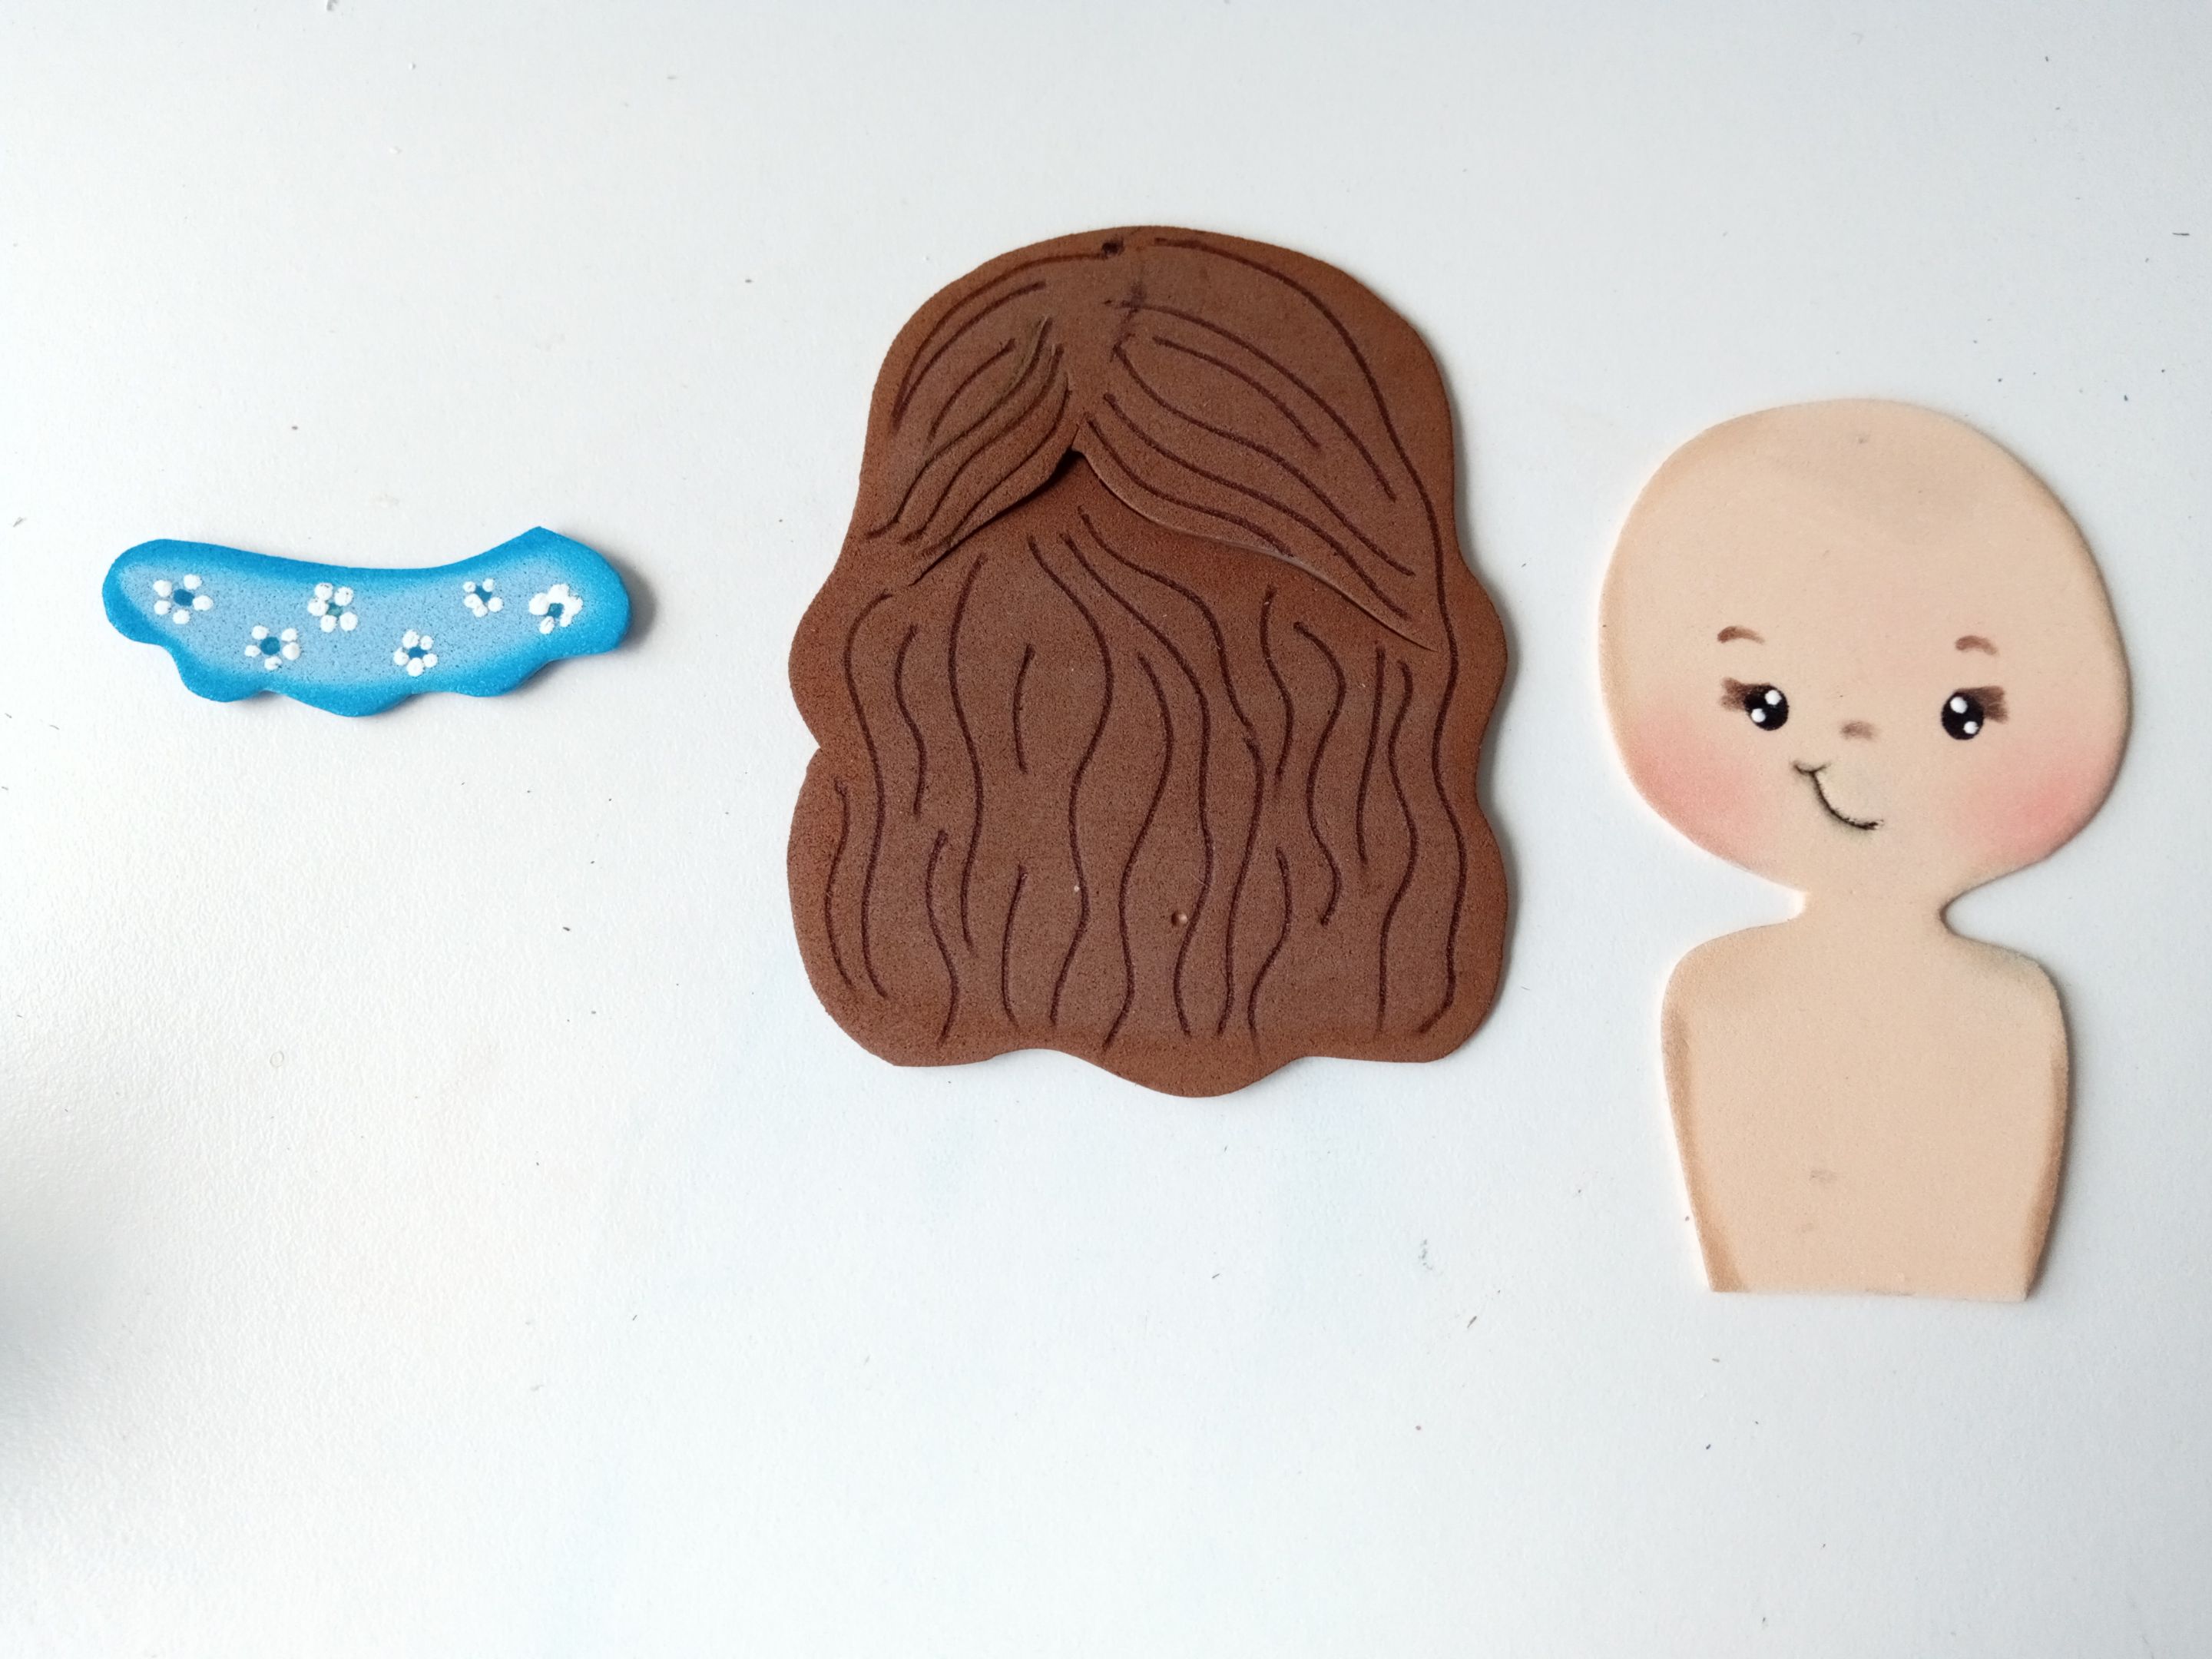
- PASO 3:
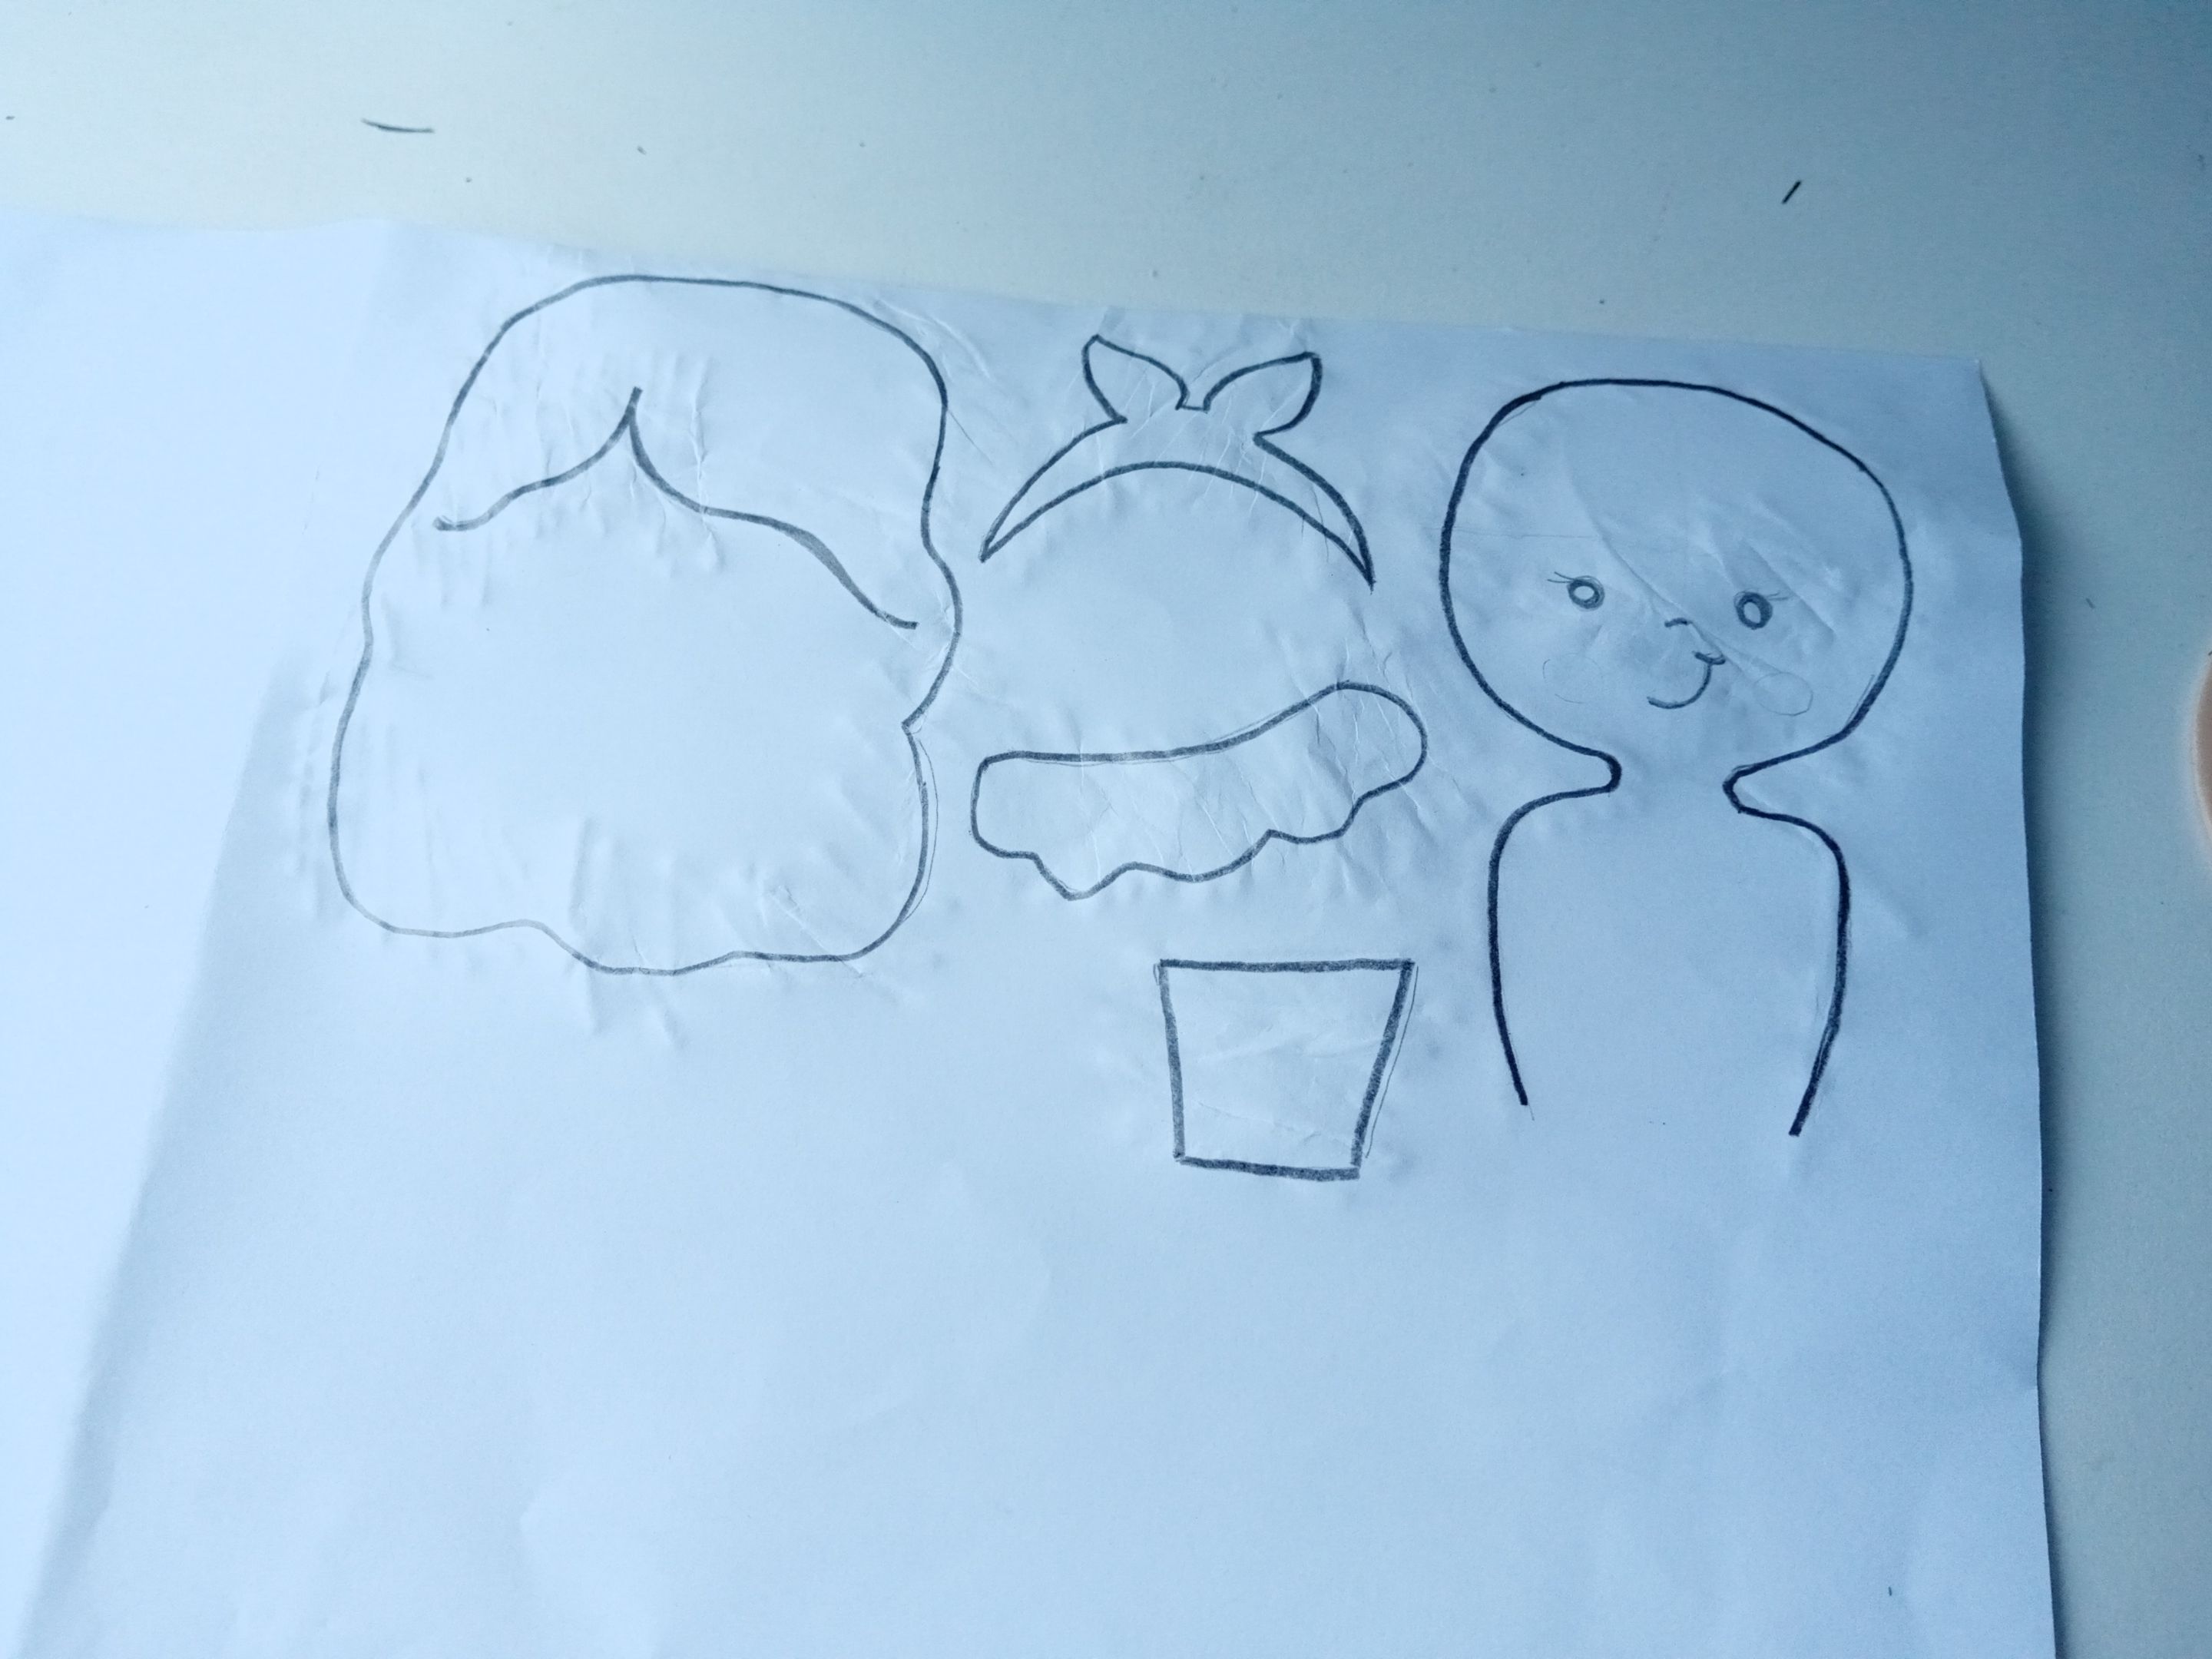
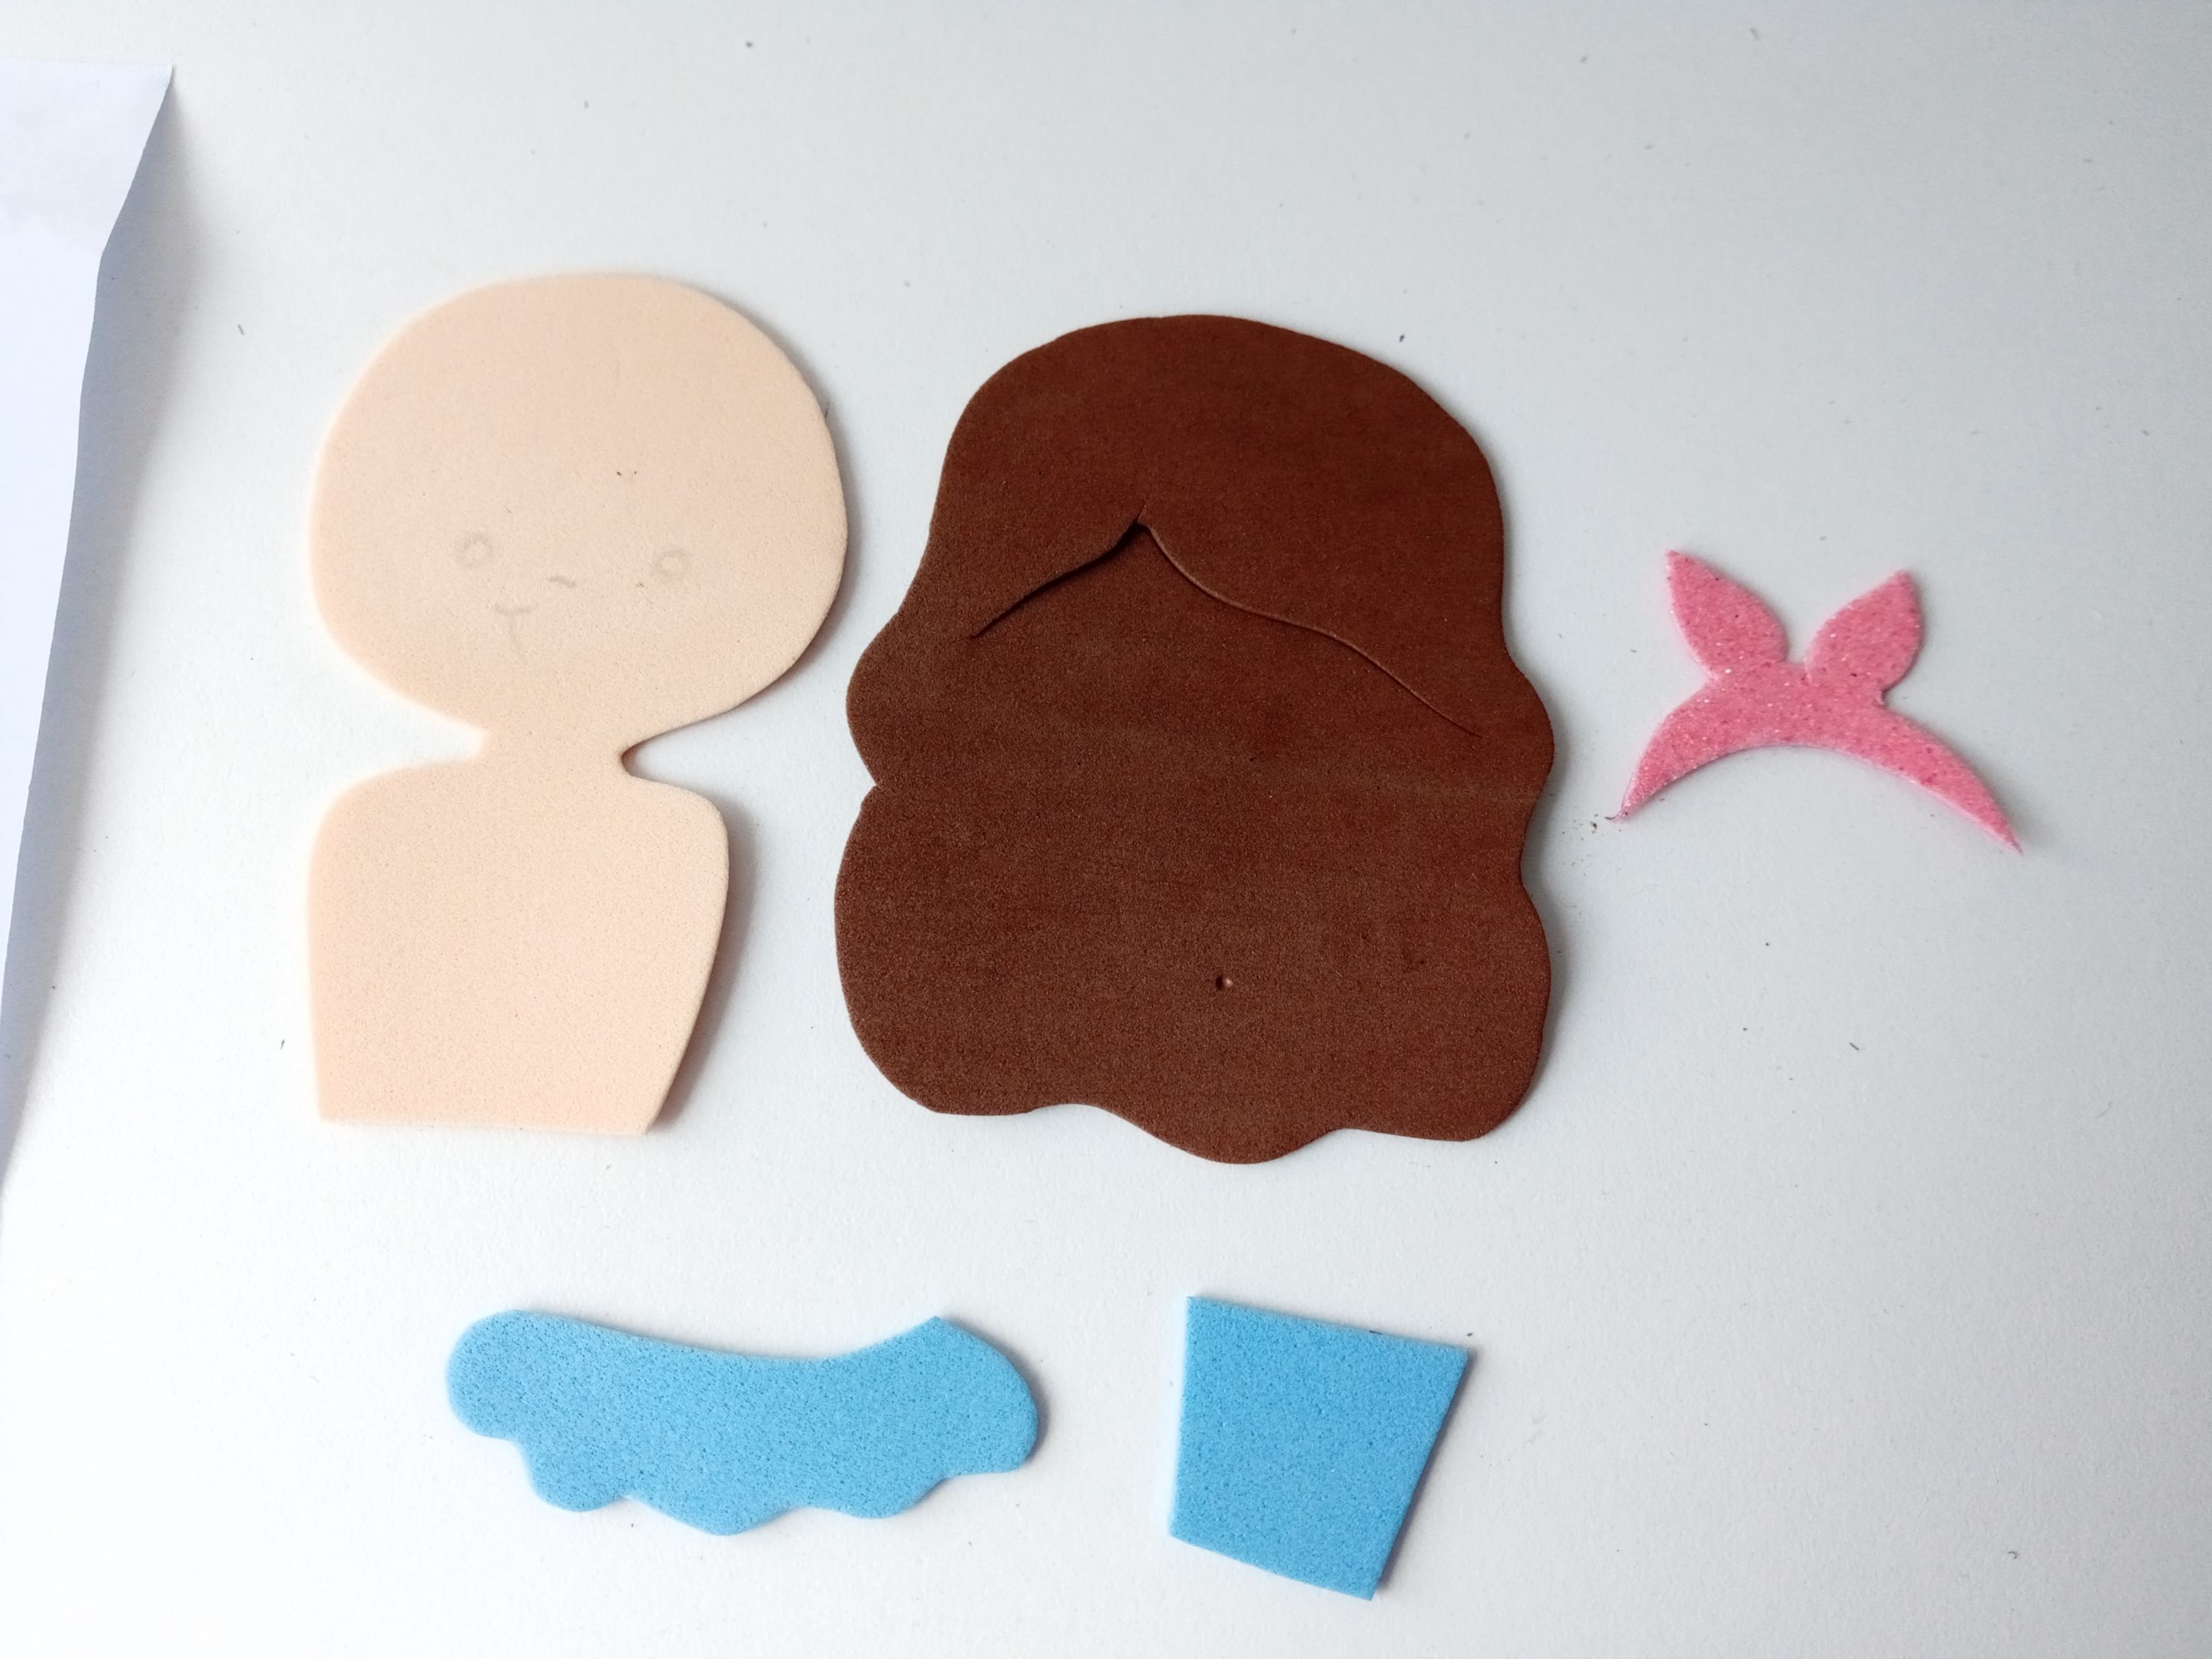
Mientras la lata se secaba, comencé a dibujar el patrón y luego lo transferí a los colores correspondientes de foami, los cuales fueron los siguientes: el cuerpo en color piel, el cabello en marrón, la vestimenta en azul claro y el lazo en rosado escarchado. Luego recorté todas las piezas.
- STEP 3:
While the can was drying, I began to draw the pattern and then transferred it to the corresponding foam colors, which were as follows: the body in nude, the hair in brown, the clothing in light blue, and the bow in frosty pink. . Then I cut out all the pieces.
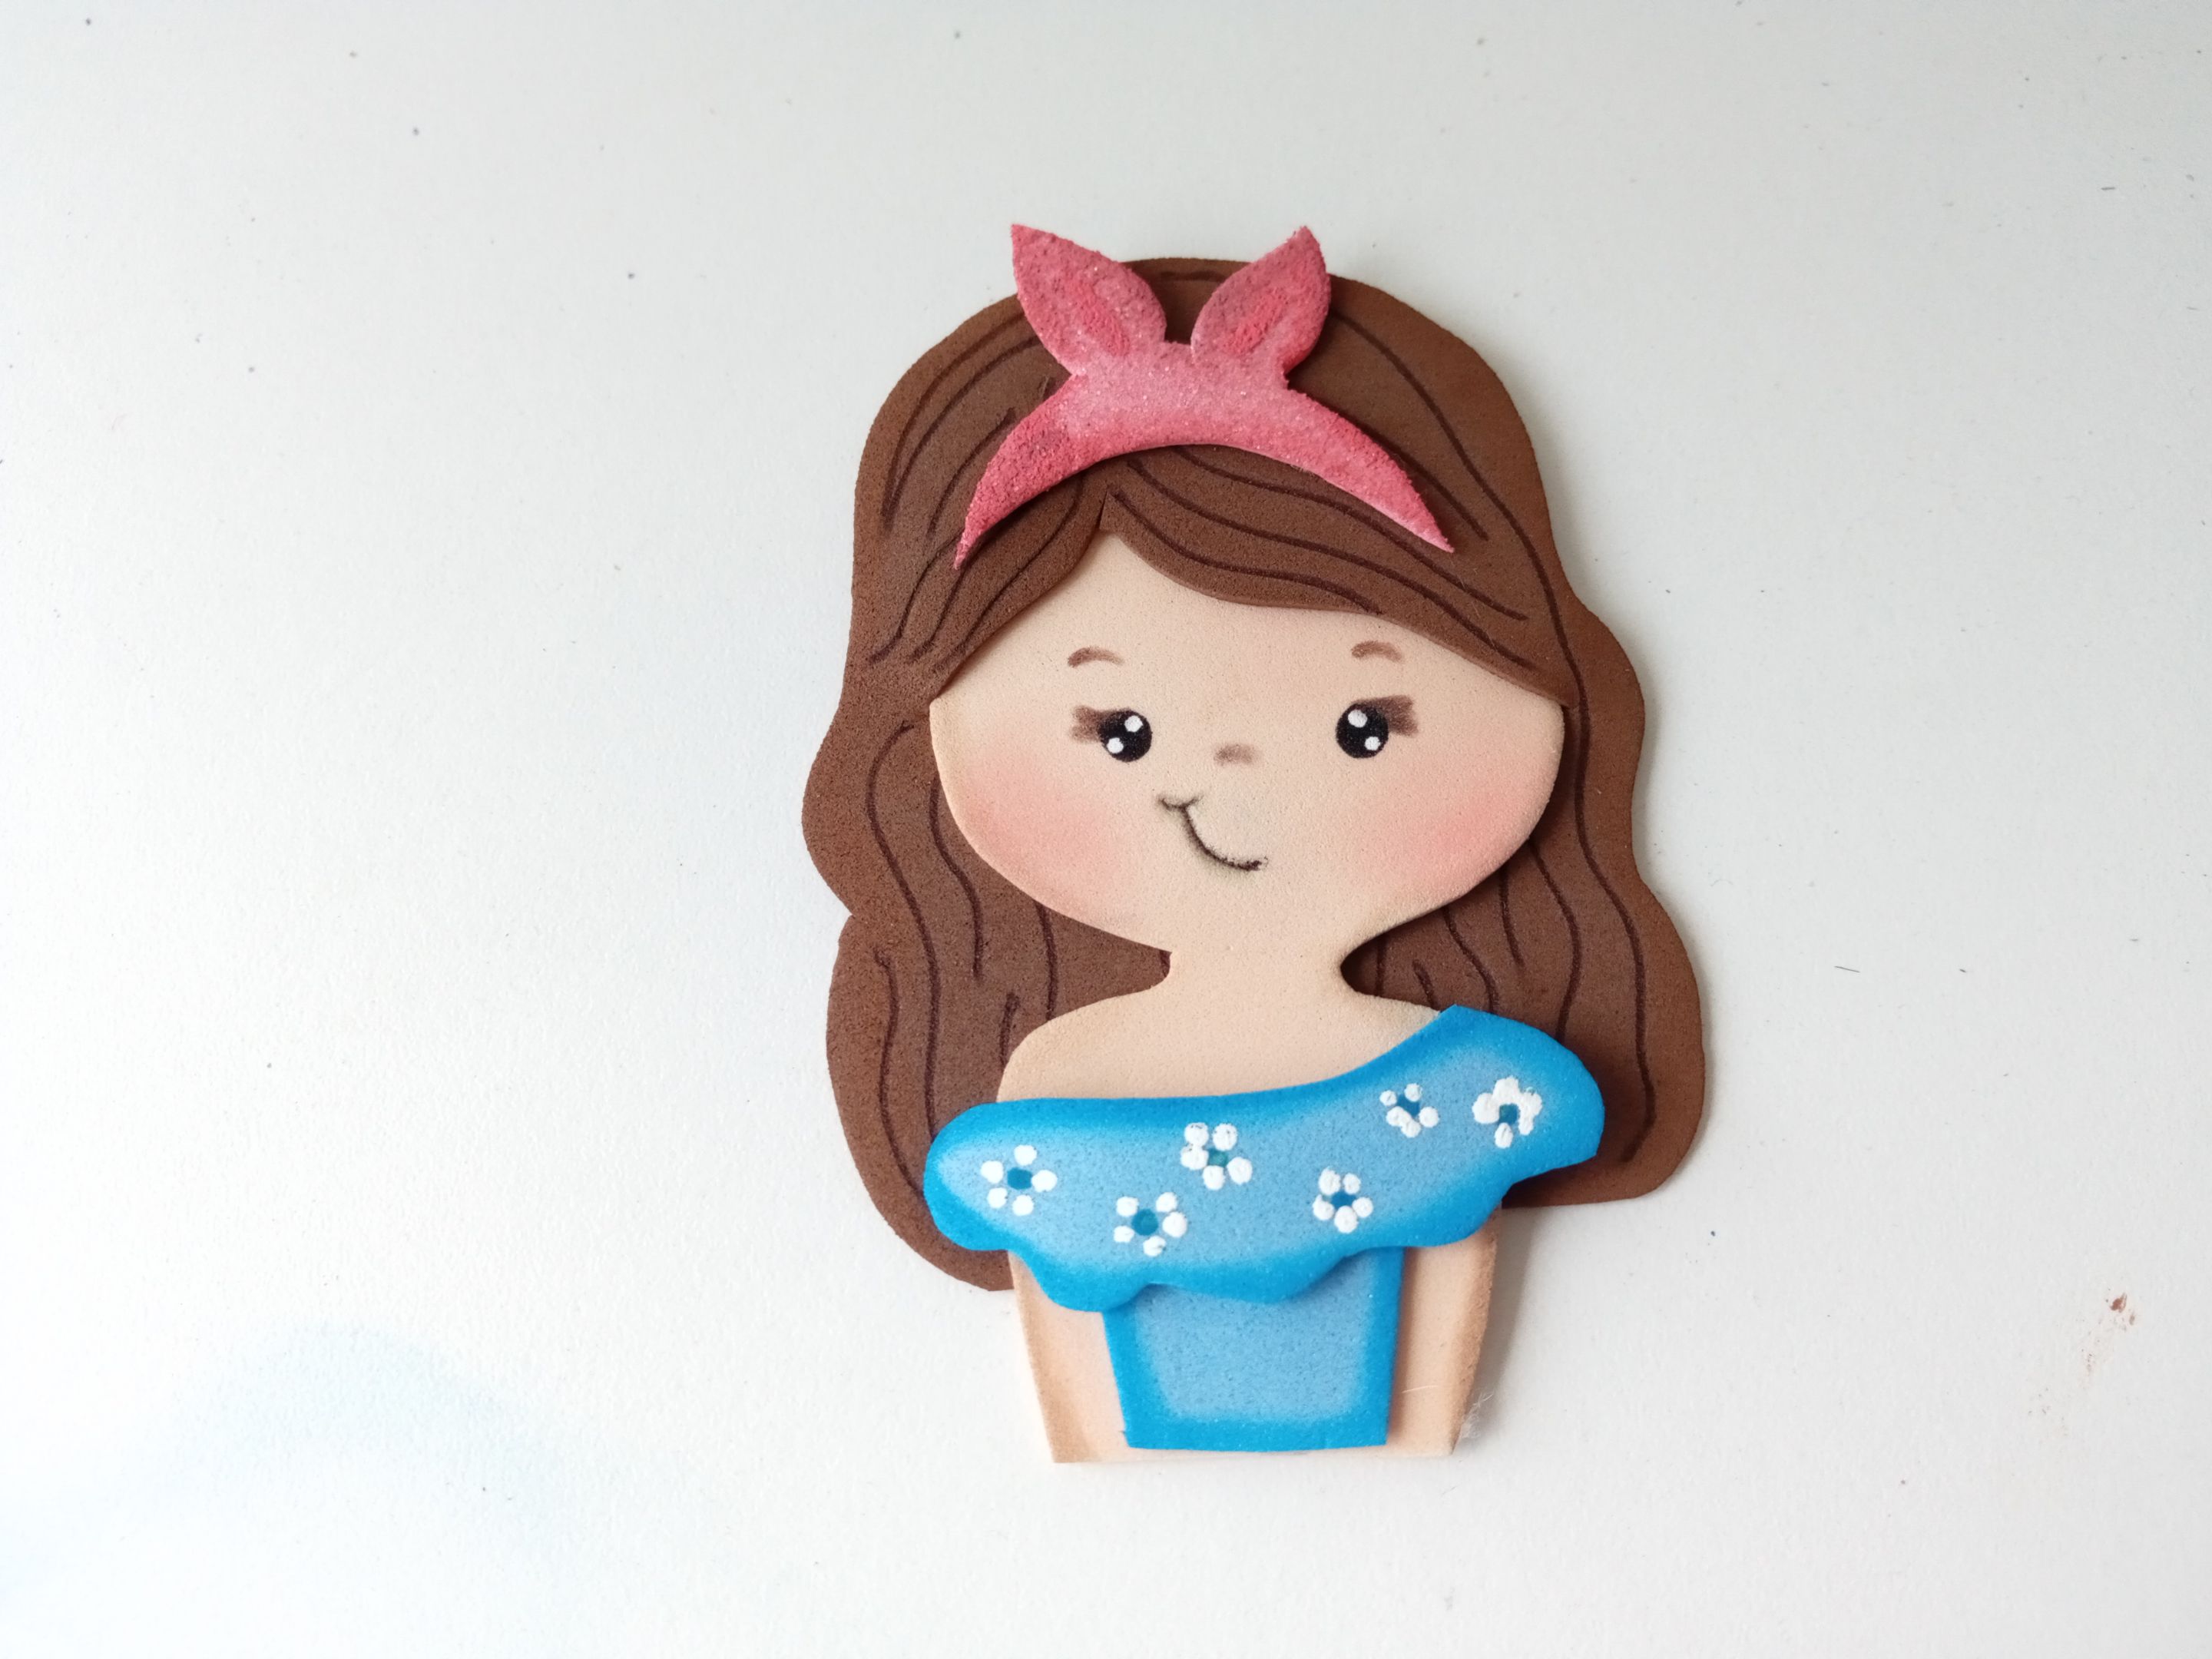
- PASO 4:
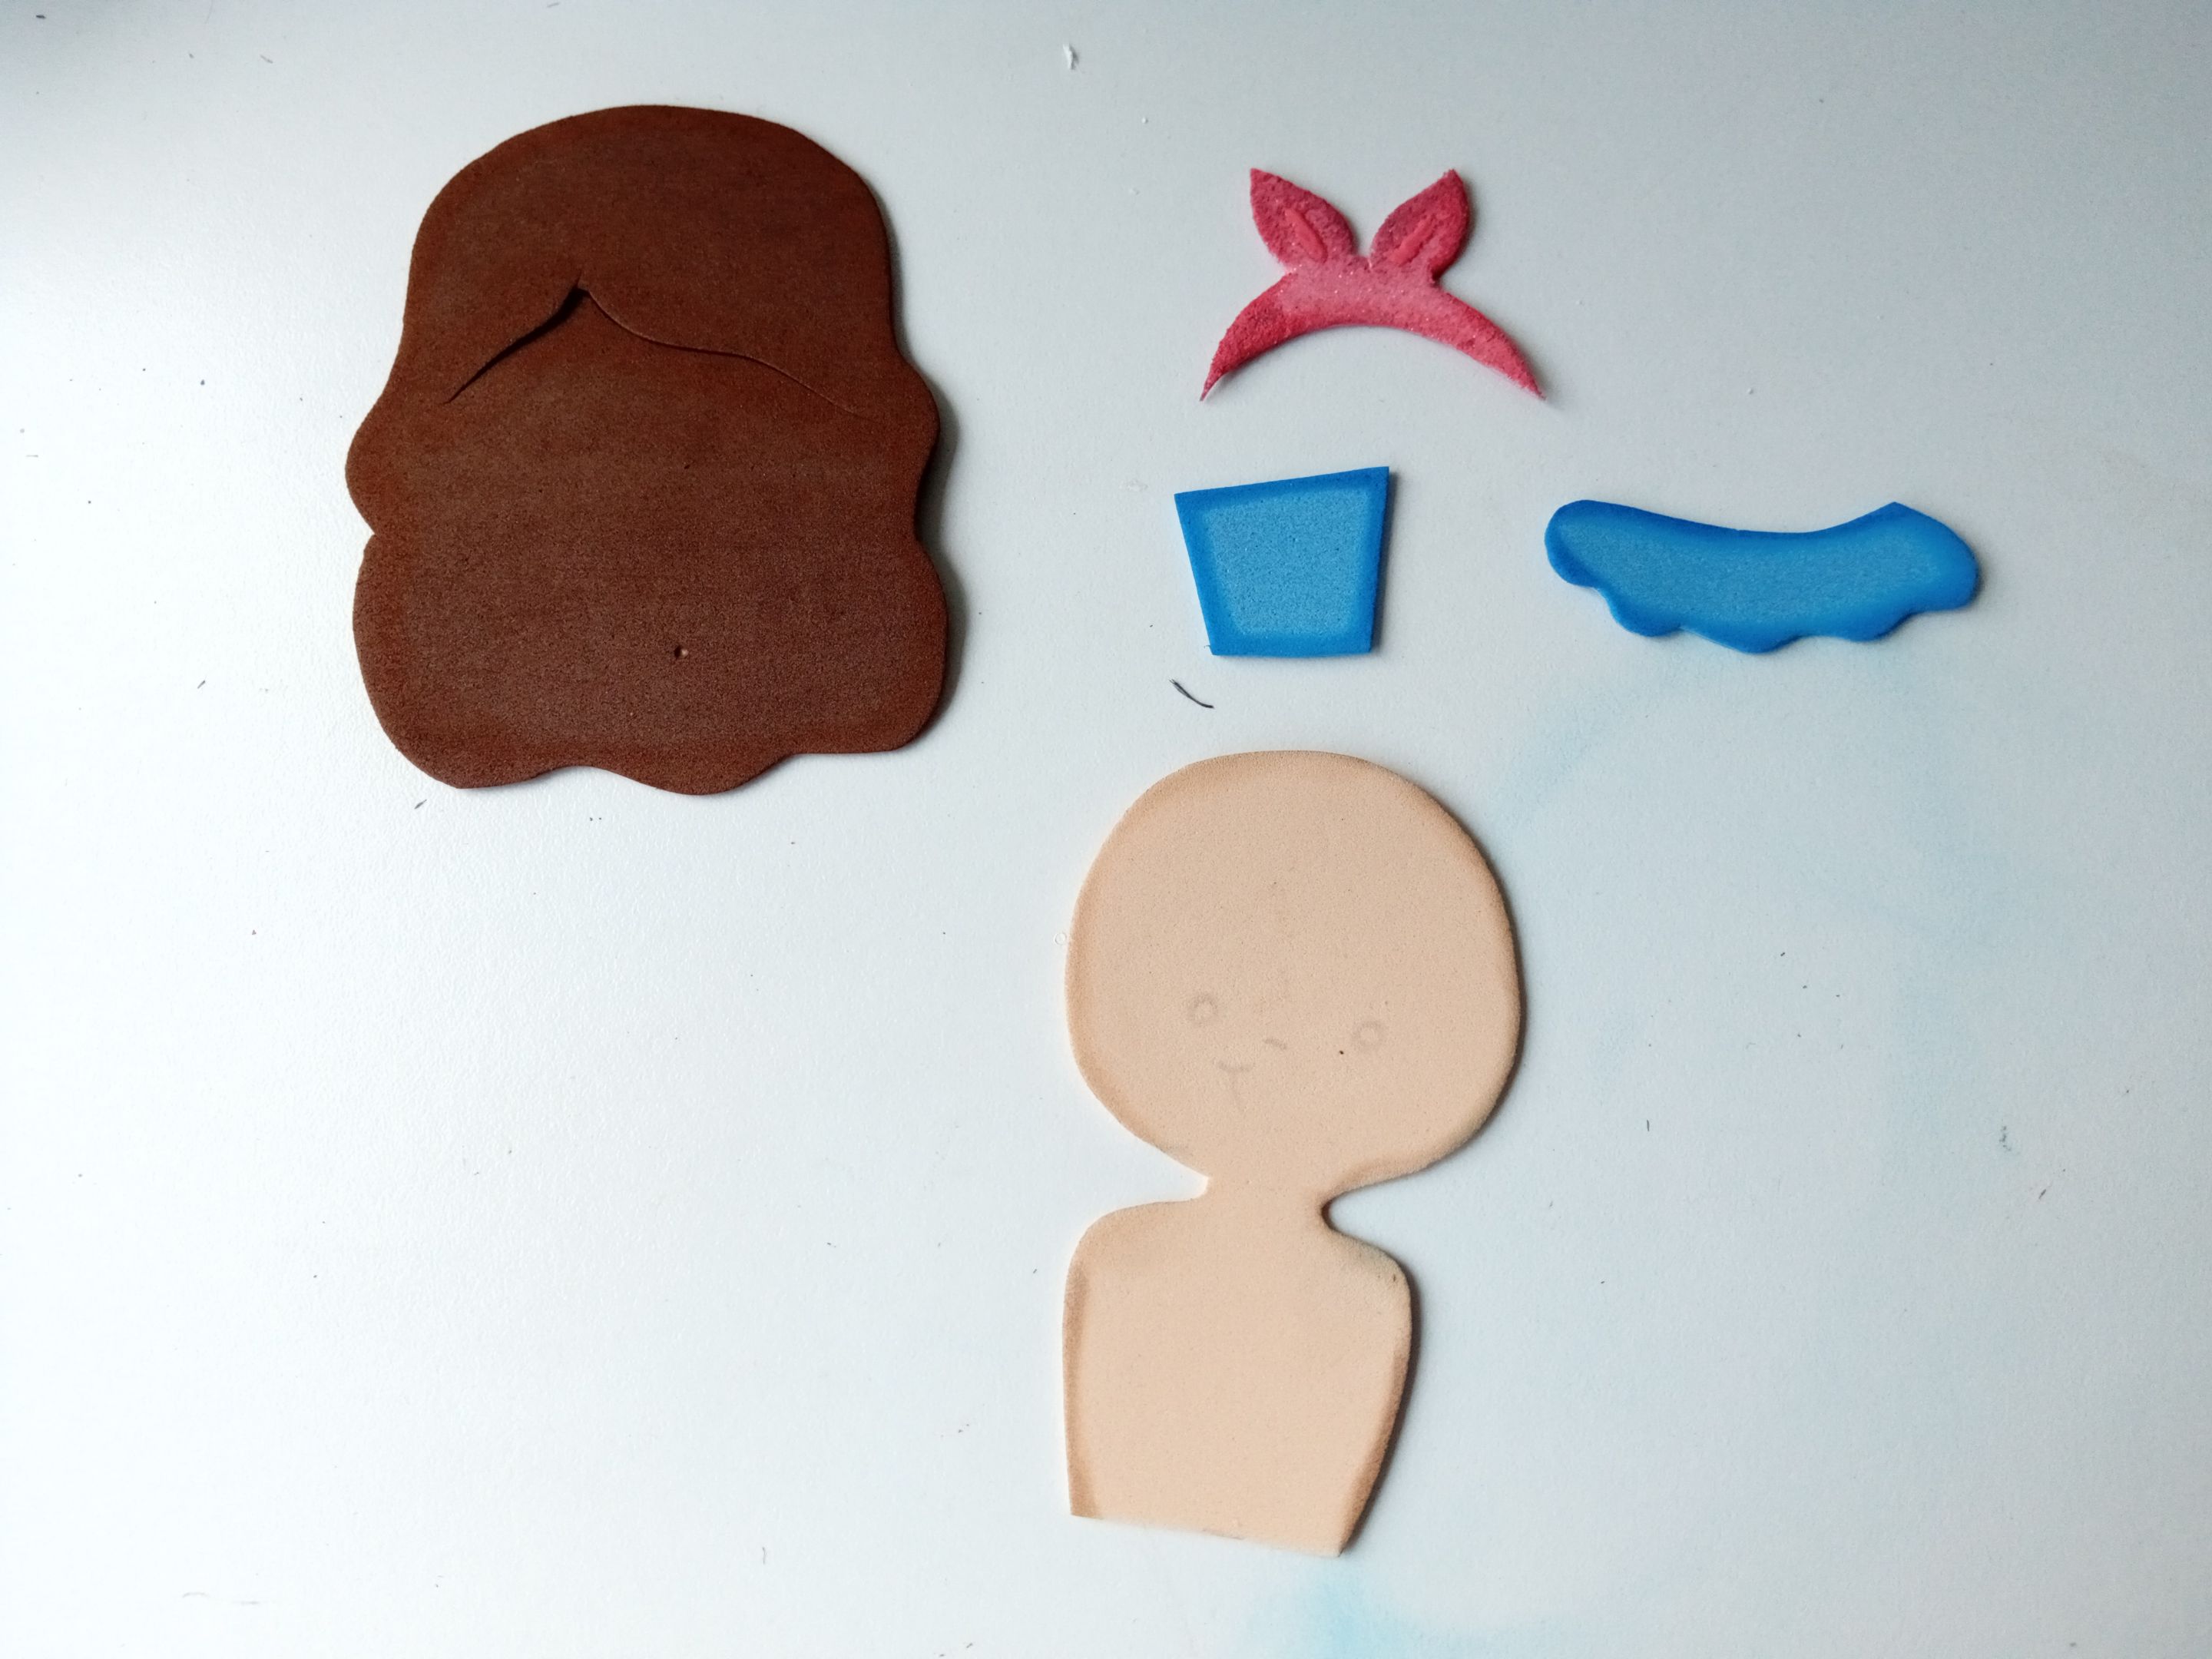
Al tener todas las piezas listas, tomé un tono de pintura más oscuro que el color de cada pieza y con un pañito, froté por los bordes. Luego, di detalles más específicos al cabello, dibujé el rostro con marcador negro, marrón y para las mejillas, un poco de pintura rosada. Por otra parte, le quise dar un diseño diferente a la vestimenta, así que a la parte de arriba le pinté algunas flores.
- STEP 4:
Once I had all the pieces ready, I took a tone of paint darker than the color of each piece and with a cloth, I rubbed the edges. Then, I gave more specific details to the hair, I drew the face with black marker, brown and for the cheeks, a little pink paint. On the other hand, I wanted to give the dress a different design, so I painted some flowers on the top.
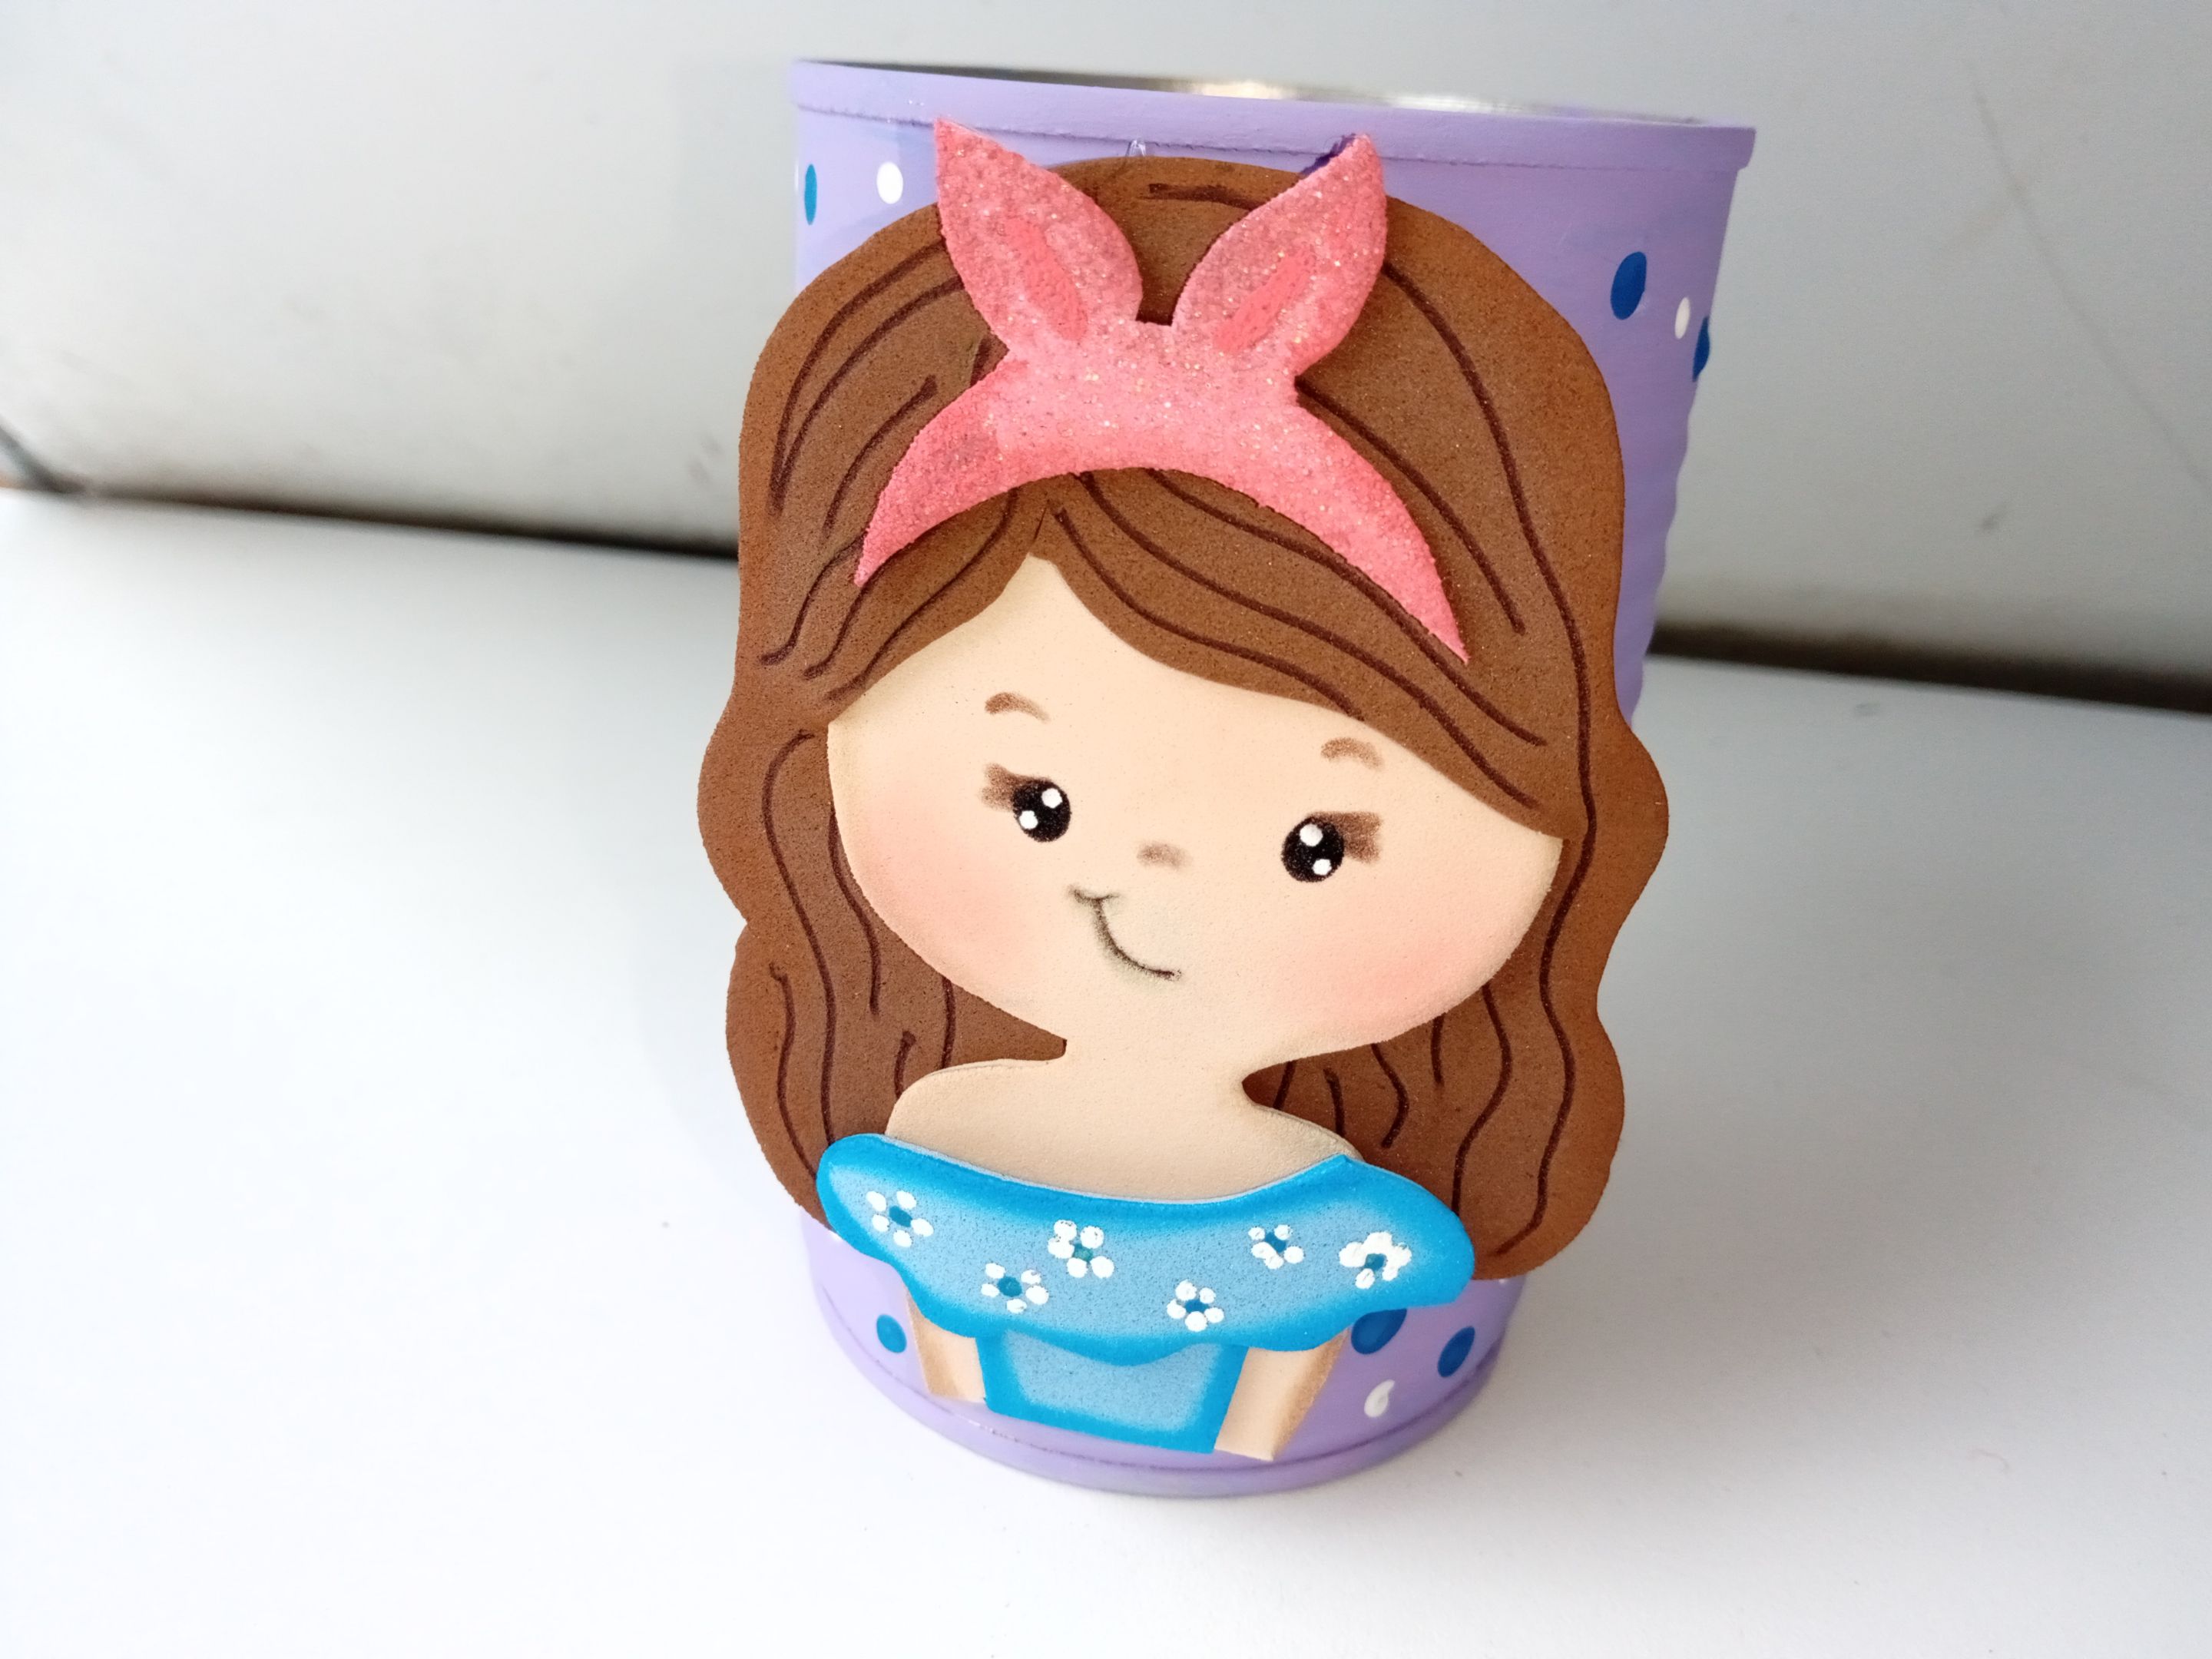
- PASO 5:
Finalmente, comencé a armar la figura de la siguiente manera: primero, uní la cabeza con el cabello, al cual le hice un corte para insertar la cabeza y luego, pegué la vestimenta y el lazo en medio de la parte superior de su cabello. Una vez lista la figura, pegué en medio del recipiente.
- STEP 5:
Finally, I began to assemble the figure as follows: first, I joined the head with the hair, which I made a cut to insert the head and then, I glued the clothing and the bow in the middle of the top part of her hair. Once the figure was ready, I glued it in the middle of the container.
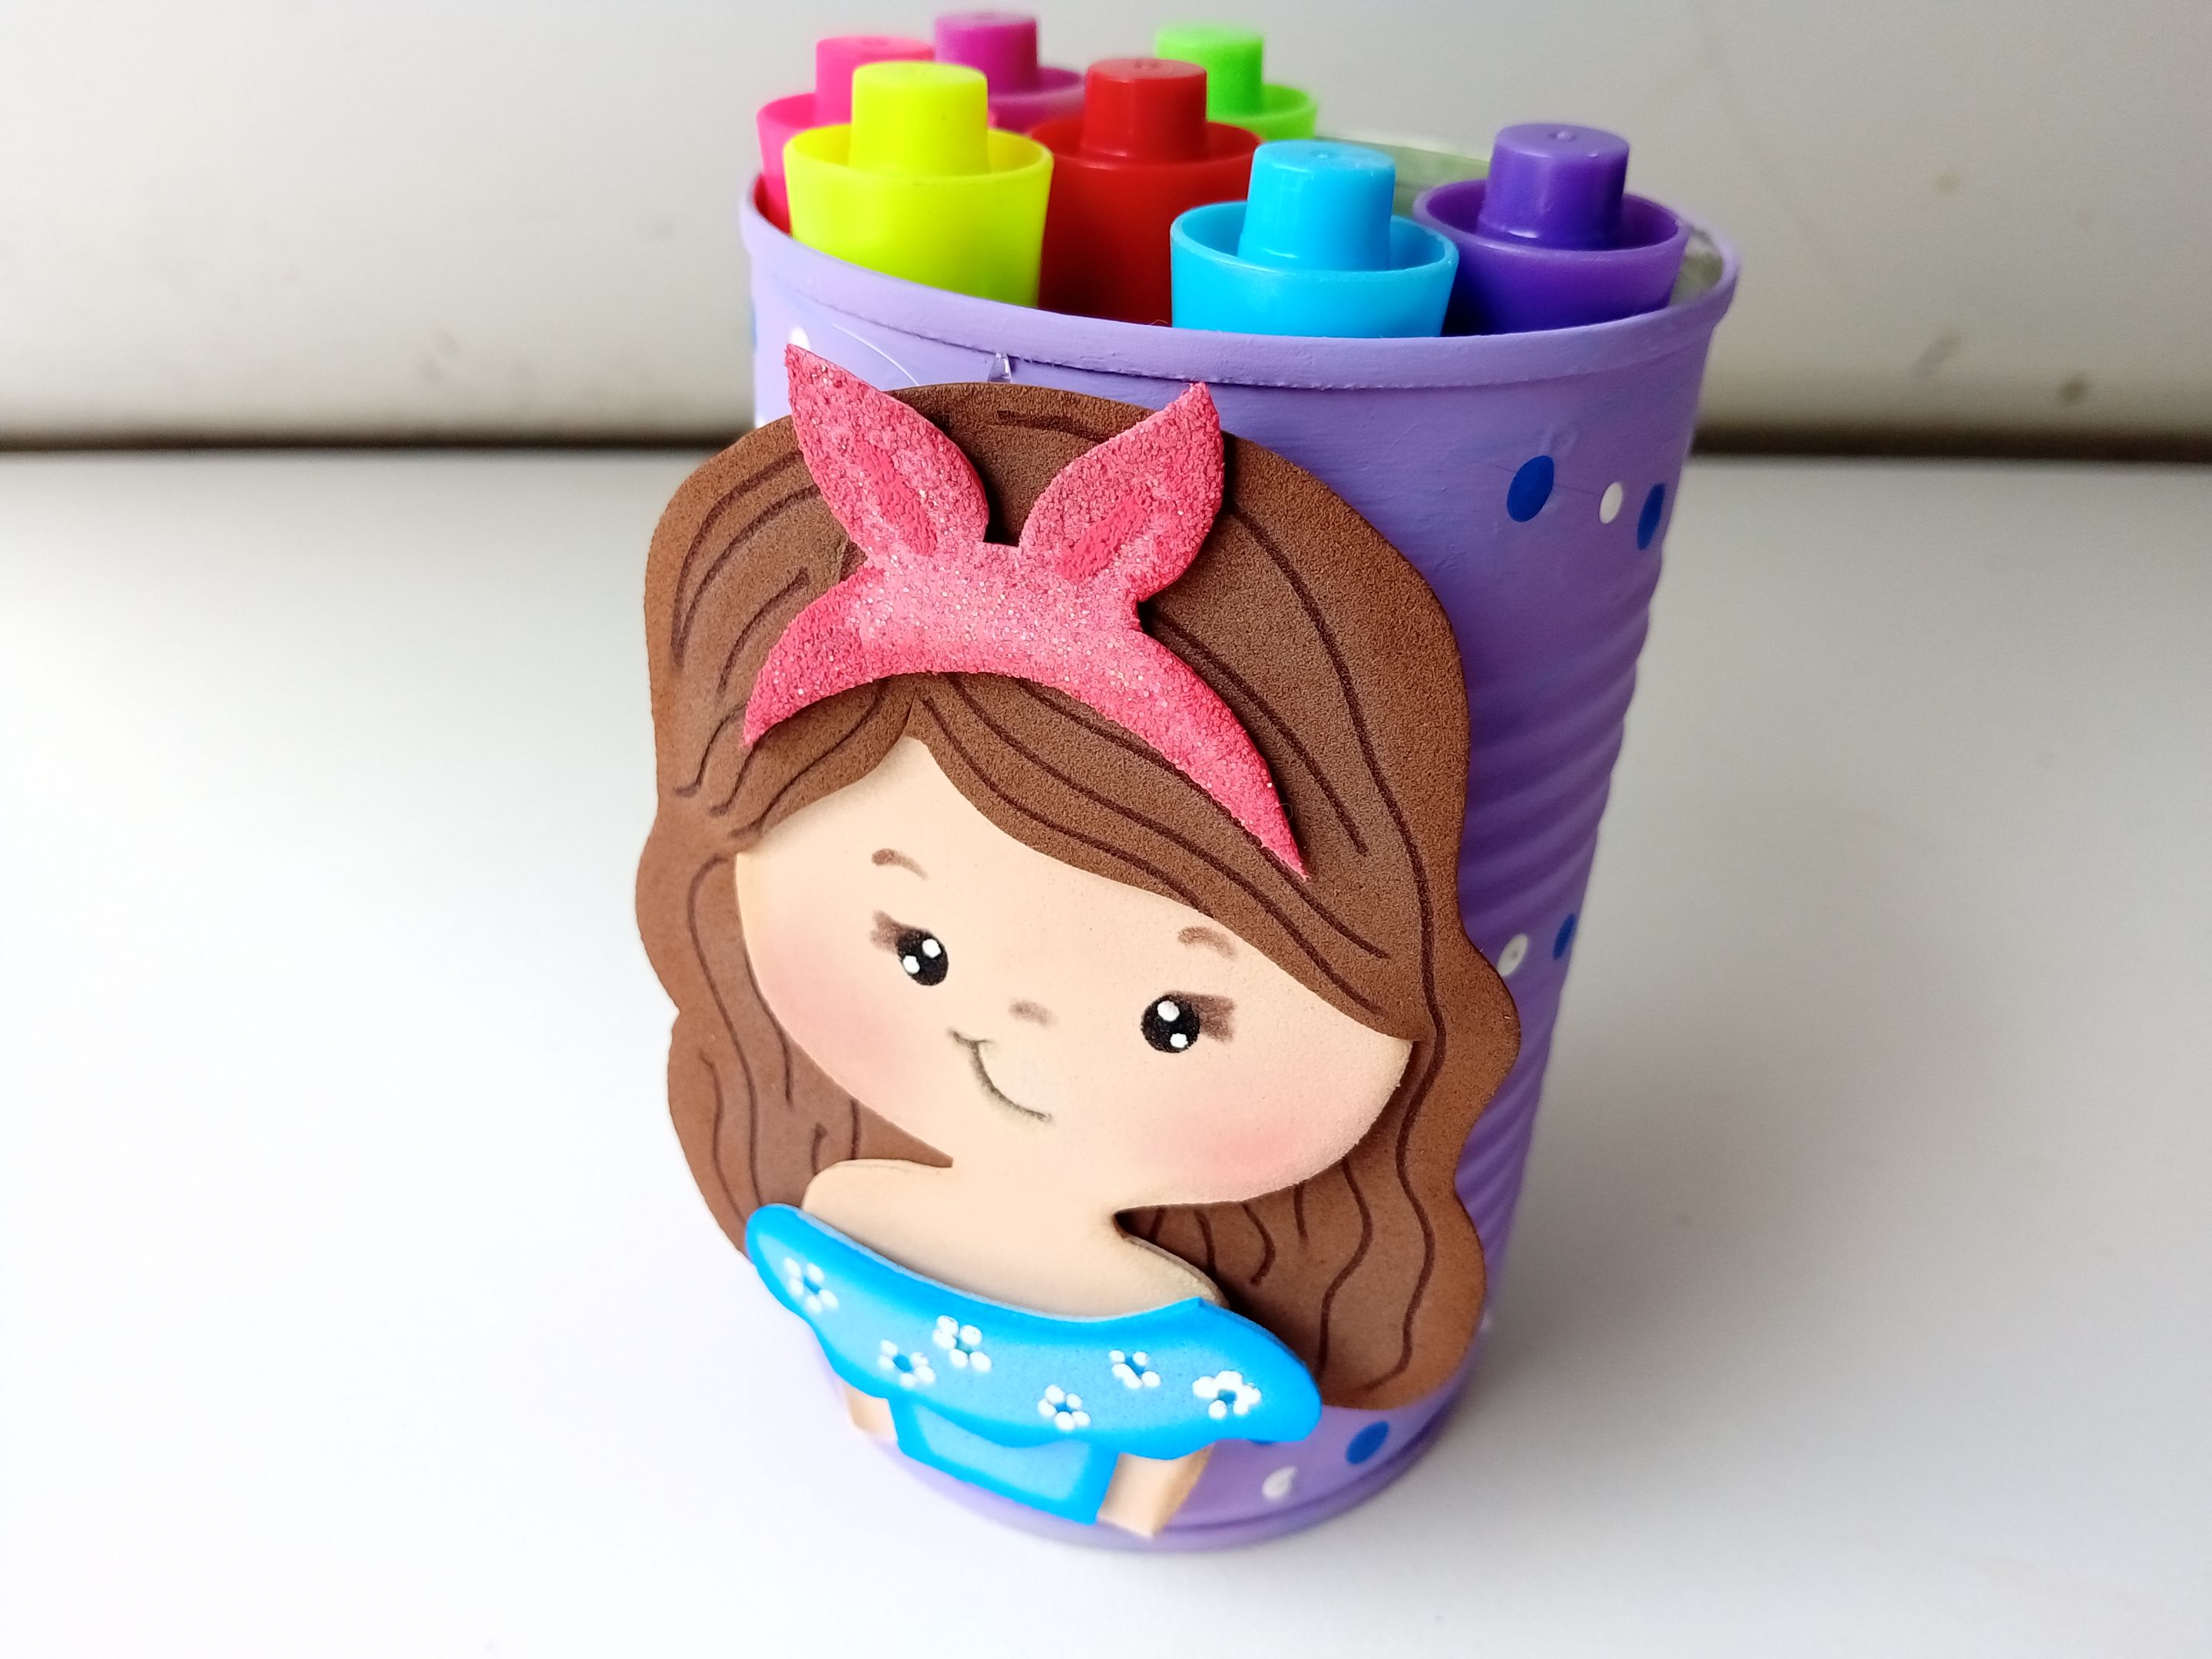
✨✏️¡And ready!✏️✨ This way you can make a beautiful, easy and simple pencil holder for your princess or for yourself, because you can do it with the theme of your choice. I also think it's a nice gift, you can even turn it into a candy bowl, right? Ha ha. I hope you liked this idea and are encouraged to make it.
❤️Until the next post.
✨RESULTADO: | ✨RESULT:

Todas las fotografías son de mi propiedad.
Separador y Fotos editadas en Canva
All photographs are my property.
Photos edited in Canva