VERSION EN ESPAÑOL
##############################
Hola. Permítanme entrar por primera vez a esta hogareña comunidad para mostrarles una sencilla solución para armar un juguete para nuestros niños.
Recuerdo que allá por mi infancia que se desarrolló en el entorno de una familia y un barrio extremadamente pobres. Esta descripción ya ubica que el tema de los juguetes era muy sensible, sobre todo para los padres que casi, (NUNCA) podían suplir este tipo de demanda infantil.
Por esa razón primera, la tendencia en aquellos tiempos era; o que algunos padres diestros elaborar algún tipo de artefacto para complacer a los niños o que nosotros mismos nos los hiciéramos a nuestra propia conveniencia.
Bueno, a la verdad es que" después de tantos años y tanta tempestad” la de situación con los juguetes tiene el mismo rostro.
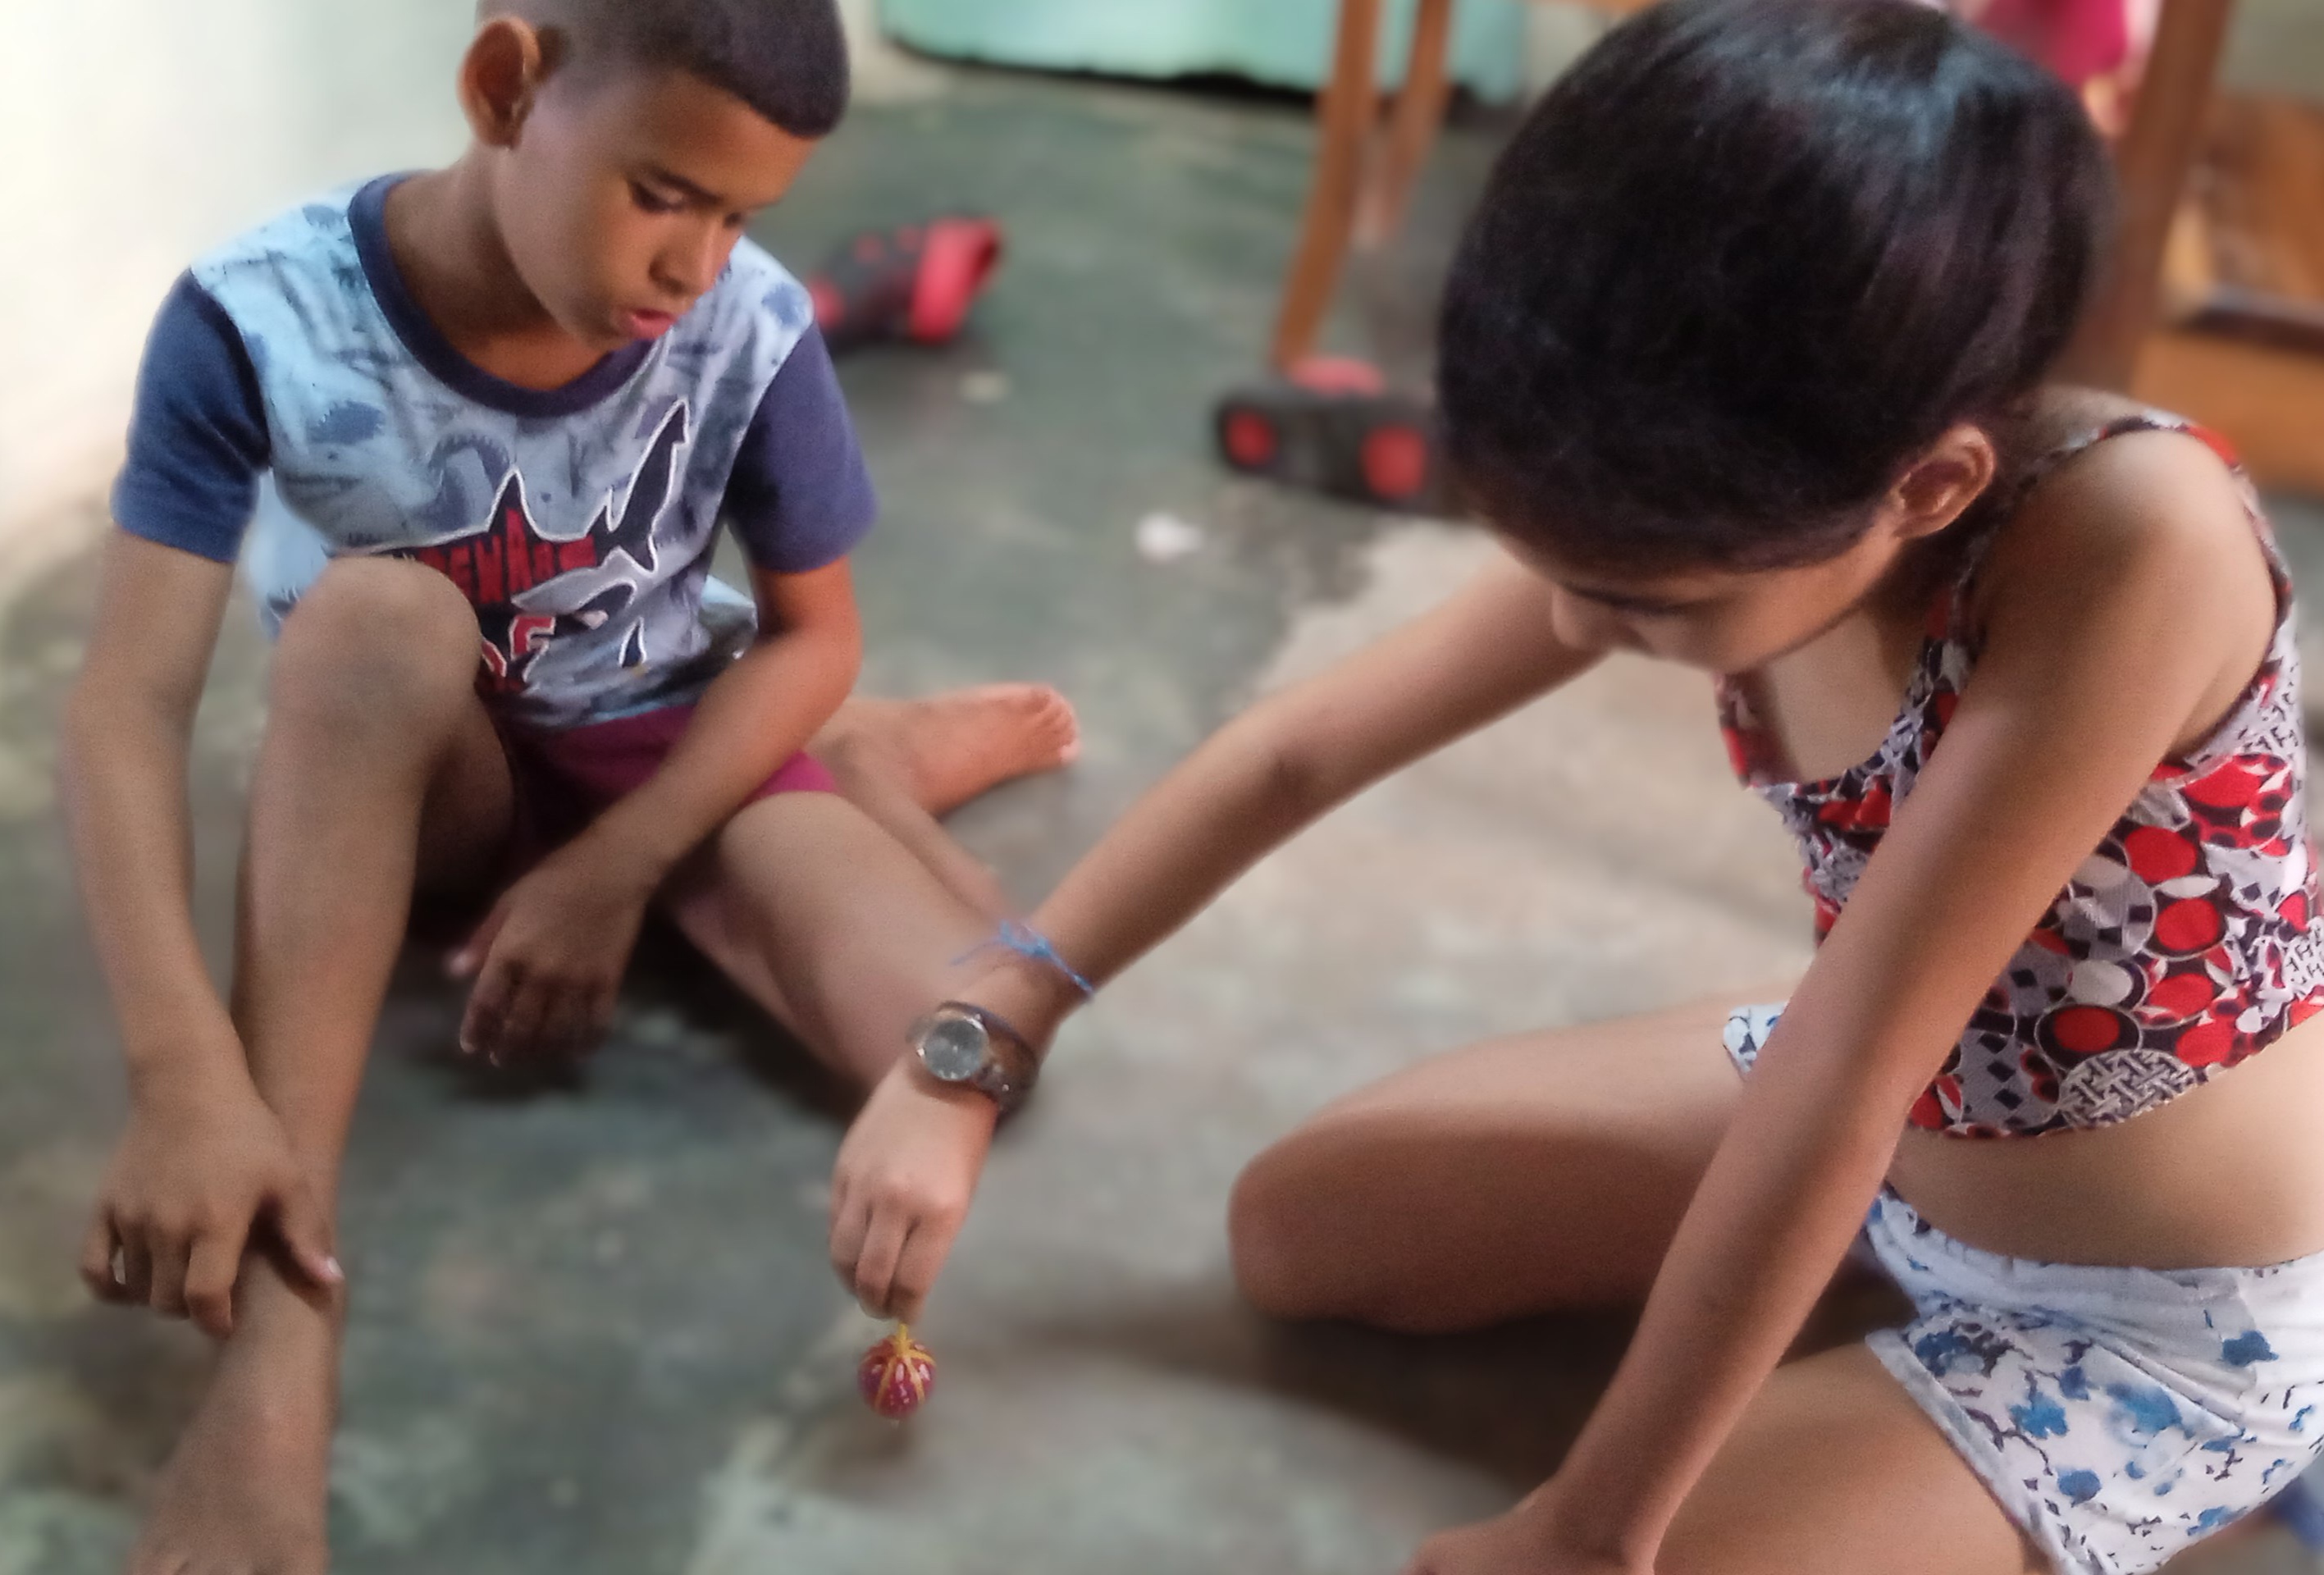
De todo eso hoy me acordé cuando después de que uno de mis nietos subiera a mi pequeño taller y por pedirme algo, me pidió una parte de un proyecto para una pequeña artesanía que ya había desechado, consistente en una bolita de desodorante atravesada por un palito plástico de chupa chupa. Un rato después entro a la casa y encuentro con que este y otros niños habían convertido aquello en un juguete con el que se divertían haciéndolo girar abre el piso de la sala.
Así, al azar, como se realizan los grandes descubrimientos, acababan de descubrir" el trompo” con bolita de desodorante y palito plástico para chupa chupa.
Entonces me decidí a apropiarme de aquella iniciativa y hacerla consciente y estéticamente mejor acabada. Y aquí les muestro el proceso.
Los materiales utilizados son;
Una bolita de desodorante.
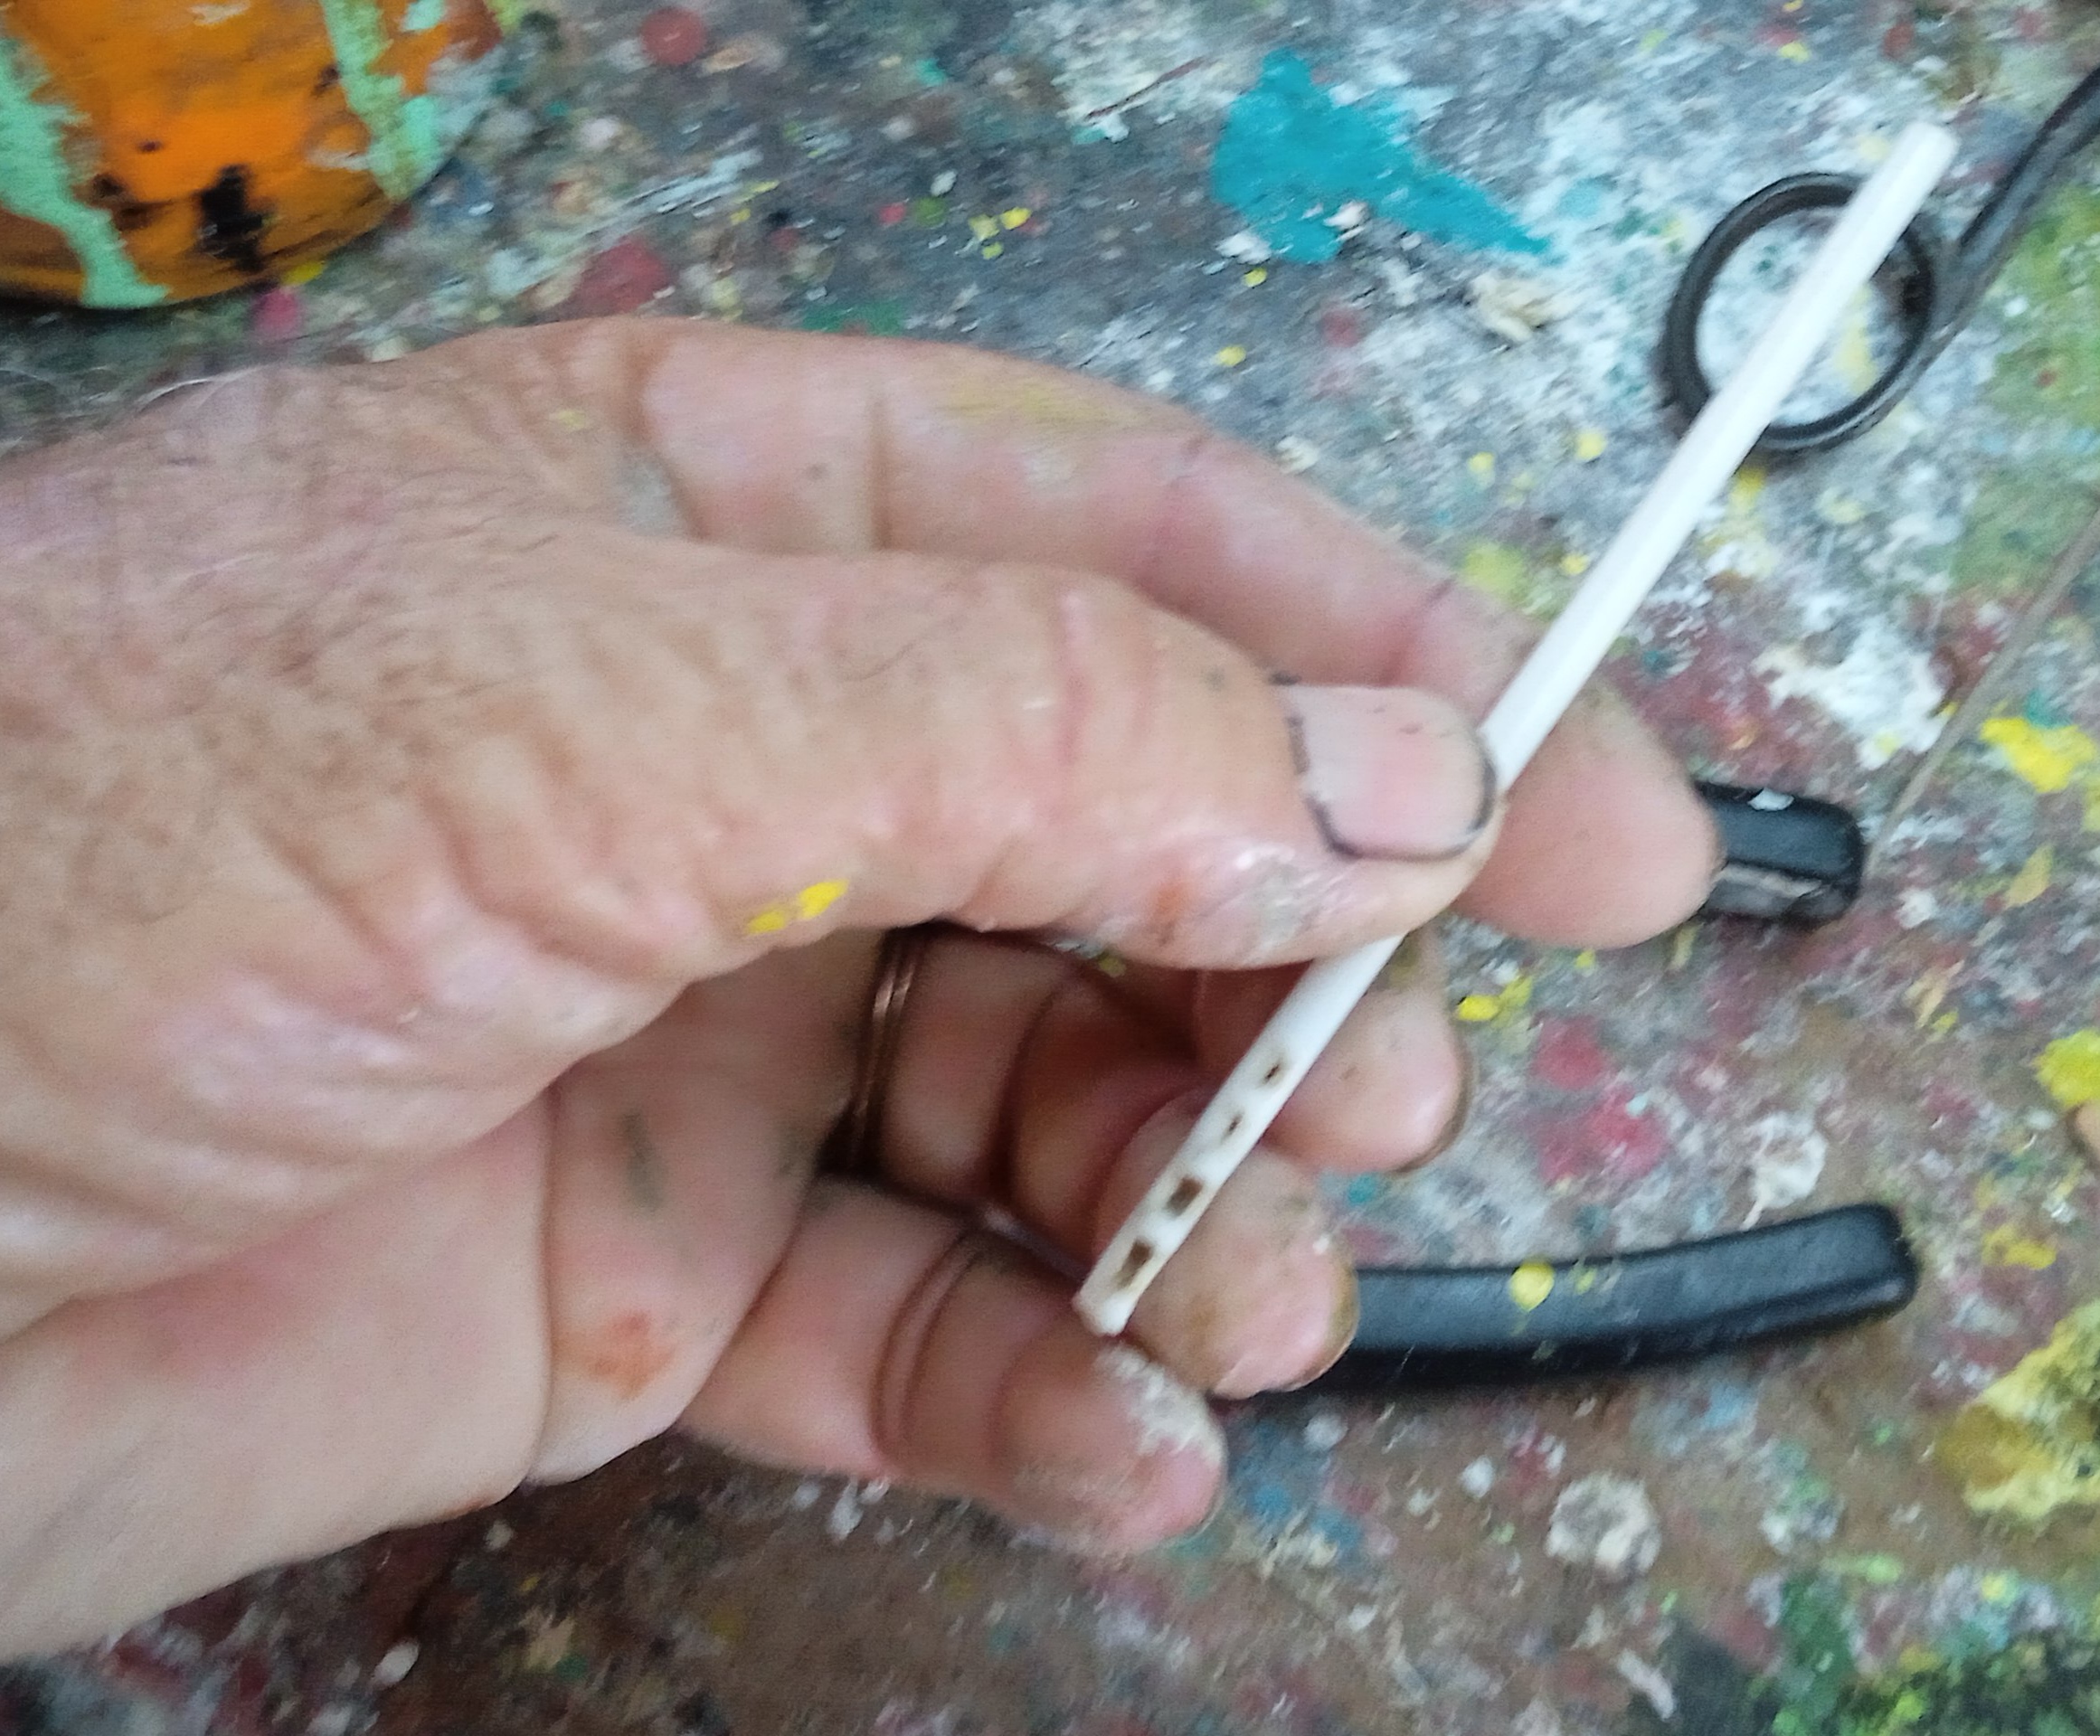
Un palito plástico para chupachupa.
Pegamento.
Color de pintura al aceite.
Una tijera de punta fina.
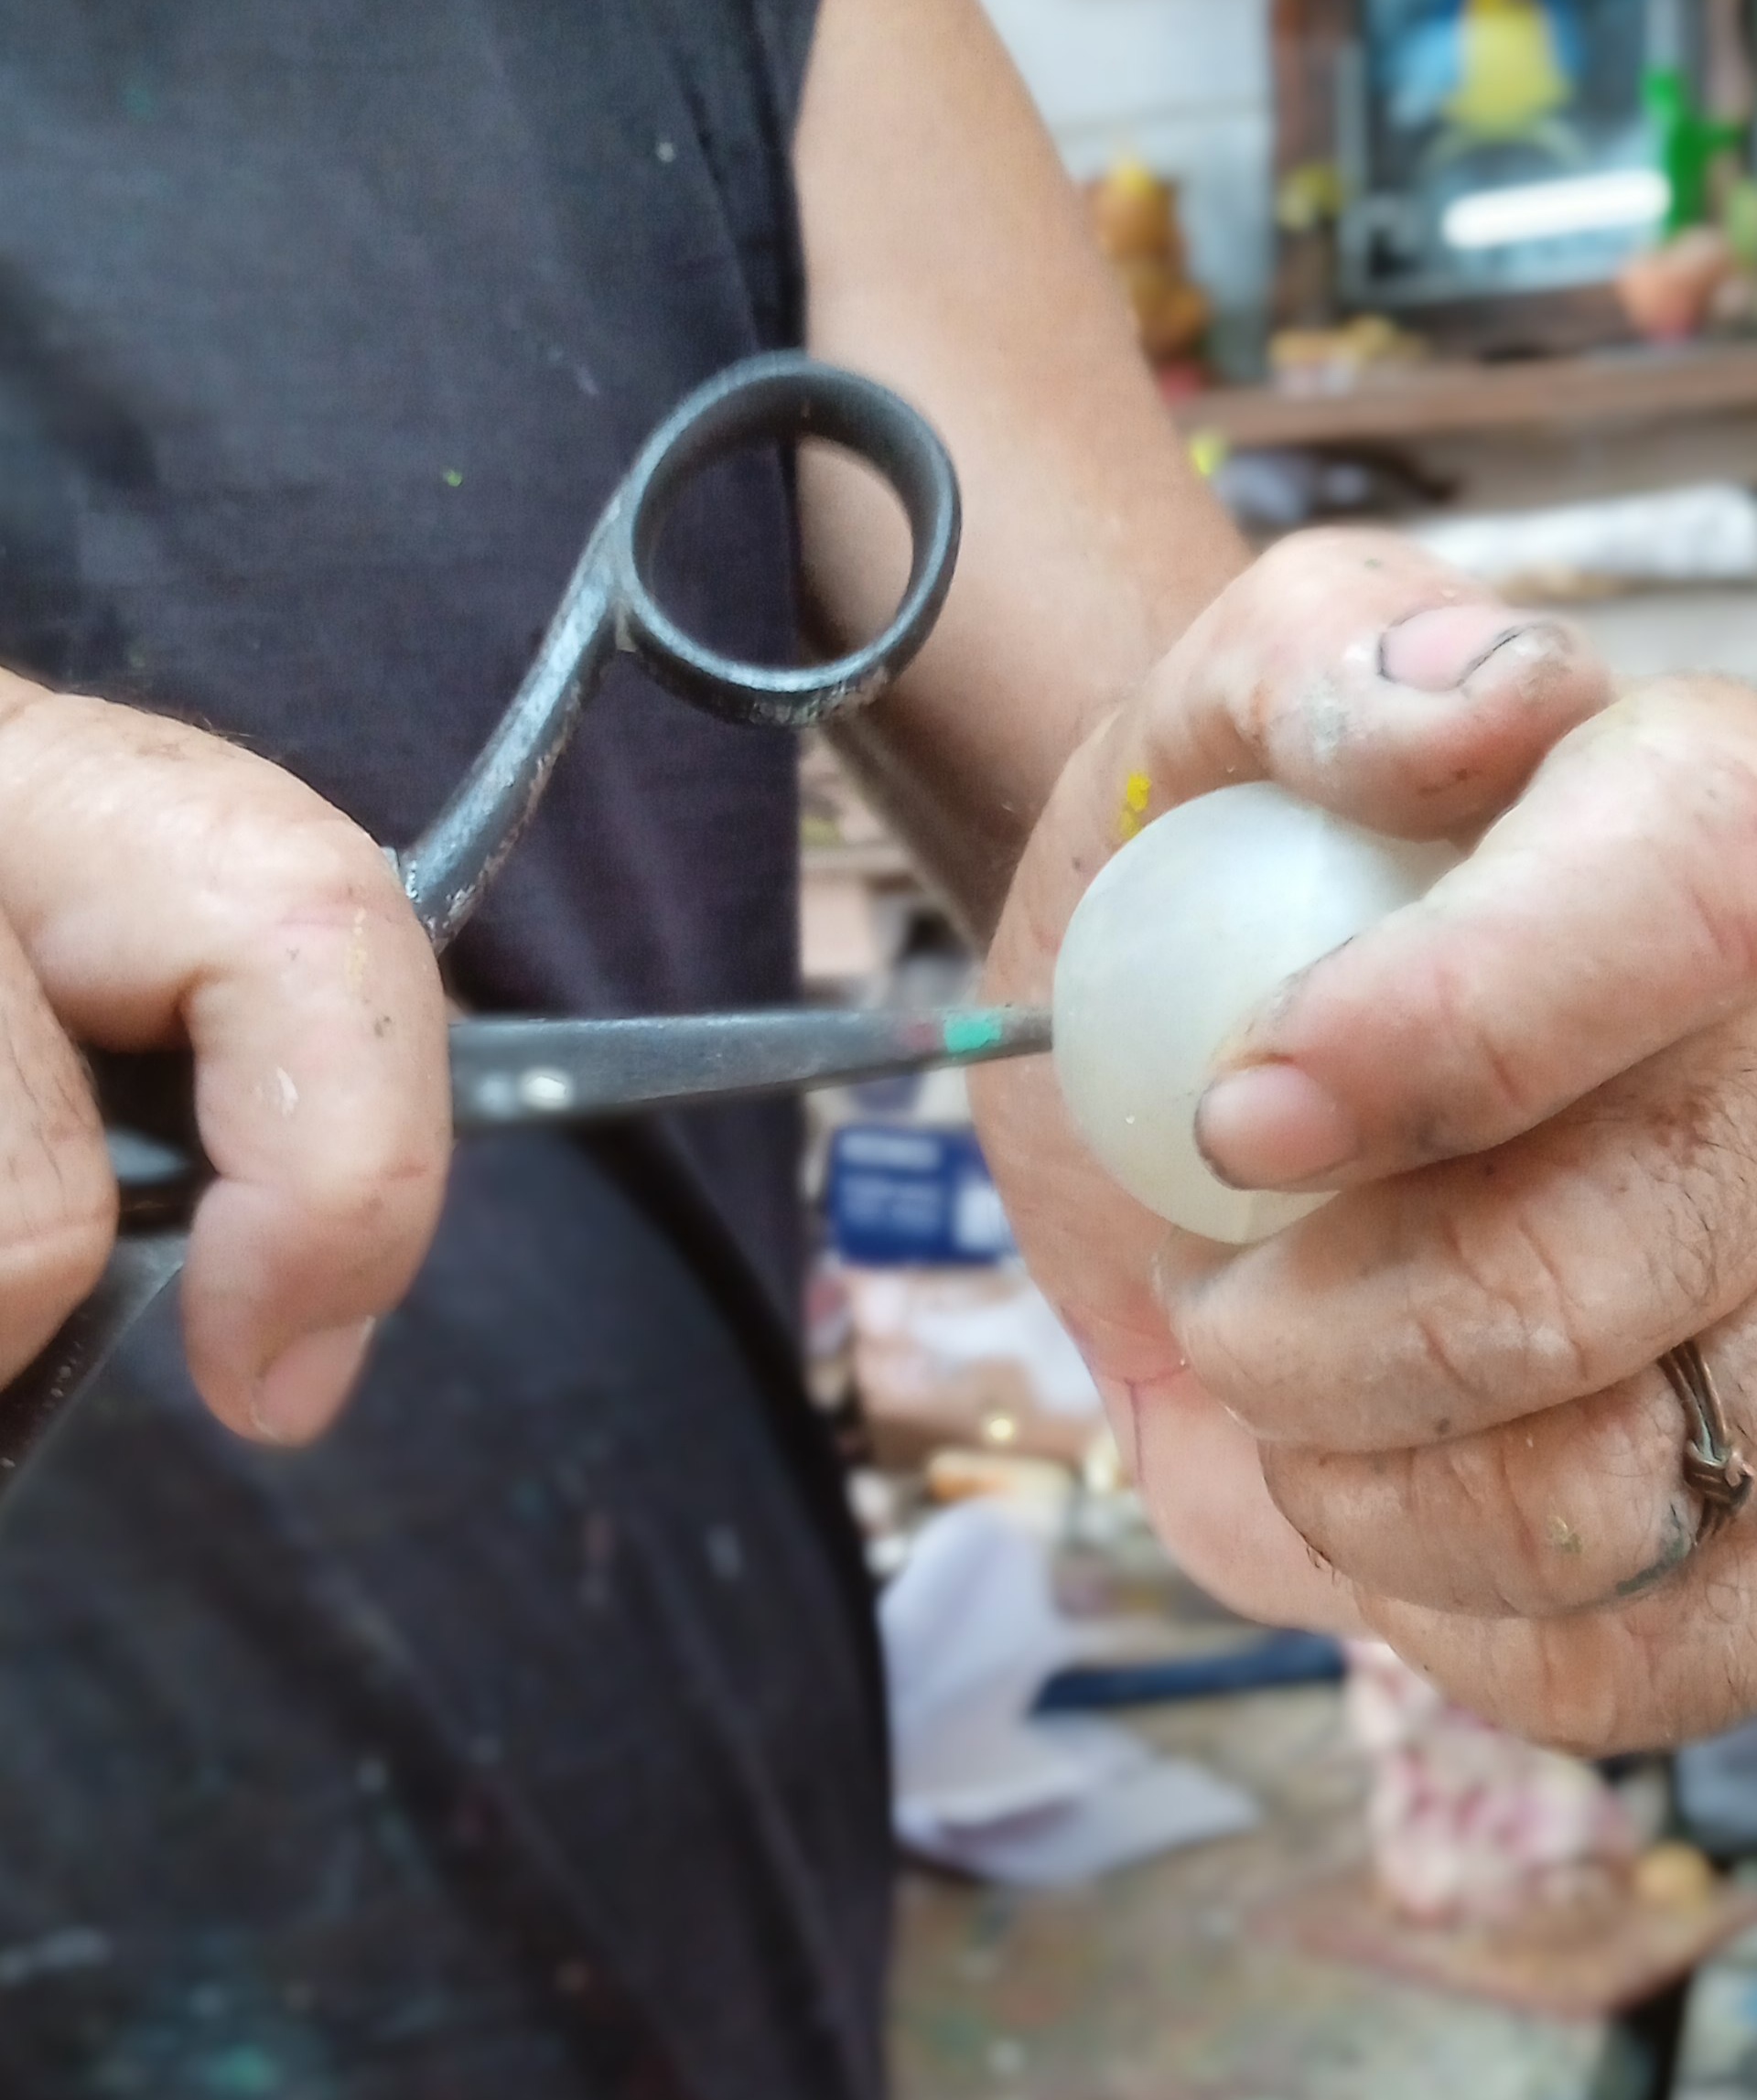
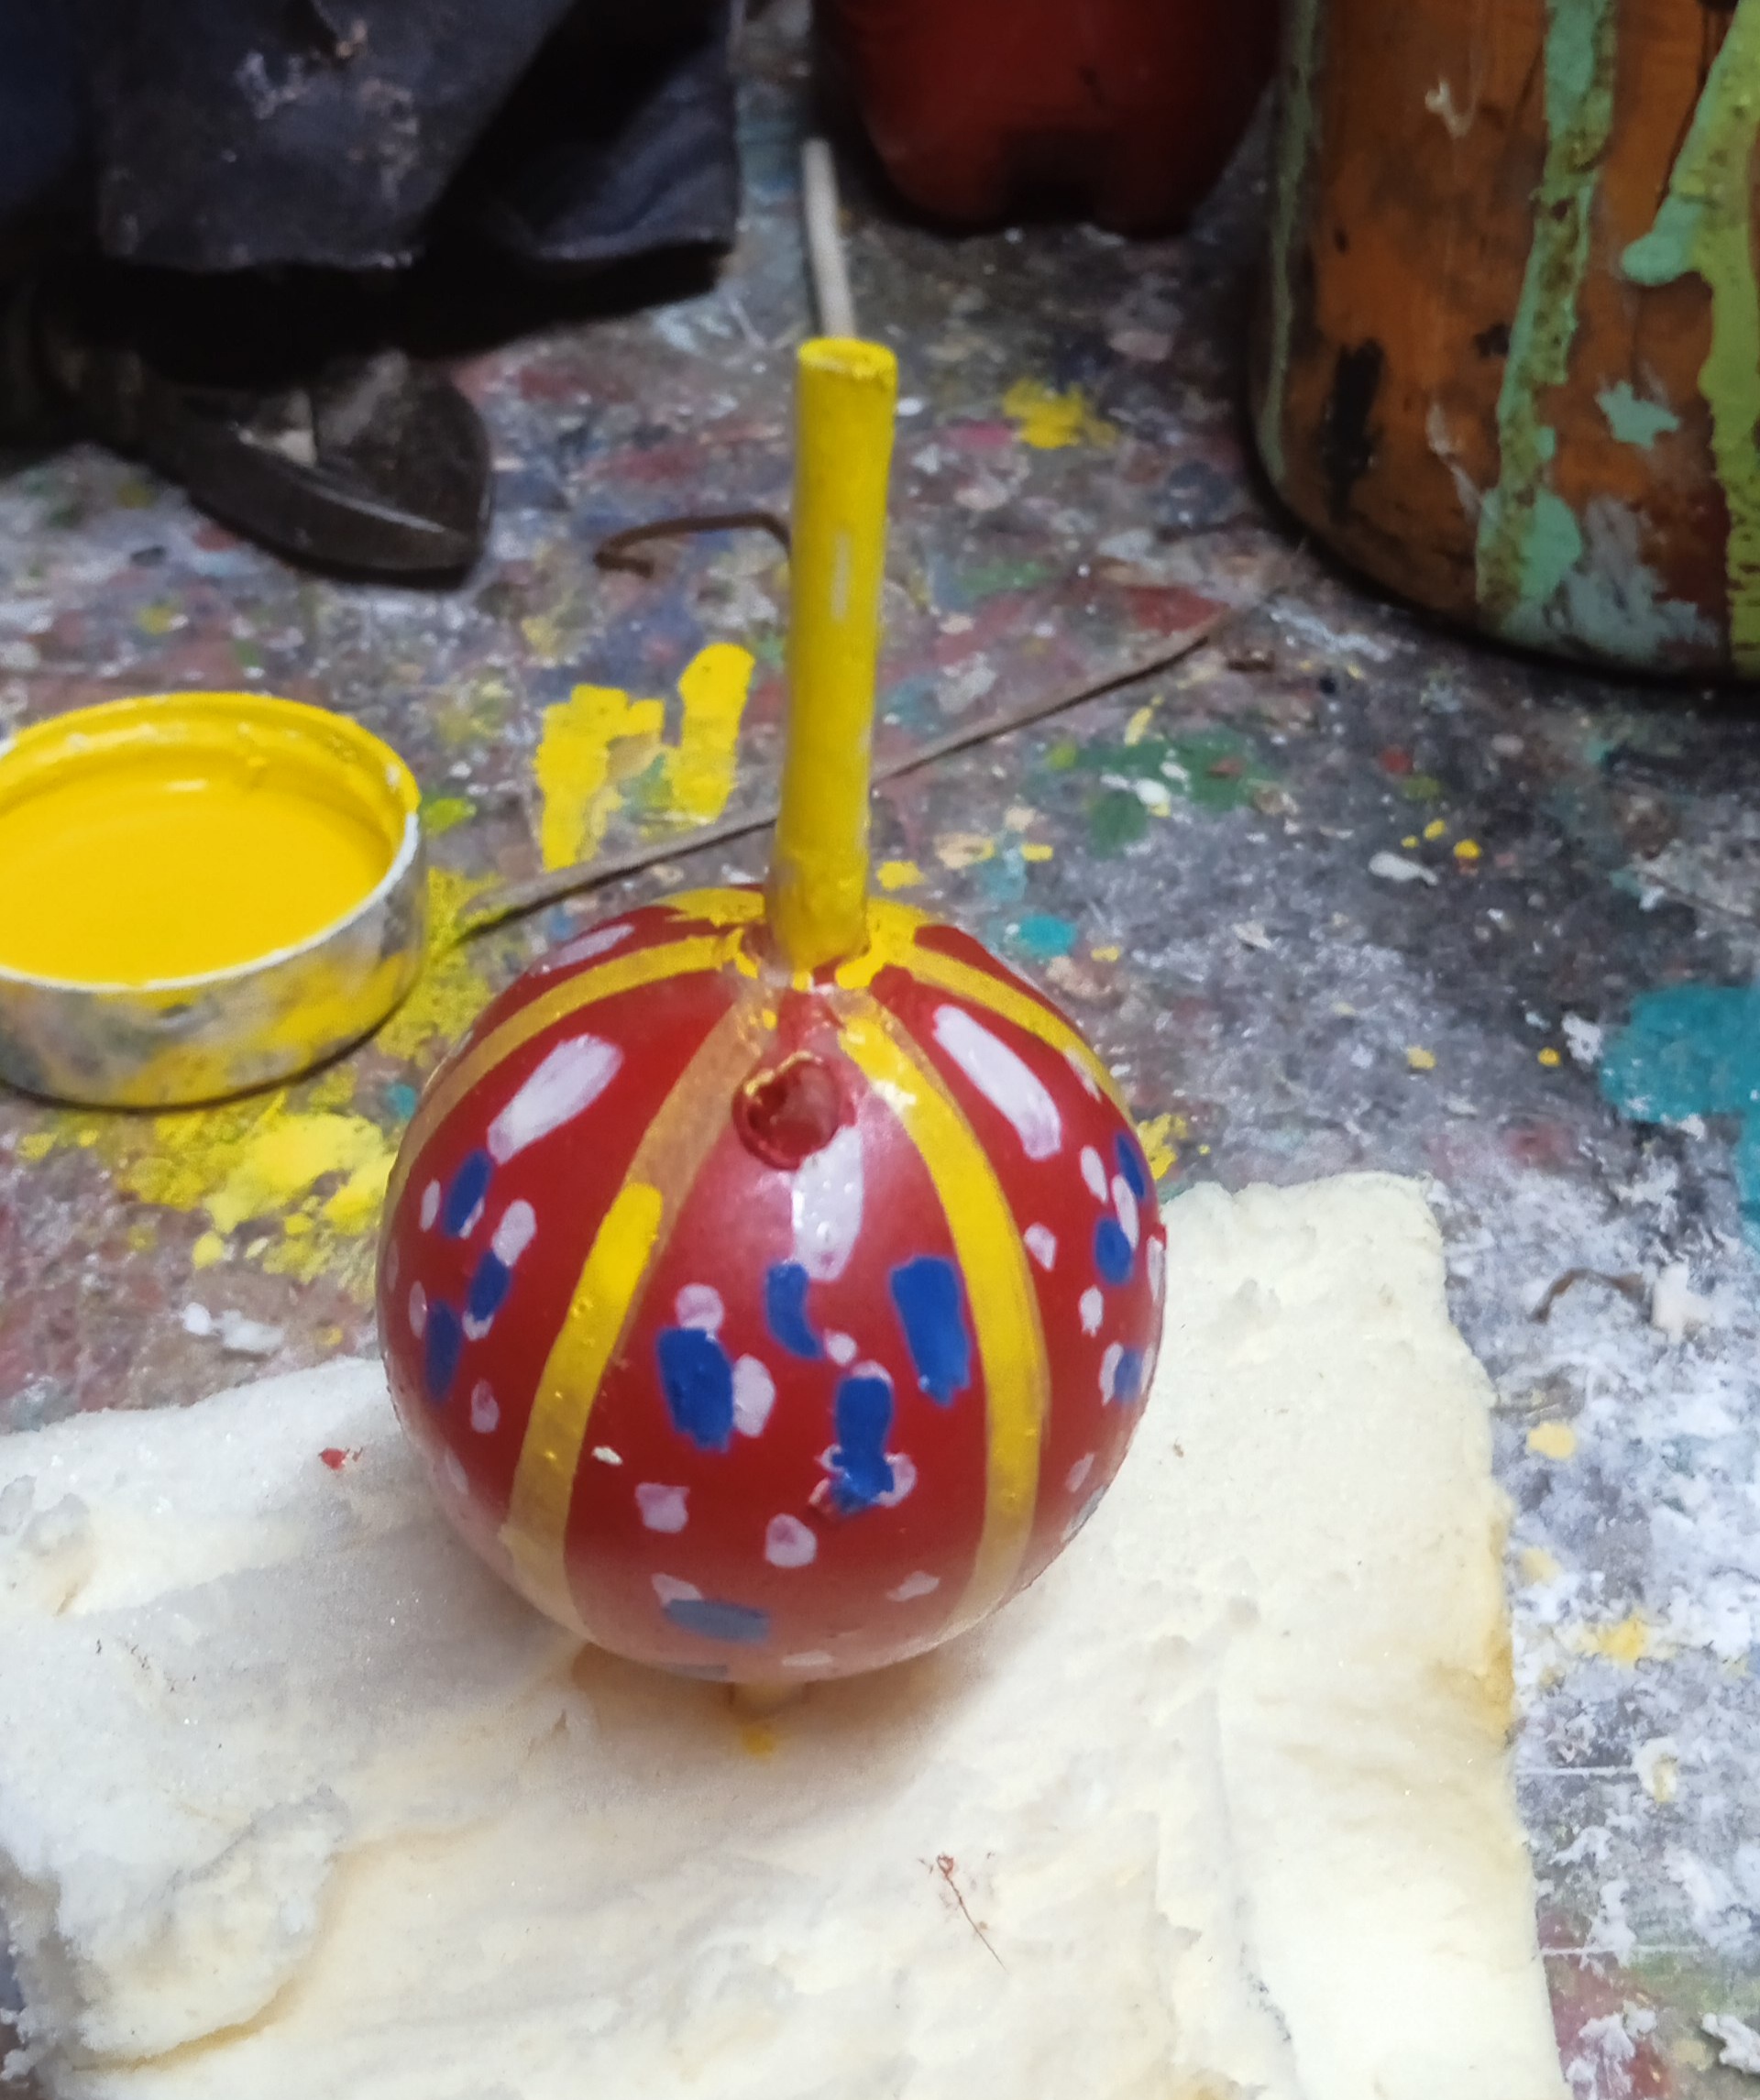
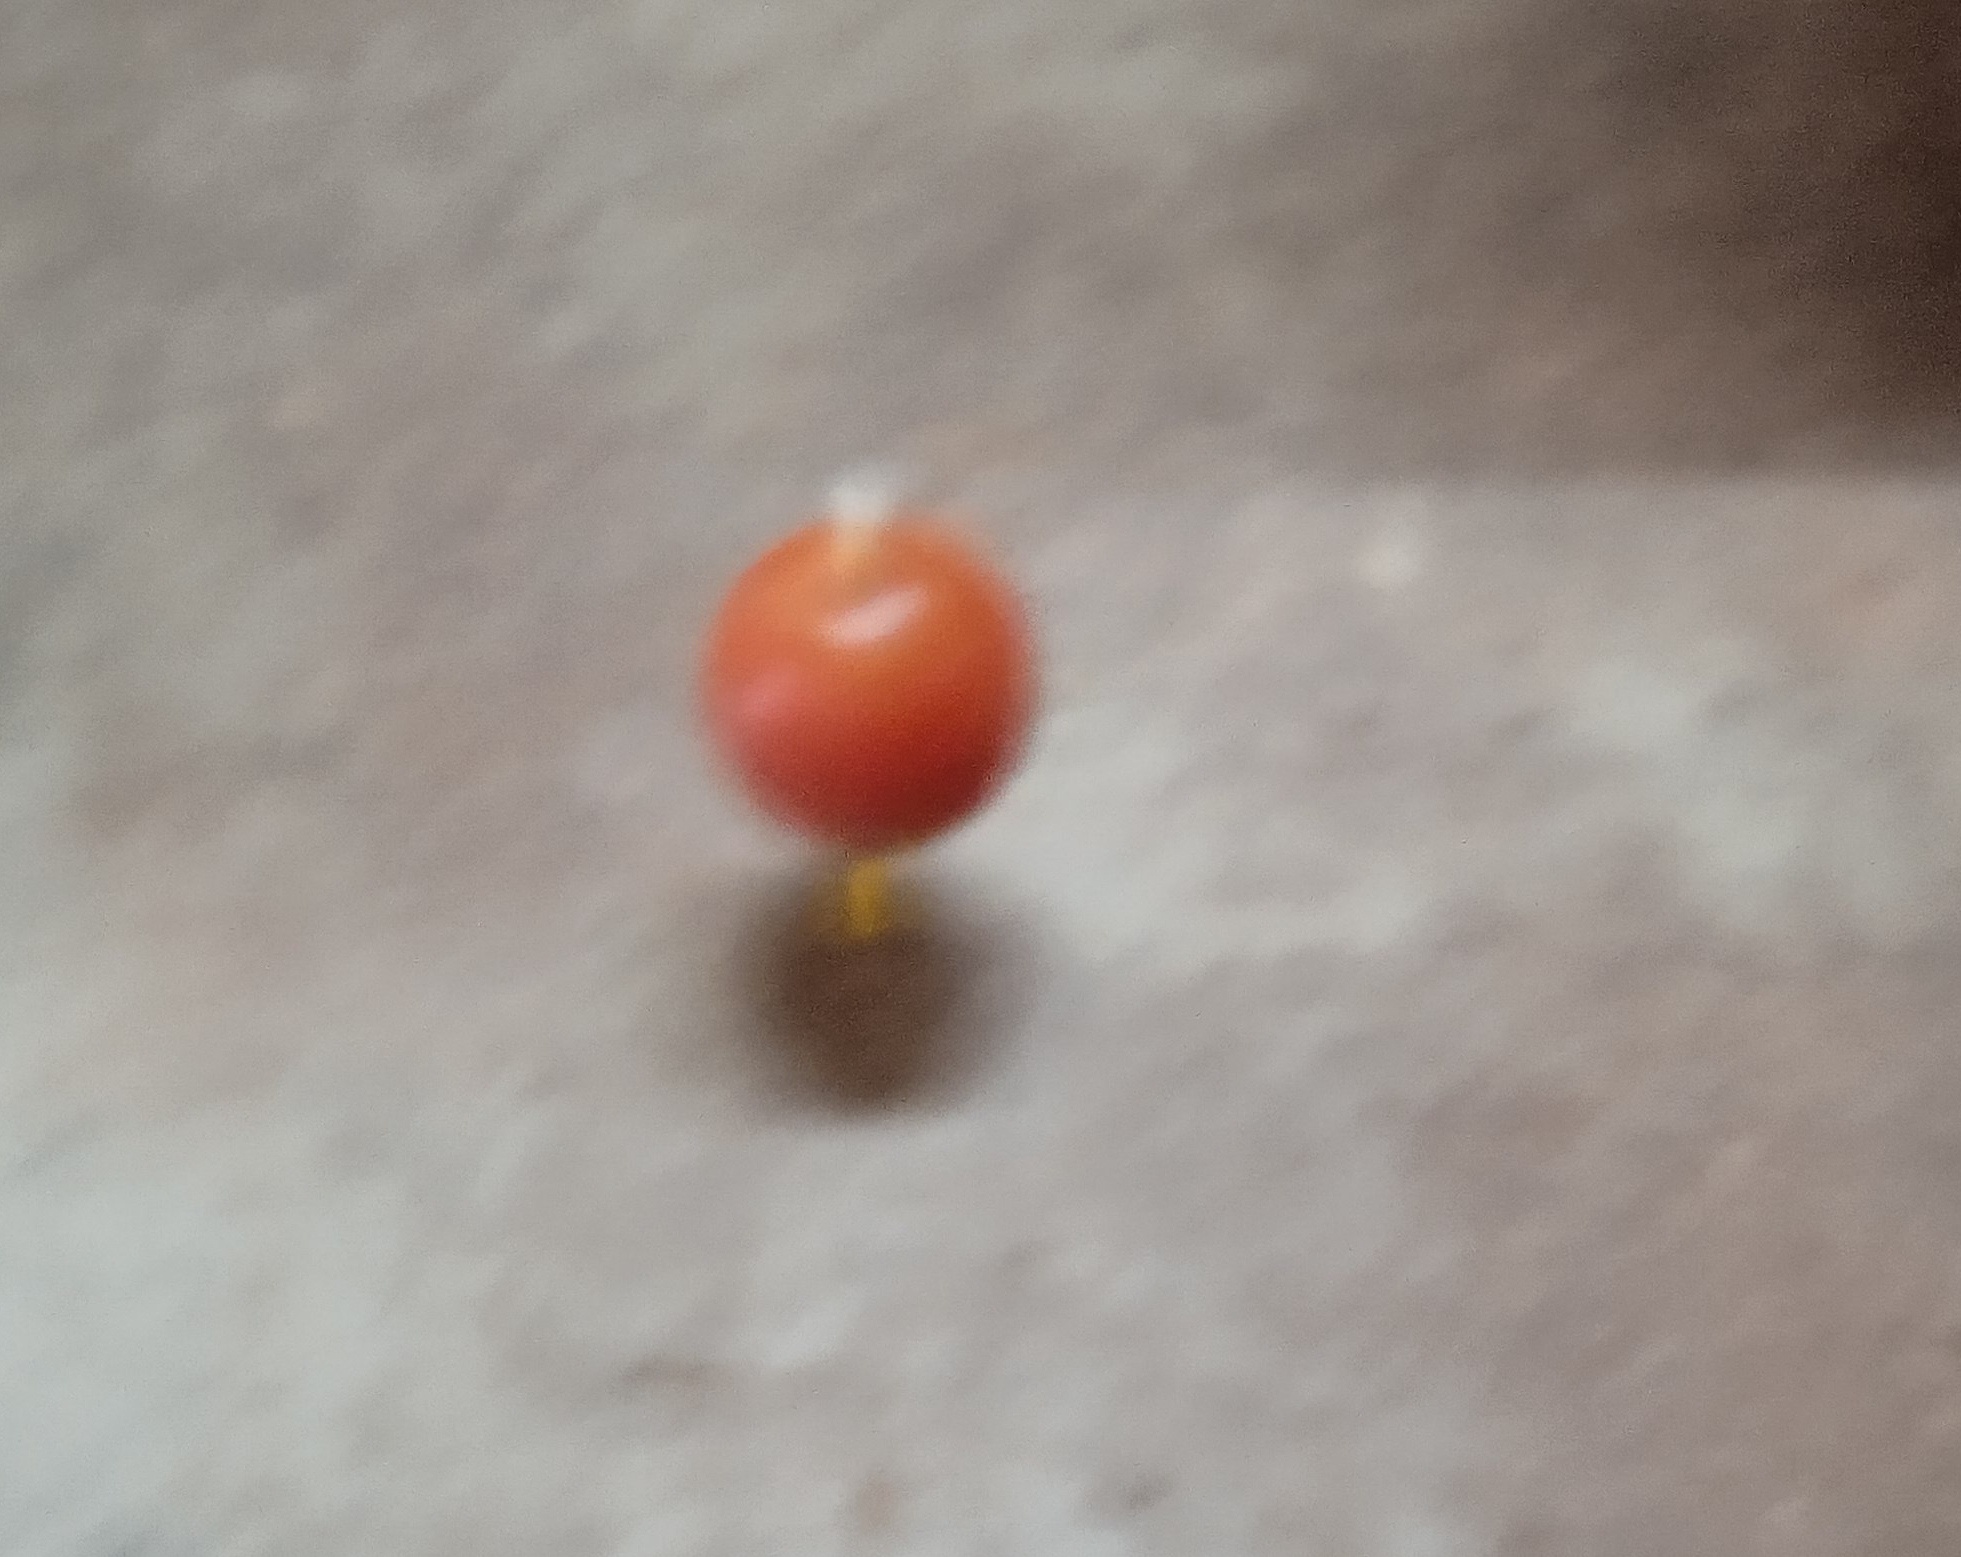
Se toma la bolita de desodorante y se le perfora un pequeño huequito por el centro que pase de lado a lado la esfera. Después se le introduce el palito plástico que pase de lado a lado la bolita de desodorante.dejando solo un pequeño tramo a la salida que va a servir de “púa”. Es decir, la parte que apoyará en el piso.
Tomamos el palito por el extremo más largo con el dedo pulgar y el índice y lo hacemos girar. Quizá al principio no se sostenga y haya que ir recortando el extremo mayor hasta encontrar el balance óptimo.
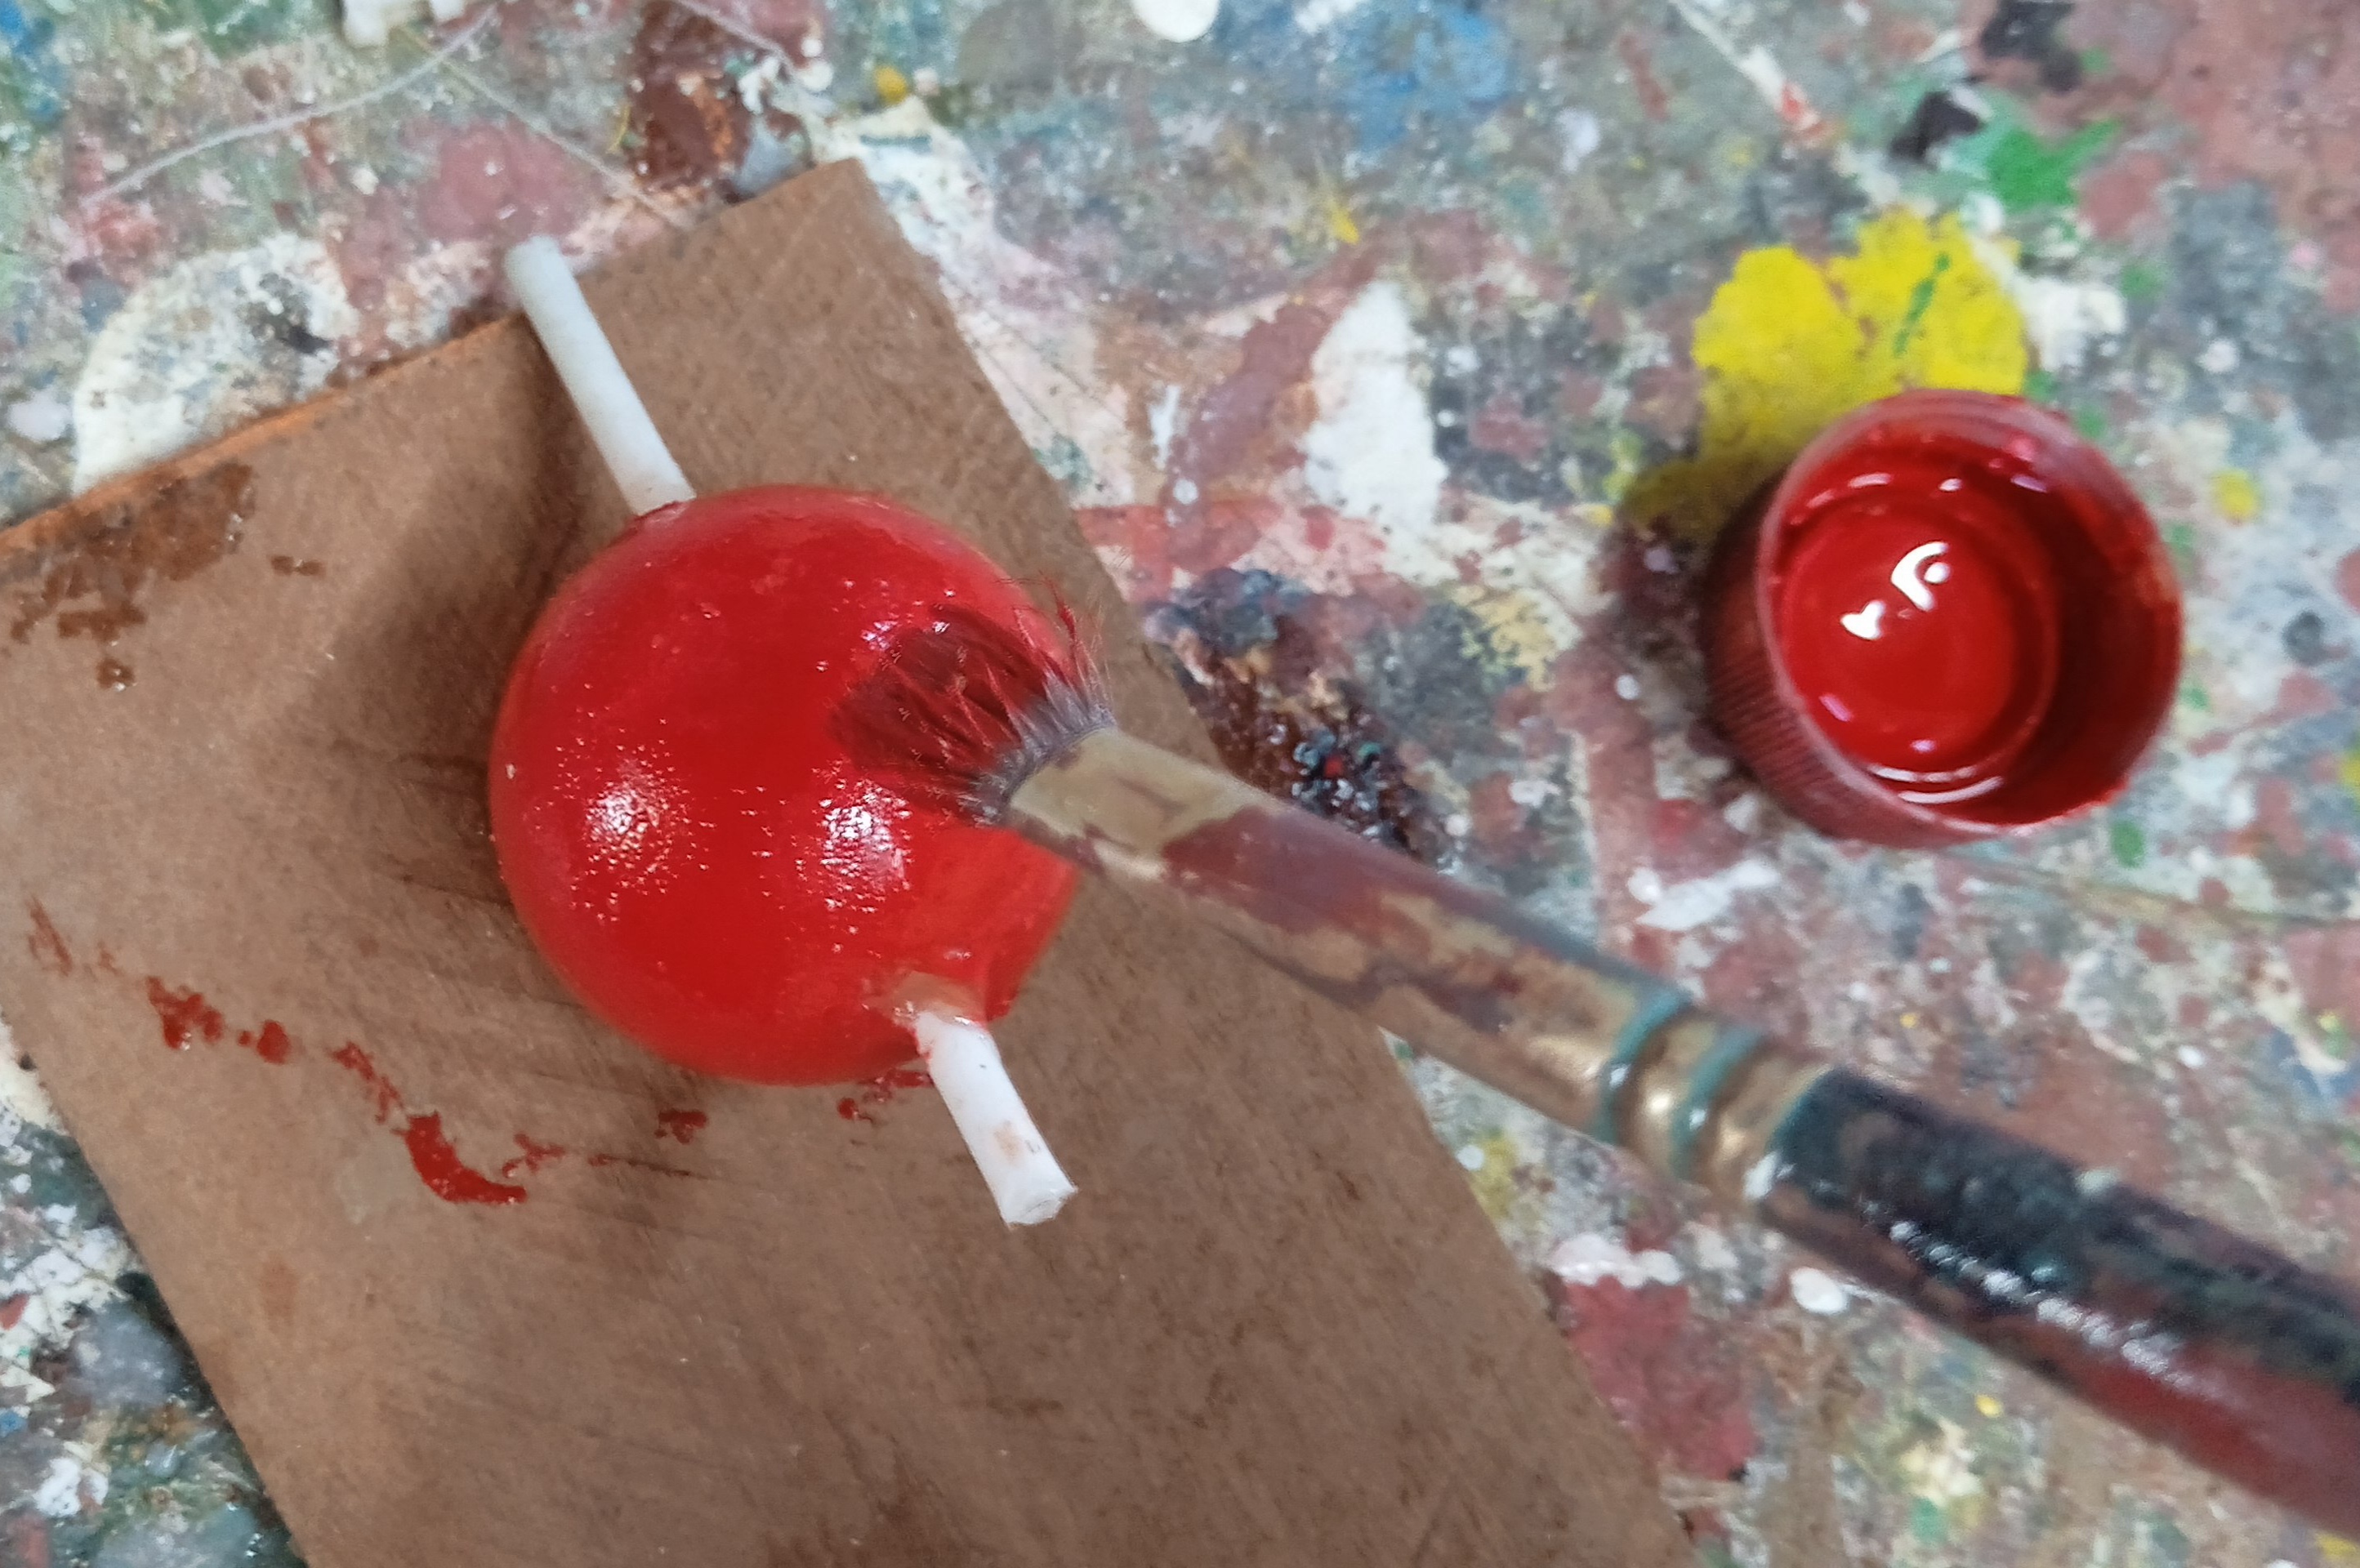
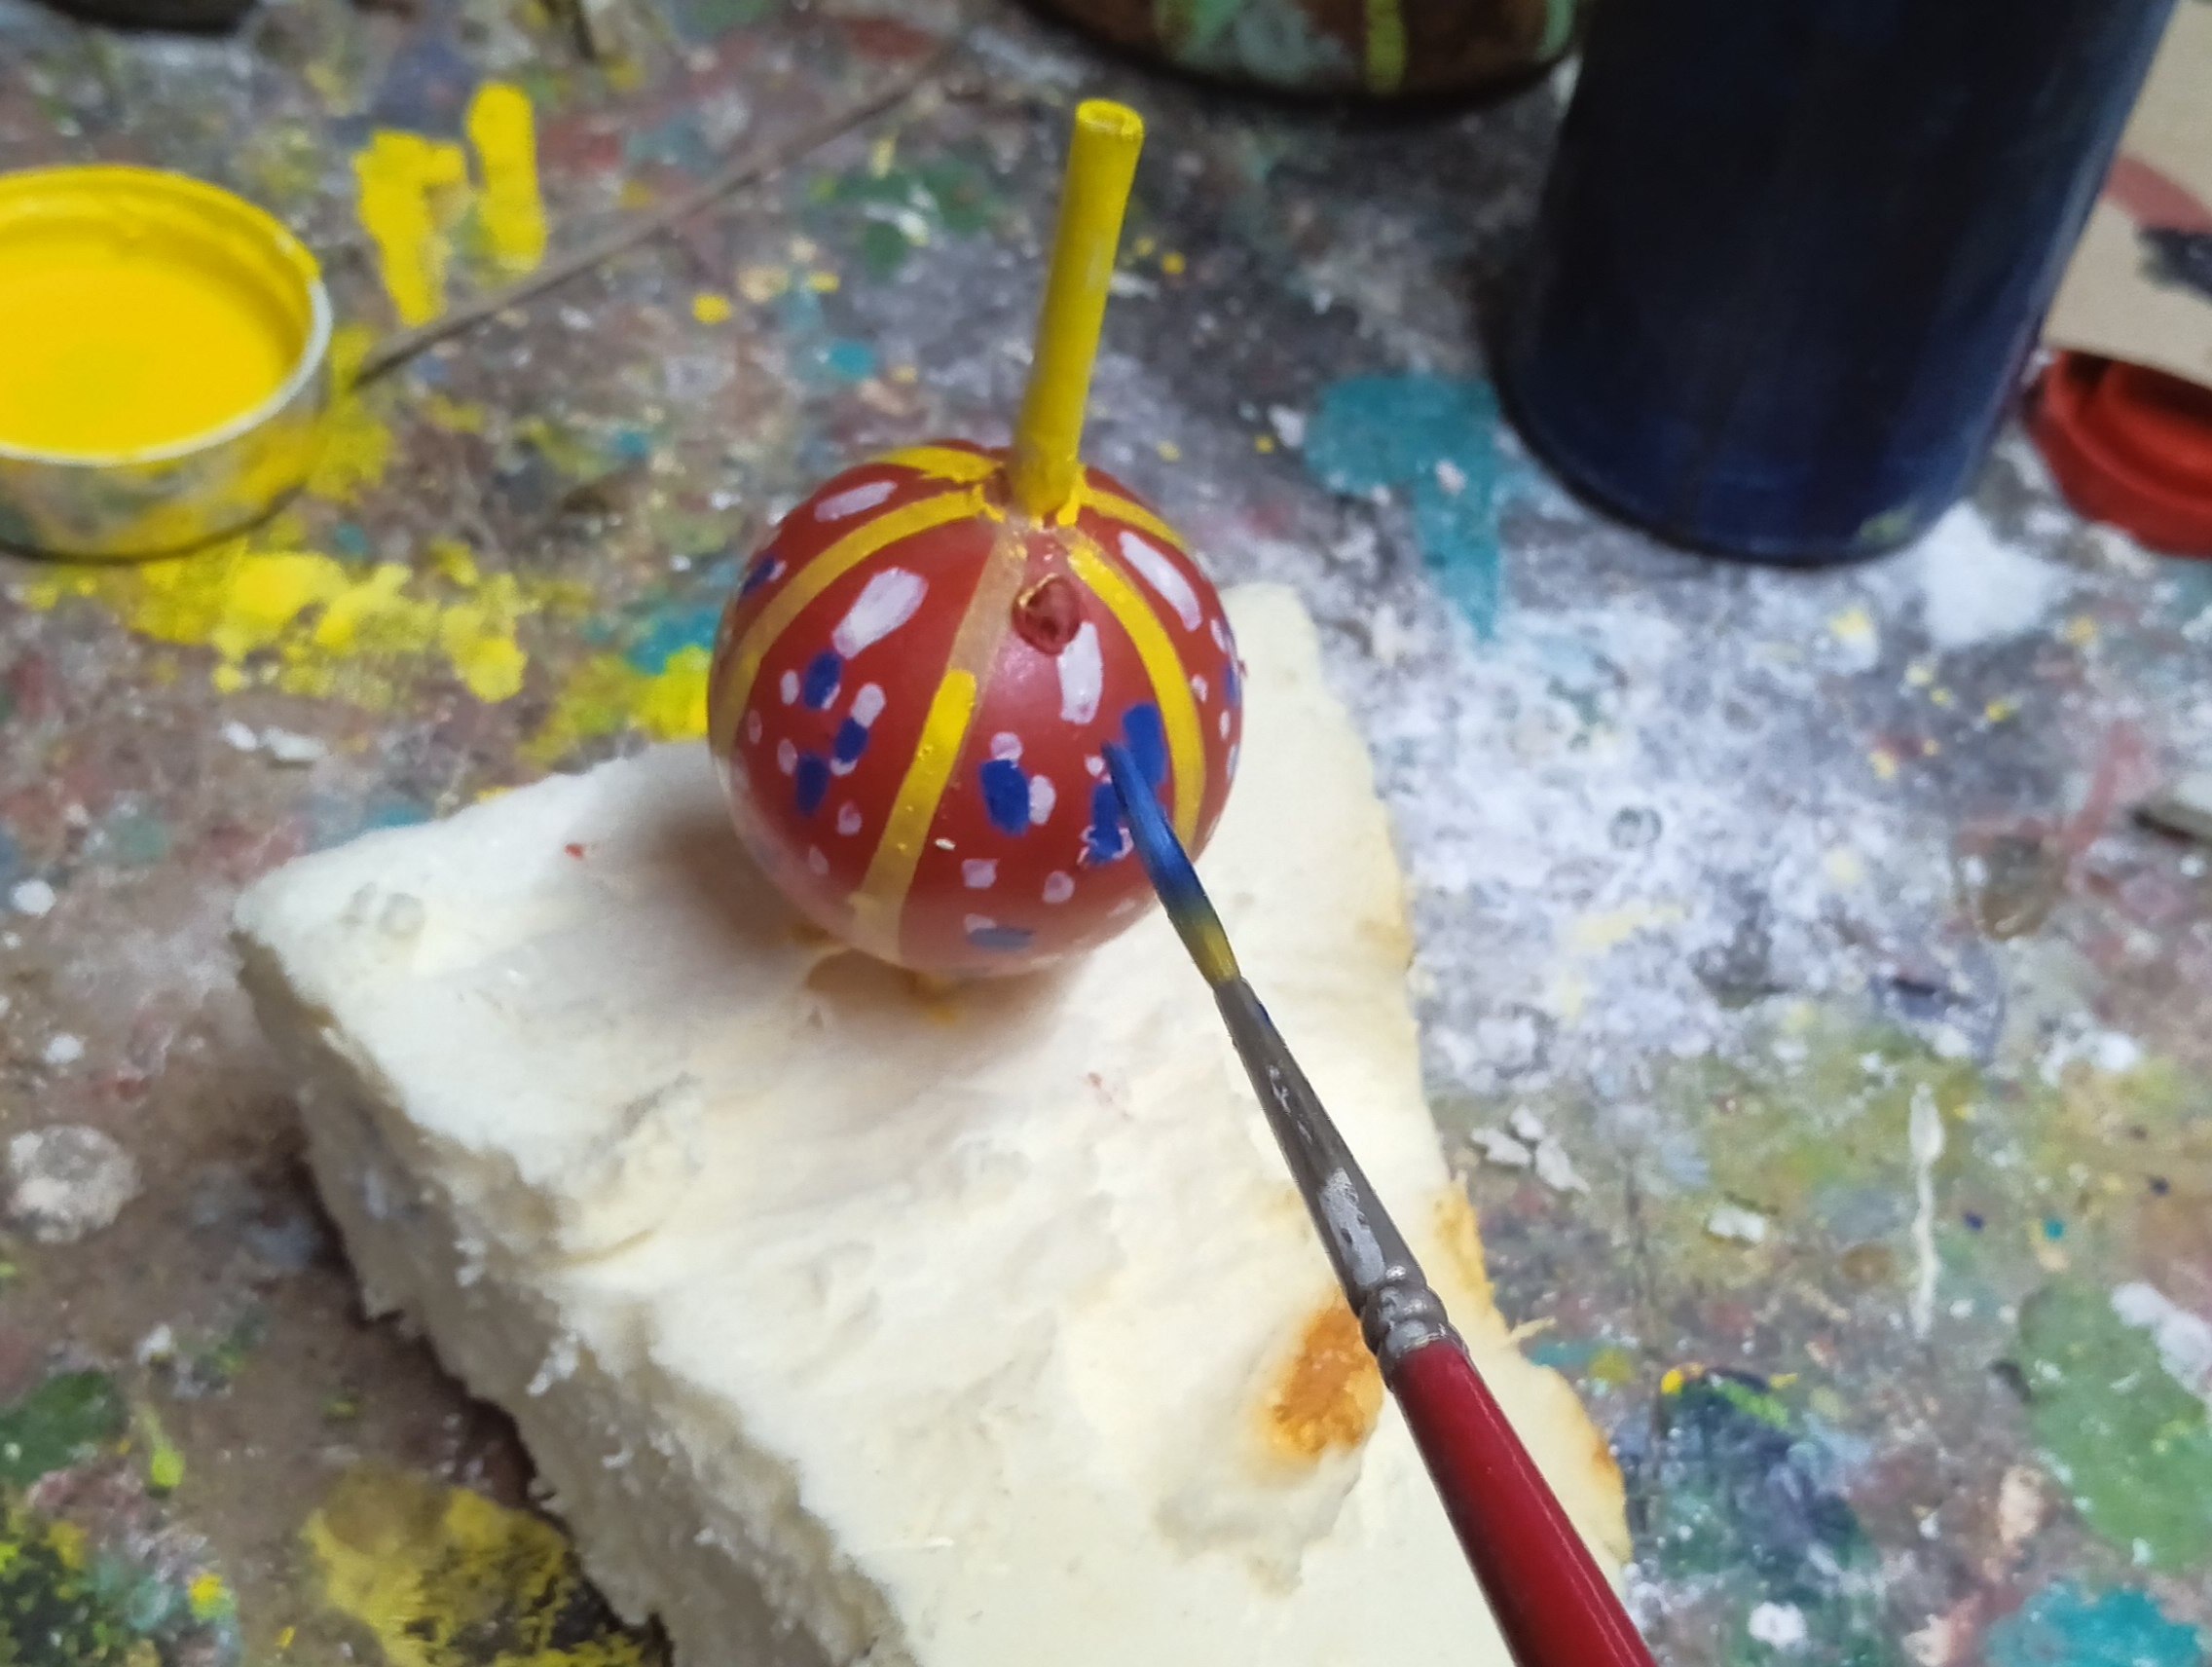
Resuelto este problema, lo siguiente sería aplicar color al artefacto que llamaremos “trompo”, al gusto y preferencia y con el diseño que más nos guste.
Con este sencillo método en muy poquito tiempo pude organizar un poco del tiempo libre de mis nietos, pus cada uno ahora tiene su trompo artesanal del cual ellos mismos sugirieron la idea.
También recordé los tiempos aquellos en que con un palito e hilo, le hacía un yugo a dos botellas en los que soñaba una yunta de bueyes, o cuando con un gajito de guásima y un bejuco construía un arco y me creía “Robin Hood” o la “Flecha negra”
Espero les haya gustado este proceso y nos vemos con otras iniciativas.
Gracias por acompañarme.
Fotos tomadas con mi Redmi9a.
Texto traducido con Deelpp traductor.
🖌️🖌️🖌️🖌️🖌️🖌️🖌️🖌️🖌️🖌️🖌️🖌️🖌️
PROCESO CREATIVO EN FOTOS.


🖌️🖌️🖌️🖌️🖌️🖌️🖌️🖌️🖌️🖌️🖌️🖌️🖌️🖌️
VERSION IN ENGLISH
############################
Hello, let me enter this homey community for the first time to show you a simple solution to put together a toy for our children.
I remember my childhood in an extremely poor family and neighbourhood. This description already indicates that the subject of toys was very sensitive, especially for parents who could almost (NEVER) meet this kind of children's demand.
For that first reason, the tendency in those times was either that some skilful parents would make some kind of gadget to please the children or that we would make them ourselves at our own convenience.
Well, the truth is that "after so many years and so many storms" the situation with the toys has the same face.
I was reminded of all that today when, after one of my grandchildren came up to my little workshop and asked me for something, he asked me for part of a project for a small craft that I had already discarded, consisting of a deodorant ball pierced by a plastic lollipop stick.
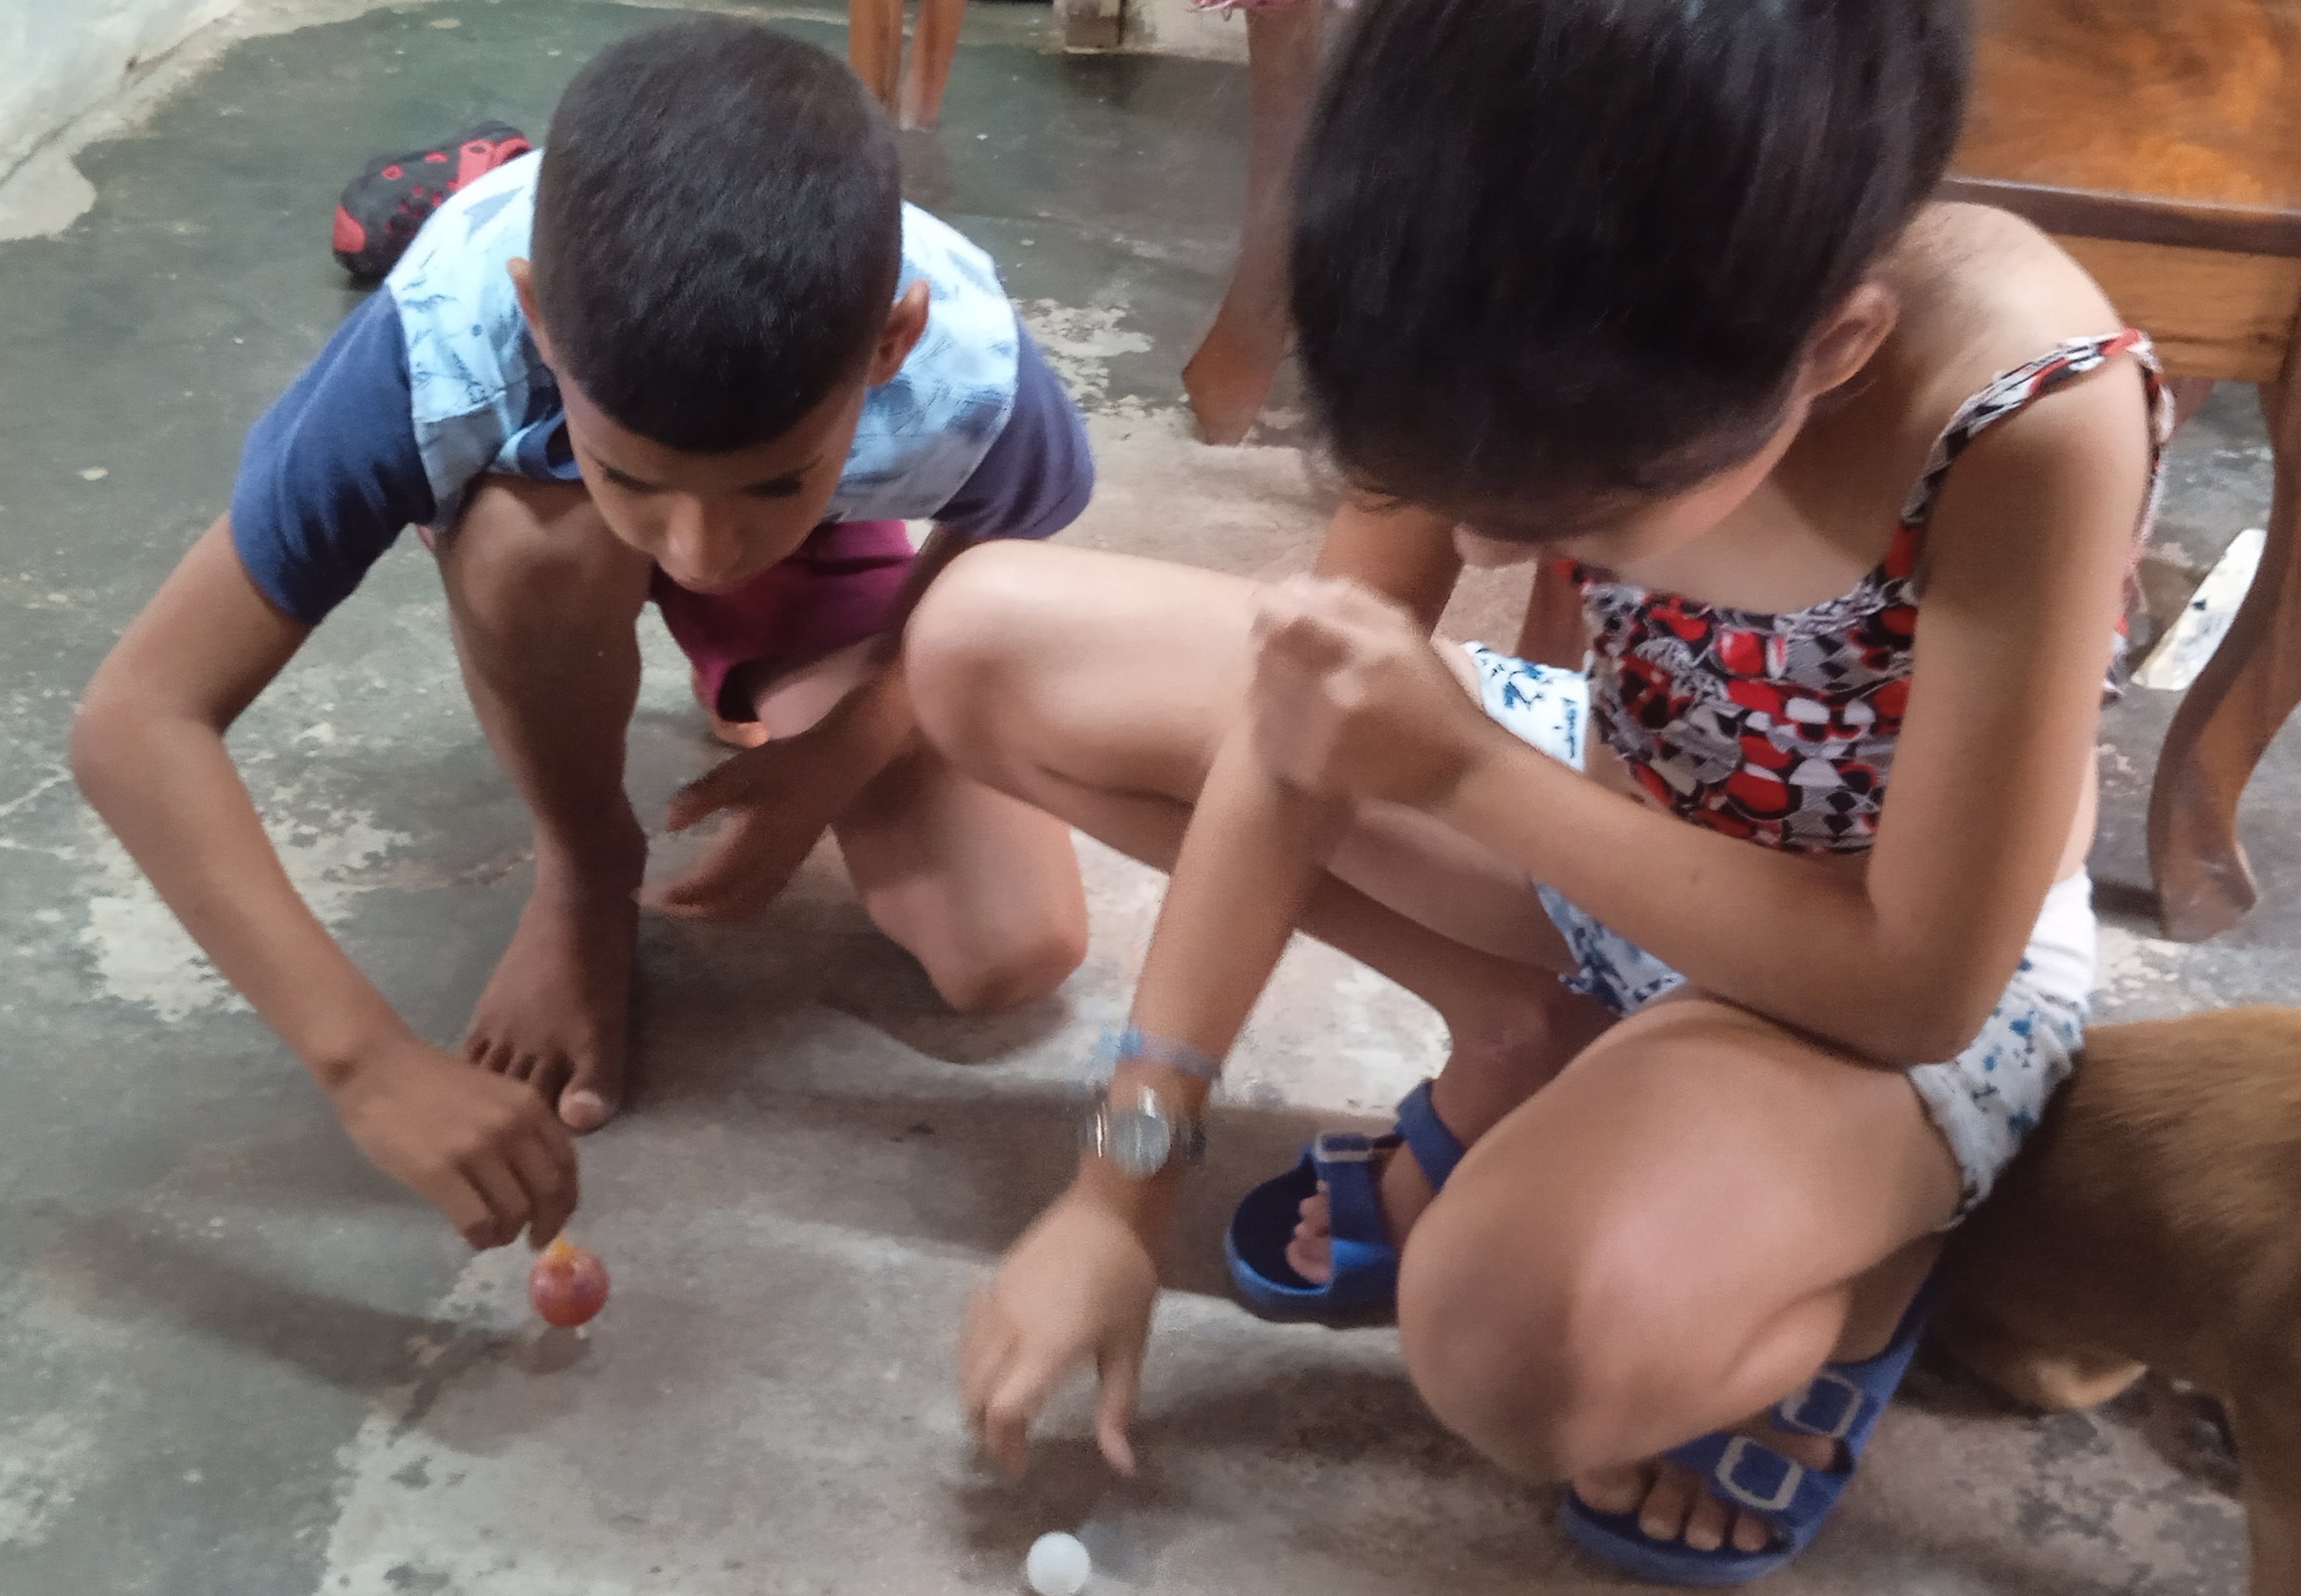
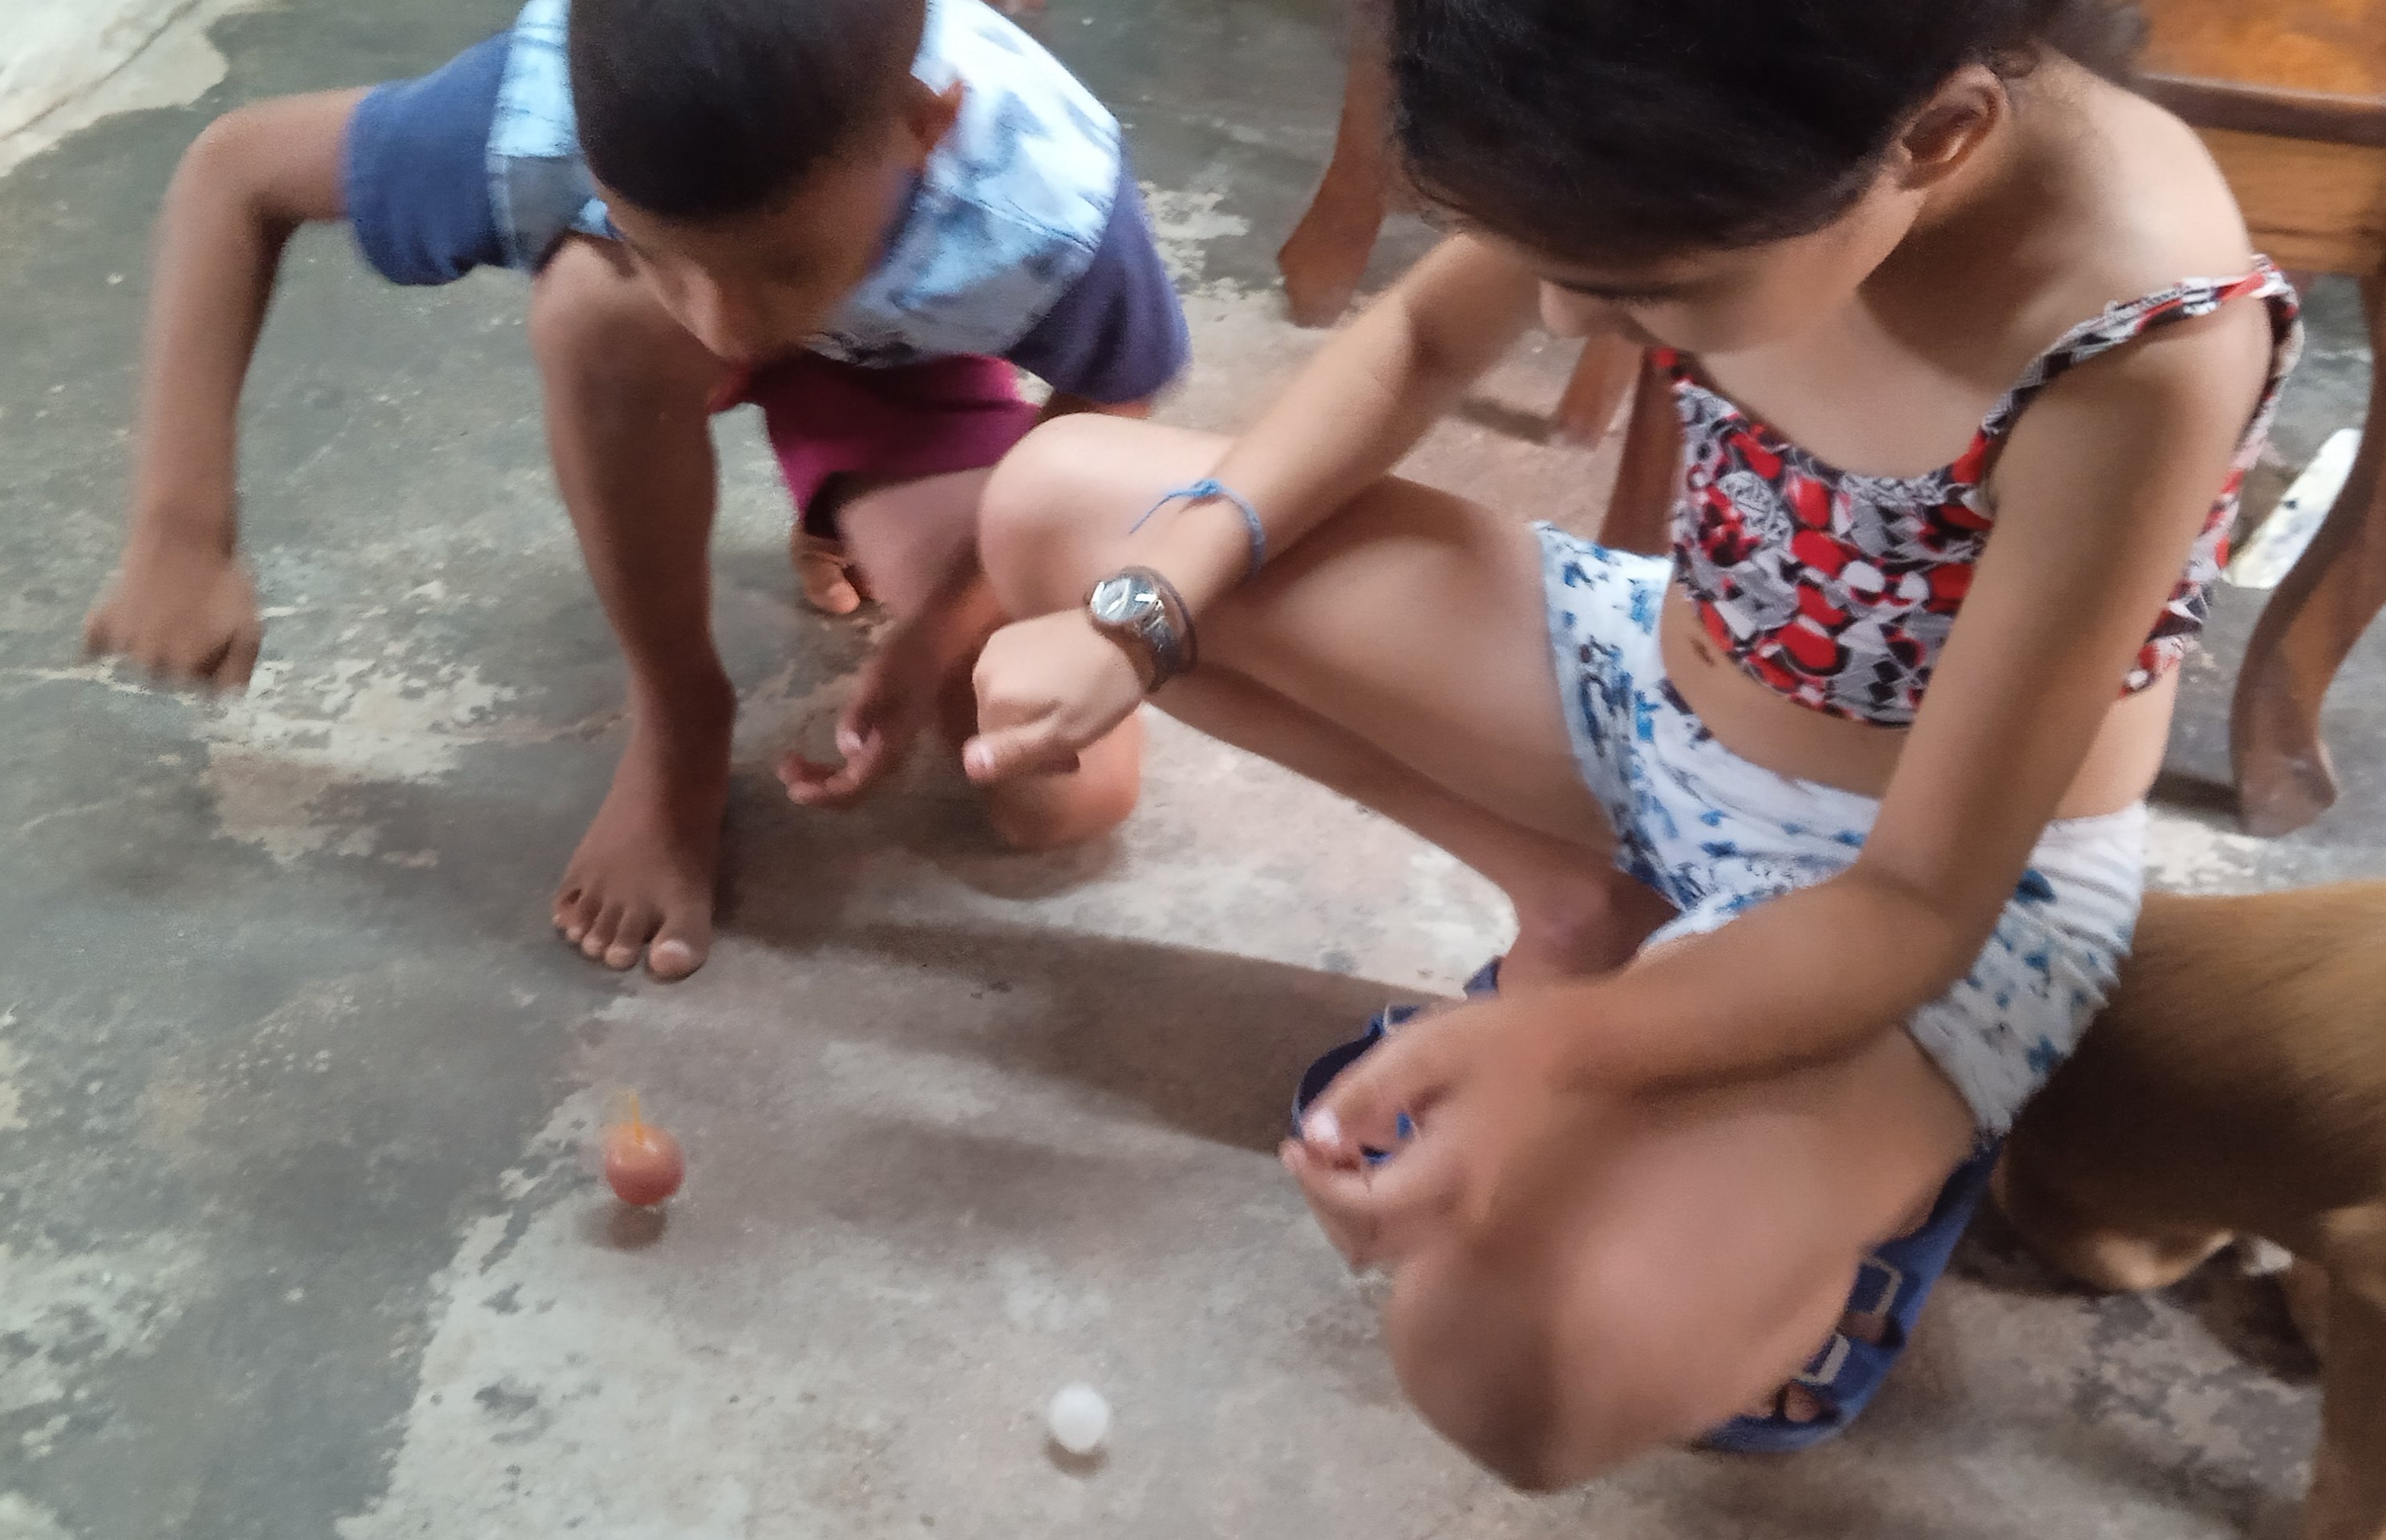
A while later I enter the house and find that this and other children had turned it into a toy that they had fun spinning around the living room floor.
Thus, at random, as great discoveries are made, they had just discovered "the spinning top" with a deodorant ball and a plastic lollipop stick.
So I decided to take that initiative and make it consciously and aesthetically better finished. And here I show you the process.
The materials used are;
A deodorant ball.
A plastic lollipop stick.
Glue.
Oil paint colour.
A fine-tipped scissors.
Take the deodorant ball and pierce a small hole through the centre of it, passing from side to side of the sphere. Then insert the plastic stick that goes from side to side of the deodorant ball, leaving only a small section at the exit that will serve as a "spike". That is, the part that will rest on the floor.
Take the long end of the stick with your thumb and forefinger and twist it. It may not hold at first and you may have to trim the longer end until you find the optimum balance.
Once this problem is solved, the next thing to do is to apply colour to the artefact, which we will call "spinning top", according to taste and preference and with the design we like best.
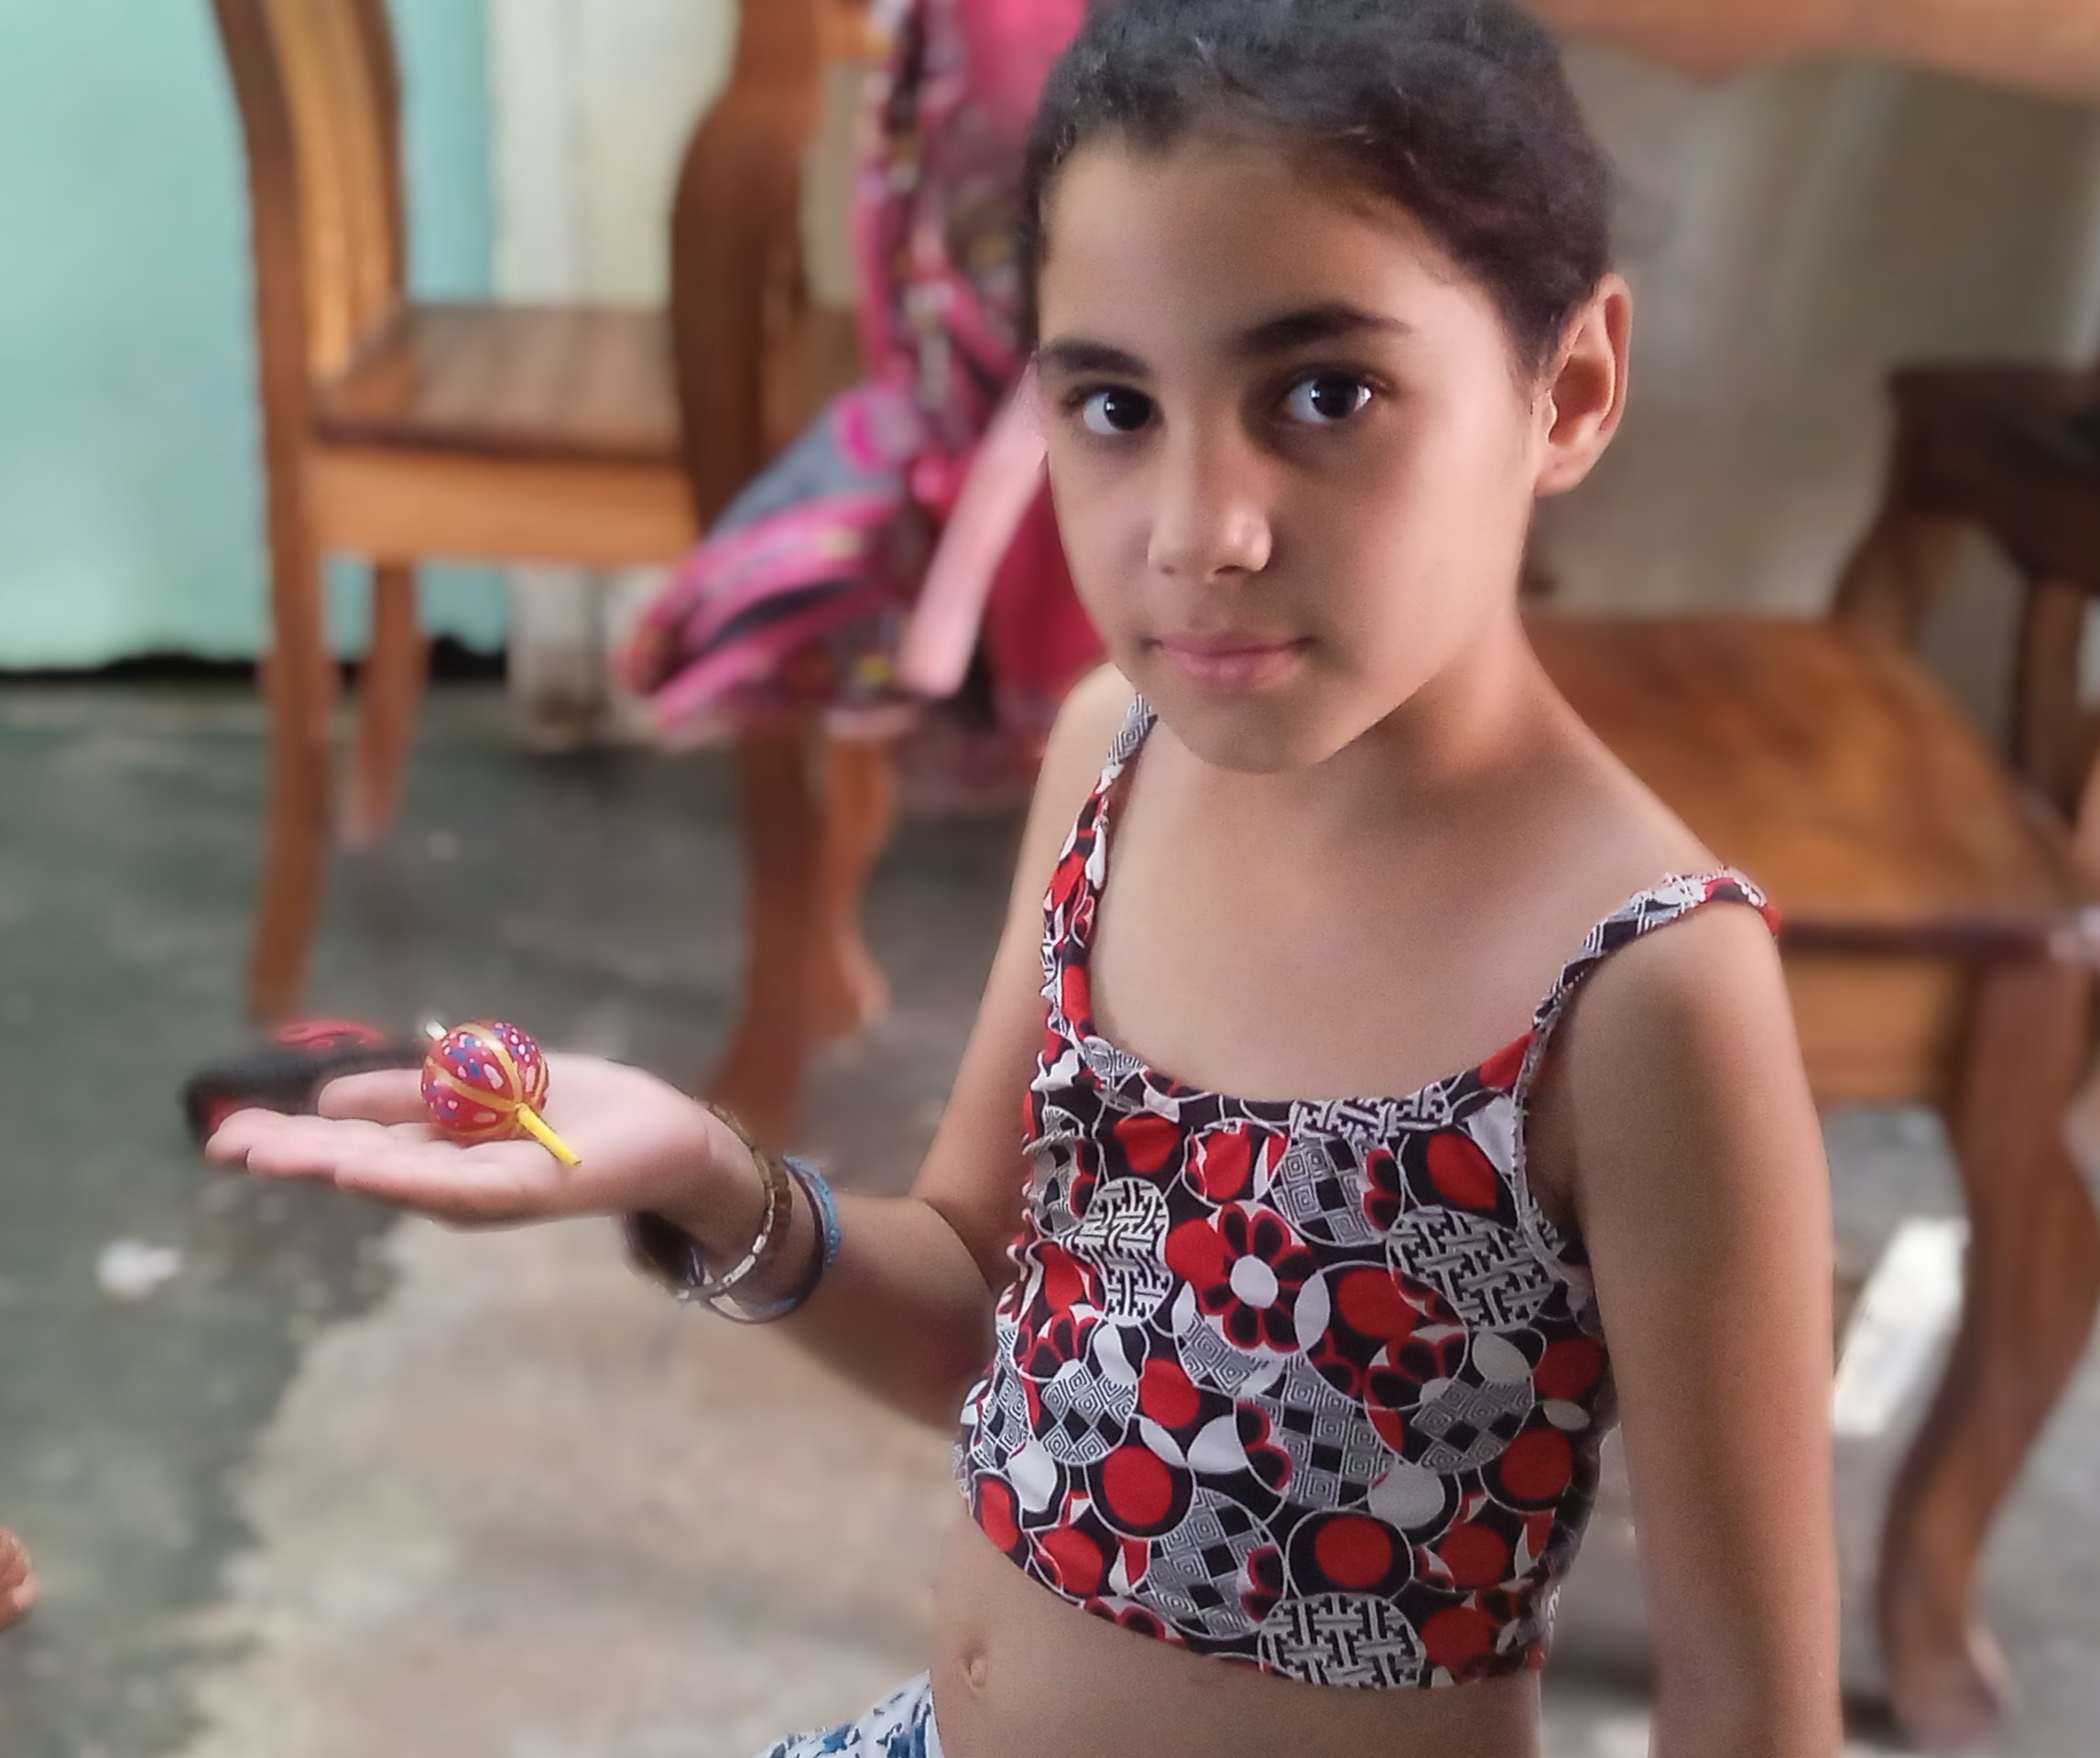
With this simple method I was able to organise a little of my grandchildren's free time in a very short time, as each of them now has their own handmade spinning top, which they themselves suggested the idea for.
I also remembered the times when, with a stick and thread, I made a yoke out of two bottles and dreamt of a yoke of oxen, or when with a piece of guásima and a vine I built a bow and thought I was "Robin Hood" or the "Black Arrow".
I hope you liked this process and see you with other initiatives.
Thanks for joining me.
Pictures taken with my Redmi9a.
Text translated with Deelpp
👌👌👌👌👌👌👌👌👌👌👌🎂👌