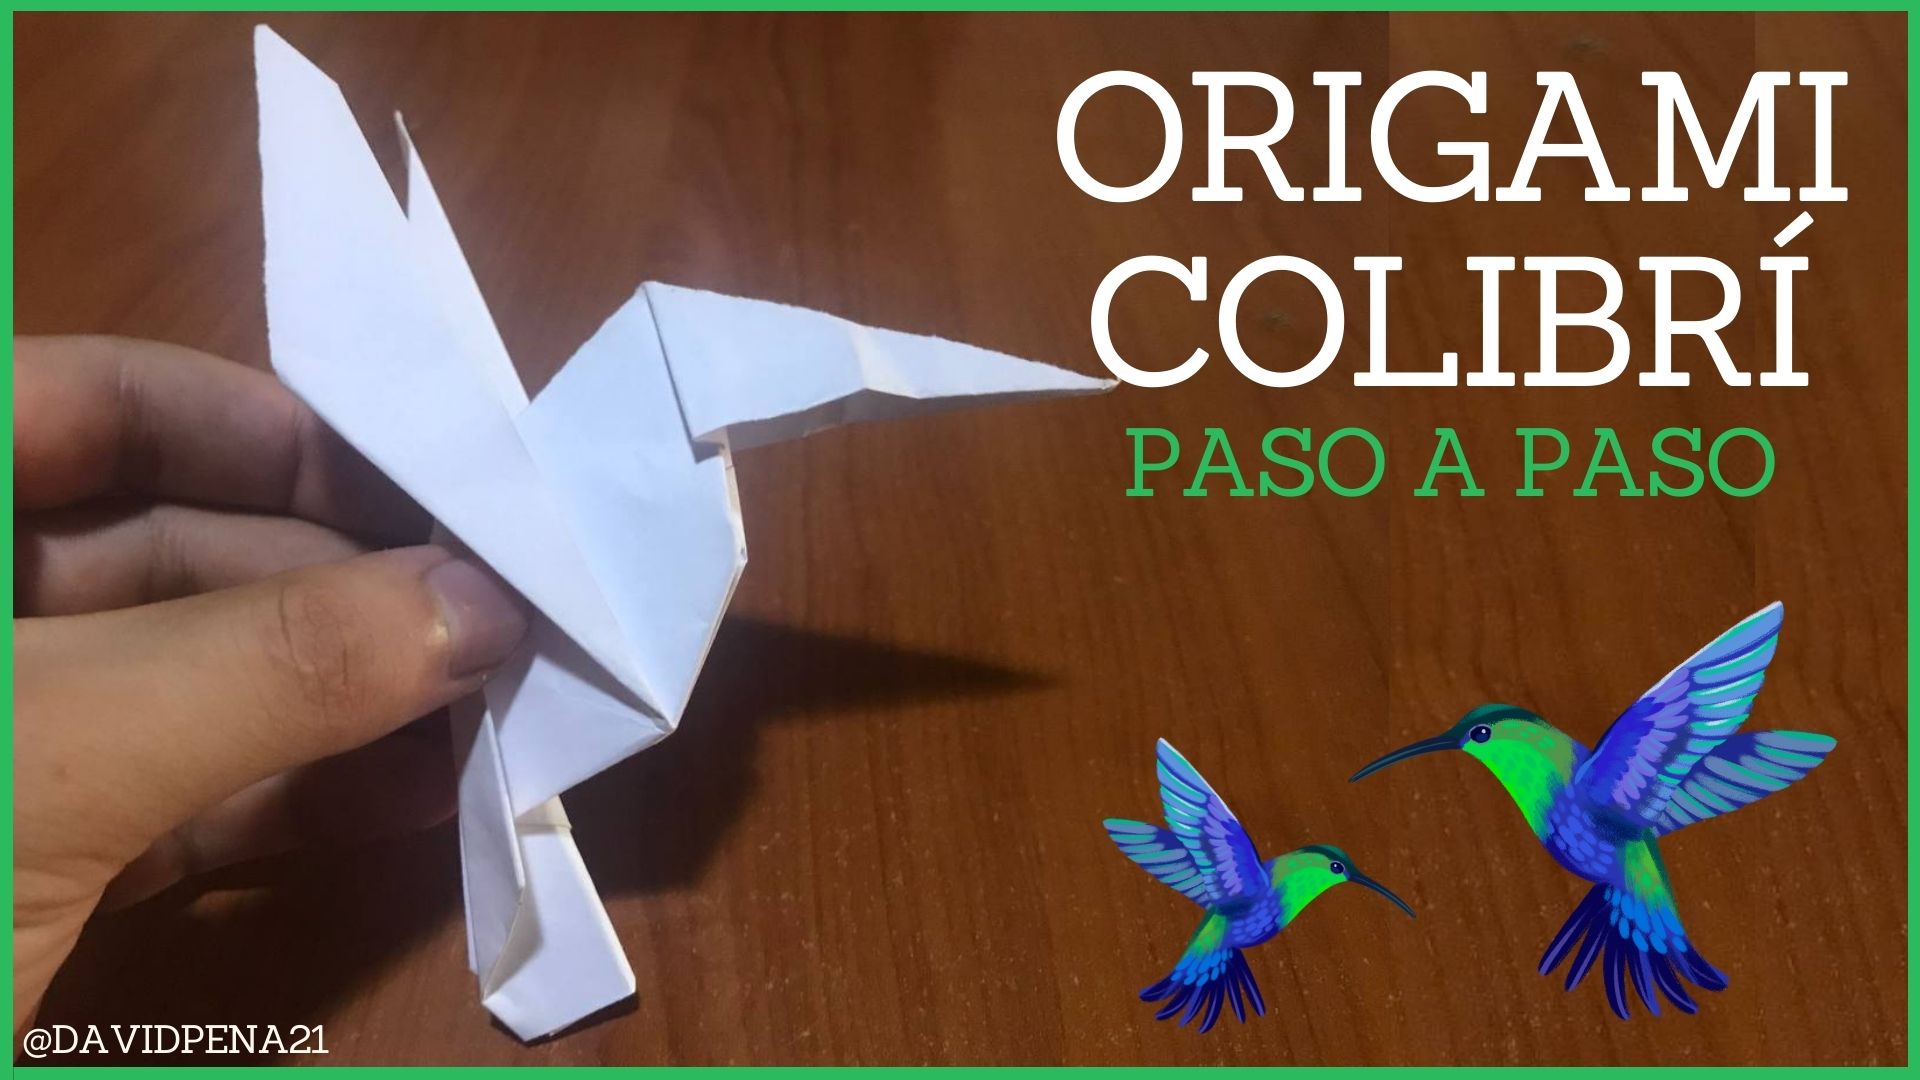
Greetings friends, we continue with the fun and practicing with paper to achieve great things with the art of origami, where we continue with the theme of animals and this time we had to make a bird, very fast, small, beautiful colors and most of the time this bird can be seen in the flowers, which is known as hummingbird. I haven't seen one around here in my garden for a while, so let's take creativity to the next level and recreate as close as possible on paper. So don't miss this origami procedure.
Saludos amigos, seguimos con la diversión y practicando con el papel par así lograr grandes cosas con el arte del origami, donde continuamos con la temática de animales y esta vez nos tocó hacer un ave, muy rápida, pequeña, de bonitos colores y la mayoría de las veces esta ave la podemos ver en las flores, la cual es conocida como colibrí. Tengo algo de tiempo que no ve una por aquí en mi jardín, así que vamos a llevar la creatividad al otro nivel para así poder recrear lo más parecido en papel. Así que no te pierdas este procedimiento del origami.
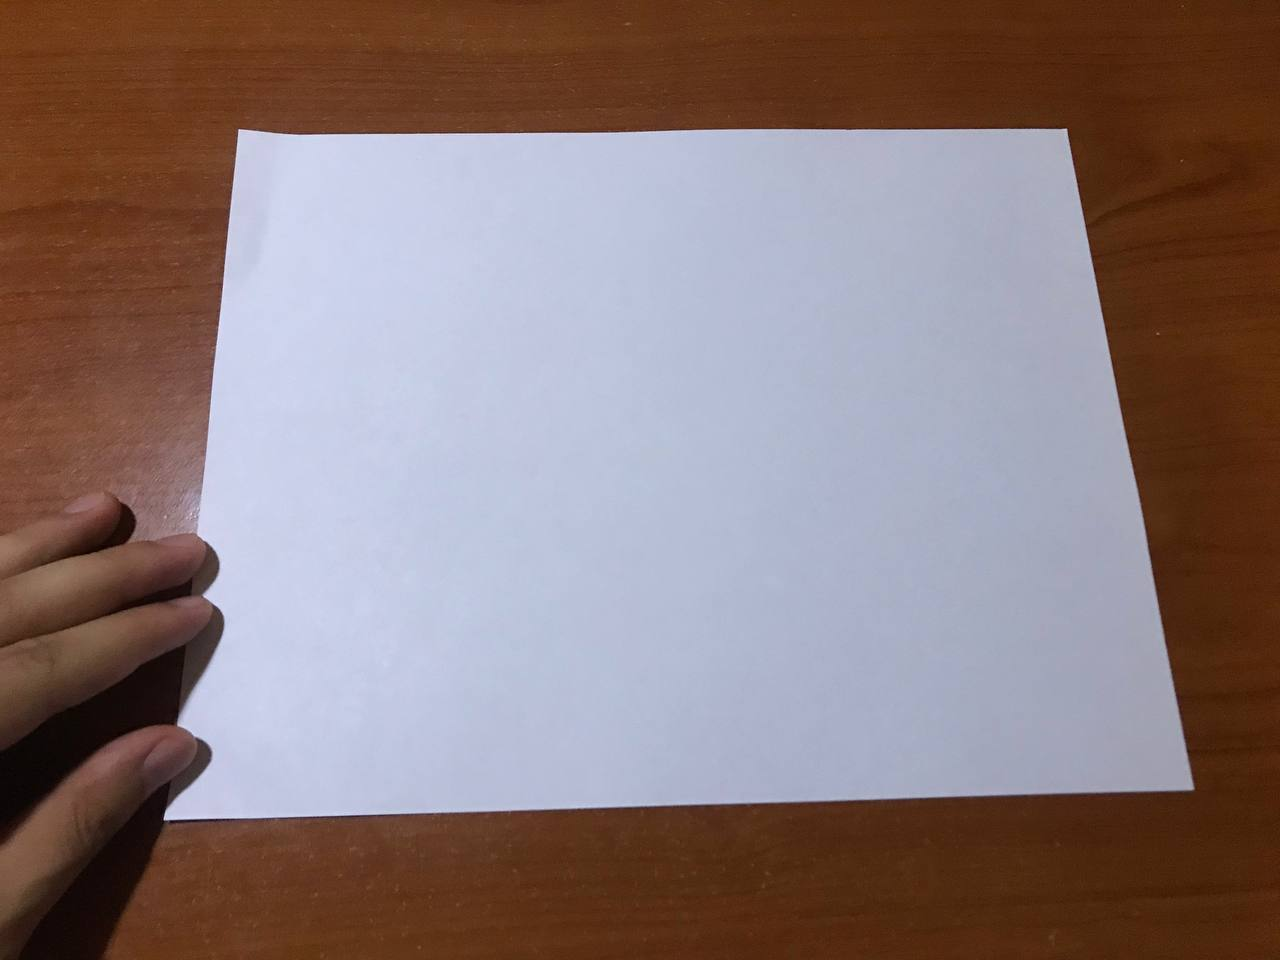
The first thing we need to start making this paper figure, will be to take a sheet of any color of our preference, with the help of a scissors we will cut the paper, since the measures that we will need will be 20 * 20 cm, so that this hummingbird origami is perfect and striking.
Lo primero que necesitamos para comenzar a realizar esta figura de papel, será tomar una hoja de cualquier color de nuestra preferencia, con la ayuda de una tijera vamos a cortar el papel, ya que las medidas que vamos a necesitar serán 20 * 20 cm, para que así este origami de colibrí quede perfecto y sea llamativo.
|
 |
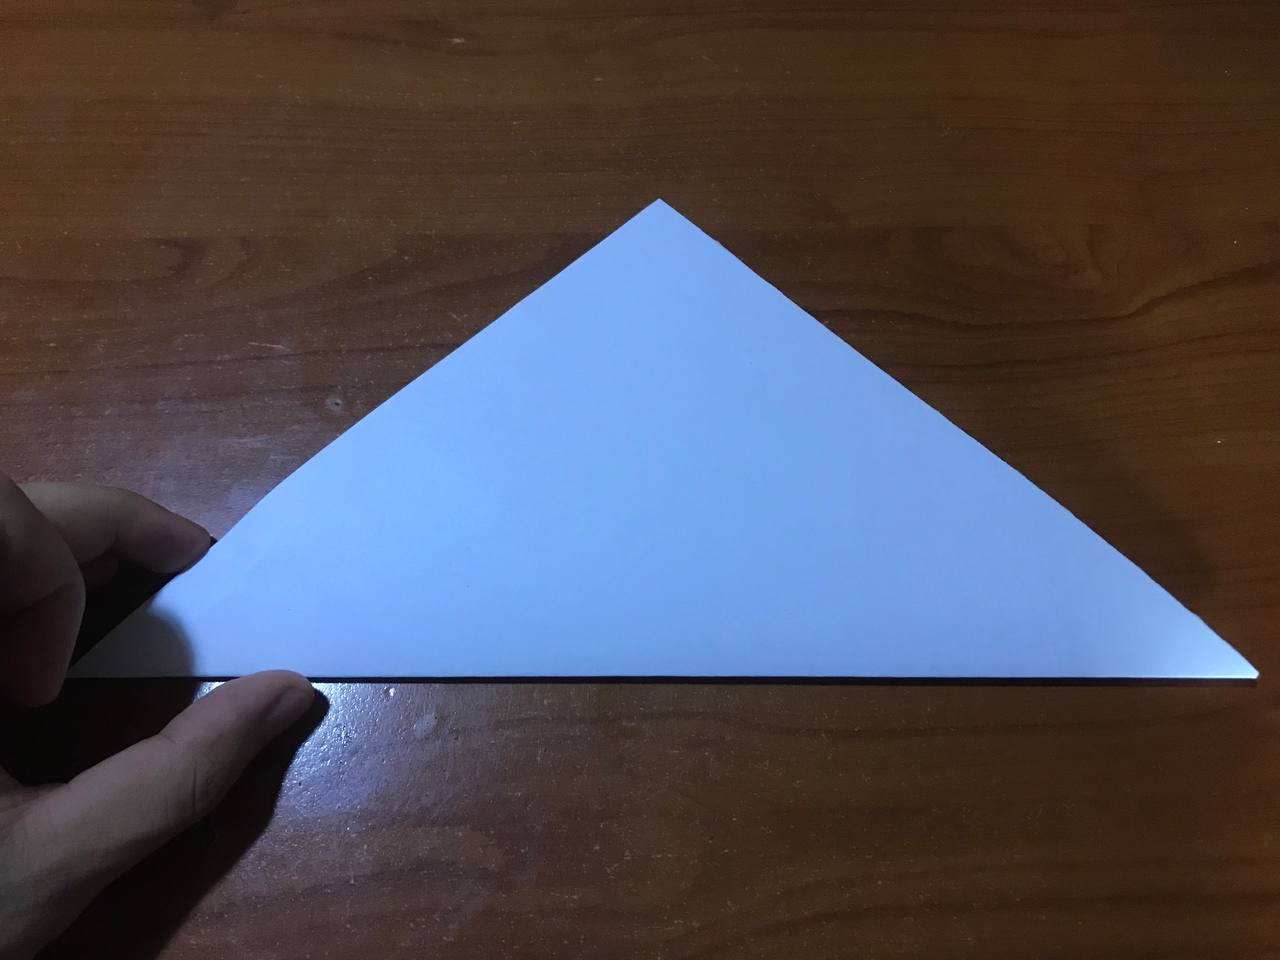
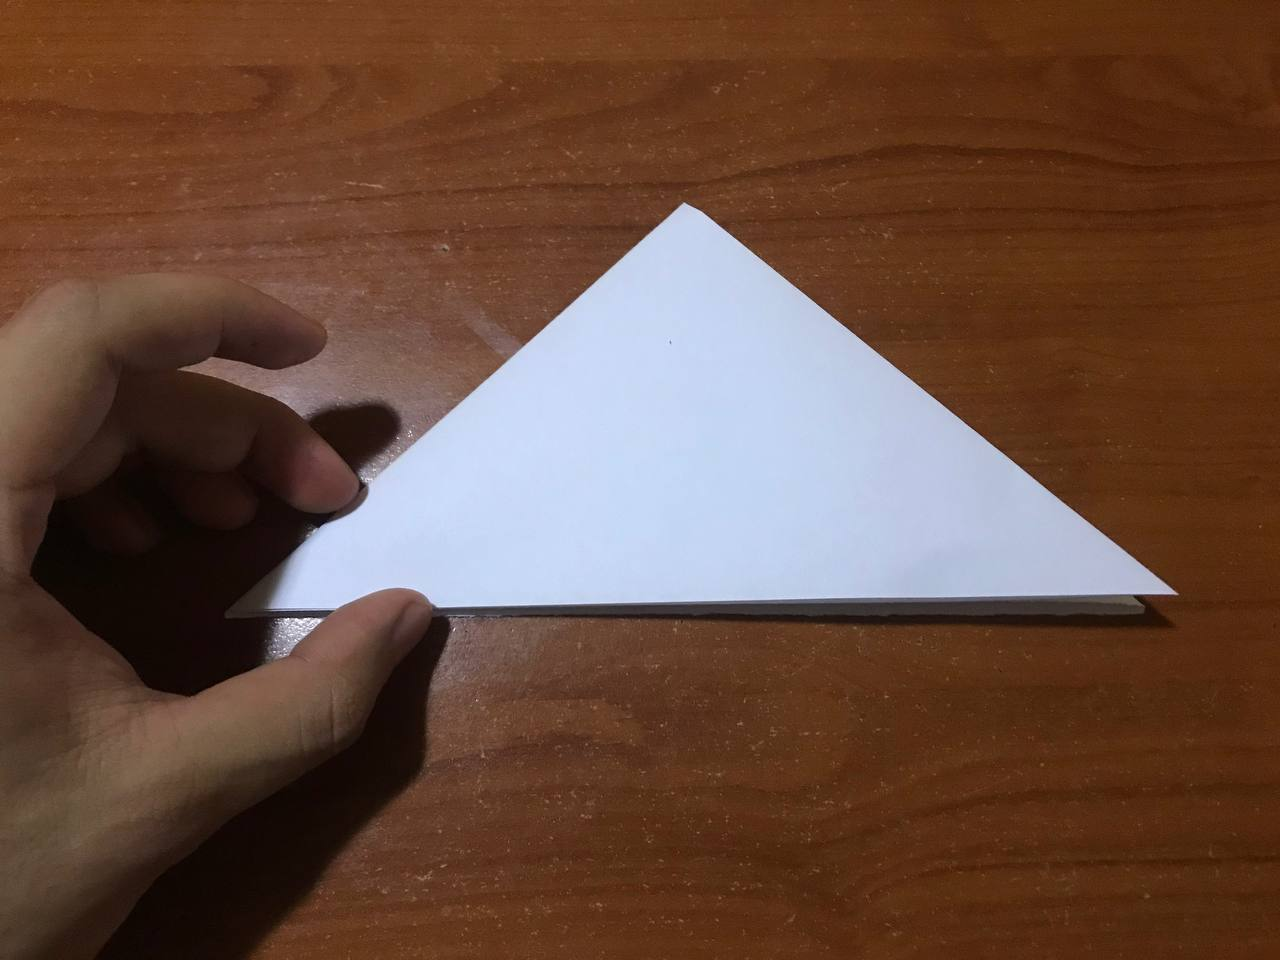
Next, we are going to fold along one of the diagonals of the leaf, folding very well so that it does not disassemble, later, once this is done, we fold again in half joining the two ends of the leaf and we have a sort of a smaller triangle. We open and we will take the bottom part of the leaf upwards, so that the tip coincides with the bottom line, as shown in the photos.
Seguidamente, vamos a doblar por una de las diagonales de la hoja, doblando muy bien para que así no se desarme, más adelante, una vez lito eso, volvemos a doblar por la mitad uniendo las dos puntas de la hoja y nos queda especie de un triángulo más pequeño. Abrimos y vamos a llevar la parte de debajo de la hoja hacia arriba, que la punta coincida con la línea inferior, como se aprecia en las fotos.
|
|
|
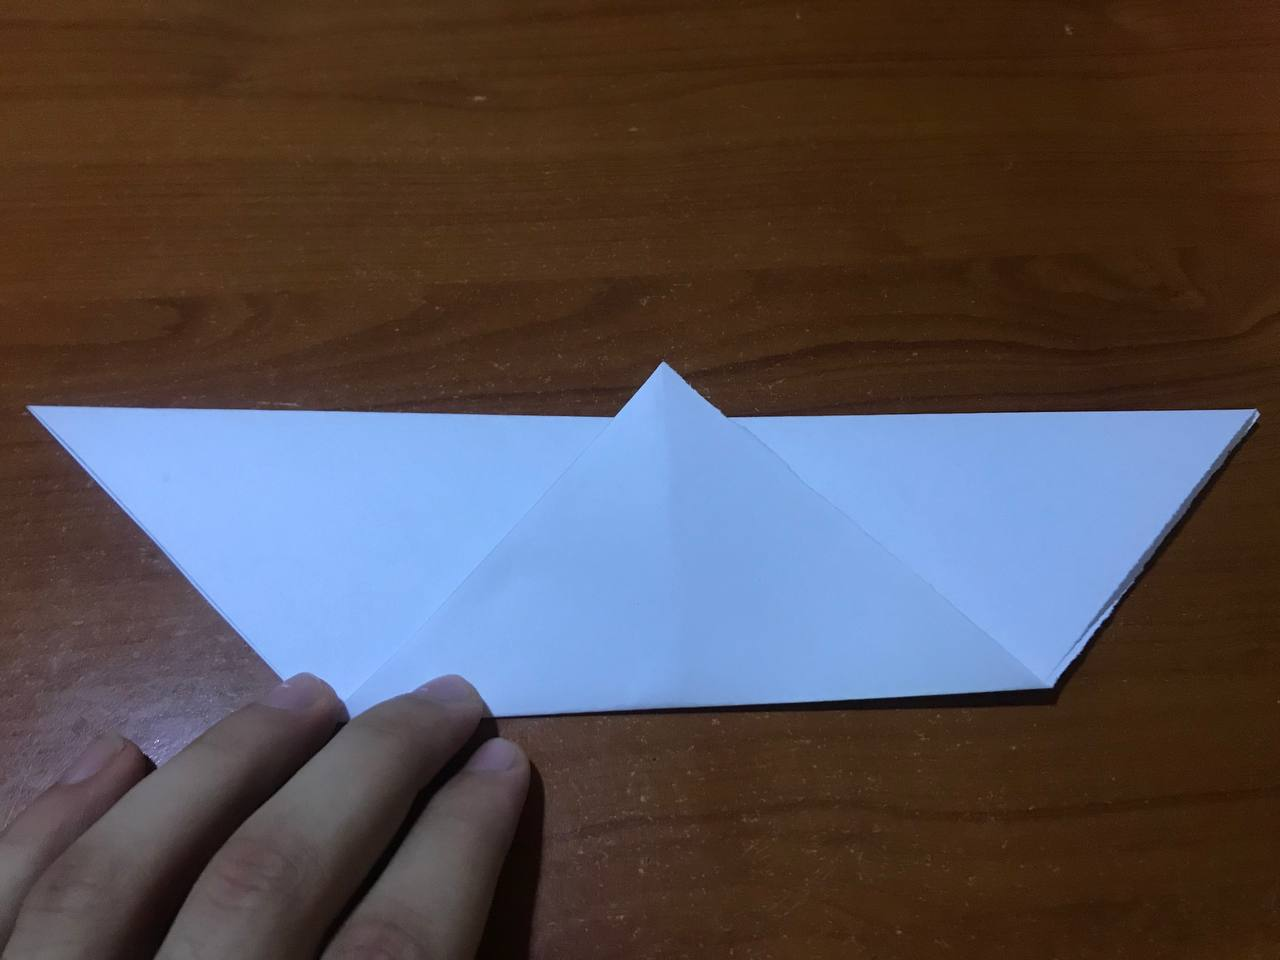
We leave one of the layers of the sheet on the table and the other one on the top, so we can make a double down from the bottom of the sheet to the intersection of the previous doubles. We open the entire sheet and the tip that we have at the bottom, we take it to the first line that is marked on the sheet, creating a smaller triangle on it.
Dejamos una de las capas de la hoja en la mesa y a la otra la dejamos en la parte de arriba, para así volver a realizar un doble hacia abajo desde la parte inferior de la hoja hasta la intersección de los dobles anterior. Abrimos toda la hoja y la punta que tenemos en la parte de abajo, la llevamos hasta la primera línea que está marcada en la hoja, creando un triángulo más pequeño en la misma.
|
|
|
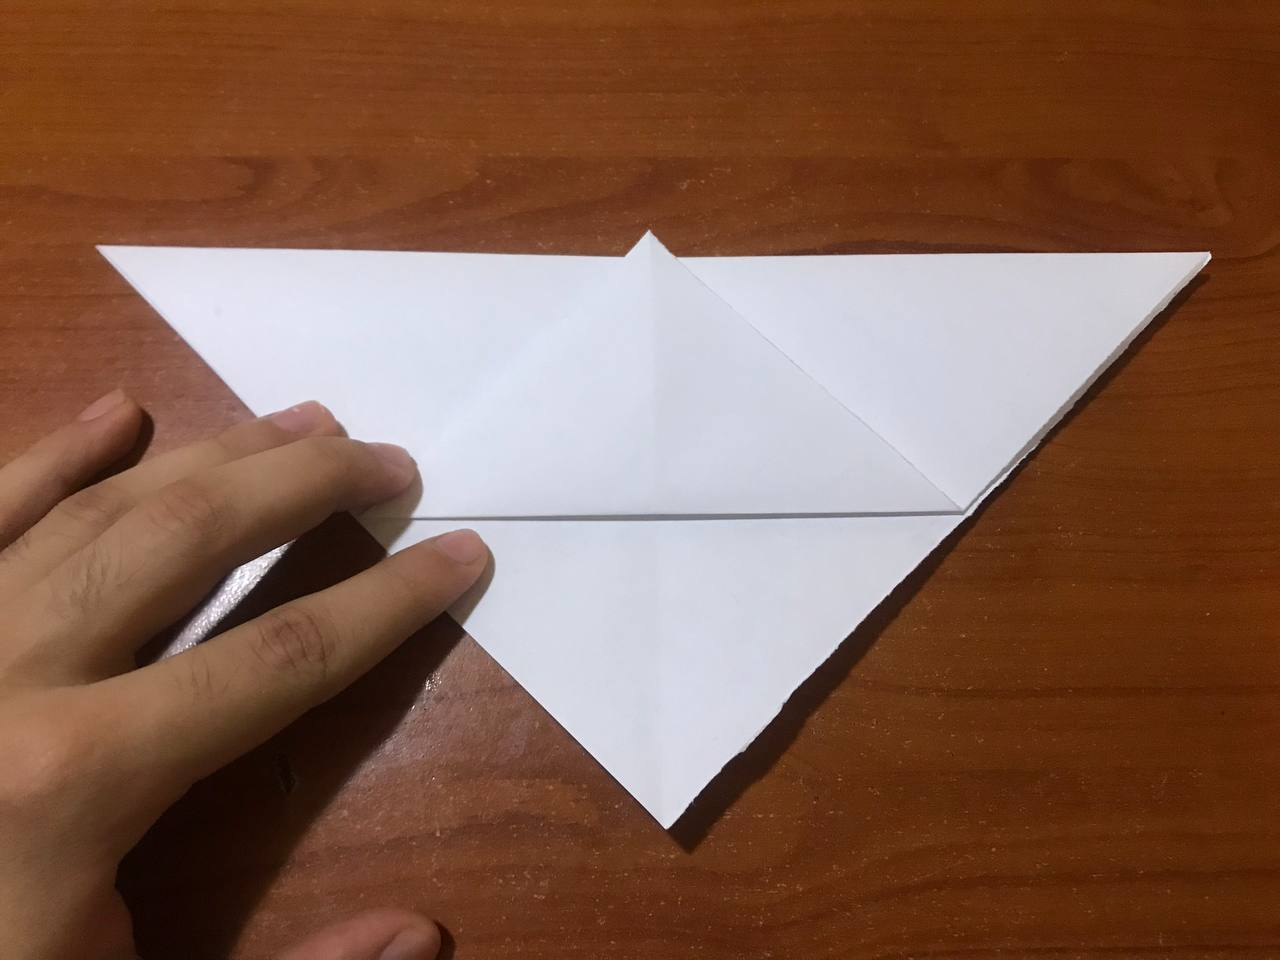
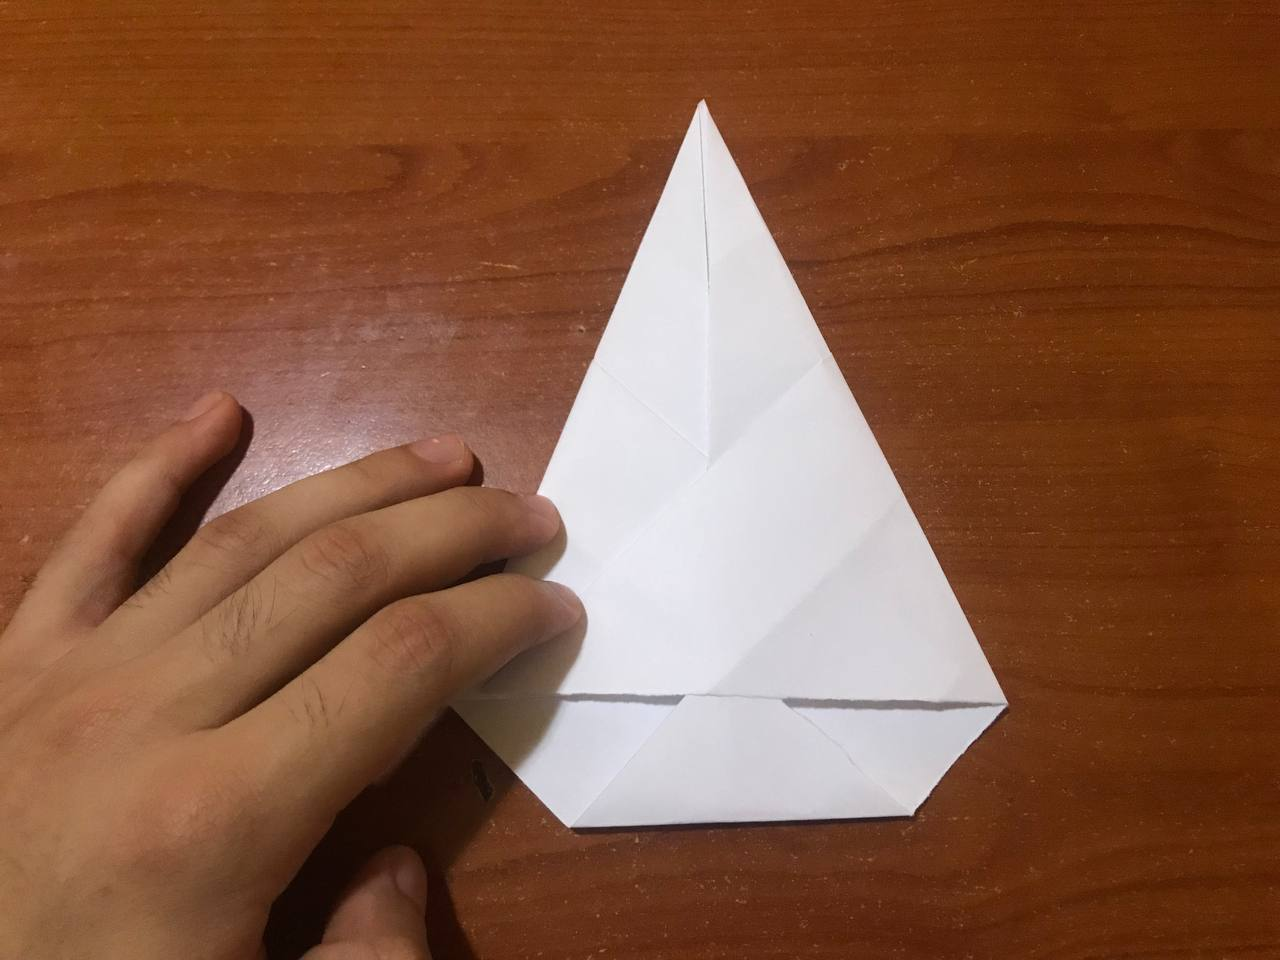
So far we have folded some parts of the leaf and that way we can achieve the body of this hummingbird. Where now we are going to fold our leaf in half, bringing the ends towards the center and very carefully flatten it, without any folds coming apart. We will be left with a large tip.
Hasta los momentos somos hemos doblado algunas partes de la hoja y de esa manera poder lograr conseguir el cuerpo de este colibrí. Donde ahora vamos a doblar nuestra hoja por la mitad, llevando los extremos hacia el centro y con mucho cuidado se aplasta, sin que ningún doble se desarme. Nos quedará una gran punta.

|
 |
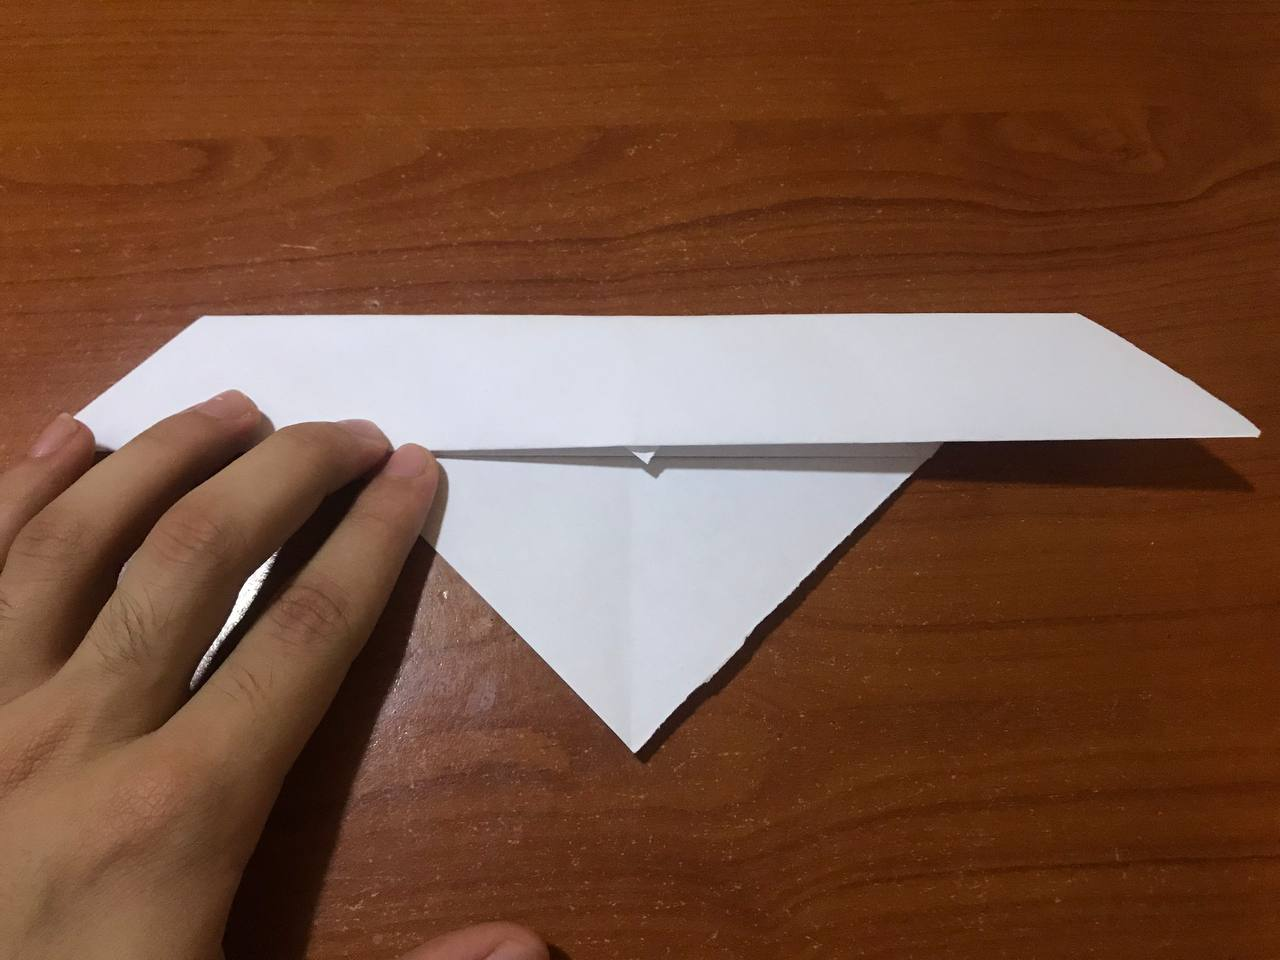
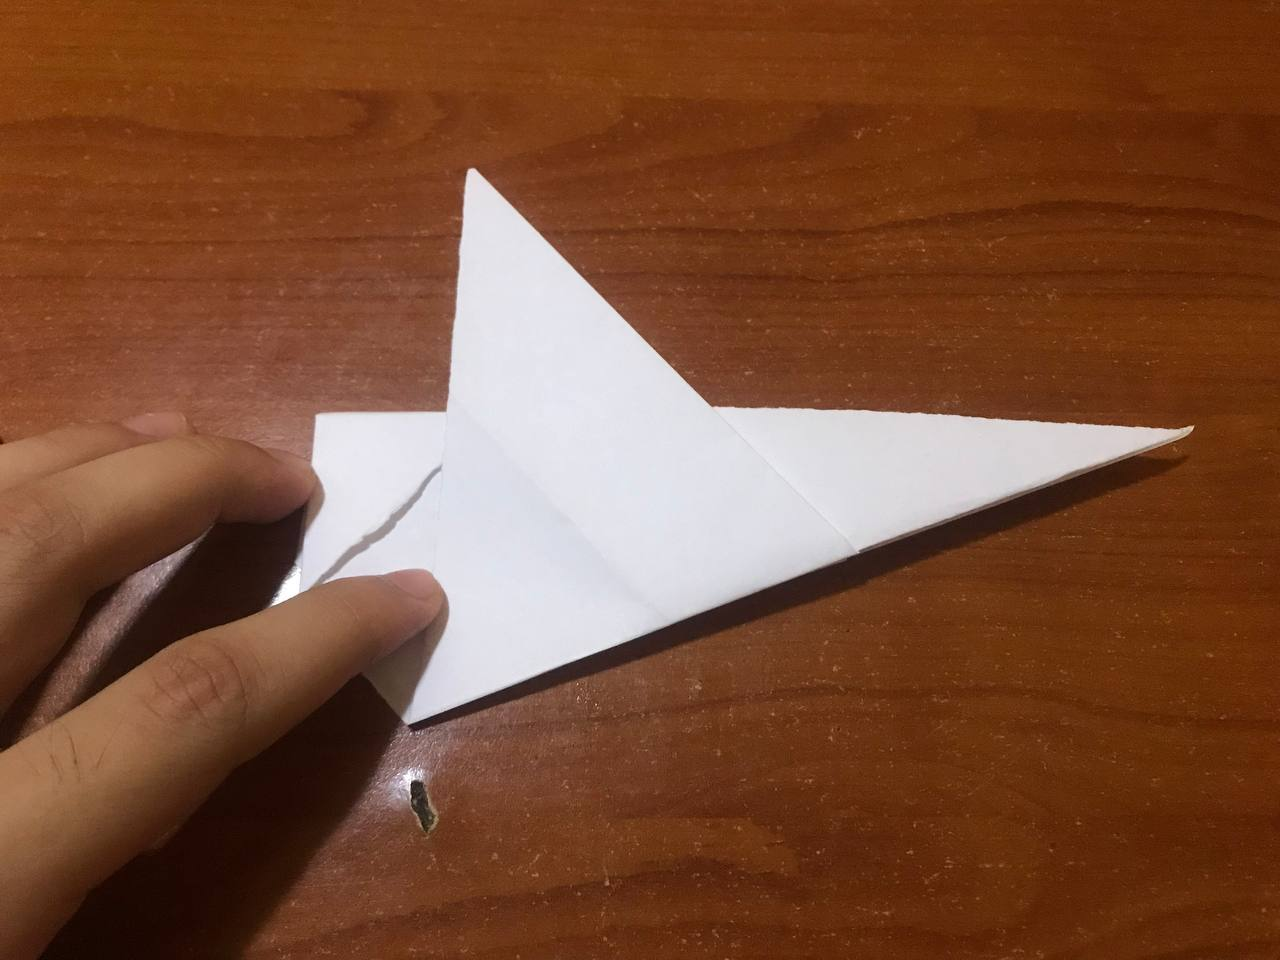
We fold once again in half and you will see that little by little this origami is taking shape, where now at one end of the sheet, we have two layers of paper that we will carefully bring it up to the middle line to fold it. We do the same on both sides of the sheet.
Doblamos una vez más por toda la mitad y verán que poco a poco este origami va tomando forma, donde ahora en uno de los extremos de la hoja, nos queda dos capas de papel que con mucho cuidado la vamos a llevar hacia arriba hasta la línea del medio para así doblarla. Eso mismo lo hacemos en ambas caras de la hoja.
|
|
|
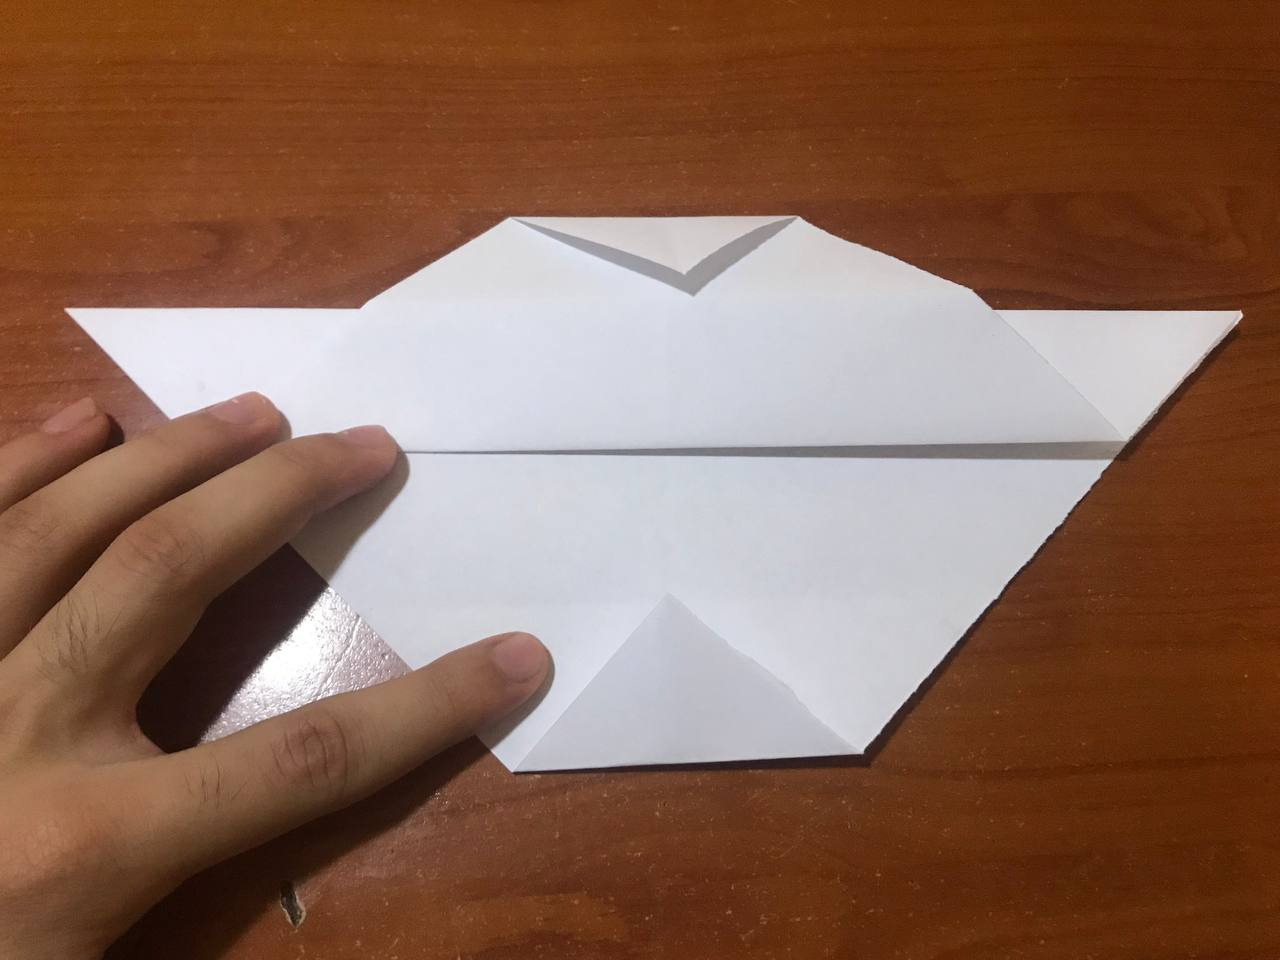
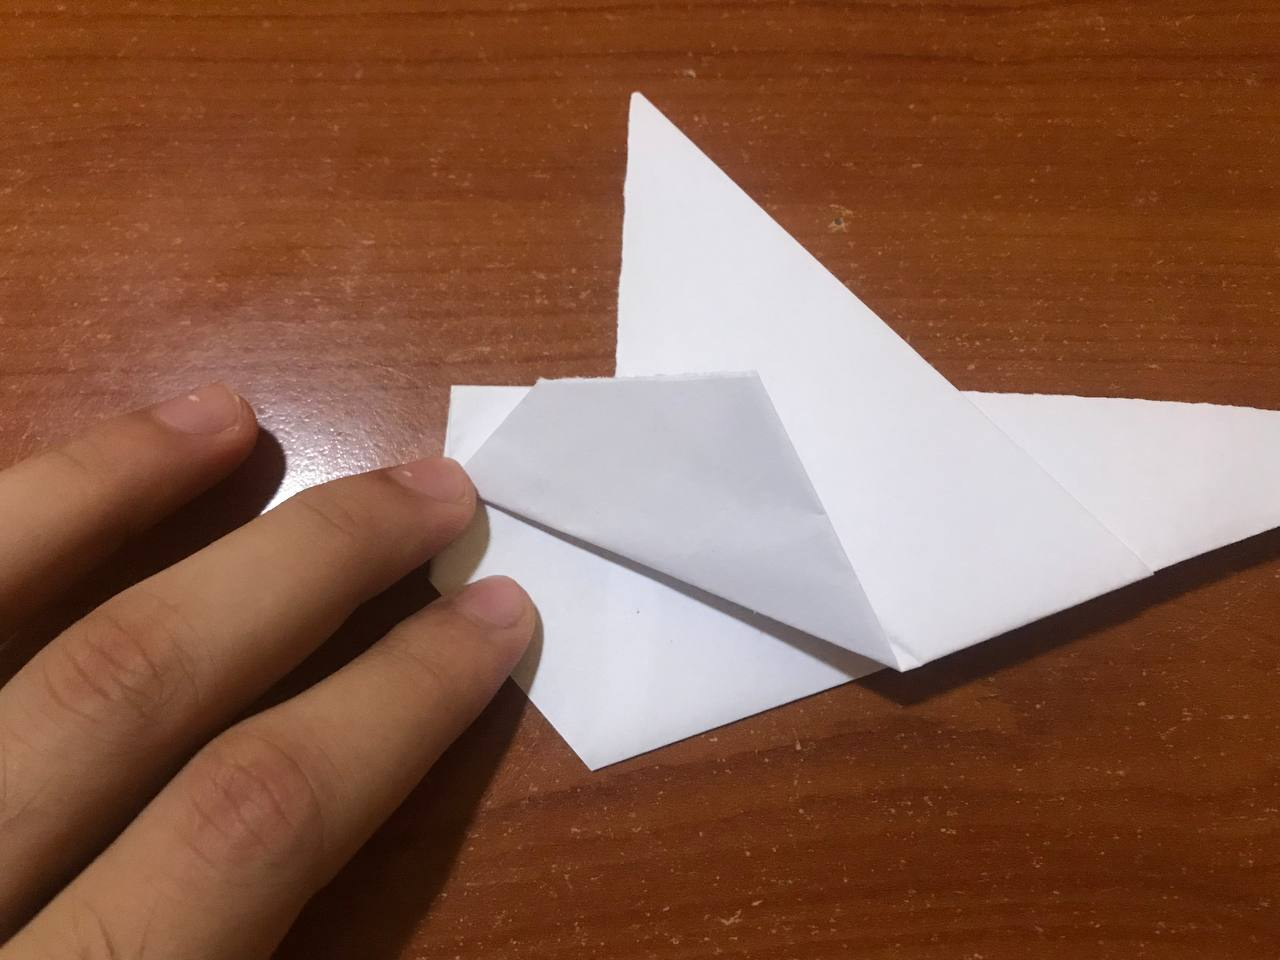
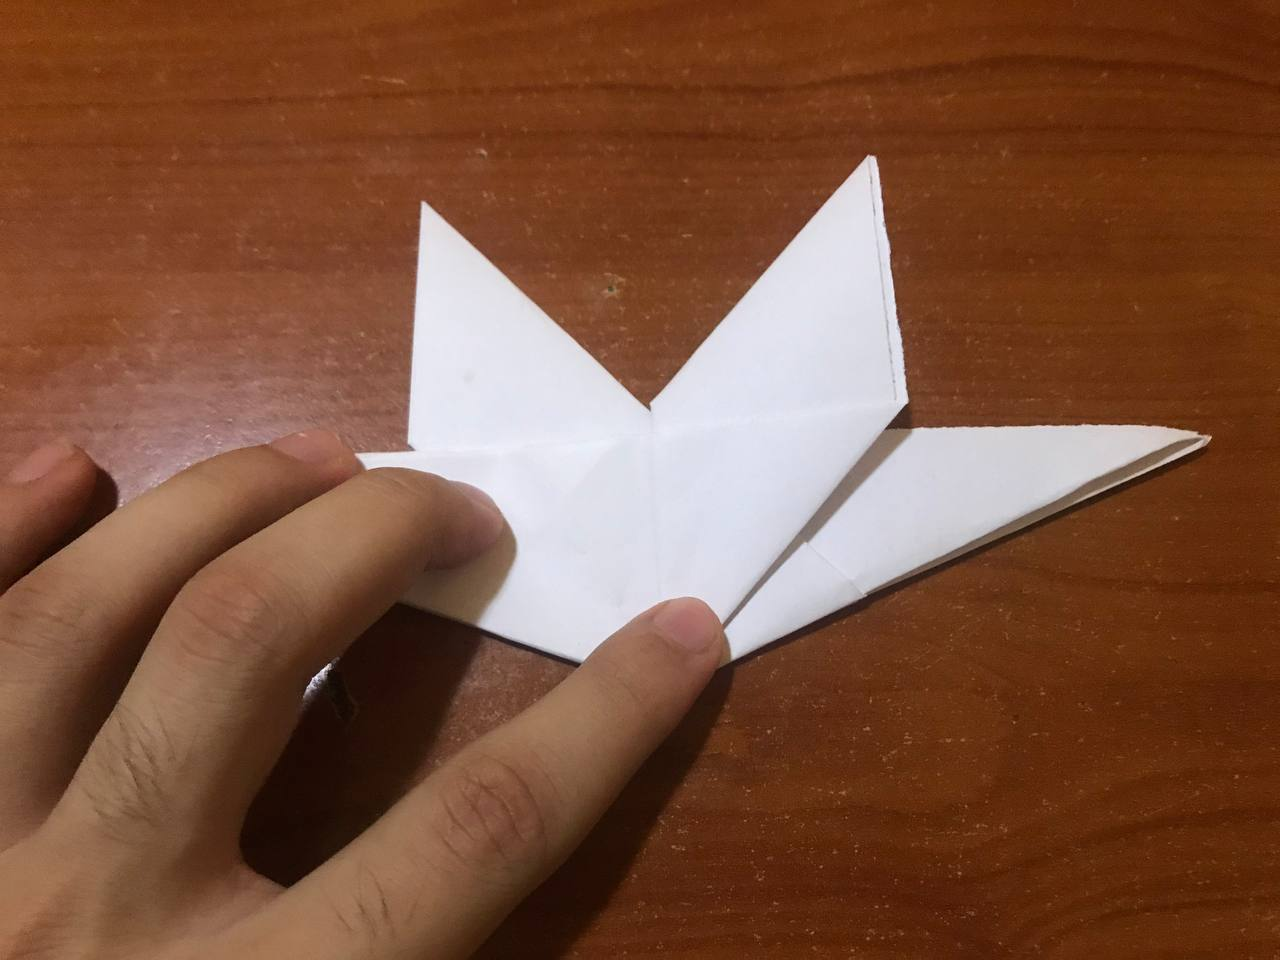
To make the wings of this hummingbird, we are going to take the part of the paper that is sticking out and we are going to take a little bit upwards, to proceed to make a small fold, where we do the same on both sides of the sheet and you will see that it will take shape.
Para hacer las alas de este colibrí, vamos a tomar la parte de papel que está sobresaliendo y vamos a llevar un poco hacia arriba, para proceder a realizar un pequeño dobles, donde eso mismo lo hacemos en ambas caras de la hoja y verán que va tomando forma.
|
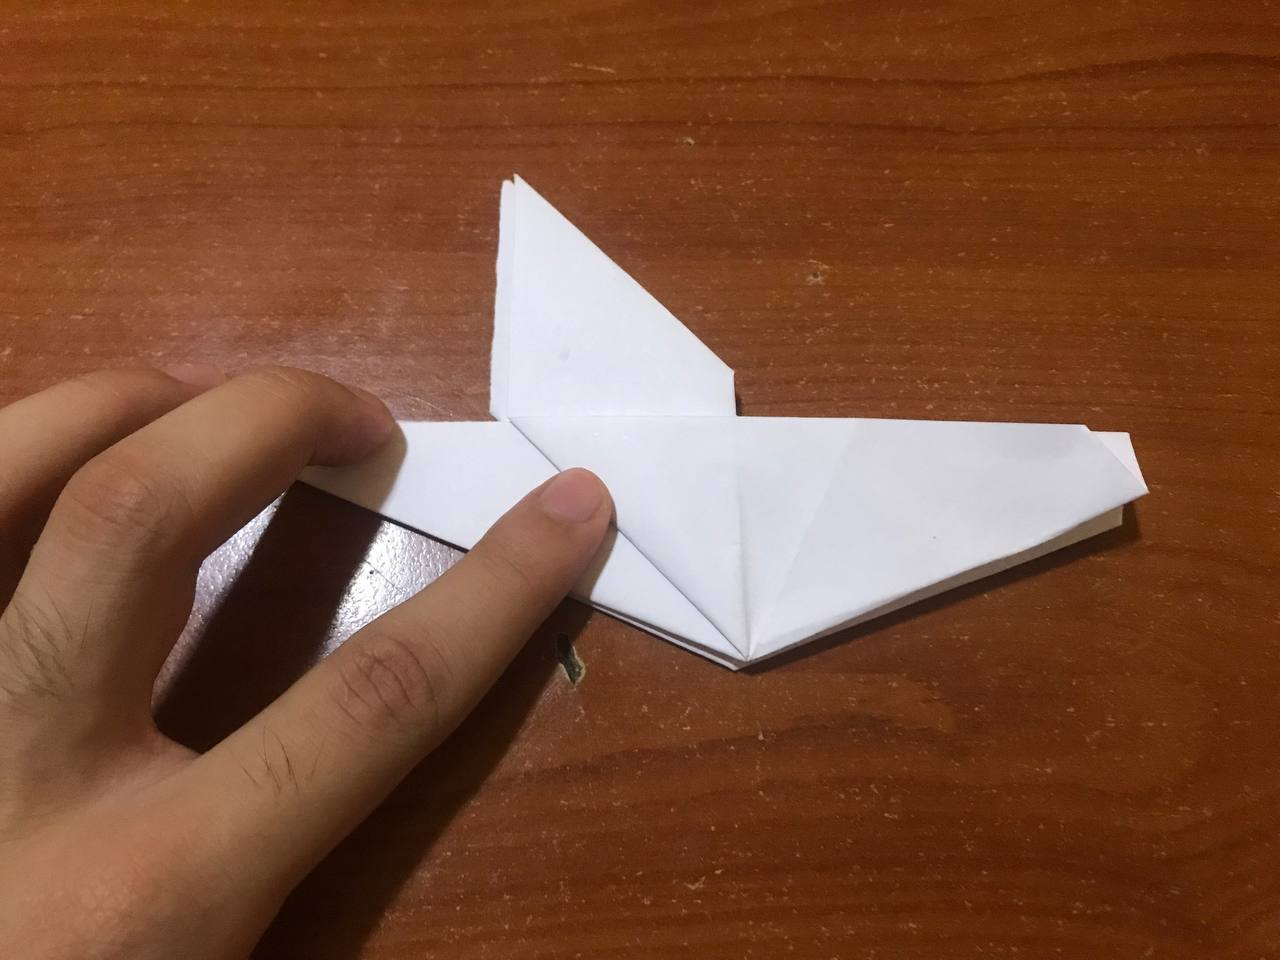 |
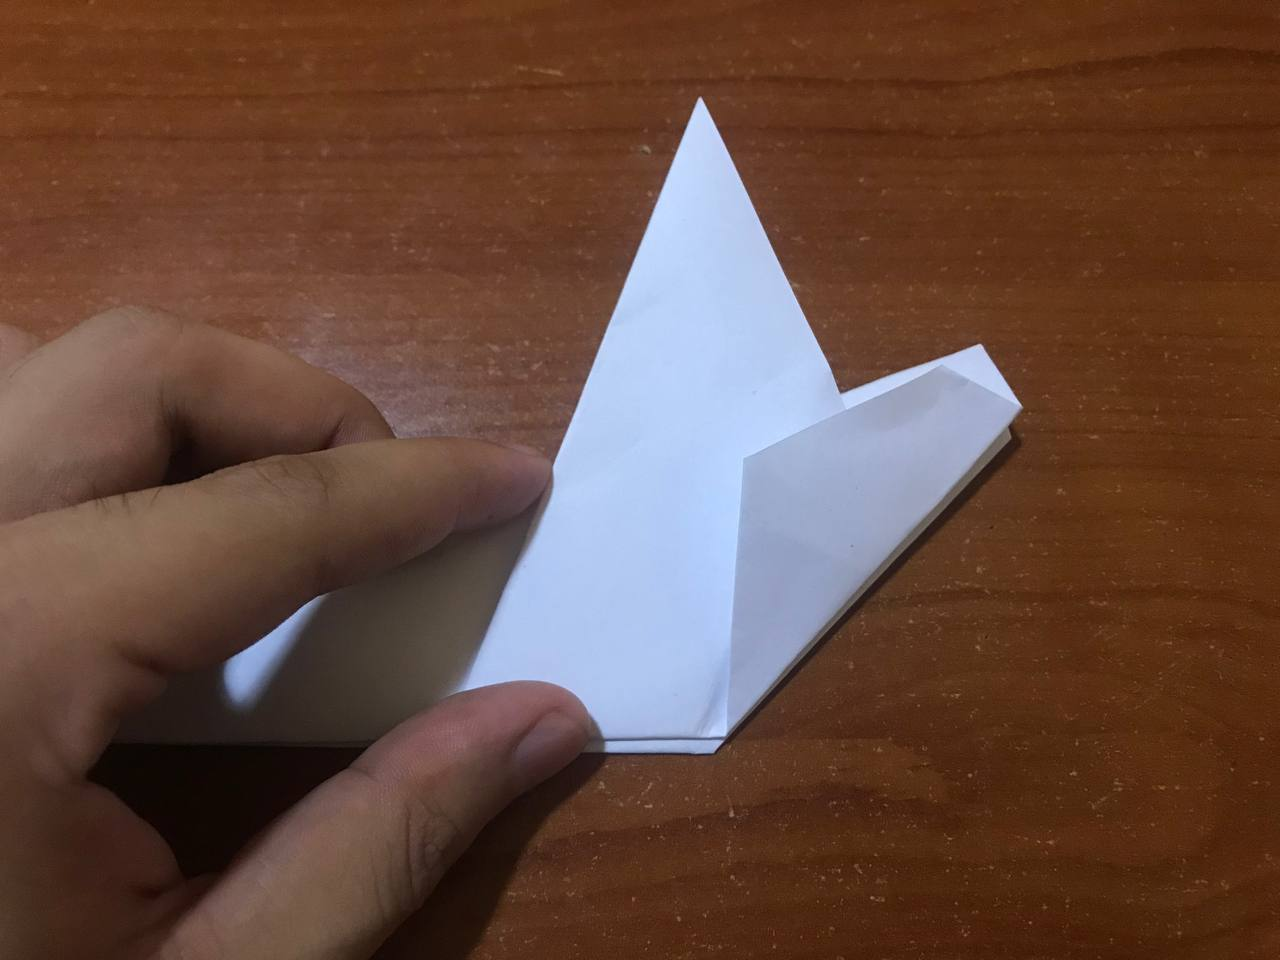
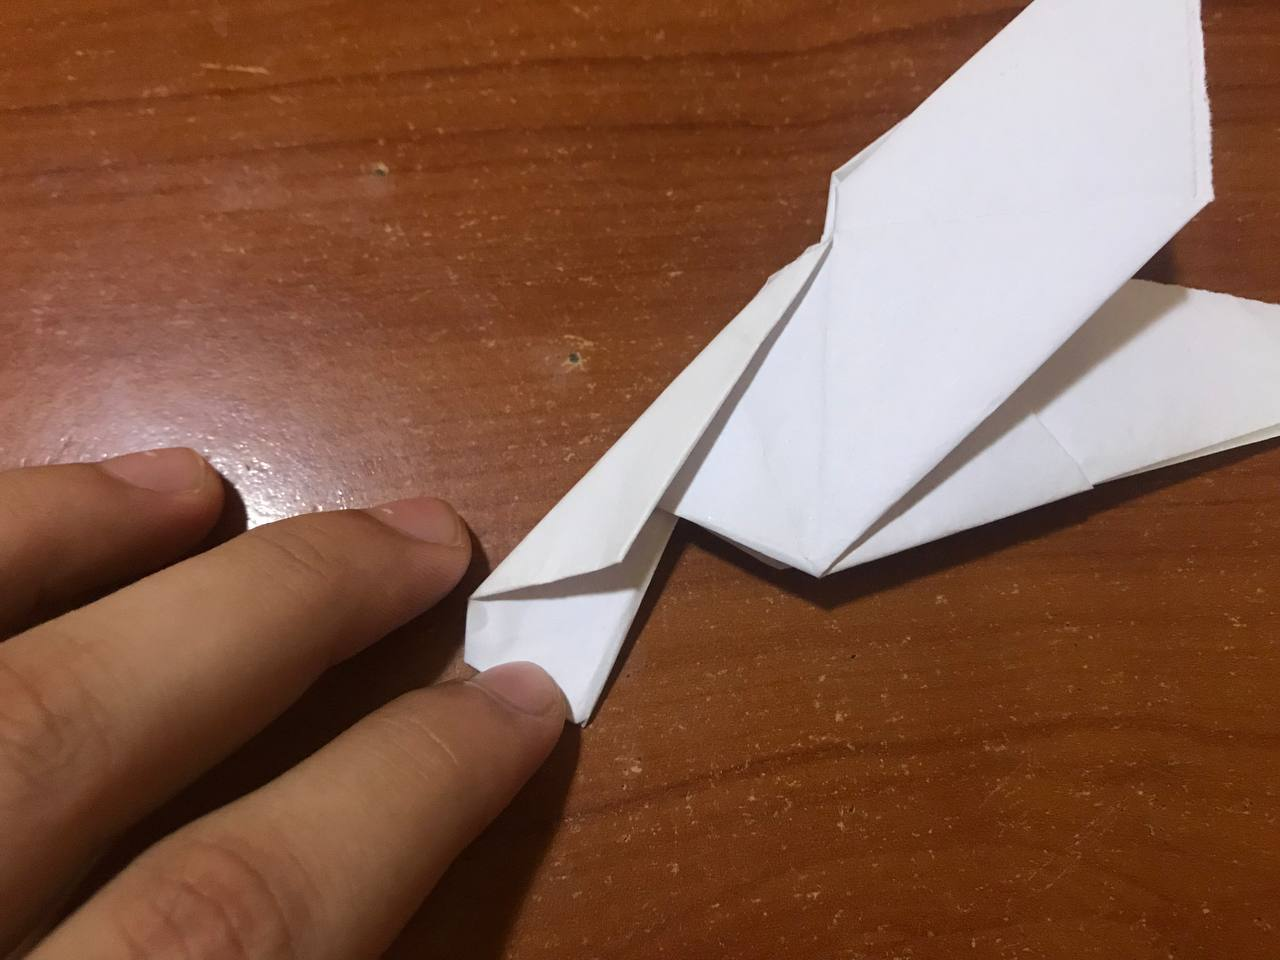
To make the tail we are going to take the same end where we made the doubles in the previous step and thus begin to work, we are going to fold down a little to mark a line and then make a fold inward of the sheet as shown in the photo. Once that is ready, the ends of that part of the sheet we make a small fold to give a little more volume to the tail and thus have it ready.
Para hacer la cola vamos a tomar el mismo extremo donde realizamos los dobles en el paso anterior y de esa manera comenzar a trabajar, vamos a doblar un poco hacia abajo para marca una línea y luego hacer un pliegue hacia adentro de la hoja como se nota en la foto. Una vez listo eso, los extremos de esa parte de la hoja hacemos un pequeño dobles para así darle un poco más de volumen a la cola y de esa manera tenerla lista.
|
|
|
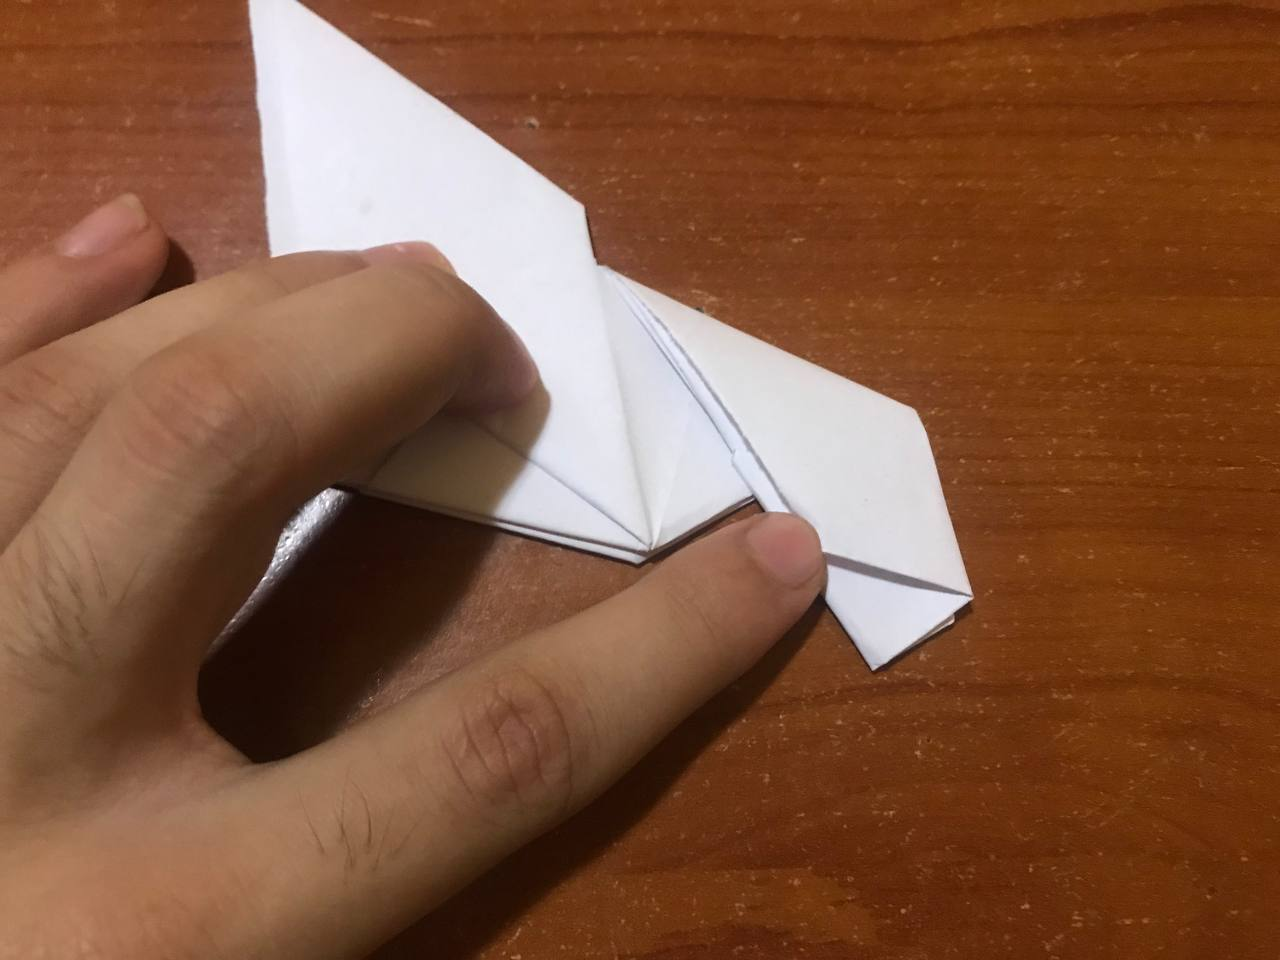
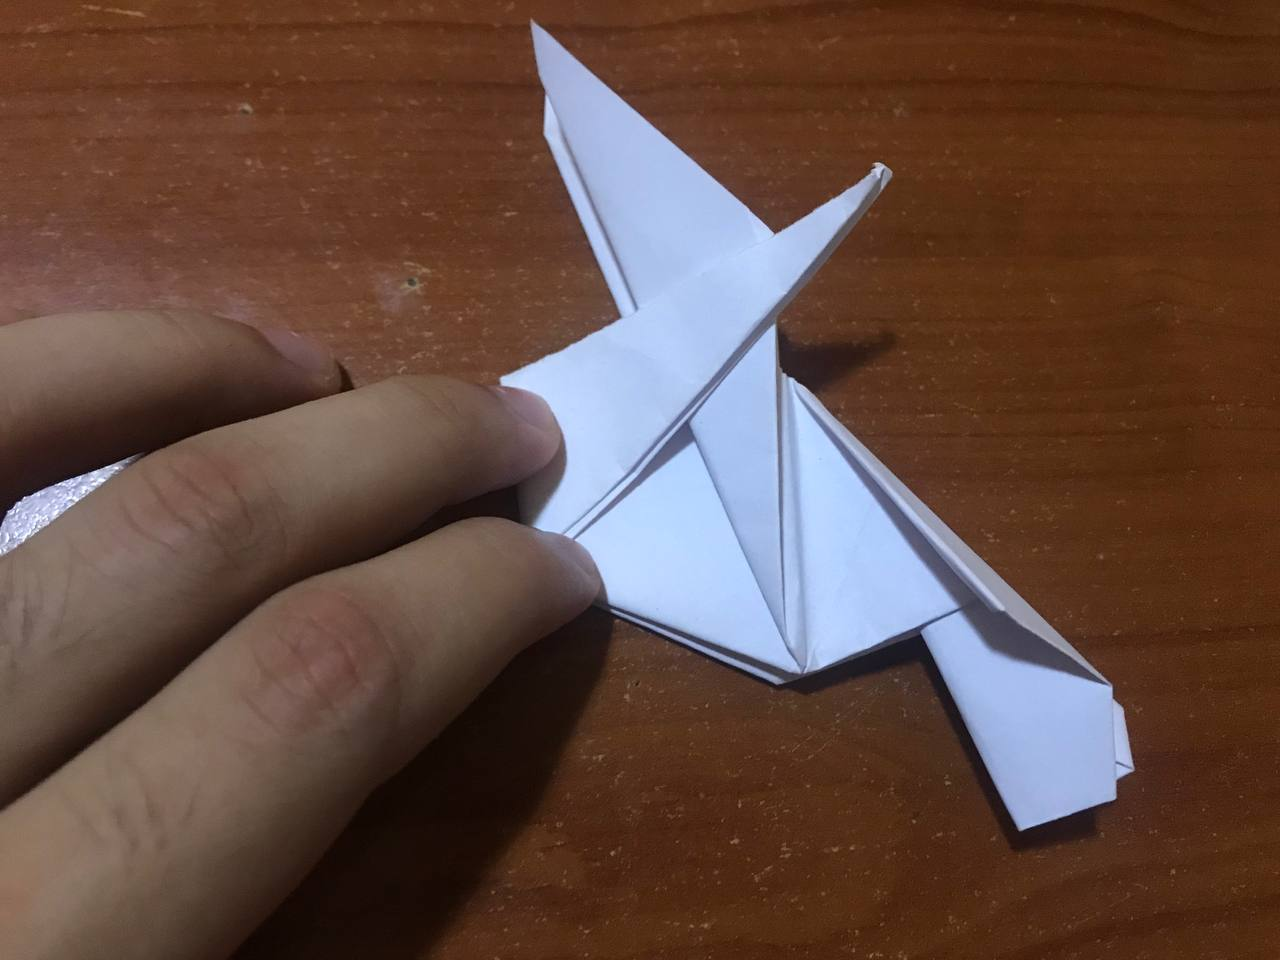
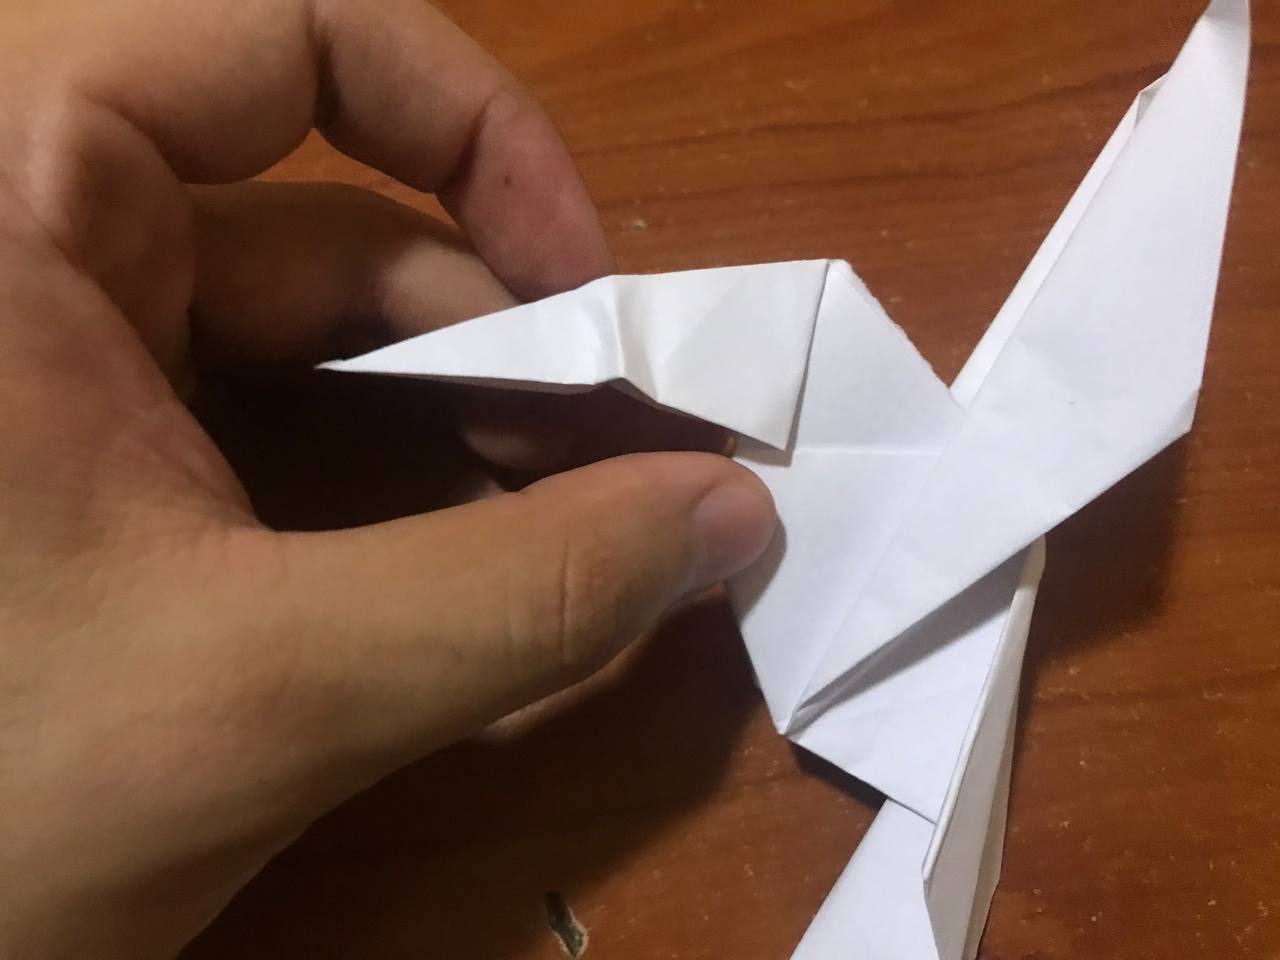
We take the other end of the leaf and we are going to take the tip to fold it backwards very carefully and then we bring it back to the front, that is to say, a small fold so that it protrudes a little. Fold the hummingbird's beak in half and this origami is ready.
Tomamos el otro extremo de la hoja y vamos a tomar la punta para doblando hacia atrás con mucho cuidado y luego la volvemos a llevar hacia adelante, es decir, un pequeño pliegue para que así sobresalga un poco. Doblamos por la mitad el pico de ese colibrí y de esa manera estará listo este origami.
|
 |
|
 |

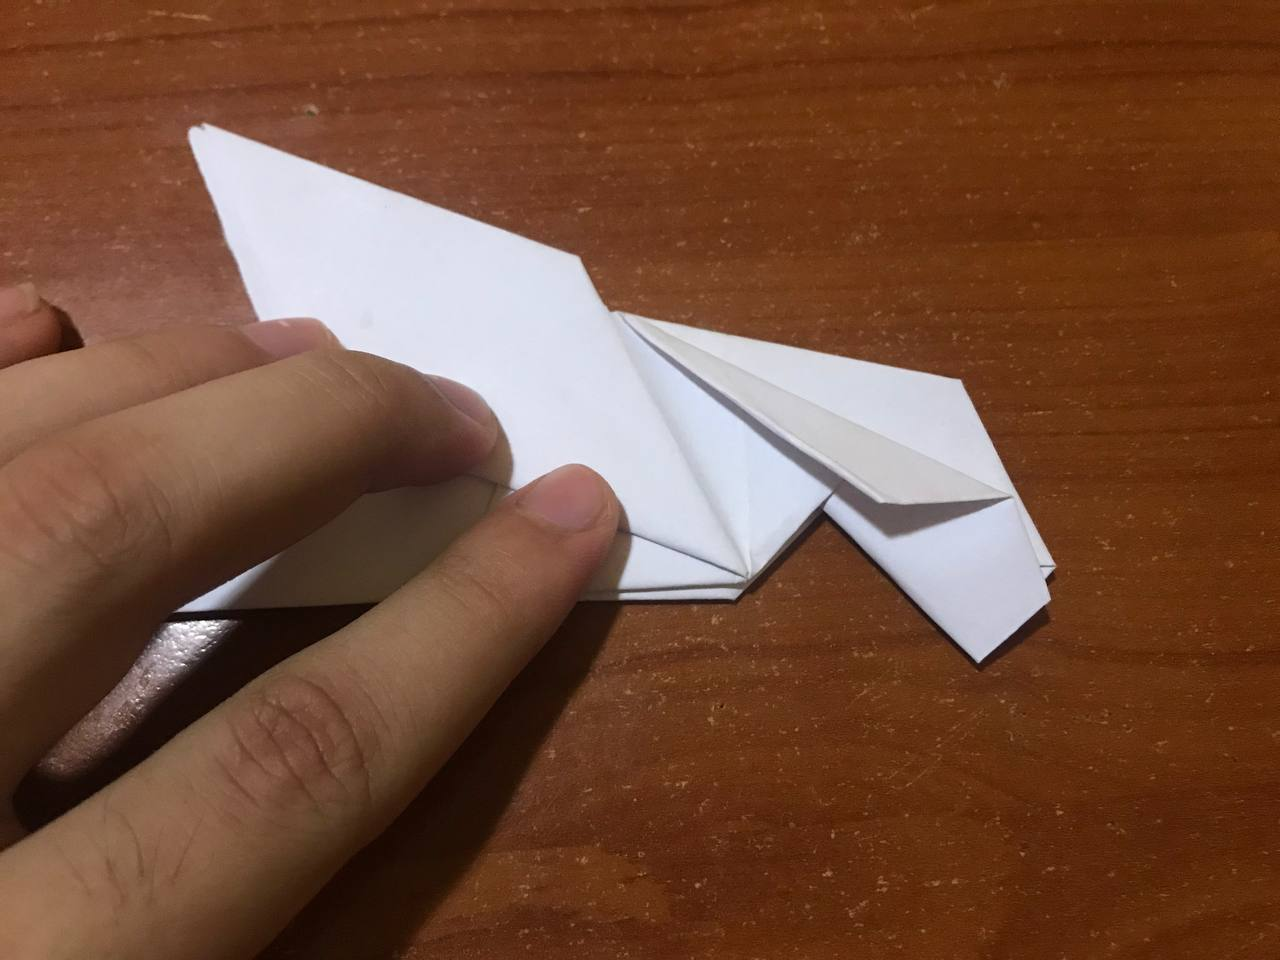
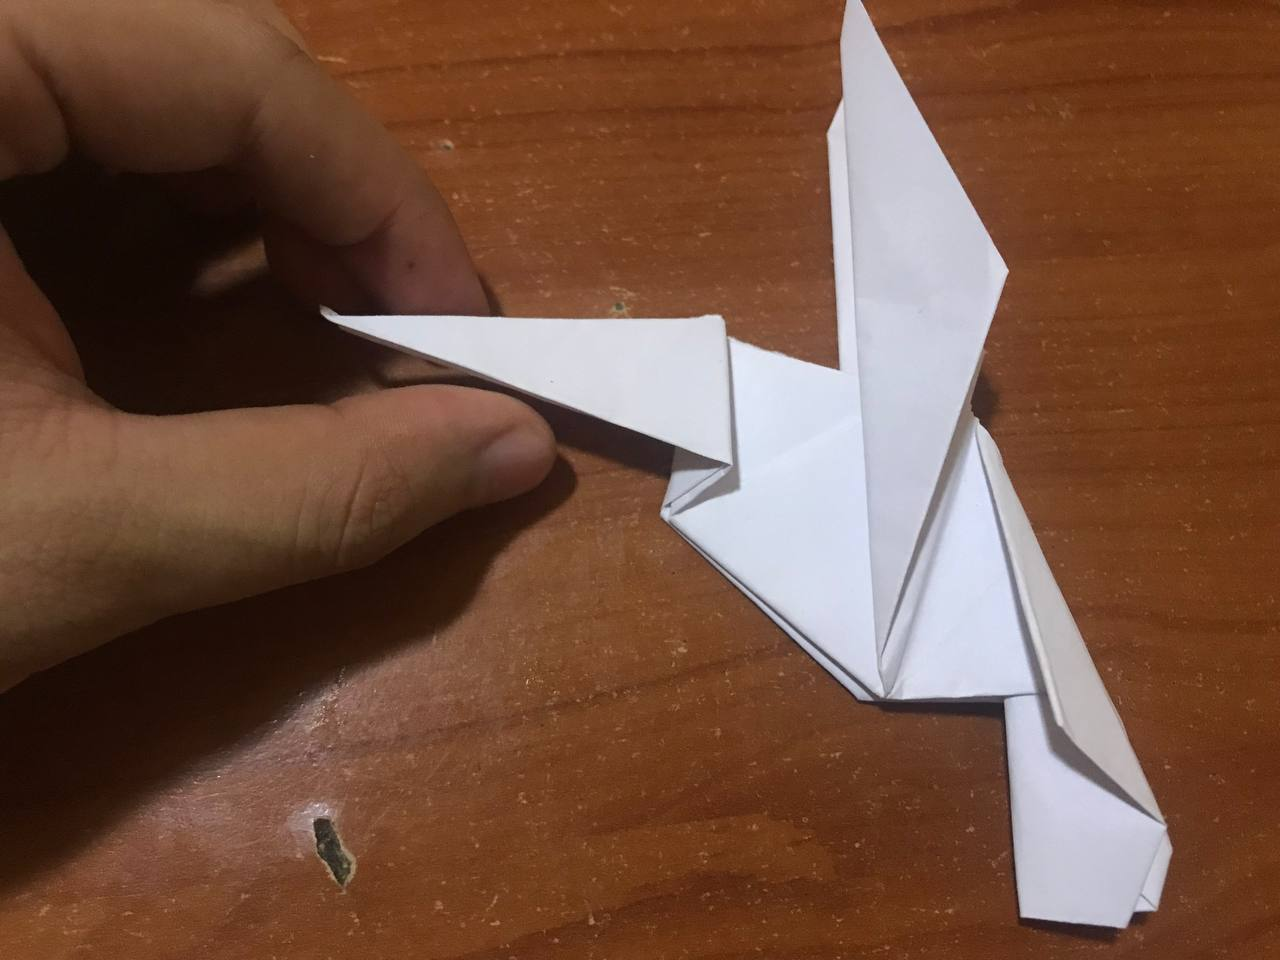
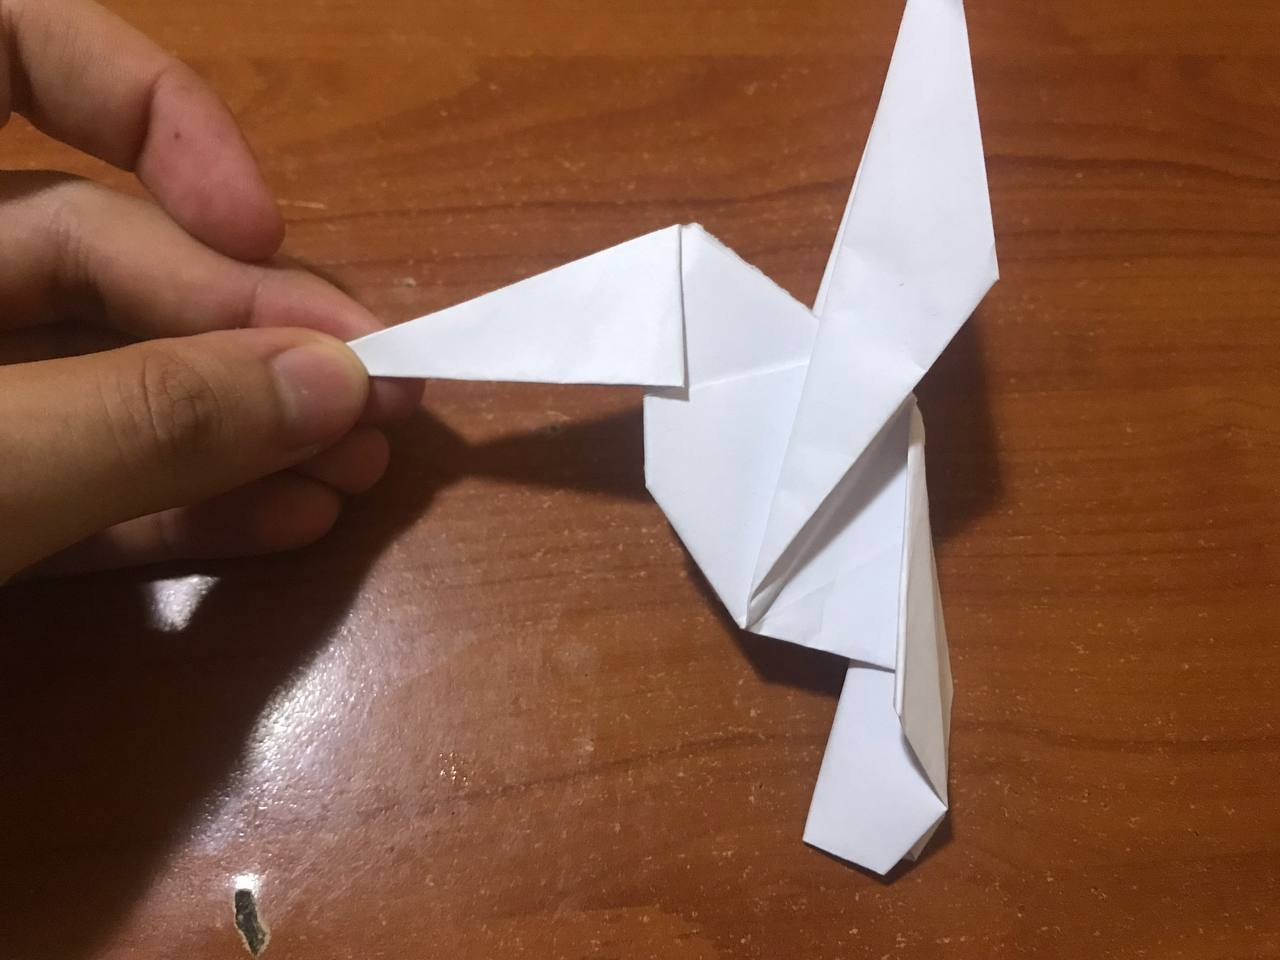
Resultado // Result
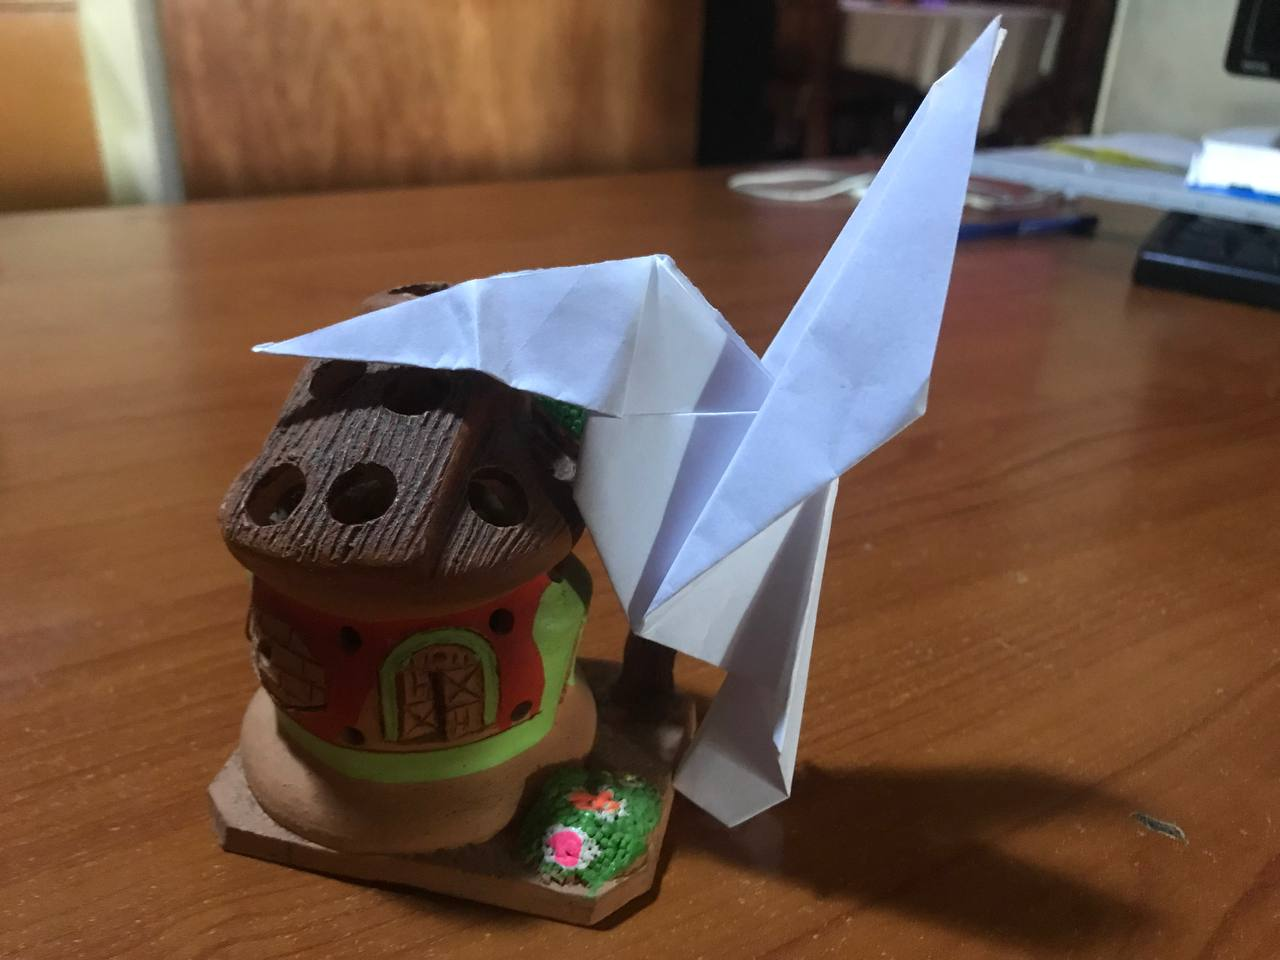
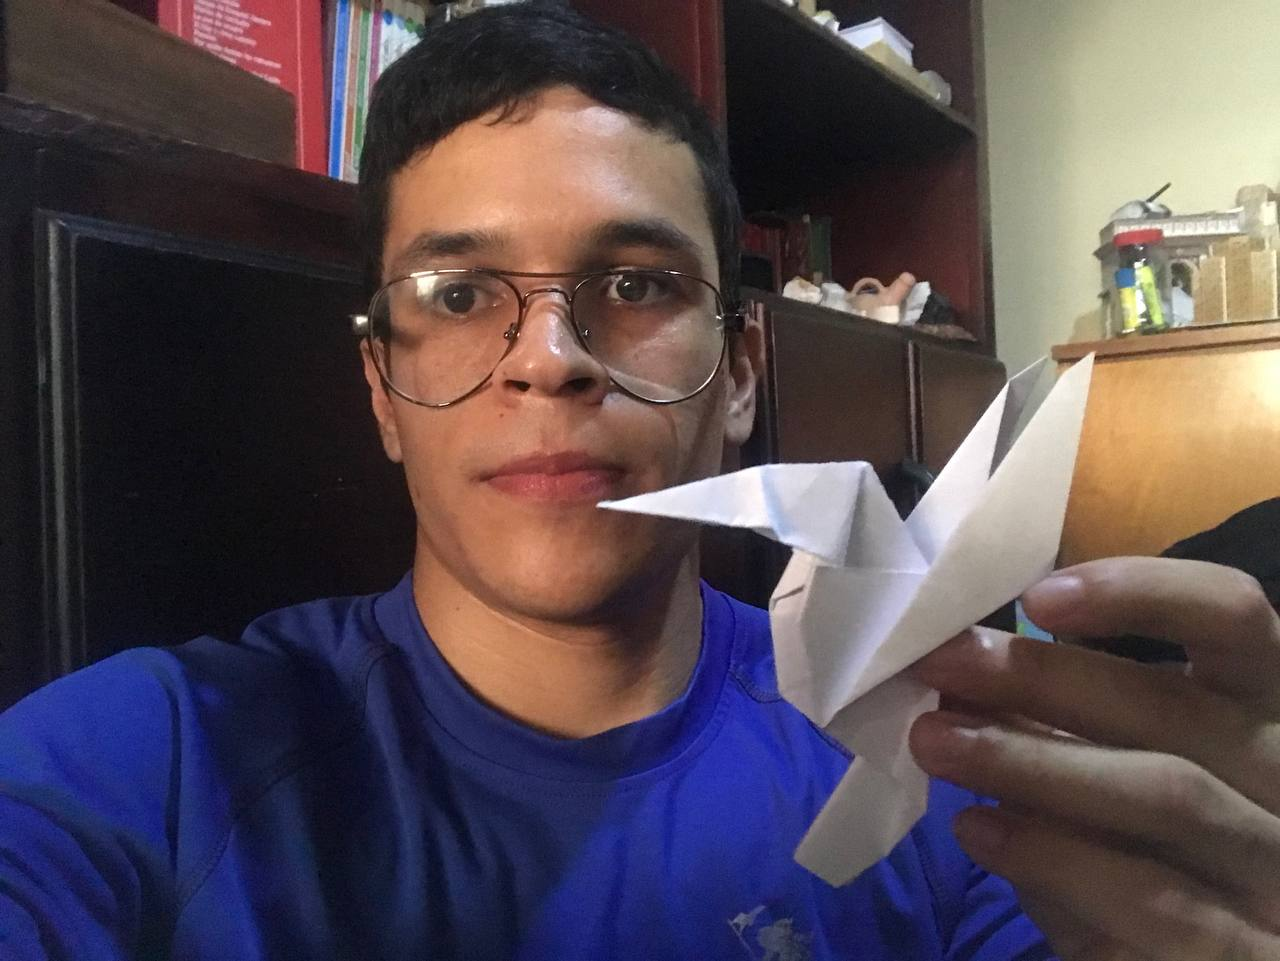
An origami that gave me some work, since it was getting smaller and smaller and requires many doubles to achieve each of the parts of the hummingbird, certainly with some practice and concentration can be achieved. So this paper origami will serve you for many things, you can vary the size and thus achieve a large collection of hummingbird, where it is perfect to play, give it as a gift and many other things. So see you next time with another origami.
Un origami que me dio algo de trabajo, puesto que cada vez se volvía más pequeño y requiere de muchos dobles para lograr cada una de las partes del colibrí, sin duda con algo de práctica y concentración se pueden conseguir. Así que este origami de papel te servirá para muchas cosas, puedes variar el tamaño y de esa manera lograr una gran colección de colibrí, donde es perfecto para jugar, regalarlo y muchas otras cosas. Así que nos vemos en la próxima con otro origami.
Fotos tomadas con un Iphone 7 // Photos prises avec un iPhone 7.

Posted Using InLeo Alpha