
✨🎂✨🎂✨🎂✨🎂✨🎂✨🎂✨
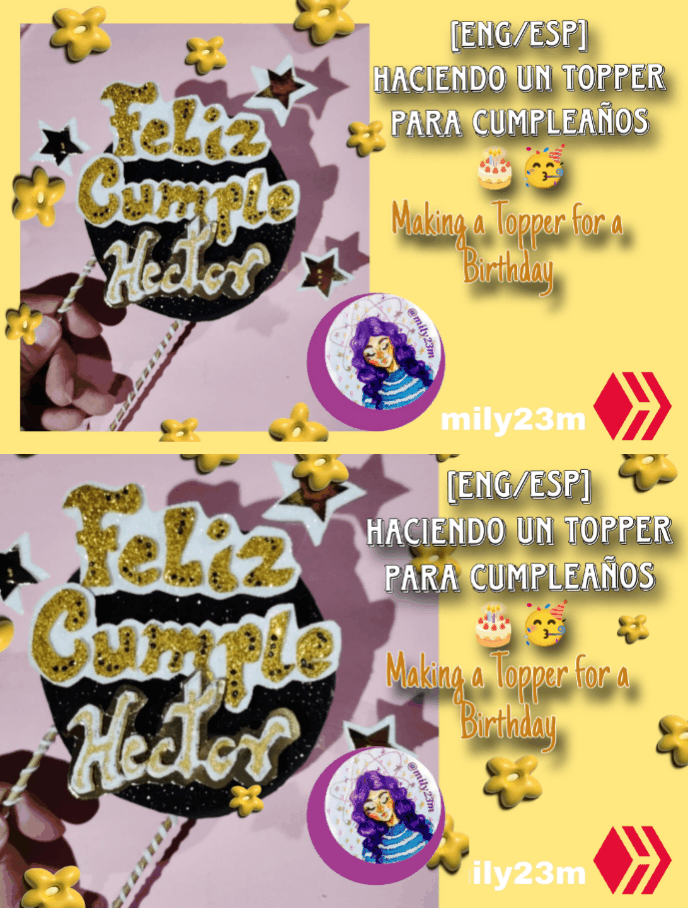
Hola artesanos y linda comunidad! El día de hoy les quiero compartir un nuevo post de un proyecto que hice rápido para regalar un detalle en un cumpleaños 🎂, en este caso necesitaba un Topper para complementar un detalle de una torta (o pastel si vives fuera de Venezuela), para decorar el detalle y darle una bonita presentación, 😉 como no tenía mucho tiempo trate de hacerlo sencillo pero bonito y con los materiales que ya tenía, te dejo todo el proceso con las fotos abajo ↘️ ⬇️ ↙️
Materiales
⭐Foami blanco escarchado
⭐Foami Negro escarchado
⭐Foami Negro
⭐Retazo de cartulina dorada y cartulina
⭐Foami dorado
⭐Regla y tijeras
⭐Pistola de silicón y barras
Manos a la obra
English Version
✨🎂✨🎂✨🎂✨🎂✨🎂✨🎂✨
Hello artisans and lovely community! Today I want to share with you a new post of a project that I made quickly to give a detail on a birthday 🎂, in this case I needed a Topper to complement a detail of a cake (or pie if you live outside of Venezuela), to decorate the detail and give it a nice presentation, 😉 as I didn't have much time I tried to make it simple but pretty and with the materials that I already had, I leave you the whole process with the photos below ↘️ ⬇️ ↙️
Materials
⭐Frosted white foami
⭐Frosted black foami
⭐Black foami
⭐Scrap of gold cardboard and cardboard
⭐Gold foami
⭐Ruler and scissors
⭐Silicone gun and bars
Let's get to work
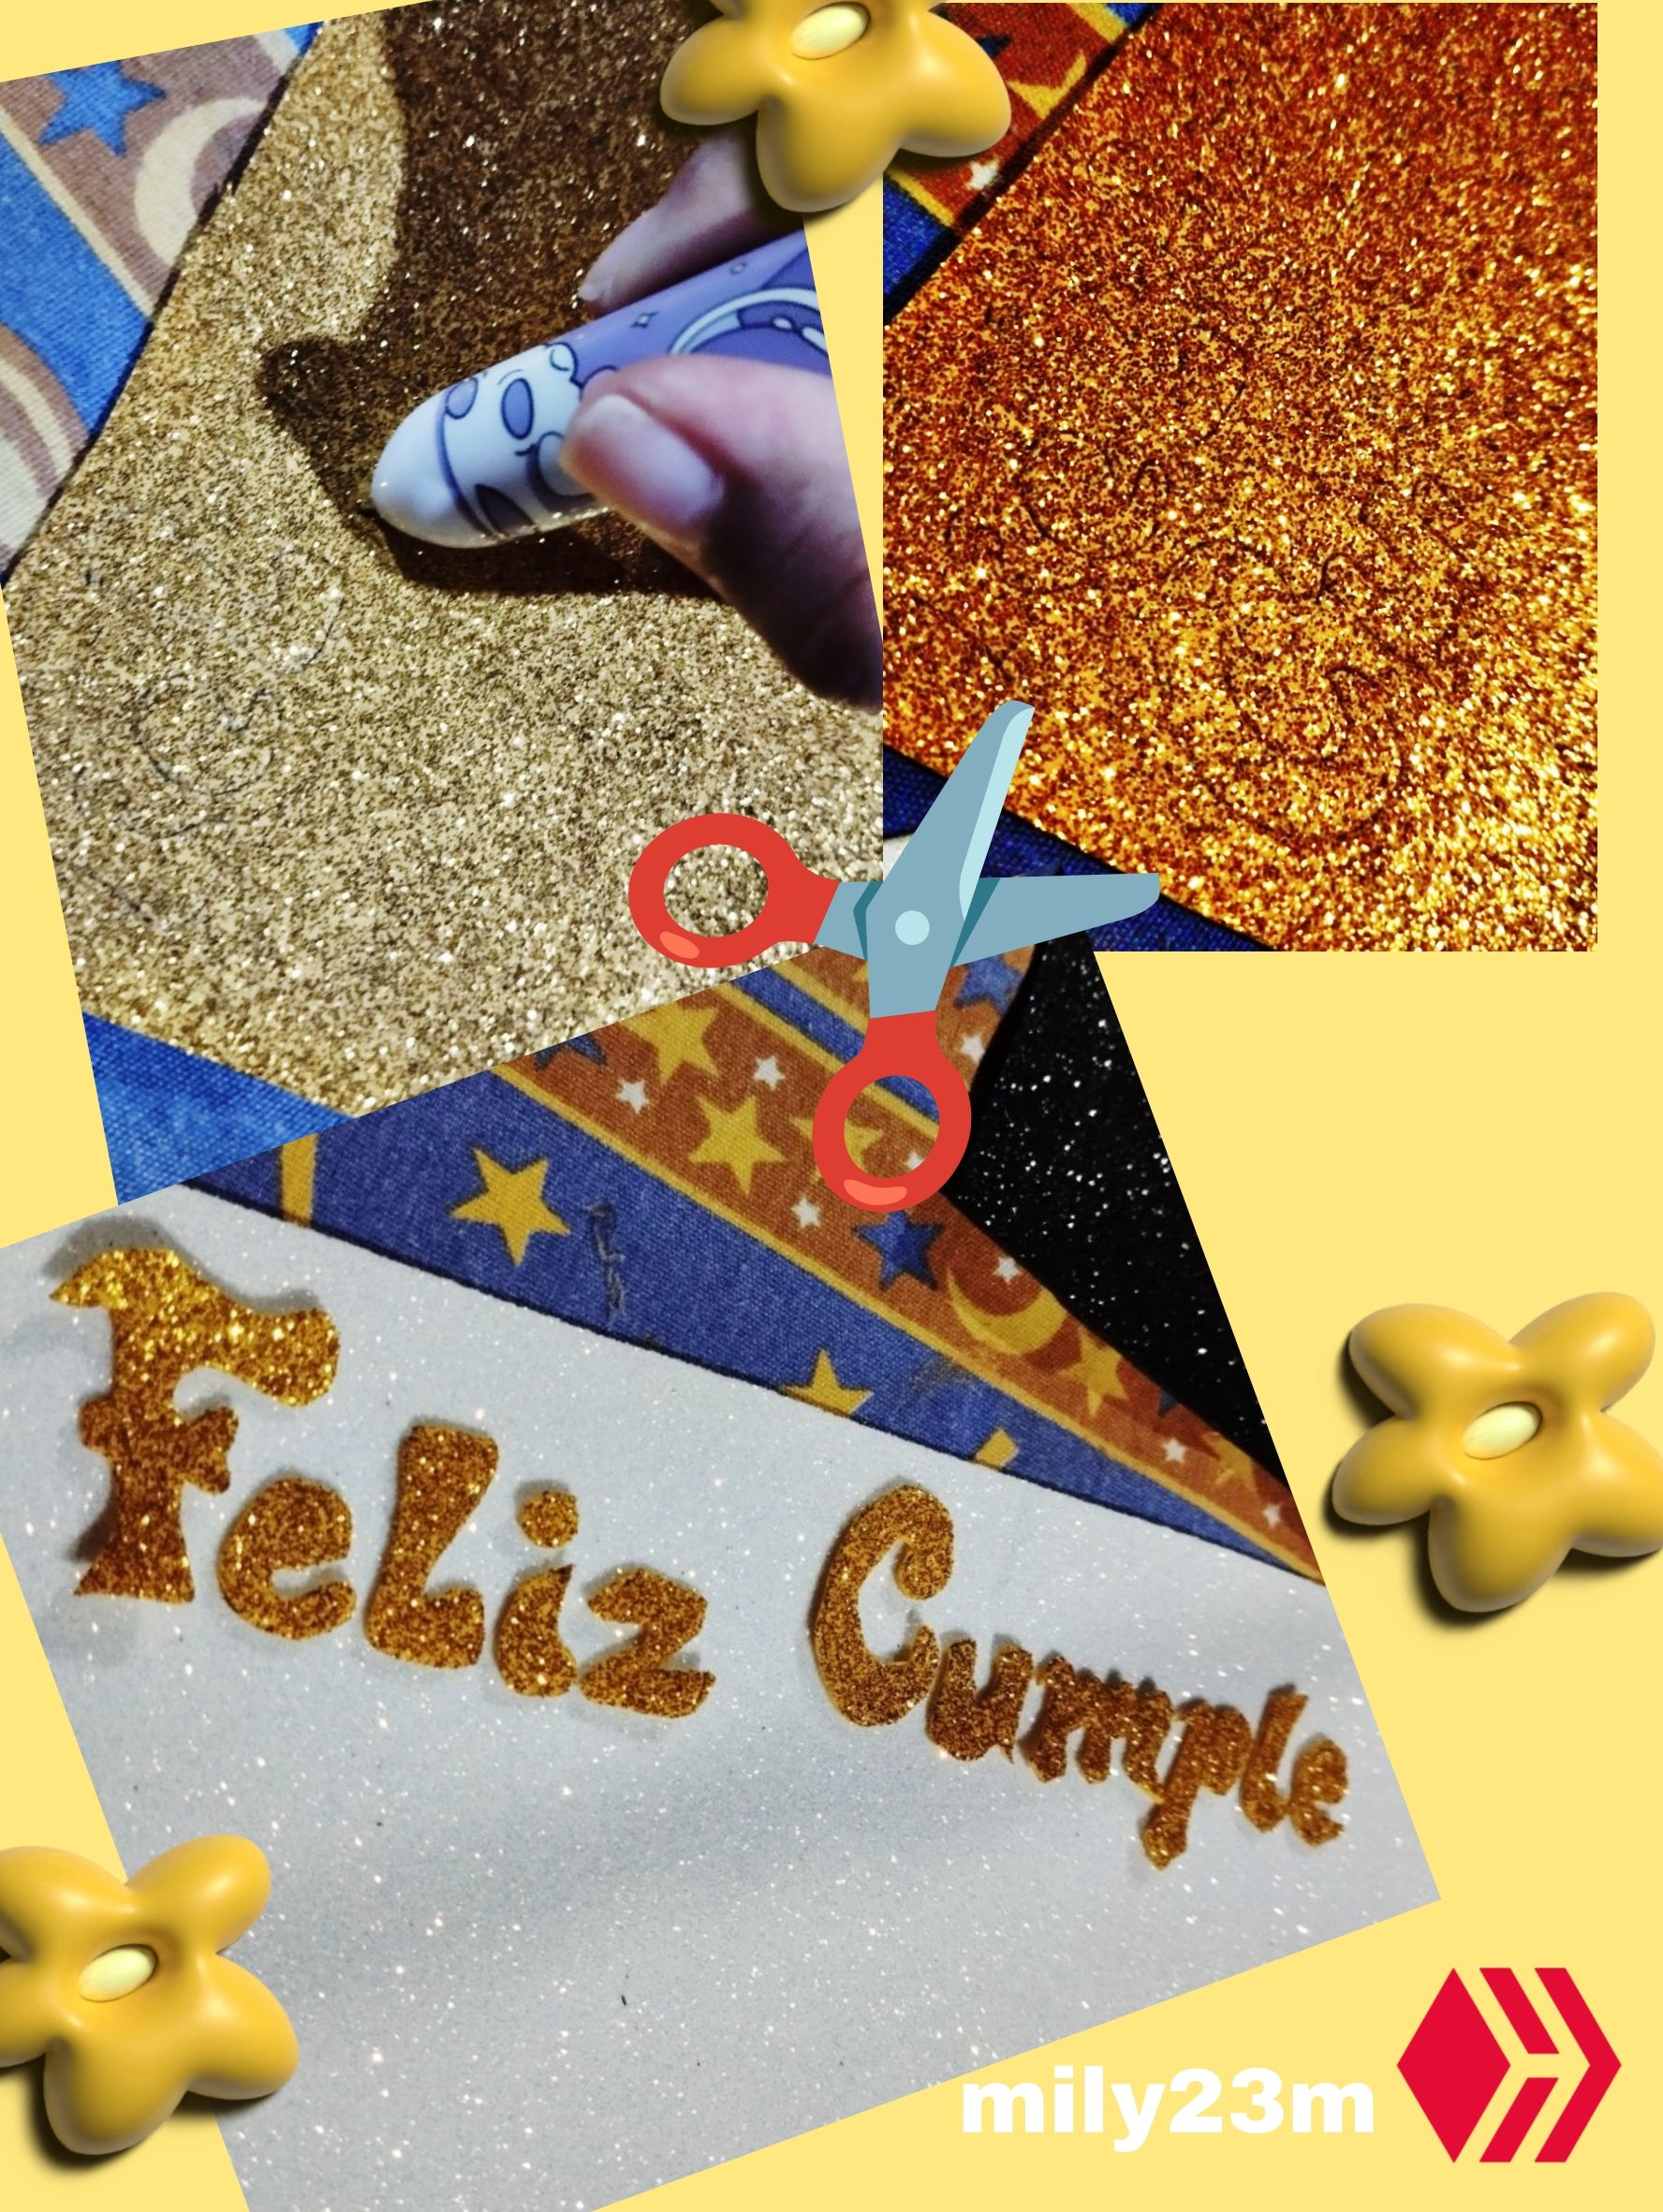
#1 Queria hacer un diseño sencillo para aprovechar los retazos que tenía ya de Foami también por qué era algo rápido y no podia ir a comprar más materiales por lo que tuve que improvisar, entonces usé retazos de foami escarchado dorado y con un boligrafo hice el contorno de las letras feliz cumpleaños, y luego las recorté .
English Version
#1 I wanted to make a simple design to take advantage of the scraps of Foam I already had because it was something quick and I couldn't go buy more materials so I had to improvise, so I used scraps of gold frosted foam and with a pen I made the outline of the letters happy birthday, and then I cut them out.
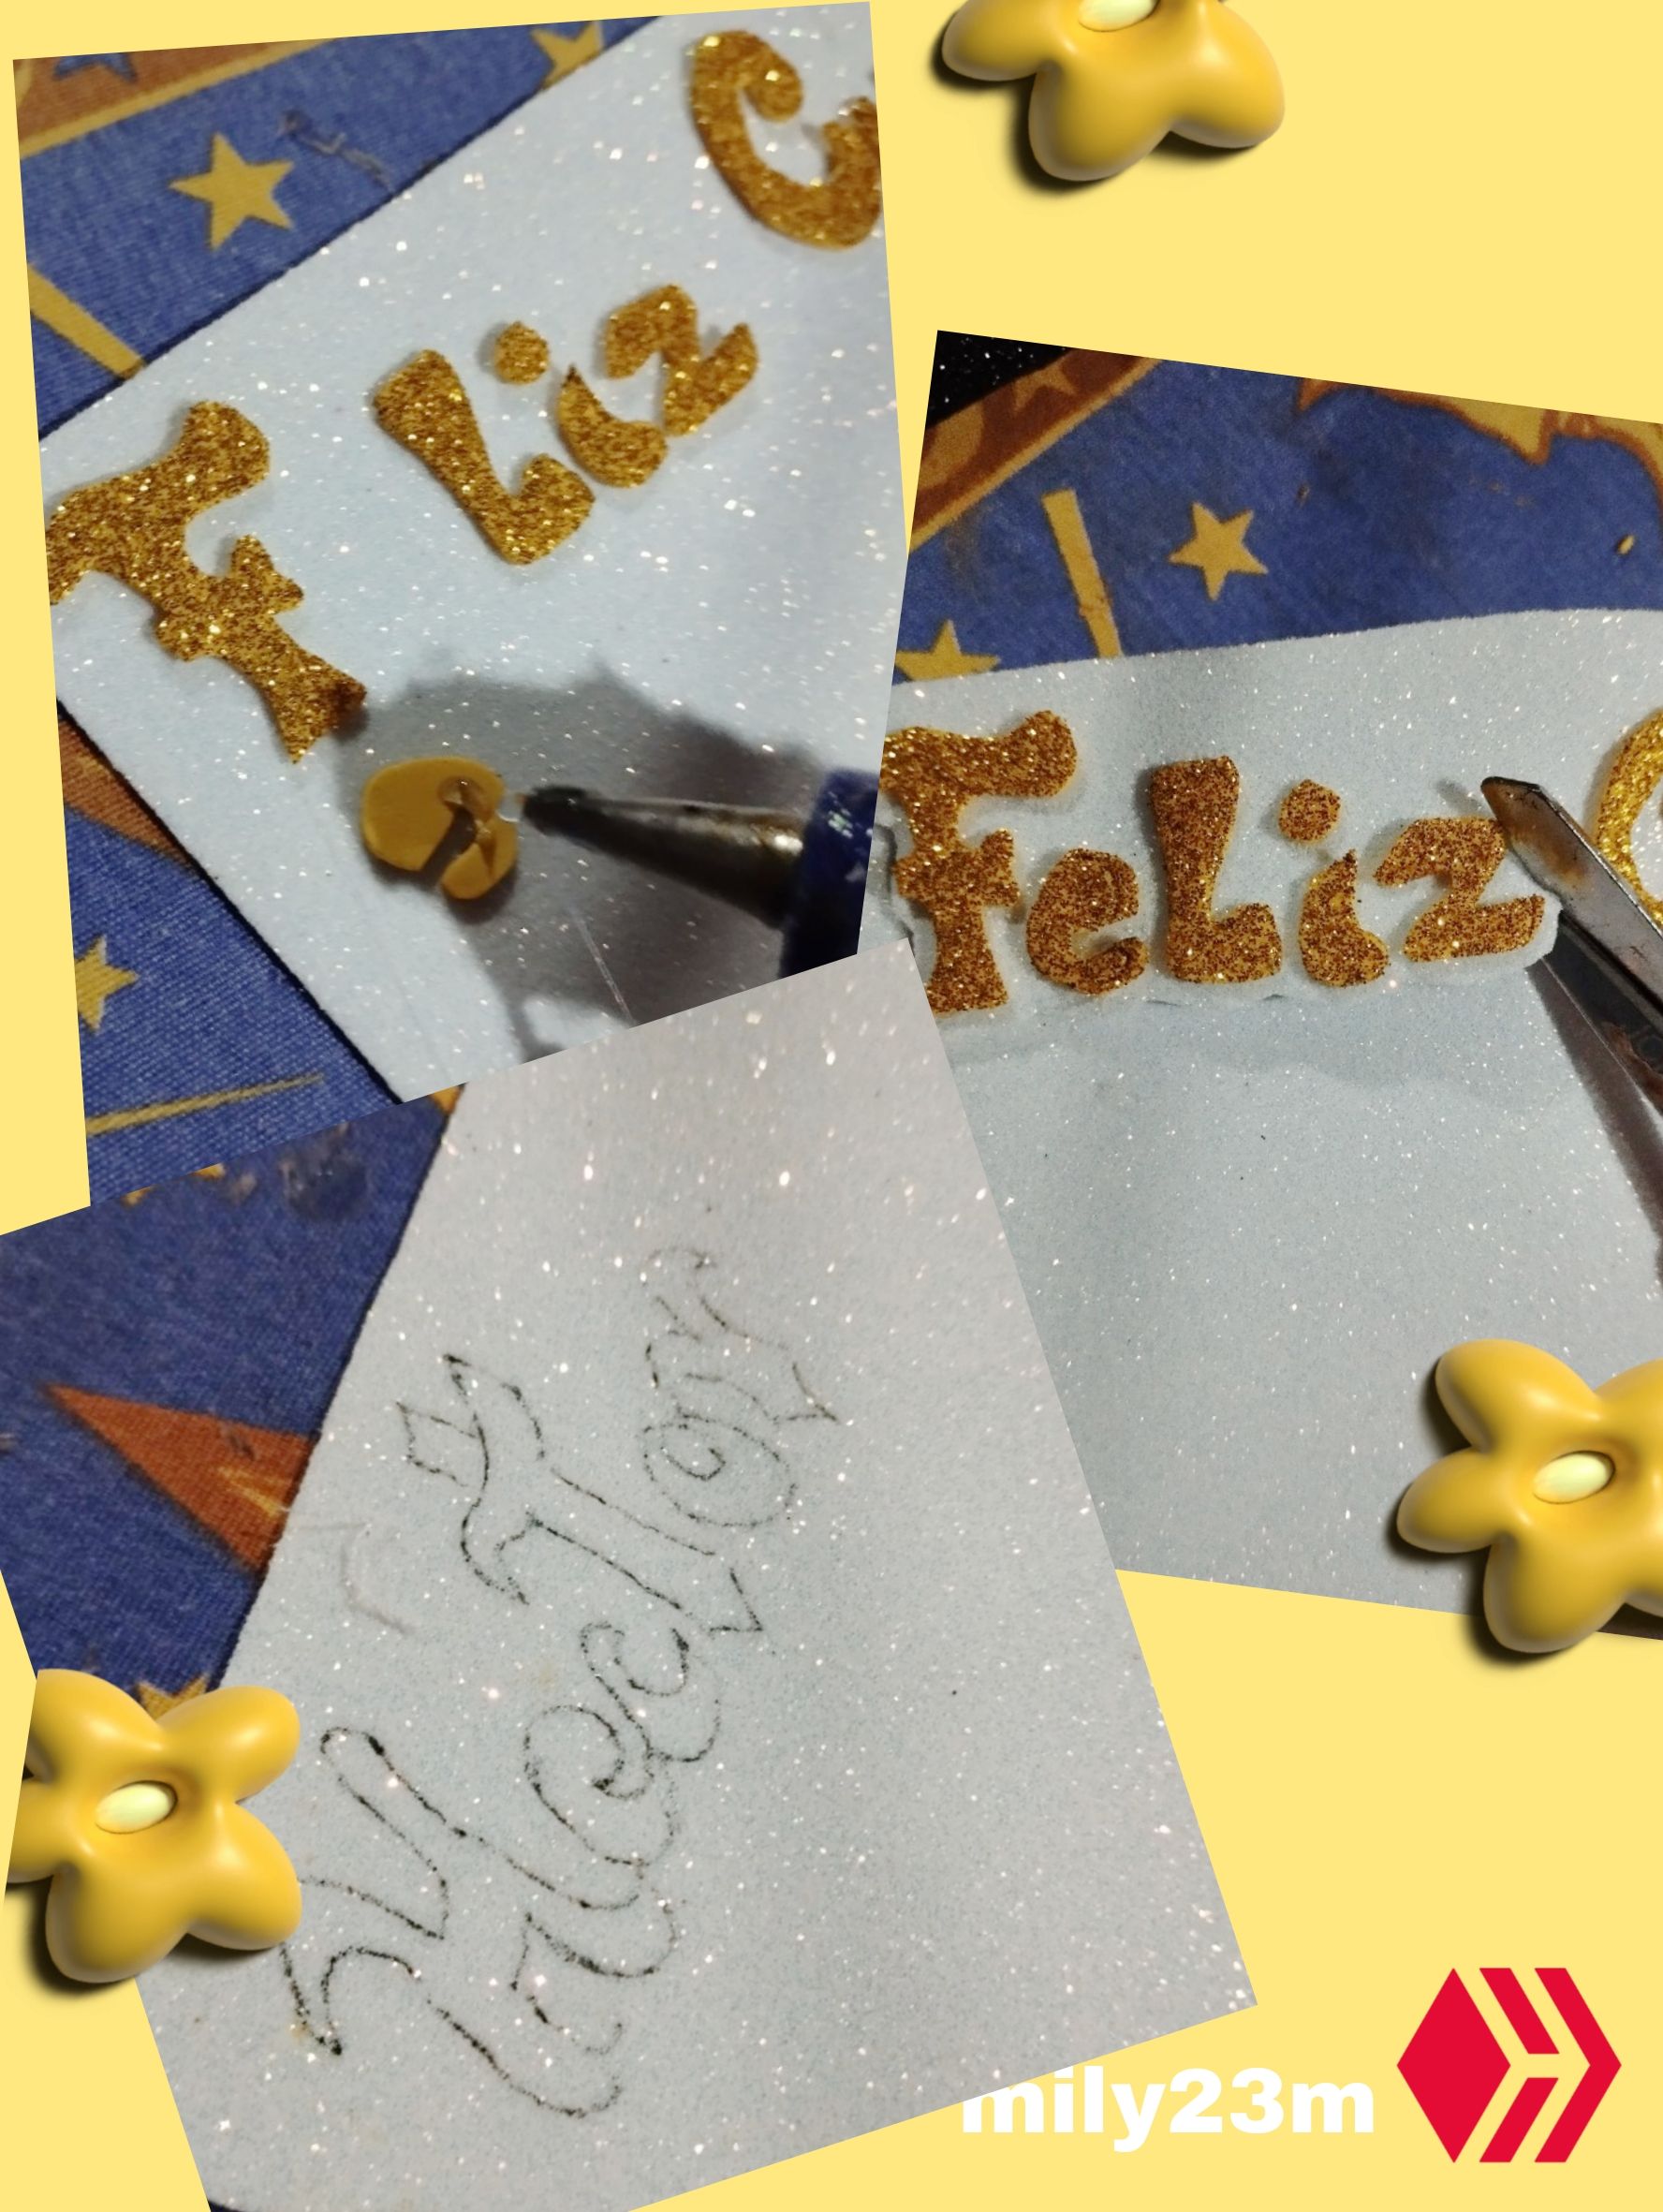
#2 Directamente pegué las letras de Feliz cumpleaños al foami blanco escarchado,de aquí una vez pegados a todas ,recorté la silueta dejando un pequeño contorno para que quedara con mejor acabado, en otro retazo de Foami blanco escarchado escribir el nombre que iría, lo un poco más grandecito que las letras de cumpleaños para resaltara más.
English Version
#2 I directly glued the Happy Birthday letters to the frosted white foam, from here once they were all glued, I cut out the silhouette leaving a small outline so that it would look better. On another piece of frosted white foam, write the name that would go on it, a little larger than the birthday letters so that it would stand out more.
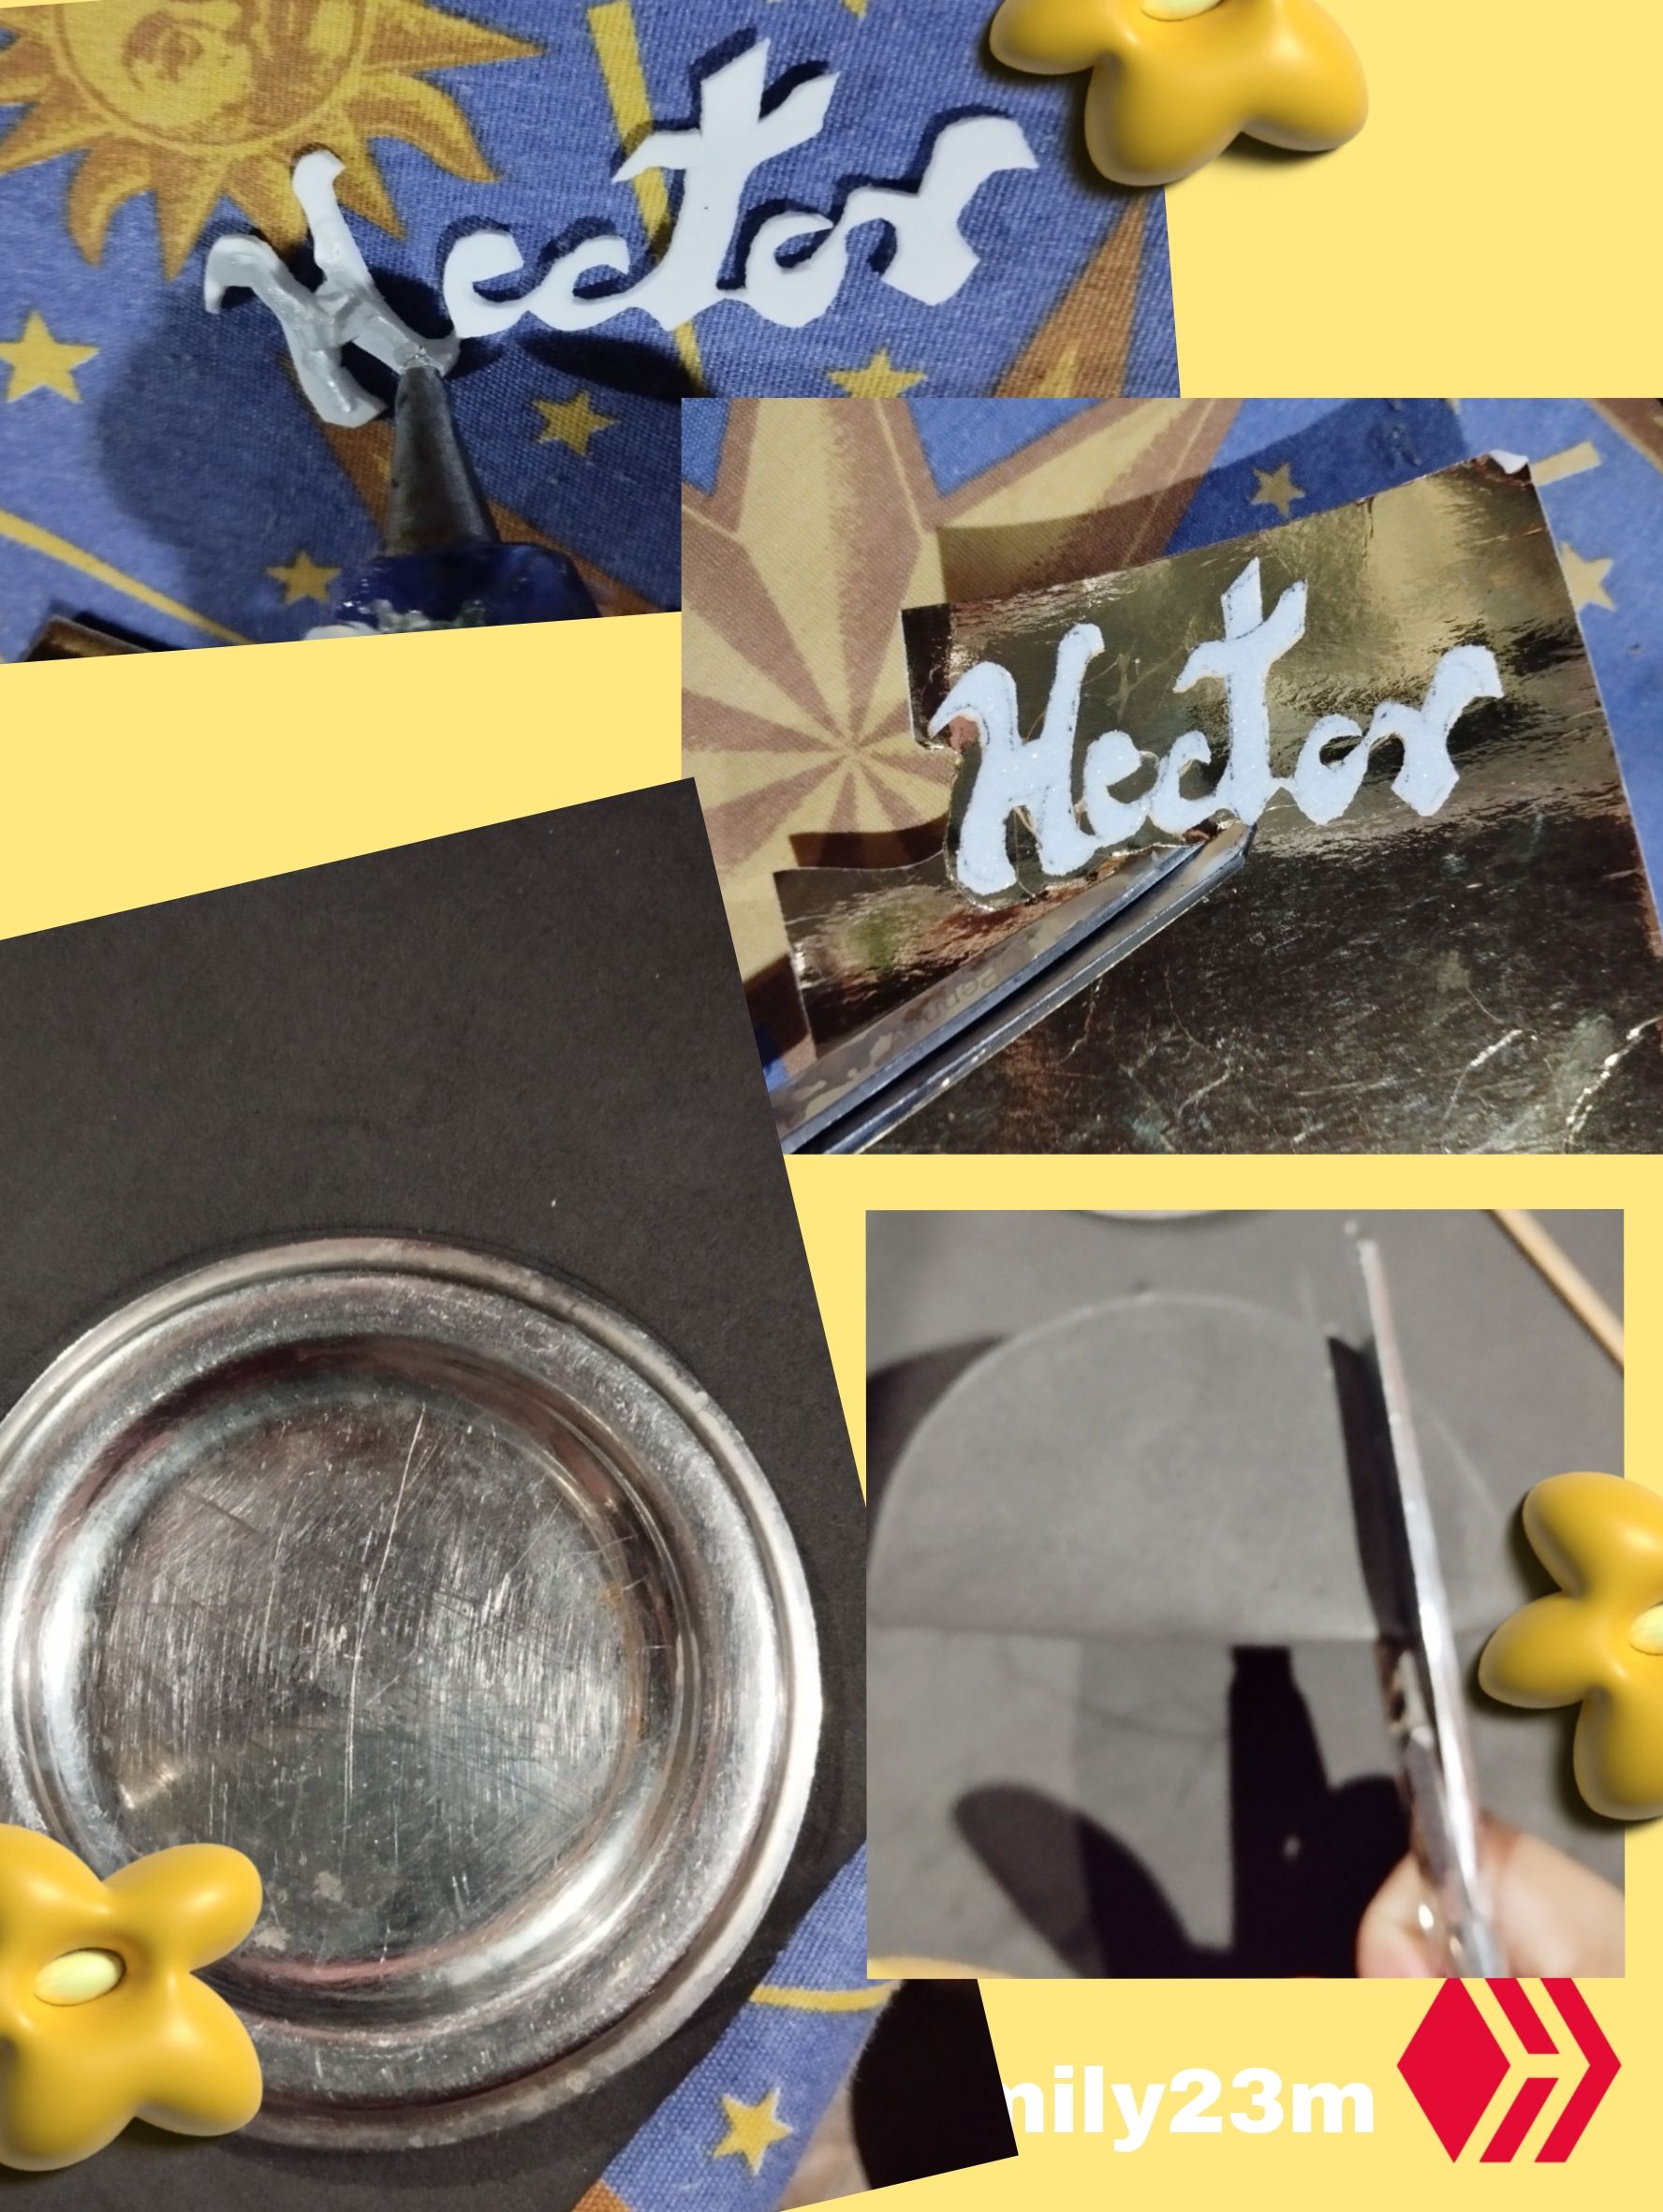
#3 recorté el nombre y lo pegué directamente a una cartulina dorada , luego recorté el contorno dejando un borde rodeándolo, también hice un círculo en Foami negro ayudándome de un posa vaso para hacer el contorno, y recorté la forma del círculo y luego lo doble y recorté un círculo más pequeño dentro de este de manera que me quedara una forma de una dona, esto me serviría de soporte.
English Version
#3 I cut out the name and glued it directly to a piece of gold cardstock, then I cut out the outline leaving a border around it, I also made a circle using a coaster to make the outline, and I cut out the shape of the circle and then folded it and cut out a smaller circle inside it so that I had a donut shape, this would serve as support.
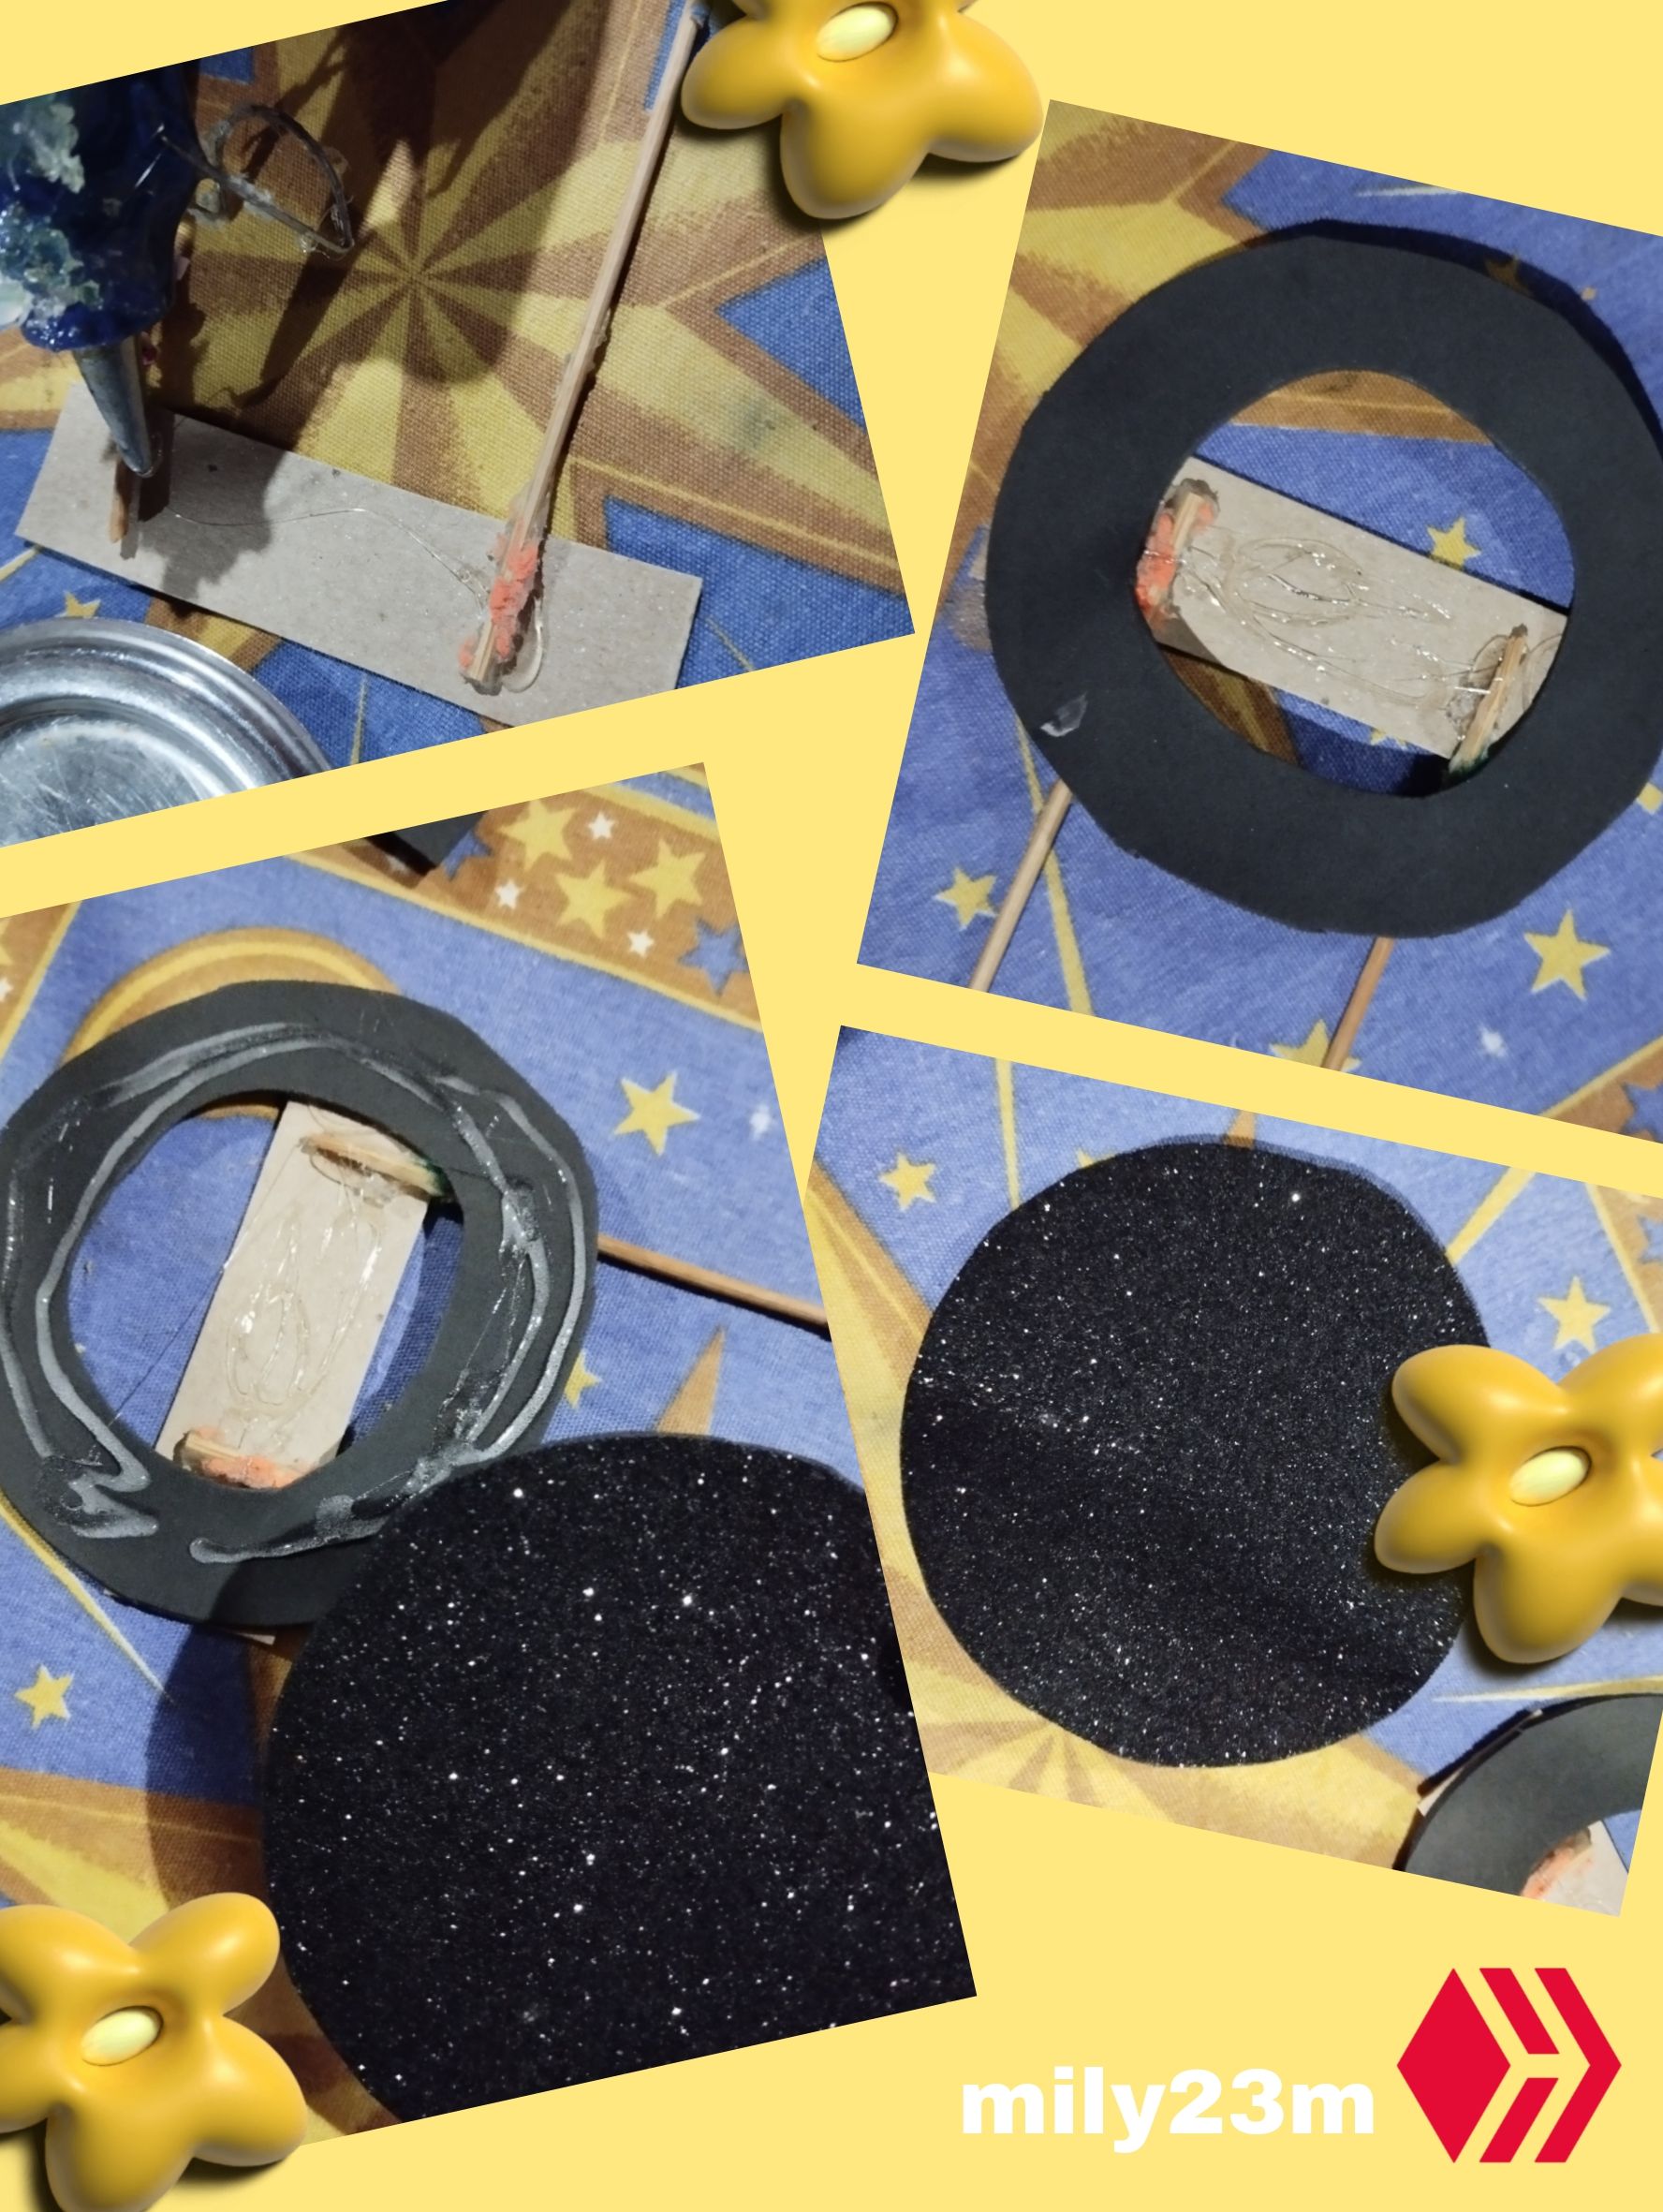
#4 Usé un palito de altura partido en dos, con un retazo de cartulina dura y en ella pegué los palitos con silicón, Luego pegué el círculo negro, a la cartulina, y corté otro círculo de foami esta vez el escarchado usando la misma medida del posa vaso, y este círculo sí lo pegue a la forma de dona del foami.
English Version
#4 I used a tall stick cut in two, with a scrap of hard cardboard and to it I glued the sticks with silicone, then I glued the black circle to the cardboard, and cut another circle of foam, this time the frosted one using the same measurement as the coaster, and I did glue this circle to the donut shape of the foam.
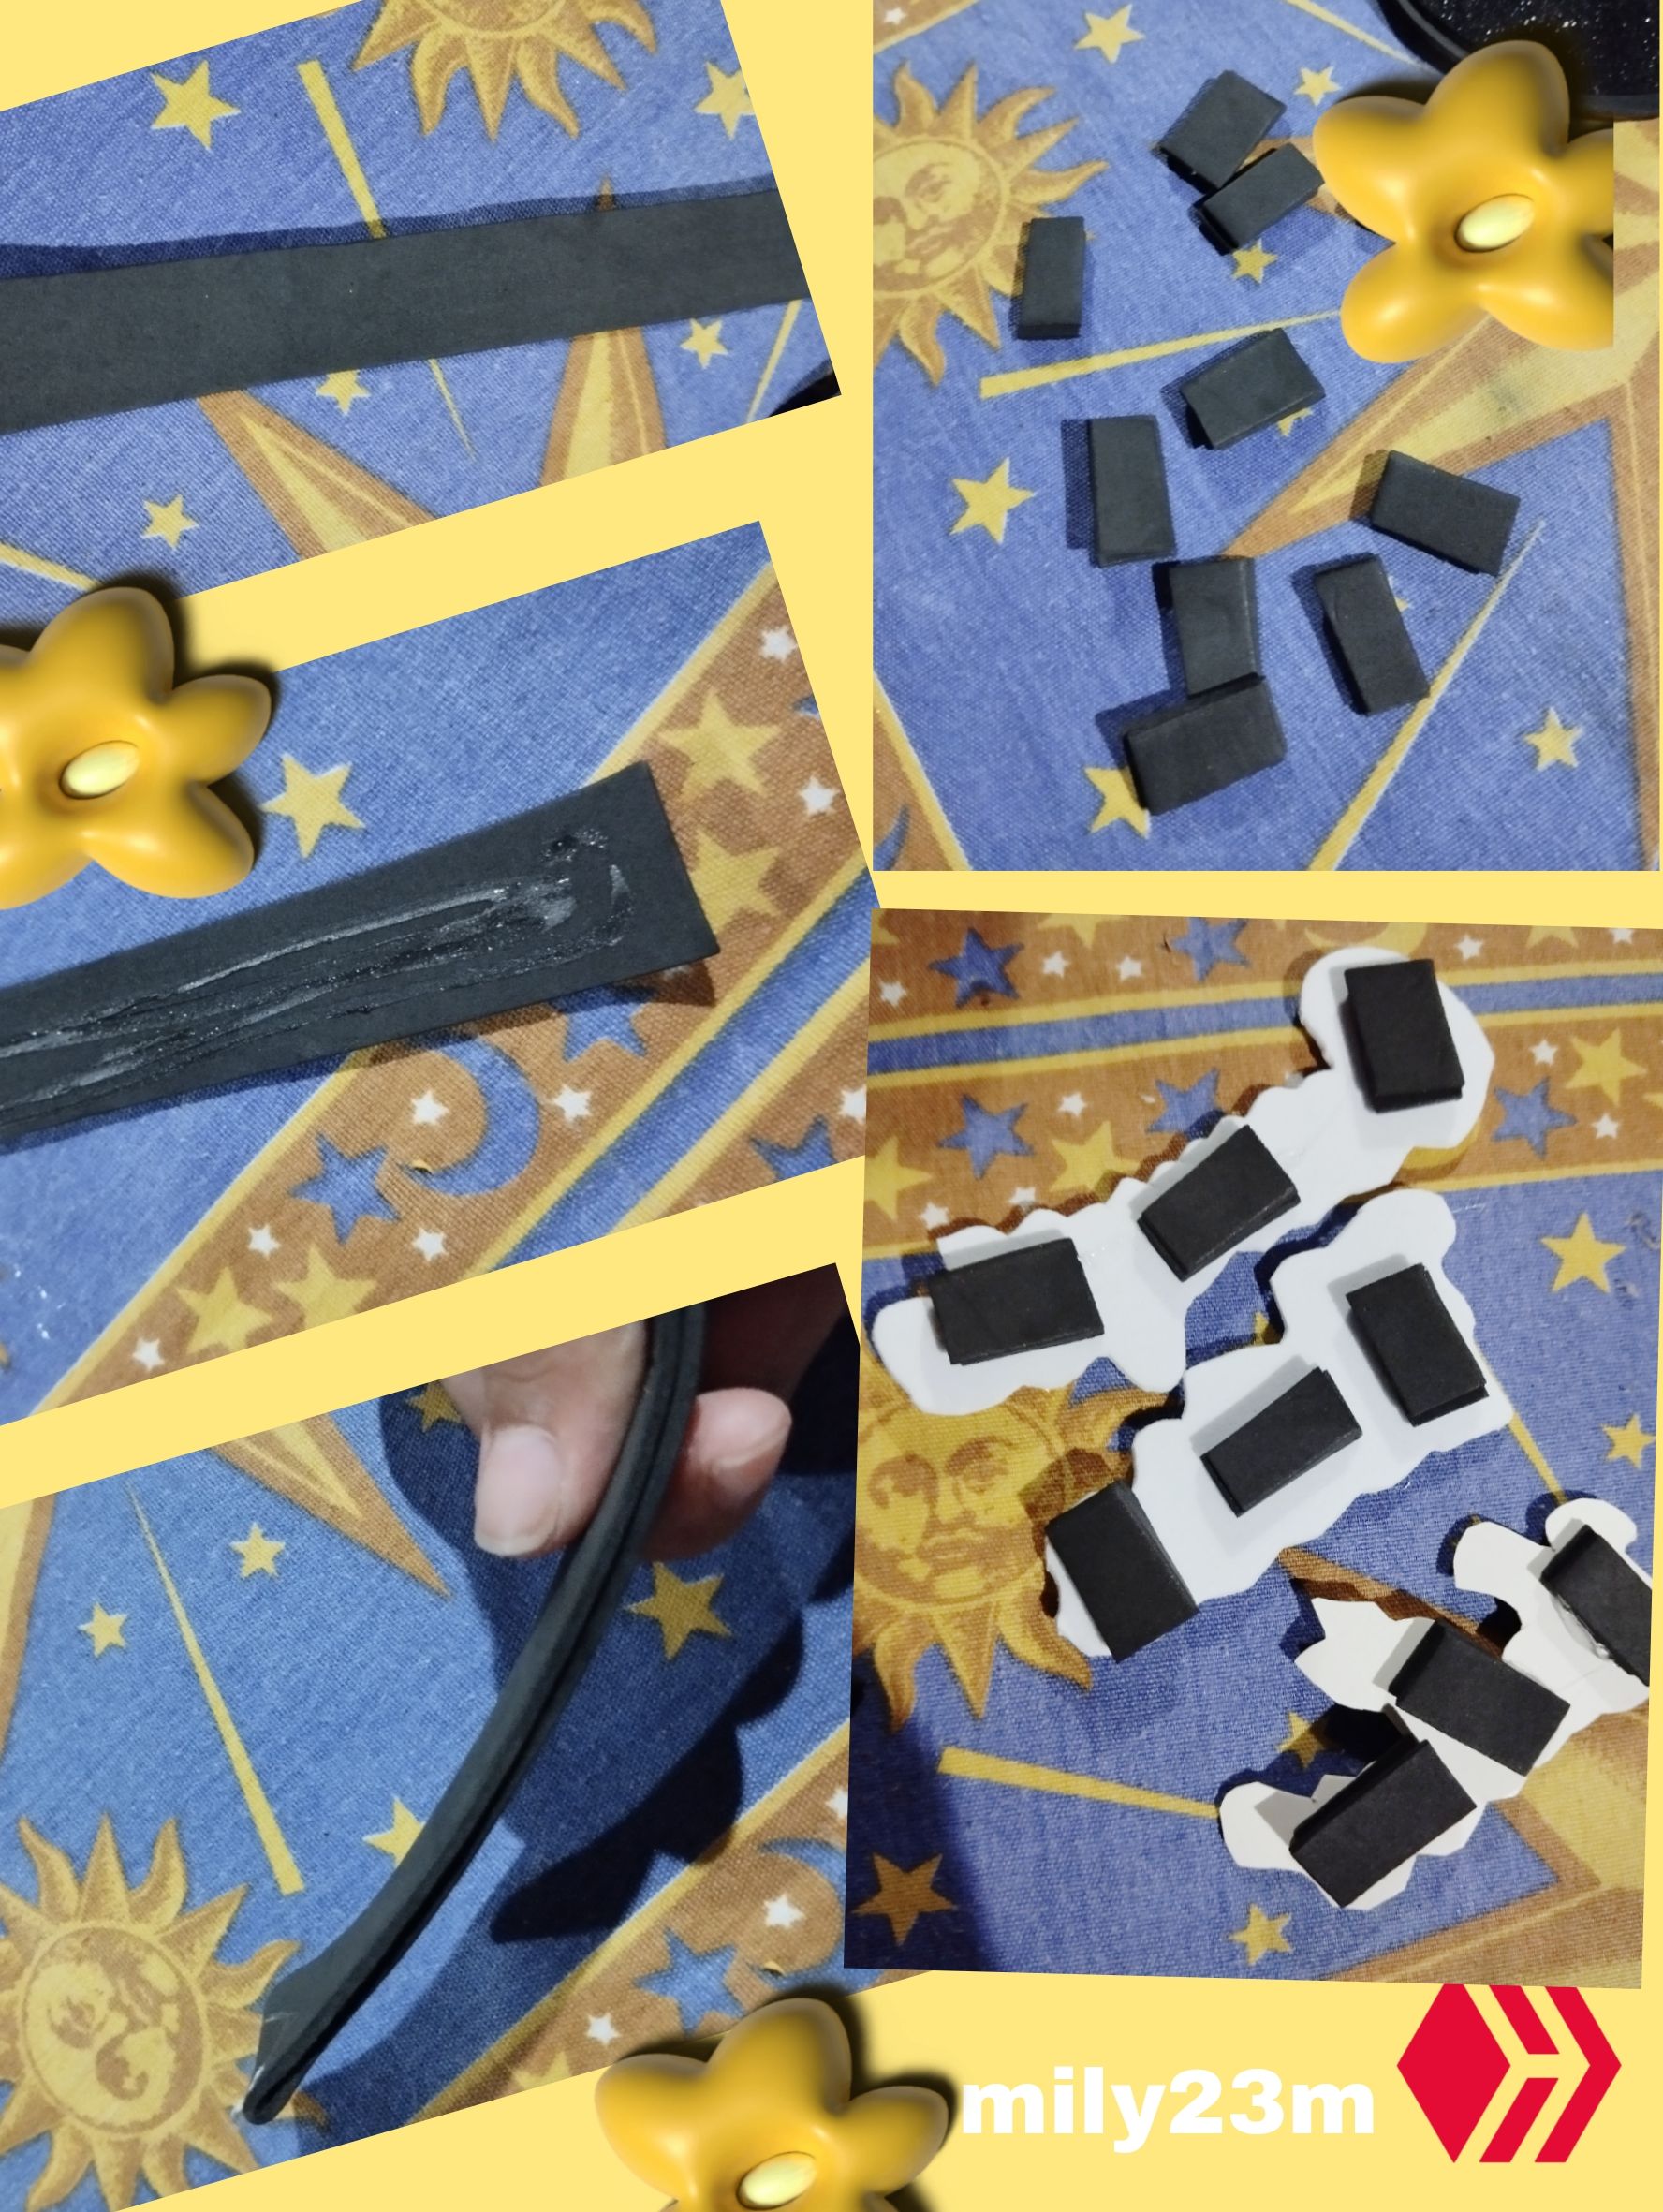
#5 Luego corté una tira larga de foami, y la pegué con silicón doblandola a la mitad, de forma que queda una tira de foami de dos capas, y cortar pedacitos de estos bloquesitos negros de foami✂️, estos bloquesitos se usarán para darle un poco de altura y darle tridimensionalidad a las letras de forma que pegué varios en la parte de atrás para elevar los carteles de las palabras.
English Version
#5 Then I cut a long strip of foam, and glued it with silicone by folding it in half, so that it is a two-layer foam strip, and cut little pieces of these little black foam blocks✂️, these little blocks will be used to give a little height and give three-dimensionality to the letters so I glued several on the back to raise the word signs.
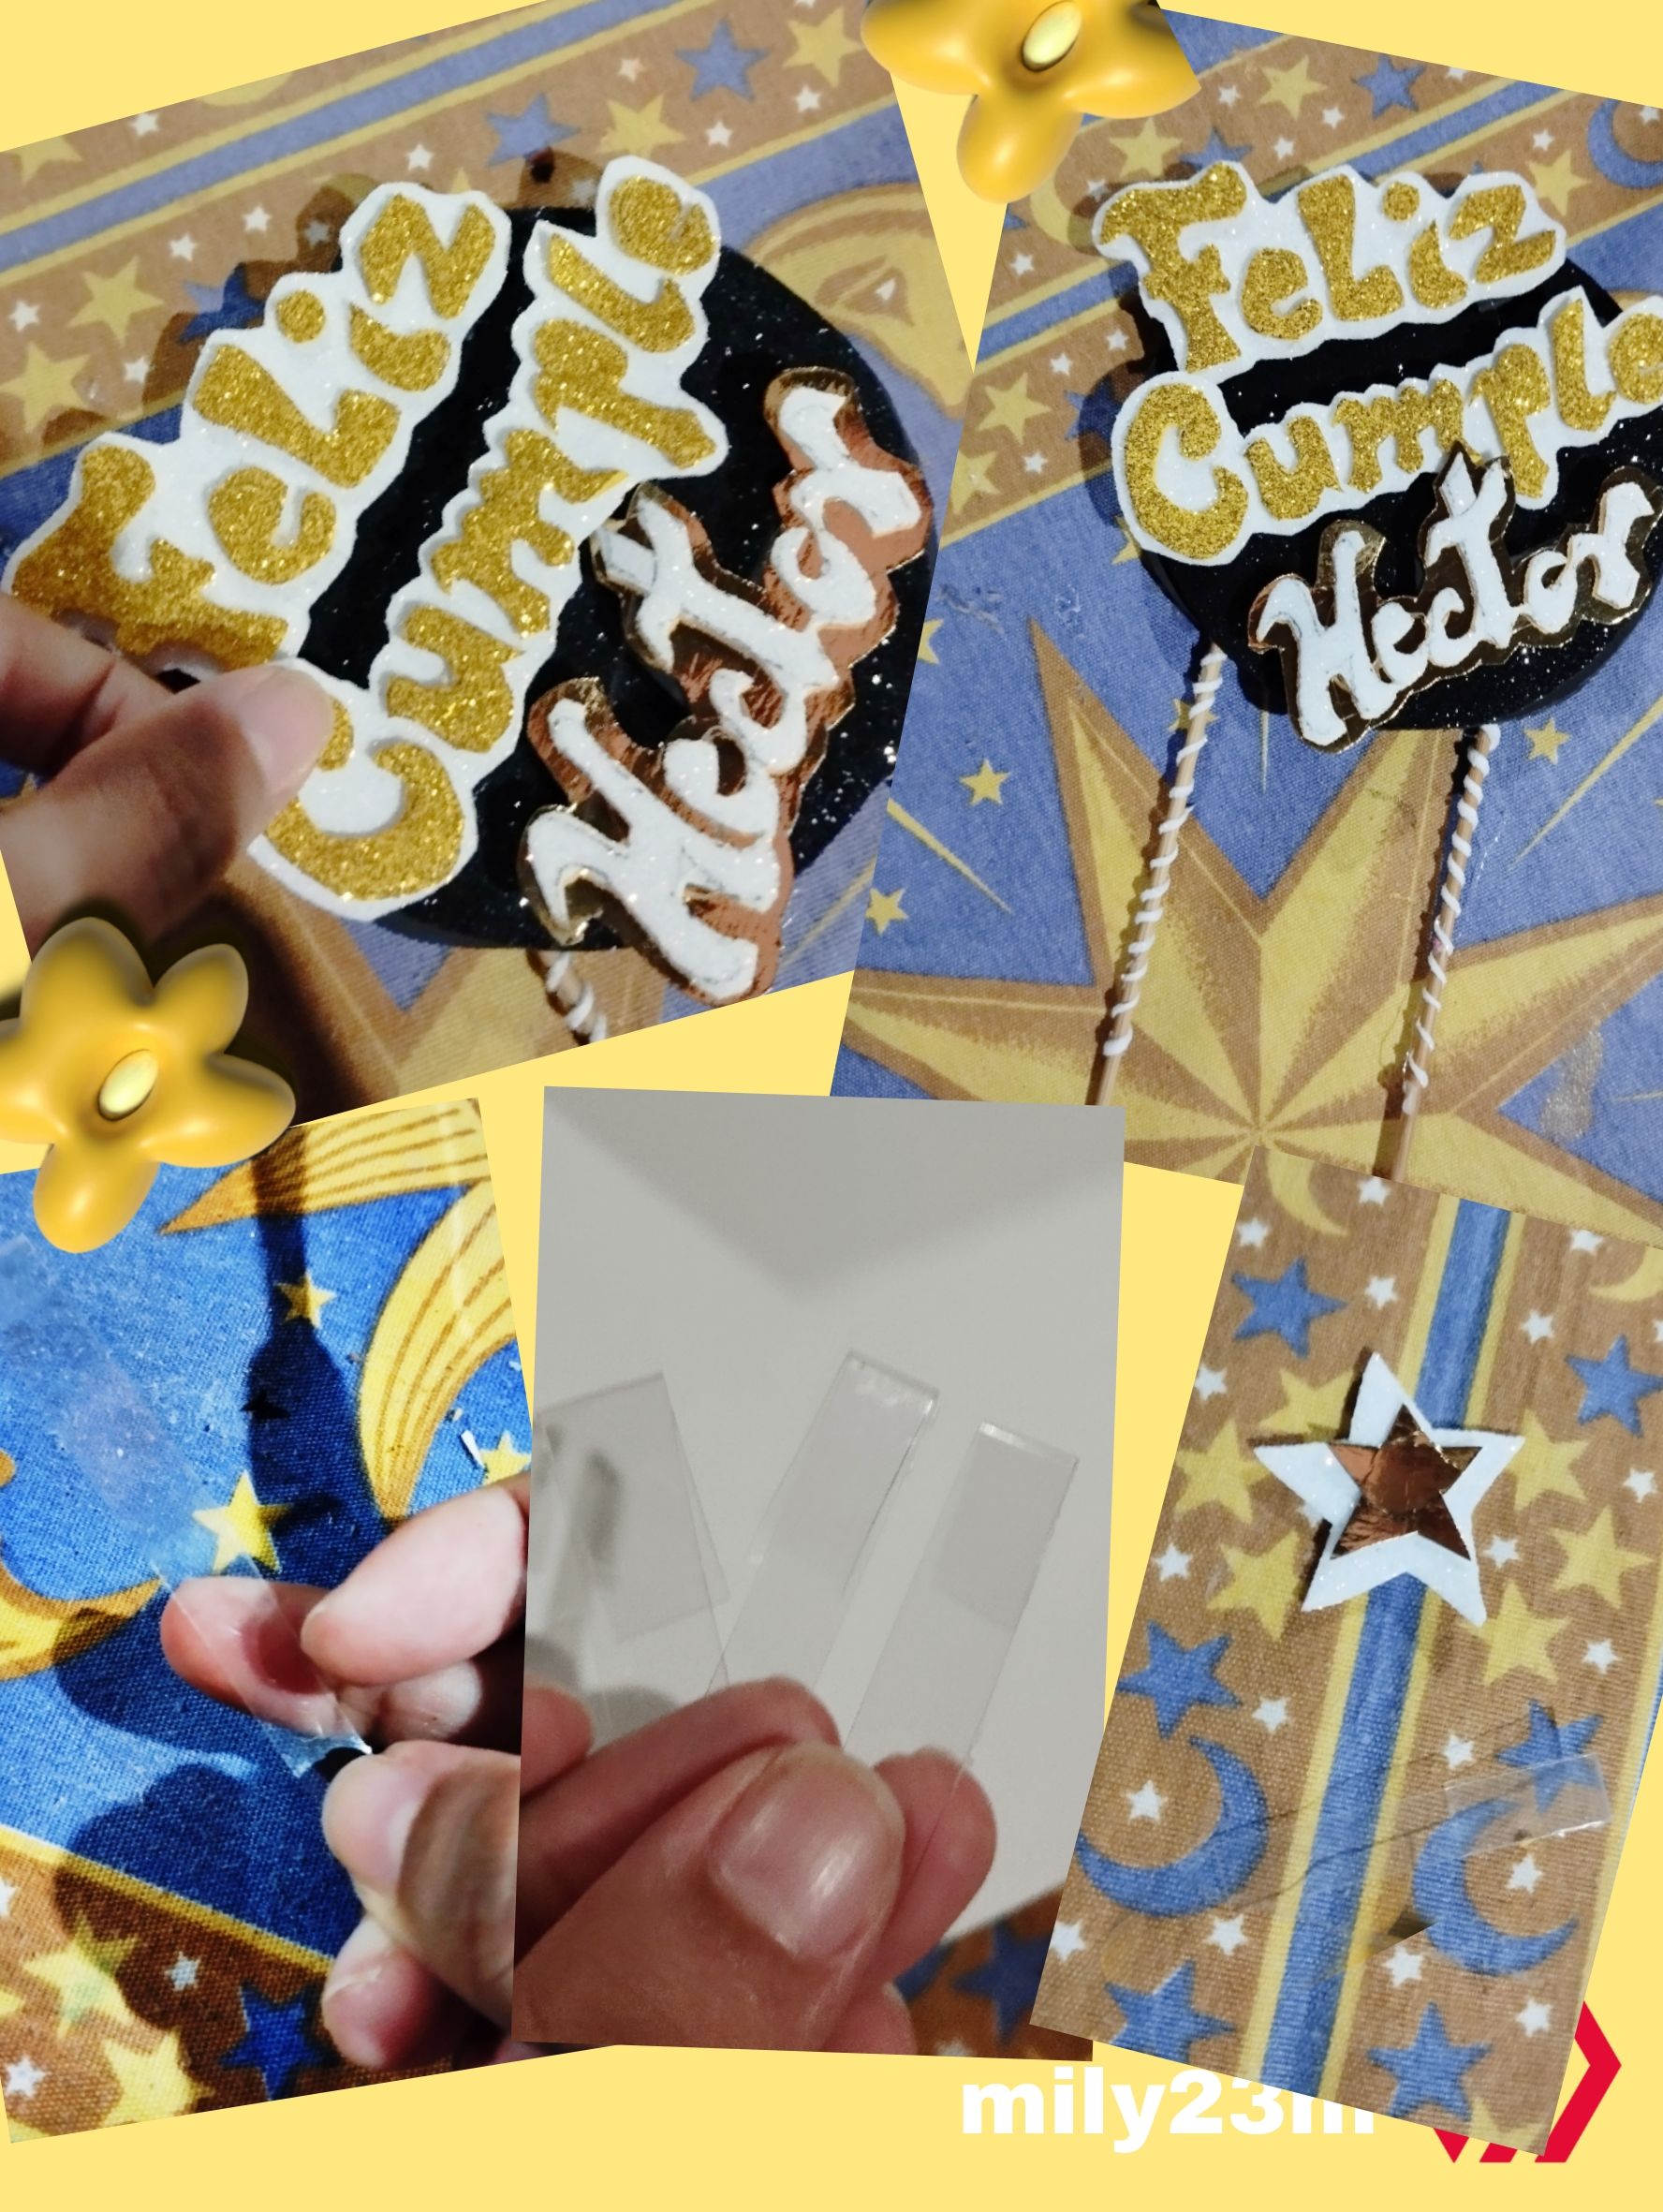
#6 Luego pegué las palabras pegando los bloquesitos al fondo circular negro escarchado, acomodando las palabras un poco diagonal para que entrarán las tres . Para agregarle algo más al diseño y no se viera tan sencillo,tenía algo de acetato de un empaque reciclado y corté una tirita larga , está a su vez la corte en tres , y cada tirita le doble un extremo ,esto es para que tenga mejor soporte y se quede más rígida, luego a cada tirita le pegue unas estrellas que hice (bien cuiriositas jajja porque quedaron todas choretas ) usando retazos de cartulina dorada y foami blanco. Una vez tenía estás "antenitas de estrellas " las ubique en donde quería pegando una desde atrás de foami escarchado de fondo y las de los lados en todo el medio de la unión del foami escarchado negro y el foami negro mate de atrás . El resultado son estas estrellitas flotantes que quedan alrededor del Topper ,también decore Los palitos de altura con foami escarchado blanco.
English Version
#6 Then I glued the words by gluing the blocks to the frosted black circular background, arranging the words a little diagonally so that all three would fit. To add something more to the design and make it not look so simple, I had some acetate from a recycled packaging and cut a long strip, this in turn cut it into three, and each strip I bent one end, this is so that it has better support and stays more rigid, then to each strip I glued some stars that I made (very curious hahaha because they all turned out crooked) using scraps of gold cardboard and white foam. Once I had these "star antennas" I placed them where I wanted by gluing one from behind the frosted background foam and the ones on the sides all over the middle of the union of the black frosted foam and the matte black foam in the back. The result is these floating little stars that remain around the Topper, I also decorated the tall sticks with white frosted foam.
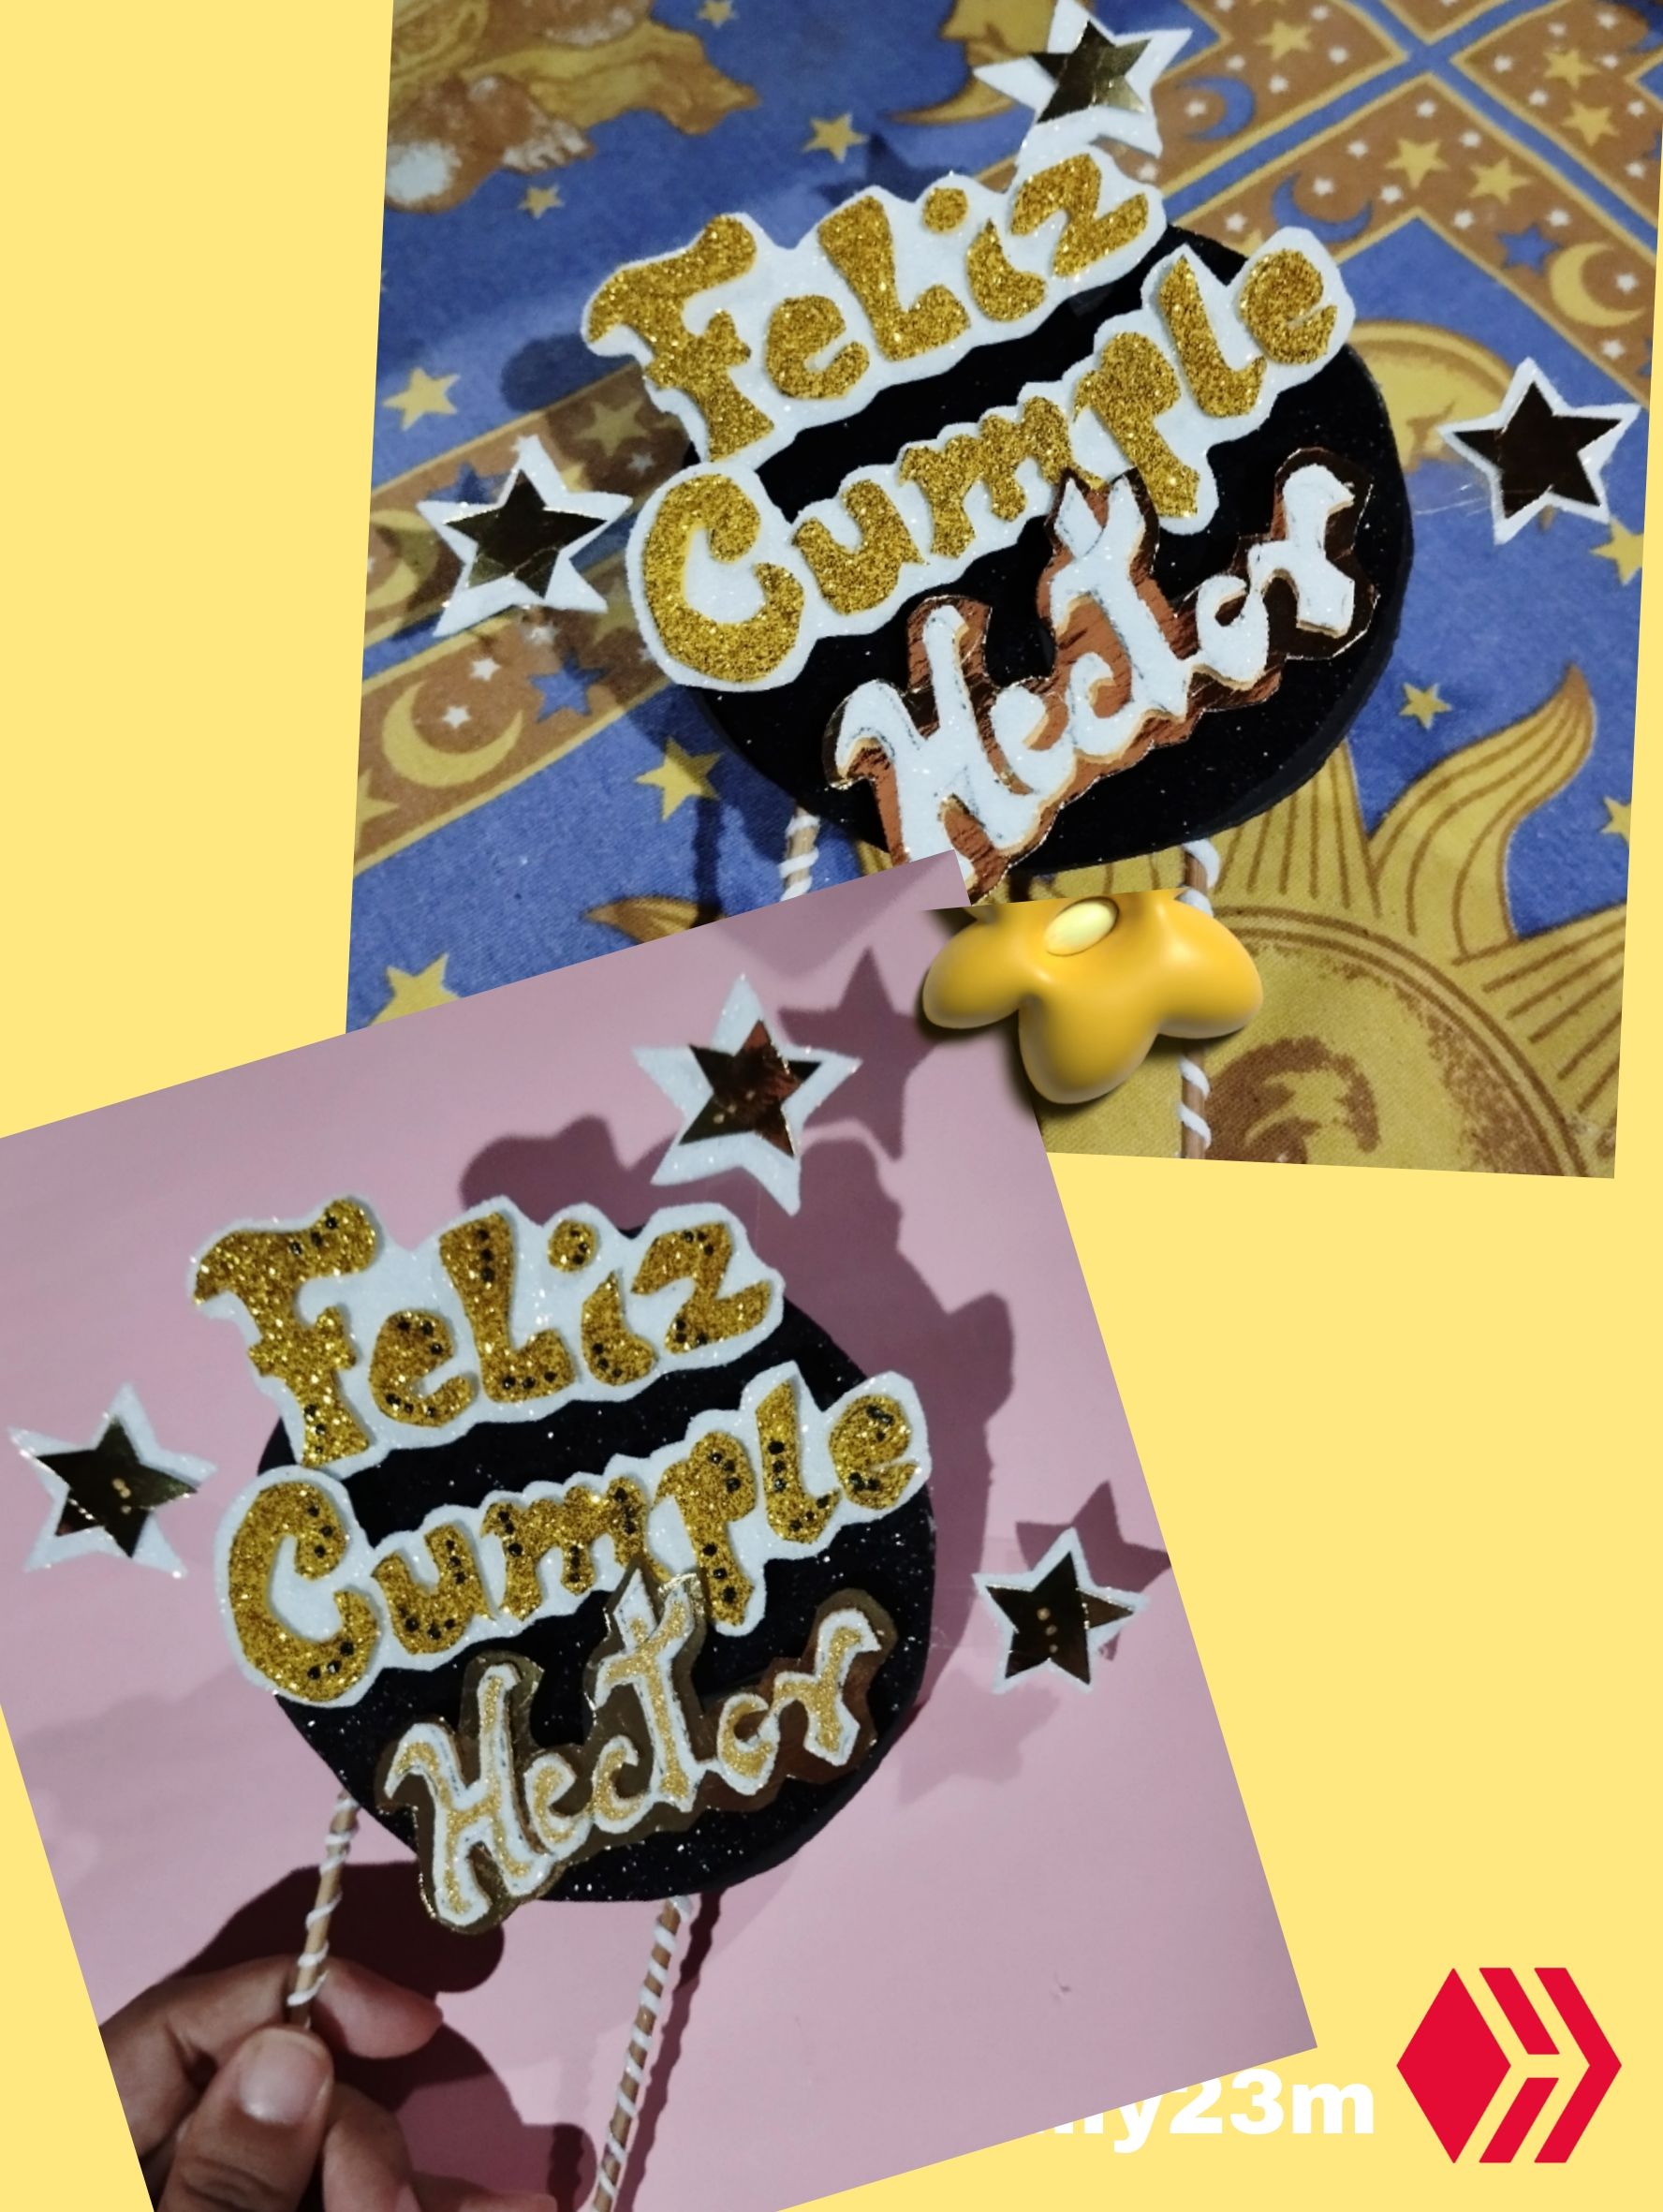
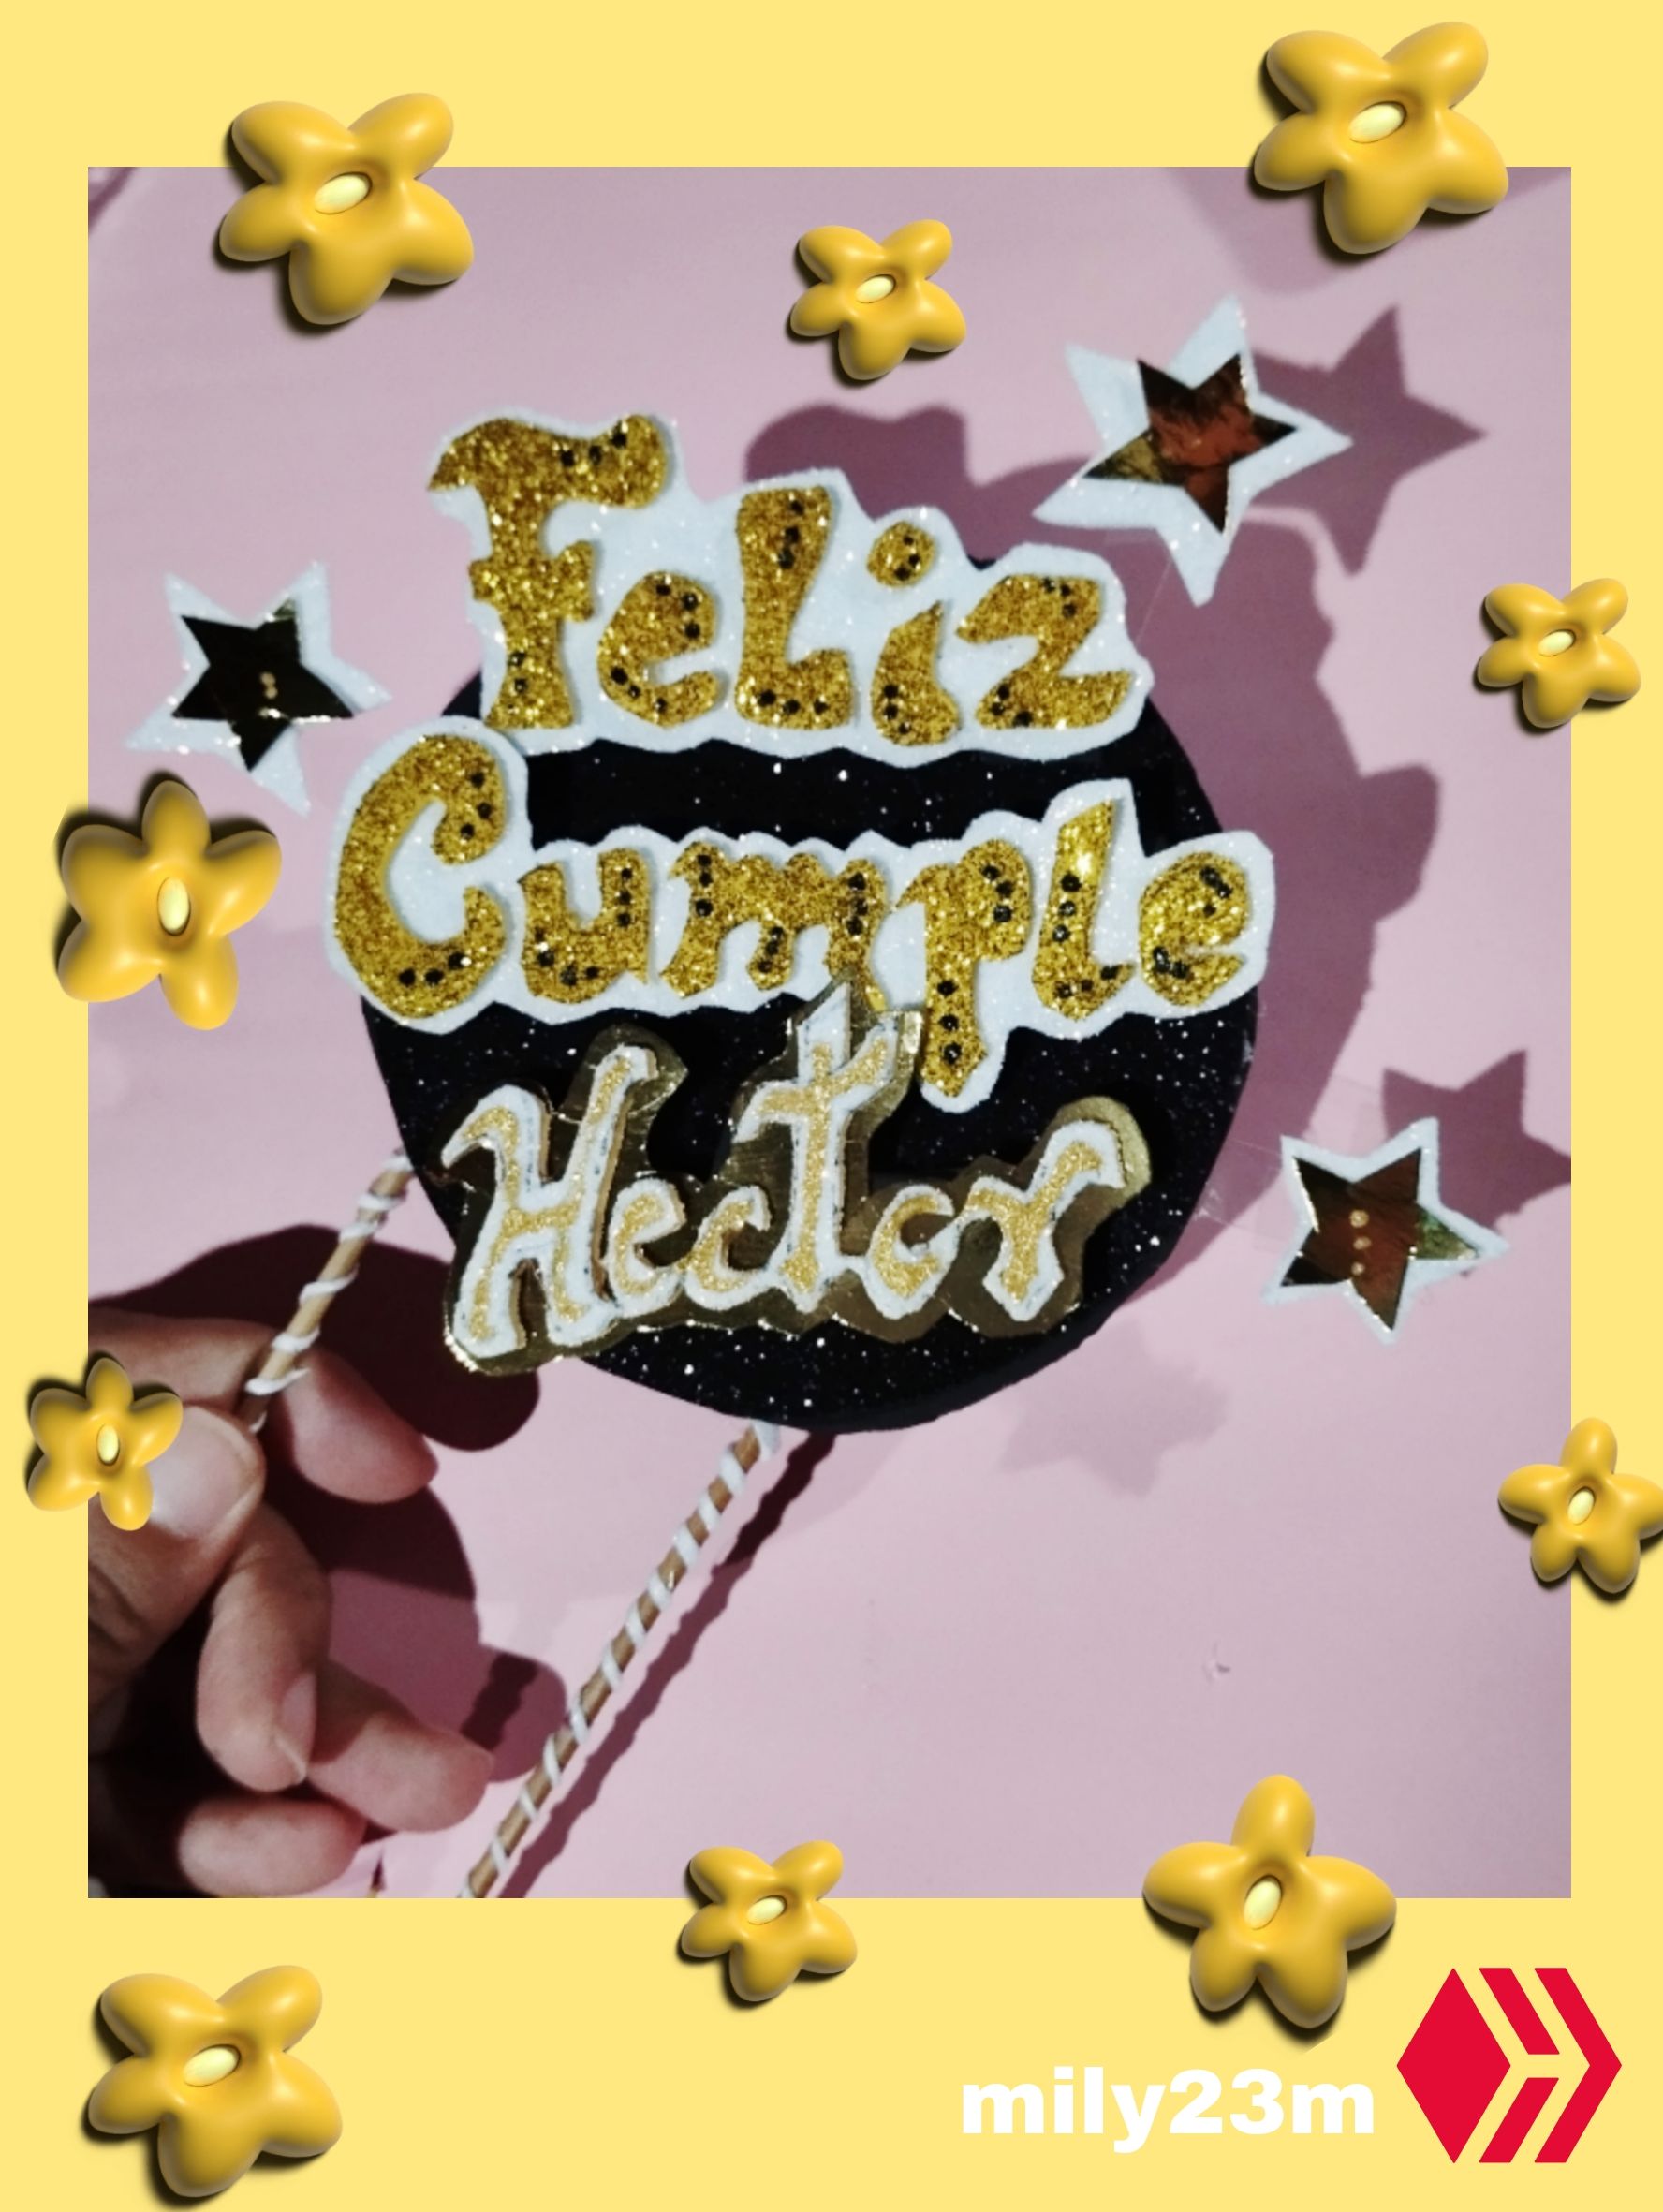
⭐ Y listo! Este es el resultado! , le agregué unos detalles con pintura algunos puntos en negro para las letras del cumpleaños, y para el nombre le puse letras interiores en dorado , me gustó que la combinación de colores blanco ,dorado y negro hace todo el juego de dar un toque elegante,ya que era para un caballero ,y aunque es un diseño sencillo la combinación de colores queda muy bien , también con el toque de las estrellas flotantes complementar aún más el diseño y lo resalta.
⭐ Espero que les gustara! ☺️⭐ Muchas gracias por leerme 💜✨
Fotos tomadas por mí en mi equipo Redmi note 12 editadas en Pics art y gif realizado en app creador de GIFs texto traducido en Google traductor.
English Version
⭐ And that's it! This is the result! I added some details with paint, some black dots for the birthday letters, and for the name I put interior letters in gold, I liked that the combination of white, gold and black colors does the whole game of giving an elegant touch, since it was for a gentleman, and although it is a simple design, the color combination looks great, also with the touch of the floating stars it complements the design even more and highlights it.
⭐ I hope you like it! ☺️⭐ Thank you very much for reading me 💜✨
Photos taken by me on my Redmi note 12 device edited in Pics art and gif made in the GIF creator app, text translated in Google translator.

