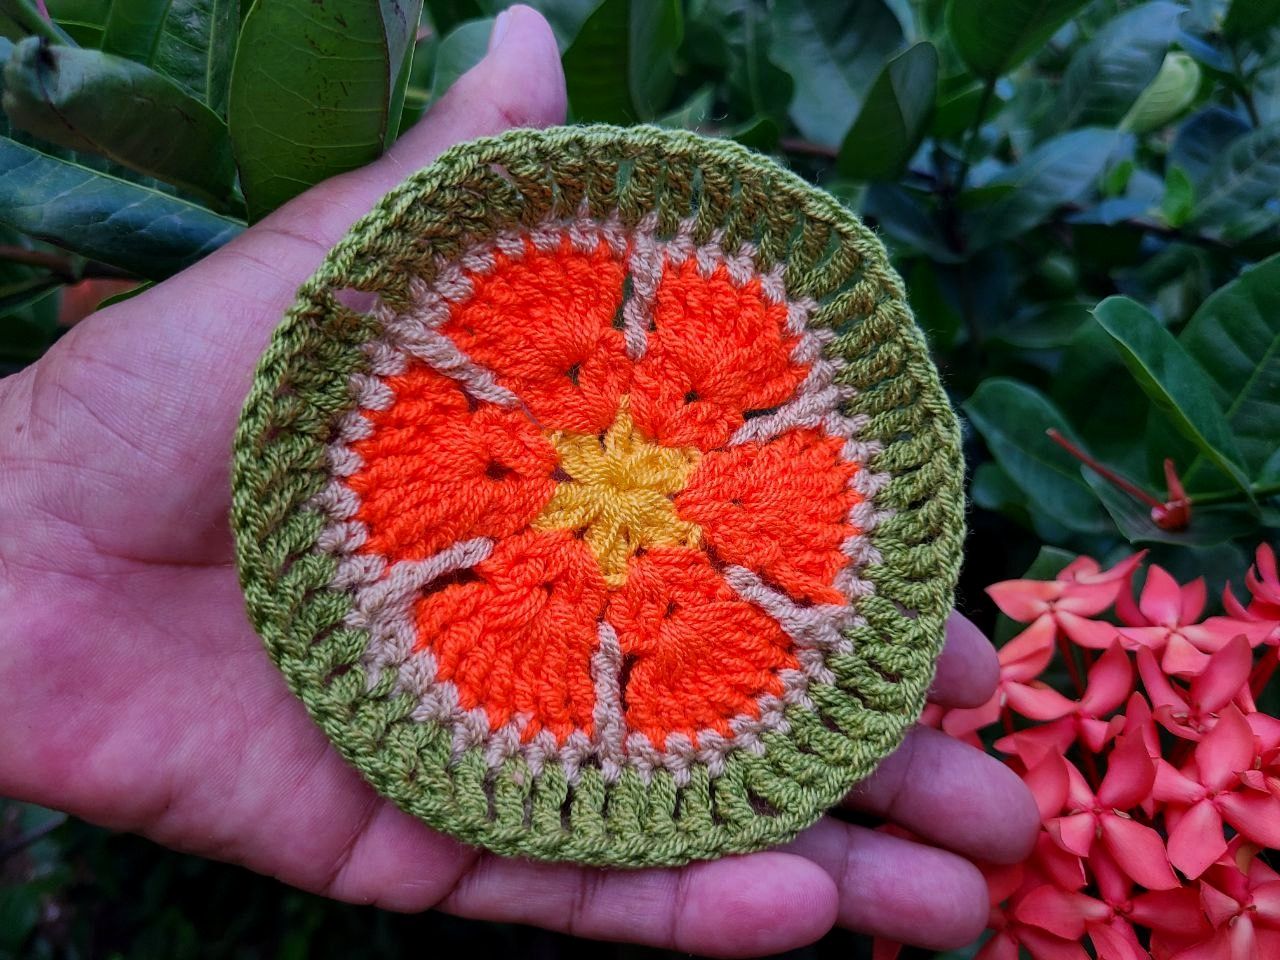
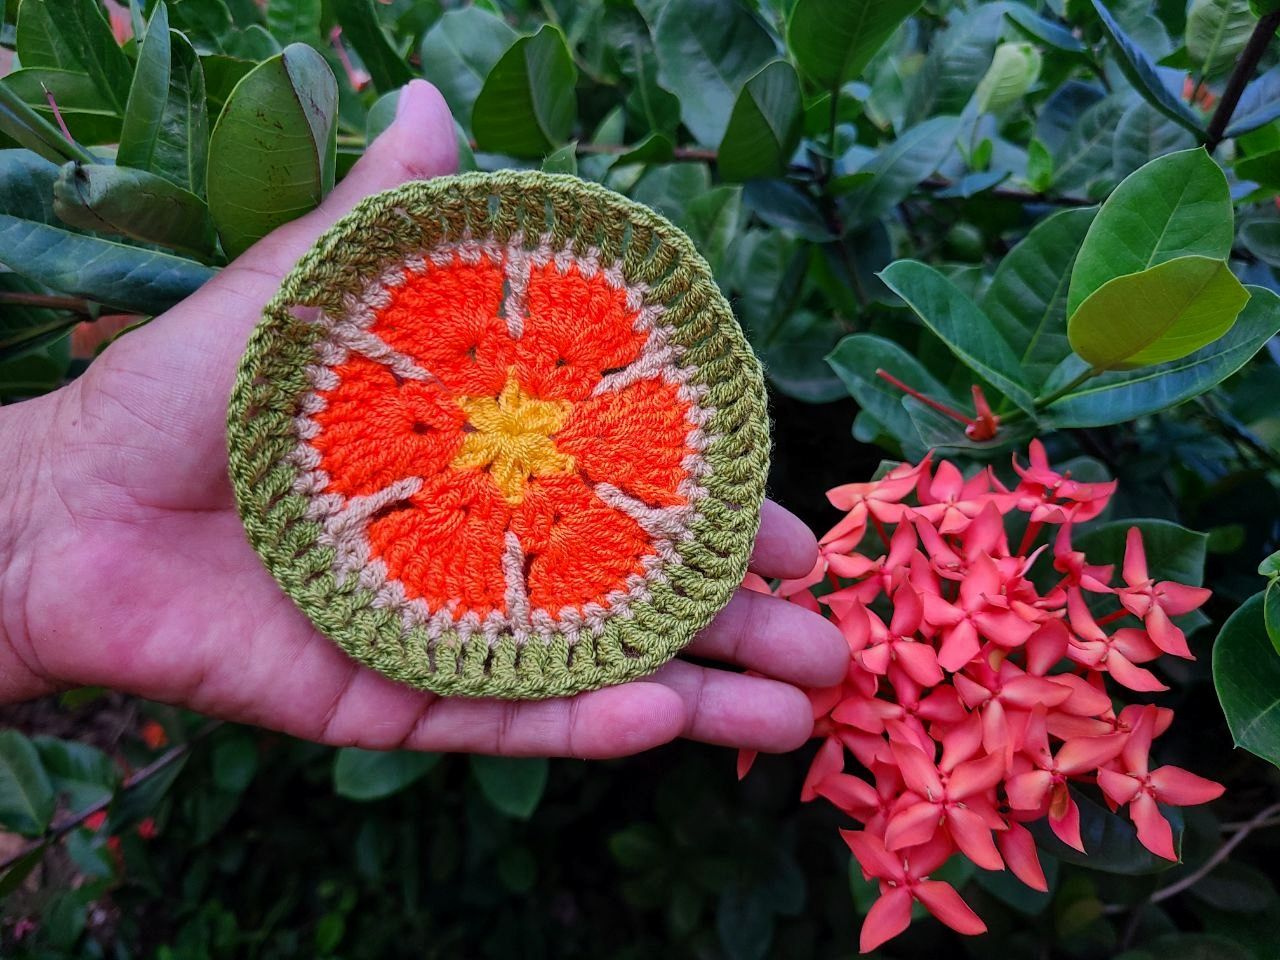
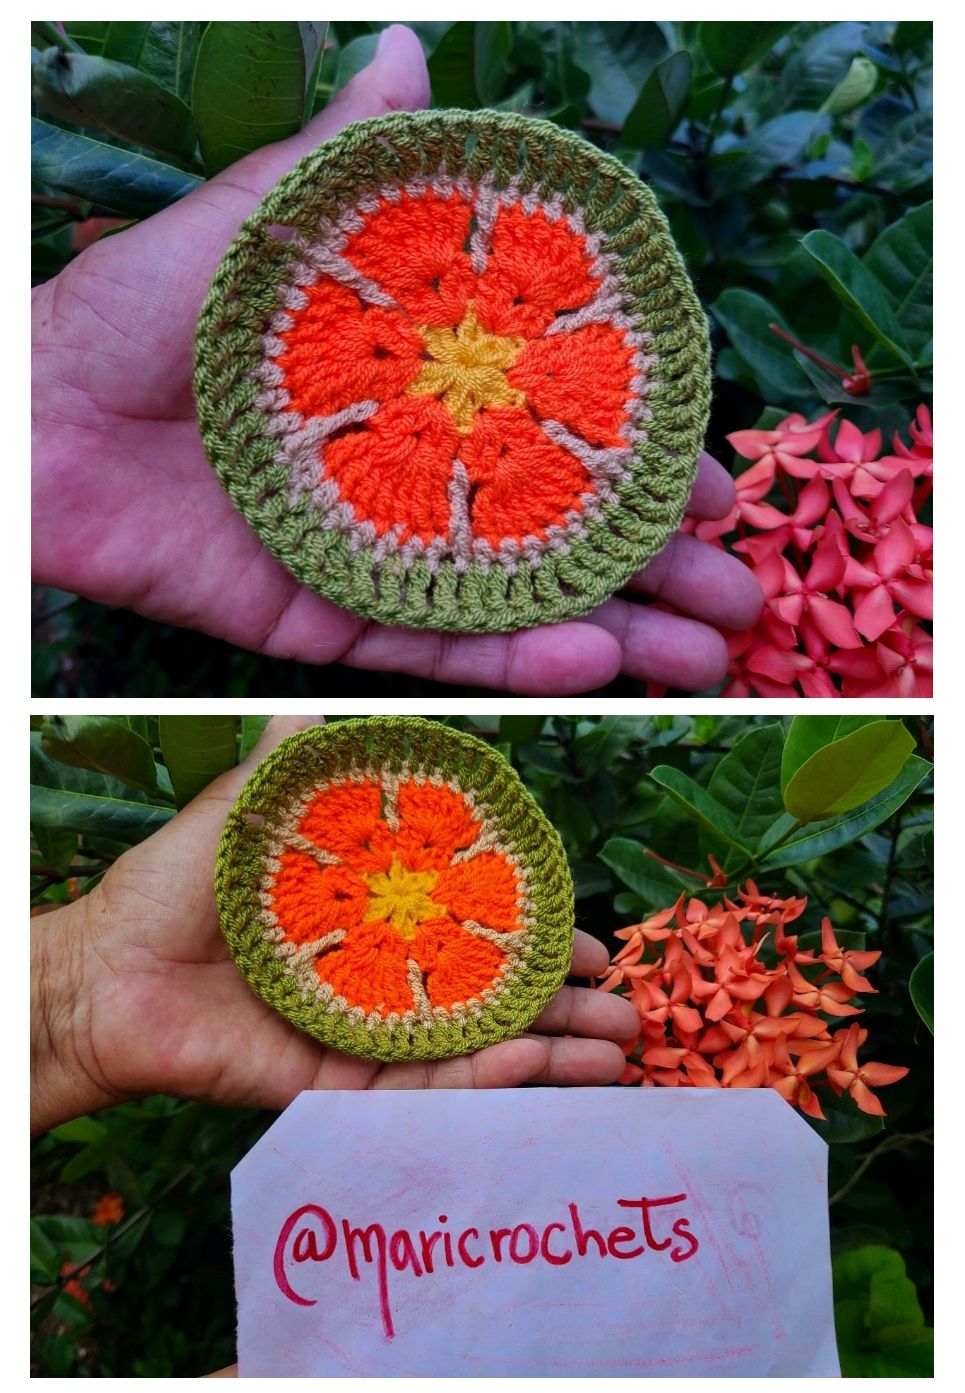
Greetings, as you are, today I bring you a special crochet 🧶 pot grabber they are very decorative, easy and quick to make.
Saludos, como están, hoy les traigo un especial de agarra ollas en crochet 🧶 son muy decorativas, fácil y rápido de elaborar.
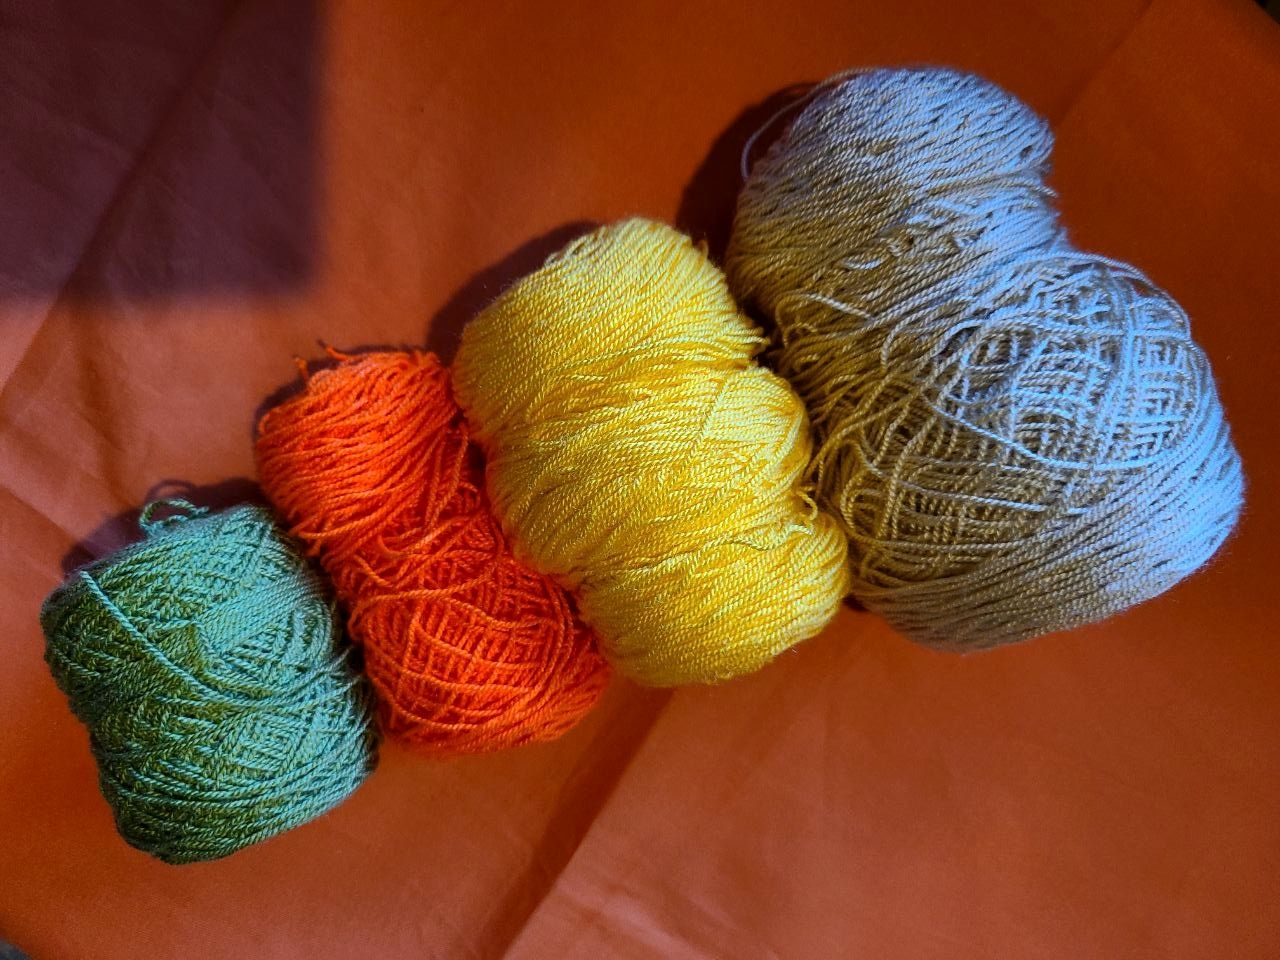
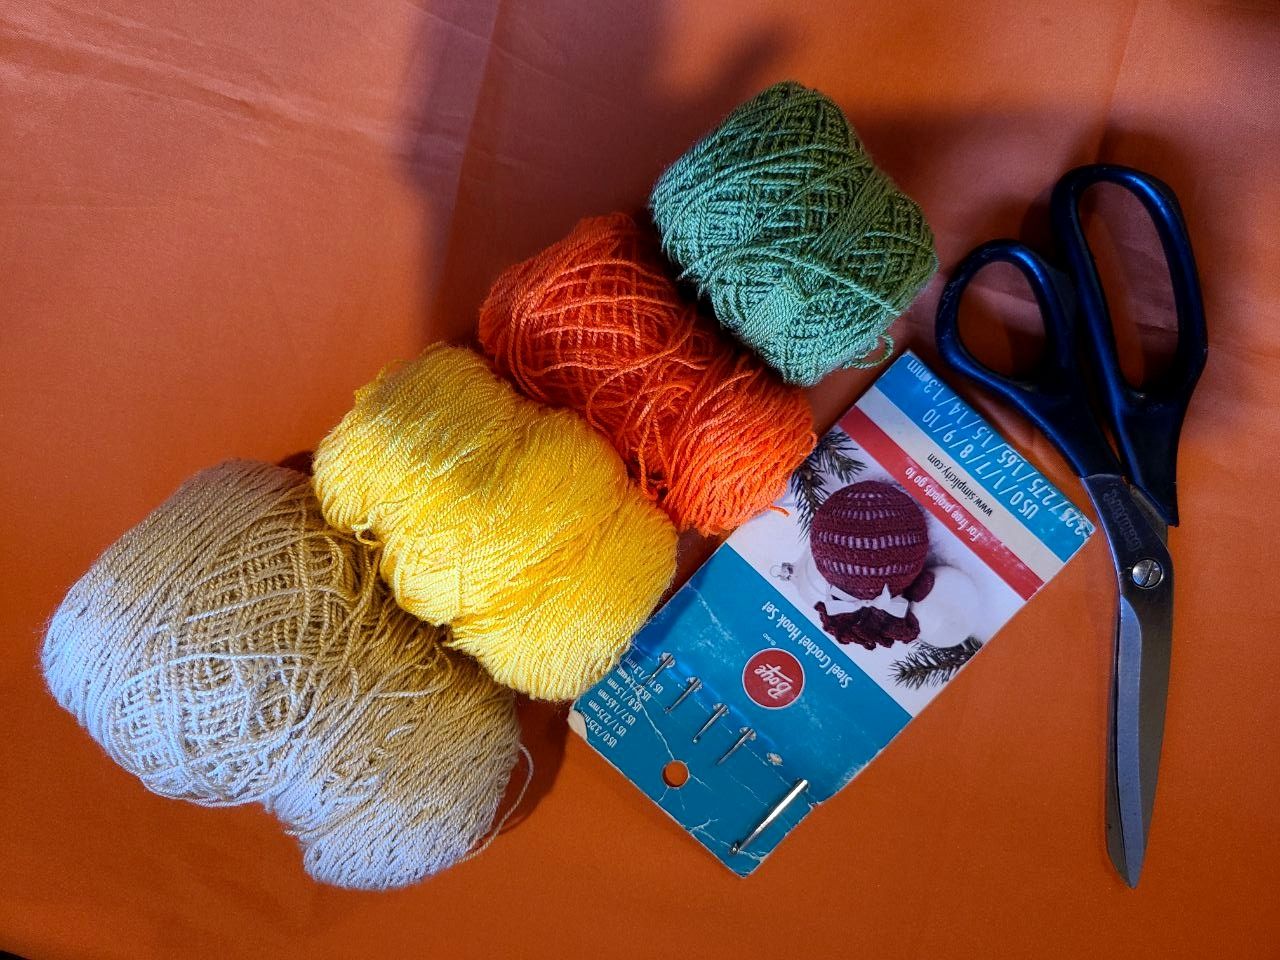
First I indicate the colors of threads to use:
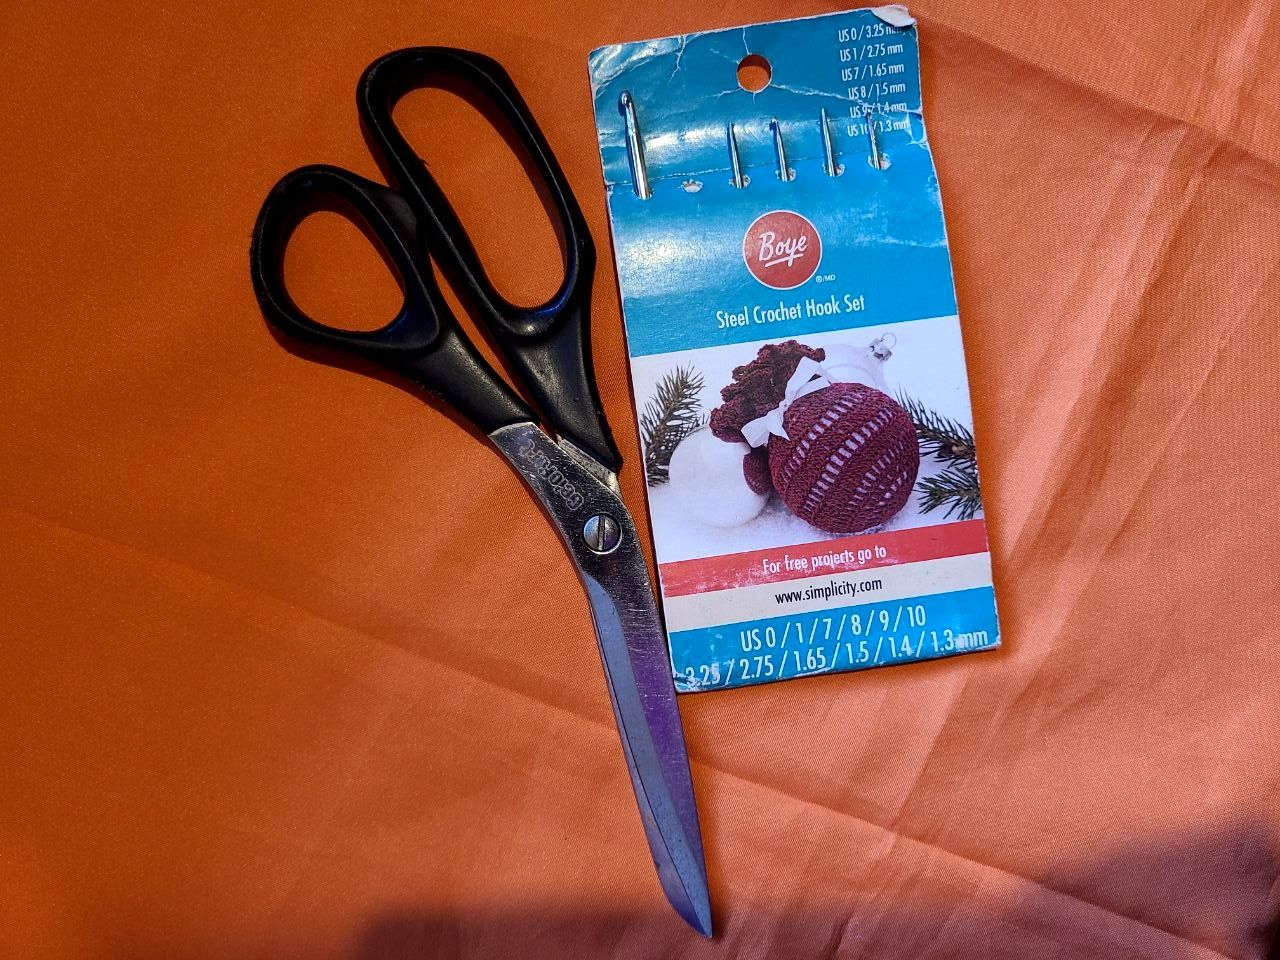
✓Intense yellow, orange, sand beige and pistachio green, we will also use needle number 1, since we will work with the thread in a double strand, scissors and crochet needle.
Primeramente les indico los colores de hilos a utilizar:
✓Amarillo intenso, naranja, beige arena y verde pistacho, también usaremos aguja número 1, ya que trabajaremos con el hilo en doble hebra, tijeras y aguja de crochet.
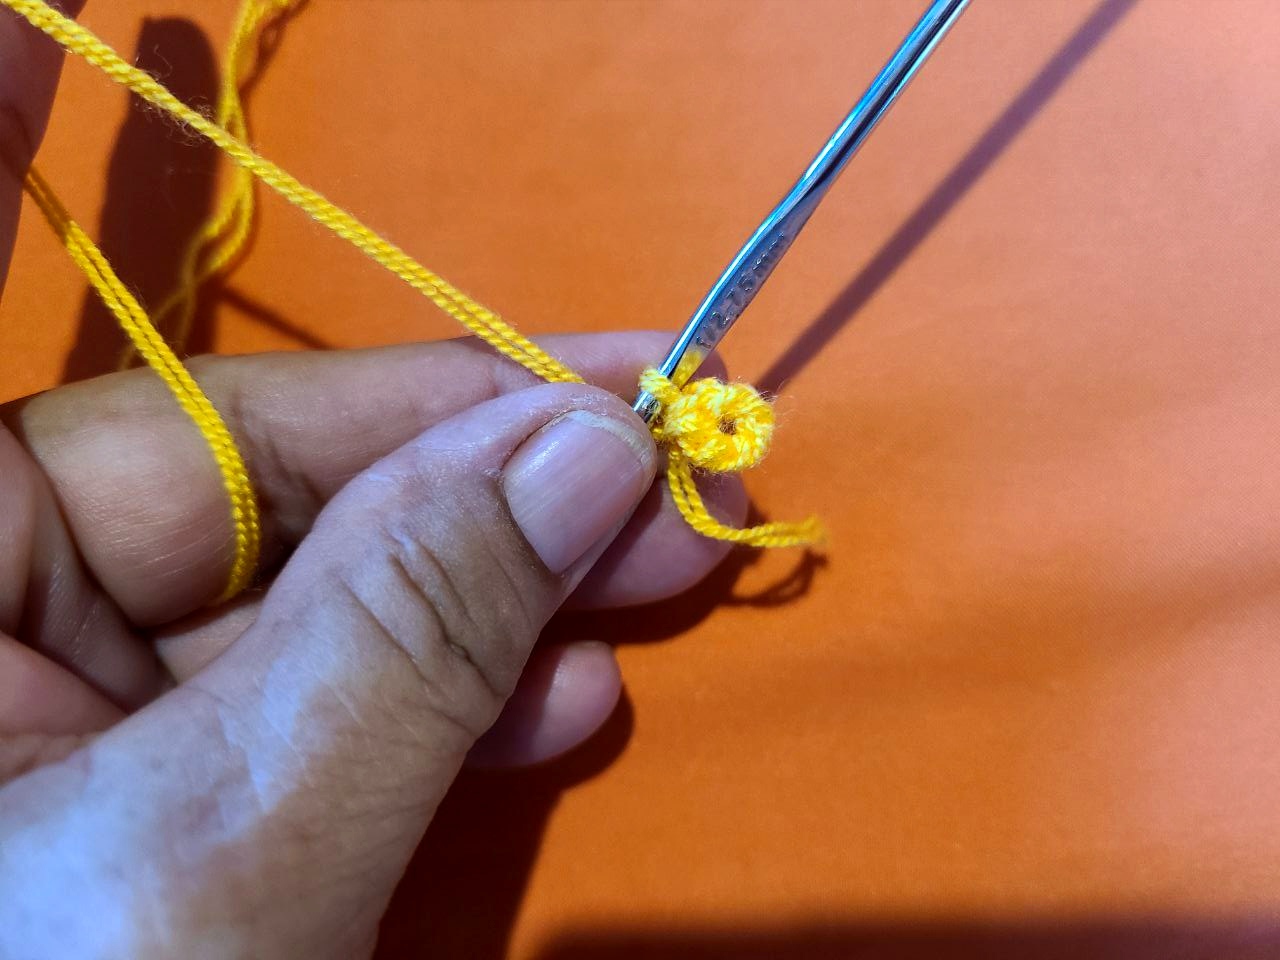
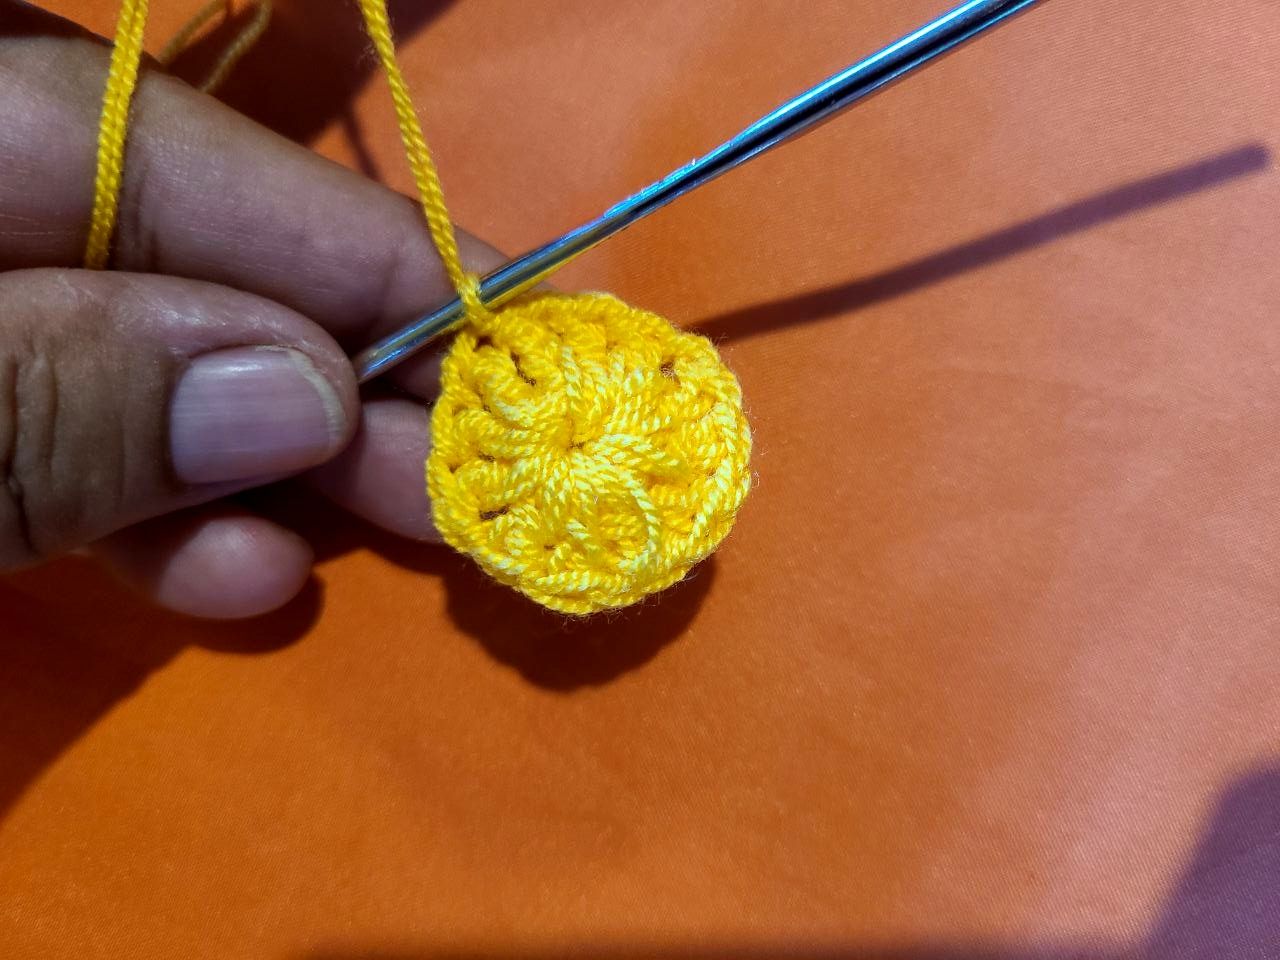
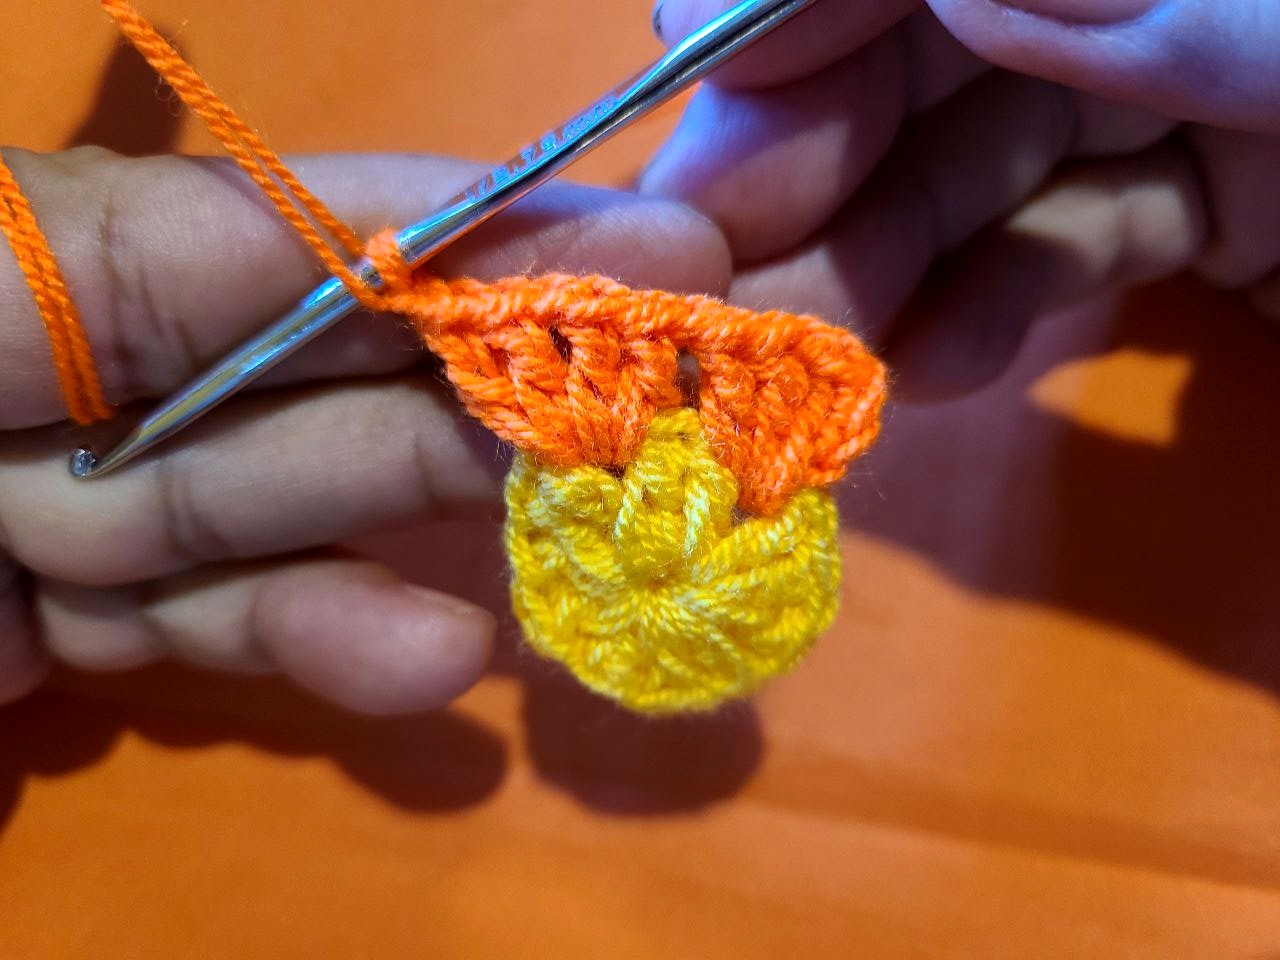
🧶 Step 1: With the yellow color we make 6 chains and close a circle with a slipped stitch, we go up with 3 chains and within the circle we are going to make 6 groups of 2 double crochets separated by 1 chain and we close with a slipped stitch.
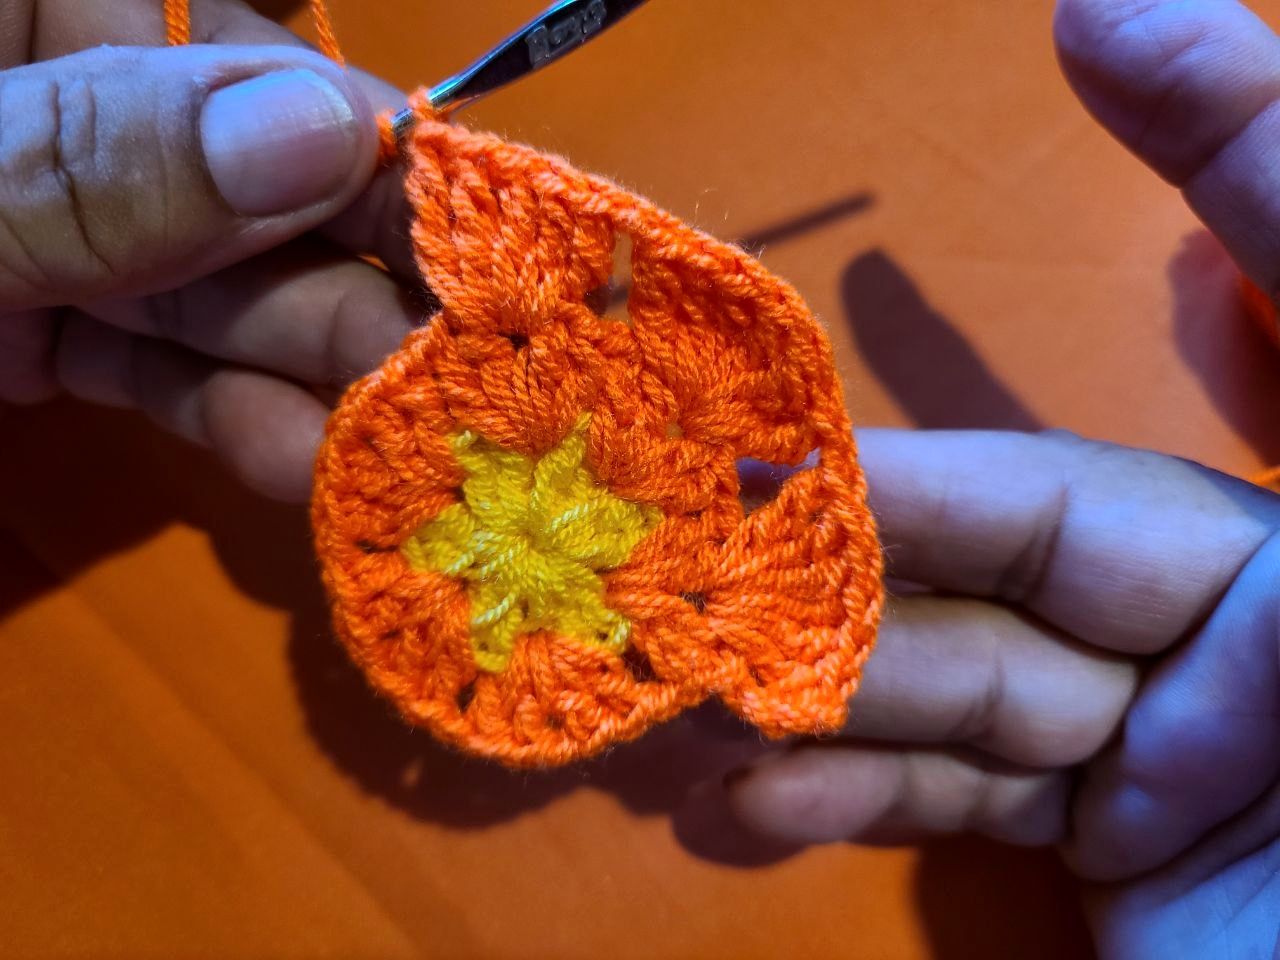
🧶 Step 2: With the orange color, in the chain spaces we are going to make 2 double crochets, 1 chain and 2 double crochets, again 1 chain, there would be a total of 6 groups of fans. In the next row within the fan chain we are going to lift two loops on the needle and make 7 double treble crochets separated by 1 chain in each group of stitches and close at the end with a slip stitch.
🧶 Paso 1: Con el color amarillo hacemos 6 cadenas y cerramos un círculo con punto deslizado, subimos con 3 cadenas y dentro del circulo vamos a elaborar 6 grupos de 2 puntos altos separados por 1 cadena y cerramos con punto deslizado.
🧶 Paso 2: Con el color naranja, en los espacios de cadenas vamos hacer 2 puntos altos 1 cadena y 2 puntos altos, nuevamente 1 cadena , serían en total 6 grupos de abanicos . En la siguiente fila dentro de la cadena del abanico vamos a levantar dos lazadas en la aguja y realizamos 7 puntos altos dobles separados por 1 cadena cada grupo de puntos y cerramos al final con punto deslizado.
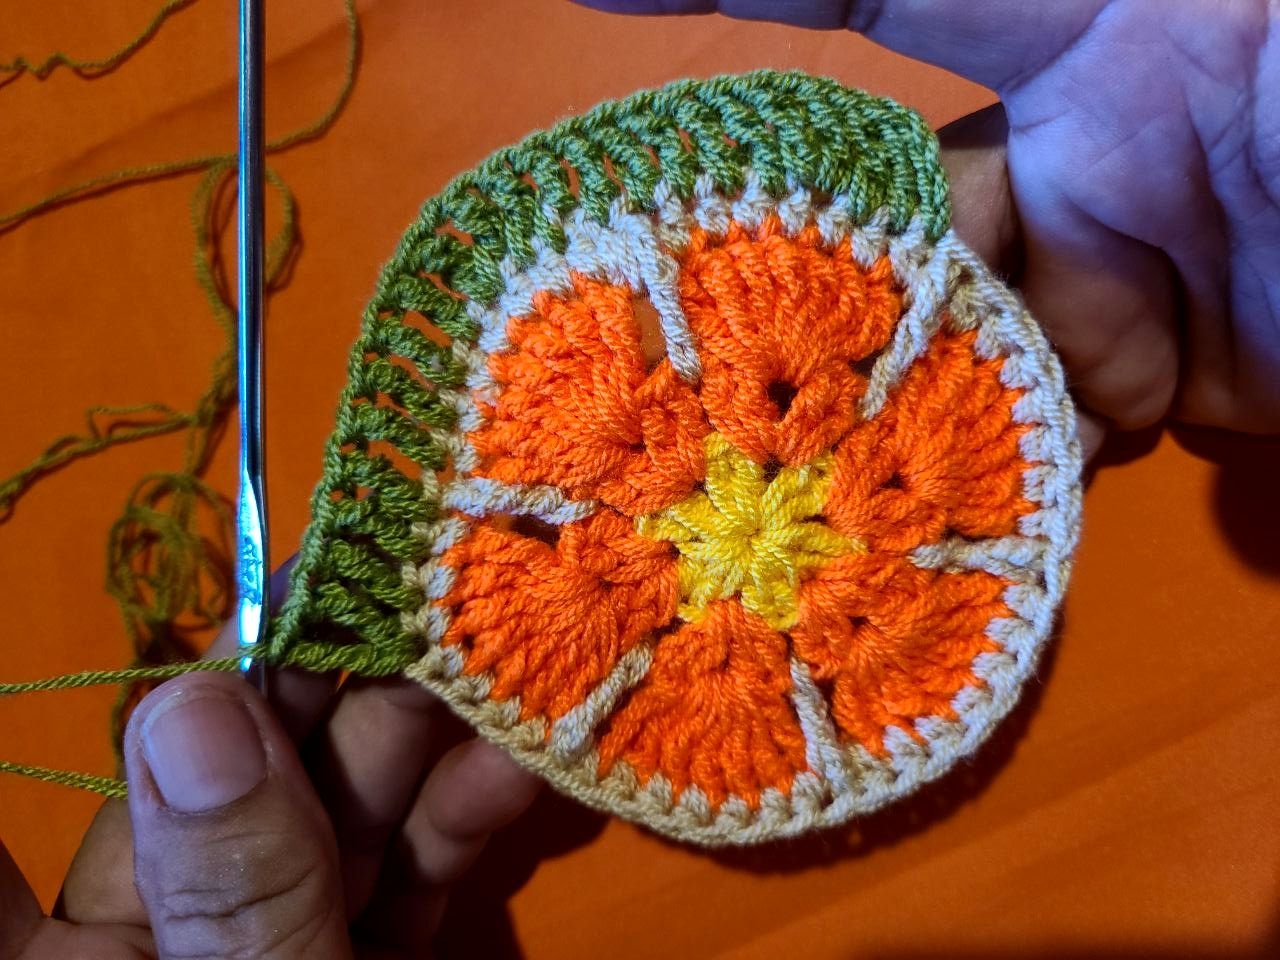
🧶 Step 3: Sand beige thread, this row is made with half-high stitches on each group of 7, and in the space of the chain, we lift 3 loops on the needle and make a triple high stitch, grabbing the chain of Separating the first orange row, we take out two yarn overs and with the third we grab the corresponding previous row, leaving the 6 groups separated by the triple double crochet, we close again with a slipped stitch.
🧶 Step 4: Pistachio green thread, this row is all double treble crochet, in the group of 7 stitches in the fourth stitch, we are going to make 2 double treble crochets separated by a chain to give the resemblance of a hexagon and We close with a slipped stitch.
🧶 Paso 3: Hilo beige arena, está fila esta realizada con puntos medio alto sobre cada grupo de 7, y en espacio de la cadena, levantamos 3 lazadas en la aguja y hacemos un punto alto triple, agarrando la cadena de separación de la primera fila naranja, sacamos dos lazadas y con la tercera agarramos la fila anterior correspondiente, quedando los 6 grupos separados por el punto alto triple, cerramos de nuevo con punto deslizado.
🧶 Paso 4: Hilo verde pistacho, está fila es toda punto alto doble, en el grupo de 7 puntos en la cuarto punto, vamos elaborar 2 puntos altos dobles separados por una cadena para dar la semejanza de un hexágono y cerramos con punto deslizado.

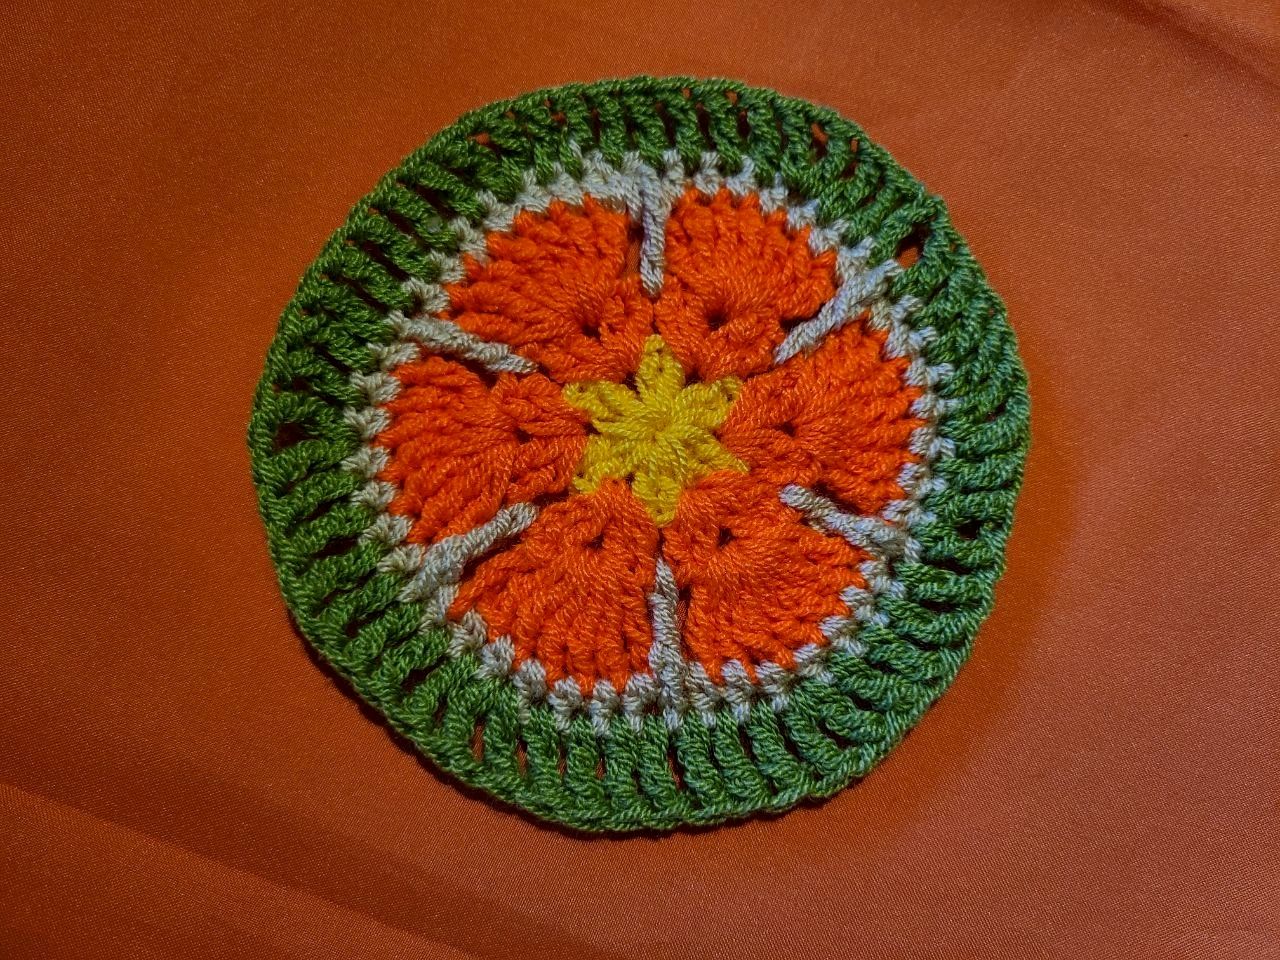
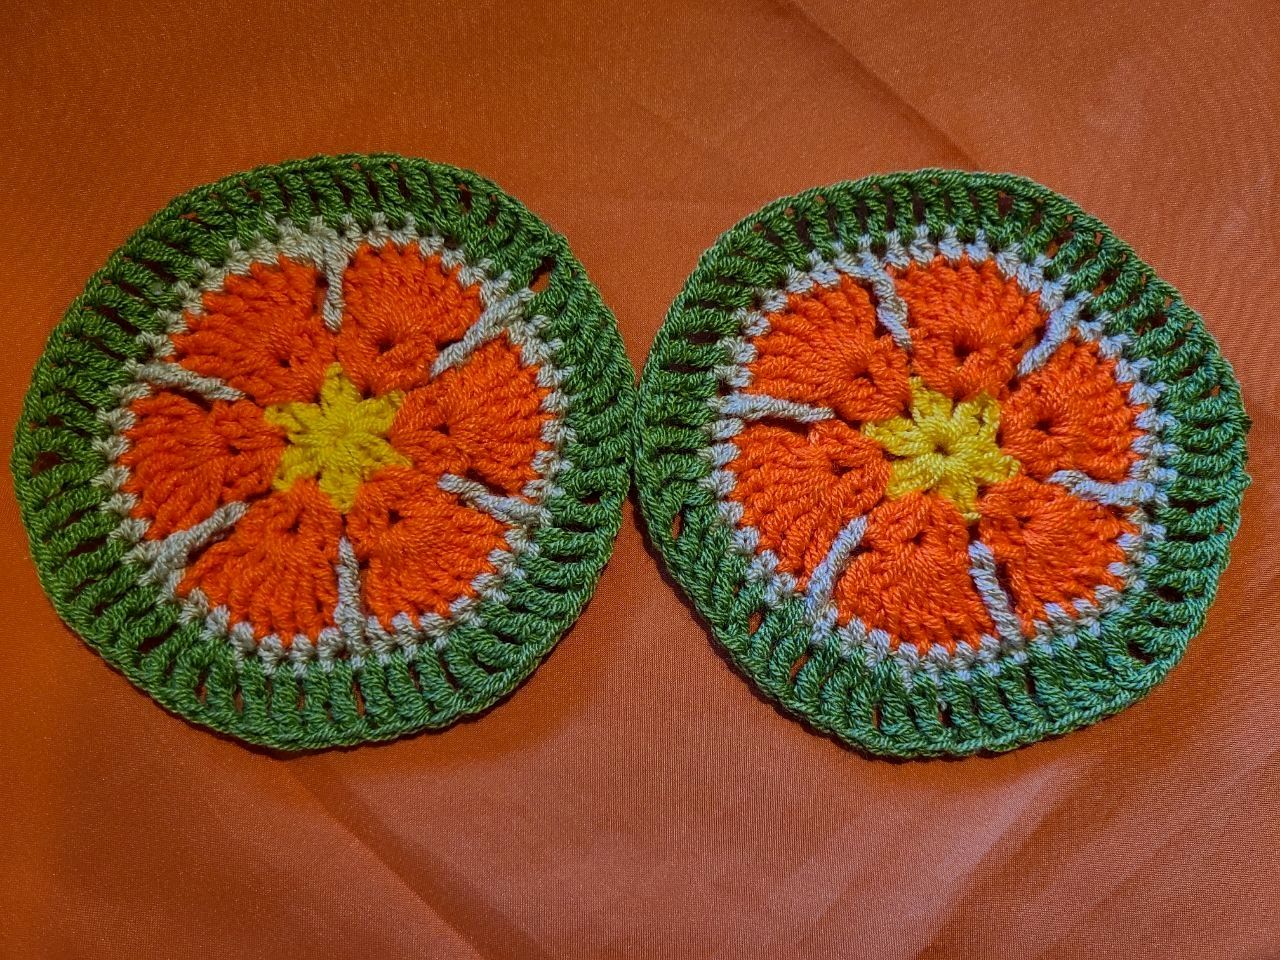
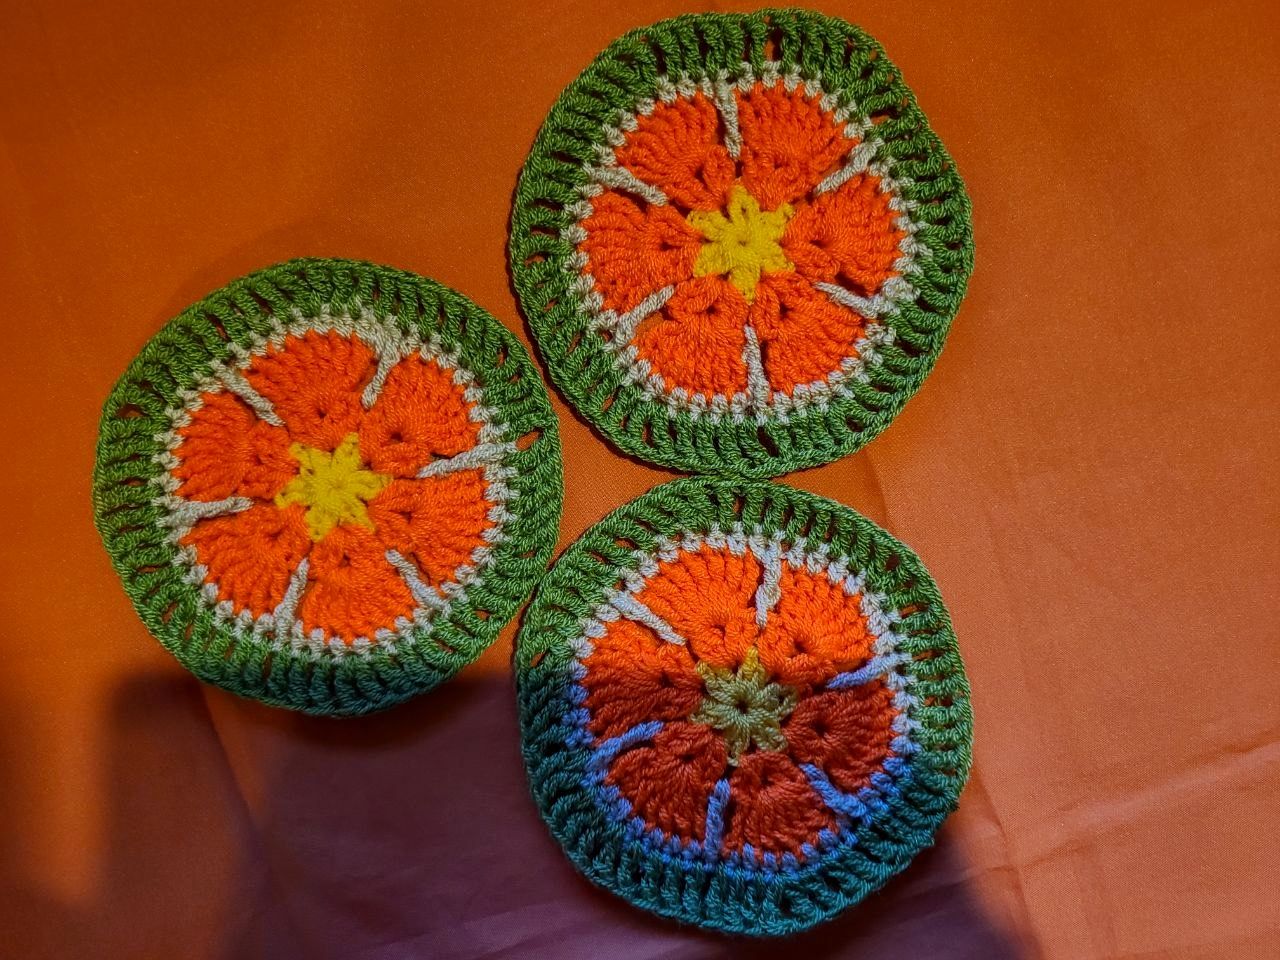
All of these pieces were made with two strands of thread so that they were thicker.
Very grateful, I hope you like the content of this publication once again, with the commitment to continue sharing my knowledge with all of you, I have other projects in mind, so we will continue to see each other. Greetings.
Todas estas piezas se elaboraron con dos hebras de hilo para que tuviesen mayor grosor.
Muy agradecida, espero les agrade una vez más el contenido de esta publicación, con el compromiso de seguir compartiendo mis conocimientos con todos ustedes, tengo en mente otros proyectos, así que nos seguiremos viendo. Saludos.