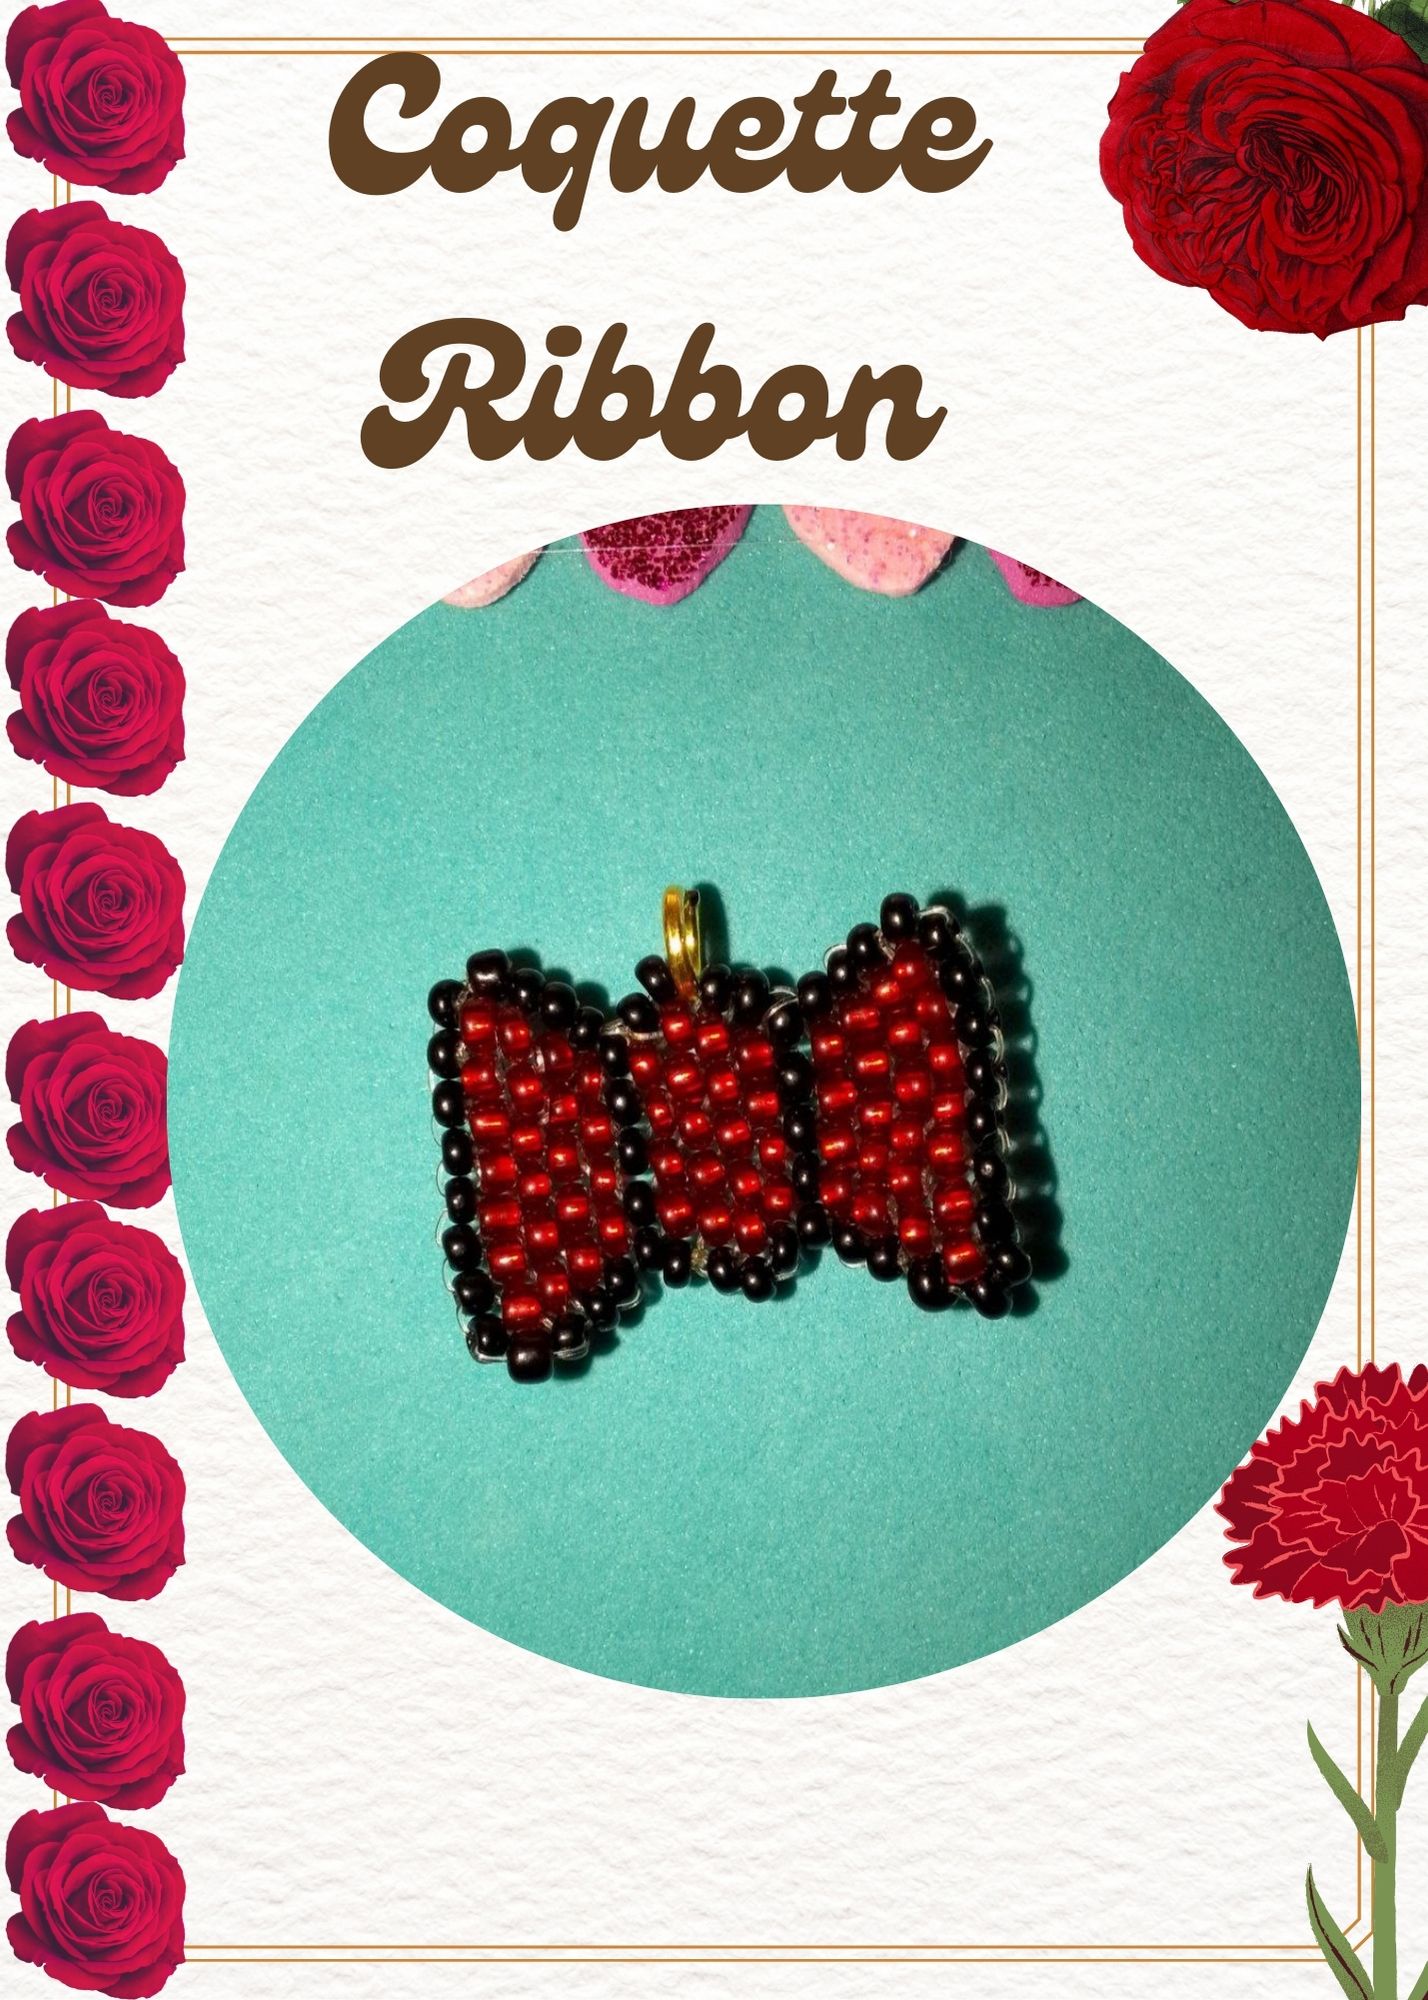
Hola amigos de la comunidad de #DiyHub, espero tengan un buen fin de semana y en ese nuevo post hice un tutorial de un dije de lazo coquette, ya que esta moda esta muy en tendencia en las redes sociales. Use mi tecnica favorita: la tecnica de ladrillo.
Hello friends of the #DiyHub community, I hope you have a nice weekend and in this new post I made a tutorial of a coquette bow charm, since this fashion is very trendy in the social networks. I used my favorite technique: the brick technique.
Materiales | Materials
- Mostacillas negras
- Mostacillas rojas
- 60 cms de hilo nylon de 0.25
- Black beads
- Red beads
- 60 cms of 0.25 nylon thread
Procedimiento | Procedure
Paso 1 | Step 1
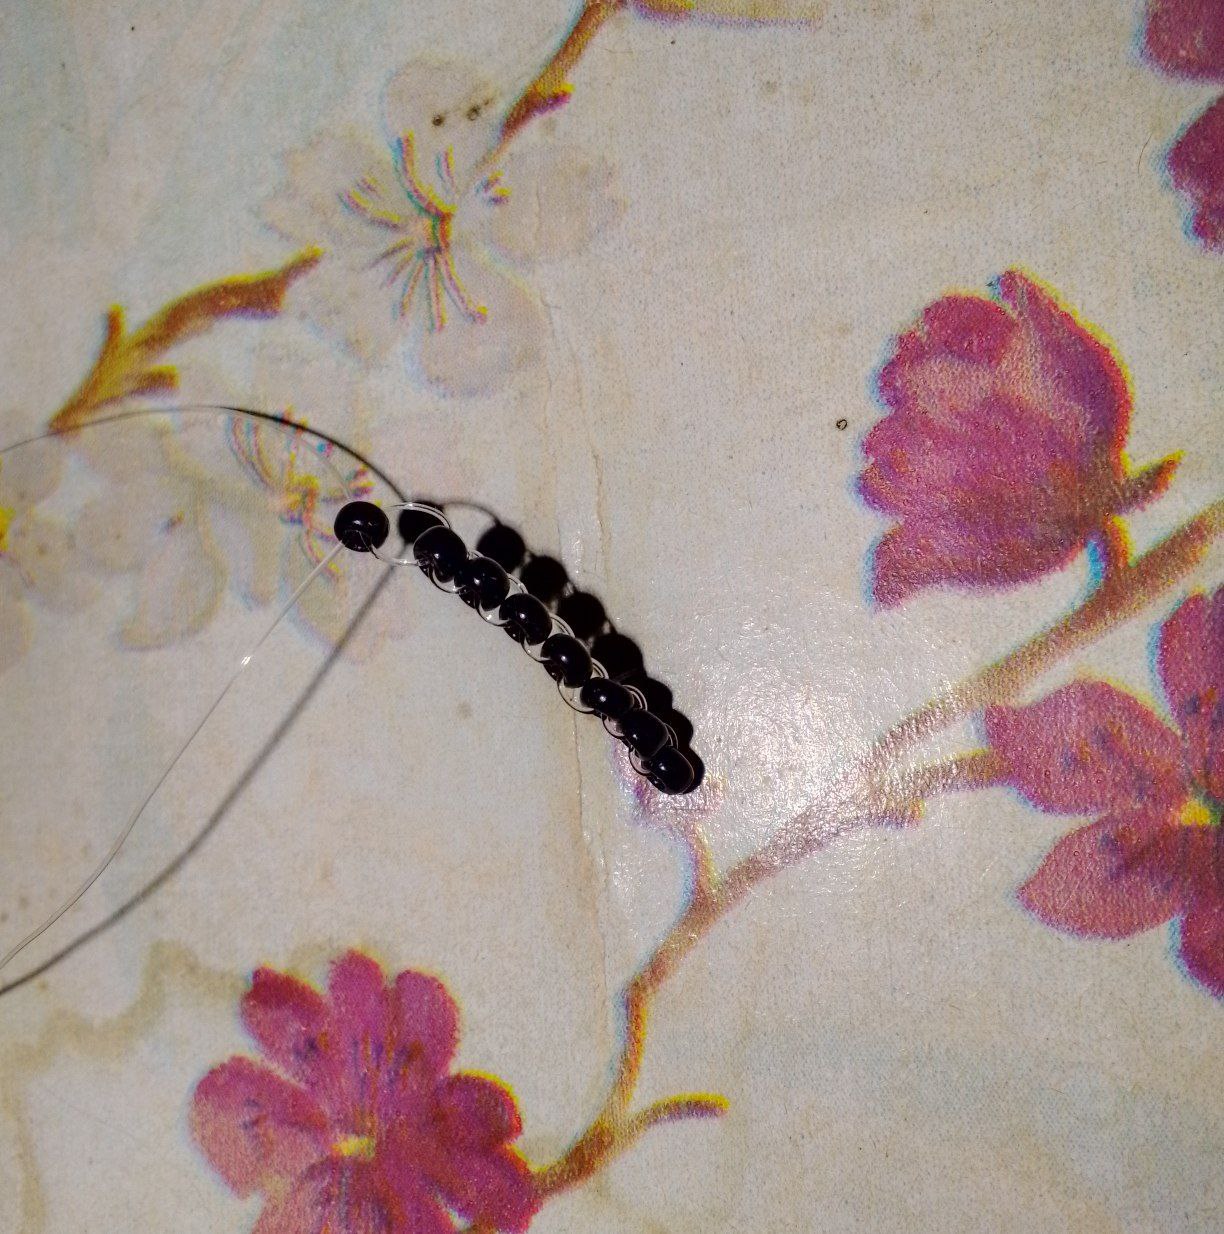
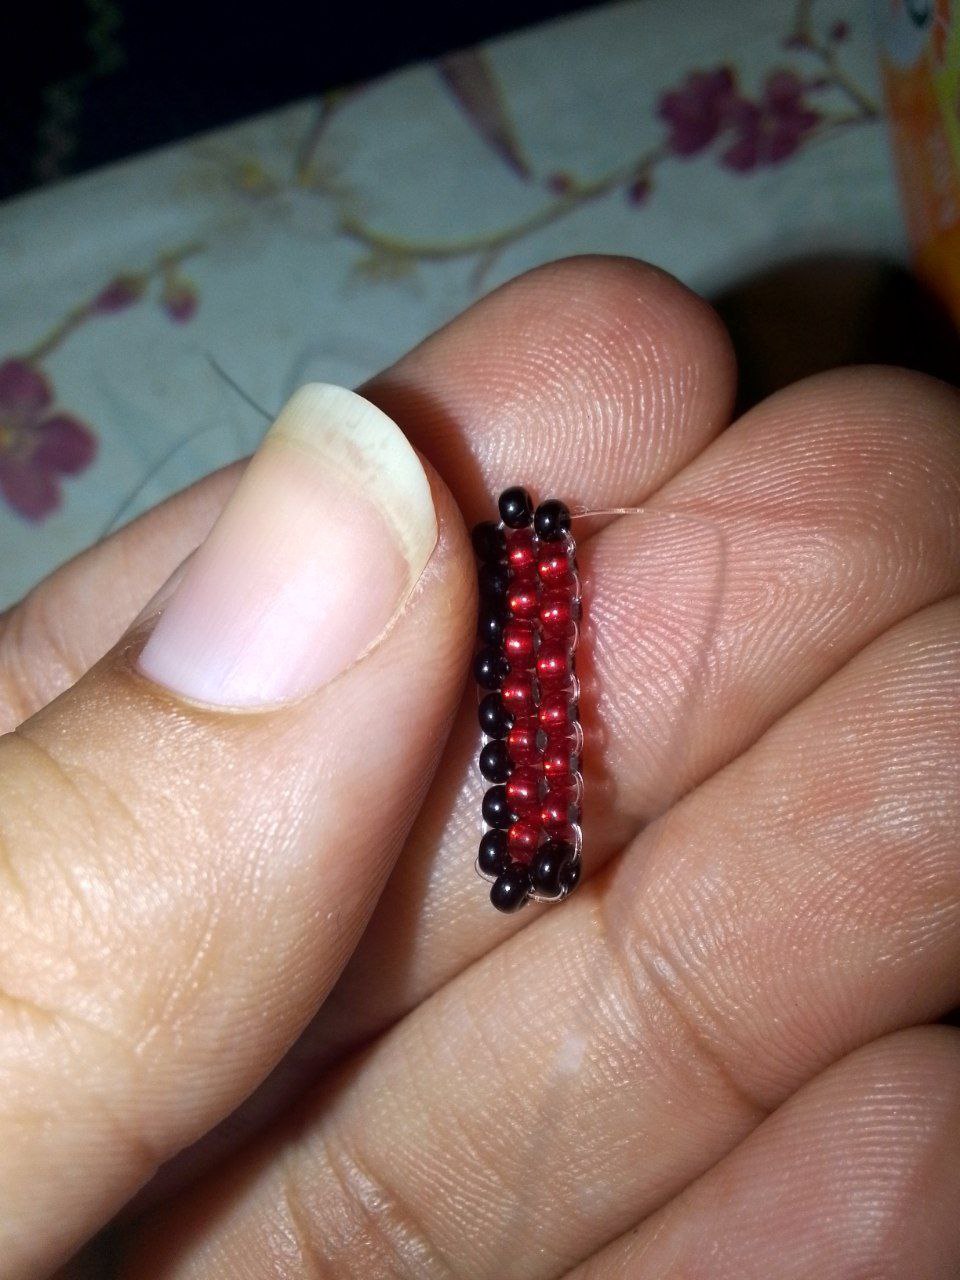
Comenzamos colocando una mostacilla una por una, colocamos 8 mostacillas y cruzamos los hilos por cada mostacilla. Luego para el siguiente nivel , hacemos un aumento, colocando dos mostacillas, primero la negra y luego la roja, pasamos el hilo nylon a traves del hilo tejido y no devolvemos por la mostacilla que va qwuedando dentro.
We start by placing one bead one by one, we place 8 beads and cross the threads through each bead. Then for the next level, we make an increase, placing two beads, first the black one and then the red one, we pass the nylon thread through the woven thread and we do not return through the bead that remains inside.
|
|
|
Paso 2 | Step 2
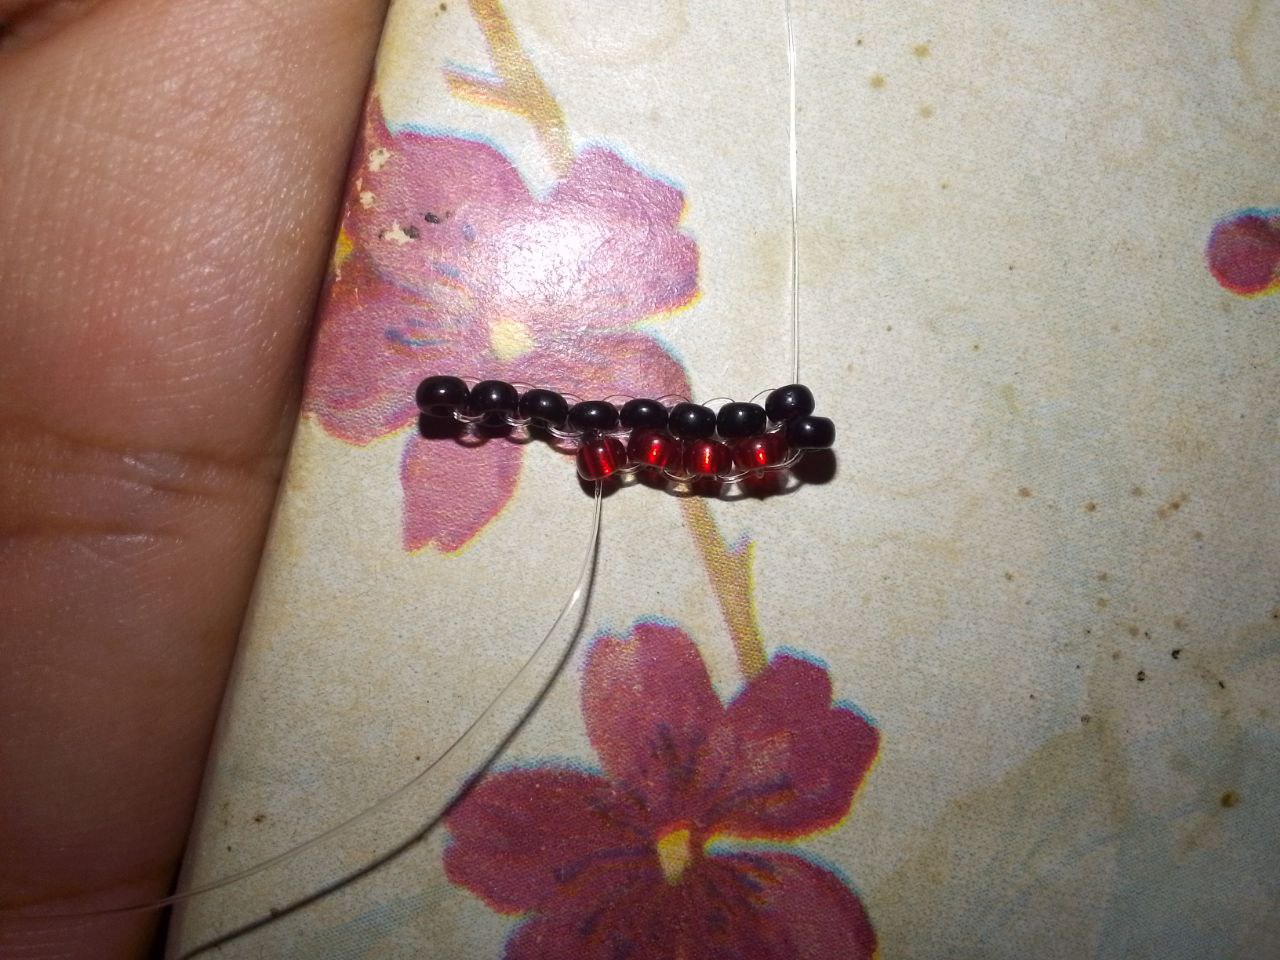
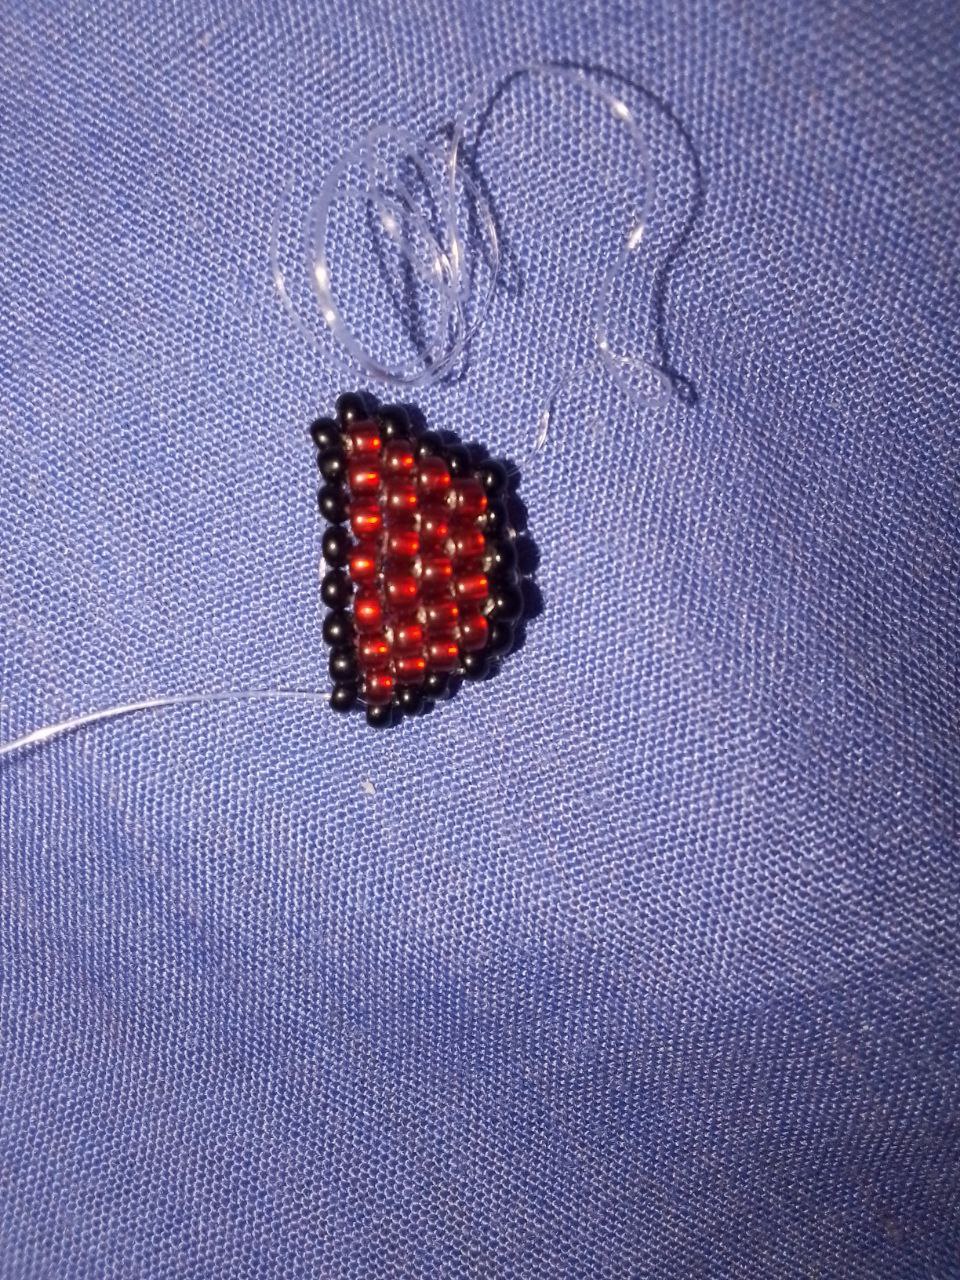
Luego, aqui podemos ver como va quedando el tejido. el hilo nylon que sale por la mostacilla negra lo anudamos y luego lo escondemos.
Then, here we can see how the weaving is coming out. The nylon thread that comes out of the black beads is knotted and then hidden.
|
|
|

Paso 3 | Step 3
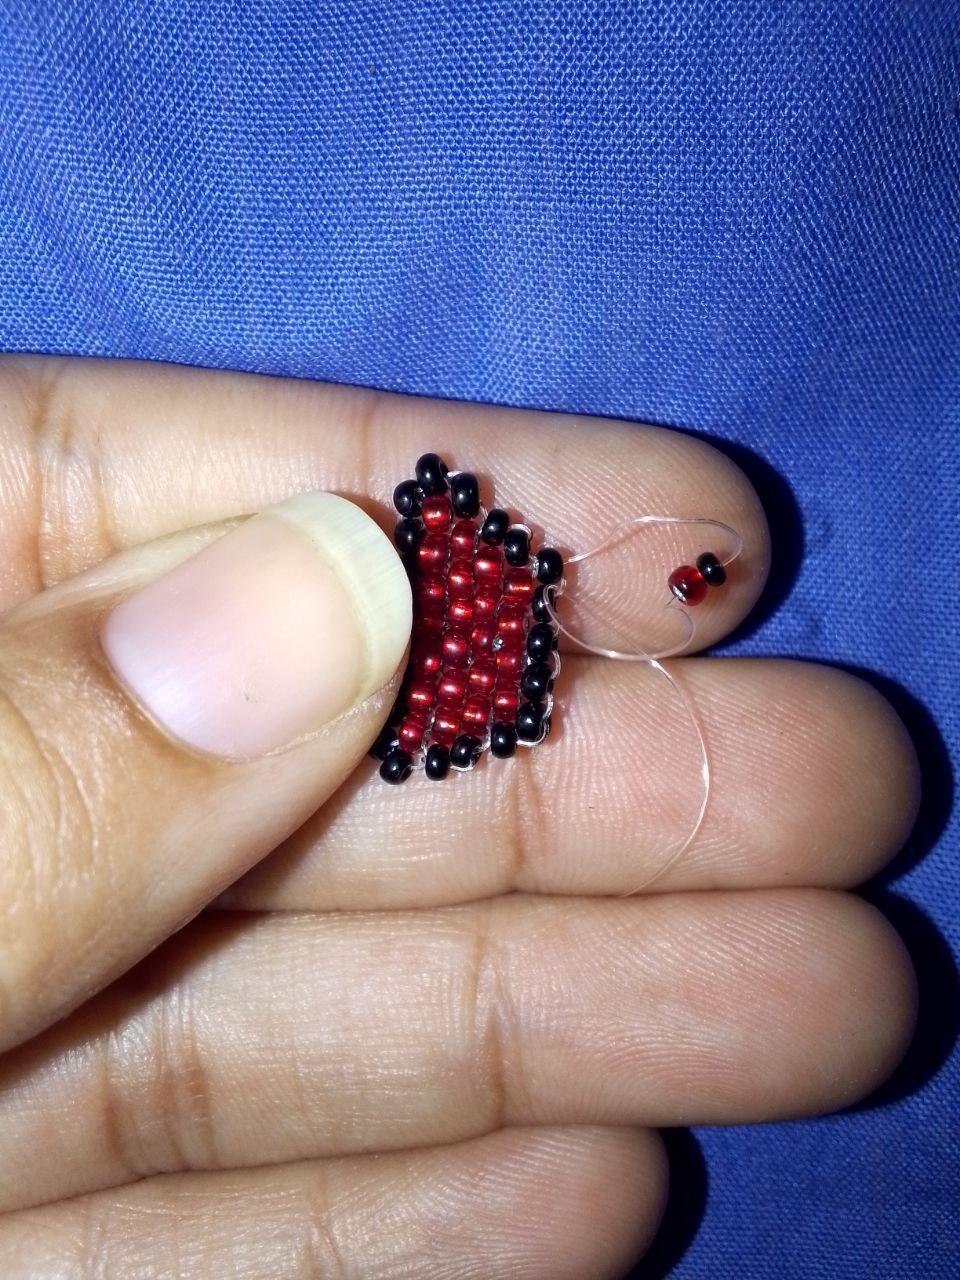
Aqui me tomo 4 filas rojas y dos negras hacer el primer lado del lazo.
Here it took me 4 red and two black rows to make the first side of the loop.
|
|
|
Paso 4 | Step 4
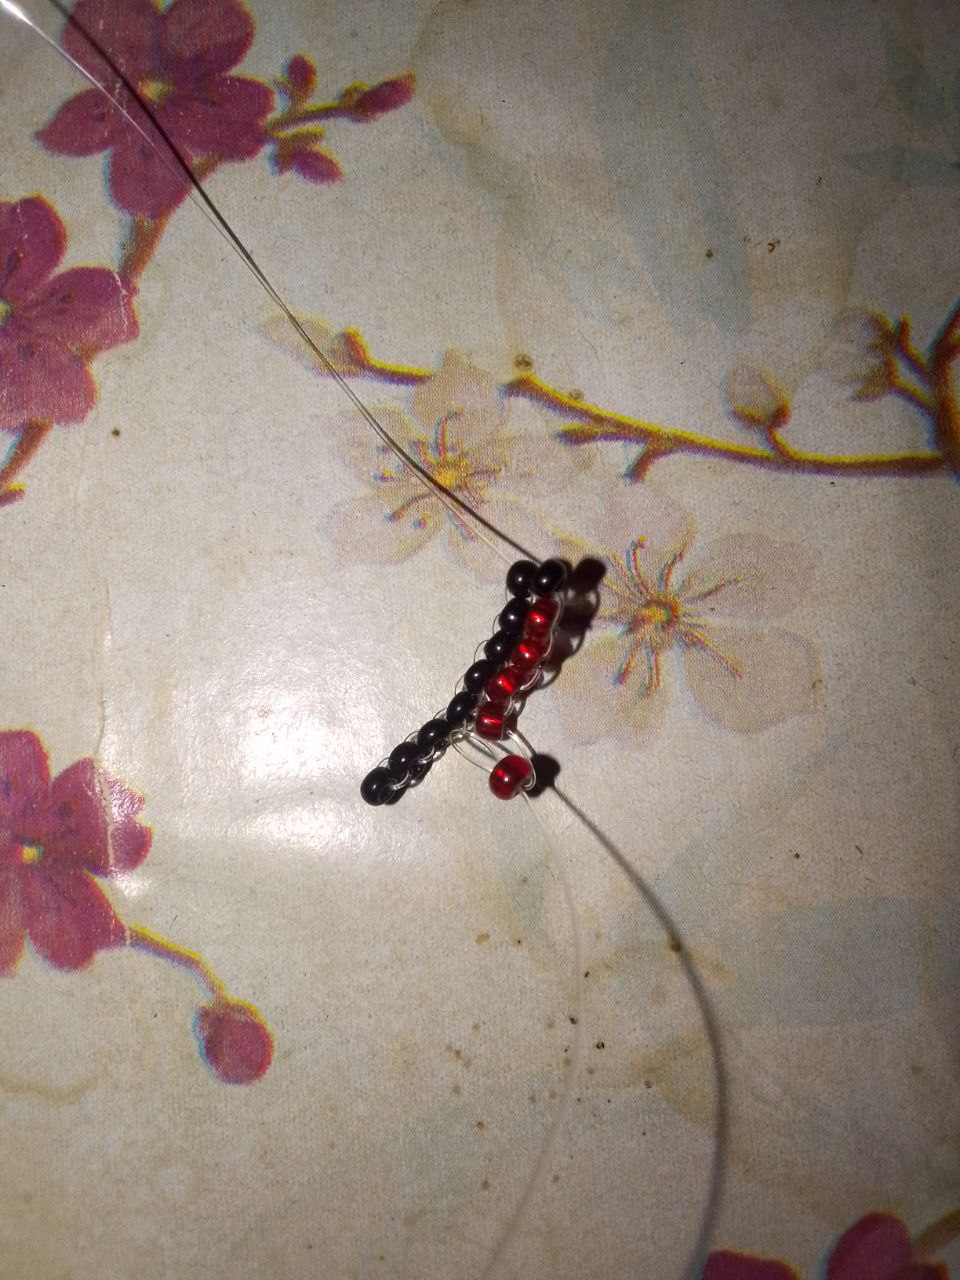
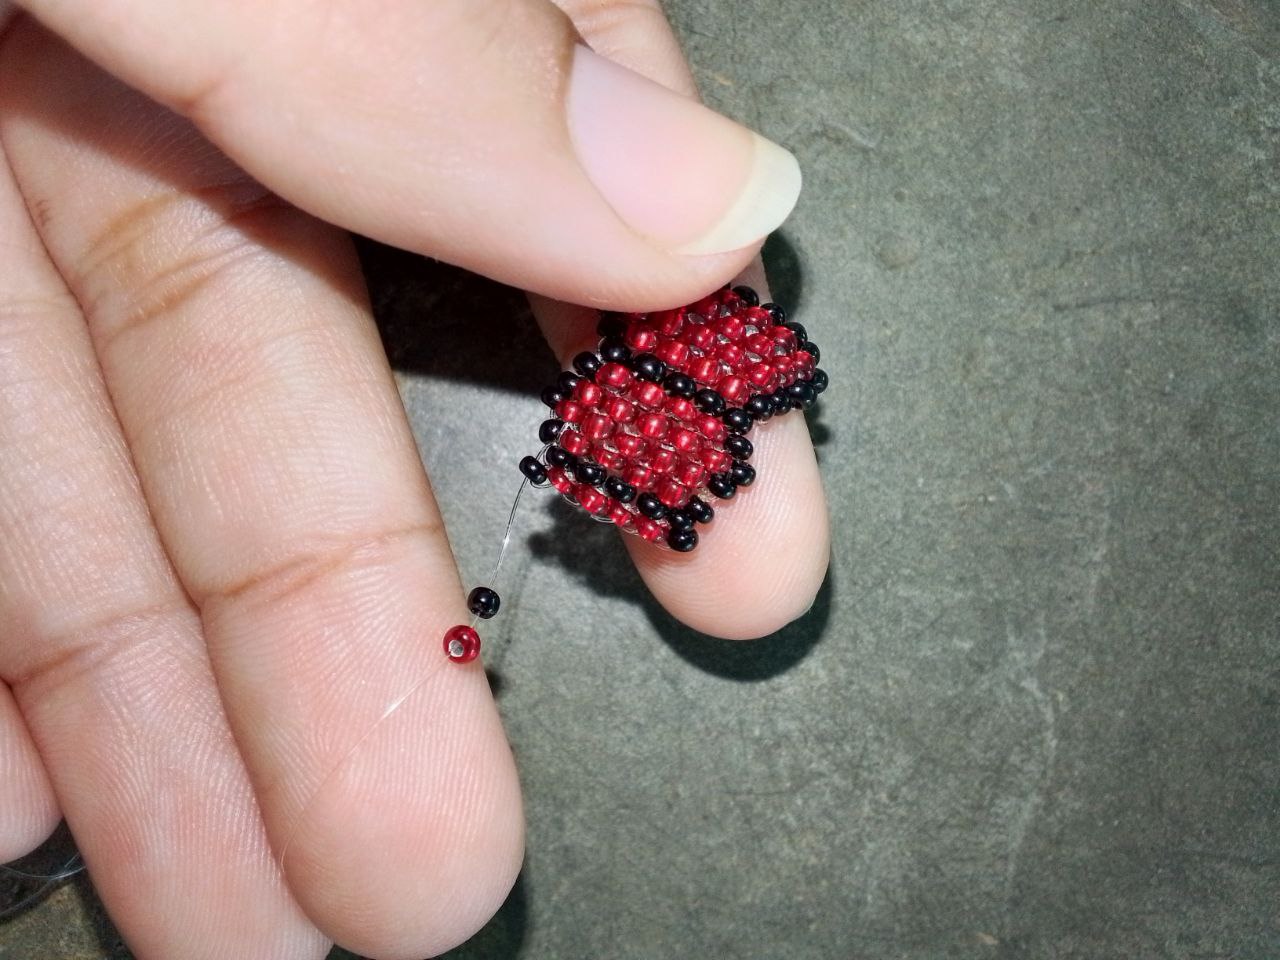
Aqui viene un aumento y podemos ver que agregamos dos mostacillas pasamos el hilo por el otro que ya esta tejido y sacamos el hilo por la mostacilla roja y luego seguimos agregando mostacilla a mostacilla una por una y vamos metiendo el hilo nylon por el que ya esta tejido y sacamos el hilo por la misma mostacilla que acabamos de colocar. Este proceso se repite hasta que terminemos con el lazo.
Here comes an increase and we can see that we add two beads, we pass the thread through the other one that is already woven and we pull the thread through the red bead and then we continue adding bead by bead one by one and we put the nylon thread through the one that is already woven and we pull the thread through the same bead that we have just placed. This process is repeated until we finish with the loop.
|
|
|

|
|
|
Paso 5 | Step 5
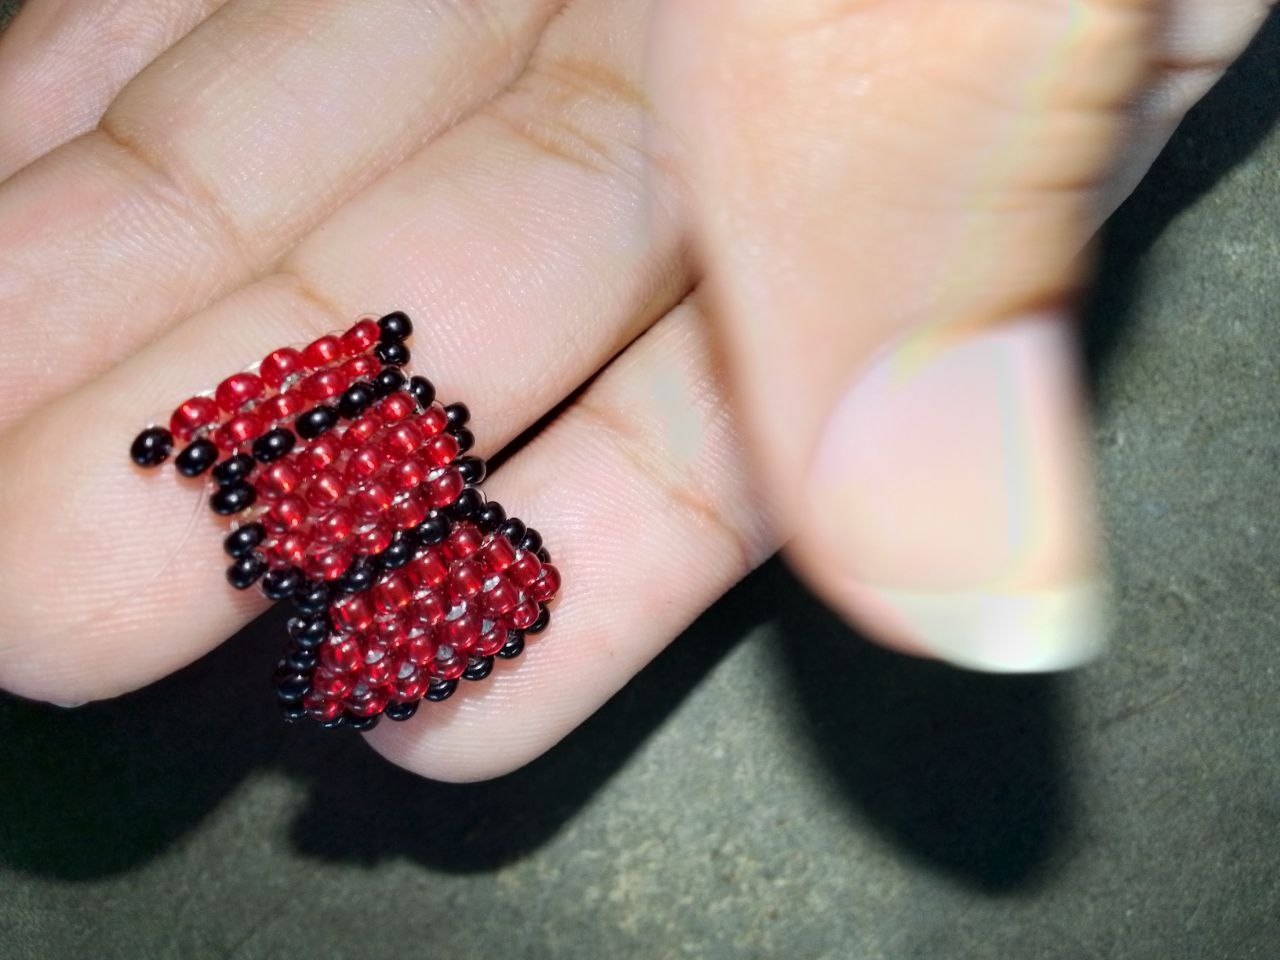
Aqui ya vamos por el otro lado del lazo casi terminando.
Here we are already on the other side of the loop almost finishing.
|
|
|


Resultado | Result
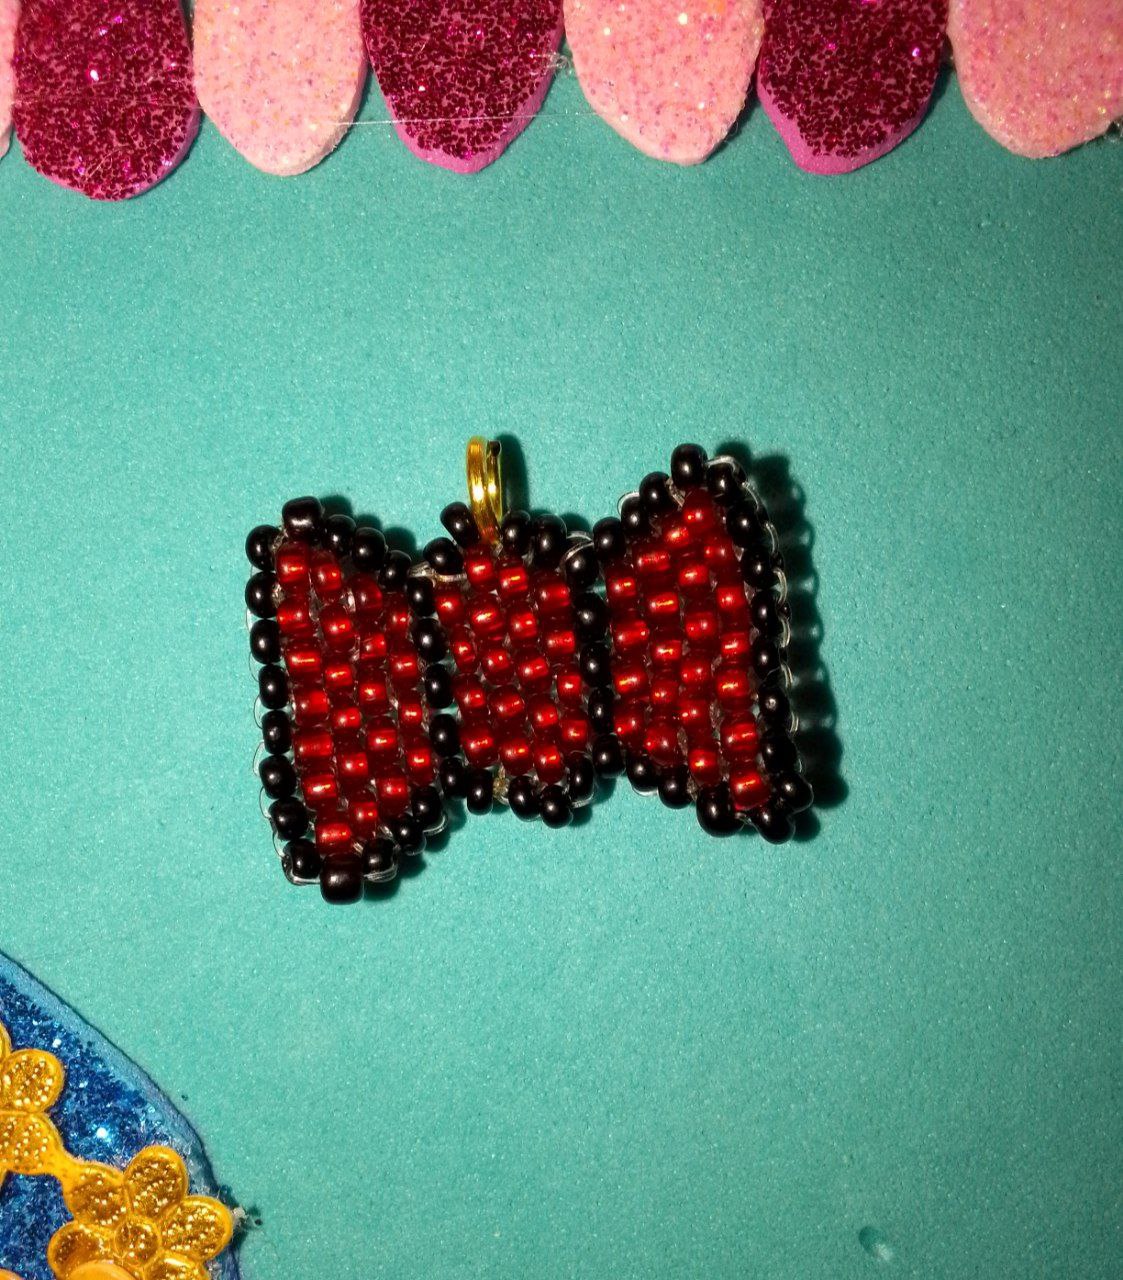
Aqui colocamos el aro en el centro del lazo, nos ayudamos con dos pinzas de punta larga para abrir y cerrar el aro. Bueno eso es todo amigos el proceso es muy facil y sencillo espero les haya gustado. Nos leemos en un proximo post. Si les gusto sientanse libres de comentar!
Here we place the hoop in the center of the loop, we help us with two long nose pliers to open and close the hoop. Well that's all friends the process is very easy and simple I hope you liked it. See you in a future post. If you liked it feel free to comment!
| |
|---|
|
|

Thanks for visiting my blog
Gracias por visitar mi blog
No te detengas, no dejes de creer en ti y de buscar ideas y opciones para salir adelante.
Don't stop, don't stop believing in yourself and looking for ideas and options to get ahead.
Créditos | Credits
Utilicé una plantilla de https://www.canva.com/ con herramientas gratuitas
I used a template from https://www.canva.com/ using free tools
Utilicé https://www.deepl.com/es/translator para la traducción
I used https://www.deepl.com/es/translator to traduction.
Las imagenes son propias.
The images are my own.