
¡Hola Chicos!
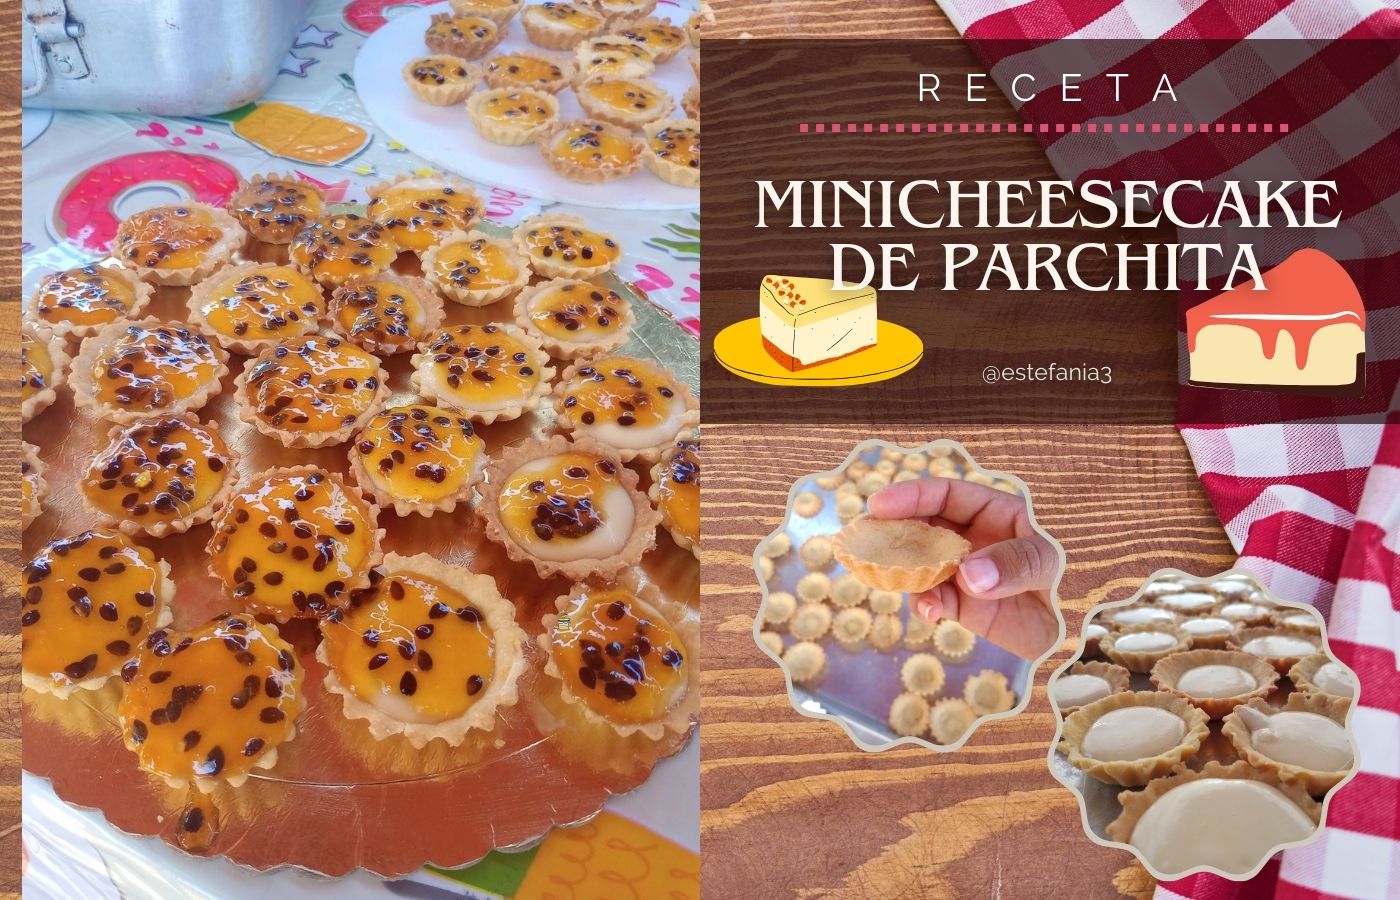
En nuestra última clase de repostería la profesora nos enseñó a hacer cheesecake. Nos dio la opción de preparar varios grandes, uno cada una o una mini versión de este pastel.
Nosotras elegimos trabajar la versión mini porque es más fácil a la hora de distribuirlos y lucen súper lindos.
Lo chévere de este postre es que podemos colocarle el topping de nuestra preferencia. La idea era hacerlo con fresas pero no encontramos en las tiendas cercanas, así que hicimos una versión con parchita.
El resultado me encantó, lucían muy hermosos y me parecen una opción espectacular para alguna reunión familiar o de amigos.
Por supuesto no iba a dejar de traerles la receta, así que los invito a continuar leyendo el post para ver los ingredientes y el paso a paso de la receta.
Hello Guys!
In our last baking class the teacher taught us how to make cheesecake. She gave us the option of making several large ones, one each or a mini version of this cake.
We chose to work on the mini version because it is easier to distribute them and they look super cute.
The cool thing about this dessert is that we can put the topping of our preference. The idea was to make it with strawberries but we couldn't find them in the stores nearby, so we made a version with parchita.
I loved the result, they looked very beautiful and I think they are a spectacular option for a family or friends gathering.
Of course I was not going to stop bringing you the recipe, so I invite you to continue reading the post to see the ingredients and the step by step of the recipe.
Para la masa base
- 900 gr de harina de trigo todo uso
- 160 gr de azúcar
- 500 gr de margarina Mavesa
- 4 yemas
- ralladura de limón
Para el relleno
- 440 gr de queso crema
- 60 gr de margarina
- 150 gr de azúcar
- 3 huevos
- 1 cucharada de almidón de maíz
- 250 gr de crema de leche
- 1 cucharada de esencia de vainilla
For the base dough
- 900 g all-purpose flour
- 160 gr of sugar
- 500 gr of Mavesa margarine
- 4 egg yolks
- grated lemon zest
For the filling
- 440 gr cream cheese
- 60 gr margarine
- 150 grams of sugar
- 3 eggs
- 1 tablespoon corn starch
- 250 grams of milk cream
- 1 tablespoon vanilla essence
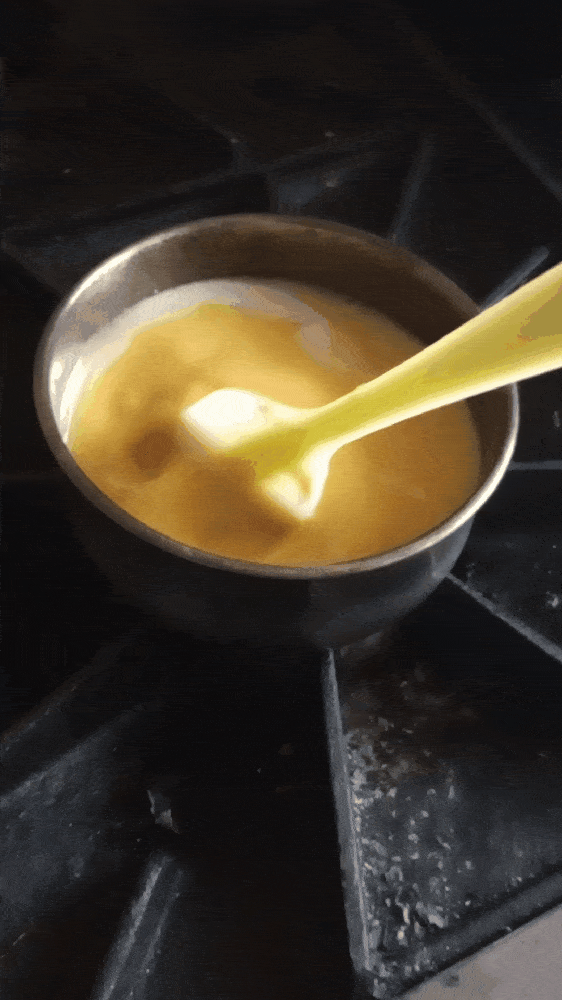
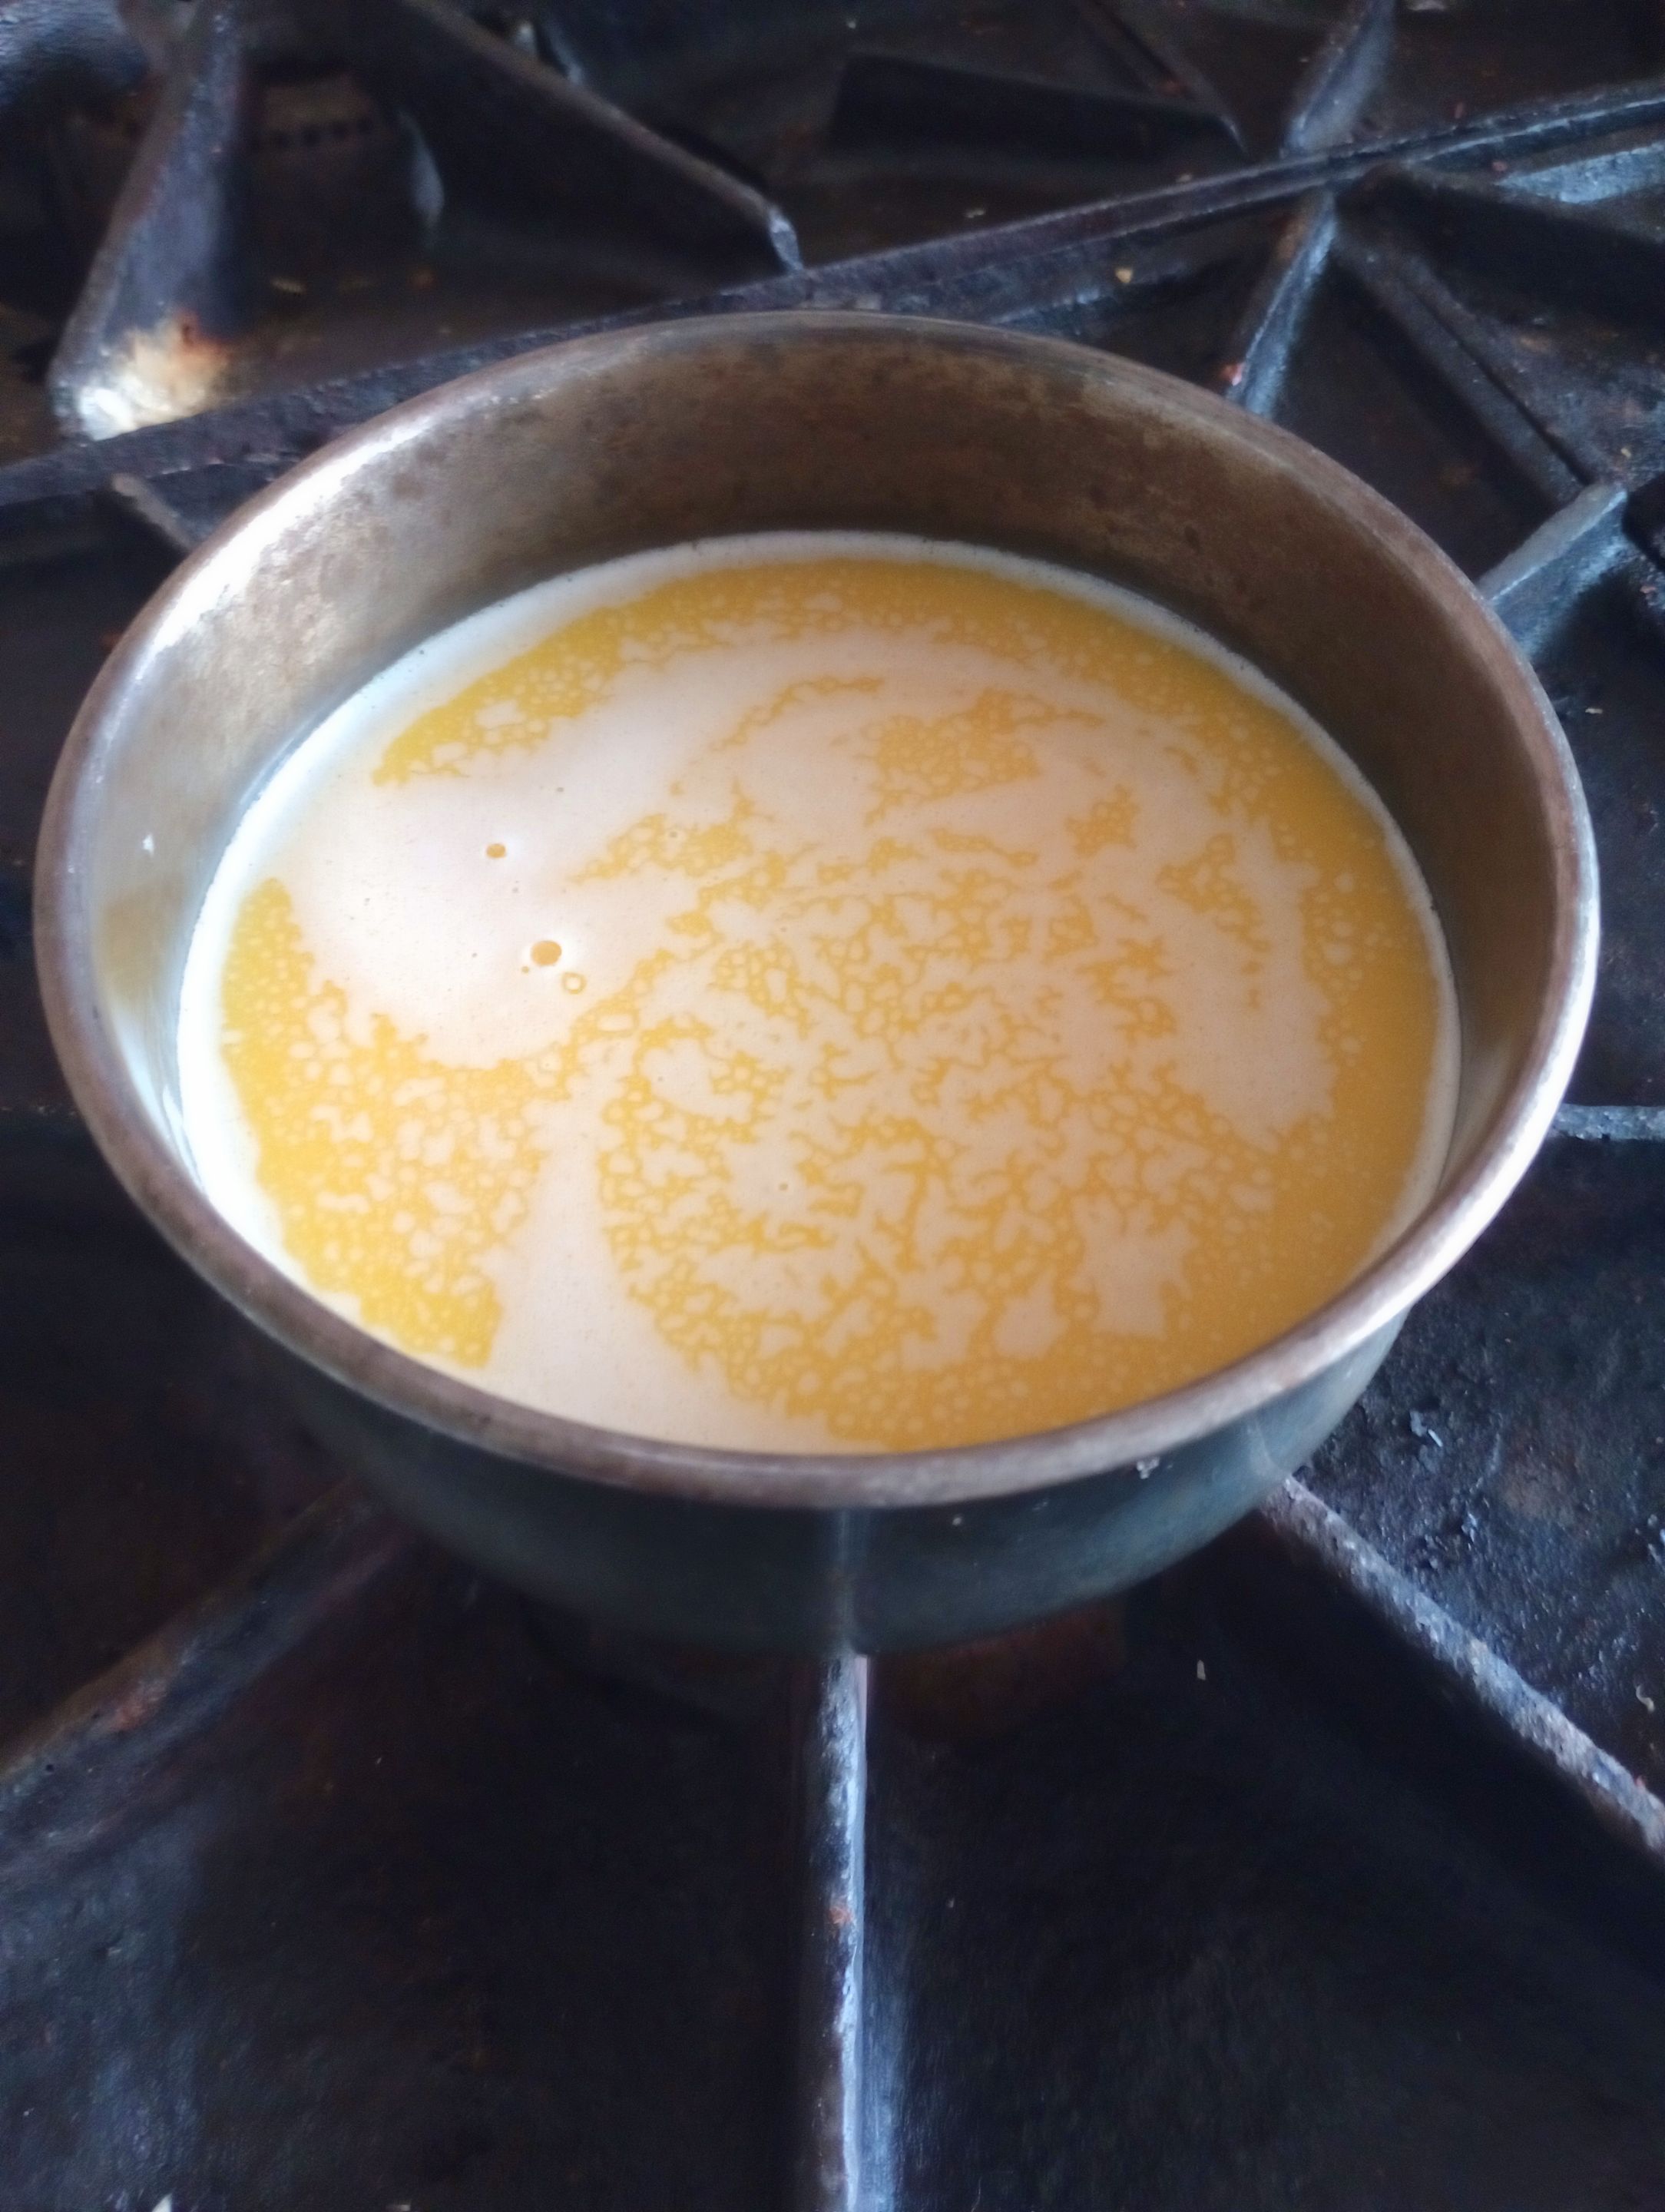
Para comenzar iniciamos derritiendo la margarina. No debemos dejar que está caliente demasiado, es para disolverla solamente.
To start we melt the margarine. We should not let it get too hot, it is only to dissolve it.
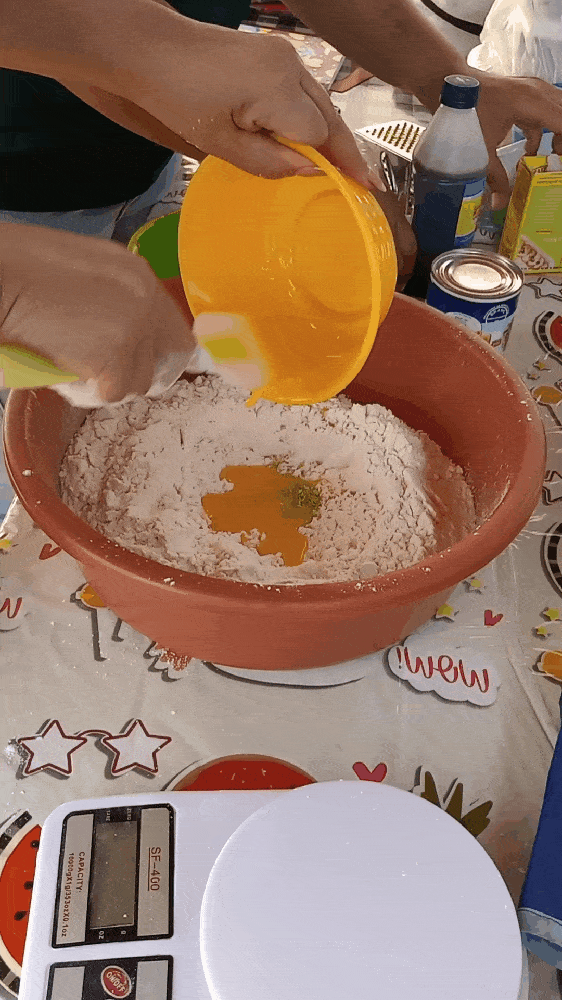
Luego colocamos la harina de trigo en un bowl y vamos a ir agregando el resto de los ingredientes de la masa.
Colocamos la azúcar, la ralladura de limón y las yemas.
Incorporamos la margarina, que debe estar ligeramente tibia e integramos con el resto de los ingredientes.
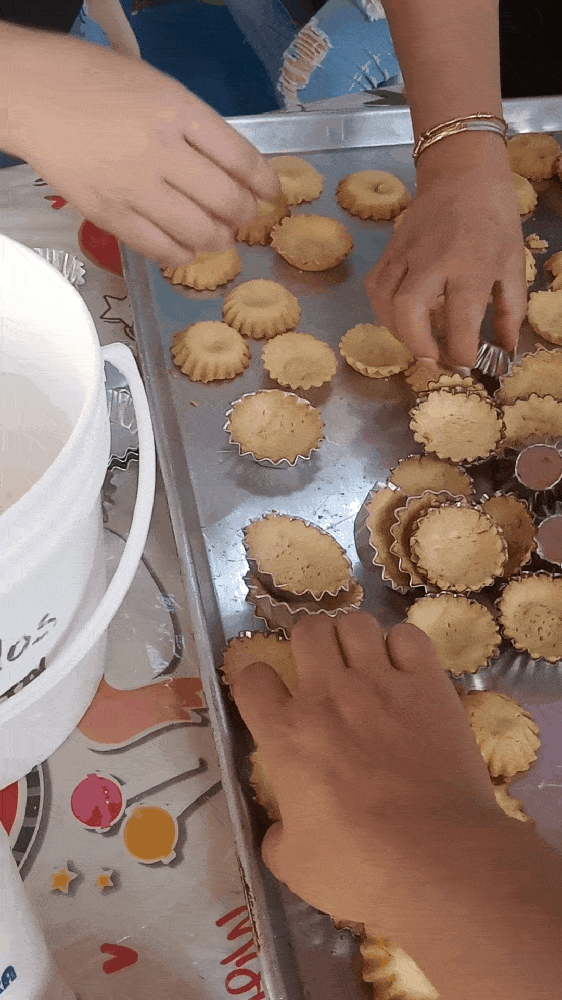
Luego de formada la masa, amasamos un poco y comenzamos a hacer la base de los minicheesecake.

Then place the wheat flour in a bowl and add the rest of the dough ingredients.
Add the sugar, the lemon zest and the egg yolks.
Add the margarine, which should be slightly warm, and integrate with the rest of the ingredients.
Once the dough is formed, knead it a little and start making the base of the minicheese
cake.
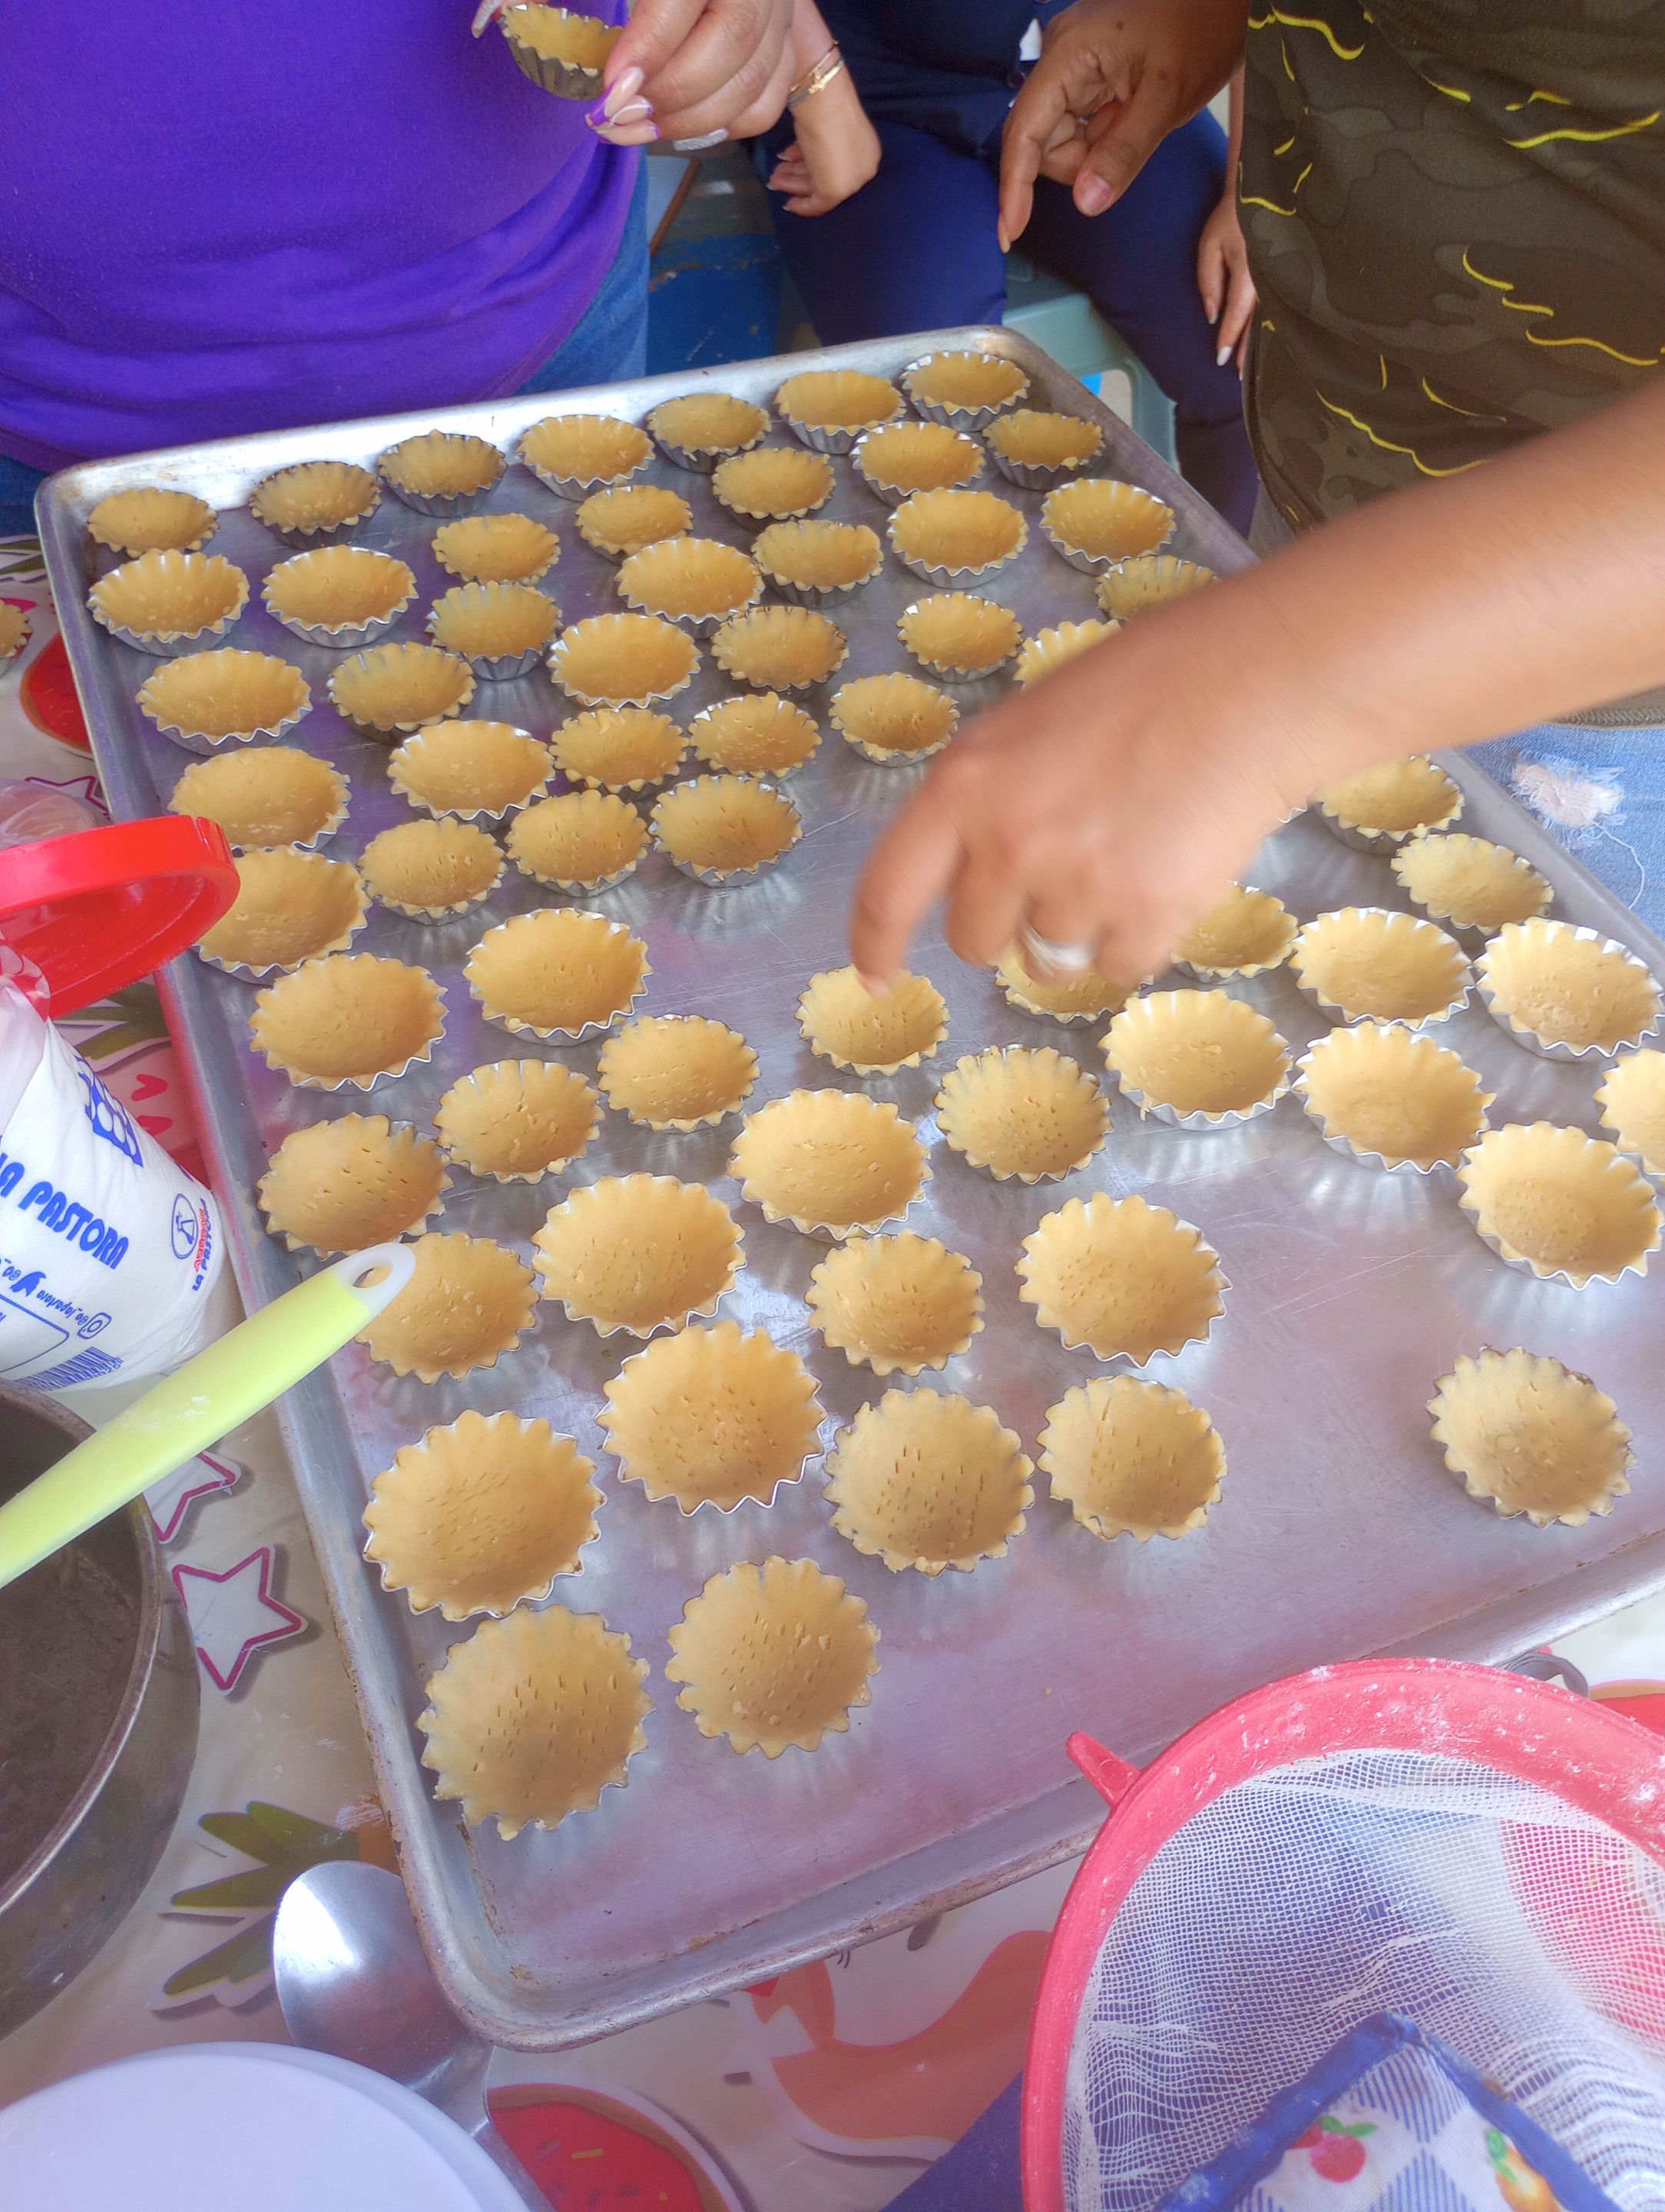
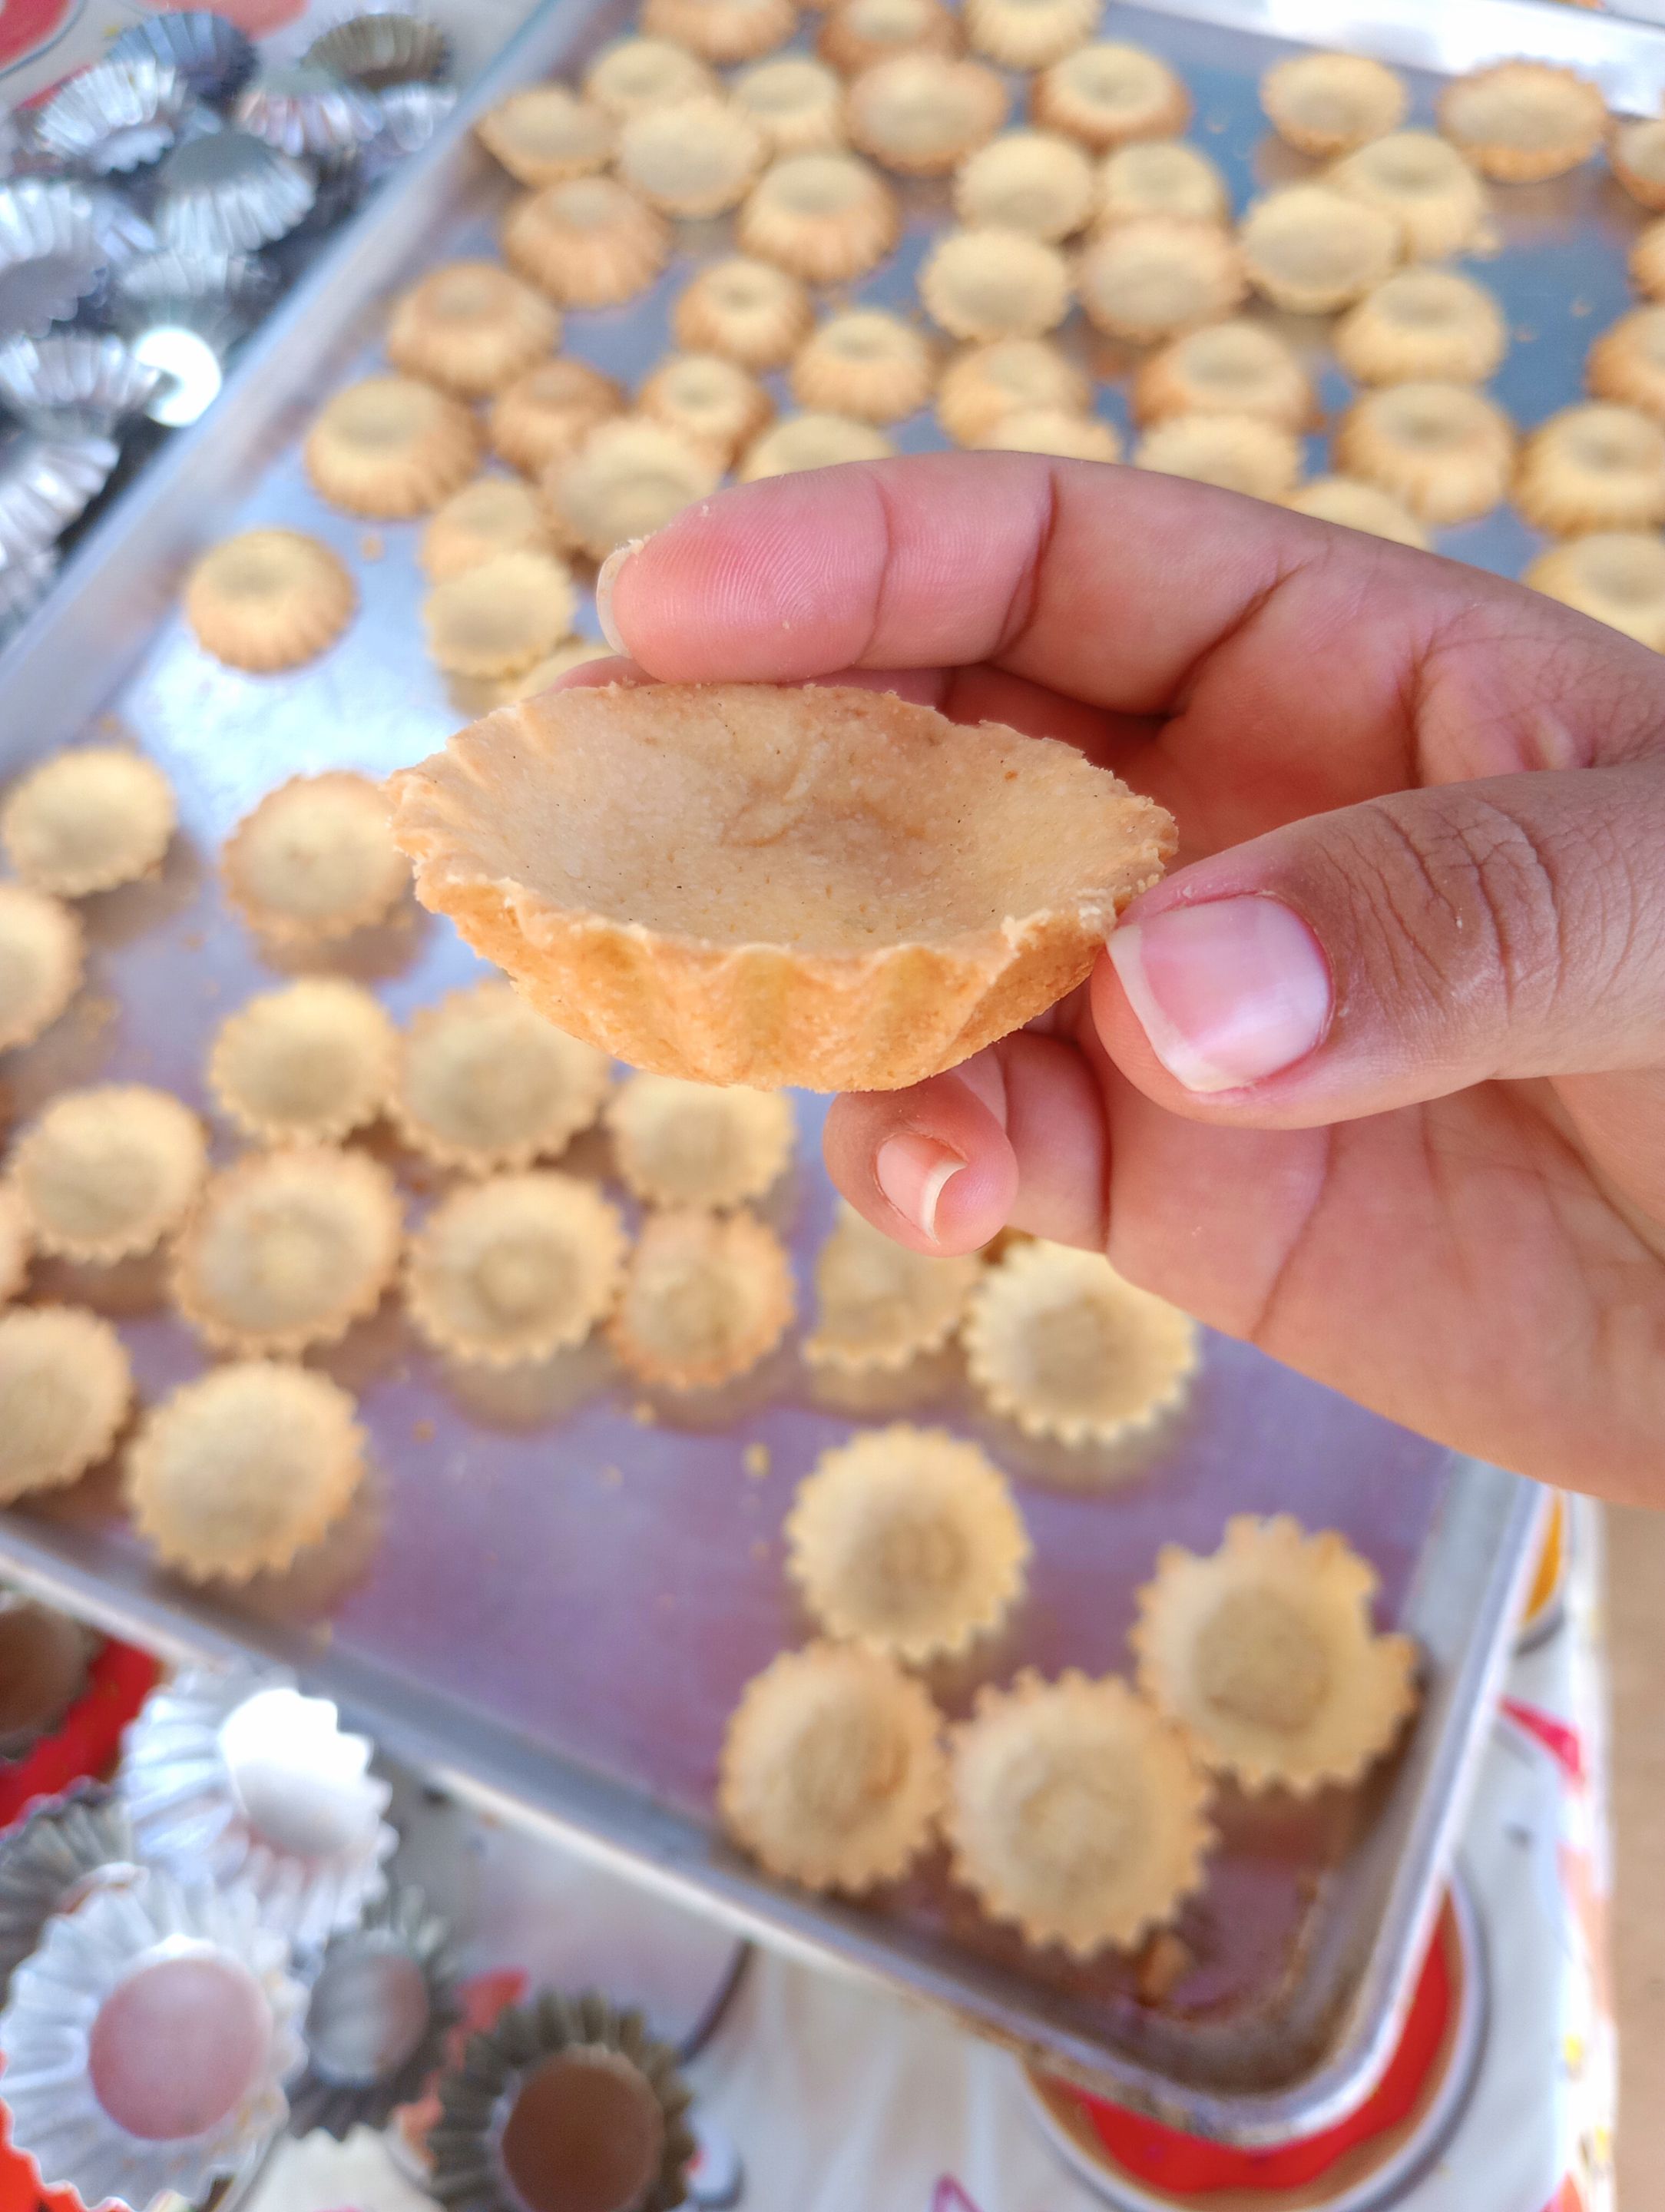
Extendemos la masa, colocamos el molde y extendemos en todo su interior. Retiramos el excedente y luego de terminados todos llevamos al horno hasta dorar.
Al estar listos los sacamos del horno y retiramos del molde. Fue toda una odisea porque los moldes eran de metal y al tocarlos era inevitable quemarse los dedos. 😂😅
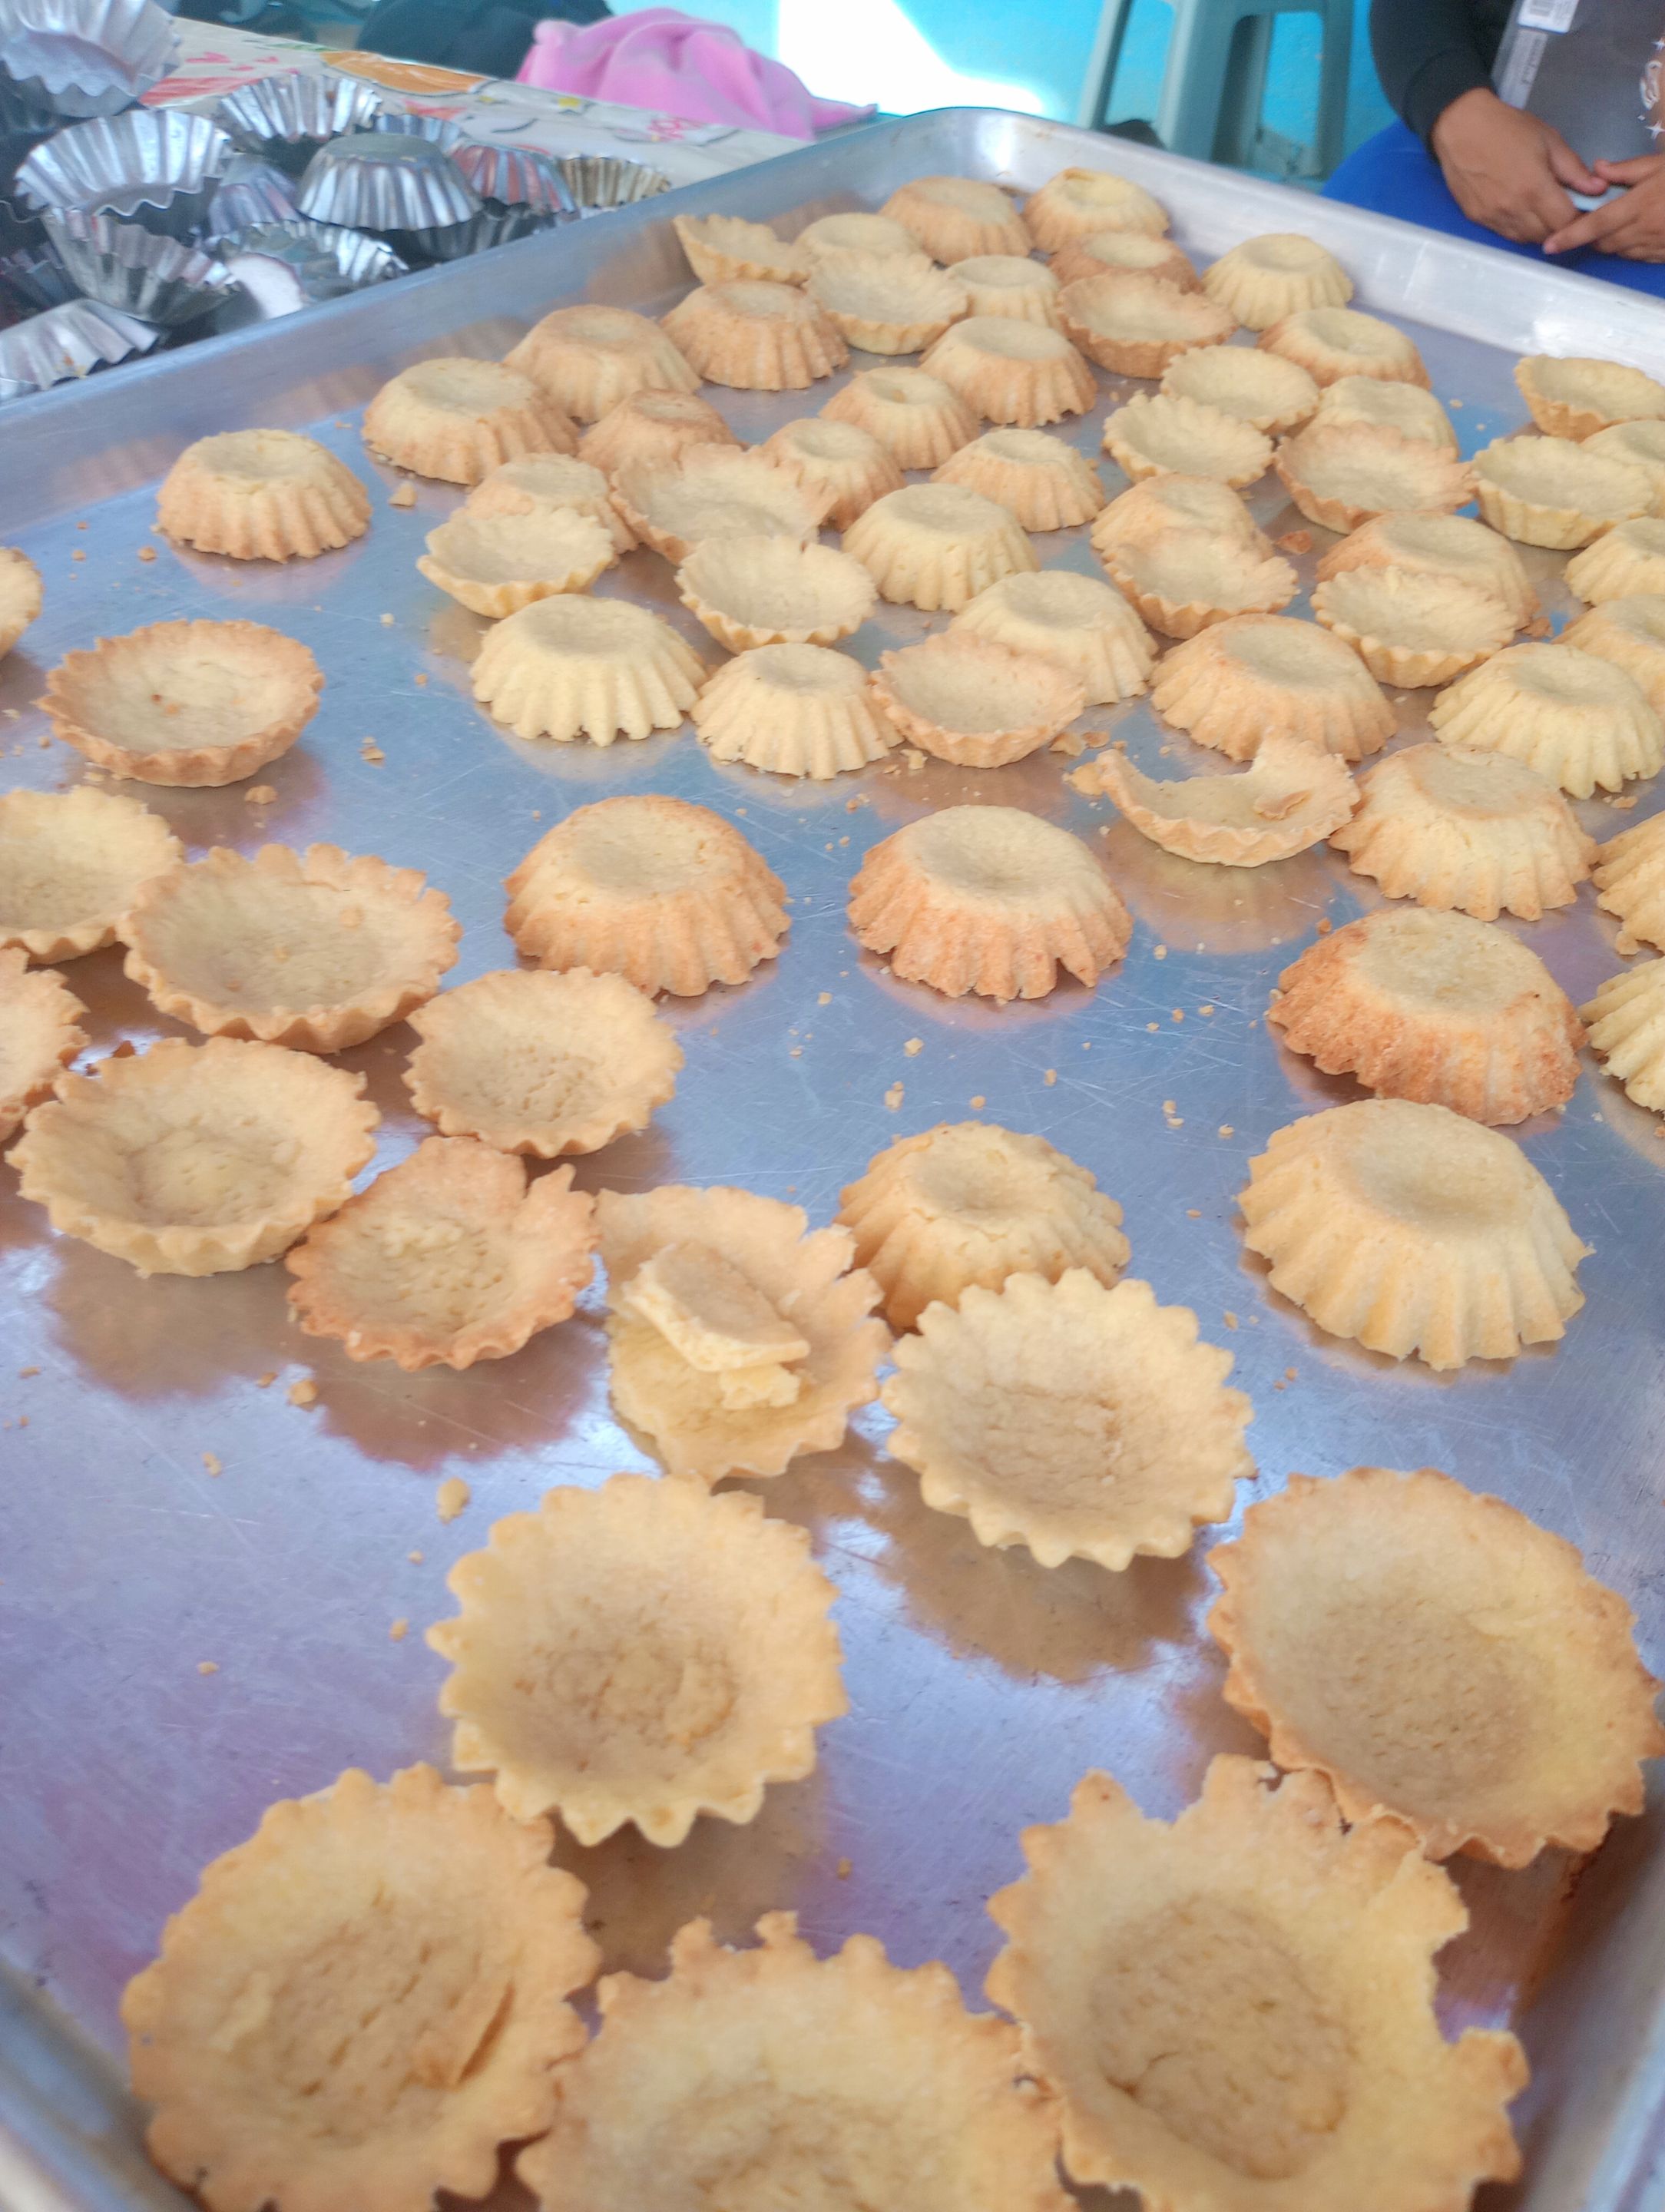
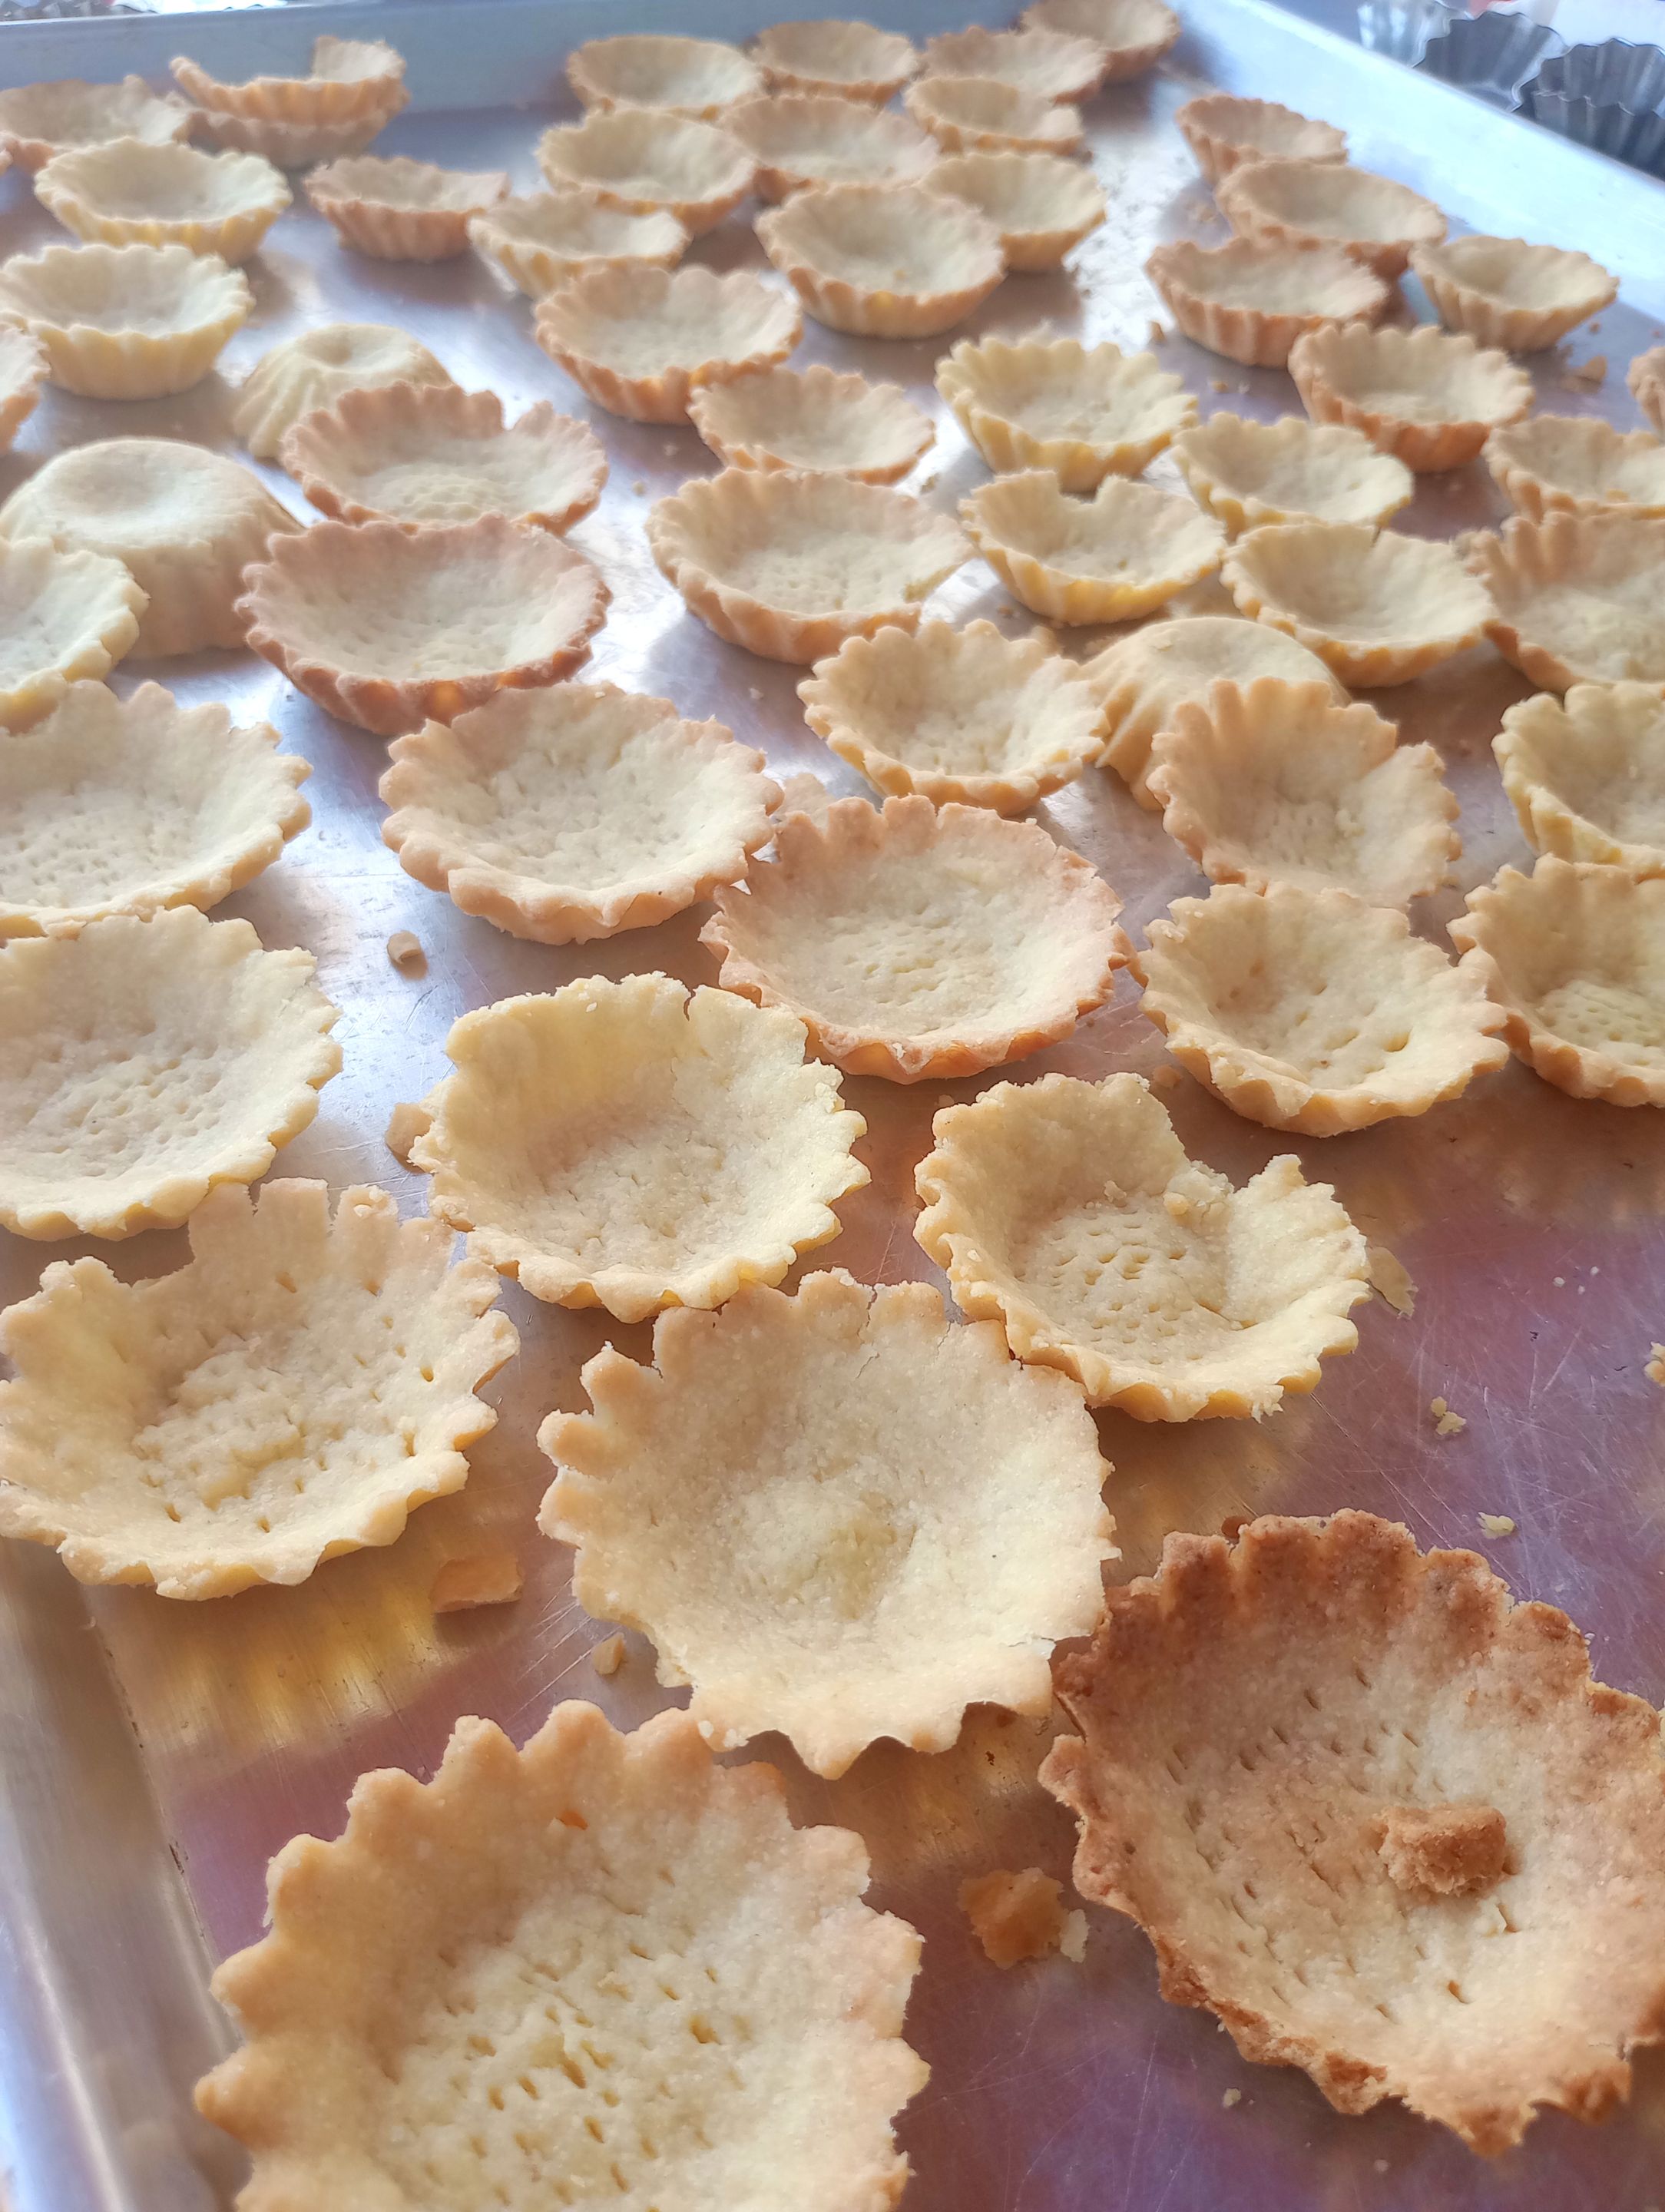
Roll out the dough, place in the mold and spread it all over the inside. Remove the excess and after they are all finished we take them to the oven until they are golden brown.
When they are ready, we take them out of the oven and remove them from the mold. It was quite an odyssey because the molds were metal and touching them was inevitable to burn your fingers. 😂😅
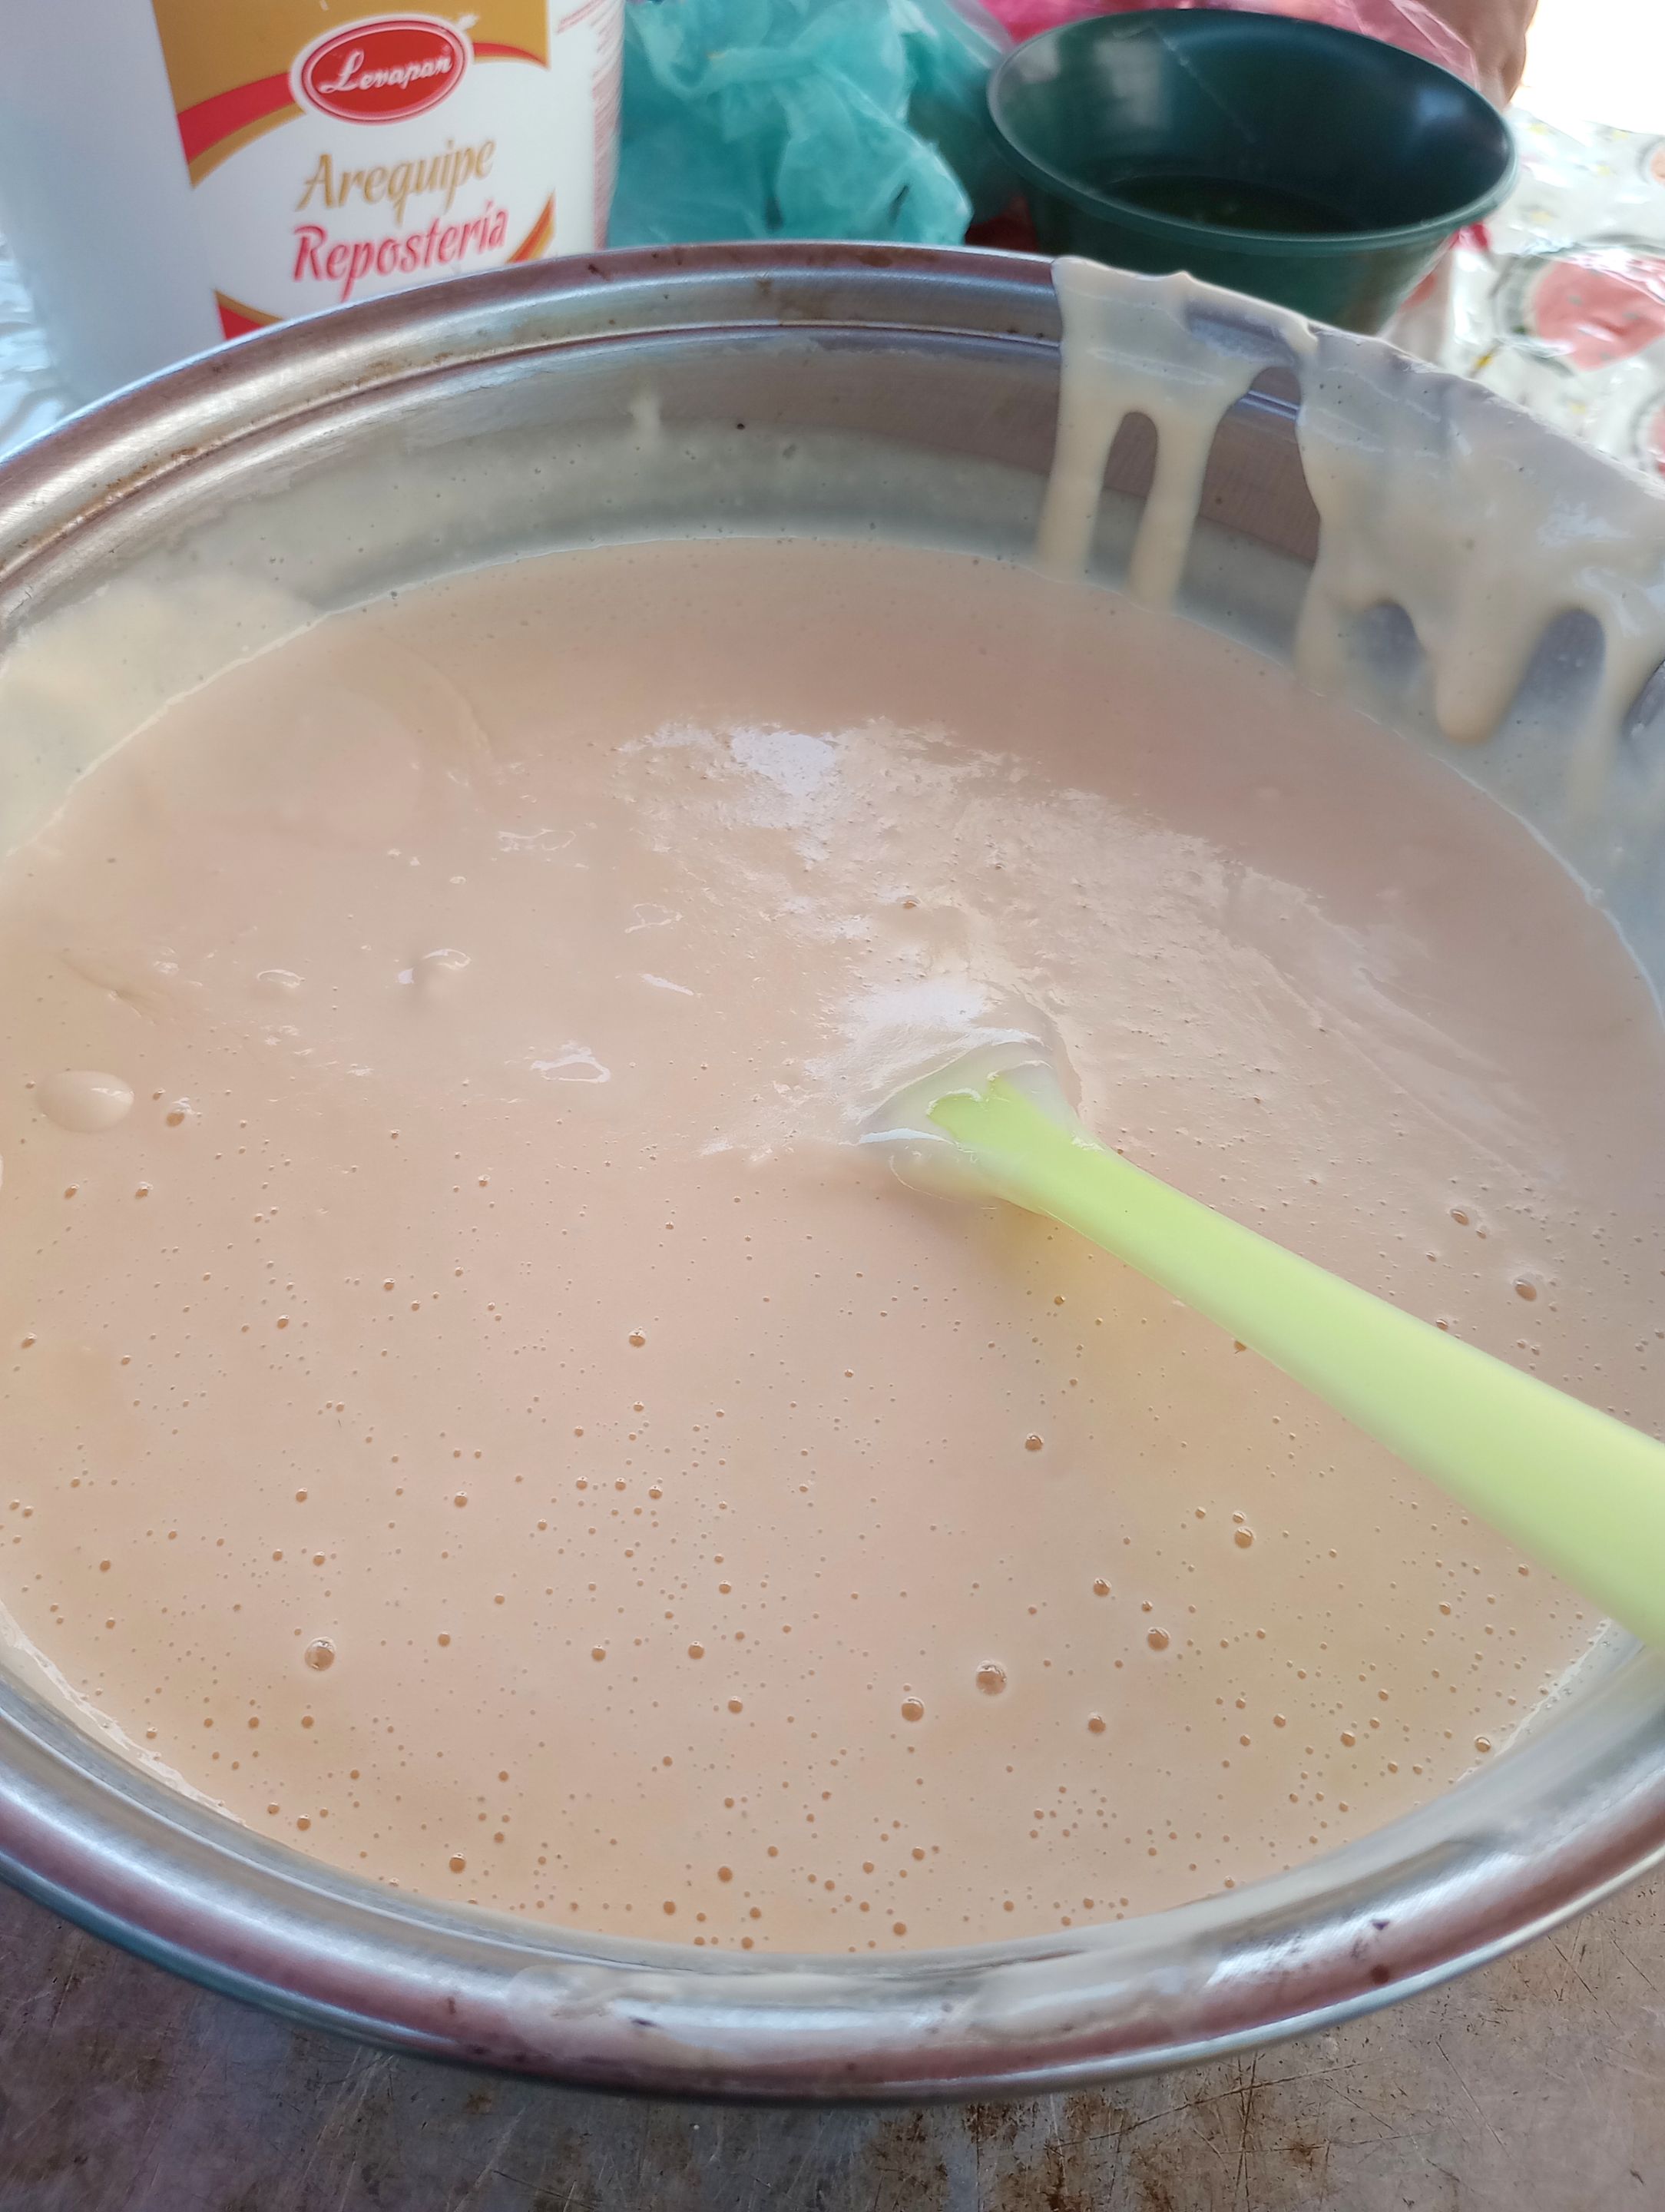
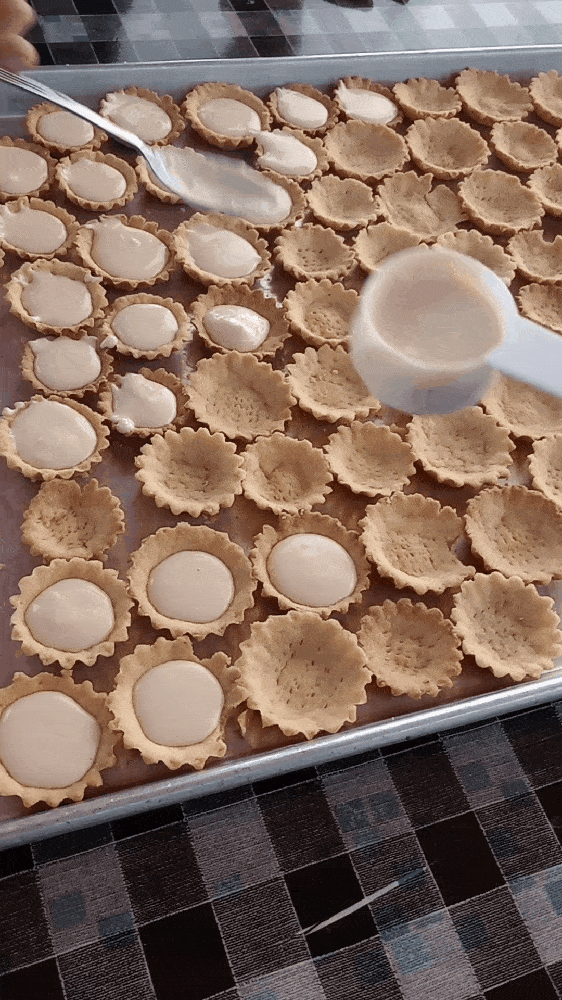
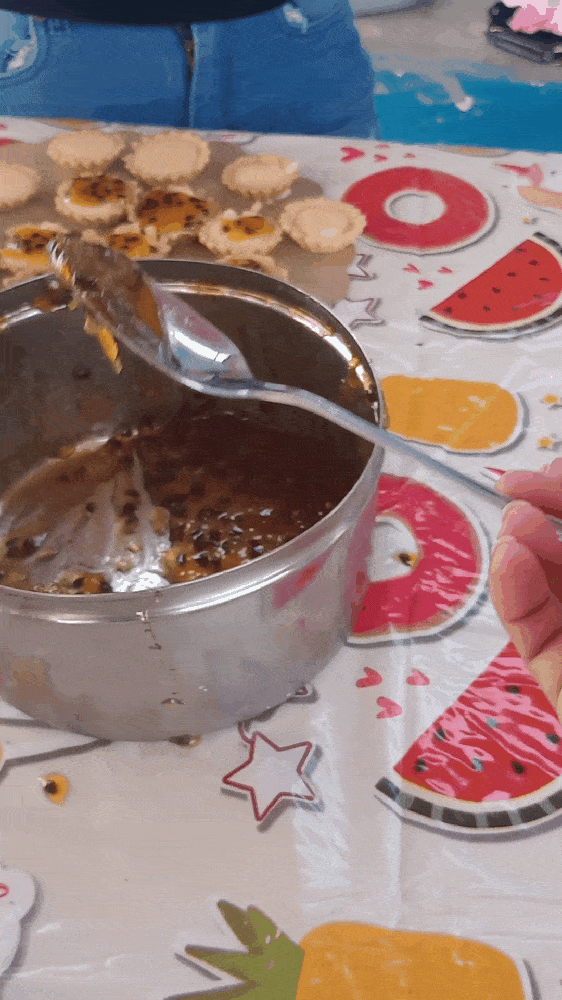
Luego es momento de rellenar los cheesecake. Debemos mezclar todos los ingredientes del relleno y llevar a cocinar hasta que espese.
No debemos dejar que hierva la mezcla porque tiende a cortarse. Dejamos enfriar un poco y después iniciamos el relleno de los cheesecake.
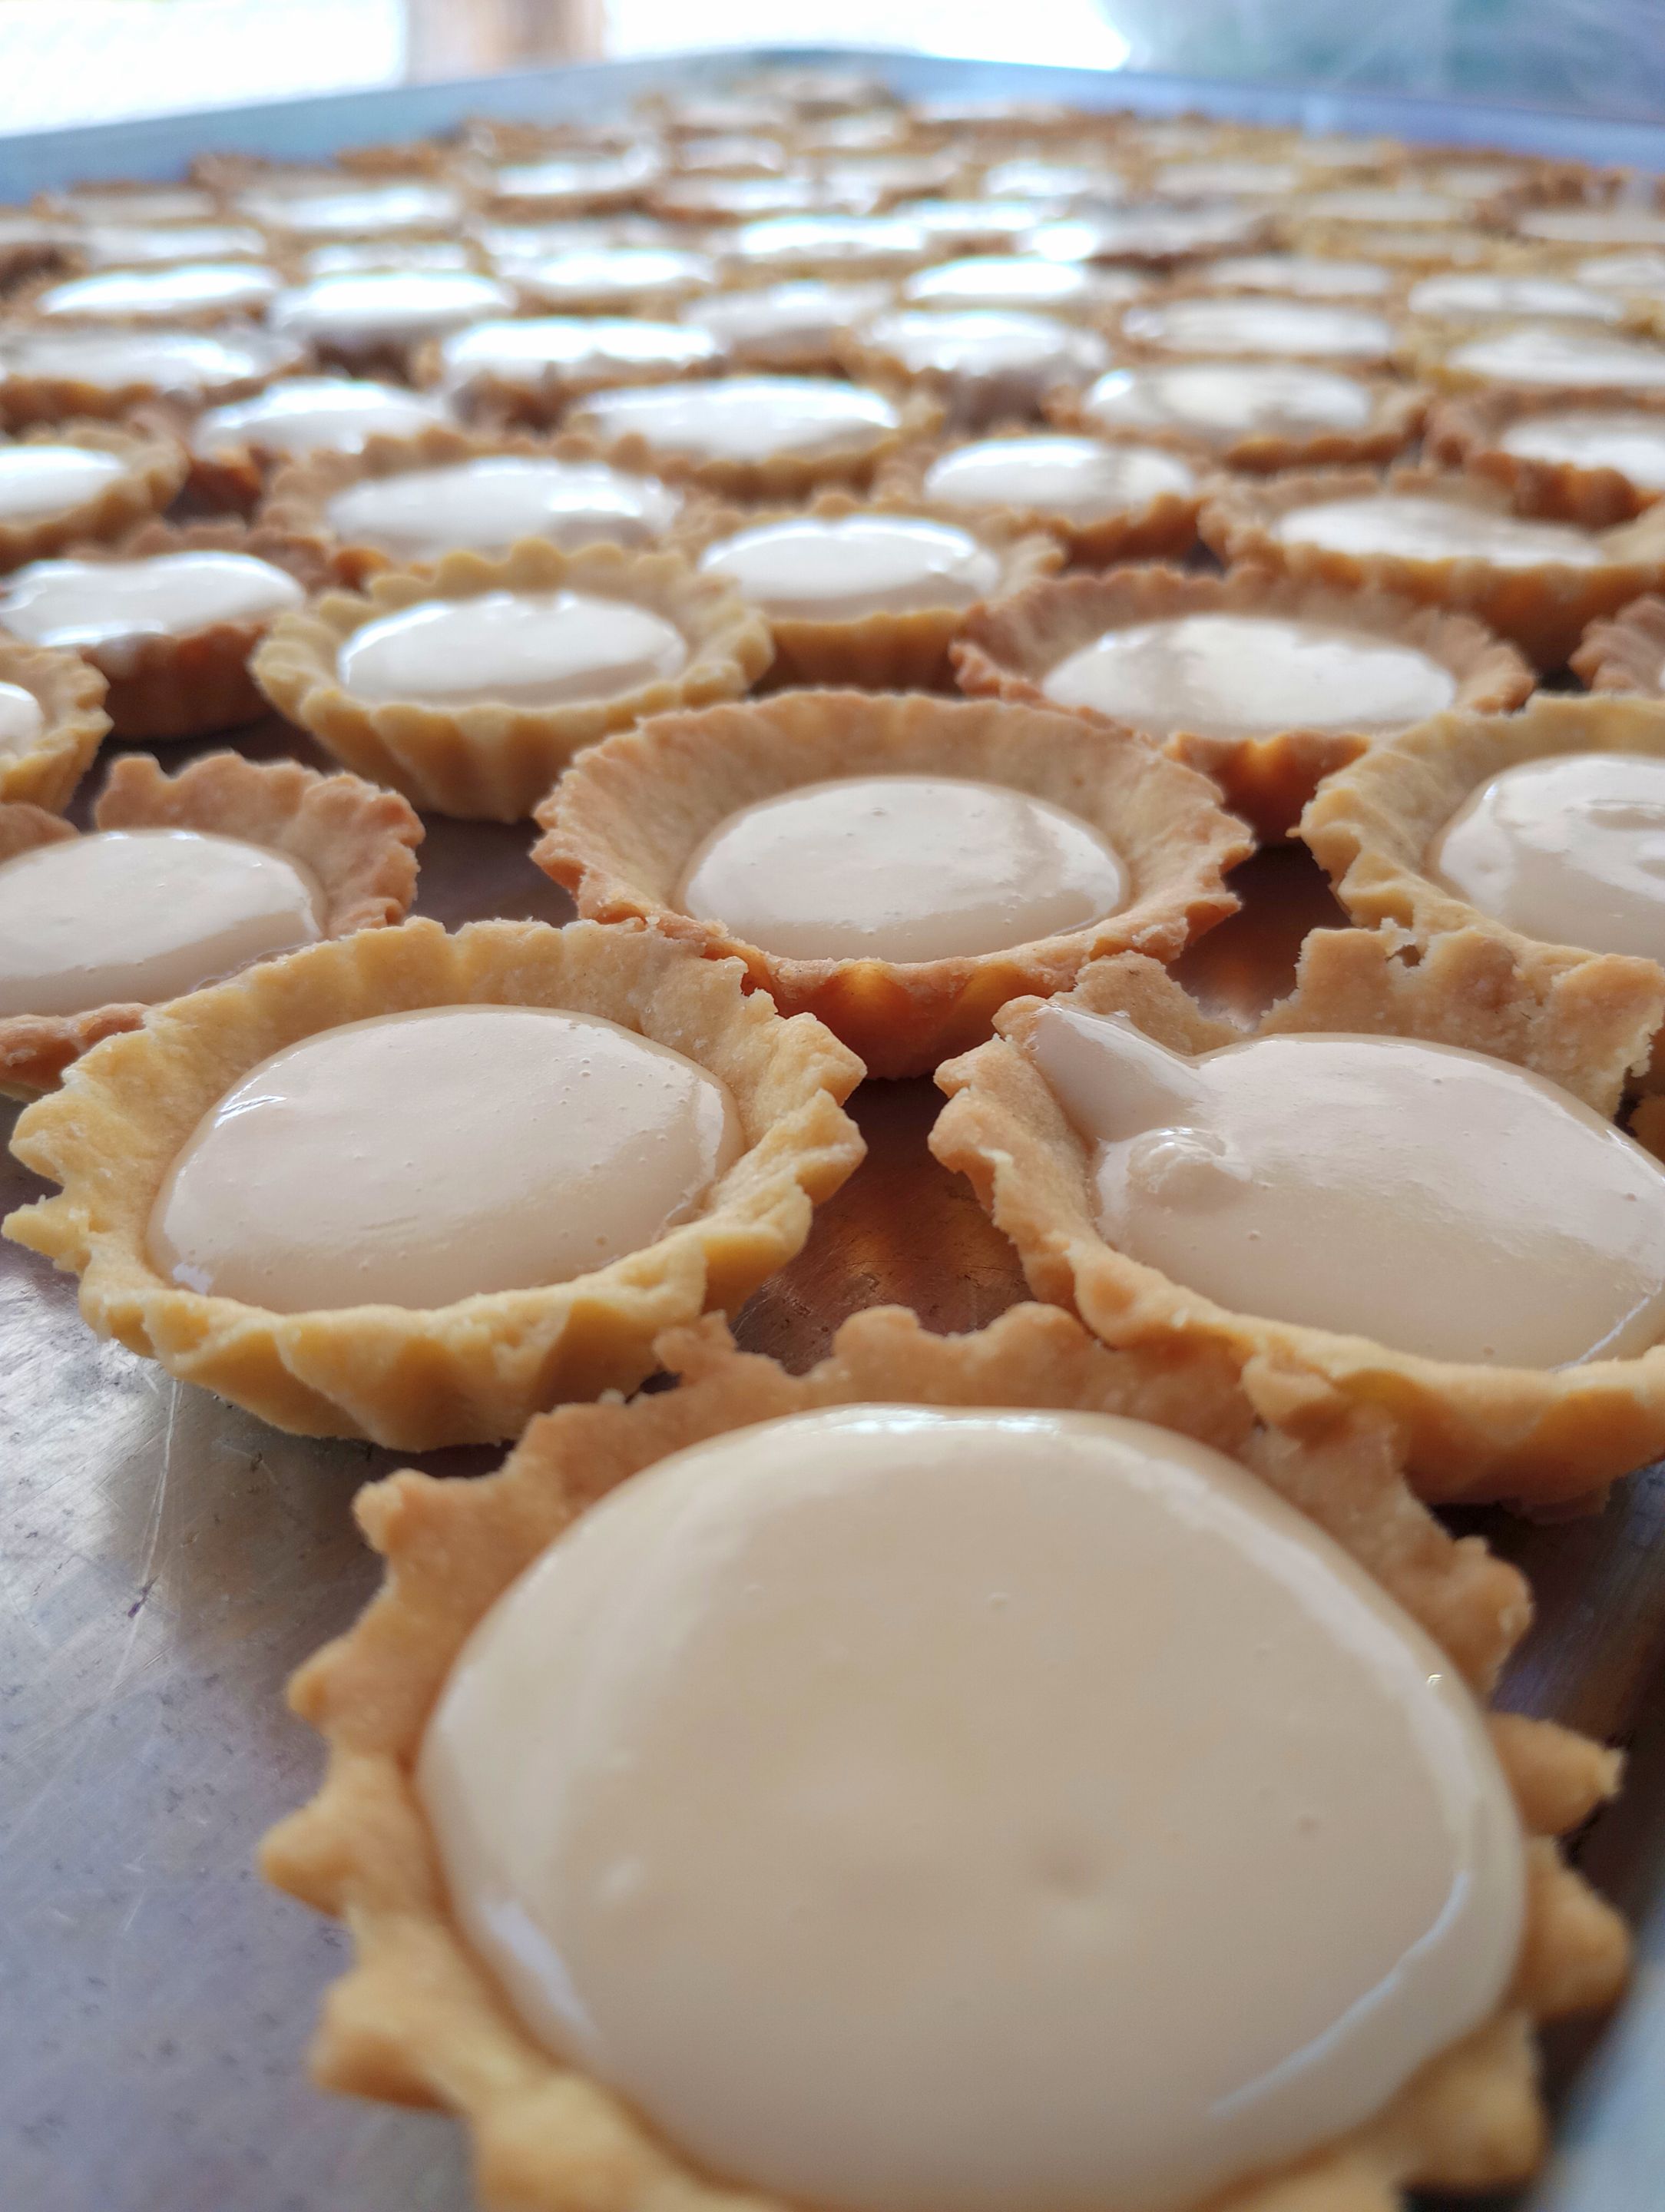
Llevamos al horno unos 15 minutos.

Then it is time to fill the cheesecake. We must mix all the filling ingredients and cook until it thickens.
We should not let the mixture boil because it tends to split. Let it cool a little and then start filling the cheesecake.
Bake in the oven for about 15 minutes.
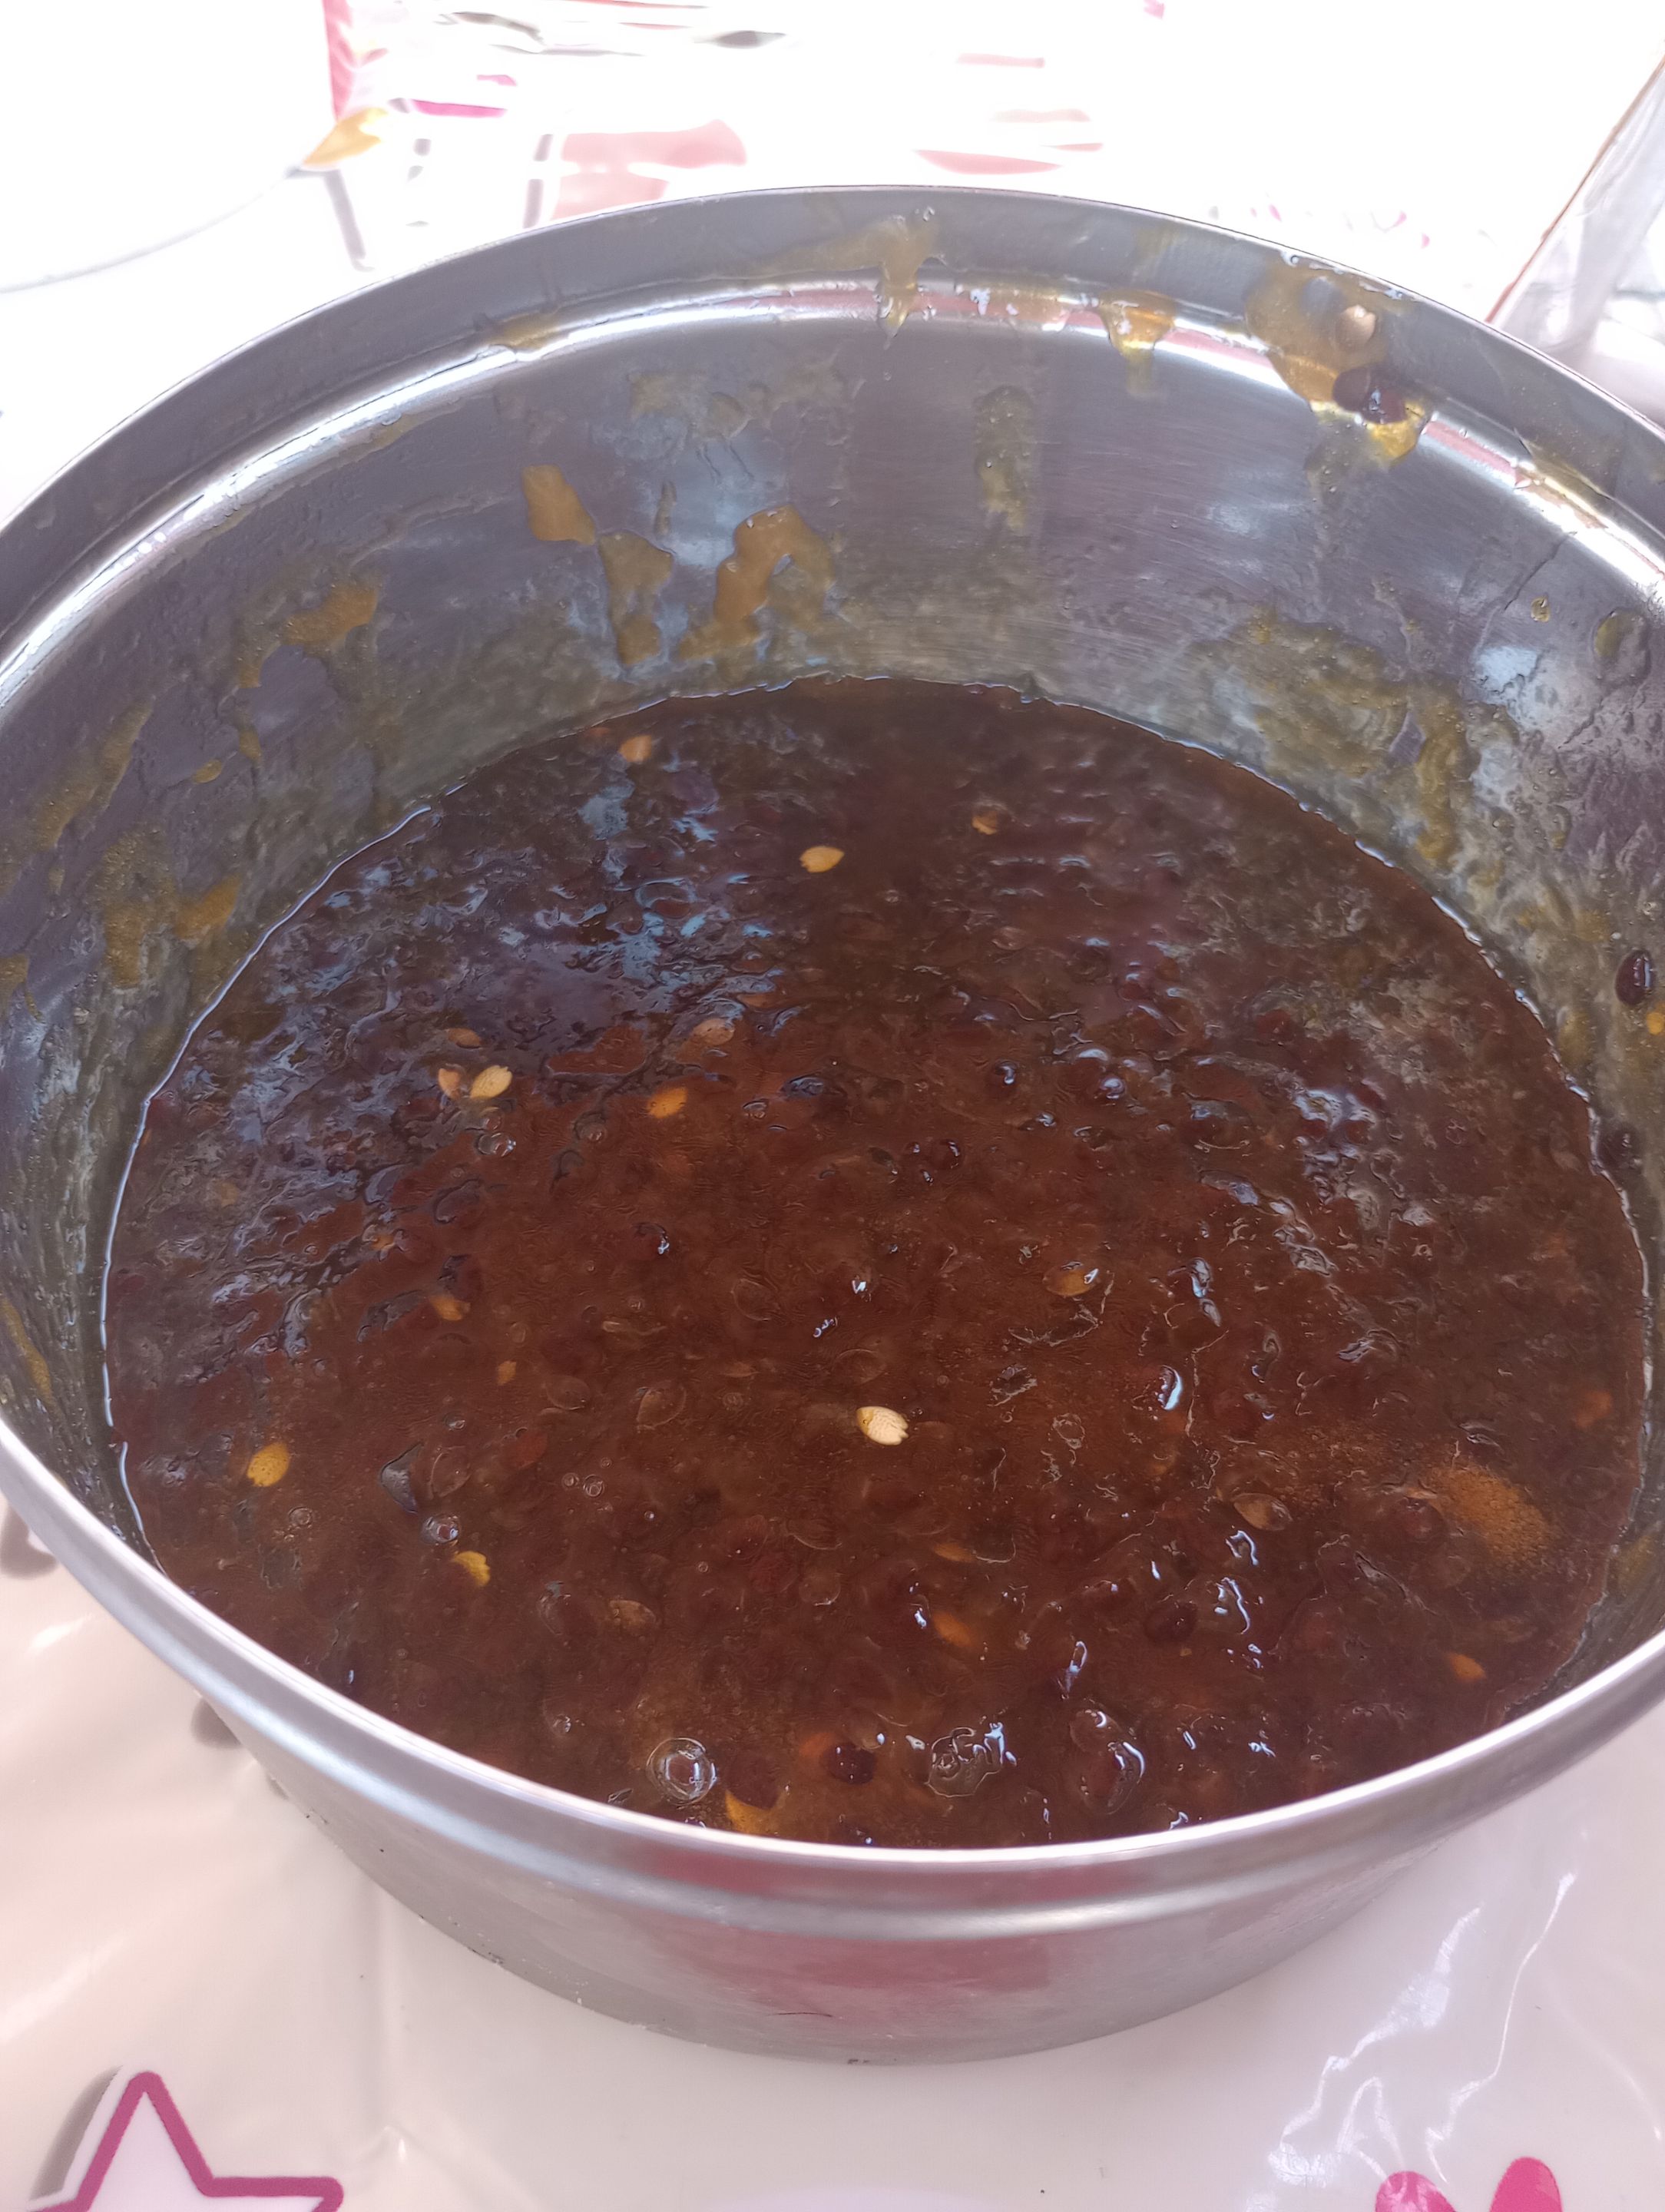
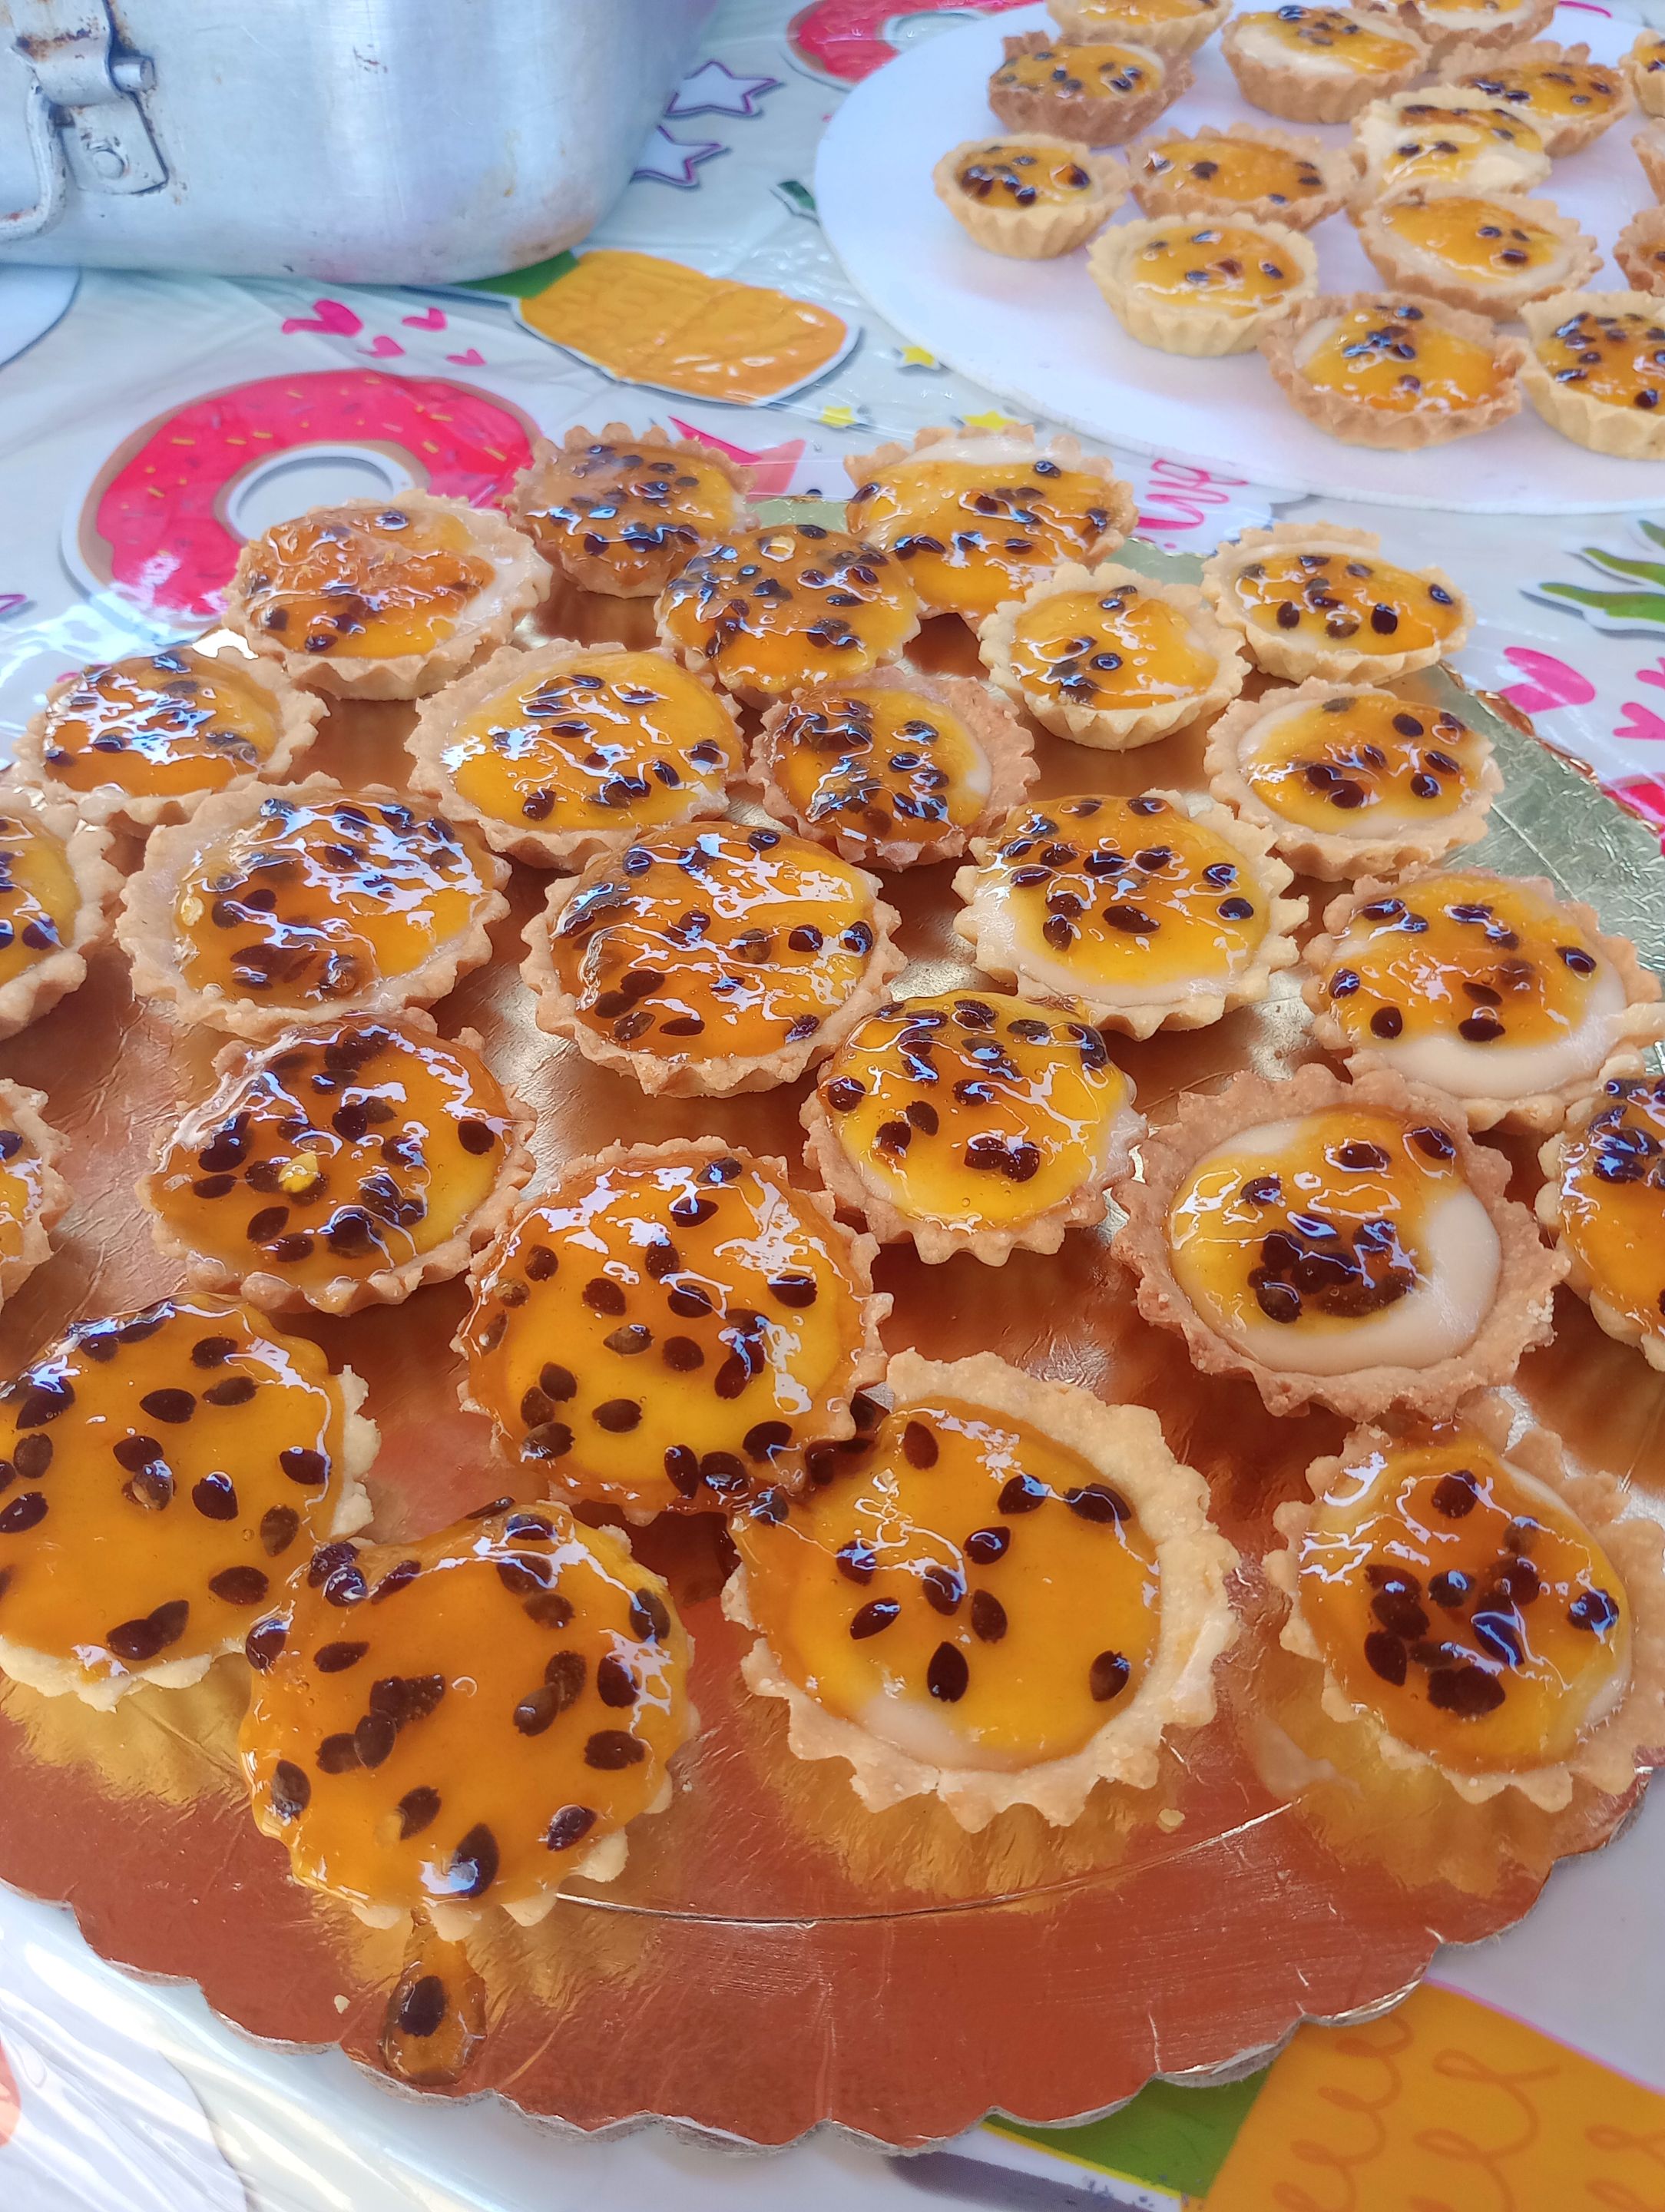
Finalmente se coloca el topping. Nosotras utilizamos un sirop de parchita que están delicioso.
Luego de cubrirlos debemos llevarlos a la nevera y una vez estén fríos podemos disfrutar de estas delicias.
Cómo vieron es una receta súper sencilla y espero puedan prepararla para sus seres queridos. 💛
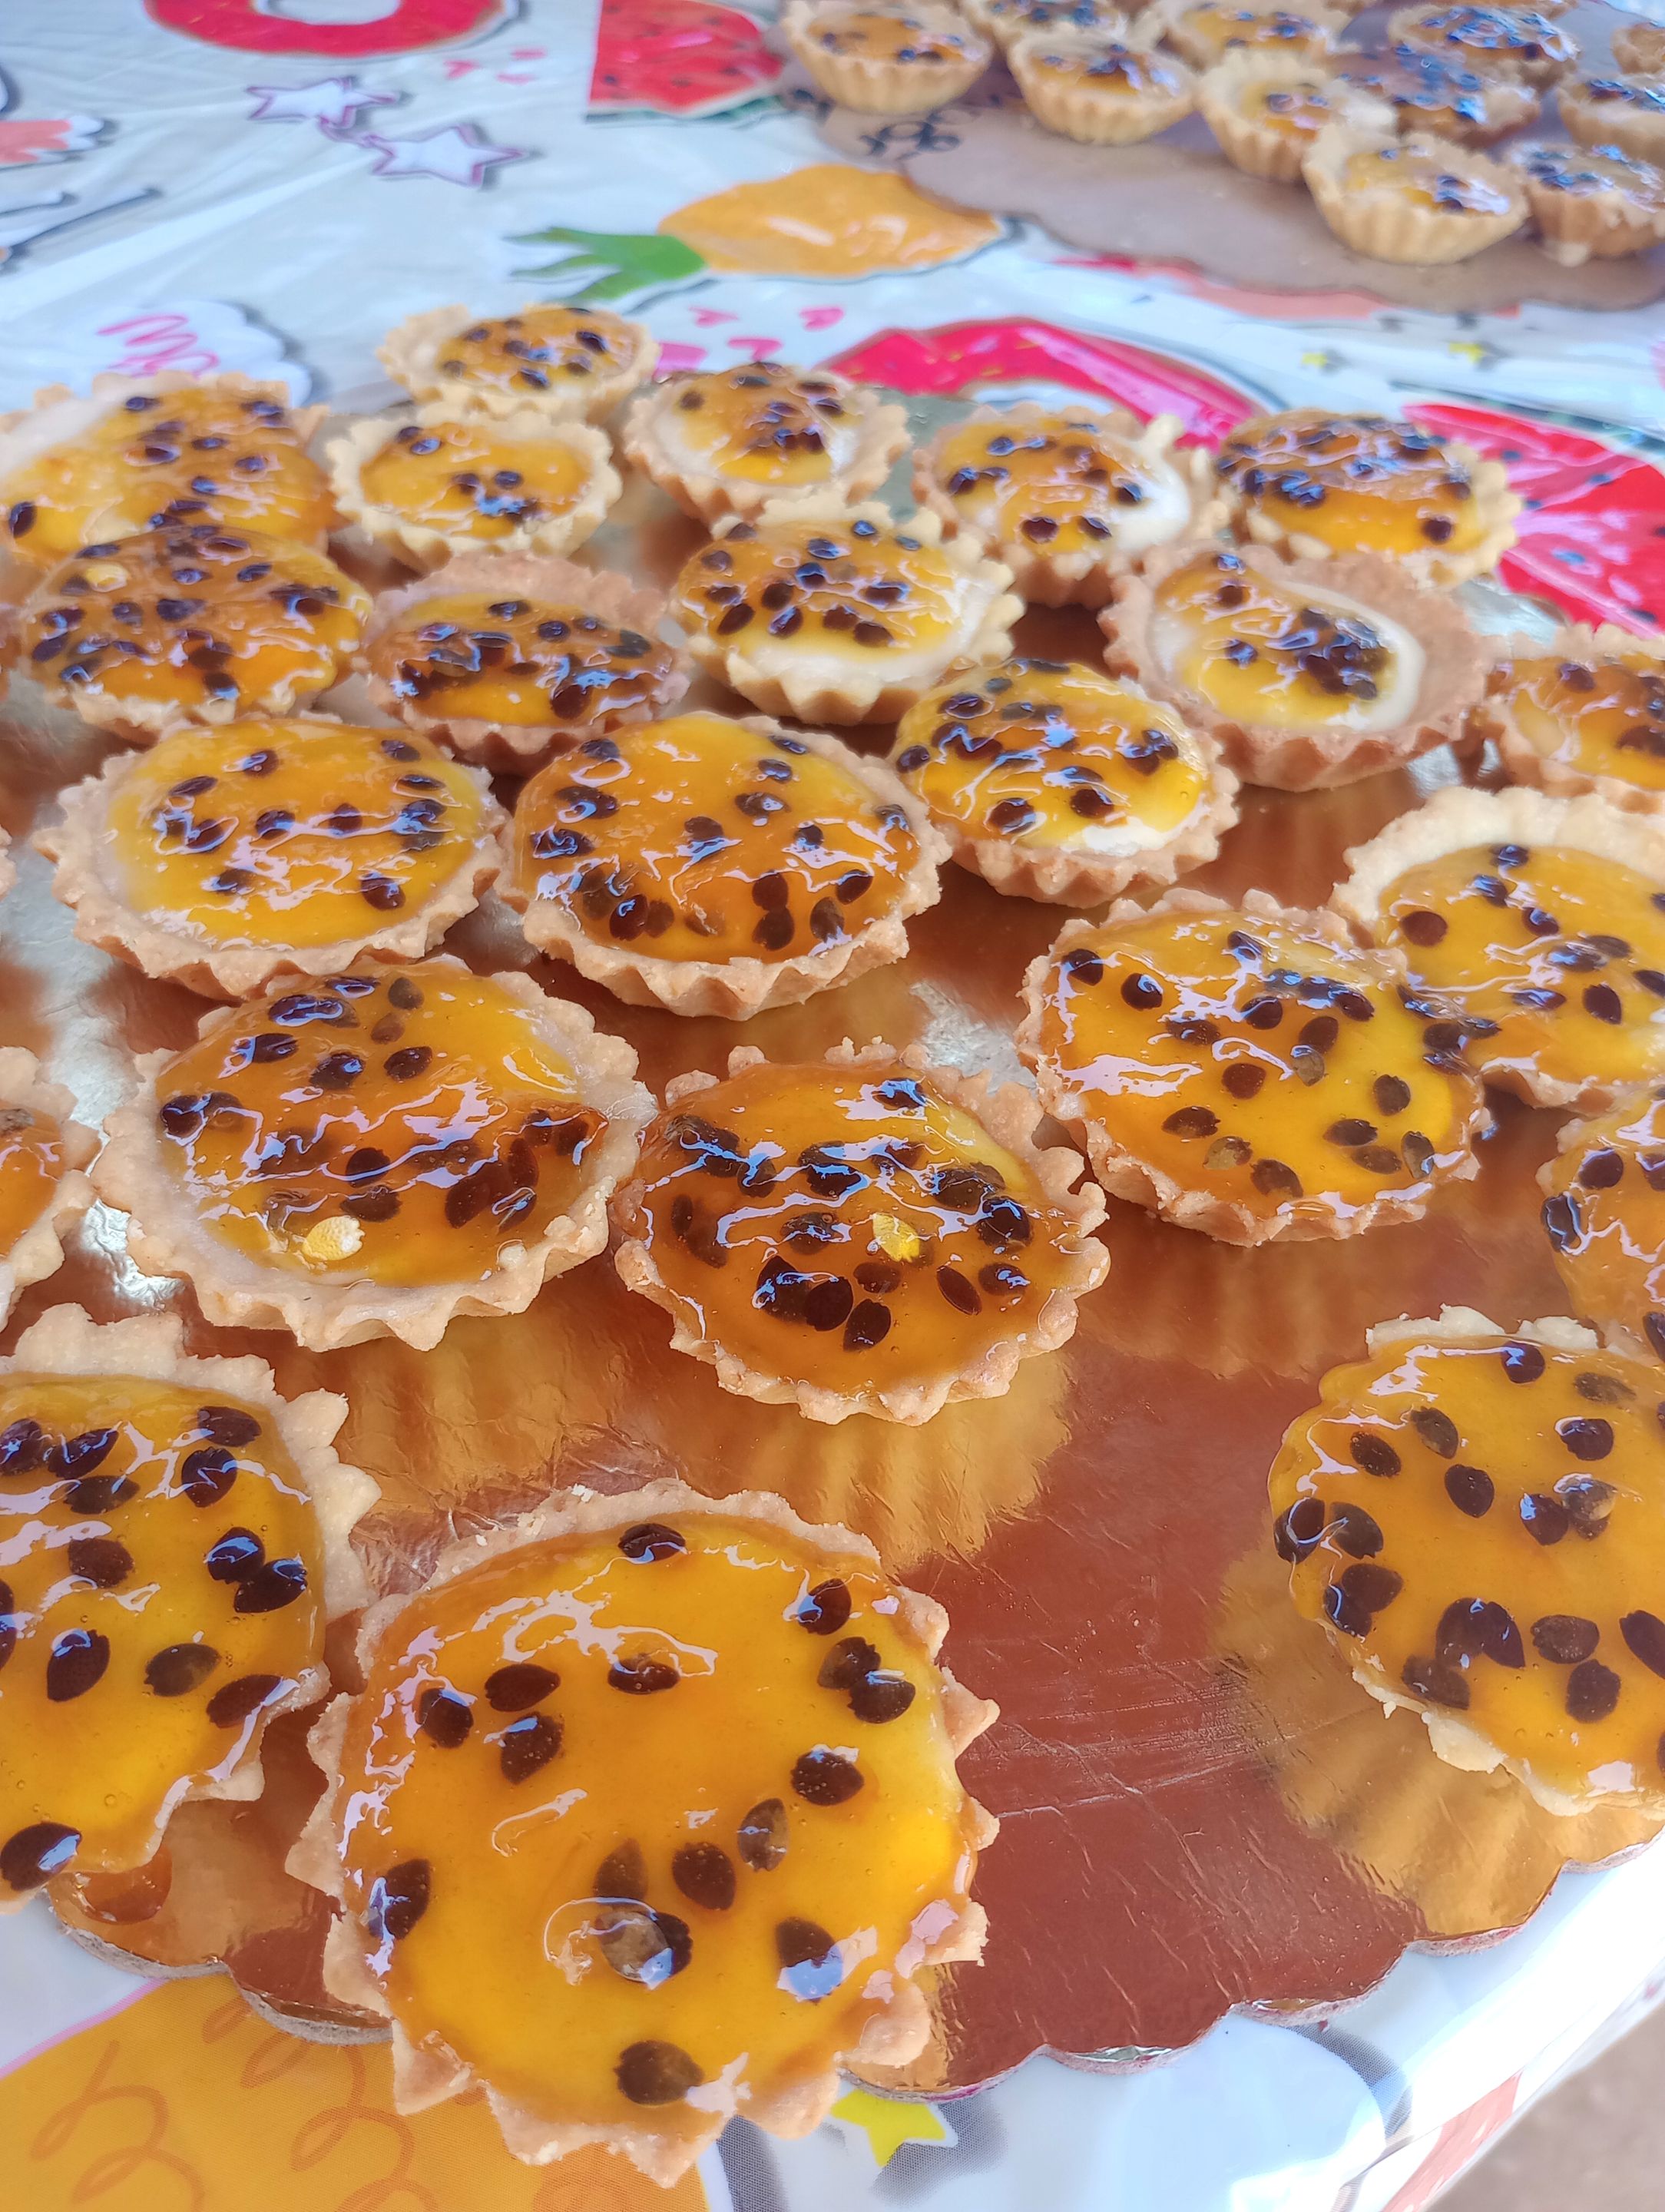
Finally, add the topping. We use a parchita syrup that is delicious.
After topping them we must take them to the refrigerator and once they are cold we can enjoy these delicacies.
As you saw it is a super simple recipe and I hope you can prepare it for your loved ones. 💛

Espero haya sido de tu agrado y provecho.
Un gran abrazo a todos, y nos leemos en un próximo post
• Lakrearte en Hive •
Att: Estefania Garcia ♥

Imágenes y separadores de mi autoría
Portada editada en Canva
Fotografías tomadas con un Moto G31
Texto traducido en Google ImTranslate v.14.27