English
Greetings to the people of the Hive DIY community. I have seen very good work from the community in recent days, I have been entertained on my part too.
They were all jobs that took up my time, they were simple, but too short to make a complete post, so I made a summary of the jobs to complete the content and share.
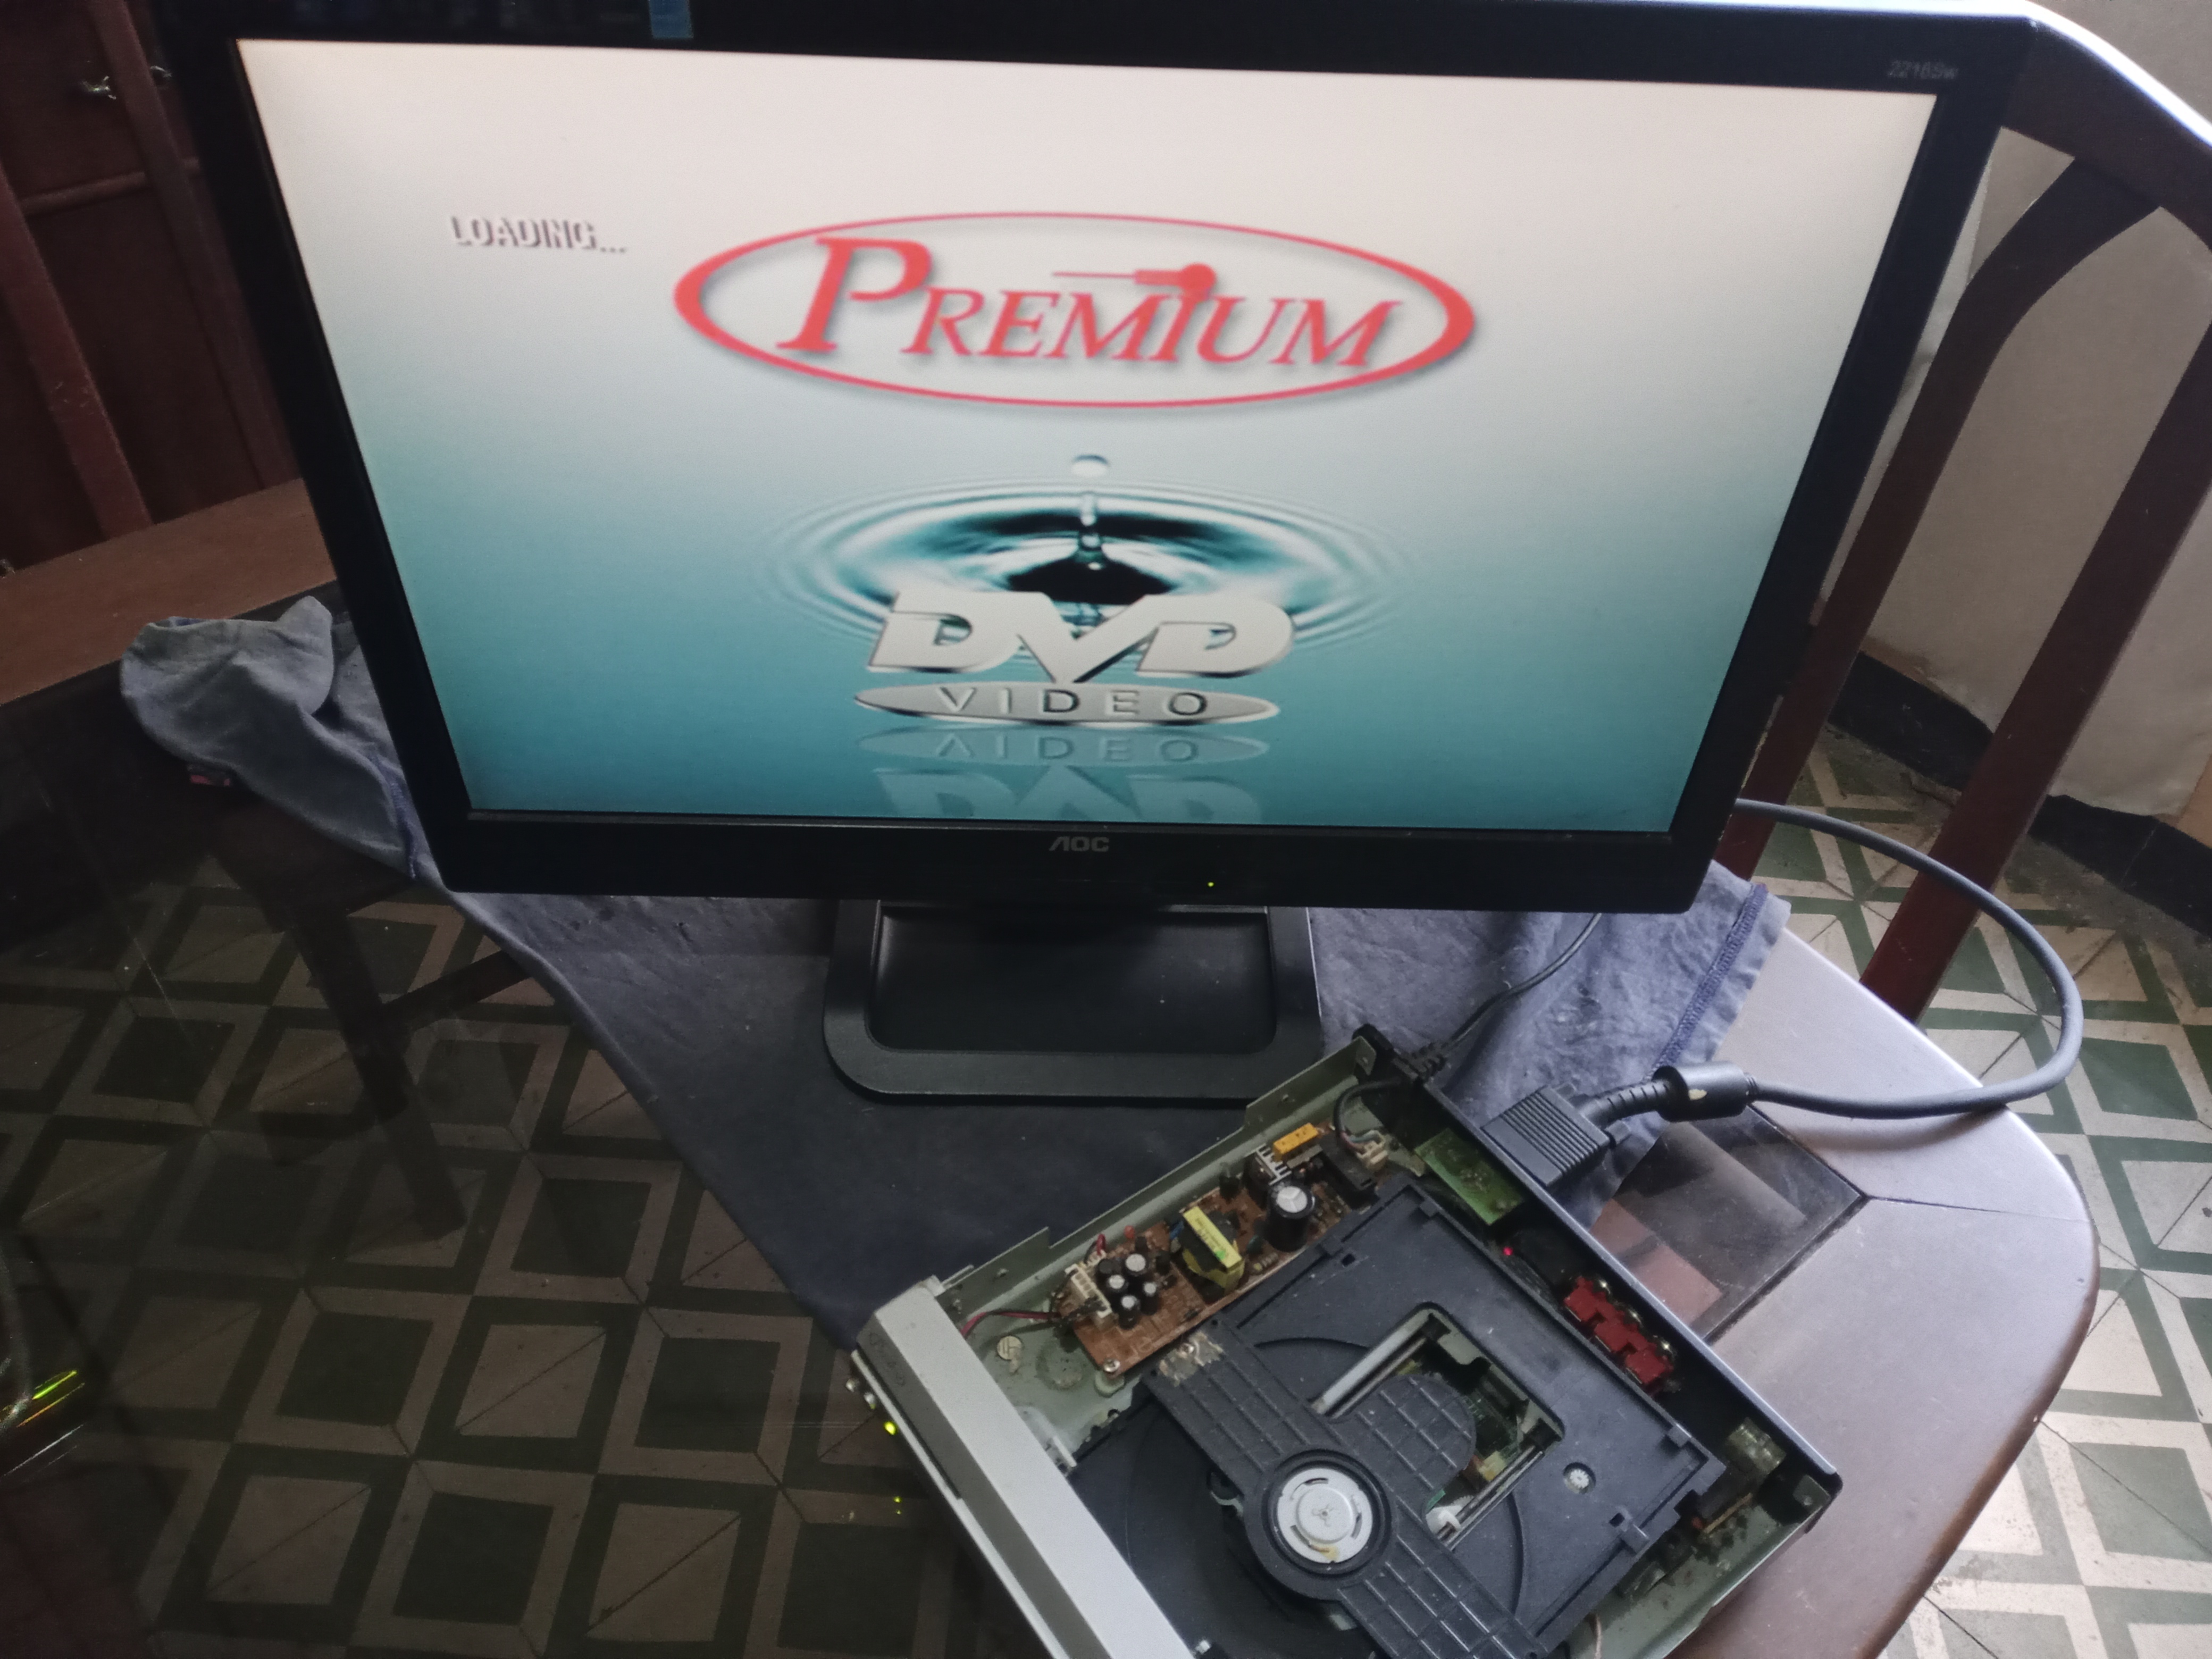
An LCD monitor, which has taken up several days of work, and has taken me down the street of bitterness, but it will help me share some tips on electronics repair, while I finish resolving the fault.
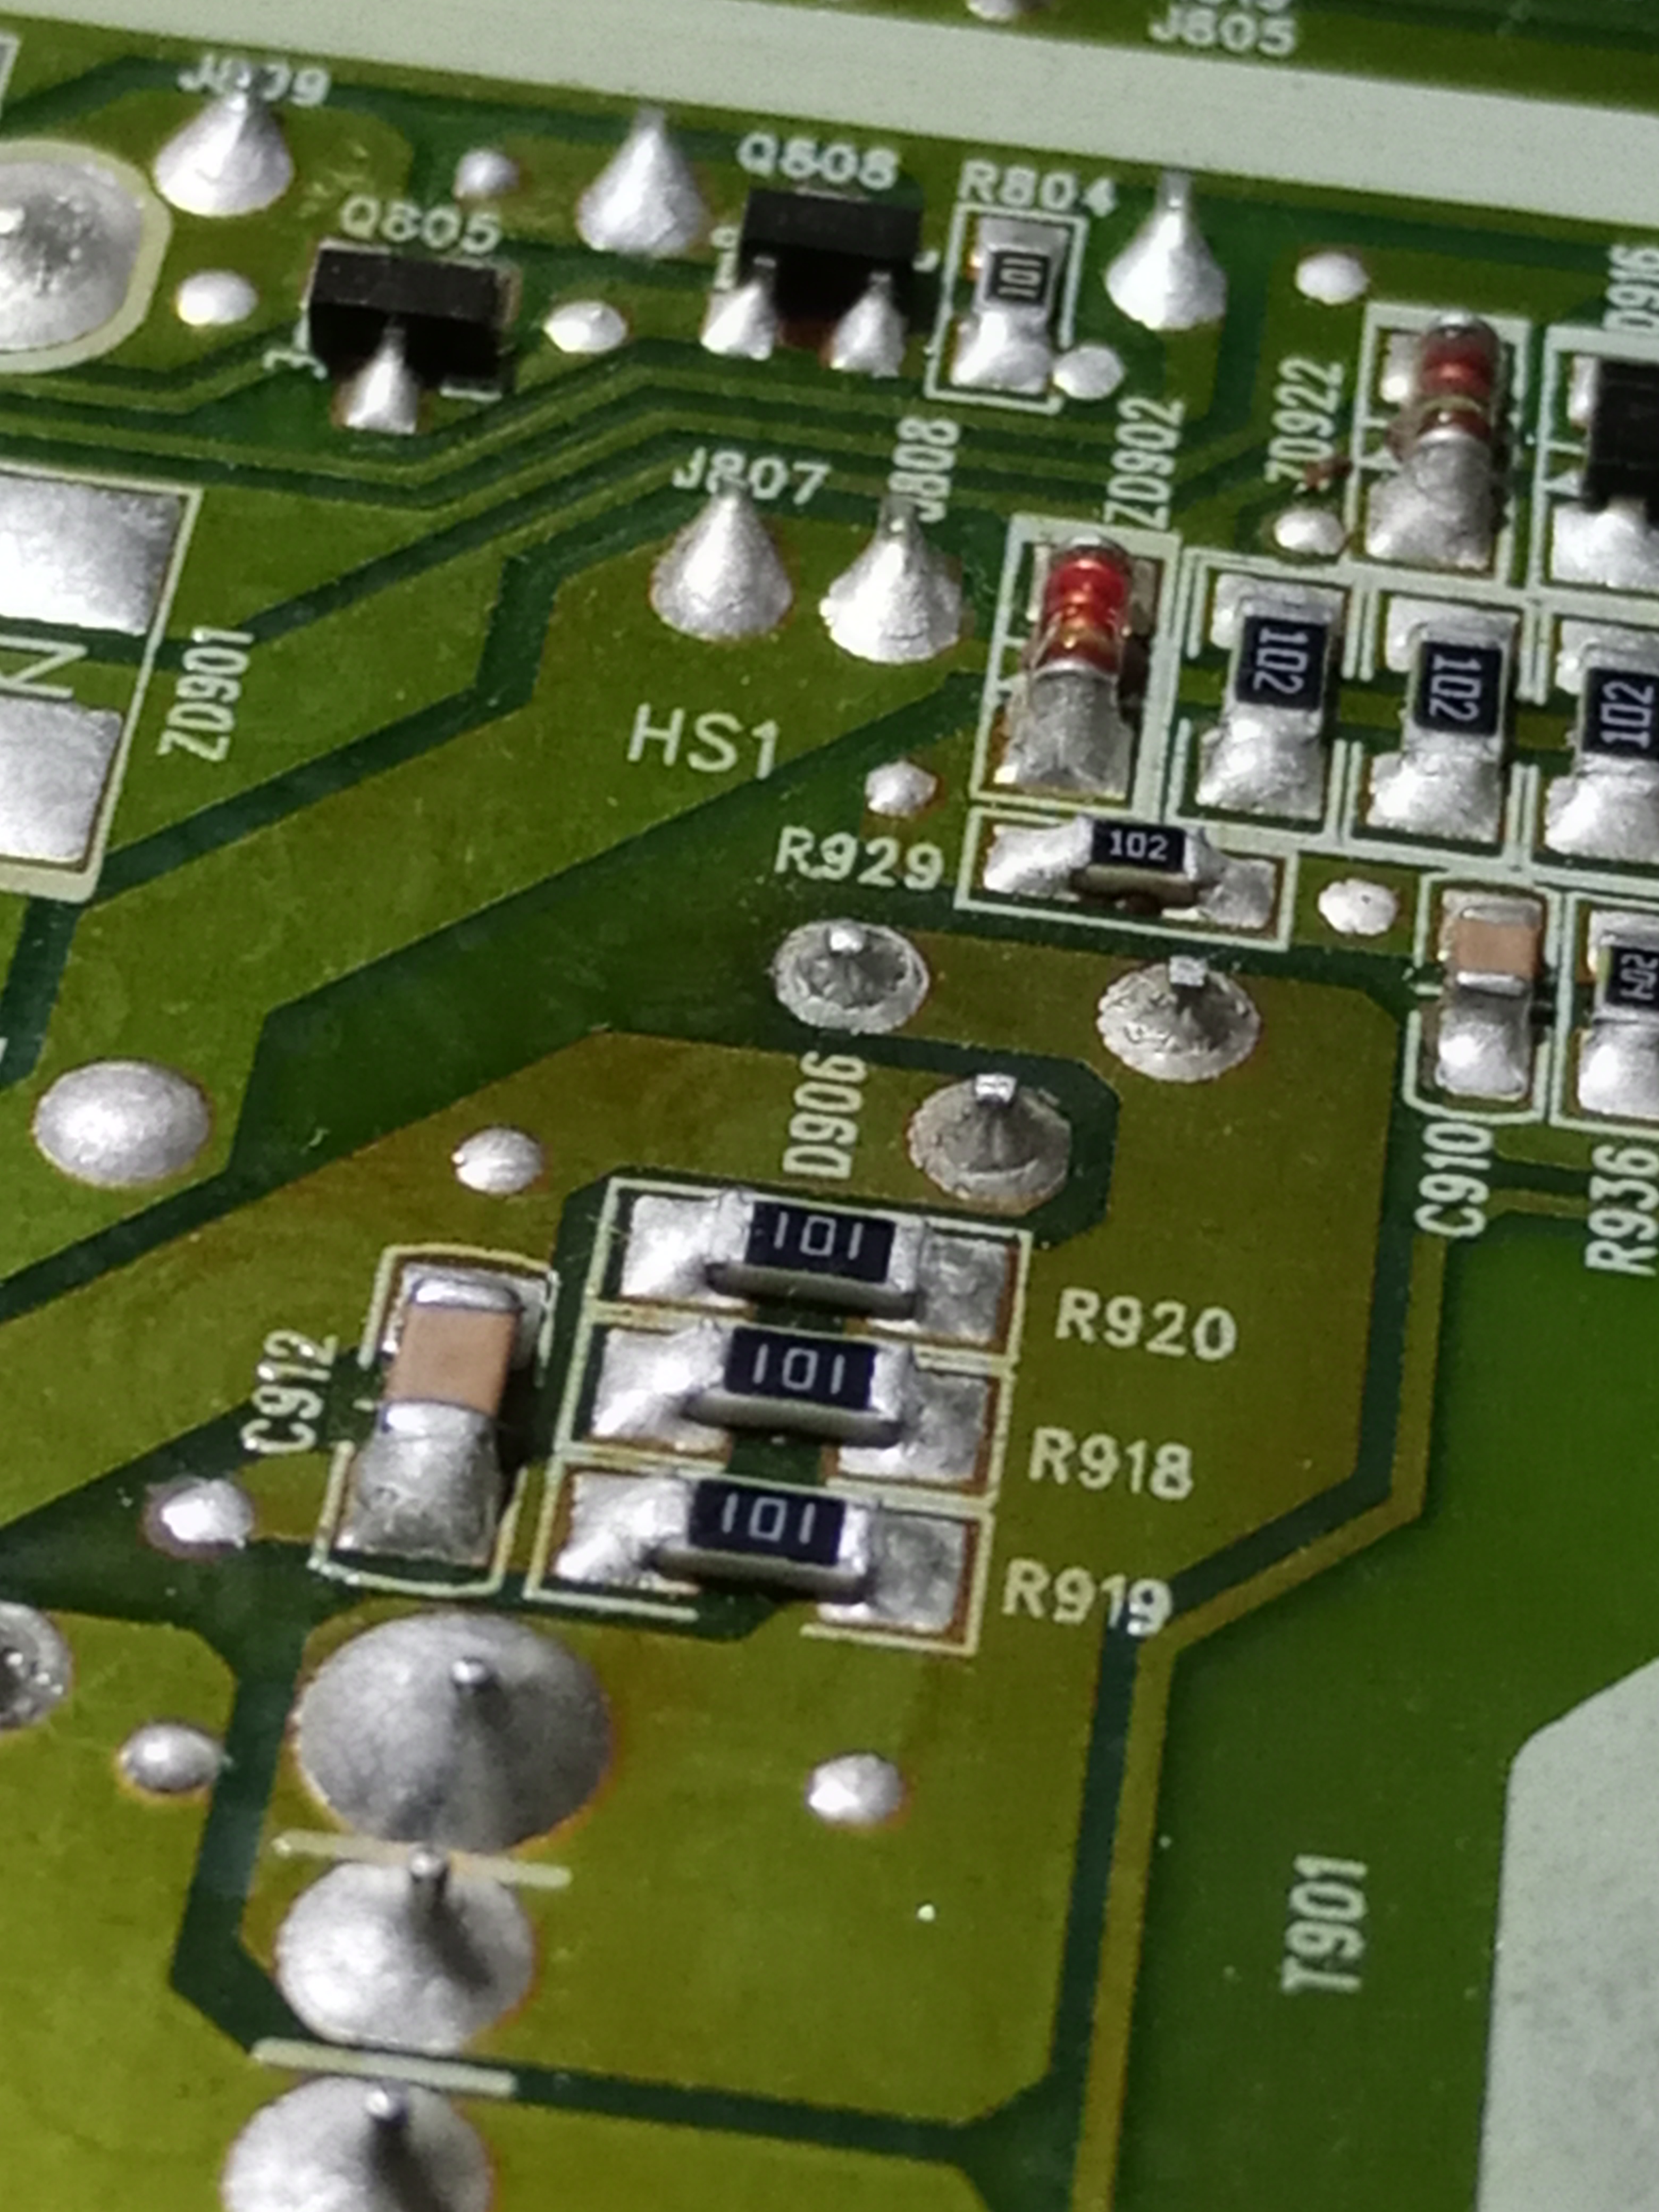
A failure in many electronic cards, be it toys, sound equipment, televisions or light bulbs, etc. It consists of the solders that have fractured in the components of the electronic board, I have found devices that work for a while or never work, when we inspected it we found this problem.
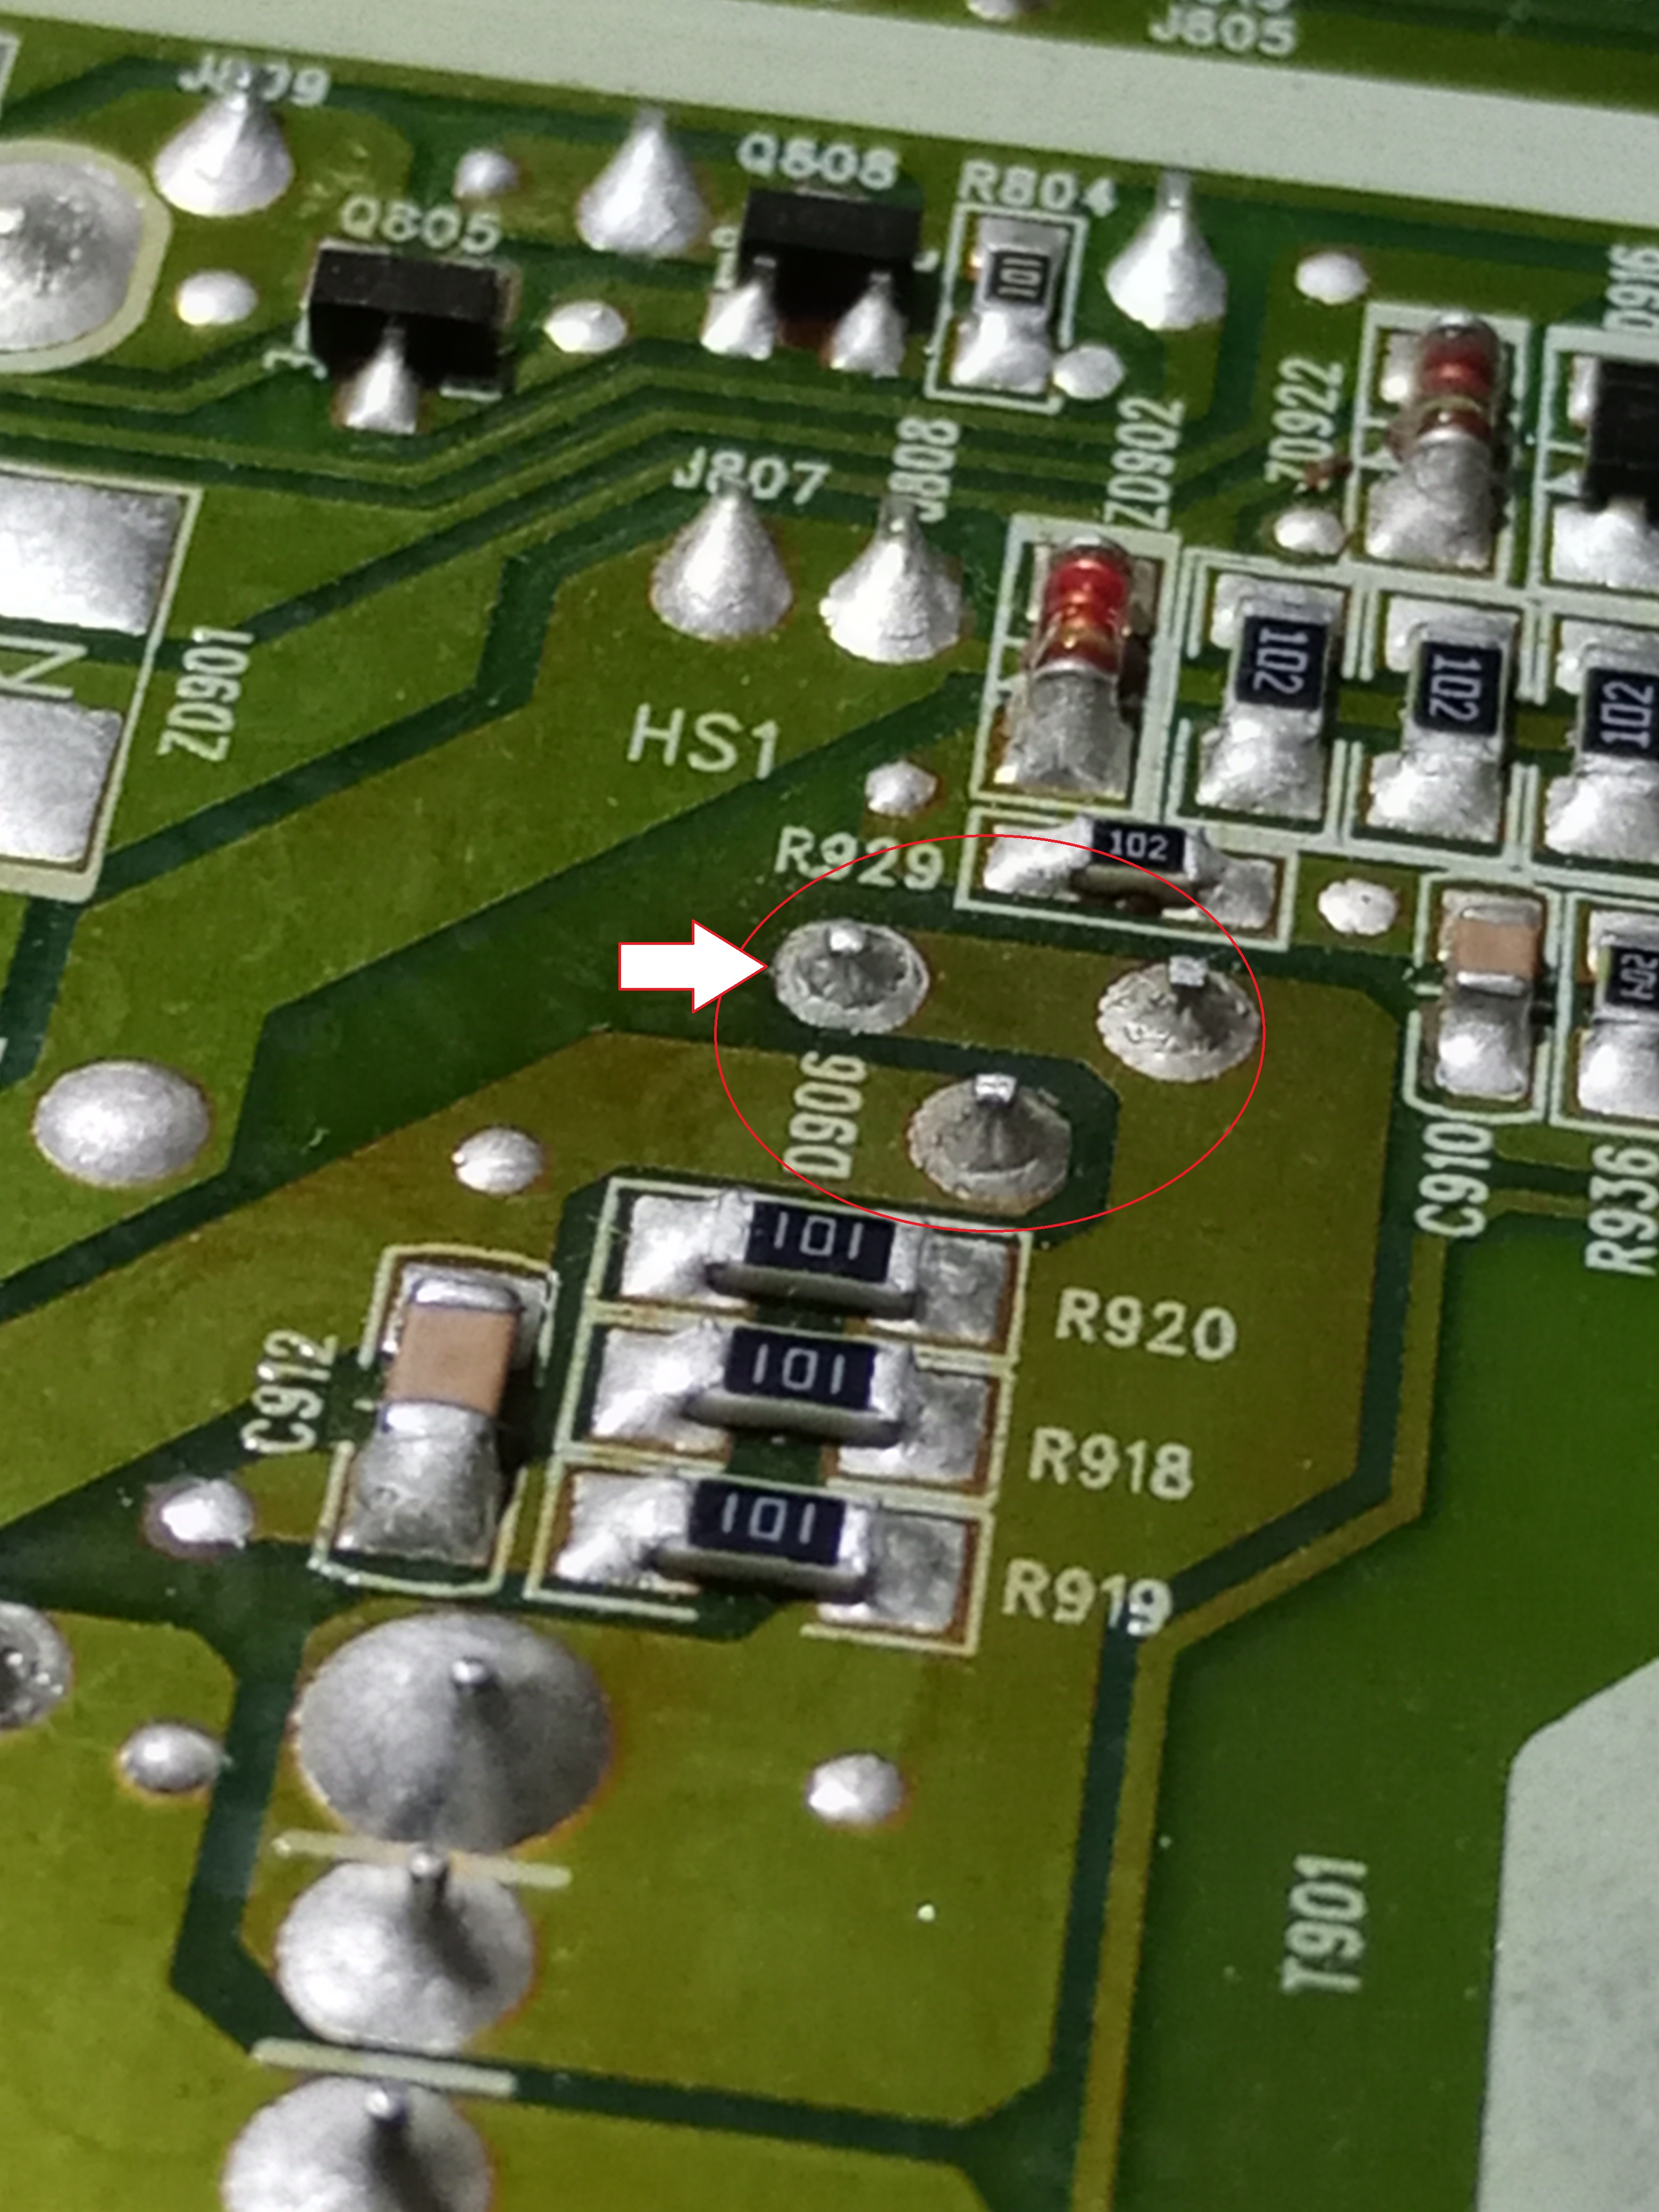
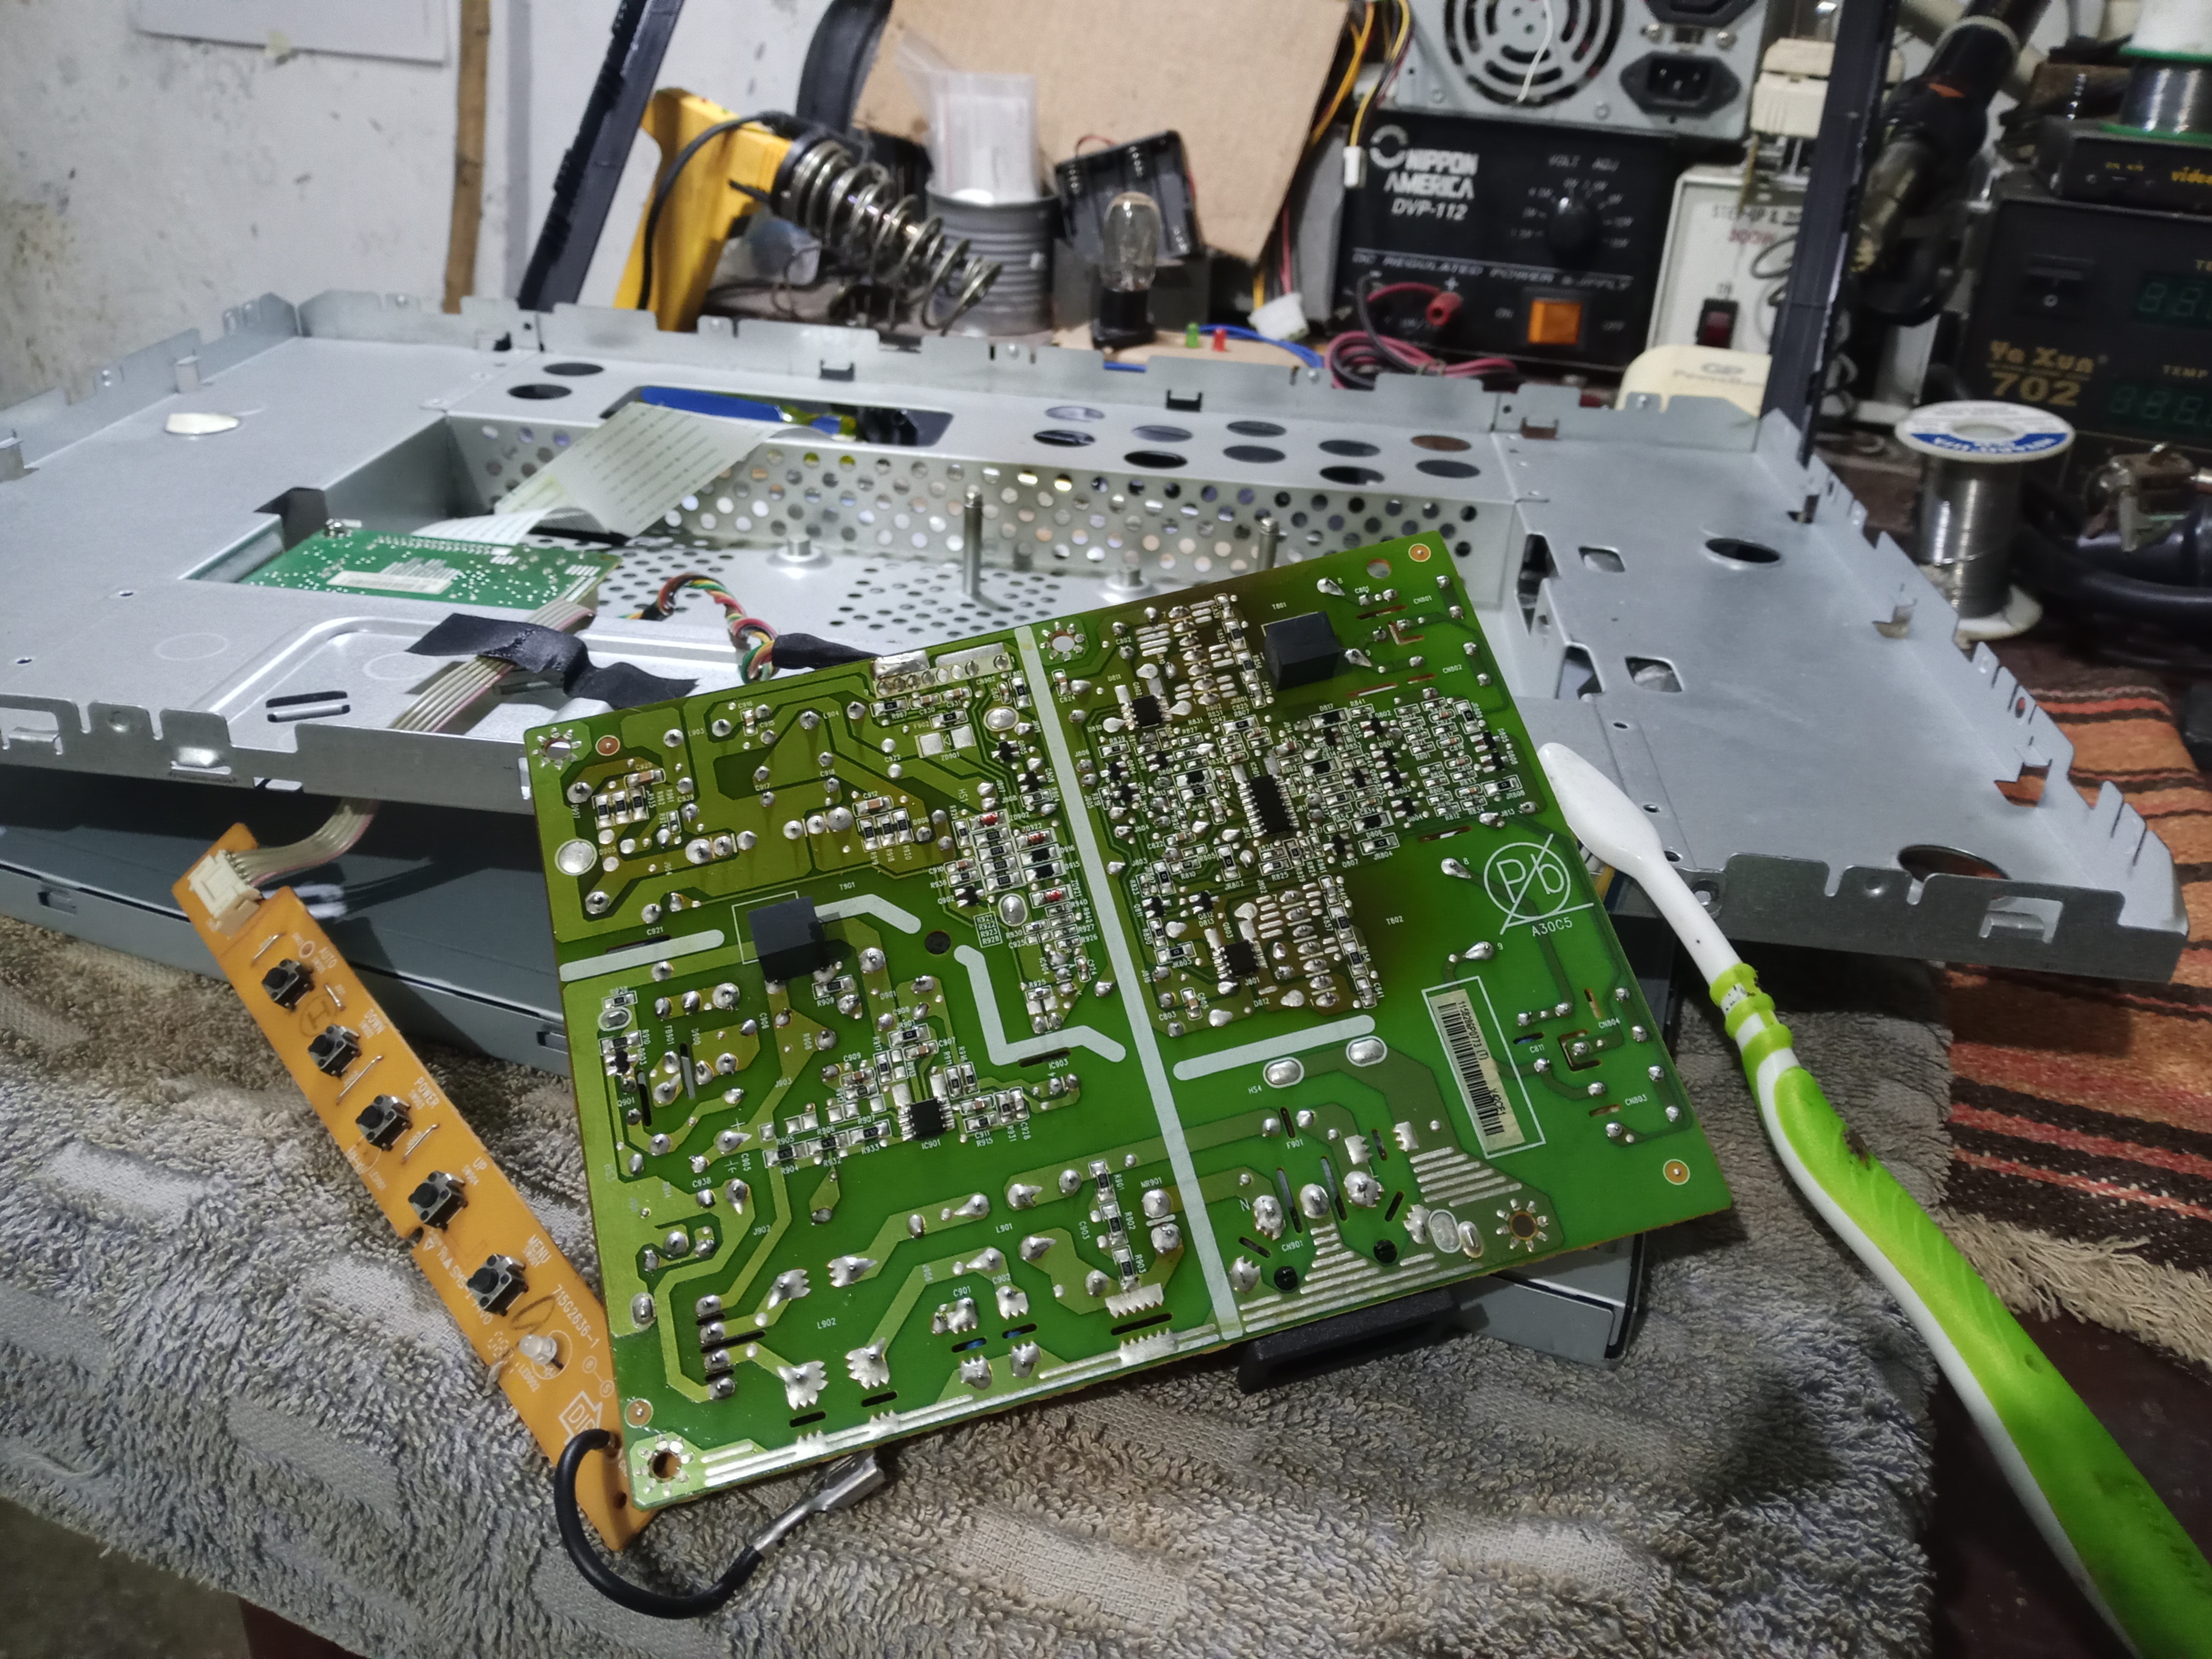
So when working on a device with an electronic card, the first thing I do is redo the soldering of the entire card, it is a tedious and slow job, but very necessary. In many cases, that alone solves the entire problem.
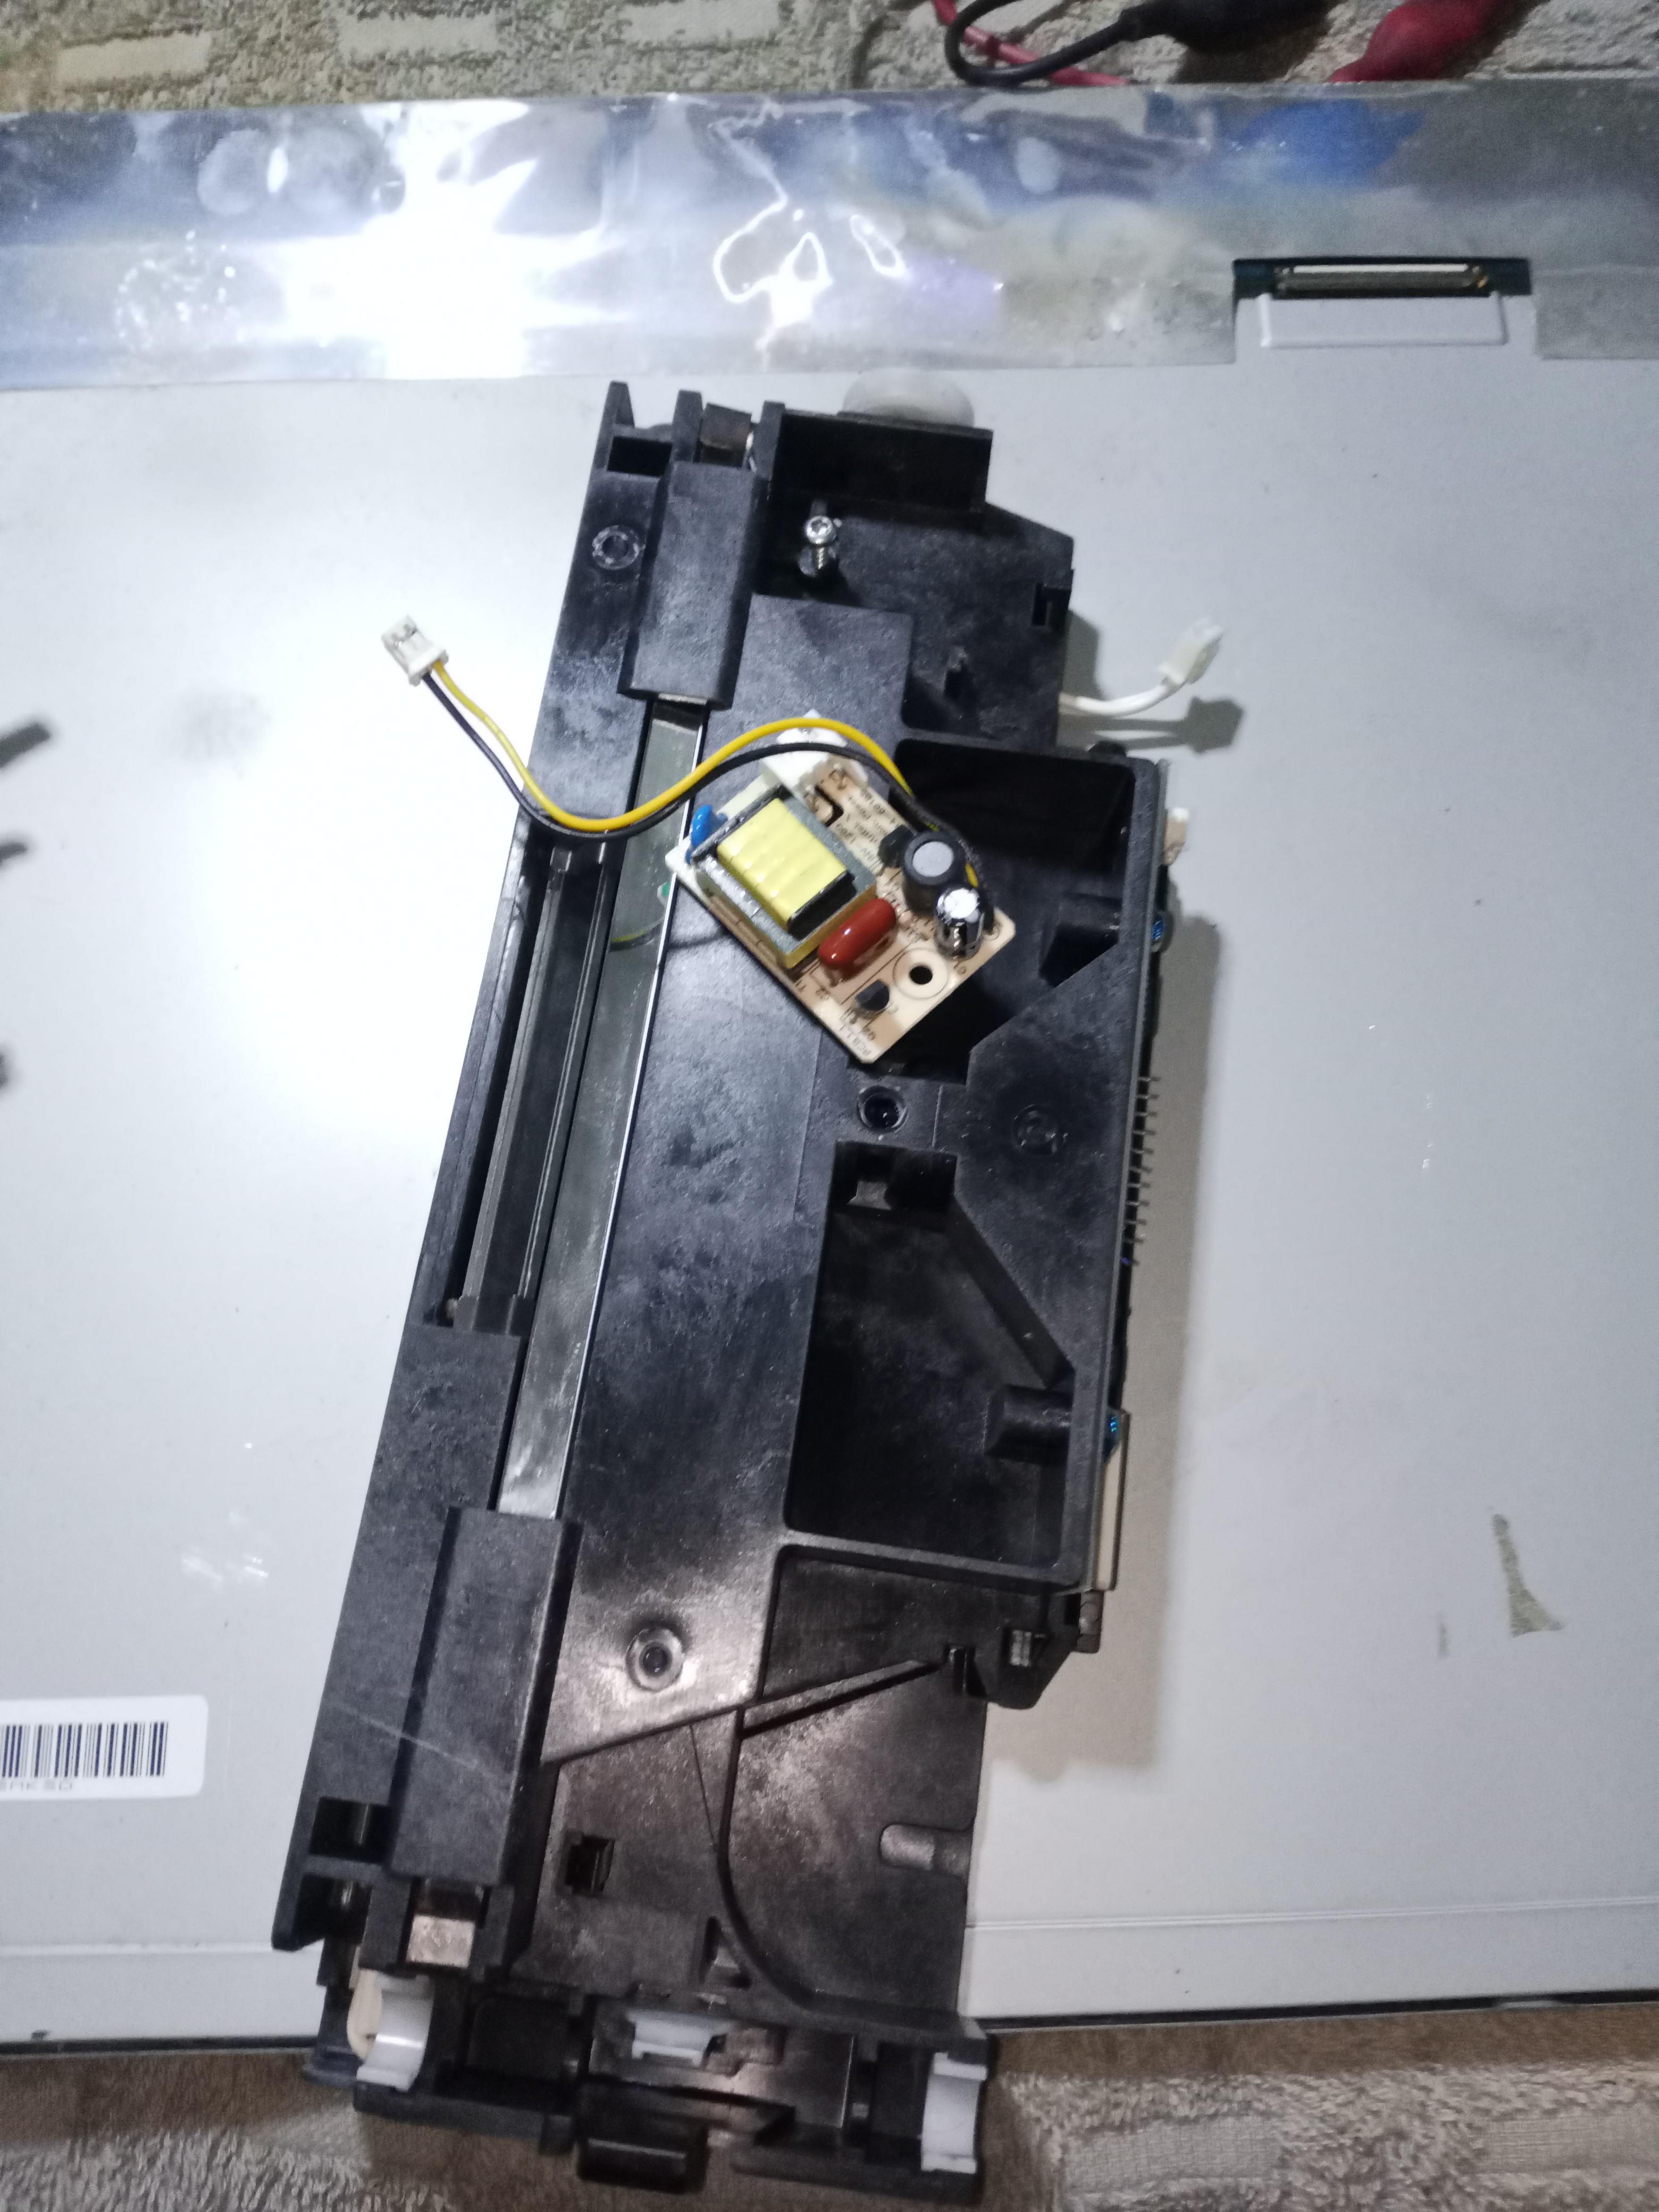
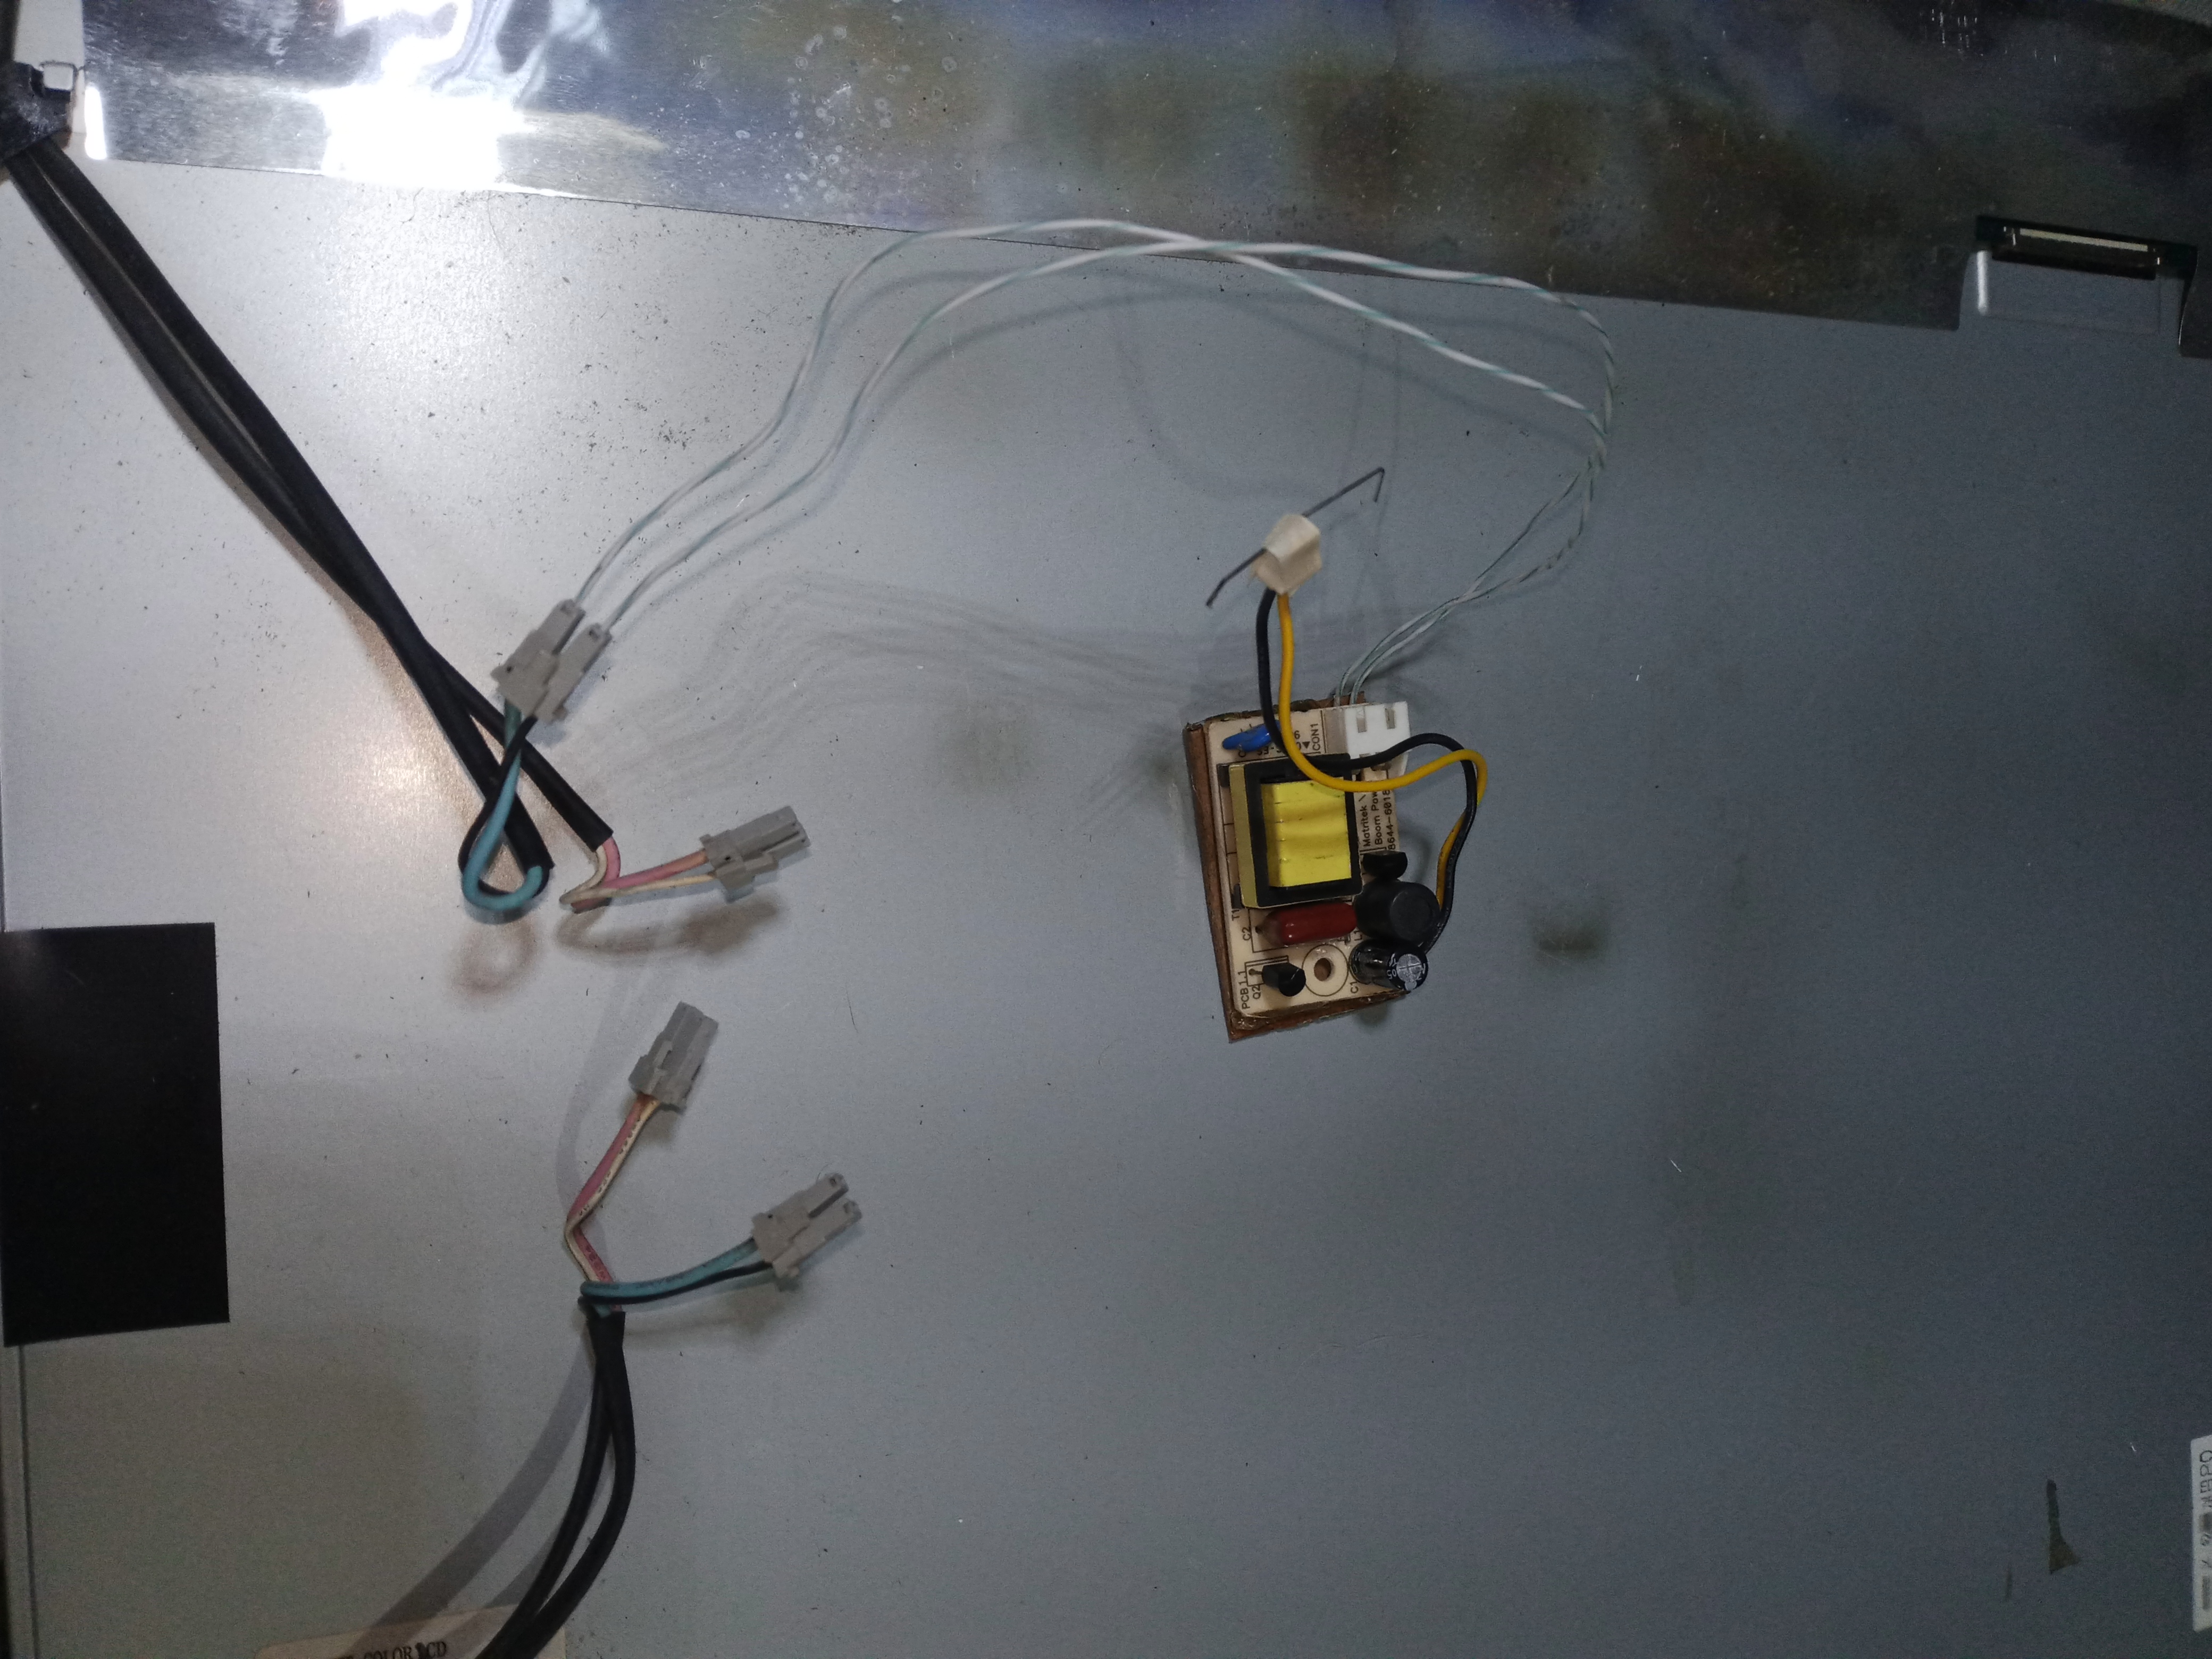
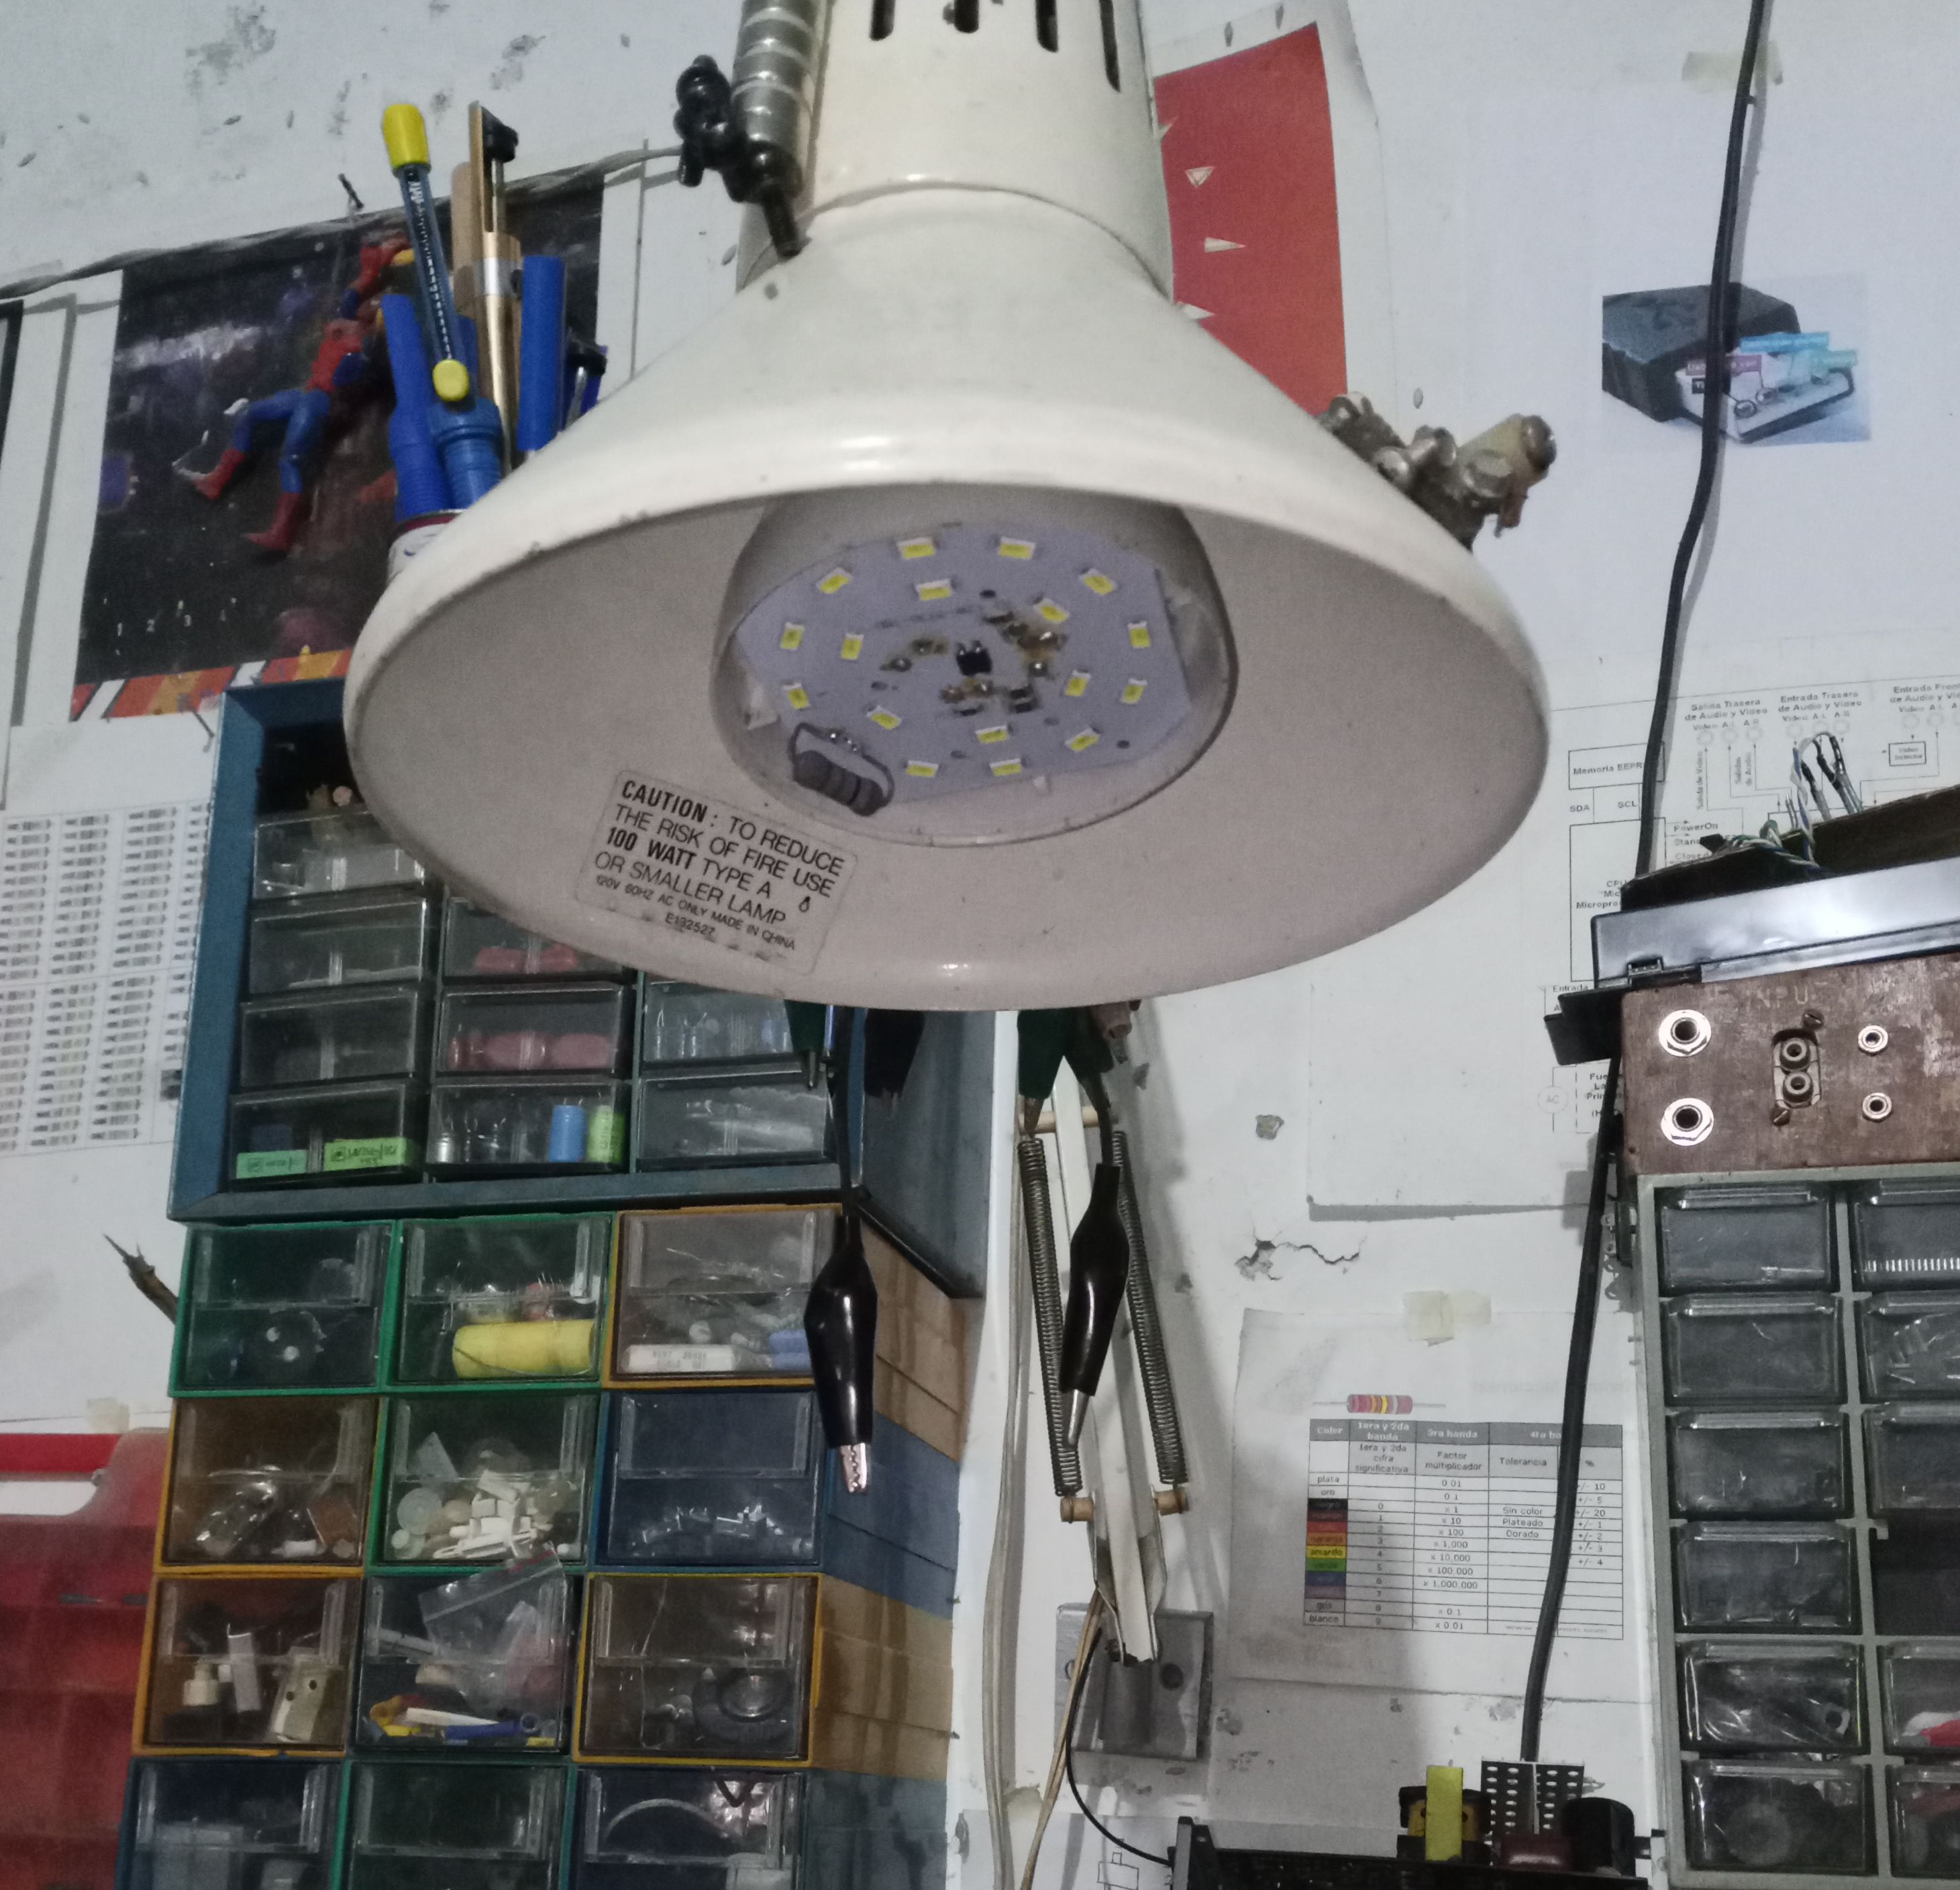
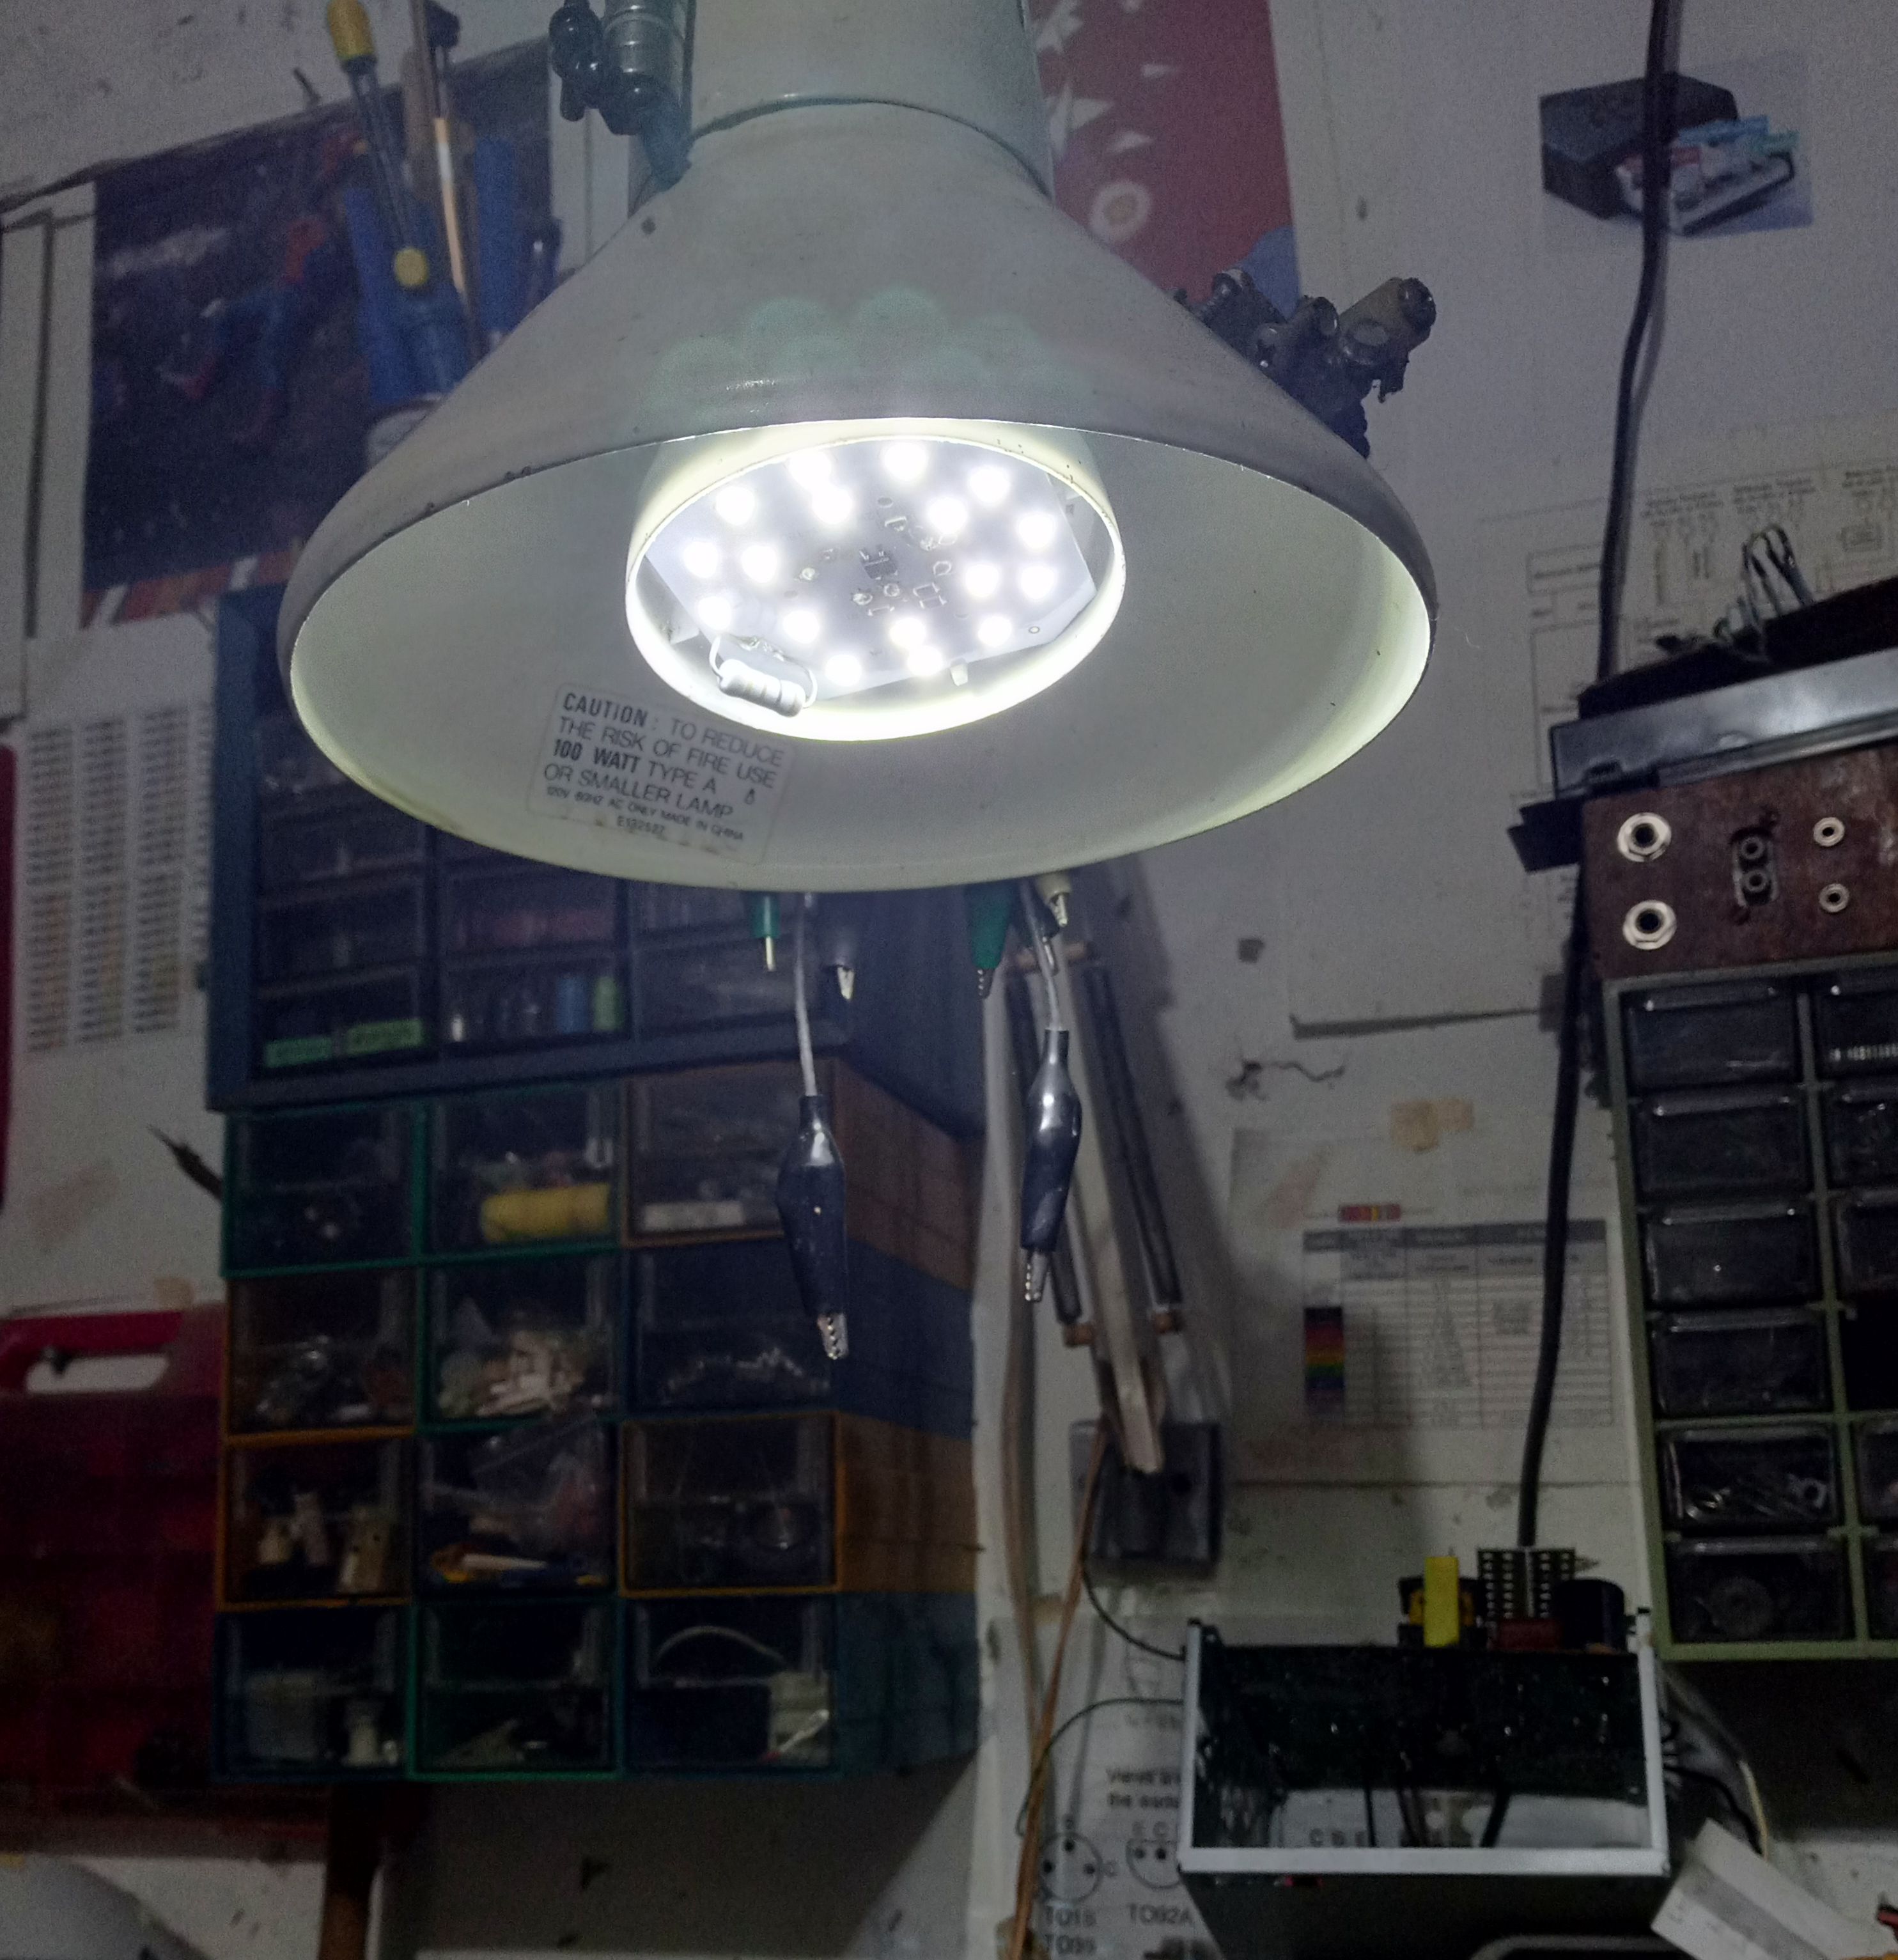
To test the display light tubes, I use an old fluorescent light bulb, which I have modified a bit, to generate the high voltage and run them.
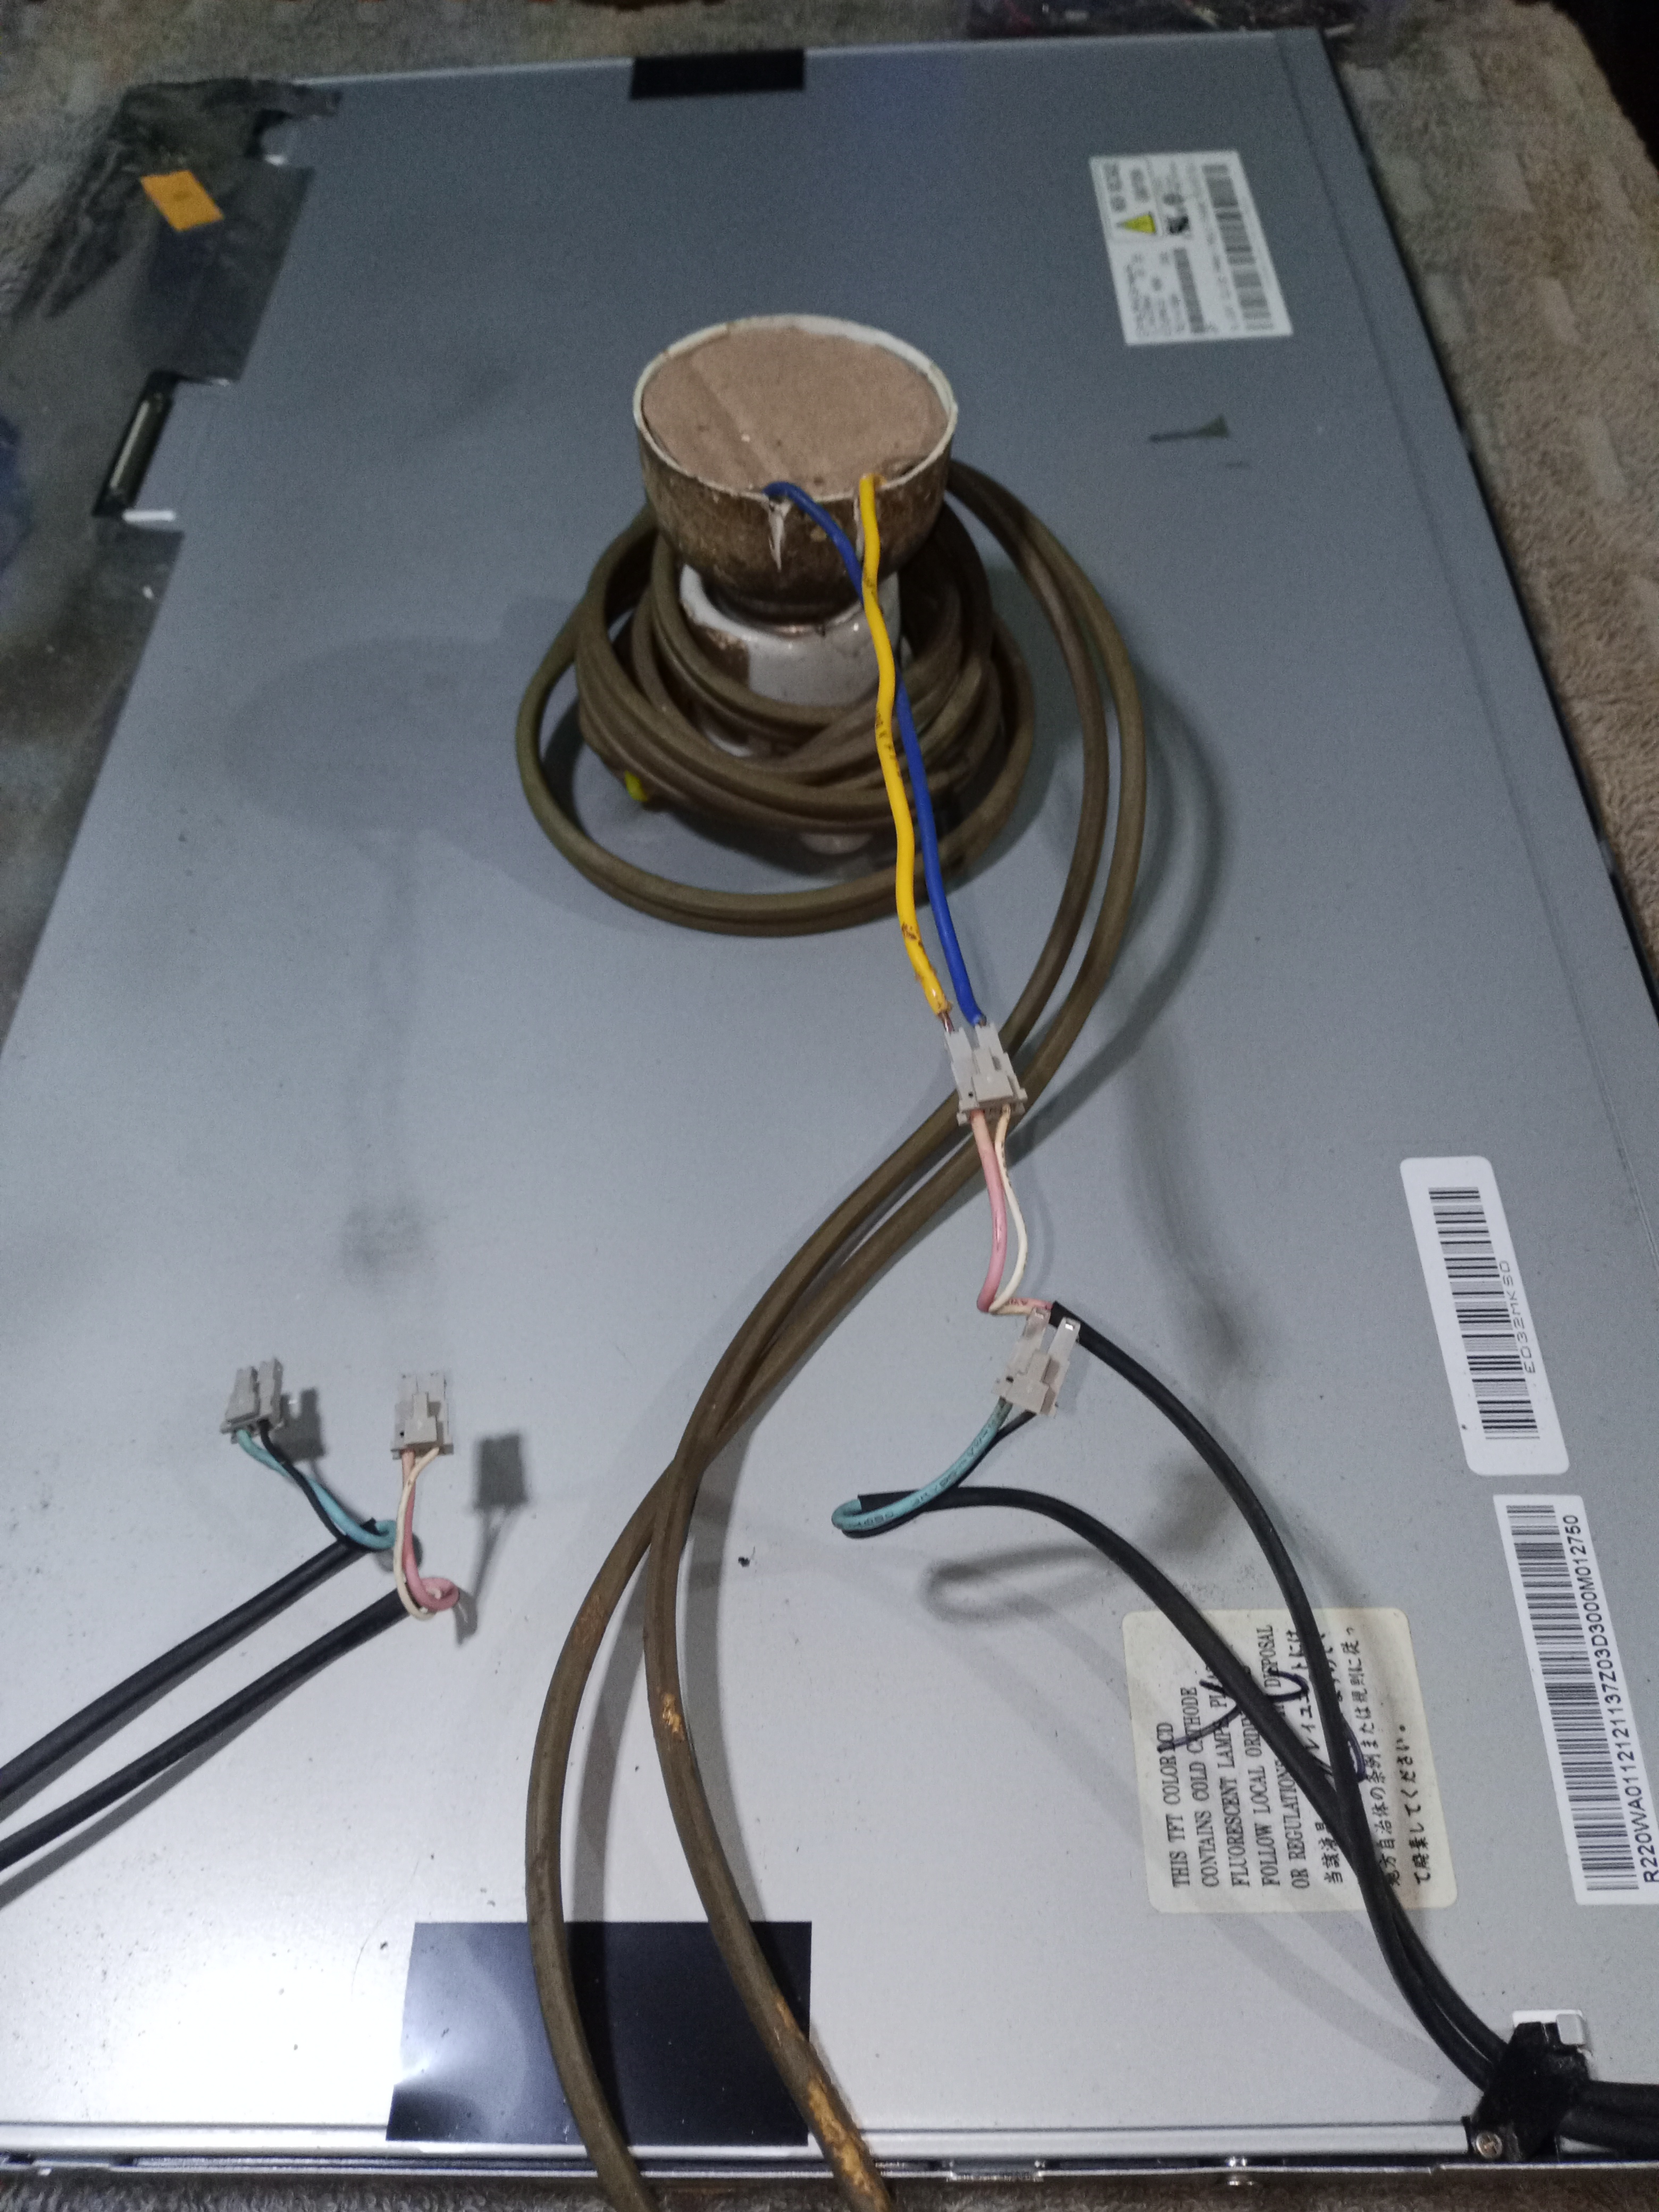
You can also use the card from an old scanner and power it with 12 volts direct current. The size of the scanner limits the size of light tube that can be operated.
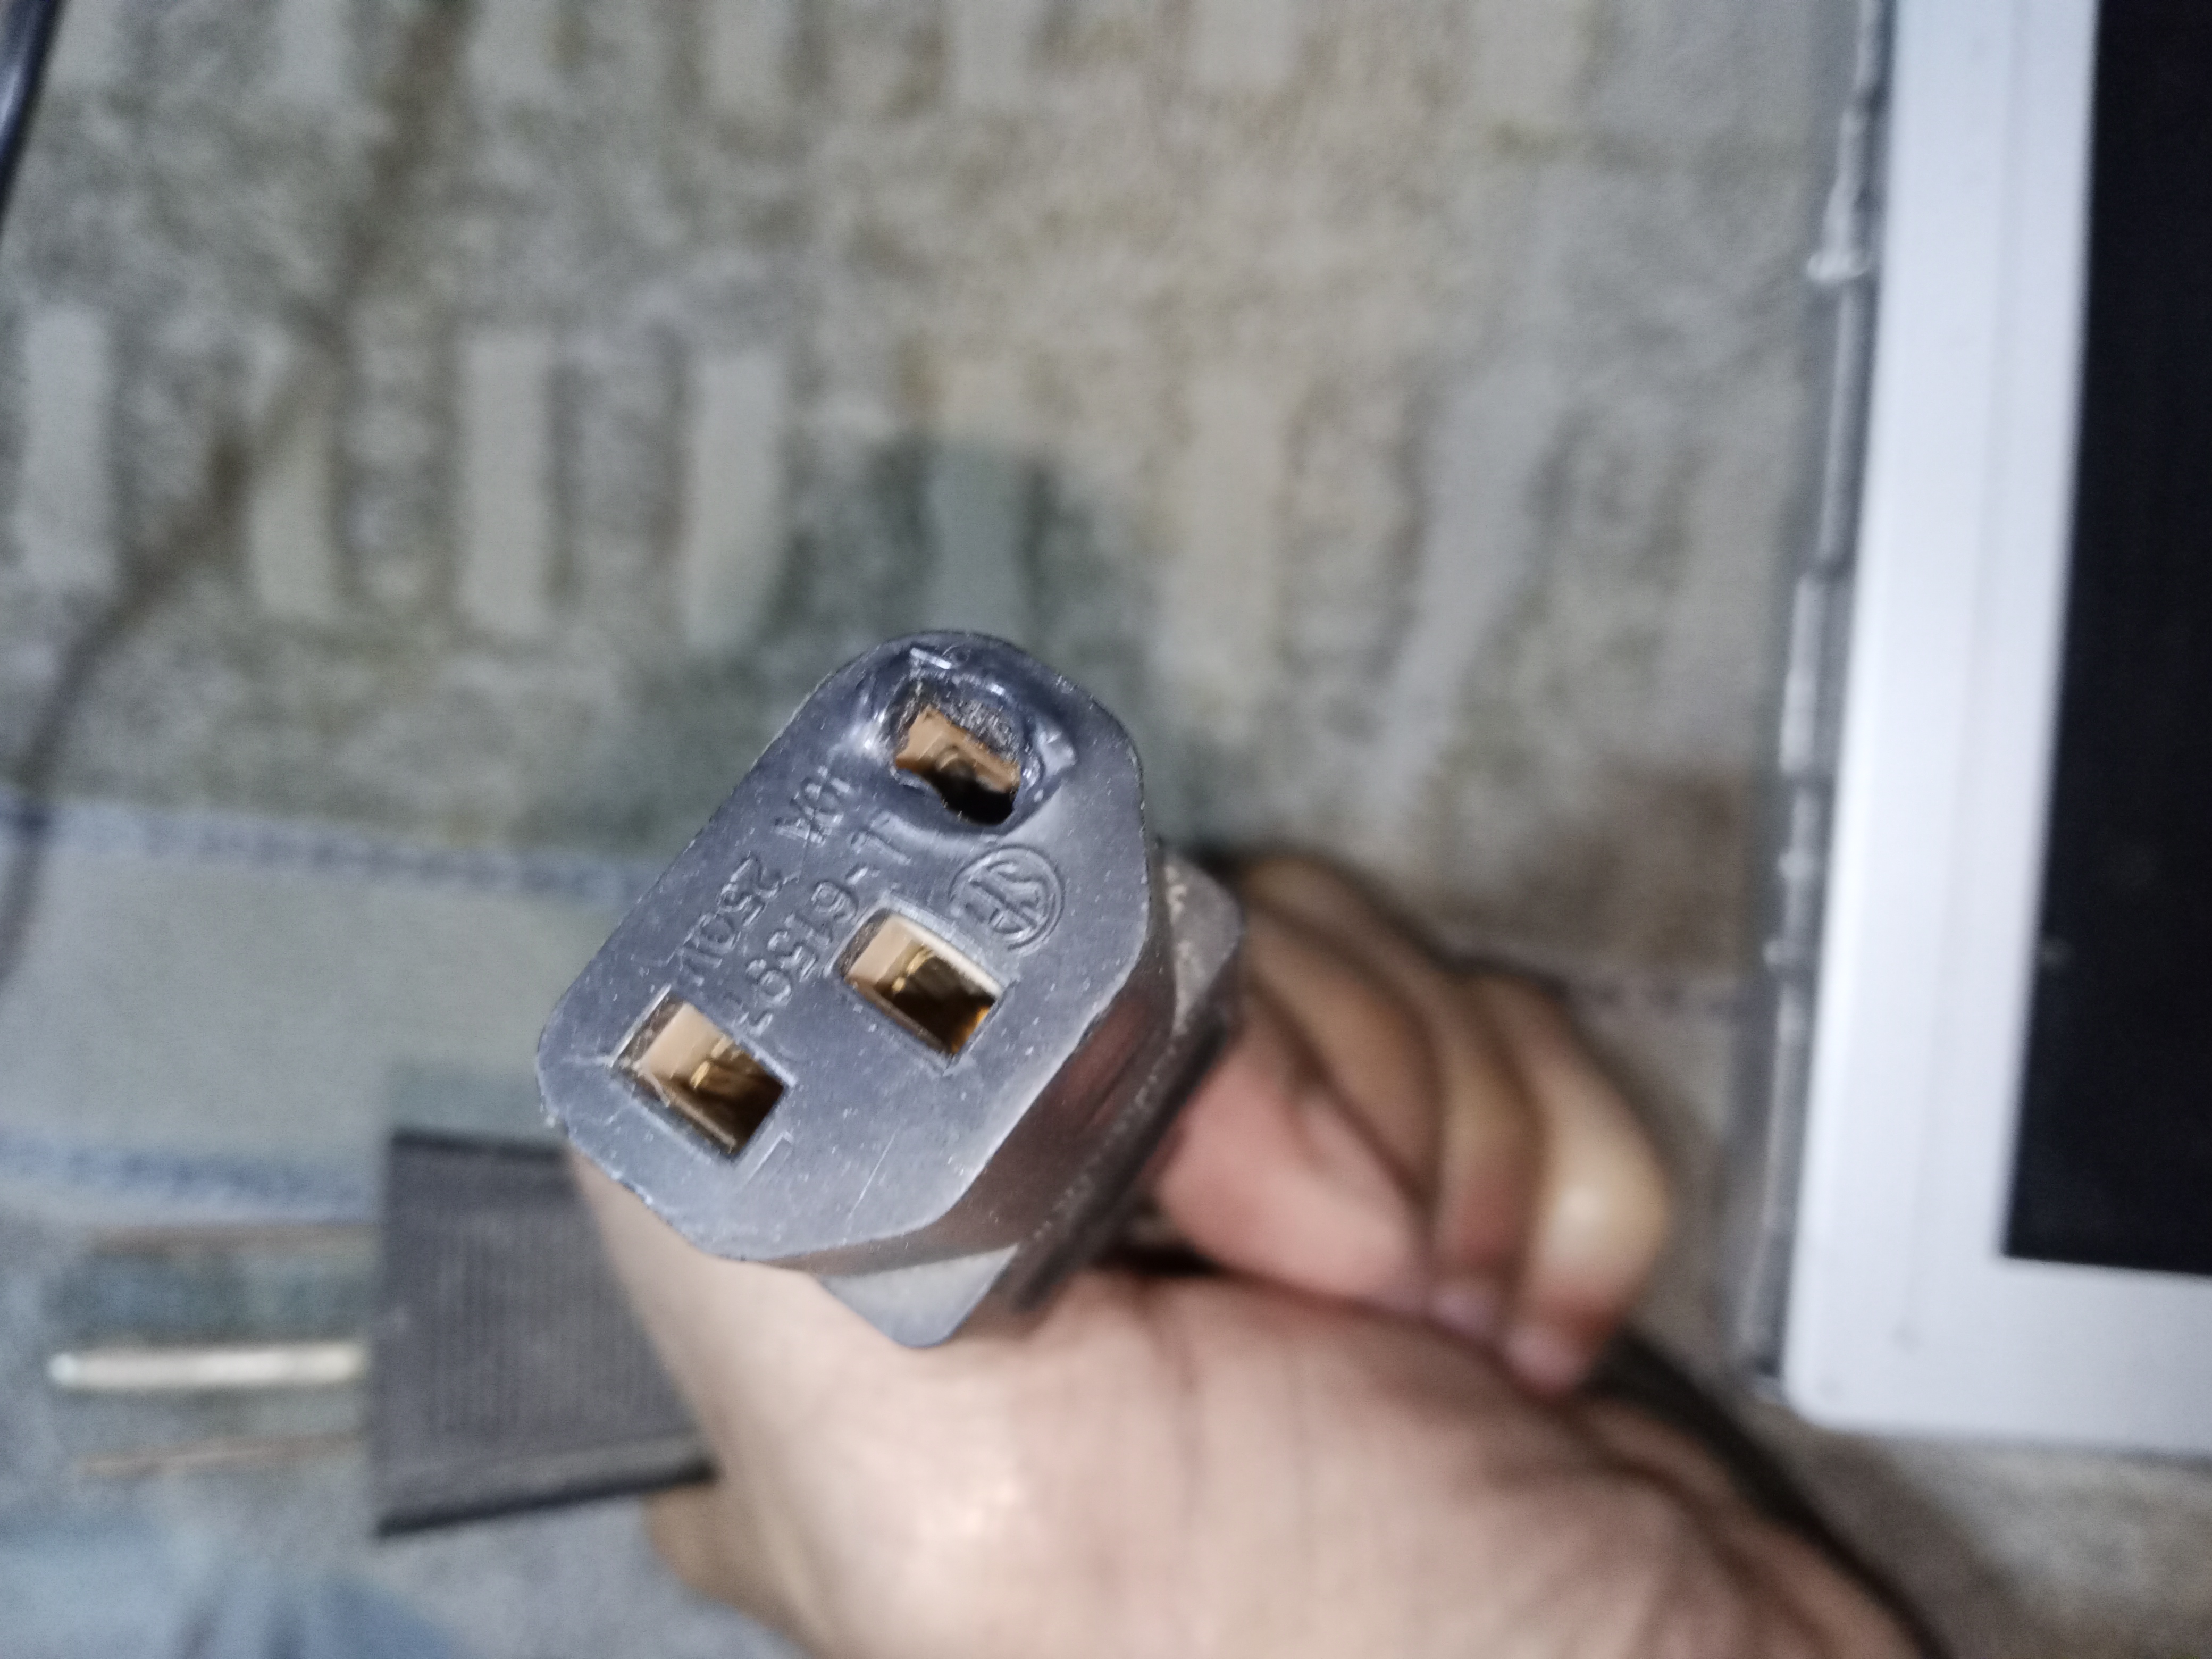
One of the problems that is not identified because of how simple it is in some equipment is damage to the power supply cable. It seems a little silly, but I have seen that all the damage to a vacuum cleaner, the failure of a refrigerator in a house, a television that breaks down, was simply the power cord.
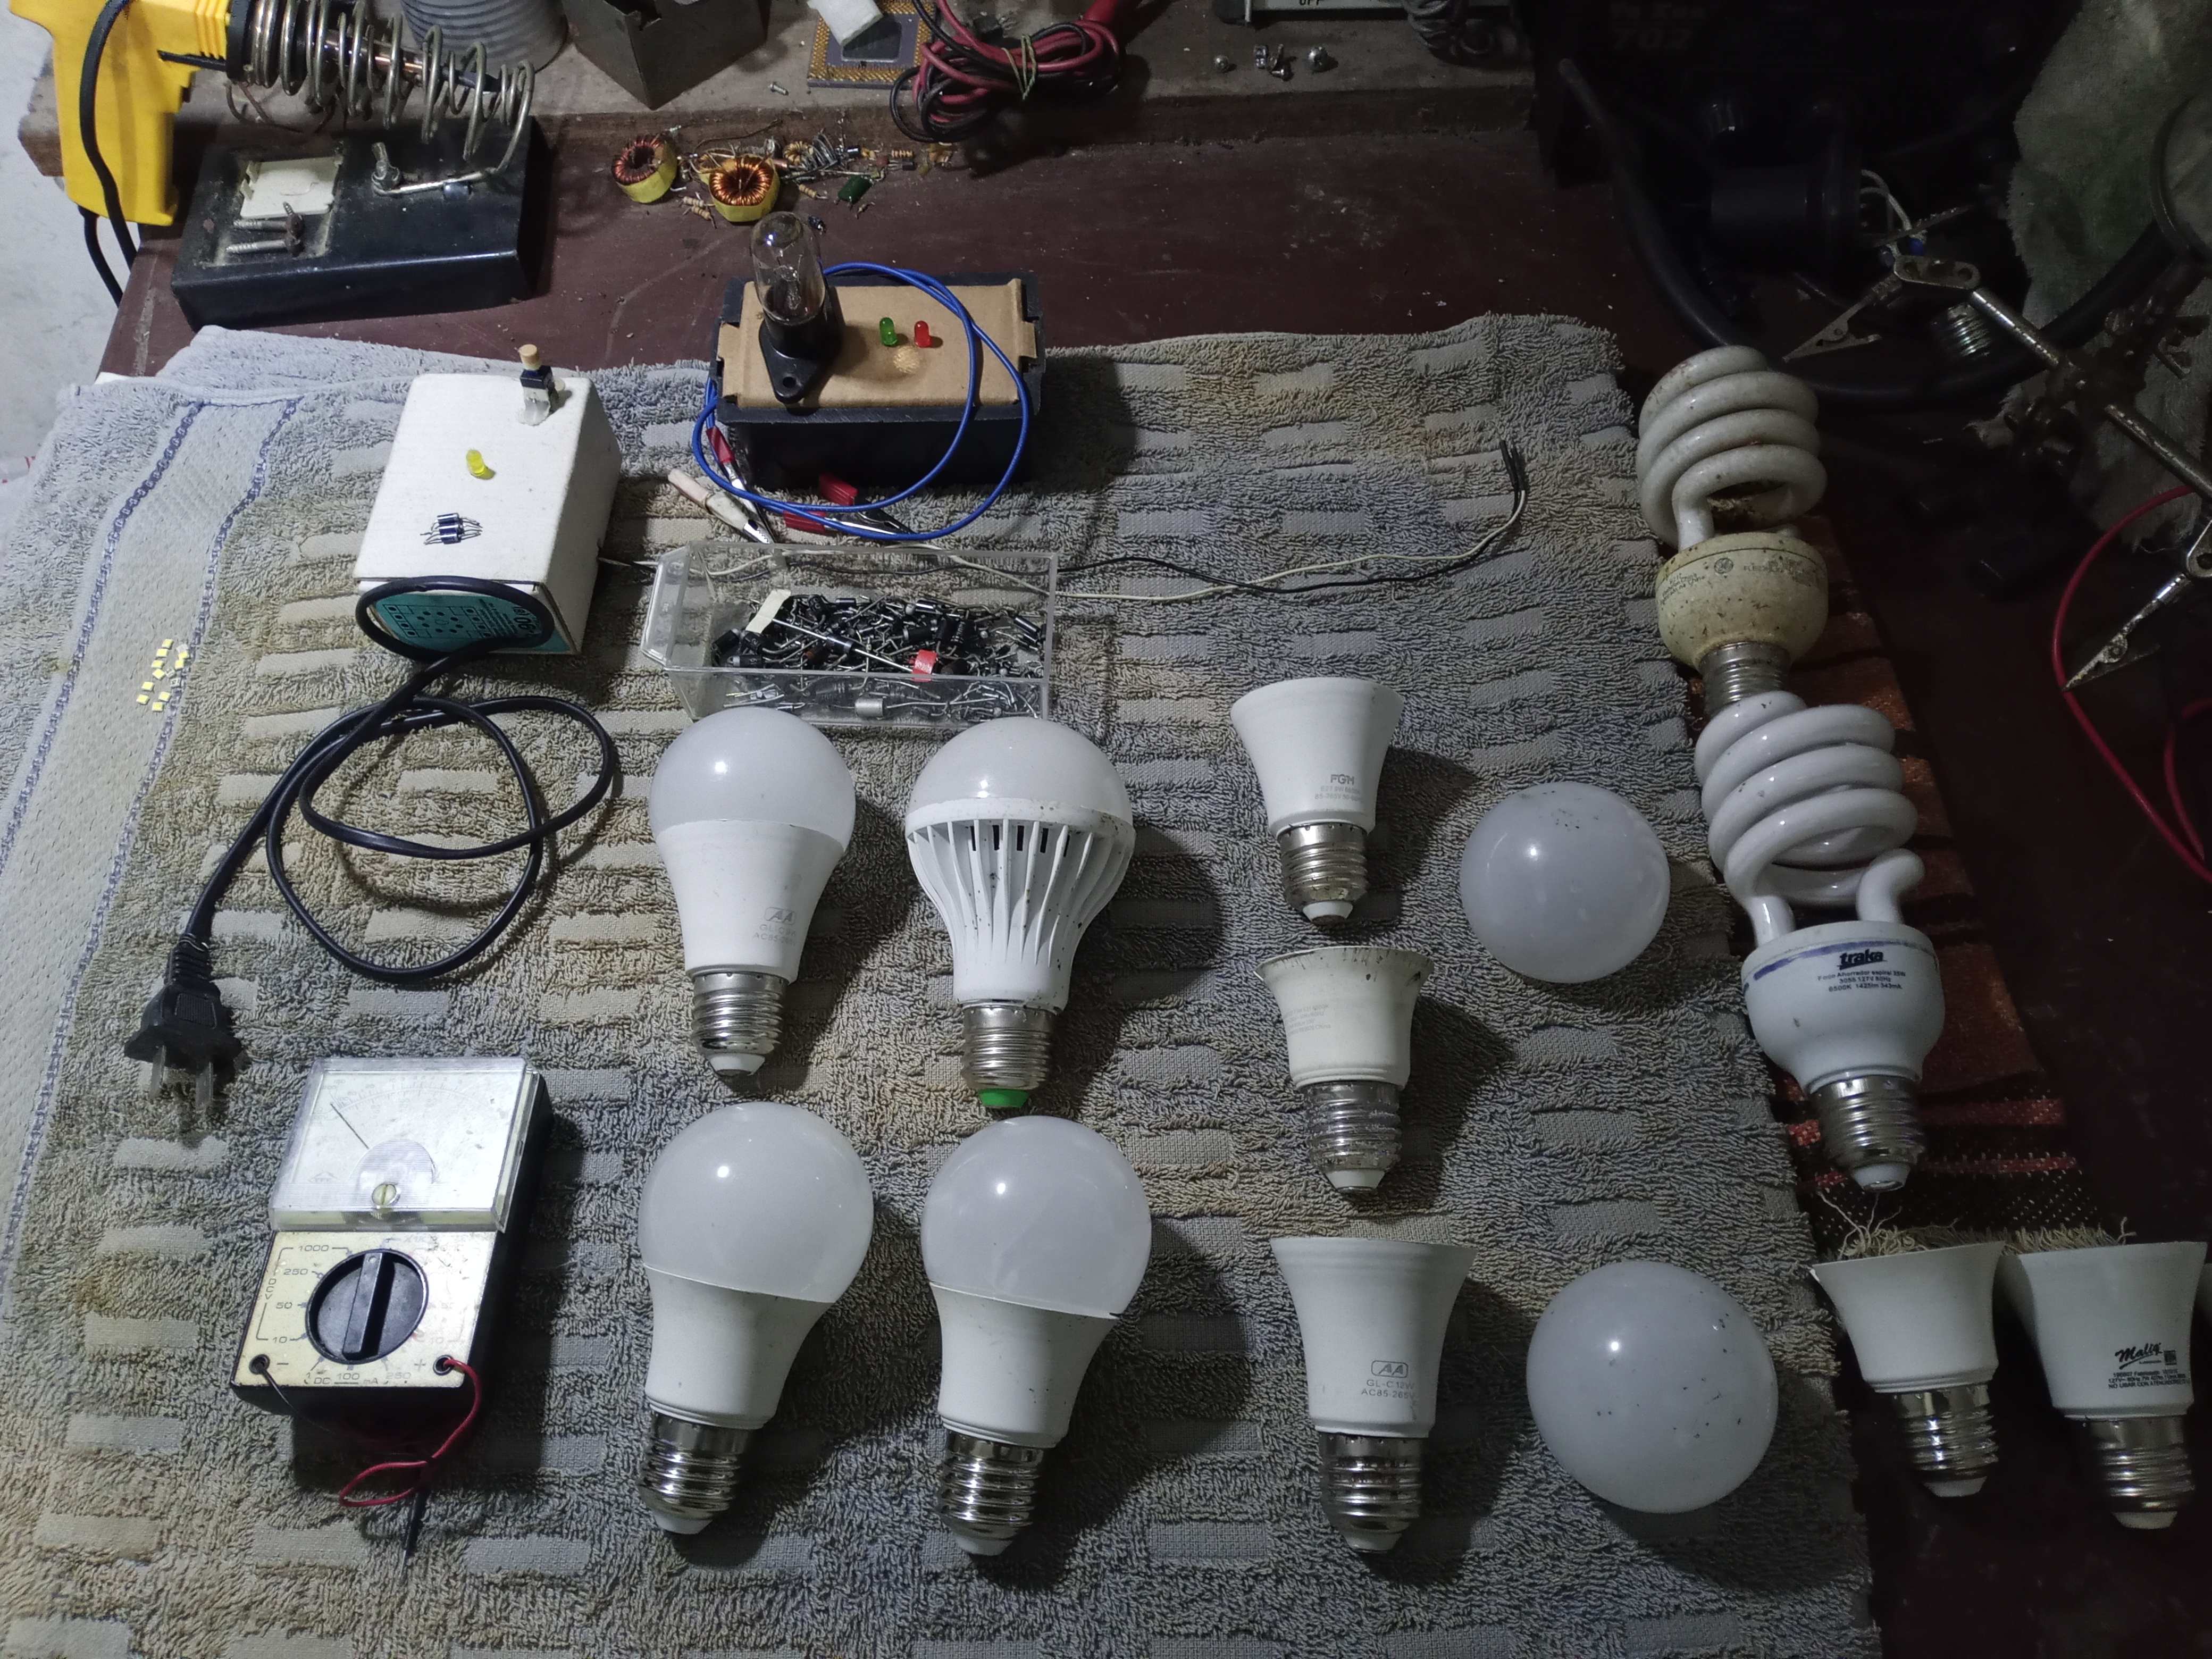
I also spent a lot of time recycling LED bulbs in the workshop, but this time I tried a slightly different form of repair.
Using an NPN transistor with a Zenner diode is a practical method for repairing television LEDs. It is a valid method to solder the terminals of the damaged LED after removing it, as people do. I have tried it and it only works with bulbs with the switching power supply Bulbs with capacitor sources burn out if you jumper the terminals of the damaged LED.
I have done the test and when soldering the terminals of a damaged LED, the bulb, if it is a switched source, the bulb works for a while longer. But at this point, when the bulb arrives at the recycling shop, the rest of the LEDs are already worn out, and do not last long when repaired.
If the bulb is from the cheap line, has a capacitor source, does not have an electronic card, these bulbs are repaired by placing a resistor in place of the damaged LED.
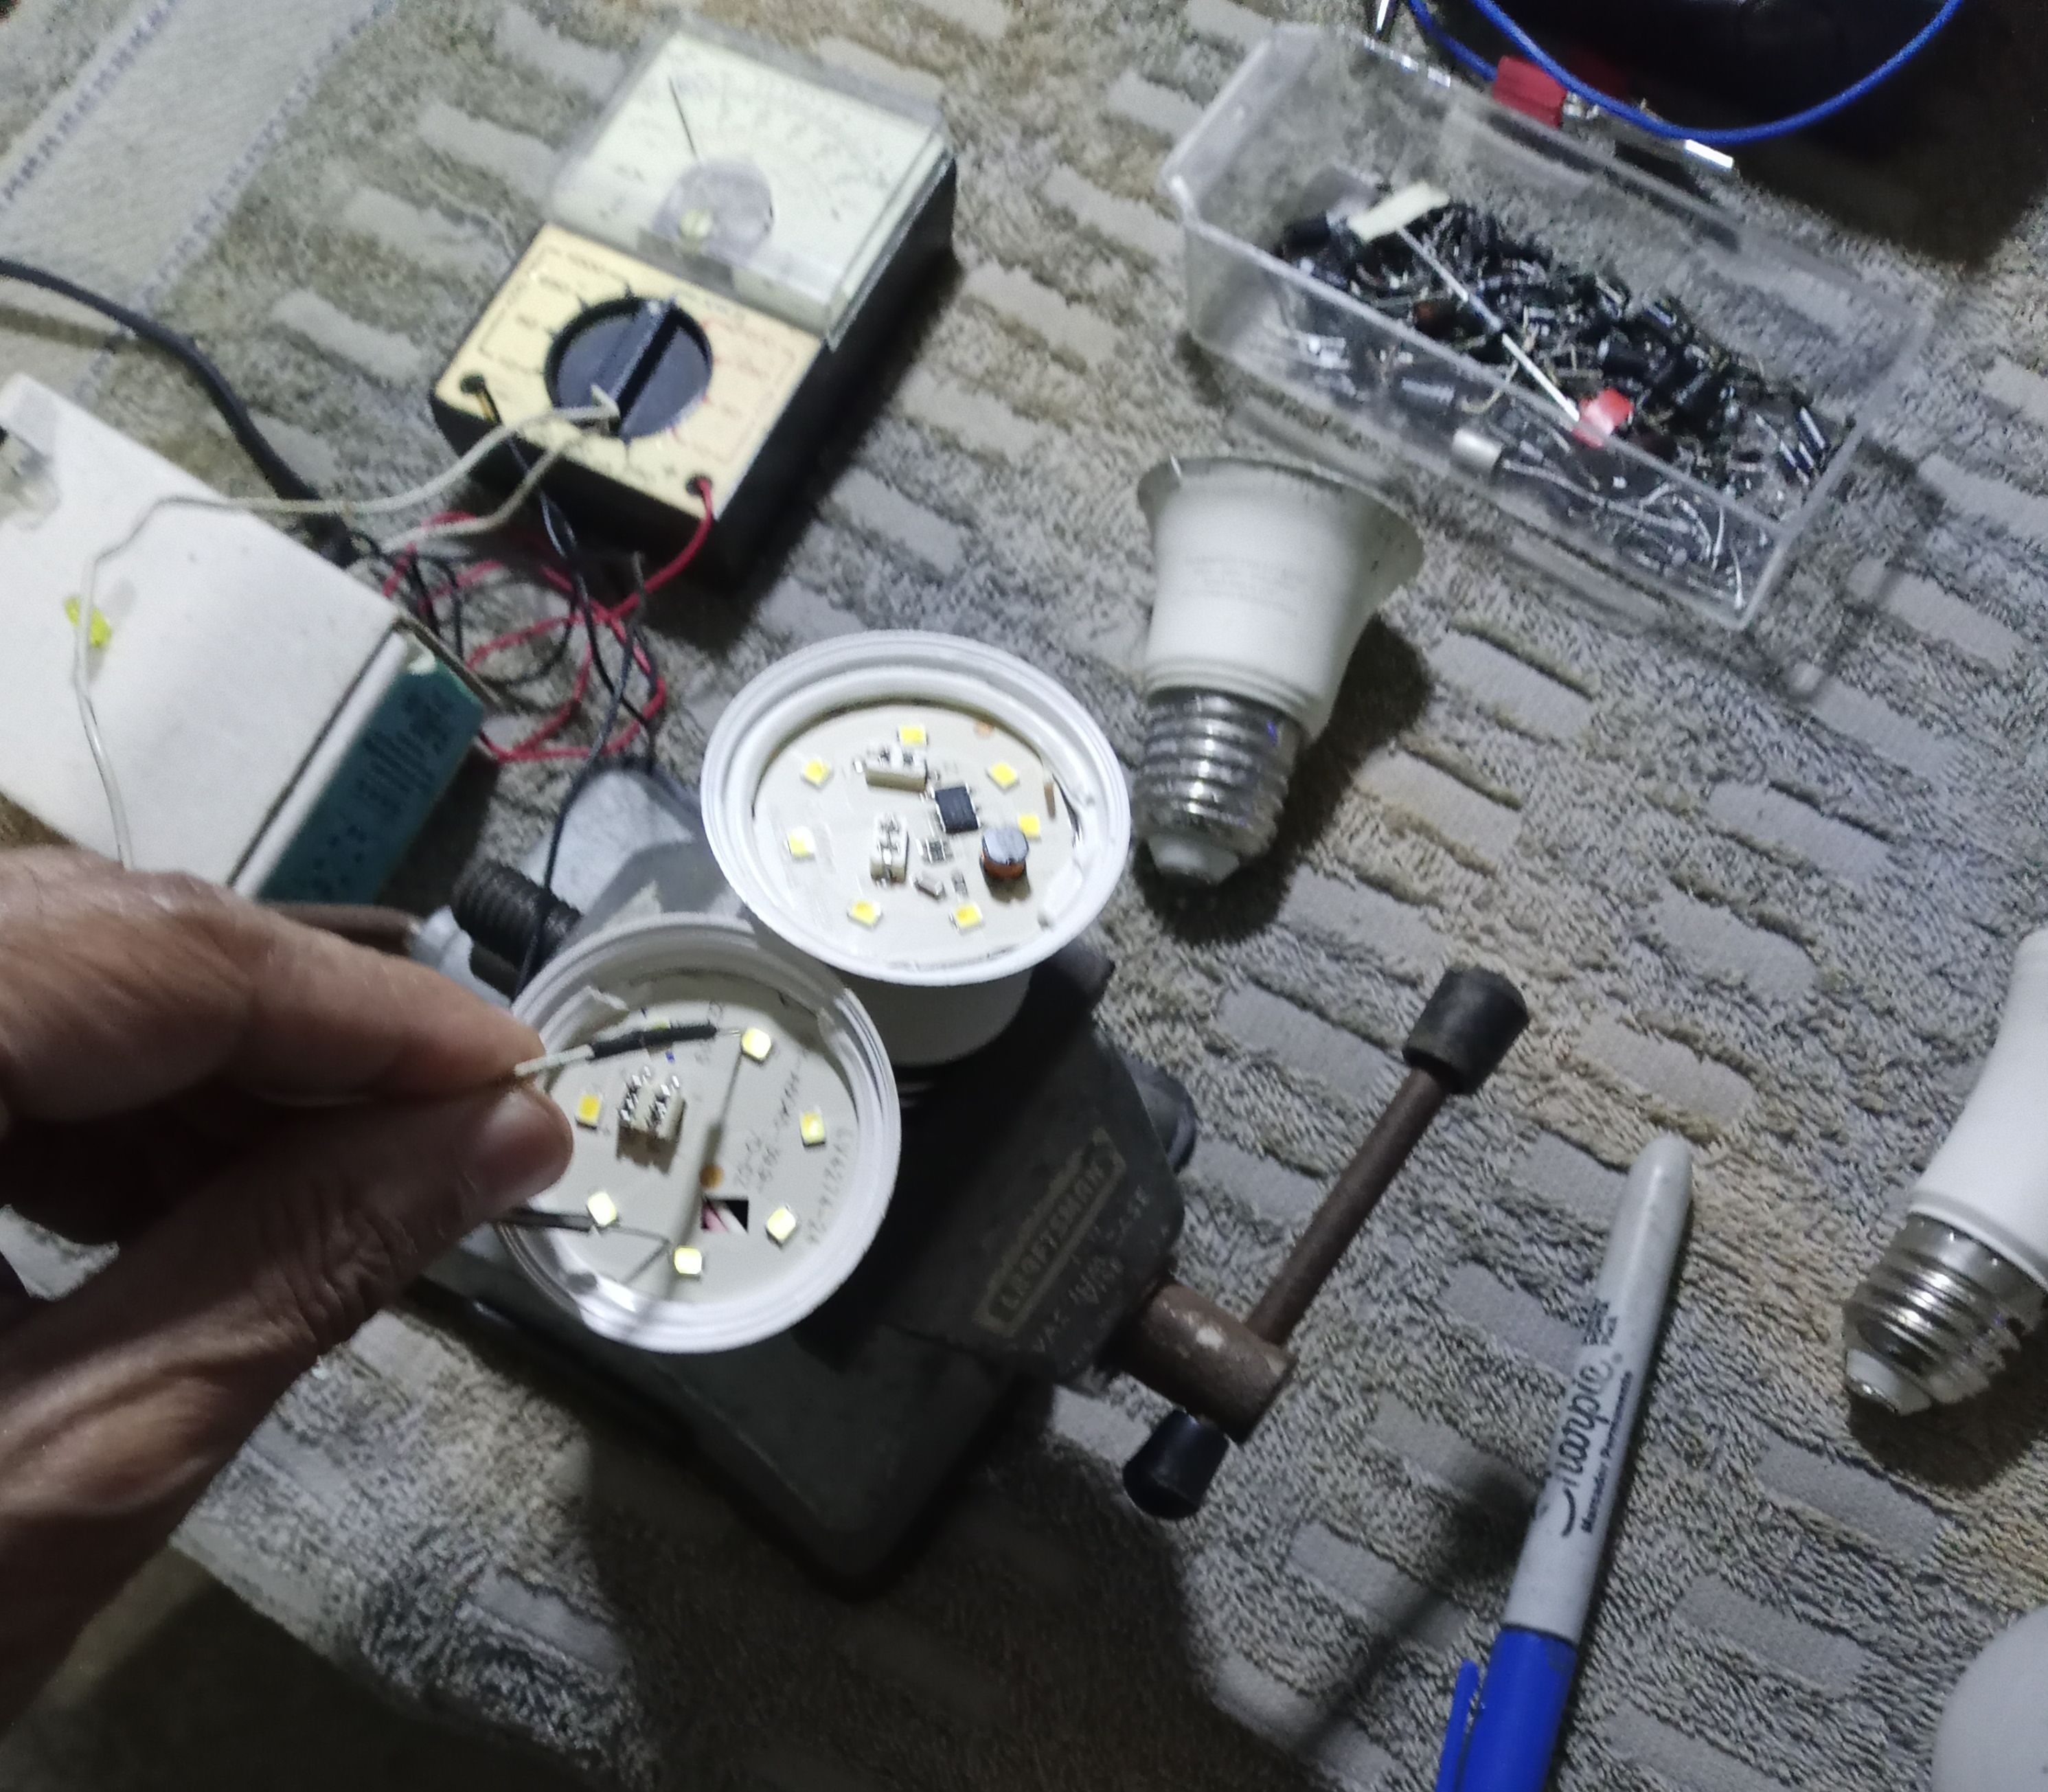
I will use a method that was told to me and place some recycled diodes from old recovered cards.

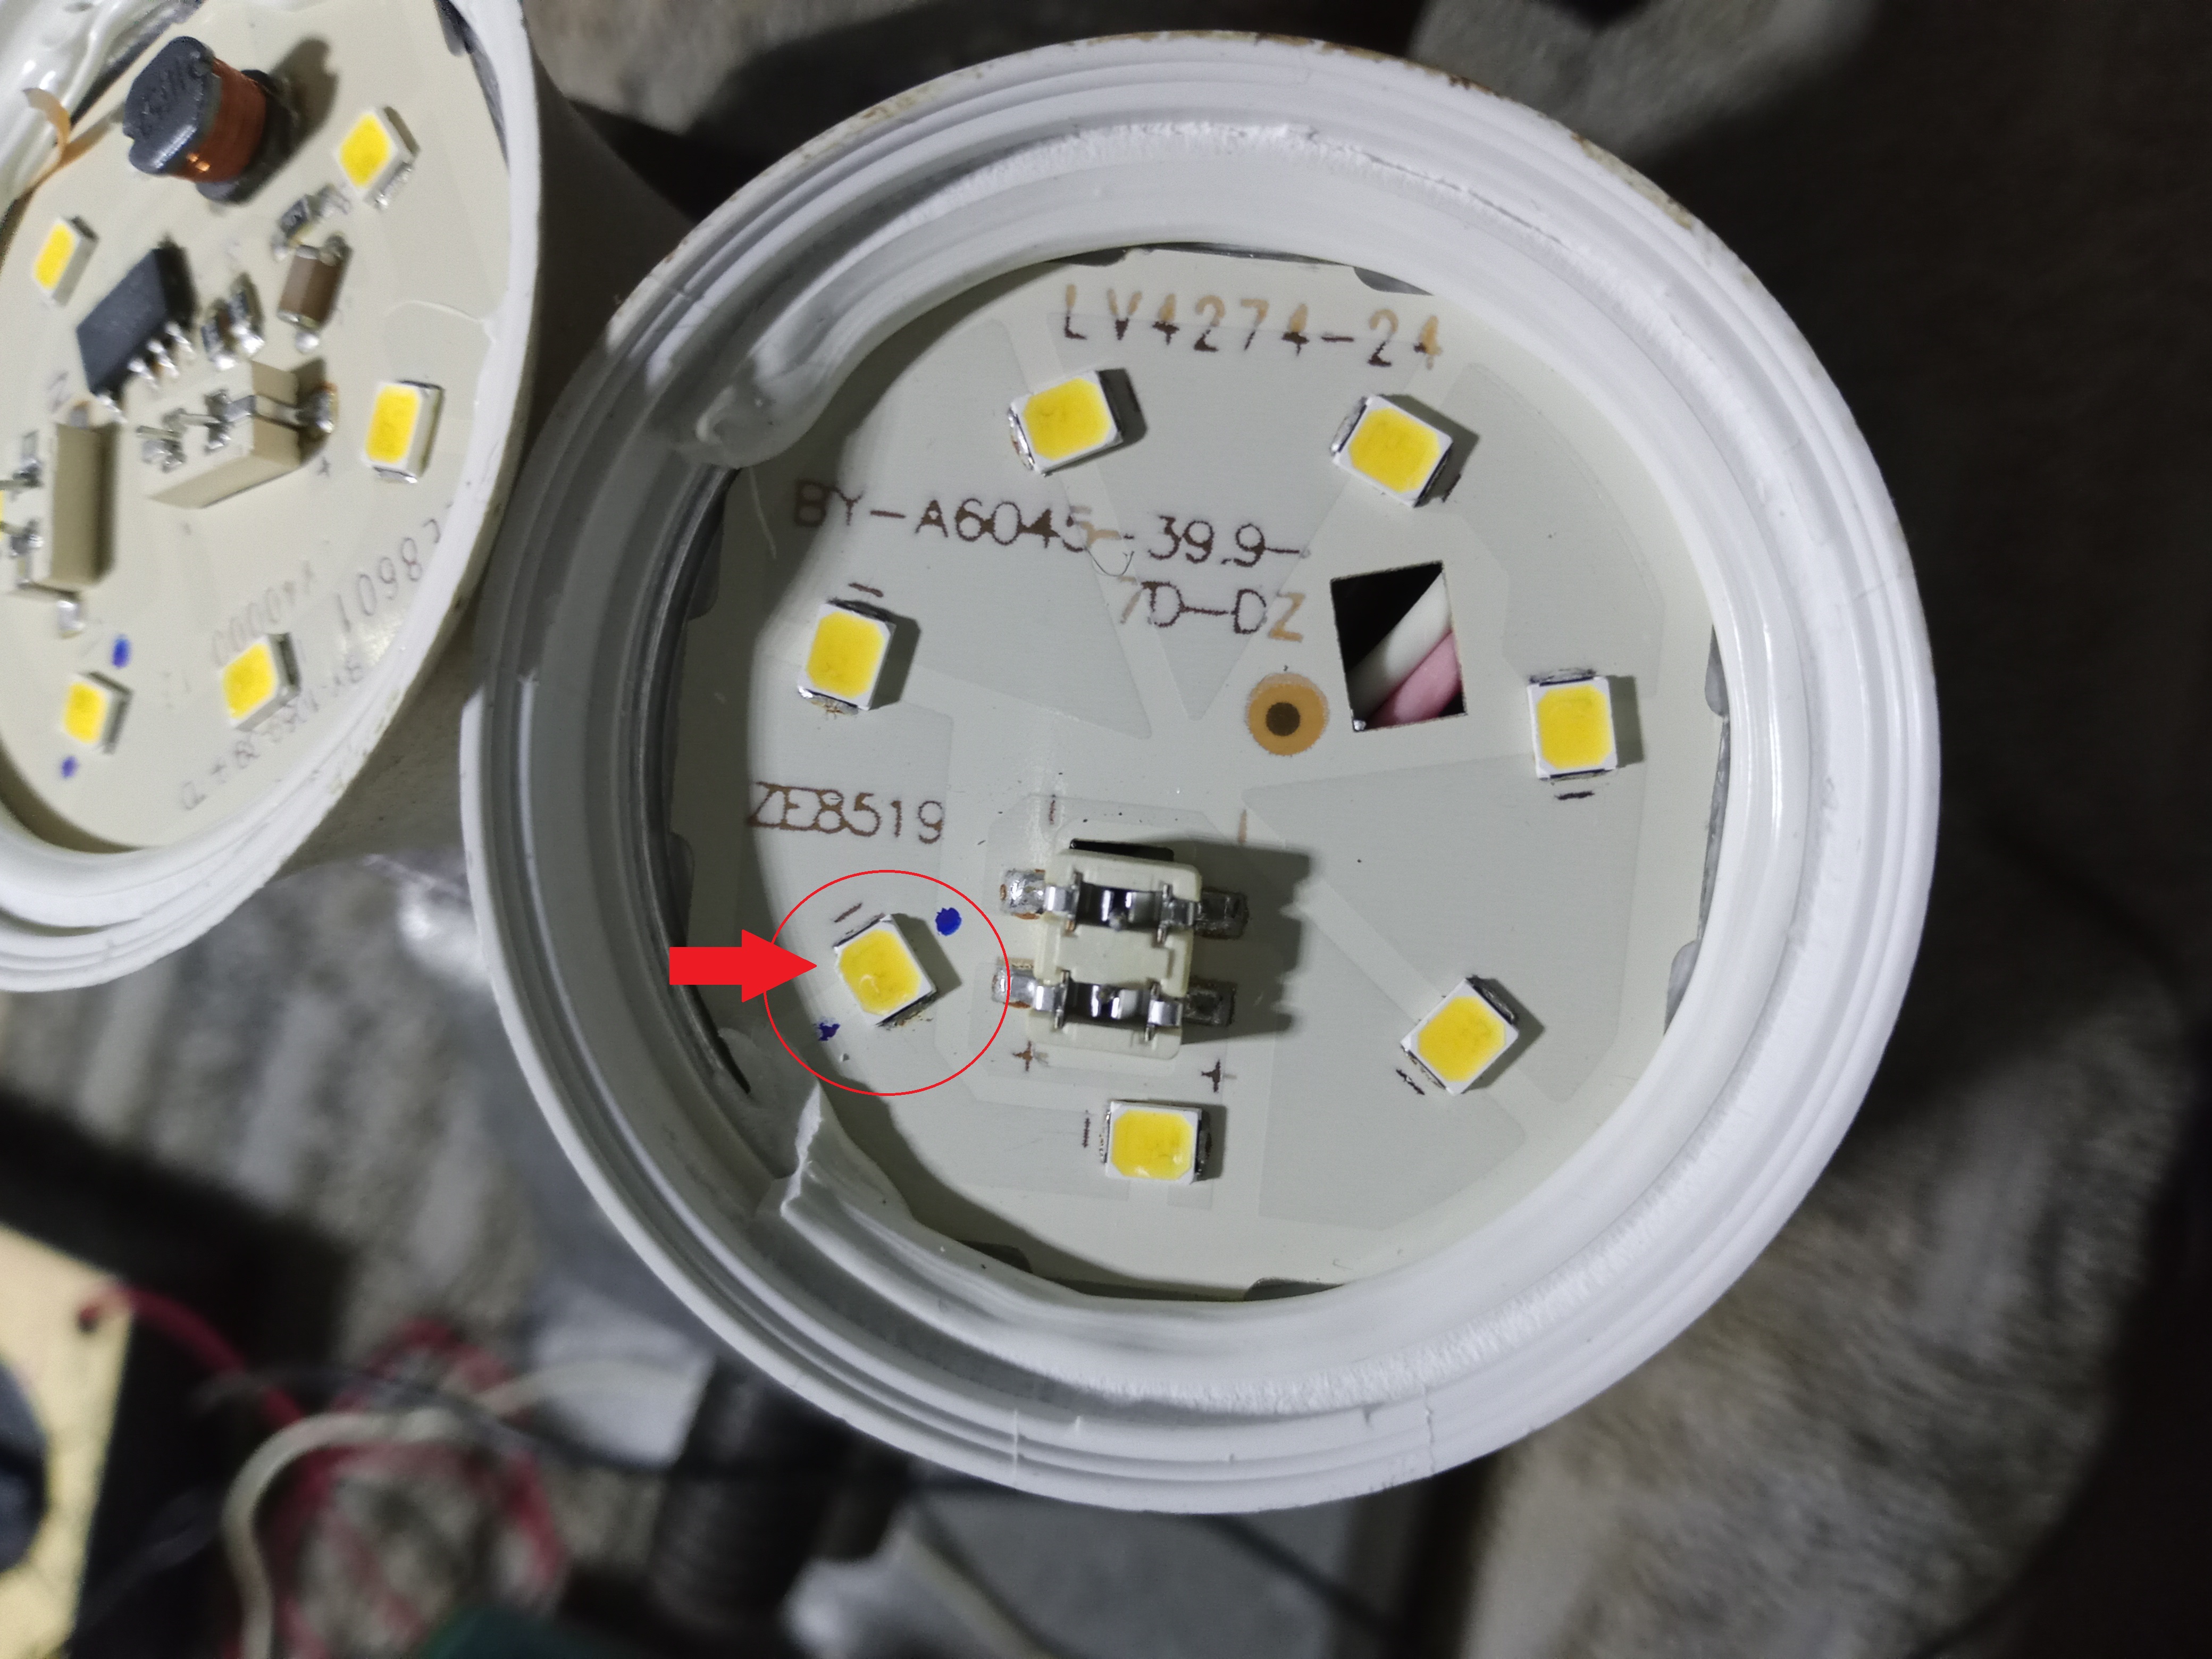
We check until we find the damaged LED. One detail is that if there are more than two damaged LEDs in the bulb, it is not worth repairing that bulb and it is used as a spare.
Mark the LEDs that were failing for replacement.
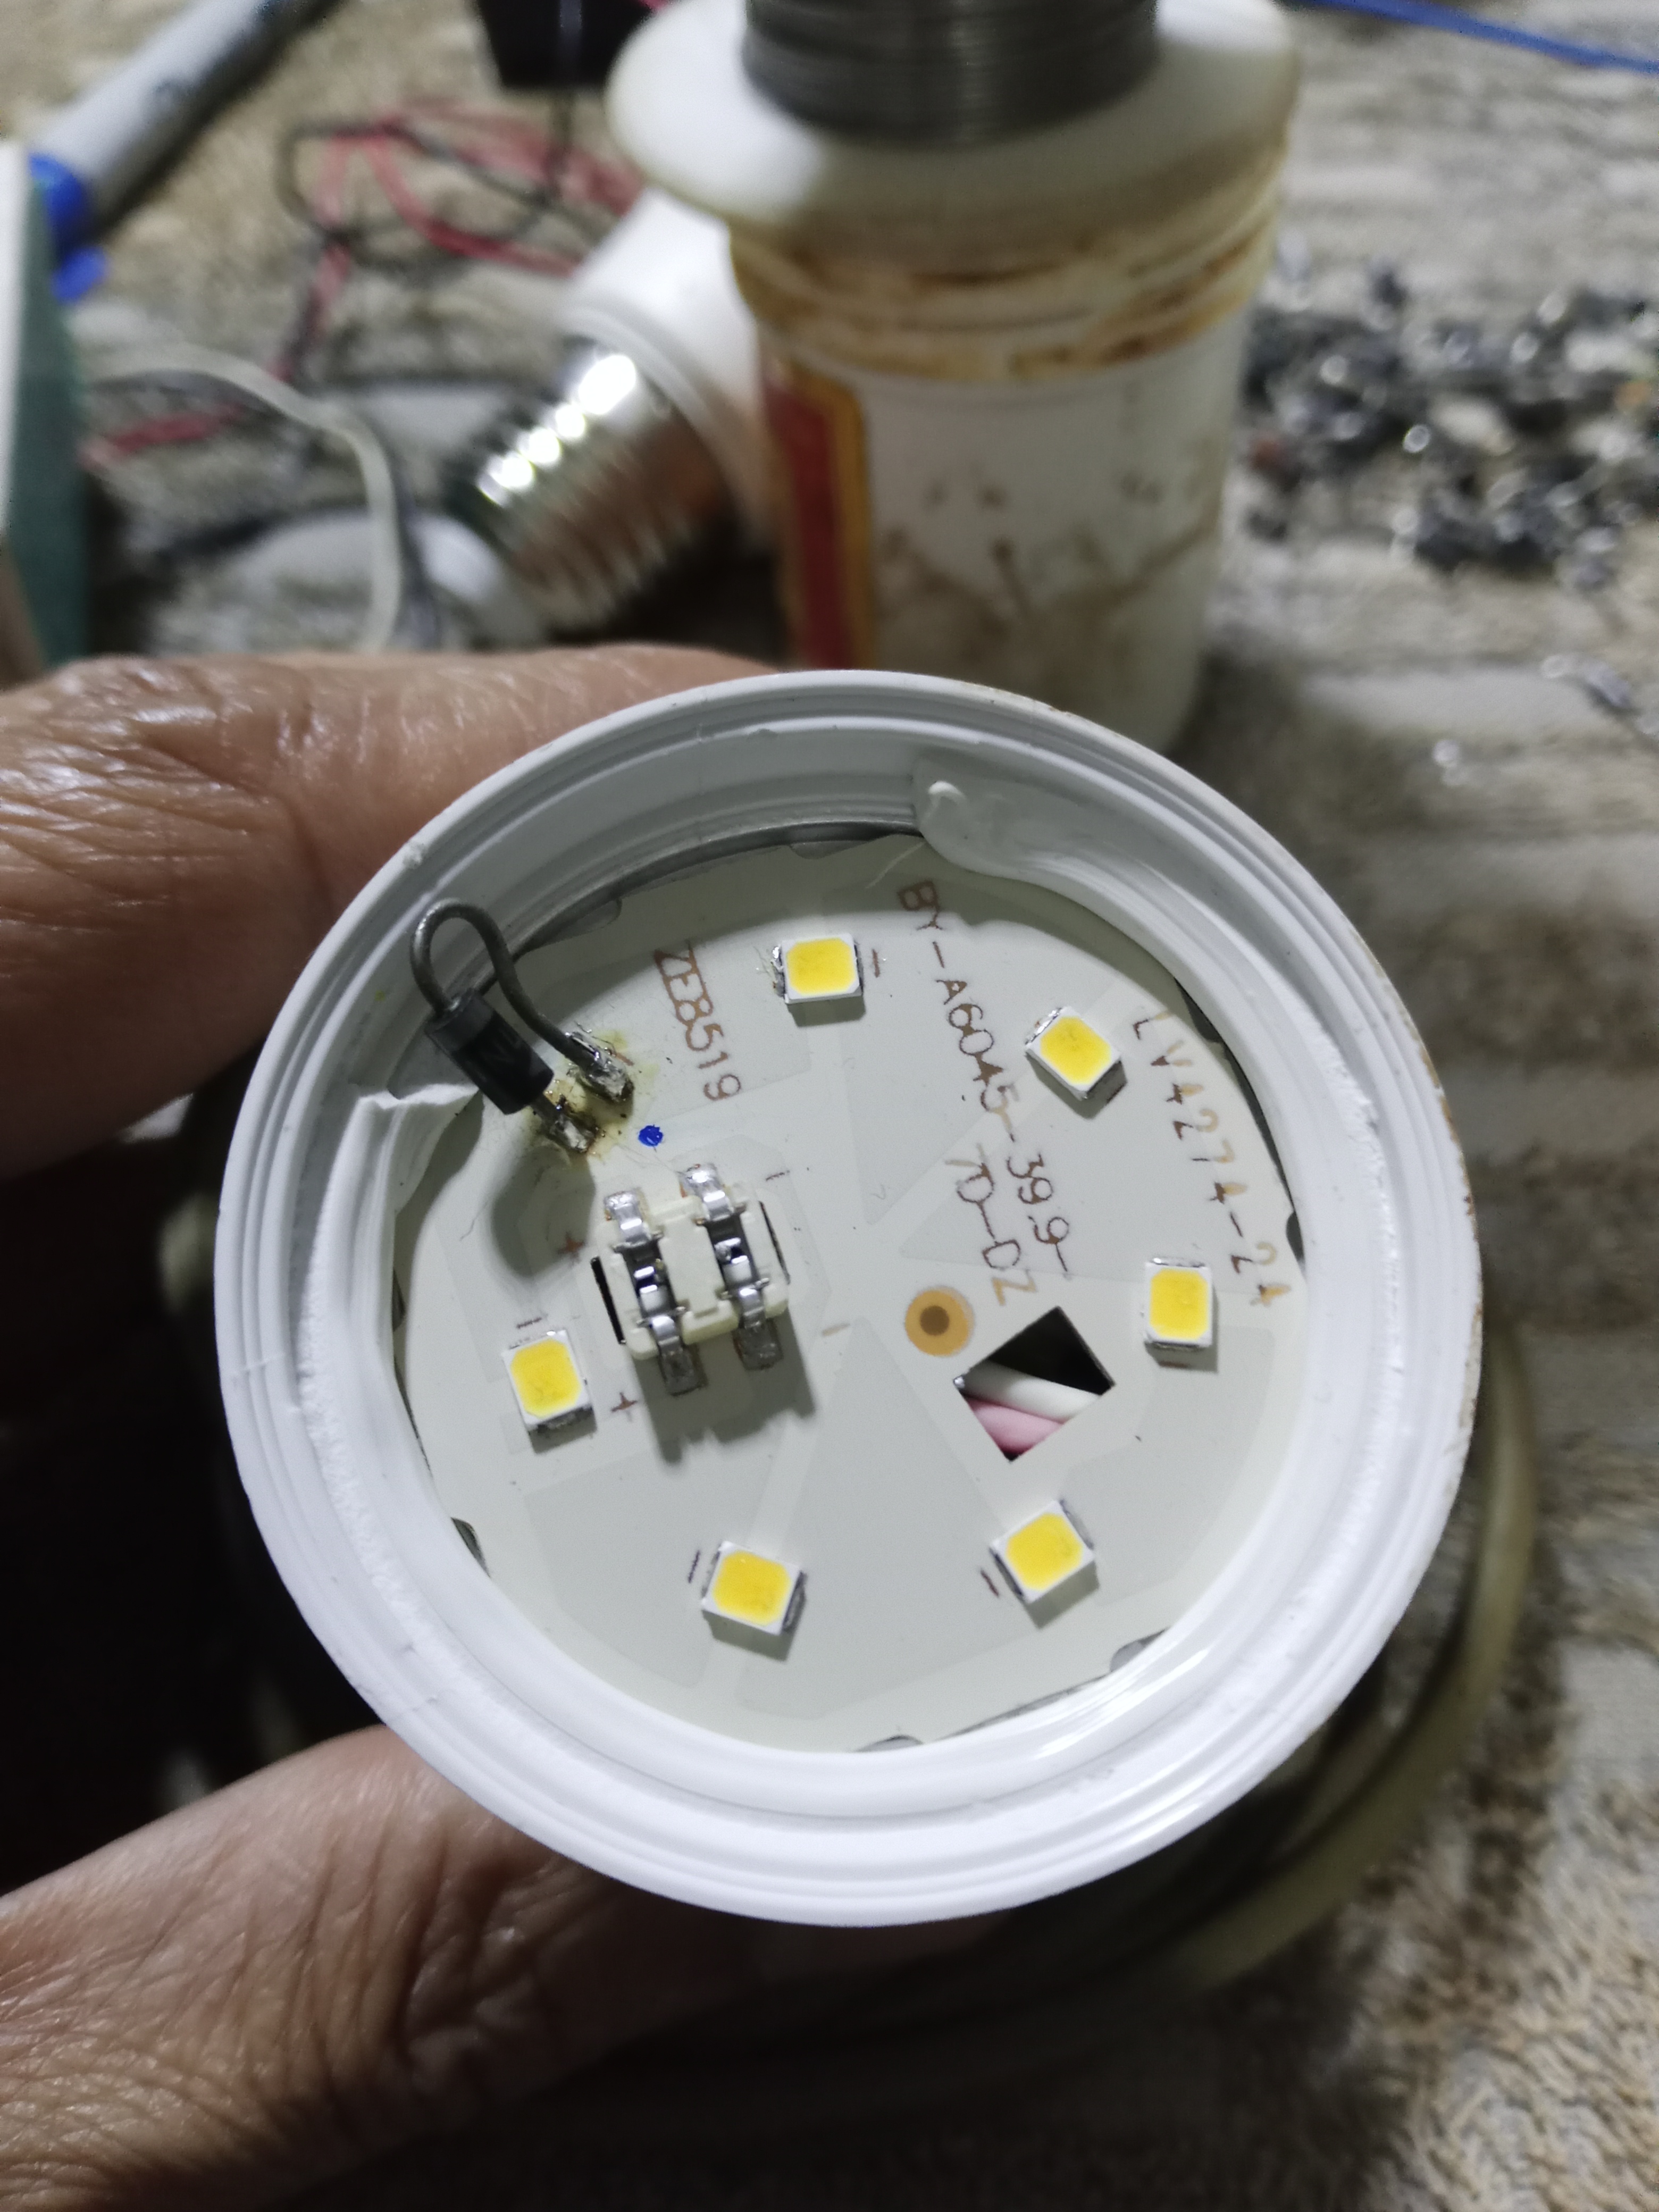
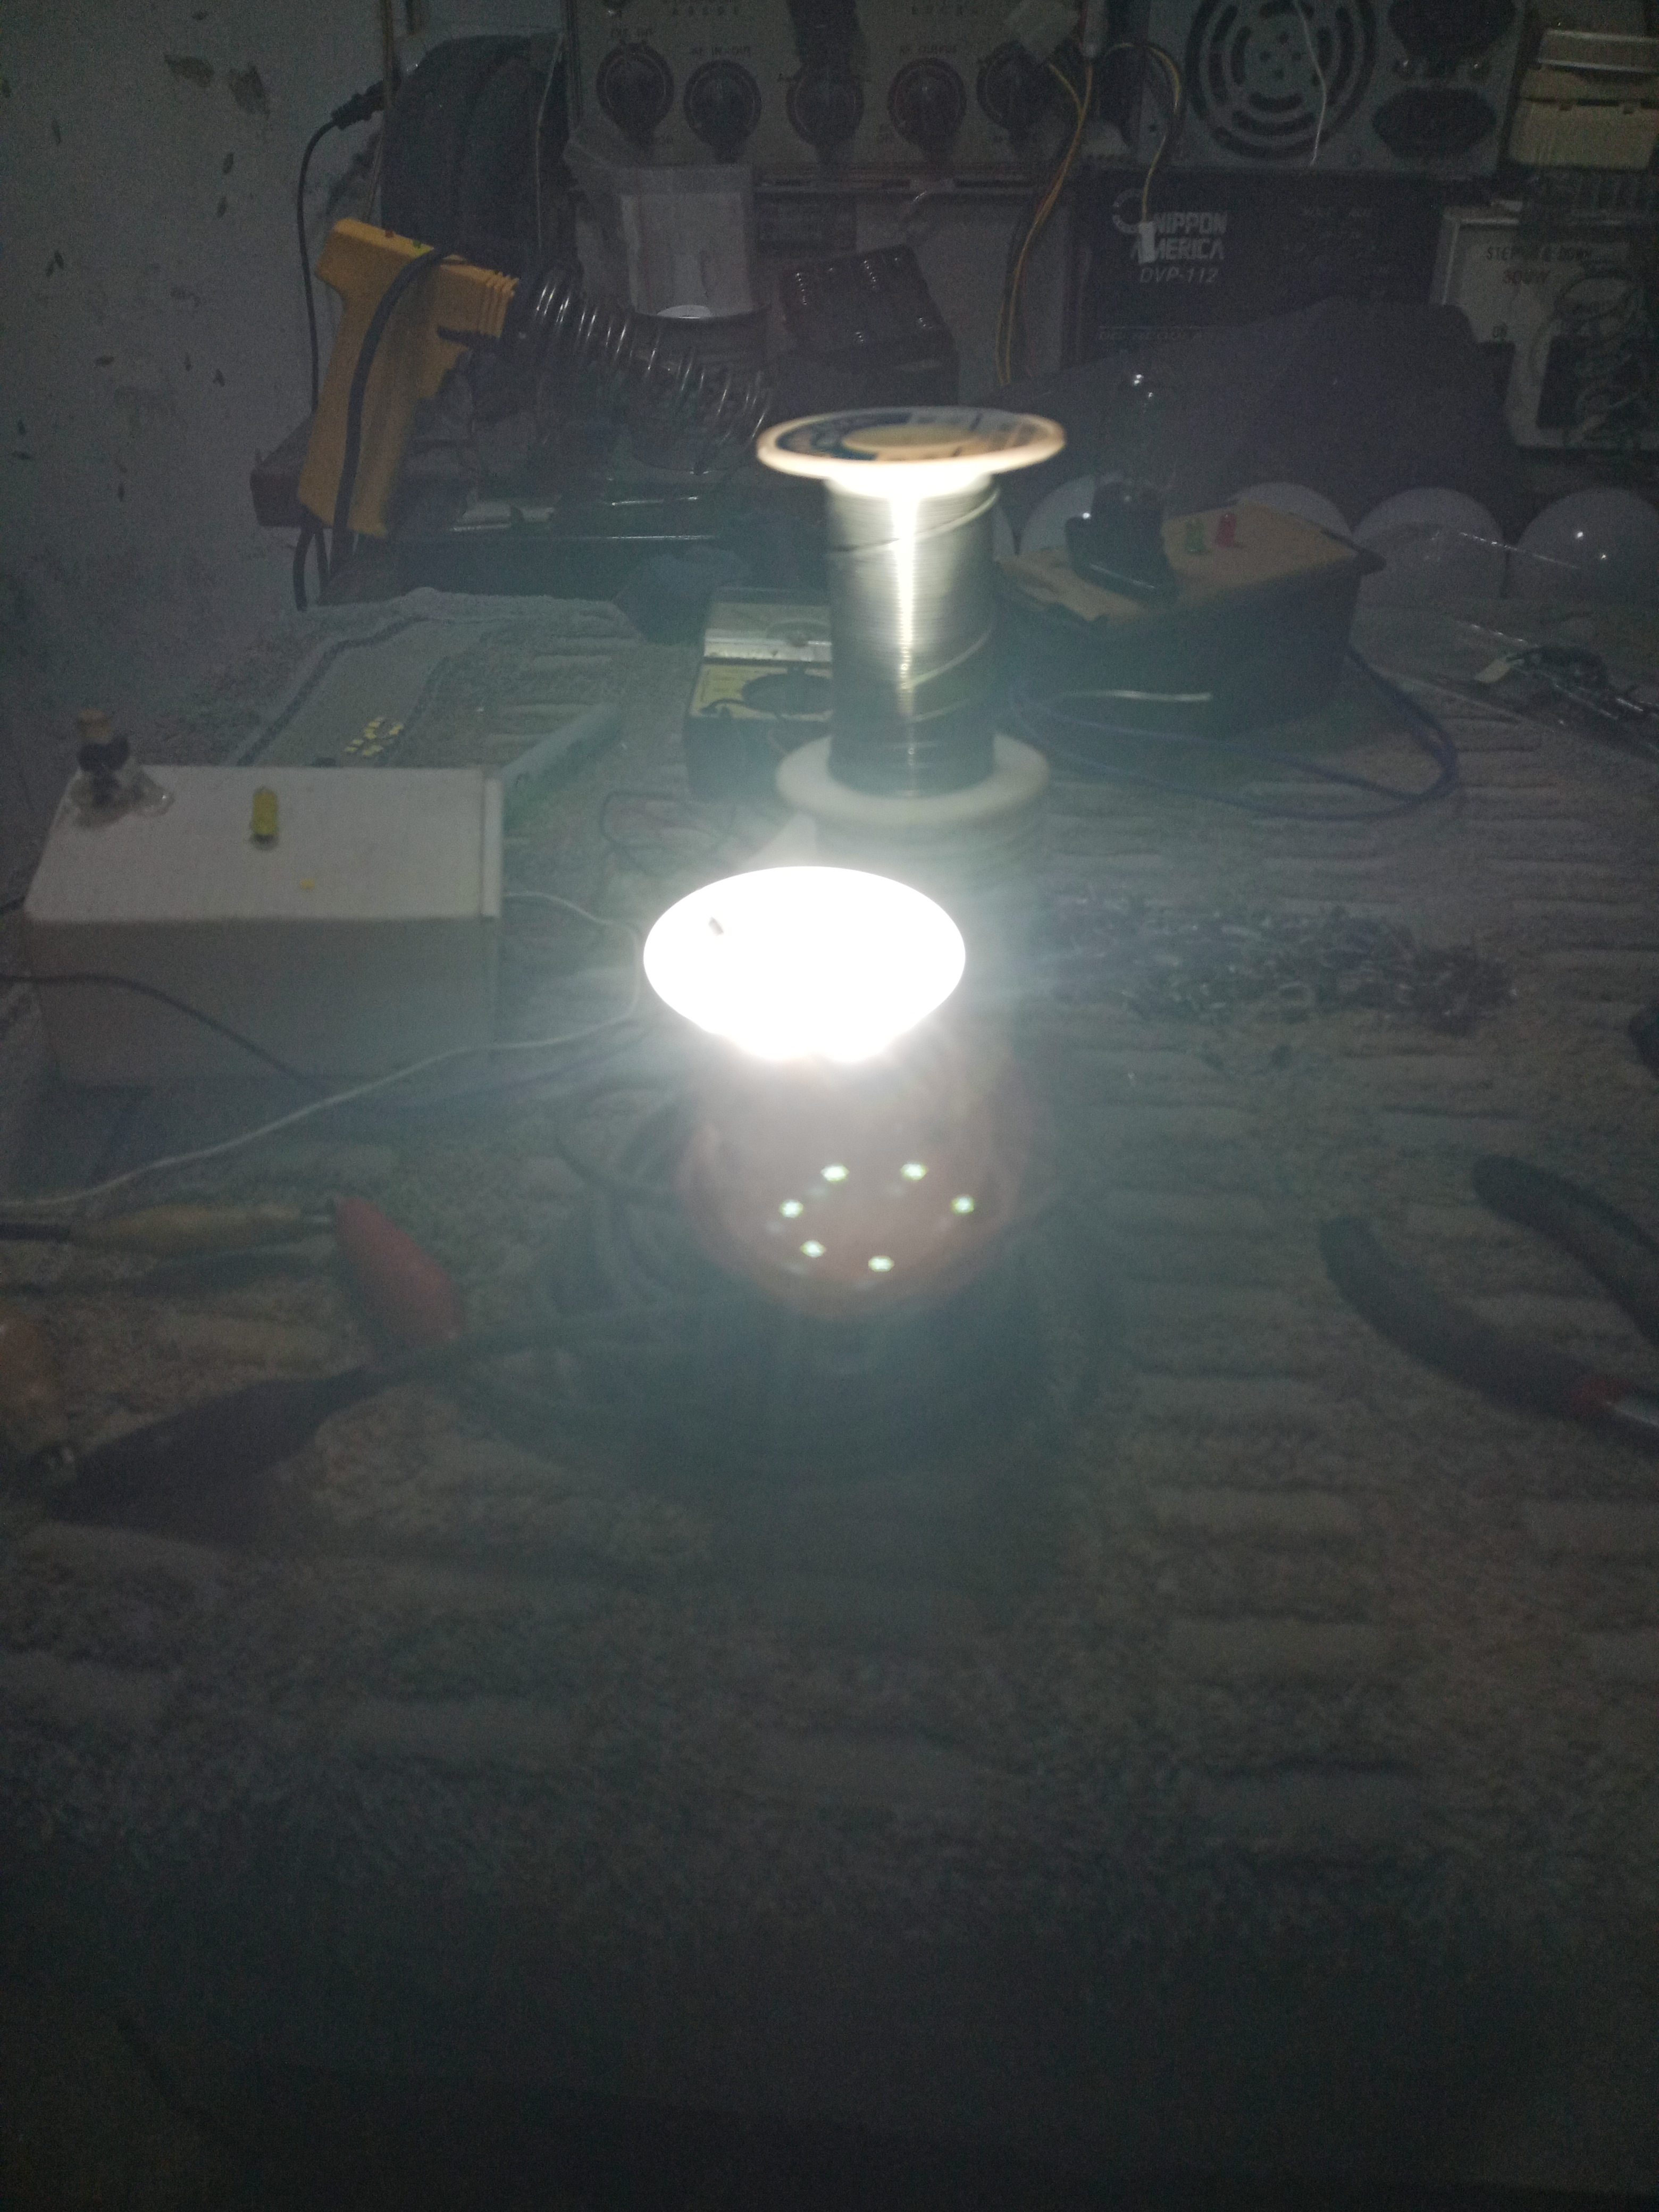
Respecting the polarity, I place the diode and test the operation. Now I have to wait, to check how long it lasts working.
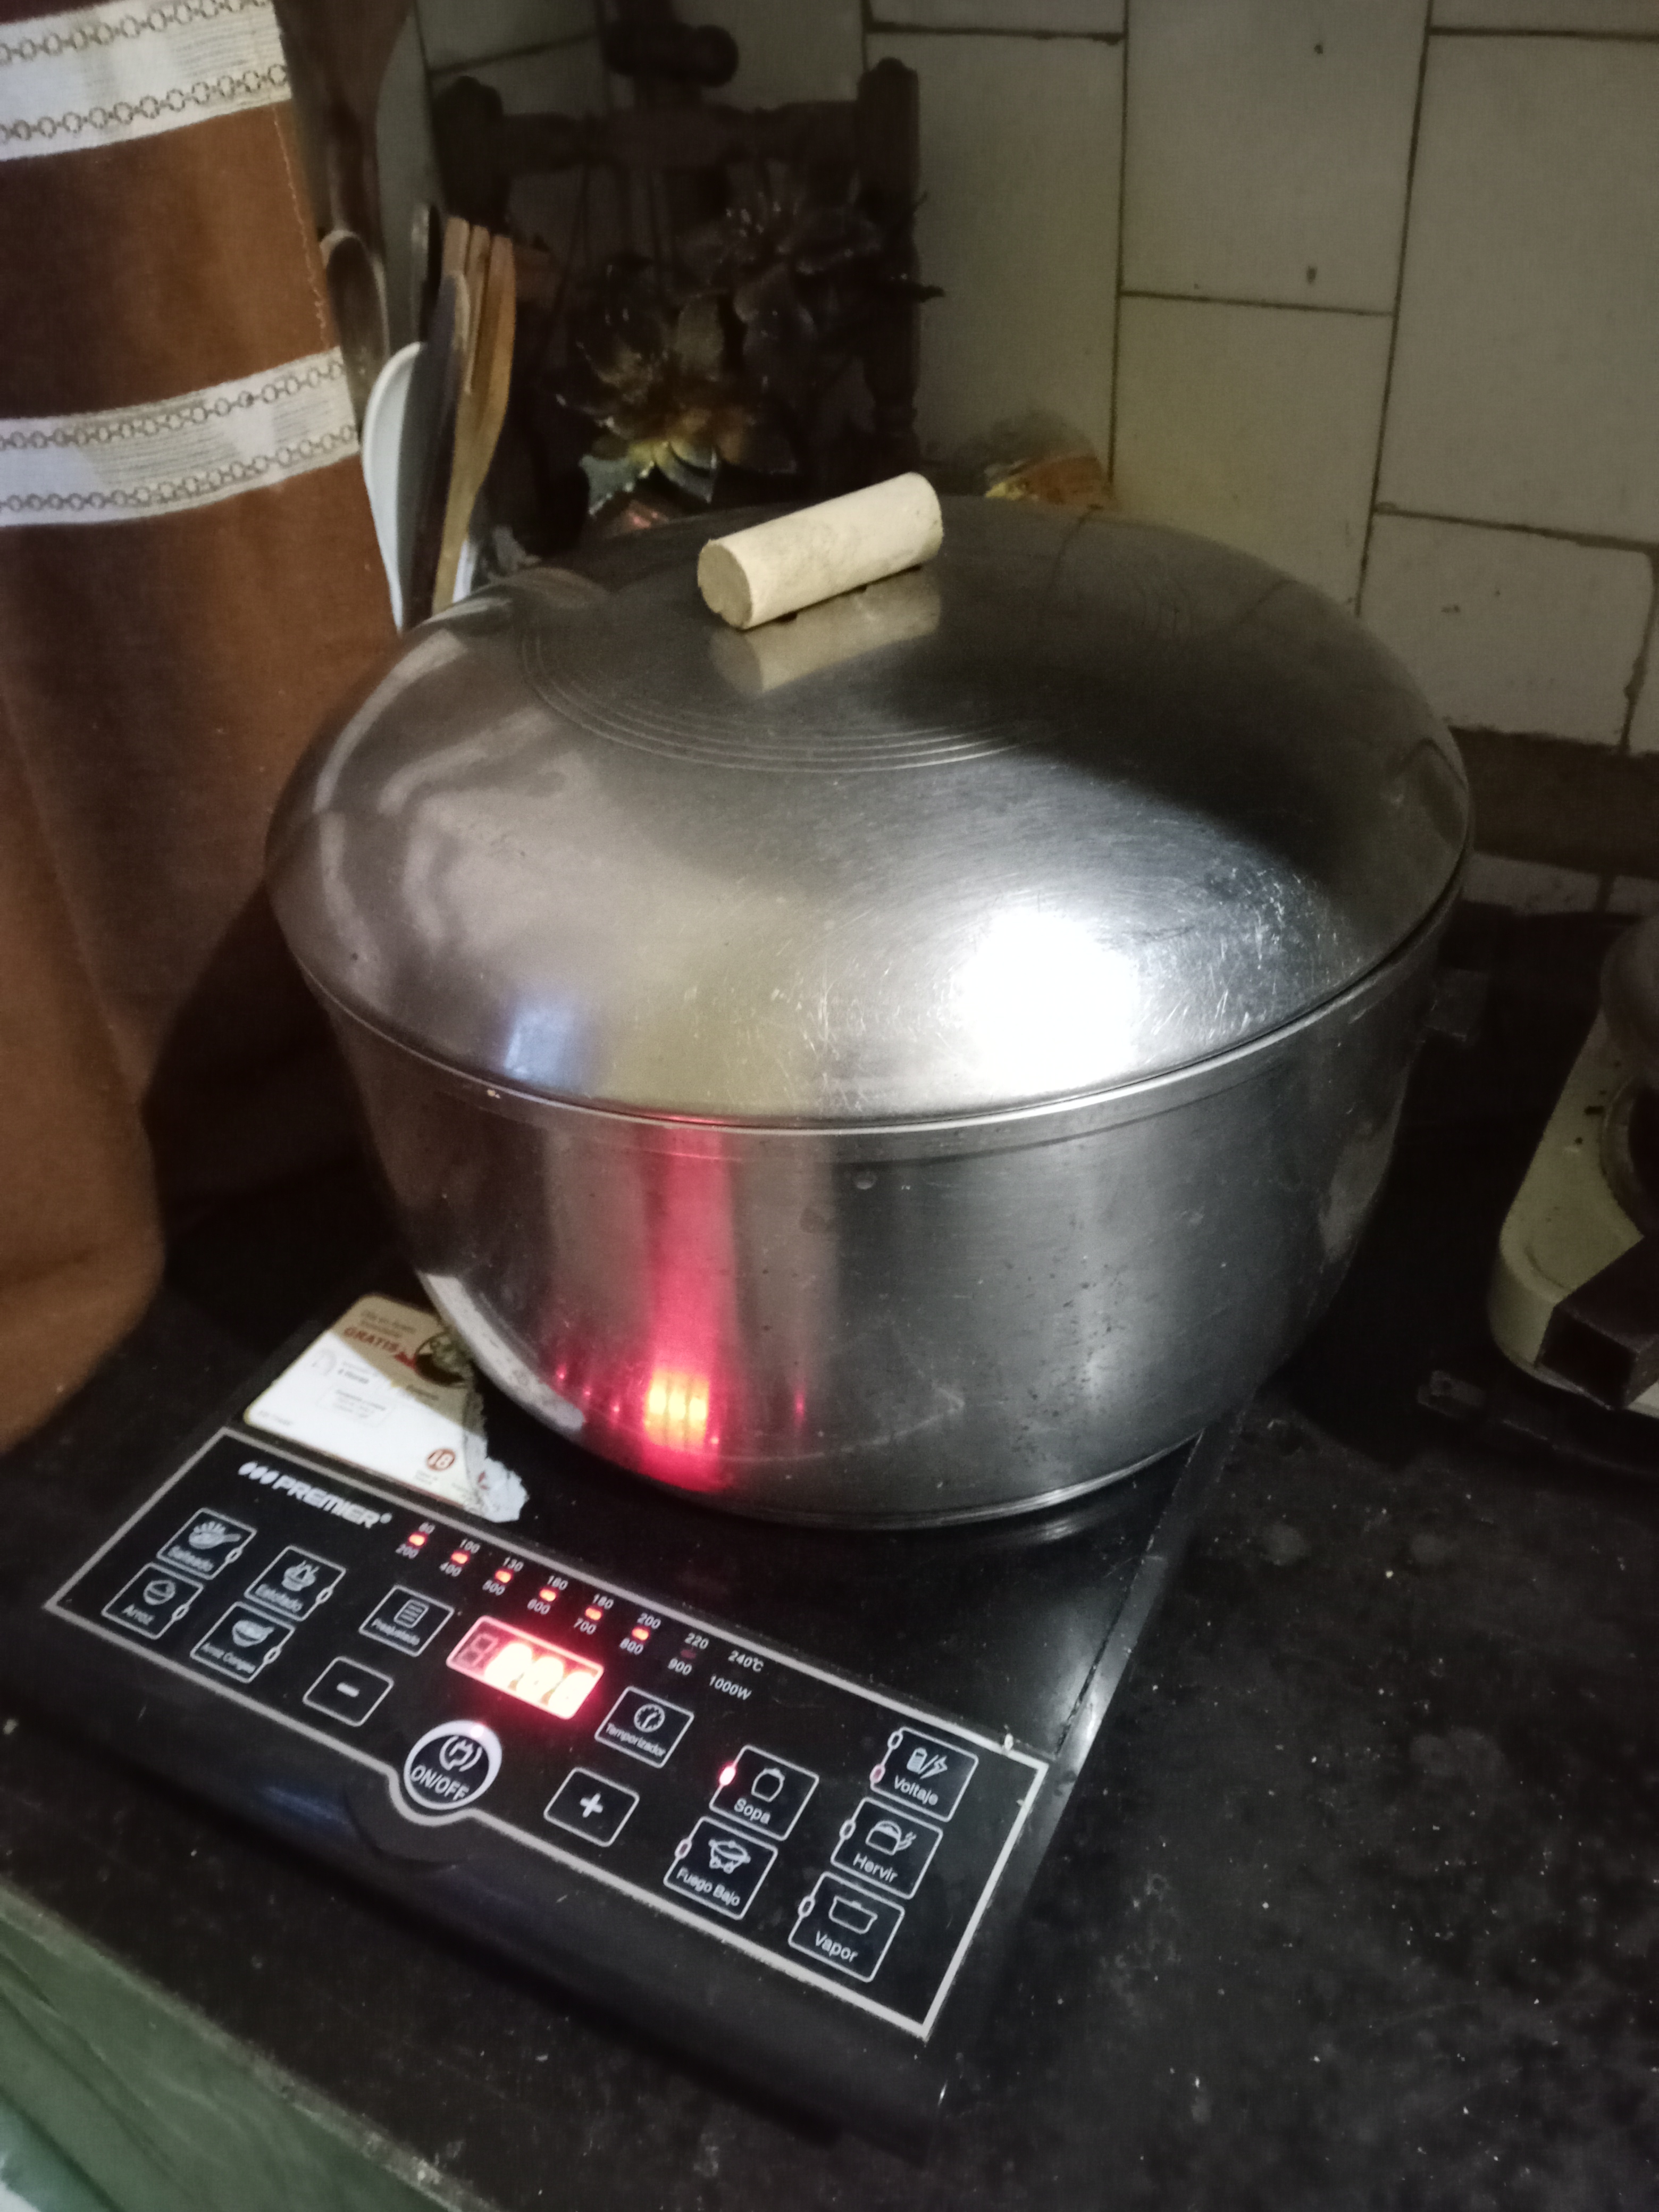
That was it, but at the last minute, the lid of one of the pots didn't have a handle, and we needed it.
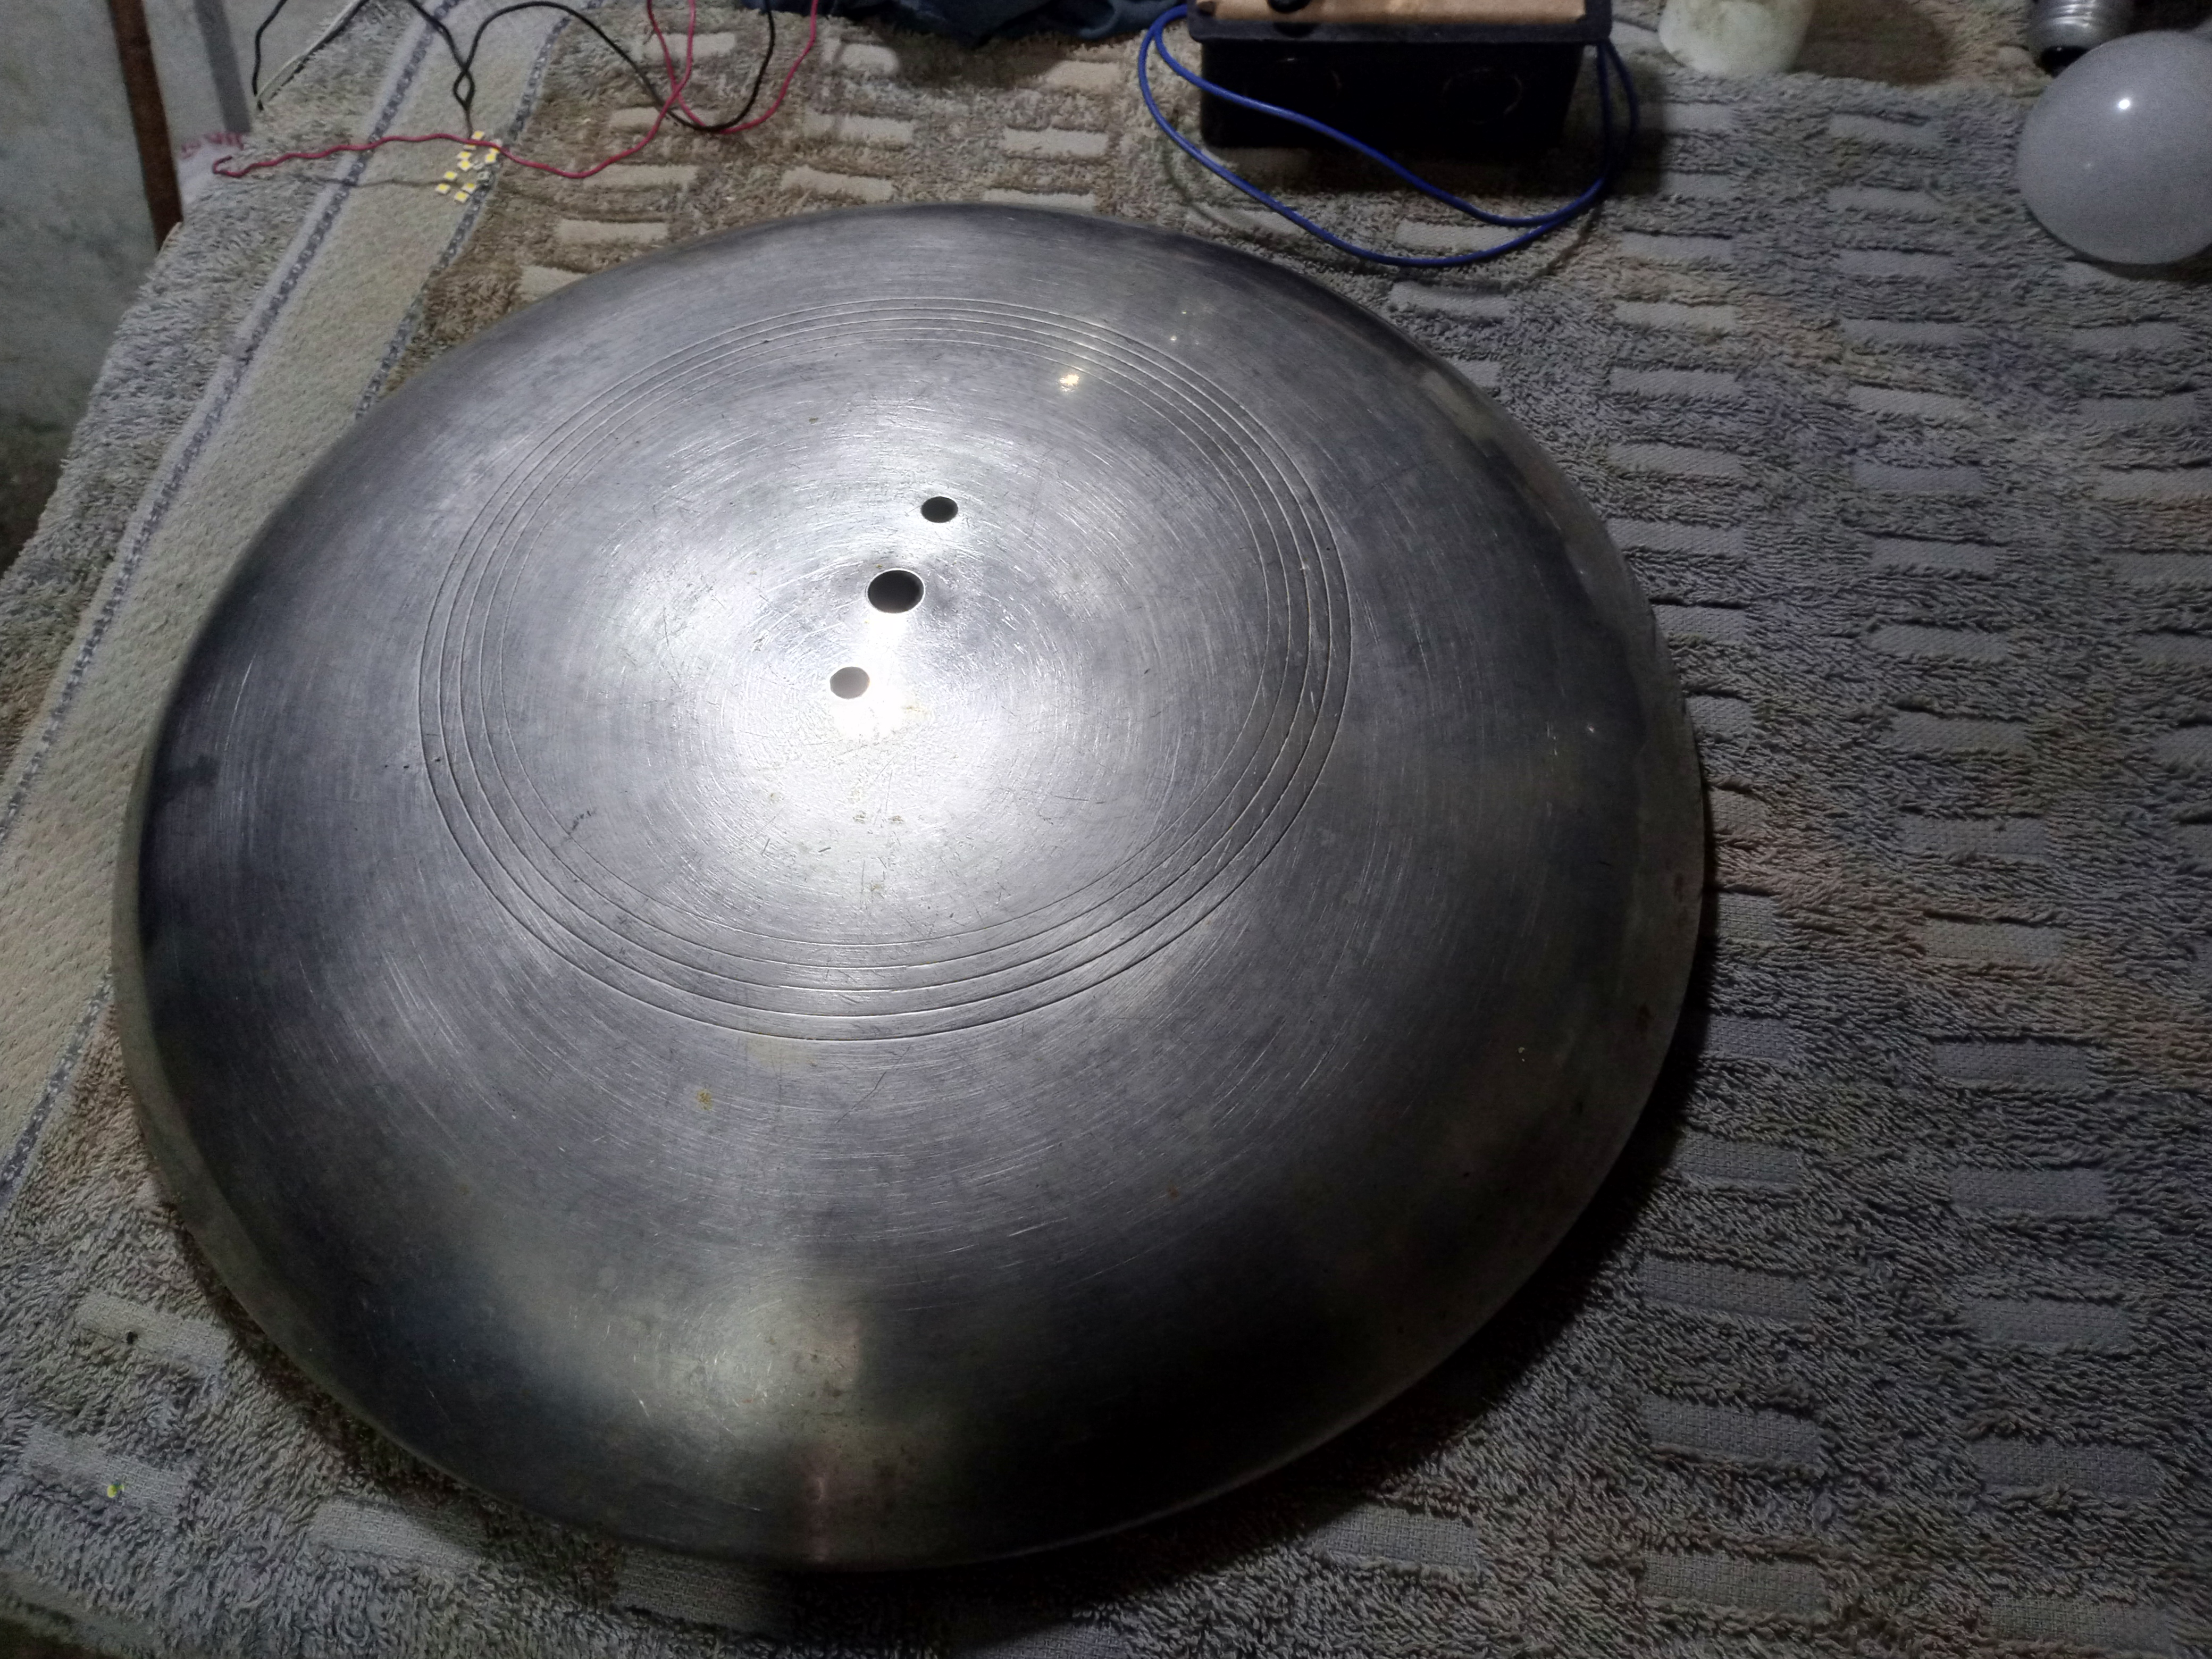
So cut a piece of broomstick, wash it with soap, use a self-tapping screw and you're done.
It has been a good set of little things that, in short, have given me something to do for a long time.
Thank you very much for stopping by and reading me.
Have an excellent week.
Peace.

I have used Google translator for the English language.
Images unless noted are screenshots of my work in the workshop.
Español
Saludos a las personas de la comunidad de Hive DIY. He visto muy buenos trabajos de la comunidad en estos últimos días, yo he estado entretenido por mi parte también.
Todos fueron trabajos que me ocuparon tiempo, fueron sencillos, pero muy cortos como para hacer un post completo, así que hice un resumen de los trabajos para completar el contenido y compartir.
Un monitor LCD, que ha ocupado varios días de trabajo, y me ha llevado por la calle de la amargura, pero me servirá para compartir unos consejos en reparación de electrónica, mientras termino de resolver la falla.
Una falla en muchas tarjetas electrónicas, sea de juguetes, de equipos de sonido, de televisores o de bombillos, etc. Consiste en que las soldaduras que se han fracturado en los componentes de la tarjeta electrónica, me he encontrado artefactos que funcionan un tiempo o nunca funcionan, al revisarla hallamos este problema.
Así que al trabajar en un artefacto con tarjeta electrónica, lo primero que hago es rehacer las soldaduras de toda la tarjeta, es un trabajo tedioso y lento, pero muy necesario. En muchas ocasiones solo con eso se resuelve todo el problema.
Para probar los tubos de luz de la pantalla, uso un antiguo bombillo fluorescente, que he modificado un poco y generar el alto voltaje y hacerlos funcionar.
También se puede usar la tarjeta de un viejo escáner y lo alimentamos con 12 volts de corriente continua. El tamaño del escáner limita el tamaño de tubo de luz que se puede hacer funcionar.
Uno de los problemas que no se identifican por lo simple que es en algún equipo, es el daño en el cable de alimentación eléctrica. Parece algo tonto, pero me ha tocado que todo el daño de una aspiradora, la falla de una nevera de una casa, un televisor que se descompone, simplemente era el cable de alimentación eléctrica.
También dediqué un buen tiempo para reciclar bombillos de led en el taller, pero esta vez probé una forma de reparación algo diferente.
Usar un transistor NPN, con un diodo zenner es un método práctico para reparar los leds de televisores, es un método válido el soldar los terminales del led dañado después de retirarlo, como hacen las personas, lo he probado y solo funciona en bombillos con fuentes conmutadas. Los bombillos con fuentes de capacitor se queman si haces puente en los terminales del led dañado.
He hecho la prueba y al soldar los terminales de un led dañado, el bombillo, si es de fuente conmutada, el bombillo funciona por un tiempo más. Pero ya a este punto, cuando llega el bombillo al taller de reciclaje, el resto de los leds ya tienen desgaste, y no duran mucho tiempo al ser reparados.
Si el bombillo es de la línea barata, tiene una fuente de capacitores, no tiene tarjeta electrónica, estos bombillos se reparan colocando una resistencia en lugar del led dañado.
Yo usaré un método que me comentaron y coloque unos diodos reciclados de tarjetas viejas recuperadas.
Probamos hasta dar con el led dañado, un detalle es que si hay más de dos leds dañados en el bombillo, no vale la pena reparar ese bombillo y se usa como repuesto.
Marque los leds que estaban fallando, para el reemplazo.
Respetando la polaridad, coloco el diodo y pruebo el funcionamiento. Ahora tengo que llevar el tiempo y comprobar que tan bien será el desempeño en el tiempo del bombillo.
Era todo, pero al último minuto, la tapa de una de las ollas no tenía asa, y la necesitábamos.
Así que corte un trozo de palo de escoba, lo lave con jabón, use un tornillo autorroscante y listo.
Ha sido un buen conjunto de pequeñas cosas que, en suma, me han dado que hacer por un buen rato.
Muchas gracias por pasar y leerme.
Que tengan una excelente semana.
Paz.
He usado el traductor de Google para el idioma Inglés.
Las imágenes a menos que se indique son capturas de mi trabajo en el taller.