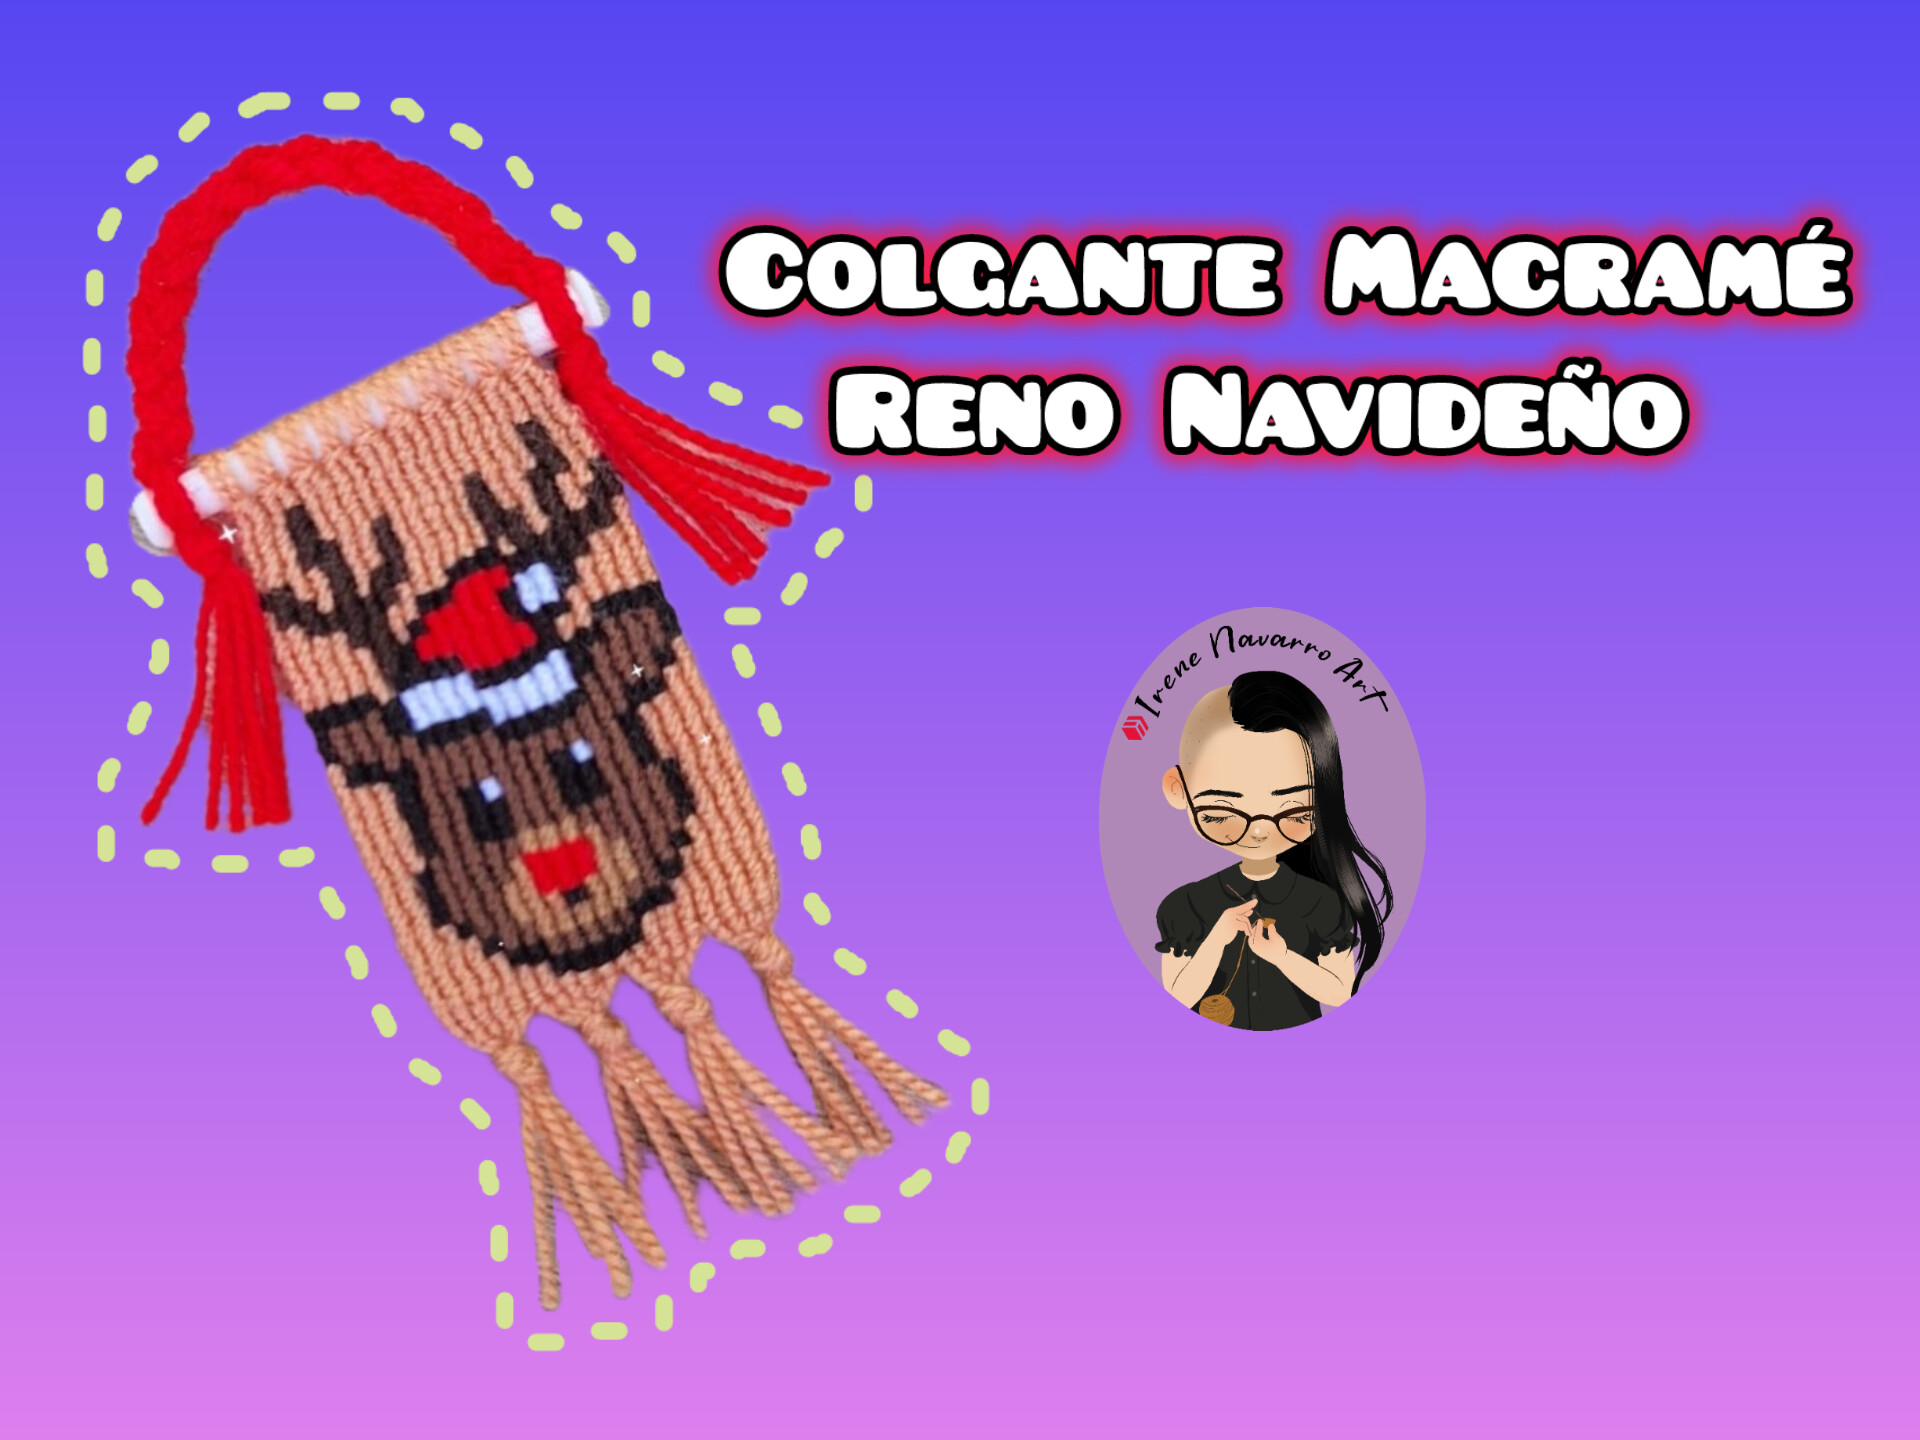
Saludos a todos en la comunidad, espero estén pasando un excelente fin de semana, yo aproveché hoy para tejer un nuevo colgante en macramé para decorar esta navidad, se me hace muy entretenido hacer estos diseños que al ser pequeños puedo finalizarlos apenas en un día, aunque son algunas horas no se siente tan pesado, sobre todo cuando el resultado vale la pena, espero que les guste 😊
Greetings to everyone in the community, I hope you are having a great weekend. I took advantage of today to weave a new macramé pendant to decorate this Christmas. I find it very entertaining to make these designs, which, being small, I can finish in just one day. Even though it takes a few hours, it doesn’t feel so heavy, especially when the result is worth it. I hope you like it 😊

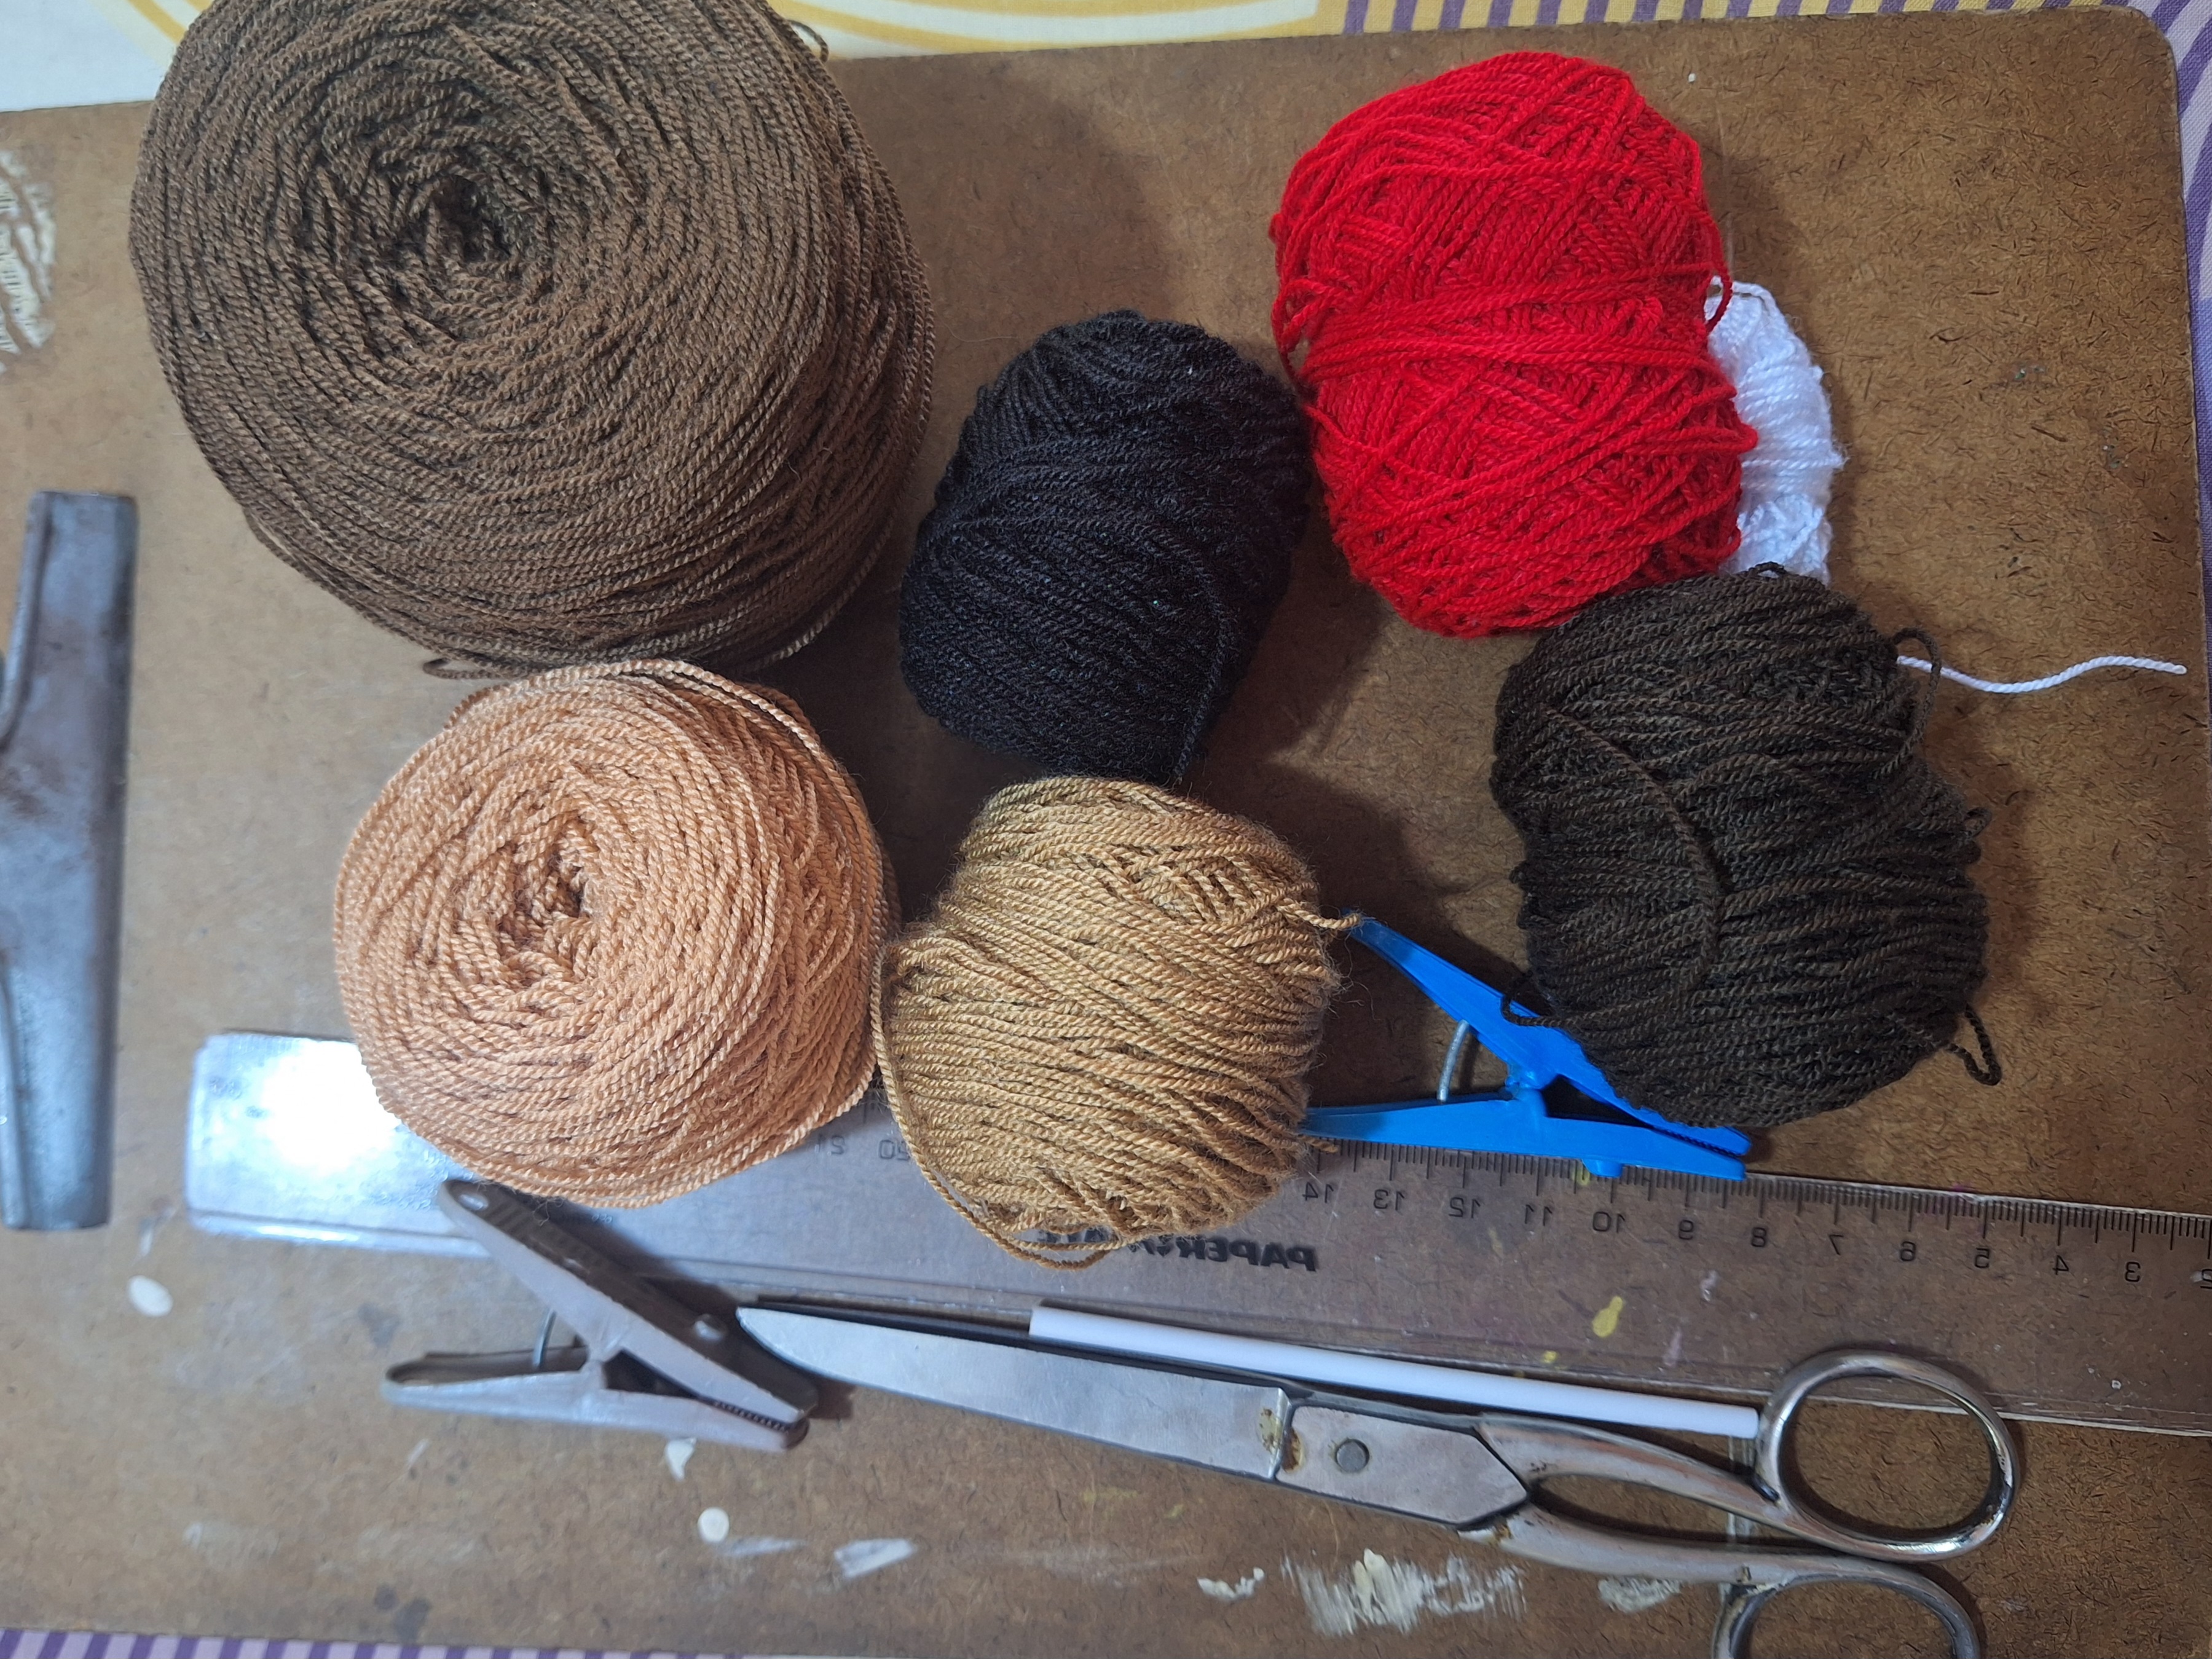
Materiales / Materials
- Hilo acrílico para crochet: beige, negro, marrón oscuro, marrón medio, beige claro, rojo y blanco.
- Palito de plástico
- 2 pinzas para ropa
- Regla
- Tabla
- Patrón
- Acrylic crochet yarn: beige, black, dark brown, medium brown, light beige, red and white.
- Plastic stick
- 2 clothespins
- Ruler
- Chart
- Pattern

Proceso / Proceso
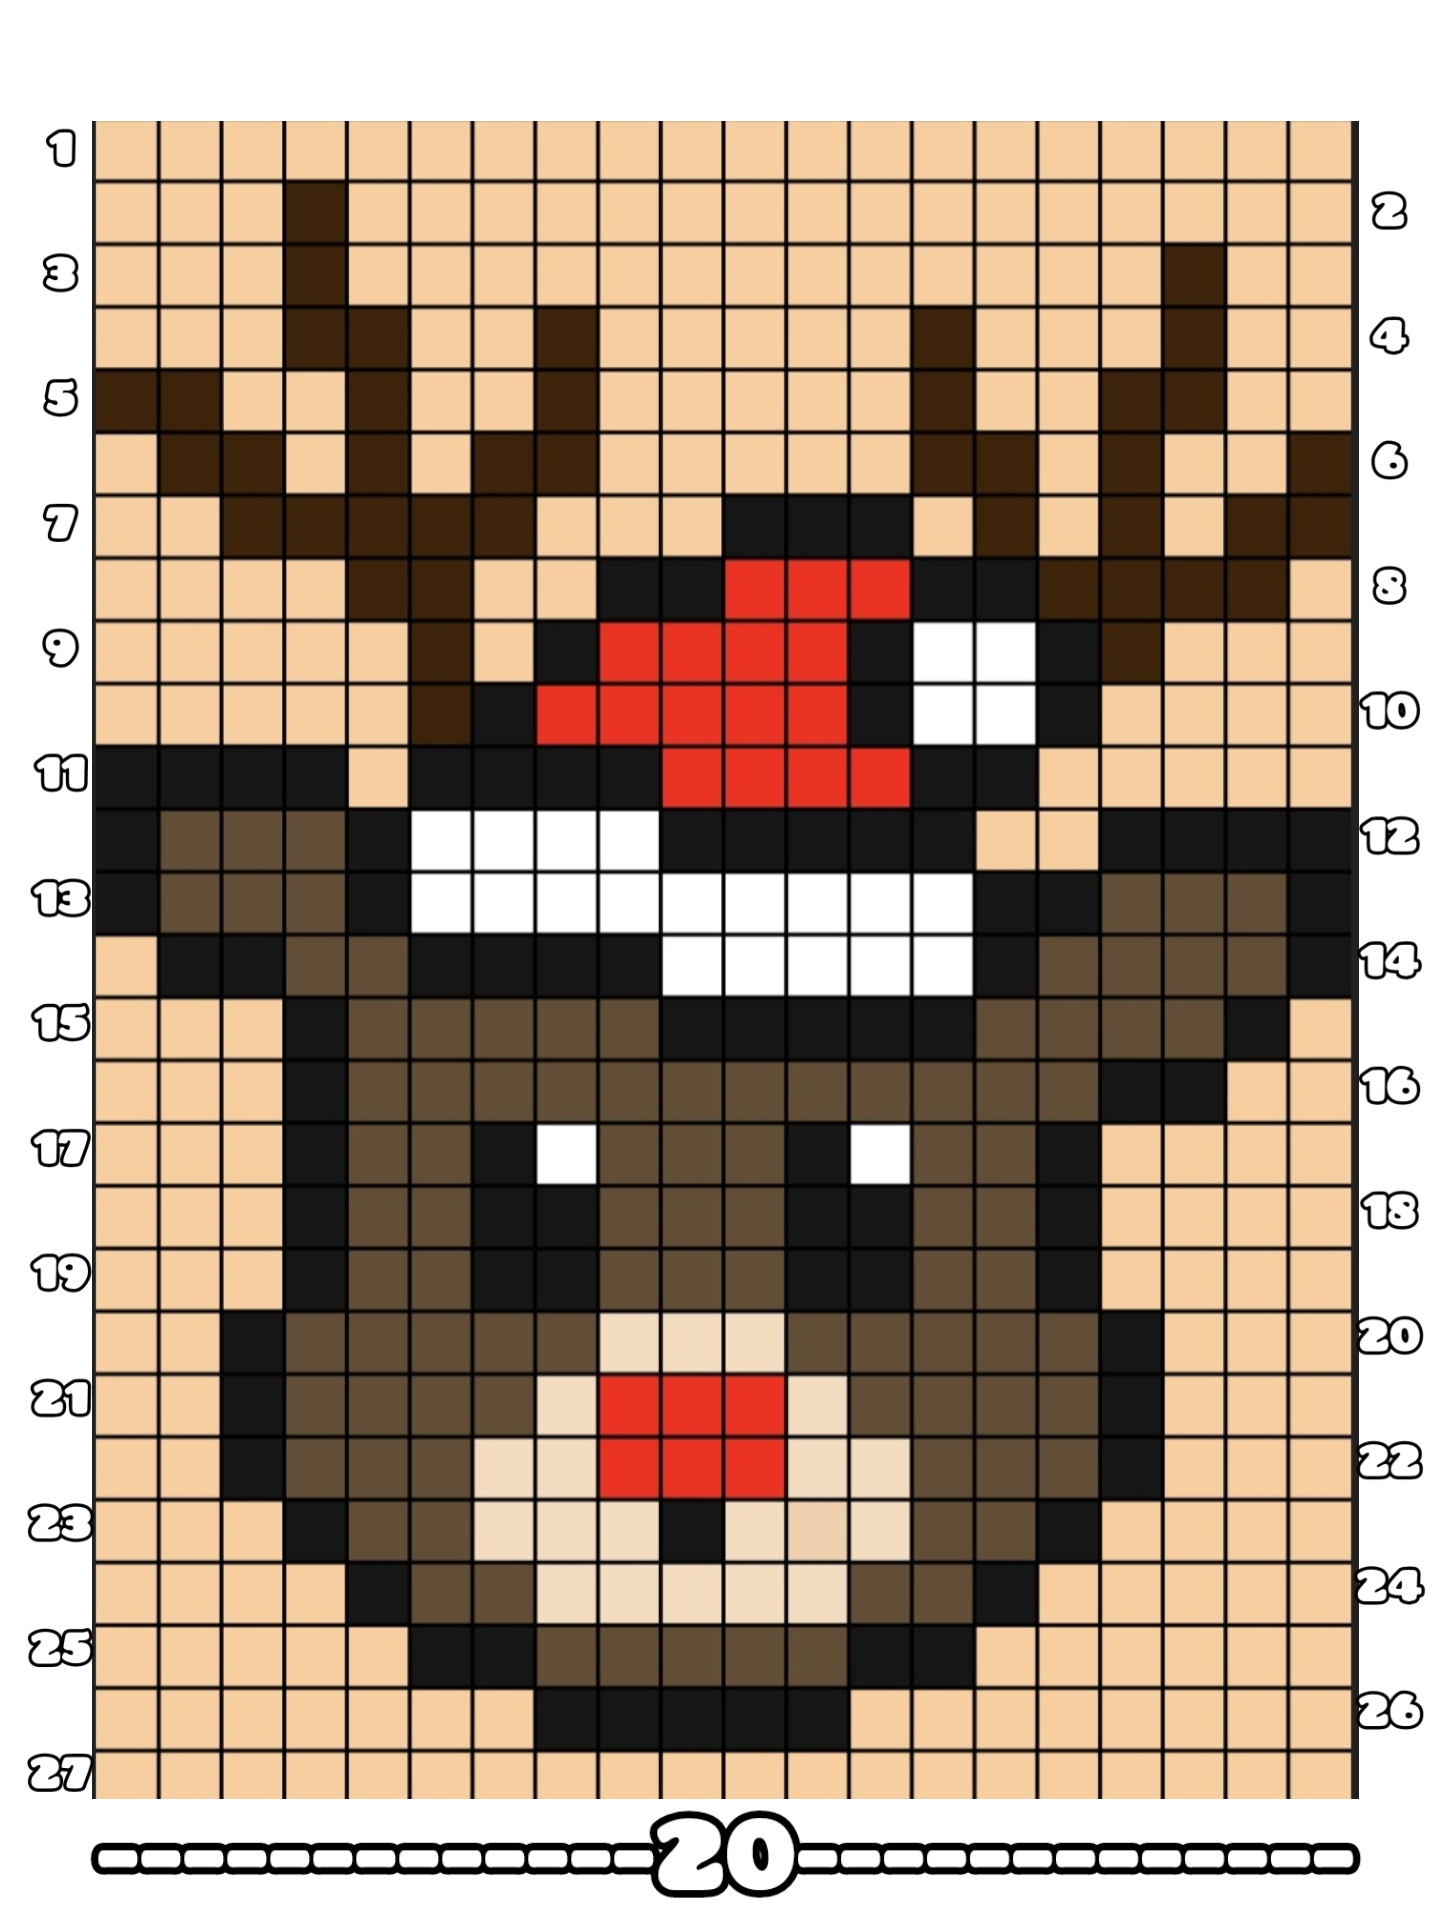
Para hacer esta patrón usé una imagen de referencia en la cual aprecia el reno completo, sin embargo, debido a que estos colgantes son de pequeño tamaño solo dibujé la cabeza del personaje, en la aplicación Pixel Station con un lienzo de 20 x 27 cuadros, colocando la numeración en edición posterior con la aplicación Inshot.
To make this pattern I used a reference image in which you can see the complete reindeer, however, because these pendants are small in size I only drew the character’s head, in the Pixel Station application with a 20 x 27 square canvas, placing the numbering in later editing with the Inshot application.

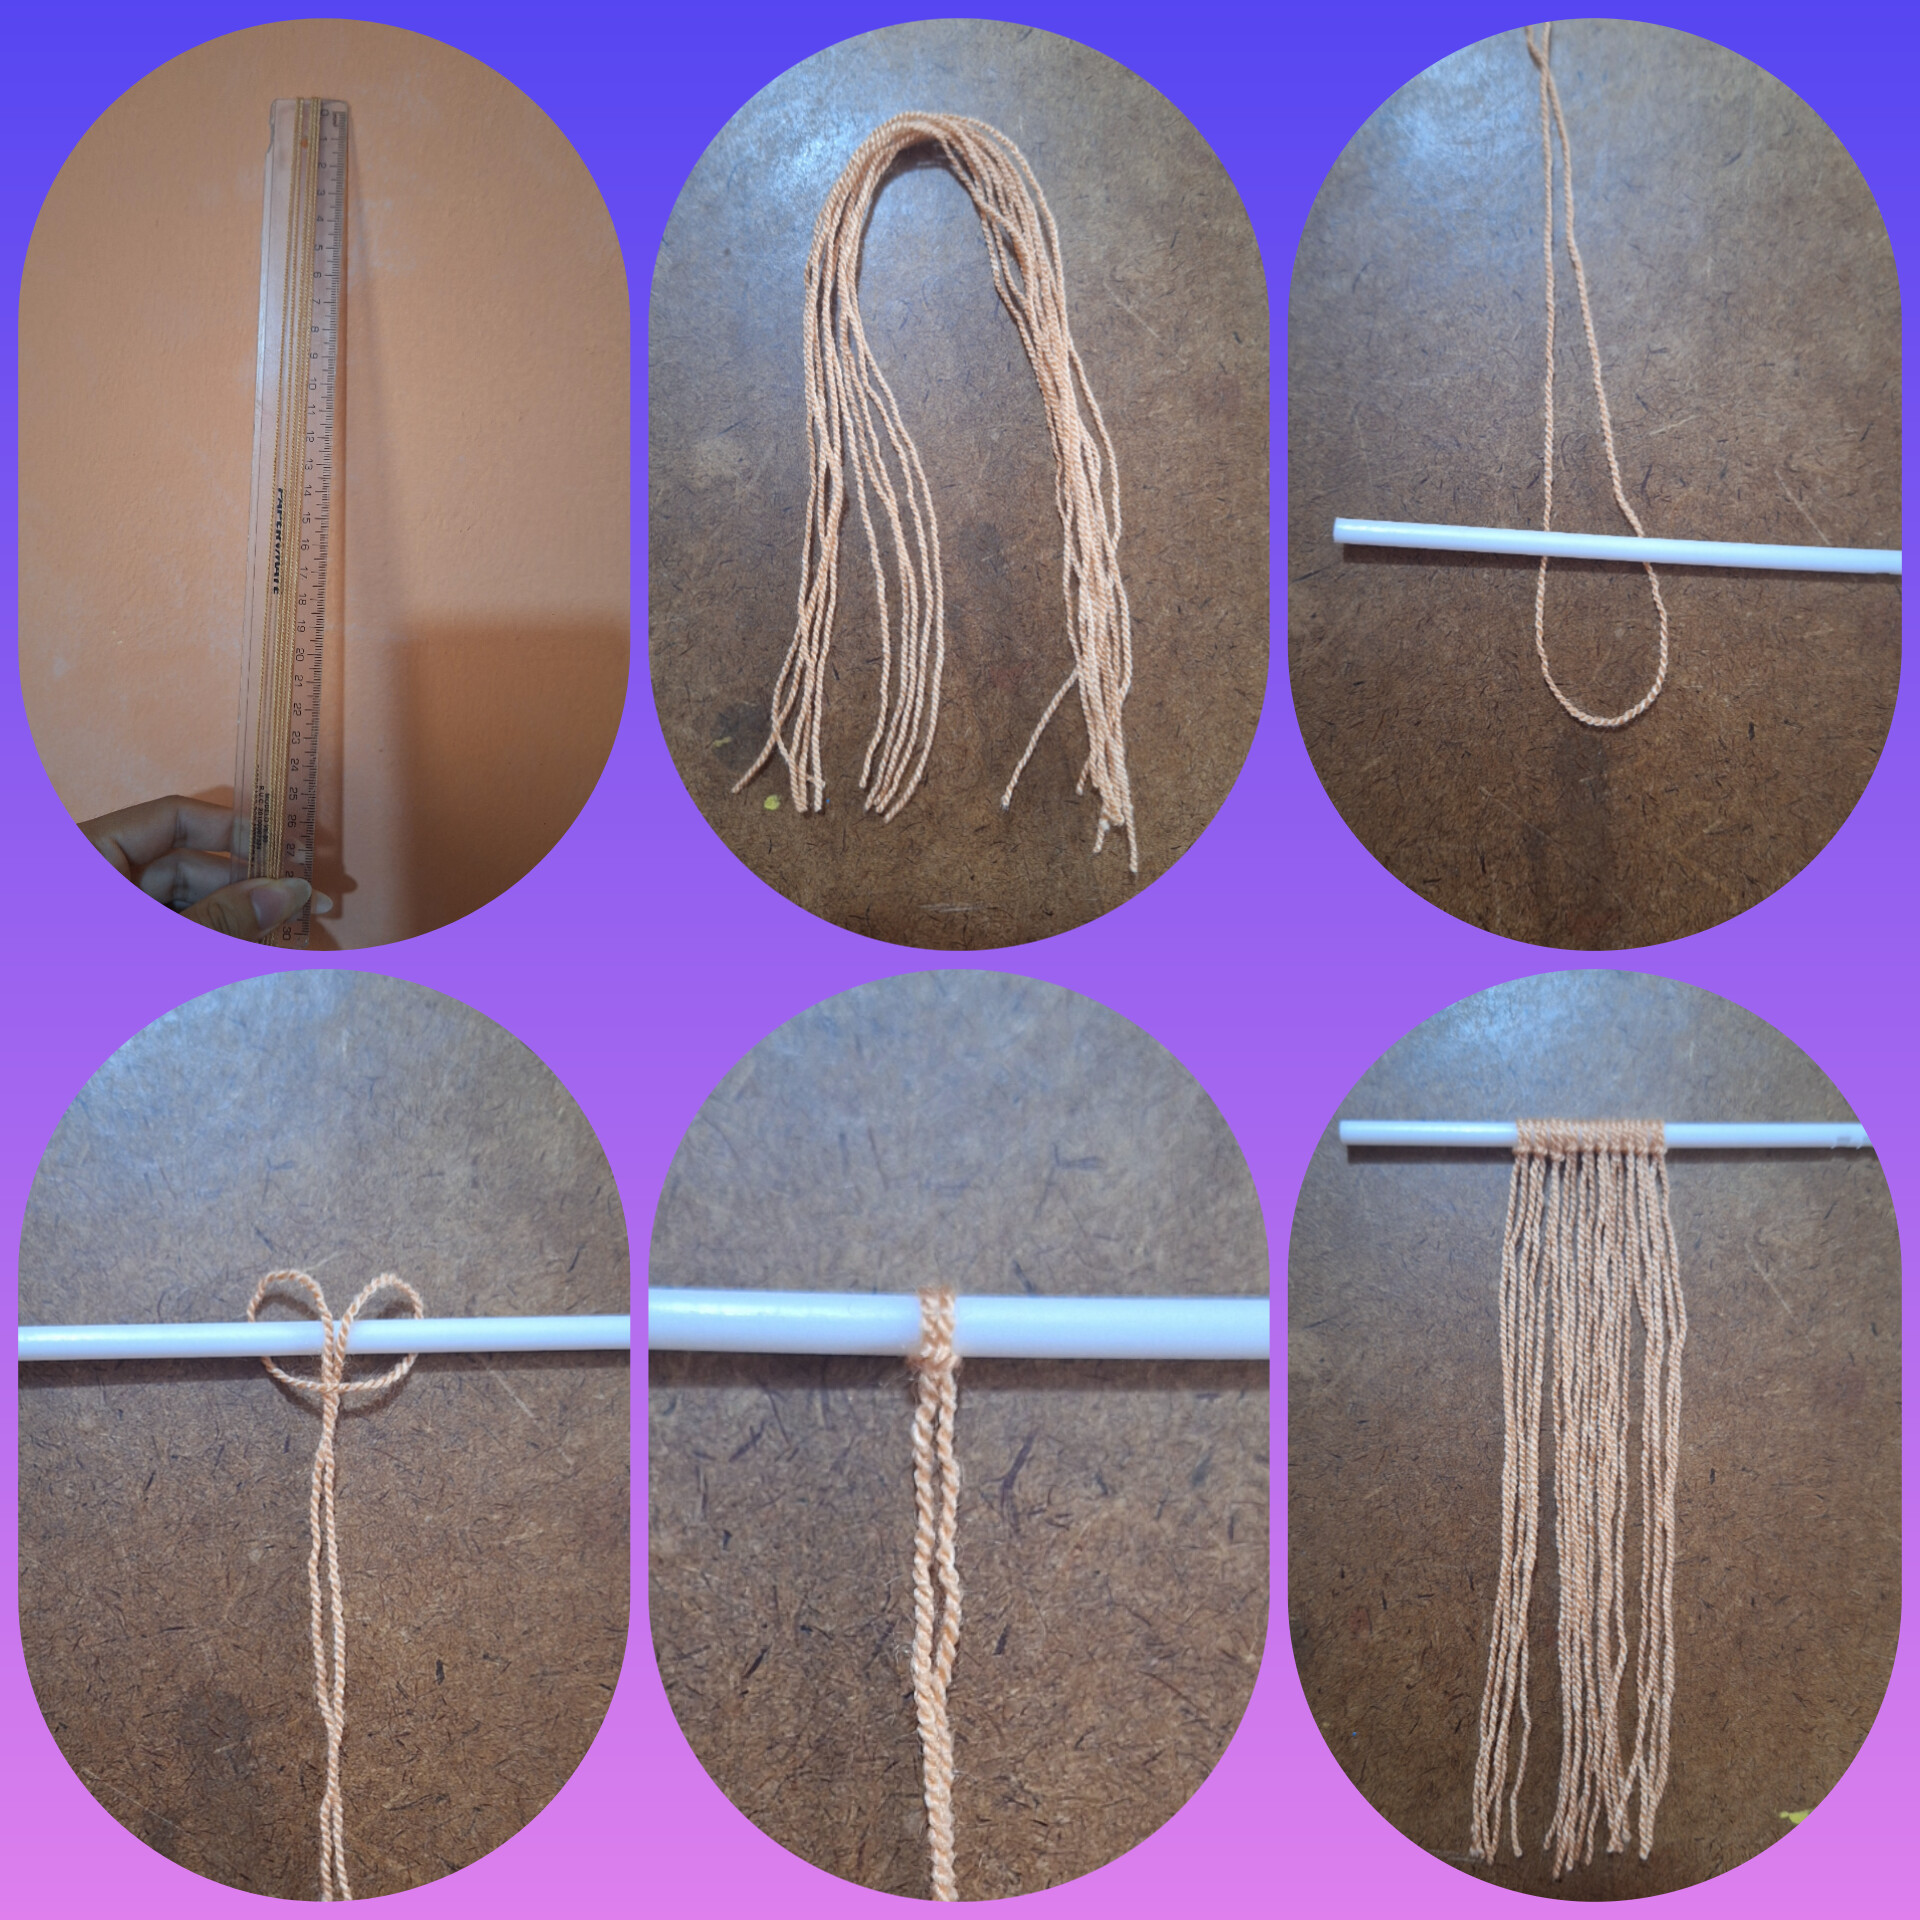
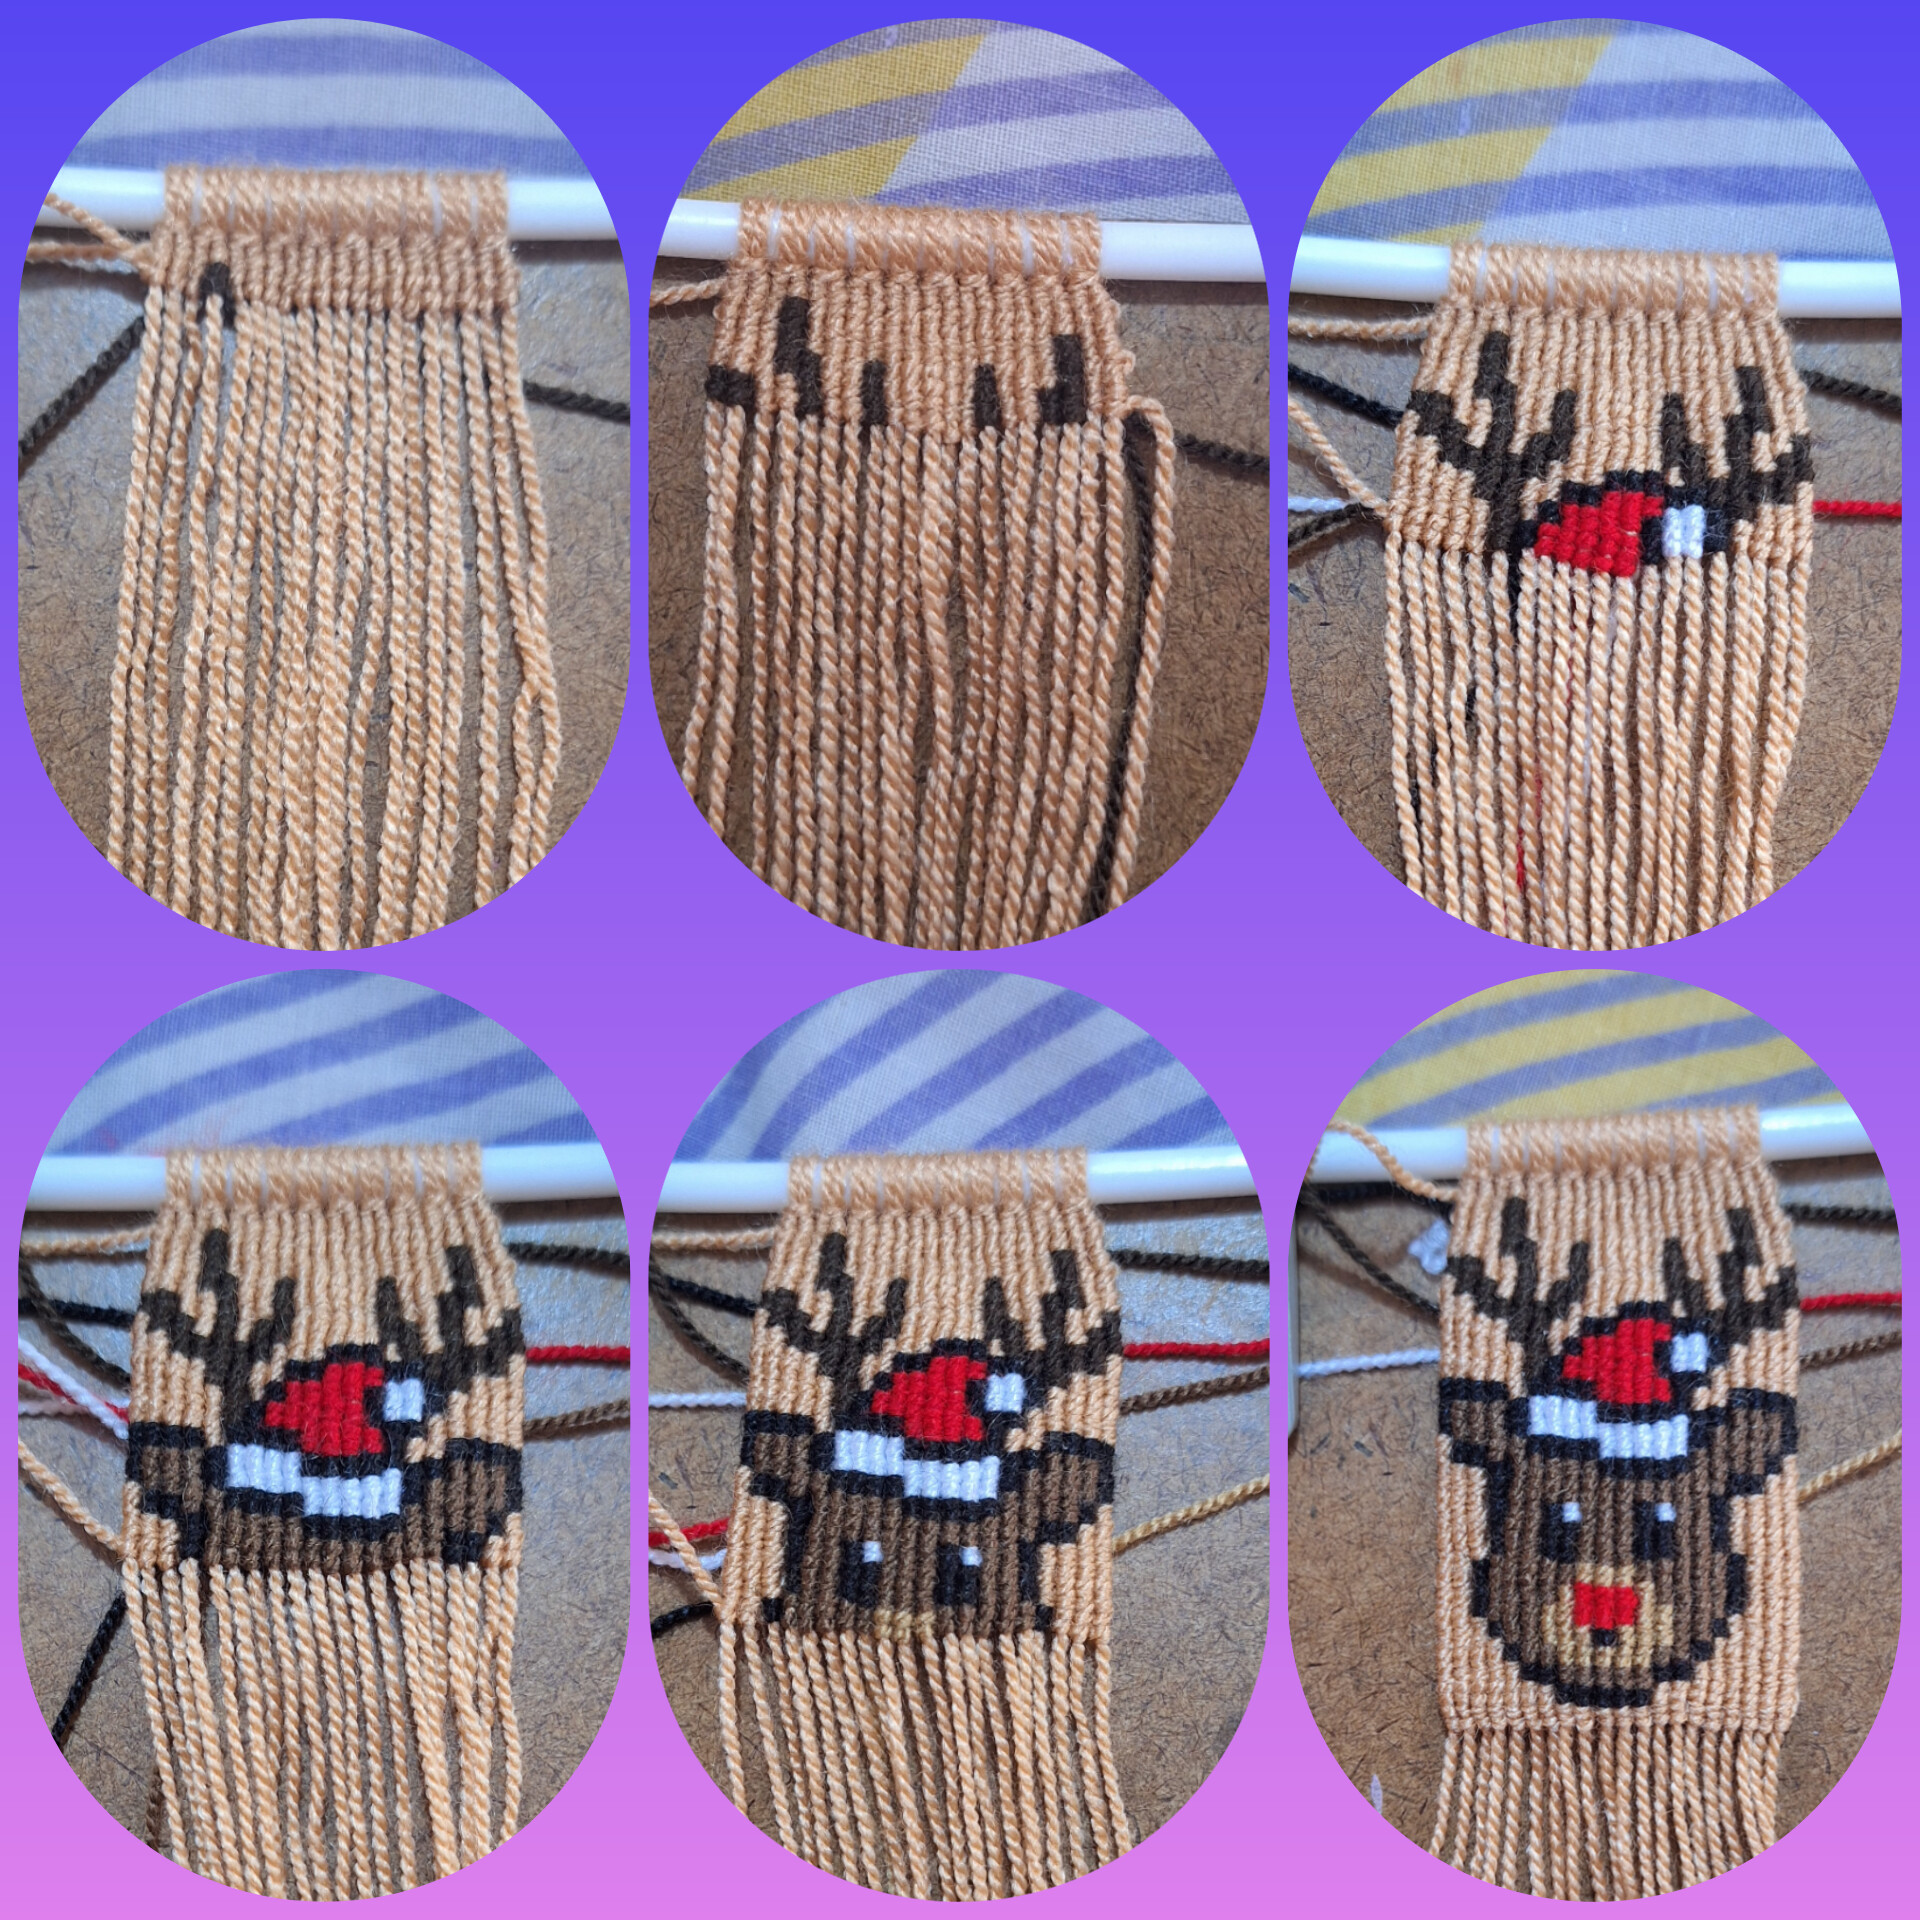
Como el patrón tiene 20 cuadros en horizontal esto quiere decir que se necesitan 20 hilos guía, para esto con hilo beige corté 10 hebras de 30 cm y las anudé por la mitad al palito de plástico, obteniendo los 20 hilos guía.
Since the pattern has 20 squares horizontally, this means that 20 guide threads are needed. To do this, I cut 10 strands of 30 cm using beige thread and tied them in half to the plastic stick, obtaining the 20 guide threads.

Sujeté el palito de plástico con las pinzas para ropa en la tabla, agregué el primer hilo anudador beige para hacer la primer hilera de nudos, en el patrón cada cuadro representa un nudo, por lo que la primera hilera al igual qué todas las hileras de nuestro impar se hacen con el hilo anudador envolviendo dos veces cada uno de los hilos guía de izquierda a de derecha, mientras que las hileras pares se anudan de derecha a izquierda. Al agregar los otros hilos anudadores de colores diferentes, se deben cruzar por la parte de atrás al hacer los cambios de color en los nudos.
I held the plastic stick with the clothespins on the board, added the first beige knotting thread to make the first row of knots, in the pattern each square represents a knot, so the first row as well as all the rows of our odd number are made with the knotting thread wrapping twice each of the guide threads from left to right, while the even rows are knotted from right to left. When adding the other knotting threads of different colors, they must be crossed at the back when making the color changes in the knots.

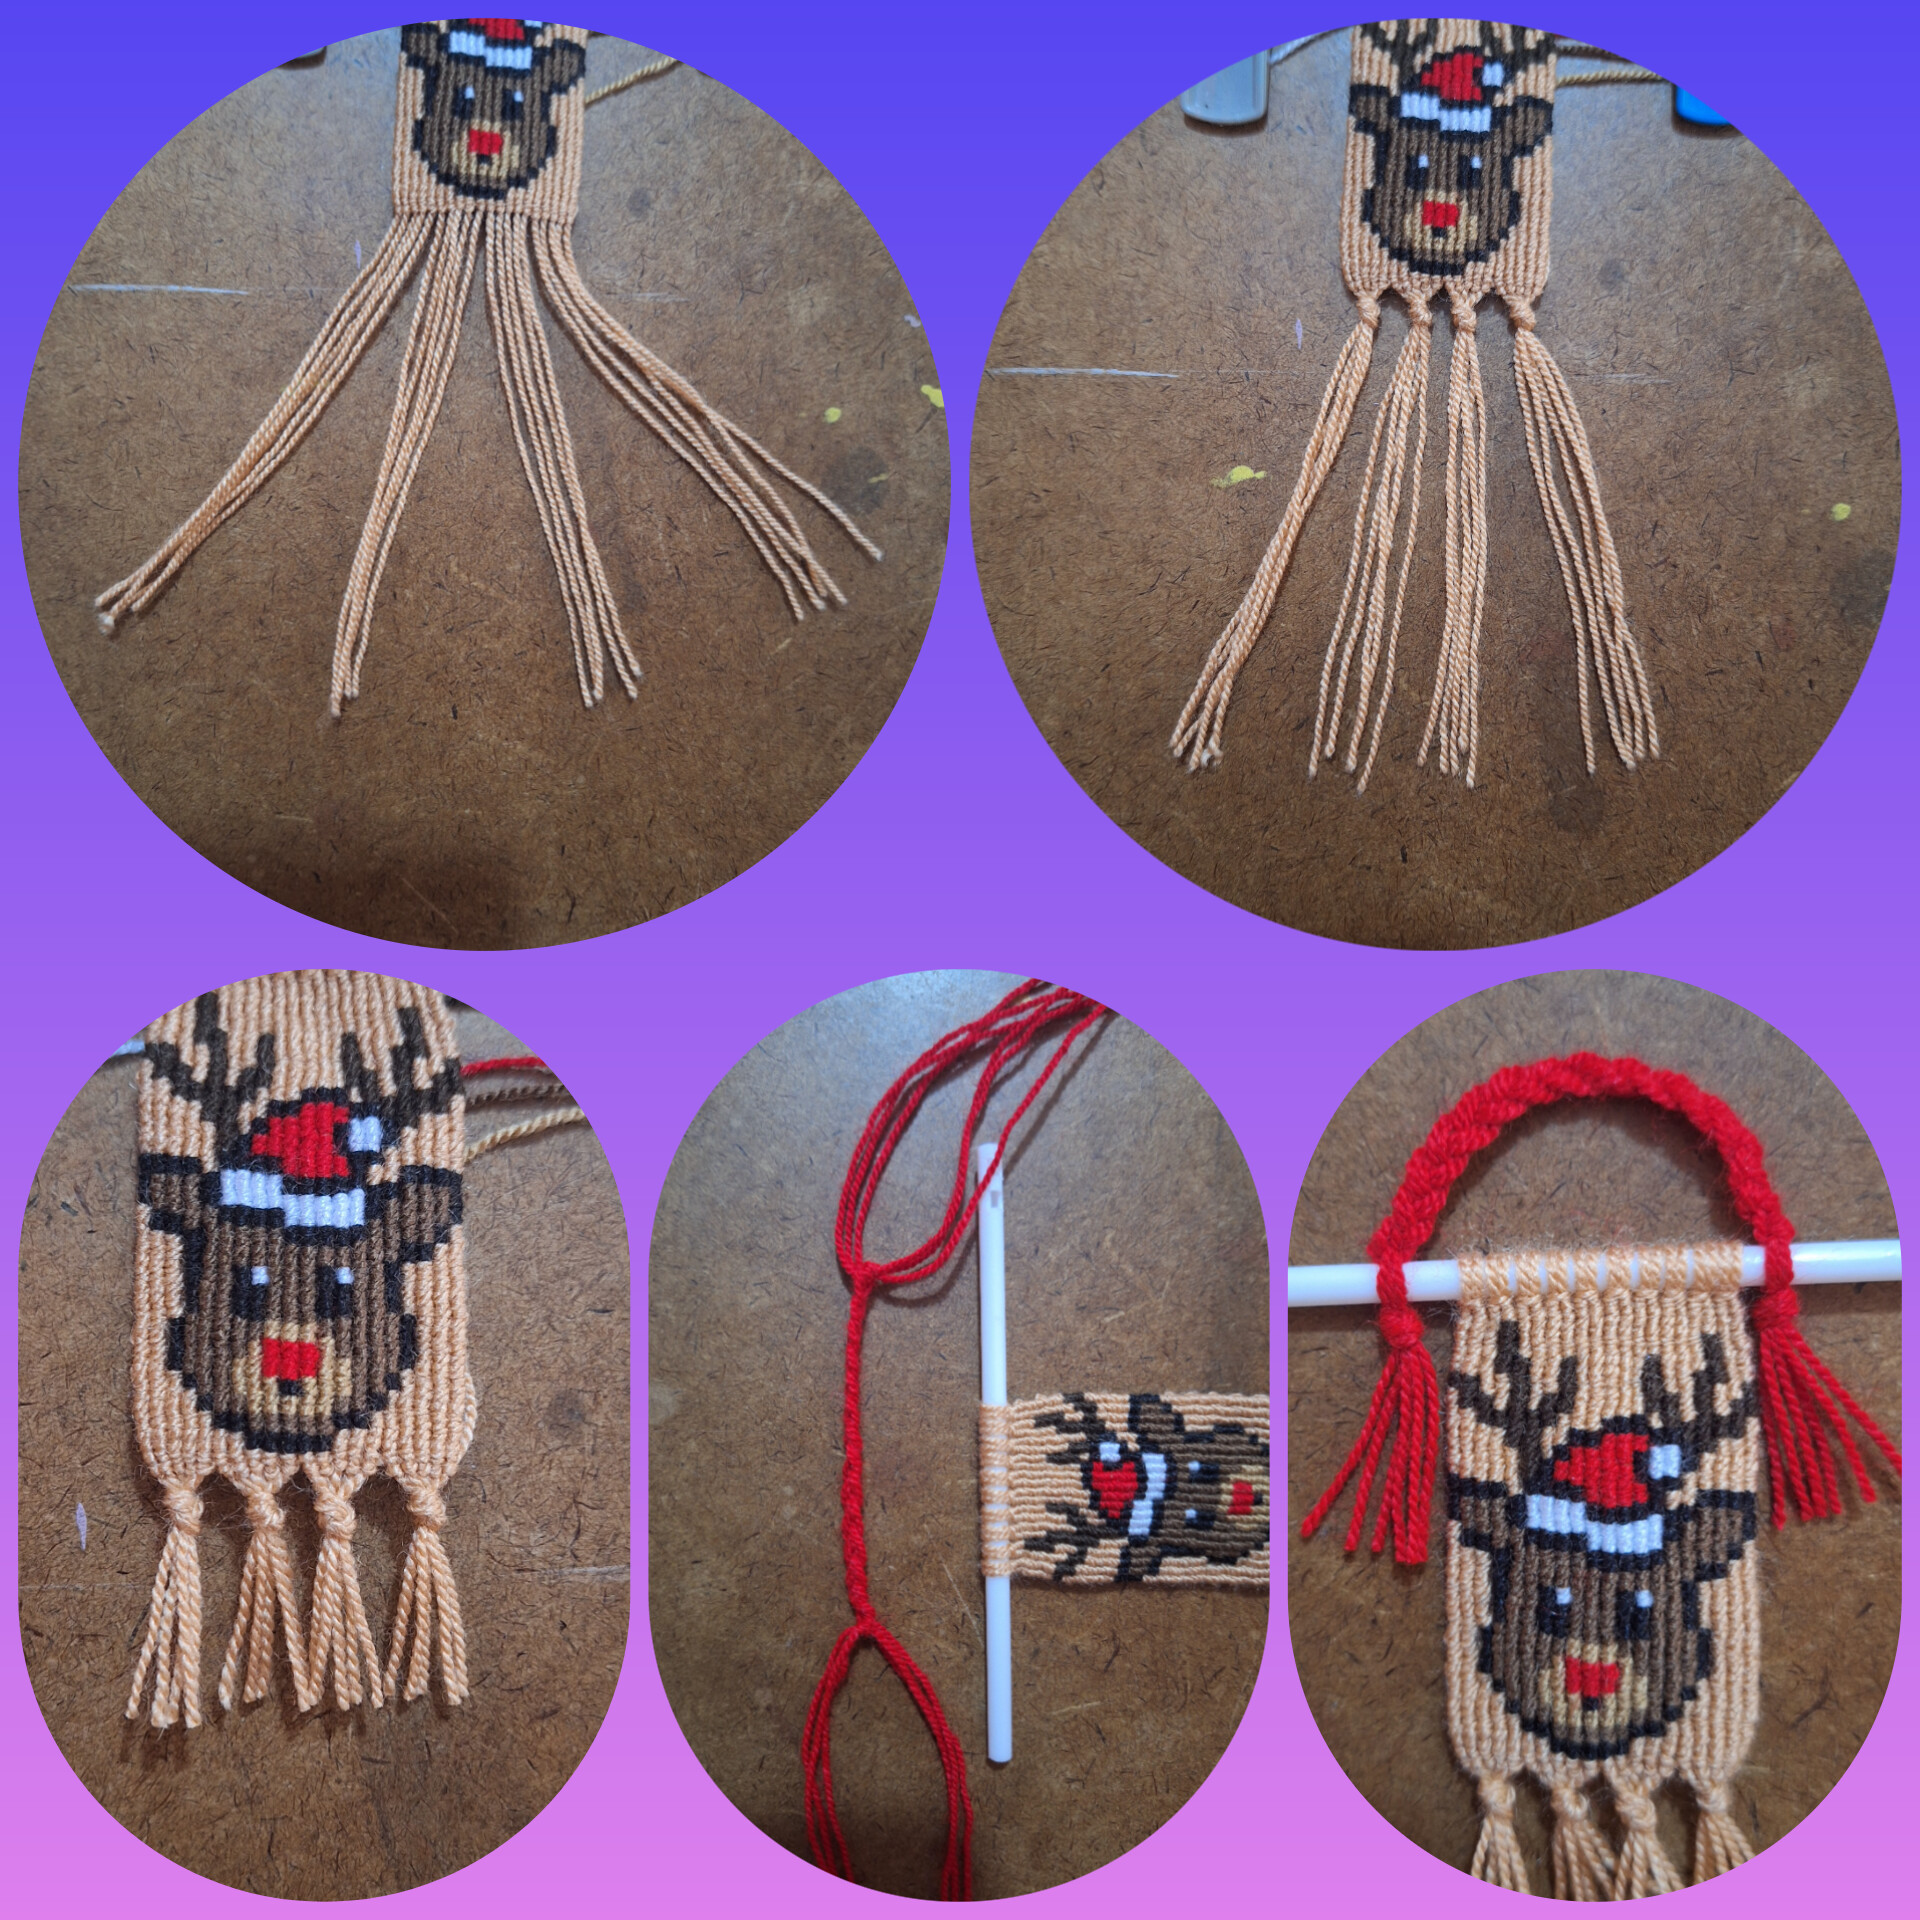
Al finalizar la última hilera de nudos que, separar los hilos guía y anudé en 4 partes, corté para emparejar los flecos. Con 6 hebras de 20cm de hilo rojo hice la trenza para anudar el palito y crear el asa. Cortar y quemar las puntas del palito de plástico es opcional pero de este modo se obtiene un bonito resultado.
After finishing the last row of knots, I separated the guide threads and tied them in 4 parts, cutting to match the fringes. With 6 strands of 20cm of red thread I made the braid to tie the stick and create the handle. Cutting and burning the tips of the plastic stick is optional but this way you get a nice result.

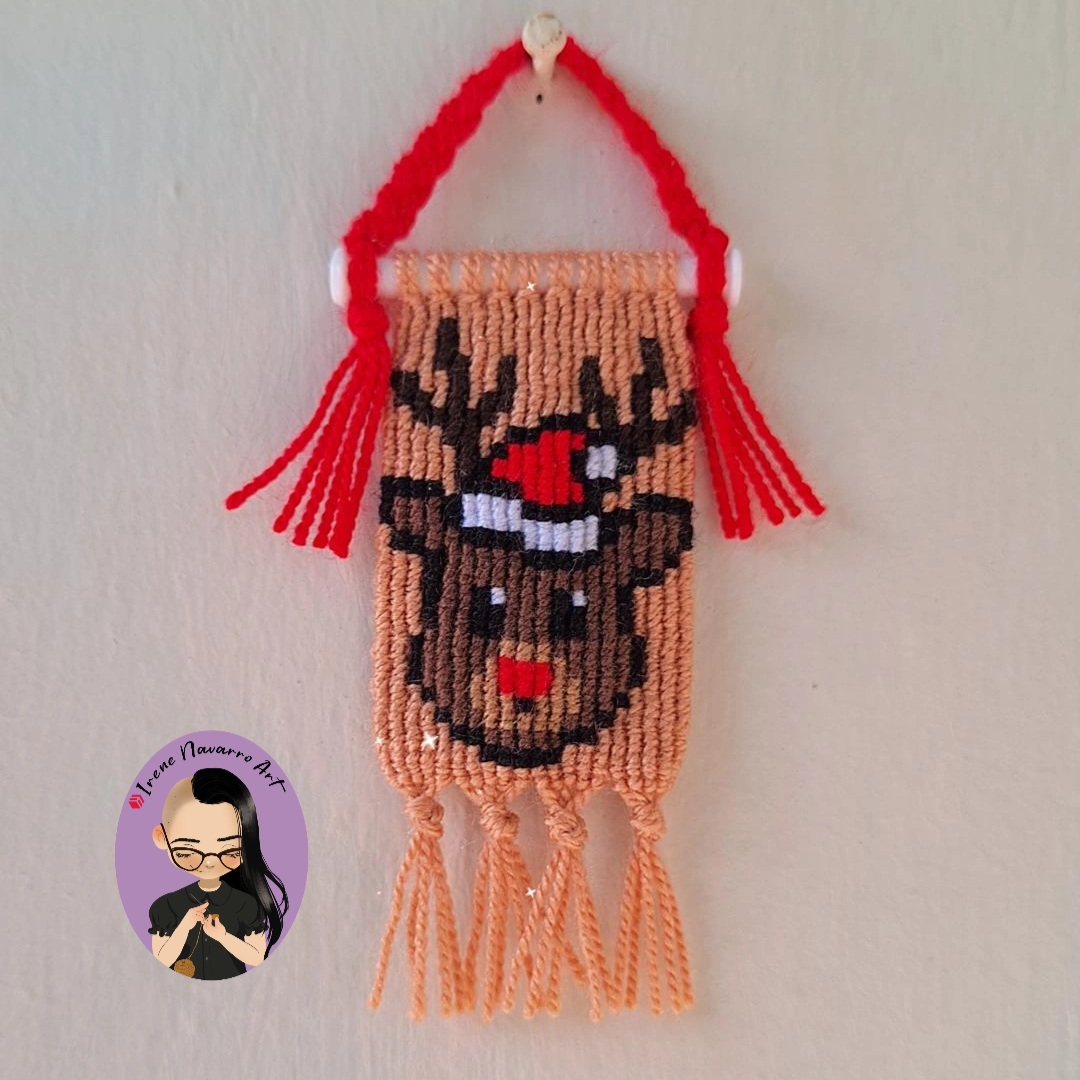
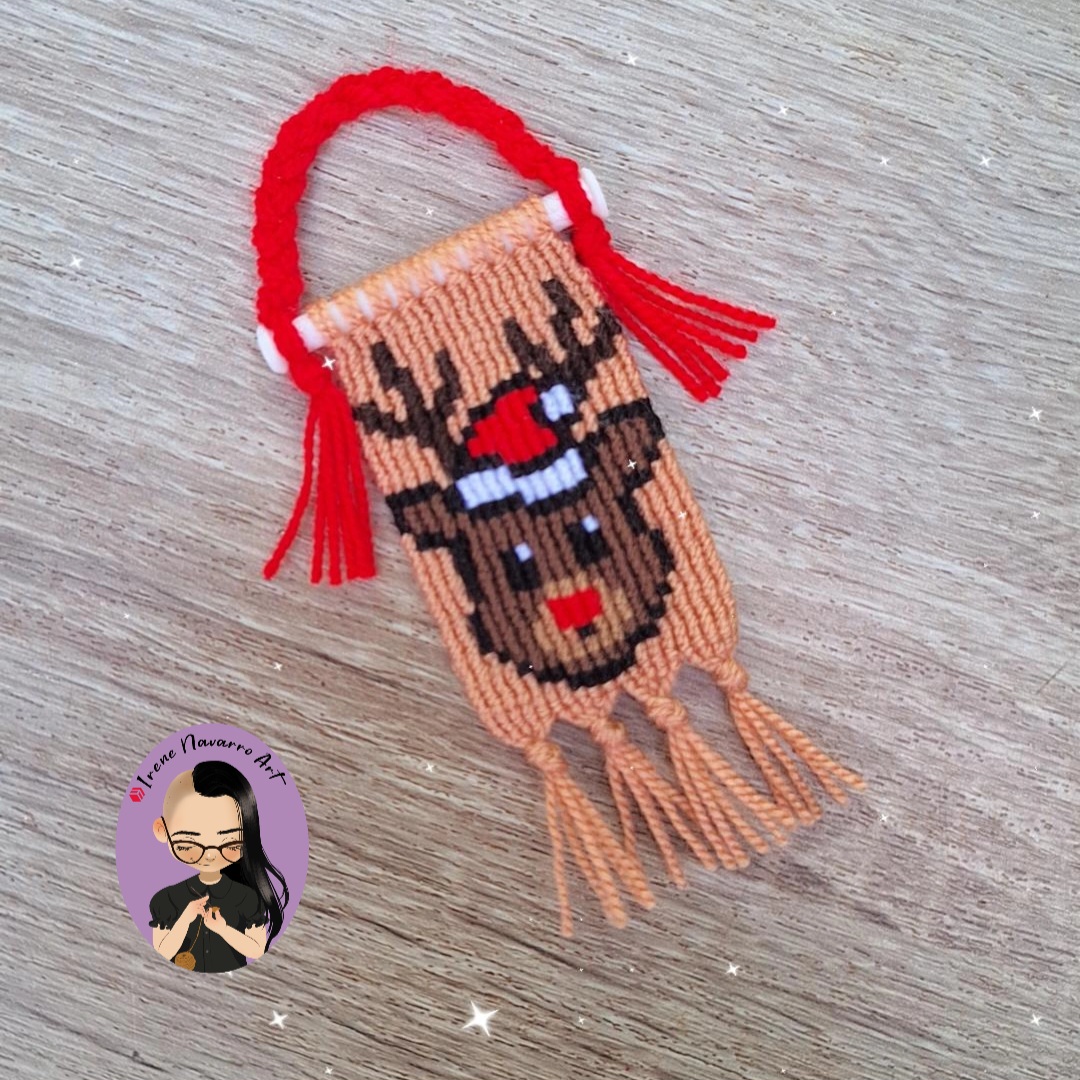
Resultado / Result

Imágenes tomadas con dispositivo Samsung A54. Portada editada en Inshot
Pictures taken with Samsung A54 device. Cover edited in Inshot

Espero les haya gustado. Les invito a leer mis próximas publicaciones y siempre estaré dispuesta a responder sus preguntas y comentarios, también pueden seguirme y contactarme en cualquiera de mis redes sociales. ¡Muchas gracias!
I hope you liked it. I invite you to read my next publications and I will always be willing to answer your questions and comments, you can also follow me and contact me on any of my social networks. Thank you!
Facebook
Twitter
Instagram
Ko-Fi
Discord: irenenavarroart#0361
Posted Using InLeo Alpha