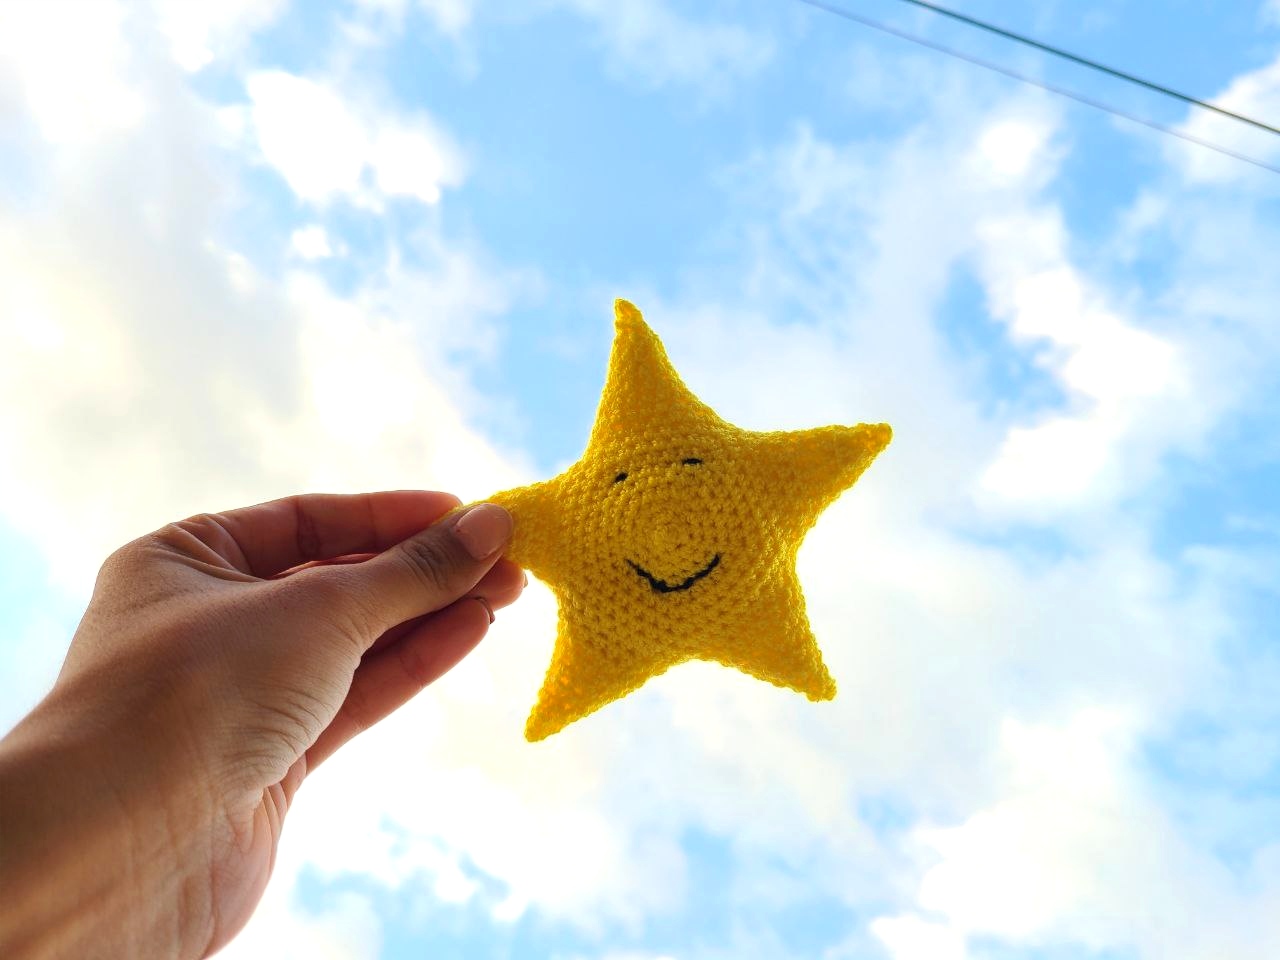
Hello, how are you spending this Saturday? I hope you enjoy it at home with your families or at different entertainments! This time I bring you a tutorial that seems to be very simple but has its points that are not difficult but require a lot of observation. It is a crochet star in the shape of an amigurumi, to continue collecting some details for the children.
Hola ¿cómo están pasando este sábado? ¡espero que disfrutando en casa con sus familias o en diferentes diversiones! está vez les traigo un tutorial que parece ser muy sencillo pero tiene sus puntos no difíciles pero si de mucha observación. Es una estrella de crochet en forma de amigurumi, para seguir coleccionando algunos detalles para los niños. 🌟🧶
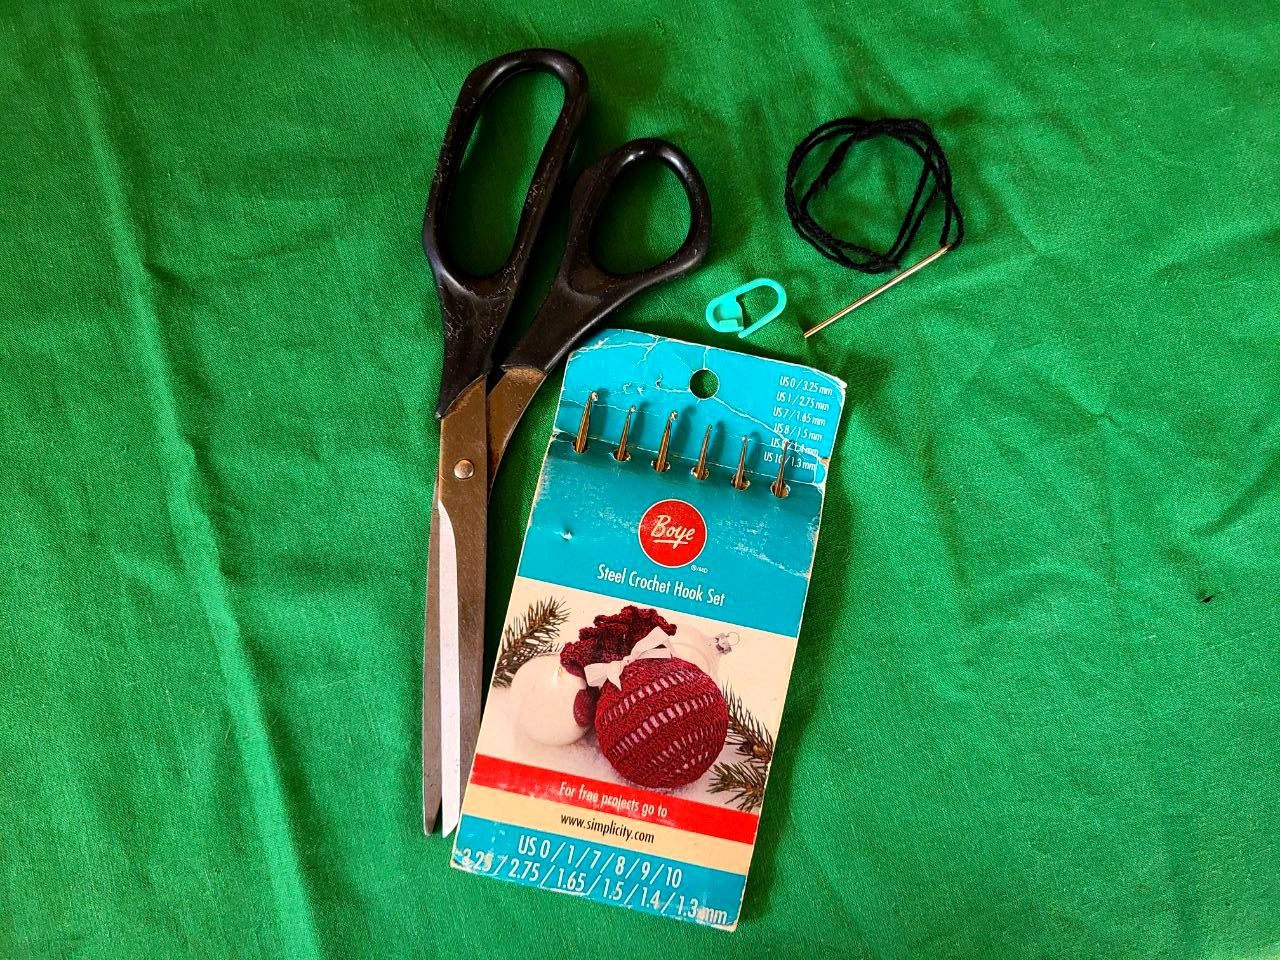
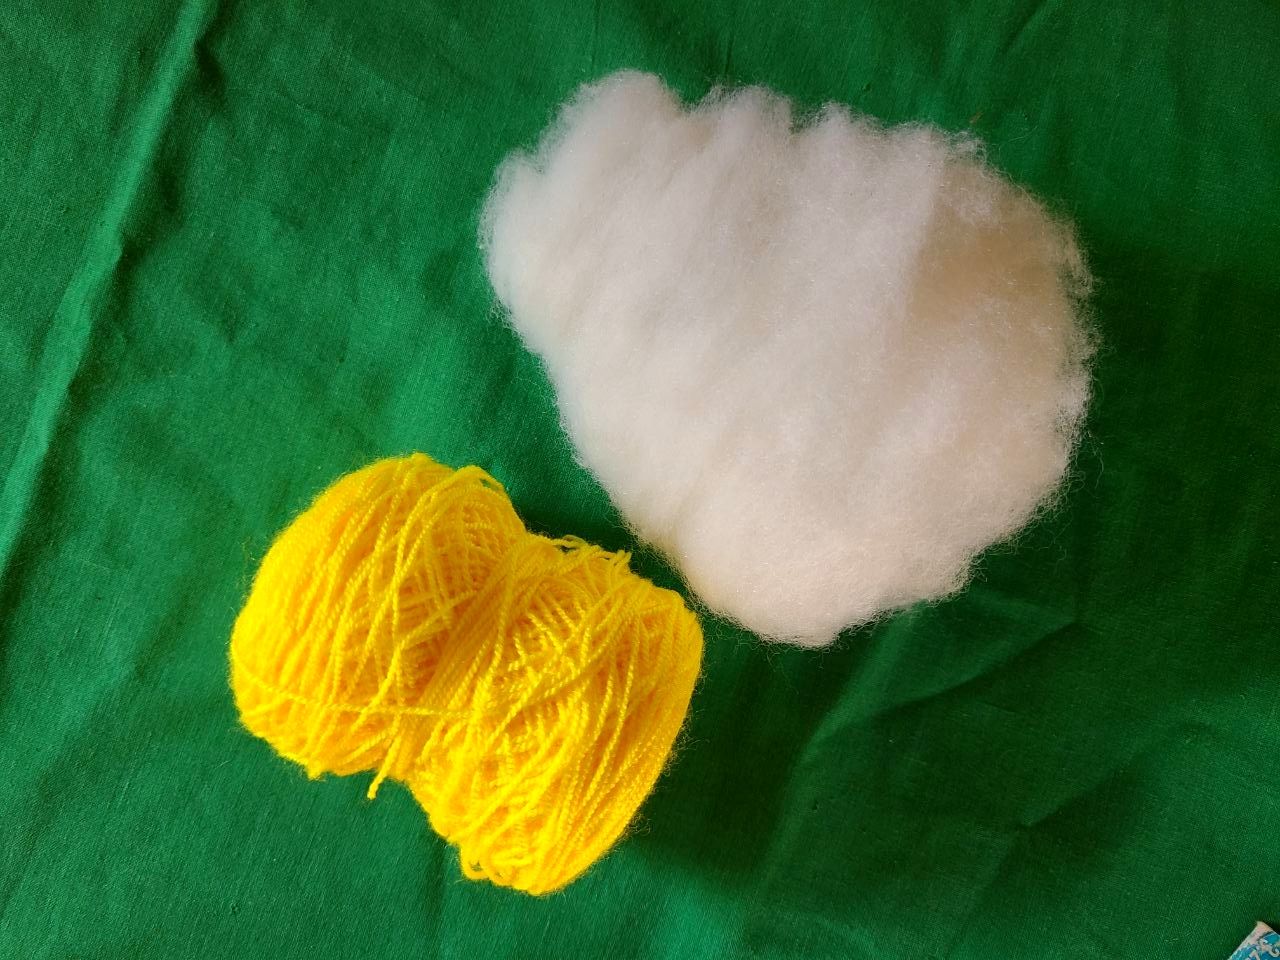
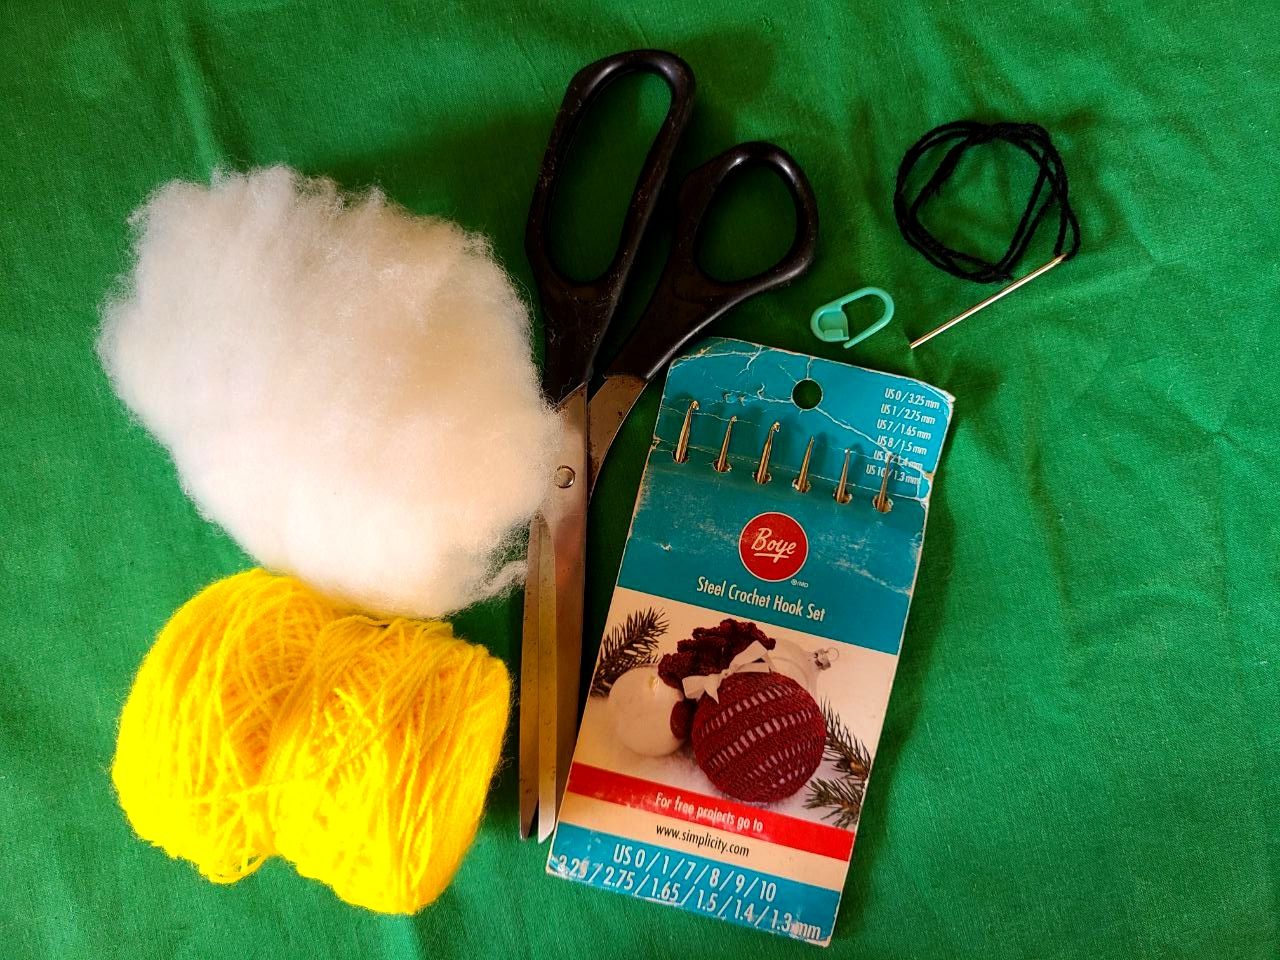
🧶 Materials to use:
✓Crochet thread: yellow, black and pink. ✓Crochet needle number 7.
✓Synthetic filling.
✓Markers or dividers.
✓Scissors.
🧶 Points to use:
✓Medium high point.
✓Slided stitch.
🧶 Materiales a usar:
✓Hilo crochet: amarillo, negro y rosa.
✓Aguja crochet número 7.
✓Relleno sintético.
✓Marcadores o separadores.
✓Tijeras.
🧶 Puntos a utilizar:
✓Punto medio alto.
✓Punto deslizado.
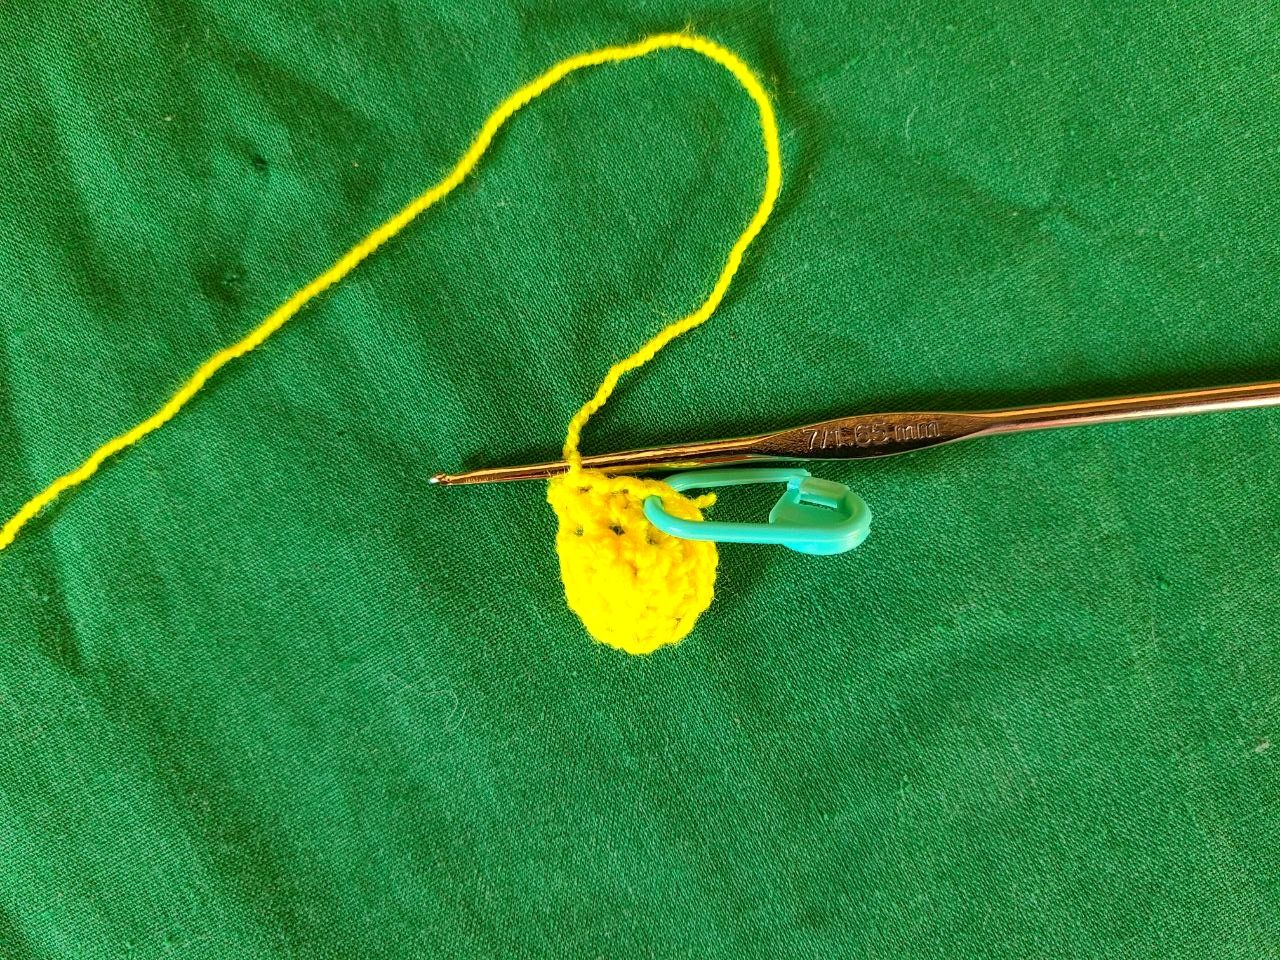
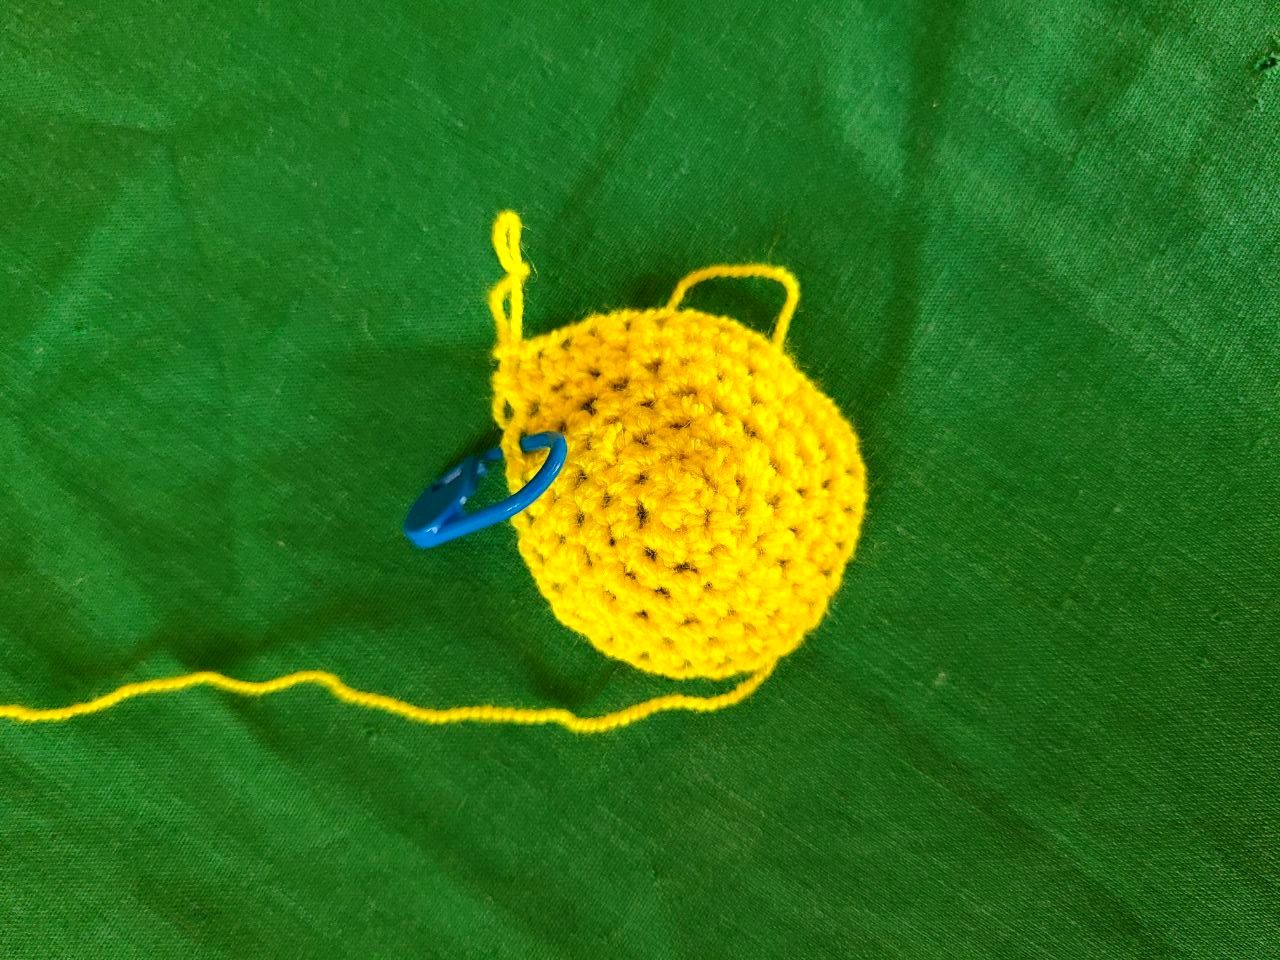
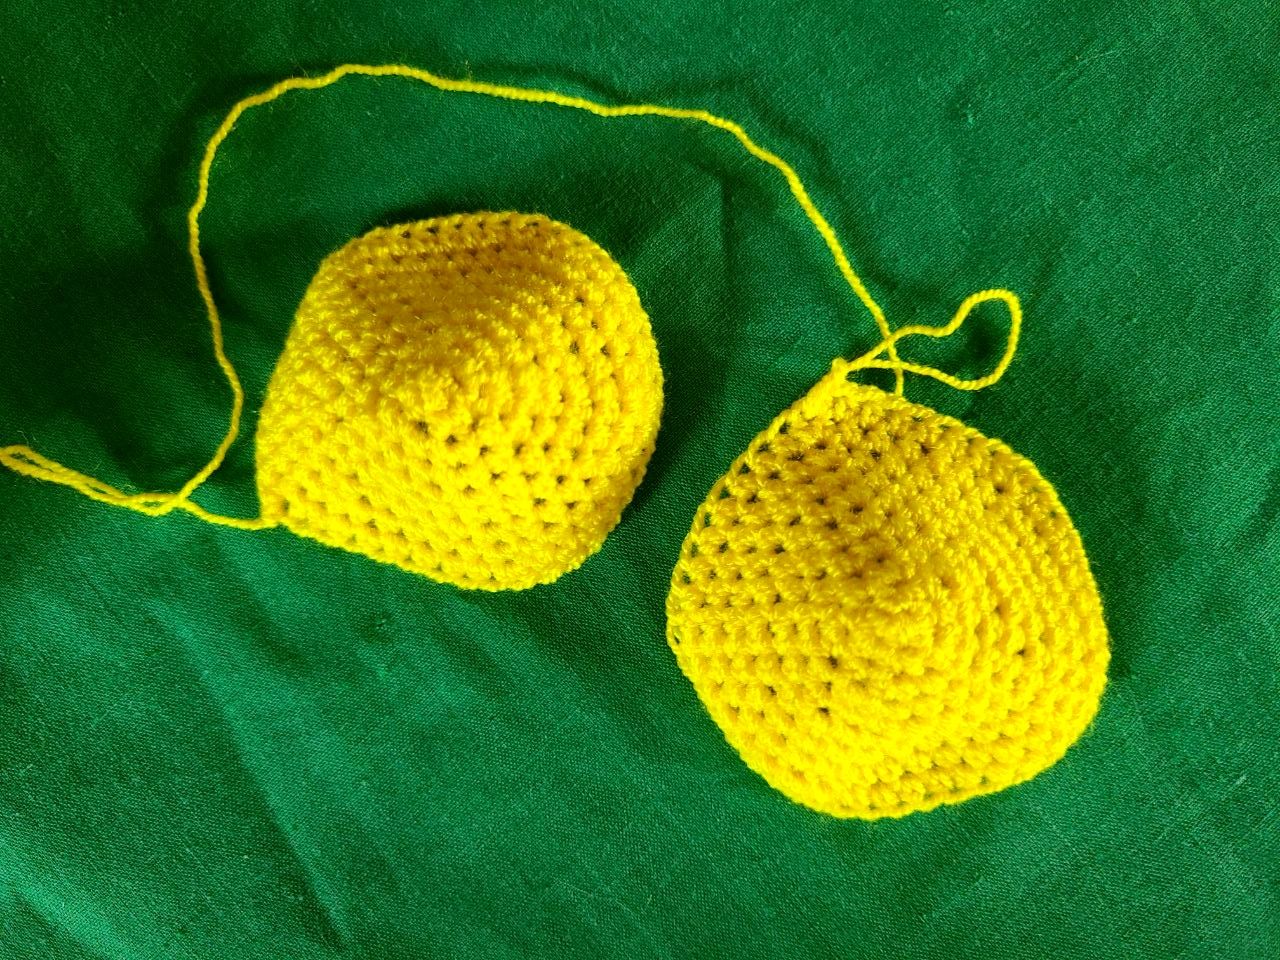
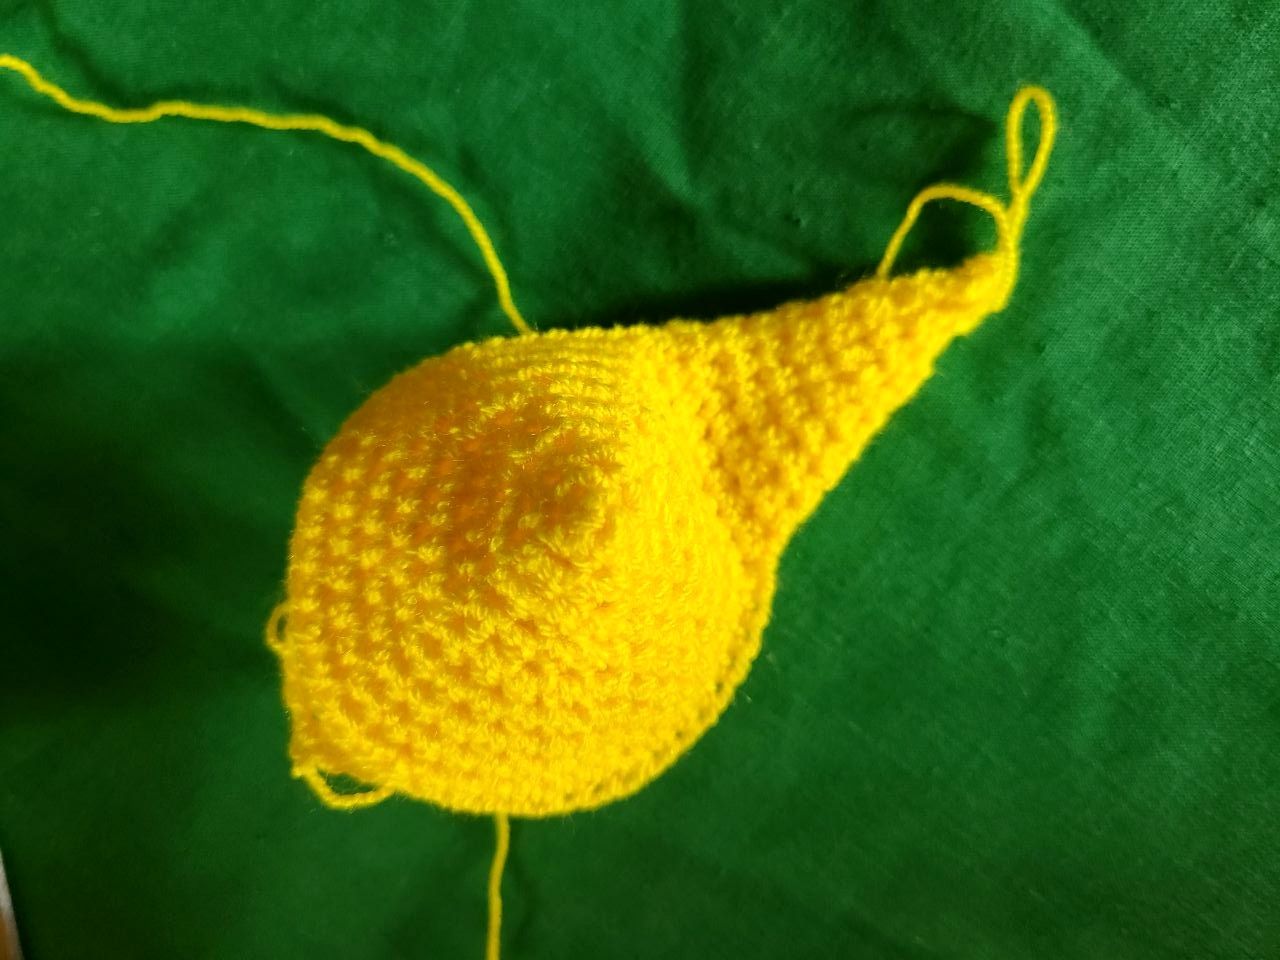
🧶 Step 1: This step uses only yellow thread, and all the rows are circular.
Row 1: We start by making a magic ring, and inside we will make 5 half double stitches.
Row 2: This entire row is made with increases (10).
Row 3: Here we will do 1 half double crochet, followed by 1 increase. (fifteen).
Row 4: 2 half double crochets, followed by 1 increase (20).
Row 5: 3 half double crochets, followed by 1 increase (25).
Row 6: 4 half double stitches, followed by 1 increase (30).
Row 7: 5 half double stitches, followed by 1 increase (35).
Row 8: 6 half double stitches, followed by 1 increase (40).
Row 9: 7 half double stitches, followed by 1 increase (45).
🧶 Paso 1: Este paso se usa solo hilo amarillo, y todas las vueltas son circulares.
Fila 1: Comenzamos haciendo un anillo mágico, y dentro haremos 5 puntos medio alto.
Fila 2: Toda esta fila esta hecha con aumentos (10).
Fila 3: Acá haremos 1 punto medio alto, seguido de 1 aumento. (15).
Fila 4: 2 puntos medio alto, seguido de 1 aumento (20).
Fila 5: 3 puntos medio alto, seguido de 1 aumento (25).
Fila 6: 4 puntos medio alto, seguido de 1 aumento (30).
Fila 7: 5 puntos medio alto, seguido de 1 aumento (35).
Fila 8: 6 puntos medio alto, seguido de 1 aumento (40).
Fila 9: 7 puntos medio alto, seguido de 1 aumento (45).
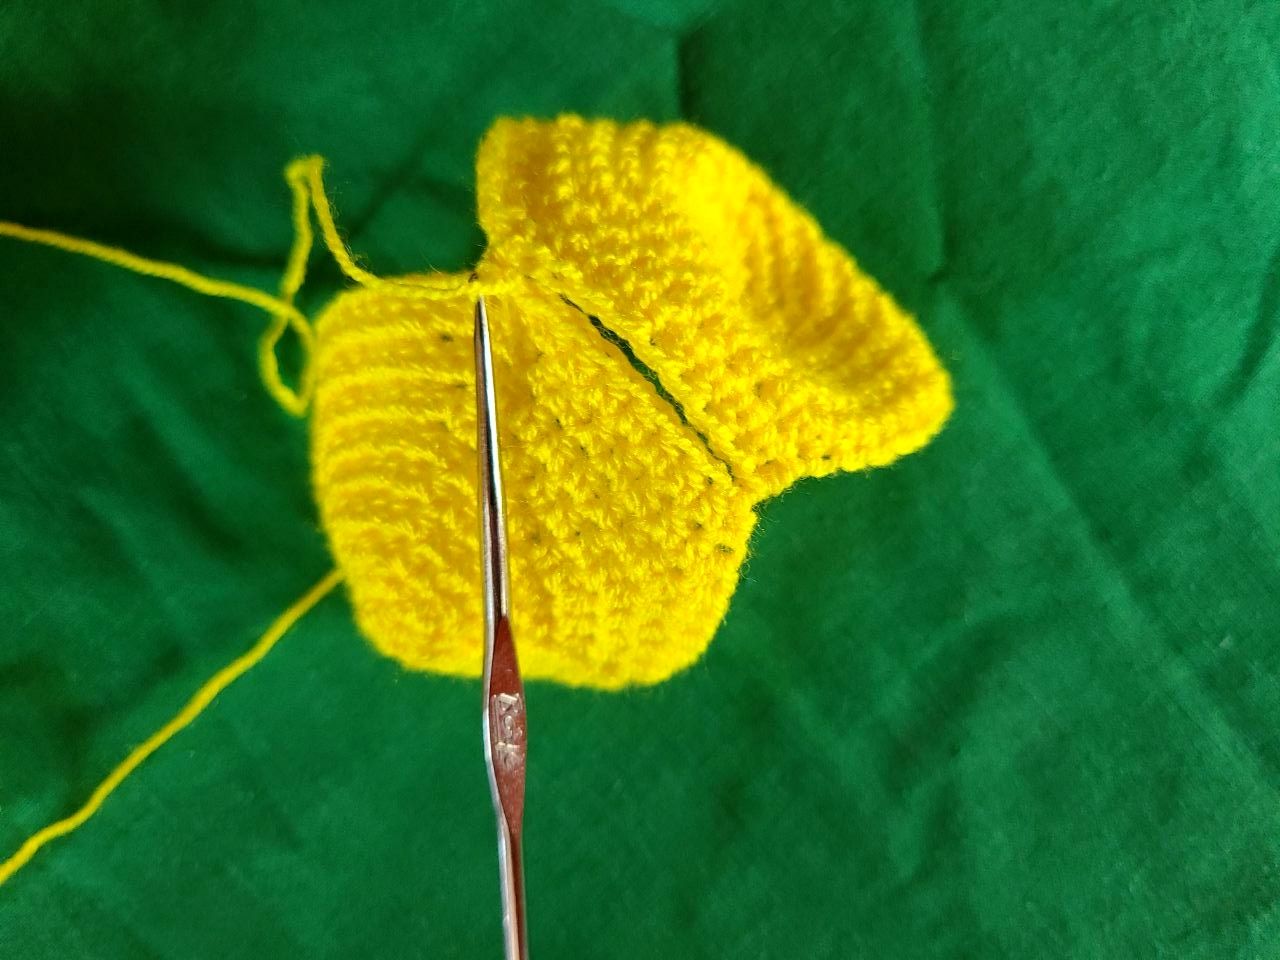
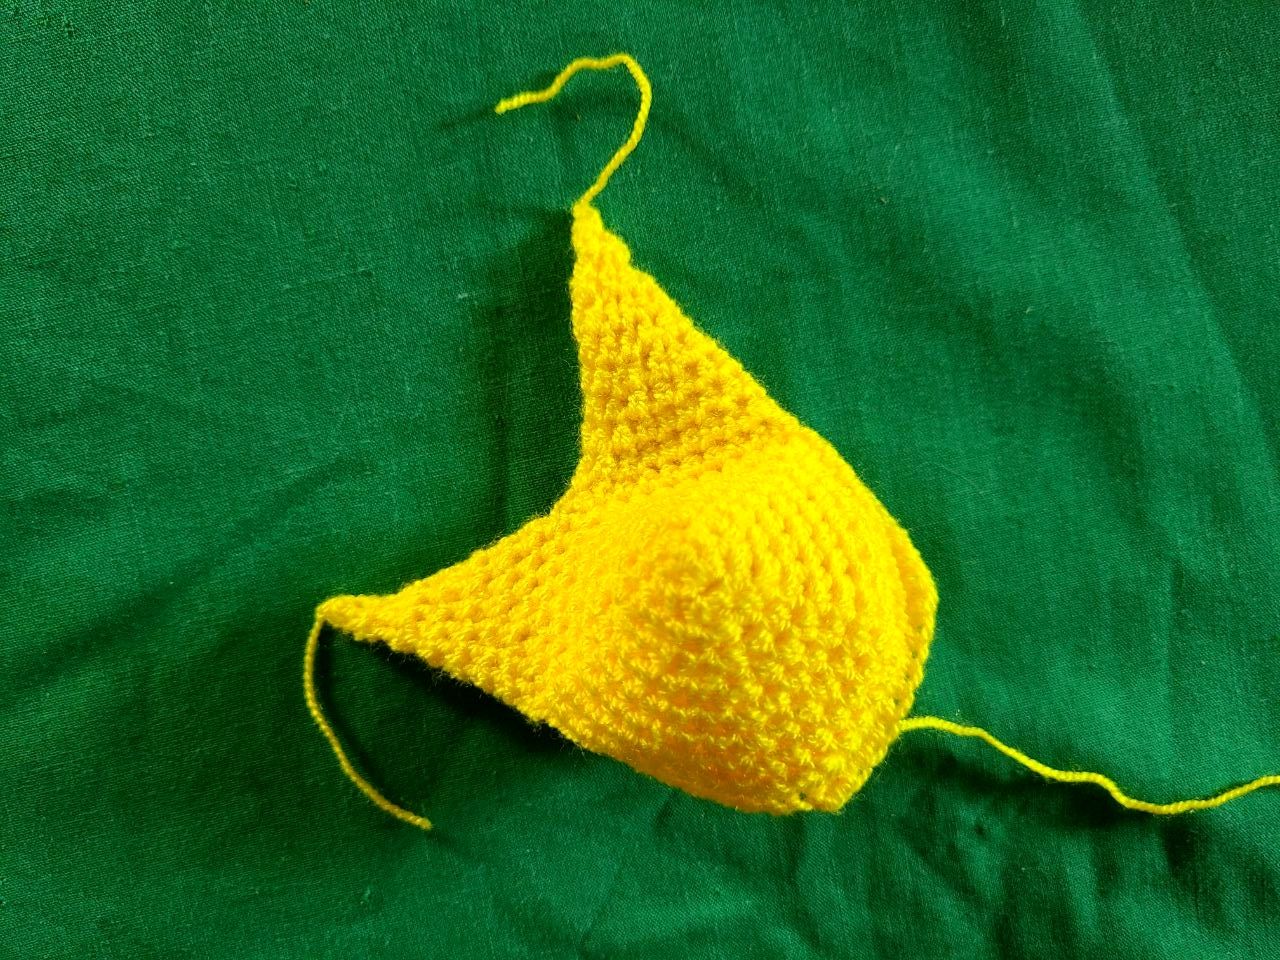
🧶 Step 2: Also in yellow thread, now we will start the star peaks.
Row 1: We position ourselves within the increases and work half-high stitches, we face the two pieces and take 9 stitches on both sides, closing in circumference, the same as the body.
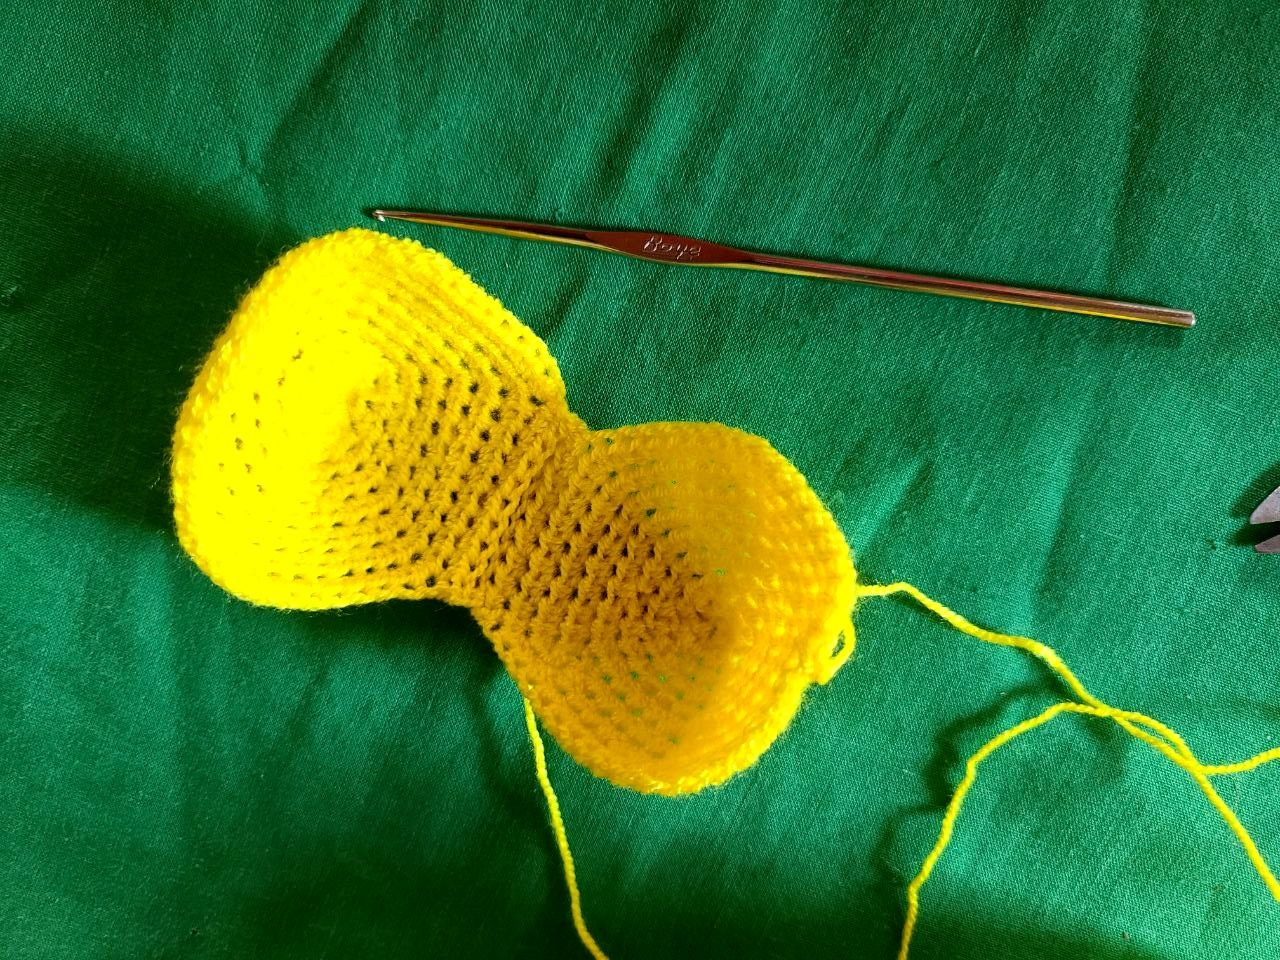
Row 2: We work 7 half-high stitches and when we reach the last two we make a decrease, also on the other side, 7 half-high stitches and a decrease.
Row 3: We work 6 half-high stitches and when we reach the last two we make a decrease, also on the other side, 6 half-high stitches and a decrease.
Row 4: We work 5 half-high stitches and when we reach the last two we make a decrease, also on the other side, 5 half-high stitches and a decrease.
Row 5: We work 4 half-high stitches and when we reach the last two we make a decrease, also on the other side, 4 half-high stitches and a decrease.
Row 6: We work 3 half-high stitches and when we reach the last two we make a decrease, also on the other side, 3 half-high stitches and a decrease.
Row 7: We work 2 half-high stitches and when we reach the last two we make a decrease, also on the other side, 2 half-high stitches and a decrease.
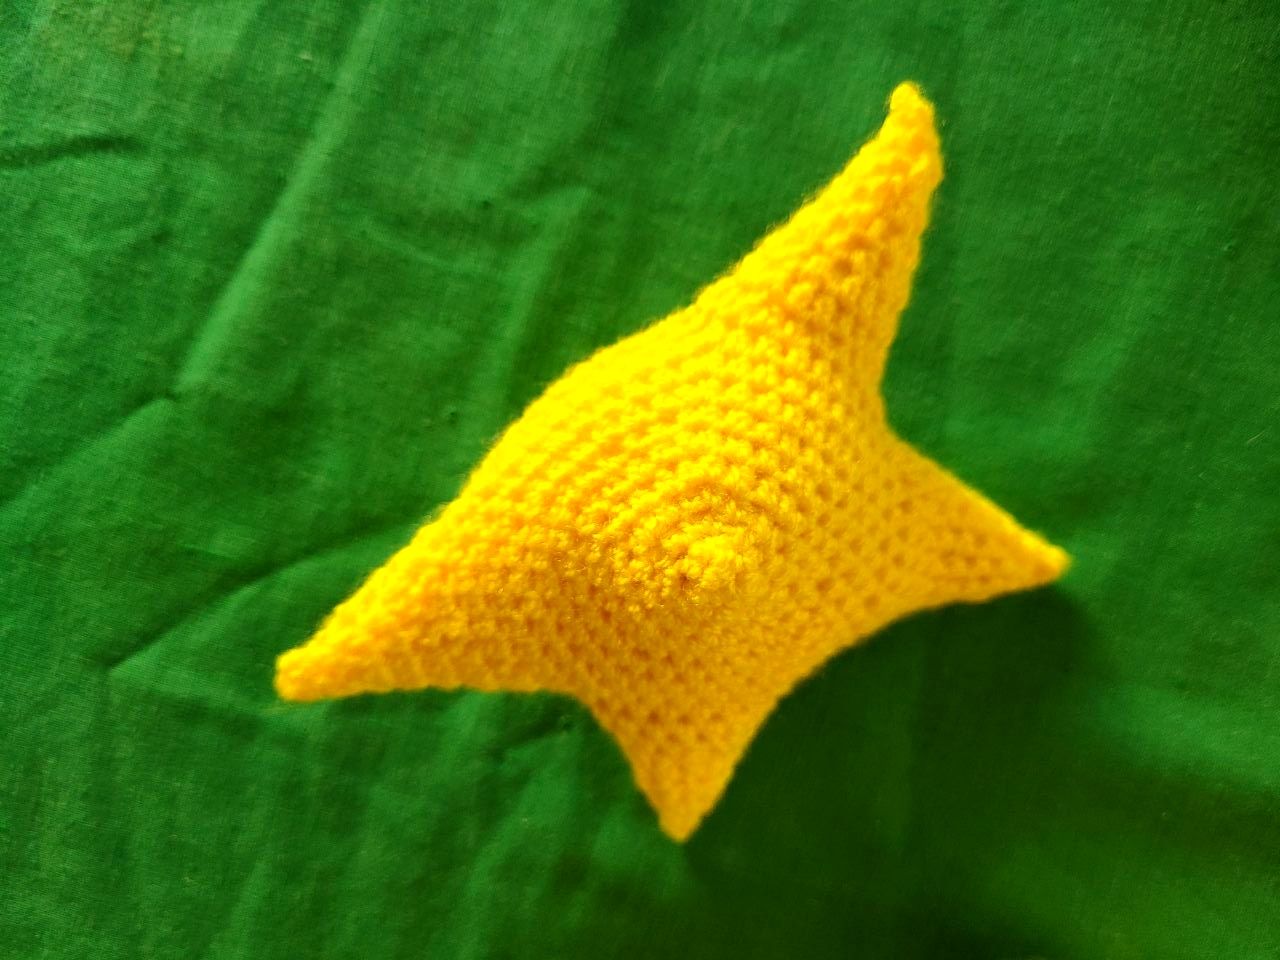
Row 8: Here we only make a decrease on both sides, closing all the stitches with a single crochet. This is how we will work the remaining 4 peaks of the star.
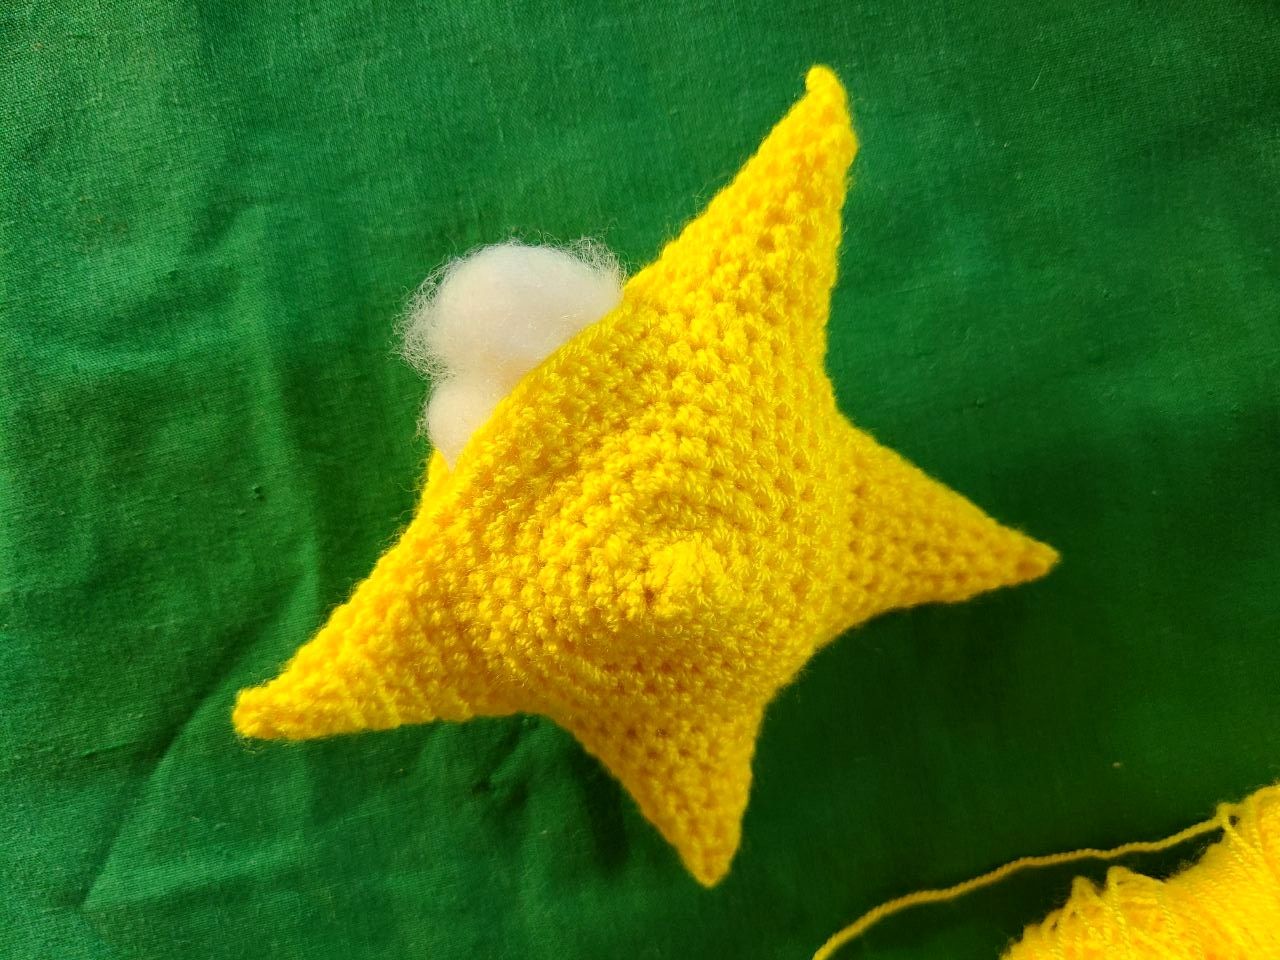
When we have 3 or 4 peaks made, we place the filling and finish the project.
This is how we will work the remaining 4 peaks of the star. When we have 3 or 4 peaks made, we place the filling and finish the project.
🧶 Paso 2: También en hilo amarillo, ahora empezaremos los picos de las estrellas.
Fila 1: Nos posicionamos dentro de los aumentos y trabajamos puntos medio alto, enfrentamos las dos piezas y tomamos 9 puntos en ambos lados cerrando en circunferencia, igual que el cuerpo.
Fila 2: Trabajamos 7 puntos medio alto y al llegar a los dos últimos hacemos una disminución, igualmente en el otro lado, 7 puntos medio alto y una disminución.
Fila 3: Trabajamos 6 puntos medio alto y al llegar a los dos últimos hacemos una disminución, igualmente en el otro lado, 6 puntos medio alto y una disminución.
Fila 4: Trabajamos 5 puntos medio alto y al llegar a los dos últimos hacemos una disminución, igualmente en el otro lado, 5 puntos medio alto y una disminución.
Fila 5: Trabajamos 4 puntos medio alto y al llegar a los dos últimos hacemos una disminución, igualmente en el otro lado, 4 puntos medio alto y una disminución.
Fila 6: Trabajamos 3 puntos medio alto y al llegar a los dos últimos hacemos una disminución, igualmente en el otro lado, 3 puntos medio alto y una disminución.
Fila 7: Trabajamos 2 puntos medio alto y al llegar a los dos últimos hacemos una disminución, igualmente en el otro lado, 2 puntos medio alto y una disminución.
Fila 8: Acá solo hacemos una disminución en ambos lados cerrando todos los puntos con un punto bajo.
Así trabajaremos los 4 picos restantes de la estrella.
Cuando tengamos 3 o 4 picos elaborados colocamos el relleno y terminamos el proyecto.
Así trabajaremos los 4 picos restantes de la estrella. Cuando tengamos 3 o 4 picos elaborados colocamos el relleno y terminamos el proyecto.
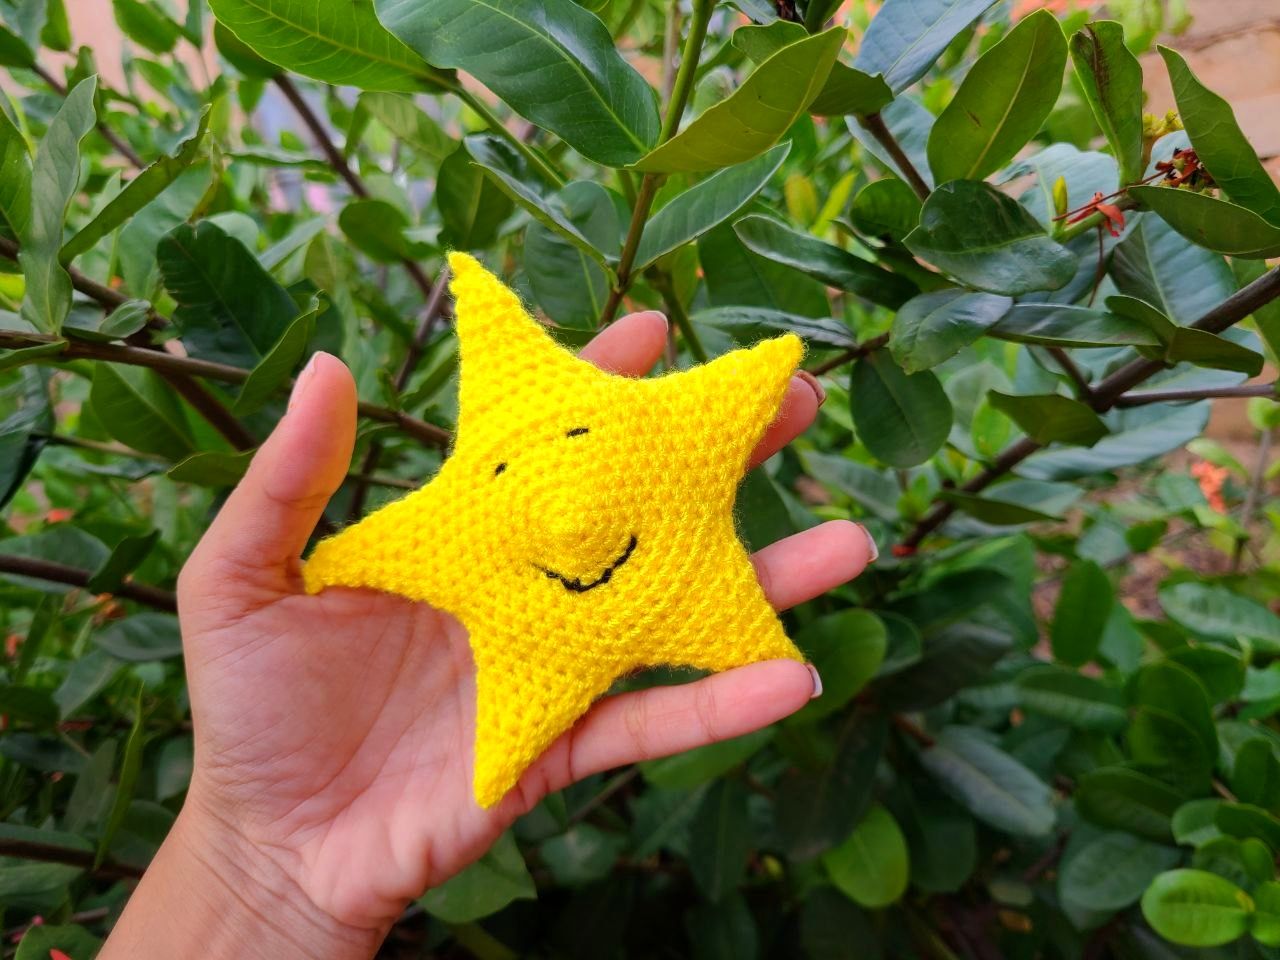
Friends, we have finished a new project, I hope it is to your complete liking, once again thanking you for the attention you dedicate to my publications, have a happy Saturday. Thank you.
Amigos hemos terminado un nuevo proyecto, espero sea de su total agrado, agradeciendo una vez la atención que dedican a mis publicaciones, terminen de pasar un feliz sábado. Gracias. 🧶🫂