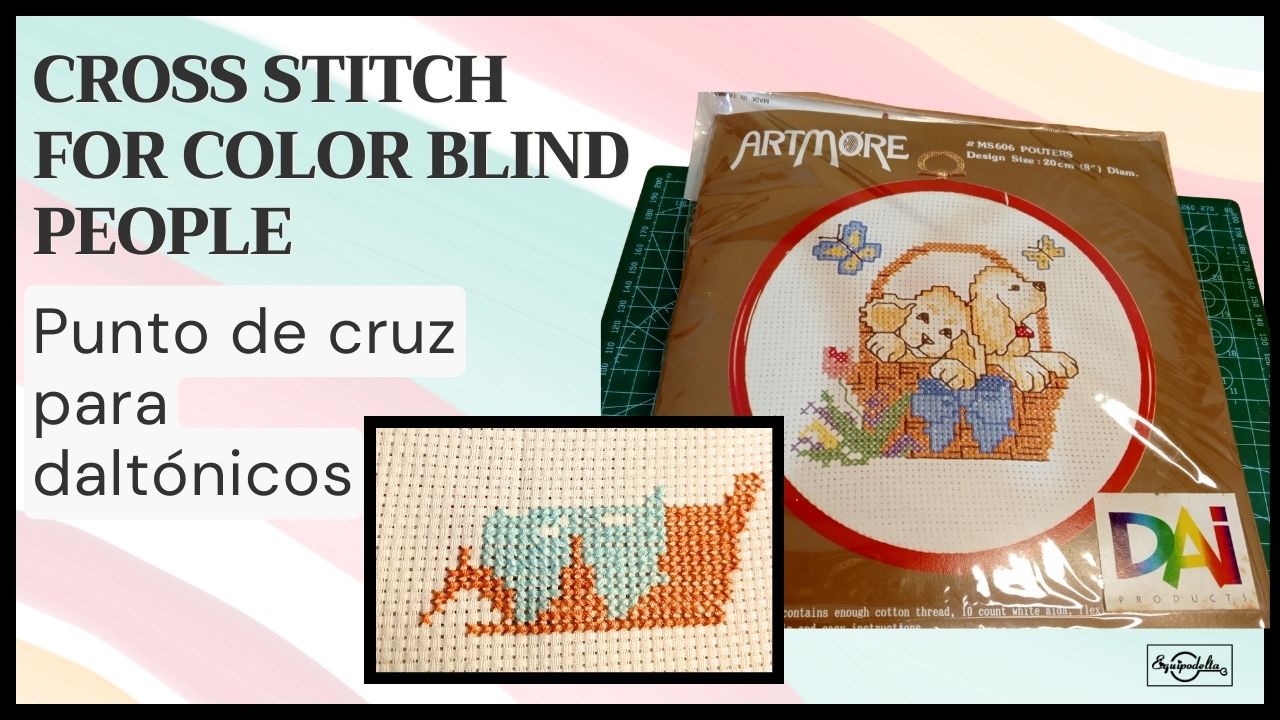


[Esp]
¿Qué les cuento? El título de esta publicación no fue intencional.
A veces se me olvida que soy daltónica, esto es porque no siempre lo fui, conservo mi memoria de color, he ido perdiendo capacidad visual con los años, cuento esto para los que no saben.
Mi madre era portuguesa, en su tierra durante la segunda guerra mundial, me contaba que Vivian del bordado a mano y era algo además que lo hacía con mi abuela y mis tías desde muy pequeñas, ciertamente ella bordaba tan hermoso que todos los pañitos que me regaló en vida los conservo como mis tesoros más valiosos. nunca pude aprender ciertos puntos de bordado a mano, pero lo que es punto de cruz y bordado con estambre, eran actividades que me gustaba hacer con mi madre y hacer pañitos en navidad.
Yo compraba revistas y más revistas con diseños, modelos para bordar y las obsequiaba a mi madre, me encantaba verle su carita de emoción y más aun hacer realidad lo que estaba en papel.
Visité una tienda nueva y me emocioné al ver que continúan vendiendo sets para bordar, traen el modelo, los materiales para crear. He venido hoy a compartir con ustedes este hermoso recuerdo...
Sucede pues que al abrir el paquete, debía separar el color de los hilos y me encontré con tremendo embrollo porque no distinguía ciertos colores. Allí recordé soy daltónica, con el programa de dibujo tomo muestras de color de algún lugar pero aquí, aquí solo puedo valerme de la ayuda de otra persona.
Hoy te cuento cómo siendo daltónico puedes seguir creando de manera que no sea un impedimento para hacer algo que te gusta y me animé: ¡Si puedo dibujar podré bordar!
! [English version]
What can I tell you? The title of this publication was not intentional.
Sometimes I forget that I am color blind, this is because I was not always color blind, I keep my color memory, I have been losing visual capacity over the years, I tell this for those who do not know.
My mother was Portuguese, in her land during the second world war, she told me that they lived from hand embroidery and it was also something that she did with my grandmother and my aunts since I was very young, certainly she embroidered so beautifully that all the handkerchiefs she gave me in life I keep them as my most valuable treasures. I could never learn certain stitches of hand embroidery, but what is cross stitch and embroidery with yarn, were activities that I liked to do with my mother and make handkerchiefs at Christmas.
I used to buy magazines and more magazines with designs and embroidery patterns and I would give them to my mother as gifts, I loved to see her excited face and even more to make what was on paper come true.
I visited a new store and I was thrilled to see that they continue to sell embroidery sets, they bring the model, the materials to create. I have come today to share with you this beautiful memory....
It so happens that when I opened the package, I had to separate the color of the threads and I found myself in a huge mess because I could not distinguish certain colors. There I remembered that I am color blind, with the drawing program I take color samples from somewhere but here, here I can only rely on the help of another person.
Today I tell you how being color blind you can continue creating so that it is not an impediment to do something you like and I encouraged myself: If I can draw I can embroider!

Materiales / Materials

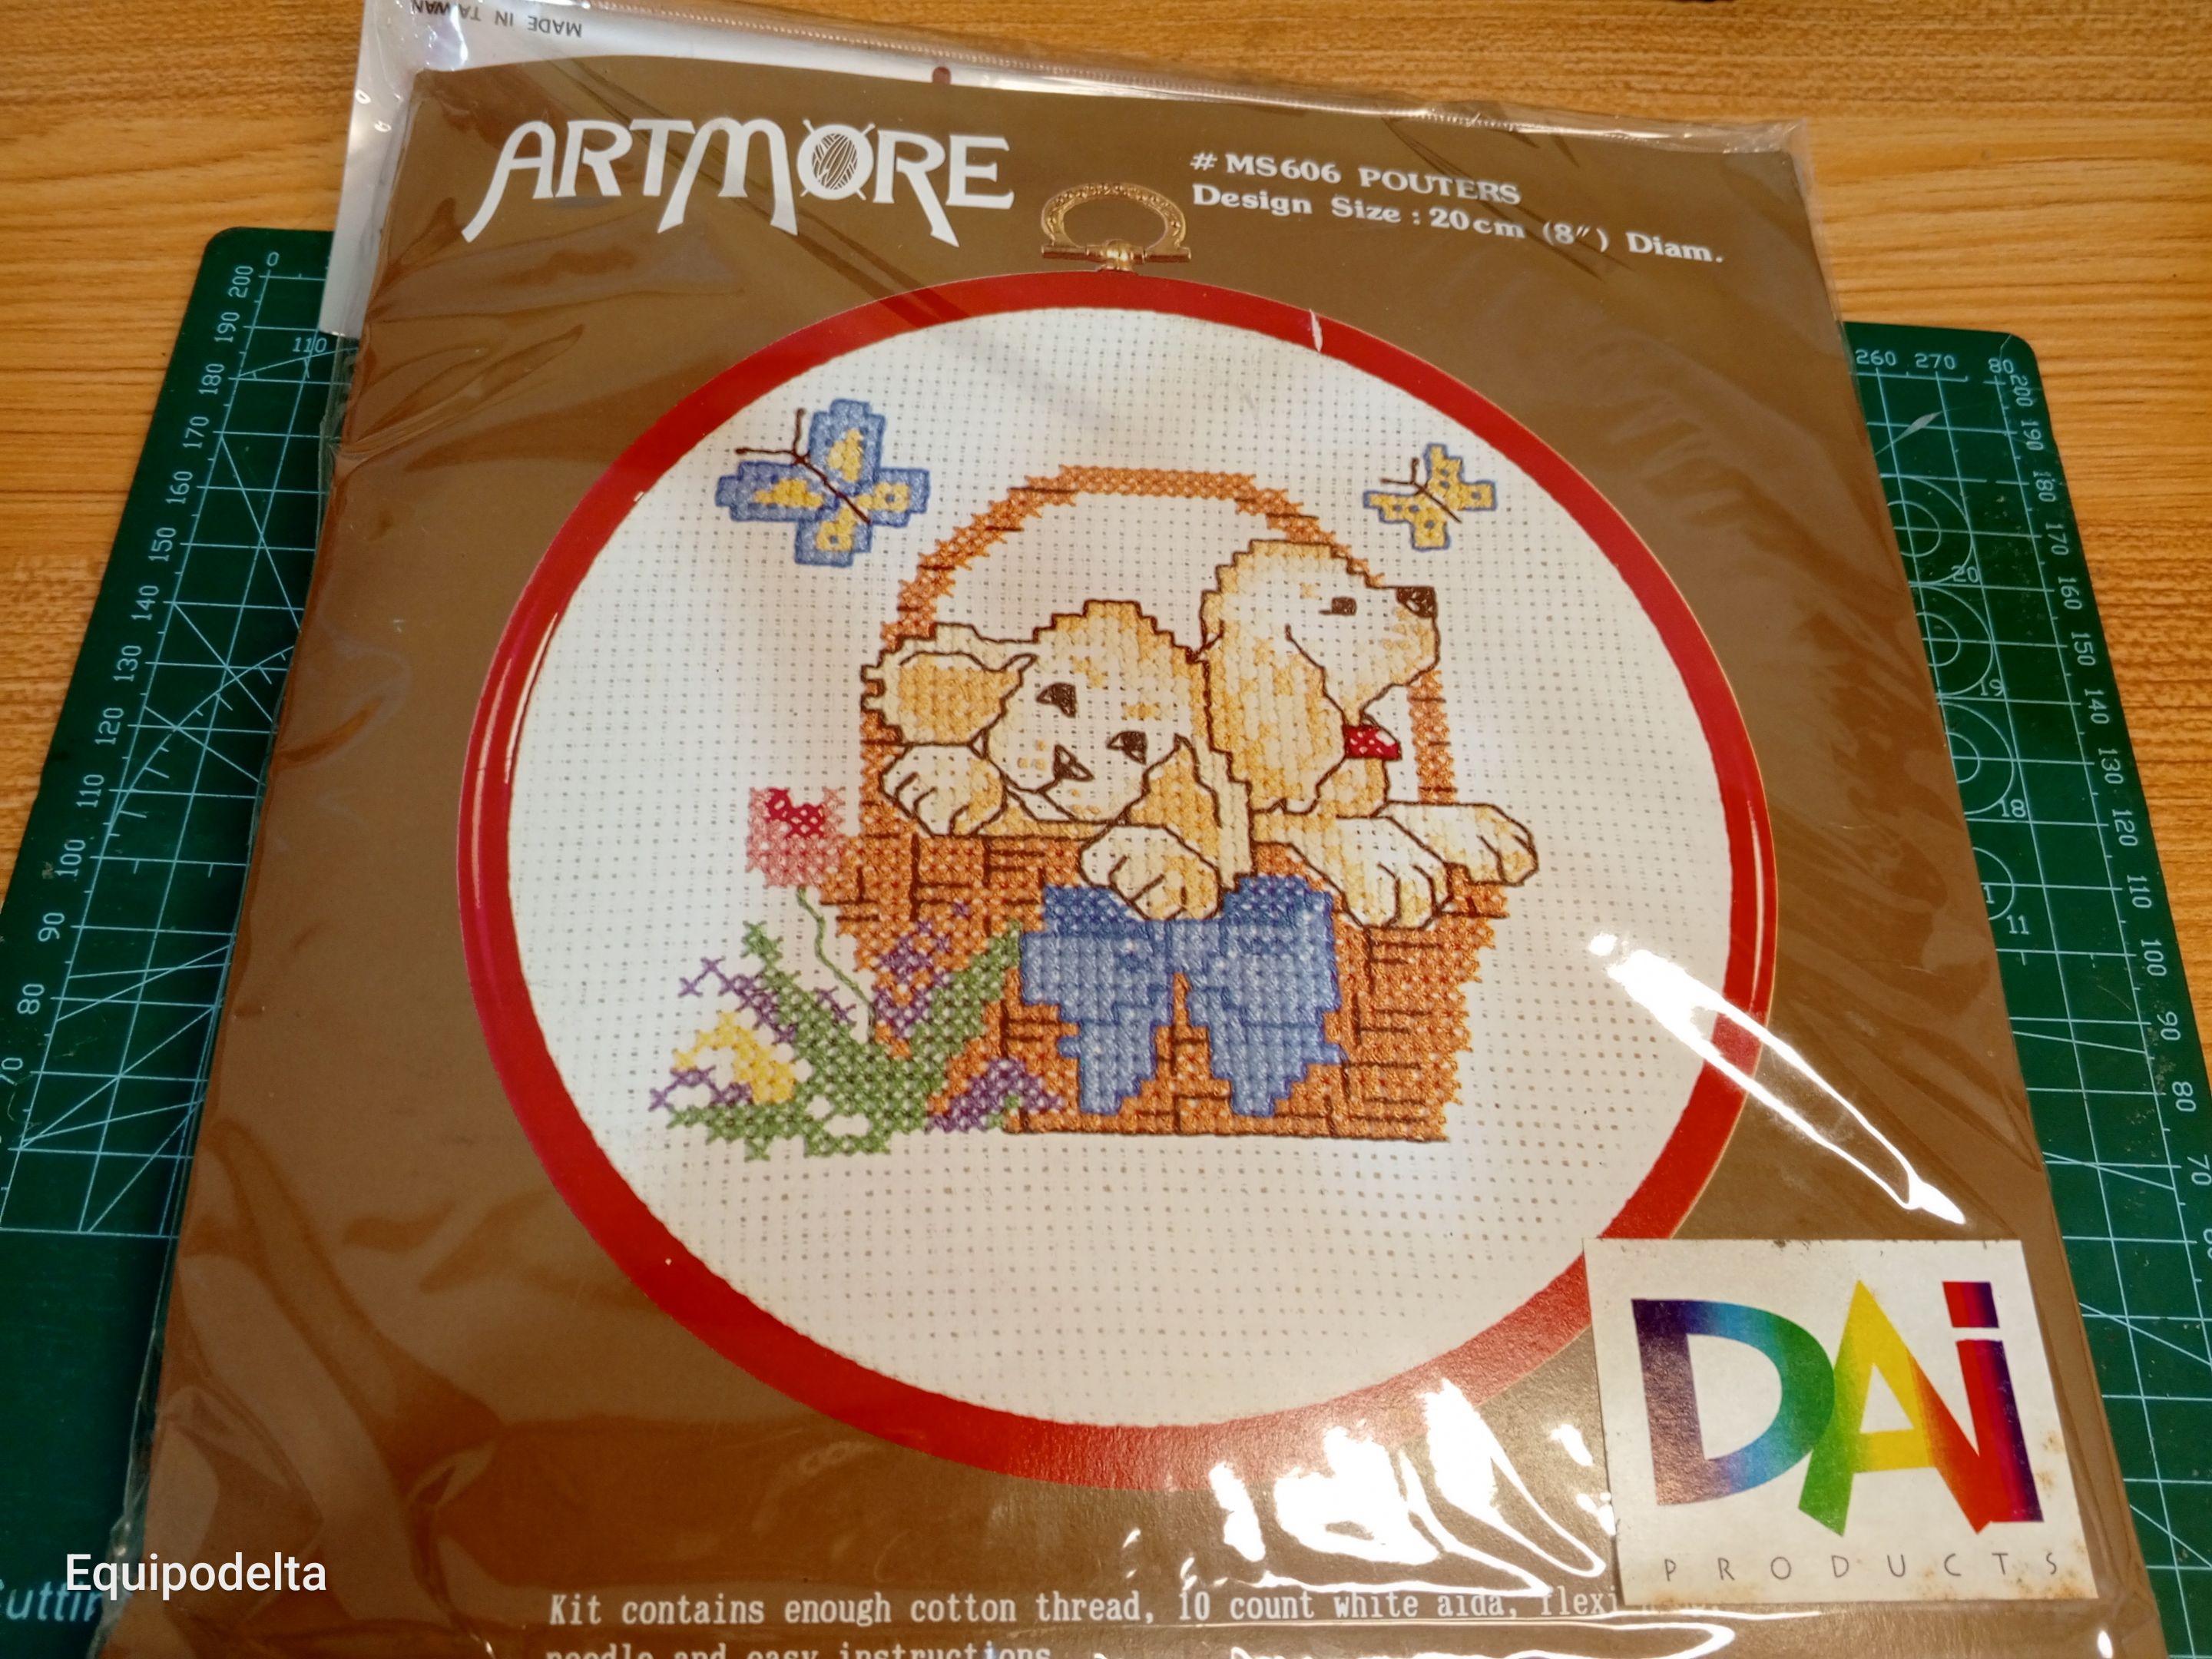
Set de bordado punto de cruz que incluye:
Cross stitch embroidery set including:
| Spanish | English | |
| Hilos para bordar en colores varios. | Embroidery threads in various colors. | |
| Aguja para bordar | Aguja para bordar | |
| Tela Aida | Aida Fabric | |
| Manual de diseño | Design Manual | |
| Aro de bordado | Embroidery hoop |
Adicionalmente necesitarás una tijera.
Additionally you will need a scissors.


Paso a paso / Step by Step


Step 1️⃣/ Paso 1️⃣
 |  |
[Esp]
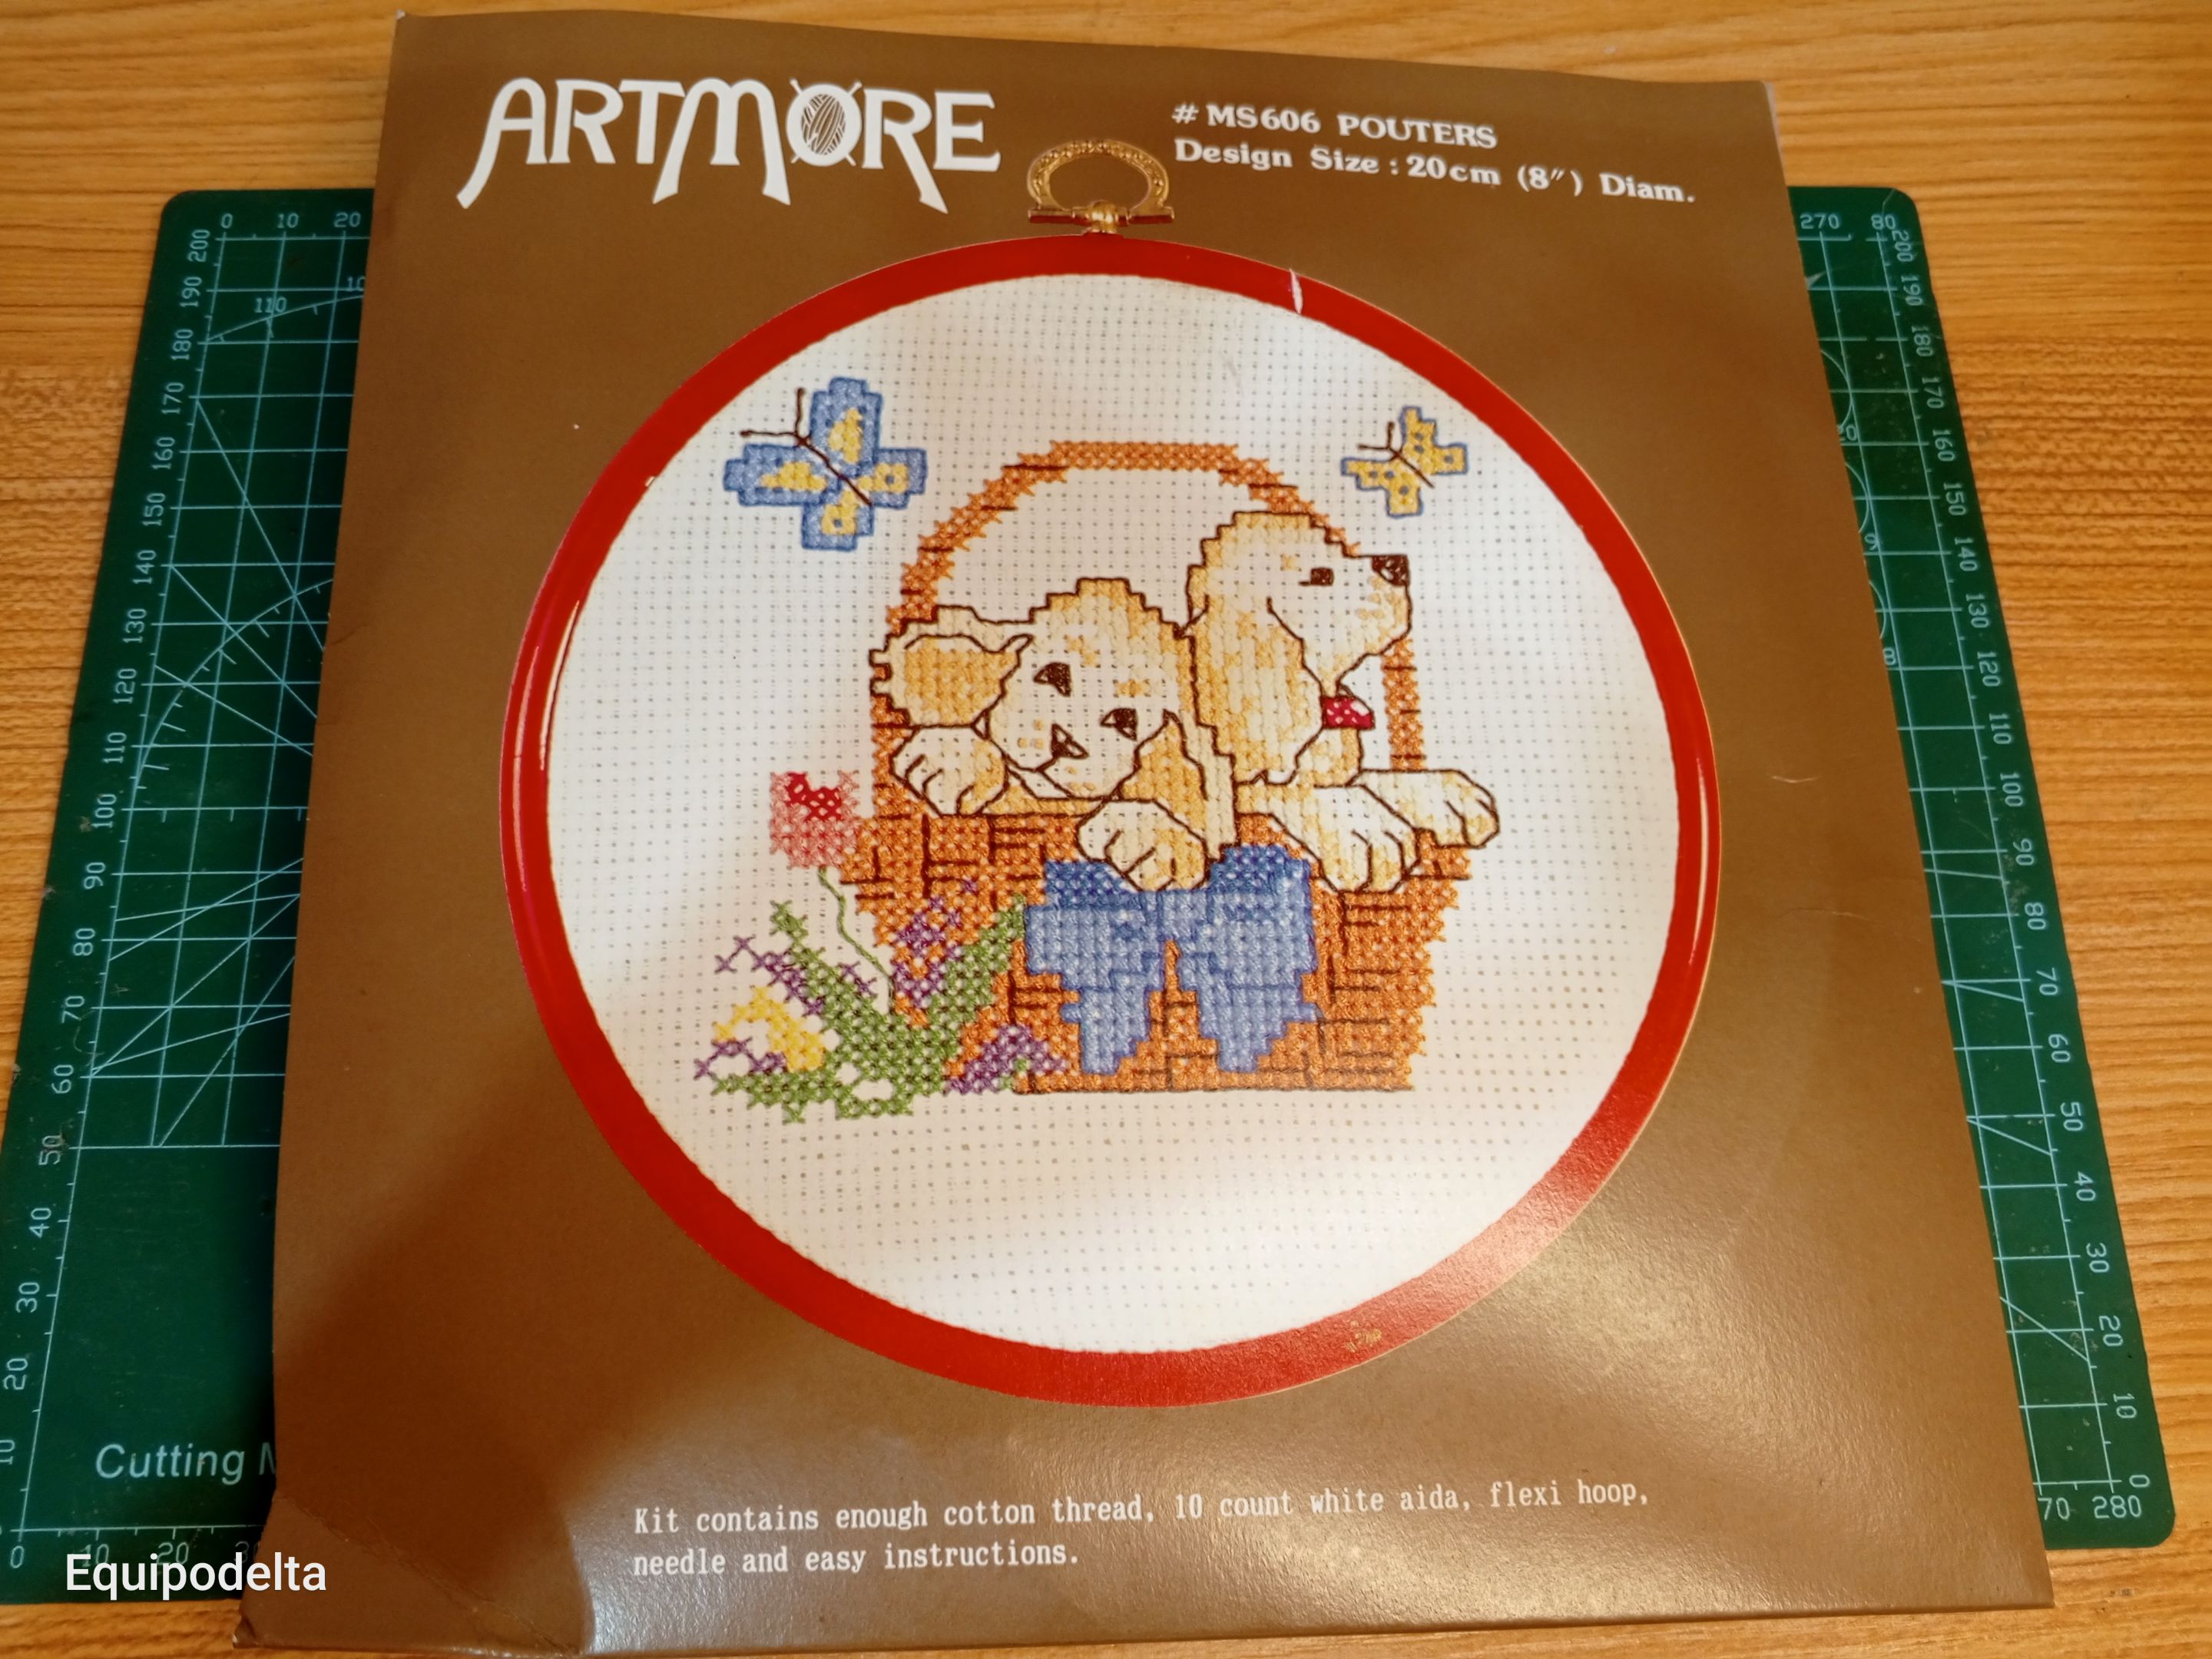
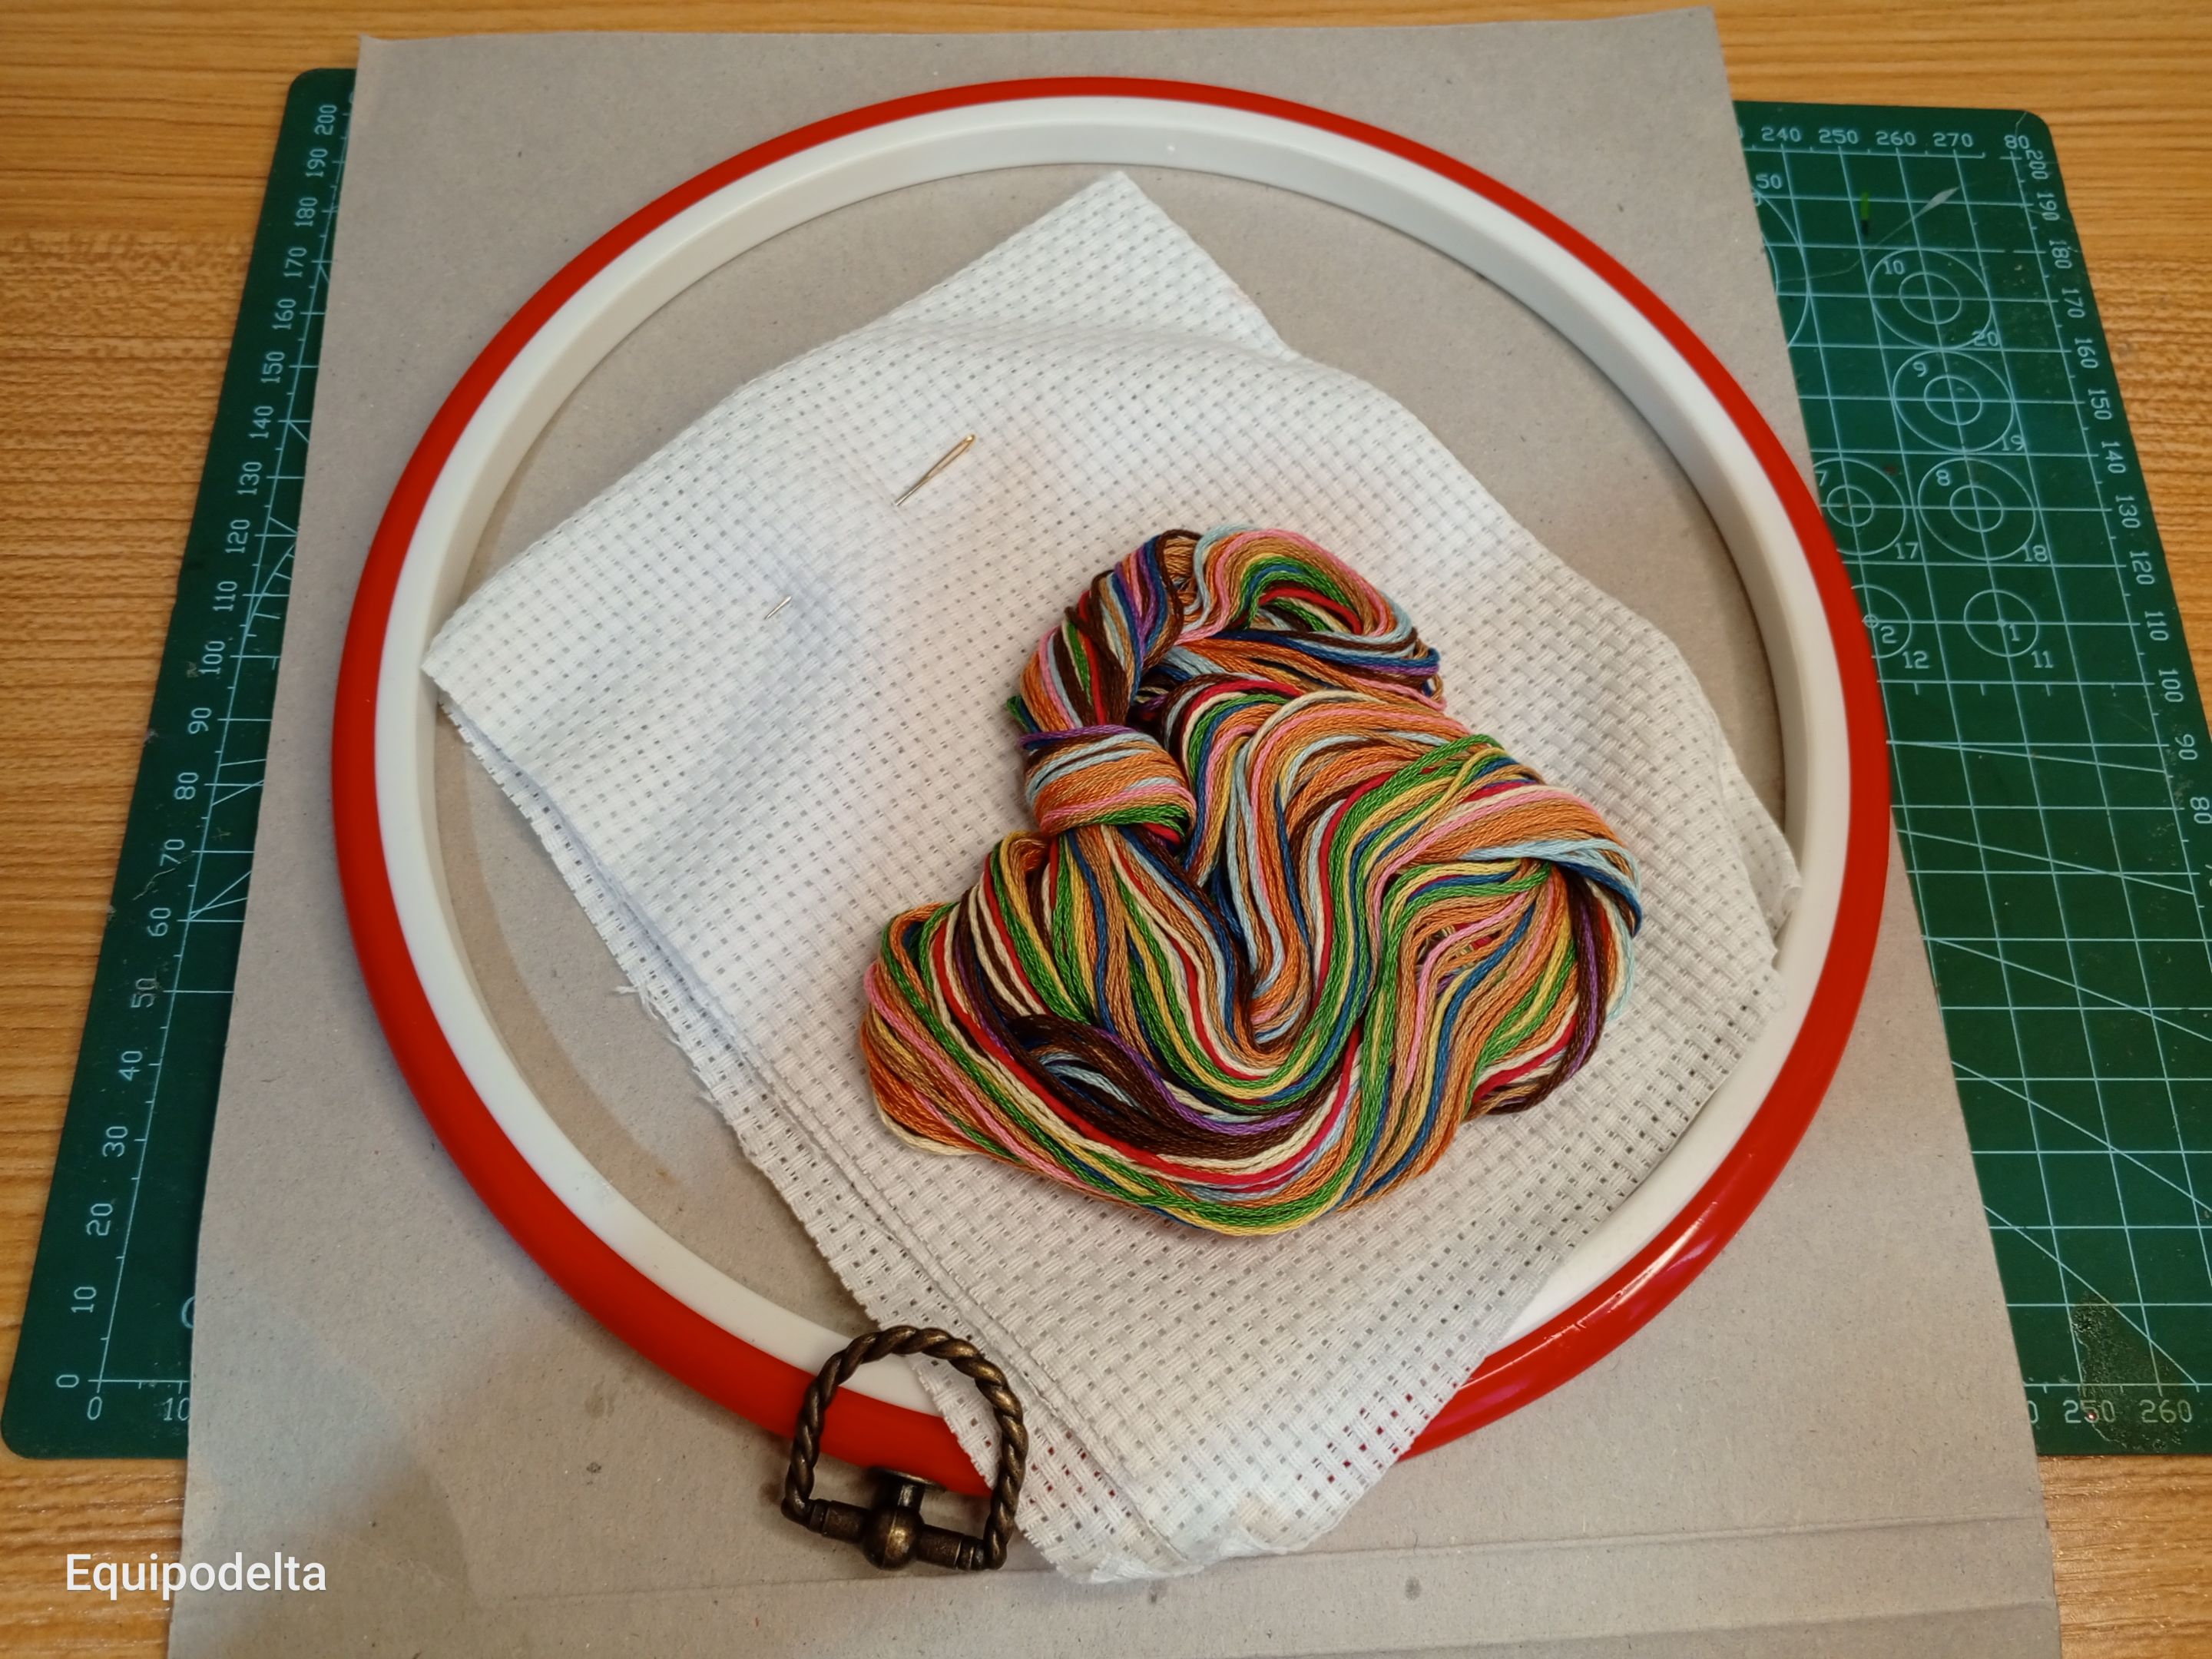
En este paso estarán disfrutando del unboxing, estoy enamorada e impresionada de las cosas que trae, ya que estaba acostumbrada a comprar las tela por metros y guiarme por patrones de revistas que al menos en mi país están extintas. podemos ver que trae todos los materiales para crear el diseño de la portada.
! [English version]
In this step you will be enjoying the unboxing, I am in love and impressed of the things it brings, since I was used to buy the fabric by the meter and be guided by magazine patterns that at least in my country are extinct. we can see that it brings all the materials to create the design of the cover.

Step 2️⃣/ paso 2️⃣

 |  |
[Esp]
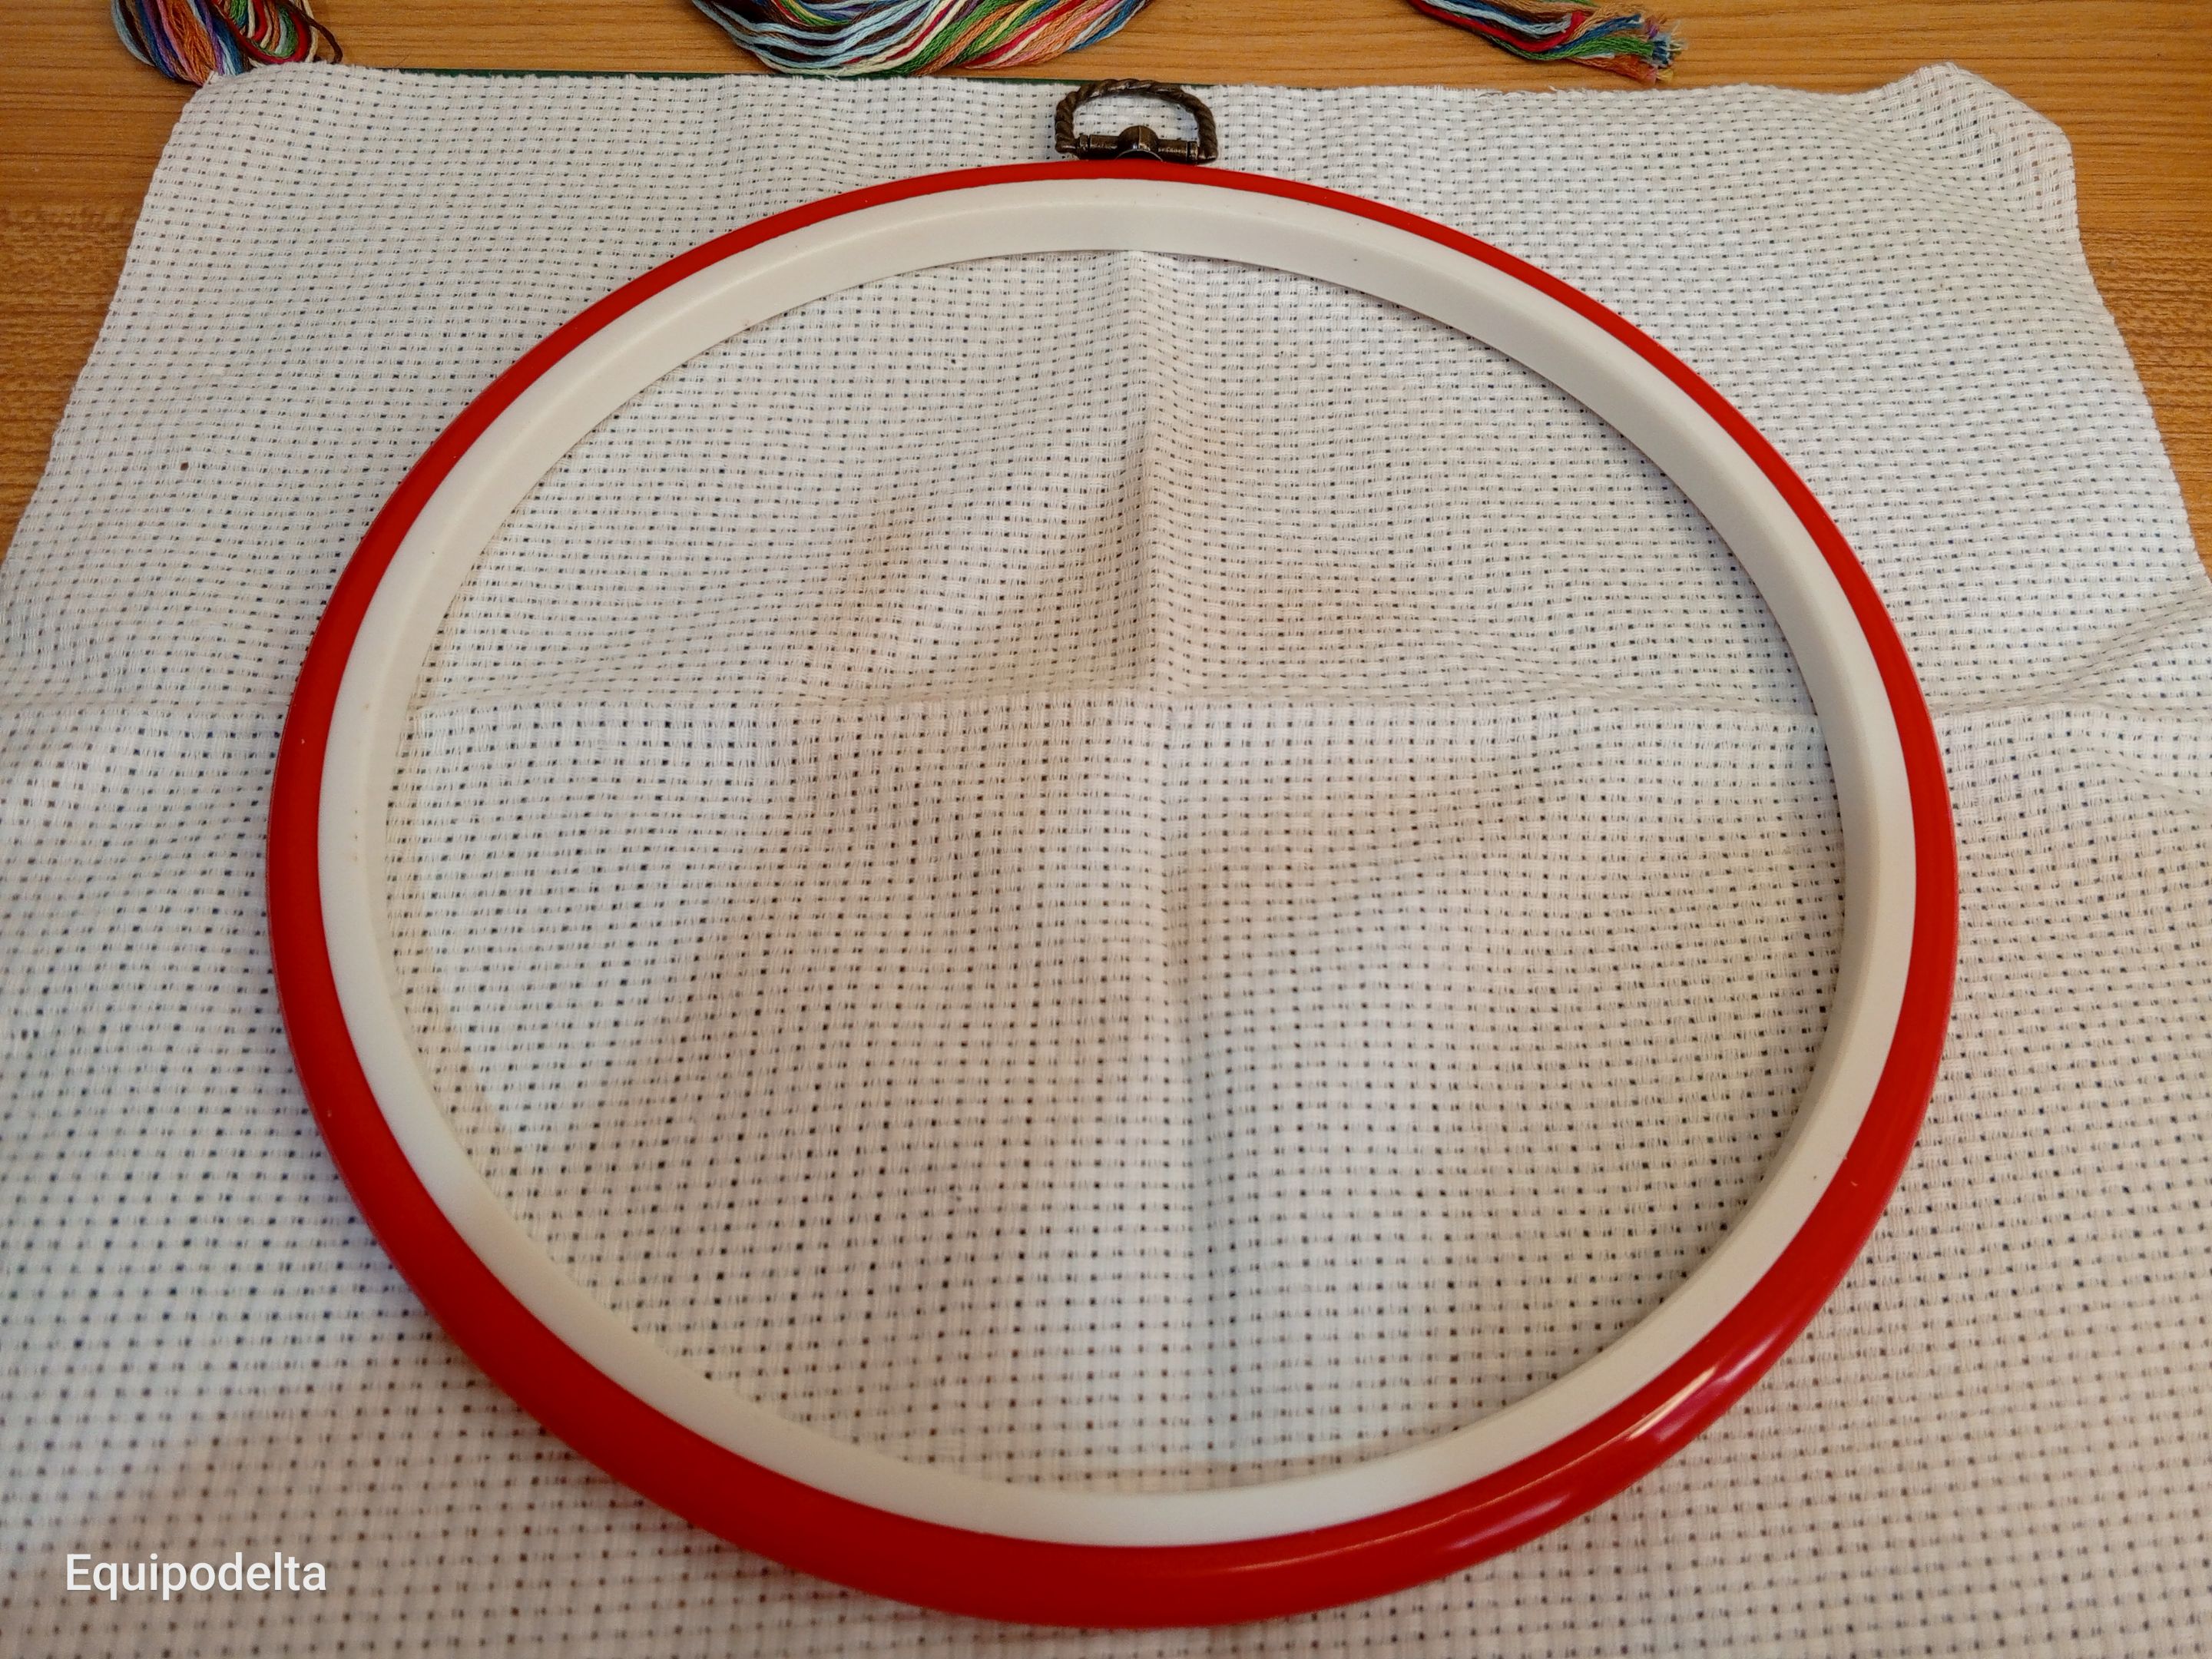
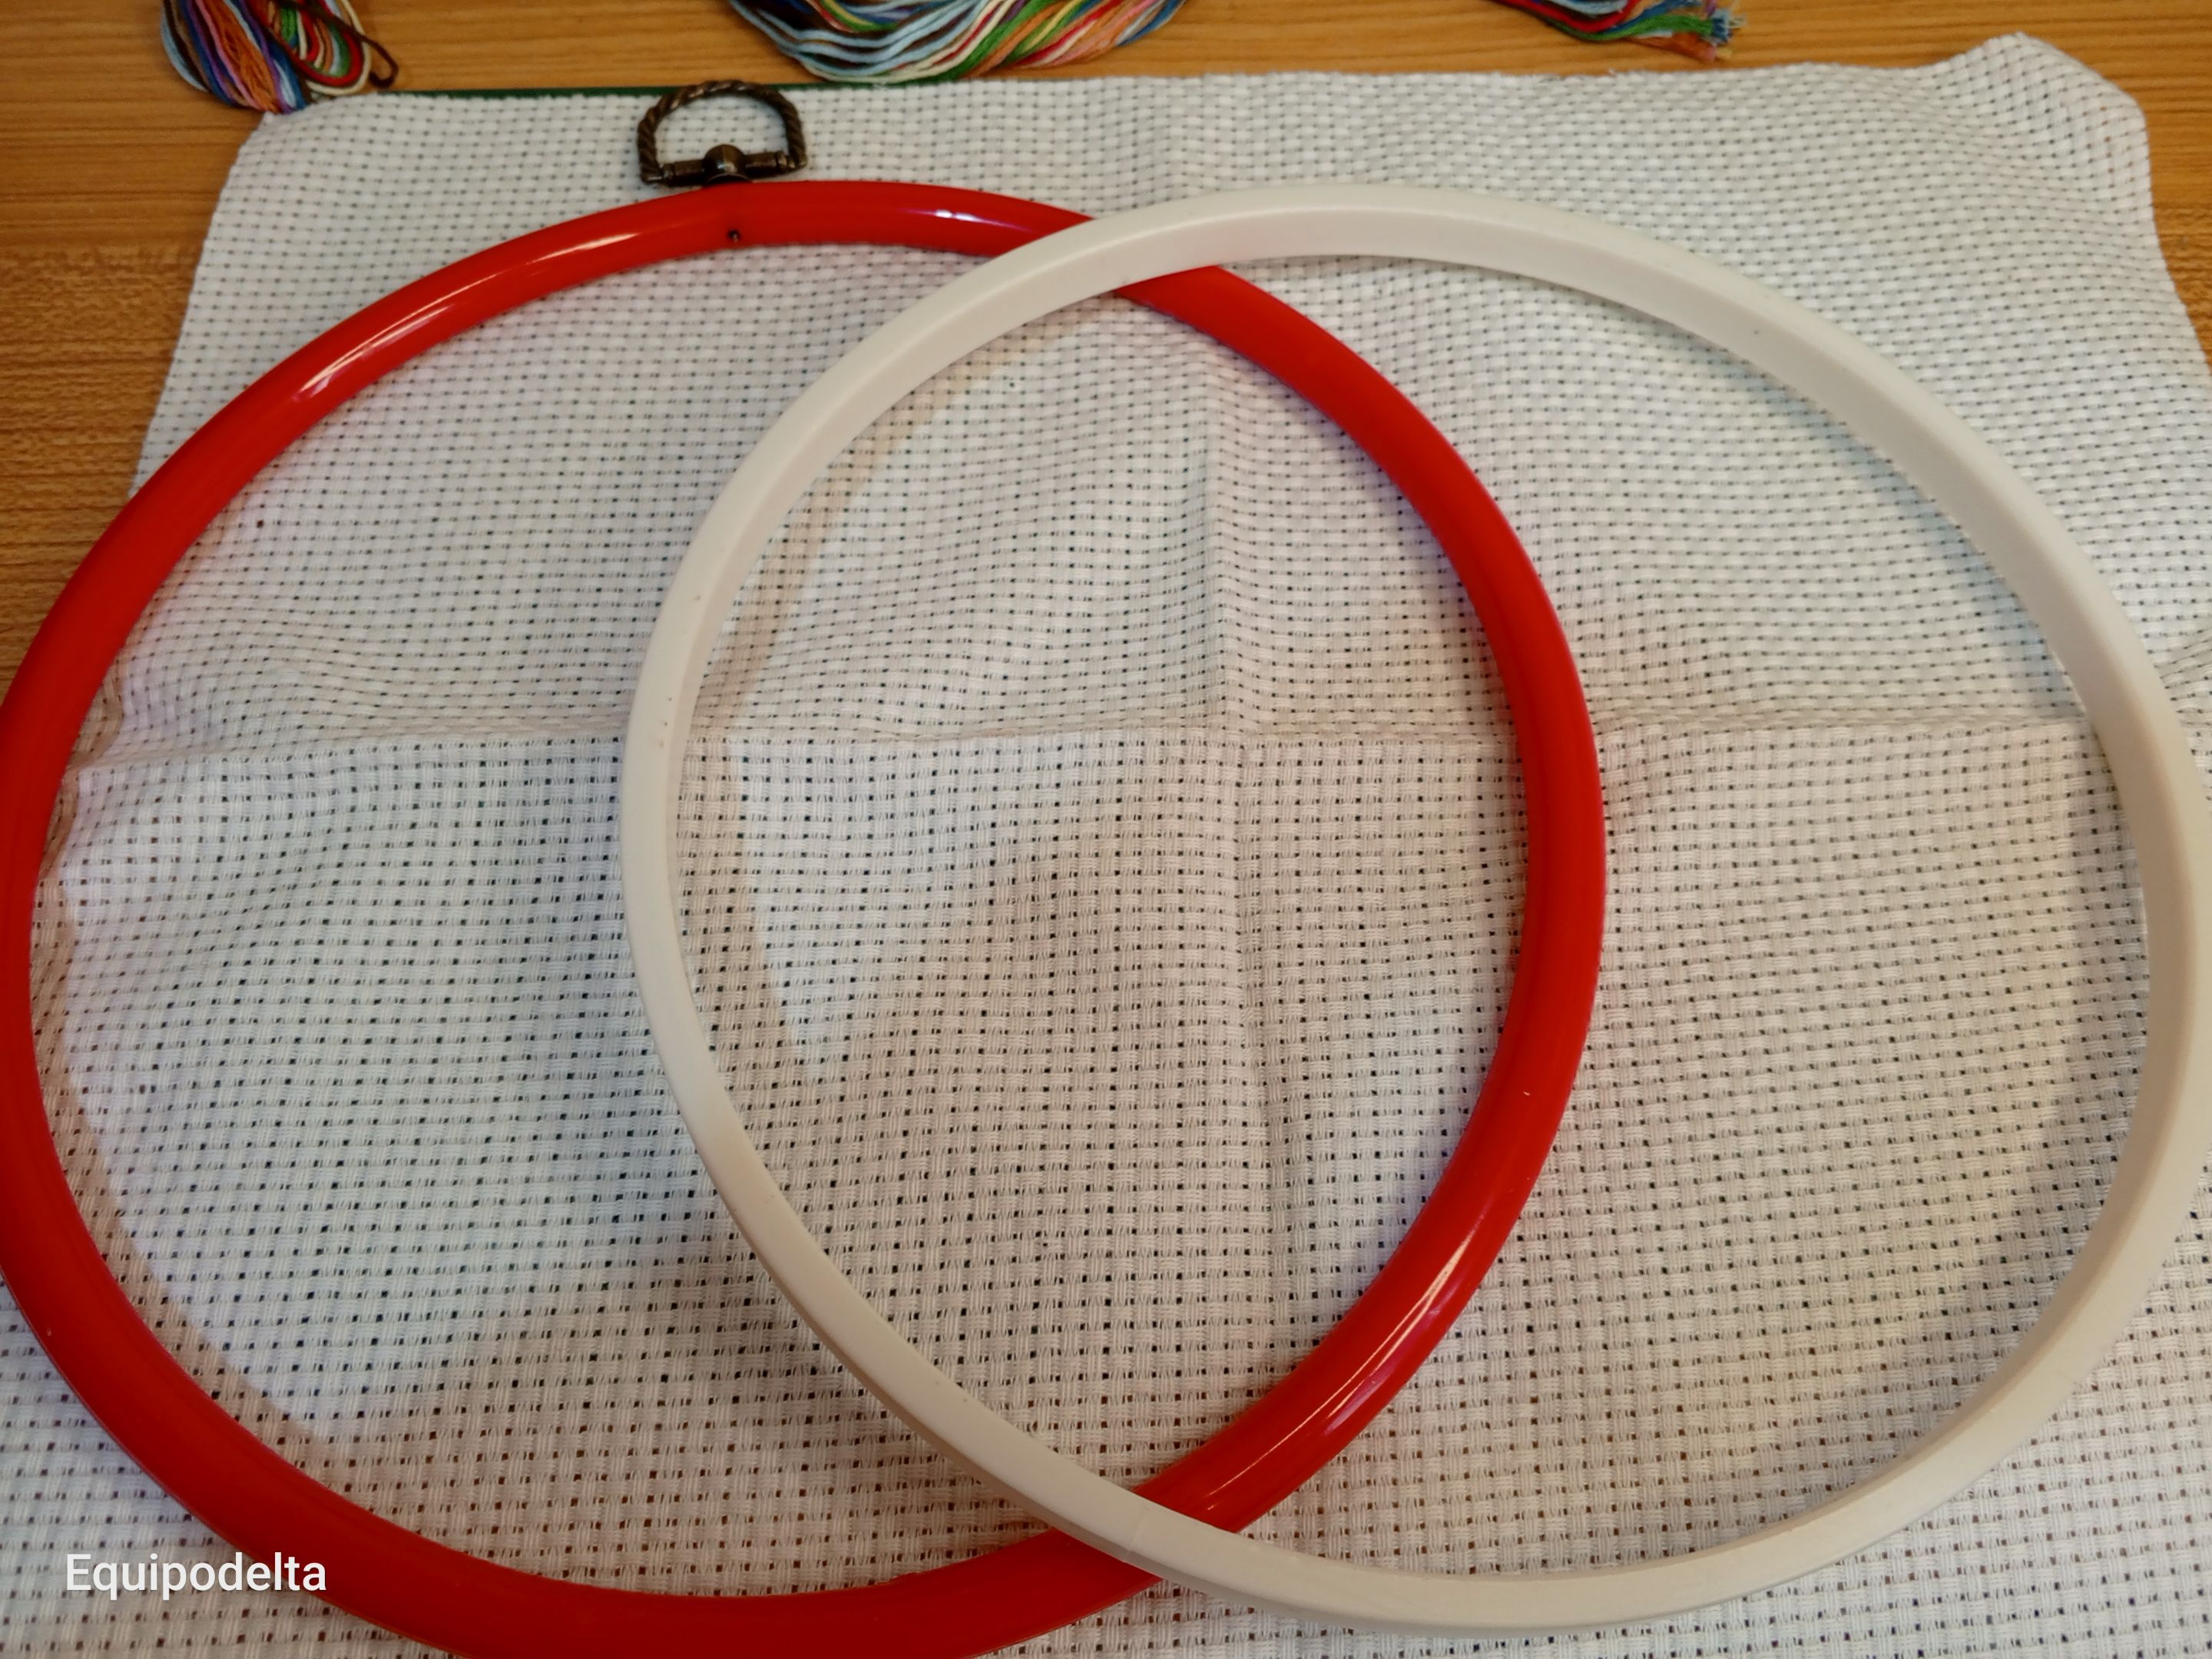
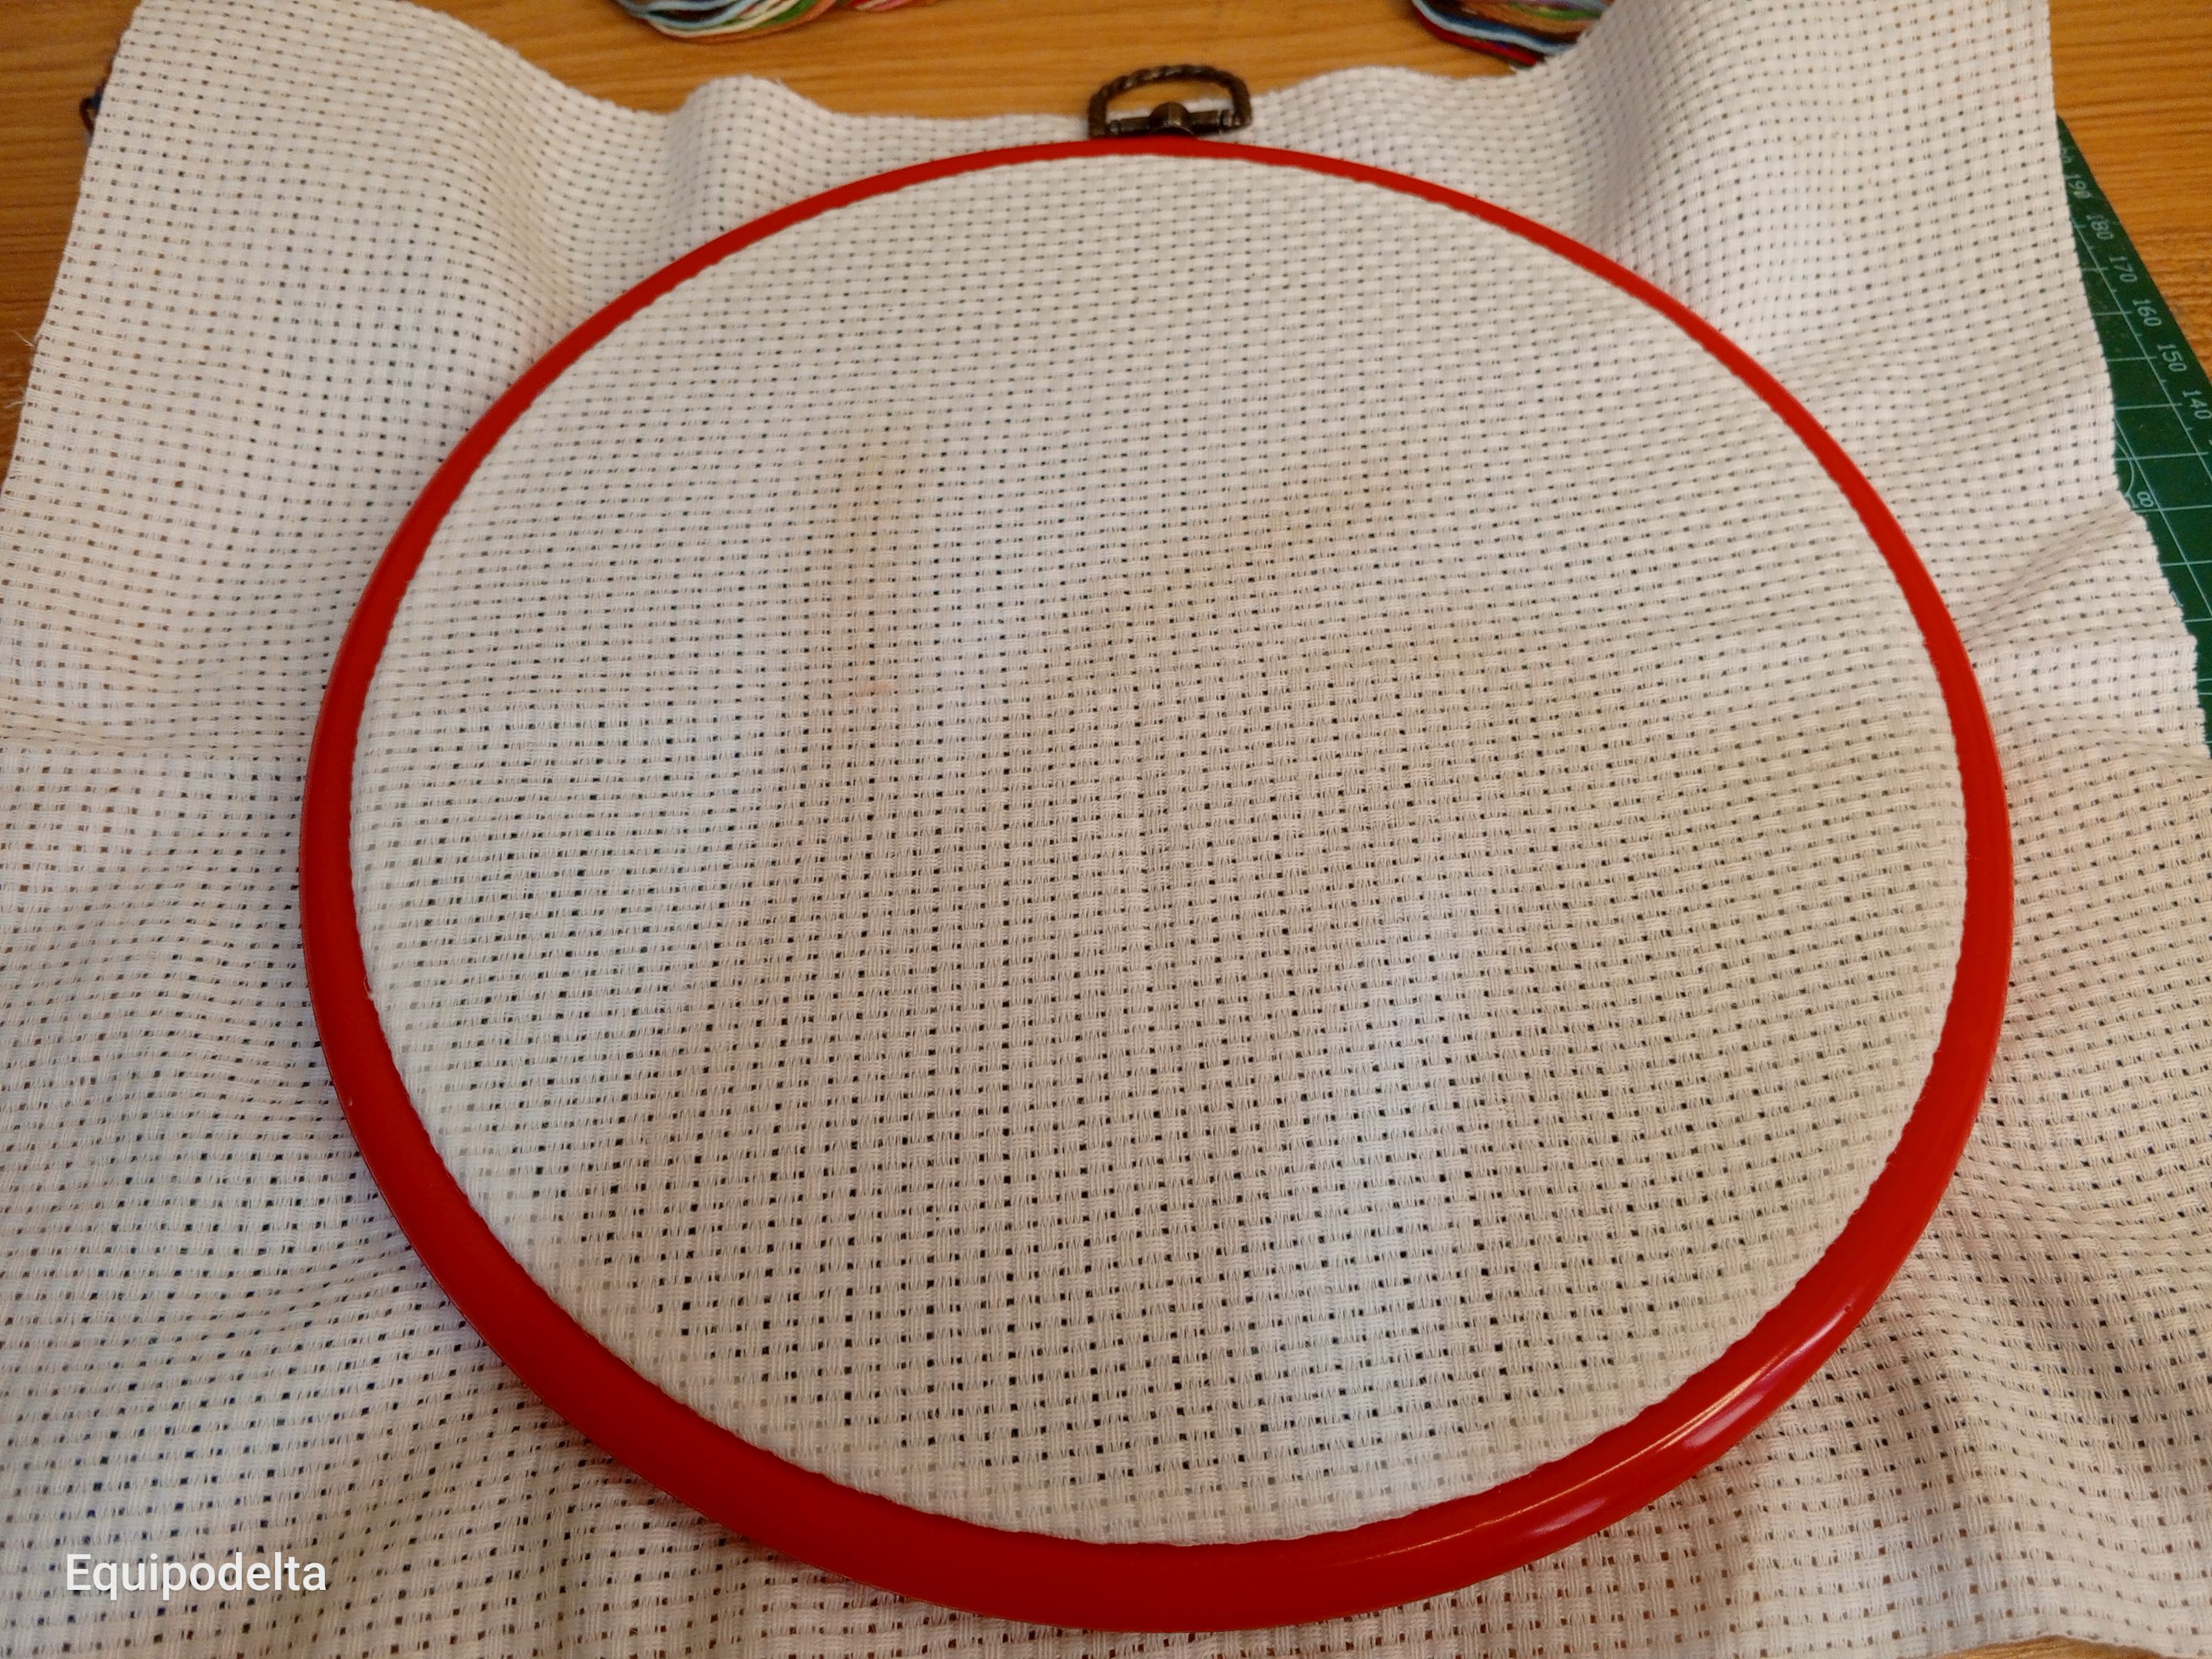
Me encantó el aro que trae, es de plástico y hay que estirarlo para introducir la tela y apretarla, en mis tiempos usábamos un aro de bambú ajustable.
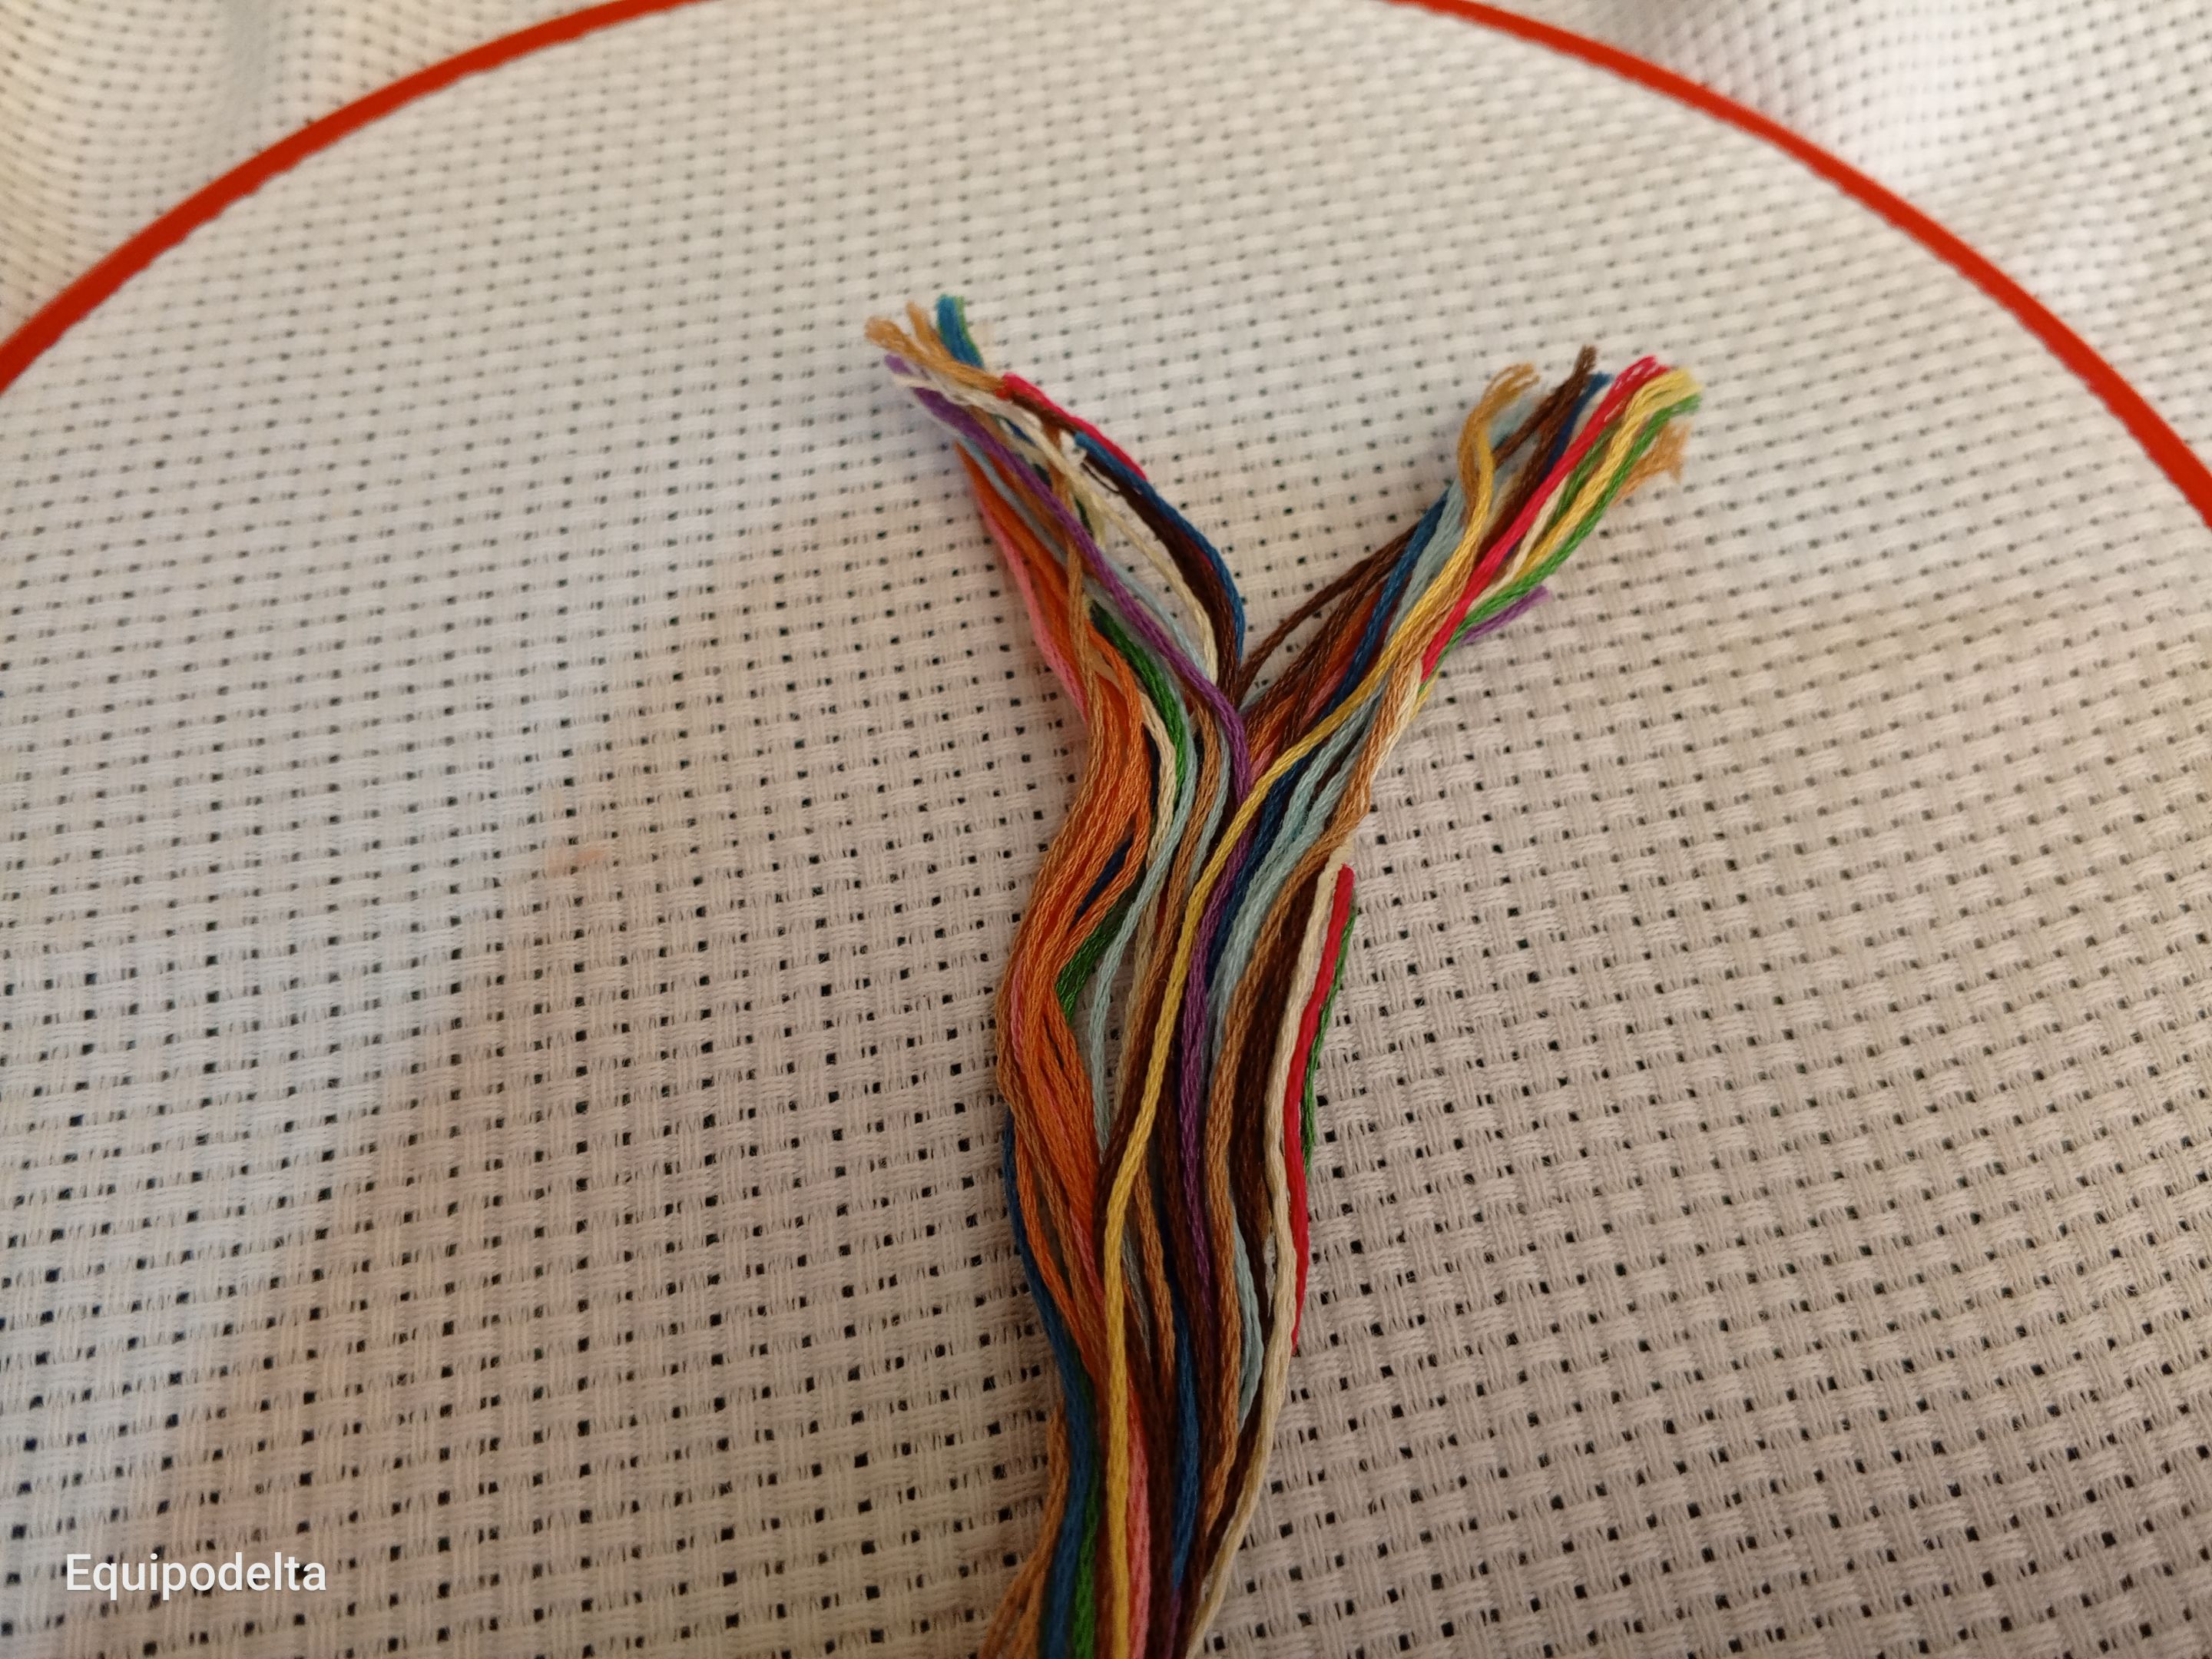
Aquí fue que me encontré con el dilema, no sé quien es quien en cuanto a color, así que tuve que pedir ayuda de mi hijo menor.
! [English version]
I loved the hoop it comes with, it is plastic and you have to stretch it to insert the fabric and tighten it, in my day we used an adjustable bamboo hoop.
This is where I ran into the dilemma, I don't know who is who in terms of color, so I had to ask for help from my youngest son.

Step 3️⃣/ paso 3️⃣

 |  |
[Esp]
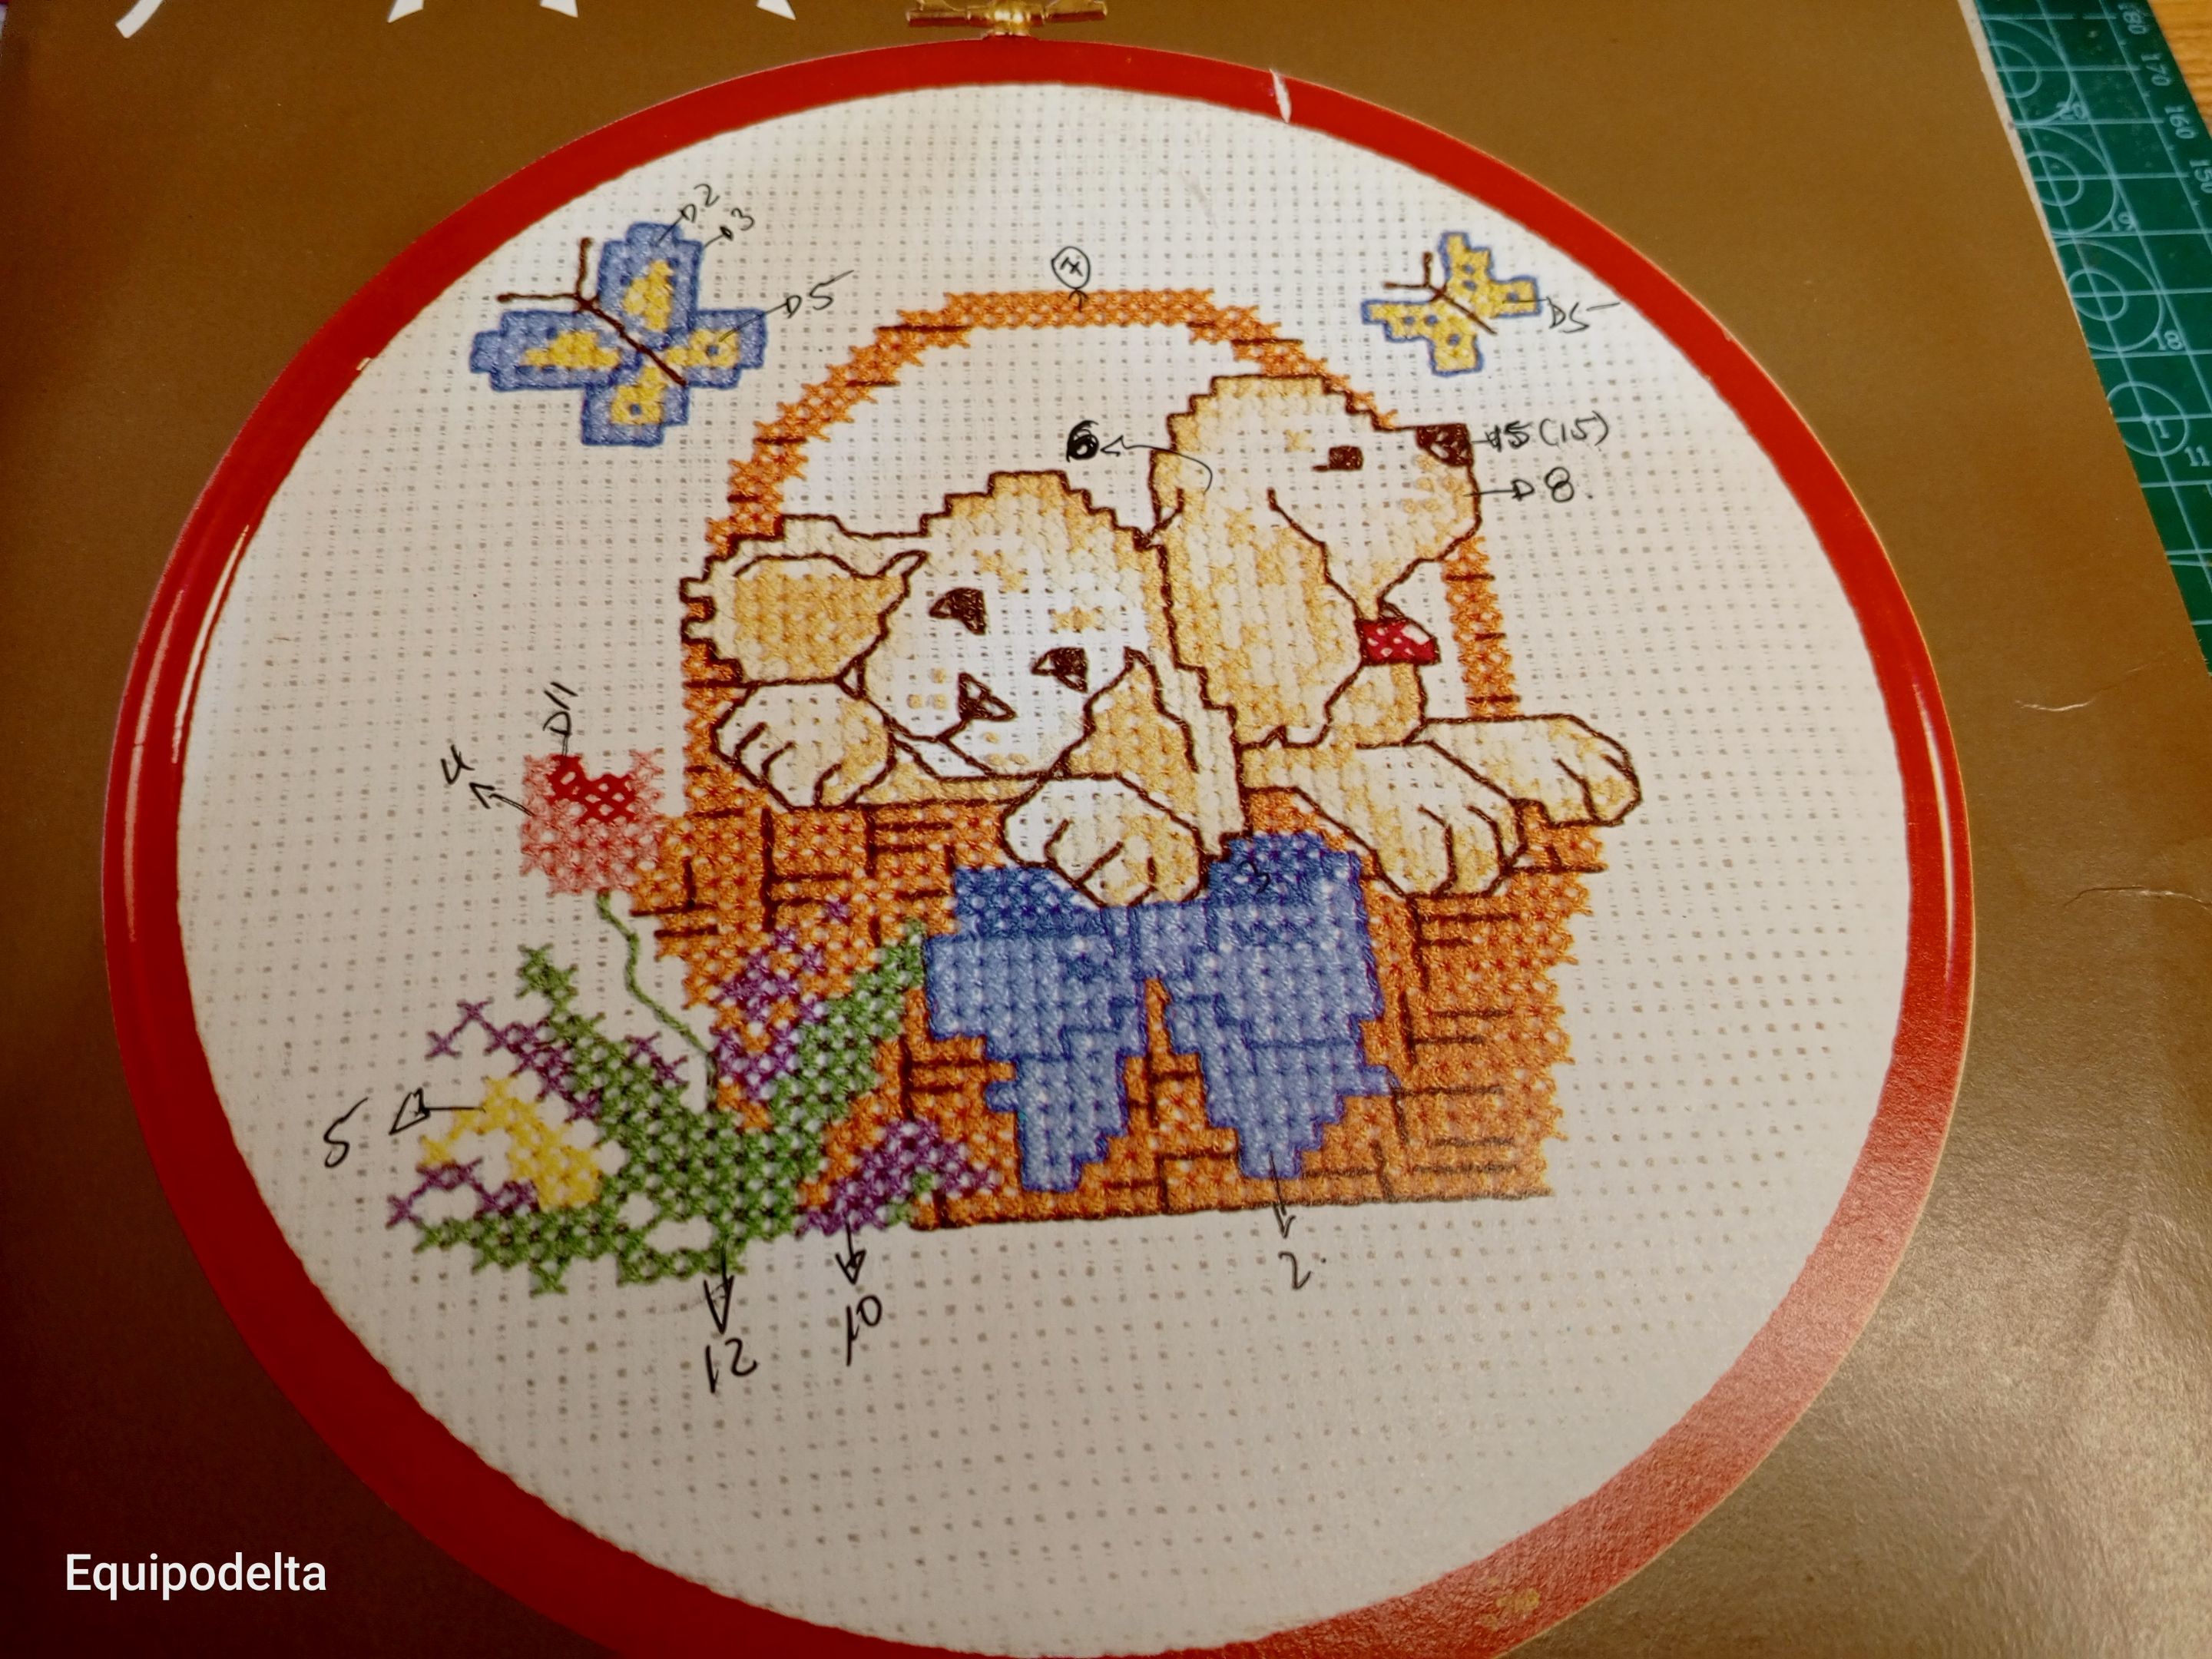
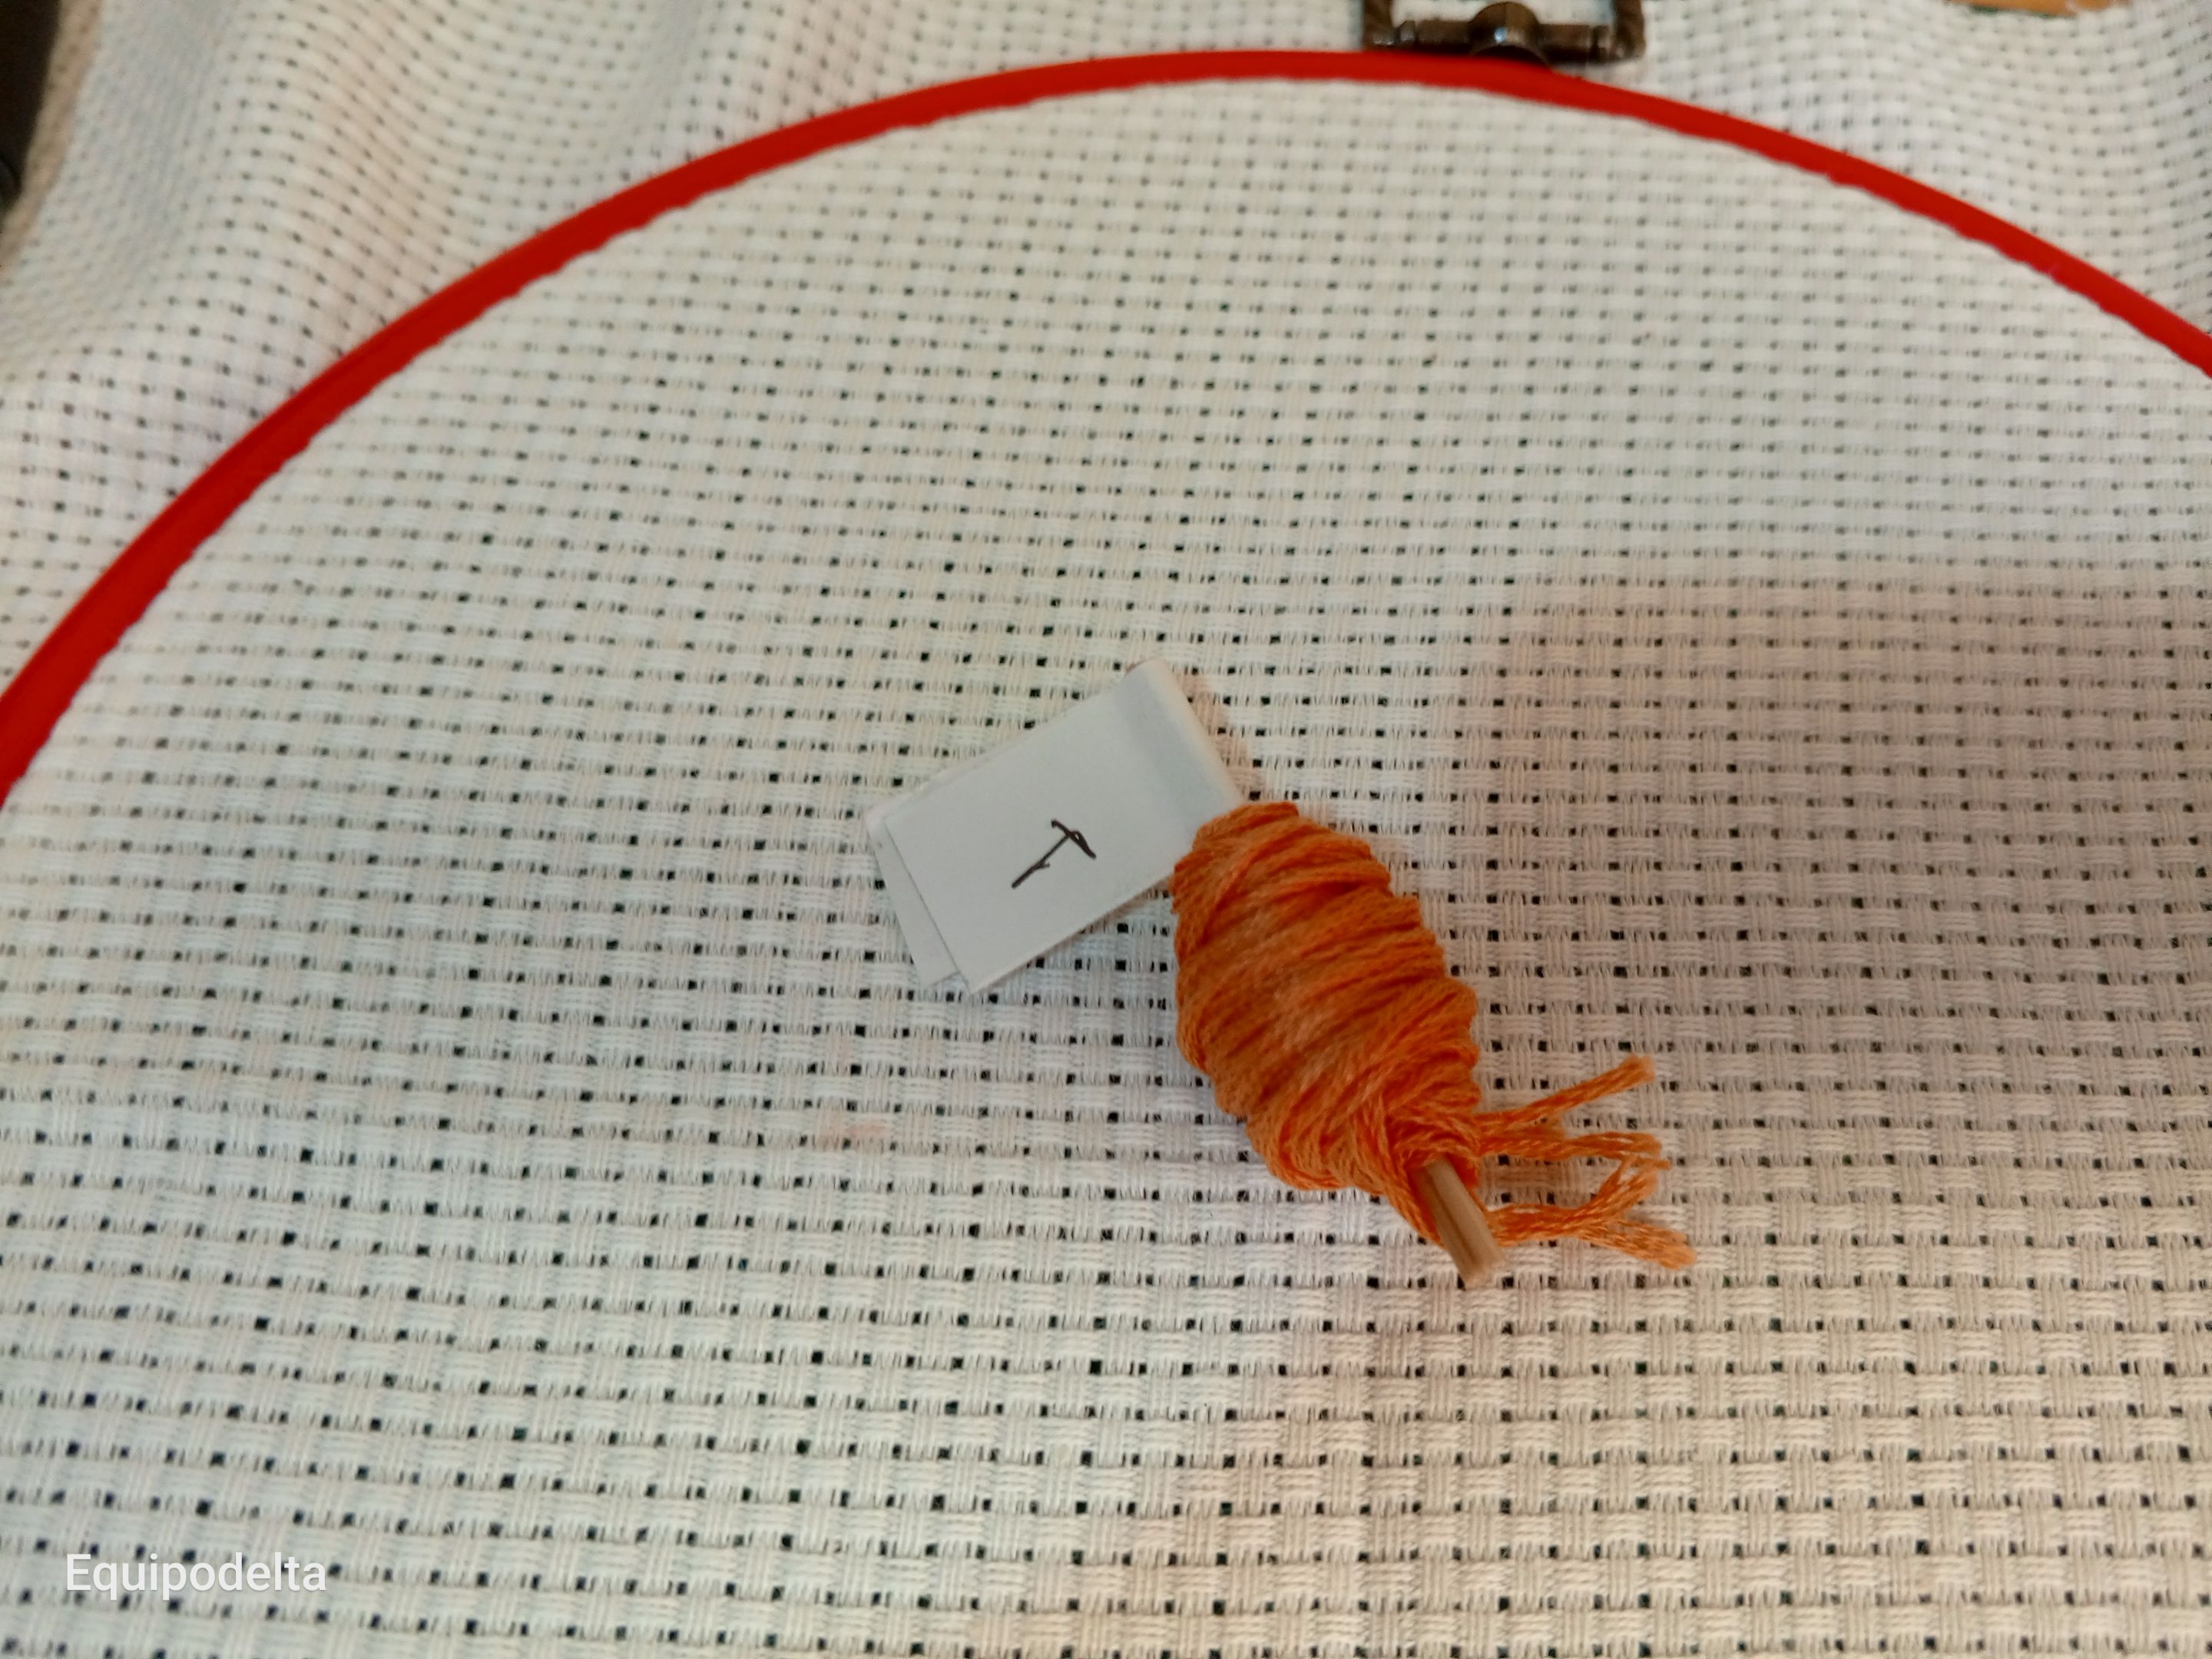
Cada color diferente del diseño asigné un número.
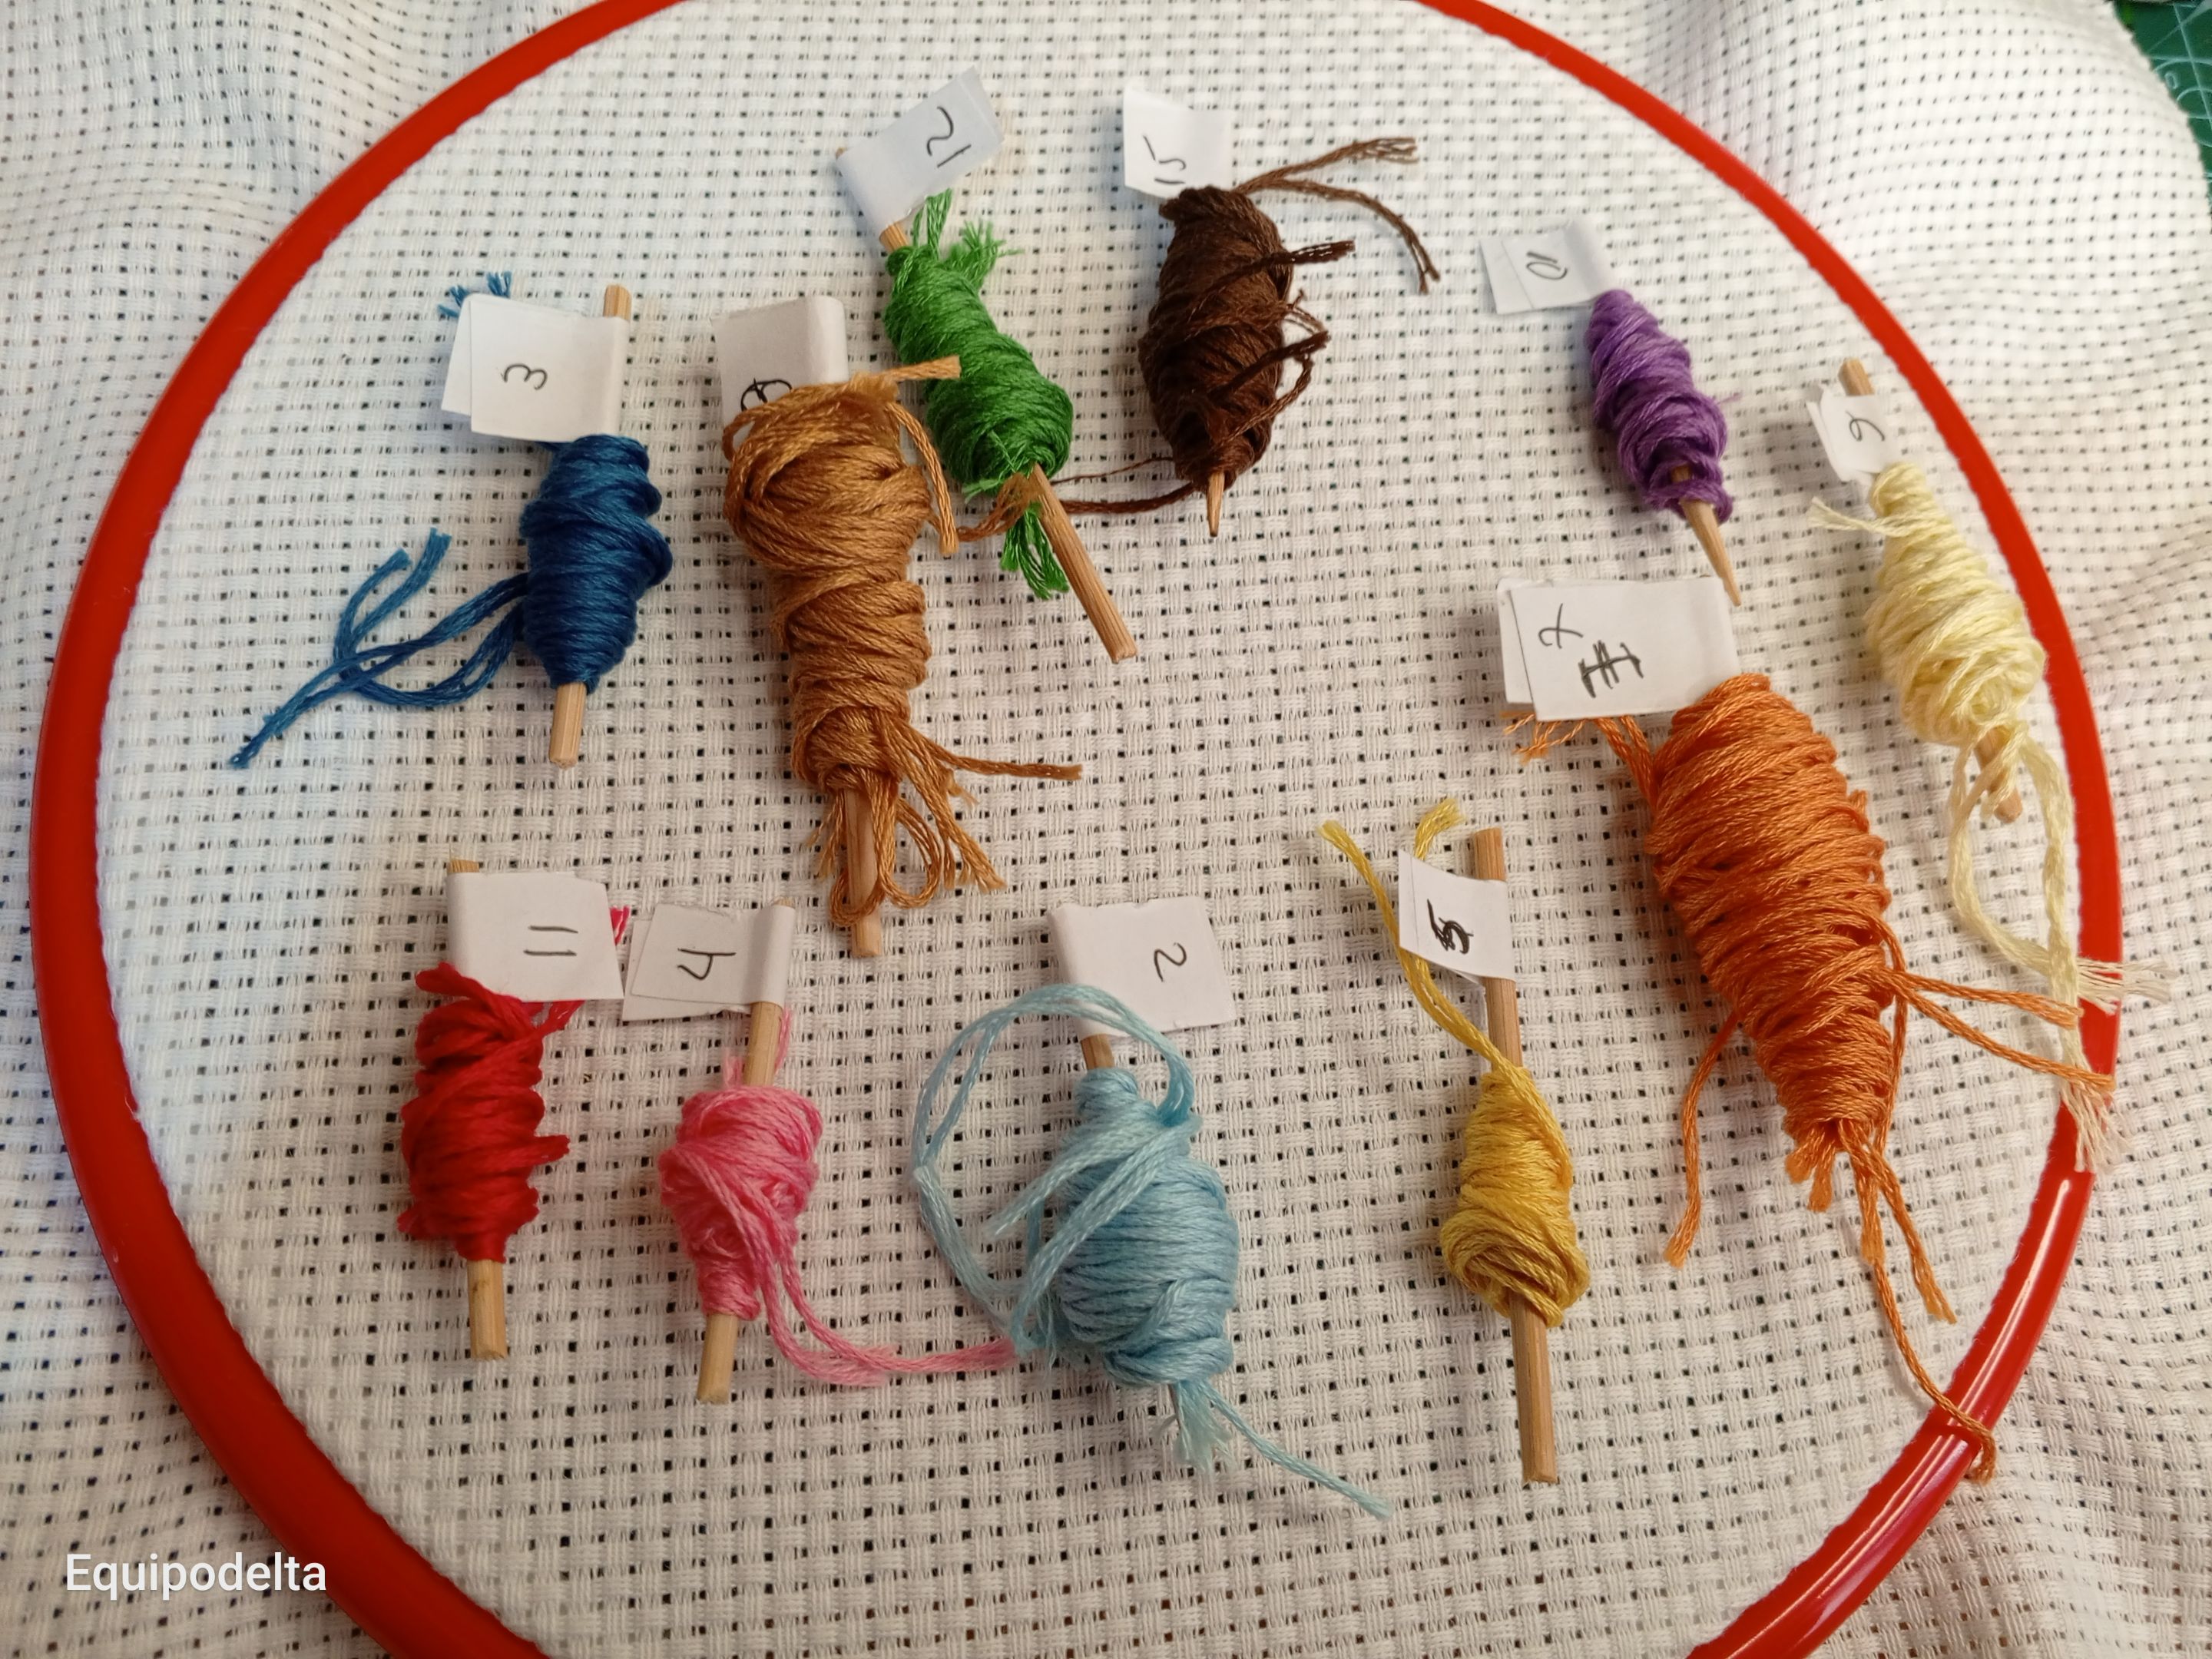
Con ayuda de mi hijo menor, separamos los colores y les colocamos el número correspondiente del diseño.
Para ello usé palitos de altura y enrollé los hilos por separado con sus números.
! [English version]
Each different color of the design I assigned a number.
With the help of my youngest son, we separated the colors and attached the corresponding number of the design to them.
For this I used height sticks and rolled the threads separately with their numbers.

Step 4️⃣/ paso 4️⃣

 |  | |
 |  |
[Esp]
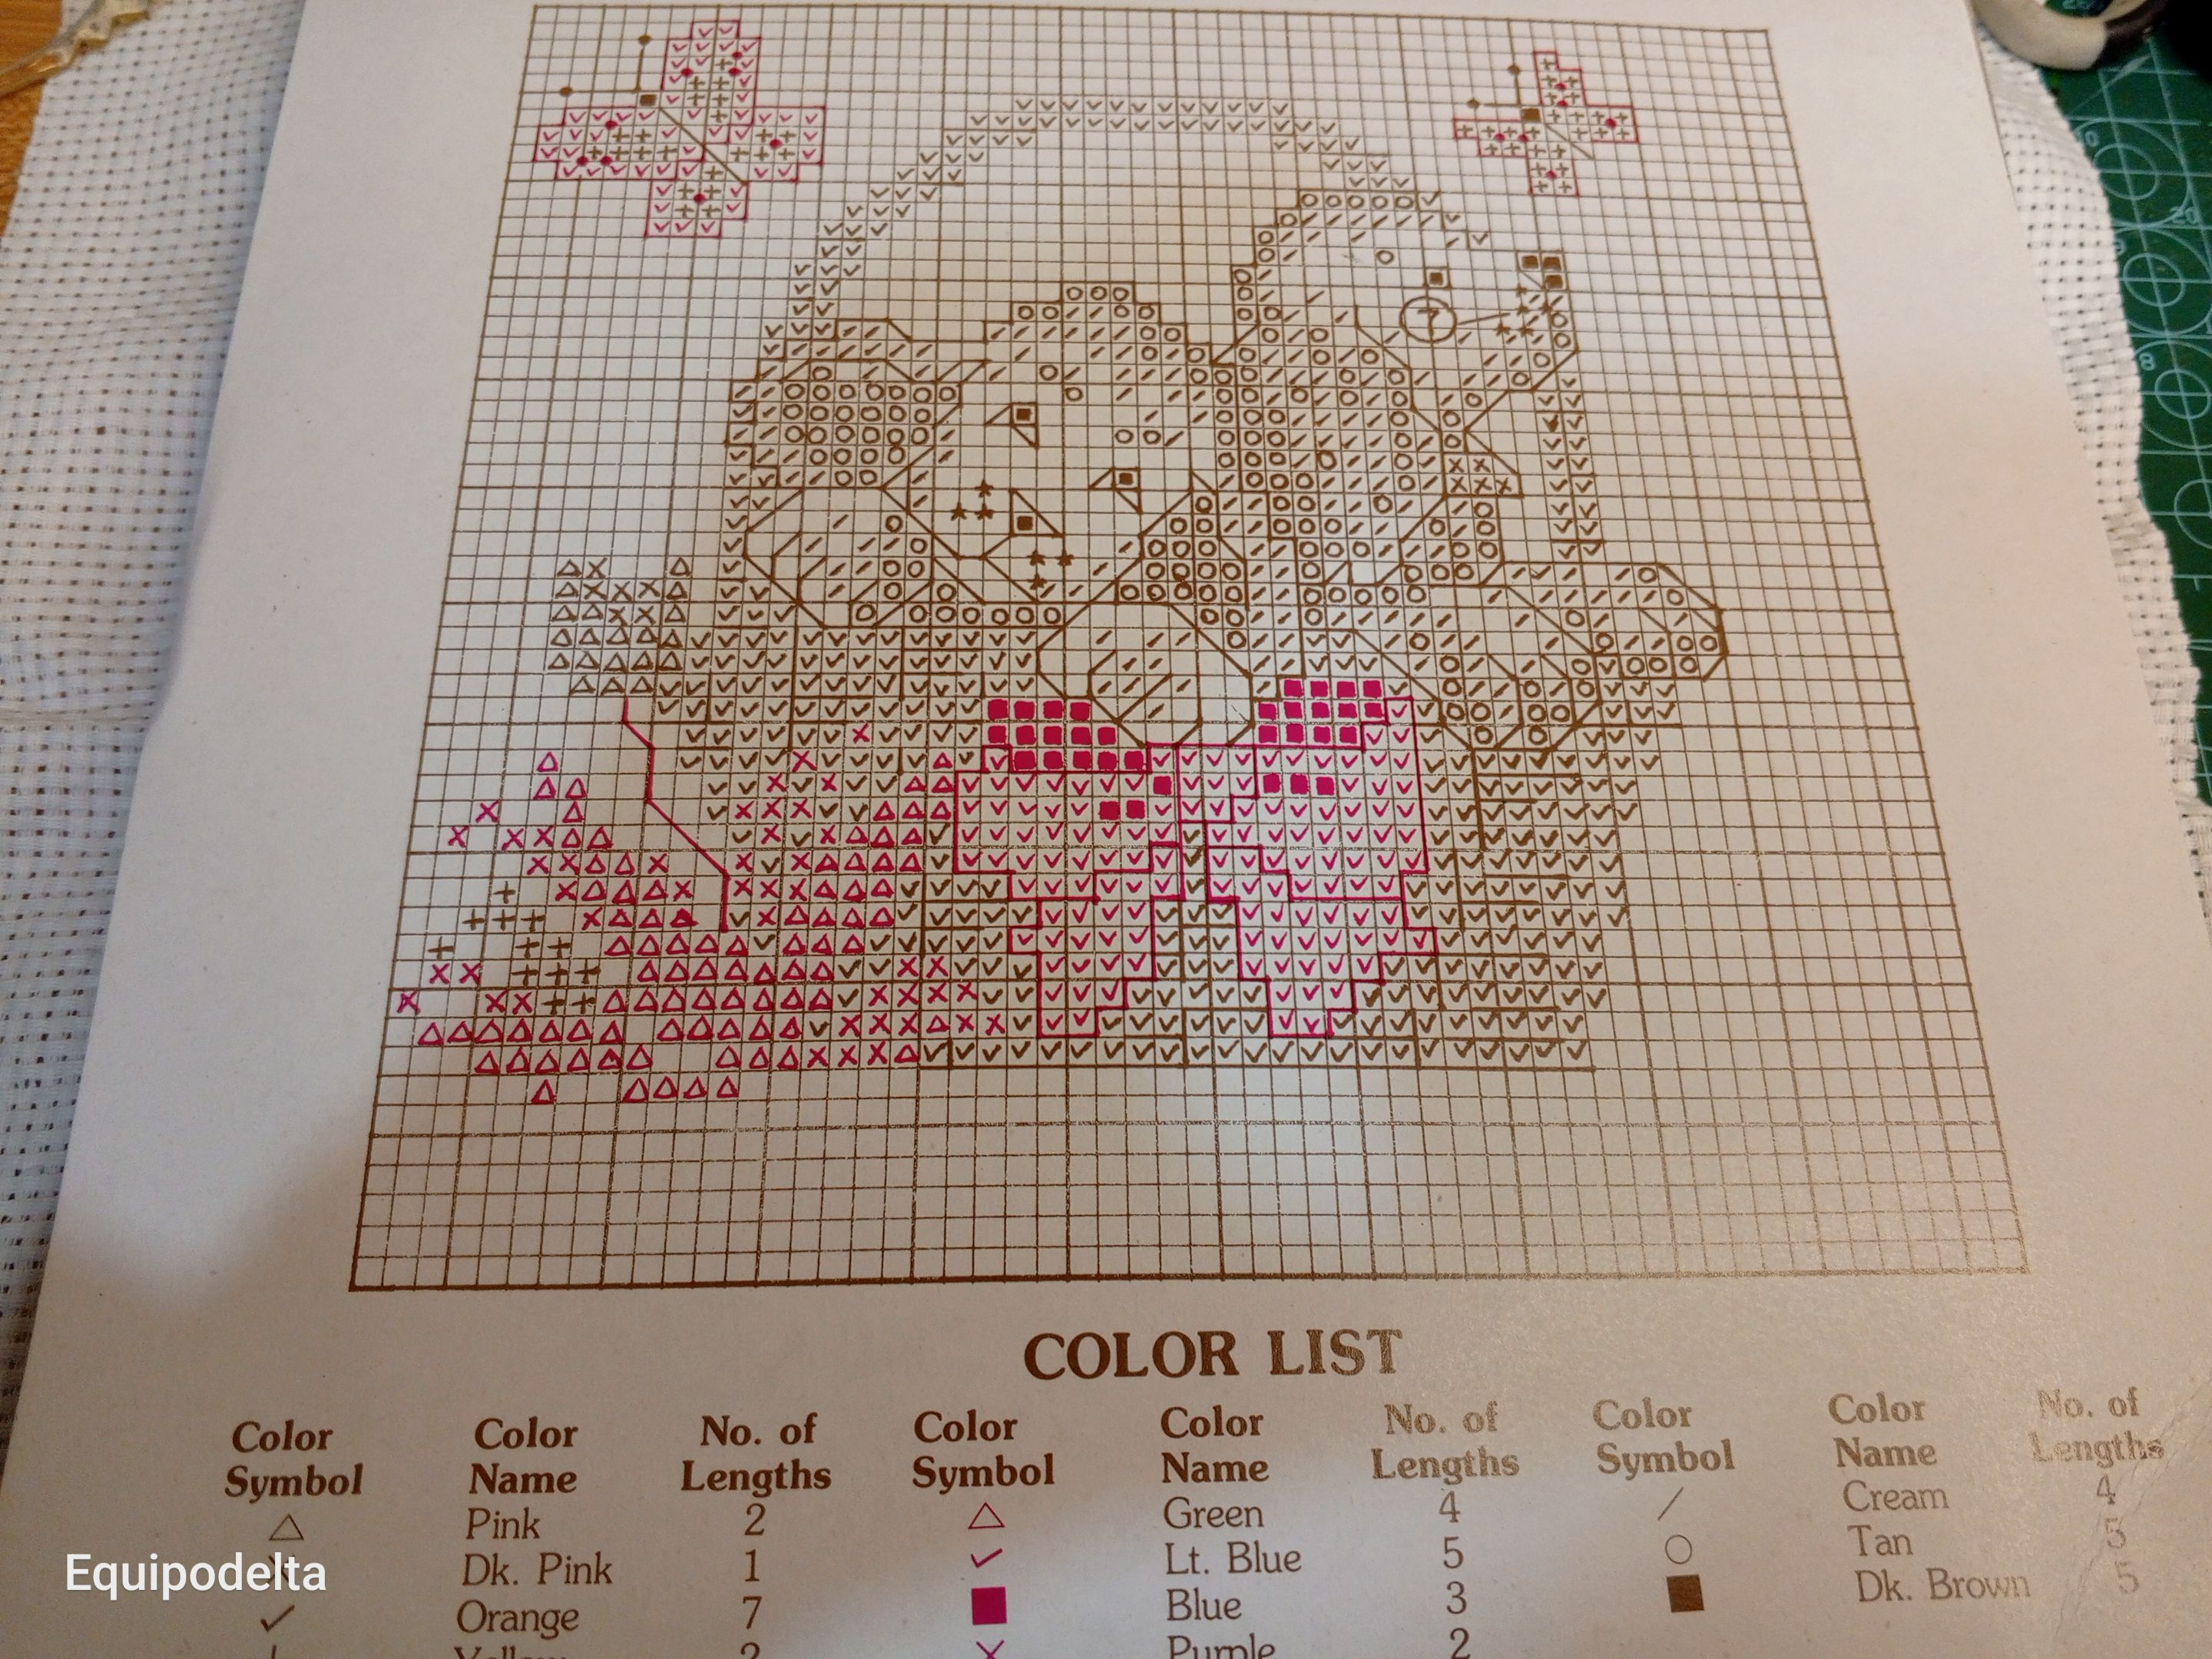
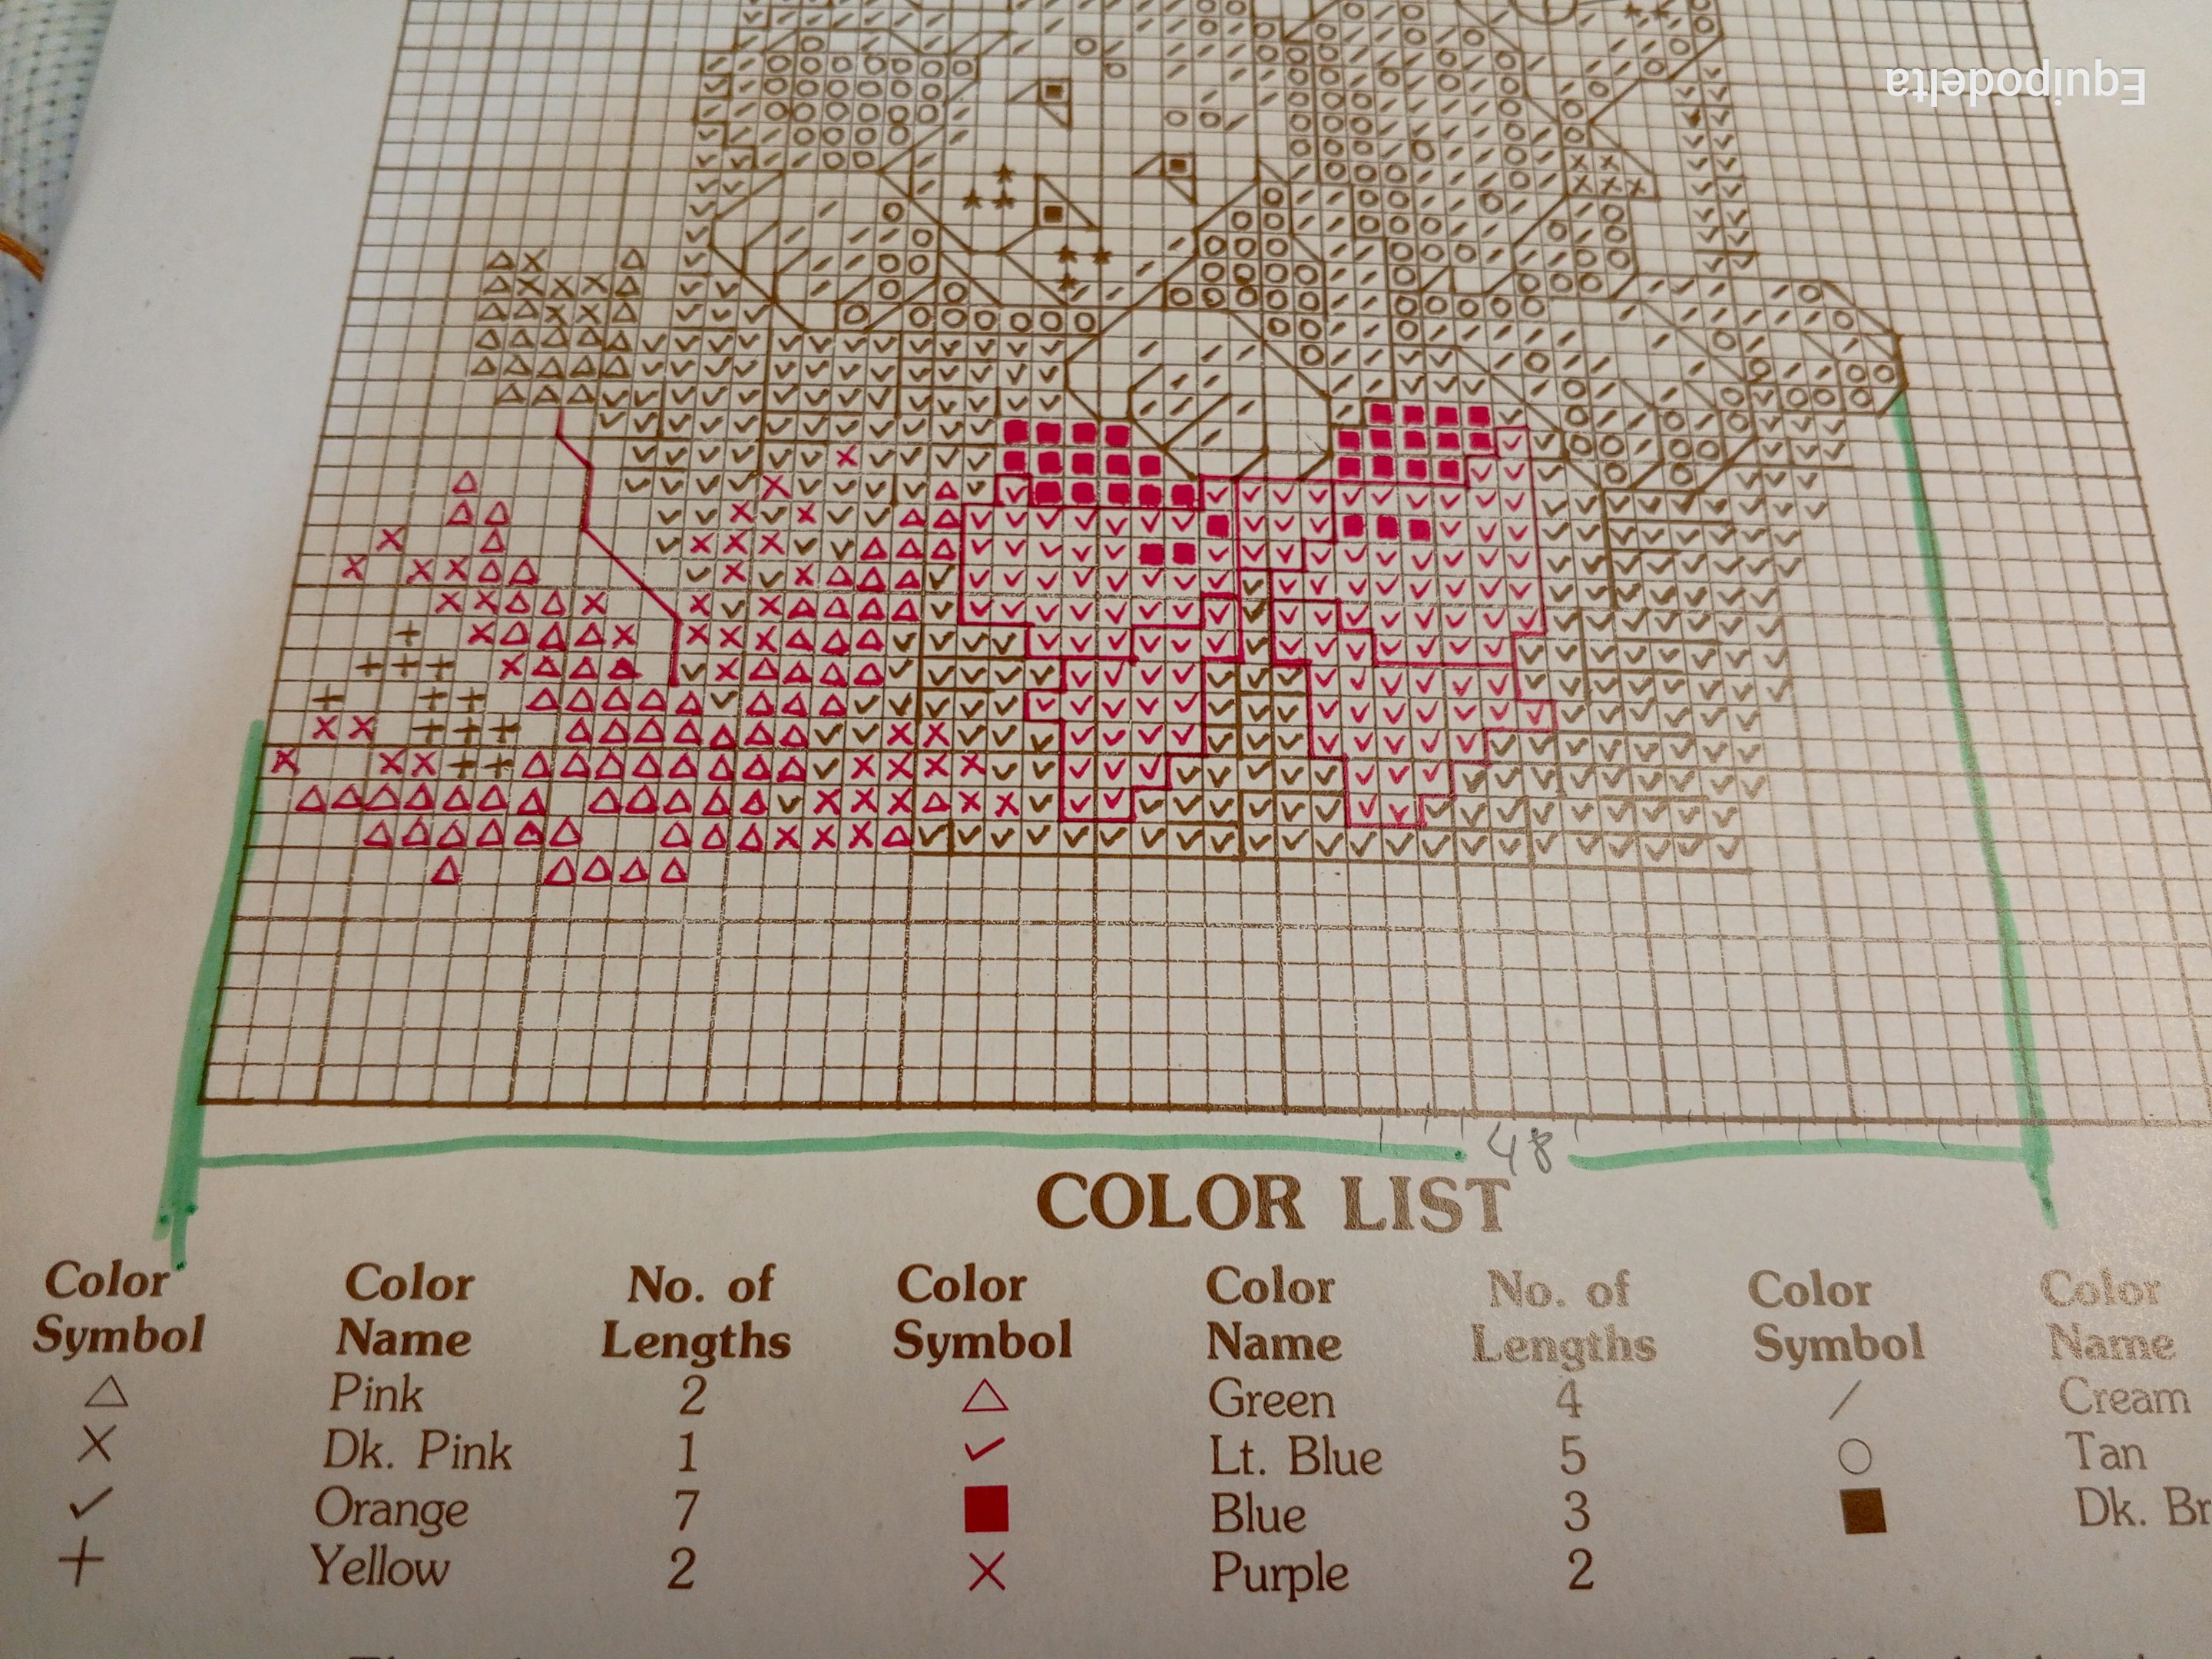
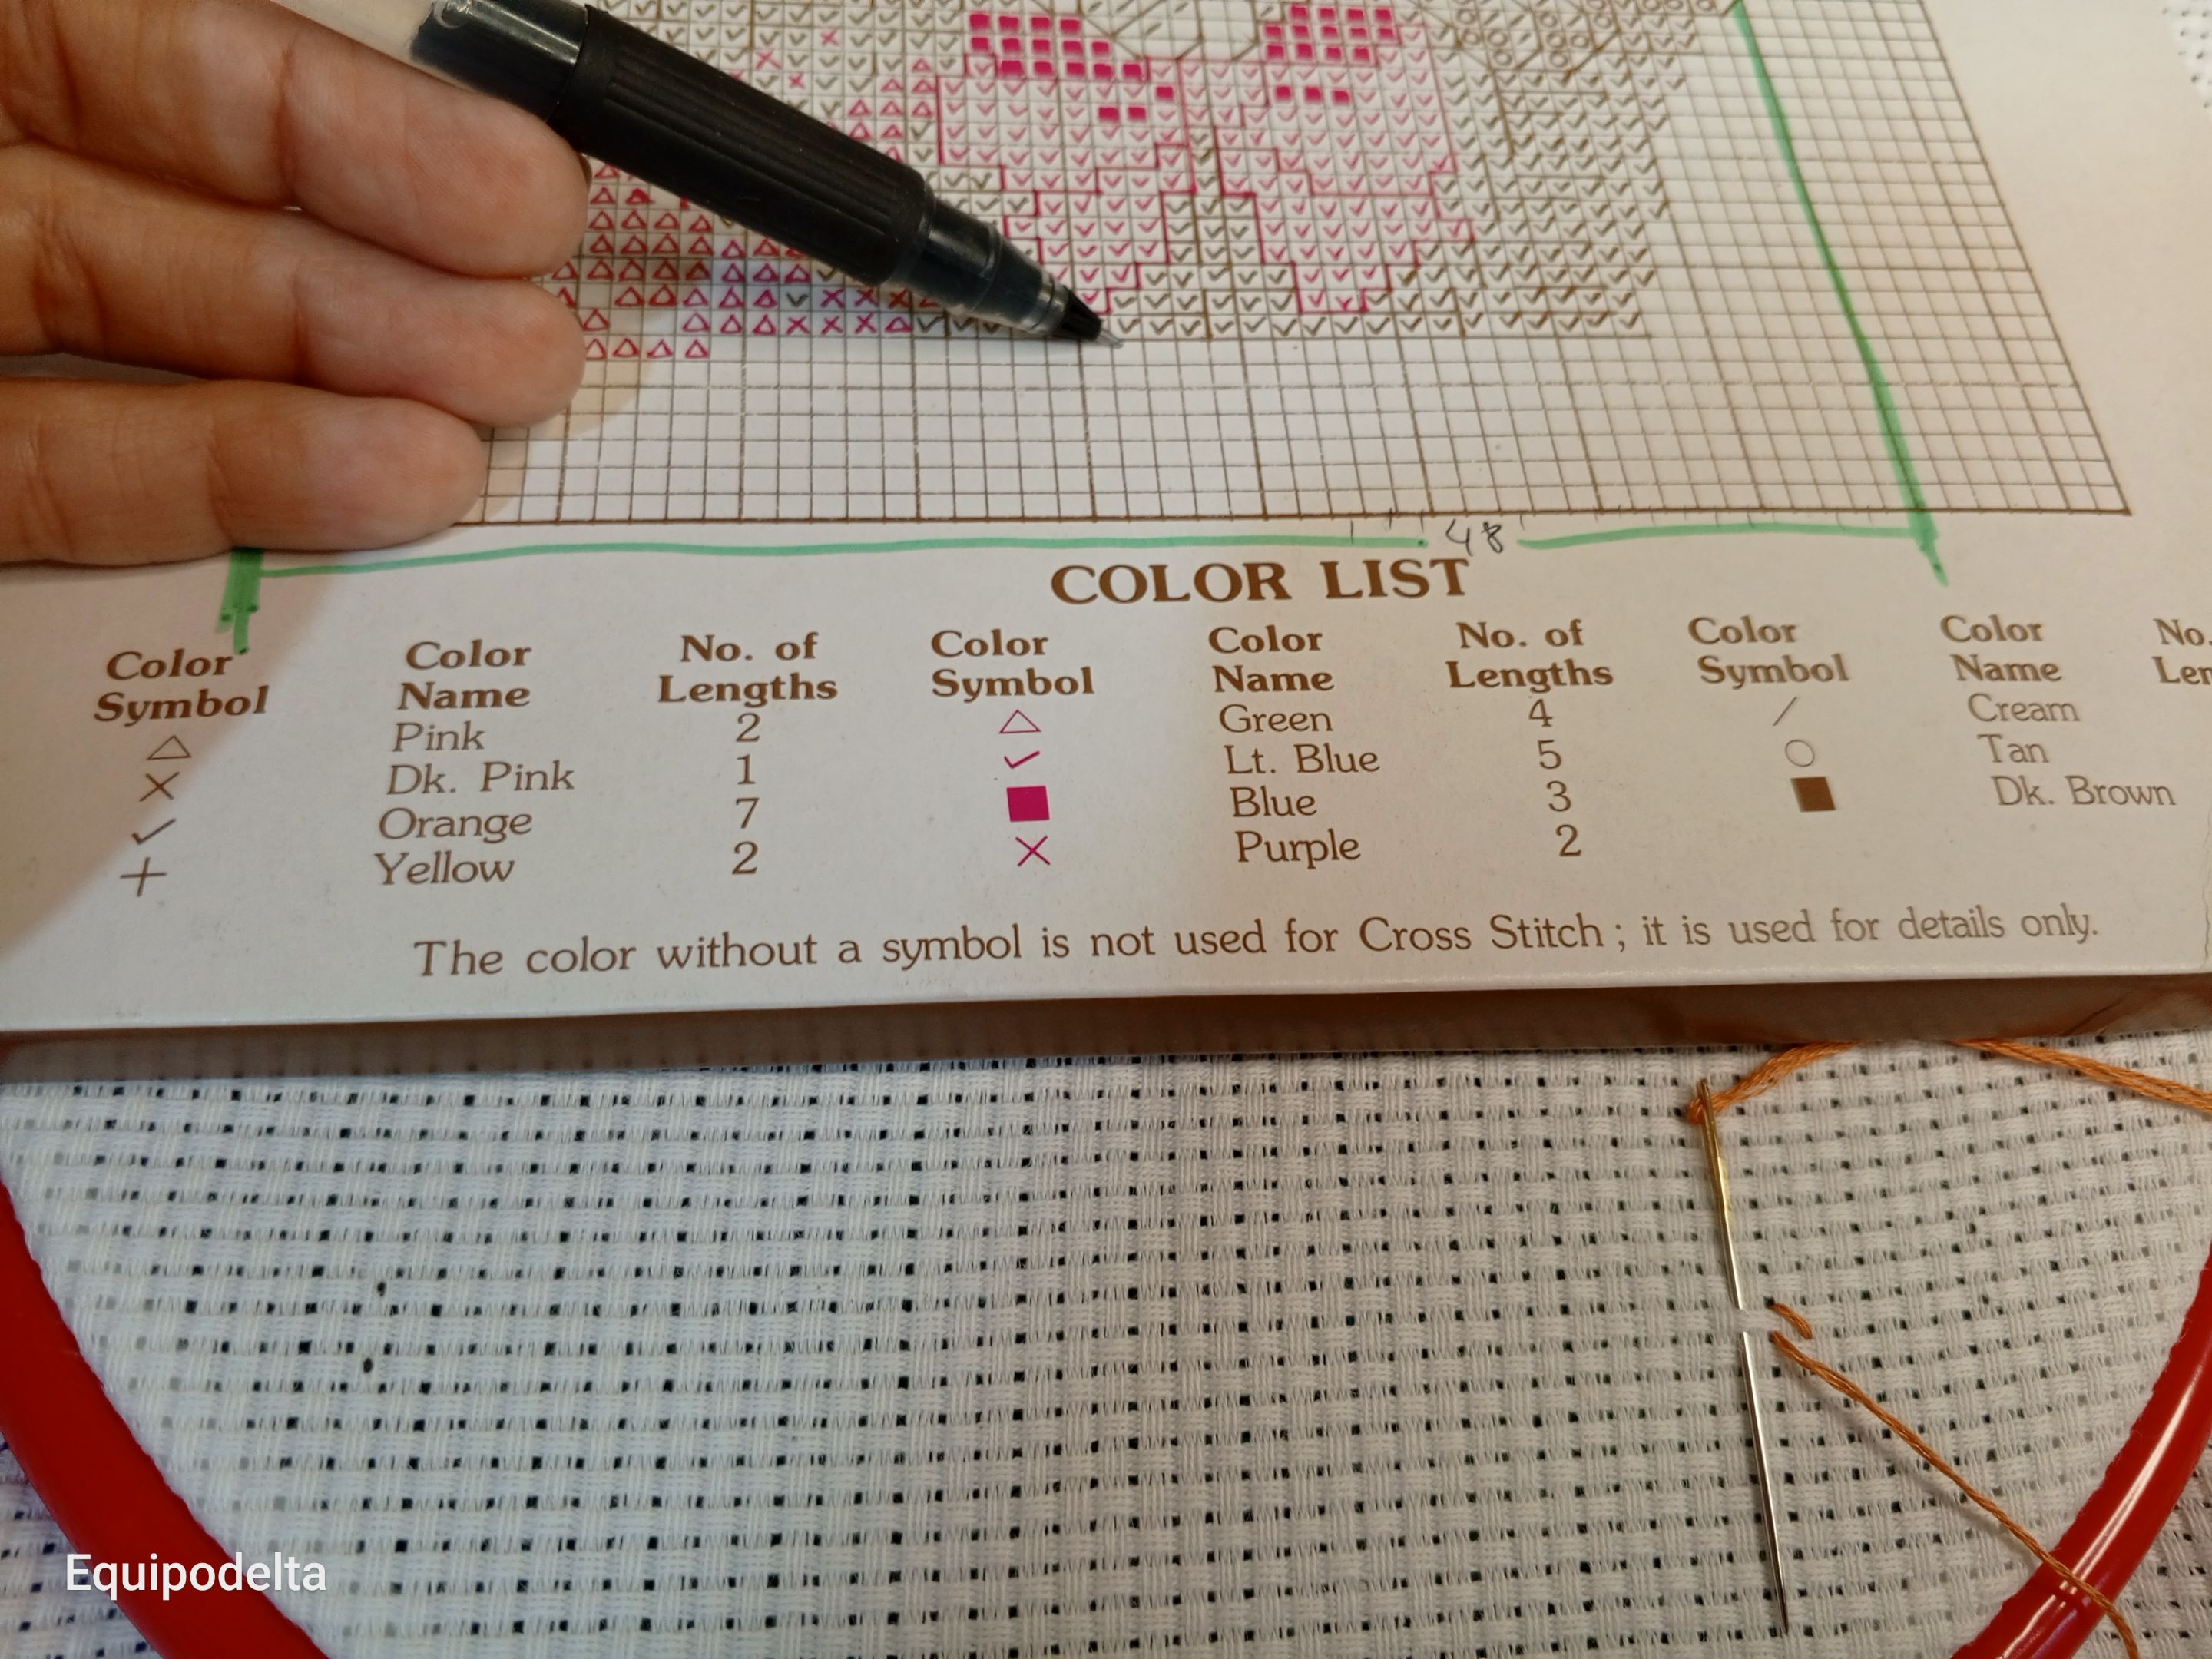
Por la parte de atrás del diseño, está el patrón que puedes seguir, está provisto de símbolos por color, lo cual lo hace más fácil para mí.
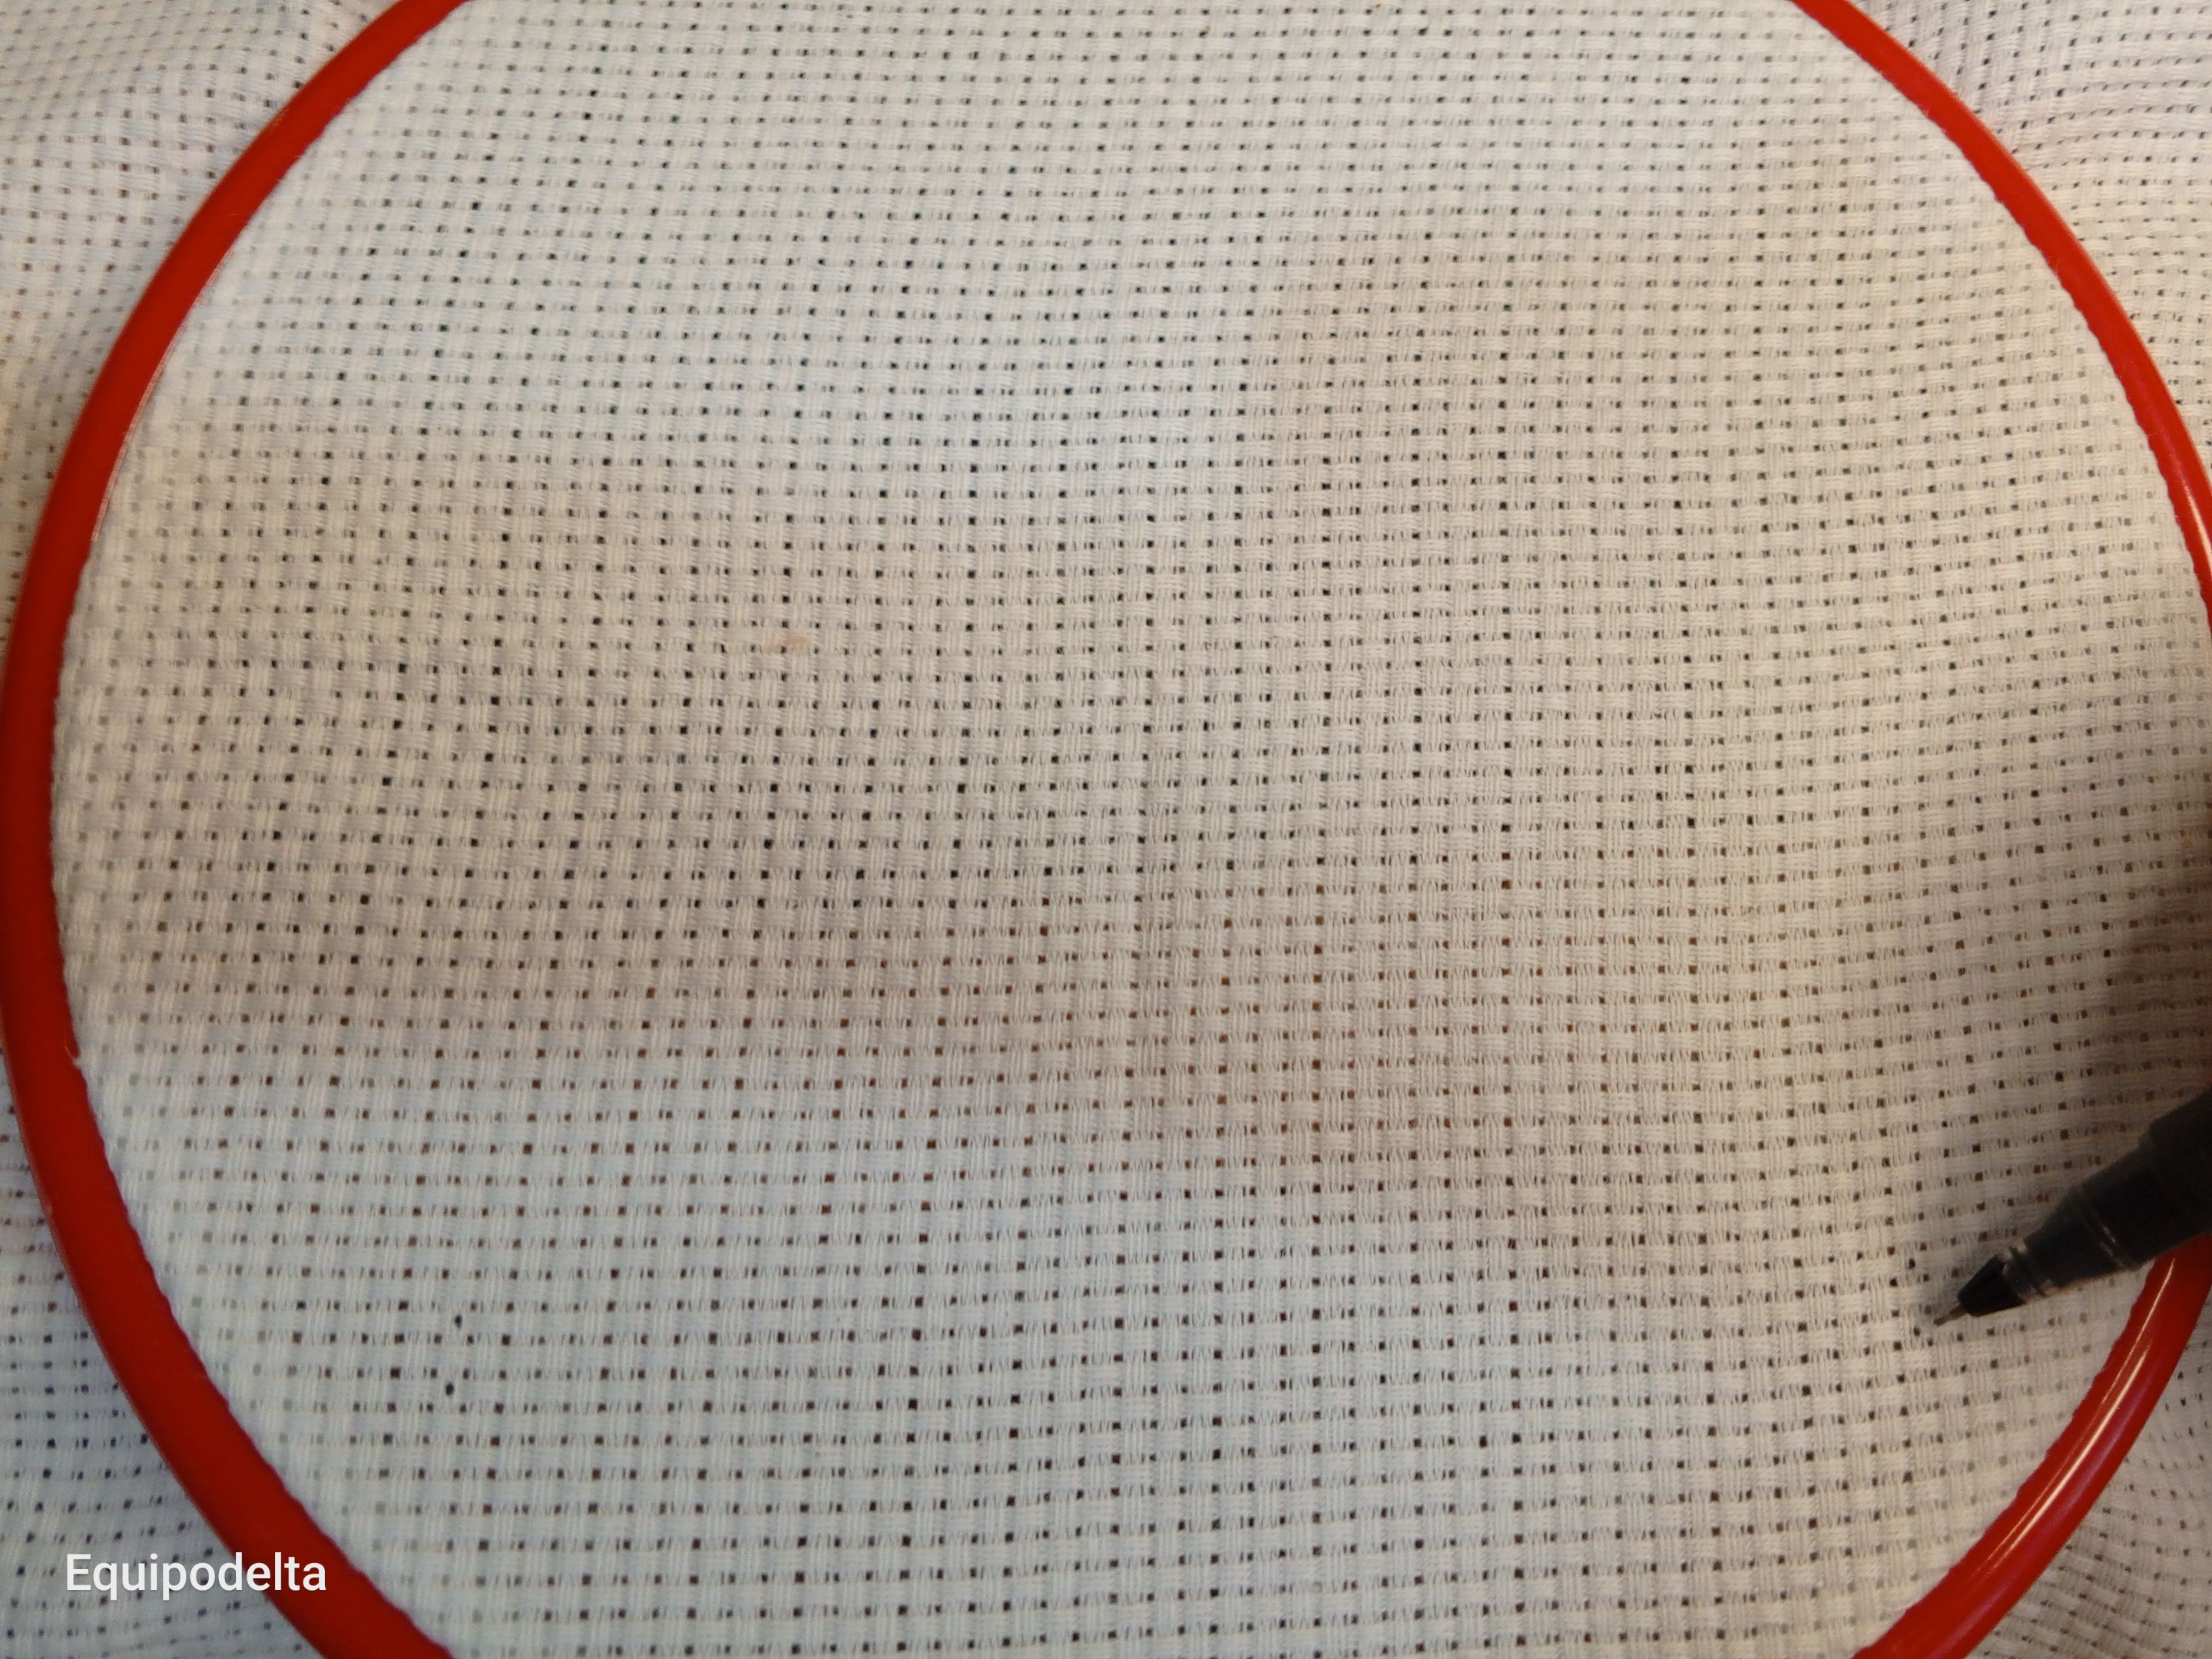
cuanta en total a lo largo cuántos puntos te llevará el diseño, he trazado un marcador para ayudarme a contar bien.
Introduce la tela en el aro y procura que quede bien centrada.
Una vez tengas la cantidad, cuenta los espacios del punto X para ubicar el diseño en el centro de acuerdo al patrón.
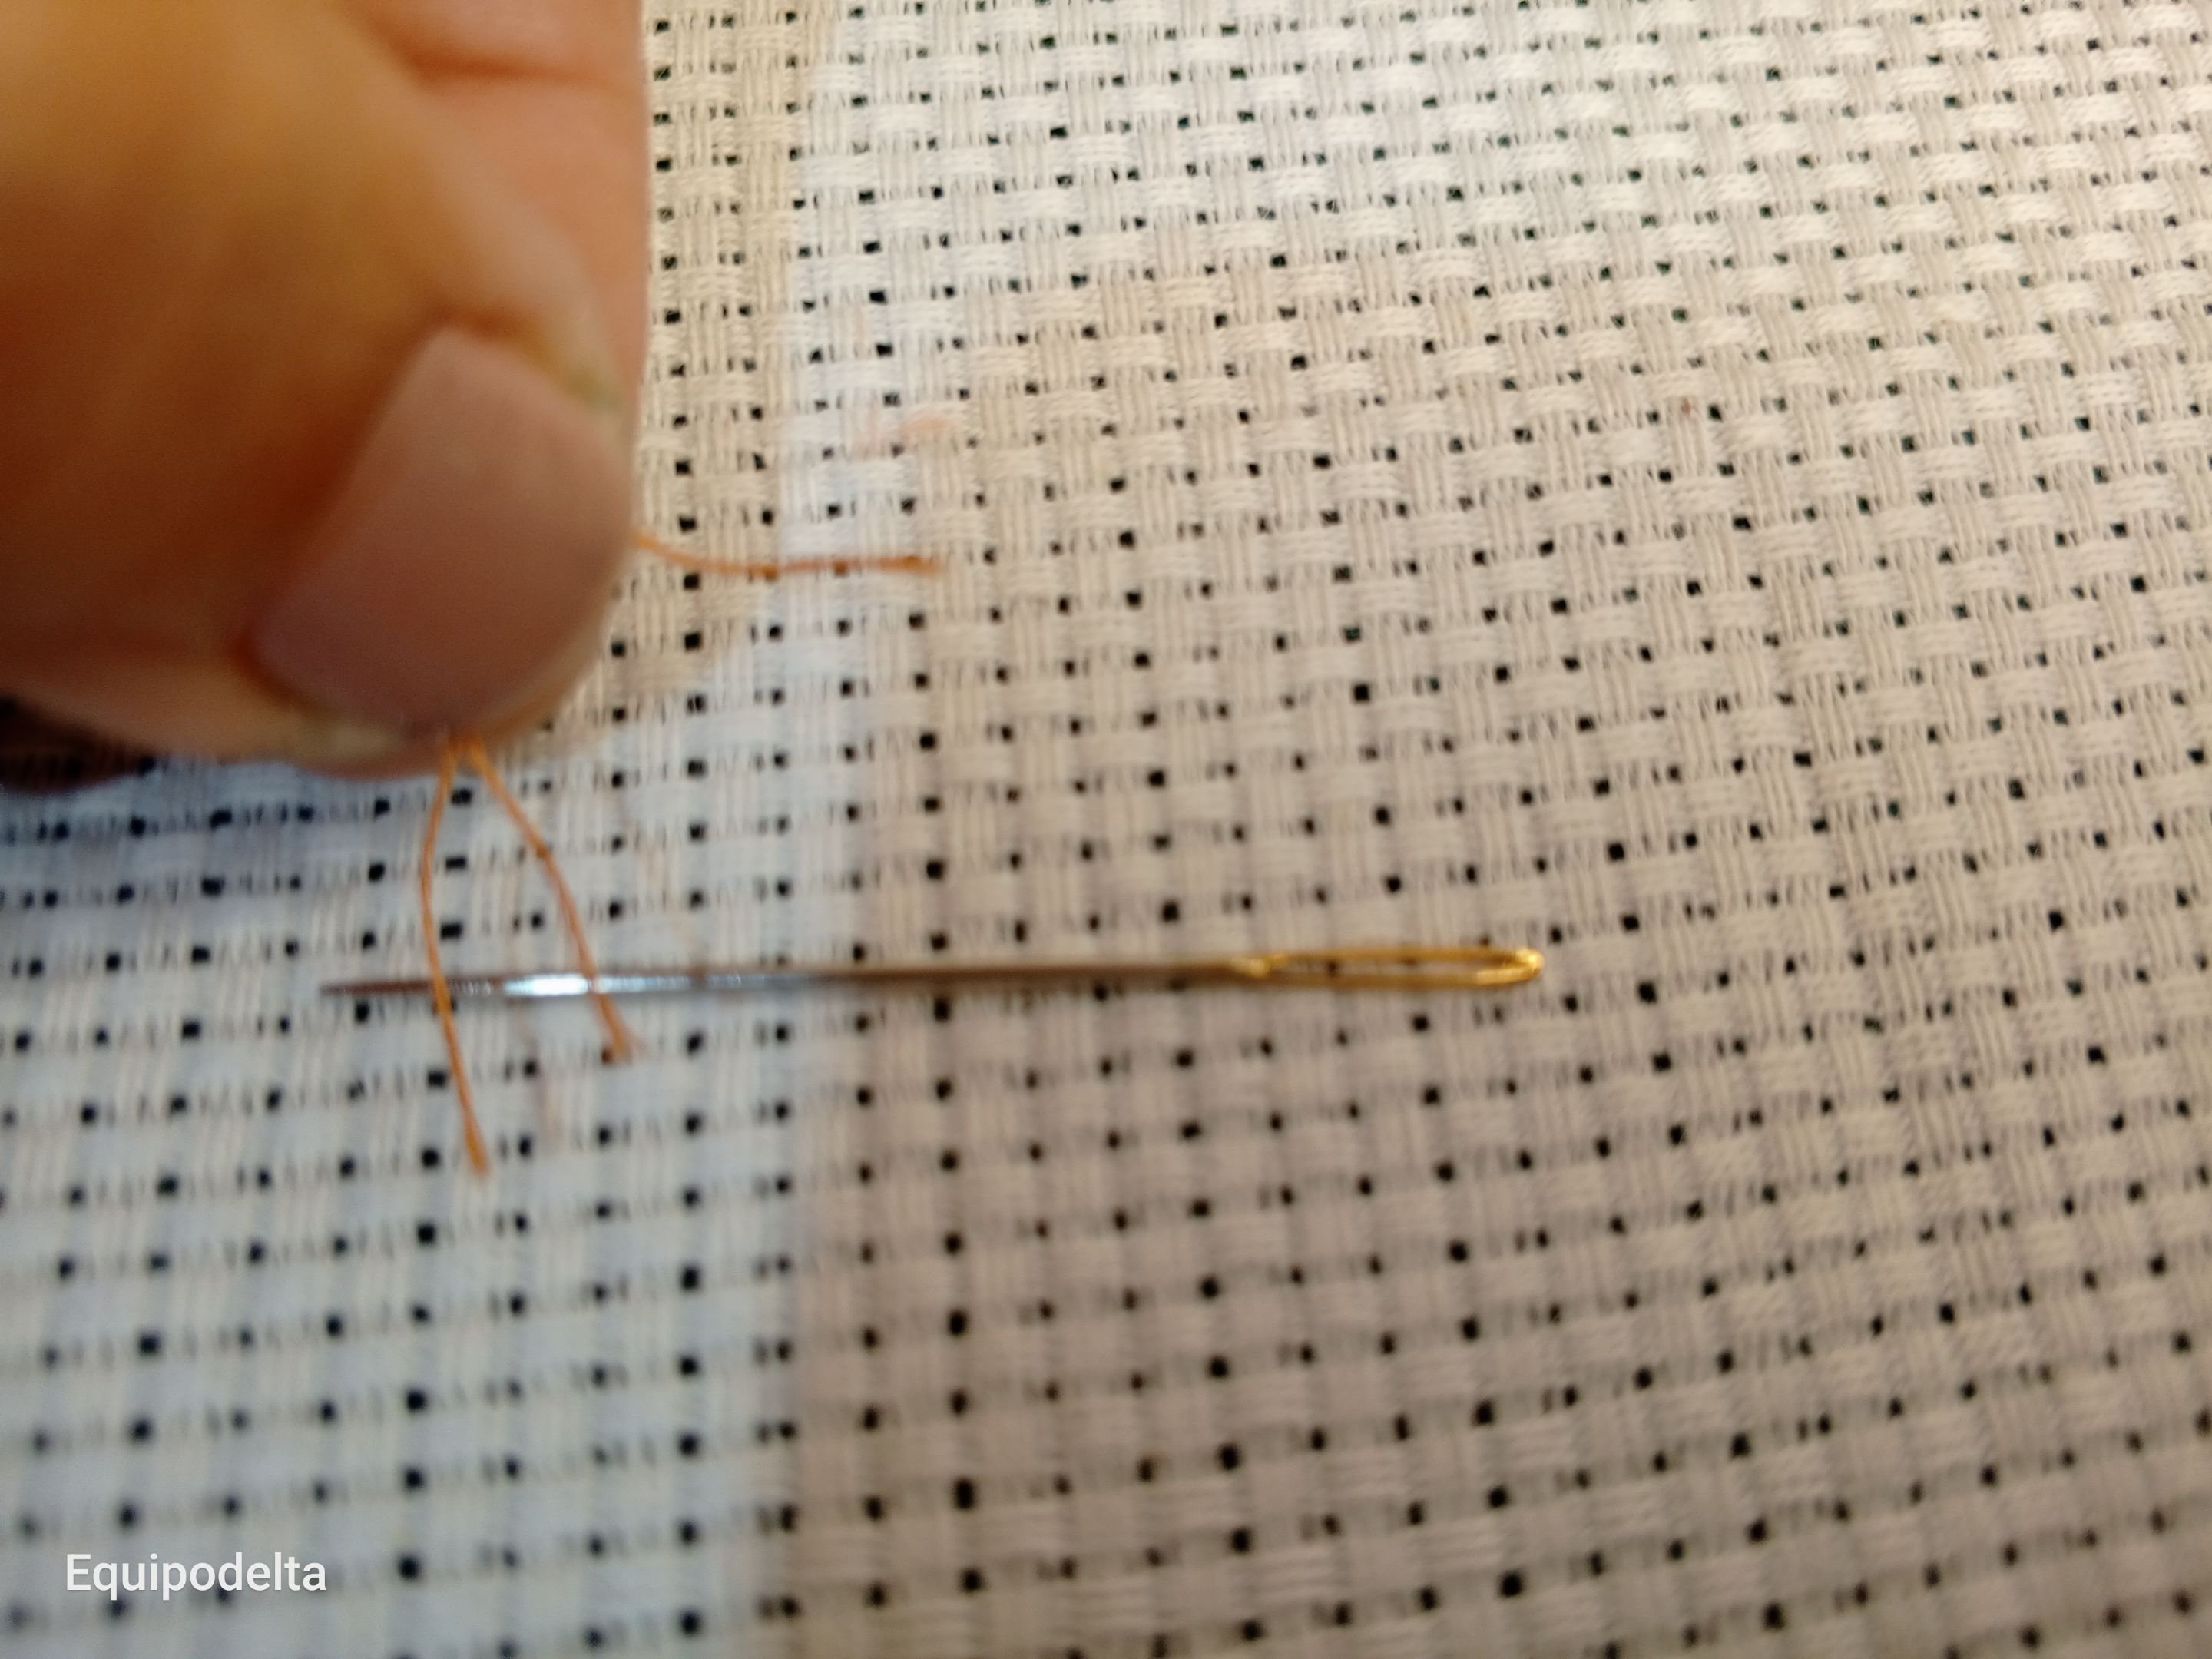
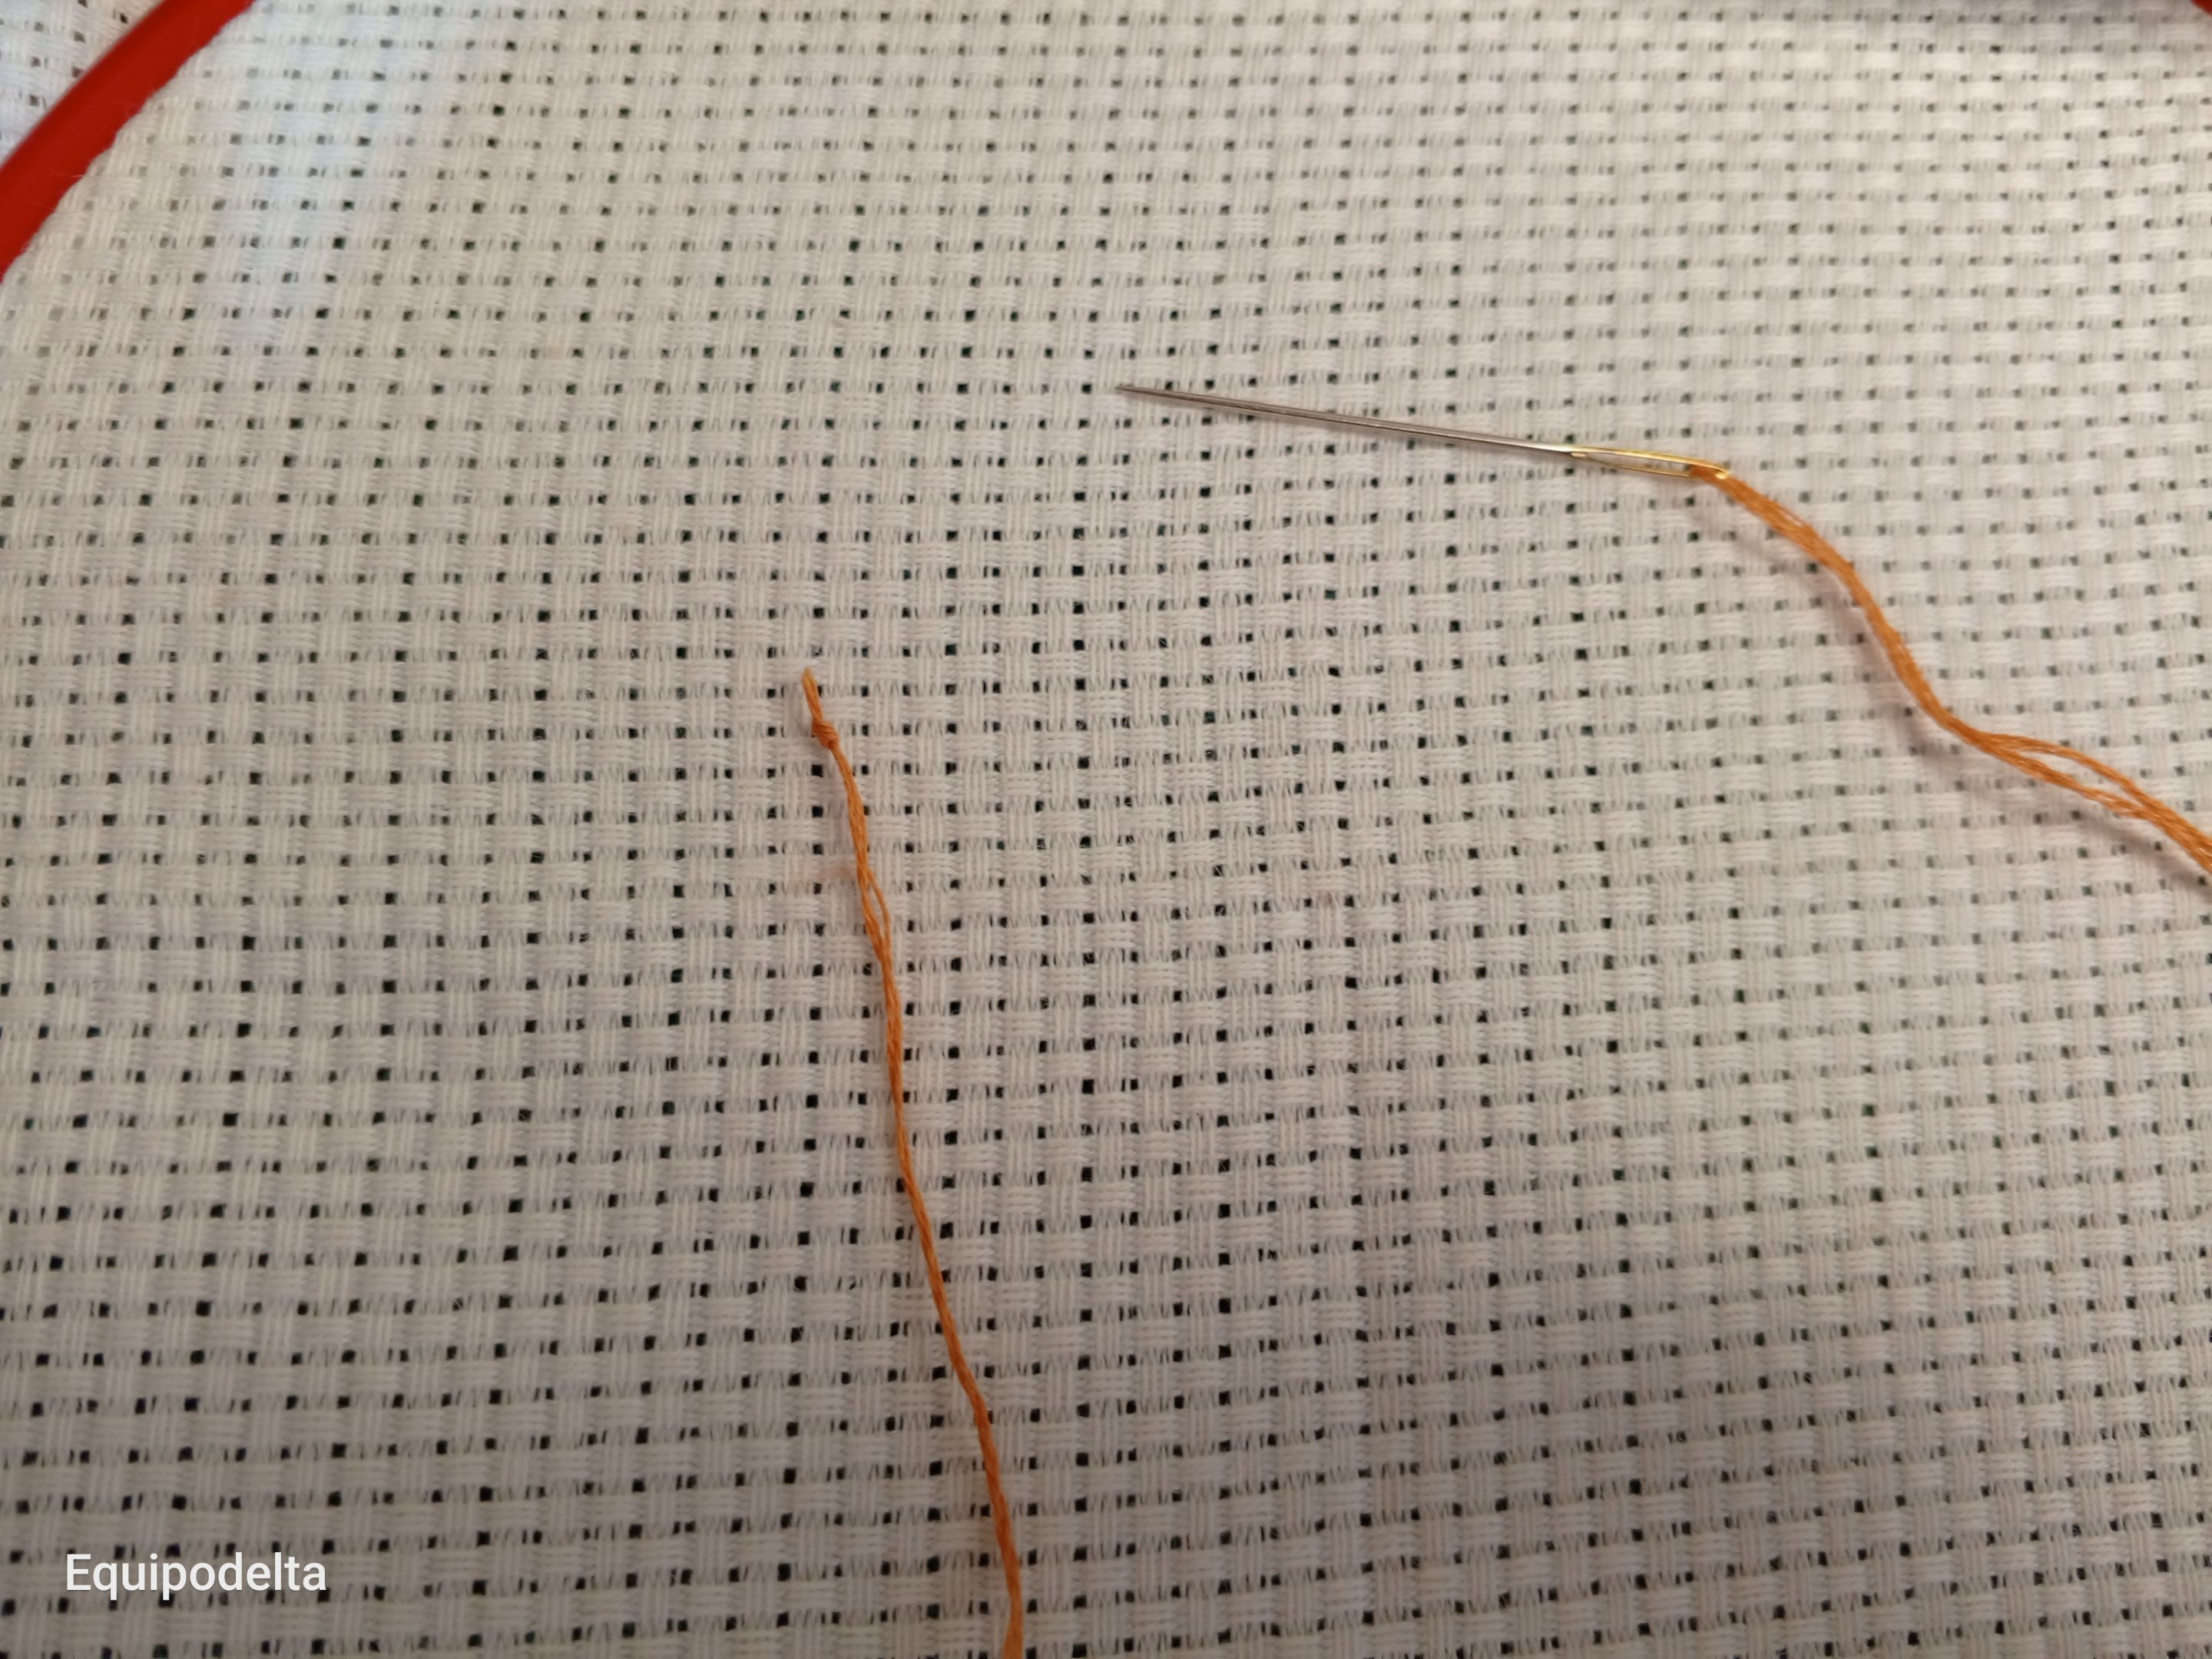
Toma el color correspondiente del hilo, ellos normalmente vienen en 7 hebras por hilo, tomarás 3 hebras nada mas y las introducirás por el ojo de la aguja, realiza un nudo al final.
! [English version]
On the back of the design, there is the pattern you can follow, it is provided with symbols by color, which makes it easier for me.
Count out how many stitches the design will take, I have traced a marker to help me count well.
Insert the fabric into the hoop and make sure it is well centered.
Once you have the number, count the spaces of the X stitch to place the design in the center according to the pattern.
Take the corresponding color of thread, they usually come in 7 strands per thread, you will take 3 strands only and introduce them through the eye of the needle, tie a knot at the end.

Step 5️⃣/ paso 5️⃣

 |  | |
 |  |
[Esp]
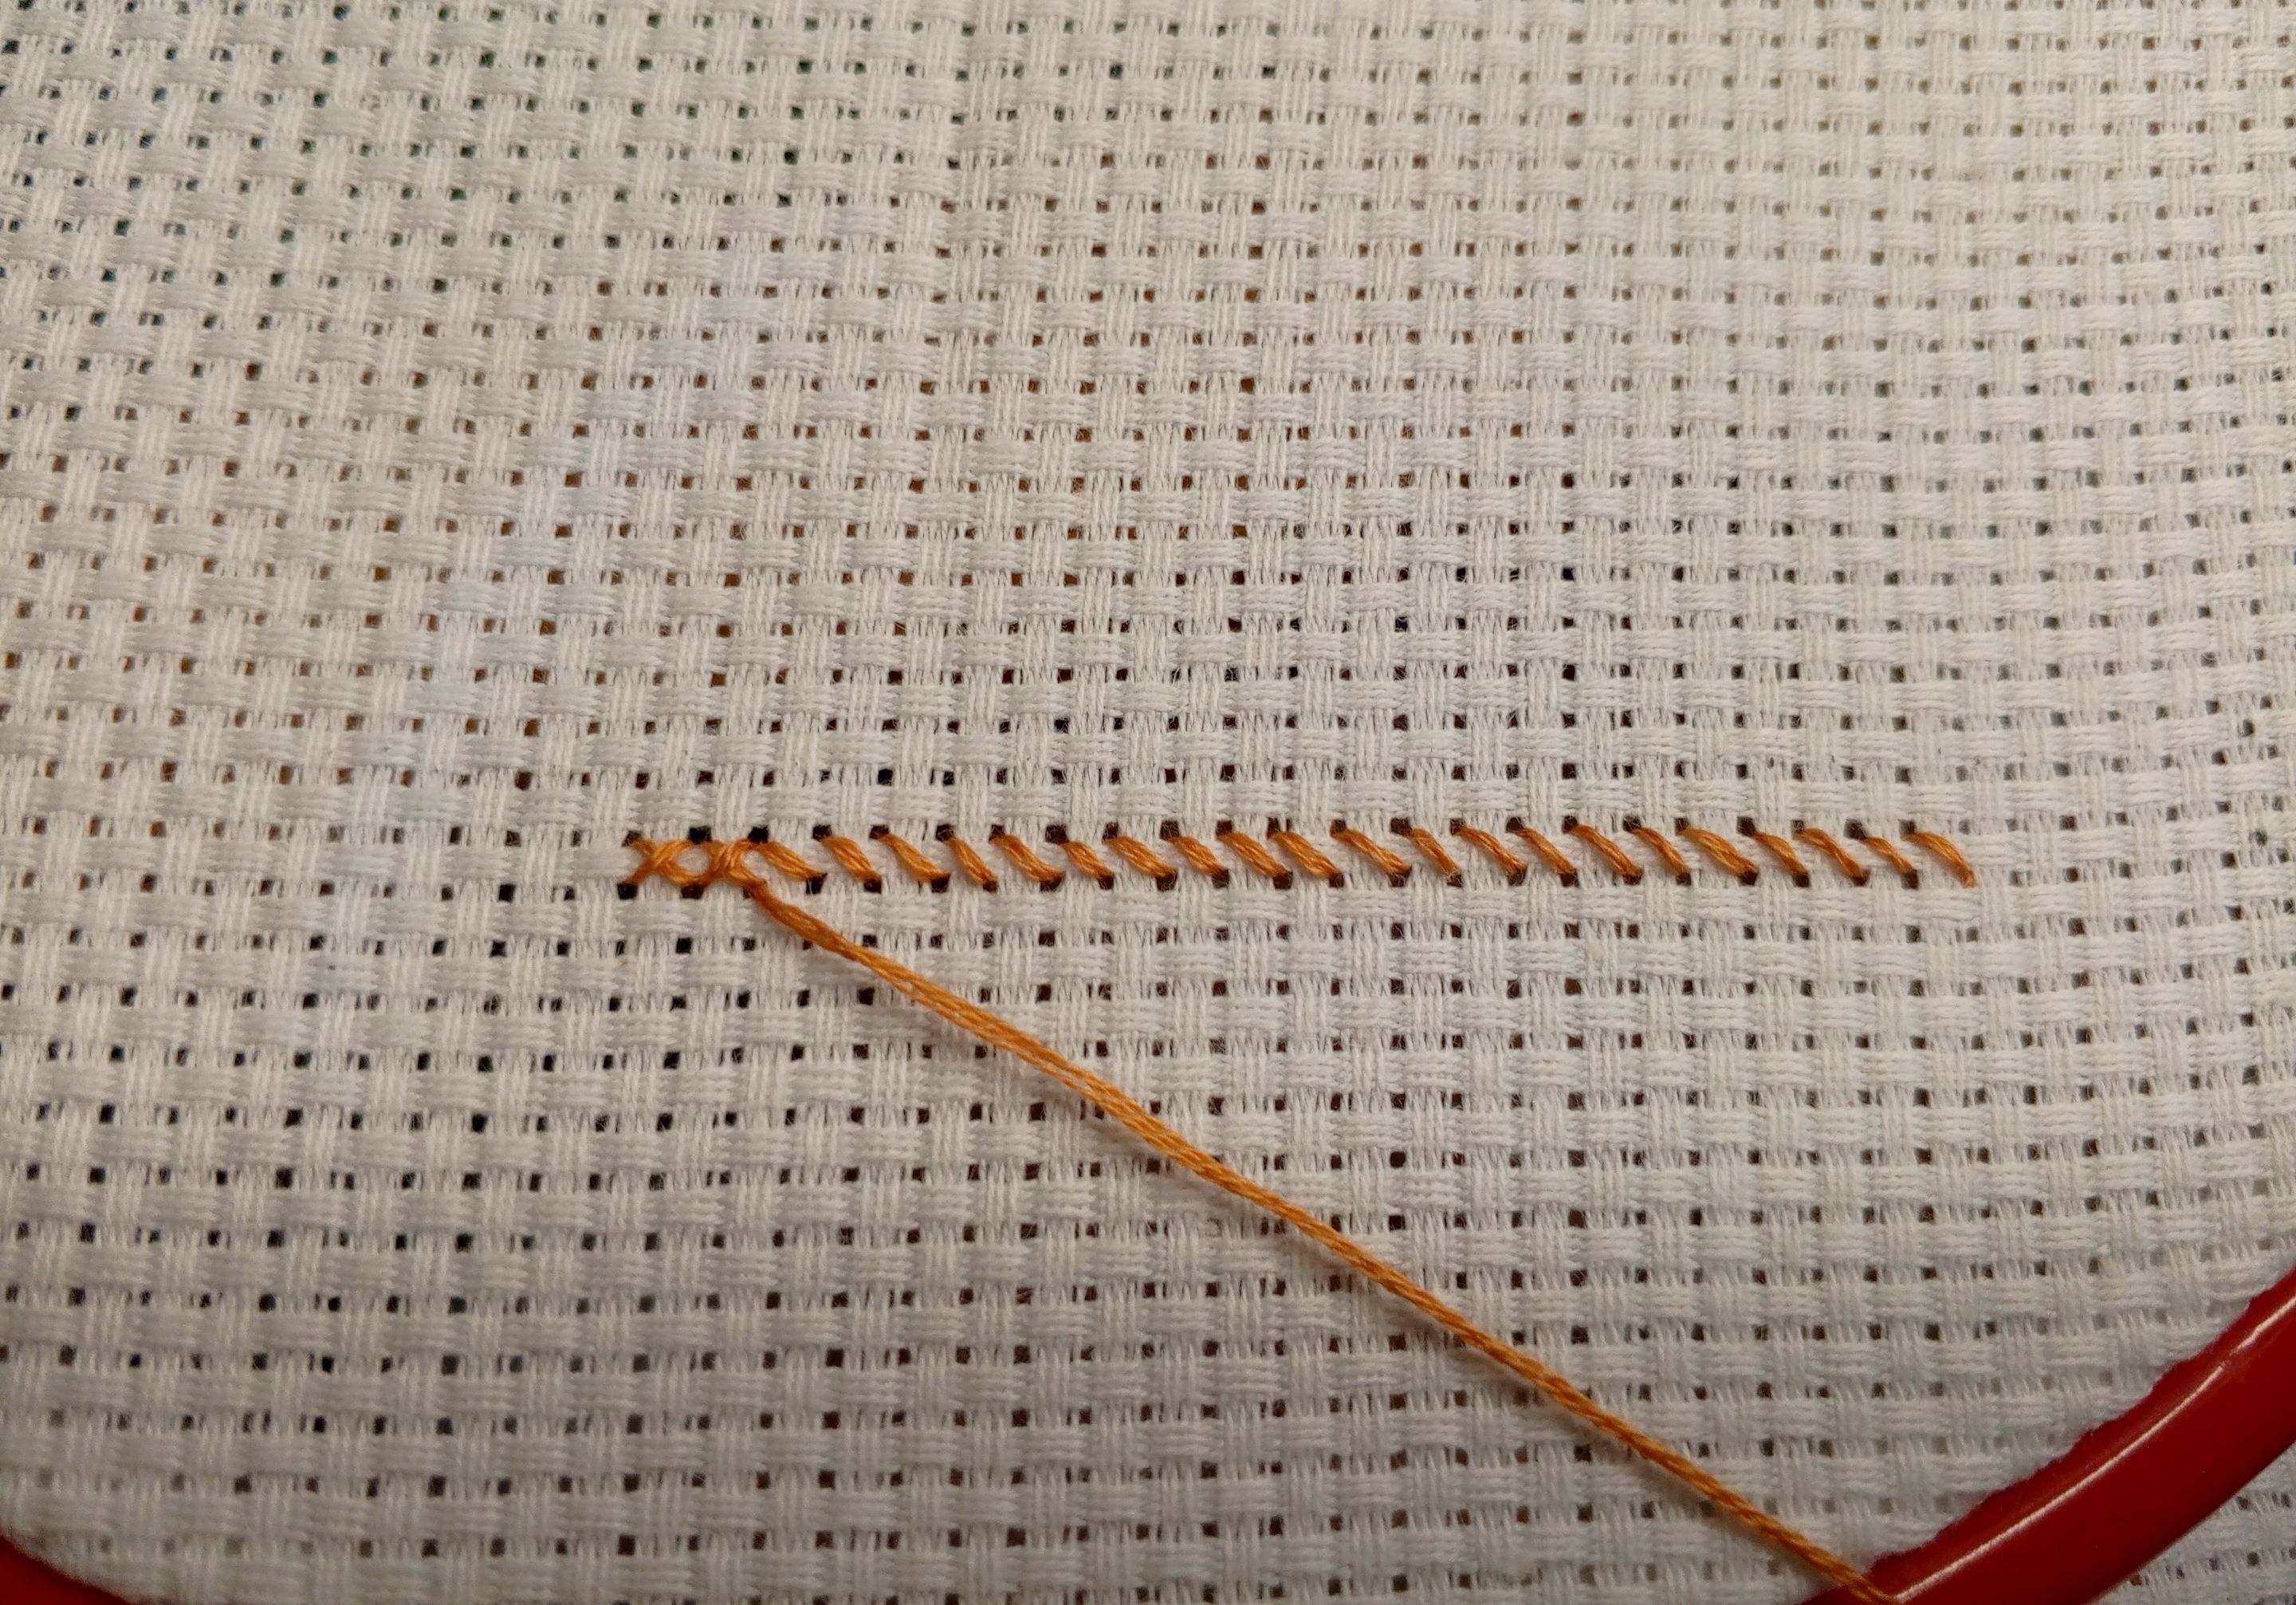
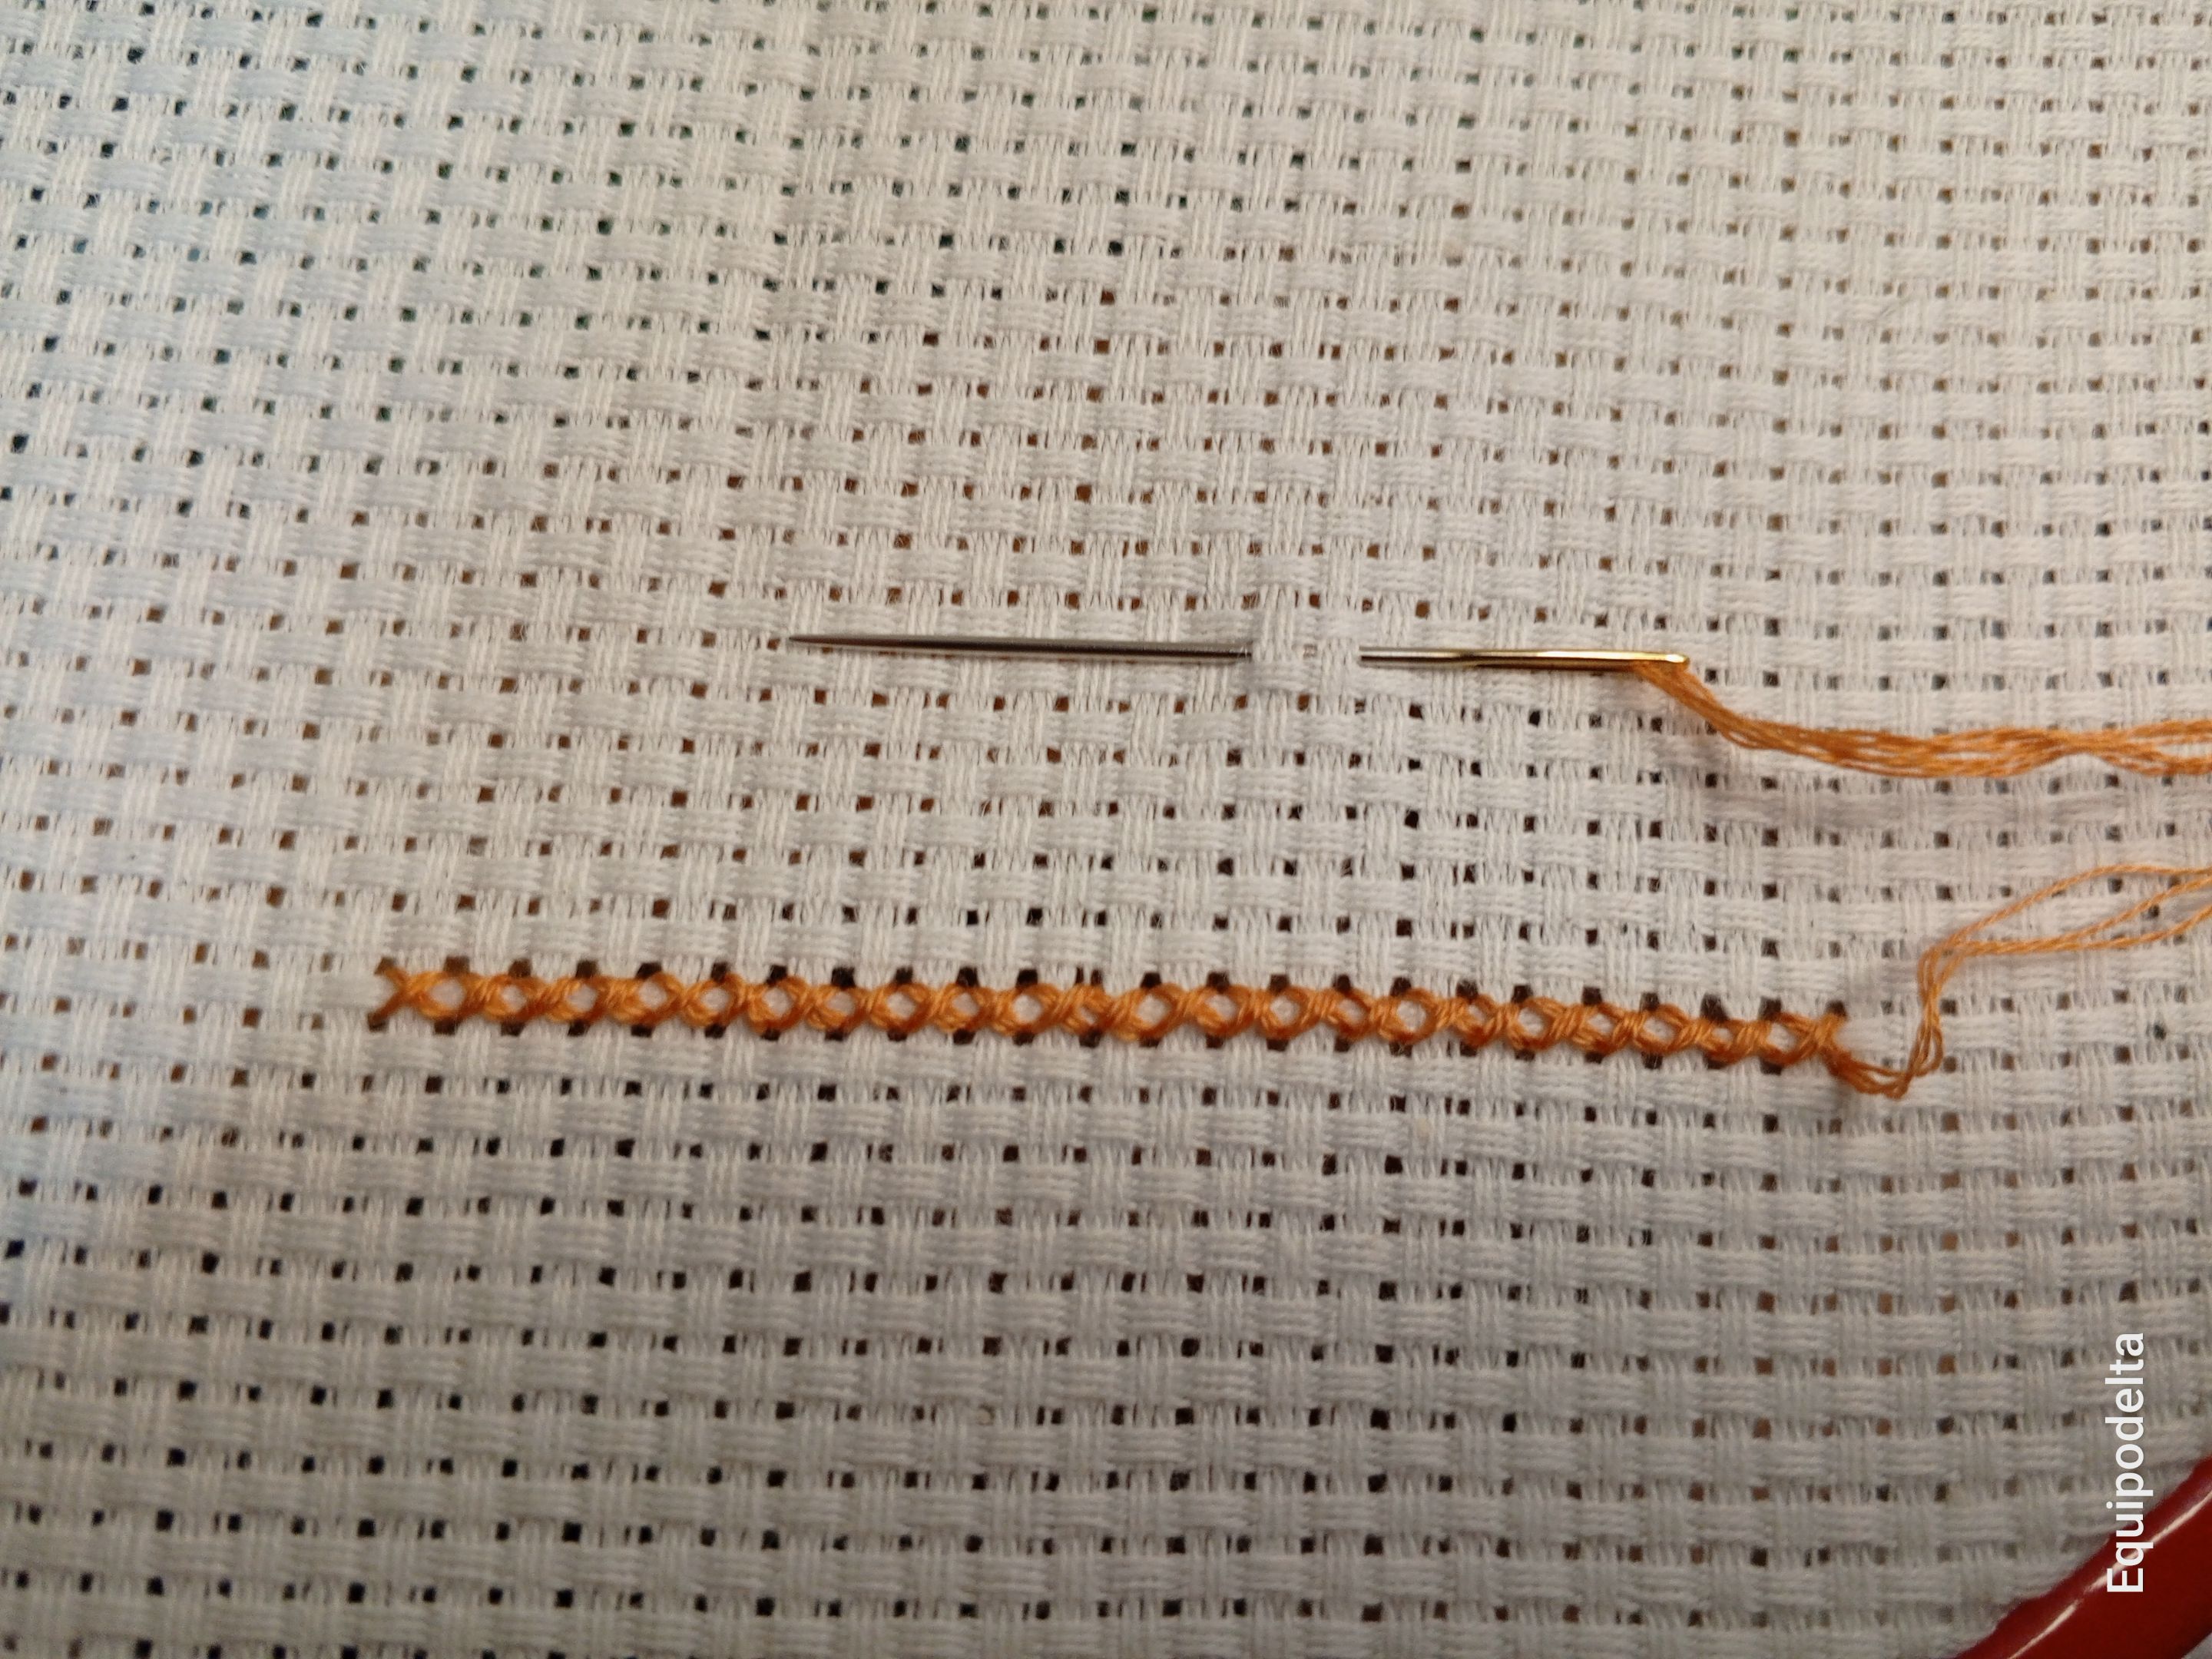
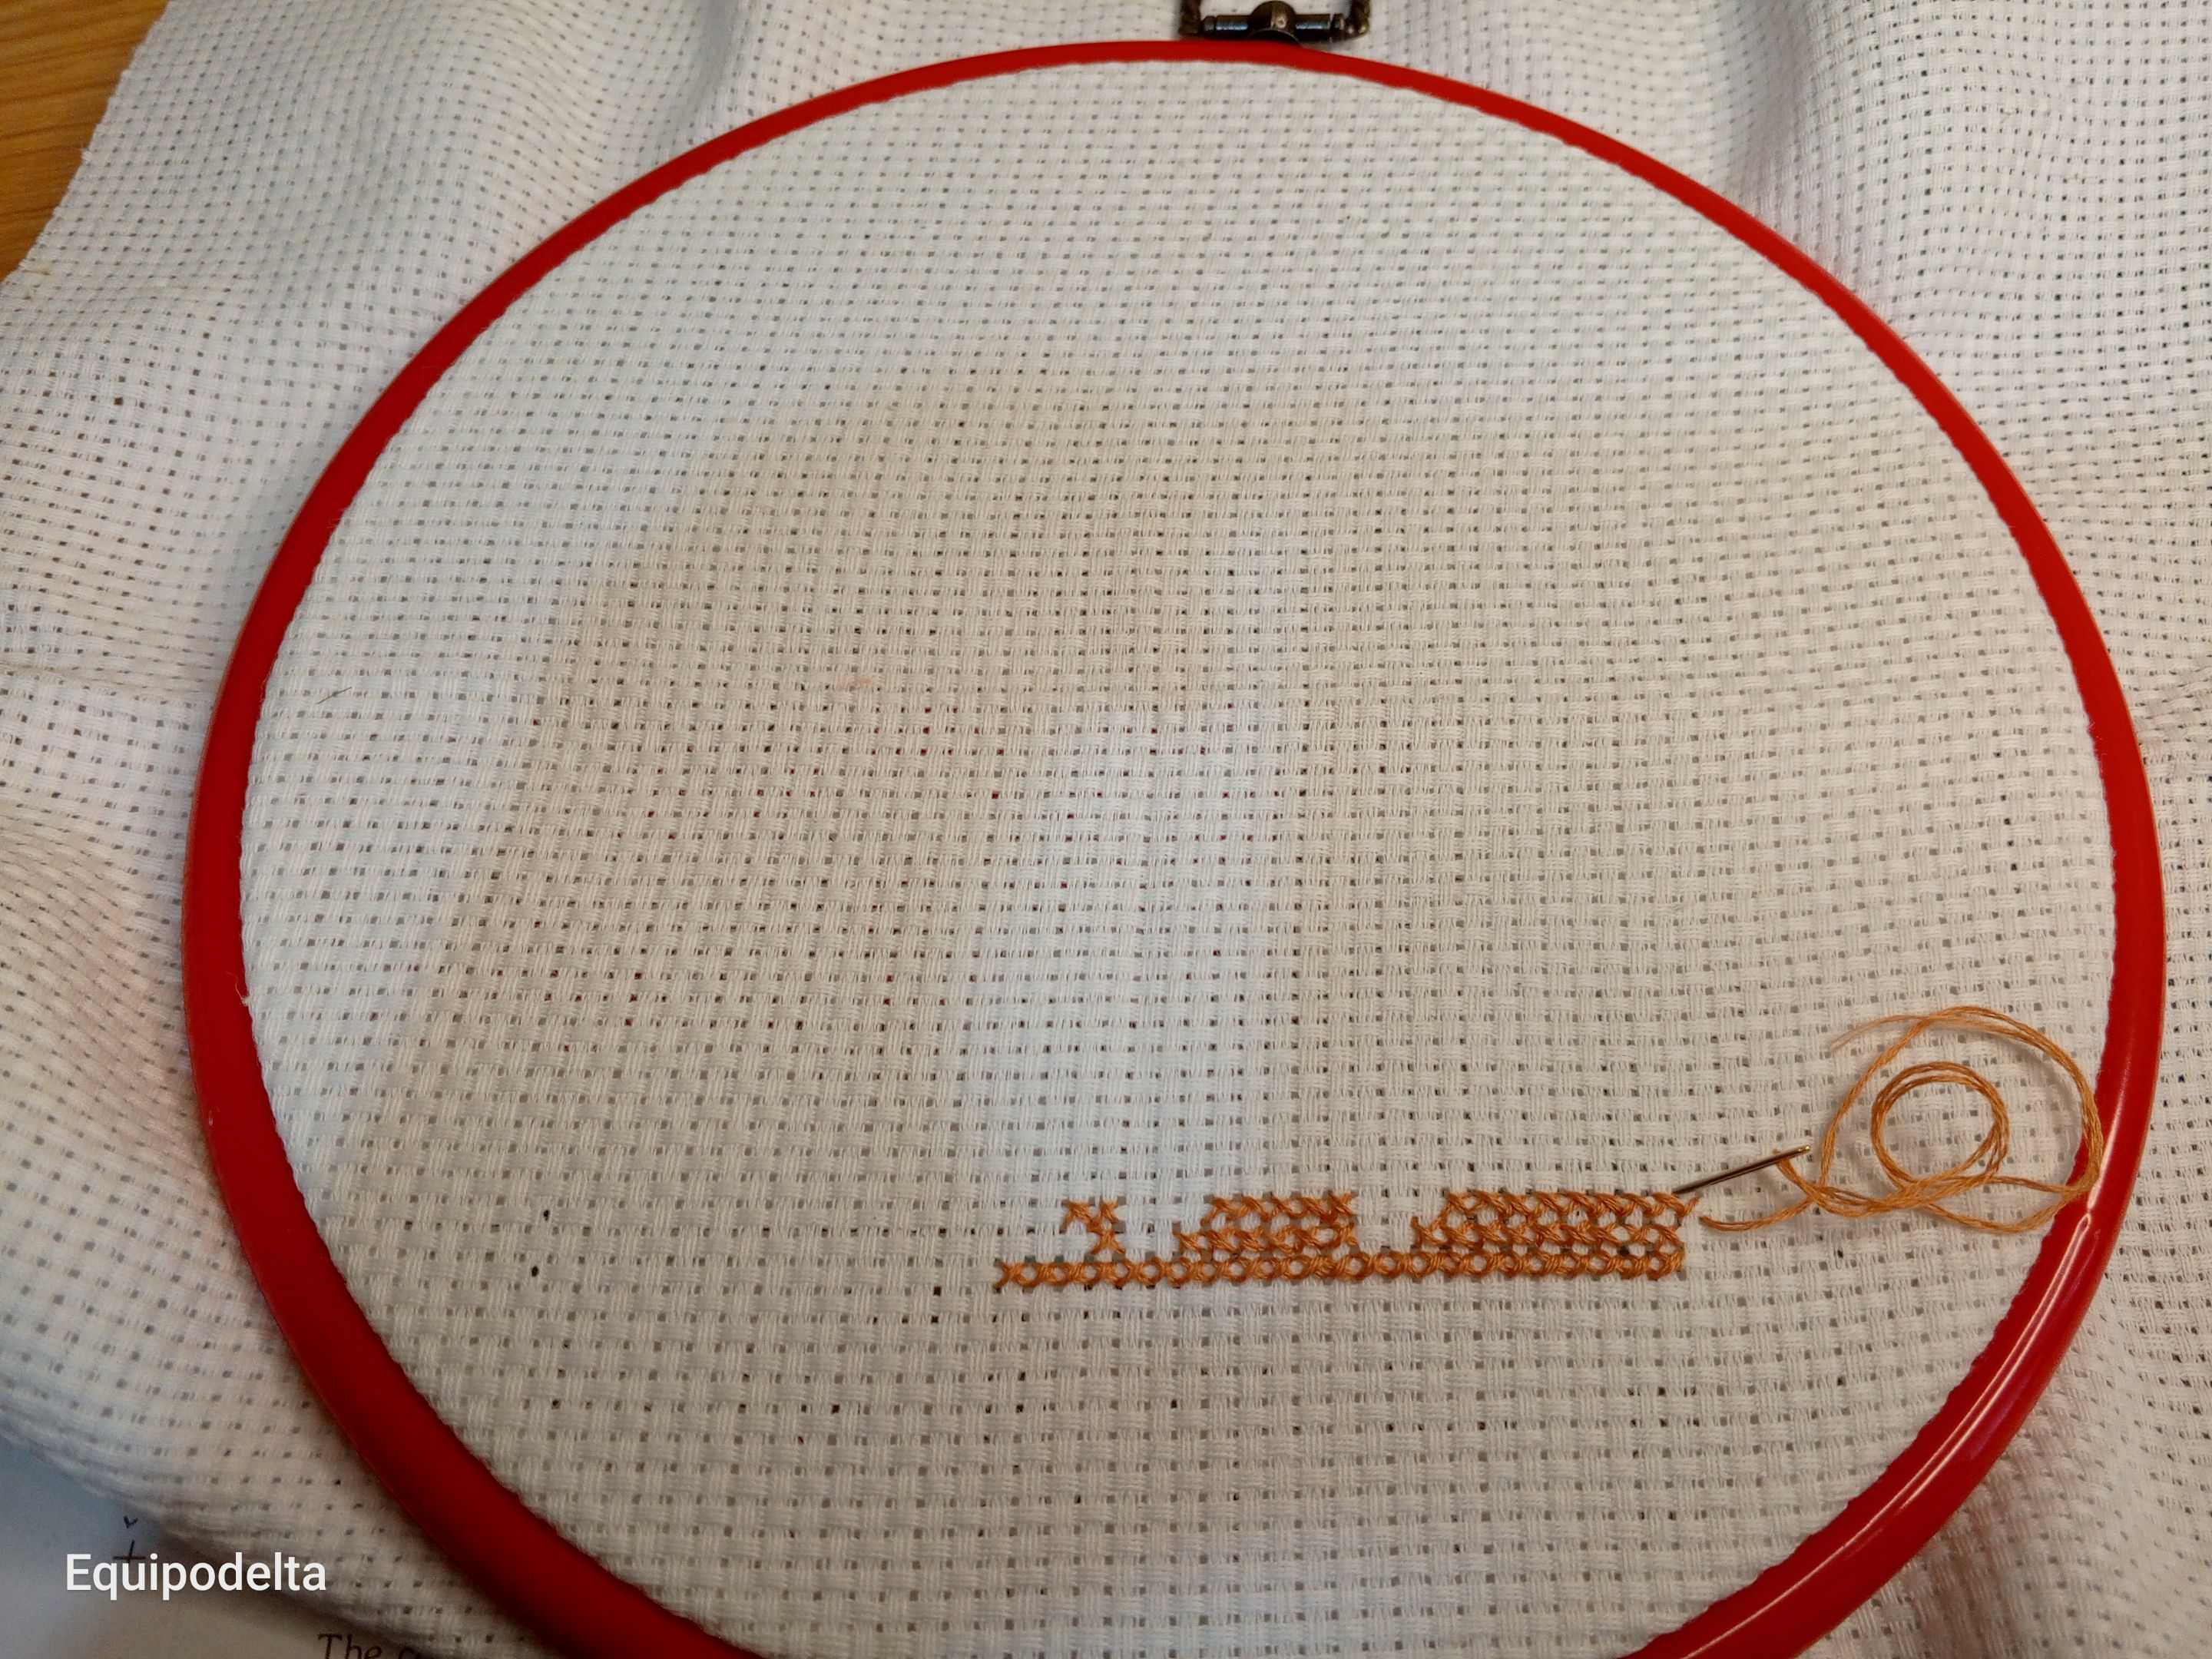
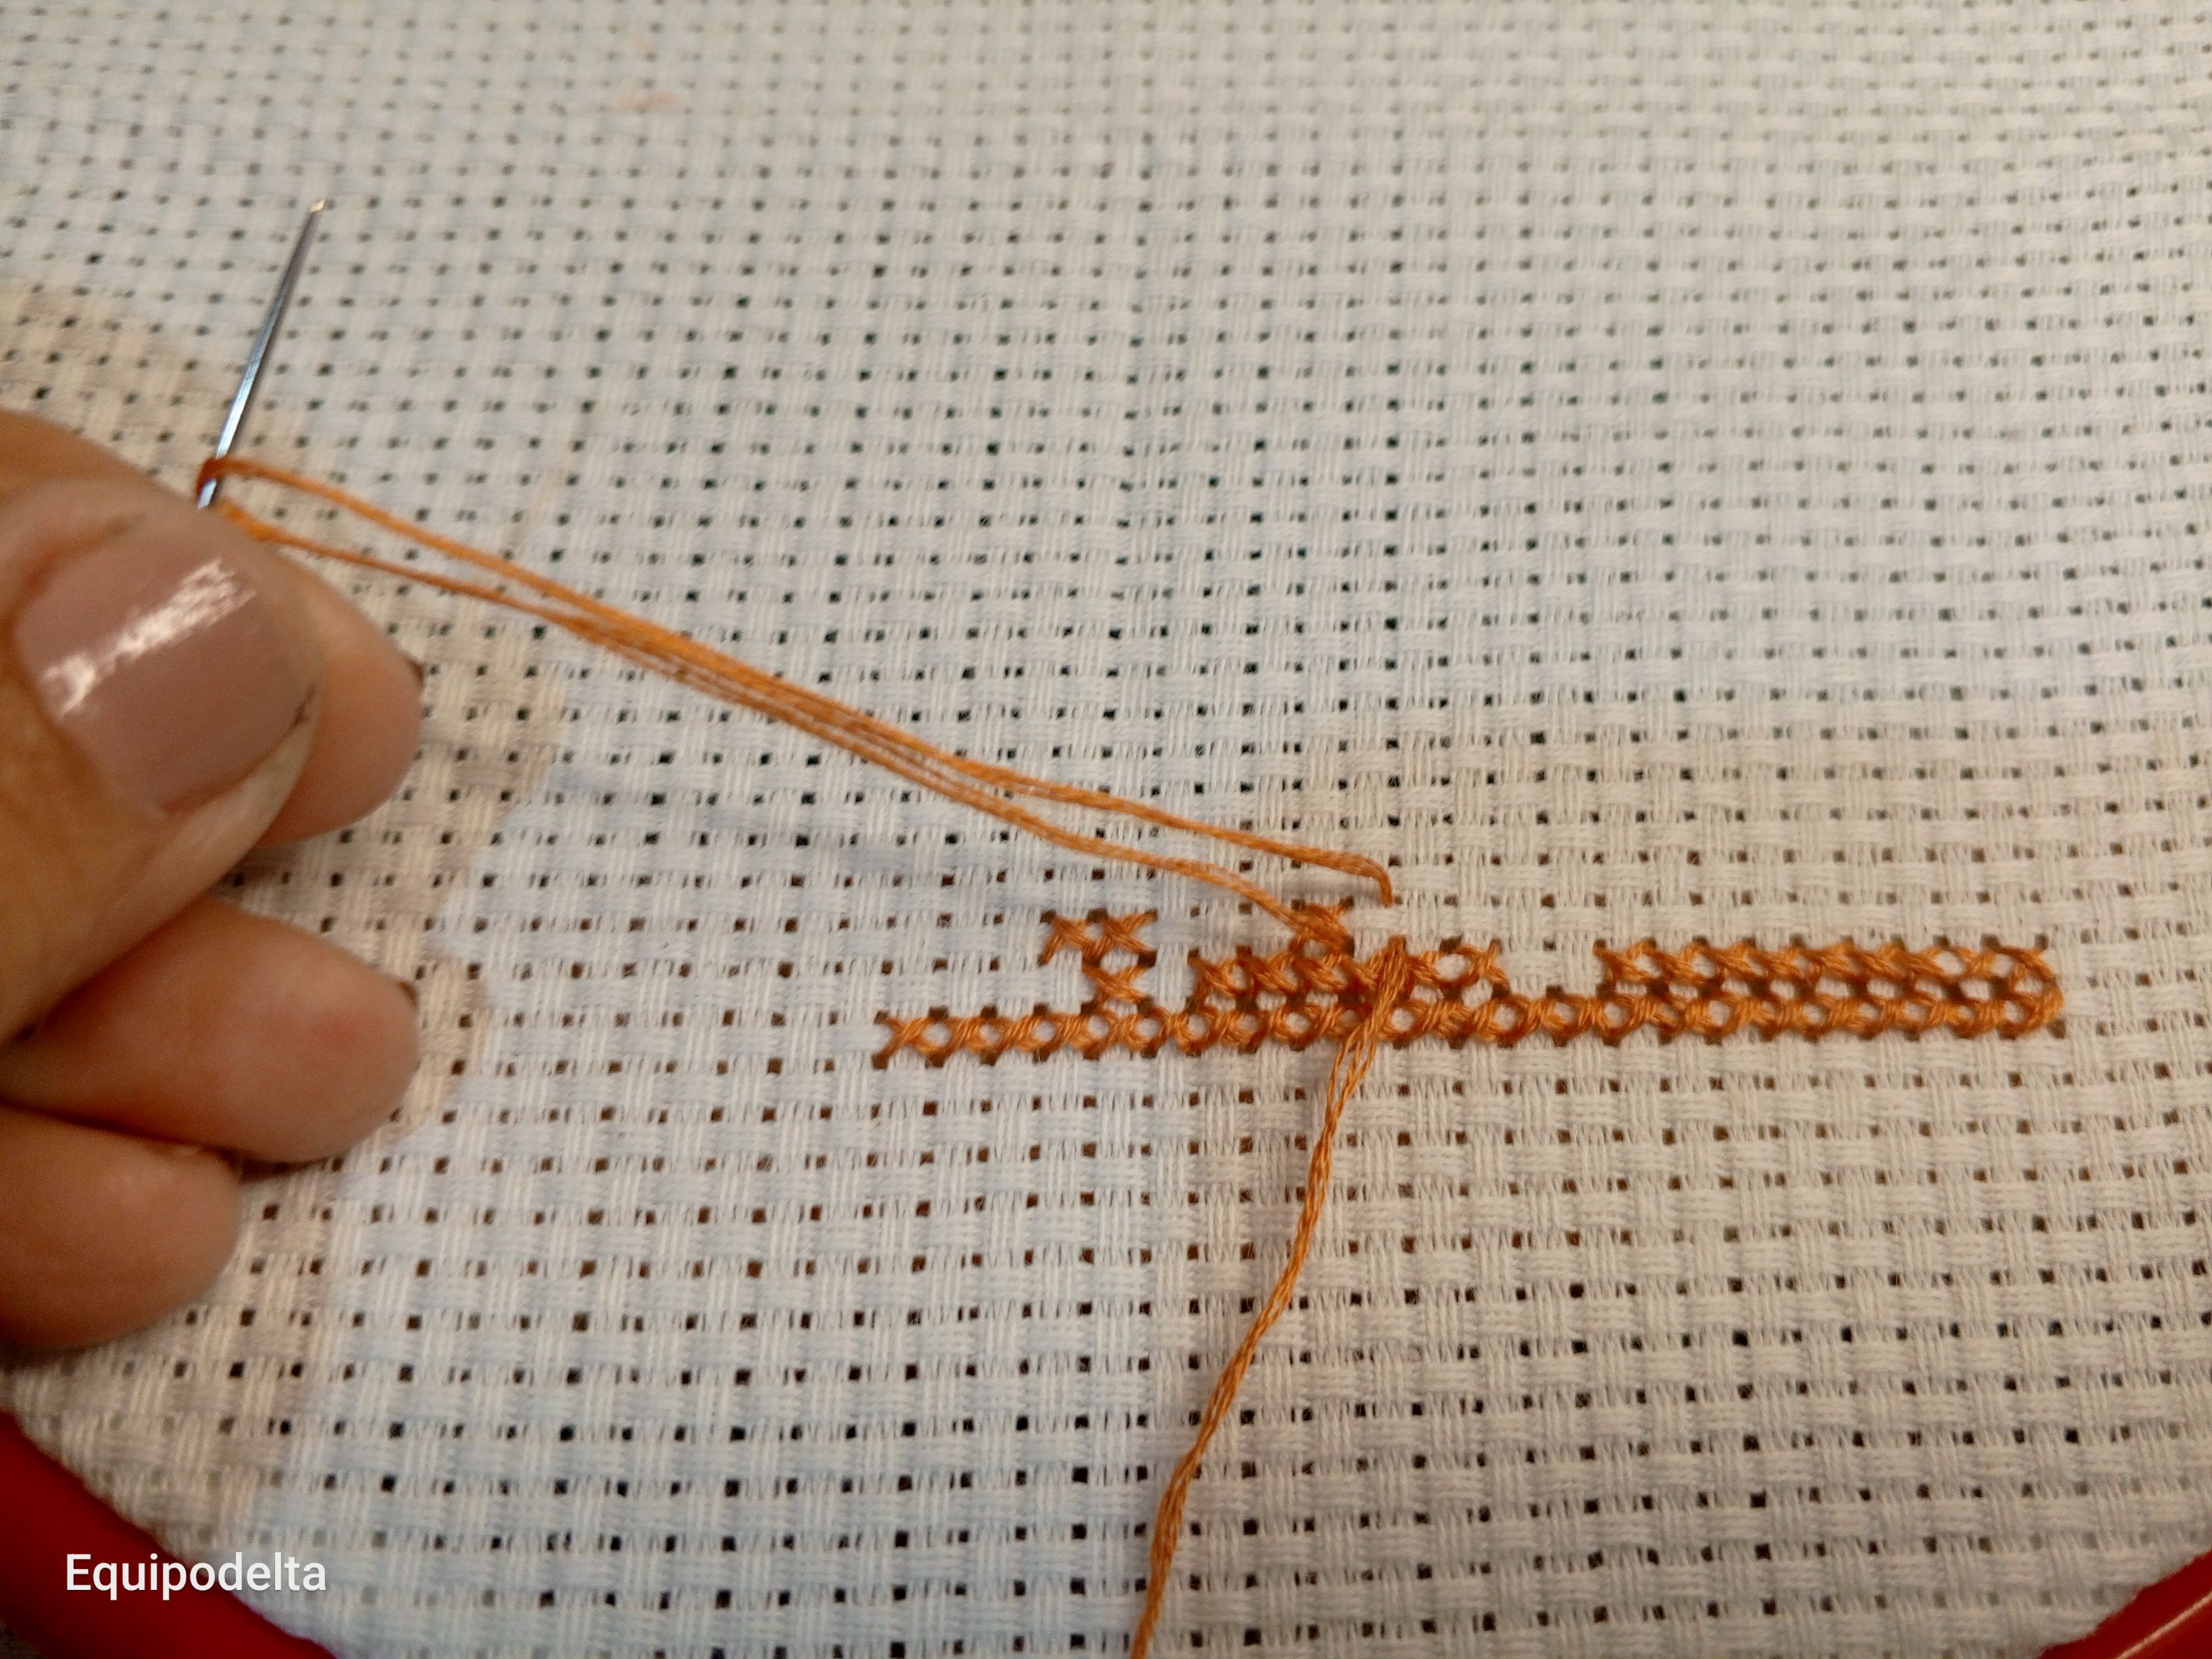
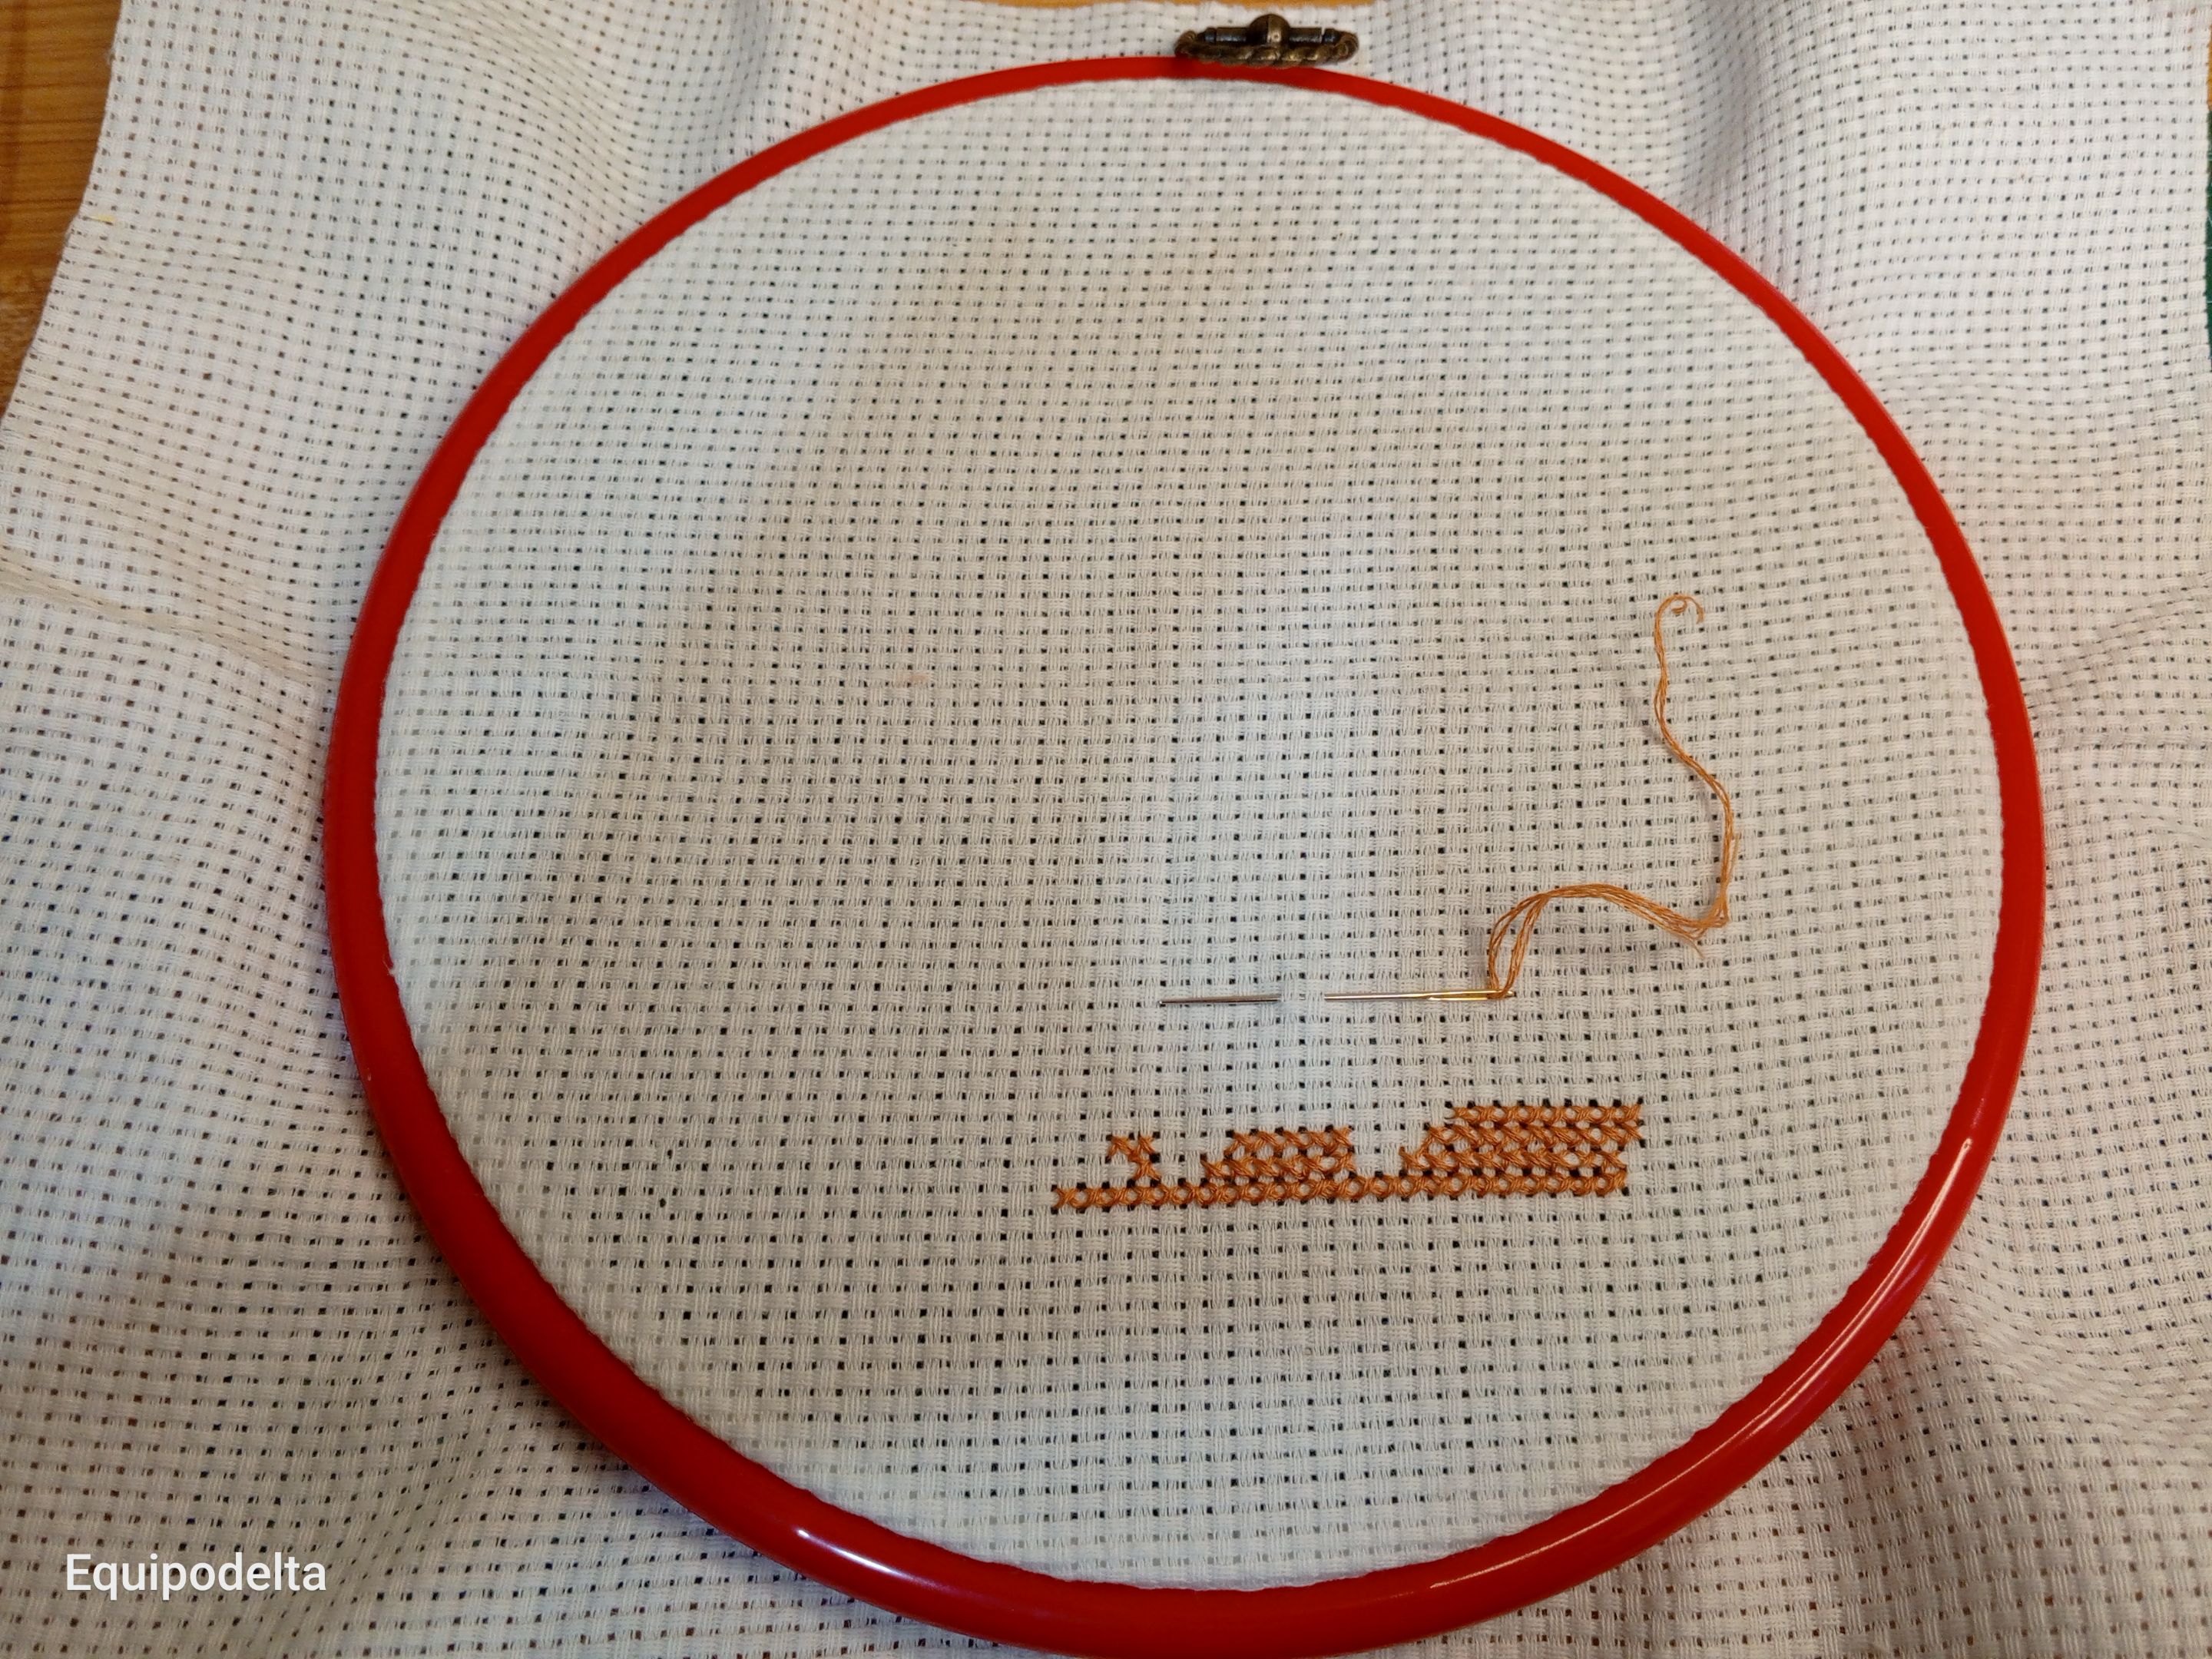
Siguiendo el patrón, contando cada punto de color, comenzamos a realizar el bordado.
Acostumbro hacerlo de dos maneras: Para tramos muy largos yo bordo la primera parte del punto mientras voy contando, y luego lo cierro de regreso.
Es curioso que se llame punto de cruz cuando realmente la figura enseña una "x"
Así vas contando los puntos siguiendo el patrón, siendo muy meticuloso en el conteo, si te equivocas como yo, puedes soltar el hilo de la aguja y descocer lo que habías hecho y volver a repetirlo.
Estos son mis tips como daltónica. Recuerdo una vez en uno de mis diseños, alguien me midió un tutorial o explicara la forma en la que me ingenio dibujar con esta discapacidad y allí realmente no puedo explicarlo porque es algo muy simple, tomar la muestra. Aquí no puedo hacer eso, pero siempre tendrás un amigo o un familiar cerca que te pueda ayudar a seleccionar el color.
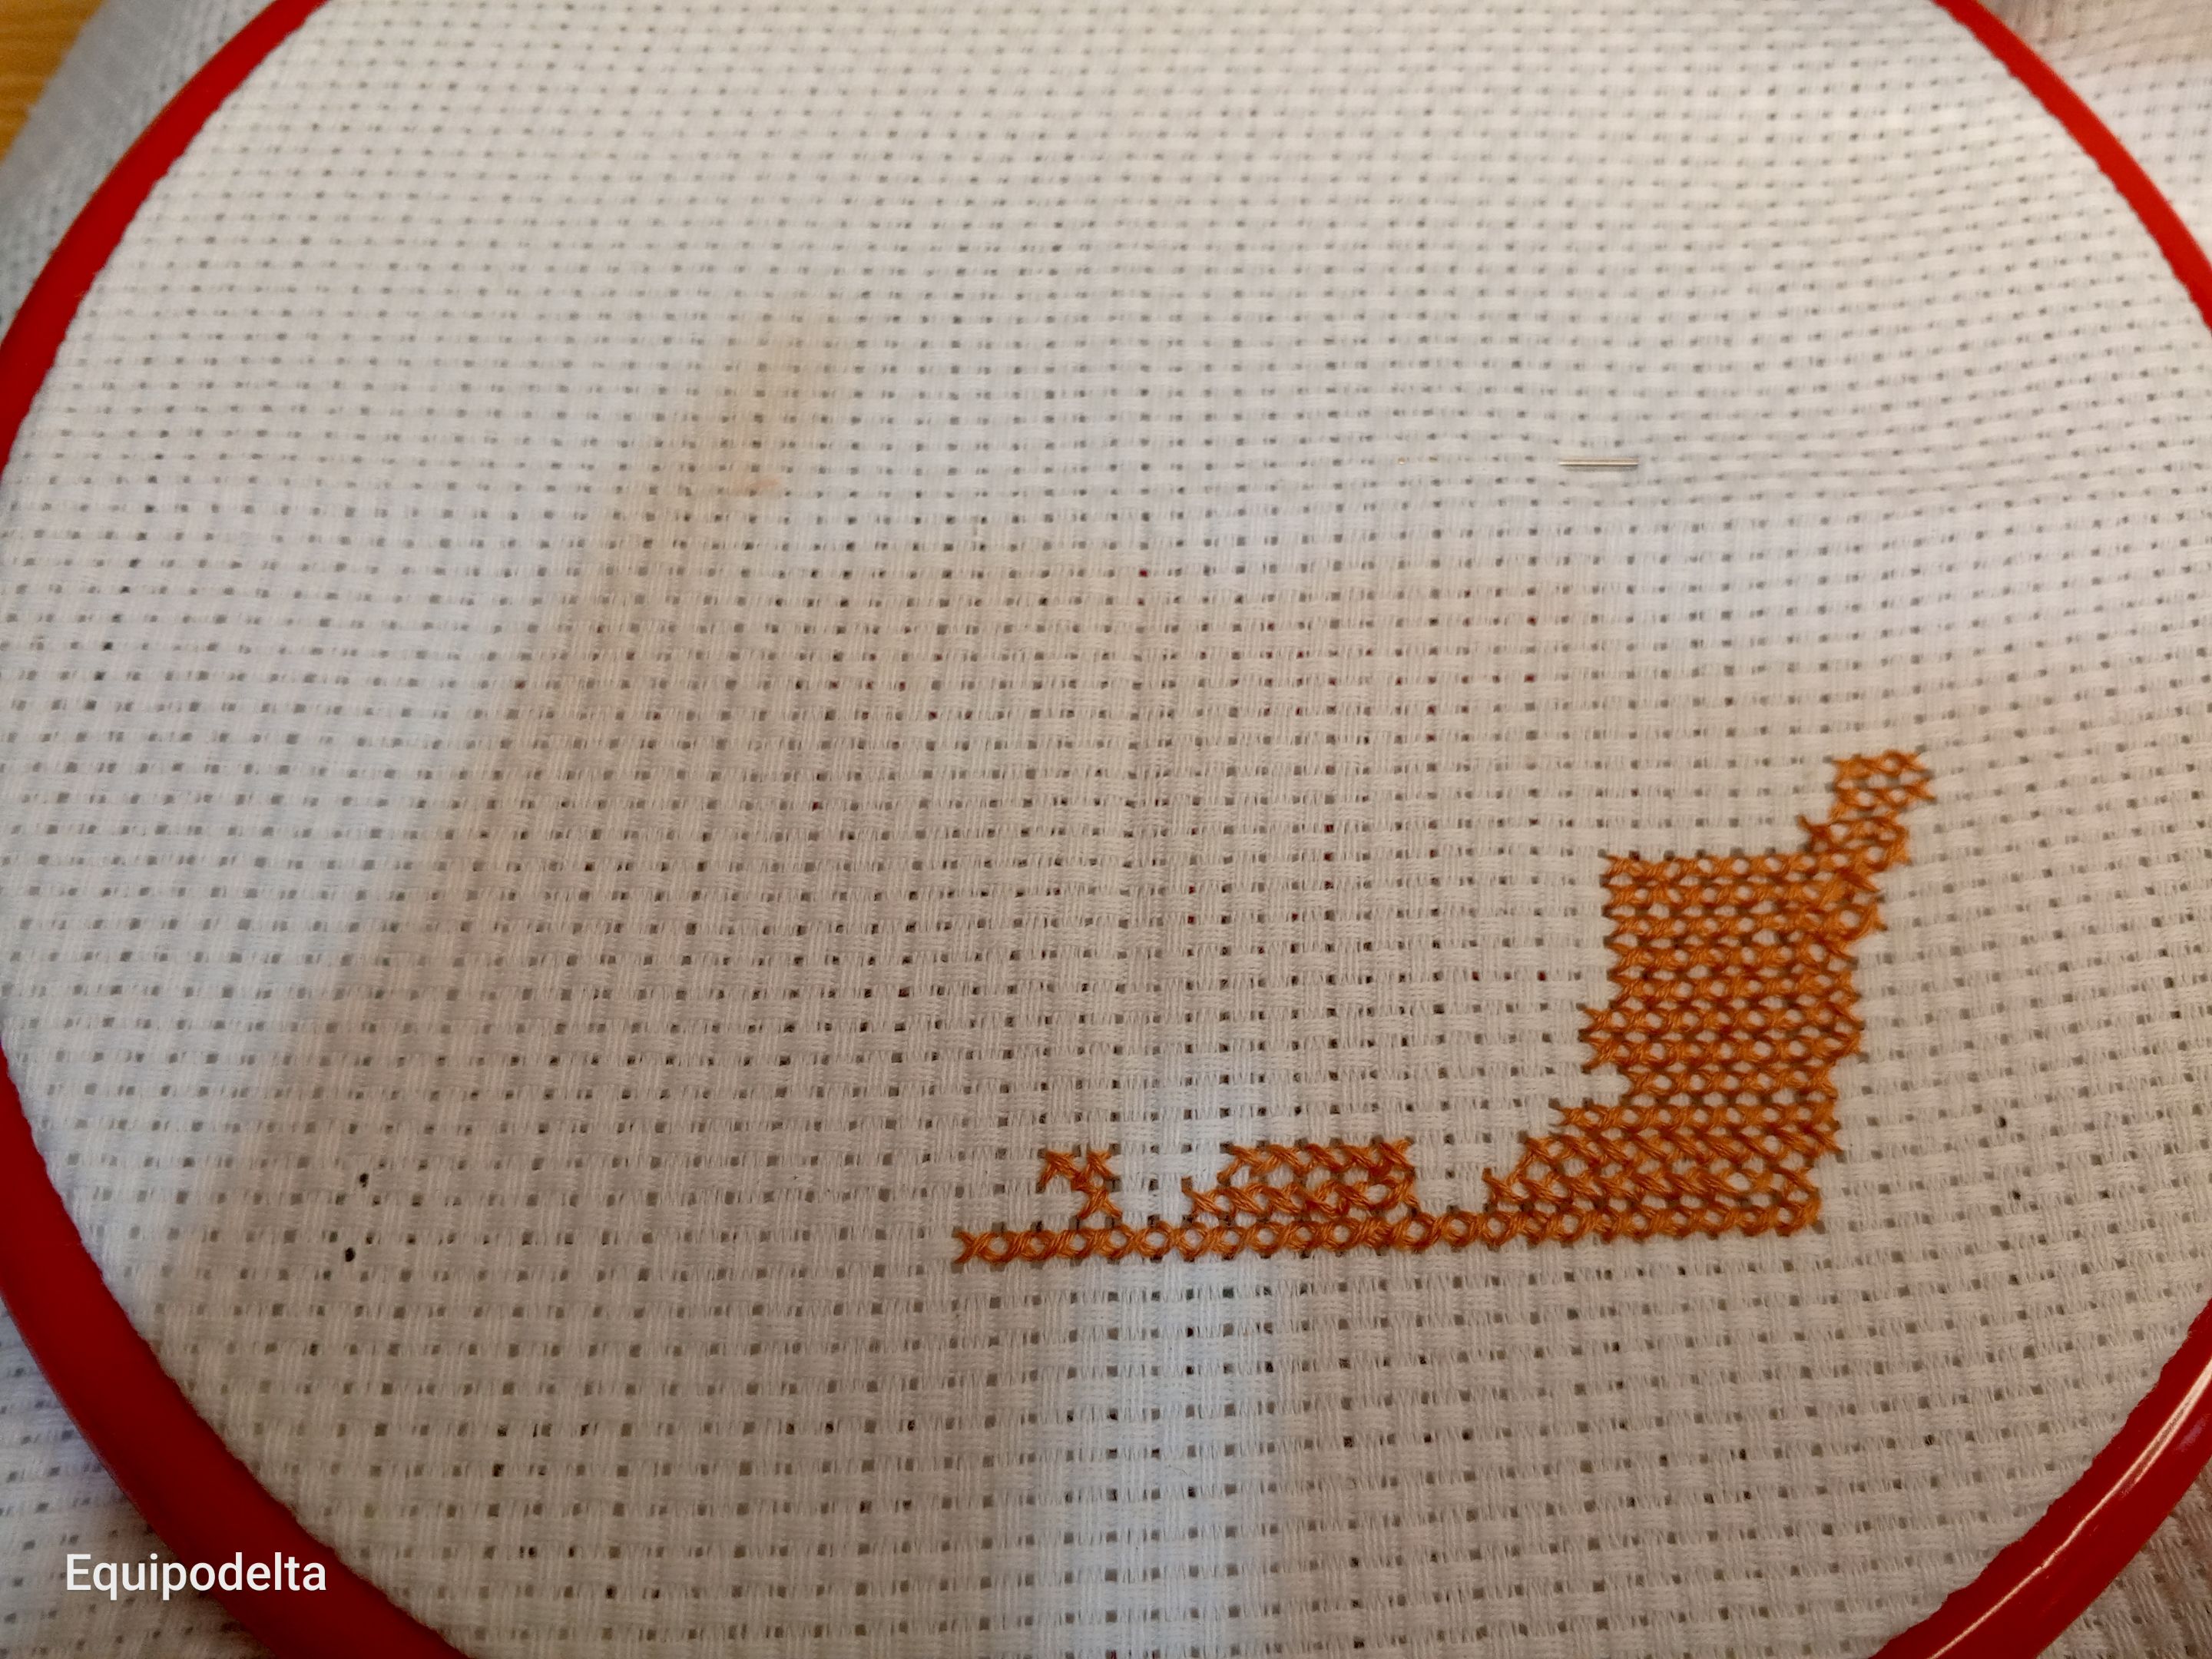
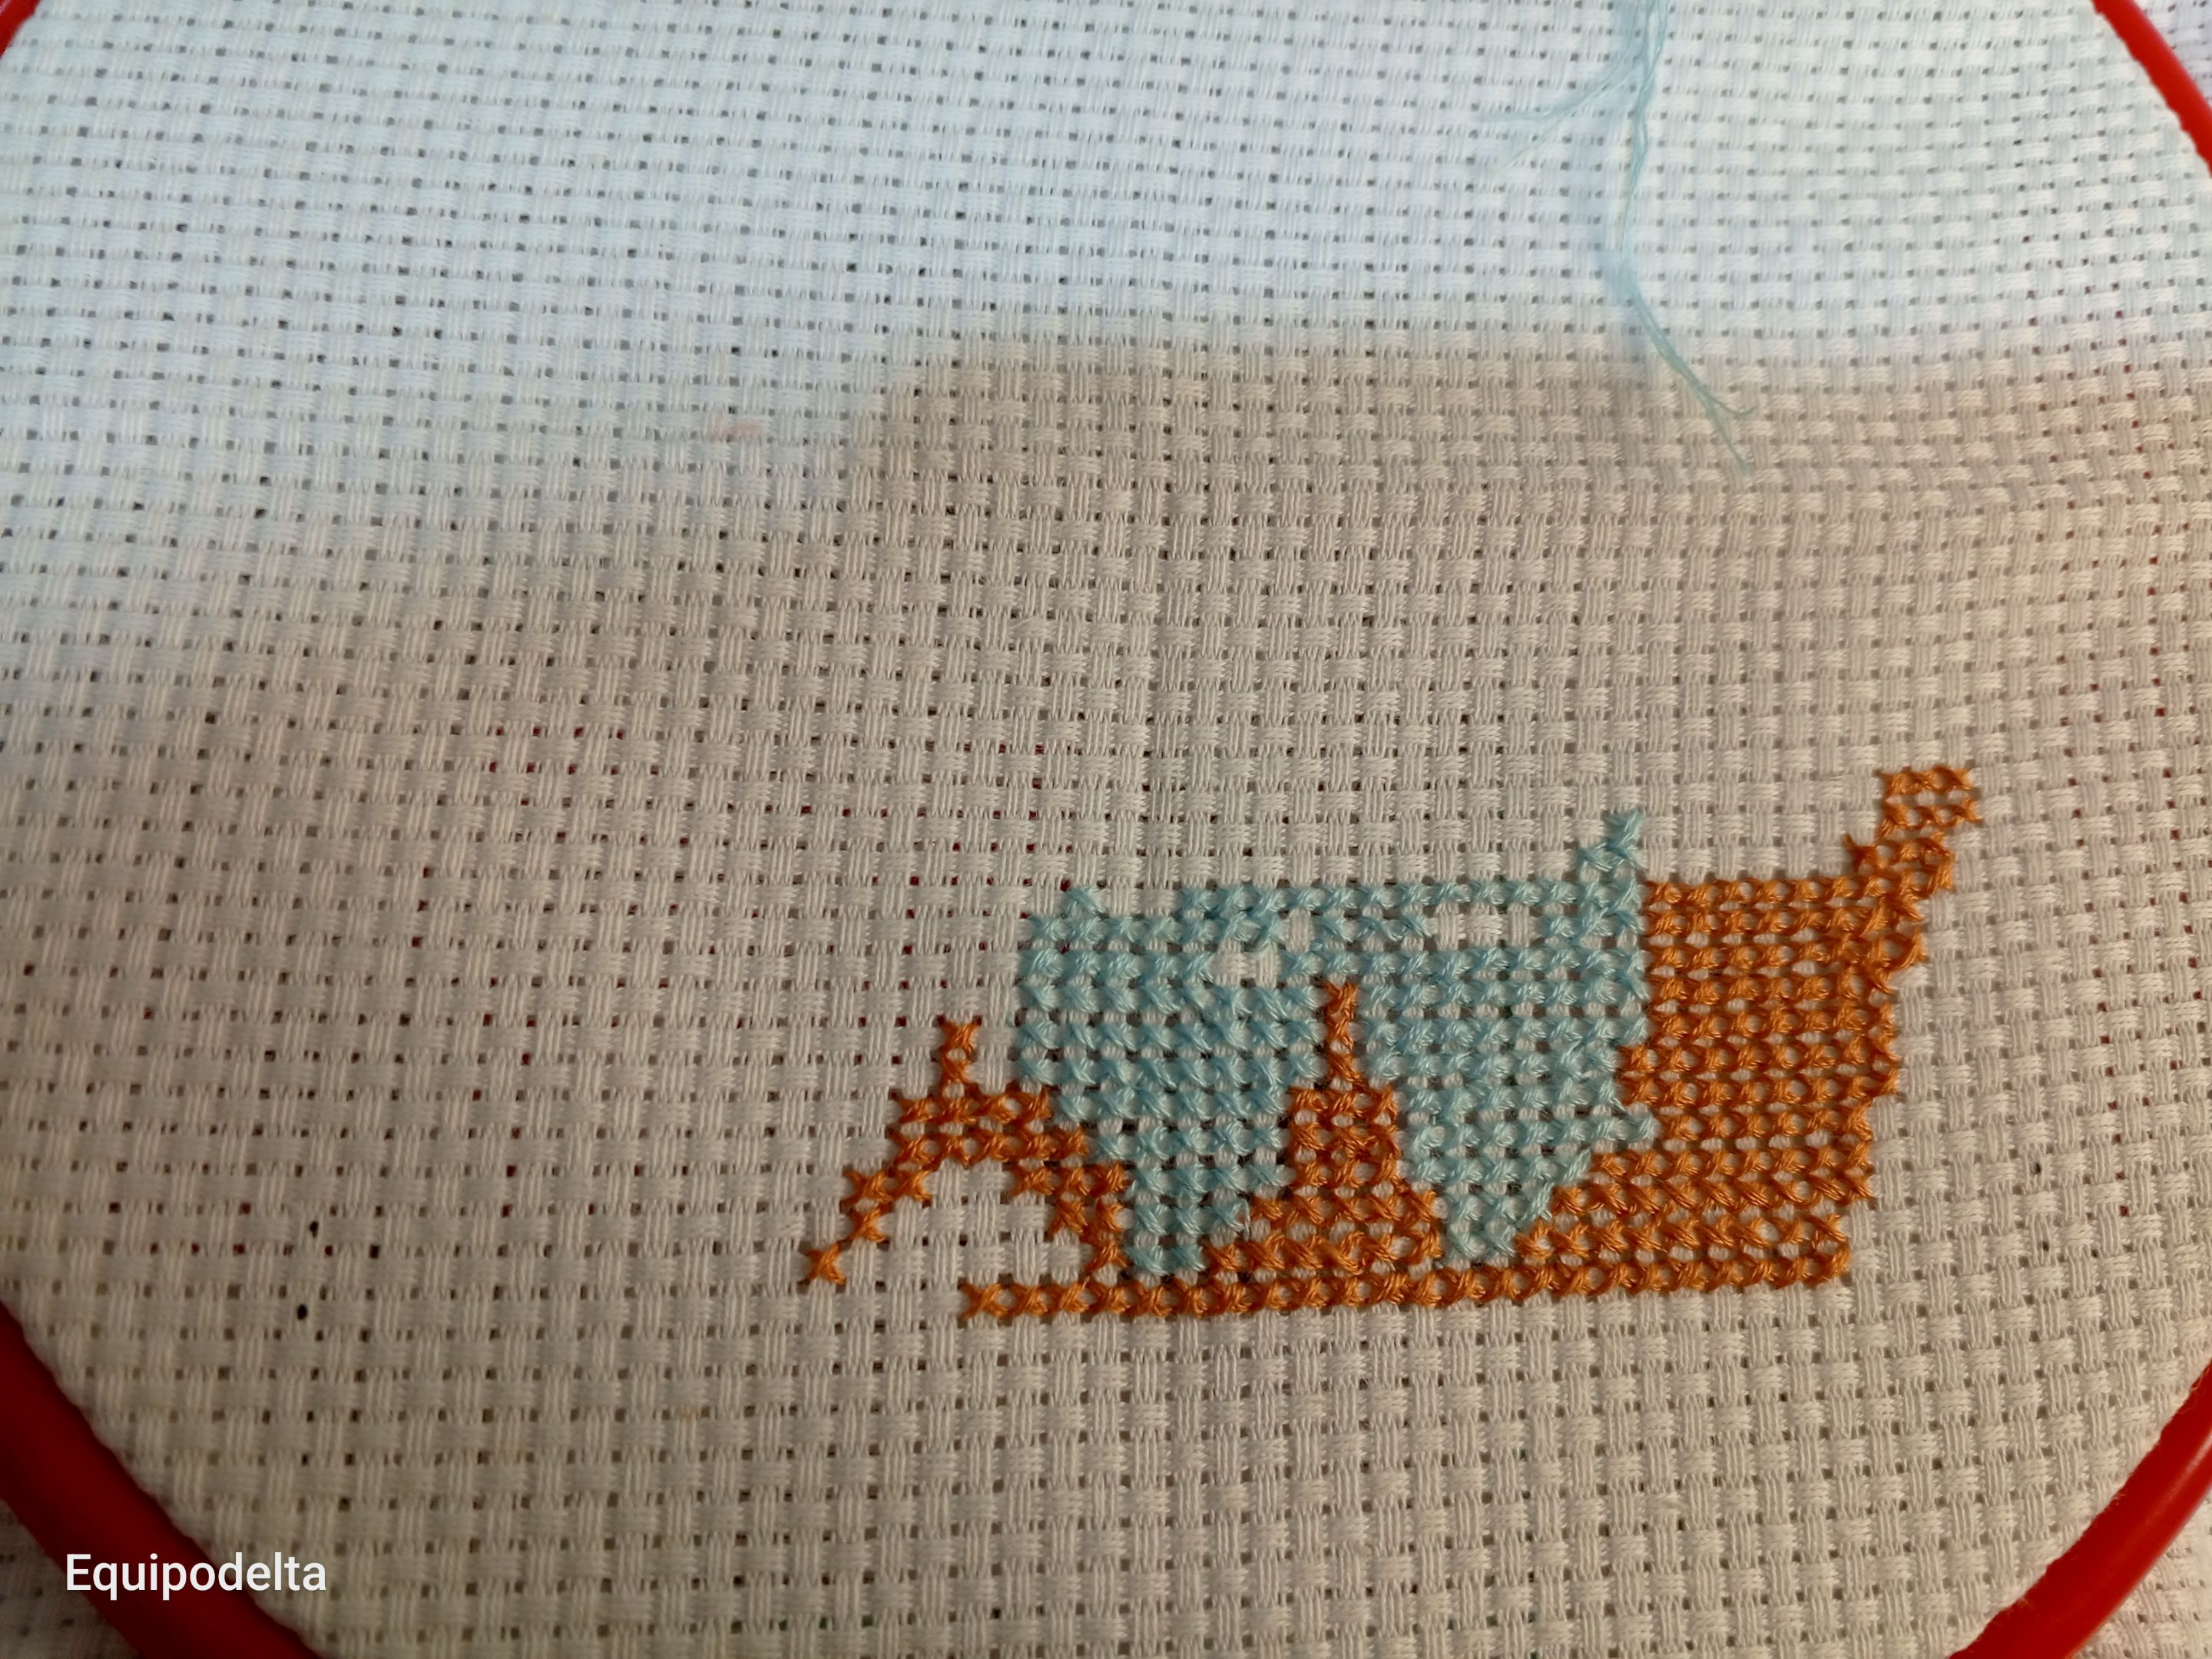
Con el color seleccionado y siguiendo el patrón, podrás lograr armar un precioso bordado hecho por ti mismo.
Espero ser de utilidad y les guste. Pronto mostraré mi trabajo terminado, lleva su tiempo y es algo que quiero hacer pausado.
! [English version]
Following the pattern, counting each color stitch, we start embroidering.
I usually do it in two ways: For very long sections I embroider the first part of the stitch while counting, and then I close it back.
It is curious that it is called cross stitch when the figure actually shows an “x”.
This way you count the stitches following the pattern, being very meticulous in the counting, if you make a mistake like me, you can let go of the needle thread and undo what you had done and repeat it again.
These are my tips as a color blind person. I remember once in one of my designs, someone measured me a tutorial or explained the way I manage to draw with this disability and there I can't really explain it because it's something very simple, take the sample. Here I can't do that, but you will always have a friend or family member nearby who can help you select the color.
With the color selected and following the pattern, you will be able to put together a beautiful self-made embroidery.
I hope to be of help and that you like it. Soon I will show my finished work, it takes time and it is something I want to do slowly.
 |  |


Créditos / Credits


💜💜💜


![]() 👉
👉  👉
👉  👉
👉  👉
👉 
Here / Bríndame un café
