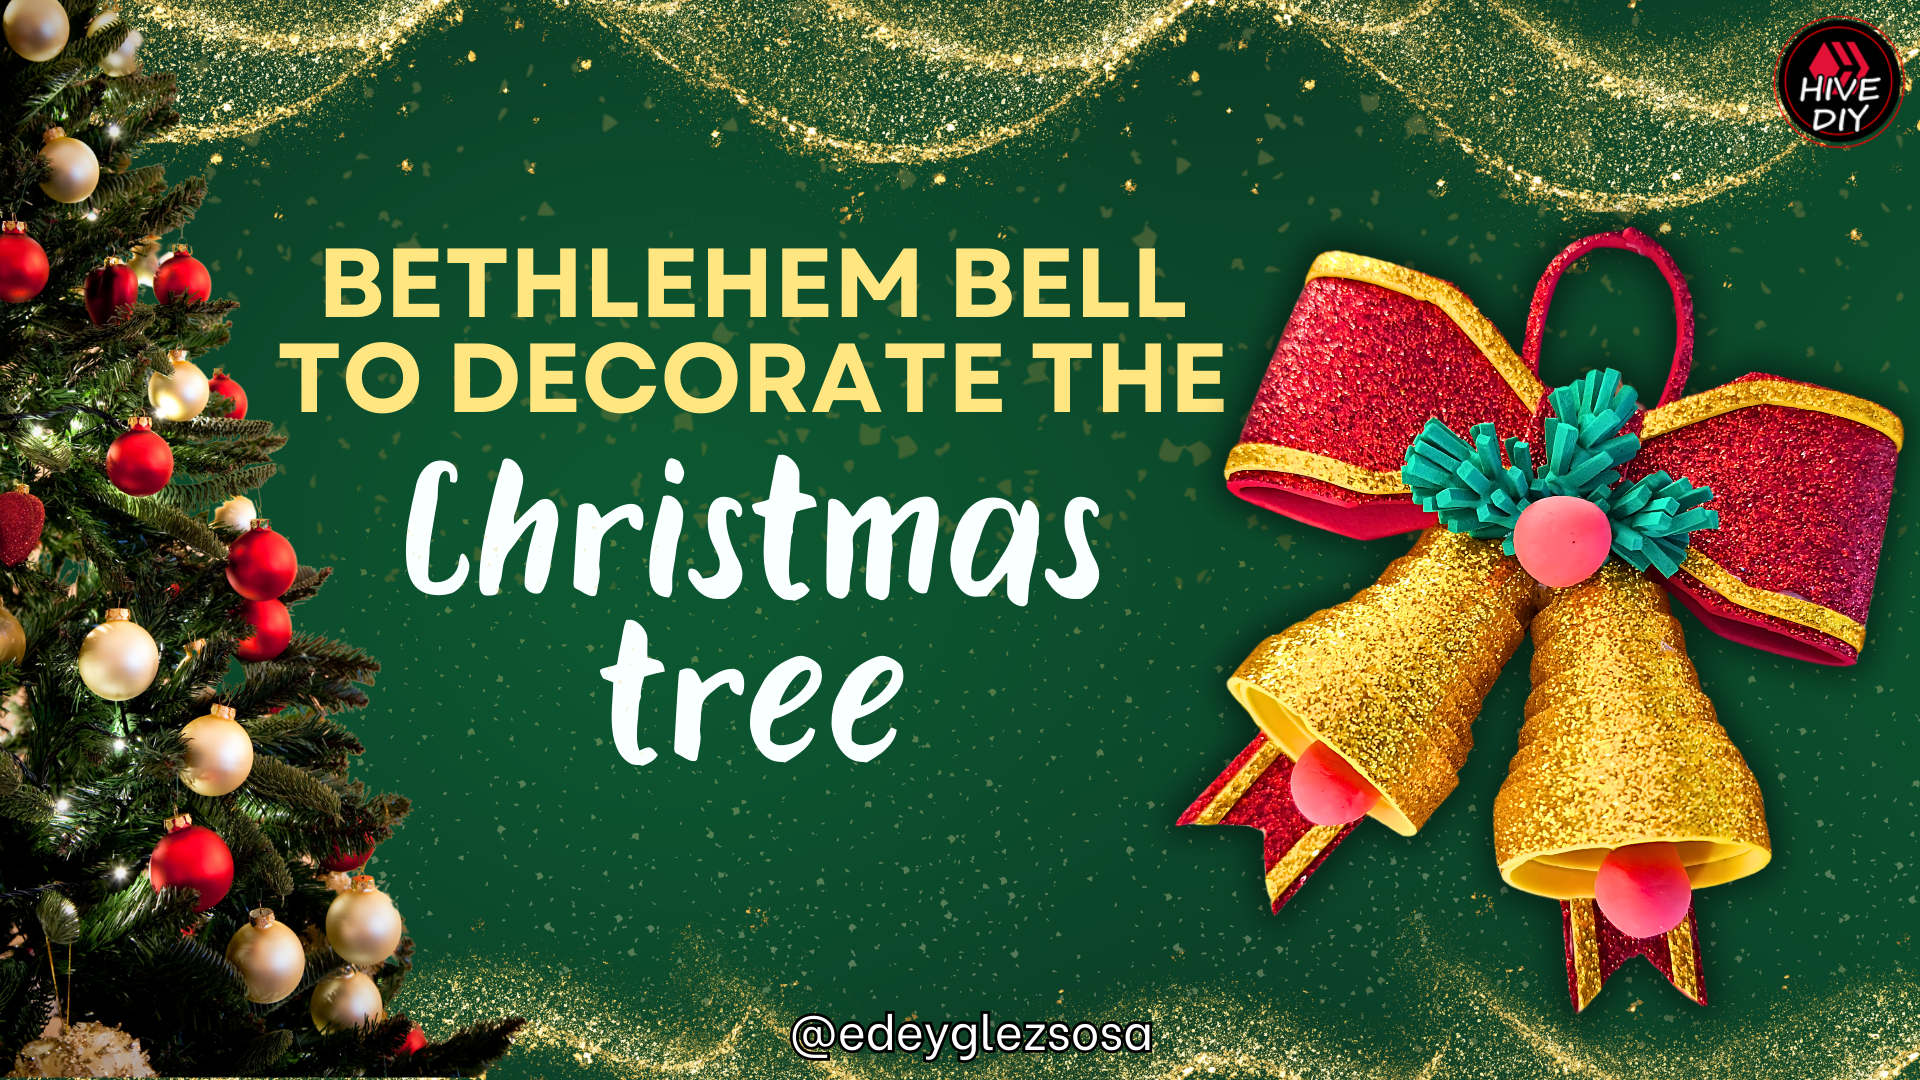
The bells of Bethlehem are ringing, announcing the coming dates and the festivities celebrated in their honor. But my festive radar detects that many members of the community have not put up their Christmas tree yet and are leaving it until last. If so, well, you're in luck, because I'm bringing you another Christmas decoration so you can give a fresh, new look to the traditional decorations.
For this tutorial I'll be using fomi sheets as the main material and in the classic Christmas colors. The craft I show you below is easy to make and with a change of color you can have several different versions all over your Christmas tree. So don't wait any longer, and join me to make some Bethlehem bells to decorate your tree this year.
Suenan las campanas de Belén anunciando las fechas venideras y las fiestas que se celebran en su honor. Pero mi radar festivo detecta que muchos integrantes de la comunidad no han armado su árbol de Navidad aún y lo están dejando para el final. Si es así, pues están de suerte, ya que nuevamente les traigo otra decoración navideña para que puedan darle un aspecto más fresco y renovado a las decoraciones tradicionales.
Para este tutorial estaré utilizando láminas de fomi como material principal y en los colores clásicos de la Navidad. La manualidad que les muestro a continuación es fácil de hacer y con un cambio de color puedes llegar a tener varias versiones distintas por todo tu arbolito navideño. Así que no esperes más, y acompáñame a realizar unas campanas de Belén para que decores tu árbol este año.
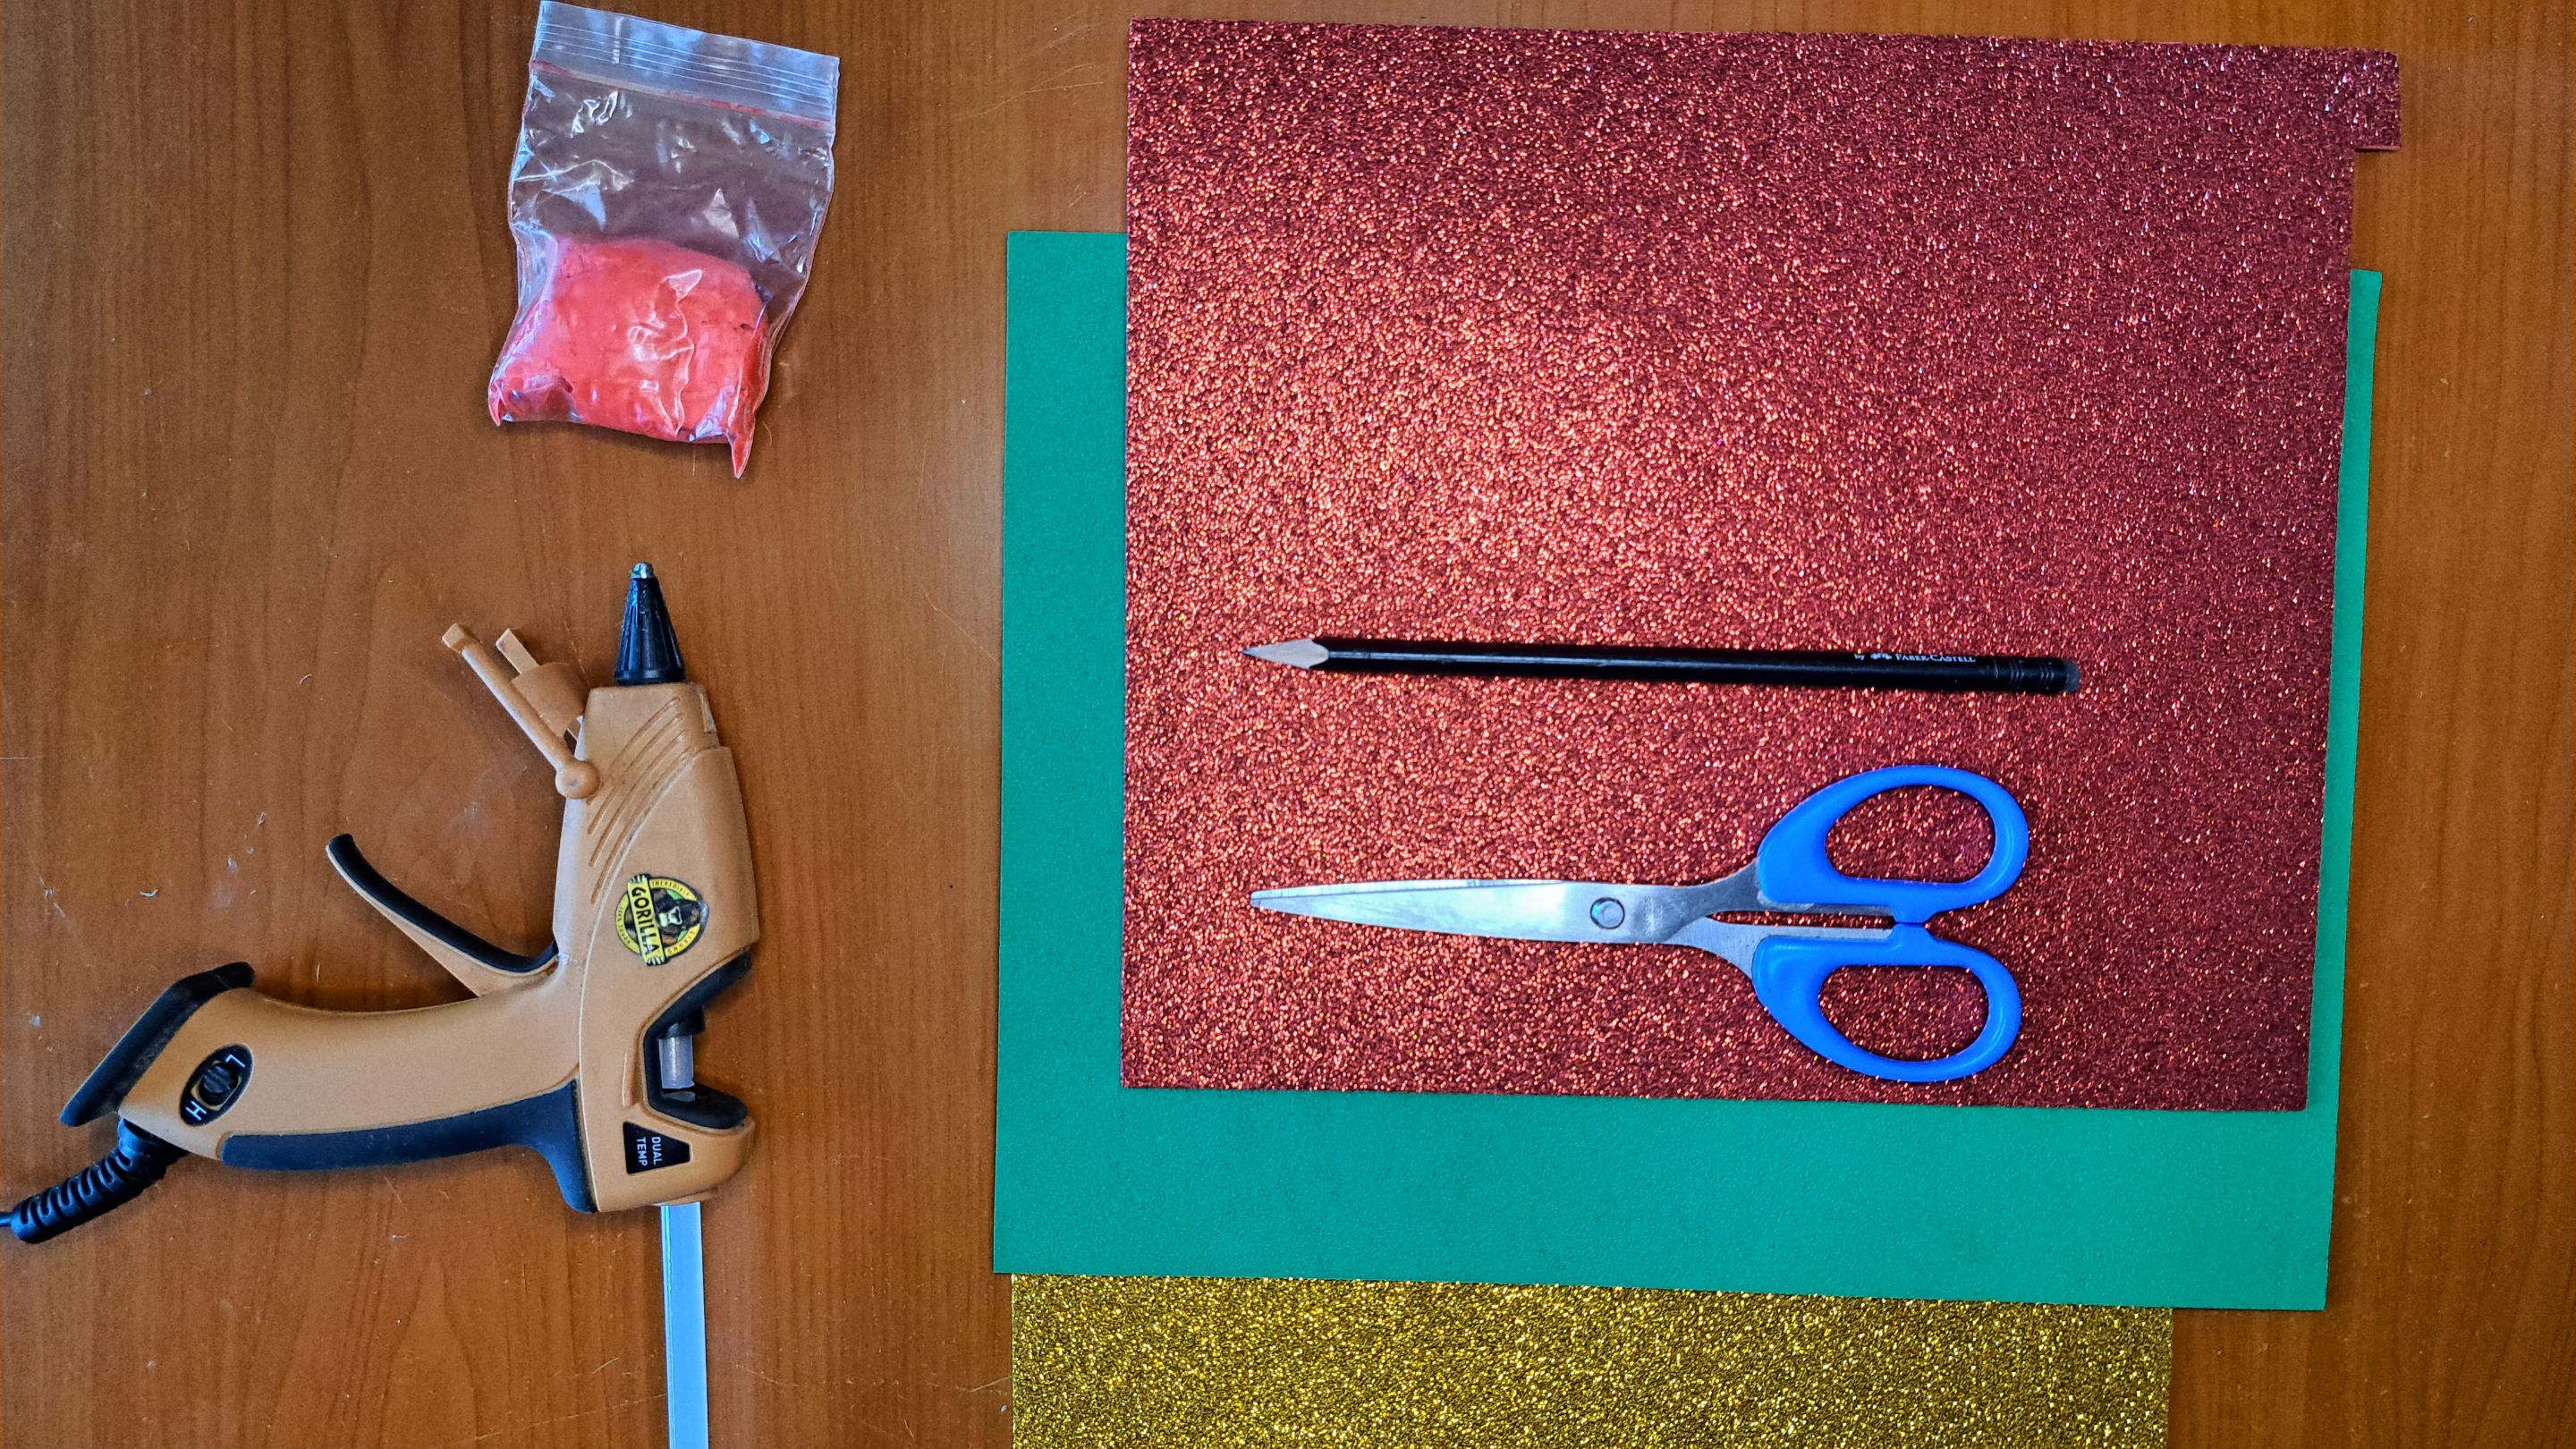
Materials // Materiales
| English | Español |
| ✔️ Red and gold frosted fomi | ✔️ Fomi escarchado rojo y dorado |
| ✔️ Smooth green Fomi | ✔️ Fomi liso verde |
| ✔️ Red Moldable Fomi | ✔️ Fomi moldeable rojo |
| ✔️ Ruler and pencil | ✔️ Regla y lápiz |
| ✔️ Scissors | ✔️ Tijeras |
| ✔️ Hot silicone | ✔️ Silicona caliente |
Step by step // Paso a paso
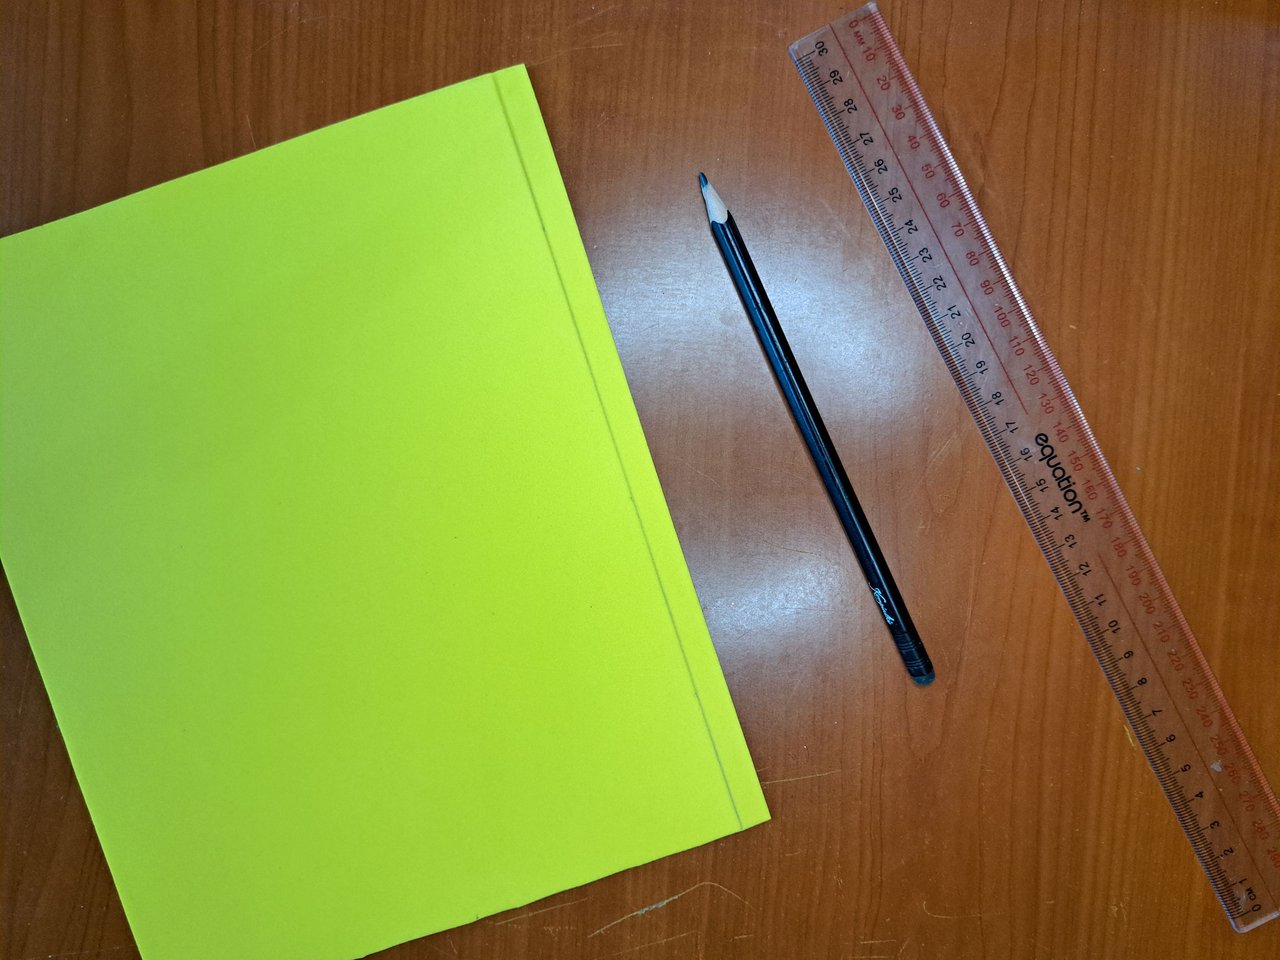
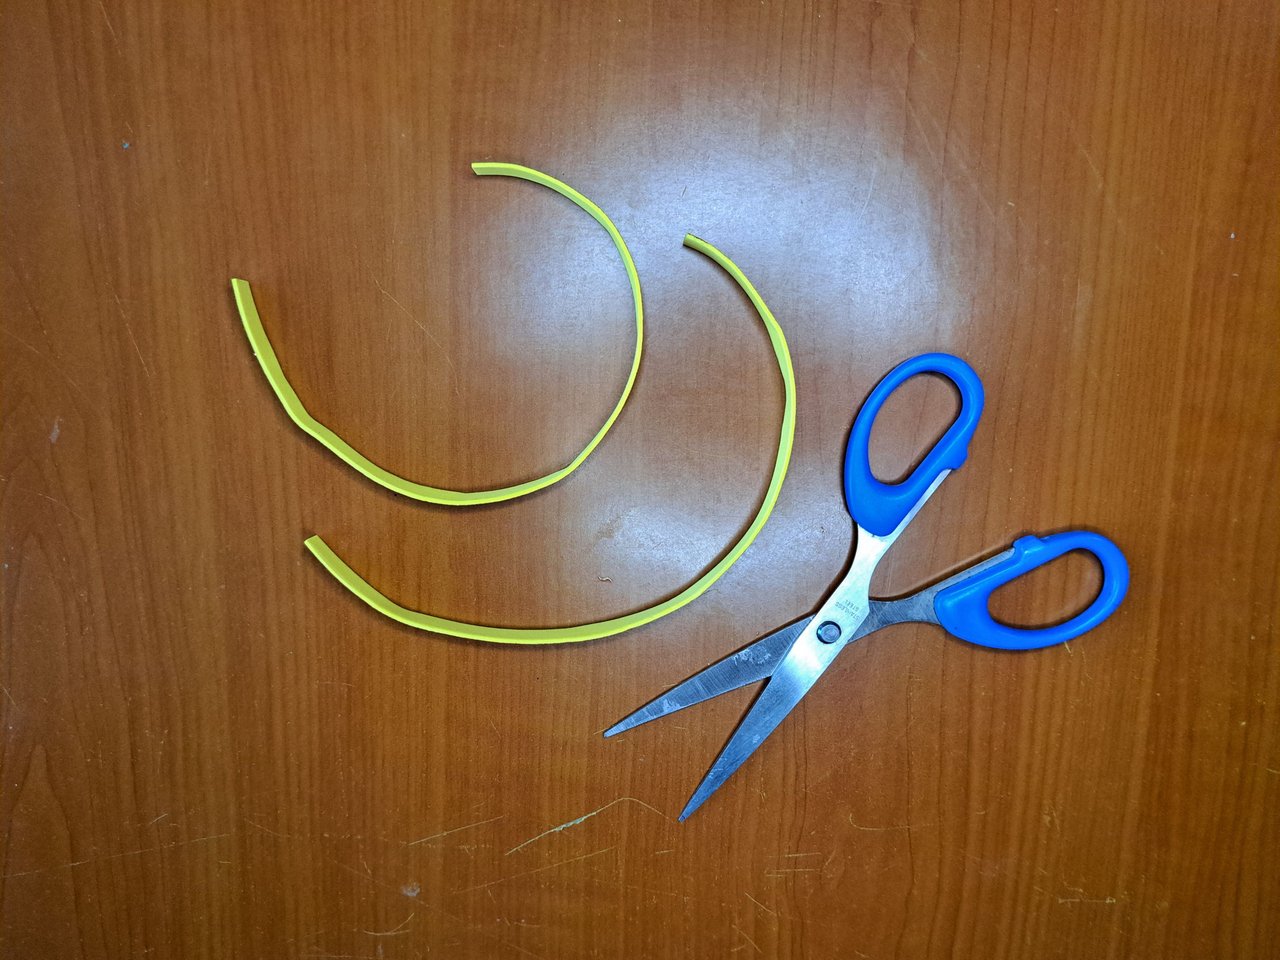
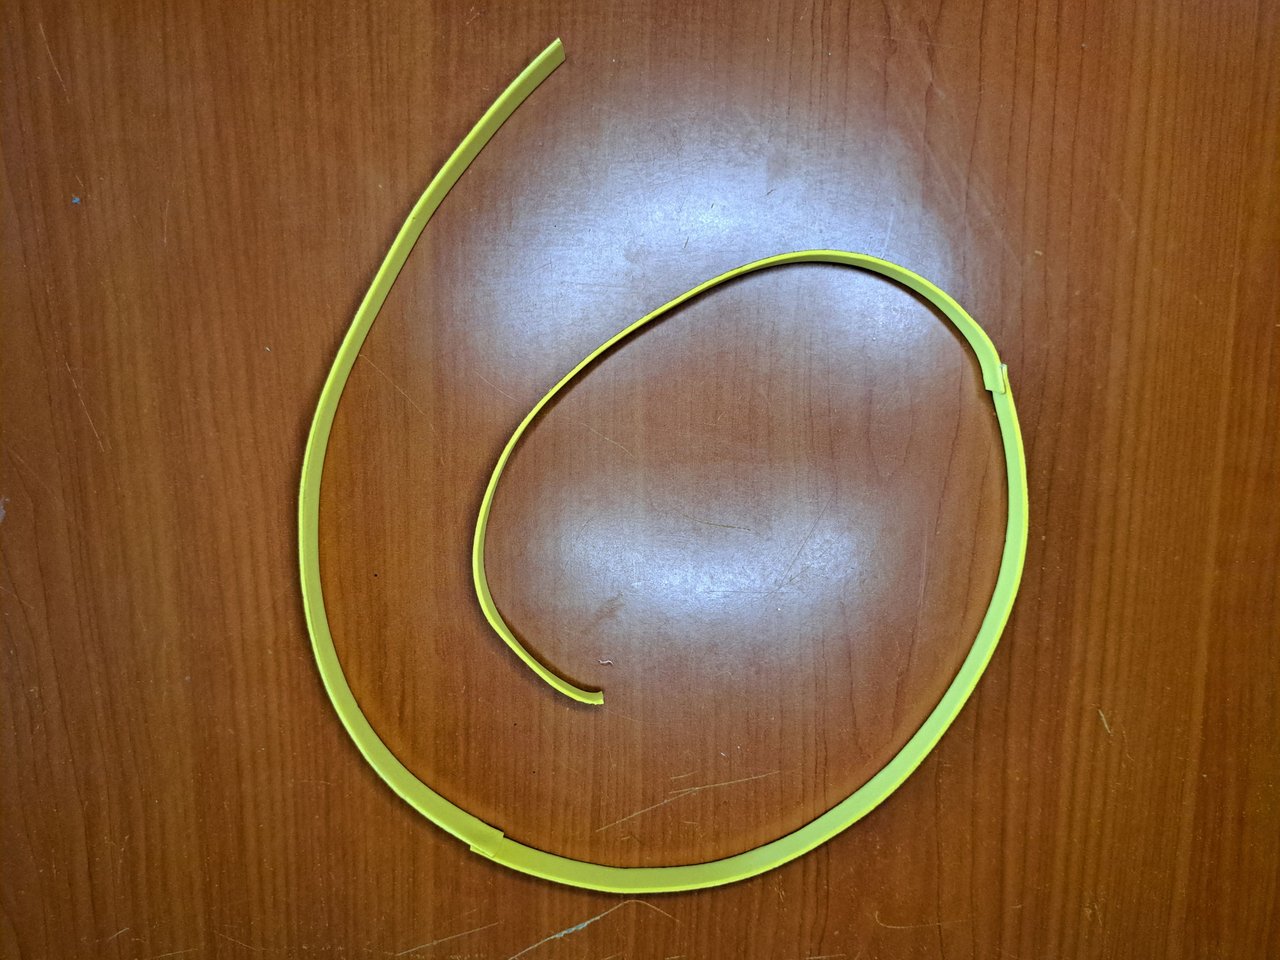
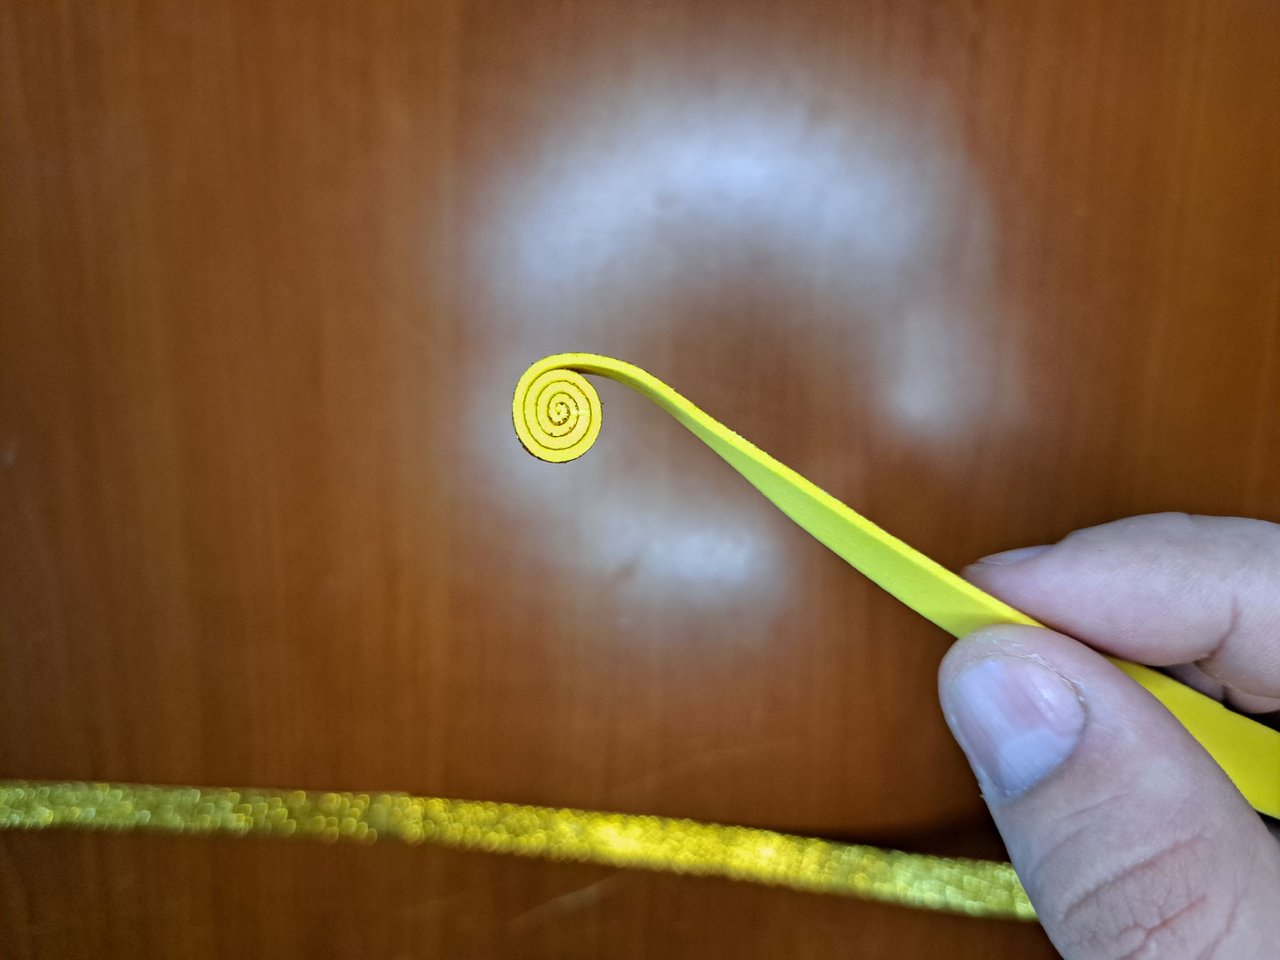
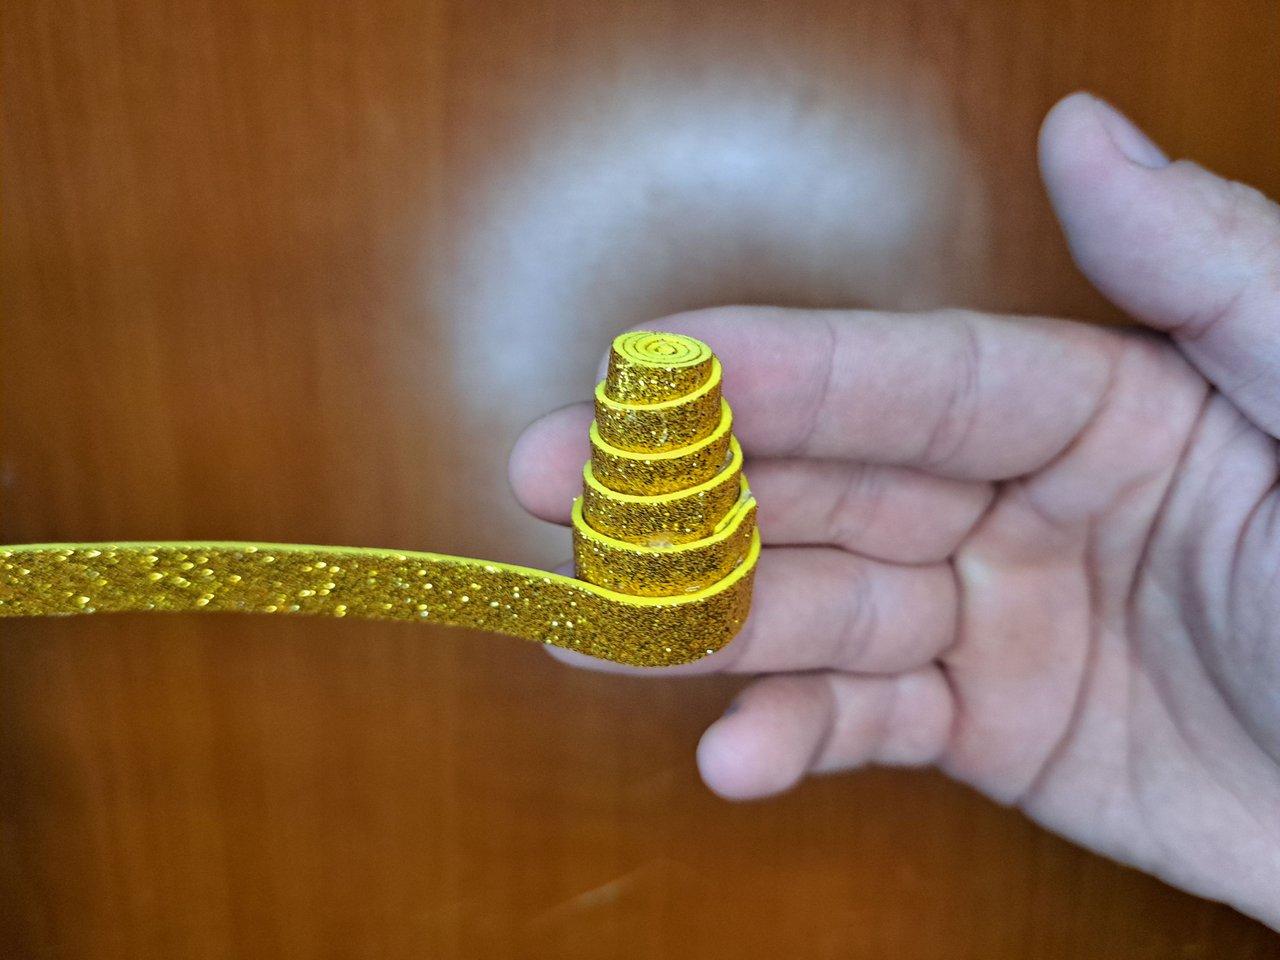
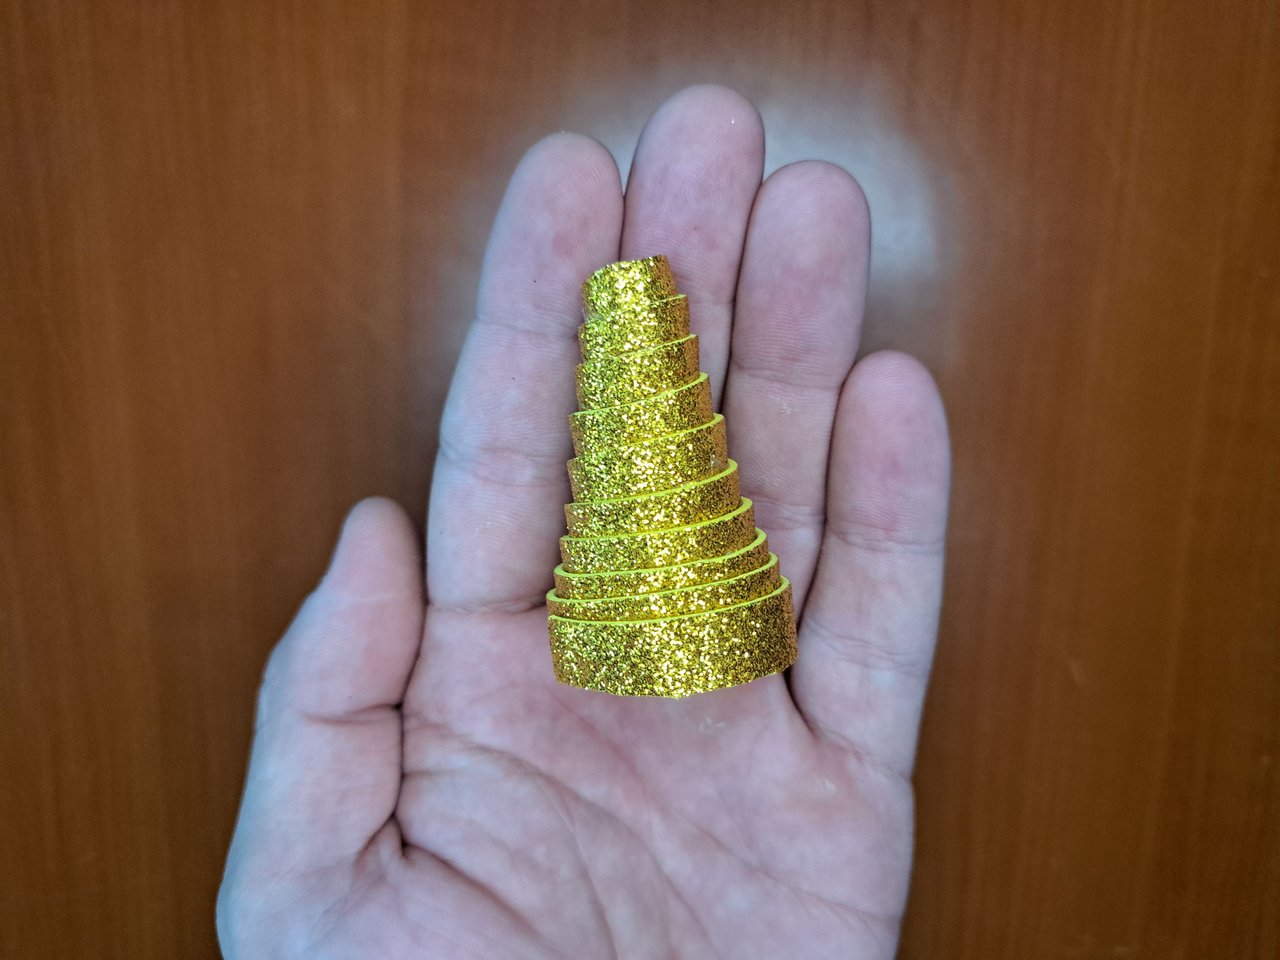
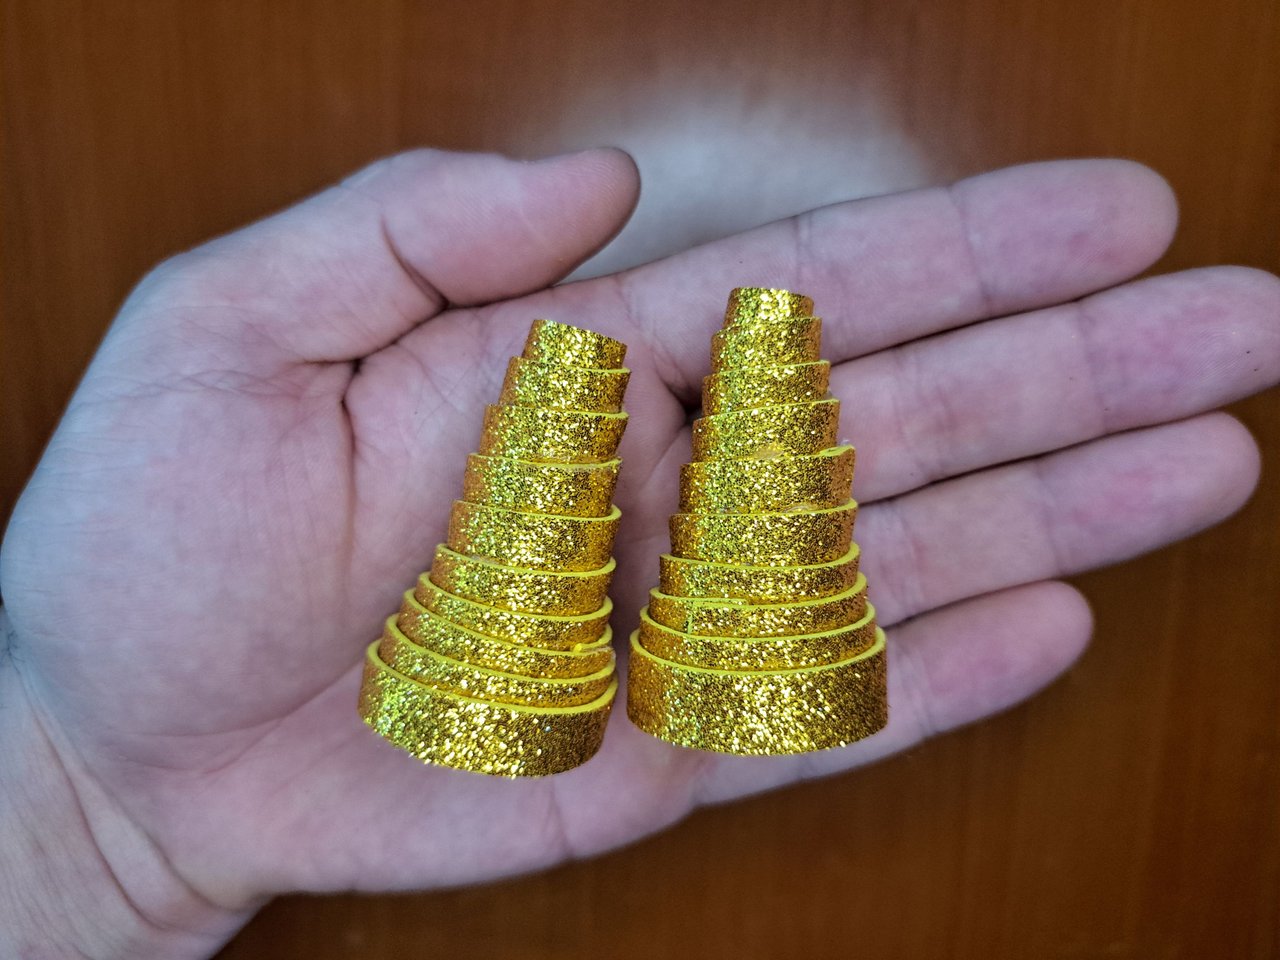
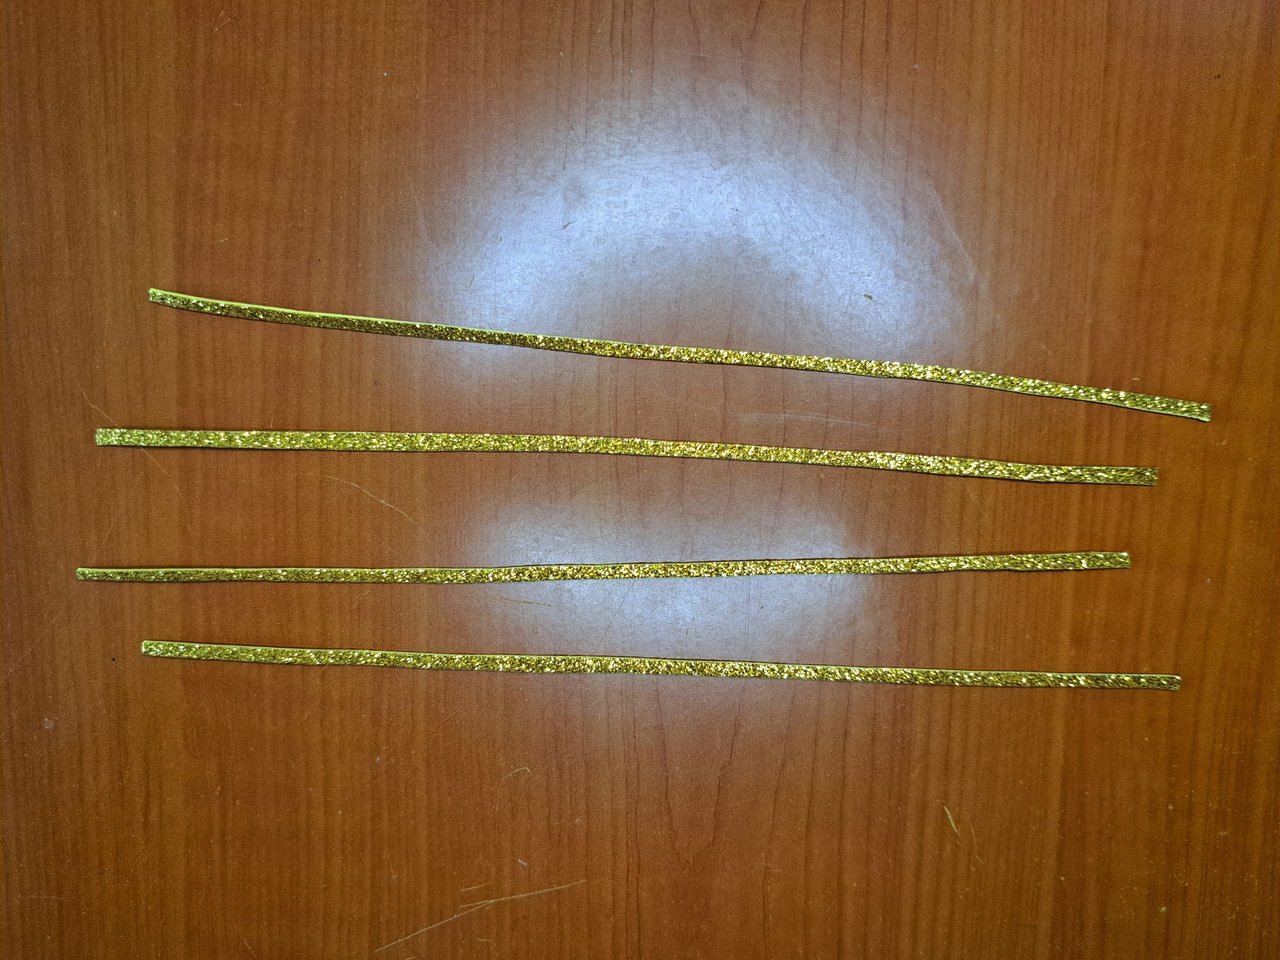
1️⃣ First, cut out strips of golden fomi approximately 30 cm long and 1 cm wide. These strips will be rolled up to form the bells. The size of the bells depends on the number of fomi strips you use. In my case I used only two strips.
Primeramente, hay que recortar unas tiras de fomi dorado de aproximadamente 30 cm de largo y 1 cm de ancho. Estas tiras se enrollarán para formar las campanas. El tamaño de las campanas depende de la cantidad de tiras de fomi que emplees. En mi caso utilicé dos tiras solamente.
 |  |
 |  |  |
 |  |
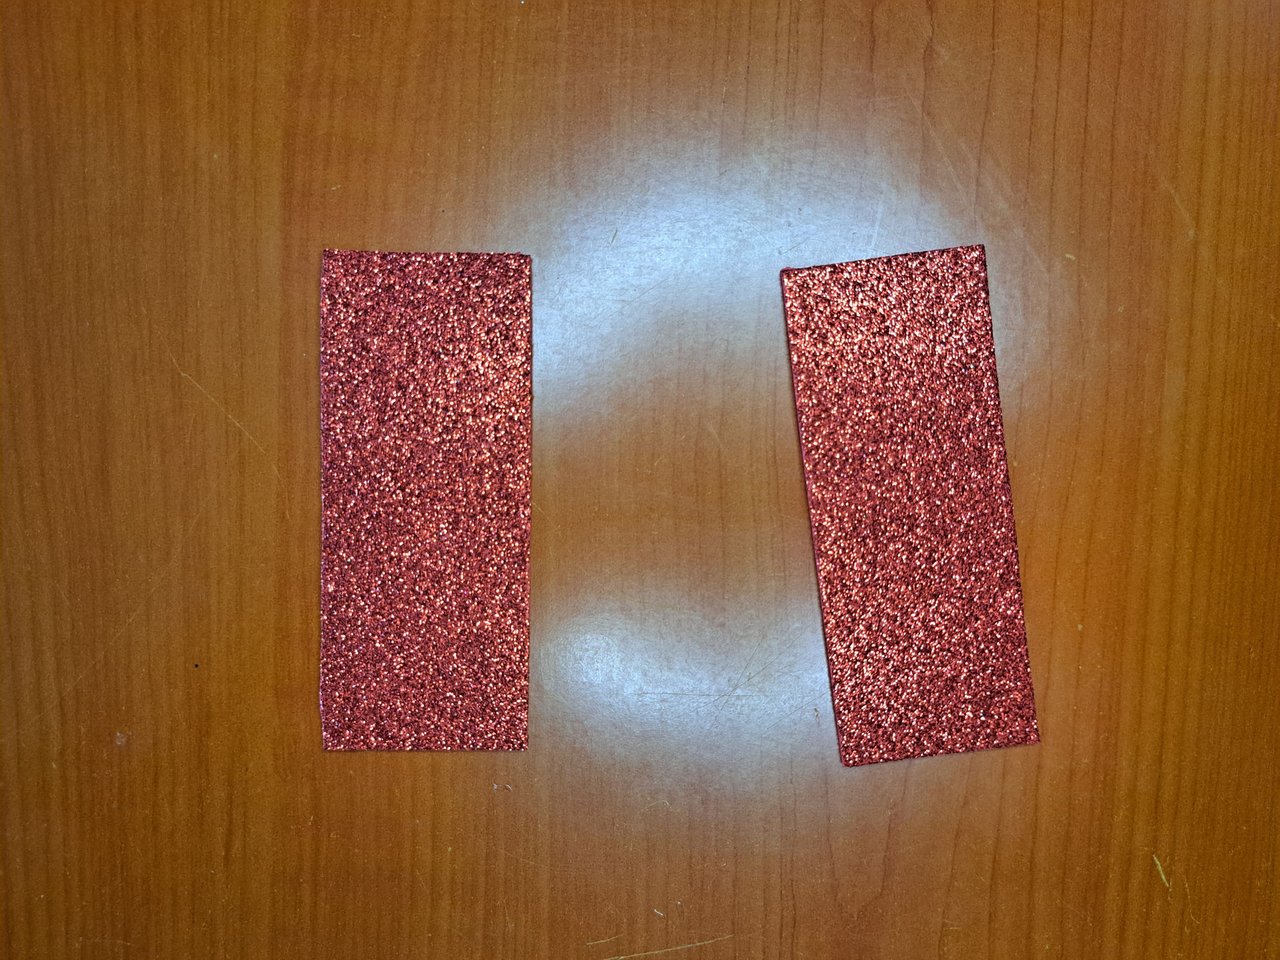
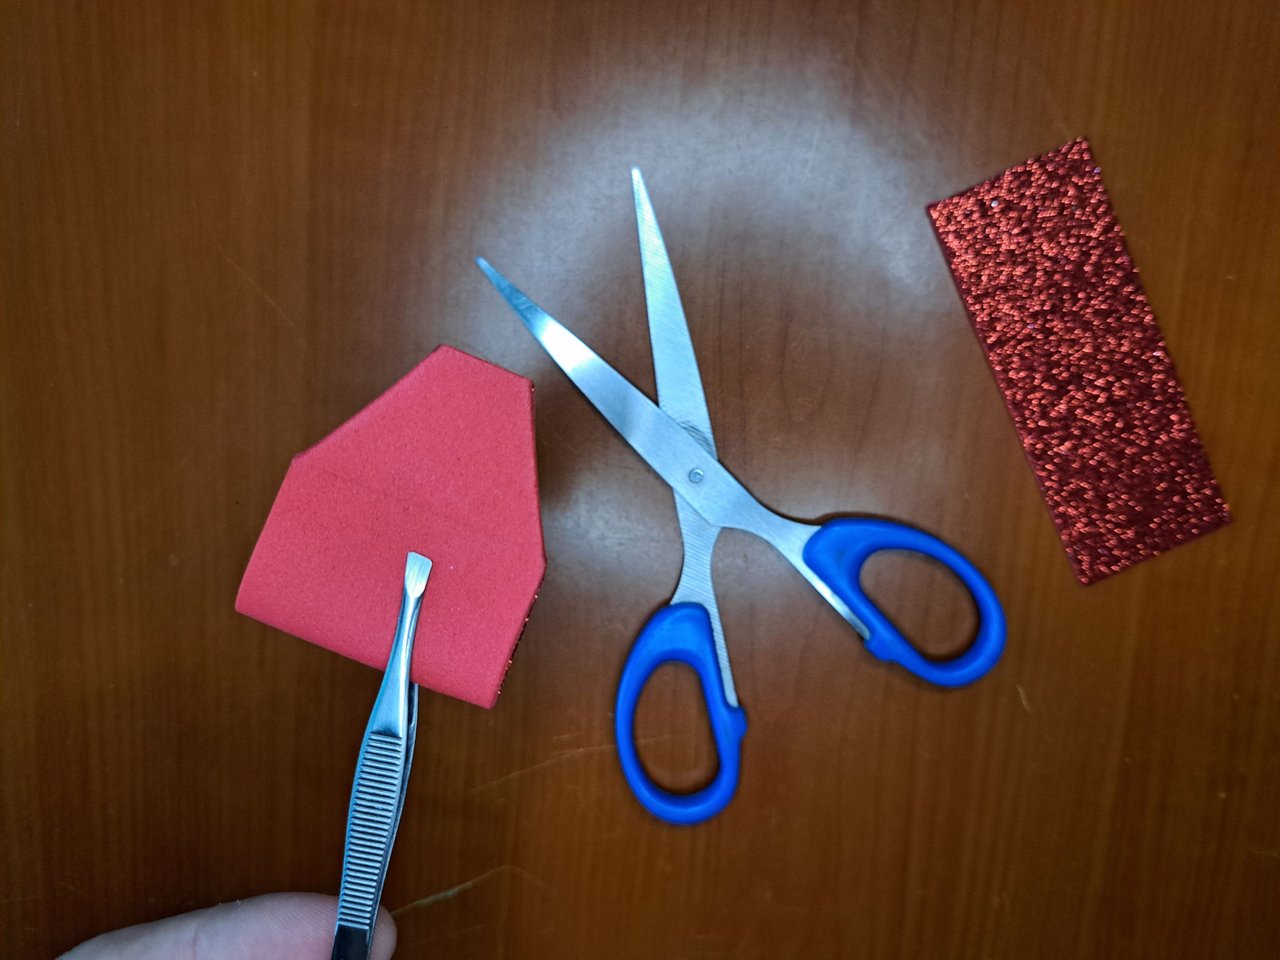
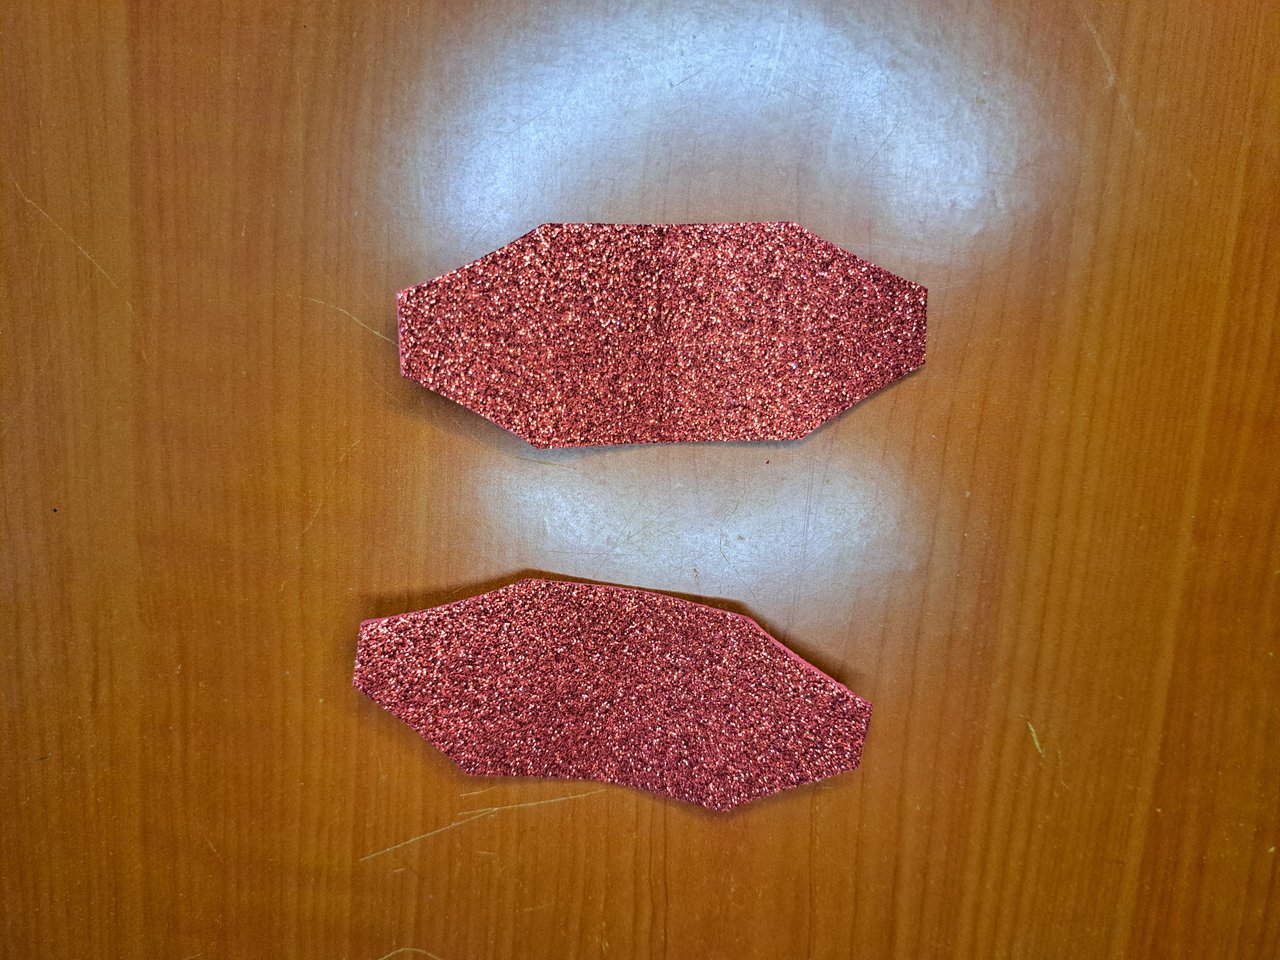
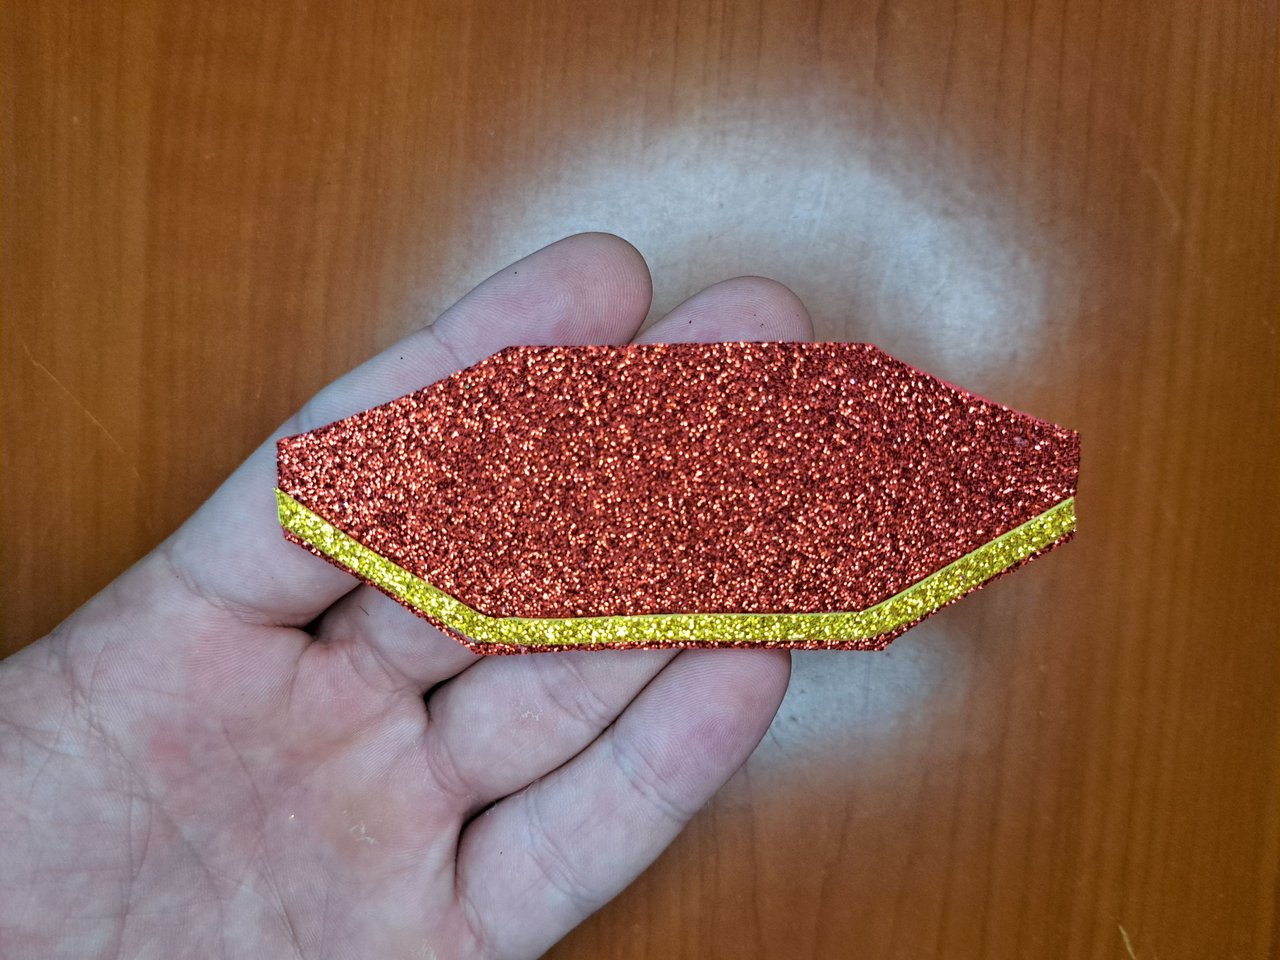
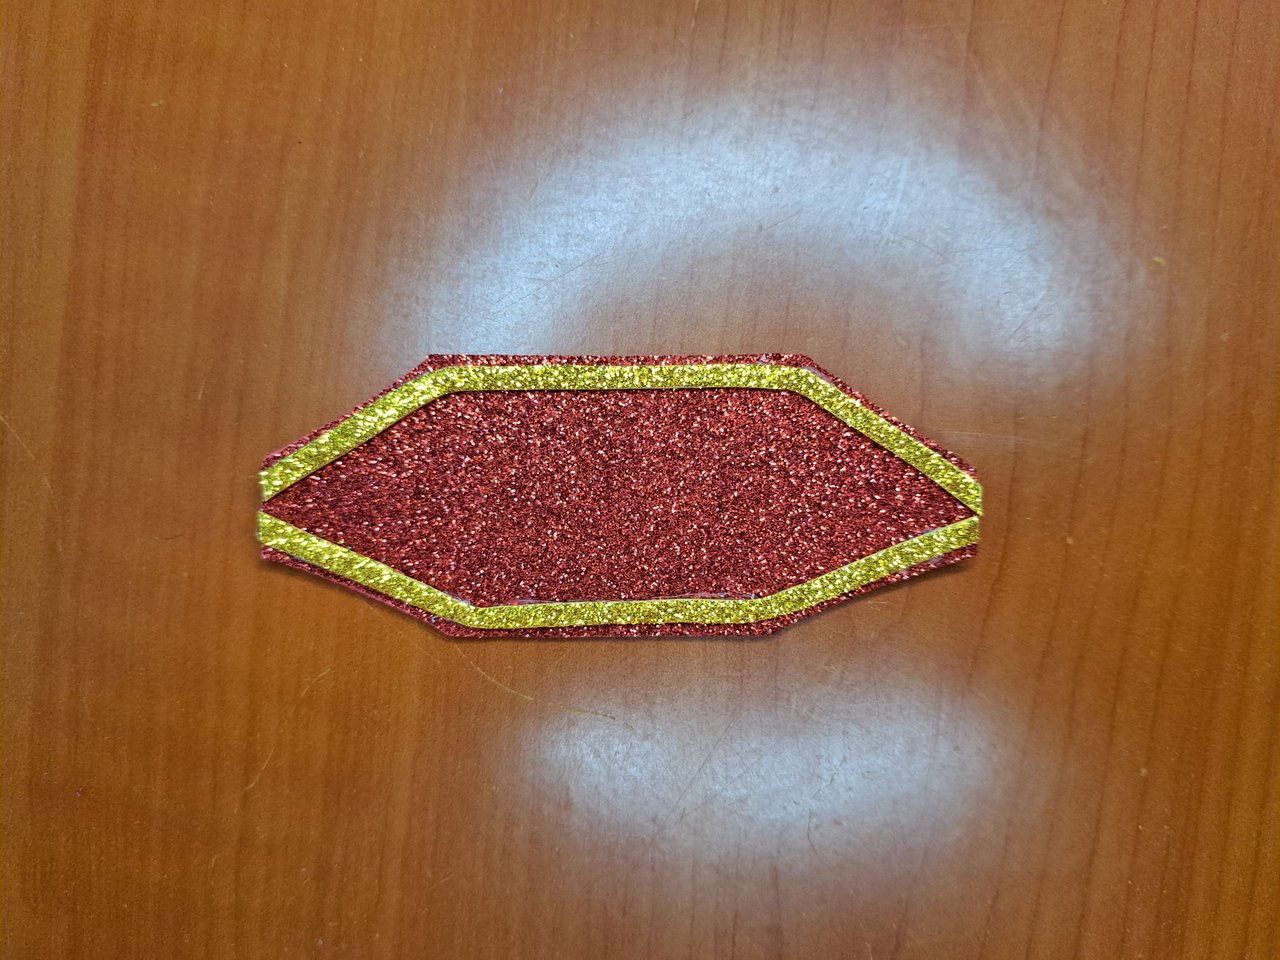
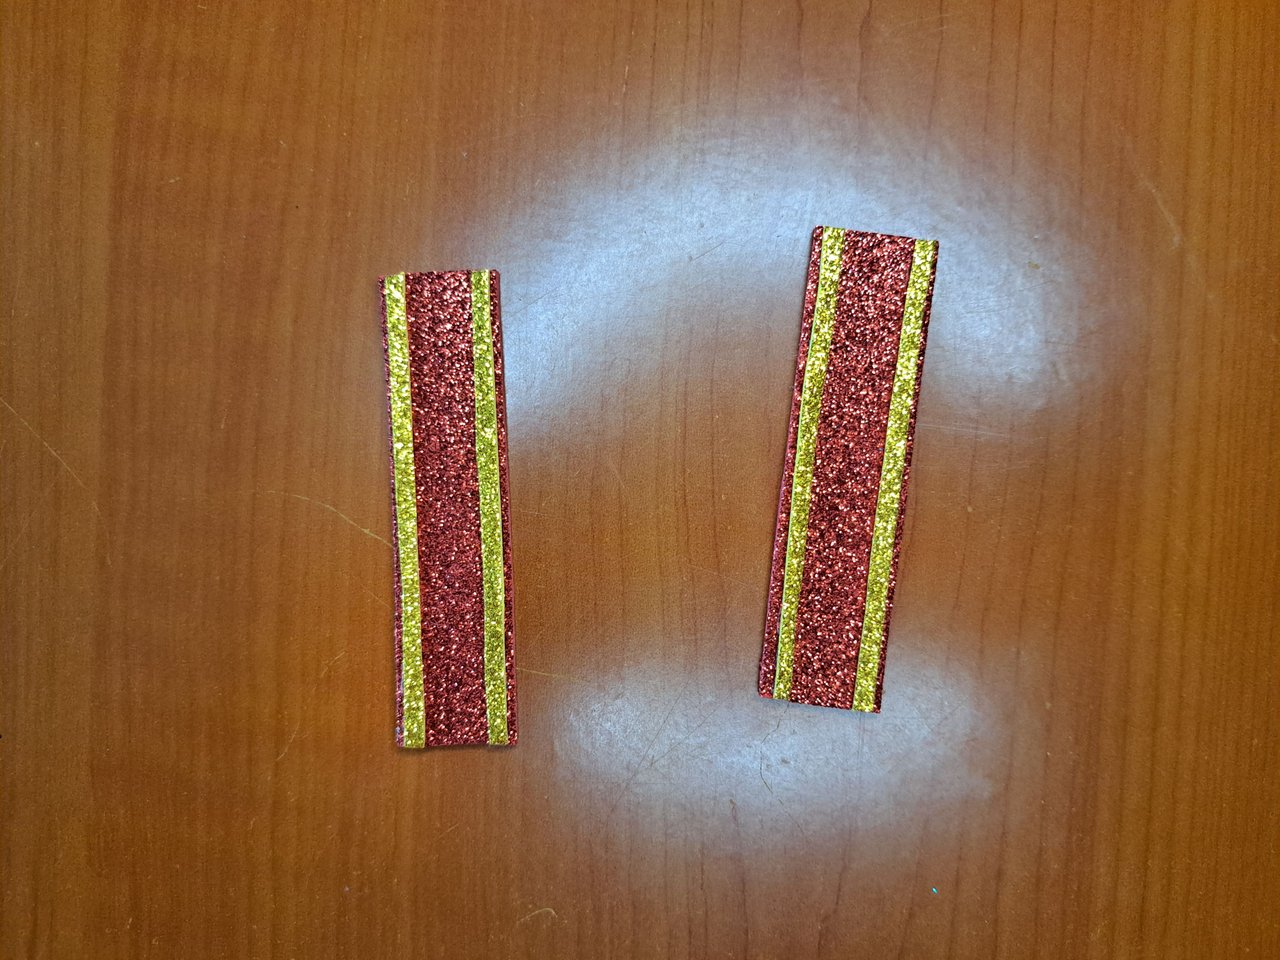
2️⃣ Next, we will create the bow. To do this, it is necessary to cut out two pieces of bright red fomi 4 cm x 1.5 cm. The edges of each piece will be trimmed, but without forming a point. Then, with some thin strips of gold fomi, we will cover the entire edge of both pieces.
A continuación, crearemos el lazo. Para ello, es necesario recortar dos piezas de fomi rojo brillante de 4 cm x 1,5 cm. A cada pieza se le recortarán los bordes, pero sin llegar a formar una punta. Luego, con unas tiras finas de fomi dorado, se cubrirá todo el borde de ambas piezas.
 |  |
 |  |  |
 | 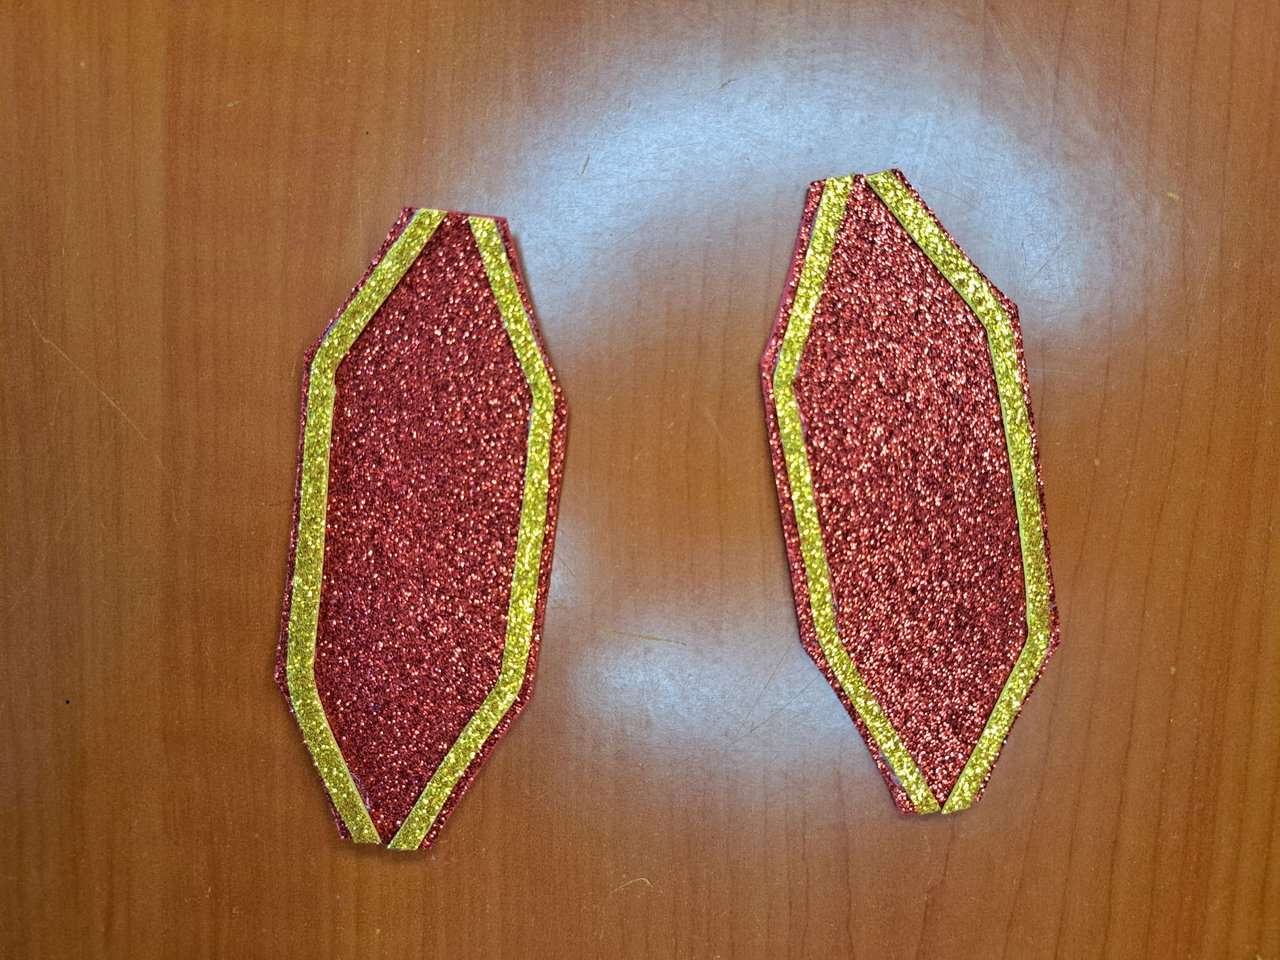 |
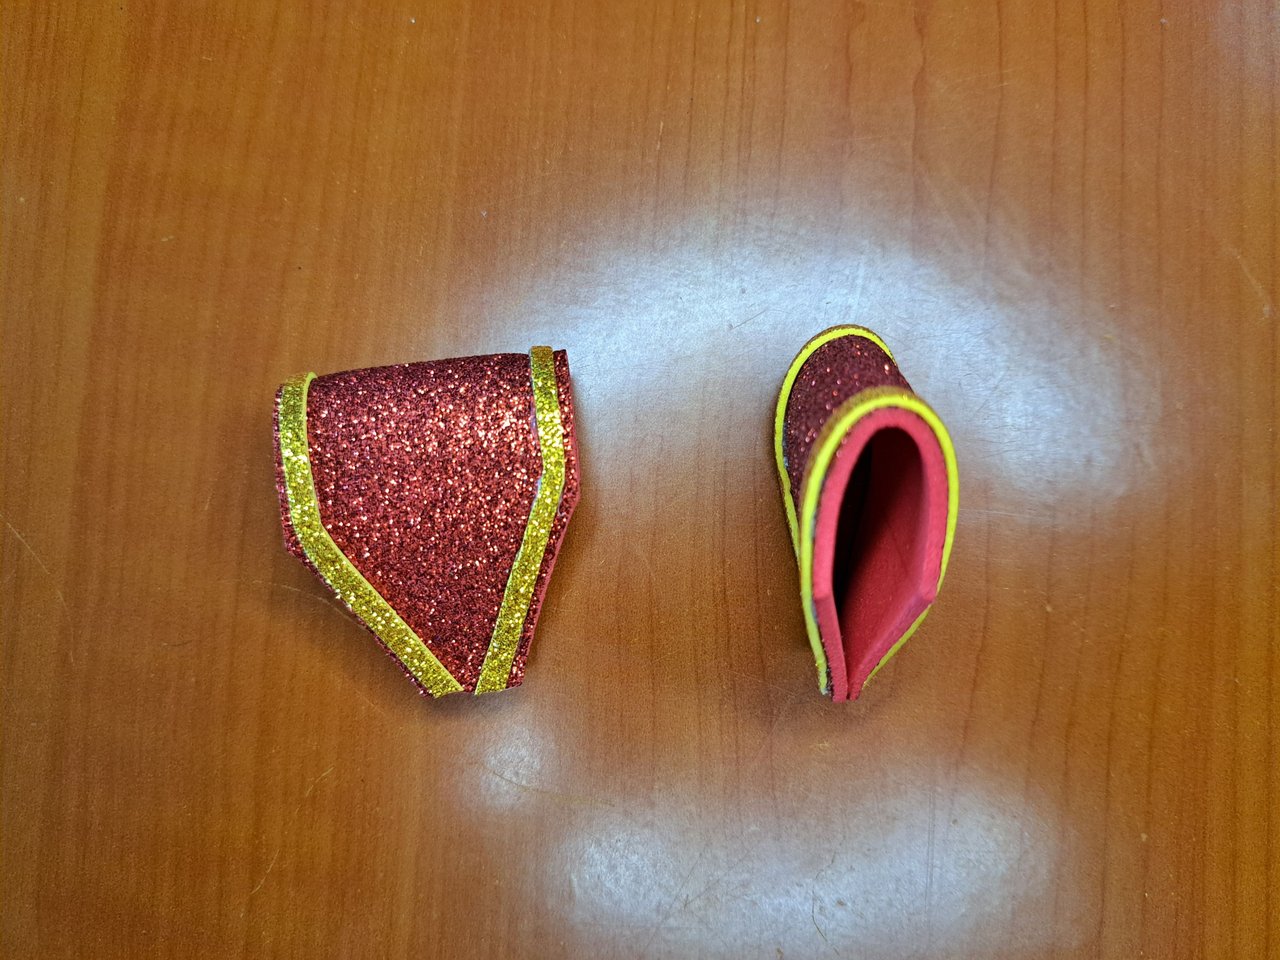
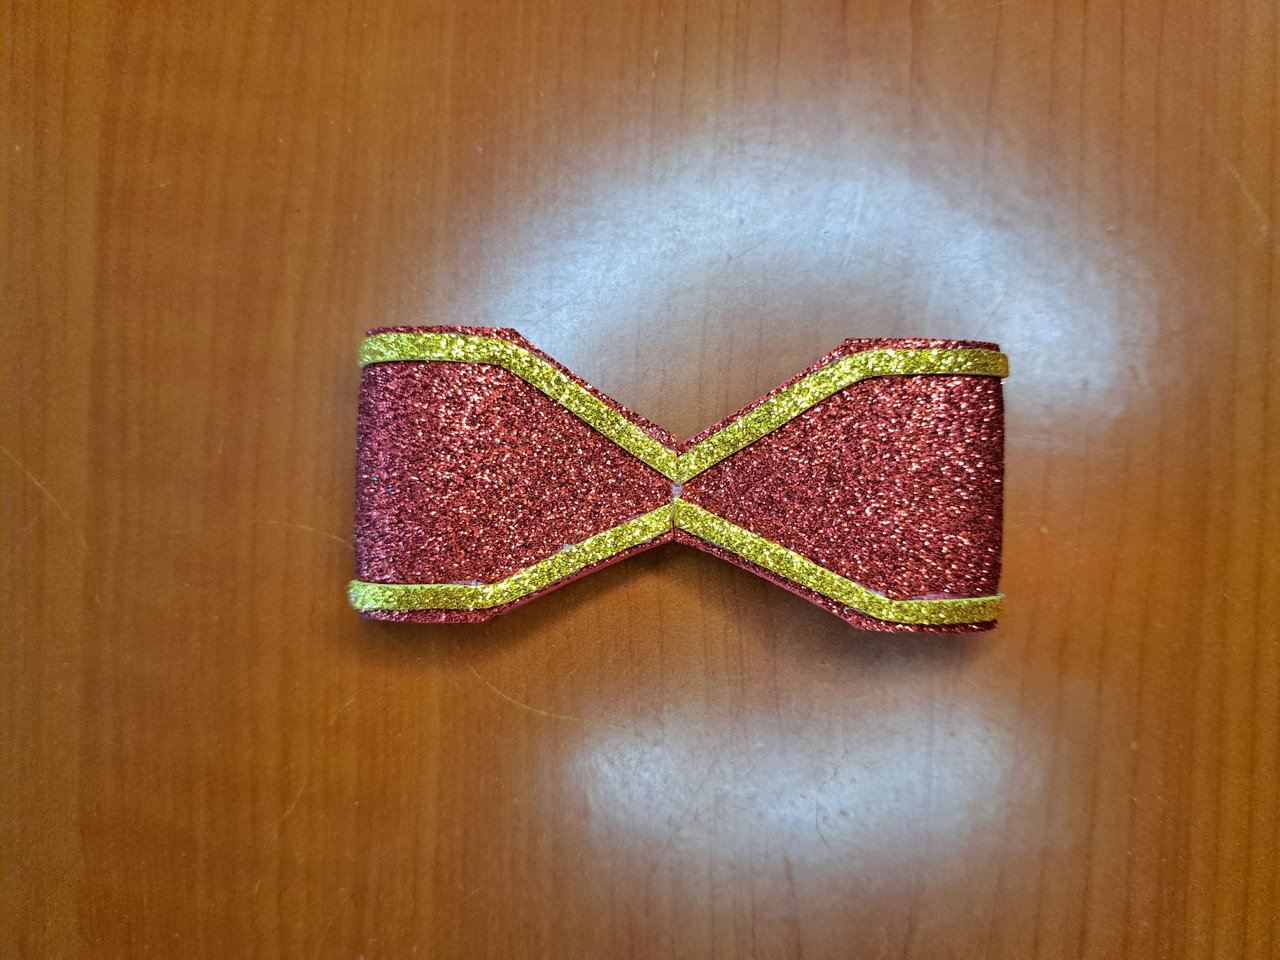
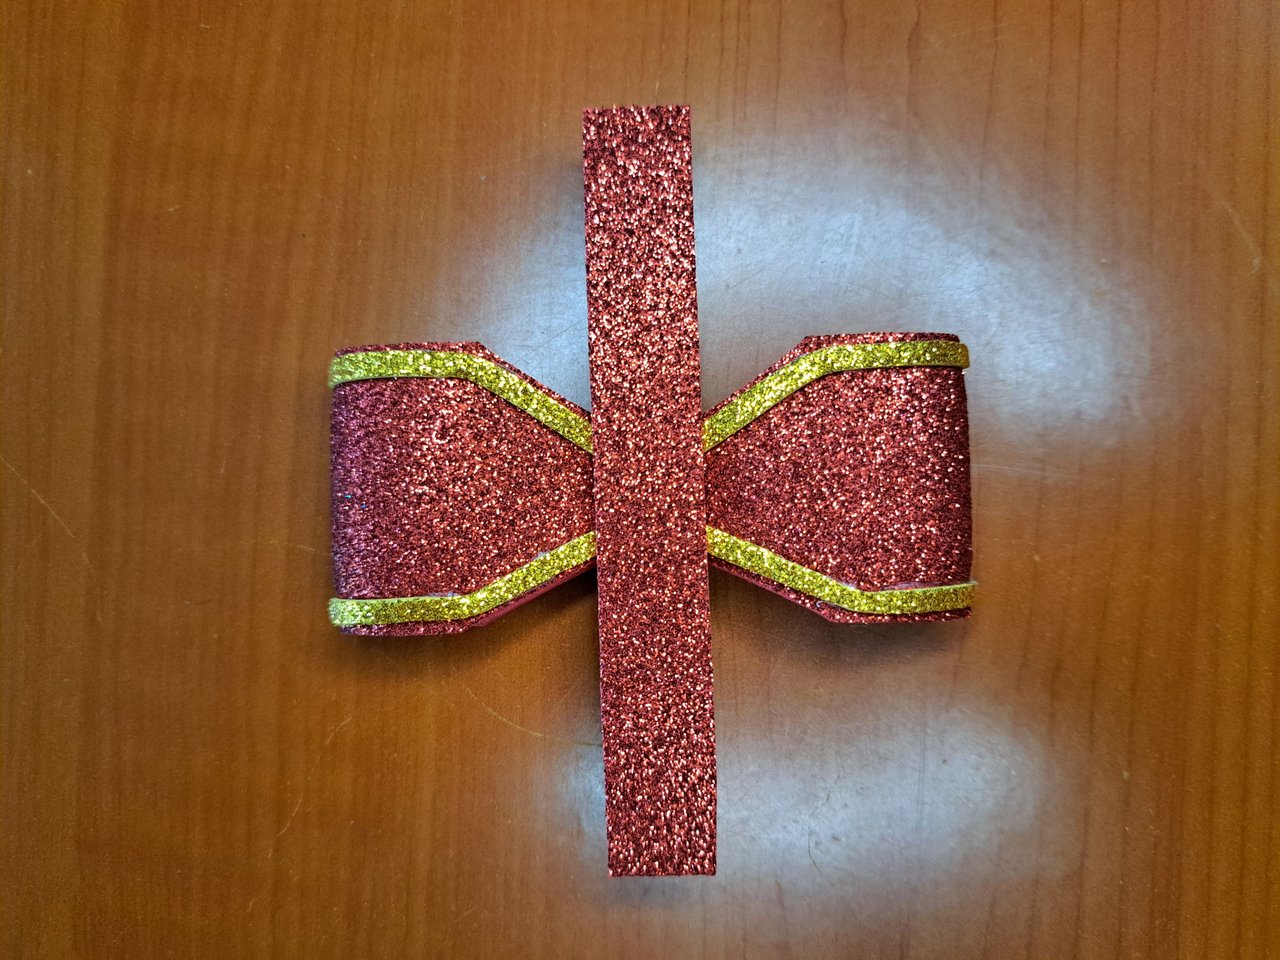
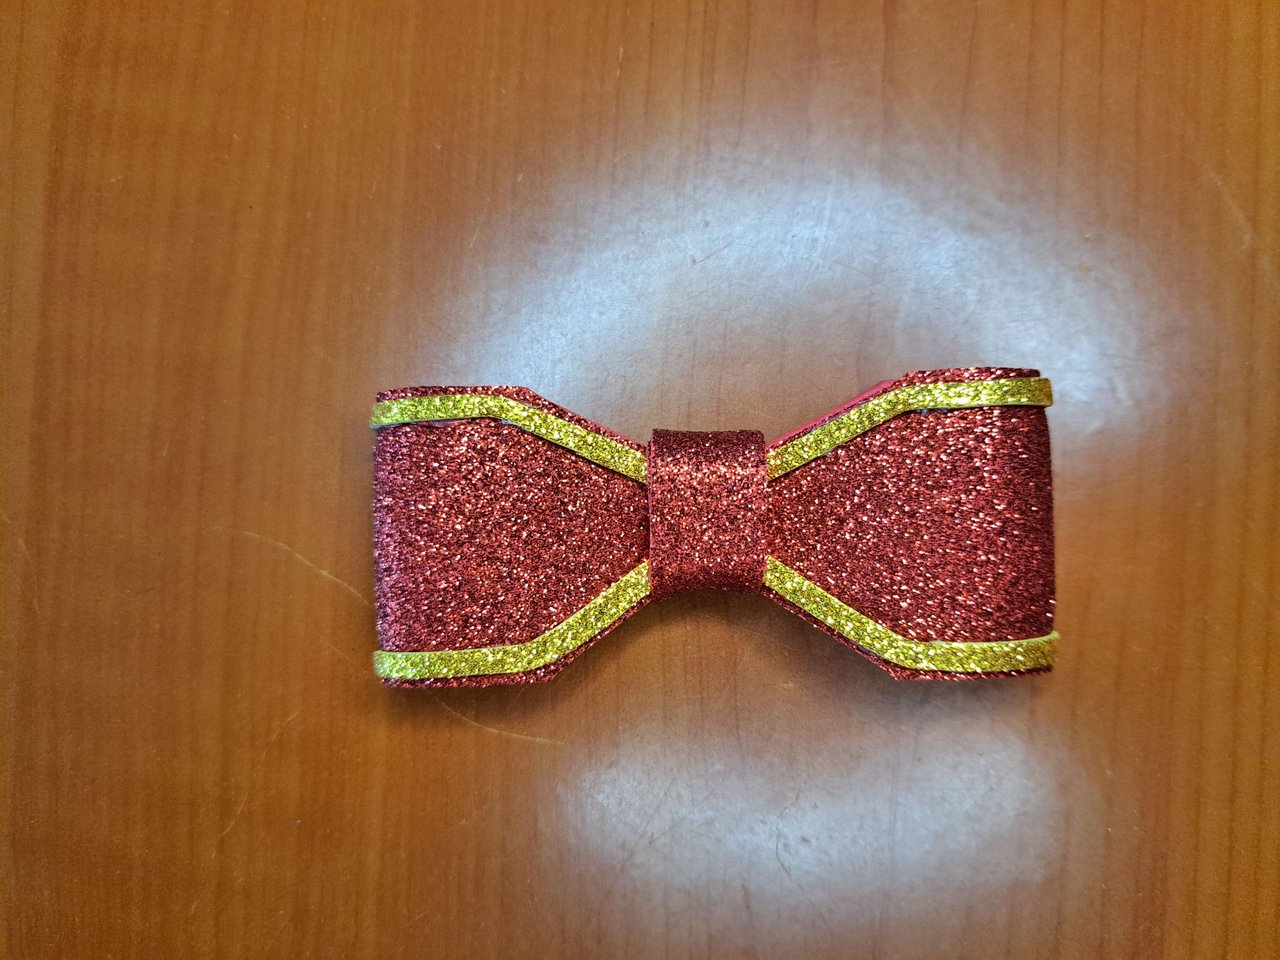
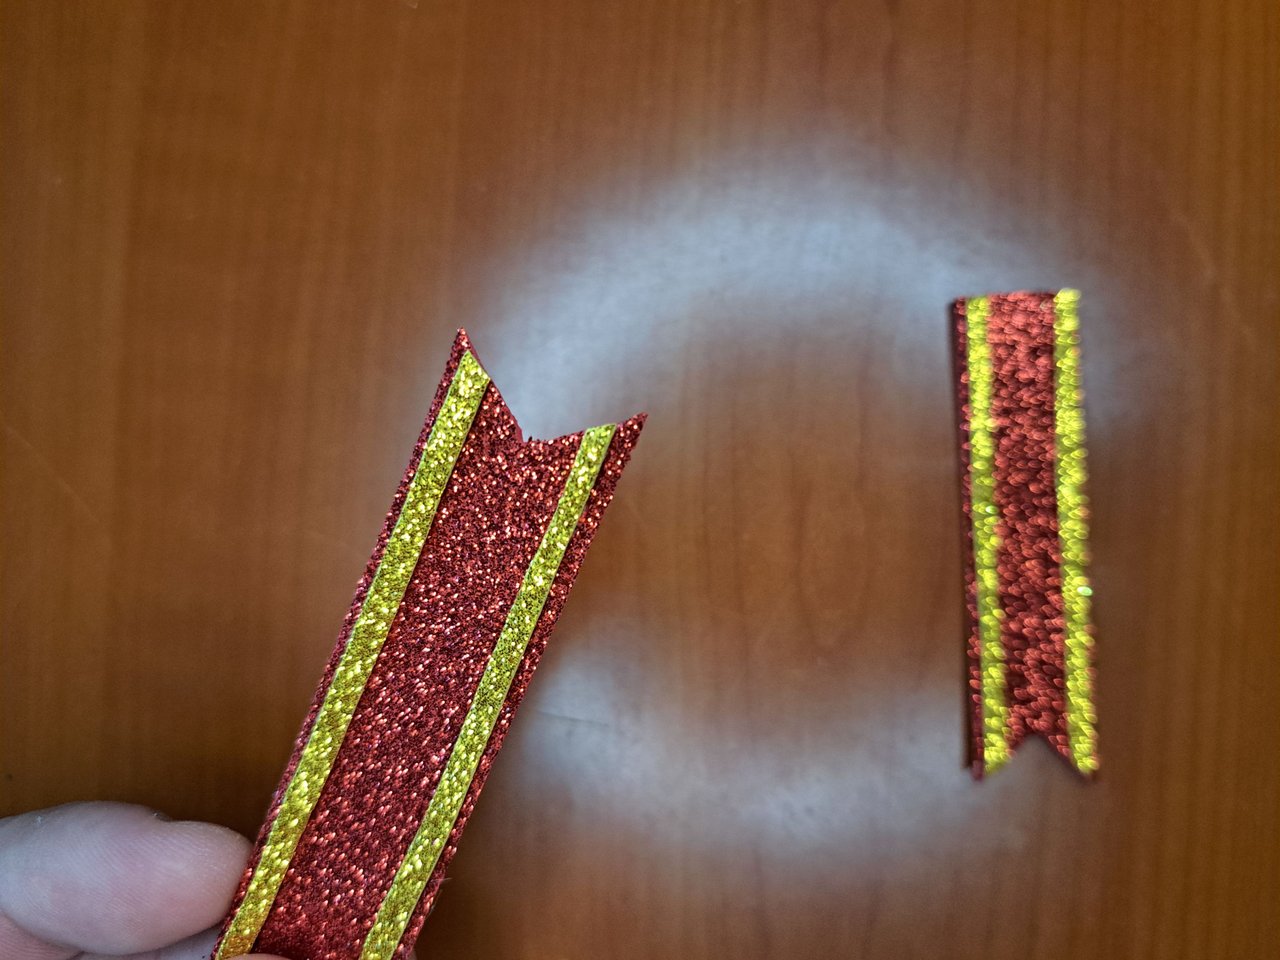
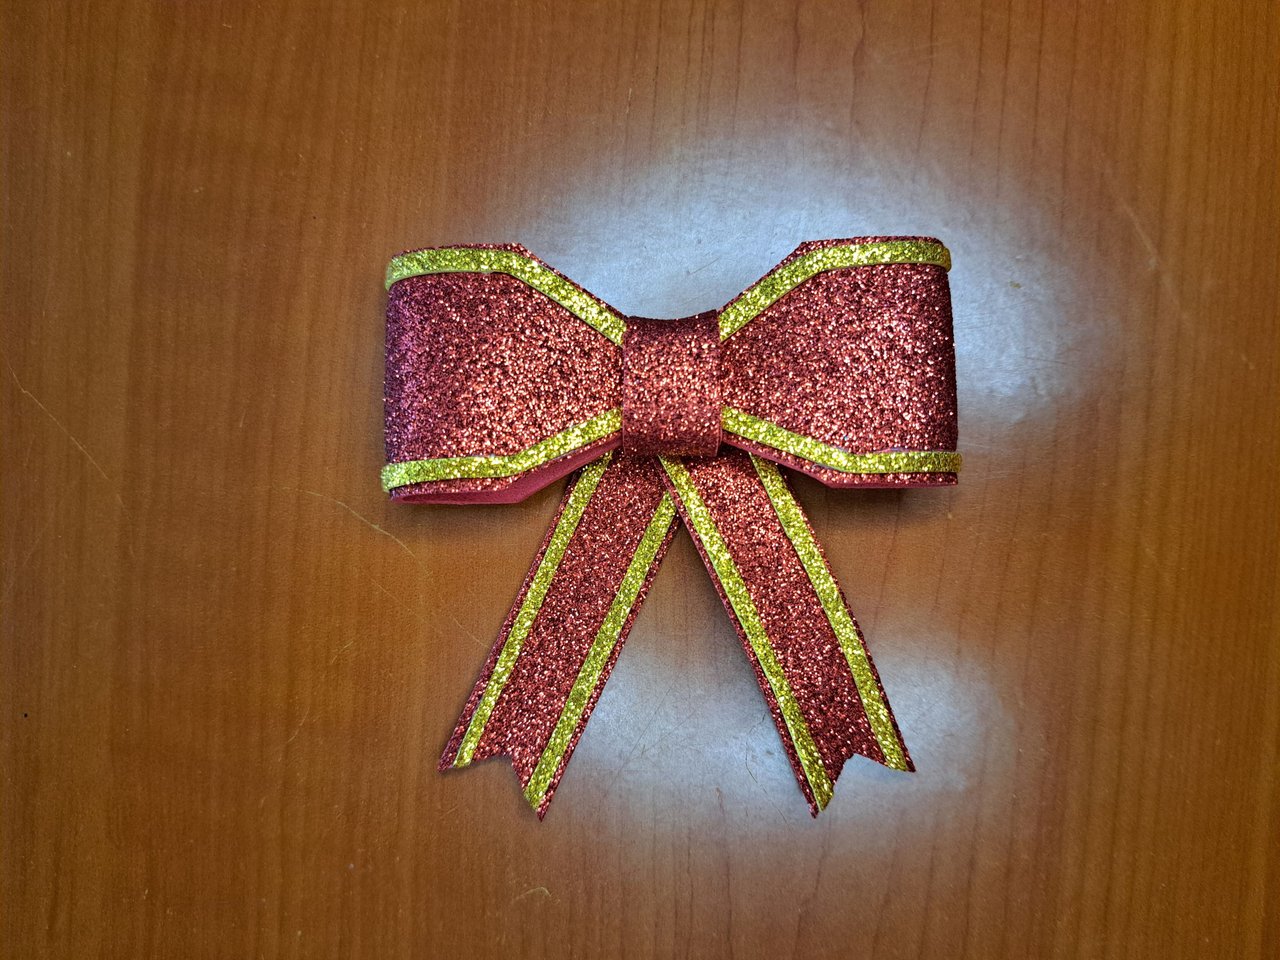
3️⃣ Next, fold the red fomi pieces to glue them facing each other, forming the bow. Repeat the process of bordering with gold fomi to create the ends of the ribbons that will be glued under the bow.
Seguidamente, se doblarán las piezas de fomi rojo para pegarlas frente a frente, formando el lazo. Repite el proceso de bordear con fomi dorado para crear las puntas de las cintas que irán pegadas bajo el lazo.
 |  |
 |  |  |
 |  |
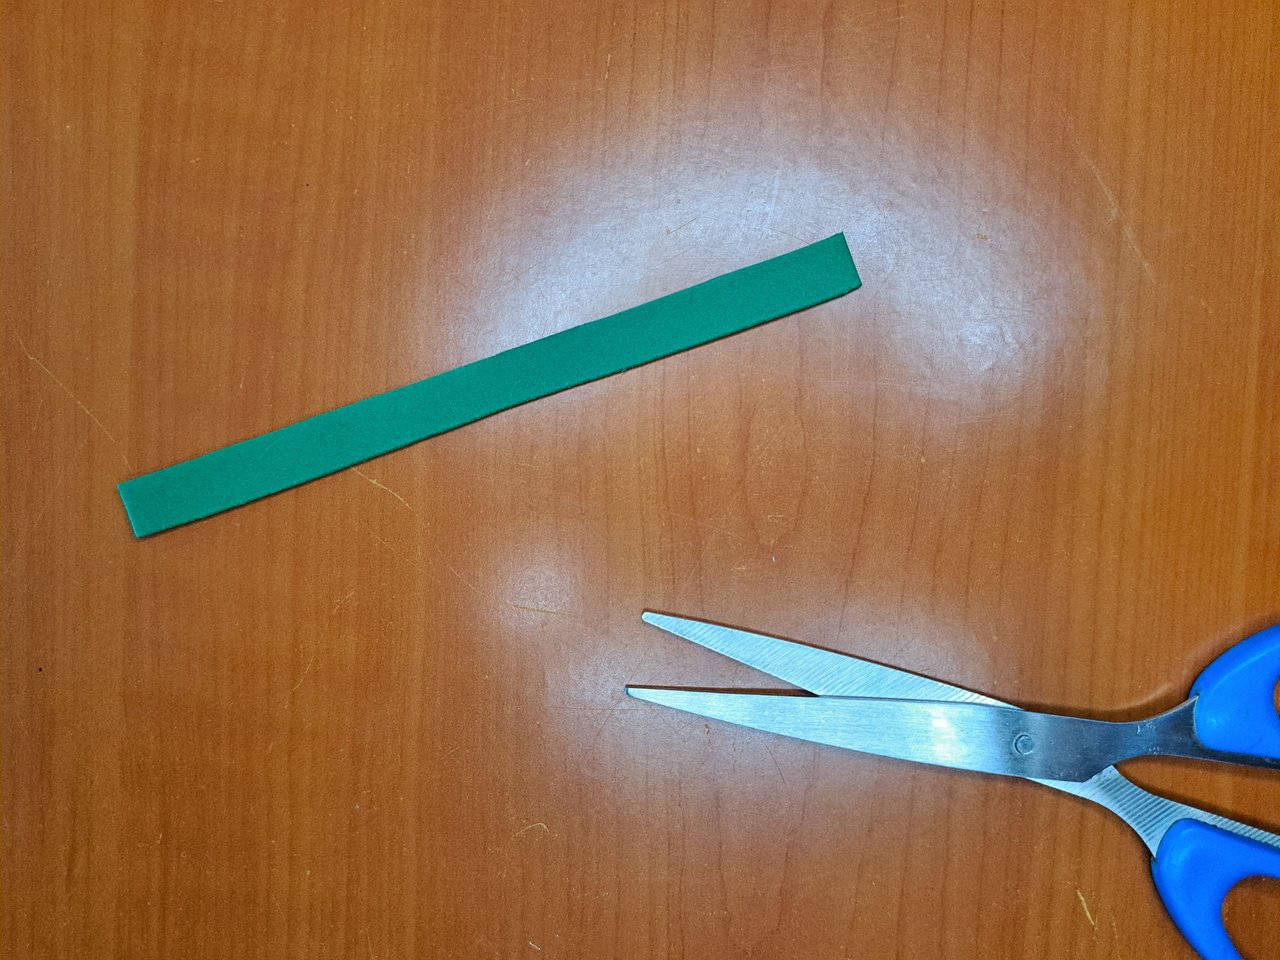
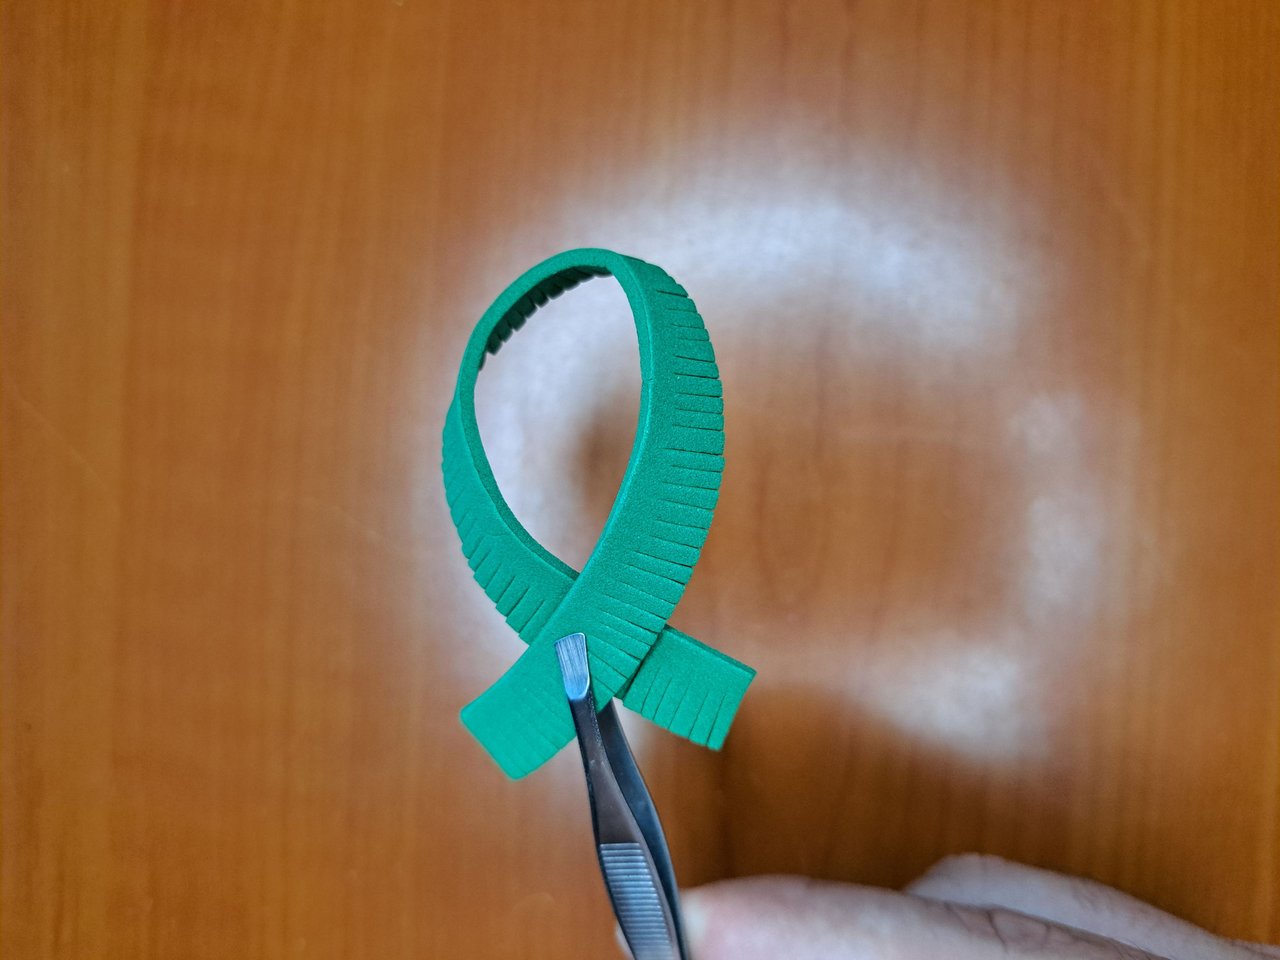
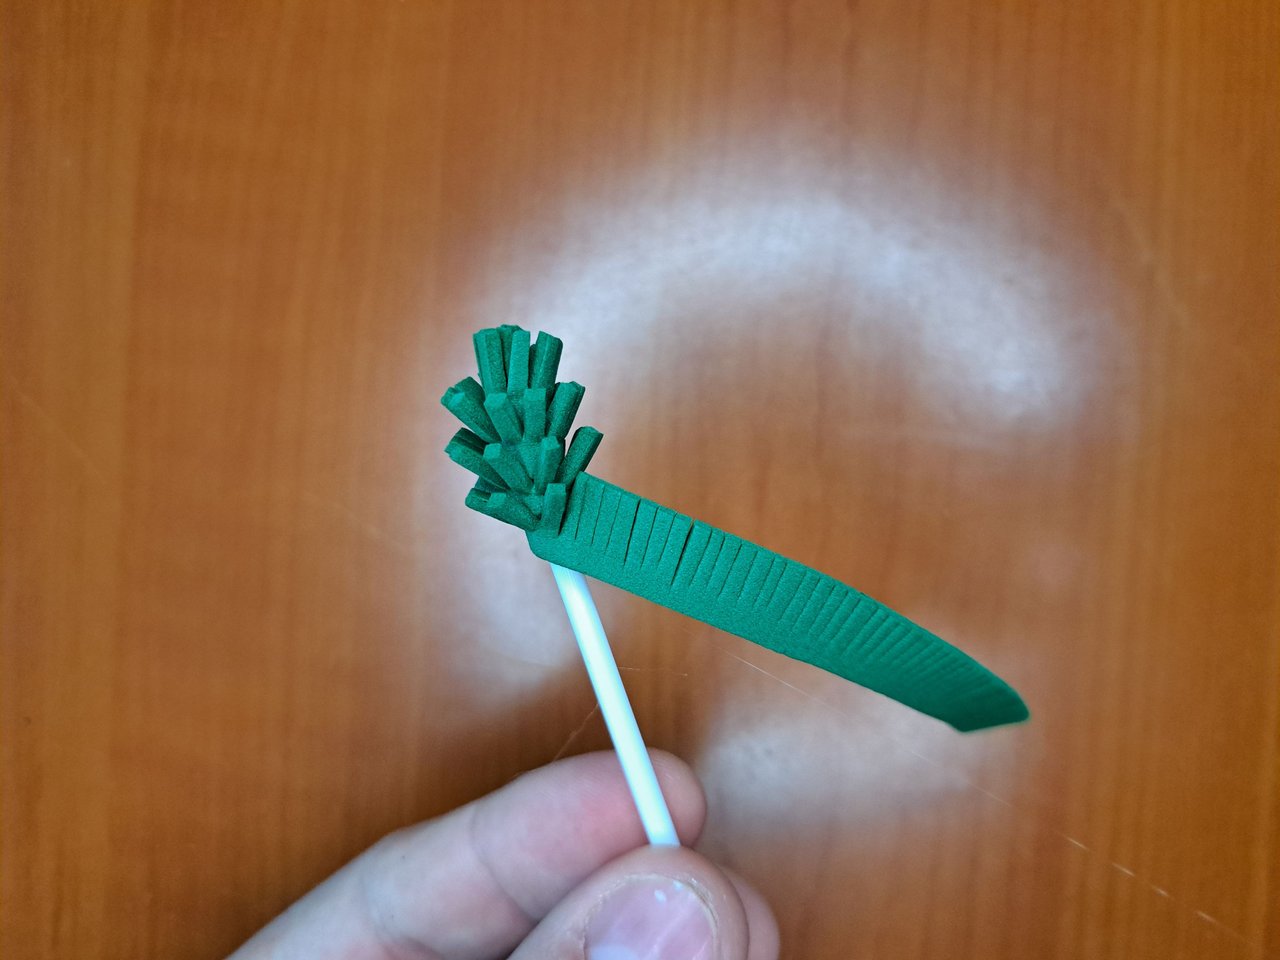
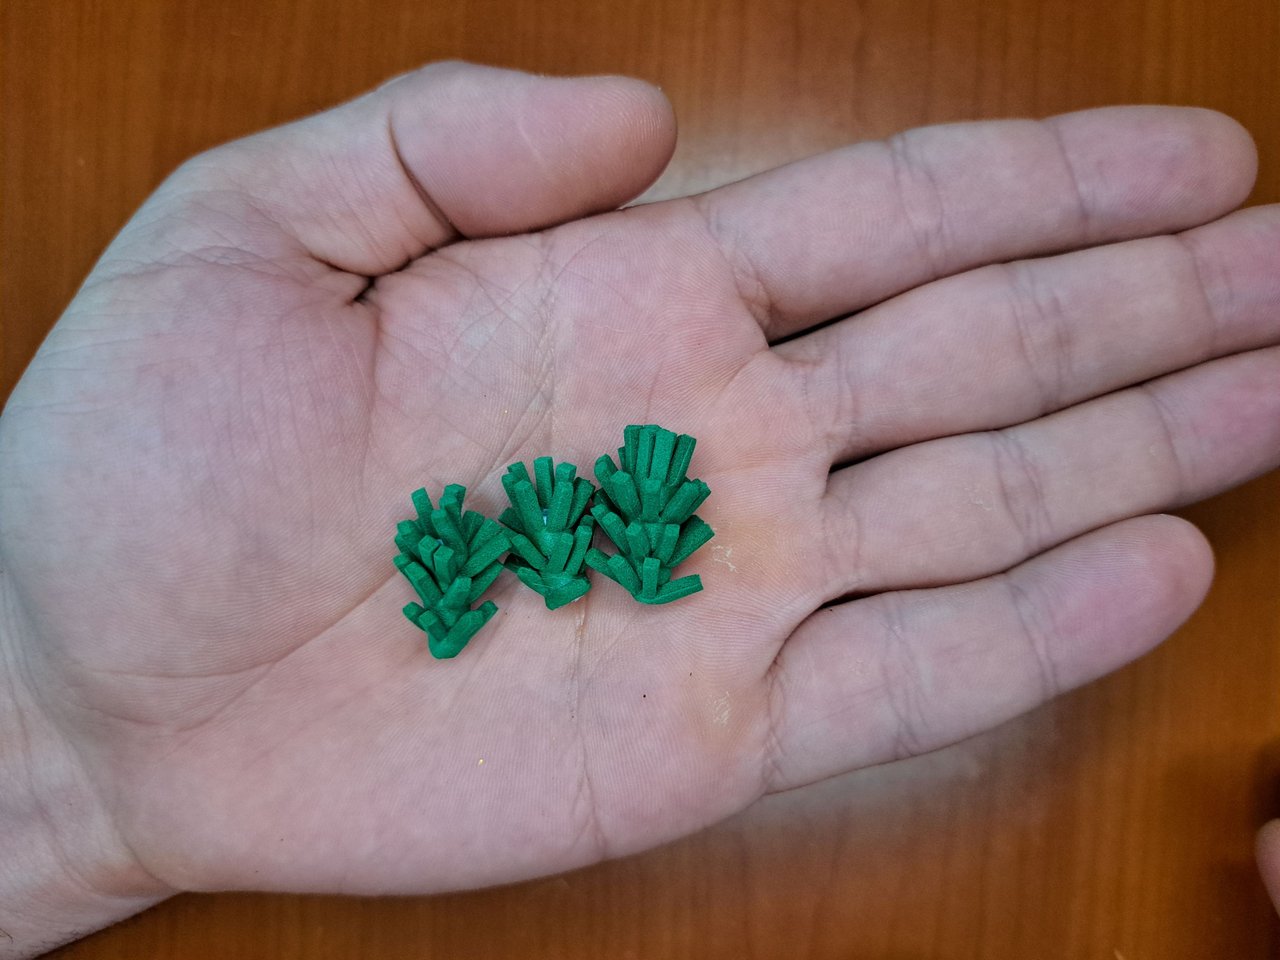
4️⃣ Plain green fomi is used to make the plants that go on top of the ribbon. Small cuts are made in a strip and then wrapped around a toothpick to create small bushes. Each of these bushes will be cut to the same size and three are needed.
Para hacer las plantas que van encima del lazo se utiliza fomi verde liso. A una tira se le hacen pequeños cortes y luego se envuelven alrededor de algún palillo para crear pequeños arbustos. Cada uno de estos arbustos se cortará del mismo tamaño y son necesarios tres.
 |  |
 |  |
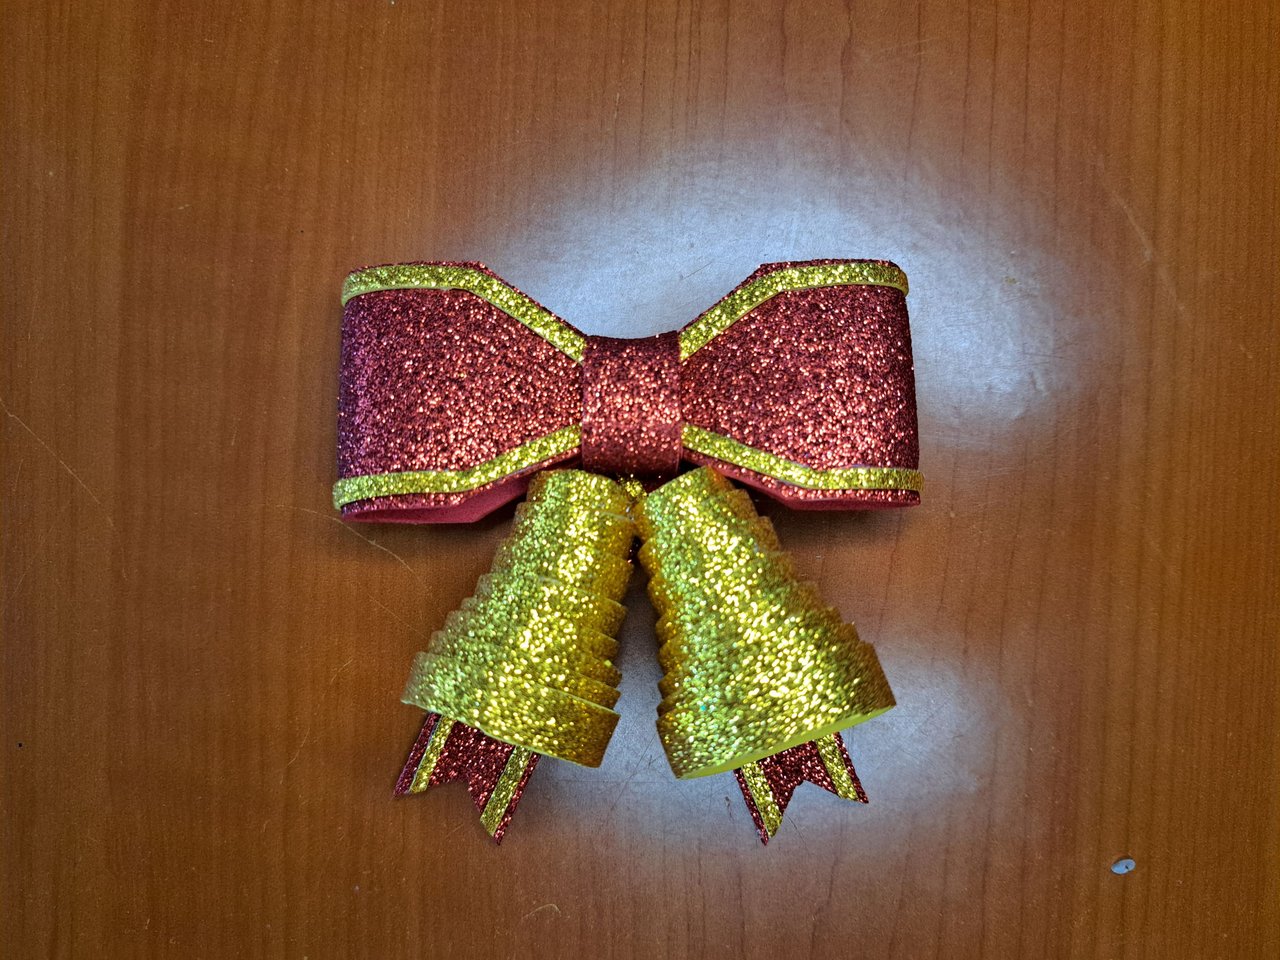
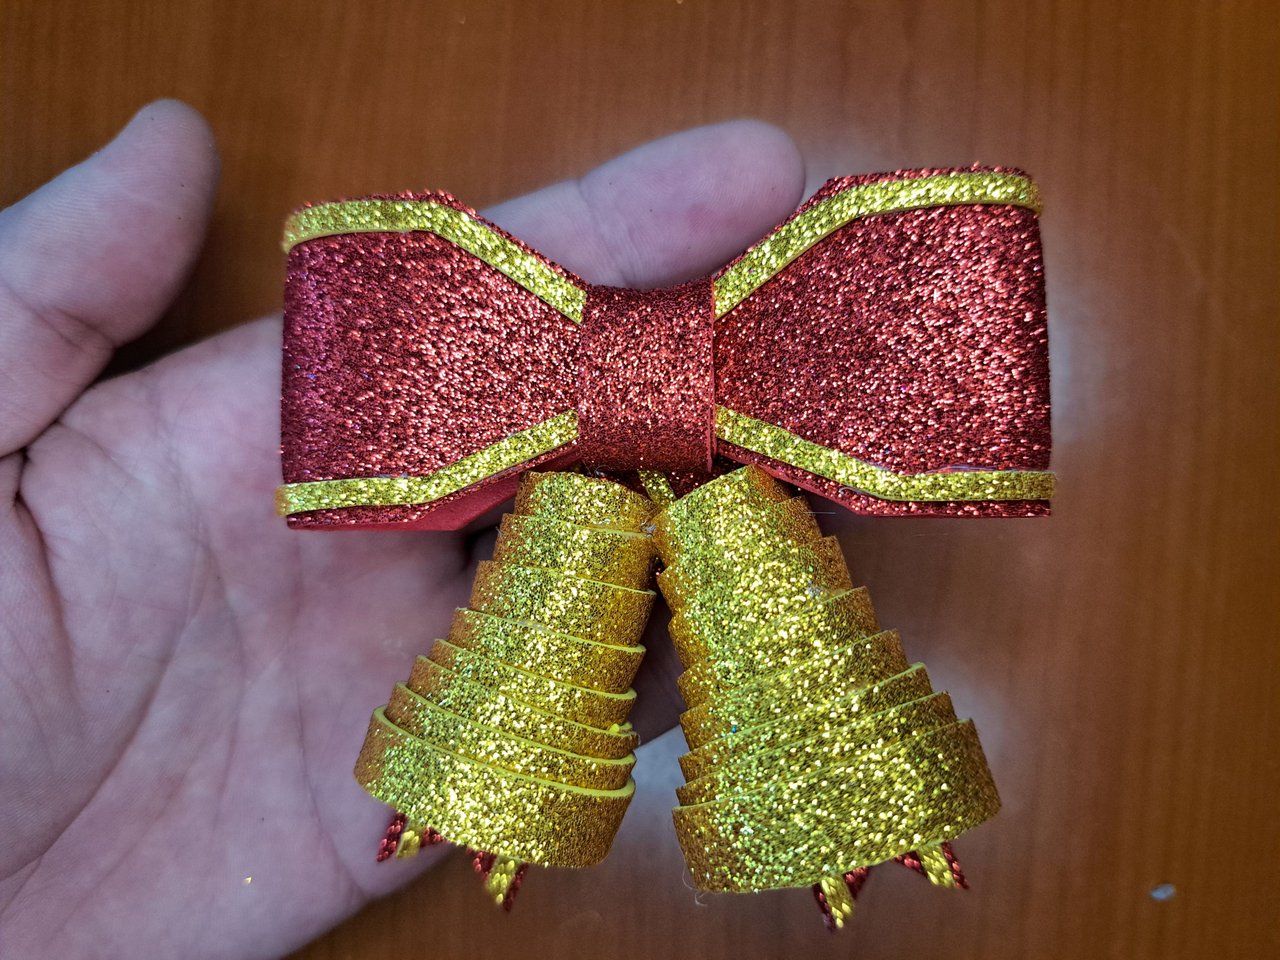
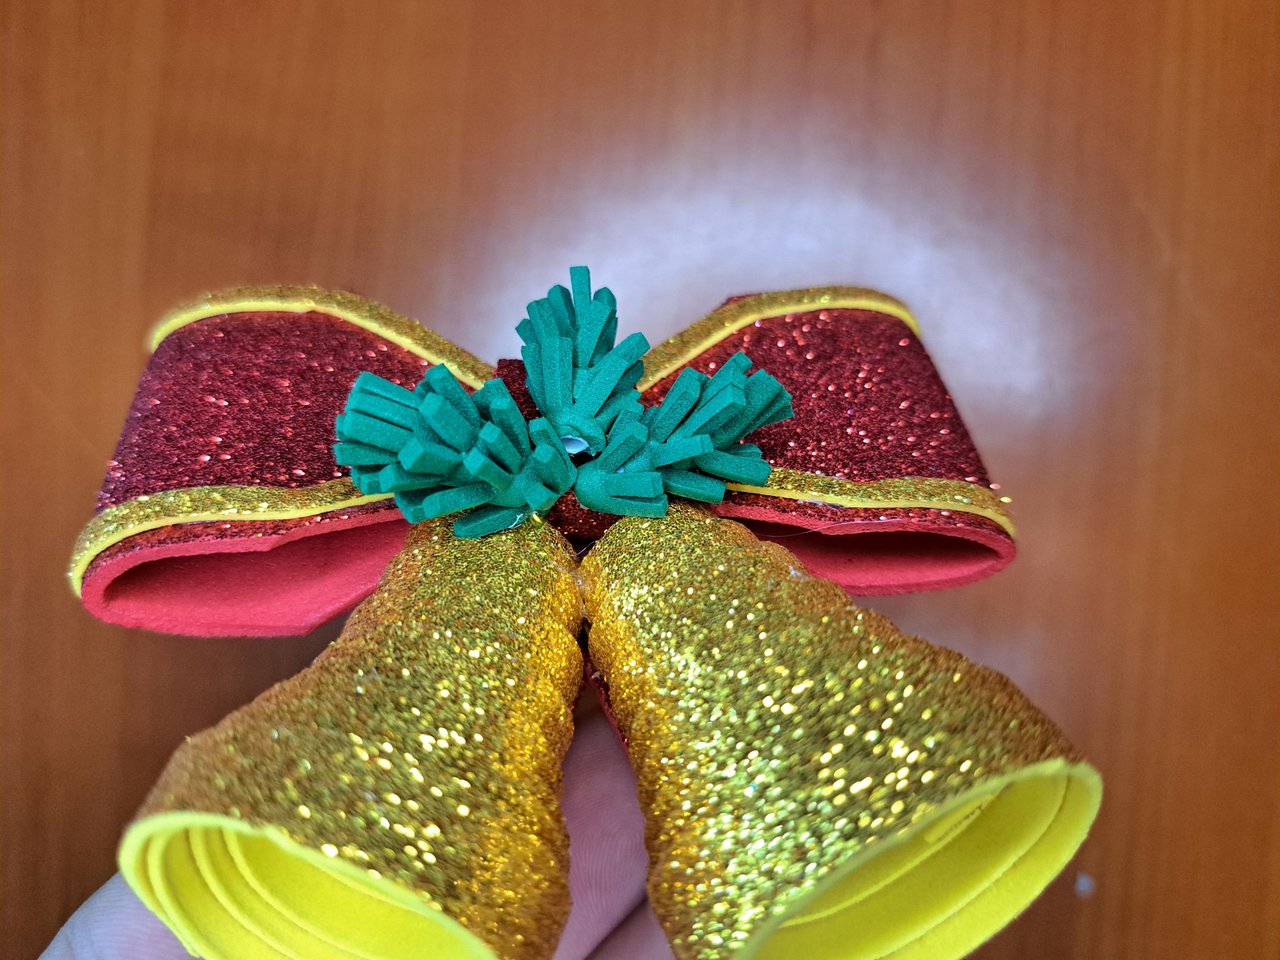
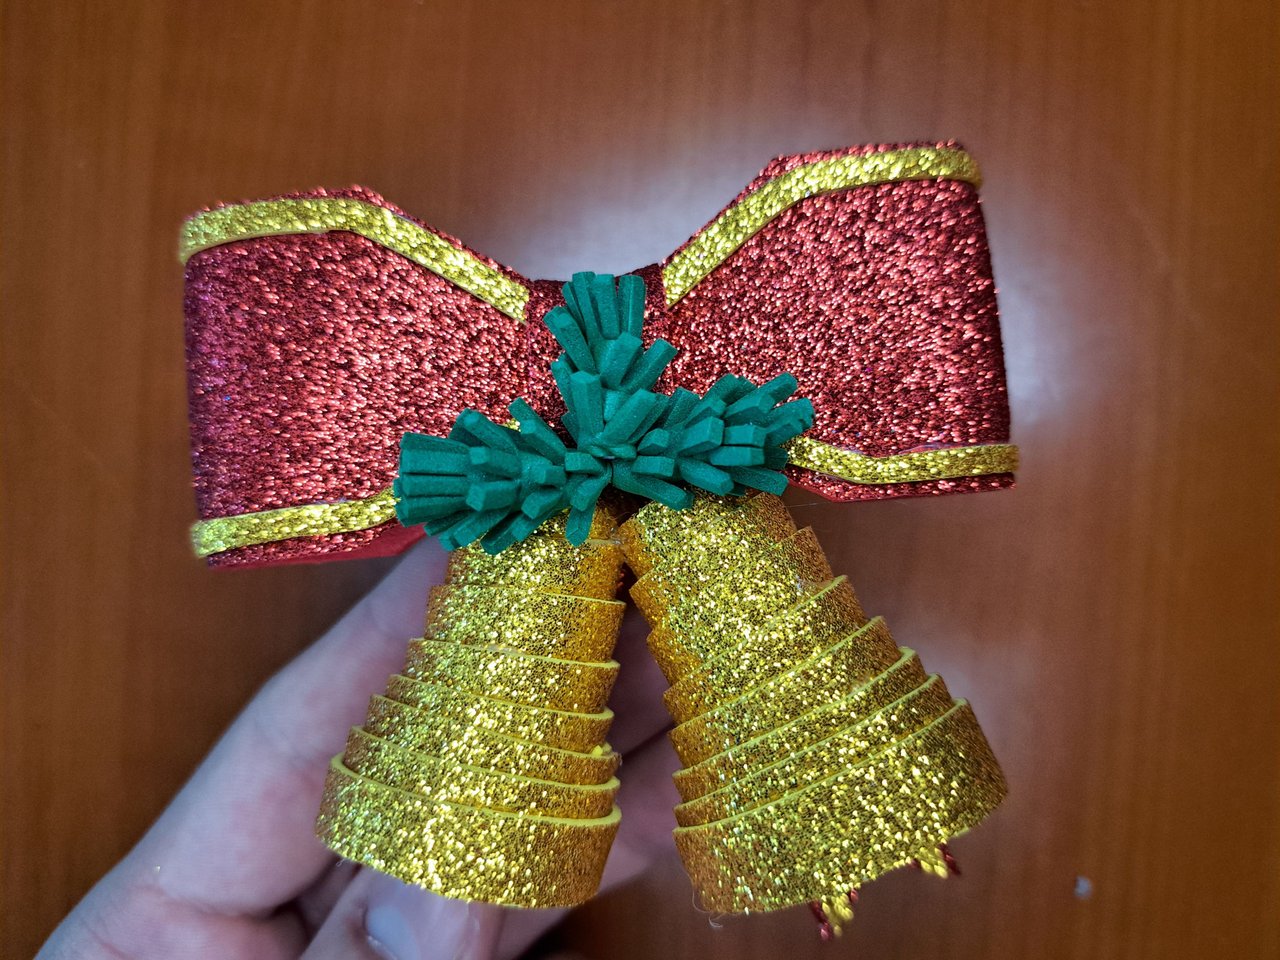
5️⃣ Glue the two bells on top of the ribbons of the bow and underneath it. Then glue the bushes just above the junction of the bells and the ribbon.
Pega las dos campanas encima de las cintas del lazo y por debajo de este. Luego pega los arbustos justo encima de la unión de las campanas con el lazo.
 |  |
 |  |
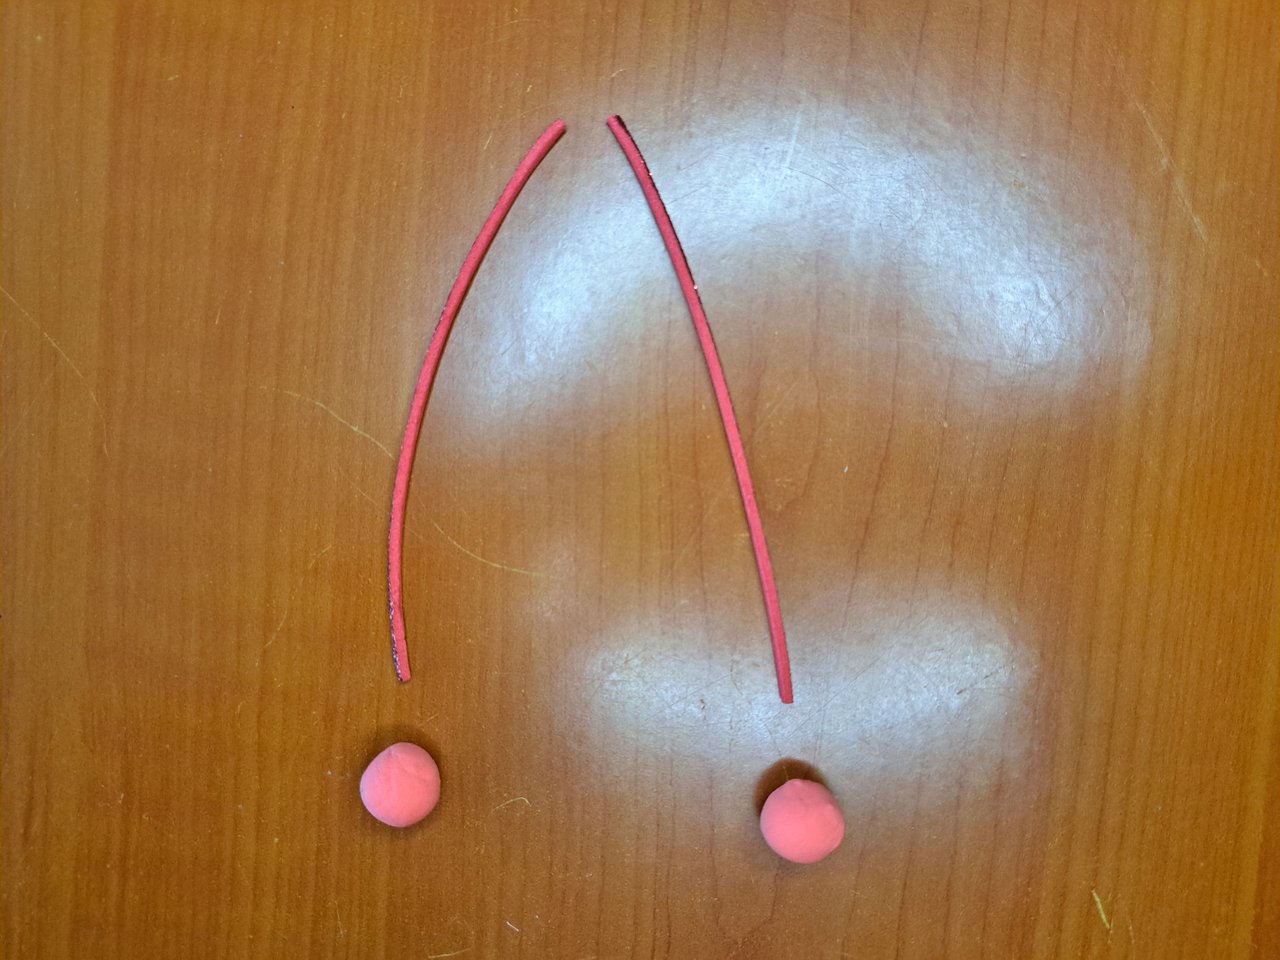
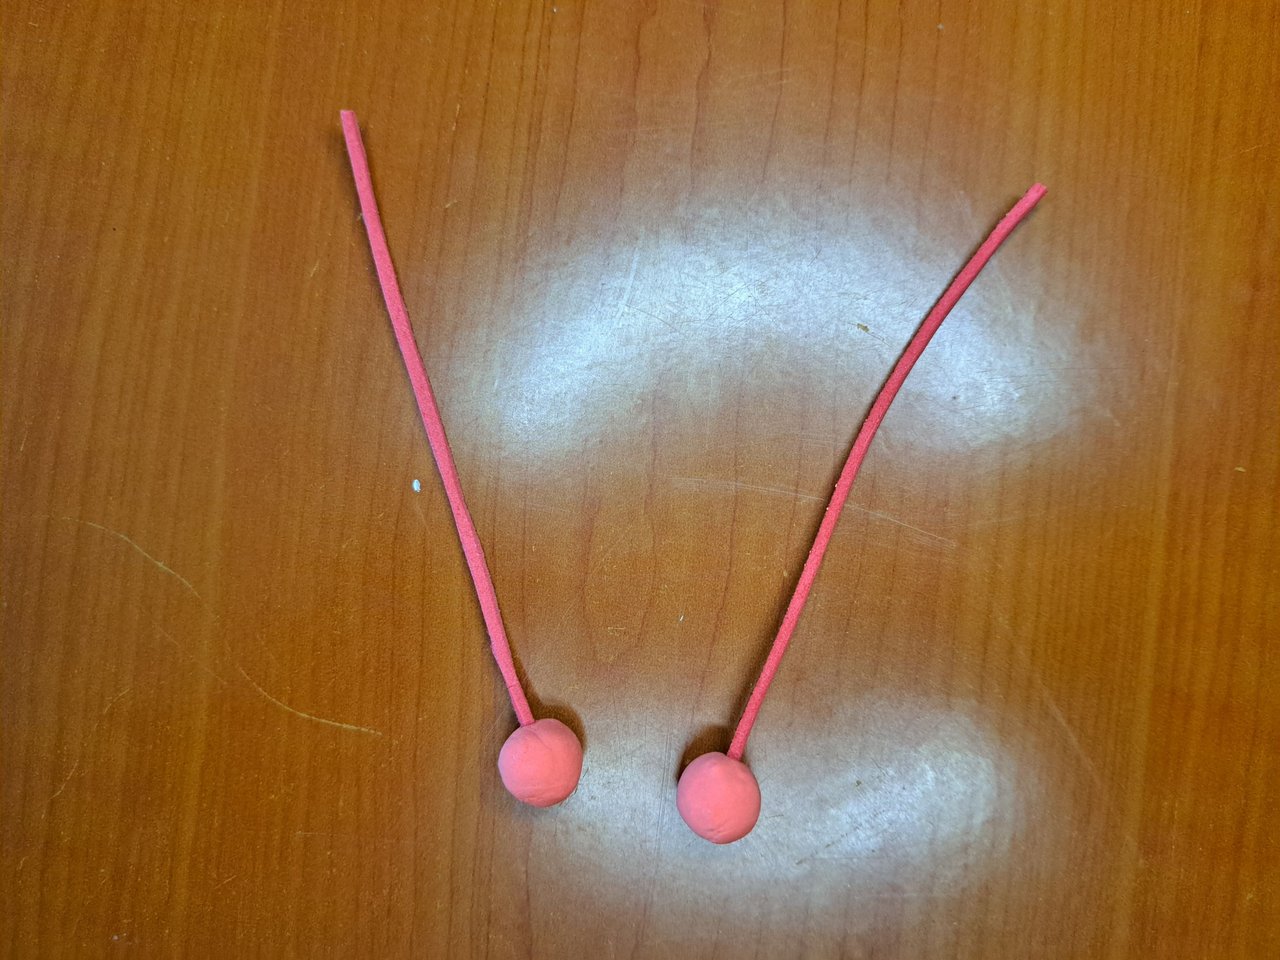
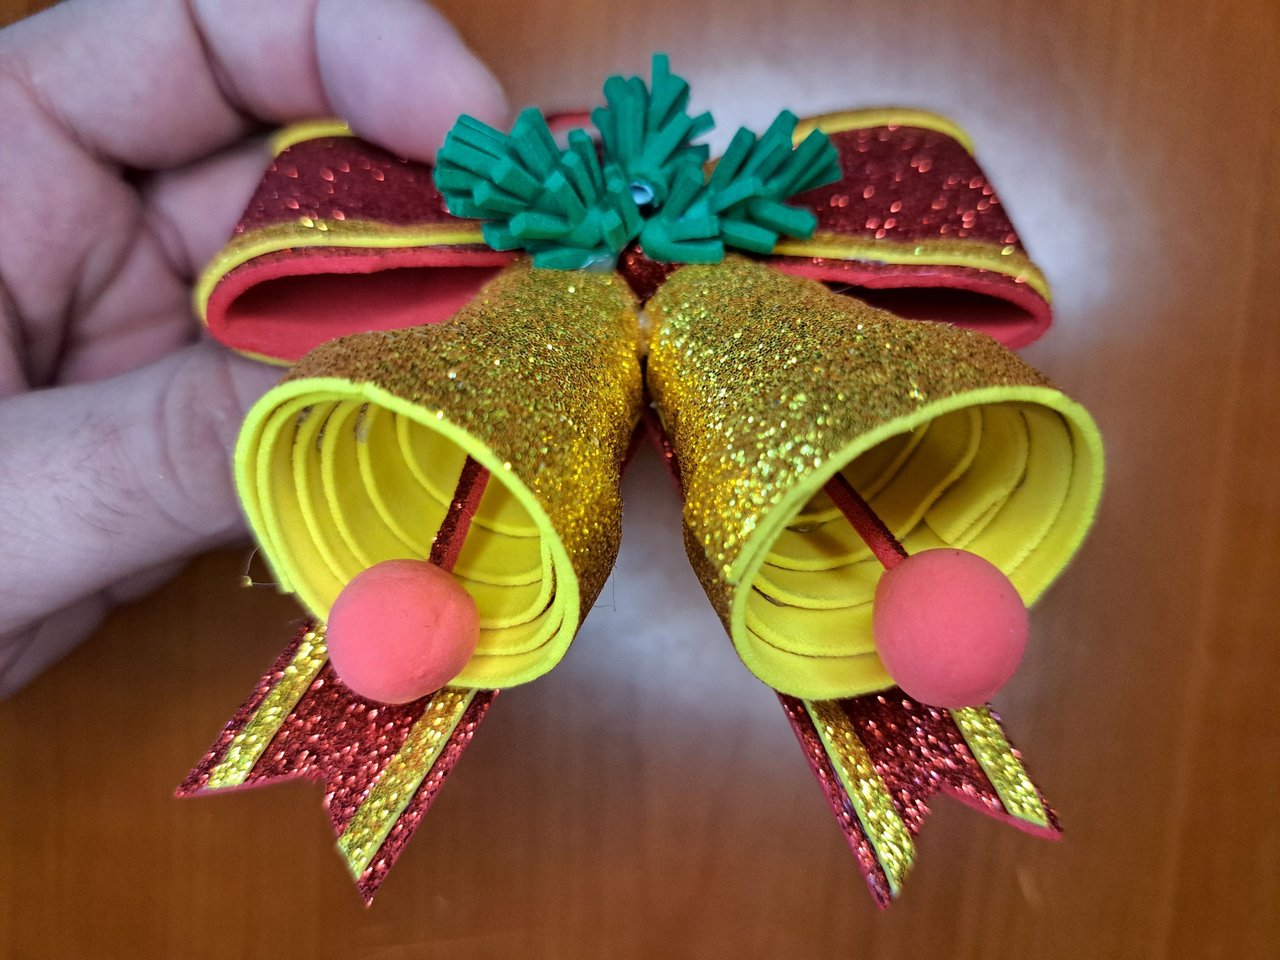
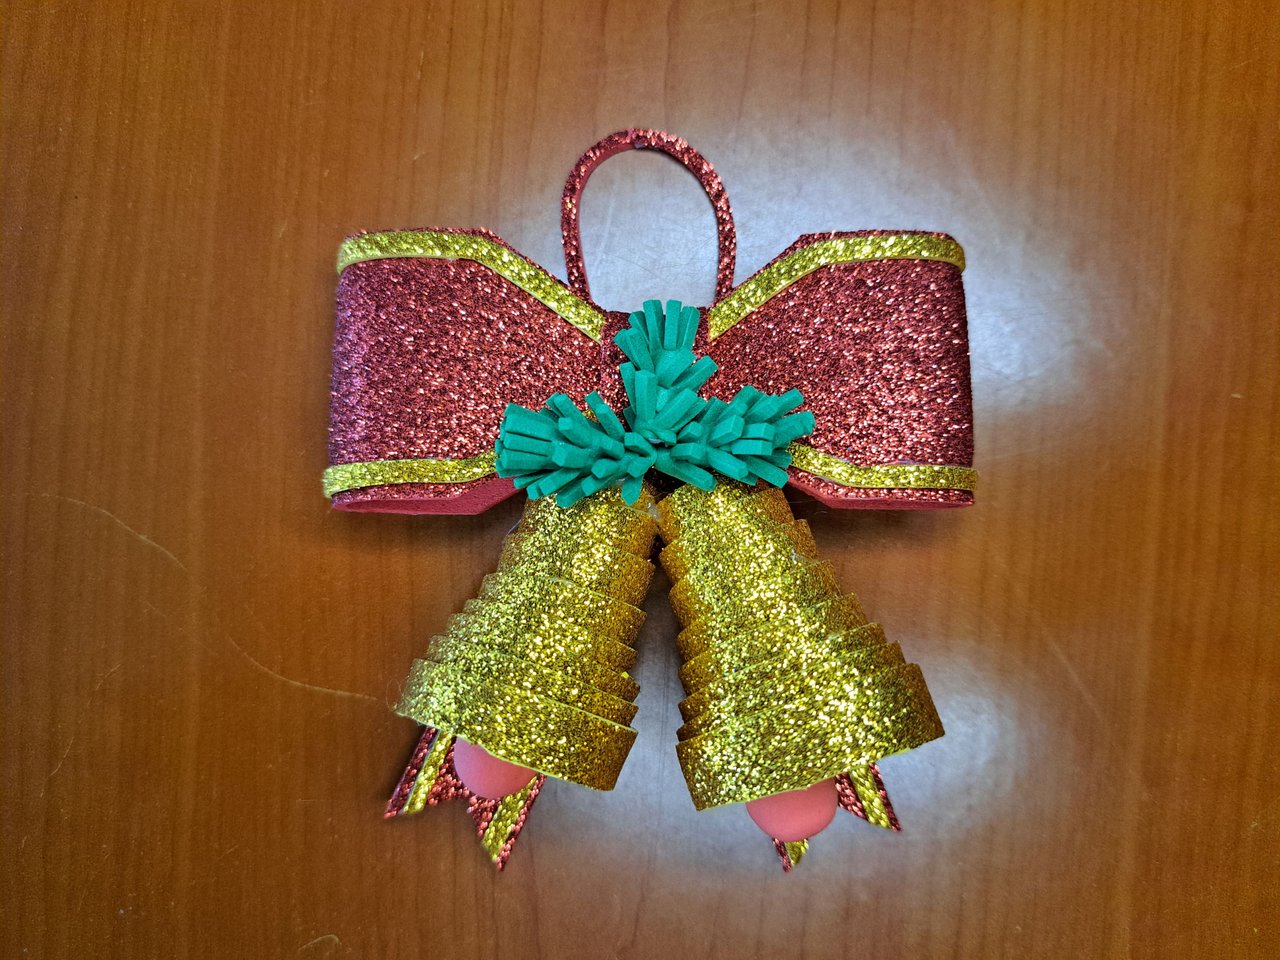
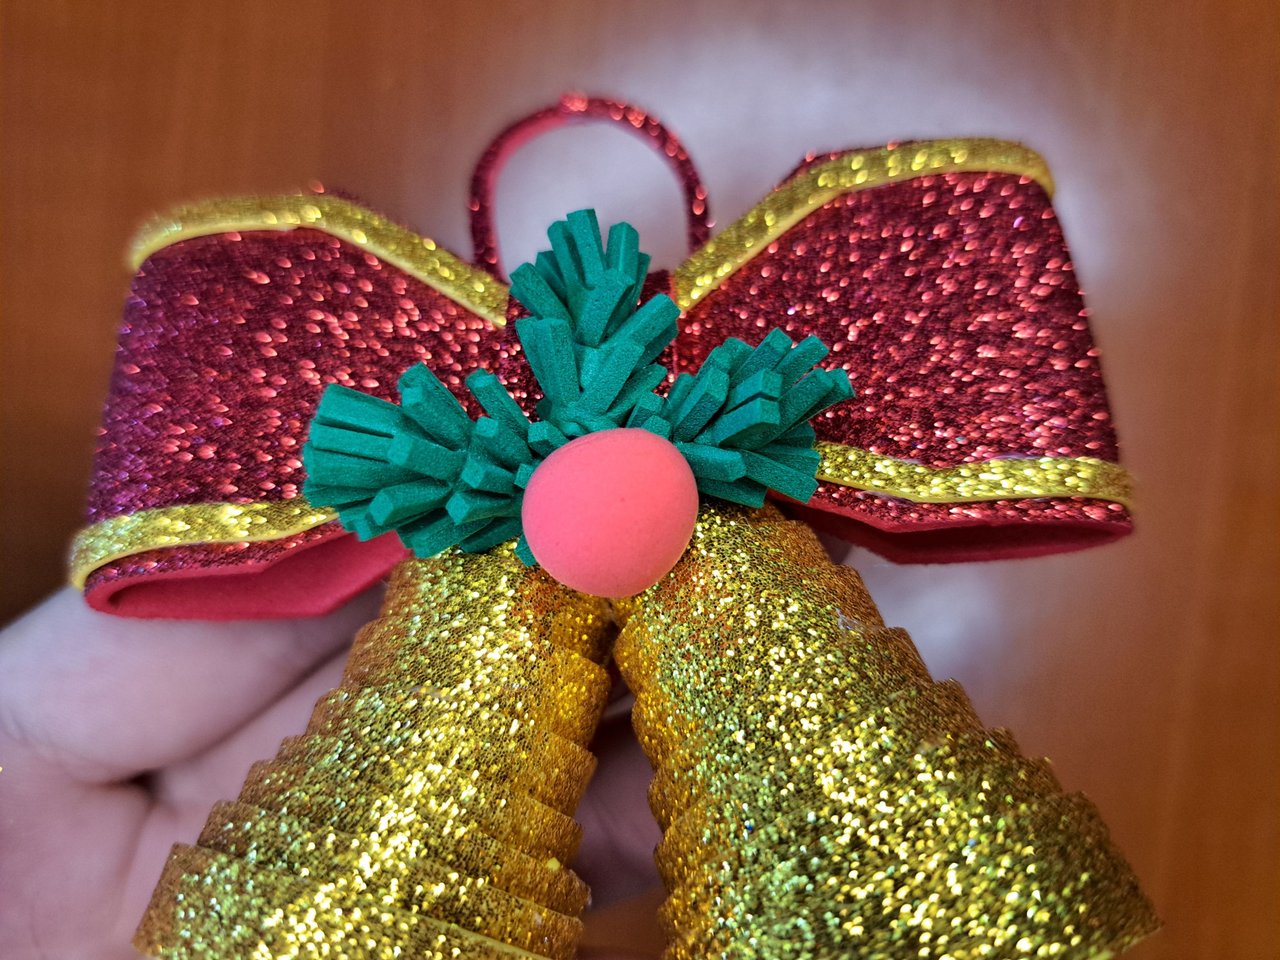
6️⃣ To finish, you will need three small balls of red moldable fomi. One of the balls will be glued in the center where the three green bushes meet. The other two will go inside the bells and will be glued to one end of some thin strips of red fomi. These strips will be long, since after gluing them inside the bells, the excess will be used as a loop to attach the ornament.
Para finalizar, serán necesarias tres bolitas de fomi moldeable rojo. Una de las bolitas irá pegada en el centro donde se unen los tres arbustos verdes. Las otras dos irán por dentro de las campanas y para ello se pegarán en un extremo de unas tiras finas de fomi rojo. Estas tiras serán largas, ya que luego de pegarlas por dentro de las campanas se utilizará el excedente como lazo de enganche para el adorno.
 |  |
 |  |  |
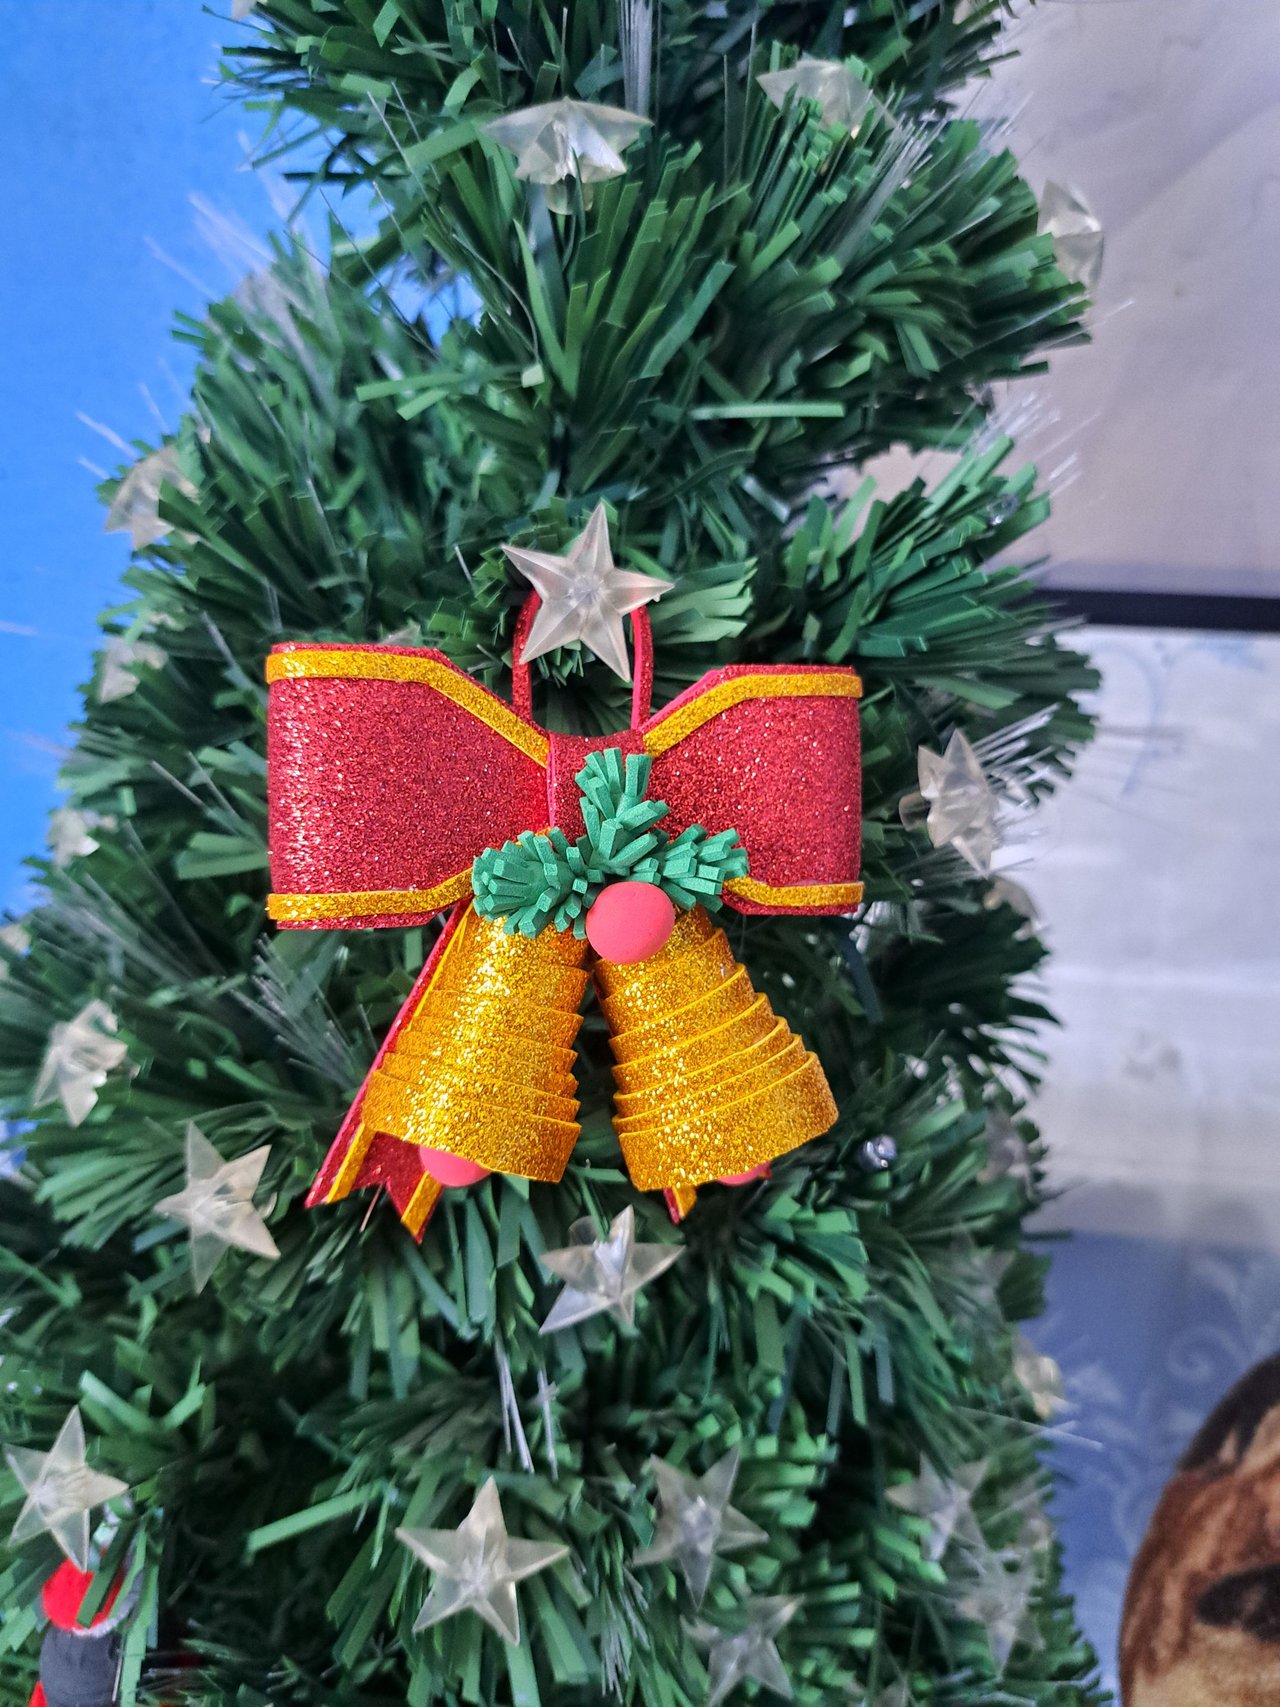
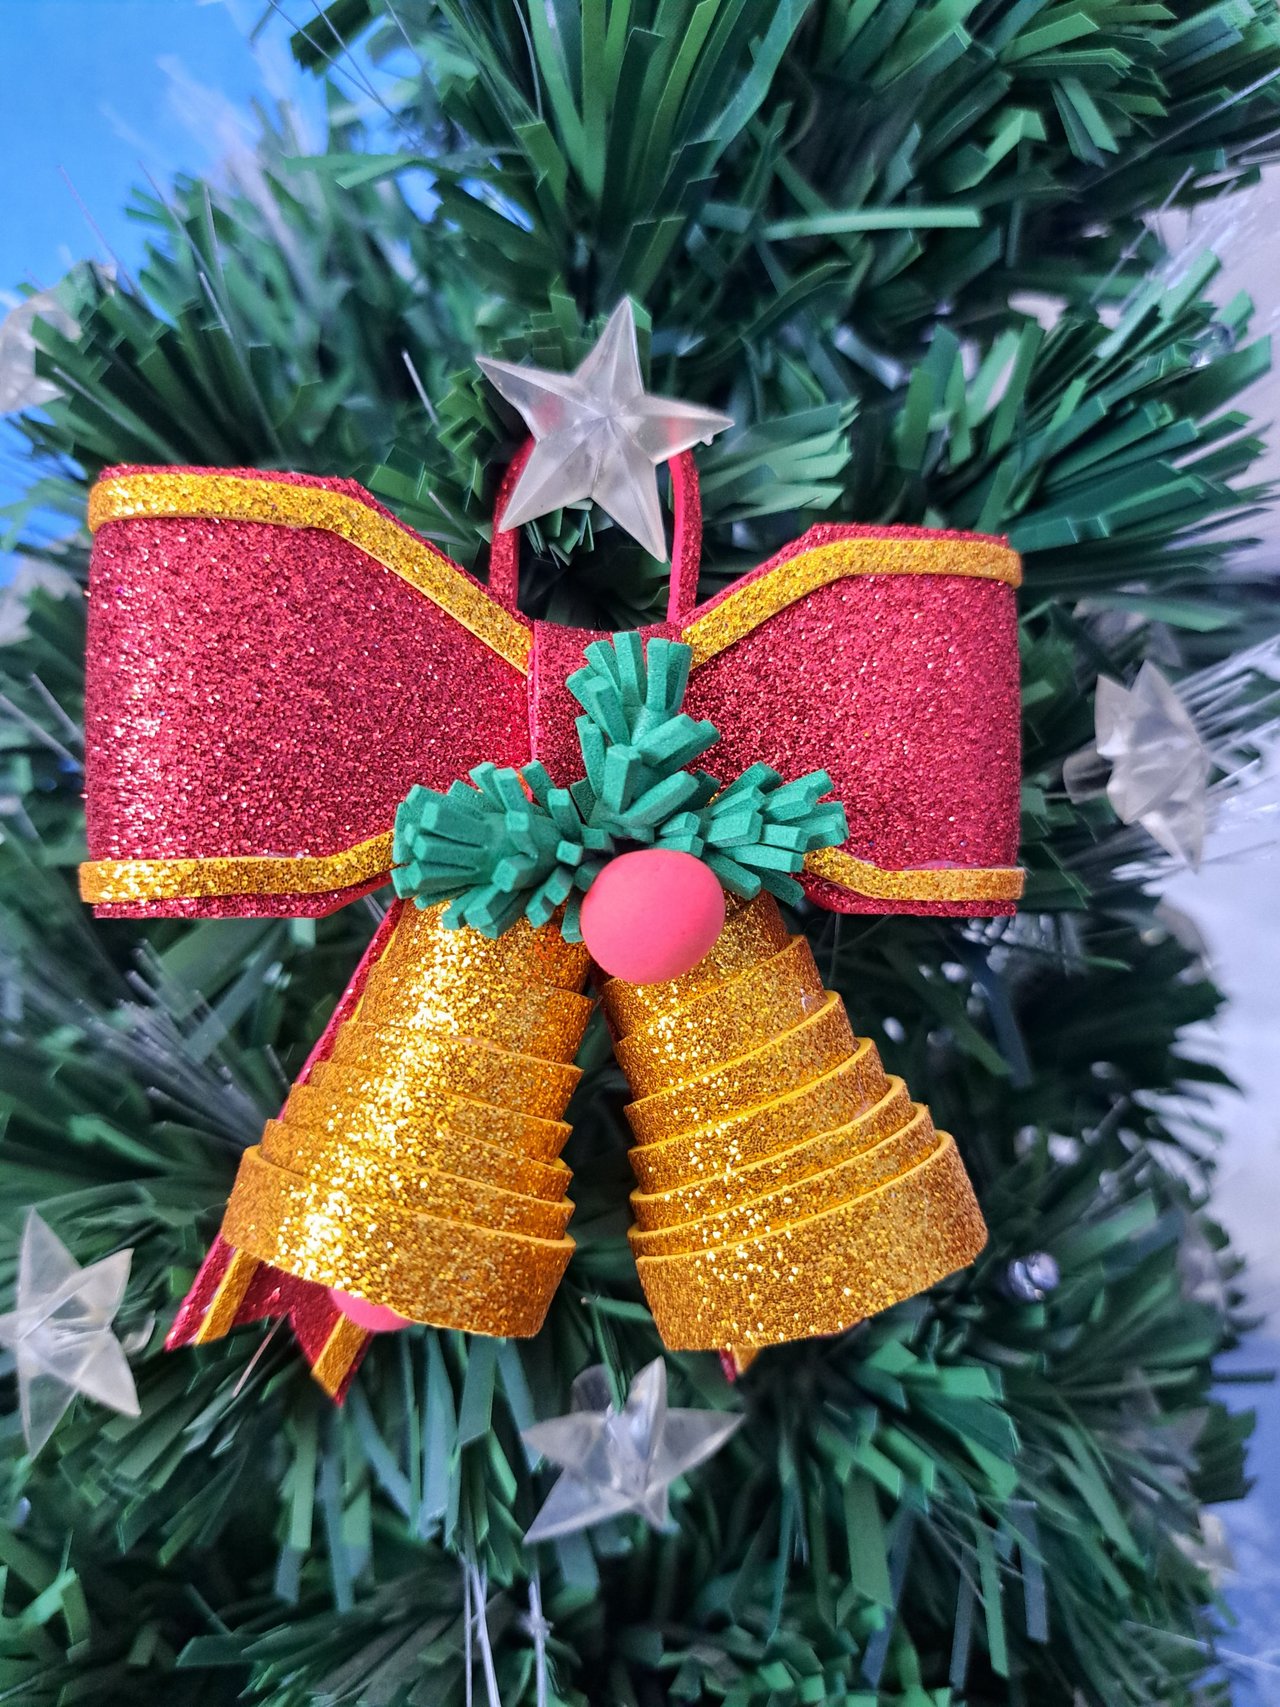
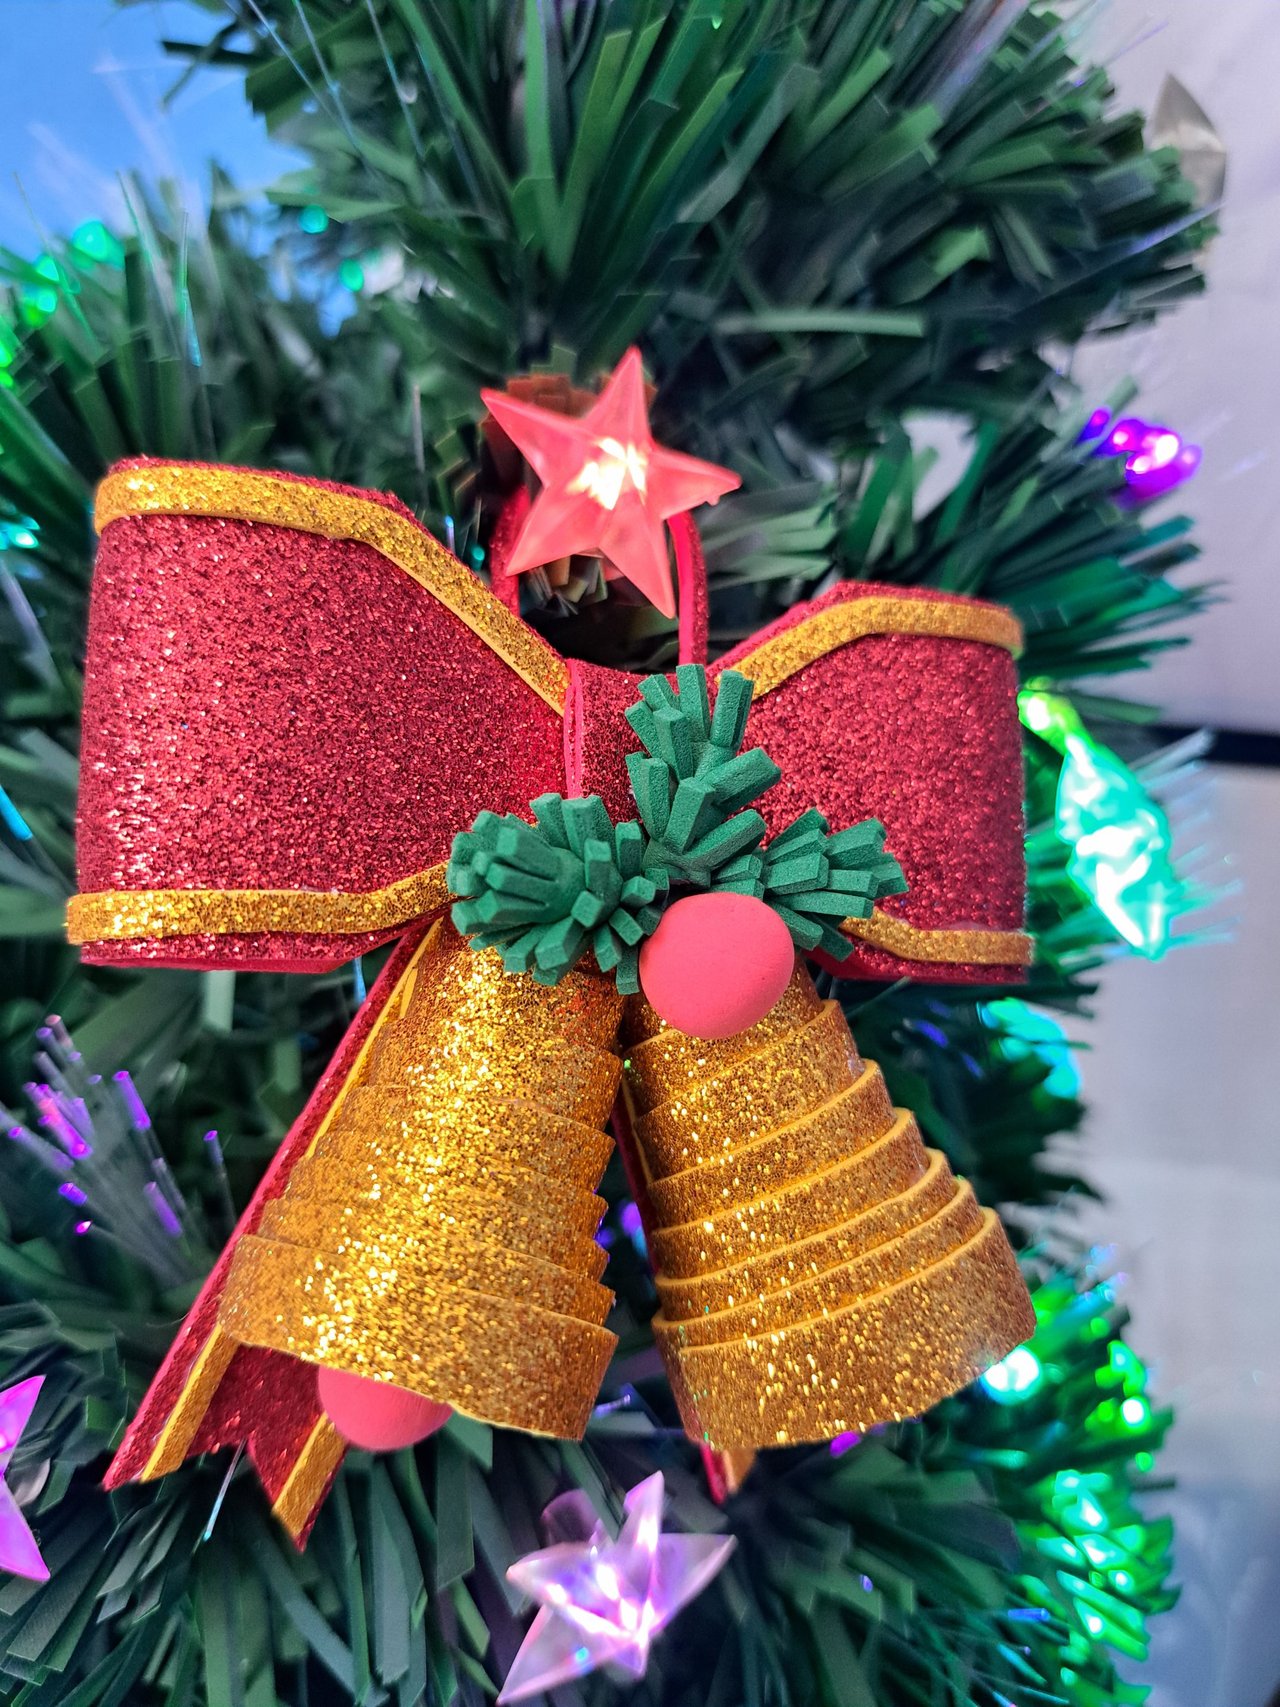
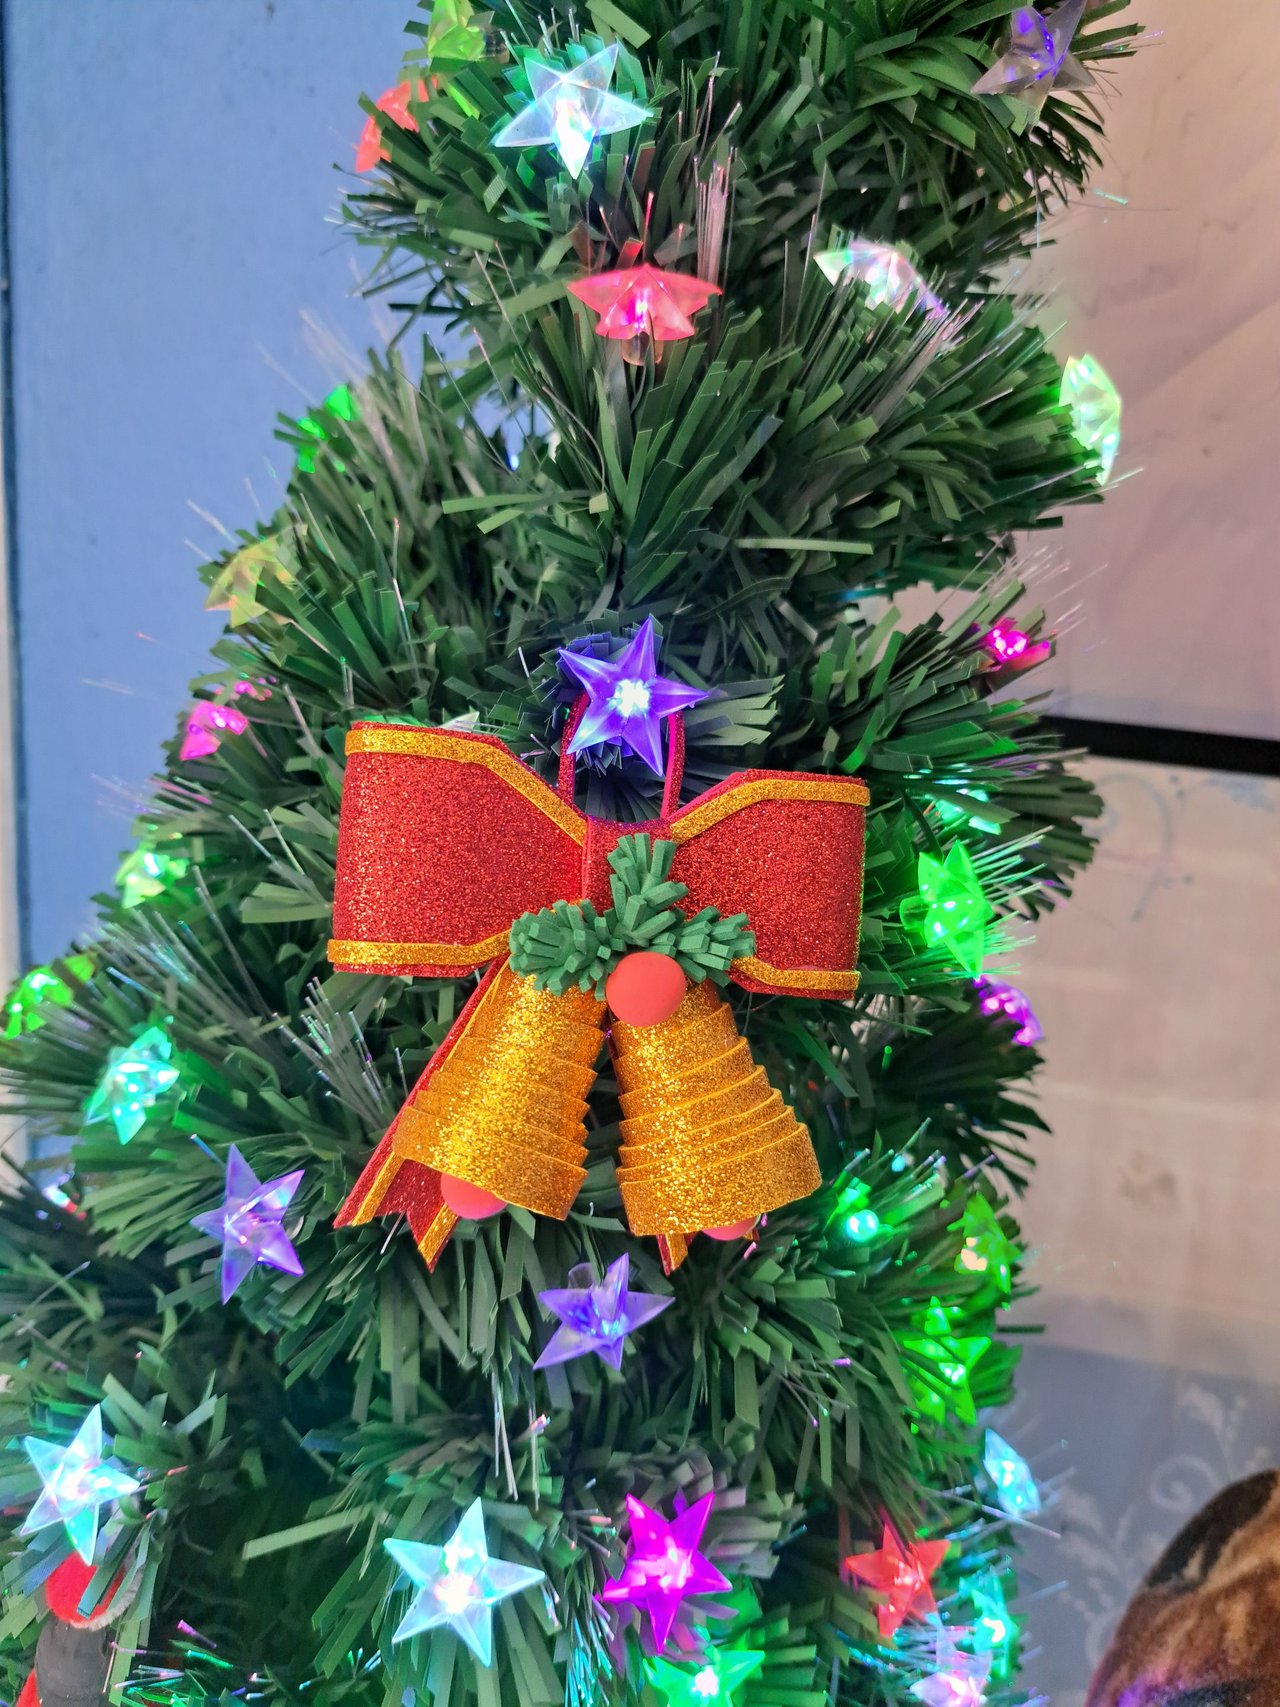
Finished Work // Trabajo Terminado
And so we come to the end of the tutorial. I hope you liked the process of creating this Christmas decoration. I also hope that you will immediately start putting up your tree if you haven't done it yet, because even though Christmas is several days away, you can't leave everything to the last minute. For now I say goodbye wishing you a happy and prosperous day. Bye.
Y de esta forma llegamos al final del tutorial. Espero que les haya gustado el proceso de creación de esta decoración de Navidad. También espero que inmediatamente se pongan a armar su arbolito si aún no lo han hecho, pues a pesar de que faltan varios días para Navidad, no pueden dejarlo todo para el último momento. Por ahora me despido deseándoles una feliz y próspera jornada. Chao.
 |  |
 |  |

Thank you very much for reading my post. If you liked it, please leave a comment and consider following me so you don't miss my next posts. I'd love to know your opinion and your thoughts about the topic I discussed in this post, see you in the next one!

Credits and Resources // Créditos y Recursos
Cover page created in Canva
Translated by DeepL
Images captured with my Samsung Galaxy A53 5G


Posted Using InLeo Alpha
Cover page created in Canva
Translated by DeepL
Images captured with my Samsung Galaxy A53 5G


Posted Using InLeo Alpha