.jpg)
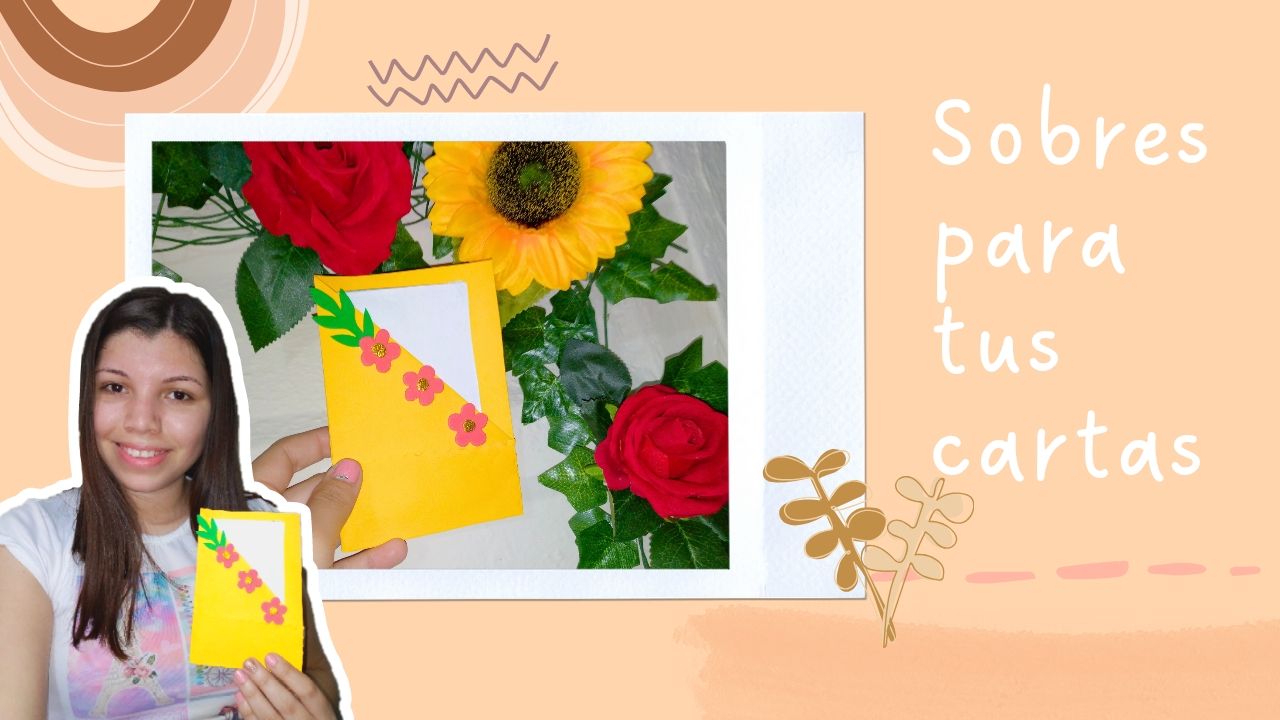
Buenos dias apreciada comunidad de artesanos un gusto es para mí saludarles,espero todos se encuentren muy bien disfrutando de este hermoso día,yo por mi parte me alegra pues estar nuevamente aquí compartiendo con ustedes las manualidades que siempre disfruto hacer y pues siempre trayendoles nuevas ideas sencillas y muy prácticas para hacerte la vida más fácil 😁.
Good morning, dear community of artisans, it is a pleasure to greet you. I hope you are all doing very well and enjoying this beautiful day. For my part, I am happy to be here again, sharing with you the crafts that I always enjoy doing and always bringing you new, simple and very practical ideas to make your life easier 😁.
En este día y en este tutorial por supuesto te estaré enseñando a hacer unos clásicos y muy sencillos sobres bien sea para invitaciones , eventos especiales y hasta para hacer un detalle especial a esa persona que tanto admiras o quieres,es bueno siempre tener unos sobres modelos en casa porque no sabemos en que momento necesitamos uno como guia y no tenemos ,así que de muchas ideas que yo tengo para hacer mis sobres decorativos te estaré enseñando este que es hecho con cartulina de colores y que tu puedes obtener en cualquier tienda de útiles escolares o librerías,una vez que la realiza me alegraría saber que te ha parecido y si has realizado este modelo, también tus comentarios para mi siempre serán de mucho apoyo y ayuda y de antemano les agradezco por eso.
On this day and in this tutorial of course I will be teaching you how to make some classic and very simple envelopes either for invitations, special events and even to make a special detail to that person you admire or love so much, it is good to always have some model envelopes at home because we do not know when we need one as a guide and we do not have one, so from many ideas that I have to make my decorative envelopes I will be showing you this one that is made with colored cardboard and that you can get at any school supply store or bookstore, once you make it I would be happy to know what you thought of it and if you have made this model, also your comments will always be very supportive and helpful to me and I thank you in advance for that.
Y bien sin más que contarle vamos con los materiales a usar y luego pasamos al "manos a la obra"😊🎨.
And well, without further ado, let's get to the materials to use and then get to "work"😊🎨.

Materiales:// Materials:
| Español | English |
|---|
| •Regla | •Ruler |
| •Silicón | •Silicone |
| •Cartulina escolar de colores | •Colored school cardboard |
| •Lápiz | •Pencil |
| •Trozos de fomi de colores | •Pieces of colored foam |
| •Tijera normal y tijera con figuras | •Regular scissors and figured scissors |
Pasos a seguir://Steps to follow:
Paso 01
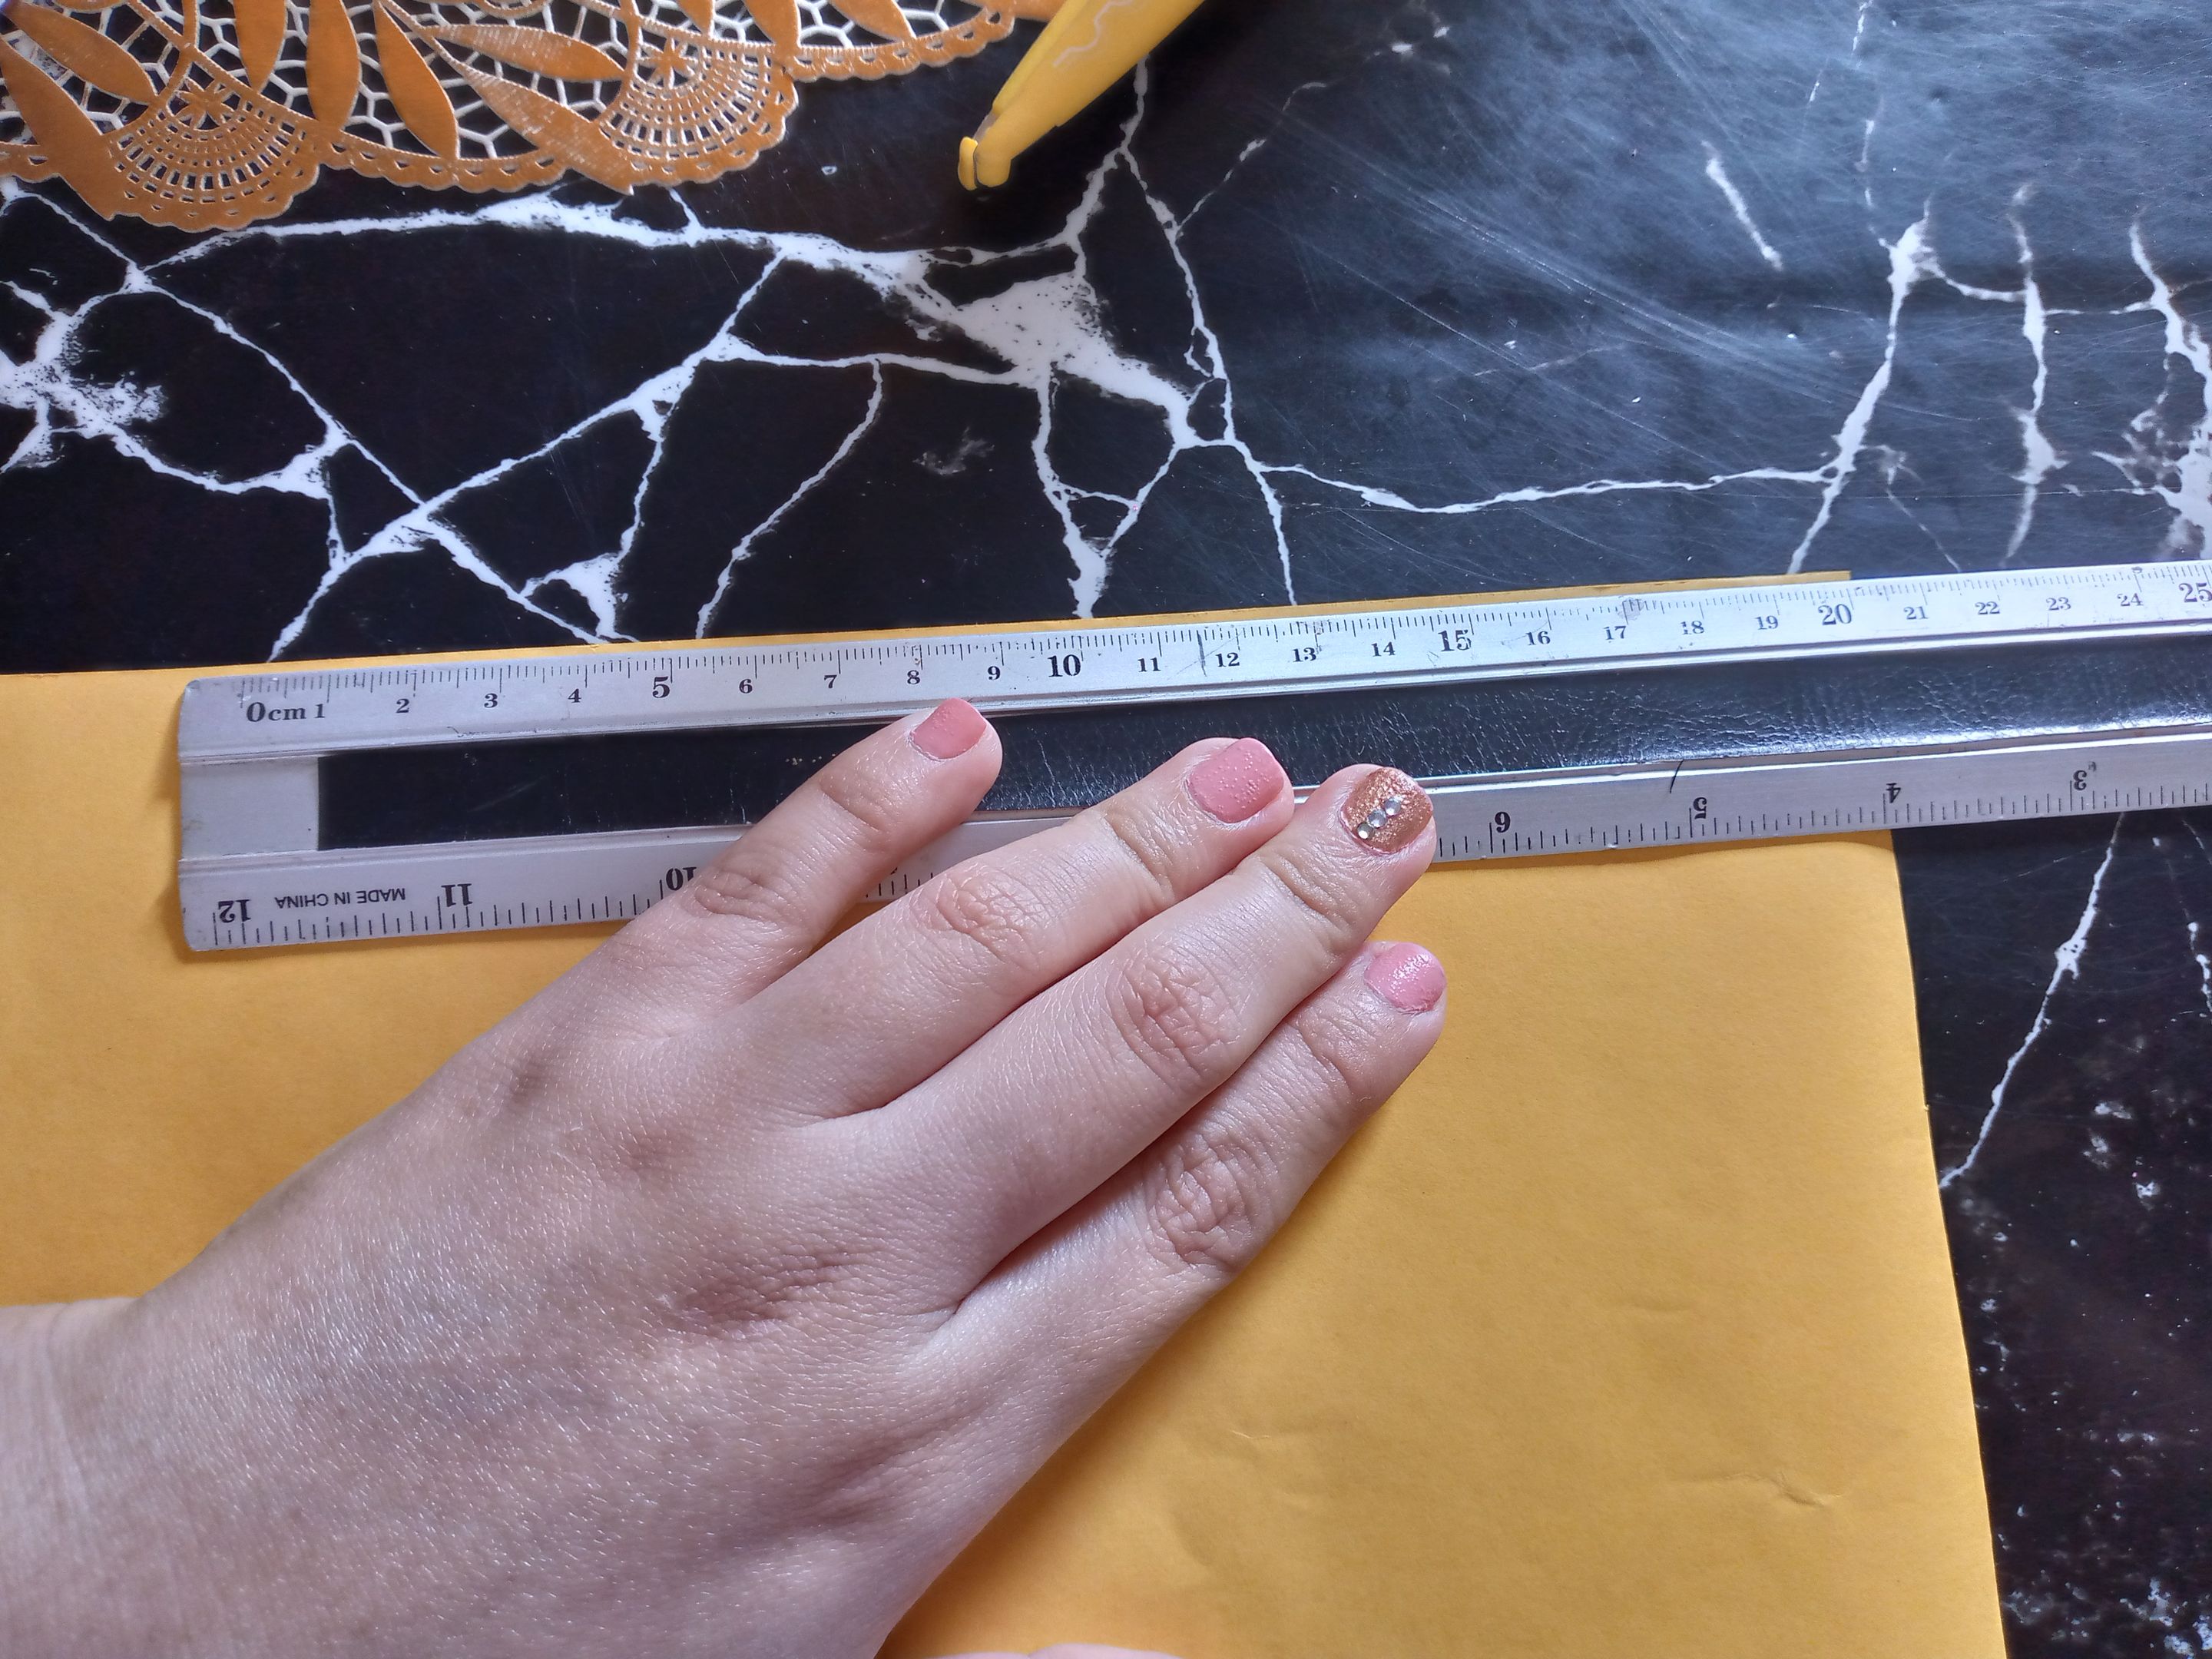
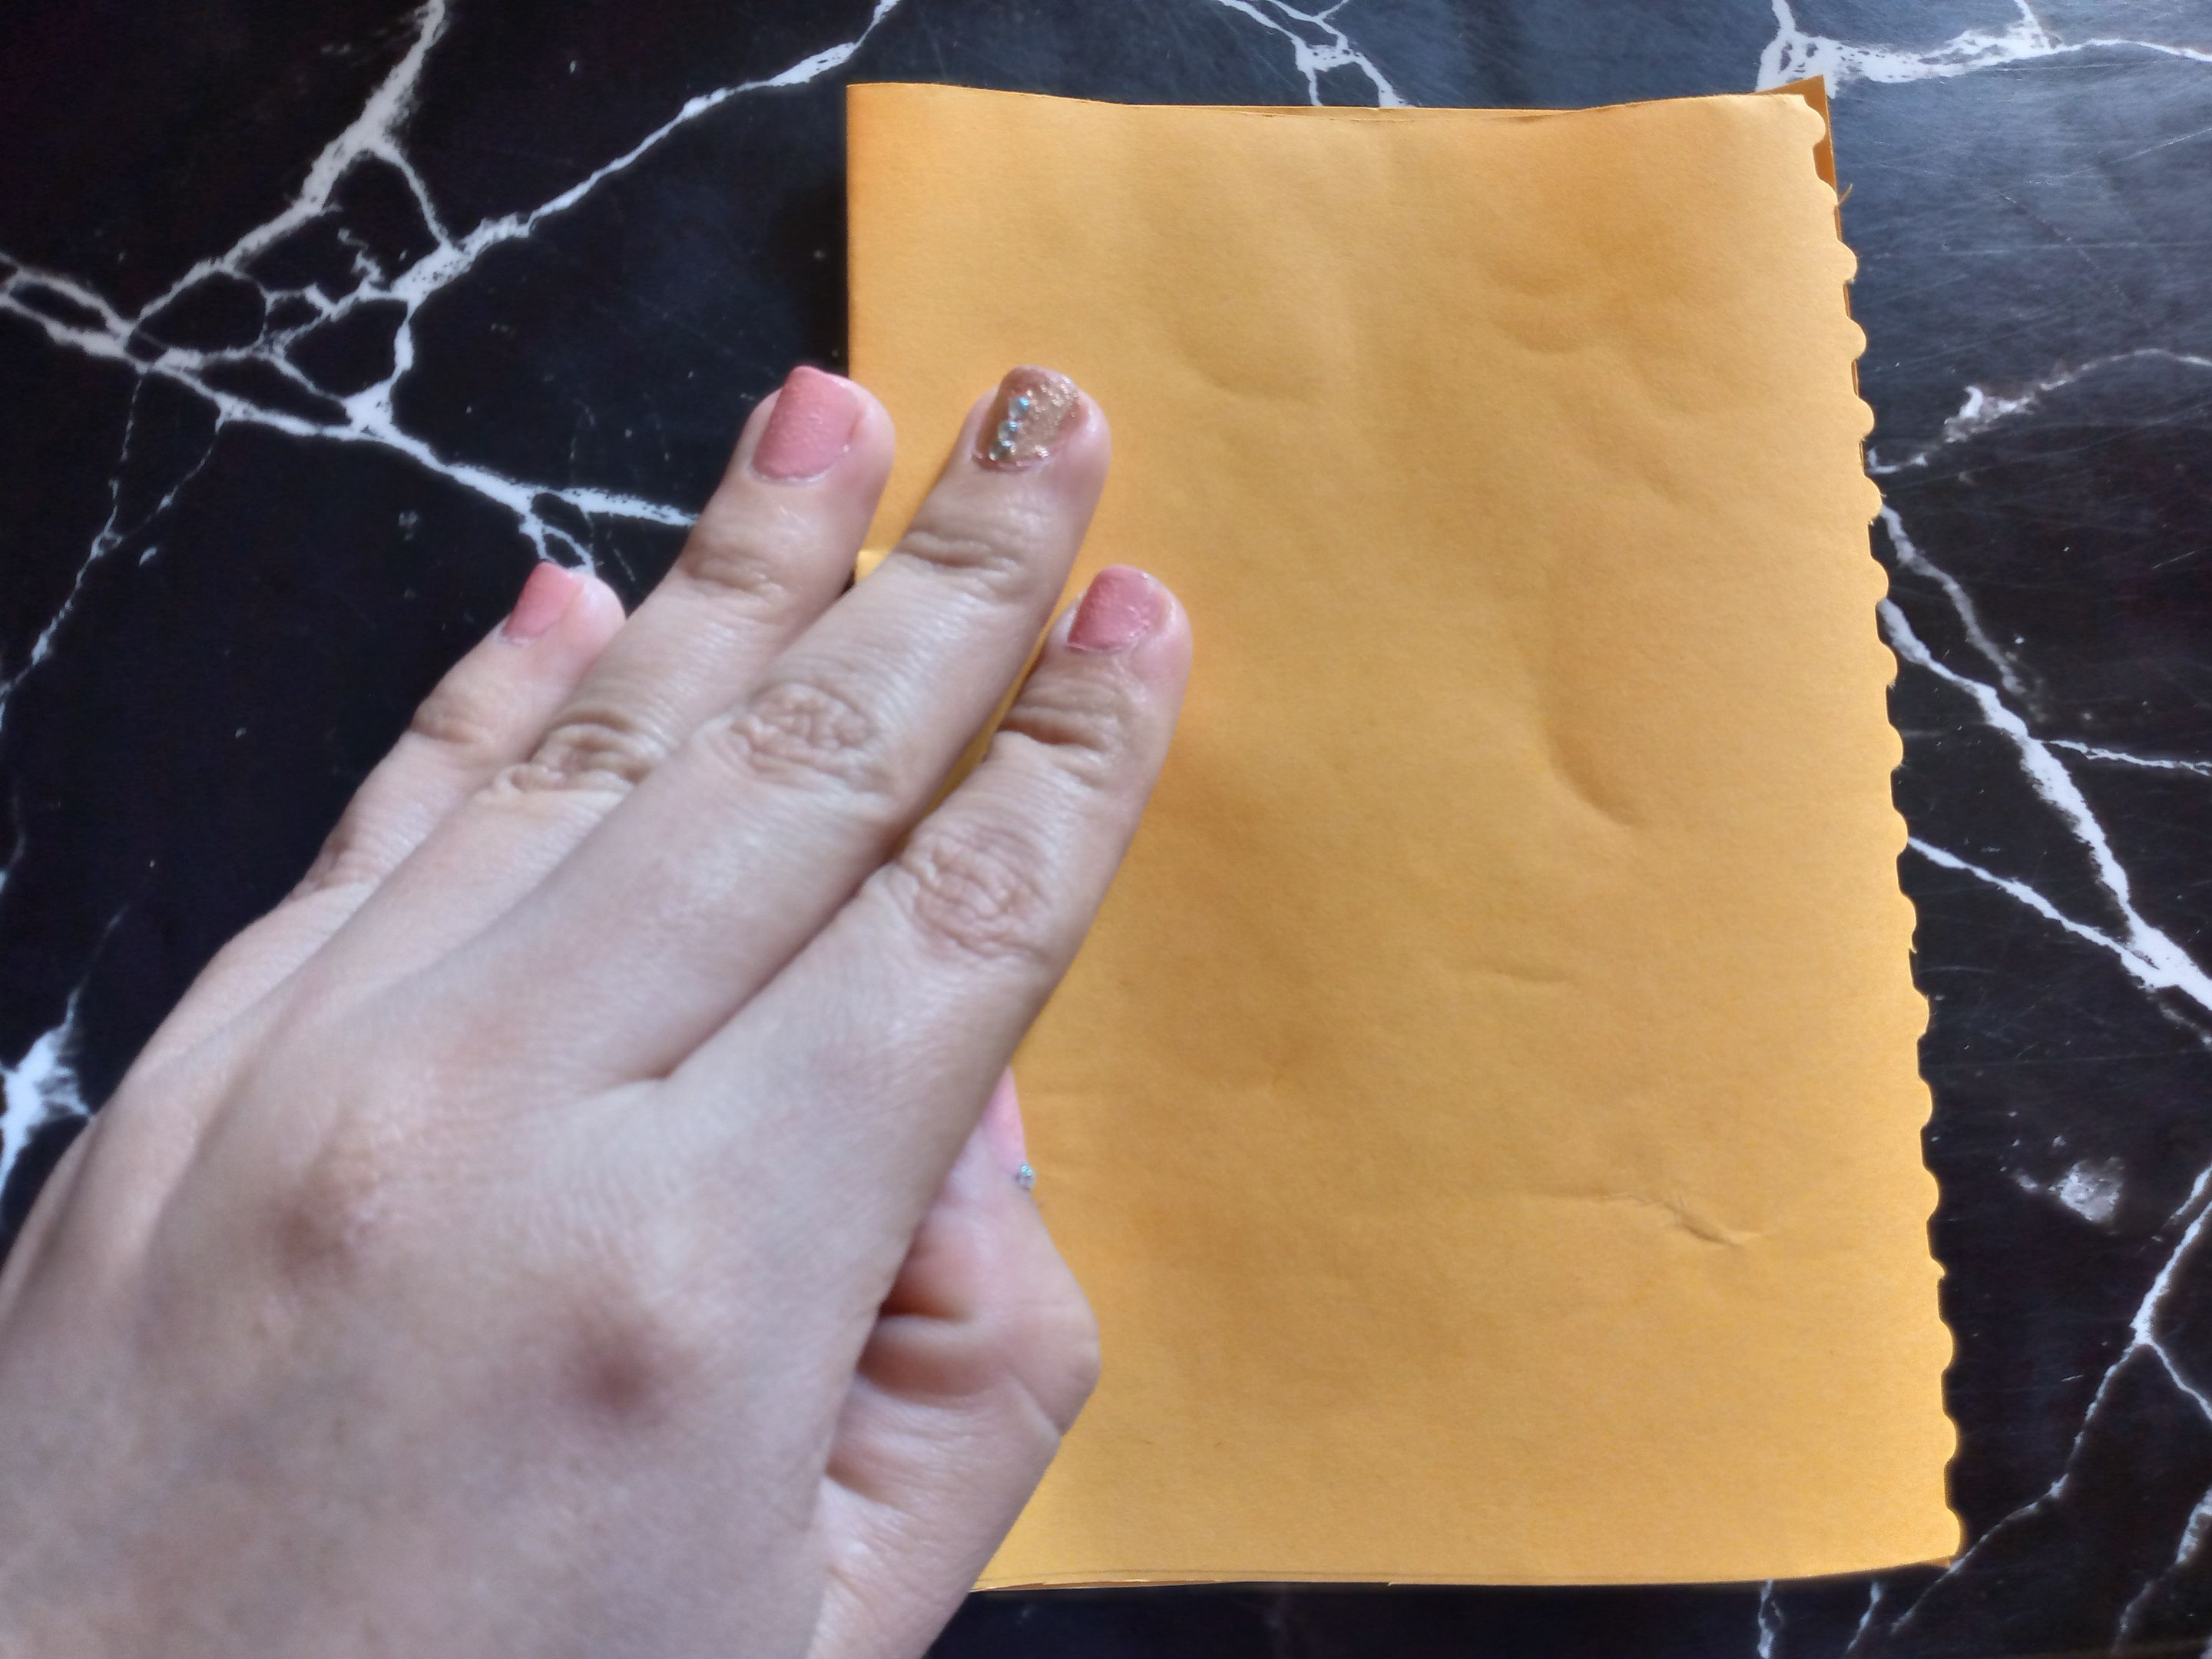
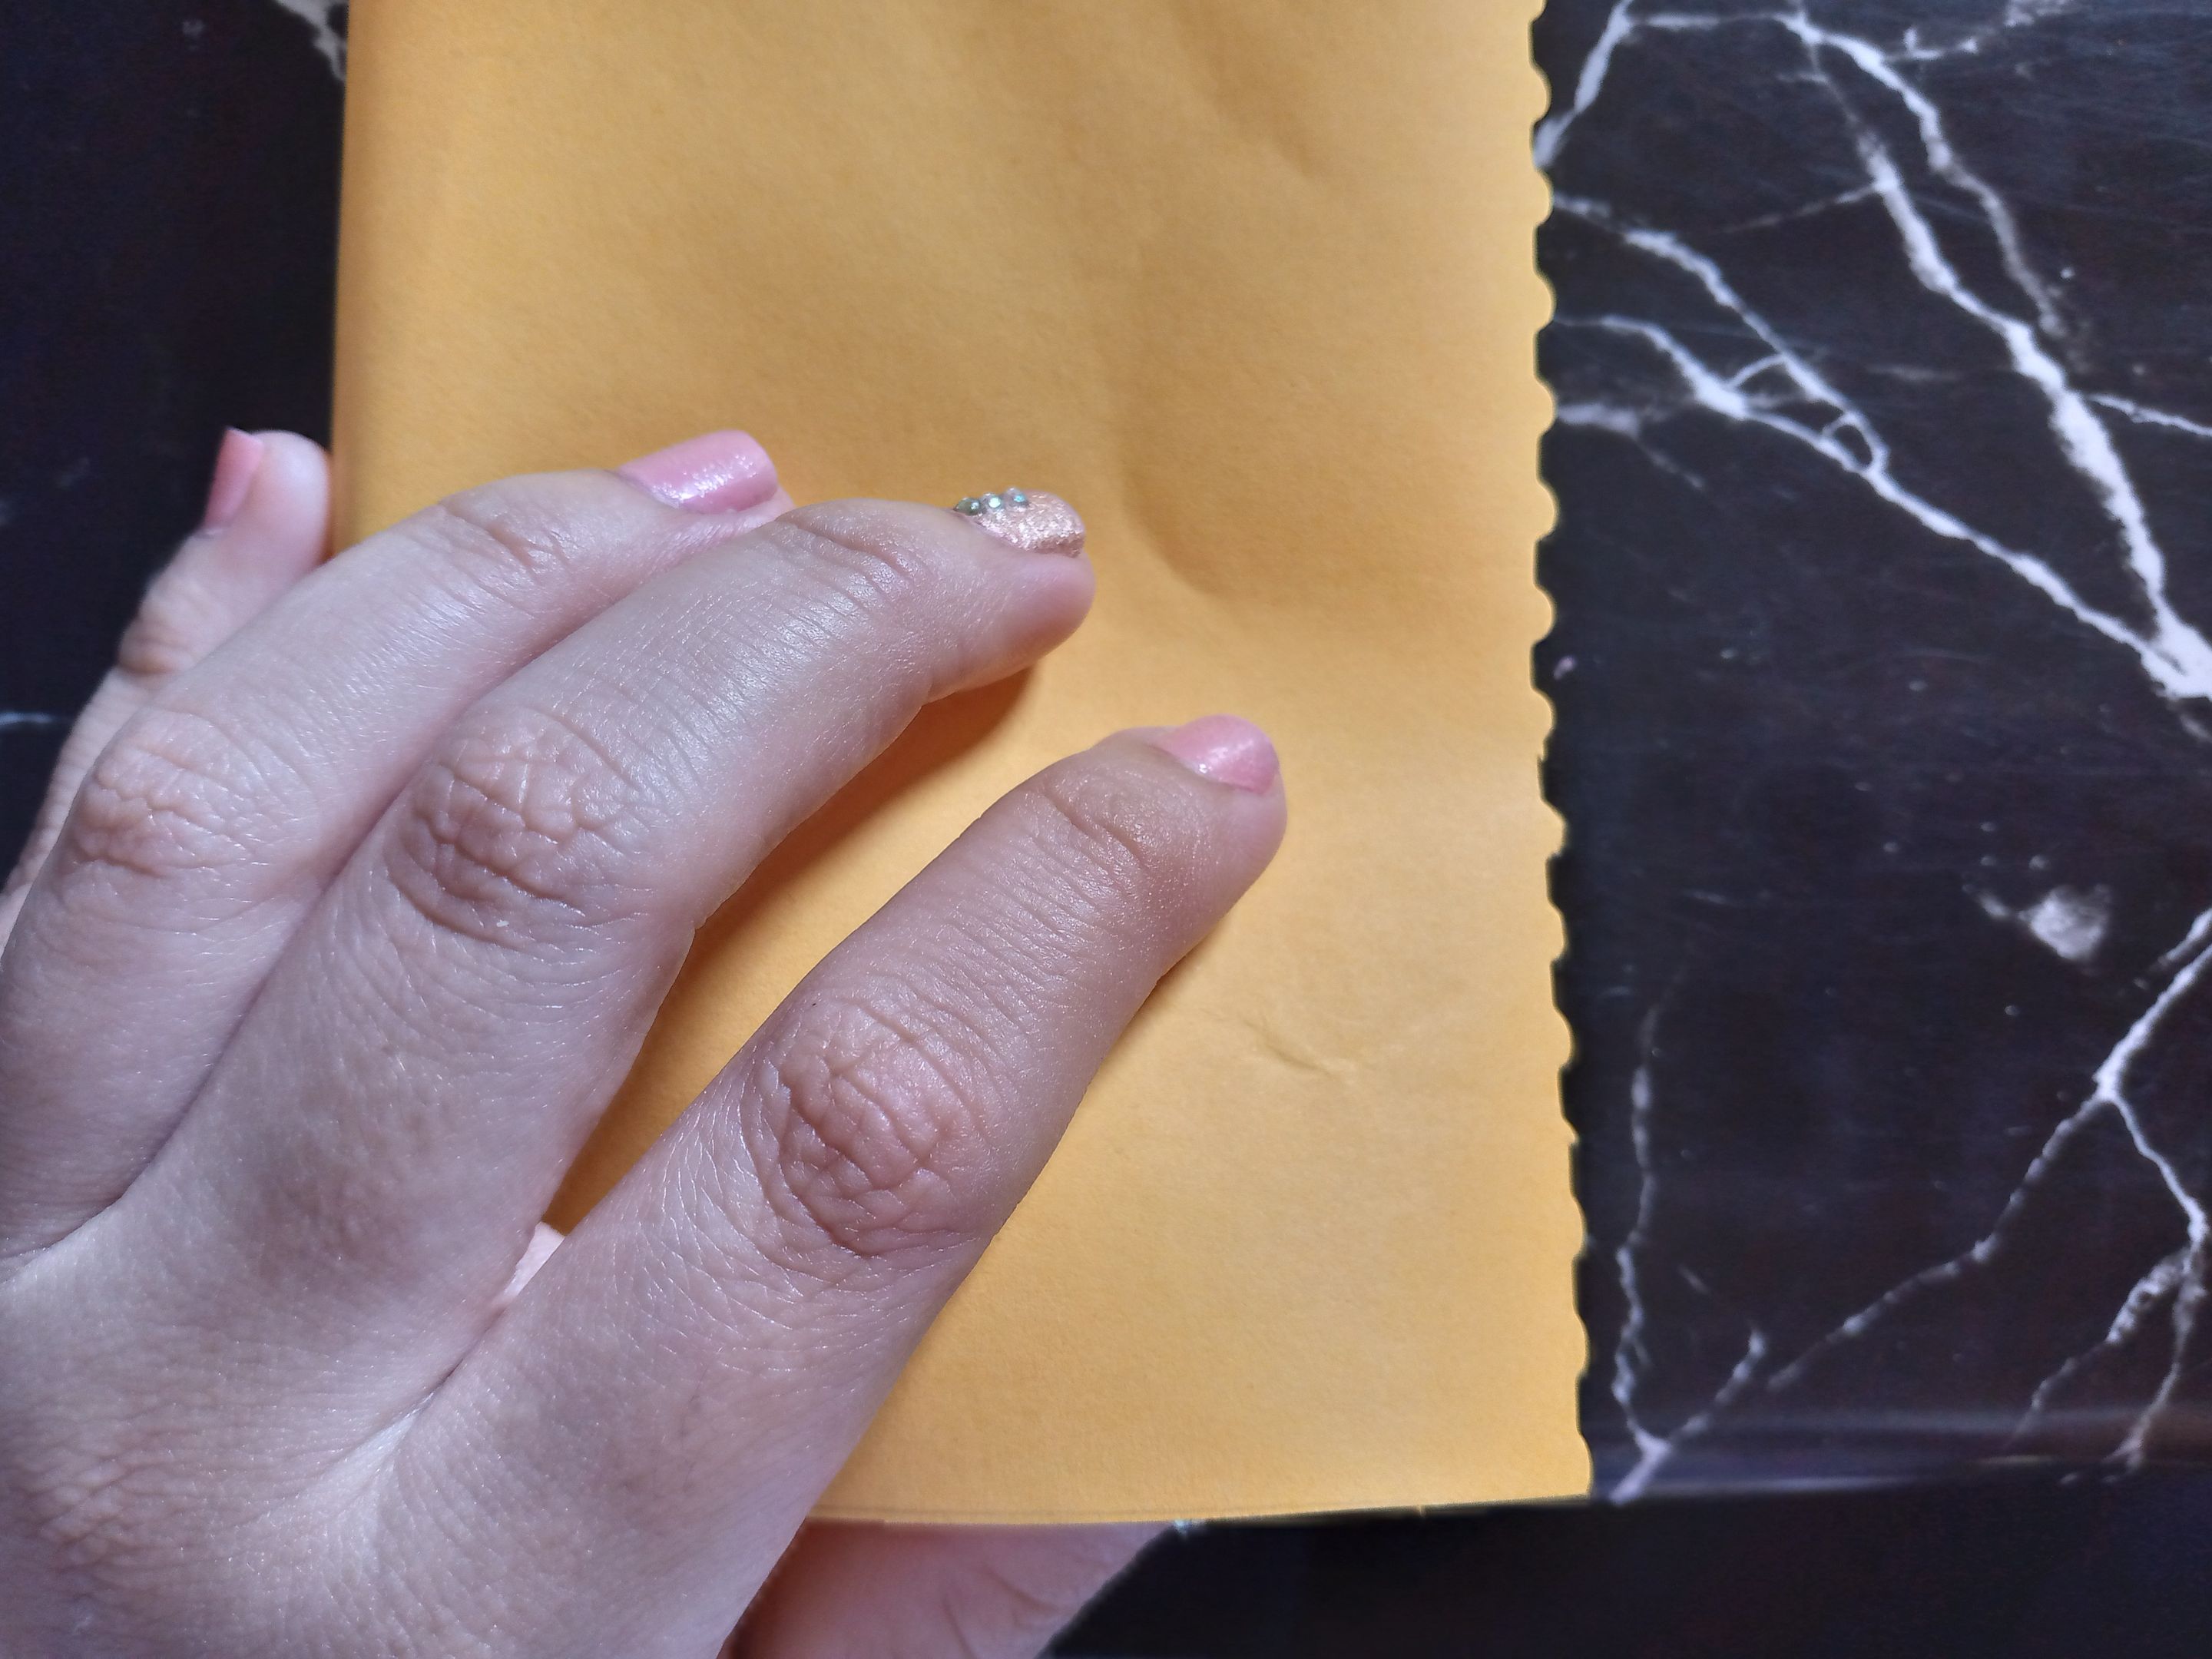
Lo primero que haré será extender nuestra cartulina en la mesa y en la parte de la esquina por dónde desees comenzar vamos a medir el ancho de nuestro sobre que en este caso sería 20 cm ,con ayuda de un lápiz vamos a marcar un punto de ese punto hacia abajo vamos a medir 14 cm que será el largo de el sobre nos ayudamos de nuestra regla para hacer una línea recta y volvemos a marcar abajo 20 cm de ancho para formar el rectangulo que sería el sobre de la carta .
Step 01
The first thing I'll do is spread out our cardboard on the table and in the corner where you want to start we'll measure the width of our envelope, which in this case would be 20 cm. With the help of a pencil we'll mark a point from that point downwards. We'll measure 14 cm, which will be the length of the envelope. We'll use our ruler to make a straight line and mark again below 20 cm wide to form the rectangle that would be the envelope of the letter.
Paso 02
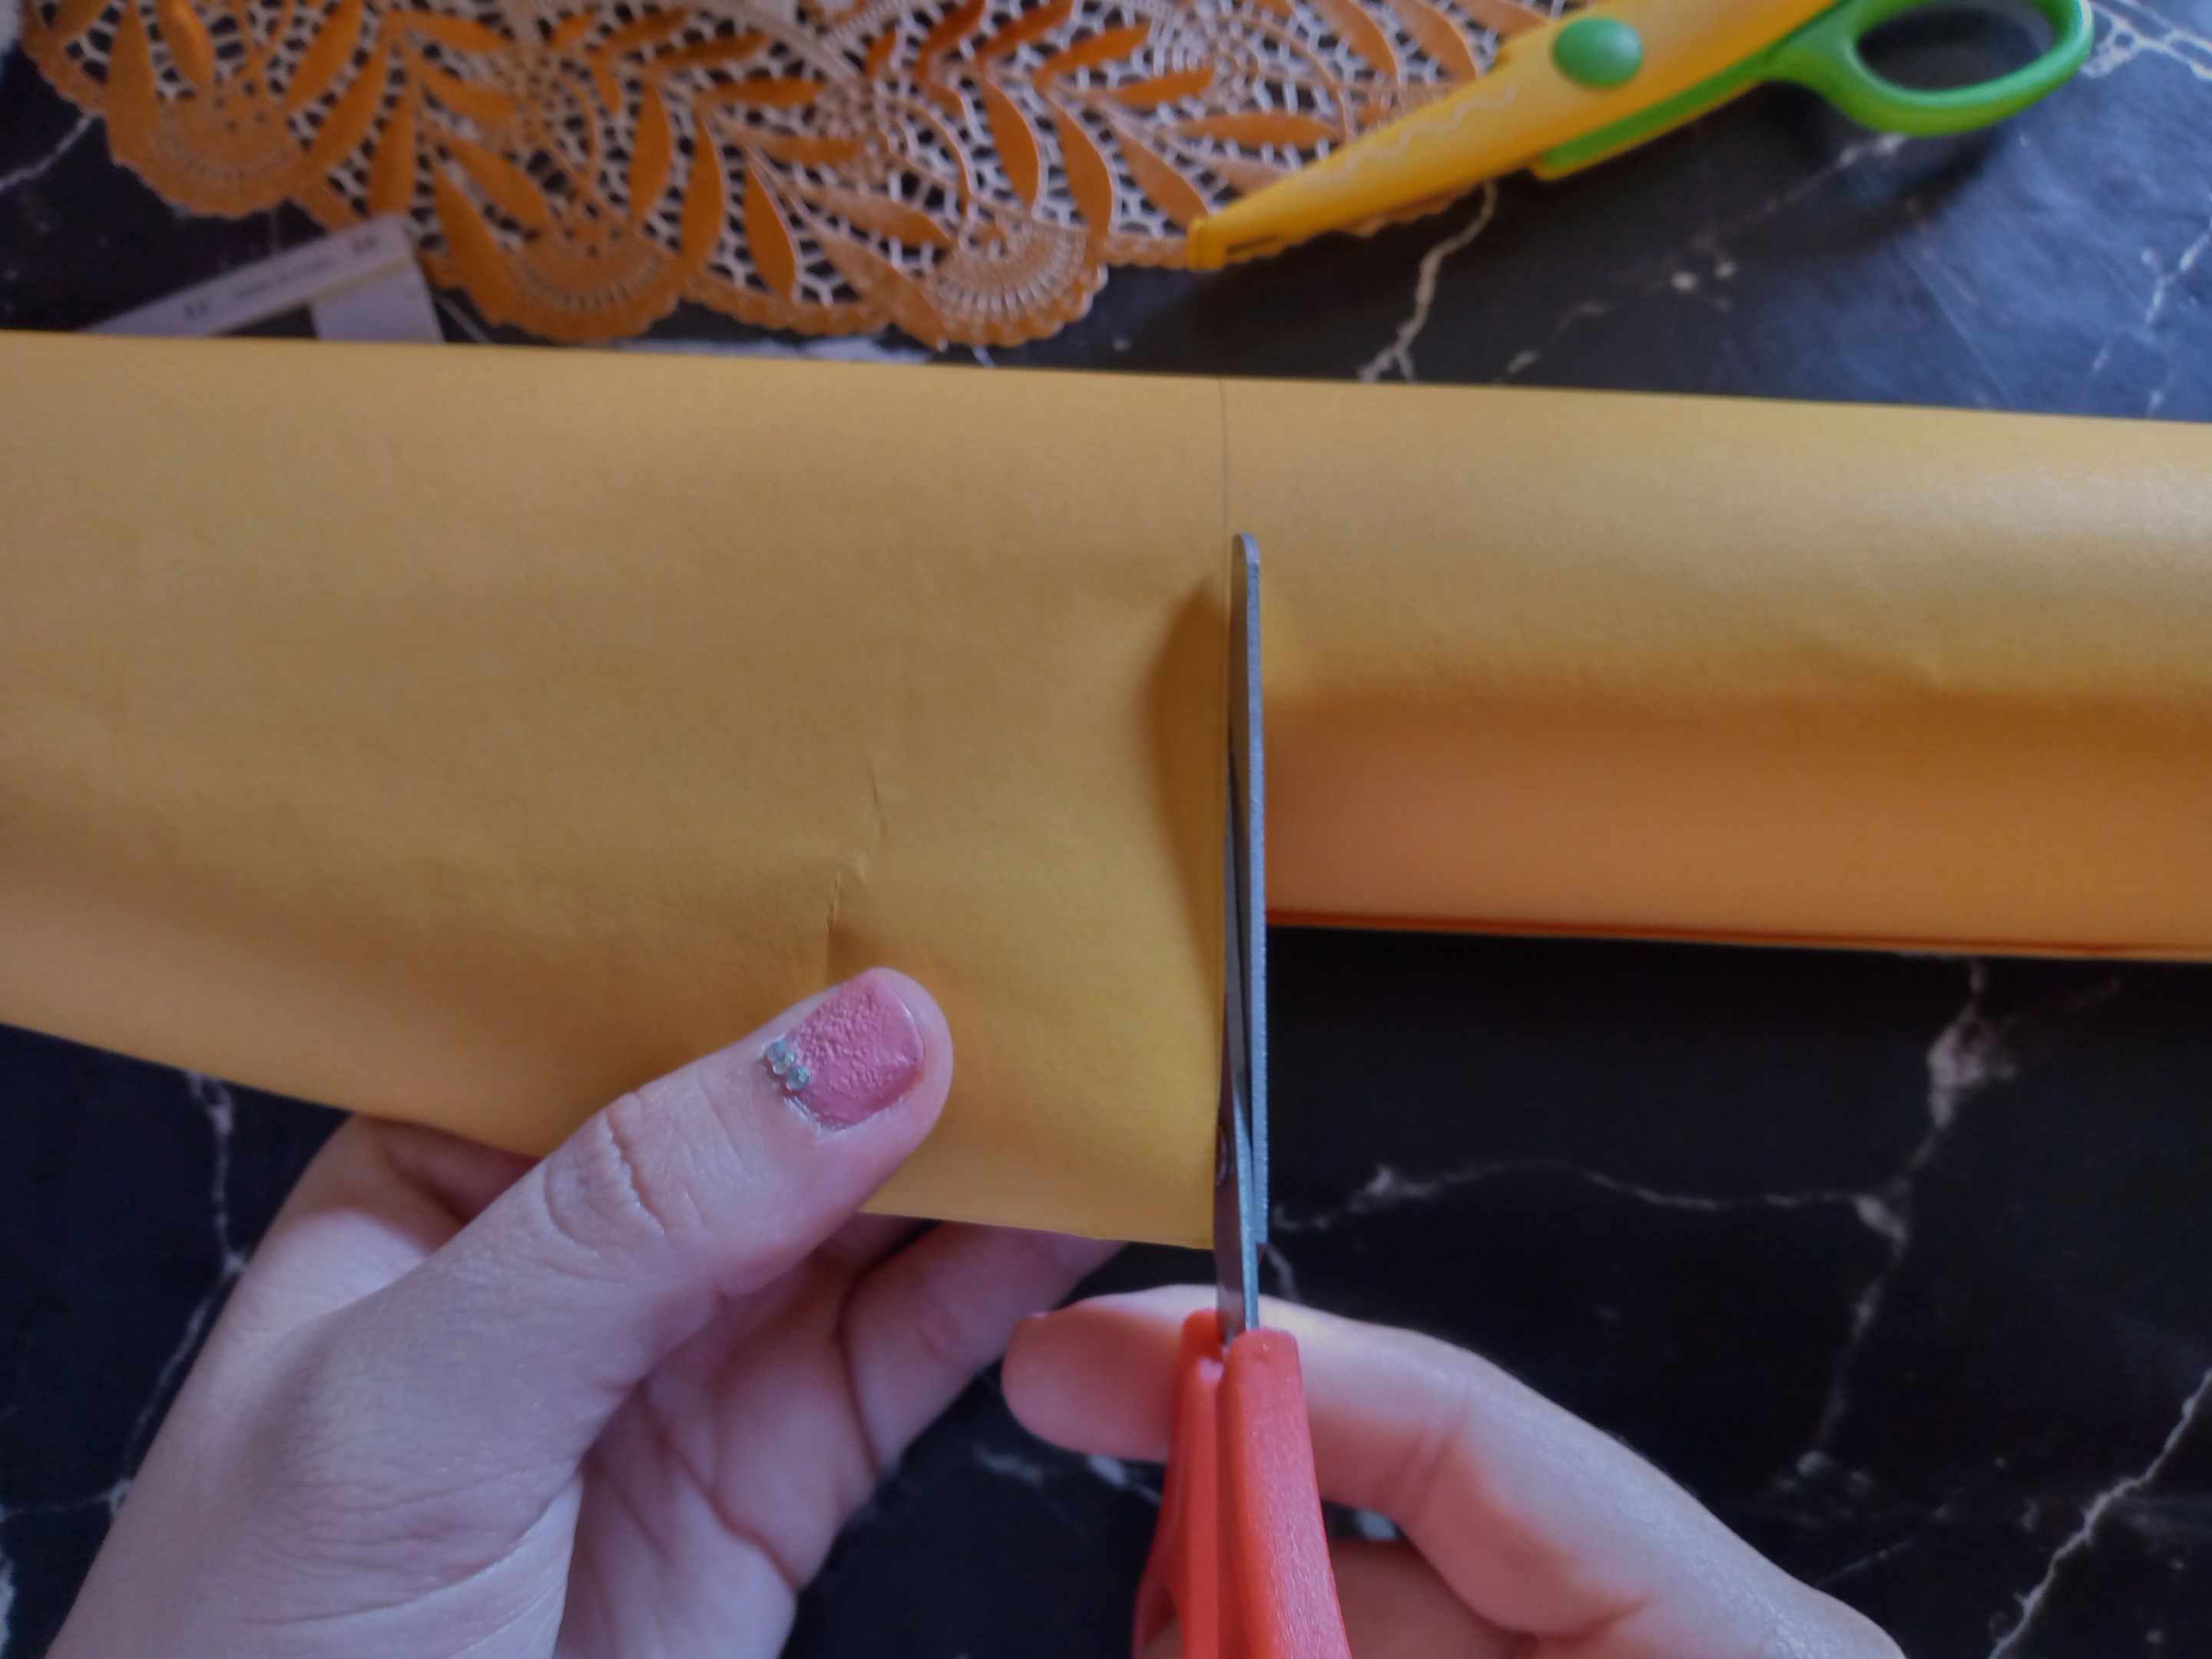
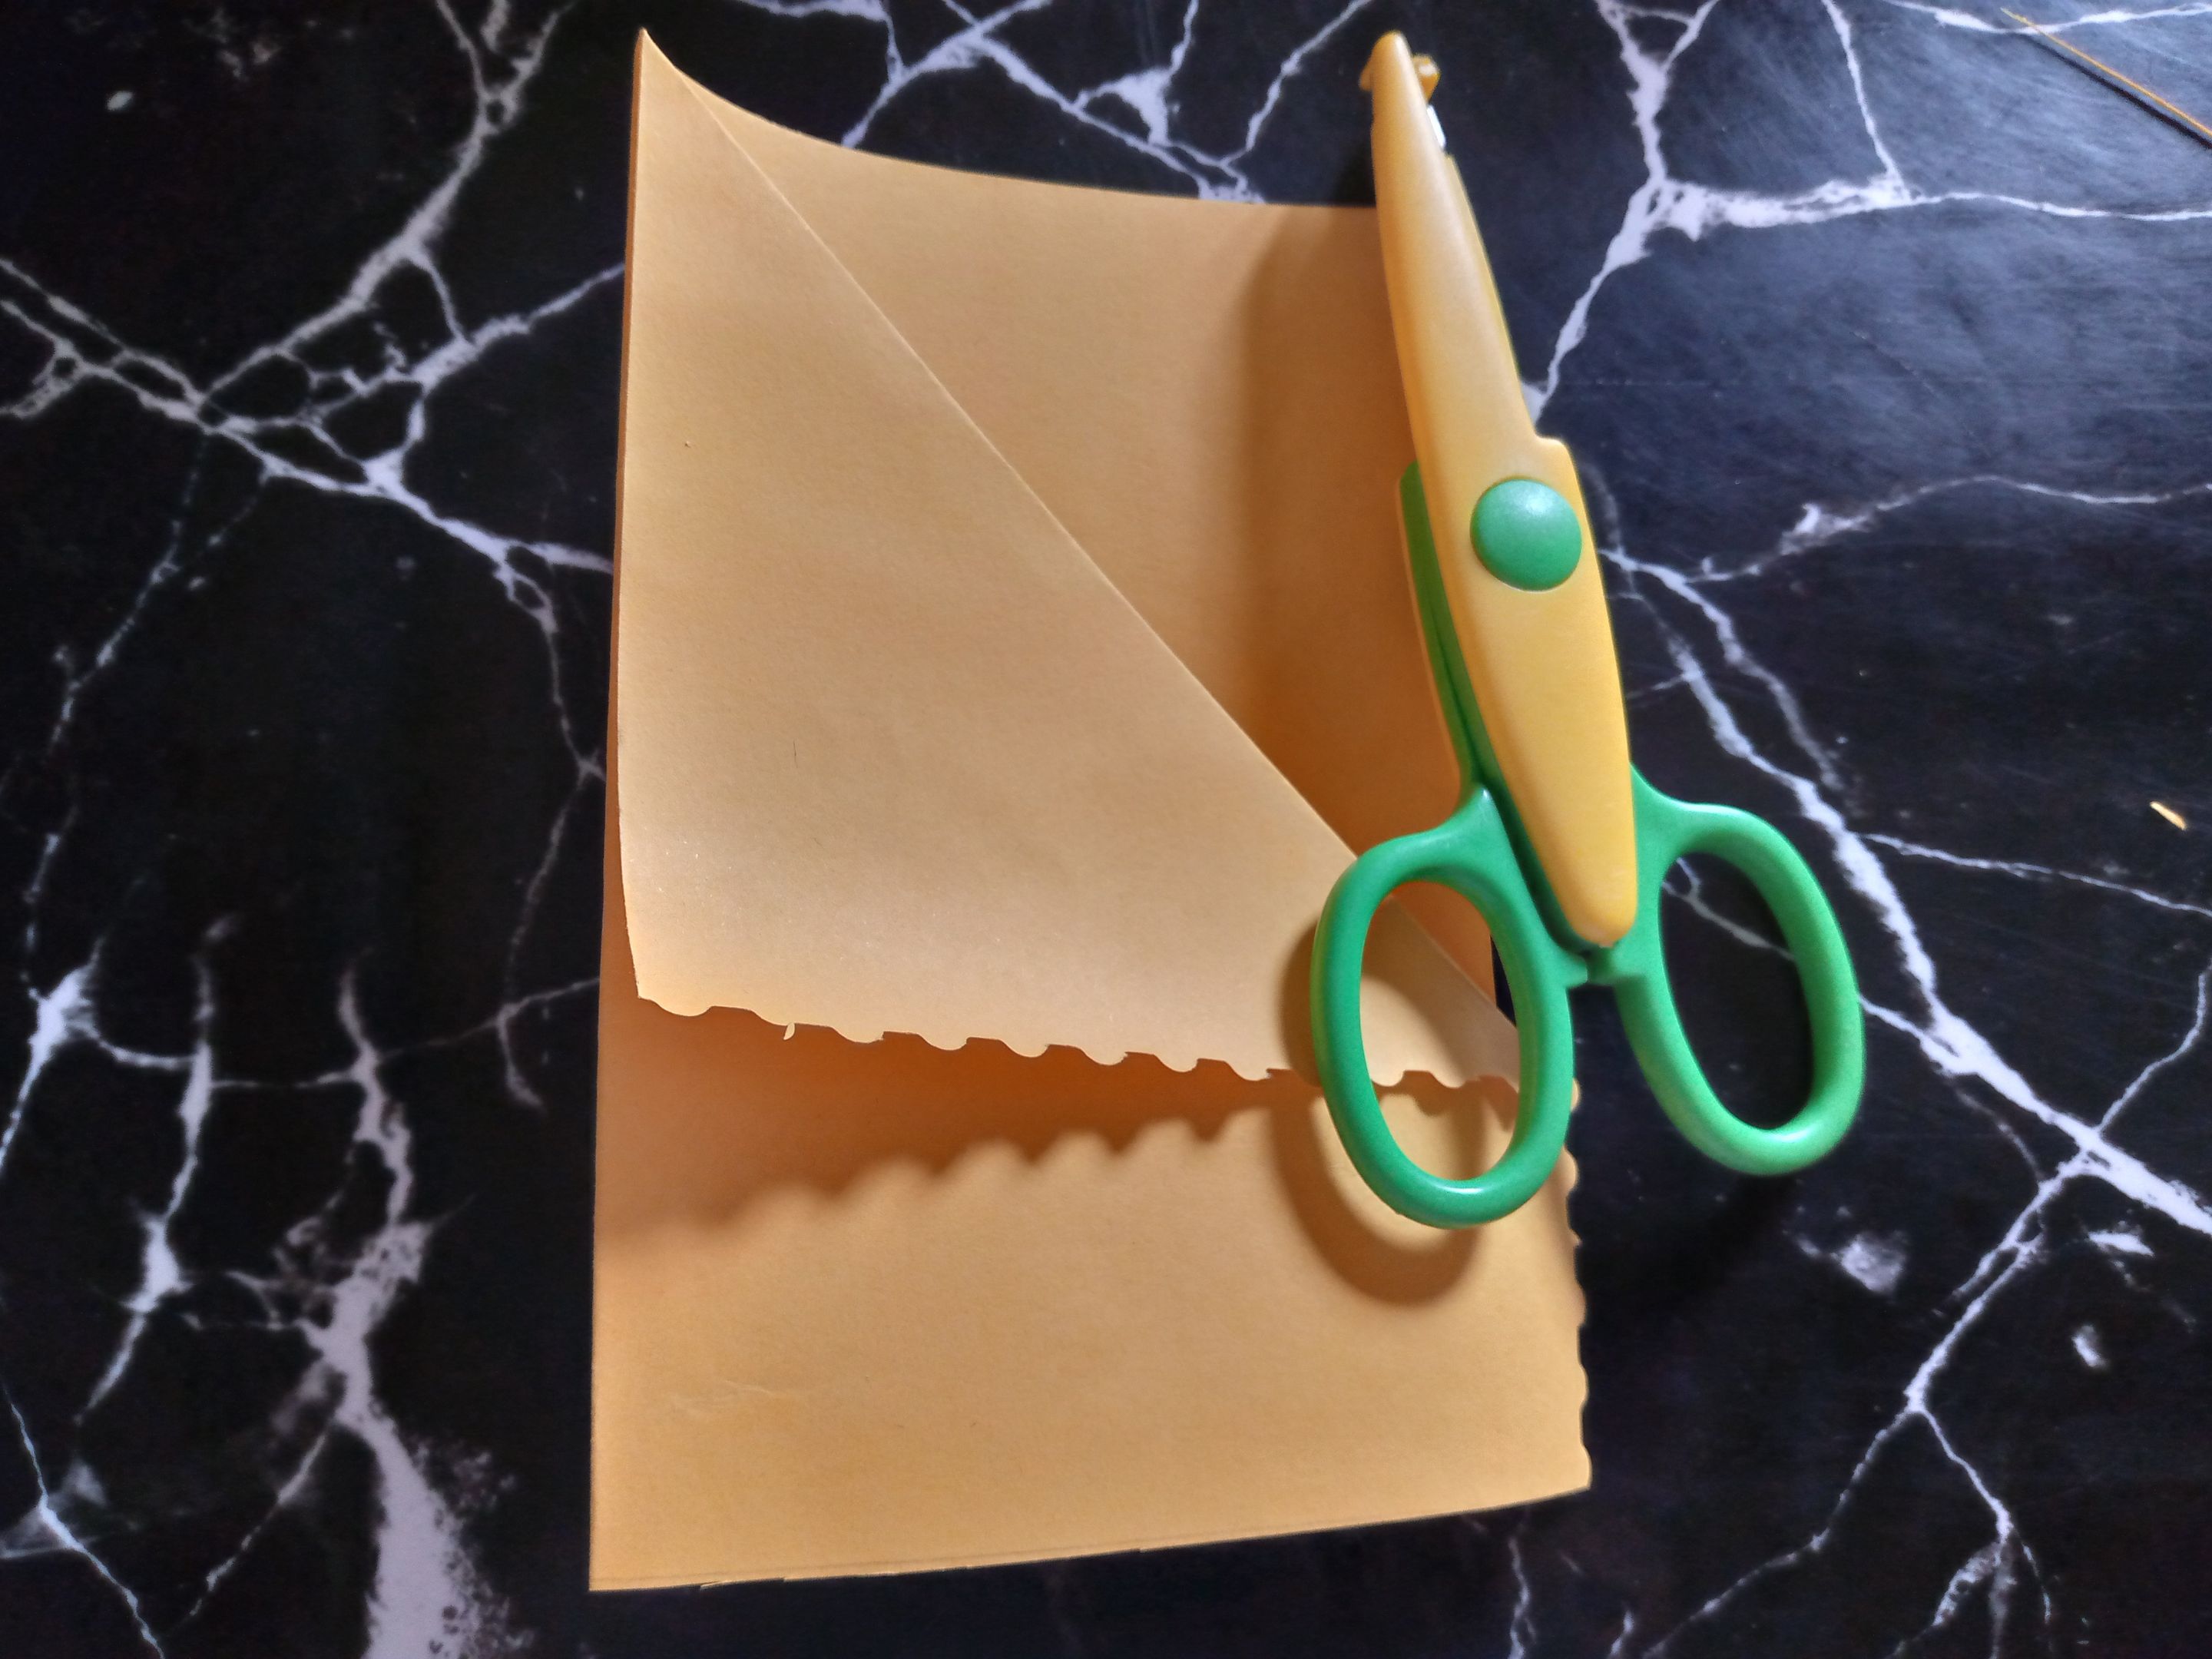
Recortamos nuestro rectangulo lo doblamos a la mitad y con nuestras tijeras de formas,la que y usé es como de formas de nubecita , cortaré solo el contorno nada más del lado derecho del sobre y le hacemos esa forma nada más en la parte del frente ,claro si desean hacerlo por alrededor del sobre tambien es válido.
Step 02
We cut out our rectangle, fold it in half and with our shaped scissors, the one I used is like a cloud shape, I will cut only the outline on the right side of the envelope and we will make that shape only on the front part, of course if you want to do it around the envelope that is also valid.
Paso 03
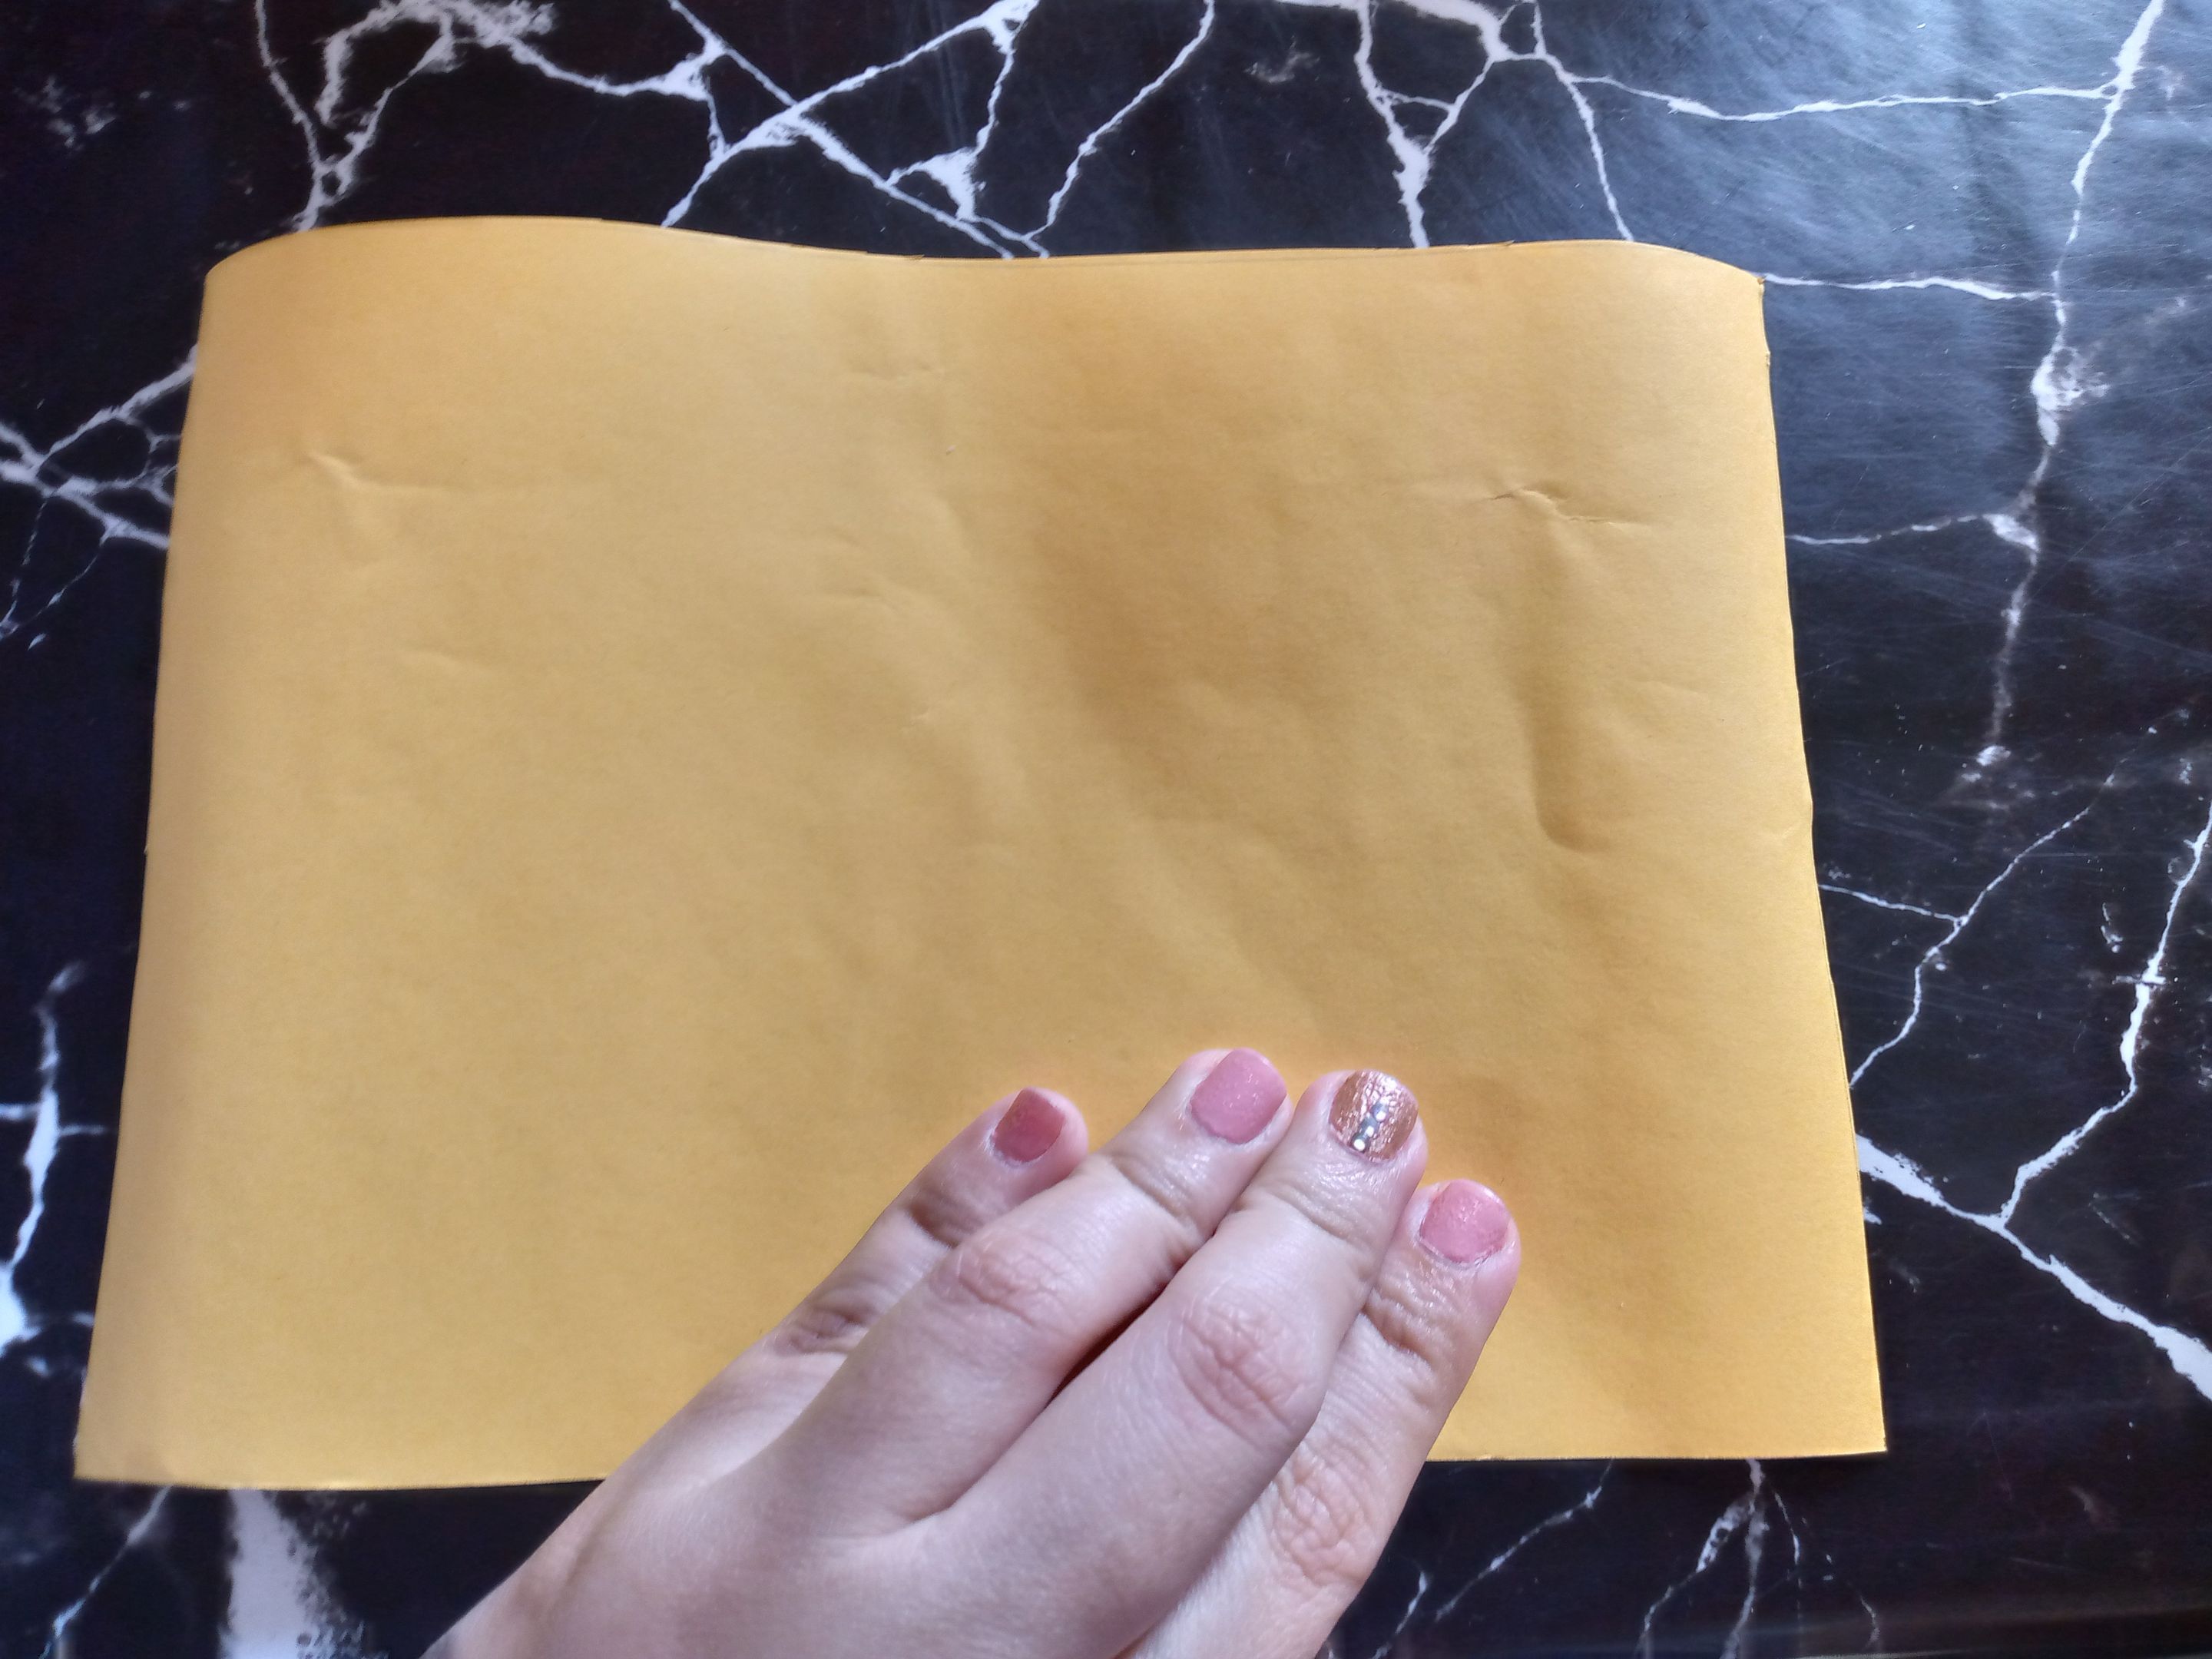
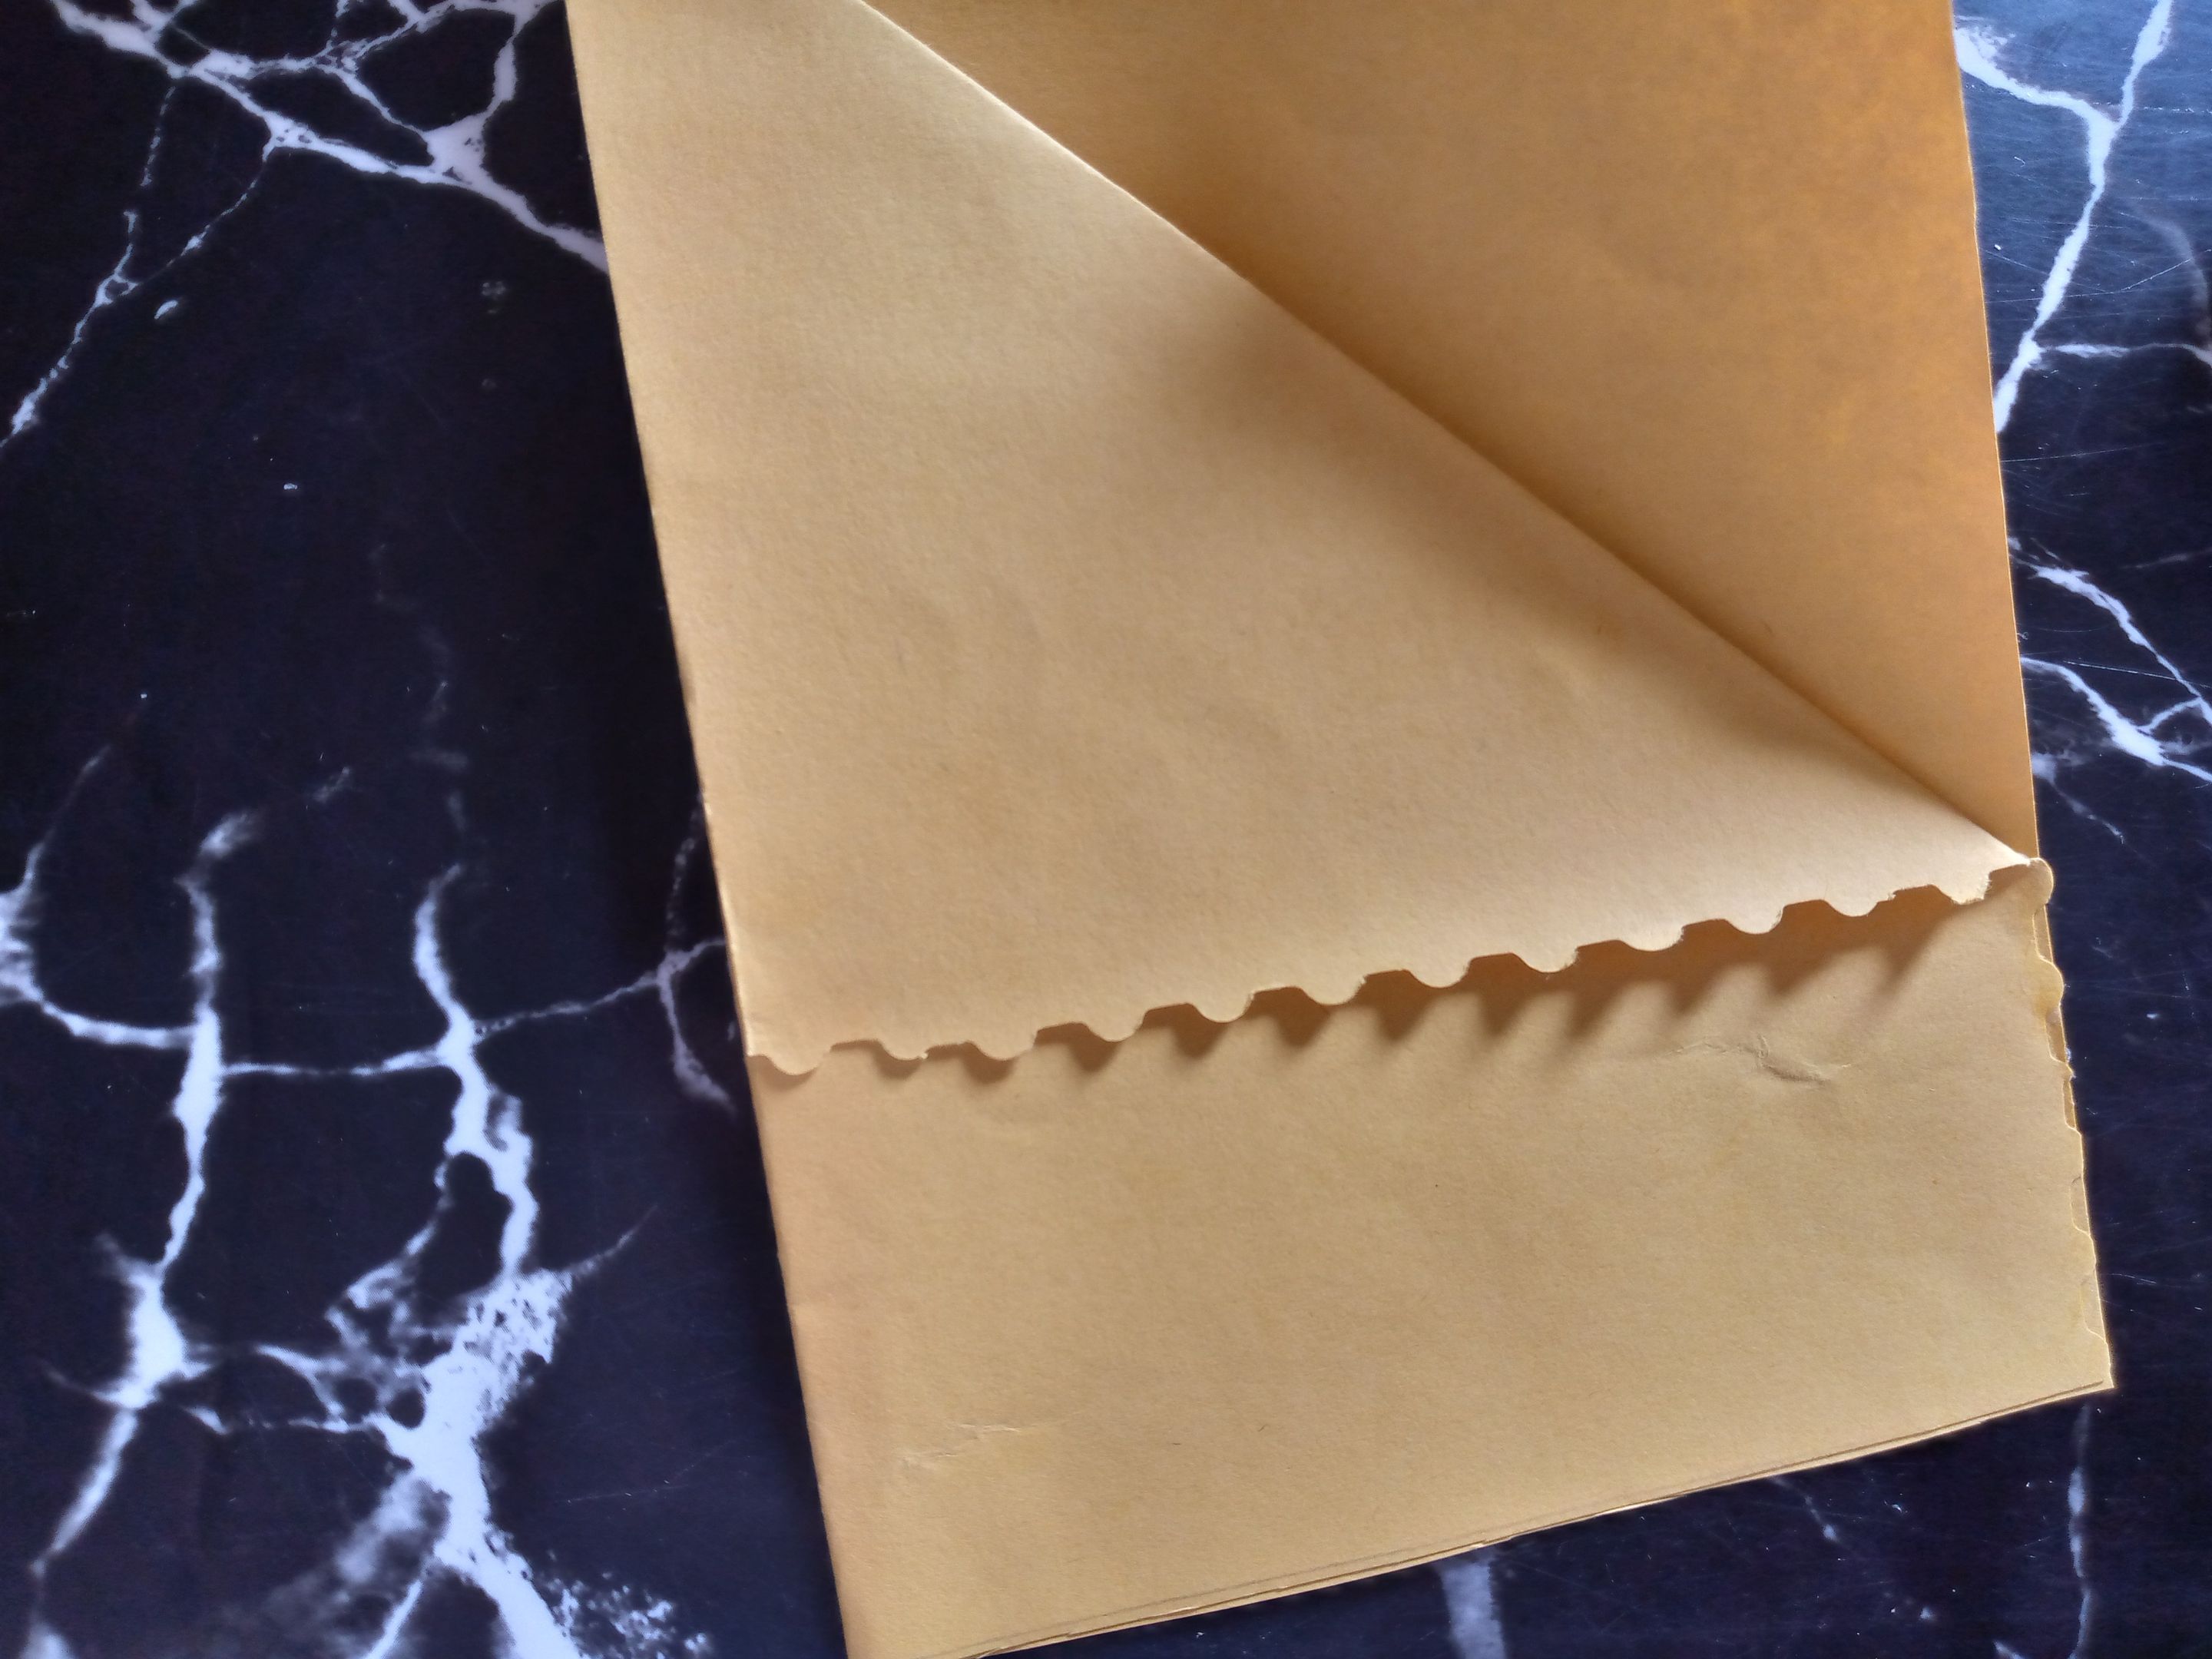
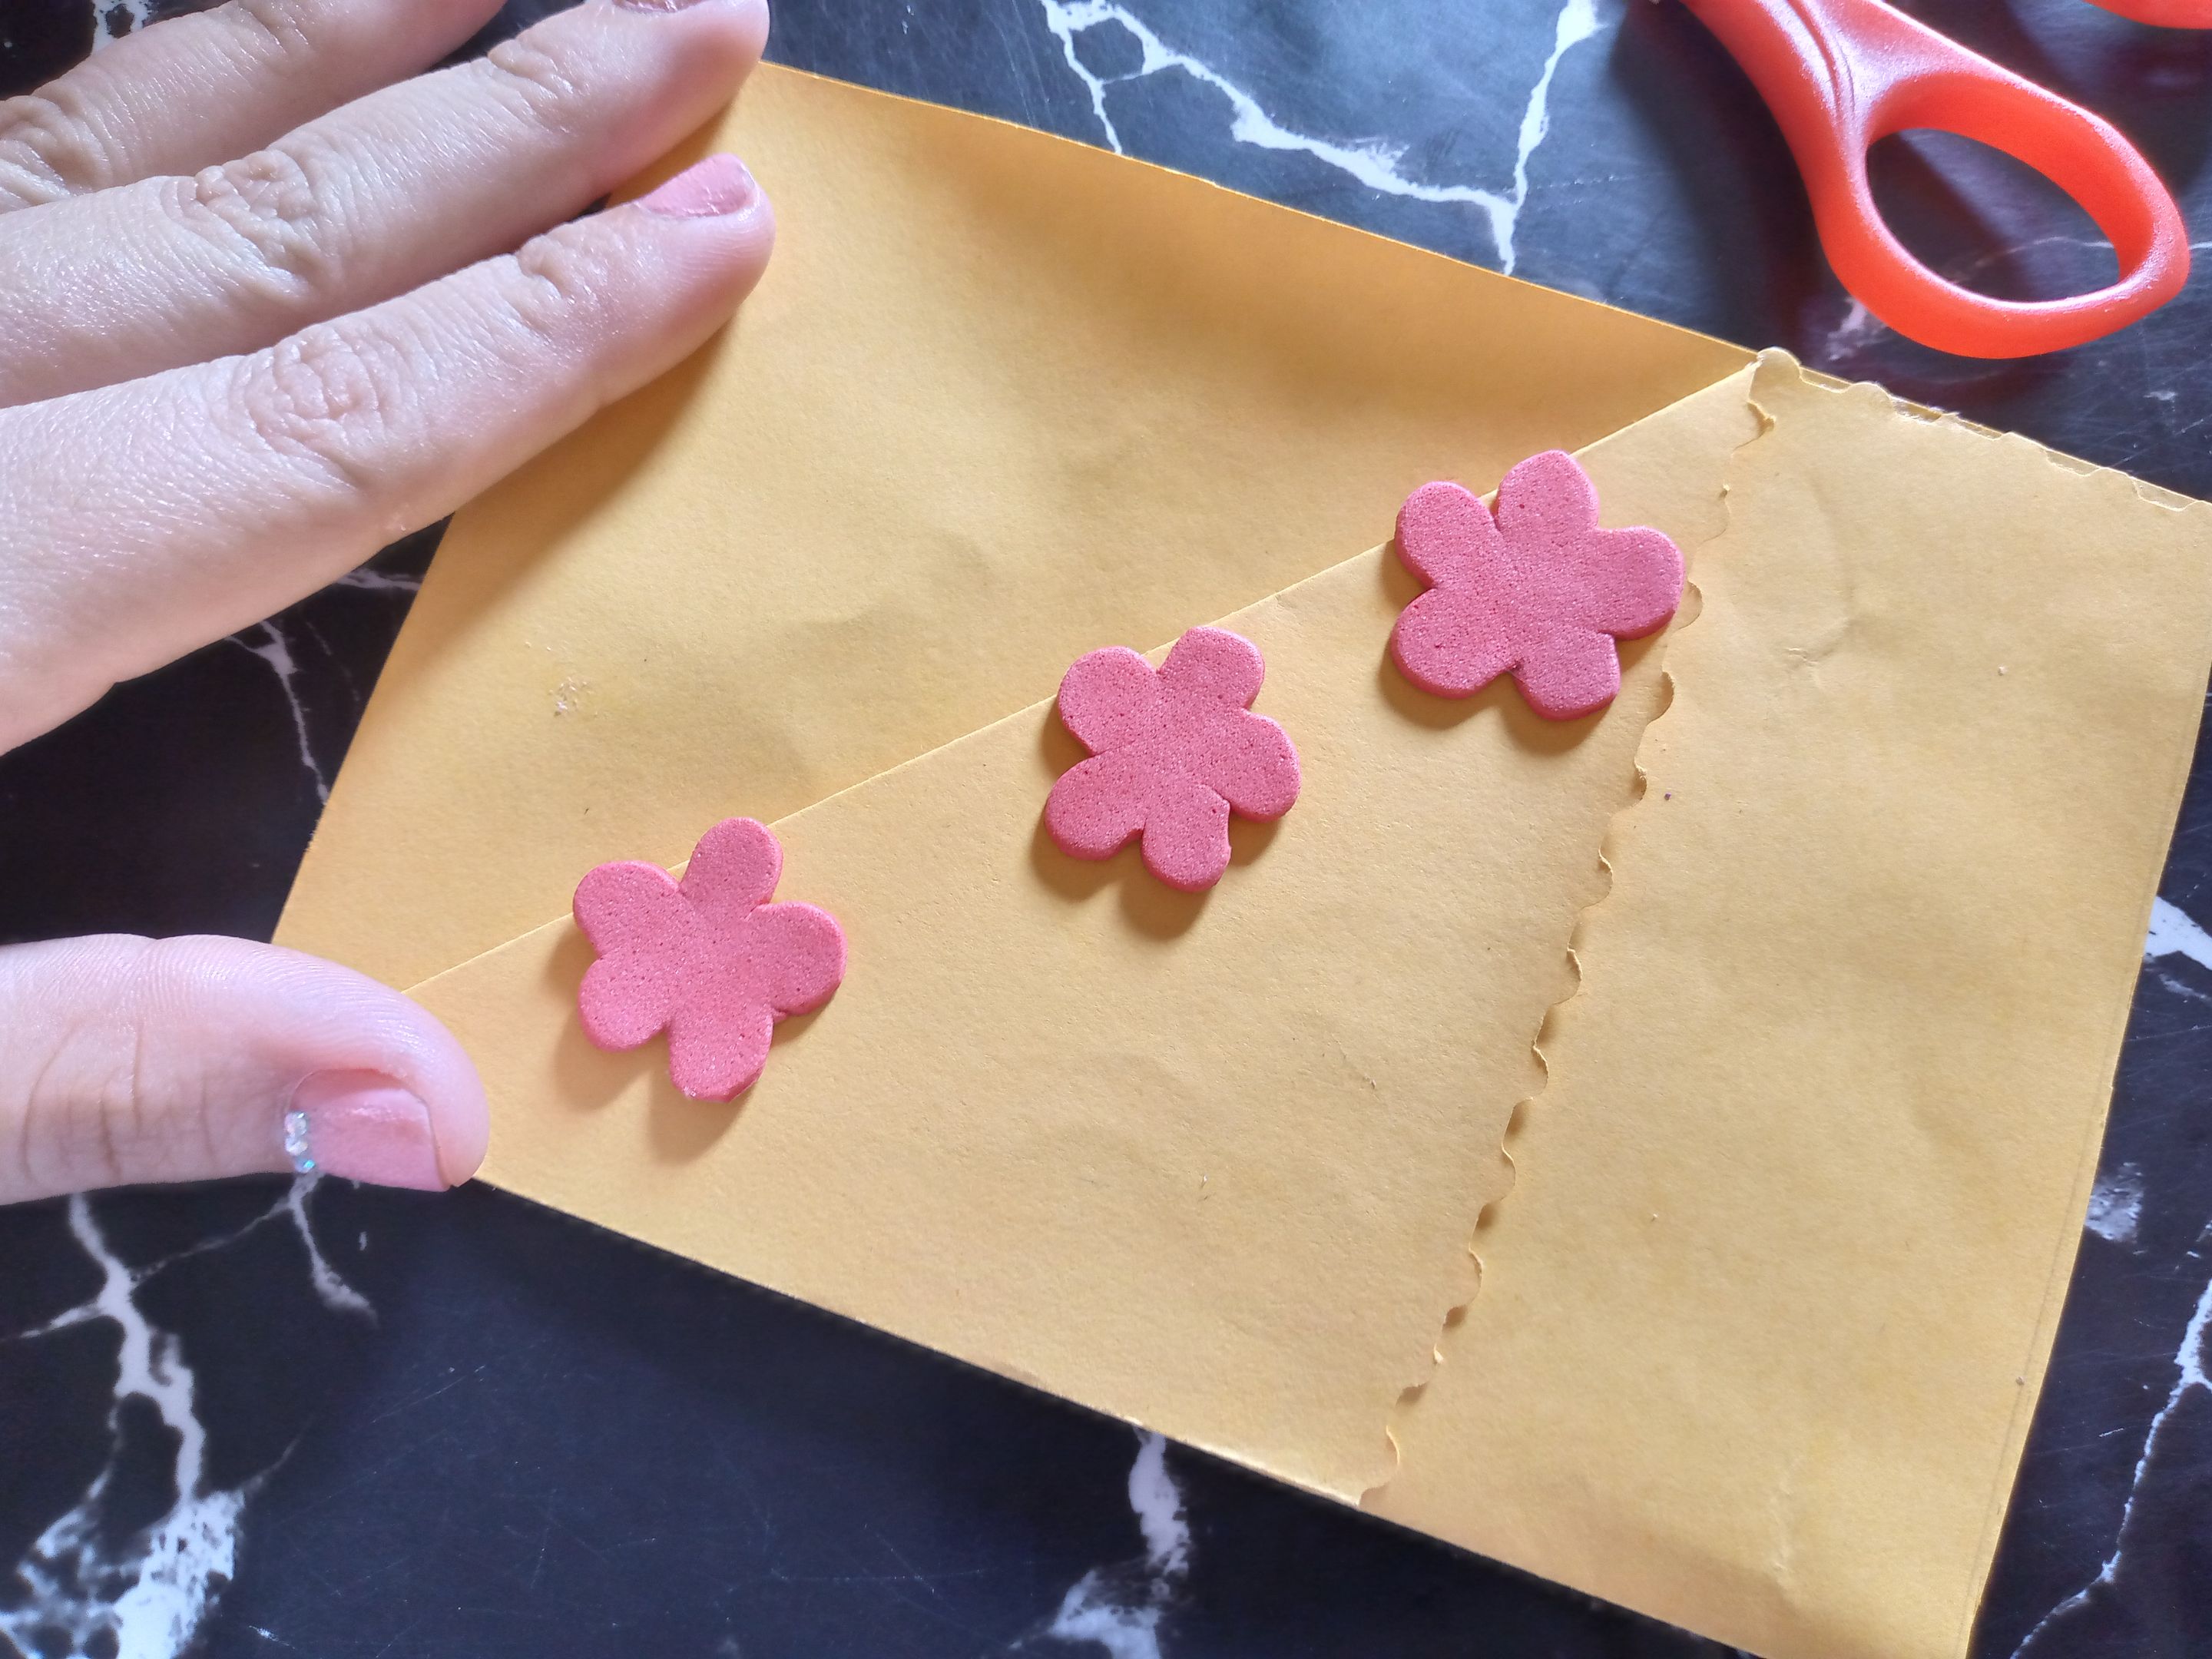
Una vez que corté esa parte lo que haremos será tomar por un lado de una esquina la de arriba de nuestro sobre y lo llevamos hacia abajo en forma de triángulo lo doblamos bien y vamos a pegar está vista con nuestro silicón.
Step 03
Once I cut that part, what we will do is take one side of a corner of the top of our envelope and bring it down in the shape of a triangle, fold it well and we will glue this view with our silicone.
Paso 04
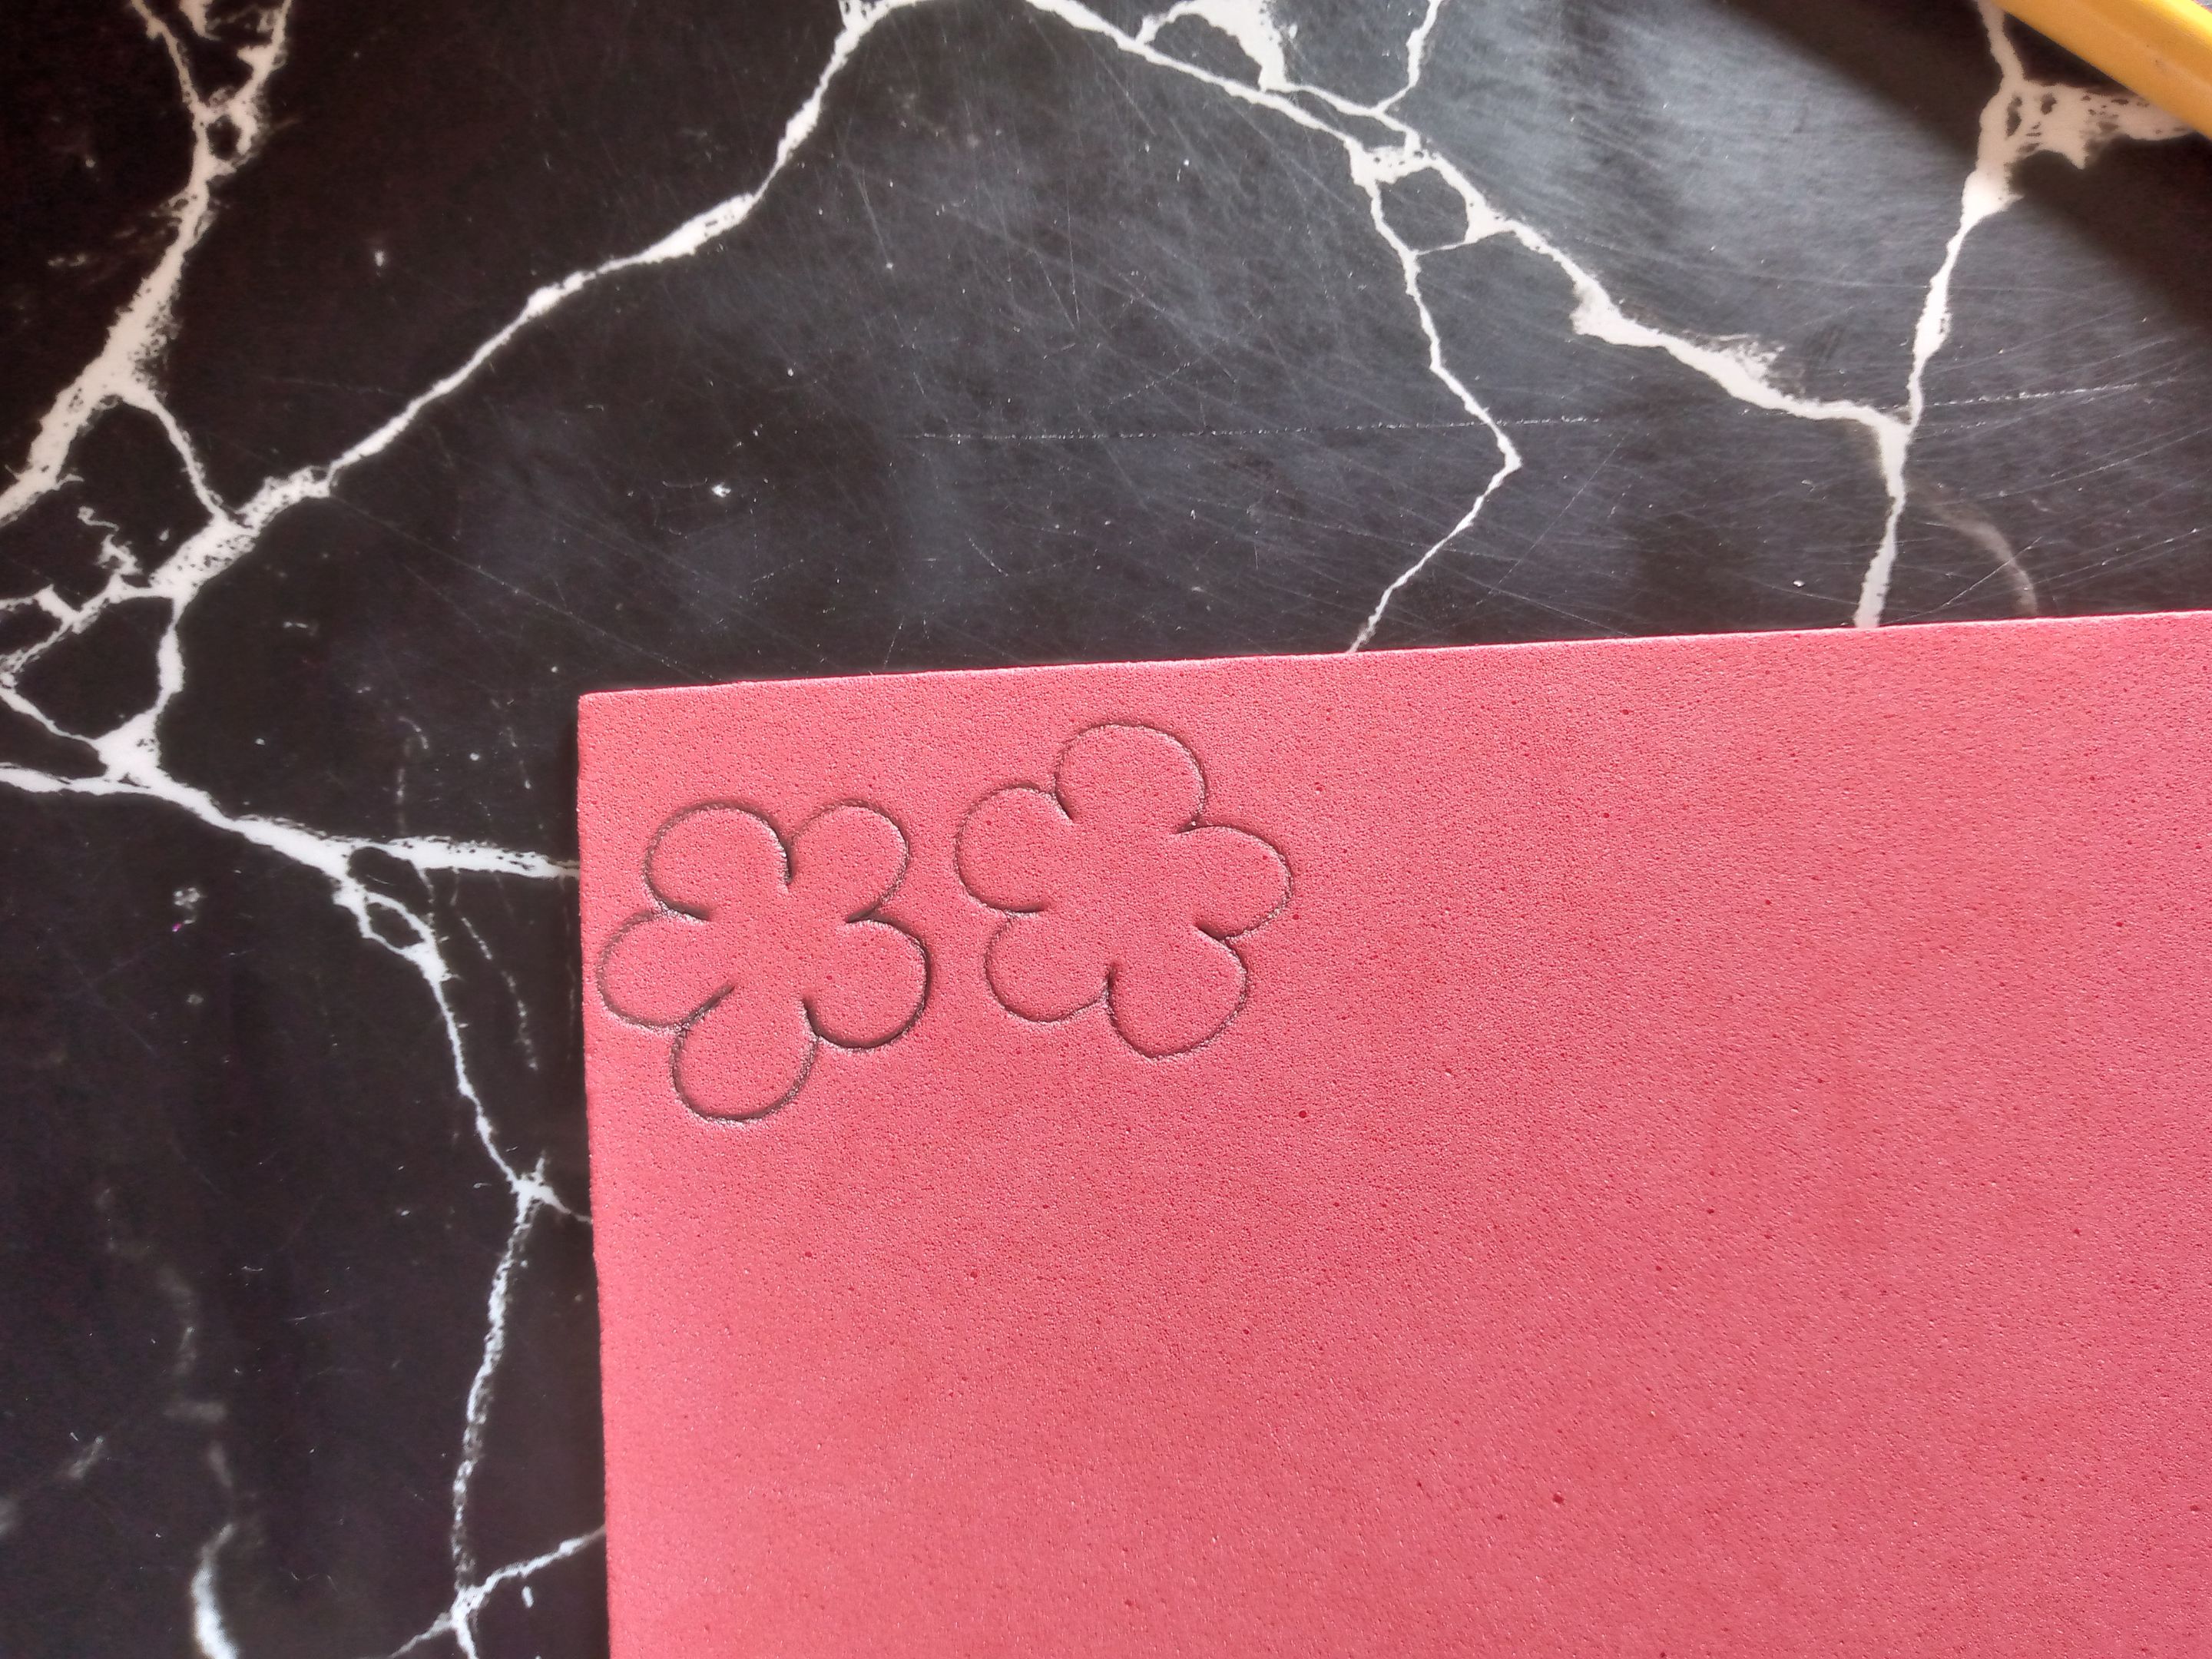
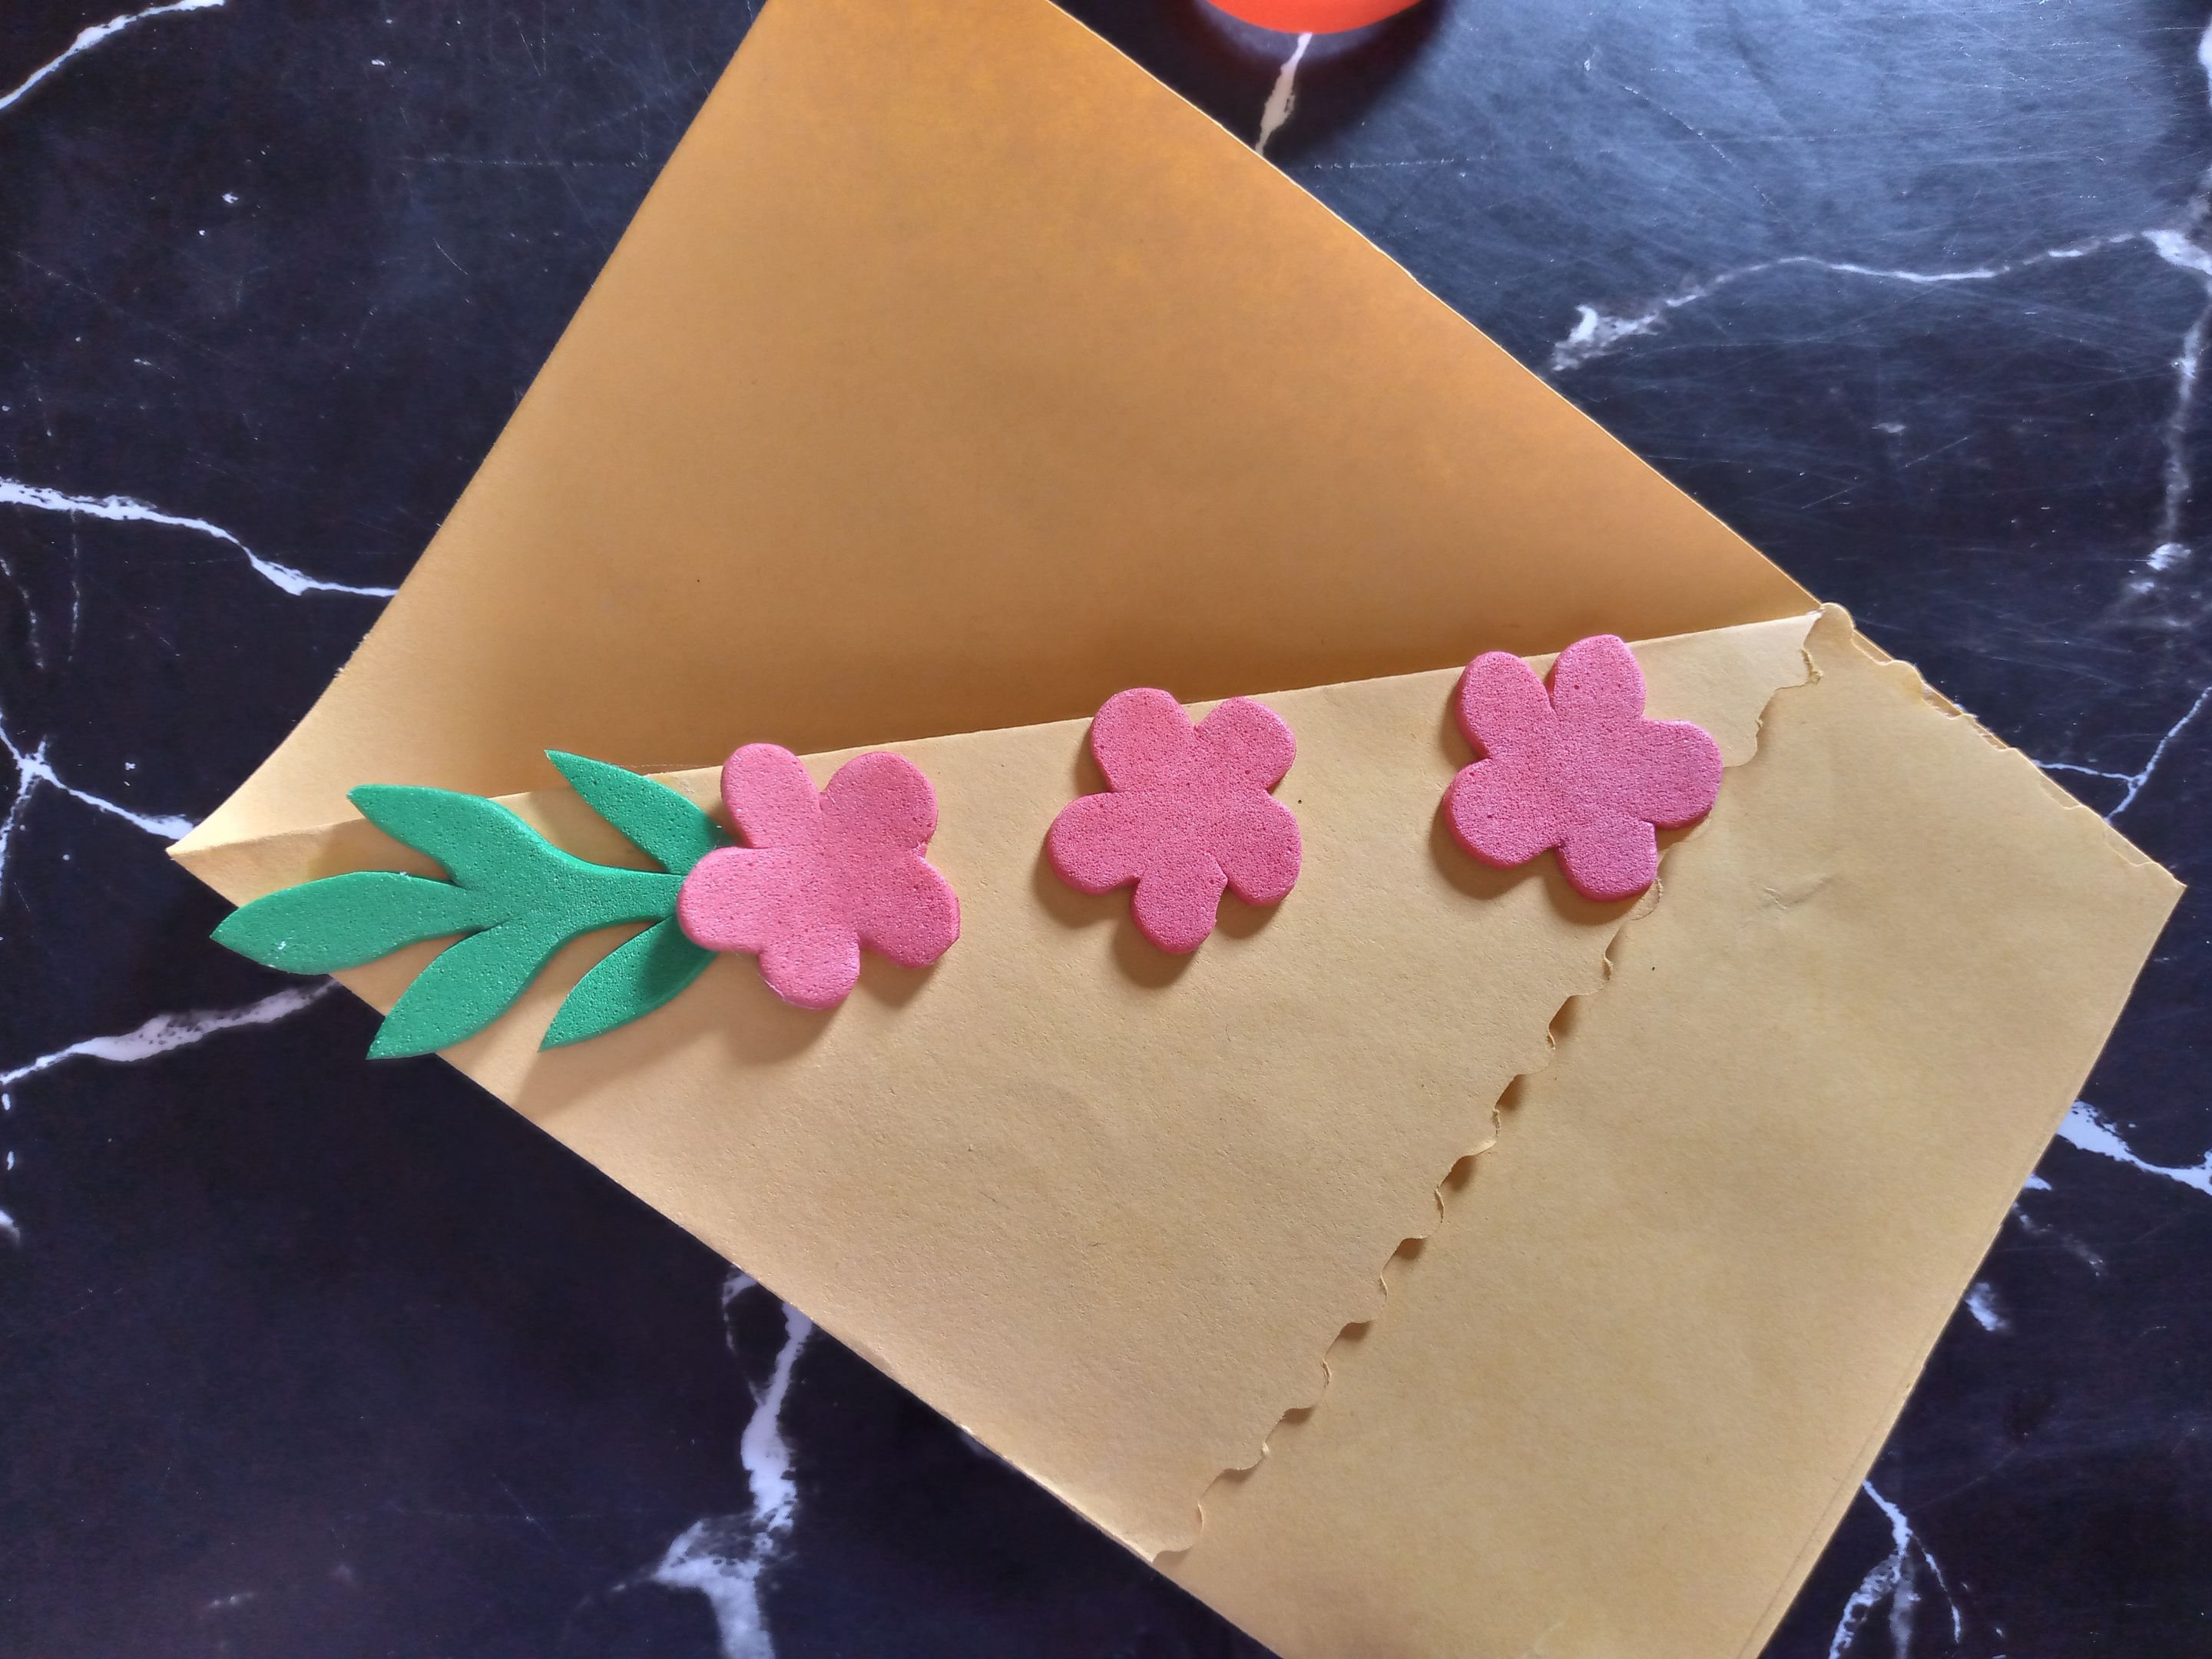
Una vez pegamos está parte yo con fomi de color rojo hice pequeñas florecitas🥰🌸que luego fui recortando poquito a poco como son tan pequeñas pues las corté con delicadeza para no dejarlas así solitas decidí recortar con fomi brillante dorado el centro de las flores con un círculo muy pequeño y lo pegaremos justo en el centro de nuestra flor pegamos las flores donde veamos que se vea bien y cortaré también una rama de hojitas 🌿 también en fomi de color verde y la pegare en una esquina del sobre dejo secar y ya puedo meter lo quiera dentro de el así fácil y sencillo lo he terminado 😍.
Step 04
Once we glued this part, with red foam I made small flowers🥰🌸 that I then cut out little by little since they are so small, I cut them delicately so as not to leave them alone, I decided to cut out the center of the flowers with a very small circle with shiny golden foam and we will glue it right in the center of our flower, we glue the flowers wherever we see that it looks good and I will also cut a branch of leaves 🌿 also in green foam and I will glue it in a corner of the envelope, let it dry and now I can put whatever I want inside it, so easy and simple I have finished it 😍.
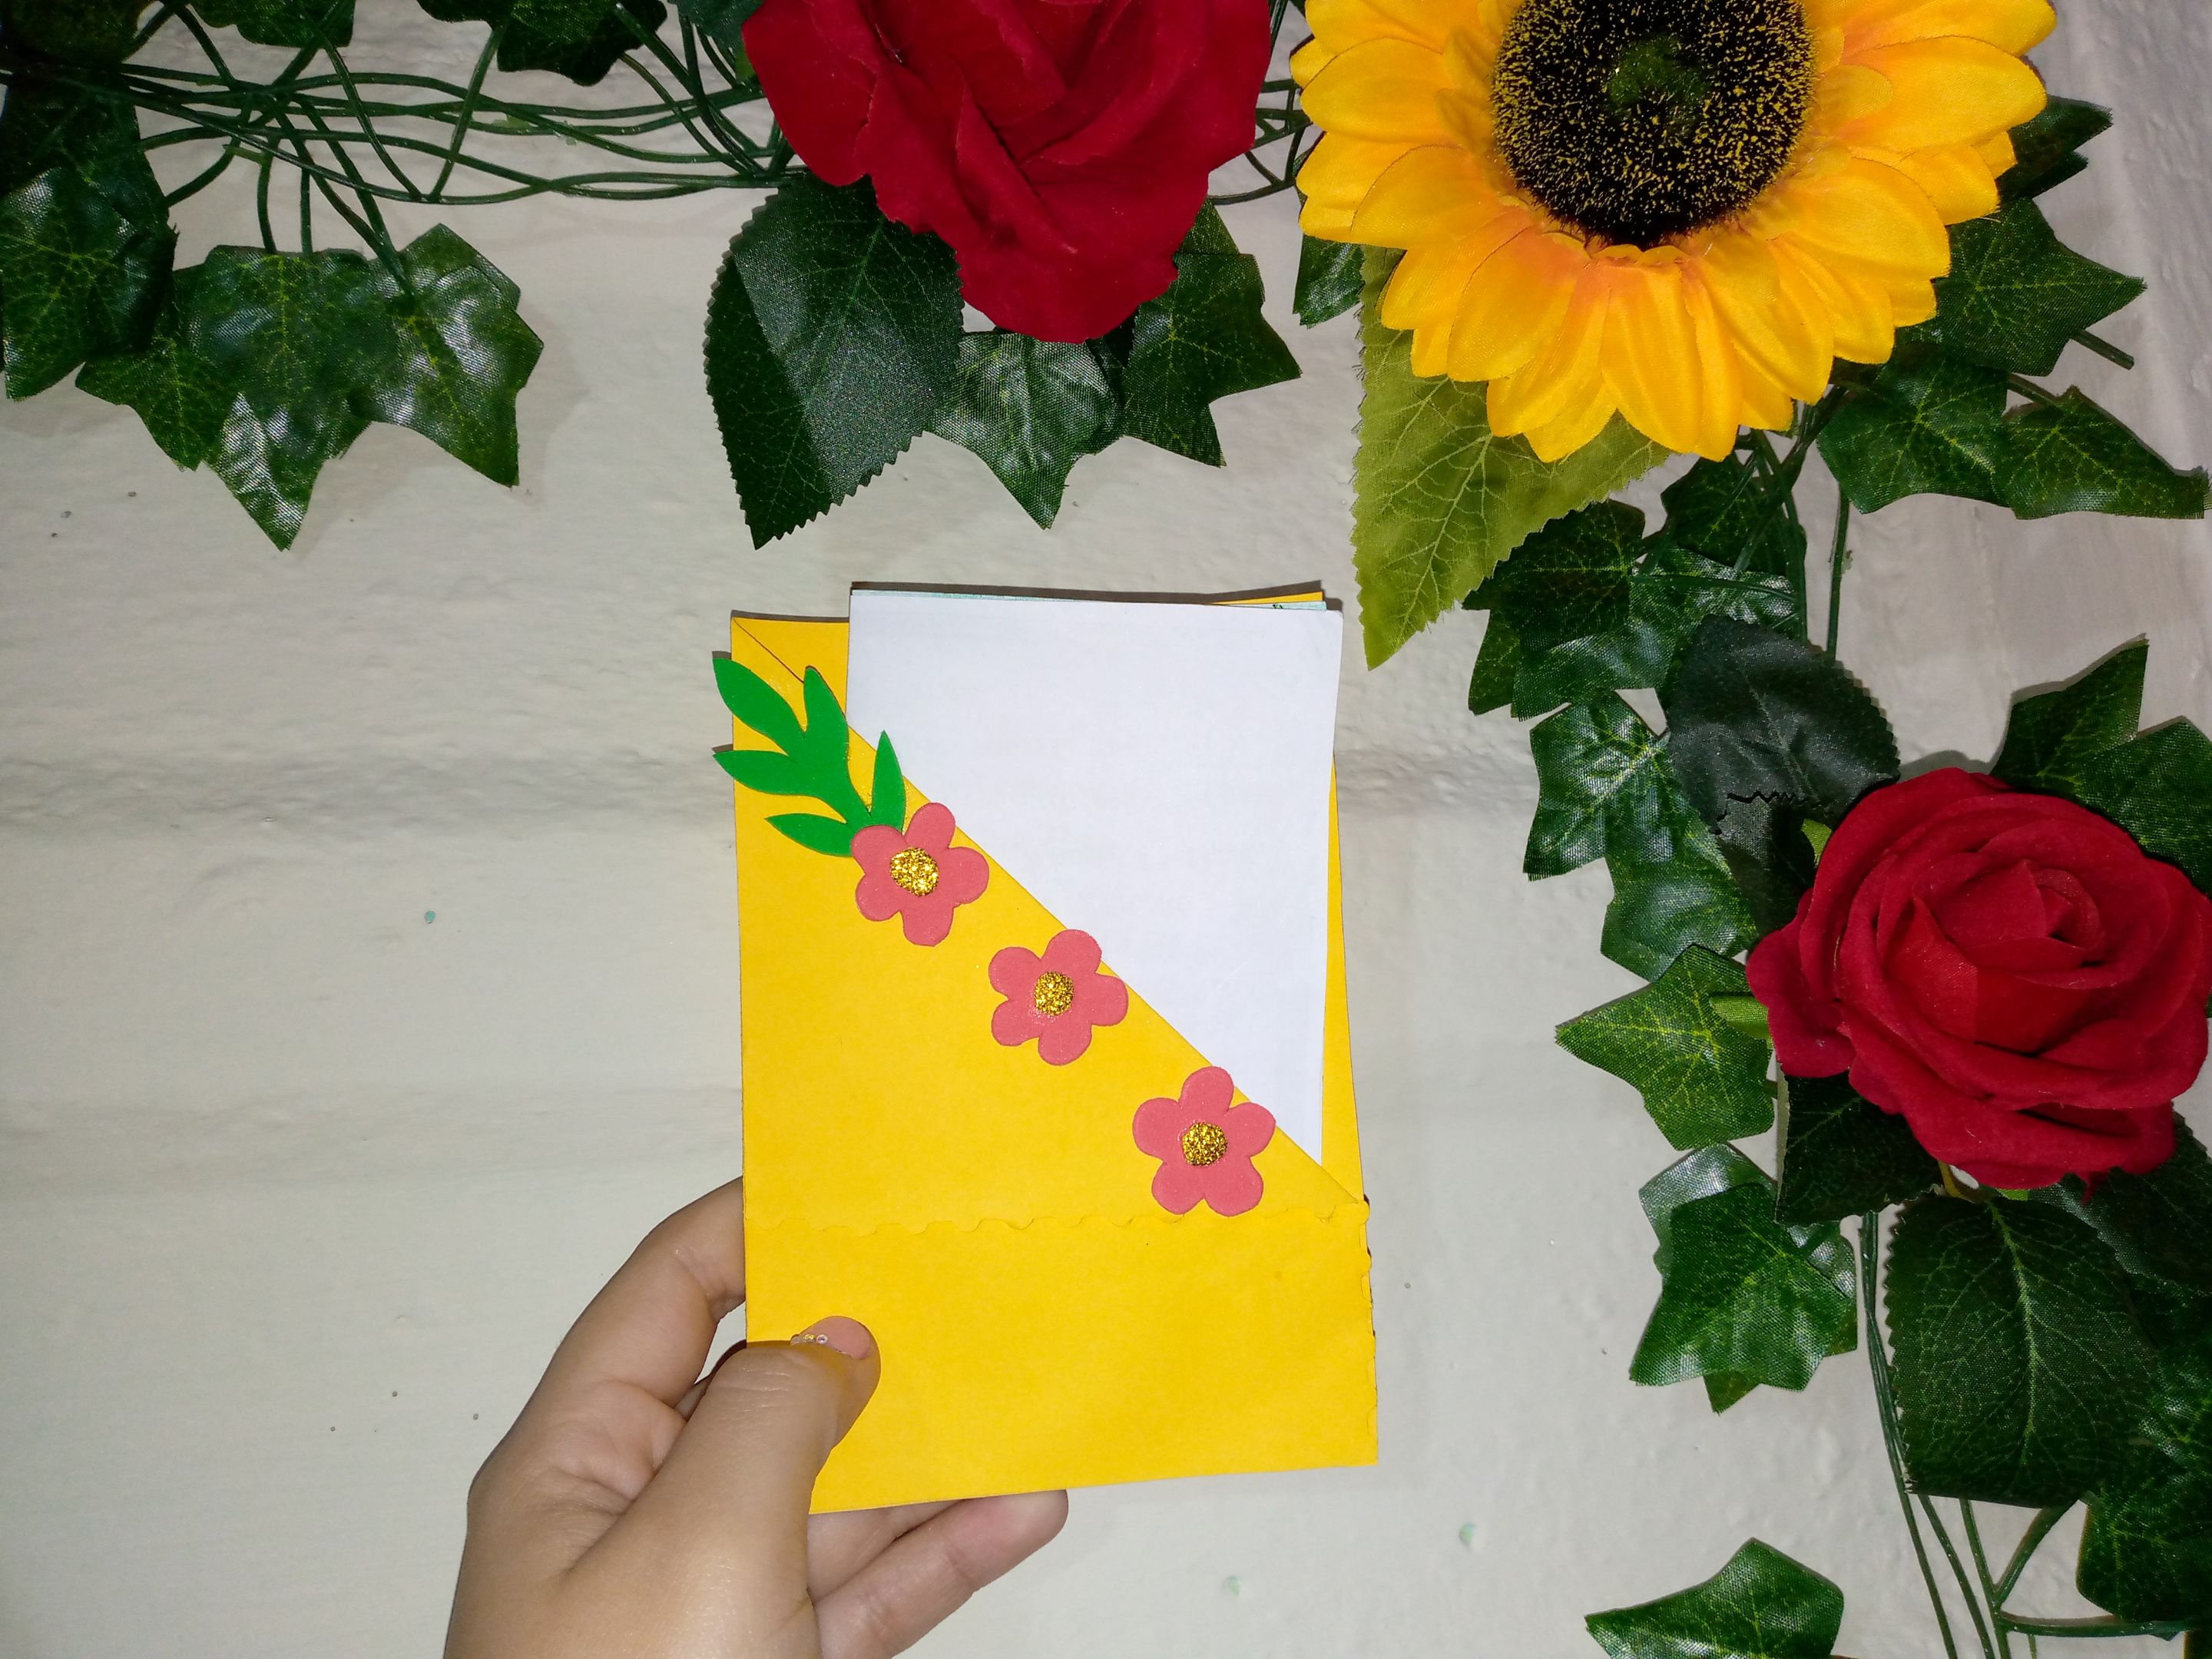
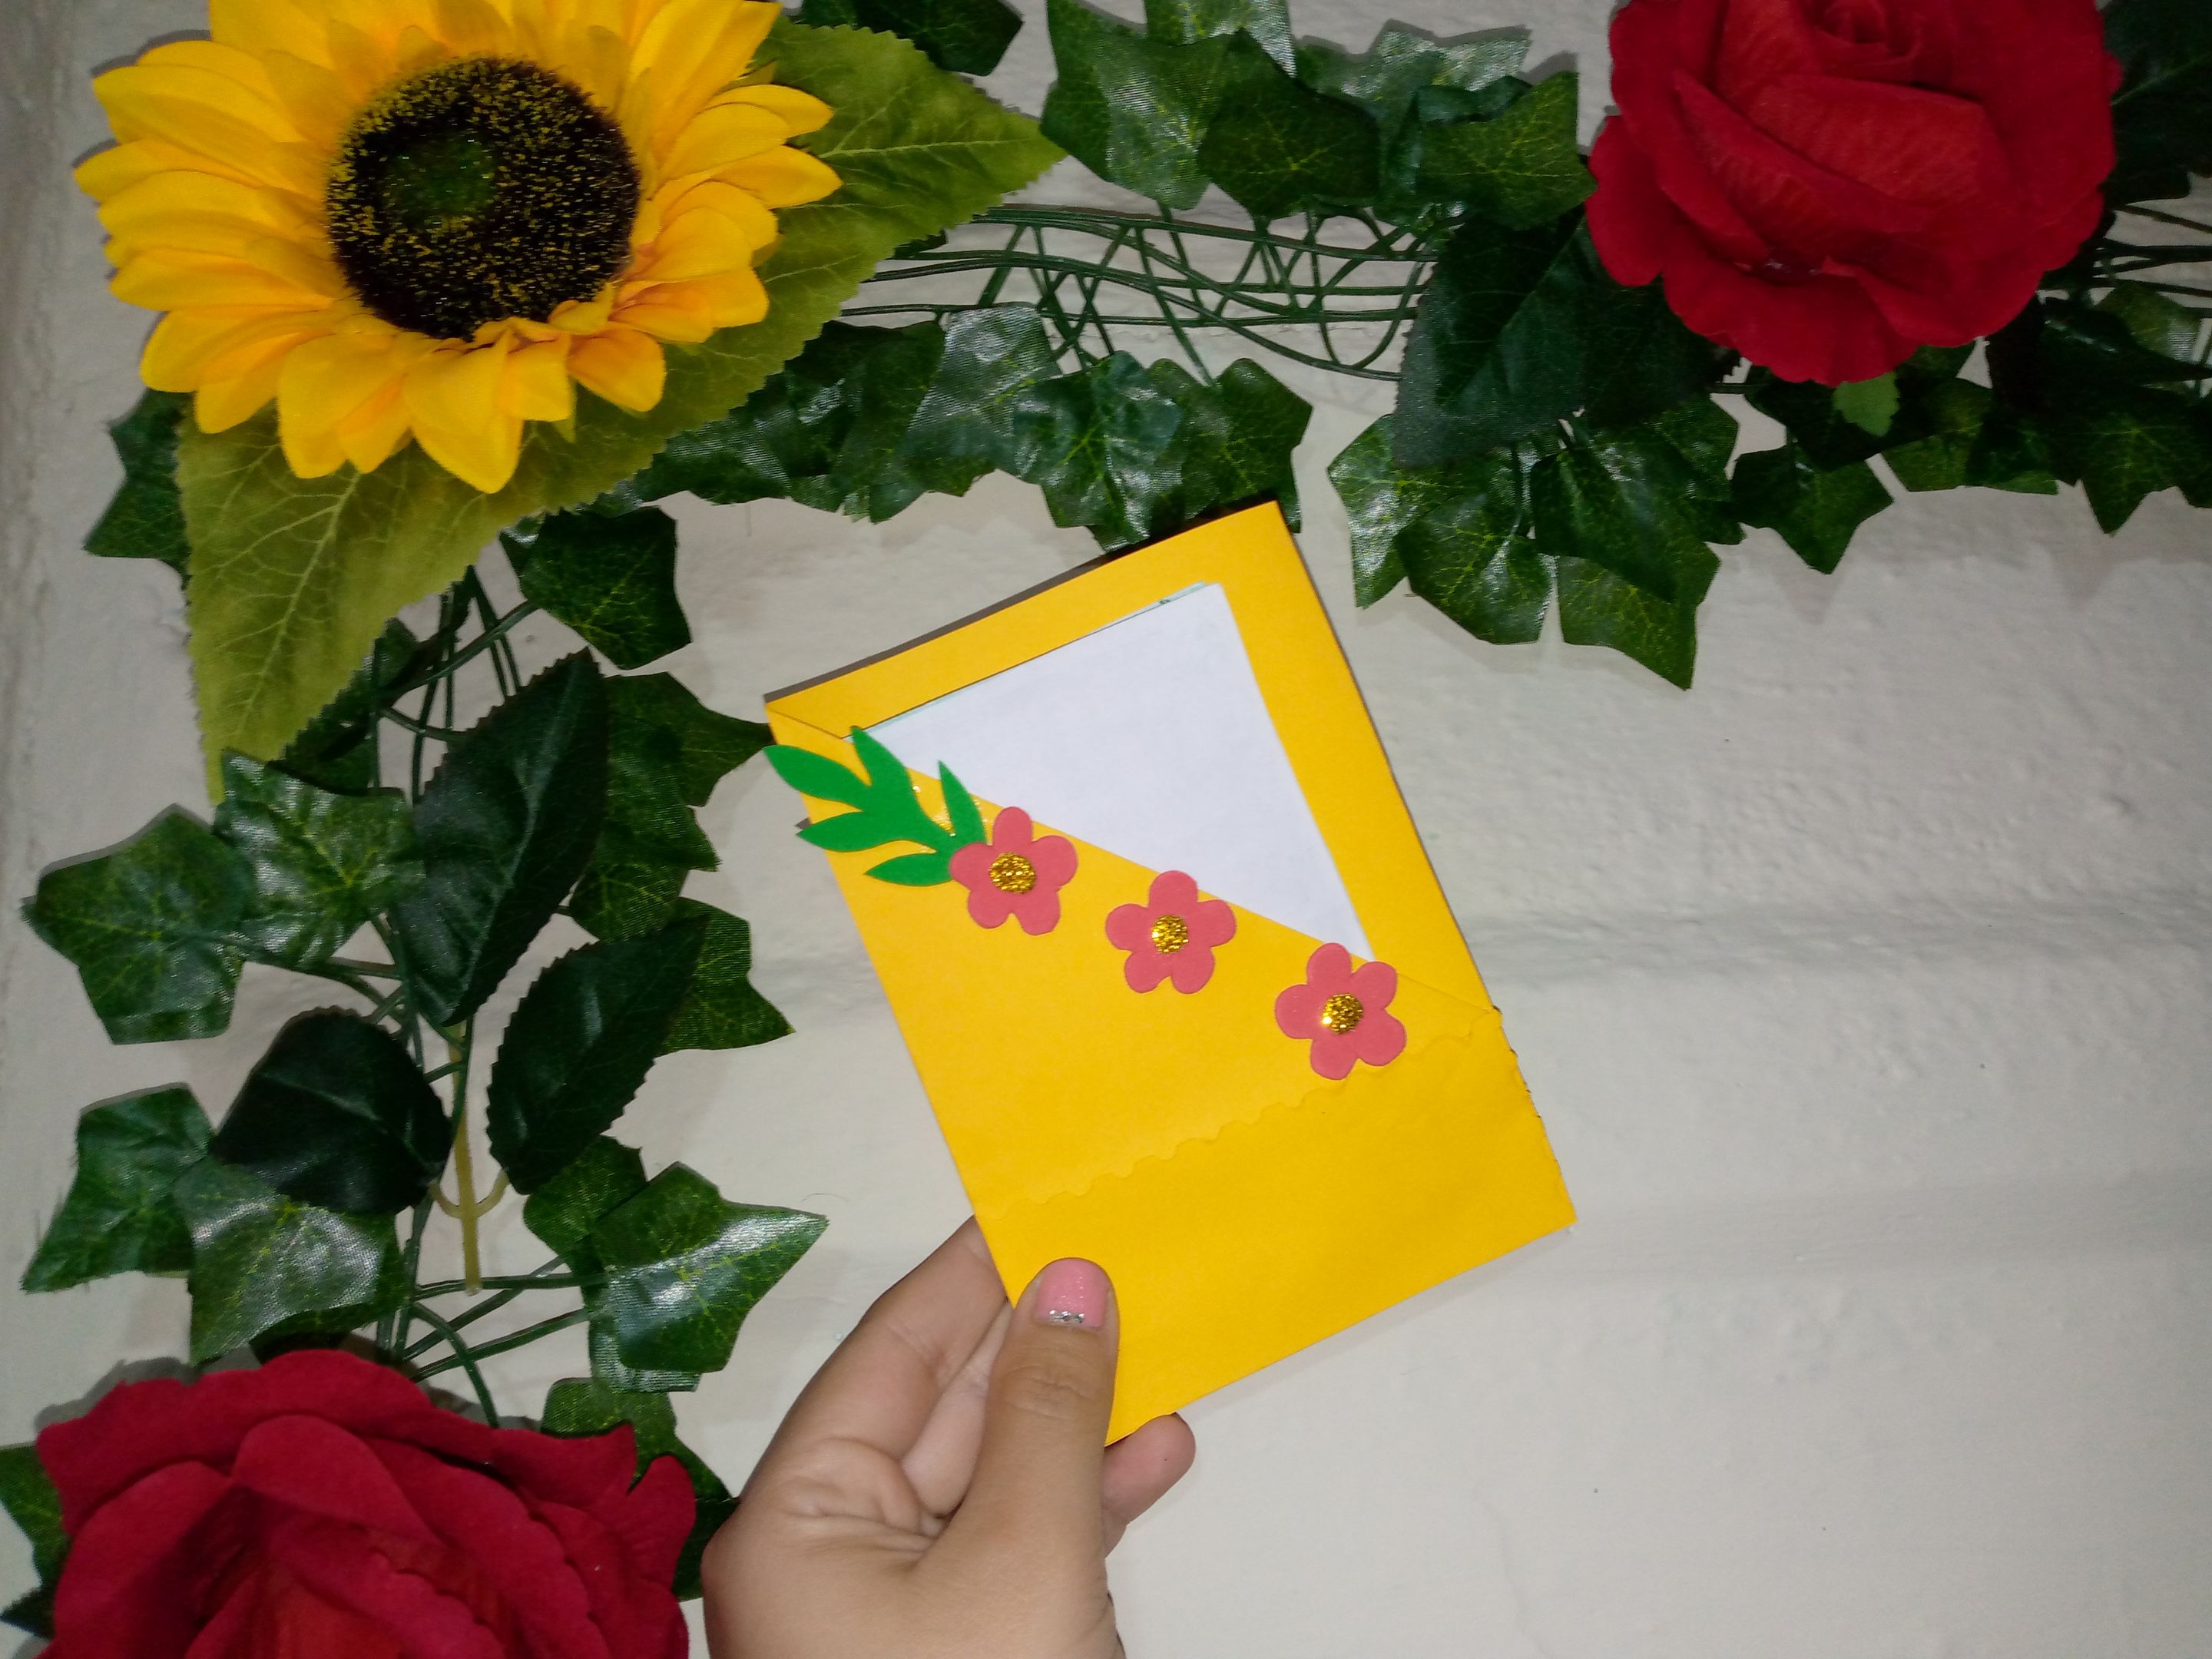
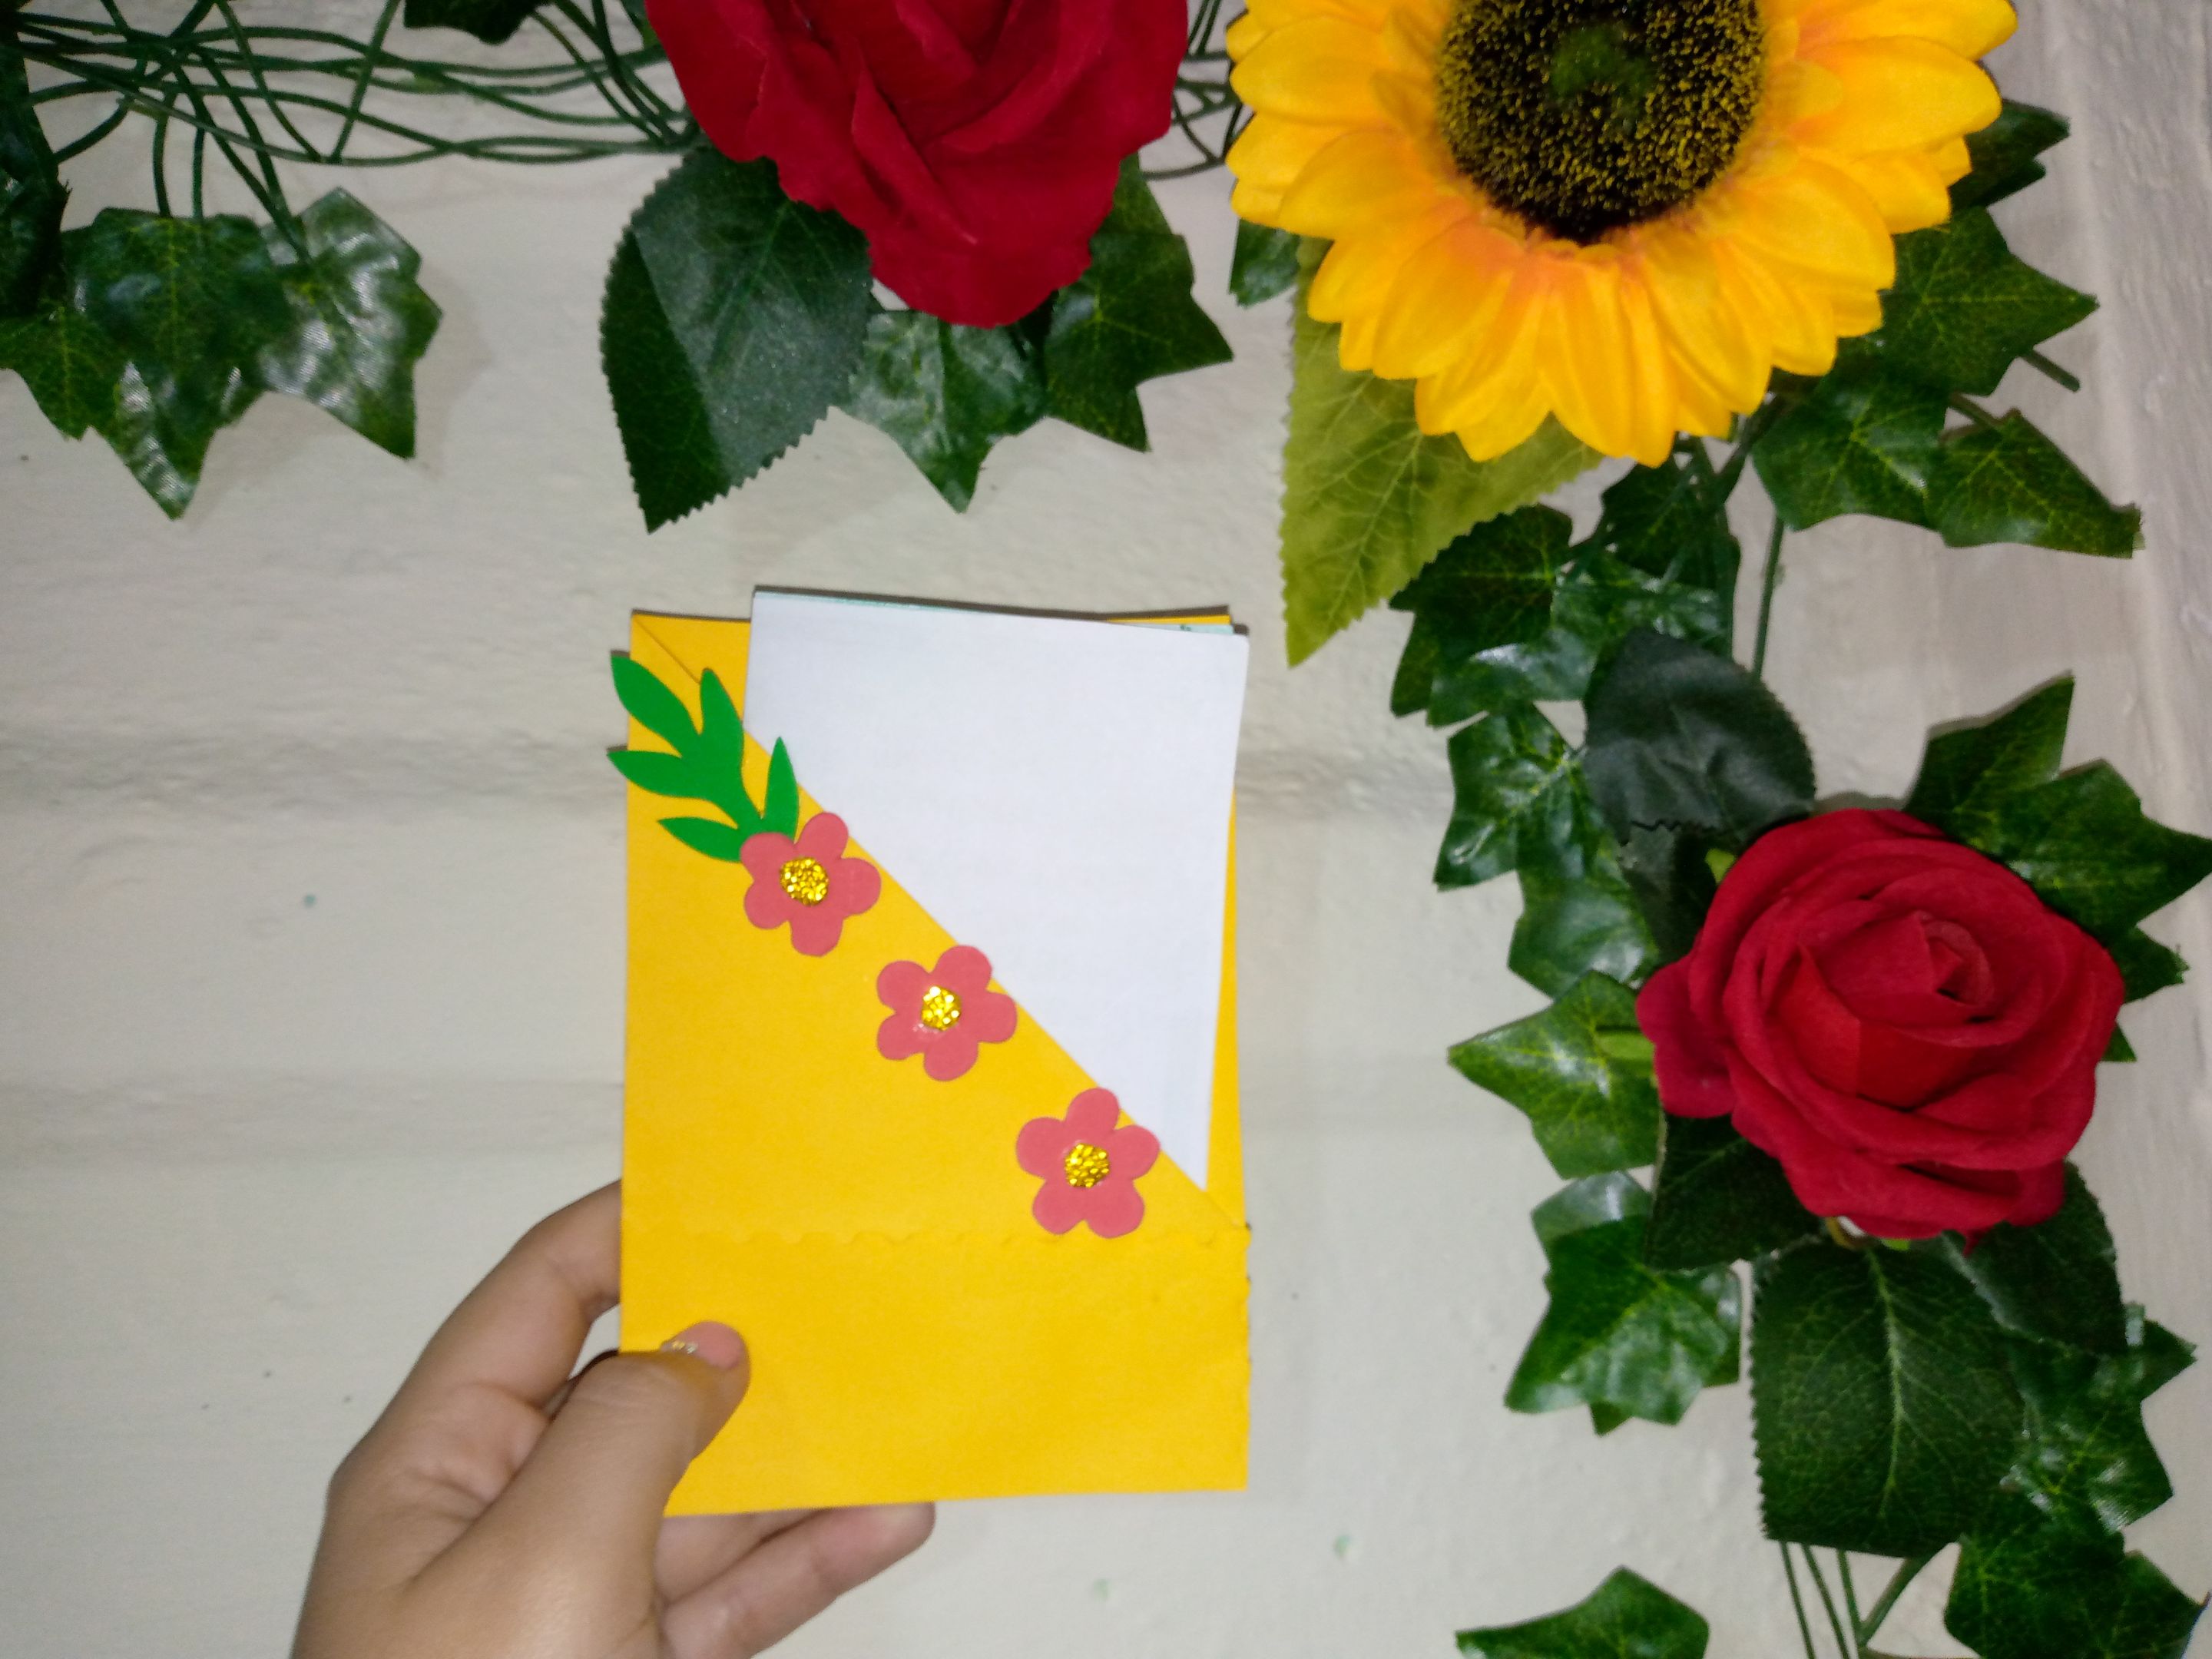
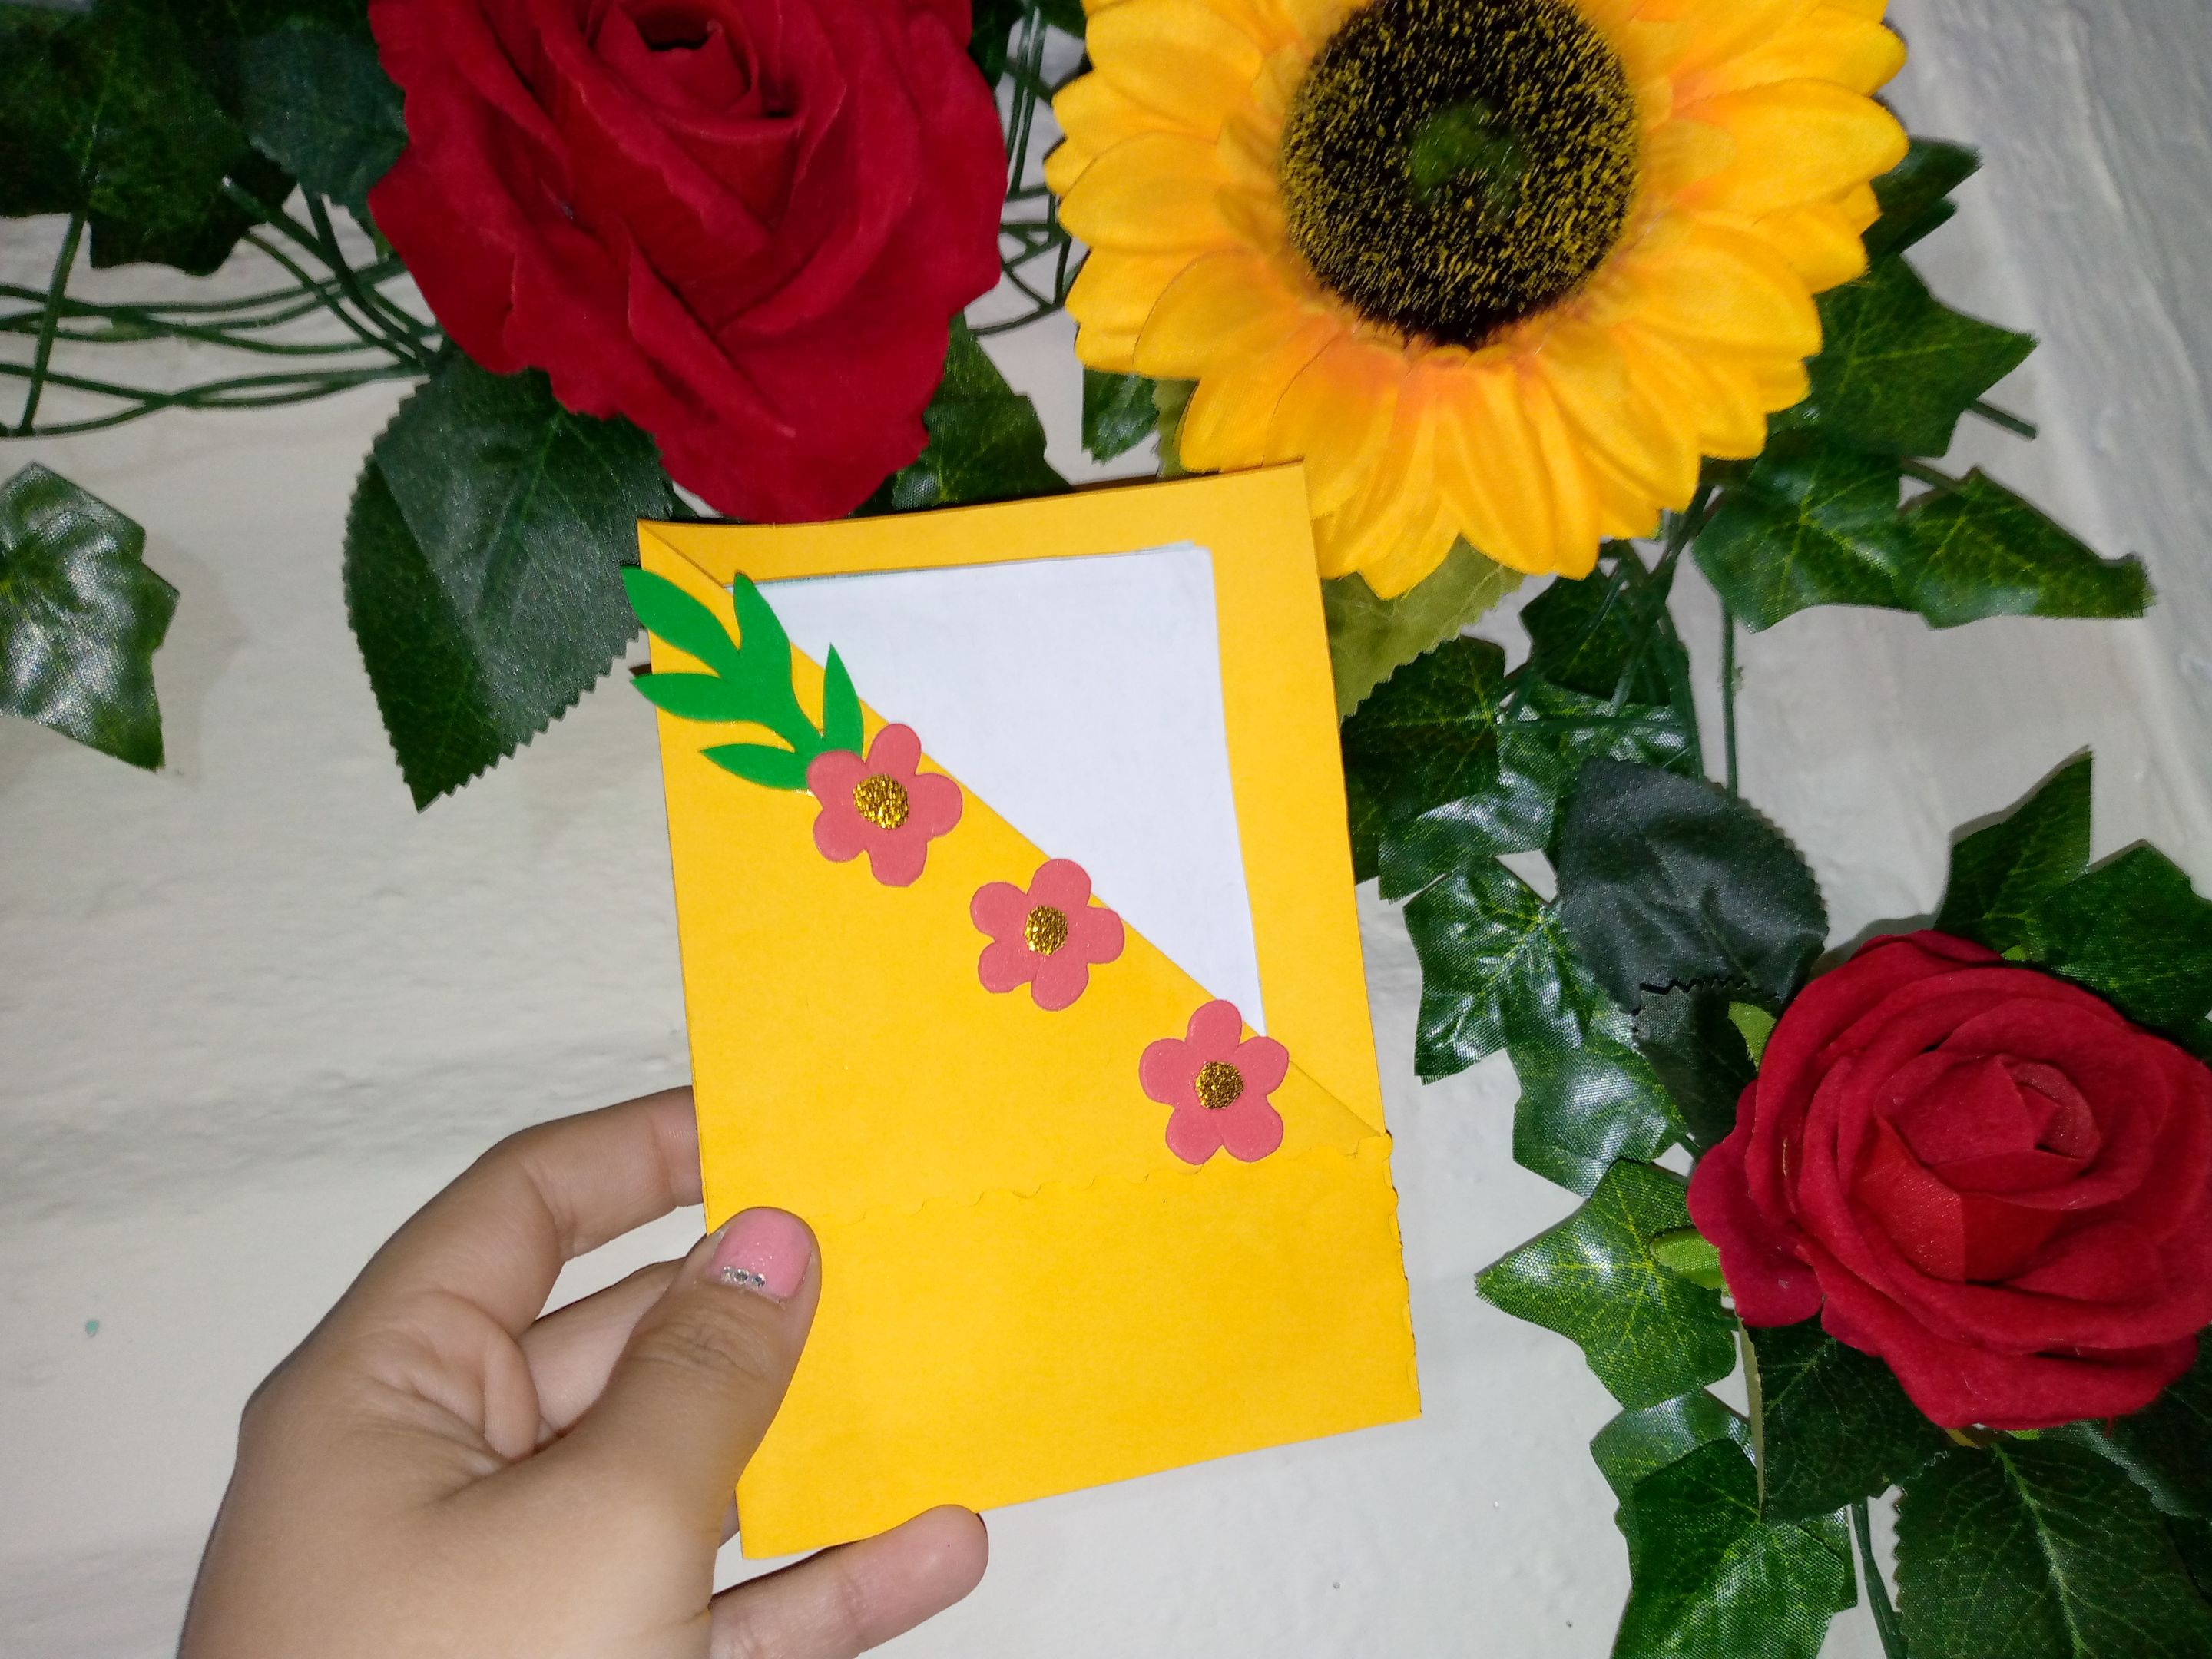
Resultado:// Result:
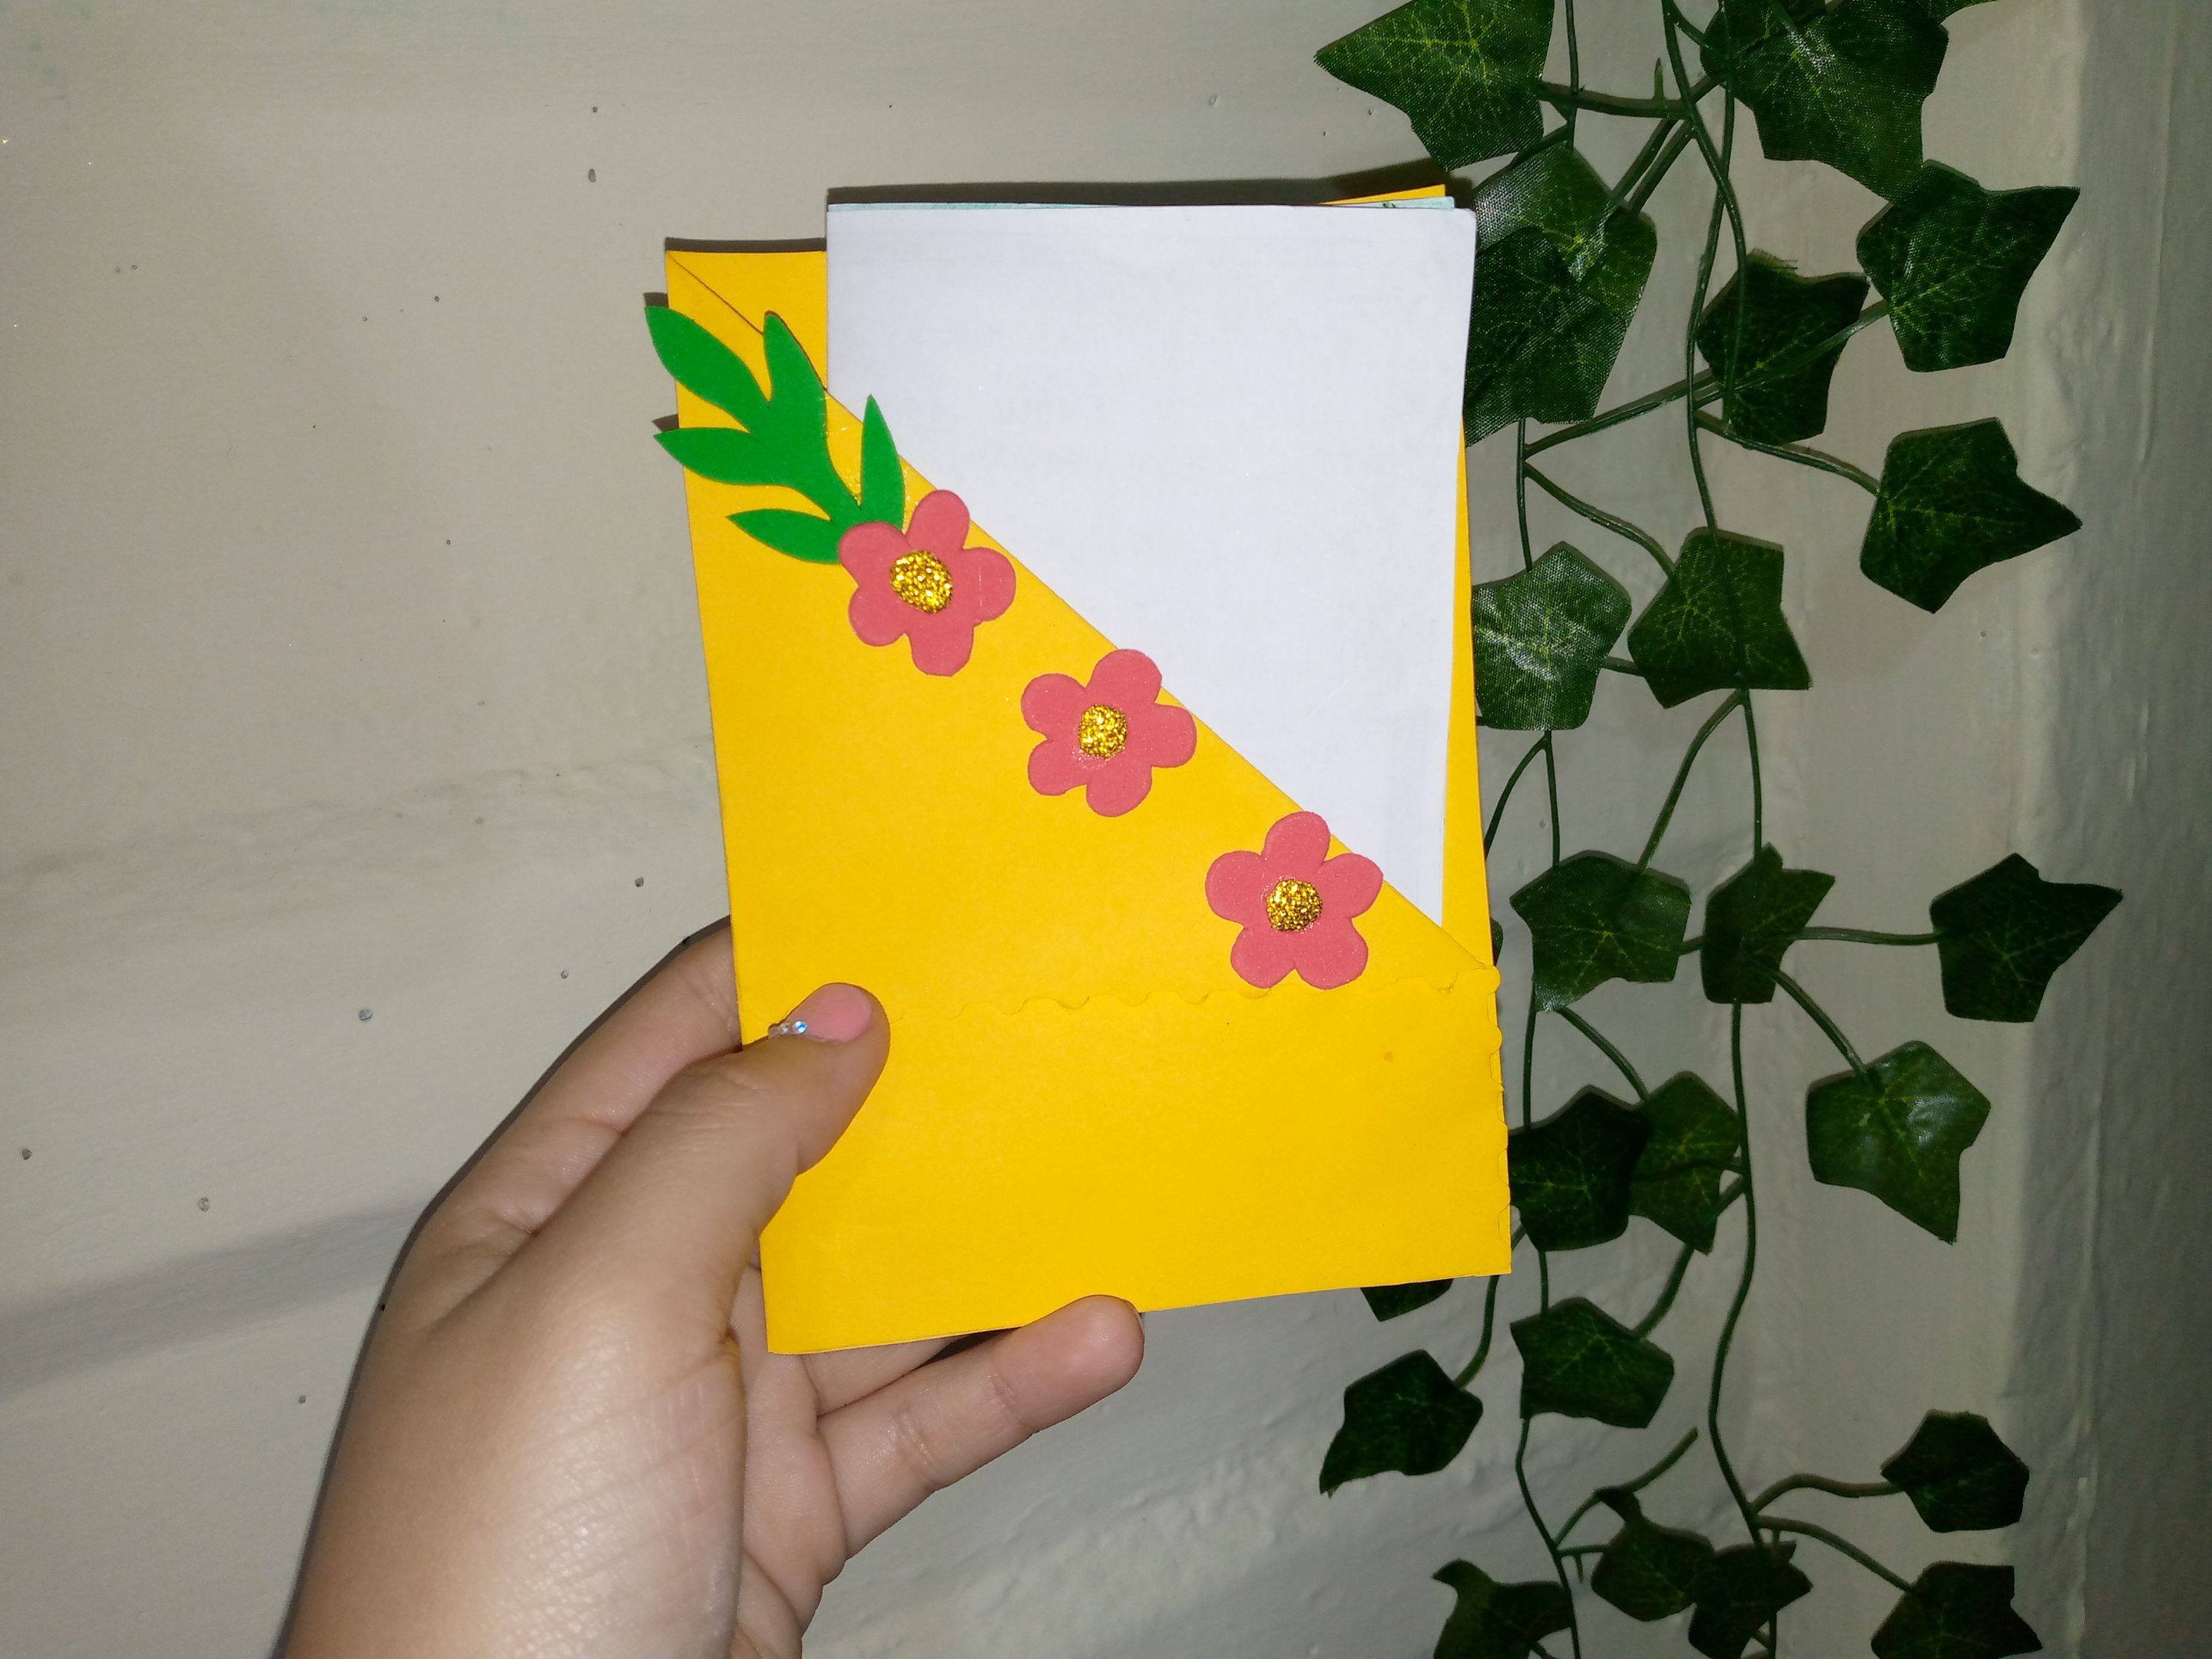
De esta manera nos queda nuestro sobre que podrías hacer cuando es ese evento especial que quieras regalar invitaciones puedes hacerlas de esta manera y hasta usando otros materiales ✨💌,espero te guste esta idea y me cuentes qué tal te ha parecido,hasta otros próximo tutorial.
This way we have our envelope that you could make when it is that special event that you want to give away invitations, you can make them this way and even using other materials ✨💌, I hope you like this idea and tell me what you think, until the next tutorial.
Creando las cosas con amor 🌷❤️
🦋✨Todas las imágenes de esta publicación son de mi autoria ,📱tomadas con mi celular TecnoSpark8C |📸Fotos editadas en PicsArt y Canva. Texto traducido en el traductor de Google.
Creating things with love 🌷❤️
🦋✨ All the images in this publication are my author ,📱taken with my TecnoSpark8C cell phone |📸Photos edited in PicsArt and Canva. Text translated in Google Translate.