Hello everyone
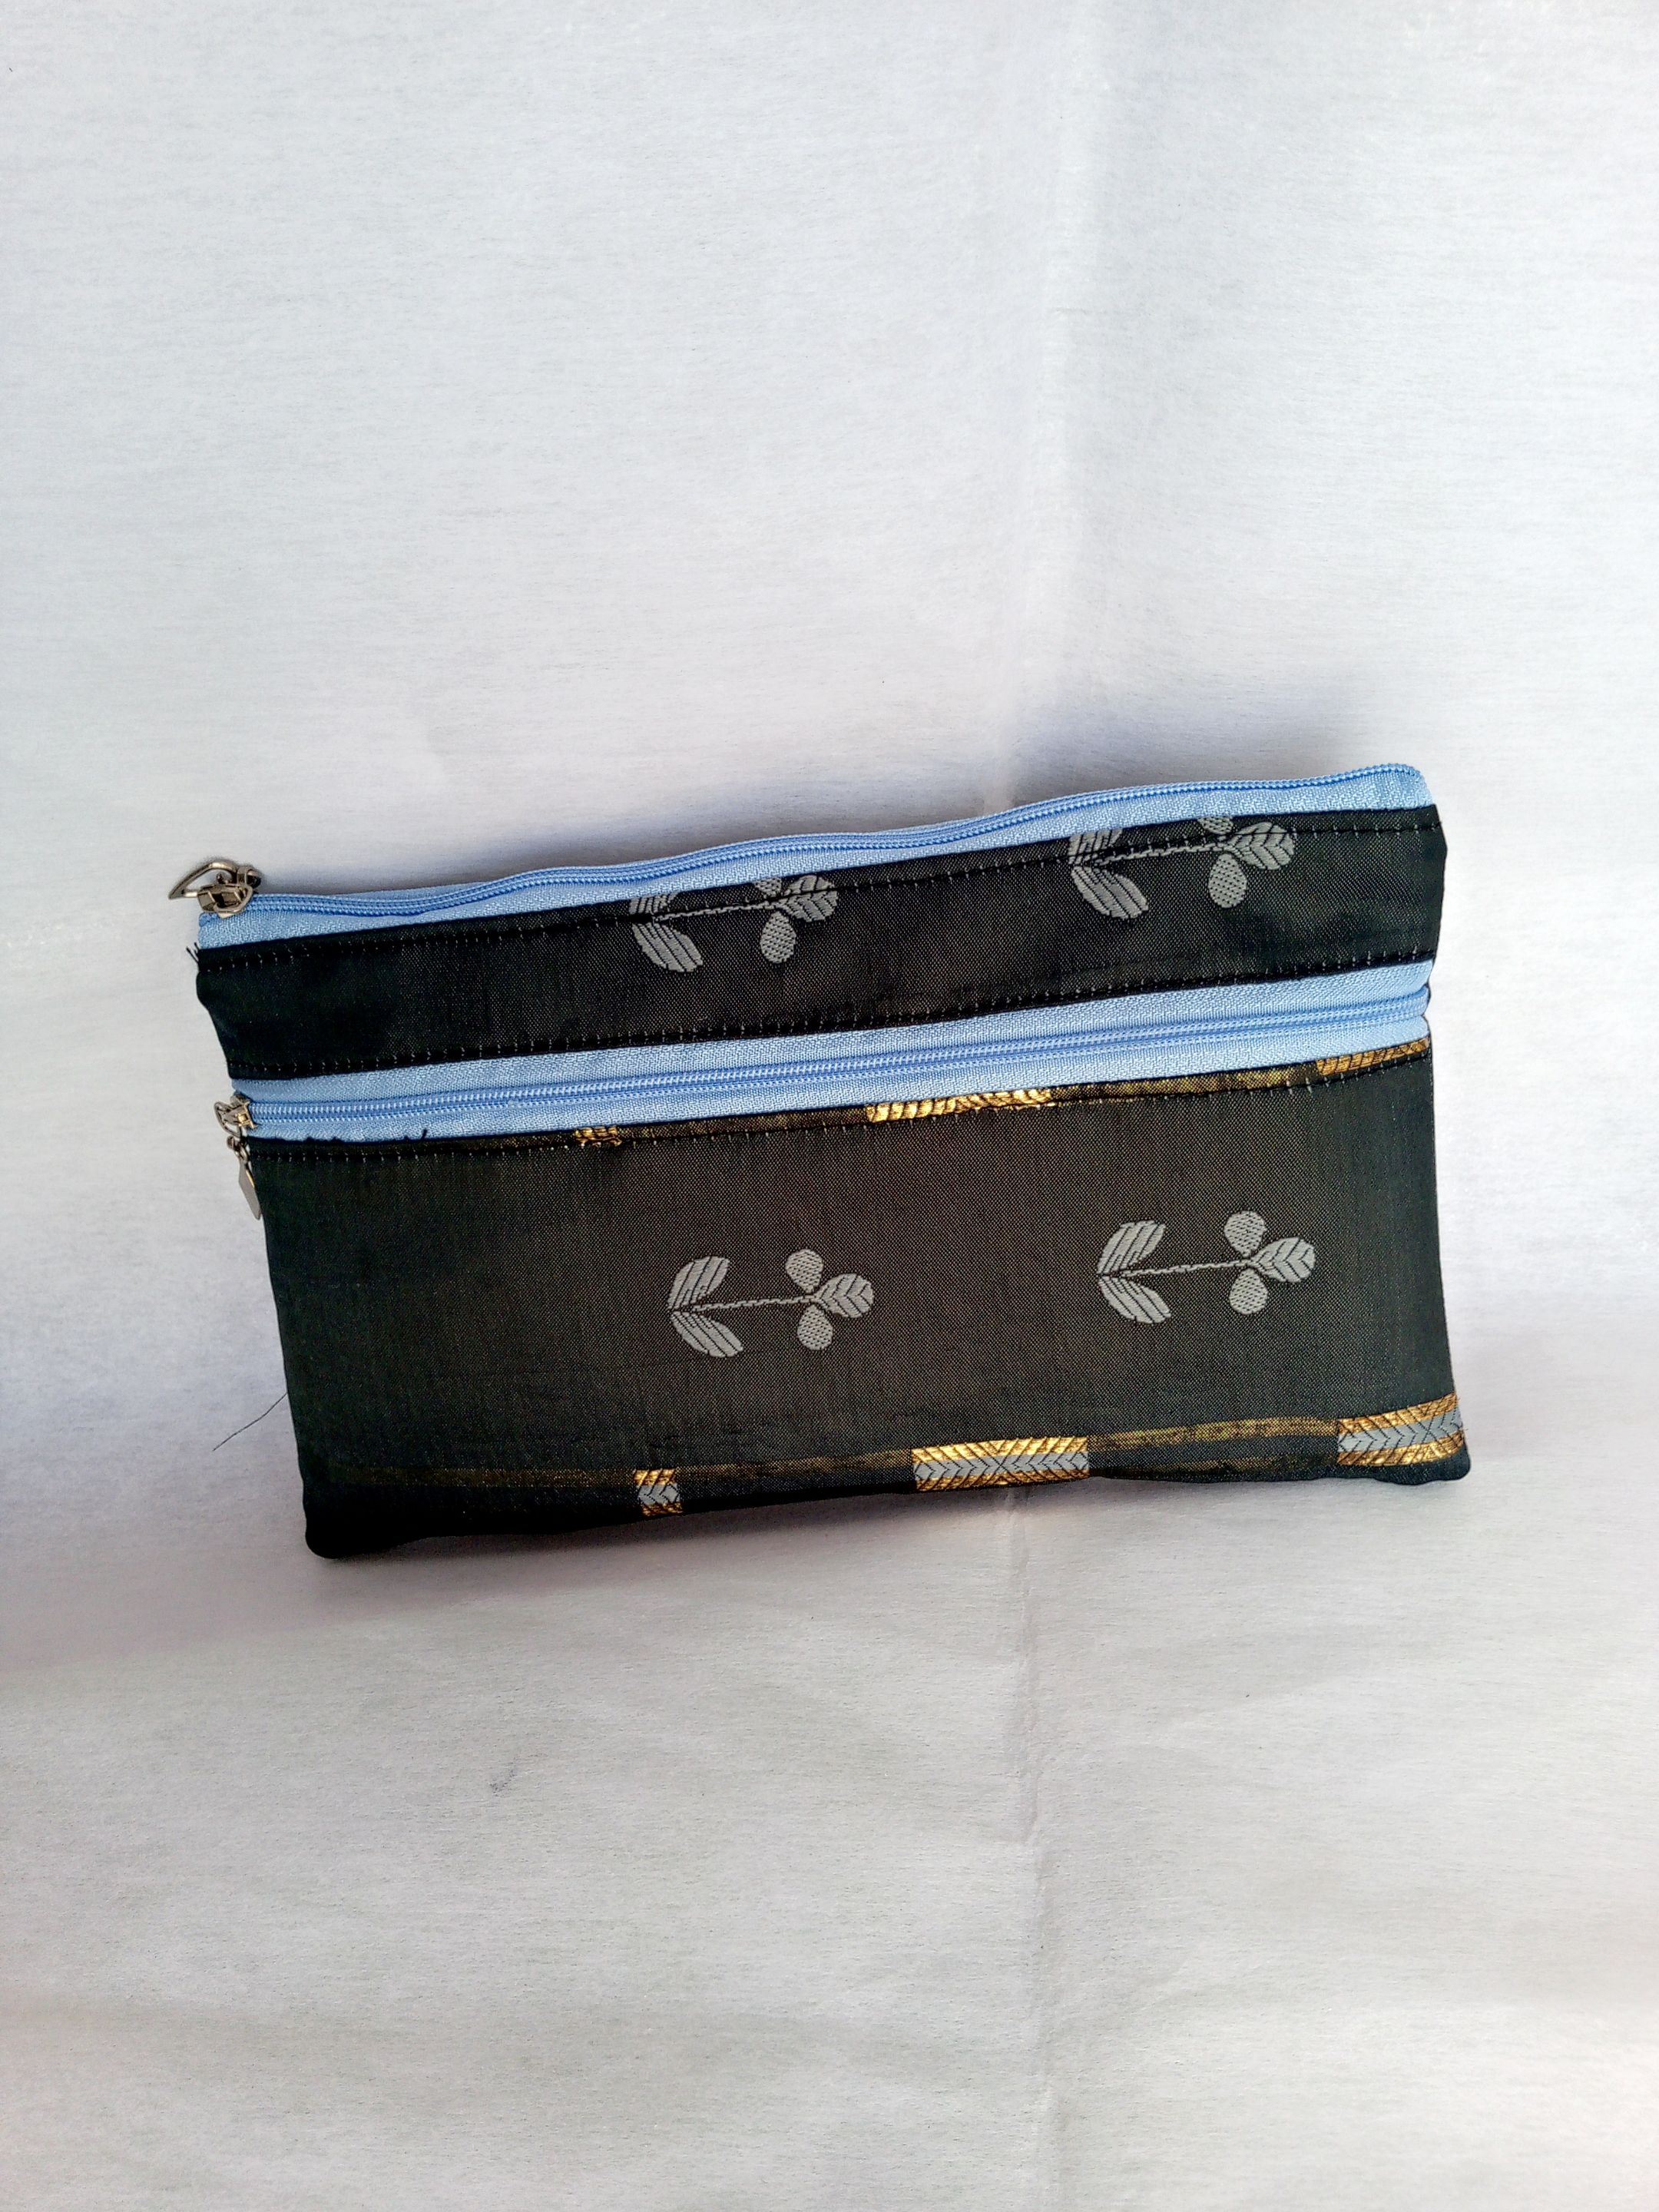
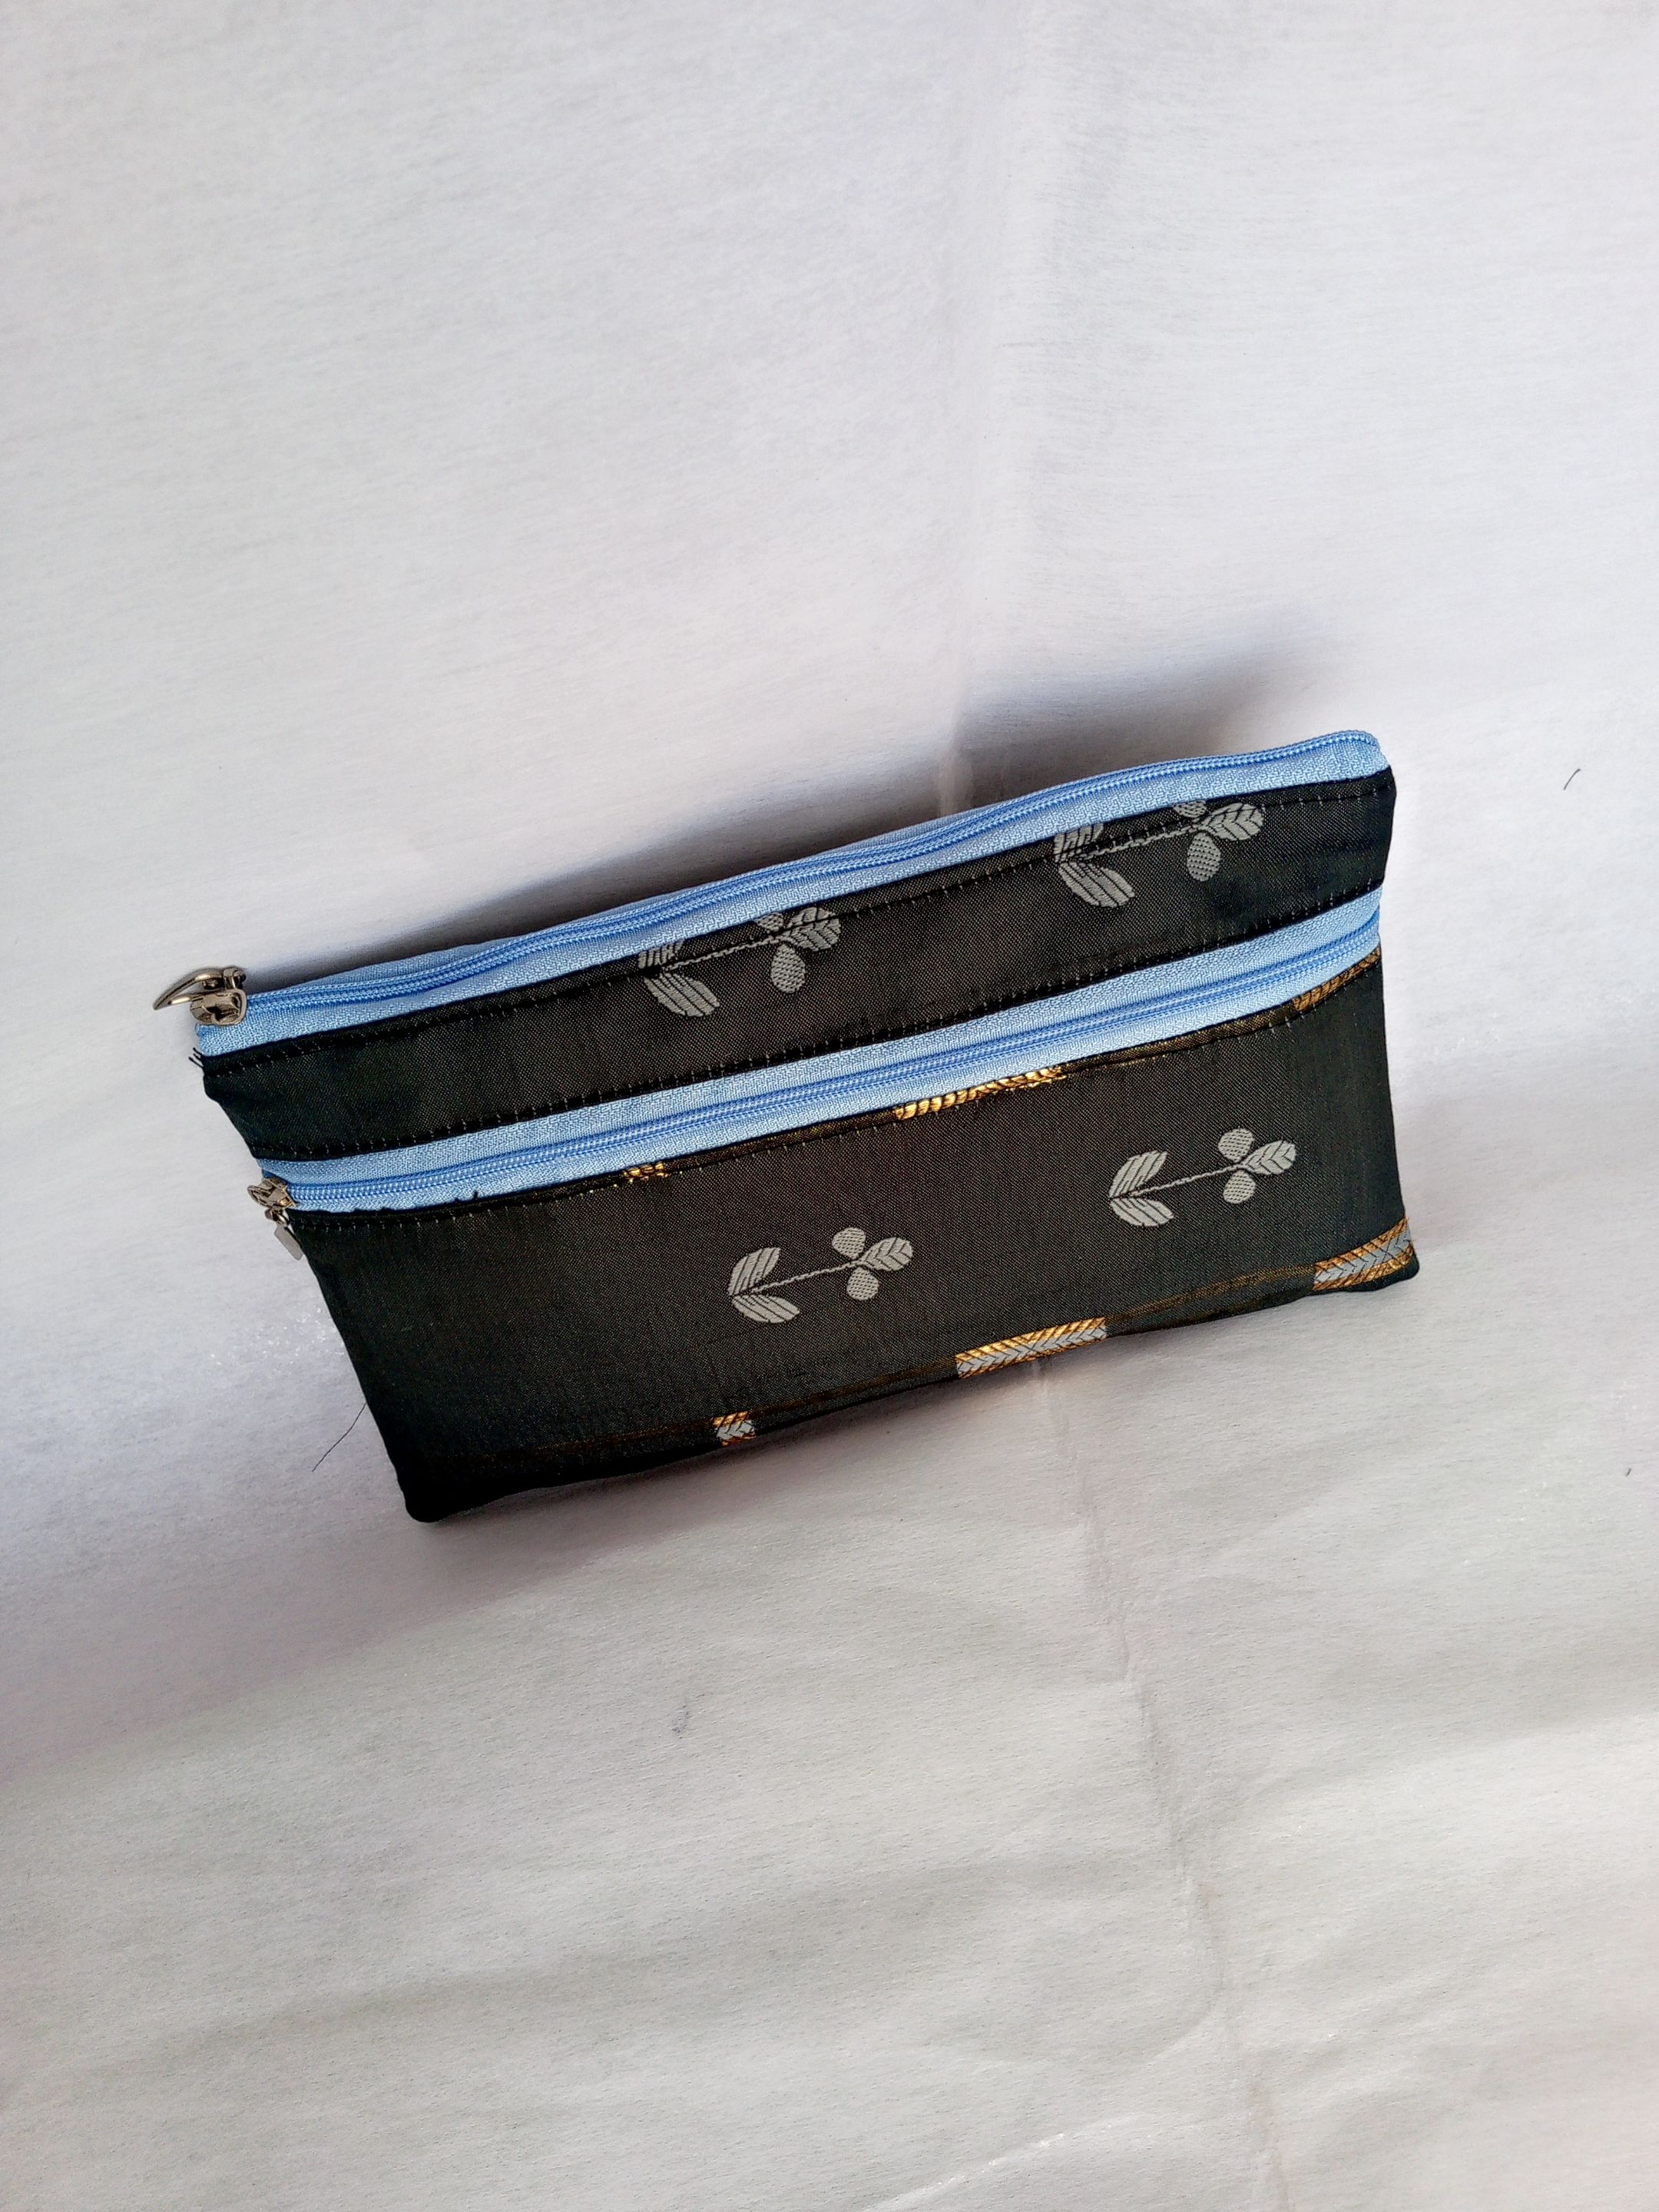
Happy weekend and a beautiful day to you all out there, I hope you are doing great and have a nice time at your respective places, it's my pleasure today to share with you the cutting and sewing process of this 2 zipper pouch I made for my friend. The purse has a zipper for phone and a side pocket for cash and card, I hope you will like the beautiful outcome and the step by step process to achieve this.
Some days ago, my friend requested that I should make her 3 different types of purse for her personal use being a seamstress, I don't like seeing pieces of fabric being wasted, so make make use of it to create something useful like this for people around me. From the pieces of fabric I have with me, I have made 2 different types of purse for her so I'm left with the last one but a few days now, I have been very busy with other activities, as soon as I remembered tomorrow is Sunday and as promised, I told my friend I would bring her completed project for her on Sunday, I decided to work on the last one and it came out really nice.
Join me as i take you through the cutting and sewing process.
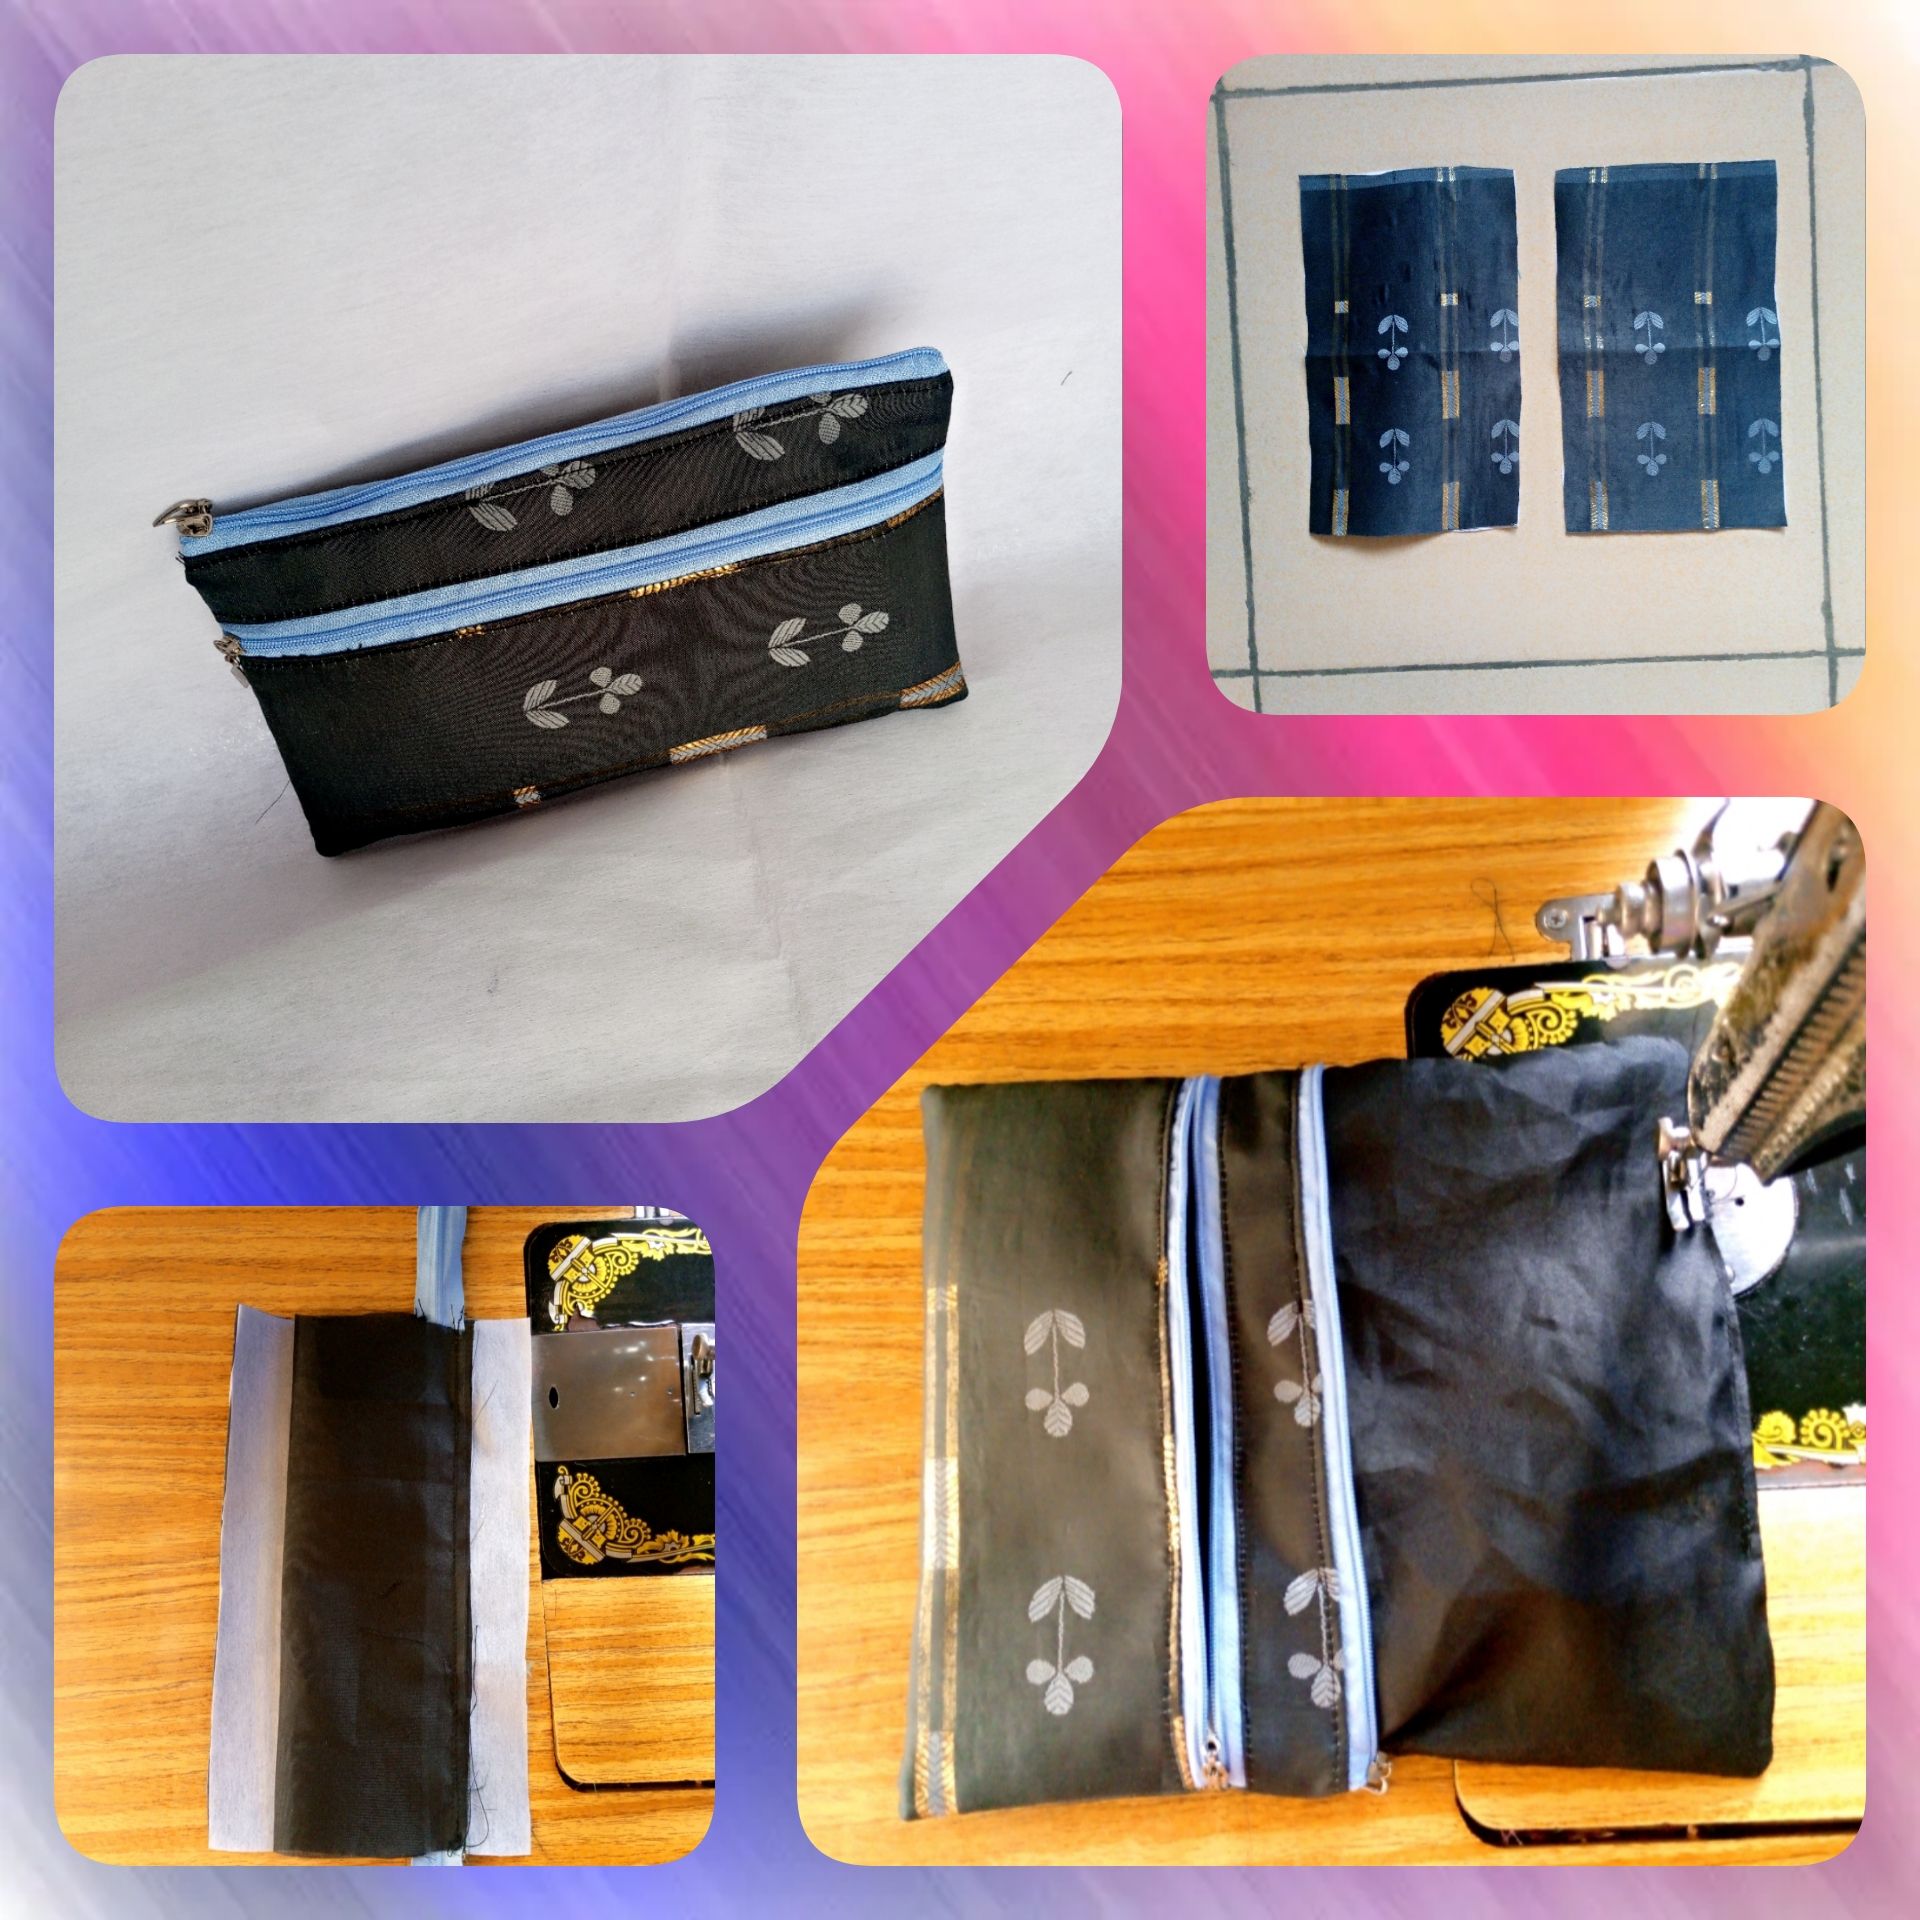
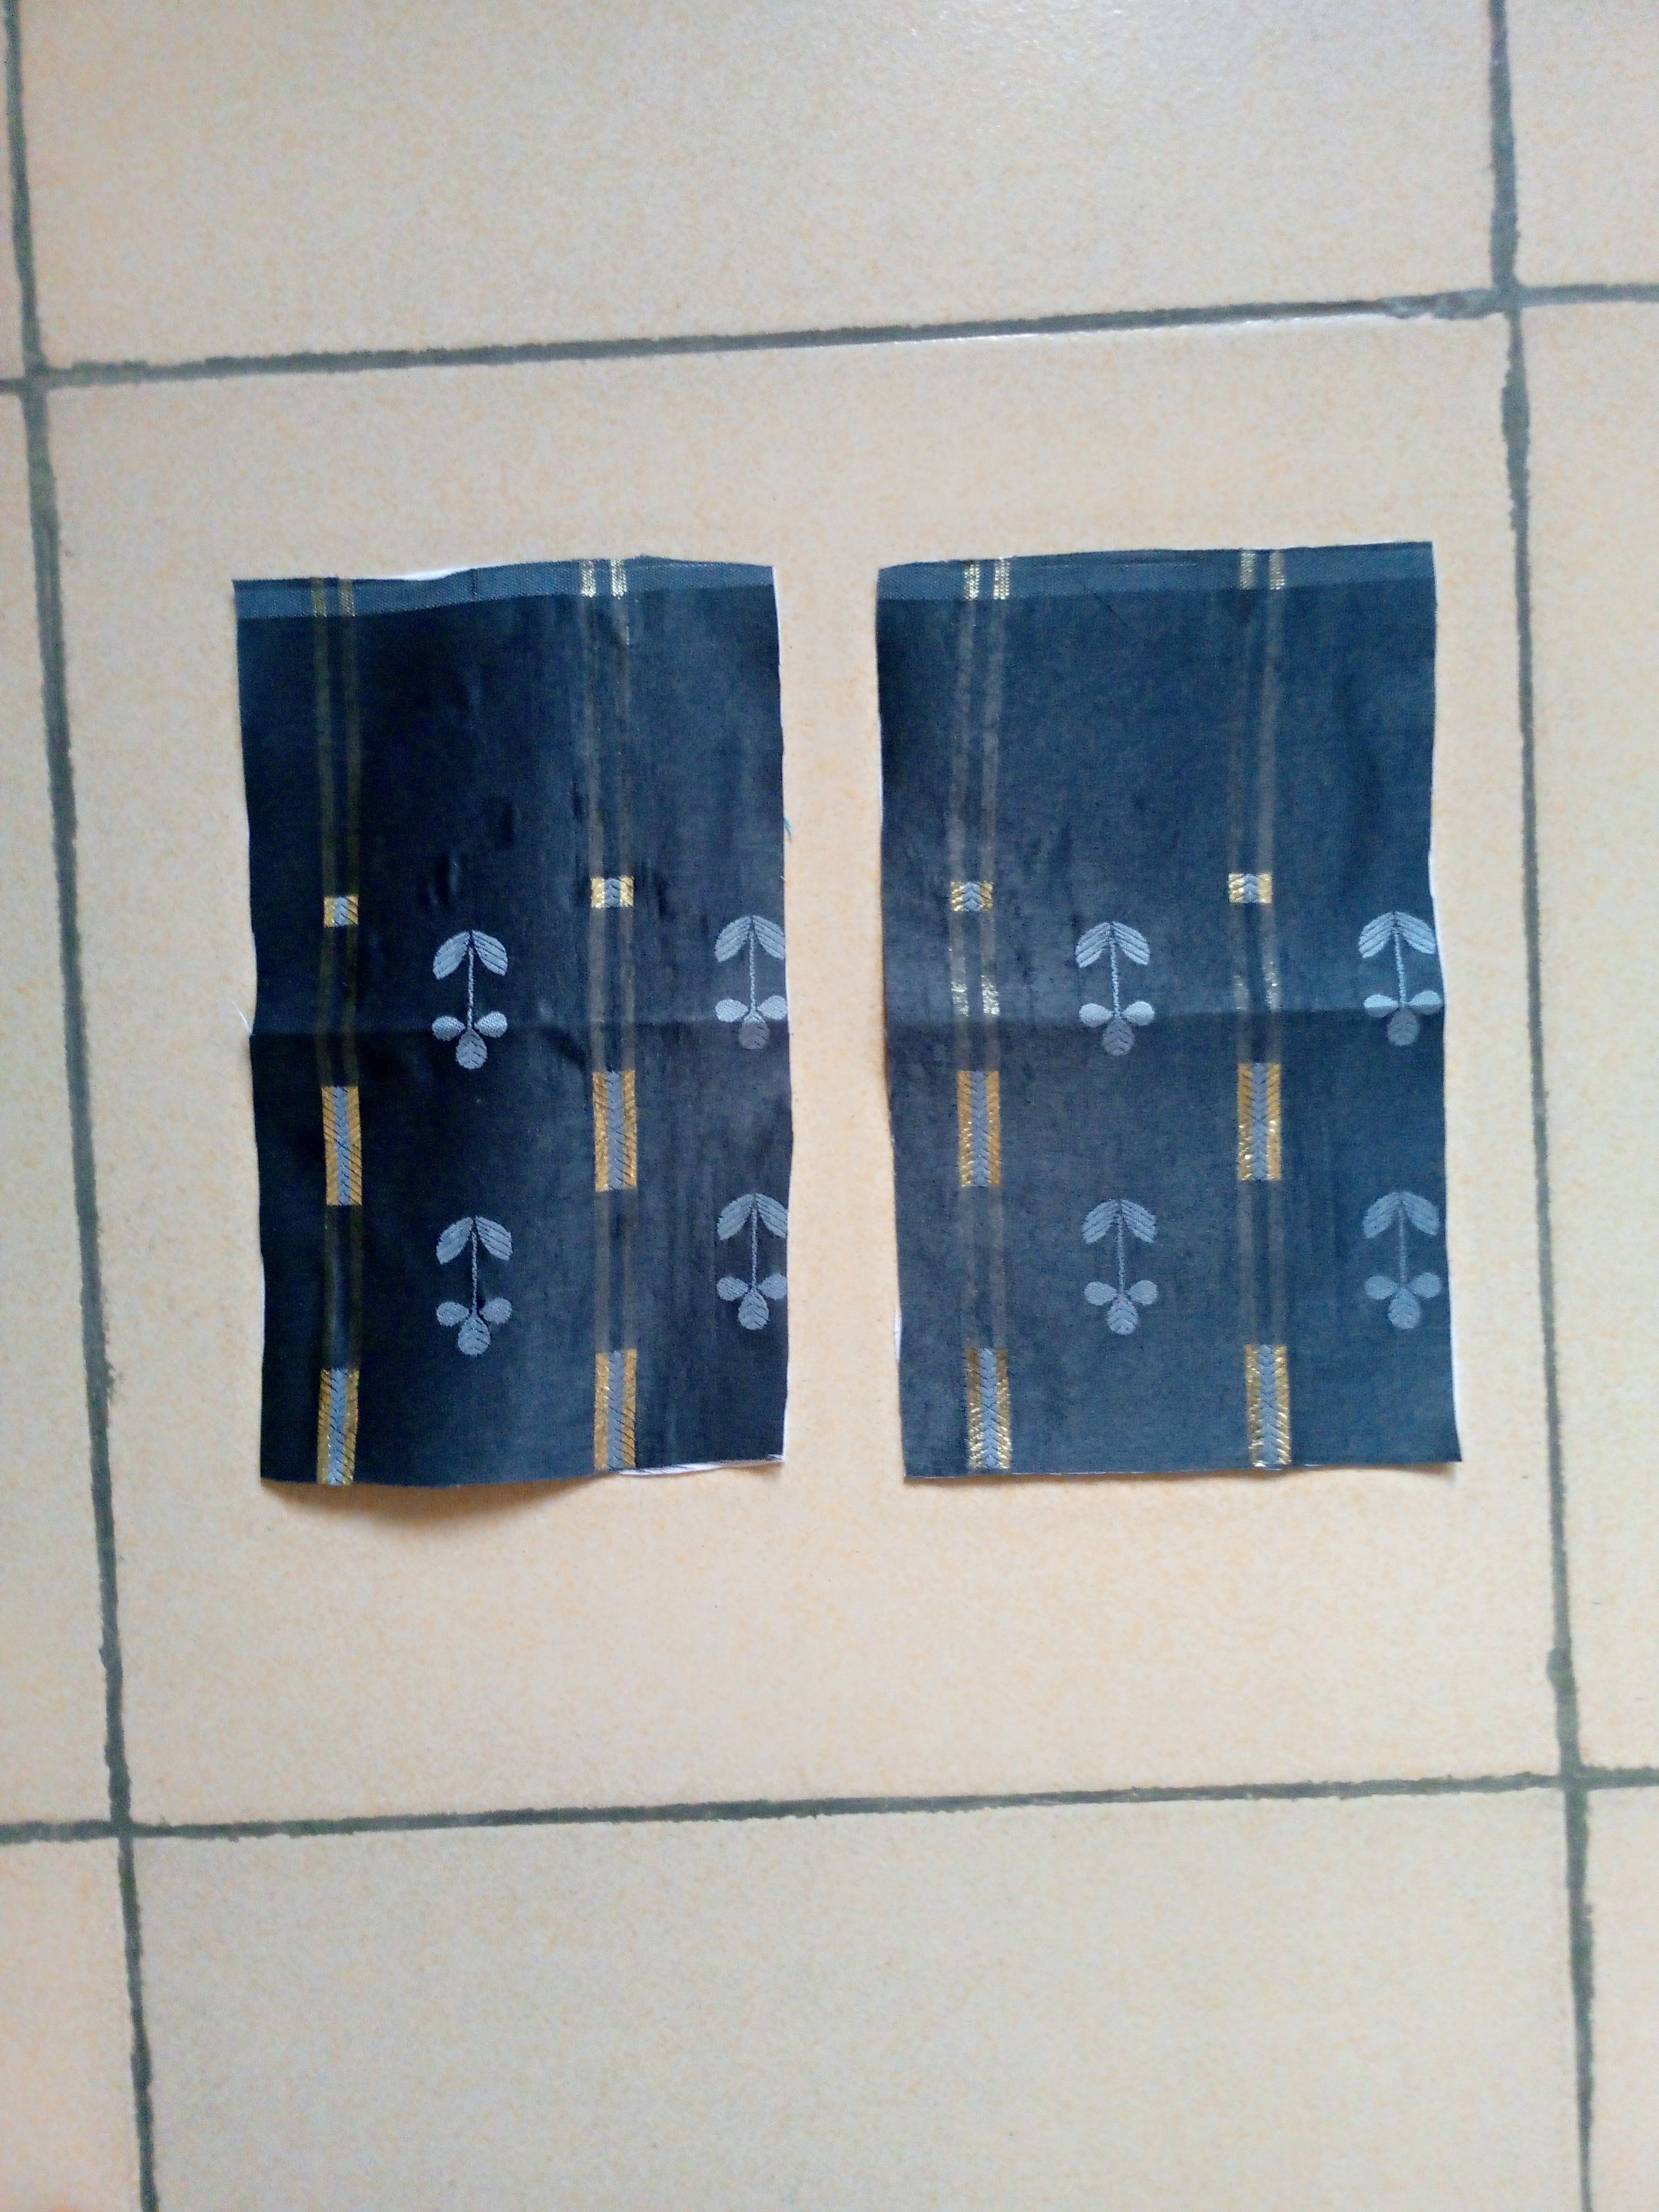
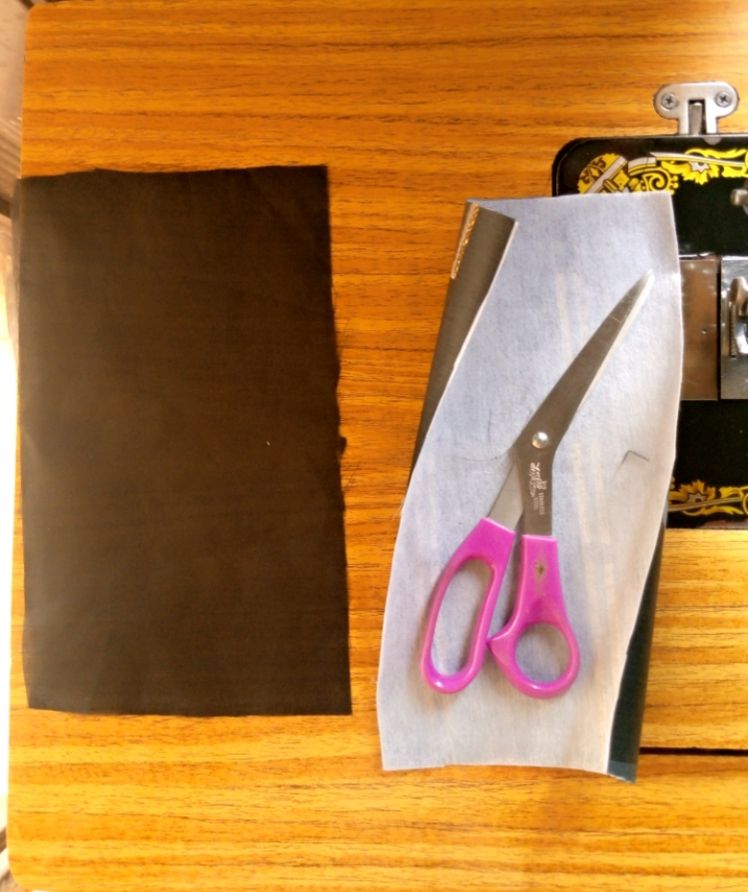
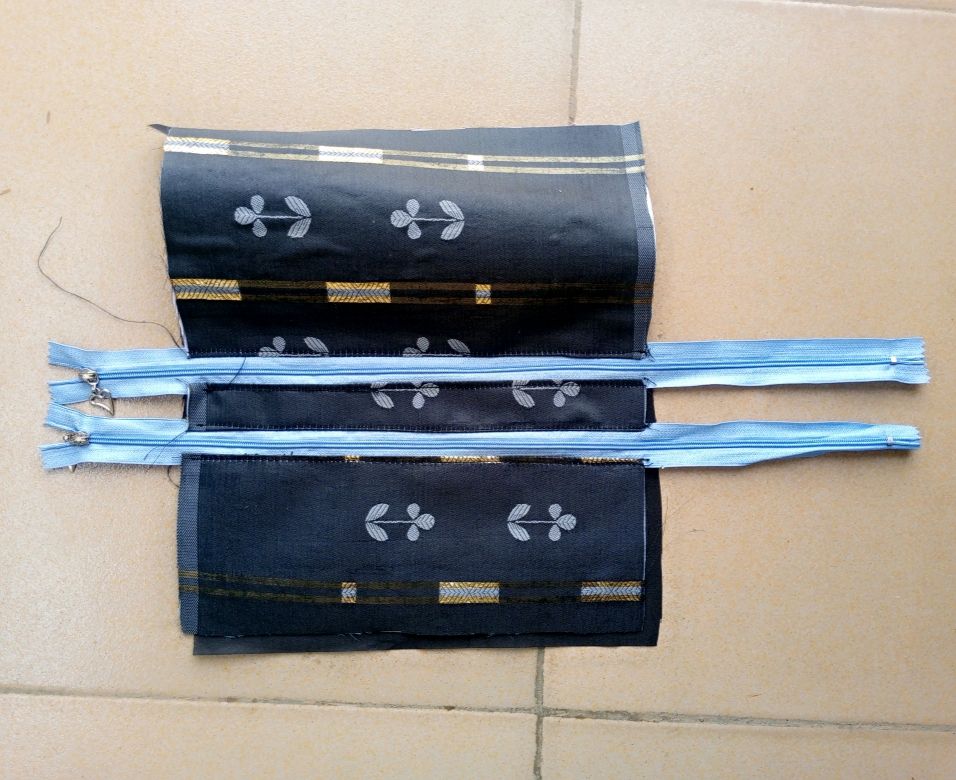
I cut out 2 pieces of 6.5 x 10" with lining and interfacing ironed on the main fabric.
I measured 2" on one of the pieces and cut it out

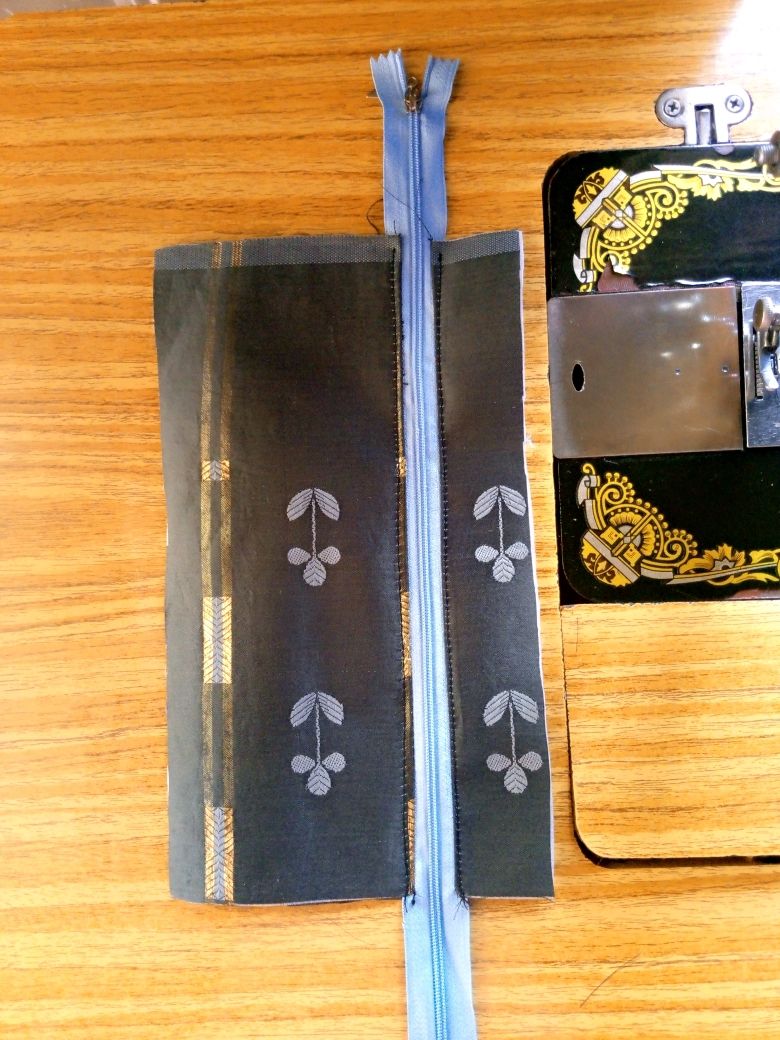
I cut out another piece of lining to serve as the outer pocket and it was placed on the piece I cut out 2" from with a zipper, I sew on it and top stitched on the other side
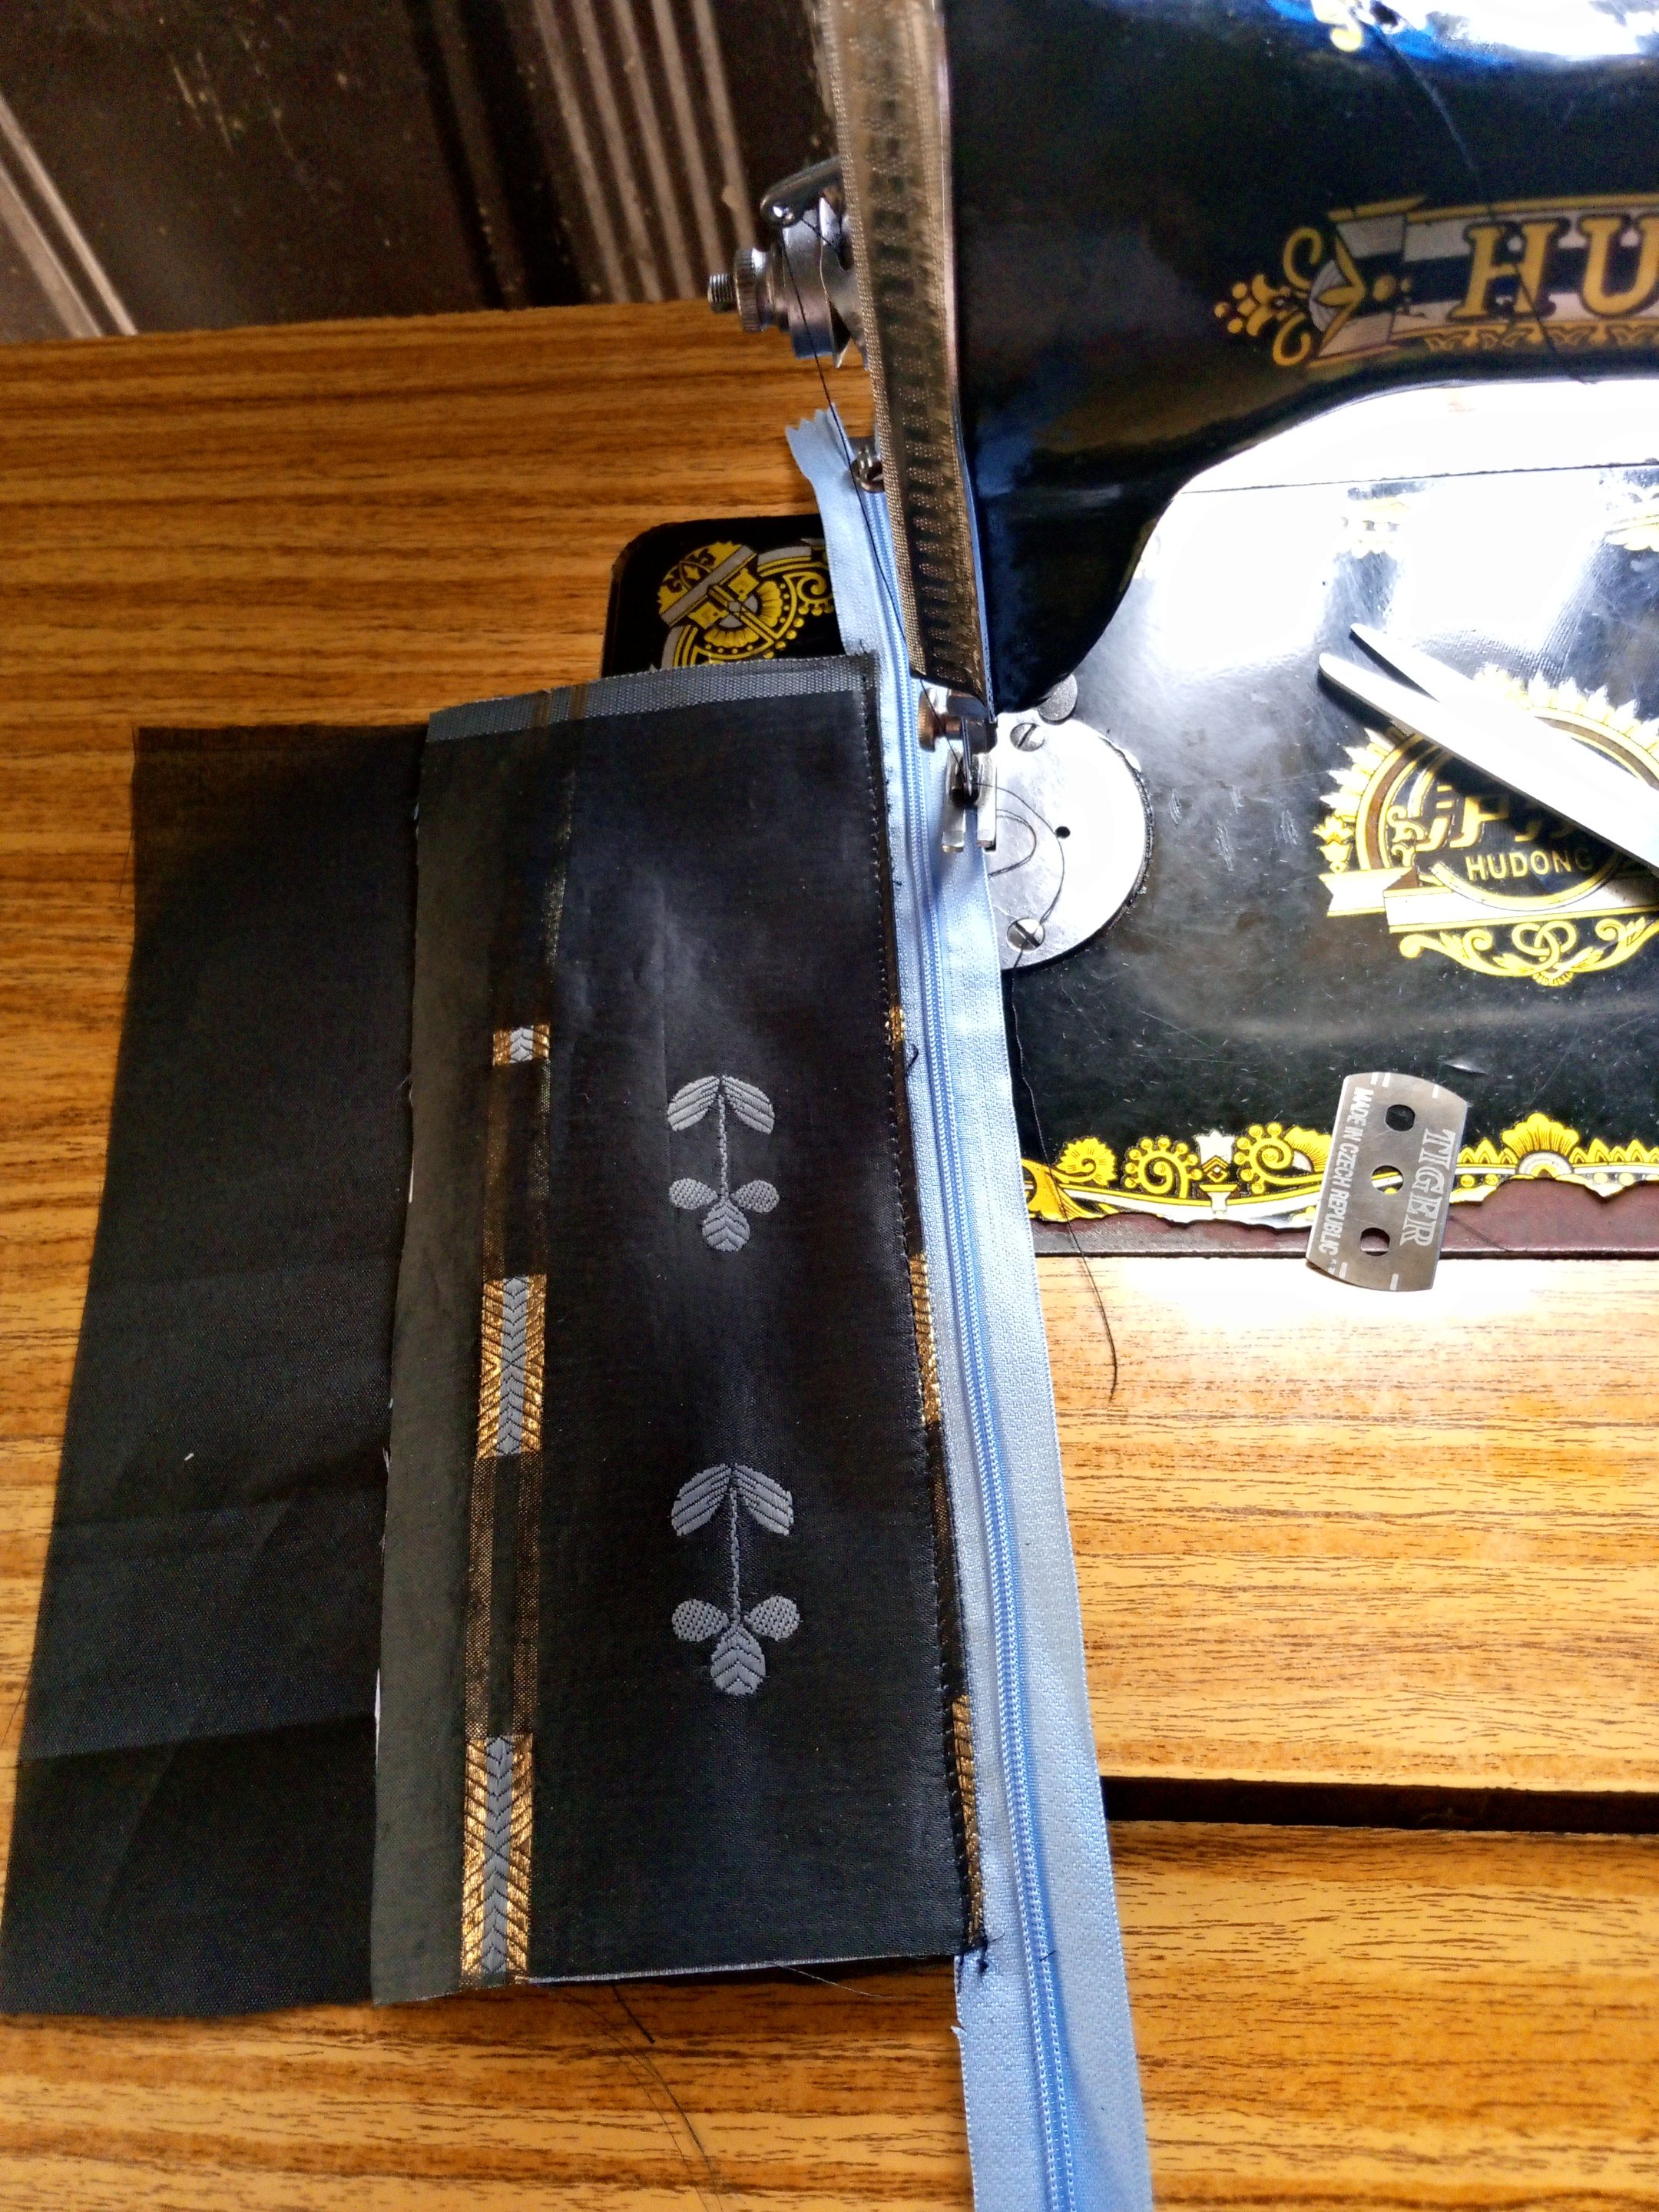
Then the pocket lining was folded up and I placed the 2" I cut out on it and sew it together.

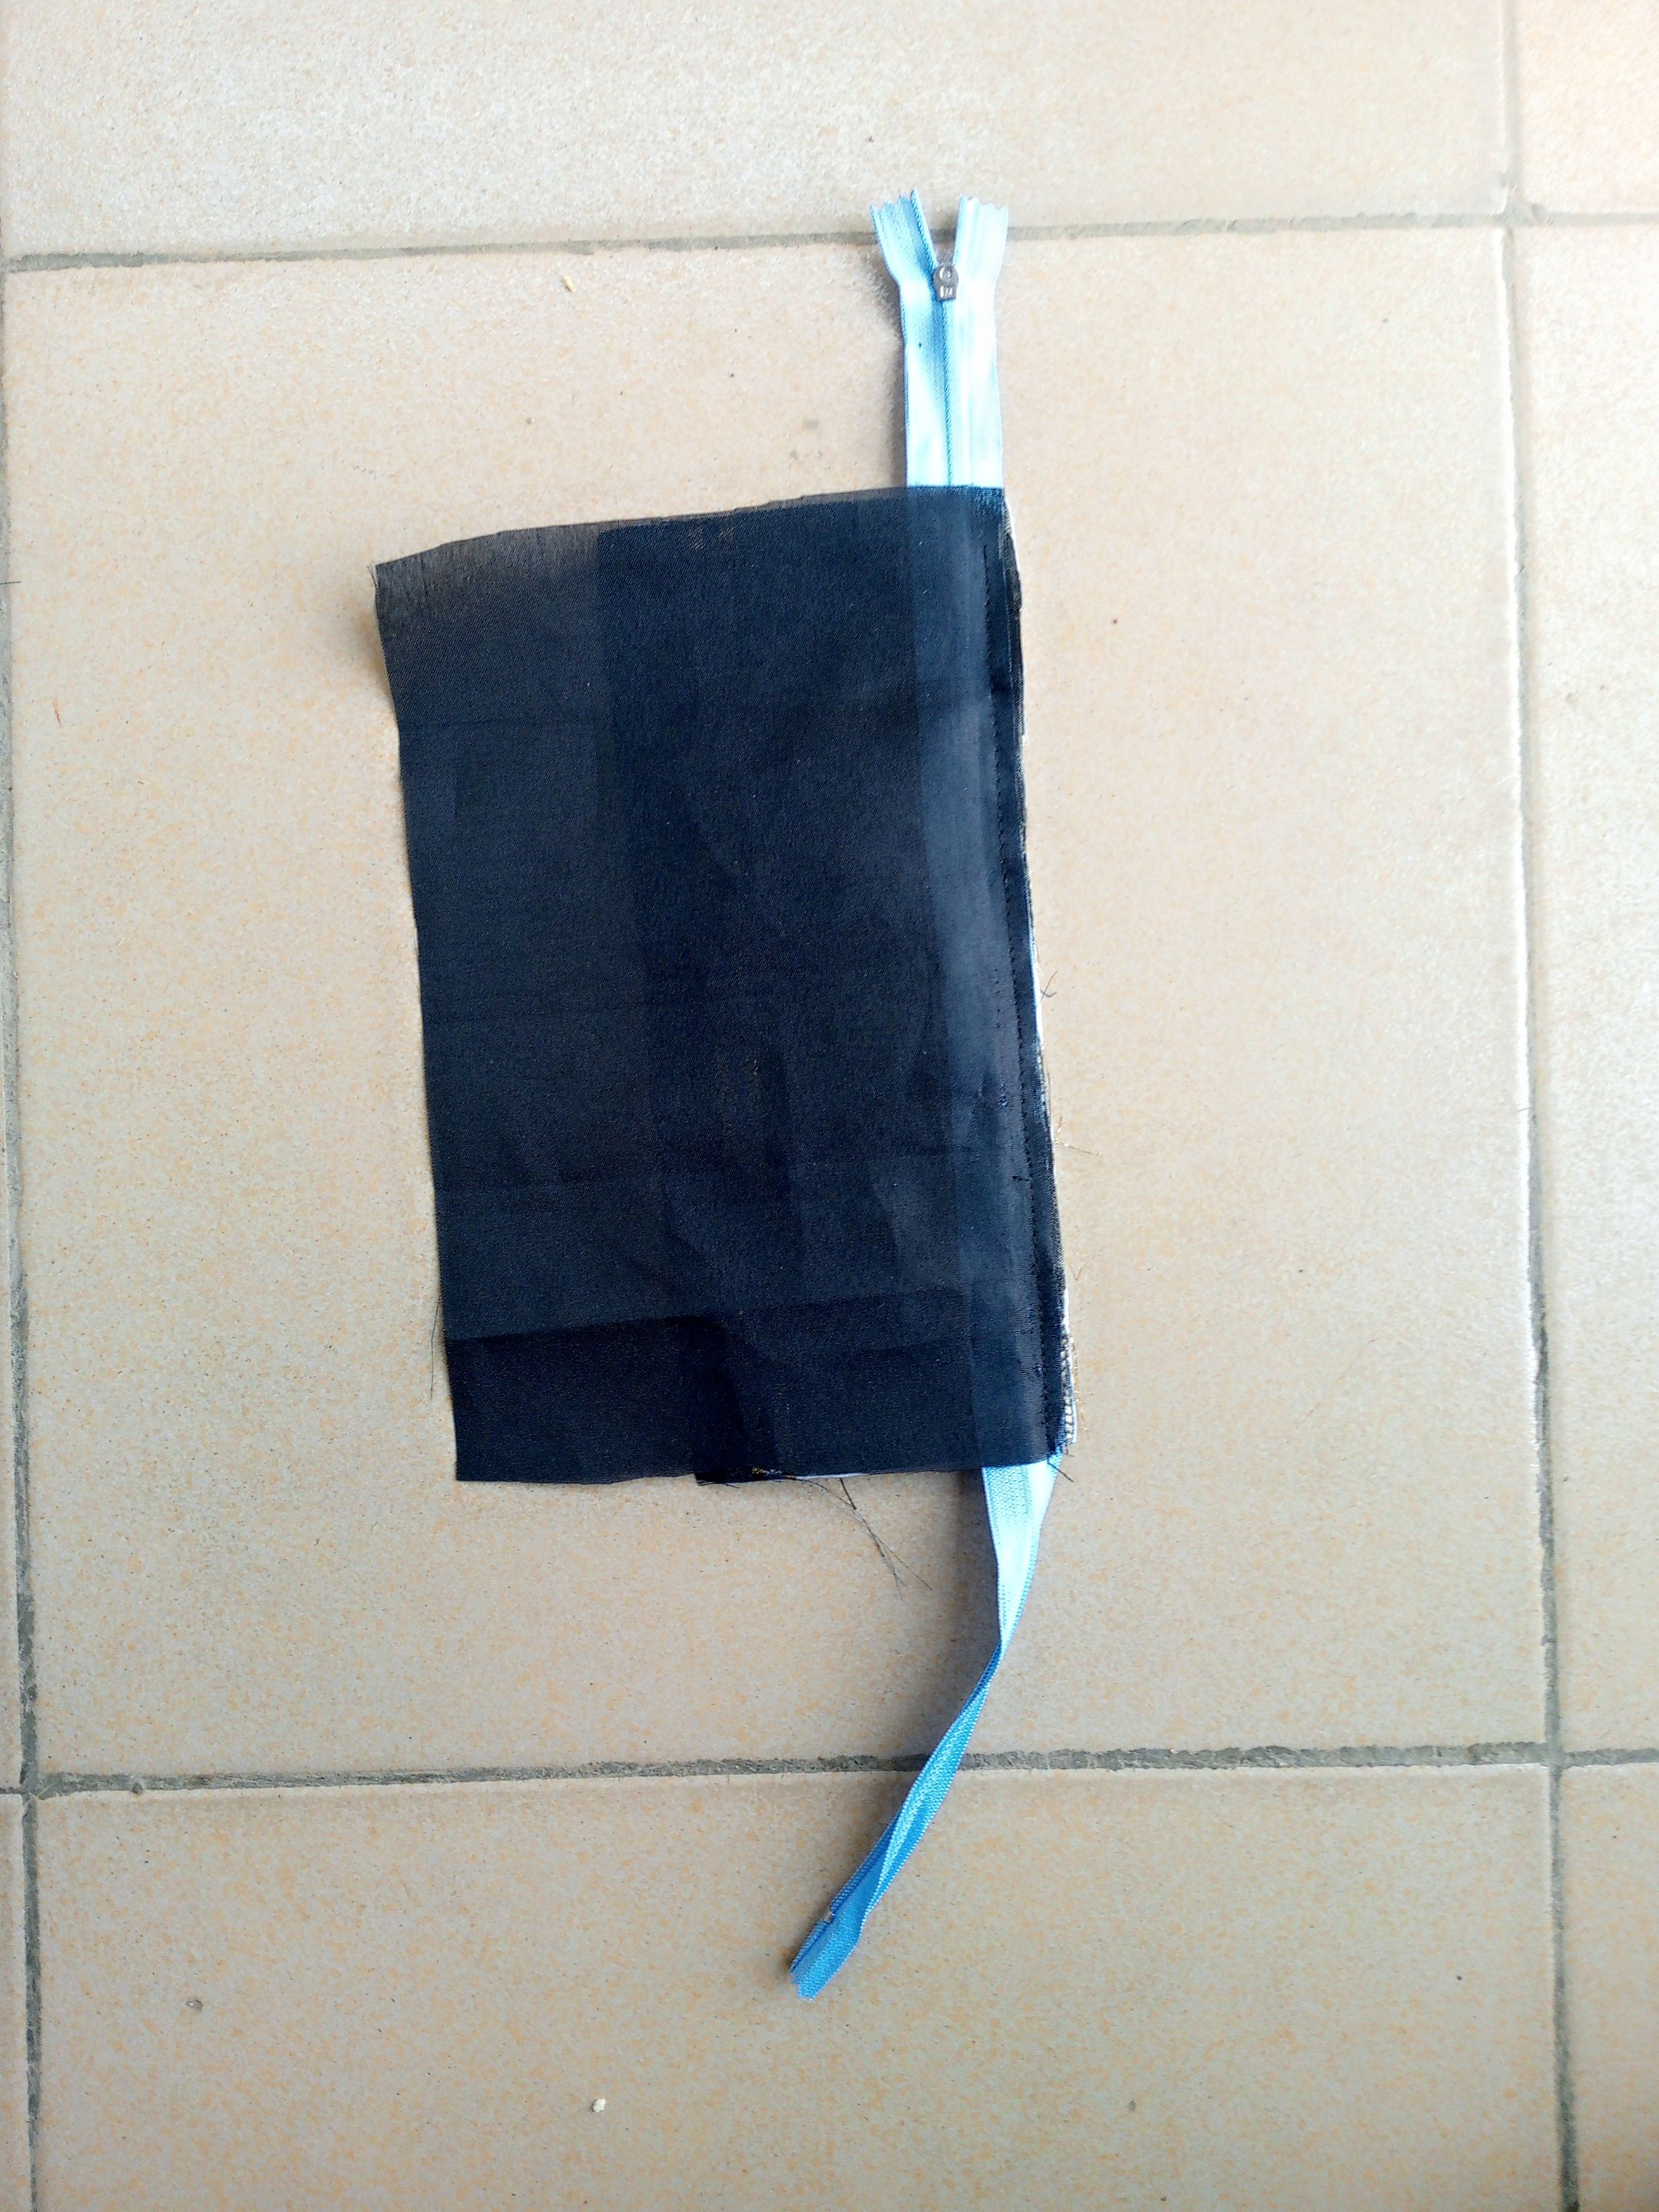
On the top of the main fabric, I placed another zipper on it with lining, it was sewn together and I top stitched on the other side, the same was repeated on the other piece as well.
I placed lining to lining and fabric to fabric and it was sewn round leaving an opening on the lining where it can be turned inside out with the zipper opened to the middle.
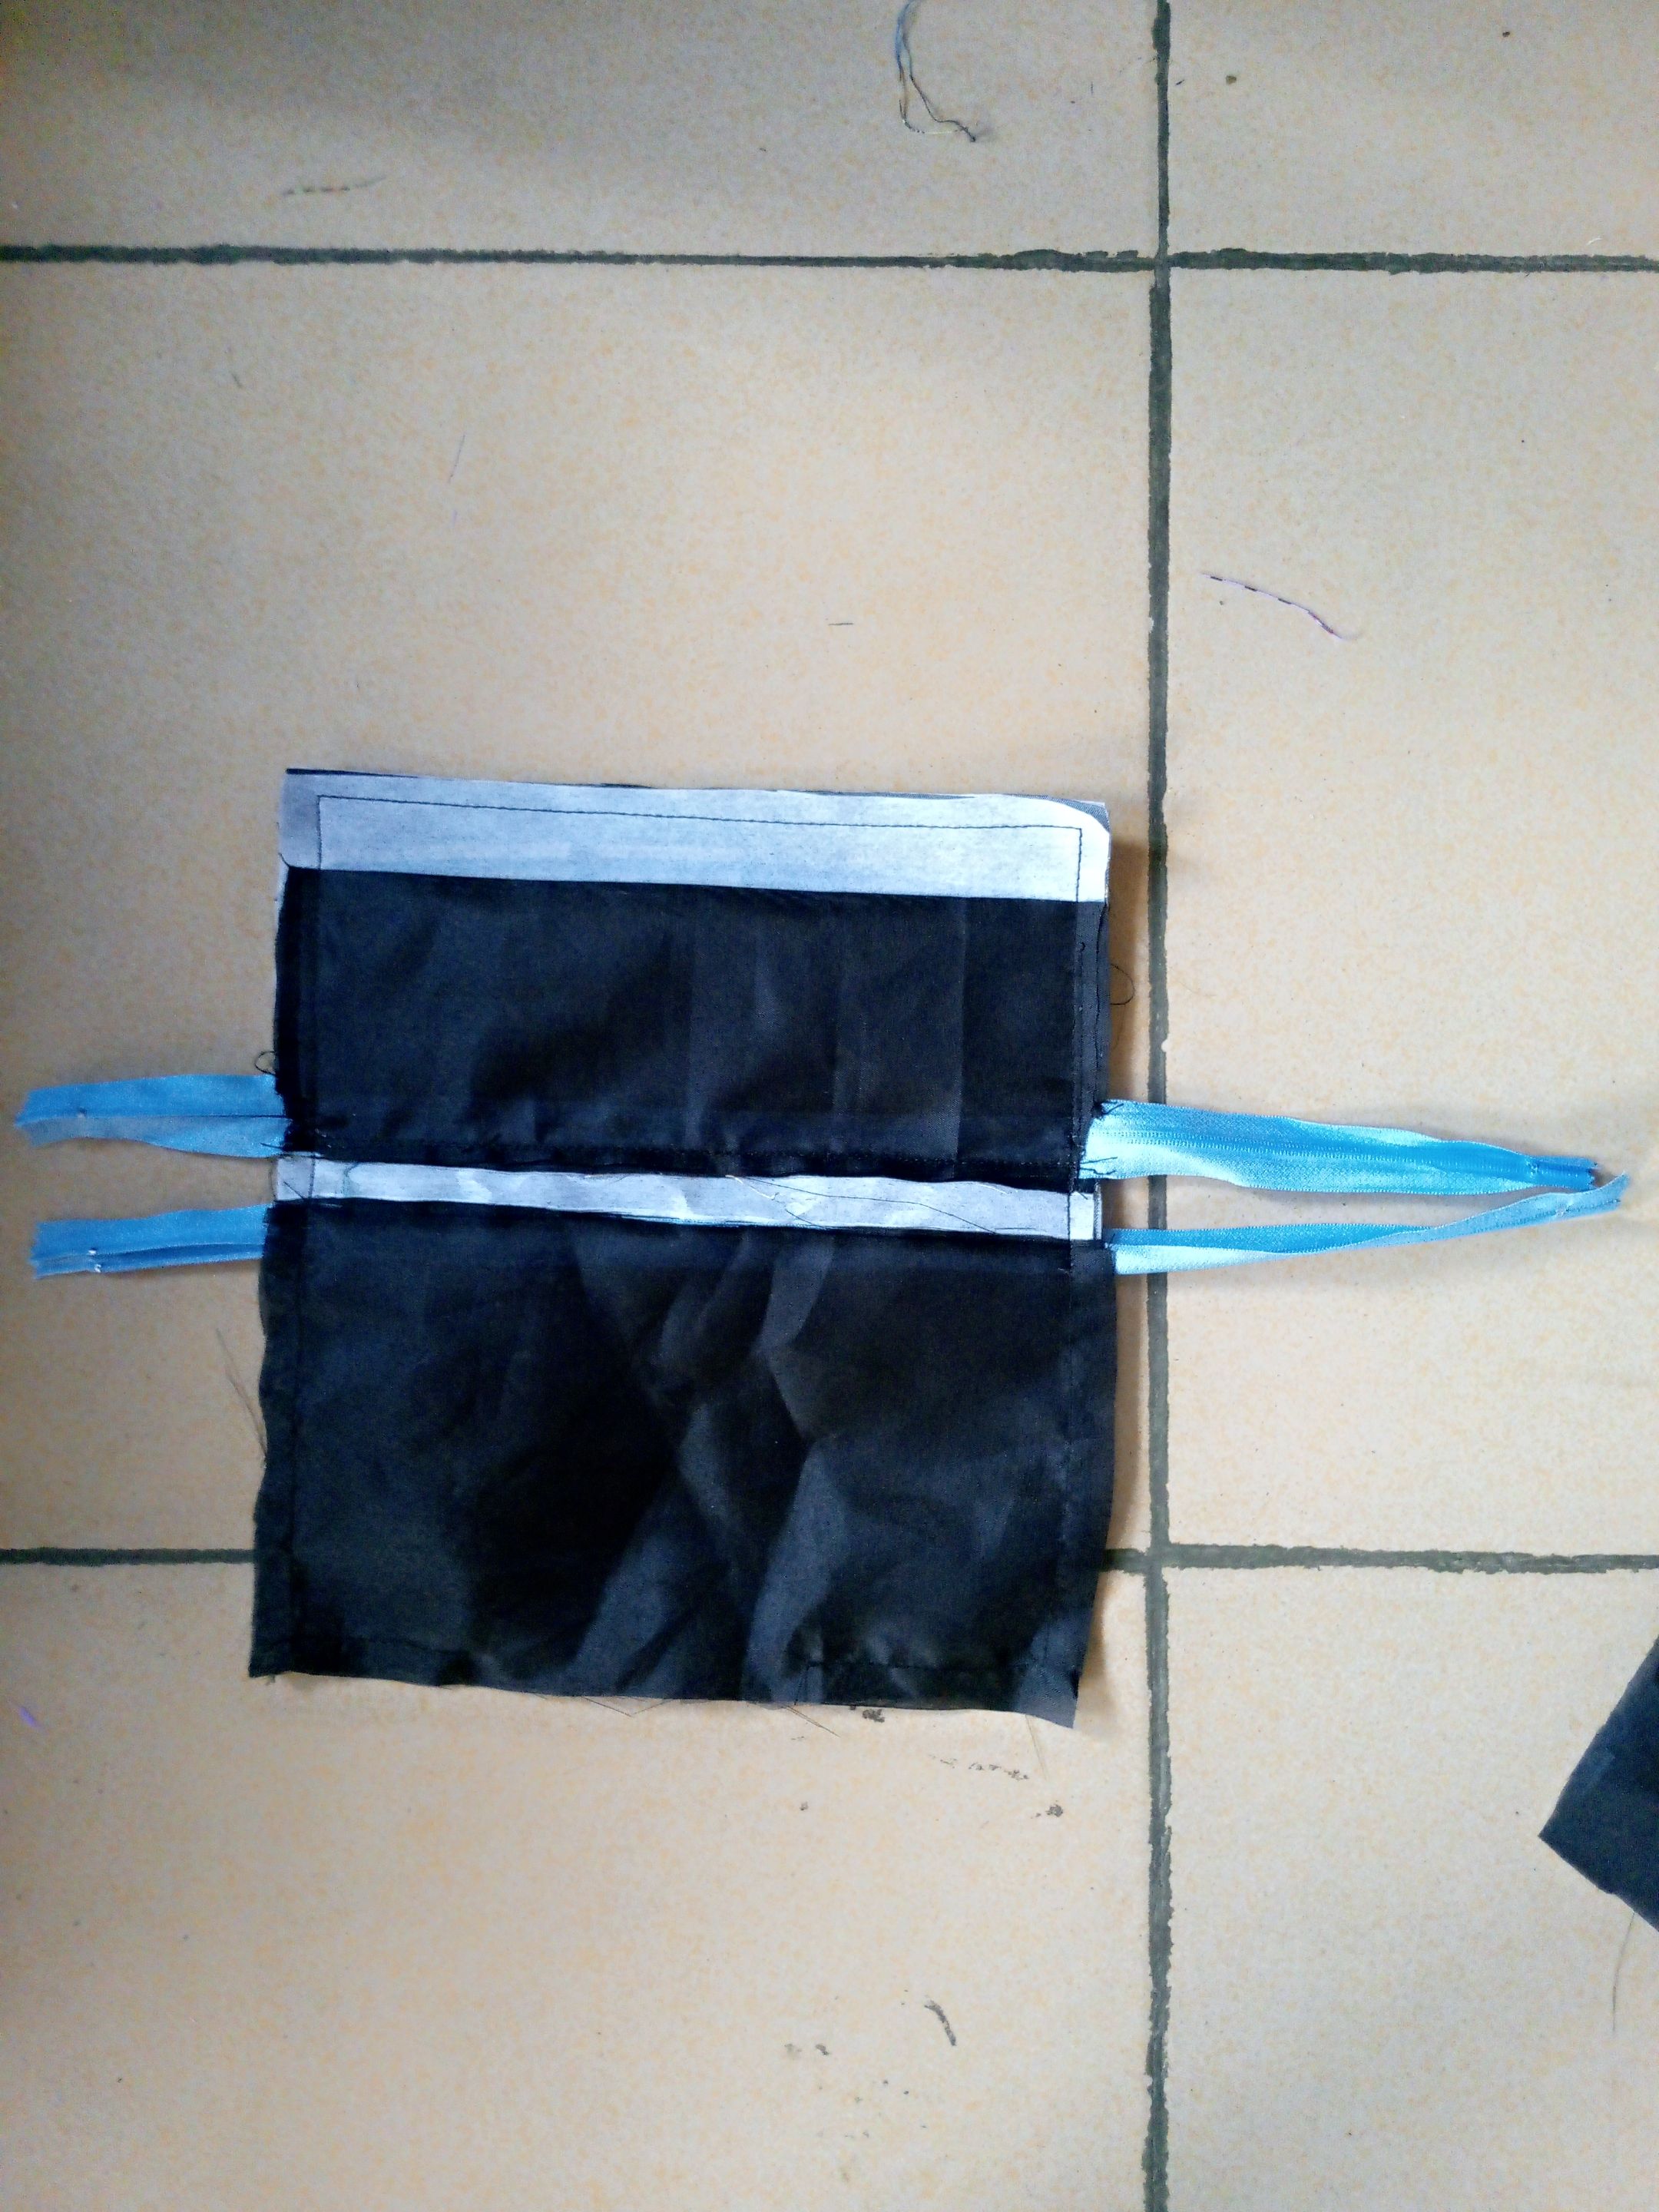
The excess were trimmed off and it was turned inside out through the opening on the lining.

The opening on the lining was sewn together and this is the final outcome.

I personally love the beautiful outcome and I will be making one for myself as well. I hope you like how it looks just as I know my friend with appreciate it.