Hola creativos de Hive! El día de hoy les traigo el paso a paso de como realizar una lámpara inspirada en la película Coraline. Esta será mi primera participación para el concurso especial de Halloween, espero les guste mucho y me apoyen 👻✨️
Hello Hive creatives! Today I bring you the step by step of how to make a lamp inspired by the movie Coraline. This will be my first entry for the special Halloween contest, I hope you like it a lot and support me 👻✨️
Para empezar, debemos tener a mano los siguientes materiales:
- Cartón o cartulina.
- Arcilla o plastilina.
- Pintura negra, blanca y azul.
- Tijeras y pegante.
- Algún tipo de luces Led.
To begin, we must have the following materials at hand:
- Cardboard or cardboard.
- Clay or plasticine.
- Black, white and blue paint.
- Scissors and glue.
- Some kind of Led lights.
Una vez ya tengamos todos los materiales podemos empezar:
Lo primero que haremos será recortar dos círculos iguales de cartón.
Once we have all the materials we can start:
The first thing we will do is cut out two equal circles of cardboard.
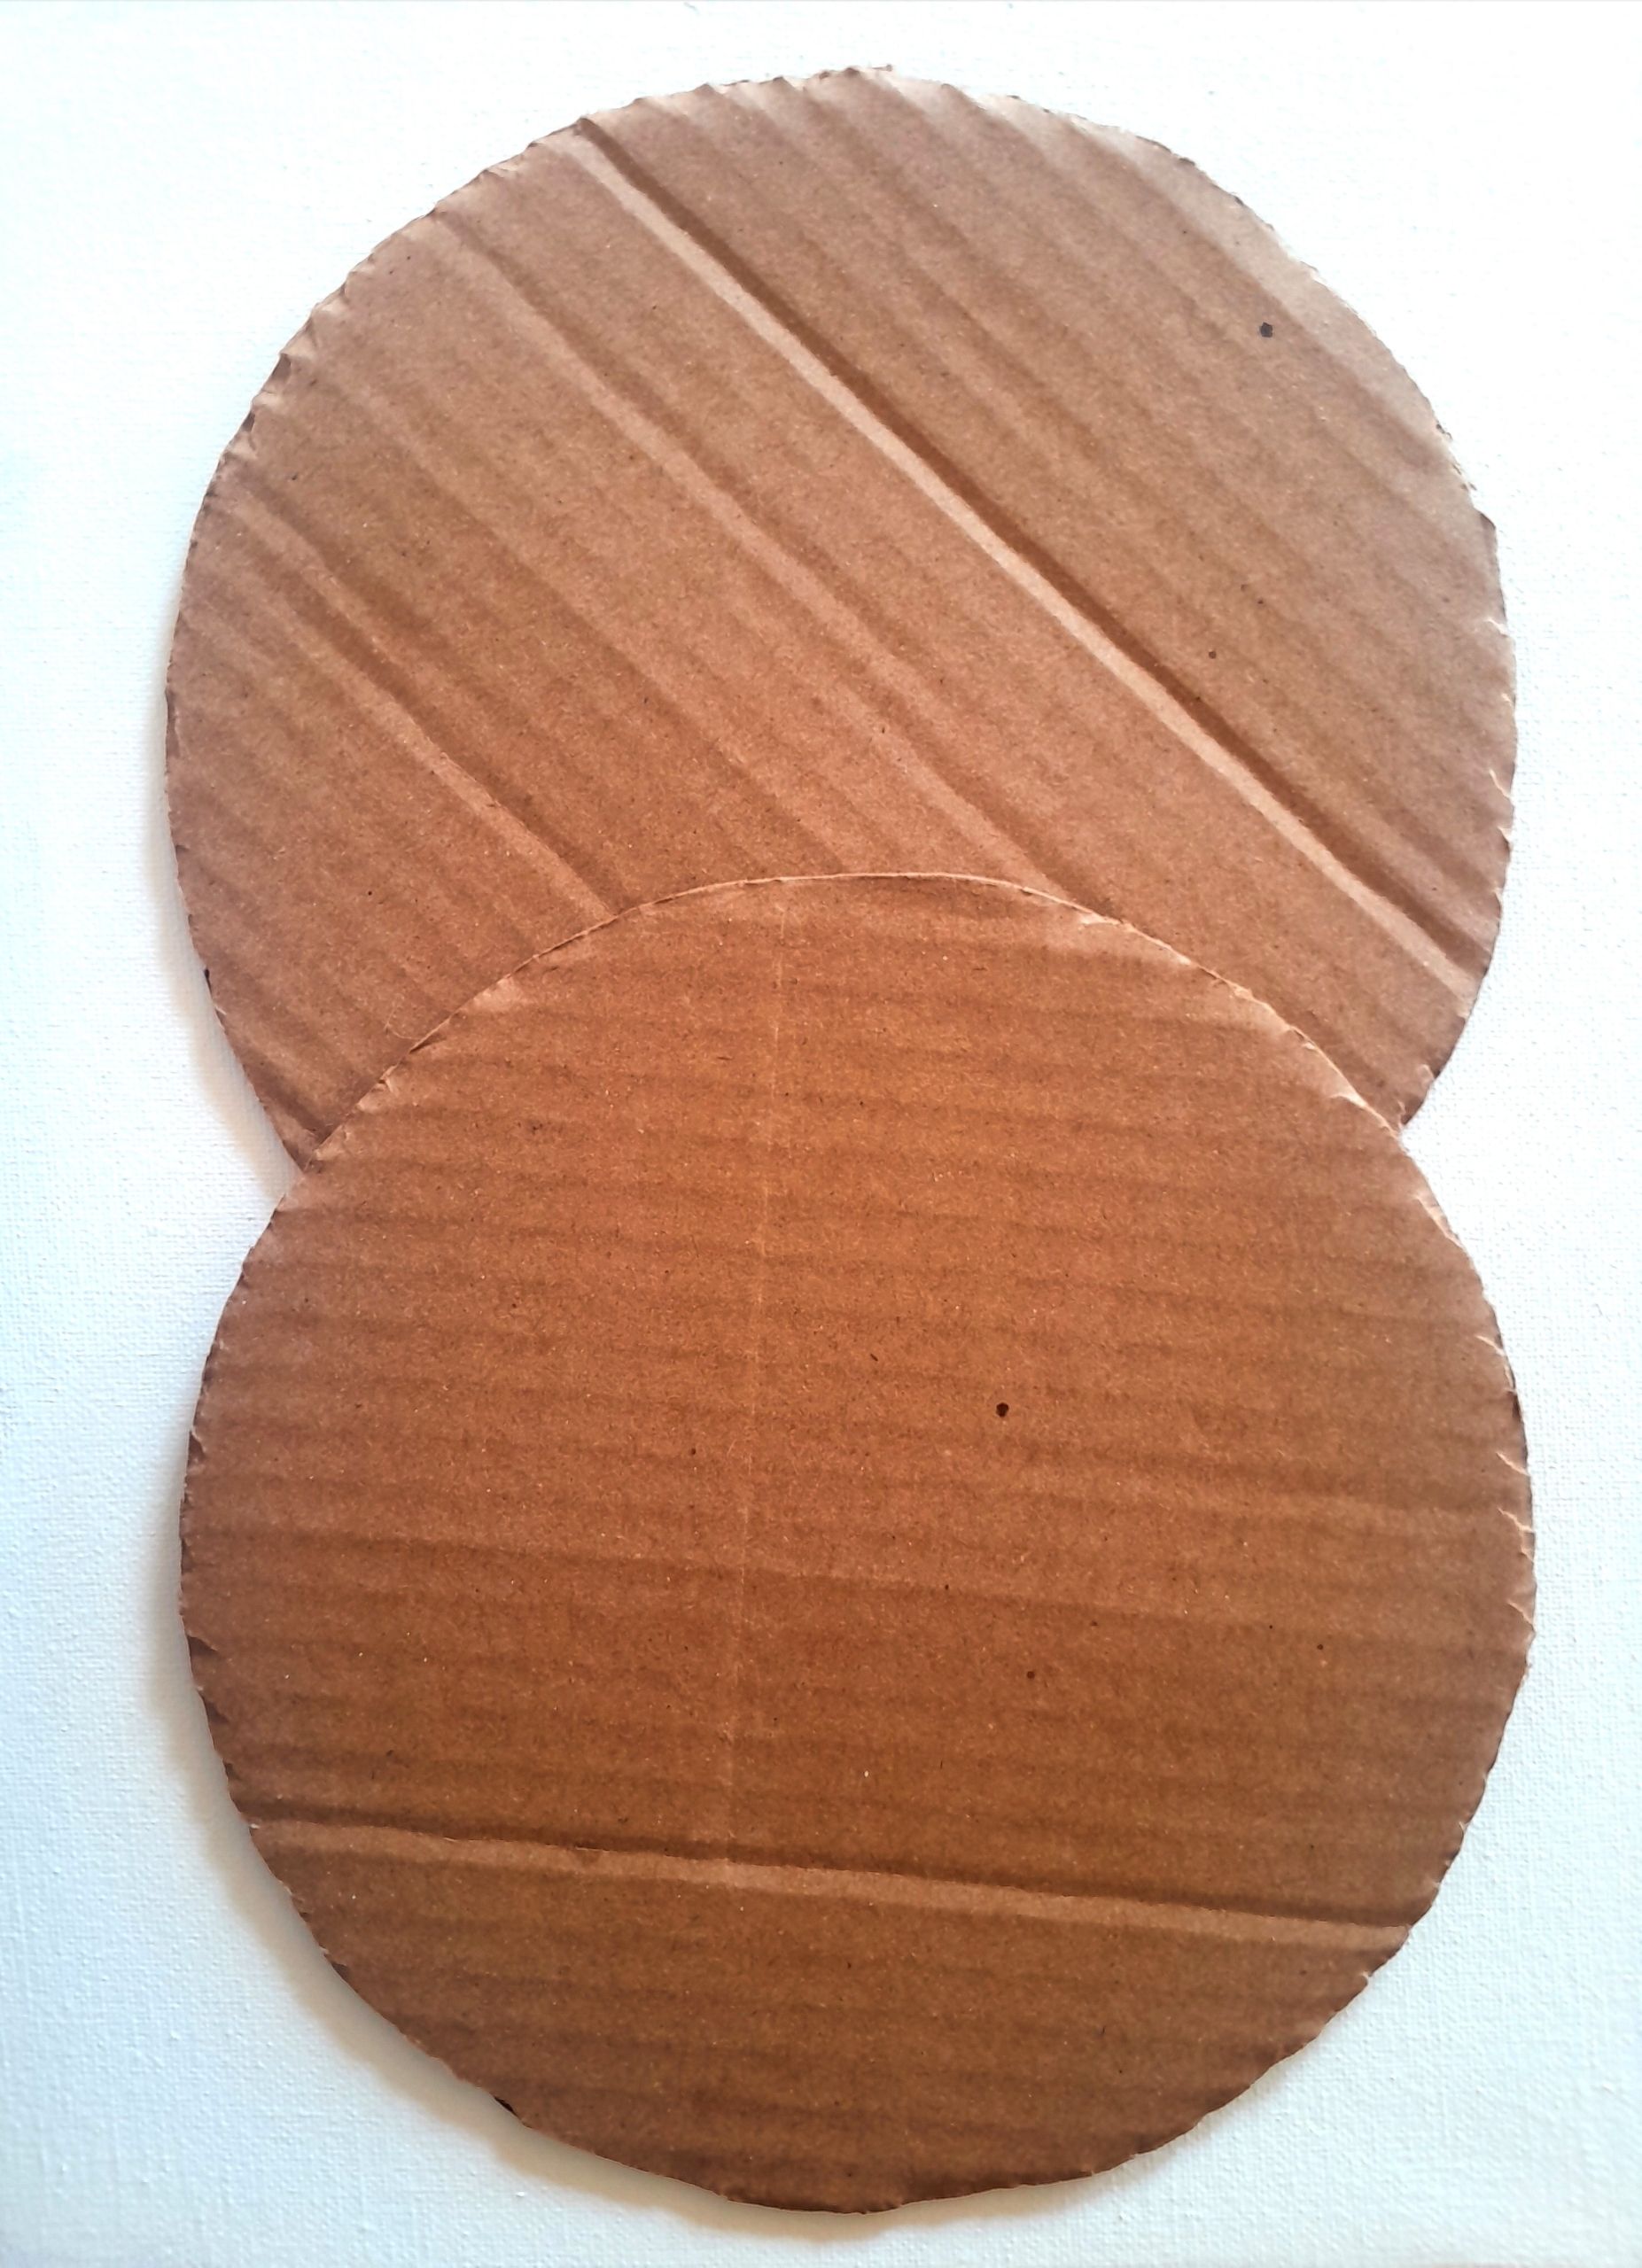
Estos dos círculos los utilizaremos para hacer una luna la cual pondremos en el fondo y para hacer la silueta en negro inspirada en la película. Todo lo explicaré muy bien acontinuación:
We will use these two circles to make a moon which we will put in the background and to make the silhouette in black inspired by the movie. I will explain everything very well below:
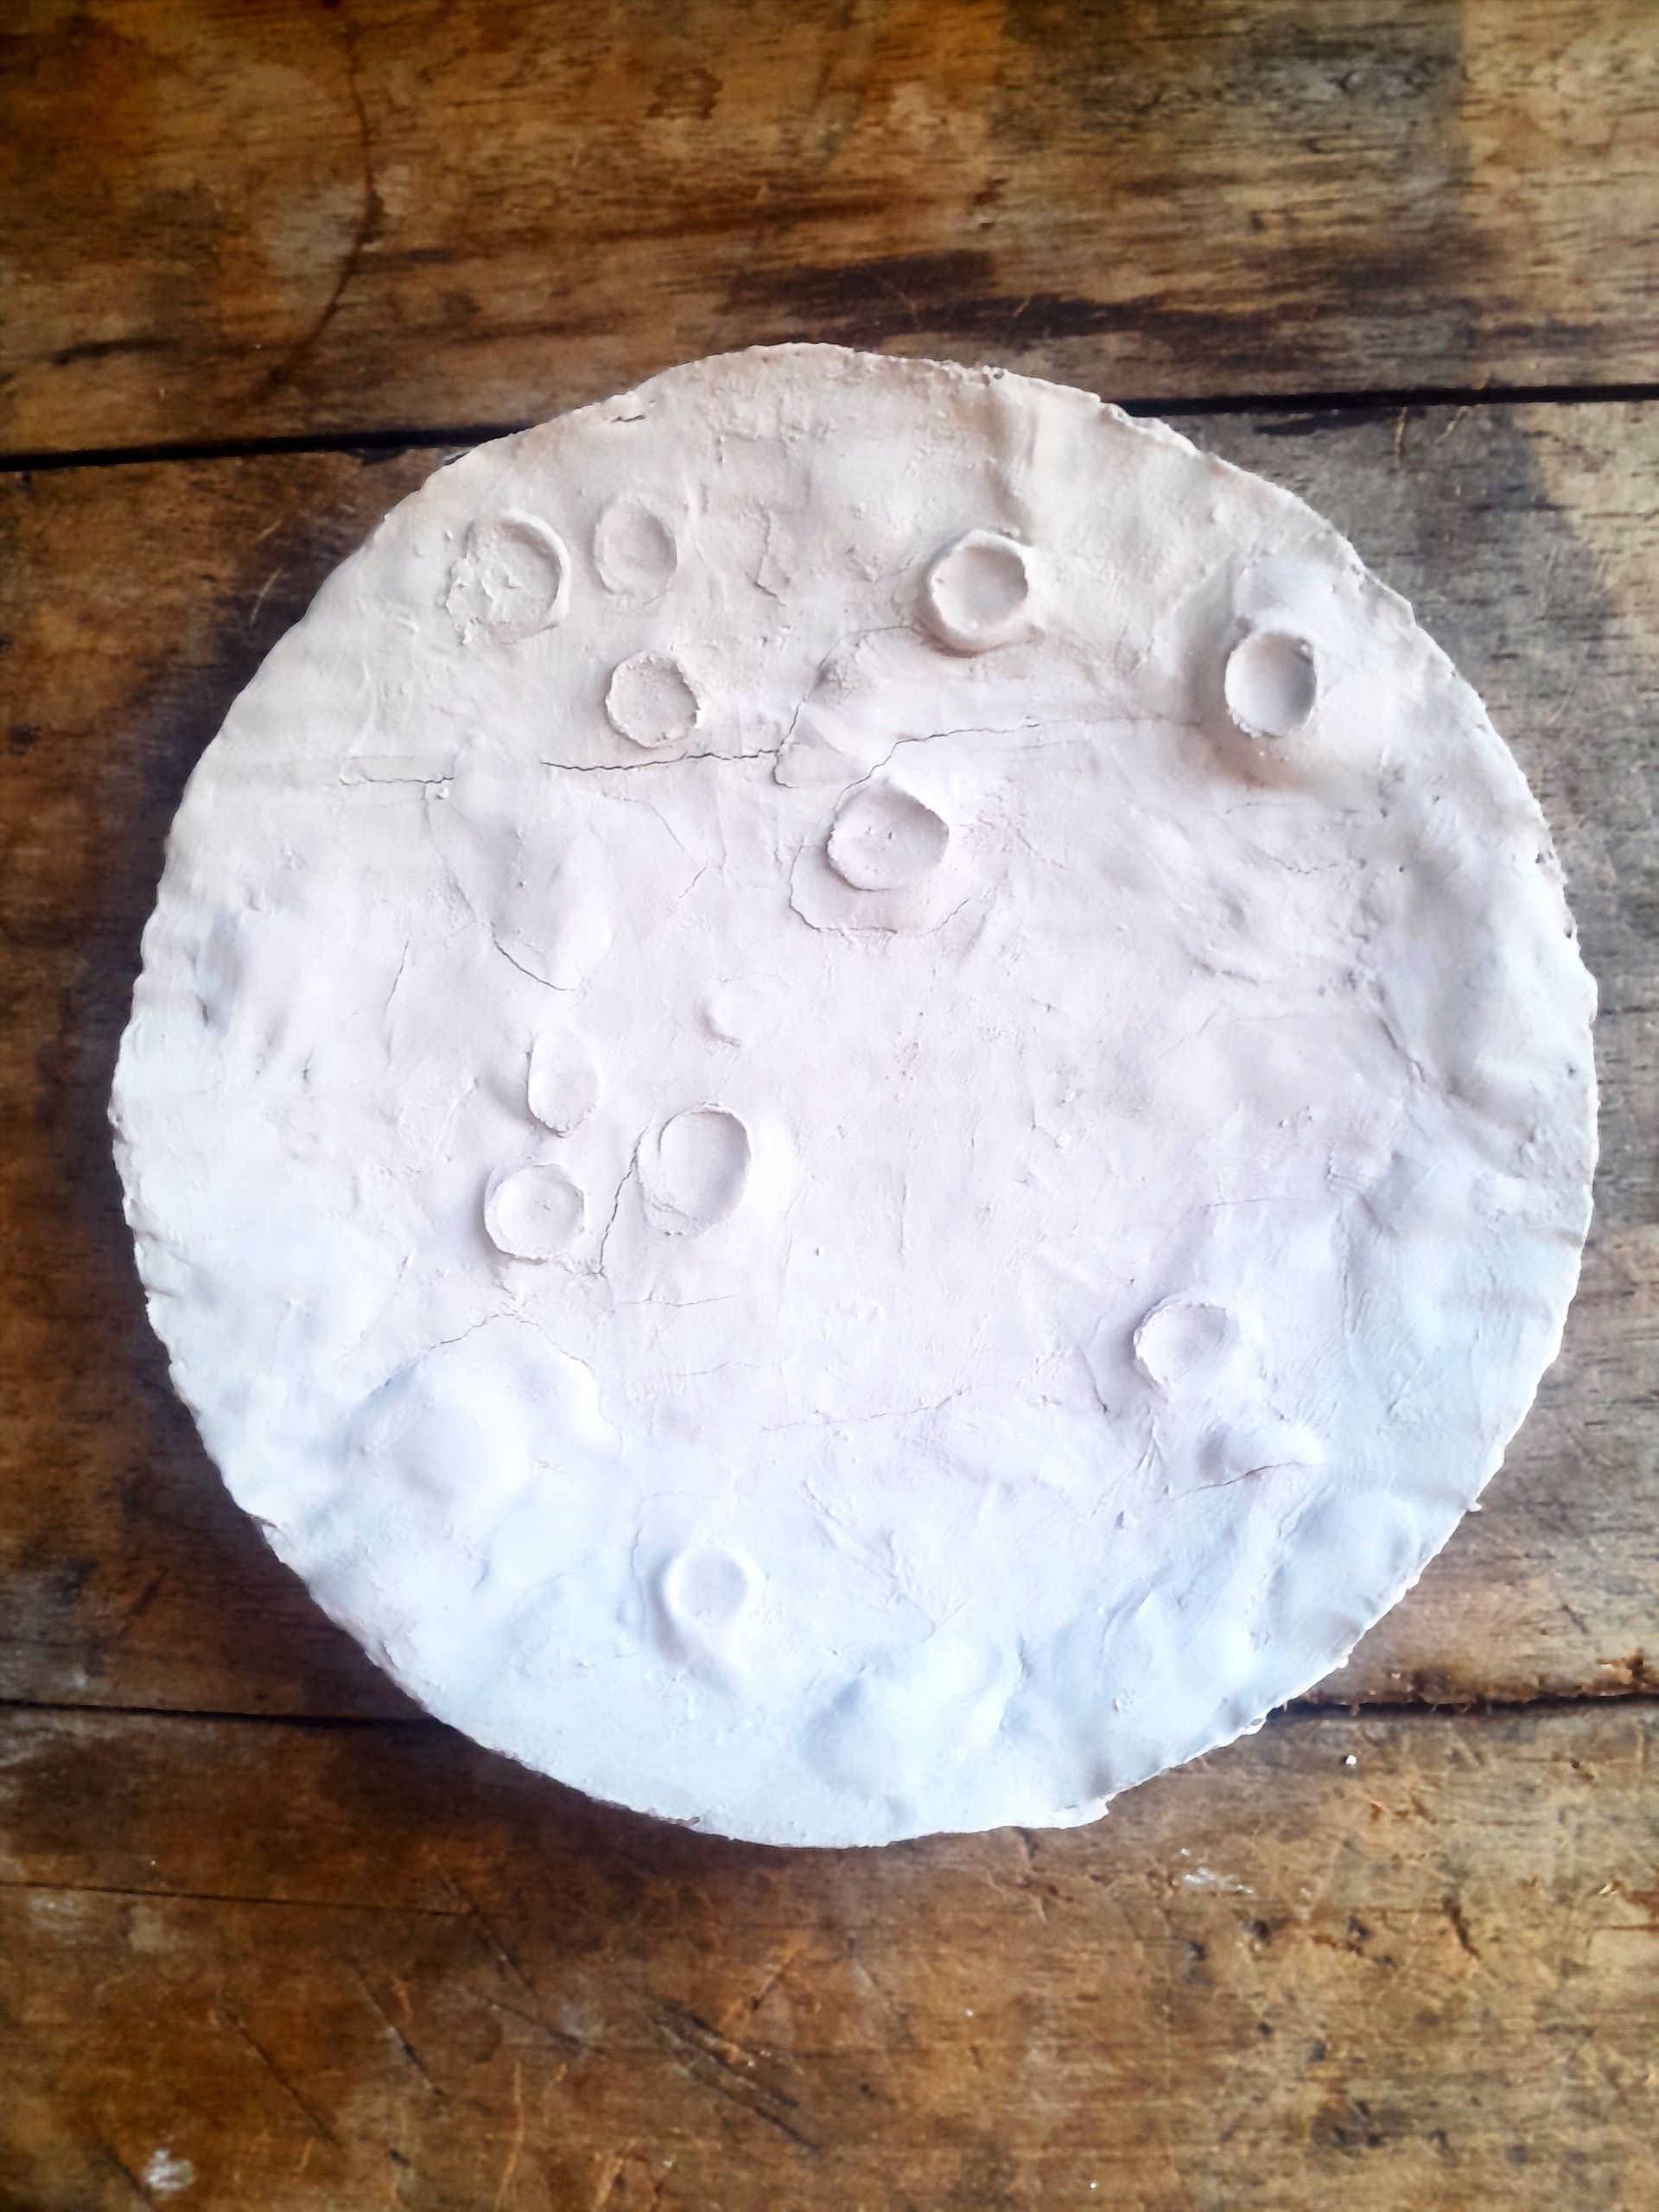
La luna la haremos con Arcilla de secado al aire, pues la textura de esta al secar es rústica y da esa apariencia de luna qué queremos lograr.
No es muy complicado hacerlo; simplemente aplicamos la Arcilla y en algunas partes hacemos orificios con los dedos para simular cráteres. Algo así les debe quedar:
The moon will be made with air-drying clay, because the texture of this clay is rustic when it dries and gives the moon appearance we want to achieve.
It is not very complicated to do it; we simply apply the clay and in some parts we make holes with our fingers to simulate craters. It should look something like this:
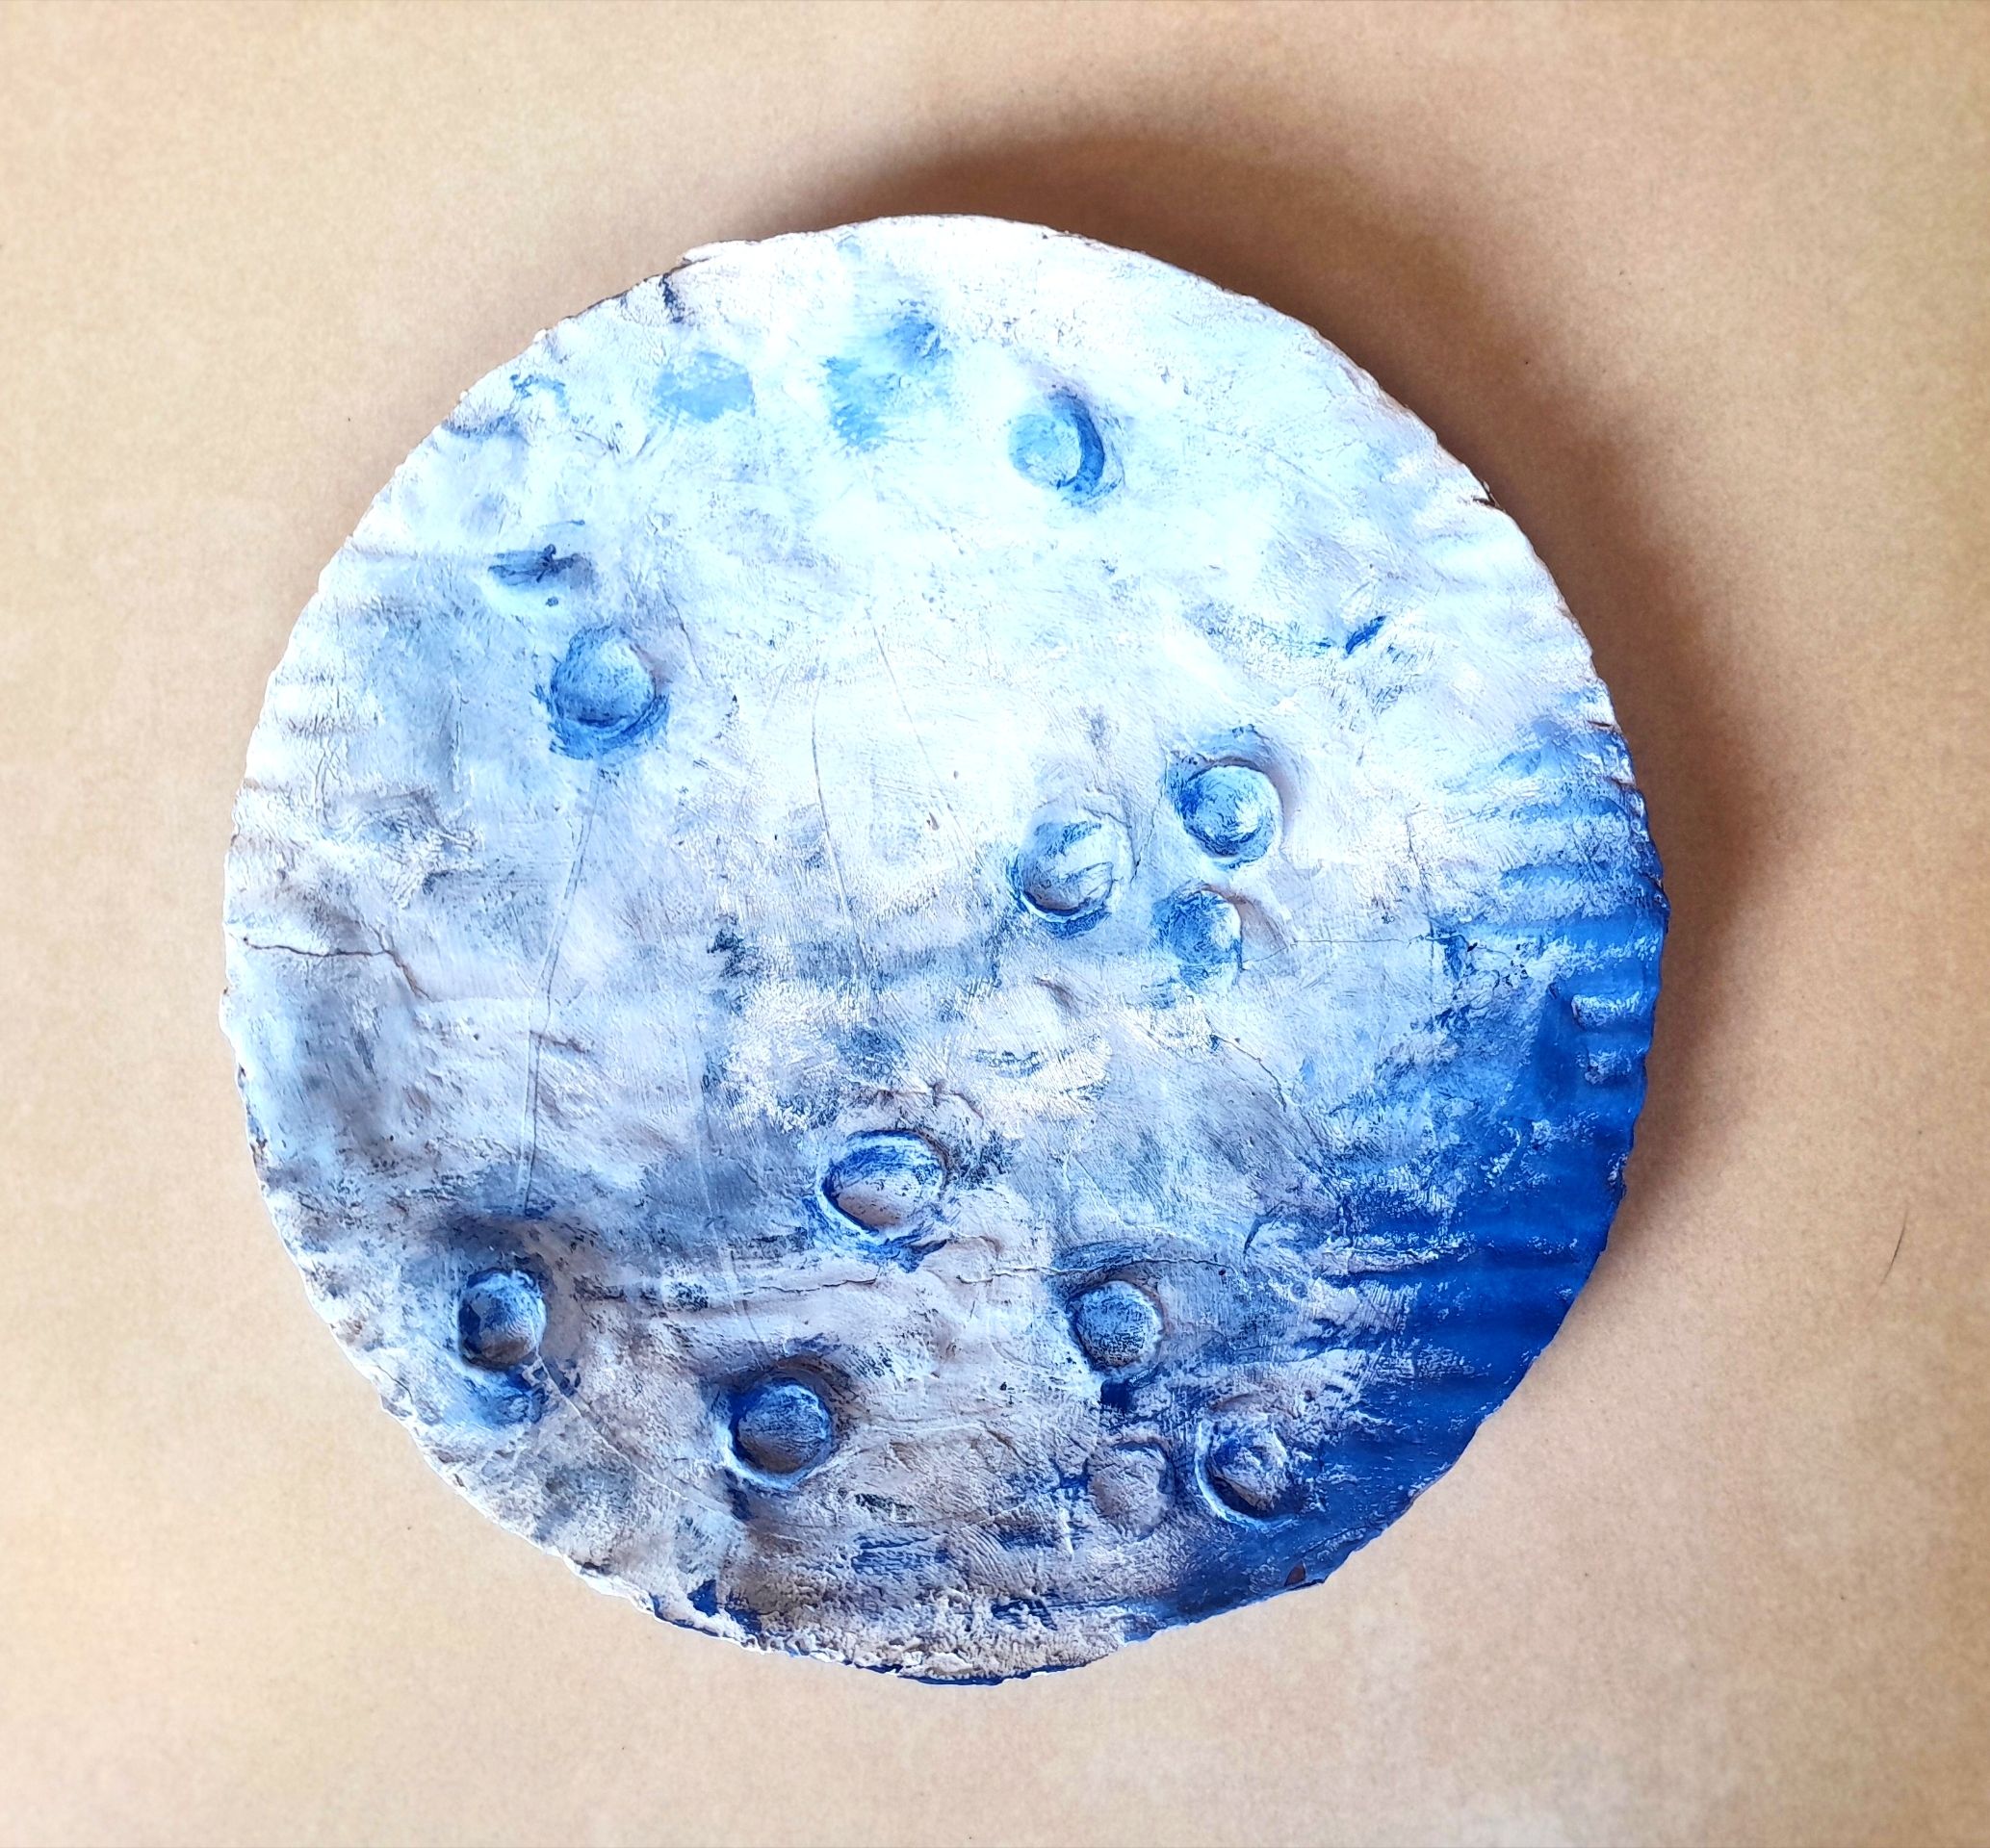
Cuando se seque la pintamos toda de blanco y cuando se seque el blanco le aplicamos azul a toquecitos en las partes que queramos dar sombras o profundidad.
When it dries we paint it all in white and when the white dries we apply blue in small touches in the parts we want to give shadows or depth.
En el otro círculo de cartón haremos la silueta a lápiz y la pintaremos de negro.
On the other cardboard circle we will make the silhouette in pencil and paint it black.
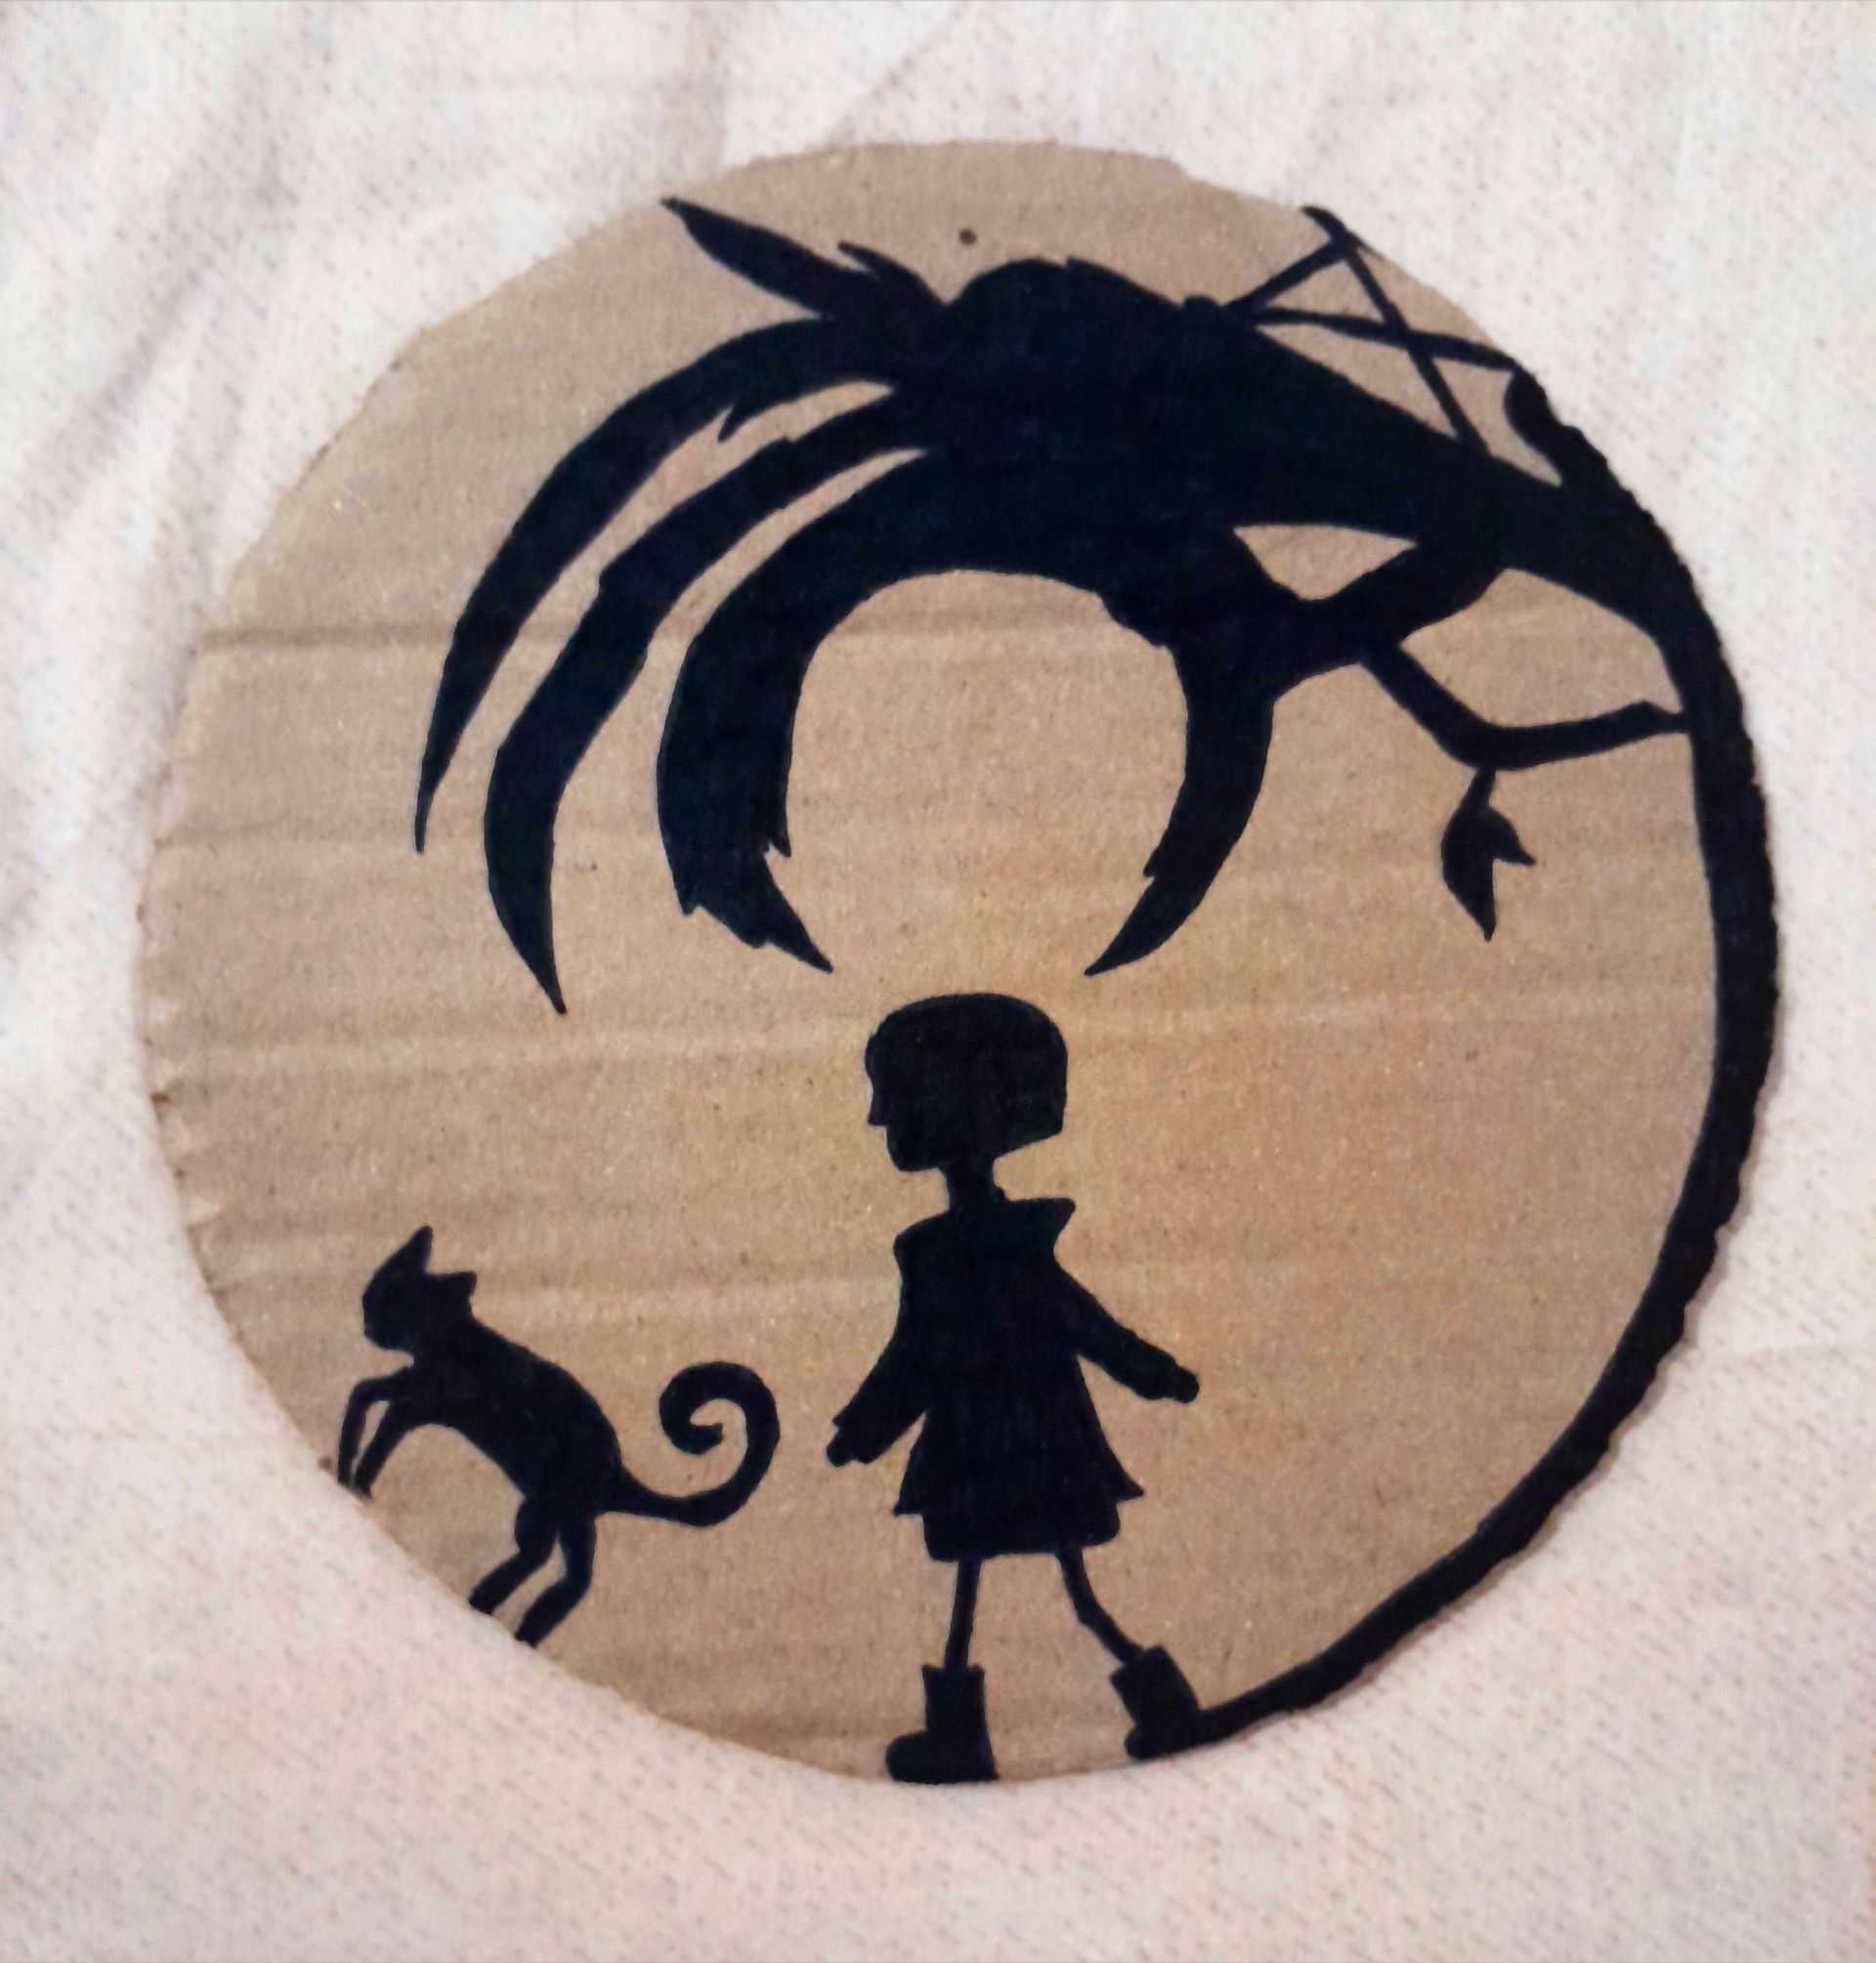
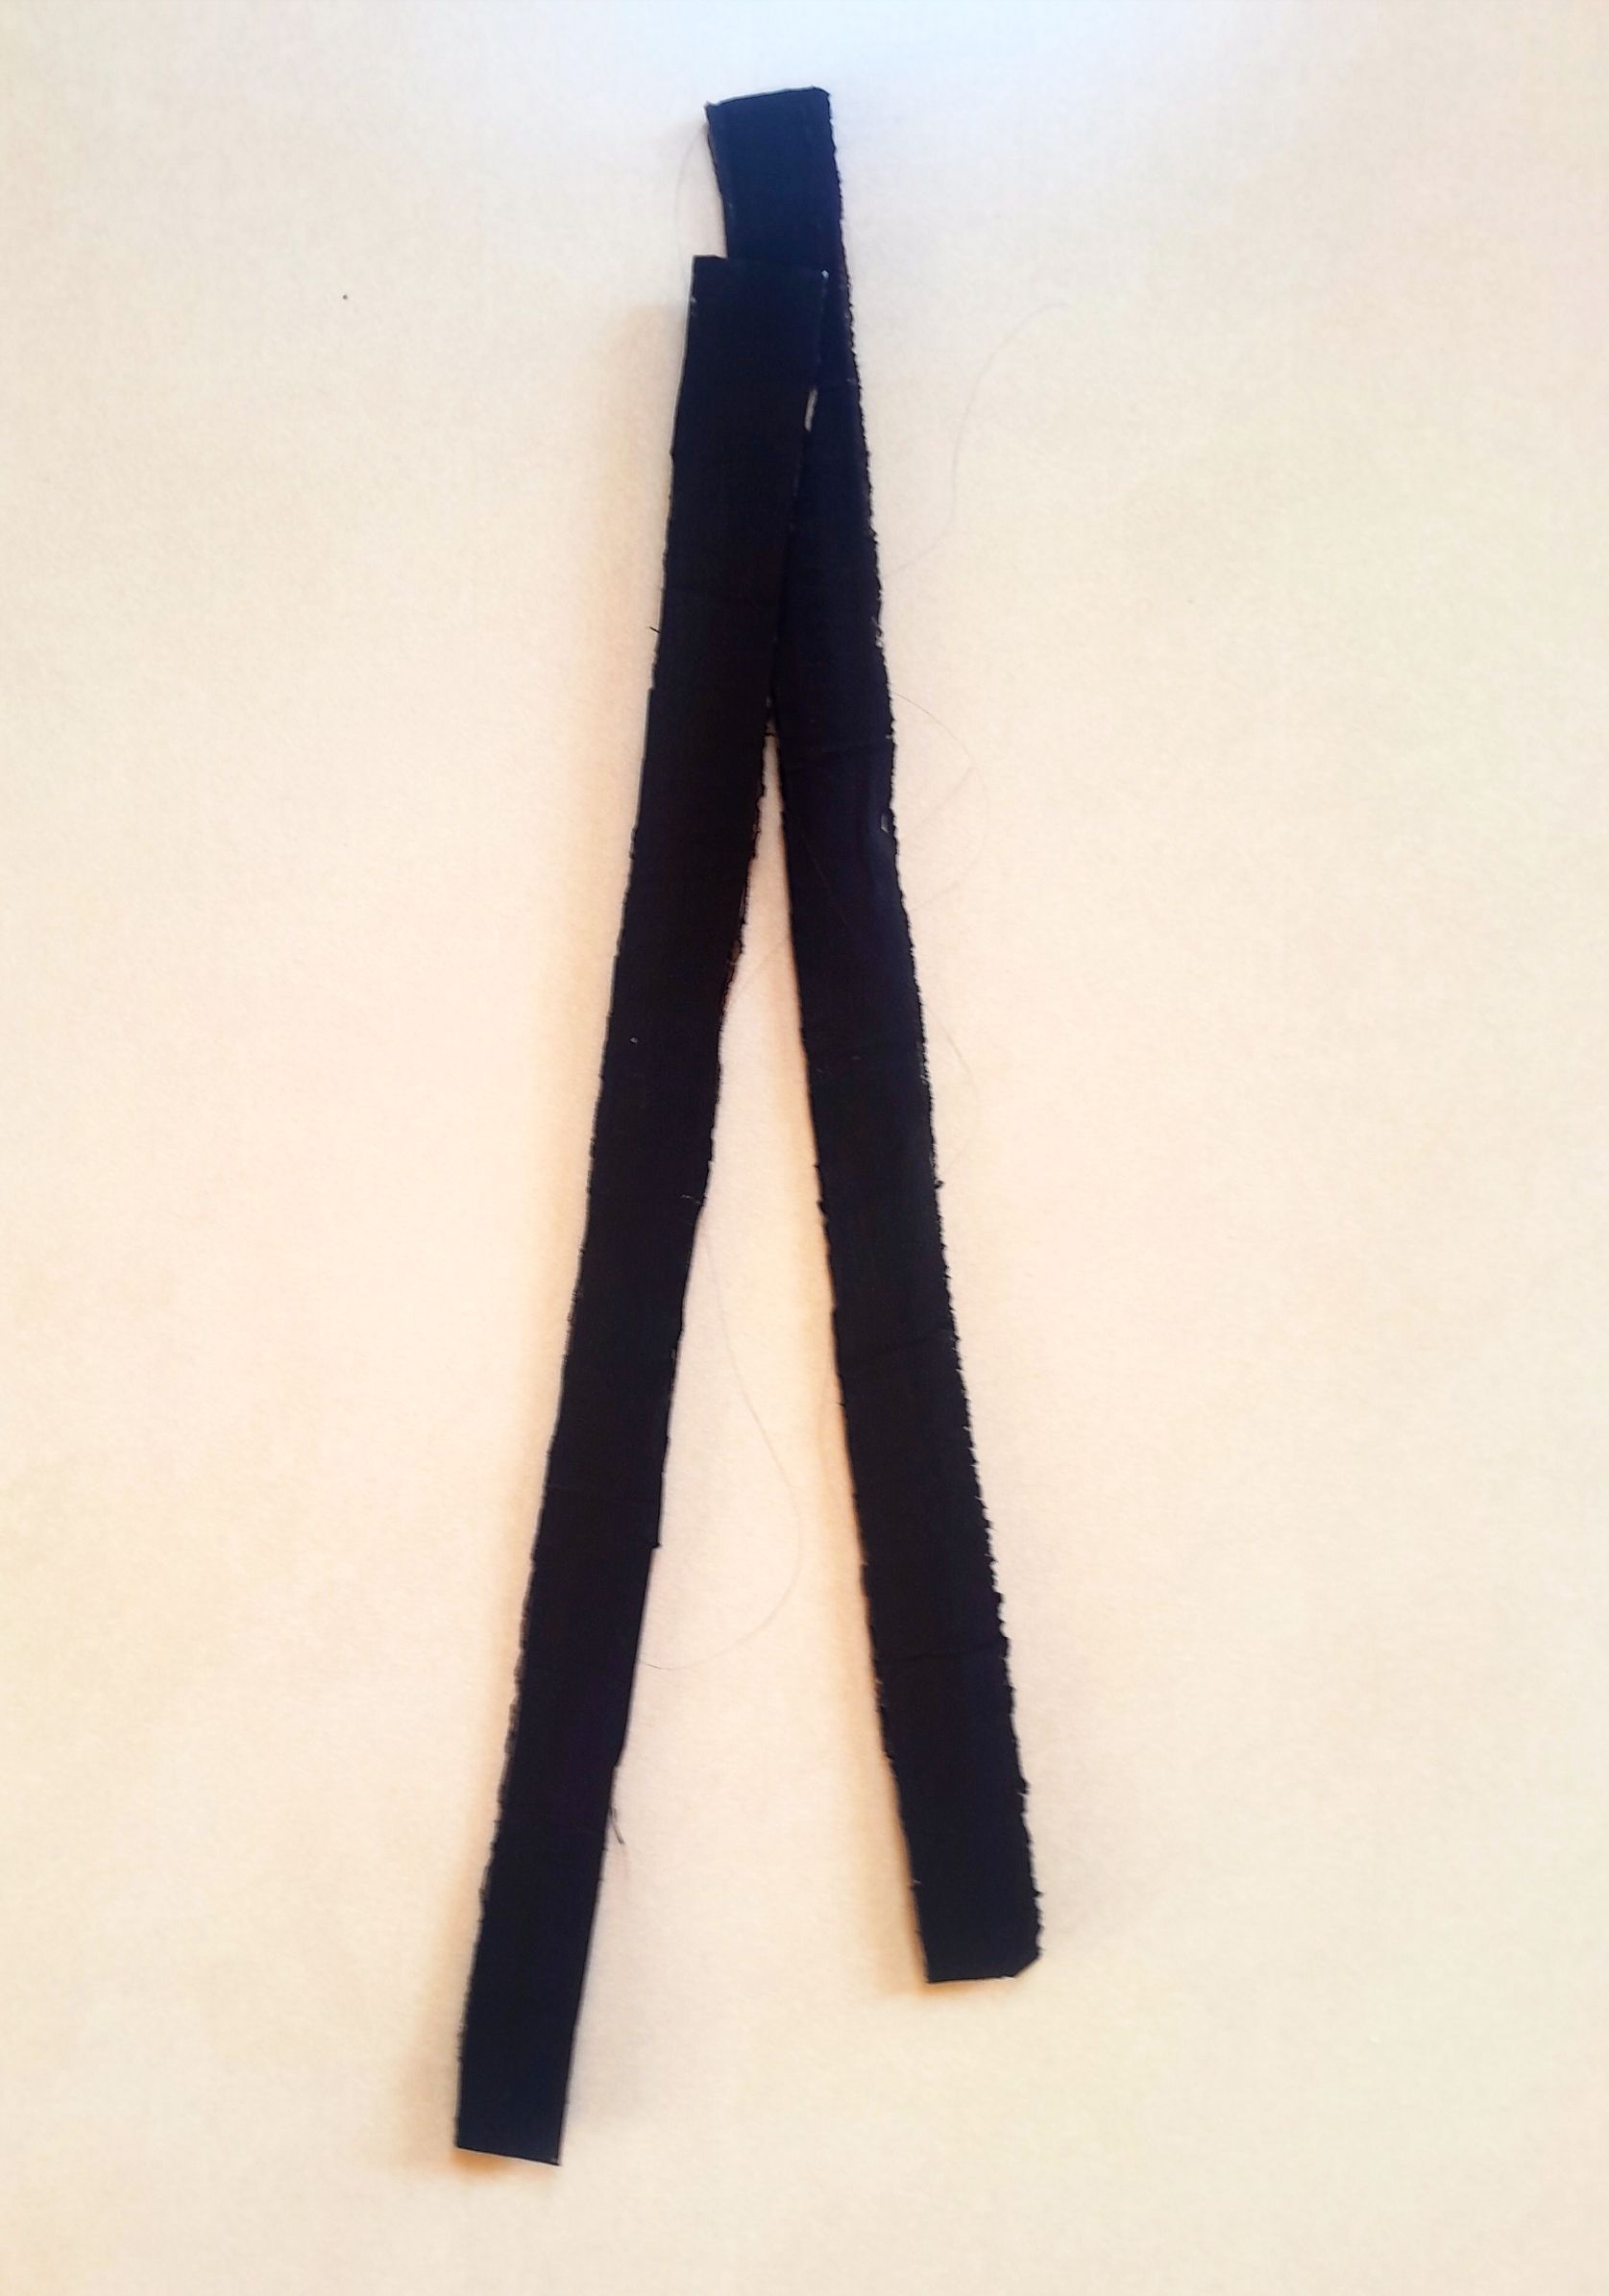
Lo recortamos como podamos y aparte de eso, recortaremos dos tiras de cartón largas y las pintaremos también.
We cut it out as we can and apart from that, we will cut two long cardboard strips and paint them as well.
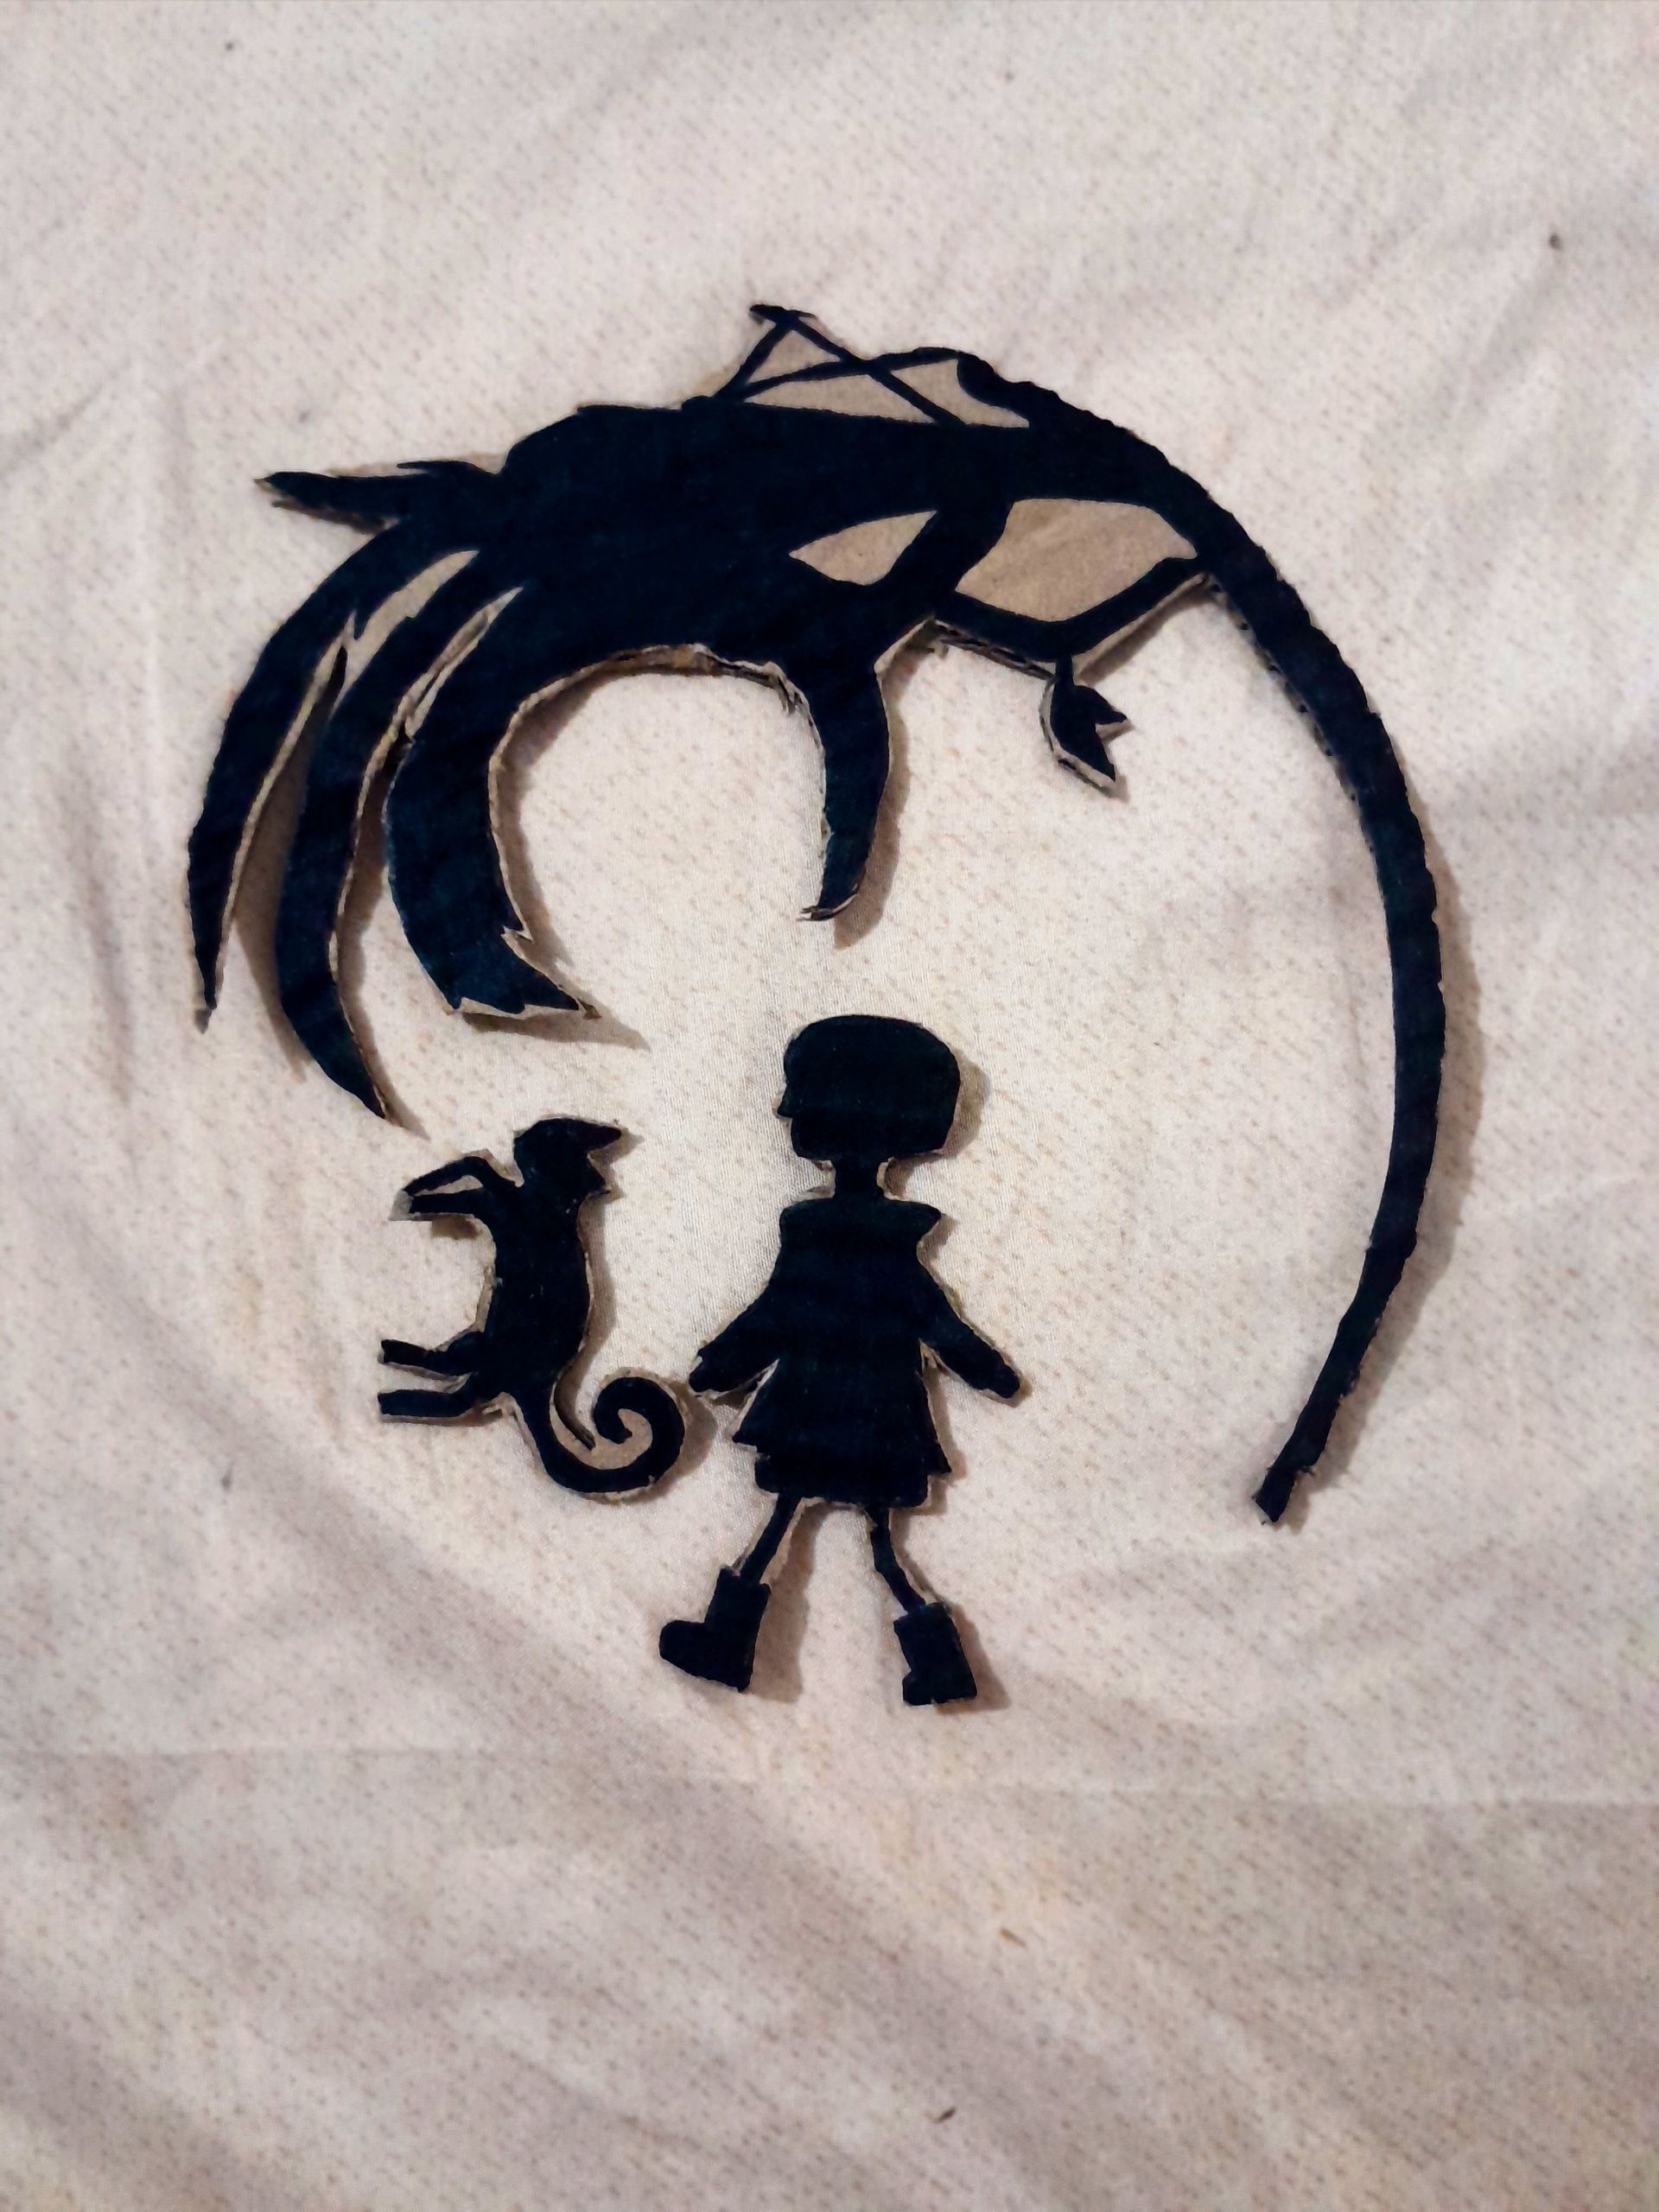
Ahora lo que haremos será pegar todo de la siguiente manera:
Las tiras negras que cortamos servirán como un soporte de los dibujos que recortamos, así que estas las pegaremos encima de la luna.
Posterior a eso, pegamos las figuras encima. De esta forma se formará un relieve y la luna se verá alejada.
Now what we will do is glue everything as follows:
- The black strips we cut will serve as a support for the drawings we cut out, so we will glue them on top of the moon.
- After that, we glue the figures on top. In this way a relief will be formed and the moon will look far away.
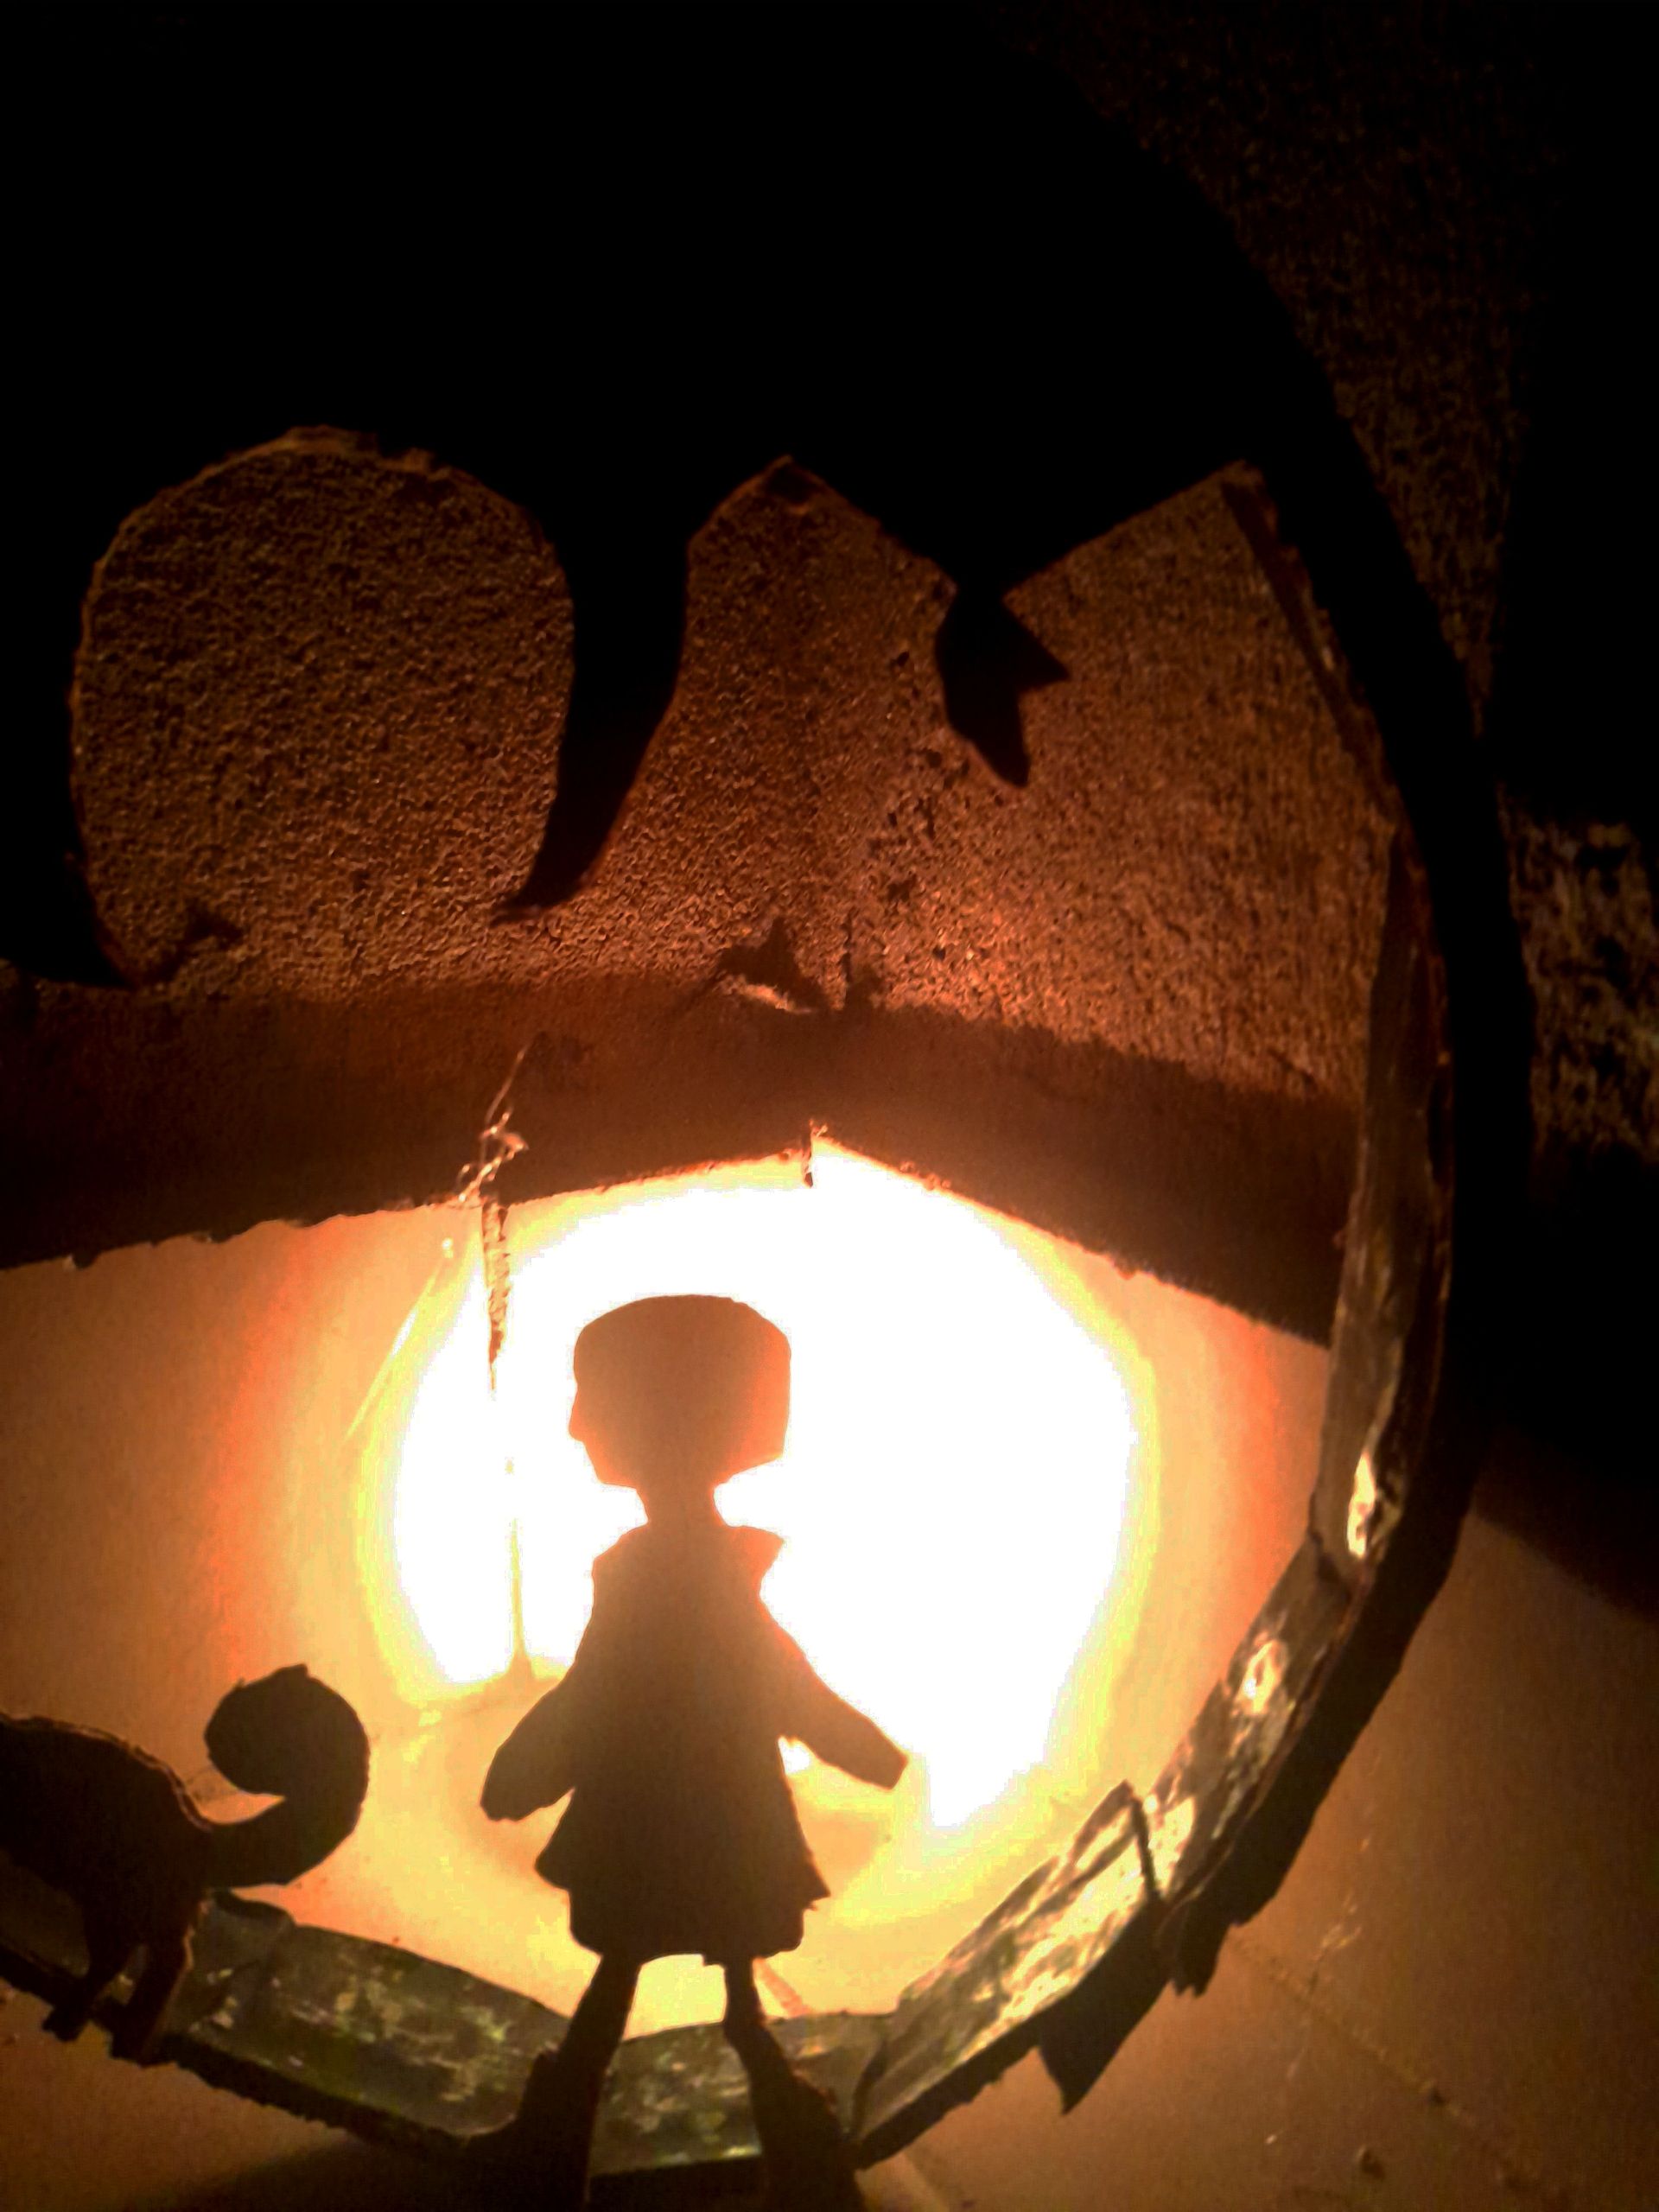
Así debe verse después de haber pegado las figuras a la tira larga.
This is how it should look after the figures have been glued to the long strip.
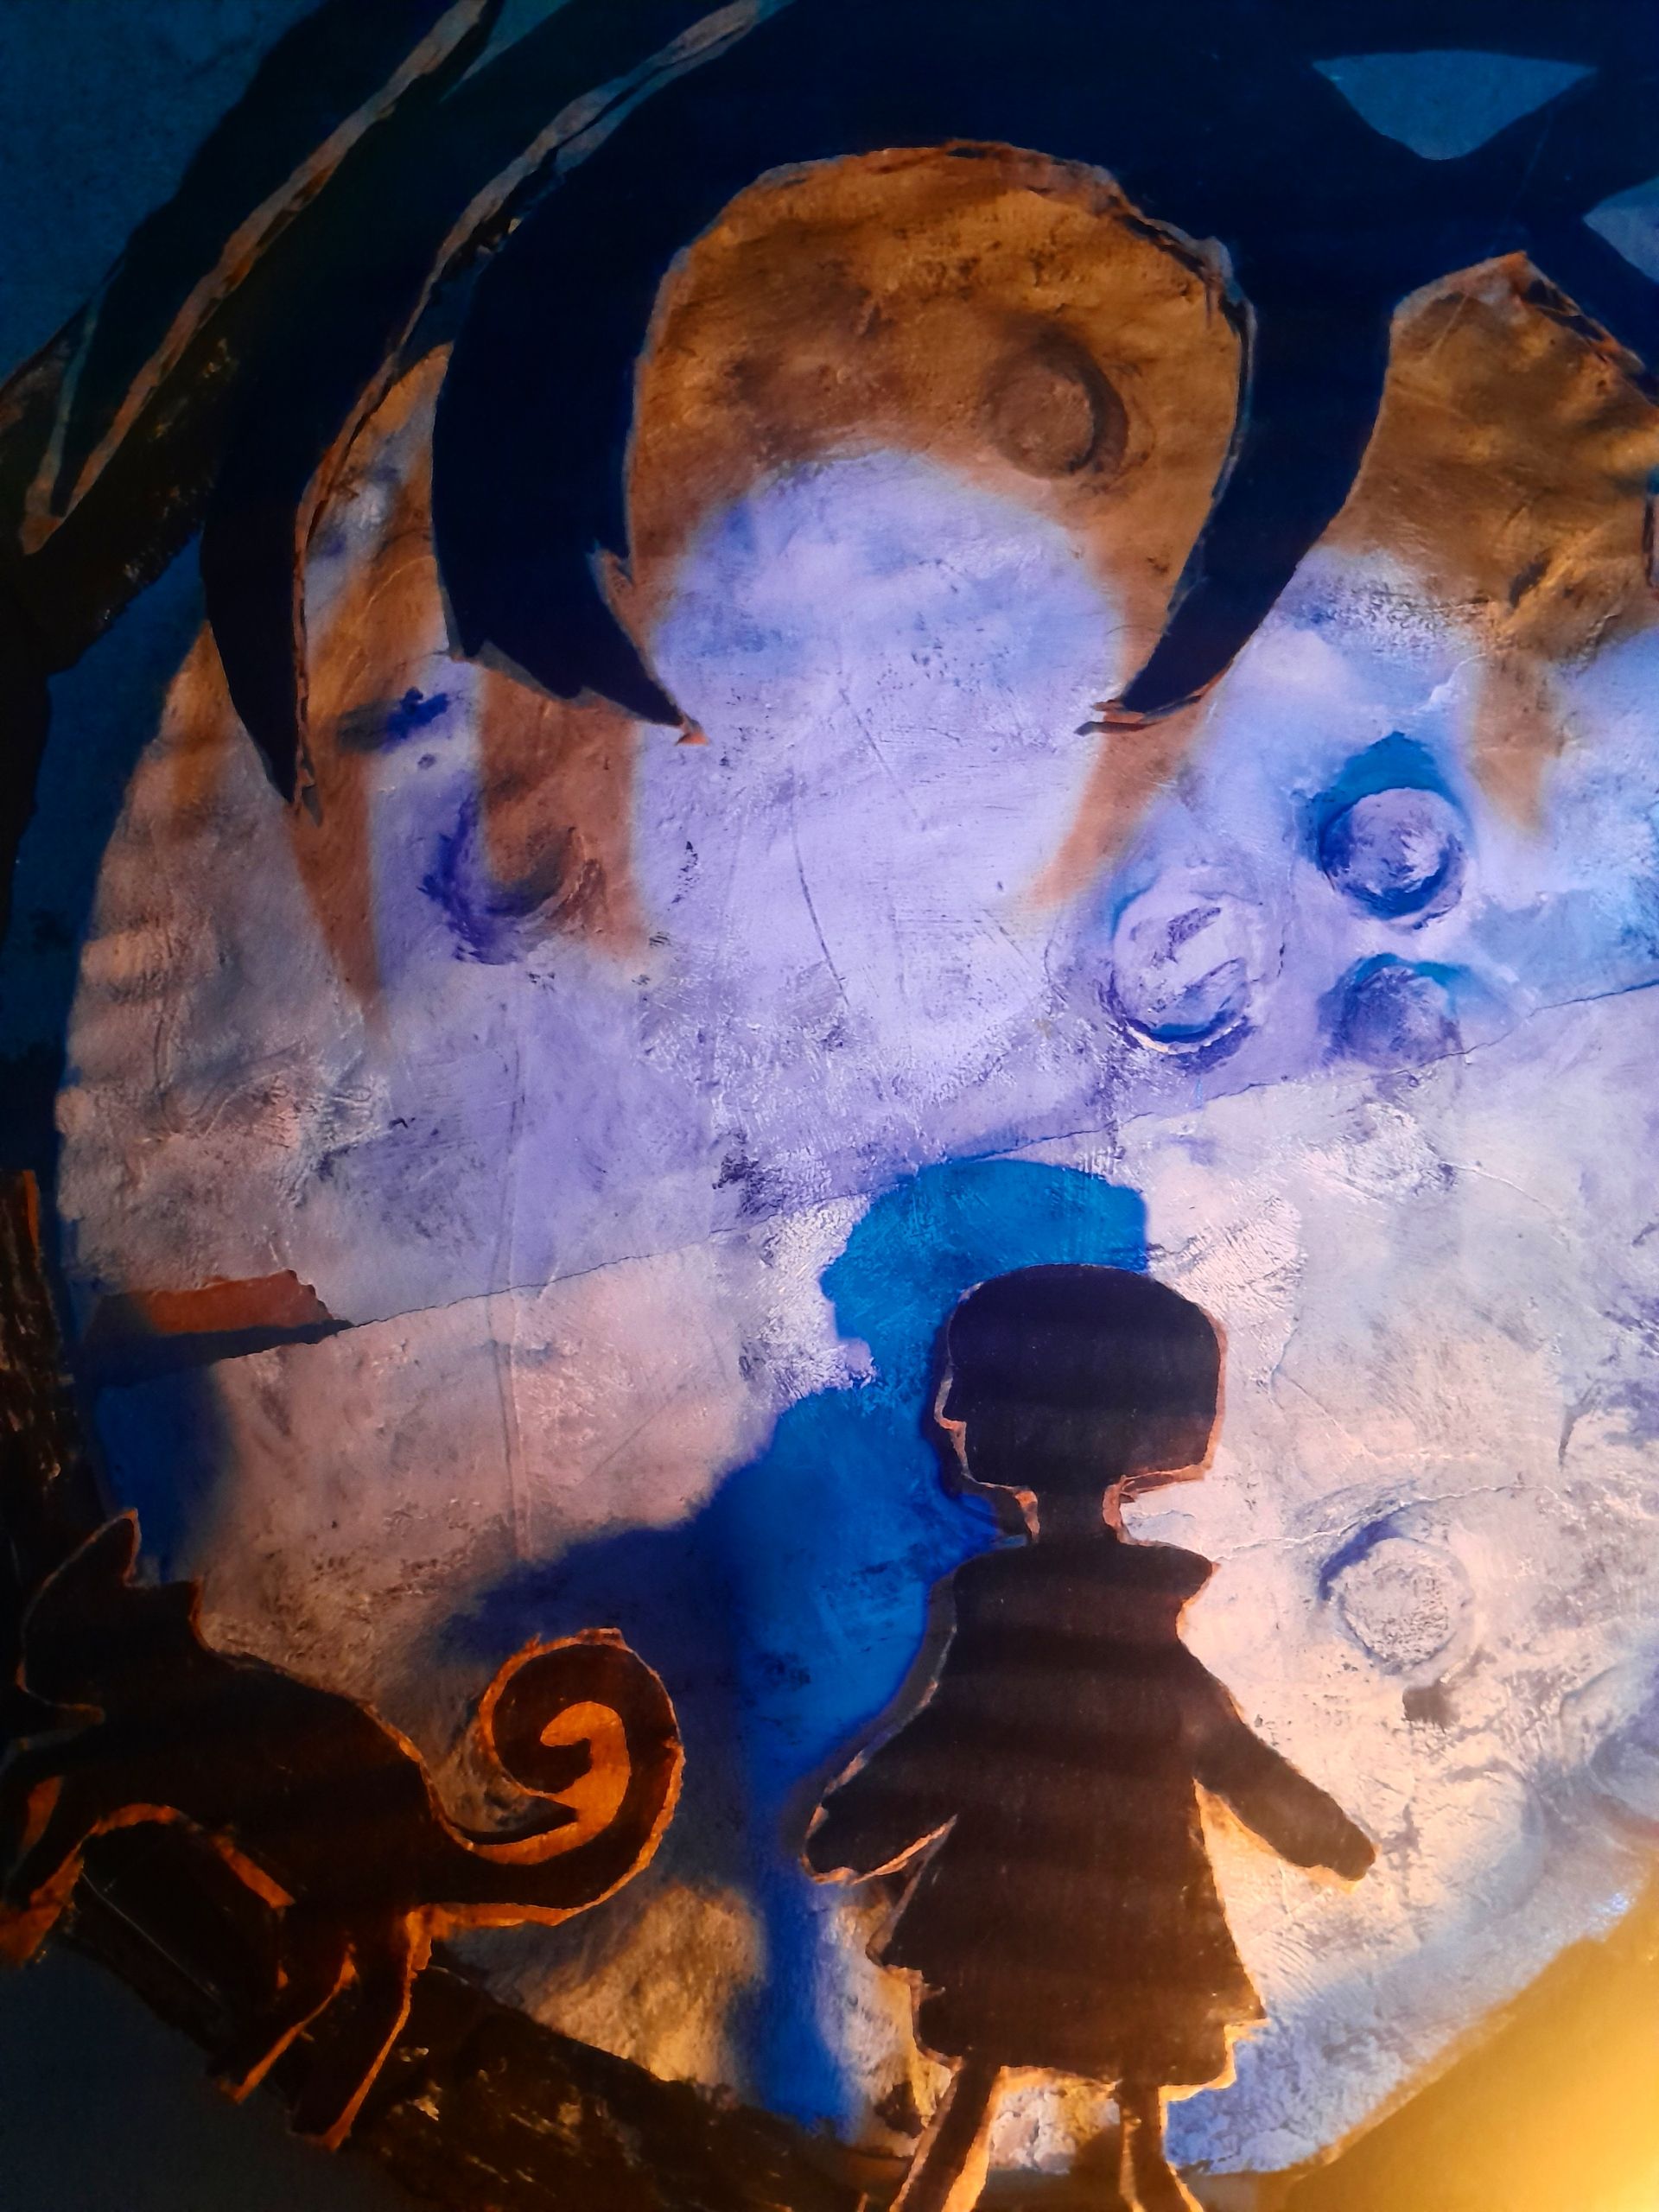
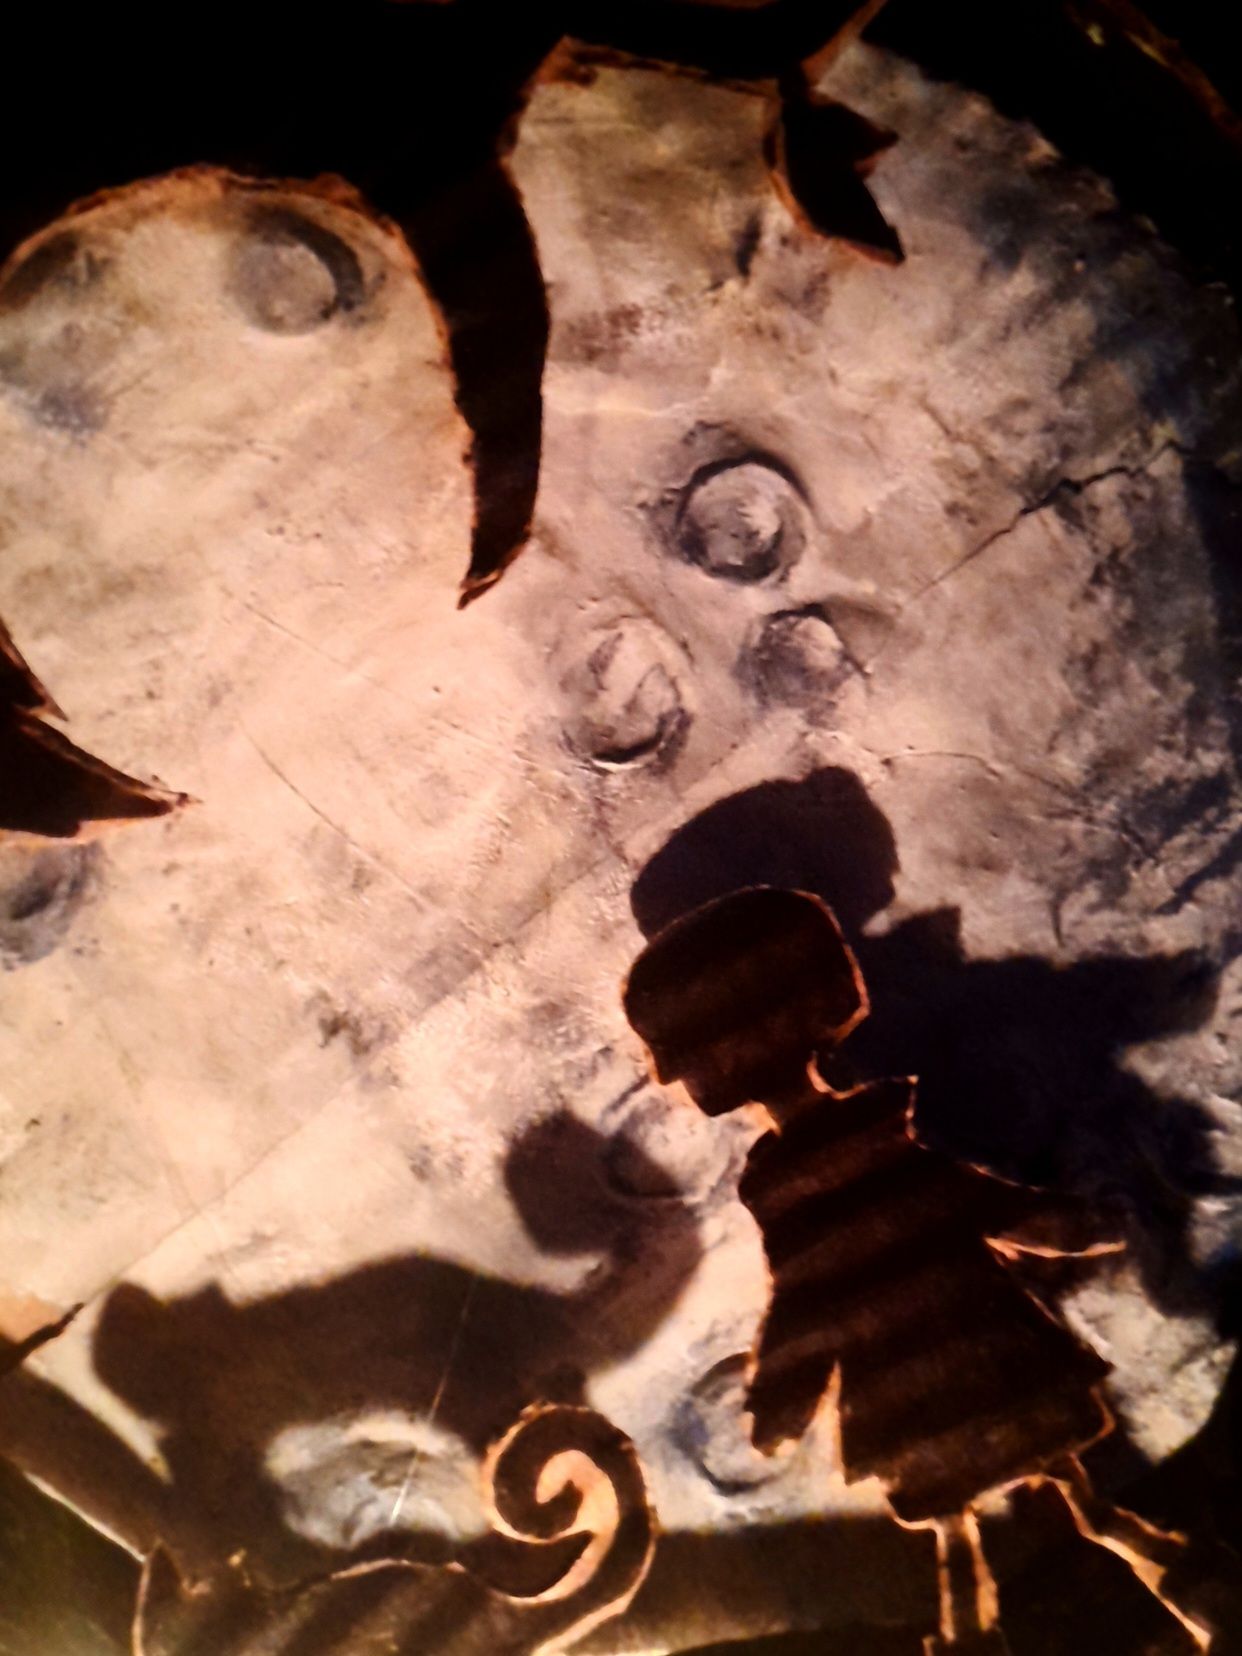
Y así debe verse todo junto. ¿Que tal? ¿Les gustó el resultado?
And this is what it should look like all together. How did you like the result?
Thanks for reading and watching.